Extra Fruity Hot Cross Buns

These Extra Fruity Hot Cross Buns really do take the humble, yet delicious and traditional Easter Bun to another level. As their spiced aroma escapes the kitchen, it fills the whole house with warmth. Turning a house into a welcoming home. While neighbours, out in their gardens, stop, wondering whose house the aromatic aroma originates from.

FF Extra Fruity Hot Cross Buns

Homemade – You Know What’s In These Buns

Easy to make and bake, these Extra Fruity Hot Cross Buns are so worth the little effort required. These are not the small, pappy, squidged into a ball, cheap supermarket versions. Instead they are filled with fruit, in a good sized bun, that also contains a small amount of wholemeal flour. Indeed, one bun is a substantial breakfast.

FF Extra Fruity Hot Cross Buns
Extra Fruity Hot Cross Buns deliciously good for you.

Since these Easter buns are homemade, we know every ingredient they contain. Yet, what they don’t have is any artificial ingredients. Also they work out much cheaper to make, than bought ones. Plus, the extra smell when you split and toast them, is priceless!

FF Extra Fruity Hot Cross Buns
Anyone hungry?

The absolute thrill for me, when developing a new recipe, is my family’s reaction. Good or bad, I know it can be trusted. Words like “yummy”, “can I have another one please?” and “have you taken the photographs yet?” all feed into my sense of recipe security. As I’m going to be sharing the recipe with my readers, it needs to be robust and reliable. Hence only tried and tested recipes make their way on to this blog.

Recipe: Extra Fruity Hot Cross Buns makes 12

  • 150ml Tap Water
  • 150ml Whole Milk – slightly warmed to body temperature
  • 2 Large Free Range Eggs
  • 10g Fast Action Dried Yeast – I use Allinson in the green pot or sachets
  • 1tbsp Honey
  • 450g/1lb Strong White Flour – I use Shipton Mill
  • 50g/2oz Strong Wholemeal Flour
  • 10g Salt – I use Maldon
  • 50g/2oz Unsalted Butter cut into small cubes
  • 200g/7oz Mixed Dried Fruits – Sultanas/Raisins/Currants
  • 4tsp Cinnamon
  • 1tsp Ginger
  • 50g/2oz Plain White Flour and 50mls Tap Water for the crosses.
  • For the glaze:
  • 3tbsp Runny Honey plus 1tsp water

Method:

Making And Proving The Enriched Dough

  • Into the bowl of a stand mixer add the water, milk, eggs, honey and yeast.
  • Next, on top of the liquids add the strong white and wholemeal flour.
  • Then add the salt and butter.
  • Fit the stand mixer with a dough hook and then lock the bowl into place.
  • Lower the dough hook and start mixing on a slow speed. Continue mixing at this speed for 5 minutes.
  • After 5 minutes has elapsed gradually increase the mixer speed to moderately high. Again mix for a further 5 minutes, then stop the mixer and lift the dough hook.
  • Remove a small piece of dough and stretch it until you can see light through it. This is known as the windowpane test. If the dough tears continue mixing, checking every couple of minutes until it passes the windowpane test.
  • Once it has finished kneading, turn the speed on the mixer to low and add the spices and fruit. Mix for a further 2 minutes to incorporate the fruit and spices.
  • Following this, stop the mixer, raise the dough hook and scrape any dough into the bowl using your fingers.
  • Unlock the bowl, cover with a clean tea towel and place somewhere draught free.
The dough has more than doubled in size.

For detailed set by step photos please see Hot Cross Buns

Shaping The Individual Buns And Giving Then A Second Prove

  • Tip the dough out on to a lightly floured surface, it will be quite sticky. Knead the dough lightly to form a ball and then weigh it. I place baking parchment on flat, digital scales. Note the weight and then divide it by 12, leaving the parchment on the scales.
  • Now cut the dough in half. As each bun is weighed this doesn’t have to be exact.
  • Follow by forming each dough half into a log shape. Cut each dough log into six.
  • Weigh the first piece of dough and adjust as necessary to obtain the correct weight.
  • Hold the dough in one hand while using the other to turn and tuck the underneath in, creating a tight ball shape. Place the ball on to the baking tray. Continue until all 12 balls have been made.
  • Cover the tray with a clean tea towel and place in a draught free place until doubled in size.

Making And Piping The Crosses

  • While the buns have their second prove, make the paste for the crosses. Place the flour and water into a bowl, mix until lump free. Spoon the white flour paste into a small piping bag, secure the top with a peg/rubber band and stand the bag in a glass until needed.
  • Preheat the oven to 220C/200C fan, gas mark 7.
The dough buns and after the second proof.
  • Once doubled in size, snip off the very end of the piping bag.
  • Pipe straight lines of paste. First of all piping across the tray and then down the tray.
FF Extra Fruity Hot Cross Buns
Pipe each separate row continuously for neat crosses.

Baking And Glazing The Hot Cross Buns

  • Bake in the preheated oven for 25-35 minutes. When baked they will be golden brown and sound hollow when rapped on the base with a knuckle.
  • Once baked remove from the oven. Remove the buns from the tray on to a cooling rack, with a clean baking tray underneath.
  • Measure the honey and water into a small microwaveable bowl. Heat in the microwave until bubbling. Remove carefully as it will be hot.
  • Stir the honey and water to mix.
  • Use a pastry brush to cover each hot bun in honey.
FF Extra Fruity Hot Cross Buns
Sticky, cooling, Extra Fruity Hot Cross Buns.

Wait for the buns to cool before eating. Then serve as is or toasted and buttered with a big smile.

FF Extra Fruity Hot Cross Buns
Extra Fruity Hot Cross Buns delicious fresh from the kitchen.

The buns will keep for 3 days if toasted. Also they freeze extremely well for up to one month.

If you have enjoyed this Easter recipe for Extra Fruity Hot Cross Buns then you may also like other Easter bakes:

Ginger Date Hot Cross Buns

Ginger Date Hot Cross Buns.

Cherry Bakewell Hot Cross Buns

Cherry Bakewell Hot Cross Buns

Chocolate Mini Egg Brownies

Chocolate Mini Egg Brownies

It would be very easy to double up on this recipe and share homemade Extra Fruity Hot Cross Buns with friends, neighbours and family over the Easter period.

Whatever you are making, baking and creating in your kitchens, have fun preparing your feast.

Sammie xx

No part of this post may be reproduced or duplicated without the written permission of the owner. Please see my Disclosure Policy.


Chocolate Macadamia Nut Brownies


Hello lovelies. Do you need a chocolate hit? And, do you want to sink your teeth into something chocolatey, fudgey and studded with nuts? You are, because I’m here to help! Welcome to my Chocolate Macadamia Nut Brownies.

Chocolate Cravings…

So, the other night I was craving, I mean really craving chocolate. And not in the bar form, in a Brownie! Am I alone in my craving? Thought not!! Anyway it was too late to bake, so I settled down to sleep, thinking about Brownies.

It was still there, the craving, in the morning. Although, not so much the craving for chocolate, more the need to bake Brownies.

While I have a couple of Brownie recipes Nuts About Brownies and Triple Chocolate Brownies  on this blog, I was in the mood for experimenting. Given that I’d had a couple of baking disasters during the week I knew this could be risky business!! Yet I ploughed on, wading through my collection of cookbooks in search of inspiration. And as usual I took a bits and pieces of information from here and there and came up with an idea-ish of a recipe!!

I love looking through cookbooks, however, I can honestly say there are very few recipes I follow completely from the start. Rather, the books are more a visual and written inspiration for how I like to cook and bake. Although I still have much to learn, what I know already serves to help me put a recipe together. It’s fun too, coming up with flavours, textures etc. on my own. Also, it’s how I learn and that is a big part of the enjoyment I get from cooking and baking.

Creating The Best Brownie Recipe

So, to the Chocolate Macadamia Nut Brownies – melted chocolate was top of the list in creating this recipe. Lots of it. Since I have a new bag of Macadamia Nuts in the cupboard they were guaranteed a starring role. Chocolate Chunks obviously, because – more chocolate!! The rest, well I know that brown sugar lends a depth to chocolate recipes, yet I still wanted that shiny, crackled top, synonymous with a good, fudgey brownie.

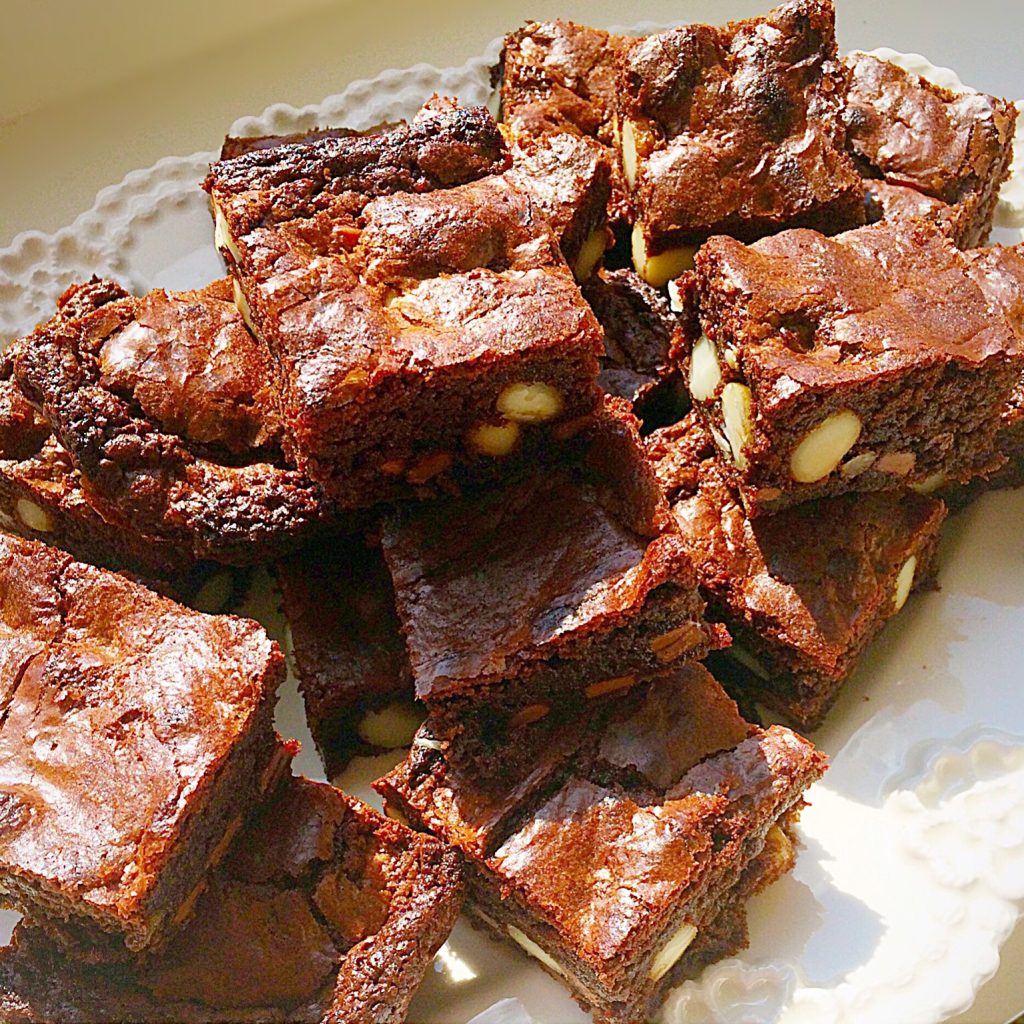
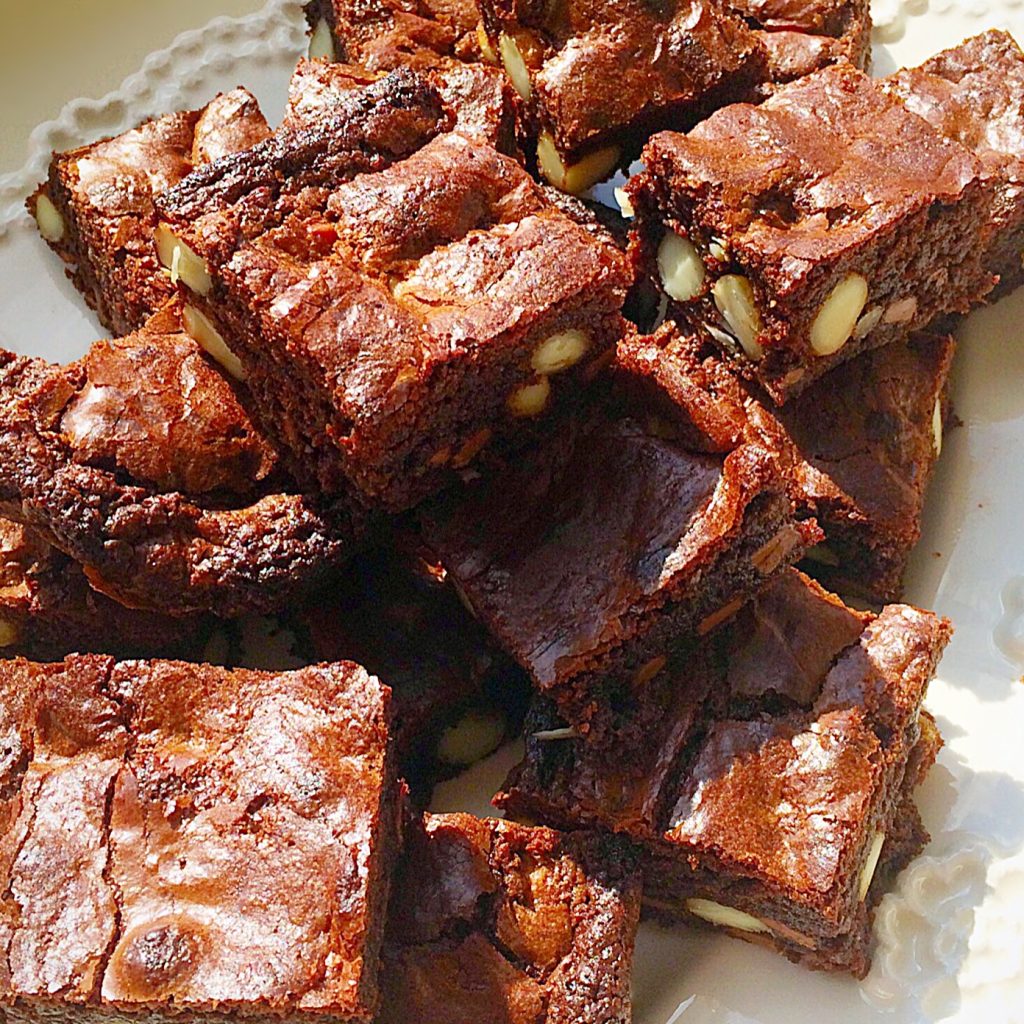
Chocolate macadamia nut brownies cut into squares.


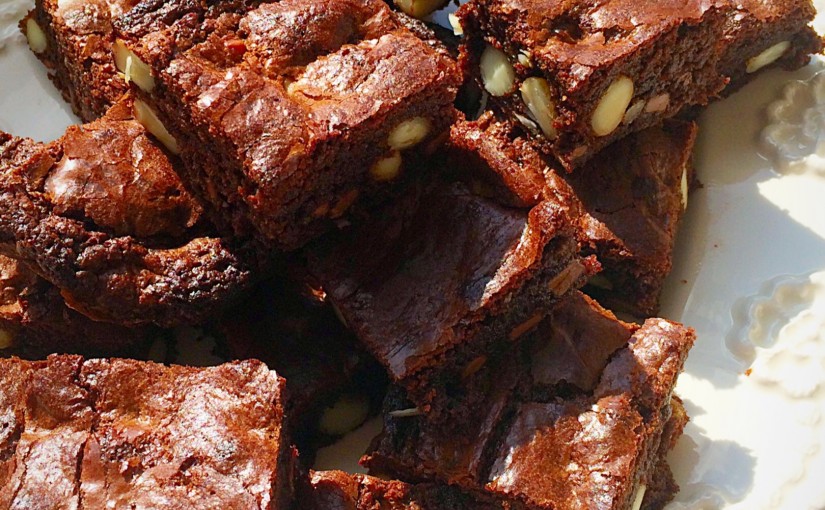
These Chocolate Macadamia Nut Brownies are everything I wanted and more. Fudgey, dense, intense chocolate flavour, with whole, buttery, Macadamia nuts for added crunch. So pleased am I with them I am sharing the recipe with you.

Recipe : Makes 20 Chocolate Macadamia Nut Brownies

200g/7oz Milk Chocolate

150g/5oz Dark Chocolate

225g/8oz Unsalted Butter

4 Large Free Range Eggs

1tsp Vanilla Extract – I use Nielsen-Massey 

1/4tsp Salt – I use Maldon 

125g/4.5oz Dark Brown Sugar

100g/4oz Caster Sugar

75g/3oz Plain White Flour

1/2tsp Bicarbonate of Soda

225g/8oz Macadamia Nuts

175g/6oz Chocolate Chips – plain or milk

Preheat the oven to 180C/160C fan, gas Mark 4, 350F.

First of all, line a 22.5cm x 30cm (9″ x 12″) tin with aluminium foil. This makes it so easy to remove the brownies once baked and less time cleaning up.

Melting The Chocolate For The Brownie Batter

Break up the chocolate (or chop) into individual squares, dice the butter and place both into a heat proof bowl. Place the bowl over a simering pan of water (a double boiler) ensuring the bottom of the bowl doesn’t touch the water.

Yep, I know. My bowl was too small, even for my smallest pan. Duh!!! So I improvised by using a steamer on top of the pan and placing my bowl in the steamer. This way you definetely won’t have the bowl touching the water. If you do try it make sure the water is just simmering, otherwise your hands could be burnt by the steam.

Stir the chocolate and butter until two thirds melted.
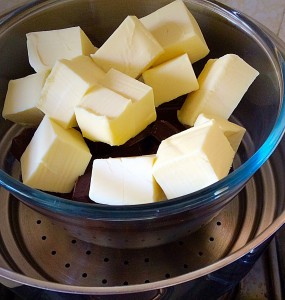
Improvised double boiler using a steamer!


Then remove the bowl from the pan and continue stirring until the chocolate and butter are completely melted. Using this method may be a little more labour intensive, it does stop the mixture heating up too much, thus less time for it to cool down. Me impatient? No I like to call it efficient!
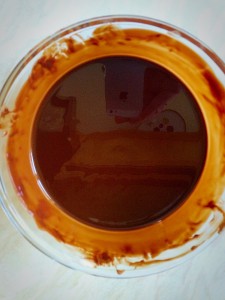
Set the melted chocolate and butter aside to cool.

Making The Wet Ingredients For The Brownie Batter

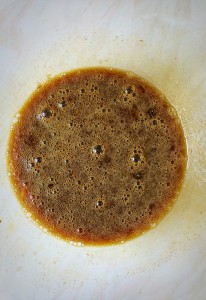
Place the eggs, vanilla extract and salt into a bowl. Mix until combined.
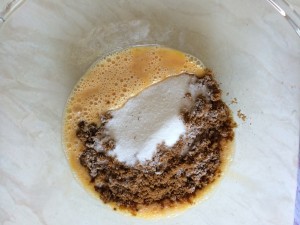
Add the two sugars into the mixed egg and vanilla.
Stir the sugar and egg mixture until combined.
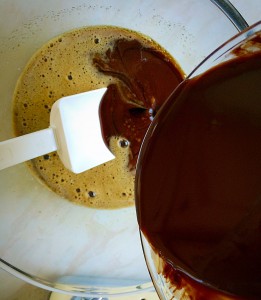
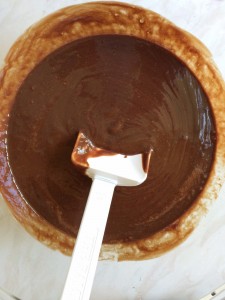
Pour the cooled chocolate mixture slowly into the bowl stirring slowly.
Ooey gooey chocolate brownie mixture.

Adding The Dry Ingredients To Create The Finished Brownie Batter

Sift the flour and sodium bicarb. into the bowl.
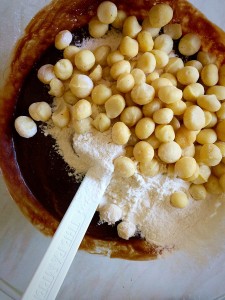
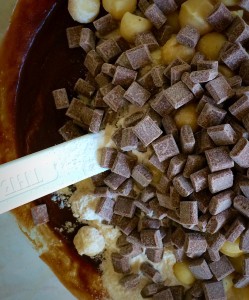
Add the macadamia nuts on top of the sieved flour.
Then add the chocolate chunks.


Fold all the ingredients together, resisting the urge to taste a spoonful!
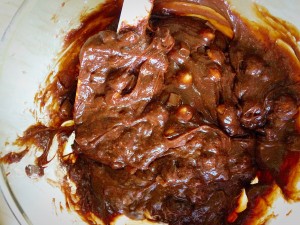
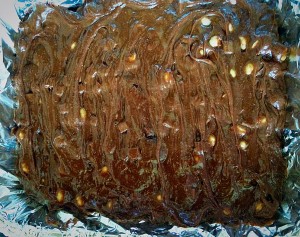
Chocolate Macadamia Nut Brownie batter.
Chocolate Macadamia Nut Brownies pour the mixture into a lined pan. Rap the pan onto the worktop a couple of times to allow any air bubbles to rise to the top.

Baking The Chocolate Macadamia Nut Brownies

Place the pan in the middle of a preheated oven and bake for 30 – 40 minutes. The Chocolate Macadamia Nut Brownies are cooked when the top is set and shiny, there should still be a hint of wobble when you gently shake the pan. Always better to slightly underbake Brownies. As soon as they are baked remove the Brownie pan from the oven.
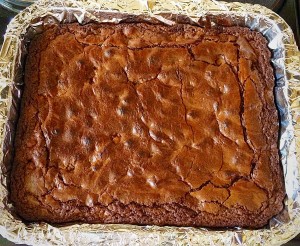
Chocolate Macadamia Nut Brownies leave to cool in the tin.


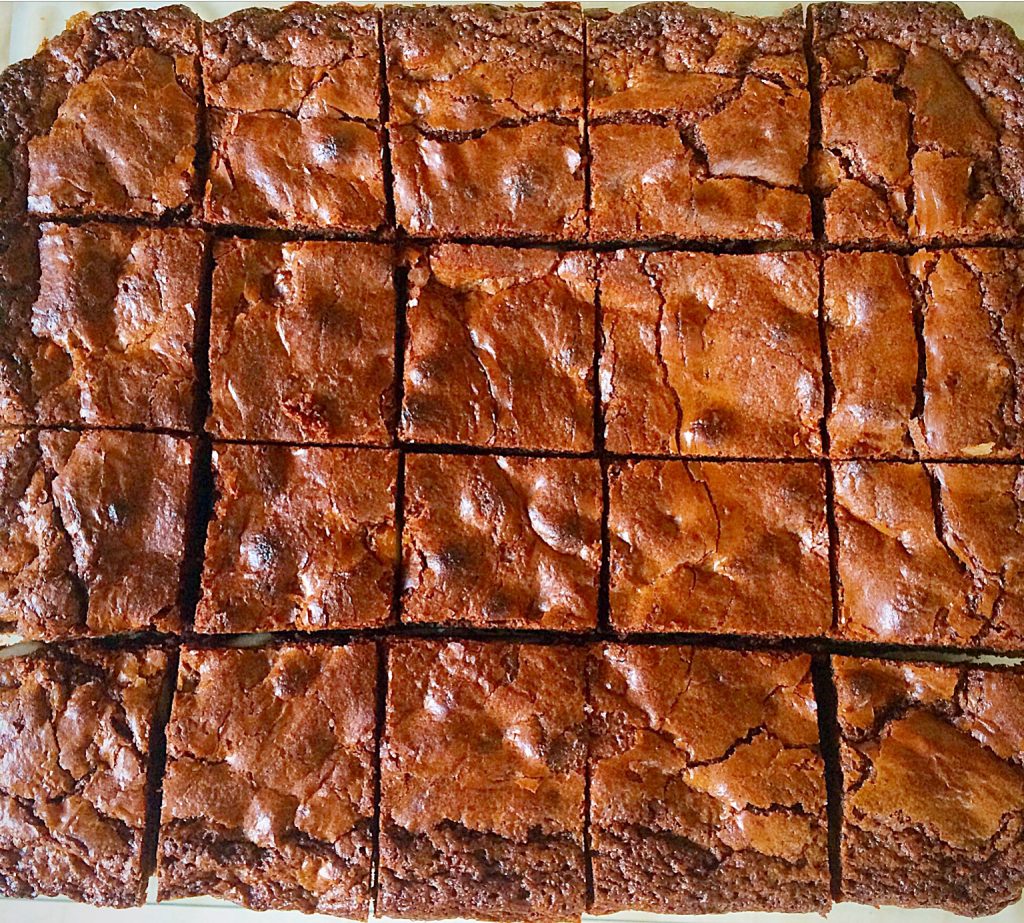
Once completely cooled it’s so easy to remove the Brownies from the pan, in the foil. And then peel away the foil and slice into 20 squares.

These Chocolate Macadamia Nut Brownies are soo good. I’m not kidding, I was blown away by how dense, fudgey, chocolatey and more-ish these brownies are.

I shared them with friends, neighbours and of course our crew. And all of the feed back was good, so now I’ve shared them with you!

If you have enjoyed this recipe for Chocolate Macadamia Nut Brownies you may also like these:

Chocolate Biscuit Base Mini Egg Brownies
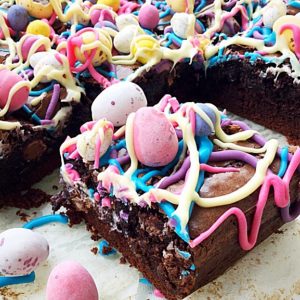
Chocolate Biscuit Base Mini Egg Brownies

Rich Raspberry Chocolate Fudge Brownies
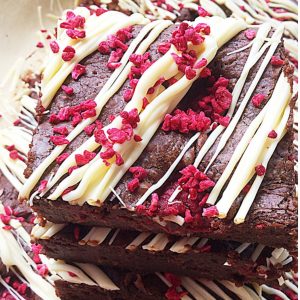
Rich raspberry chocolate fudge brownies
Rich Raspberry Chocolate Fudge Brownies
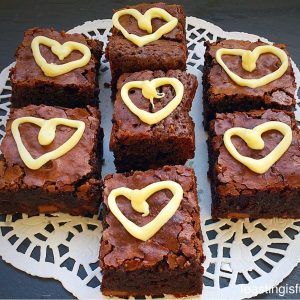
Chocolate Fudge Brownie Bites

Chocolate fudge brownie bites with white chocolate hearts piped on top.
Chocolate Fudge Brownie Bites


How do you like your brownies?

Frosted, plain, with nuts, without?

I’d love to hear from you.

Sammie x

No part of this post may be reproduced or duplicated without the written permission of the owner. Please see my Disclosure Policy.