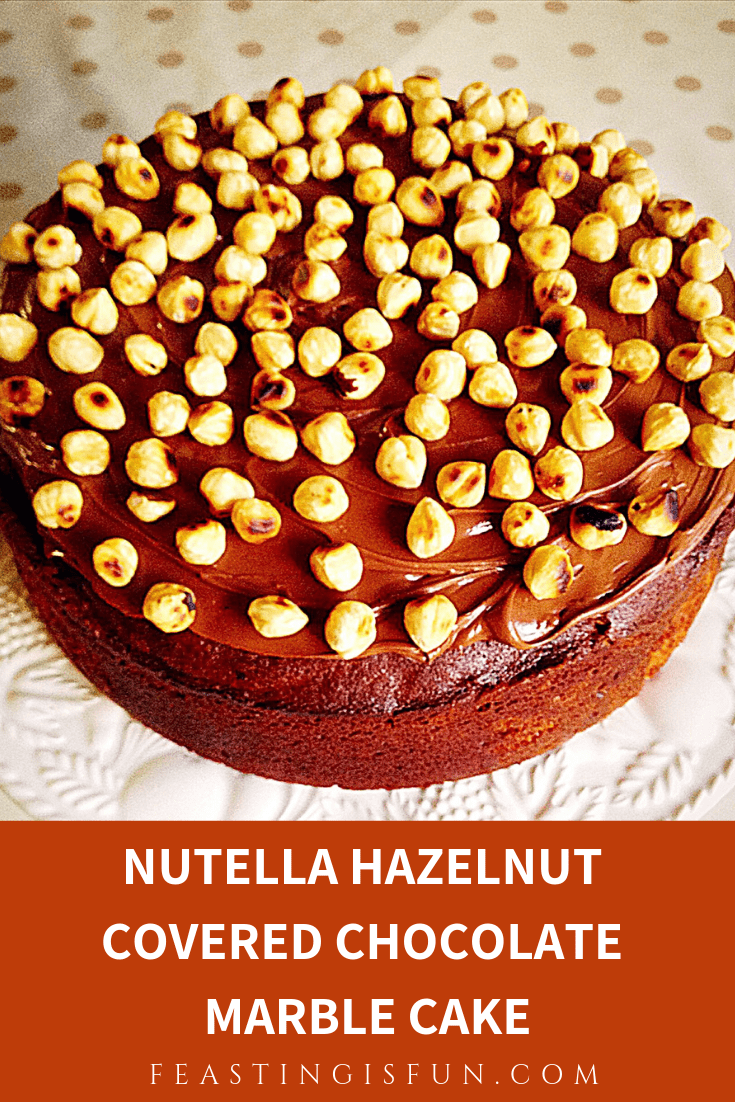
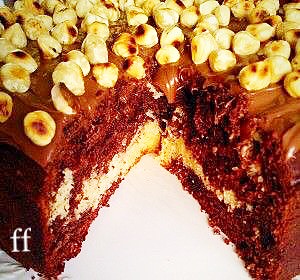
Hi there, I hope there is something in your day today that makes you smile. I’m definitely smiling because I’ve made this luscious, moist Nutella Hazelnut Covered Chocolate Marble Cake. Chocolate and vanilla sponge swirled together, baked and then topped with a generous slather of Nutella and whole, toasted hazelnuts.
Yep I’m back to baking, after being out of action for a few weeks with horrid Migraines, see here. Frustrating, painful and boring, however today I did it. I finally got to remake the cake that I teased you about and as Nutella has been on special offer, I won’t get blasted by the children, for depleting their Nutella supply.
I should mention, given the number of times I’ve mentioned Nutella, that this is not a paid promotion. It’s just Nutella is such an easy frosting for a cake and this particular combo is especially yummy.
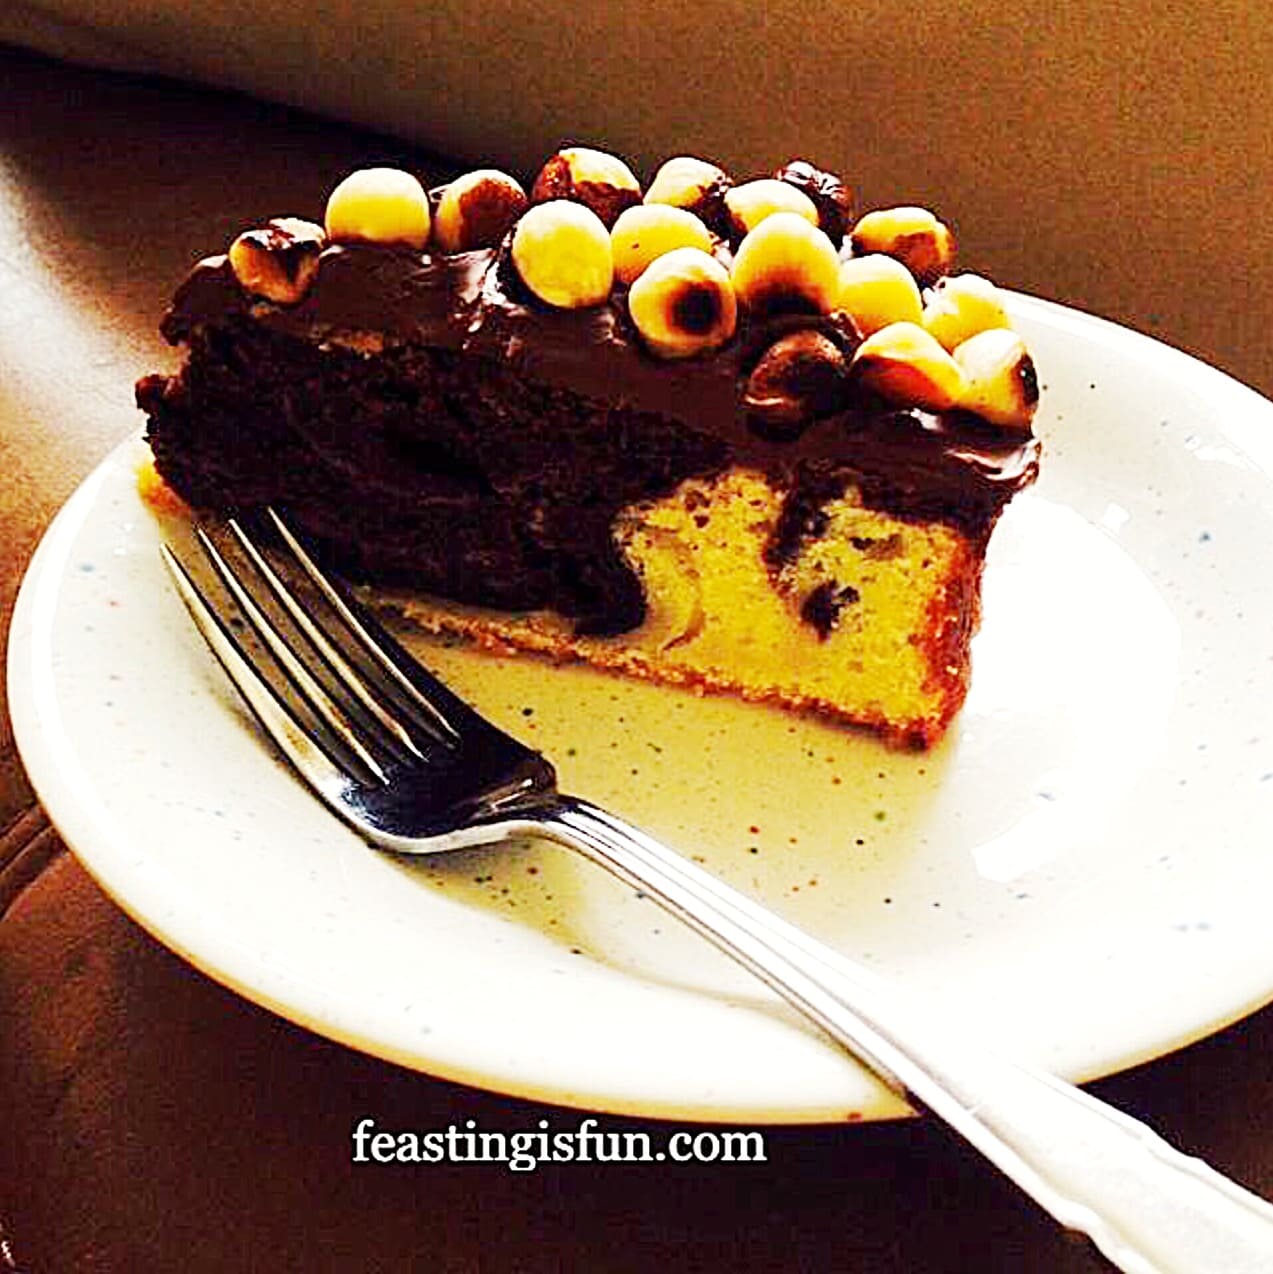
Because, being completely honest, I’ll admit to eating a slice of this cake for lunch, three days in a row. It really is that tempting.
Recipe : Nutella Hazelnut Covered Chocolate Marble Cake serves 8-10
12oz/350g White Caster Sugar
12oz/350g Unsalted Butter – room temperature
1/4tsp Sea Salt – I use Maldon
2tsp Vanilla Extract I use Nielsen-Massey
6 Large Eggs – pref free range
240mls/8fl oz Buttermilk
12oz/350g White Self Raising Flour
3oz/75g Cocoa Powder – I use Callebaut
5-6 Heaped Tablespoons of Nutella
4oz/100g Blanched Hazelnuts
Method: Preheat the oven to 170C/150C fan, gas mark 2, 300F
Making The Chocolate And Vanilla Cake Batter
- First of all grease thoroughly with butter a 9 inch/22.5cm springform cake pan and line the base with baking parchment.
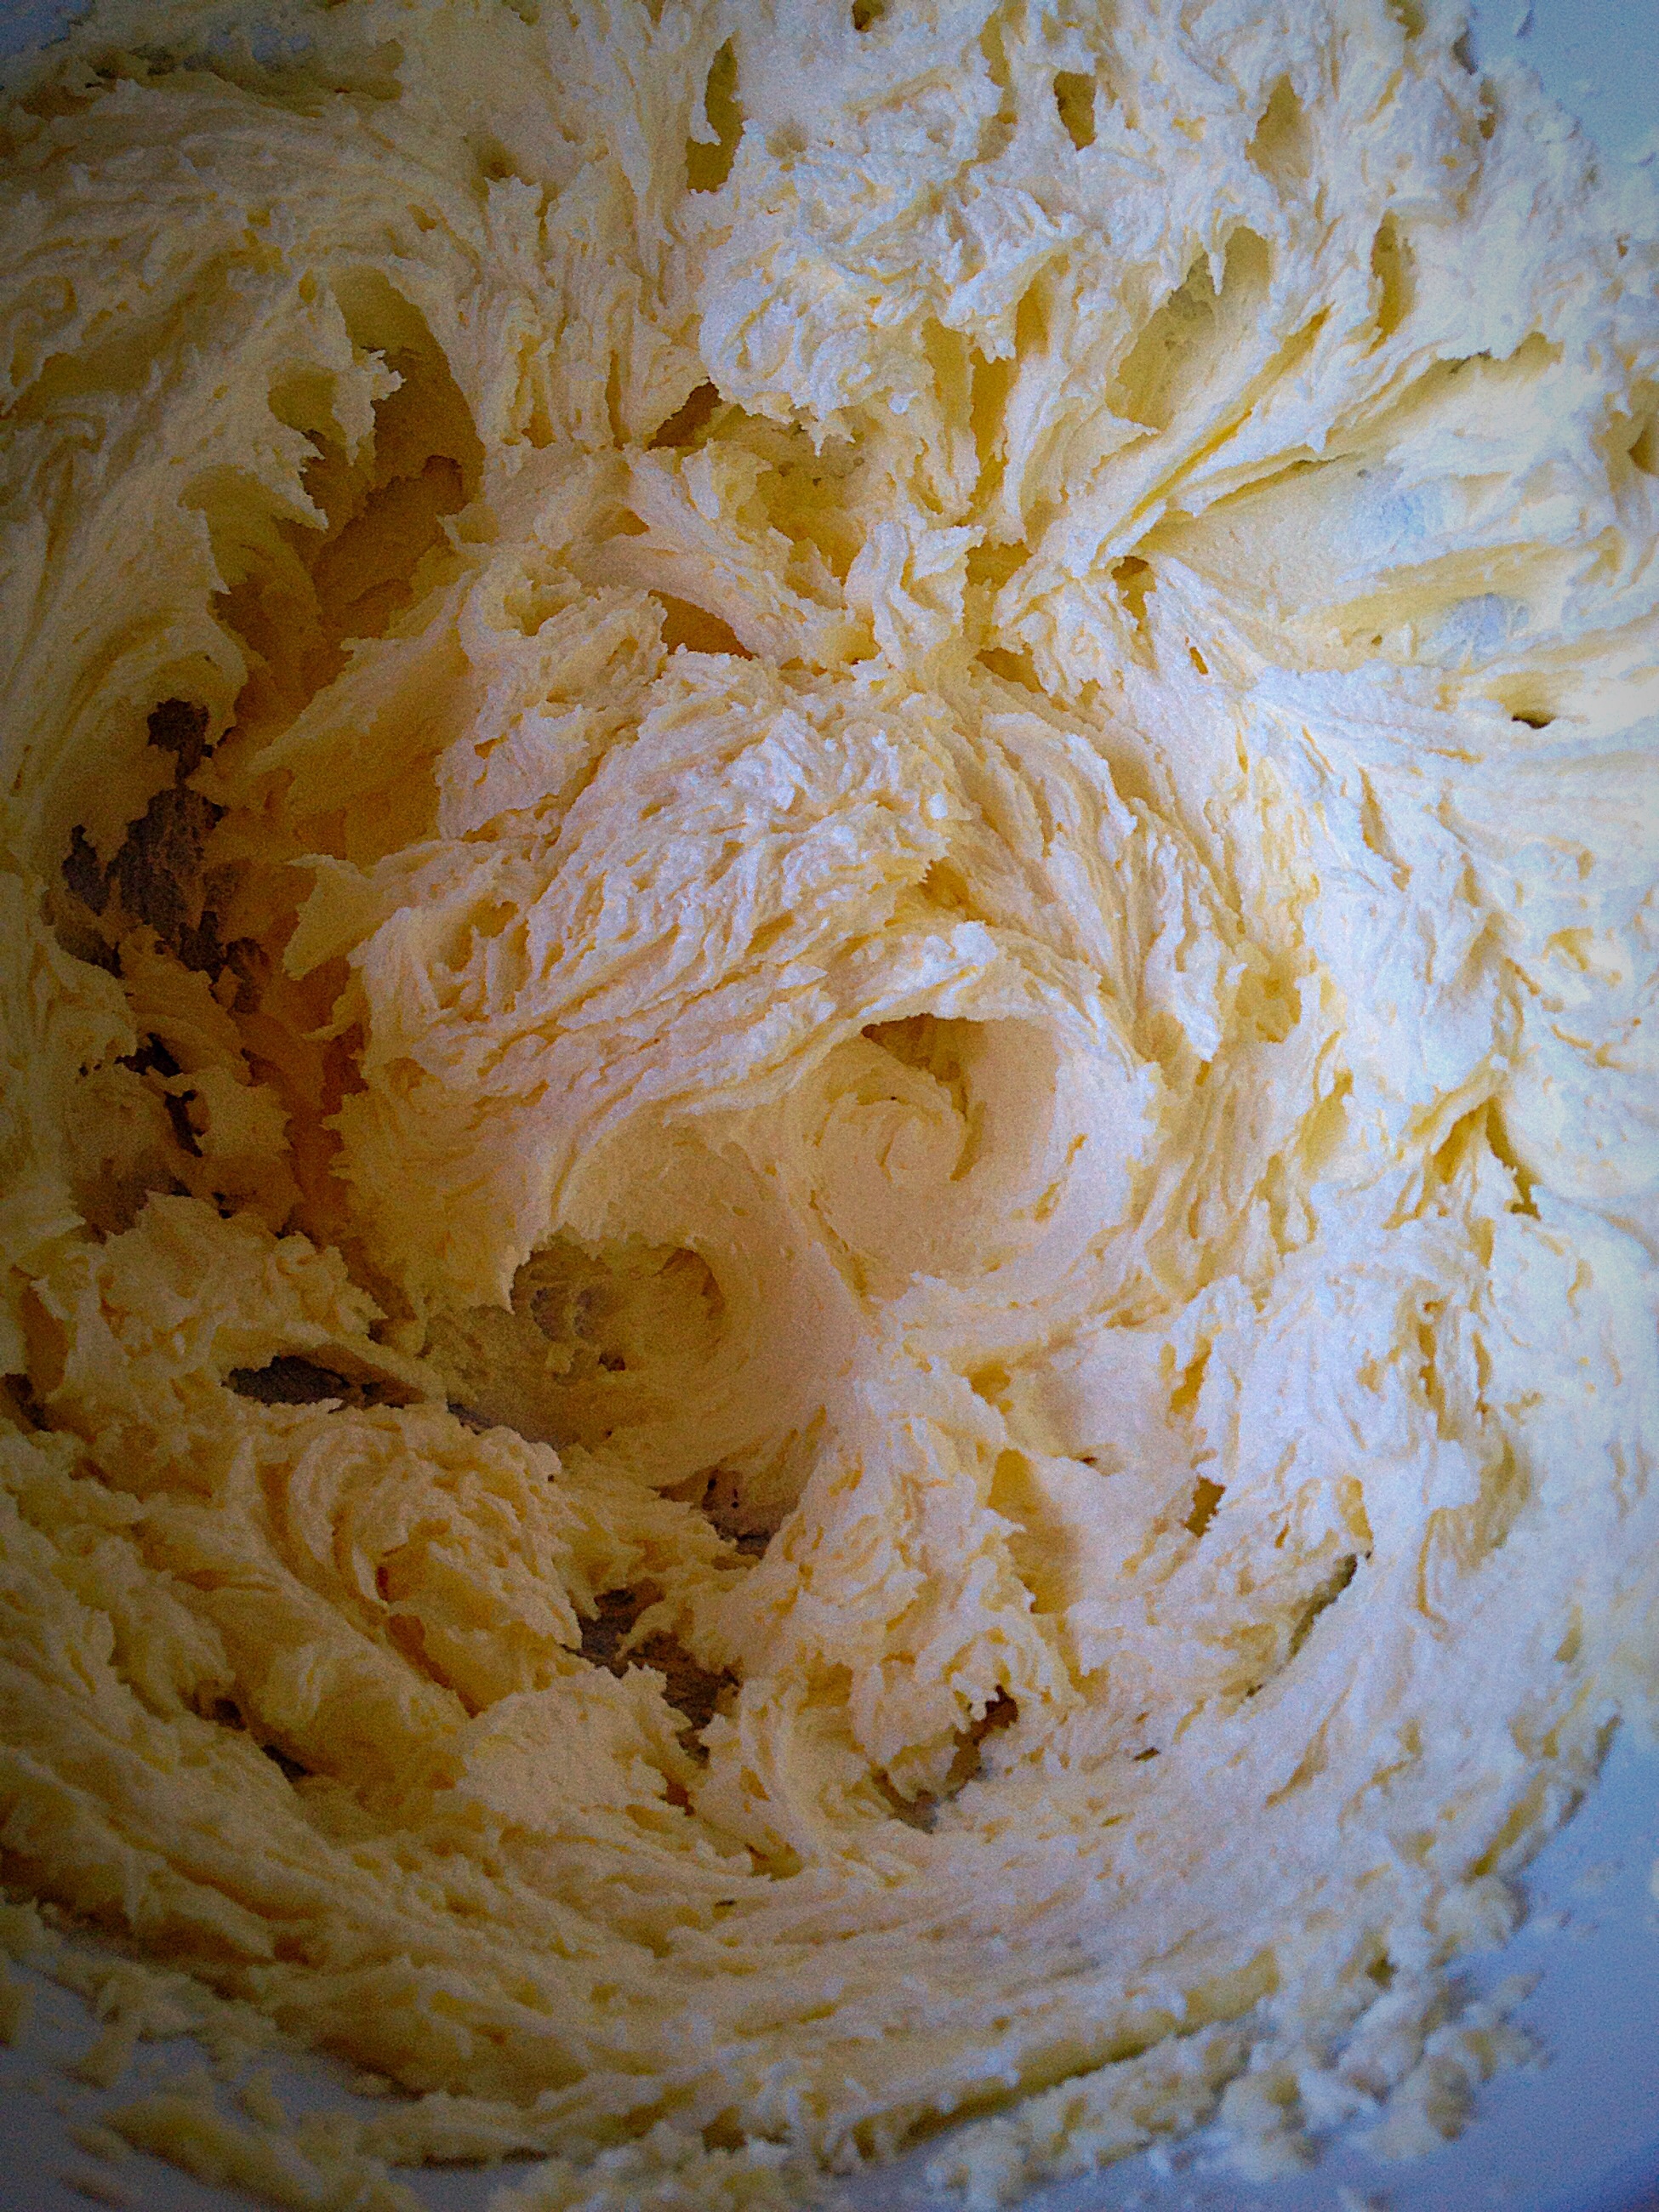
- Add the butter, sugar and salt to a large bowl and cream together using an electric whisk (or stand mixer with paddle attachment). This actually takes a good 5 mins to get a really pale, light and fluffy mixture (so unless you want a thorough workout I don’t suggest you do this by hand!).
- Next add the vanilla extract, and 1 egg. Whisk until combined. While continuing to whisk gradually add the rest of the eggs, slowly, one at a time, until they have all been added. If it looks like your mixture is going to curdle add one tablespoon of Self Raising Flour and the mixture will come back together.
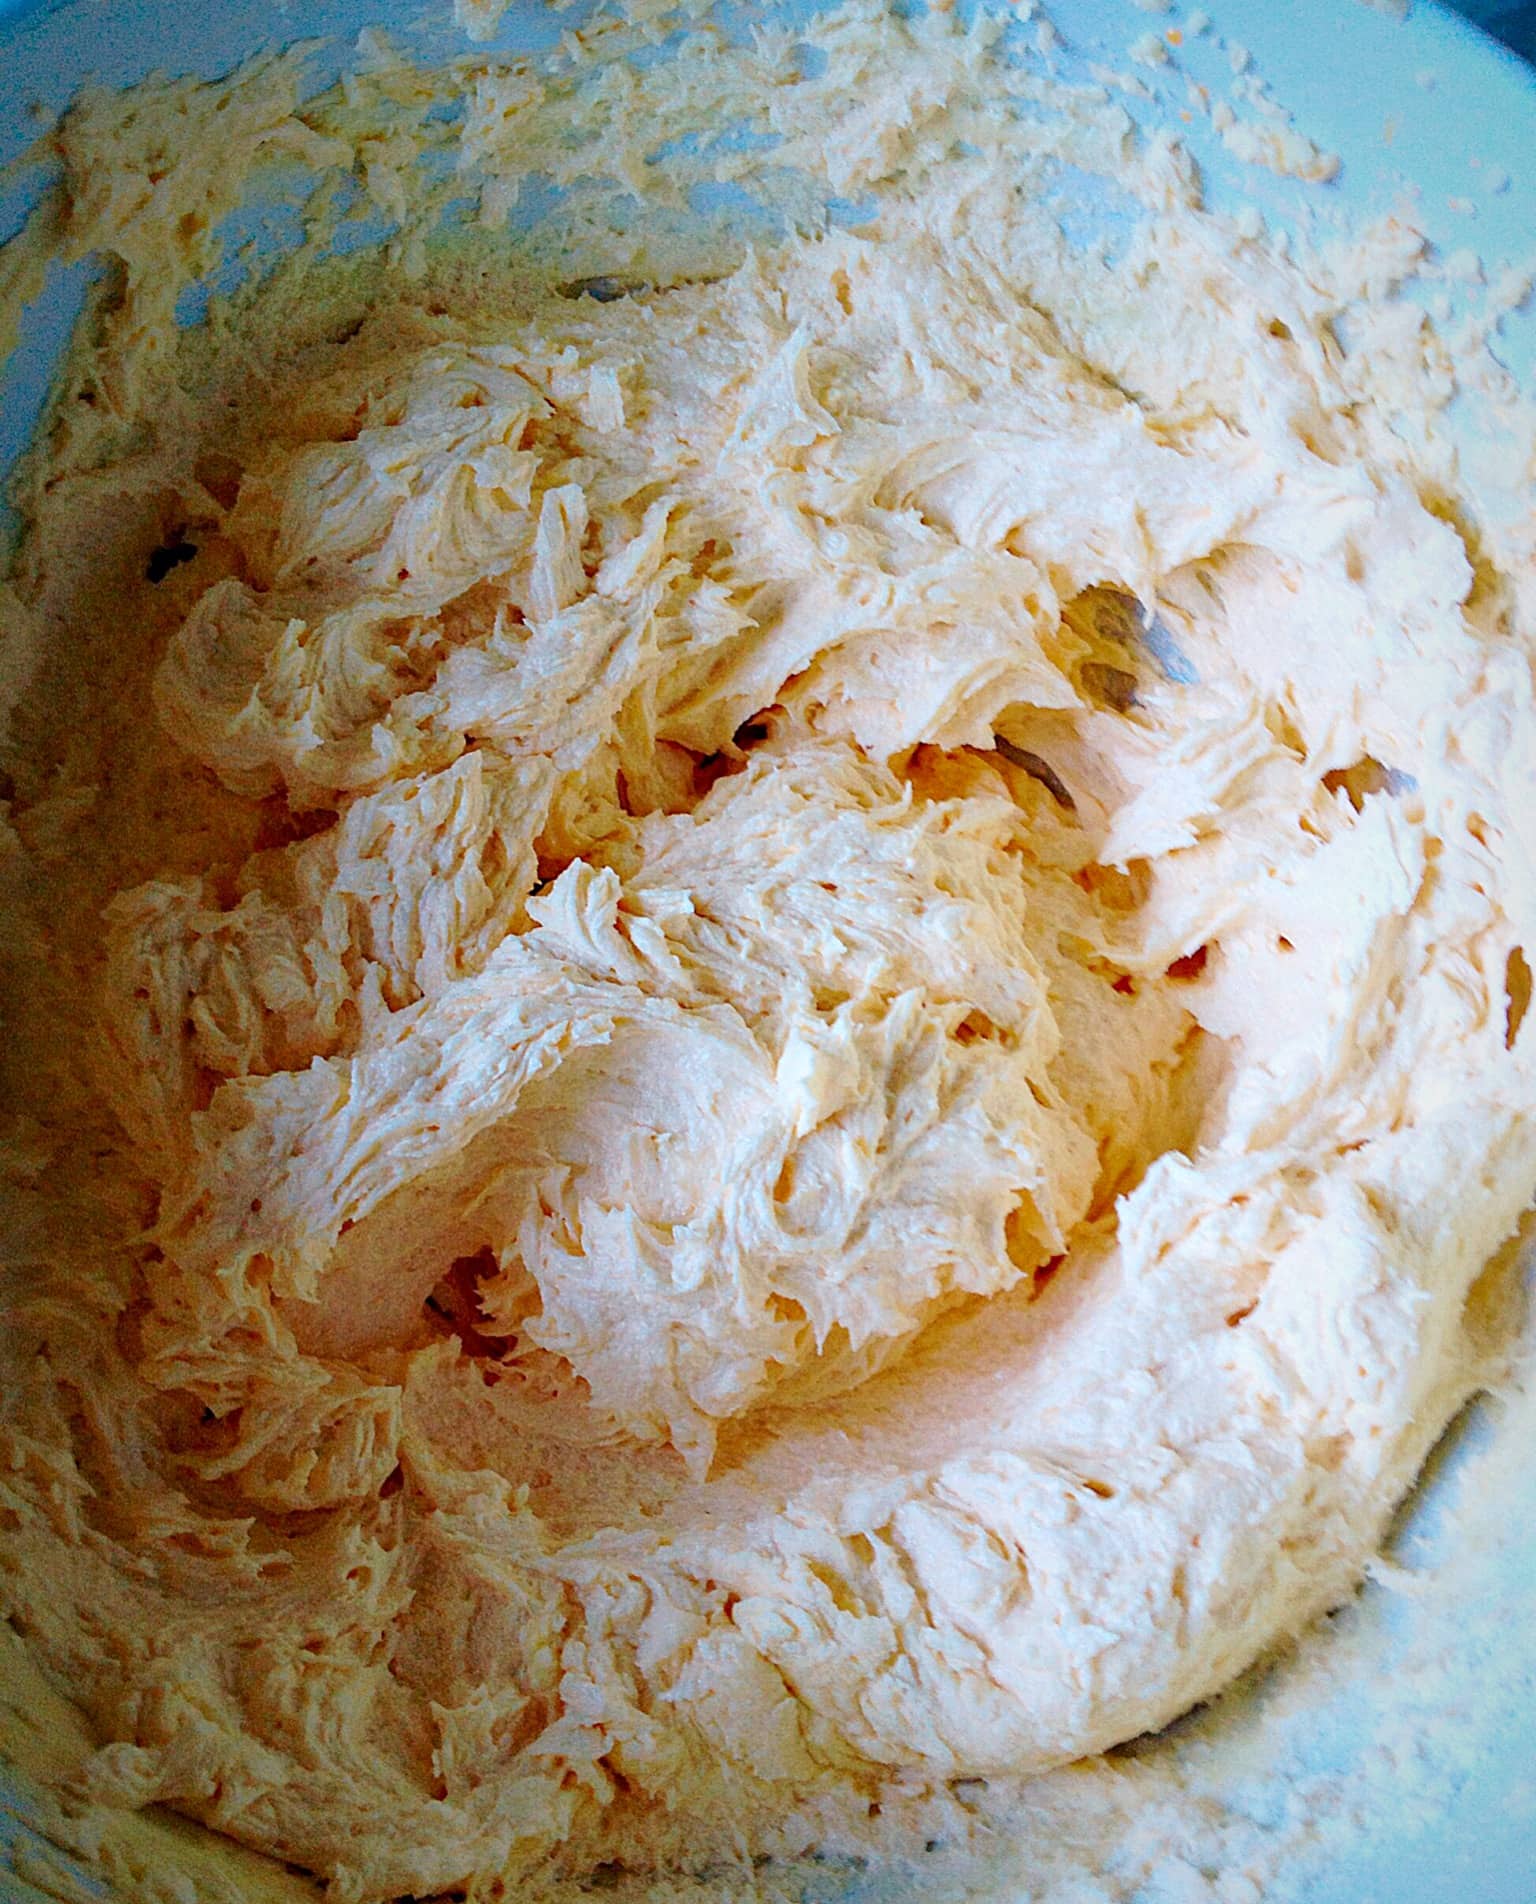
All eggs added and no curdling – I added a tablespoon of flour, just in case!
- Add the remaining flour and partly fold in. Now add the buttermilk (it’s worth giving the container a good shake, as the buttermilk can settle). Complete the mixing, by folding in the part blended flour mixture and the buttercream. Watch in amazement as the batter takes on a mousse like consistency.


If my batter looks a bit pinky/orange, it’s because the eggs that I used had very orange yolks.
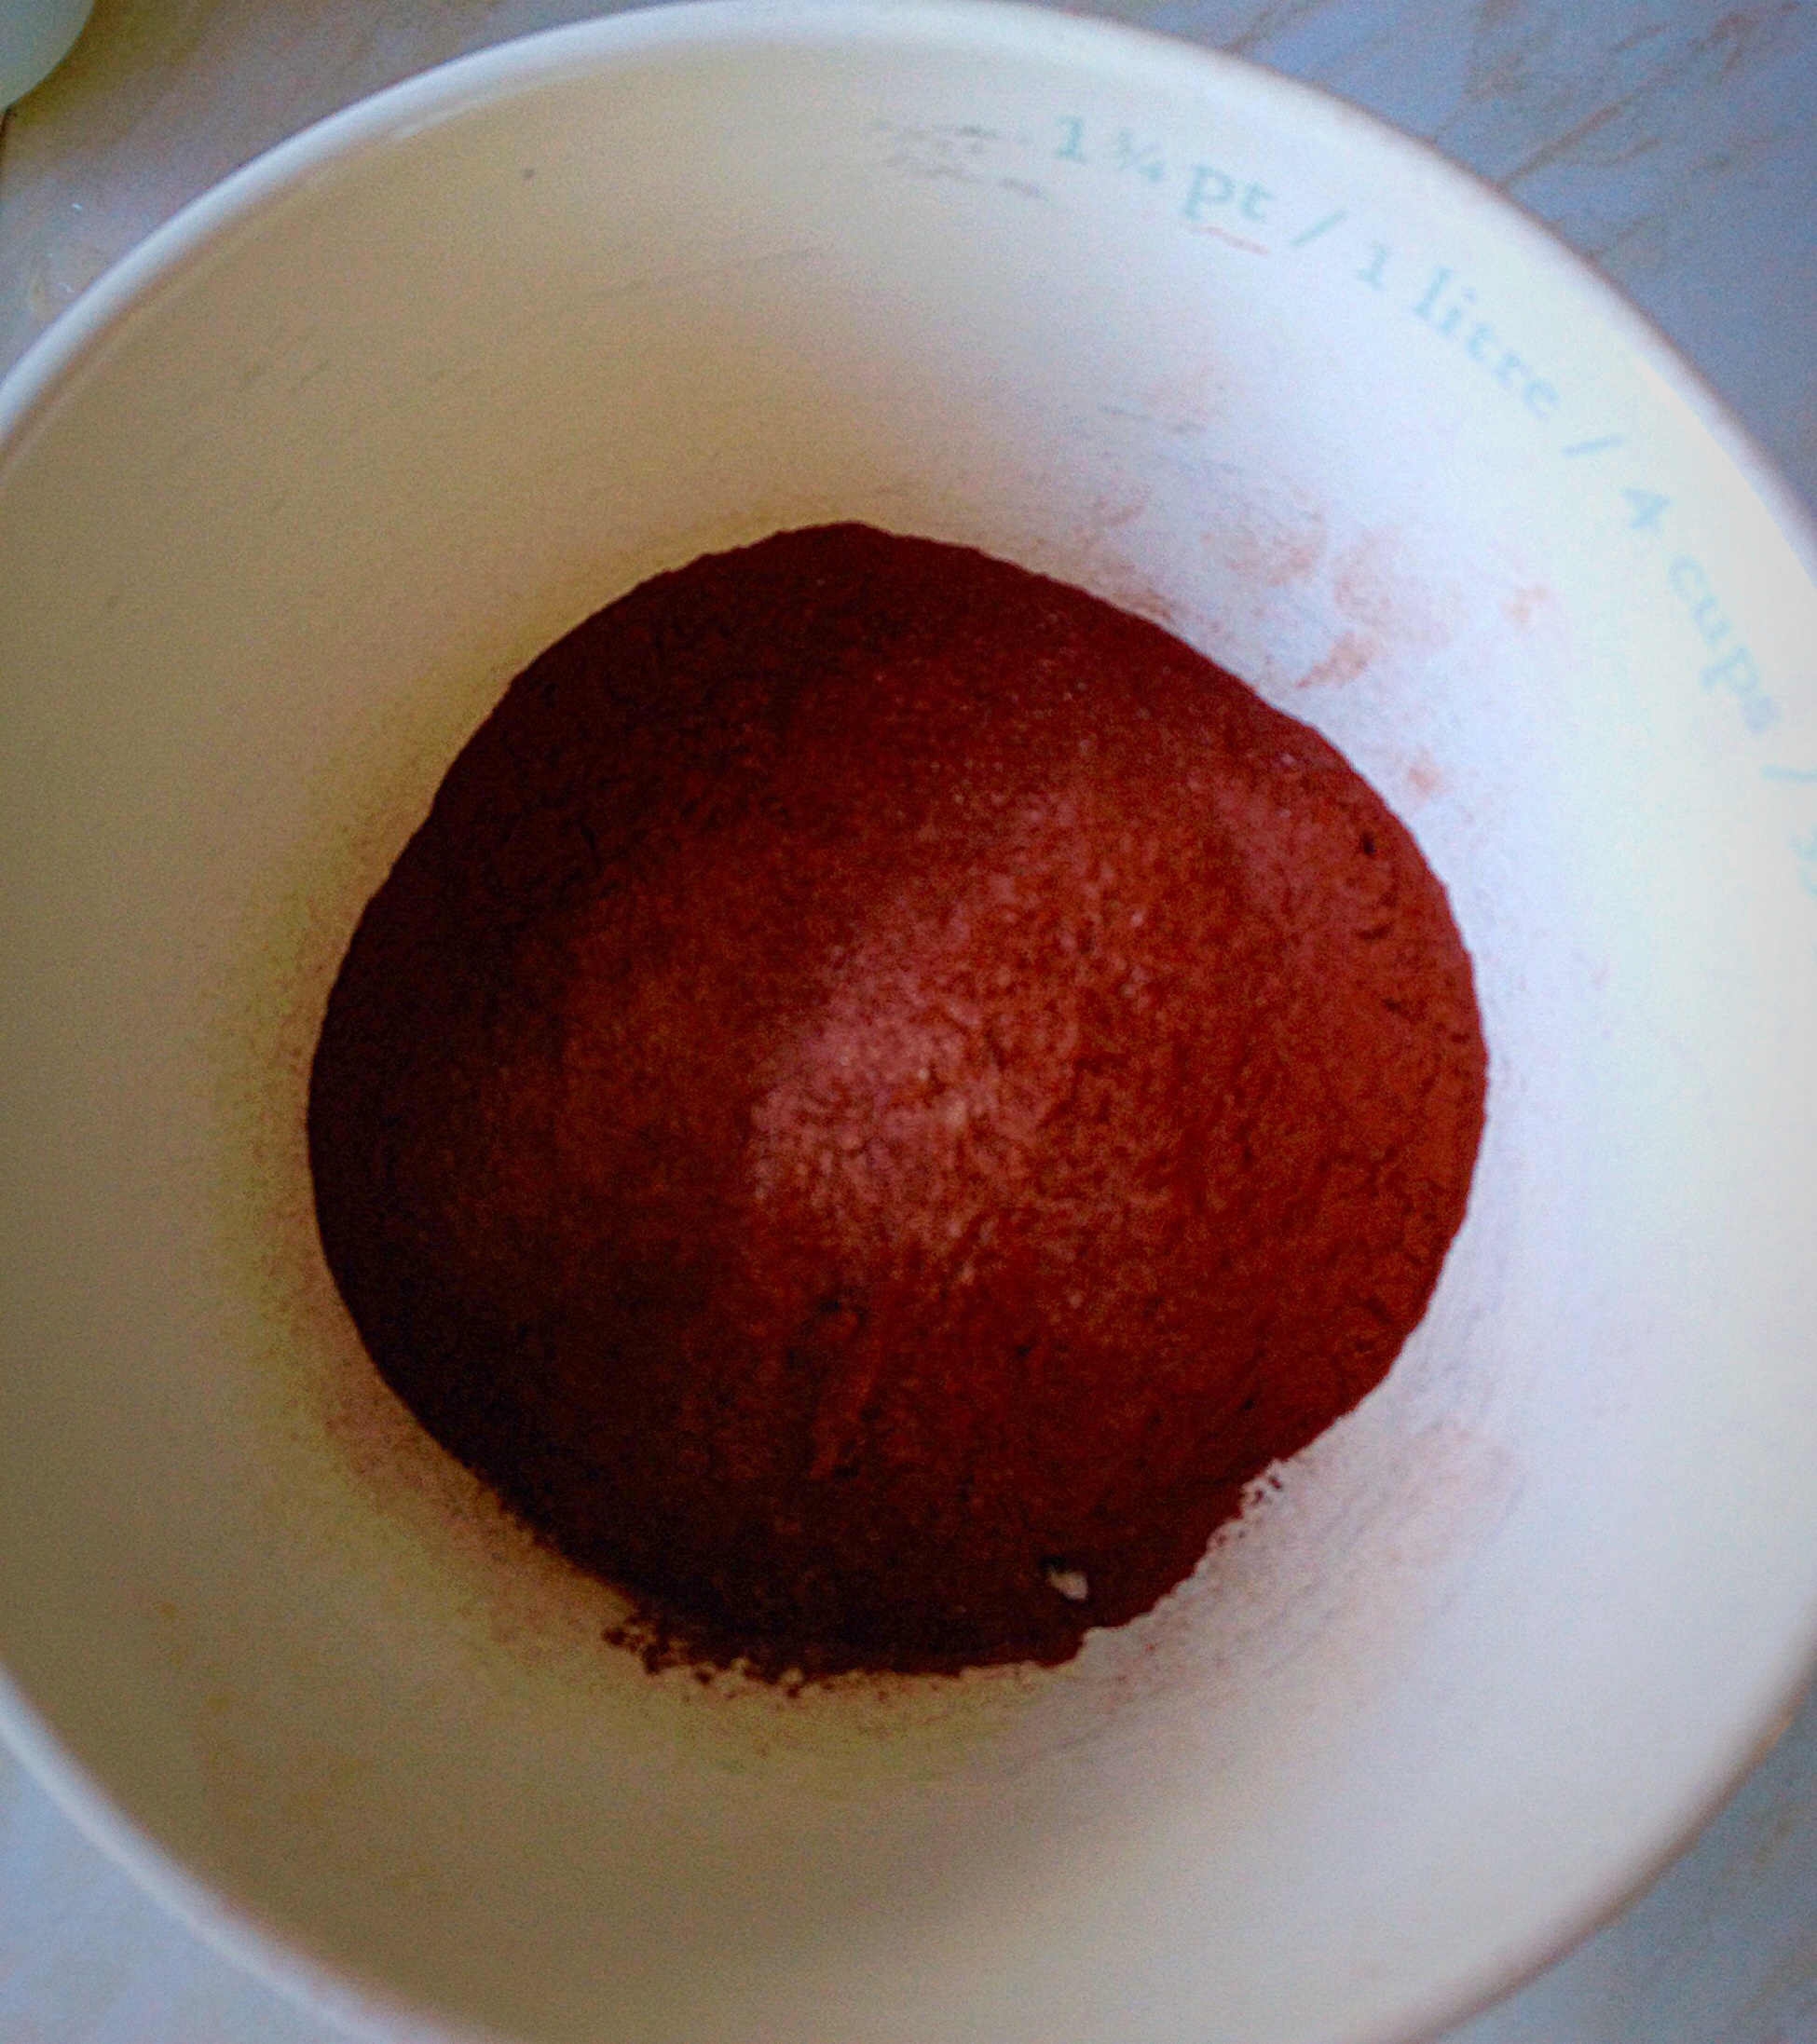
- In a separate bowl (I suggest that you use a larger one than I did) add the cocoa powder.
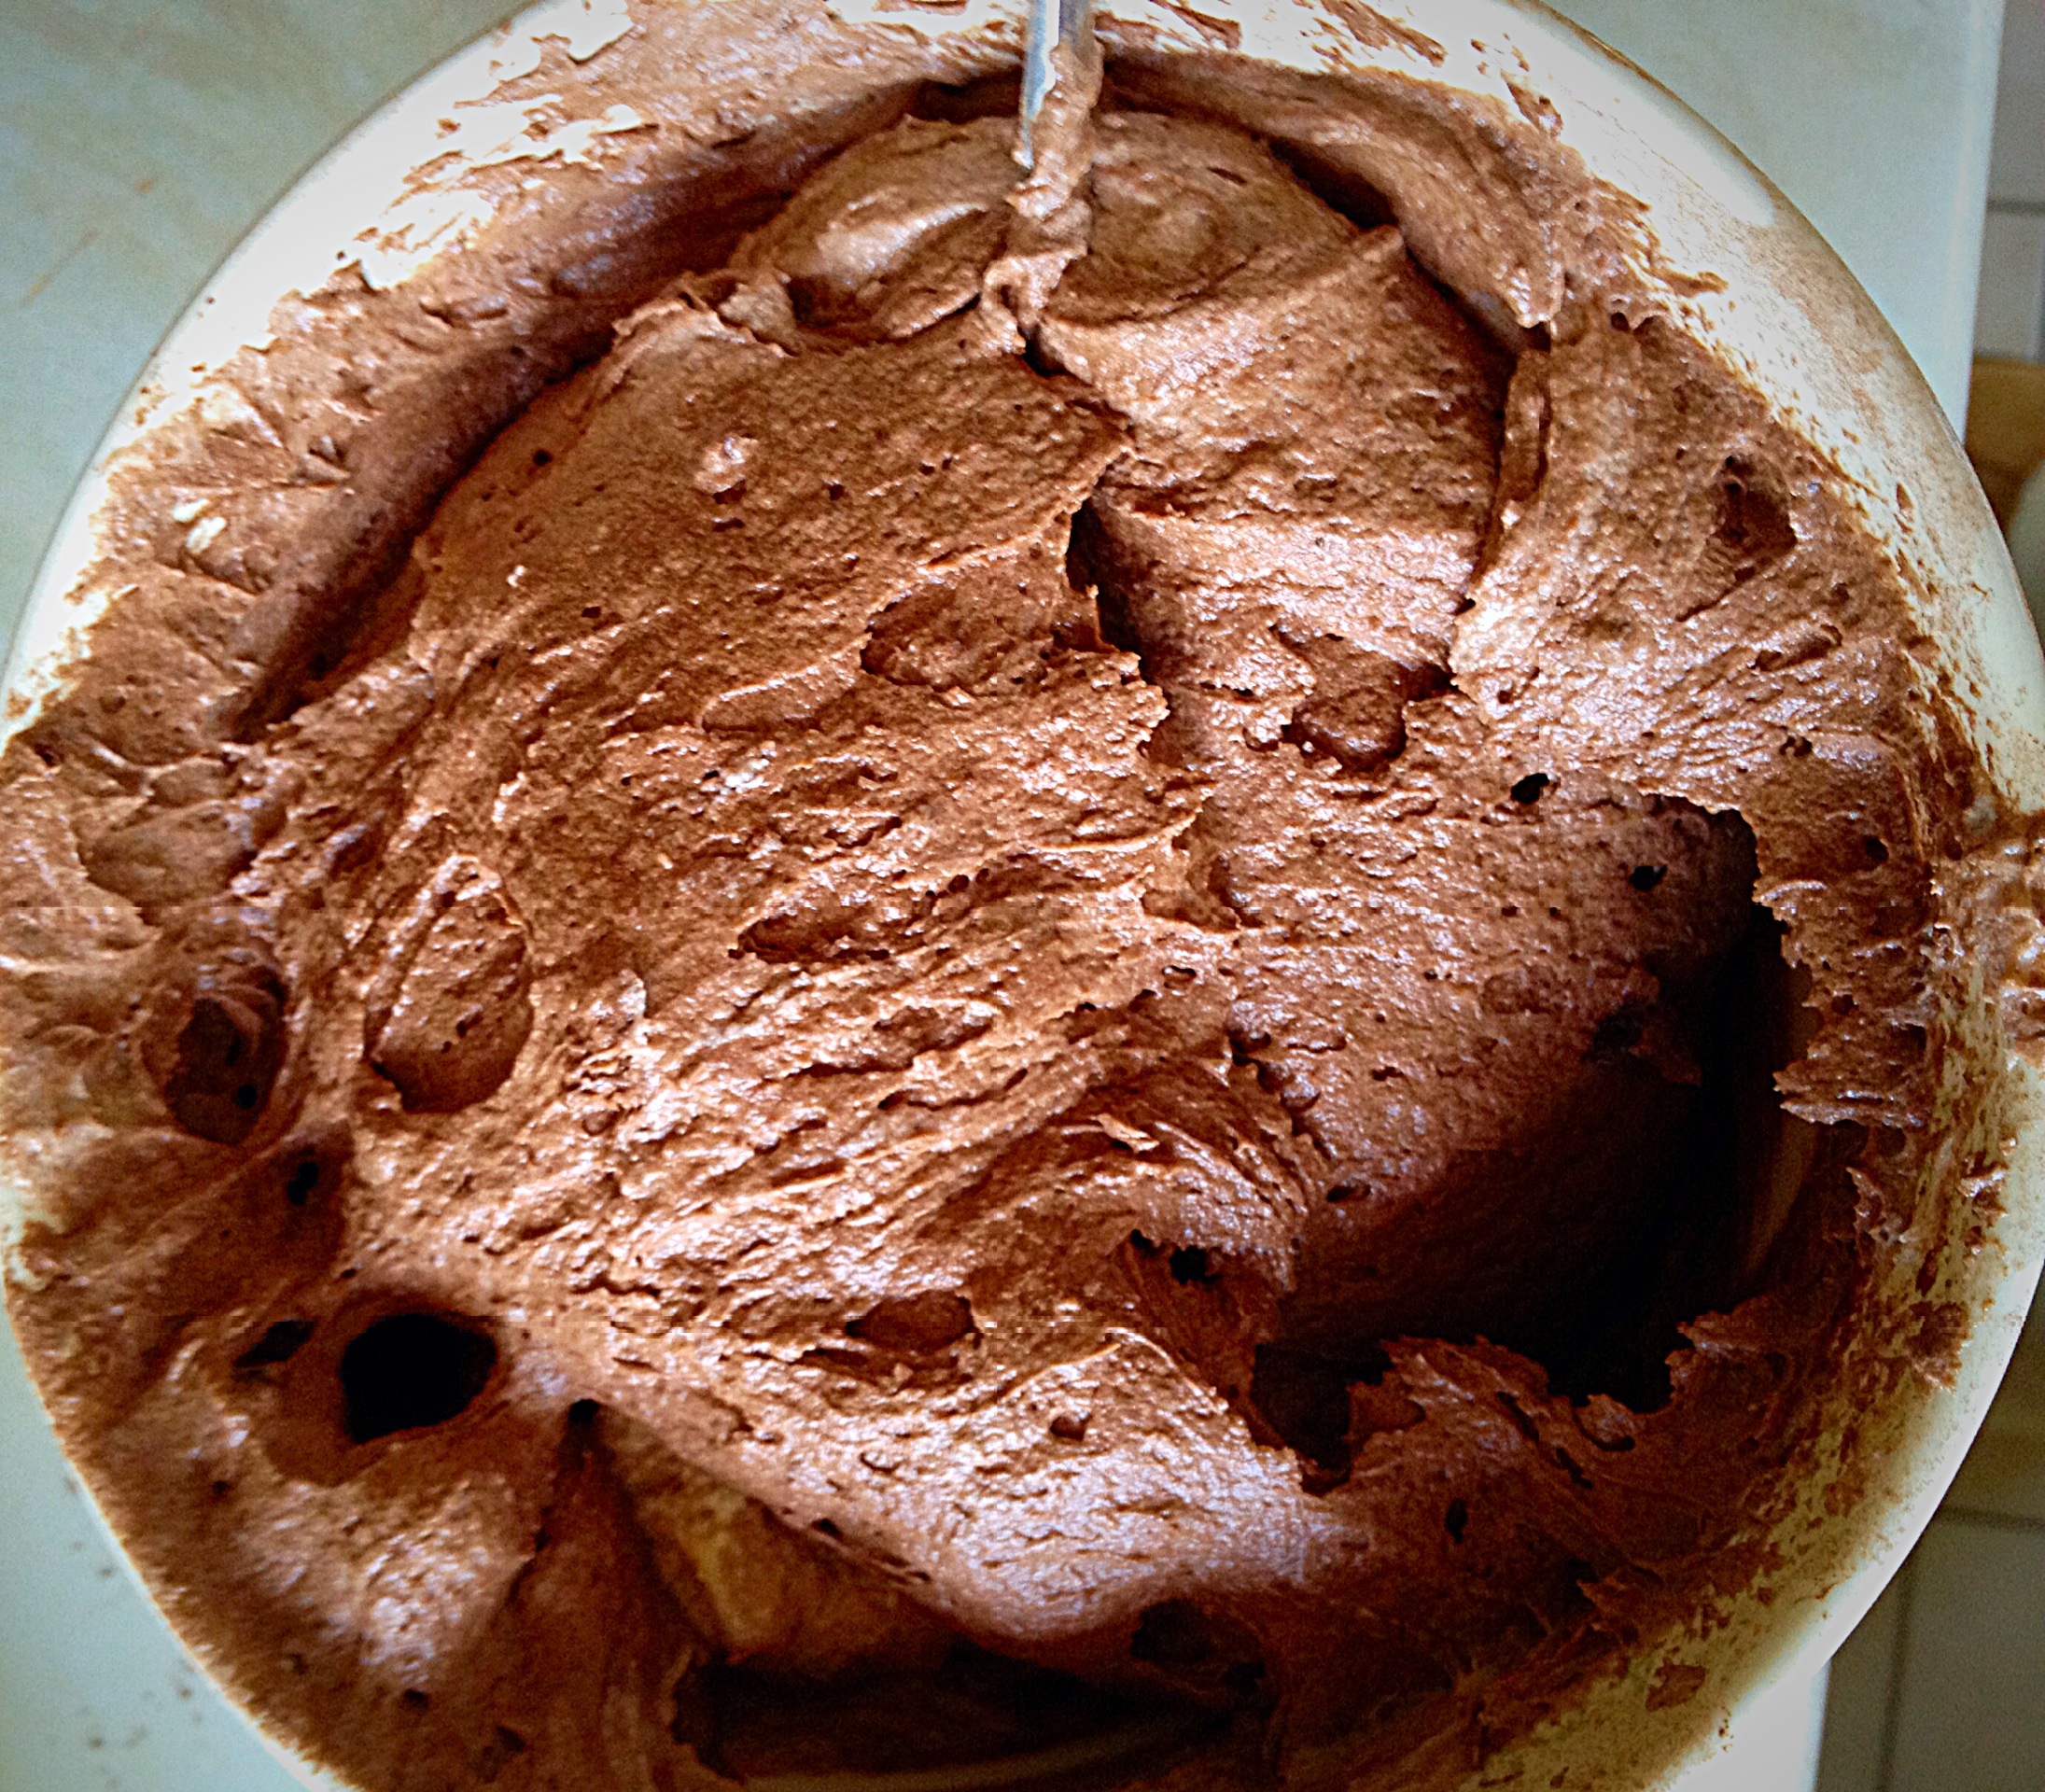
- Place half of your vanilla cake batter on top of the cocoa and whisk until blended. I did try mixing by hand, but it was hopeless as the bowl was too small!

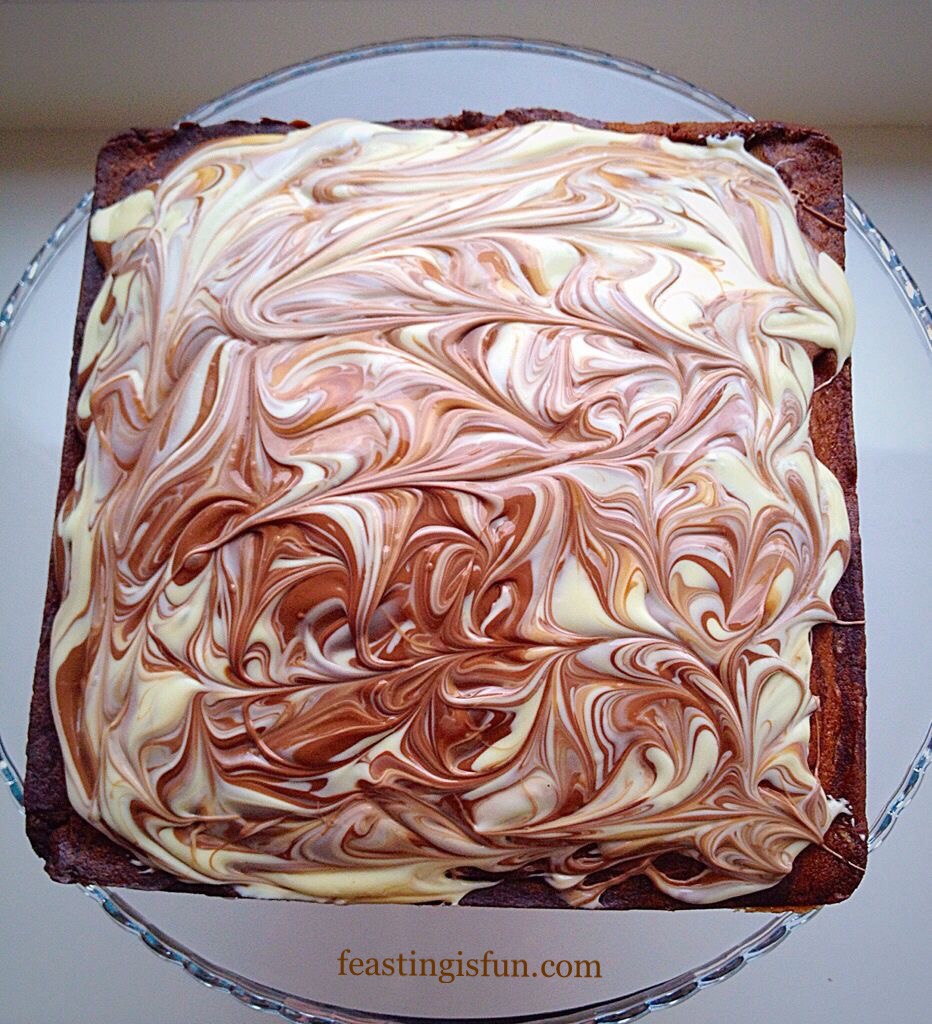
Creating The Marble Effect Of The Cake
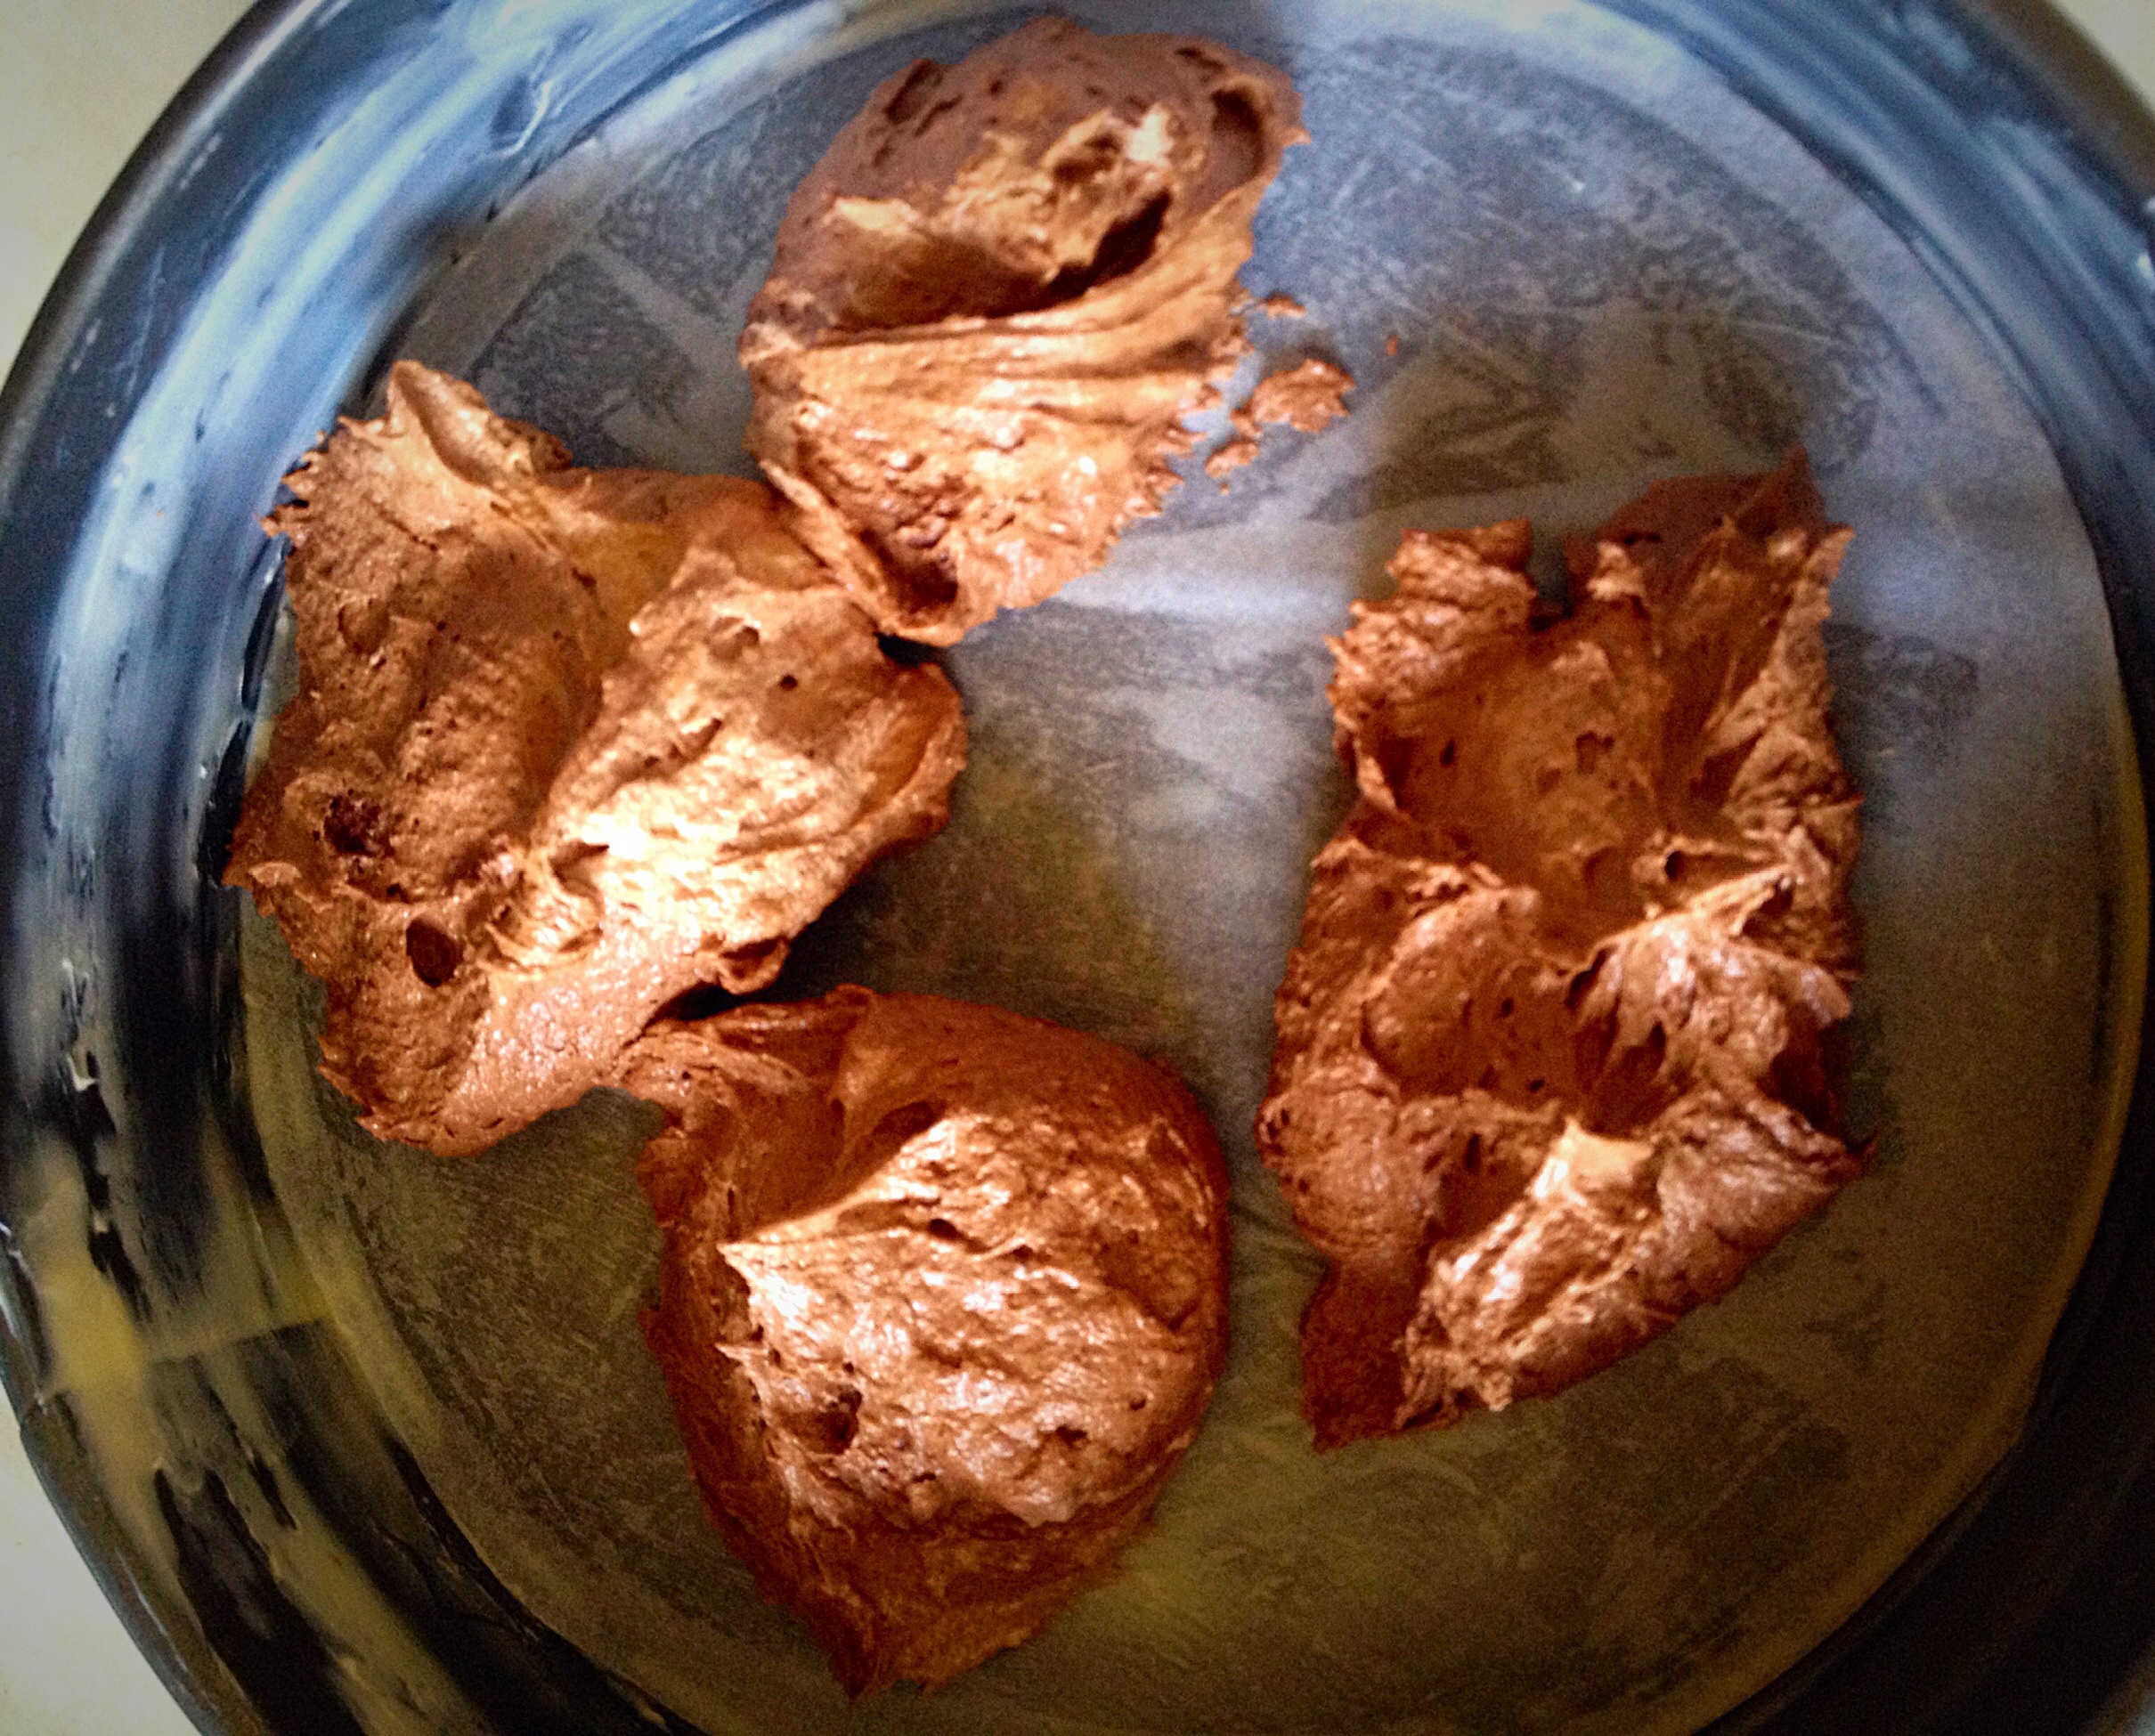
- Spoon in large dollops of the chocolate cake batter.
- Follow with vanilla cake batter dropped in between the chocolate.
- Now add chocolate batter on top of the vanilla.
- Likewise repeat with vanilla and then chocolate batter until it is all in the cake tin.


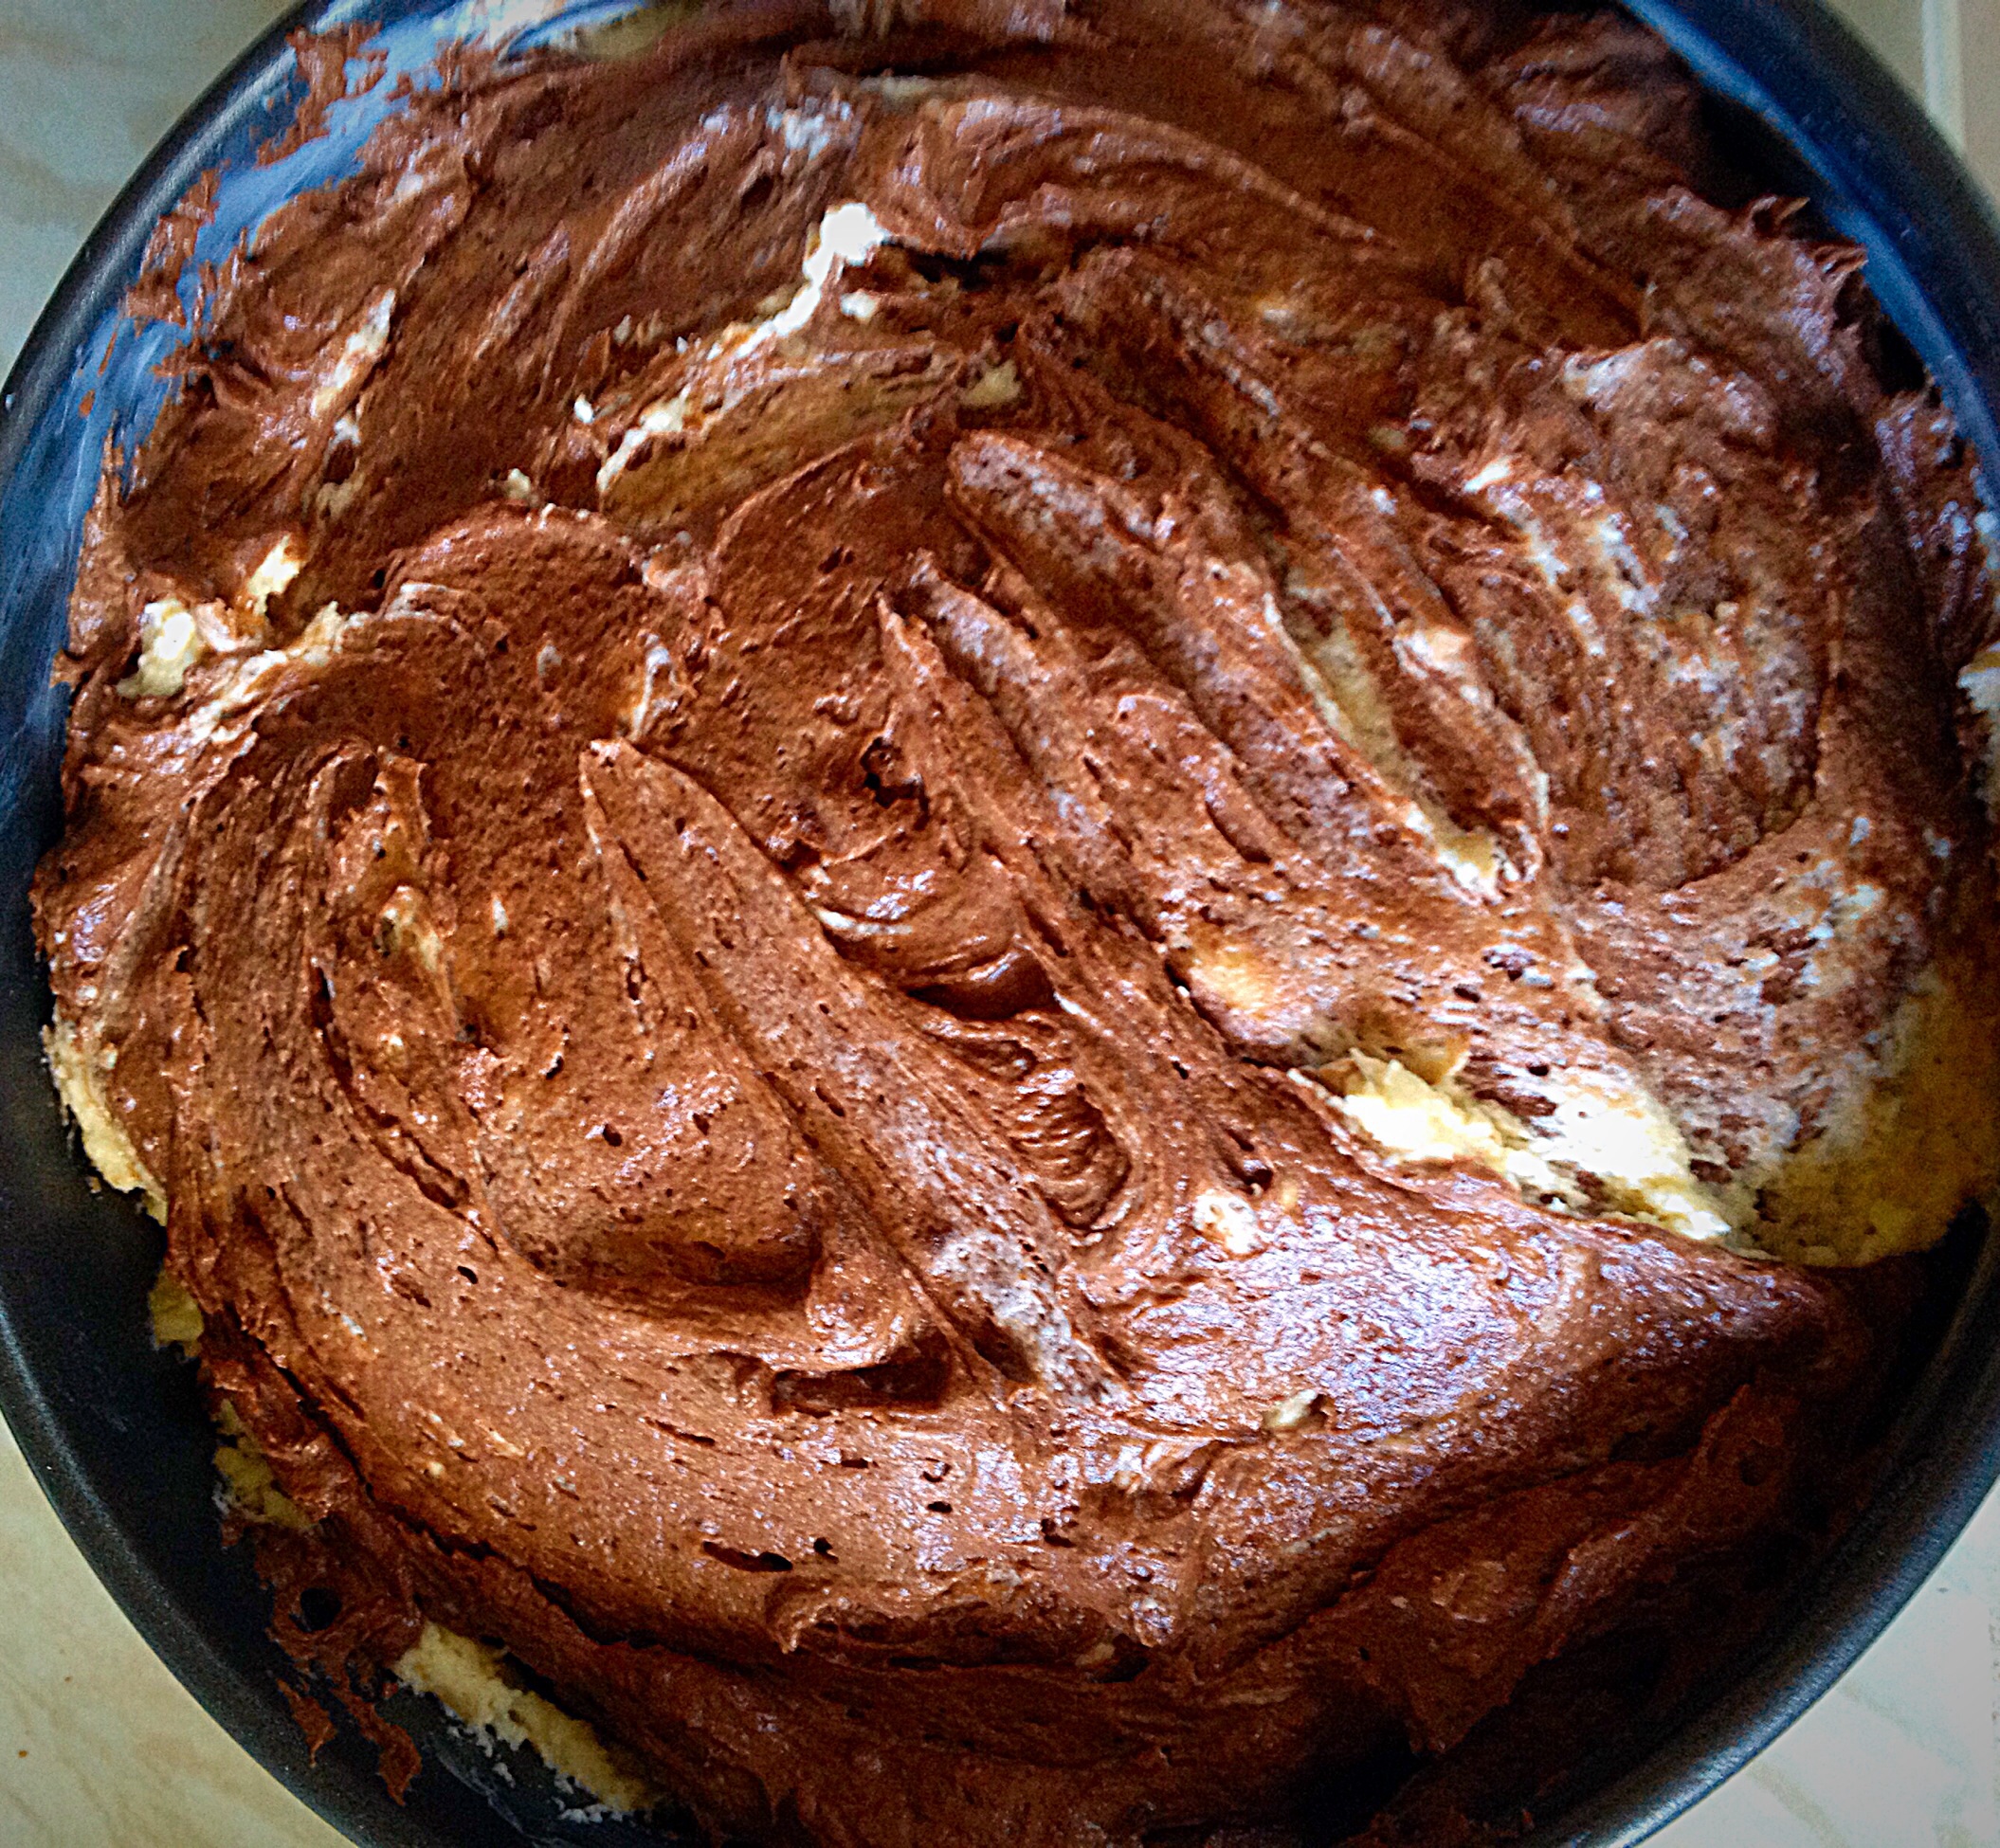
- Using a butter knife swirl the two batters together. What you’re aiming for is a rippled effect. Since there is no precision to this method, swirl a few times, but not so many that the result is both cake batters completely mixed together.
Baking The Chocolate Marble Cake
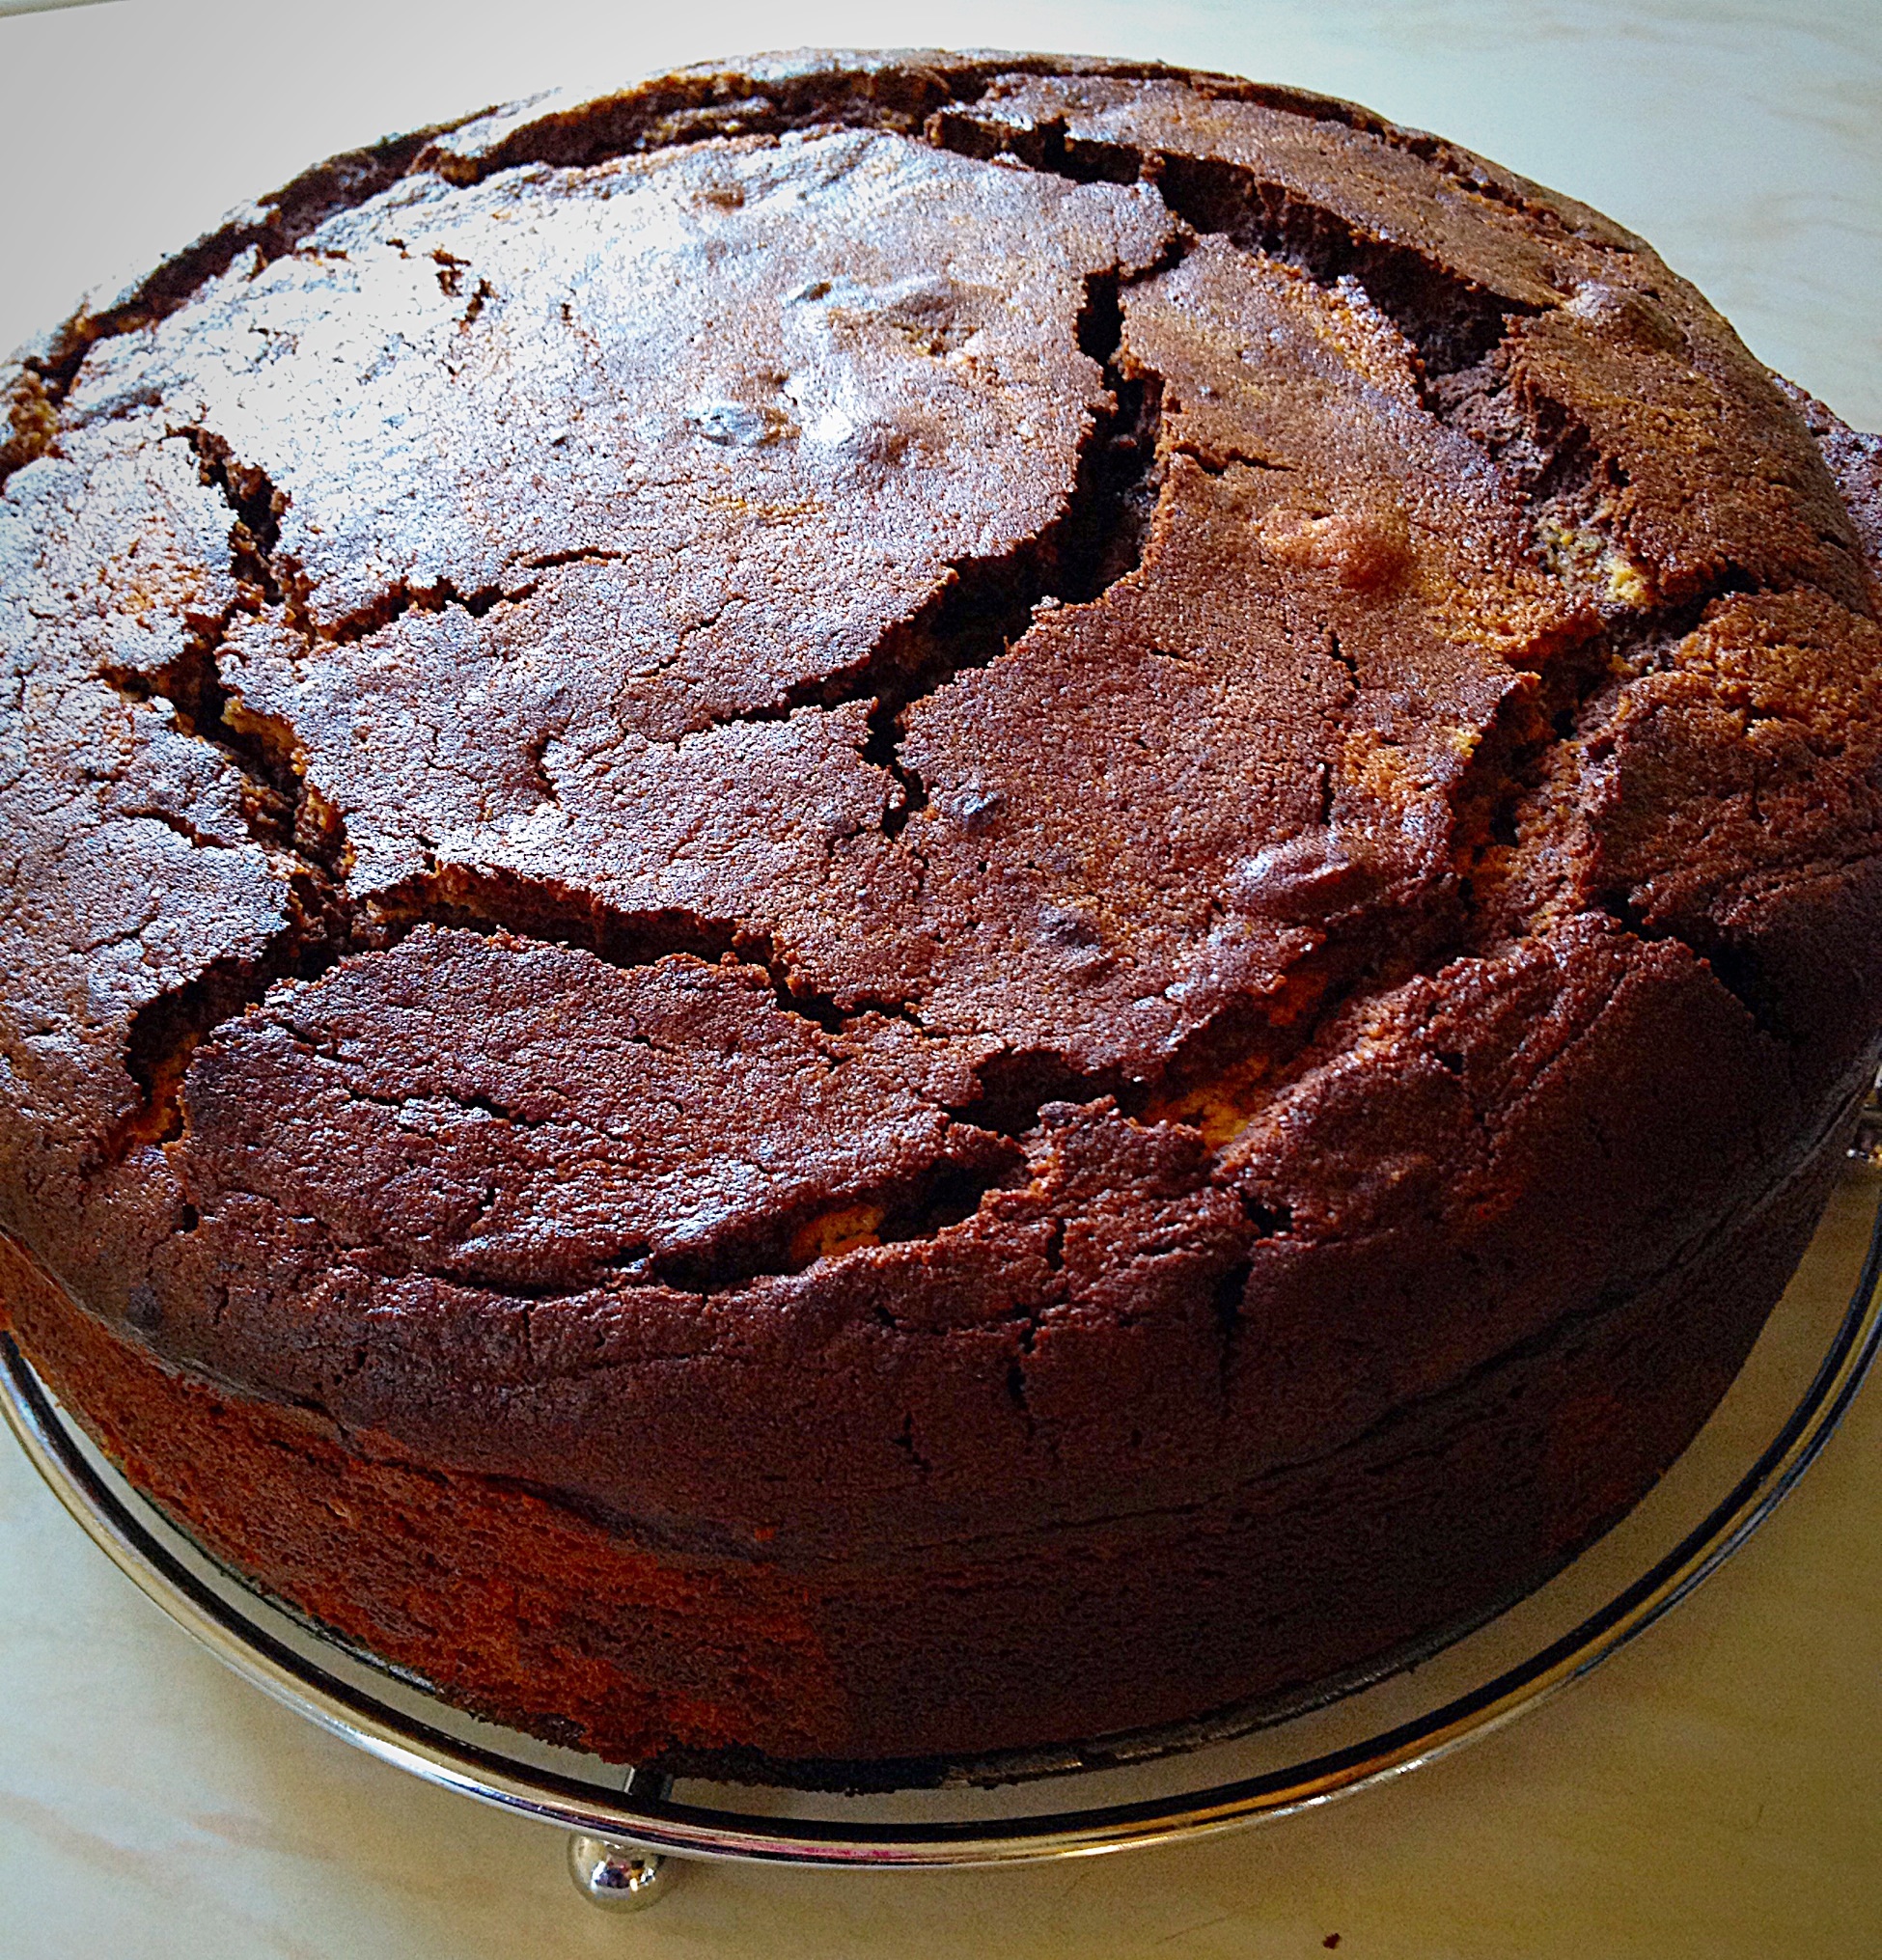
- Place the cake in the centre of a preheated oven and bake for an hour. The cake is cooked when it is firm to touch and does not wobble underneath the set top. Also an inserted skewer will come out clean.
- As soon as the cake is cooked remove from the oven.
- Place the cooked cake, still in it’s tin onto a baking rack and leave to cool, for 15 minutes.
- After 15 minuntes unclip the springform tin and remove the tin, leaving the cake on the tin base to cool.
Decorating The Cake With Toasted Hazelnuts And Nutella
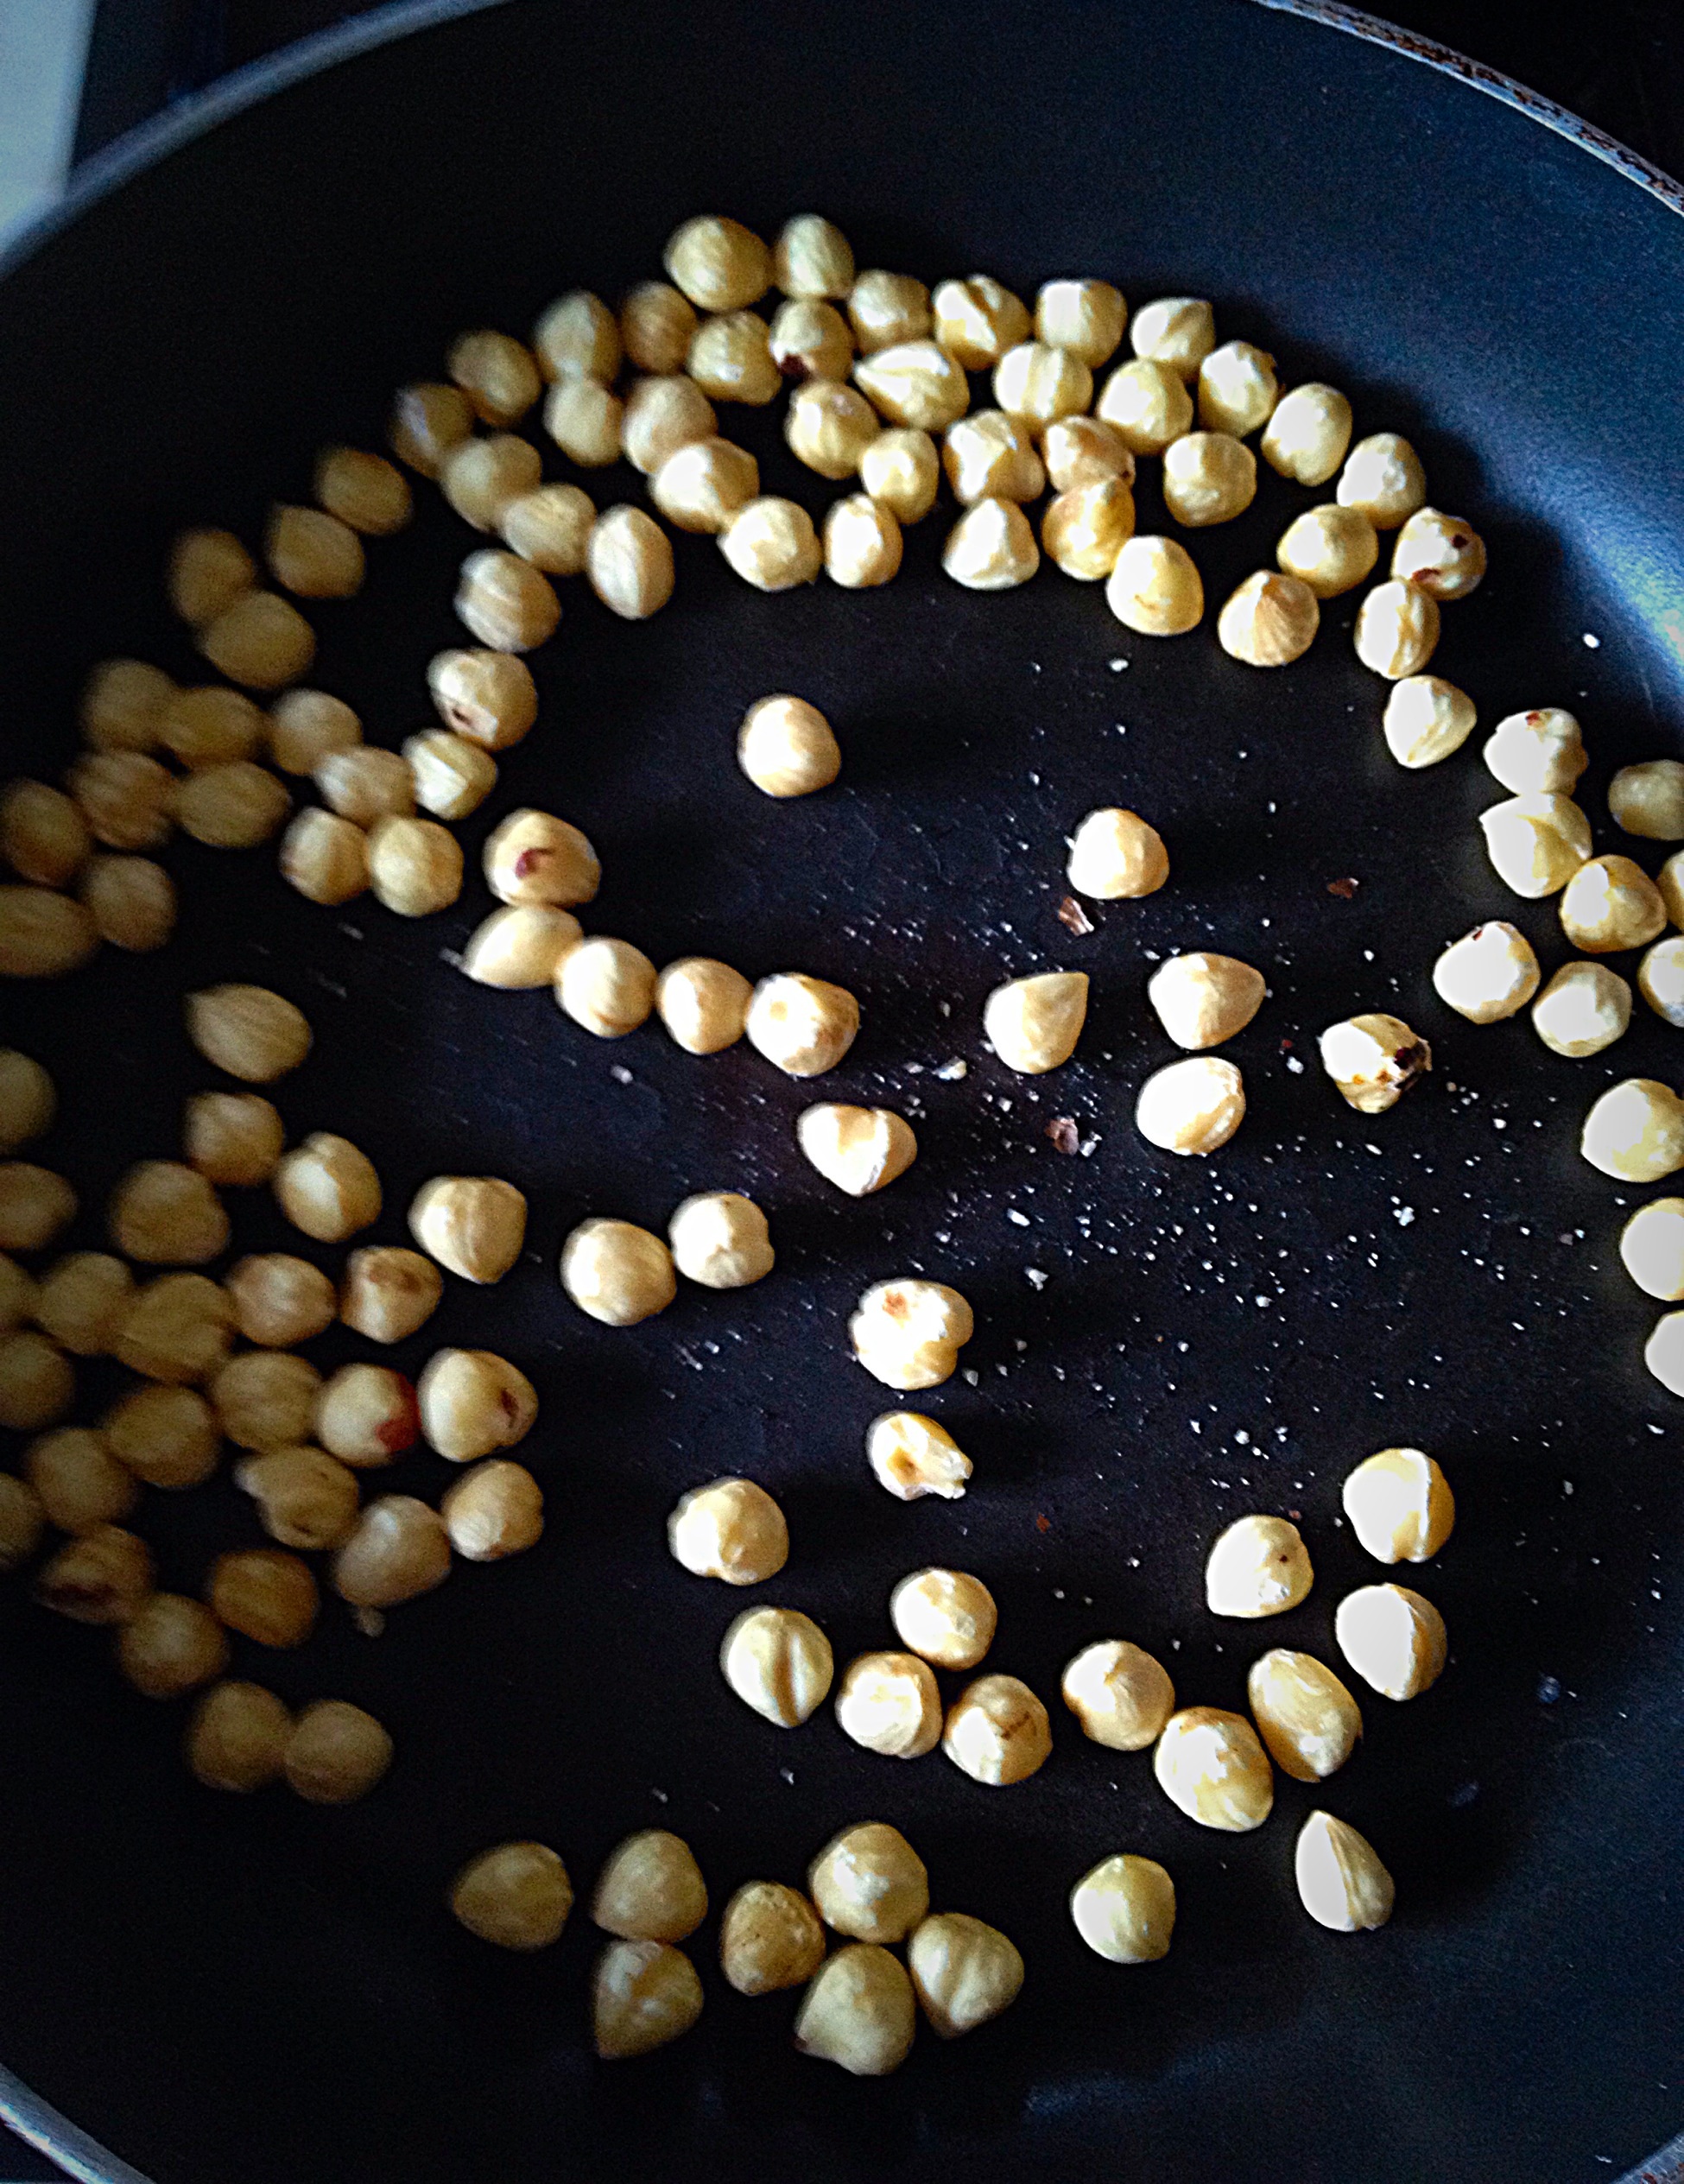
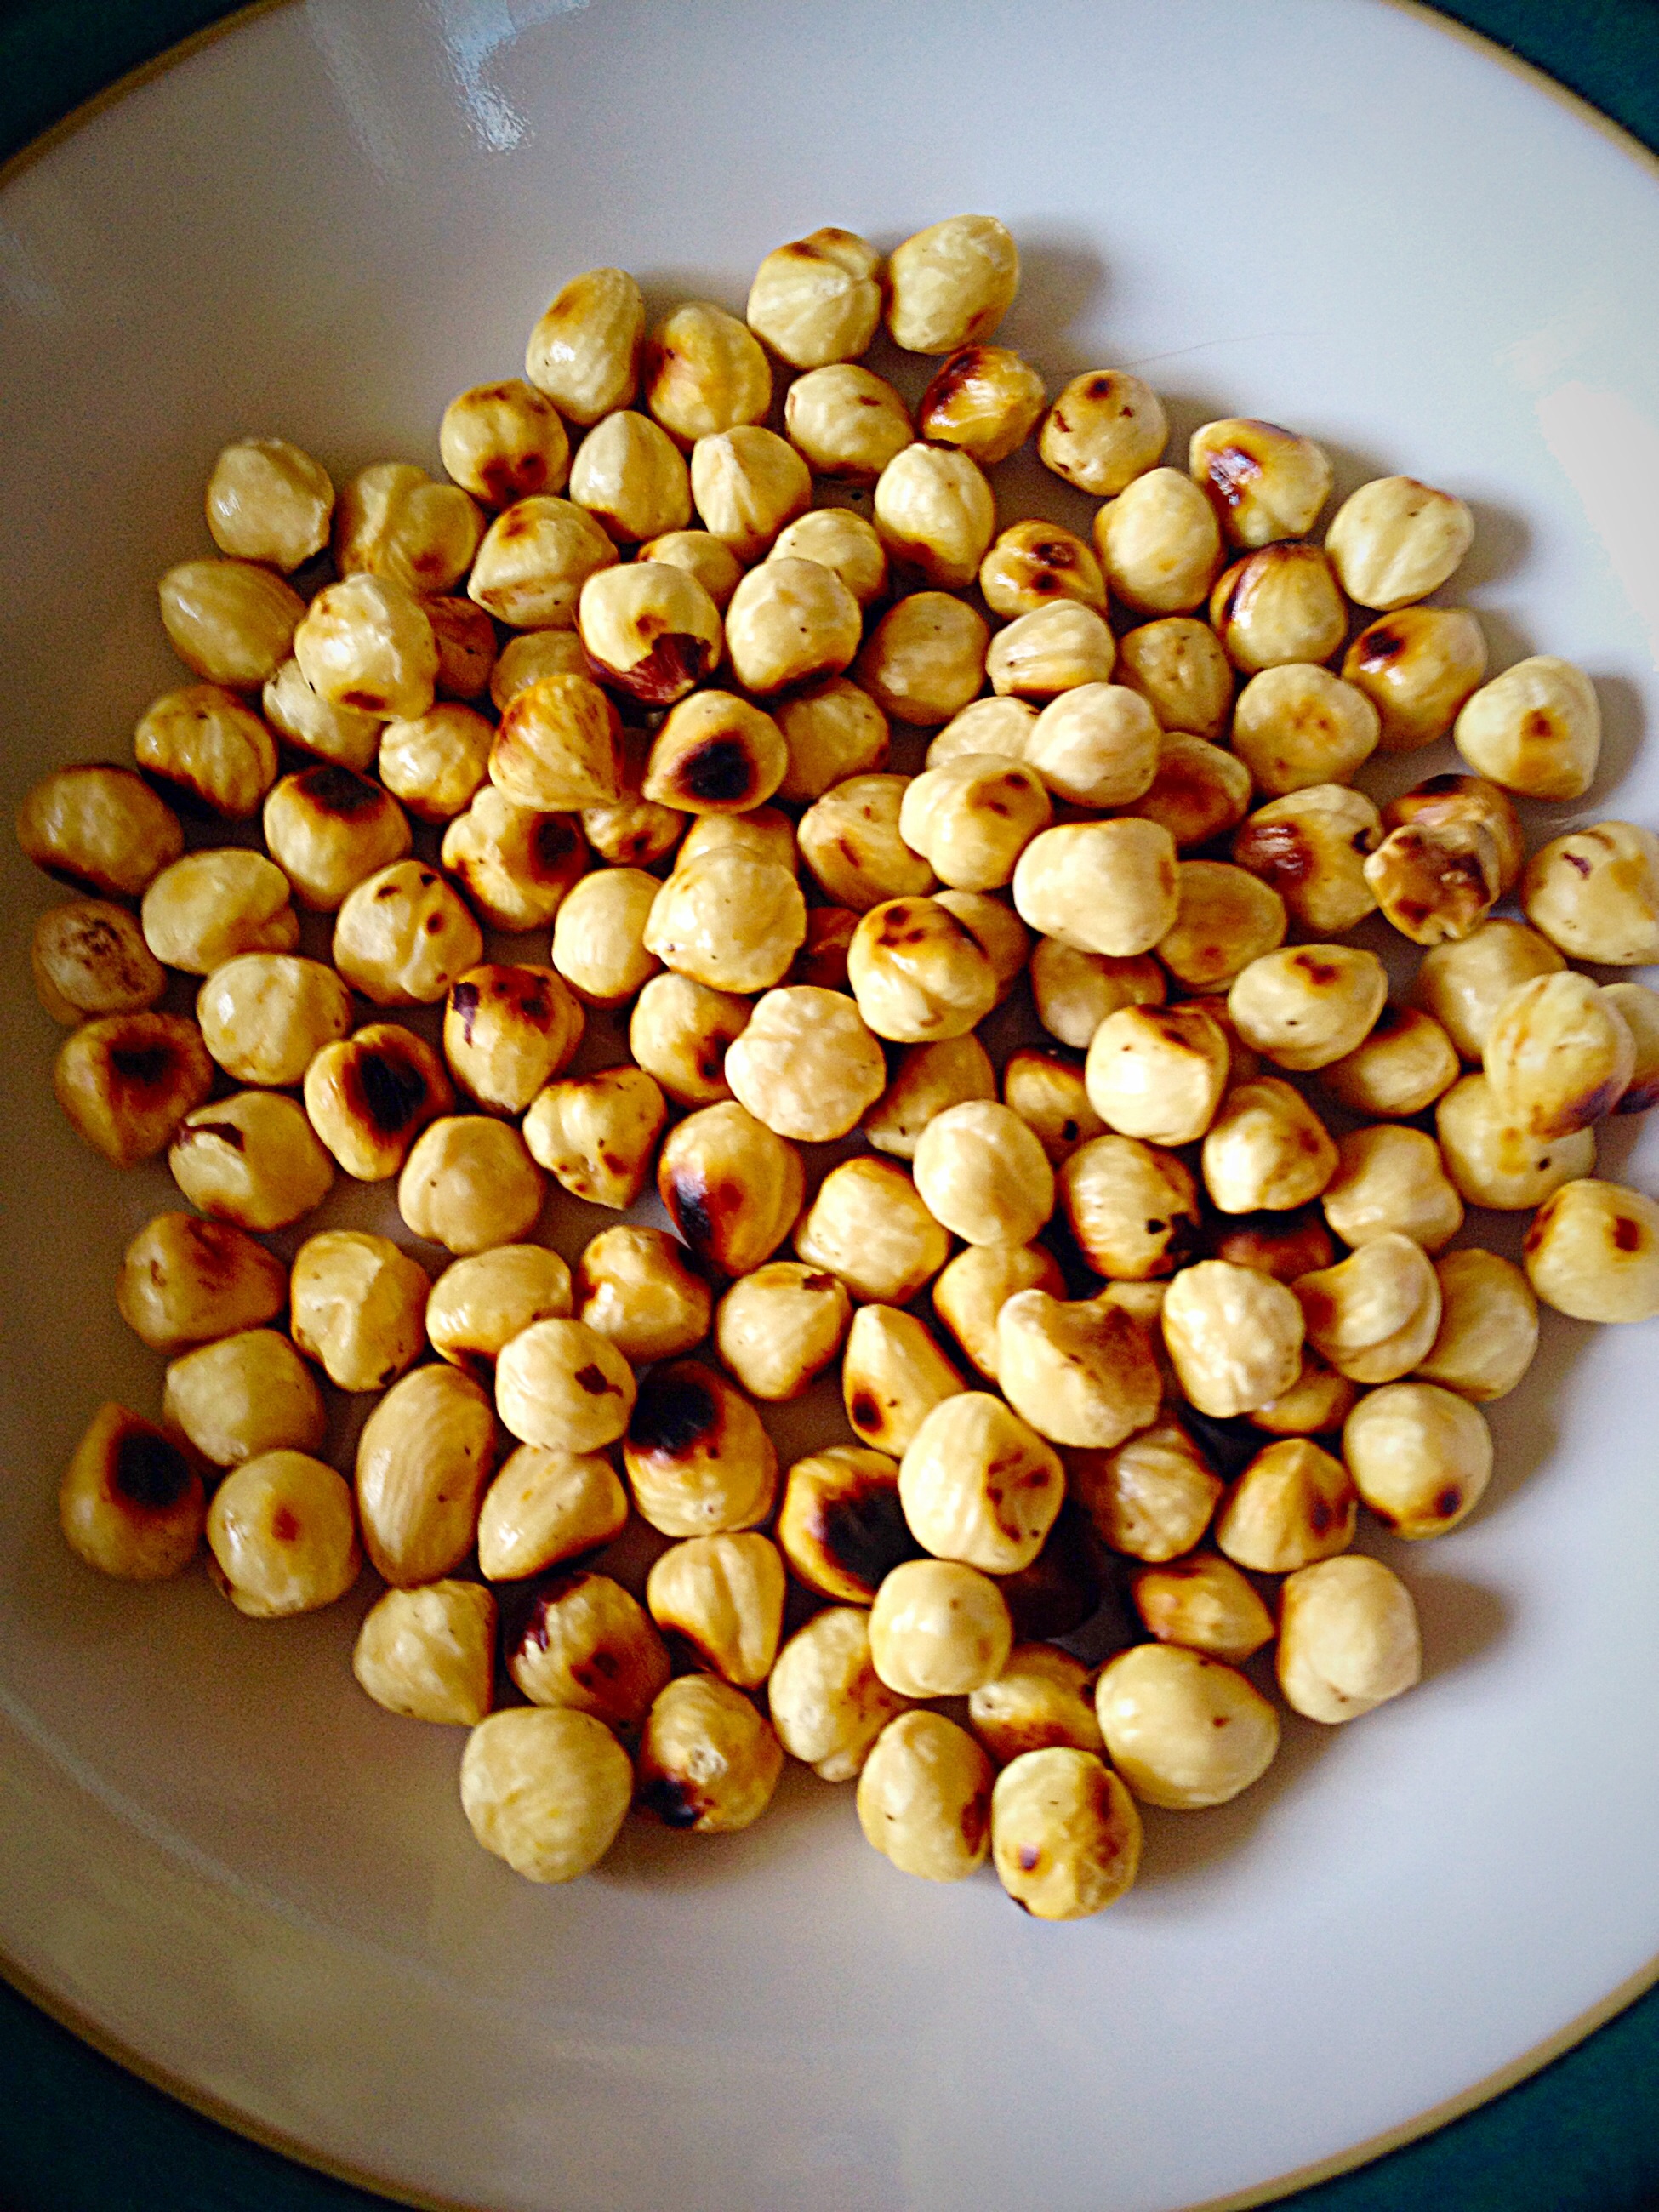
- While the cake is cooling, lightly toast the hazelnuts.
- Place the hazelnuts into a dry frying pan and toast over a high heat for approximately 5 minutes. Toasting the hazelnuts brings out the wonderful oils and flavour. As soon as the hazelnuts are toasted remove from the pan and place in a bowl to cool.
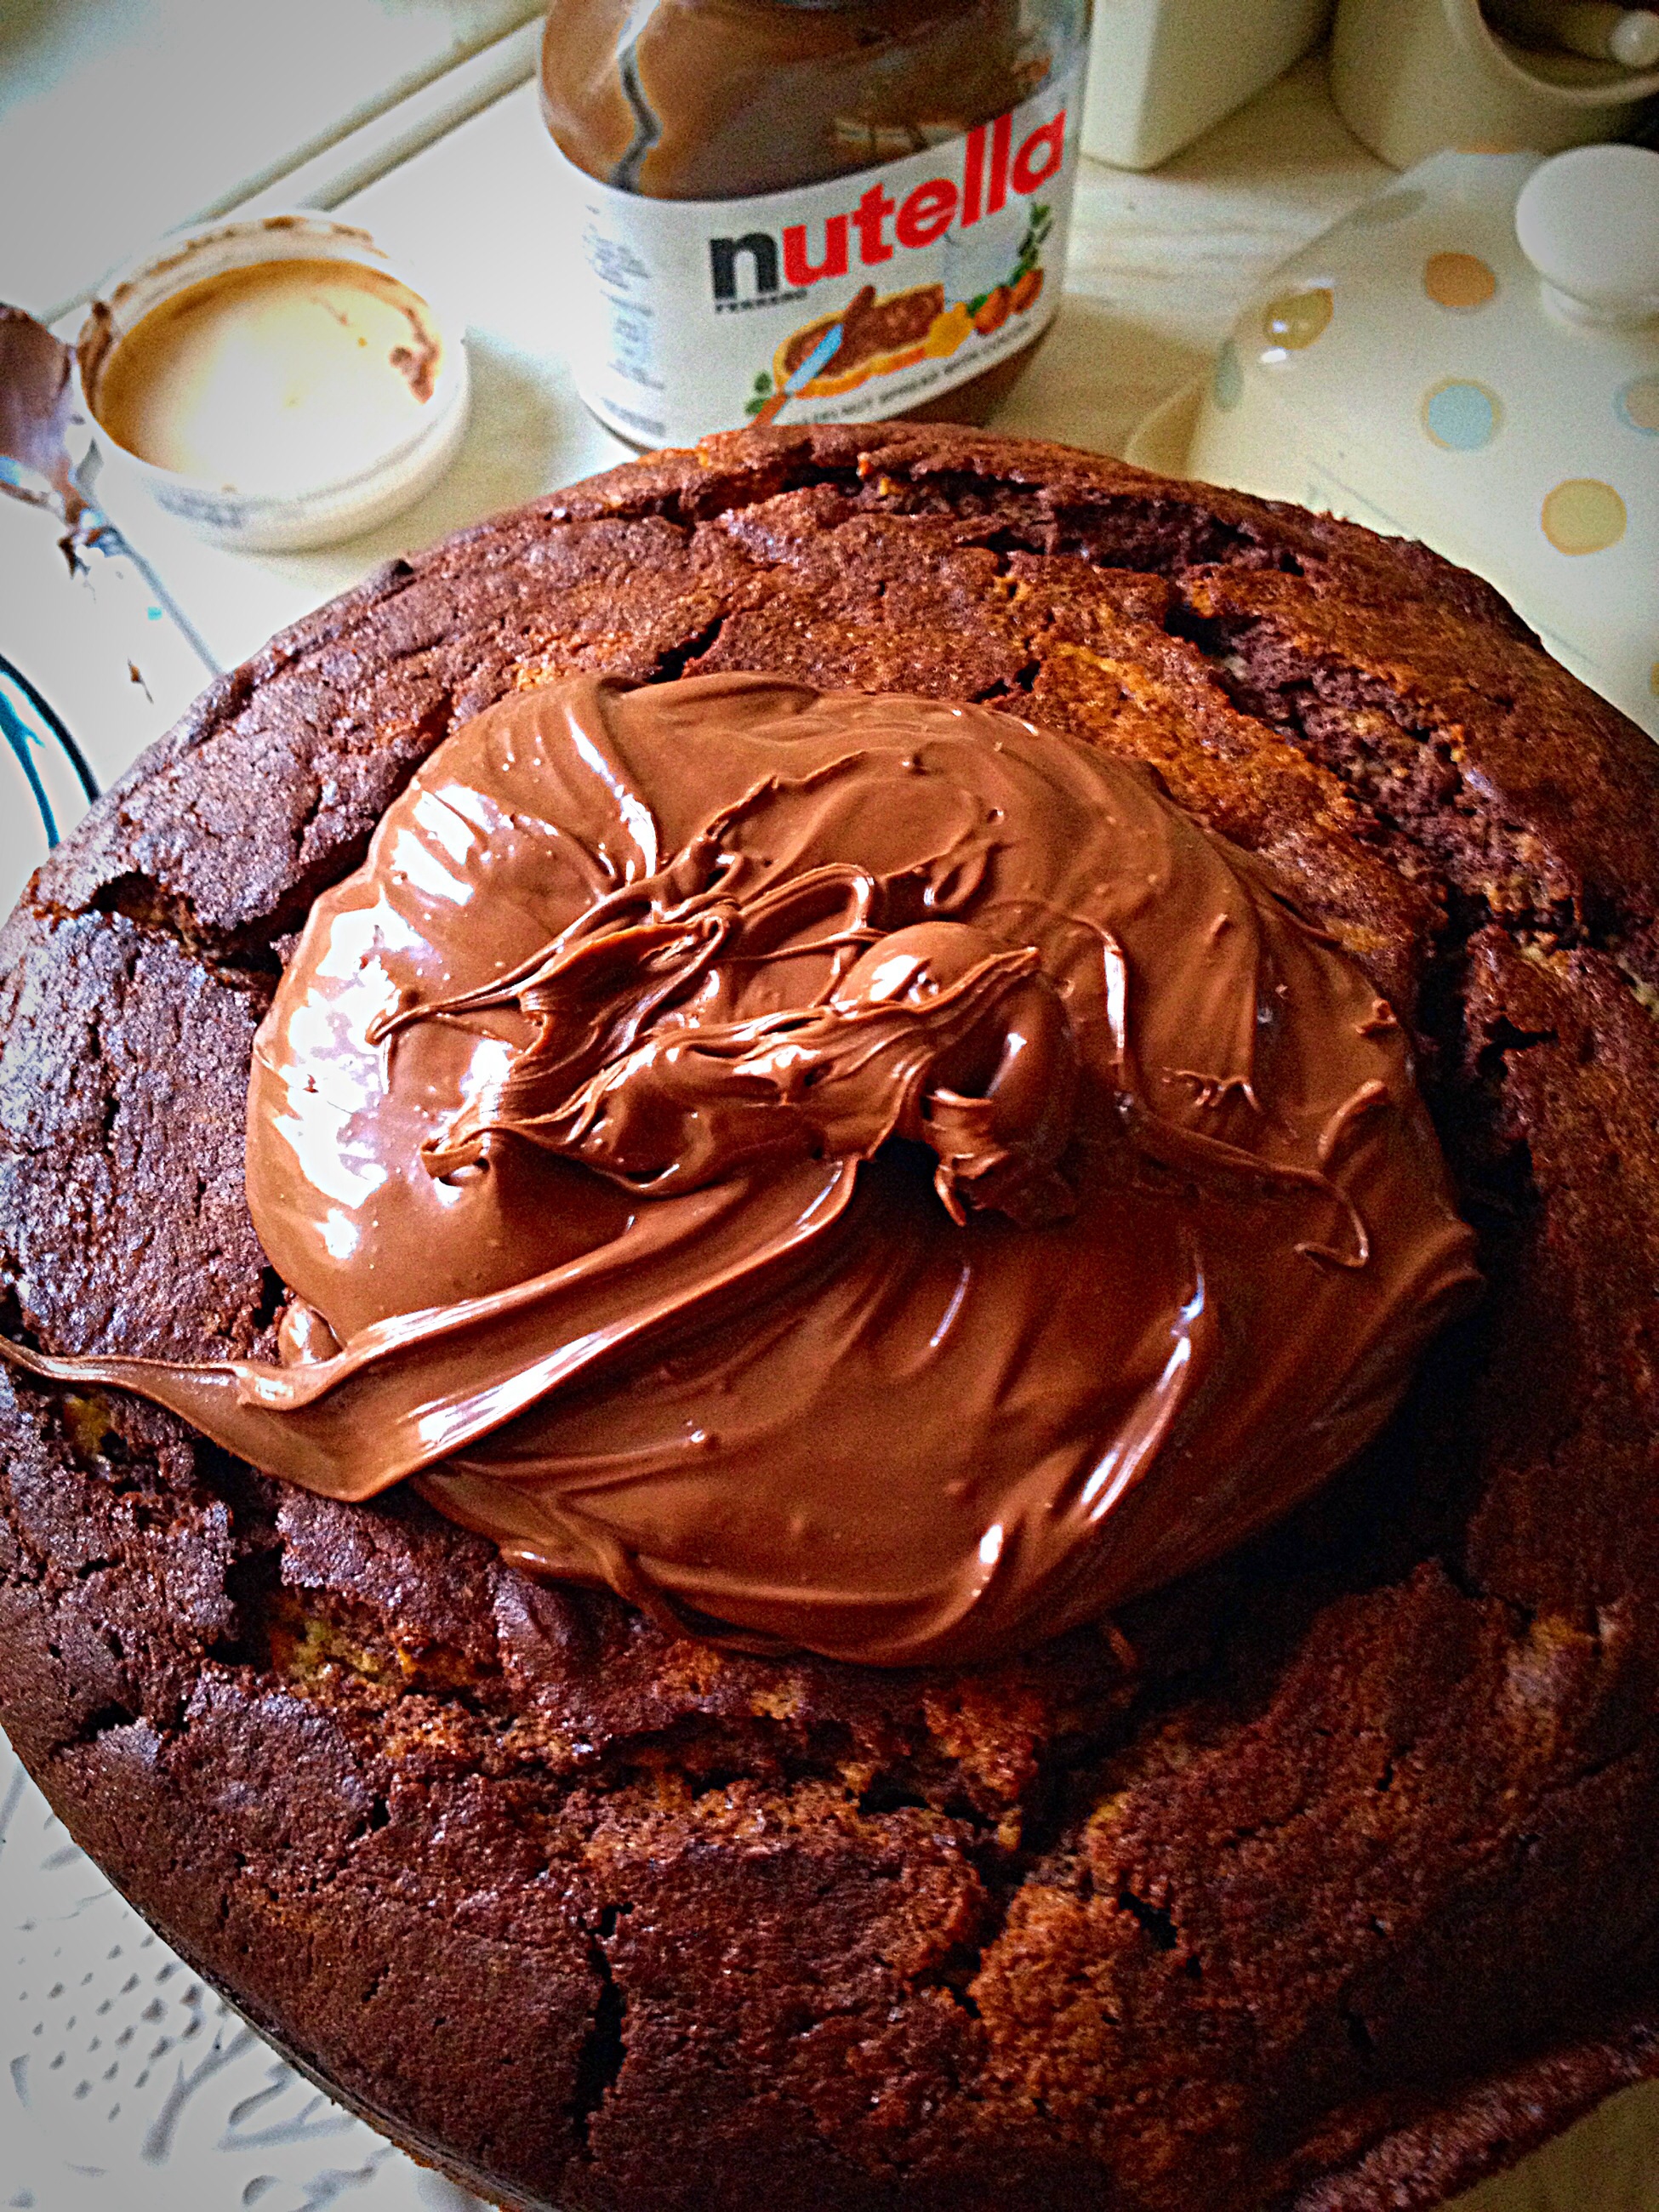
As I mentioned, any cracks in the top of the cake will close on cooling, but don’t worry, the top is going to be covered in Nutella.
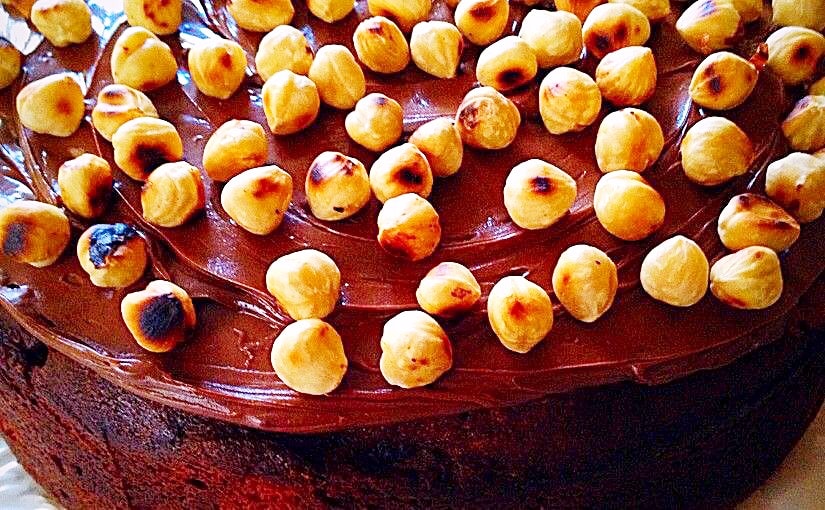
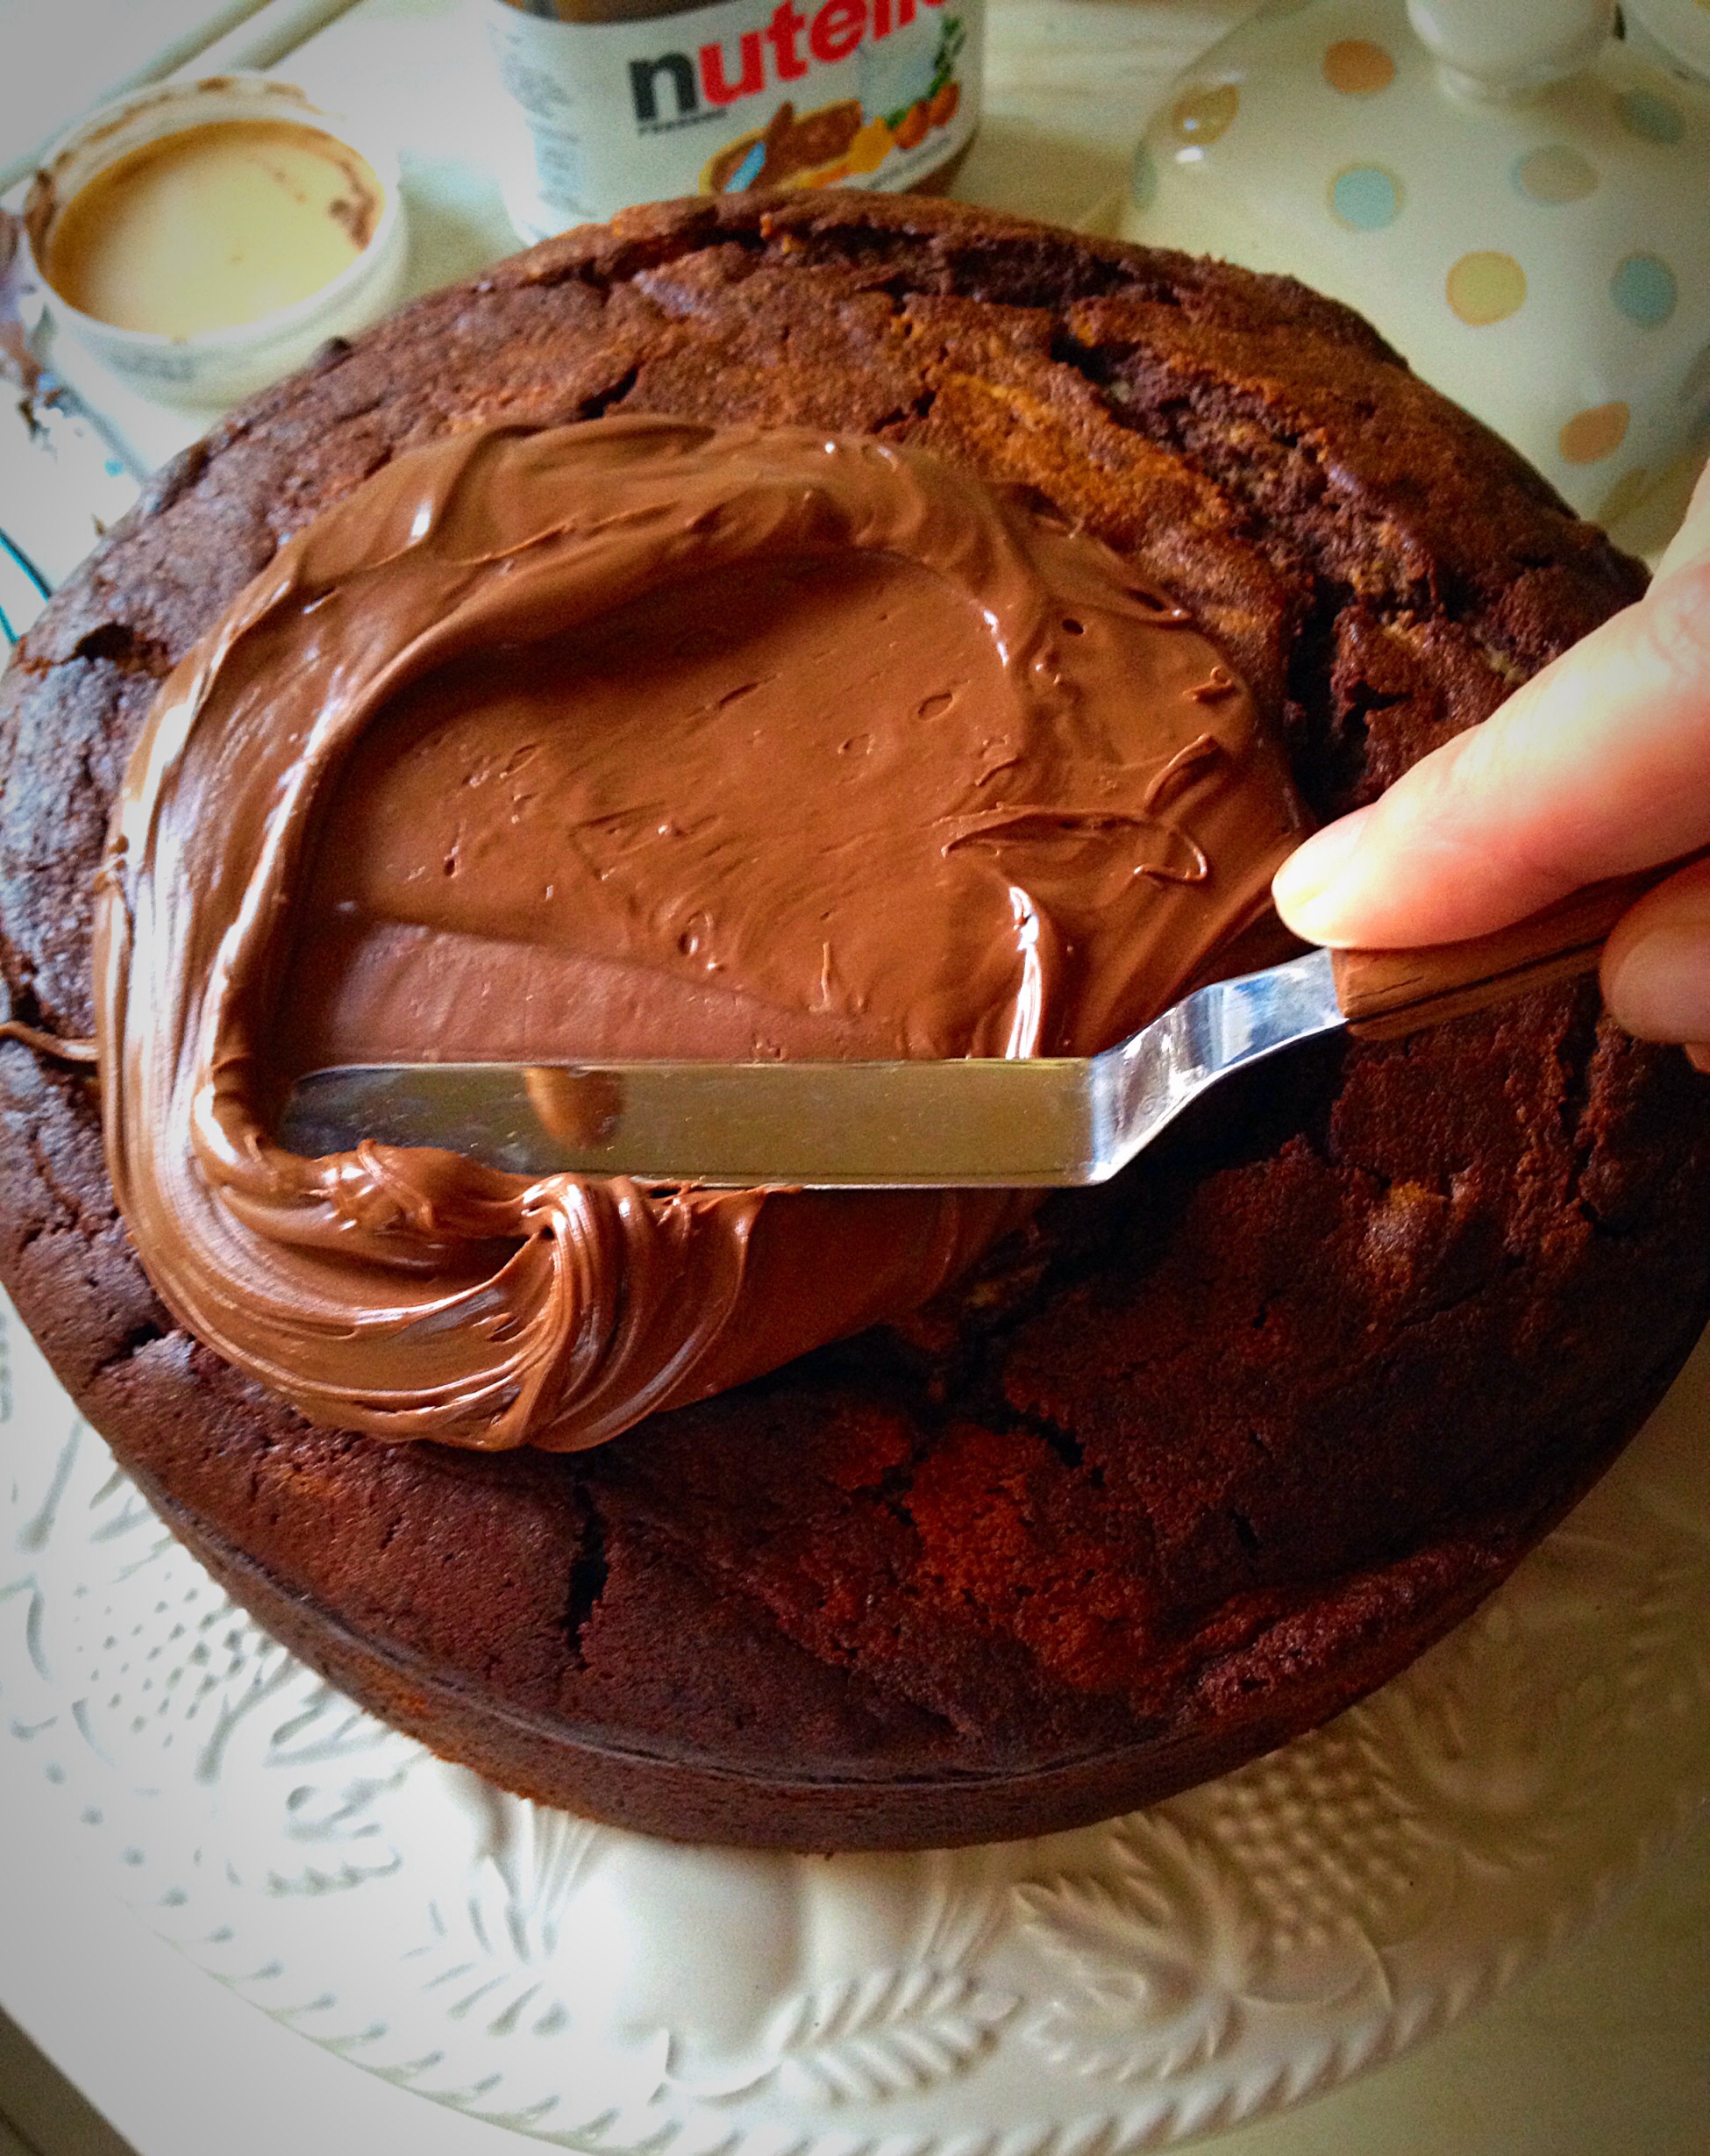
Place the cake on a cake stand/board or plate. Place 5-6 tablespoons of Nutella on to the top of the cake. Spread the Nutella over the top of the cake right up to the edge. An off set spatula is ideal for spreading.
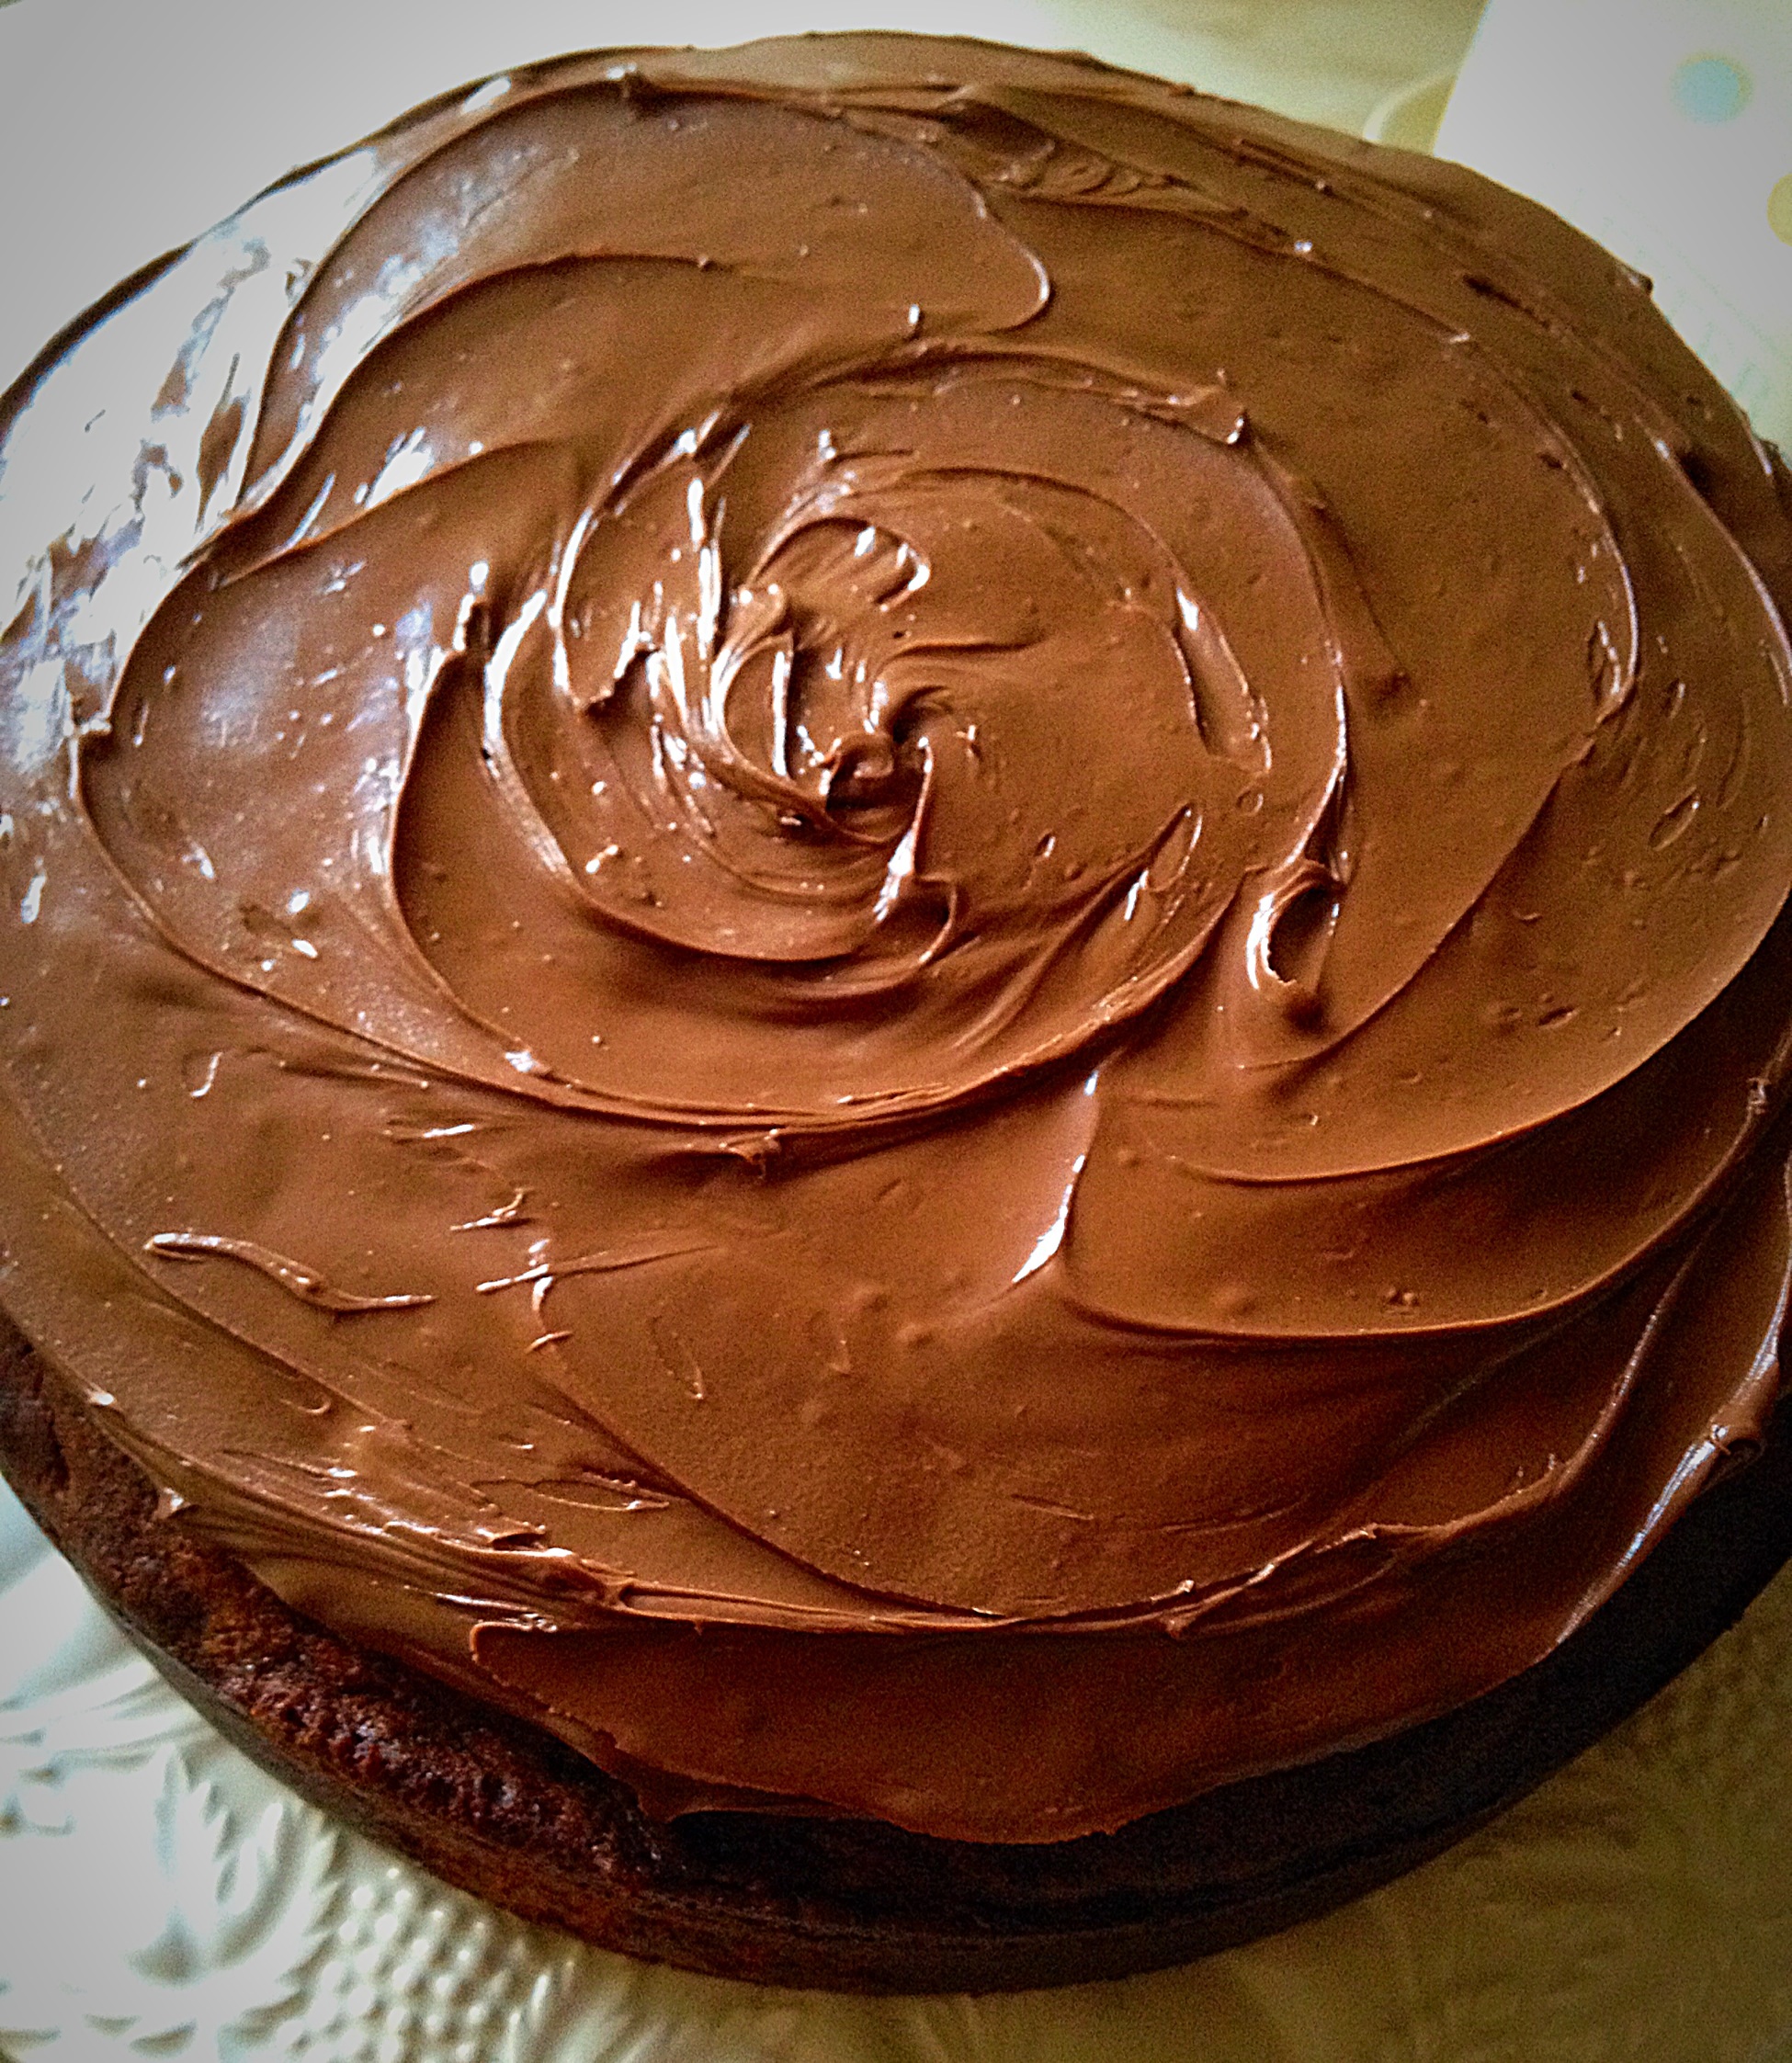
Time to get creative with the toasted hazelnuts. You can place them randomly or in a pattern on top of the Nutella. Once finished you finally have a Nutella Hazelnut Covered Chocolate Marble Cake.
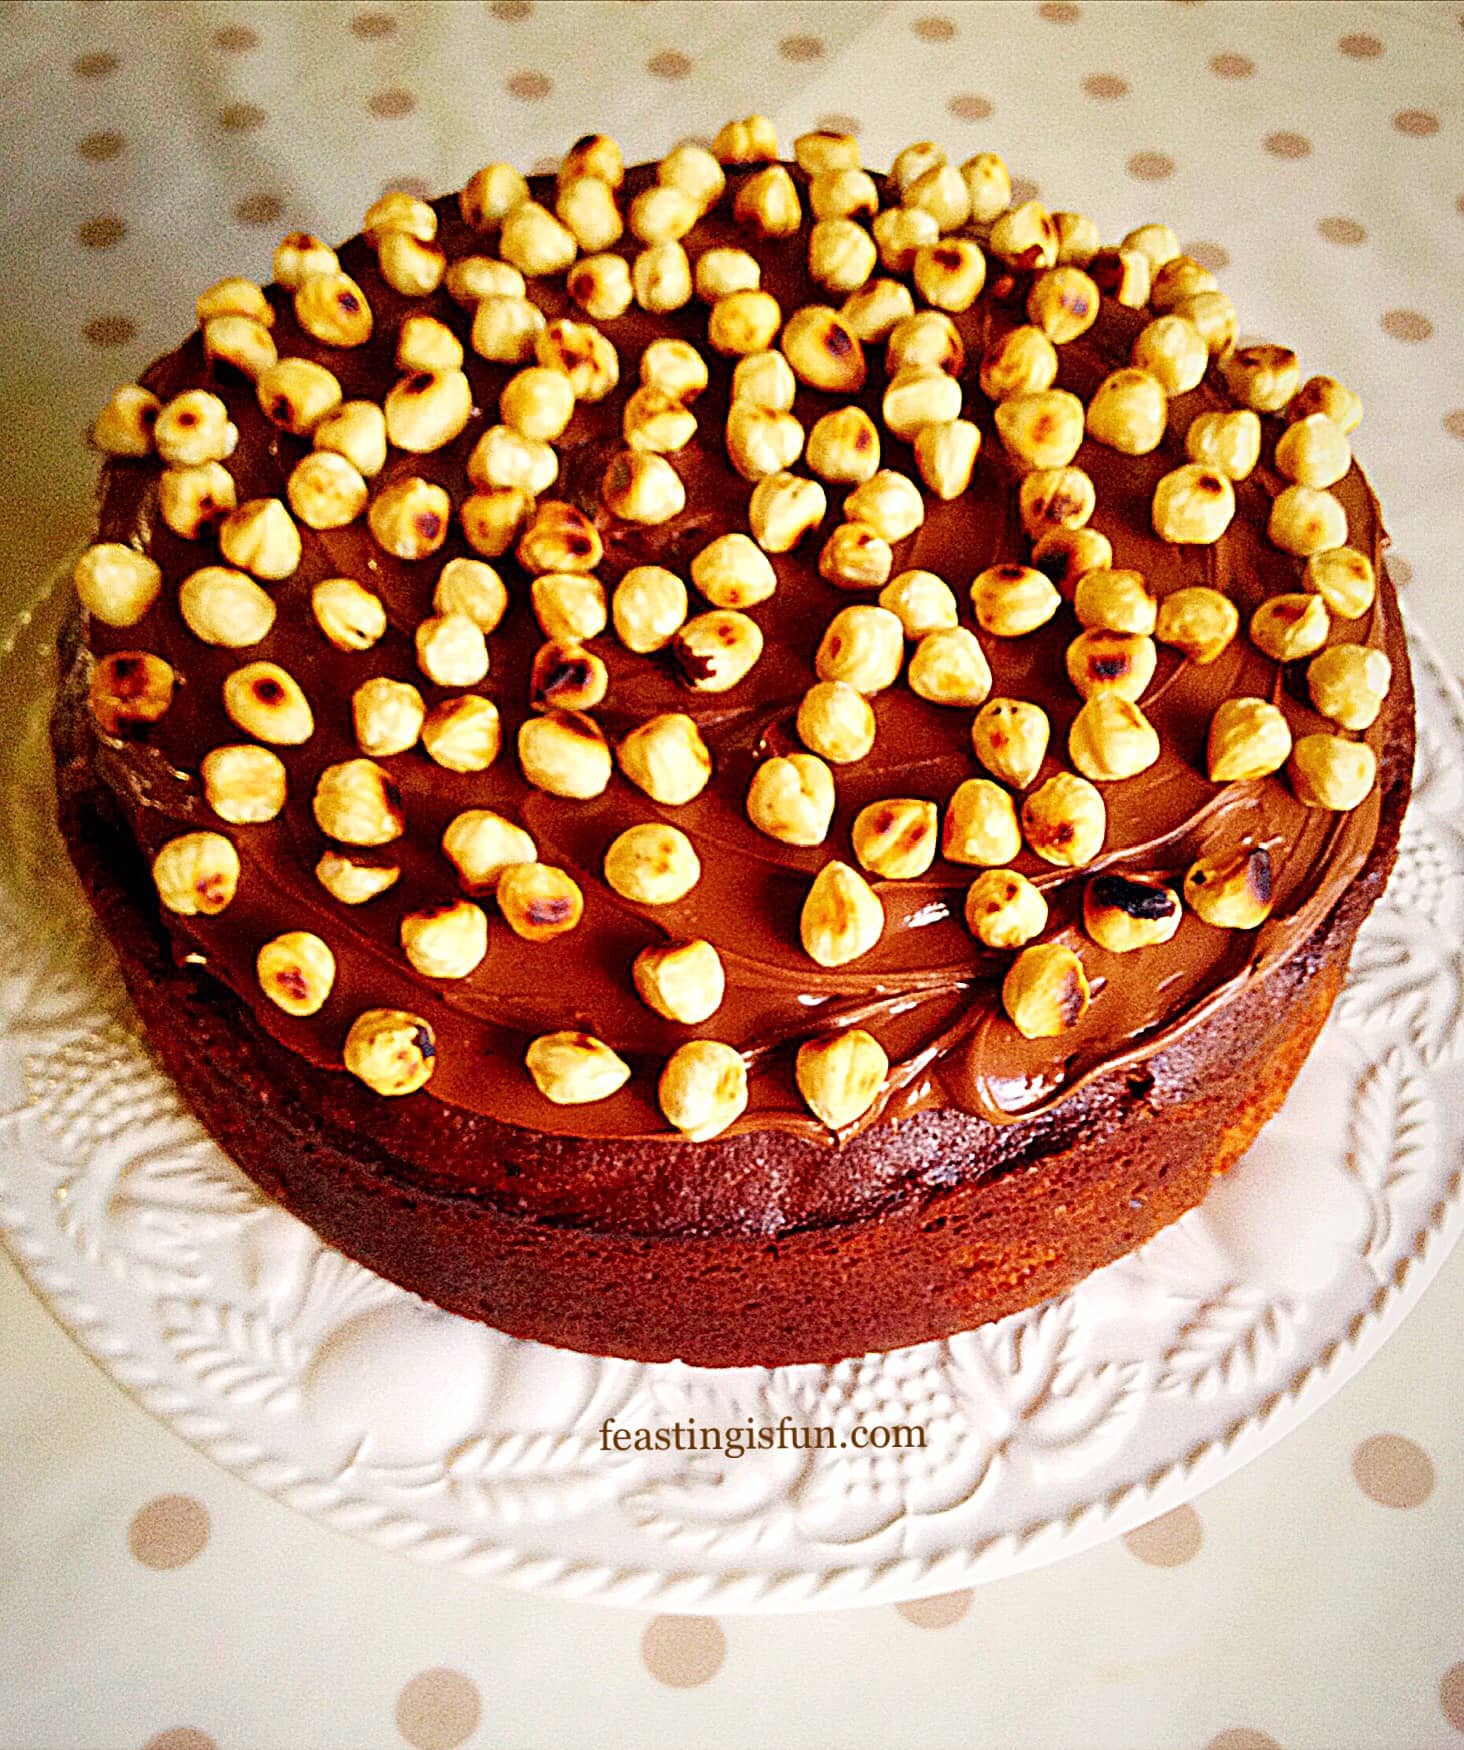
So scrumptious looking and the perfect cake for sharing. Also the Nutella doesn’t set so invite a friend/neighbour round, or the whole family and pop the kettle on. This cake is ready for slicing, so enjoy.
Store in an airtight container and eat within 5 days.
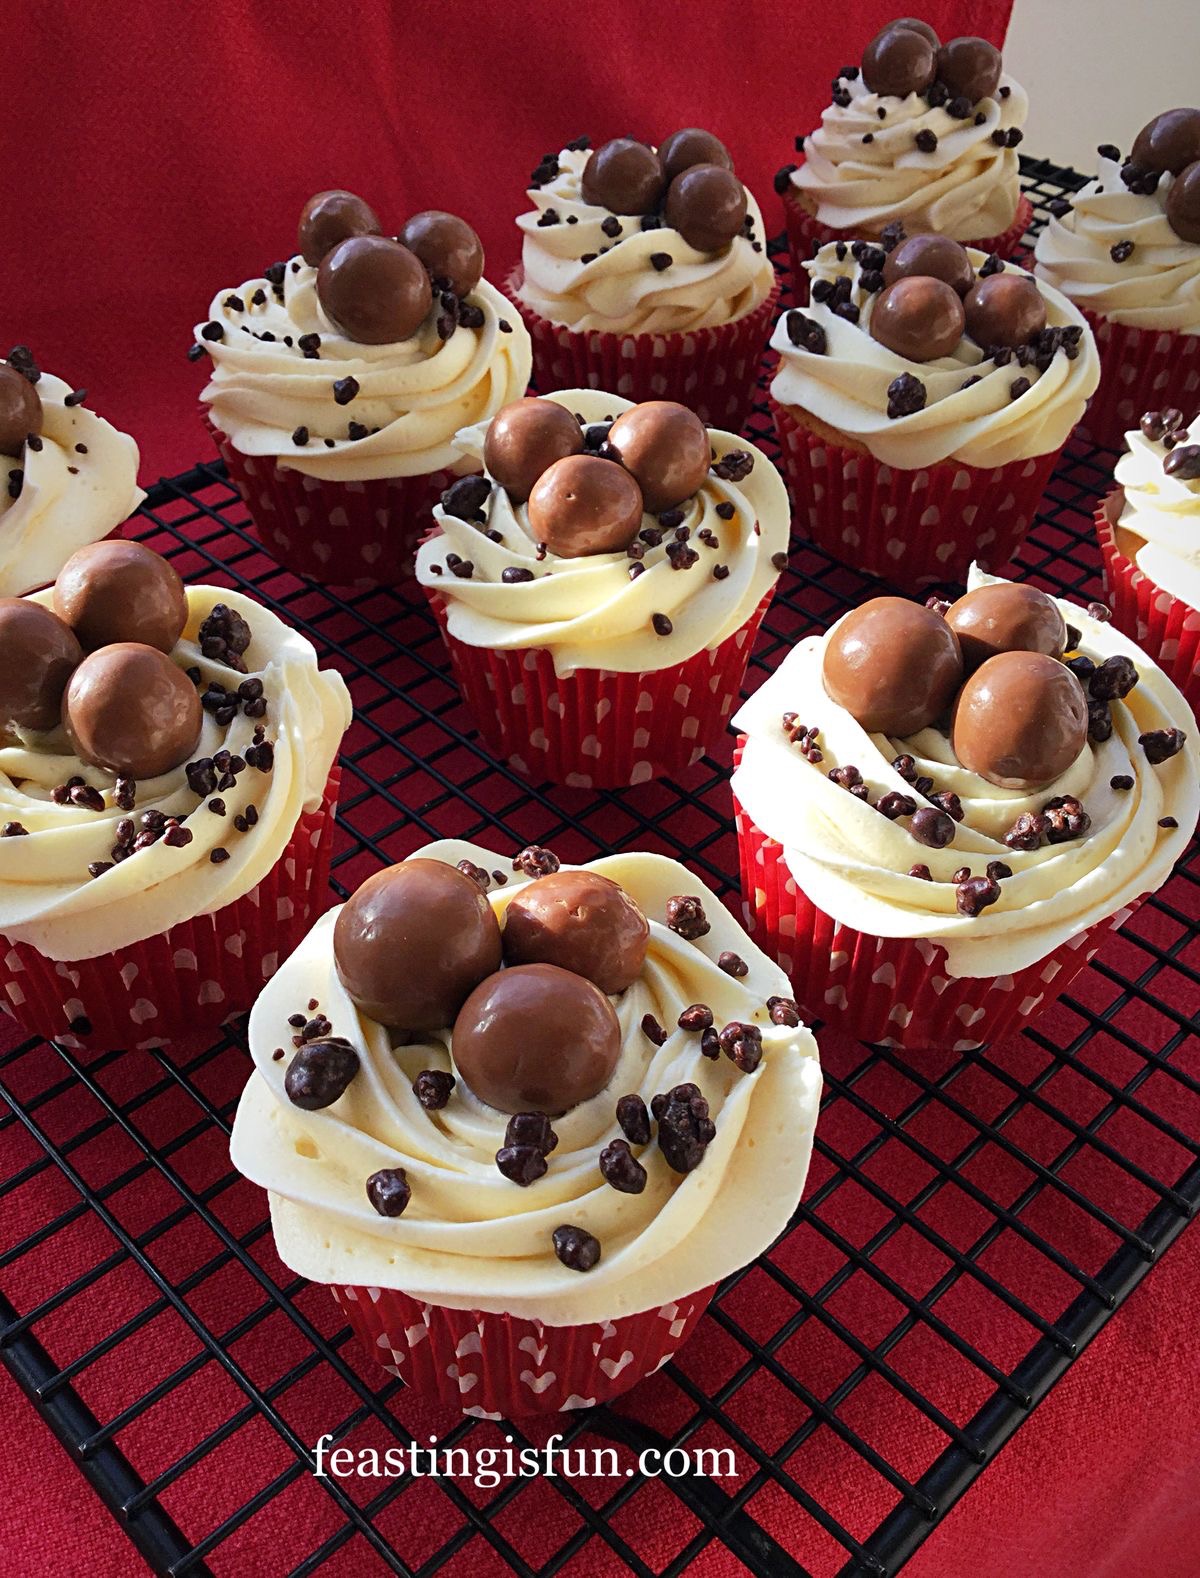
If you have enjoyed this recipe for Nutella Hazelnut Covered Chocolate Marble Cake you may also like these:

Maltesers Popping Candy Cupcakes
While it is nice to bake a cake, just to have in the cupboard. So that family members can cut a slice and enjoy with a cup of tea, there are other reasons to bake. For example, to give as a gift to a new family, or take round to welcome new neighbours. If you think bout it there are plenty of reasons to bake and share cake. Since an unexpected gift has a double feel good factor. Not only do the recipients receive a delicious gift, they also know that they’ve been thought about. What other reason do we need that that?
So, whatever you are making, baking and creating in your kitchens, have fun preparing your feast.
Sammie xx
No part of this post may be reproduced or duplicated without the written permission of the owner. Please see my Disclosure Policy.