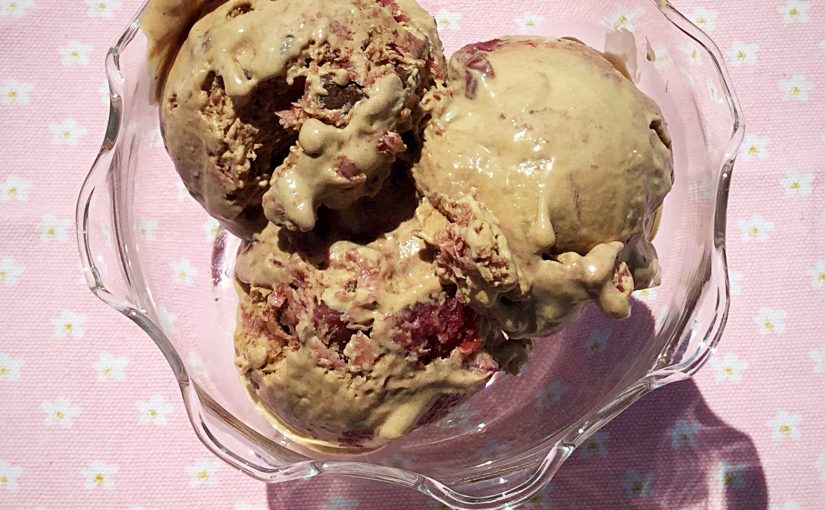
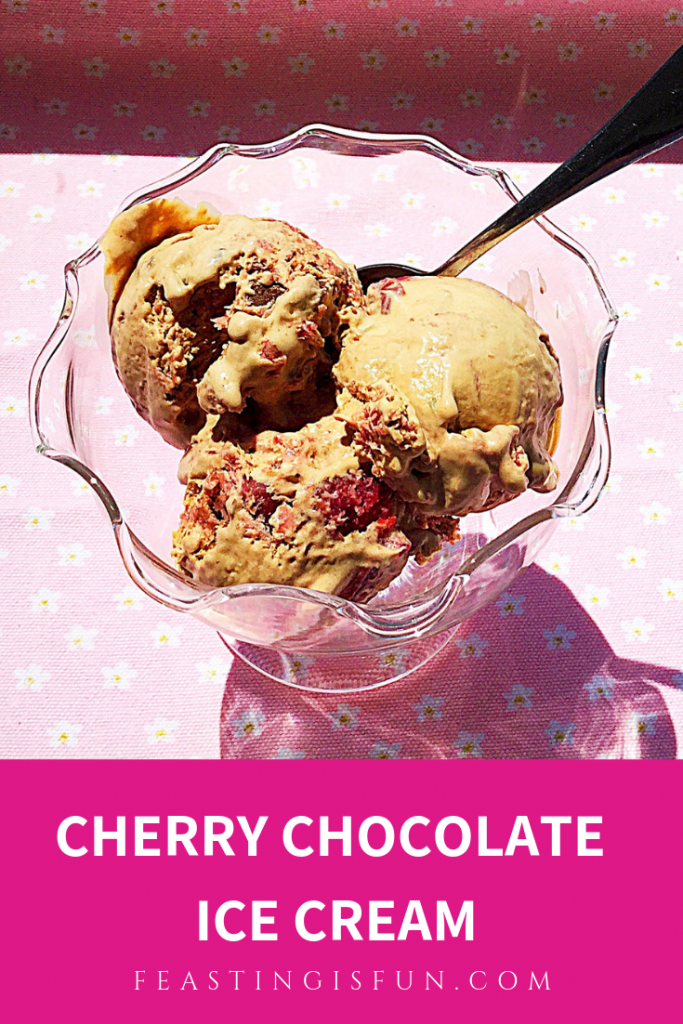
Are you a fan of ice cream? I am and I absolutely love making it myself. The reason for that is, firstly I own an awesome ice cream maker from Andrew James and secondly any flavour combination is possible.The only limit is your own imagination. So welcome to my Cherry Chocolate Ice Cream.
So, yesterday I was going to make a batch of Strawberry Ripple Ice Cream. Yet while foraging around in the cupboard for ingredients I came across a bar of Lindt Cherry Chocolate. And an idea started to form. Further rummaging and the second ingredient was found. A can of tinned cherries. Not sure if they would make it to the final recipe I hooked them out anyway. So it was time to start experimenting!
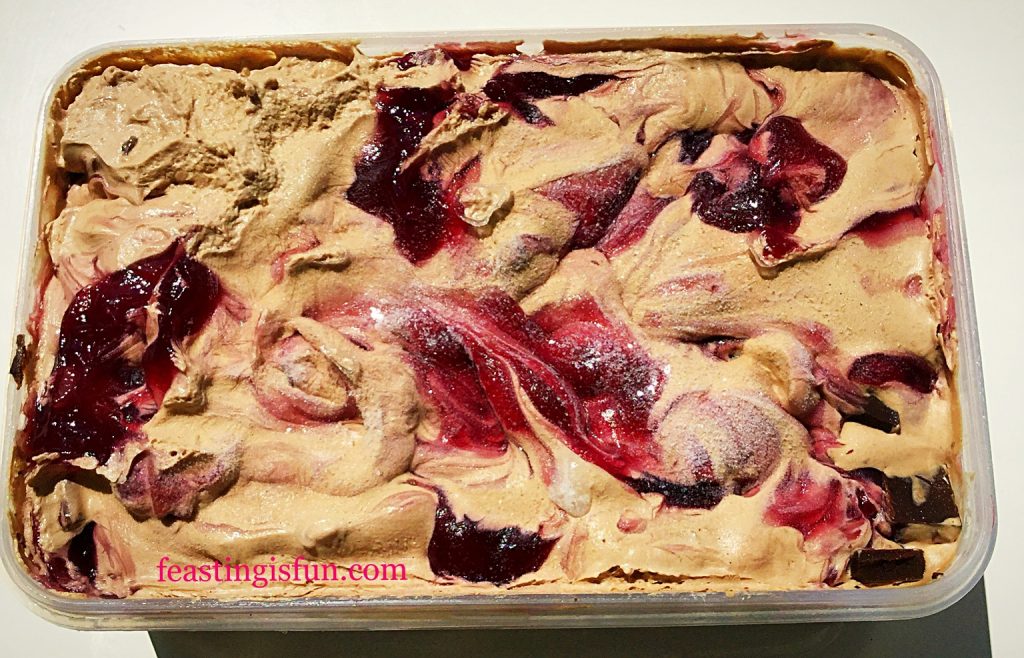
Flavours That Compliment Each Other
Cherry and chocolate are a classic combination. In truth, during cherry season I may try this recipe with gorgeous, glossy fresh cherries. Especially as we have a cherry tree in our garden. Instead their flavour is imparted firstly through the cherry chocolate bar. Resulting in a pleasantly mild flavour. However, once frozen the flavours dull. Resulting in the decision to use a full can of cherry pie filling (please don’t hate me) with the additional dark chocolate chunks added as well.
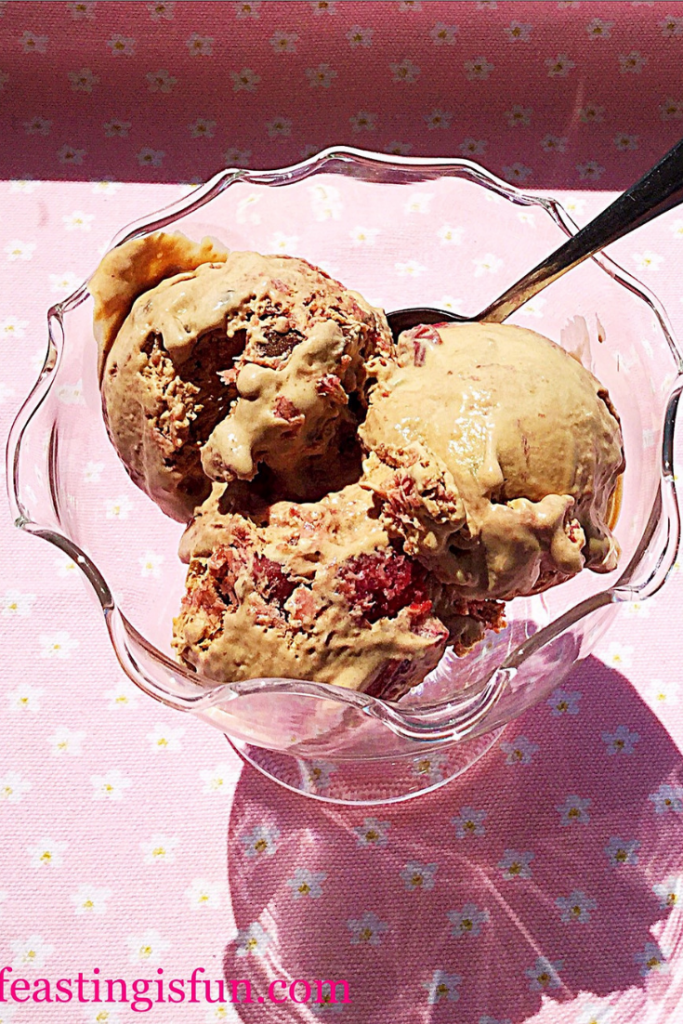
Taste is an important part of developing a recipe, is key. As soon as the ice cream is churned, frequent tastings are made and more cherries are added. It’s a hard life! Eventually the balance was perfect using the entire can. Dark chocolate chunks transform any ice cream, with both flavour and texture. Here they provide deep chocolate flavour within the silky, mild chocolate ice cream. Resulting in this incredible Cherry Chocolate Ice Cream, my hubby’s all time favourite.
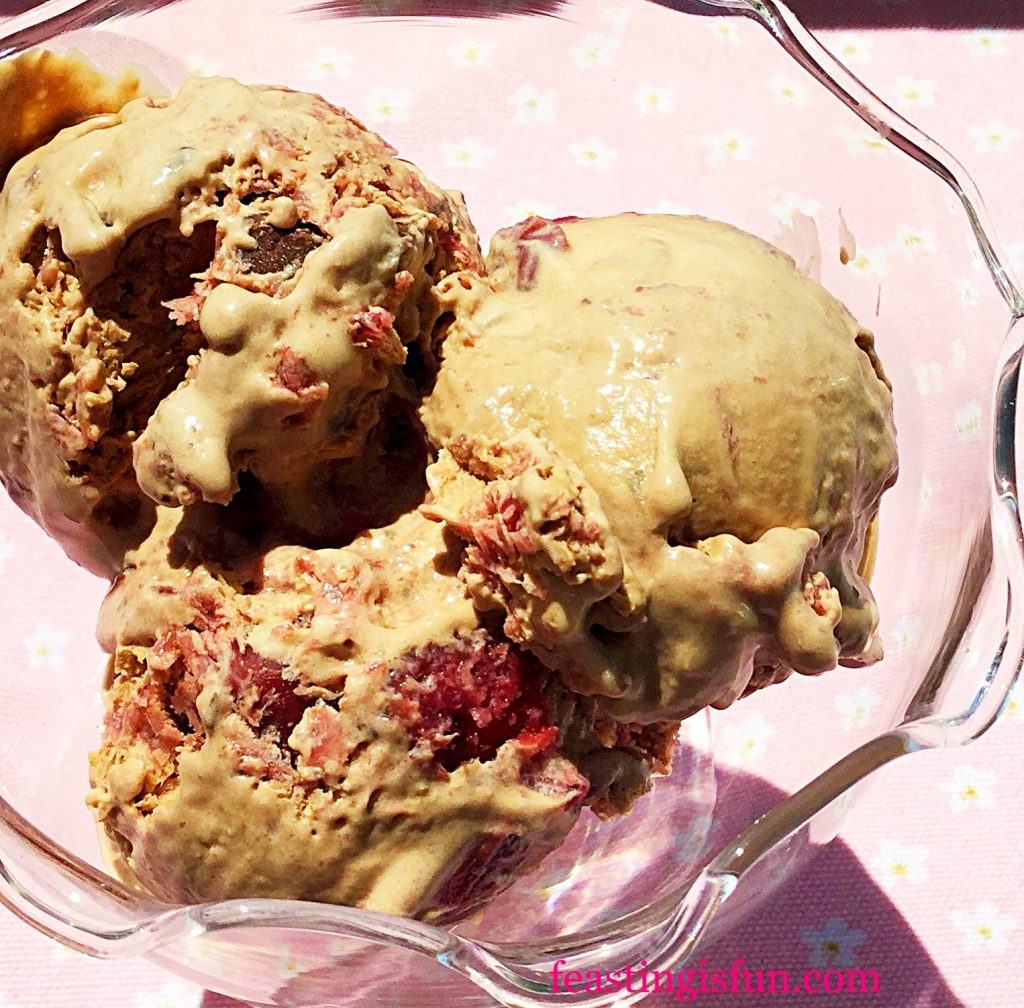
Recipe: Cherry Chocolate Ice Cream makes approx. 1L
300ml Double Cream
300ml Whole Milk
1tsp Vanilla Extract – I use Nielsen-Massey
4 Large Free Range Egg Yolks – the whites can be frozen for up to 1 month
1tsp Corn Flour – I use Dove’s Farm as it is certified gluten free
4tbsp Caster Sugar
100g Bar Lindt Cherry Chocolate
1 x 410g Can Cherry Pie Filling – check that the pie filling is gluten free. Alternatively use frozen, pitted cherries available from most supermarkets.
100g Dark Chocolate Chunks/Bar
Method: Place the bowl of the ice cream maker in the freezer at least 8 hours/overnight or follow the manufacturer’s instructions, prior to making this ice cream.
For step by step instructions and photos please see Very Vanilla Ice Cream .
Making The Custard Base
- First of all pour the cream and milk into a heavy based saucepan placed over a medium heat.
- While the cream is heating place the egg yolks, sugar, vanilla extract and corn flour into a large heatproof bowl.
- Whisk the ingredients together until pale and frothy, keeping an eye on the heating cream.
- Heat the cream and milk to scalding point, when a ring of bubbles appear around the rim of the saucepan, just prior to the liquid boiling. Remove from the heat once scalding point has been reached.
- With the whisk on slow, gently pour in the heated cream, increasing the speed once it is all added.
- Pour the custard mixture back into the pan and place over a medium heat. Stir to ensure that the base doesn’t burn. Continue until the custard is thickened and coats the back of a wooden spoon. Remove from heat.
Turning The Vanilla Custard Into A Cherry Chocolate Base
- Break up the cherry chocolate bar and place into a heatproof bowl. Place a sieve over the bowl.
- Next, pour the thickened custard through the sieve into the bowl.
- Stir the custard until all of the chocolate has melted. Cover the custard with cling film placed directly on to the top of the hot, thick liquid, this will stop a skin from forming.
- Set the hot, flavoured custard to one side and allow to cool.
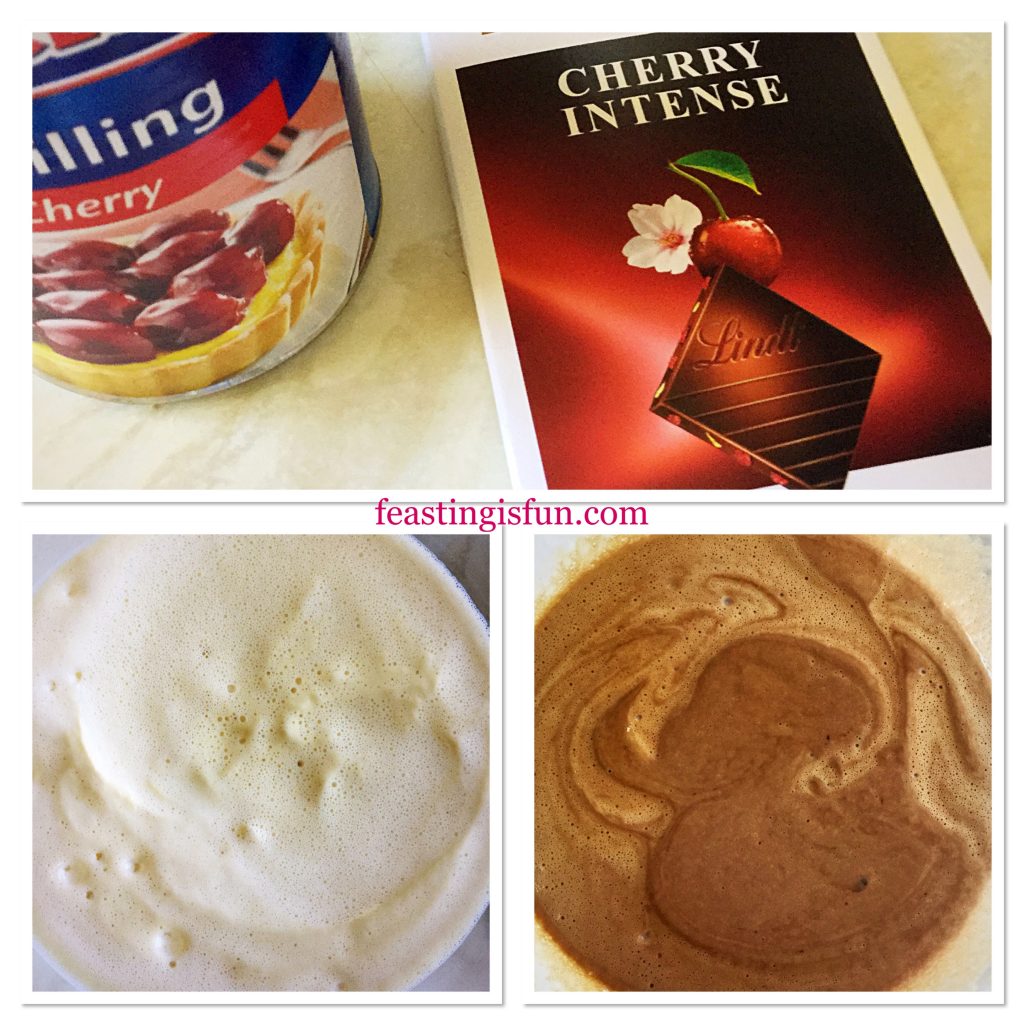
- When the ice cream base has cooled place in the fridge to chill.
- While the ice cream base is chilling prepare the chocolate chunks. If using a bar chop into pieces.
- Set up the ice cream maker once the ice cream base is cold.
- Pour the base into the ice cream maker and churn until softly frozen.
- Decant the ice cream into a freezer proof container with a tight fitting lid.
- Add the cherries and chopped chocolate.
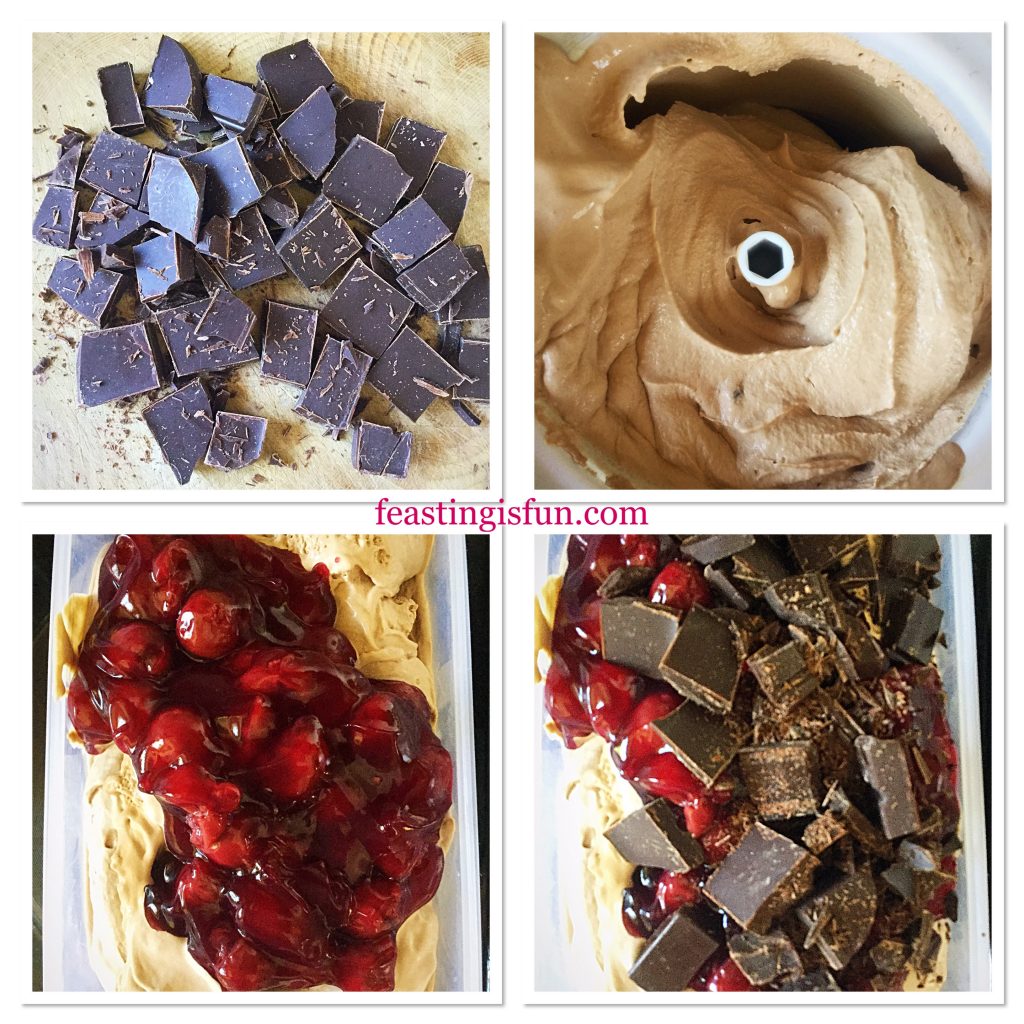
- Using the handle of a wooden spoon swirl the ingredients together.
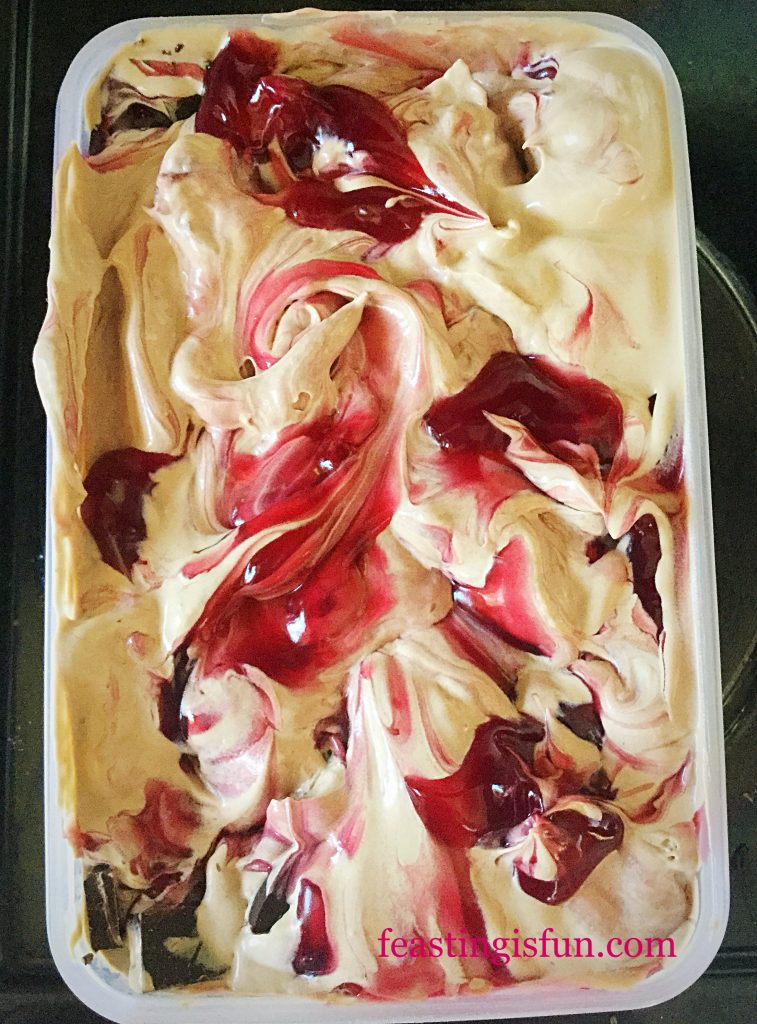
- Clip on a tight fitting lid and place in the freezer for 6 hours or ideally overnight.
- Remove the ice cream 10-20 minutes prior to serving to allow it to soften, which will allow easy scooping.
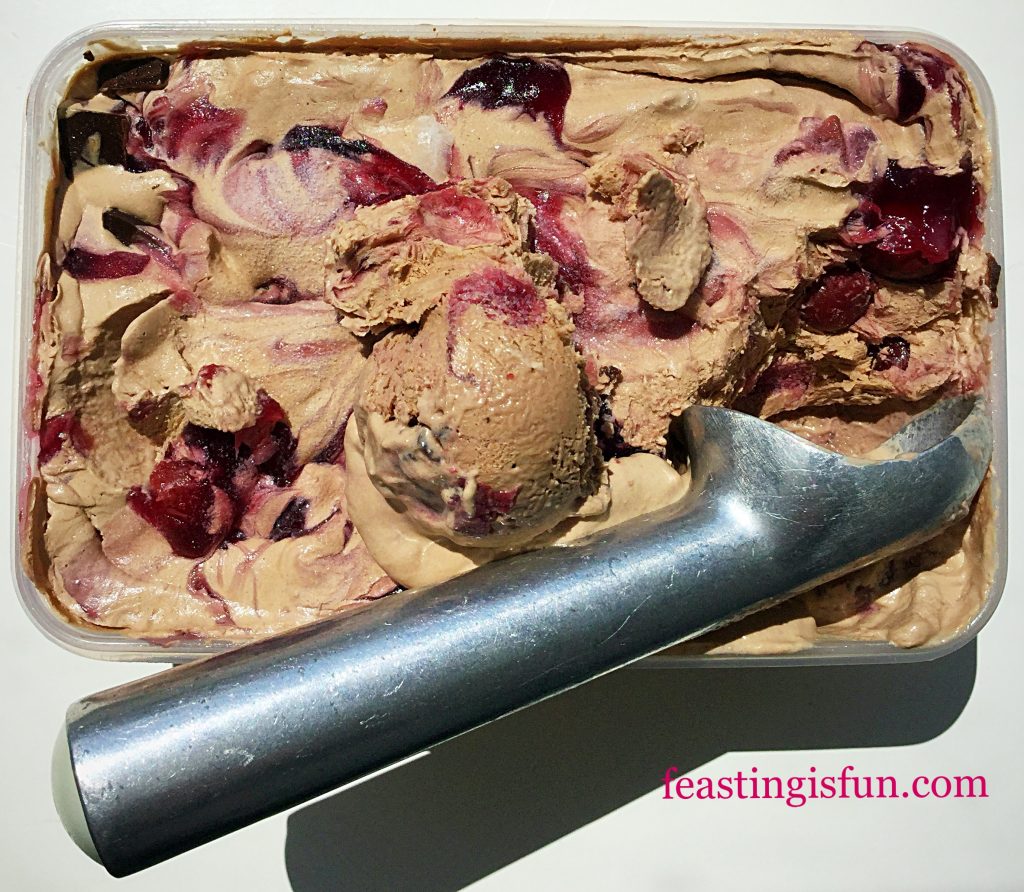
Serve generous scoops of this utterly scrumptious ice cream in bowls or cones. And watch the smiles on faces as they discover whole cherries, nuggets of dark chocolate and enjoy feasting.
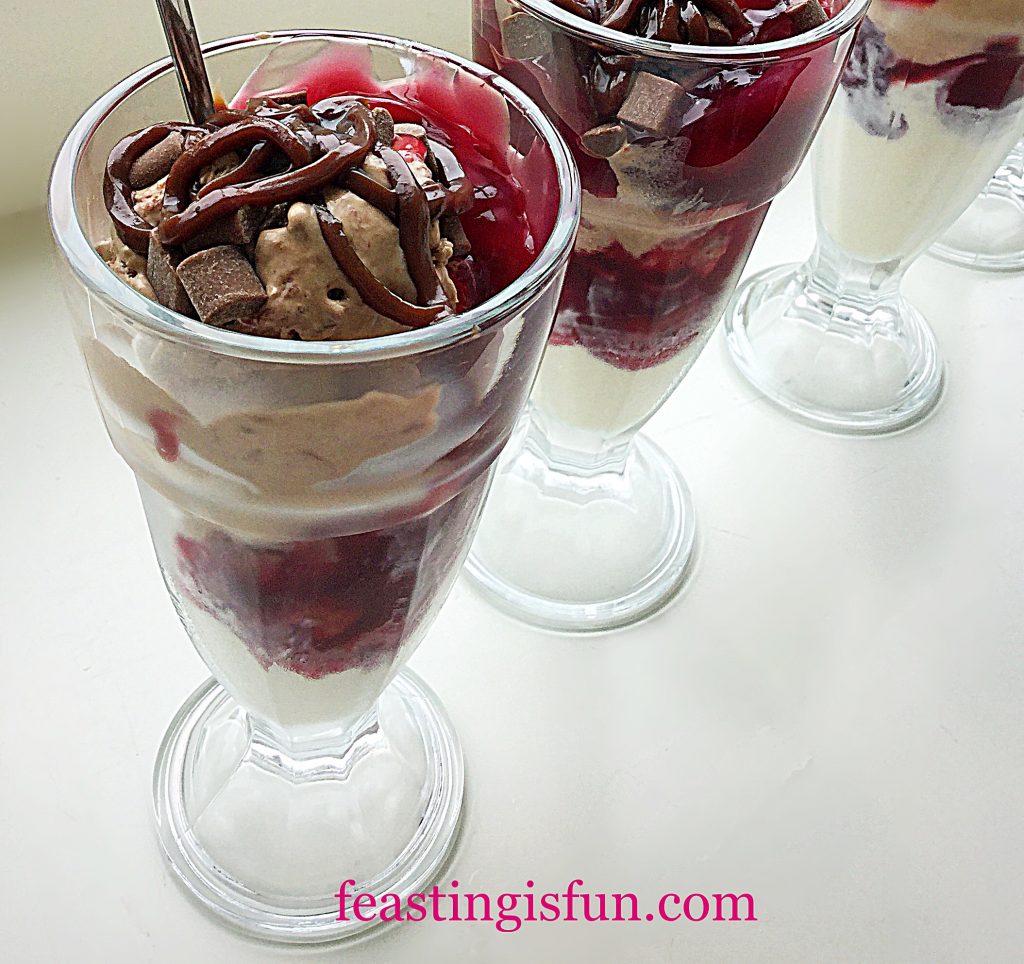
Why not turn this delicious ice cream into a Cherry Chocolate Ice Cream Sundae?
If you have enjoyed this recipe for Cherry Chocolate Ice Cream there are many other ice cream recipes on Feasting is Fun, here are a few:
Triple Chocolate Chunk Ice Cream
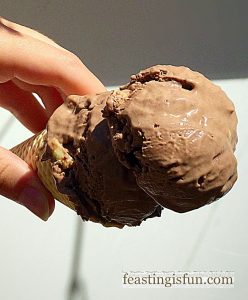
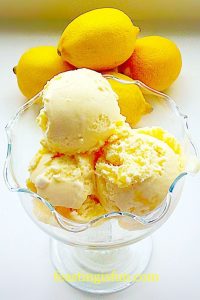
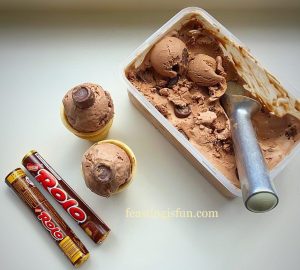
Nothing beats homemade ice cream, especially on a hot, sunny day. And the flavour combinations are limitless. Since you are in control you can simply make flavours that aren’t available in the shops. I could not be parted from my ice cream maker. So the bowl has a permanent place in our freezer, ready for whenever the need for ice cream arises. And yes sometimes it is a need!
So, whatever you are making, baking and creating this weekend have fun.
Sammie xx
No part of this post may be copied without my specific written agreement. Please see my Disclosure Policy.
Share
ahh i love cherry and chocolate together!! cherry garcia ice cream is the best. this sounds even better though, since there’s actual chocolate melted into the ice cream base 😍 and this sounds like such a delicious way to usher in summer!
Thank you Heather. It certainly is yummy. I debated whether to use the cherry chocolate bar as the chunks as well, but I wanted big chunks and Lindt bars, whilst lovely are quite thin! X