Cherry Chocolate Ice Cream

Share
Facebooktwitterpinterestlinkedintumblr

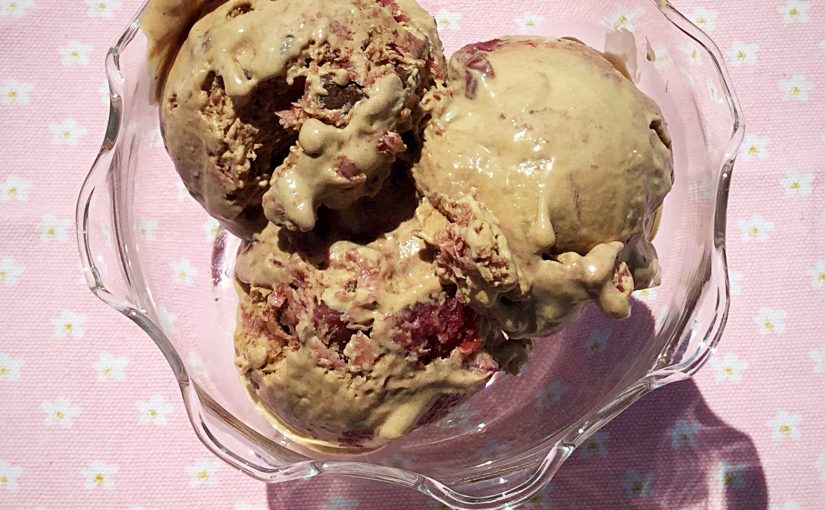
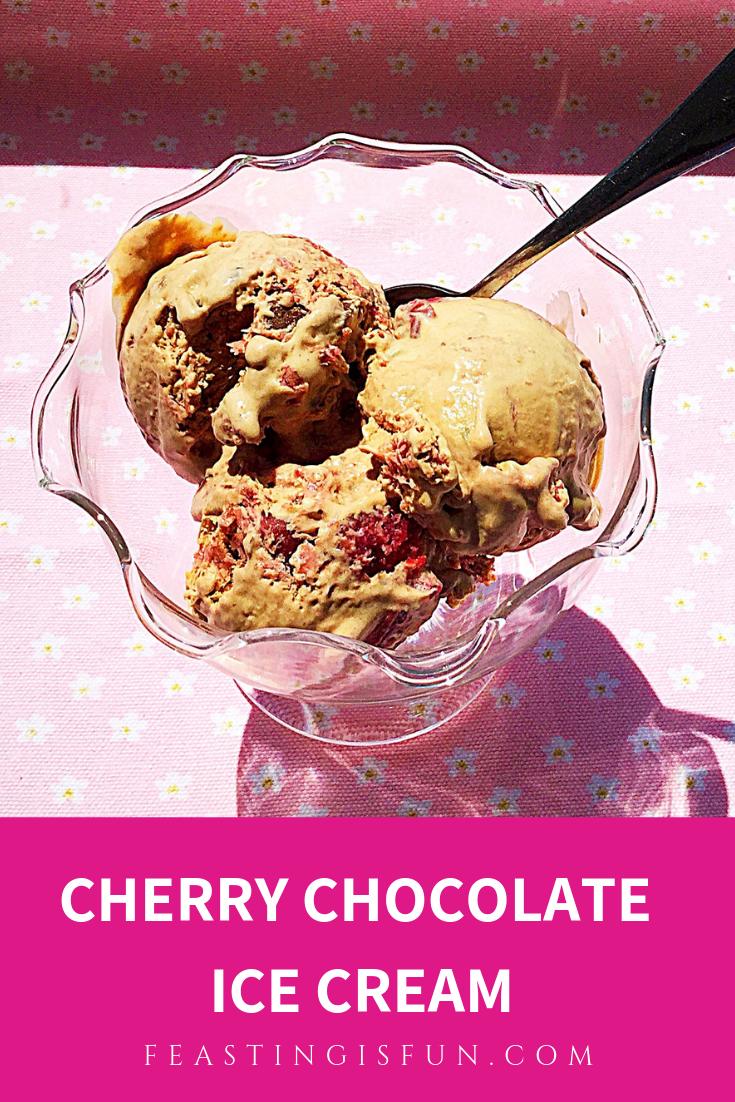
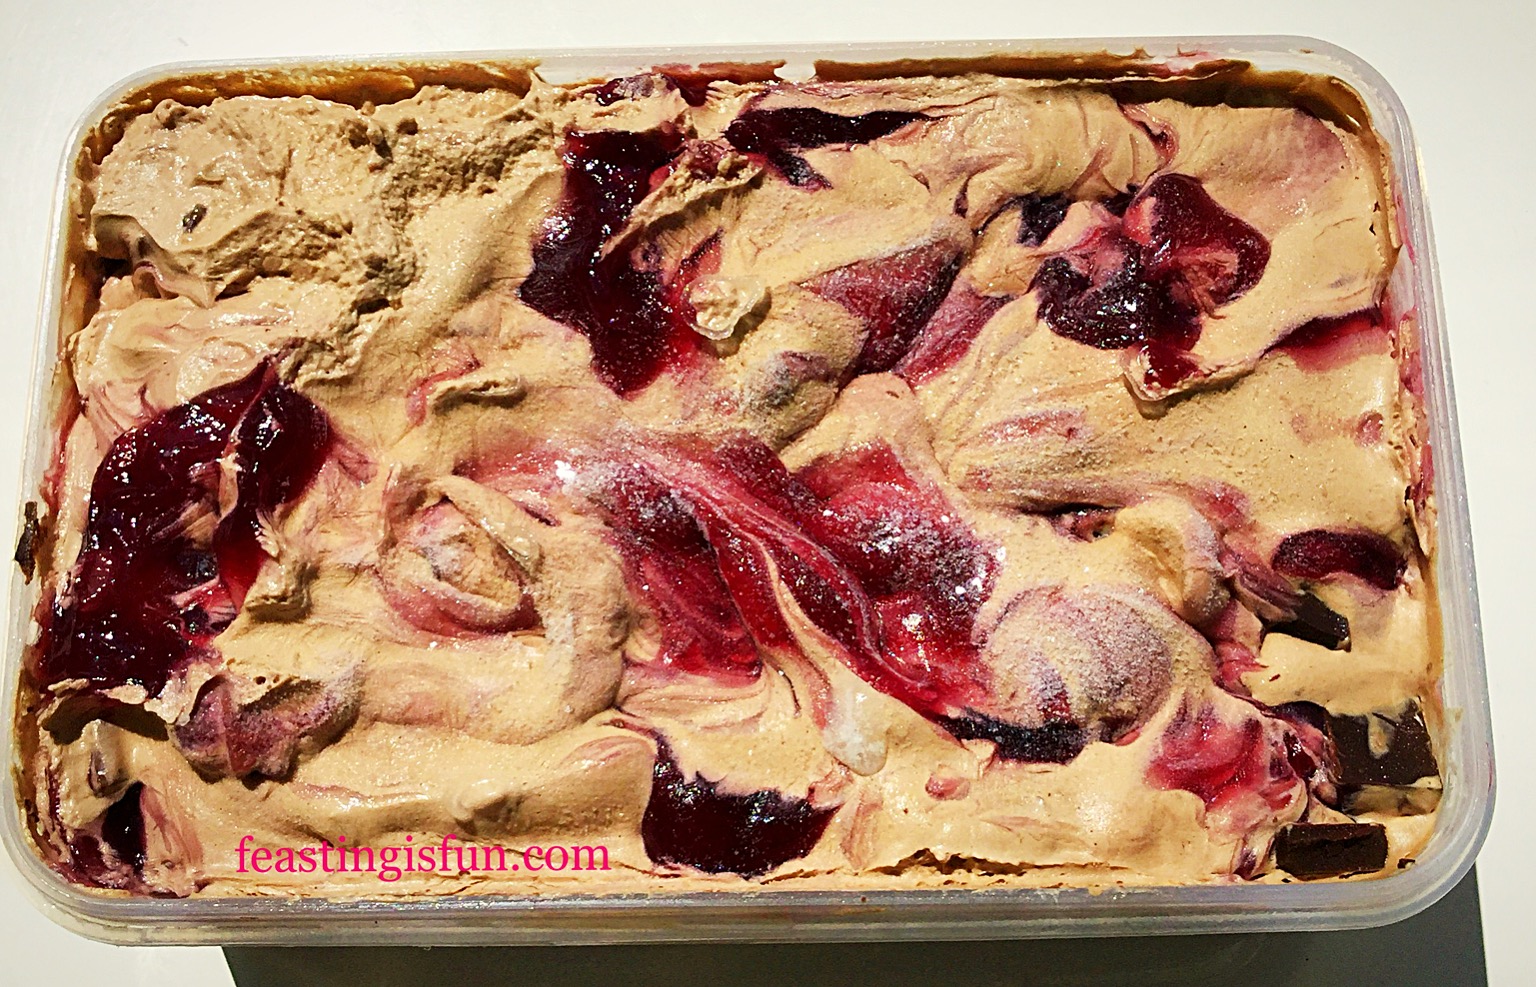
Are you a fan of ice cream? I am and I absolutely love making it myself. The reason for that is, firstly I own an awesome ice cream maker from Andrew James and secondly any flavour combination is possible.The only limit is your own imagination. So welcome to my Cherry Chocolate Ice Cream.

Pinterest sized image with descriptive graphics.

So, yesterday I was going to make a batch of Strawberry Ripple Ice Cream. Yet while foraging around in the cupboard for ingredients I came across a bar of Lindt Cherry Chocolate. And an idea started to form. Further rummaging and the second ingredient was found. A can of tinned cherries. Not sure if they would make it to the final recipe I hooked them out anyway. So it was time to start experimenting!

A tub of frozen swirled ice cream.
A tub of frozen Cherry Chocolate Ice Cream.

Flavours That Compliment Each Other

Cherry and chocolate are a classic combination. In truth, during cherry season I may try this recipe with gorgeous, glossy fresh cherries. Especially as we have a cherry tree in our garden. Instead their flavour is imparted firstly through the cherry chocolate bar. Resulting in a pleasantly mild flavour. However, once frozen the flavours dull. Resulting in the decision to use a full can of cherry pie filling (please don’t hate me) with the additional dark chocolate chunks added as well.

Scoops of flavoured ice cream in a bowl with a spoon.
Cherry Chocolate Ice Cream

Taste is an important part of developing a recipe, is key. As soon as the ice cream is churned, frequent tastings are made and more cherries are added. It’s a hard life! Eventually the balance was perfect using the entire can. Dark chocolate chunks transform any ice cream, with both flavour and texture. Here they provide deep chocolate flavour within the silky, mild chocolate ice cream. Resulting in this incredible Cherry Chocolate Ice Cream, my hubby’s all time favourite.

Scoops of ice cream in a glass bowl.
Cherry Chocolate Ice Cream

Recipe: Cherry Chocolate Ice Cream makes approx. 1L

300ml Double Cream

300ml Whole Milk

1tsp Vanilla Extract – I use Nielsen-Massey

4 Large Free Range Egg Yolks – the whites can be frozen for up to 1 month

1tsp Corn Flour – I use Dove’s Farm as it is certified gluten free

4tbsp Caster Sugar

100g Bar Lindt Cherry Chocolate

1 x 410g Can Cherry Pie Filling – check that the pie filling is gluten free. Alternatively use frozen, pitted cherries available from most supermarkets.

100g Dark Chocolate Chunks/Bar

Method:  Place the bowl of the ice cream maker in the freezer at least 8 hours/overnight or follow the manufacturer’s instructions, prior to making this ice cream.

For step by step instructions and photos please see Very Vanilla Ice Cream .

Making The Custard Base

  • First of all pour the cream and milk into a heavy based saucepan placed over a medium heat.
  • While the cream is heating place the egg yolks, sugar, vanilla extract and corn flour into a large heatproof bowl.
  • Whisk the ingredients together until pale and frothy, keeping an eye on the heating cream.
  • Heat the cream and milk to scalding point, when a ring of bubbles appear around the rim of the saucepan, just prior to the liquid boiling. Remove from the heat once scalding point has been reached.
  • With the whisk on slow, gently pour in the heated cream, increasing the speed once it is all added.
  • Pour the custard mixture back into the pan and place over a medium heat. Stir to ensure that the base doesn’t burn. Continue until the custard is thickened and coats the back of a wooden spoon. Remove from heat.

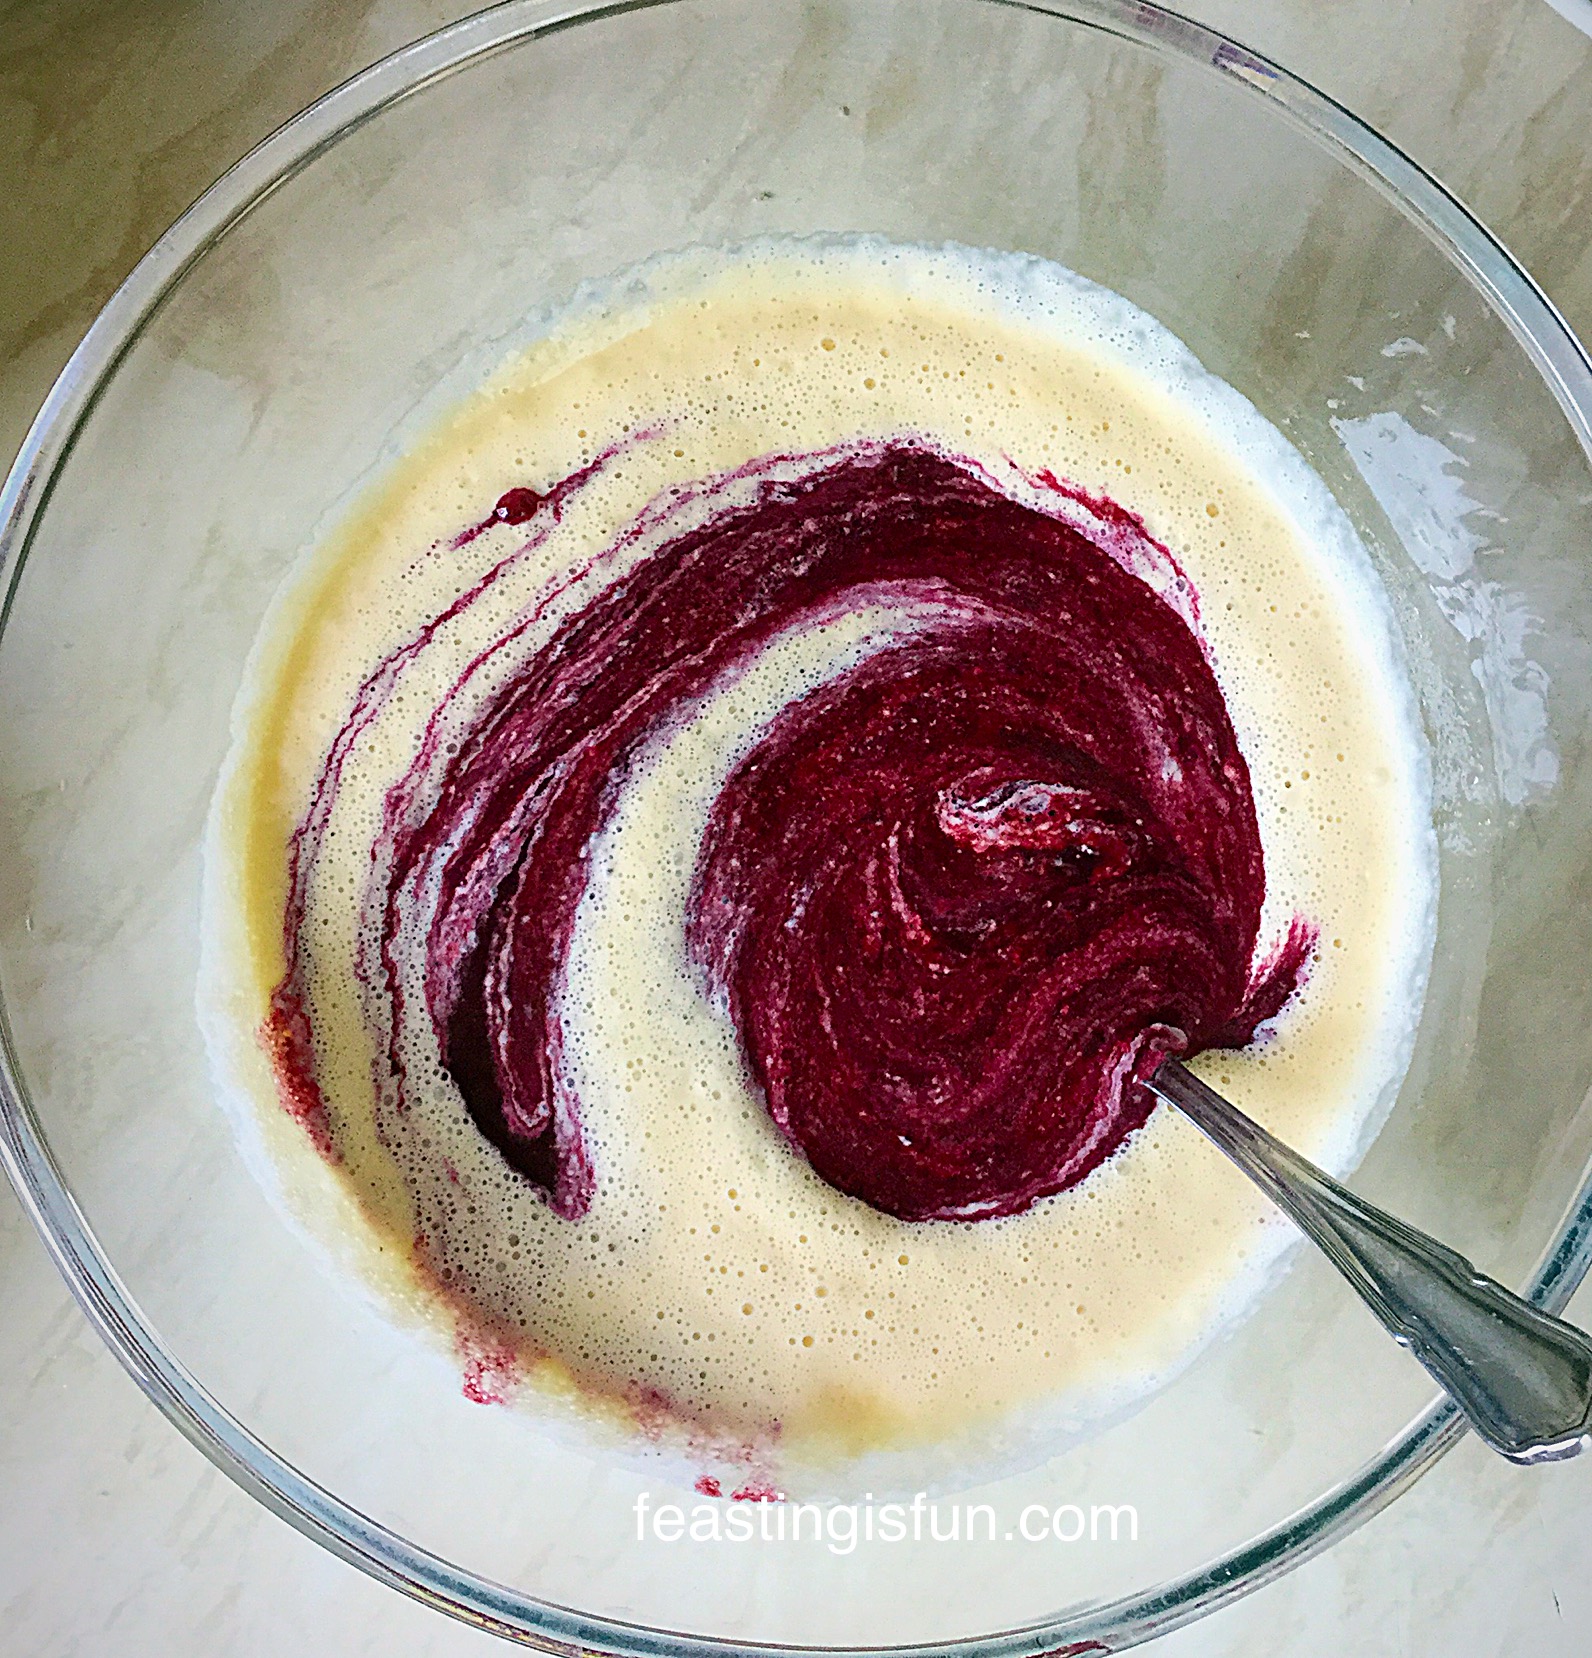
Turning The Vanilla Custard Into A Cherry Chocolate Base

  • Break up the cherry chocolate bar and place into a heatproof bowl. Place a sieve over the bowl.
  • Next, pour the thickened custard through the sieve into the bowl.
  • Stir the custard until all of the chocolate has melted. Cover the custard with cling film placed directly on to the top of the hot, thick liquid, this will stop a skin from forming.
  • Set the hot, flavoured custard to one side and allow to cool.
FF Cherry Chocolate Ice Cream
Churning The Ice Cream And Adding Cherries And Chocolate Chunks 
  • When the ice cream base has cooled place in the fridge to chill.
  • While the ice cream base is chilling prepare the chocolate chunks. If using a bar chop into pieces.
  • Set up the ice cream maker once the ice cream base is cold.
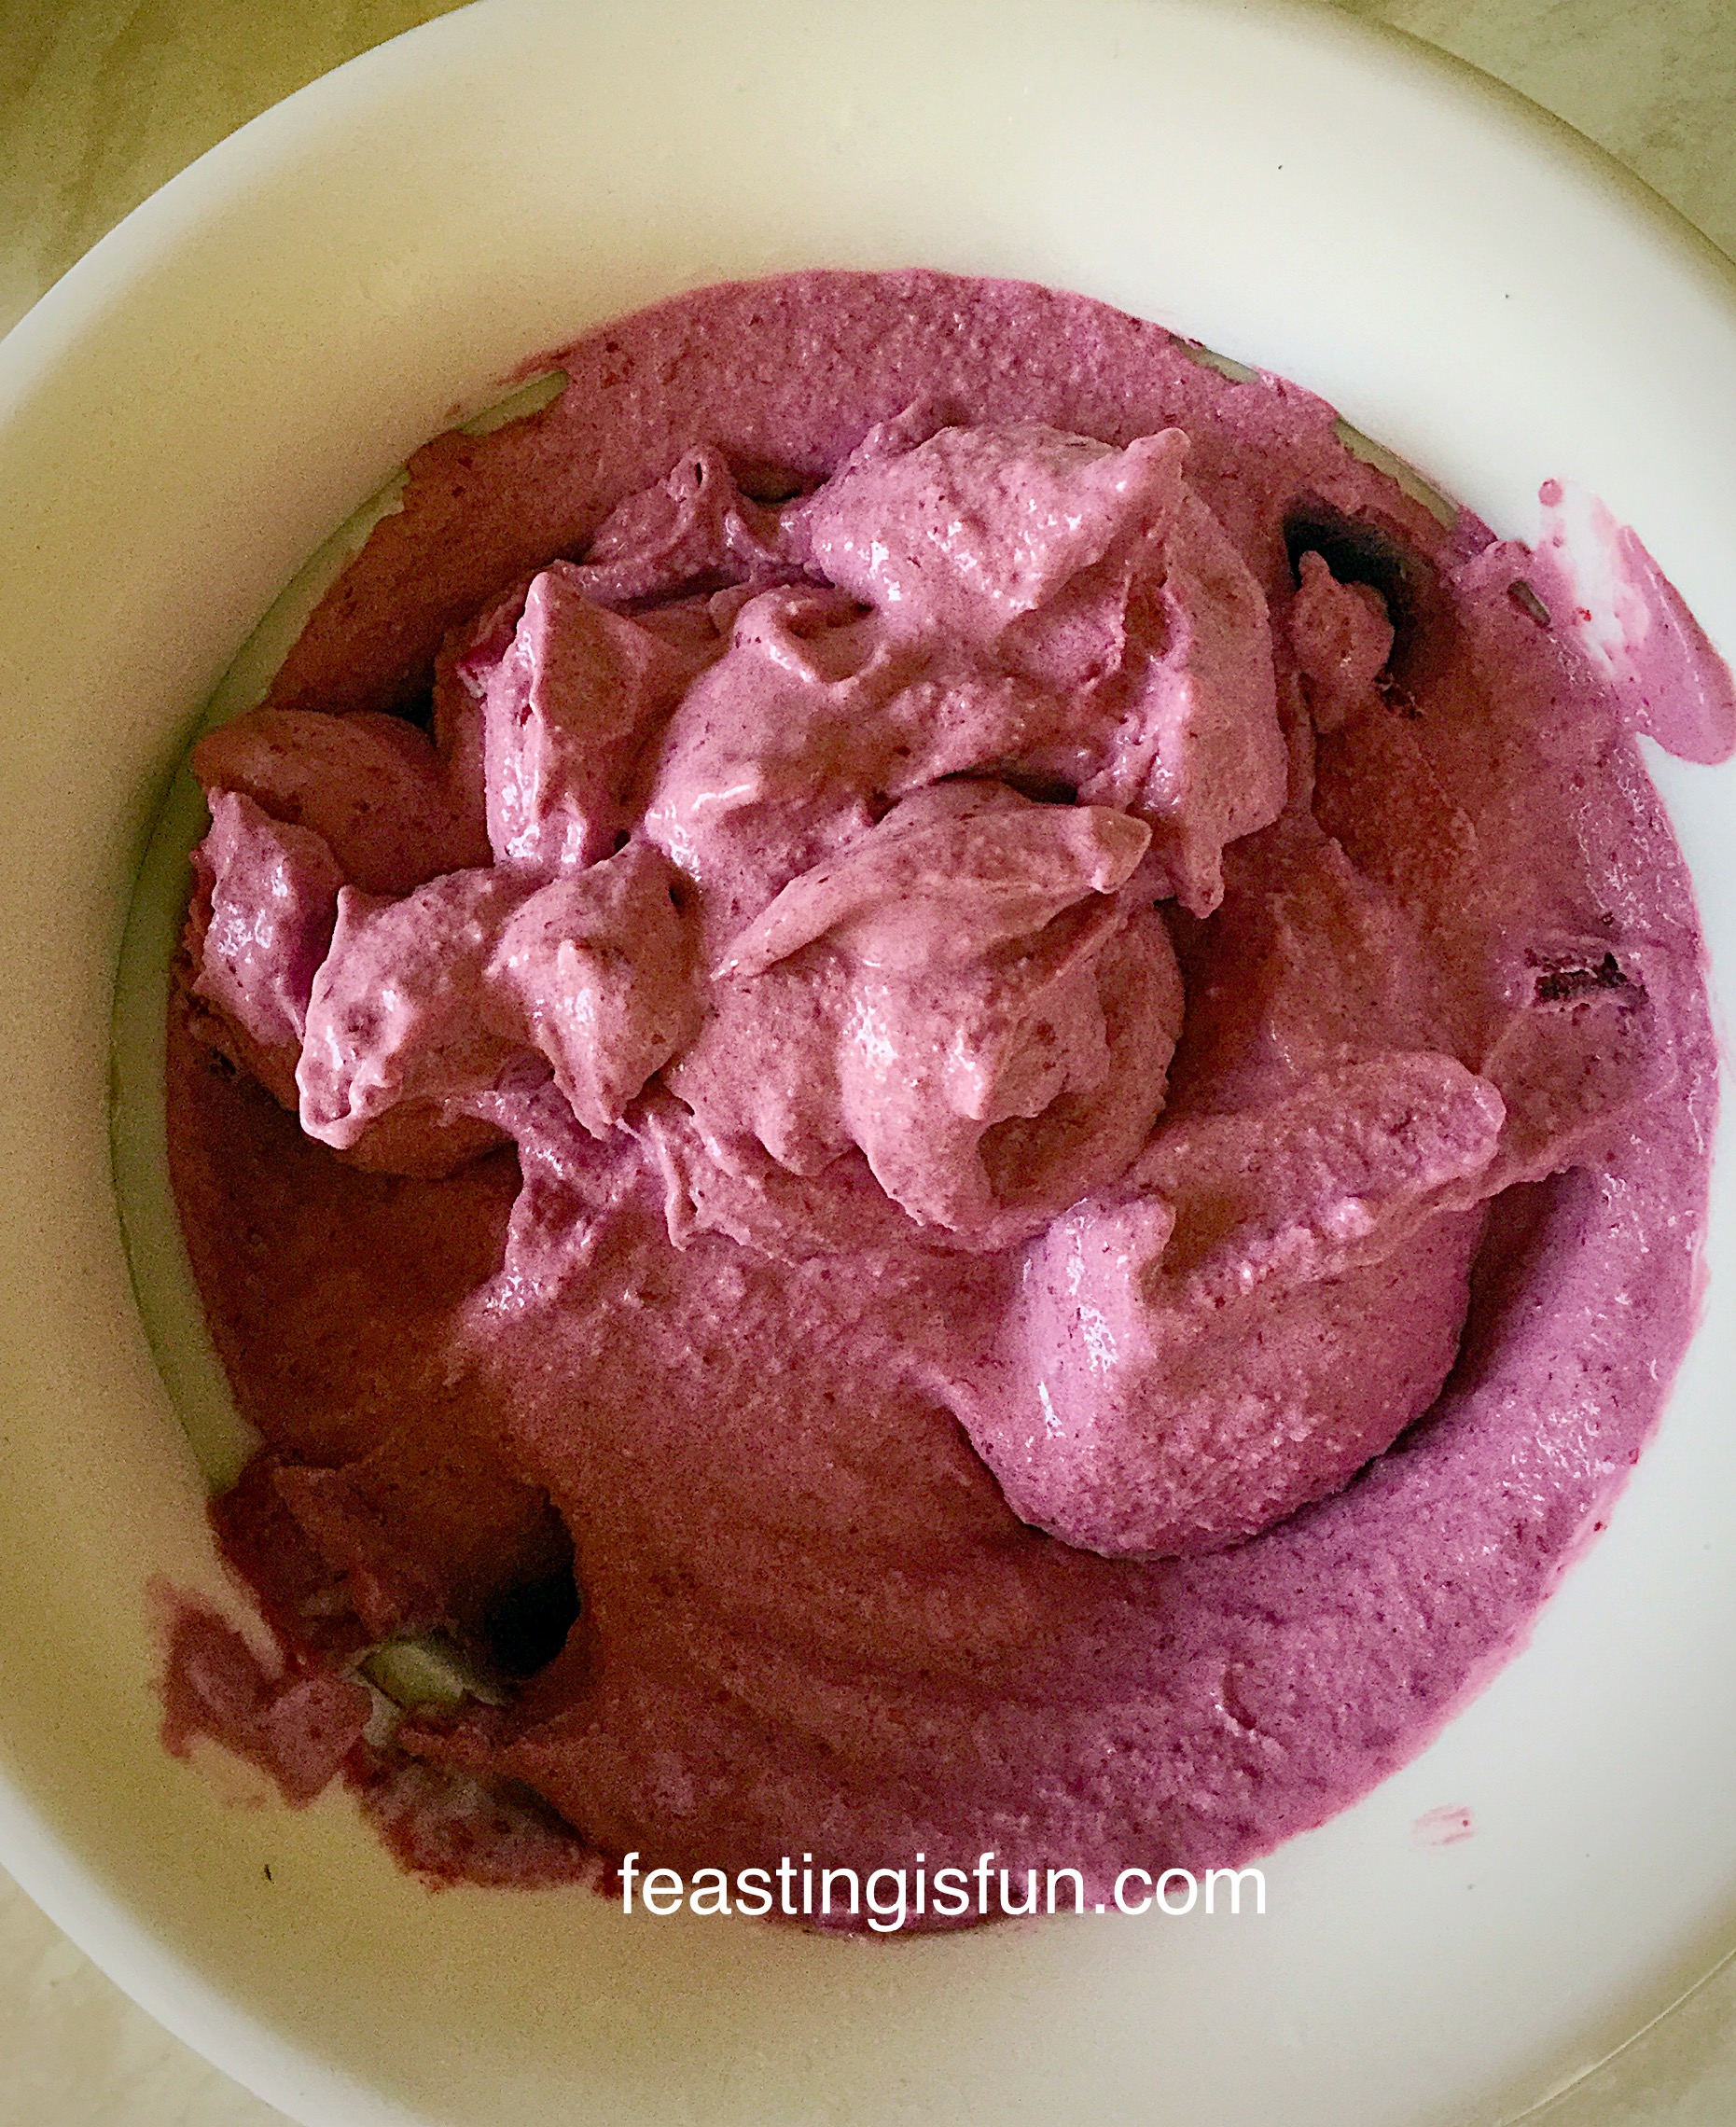
  • Pour the base into the ice cream maker and churn until softly frozen.
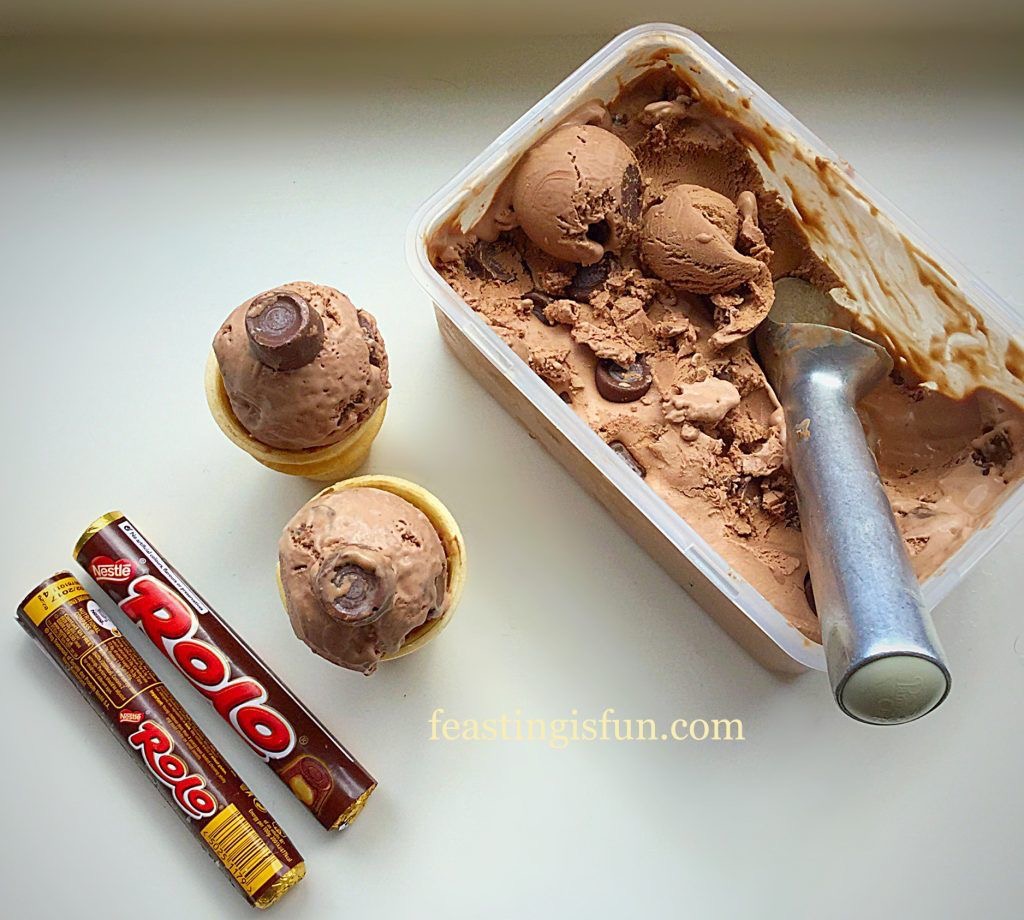
  • Decant the ice cream into a freezer proof container with a tight fitting lid.
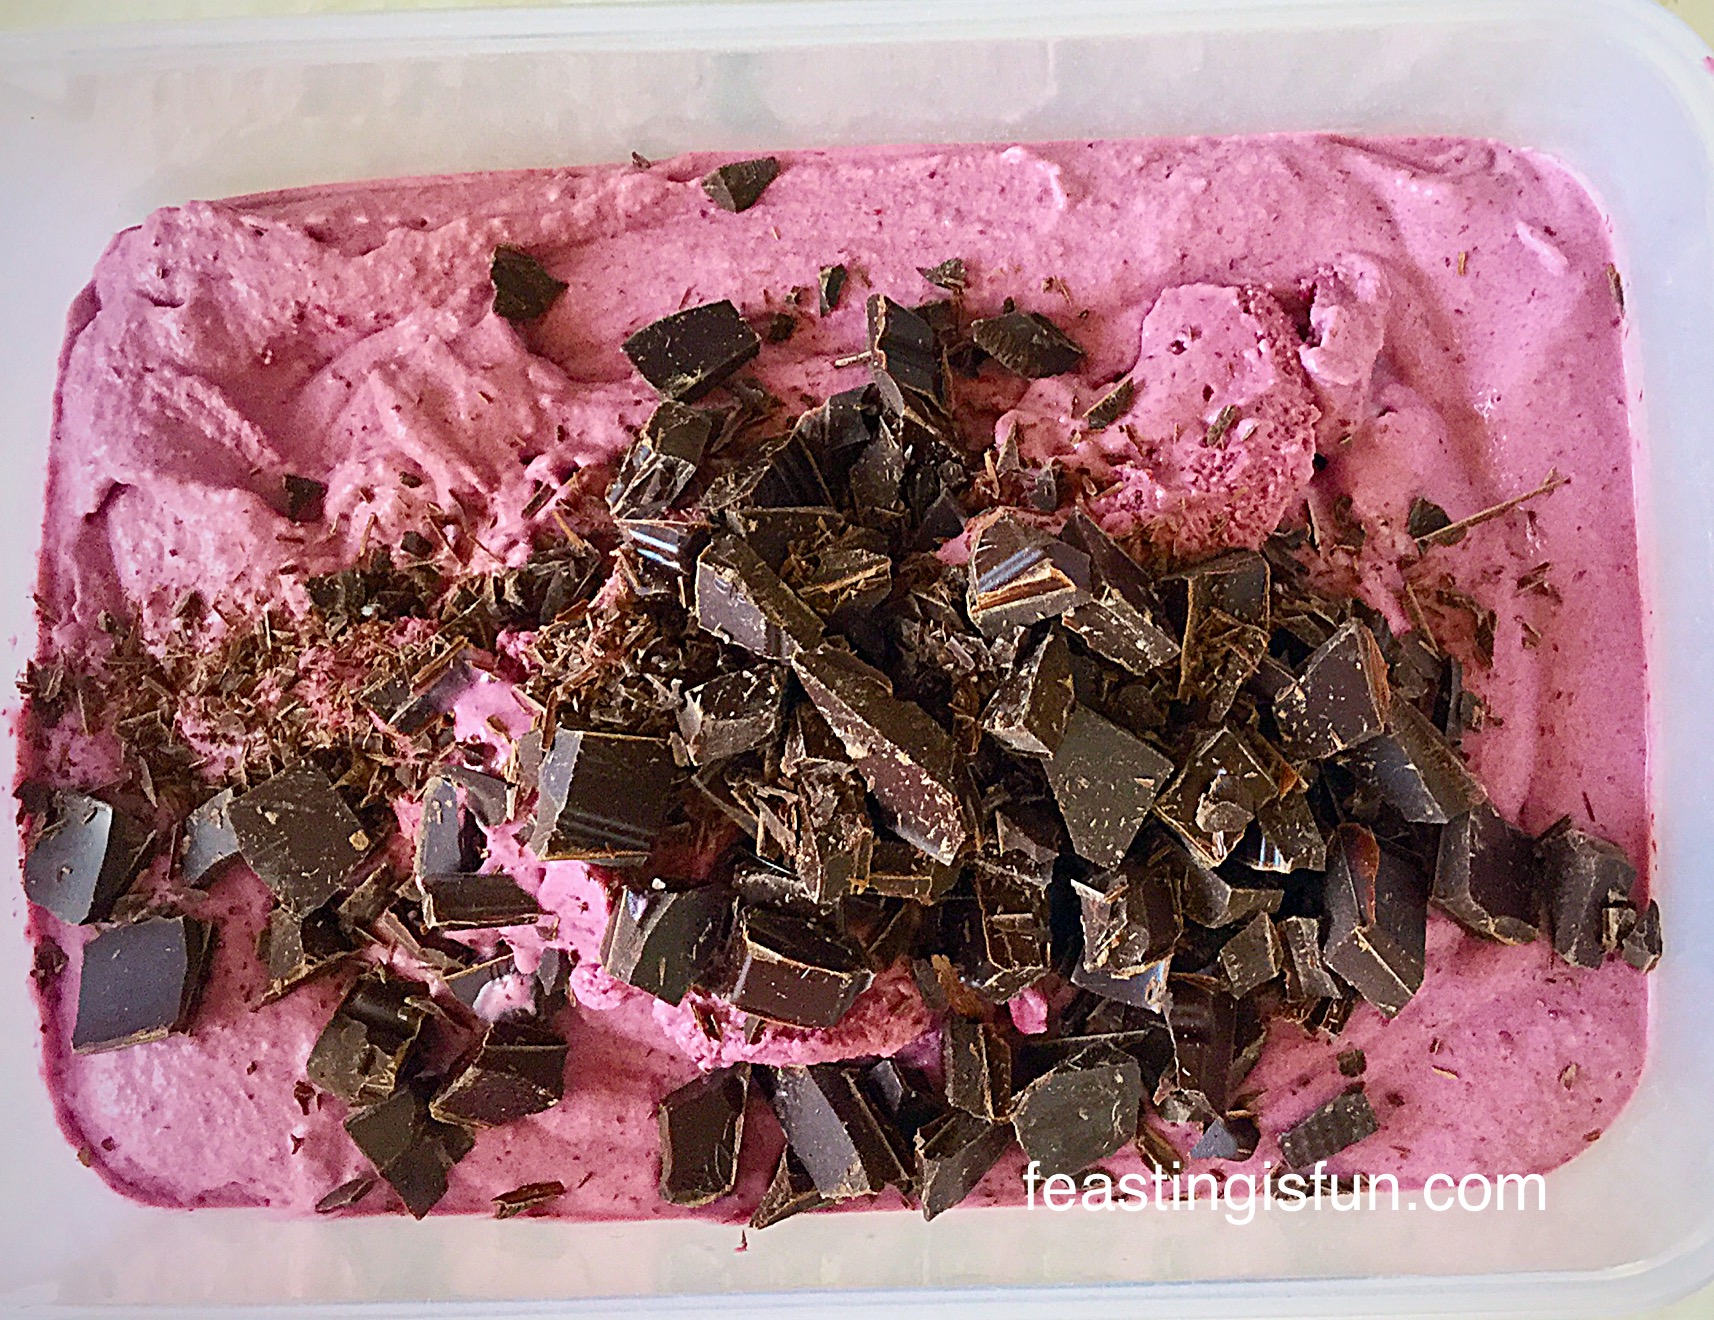
  • Add the cherries and chopped chocolate.
FF Cherry Chocolate Ice Cream
Creating the Cherry Chocolate Ice Cream
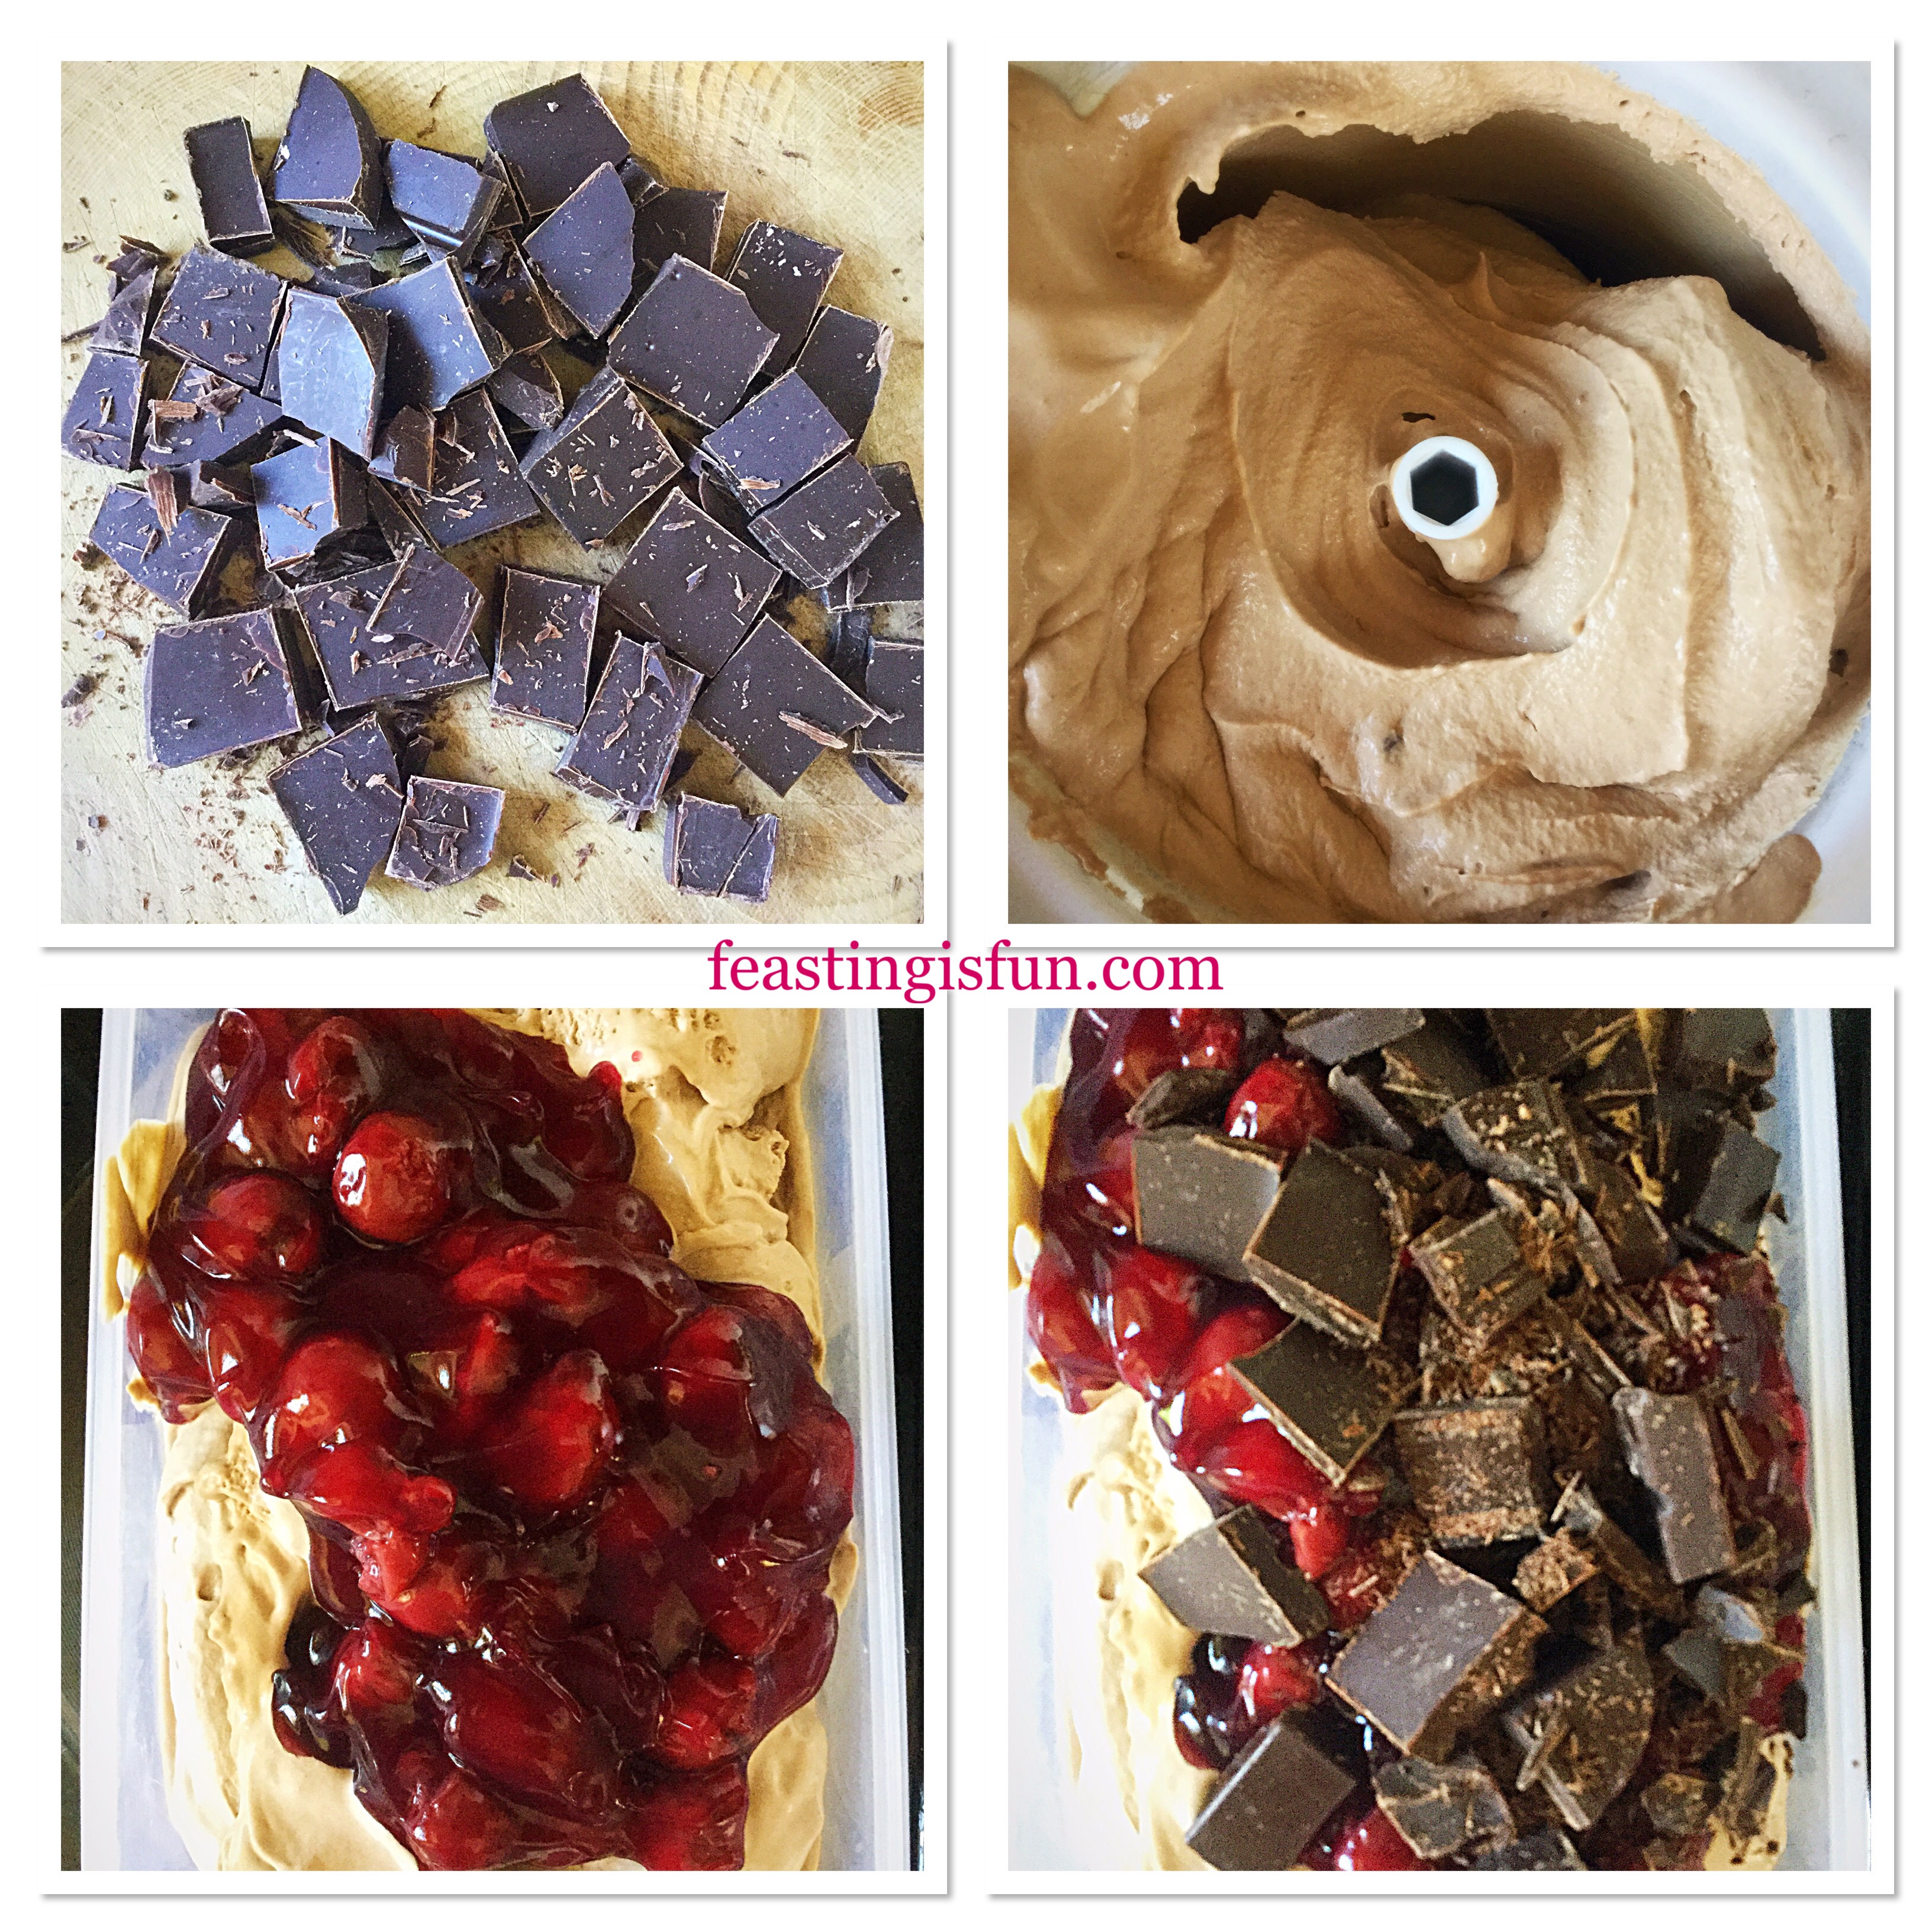
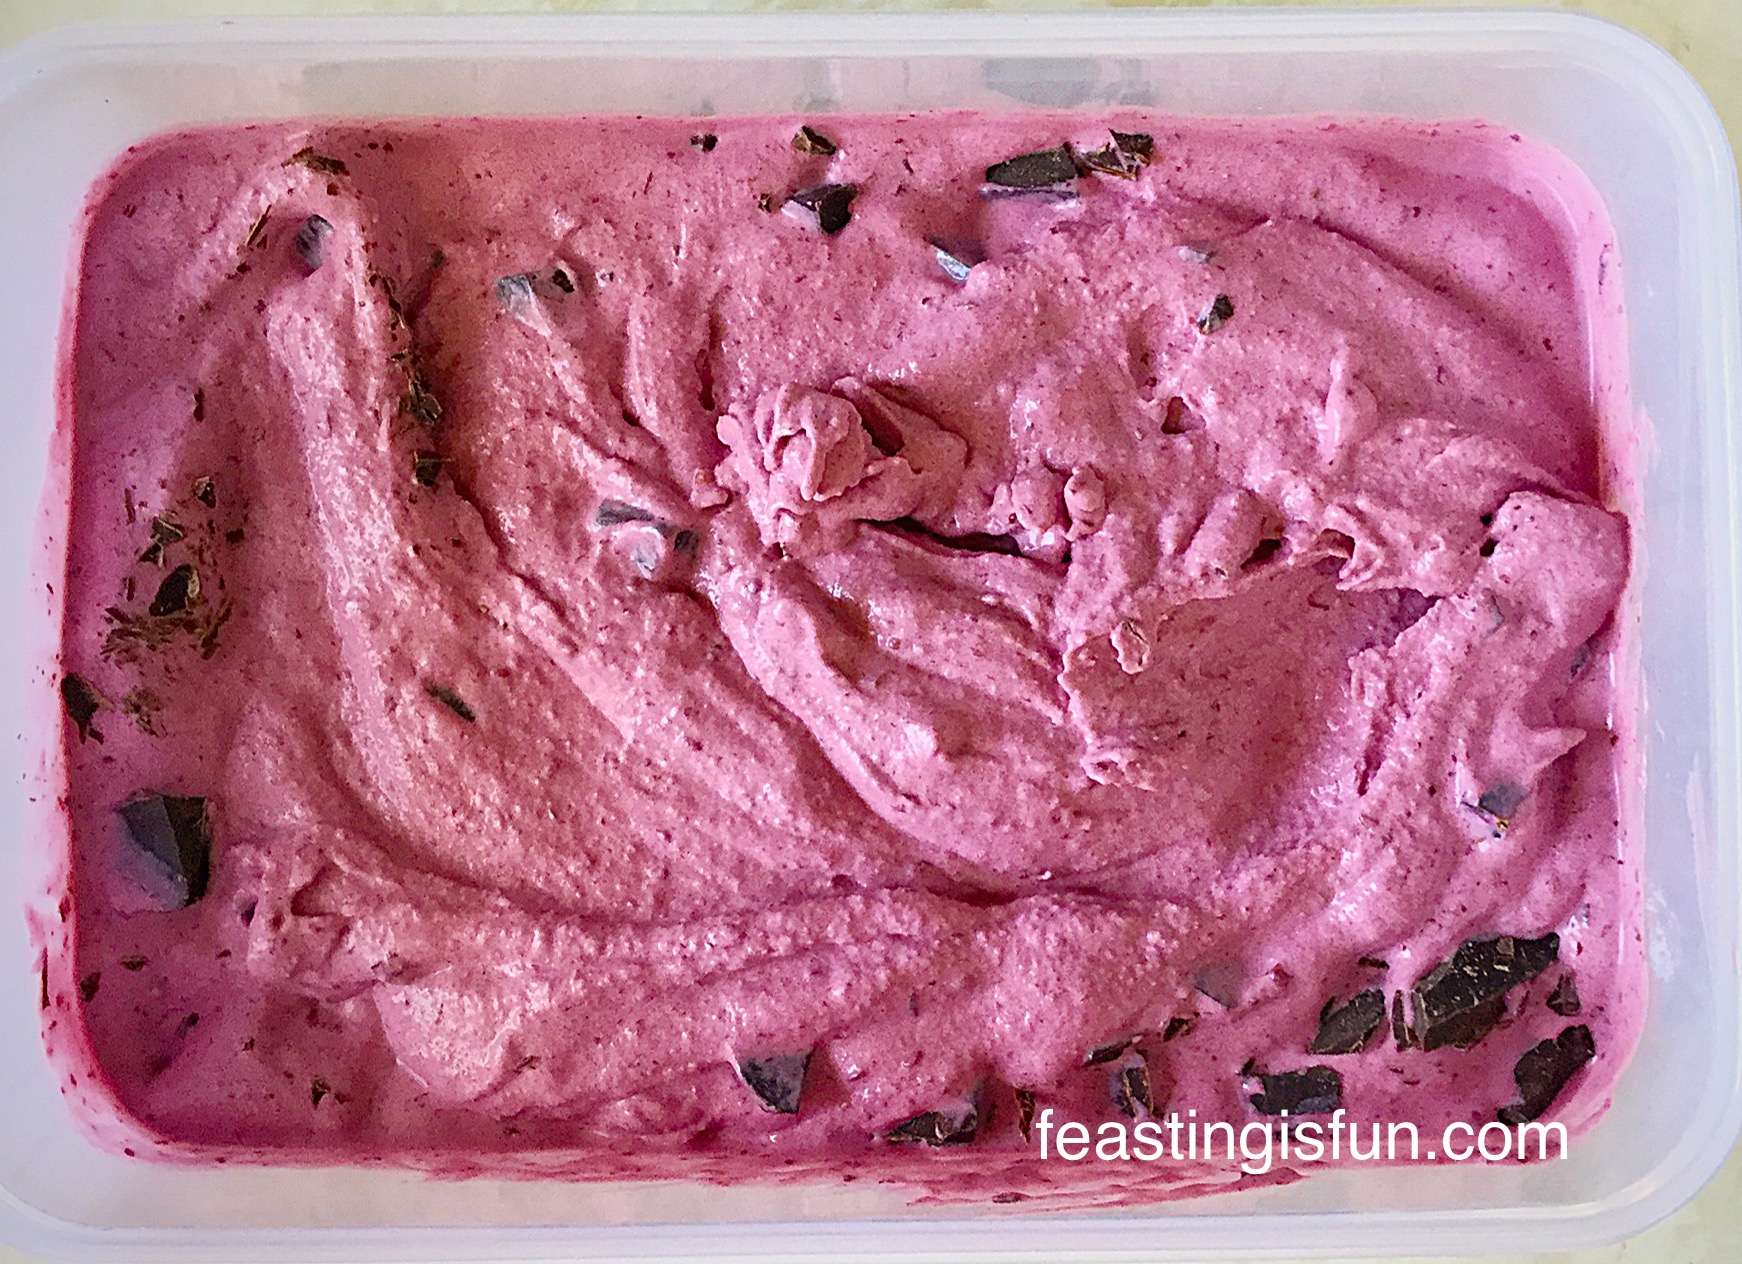
  • Using the handle of a wooden spoon swirl the ingredients together.
FF Cherry Chocolate Ice Cream
Cherry Chocolate Ice Cream swirled together and ready for the freezer.
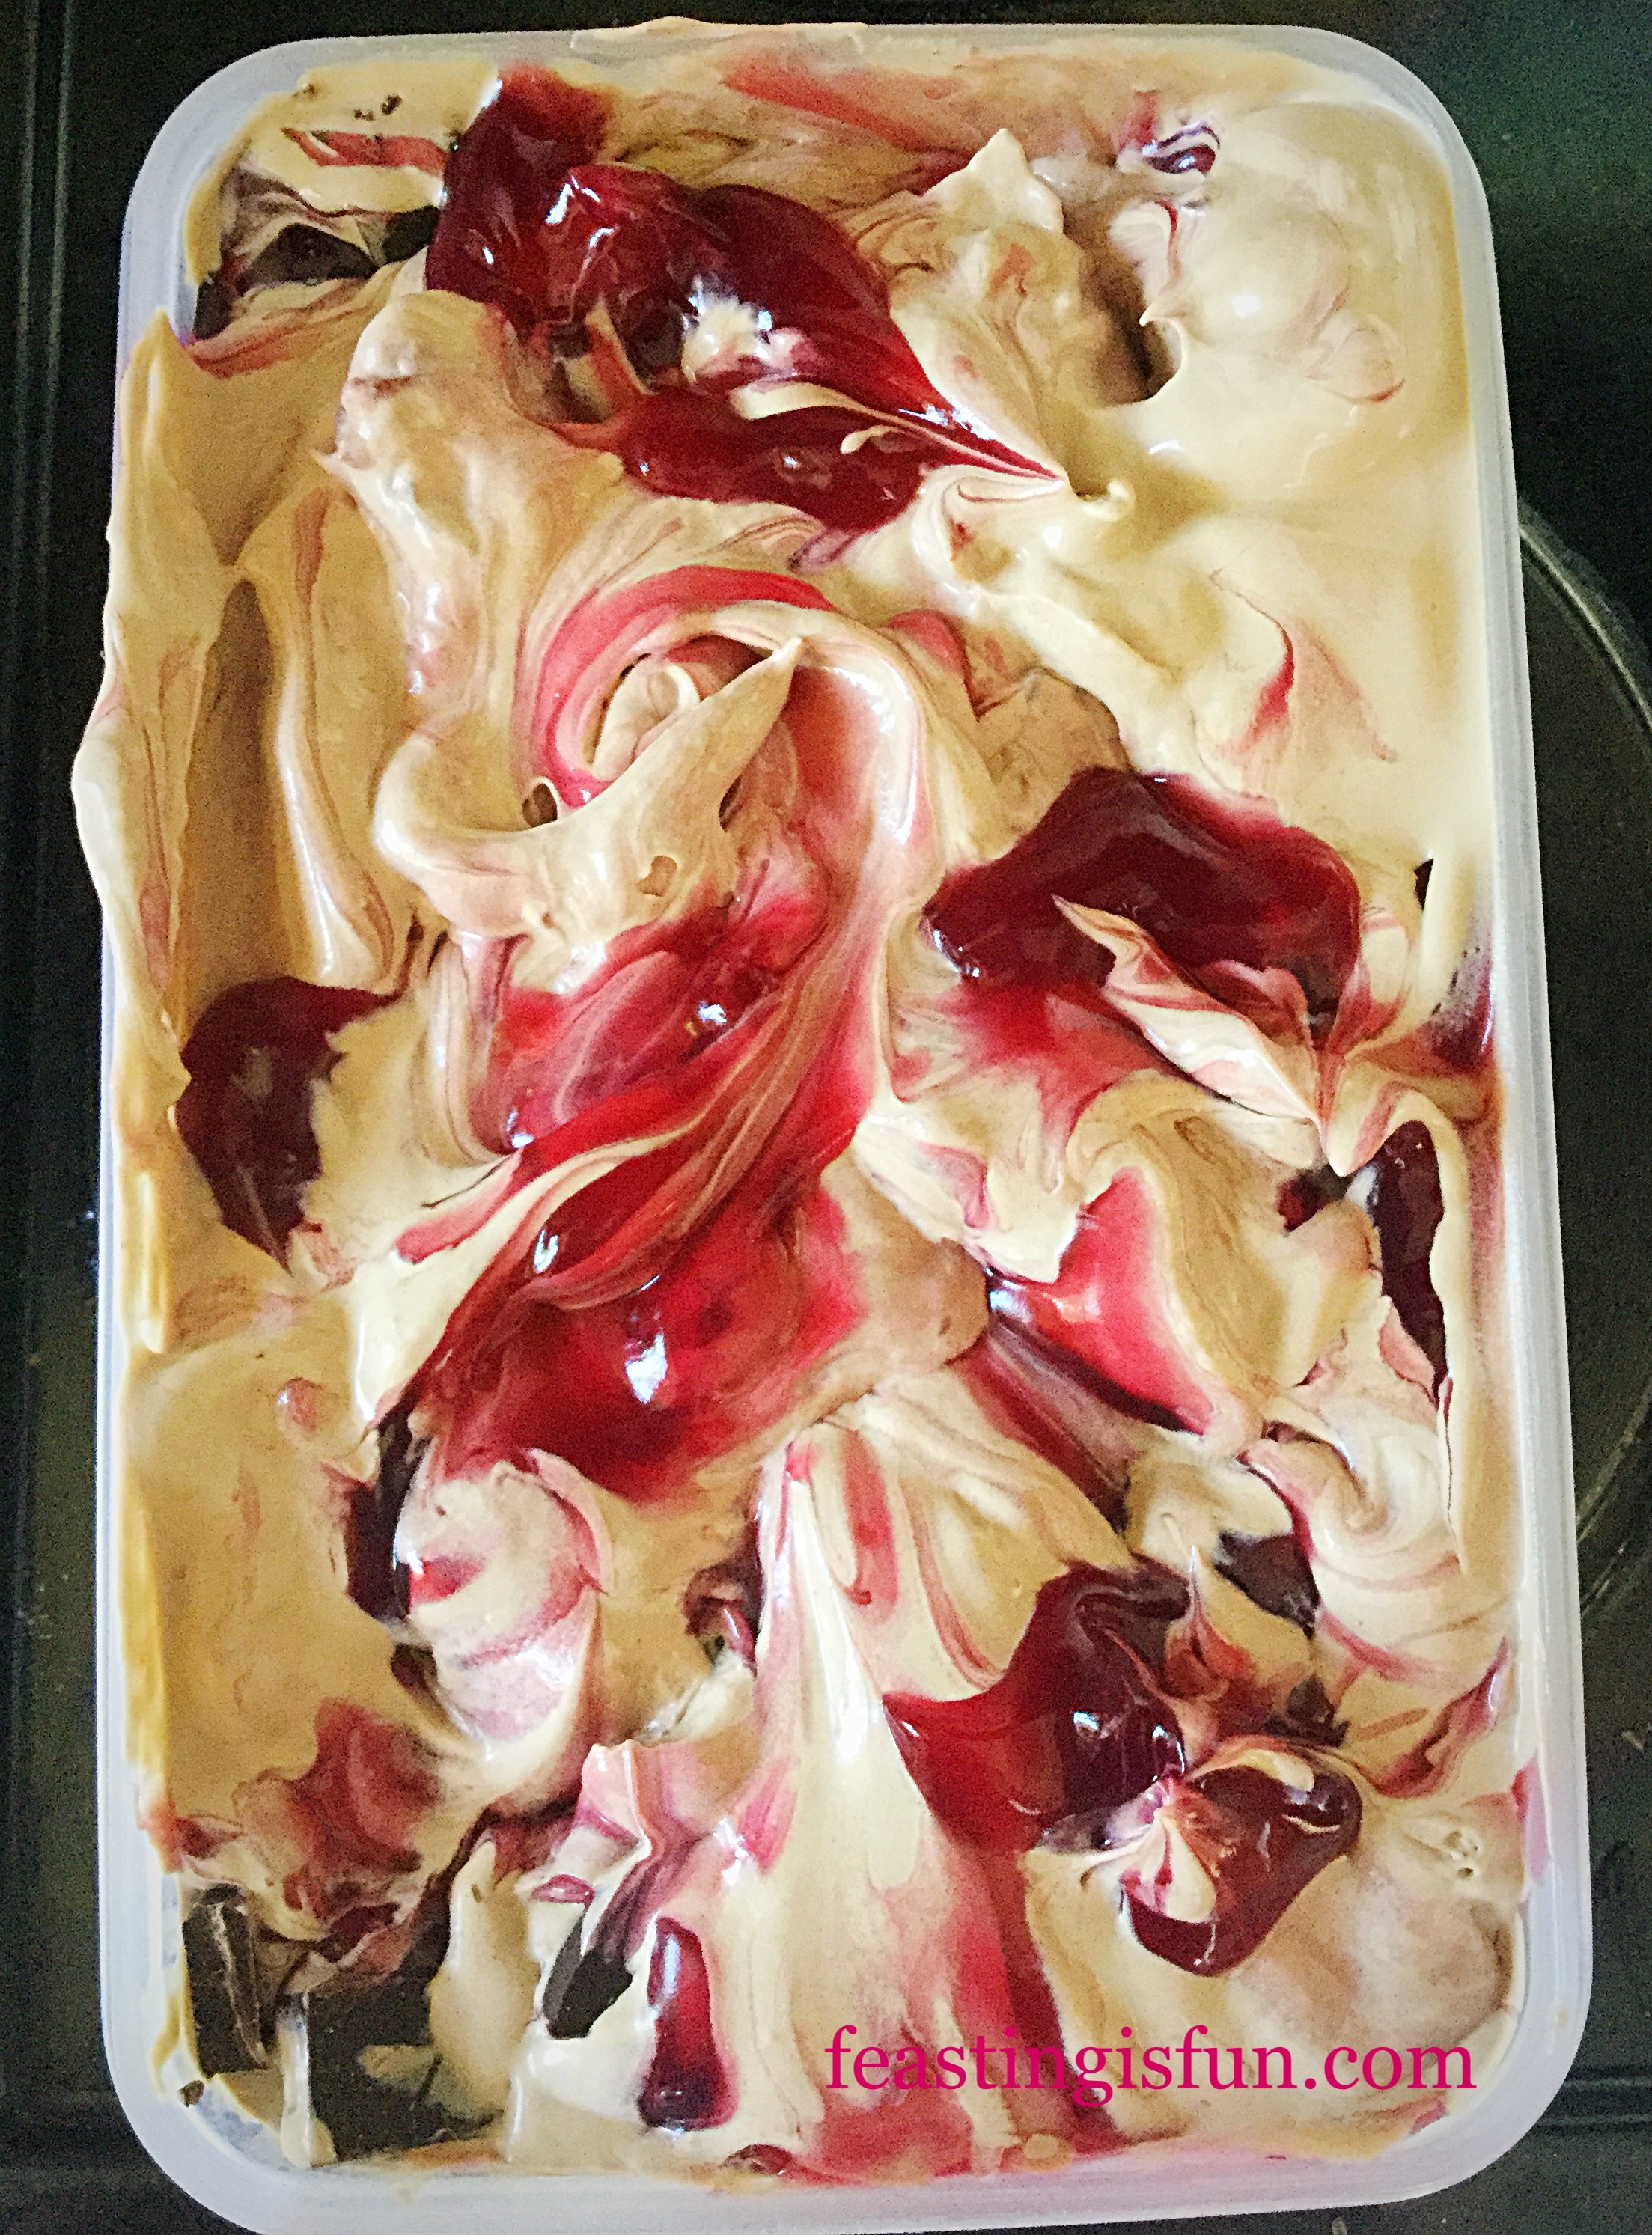
  • Clip on a tight fitting lid and place in the freezer for 6 hours or ideally overnight.
  • Remove the ice cream 10-20 minutes prior to serving to allow it to soften, which will allow easy scooping.
FF Cherry Chocolate Ice Cream
Cherry Chocolate Ice Cream ready to serve

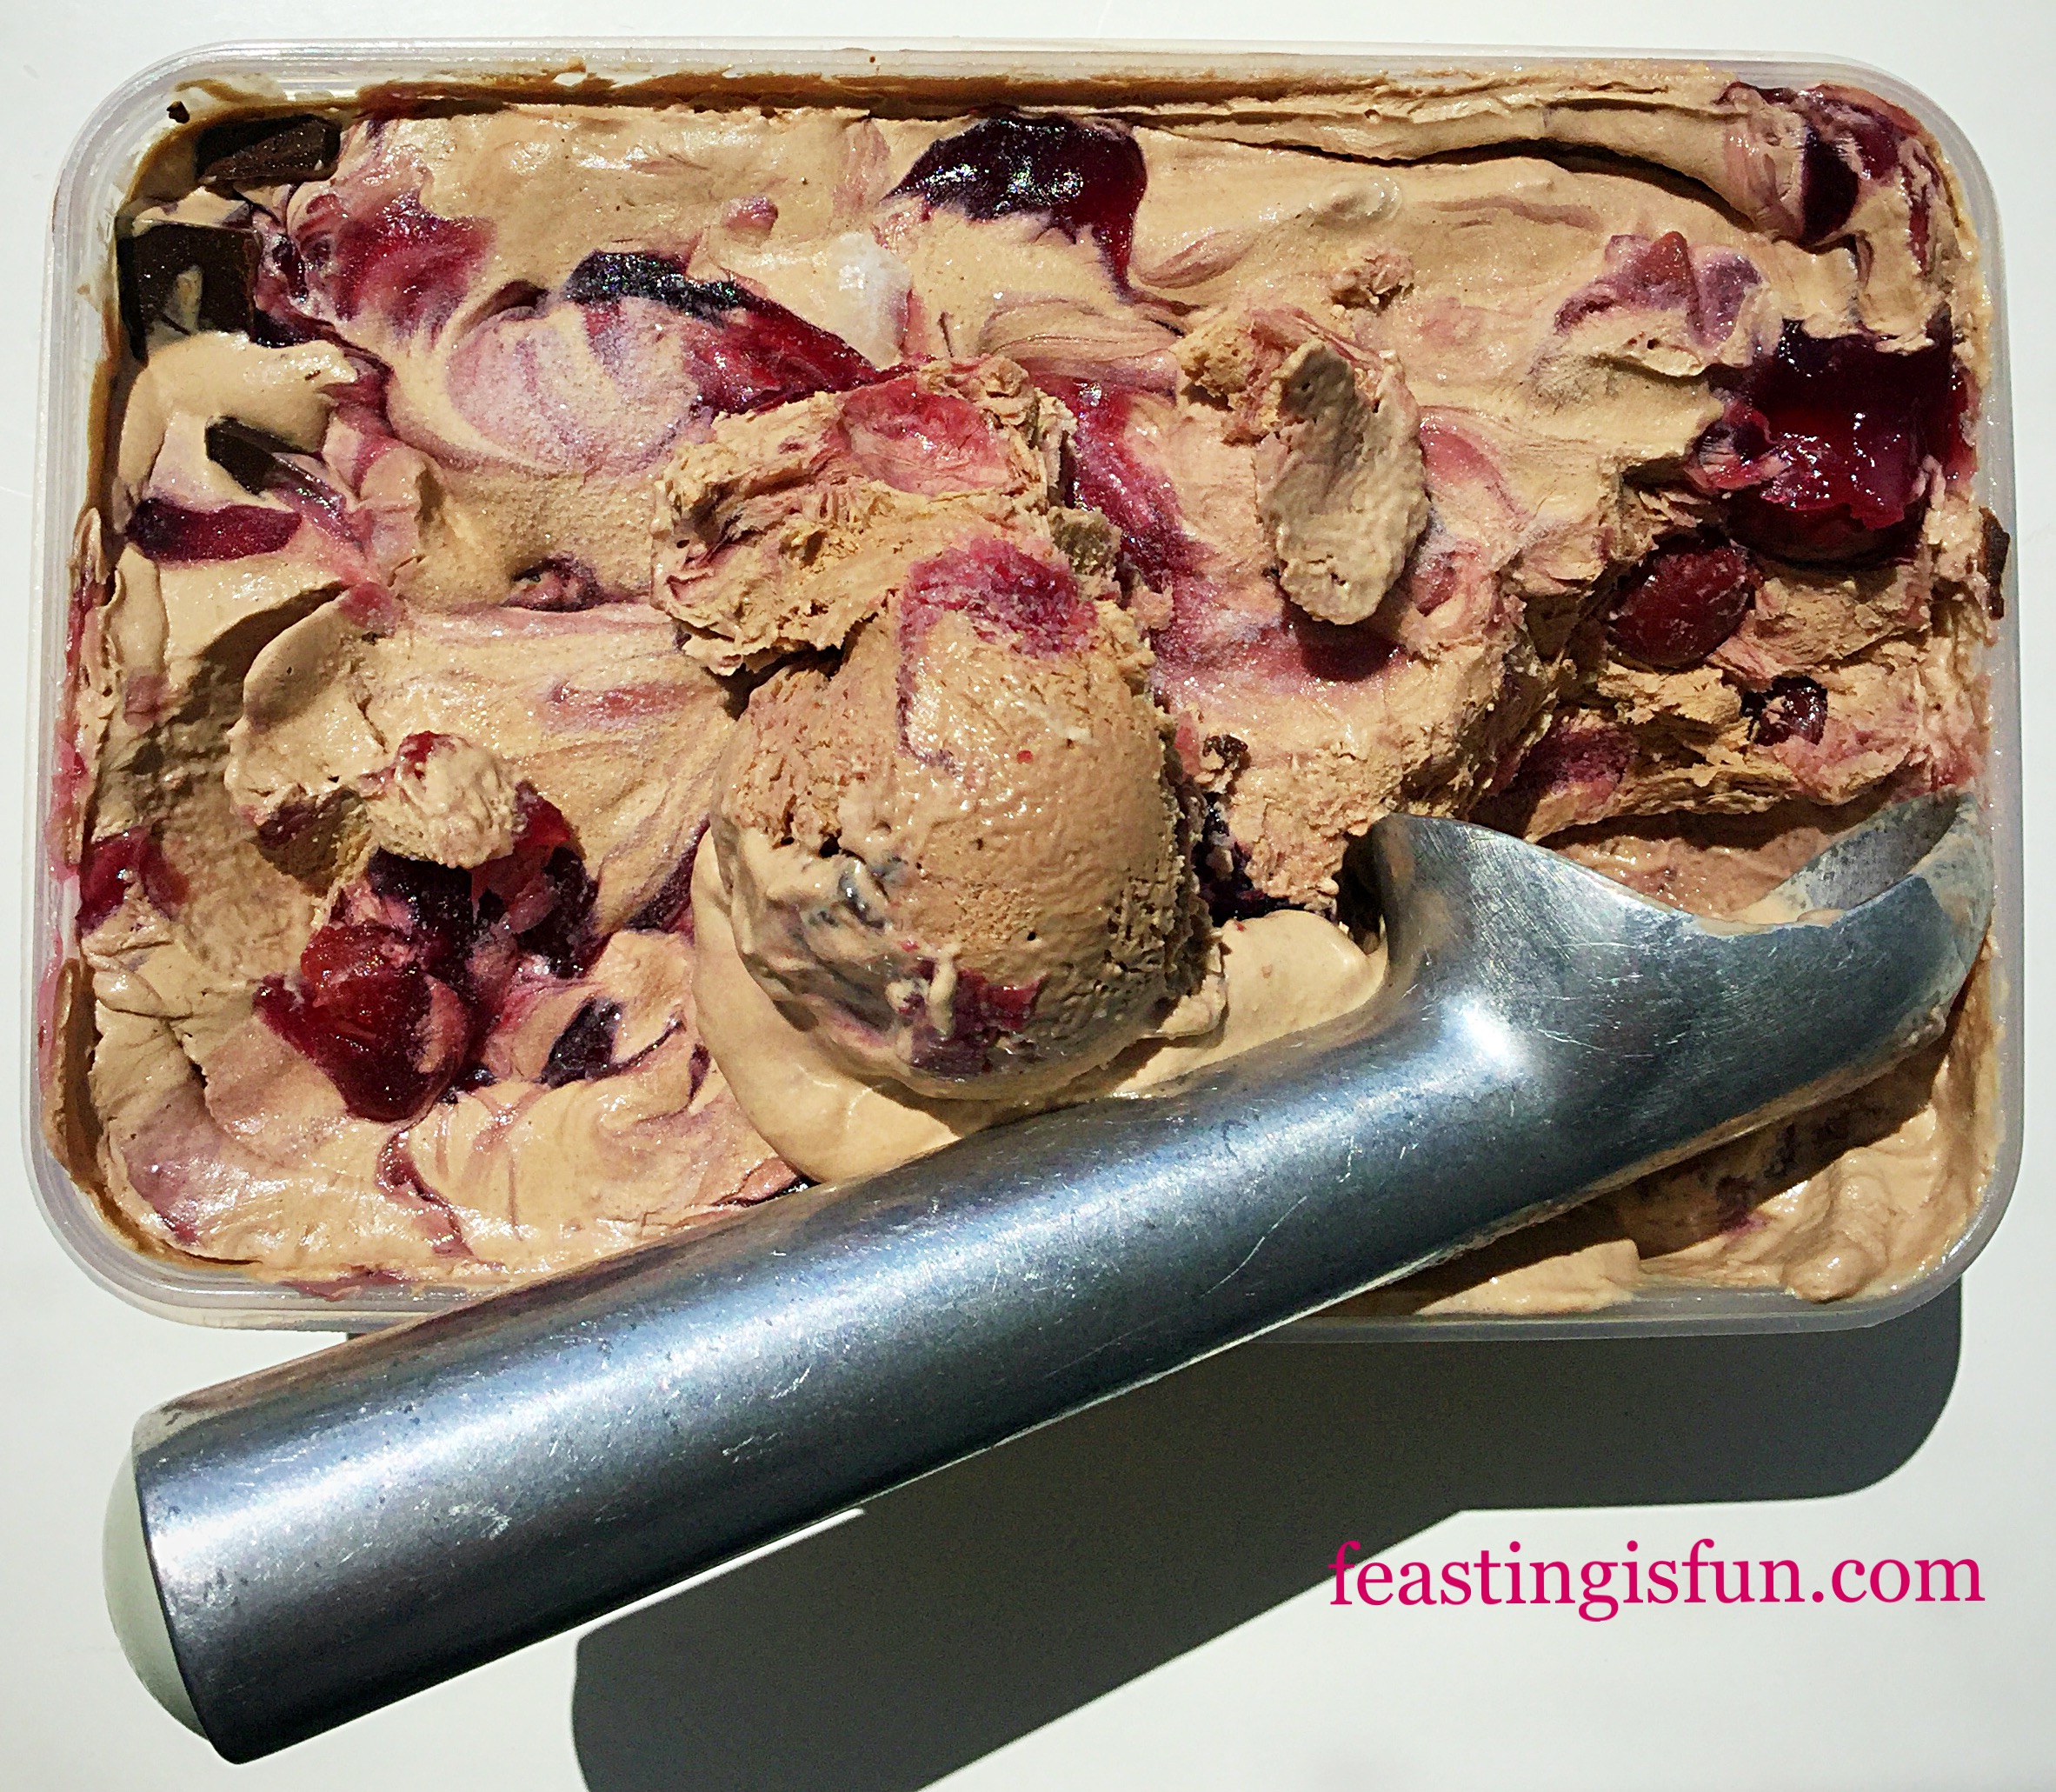
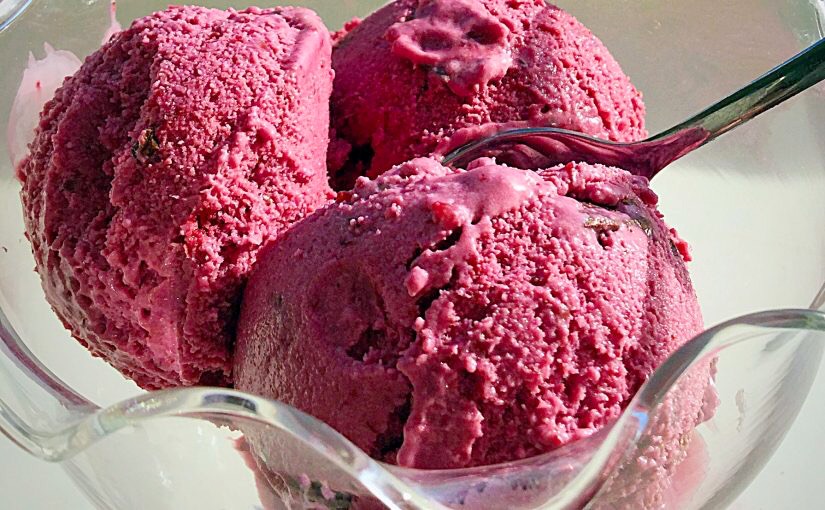
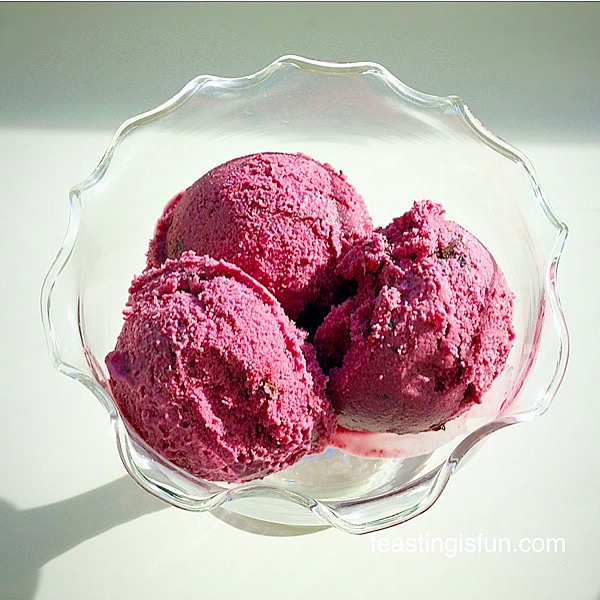
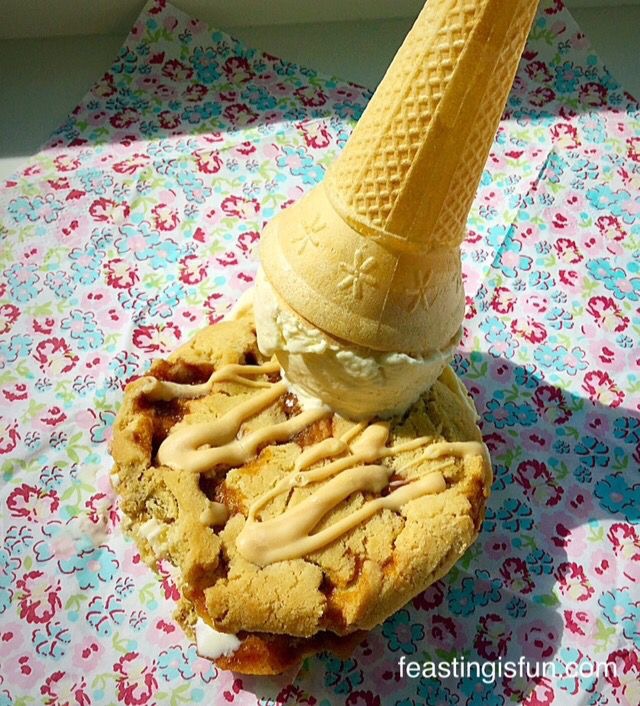
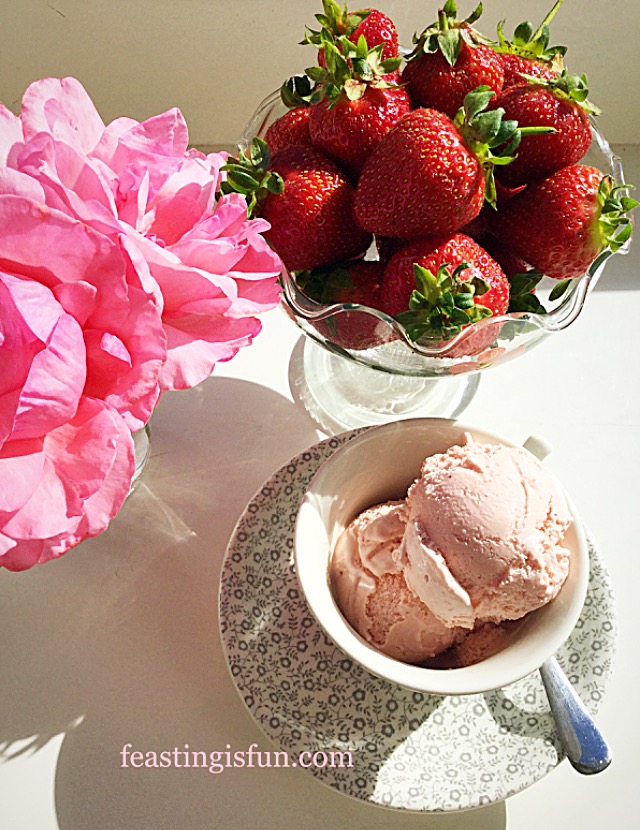
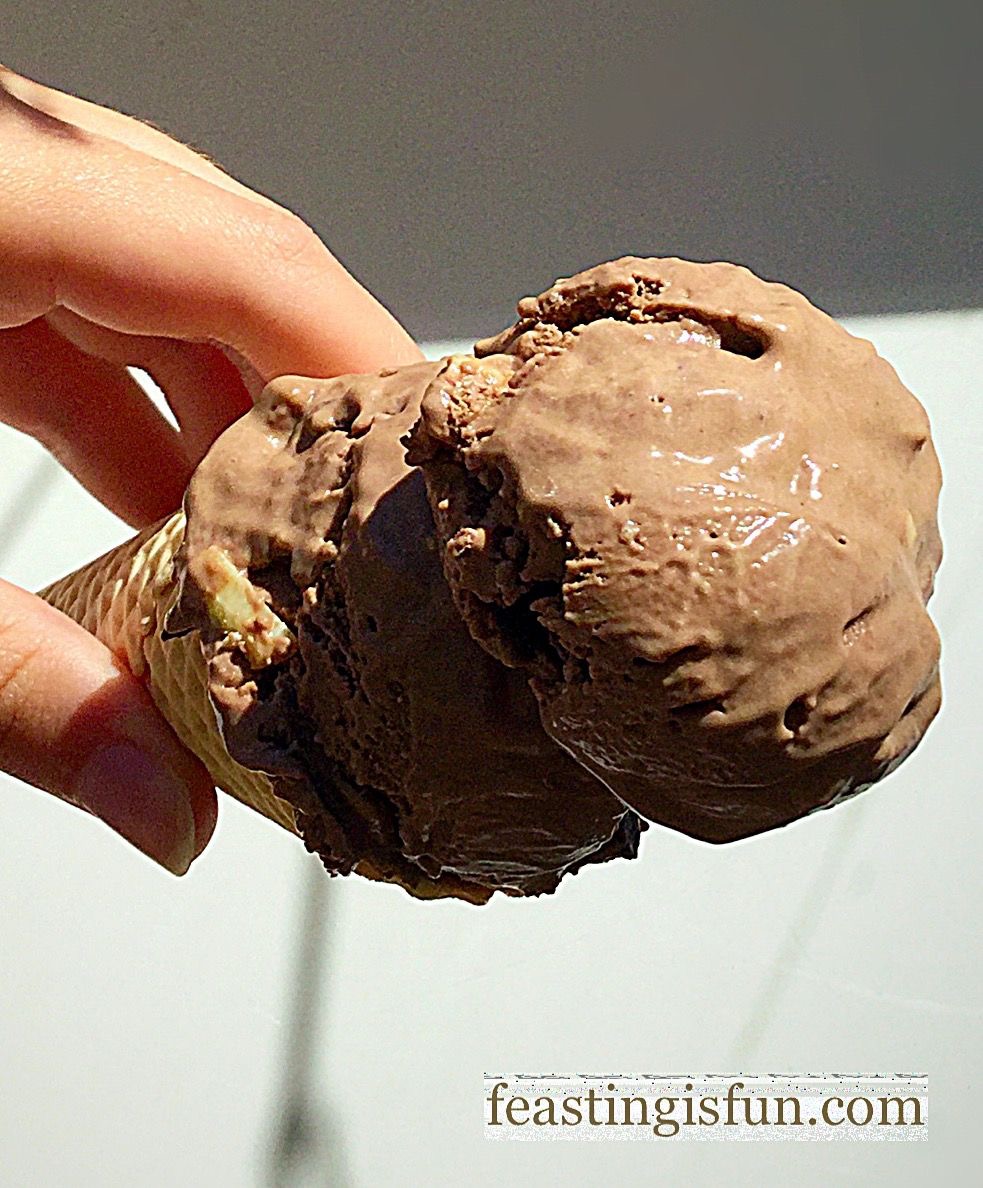
Serve generous scoops of this utterly scrumptious ice cream in bowls or cones. And watch the smiles on faces as they discover whole cherries, nuggets of dark chocolate and enjoy feasting.

FF Cherry Chocolate Ice Cream
Cherry Chocolate Ice Cream Sundae

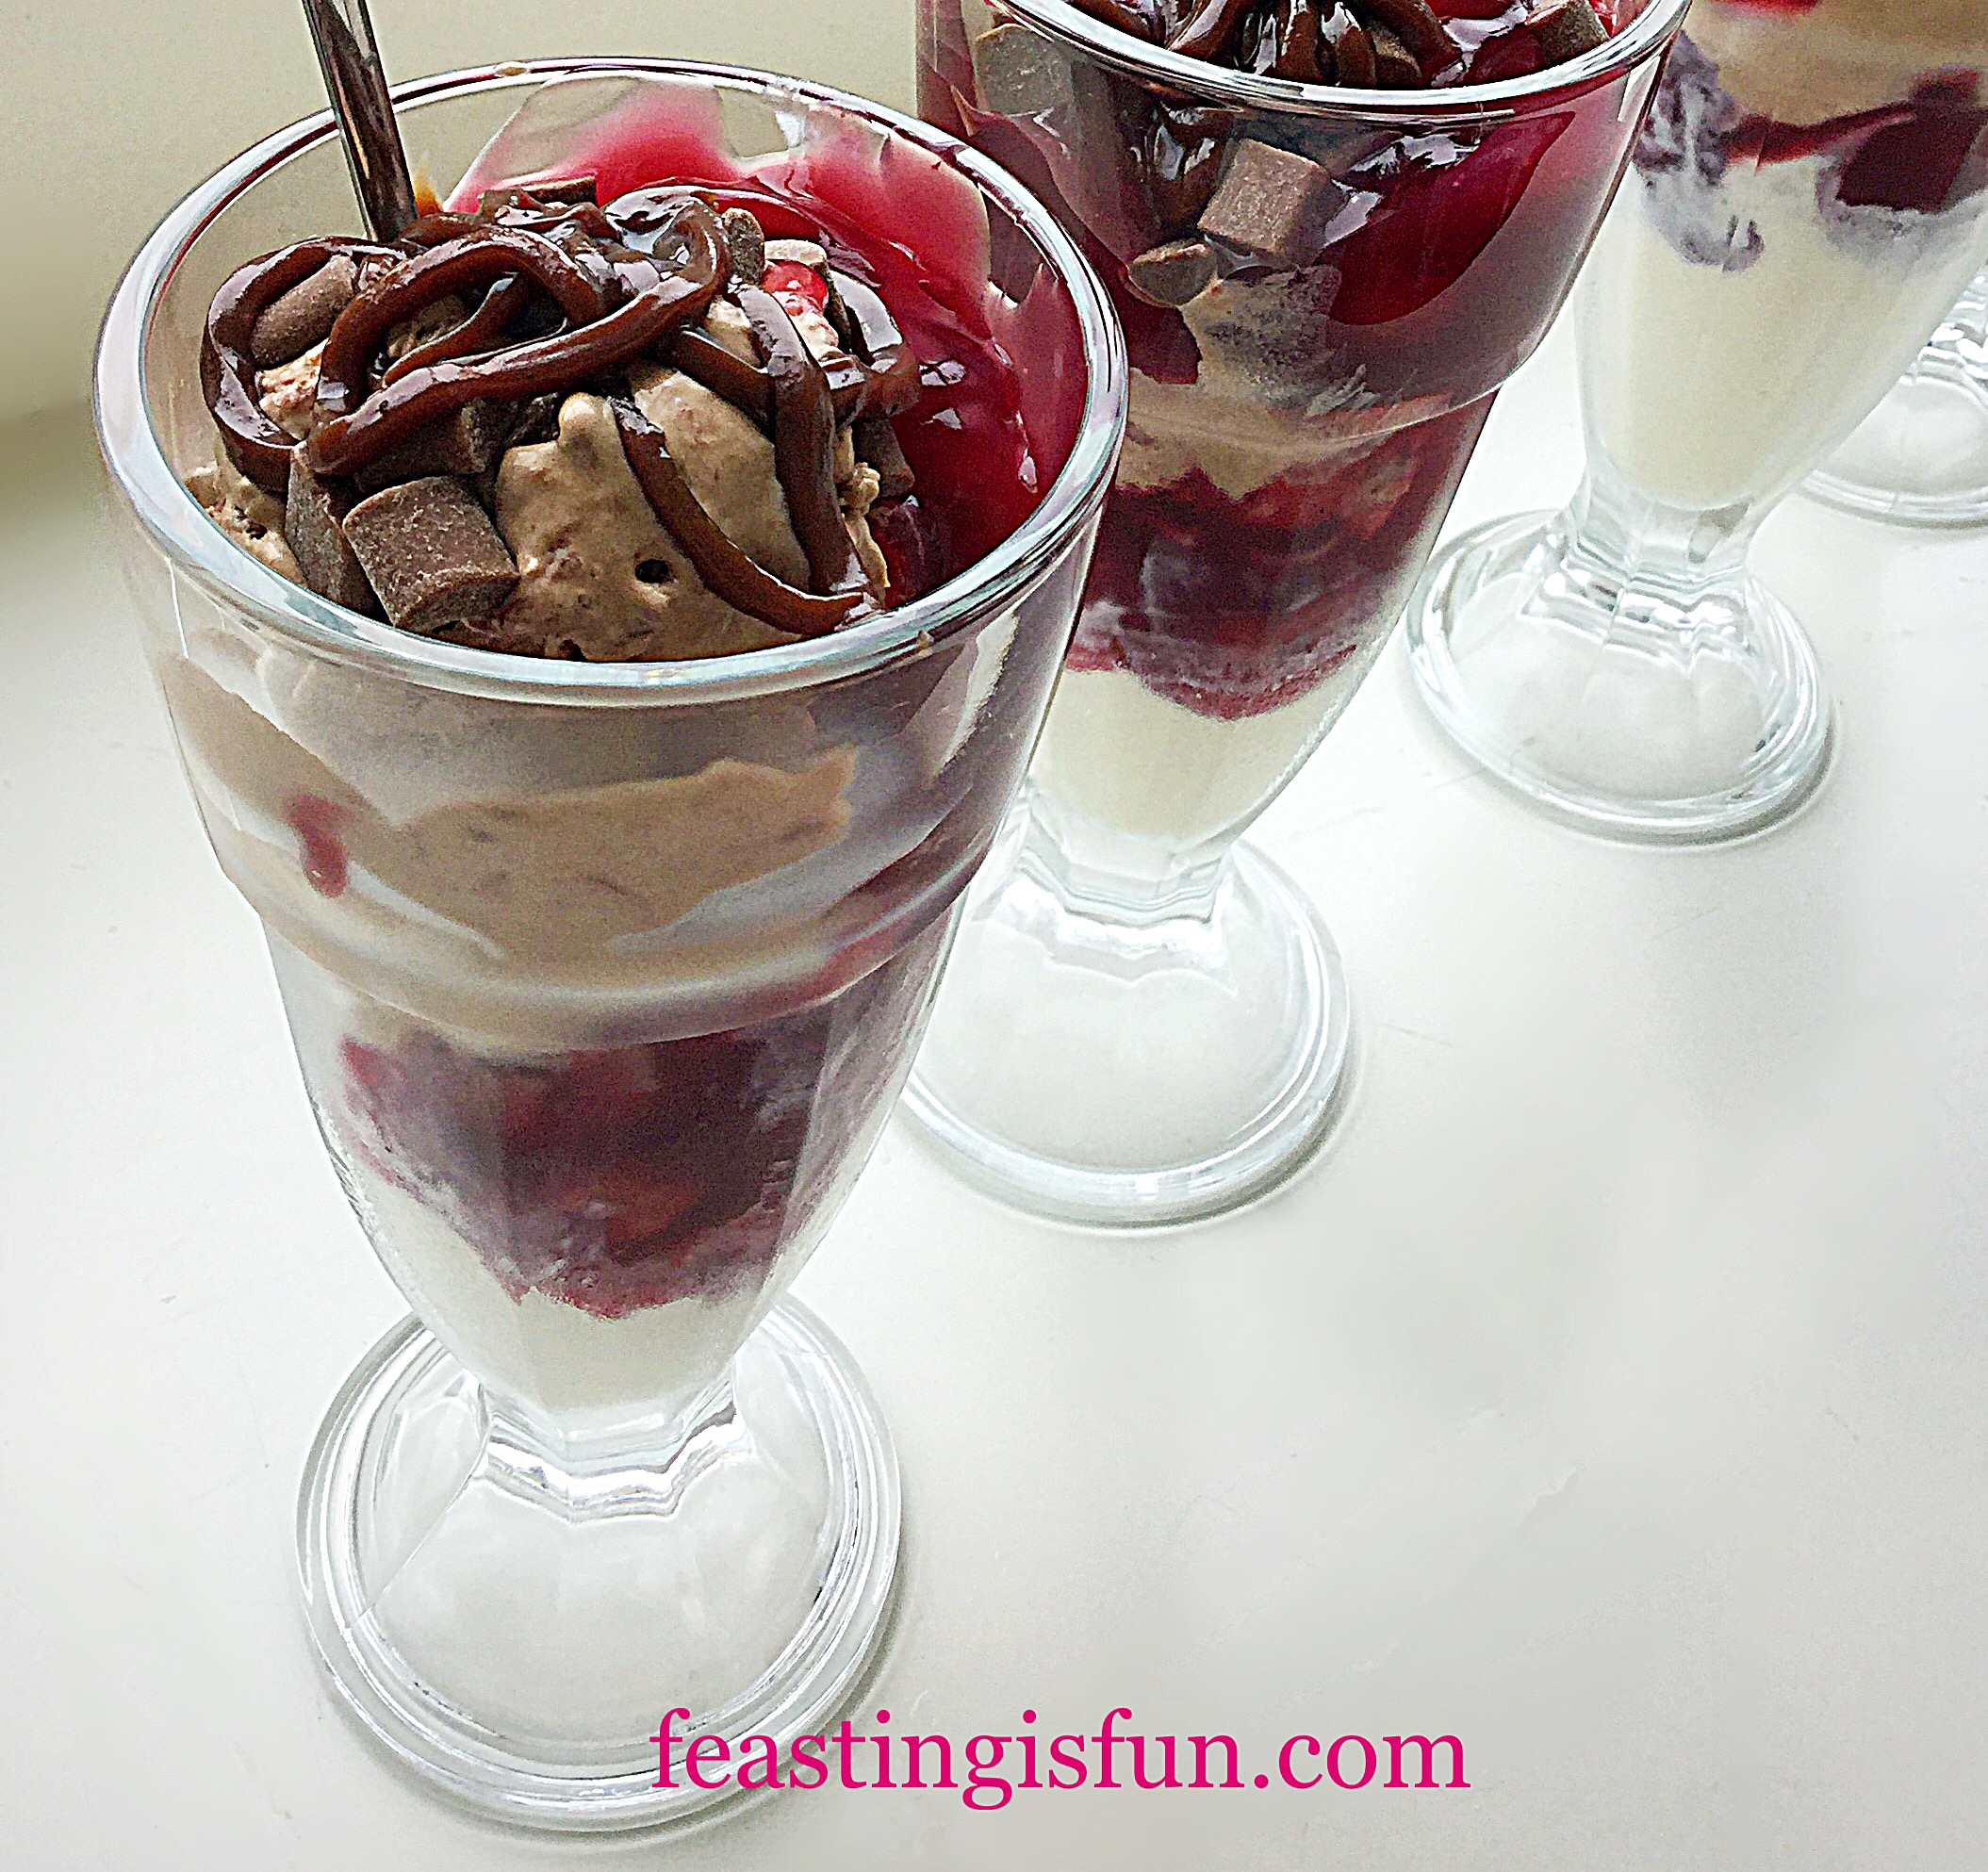
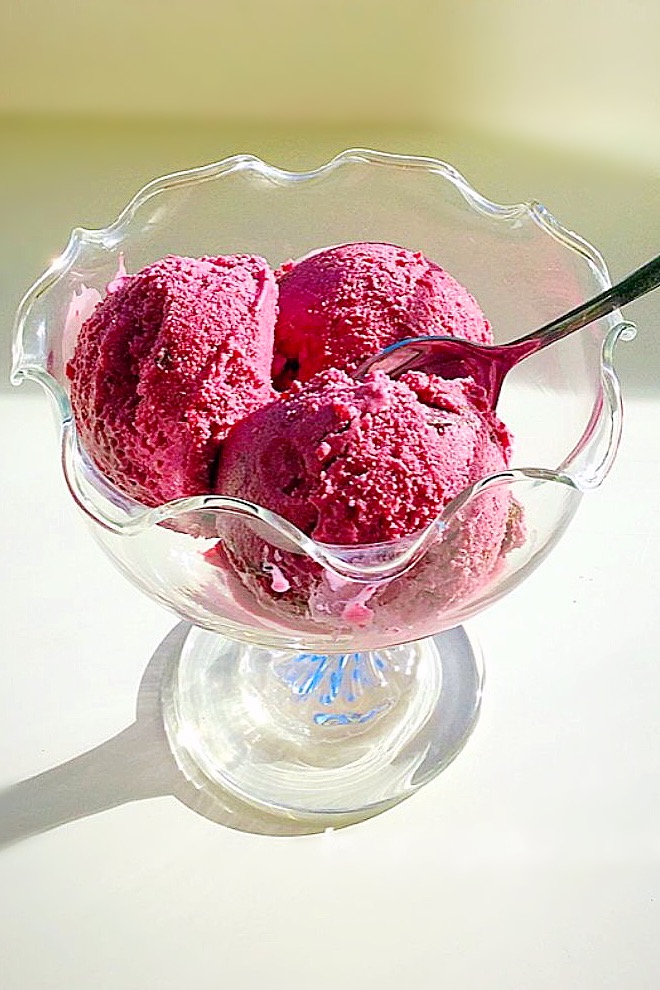
Why not turn this delicious ice cream into a Cherry Chocolate Ice Cream Sundae?

If you have enjoyed this recipe for Cherry Chocolate Ice Cream there are many other ice cream recipes on Feasting is Fun, here are a few:

Triple Chocolate Chunk Ice Cream

FF Cherry Chocolate Ice Cream
Triple Chocolate Chunk Ice Cream

Lemon Ripple Ice Cream

Lemon Ripple Ice Cream scoops in a bowl.
Lemon Ripple Ice Cream

Chocolate Rolo Ice Cream

FF Cherry Chocolate Ice Cream
Chocolate Rolo Ice Cream

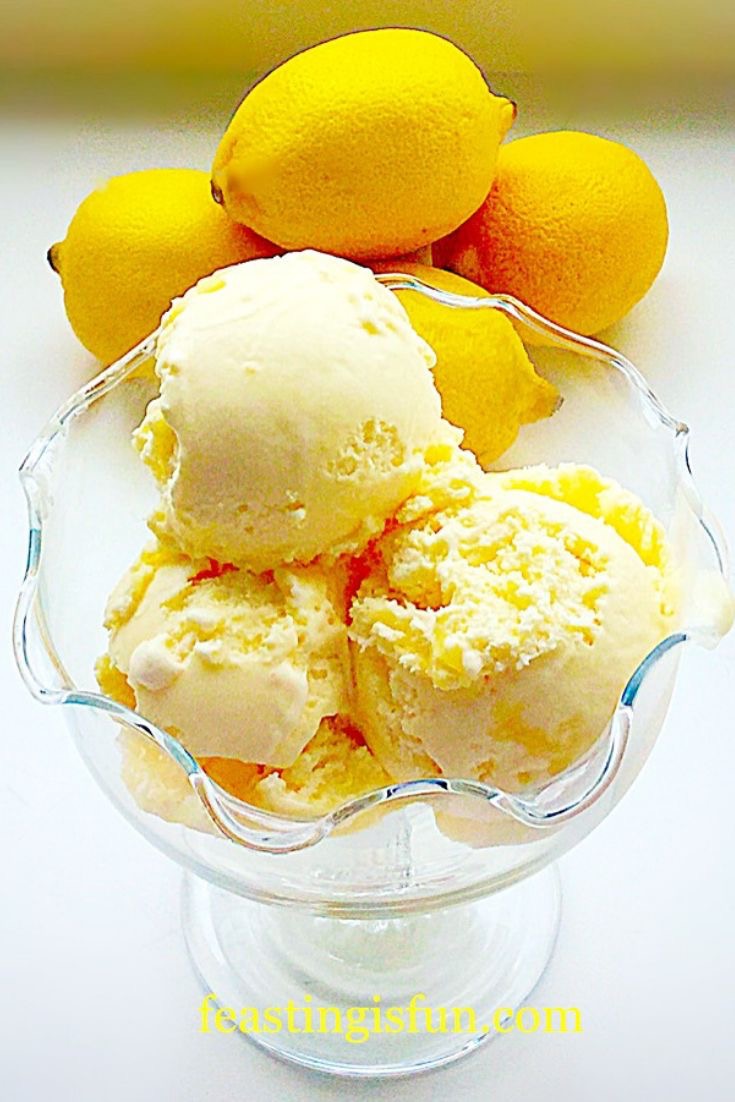
Nothing beats homemade ice cream, especially on a hot, sunny day. And the flavour combinations are limitless. Since you are in control you can simply make flavours that aren’t available in the shops. I could not be parted from my ice cream maker. So the bowl has a permanent place in our freezer, ready for whenever the need for ice cream arises. And yes sometimes it is a need!

So, whatever you are making, baking and creating this weekend have fun.

Sammie xx

No part of this post may be copied without my specific written agreement. Please see my Disclosure Policy.


Share
Facebooktwitterpinterestlinkedintumblr

Blackberry Chocolate Chunk Ice Cream

Share
Facebooktwitterpinterestlinkedintumblr

Today was so beautifully warm and sunny, I simply had to make this Blackberry Chocolate Chunk Ice Cream.

Blackberry Chocolate Chunk Ice Cream

Made with frozen blackberries from last year, this ice cream delivers massively on taste.

To quote Jennifer Aniston “Here’s the science bit”, when eating very cold food, such as ice cream, the flavours are dulled, due to the cold temperature. If you think of strawberries eaten straight from the fridge, they will never taste as good as those that have been left out to warm up a bit, or better, plucked straight from a sun warmed plant.

Likewise, when making ice cream, even a simple Very Vanilla Ice Cream, the flavours need to be more pronounced so that you taste them.

Blackberry Chocolate Chunk Ice Cream

With this creamy, sharp, sweet and tangy Blackberry Chocolate Chunk Ice Cream, you taste every bit of the beautiful blackberries. Sousing them in sugar and lemon juice encourages each berry to release it’s maximum, ripe berry flavour. On it’s own the blitzed, blackberry sauce would be too tart and the berry flavour would be overwhelming, yet mixed into a delicate vanilla ice cream custard and churned until it becomes ice cream, the flavours mellow and meld together, creating one of the most exciting flavoured ice creams ever.

Blackberry Chocolate Chink Ice Cream

Studded with chunks of deep, dark, chocolate that lend not only a slight bitter flavour but added texture this Blackberry Chocolate Chunk Ice Cream becomes complete. Elegant enough to be served in pretty bowls at the end of a meal with nothing else to accompany it.

One thing is certain, this ice cream is certainly one of the best ice creams I have ever tried!

Recipe: Makes approx 1 litre Blackberry Chocolate Chunk Ice Cream

300ml Double Cream

300ml Whole/Semi Skimmed Milk

4 Large Egg Yolks – I always use free range eggs

1tsp Vanilla Extract – I use Nielsen Massey

7tbsp Caster Sugar

Scant pinch of salt – less than 1/4tsp

1tsp Cornflour – I use Doves Farm as it is guaranteed gluten free

Juice of 1 Lemon

300g Blackberries – I used frozen but use fresh in season

100g/4oz Good Quality Dark Chocolate minimum 65% Cocoa solids

Method: Ensure that the freezing part of the ice cream maker has been in the freezer for at least 24 hours.

Please see Very Vanilla Ice Cream for step by step photographs, showing how to make the ice cream custard.

Making The Blackberry Ice Cream Base

  • Place the cream, milk and vanilla extract into a saucepan over medium heat.
  • Add the egg yolks, sugar, salt and cornflour to a large heatproof bowl. Whisk until pale and creamy.
  • The milk/cream needs to reach scalding point. This is when little bubbles appear around the edge of the liquid.
  • When the milk/cream has reached scalding point remove the pan from the heat.
  • Whilst whisking the egg mixture, pour the hot milk/cream into the bowl – do not stop whisking.
  • Once combined tip the custard mixture back into the same saucepan, cooking over a low heat and constantly stirring, until the custard has thickened and coats the back of a wooden spoon.
  • Place a sieve over a clean, heatproof bowl and pour the custard into the bowl, through the sieve.
  • Place cling film directly over the top of the custard so that is touches it. This will prevent a skin from forming.
  • Allow to cool and then place into the fridge to chill.
  • Place the blackberries into a bowl and add the juice of one lemon and one tablespoon of caster sugar. Cover and set aside for 30 minutes.
  • Place the blackberry mixture into a blender and pulse until you have a smooth purée.
  • Pass the blackberry purée through a sieve to remove any seeds.
  • As soon as the ice cream base has chilled remove the cling film and add the blackberry purée.
This ice cream really does have the most beautiful colour.
  • Mix briefly, don’t worry too much as it will be well mixed in the ice cream maker.
  • Transfer the custard mixture to a jug.

Churning Using An Ice Cream Maker

  • Pour the blackberry custard into the ice cream maker (for mine it has to already be churning – check your instructions).
  • Whilst the ice cream is churning chop the dark chocolate into 1cm-ish sized chunks.
  • Churn the Blackberry Ice Cream until it is a thickened, yet soft ice cream.
Beautifully soft whipped Blackberry Ice Cream.
  • Using a soft rubber spatula decant the softly whipped ice cream into a suitable, freezer safe, plastic tub.

Adding The Dark Chocolate Chunks

  • Add the dark chocolate chunks to the blackberry ice cream once it is in the freezer container.
Blackberry Chocolate a Chunk Ice Cream such a delicious combination.
Blackberry Chocolate Chunk Ice Cream such a delicious combination.
  • Stir the dark chocolate chunks through the ice cream so that they are evenly distributed.
FF Blackberry Chocolate Chunk Ice Cream
Blackberry Chocolate Chunk Ice Cream ready for the freezer.
  • Clip on the lid, label and place the Blackberry Chocolate Chunk Ice Cream into the freezer to finish freezing.
  • To serve, remove this ice cream from the freezer a full 30 minutes before serving – unless it really is an extremely hot day, then 20 minutes should suffice.
FF Blackberry Chocolate Chunk Ice Cream
Blackberry Chocolate Chunk Ice Cream

I honestly cannot explain just how good this Blackberry Chocolate Chunk Ice Cream is. Whilst it may look a little more like a sorbet it is in fact delightfully creamy, with a deep berry flavour to match its beautiful colour and studded with dark chocolate crunch that adds another heavenly level of flavour and texture. It cleanses the palette and refreshes, whilst ensuring that you know you have eaten dessert.

In essence it is truly sublime. A million miles away from mass produced, sweet gloopy ice cream, this is the dessert to serve those you truly want to spoil. Not that it is expensive to make, simply that it is an ice cream worth lingering over and savouring.

If you have enjoyed this Blackberry Chocolate Chunk Ice Cream recipe, here are a few others you may enjoy:

Lemon Drizzle Ice Cream 

FF Lemon Ripple Ice Cream
Lemon Ripple Ice Cream

Very Vanilla Ice Cream

Very Vanilla Ice Cream

Strawberry Rose Ice Cream 

Strawberry Rose Ice Cream

Having an ice cream maker definitely makes the process of creating ice cream easier. It results in a much creamier, less icy, softer on the palate, cooling treat.

Unfortunaley whilst making the Blackberry Chocolate Chunk Ice Cream another little piece of the plastic on our ice cream maker broke off – it really is on its last legs. Fortunately however, I will be reviewing a brand new model by Andrew James  over the coming few months, so expect lots of chilled recipes through the summer months.

It really gives me such a thrill reading your comments and I appreciate you taking the time to leave them. Likewise seeing my recipes being baked on Twitter and Instagram literally makes my day. Sharing is the heart of this blog and seeing you share your bakes with me always gives me a boost. Thank you.

Whatever you are making and baking in your kitchens, have fun and enjoy every feast that you create.

Sammie xx

No part of this post may be reproduced or duplicated without the written permission of the owner. Please see my Disclosure Policy.


Share
Facebooktwitterpinterestlinkedintumblr

Almond Blackberry Pear Crumble

Share
Facebooktwitterpinterestlinkedintumblr

Finally, it is the middle of Winter. Time to banish the diet and eat pudding. So, bring on the warm, sweet comfort of fruit with a crunchy, crumble topping. And here we have an exquisite Almond Blackberry Pear Crumble, which is also gluten-free.

Since this crumble hits the spot where only warm, fruity, drizzled with cream or custard, or both – I’m not judging – puddings can really hit.

So, are you with me?

The pears are fresh and juicy, the blackberries are from the freezer, squirrelled away during our abundant, Autumn.

Fruit and nuts on a wooden board.

This crunchy, almond laden crumble comes together in mere moments, all the ingredients working in harmony together. The result, an unctuous, fruity, crunchy, explosion in your mouth. You know, the kind of eating experience, where the inside of your cheeks suddenly suck in and your taste buds are woken up by the flavour party happening on your tongue.

Yep – that good!

And because as many as possible should be able to share in this pudding sensation, I made it Gluten Free. Because, why not??

Backed almond blackberry pear crumble.


Balancing Flavours In A Dessert

What sends this Almond Blackberry Pear Crumble over the top, apart from my description, is the buttery, crunchy, flaked almond streusel, piled high, atop the juicy fruit.

And no additional sugar is added to the fruit layer. Because, the pears are sweet enough and I think it is good to have bursts of sharpness, from the plump, purple, blackberries. Also, to provide balance, crunchy, caramel, demerera sugar is mixed in with the crumble topping. Resulting in a pudding that absolutely sings!

Blackberry and pear almond crumble served in a bowl with cream.

Recipe: Almond Blackberry Pear Crumble serves 6 generous portions.

225g/8oz Gluten Free Flour – I use Dove’s Farm

100g/4oz Unsalted Butter – cold, straight from the fridge

225g/8oz Flaked Almonds

100g/4oz Demerera Sugar

1/4tsp Salt – I use Maldon

3-4 Conference Pears – alternatively use canned, drained pear halves

200g/7oz Fresh or Frozen Blackberries

Optional – Double Cream, Custard, Ice Cream to serve

Making The Topping

Method: Preheat Oven to 190C/170C fan

First of all, cut the cold butter into cubes and place in a large bowl with the flour and salt.

Rub the butter into the flour with your fingers, working quickly and lightly, until the mixture resembles breadcrumbs. Gluten free flour works equally well in this recipe.

Rubbing butter into flour in a bowl.

Alternatively place the cubed butter and flour into a food processor, with the steel blade attached and pulse until the mixture resembles breadcrumbs.

Add the flaked almonds and demerera sugar and stir with a spoon to mix.

Adding almonds to a crumble topping.

Preparing The Fruit

Peel the pears, remove the core and cut into chunks.

Place the pears and blackberries into a 10″/26cm dish.

Sliced pear and frozen blackberries in a serving dish.

Cover the fruit with the crumble mixture.

Almond Blackberry Pear Crumble ready to be baked.

Baking The Crumble

Place in the preheated oven for 40-50 minutes until the topping is golden and the fruit juices are bubbling.

As soon as the Crumble is baked remove from the oven.

Backed almond blackberry pear crumble.

Fruity pear and blackberries hidden beneath a crisp and crunchy crumble topping.
Serve immediately with the accompaniment of your choice.

A backed fruit dessert having cream poured over it.


Eat and enjoy!

Almond Blackberry Pear Crumble served in a bowl with cream.

Everyone in our house thoroughly enjoyed this warming, winter pudding.

Being Gluten Free makes this Almond Blackberry Pear Crumble accessible to more people. And I must agree, that has got to be a good thing!

Do you desire warm, comforting food when it’s cold? I certainly do.

If you enjoy this Almond Blackberry Pear Crumble, then you will love these recipes:

Apple Almond Cake 

FF Almond Blackberry Pear Crumble
Autumn Almond Apple Cake – gluten free.

Amazing Apple Pie

FF Almond Blackberry Pear Crumble
Amazing Apple Pie with homemade Luxury Vanilla Bean Custard.

I buy Dove’s Gluten Free flour from Waitrose.

While I am not allergic to wheat, or gluten it is important that gluten free recipes are included on Feasting is Fun. Since the heart of my blog is to encourage people to share and eat together, it makes sense to create recipes that more people can enjoy. Because nobody asks to have an allergy. And it’s nice when an “extra” dessert doesn’t have to be bought or made. Finally, I believe the more that people are included, the more comfortable and relaxed they will be.

Sammie xx


Share
Facebooktwitterpinterestlinkedintumblr