Hi there everybody, thanks for stopping by to take a look at these delicious , Raspberry Almond Muffins. Ideal with a mug of steaming coffee for Breakfast, Elevensies, Mid Afternoon Snack, or anytime your tummy rumbles and your next meal is too far away!!
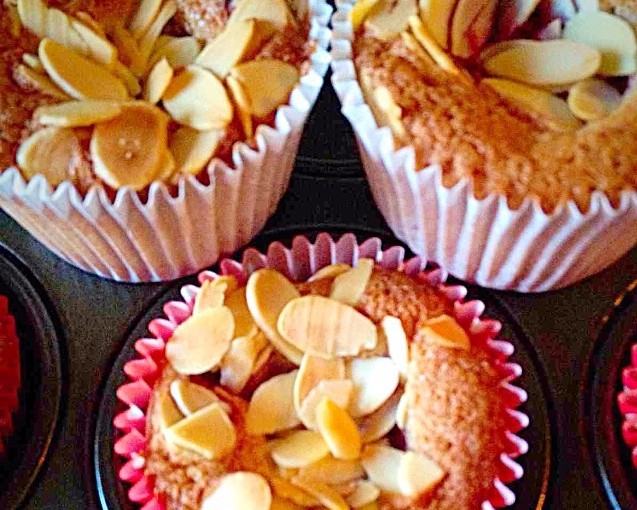
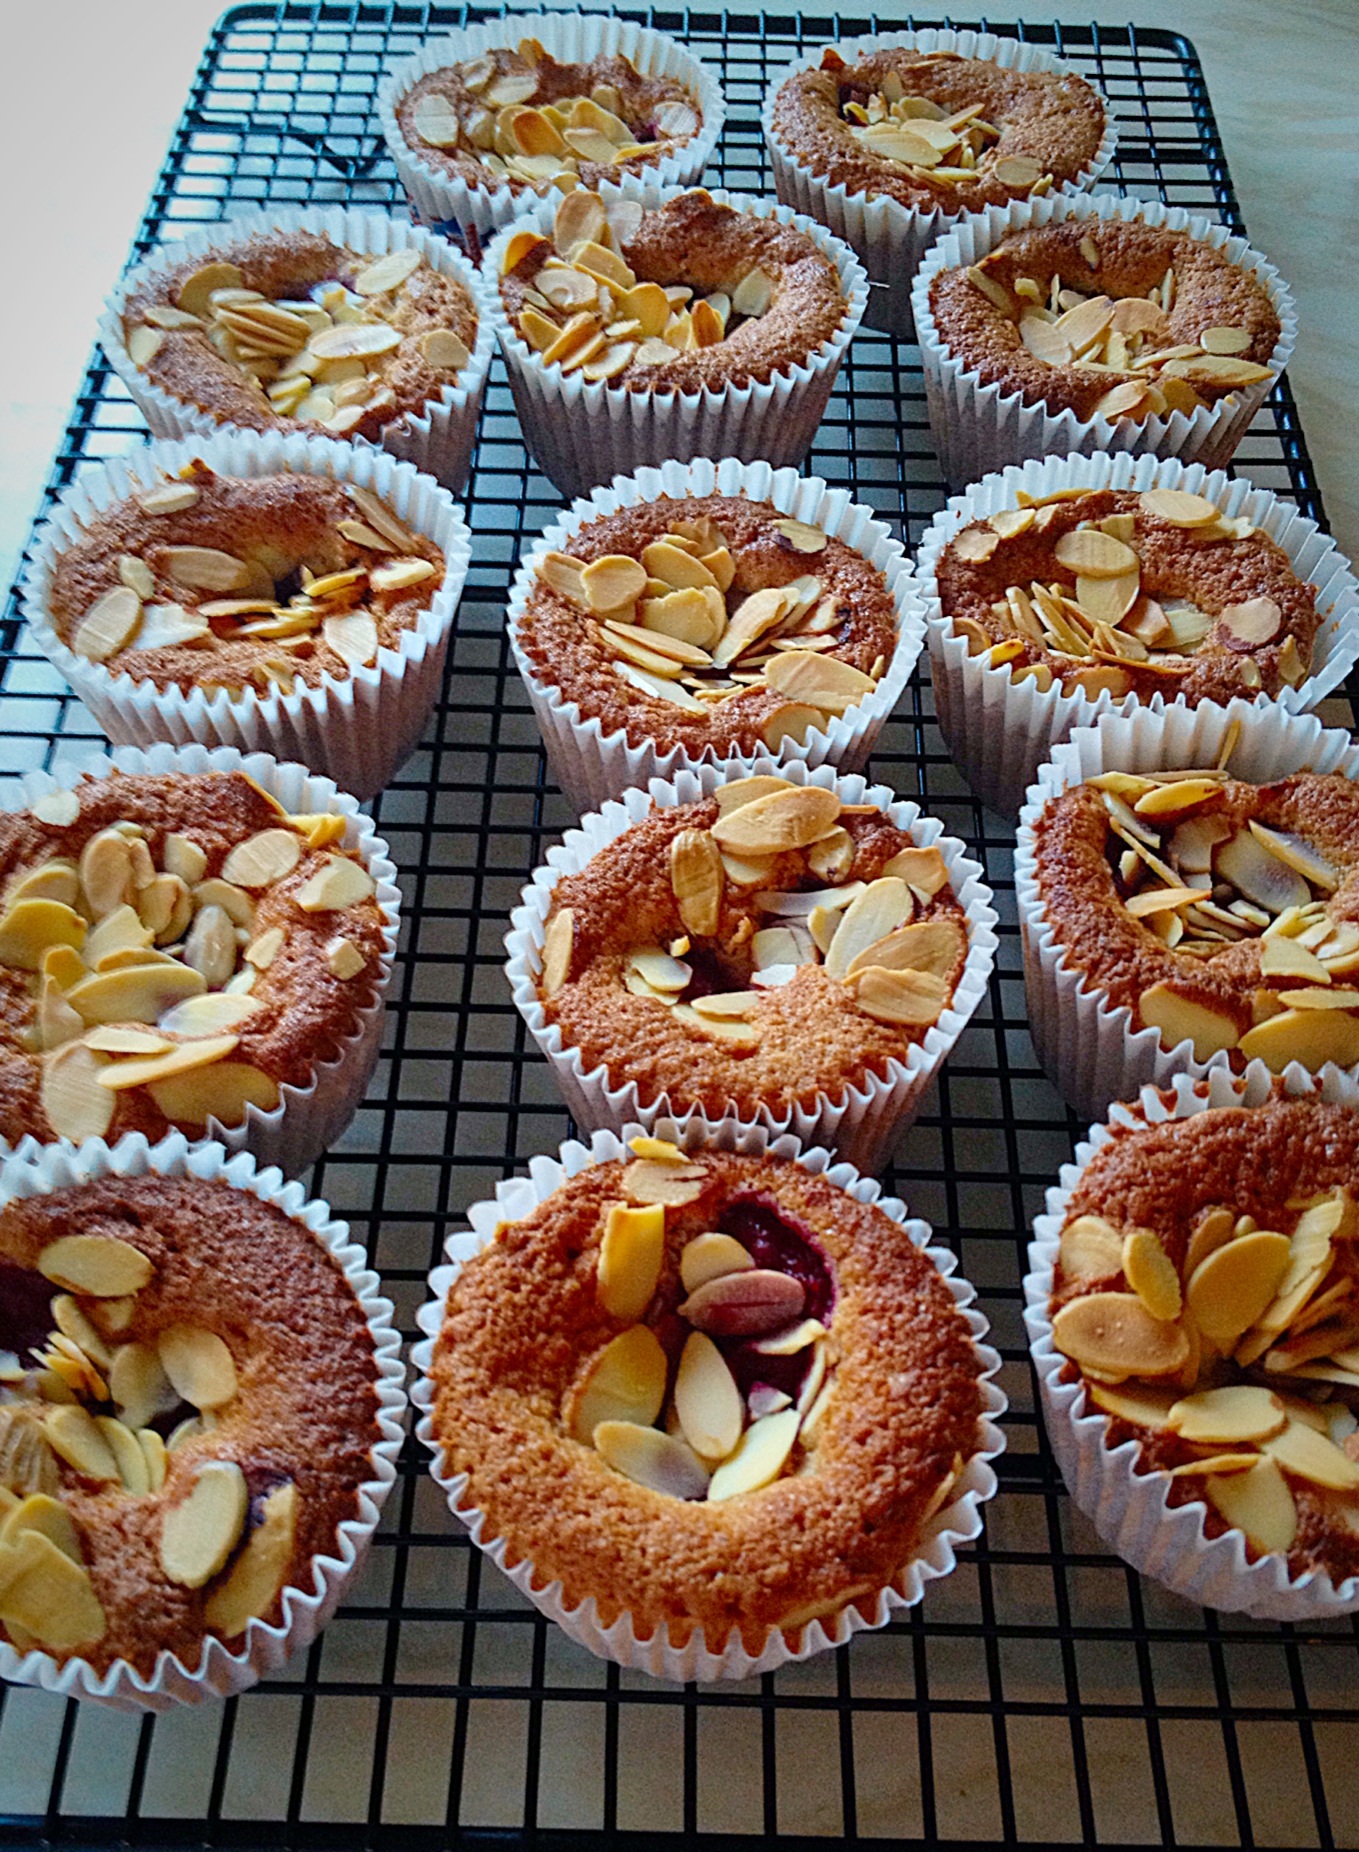
Crunchy flaked almonds hide the moist, raspberry and almond muffin!
What I love about these Raspberry AlmondMuffins is they aren’t too sweet, they are proper muffins, dense and moist. Each mouthful filled with the tartness of Fresh Raspberries and the sweet crunch of the flaked Almonds!
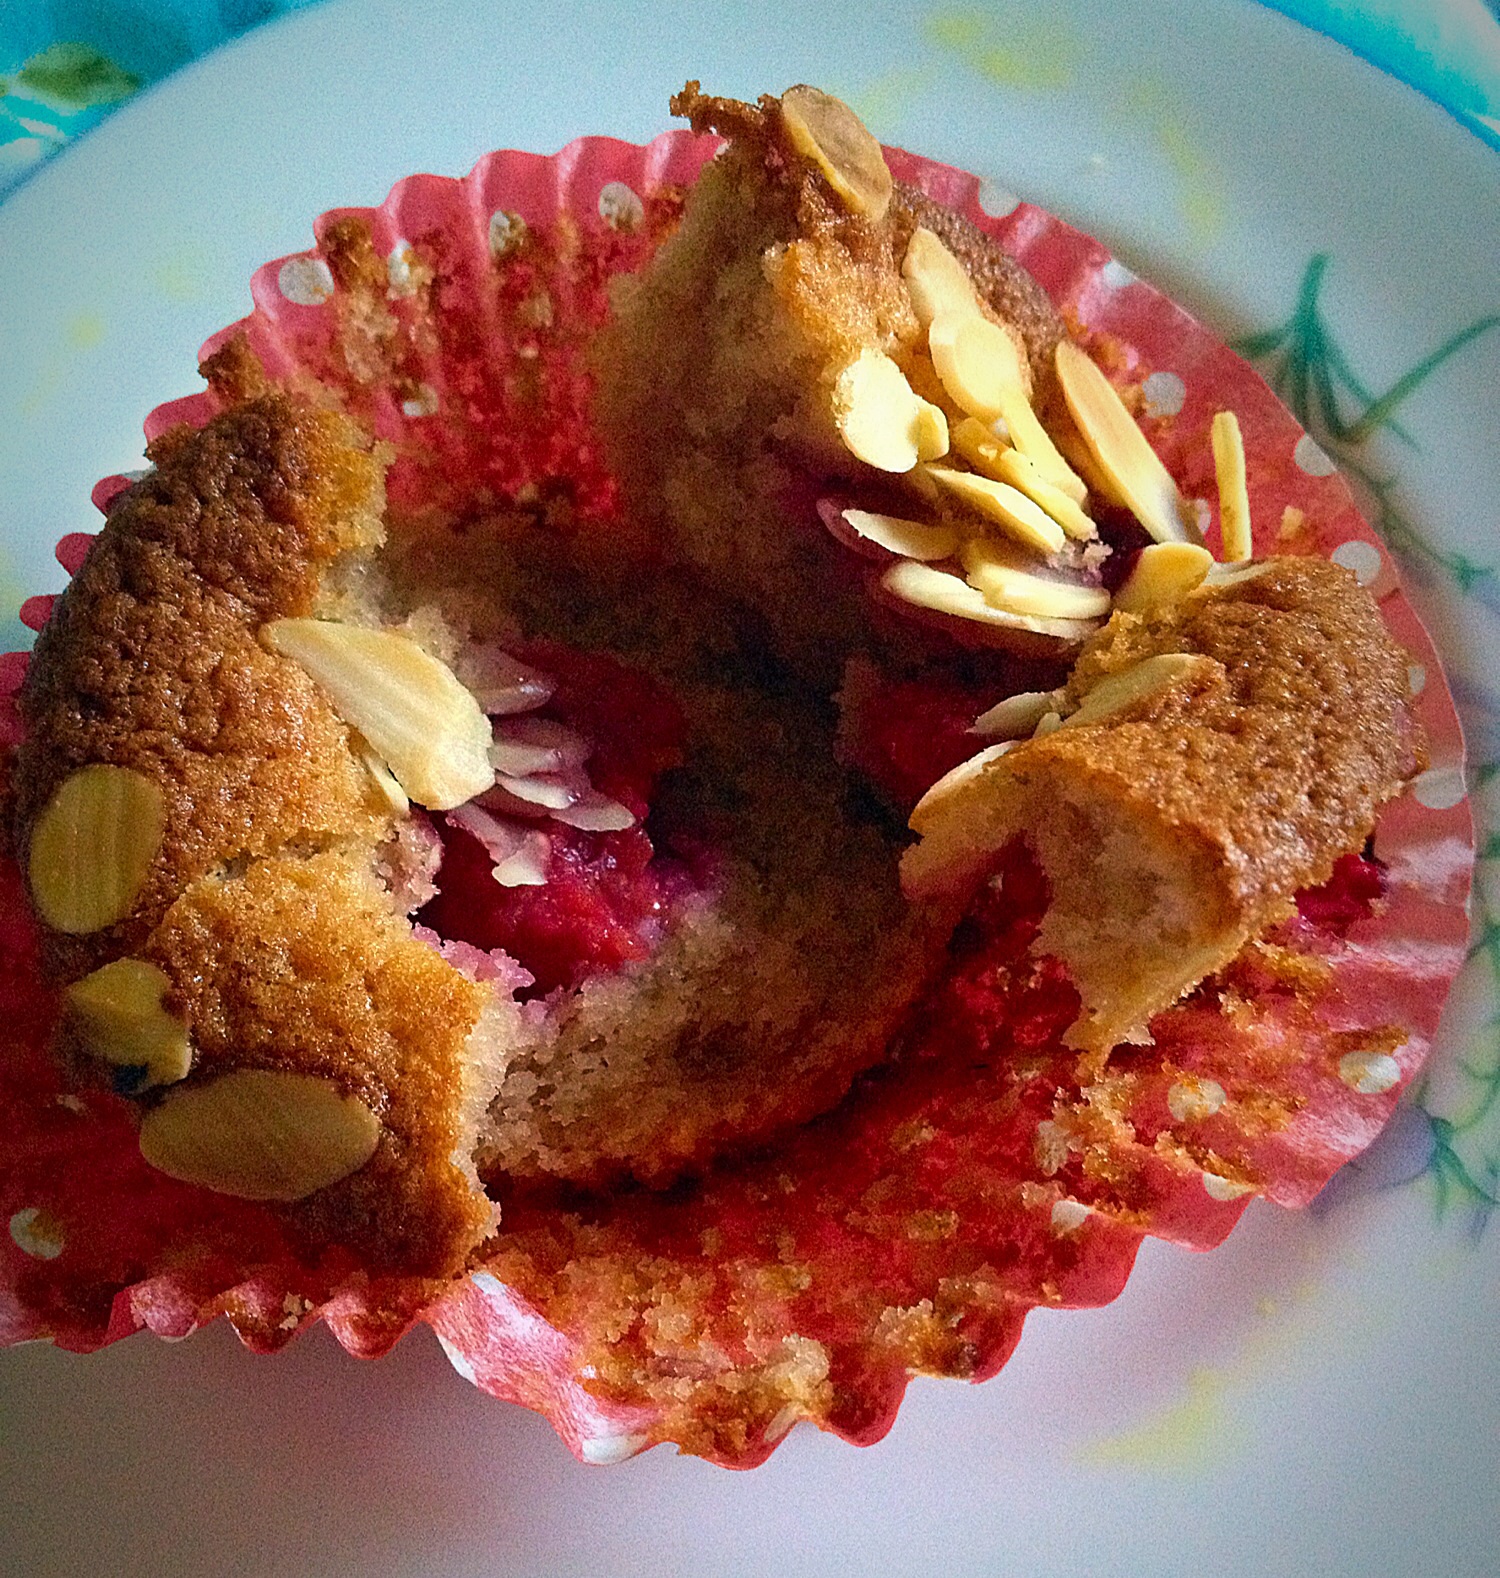
Just dive right in. So scrumptious!
This recipe is very easy, you can use fresh or frozen Raspberries (defrosted) and from start to finish these can be made and baked in half an hour!
Whisk or beat the butter and sugar until pale, light and fluffy. I used an electric whisk, you’ll see why as you read through the recipe!
Add the eggs slowly, one at a time, until they are fully incorporated in the batter. The eggs MUST be room temp for the mixture not to curdle (curdling makes a slightly heavier muffin/cake ). If the mixture starts to curdle add in a tablespoon of your flour, whisk away and watch as your mixture comes, beautifully together again!
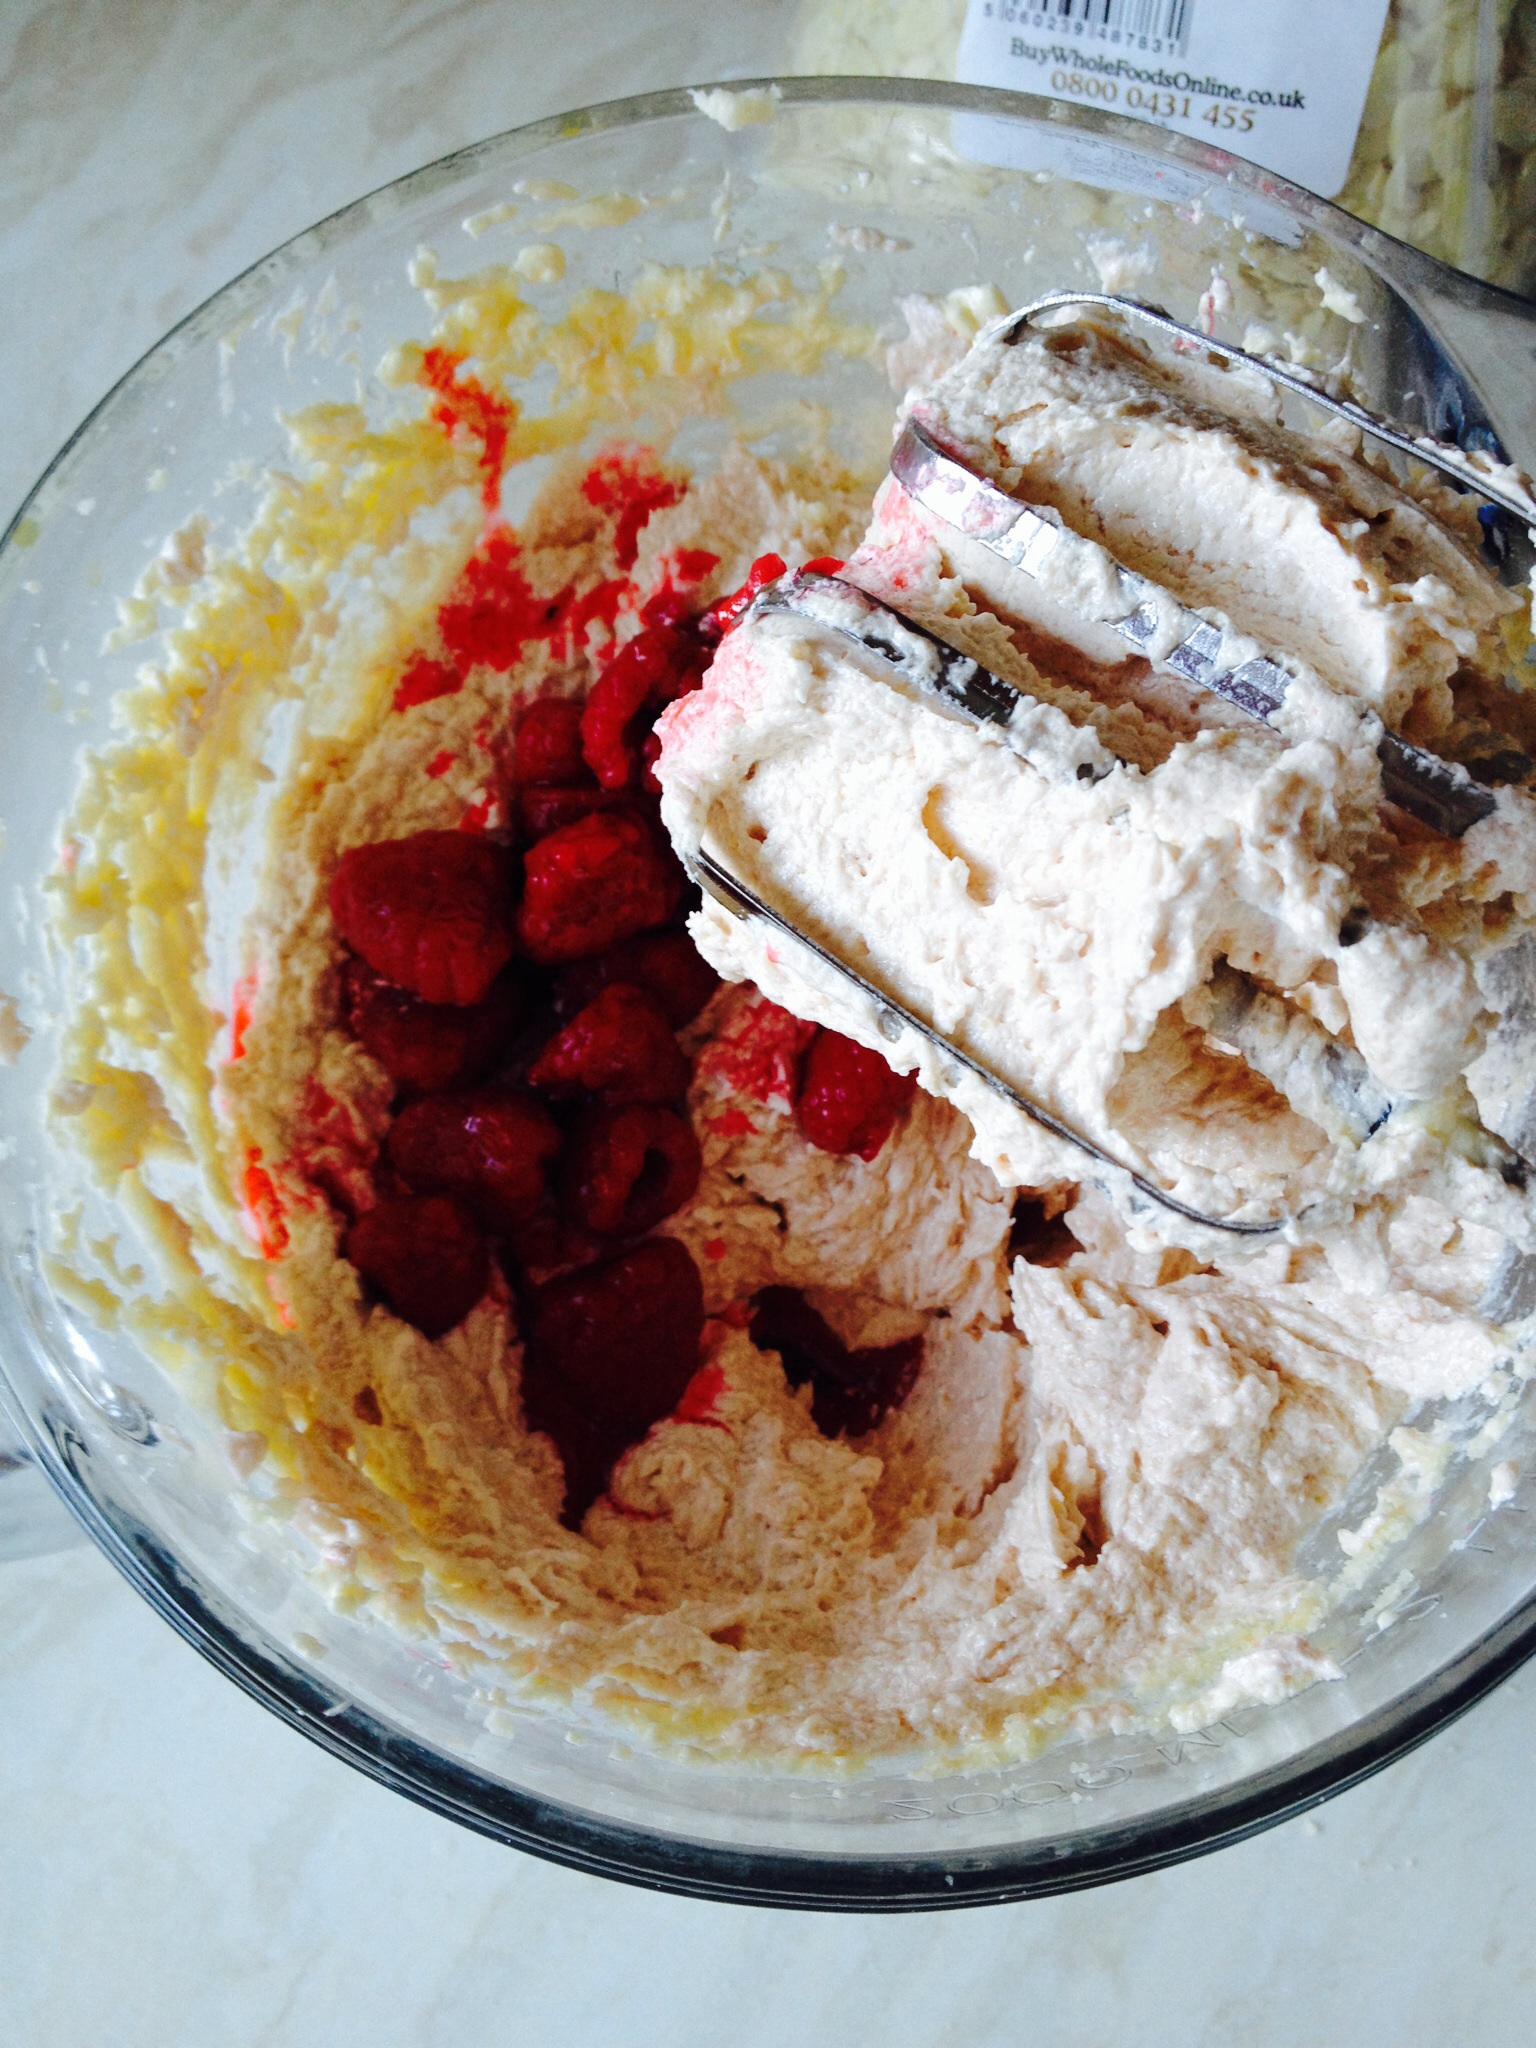
Next add the salt, vanilla and almond extracts and half of your raspberries (along with any juice, if using defrosted, frozen raspberries). Whisk until thoroughly combined and enjoy the pretty, natural pink colour!!
Oh, just wait – pink is just a whisk away!!!!
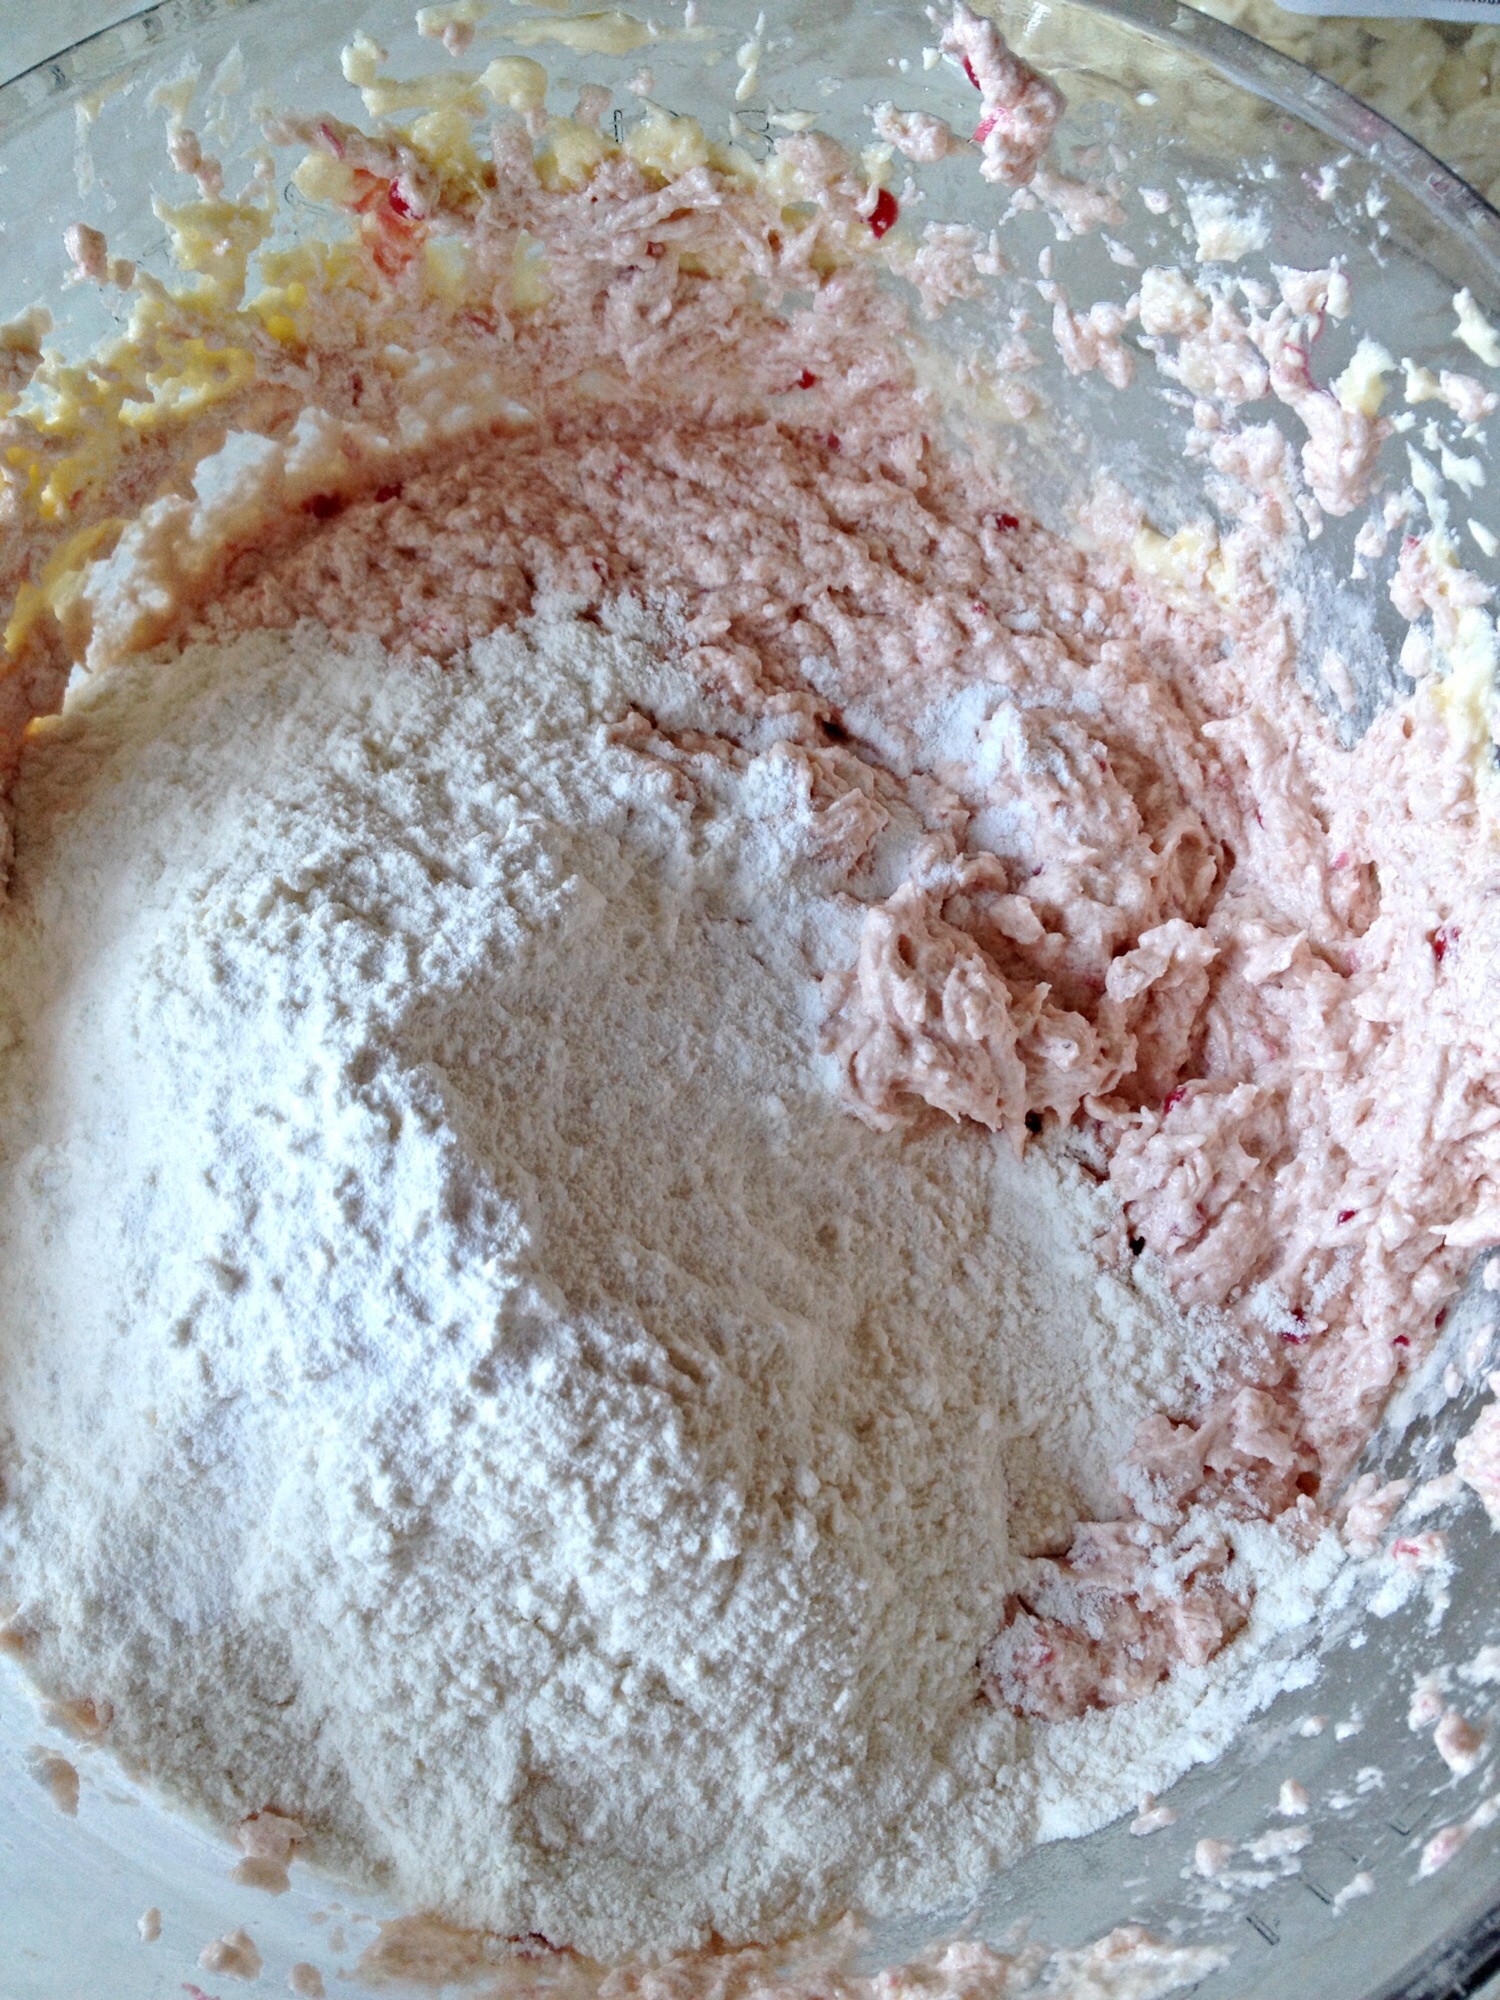
Now add the ground almonds, flour and baking powder.
That pink’s so pretty- oh did I already mention that????
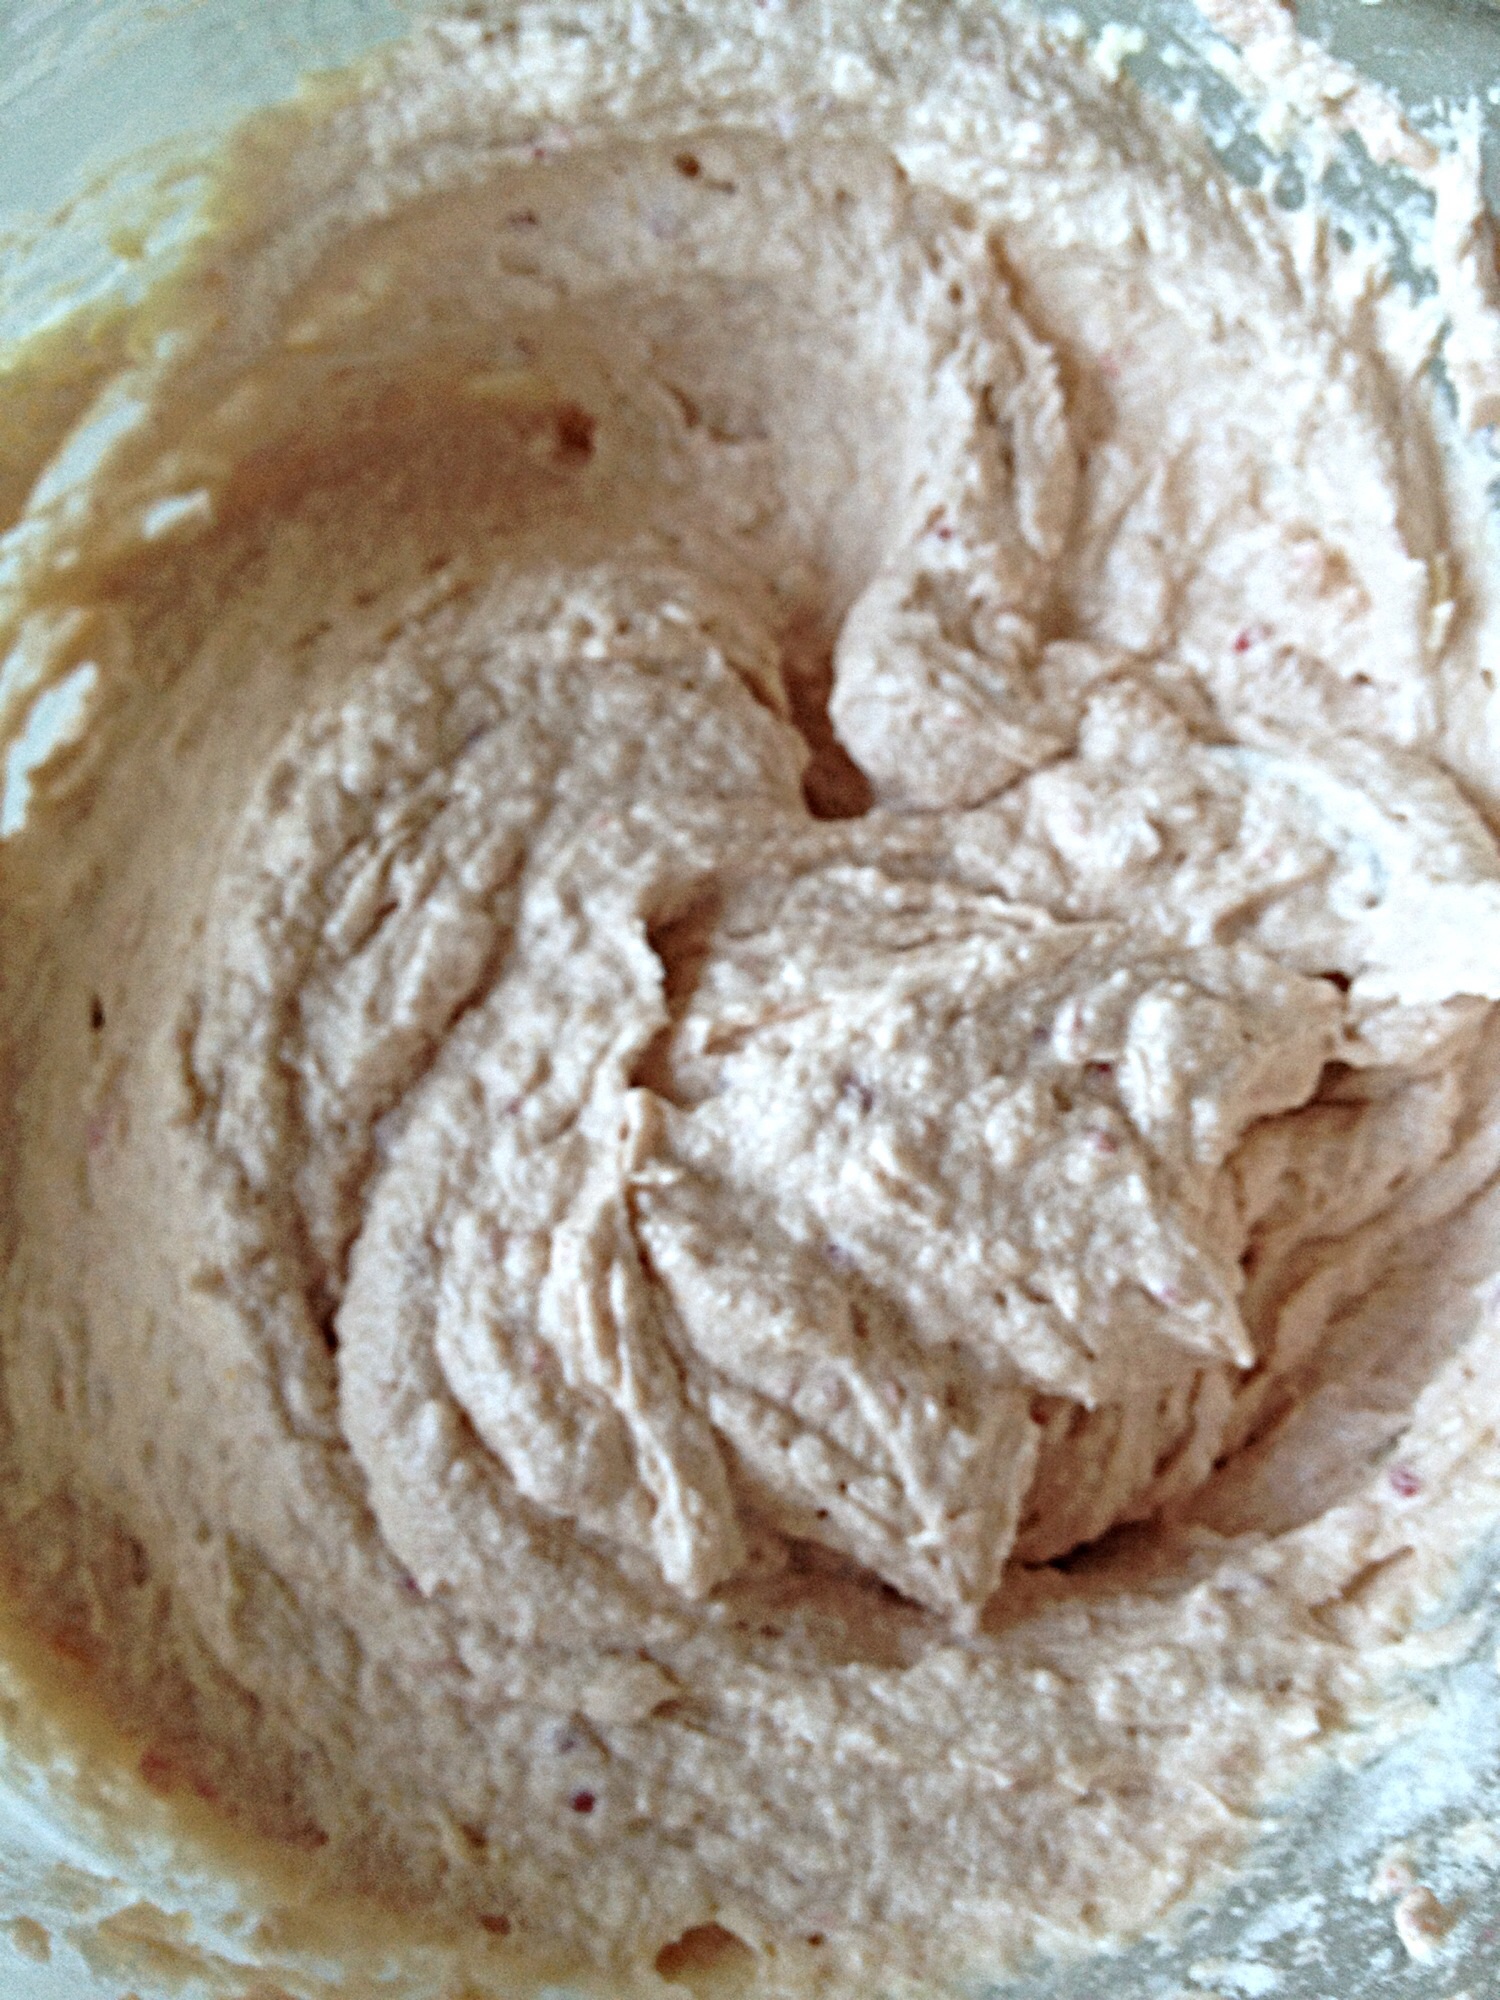
I now switch to a spoon and finish mixing the batter by hand. Using the folding technique I mix until the batter is just combined.
So pretty and yummy, I just couldn’t resist a taste!!
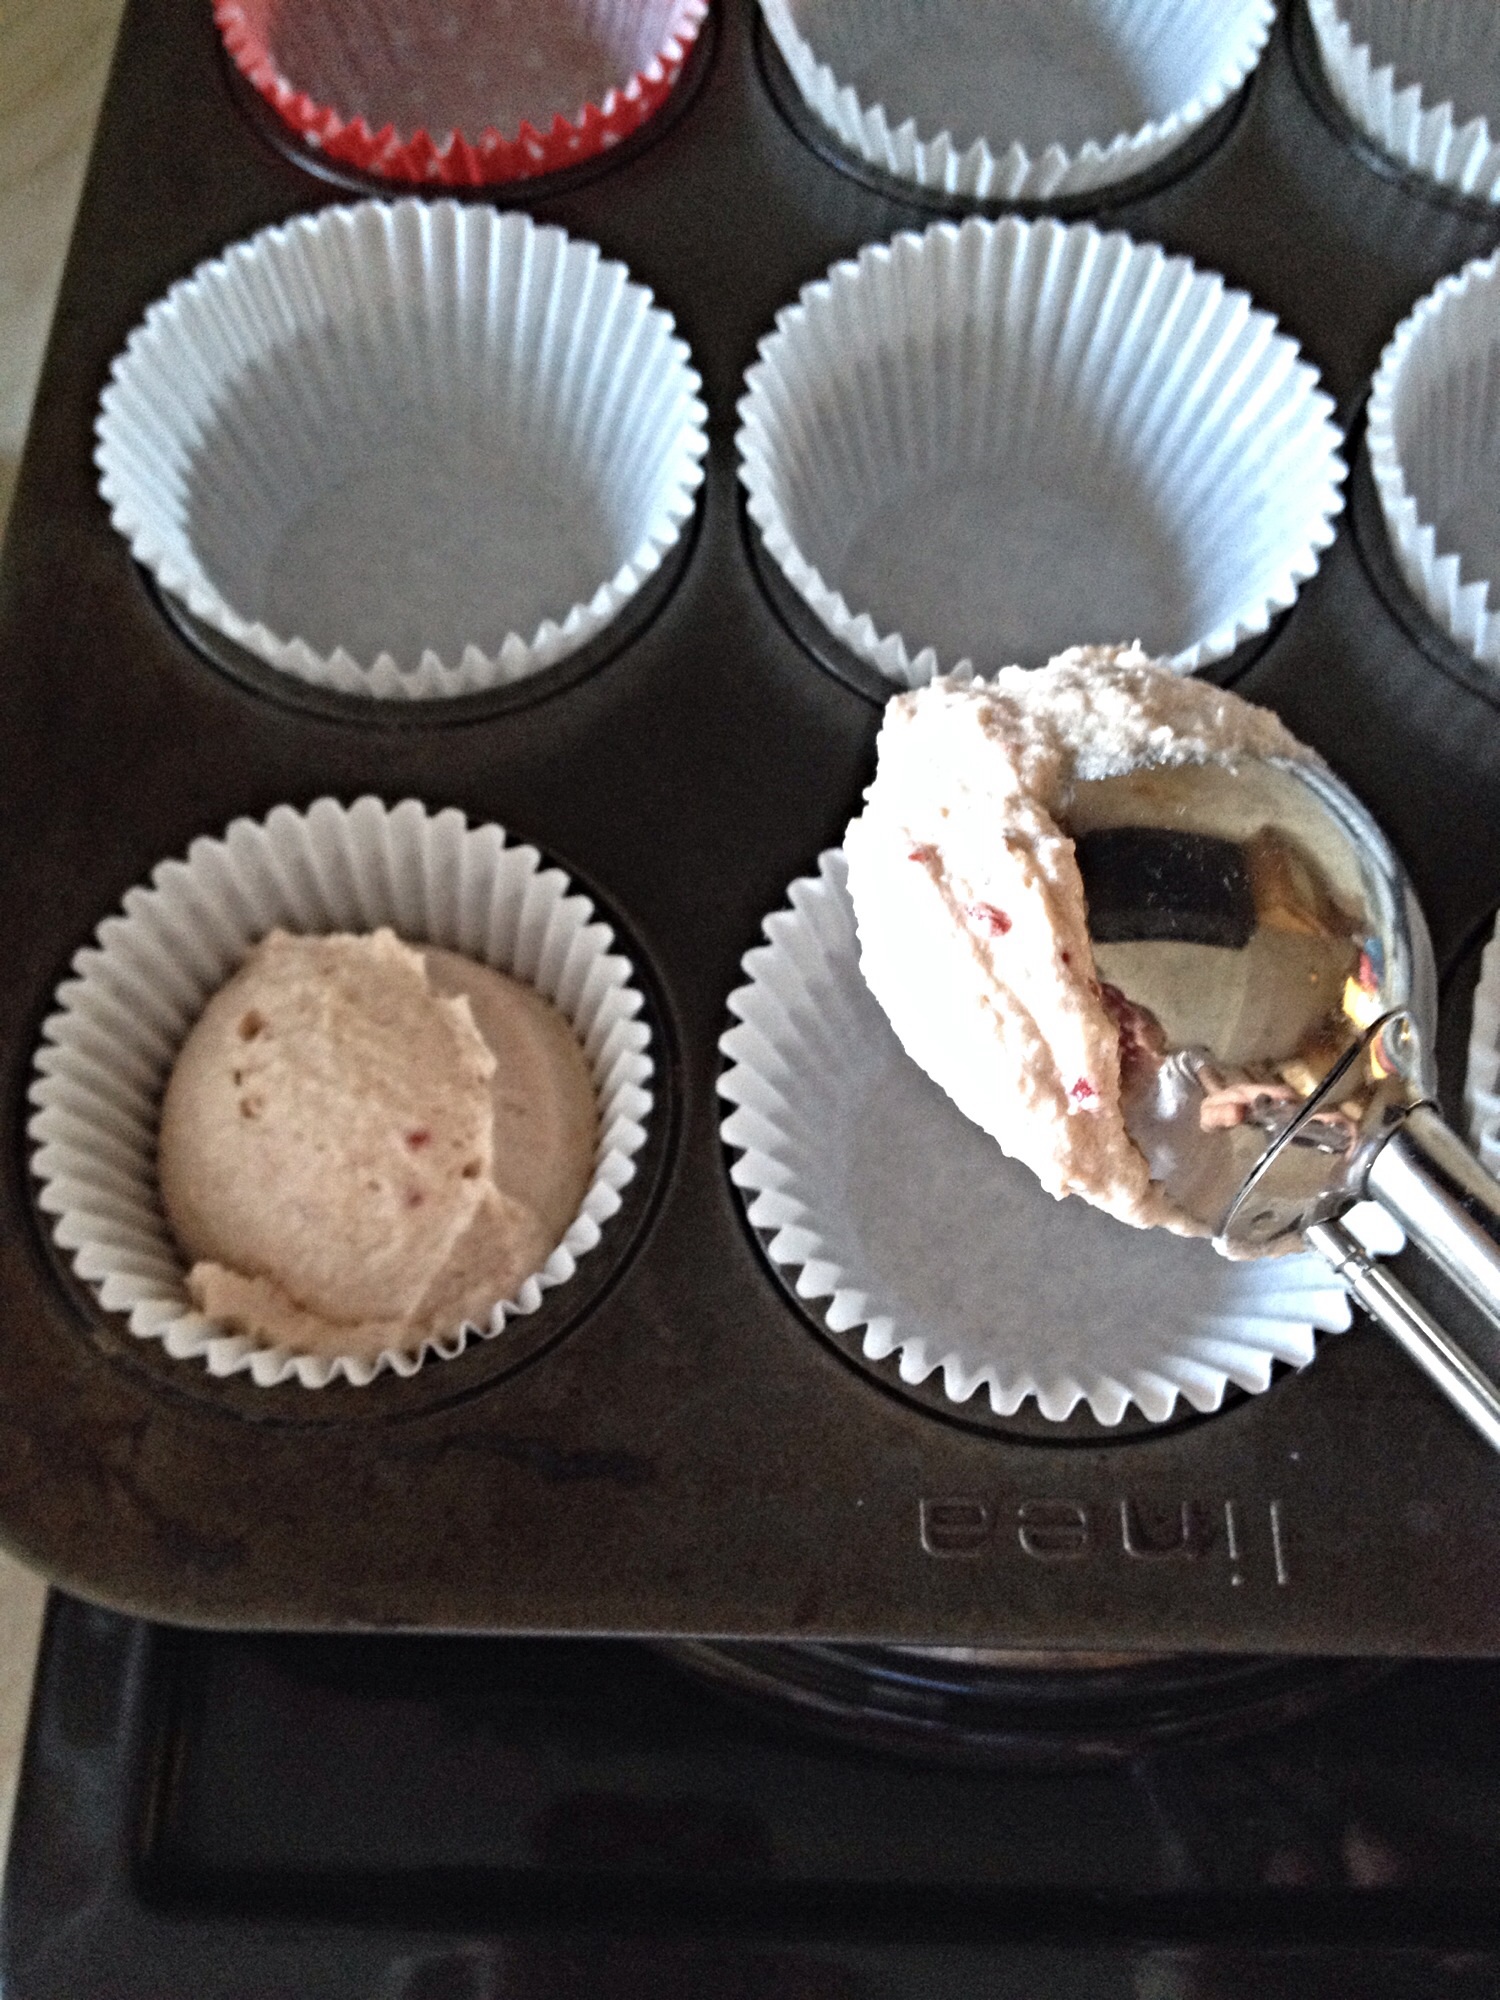
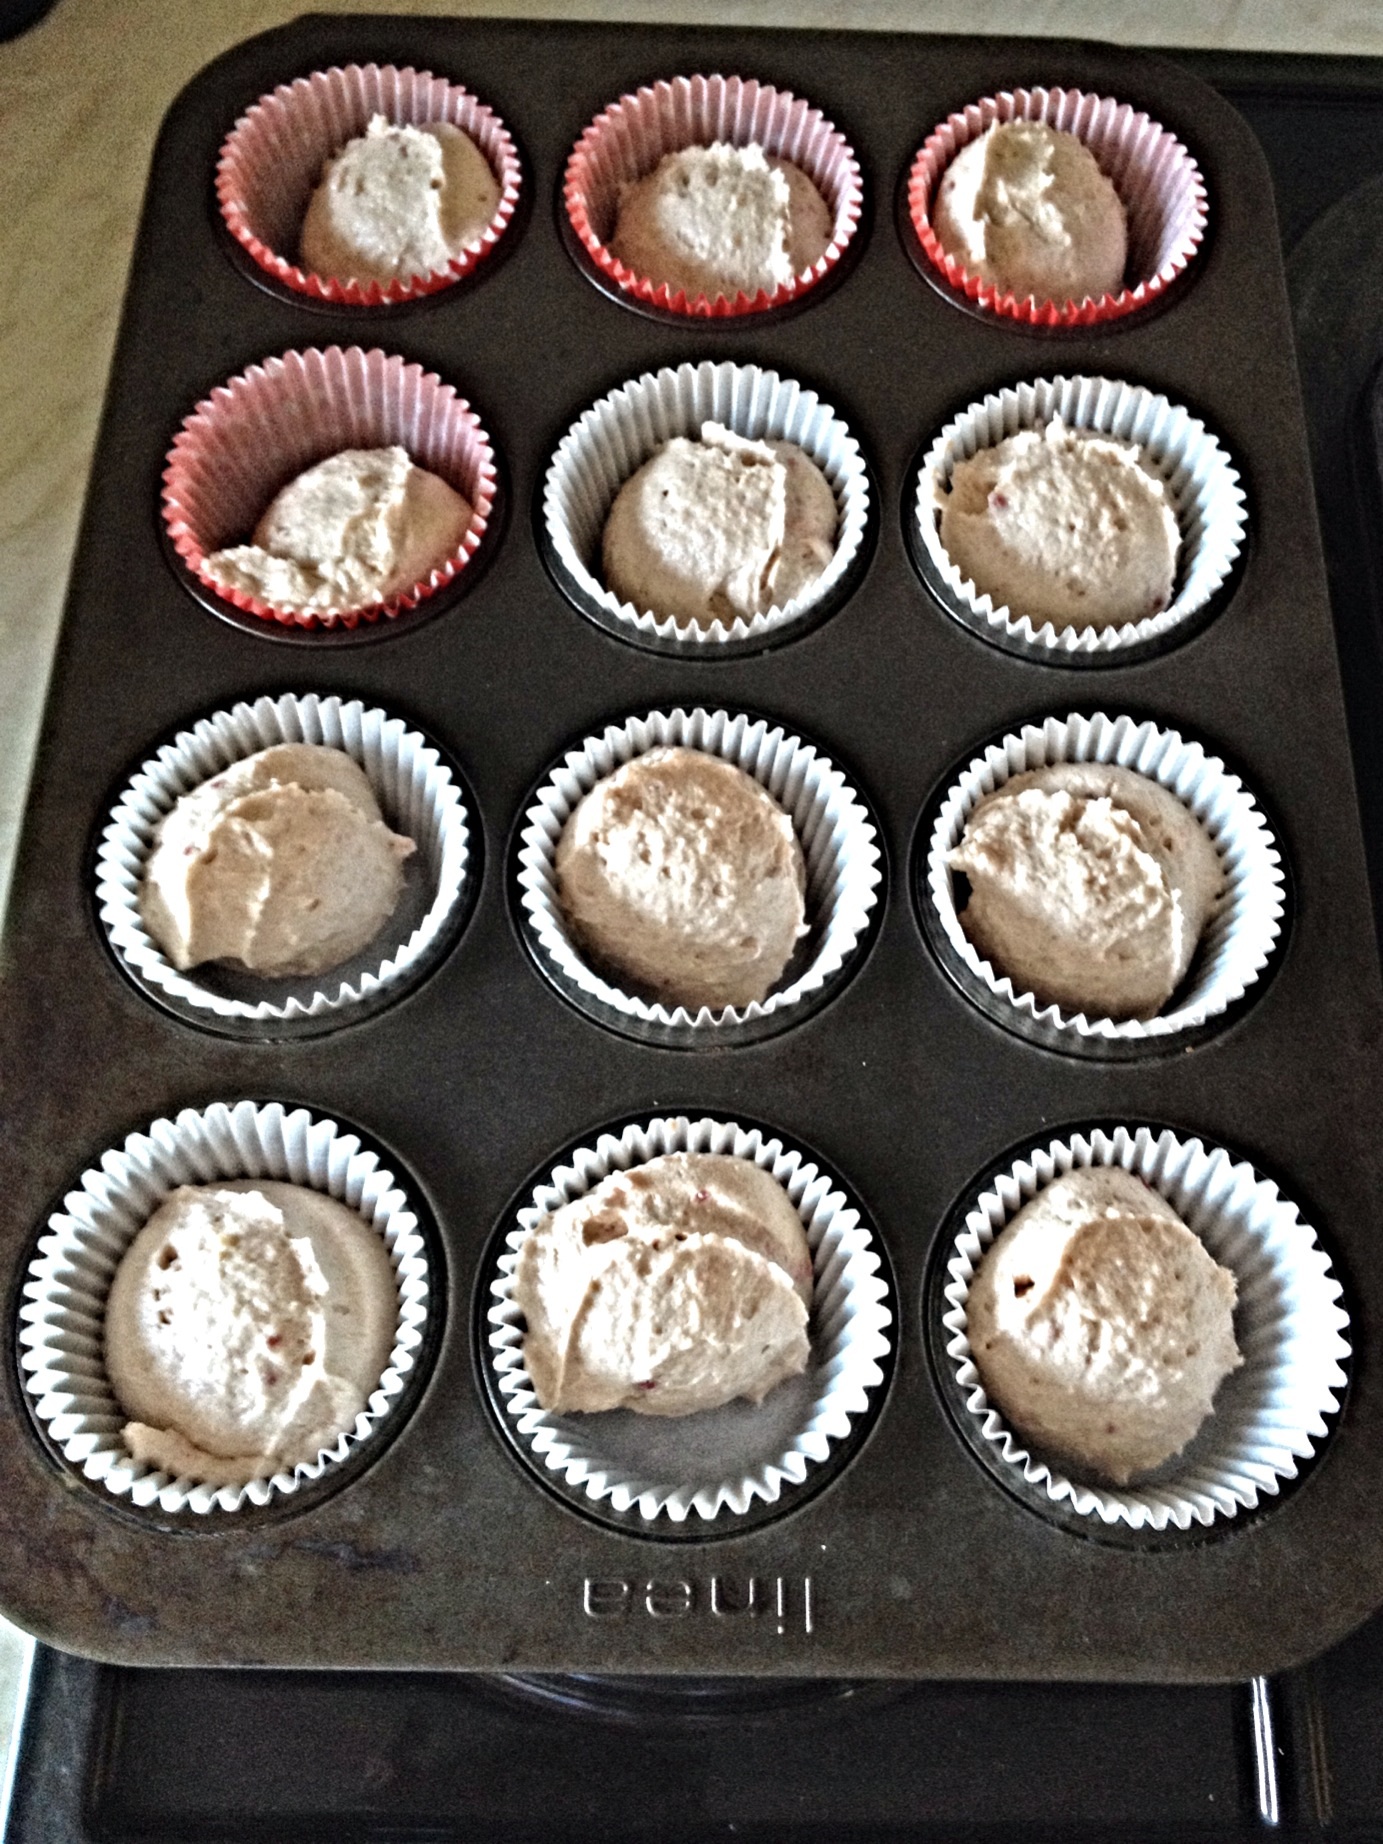
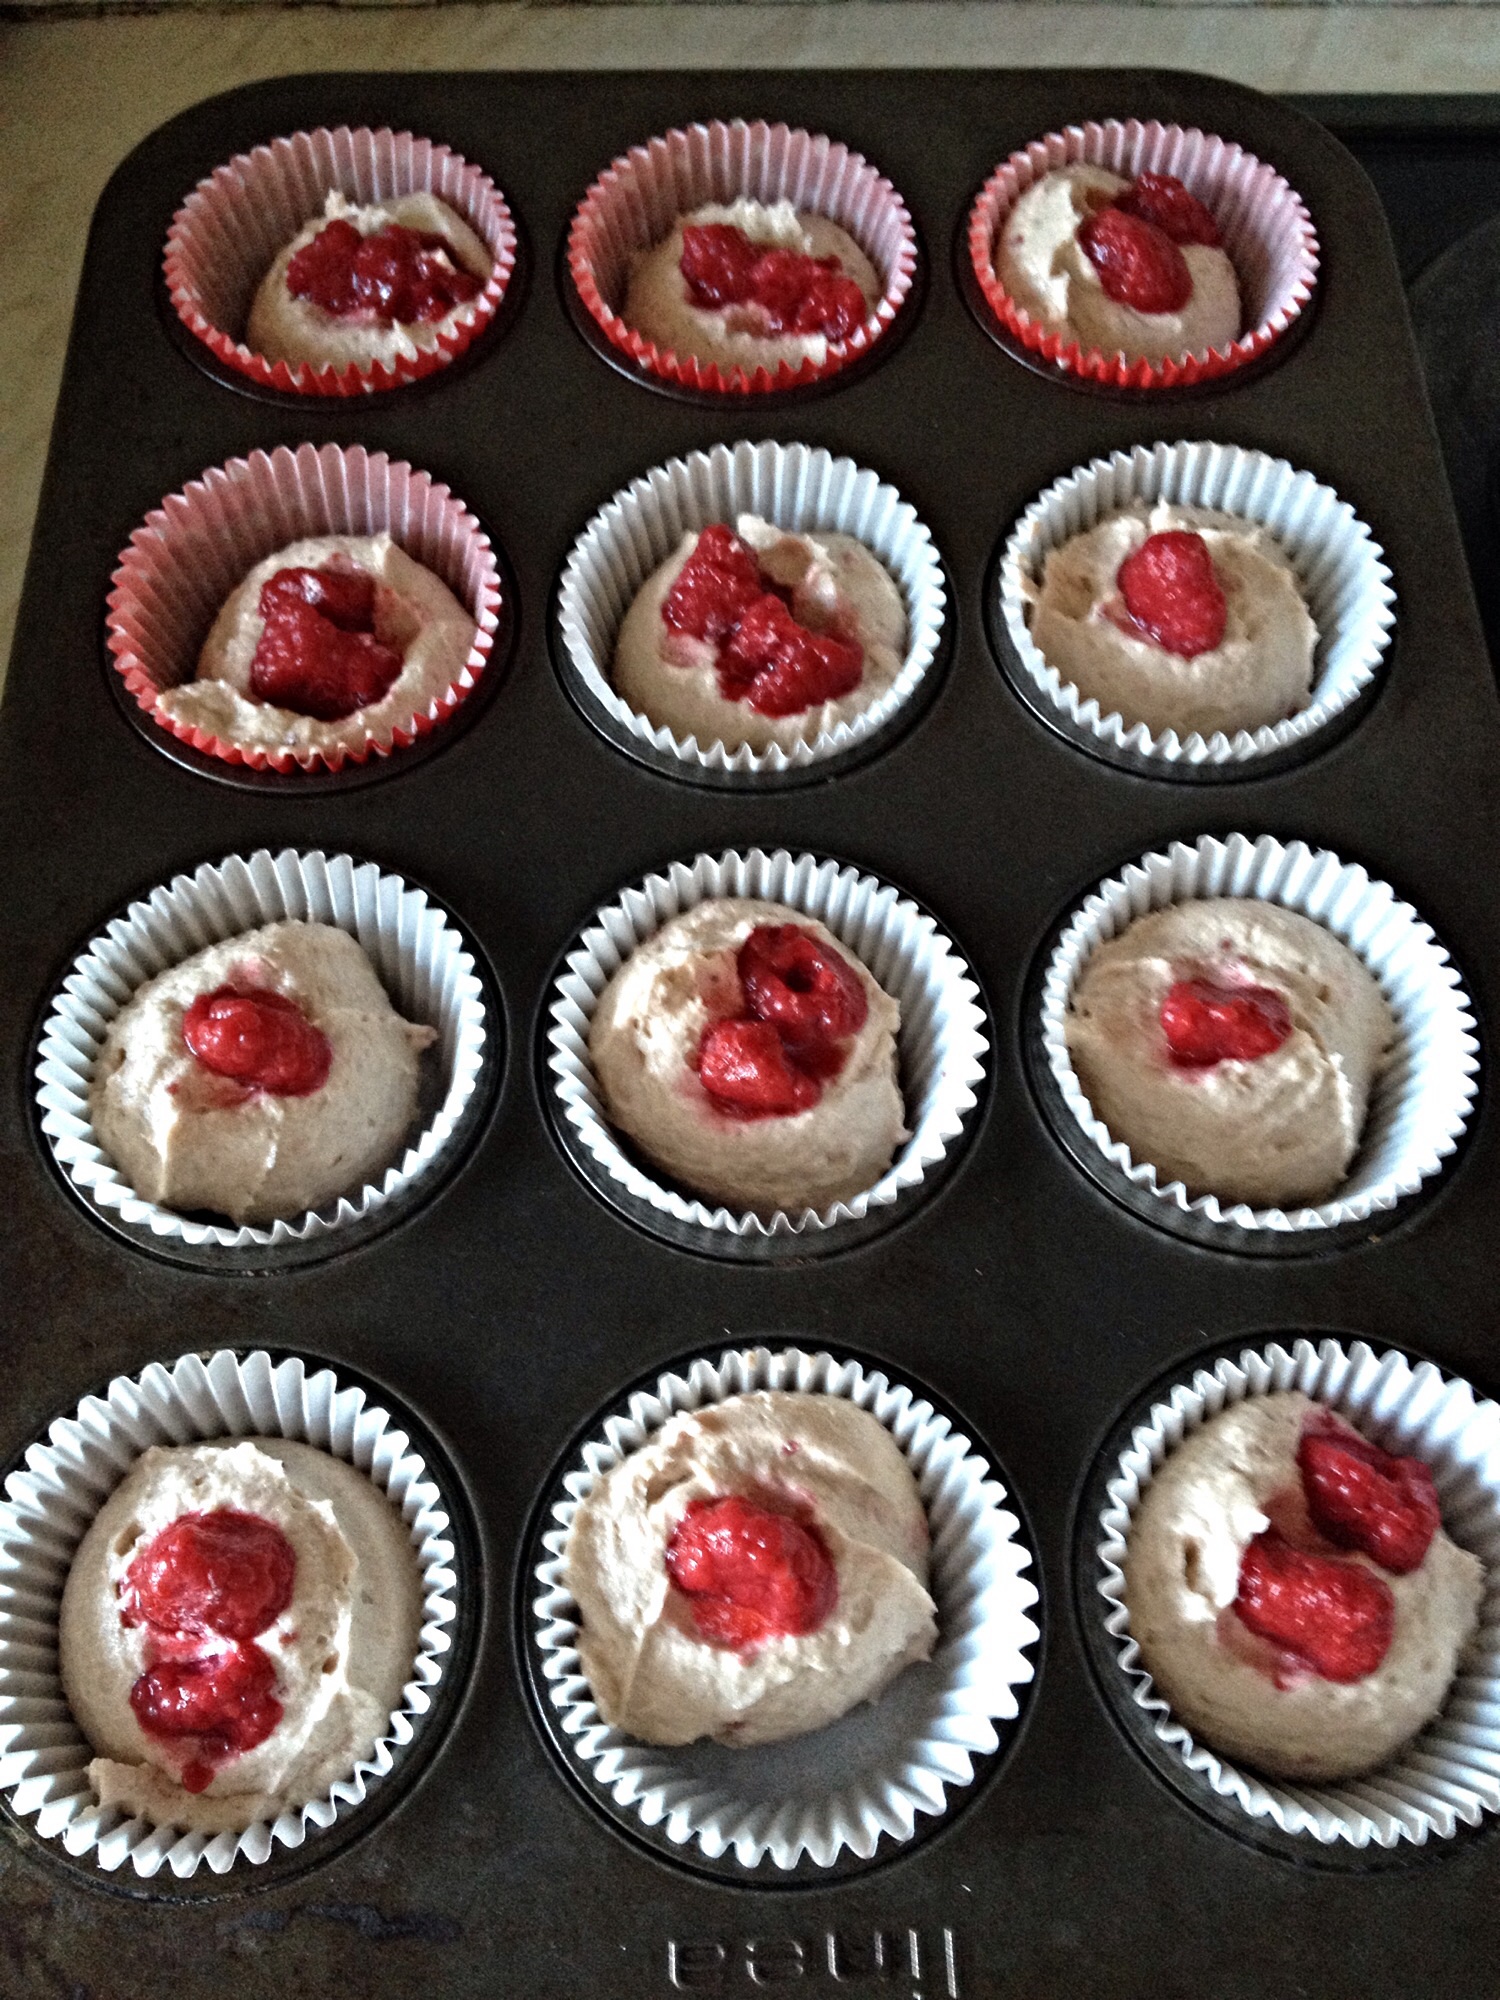
Place 18 Muffin/Cupcake cases in Muffin tins. Then using an ice cream scoop (or 2 spoons) fill each Muffin case with a scoopful of Raspberry and Almond Muffin batter (if using spoons fill the cases halfway).
An ice cream scoop provides just the right amount of batter!Using a scoop fills the cases in next to no time!
For the final finish, pop a raspberry (or two – depending how many you have) on the top of each mound of batter.
They look a bit like noses!!!
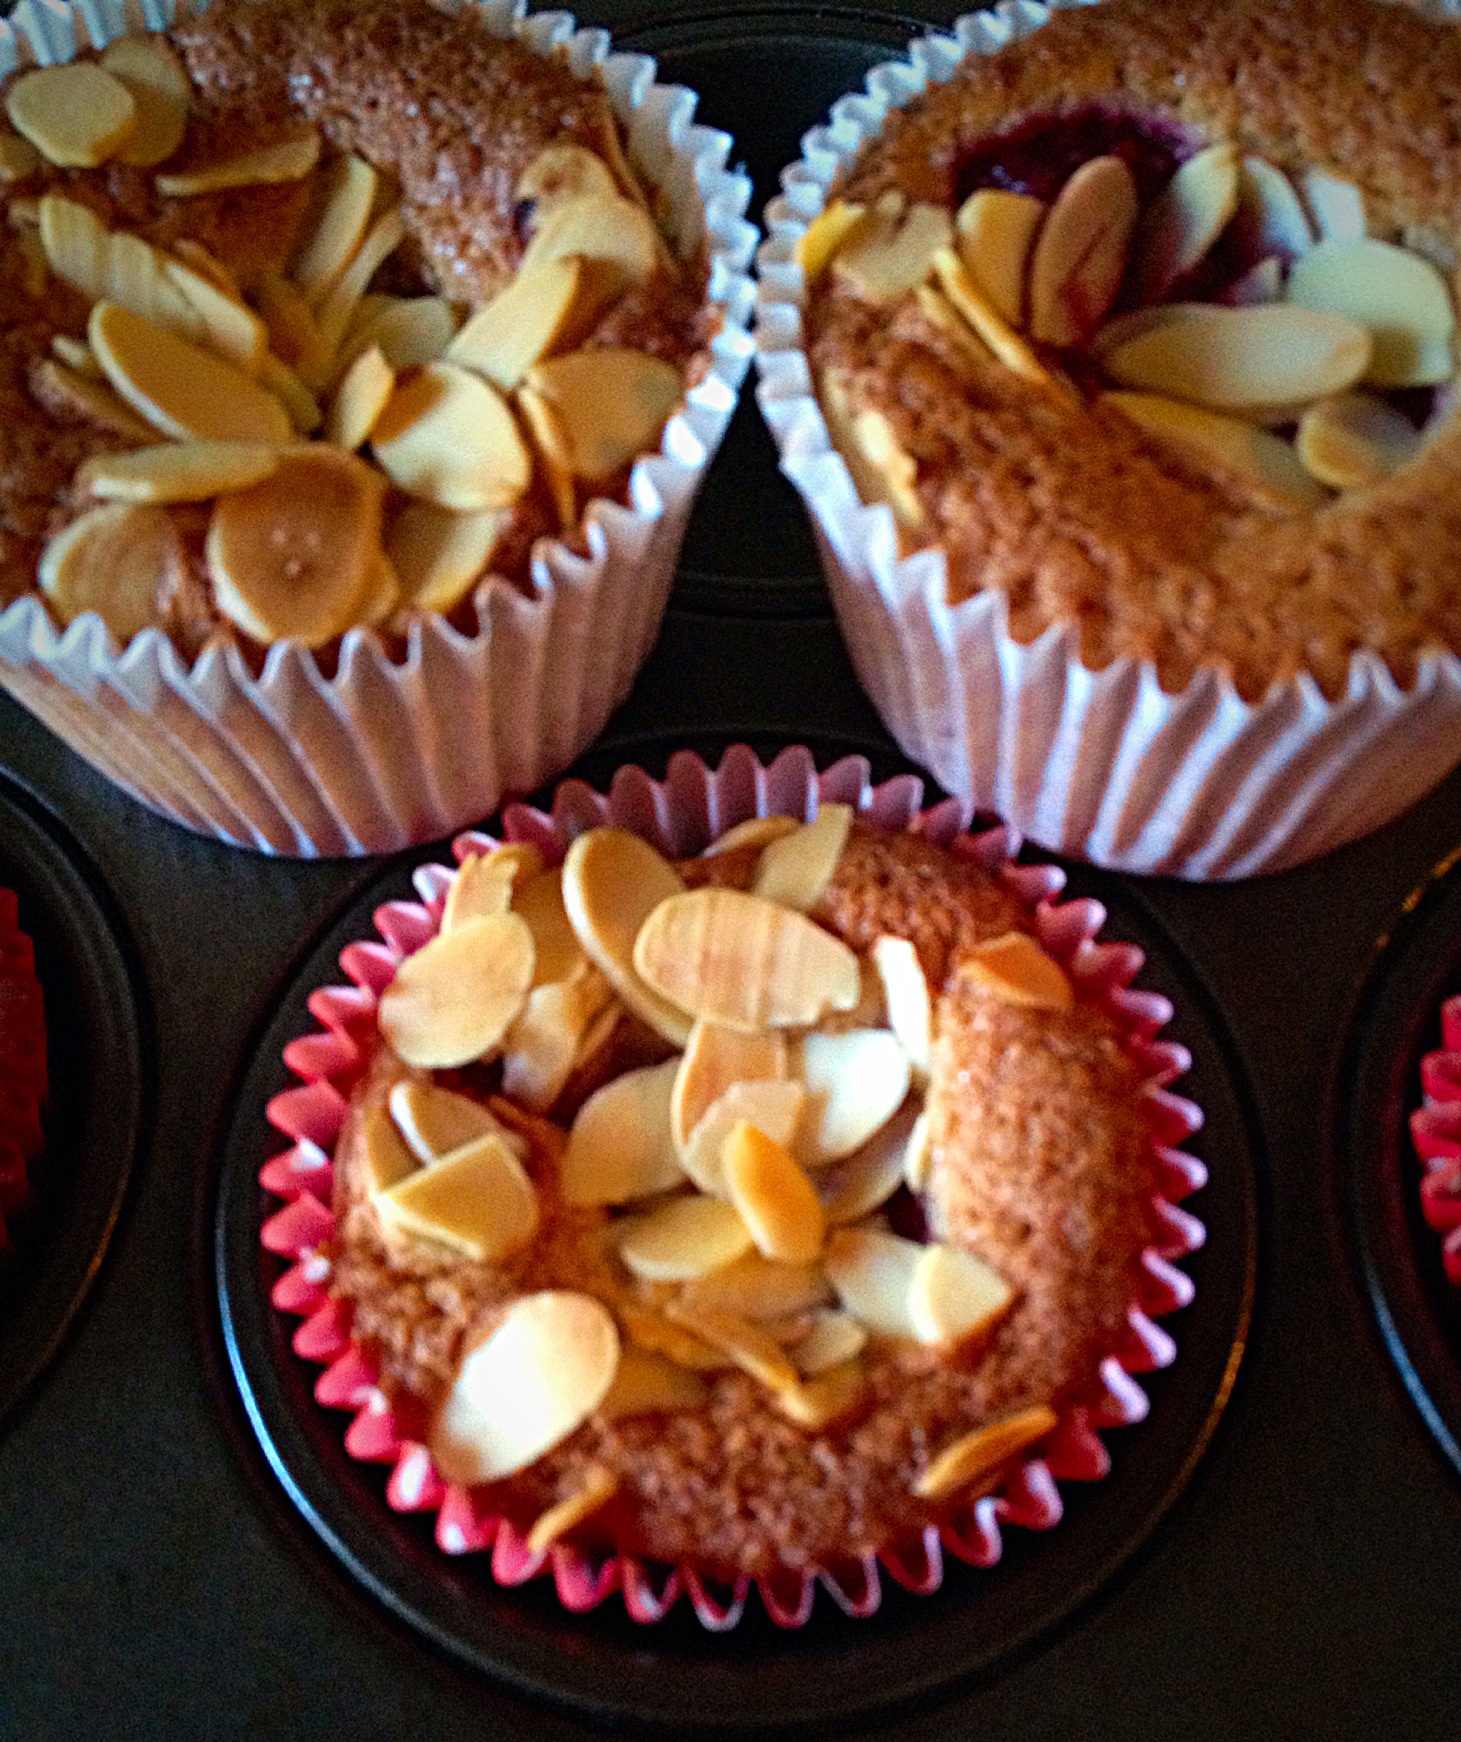
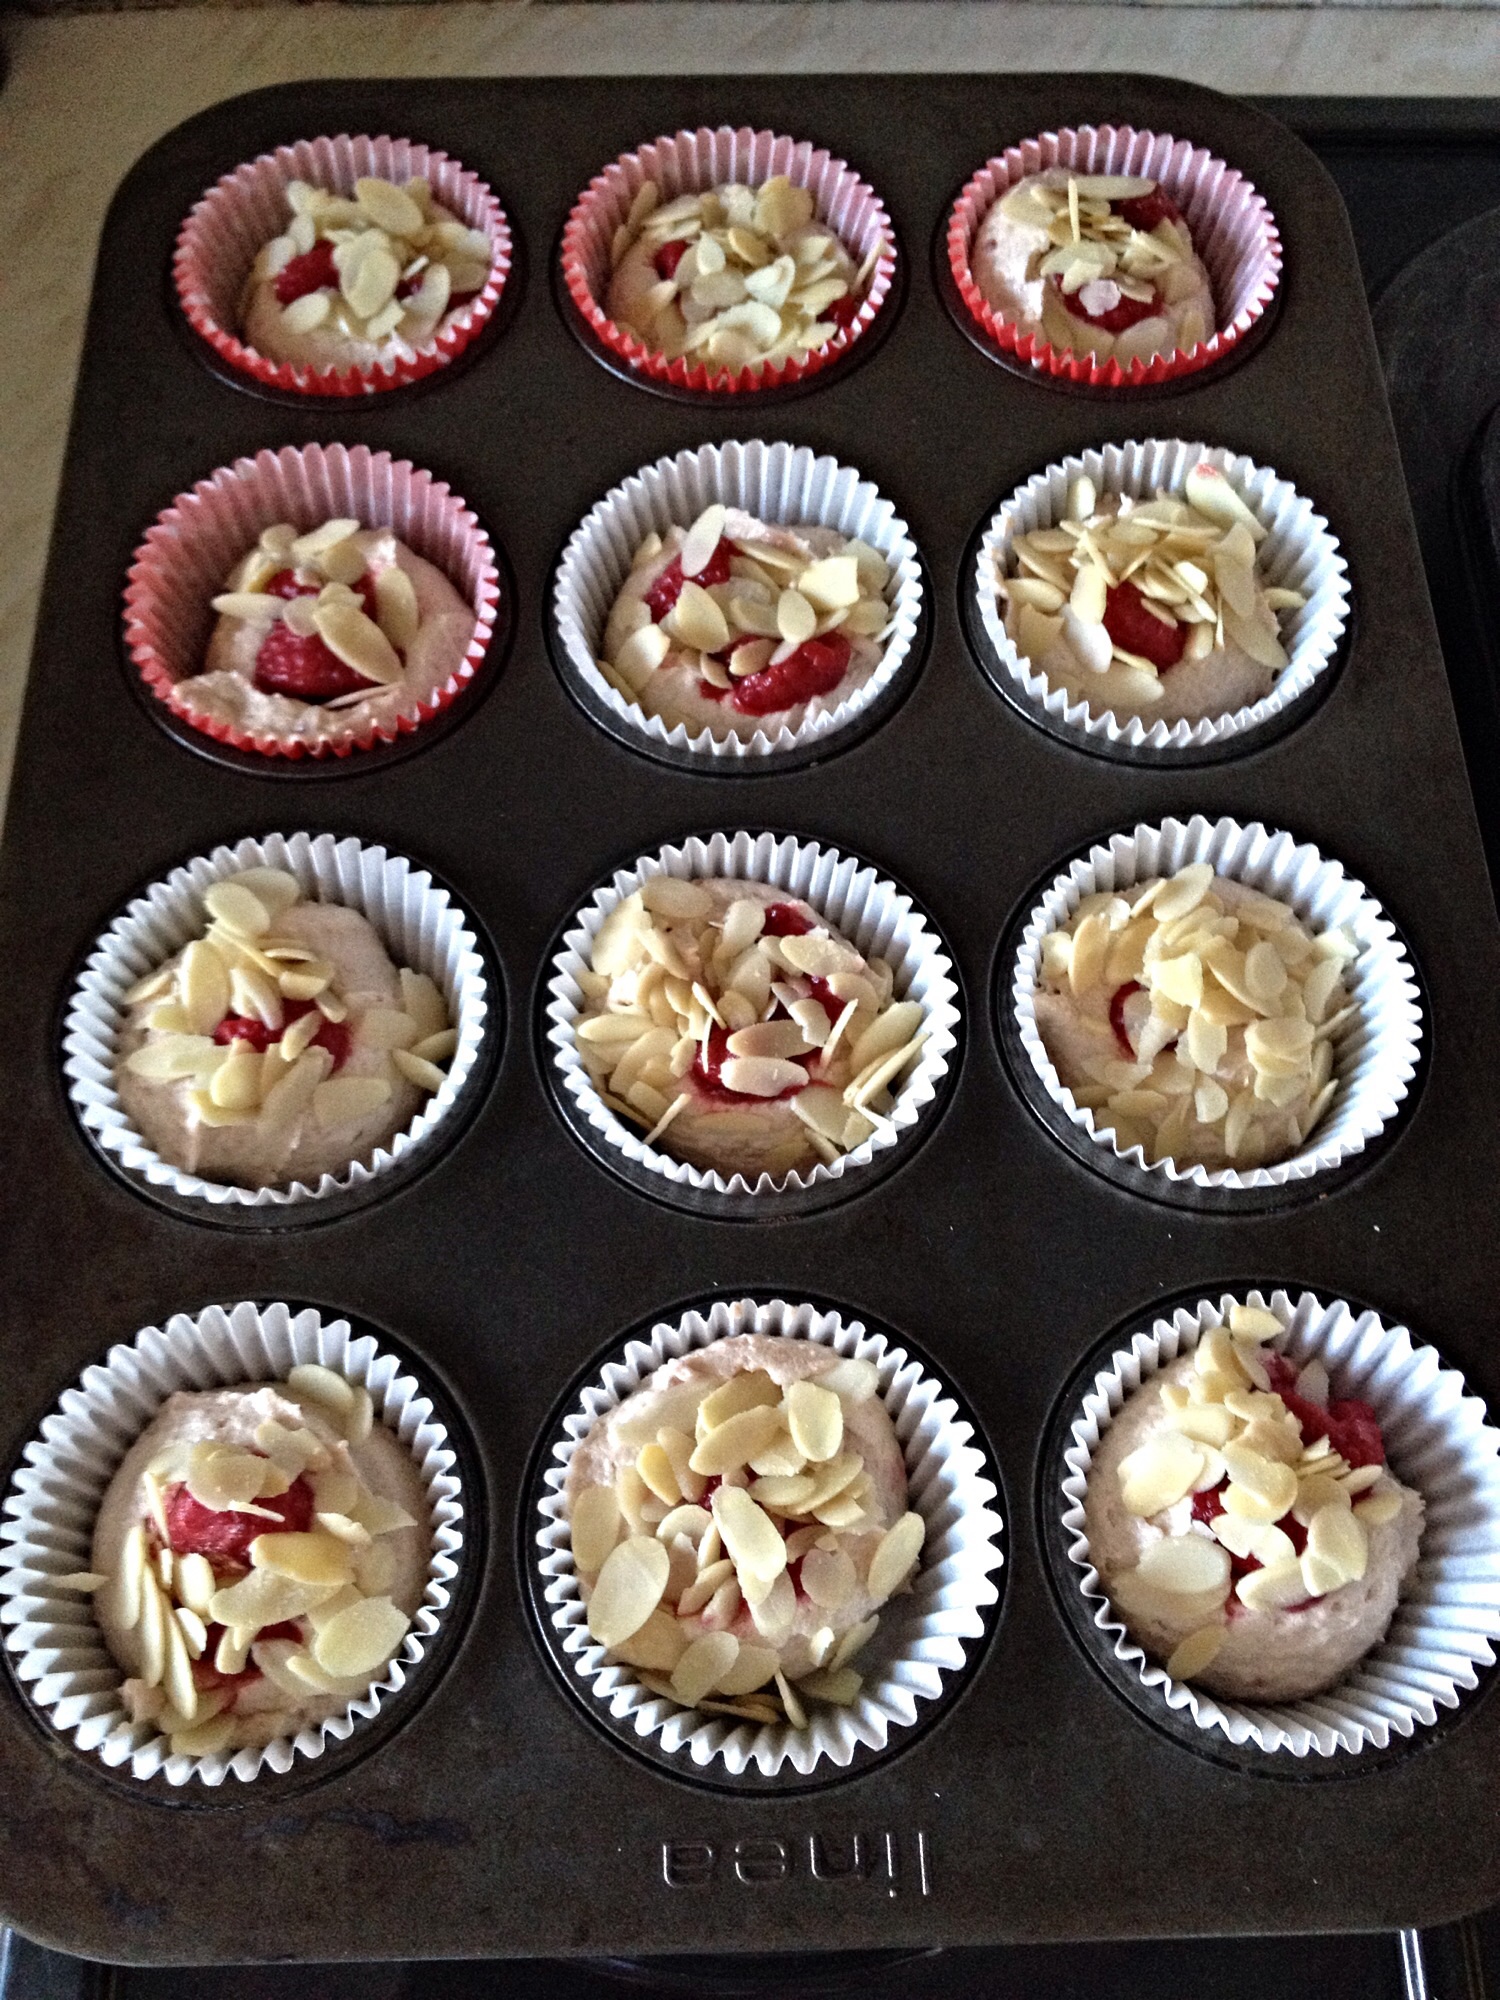
Next evenly sprinkle the flaked almonds over the top of the uncooked Muffins, very gently pressing them into the batter.
When cooked the flaked almonds will hide the tart, crimson raspberry beneath!!
Place the muffin tins into the preheated oven and bake for 20-25 minutes. Don’t be alarmed if they turn a darker, golden colour than vanilla cupcakes – these Muffins have whole Raspberries whisked into a batter that is 50% ground Almonds (instead of 100% flour) the darker colour means they’re cooked!!!
So pretty and yummy, you just have to share these!
Gorgeous, crunchy on the outside, soft and moist inside. The perfect balance of sweet and tart.
Hello, thank you for stopping by to take a peek at my blog and the recipe for these scrumptious Almond and Cranberry Cookies.
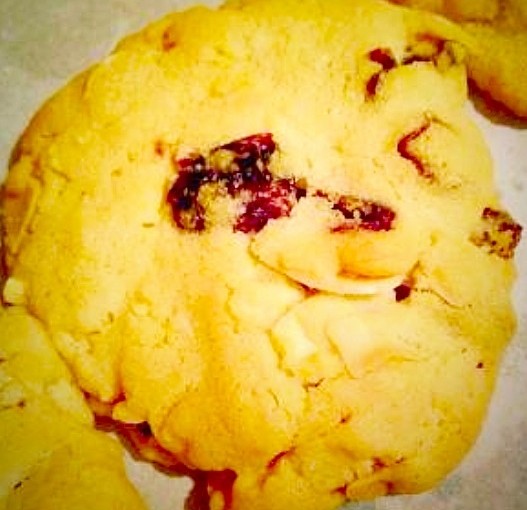
Almond and Cranberry Cookies – delish xxx
Just because Cranberries are naturally in season over the holiday period, doesn’t mean you can’t use the dried version any time of the year!
Pop the kettle on – I need to be dunked!!!
Dried cranberries have a sweet/tart flavour and work wonderfully well in these cookies as they are not too sweet. Most supermarkets stock Craisins (by Ocean Spray) otherwise I’ve found reliable stockists of dried Cranberries on Amazon/eBay.
Recipe : Makes 20 – 30 cookies
5 oz Caster Sugar
8 oz Unsalted Butter (at room temp)
1/4 tsp Salt (I use Kosher – no additives)
1 tsp Vanilla Extract
1/2 tsp. Almond Extract
1 Large Egg Yolk (free range if possible)
2 oz Ground Almonds
8 oz. Plain White Flour
4 oz Dried Cranberries
2 oz Flaked Almonds
Method :
Preheat the oven to 160C fan ((175C conventional oven).
Line 2 baking trays with parchment paper (if the trays aren’t non stick).
Cream together the butter, sugar and salt, using either an electric whisk (much easier!!) or wooden spoon, until pale and smooth to touch (rub a little of the mixture between your thumb and forefinger, it should not feel grainy).
Whisk/beat in the Egg Yolk, Vanilla and Almond extracts.
I now always switch to a spoon for mixing the dry ingredients, this way I can ‘feel’ when everything is combined and avoid overworking the flour (this can lead to tough cookies).
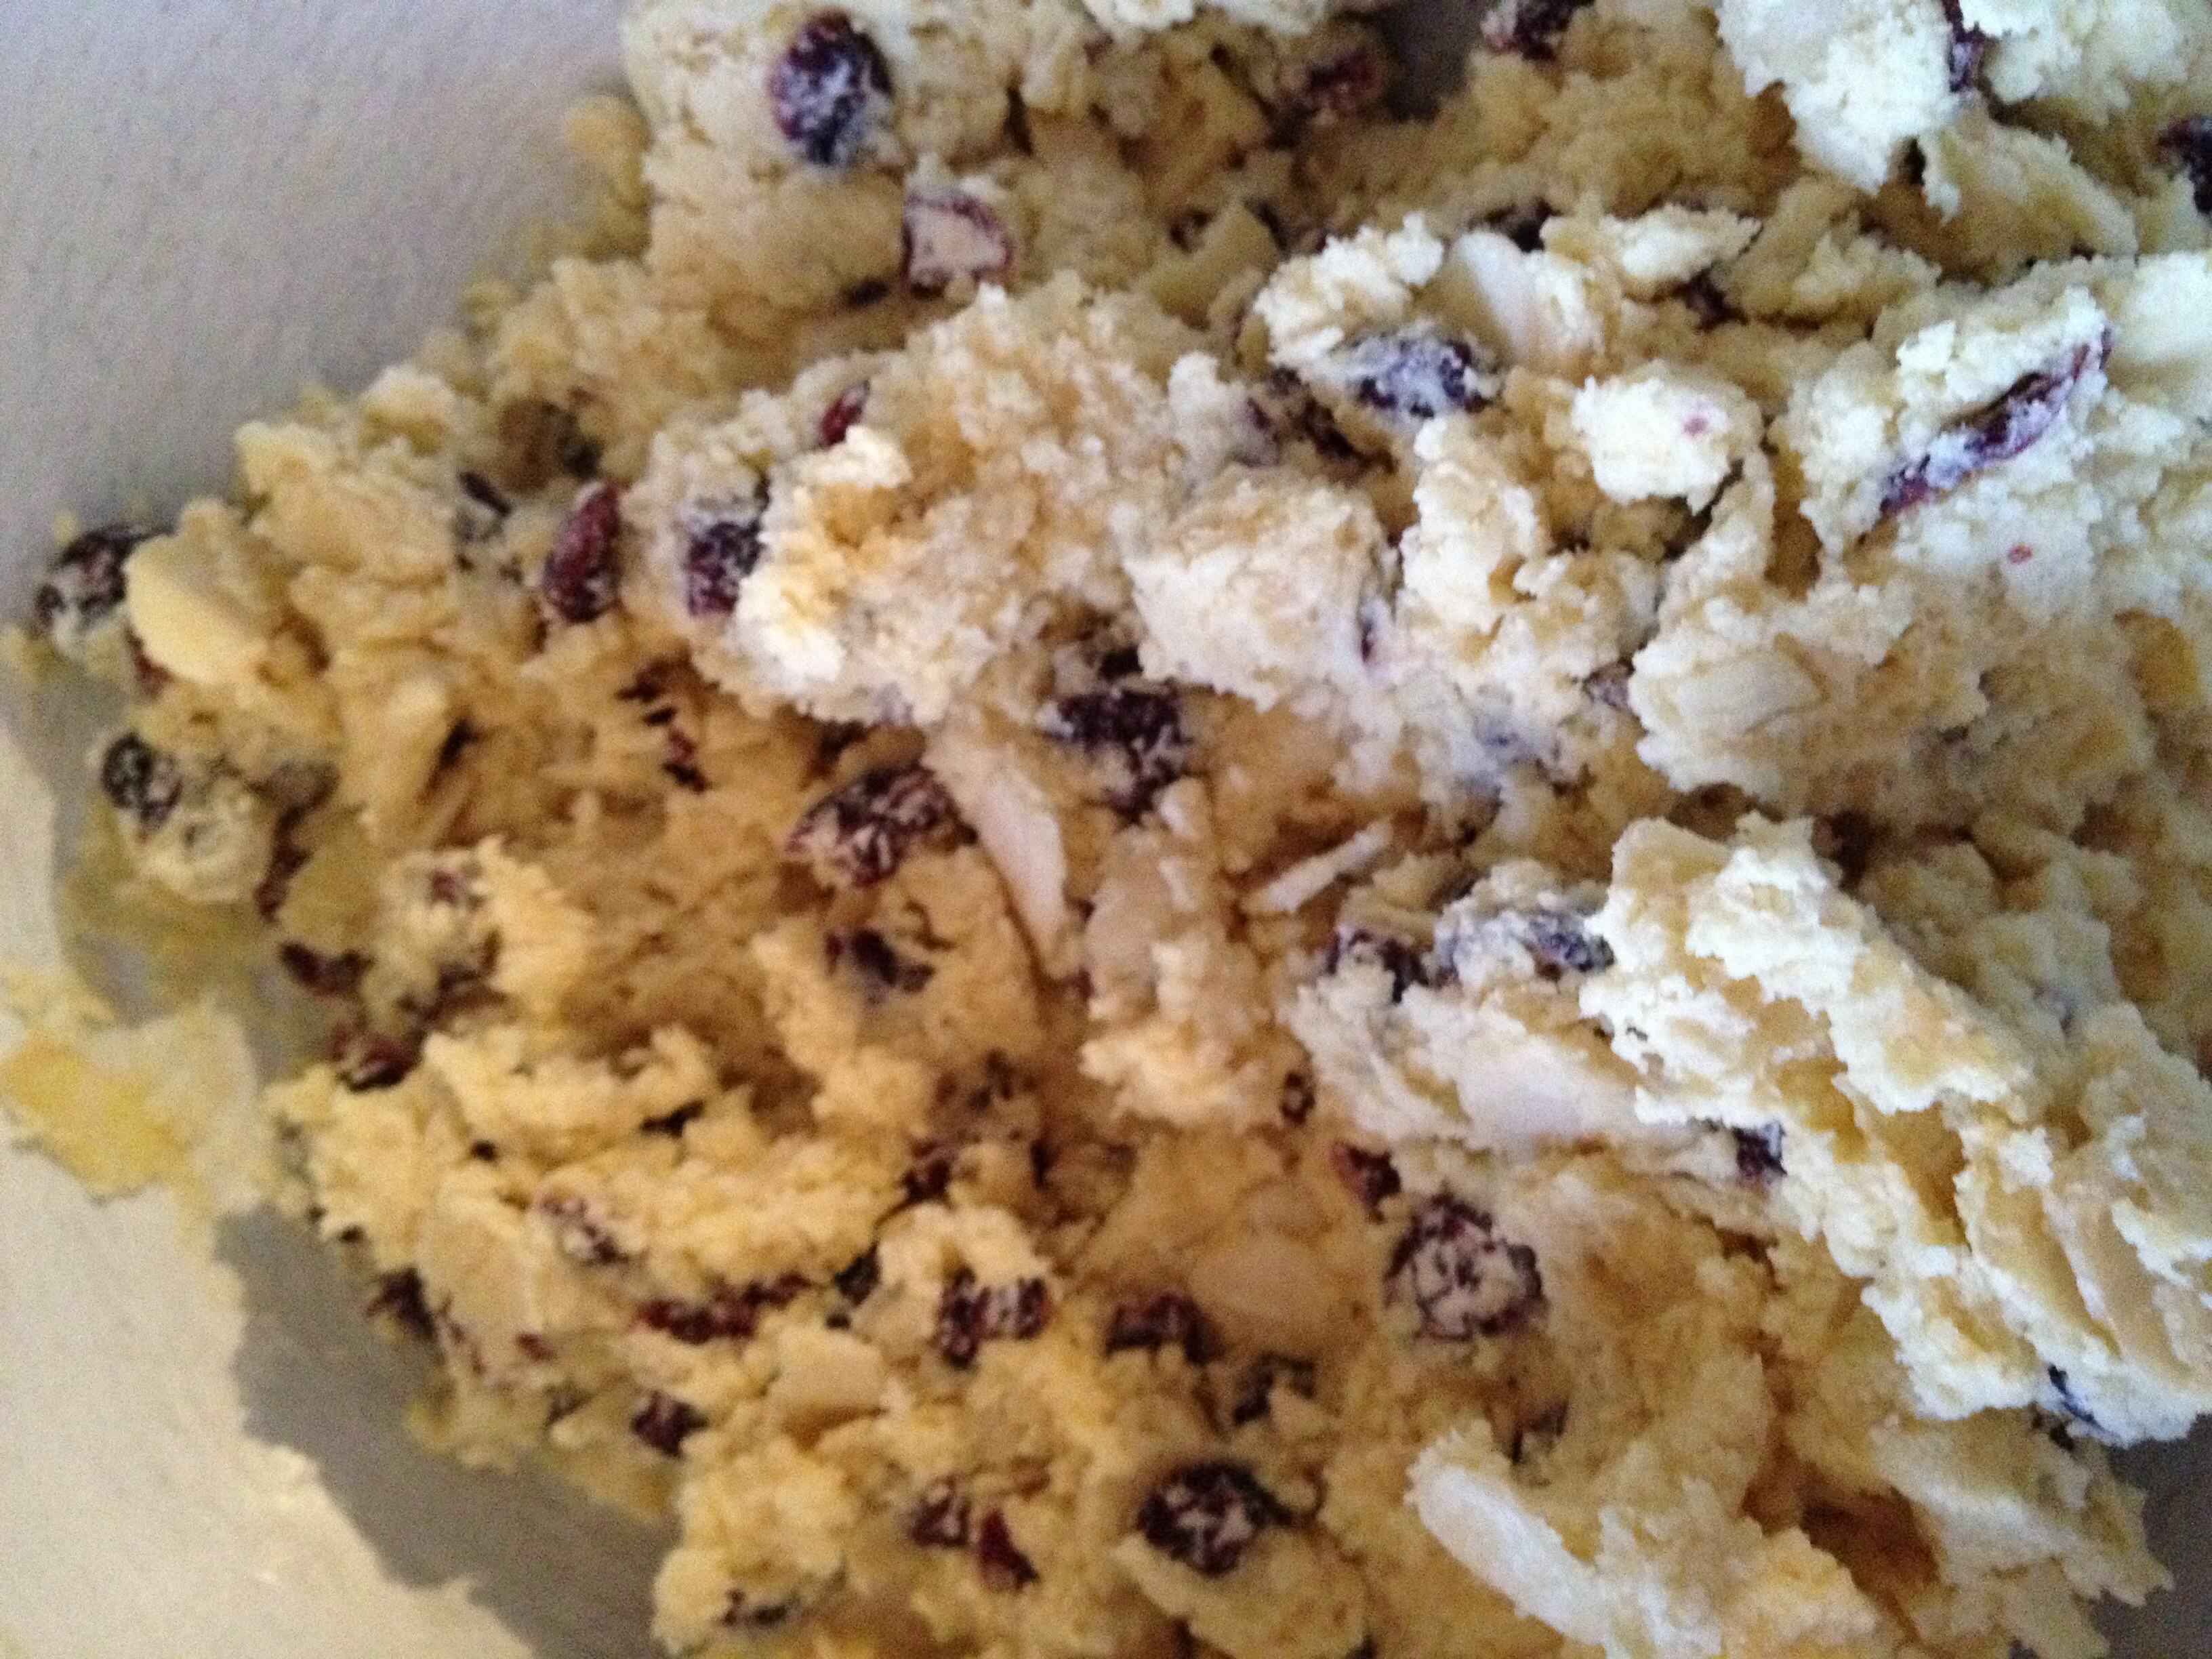
Add the Plain White Flour, Ground Almonds, Dried Cranberries and Flaked Almonds. Mix until all the ingredients are just combined.
This dough looks yummy enough to eat!!
Using a teaspoon form small balls (the size of large marbles) of the mixture, approx 12-14 balls – this will use approx half of the mixture.
Place the cookie dough balls, spaced evenly, onto the baking sheets. Lightly press the balls to form 1/4 inch thick disc.
Put both baking trays into the preheated oven and cook for 18-25 mins. They are cooked when they have turned a light, golden colour. Do not expect the cookies to be hard, they will firm up on cooling.
Leave to cool fully on the baking tray.
These taste even better the next day. I had to hide them to find that out!!!!
With the remaining cookie dough, wipe your worktop with a clean cloth and place at least 14 inches of cling film onto the worktop. Where the worktop is damp it will anchor the cling film in place!!
Place the cookie dough onto the cling film, form into a roll (approx 1 1/2 inch diameter). Wrap with the cling film and place in the fridge, it will keep fresh for up to one week. Or you can place in the freezer for up to one month.
Defrost the dough overnight in the fridge. To bake, preheat the oven and remove the dough log 20 minutes before slicing – this allows the dough to warm slightly and will help stop the cookies cracking when being cut.
Slice 1/4 inch (1cm) discs from the dough log, place on baking sheets as before and bake for 18-25 minutes. The time will vary depending on the diameter and thickness of your cookies.
Again they are cooked when lightly golden. Leave to cool on the baking sheet.
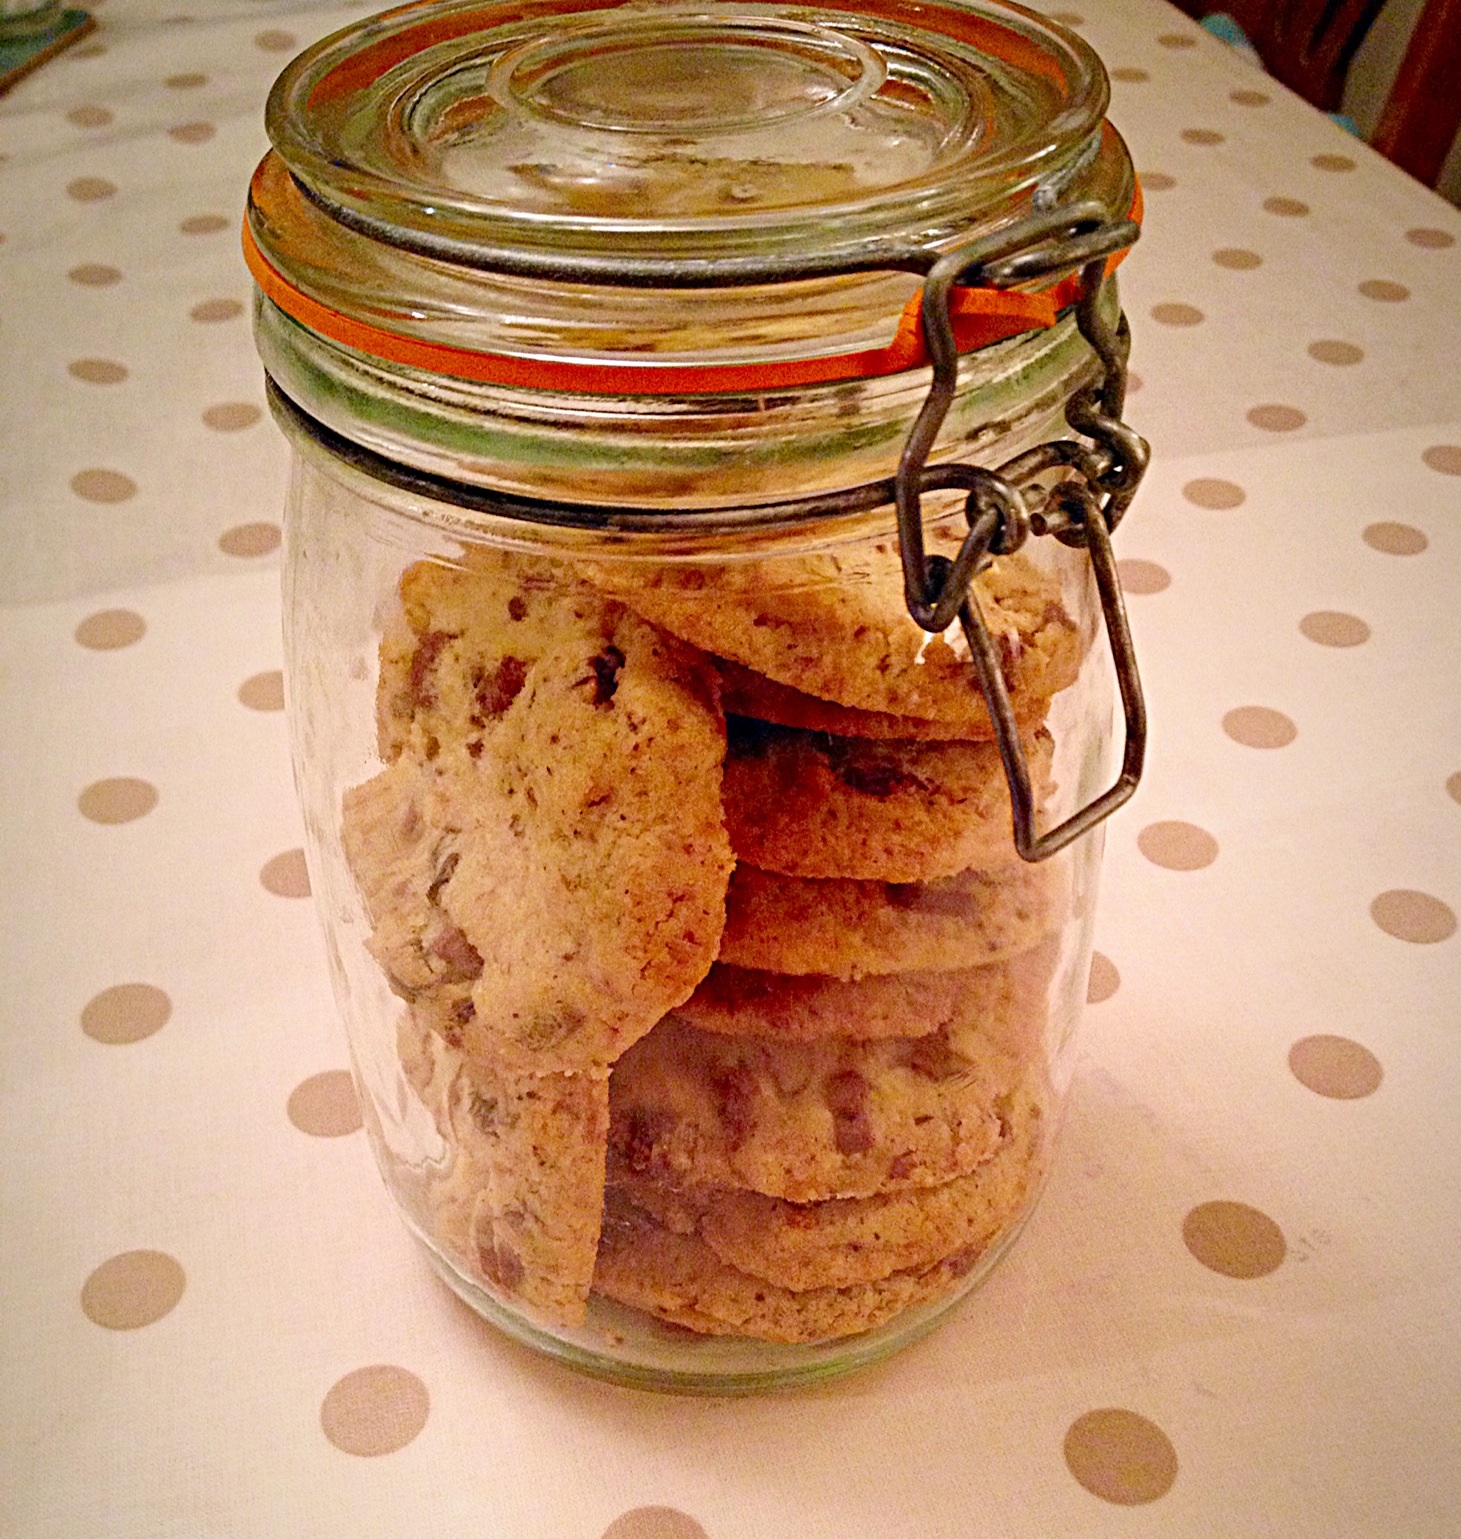
These cookies make lovely gifts. Pack a few up in a cellophane bag, tied with a pretty ribbon, reuse a Christmas chocolate tin and fill with Cookies, or pop some into a Kilner jar!
A super present, people can see what they’re being treated to!!!!
Not only are these so easy to make, you can keep the dough stored in the fridge to whip out when unexpected guests arrive and have freshly baked cookies, ready to share with a smile and a cuppa!
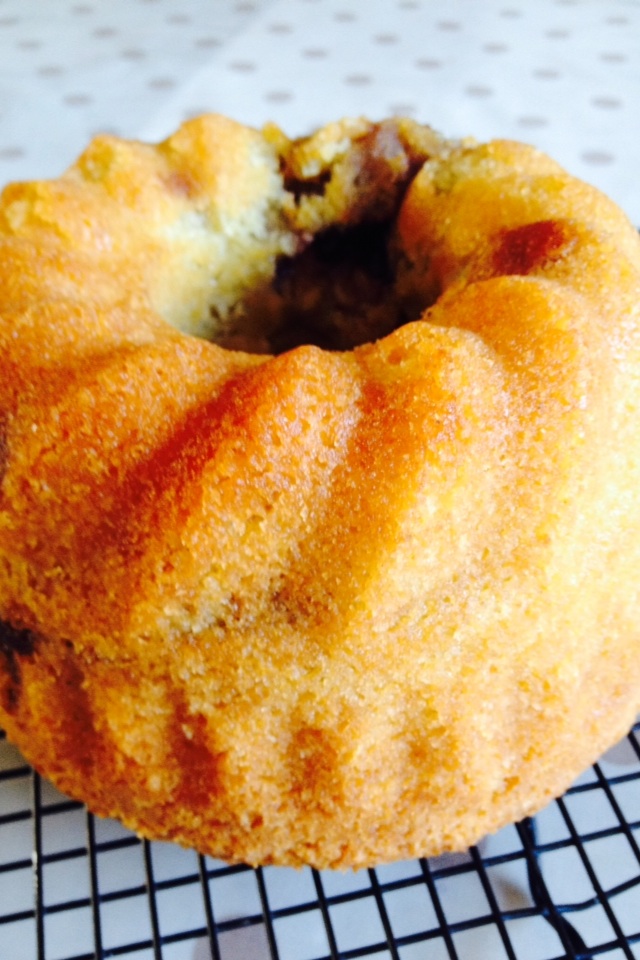
Hello there, thank you to everyone who has been reading and leaving comments on my blogs. I’m hoping you love this Almond and MoreIlo Cherry Bundt Cake Recipe?
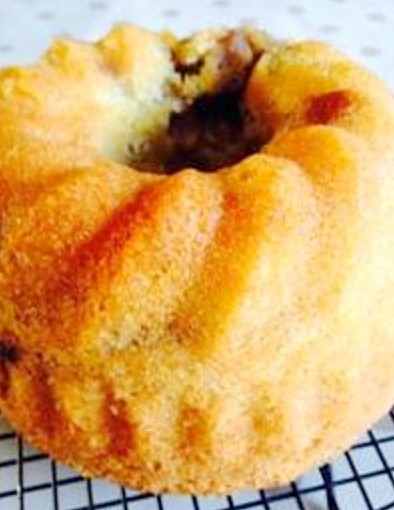
A moist, cooked cake, with a scrumptious Morello Cherry centre!!!!
I hope, to all those of you who have been leaving helpful comments, especially regarding targeting more people to read my blog, thank you. However I will only approve and reply to one of each blog. I get a lot of identical blog comments!
I’m very happy to steadily build my site, confidence and readership numbers. I know SEO (site exposure optimisation!) is important to a lot of people and I respect that.
My website and blog is a creative outlet for me (especially as I am bed-bound for days on end – not asking for sympathy). I enjoy life and as part of that cooking, baking and most importantly having fun and sharing. So the very act of sharing my recipes, ideas, thoughts, beliefs through my website and blog, is, I suppose, practising what I’m preaching (without the preaching, more chatting really!).
Talking of sharing, my lovely mummy recently bought me a small Bundt pan from Aldi. I hadn’t used it until today and although there were a few things I learnt from my first go, it wasn’t half bad! The cake turned out (literally) extremely well – was a bit worried bout that bit and it tasted good. So all in all a success. Thanks mummy xx.
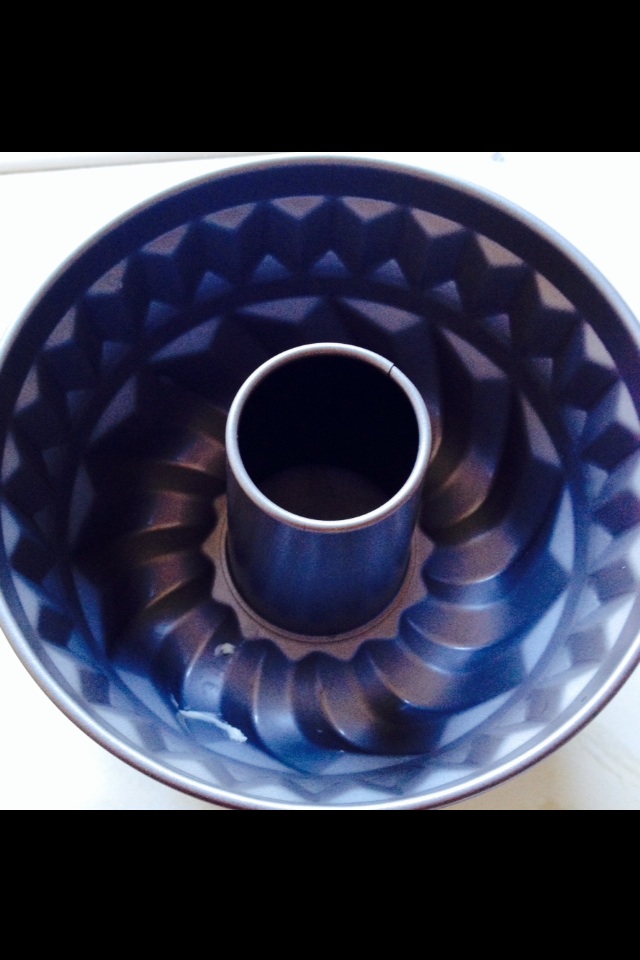
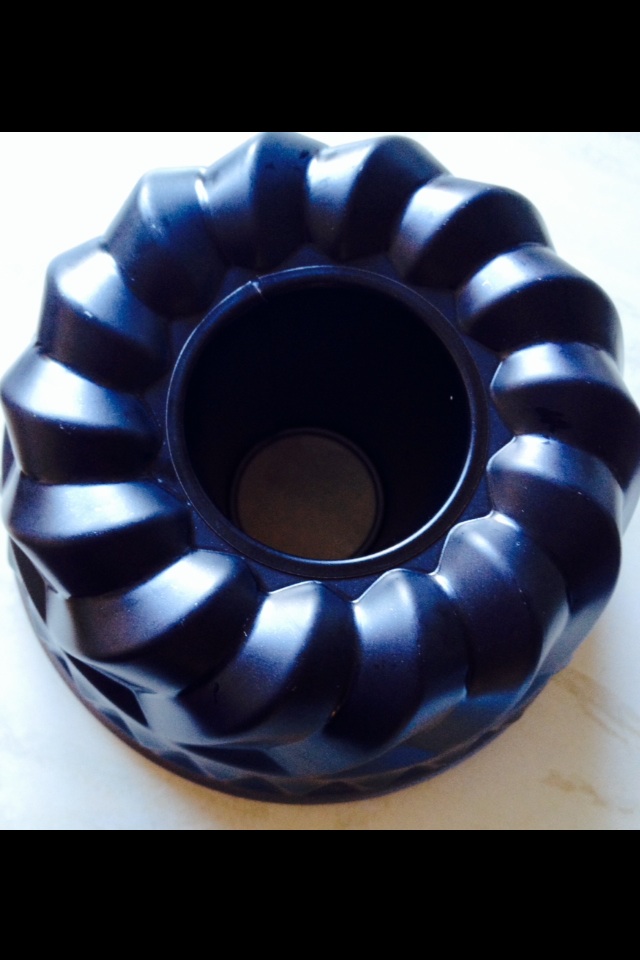
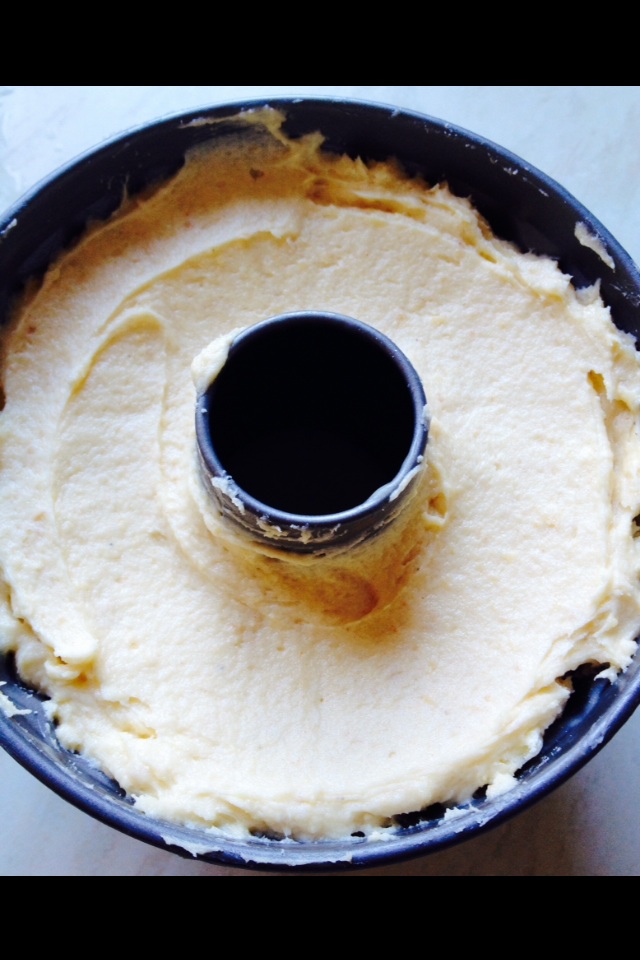
Just in case you’ve not seen one before, I took a couple of pics to show you what my Bundt tin looks like!
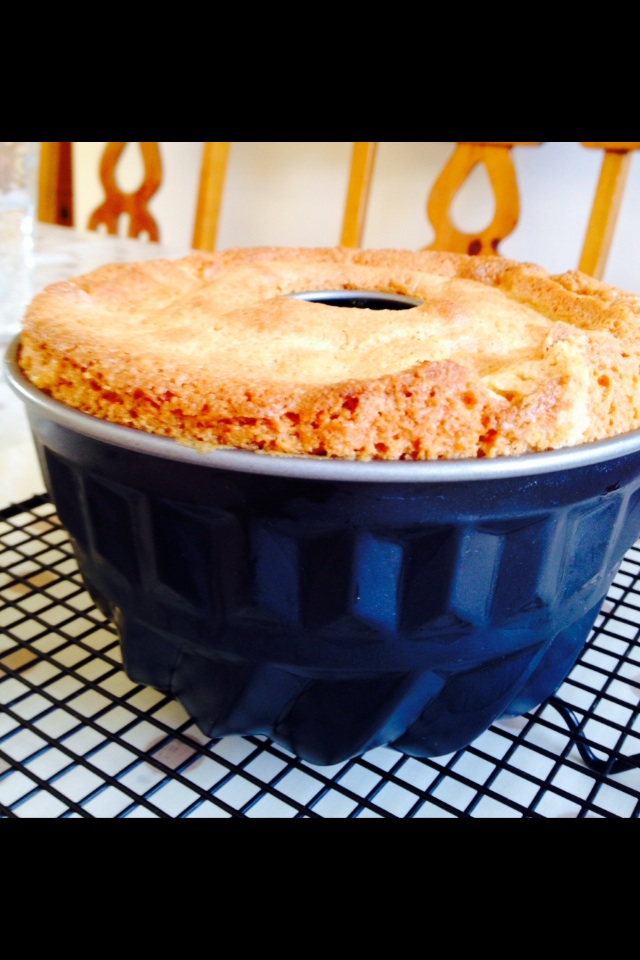
The inside of my Bundt tin!The outside of the Bundt tin – showing the moulded shape the cake will have once cooked.
My Bundt tin is quite small, but perfect for the recipe I used. It’s dimensions are approx 6.5″ wide x 3.5″ deep. You can buy all different sizes of pan: the common theme is that the pan has a moulded shape, to give a decorative finish to the cake and a central tube, allowing the inside of the cake to be cooked thoroughly (& allowing the finished cake to be filled with cream, fruit, patisserie creme or any number of delicious fillings).
A straight sided, round, flat bottomed tin, is an Angel Cake Tin. These are for making an entirely different type of cake (Angel cake!), where, when cooling, the tin is inverted (turned upside down) until the cake is completely cool. Don’t worry it’s on my birthday/Christmas/I must have this else my life will not be incomplete list!!!!!!
So my first attempt making an Almond and Morello Cherry Bundt Cake (as seen in the following photos) went something like this:
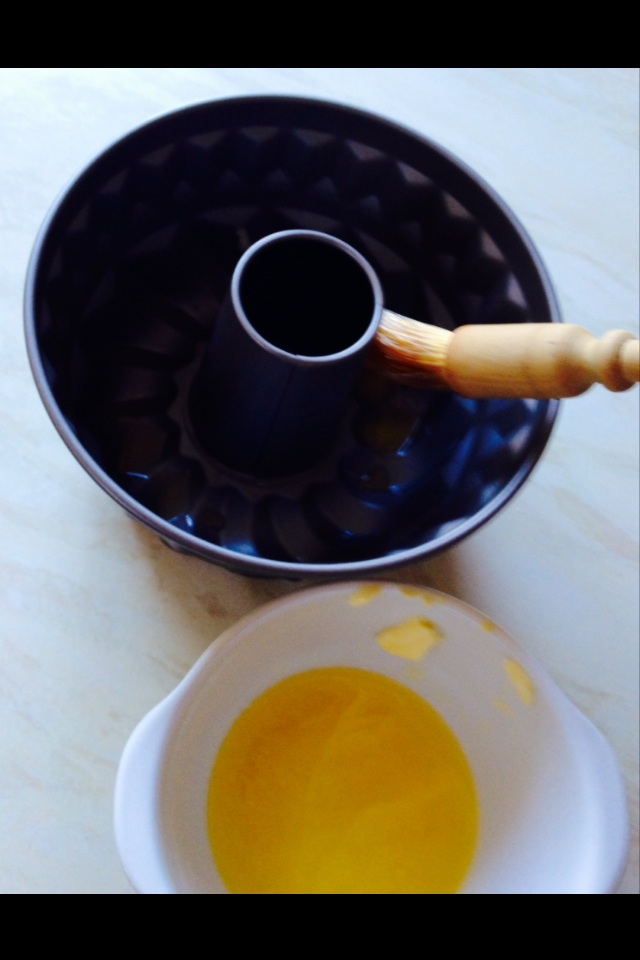
Firstly in the excitement – bare with, it’s the lil things in life that I enjoy – of taking all the wrapping/instructions etc off, I didn’t read them, so I could wash my new tin ready for use, I realised I had no idea if the tin is non-stick! It looked non-stick (please don’t ask me to describe?). But I thought I’d play it safe and butter it. Straightforward yes? Nope!!
The beautiful shaped cakes mean the Bundt tin has lots of dents, curves, nooks & crannies. Buttering a loaf tin with 5 straight sides is a breeze, how do I butter this gazillion sided round tin (being round does that mean it can’t have gazillions of sides? Answers on a postcard……
Aha, a moment of pure inspiration, I’d melt the butter & brush it on with a pastry brush. Genius!!!!
Me buttering the gazillion sided Bundt tin with melted butter. Seriously you’d have thought I’d invented the wheel…….
Feeling very smug and having an excess of melted butter, I also buttered my loaf tin this way today! Very satisfying to see a smooth(ish) layer of butter cooling in both tins!
Next it was time to decide what cake to bake? I’ve seen some beautiful chocolate marble cakes made in Bundt tins, on Google images, but to be honest after all the chocolatey cakes made for birthdays recently, I wanted to think outside the box, or Bundt tin in this case!
So I thought I’d ‘try’ an Almond flavoured sponge. A flavour that goes down well with all the family & crucially my official taste tester ‘the Green goddess’!
Good start but bit boring, so I had a peek in my cupboards & plucked out (the cupboards aren’t chickens in case you wondered!!) Almond flakes & Morello Cherry Jam – super.
Recipe : Almond and Morello Cherry Bundt Cake:
6oz Unsalted Butter – room temp
6oz Caster Sugar
Pinch of Salt (I use Kosher- no extra additives, but ground sea-salt is fine)
3 Large Eggs – room temp (pref free range)
1/4 teaspoon Almond Extract
1 teaspoon Vanilla Extract
6oz Self Raising White Flour
2oz Flaked Almonds (lightly toasted)
4 tablespoons Morello Cherry Jam
Method:
Preheat the oven to 175C (160C fan gas mark 3).
Cream the sugar & butter together using a wooden spoon or electric whisk until pale and creamy.
Add the salt, vanilla & Almond extract. Mix well.
Crack the eggs into a separate bowl. Add one half of the flour and 2 eggs, gently mix until almost combined. Add the remaining egg & flour. Gently mix until the mixture is completely combined.
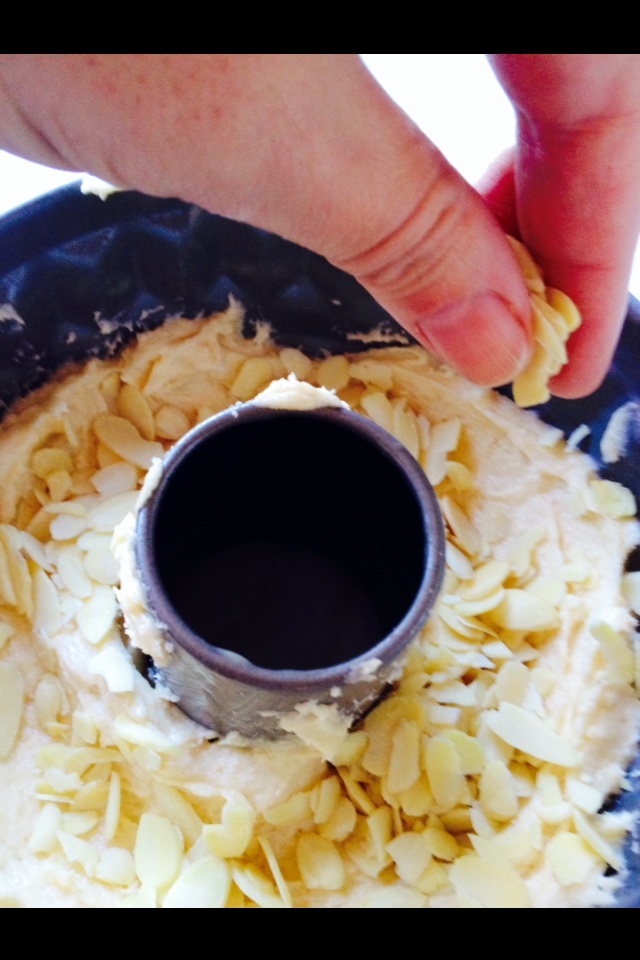
Using a desert spoon place spoonfuls of the cake batter into the bottom of the Bundt tin. Using the spoon spread the mixture so that it covers the bottom of the Bundt tin. Building the batter up slightly towards the centre and outside edge. This creates a dip where the filling will go.
Making the dip in the batter should stop the jam from reaching the tin sides, causing the cake to stick.
Sprinkle half the toasted Almond flakes on top of the batter.
I didn’t toast my Almonds – but I will next time!
Next using a small teaspoon, carefully spoon the jam into the centre dip of the cake batter, taking care not to touch the sides. Smooth the jam out carefully.
I’m pretty sure if the jam spreads to the edges, no amount if ingeniously buttered tin will stop the cake from sticking!!!!
Sprinkle the last of the flake almonds over the jam, then dollop the remaining cake batter over the top, ensuring as you smooth it out you don’t press the jam toward the sides of the tin.
The cake batter completely encases the jam.
Place the Bundt tin in the preheated oven for an hour. The cake will look cooked approximately 15 minutes before it is, however the centre will not be cooked through. Continue cooking until the cake has cooked for 1hr 5 mins.
Remove the Bundt tin from the oven and place on a cooling rack. It is important to let the cake cool completely in the tin.
Looks like I guessed the right quantities for this Bundt tin!!
When the cake feels completely cool, including the centre, turn the cake out onto a pretty plate.
Or baking rack, will explain later!!!!
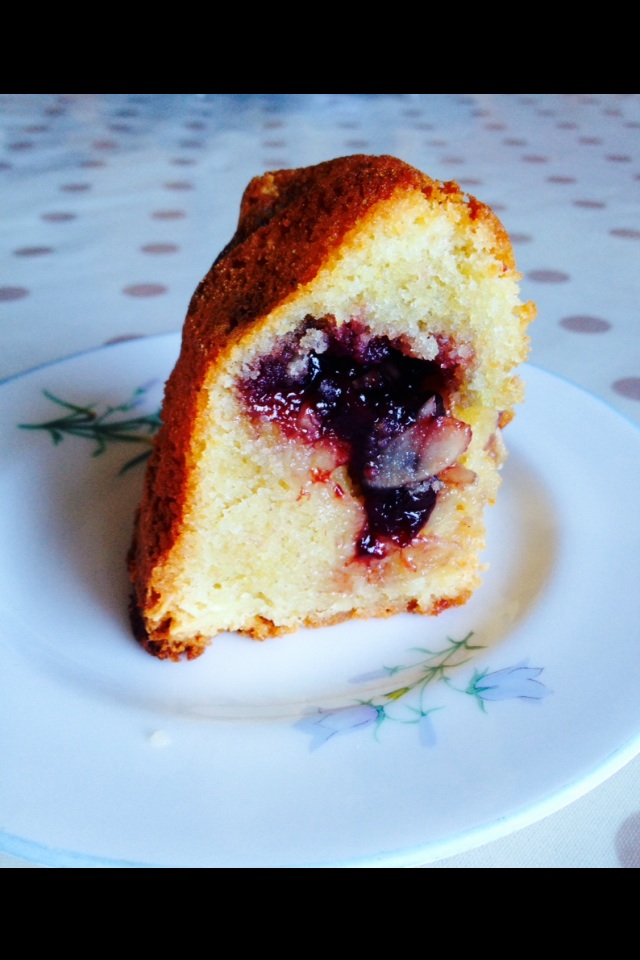
Now you can pop the kettle on (obviously I don’t mean you wear it just, fill & switch on!!!!!), then slice into this beautiful cake.
The jam is contained within the cake and it looks scrummy!
I popped the slice above round to my Green goddess friend who wasn’t feeling quite the ticket. It was received with thanks and thoroughly enjoyed.
See, I had fun making this and sharing with a wonderful friend, who sat with a cuppa, feasted and enjoyed (before my children & hubby came home & almost demolished the rest!).
Now what really happened:
The cake was removed from the oven after 45 mins. It was left until slightly warm & turned out onto a cooling rack (don’t ask me why? It seemed like a good idea at the time!!!!).
I then took the photo of the turned out cake, thankfully!! When I looked closely I realise the centre of the cake wasn’t completely cooked – whoops!
I turned the oven back on, tried to place the Bundt cake on a baking sheet, in doing so part of the cake collapsed – about a portion. So I attempted to squish the cake together, popped back in the oven & cooked for a further 15-20 mins until the centre was just cooked.
I removed the cake from the oven, allowed to cool until barely warm, cut the slightly collapsed portion out (which I feasted on with a cup of tea!). Then I sliced my friends portion and popped it round to her (2 doors down).
So I’ve adjusted adjusted the cooking time to 1hr-1hr10 mins. If the top of the cake – which will become the bottom when turned out – is browning too quickly just cover with aluminium foil, removing 5 mins before the cake is completely cooked, so that your cake does not have a soggy bottom!
The cake was rescued, tasted yummy and was feasted on & shared with family & friends.
Until next time keep sharing, you will be surprised how much it makes YOU smile and it’s FUN!