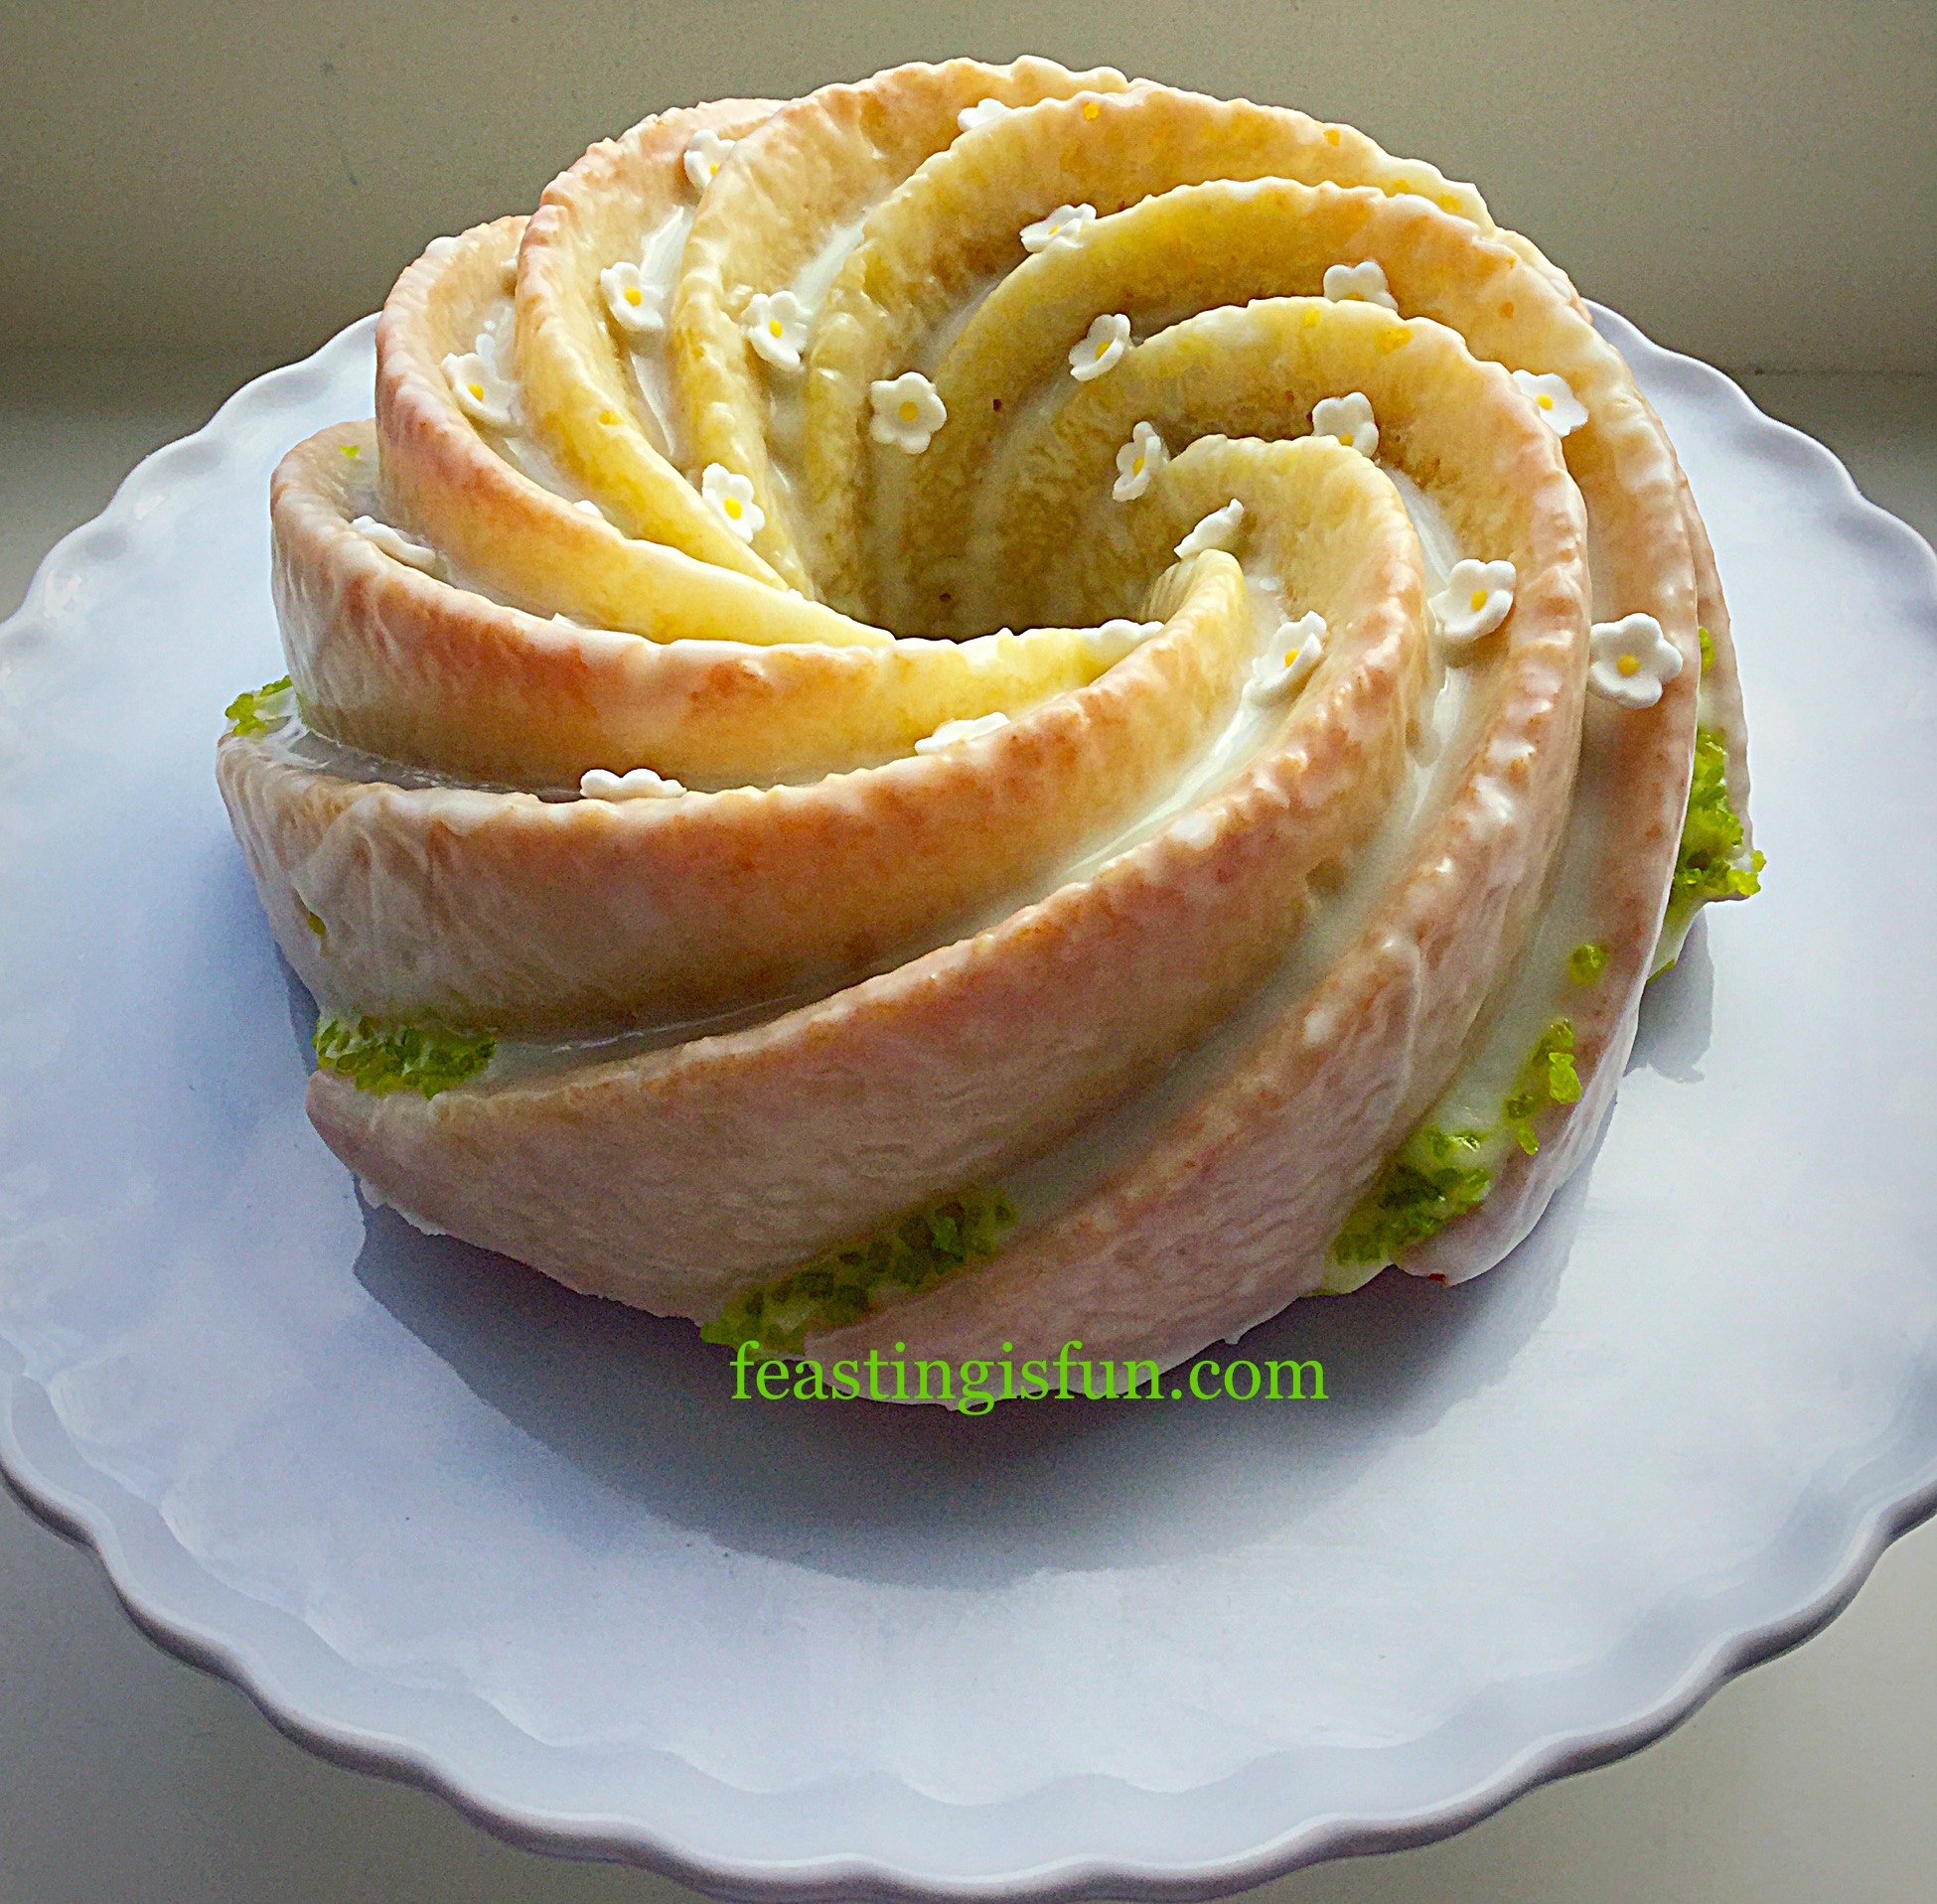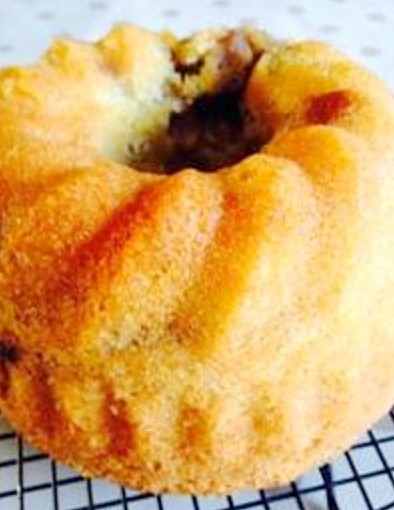
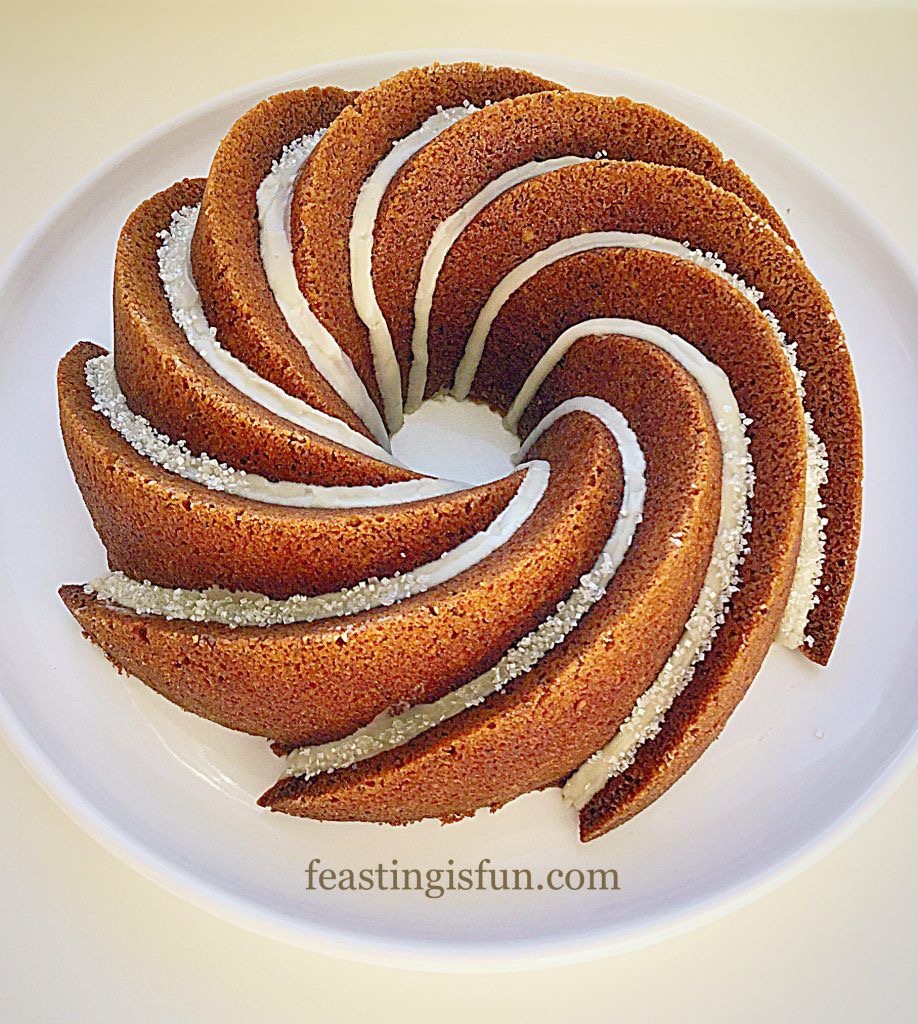
Valentine’s Day is nearly upon us and whether you subscribe to red hearts, roses and all things lovey-dovey, or not, walk down any high street and you can’t fail to avoid it. For me, each day is about expressing my love to those around me. Most importantly my hubby, our children and then my beautiful sister and her amazing family. Whether you celebrate February 14th as a specific day to show people your love, or choose other days, every single day, this Chocolate Heart Topped Rose Bundt Cake is sure to be well received.

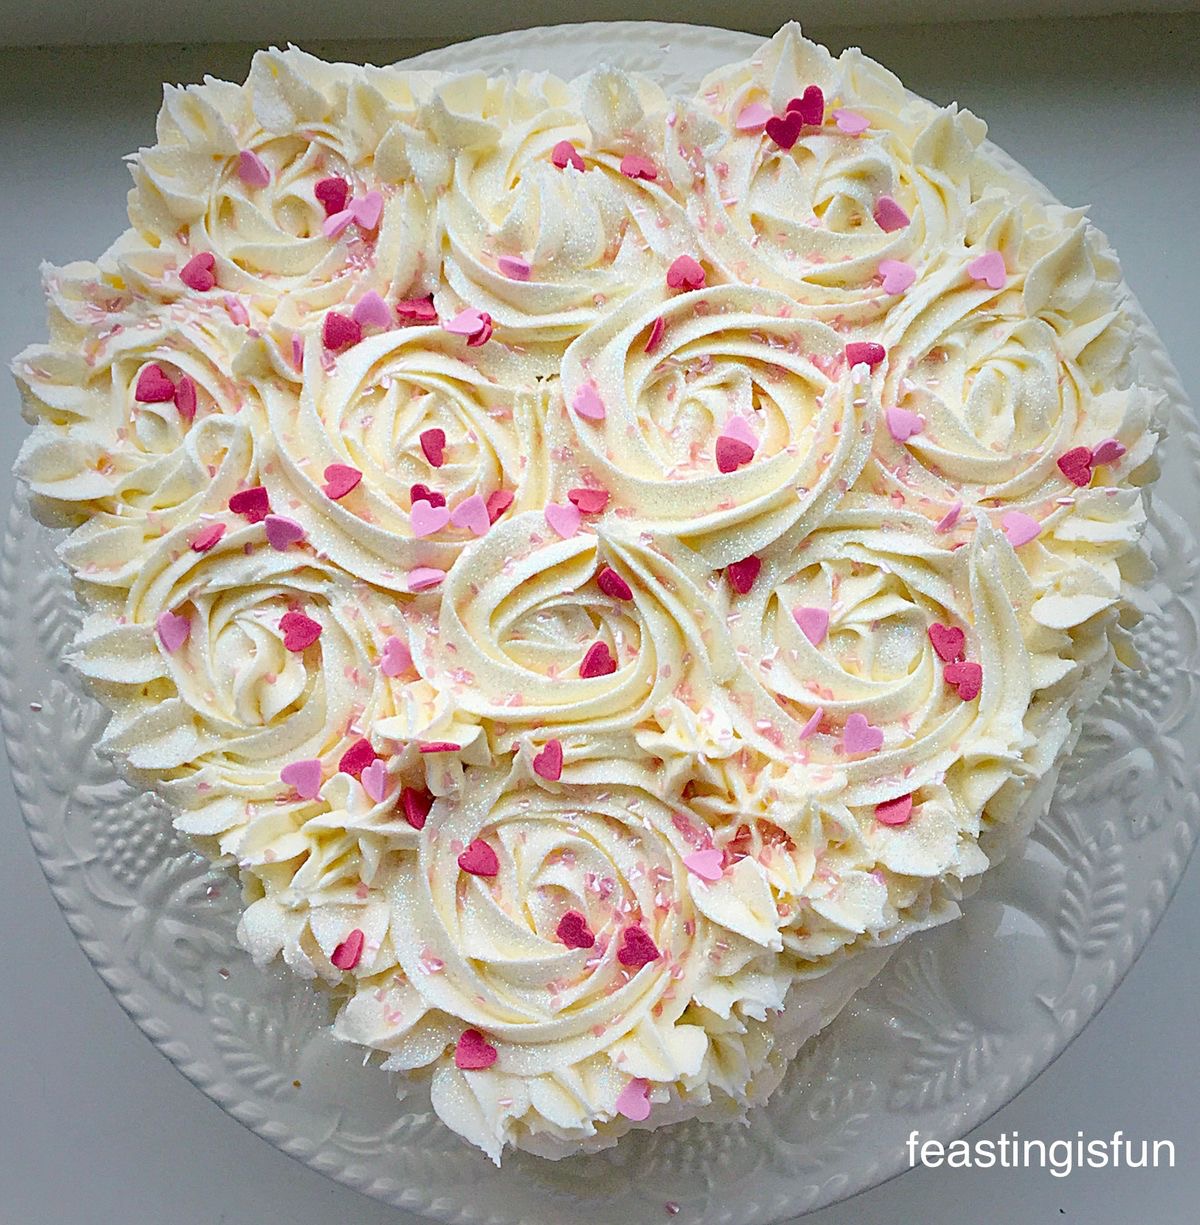
Love, for me is about showing someone I’ve thought of them. It can be a small act of making a cup of tea and a kiss, or it can be a grander gesture, such as buying theatre or concert tickets. One way I like to show loved ones that I’ve thought of them is to bake or cook for them. Making their favourite meal, baking cookies such as these Chocolate Heart Cookies, all adds to the love in our home.
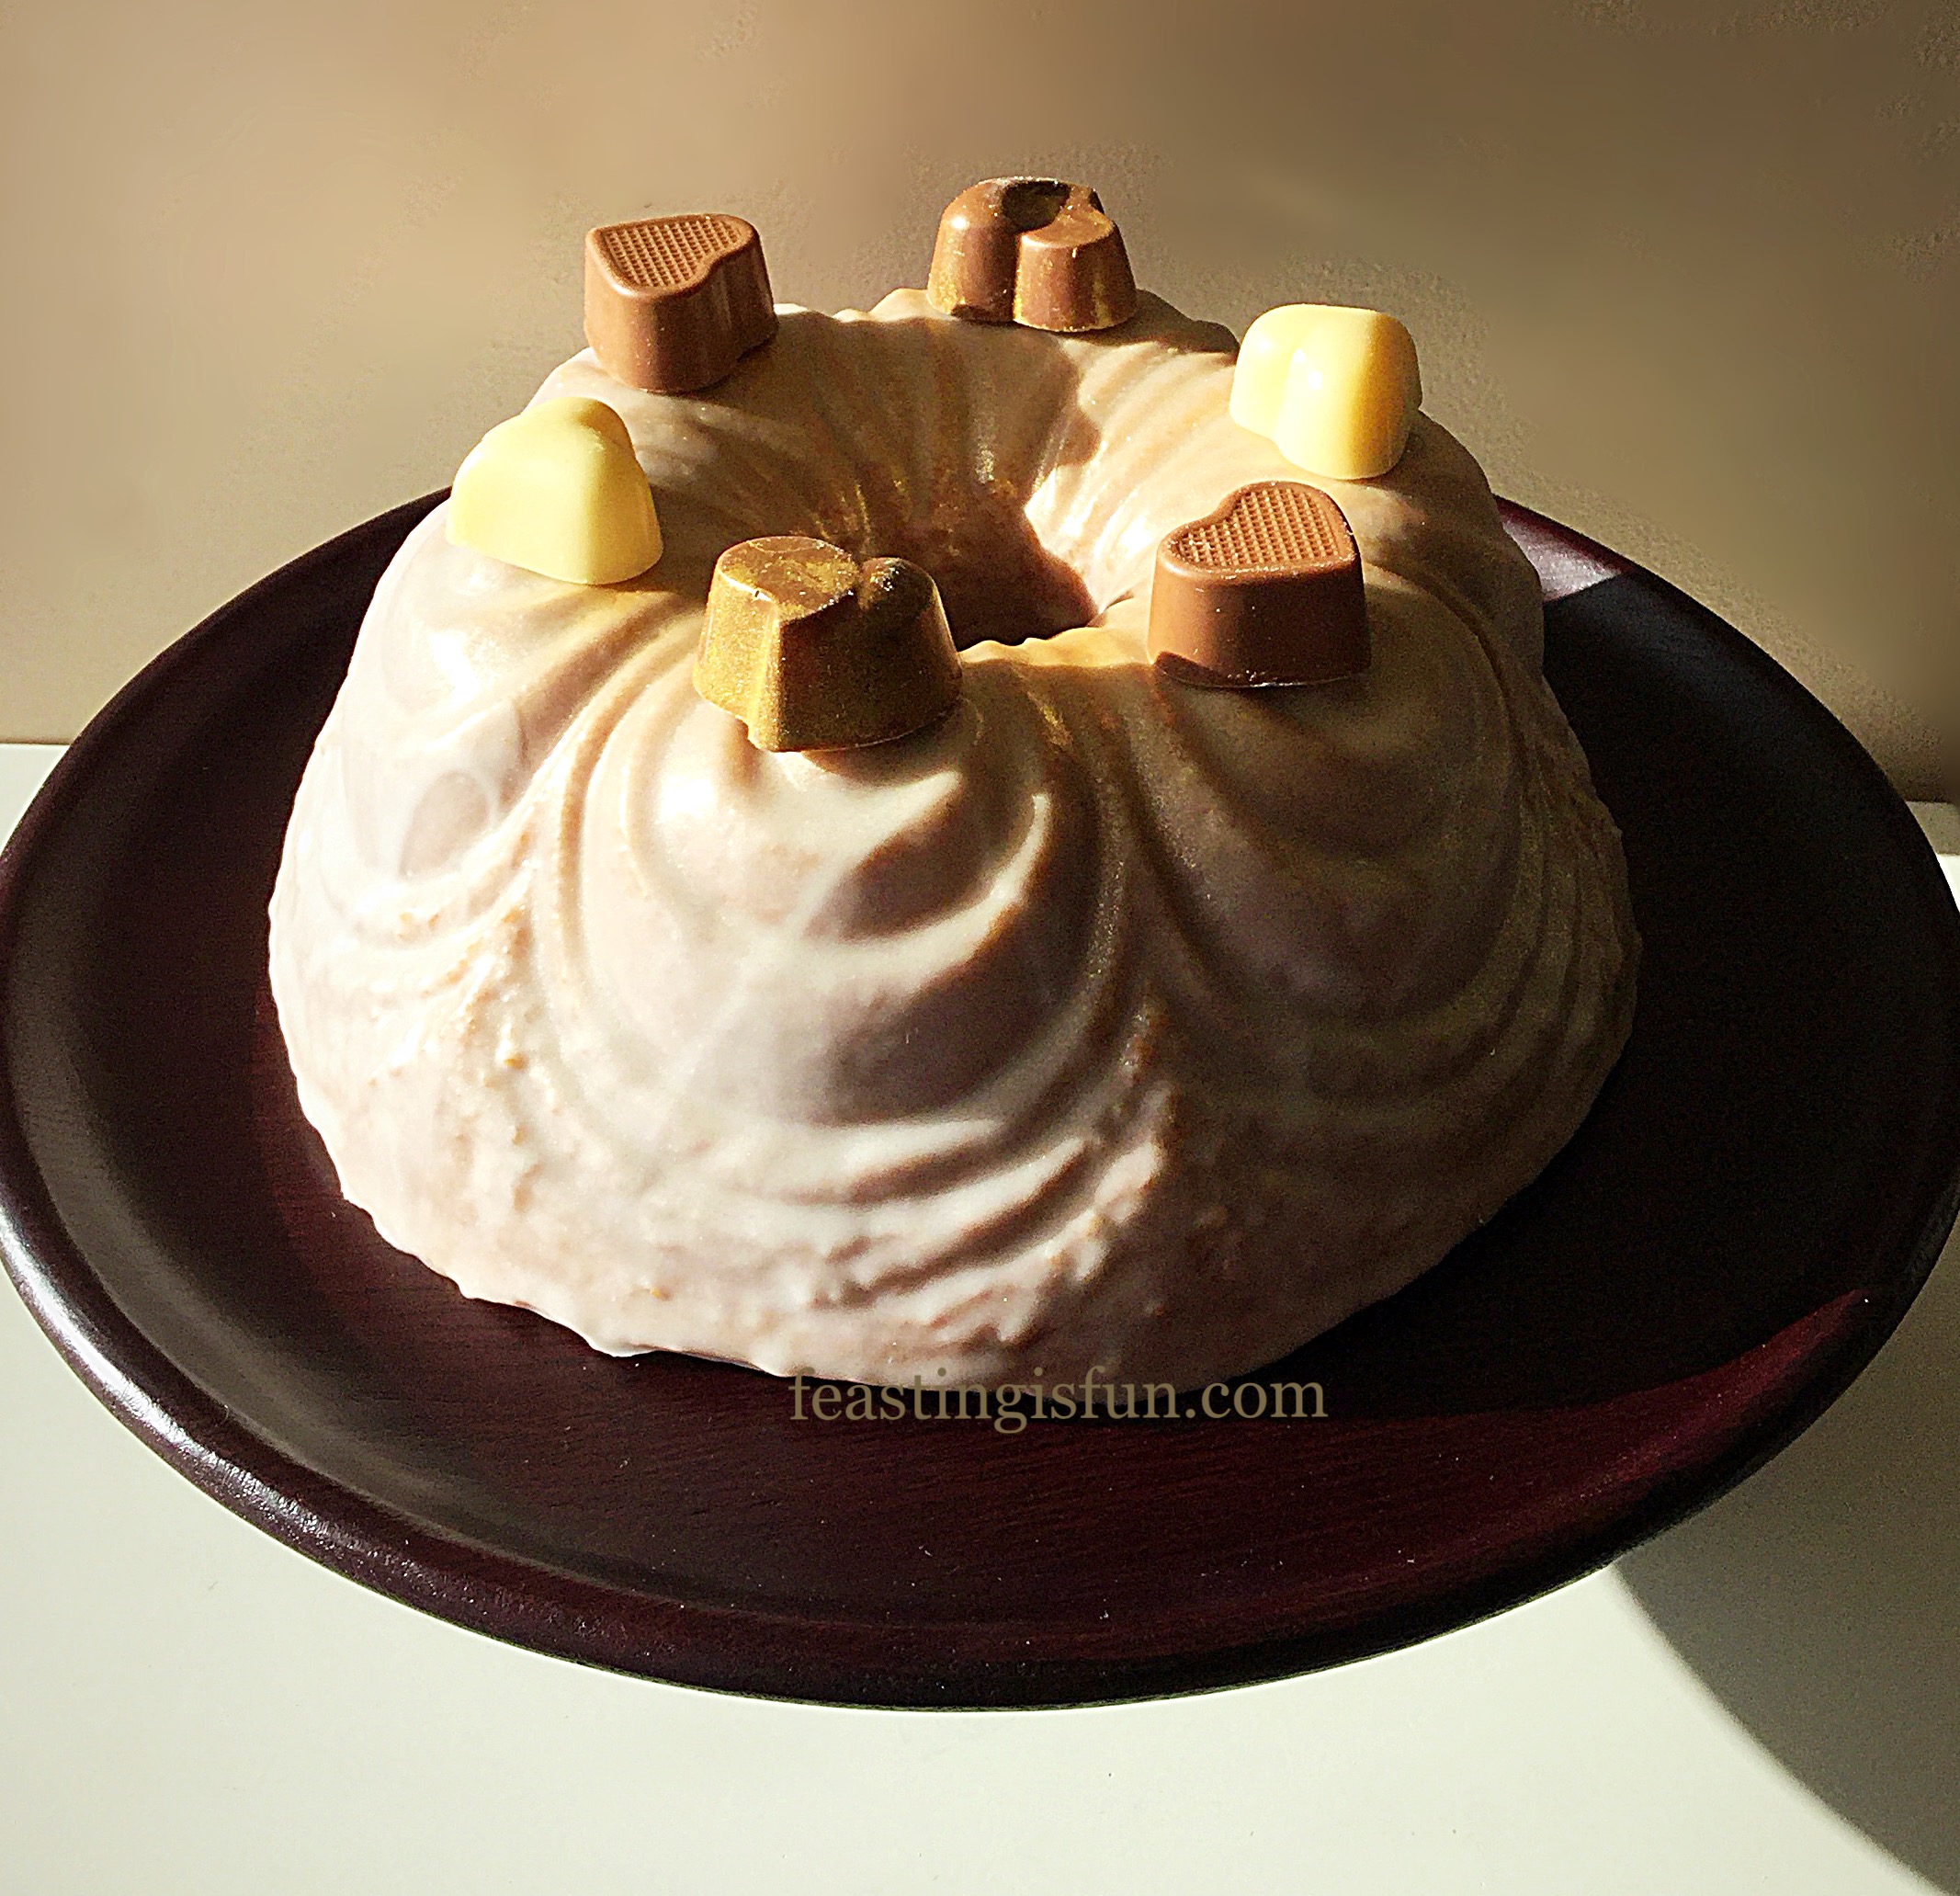
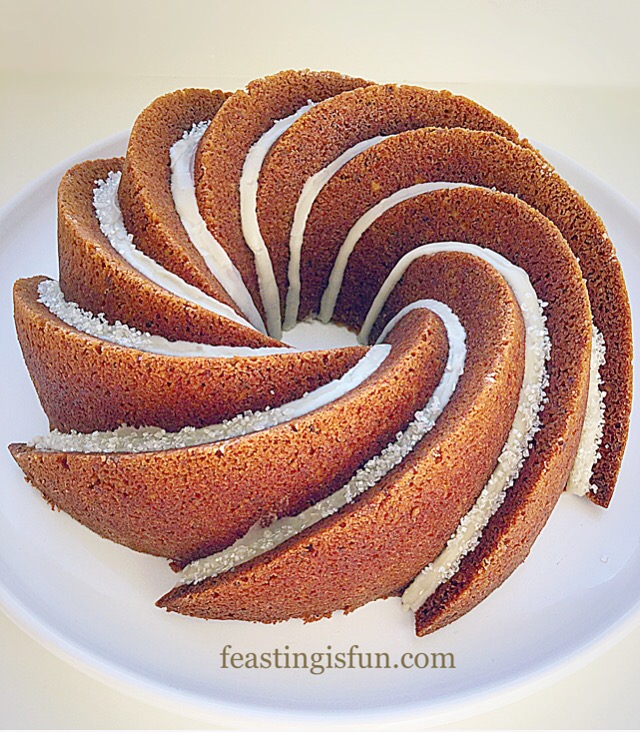
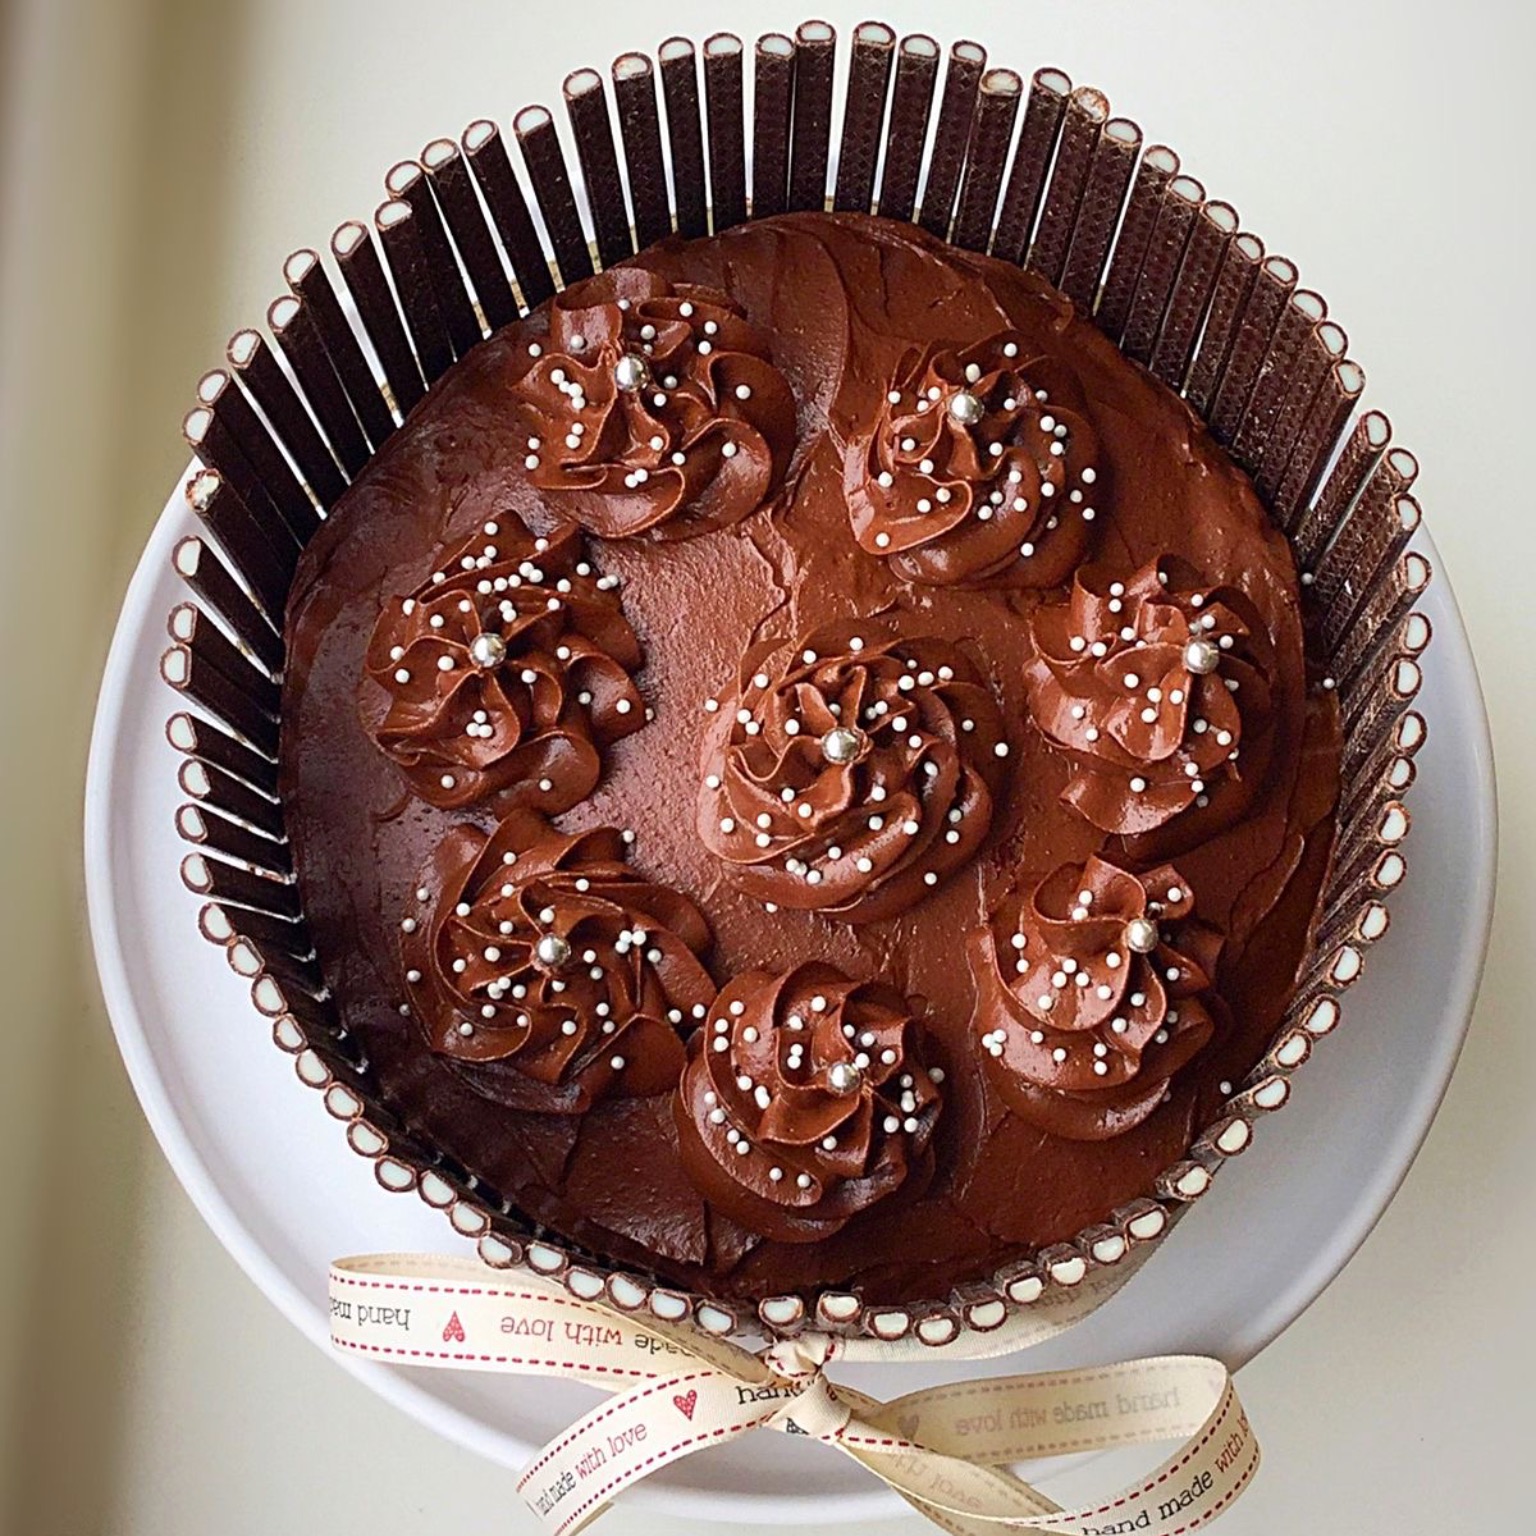
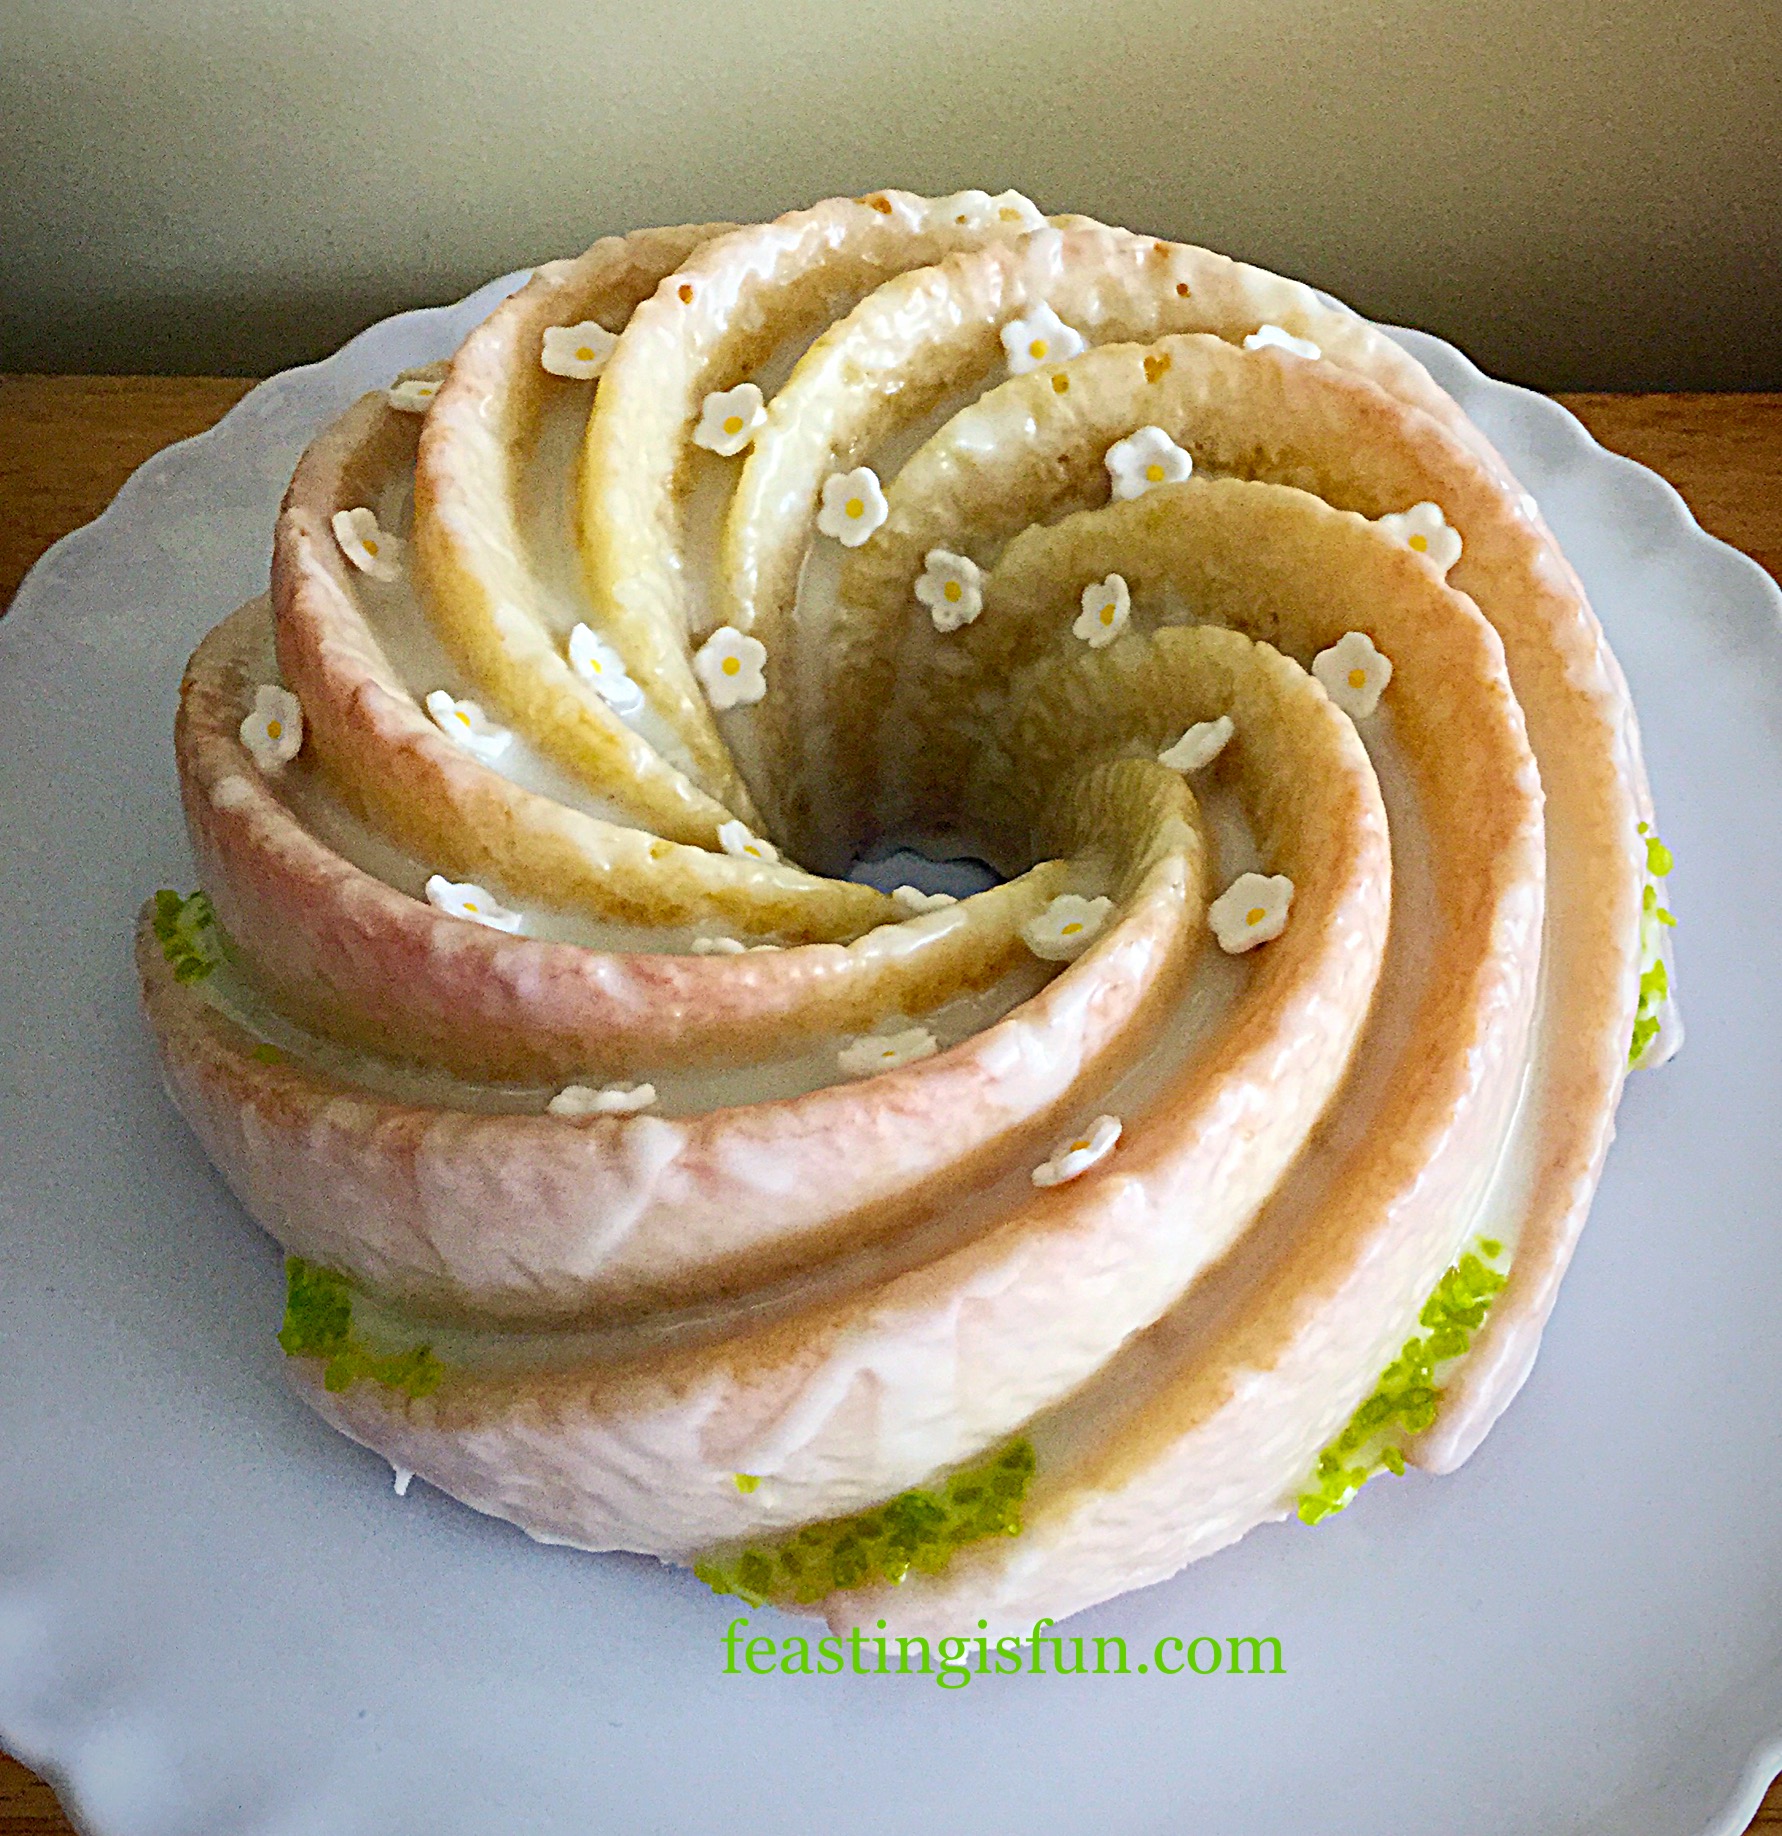
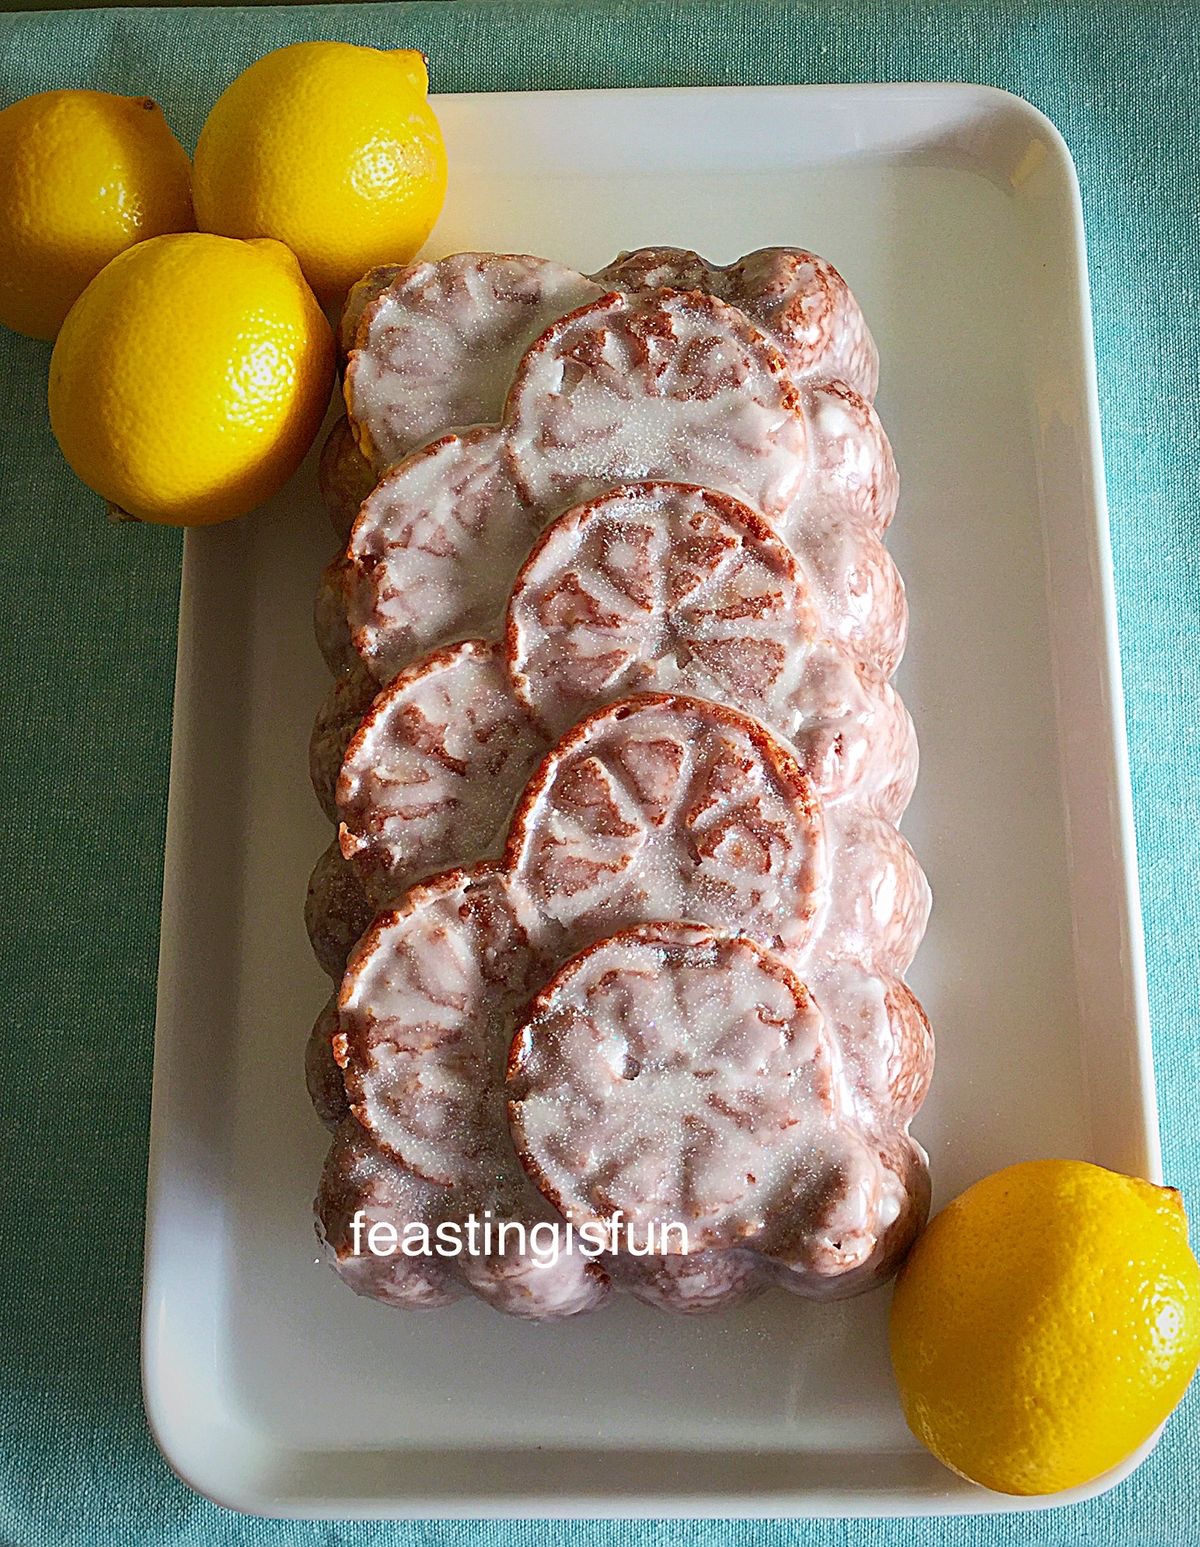
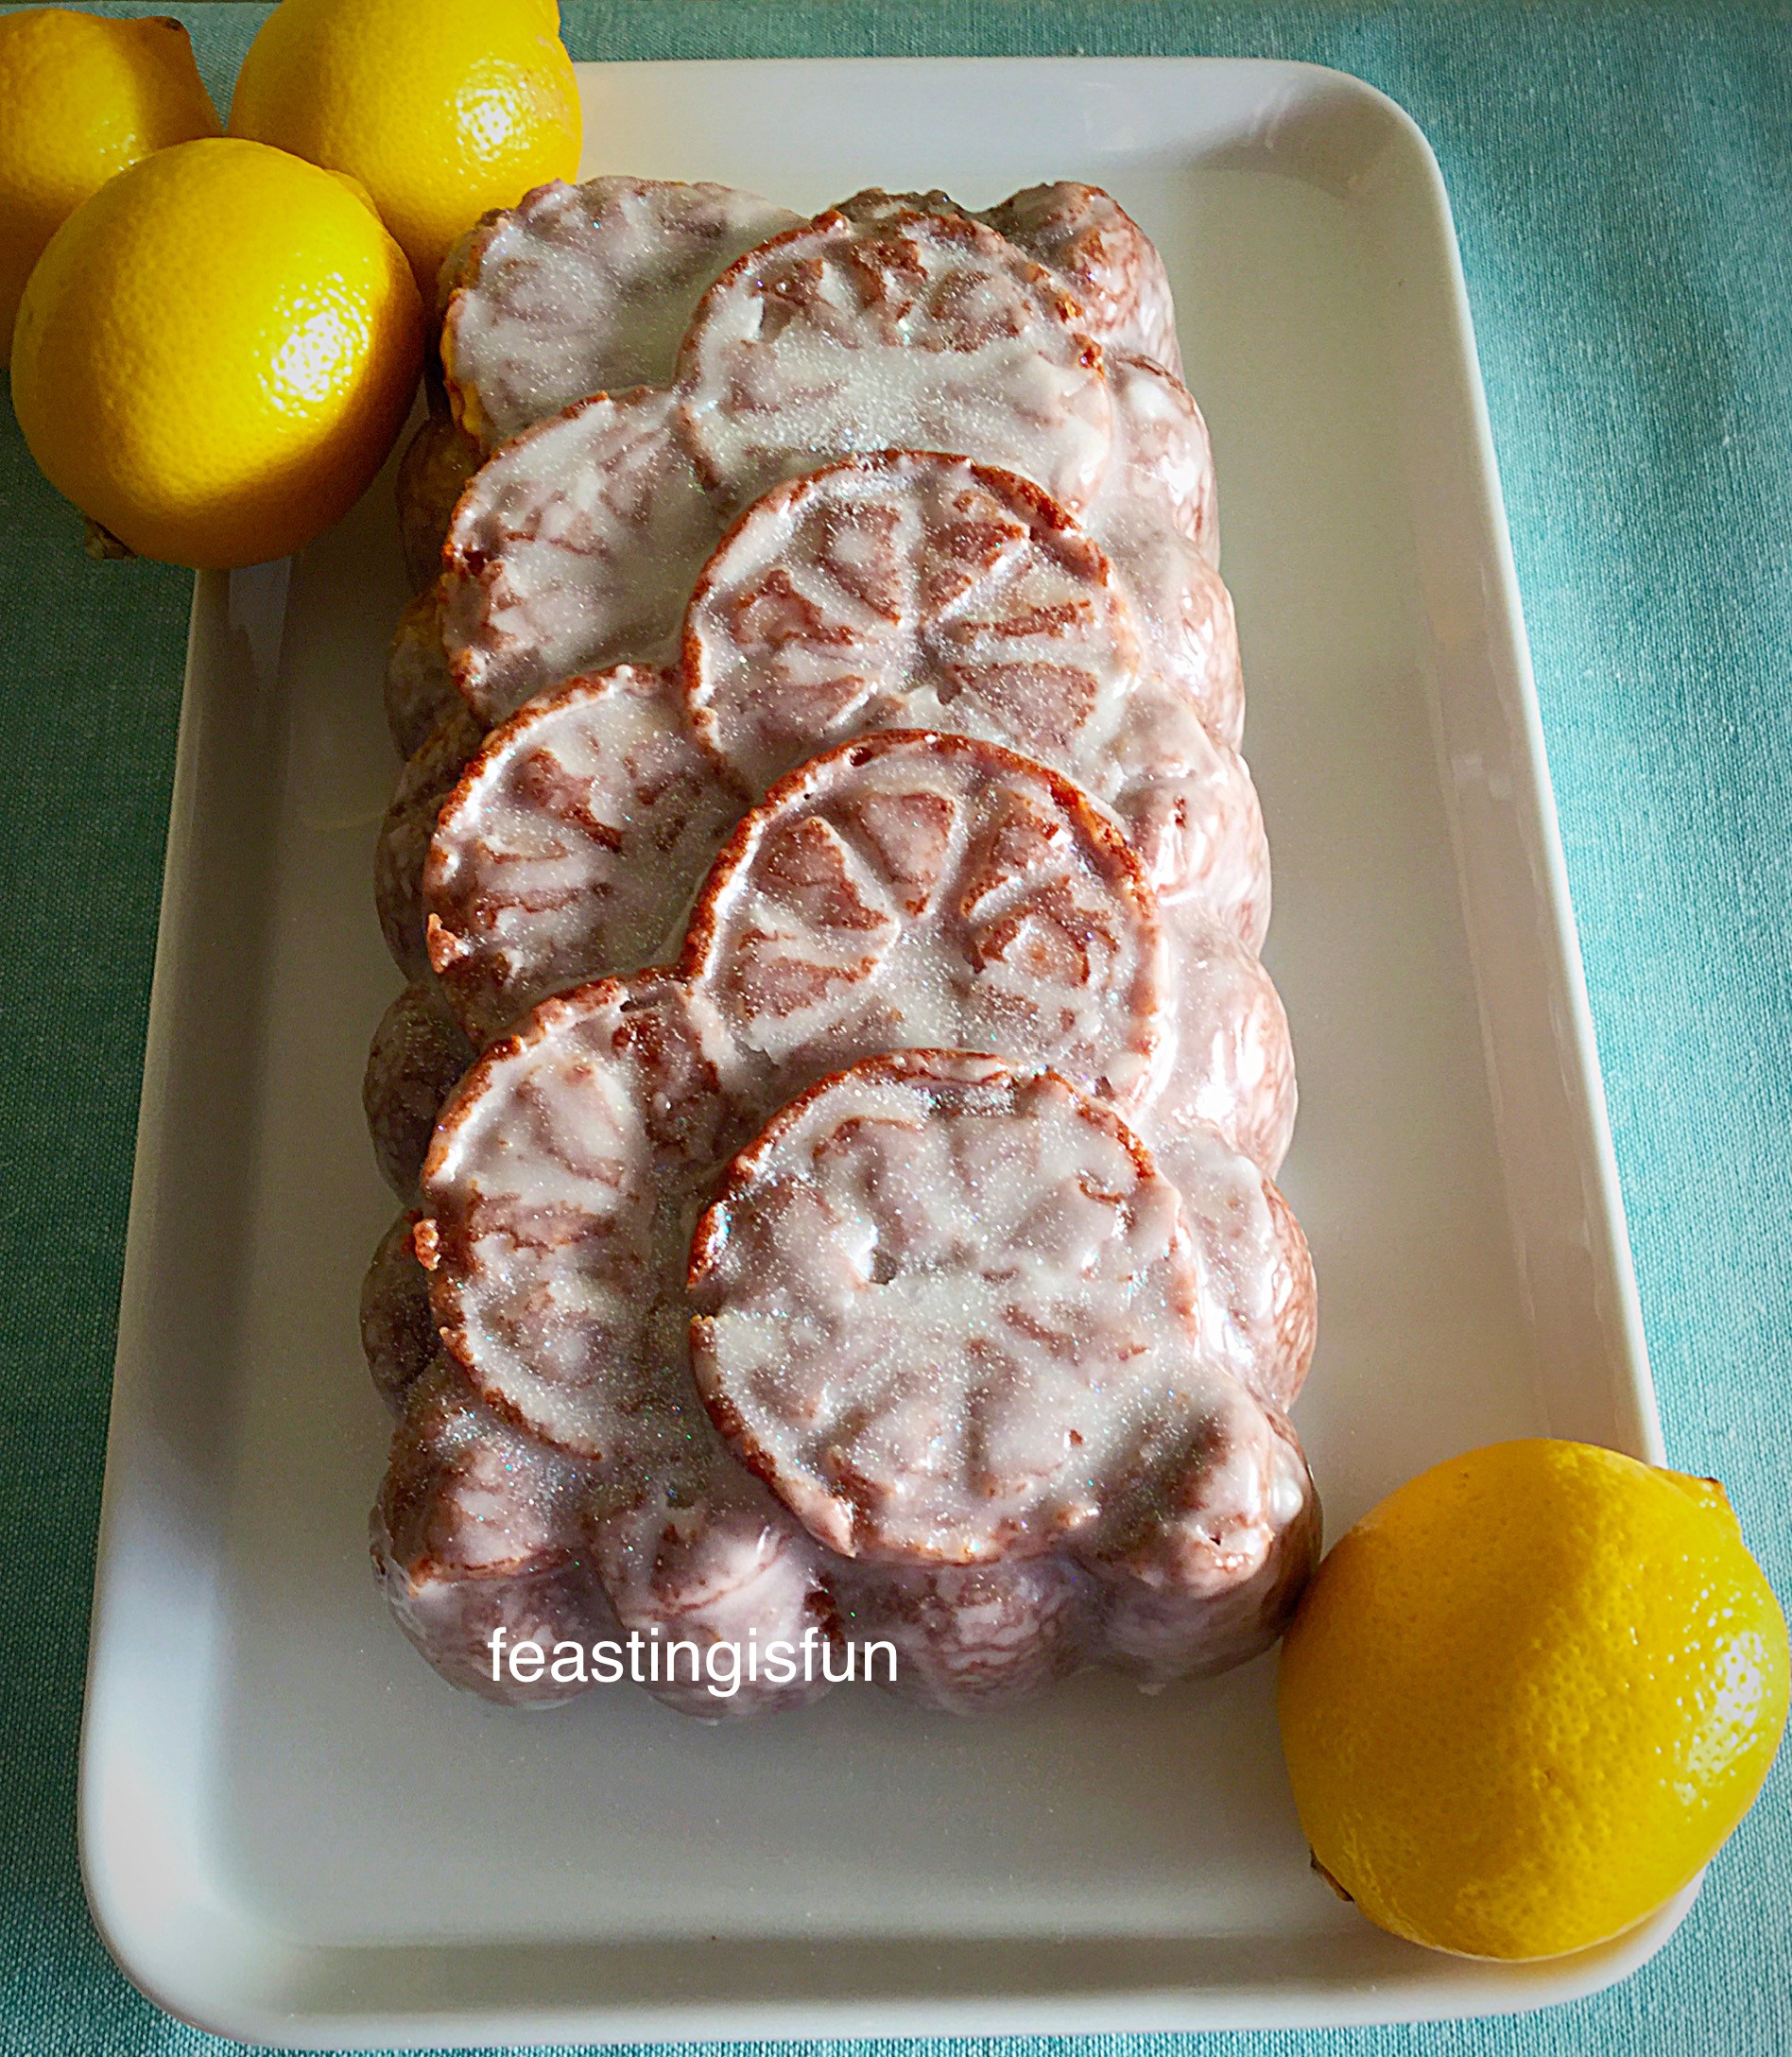
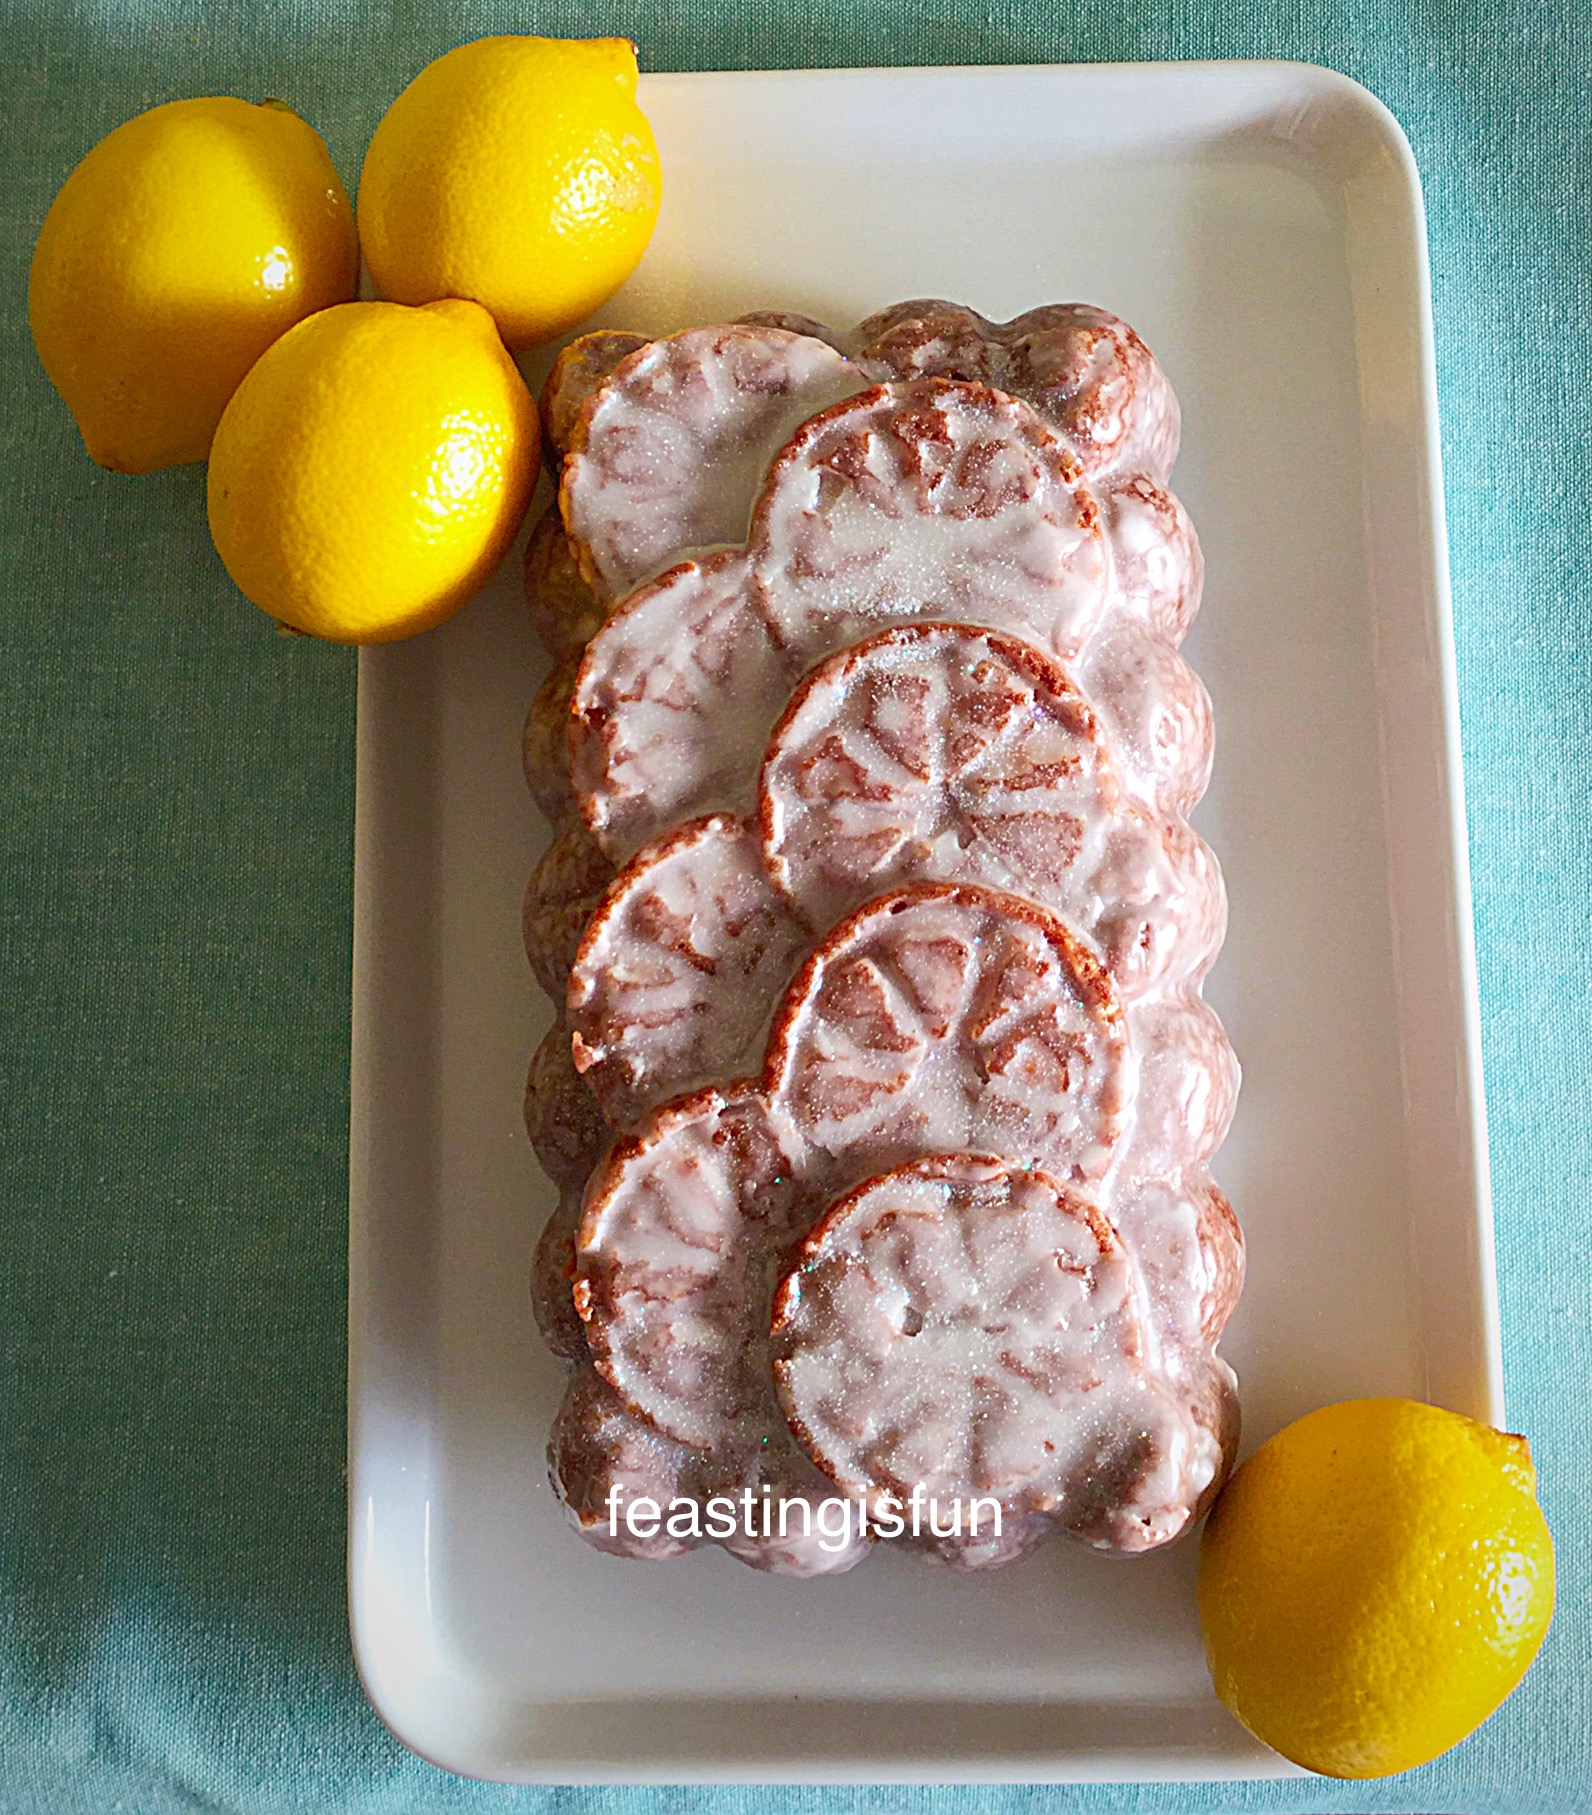
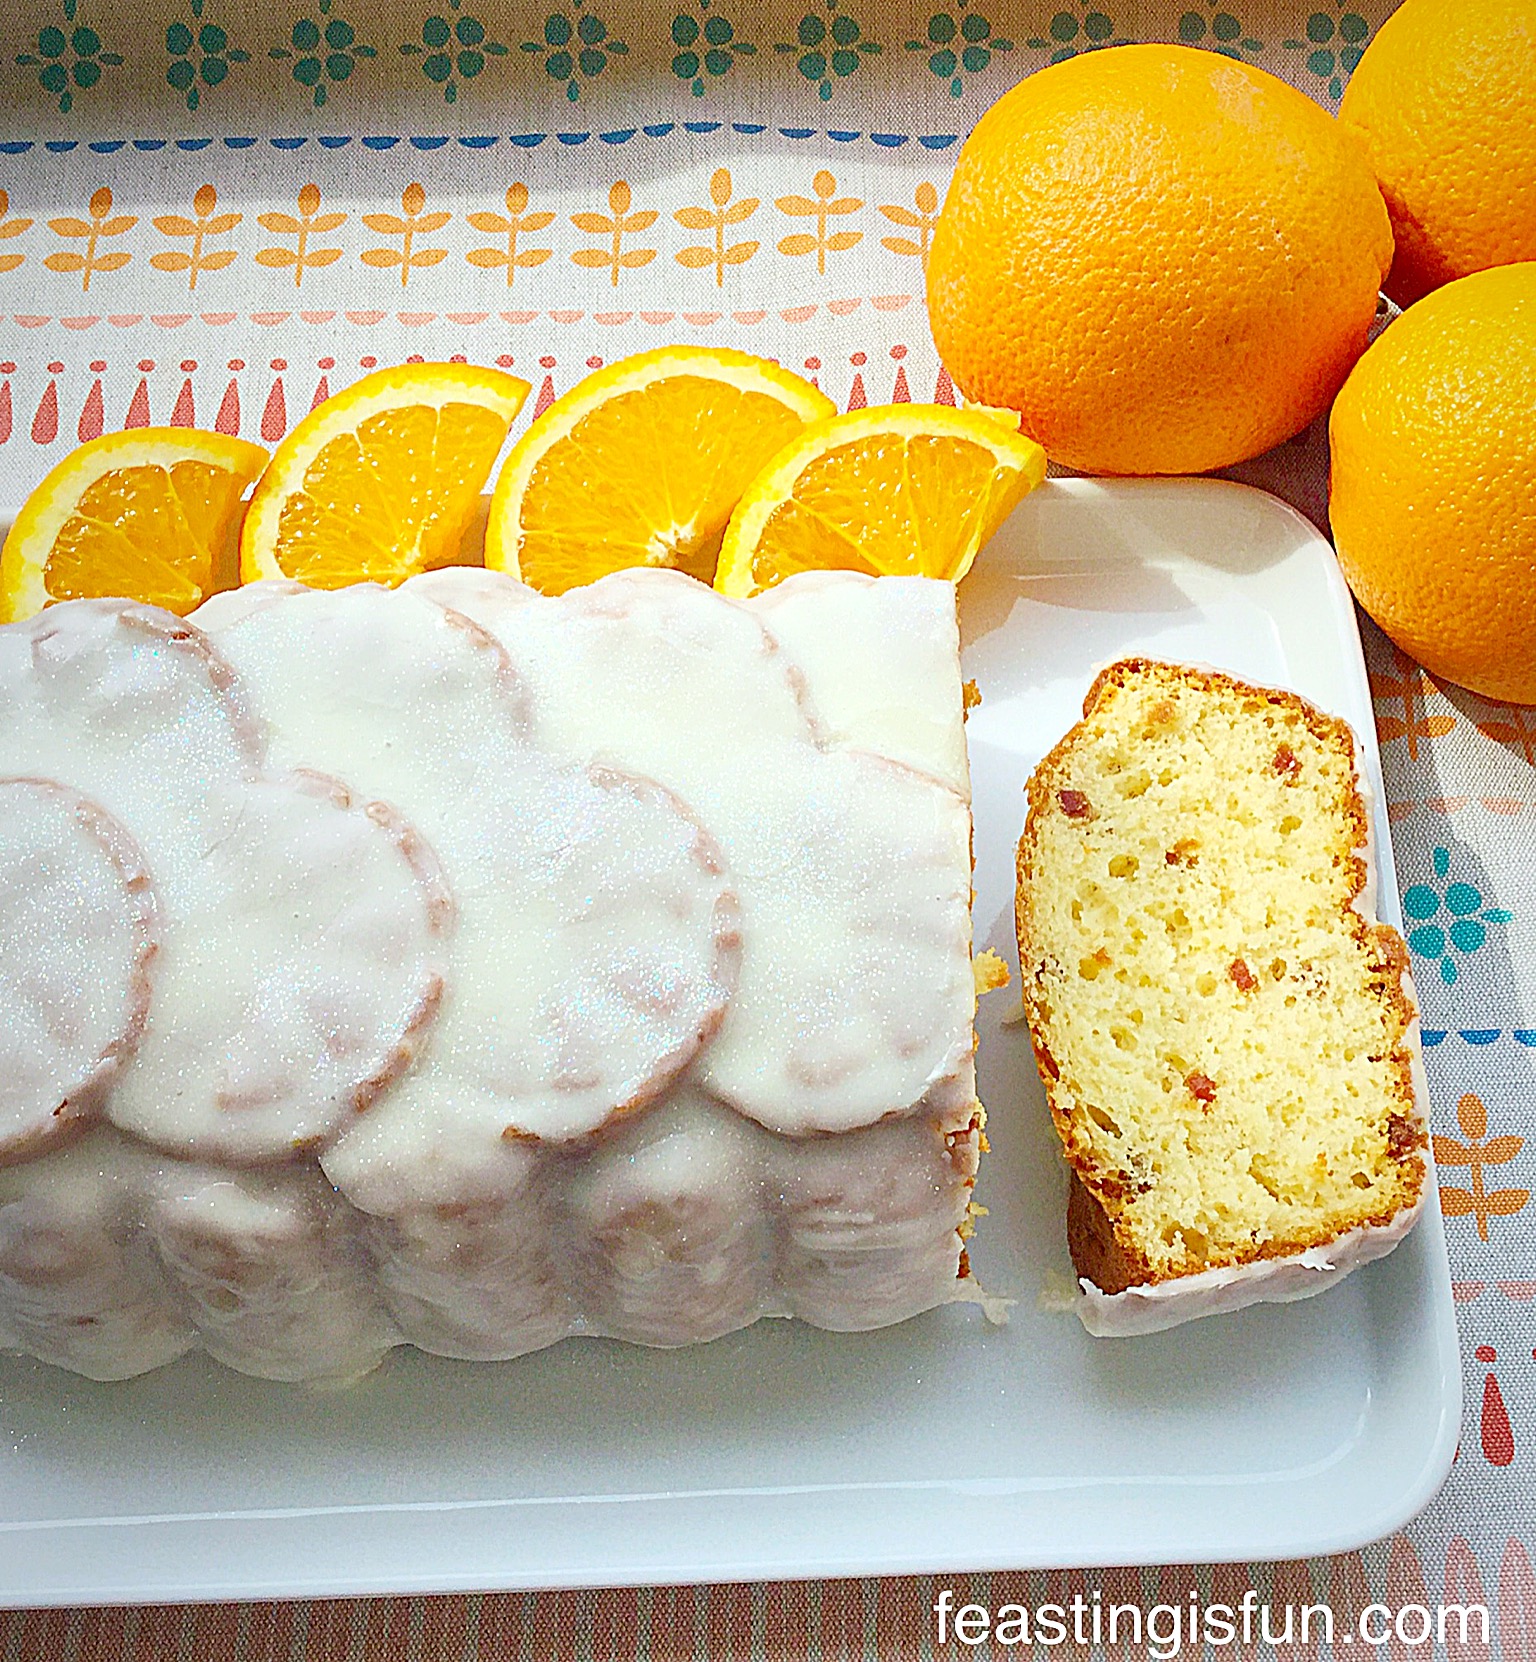
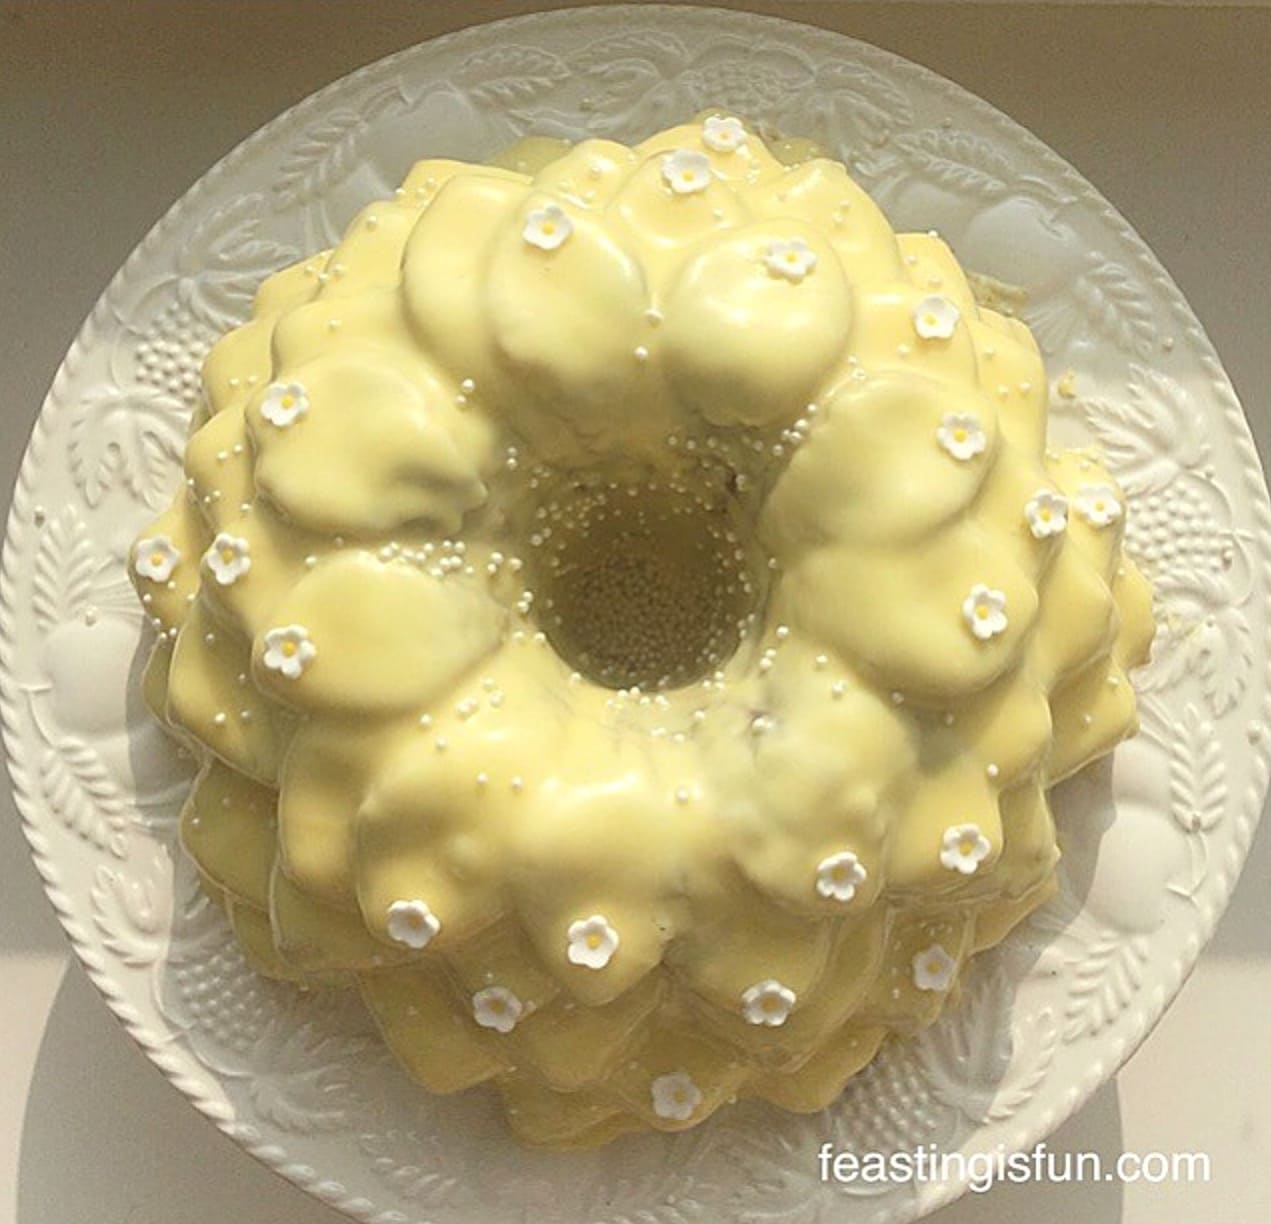
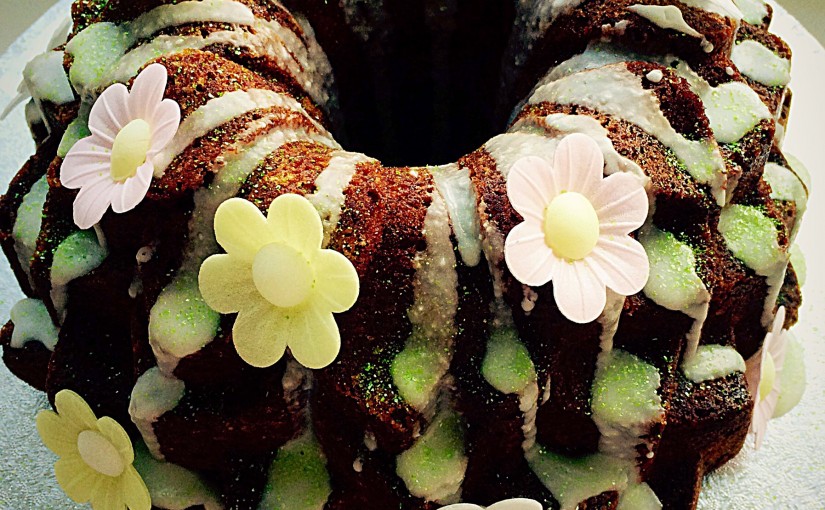
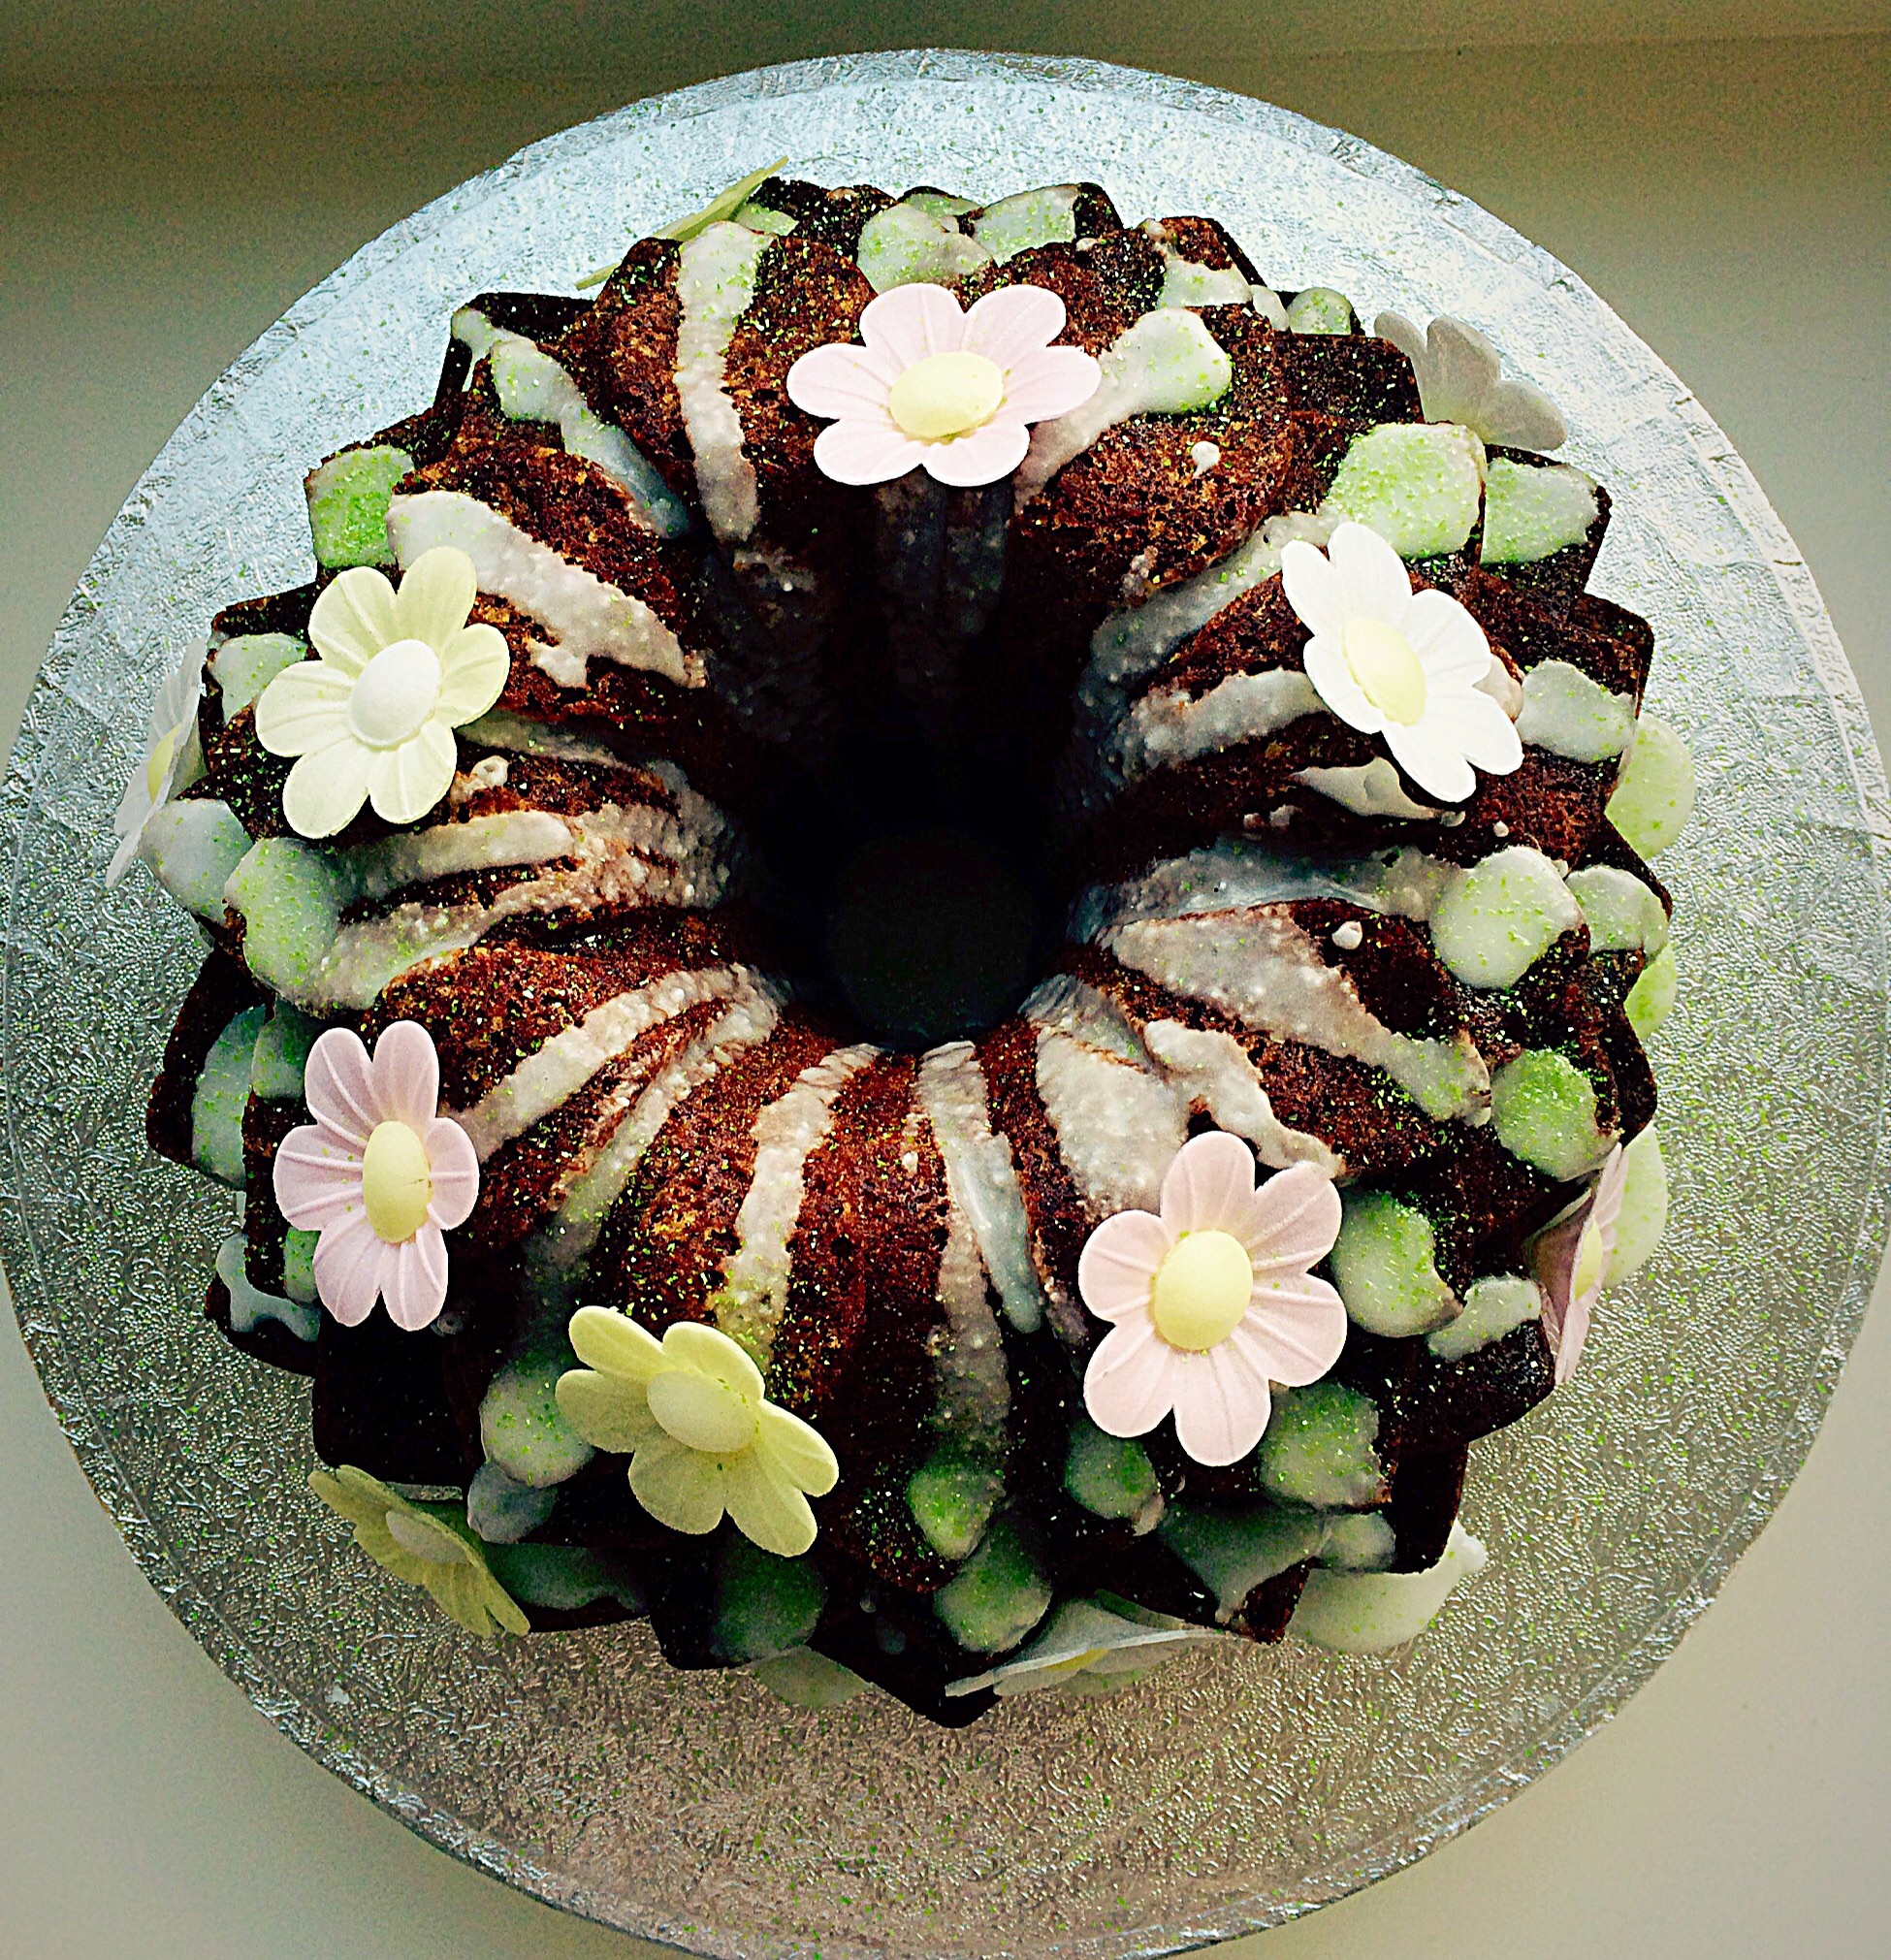
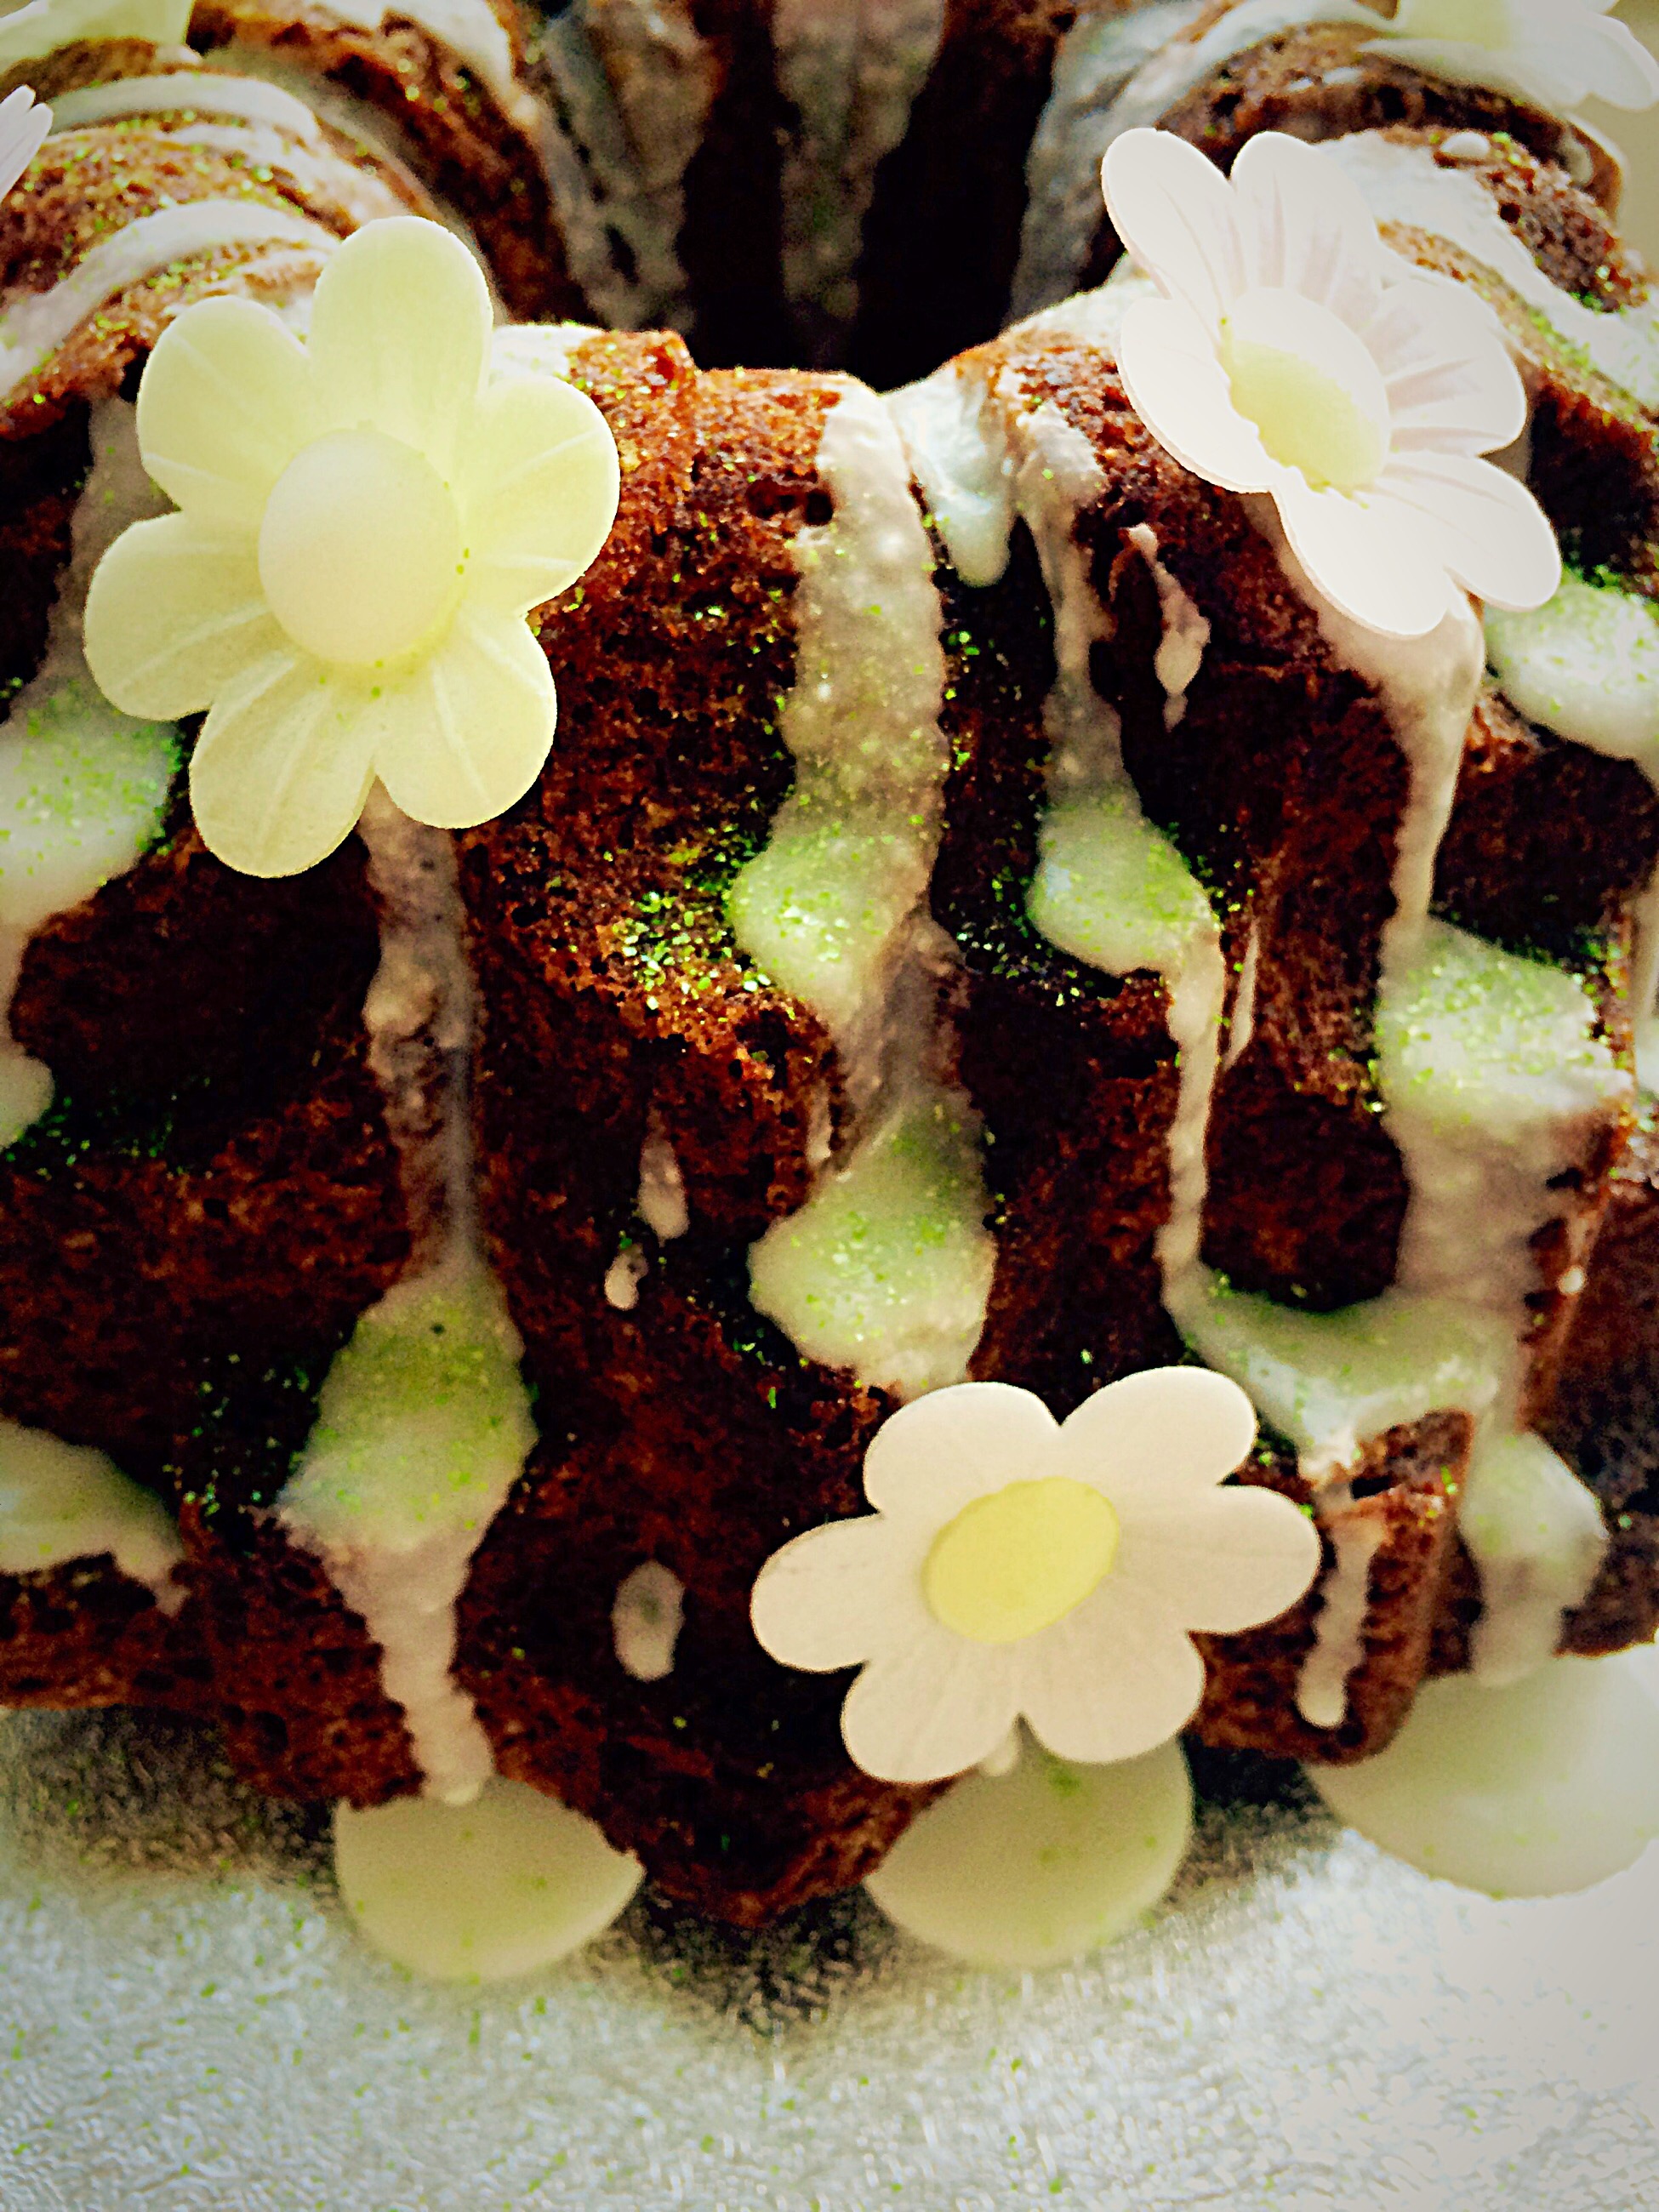
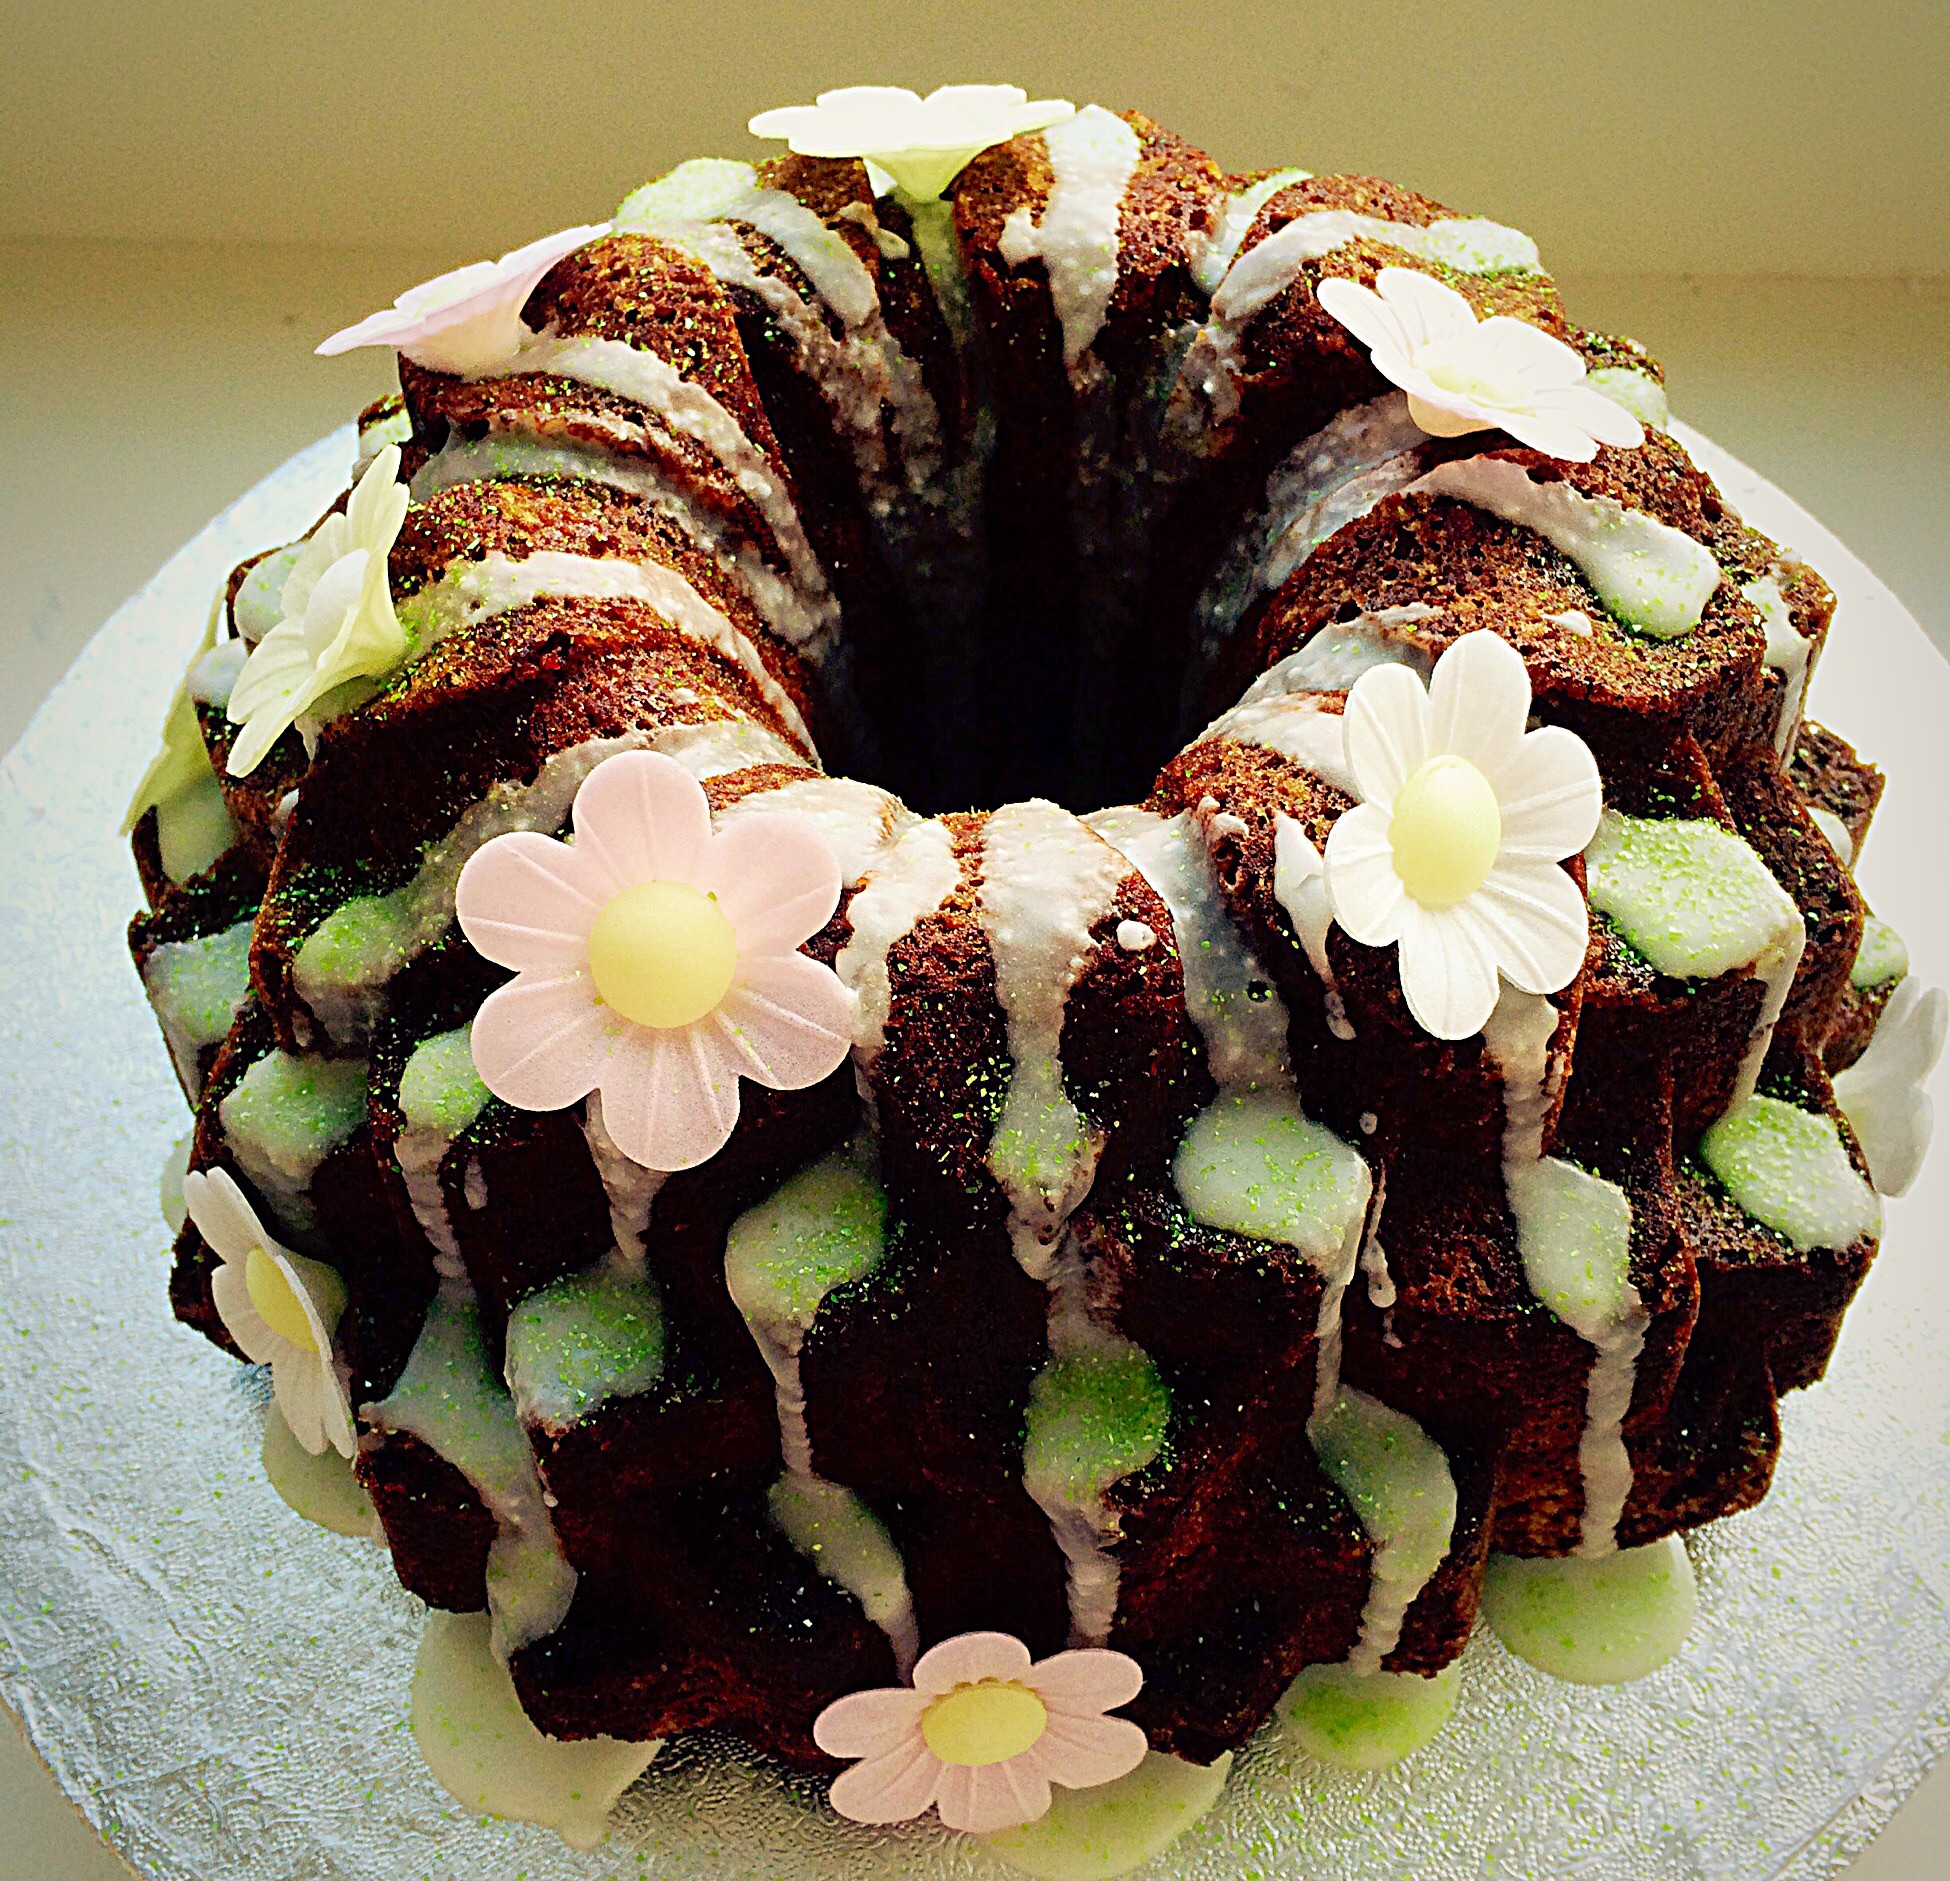
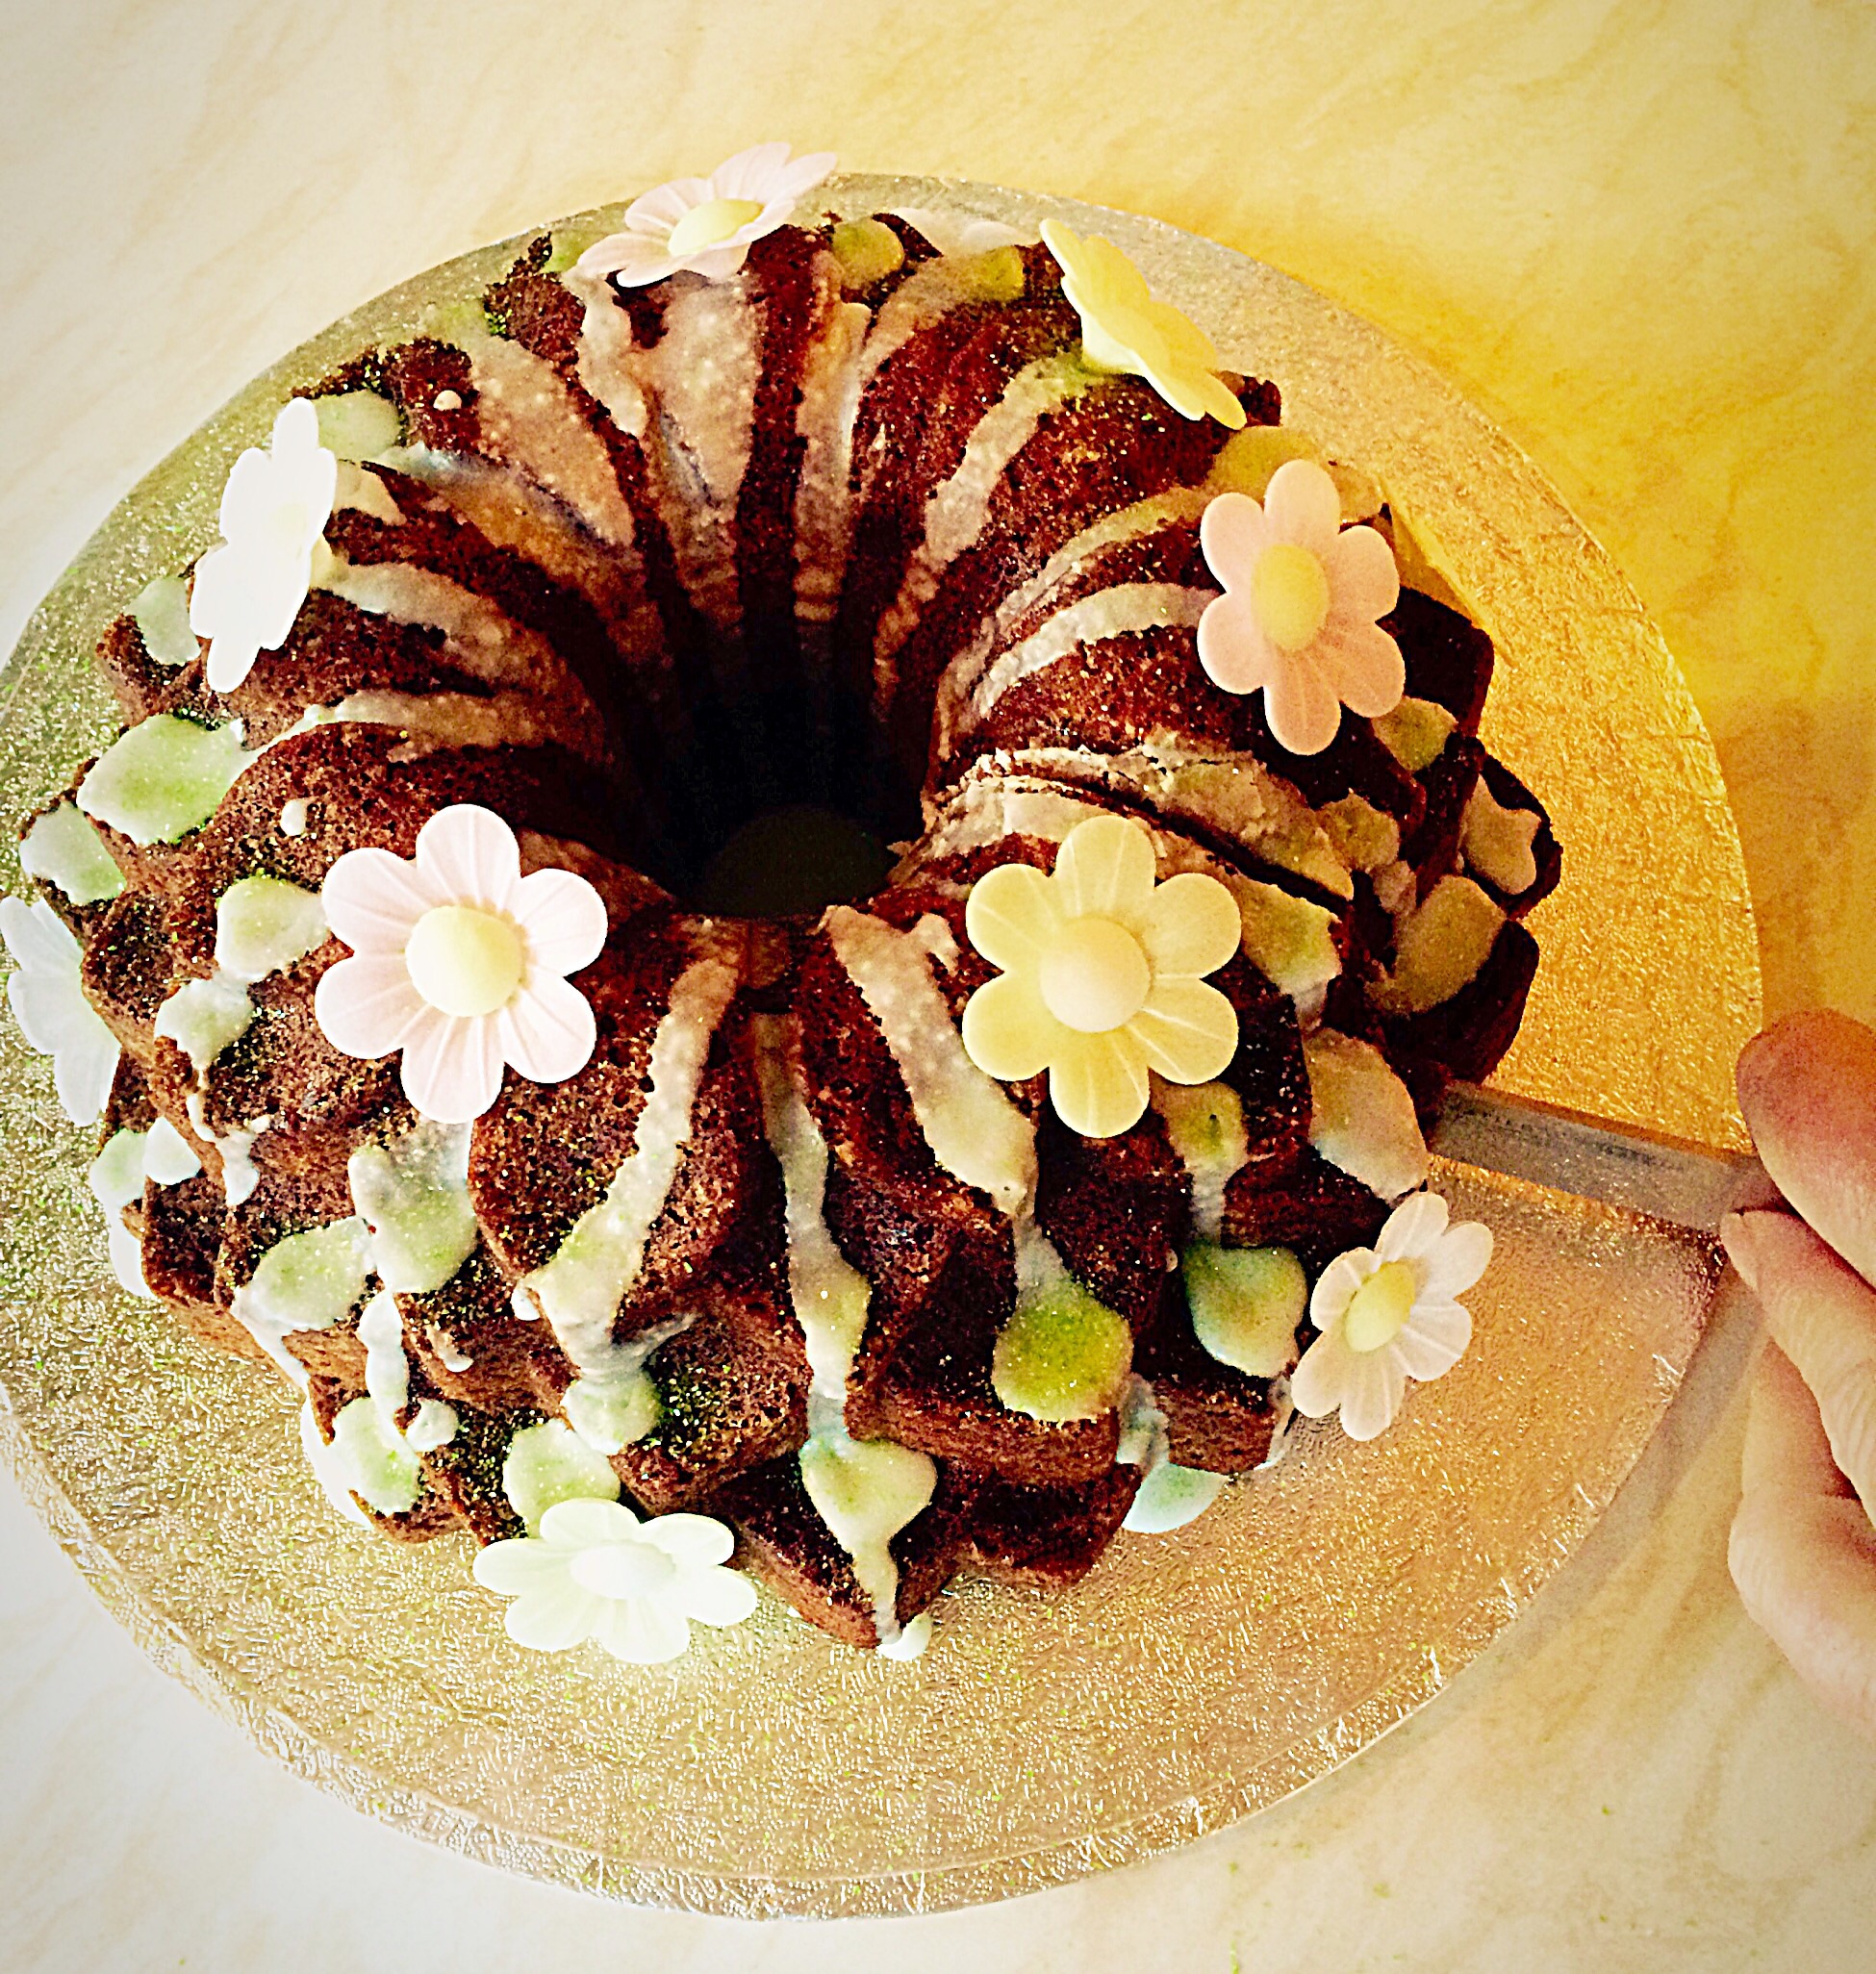
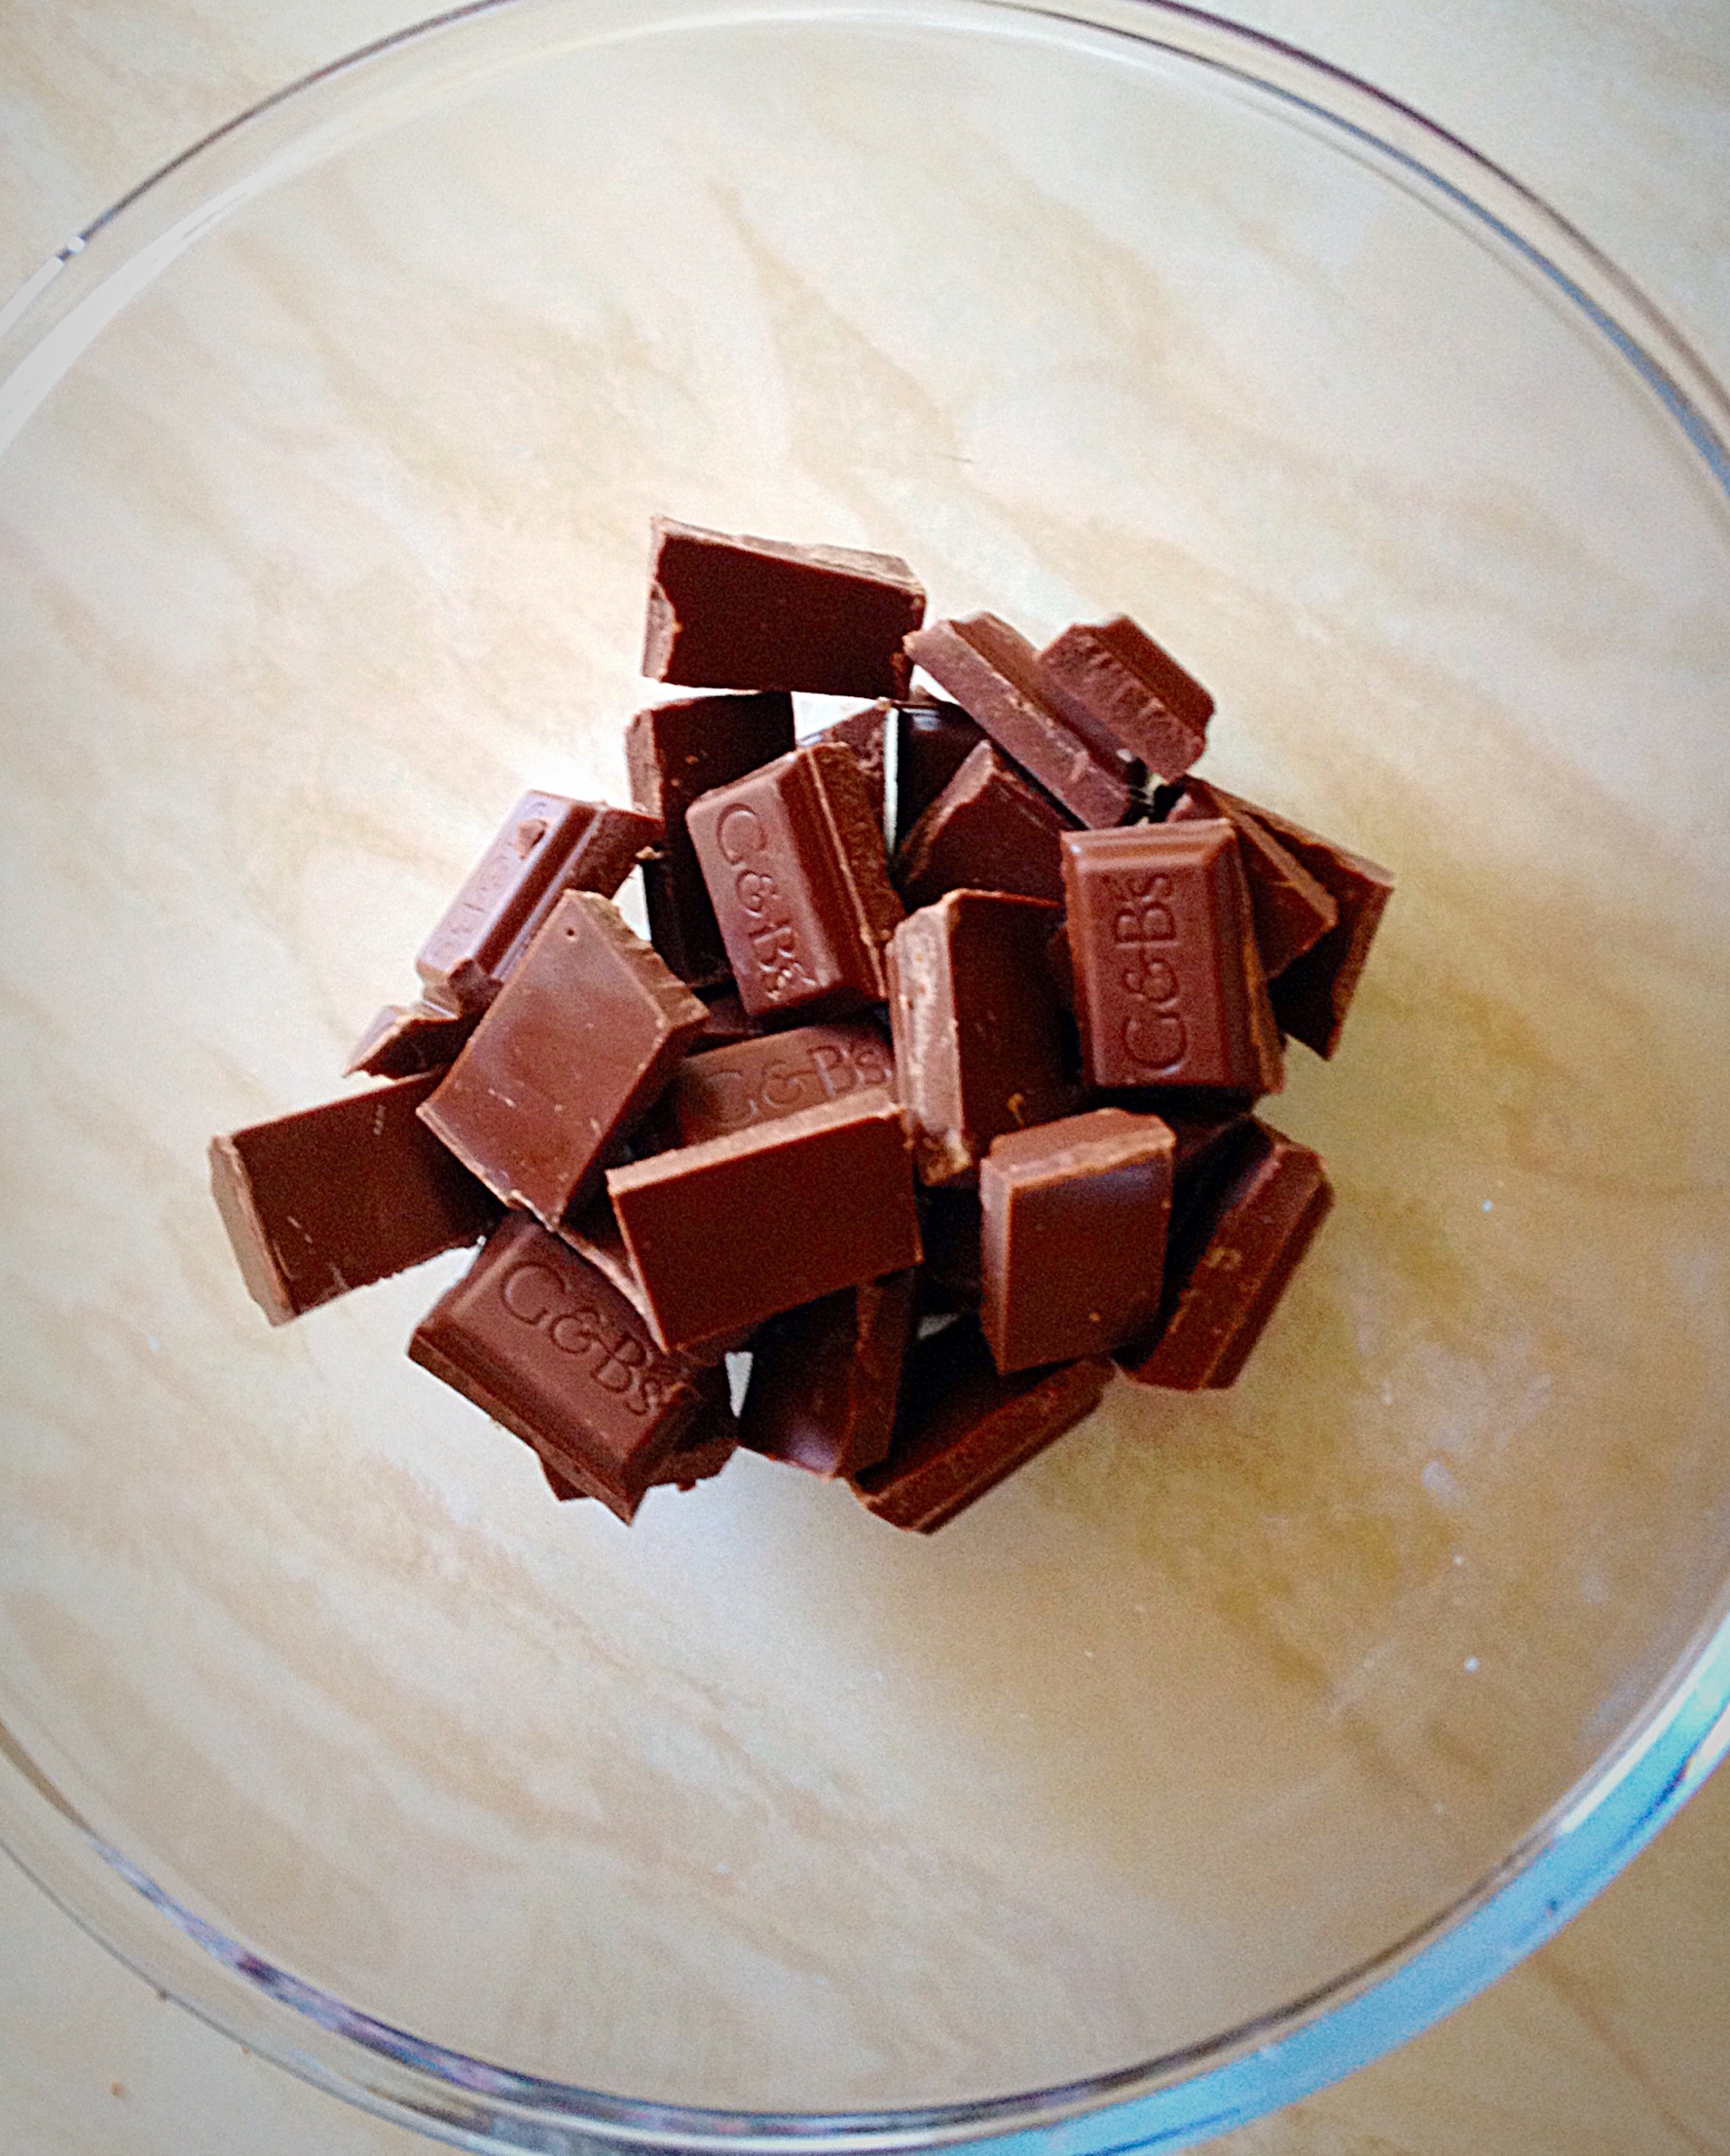
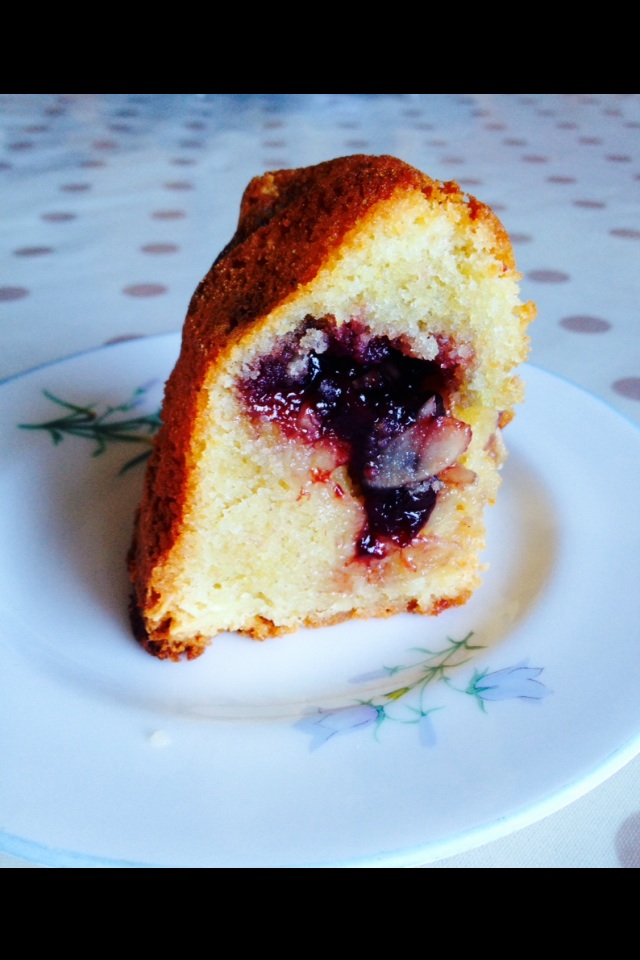
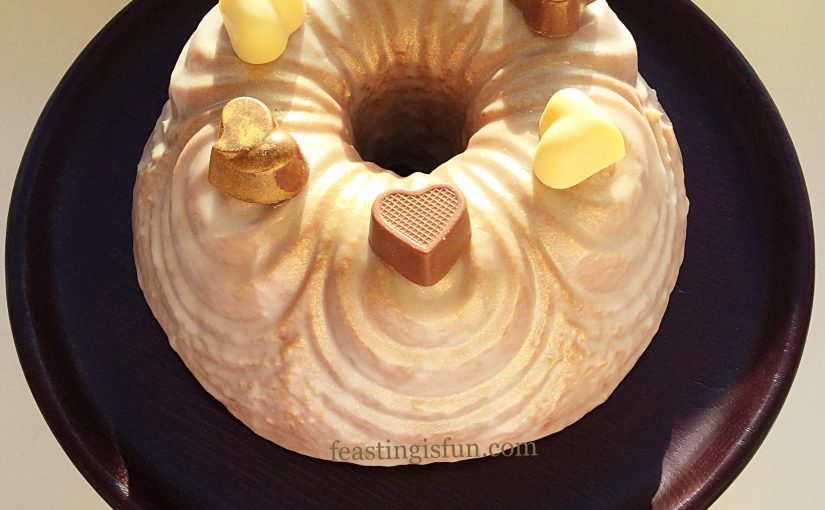
Something absolutely guaranteed to win most people round is chocolate. Having been sent a beautiful selection of chocolates from Lloyd’s Chocolatiers, I wanted to show them off. As the chocolate hearts are filled with delicate whipped creams, caramel, praline or divine caramel, they provide the perfect decoration to this lightly flavoured cake. Easily removed when served, they create a stunning addition to any plate.

Made with love. Served with love. These beautiful and varied chocolate hearts create a stunning dessert plate. This definitely says “I love you”.
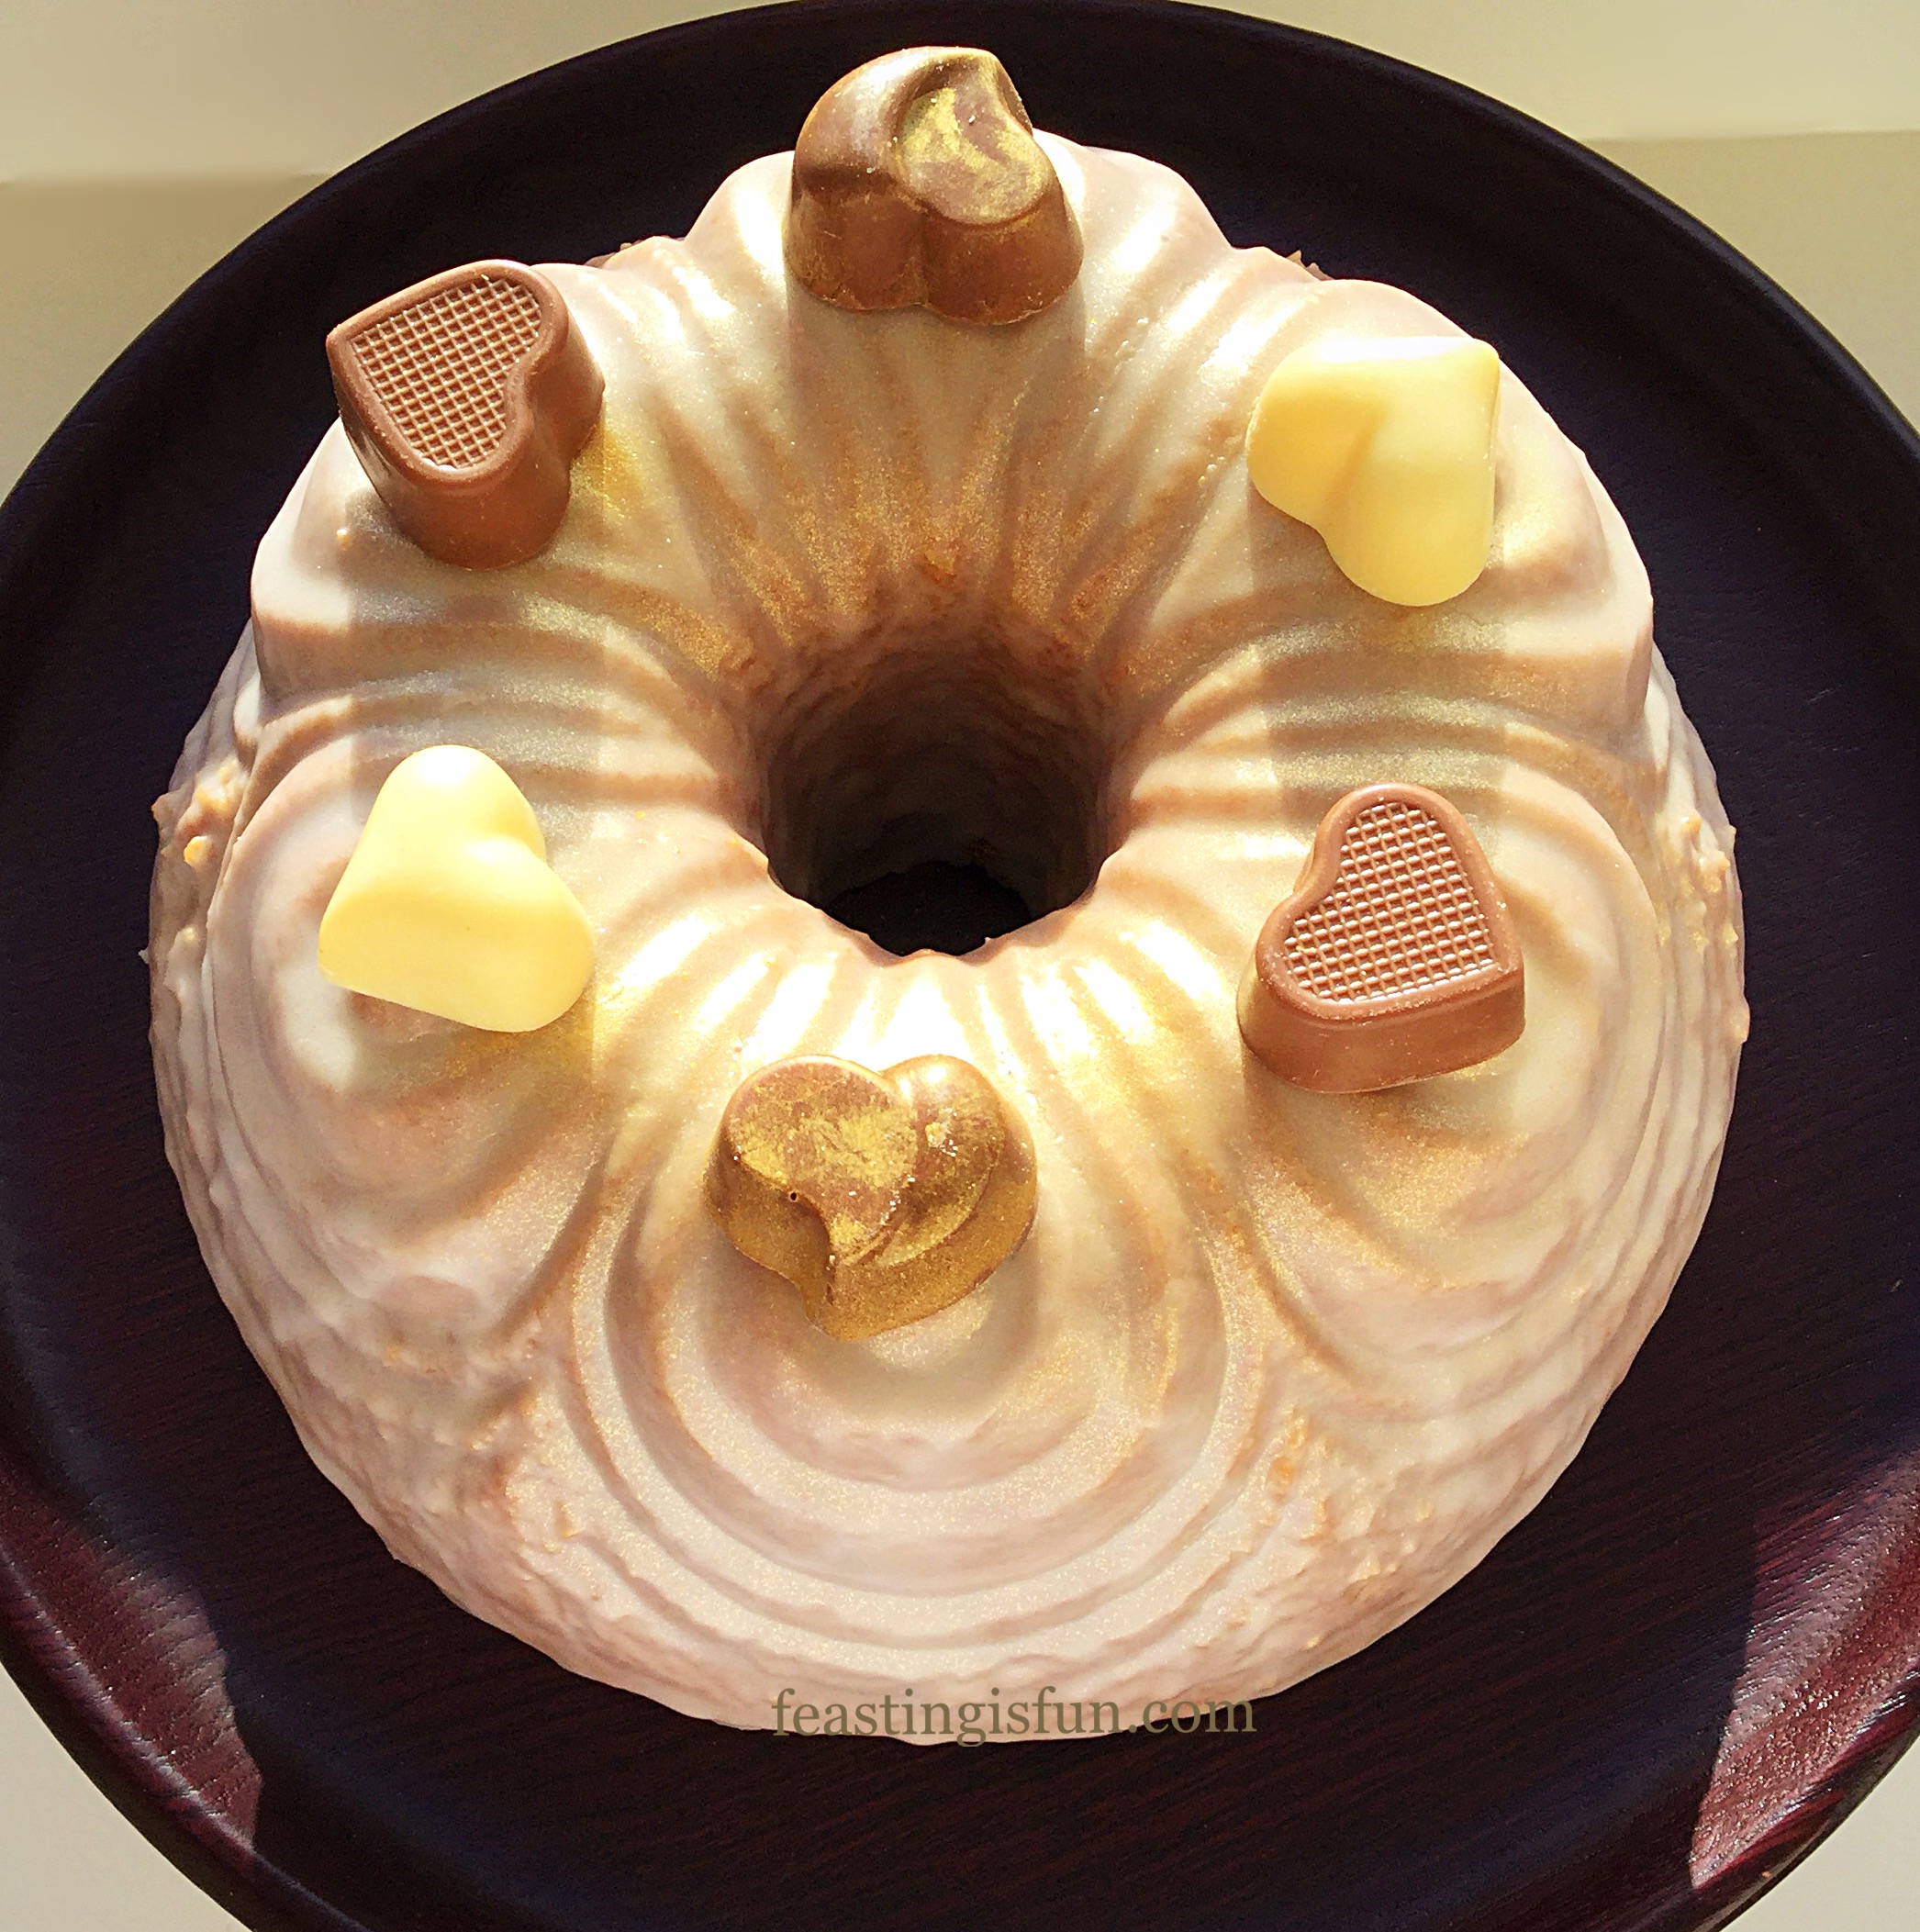
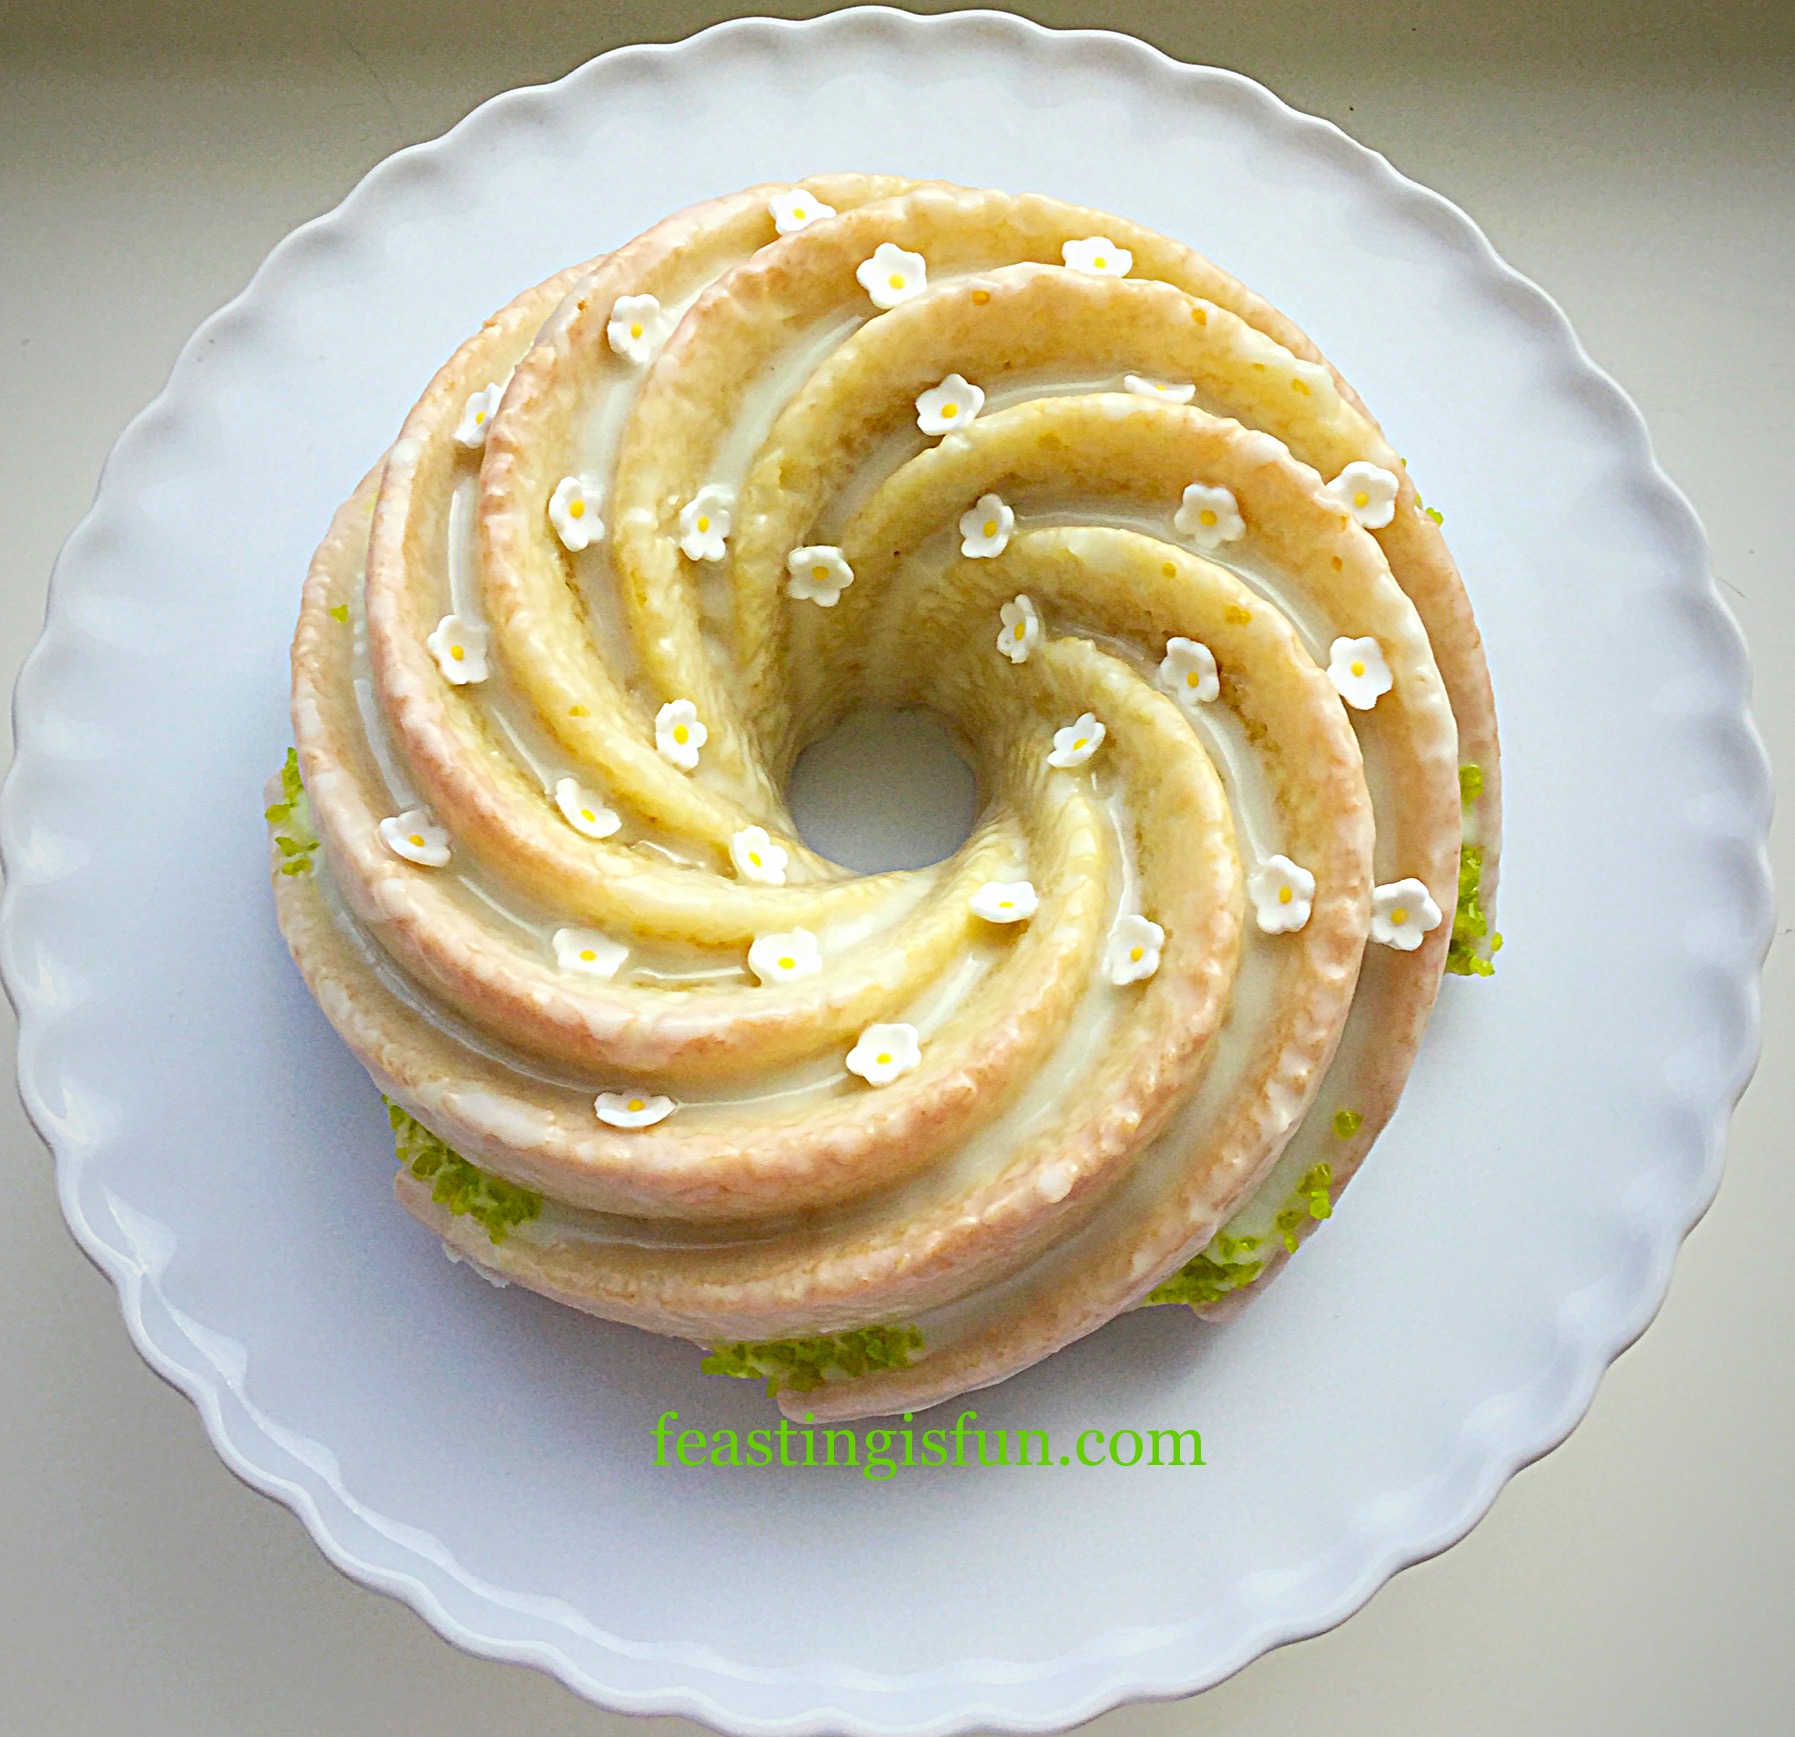
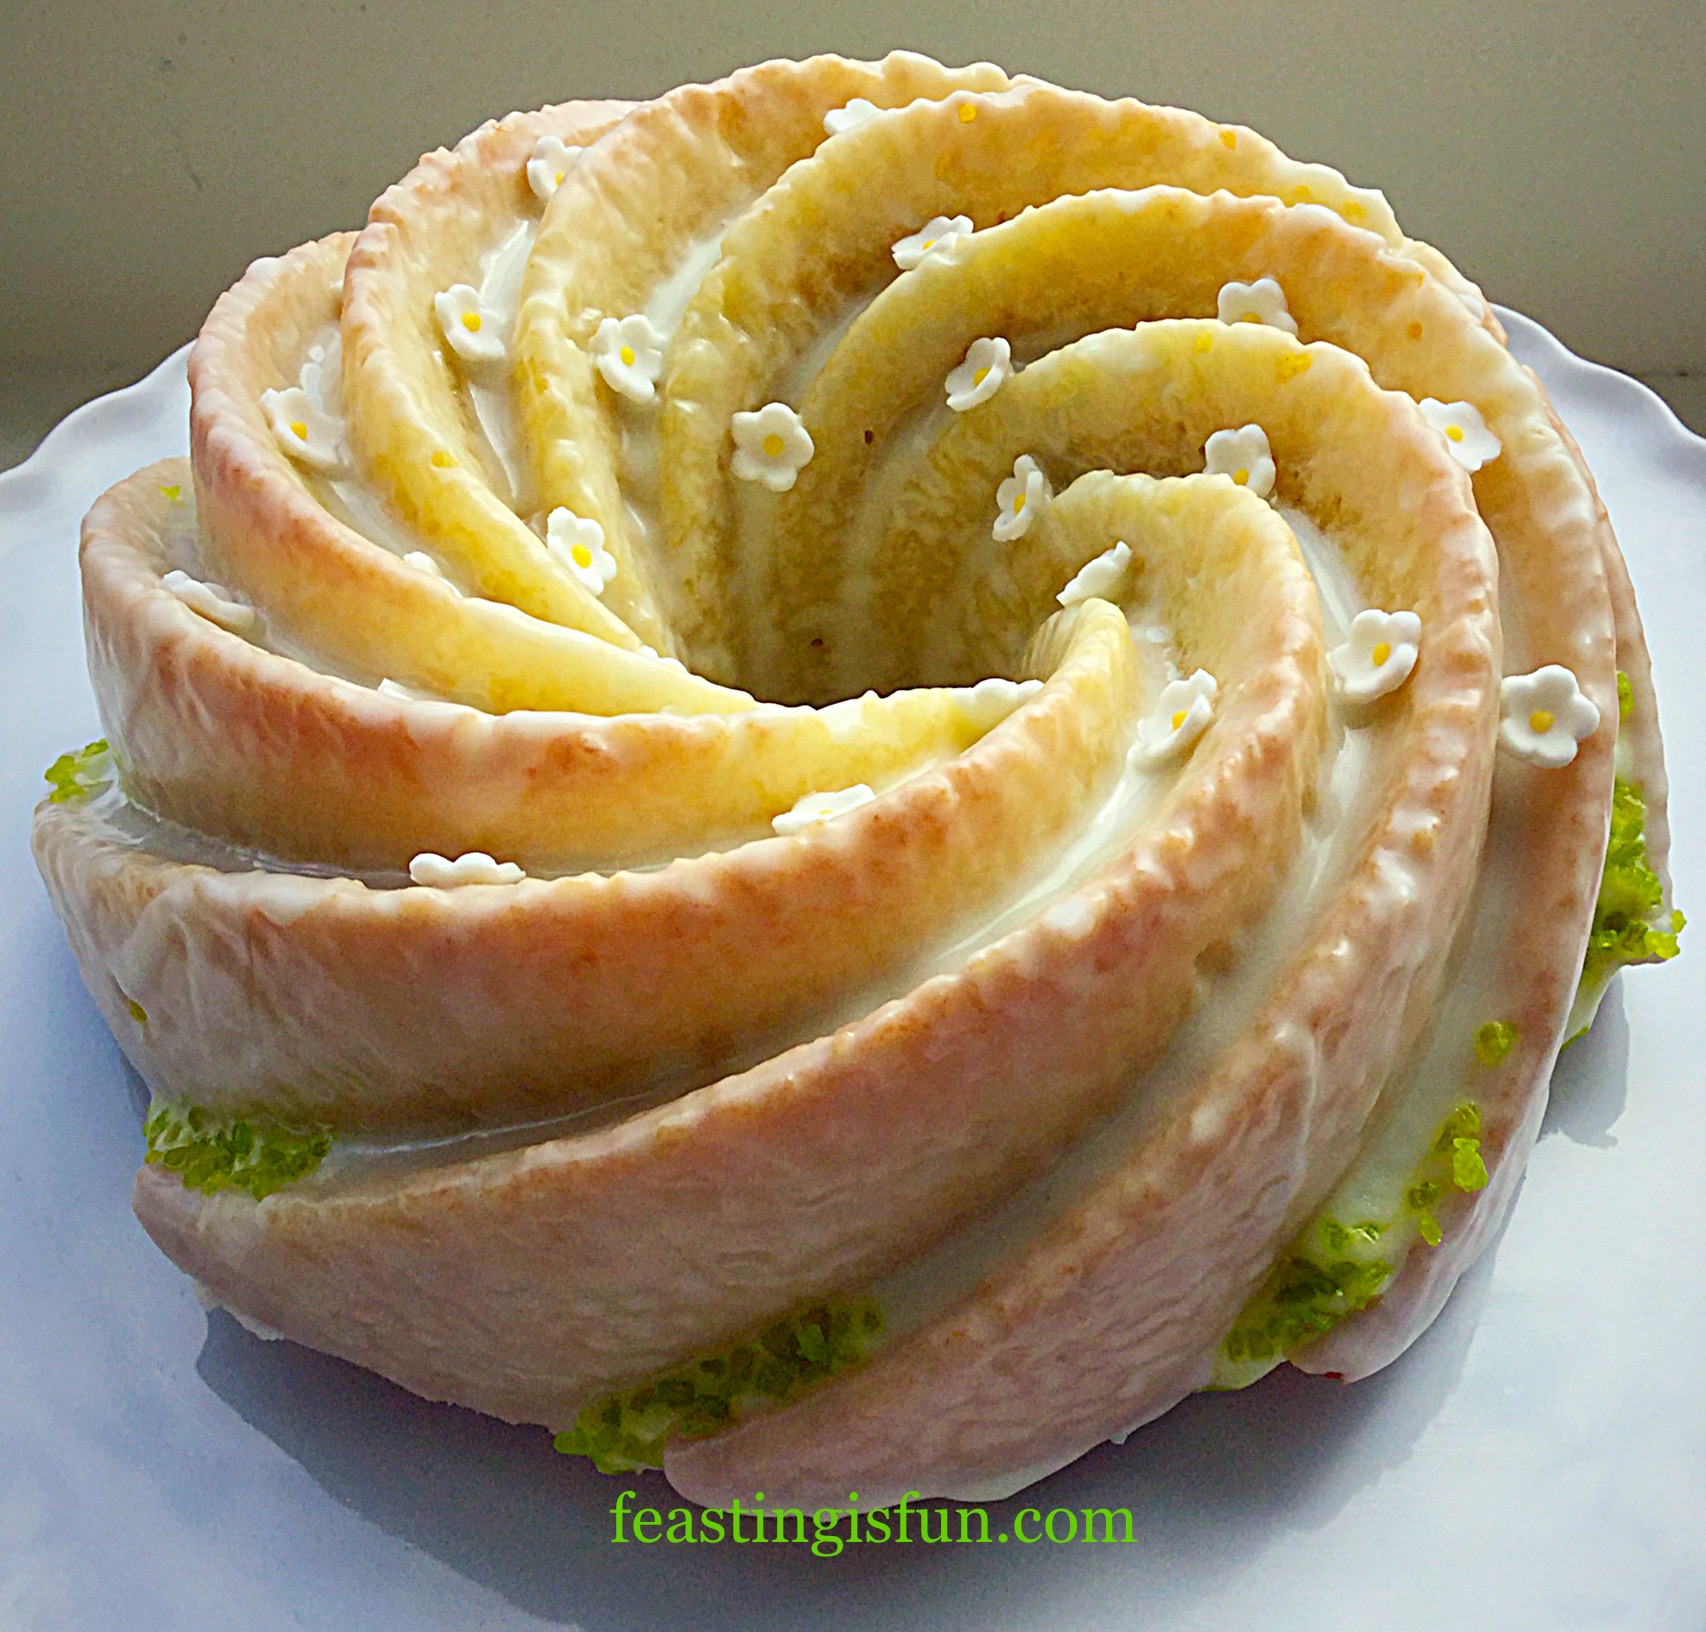
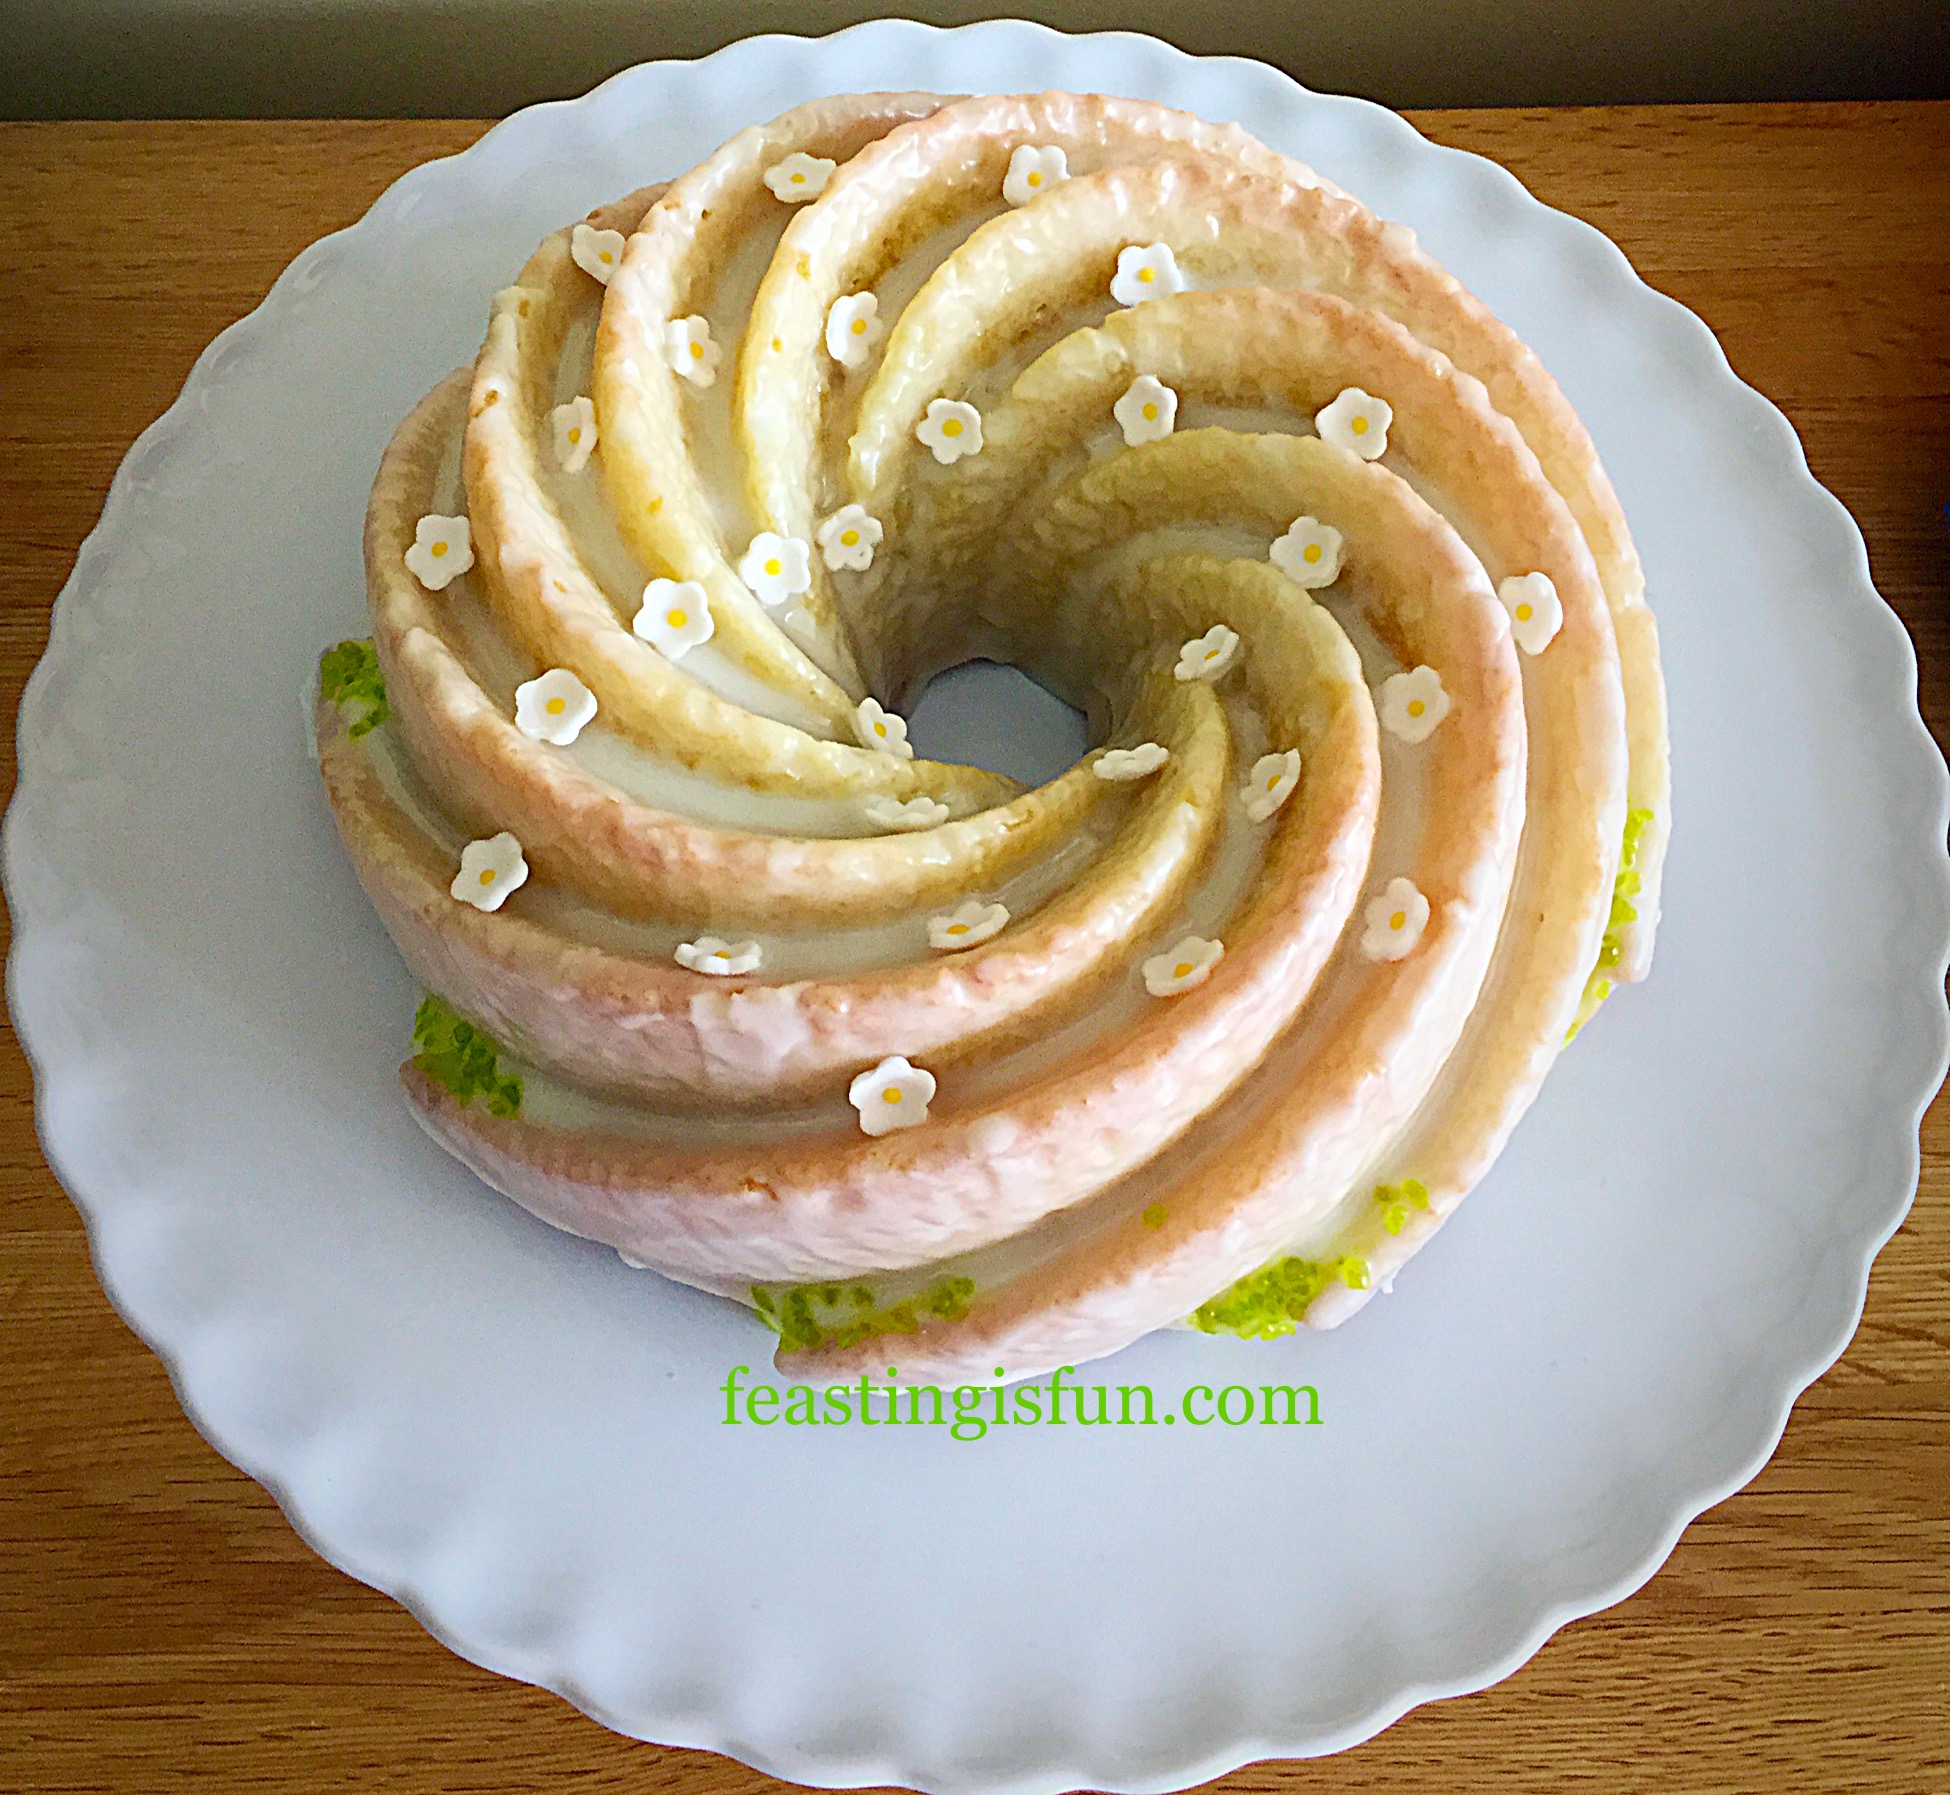
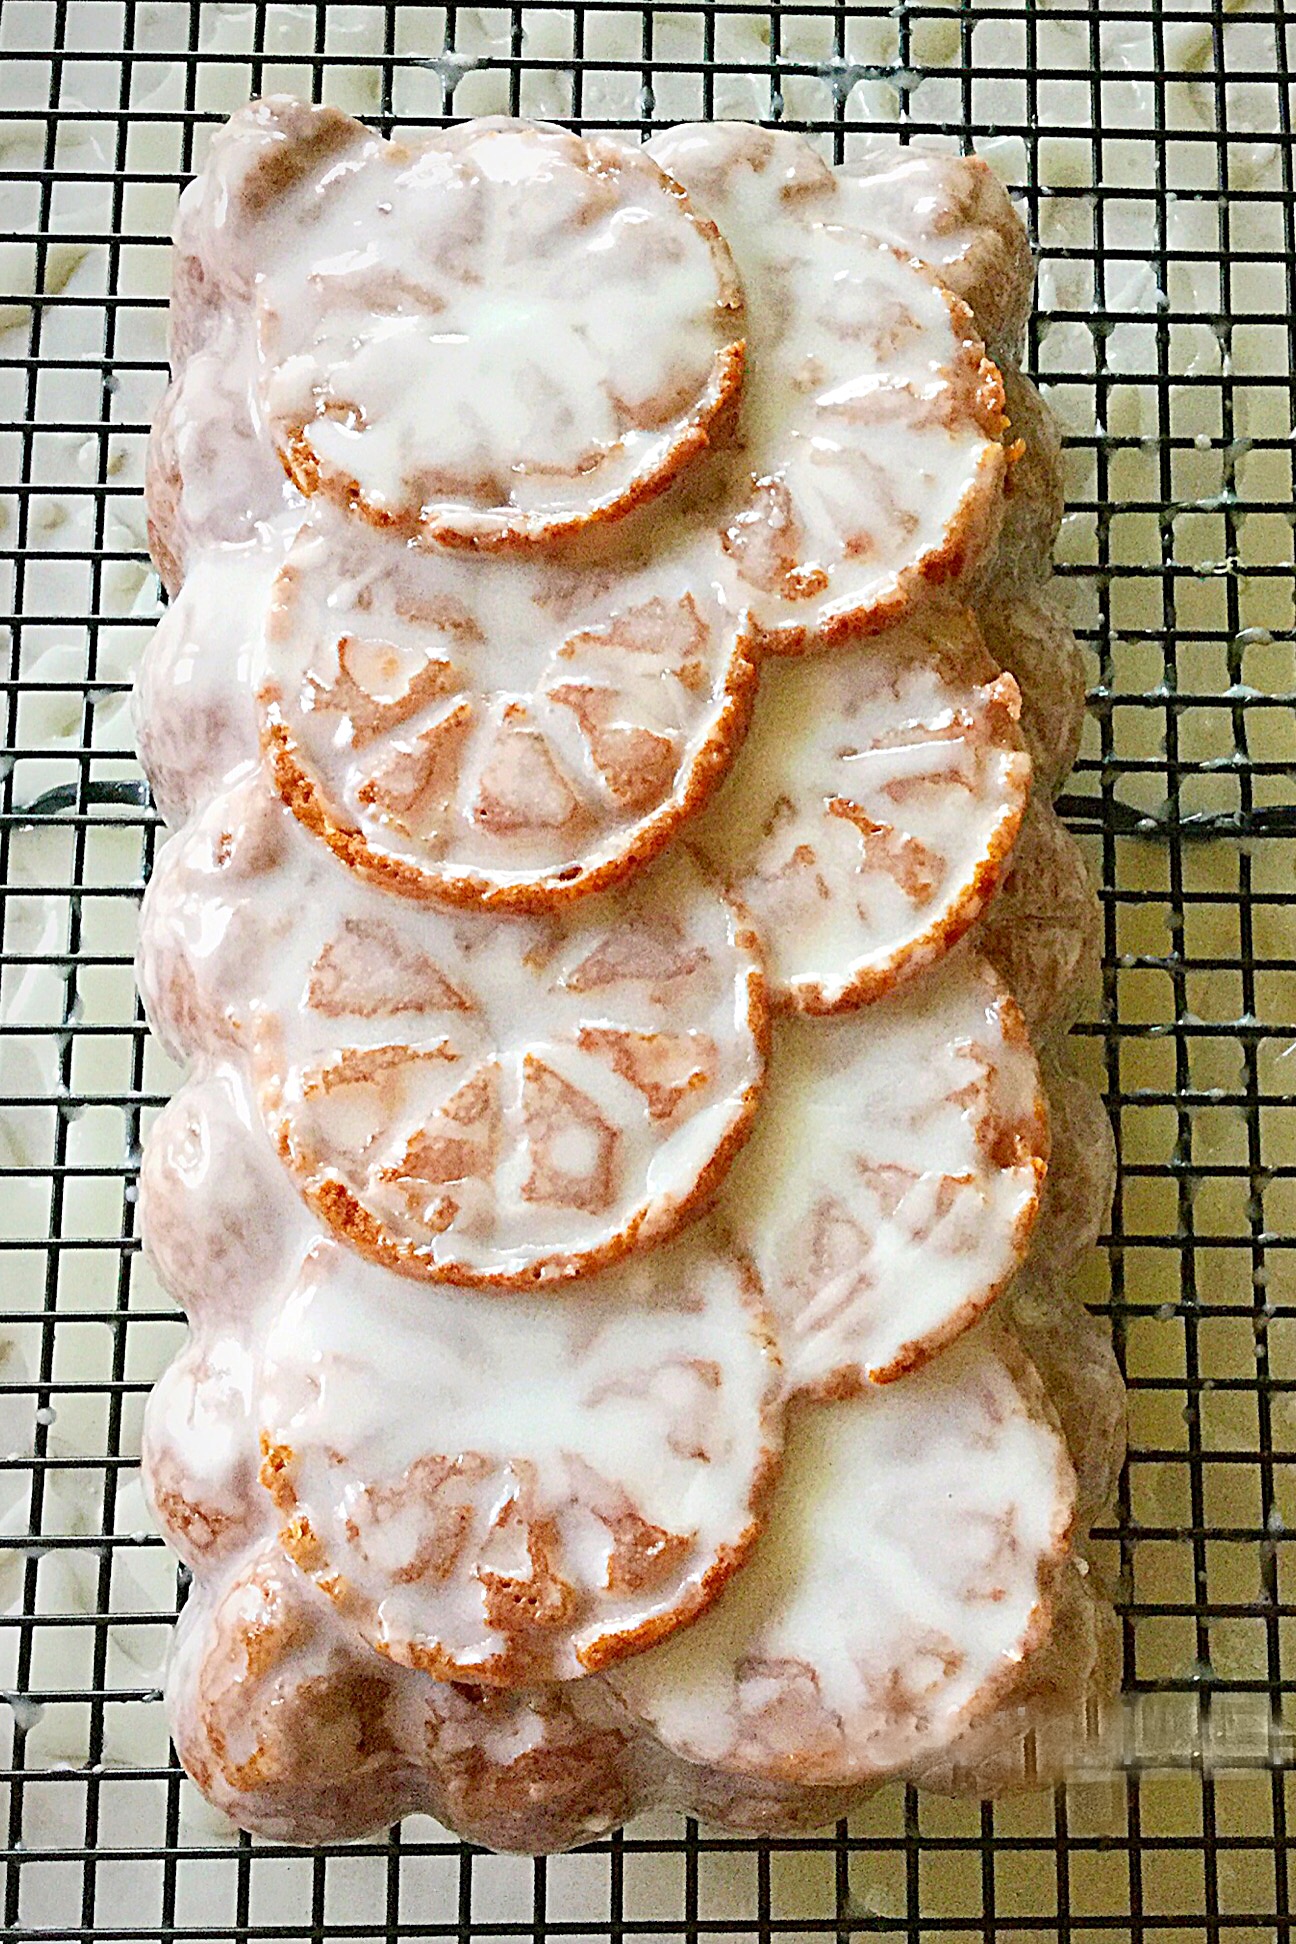
While baking a chocolate cake may seem an obvious choice, I instead decided to choose a flavour to compliment the chocolates. Keeping the rose flavour subtle within the cake also stops it from overpowering the chocolates. Since the aim is, that each should compliment the other. Finishing with an un-flavoured glaze and dust of glitter, takes this cake from pretty to elegant.
Recipe: Chocolate Heart Topped Rose Bundt Cake serves 8-10
For the cake batter:
275g/10oz Unsalted Butter softened
275g/10oz Caster Sugar
1/4tsp Salt – I use Maldon
2tsp Vanilla Bean Paste – or Vanilla Extract
6 Large Free Range Eggs
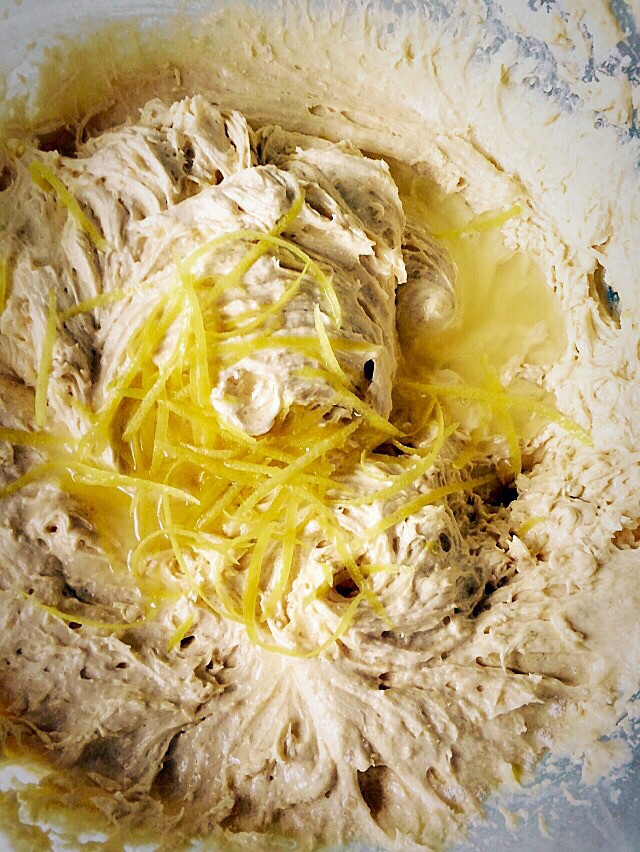
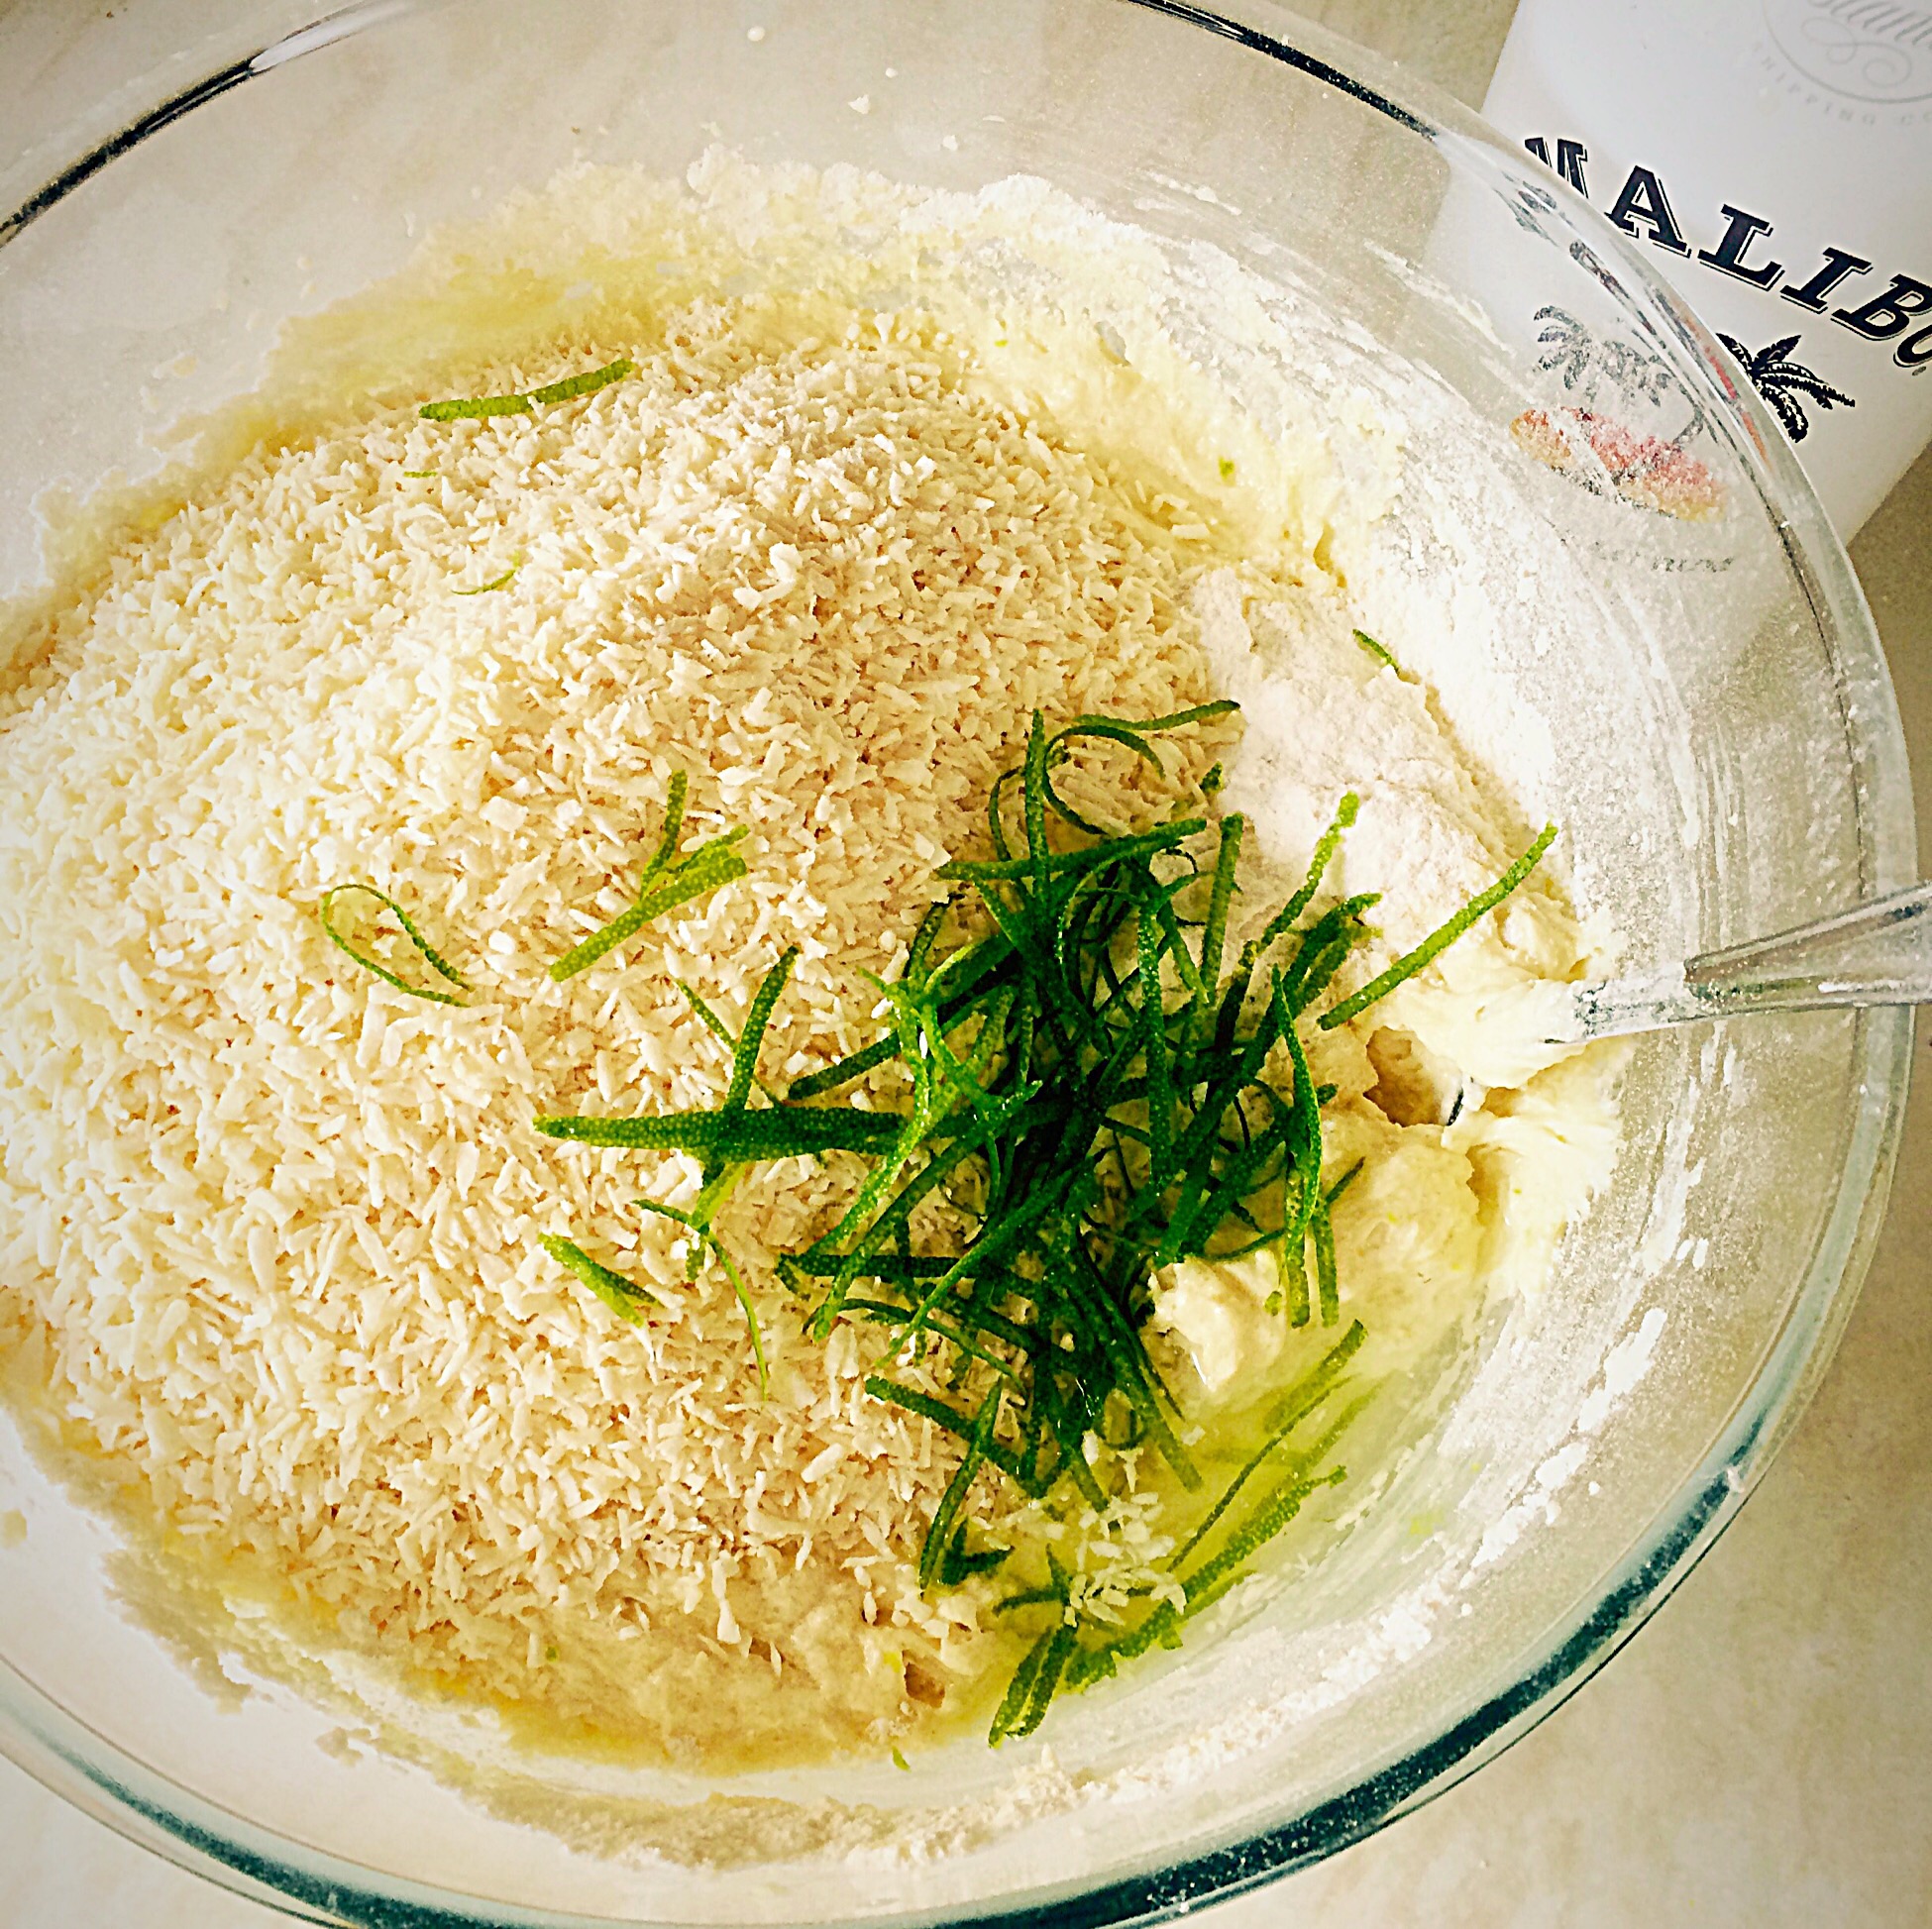
1tsp Rose Extract – I use Nielsen-Massey
300g/11oz Plain White Four
2tsp Baking Powder
100g Full Fat Natural Yoghurt- I use Yeo Valley
For the icing and decoration:
450g/1lb White Unflavoured Icing Sugar
100mls Cold Tap Water
Edible Glitter – I use My Cake Decor gold glitter pump spray
Chocolate Hearts
Method: Preheat the oven to 160C/140C fan, gas mark 3
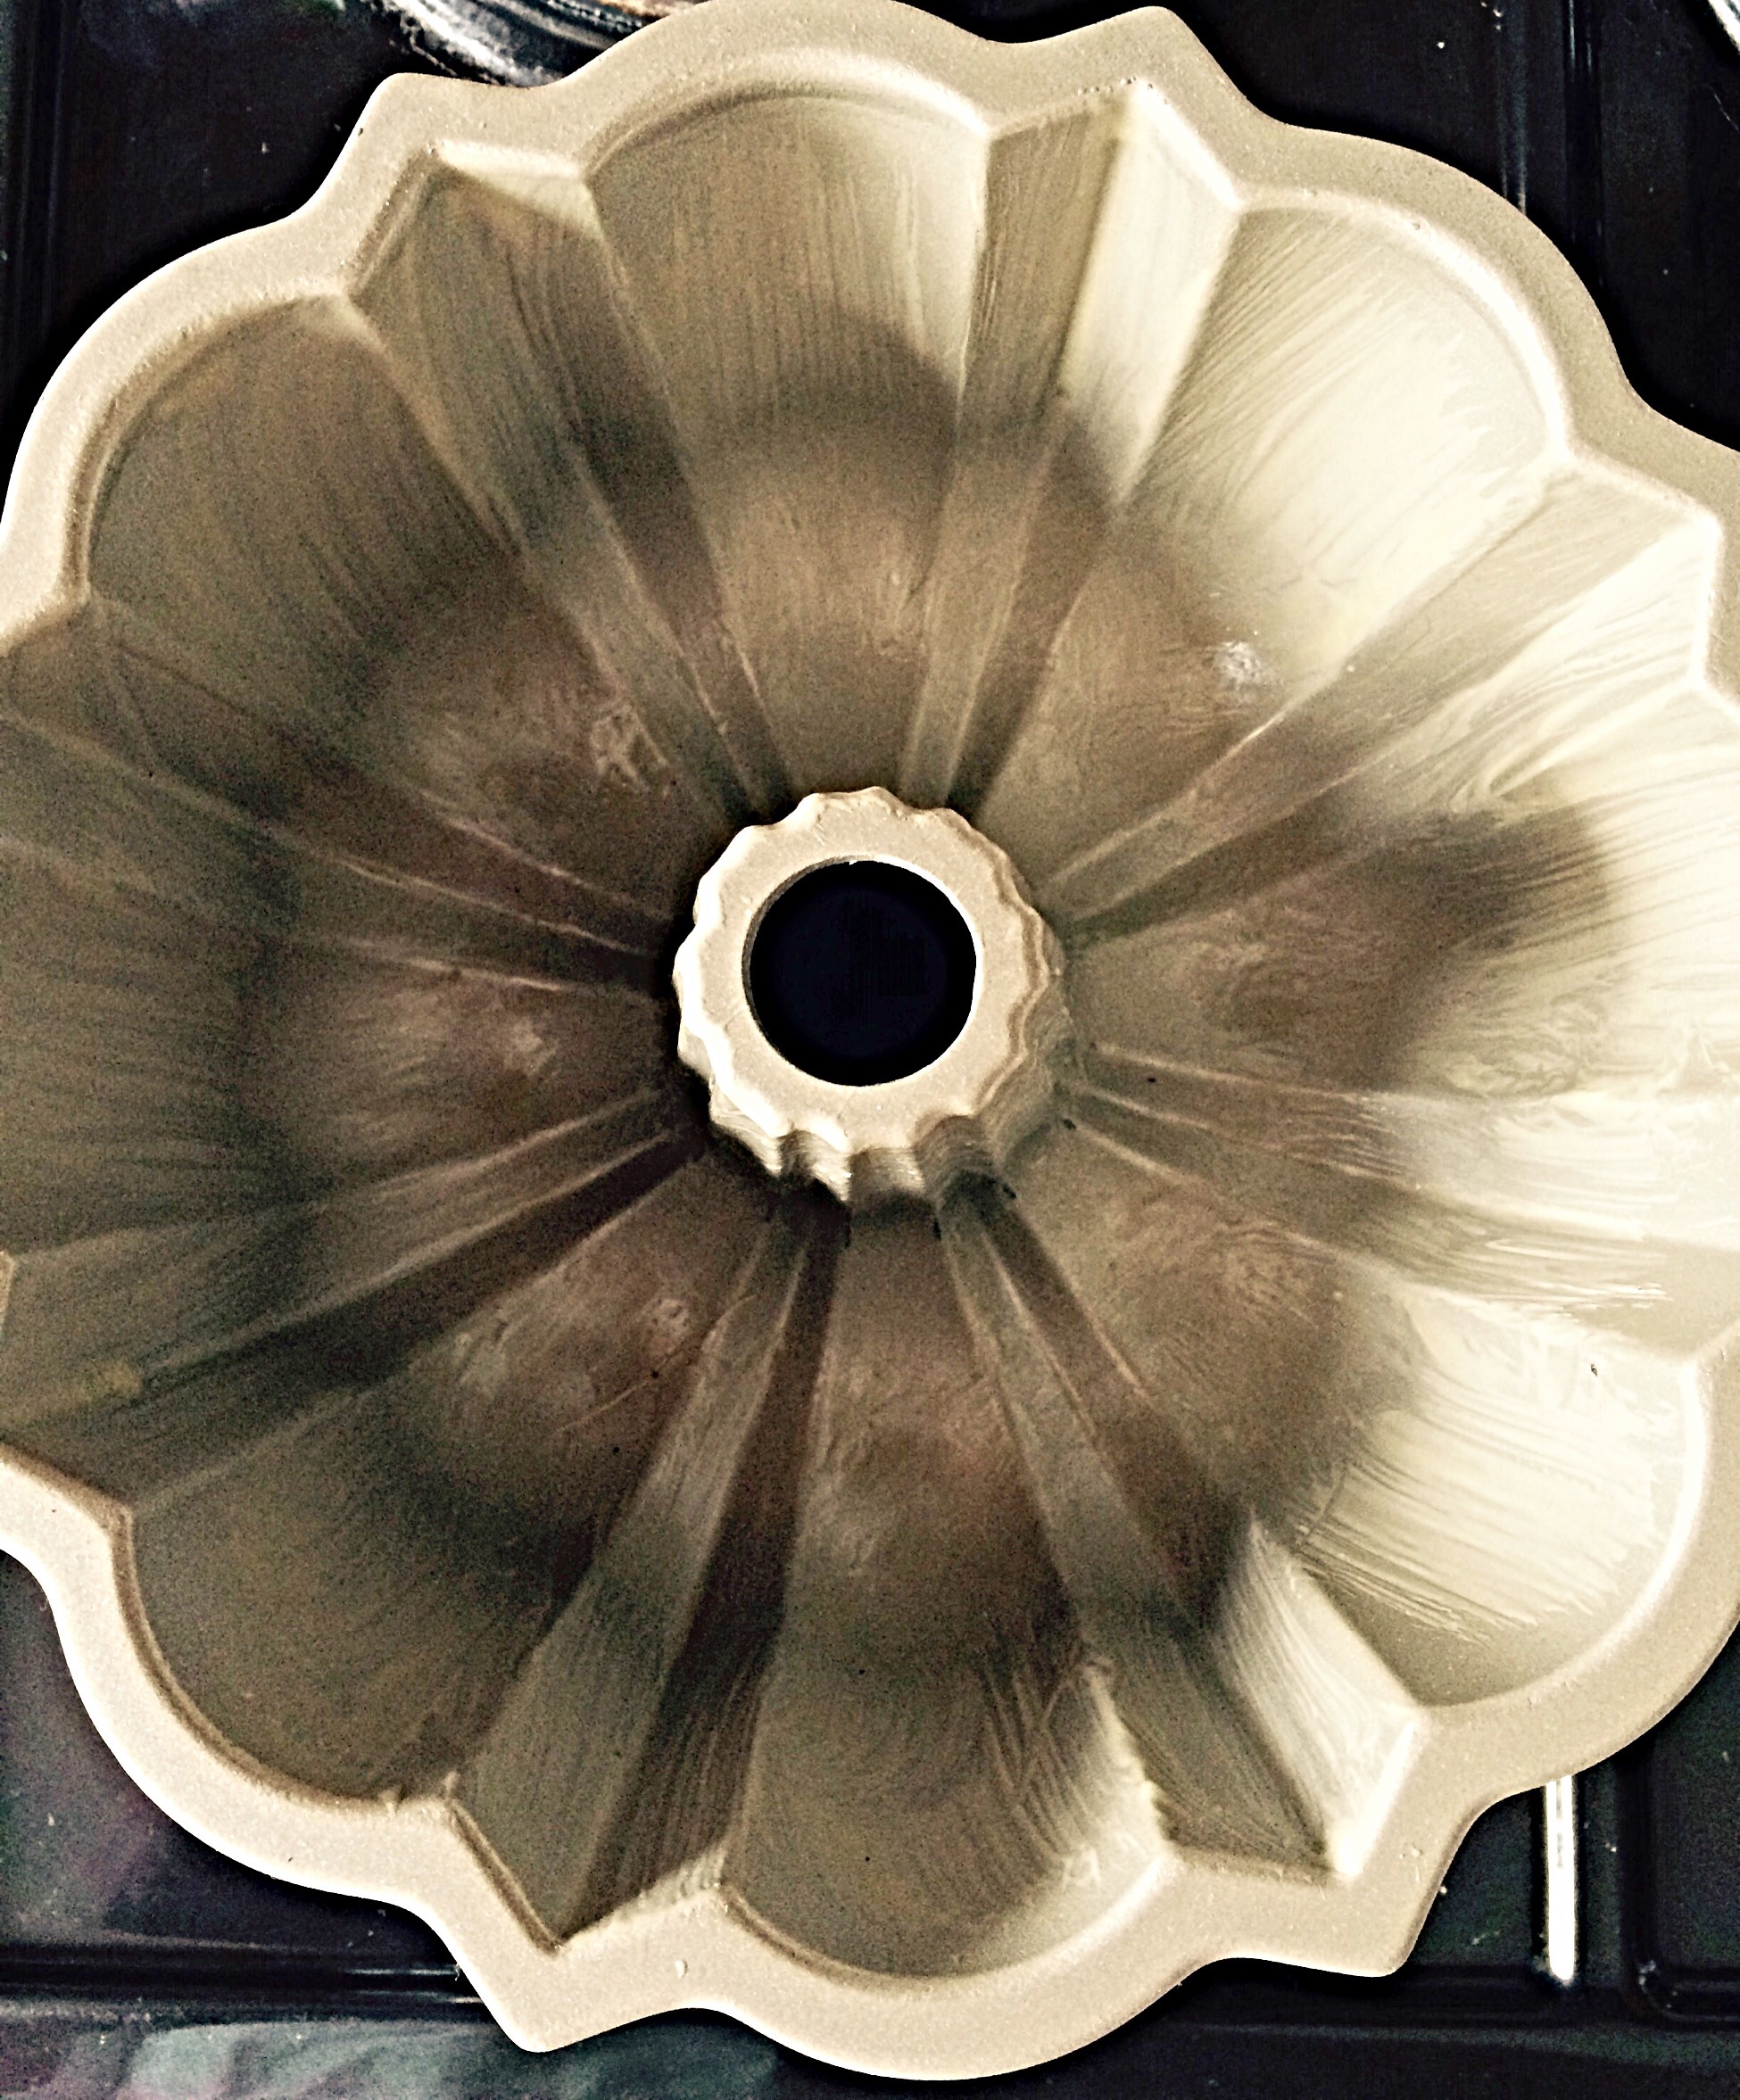
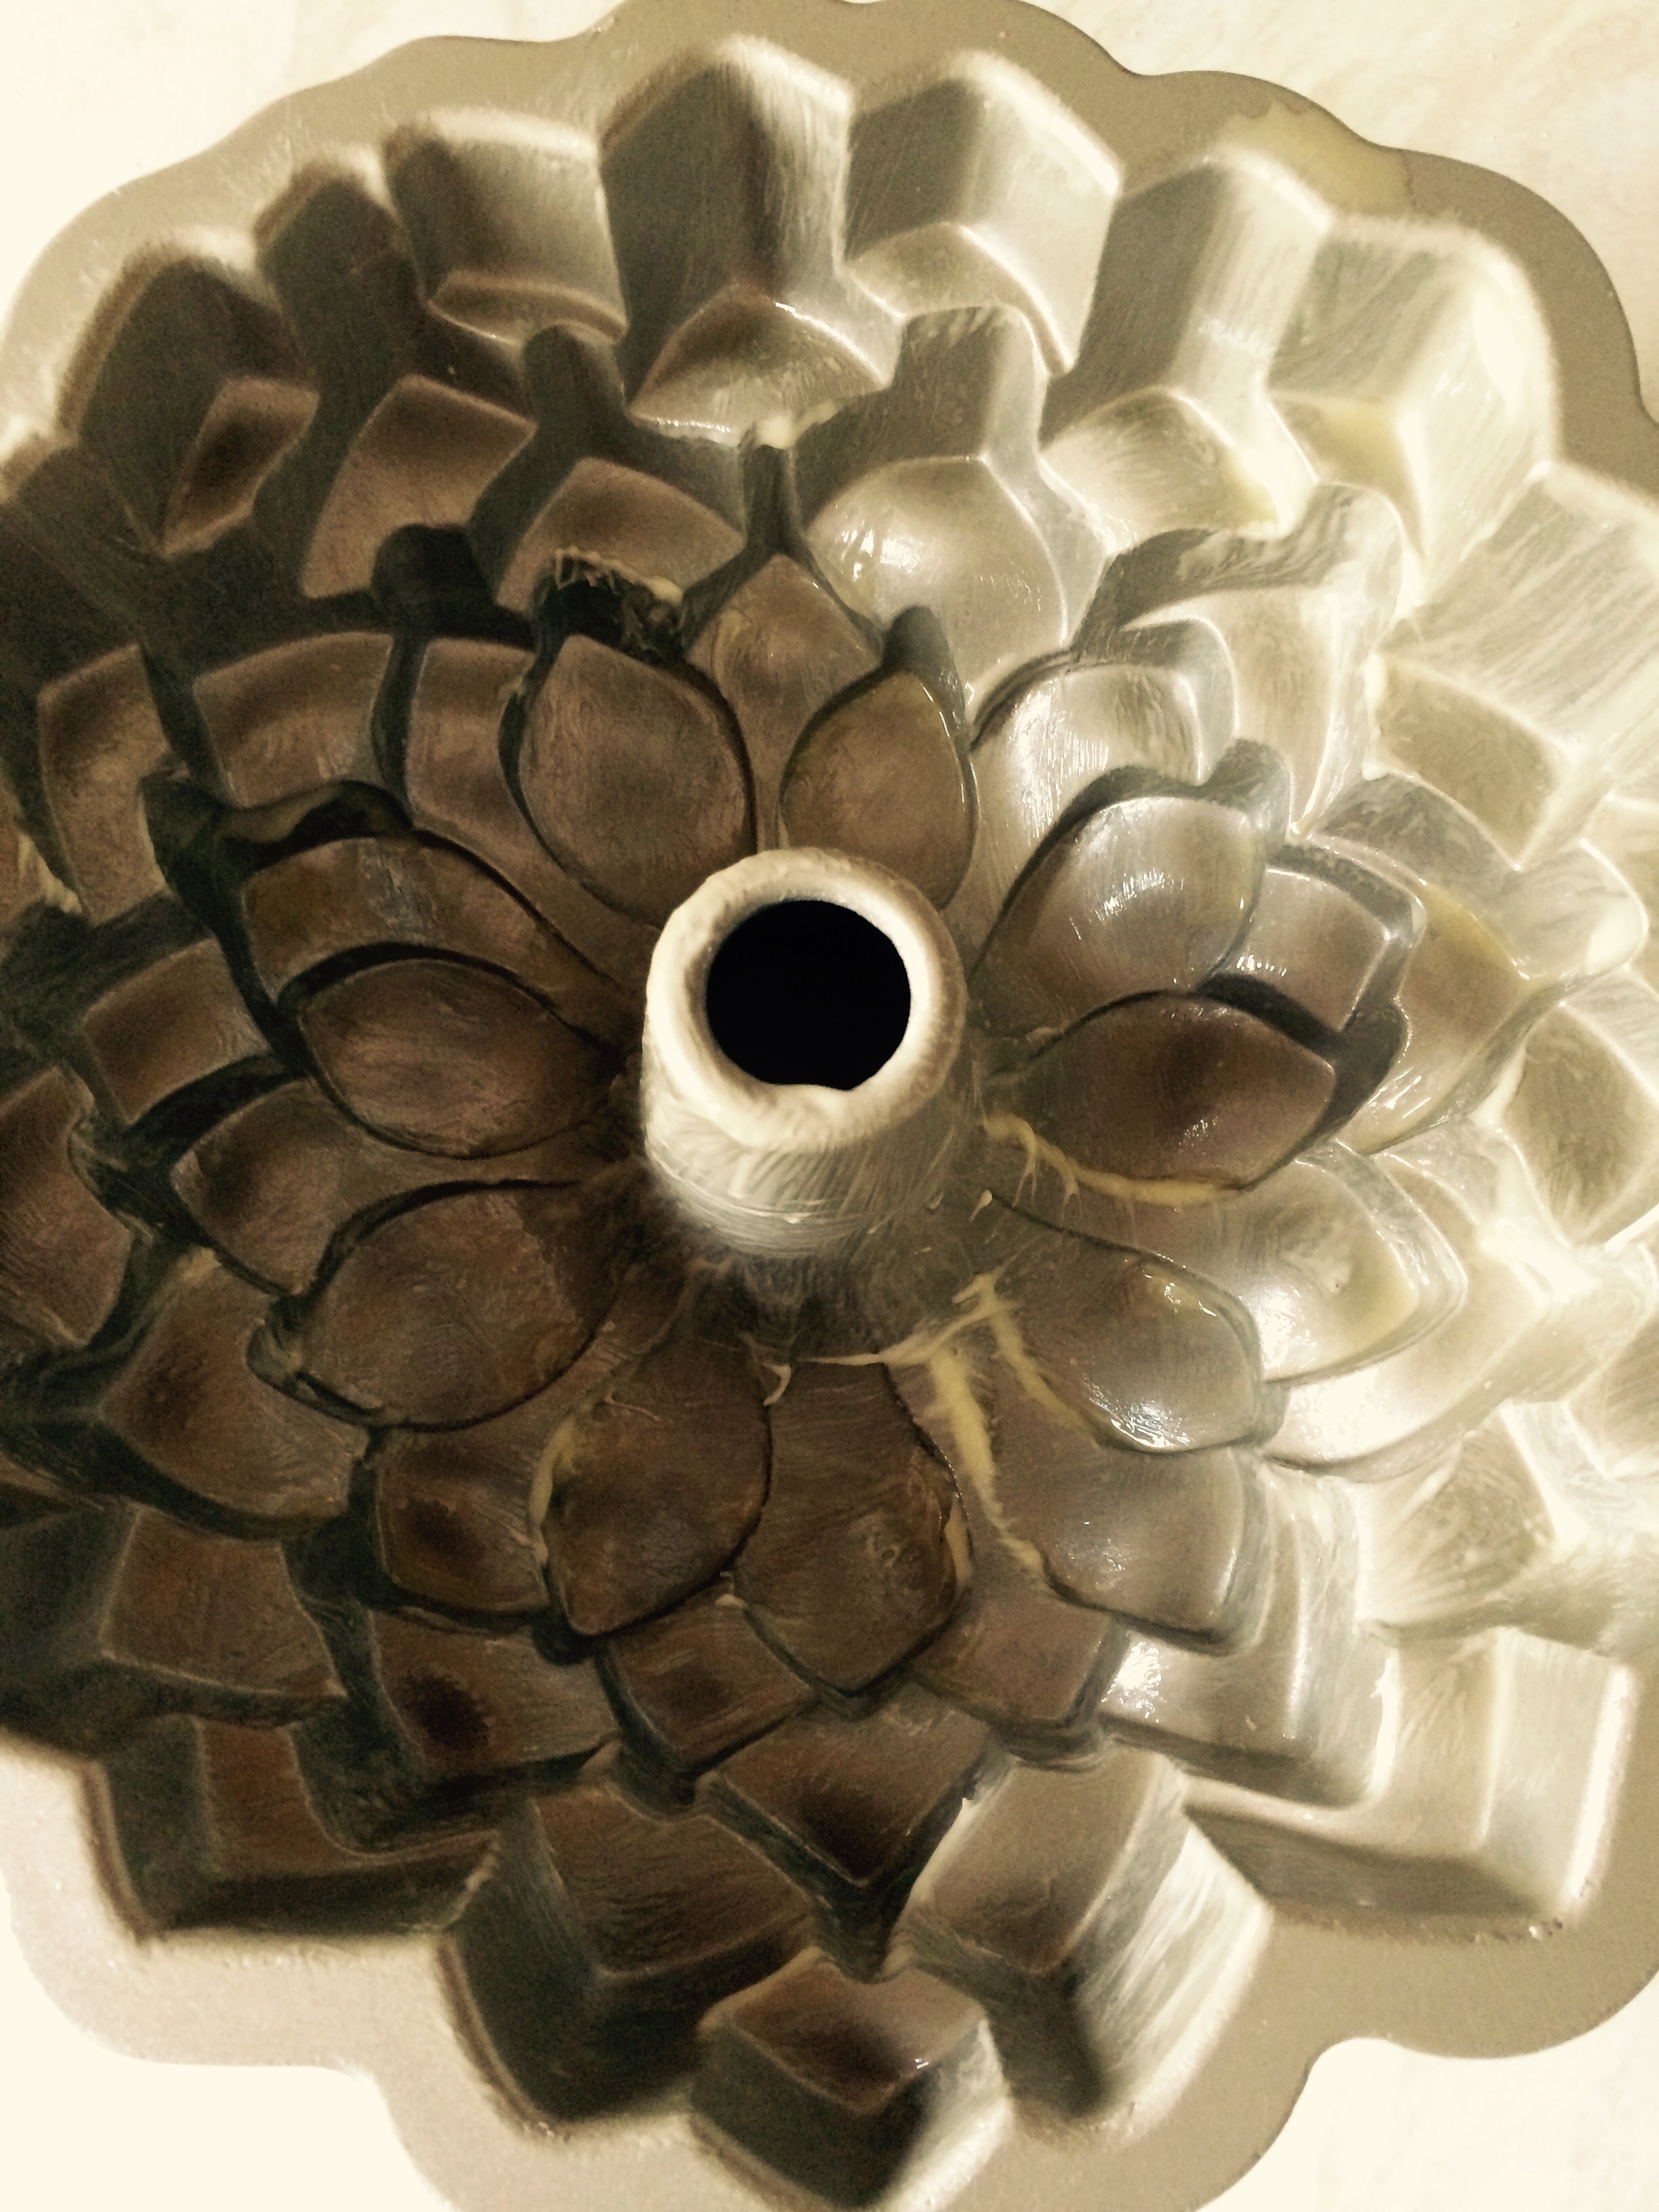
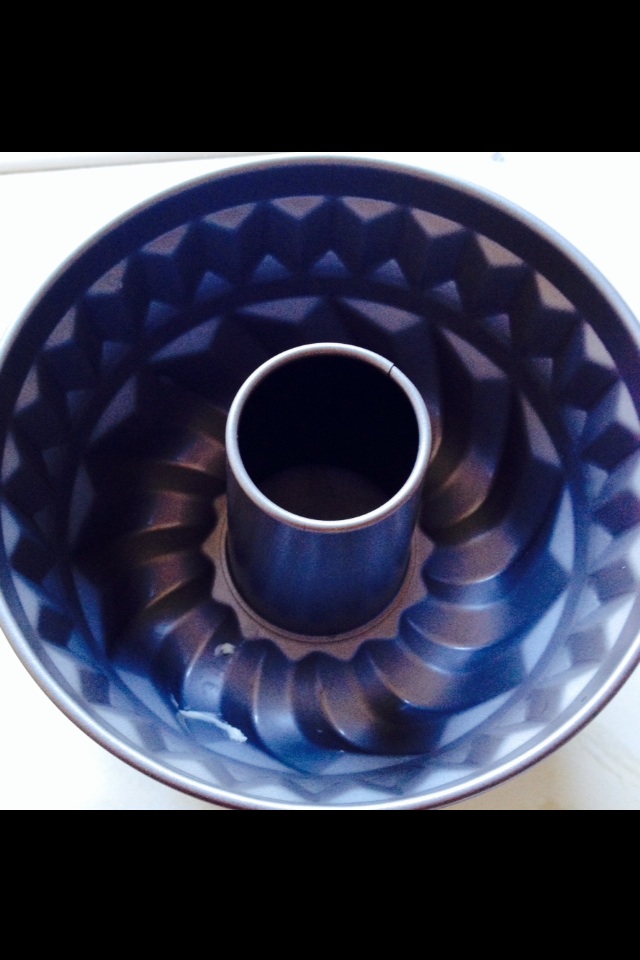
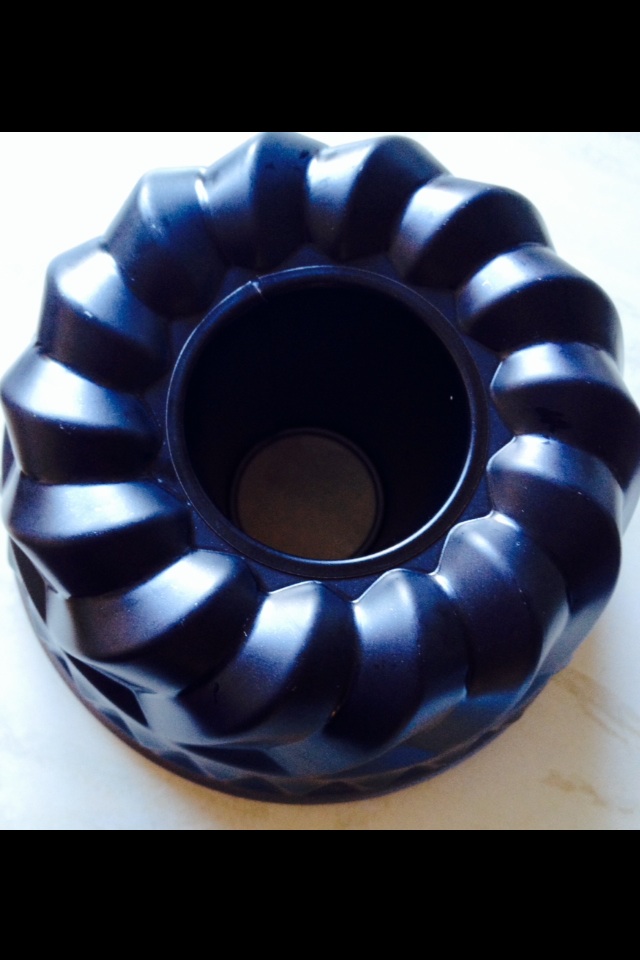
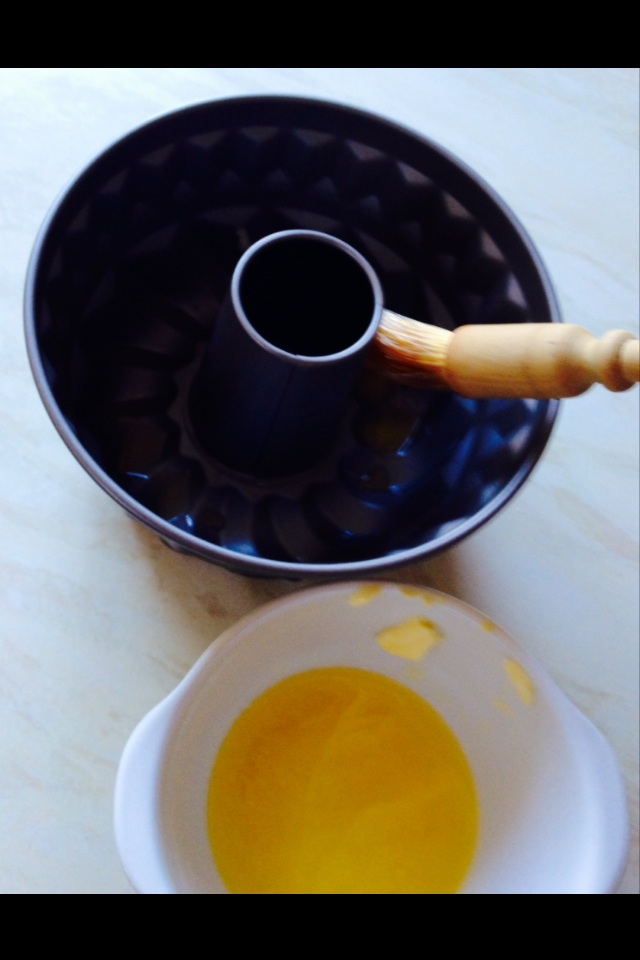
First of all, ensure the Bundt pan is clean and dry. Shake the can or bottle well. Spray, or brush Wilton cake release thoroughly using a soft pastry brush. Note – if the weather is cold the liquid in the bottle may be difficult to squeeze out and brush. Stand the bottle in a jug of hot water for 10 minutes, shake well and use.
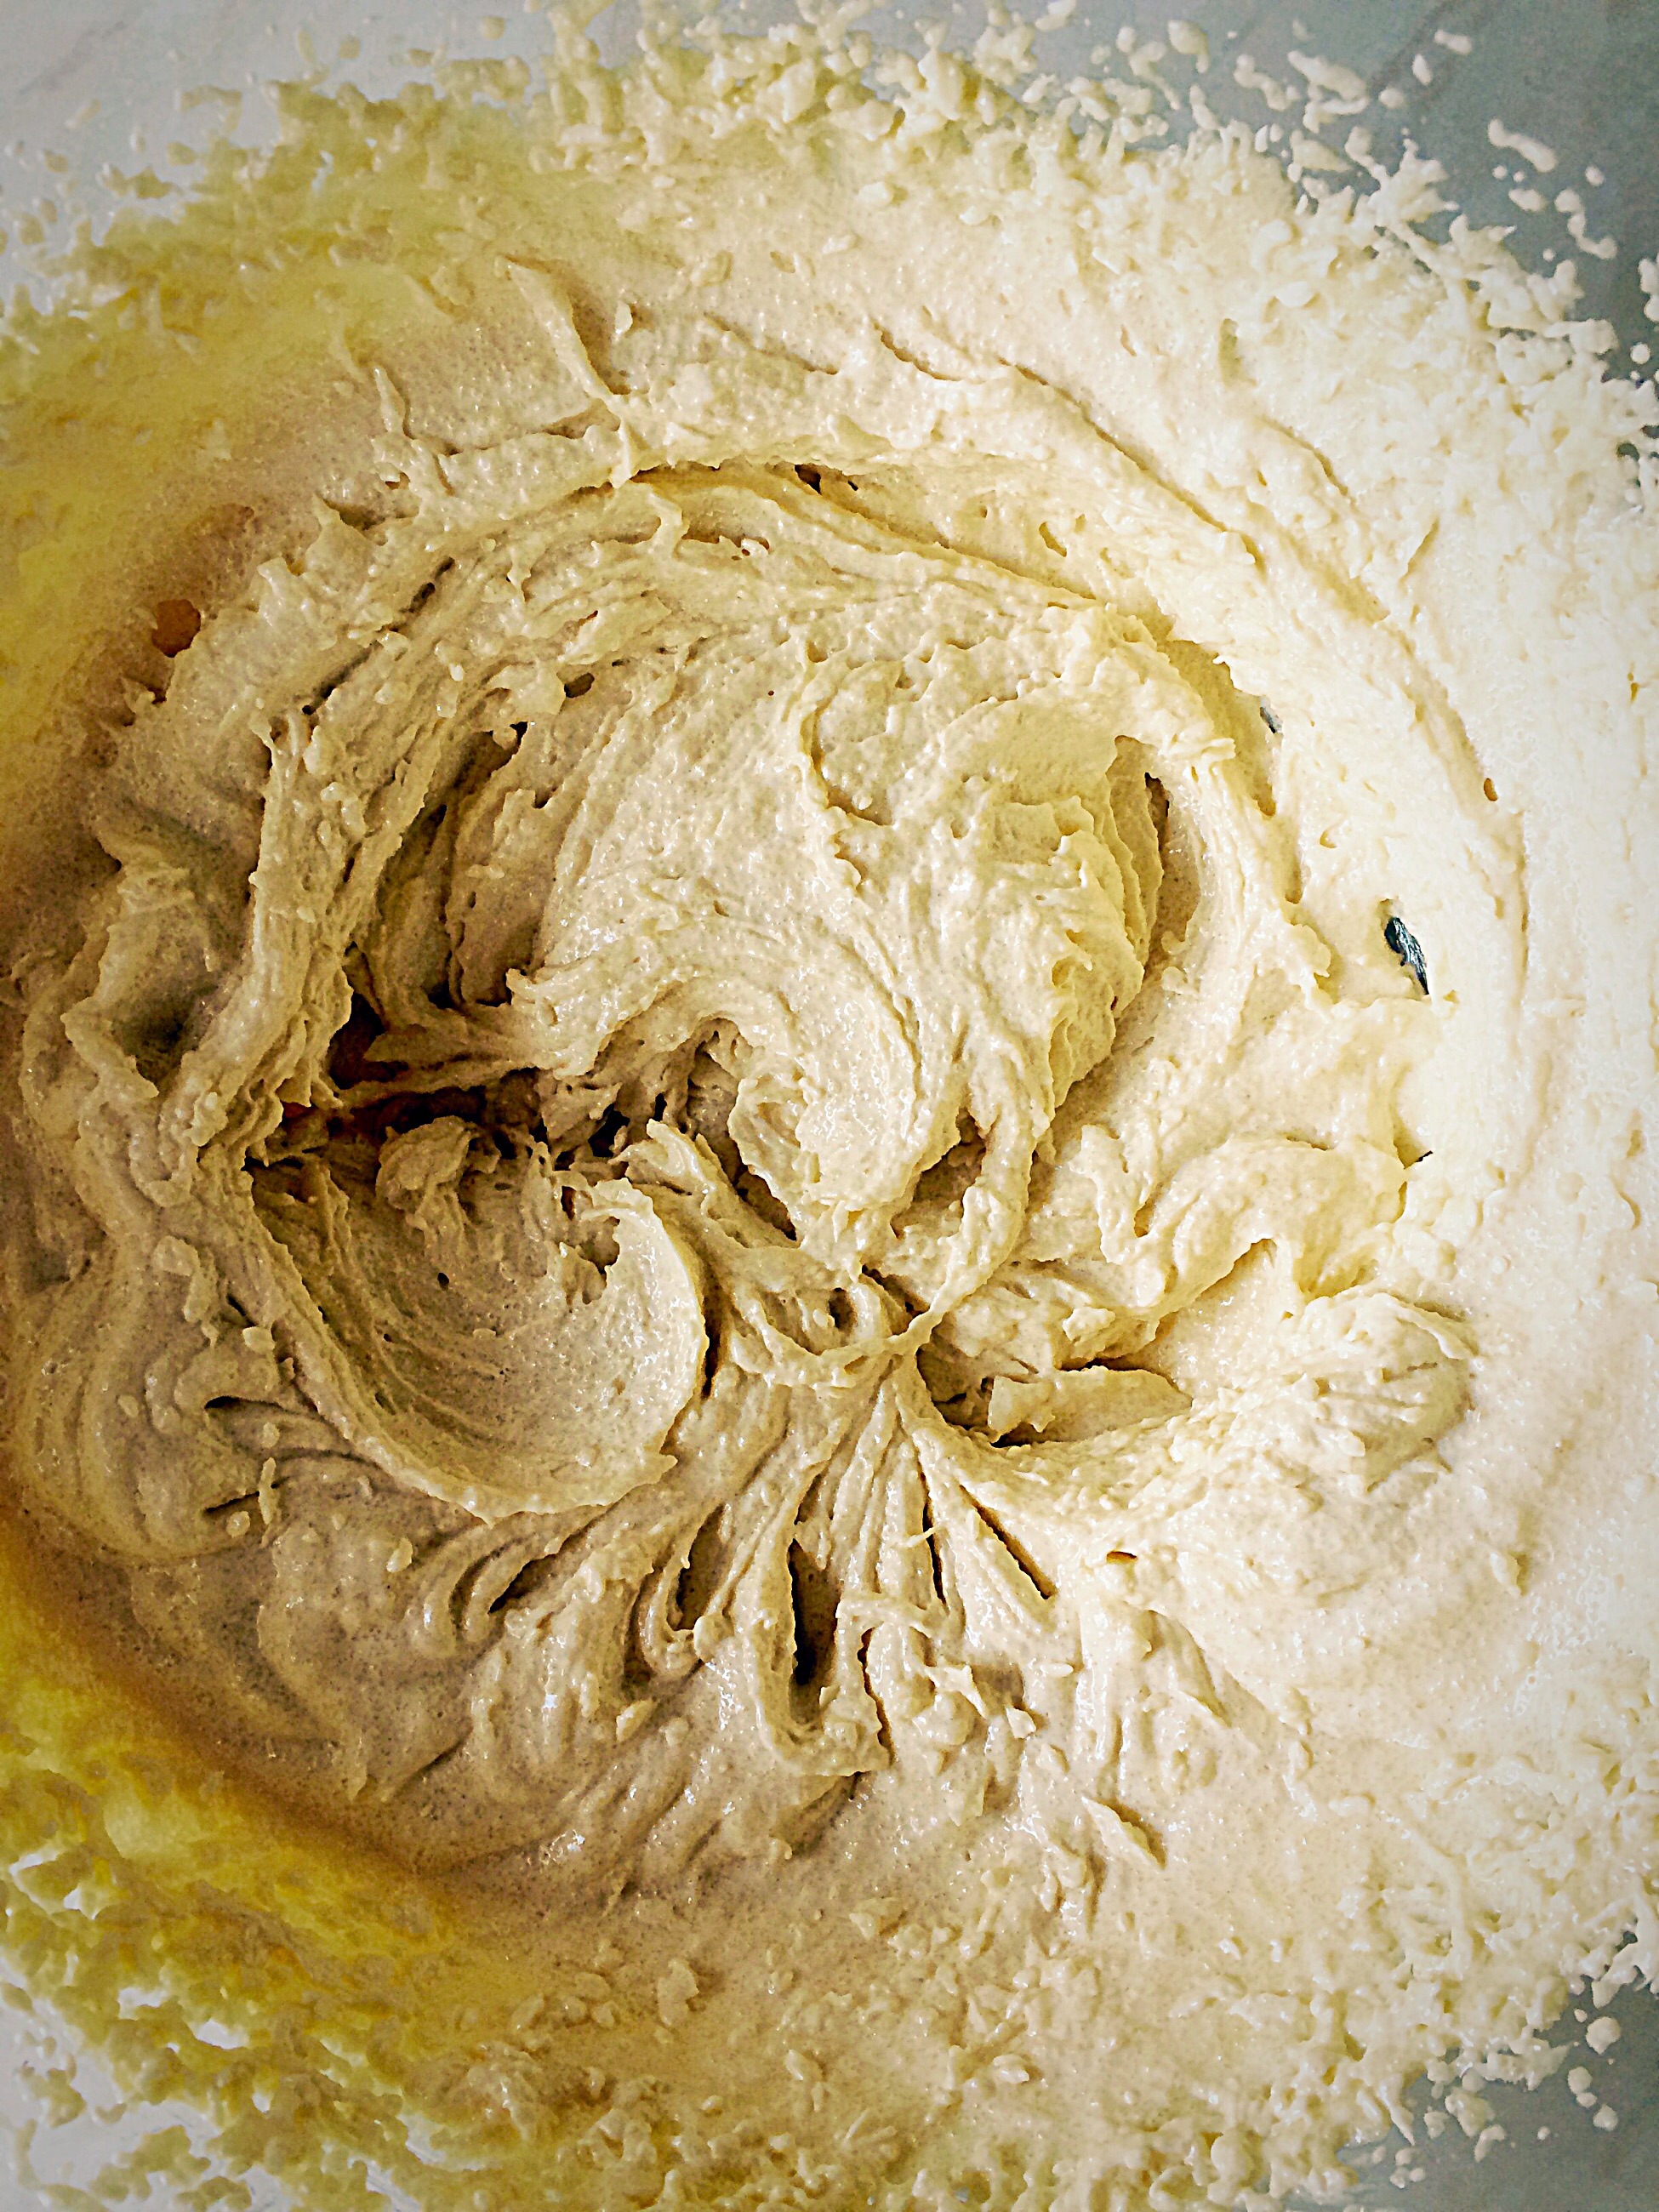
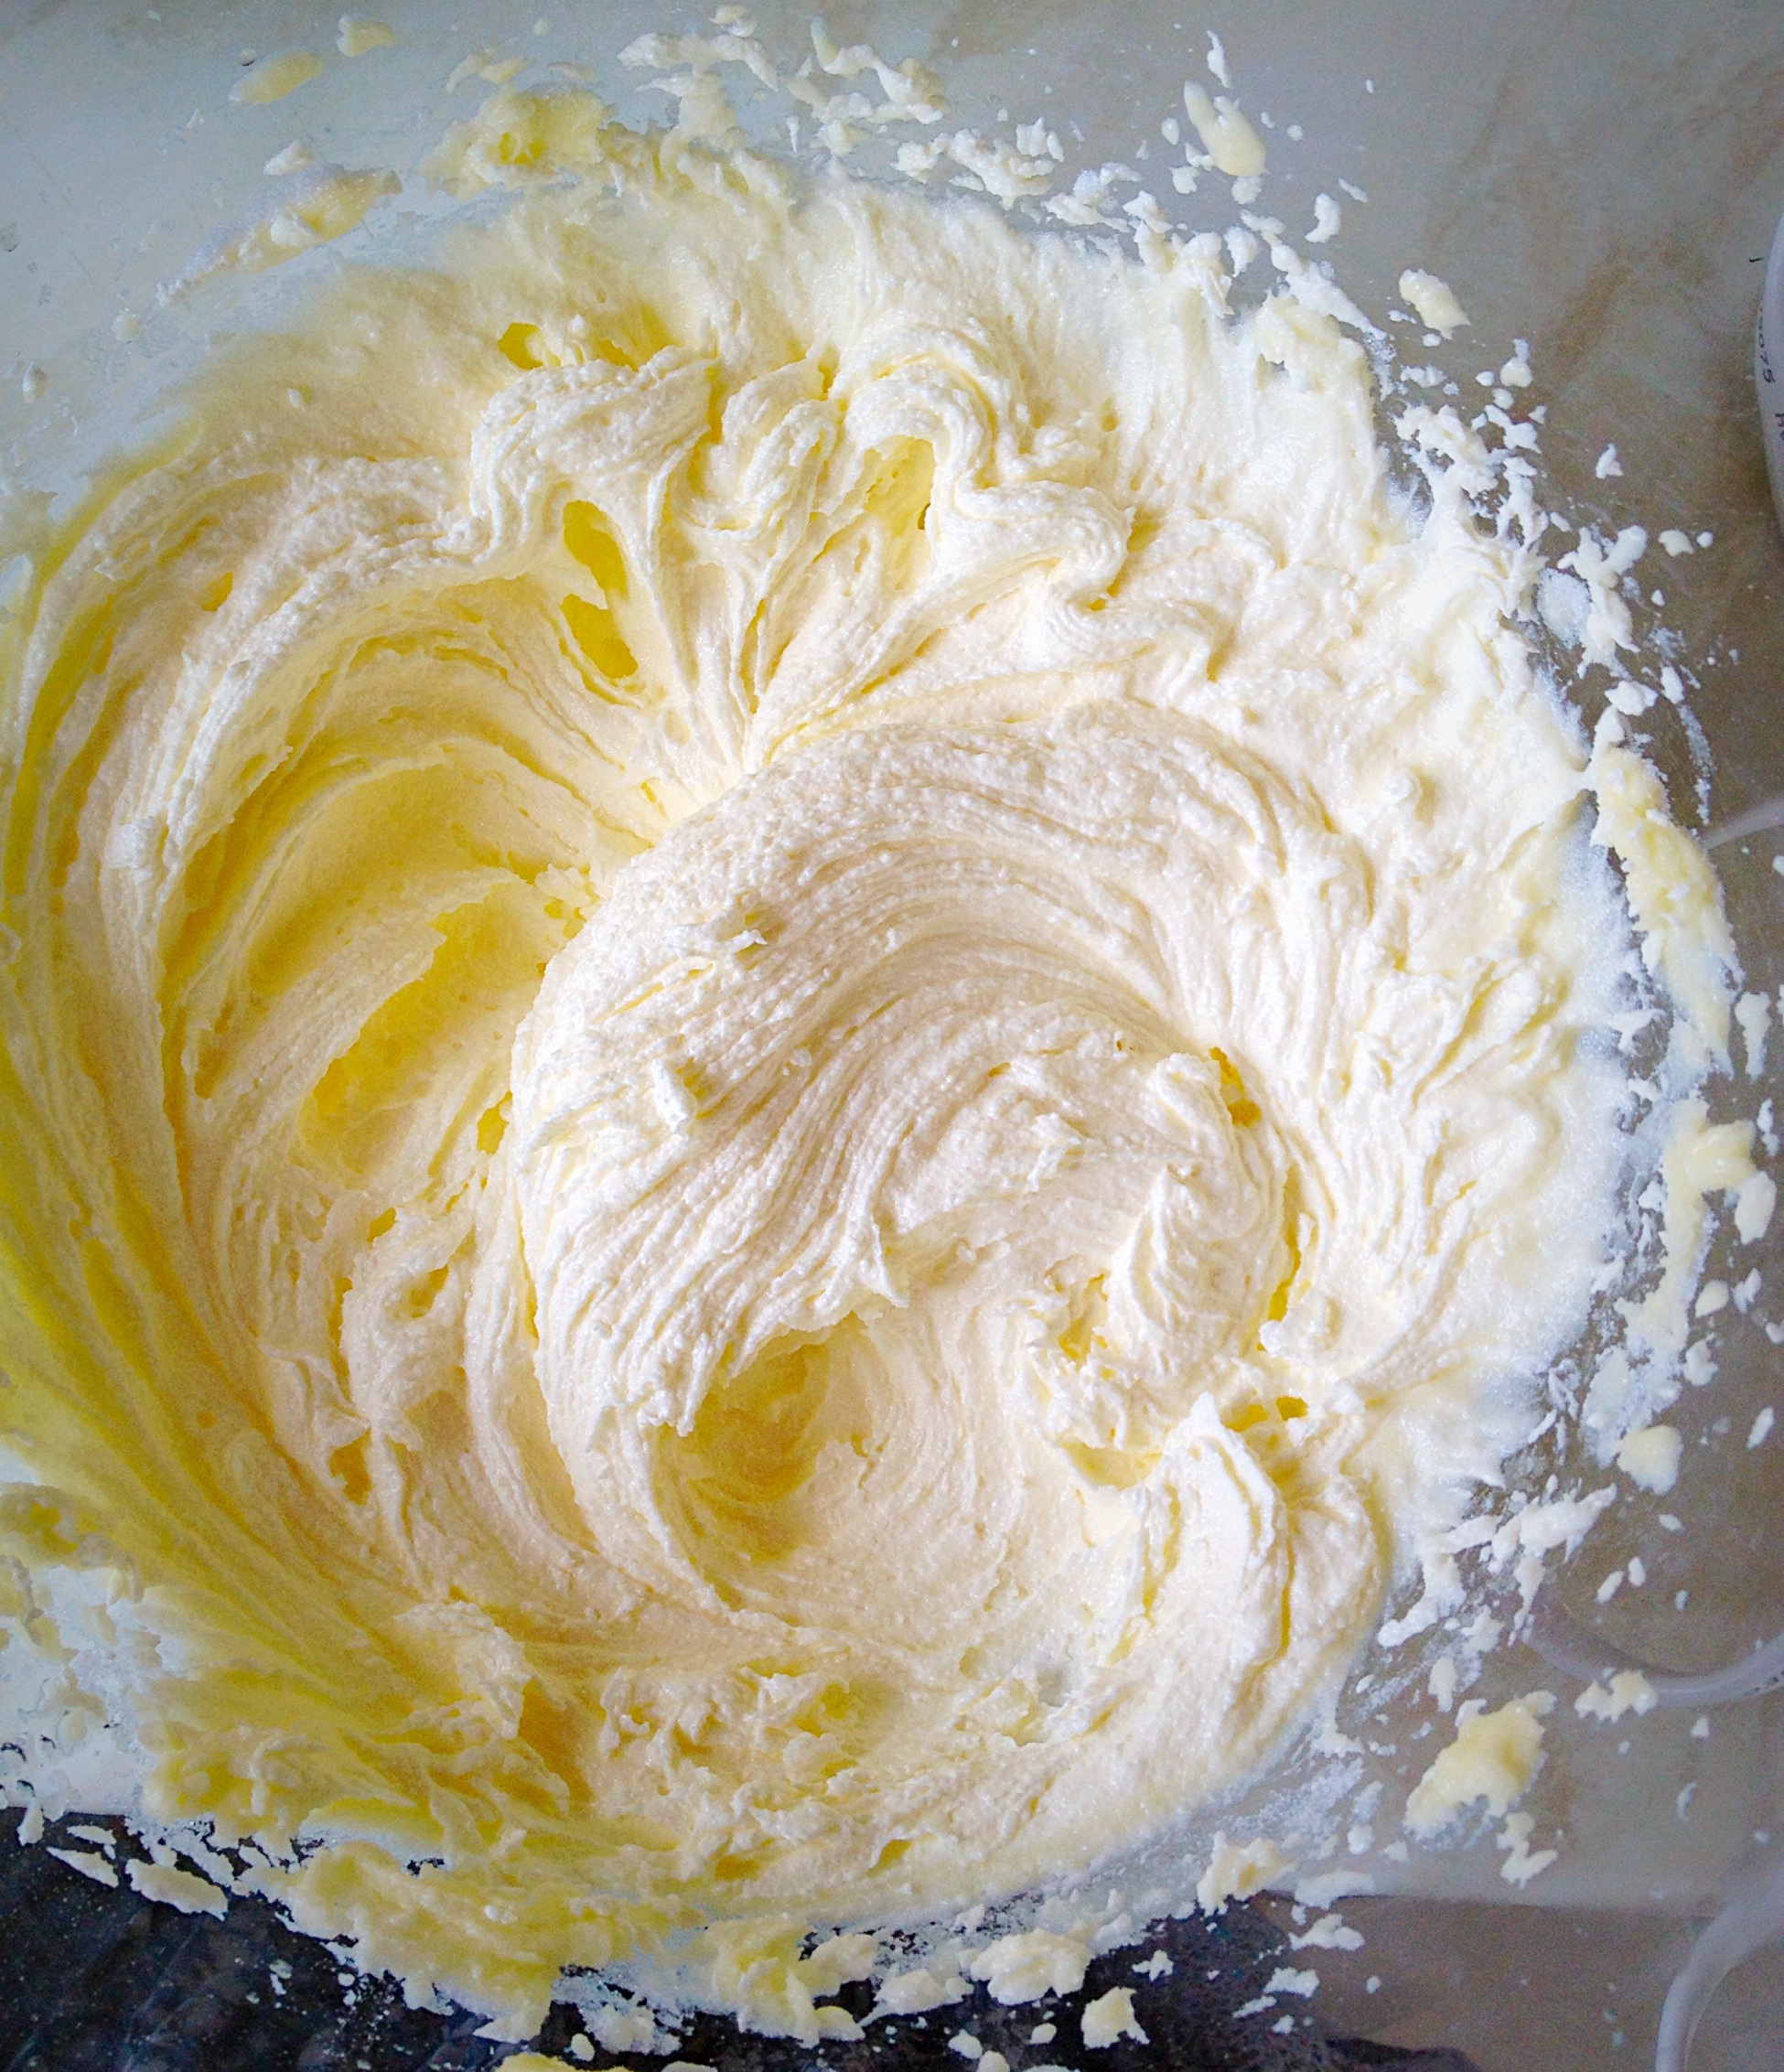
- Making the cake batter: Into a large bowl add the softened butter, sugar and salt.
- Whisk/beat together until well combined, pale and creamy.
- Next, into a separate bowl, sieve the flour and baking powder together – dry ingredients.
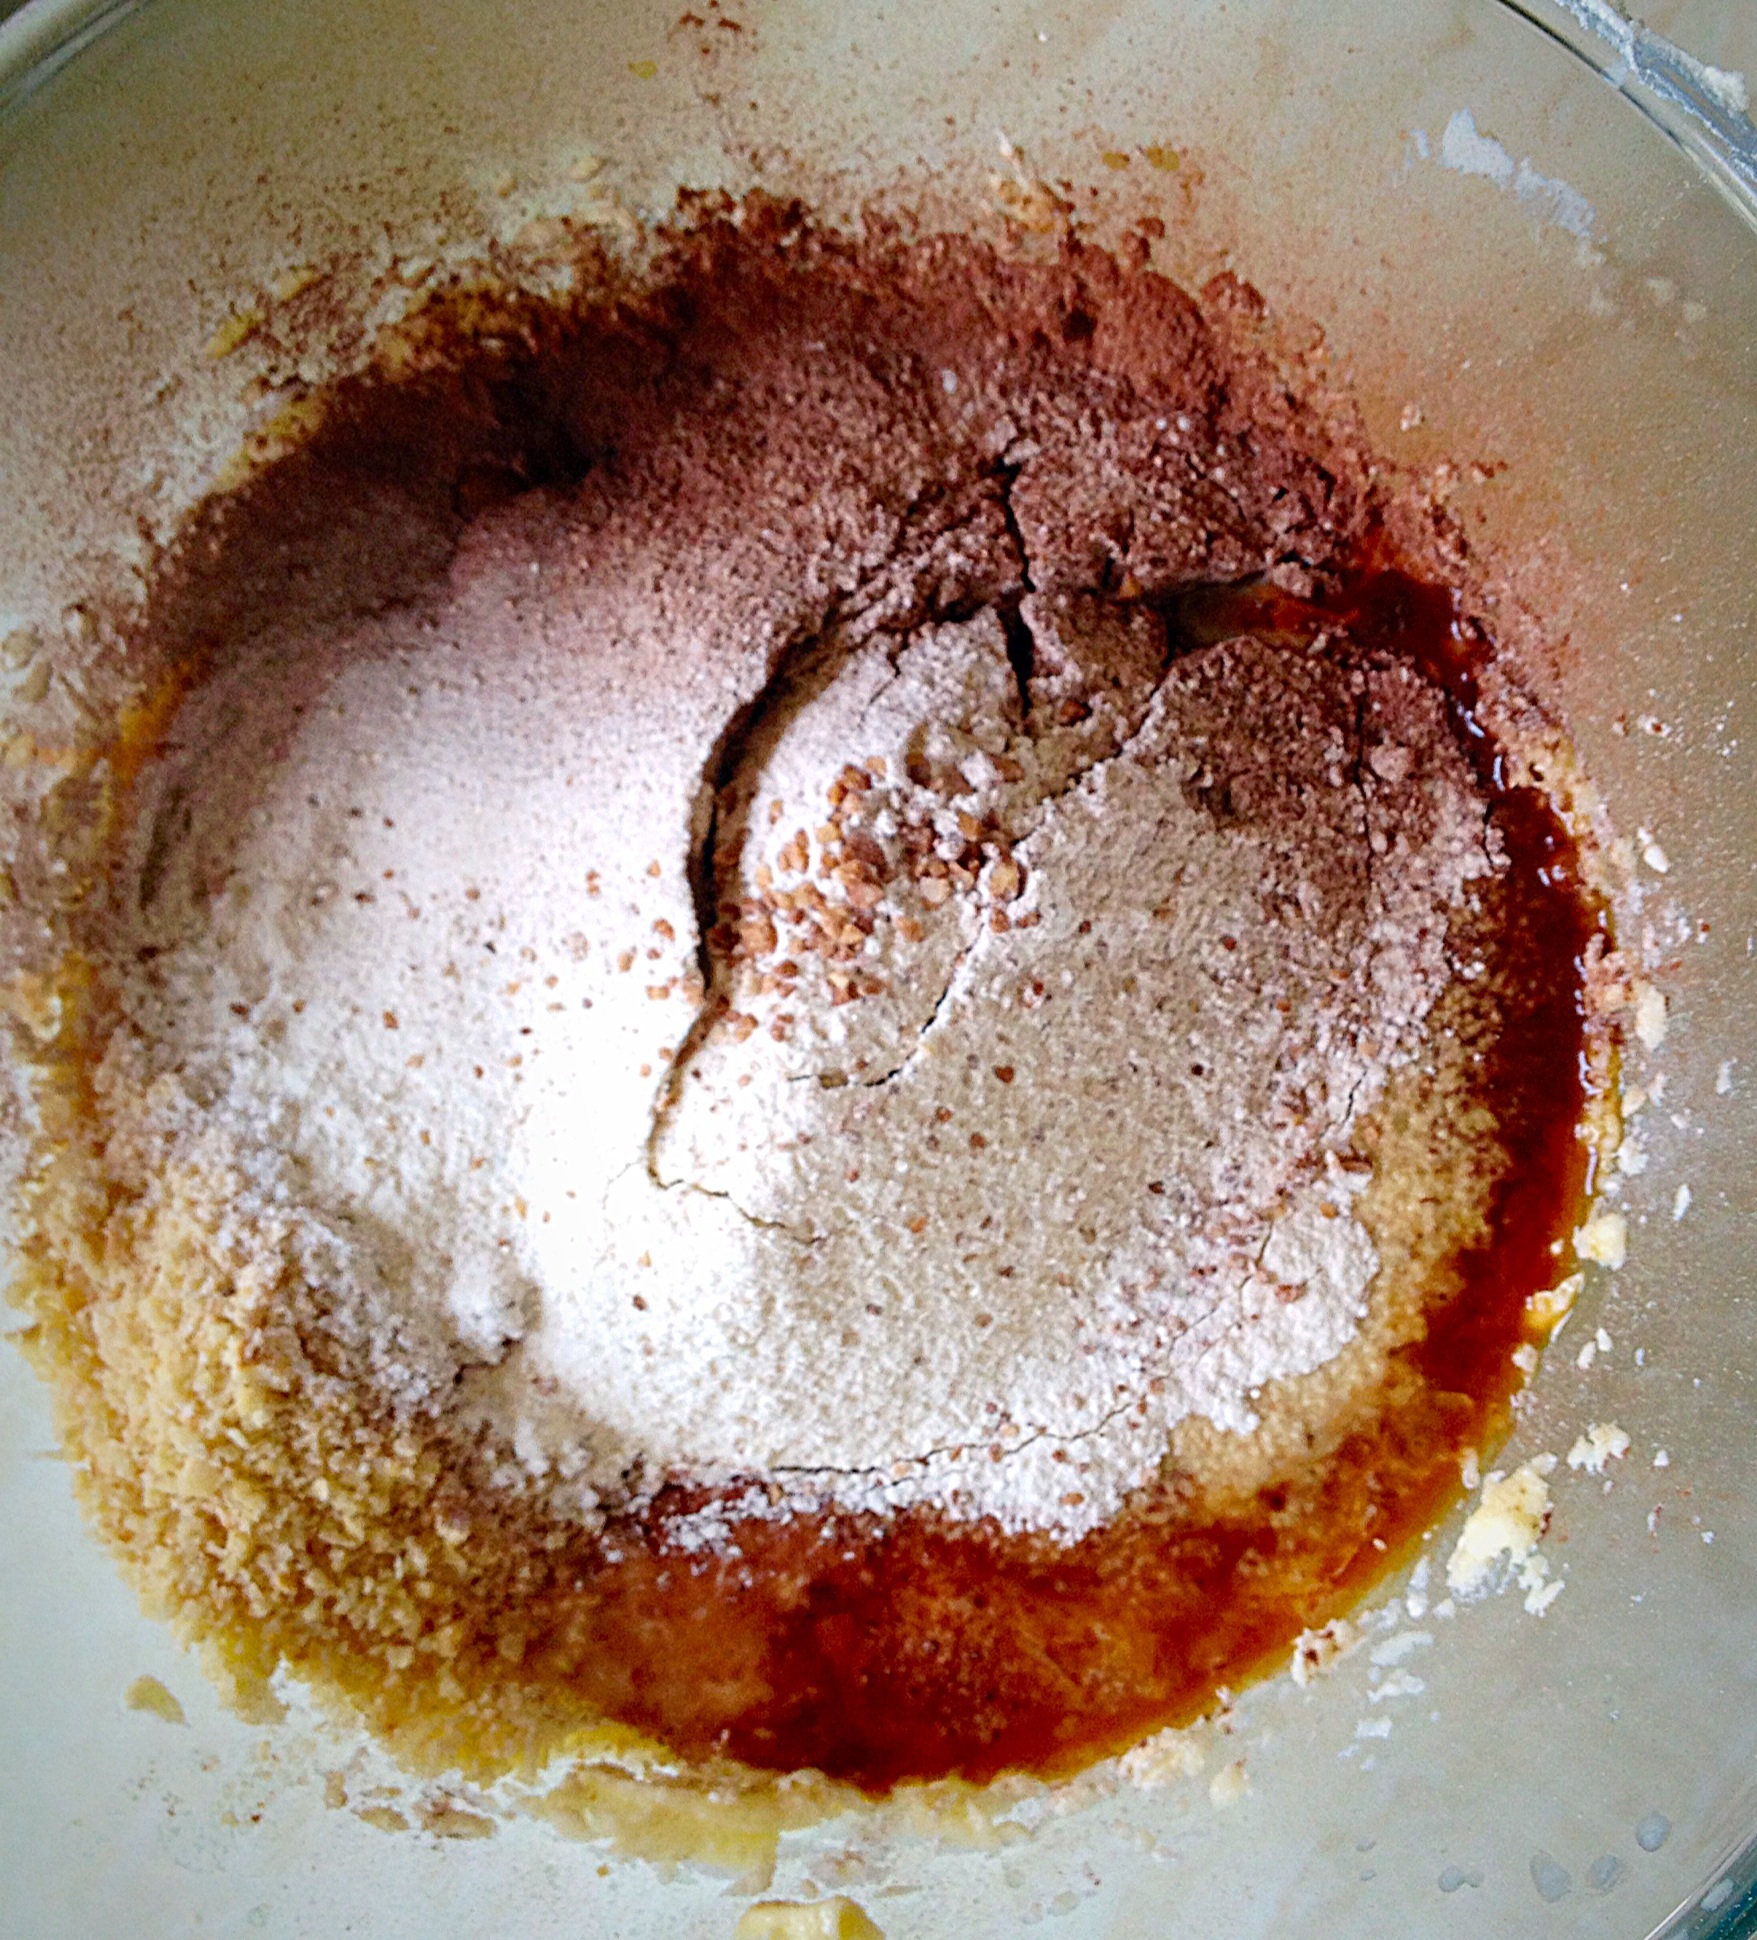
- Into the creamed butter bowl add the vanilla paste, rose extract and 2 eggs. Then add one third of the dry ingredients. Mix until just combined.
- Add a further 2 eggs, another third of the dry ingredients and mix as before.
- Finally, add the last 2 eggs, yoghurt and the last third of the dry ingredients. Mix until thoroughly combined, however take care not to over mix.
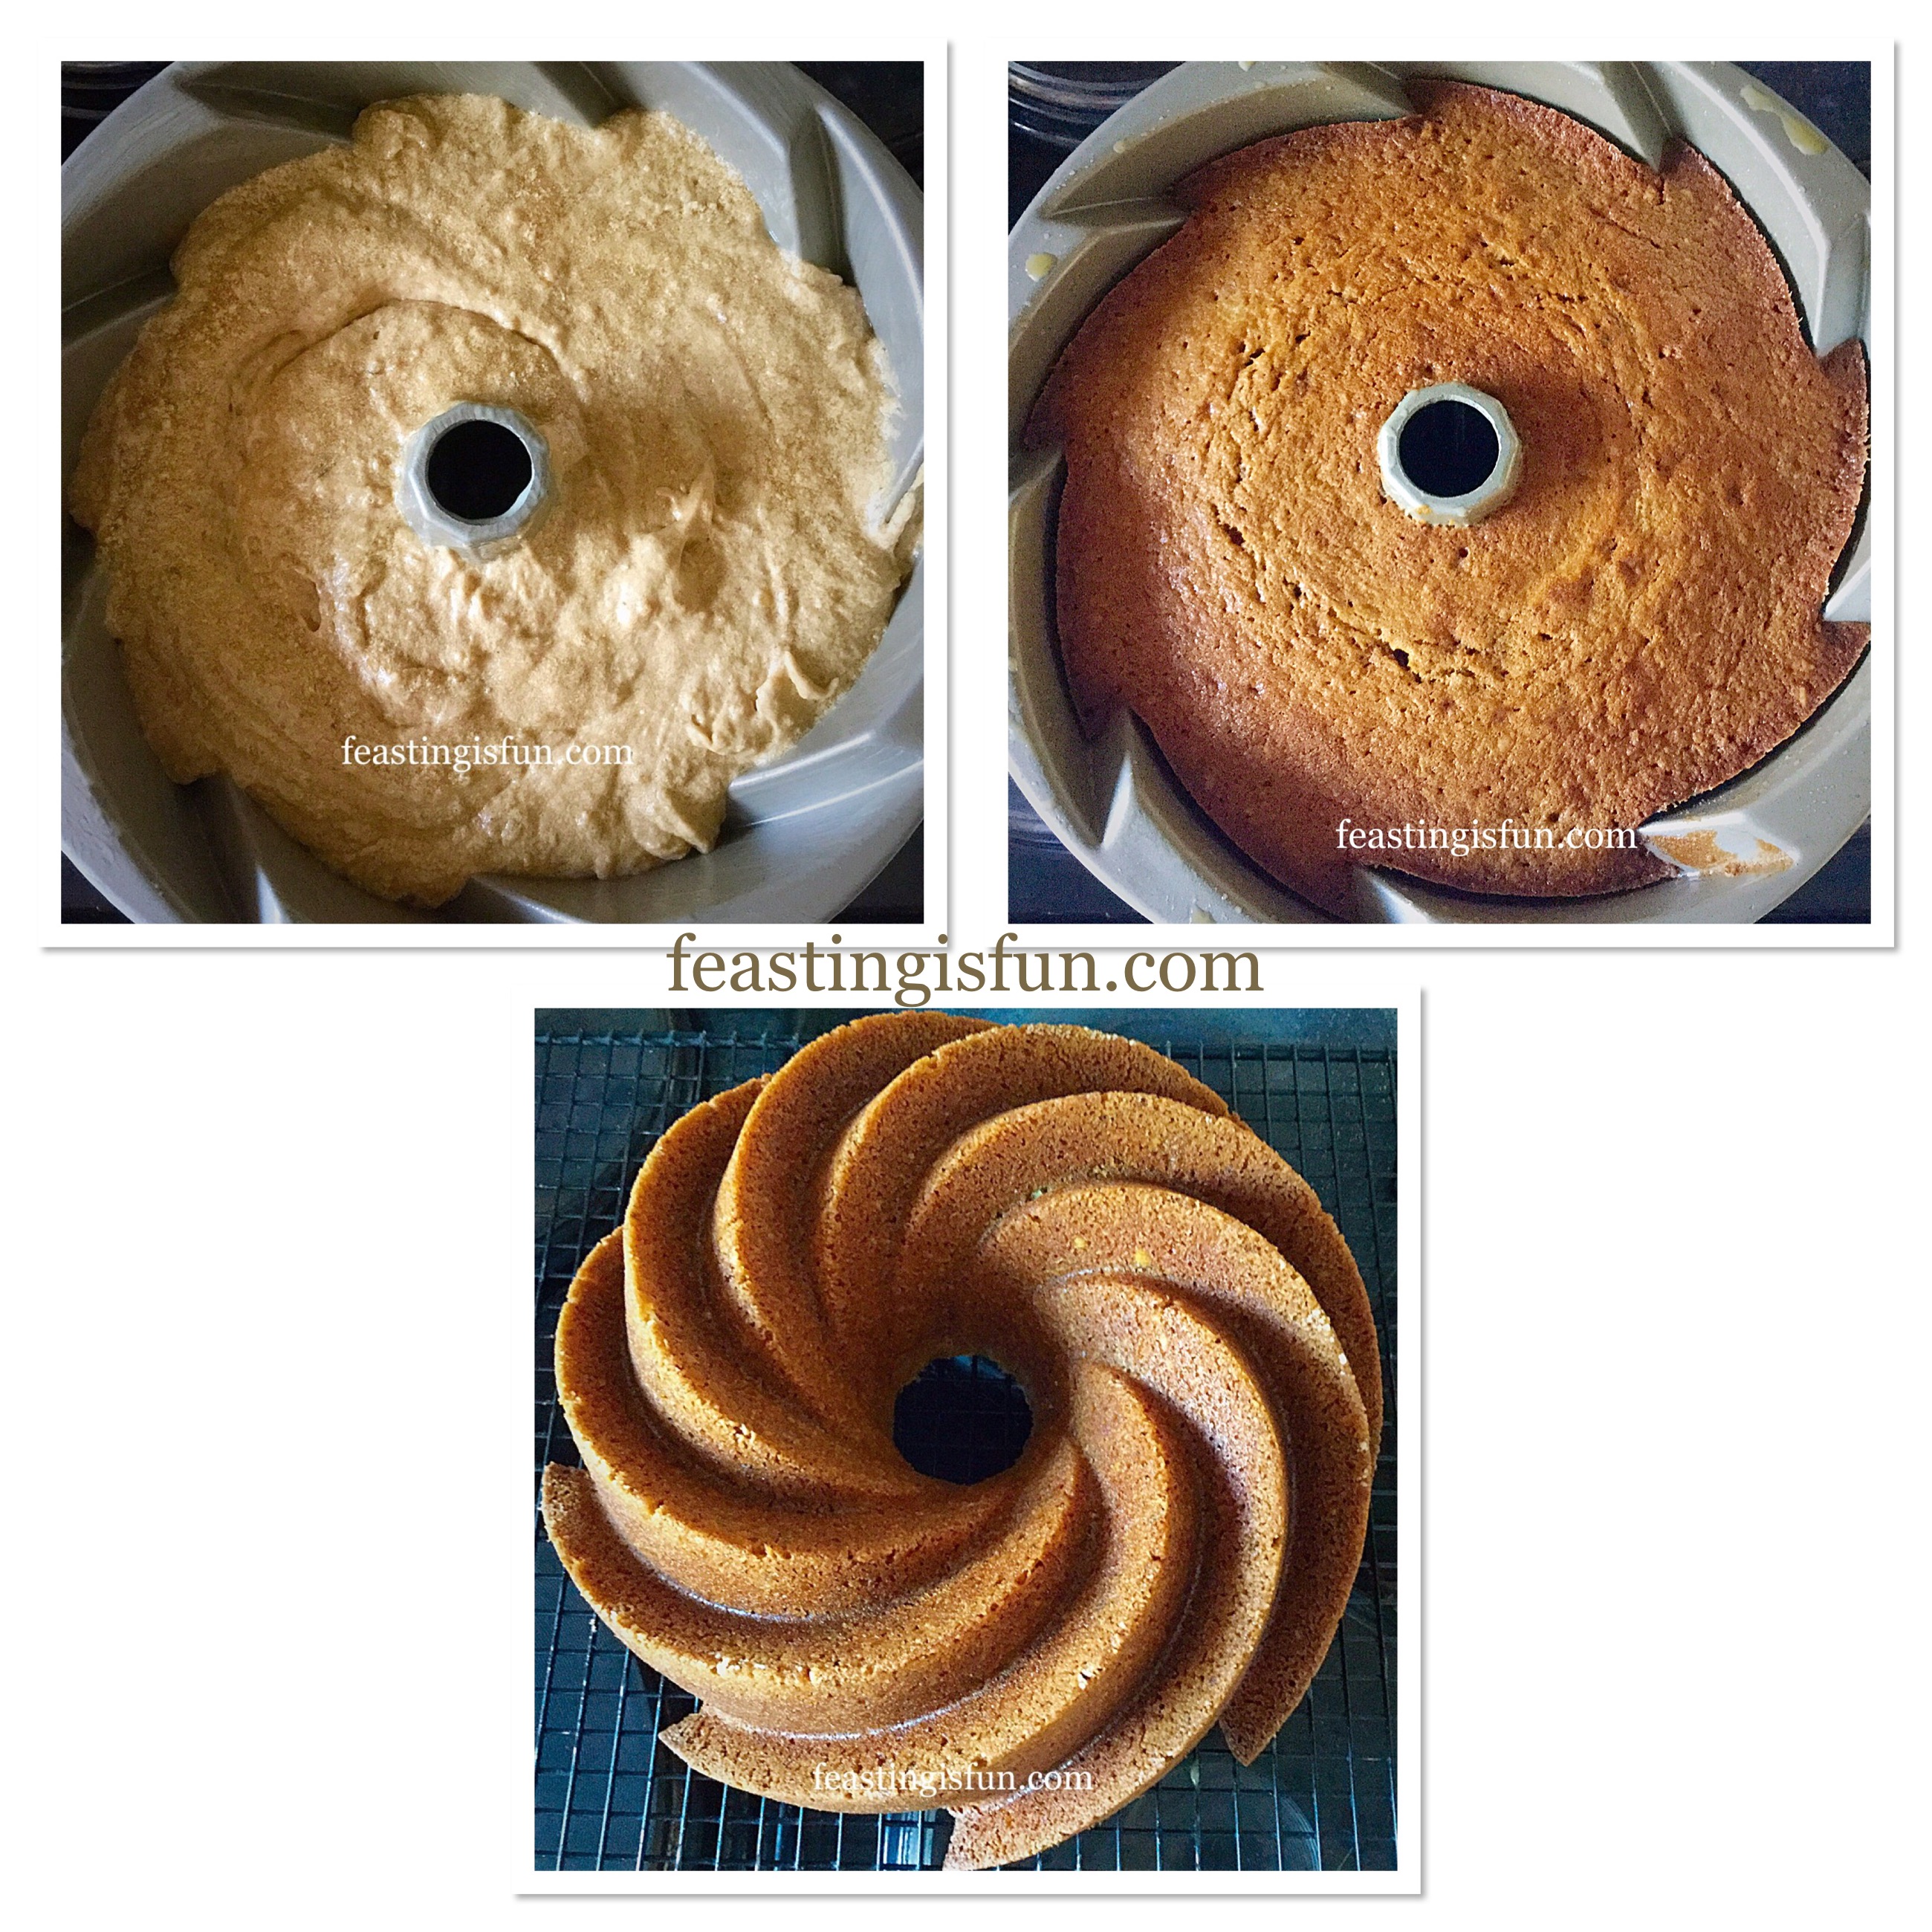
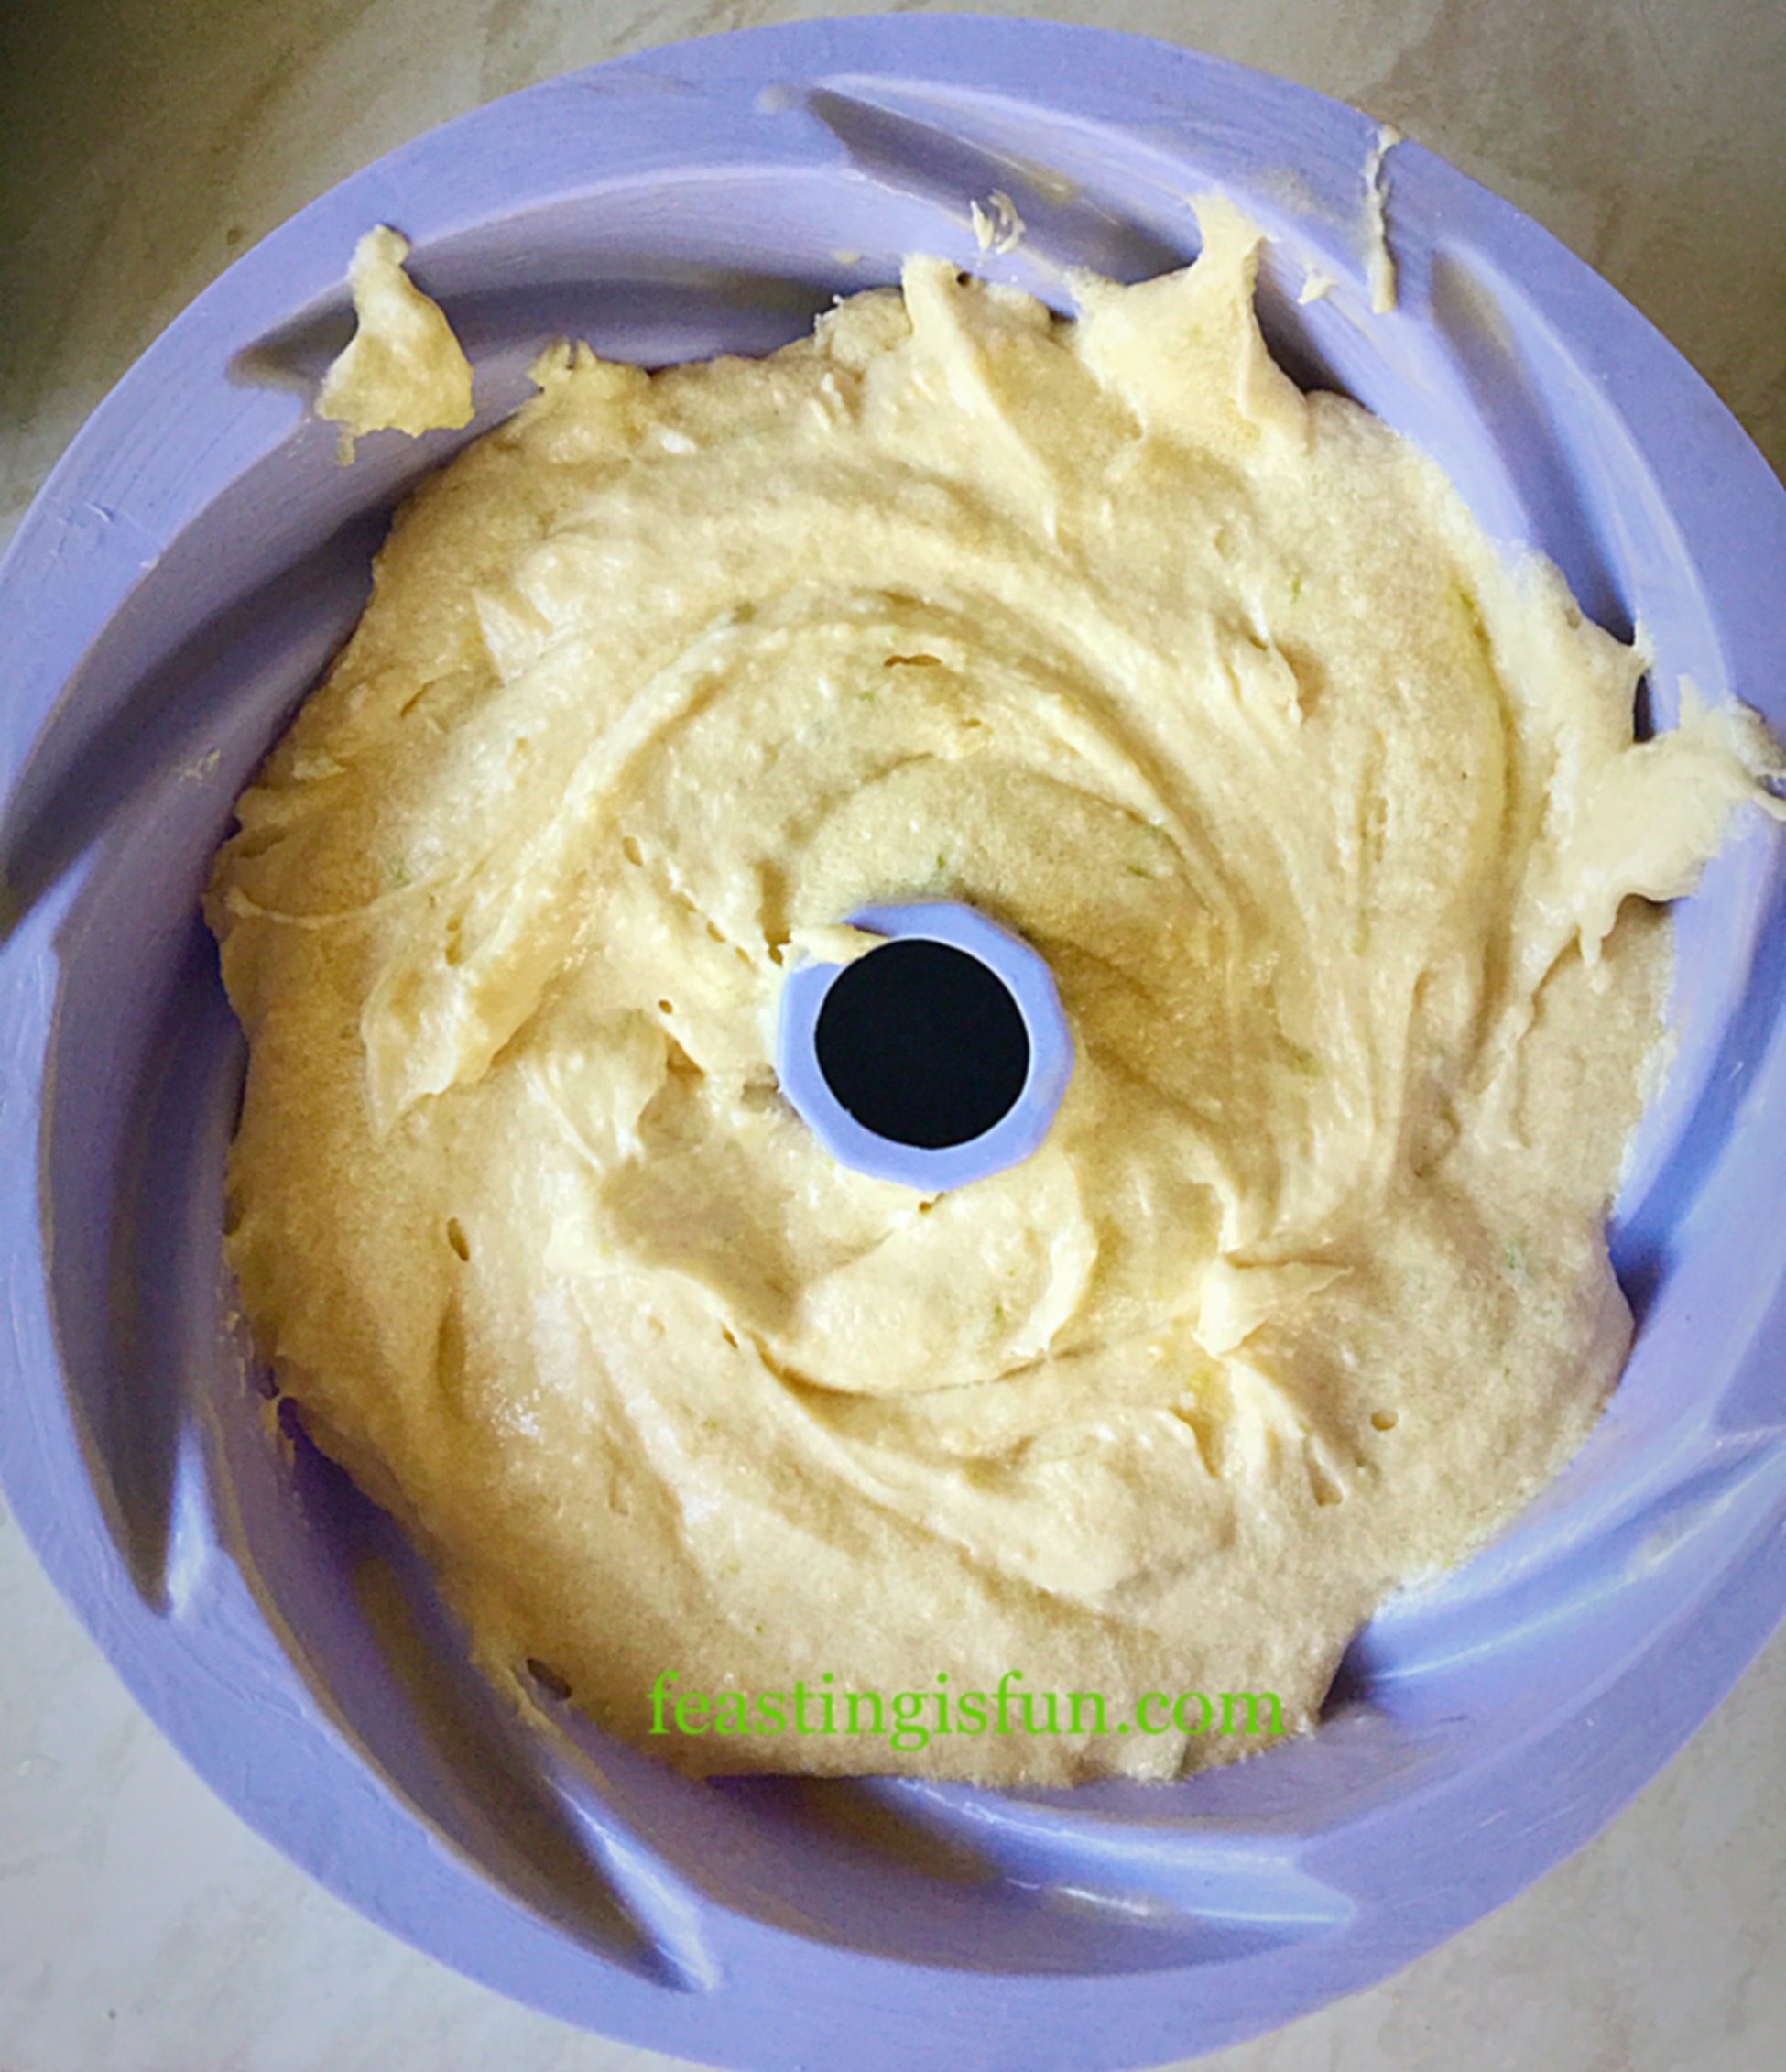
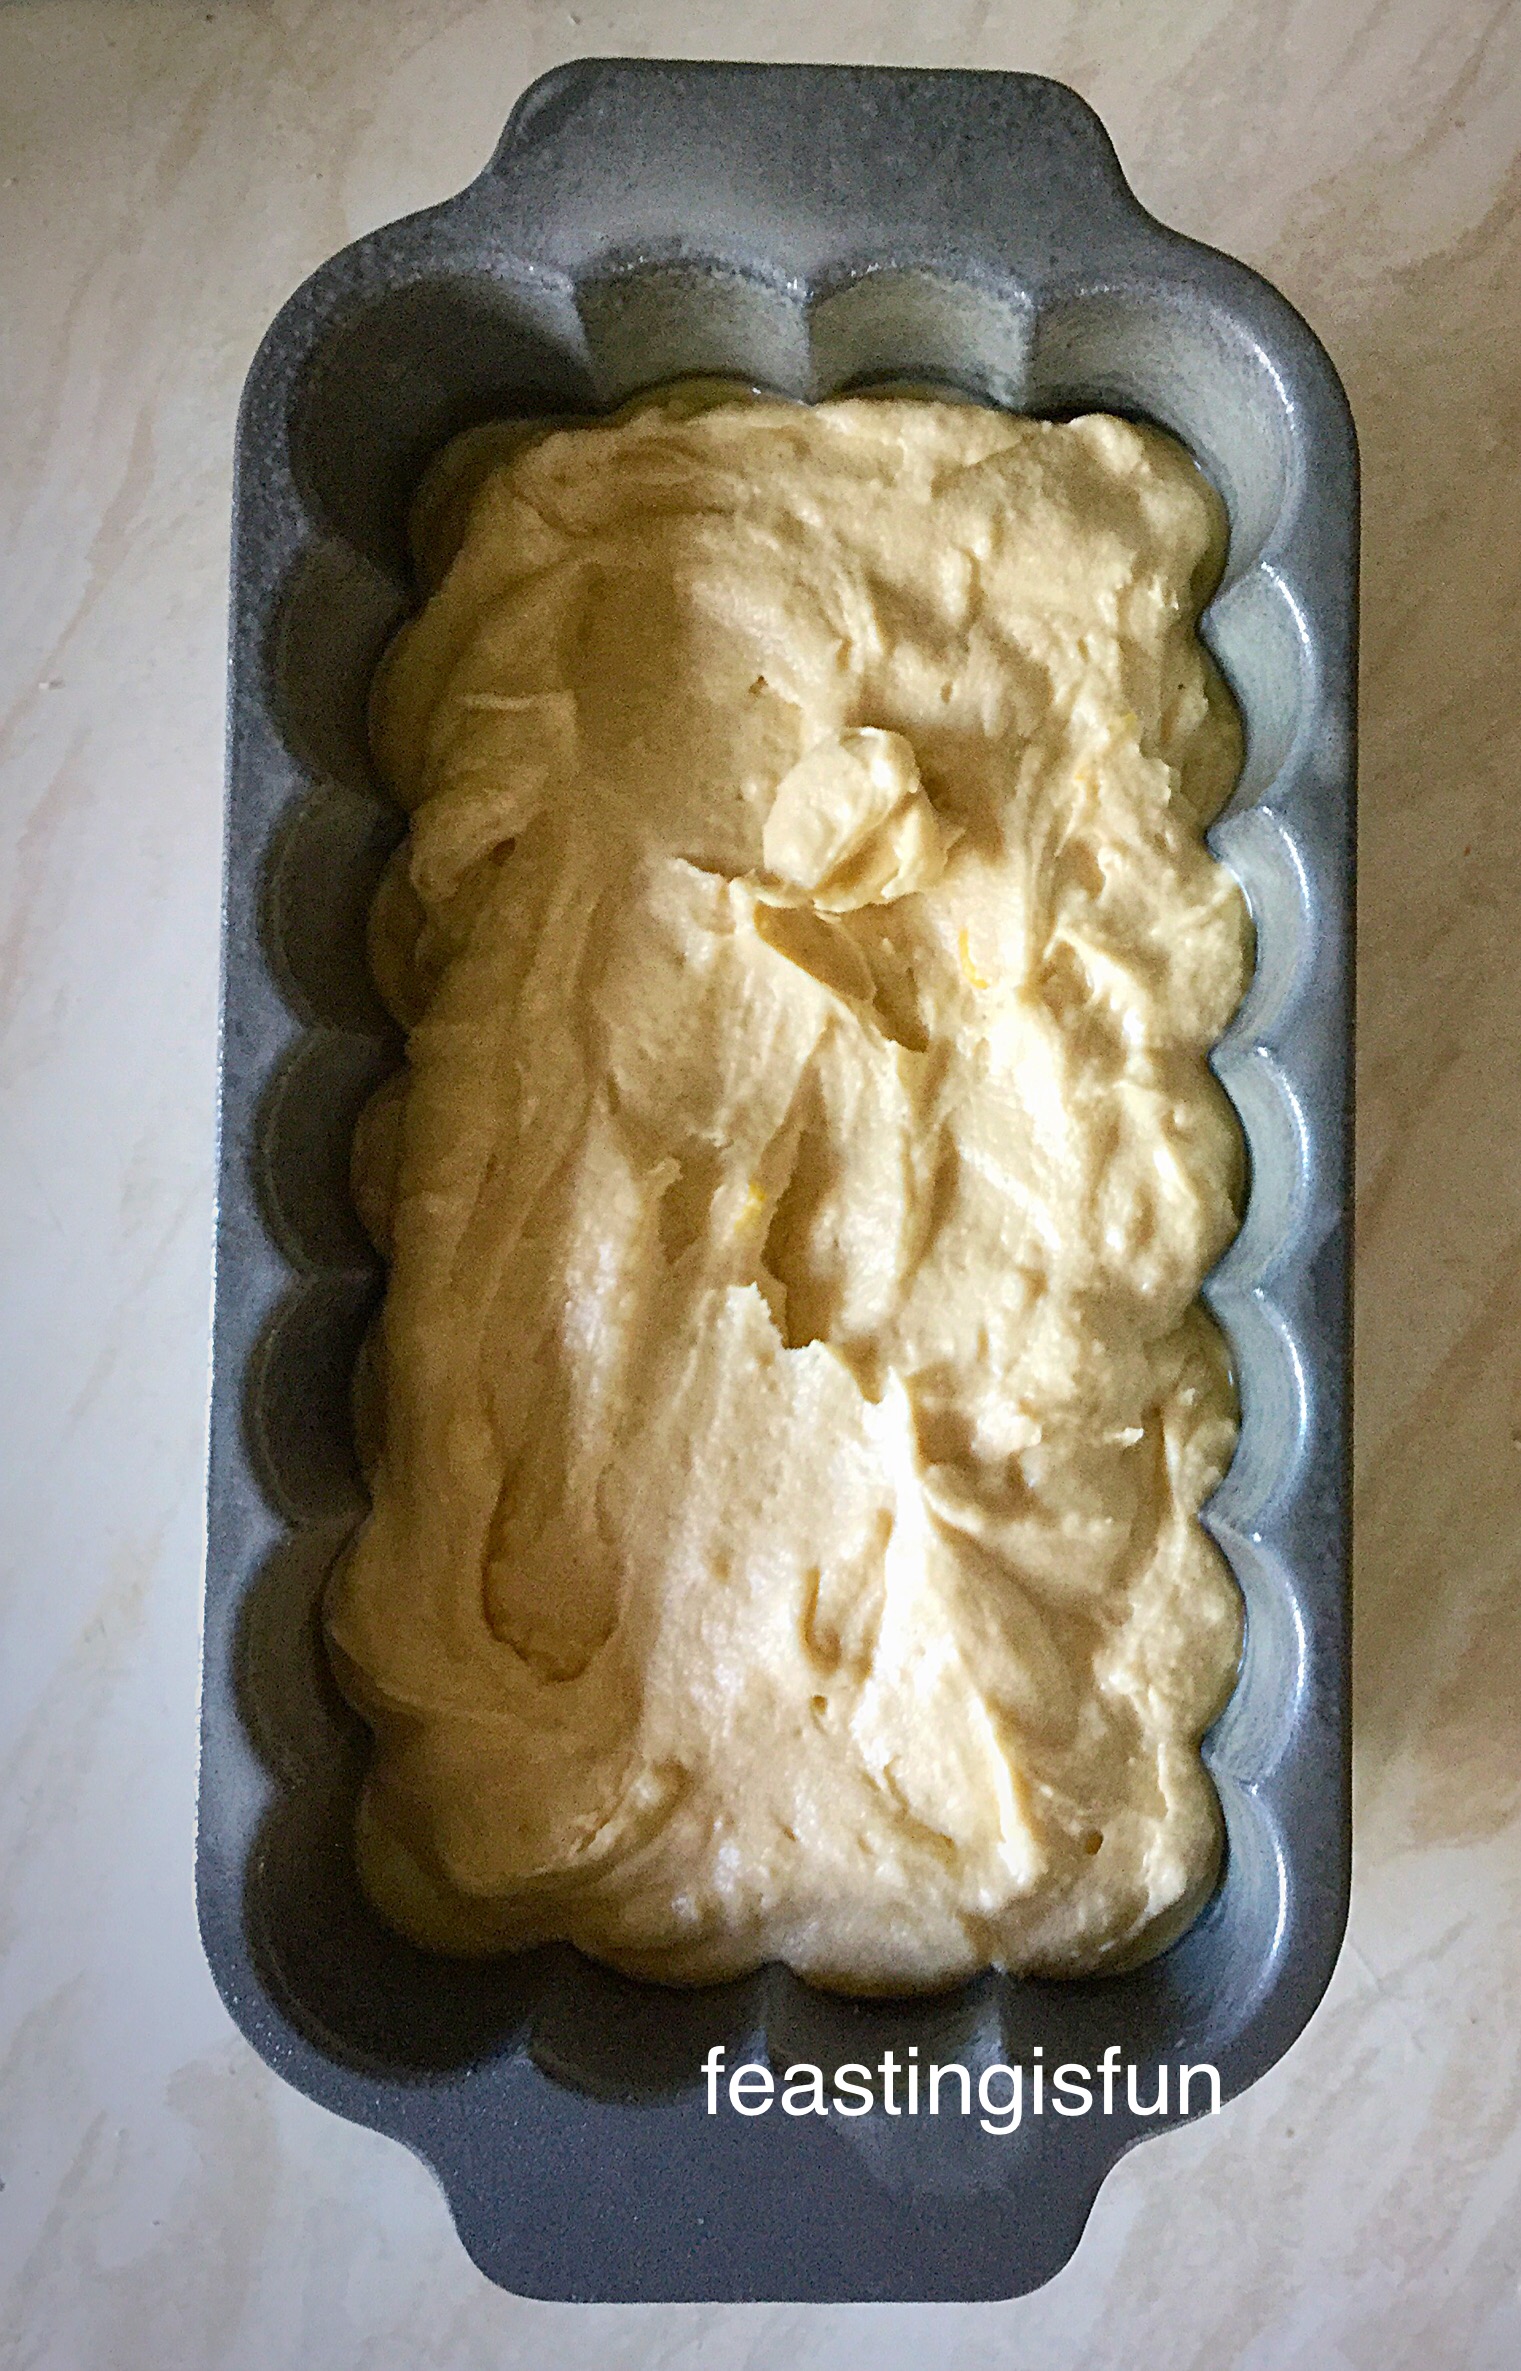
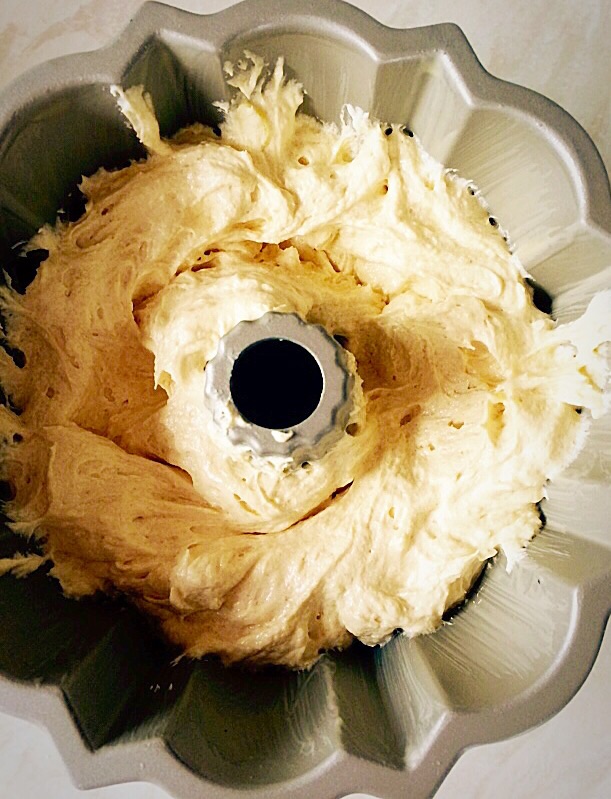
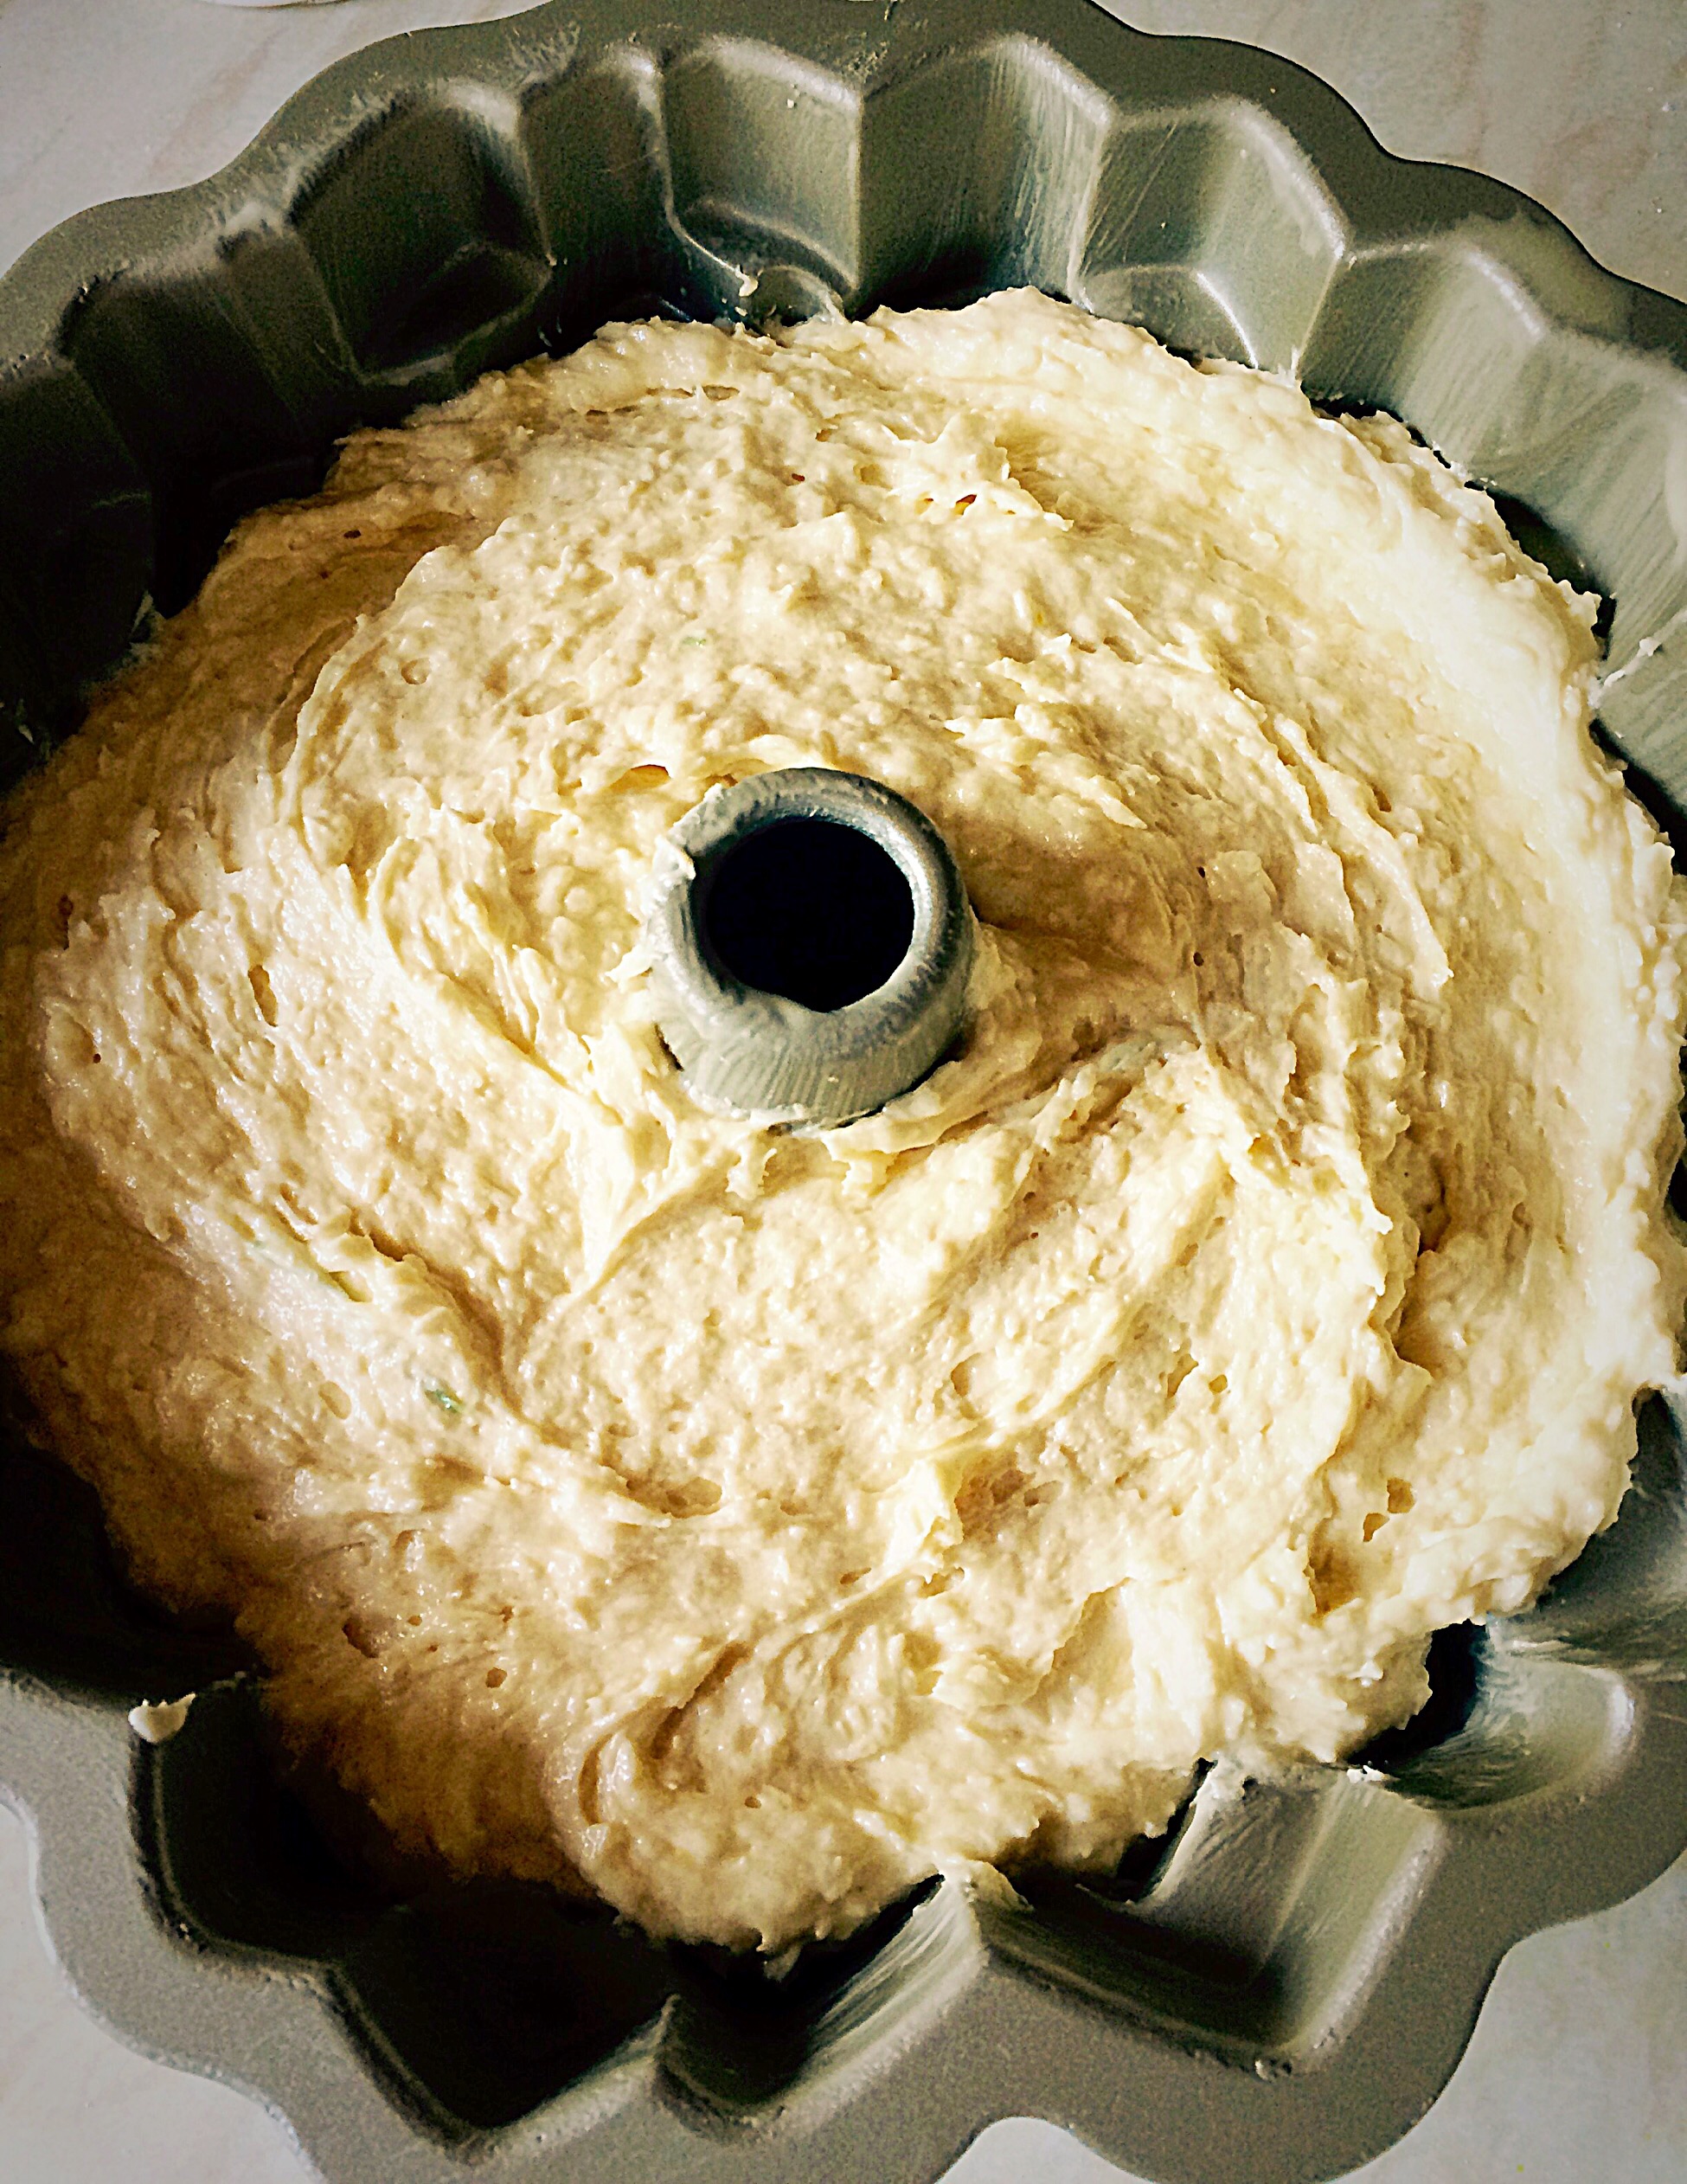
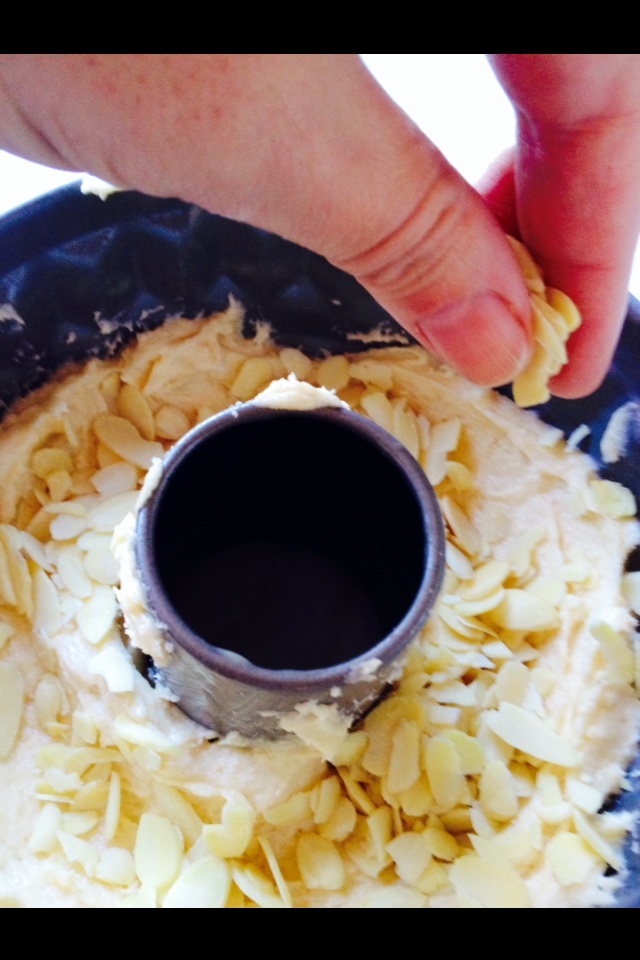
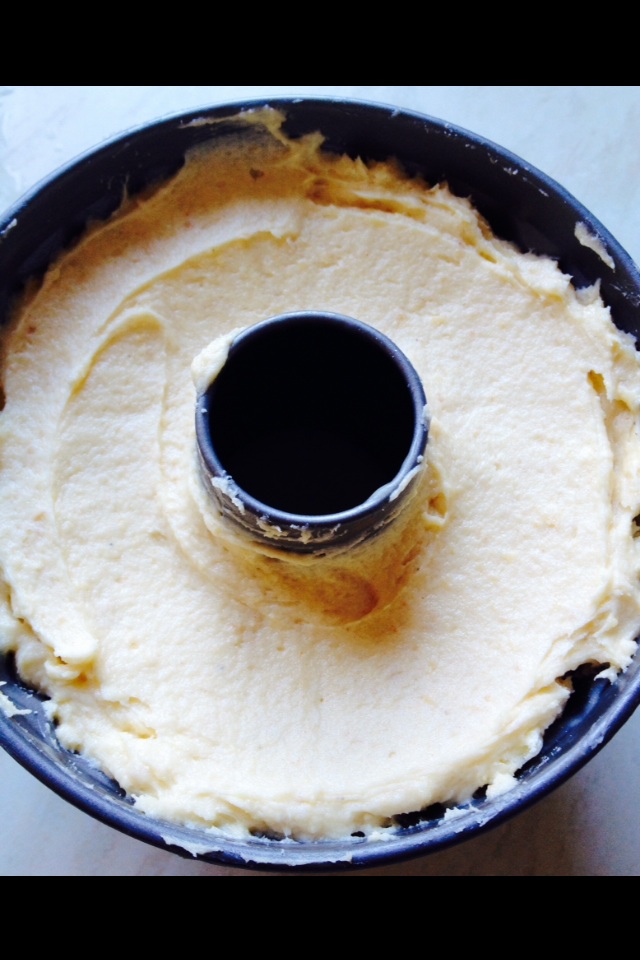
- Spoon the cake batter into the prepared Bundt pan, pressing down as you do. Smooth the top of the batter with a spoon.
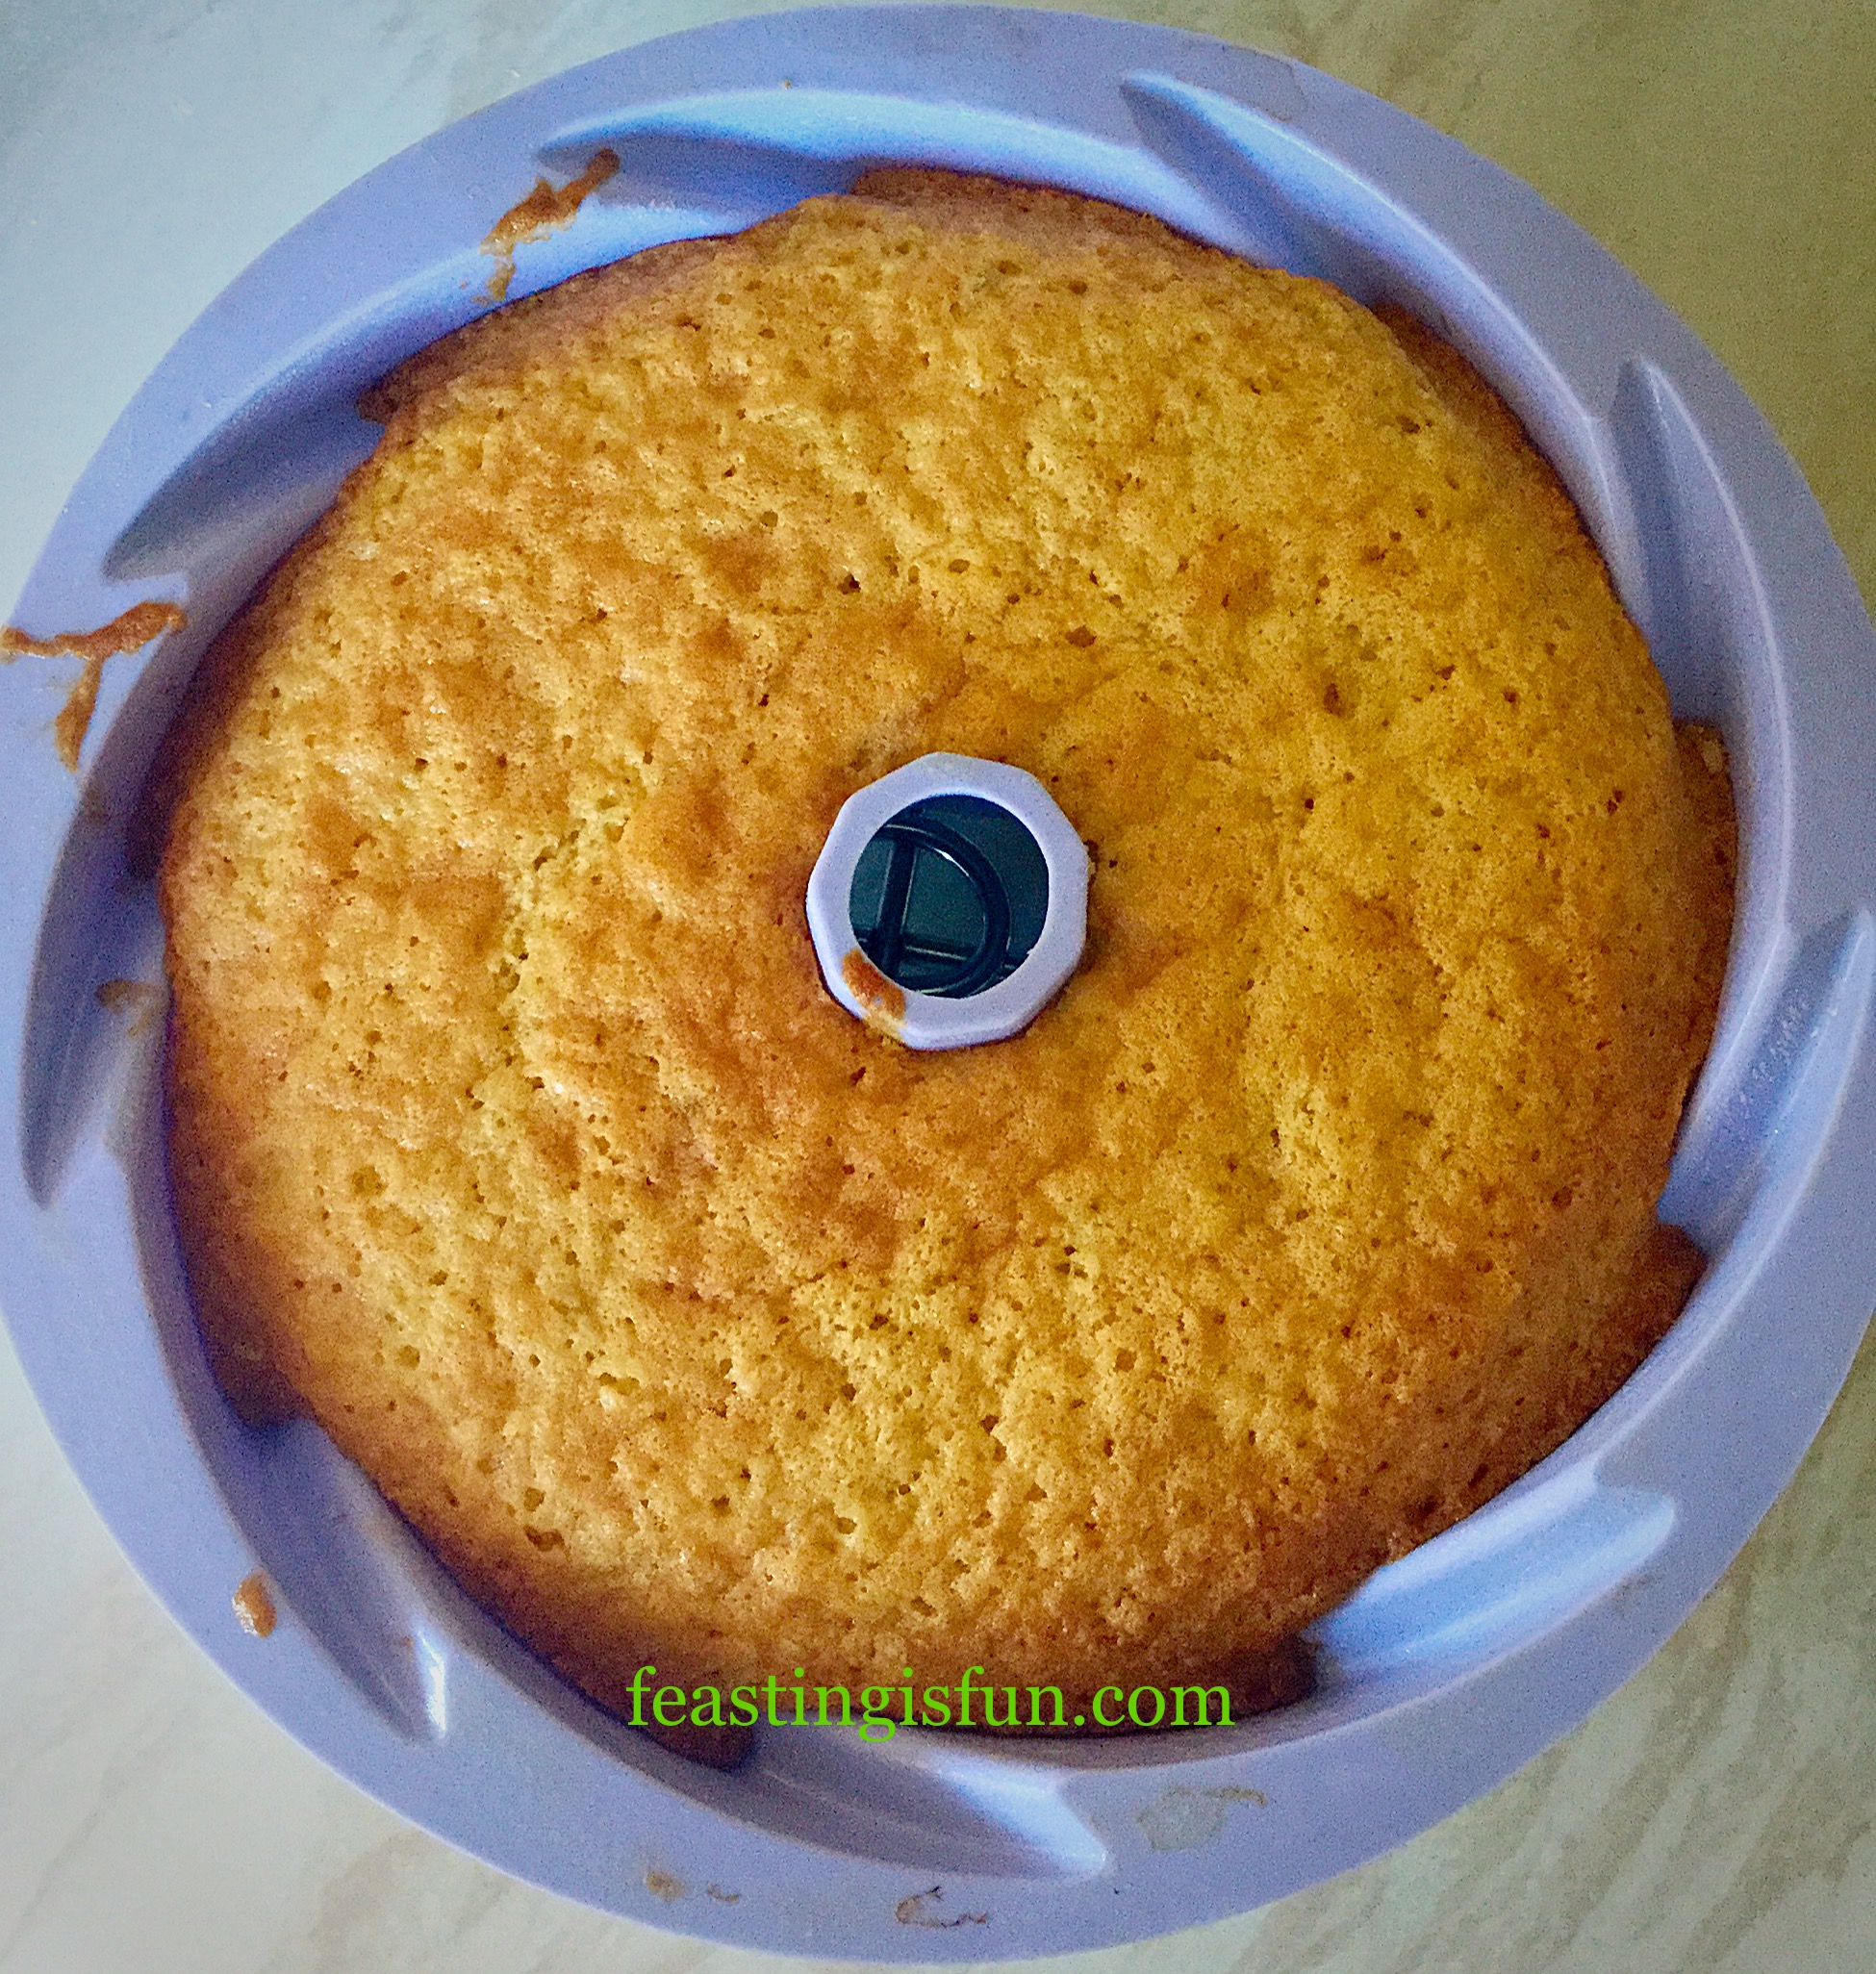
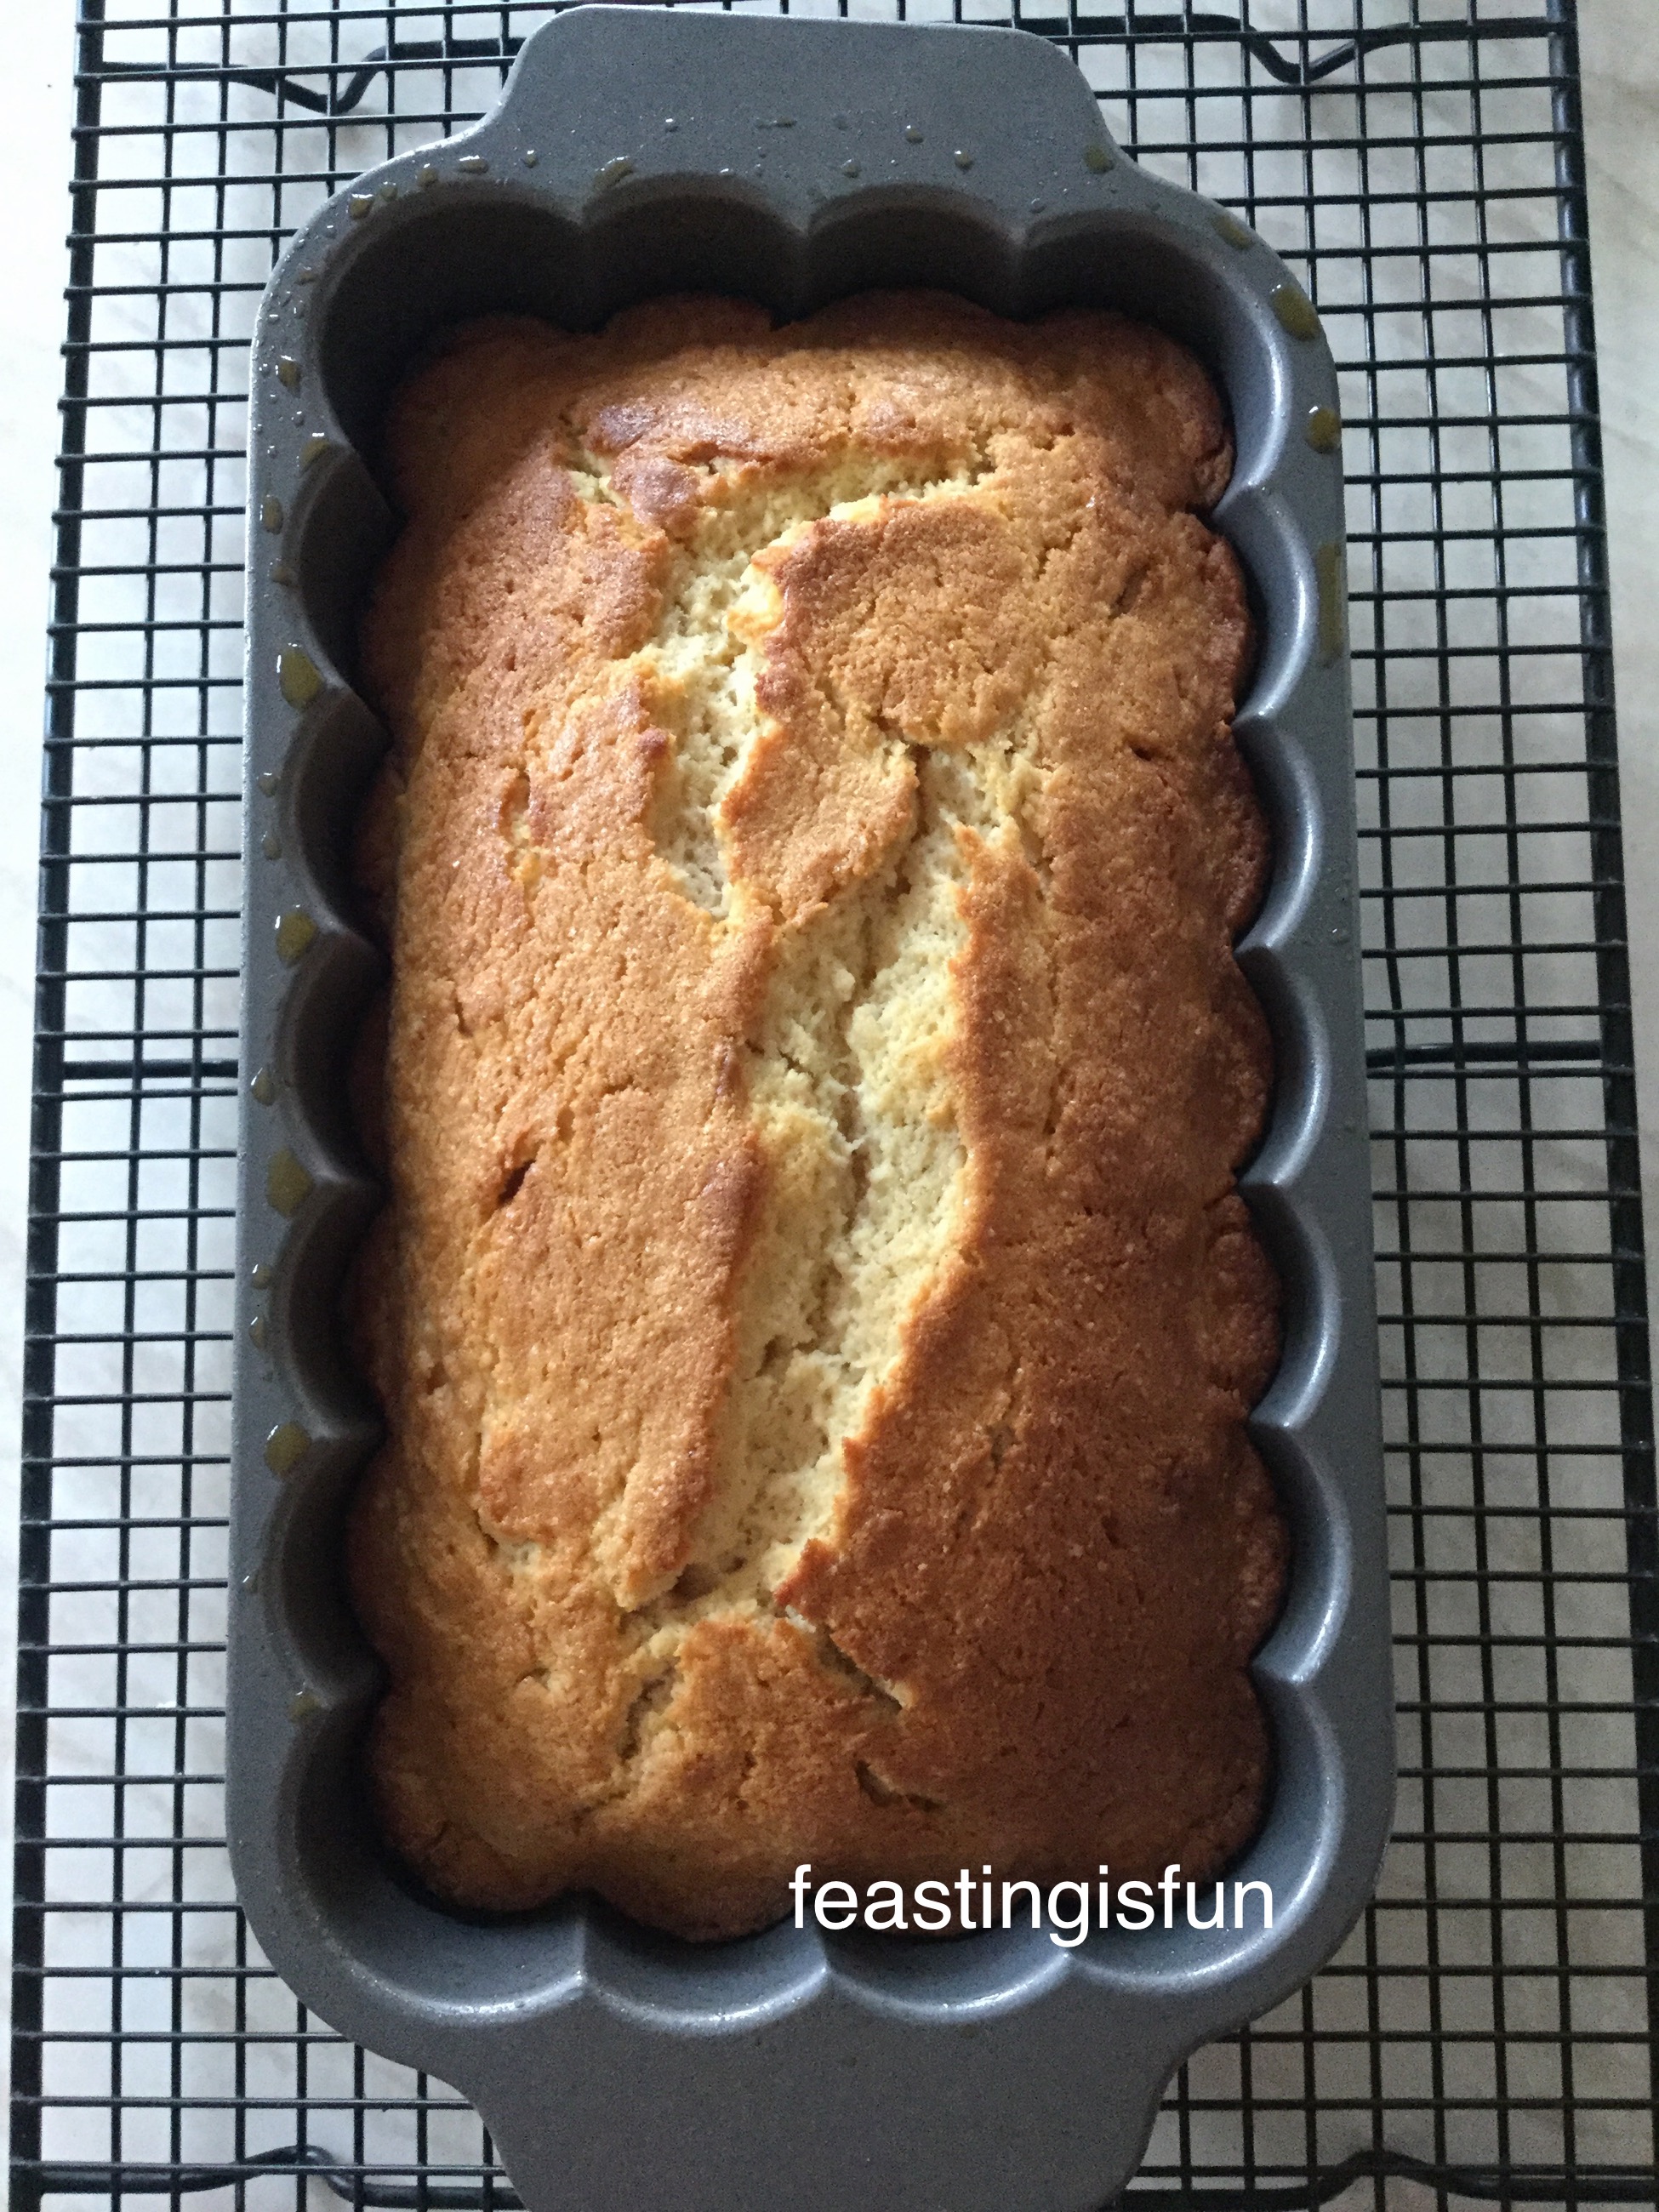
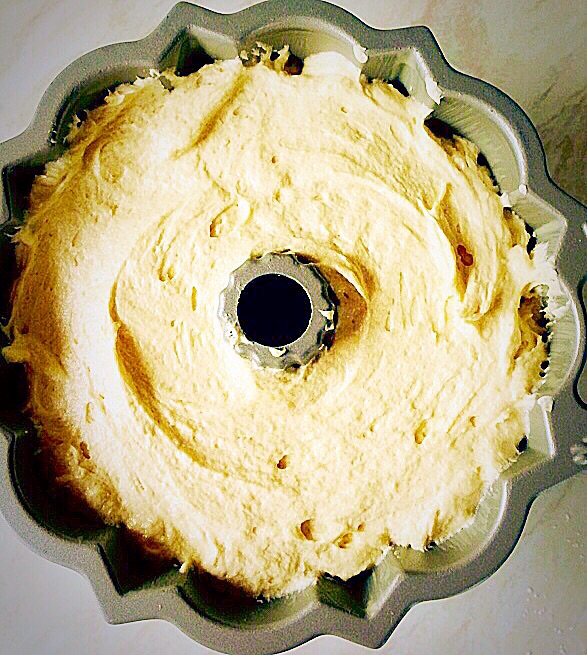
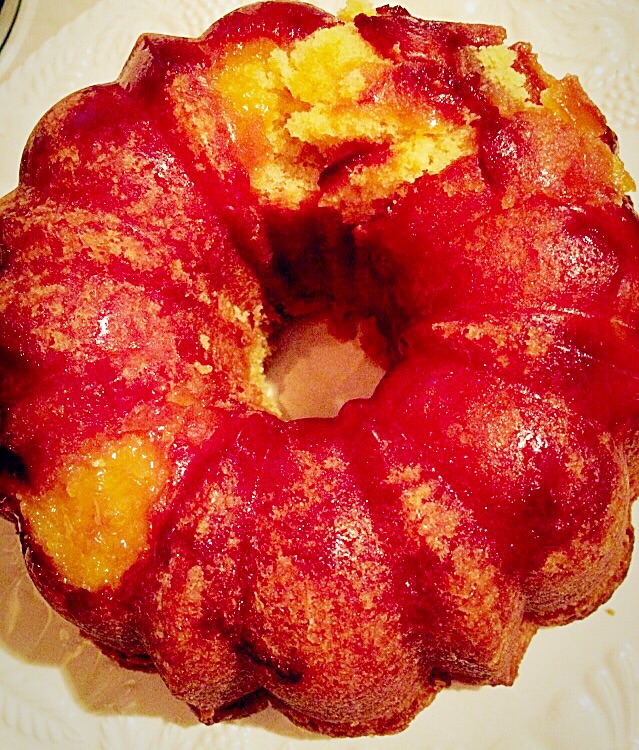
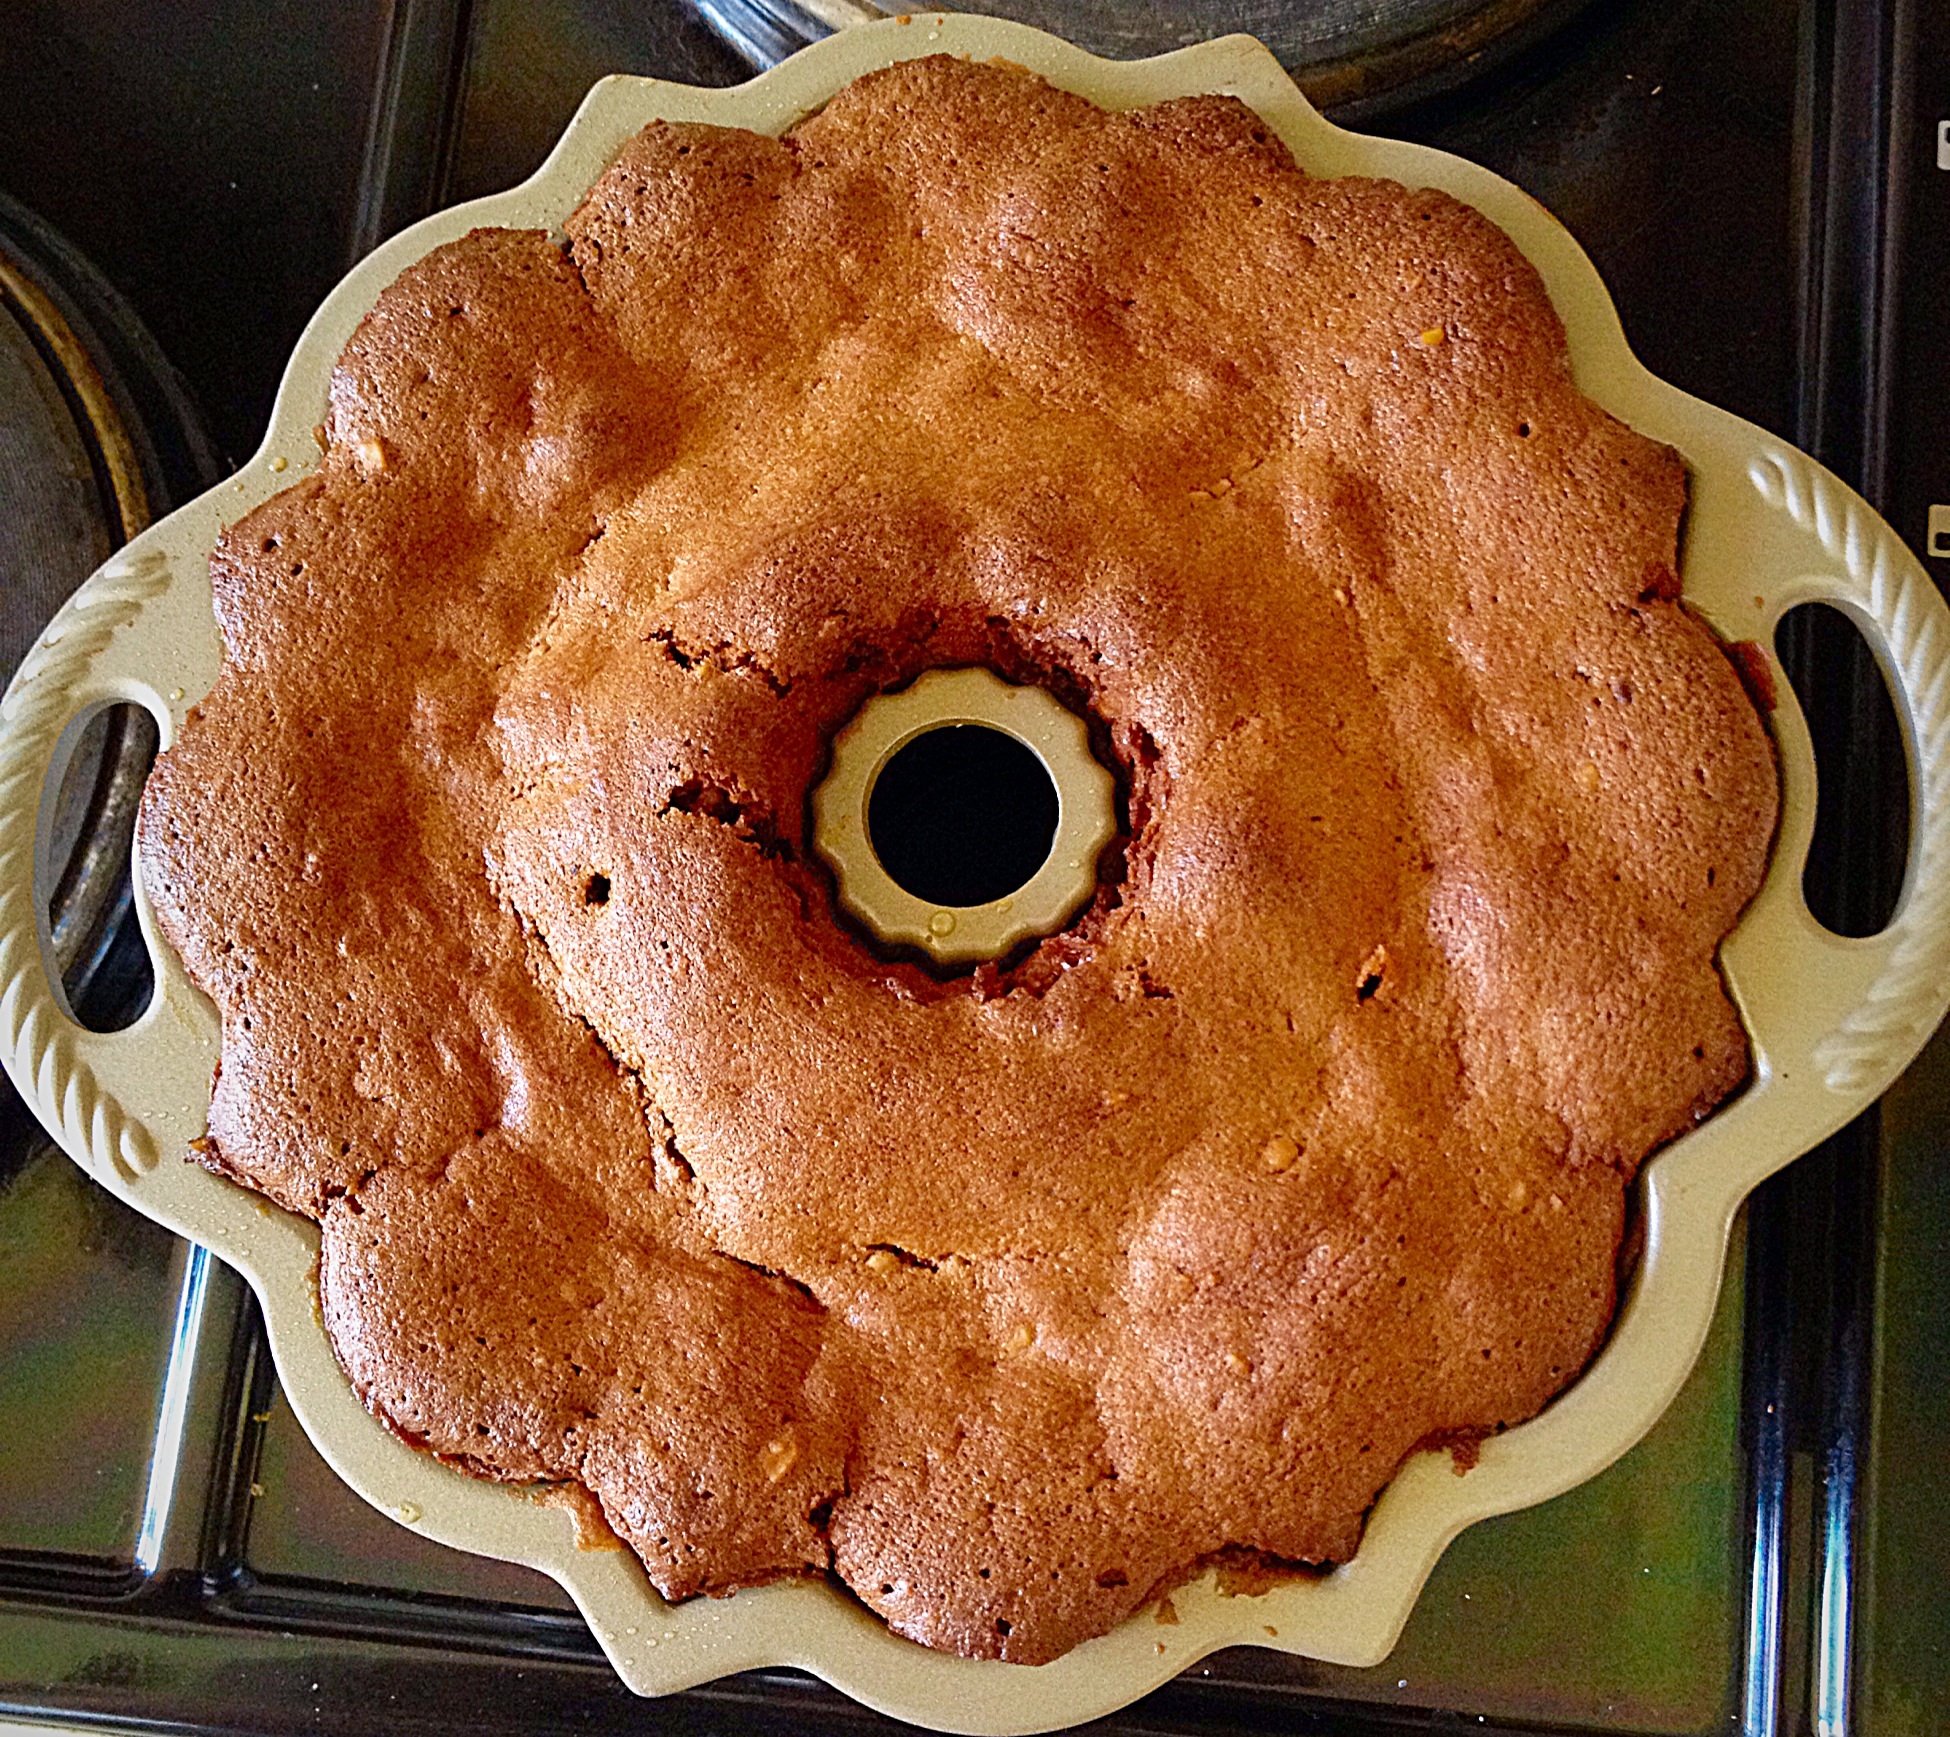
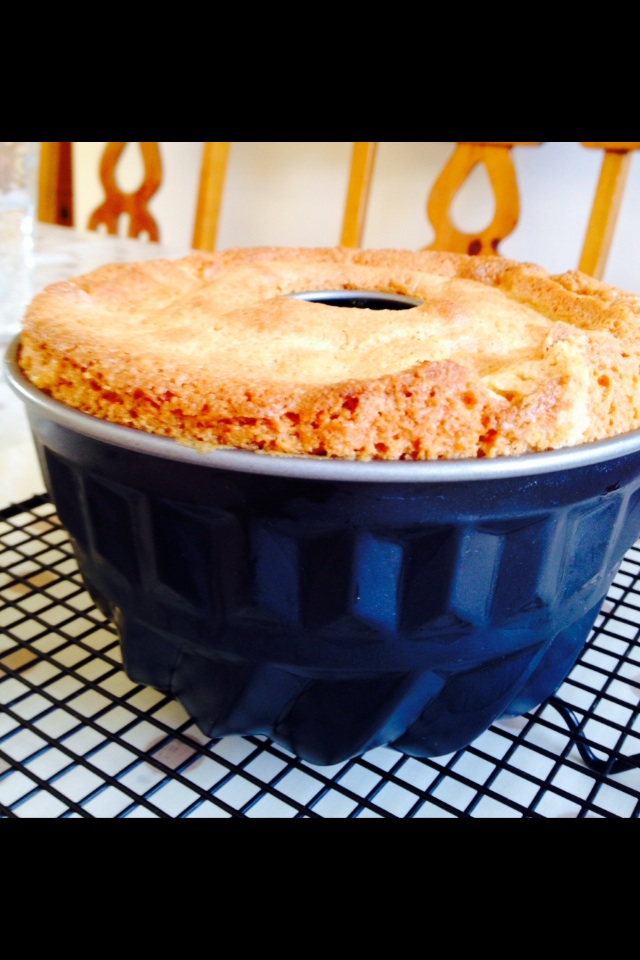
- Place the Bundt pan in the centre of the oven and bake for 1hr – 1hr 15 minutes.
- The cake is baked when it is golden in colour, shrinking away from the sides of the pan and an inserted skewer comes out clean.
- Once baked remove the cake from the oven.
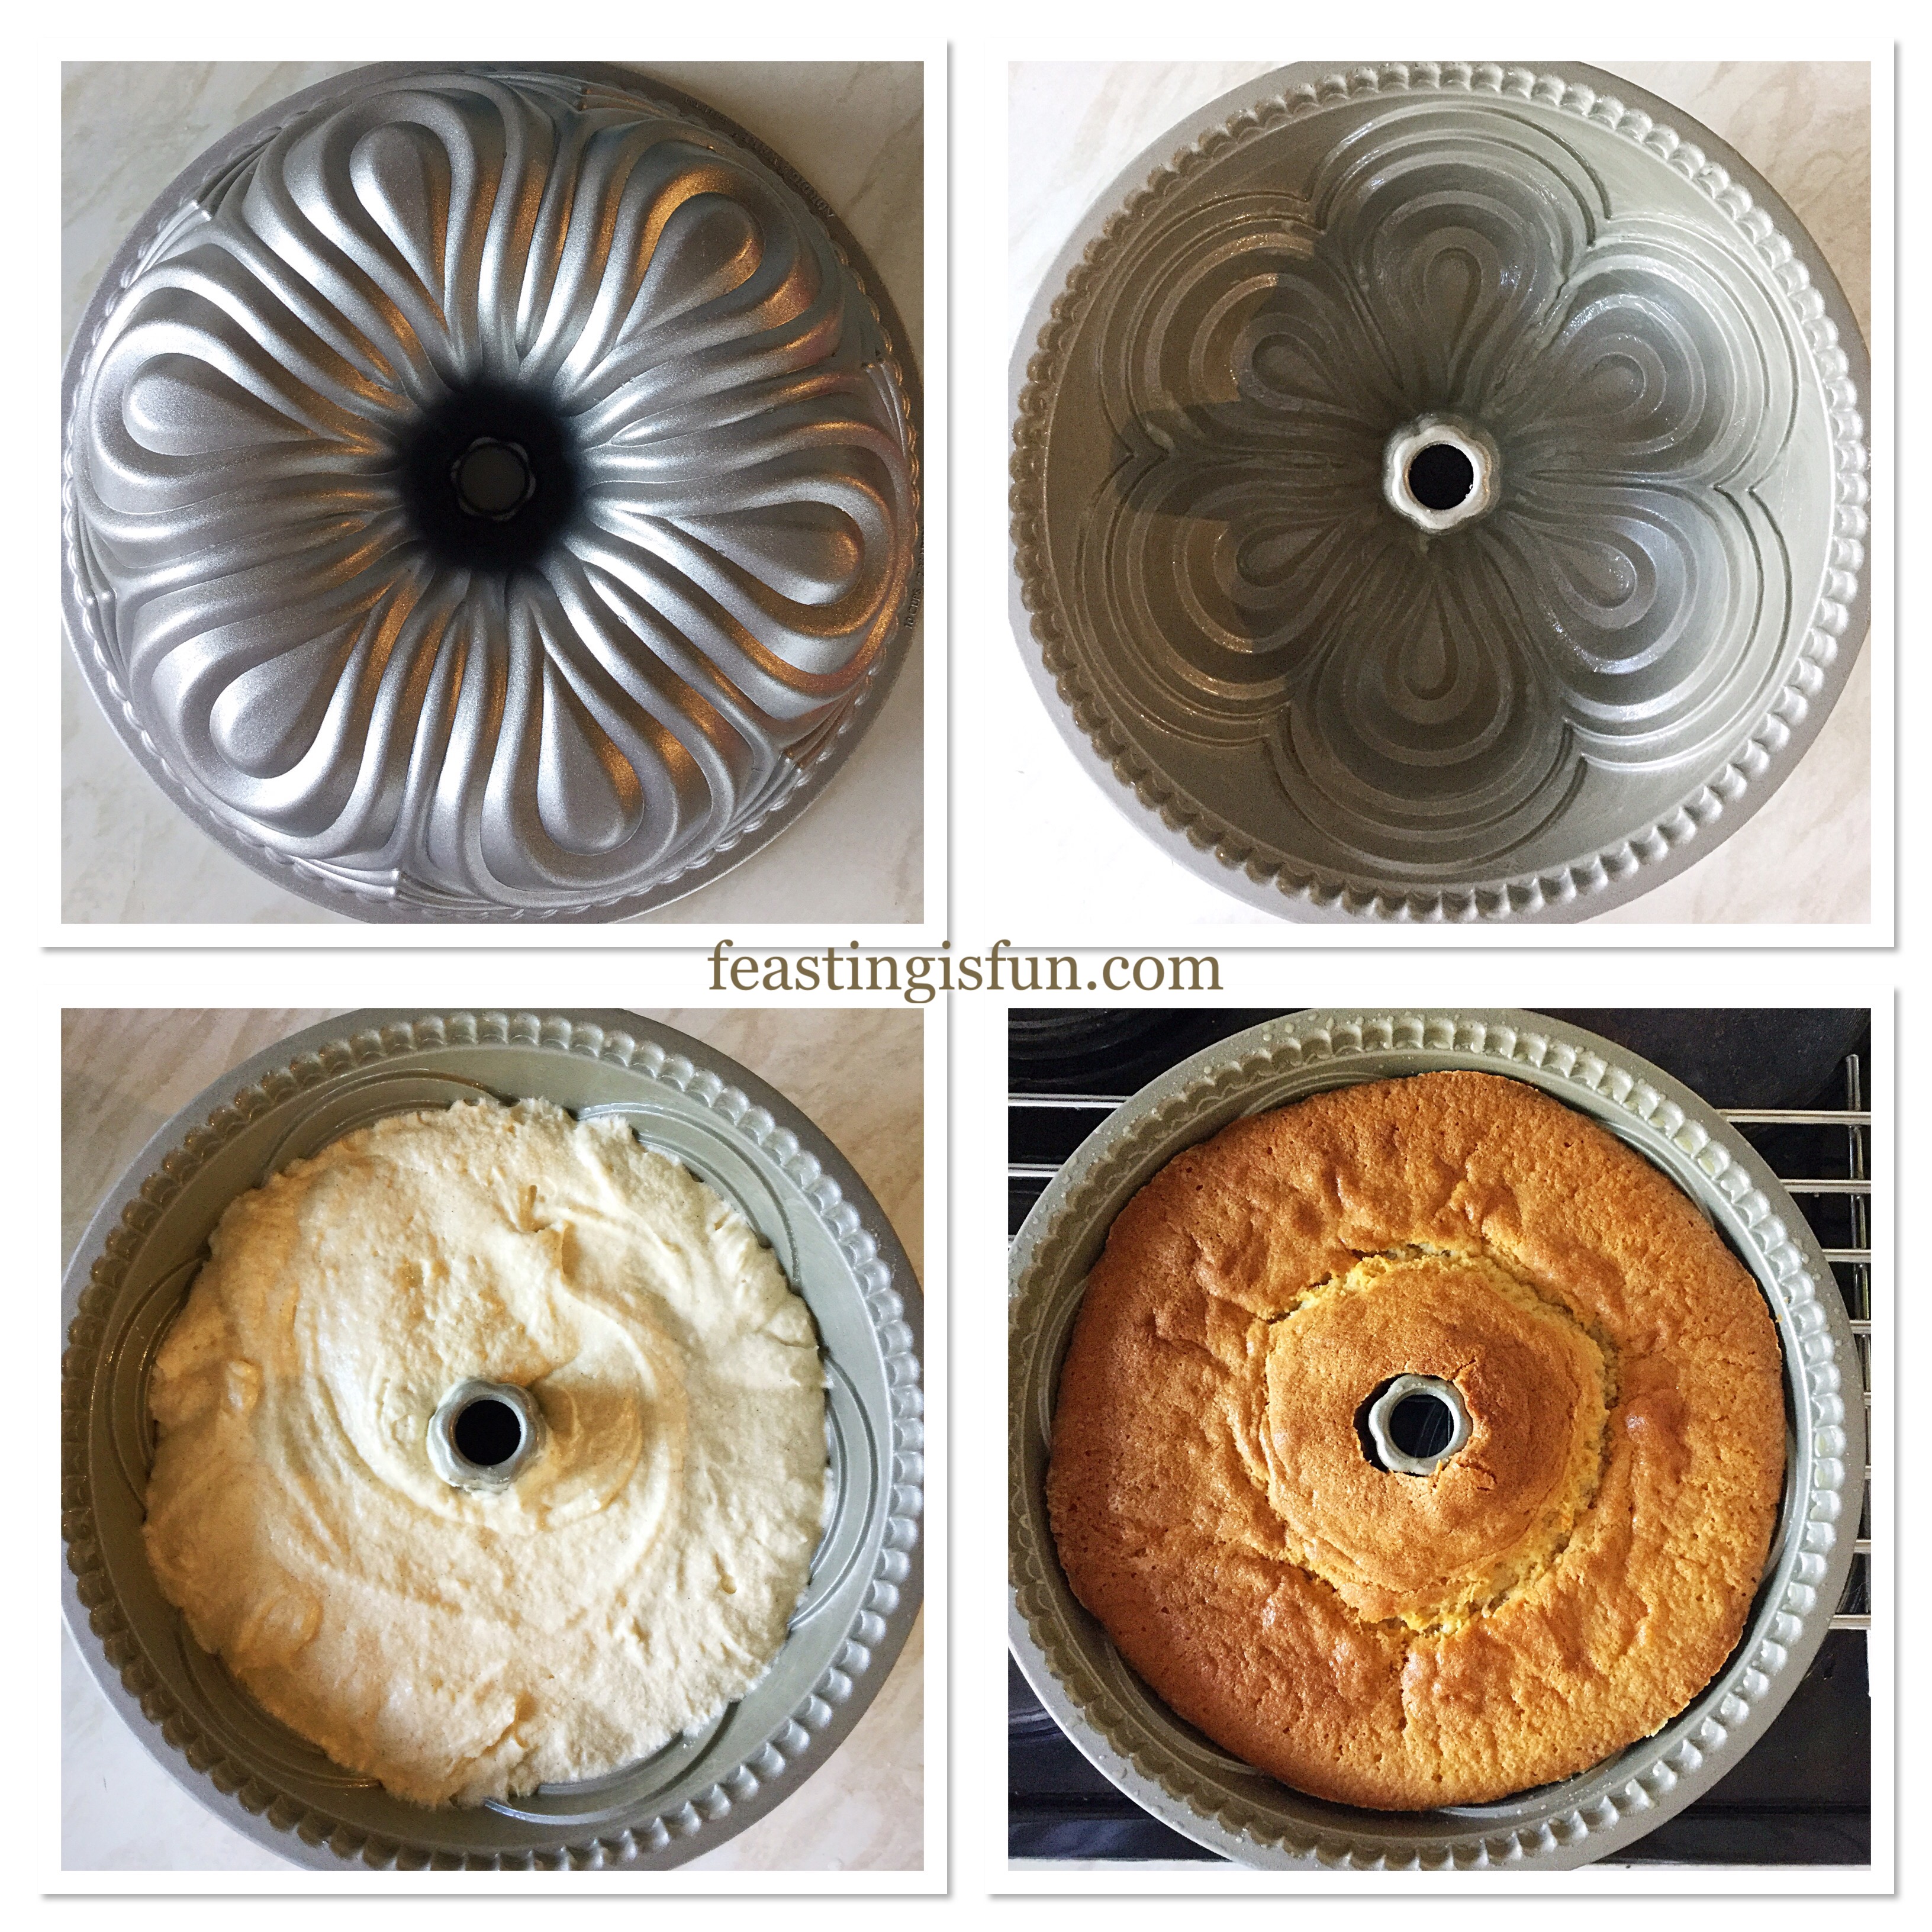
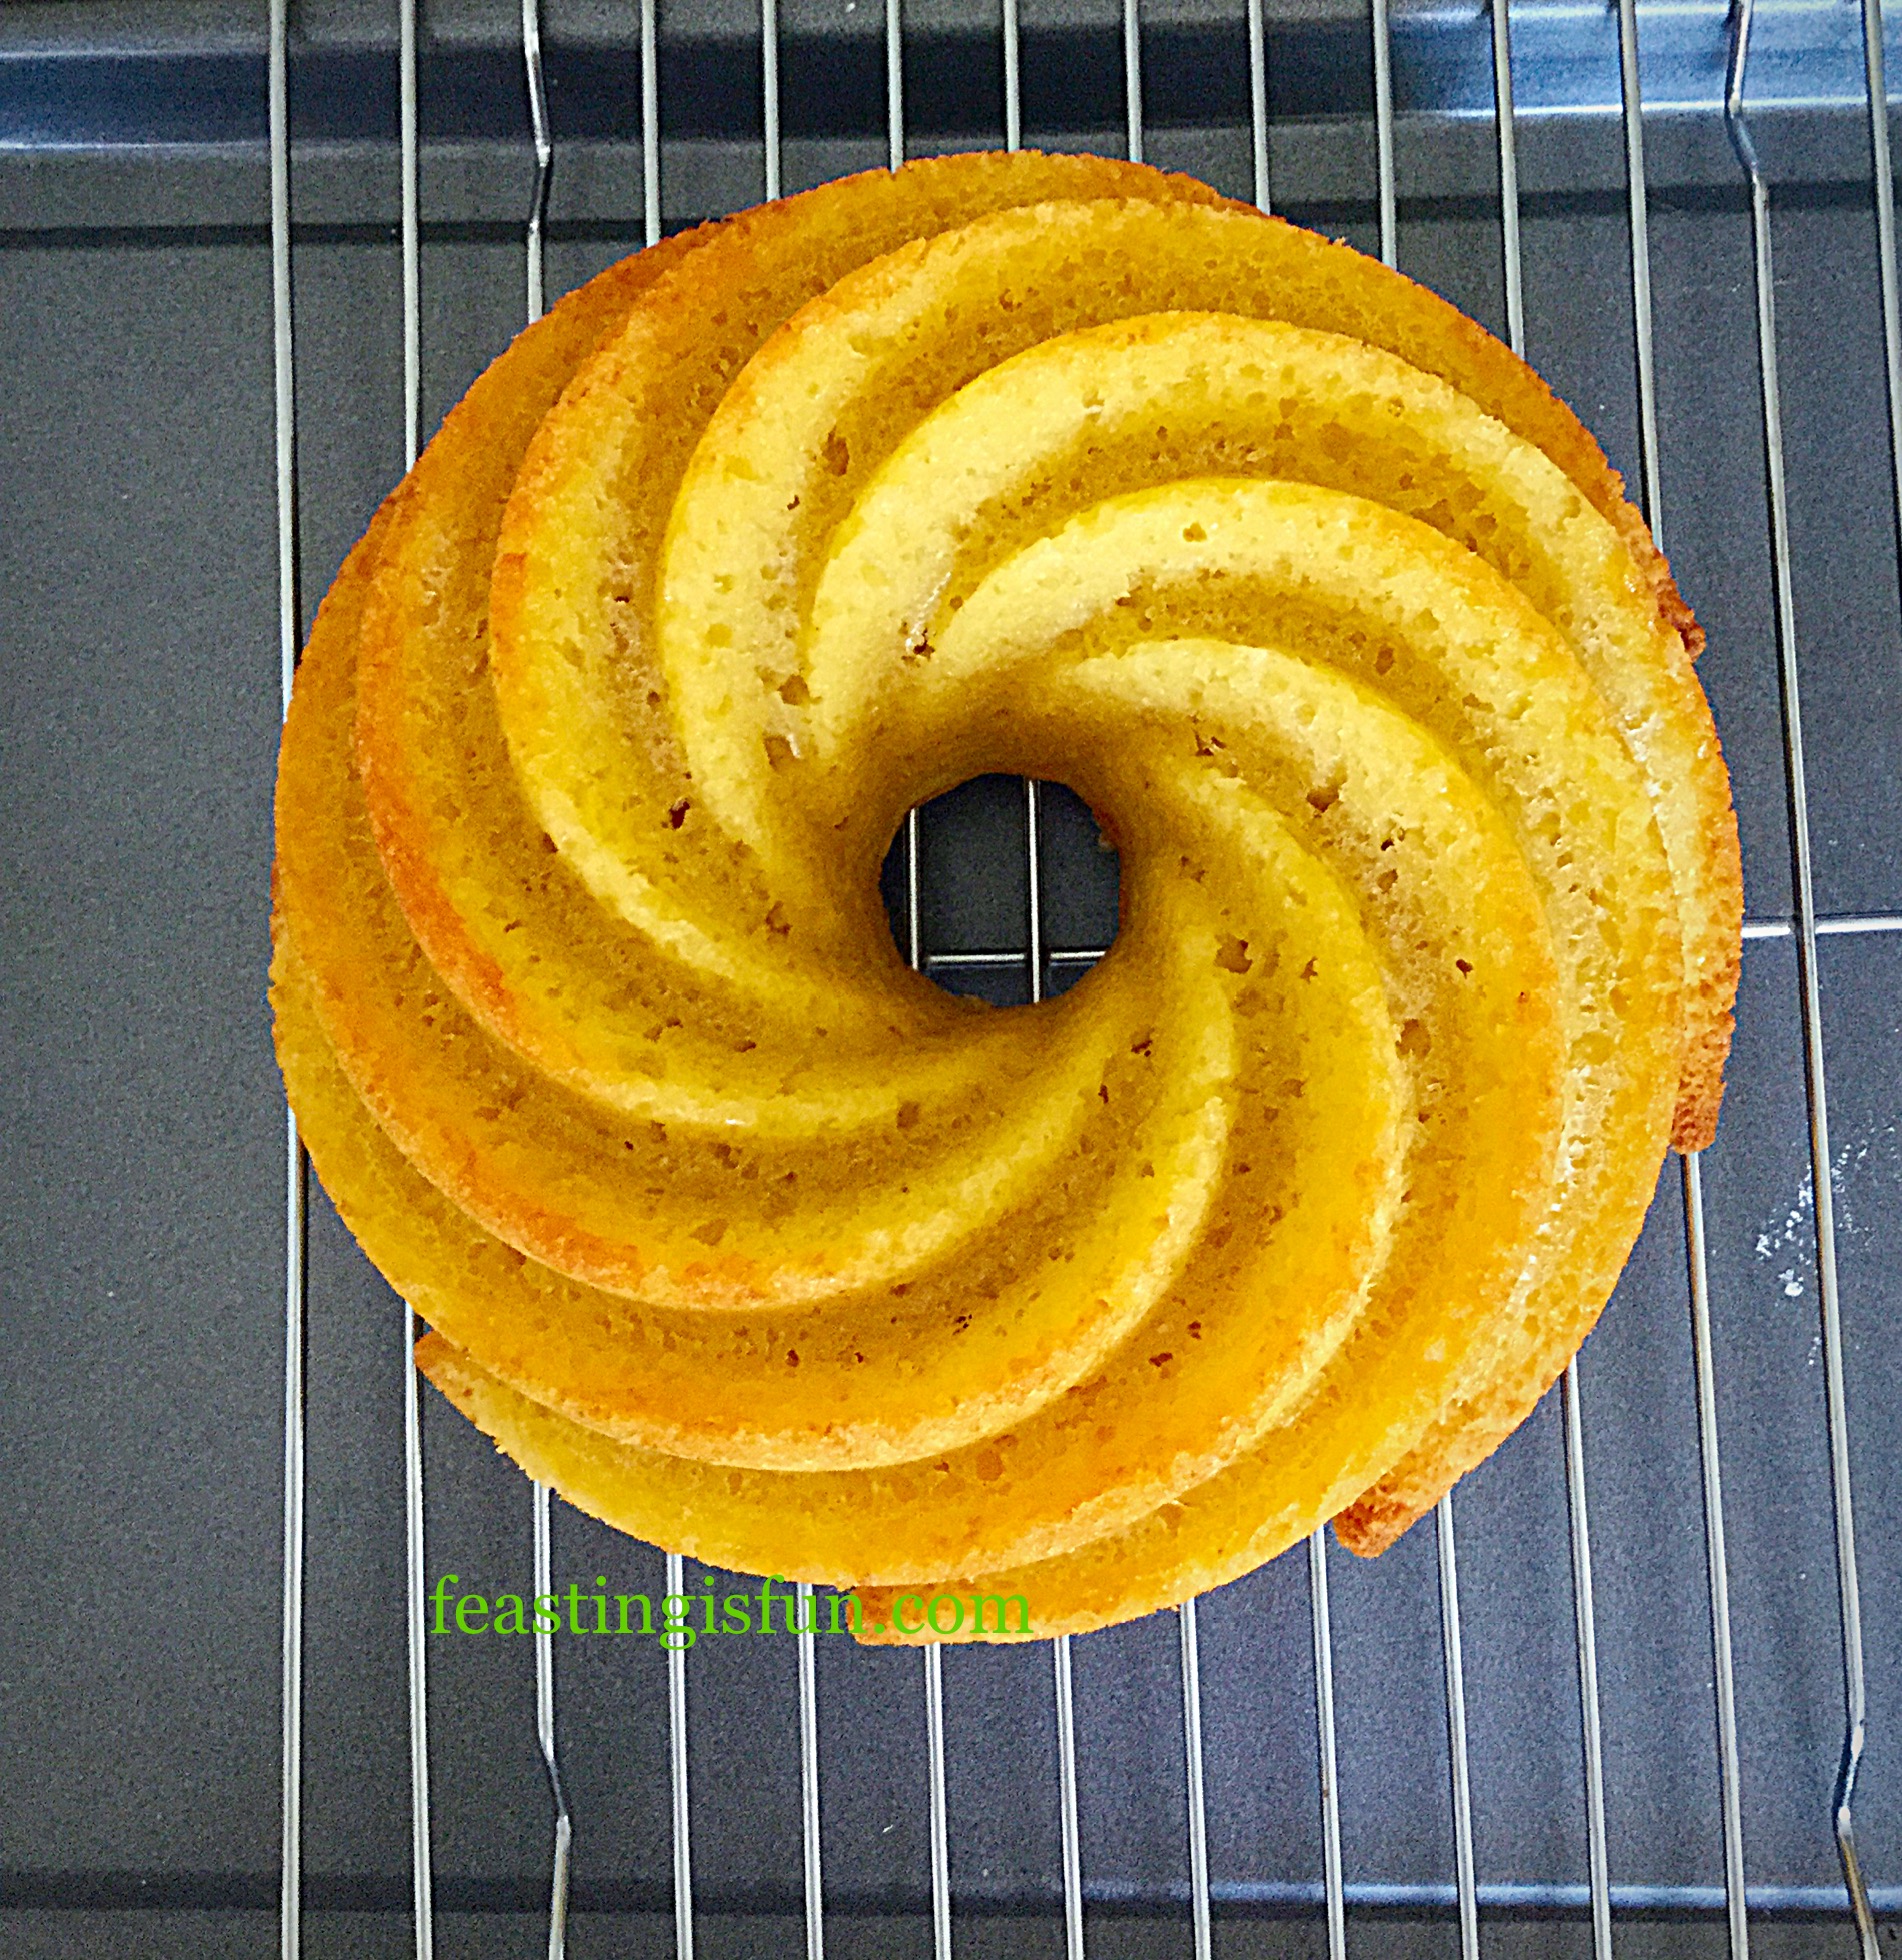
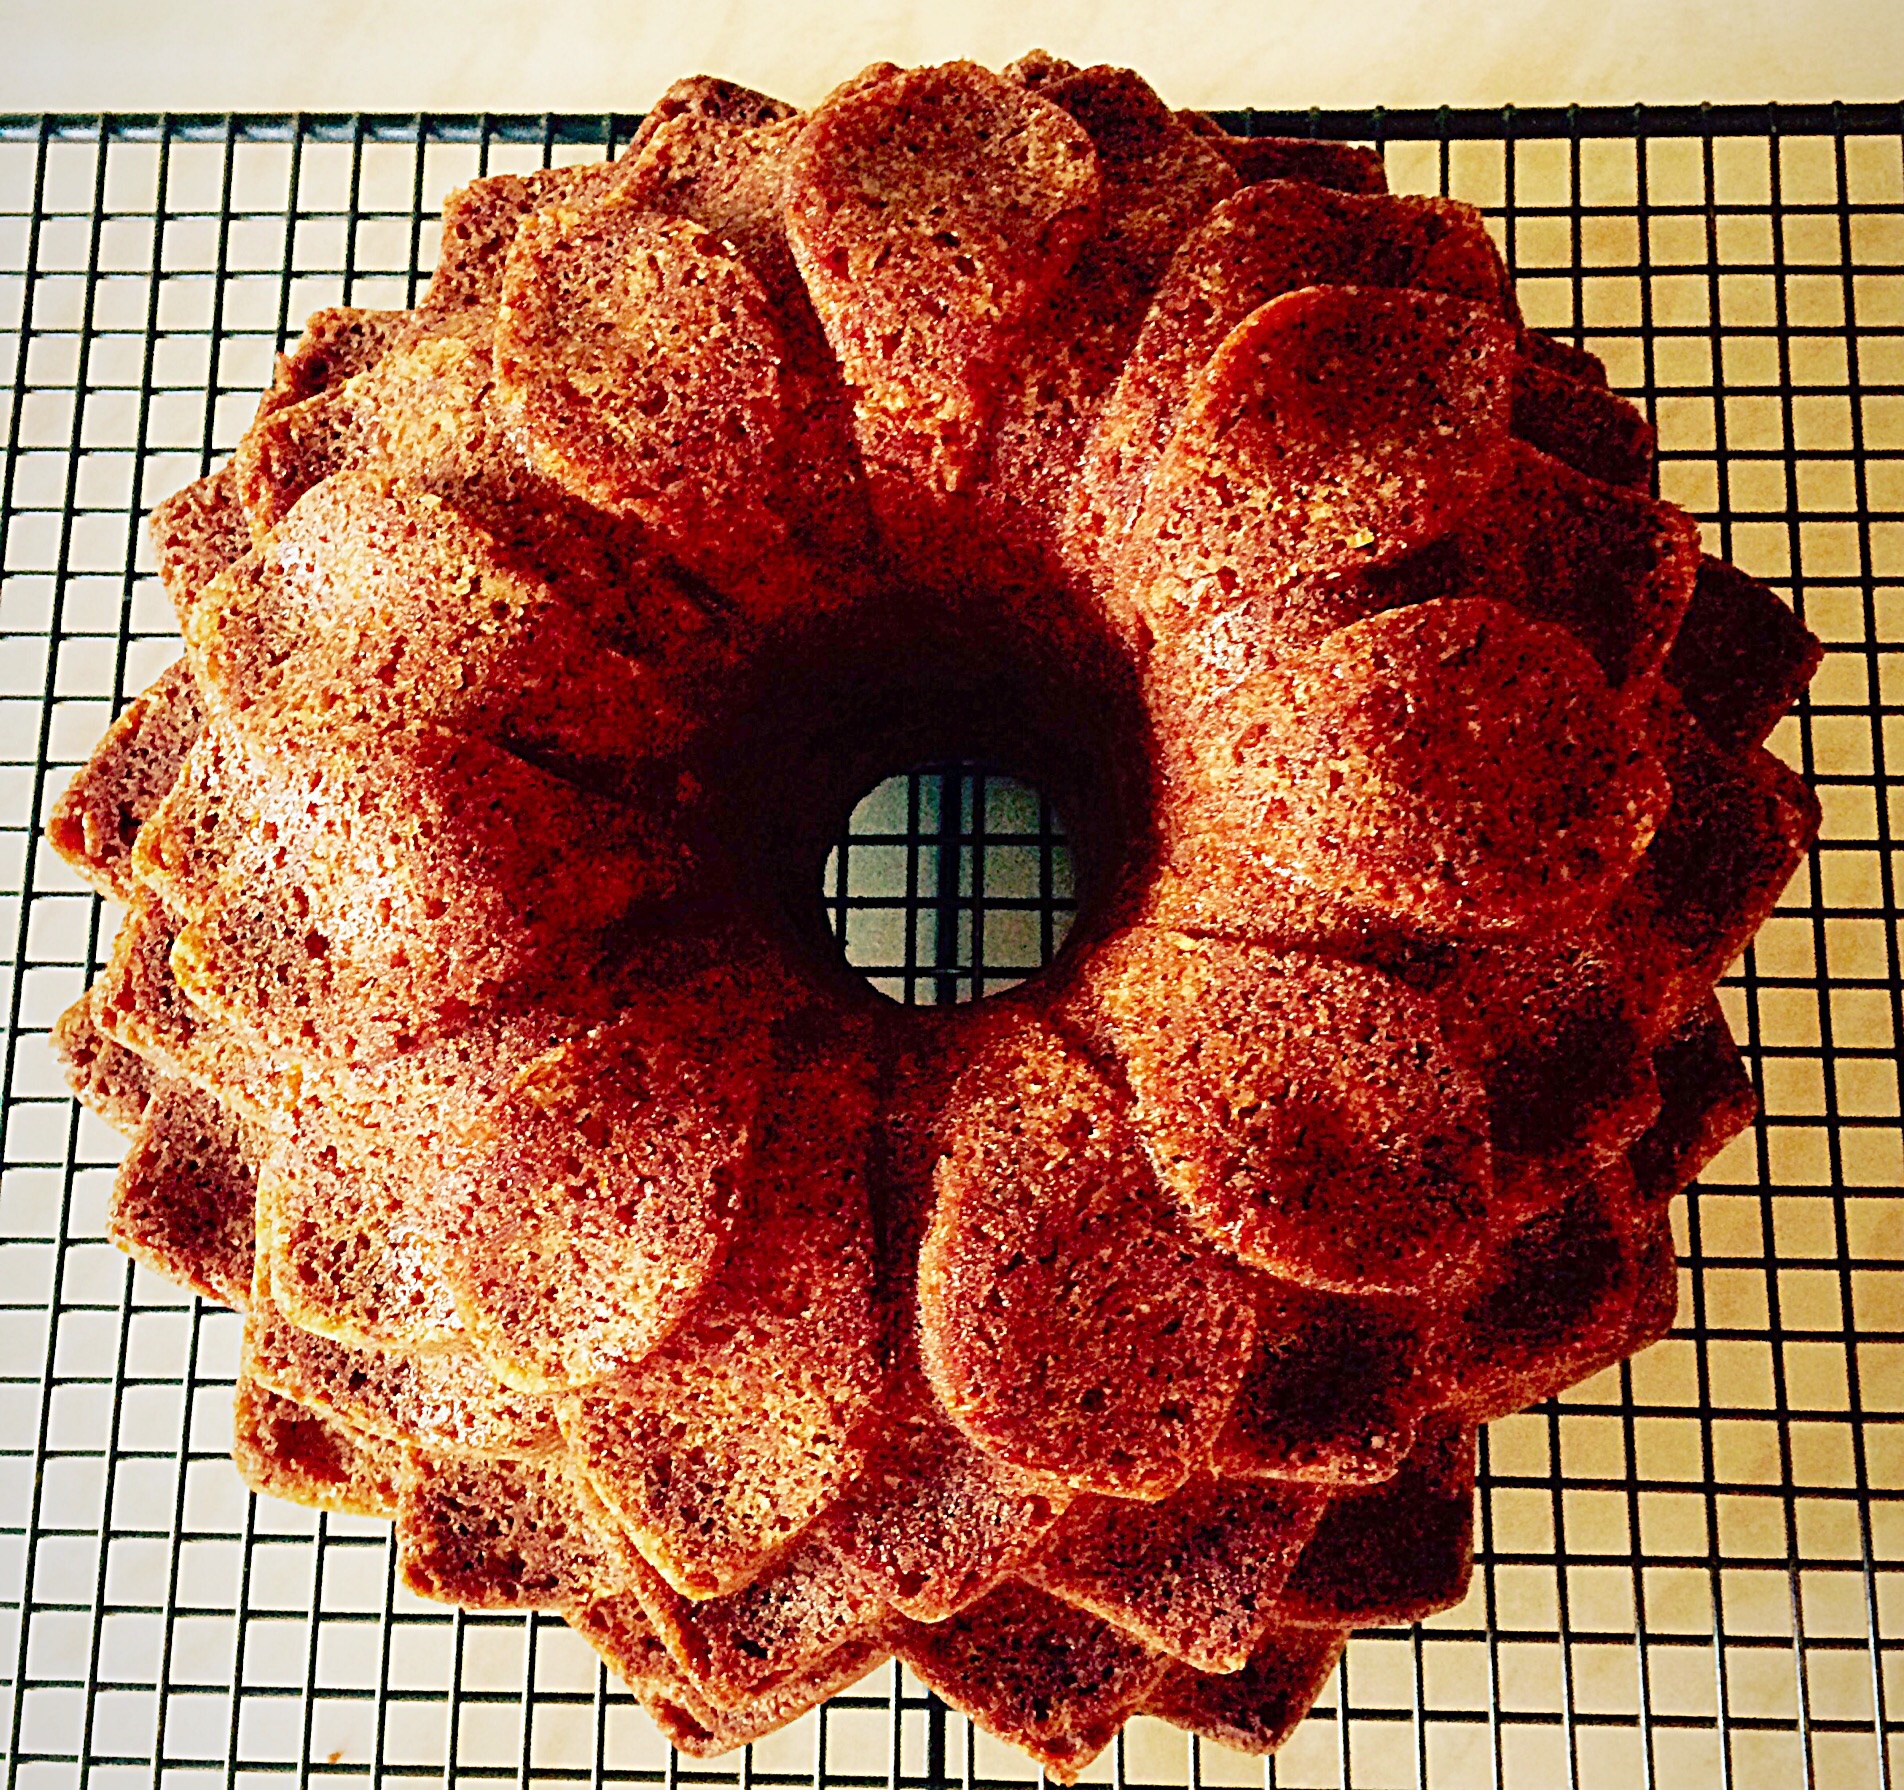
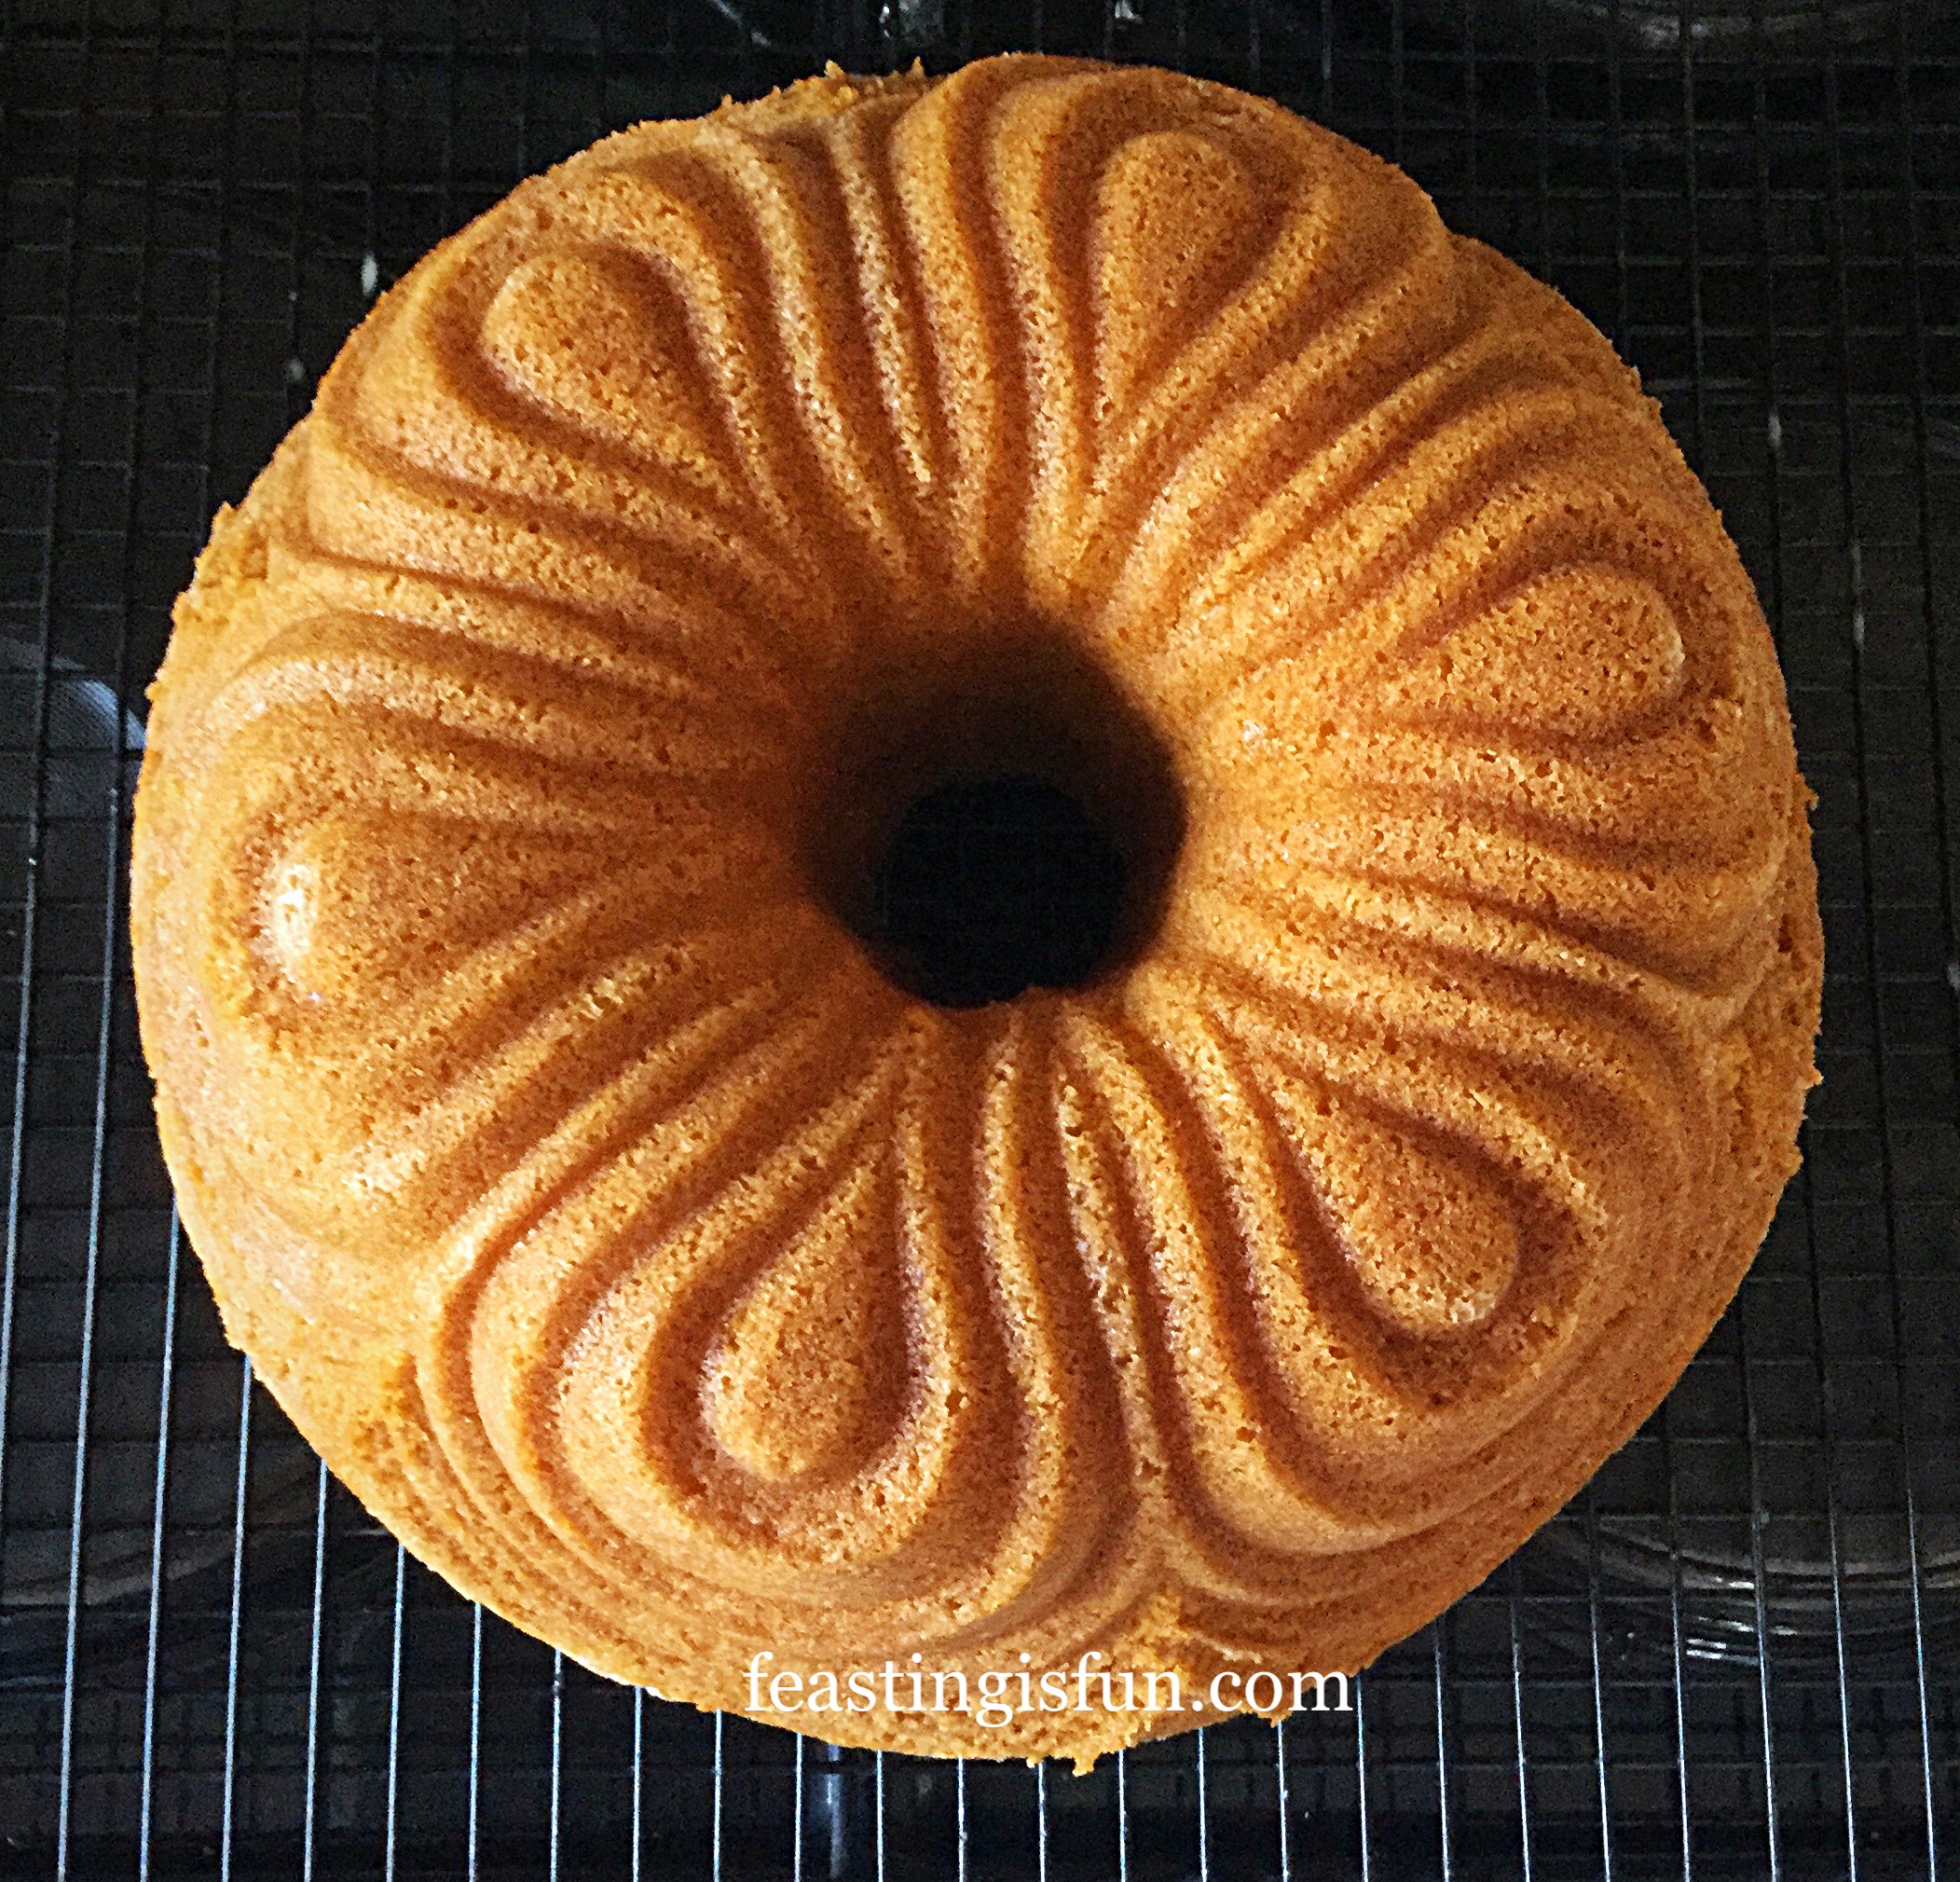
- Allow the cake to cool in the tin for 10 minutes.
- Now turn out the Bundt cake on to a cooling rack.
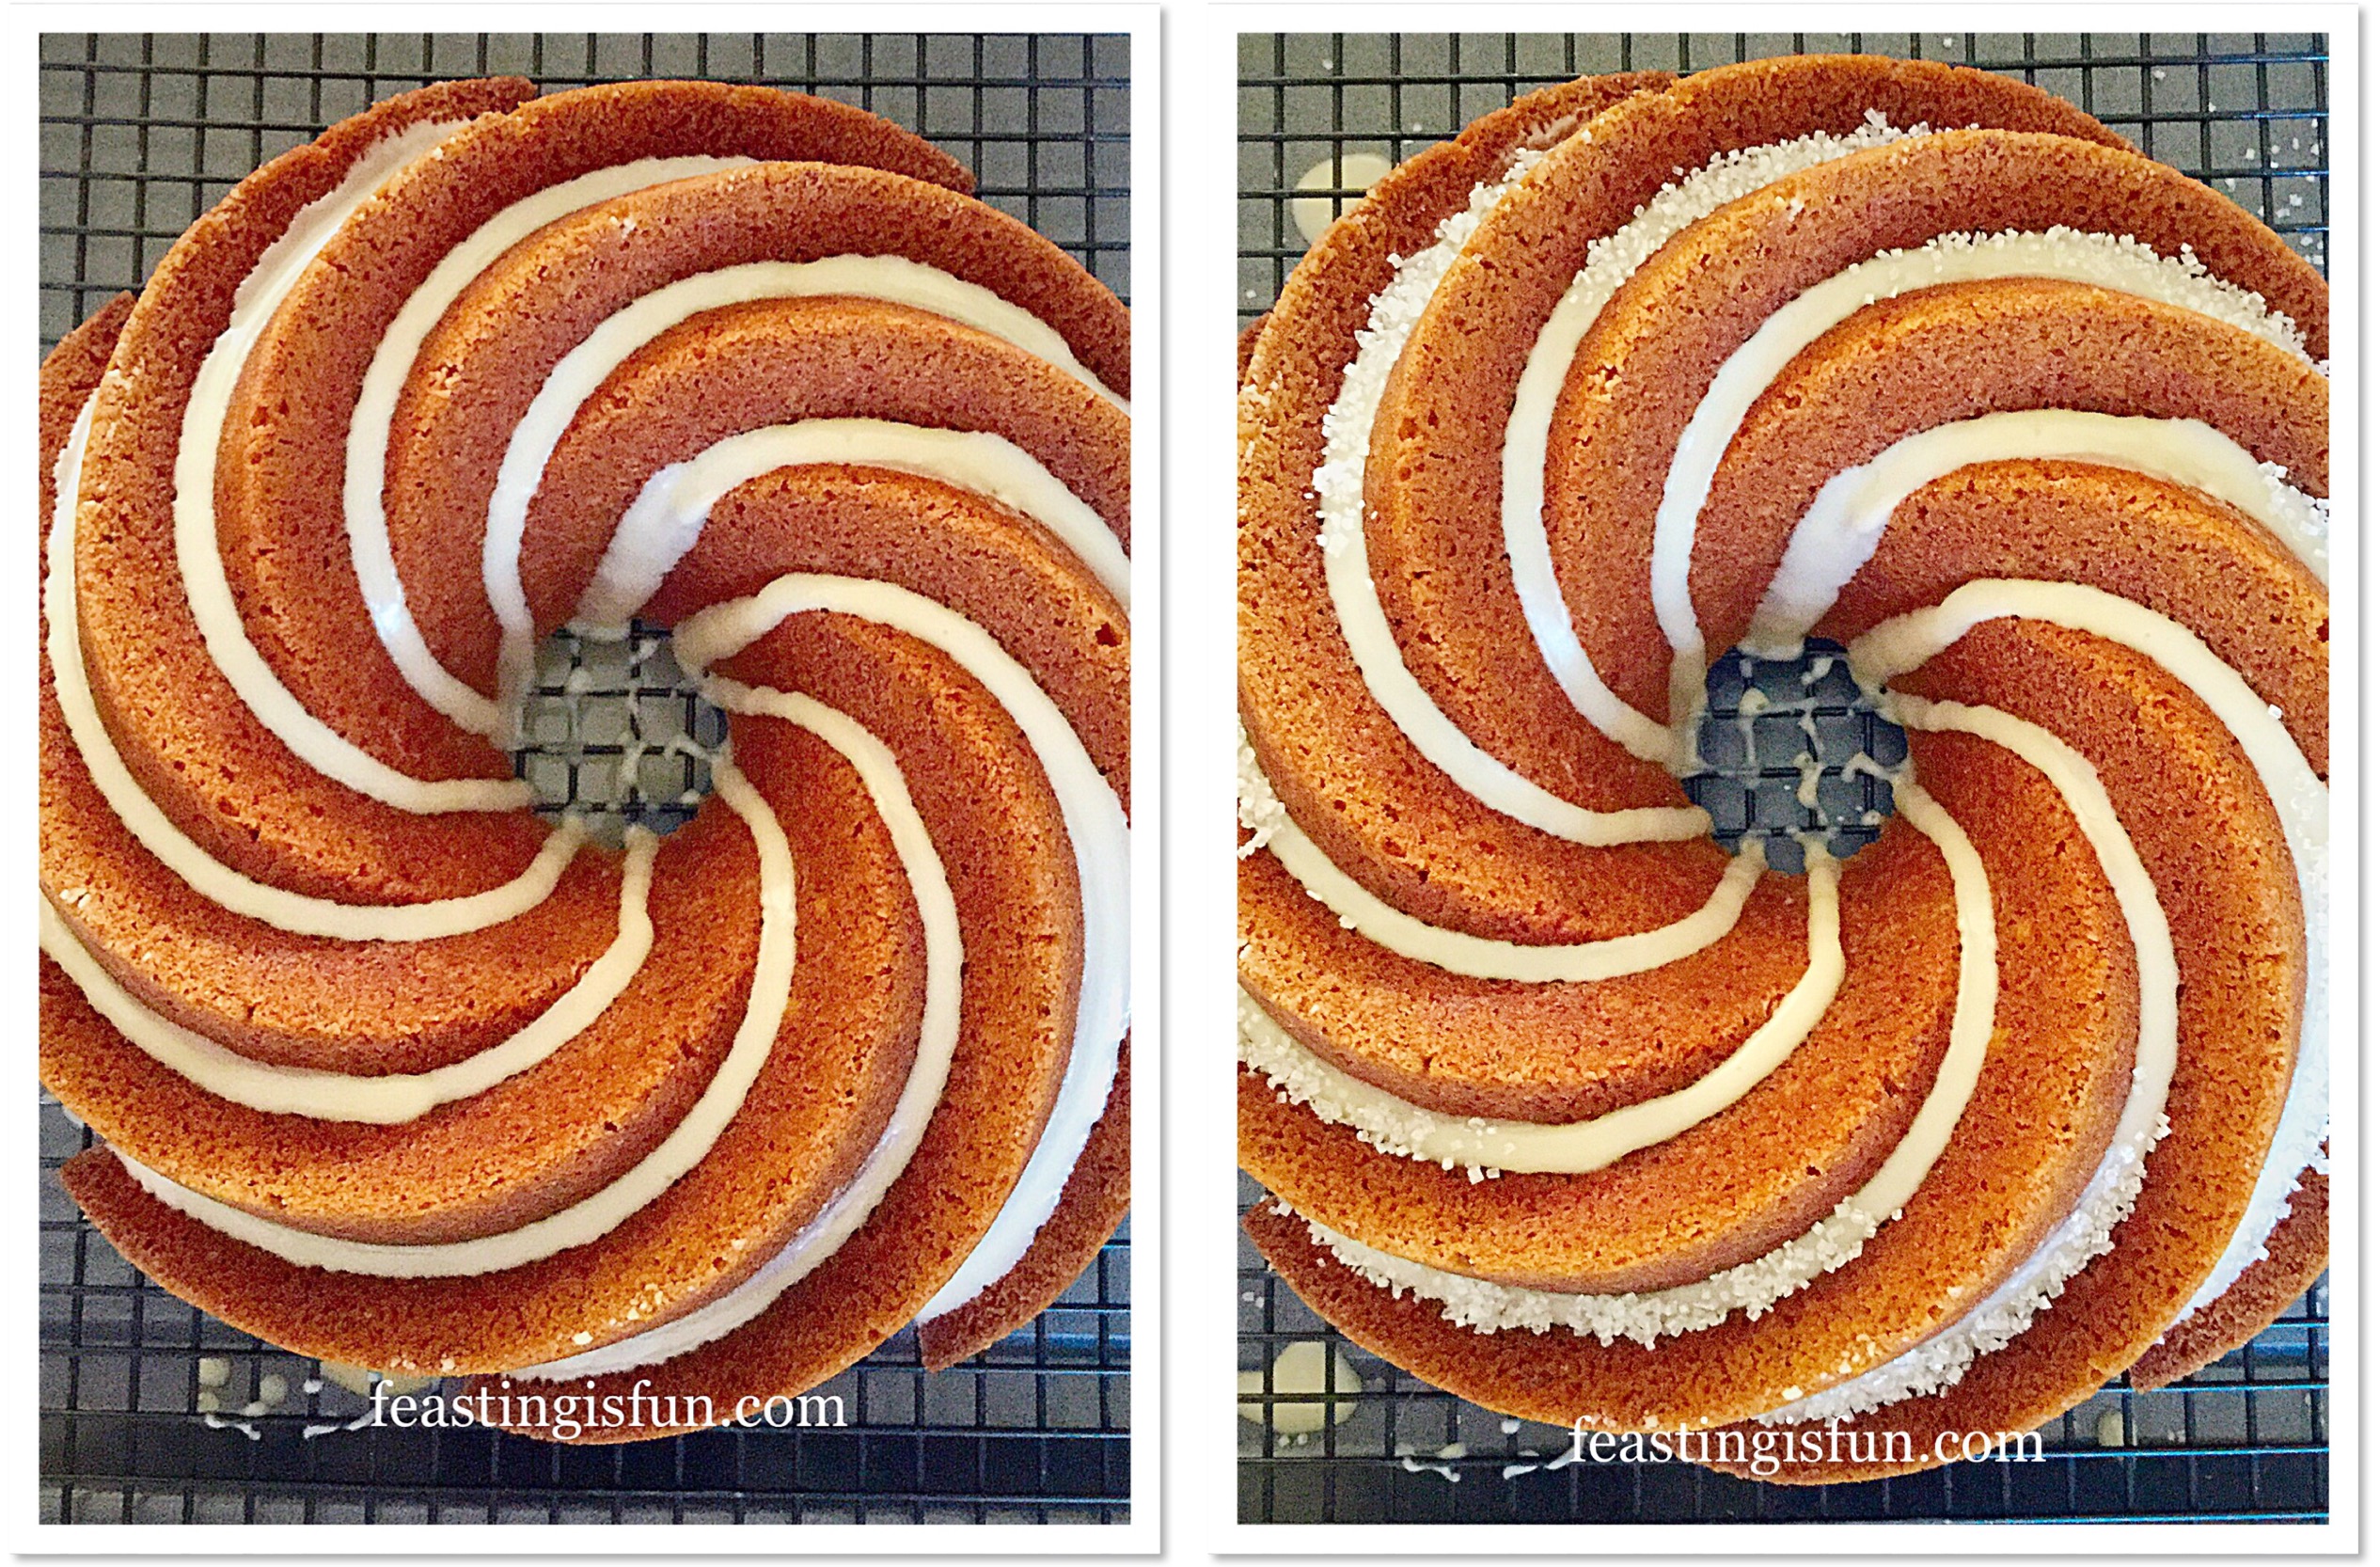
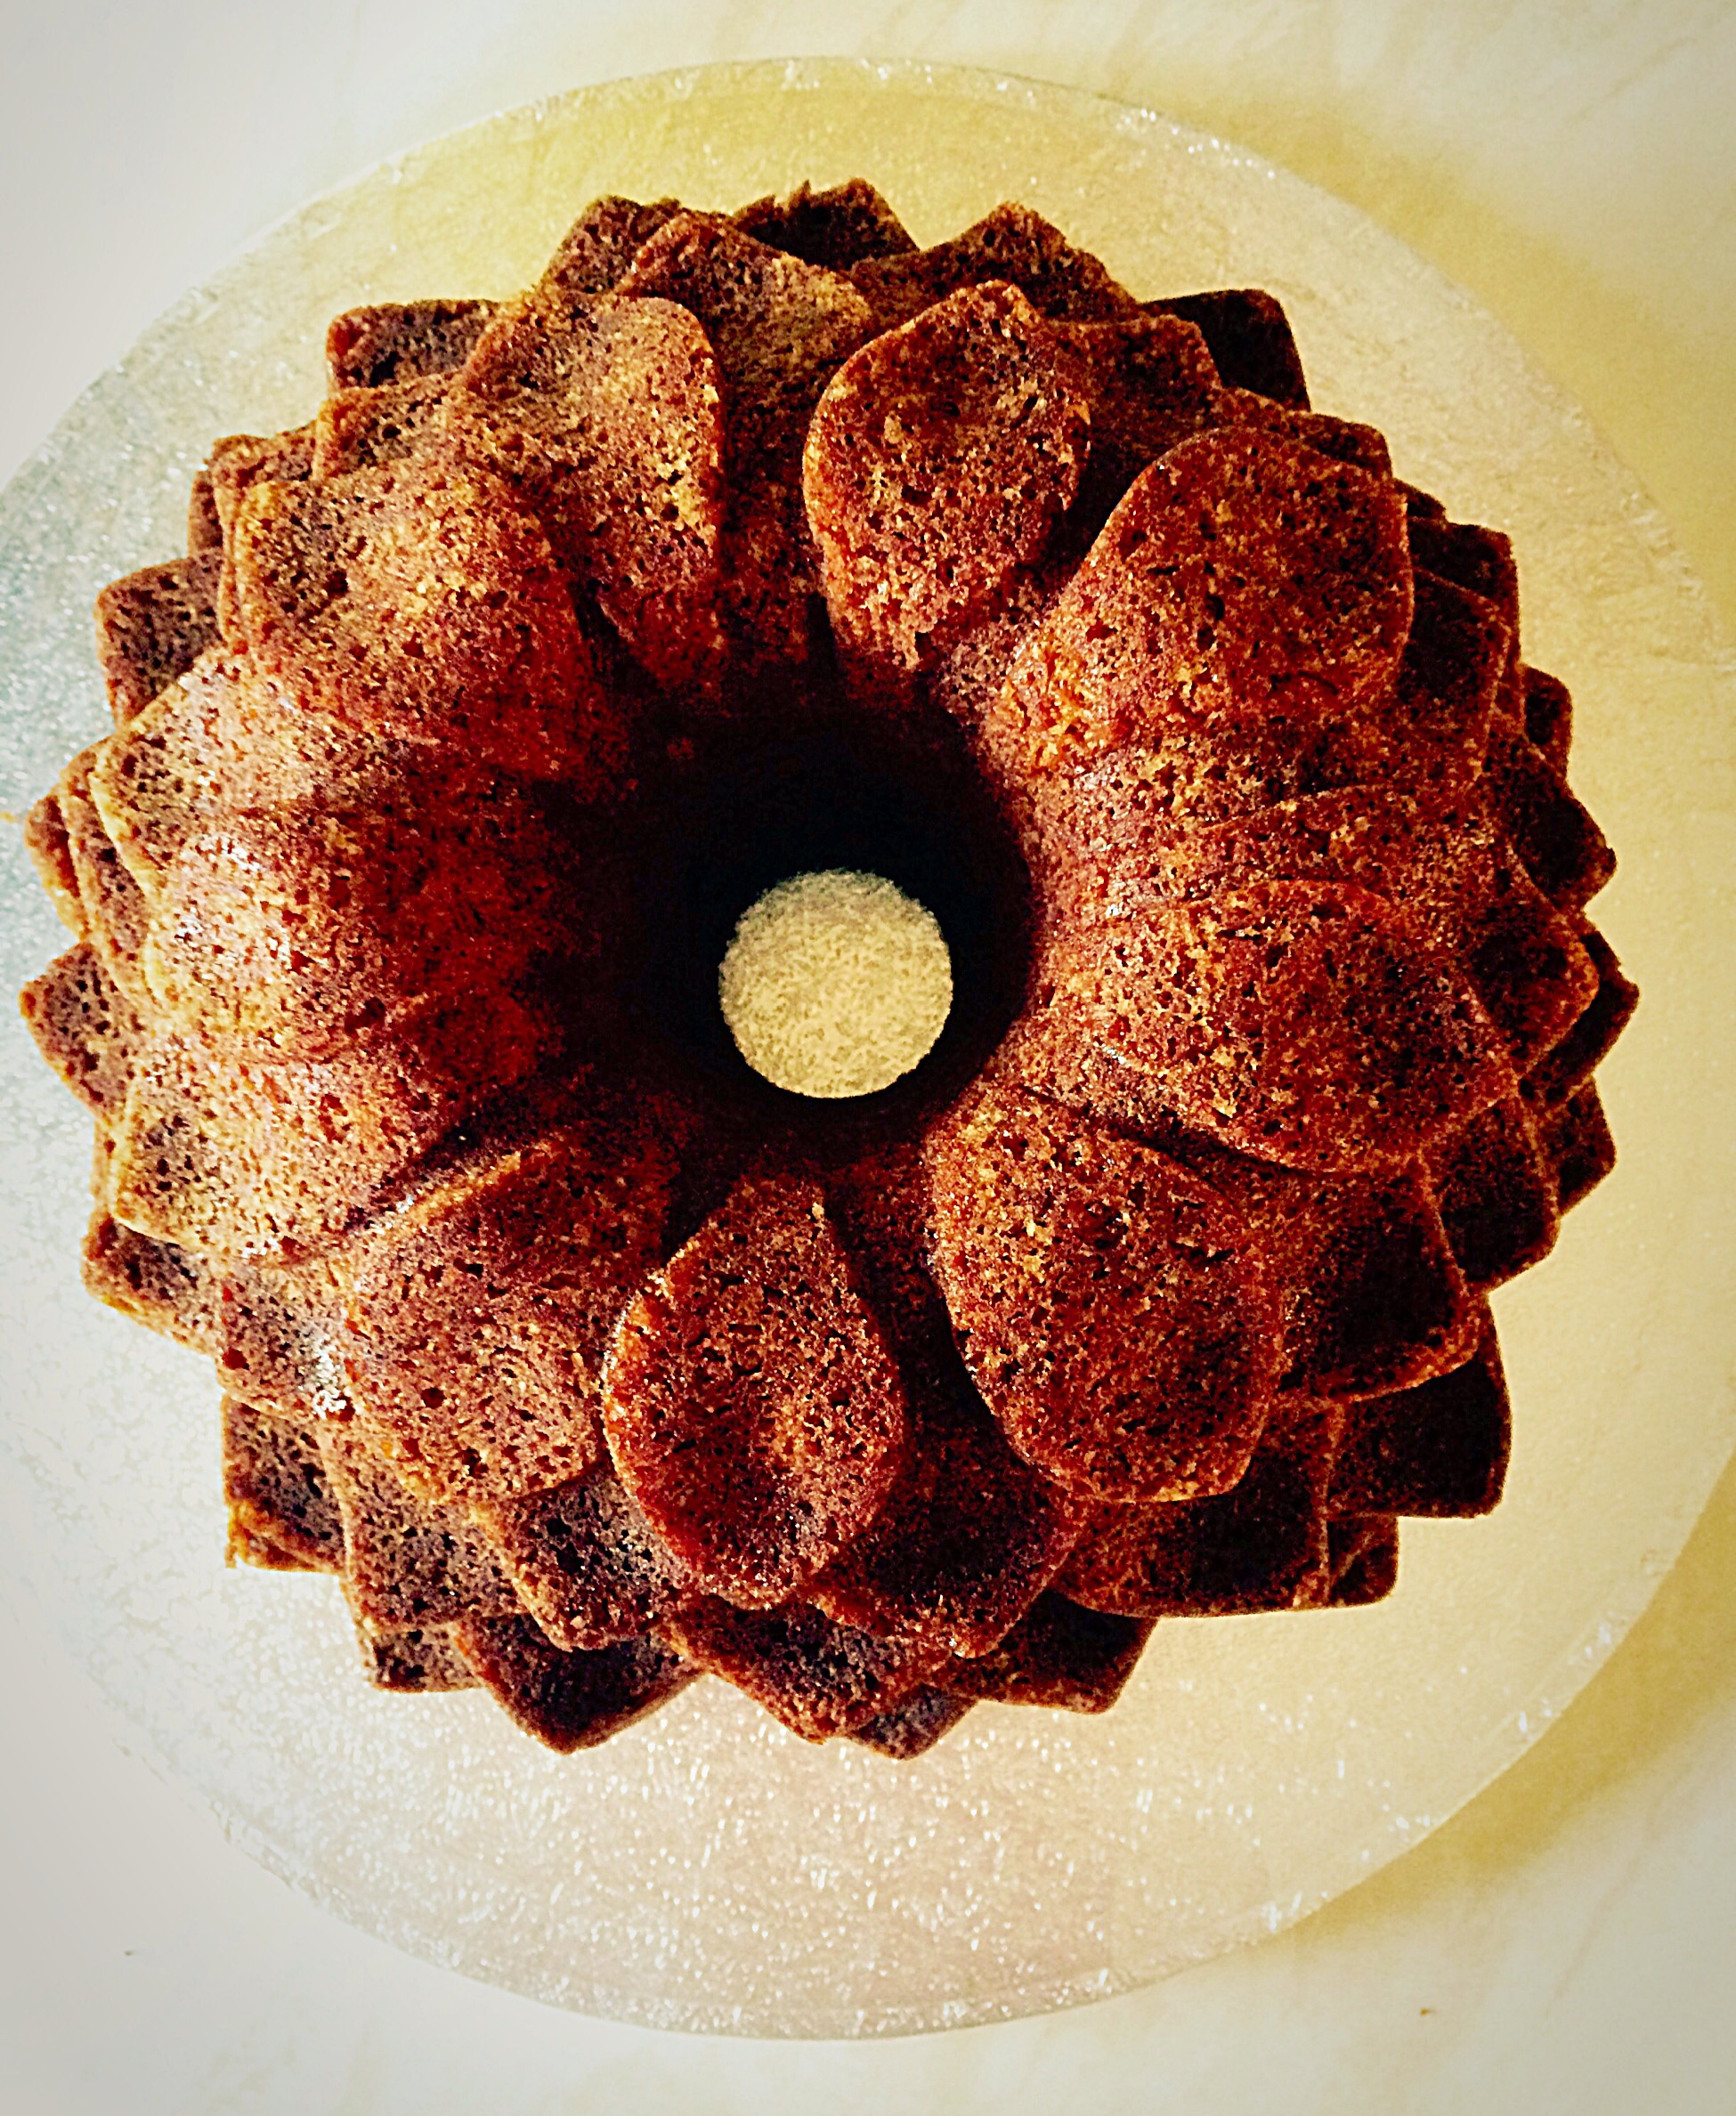
- Leave the cake to cool completely before icing.
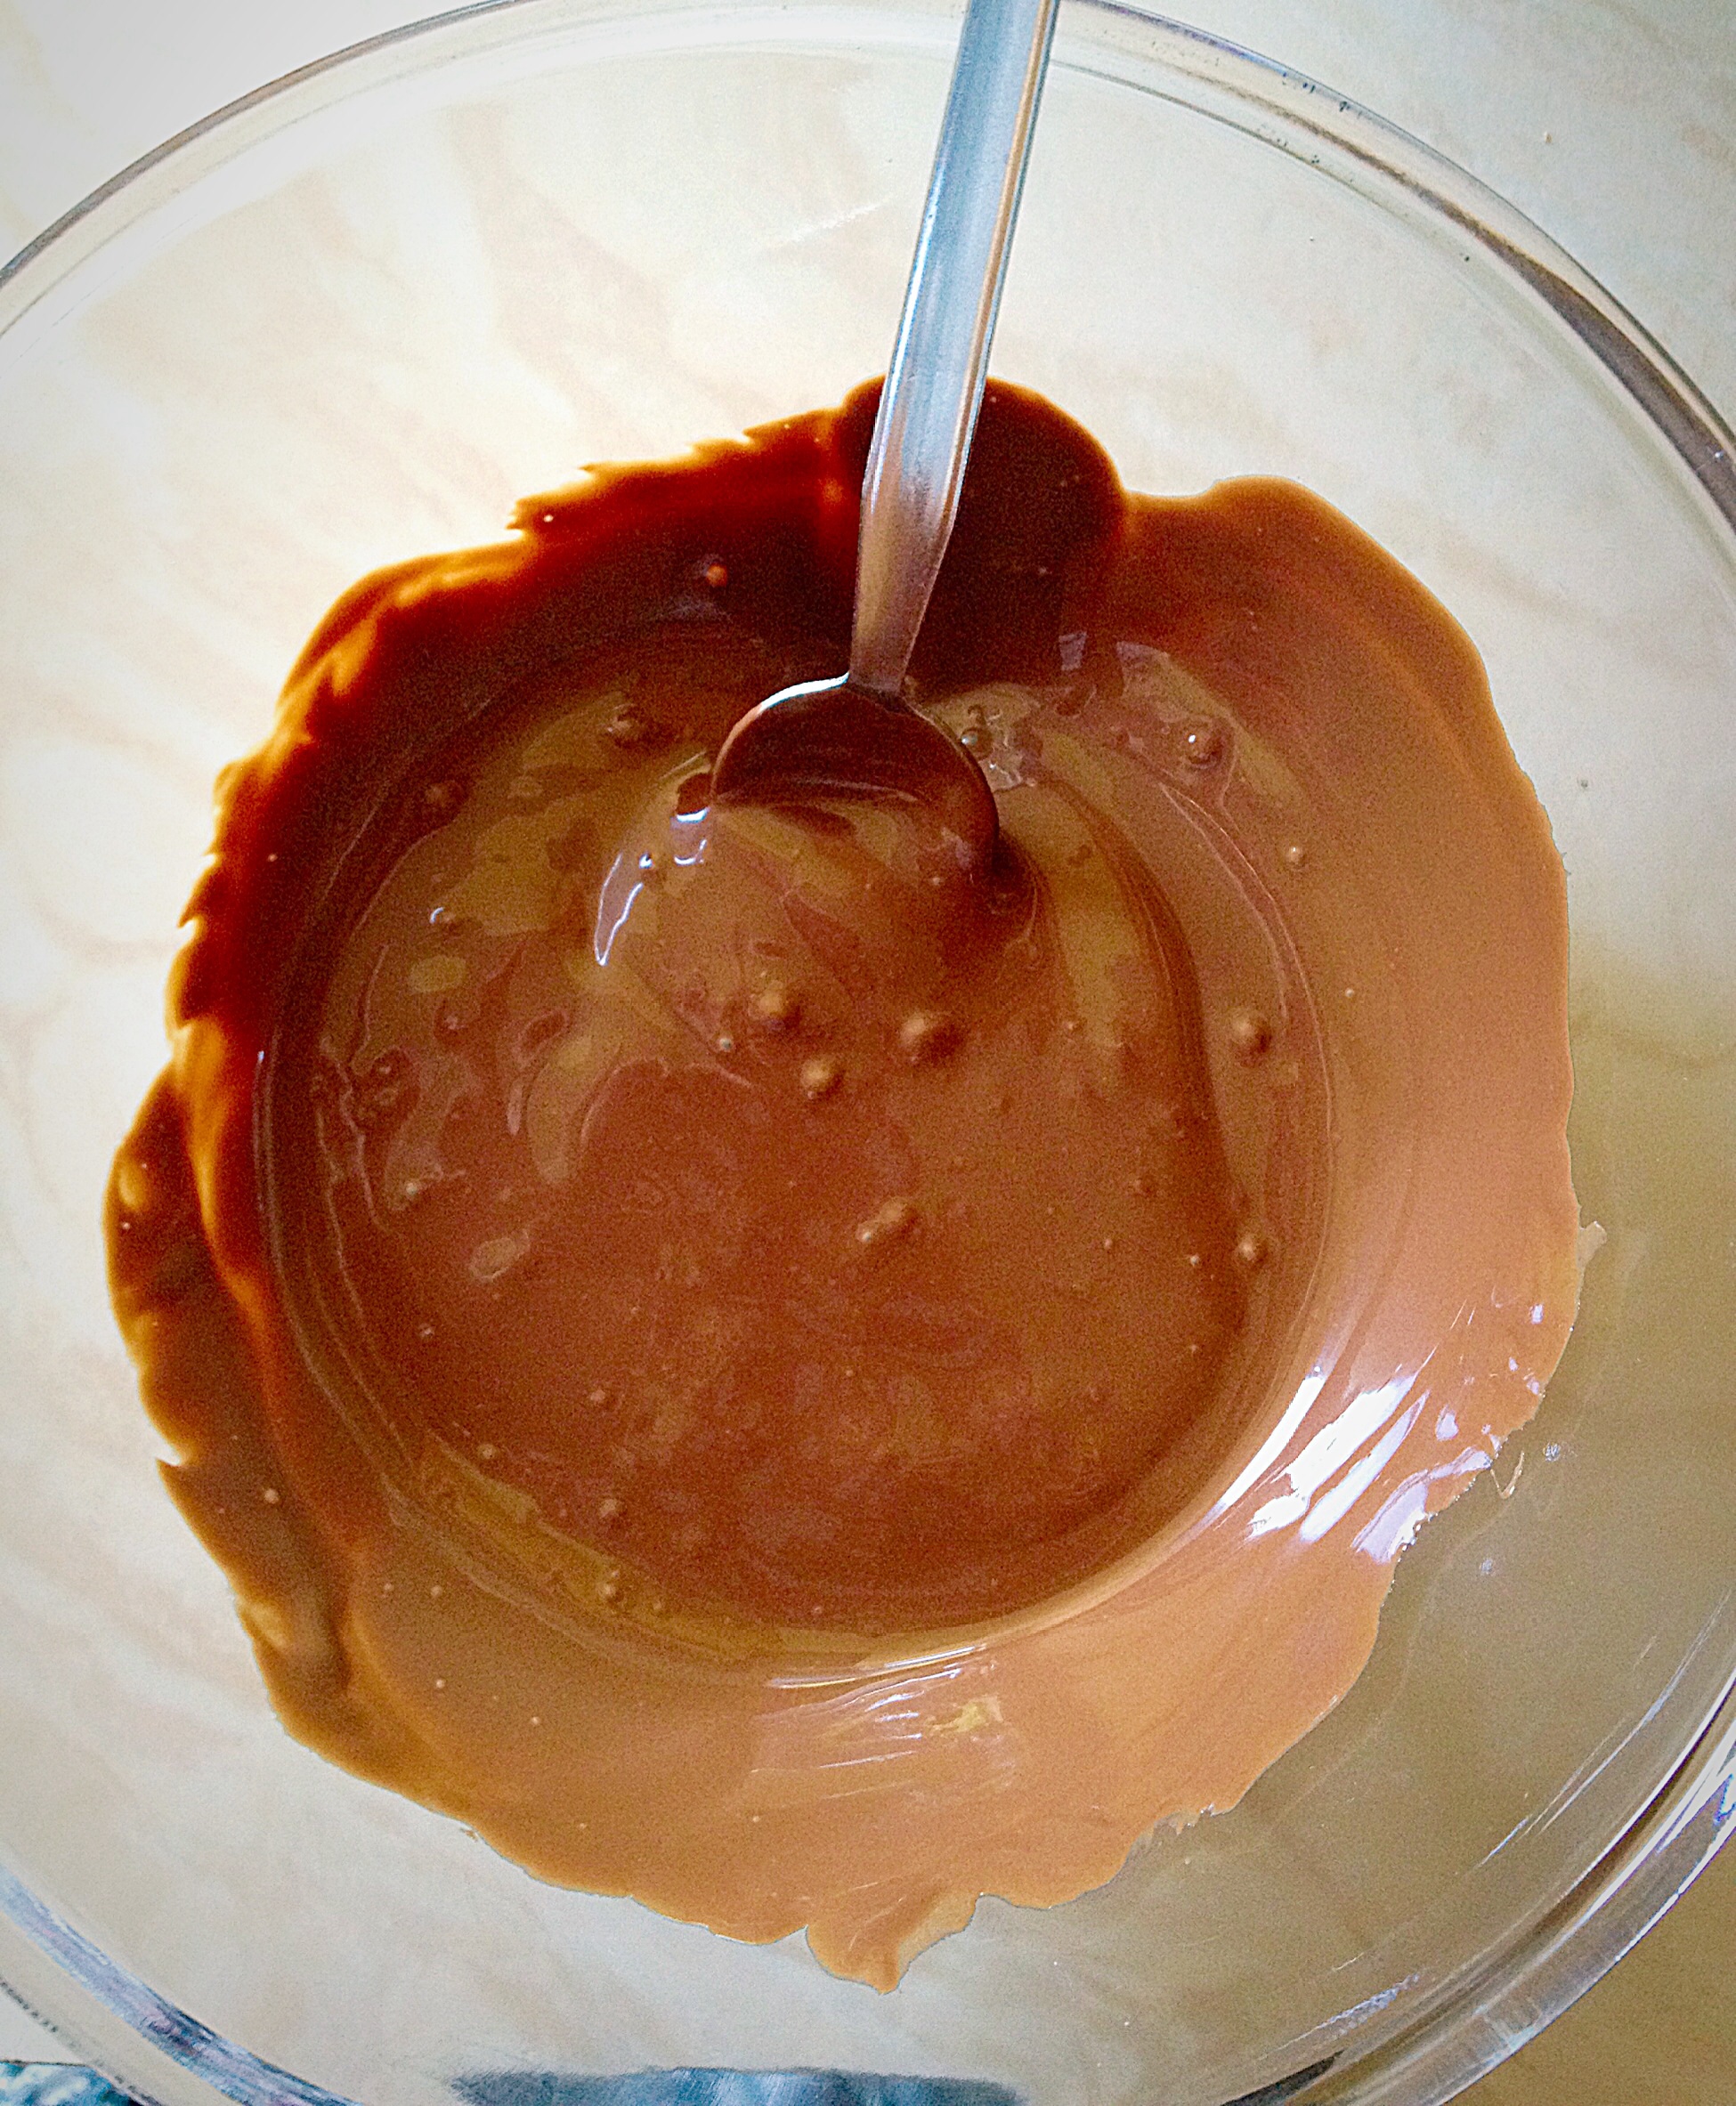
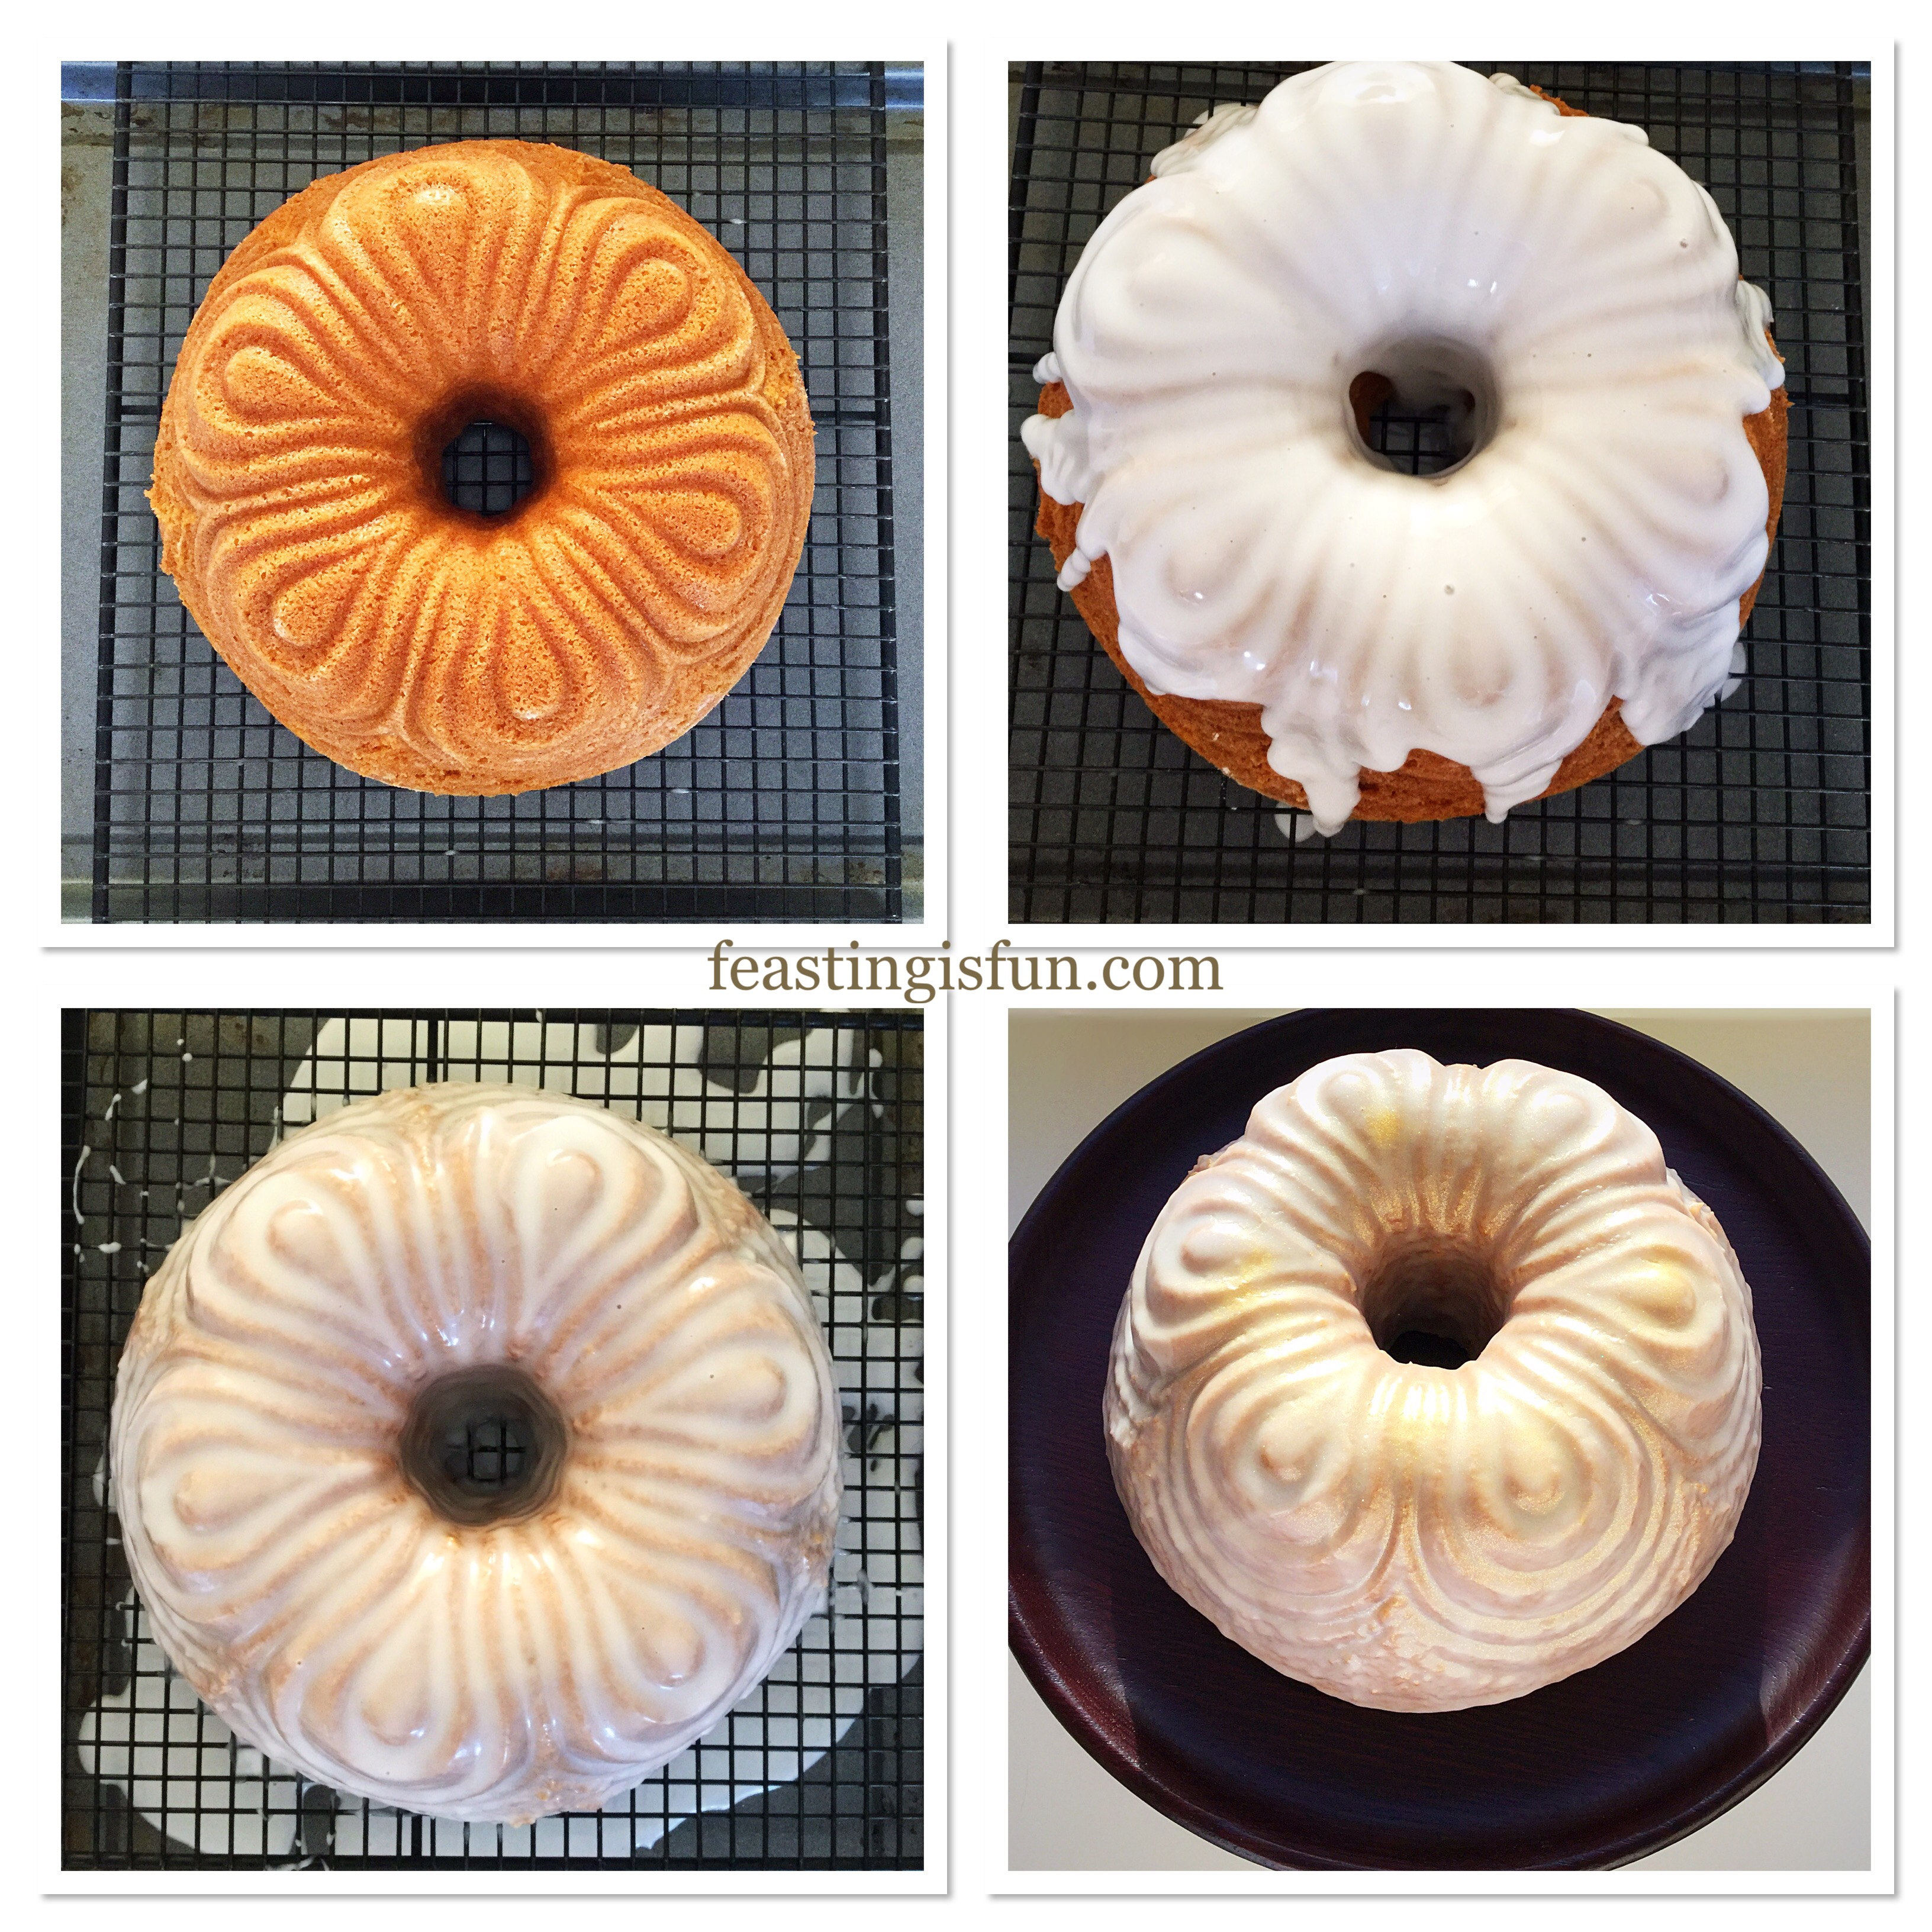
- While the cake is cooling, make the glacé icing.
- Sift the icing sugar into a bowl.
- Add the water and stir thoroughly, until a smooth consistency is achieved.
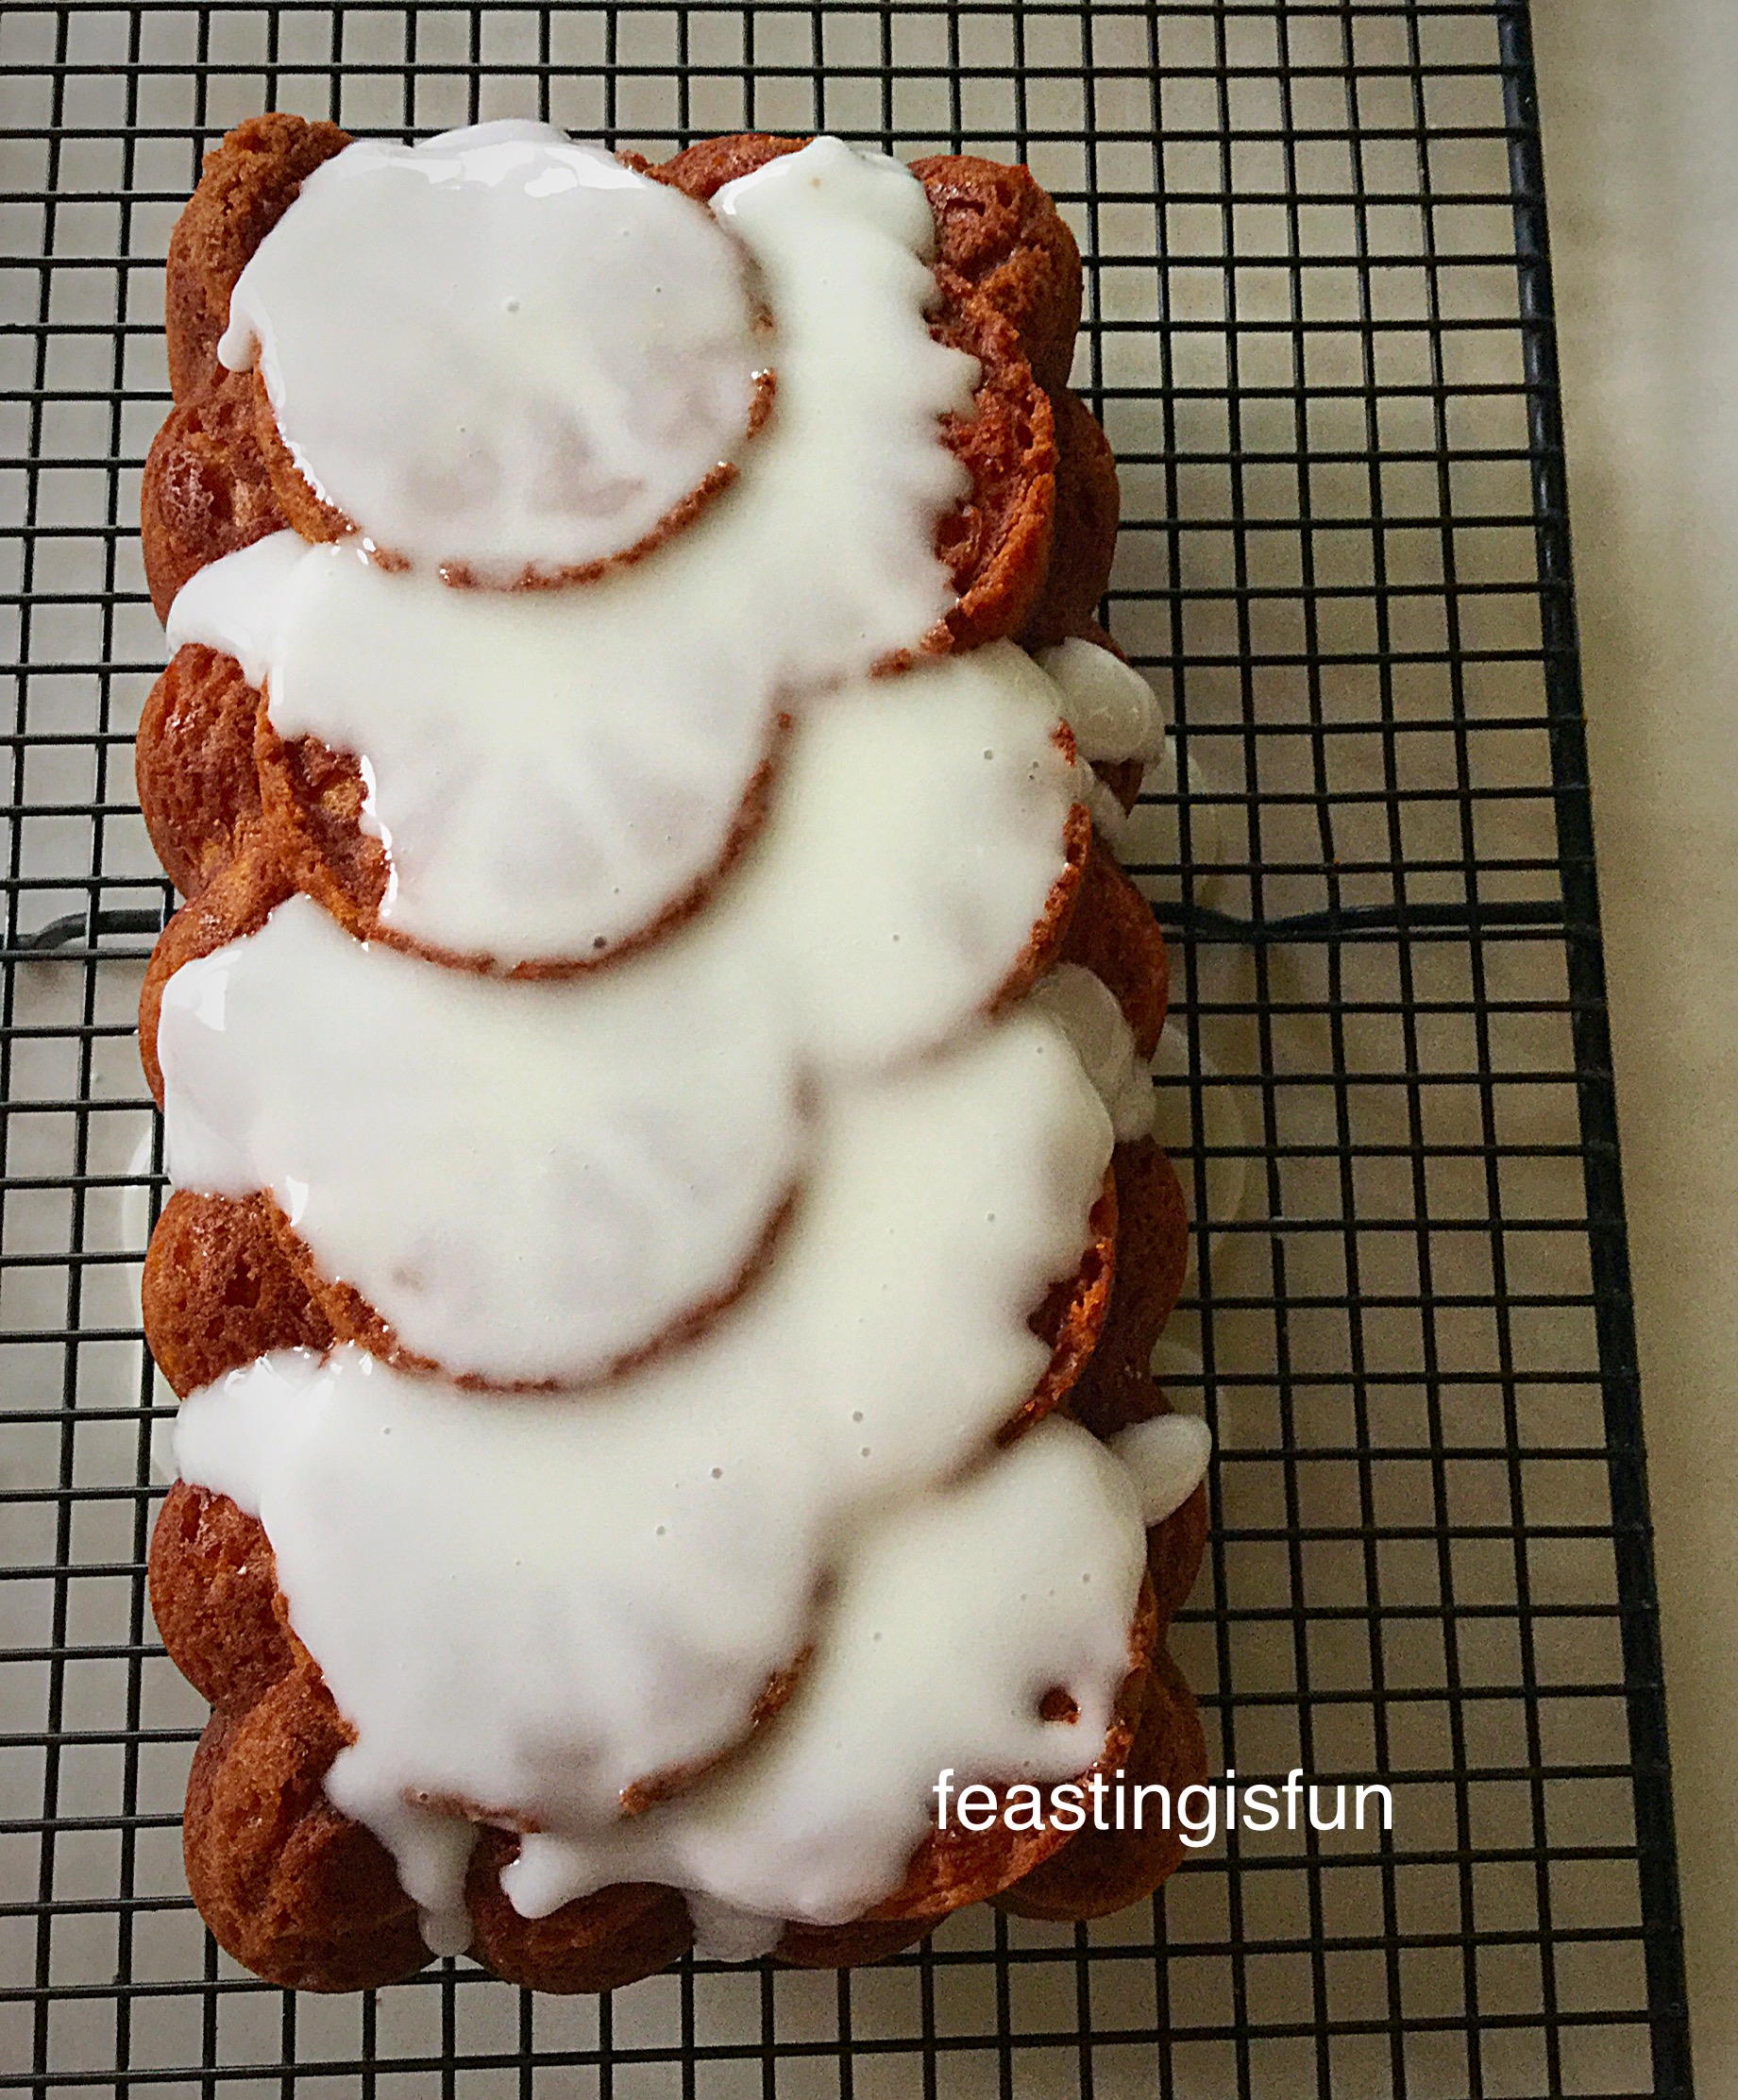
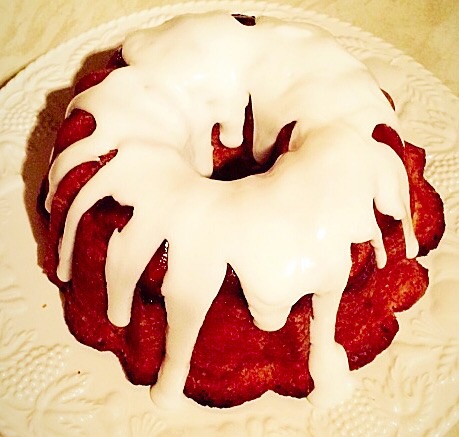
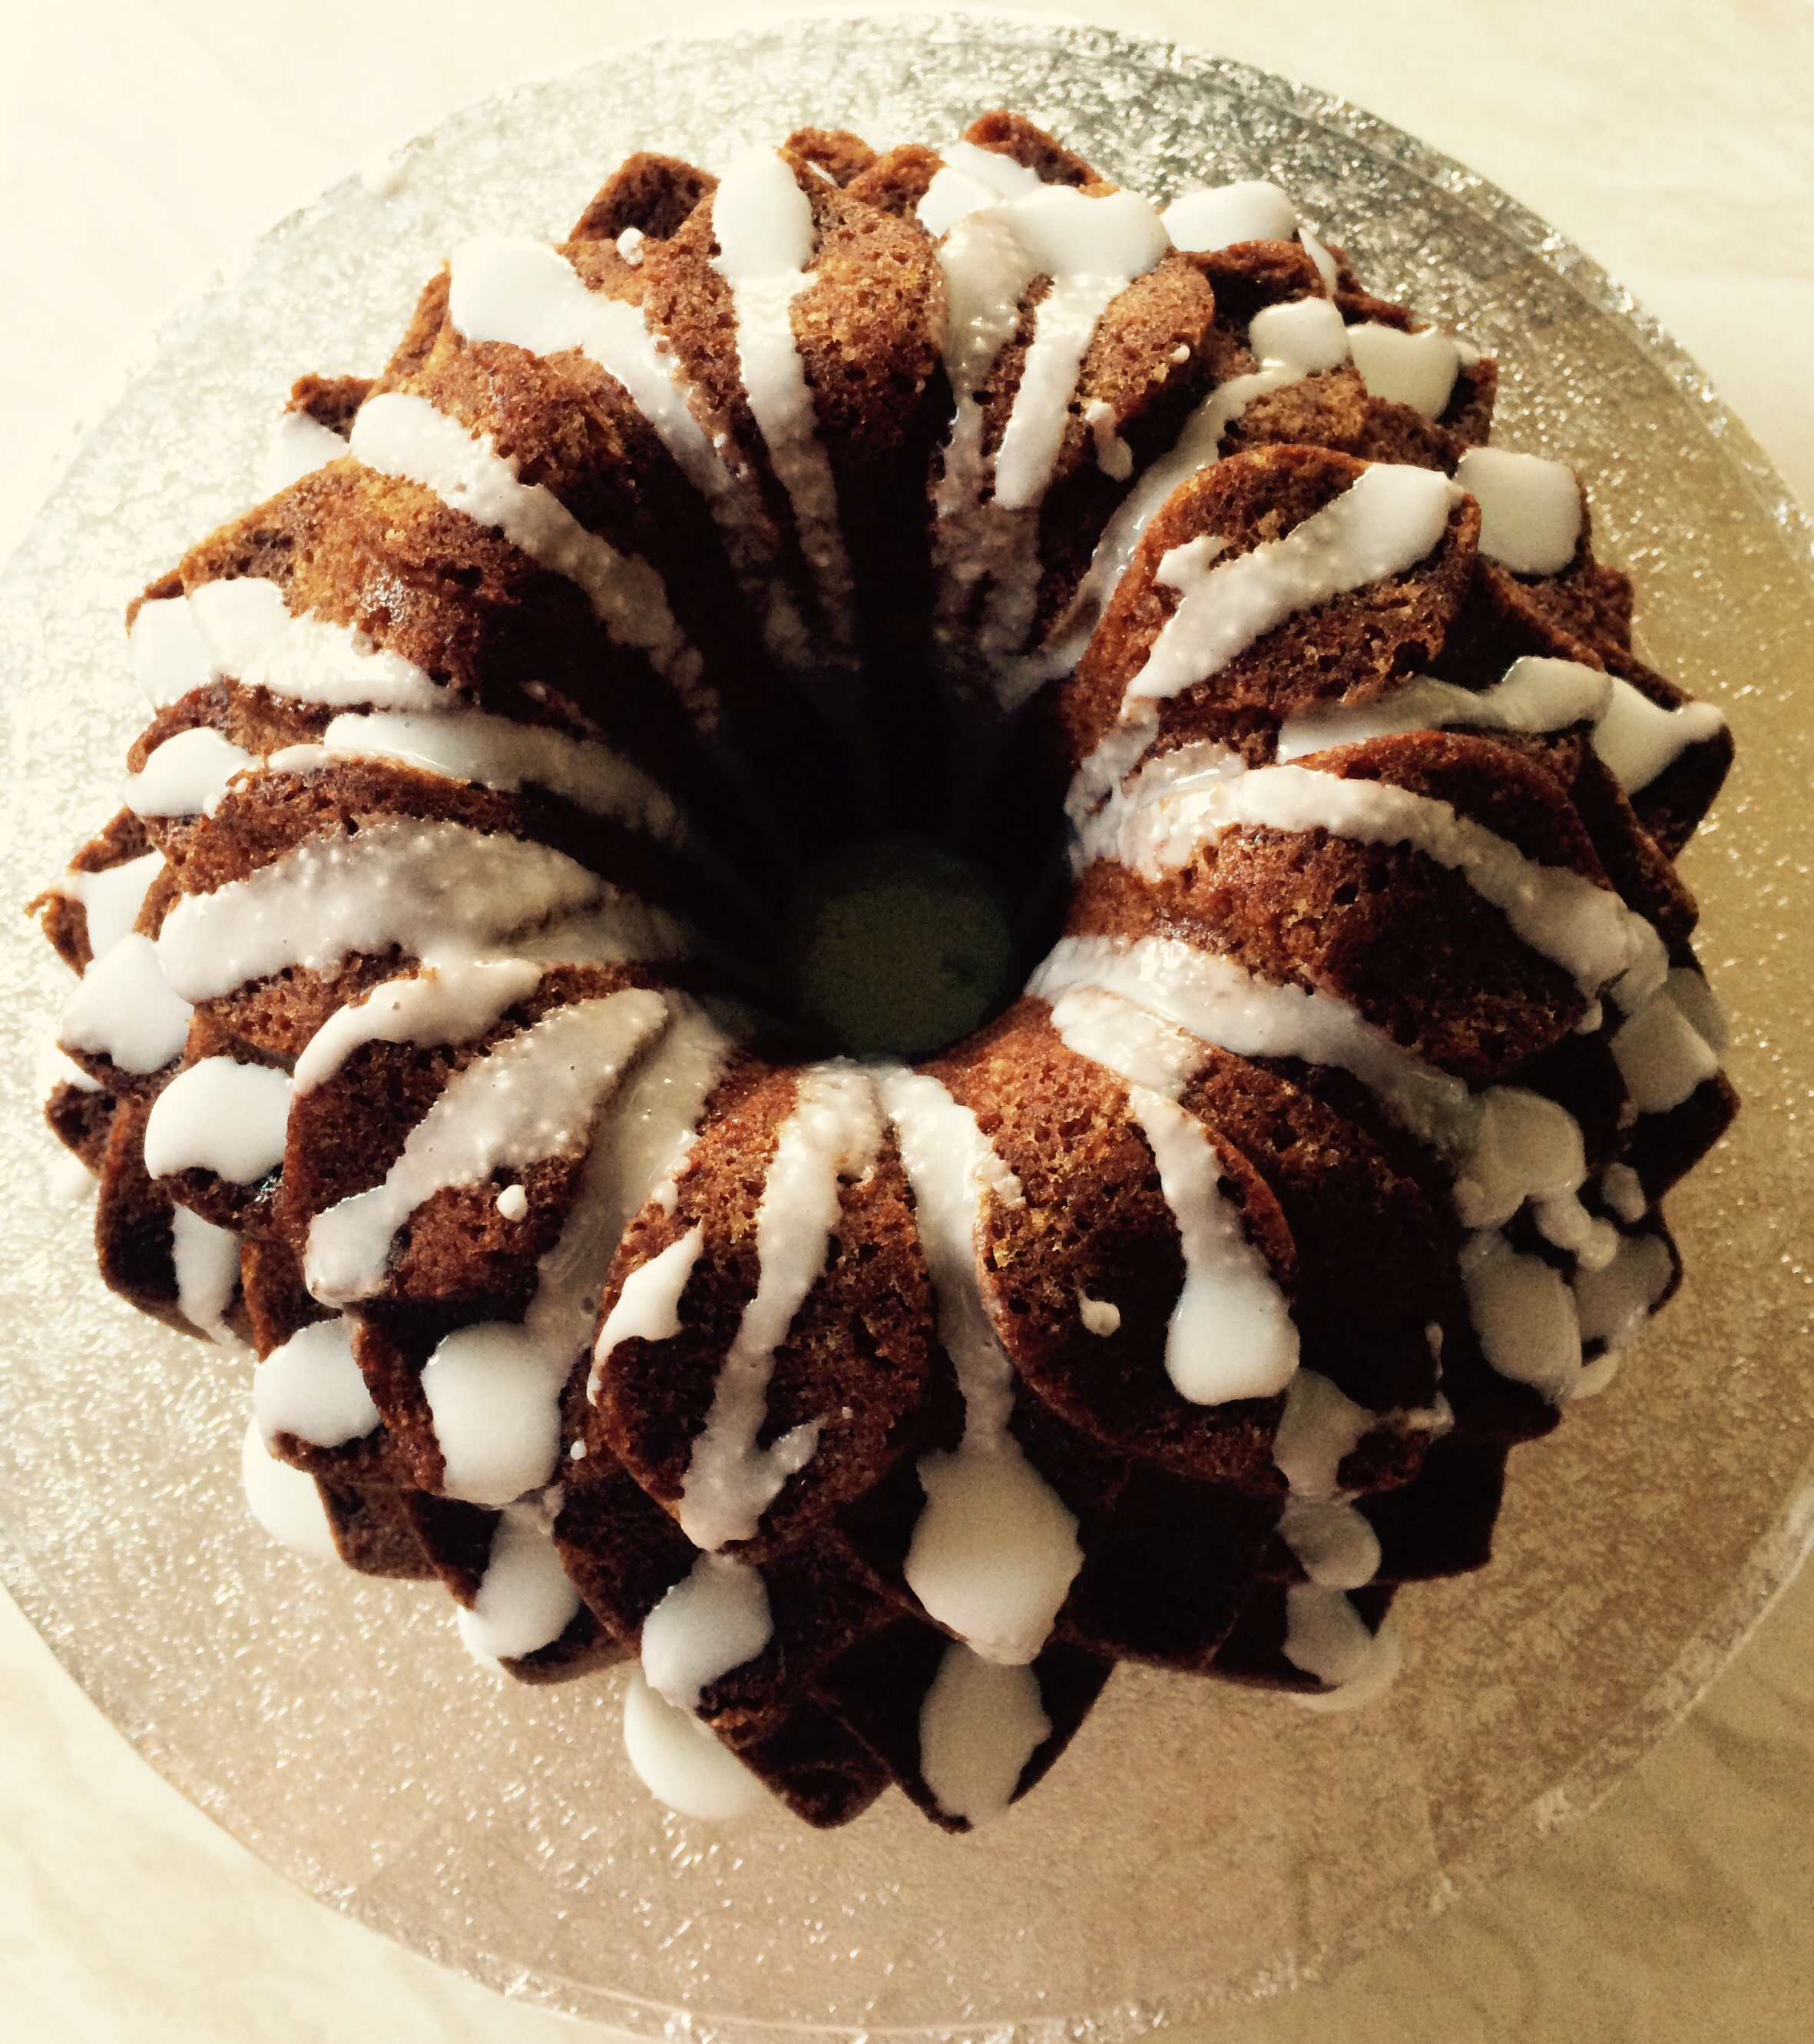
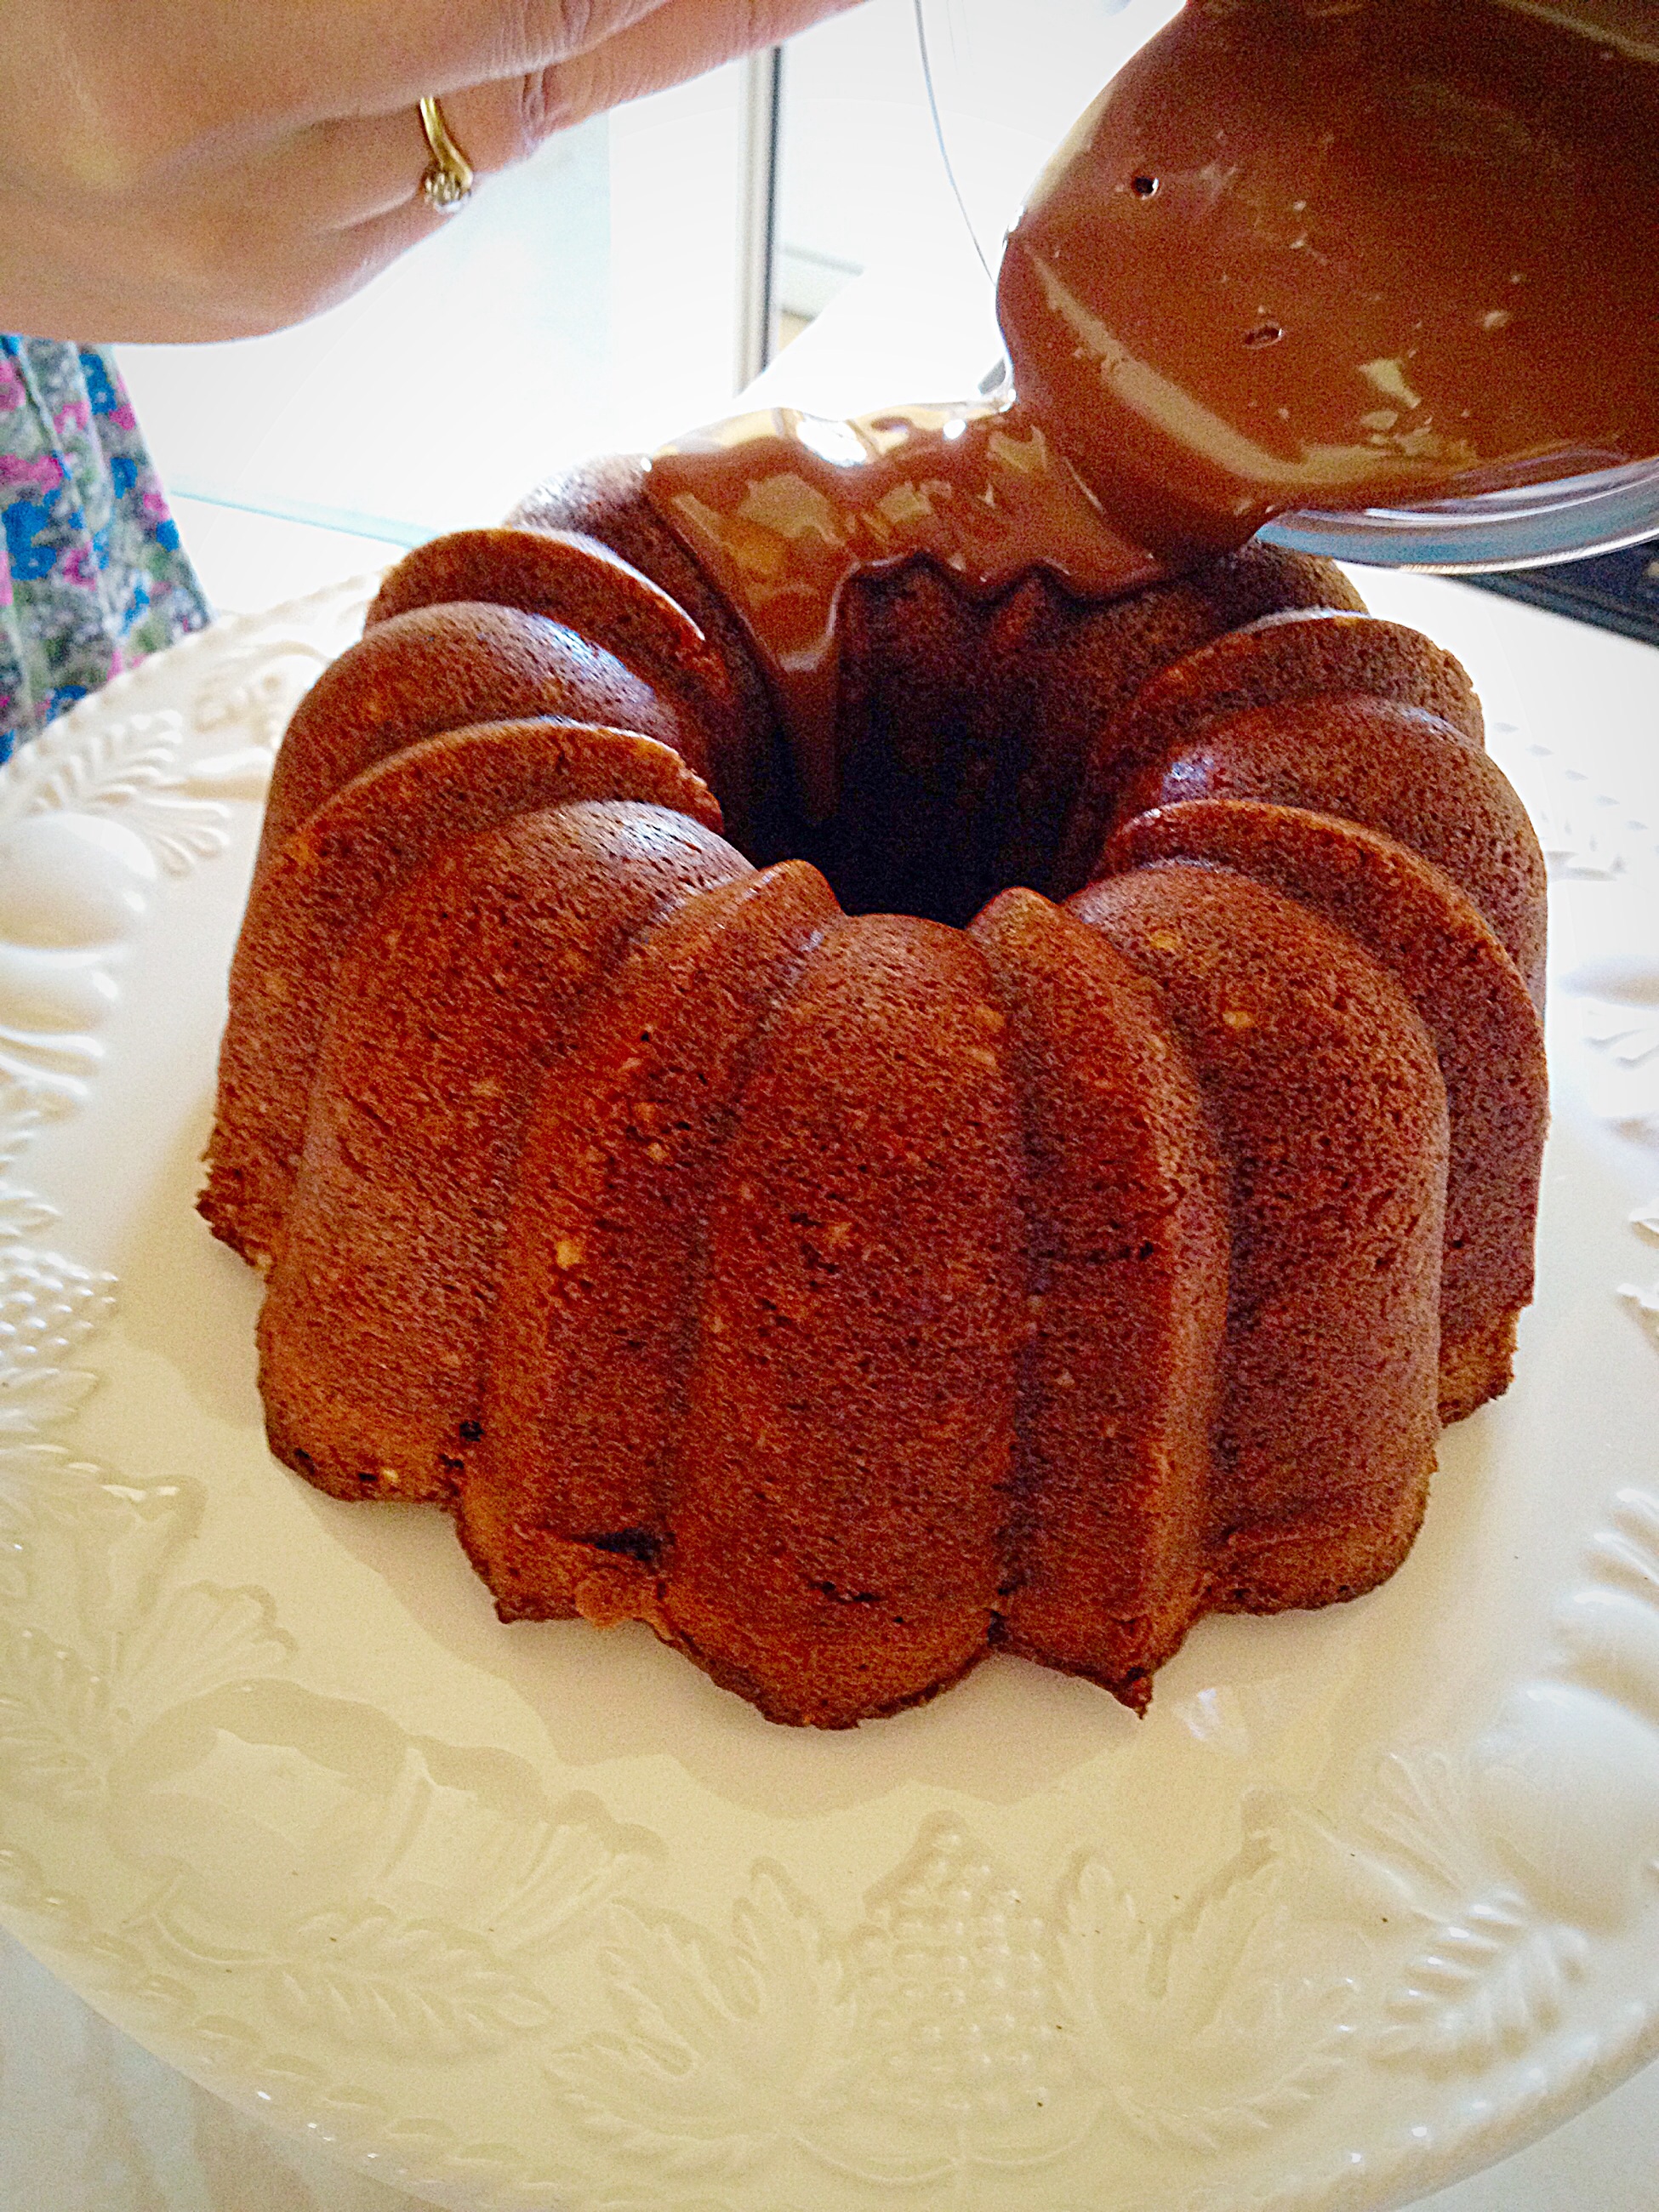
- When cool, place the cake on the cooling rack, over a clean baking tray. This will catch any excess icing drips.
- Start to spoon the icing over the top of the cake, working your way around the cake.
- Continue to spoon icing through the central hole and around the outside until the cake is fully covered.
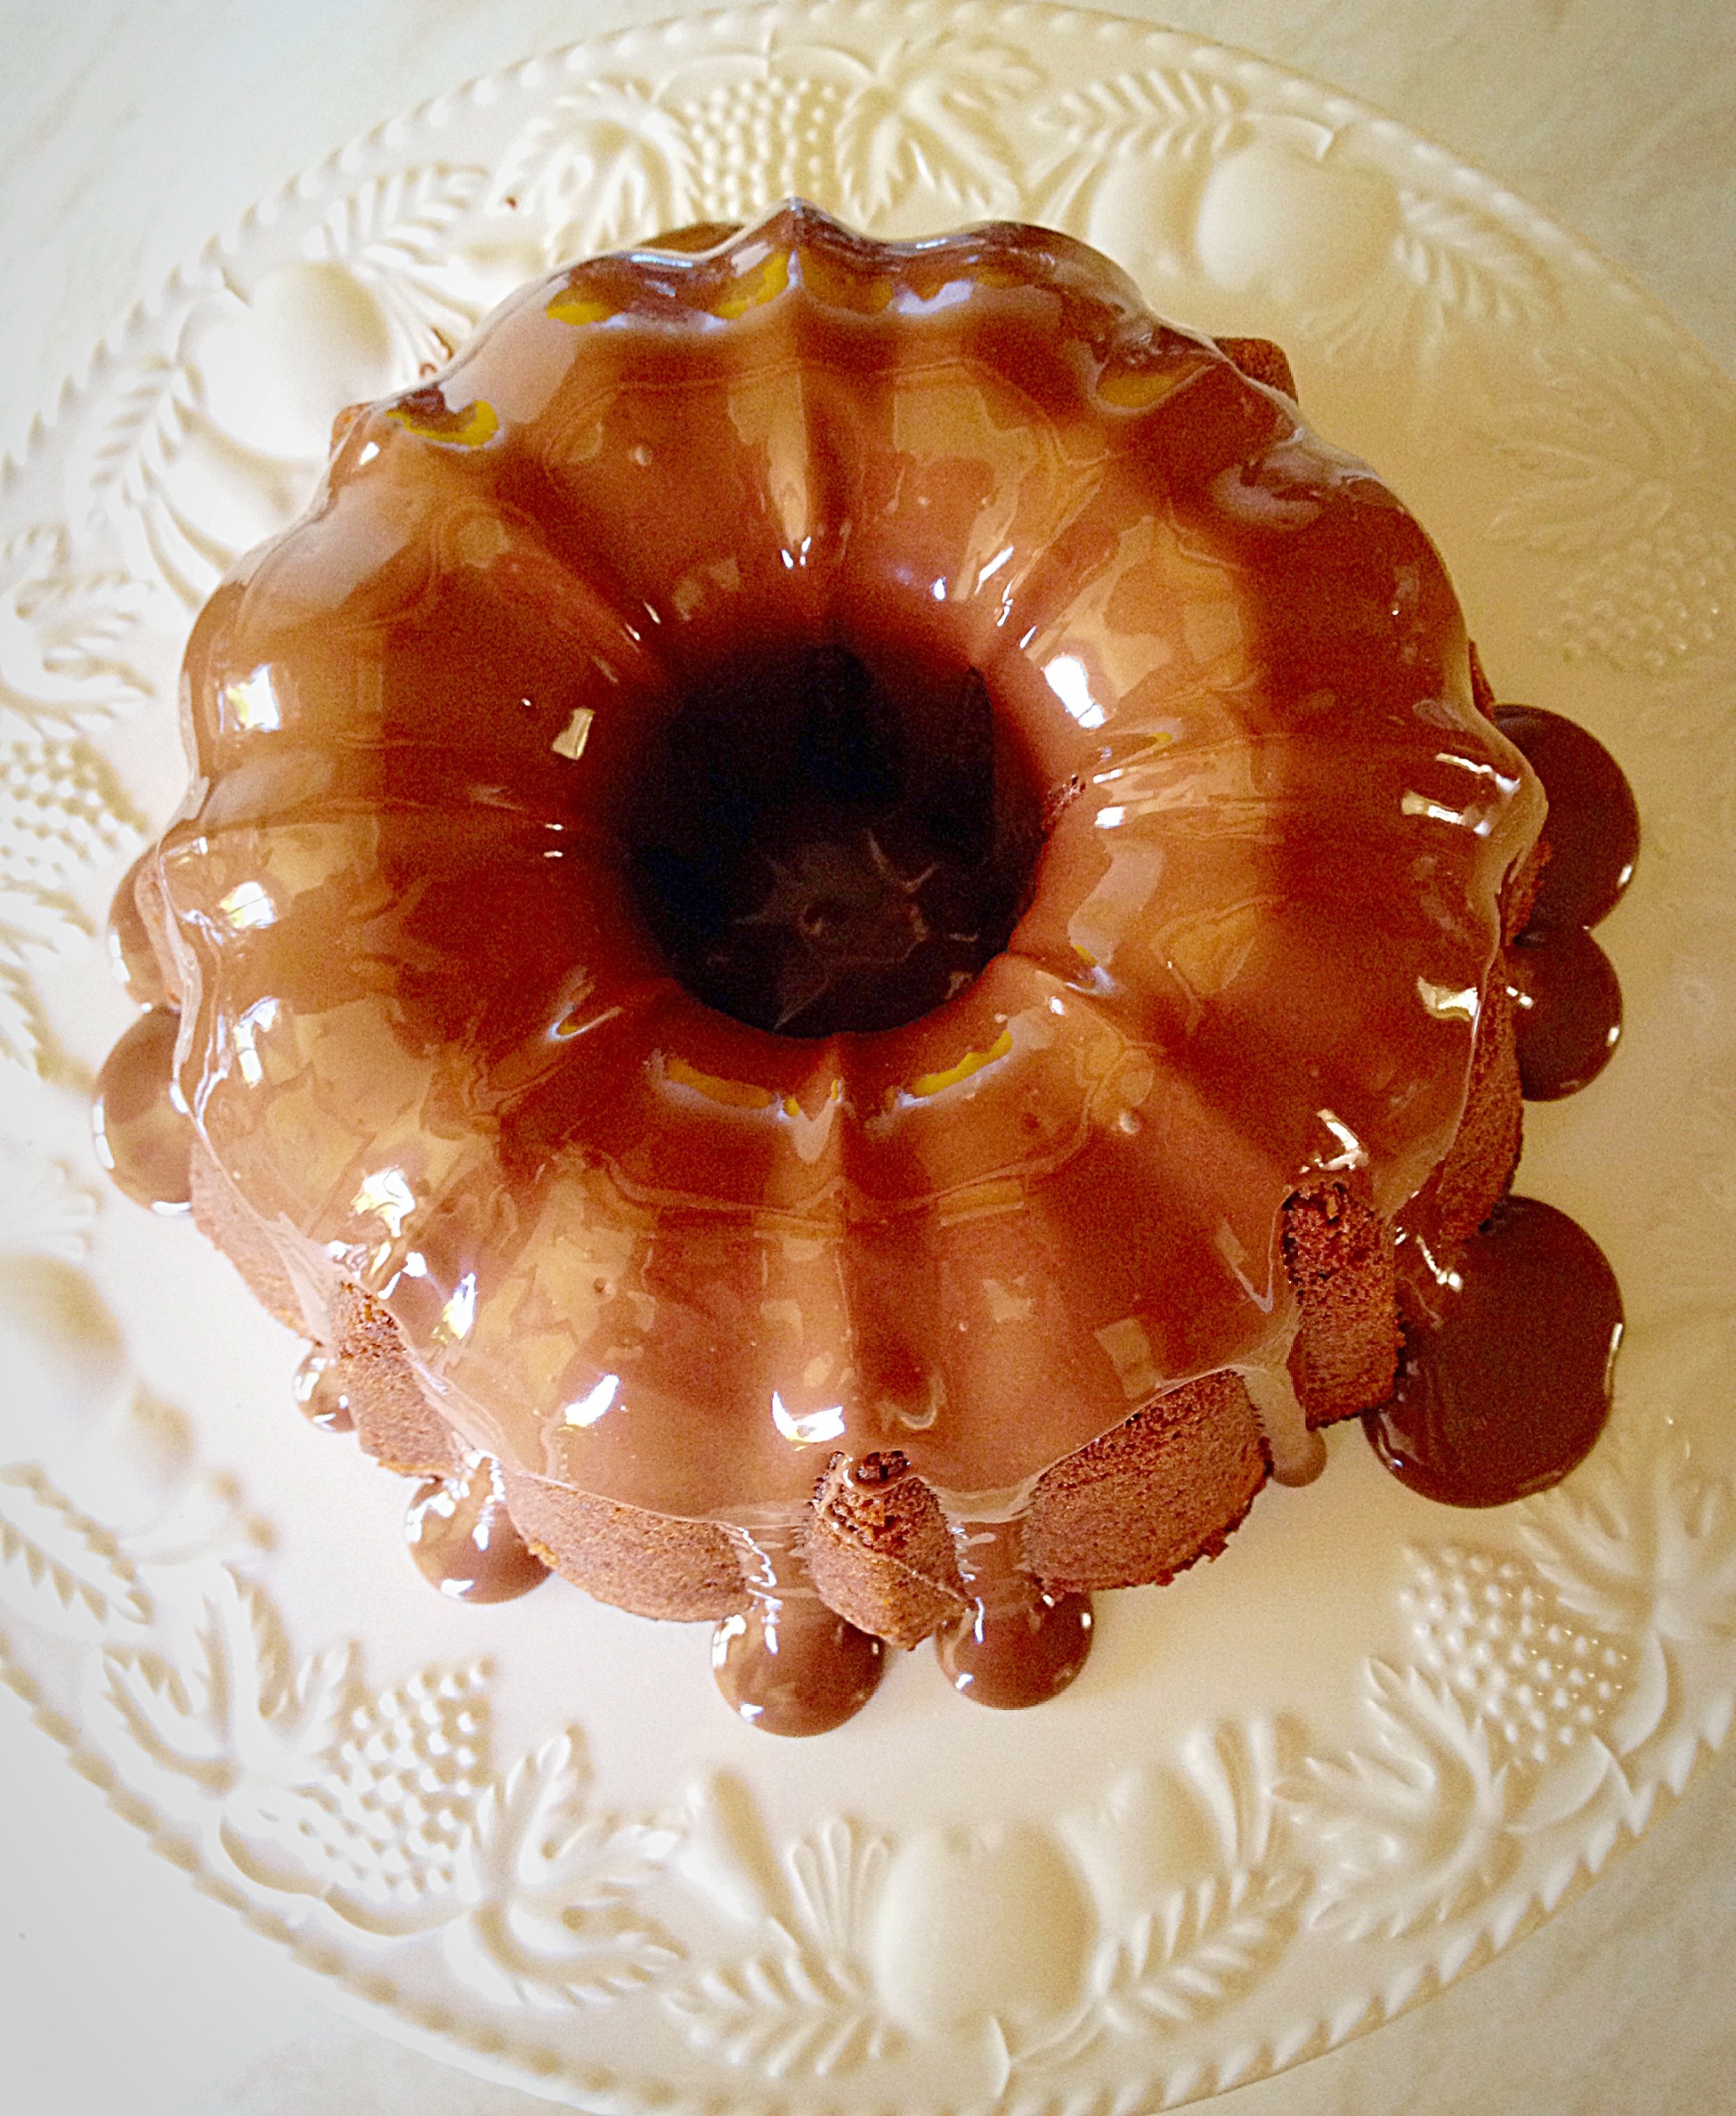
- Leave the icing to naturally drip from the cake and finally set.
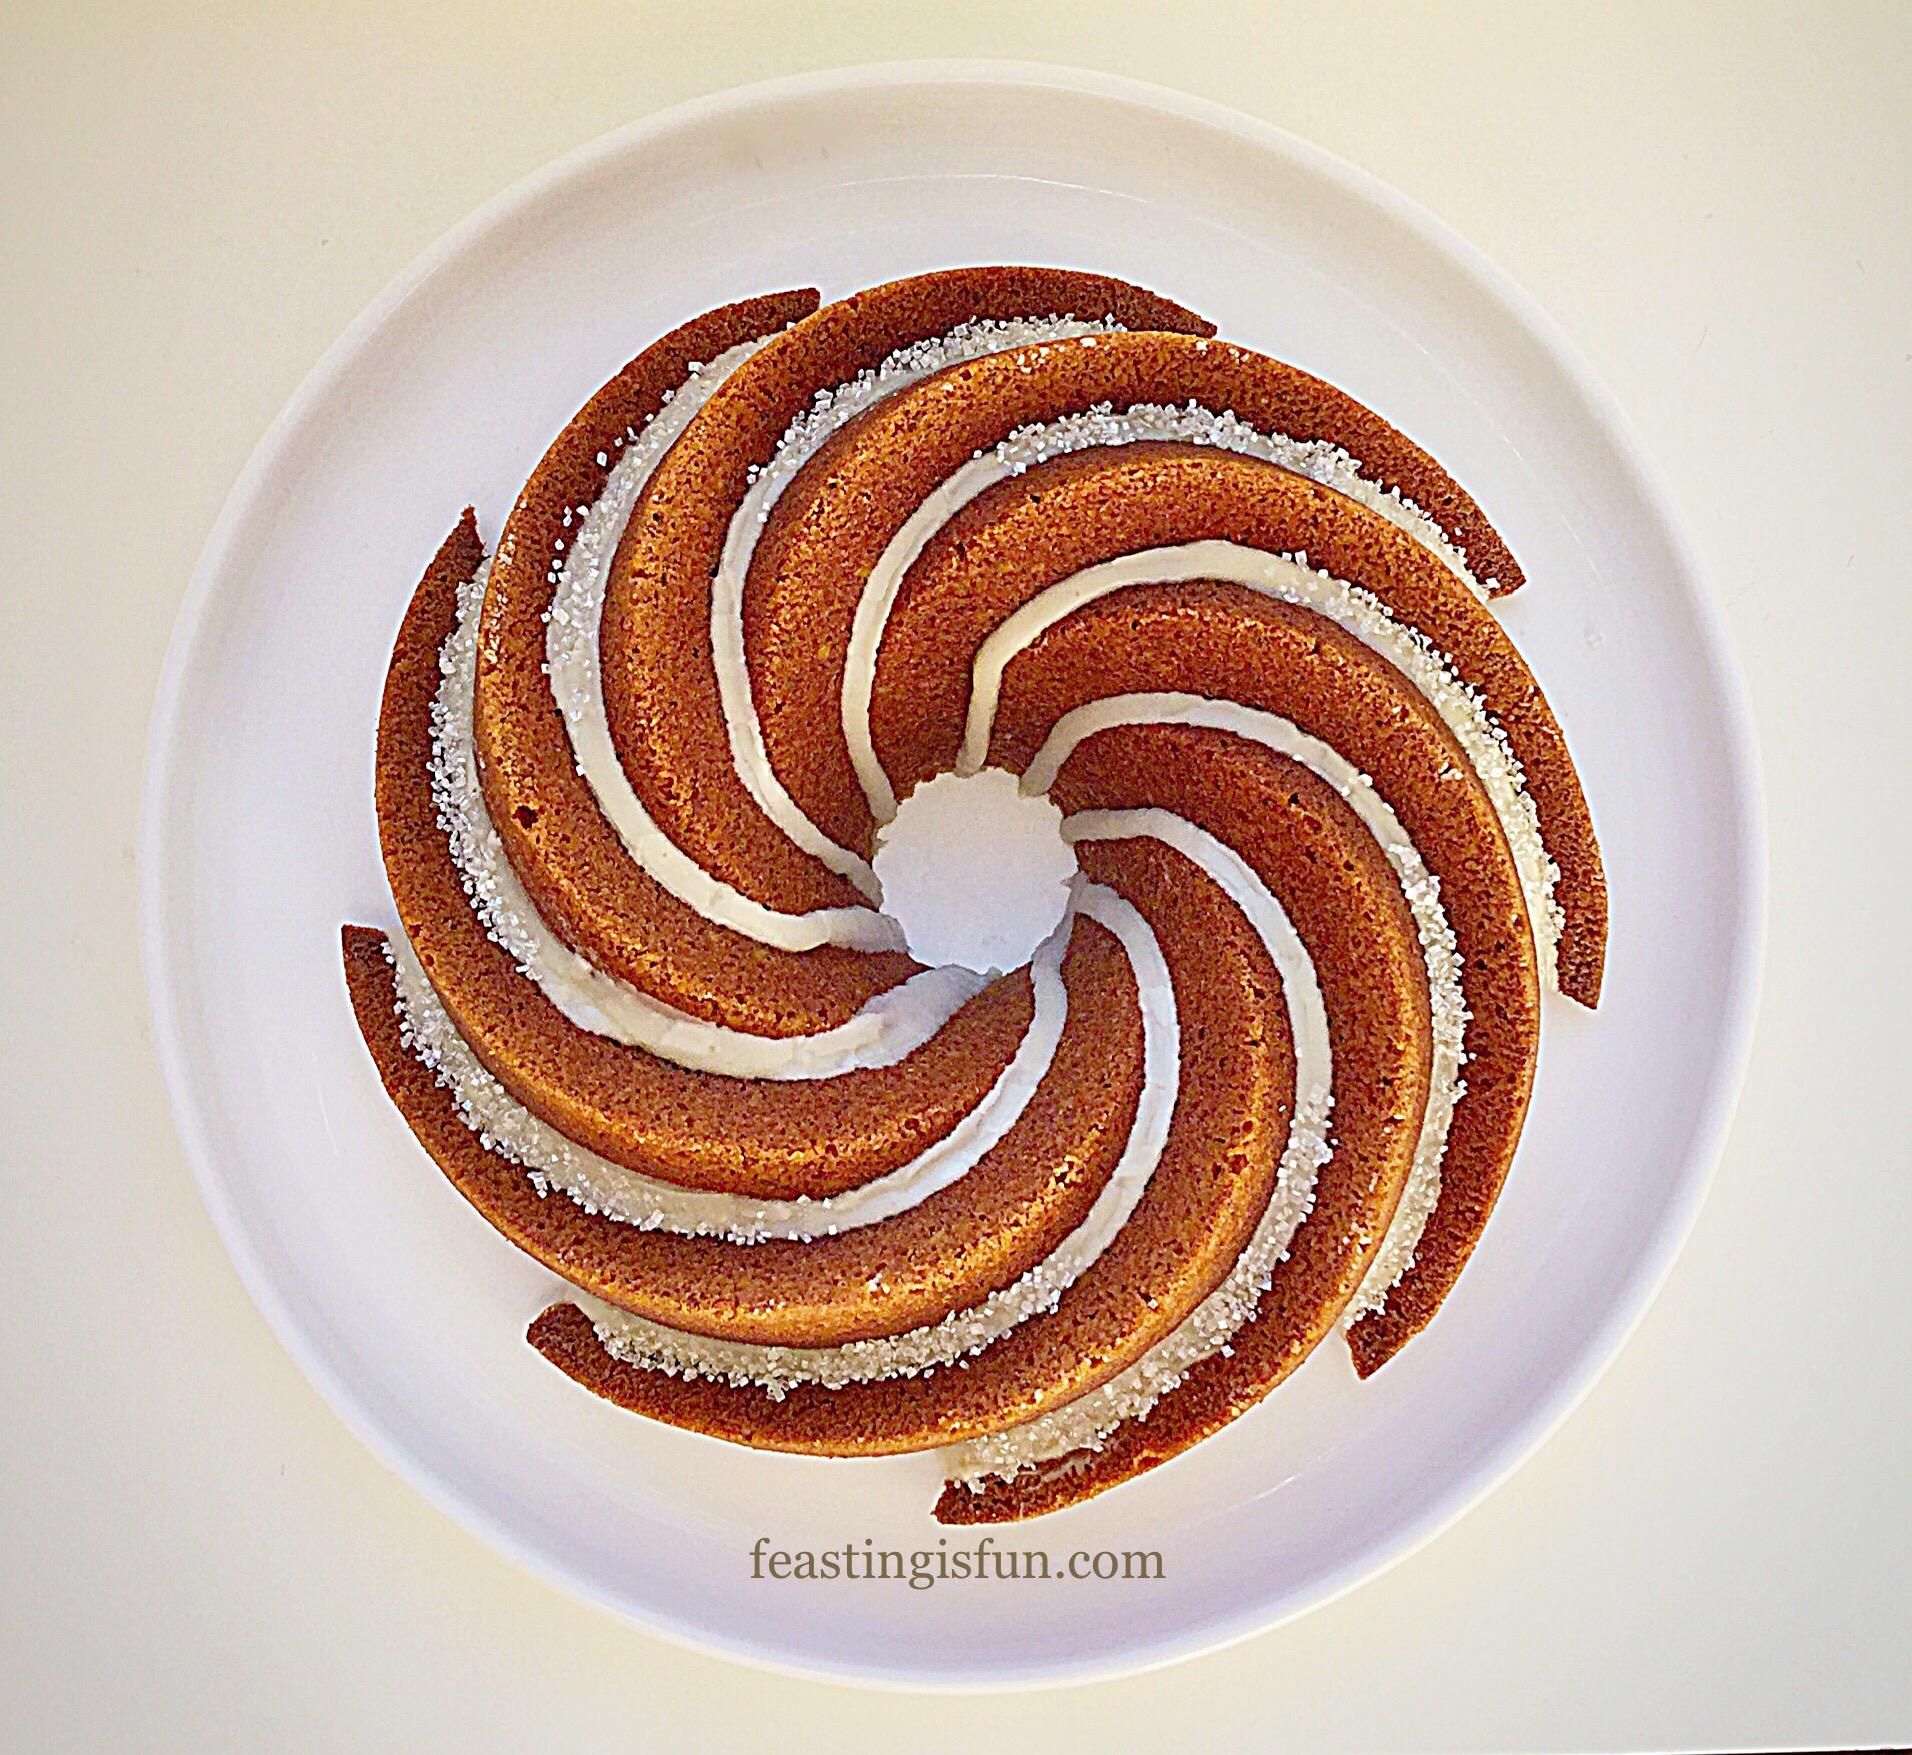
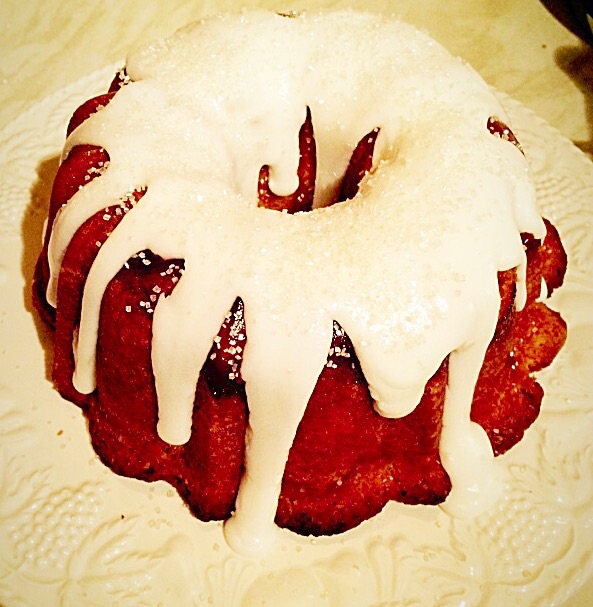
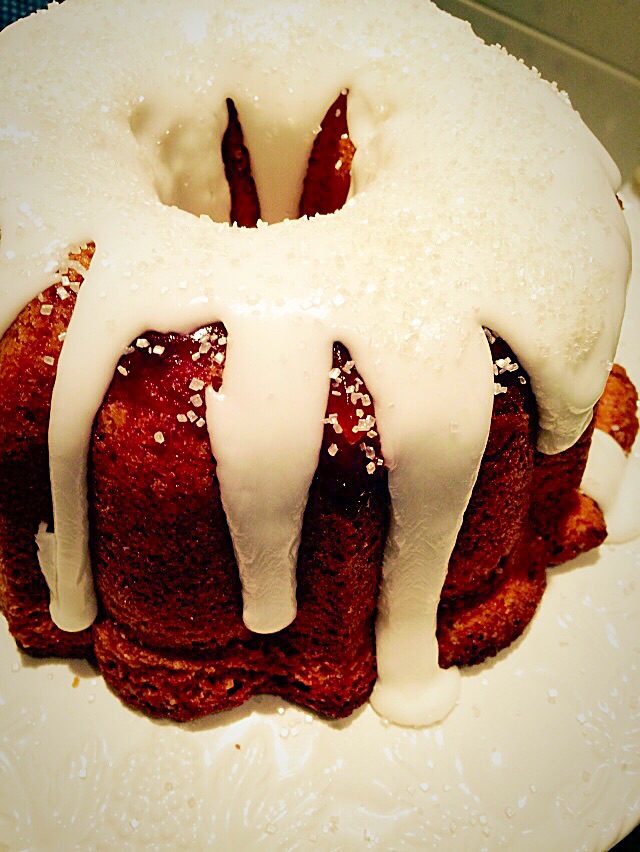
- If using, dust the cake with edible glitter.
- Move the cake on to a serving plate or stand.
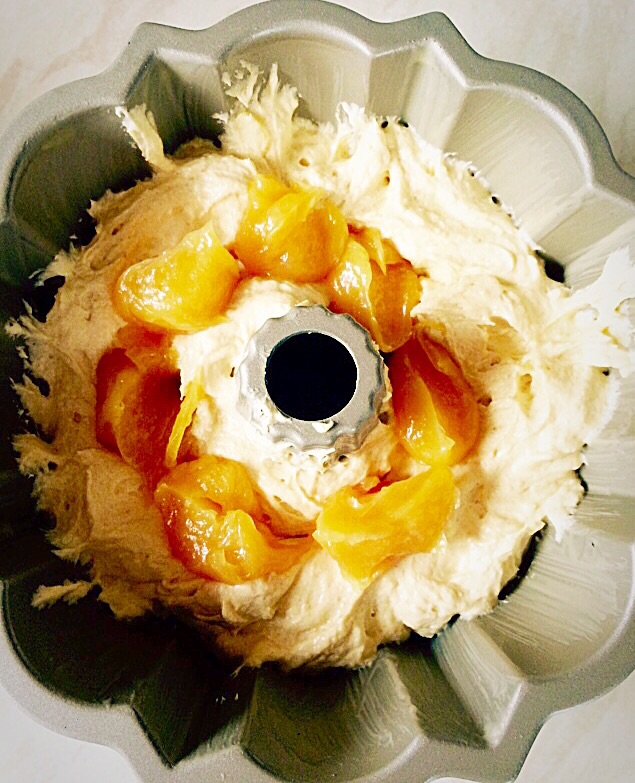
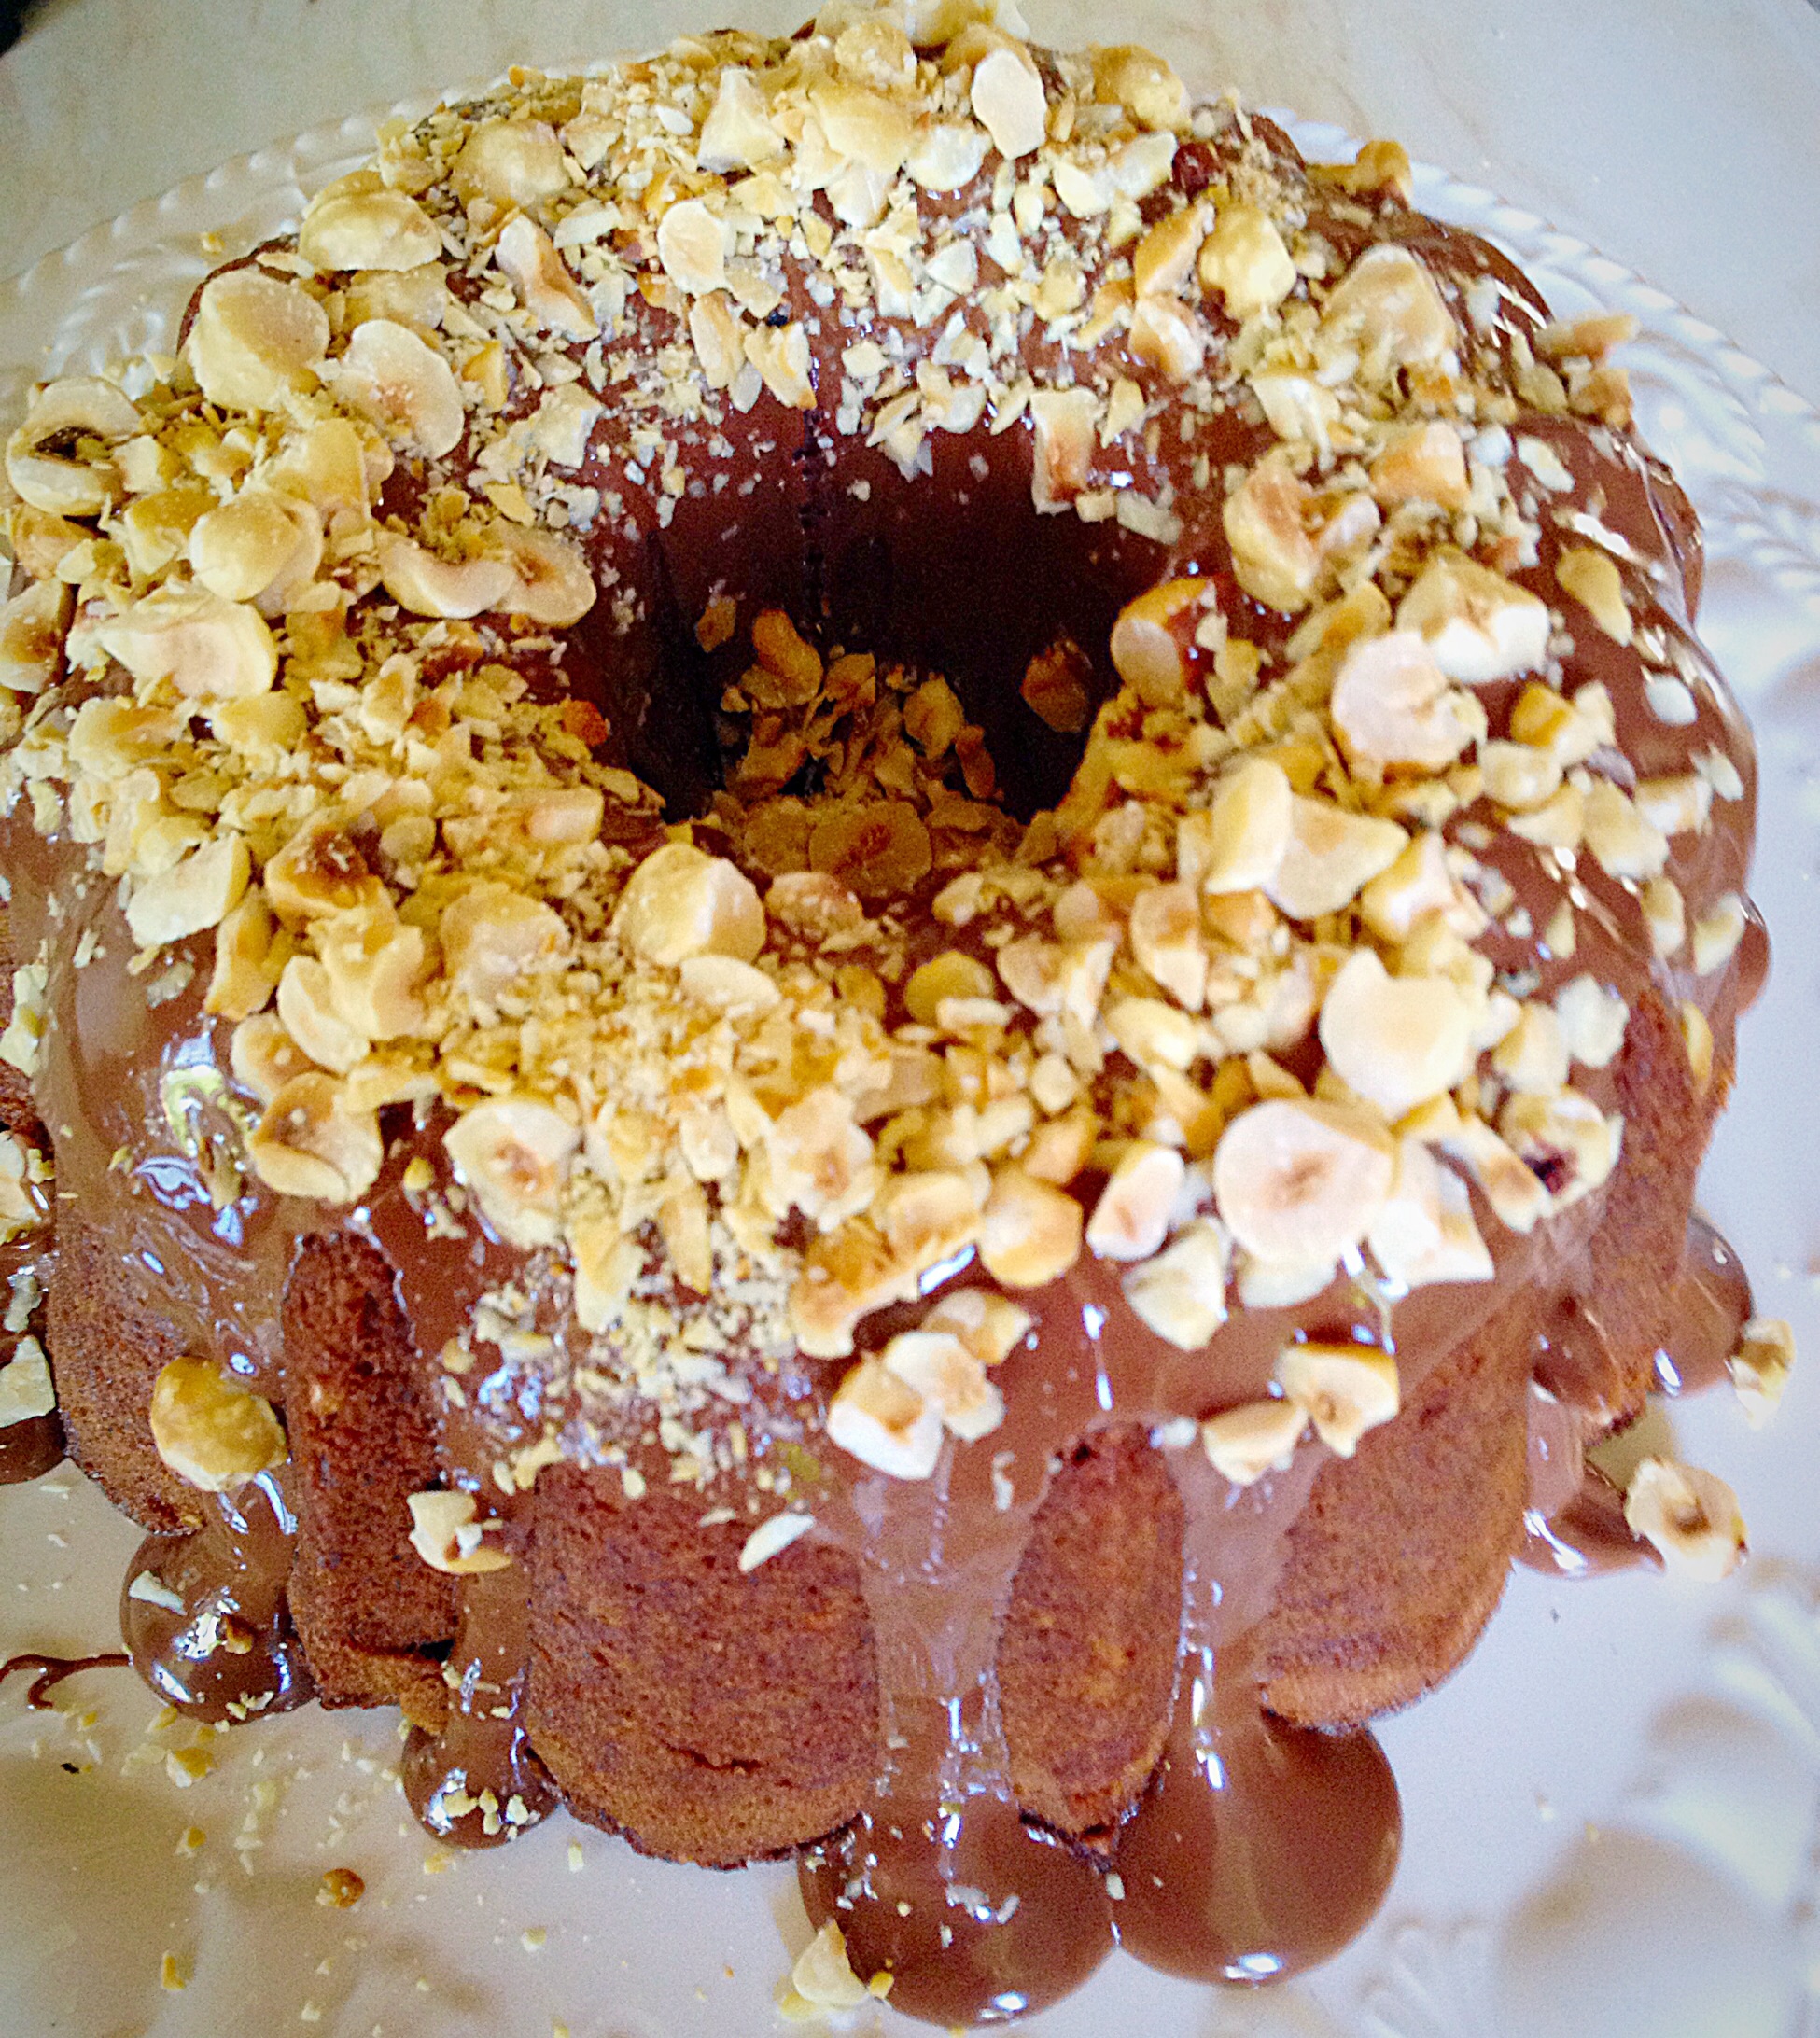
- Place the chocolate hearts on top of the cake, reserving some for serving alongside.
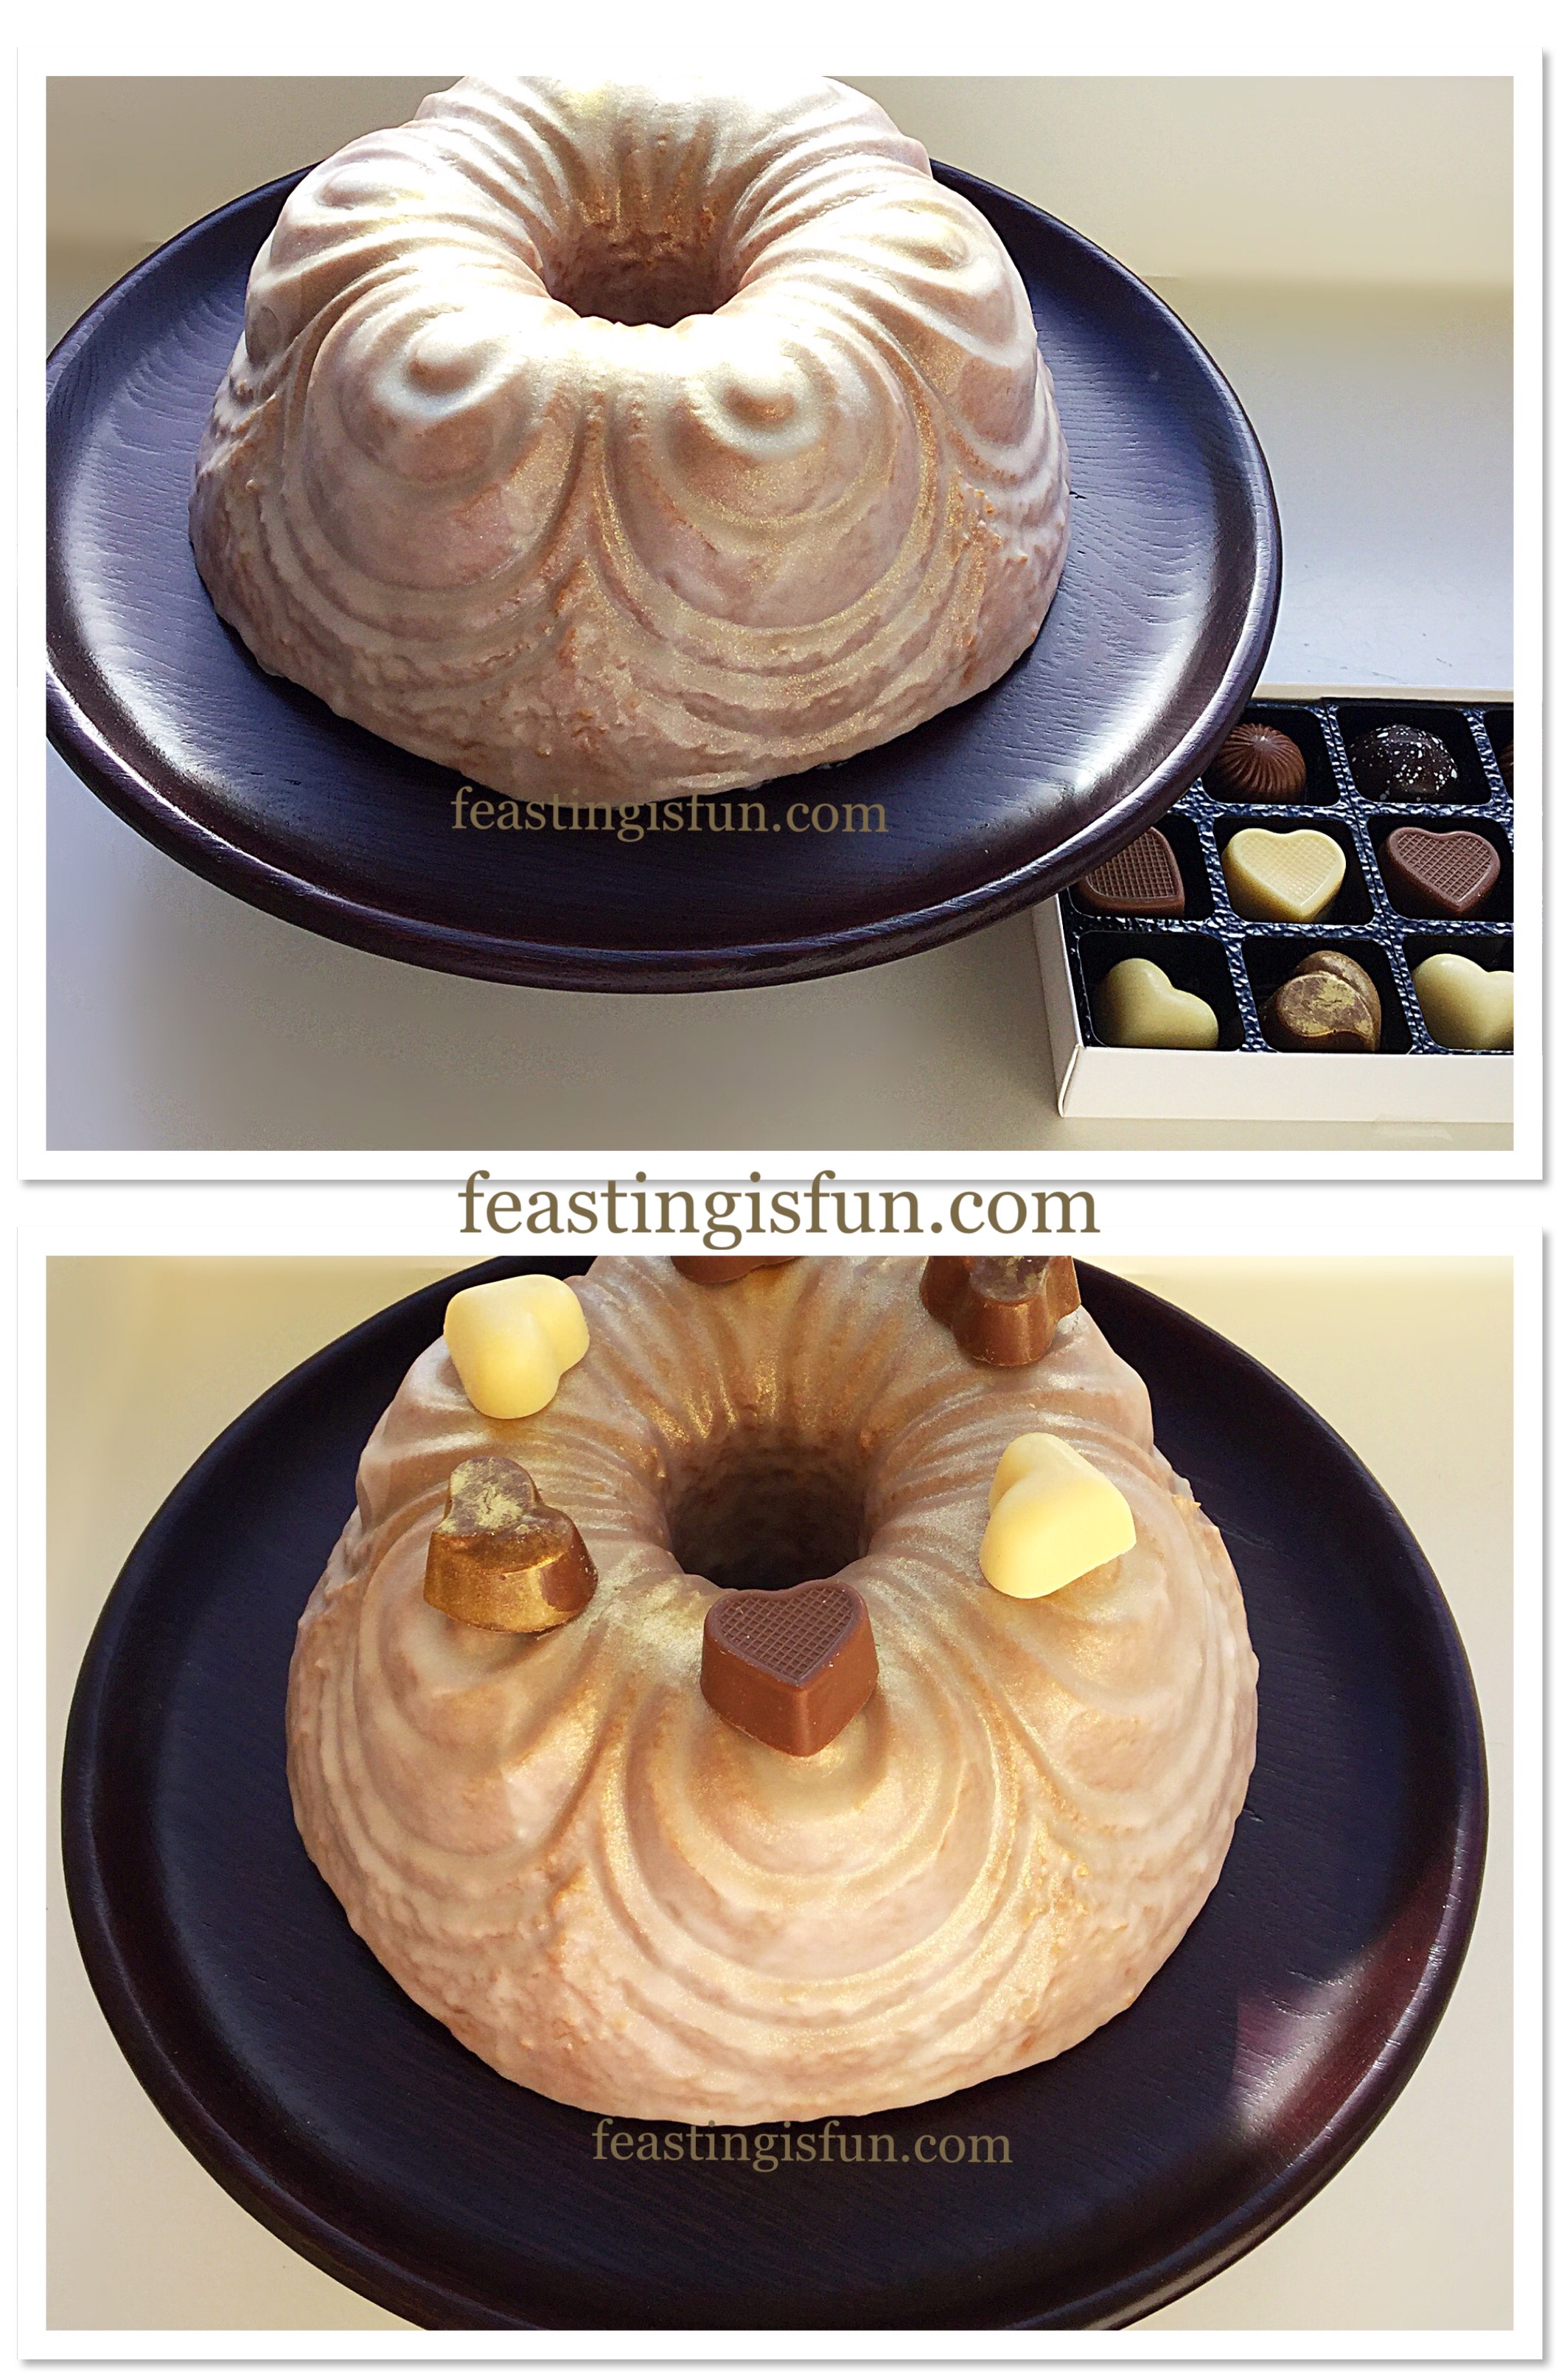
Serve with love and a smile.
The cake will keep in an airtight container for up to 5 days. If it lasts that long.
If you have enjoyed this recipe for Chocolate Heart Topped Rose Bundt Cake then you may also like these:
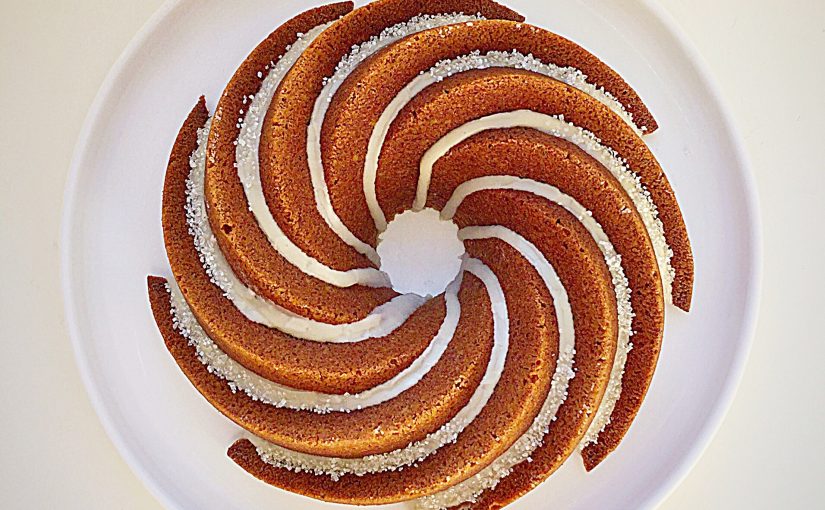
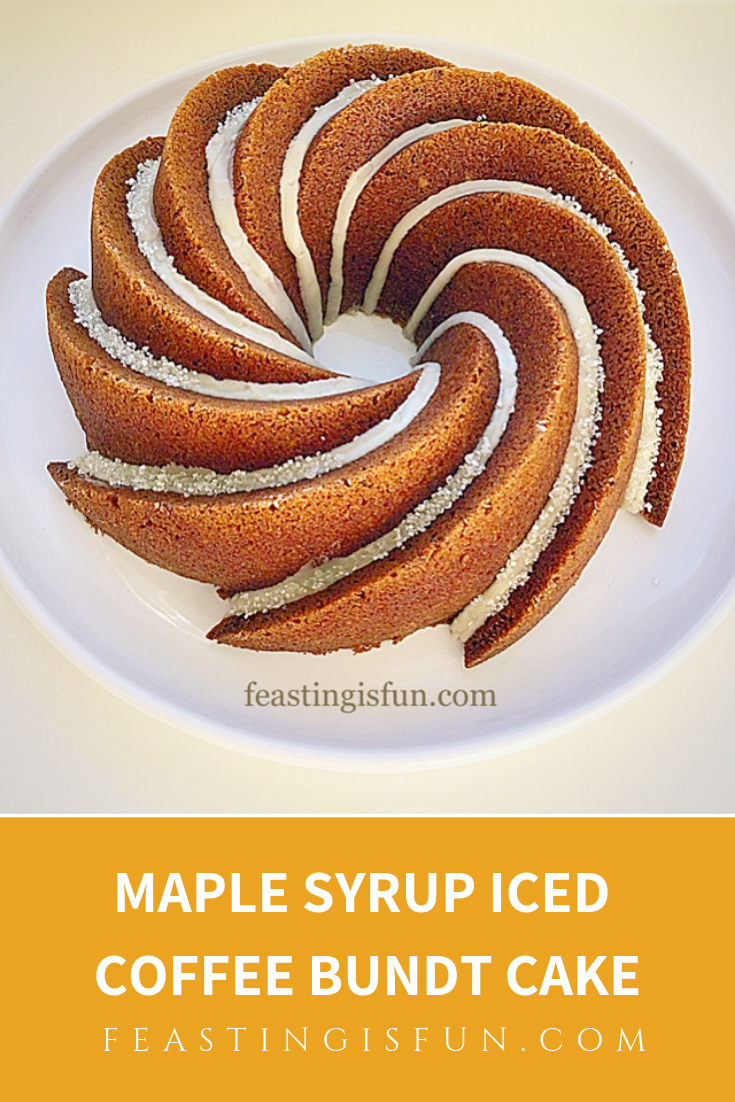
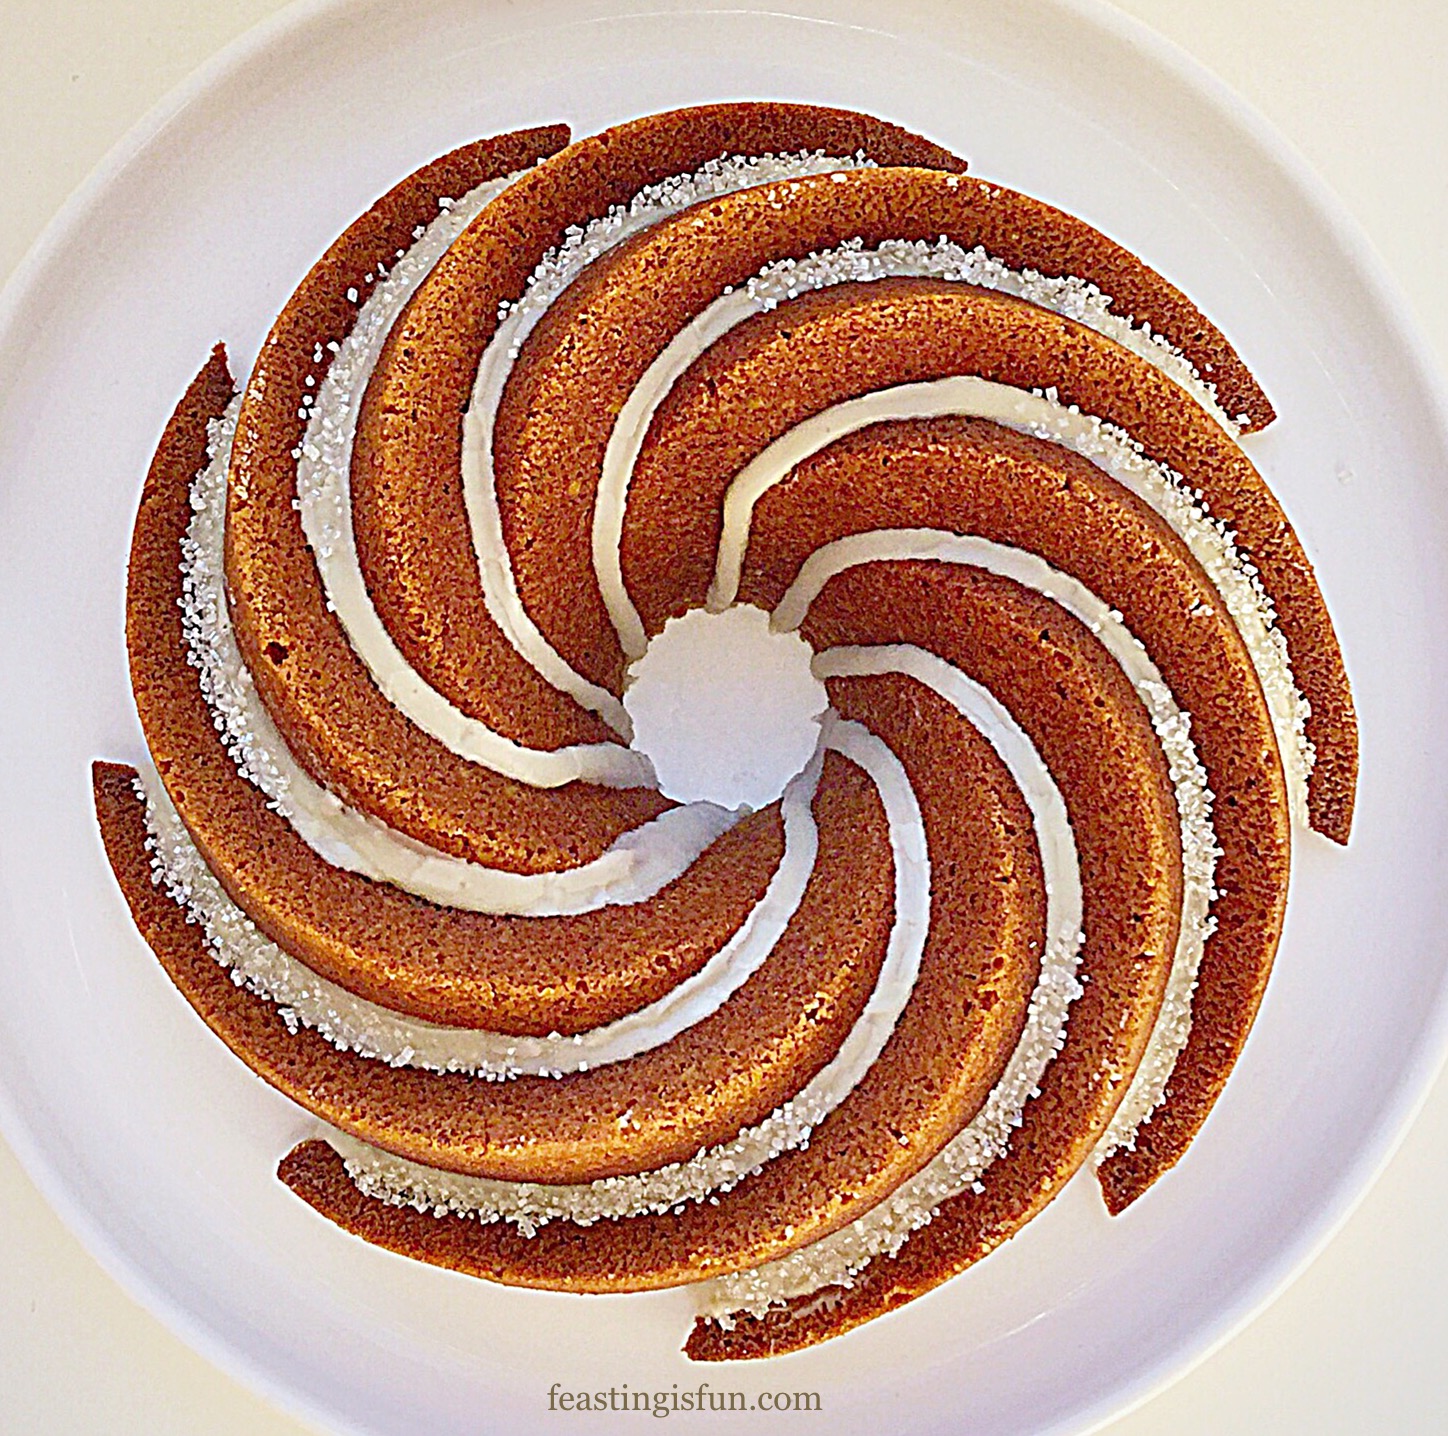
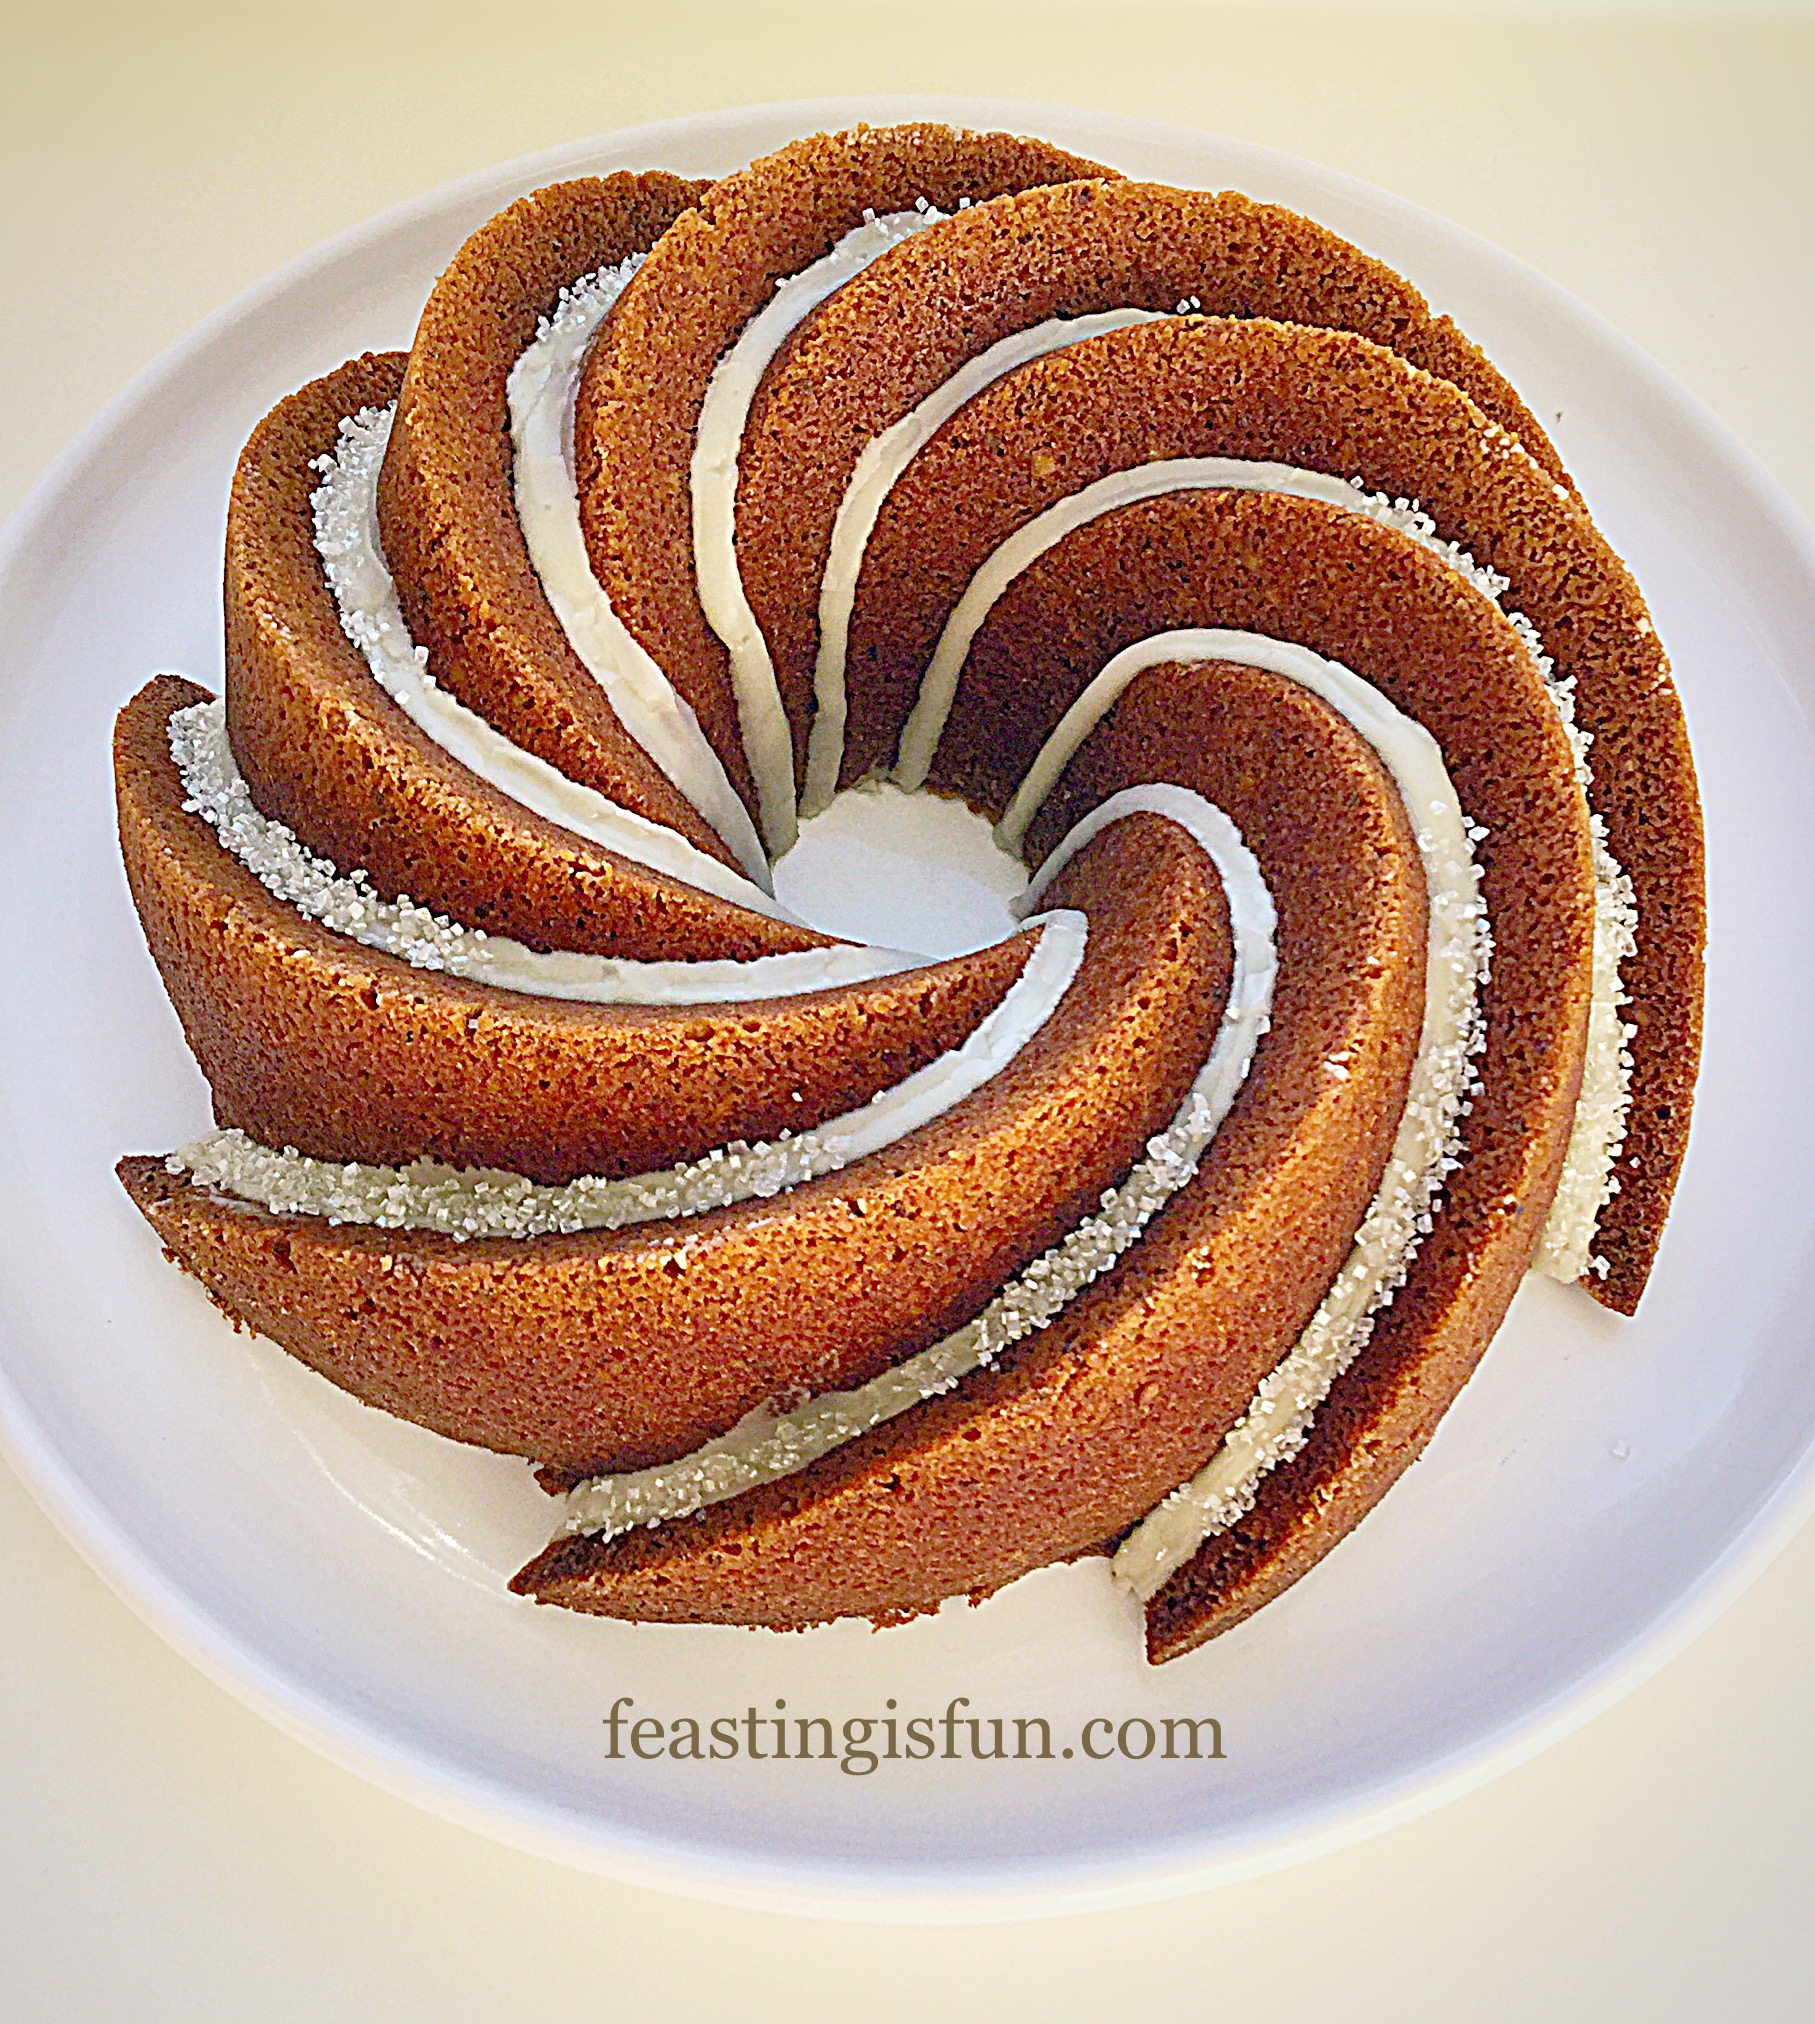
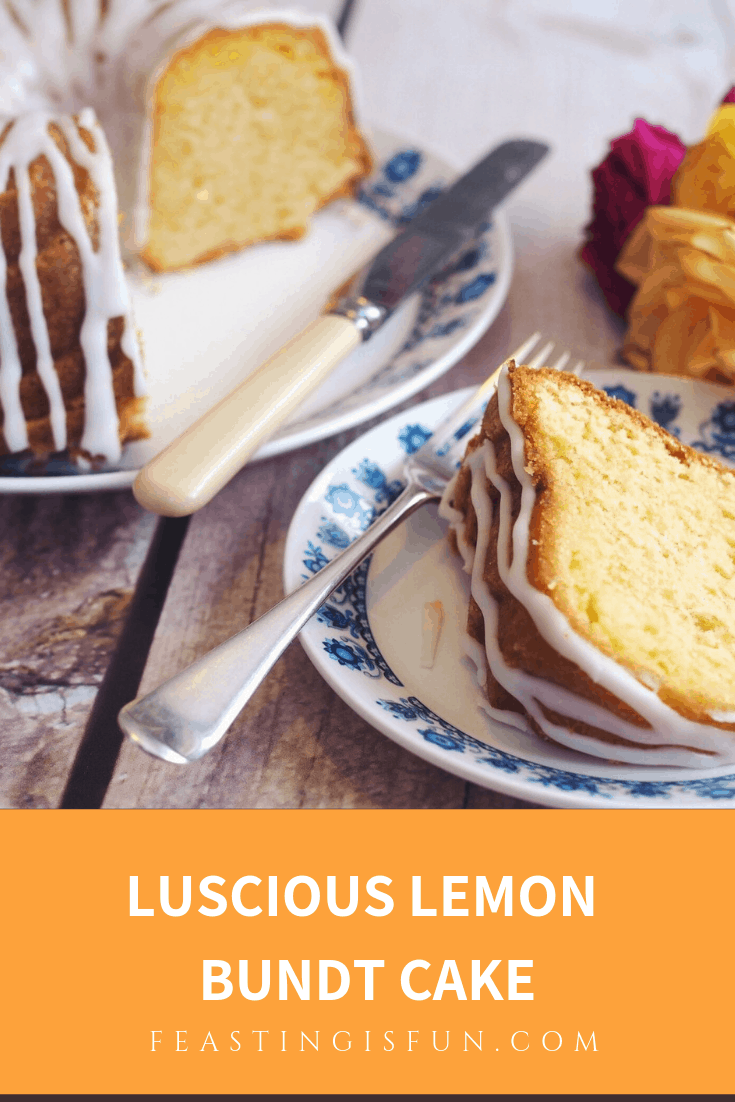
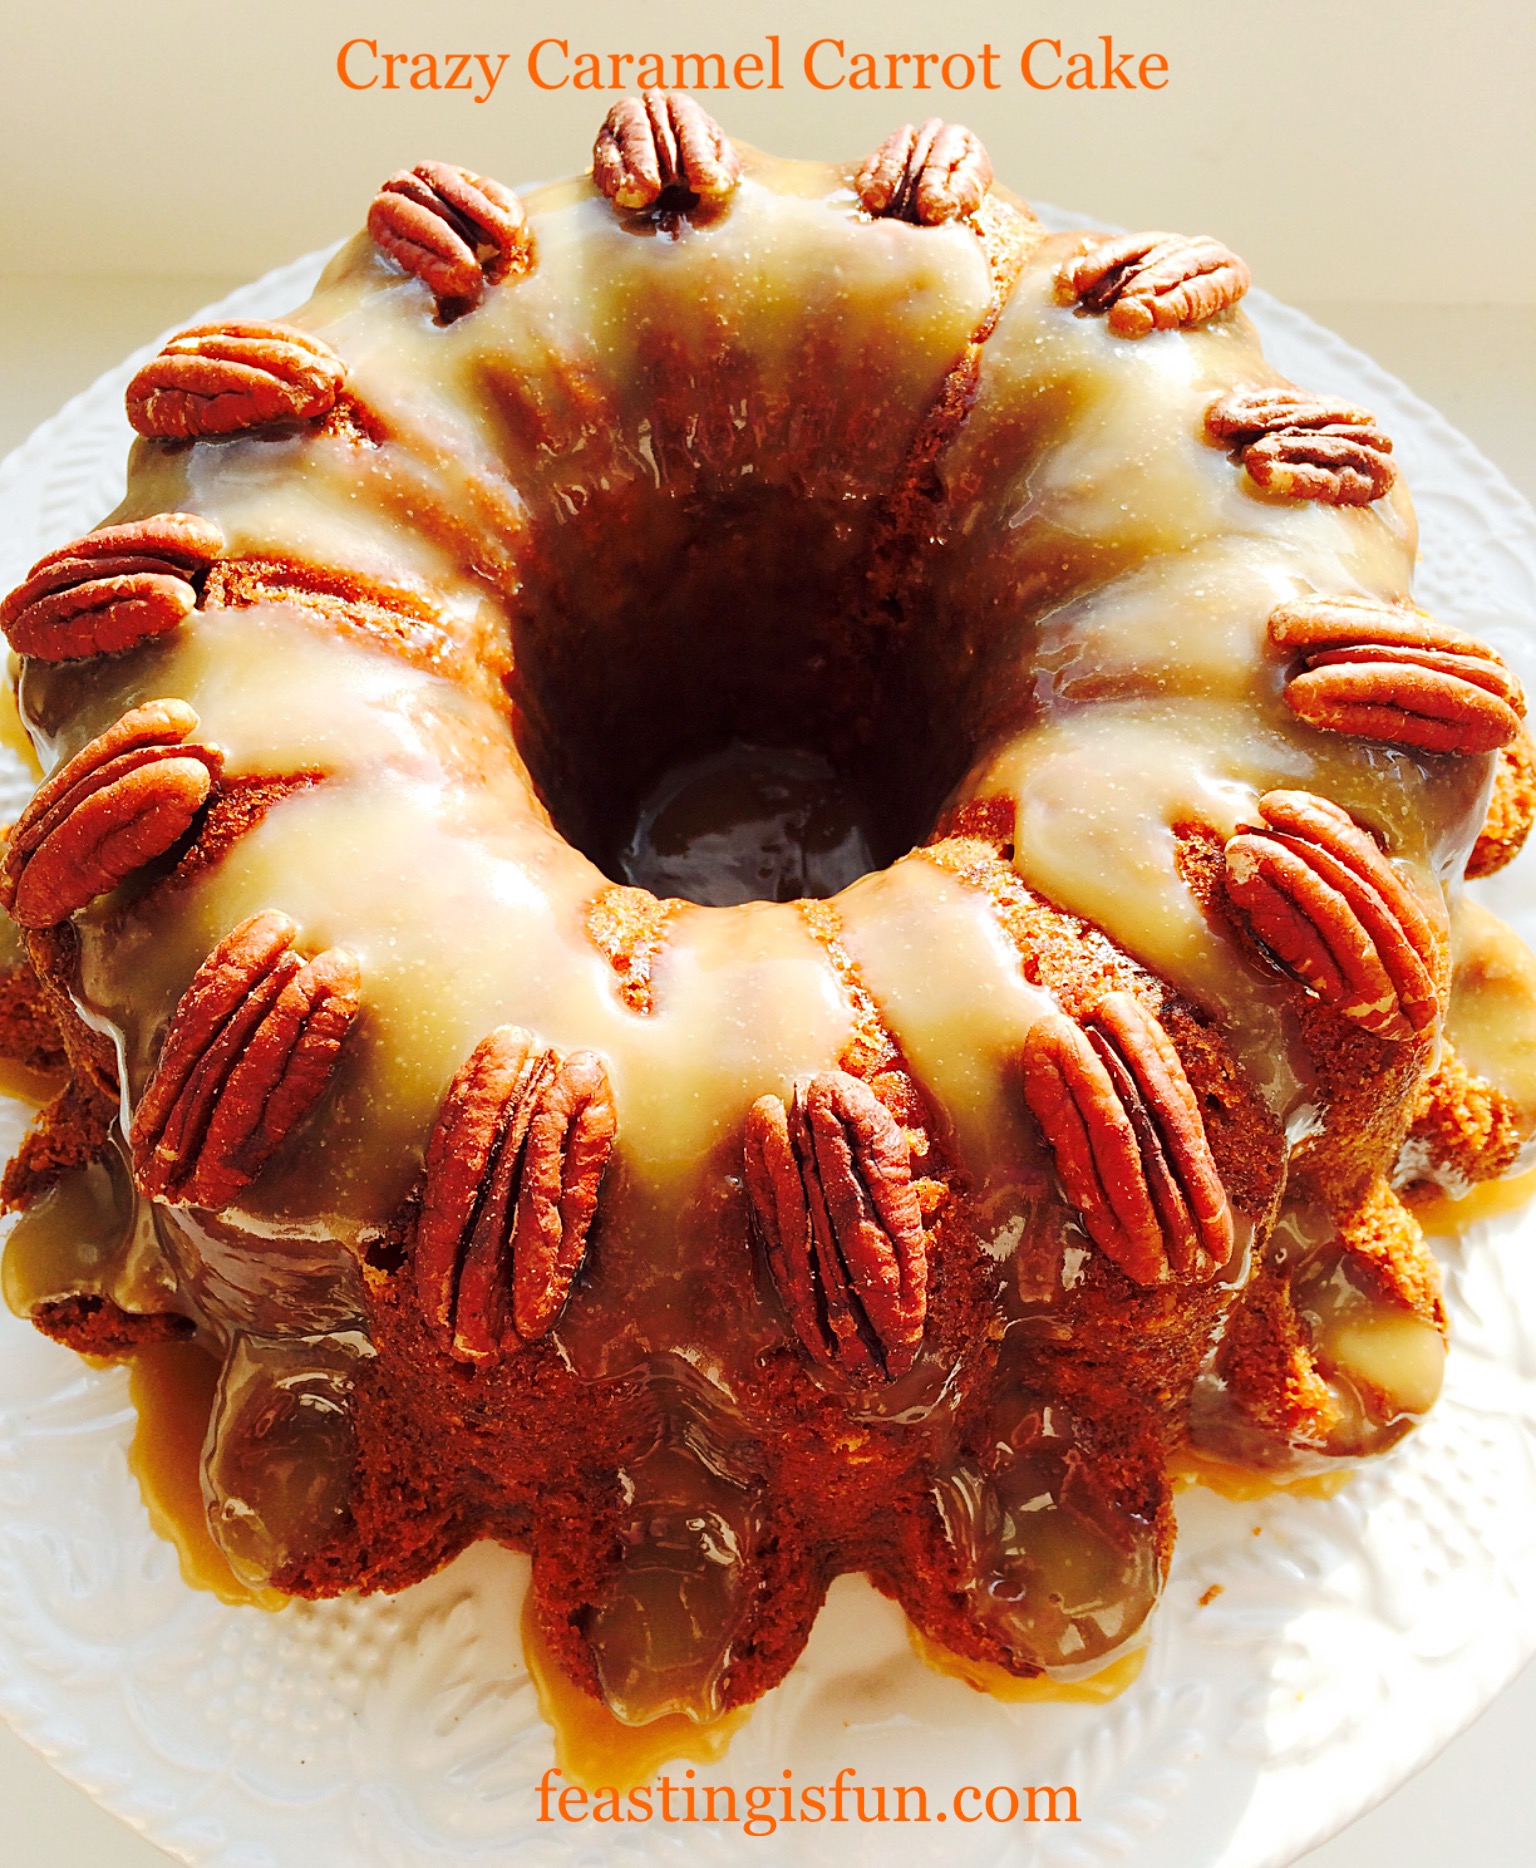
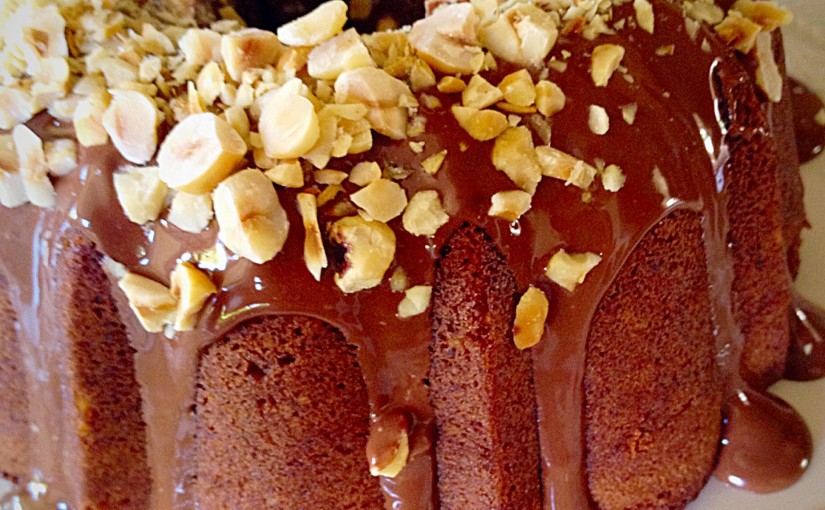
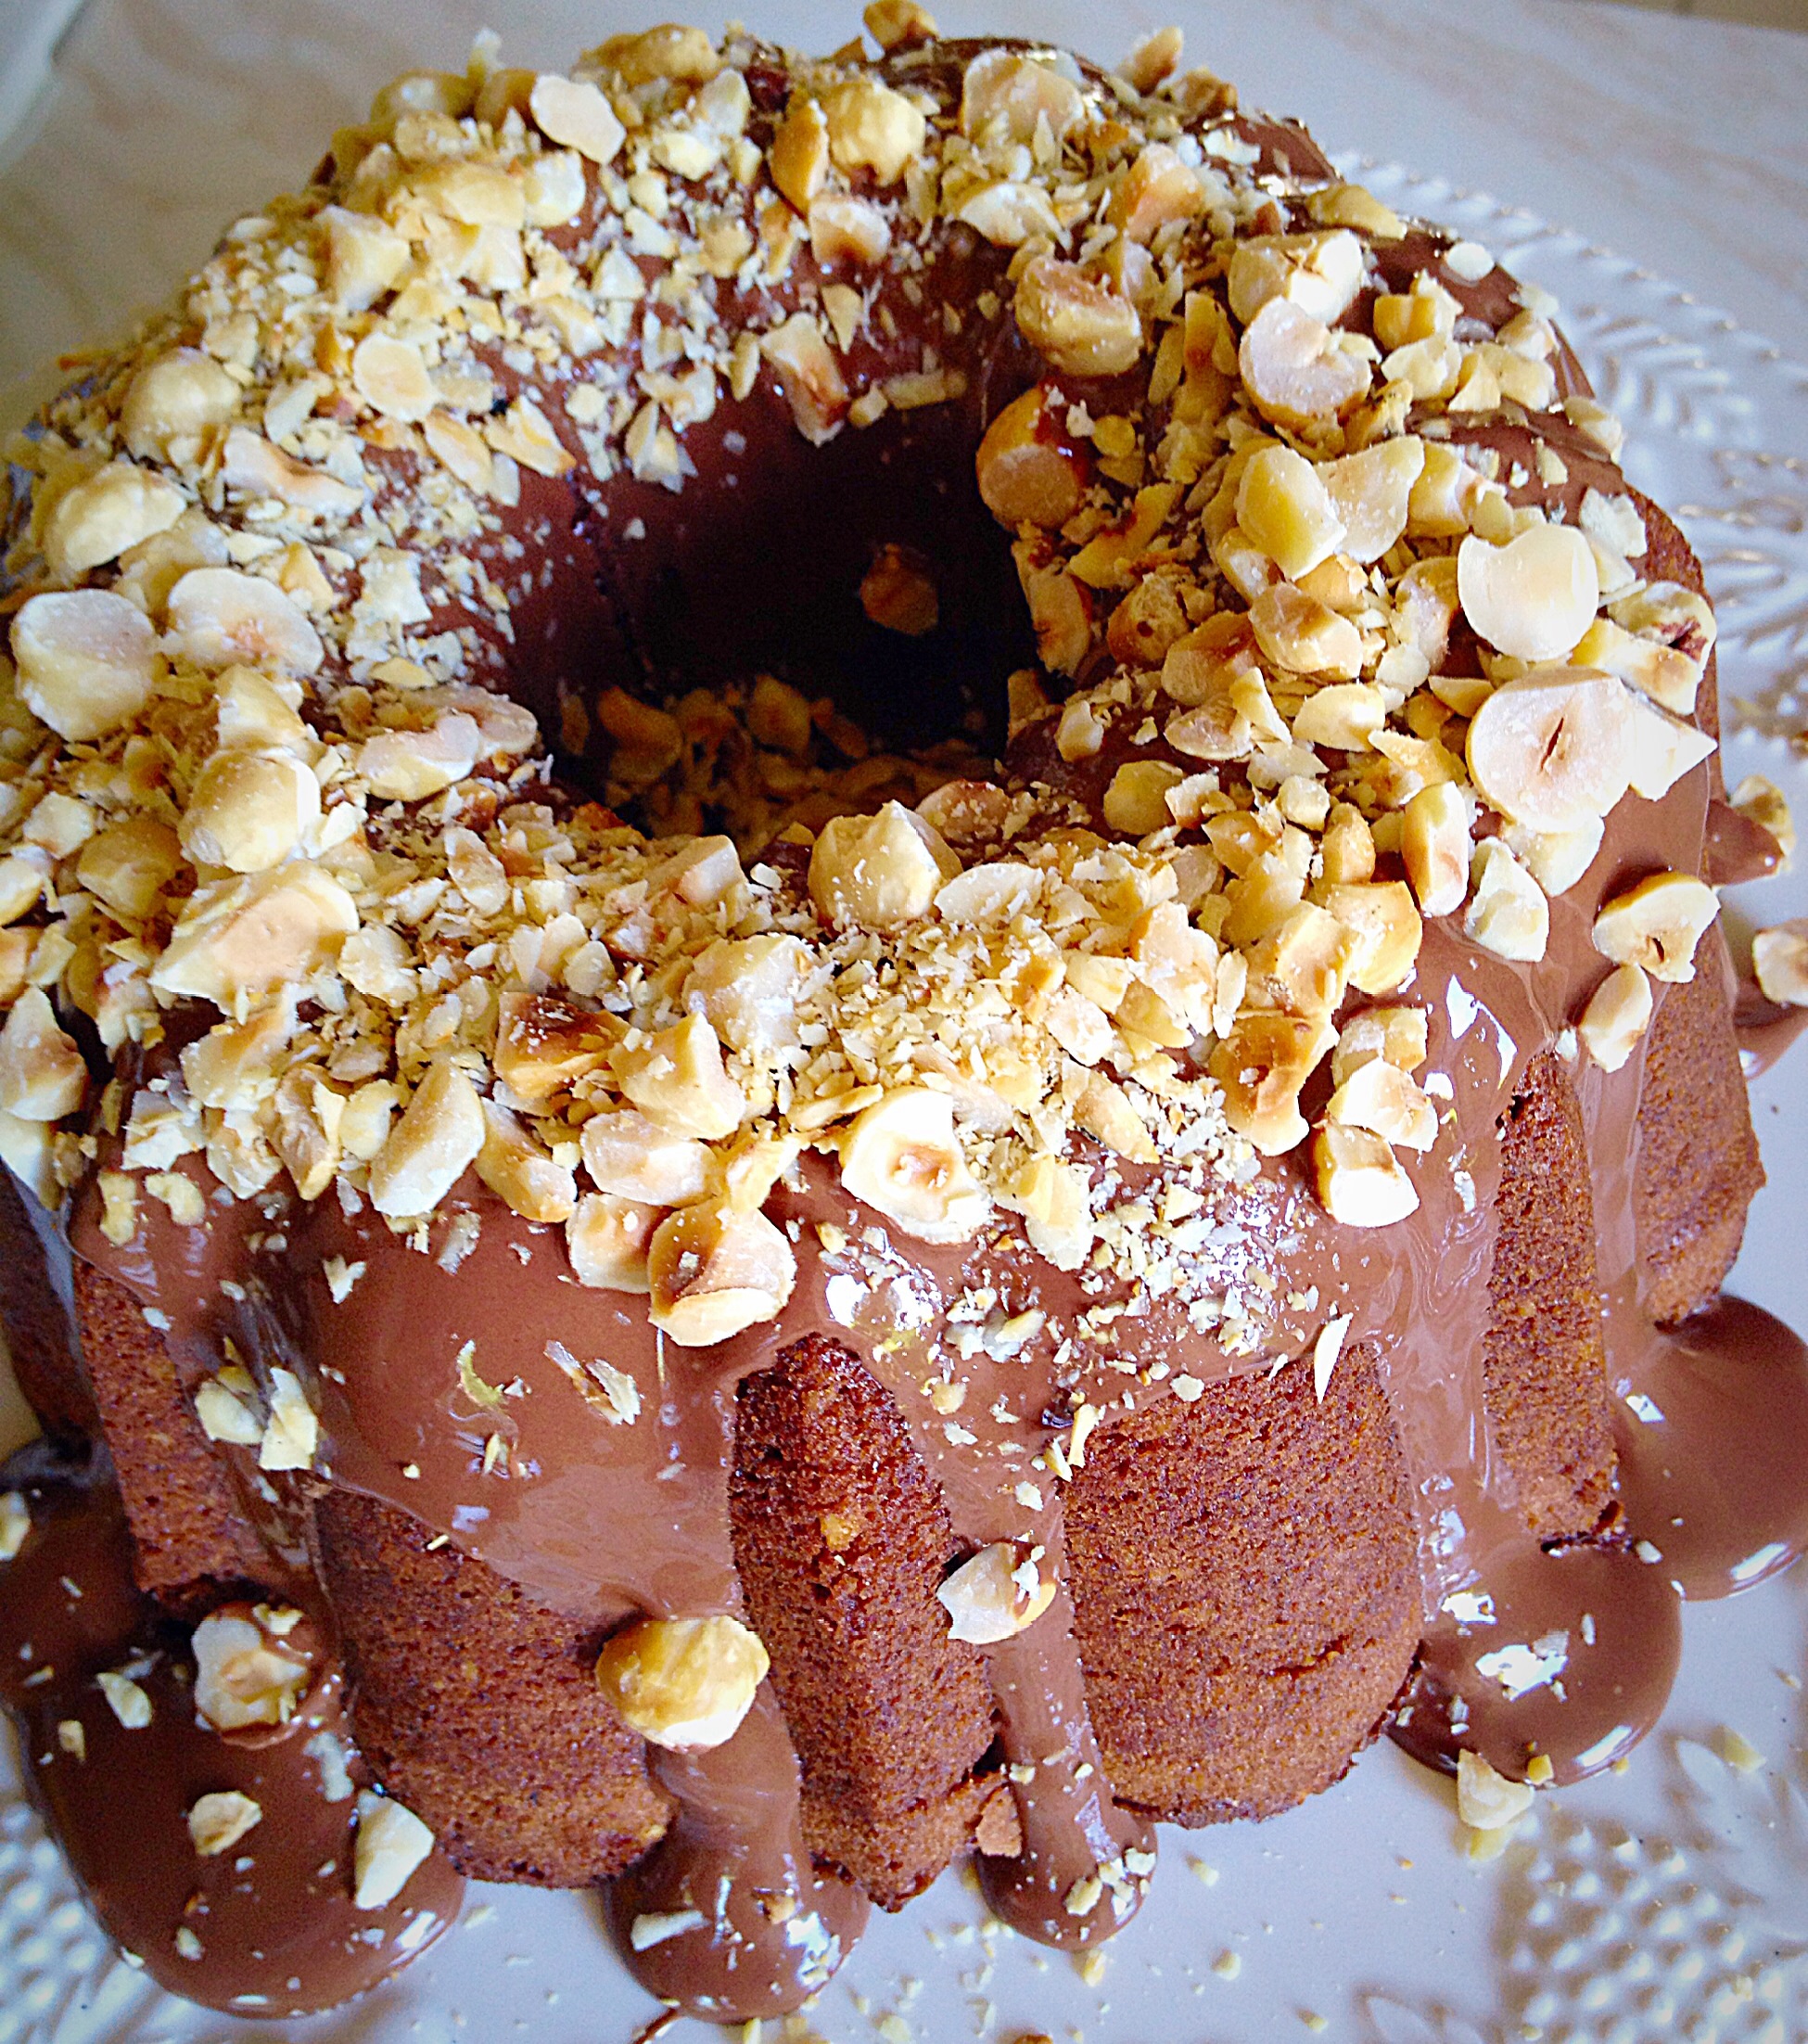
Maple Syrup Iced Coffee Bundt Cake

Nordic Ware have a range of different shapes and styles of Bundt Pans. Since they are not cheap they are an investment worth looking after. Especially, if like me, cake decorating isn’t your strongest point. Yet, if looked after properly, the detailed Bundt Pans will last you a lifetime. Because each cake baked has love stirred into it, nothing else can compare with the taste. Ultimately they pay for themselves, with magnificent cakes that aren’t bought from a bakery.
On Valentine’s Day and everyday, I wish you love, health, peace and happiness.
Sammie xx
LLoyds Chocolatiers sent me the chocolate hearts to try. All content, photography, views and opinions are my own. Please see my Disclosure Policy.