Hello there, thank you to everyone who has been reading and leaving comments on my blogs. I’m hoping you love this Almond and MoreIlo Cherry Bundt Cake Recipe?
I hope, to all those of you who have been leaving helpful comments, especially regarding targeting more people to read my blog, thank you. However I will only approve and reply to one of each blog. I get a lot of identical blog comments!
I’m very happy to steadily build my site, confidence and readership numbers. I know SEO (site exposure optimisation!) is important to a lot of people and I respect that.
My website and blog is a creative outlet for me (especially as I am bed-bound for days on end – not asking for sympathy). I enjoy life and as part of that cooking, baking and most importantly having fun and sharing. So the very act of
sharing my recipes, ideas, thoughts, beliefs through my website and blog, is, I suppose, practising what I’m preaching (without the preaching, more chatting really!).
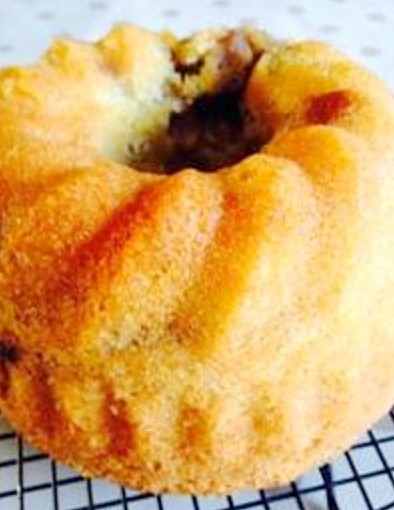
Talking of sharing, my lovely mummy recently bought me a small Bundt pan from Aldi. I hadn’t used it until today and although there were a few things I learnt from my first go, it wasn’t half bad! The cake turned out (literally) extremely well – was a bit worried bout that bit and it tasted good. So all in all a success. Thanks mummy xx.
Just in case you’ve not seen one before, I took a couple of pics to show you what my Bundt tin looks like!
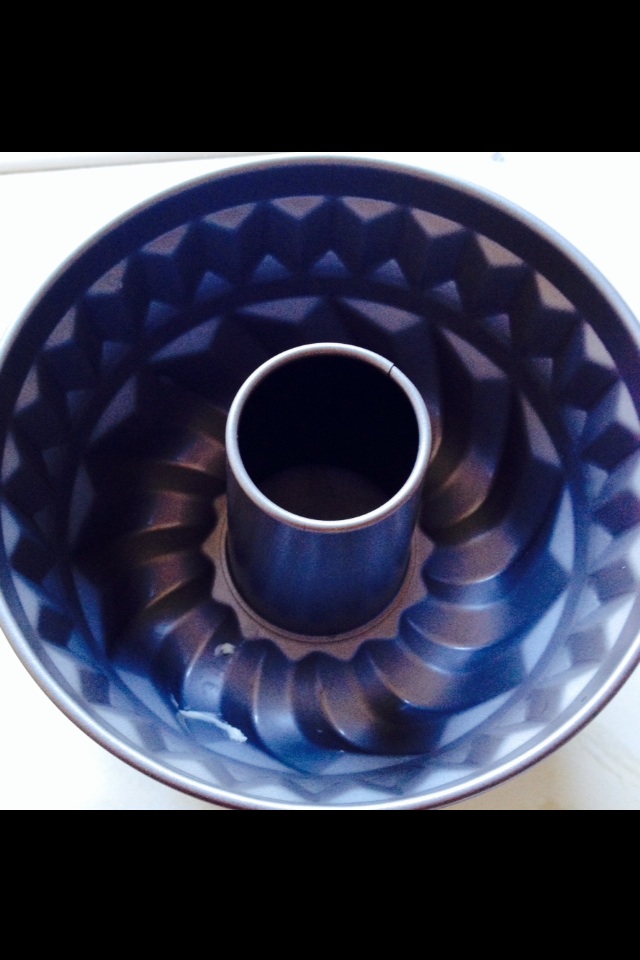
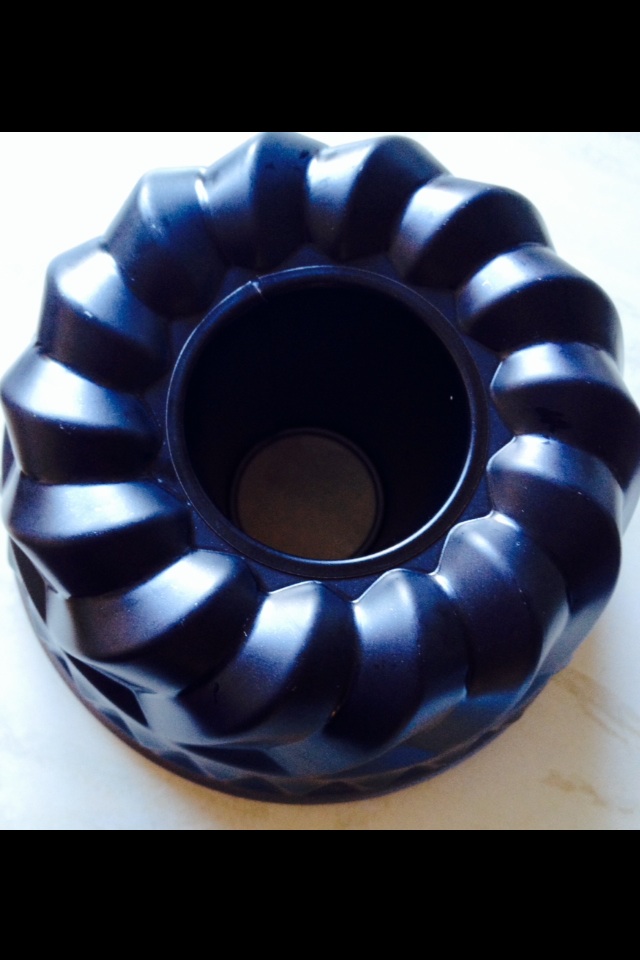
My Bundt tin is quite small, but perfect for the recipe I used. It’s dimensions are approx 6.5″ wide x 3.5″ deep. You can buy all different sizes of pan: the common theme is that the pan has a moulded shape, to give a decorative finish to the cake and a central tube, allowing the inside of the cake to be cooked thoroughly (& allowing the finished cake to be filled with cream, fruit, patisserie creme or any number of delicious fillings).
A straight sided, round, flat bottomed tin, is an Angel Cake Tin. These are for making an entirely different type of cake (Angel cake!), where, when cooling, the tin is inverted (turned upside down) until the cake is completely cool. Don’t worry it’s on my birthday/Christmas/I must have this else my life will not be incomplete list!!!!!!
So my first attempt making an Almond and Morello Cherry Bundt Cake (as seen in the following photos) went something like this:
Firstly in the excitement – bare with, it’s the lil things in life that I enjoy – of taking all the wrapping/instructions etc off, I didn’t read them, so I could wash my new tin ready for use, I realised I had no idea if the tin is non-stick! It looked non-stick (please don’t ask me to describe?). But I thought I’d play it safe and butter it. Straightforward yes? Nope!!
The beautiful shaped cakes mean the Bundt tin has lots of dents, curves, nooks & crannies. Buttering a loaf tin with 5 straight sides is a breeze, how do I butter this gazillion sided round tin (being round does that mean it can’t have gazillions of sides? Answers on a postcard……
Aha, a moment of pure inspiration, I’d melt the butter & brush it on with a pastry brush. Genius!!!!
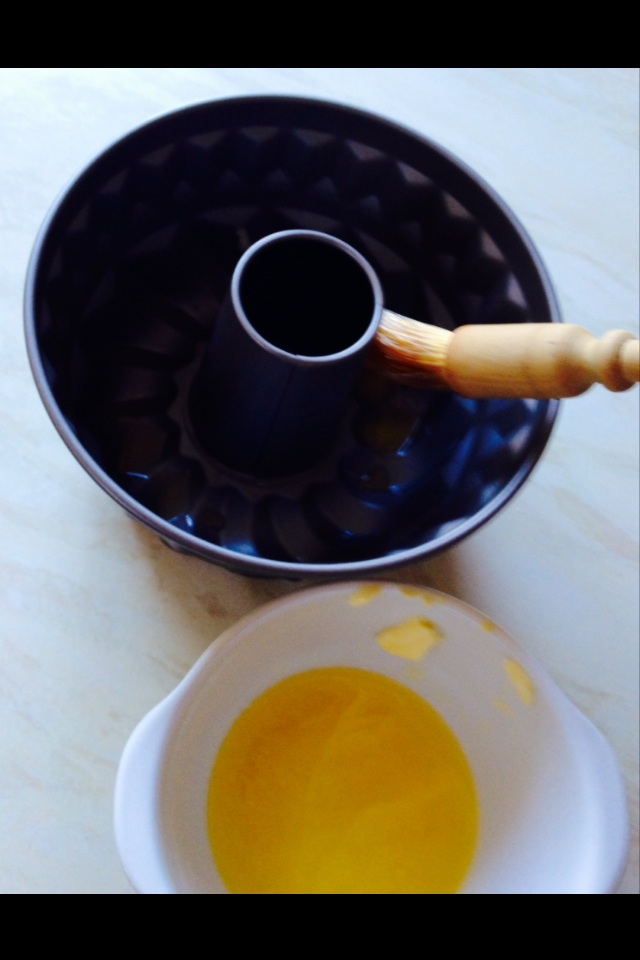
Feeling very smug and having an excess of melted butter, I also buttered my loaf tin this way today! Very satisfying to see a smooth(ish) layer of butter cooling in both tins!
Next it was time to decide what cake to bake? I’ve seen some beautiful chocolate marble cakes made in Bundt tins, on Google images, but to be honest after all the chocolatey cakes made for birthdays recently, I wanted to think outside the box, or Bundt tin in this case!
So I thought I’d ‘try’ an Almond flavoured sponge. A flavour that goes down well with all the family & crucially my official taste tester ‘the Green goddess’!
Good start but bit boring, so I had a peek in my cupboards & plucked out (the cupboards aren’t chickens in case you wondered!!) Almond flakes & Morello Cherry Jam – super.
Recipe : Almond and Morello Cherry Bundt Cake:
6oz Unsalted Butter – room temp
6oz Caster Sugar
Pinch of Salt (I use Kosher- no extra additives, but ground sea-salt is fine)
3 Large Eggs – room temp (pref free range)
1/4 teaspoon Almond Extract
1 teaspoon Vanilla Extract
6oz Self Raising White Flour
2oz Flaked Almonds (lightly toasted)
4 tablespoons Morello Cherry Jam
Method:
Preheat the oven to 175C (160C fan gas mark 3).
Cream the sugar & butter together using a wooden spoon or electric whisk until pale and creamy.
Add the salt, vanilla & Almond extract. Mix well.
Crack the eggs into a separate bowl. Add one half of the flour and 2 eggs, gently mix until almost combined. Add the remaining egg & flour. Gently mix until the mixture is completely combined.
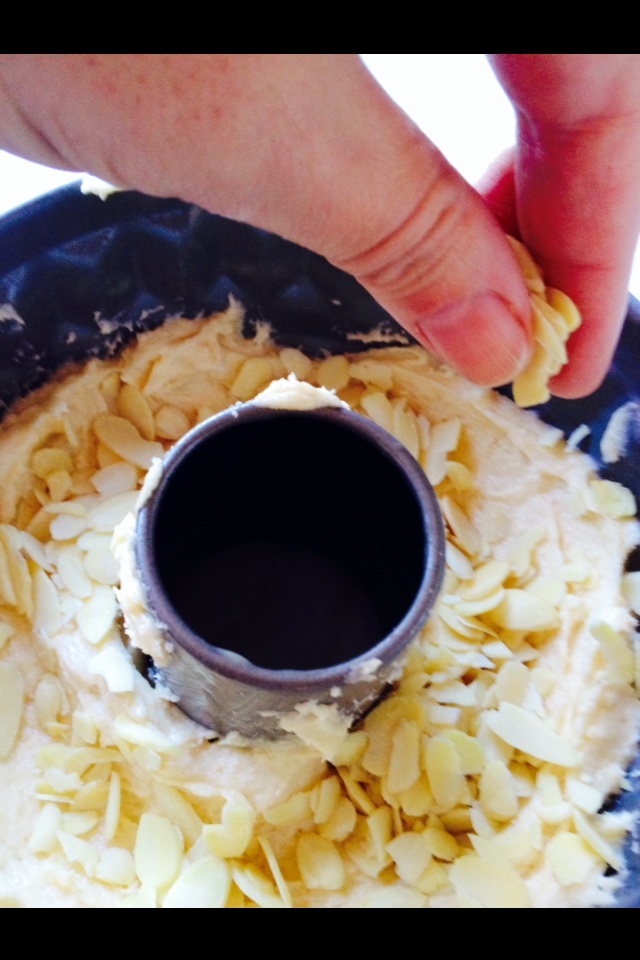
Using a desert spoon place spoonfuls of the cake batter into the bottom of the Bundt tin. Using the spoon spread the mixture so that it covers the bottom of the Bundt tin. Building the batter up slightly towards the centre and outside edge. This creates a dip where the filling will go.

Sprinkle half the toasted Almond flakes on top of the batter.
Next using a small teaspoon, carefully spoon the jam into the centre dip of the cake batter, taking care not to touch the sides. Smooth the jam out carefully.

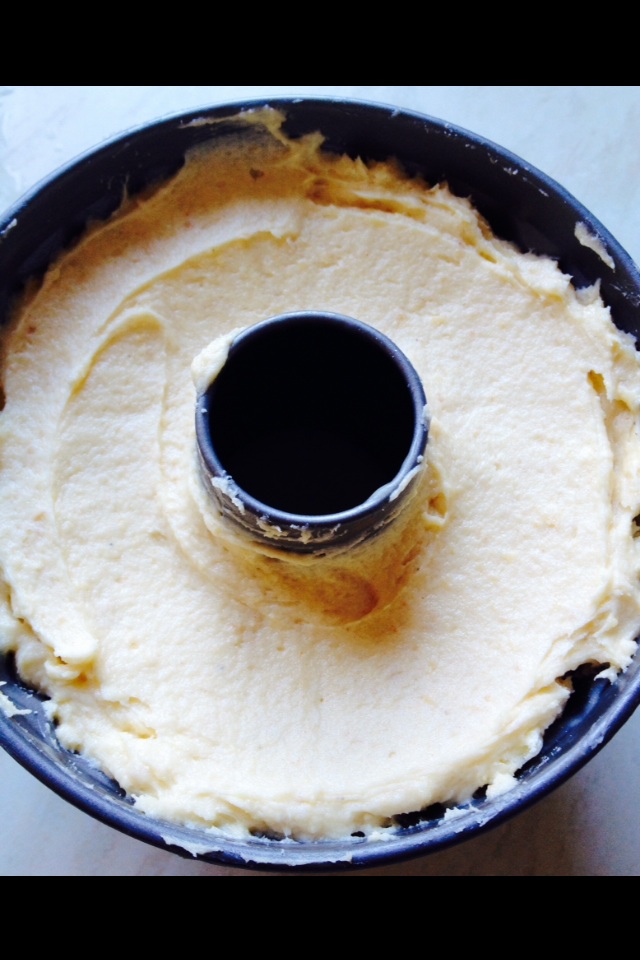
Sprinkle the last of the flake almonds over the jam, then dollop the remaining cake batter over the top, ensuring as you smooth it out you don’t press the jam toward the sides of the tin.
Place the Bundt tin in the preheated oven for an hour. The cake will look cooked approximately 15 minutes before it is, however the centre will not be cooked through. Continue cooking until the cake has cooked for 1hr 5 mins.
Remove the Bundt tin from the oven and place on a cooling rack. It is important to let the cake cool completely in the tin.
When the cake feels completely cool, including the centre, turn the cake out onto a pretty plate.
Now you can pop the kettle on (obviously I don’t mean you wear it just, fill & switch on!!!!!), then slice into this beautiful cake.
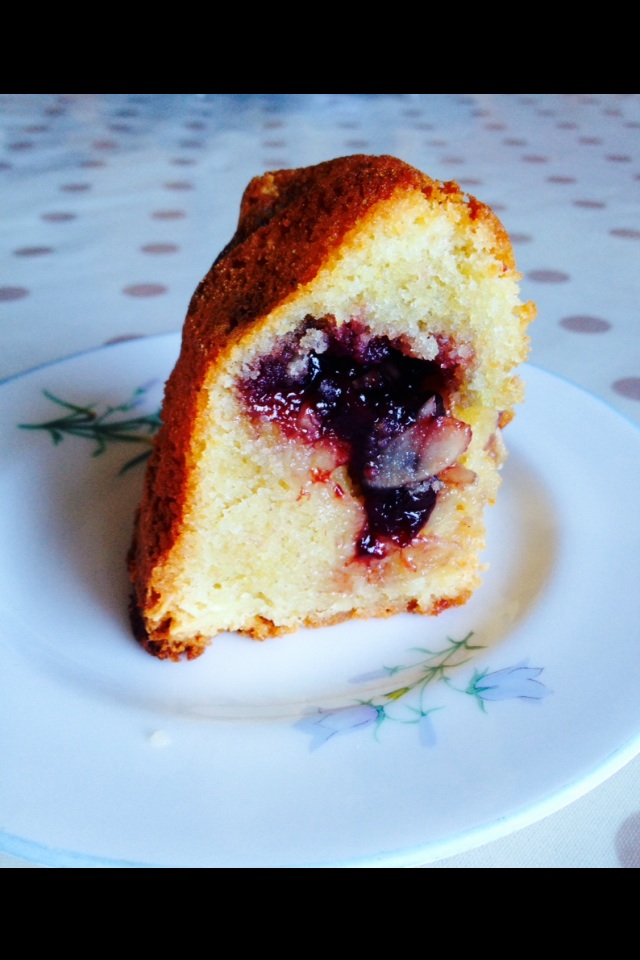
I popped the slice above round to my Green goddess friend who wasn’t feeling quite the ticket. It was received with thanks and thoroughly enjoyed.
See, I had fun making this and sharing with a wonderful friend, who sat with a cuppa, feasted and enjoyed (before my children & hubby came home & almost demolished the rest!).
Now what really happened:
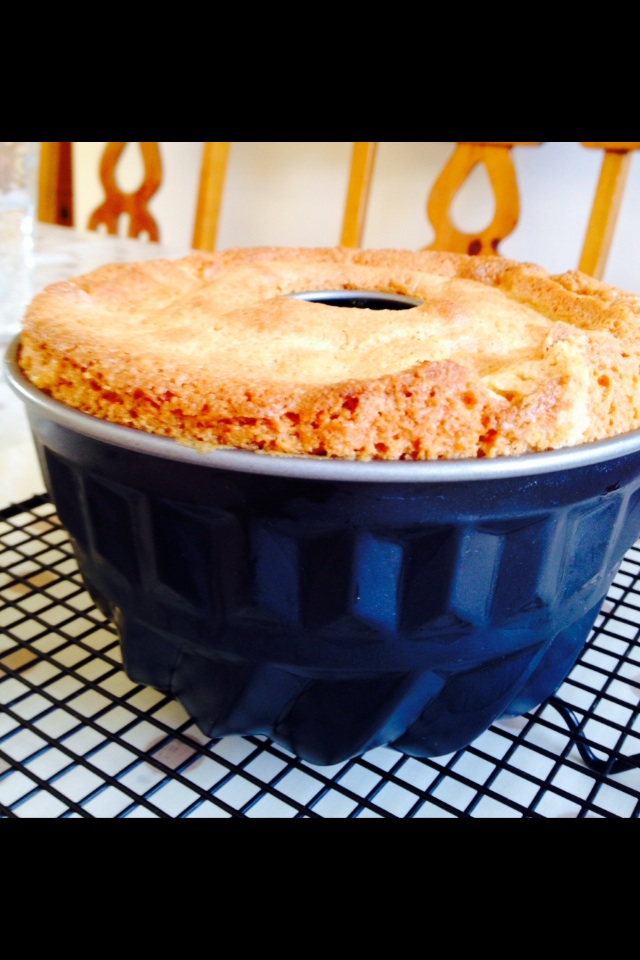
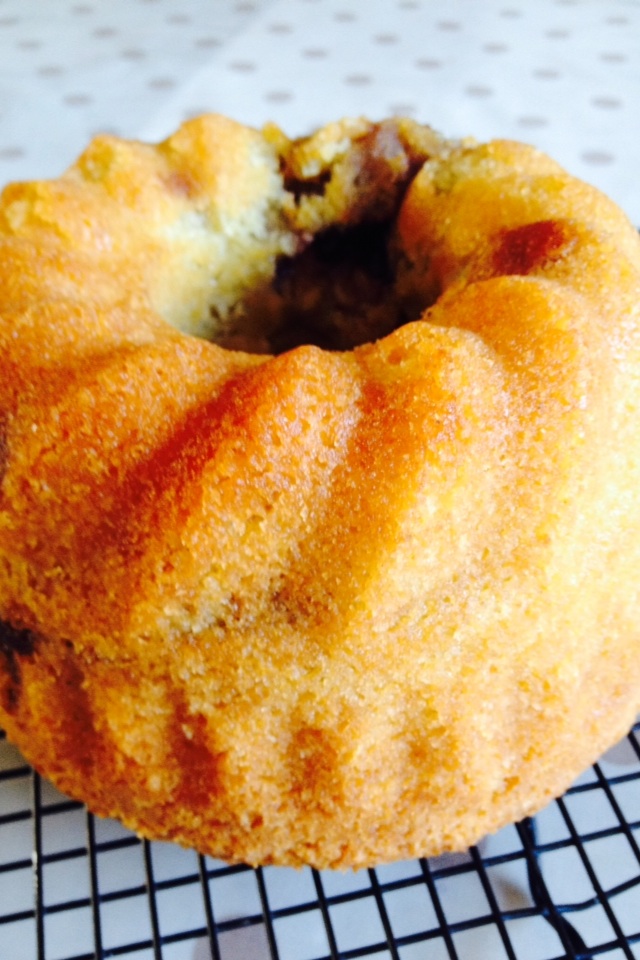
The cake was removed from the oven after 45 mins. It was left until slightly warm & turned out onto a cooling rack (don’t ask me why? It seemed like a good idea at the time!!!!).
I then took the photo of the turned out cake, thankfully!! When I looked closely I realise the centre of the cake wasn’t completely cooked – whoops!
I turned the oven back on, tried to place the Bundt cake on a baking sheet, in doing so part of the cake collapsed – about a portion. So I attempted to squish the cake together, popped back in the oven & cooked for a further 15-20 mins until the centre was just cooked.
I removed the cake from the oven, allowed to cool until barely warm, cut the slightly collapsed portion out (which I feasted on with a cup of tea!). Then I sliced my friends portion and popped it round to her (2 doors down).
So I’ve adjusted adjusted the cooking time to 1hr-1hr10 mins. If the top of the cake – which will become the bottom when turned out – is browning too quickly just cover with aluminium foil, removing 5 mins before the cake is completely cooked, so that your cake does not have a soggy bottom!
The cake was rescued, tasted yummy and was feasted on & shared with family & friends.
Until next time keep sharing, you will be surprised how much it makes YOU smile and it’s FUN!
Sammie x