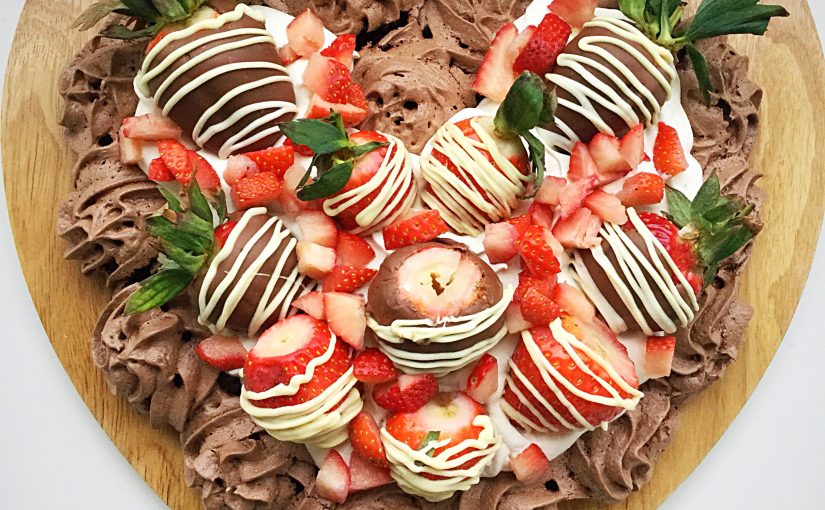
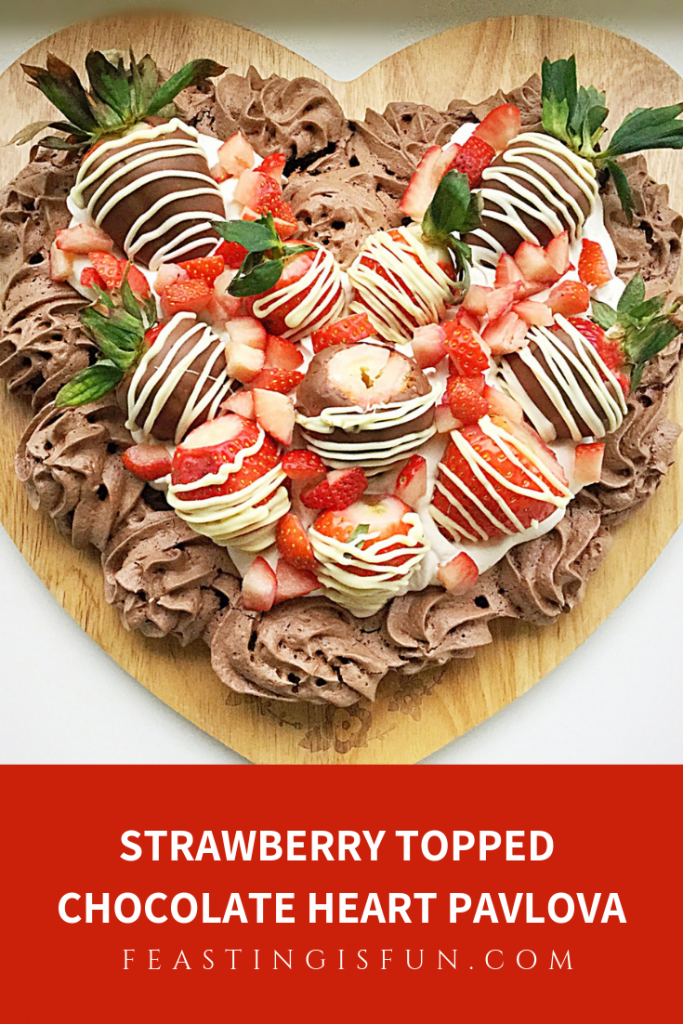
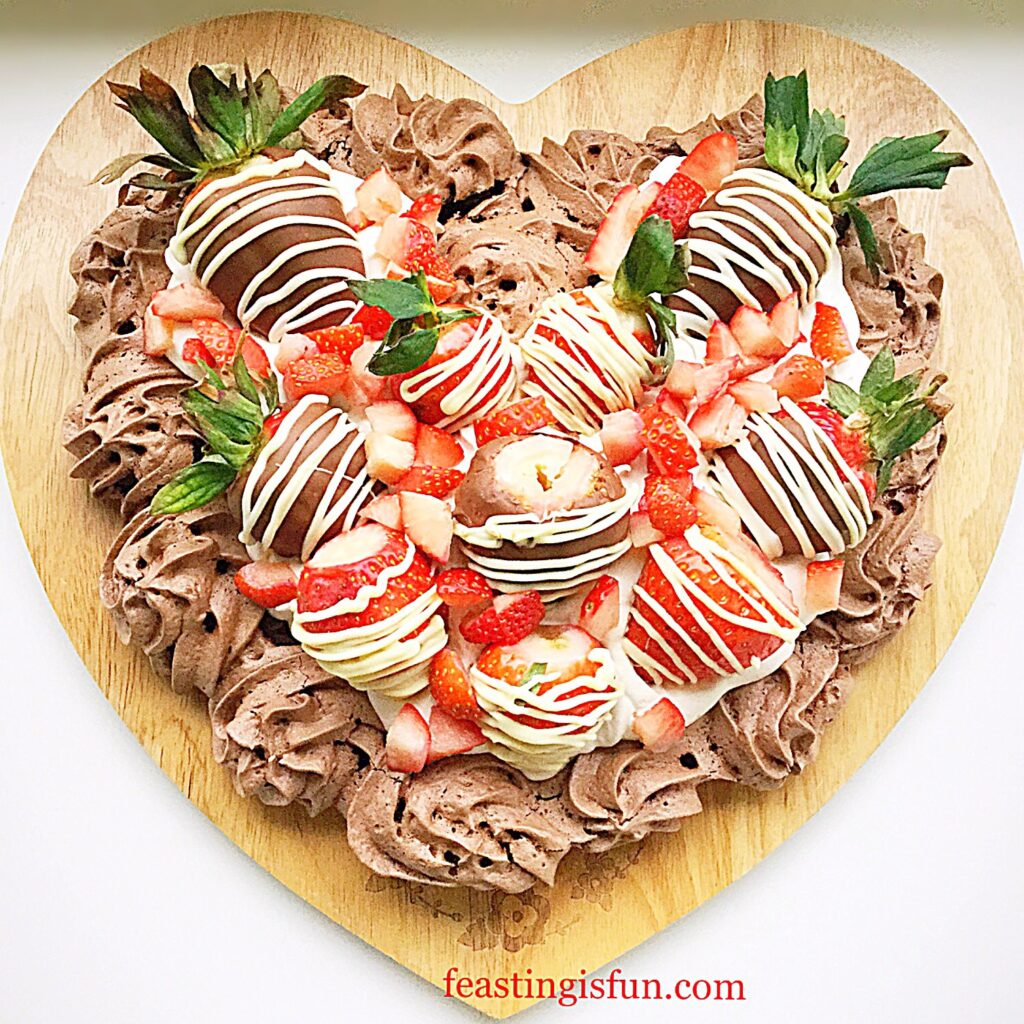
Strawberry Topped Chocolate Heart Pavlova has a delicious crisp outer shell, with a deep, brownie-like inner, topped with whipped cream and chocolate dipped strawberries. Ultimately, this is the perfect dessert to share with those you love. And did I mention that it’s also Gluten Free!
I adore pavlova. Both making and eating it! Because this chocolate heart pavlova is as pretty as it is easy to make. So, simply follow the recipe and instructions and you too can bake this beautiful dessert.
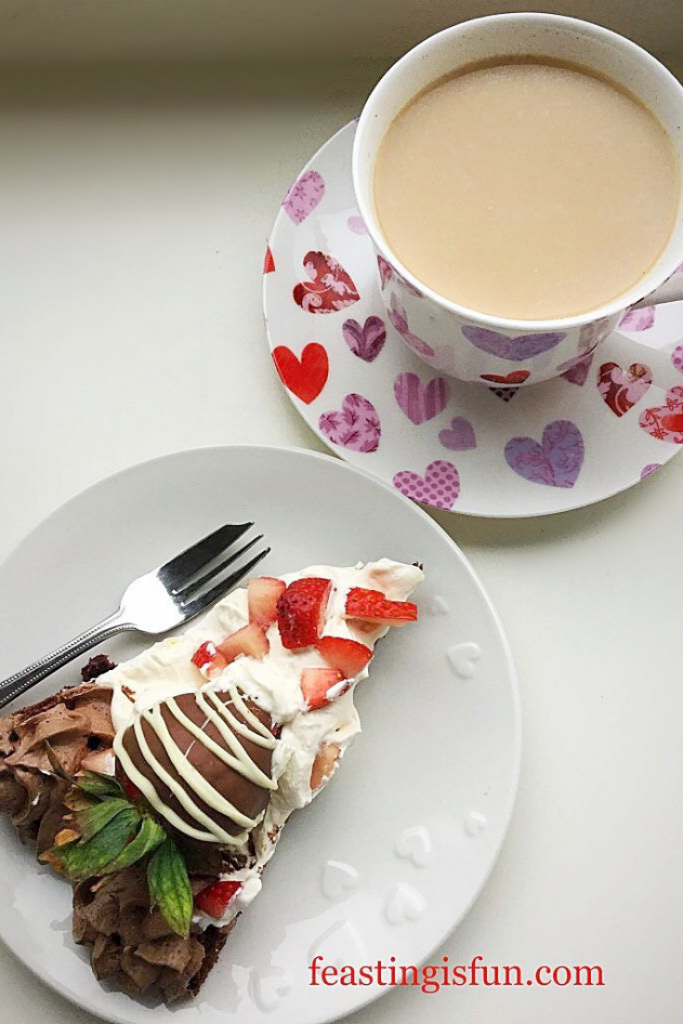
Celebrating love
Last week we celebrated Valentine’s Day. So, I set about creating something that would be perfect to share with those I love. Although, every recipe posted on Feasting is Fun, is designed to be shared! Since hearts, strawberries and chocolates are all associated with February 14th, they are all incorporated in this recipe. Resulting in a beautiful and tasty dessert that should not be confined to one day of the year, in my opinion. It is definitely worth making anytime love is being celebrated.
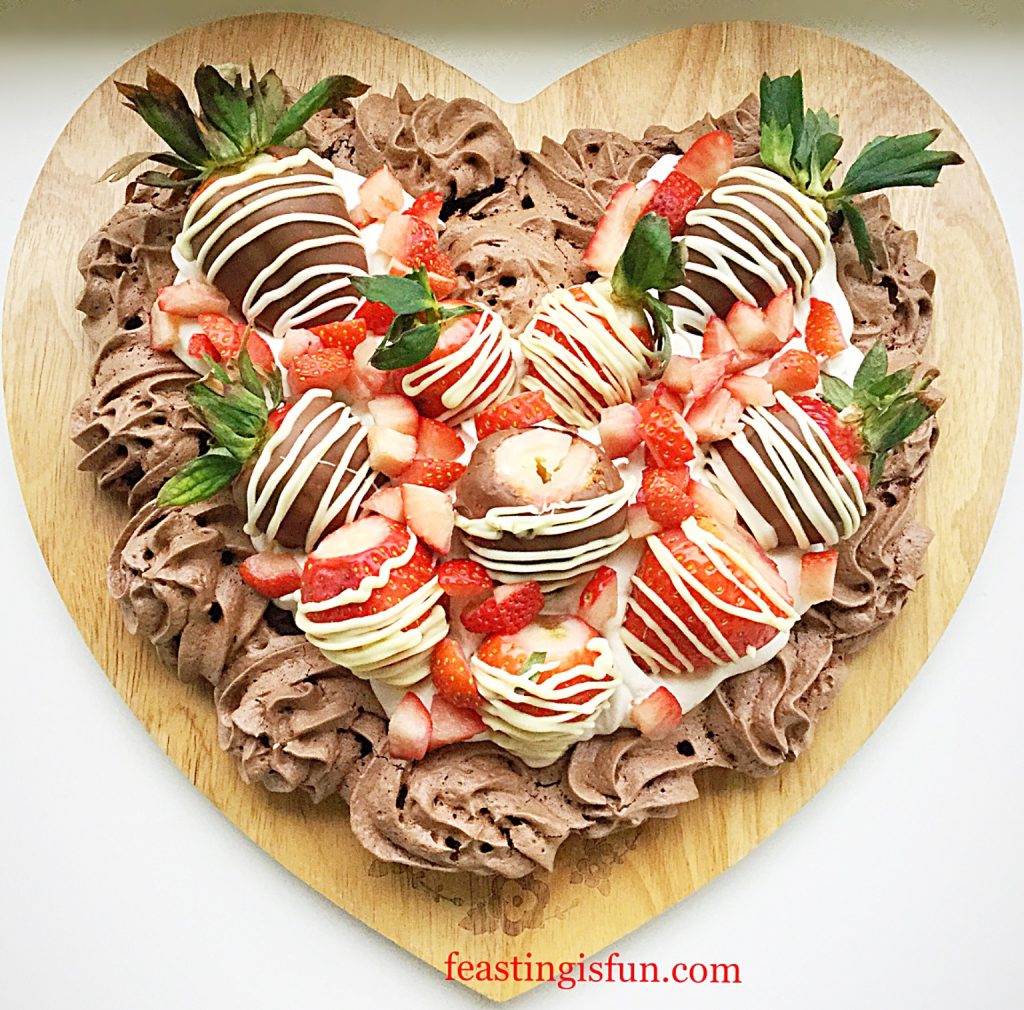
For this pavlova I piped the meringue heart and added swirls around the outside, defining the heart shape. So, if I can make this pavlova, then so can you. Most importantly it really isn’t difficult to do, and it creates a pretty finish. Also, this heart pavlova contains only cocoa, not chunks of chocolate, making it possible to pipe. Resulting in meringue mixture that resembles a light, airy mousse. And once baked it keeps it’s shape perfectly. Yum!
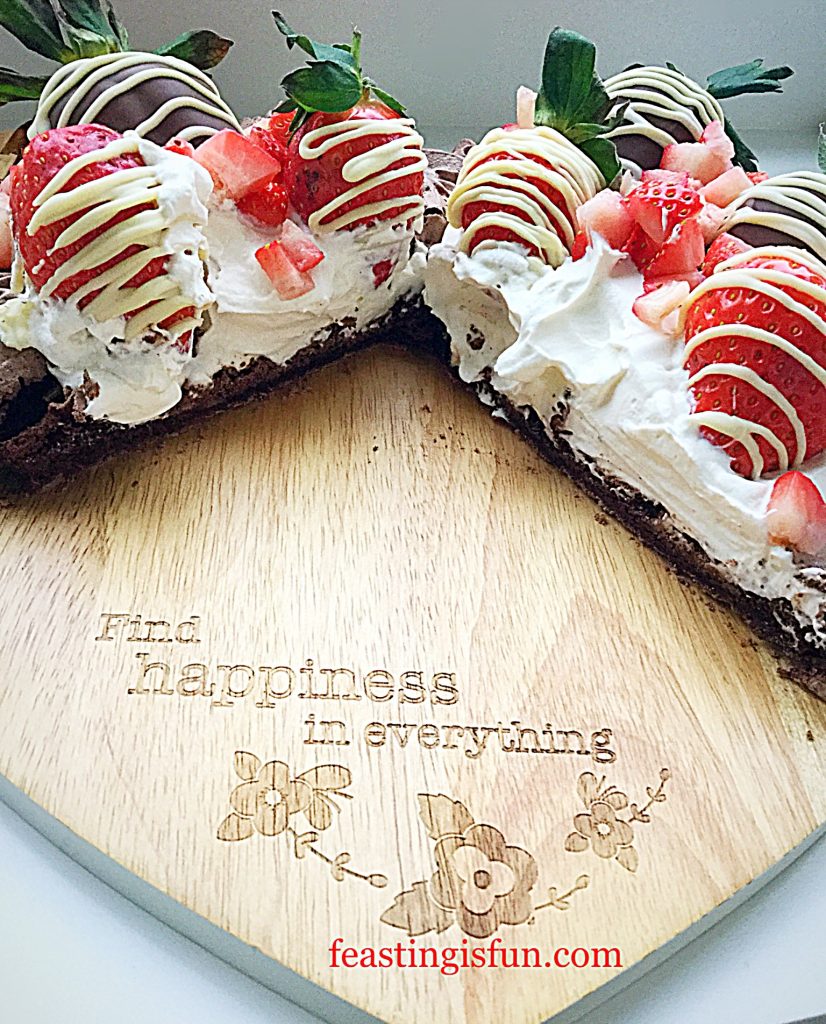
I adore the way that whipped double cream tops the chocolate pavlova, rather like a down duvet covers a bed. Since it moulds and fills the pavlova’s contours. While creating a soft, velvety contrast to the crisp and fudgey pavlova. Finally, chocolate dipped strawberries add a touch of decadence, crowning this dessert with their contrasting colours.
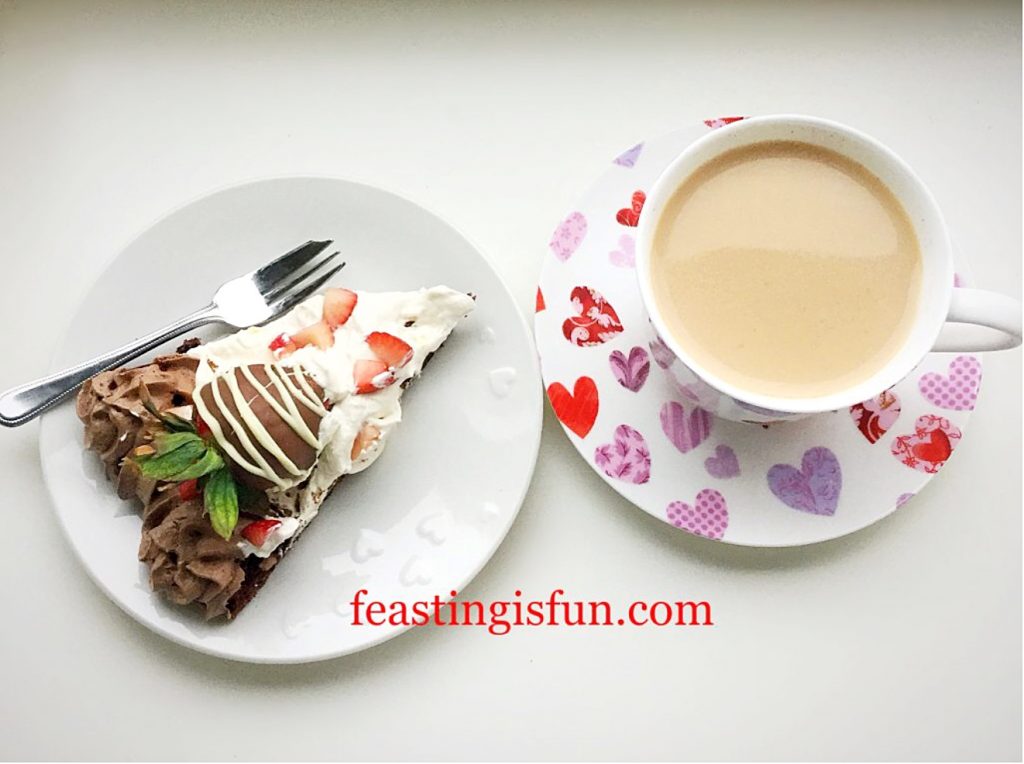
One mouthful of this delightful, gluten free dessert and your tastebuds are lost to the complimenting flavours and contrasting textures. And one serving provides plenty of time to fully appreciate this beautiful pavlova. Although I promise not to tell if you go back for seconds!
Recipe: Strawberry Topped Chocolate Heart Pavlova serves 6-8
4 Large Free Range Egg Whites – use the yolks to make lemon curd
200g/7oz Caster Sugar
1tsp Balsamic Vinegar
Scant 1/4tsp Salt – I use Maldon
50g/2oz Cocoa – I use Callebaut
1tsp Corn Flour – I use Doves Farm
300mls/ 1/2 pint Double Cream
400g Fresh Strawberries – I use British strawberries whenever possible
100g/4oz Milk Chocolate
50g/2oz White Chocolate
Method: Preheat the oven to 200/180C fan, gas mark 6, 400F.
Making the meringue:
Prior to starting this recipe ensure the bowl used to mix the meringue is scrupulously clean. Wipe around the inside of the bowl with half a lemon to ensure no fat is present. Because the presence of fat, or oil will stop the egg whites from whipping up and incorporating air.
Also line a large baking tray with baking parchment. Draw a large heart on the reverse of the parchment with pencil, approximately 25cm wide by 27.5cm high, 10″w x 11″h.
- First of all, pour the egg whites into the large clean, prepared bowl.
- Whisk until the egg whites hold a stiff peak.
- Continue whisking on high, adding the sugar one tablespoon at a time until it is all incorporated. The meringue should be white and glossy, holding a stiff peak. Rub a little of the meringue between your finger and thumb, it should feel smooth. If at all gritty, continue whisking, as not all of the sugar is dissolved into the egg white. Continue until the mixture is smooth.
- While the egg whites are whisking fit a large piping ba with a large, open star nozzle, I use Wilton #1M.
- As soon as the meringue has been whisked sift in the corn flour and cocoa. Then add the balsamic vinegar and salt.
- Using a large, clean, metal spoon fold all of the ingredients together carefully. Taking care not to knock out the air that has been whisked into the egg whites.
- Place four dots of meringue in the corners of the baking tray, then place the baking parchment on top. This will hold the baking parchment in place.
Creating the heart shape and baking the Pavlova:
- Place a large spoonful of chocolate meringue into the centre of the heart. Spread the meringue with a palette knife, so that it fills the heart outline. There is no need to be too precise as it will be piped over.
- Fill the piping bag with the remaining chocolate meringue.
- Pipe swirls around the outline of the heart, leaving the bottom point and the top dip until last. Pipe a swirl at the bottom of the heart and then the top dip. Next pipe stars, inside the heart, on the base.
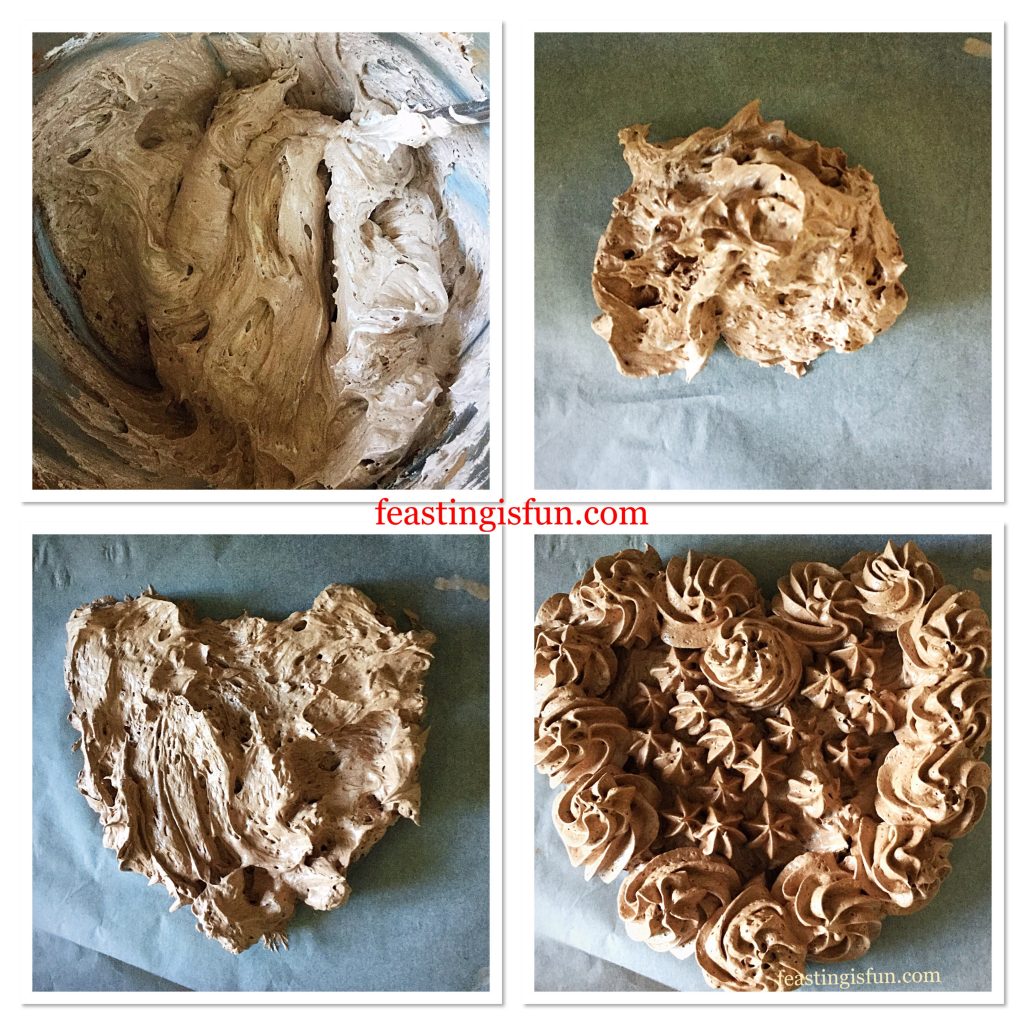
- Place the pavlova into the centre of the oven and immediately reduce the heat to 160C/140C gas mark 3, 325F. Do not open the oven door whilst baking!
- Bake for 1 hour exactly. After the baking time has elapsed turn the oven off and open the oven door a fraction, so that the pavlova cools slowly. I place a wooden spoon between the door and the oven.
Chocolate covered strawberries
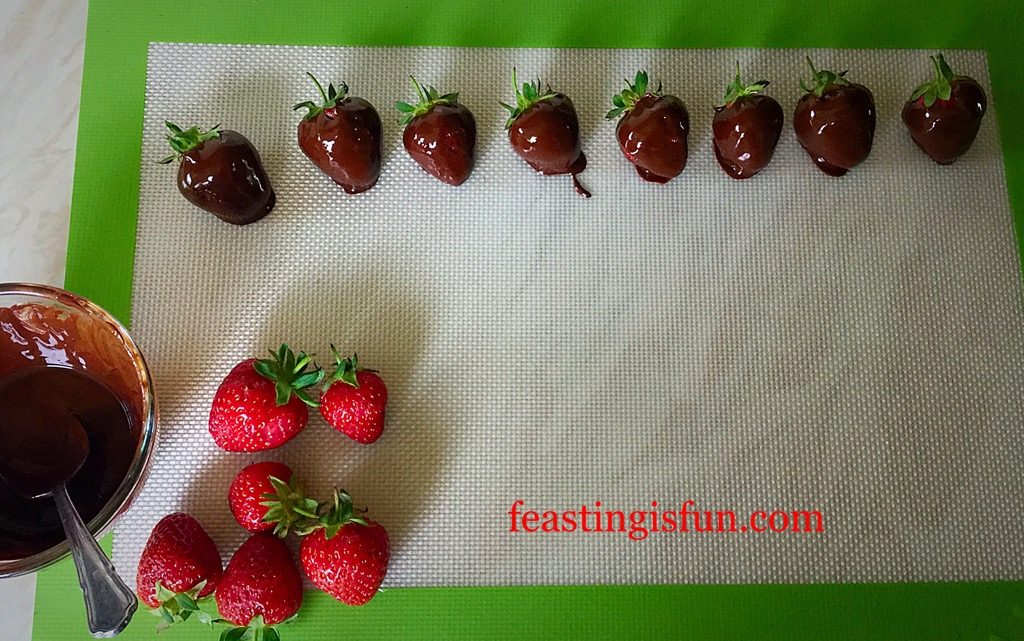
- While the pavlova is cooling the prepare the chocolate strawberries. Into separate, small heatproof, microwaveable bowls, break up and add the milk and white chocolate, separately. Zap for 20 seconds at a time in the microwave, stirring in between, until the chocolate has melted. Spoon the melted white chocolate into a small piping bag.
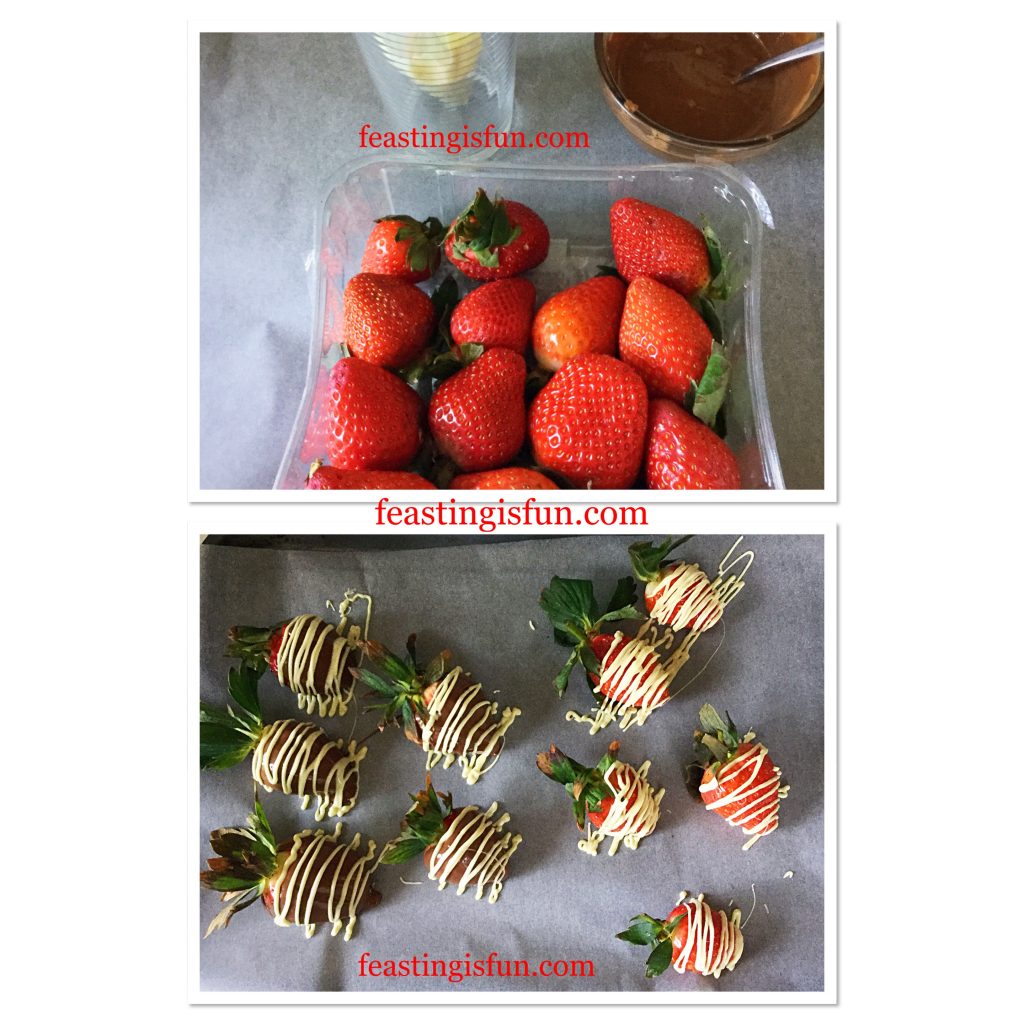
- Select 10 of the biggest strawberries and leave their tops on. Dip 5 of the large strawberries into the milk chocolate, using a teaspoons to help fully cover them. Place the dipped strawberries on to some baking parchment. Also keeping the strawberries refrigerated helps the chocolate set quickly, especially during warm weather.
- Next pipe lines across the 5 chocolate covered strawberries and also the 5 un-dipped ones, this gluten free recipe also uses chocolate strawberries. Leave to set on the baking parchment. In warm weather place in the fridge for a couple of minutes.
Filling And Decorating The Strawberry Topped Chocolate Heart Pavlova
- As soon as the pavlova is completely cooled remove from the oven.
- Pour the cream into a bowl and whisk until it has thickened but is not stiff.
- Gently run a palette knife under the pavlova to loosen it from the baking parchment. Place the pavlova on to a flat plate, or stand from which it is to be served.
- Spoon the cream inside the shell of the pavlova.
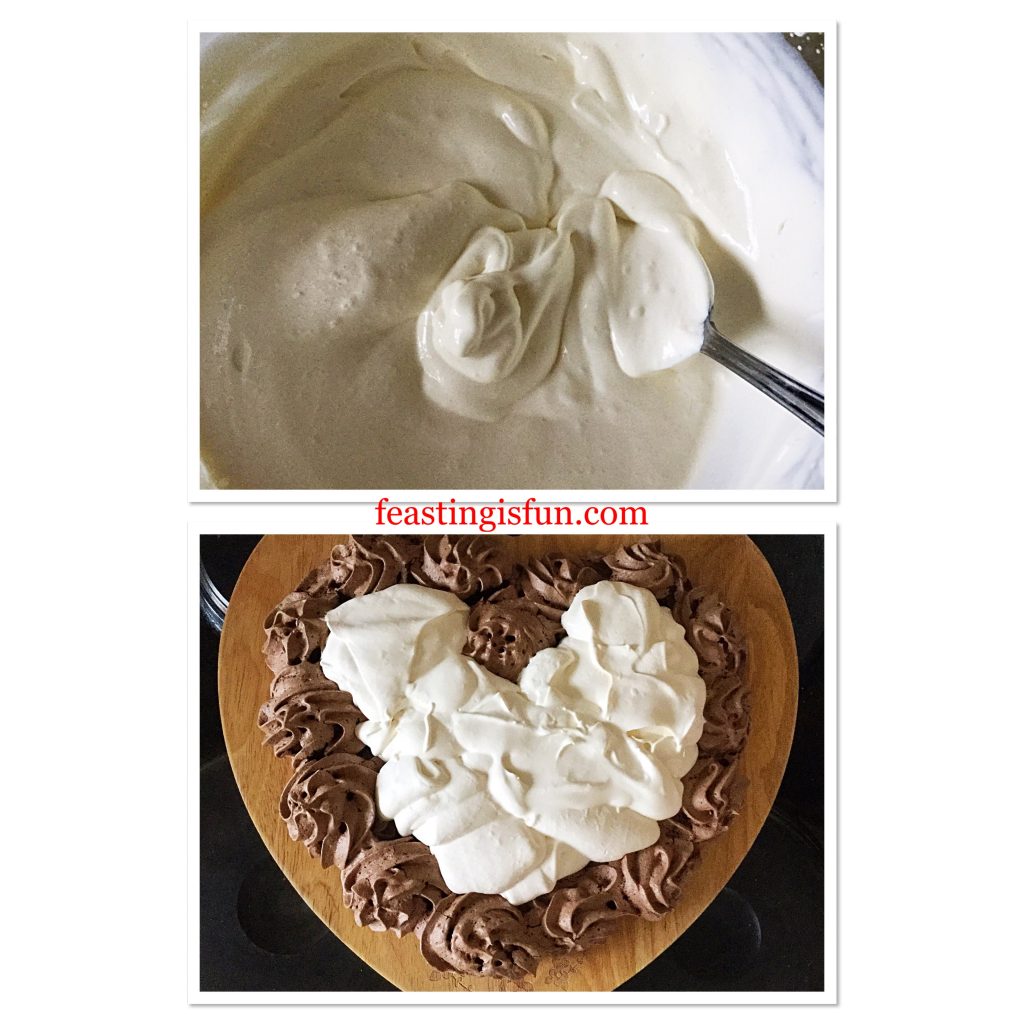
- Arrange the chocolate dipped strawberries on the top of the cream, removing the tops if necessary.
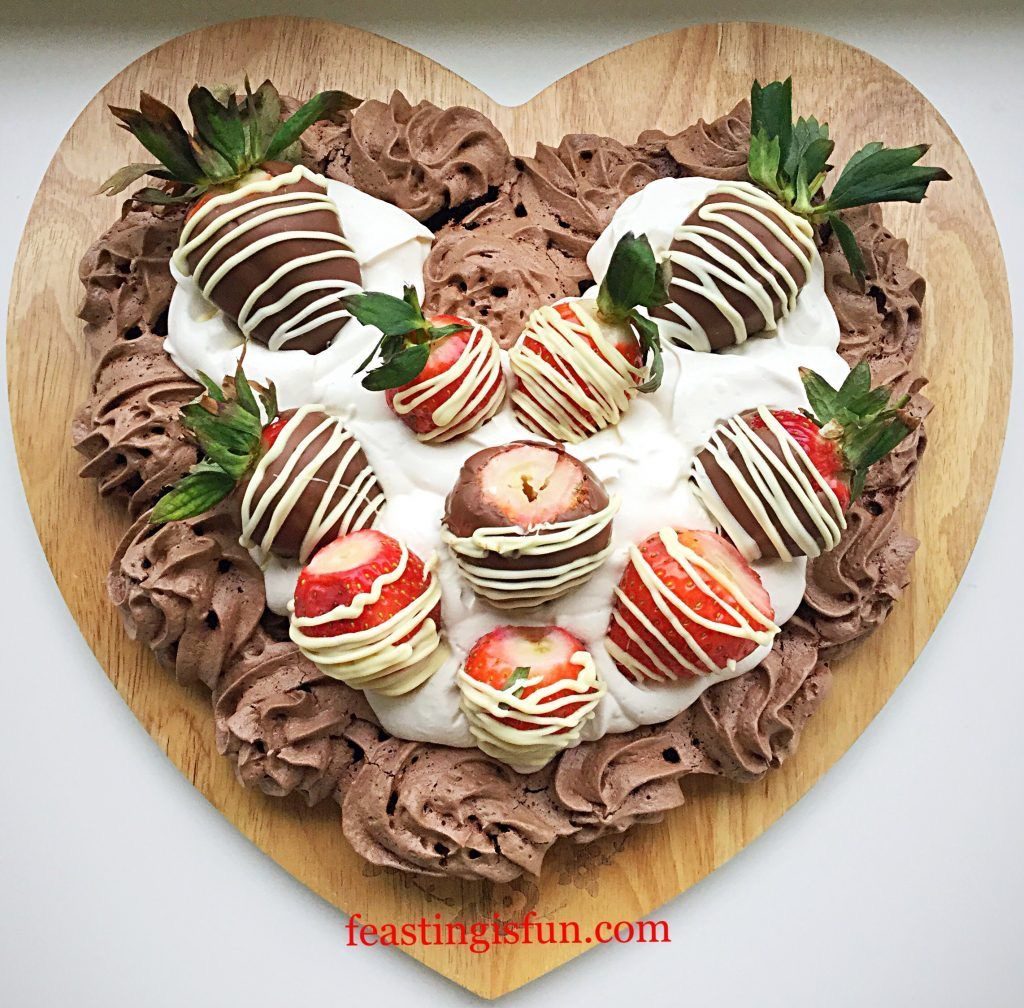
- Chop the remaining strawberries into fairly small pieces and sprinkle them around the whole strawberries. Alternatively, use whatever berries are in season at the time of making.
Finally all that is needed is someone to share this stunning dessert with. Because all food tastes better when shared!
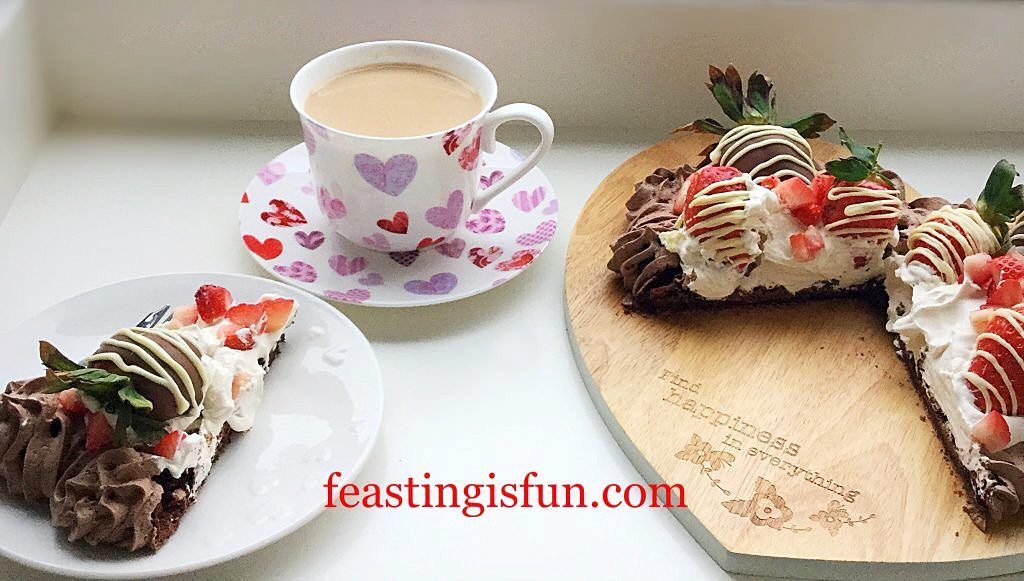
Serve sliced, ensuring each portion has a chocolate strawberry.
This Strawberry Topped Chocolate Heart Pavlova is at its best eaten on the day assembled. Although the pavlova can be made the day before and left to cool, overnight in the oven. Also, the strawberries can be prepared 4 hours ahead and left in a cool place or placed in the fridge. Likewise the cream can be prepared at the same time as the strawberries and left in the fridge, it may need a quick whisk to bring it back to the consistency required.
The Pavlova will last, covered in foil, in the fridge for 2 days after assembly.
If you have enjoyed this recipe for Strawberry Topped Chocolate Heart Pavlova you may also like these:
Raspberry Coulis Drizzled Mixed Berry Pavlova
Creating recipes that are accessible to as many people as possible is important to me. So, all of the pavlova recipes on this blog are gluten free. Therefore, serving a naturally gluten free dessert to friends and family ensures that everyone feels special. And hopefully no one feels that they have been ‘too much bother’ due to dietary limitations they may have. Resulting in a relaxed inclusive meal that everyone can share in and enjoy.
So, whatever you are making, baking and creating in your kitchens, have fun preparing and sharing your feast.
Sammie xx
No part of this post may be reproduced or duplicated without the written permission of the owner. Please see my Disclosure Policy.
