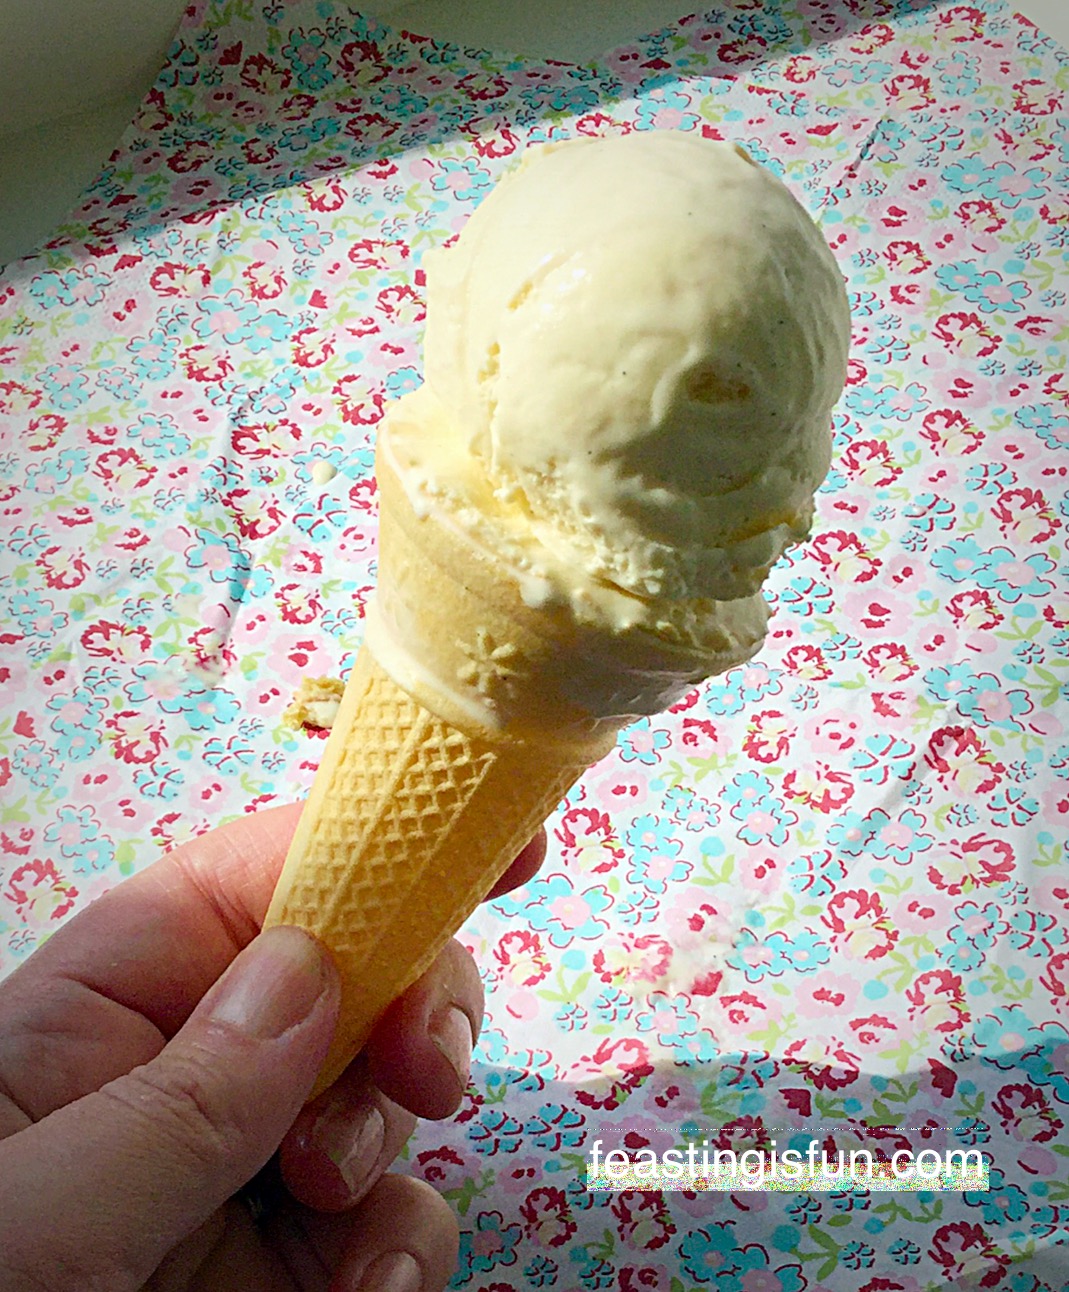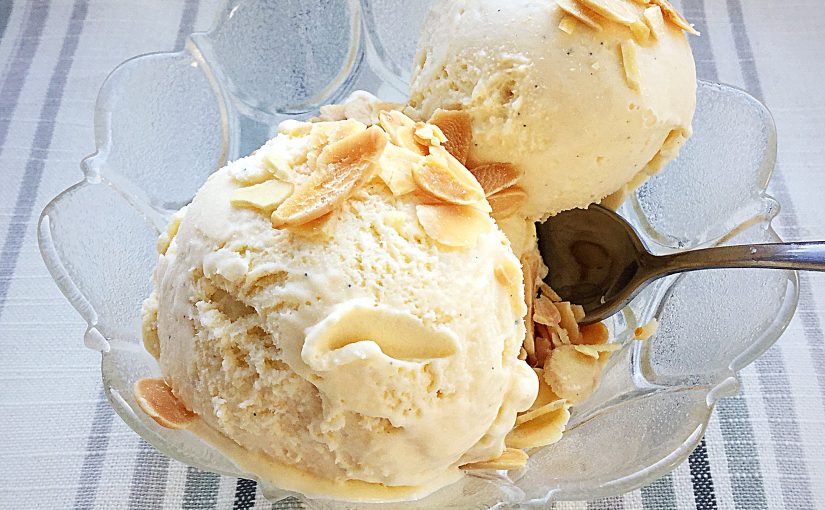
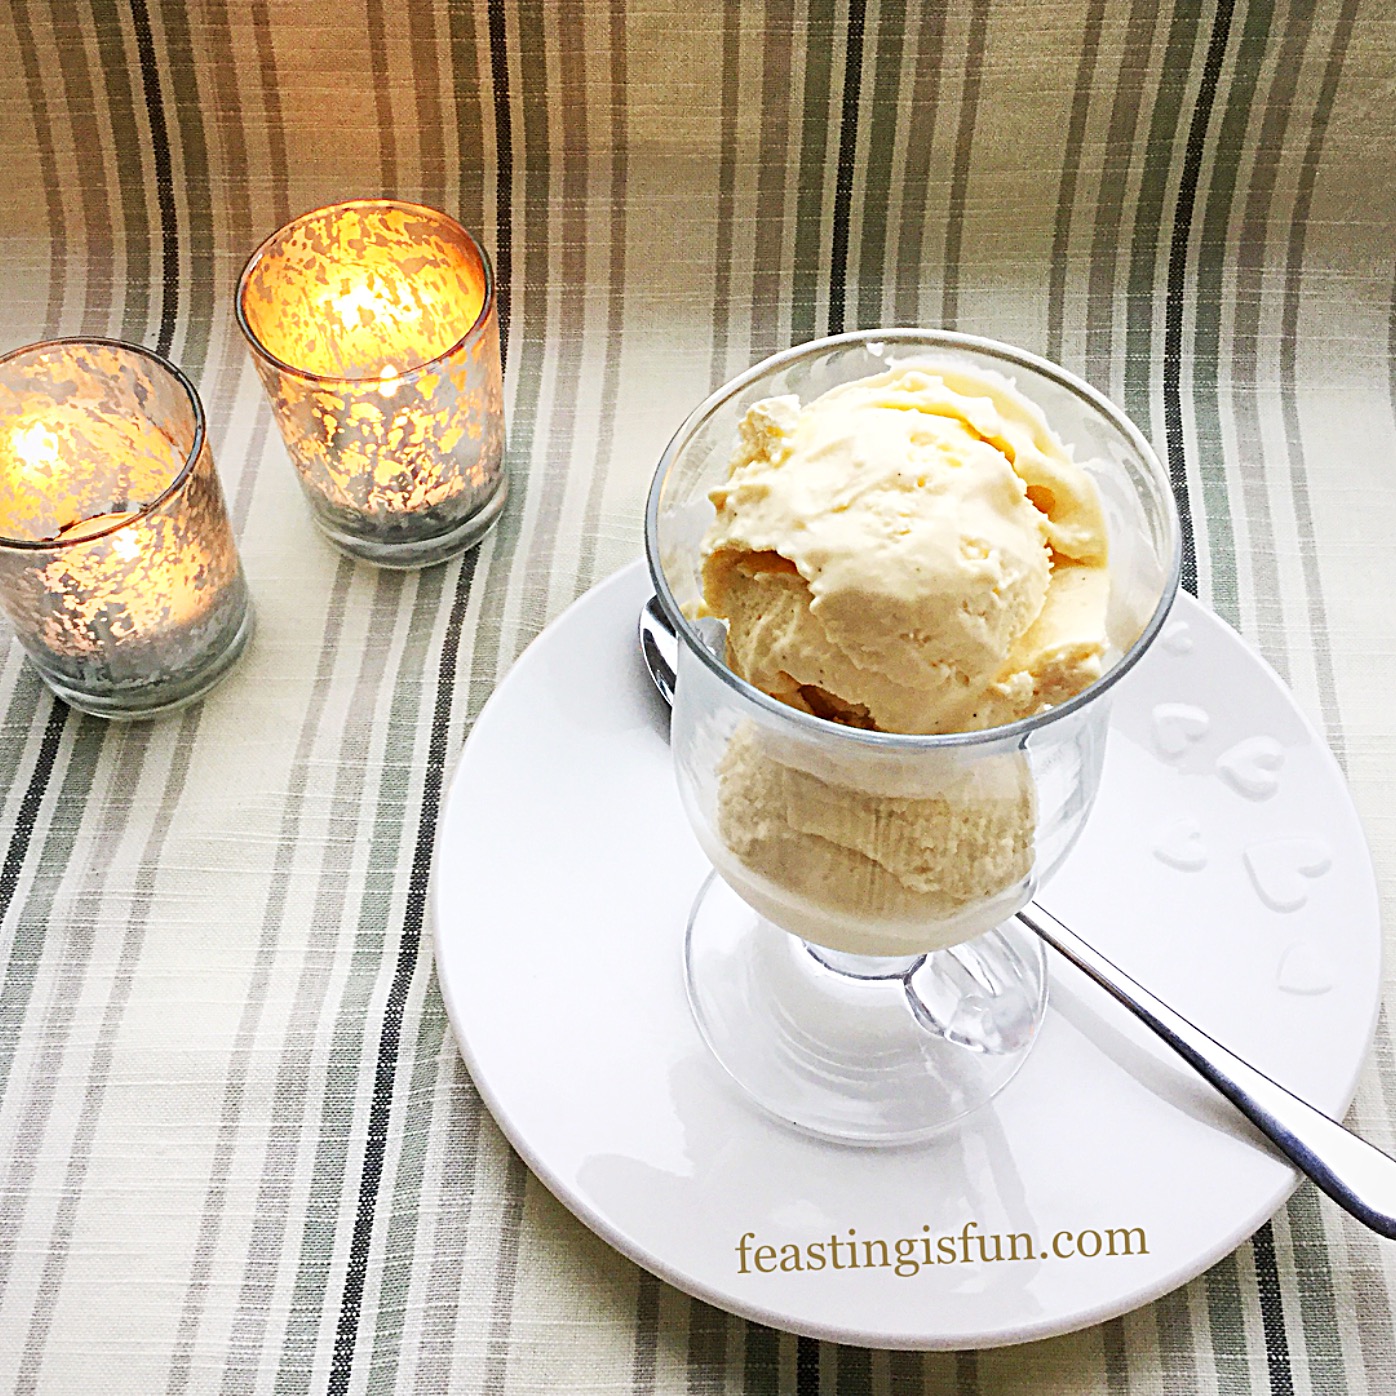
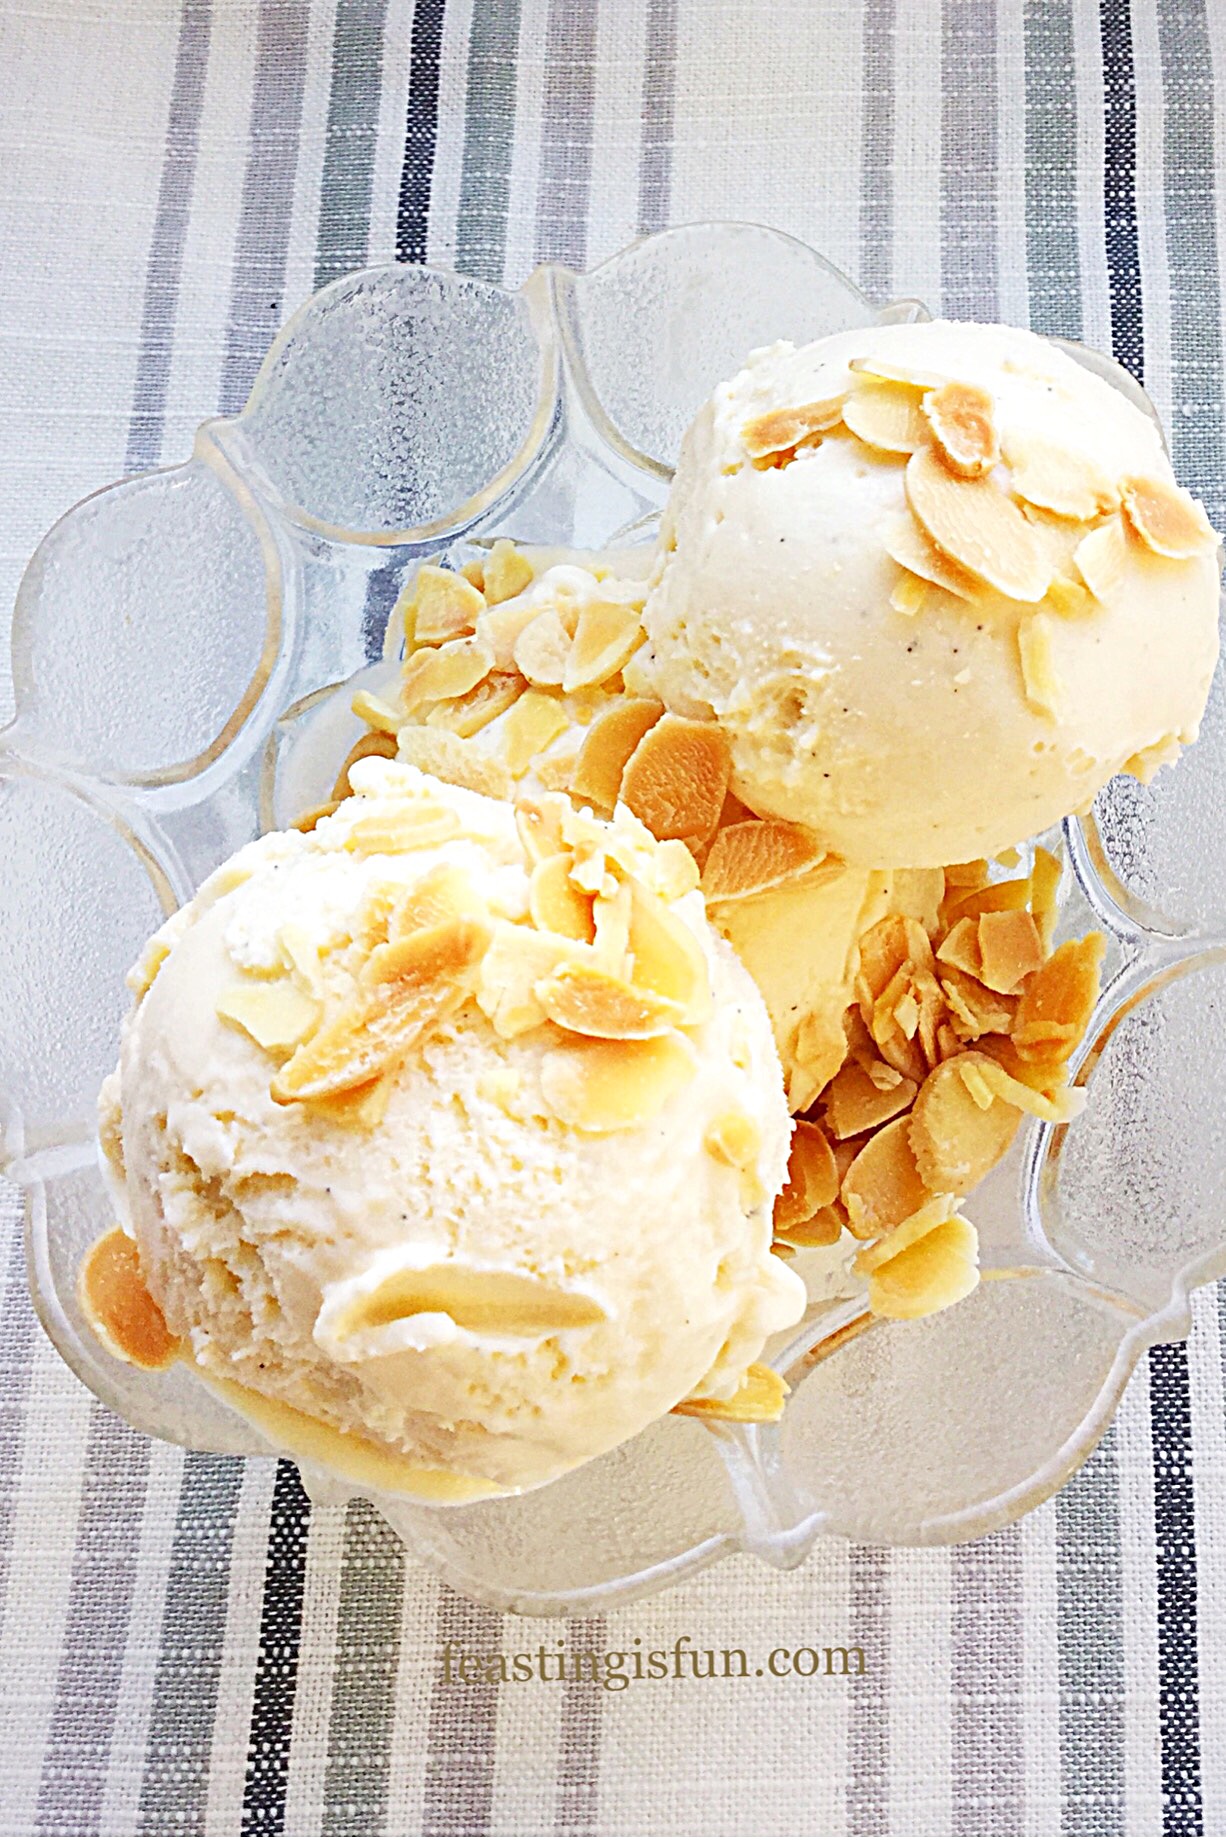
Winter and ice cream. Can they really hold hands and be friends during the coldest months? I say absolutely! My Amaretto Creamy Ice Cream scooped into a bowl and topped with hot, toasted, flaked almonds is perfect any day of the year. Ice cream is for every season, we just have to get creative!
The Benefits Of Adding Almond Liqueur
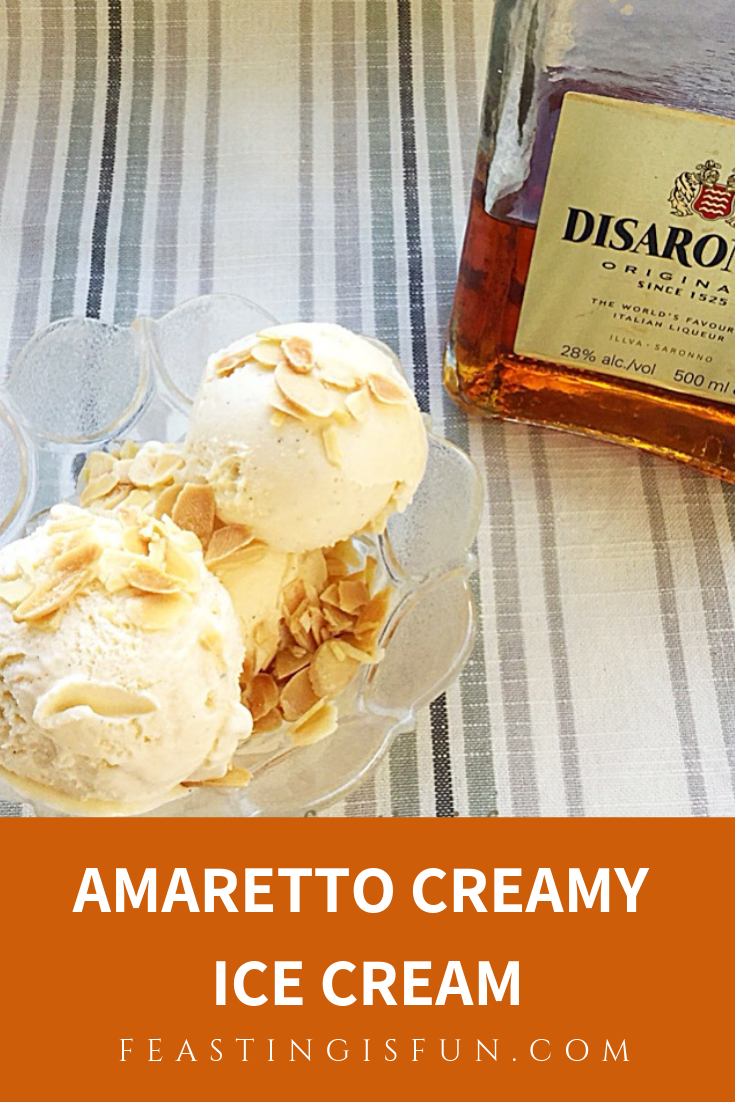
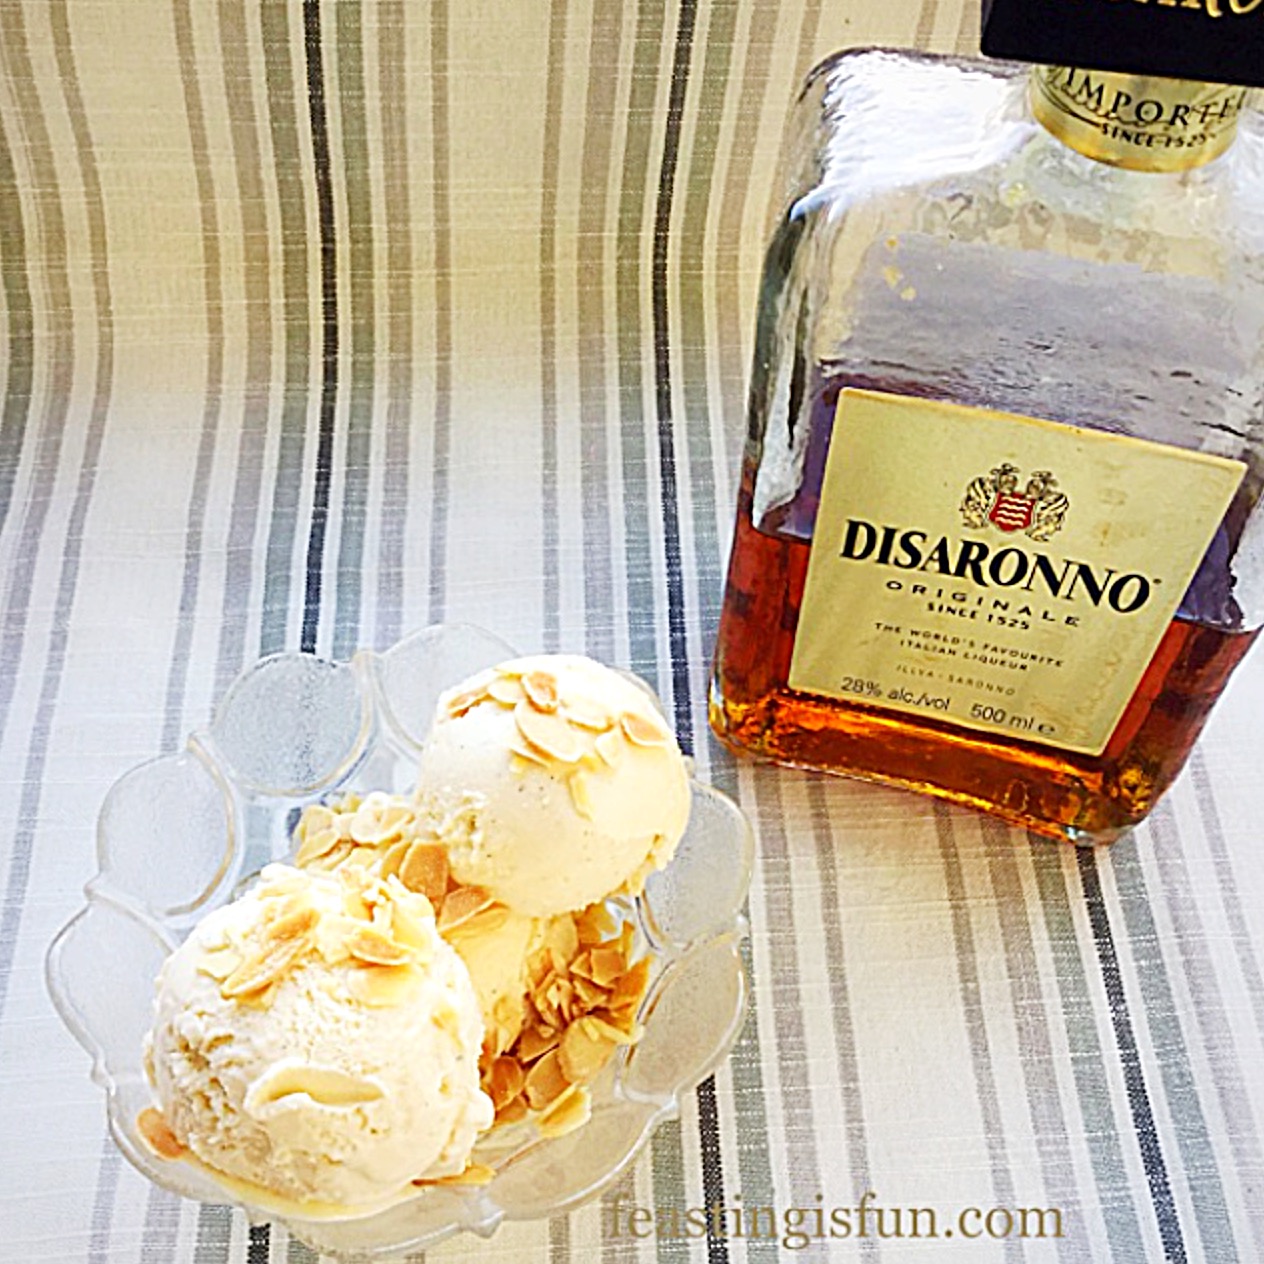
Amaretto is an Italian Almond Liqueur. It’s flavour is of warm, toasted almonds which, when sipped, produces a warming feeling throughout the body. Add it to ice cream and two different things happen. First of all, due to the alcohol content, this ice cream does not need to wait around, warming up before it can be scooped. Furthermore, the ice cream becomes dreamily creamy. Creating a dessert that stands alone on its own merits, the toasted flaked almonds adding a crunchy texture to the smoothness of the ice cream.
Two Dessert Options
However, the Italians have a wonderful dessert called Affogato. A scoop or two of ice cream, drowned in a shot of hot, intense, espresso . The coffee drowns the ice cream. The resulting effect being a meeting of ice cold, ice cream and scalding hot coffee. If you love coffee, then this is an incredibly stylish way to end a meal.

The combination of opposites; hot and cold, sweet and bitter, dessert and drink, create an exciting, enticing, taste experience. Most of all, that tastebud sensation is completely homemade. Because the dessert is created from scratch, the control of flavours is in your hands.
Recipe: Amaretto Creamy Ice Cream makes 750ml
300ml/ 1/2 pint Double Cream
300ml/ 1/2 pint Whole Milk
1tsp Vanilla Bean Extract I use Nielsen-Massey
4 Large Free Range Egg Yolks
5tbsp Caster Sugar
1tsp Corn Flour I use Doves Farm as it is 100% gluten free
5tbsp Amaretto Liqueur
Method:
Most importantly, ensure the freezing compartment of the ice cream machine has been in the freezer overnight, or as per manufacturer’s instructions.
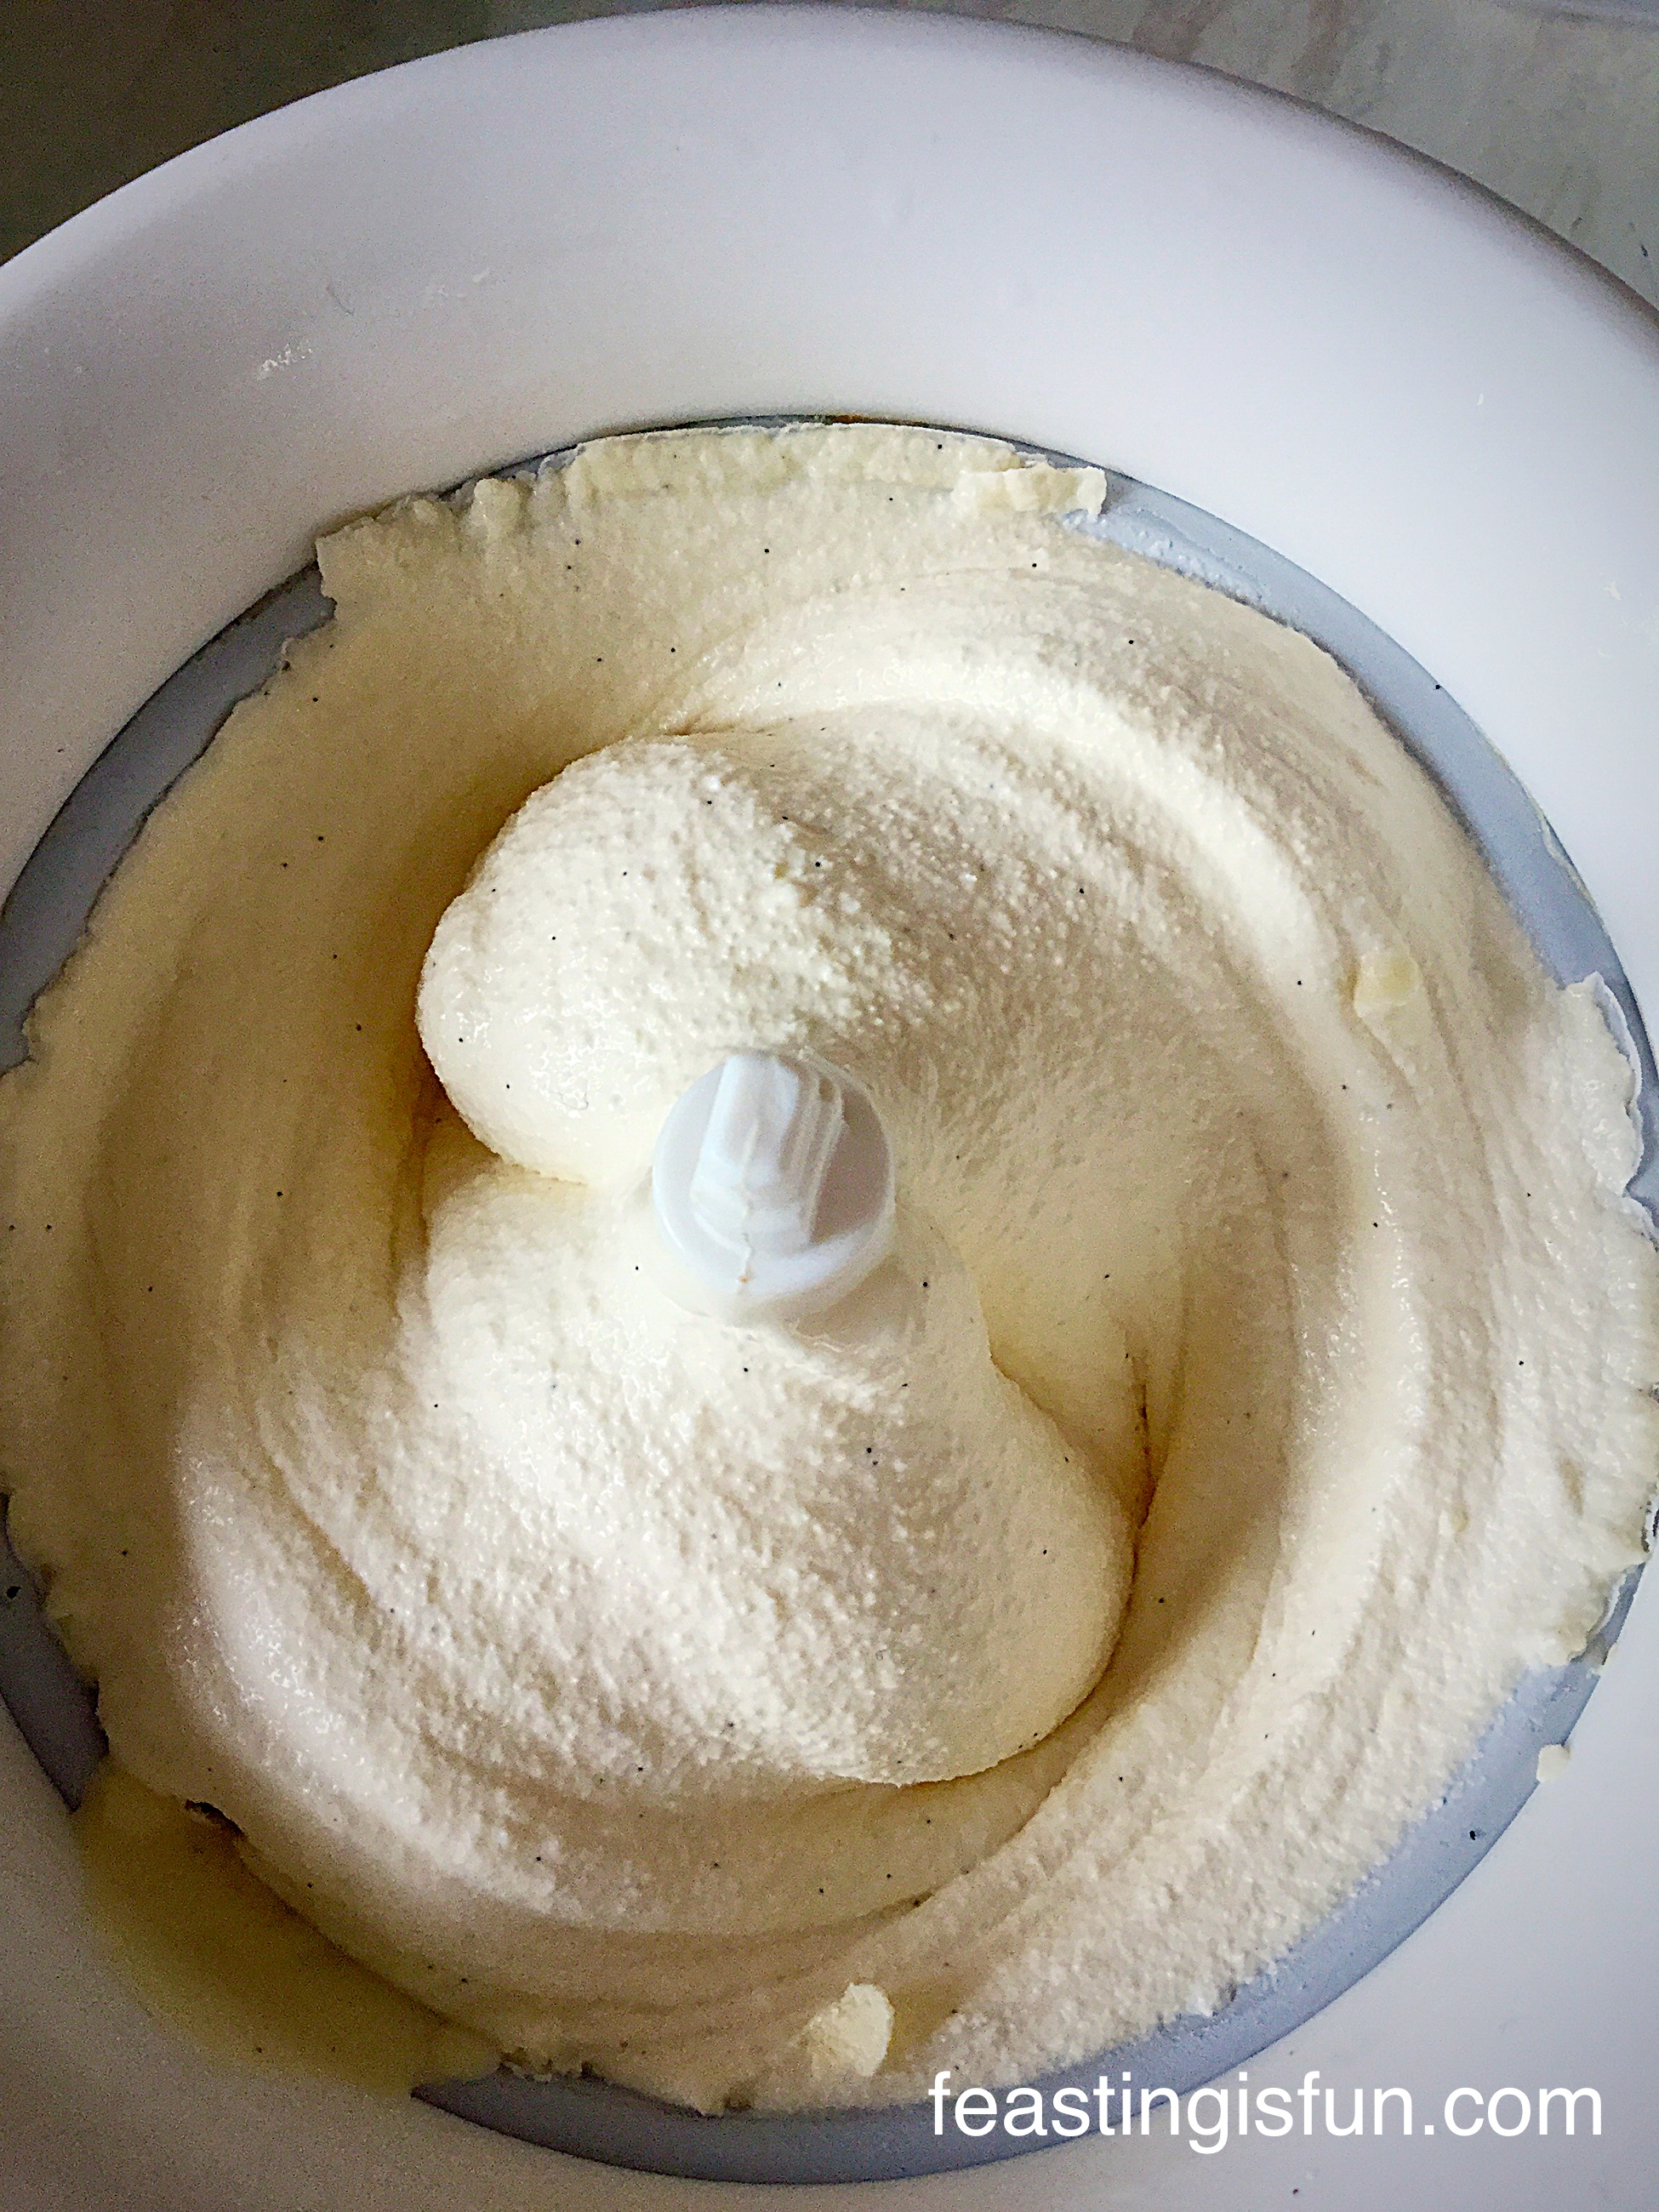
For step by step photographs, showing the making of an ice cream base, please see Very Vanilla Ice Cream.
Making The Amaretto Ice Cream Base
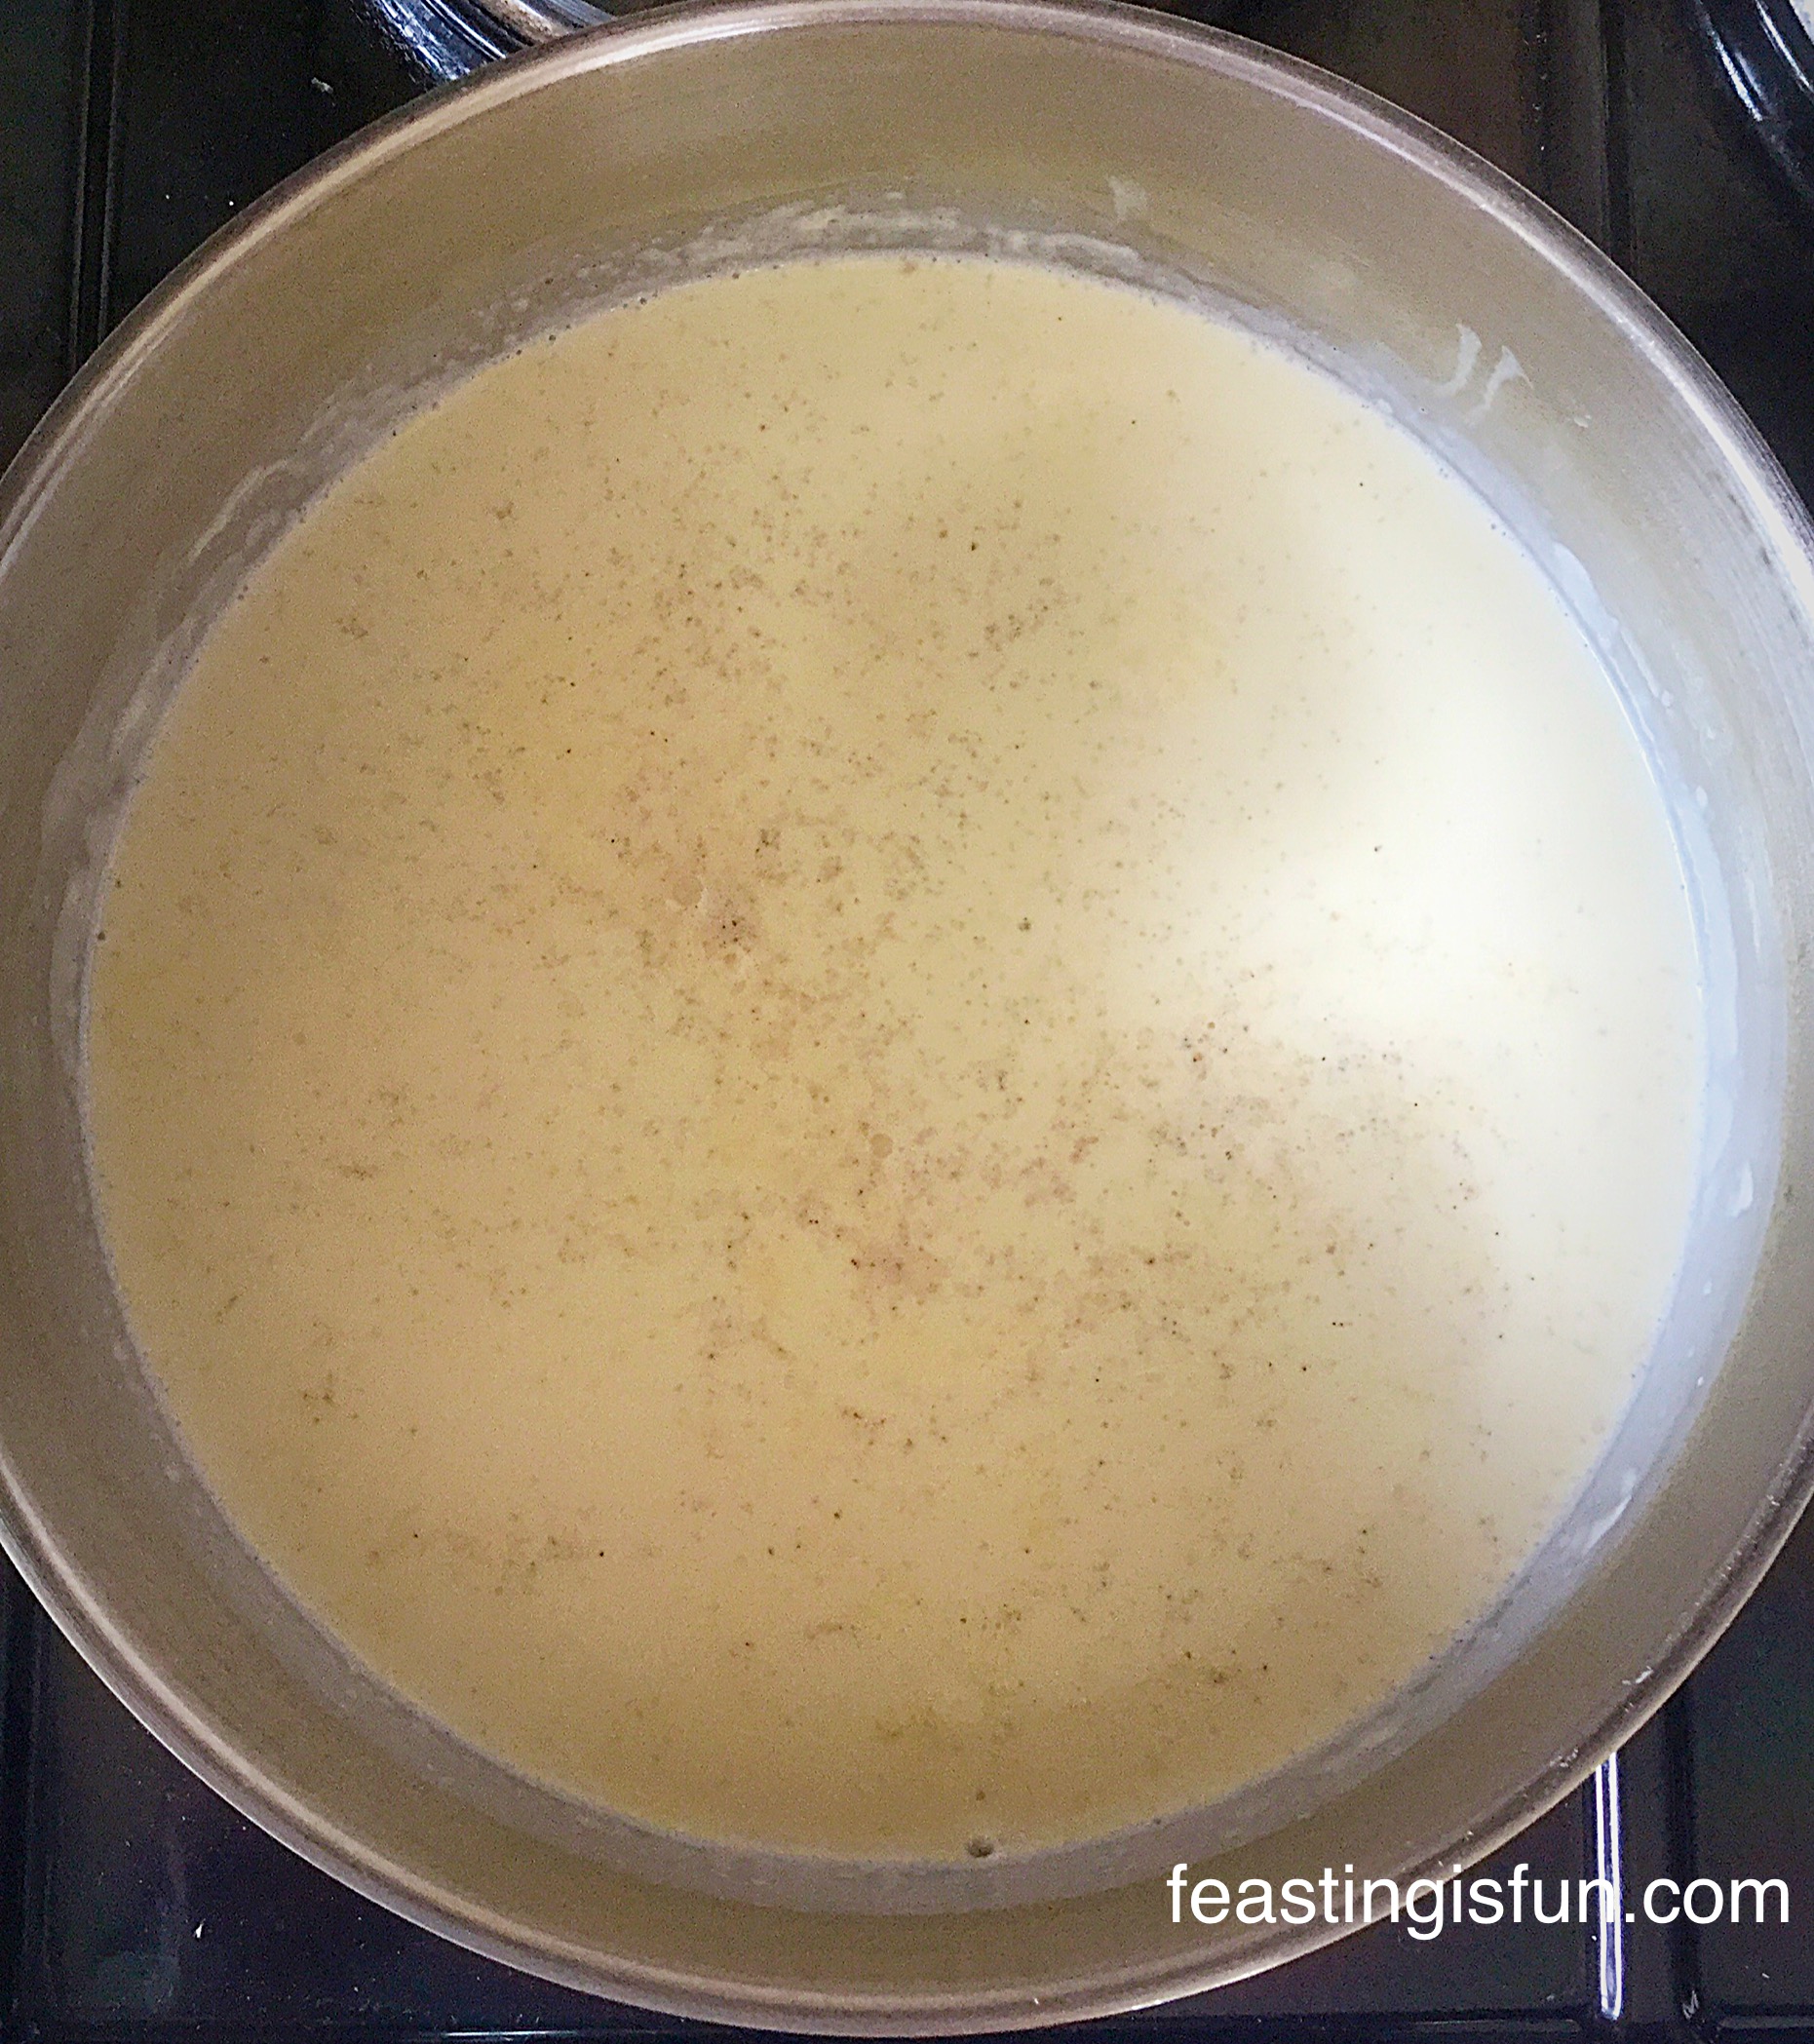
- First of all, pour both the cream and milk into a large, heavy based saucepan and place over a medium heat. Allow to heat until small bubbles form around the rim of the saucepan – this is known as the scalding point. Once reached, remove the saucepan from the heat.
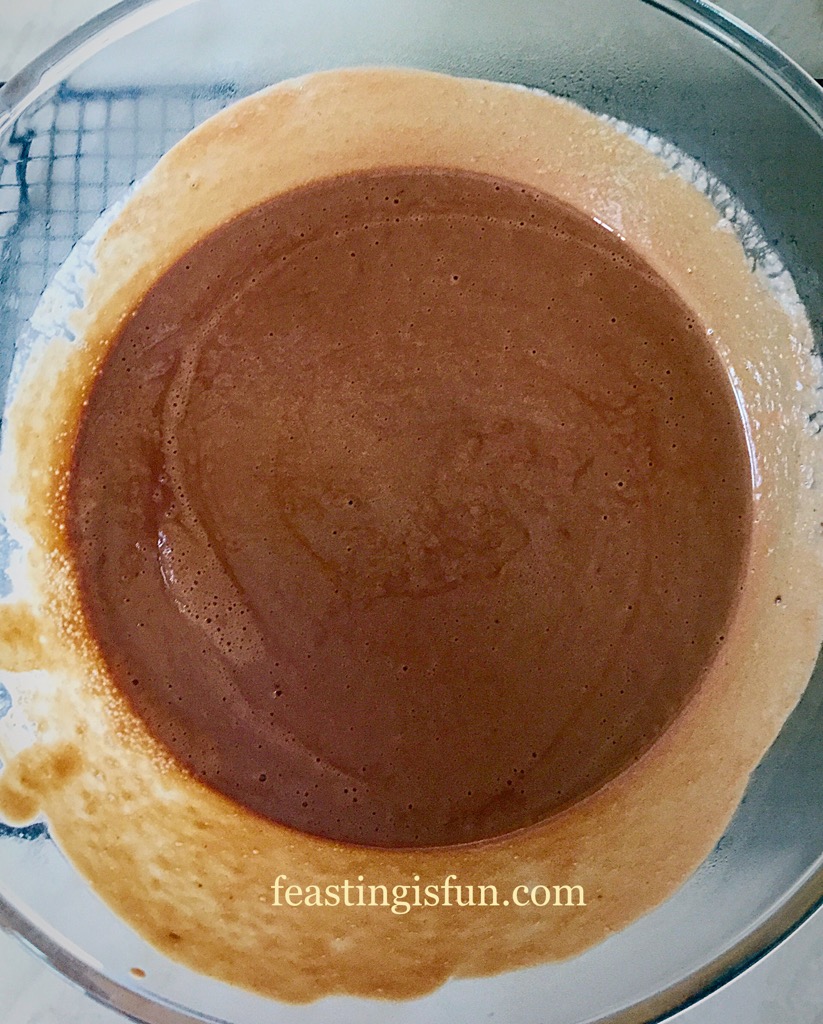
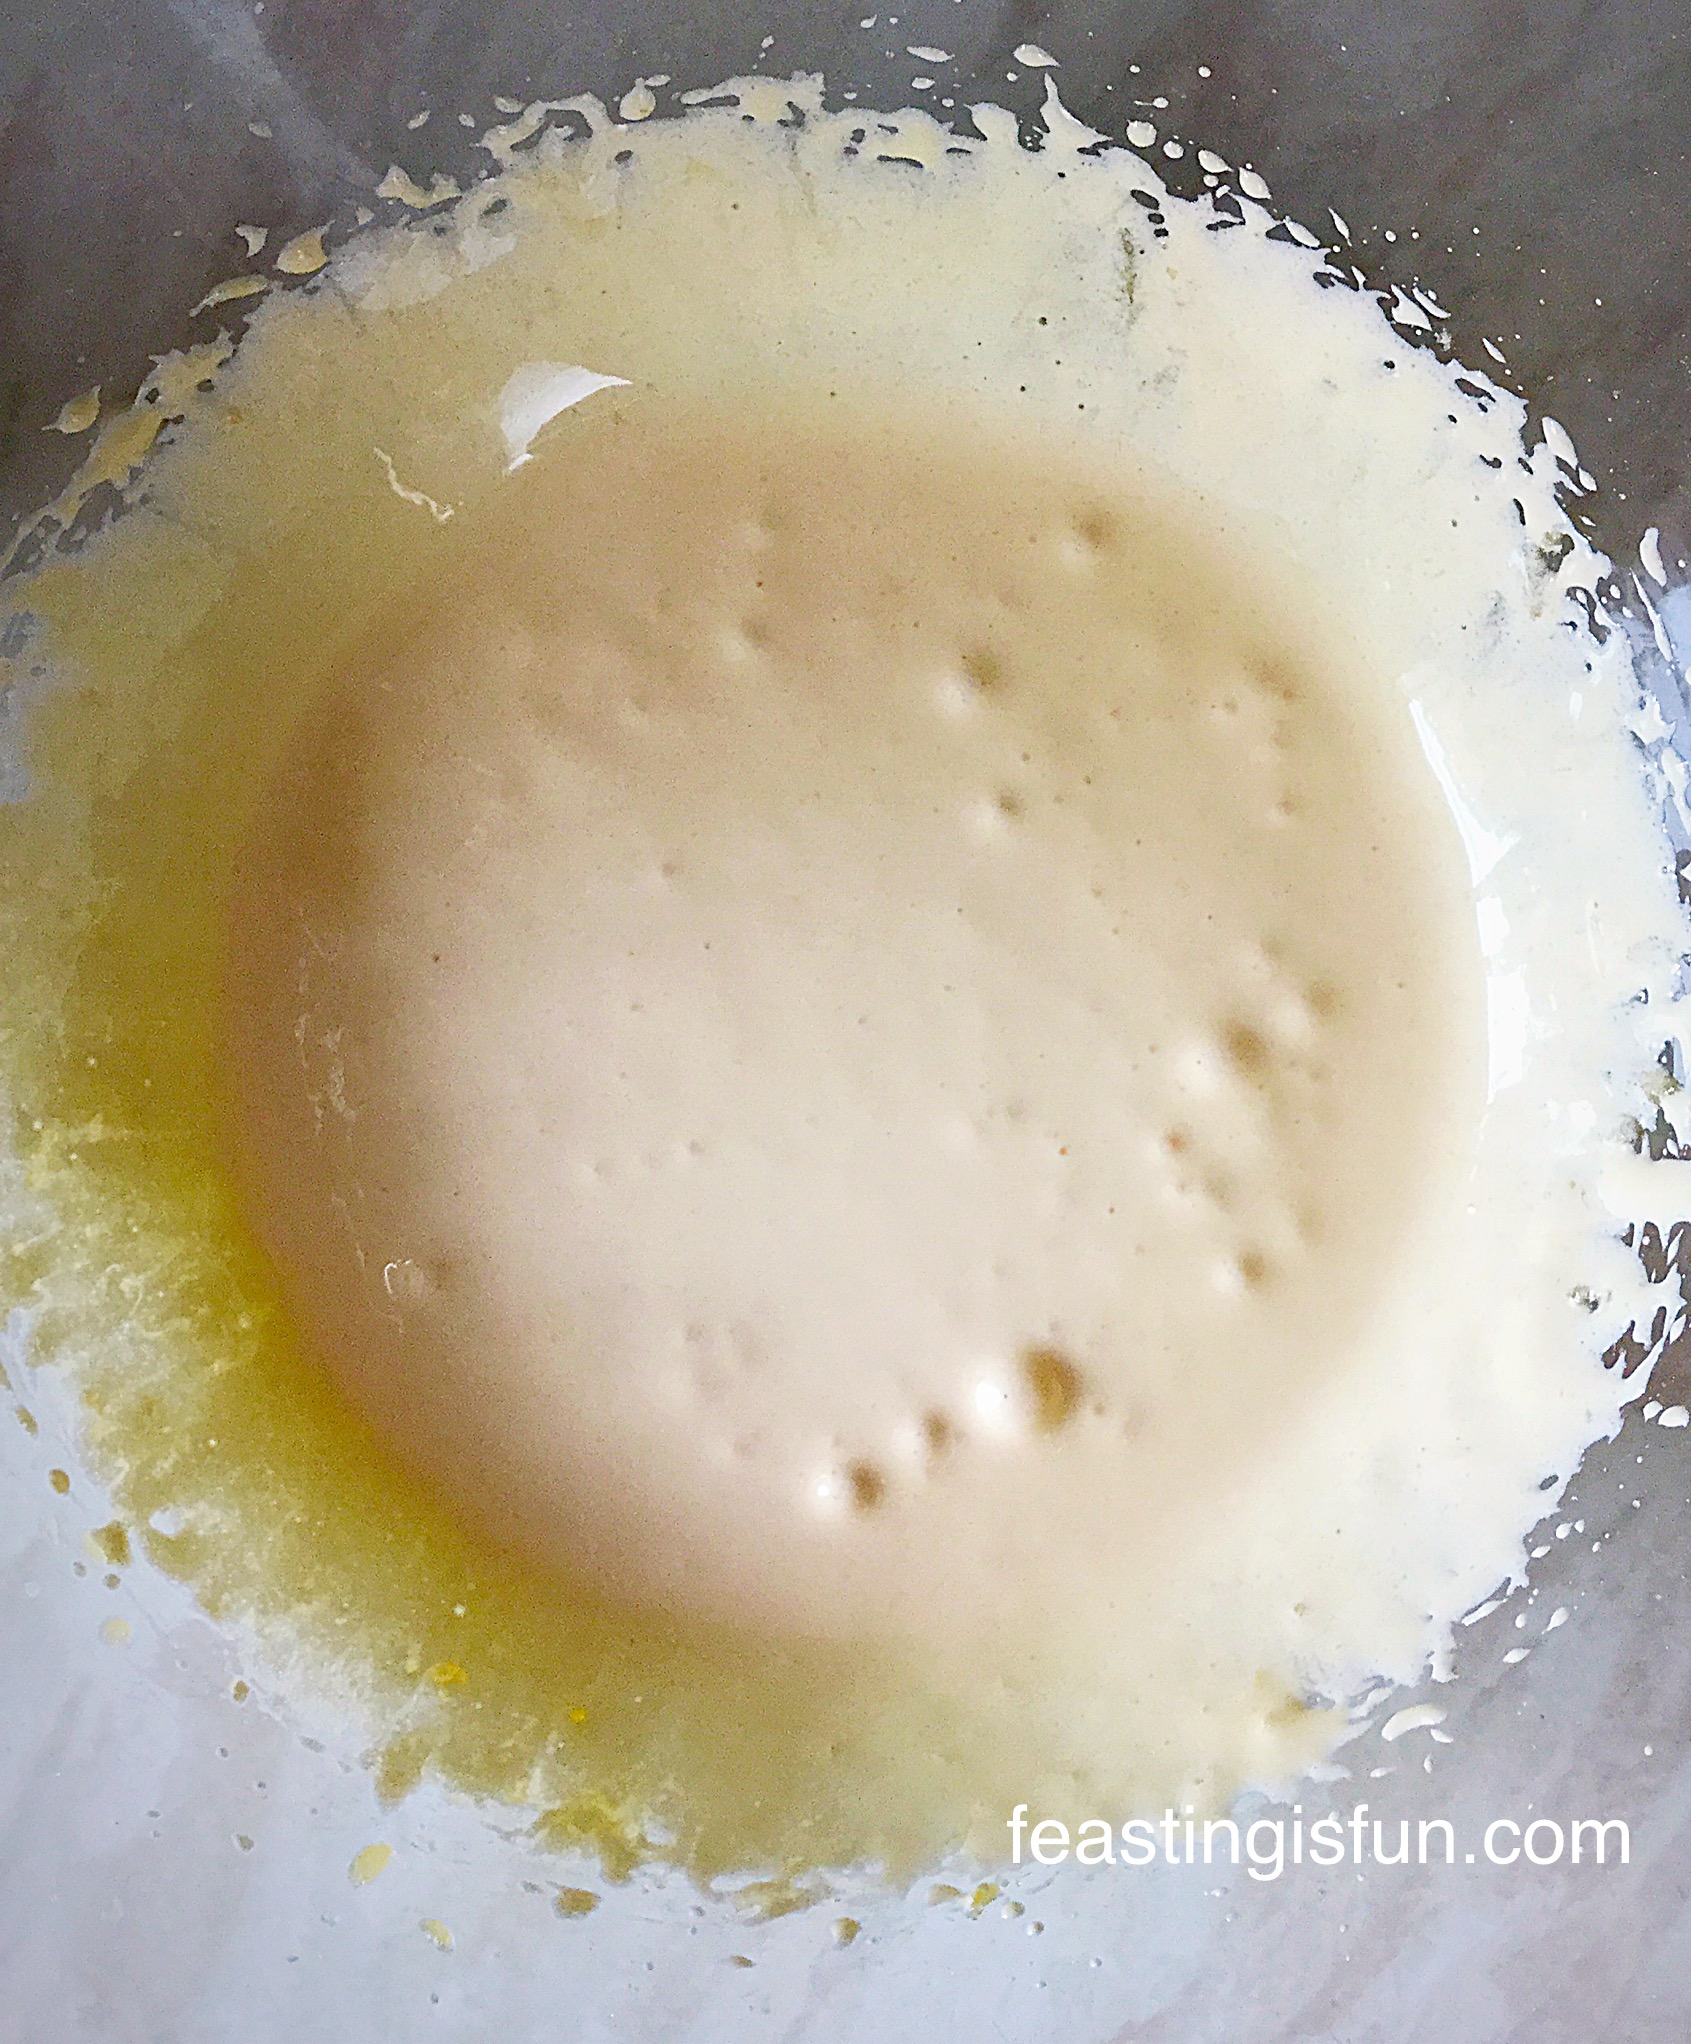
- While the milk/cream mixture is heating, add the egg yolks, sugar, corn flour and vanilla bean extract to a large, heatproof bowl. Whisk until pale and frothy.
- As soon as the eggs are mixed and the milk/cream have reached scalding point, continue with the following:
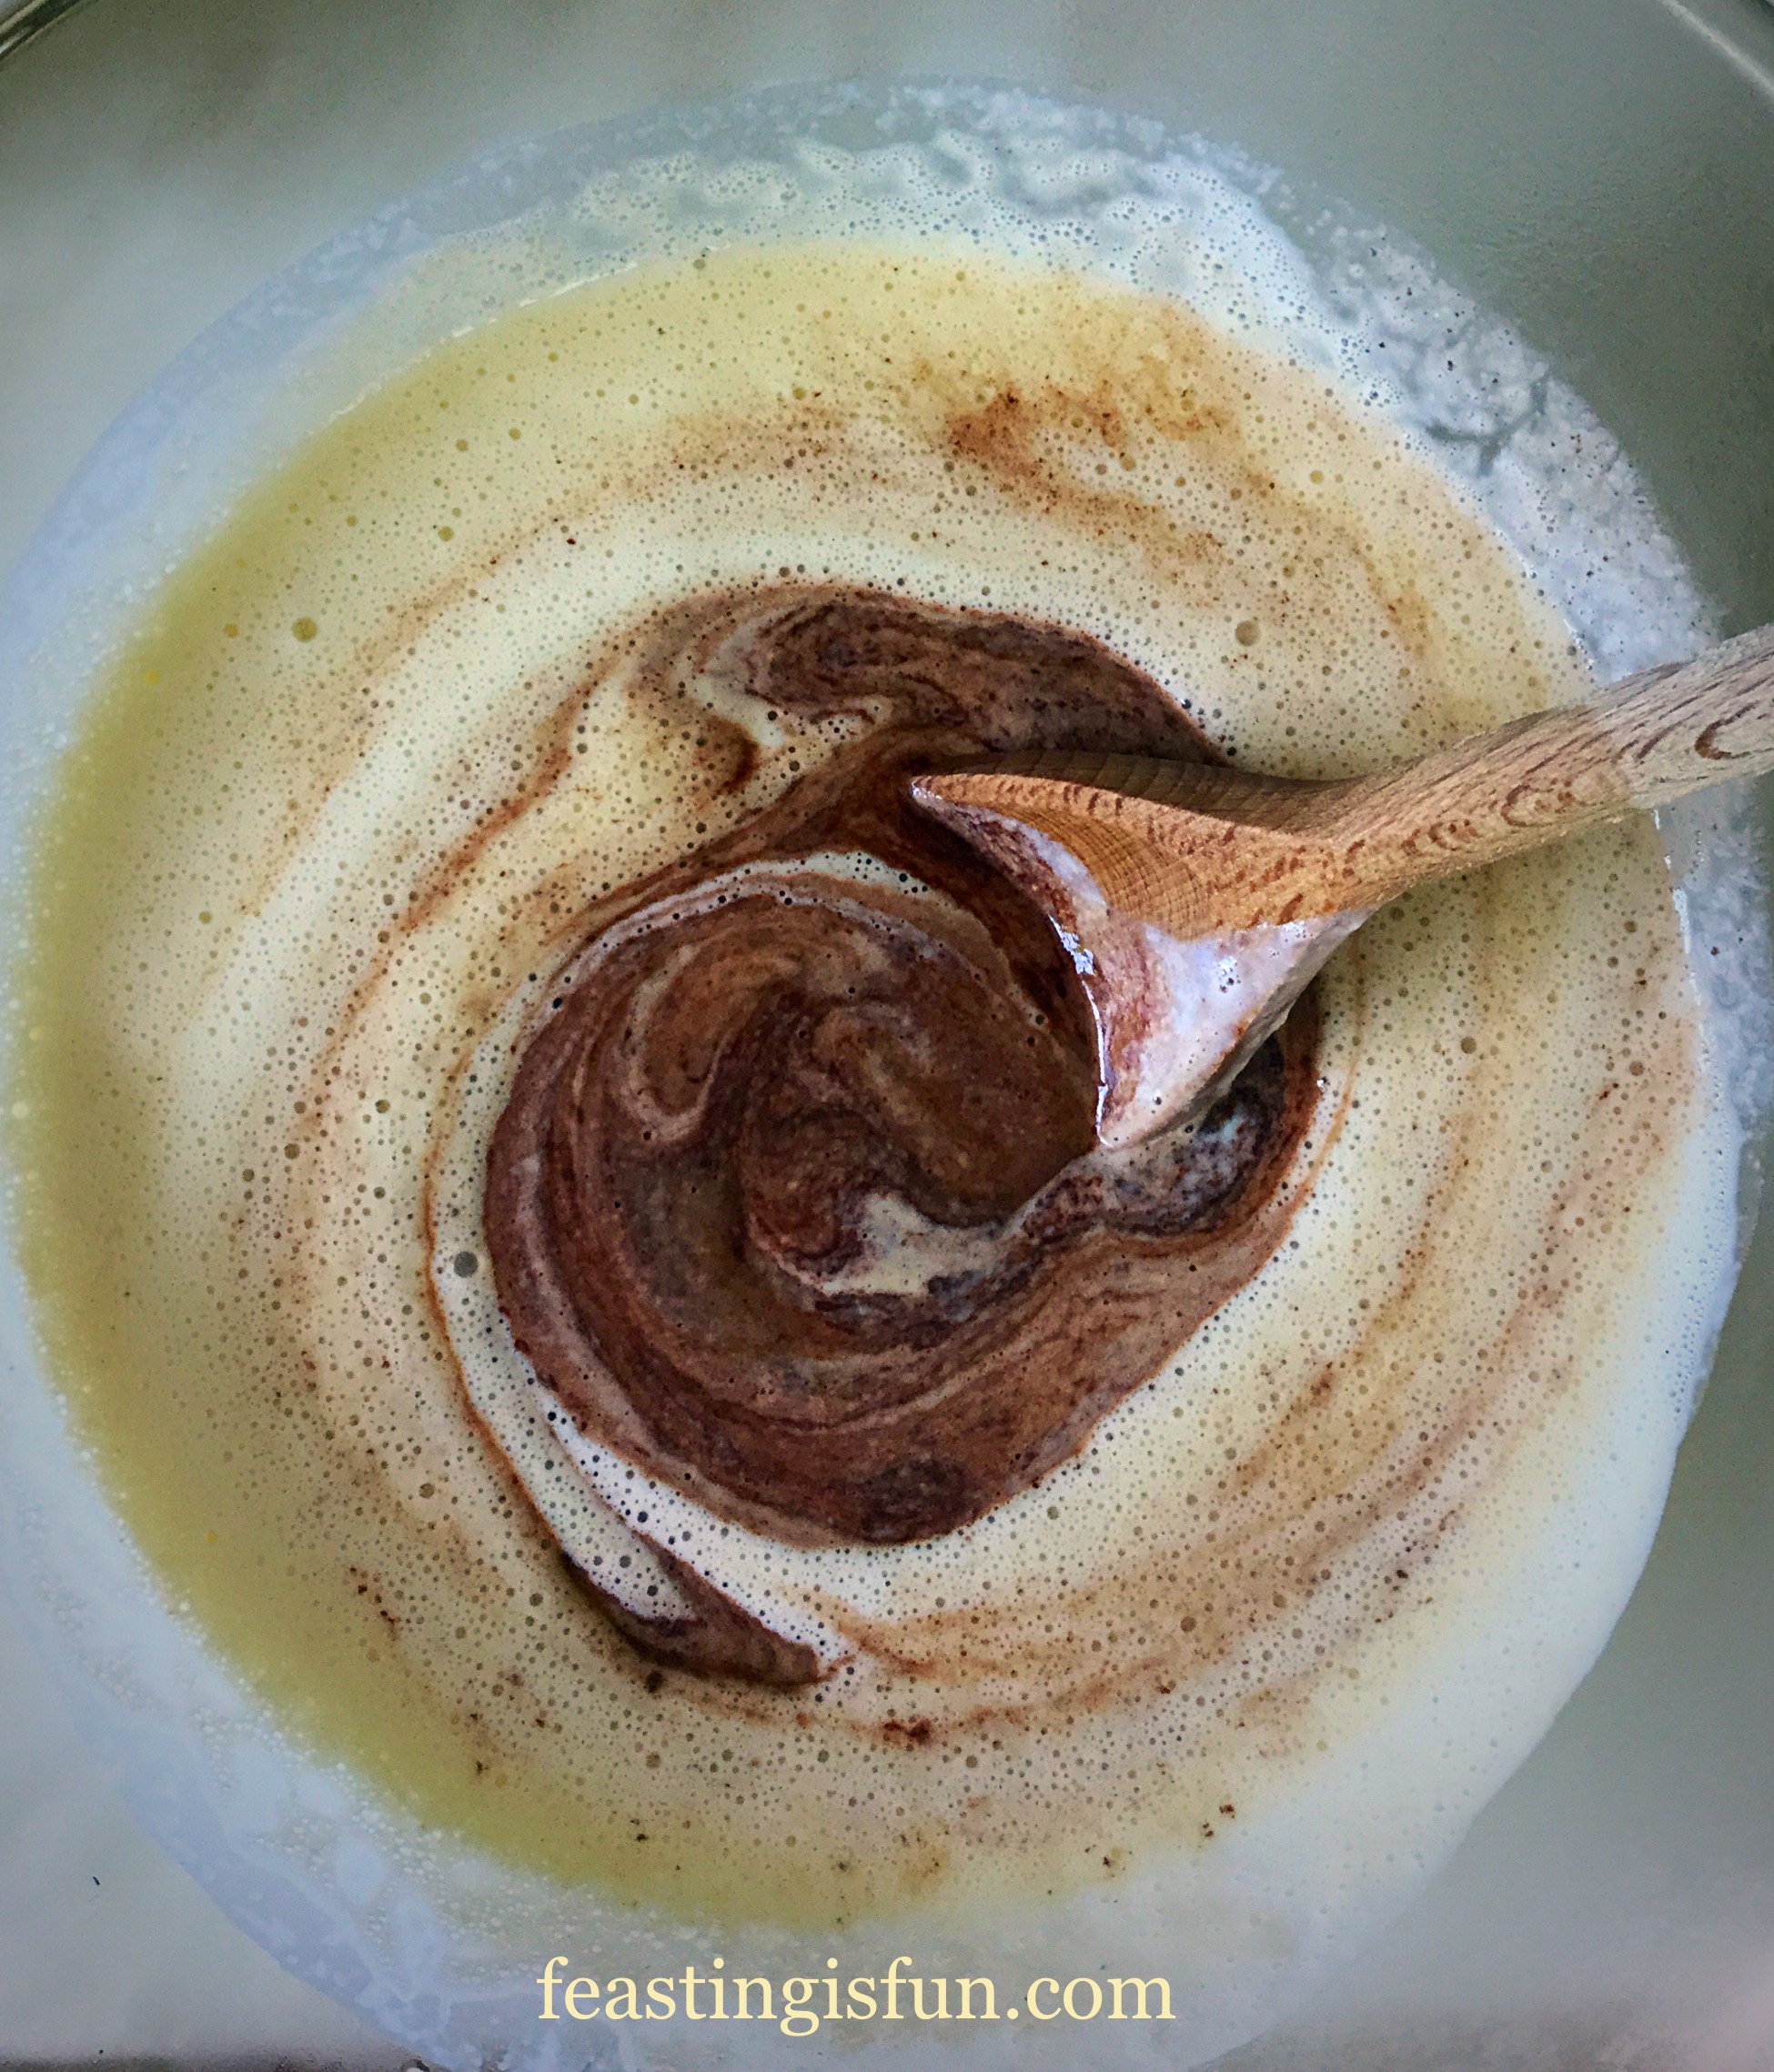
- With the whisk still on slow, gradually pour the hot milk mixture into the bowl containing the egg mixture. Keep pouring until all of the hot, creamy liquid is mixed in.
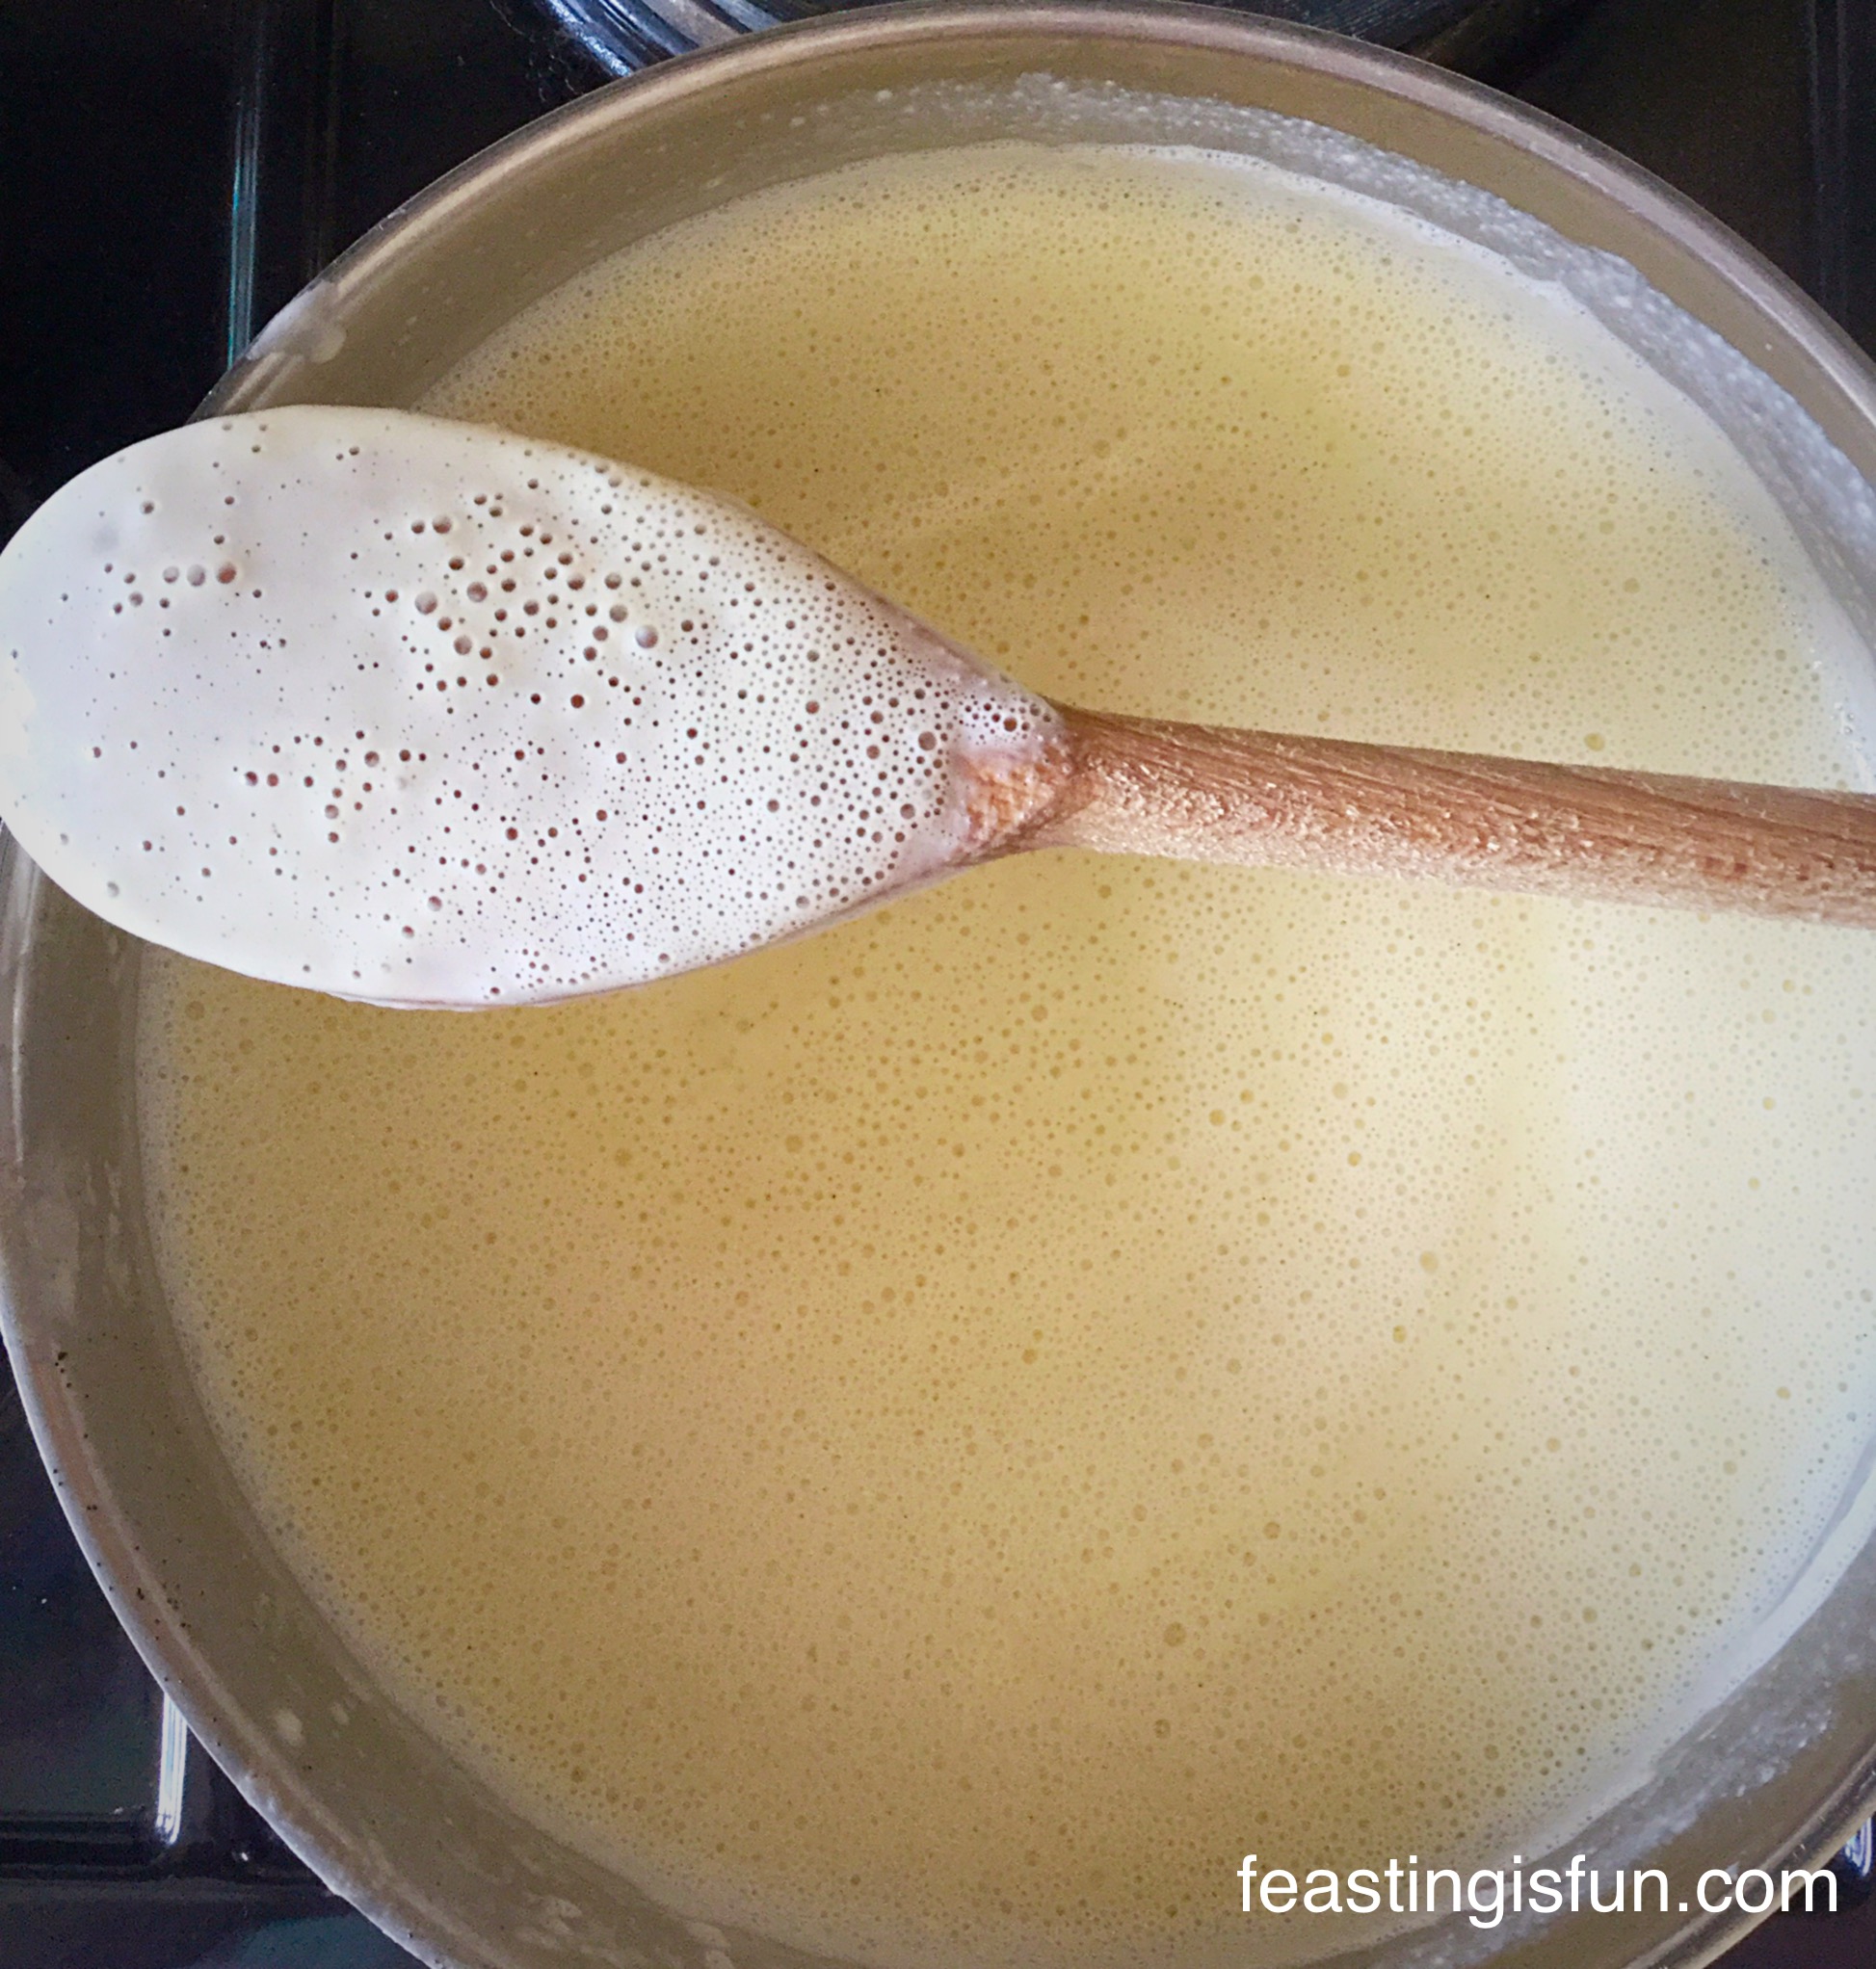
- Next pour the contents of the bowl back into the saucepan and place over a low heat. Keep stirring to ensure the custard base does not catch. Continue heating until the custard has thickened and coats the back of a wooden spoon.
- Remove the saucepan from the heat.
- Place a sieve over a large heatproof bowl and pour the custard base through.
- Also, to ensure a skin does not form on top of the custard, place cling film on to the custard. So that it is in direct contact.
- Set the bowl aside to cool and then place in the fridge to chill thoroughly.
- When the custard has fully chilled remove from the fridge. Now is the time to add the Amaretto Liqueur. Stir to mix.
Smooth Ice Cream Is The Result Of Being Churned
- Set up the ice cream machine as per manufacturer’s instructions.
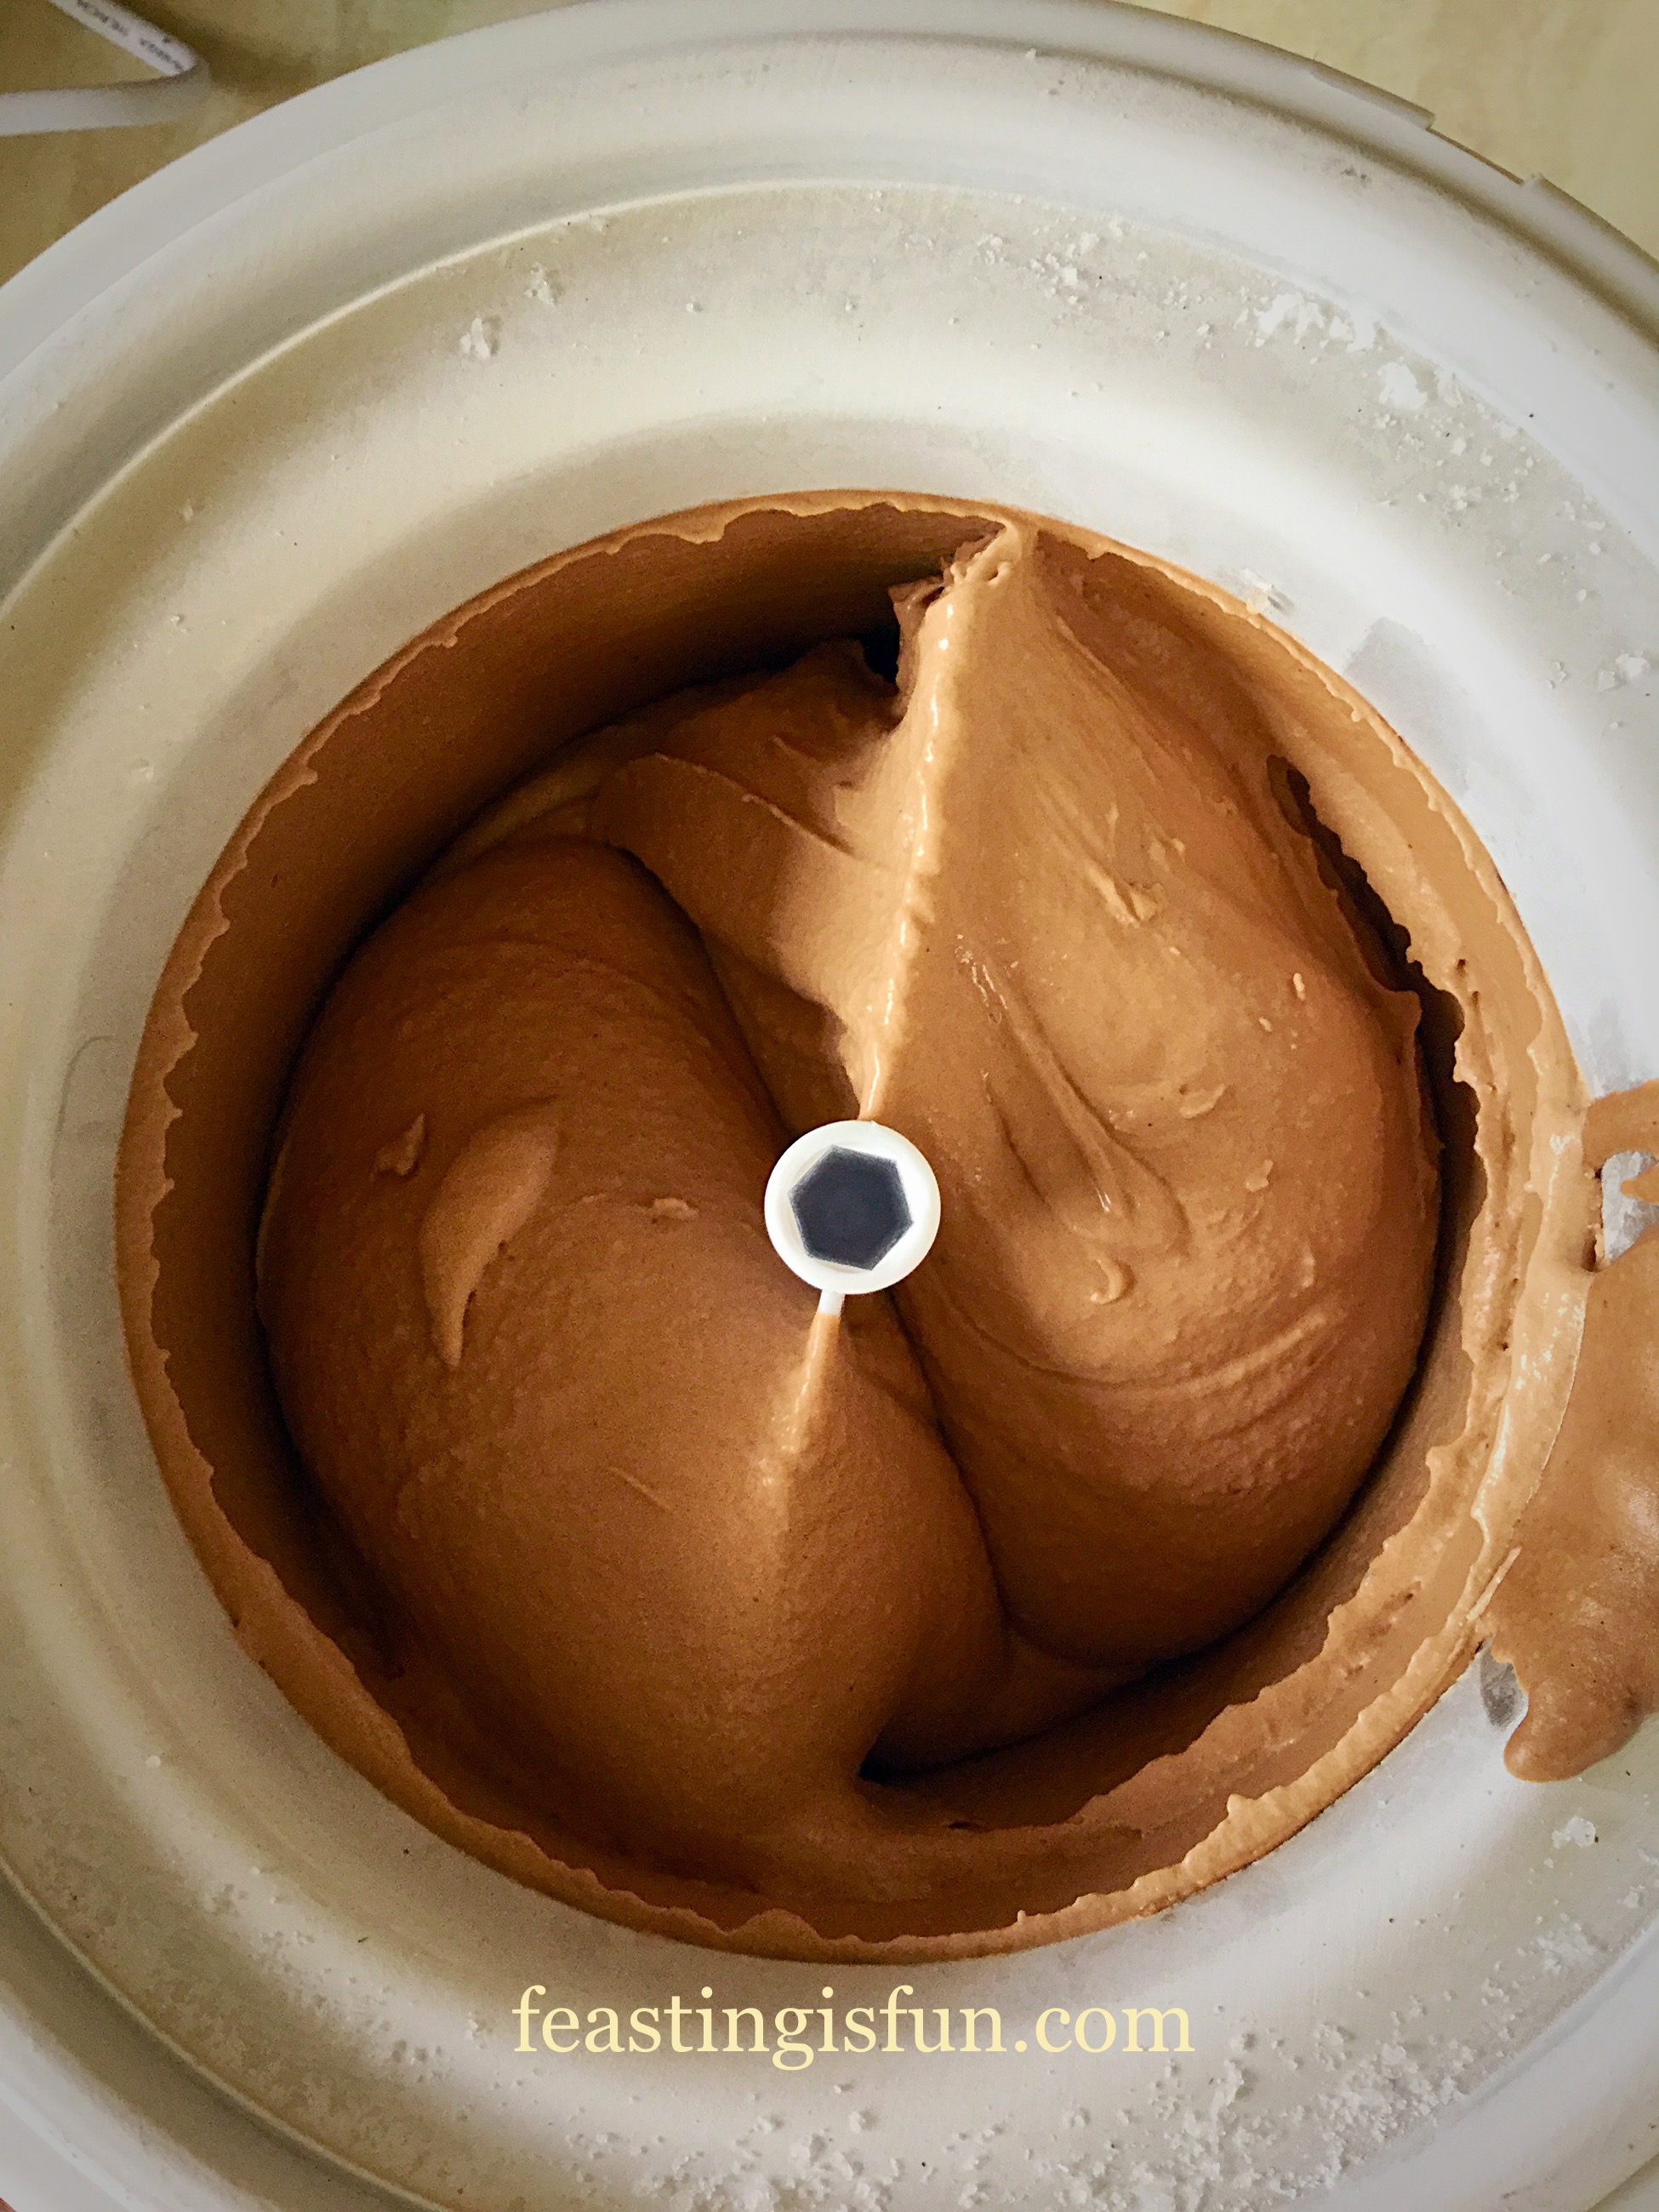
- With the machine turned on, pour the deliciously scented custard base into the churning bowl.
- Continue churning until the ice cream has a thick consistency.
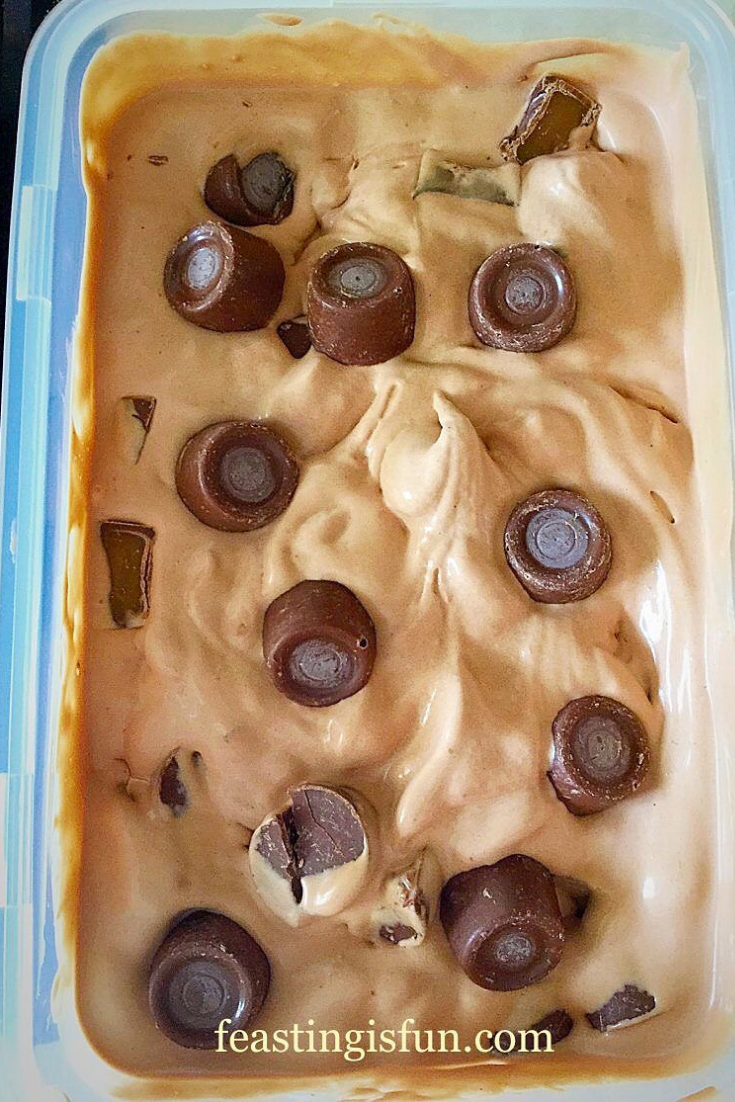
- Stop the machine and remove the lid and paddle. Scrape the ice cream from the paddle into a suitable freezer proof, airtight container. Then, using a silicone spatula, decant the rest of the ice cream into the container. Wipe away any splashes, clip on the lid, label and finally place the container into the freezer to finish freezing.
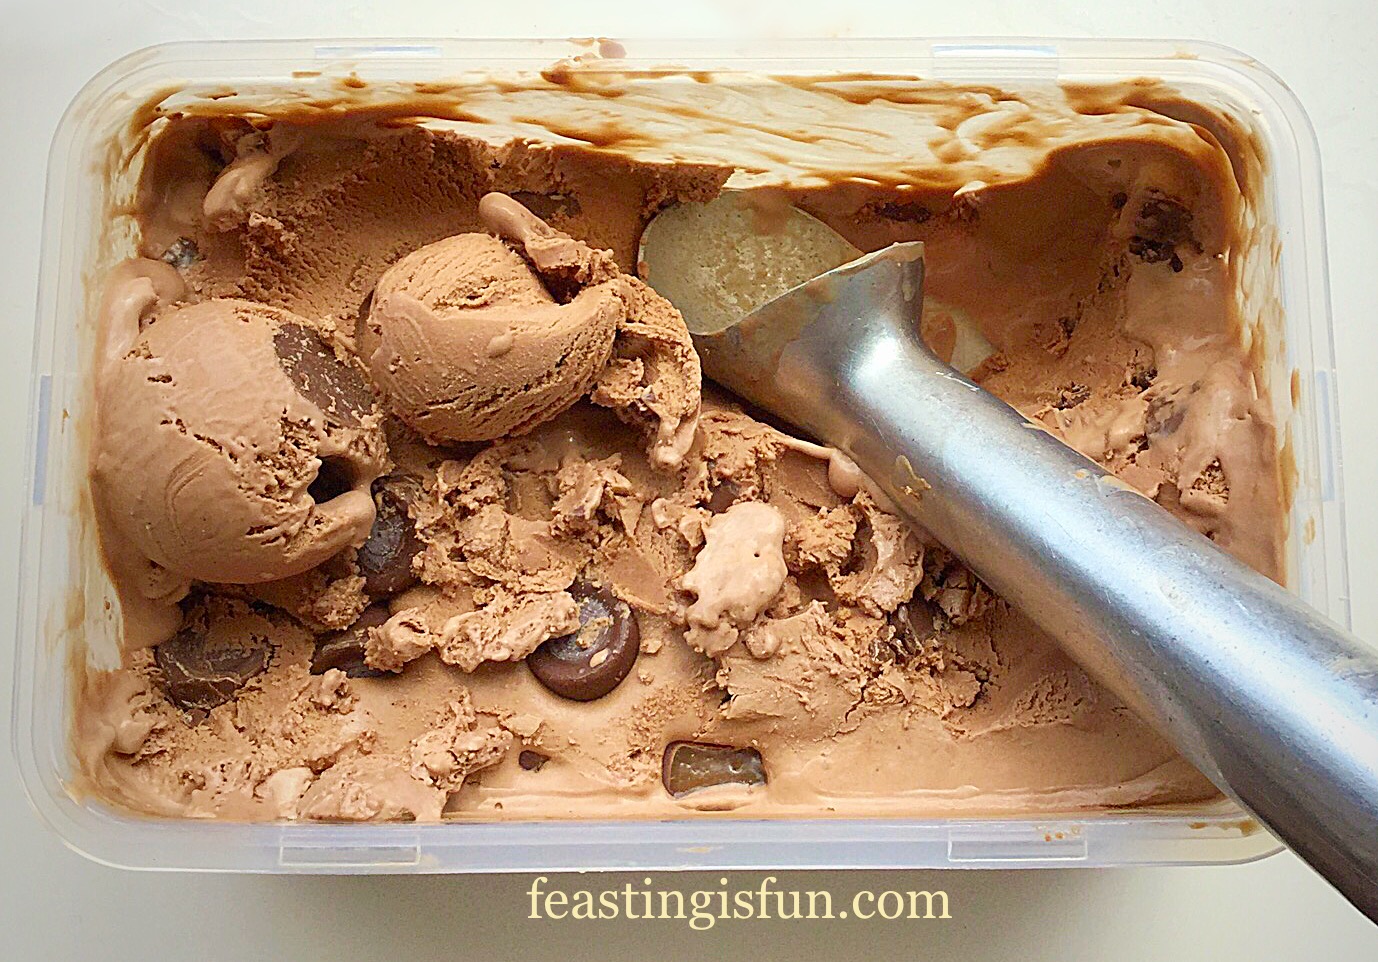
To serve, remove the ice cream from the freezer and scoop straight away. Since the ice cream contains a good slug of alcohol, which freezes at a much lower temperature, it is ready to serve immediately.

To create an Amaretto Affogato, simply scoop one or two balls of ice cream into a heatproof glass. Immediately pour over a steaming, hot shot of espresso and serve.
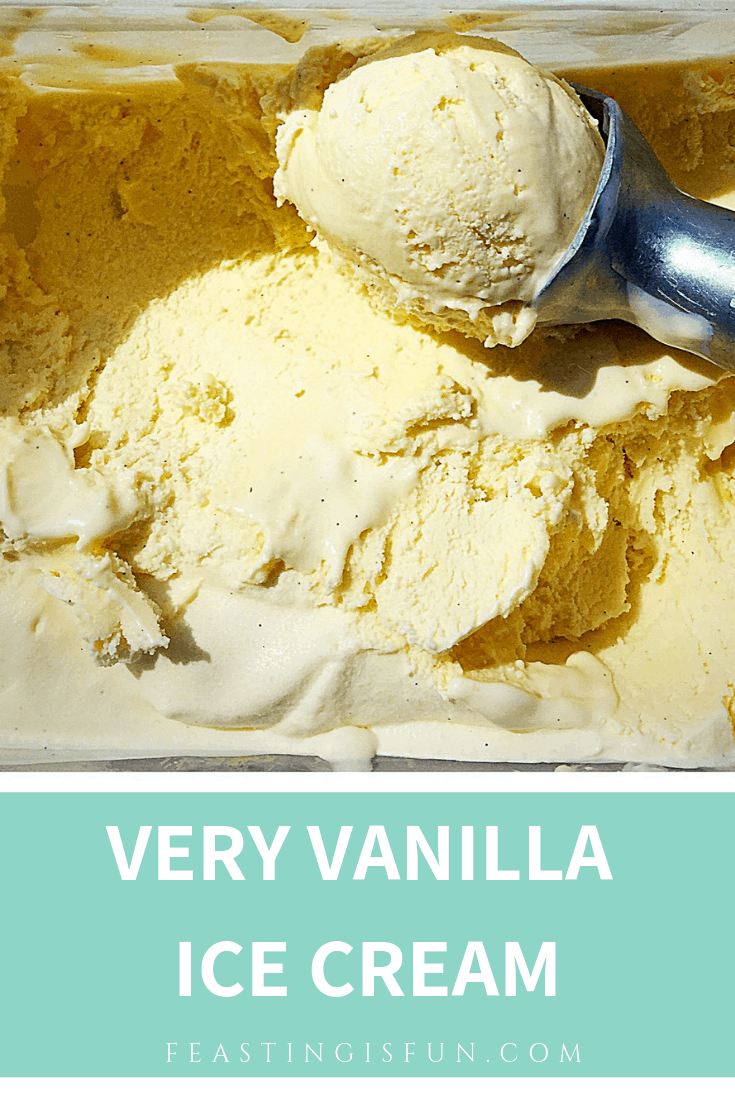
Please make sure any dinner guests who are driving have an alternative. My Very Vanilla Ice Cream works very well in an Affogato. Likewise if you want the almond flavour, without the alcohol, you could add 2 teaspoons of good quality almond extract, instead of the Amaretto. The ice cream will need to sit for 20 minutes once removed from the freezer to soften.
If you have enjoyed this recipe for Amaretto Creamy Ice Cream you may also like these:
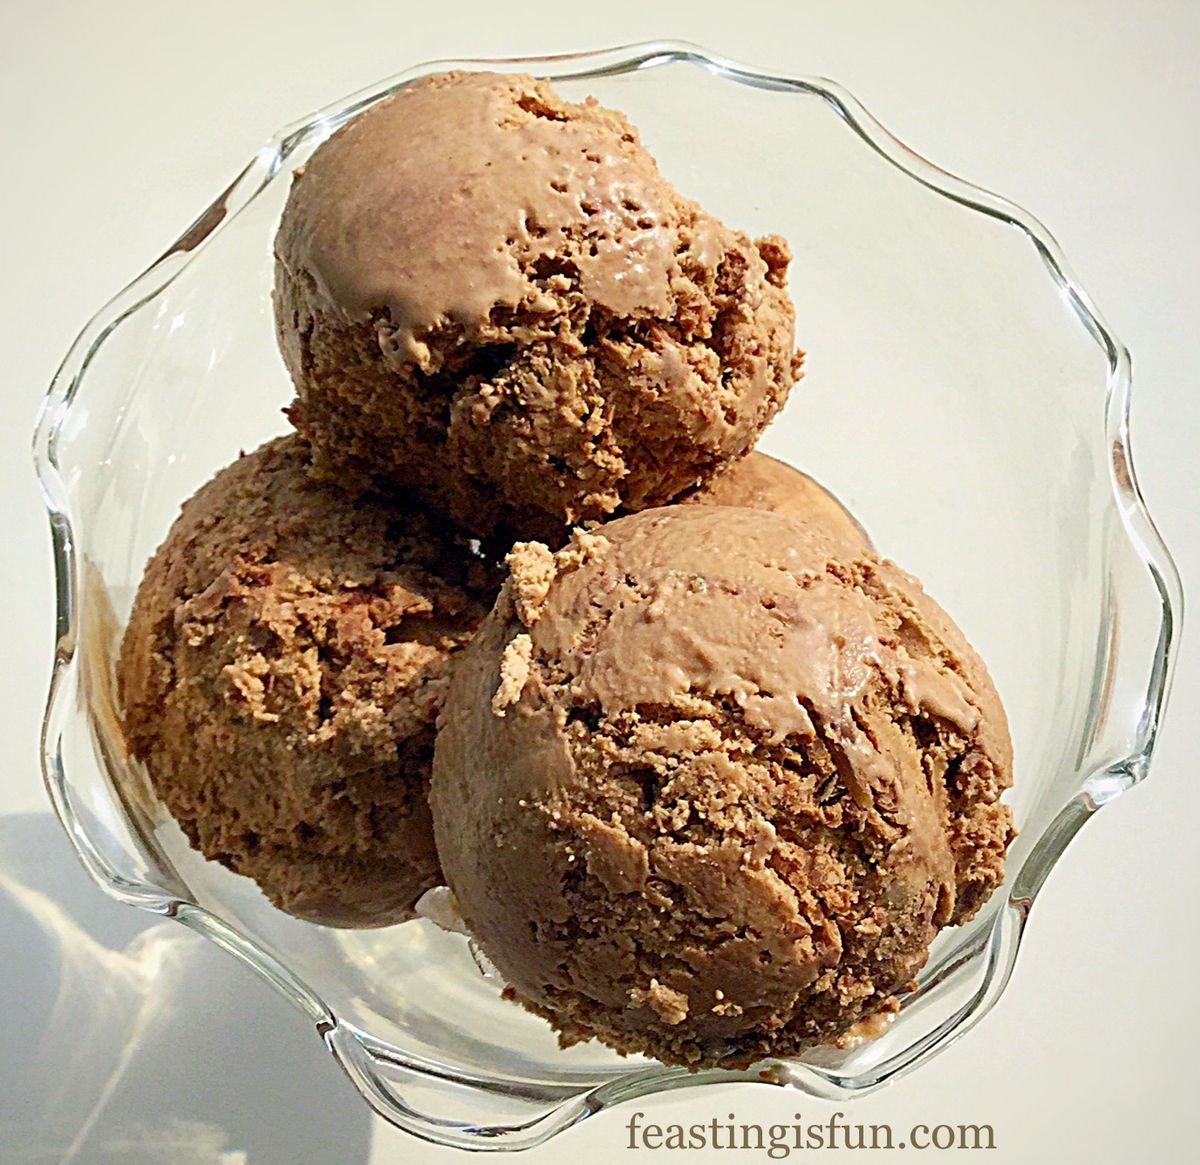
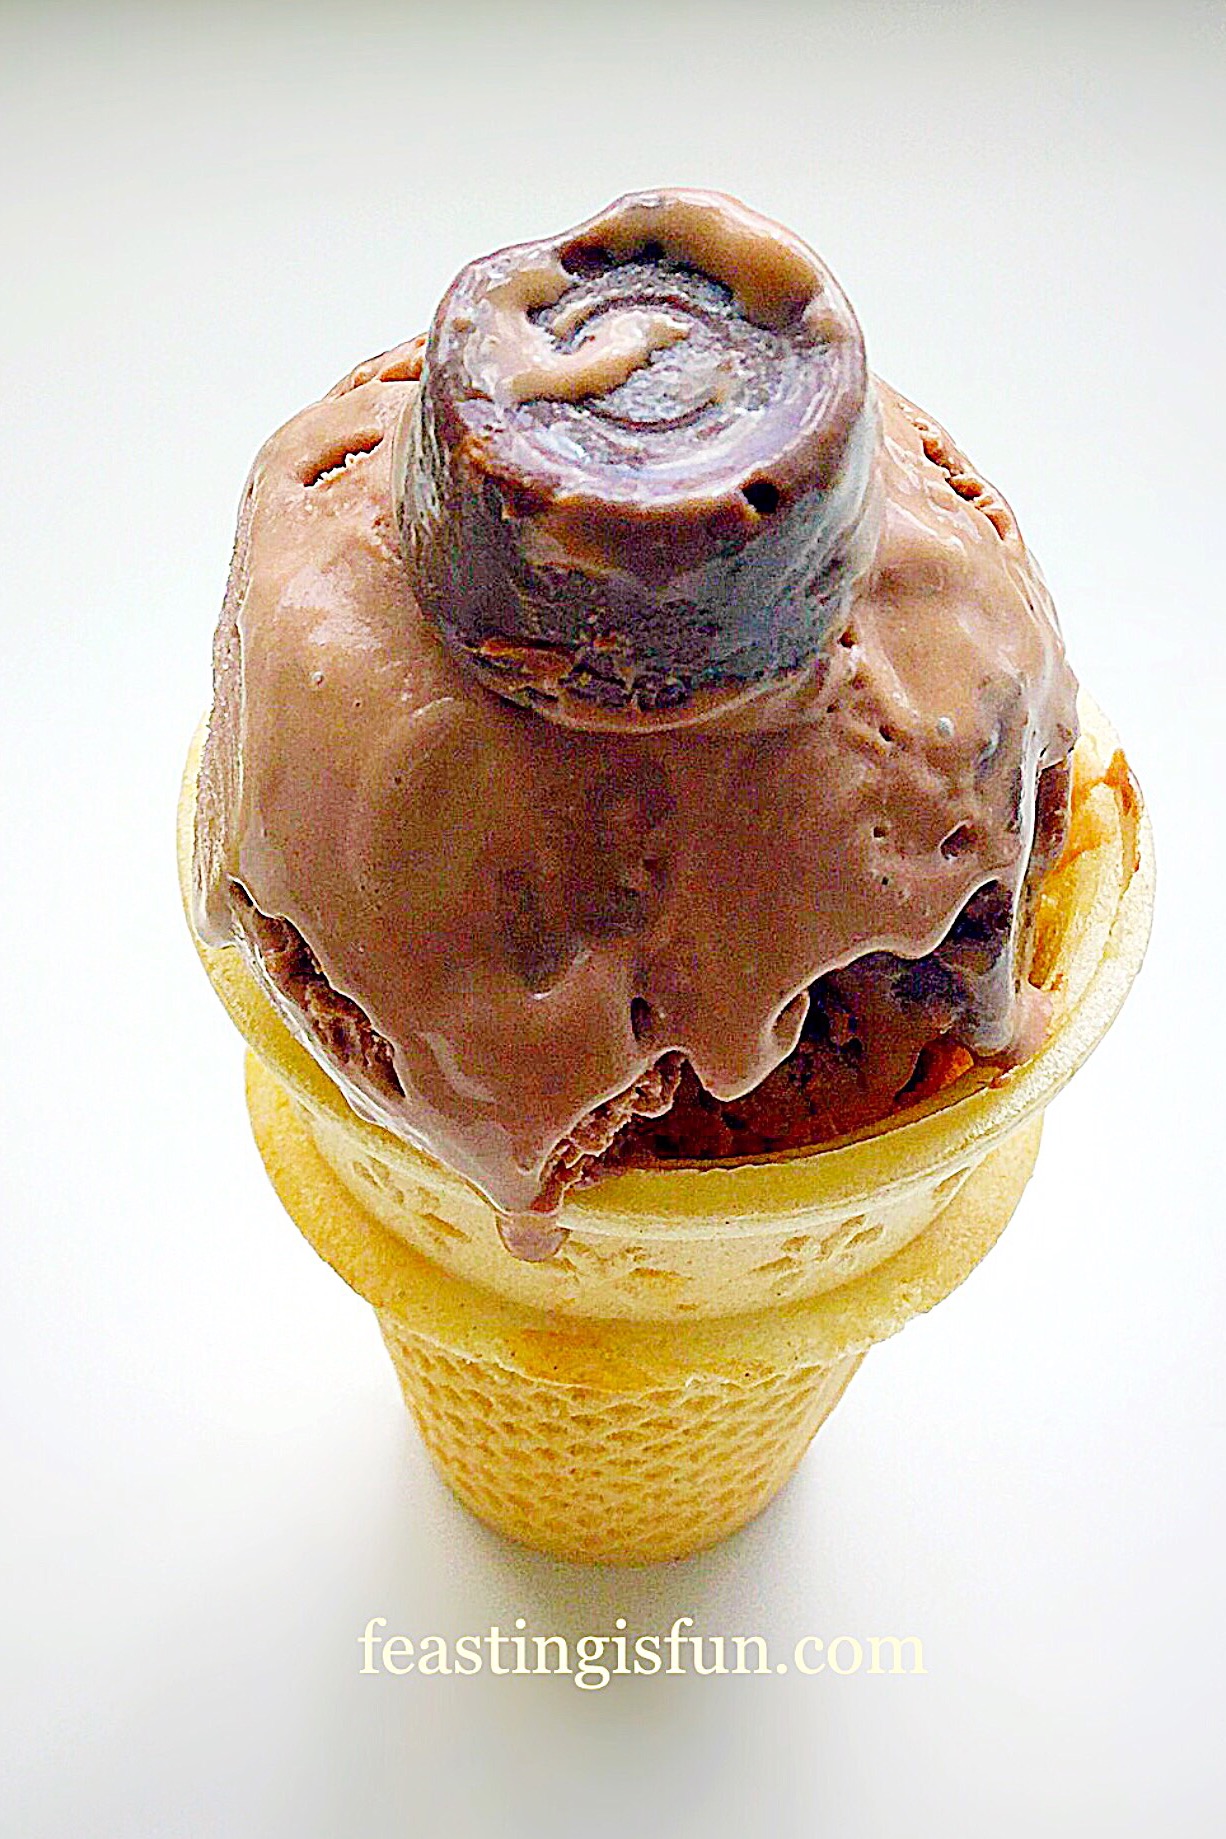
Dark Chocolate Chip Vanilla Ice Cream
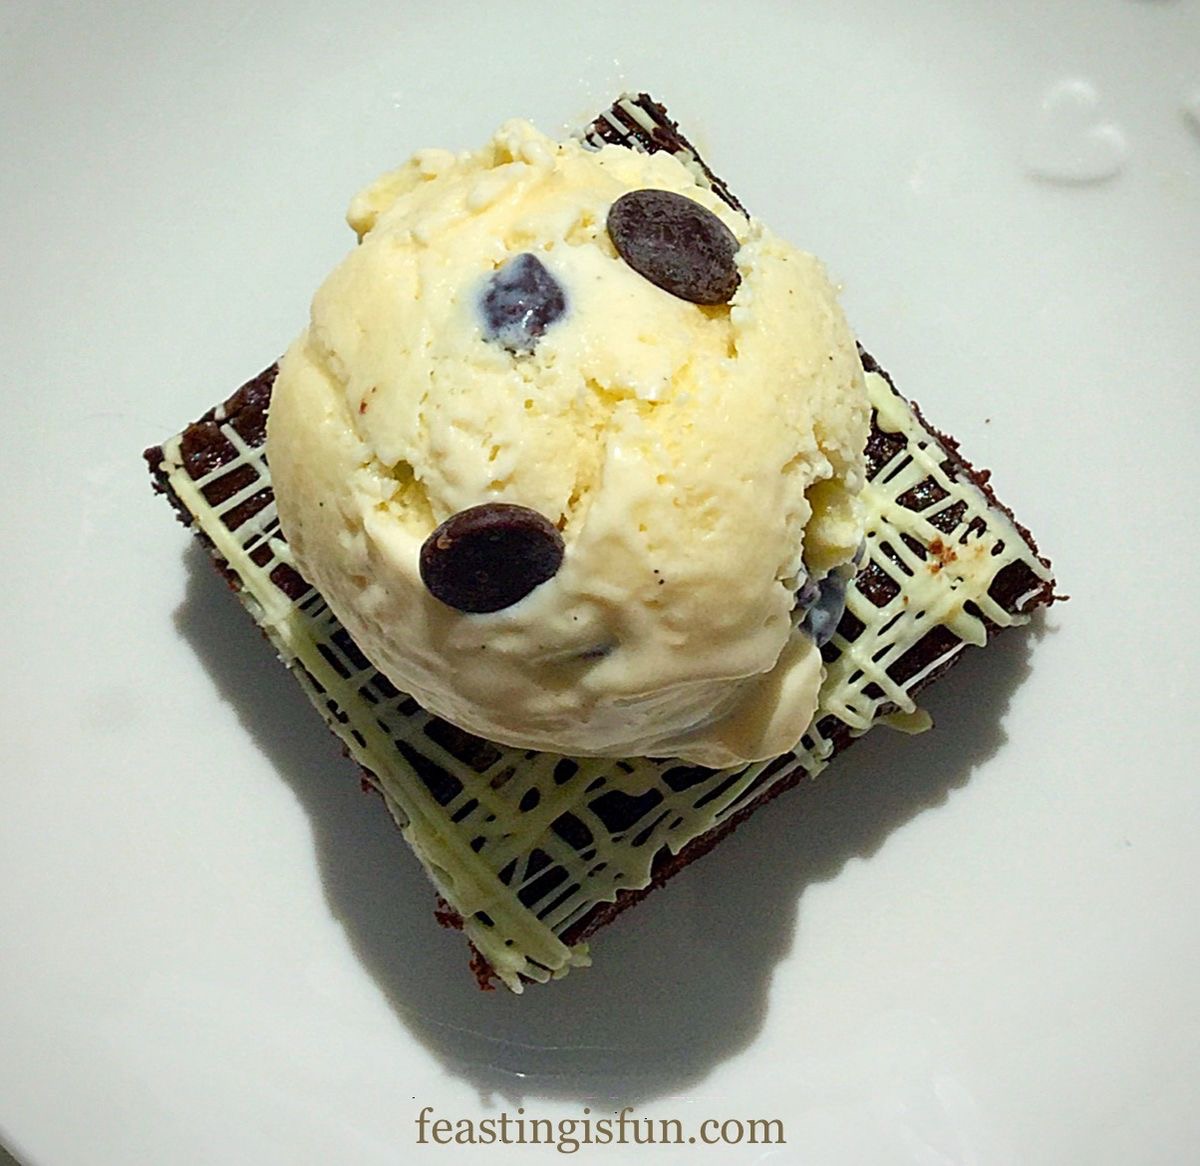

Investing in an ice cream machine, need not only be for the warmer summer months. Cold ice cream melting over a warm Chocolate Fudge Brownie is my idea of comfort food heaven. I love the taste sensation of hot and cold together.
So, whatever you are making, baking and creating in your kitchens, have fun preparing and sharing your feast.
Sammie xx
No part of this post may be reproduced or duplicated without the written permission of the owner. Please see my Disclosure Policy.