Today I have a fantastic, delicious recipe, that is easy to prepare and stunning to serve. While this recipe is ideal for a picnic or buffet it is also fancy enough for serving at a dinner party. So let me share my Bath Soft Cheese Chilli Tarts with you.
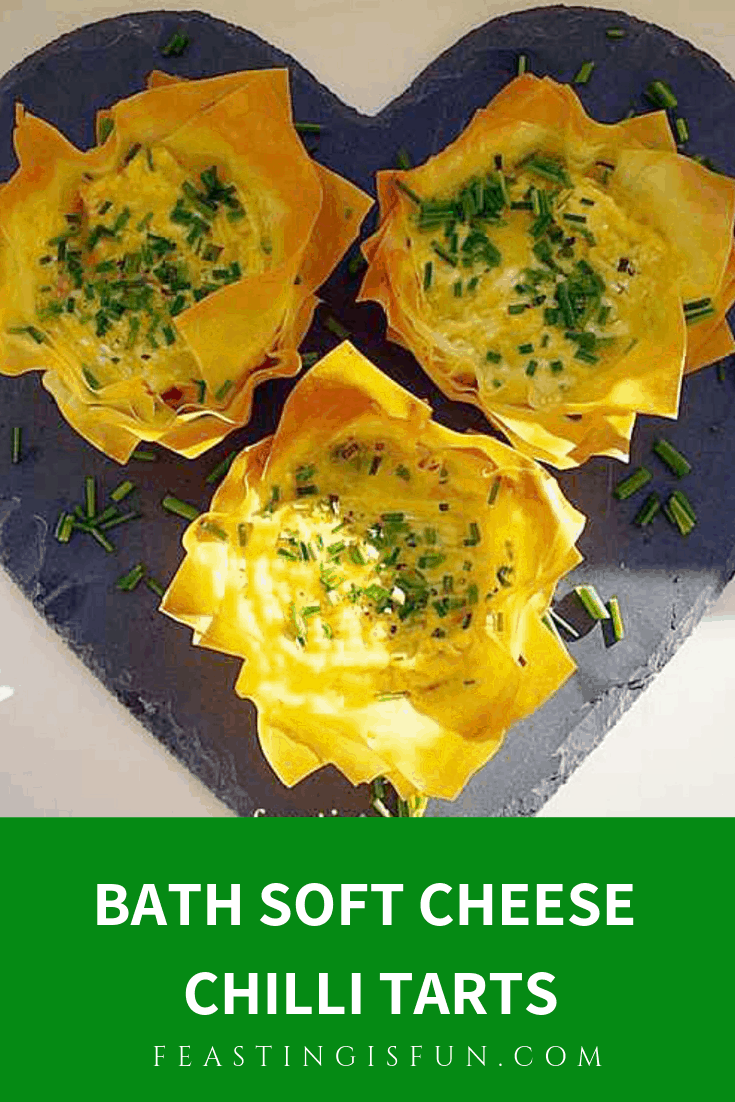
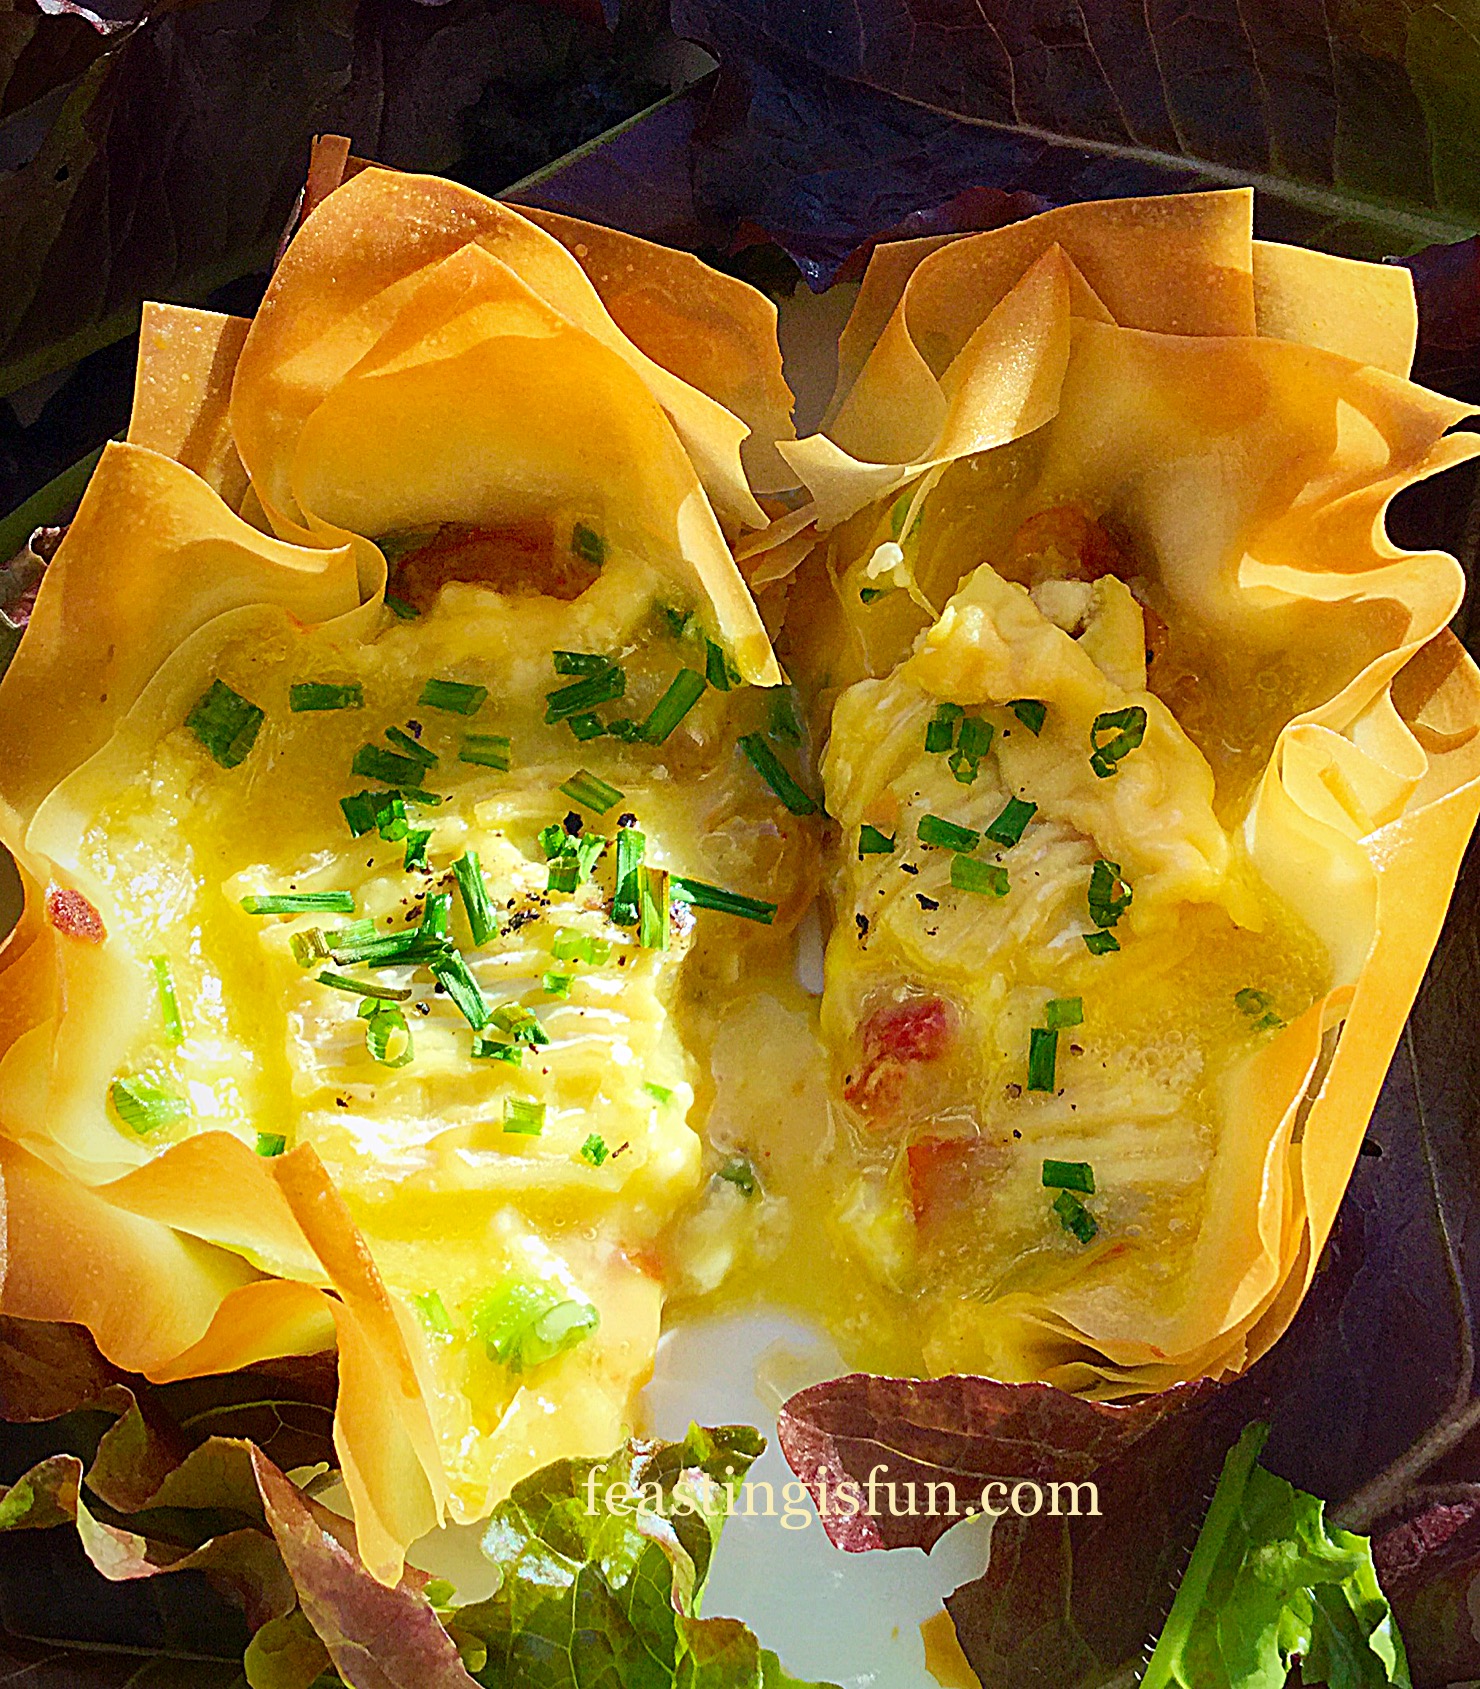
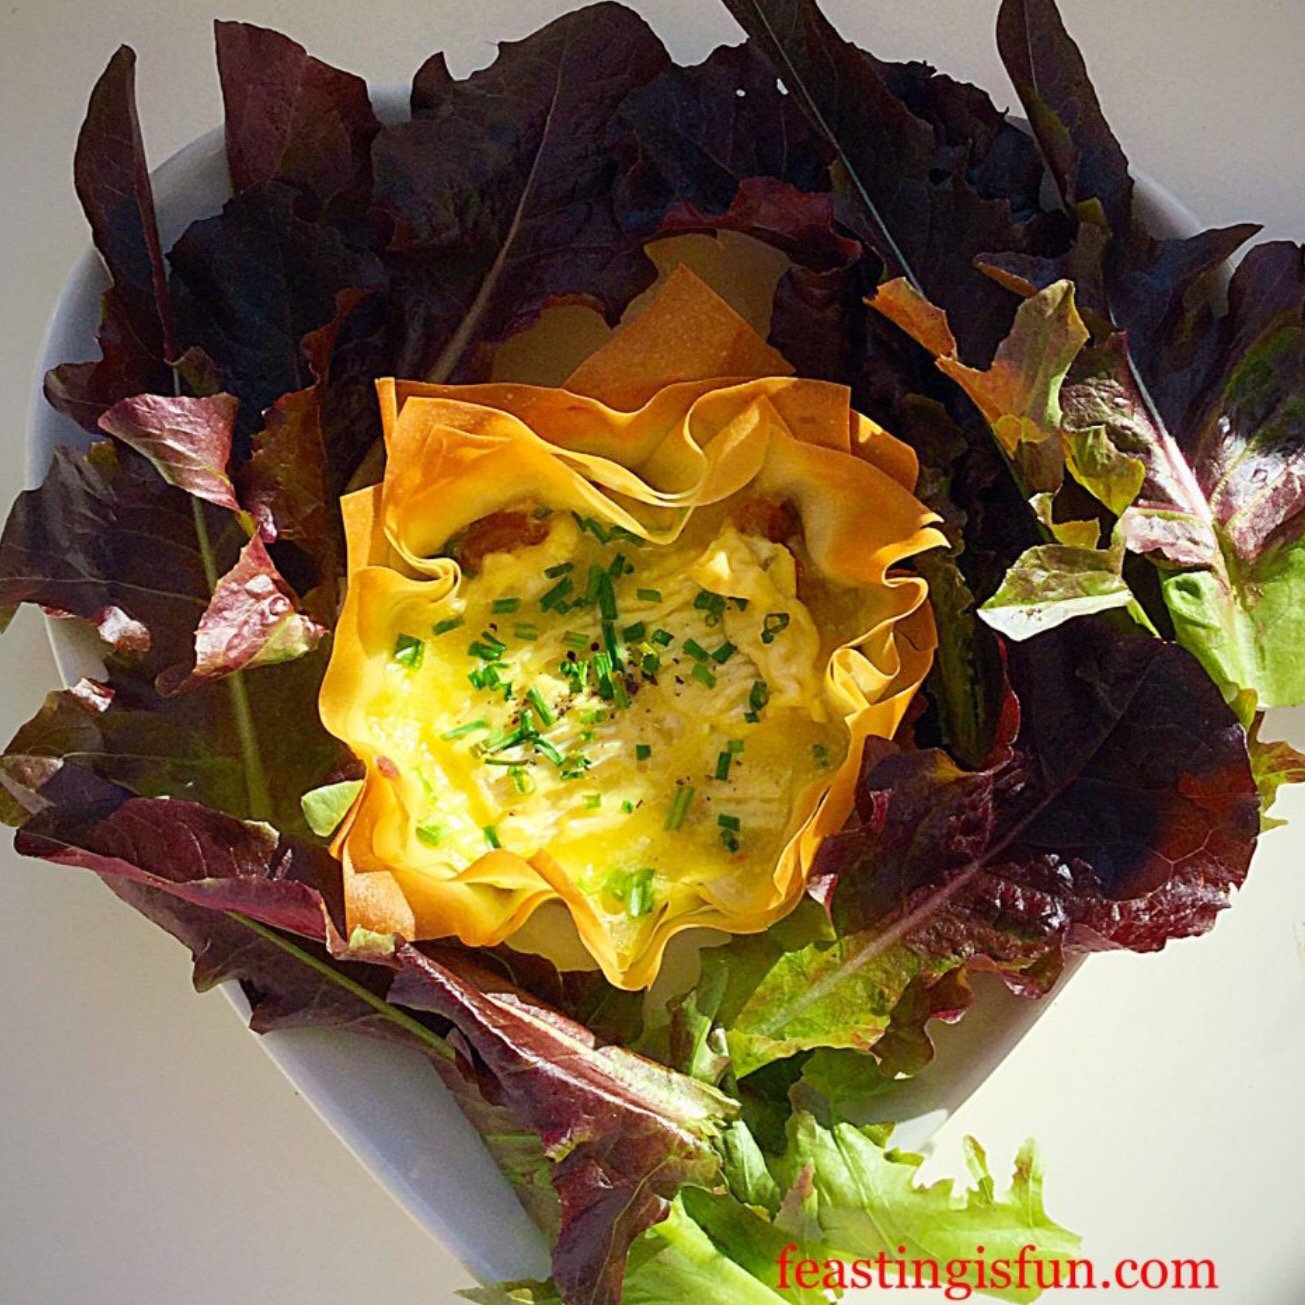
A crisp, crunchy, golden filo pastry encases a layer of chilli pickle, topped with a generous layer of Bath Soft Cheese. I know, they look so tempting. While the late afternoon sunshine illuminates these Bath Soft Cheese Chilli Tarts, with their melting cheese and chilli centre.
Bath Soft Cheese is organic and suitable for vegetarians. It is made by the Bath Soft Cheese Company in Kelston near Bath. It tastes like an English version of Brie. Soft and buttery, it matures to a ripe, full bodied cheese, that stands up well to the chilli in this recipe.

Finally, as you cut through the light, crisp filo pastry layers the melted cheese oozes out of the tart, accompanied by the spicy chilli pickle underneath. And to accompany this tart a few salad leaves and a glass of something crisp and cool.
While cheese, chutney and crackers are a classic combination, it is fun and delicious using the ingredients in a different way.
Baking the chilli pickle and Bath Soft Cheese really wakes up the flavours. And when placed in a buttery, filo pastry tart, the result is a remarkably delicious dish.
Recipe: Makes 6 Bath Soft Cheese Chilli Tarts
250g Bath Soft Cheese – available from Pong Cheese
1 Packet of Filo Pastry – you will need 4-5 sheets – I used Jus Rol
100g Unsalted Butter melted and cooled
1/2 Jar Chillililli – from Hawkshead Relish
2-3tbsp Freshly Chopped Chives
1/2tsp Freshly Ground Black Pepper
Method: Preheat the oven to 180C/160C fan, gas mark 4, 350F
Creating the filo pastry tart shell:
- First of all, place 6 loose bottom tart tins on a baking tray. I used 9cm width, between 8-10cm (3.5-4″) will be fine.
- Brush each tart tin lightly with melted butter using a pastry brush.
- Have a clean damp tea towel to hand as filo pastry can dry out very quickly, so it’s best to cover the spare pastry sheets.
- Place one filo pastry sheet on to a board or pastry mat. Brush lightly with melted butter.
- Using a sharp knife cut the filo pastry sheet into equal quarters and then cut each quarter in half, from top to bottom. You will have 8 squares/rectangles.
- Start by laying 1 square of filo pastry in the tart tin, gently pressing it so that it sticks to the base and the sides.
- Add another square of filo pastry, laying it slight offset from the first piece. The idea is to build up layers that form a solid tart shell with lots of edges/corners on the side, which will become golden and crisp on baking.

- Continue building the tart case until you have used 5 separate layers of filo pastry – bottom right in the picture above.
- I actually built 2 tart cases at a time, I wouldn’t recommend building more as each layer will dry out as you prepare the next sheet and is then likely to crack and fall apart once baked.
Layering the tart filling:
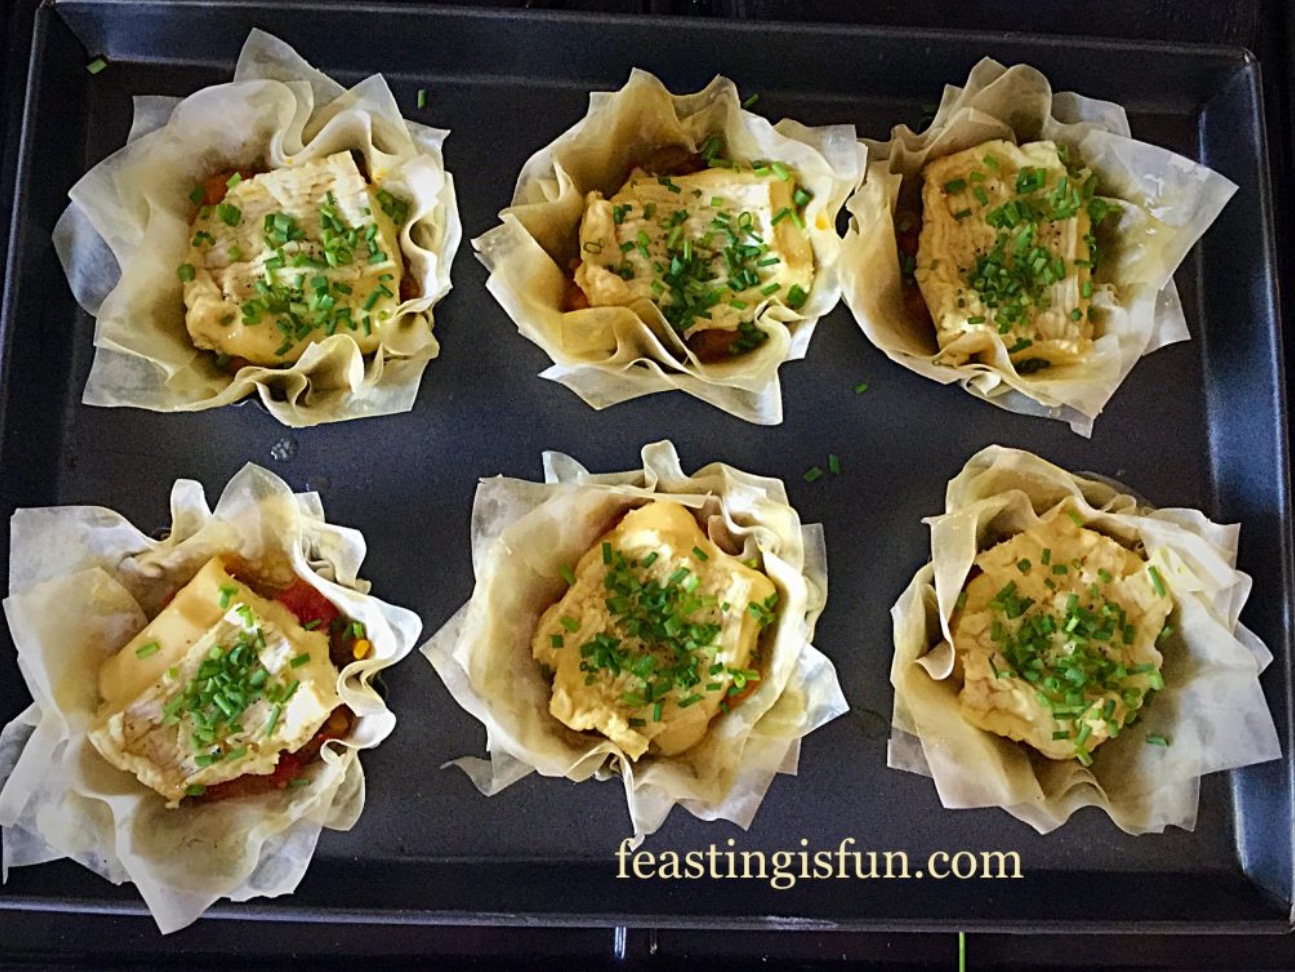
- When all 6 tart cases have been built, spoon 2 generous teaspoons of the Chilli Pickle into the base of each one.
- Cut the block of Bath Soft Cheese into 6 equal-ish portions – they will weigh approximately 40 grammes.
- Place a square of cheese on top of Chilli Pickle in each tart case.

- Sprinkle the top of each tart with a little freshly ground black pepper and some freshly snipped chives – reserve half of the chives for garnish once baked.
Baking the cheese tarts:
- Place the Bath Soft Cheese Chilli Tarts in the top a preheated oven and bake for 15-18 minutes. The tarts are cooked when the filo pastry is crisp and golden and the cheese has melted to fill each tart.
- As soon as they are baked remove the baking tray from the oven and allow the tarts to cool for 10-15 minutes in their tins.

- The Bath Soft Cheese Chilli Tarts can then be carefully removed from their tins and are best served warm. Don’t worry if a couple of crispy pieces of filo pastry break off as you handle them. These delightful tarts are built of 5 layers of filo pastry and are actually quite strong.
Serving suggestion:
I like to serve each tart, warm, on a bed of deeply coloured, fresh lettuce leaves with an extra sprinkle of fresh chives.
Such a simple and yet flavourful appetiser or light lunch. Also these tarts tarts can be eaten cold. Store in the fridge for up to 3 days and vamp up your packed lunch.
I really would recommend the Chillililli from Hawkshead Relish. Not only does it have great flavour in this tart, it also adds a surprise texture, hidden beneath the melted cheese.
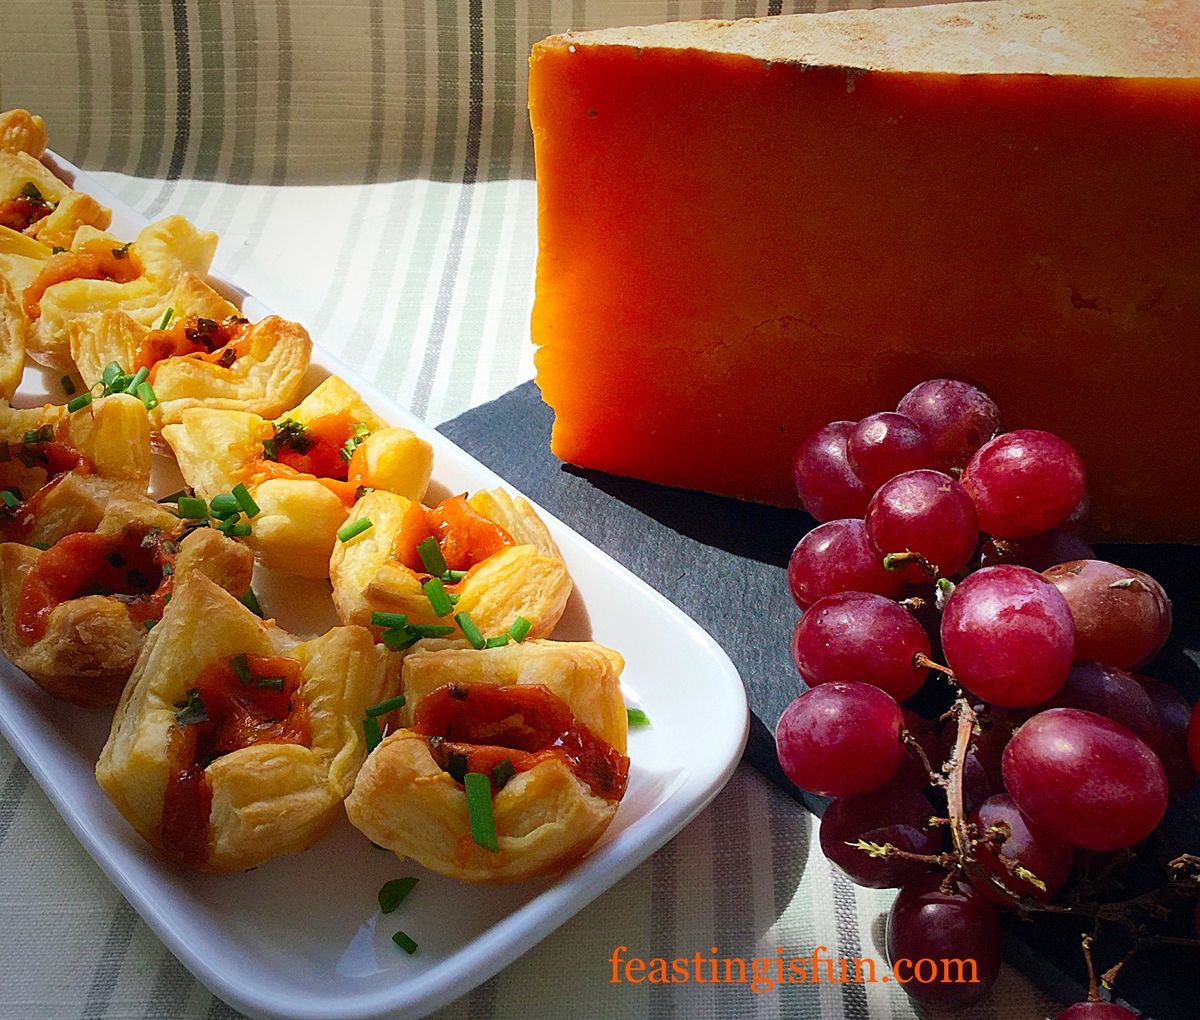
If you have enjoyed this recipe for Bath Soft Cheese Chilli Tarts then you may also like these:
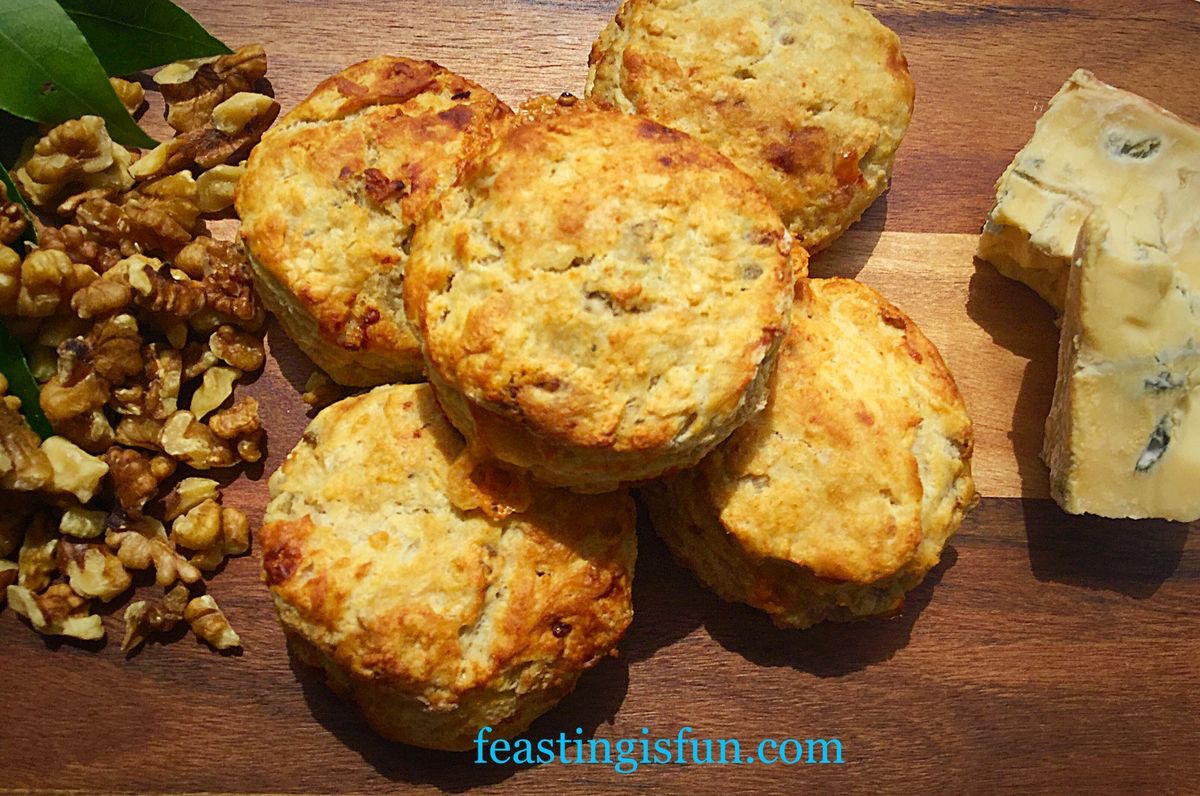
Mini Sparkenhoe Red Leicester Tarts
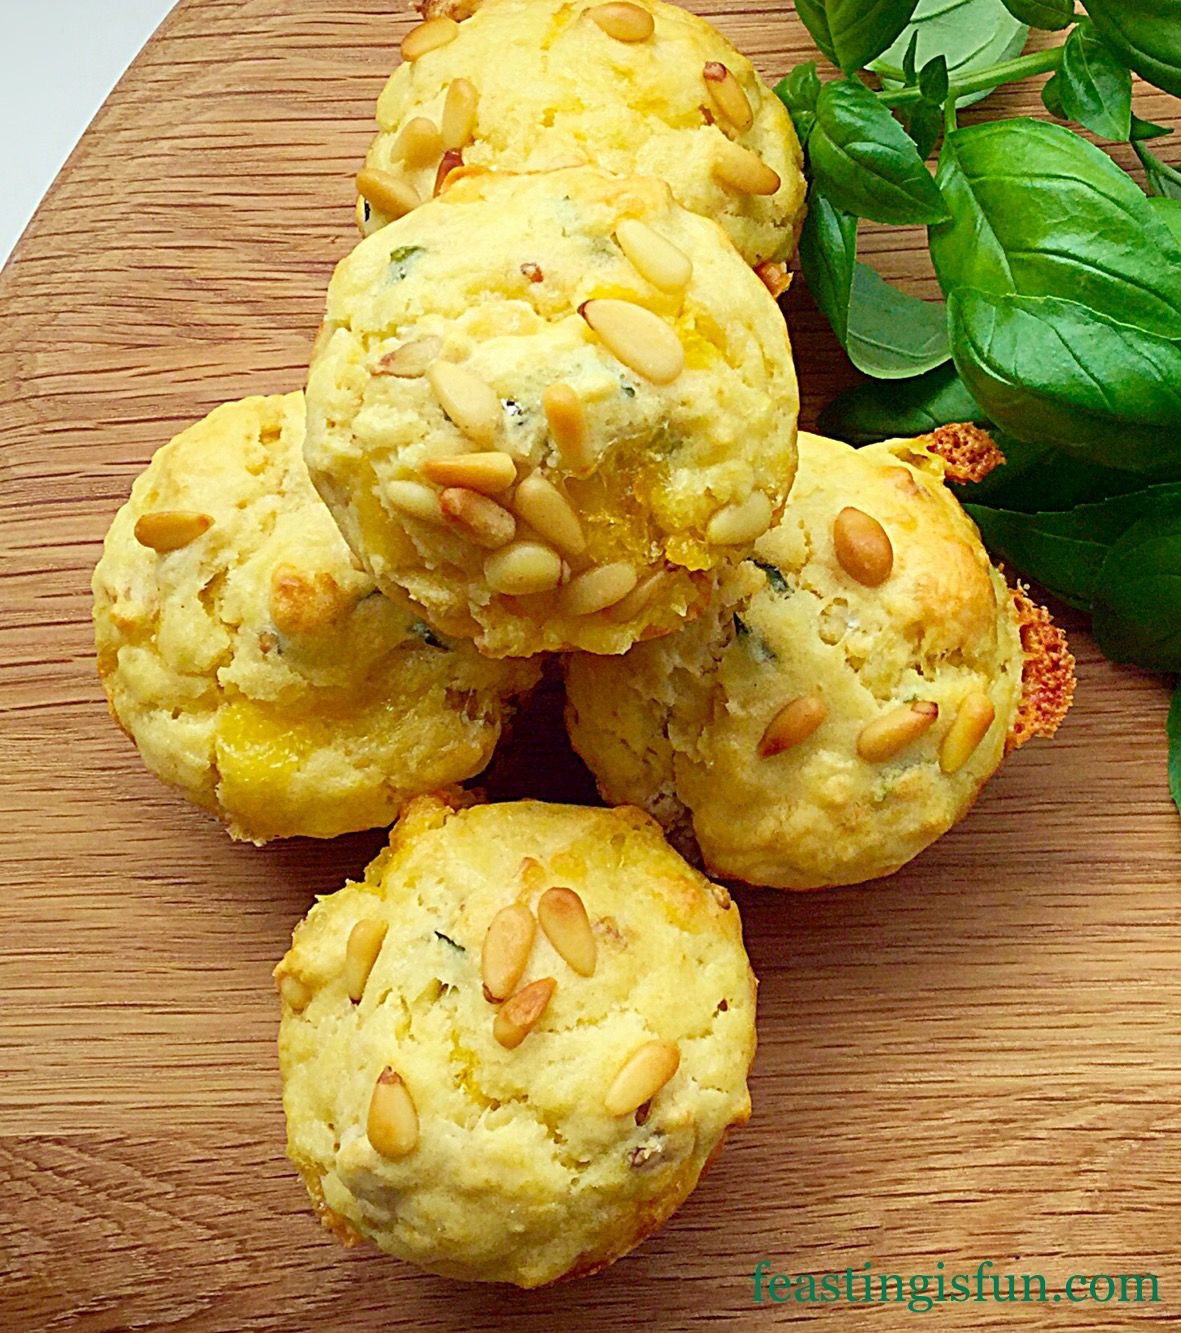
Goddess Cheese Pine Nut Muffins
As you can see, I am loving creating recipes with cheese. You may also like my Cheddar Tomato Basil Quiche, which is exceptionally delicious if you substitute the Cheddar for Sparkenhoe Red Leicester cheese.
Coming up with new ideas, flavour pairings and recipes, really gives me a thrill. Also with all that my body goes through see here, it is wonderful that I can still express my creativity, through cooking and baking and in turn, share my recipes with you.
Whatever you are making, baking and creating in your kitchens, have fun. Enjoy your feast and remember, when you are able, to invite others round to share with you. It really is true that food tastes better when it is shared!
Sammie xx
Pong Cheese provided me with the cheese to create this recipe. All opinions, views, content and photographs are my own. I was not paid to write this post, please see my Disclosure Policy.