Chocolate Chunk Cupcakes!!

Share
Facebooktwitterpinterestlinkedintumblr

Well a very good day to you. The storm has finally cleared the UK and I sincerely hope you survived it unscathed?  If you are sleep deprived, due to the banging, blowing and crashing howls of wind a Chocolate Chunk Cupcakes may be just what you need to help you get through the day with a smile!

Fudgey, chocolate icing with hearts, stars and gold dragee balls!

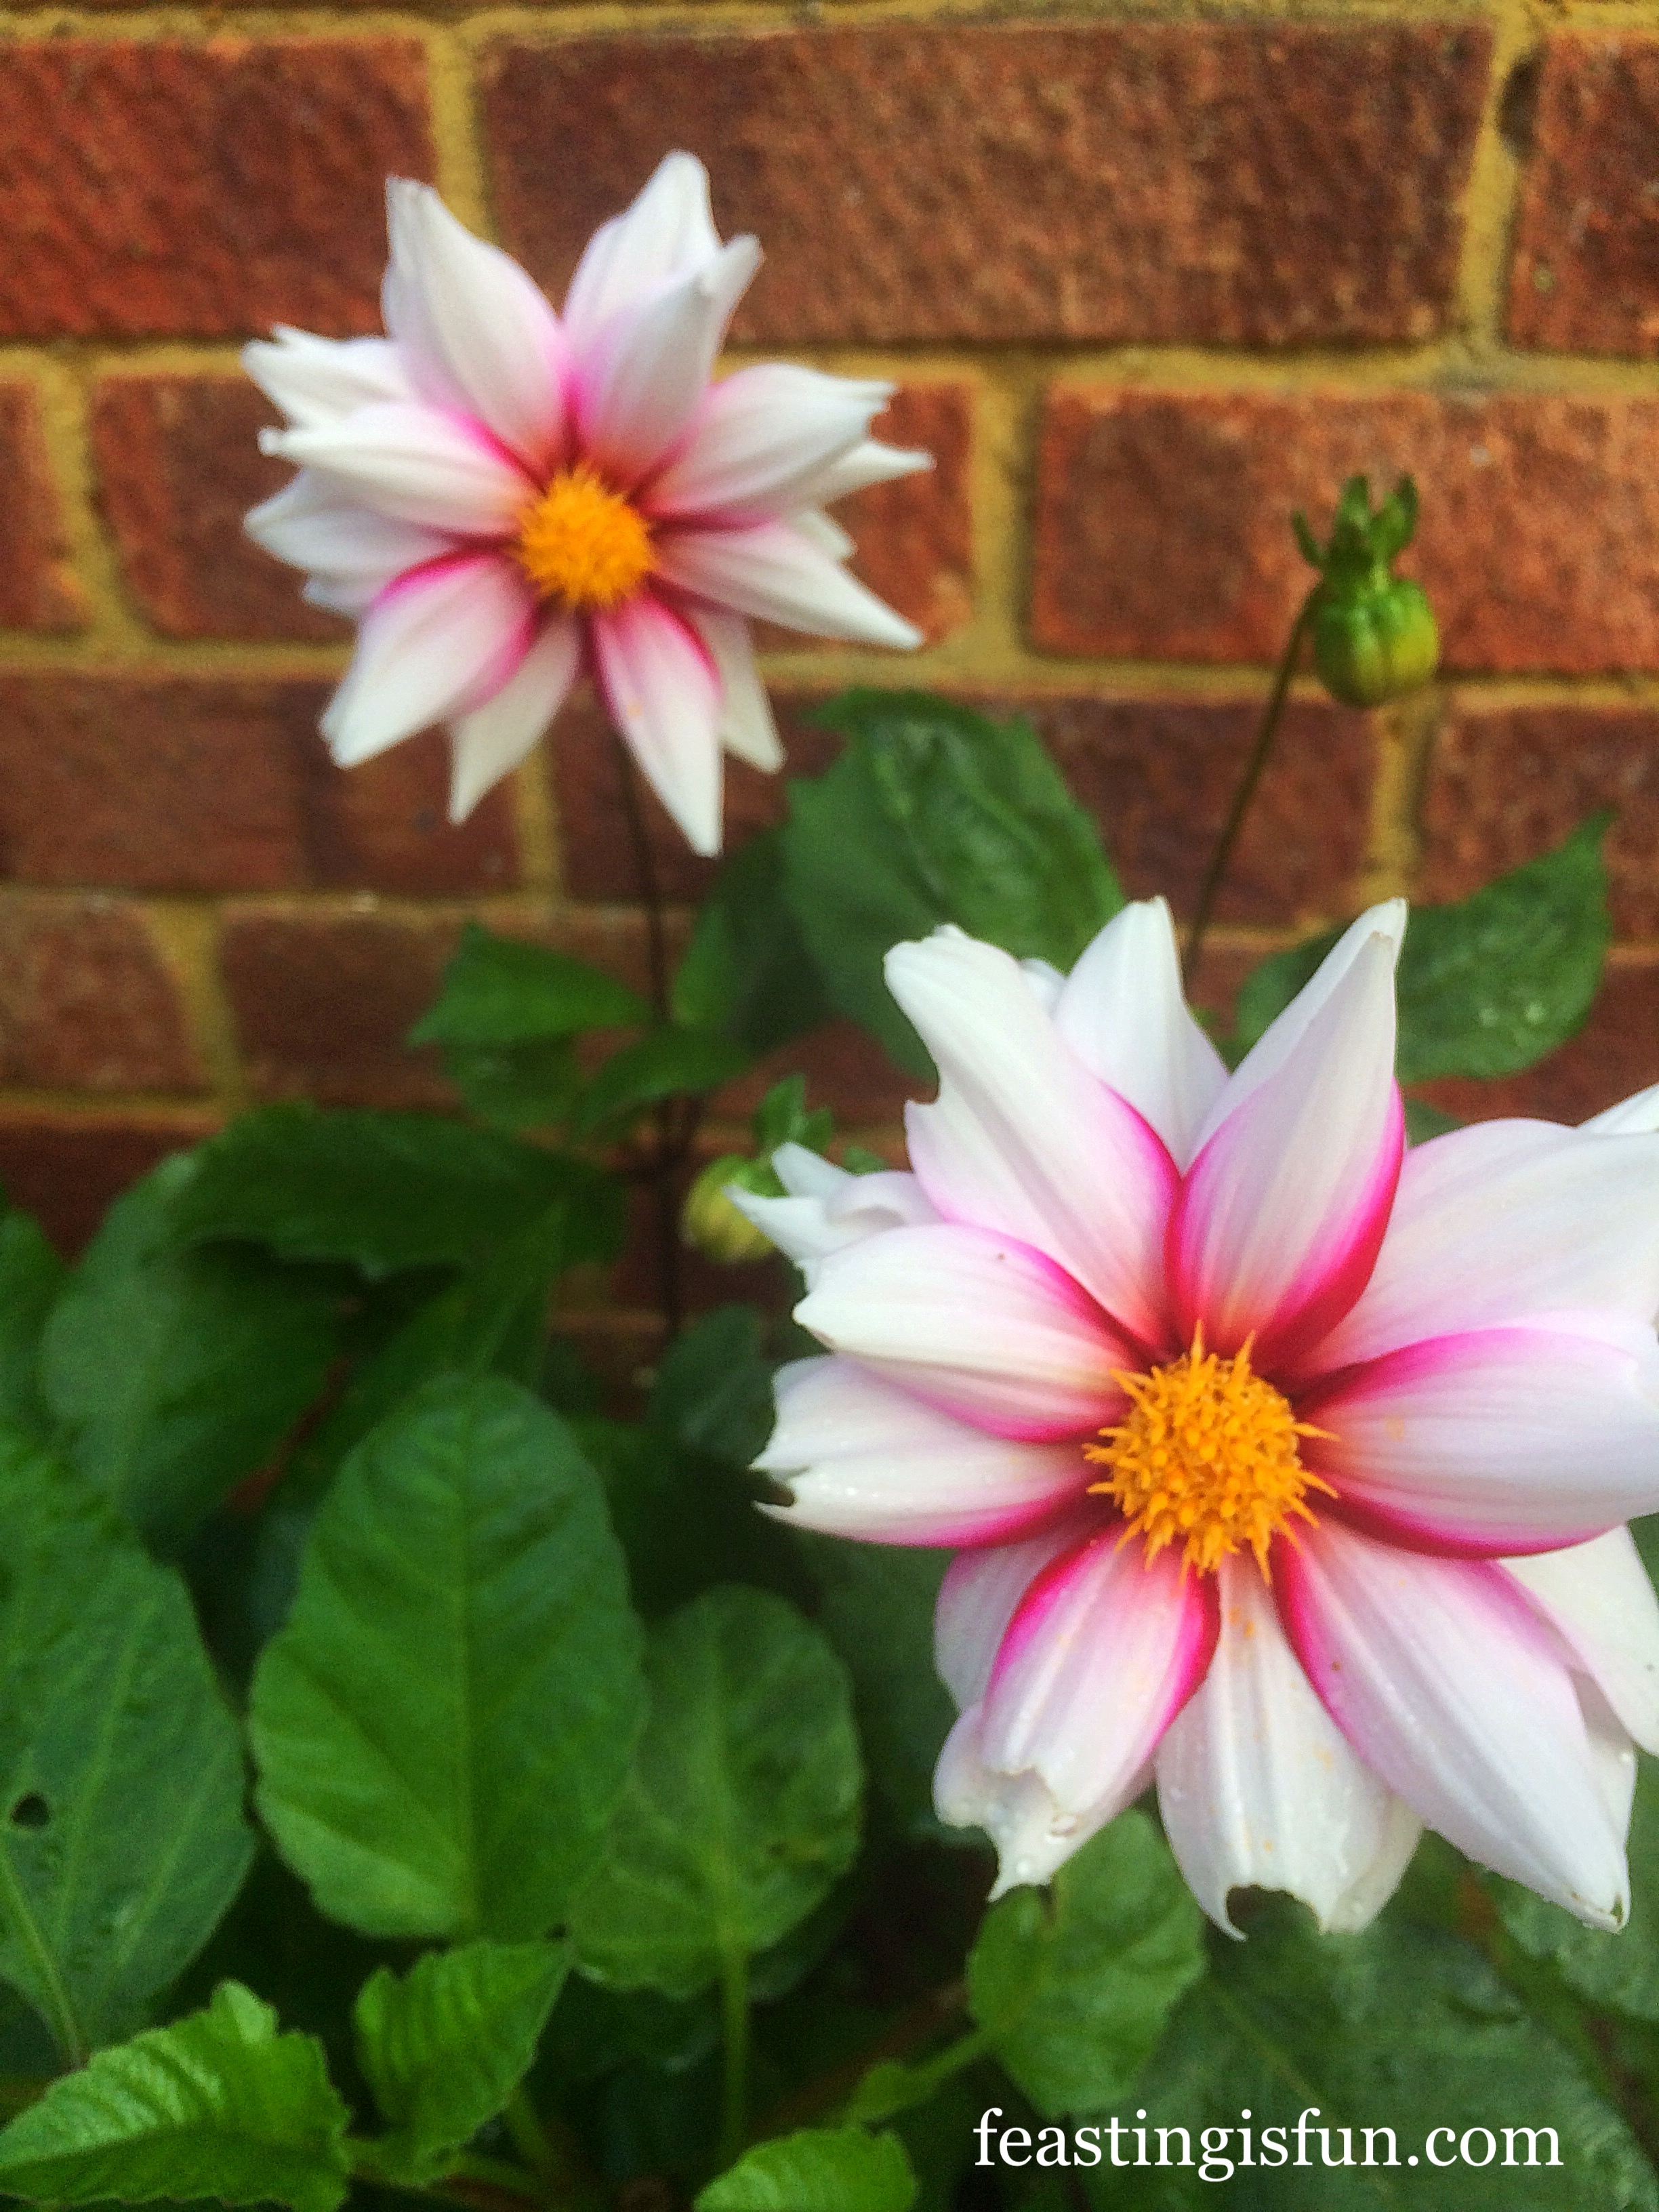
Nature’s beauty can be mesmerisingly beautiful, but we should never underestimate it’s force or ruthlessness and ability to deprive us all of a good nights sleep!
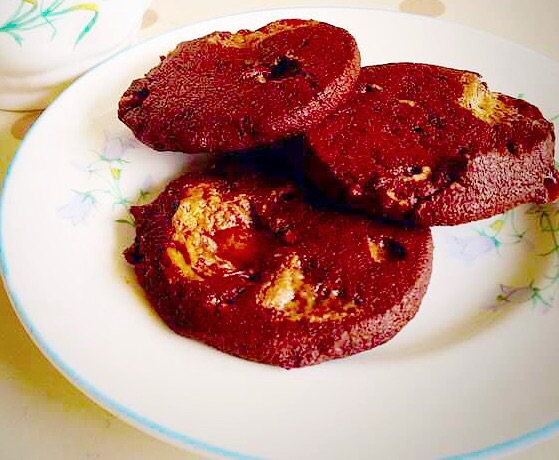
CUPCAKES!!!!!
I’ve posted lots of pics, now I give you the recipe:

Chocolate Chunk Cupcakes (makes 18)

You will need:

2 x 12 Deep Muffin Tins (not shallow fairy cake tins)

18 Cupcake liners (I’ve used brown ‘tulip’ liners – plain white ones look good with chocolate, but the choice is yours!)

Recipe : Chocolate Chunk Cupcakes – makes 18

10oz Unsalted Butter (at room temp)

10oz Dark Brown Muscavado Sugar

2tsp Vanilla Extract

Pinch of Salt (I use Kosher)

5 Large Eggs (Pref Free Range – at room temp)

3oz Cocoa Powder (NOT hot chocolate powder)

7oz Self Raising White Flour

3-4tbsp Whole Milk (at room temp)

6oz Milk Chocolate Chunks or Chips

Large bowl & an electric whisk (it really makes creaming the sugar & butter bearable!!!!)

Method :

PREHEAT THE OVEN TO 175C (160C Fan Oven).

Line the muffin tins with 18 cupcake cases.

Pretty tulip cases, worth the extra effort!!!

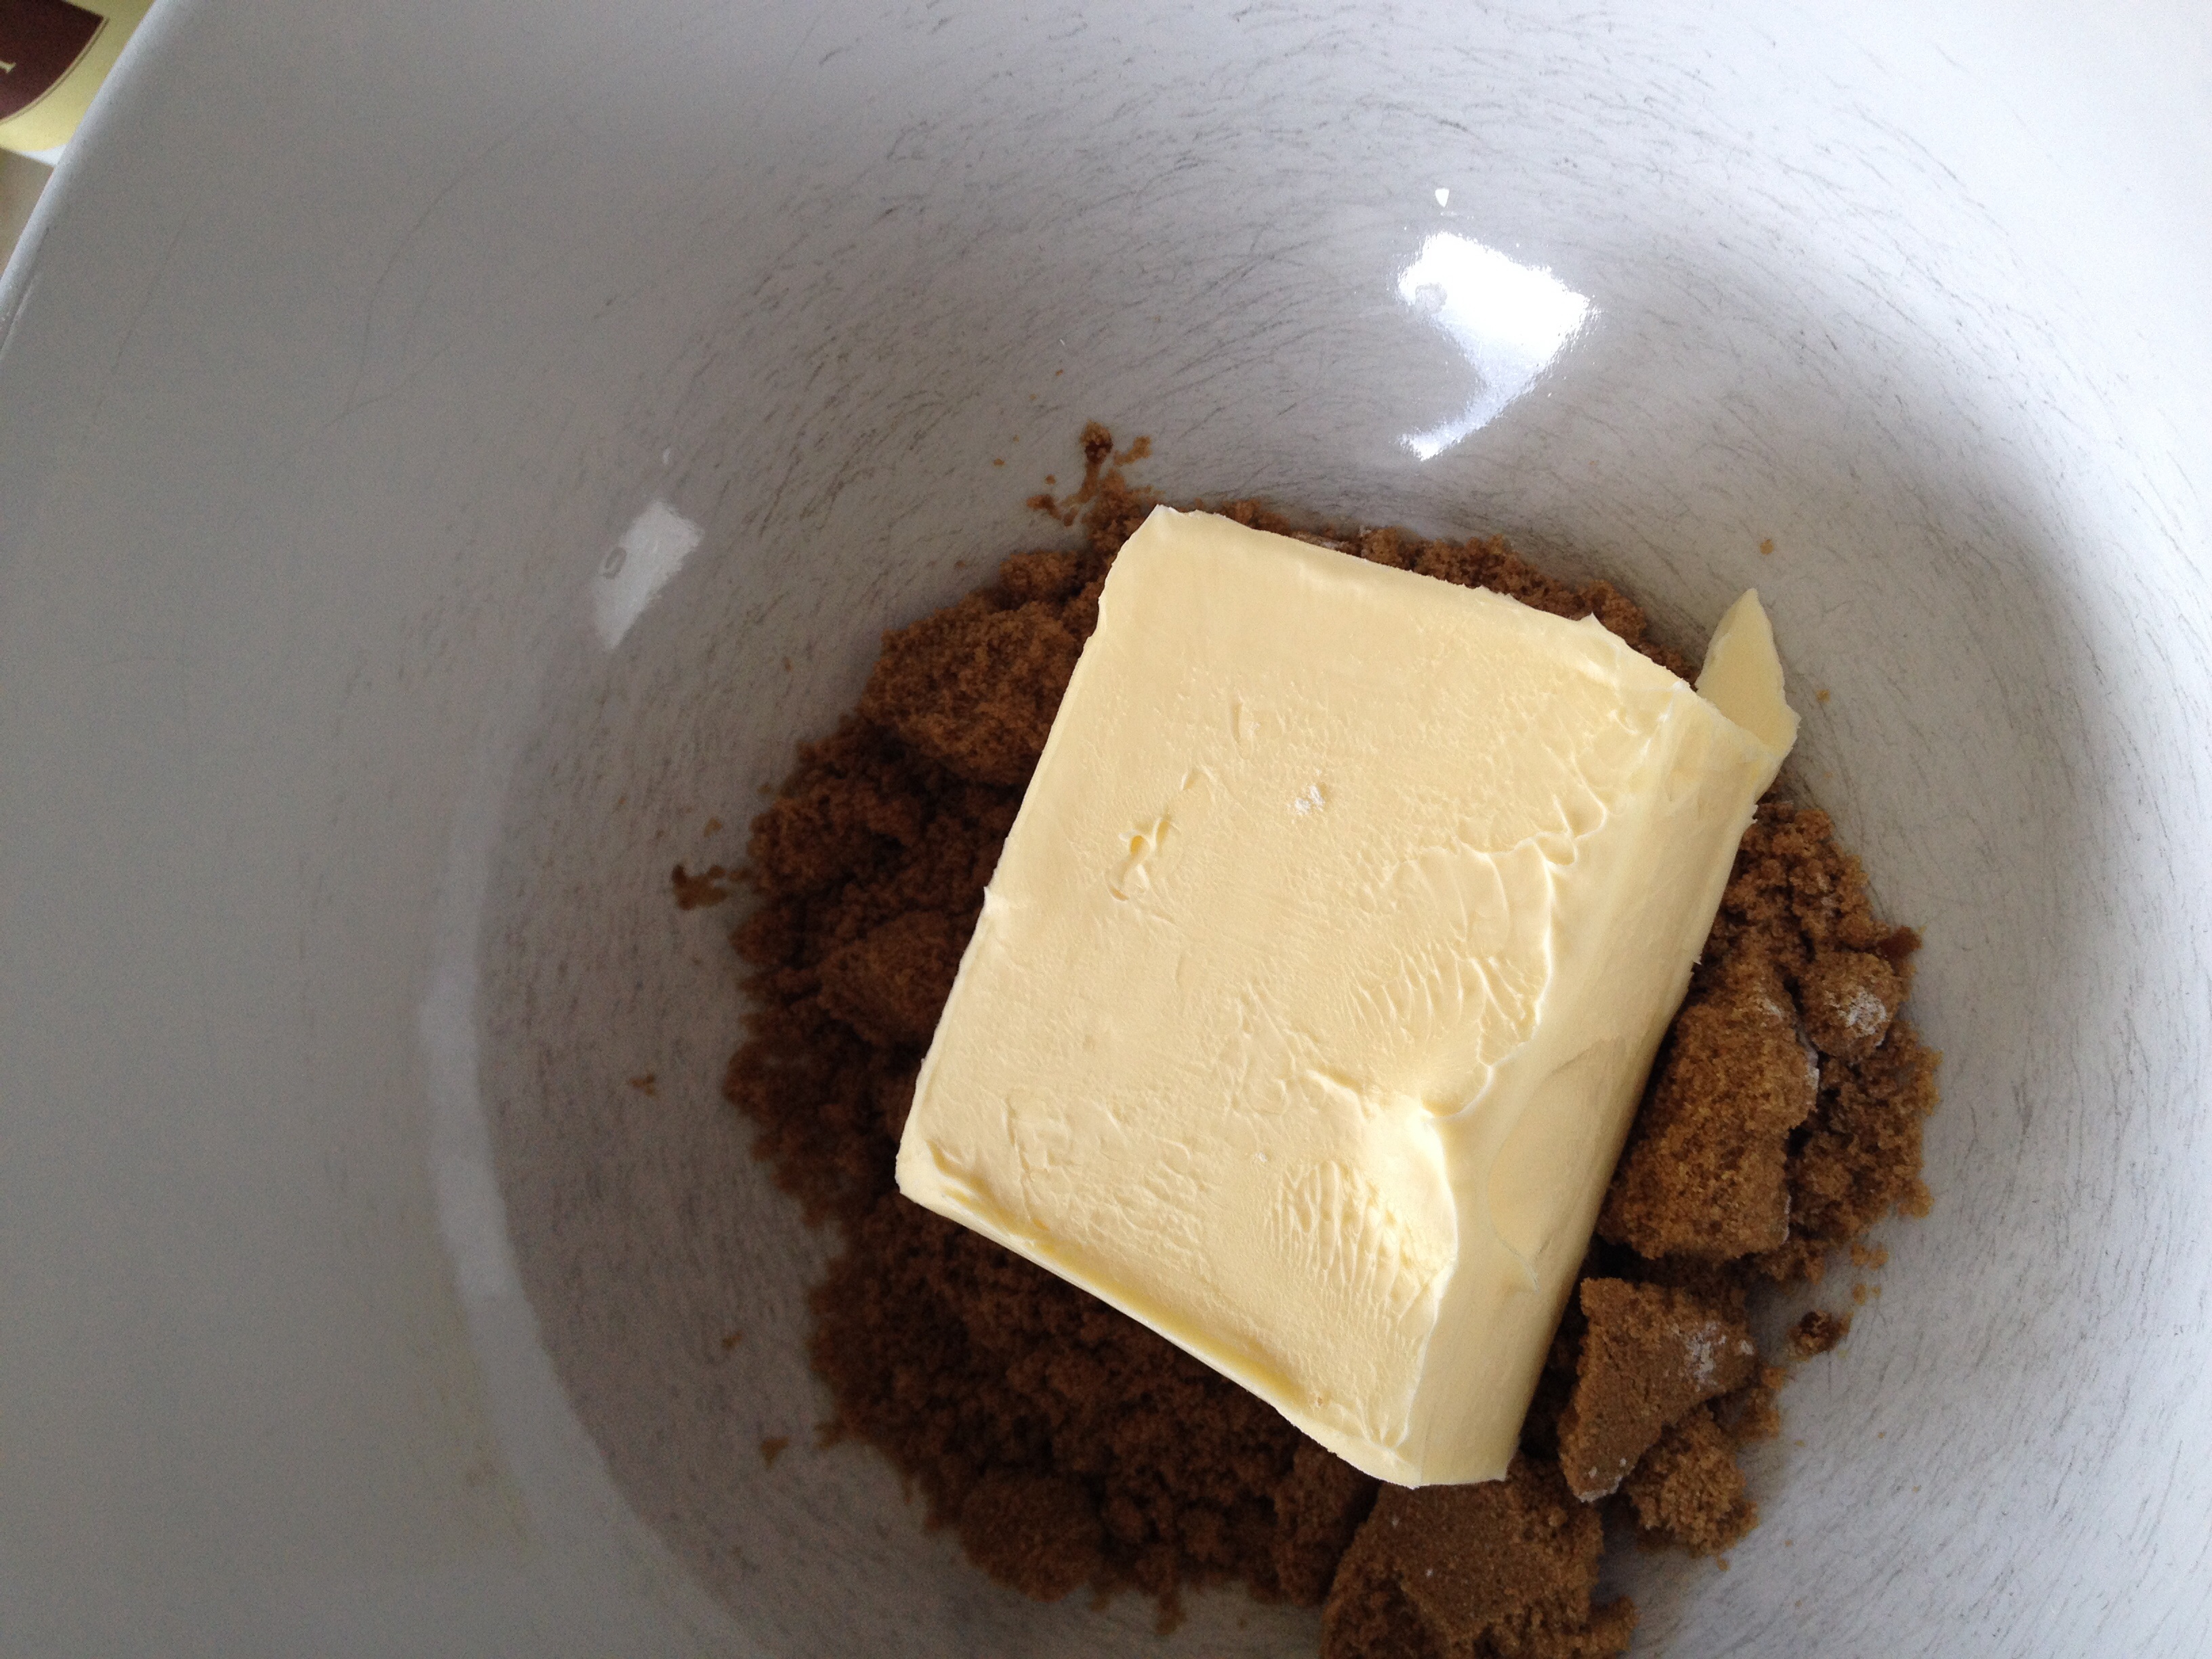
Firstly place the butter and treacly dark sugar into a large bowl (of stand mixer, if using, with the paddle mixer attached).

No lumps here!!!!!
No lumps here!!!!!

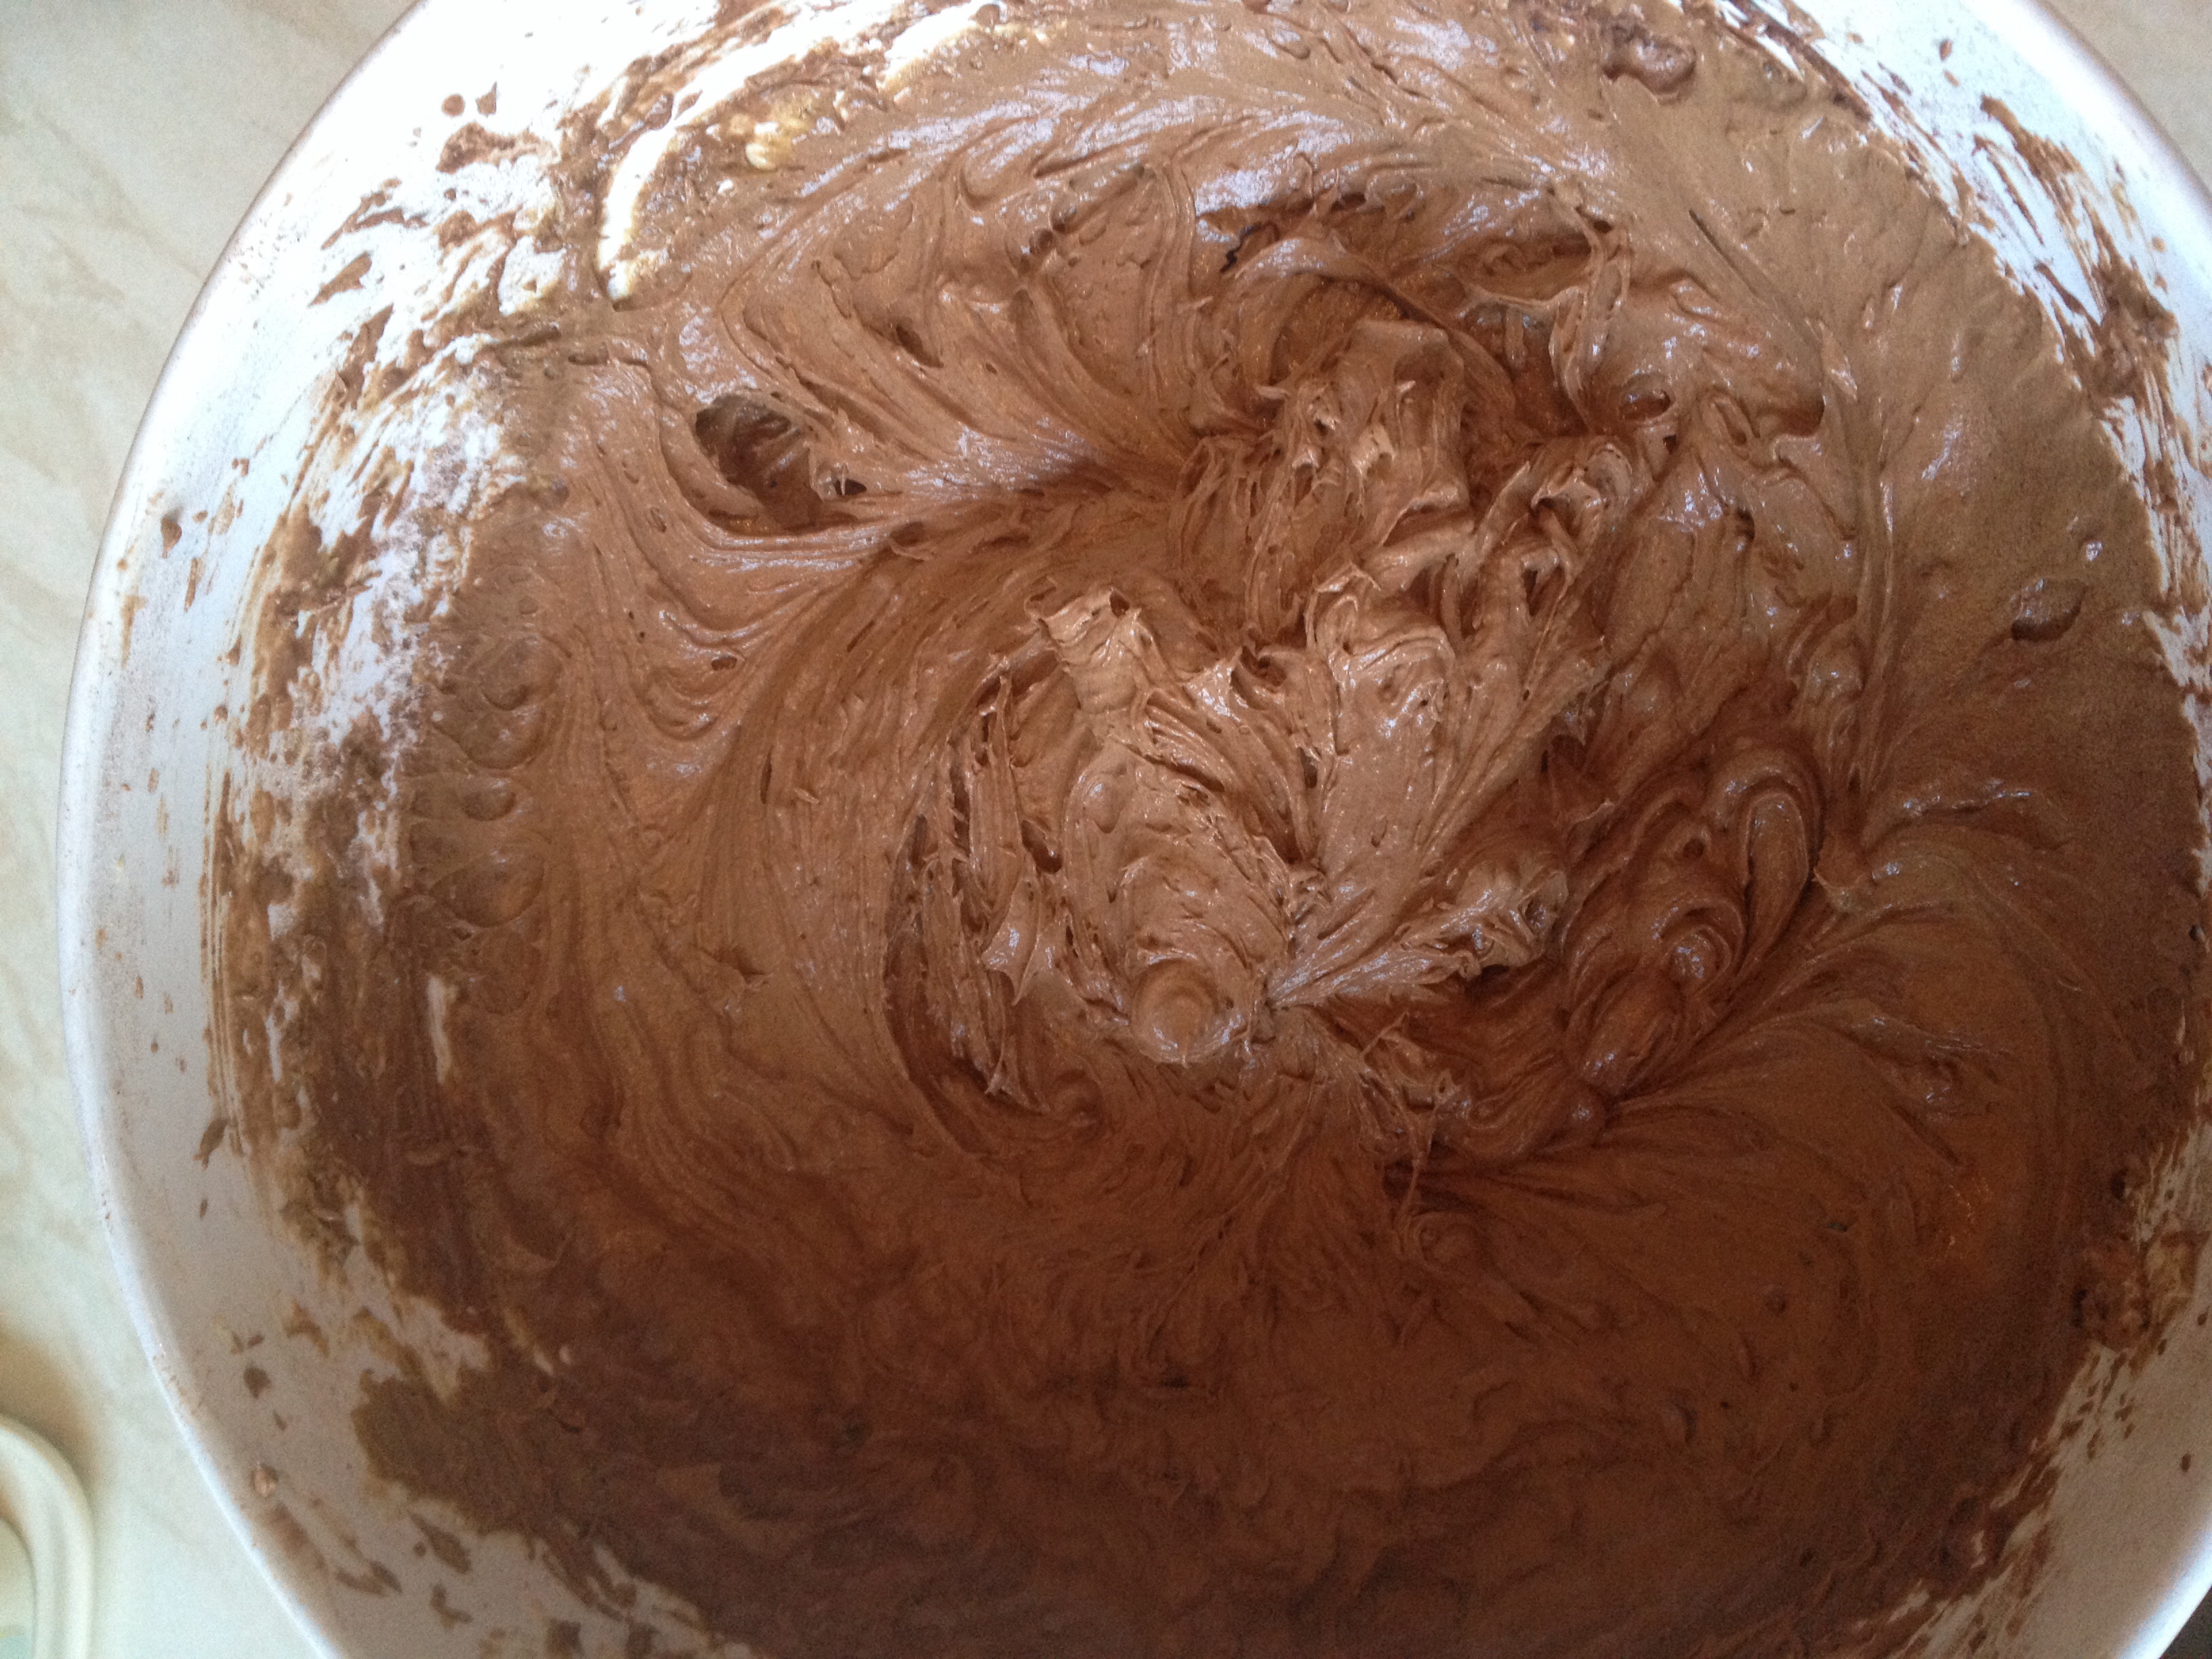
Unless you are ready for a serious workout I really recommend using an electric whisk to beat the sugar/butter mixture. It will take a while (approx 5-10 mins) for the mixture to become smooth and fluffy.

Next add the punch of salt& vanilla extract and beat the whole mixture until thoroughly combined.

Now if you want to switch to a wooden spoon for mixing you can. Using an electric whisk/beater is also ok, just make sure you don’t over mix once the flour is added, otherwise you won’t have light, cupcakes.

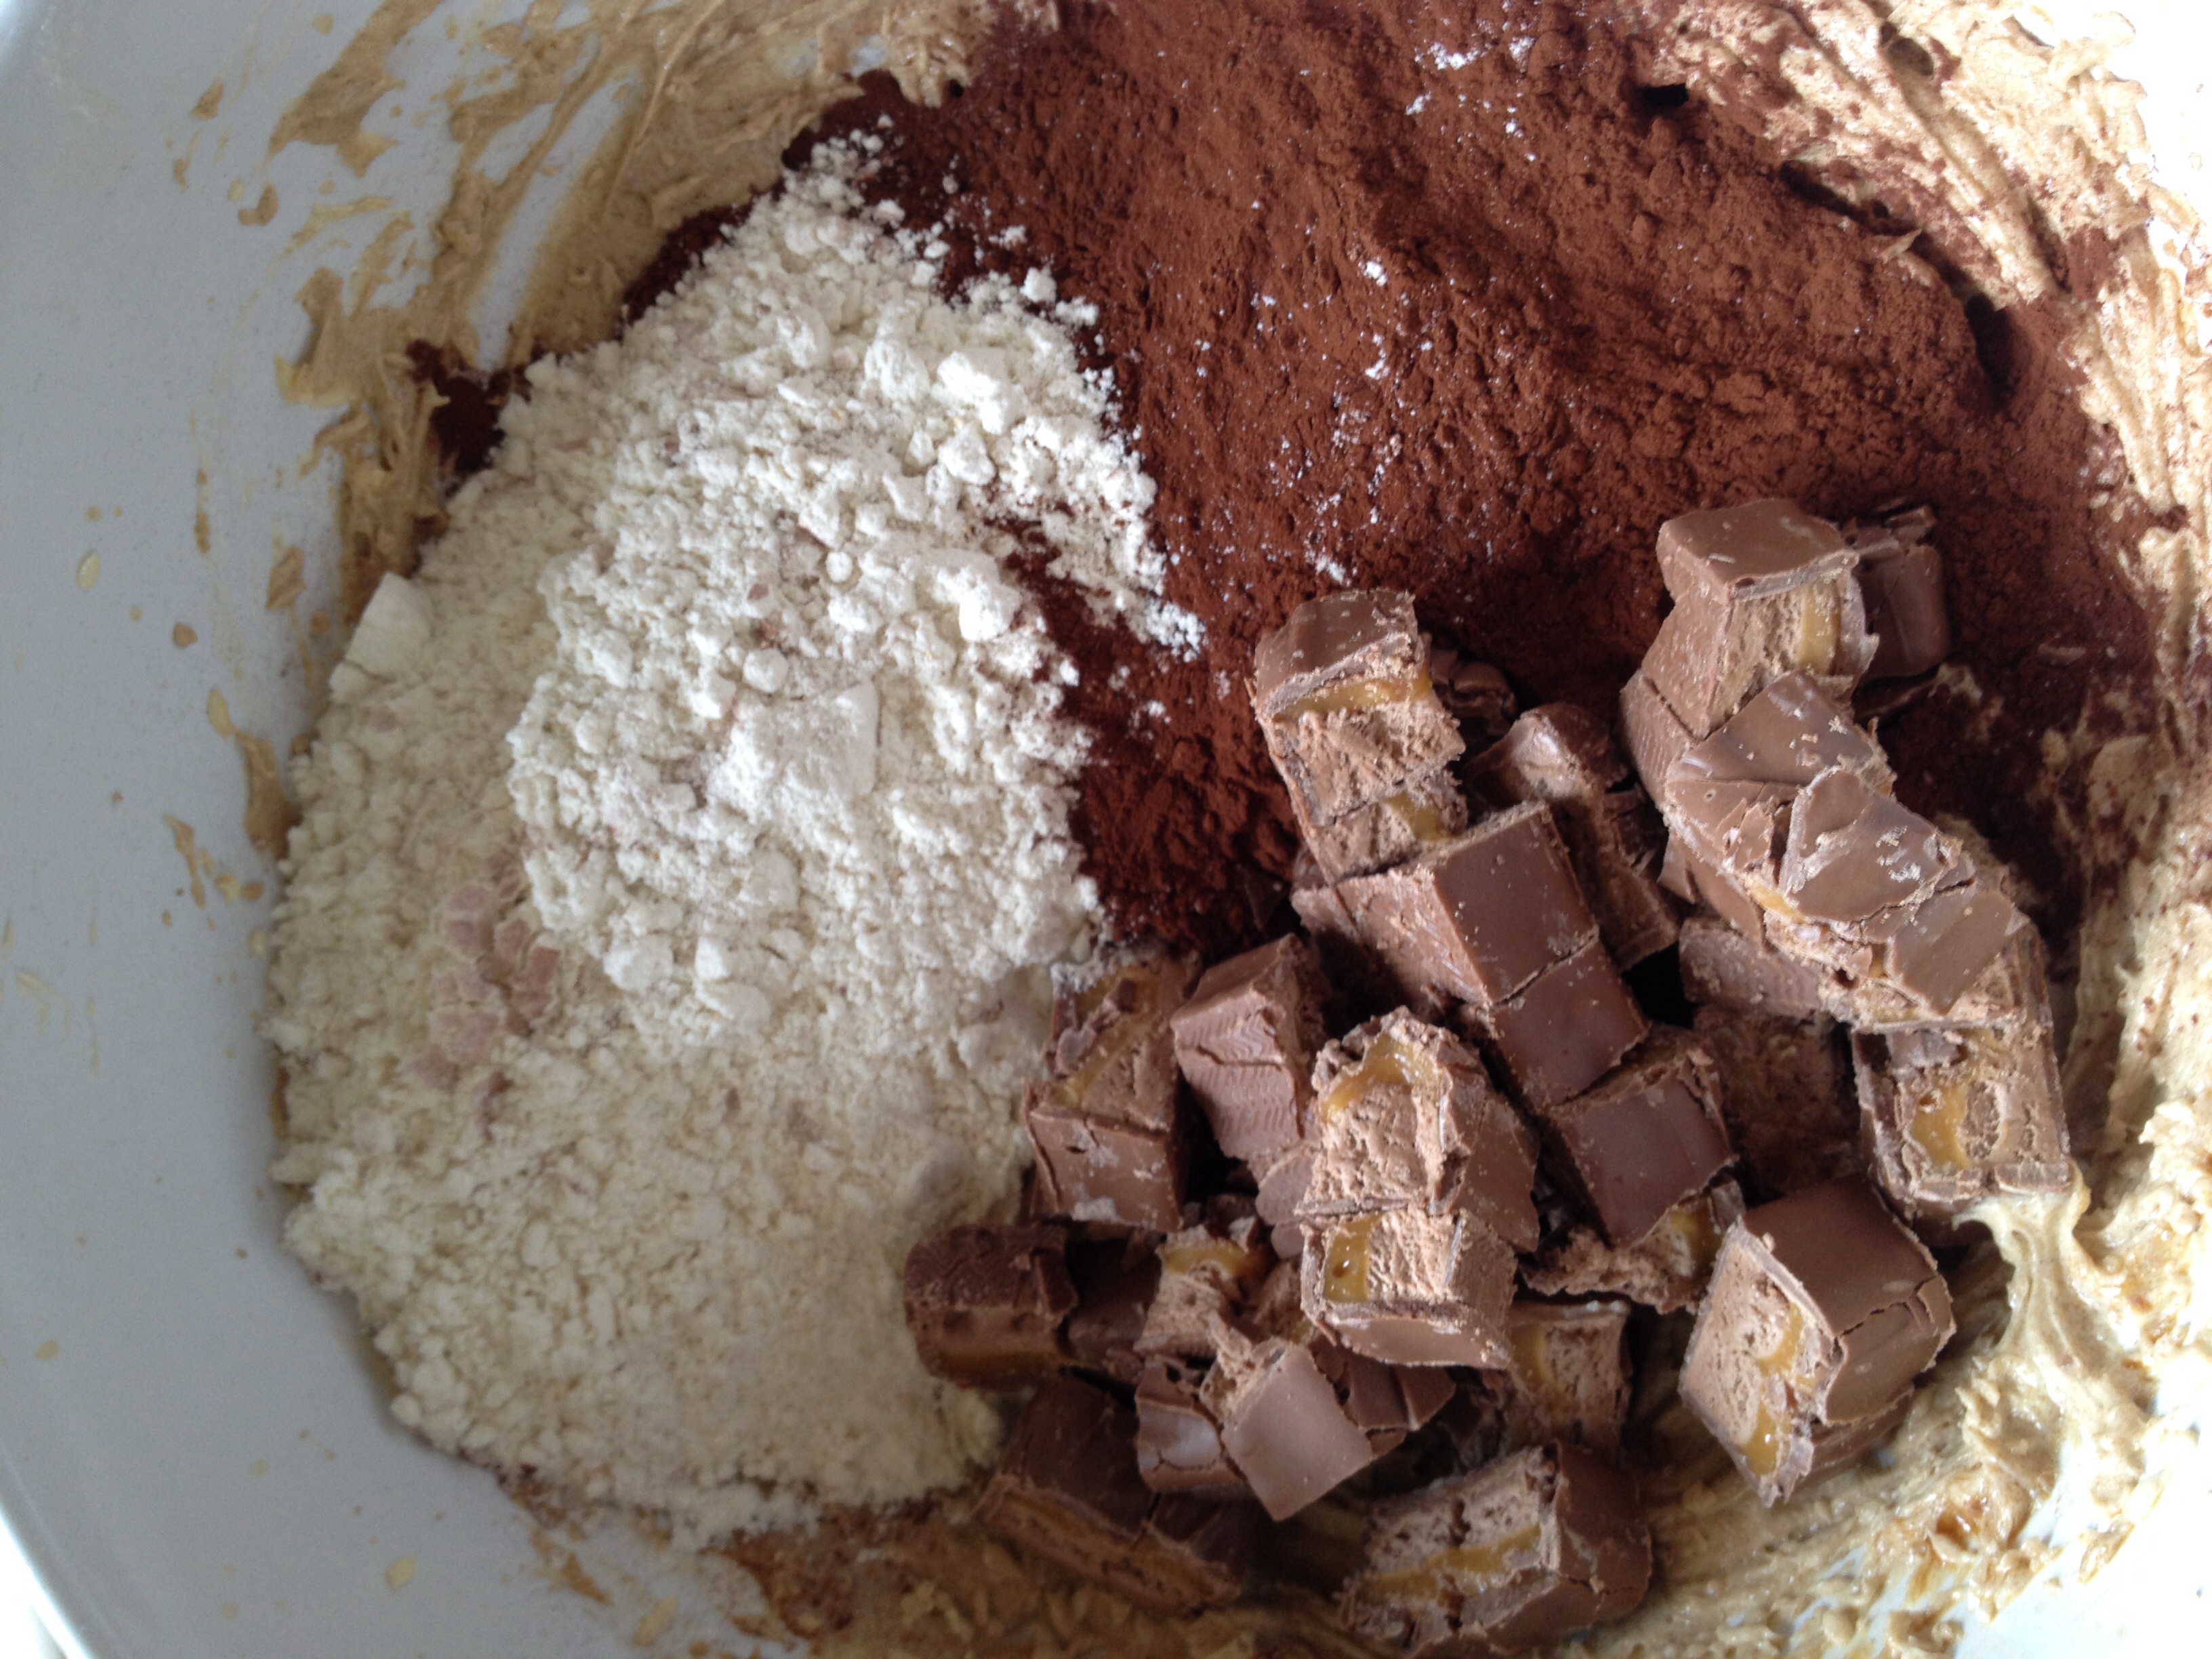
Add 2 of the eggs (I always crack them into a separate bowl first, no one wants crunchy cupcakes!!!) and a third of the cocoa/flour (sifted). Gently mix until almost incorporated.

Repeat this process again.

Callebaut milk chocolate chunks take this cupcake to another level of scrumptiousness!!!!!!!

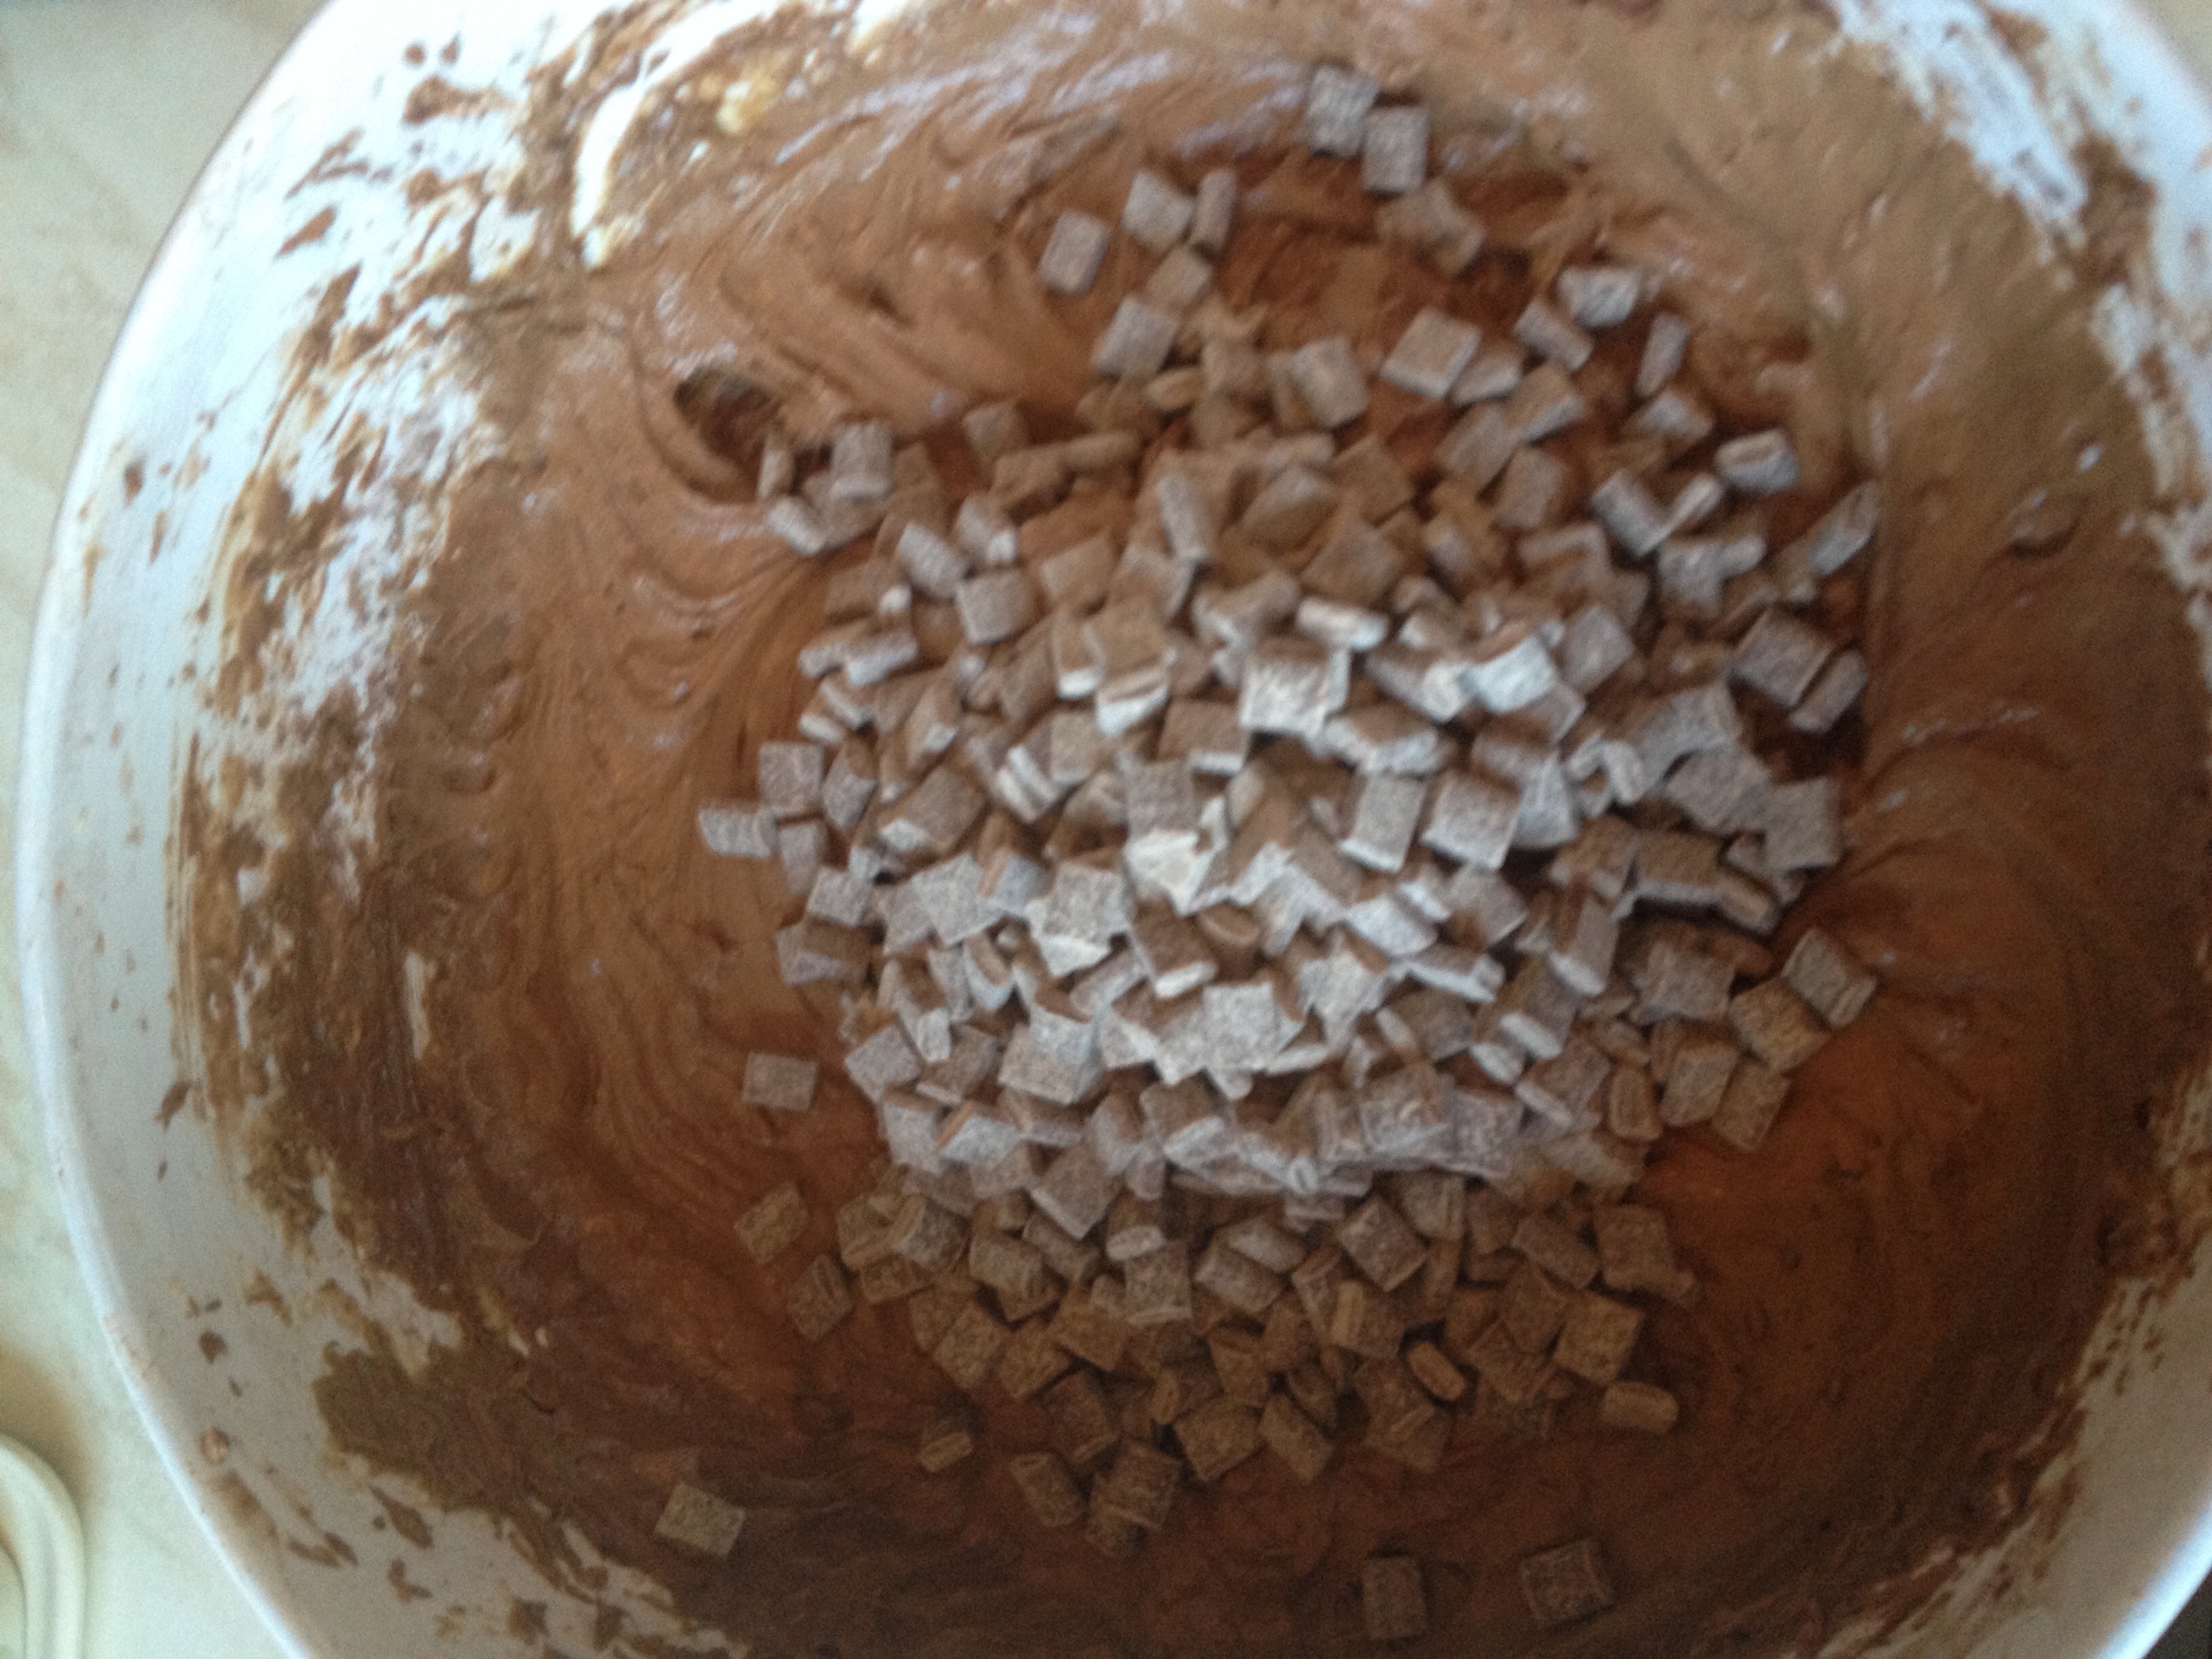
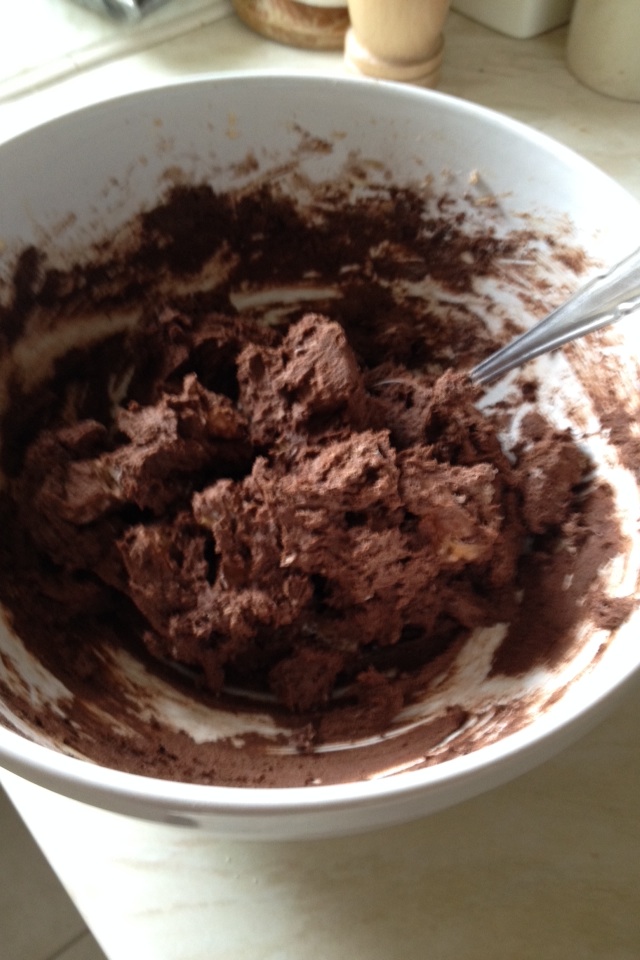
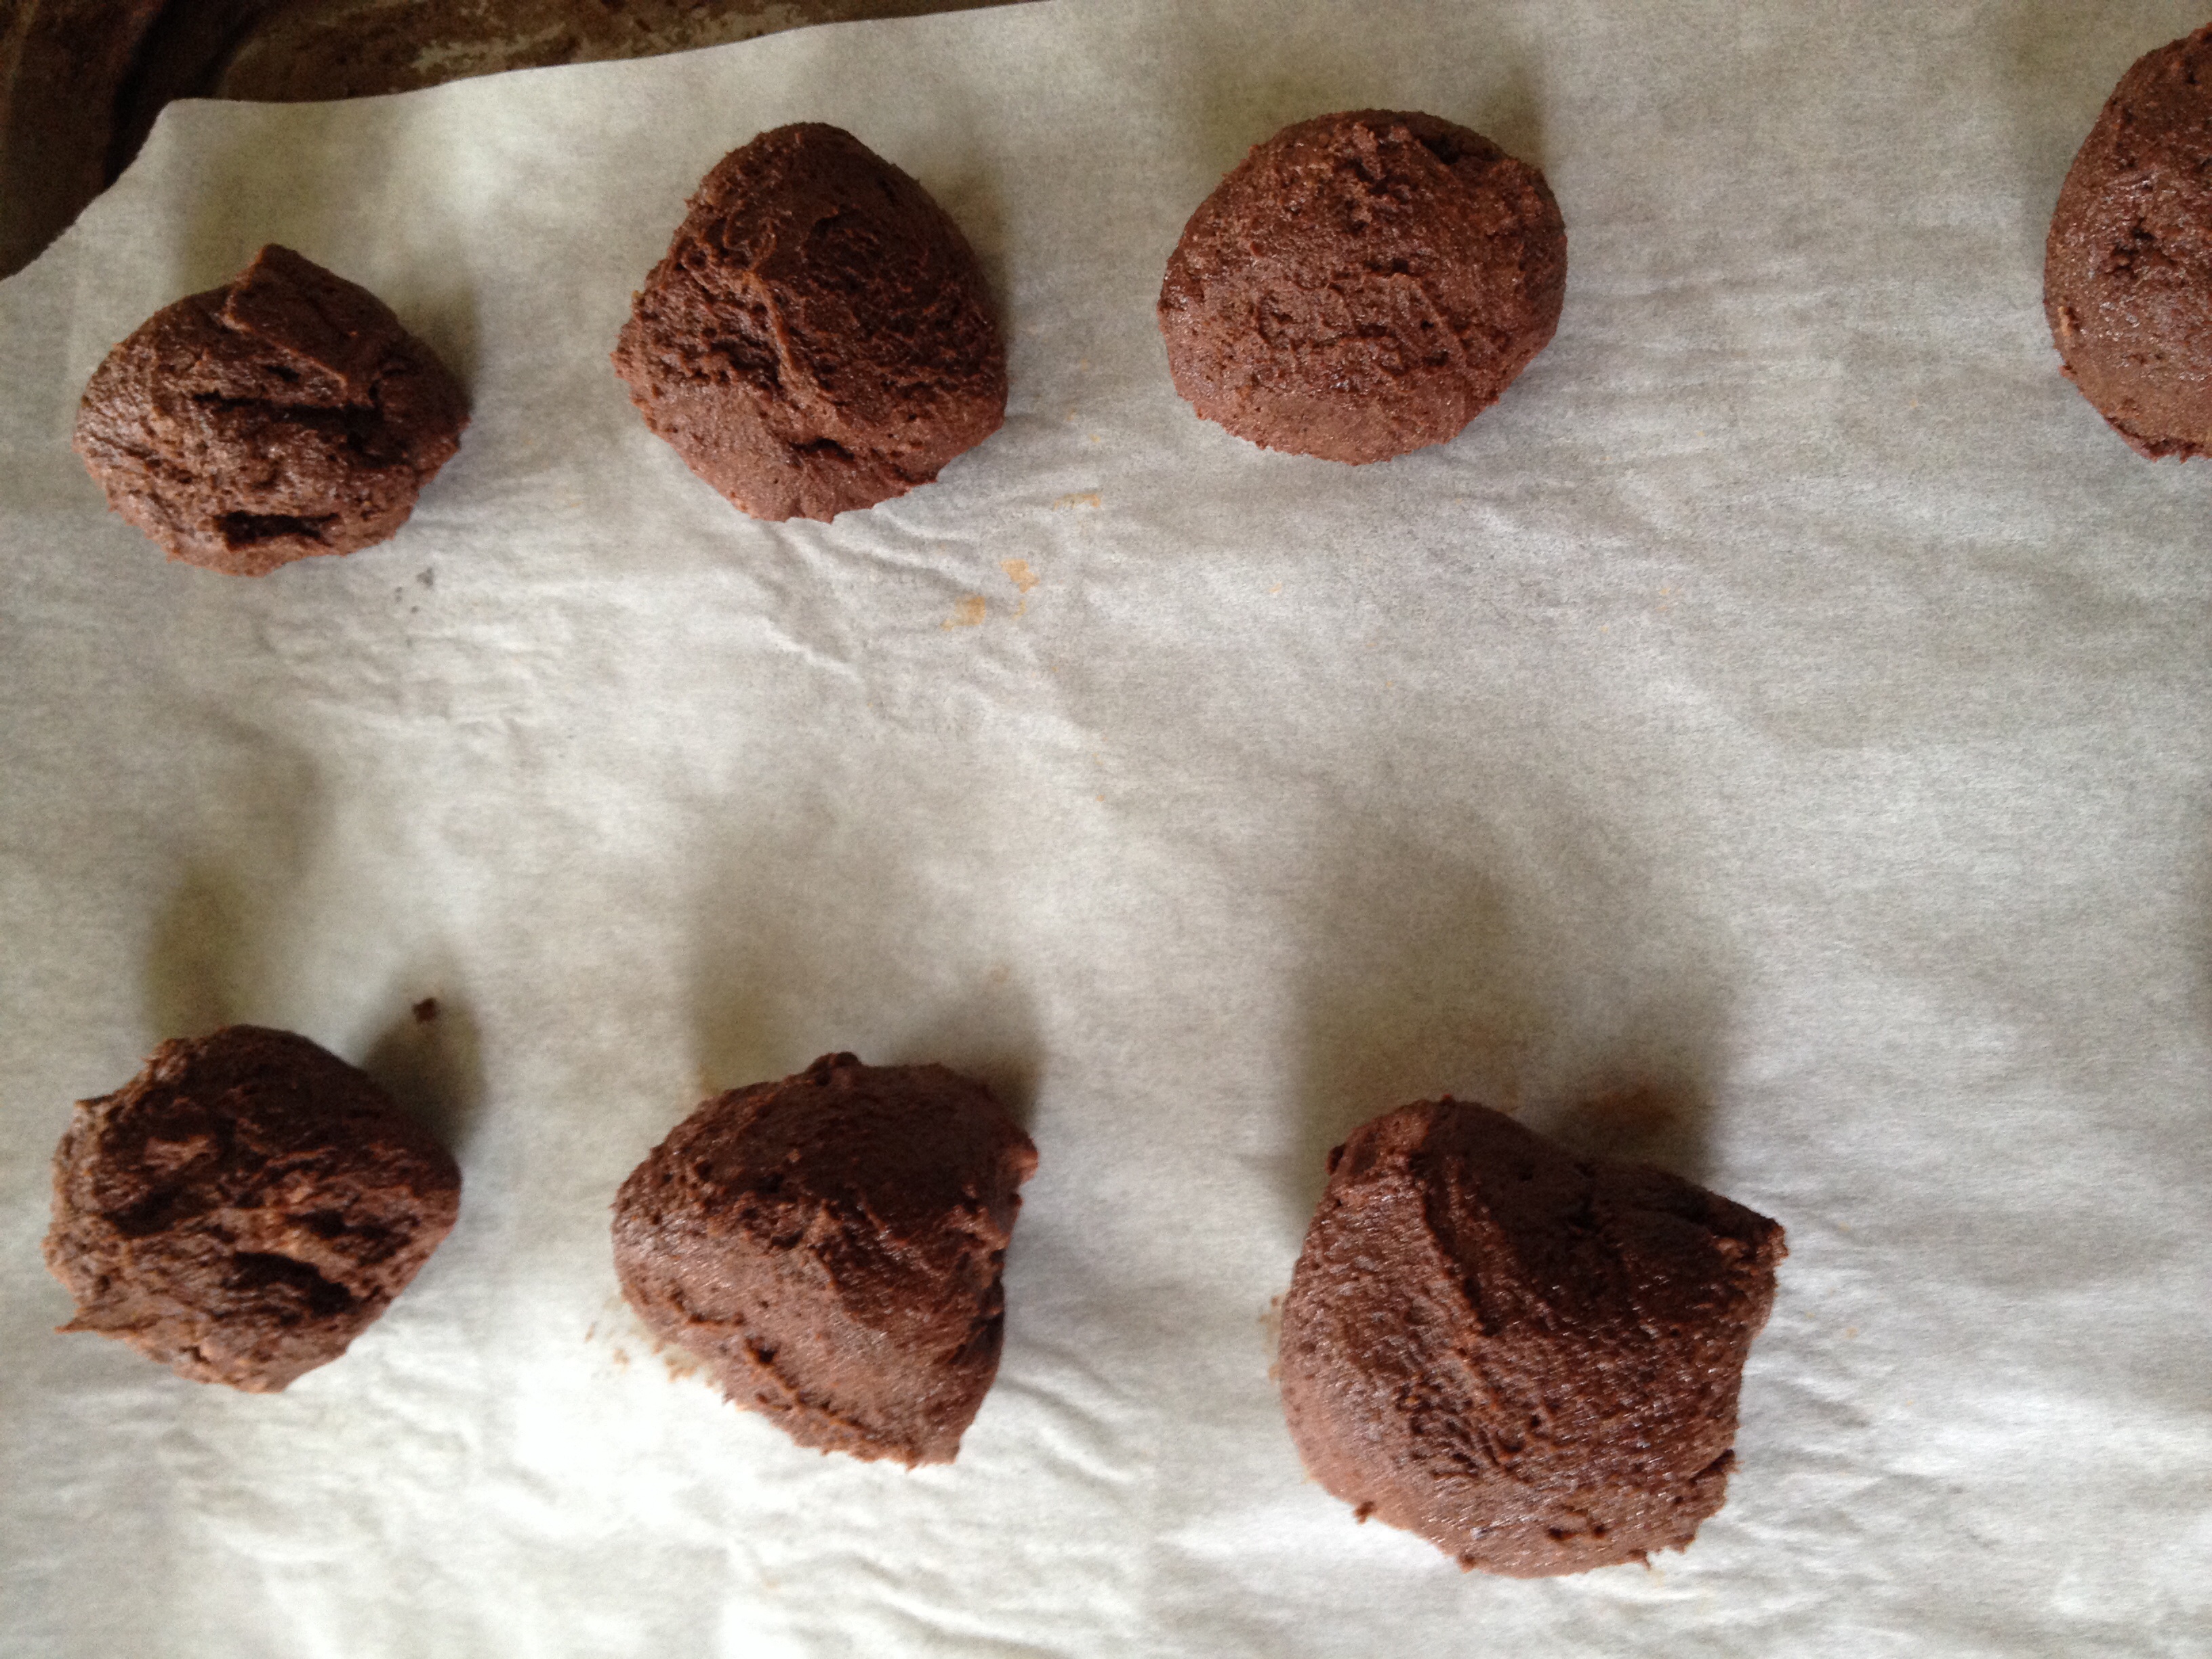
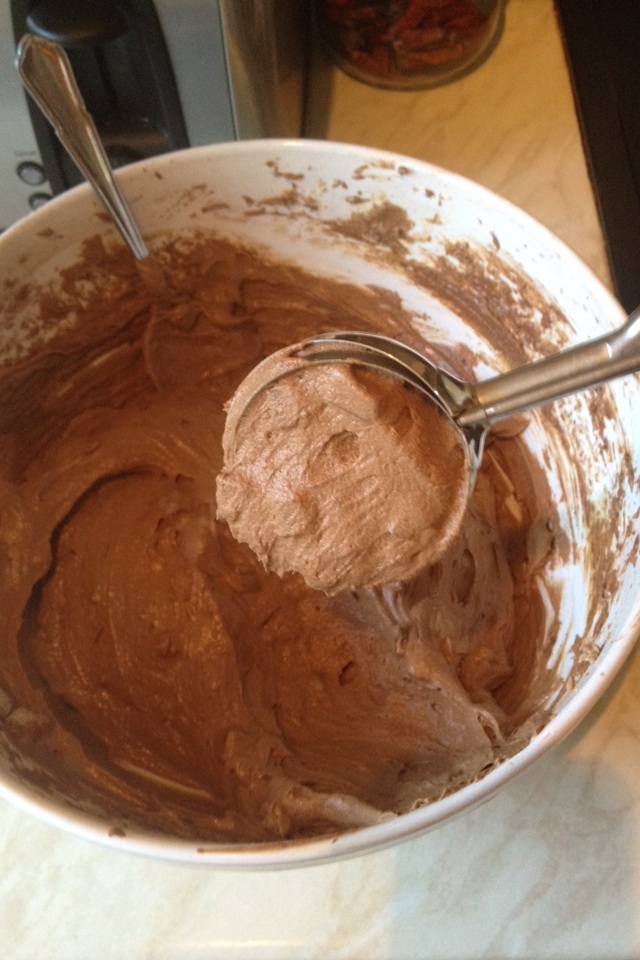
Now add the last egg and mix gently. Then add the last of the flour/cocoa & the chocolate chunks/chips. Fold these ingredients in gently adding 1 tablespoon at a time to loosen the mixture and allow all the ingredients to mix thoroughly and have a slightly wet dropping consistency.

The cake batter should look like this, ready to scoop!!

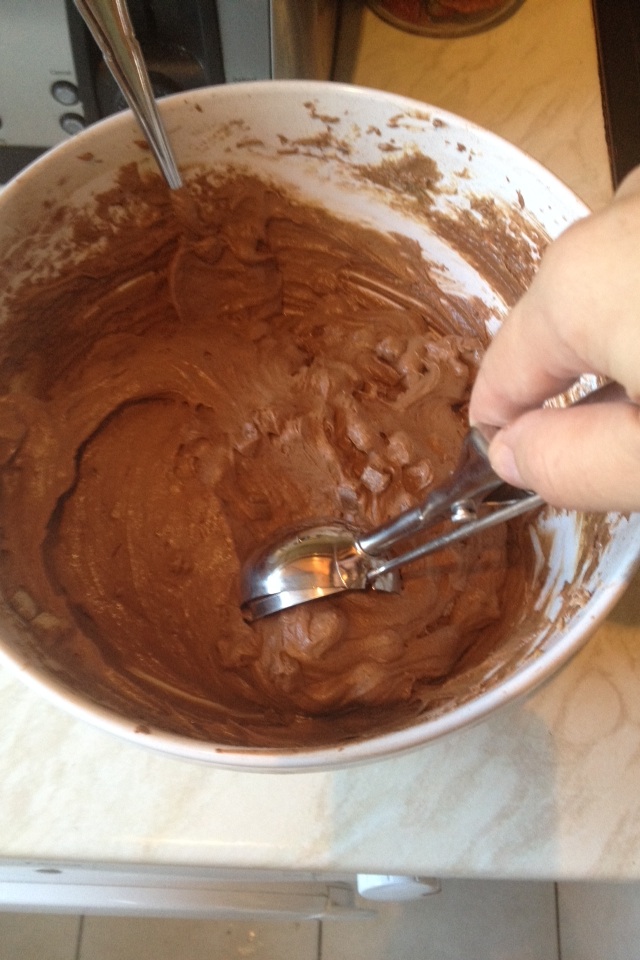
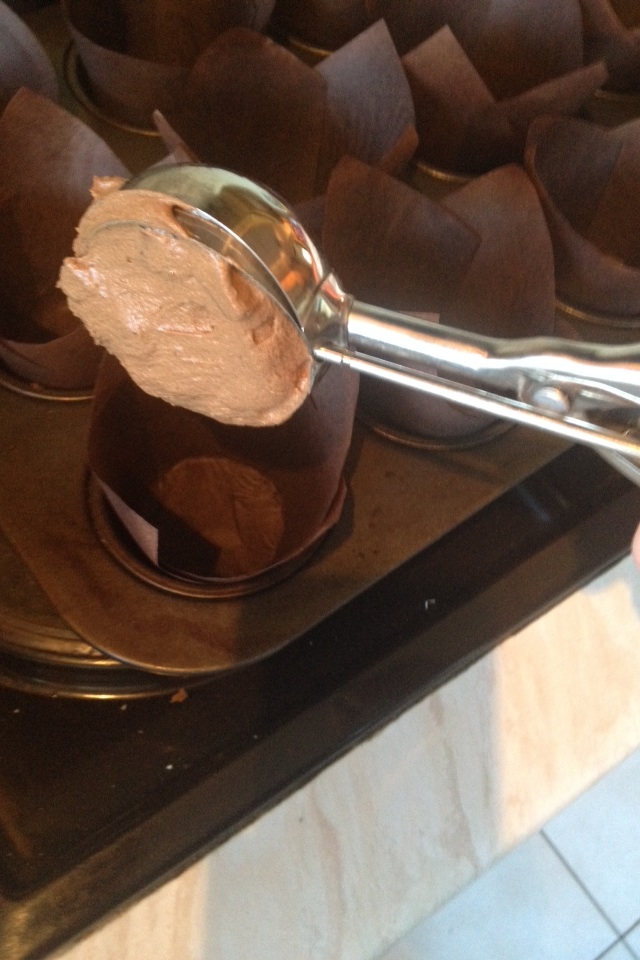
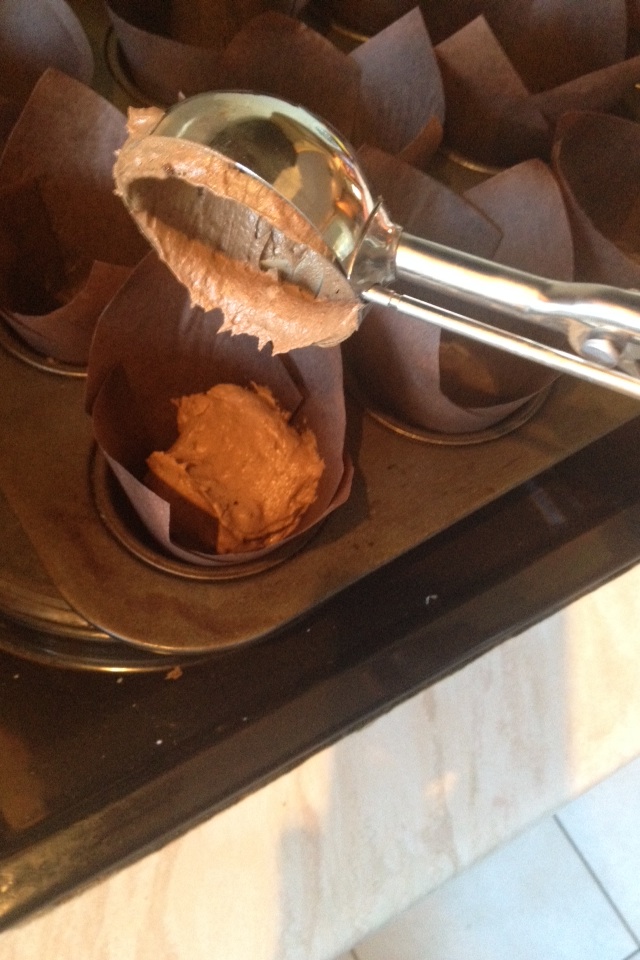
I use an ice cream scoop to evenly fill the cupcake cases. But you could always use 2 desert spoons. Just ensure an equal amount of mixture is placed into each case. This ensures that all the cupcakes will be cooked evenly & in the same amount of time.

Using an ice cream scoop to portion the cupcake batter.
Centre the scoop above the cake liner.
Squeeze the scoop & release the batter into the case!!!

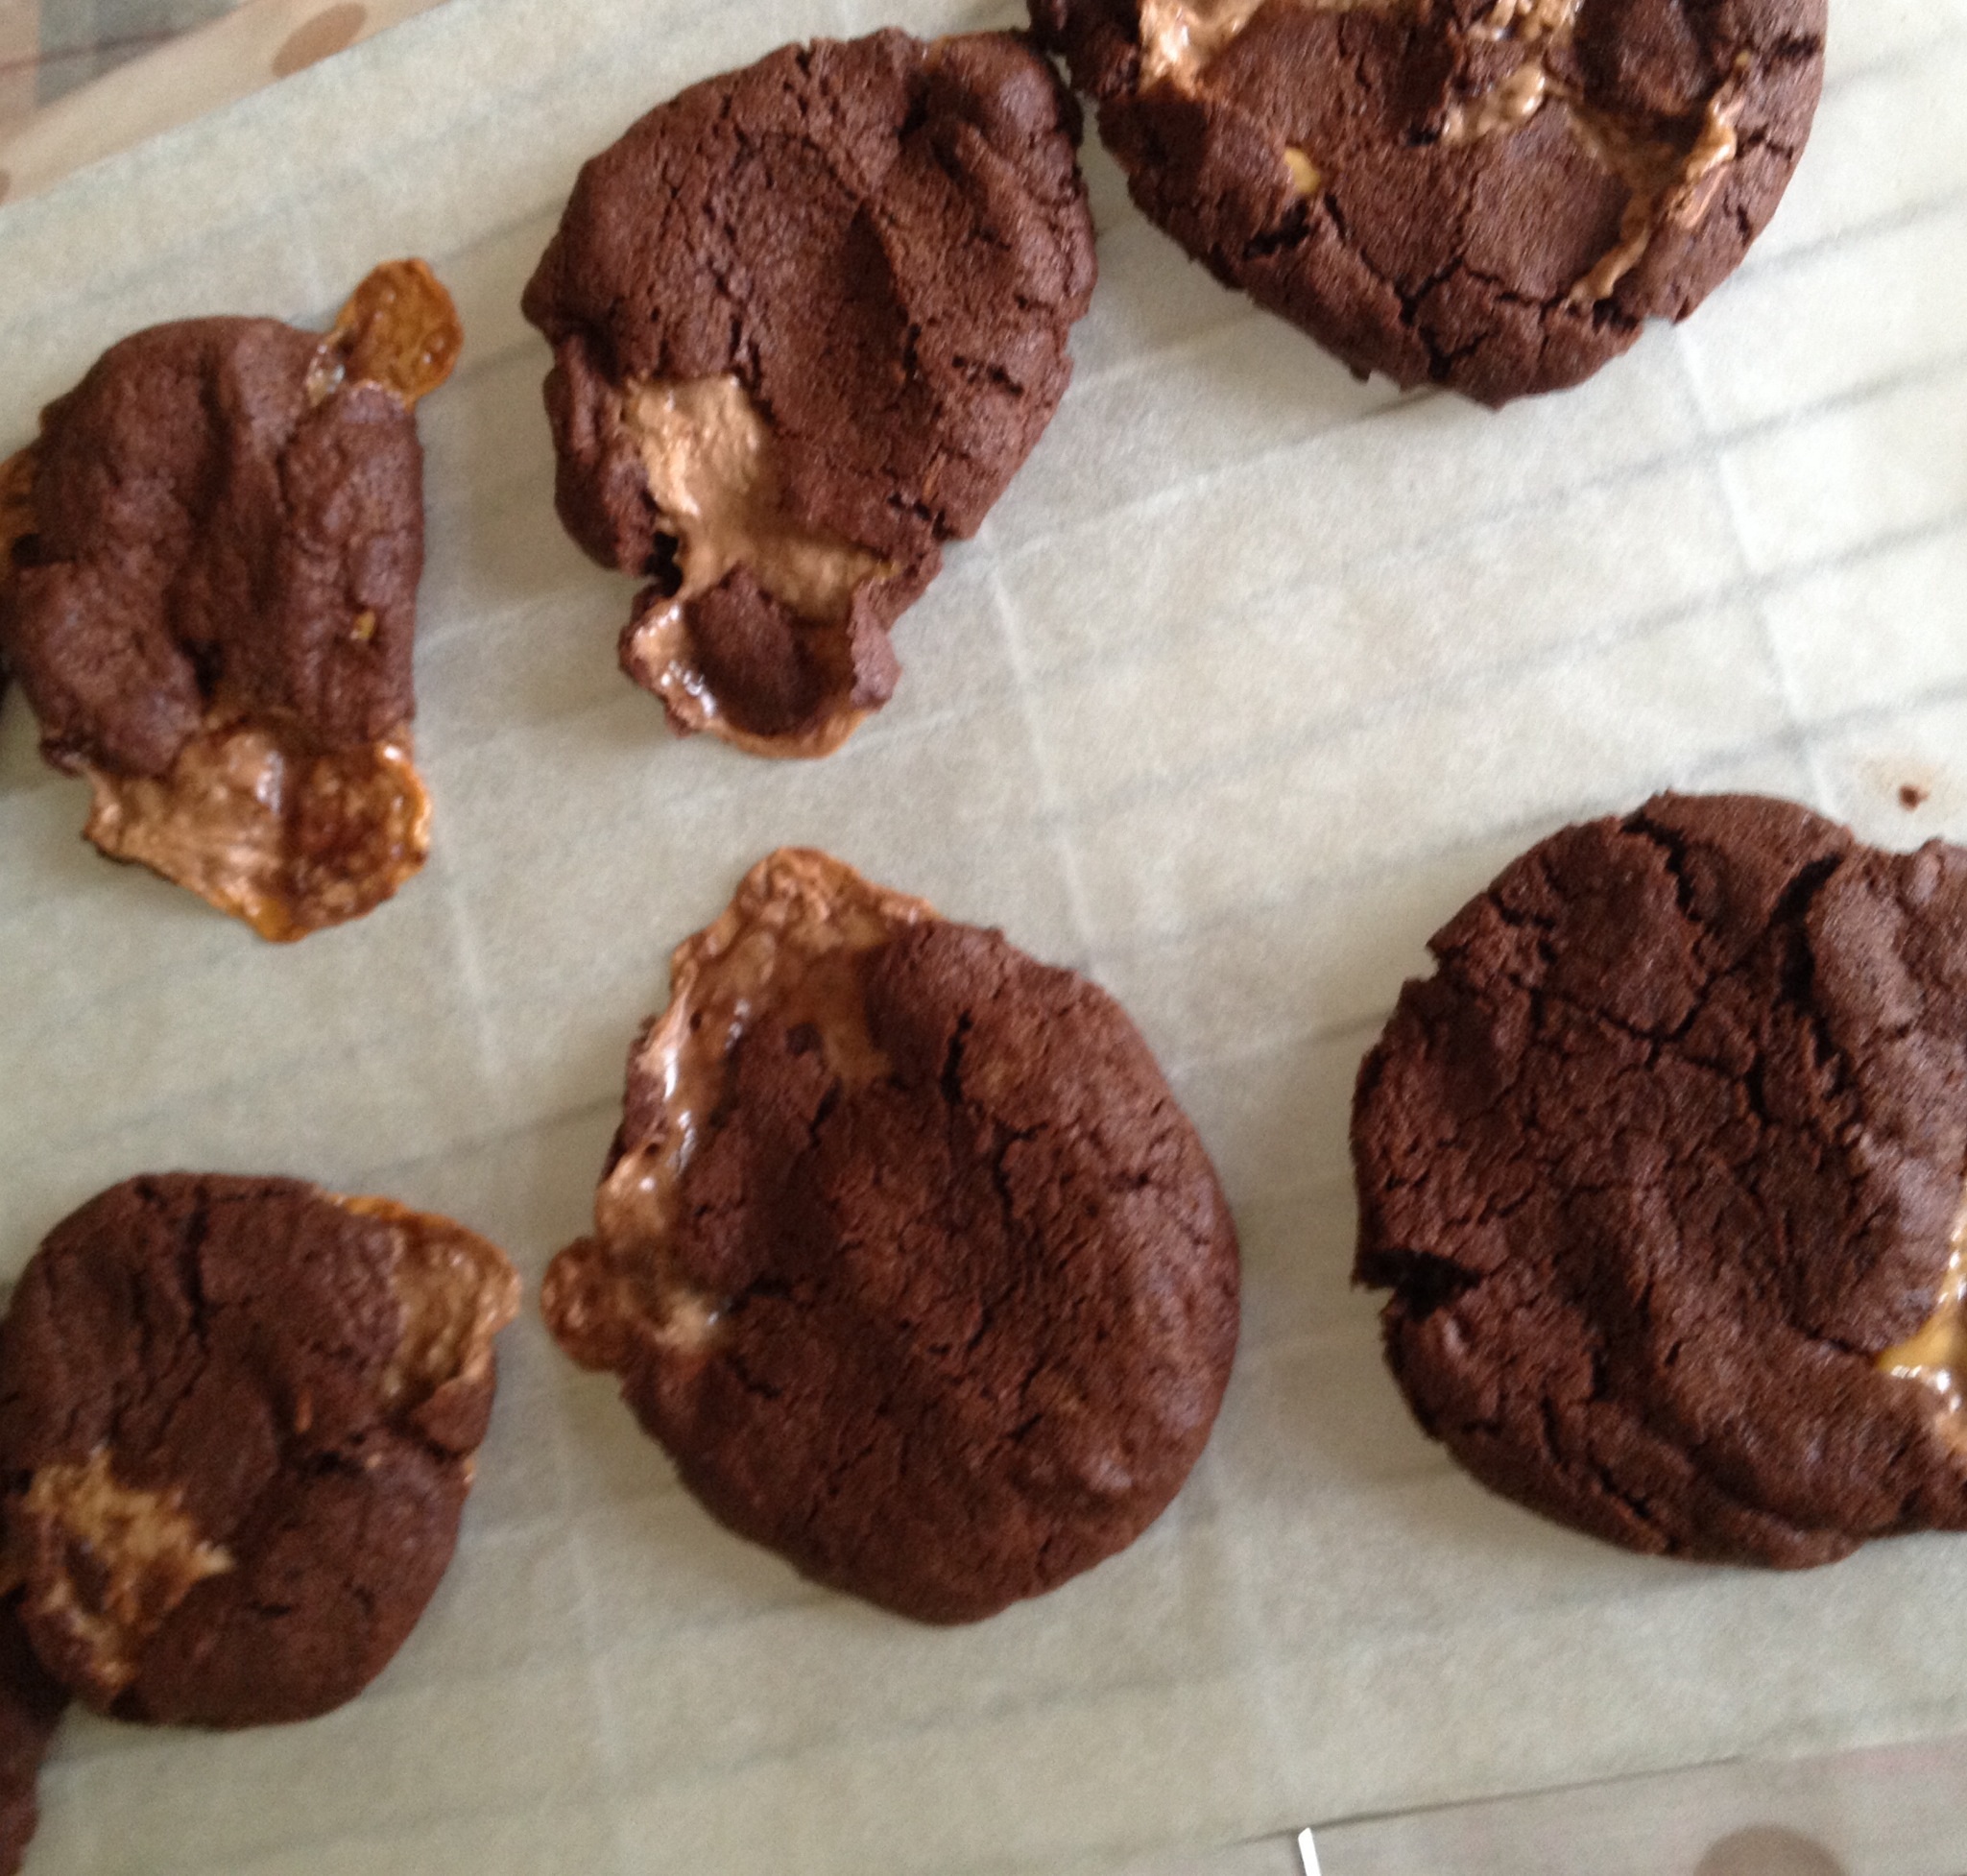
Cook for approx 20 minutes. The cupcakes are cooked when lightly pressed in the middle and the cake springs back.

Remove from the oven and allow to cool in the tin for 5-10 mins until cool enough to transfer to a cooling rack.
NOTE: if using the tulip style cupcake cases, I’ve found it best to leave the cupcakes to COMPLETELY COOL IN THE TIN. The paper cases will then adhere to the cupcakes when removed from the tin.

I left these cupcakes to cool completely in the tin.

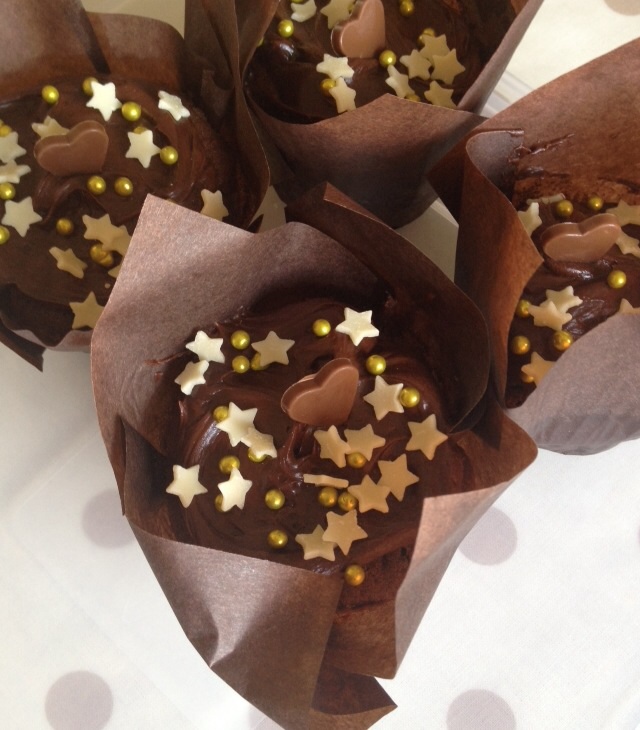
These chocolate chunk cupcakes are then perfect to serve unadorned!

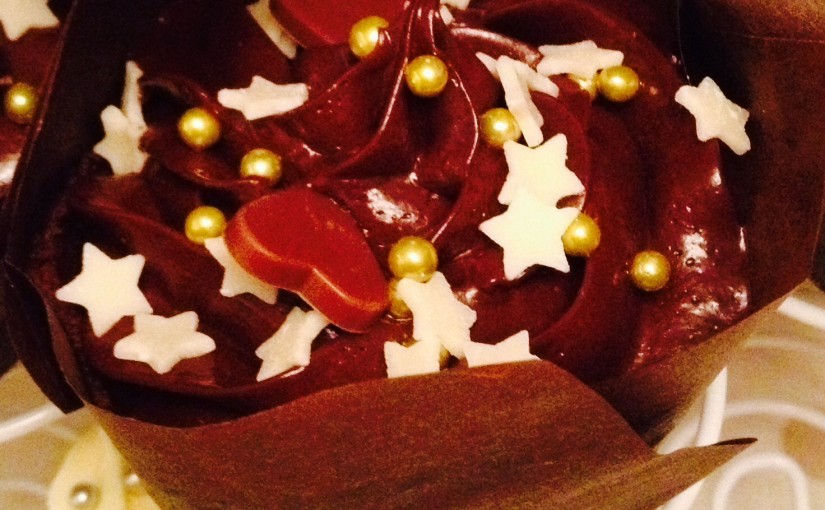
However if making for a special occasion or just because, you can ice or top them with whatever you like!!

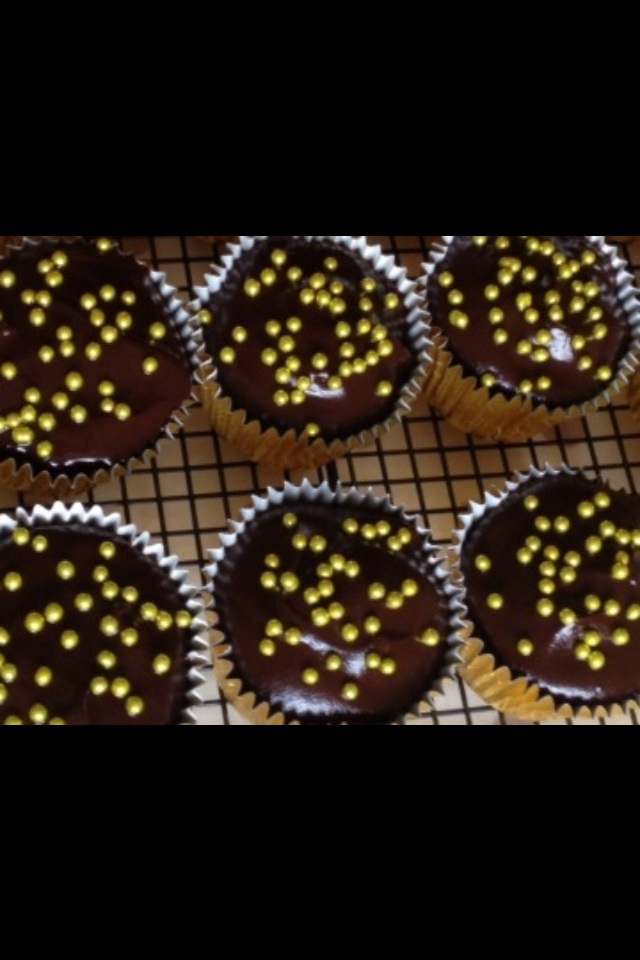
I’ve used Betty Crocker’s Chocolate Fudge Icing (which I’ve found is easier to apply using 2 teaspoons, rather than piping, when using the tulip cupcake wrappers. I’ve then sprinkled a variety of gold sugar balls, white chocolate stars, glitter, even rice paper figurines.

Fudgey, chocolate icing with hearts, stars and gold dragee balls!

Melted chocolate drizzled over the top, or half double cream/half chocolate melted together in a heatproof bowl over a saucepan of simmering water (making sure that the bottom of the bowl doesn’t touch the water), creates a chocolate ganache. If using ordinary (not tulip) cases the cupcakes can then be dipped into the ganache, covering the entire surface of the cupcake. This will then cool to a soft, fudgey consistency, whereas melted chocolate on its own will harden on cooling.

Ganache dipped cupcakes with a sparkly addition of gold dragee balls.

You can then sprinkle & adorn to your hearts content. Although left without the sprinkles these cupcakes still look gorgeous & scrummy.

Now it’s time to share!!

I invested in some individual clear, plastic cupcake holders, which not only allow the cupcakes to be transported easily but also allow the recipient to clearly see their gift. I have also popped the cupcakes into cellophane bags tied with rafia. This also looks beautiful, but is more fiddly & you have to be careful not to get any of the icing on the inside of the bag, as it spoils the look.

If you want to make someone smile, or you know someone who needs cheering up, this recipe is FOOLPROOF.

When I give a gift, especially one I’ve made, I’m NOT looking to be basked in thanks & glory for what I’ve given. I want the recipient to feel special. To know that they’ve been thought of & know that they are special to me.

I’ve received gifts that are more about the giver than the recipient & although I’m always thankful, somehow, if the giver is looking to be showered with praise, the gift feels soulless.

In my world GIFTS SHOULD ALWAYS BE ABOUT THE RECIPIENT NOT THE GIVER.

Don’t get me wrong a thank you is nice, but other than that I’m not seeking praise. I really try to think of who I am giving to & what their likes & preferences are. In doing this I must disregard what I want and focus on others.

Some people like a big fuss & that’s fine. They like attention & they enjoy being the centre of it. So when giving them a gift I know they don’t mind if it’s in a roomful of people. They enjoy celebrating in a big way.

Others are quieter. They would be mortified at the notion of being centre of attention. That is fine too. So the gift will be given quietly, without pomp & circumstance. Because it’s not about the giver but the recipient.

If you’ve taken the time, love & care to make something for someone, give equal thought to how you will give it to them.

Nobody, especially me, gets it right all the time! But we can all try, me included.

A well meant gift, given in a thoughtful way says you care.

Have fun trying the cupcakes. If you want to make fewer a rough guide is 1 egg/2oz butter/1 1/2oz self raising white flour/1/2oz cocoa powder.

I’d love to hear how you get on, so please leave a comment?

In the mean time have lots of fun, feasting and sharing!!

Sammie x

Share
Facebooktwitterpinterestlinkedintumblr

Garlic Rosemary Focaccia Bread

Share
Facebooktwitterpinterestlinkedintumblr

Bread is something that I really enjoy making. Flour, yeast, salt and water, combined and worked, create a bread with real taste. Add in a few extra flavours and the possibilities are endless. Garlic Rosemary Focaccia Bread is an incredibly easy, yet packed with flavour bread. Perfect for making at home.

FF Garlic Rosemary Focaccia Bread
Garlic Rosemary Focaccia Bread.

This week in our house is all about birthdays. Our Lil Man will be 12 this week, it’s also my Sister’s birthday in the same week. Definitely time for Feasting, Celebrating and Fun! Covert baking operations during the day – ready for surprises on their special days. Ooh I love a celebration – well that is as long as I’m not the center of attention!

Fortunately, shyness is not something our son could ever be accused of having. His enthusiasm and passion for life is infectious and wonderful to see. He waits all year for his birthday and the night before, without fail, he reaches ‘ready to explode’ status!Christmas is the same for him, times a gazillion!I adore his passion & zest for life, even if at times it can be exhausting and overwhelming.

So, to make life a bit easier on myself today, I grabbed a previously, made and frozen Chicken and Four Cheese Lasagne  from the freezer last night and left it to defrost in the fridge overnight. Yes, I confess to feeling a tiny little bit smug.
Since I have a bread maker that makes my life (in the world of bread baking), so much easier, I decided to whip up a couple of these GARLIC ROSEMARY FOCACCIA BREAD.  Also, as this is such a reliable and easy recipe, I decided to share it with you.

Even with 4 Garlic bulbs added to the bread mixture & the same sprinkled on top, this Focaccia only has a mild Garlic taste.

GARLIC ROSEMARY FOCACCIA BREAD: makes 2 loaves.

You will need 2 x lightly oiled 8×8″ square tins ( with at least 2″ depth), or – 1 larger oiled baking tray (2″ deep) to bake one large focaccia.

Recipe: Garlic Rosemary Focaccia Bread 

1lb Strong Plain White Flour – I use Shipton Mill

300ml Warm (hand hot) Water

1 x 7g Sachet, Easy Blend Yeast

2 tbs Olive Oil (plus extra for drizzling over bread, oiling baking tins & cling film)

7g Sea Salt – I use Maldon

Sea salt flakes and freshly ground black pepper for top of the bread

2 tbs Fresh Rosemary – finely chopped

8 Garlic Bulbs (4 for bread mixture, 4 for topping the bread).

Method: Preheat oven to 220C/200C fan, gas mark 7

When using a bread maker or stand mixer:

Place the warm water into the pan or bowl of the device you are using, making sure the dough hook is attached to the stand mixer.

Sprinkle over the sachet of dried, activated yeast and swish about with clean fingers to mix.

Next place the flour on top of the liquid mixture. Add the oil and salt.

Now add 1 tbs of the finely chopped Rosemary and salt.

Mince most of the Rosemary finely, allowing a few whole & half leaves to remain so they can be seen in the bread!

Add in four minced bulbs of garlic. I’m a very big fan of my garlic press (no peeling or chopping), but you may chop, process, squish with the back of your knife. Please don’t write in with other methods for finely mincing garlic, just be happy that you’re innovative.

Now mix & prove (if using a bread maker). With a stand mixer, attach the dough hook & mix for 8-10 minutes, until the dough has a silky, stretchy, elasticity about it.

If kneading by hand, bring all the ingredients together and work (knead) the dough until you can feel the change, when the dough again stretches easily and feels silky to touch – a good way to check that the dough has been worked enough is that it should be hard to tear.

Shape the dough into a ball and place into an oiled bowl, then turn the ball over, so the top has an oily layer & cover tightly with cling film. Place in a warm draught free place until doubled in size (about an hour).

Prepare the baking tins (or large tin if only using one) by placing some oil in the tin (approx 1tsp for a smaller tin).  Then using your fingers or a piece of kitchen towel completely cover the inside of the tin with a light slick if oil. When doing this by hand, your nails also benefit from a cuticle treatment.
Talking of fingers, if you have long nails it’s probably easier to apply the oil with the kitchen cloth. It also probably means you look after your hands and nails may not need a quick, olive oil cuticle treatment. Just saying, I NEED the treatment.

If using a bread machine switch on to knead cycle to knock the dough back for a minute. With the dough in the bowl, remove the cling film & gently punch down (enjoy the soft enveloping feeling!)the dough to knock out the air bubbles and gently knead by hand for 2 minutes.

Half the focaccia dough.

Divide the dough in two (or leave whole if making a larger Focaccia) using a sharp knife or a dough cutter.
Place half the dough into each tin (or all into one tin).

NOW is the absolutely BEST thing about making this type of bread. If you loved making mud pies when you where younger, or maybe still do, you’re going to LOVE this next bit.
Using your the heel of your hand, gradually press the dough out until it reaches the edges of the tin and is roughly the same thickness across the tin.

Check out my dimples!!!!

Next using your fingers, have great fun making lots & lots & lots of dimples in the dough – to give it the classic focaccia look.
Can you tell how much I really love that part? So much fun!
Drizzle a little olive oil, sprinkle some sea salt flakes, the rest of the finely minced Rosemary, a grinding of pepper and the rest of the garlic. Split over 2 tins if making 2 Focaccia loves.

Lightly oil some cling film:
TOP TIP: Using a clean wet cloth wipe some of your work surface so that it is damp. When laying your cling film over the top it will lay flat and not attempt to attach itself to itself, you, or random kitchen objects. You can then easily spread a light coating of oil over the cling using your hands, or a pastry brush.
I know there’s oil in the dough, the tin has been oiled, you’ve just drizzled oil on top of the focaccia – JUST TRUST ME!

Most of the time you could get away with not oiling the cling, but and it’s happened to me, it WON’T EVER STICK if you oil the cling!

The risen dough does lose some of the dimply effect - so if you want more dimples, repeat the process!!!!
The risen dough does lose some of the dimply effect – so if you want more dimples, repeat the process!!!!

Cover the top of the tin with the oiled cling (so it’s airtight) and leave in a warm, draught free place until doubled in size. Alternatively,  place the dough in the fridge. While it will take longer to rise, the bread will develop a lovely flavour, due to the slow prove. It’s your dough, so, do whatever you fancy.

ANOTHER IMPORTANT TIP – I have successfully risen the dough slowly in the fridge, completely forgotten about it, so it quadruples in size. Knock it back by recreating the dimpled effect, as before, left to rise and it’s turned out fine.
Bake the focaccia in a preheated oven for 15 – 20 minutes, until a golden colour and still quite soft. The base should sound hollow when rapped with a knuckle.

Once baked, remove from the oven, take a deep breath, the smell is intoxicating. Leave to cool for 10 minutes in the tin, run round the outside with a palette knife until you can feel the loaf easing from the tin. Turn the bread out and place on to a cooling rack. Repeat with second tin.

Please dunk me in some scrummy soup, pasta sauce or sausage casserole?

The Garlic Rosemary Focaccia Bread will be marshmallowy soft & is fine to serve warm as is. Or cool, wrap in foil and freeze for up to one month.
If you prefer a slight crust to your focaccia, 10 mins before serving, place the bread directly on to the rack of a preheated oven (as for baking the dough) for 5 – 10 minutes, depending on how crusty you like it.
Because this bread is thinner than a loaf, you can cut or tear the bread whilst still warm.

FF Garlic Rosemary Focaccia Bread
Garlic Rosemary Focaccia Bread baked as a whole.

This bread goes with any dish you would normally serve garlic bread with. It also goes fantastically well with soup. Spicy vegetable, leek and potato are especially good with this bread. It is ideal for dunking!
One Garlic Rosemary Focaccia Bread is plenty for our family of five, so I wrap in foil and freeze the other one.

If you have enjoyed this recipe for Garlic Rosemary Focaccia Bread you may also like these:

Tomato Thyme Garlic Focaccia

FF Garlic Rosemary Focaccia Bread
Tomato Thyme Garlic Focaccia Bread.

Easy Crusty Baguettes

FF Garlic Rosemary Focaccia Bread
Easy Crusty Baguettes.

Garlic Cheese Bombs

FF Garlic Rosemary Focaccia Bread
Garlic Cheese Bombs

I really hope you give this recipe a try. You can vary the herbs. I’ve used Thyme, Oregano and SHOCK/HORROR dried mixed herbs. Ooh I’m such a rebel! But seriously, it works better with the woodier herbs (rather than parsley/fennel) mentioned. Since I find that soft herbs are better mixed with butter and oil, then slathered into a baguette/ciabatta (part bake baguettes work well for this!).
Until next time, I hope you have fun giving this recipe a go and enjoy feasting with whoever you share it with.

See you soon. Sammie xx

No part of this blog post may be replicated without written permission of the owner. Please see my Disclosure Policy.

Share
Facebooktwitterpinterestlinkedintumblr

Chocolate Mars Bar Cookies!!!

Share
Facebooktwitterpinterestlinkedintumblr

If you like chocolate cookies & love the taste of Mars Bars – you will totally flip out over these Chocolate Mars Bar Cookies!!
I could keep you in suspense no longer.

Chocolate Mars Bar Cookies

I may have mentioned my particular preference for a cookie with my cuppa? This combined with my natural curiosity led to these Chocolate Mars Bar Cookies being made.
But, if I’m going to completely truthful, I had an ulterior motive for making them!! More on that later.

Soooo Delicious
Soooo Delicious

I do apologise I have not yet said hello & good morning to you. I hope you are well today & encourage you to read yesterday’s blog: more food for the soul, than for our tummies & definitely way more important. I hope it makes you think, question, wonder & seek.
Today the rain is lashing down, giving the gardens a well needed dousing. Tomorrow the sun is supposed to shine, YAY! Sunshine always seems to make people seem brighter & happier – listen to me! English & talking about the weather – I’m a stereotype!!!!
I promised you my reason for the ulterior motive behind these cookie. Well…… I also made PEANUT BUTTER SNICKERS COOKIES which I absolutely lurve – I will post that recipe soon!
Making the Chocolate  Mars Bar Cookies keeps my lil kiddly winks away from the Snickers Cookies! They prefer chocolate Cookies over any other!!!
I know, I know I go on about sharing & I do. I really do! I shared the Snickers Cookies with my special QC friend!

Recipe : CHOCOLATE MARS BAR COOKIES – makes approx 28-32

You will need 2 x Baking Sheets (lined with parchment paper, even if non stick)

5oz  Dark Brown Sugar (light brown is fine if that’s what you have to hand)

8oz  Unsalted Butter – room temp

1/4  tsp Salt

1  Large Egg Yolk (pref Free Range)

1 tsp Vanilla Extract

3oz  Cocoa Powder

7oz  Plain White Flour

3-4  Mars Bars – chopped

Method :

Preheat the oven to 180C (165C fan)

The gorgeous dark brown sugar gives these cookies a fudgier flavour!!!!!!

Place the sugar, butter & salt into a bowl. Whisk or beat until light & fluffy.
Add in the egg yolk & Vanilla Extract. Whisk or beat until fully incorporated into the butter/sugar mixture.

Naughty - I didn't sift my flour/cocoa - whoops!!!!
Naughty – I didn’t sift my flour/cocoa – whoops!!!!

Next add the flour & cocoa ( you can sift them in if you prefer) & the chopped Mars Bars (don’t try to sift them – just trying to be helpful!!!!).
Slowly mix until all the ingredients are thoroughly incorporated together – it is inevitable that during this time the chunks of Mars Bar break up a bit, DON’T WORRY!!! This just adds to the gooey texture of the cookies!

Gooey, chocolatey, cookie dough!!!!!

Take a desert spoonful of the mixture and roll into a ball using your hands. The ball should be approx 1″ across, add or take away cookie dough to get the right size.

Cookie dough balls, ready to be lightly squished!!!

Make 16 balls, as above & place 8 on each cookie sheet, evenly spaced as they will spread on baking.
With clean hands use your fingers to gently flatten each ball.
Place in the preheated oven & cook for 10-13 mins (depending on size of cookies & oven).

Chocolate Mars Bar Cookies!!!!

WITH THE REMAINING COOKIE DOUGH: Place onto a long piece of cling film, gently roll into a log shape.

Cookie dough log removed from fridge & left to warm for 20 mins before slicing.

Wrap thoroughly in the cling film & refrigerate for up to 4 days, double wrap & freeze for up to one month. When ready to use, thaw in the fridge, overnight, if previously frozen, then remove from the fridge 15-30 minutes before slicing into 1/4″ thick discs.

Bake as follows :

With cocoa in the dough mixture it can be difficult to tell when the cookies are cooked: Firstly, don’t be surprised if some of the Mars Bar chunks burst from the edge of the cookie & bubble away – this is fine. They will easily come away from the parchment paper when cooled (hence the need for parchment paper, so you don’t have to use a knife to scrape your non stick baking sheets!!!).
The cookies will be set around the edge & although still soft to the touch (they will harden in cooling) each cookie will have a fixed shape & have a dull surface (not shiny where the butter & sugar are still baking).
It’s very hard to give an exact cooking time for these cookies due to the inherent variations of the cookie size & different ovens.
My suggestion would be to remove them from the oven if they fulfil the above criteria & to DEFINITELY not cook them for longer than 13 mins.
The large proportion of Cocoa will result in a dry, claggy, stick to the roof of your mouth Cookie if over cooked.
Better to have a soft chewy, slightly undercooked Cookie.
Remember Cookies are not like cakes! Once cooled & hardened if you feel they really are too undercooked, pop them back into the preheated oven for a couple more minutes. This should finish their cooking!

Chocolate Mars Bar Cookies, made for sharing!

These cookies are at their best the next day after making (I’m sorry) but they still taste good once cooled!!
They make excellent gifts: Pop a few in a cellophane bag, tie with a pretty ribbon or rafia, or place in a pretty tin for a larger gift.
We don’t have to wait for special occasions like birthdays or Christmas (although these are always good opportunities to share & give).

Have you ever been surprised by a gift, just because someone wanted to show you they cared? If not, why not start a new tradition?
I know of a church, in Devon, who buy lots of Easter eggs & give them out to the businesses of their small town as a thank you, for the services the businesses supply to the townsfolk throughout the year!!! What an amazing idea!
Sharing is contagious! Now what I am ABSOLUTELY NOT saying is that we should give to receive. Only that by giving & sharing we are showing others & they in turn may go on to share.

A SHARING REVOLUTION : imagine the difference & smiles that would generate?

Everyone SHARING FEASTING AND HAVING FUN!

Sammie x

Share
Facebooktwitterpinterestlinkedintumblr

Important Stuff

Share
Facebooktwitterpinterestlinkedintumblr

Good morning to all you lovely people. Whatever today holds for you I hope when you read through this blog the Important Stuff will encourage you to smile & when you smile I hope that it encourages others to smile too.

Why Write This Post On Important Stuff

It may sound odd, but I actually believe that HAPPINESS is a choice for most of us (please don’t think I am any way mocking people who are depressed, anxious, lonely, grieving, sad & all other manner of terrible situations – I ABSOLUTELY AM NOT). When I say Happiness is a choice, what I’m mean is that during the hundreds of thousands of situations & circumstances we are in and go through in life, most of us have a choice.

FF Important Stuff
Happiness as a result of being loved.

That choice usually represents itself simply as: Do I concentrate on all the bad stuff that I’m going through at the moment, or amidst the darkness & fog that I’m in, do I try to find something Good & Positive to hold on to? I’ve said being Happy is a choice for most of us – I didn’t say it was easy! Of all the difficult circumstances that I’ve only just started to touch on, I’ve been through most & more. But I’M NOT SAD! I should be but I’m not.


FF Important Stuff
Sometimes you have to look past the darkness and into the light.

Choosing What Is Important

Some may say that’s easy for me, I have a loving family & friends: you can still be lonely in a roomful of people. Others may argue that we all naturally have periods of sadness in our lives: that is true, but it is our choice as to how long we dwell on them. Still others may say ” You don’t understand, my situation is HOPELESS & I can’t see a way out”. To those I say, I’ve been there. Whilst I may not know exactly the circumstances of your situation, I do understand what it is like to be trapped, with no clear exit route in view.

My life has never been a bed of roses, EVER! I face daily challenges and also difficult memories. Yet I still smile. I smile because amongst all the darkness I choose, to see LIGHT. Amongst all the noise I listen for the bird song. Against all the ugliness of a situation I will SEEK OUT the beauty. I make the choice to find the POSITIVE amongst the negative. Also I have HOPE. A never ending certain HOPE. I KNOW that I am LOVED.

FF Important Stuff
The Cross in the centre, where life, love and hope are found. As the thief on the cross next to Jesus found out, it’s never too late.

The Ultimate Price Paid

A man named Jesus, a long time ago, took all the wrong doing that is in this world, all the injustice, hatred, hopelessness and wrongdoing (sin) upon HIS shoulders and died on a Cross. Naked, humiliated, despised by the very people He had come to help, Jesus knows loneliness, pain, neglect, suffering. And yet He still loved them. His love was shown when He took the place of ALL MANKIND, took all the SIN OF THE WORLD and paid the price, that we should have to pay, HE GAVE HIS LIFE, SO THAT WE MAY HAVE LIFE, IN HIM FOREVER.

Not only did He die on the Cross, for us, but HE OVERCAME DEATH WHEN HE AROSE from the dead THREE DAYS LATER. HE OVERCAME DEATH and in doing so laid a path for us to know Him. TO KNOW JESUS AND OUR HEAVENLY FATHER. Jesus said “I am THE WAY, THE TRUTH & THE LIFE. NO ONE COMES TO THE FATHER EXCEPT THROUGH THE SON”. JESUS IS THE SON OF GOD!! If we know Him, then we too can know God. HE IS OUR LOVING HEAVENLY FATHER.
THIS IS TRULY AMAZING.

You Are Important

Every living person on this beautiful planet IS LOVED BY GOD. Every living person, has at some time, said or done something that is wrong, the Bible calls this Sin. The penalty for Sin is Death. Whether you believe in God or not, one day every person will stand before God and be judged,  asked to give an account of themselves, their lives and their actions. You can choose not to believe this will happen, I am letting you know IT WILL.

That sounds pretty scary to me. I know I’m not perfect, yet I have nothing to worry about because;  “FOR GOD SO LOVED THE WORLD THAT HE GAVE HIS ONLY SON, THAT WHOSOEVER (that’s you & me) BELIEVES IN HIM SHALL NOT DIE BUT HAVE ETERNAL LIFE”. WOW! No need to be afraid now. GOD LOVES YOU SO MUCH THAT HE GAVE HIS ONLY SON!

You Are Loved

Firstly for those of you who are lonely or feel unloved YOU ARE LOVED – GOD LOVES YOU.

FF Important Stuff
Important Stuff, each individual is accepted by God, flaws and all.

Secondly for those of you who are aimlessly walking through life, no real direction (except to go to work, pay your bills, raise your family – but somewhere inside of you, you question: Is there more to this??), JESUS SAID I AM THE WAY!! Now you can have direction – straight to God & ALL the Goodness & Love that He has for you.

Thirdly, for everyone who is searching for something. Looking for a bigger picture, but there are SO MANY religions, ideas to follow: JESUS SAID I AM THE TRUTH. You’ve found your answer. Jesus IS THE WAY TO GOD. Next, for those of you that feel hopeless, dejected, worthless: JESUS SAID I AM THE LIFE. A life lived with JESUS has HOPE, PURPOSE, WORTH.

GOD LOVES YOU SO MUCH THAT HE GAVE HIS ONLY SON.

JESUS LOVES YOU SO MUCH THAT HE WAS WILLING TO DIE ON THE CROSS, BEARING THE PUNISHMENT WE SHOULD RECEIVE. HIS MOTIVATION – PURE LOVE FOR US AND TO DO THE WILL OF HIS FATHER.

He gave His life freely, at any point He could of spoken up in His own defense & saved Himself, but He didn’t – HE GAVE HIS LIFE FREELY.
JESUS IS THE LIGHT OF THIS WORLD.

FF Important Stuff
Jesus is the light of this world. In Him no darkness is found.

What does ‘Important Stuff’ mean to me?

No longer do I live a life without purpose but can smile each day, even through the tough times, for I know, I AM ABSOLUTELY CERTAIN, that JESUS WHO IS THE LIFE, lives in me, by the POWER OF THE HOLY SPIRIT. Not only that, but God promises ETERNAL LIFE TO ALL (not a chosen few elite individuals). I have a lot TO SMILE ABOUT.

You too can make this choice. Indeed nothing in life is more important, God is waiting with His arms open wide for you. His desire is that you would know HOW LOVED YOU ARE. While this may sound ‘Too good to be true’,  I promise you it isn’t. God loves you whether you love Him back or not. He accepts you no matter what life you have lived, or however bad you think you are.

GOD’S GIFT OF SALVATION THROUGH JESUS CHRIST IS FREE. You cannot work for it, earn or buy it. Jesus desires to be part of your life. He wants to be the SMILE IN YOUR HEART. As for me, I love my Lord JESUS with all of my heart. He has helped me, healed me, guided and protected me and saved me.

FF Important Stuff
Every caterpillar turns into a butterfly, just as everyone can turn to God and ask for forgiveness in the name of Jesus.

Important Stuff is the most important post I have written to date!

If you too would like to know JESUS as your personal Saviour and Friend, then you can pray to God now. Ask Him to forgive you for all the wrong you have done, acknowledge JESUS as God’s Son and ask Him to come into your life, to be your Lord and guide you. Ask God to reveal His love for you through the bible & to guide you to a local Christian Church that loves God, His Word (the bible), Jesus & God’s Holy Spirit.

If you prayed that prayer CONGRATULATIONS.

What to do next?

I suggest you start reading the Gospel of John, found in the New Testament part of the bible (NIV, NKJV are both very good bibles to start with, accurate & written without thee’s, thou’s & older day language – although personally the King James Bible will always be my preference!). John is the fourth book of the New Testament & before reading I suggest praying and asking God to reveal Himself to you through His Written Word.

Finally it would be lovely if you would share your experience in the comments box. If you would rather I did not make your words public, then please say so & I promise not to publish your comments. Also if you would genuinely like more information, please leave a message & I will do my best to help.

No disrespect to people of other Faiths, but I will not get drawn into time wasting arguments regarding this post, I will only answer genuine queries & politely ask that you respect this.

FF Important Stuff
Rainbows a sign of God’s promise to us.

There is NOTHING MORE IMPORTANT OR PRECIOUS THAN KNOWING JESUS AS YOUR VERY OWN LORD AND PERSONAL SAVIOUR.

IMPORTANT STUFF is and always will be THE most important post on the blog.
Thank you for reading, I pray that God will open your heart to His love.

Sammie xx

For more information and resources on becoming a Christian and learning about Jesus please visit jjohn .

Share
Facebooktwitterpinterestlinkedintumblr