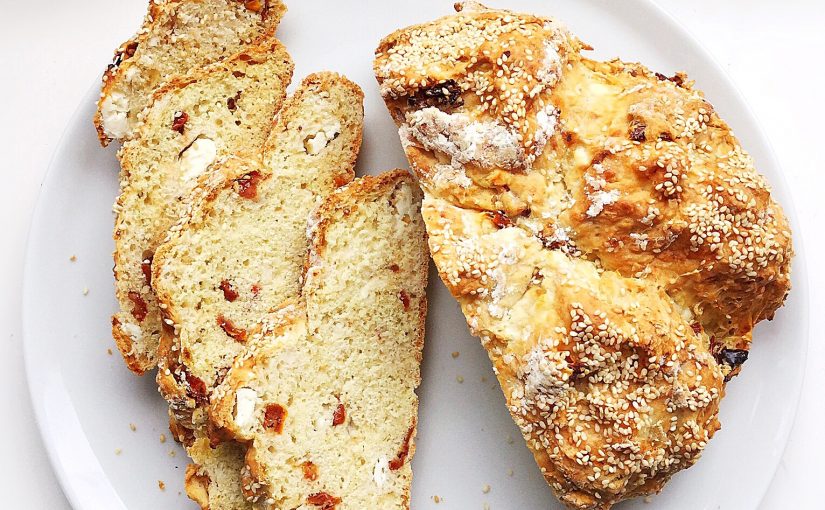
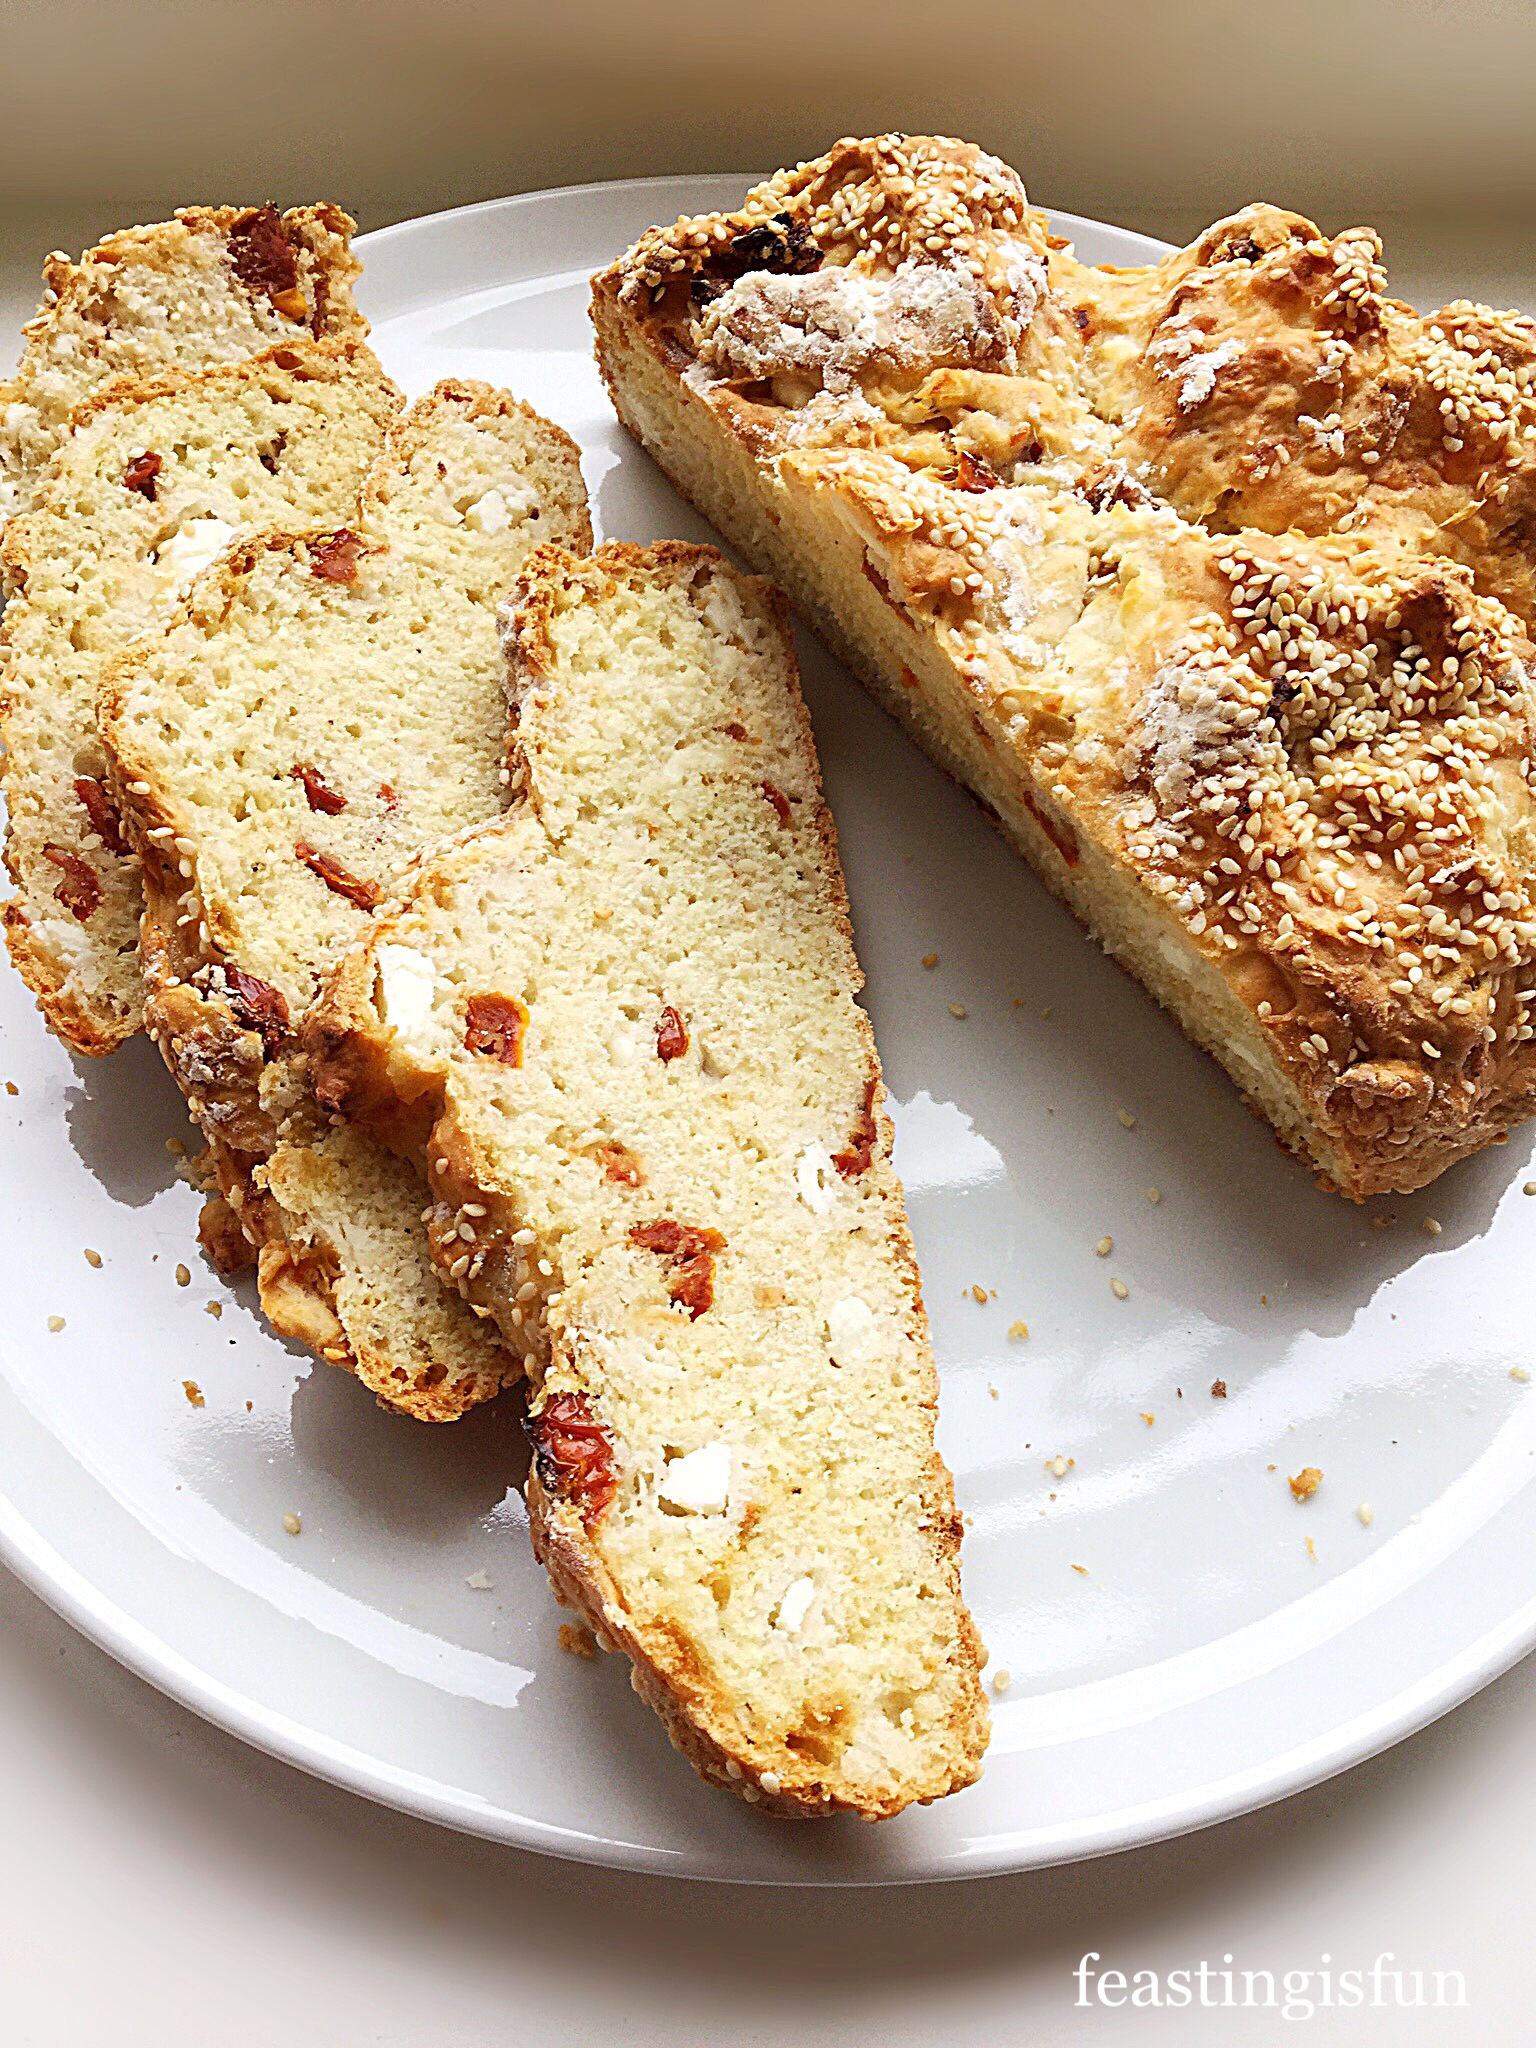
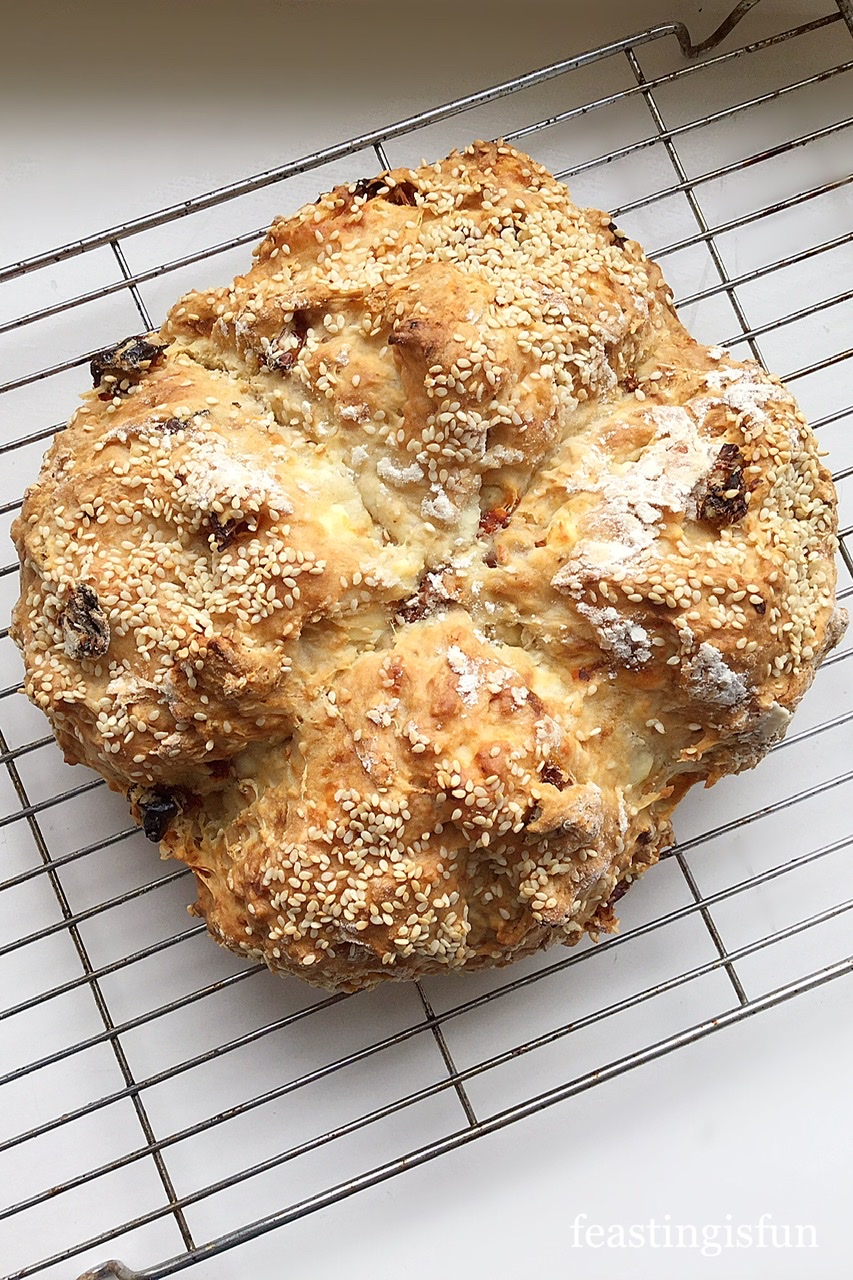
Hey lovely peeps, how are you holding up? Since we are now in the ?th week of lockdown, I’ve lost count. Actually, for the first time since coronavirus altered our entire lives, I actually mixed up my days last week! Crazy times we are living in. So, because I really want to help all my beautiful readers, I have been getting busy in the kitchen. And I have a fantastic, yeast free, bread recipe to share with you today. Say hello to my Feta Sun Dried Tomato Soda Bread.

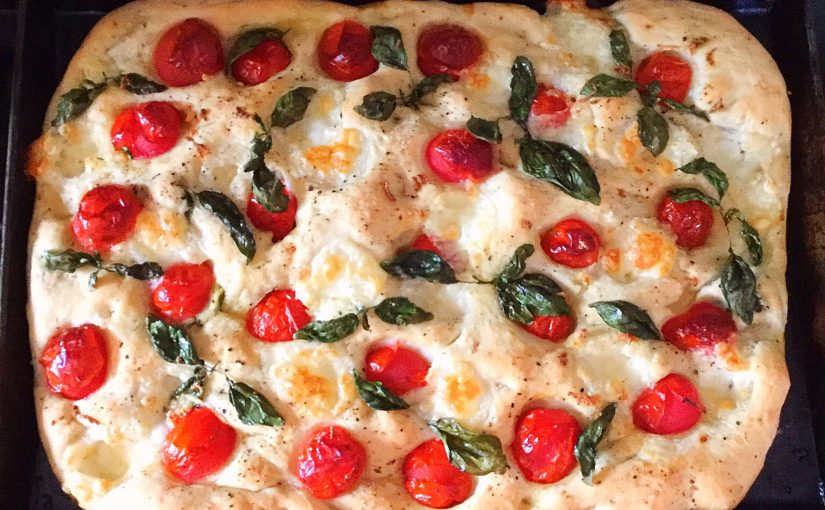
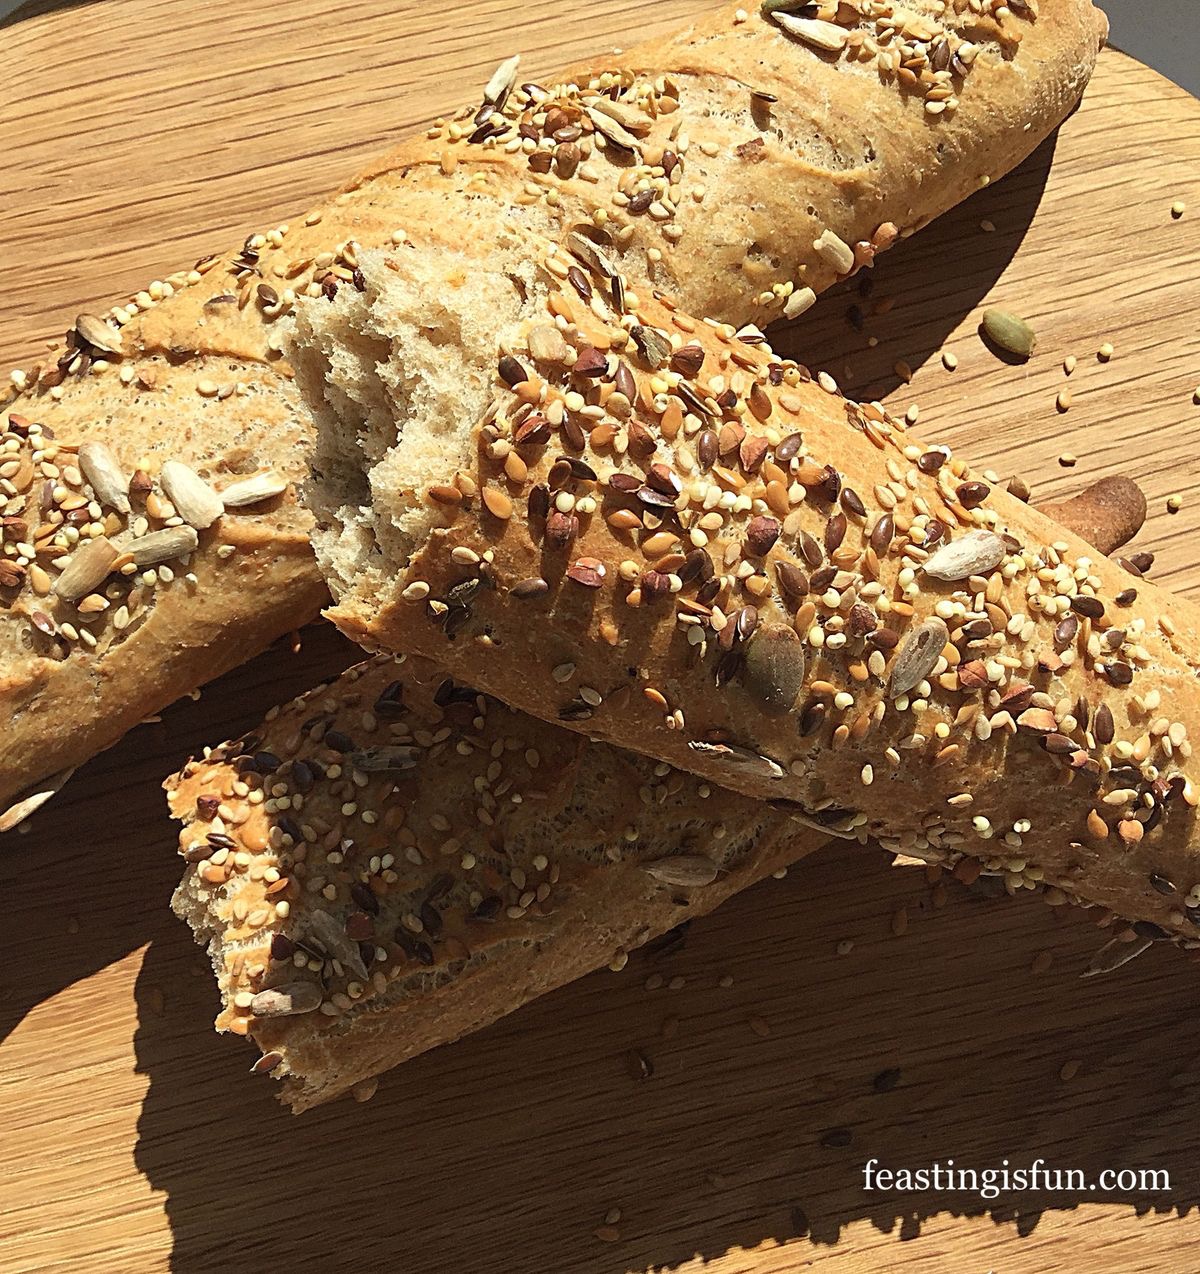
Doesn’t it look good? And it’s super easy to make and bake. I really am trying to make life easier for us all, one recipe at a time. So, if you can’t get hold of yeast, or want to make this bread because it tastes so good, let me show you how!
Mediterranean Flavours
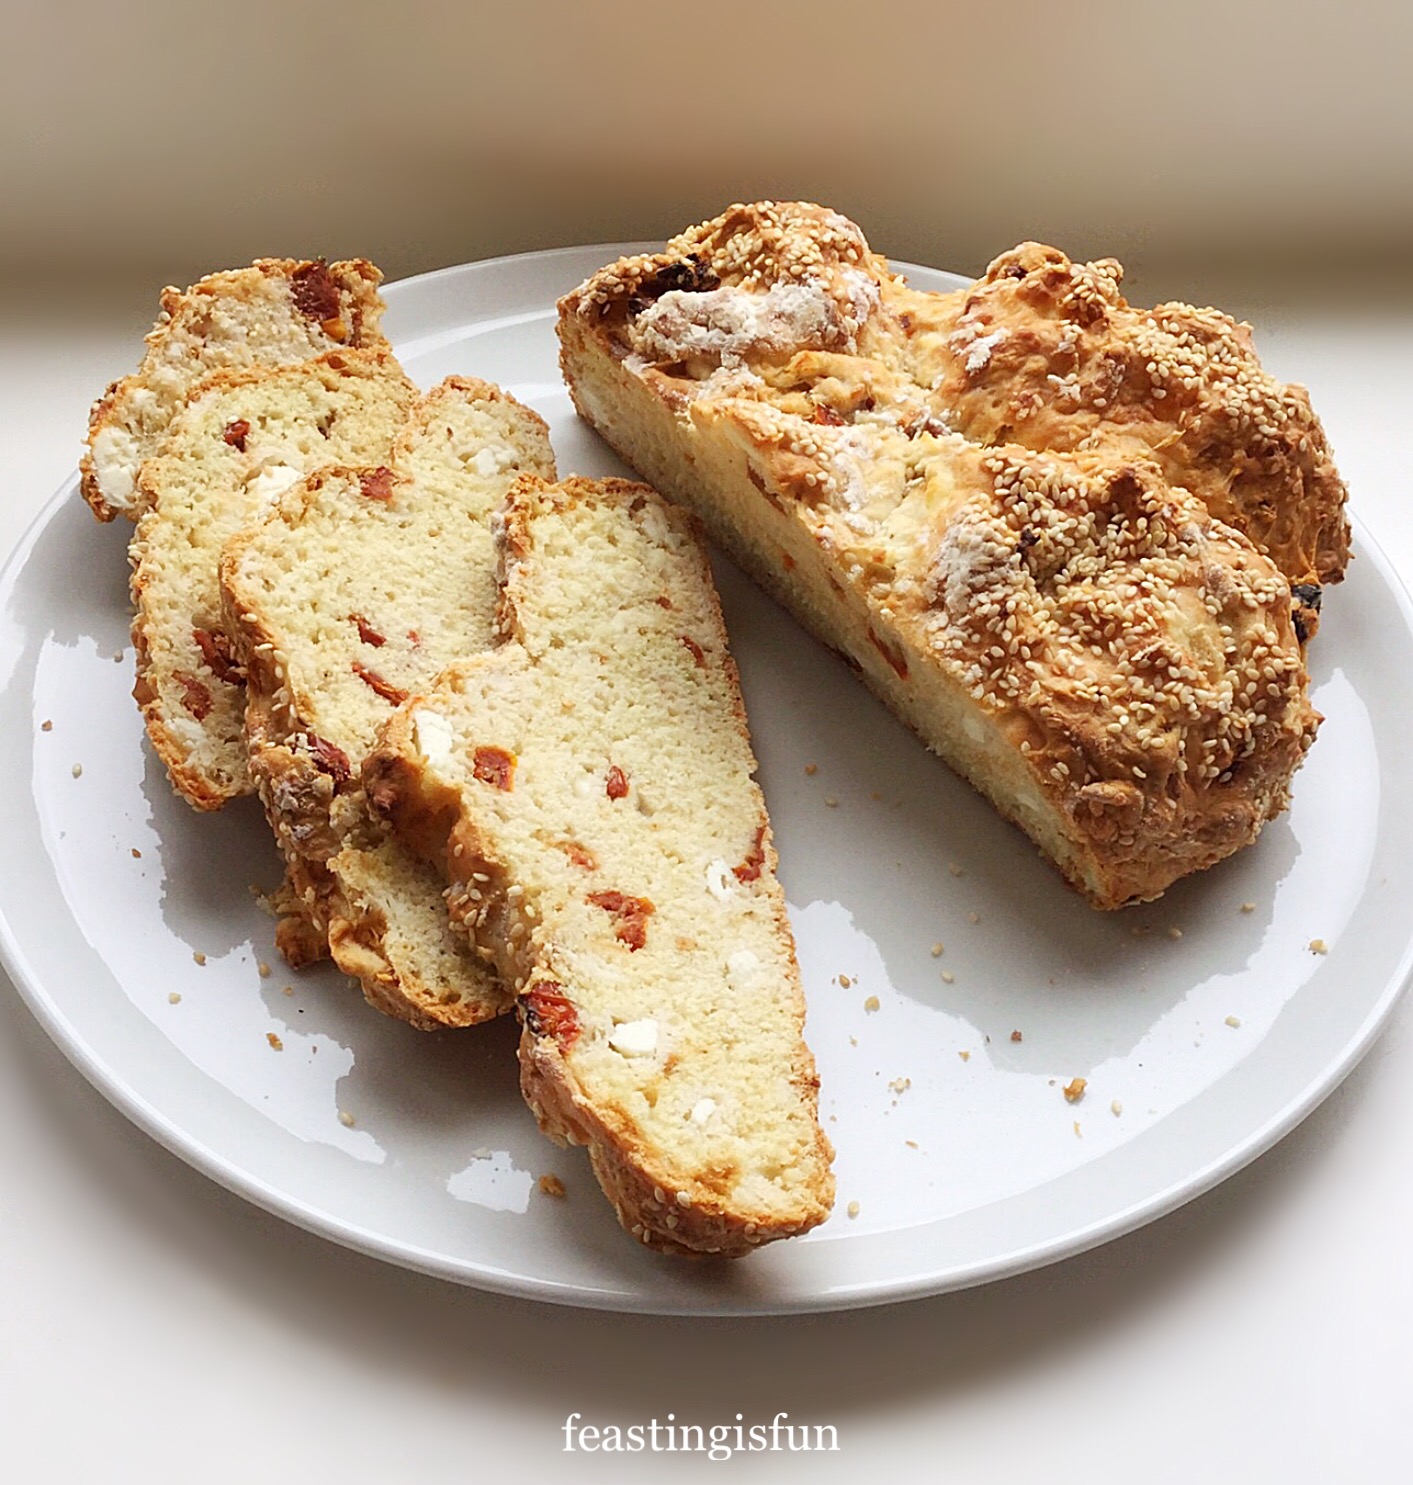
The combination of salty, feta cheese chunks and nuggets of savoury, sun dried tomatoes in this bread are like a burst of summer. One bite of this bread and you can easily be transported to a quiet beach, beside the Mediterranean Sea, with the warm summer sun beaming down on your face. Yes, it really is that good, especially if you add fresh olives and a glass of cool, crisp wine! Either eat it sliced and slathered with butter, or create a little pick and mix selection platter as I have. Most importantly, have fun creating a feast from a simple loaf of bread.

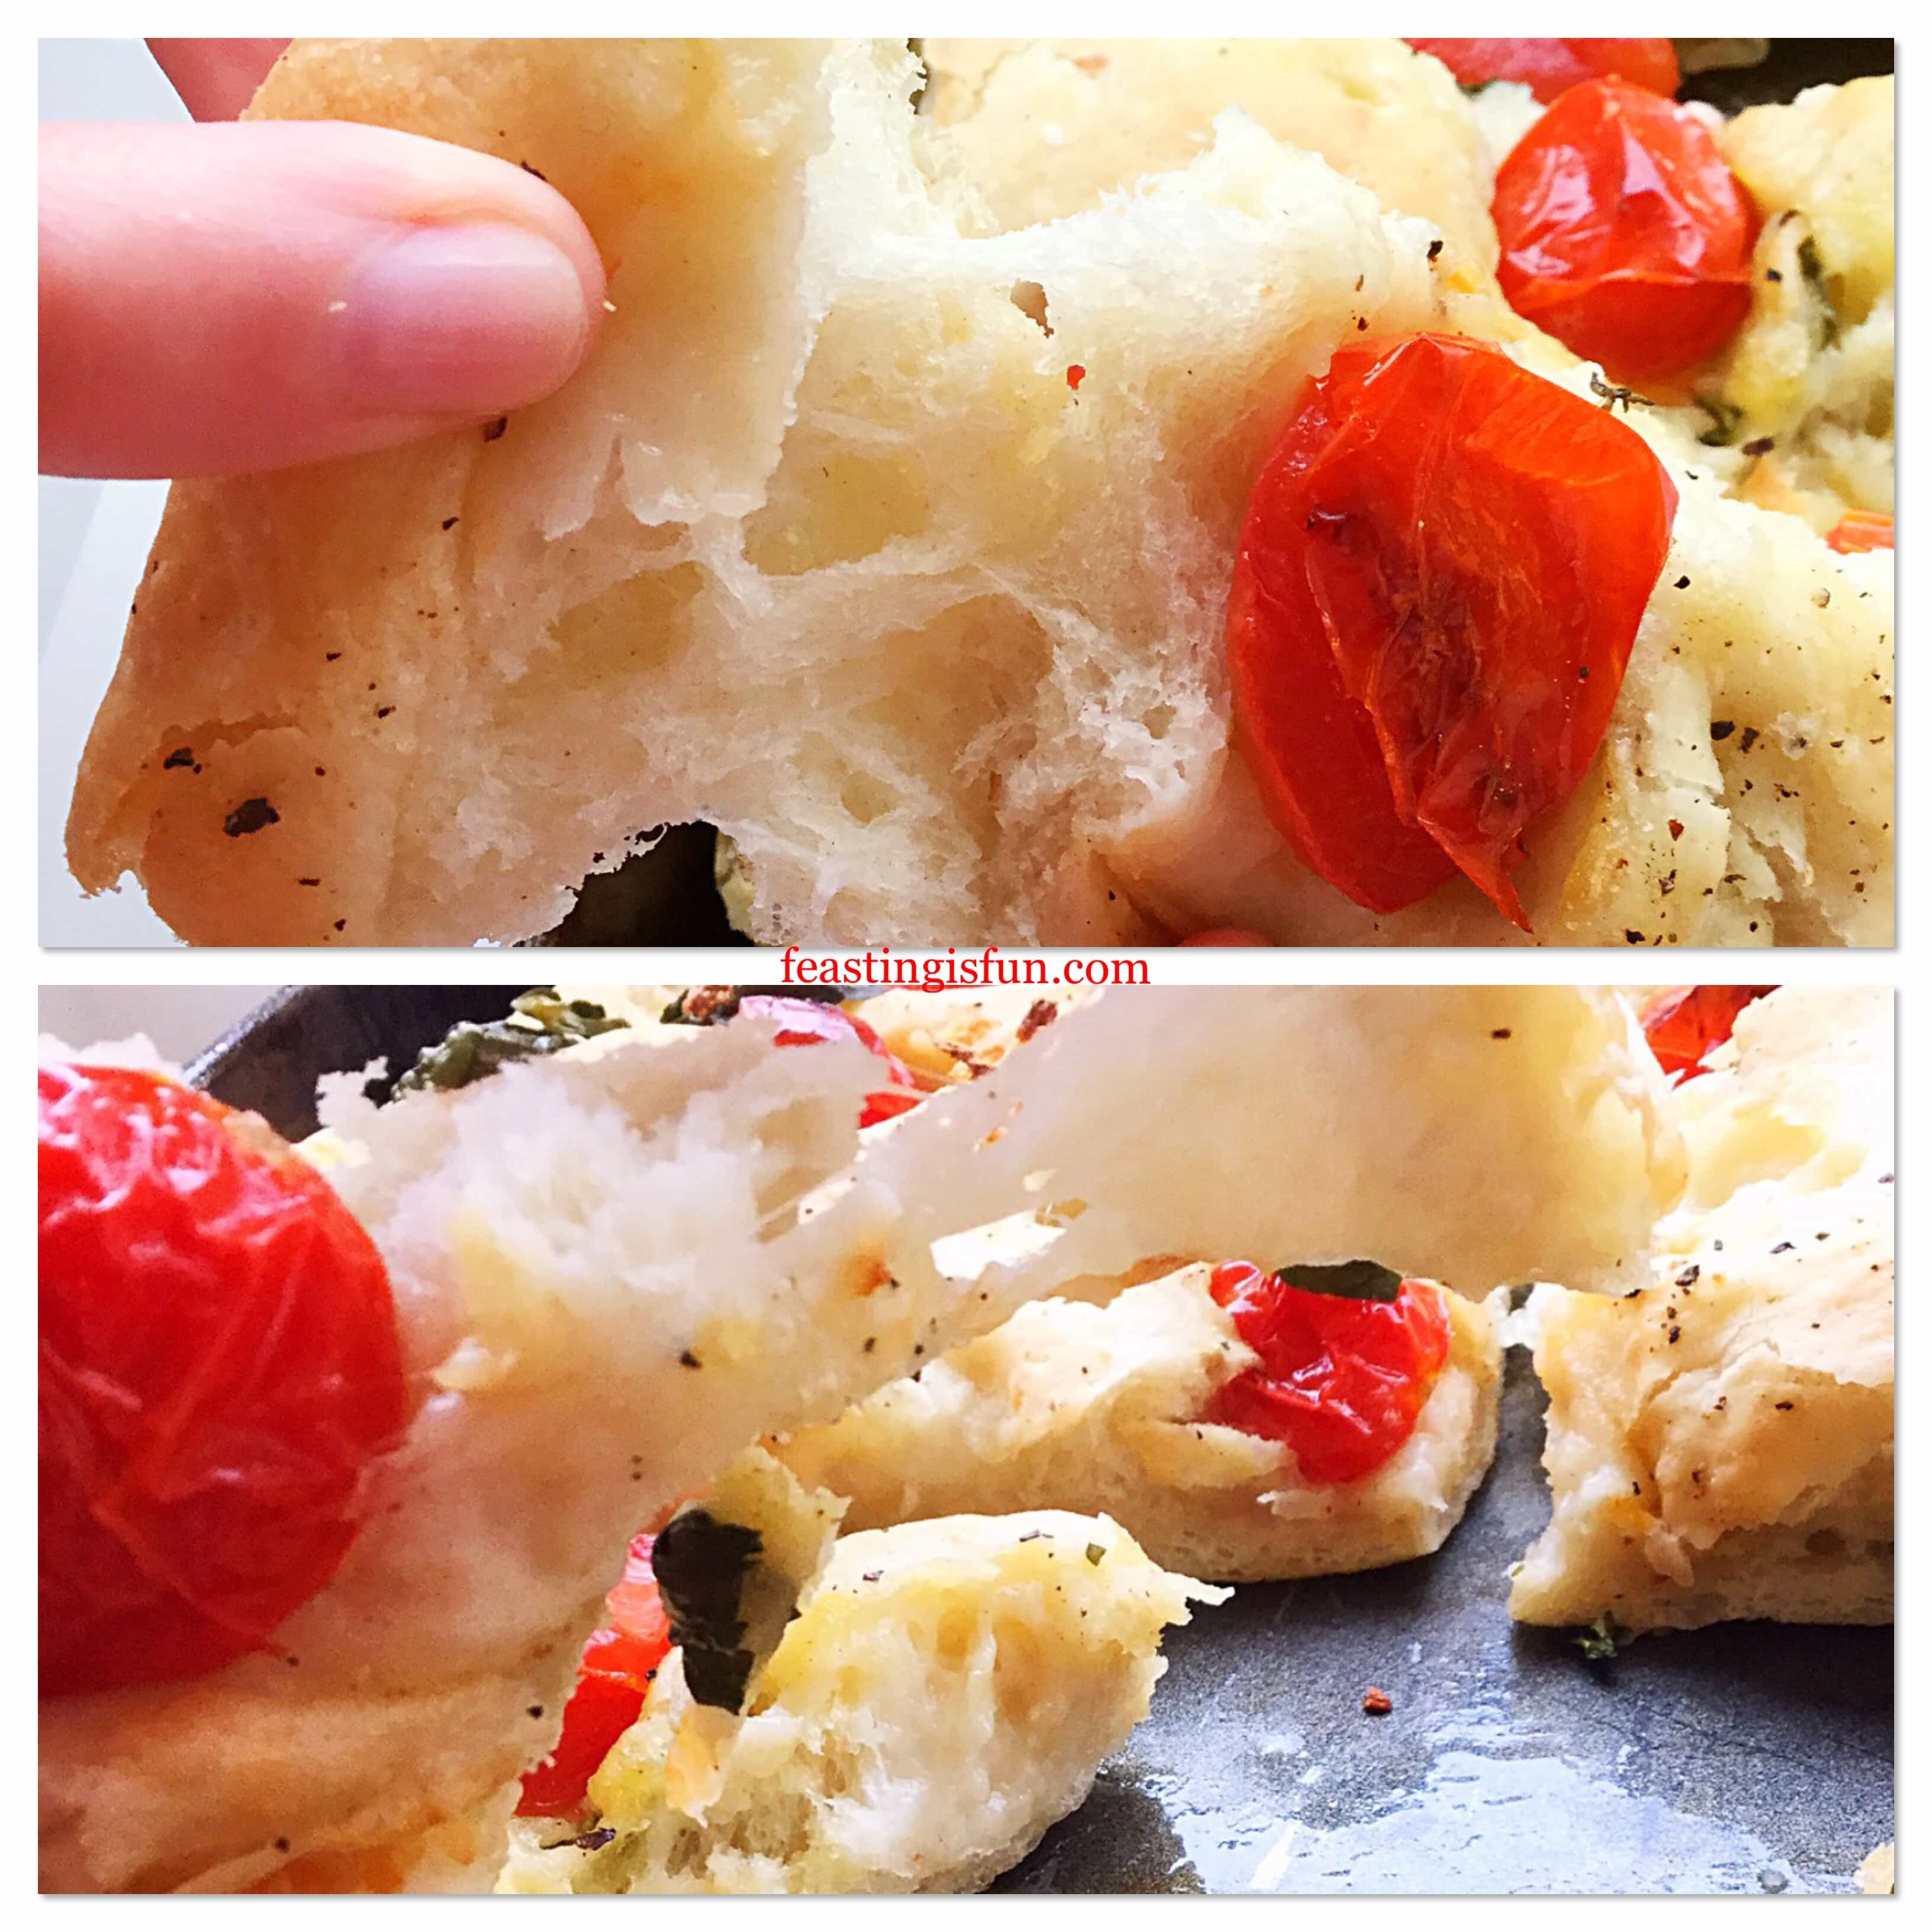
If you are a regular visitor to my blog, you’ll know how much I love baking bread. Usually it is yeasted bread, but not today. Since this soda bread relies on baking soda reacting with the acidic buttermilk, causing the bread to rise during baking. Resulting in a crunchy crust and the tenderest crumb. As soon as you’ve baked this bread I guarantee you’ll want to make it again.
Recipe: Feta Sun Dried Tomato Bread
350g/12oz Plain White Flour
1tsp Baking Soda – also known as Sodium Bicarbonate. and Bicarbonate of Soda
275ml Buttermilk or whole/semi-skimmed milk with 1tbsp lemon juice added and leave for 5 minutes
100g/4oz Feta Cheese – alternatively use any similar crumbly cheese such as Cheshire cheese, or Superior Goat Cheese available from Ribblesdale Cheese.
75g/3oz Sun Dried Tomatoes
3 tbsp Sesame Seeds – optional
5 g Salt – I use Maldon
1/4 tsp Black Pepper – coarsely ground
Preheat the oven to 200C/180C fan, gas mark 6, 400F.
Making The Feta Sun Dried Tomato Soda Bread Dough
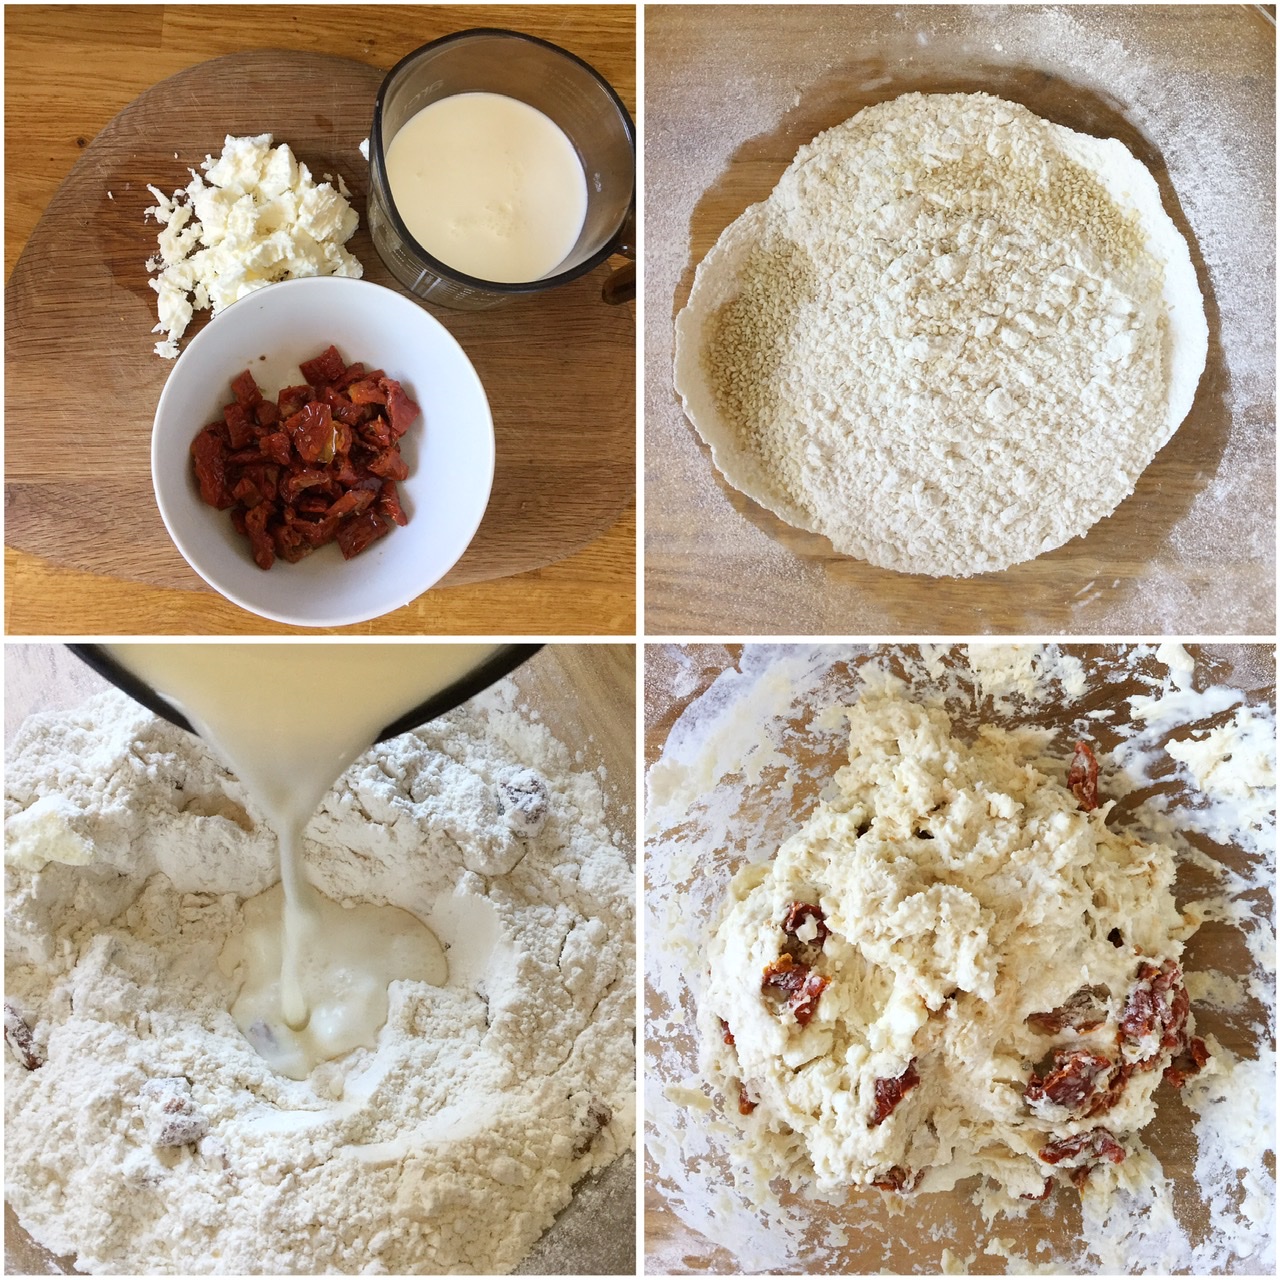
- First of all prepare the milk with lemon juice if not using buttermilk.
- Use a fork to break the feta cheese into chunks.
- Snip the sun dried tomatoes into 1cm (1/4in) pieces,
- Sift the flour and baking soda into a large bowl. And then add the salt and sesame seeds.
- Add the feta to the flour mixture and toss around using your hands, this stops the cheese from clumping together.
- Next, add the tomato pieces and toss around in the flour as before.
- Make a well in the centre of the dry mix and pour in most of your buttermilk (or substitute).
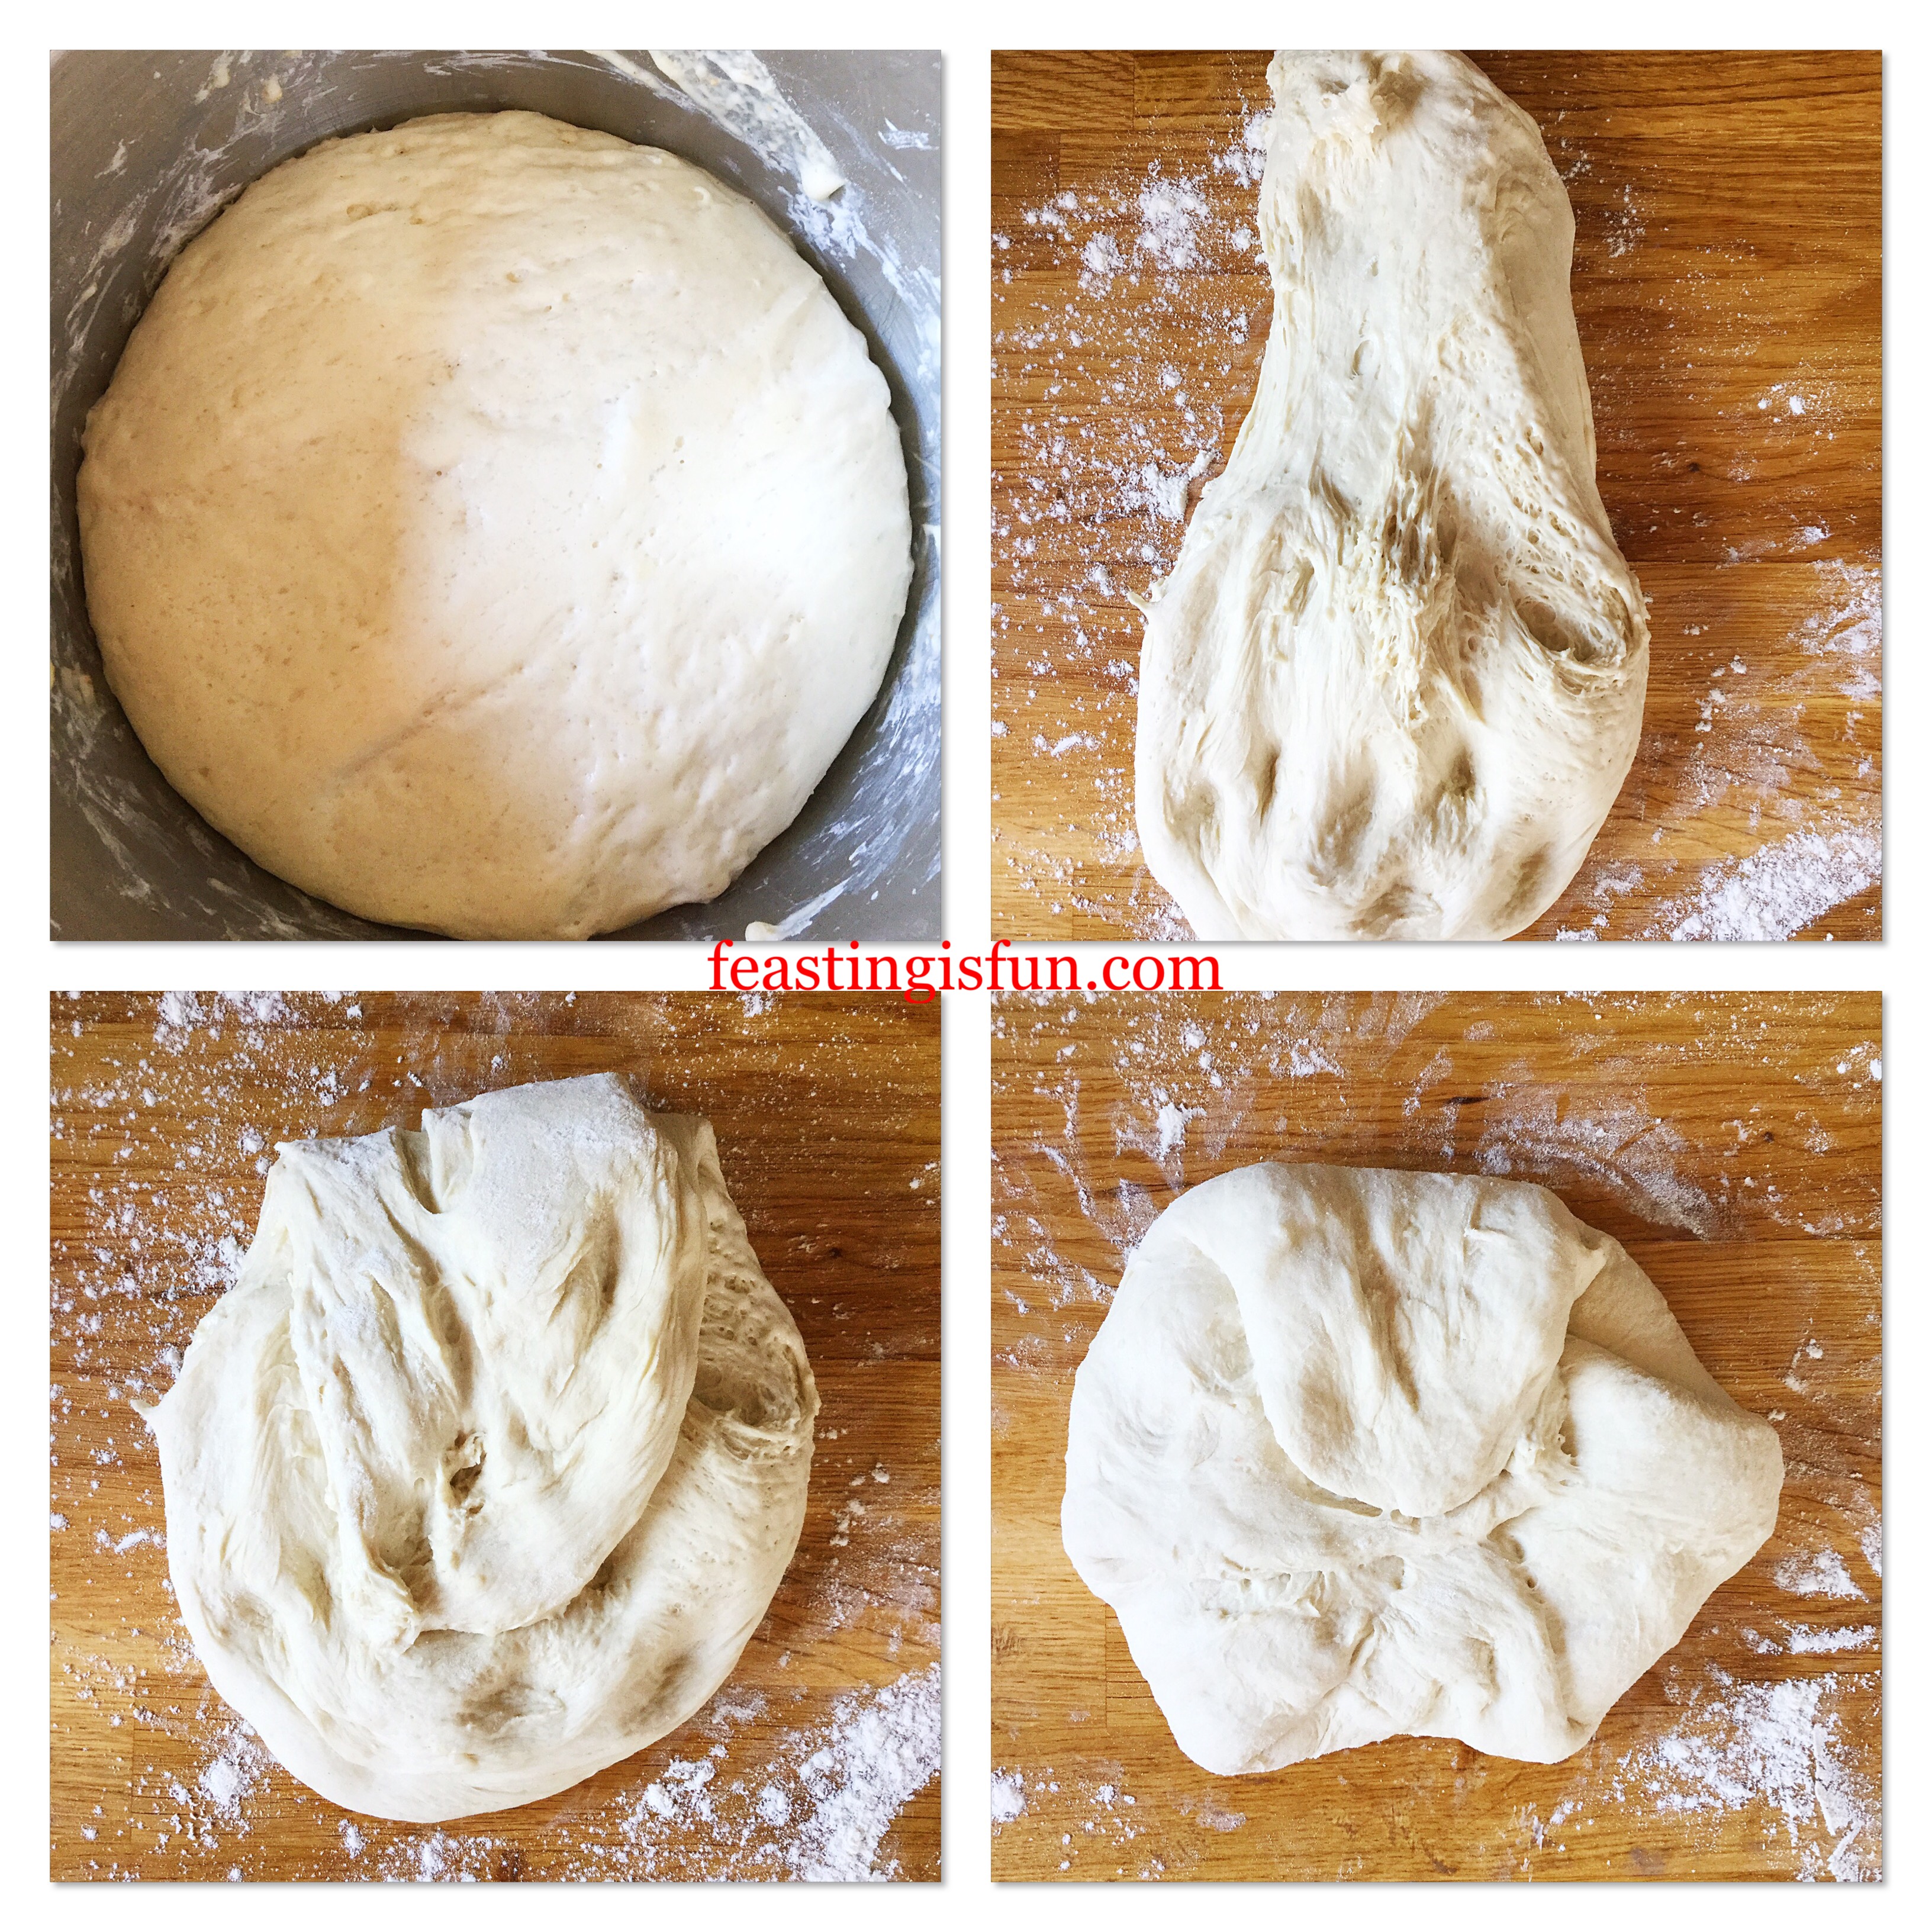
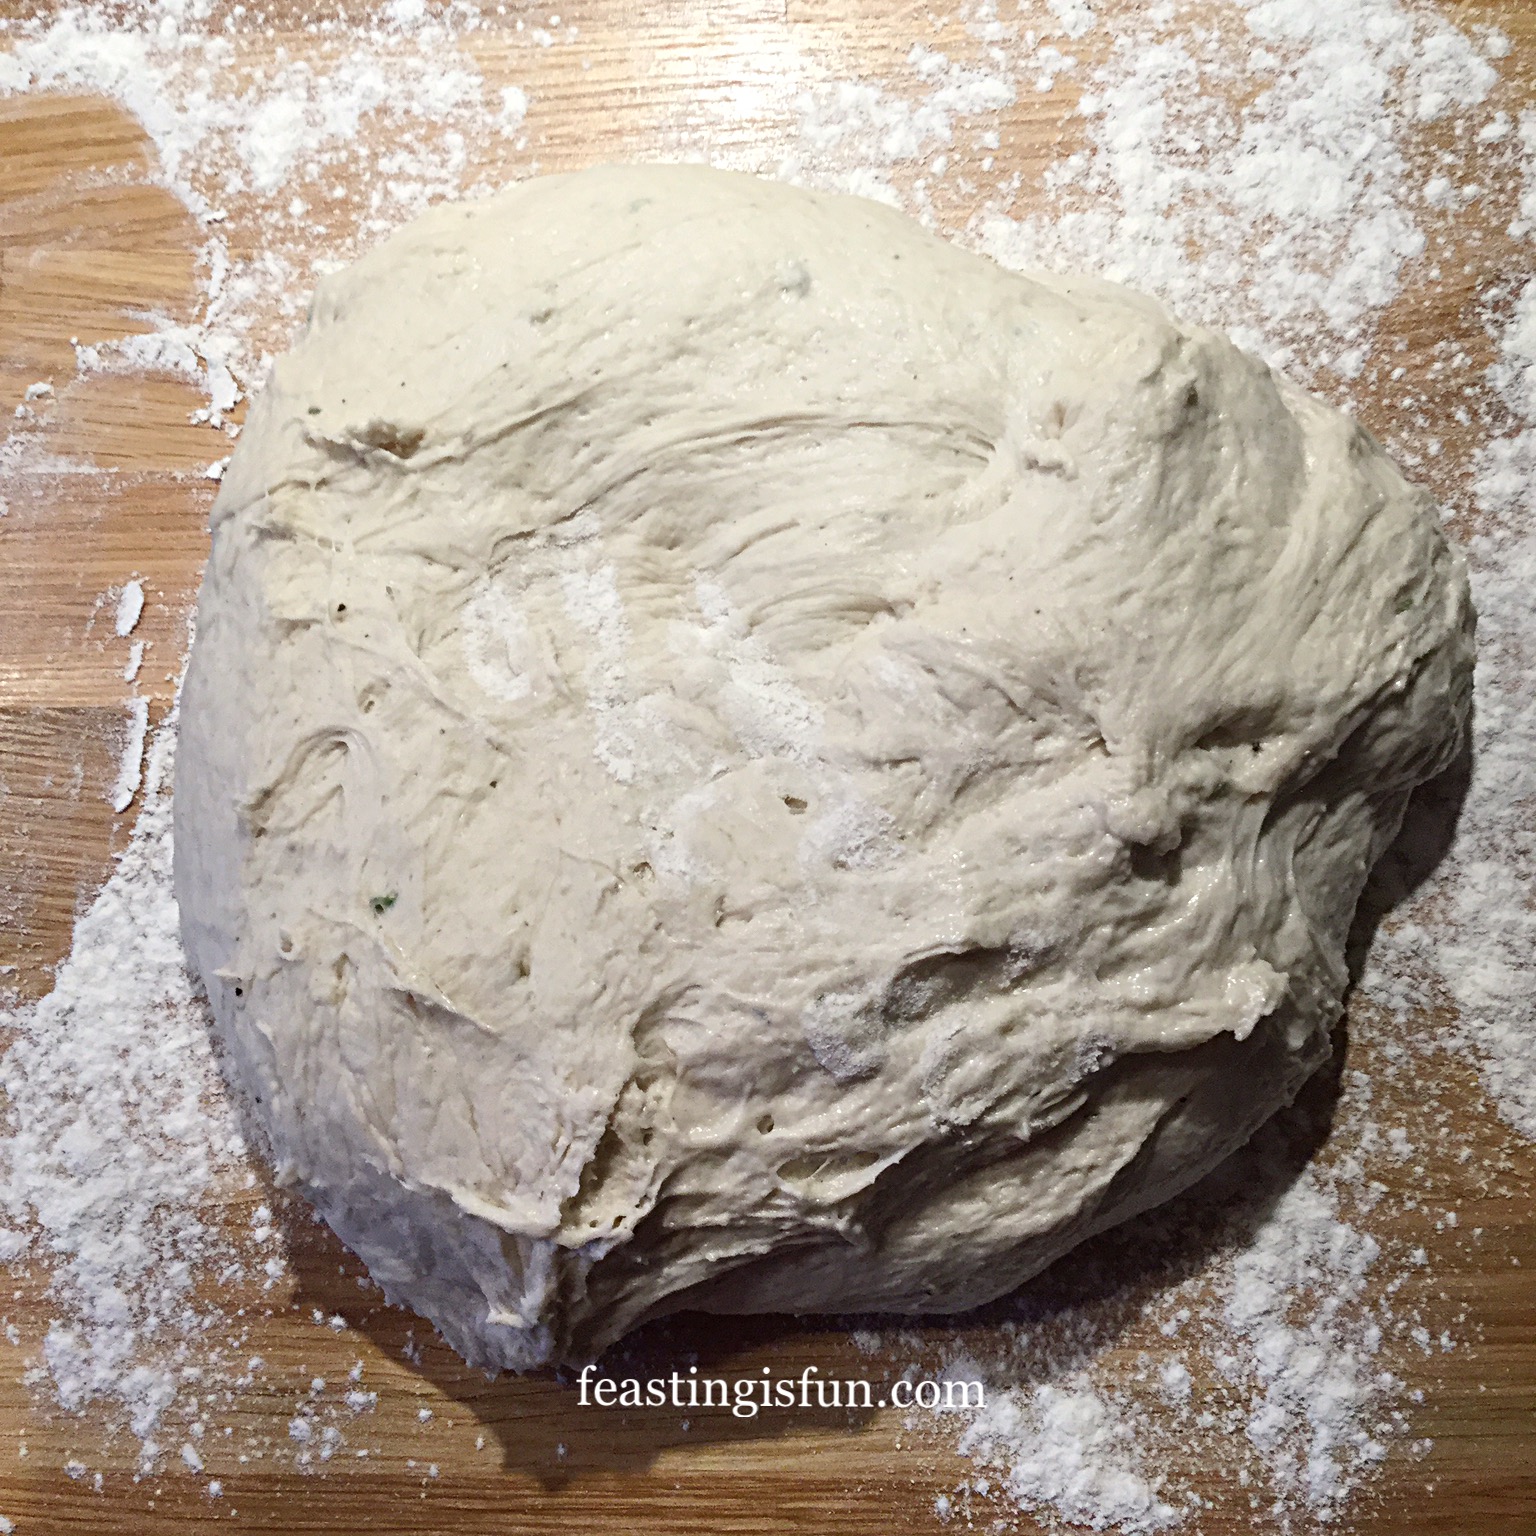
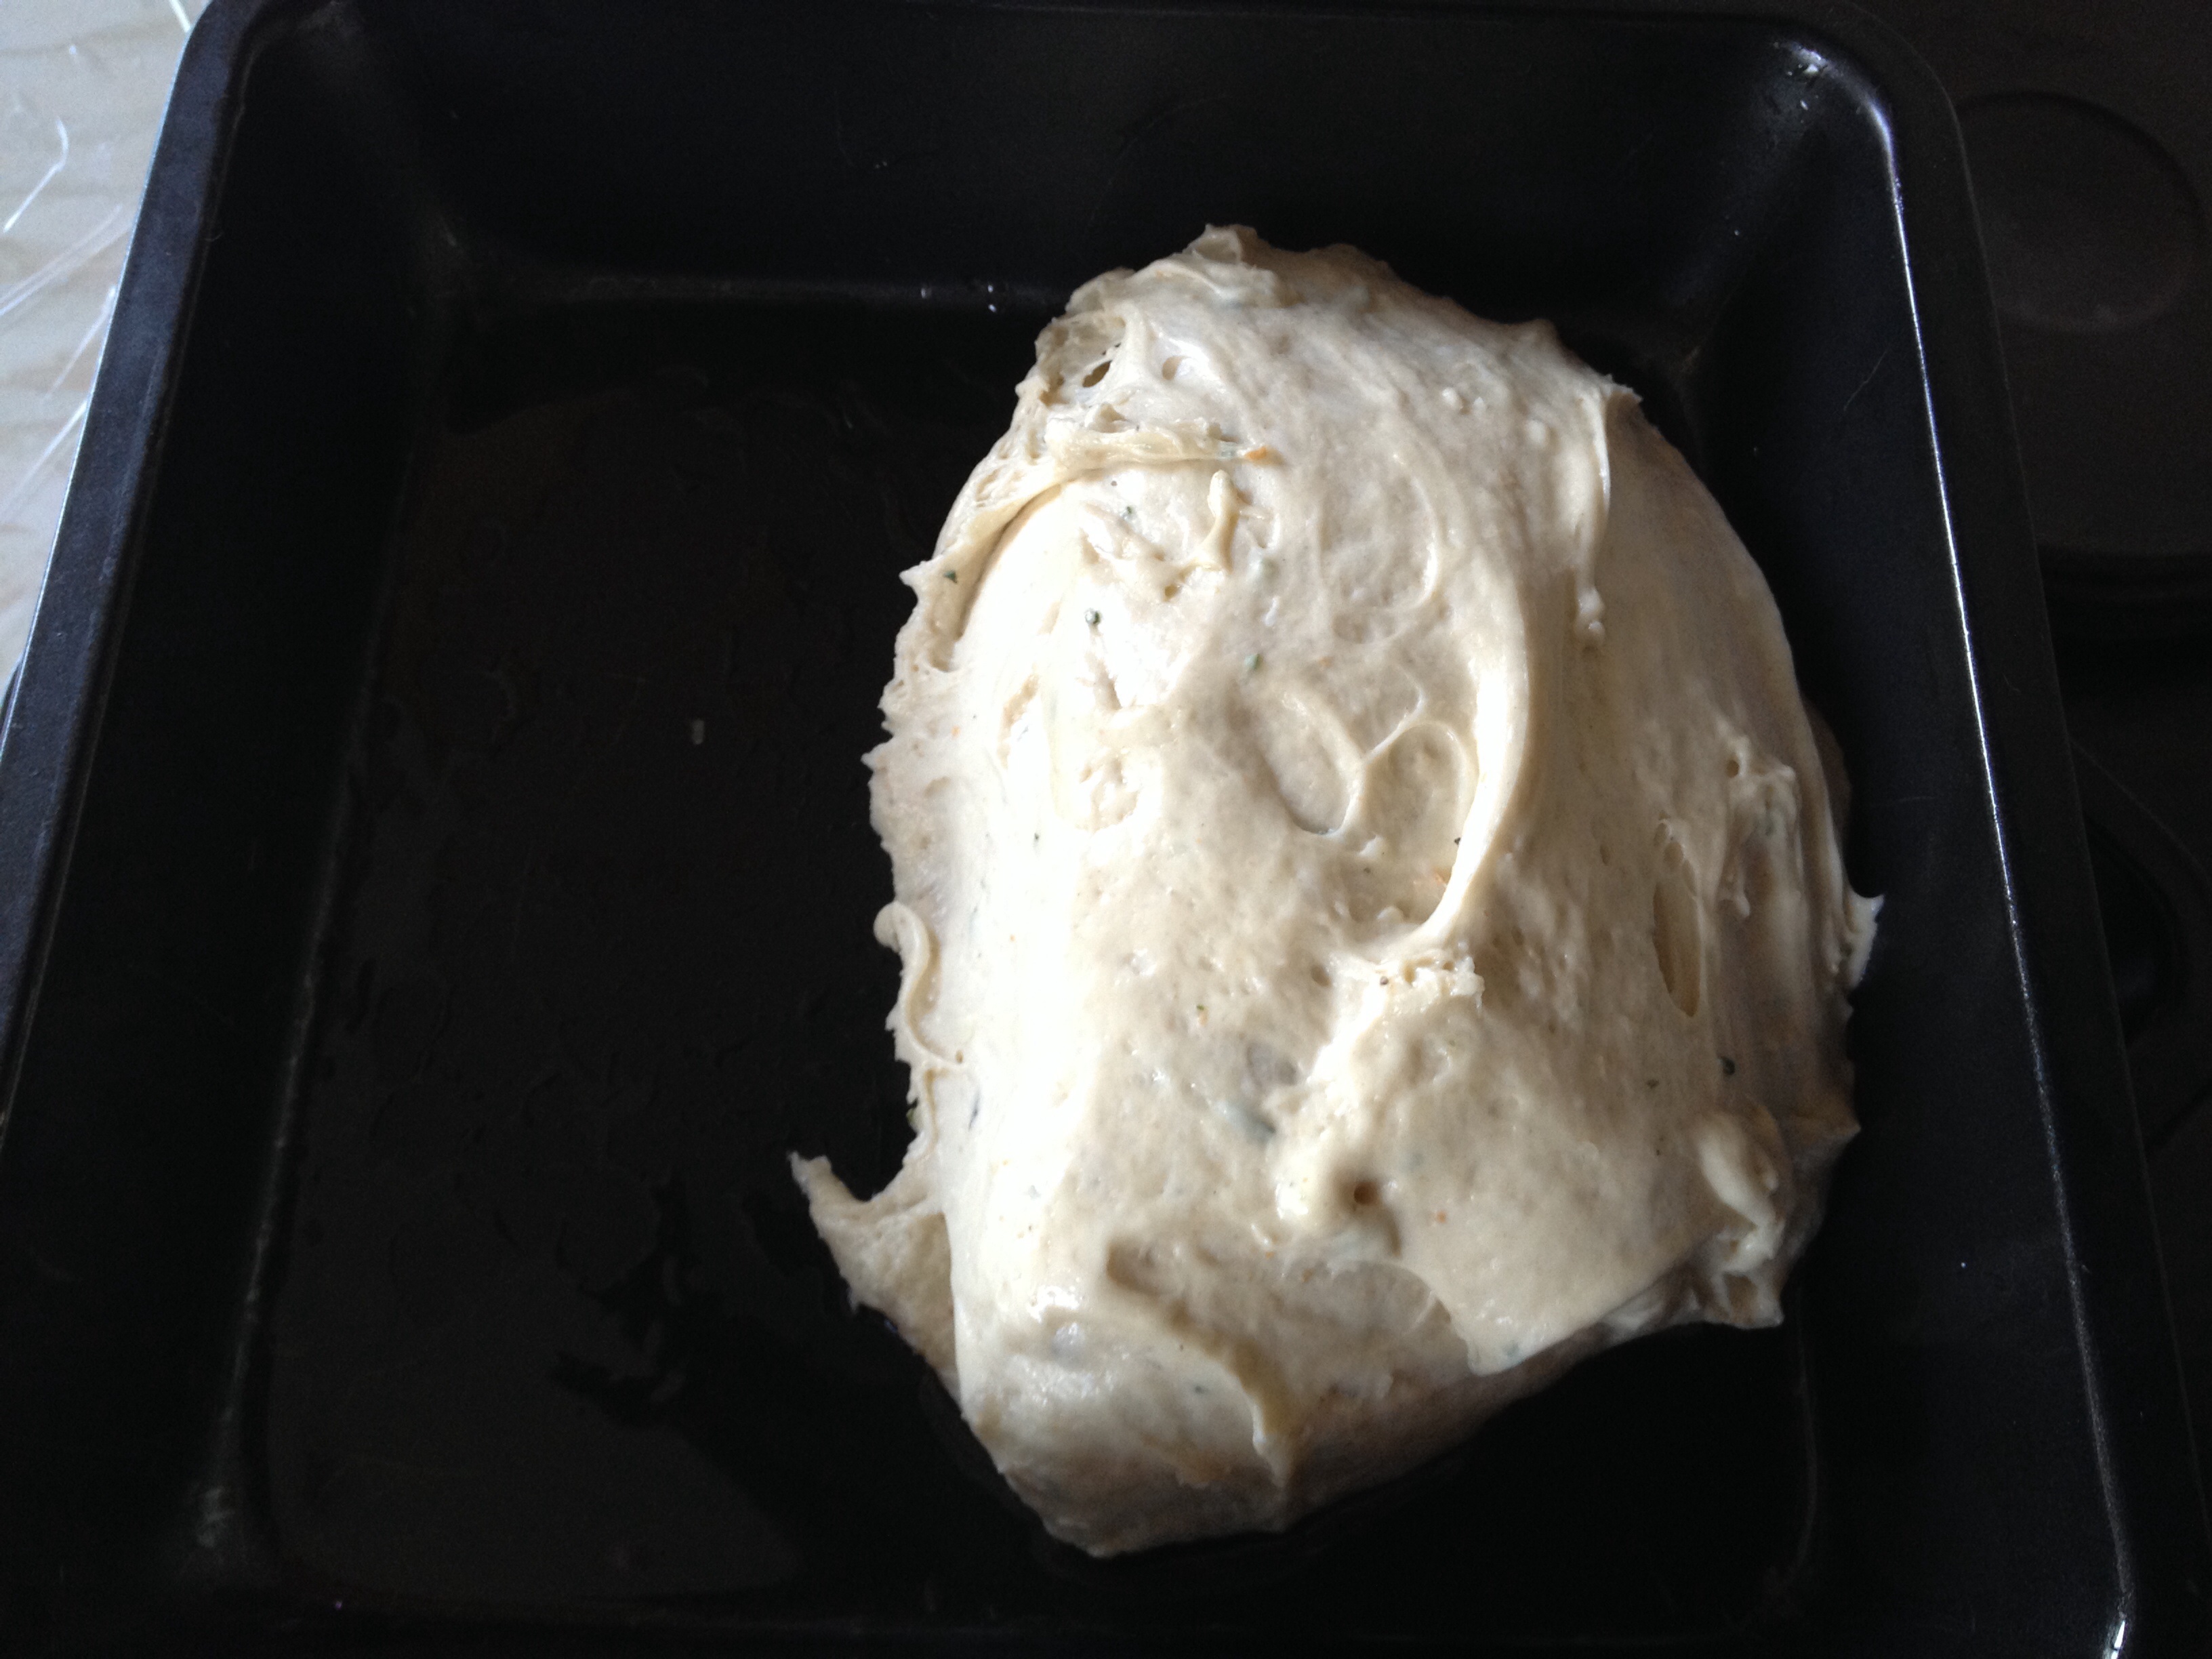
- Use a butter knife to stir the ingredients, gradually bringing them together. If the mixture seems a little dry add the rest of the buttermilk. See the picture below, as the dough is quite wet and sticky.
- Dust your hand with flour and bring the dough together to form a ball.
Shaping, Cutting And Baking The Bread
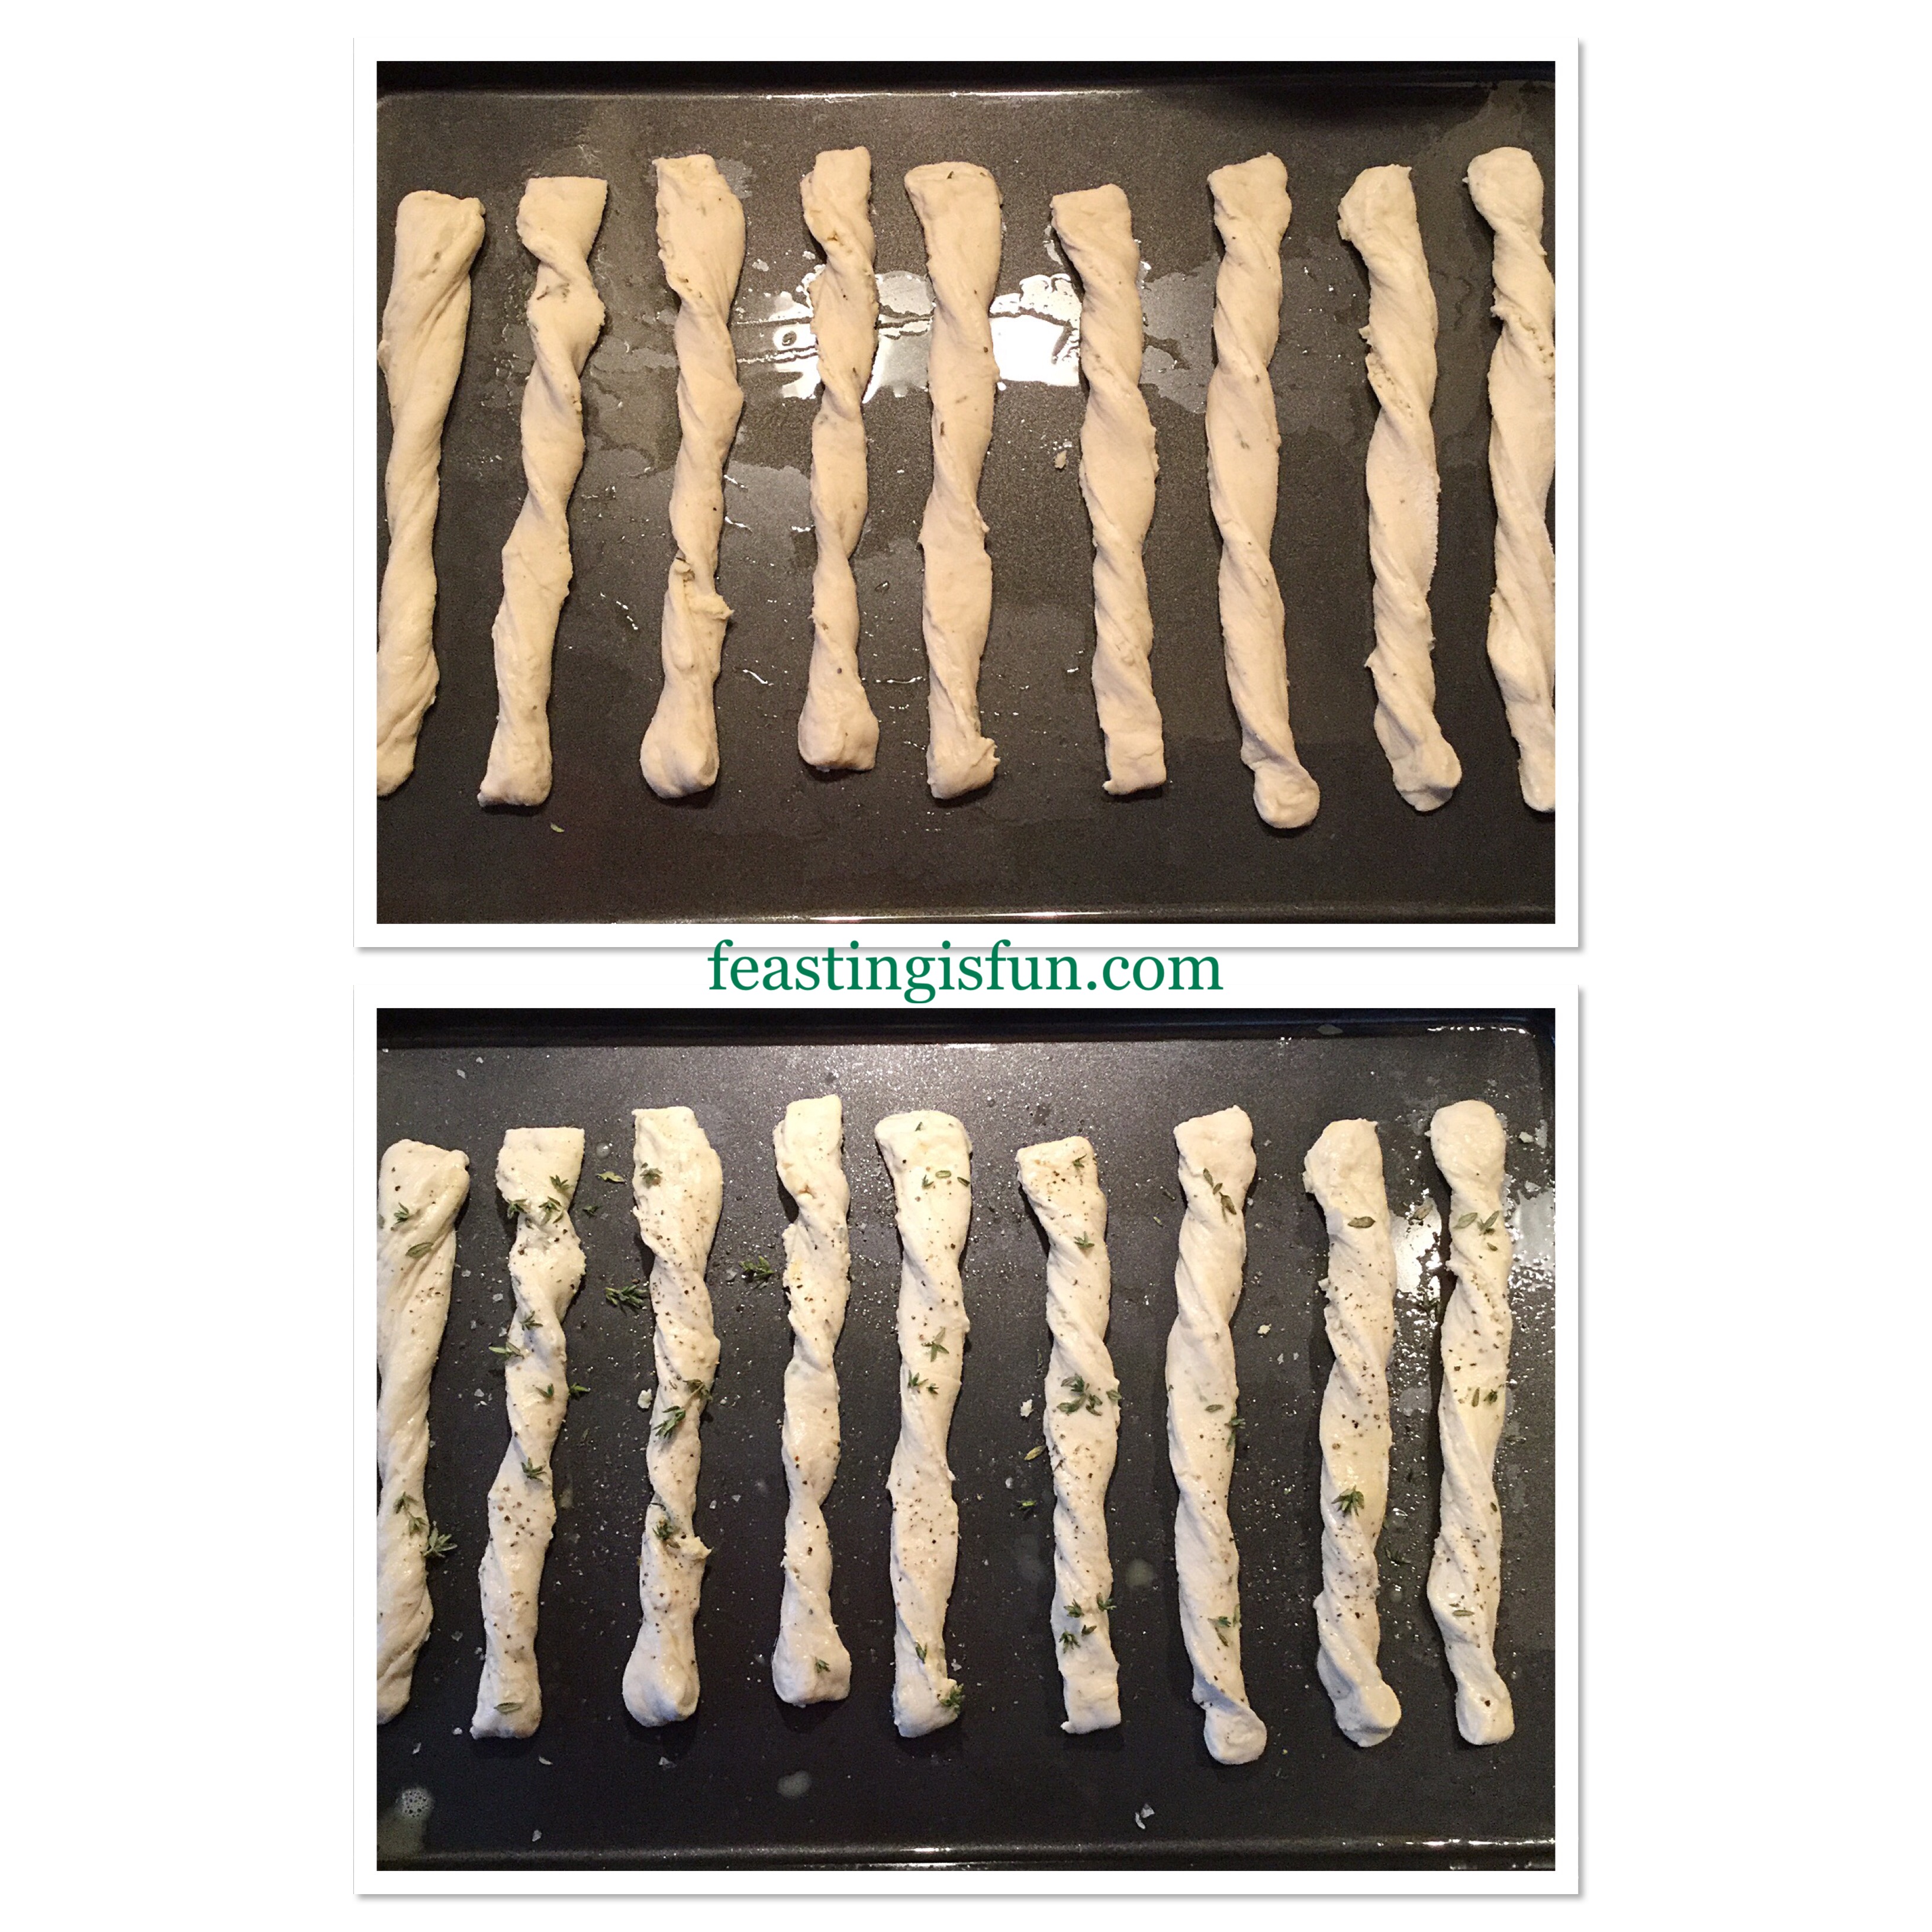
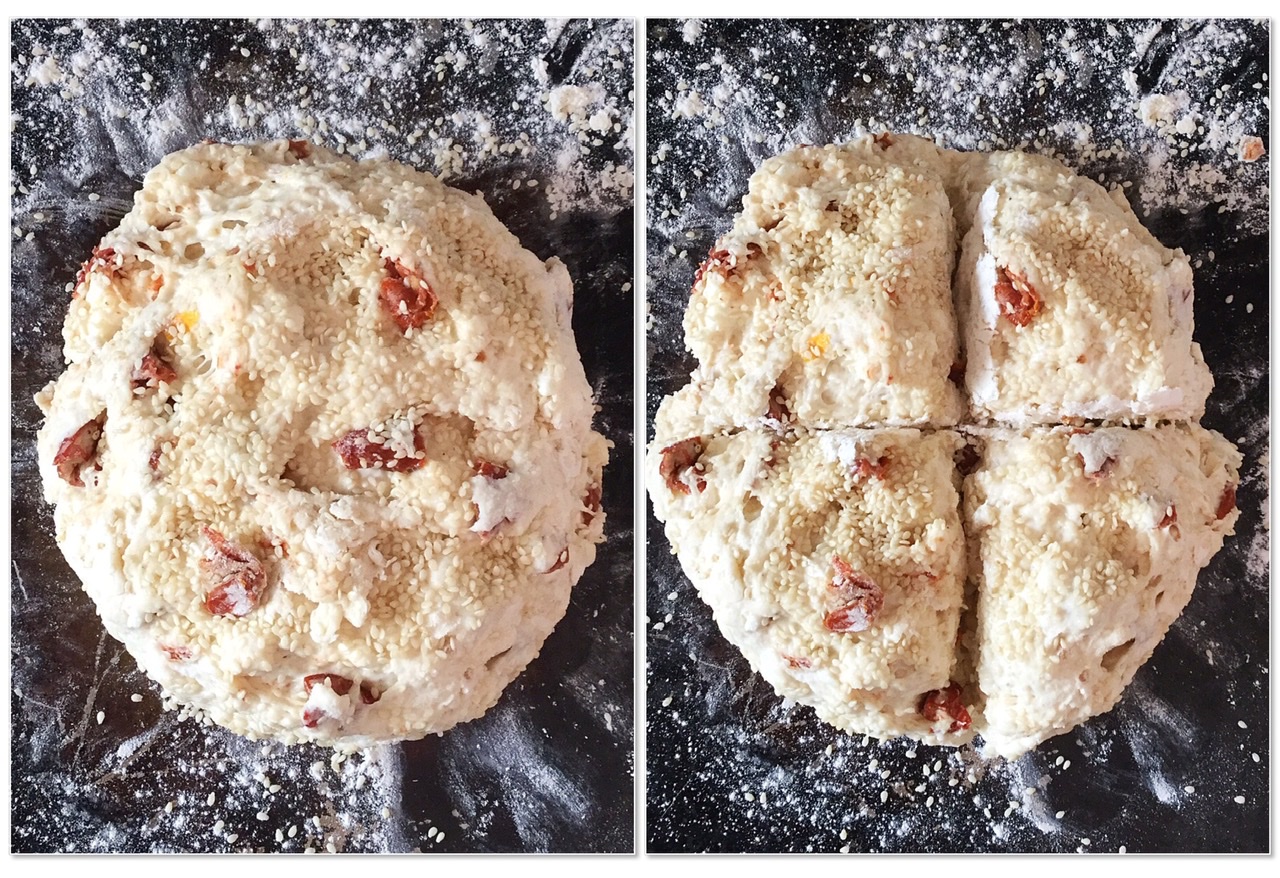
- Place the ball of dough onto a floured baking tray.
- Sprinkle over sesame seeds. Because the dough is quite tacky they should easily stick.
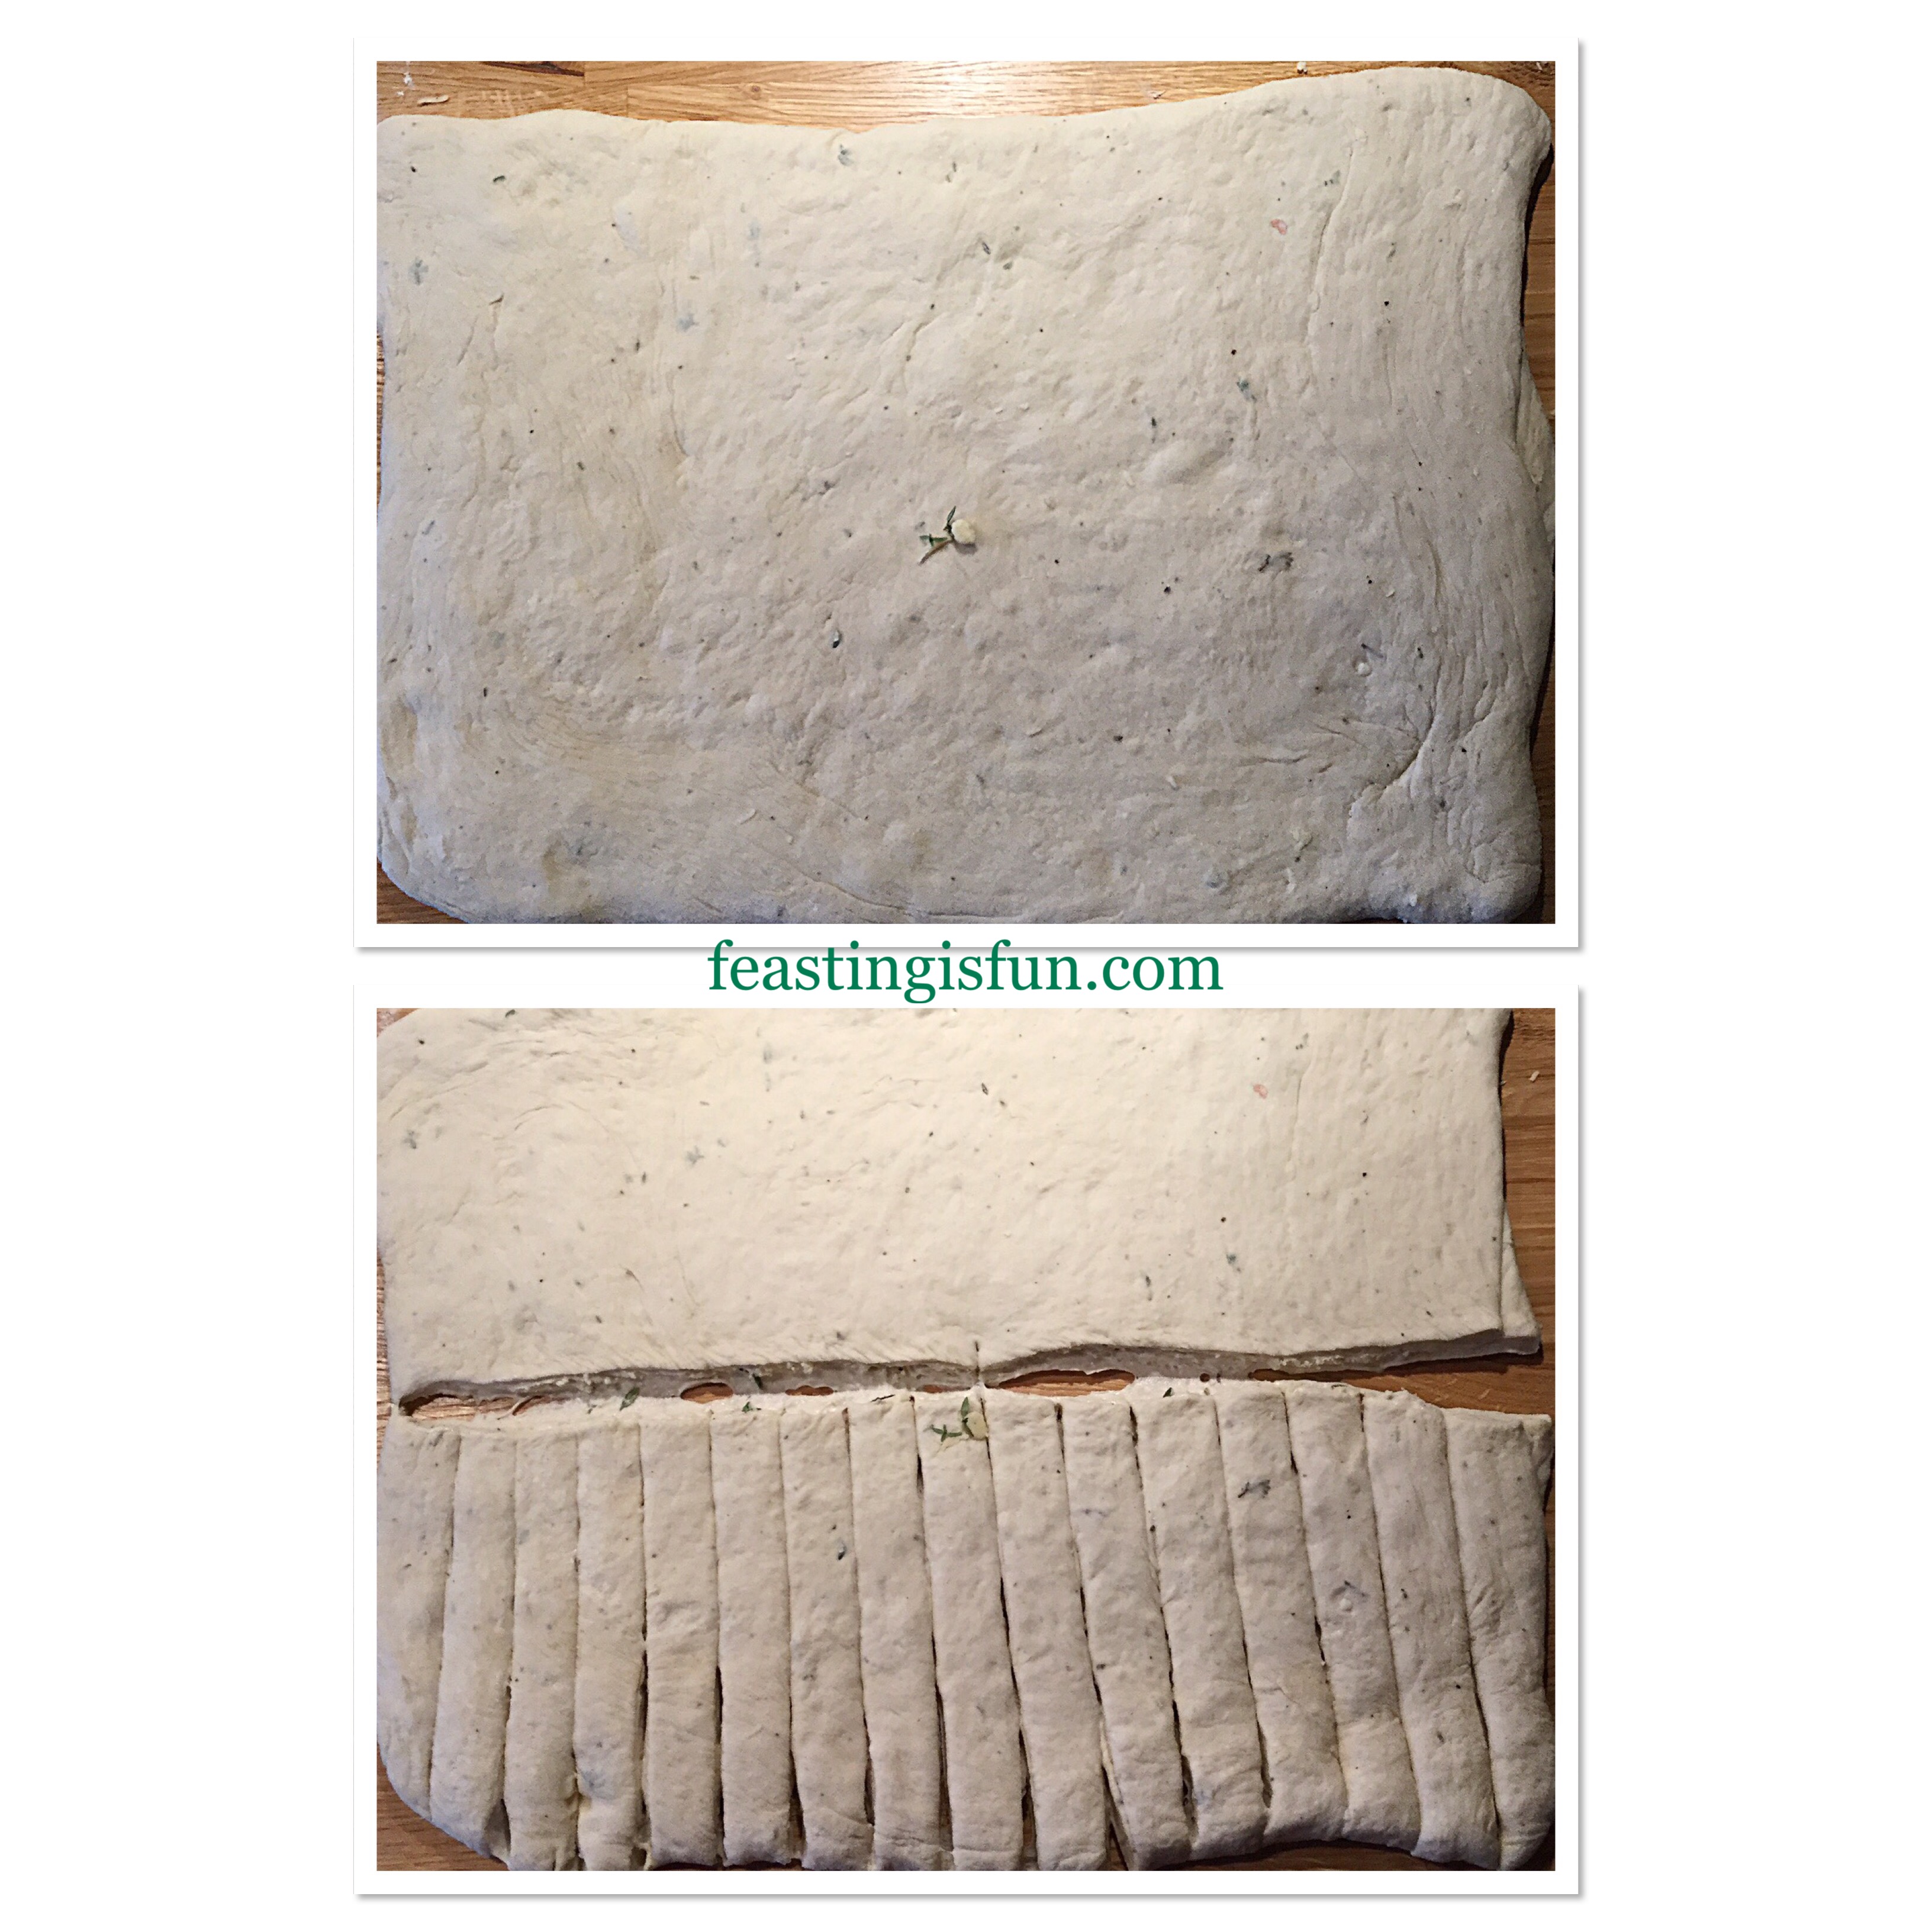
- Carefully flour a sharp knife and cut a cross into the dough. Cut right rough the dough almost to the base. While baking this allows the bread to rise and open up, ensuring the centre bakes through.
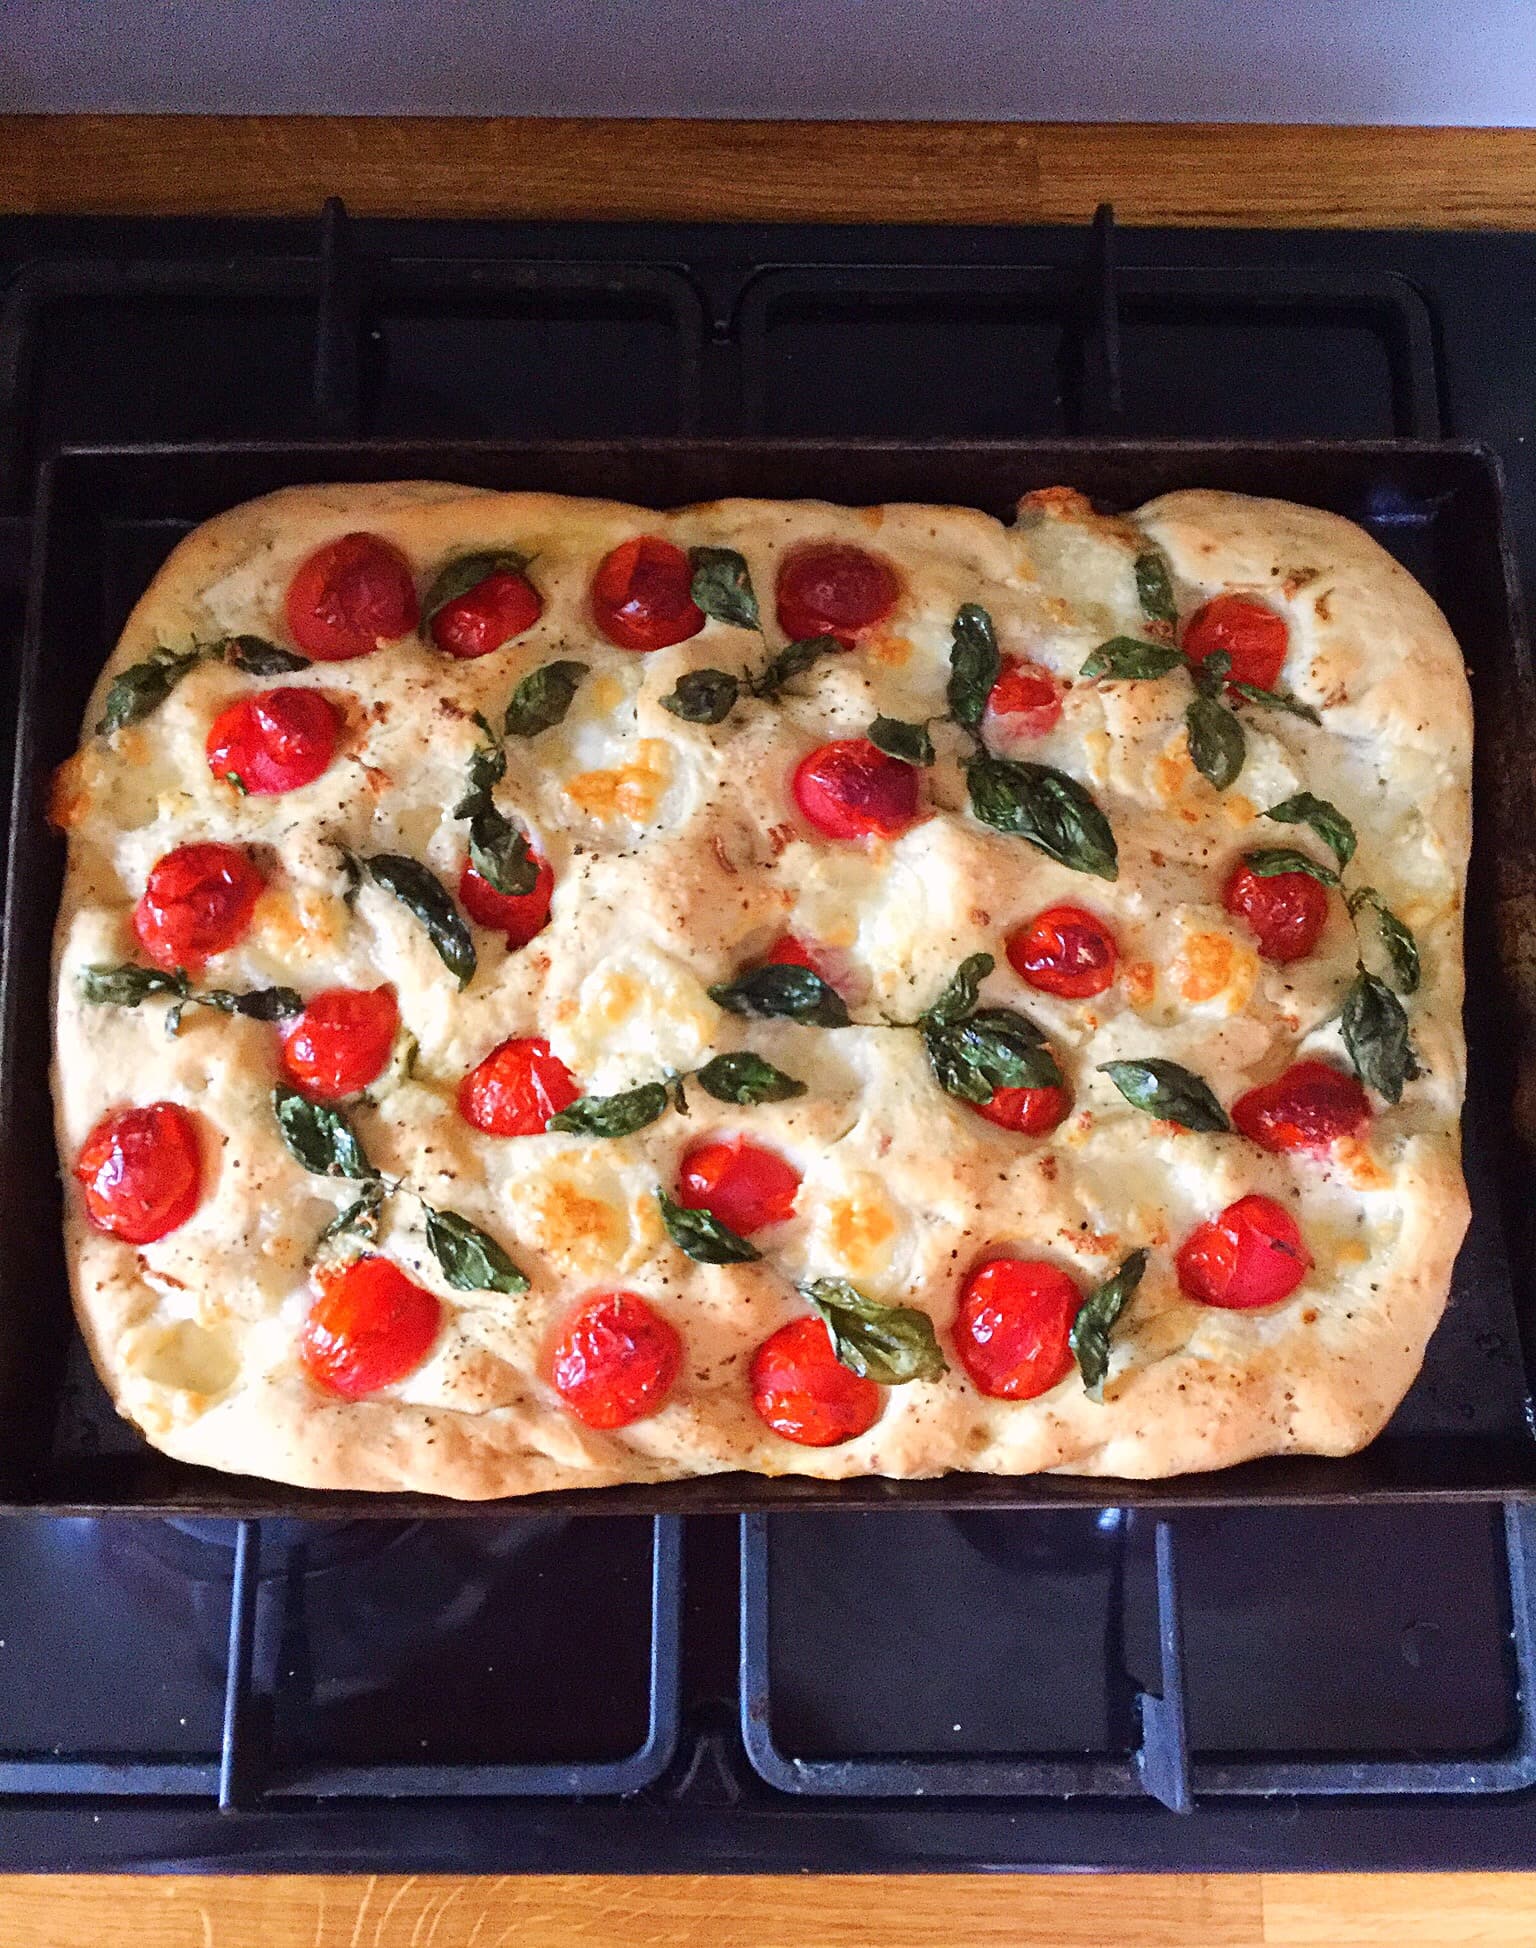
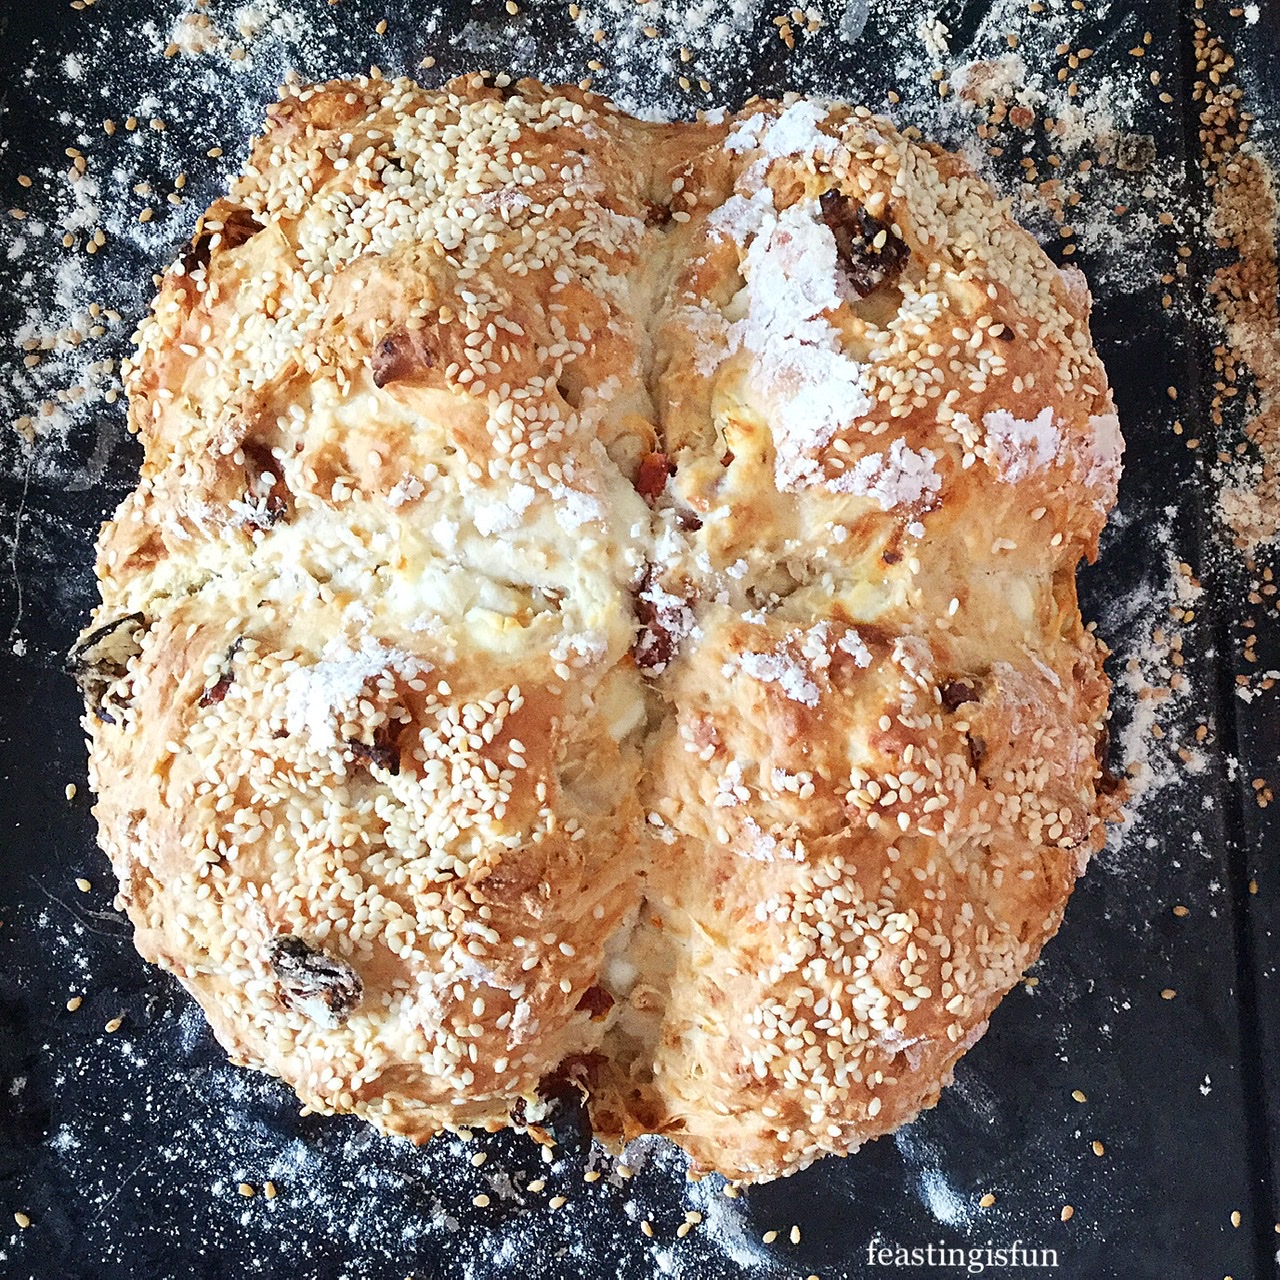
- Place the baking tray into the centre of a preheated oven and bake for 35-40 minutes.
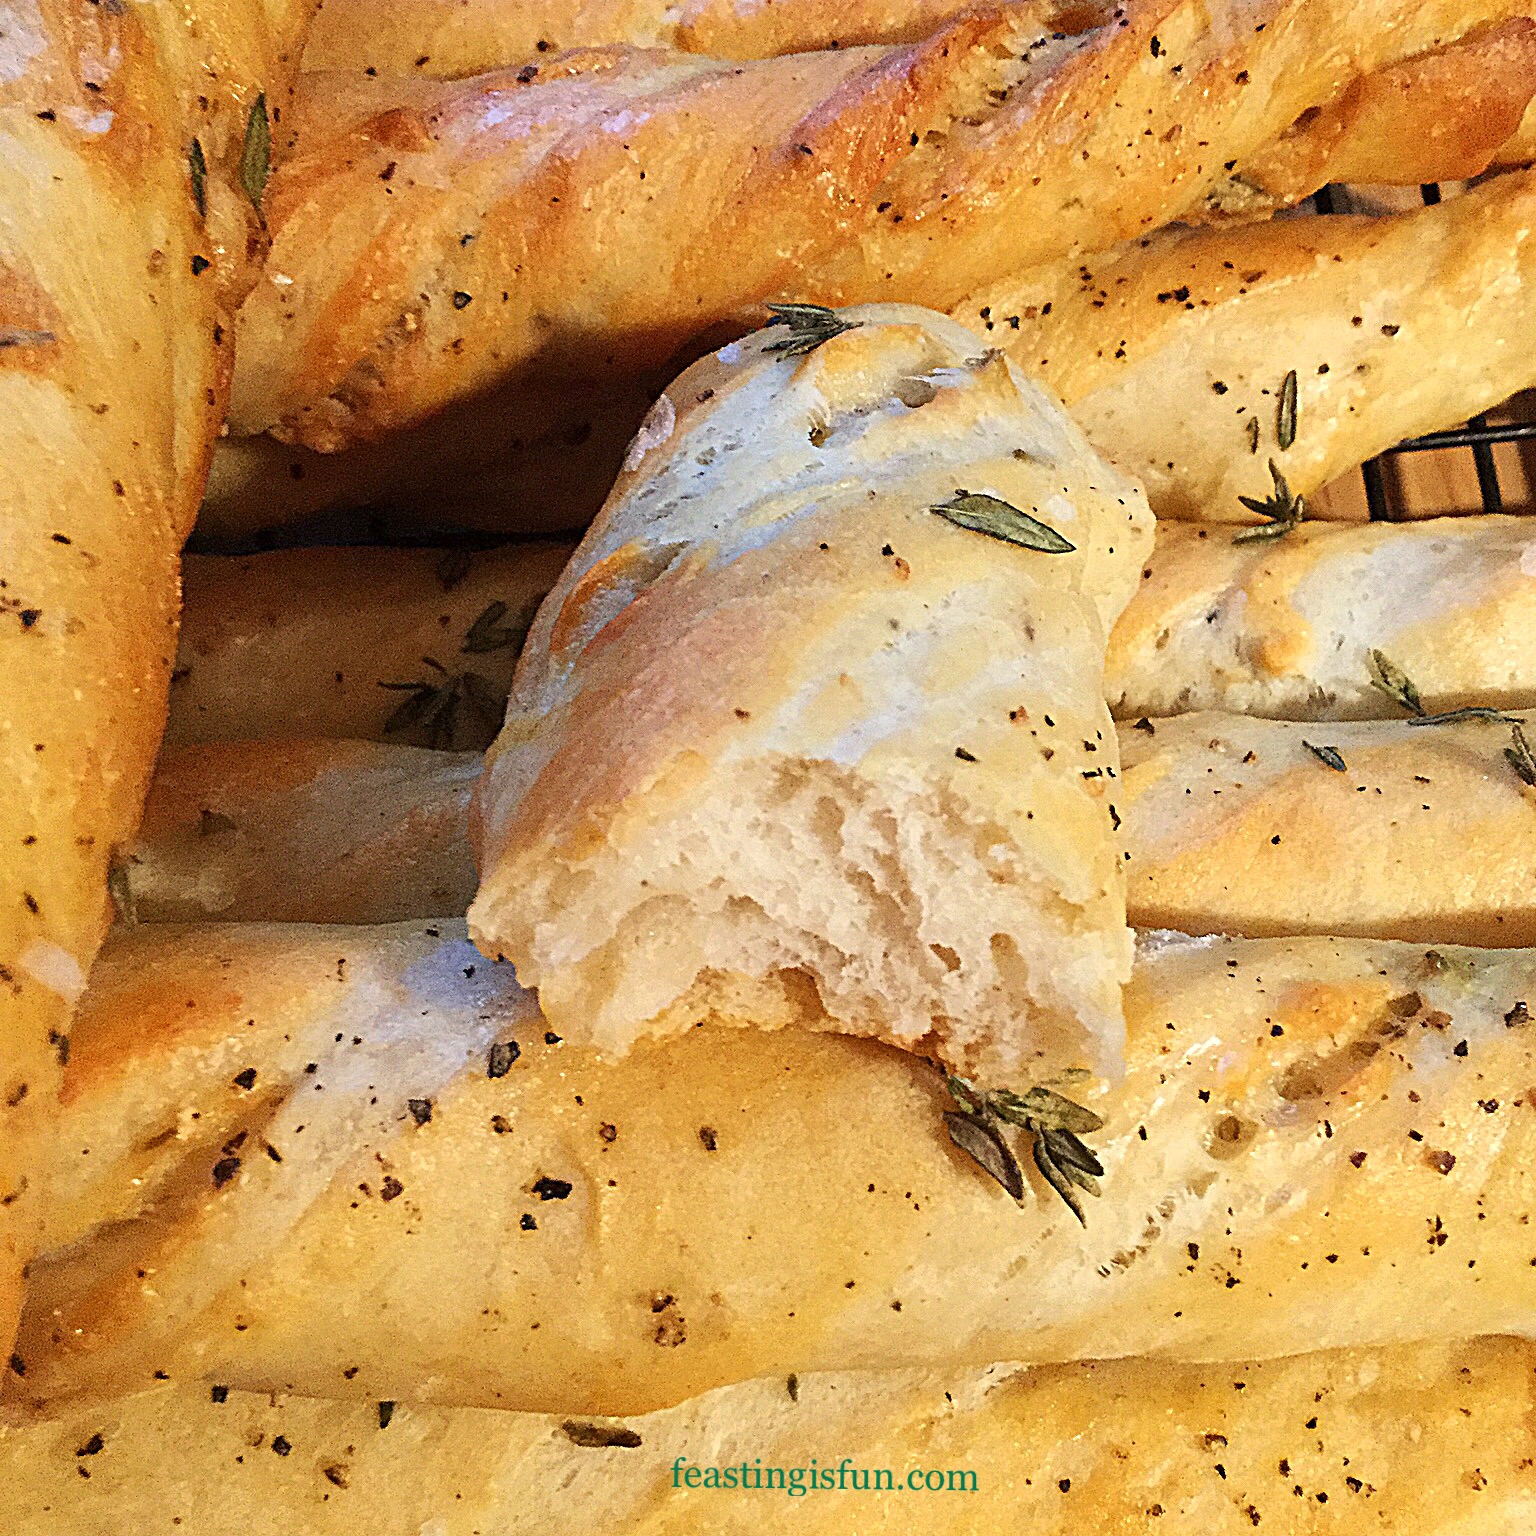
- The bread is baked when it is golden brown across the whole loaf and sounds hollow when rapped on the base with your knuckle.
- As soon as the bread is baked remove from the oven.
Cooling The Bread
- Remove the bread from the tray and place on a cooling rack.
- Leave to cool completely before cutting.
Easy Bread Making
As soon as the bread is cool it can be sliced. I find using a serrated bread knife the best tool for cutting through this bread.
Serve this bread with olives, cheese and cooked meats. Alternatively, it makes a delicious accompaniment to soup, especially my Hearty Minestrone Soup.
Soda bread is always best eaten the day it is made.
If you have enjoyed this recipe for Feta Sun Dried Tomato Soda Bread you may also like to try these:
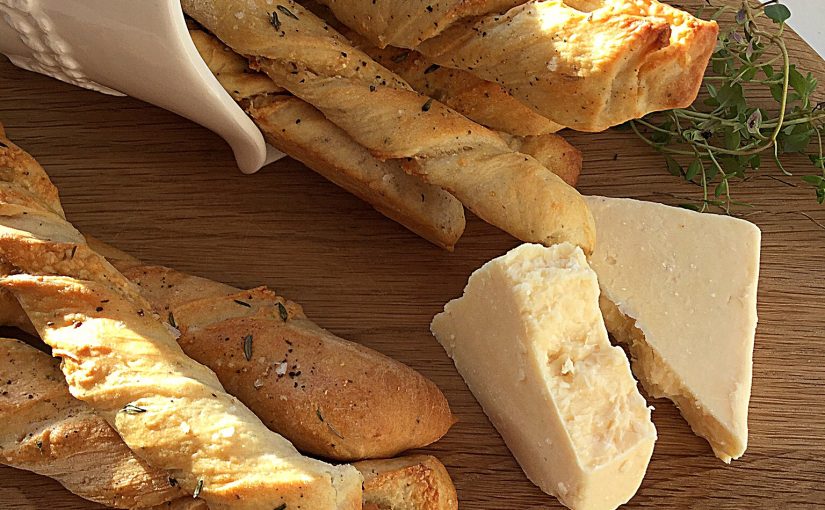
Baked Cheese Olive Ciabatta Bread

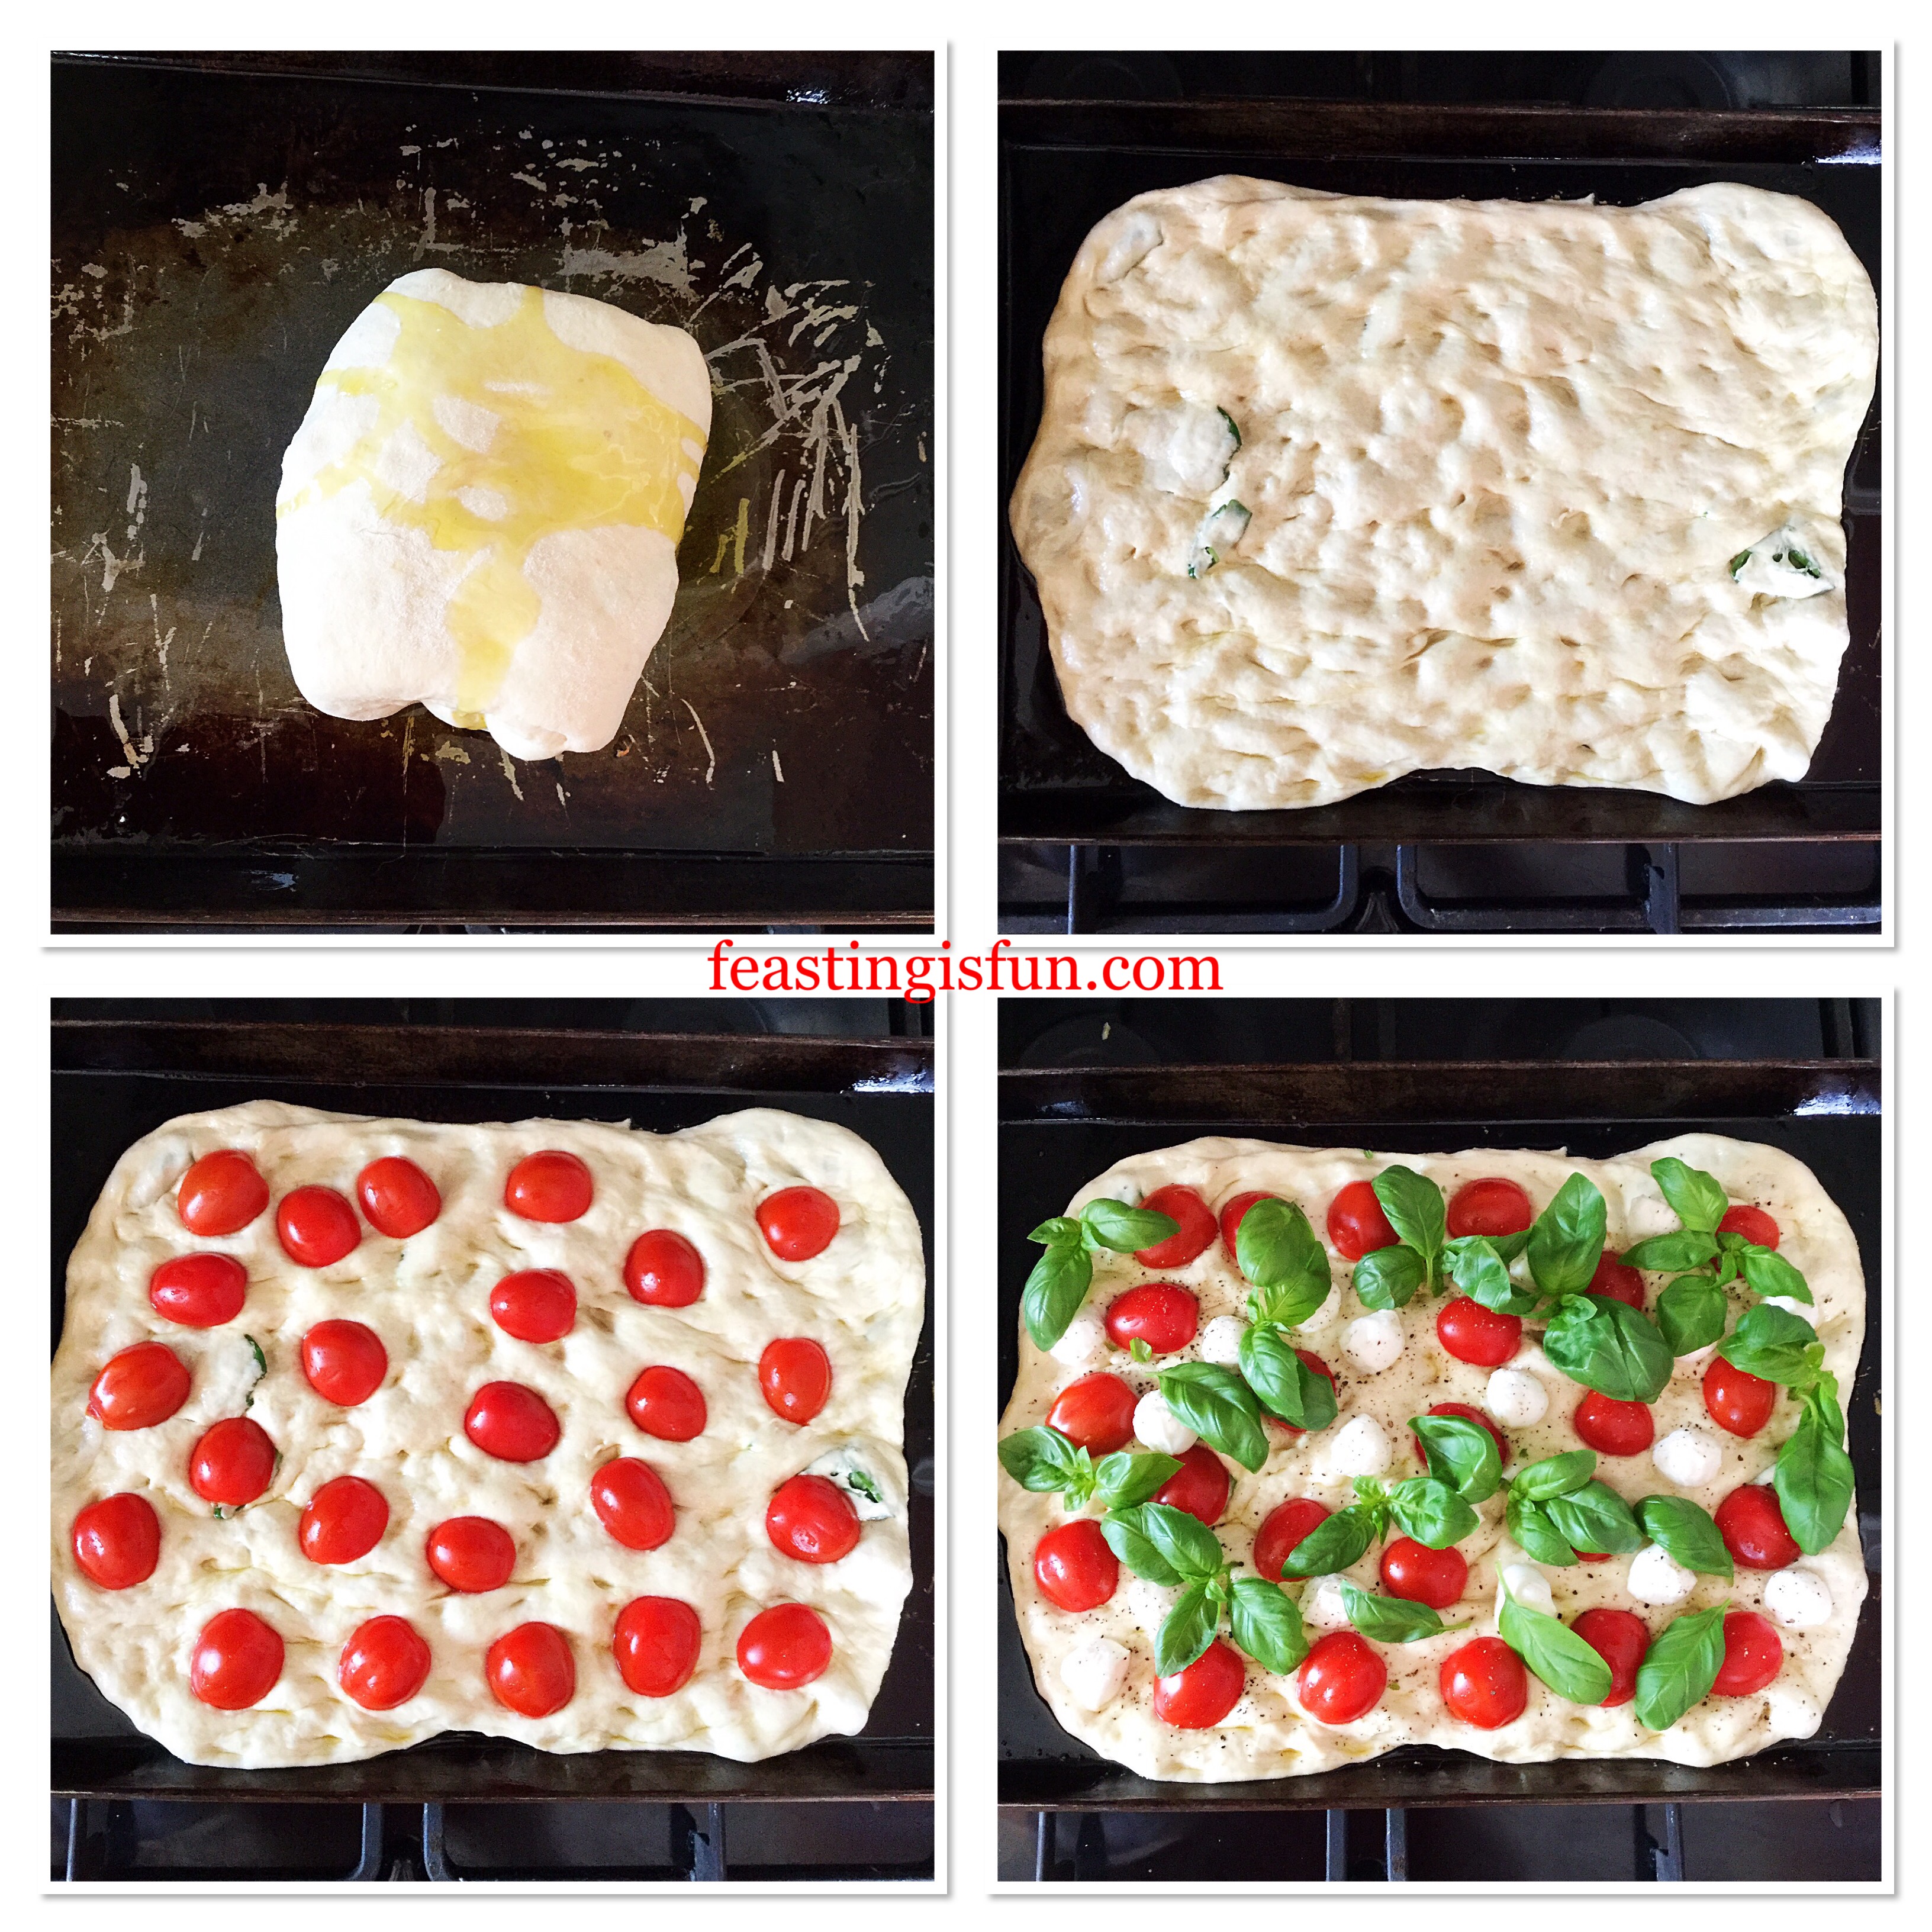
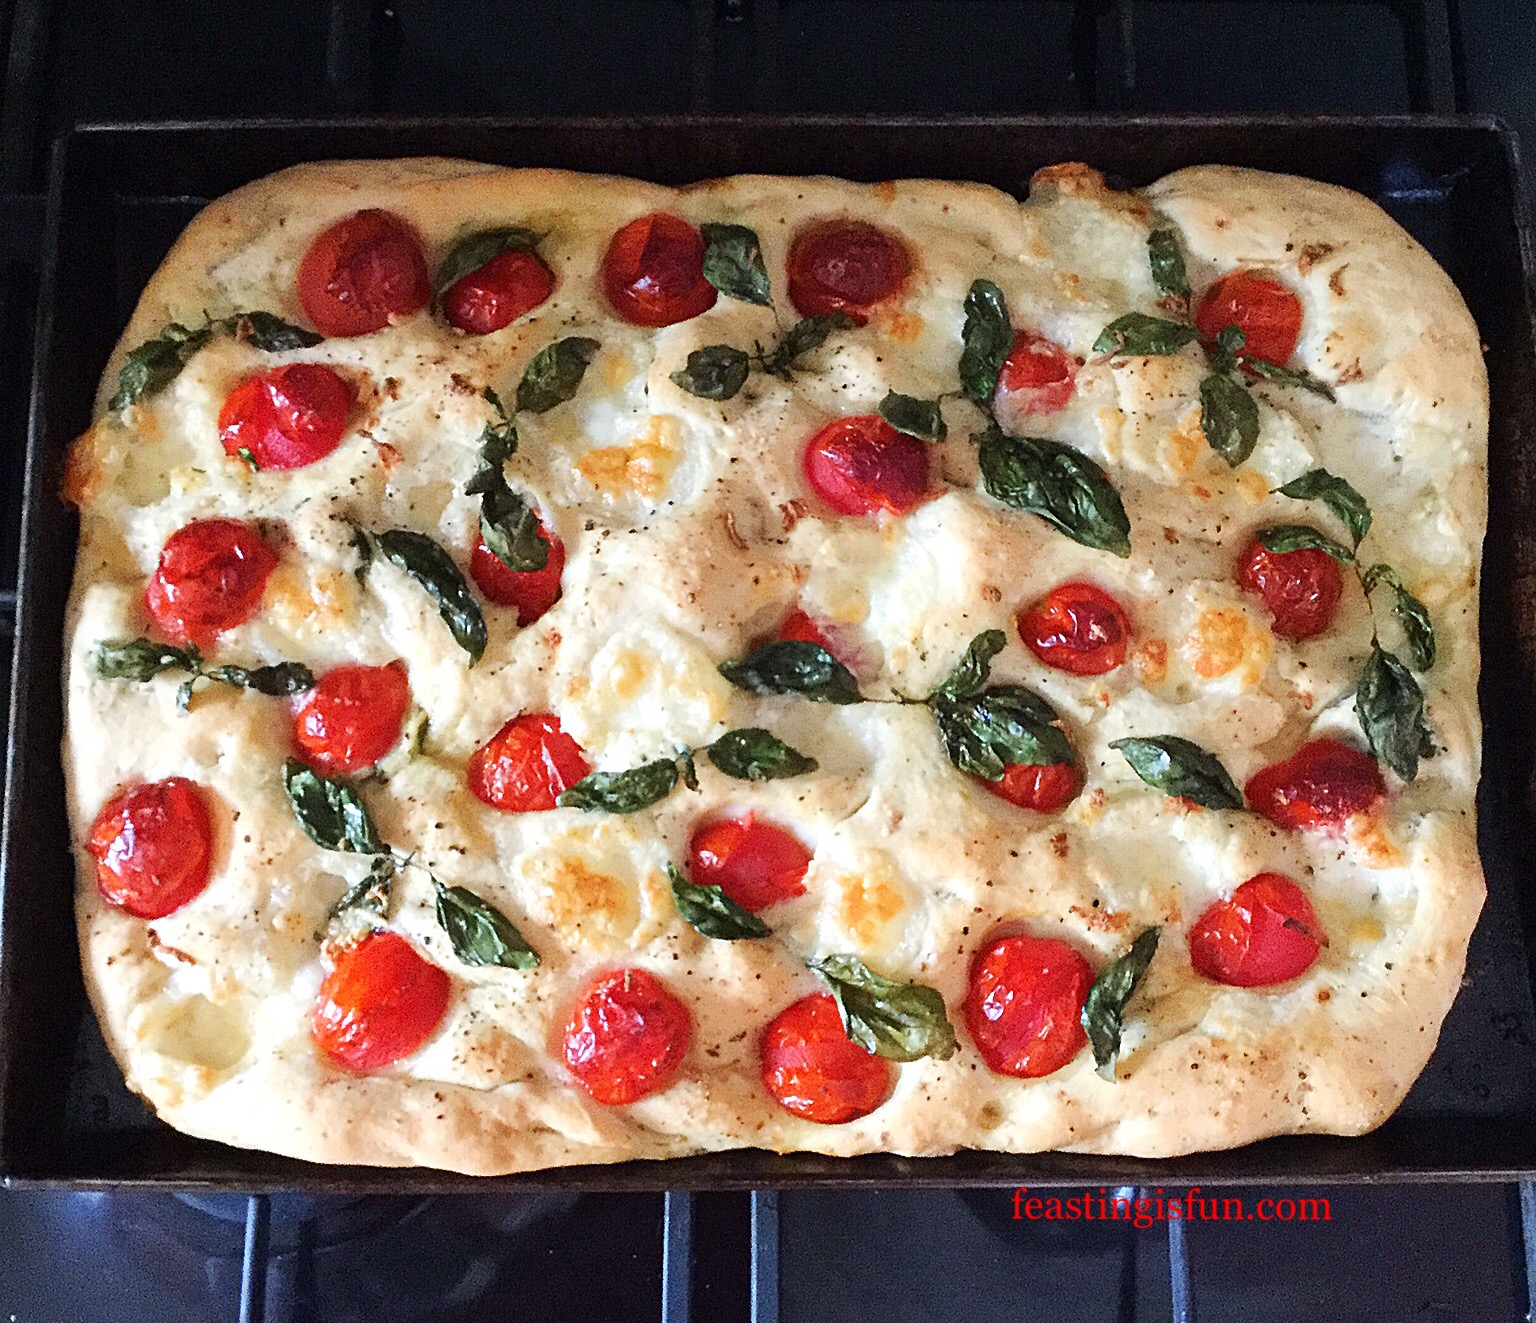
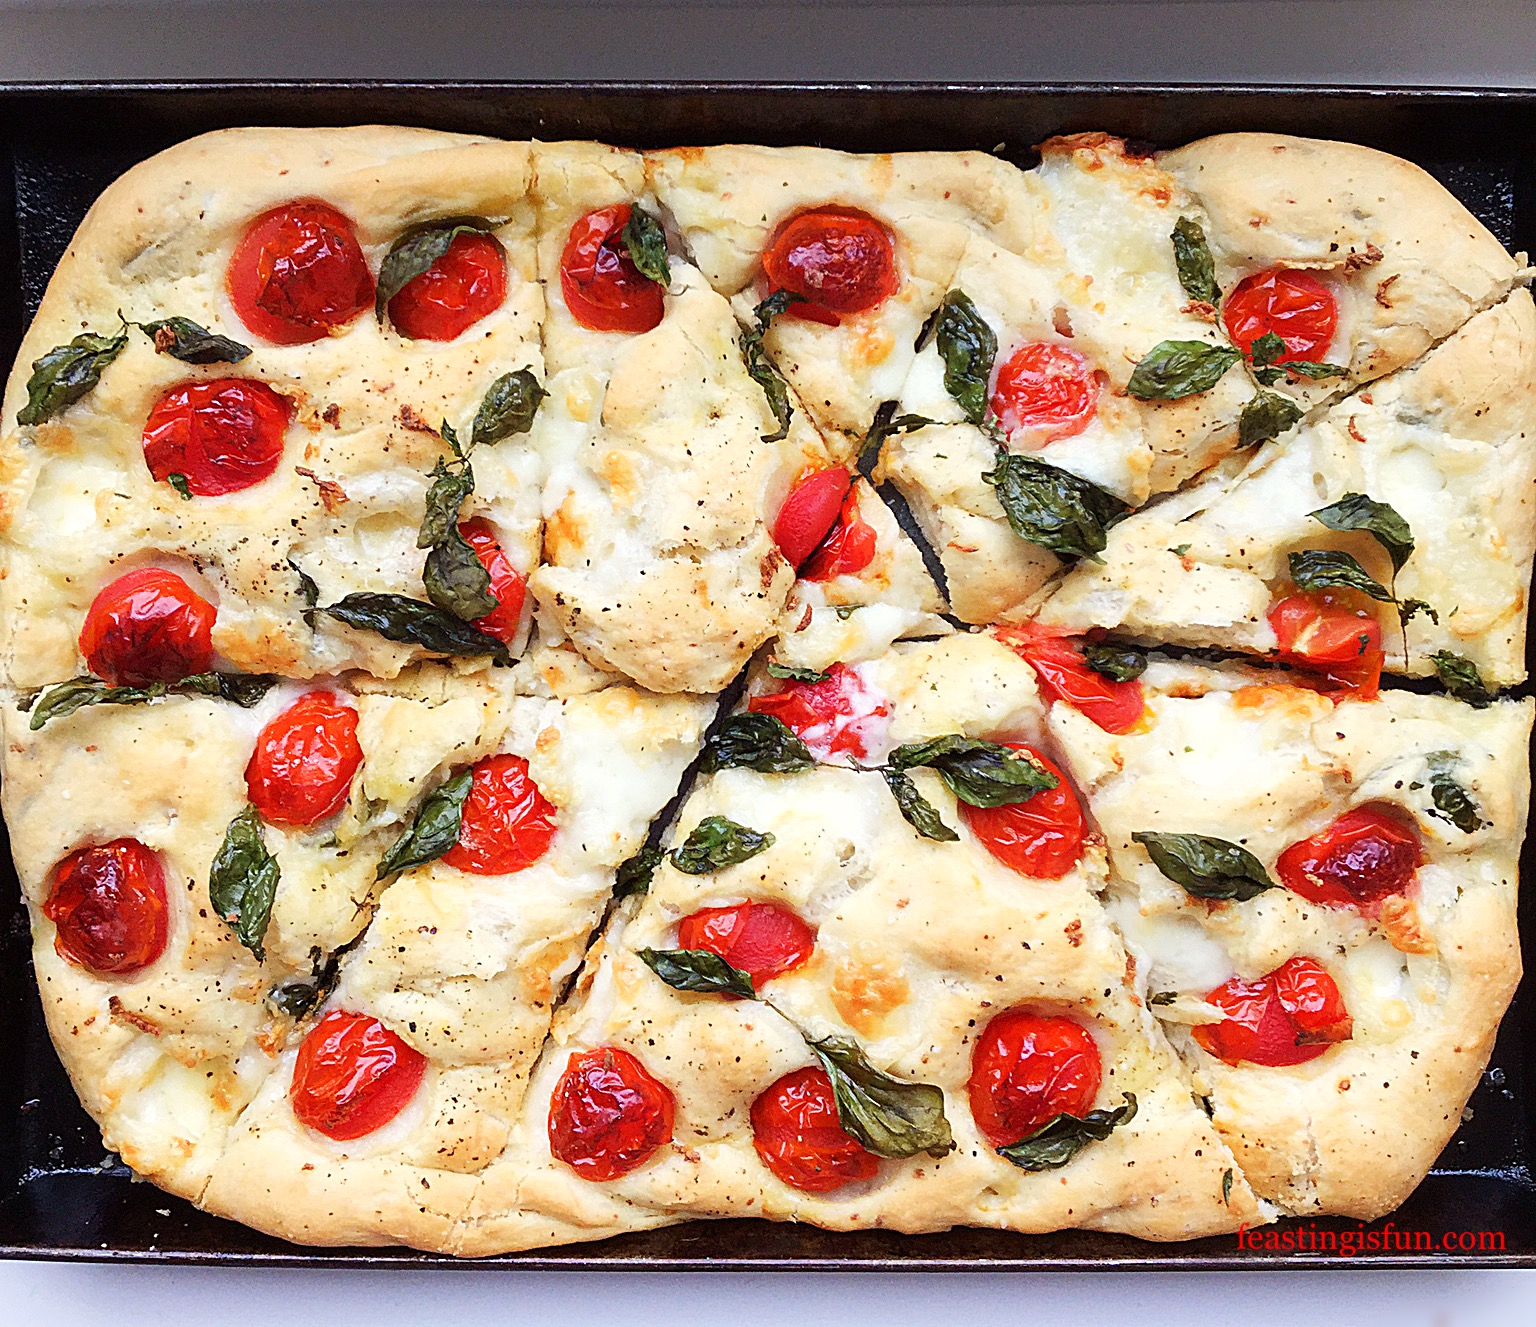
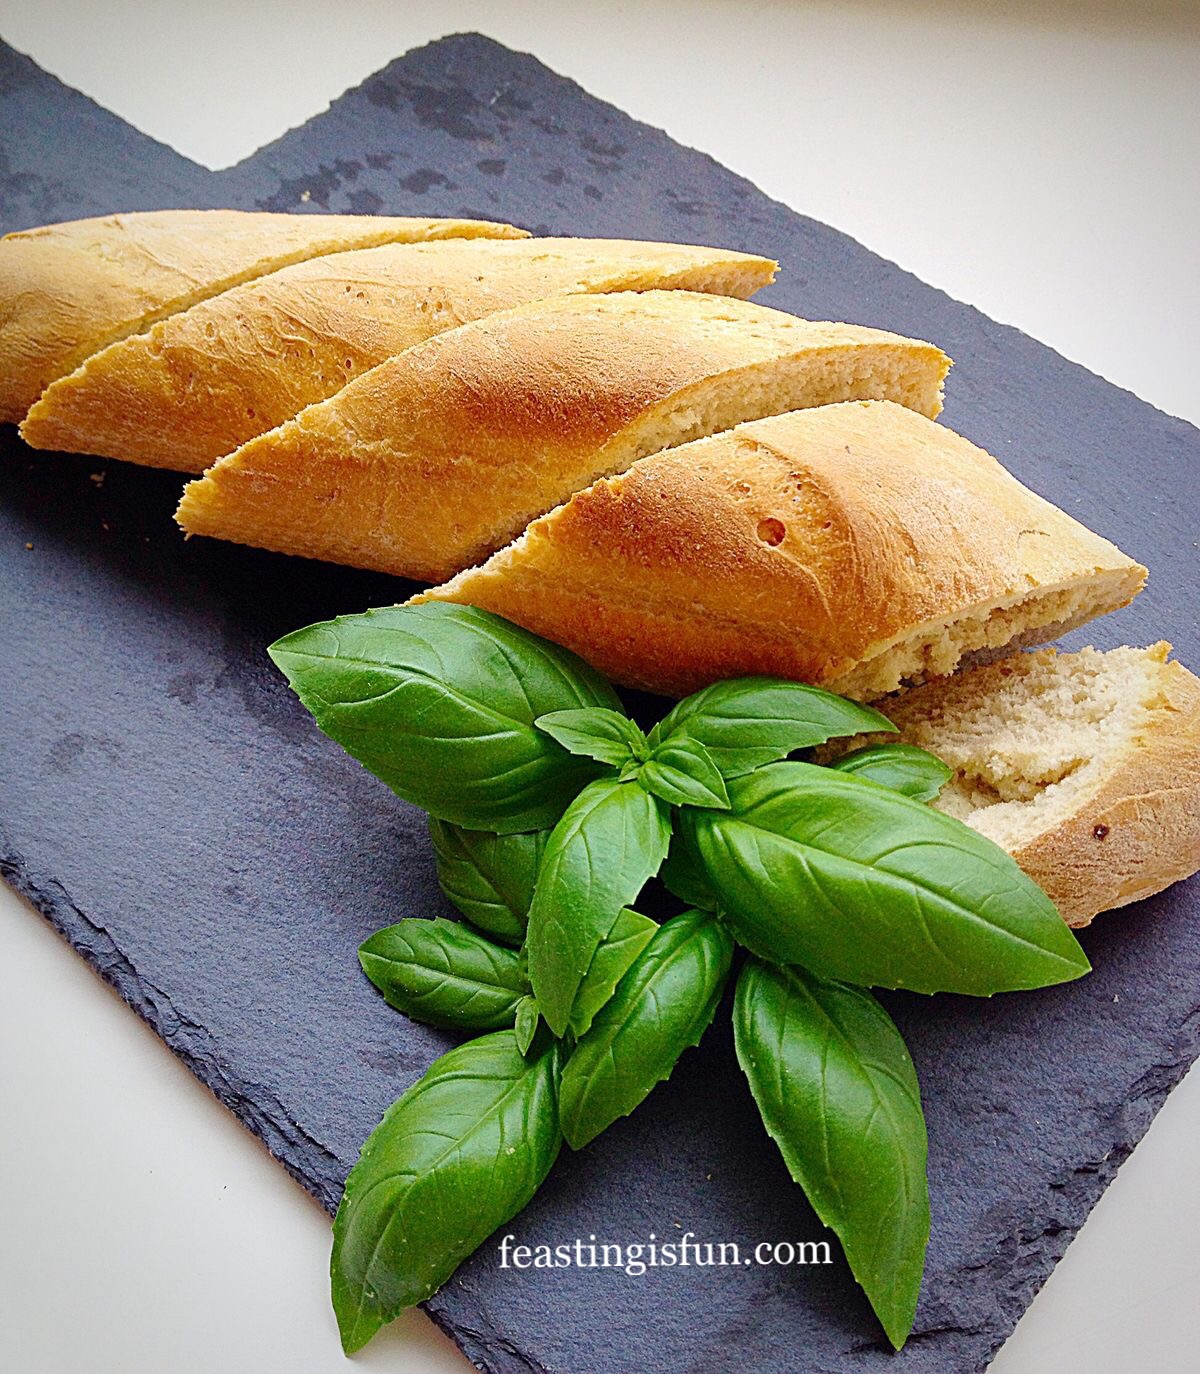
Cherry Tomato Mozzarella Basil Focaccia

Cheddar Sun Dried Tomato Scones

Since lockdown began I am so grateful to have a garden. More so when the weather is fine and I can sit outside with a cup of tea listening to the birds singing. Because I love picnics, I am fortunate to eat my lunch outside, sitting on a blanket on the lawn. And I know I am blessed, as there are many who are confined to flats and apartments, only allowed out for exercise and essential shopping. So, it is with hope, that when this time of lockdown and social distancing is passed, I look forward to many of us enjoying picnics in the future. Whether at the beach, the local park or simply joining with familIes in a field, we will be together again, sharing, feasting and having fun.
So, whatever you are making, baking and creating in your kitchens, have fun preparing and sharing your feast.
Sammie xx
No part of this post may be reproduced or duplicated without the written permission of the owner. Please see my Disclosure Policy
Olives Direct sent me some a selection of olives and sun dried tomatoes to try. I used the marinated sun dried tomatoes in this recipe.