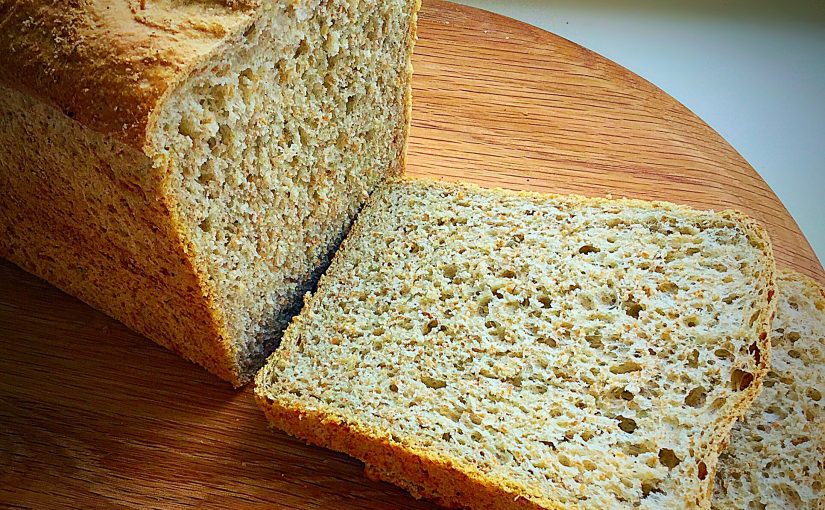
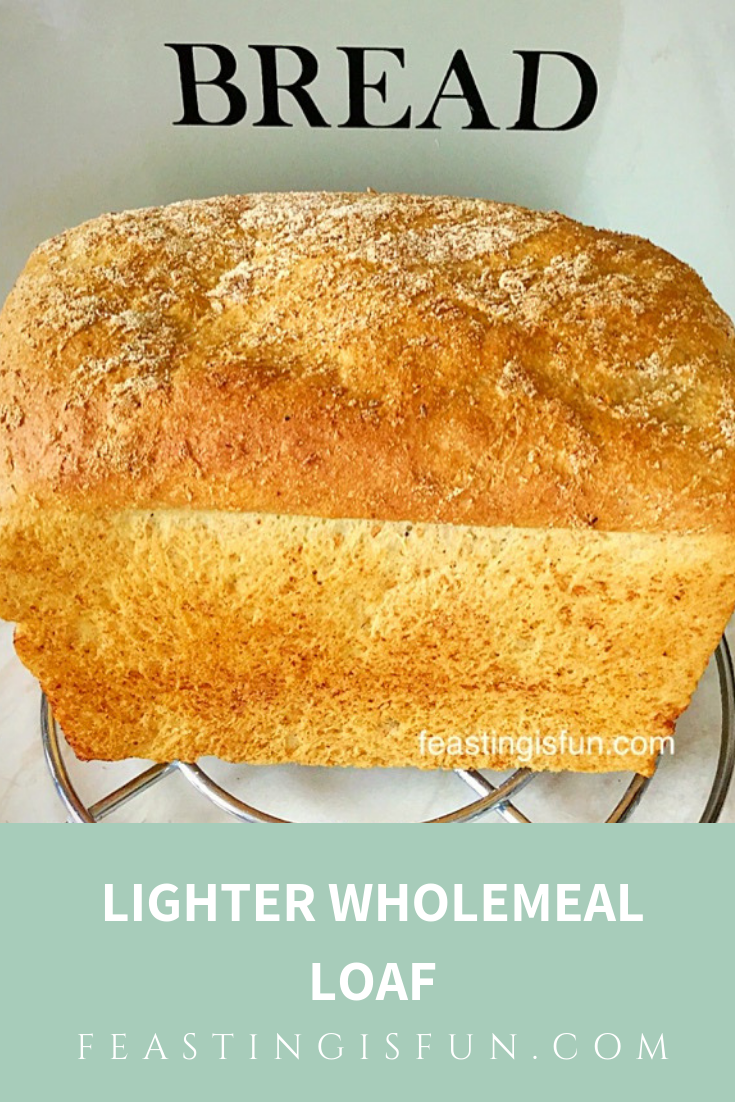
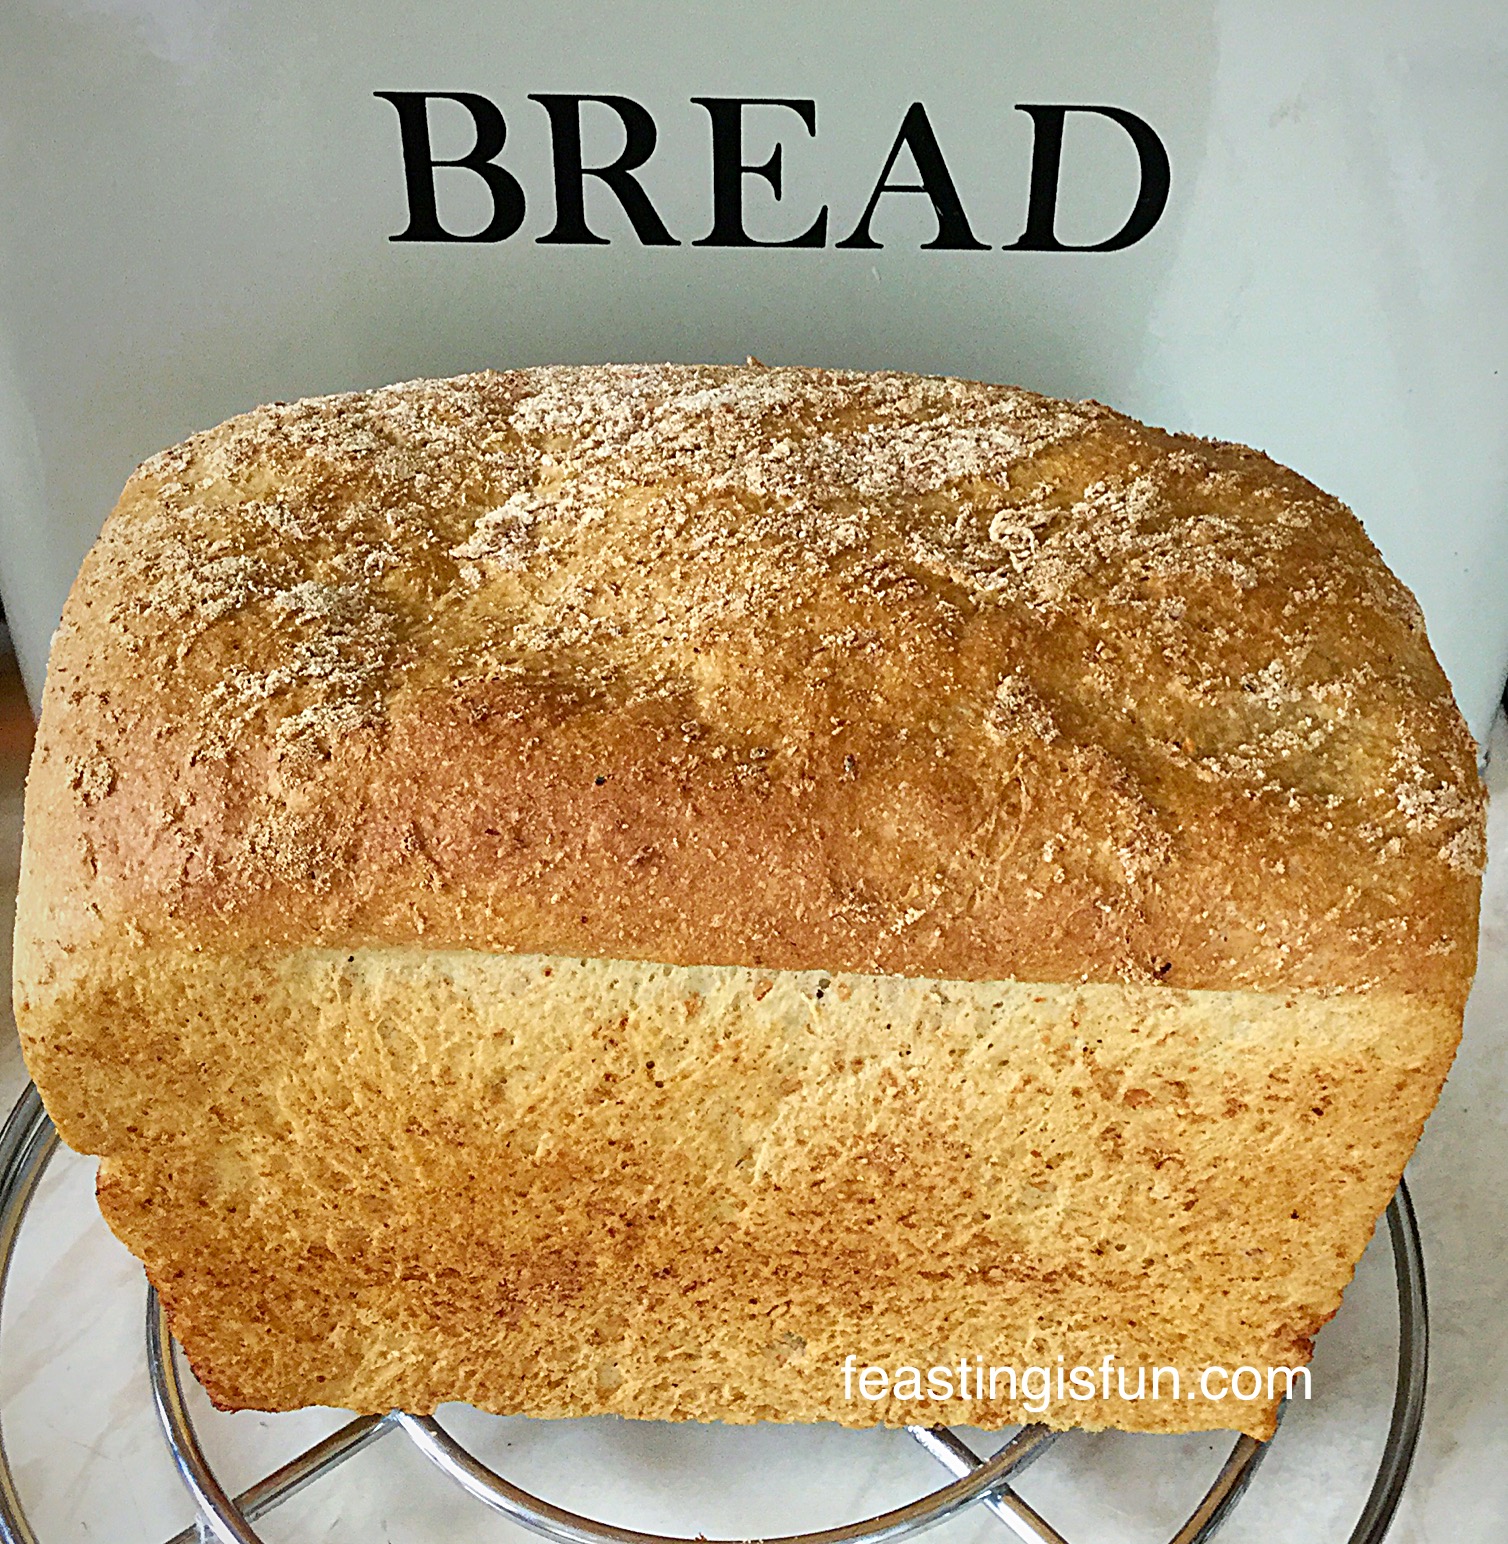
Bread is an everyday staple for a lots of people around the world, especially here in the U.K. Yet finding a loaf that is light, tasty, with added fibre can be hard. So, look no further my friends, as I present tasty, Lighter Wholemeal Loaf of bread.
And I must admit I am a bit of a ‘bread head’ – does that make me sound cool? By that, I mean that I adore most breads, providing they are well made, do not contain additives and have a flavour of their own that contributes to the final dish. Especially if that is a simple slice of buttered toat.
Since I do not live near an Artisan Bakery, where freshly baked bread, in all its array of shapes and flavours can be purchased, I make our bread at home instead.
Extra Flavour And Extra Goodness From Your Bread
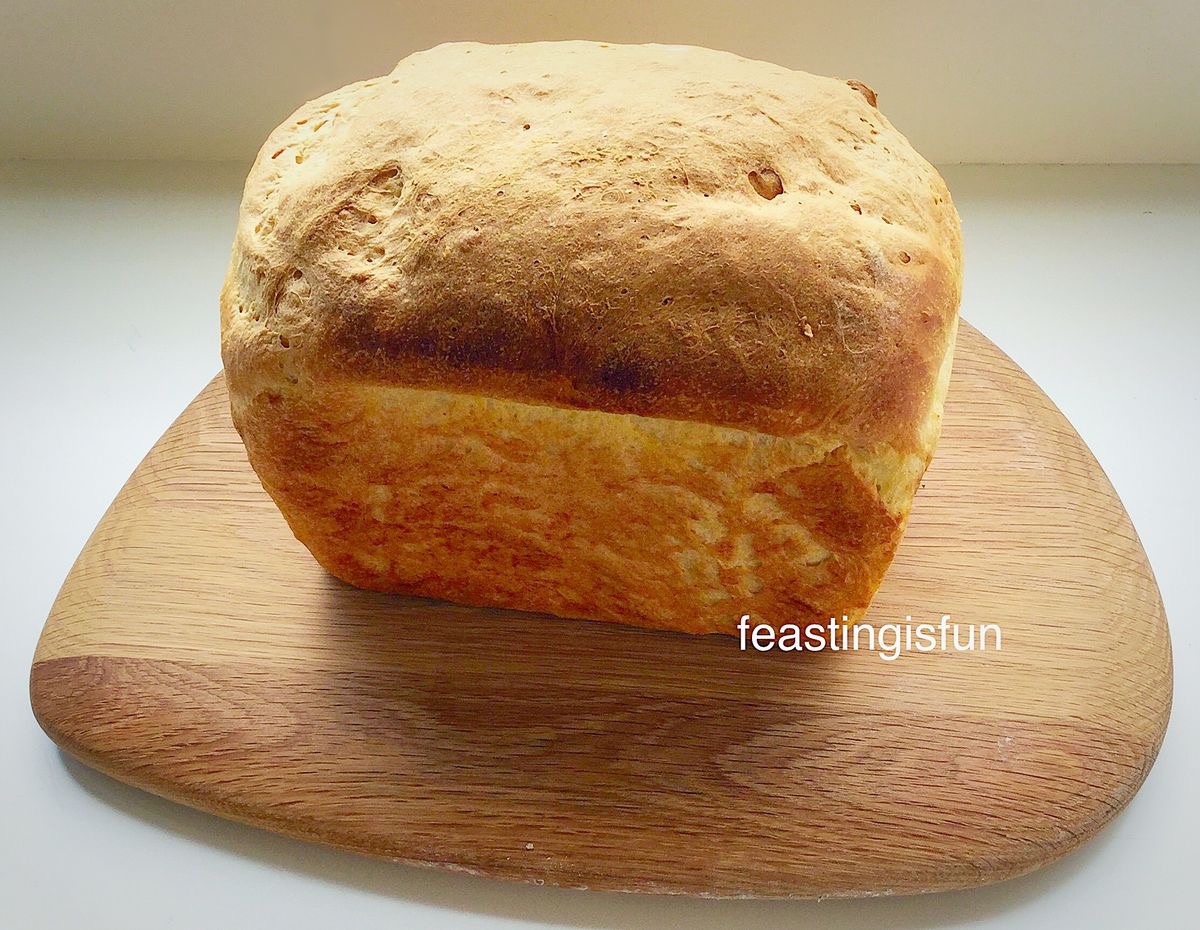
This Lighter Wholemeal Loaf is one of our family’s favourite breads. Also, this bread slices beautifully, so is perfect for packed lunches, or toasted for breakfast and then slathered in homemade jam.
While I have 100% wholemeal bread recipes such as my Wholemeal Cob Loaf and Wholemeal Loaf, if I’m honest, as delicious as they are, having the same bread every single day can get a bit boring. So I like to switch things up a bit, keeping our taste buds interested and in reality, ensuring our teenagers eat a decent portion of their lunch.
And they say variety is the spice of life!
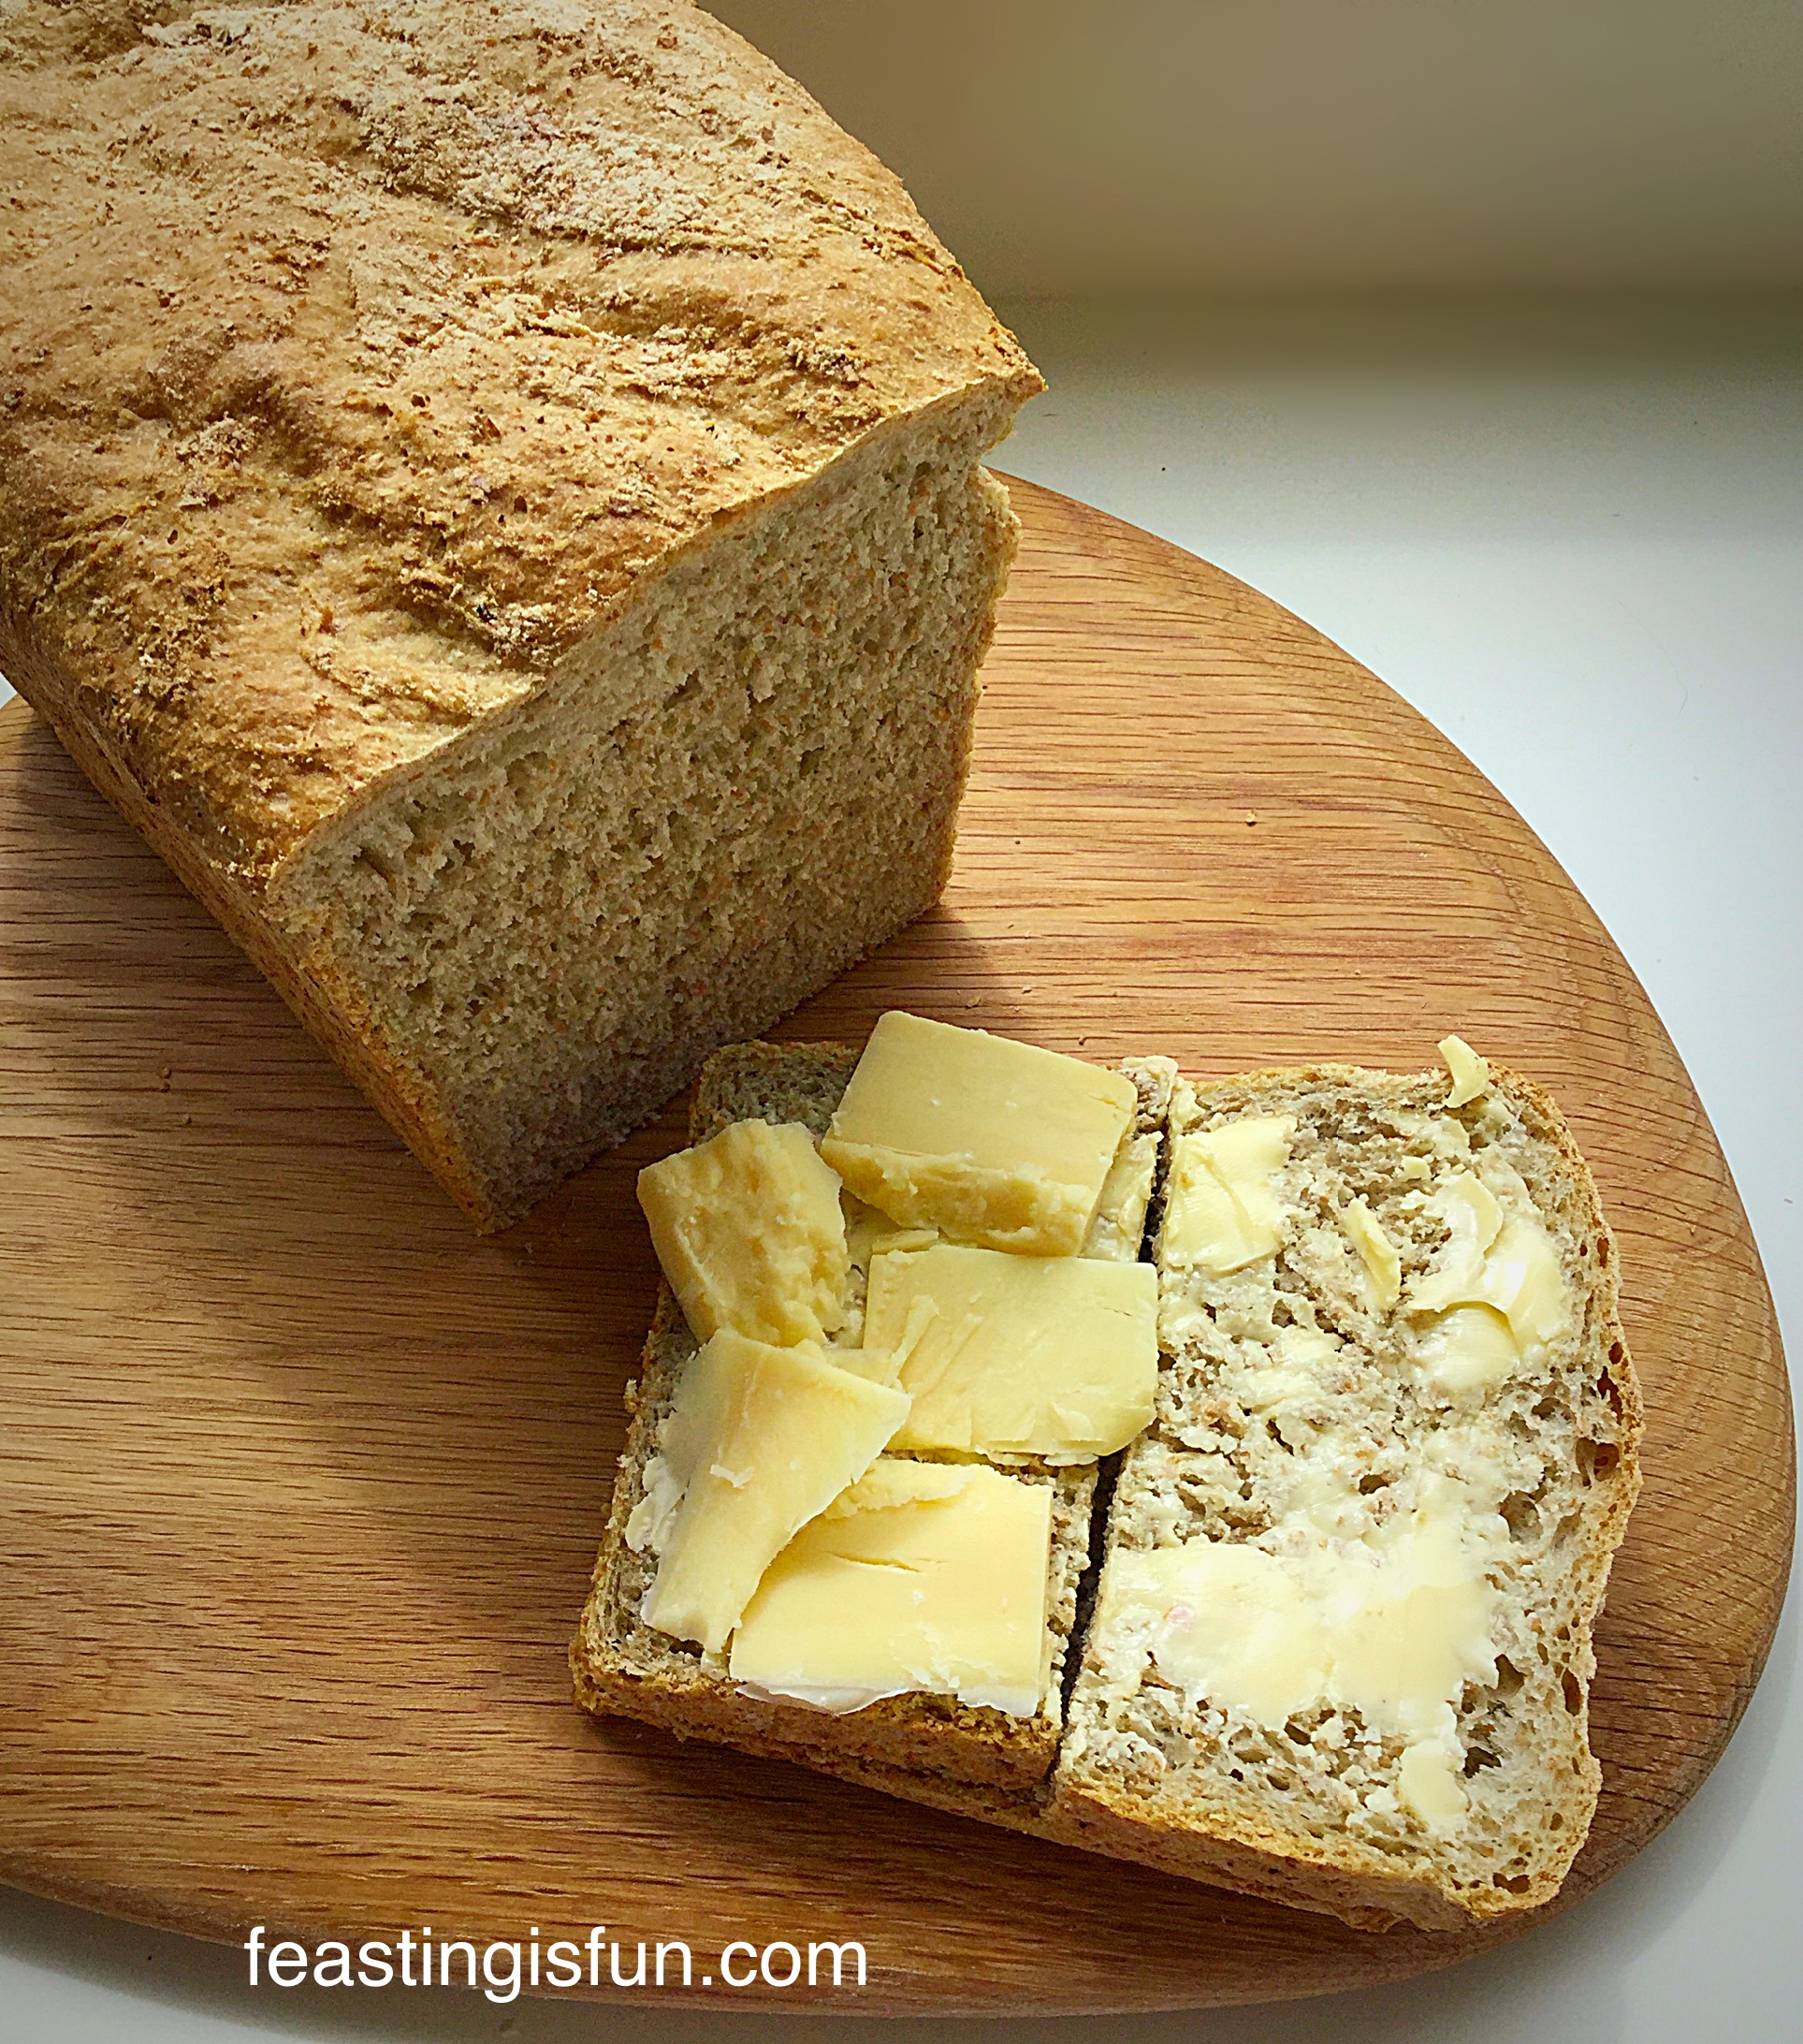
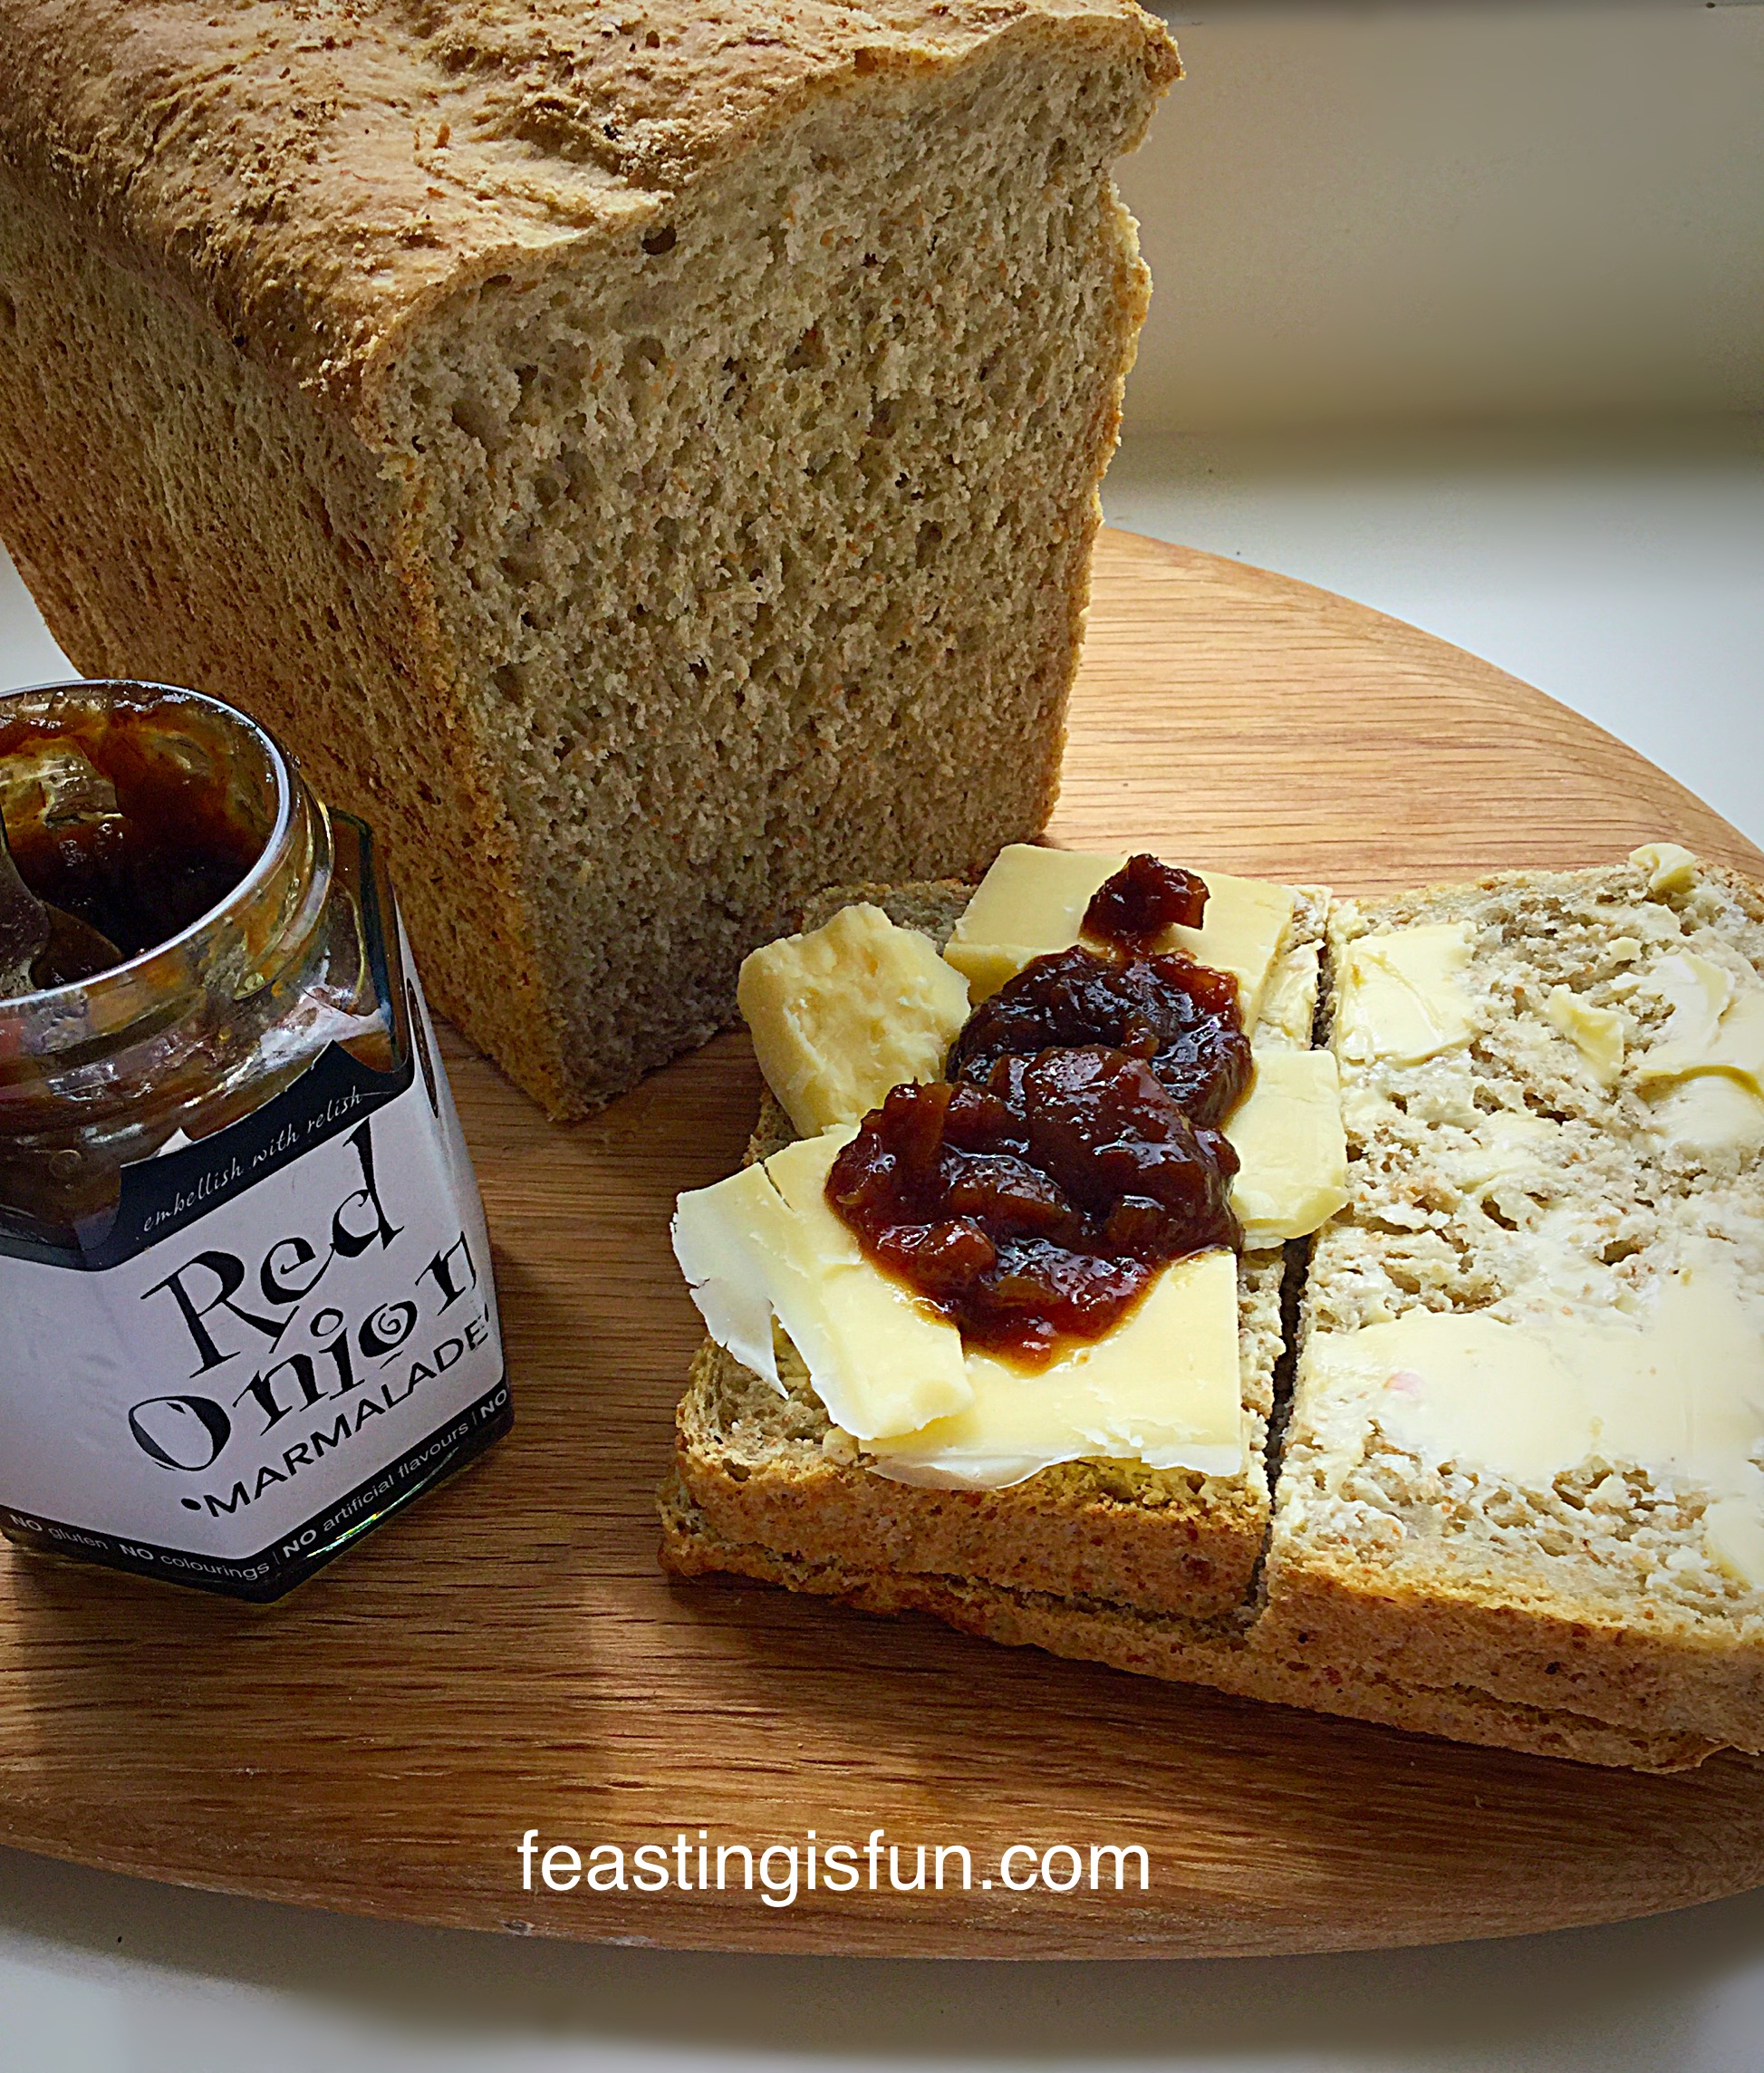
While eating bread I want it to contribute to the flavour of the whole dish. Most importantly, it shouldn’t, mustn’t, simply be be a limp carrier for other flavours. While the butter and cheddar cheese, used in the photo above, adds great flavour to a sandwich, the bread’s texture and flavour adds an additional element to the sandwich.
And this sandwich, with the addition of some Red Onion Marmalade, truly is one of my favourite lunches. Since each component adds flavour and varying texture, so that as a whole, the resulting sandwich is incredibly appetising and filling.
Start The Bread Making Journey Using Good Quality Flour
I use a mixture of stone ground, organic strong wholemeal and white flour from Shipton Mill to make this Lighter Wholemeal Loaf. Shipton Mill traditionally mill their flours between large grinding stones, using the flow of river water for as a source of energy. Resulting in flour that is consistently excellent, while it’s production is sympathetic to and works in harmony with the environment.
In order to guarantee consistent, excellent results when making this Lighter Wholemeal Loaf, this recipe has been thoroughly tested, with the resulting loaf being approximately one third wholemeal flour. Since a 2:1 combination of Strong White to Strong Wholemeal flour gives a great, nutty, wholesome flavour, while also keeping the bread light enough for everday use. And, it is a great way of adding extra fibre into your own and your familiy’s diet, especially if their preference is for white bread.
Recipe: Makes one Lighter Wholemeal Loaf
150g/5oz Strong Wholemeal Flour – preferably organic plus a little extra for dusting the work top.
350g/12oz Strong Unbleached White Flour – preferably organic
360ml Tepid Tap Water
7g/1 Sachet Dried Yeast
1tsp Honey
7g/1tsp Sea Salt – I use Maldon Sea Salt Flakes
25g/1oz Unsalted Butter
Method:
The ‘bowl’ is either a large bowl, with which to mix the bread, by hand, or the stand mixer/bread maker bowl.
Making And Proving the Dough Using Three Different Methods
For all methods:
- First of all, pour the water into the bowl. Add the honey and yeast. Swish about with clean fingers to activate the yeast.
- Now add the flour on top of the liquid.
- Add the salt and the butter.
When using a bread maker, set to dough cycle and start the program. As soon as the cycle is completed re-start for 1 minute. This ‘knocks back’ the dough.
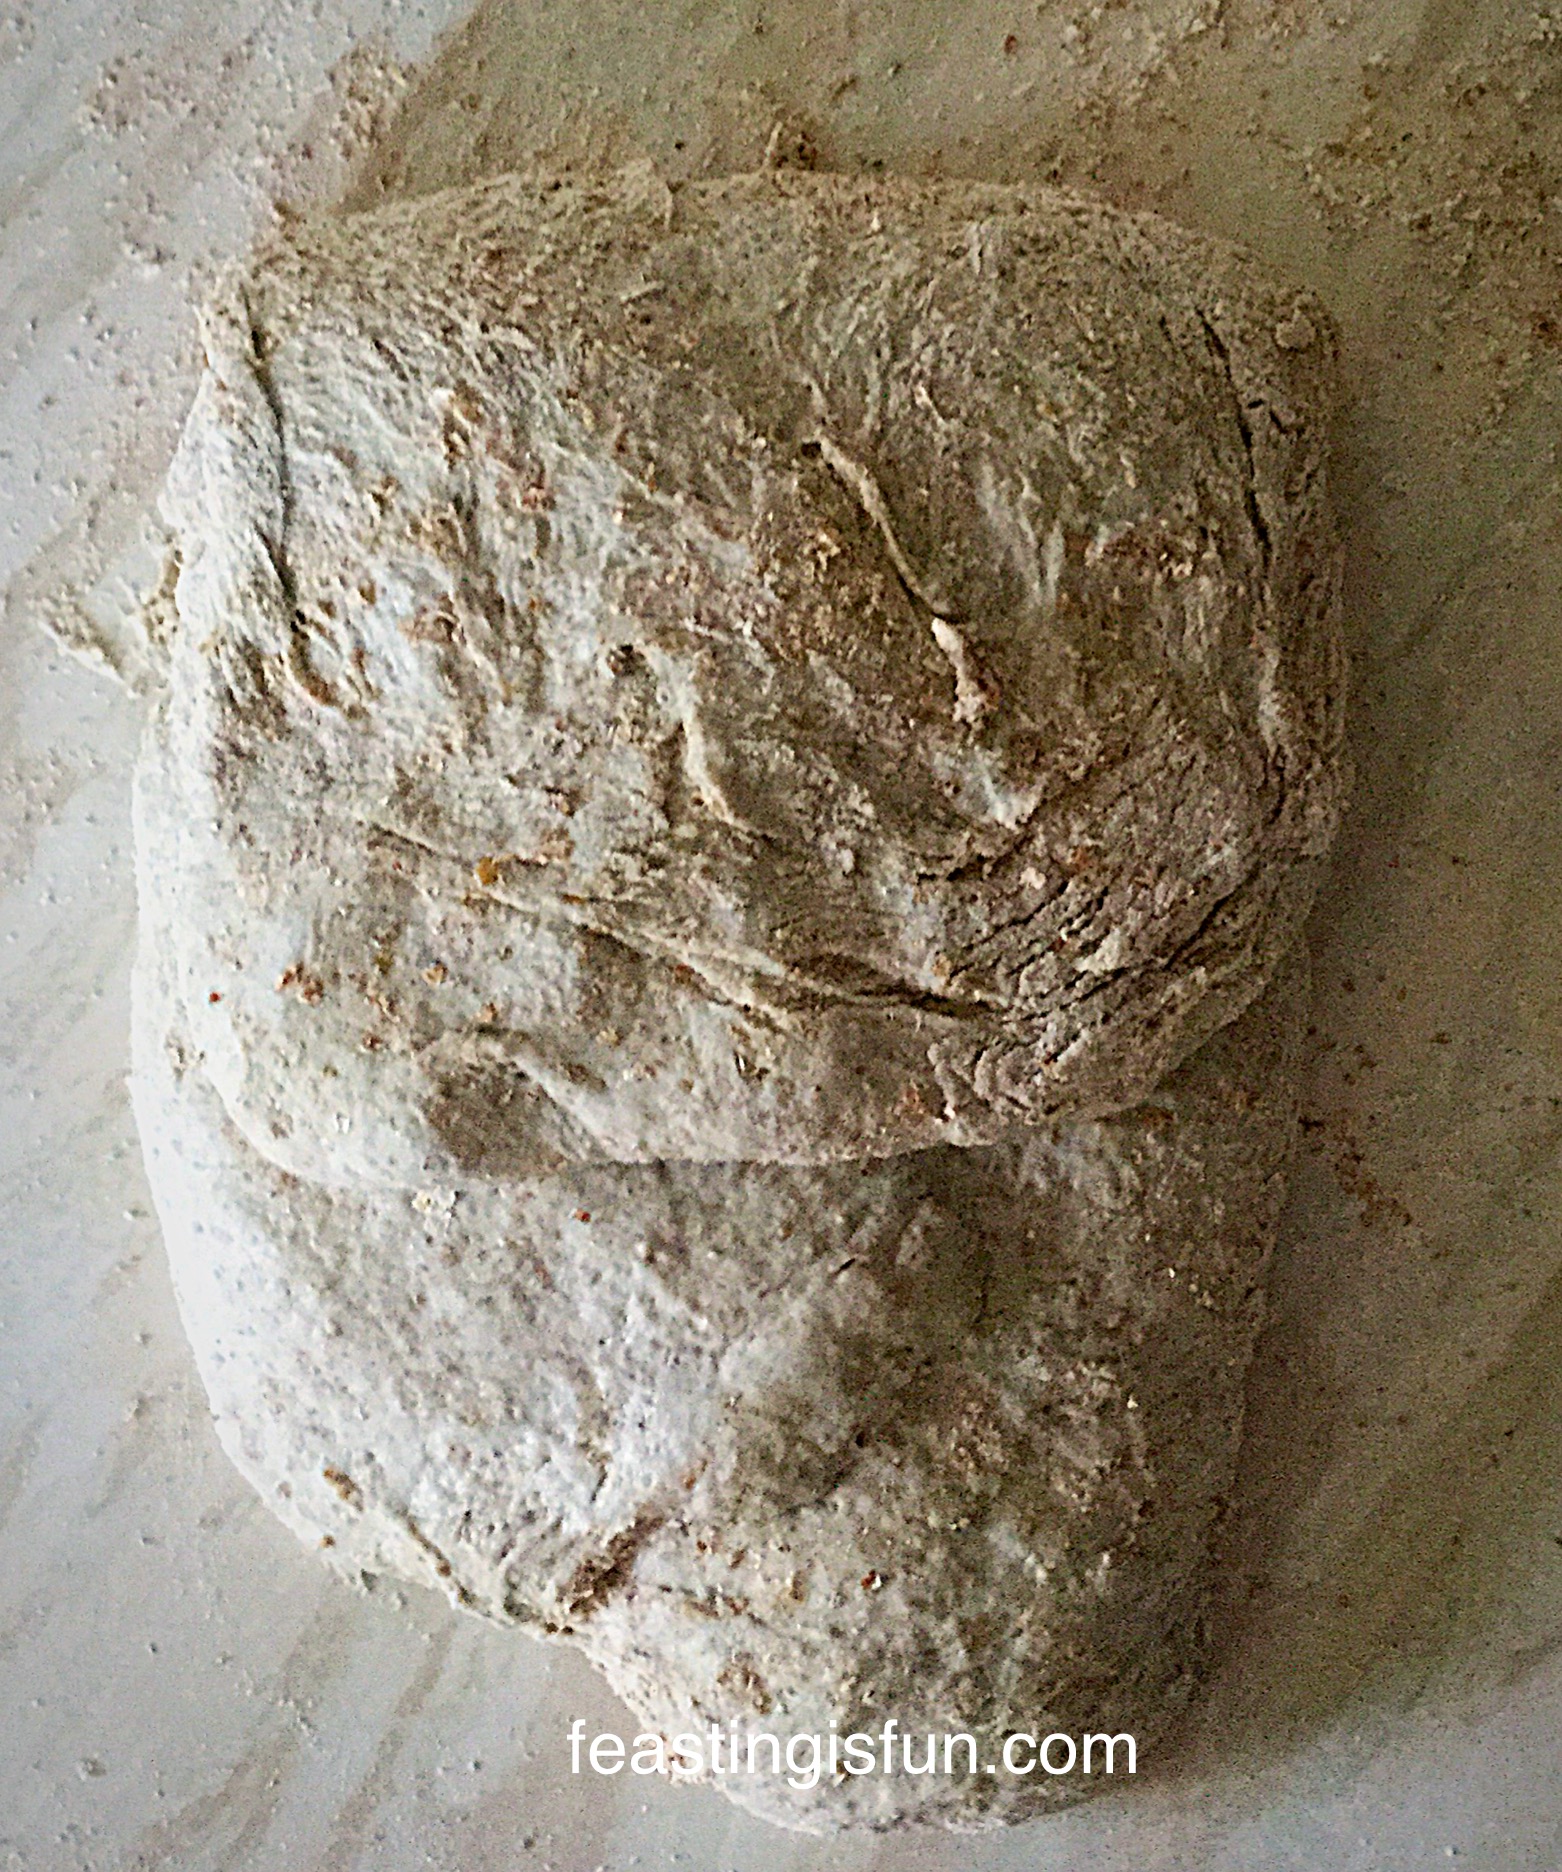
If using a stand mixer, attach the dough hook and mix on medium speed until the ingredients are combined. Continue to mix for a further 5 minutes, until the dough is smooth and elastic. Stop mixing. Scrape the dough from the dough hook and combine with the dough in the bowl. Form into a ball, place back into the bowl. Cover with a damp cloth and leave in a draught free place until doubled in size (approx. 1hour). Gently punch the dough to knock it back.
Alternatively when hand mixing, bring all the ingredients together with your hand until they form a doughy mess! Place this dough onto a very lightly floured worktop. Knead for approximately 10 minutes. If the dough gets sticky, keep kneading and working it. Avoid adding extra flour as this can result in a tough loaf. After a further 5-10 minutes kneading, the dough should have a smooth elasticity. Finally, place the kneaded dough into a oiled bowl, cover with a damp cloth and leave in a draught free place until doubled in size, 1-2 hours. Knock back as for stand mixer.
Shaping The Dough
To shape the dough: Tip the knocked back the dough out onto a lightly floured surface. Gently flatten the dough into an oval/rectangle shape.

- Fold the top third of the flattened dough over.
- Next fold the bottom third of the dough up and slightly over the previous fold.
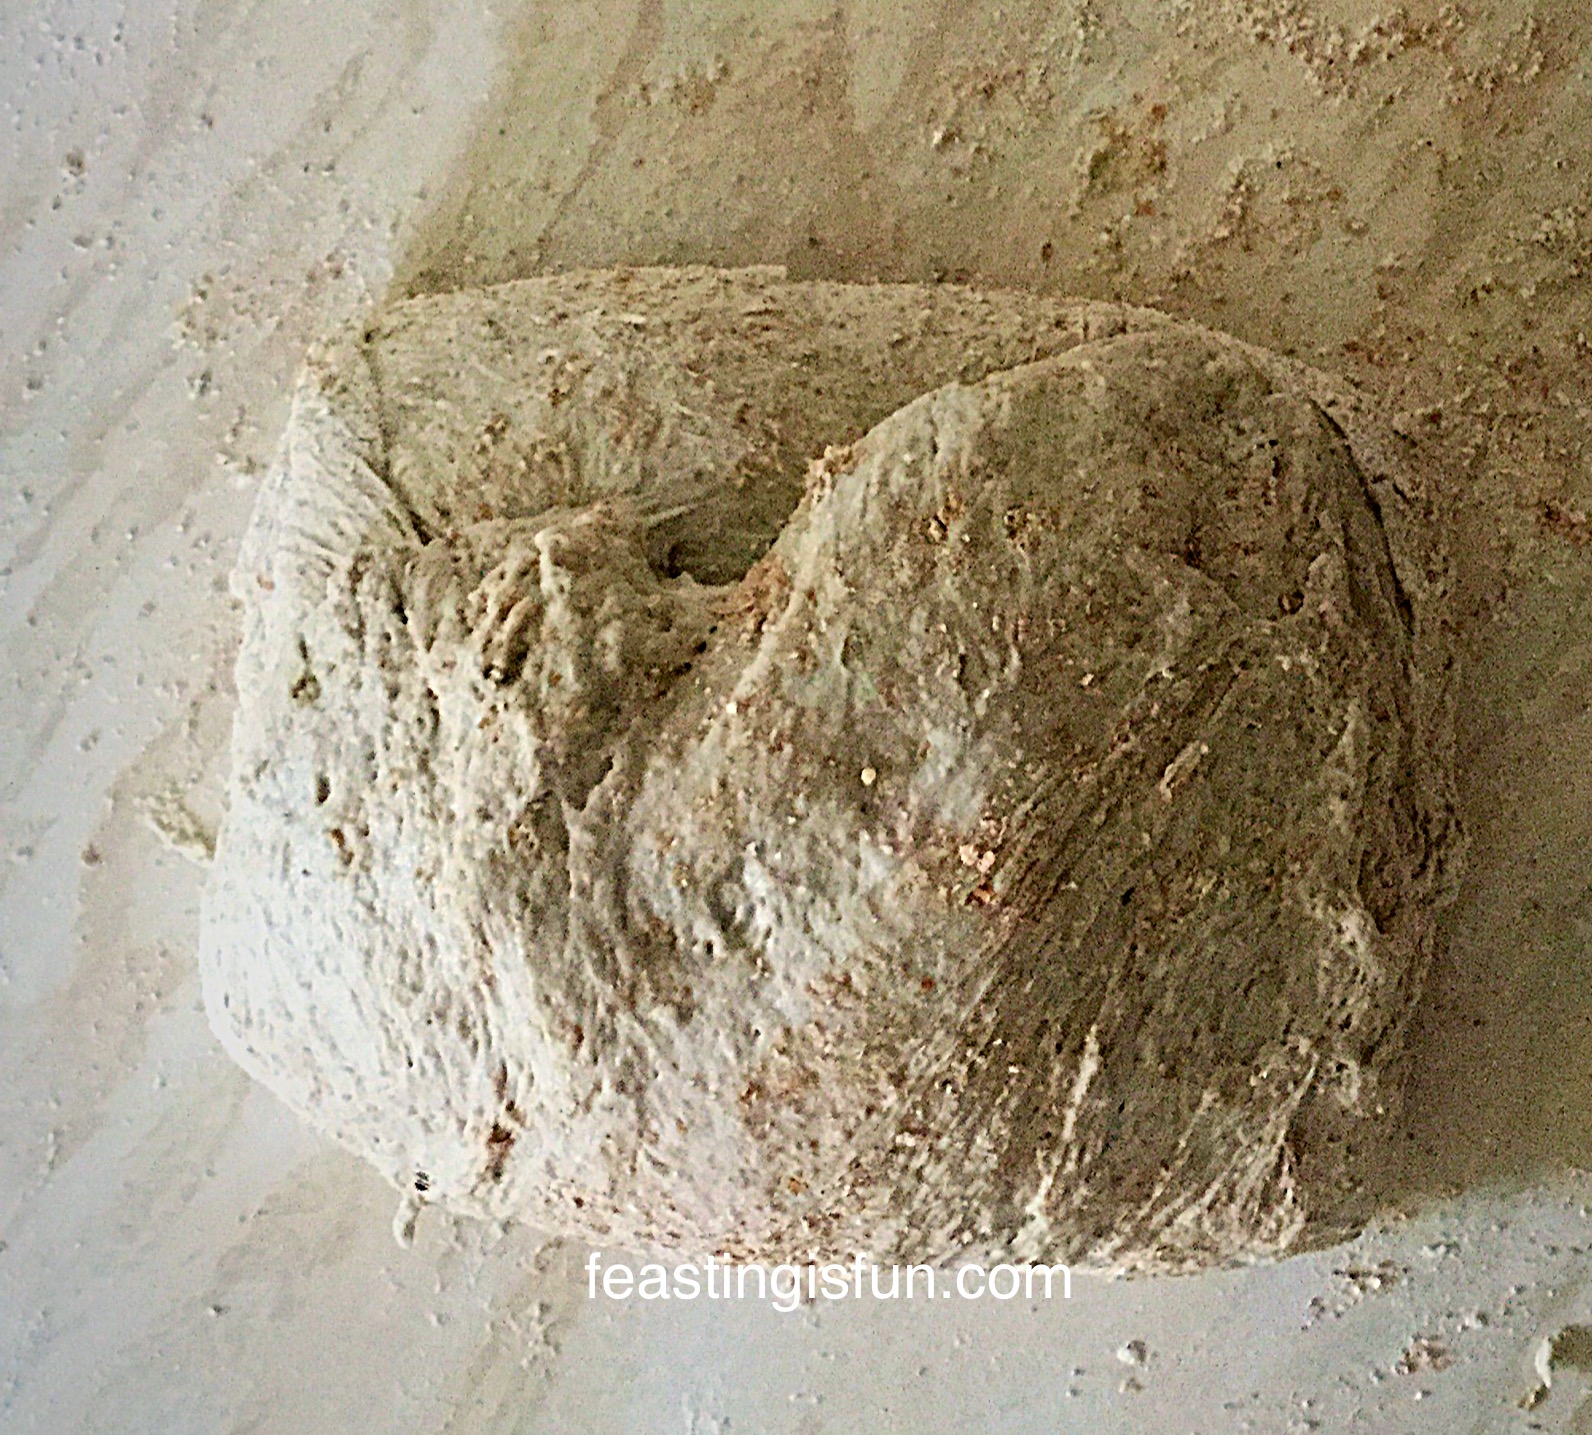
- Rotate the dough by a quarter, gently flatten out and repeat the folding process.
- Repeat the turning and folding twice more, ensuring the last turn and fold is quite tight. This folding technique does not take long and unlike pastry, this bread dough can withstand being moved and worked. Most importantly the purpose of turning and folding is to build a good structure within the dough.
- As soon as the folding and turning is complete turn the dough over so that it is seam side down.
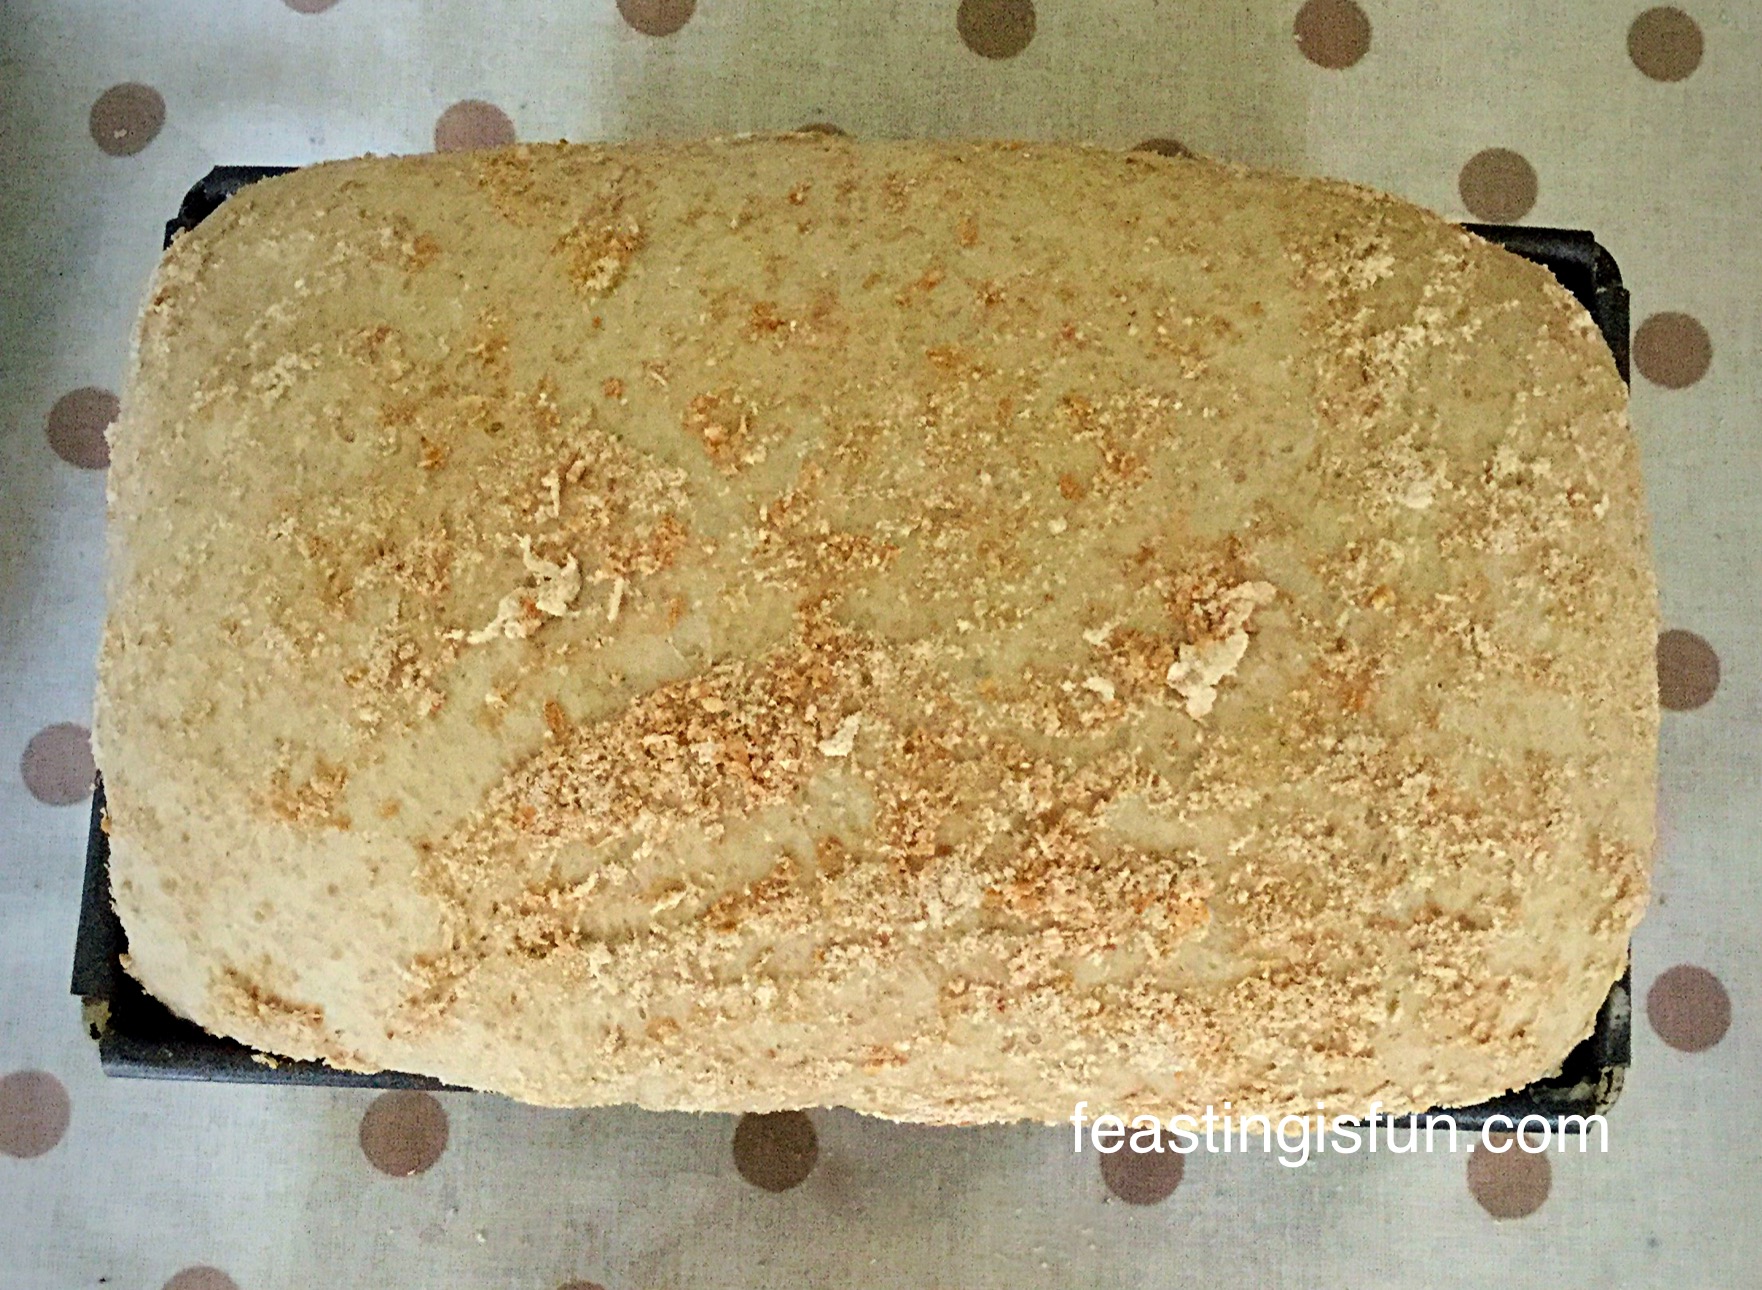
- Place into a greased 3lb loaf tin. Cover with a tea towel and leave in a warm, draught free place until doubled in size.
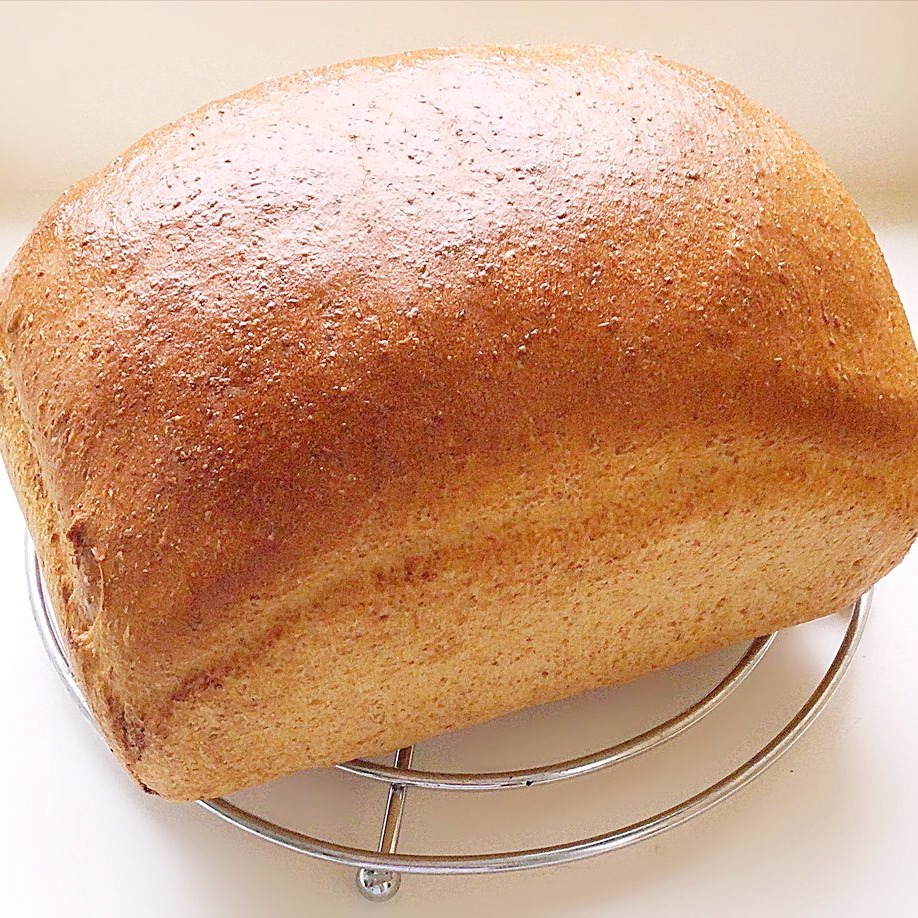
- Finally, sprinkle some wholemeal flour over the top of the dough. Since this gives a nice, rustic finish to the baked bread. Omit this stage if you want a glossy finish to your bread – see below.

The dough can take between 45 minutes and a couple of hours to double in size, depending on the ambient temperature and humidity.
Baking The Lighter Wholemeal Bread
- While the dough has it’s final prove, preheat your oven to it’s hottest setting.
- 5 minutes before your loaf is due to be baked, fill a tray with ice cubes and place on the lowest shelf in the oven. The hot, steamy environment will help the dough to rise even further before the crust sets (this is known as oven spring) and helps bake a crusty loaf.
- Place the loaf into the centre of a preheated oven and immediately reduce the oven temperature to 220C/200C fan, gas mark 7. Bake the Lighter Wholemeal Loaf for 30 minutes.
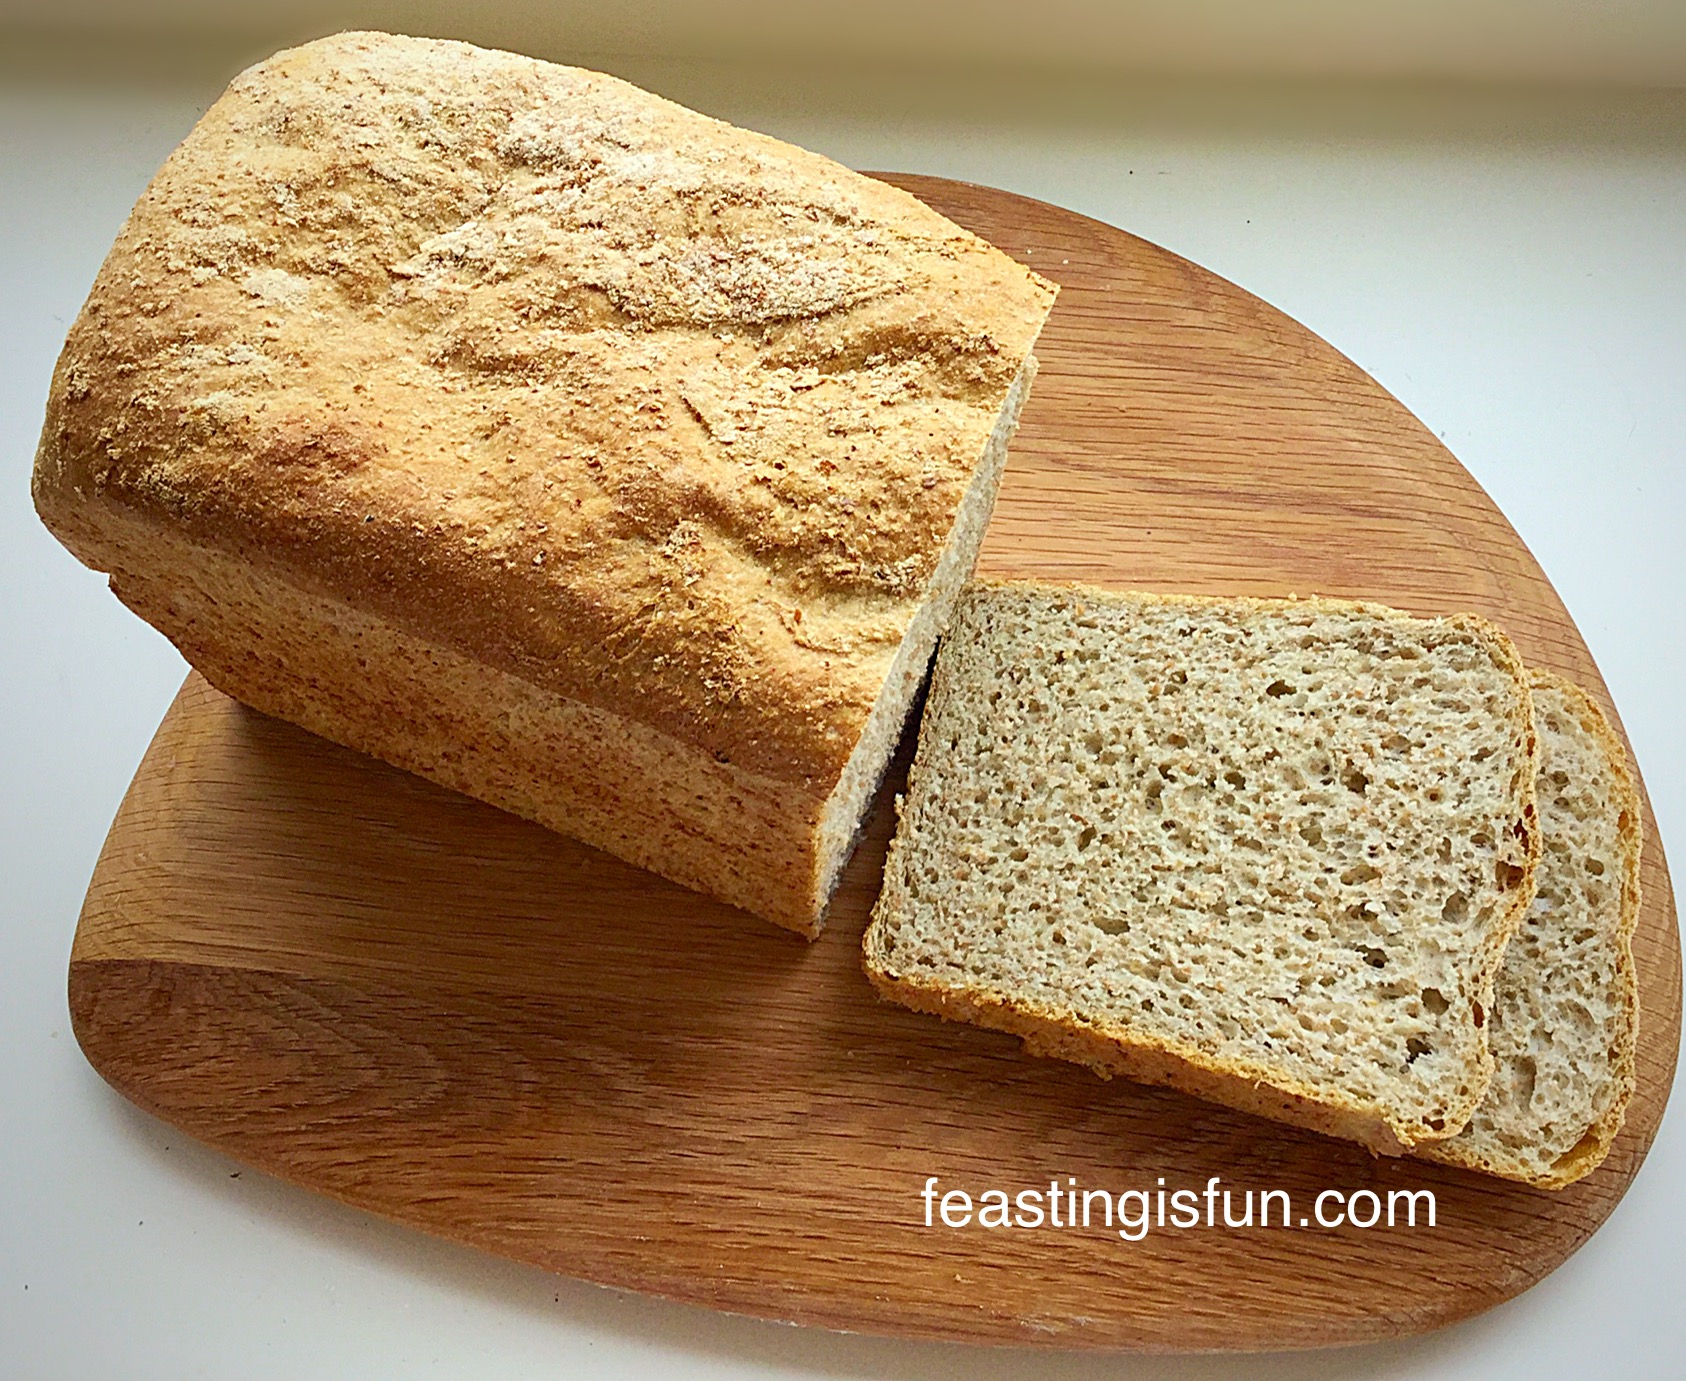
- The bread is baked when it is a golden brown colour and sounds hollow when rapped on the base of the loaf with your knuckle.
- As soon as the bread is baked remove from the oven and immediately tip out onto a cooling rack. Alternatively, for a thicker crust, place the loaf directly onto the oven rack and bake for a further 10 minutes.
Advantages Of Homemade Bread
First of all, the smell of freshly baked bread is unbelievably good. Our postman really likes delivering to us in the morning, as that tends to be when the bread is either baking or cooling! And the flavour beats anything you can buy from a supermarket.
Do not be surprised if your neighbours pop in, just for a chat, as they catch a whiff of freshly baked bread escaping from your house!
This Lighter Wholemeal Loaf will keep in a bread bin for up to 3 days. To freeze, ensure the bread is completely cold and wrap tightly in cling film. Fresh bread can be frozen for up to 3 months. To defrost, remove all the cling film and allow the loaf to stand on a large trivet or a cooling rack at room temperature, until fully defrosted.
I like to refresh frozen bread, this simply involves preheating the oven to 220C/200C fan, gas mark 7. As soon as the bread has fully defrosted, spray it lightly with tap water and place directly onto the middle oven shelf for 10-15 minutes. After removing from the oven allow the loaf to cool and it will taste like it has been freshly baked that day! I won’t tell!
If you have enjoyed this recipe for Lighter Wholemeal Loaf, then I have some others you may like too:


Using a bread maker or stand mixer to carry out the kneading part of making bread dough isn’t cheating. Since hand kneading some incredibly sticky Brioche dough for 20 minutes at the weekend, it has really taken it’s toll on my body, especially my thumb joints. So, if using kitchen appliances enables us to eat better quality, homemade bread, that is also much cheaper than it’s shop bought counterpart, why not?
I hope that the detailed, yet easy steps in this recipe have encouraged you to bake your own bread. And you may find that once you start it is impossible to go back to mass produced, plastic wrapped loaves!!
Also, I’m always willing to answer any questions you may have with this, or any of my other recipes. Either leave a comment, or for a quicker reply message me on Instagram or X (formerly Twitter).
Whatever you are making, baking and creating I your kitchens, have fun preparing and sharing your feast.
Sammie xx
Finally, this is not a sponsored post. I have been buying Shipton Mill flour for almost as long as I have been baking my own bread.
No part of this post may be reproduced or duplicated without the written permission of the owner. Please see my Disclosure Policy.
Hi
Just made the lighter wholemeal loaf and I think it turned out pretty good. Thanks for the recipe
Hi Mike, thanks for taking the time to comment. I’m thrilled you’re pleased with the recipe. Happy baking, Sammie.
Does the honey make the bread taste sweet?
Hi Colin, no the honey doesn’t make the loaf taste sweet. I find when baking with wholemeal flour that a little honey brings out the flavour of the finished bread.
Hi there,
I made your whole wheat loaf. Love the taste. Could you provide the dimensions of your 3 pound loaf pan? Your loaf looks taller than mine. After 1 1/2 hours second rise, it still didn’t come to the top of my pan, but I baked it anyway.
And I can’t wait to try the oat bran loaf. Thanks very much for sharing!
Mary, from Ontario Canada.
Muchas gracias. Estos completamente de acuerdo. X
Hola también a mi me encanta hornear m iu pan desde qué lo hice no compré más en las panaderías, es tan diferente el sabor y la calidad. Voy a comprar el molde que tienes me encanta. Gracias por compartir tus secretos y conocimientos tus recetas son fabulosos .
Love your Bread baking Sammie. It’s inspired me to buy the 3lb loaf tin, you use.
Thank you so much Rob, that means such a lot coming from a brilliant bread baker. You’ll love the tin. Sammie x
I adore whole wheat bread—and yours looks perfect for sandwiches, toast, and just sliced with butter! YUM!!
Thank you Liz. I too love wholemeal bread and I’ve managed to get the balance right with this loaf. It is delicious toasted! Sammie x
Nothing is better then home baked bread thanks for sharing
Beauty Candy Loves
Thanks Candice. I completely agree, you get to smell it baking and the eat it! Sammie x