Homemade Yorkshire Puddings

Share
Facebooktwitterpinterestlinkedintumblr

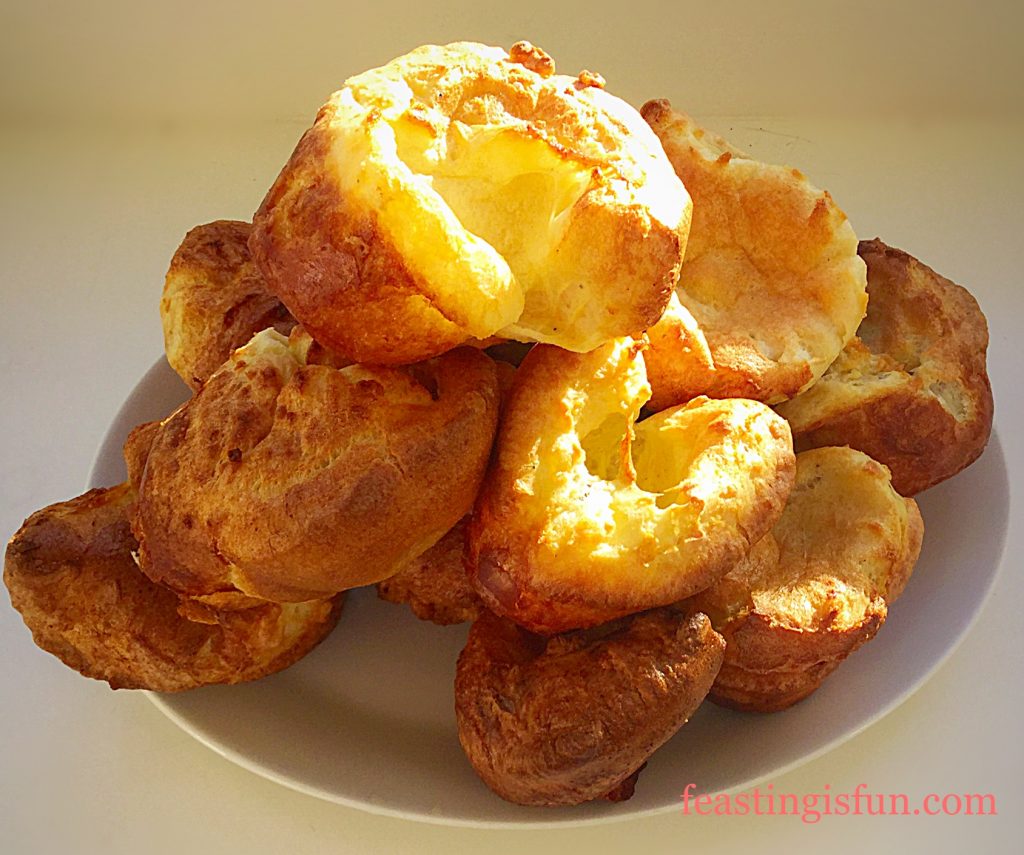
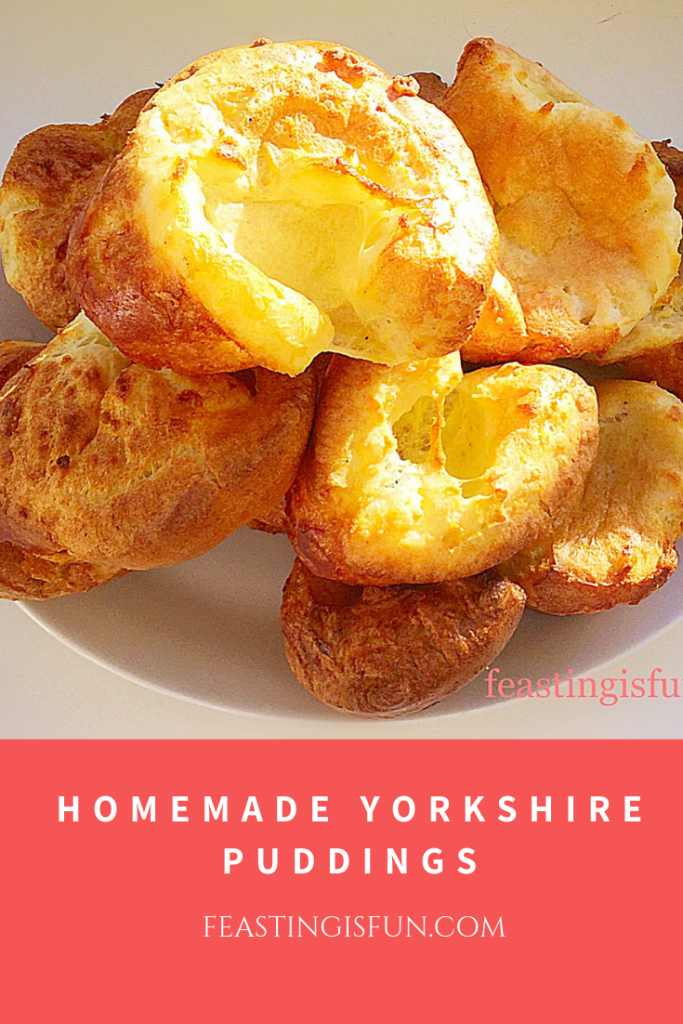
Homemade Yorkshire Puddings are golden, crisp, well risen, individual bakes of pure, indulgent, comfort food.

FF Homemade Yorkshire Puddings

While no meal HAS to have Homemade Yorkshire Puddings, what they add, to a roast, bangers and mash, or cooked with the sausages as ‘Toad in the Hole’, is immeasurable. Ultimately, eating them with roast beef is the traditional accompaniment here in England. Rather like stuffing with chicken or turkey.

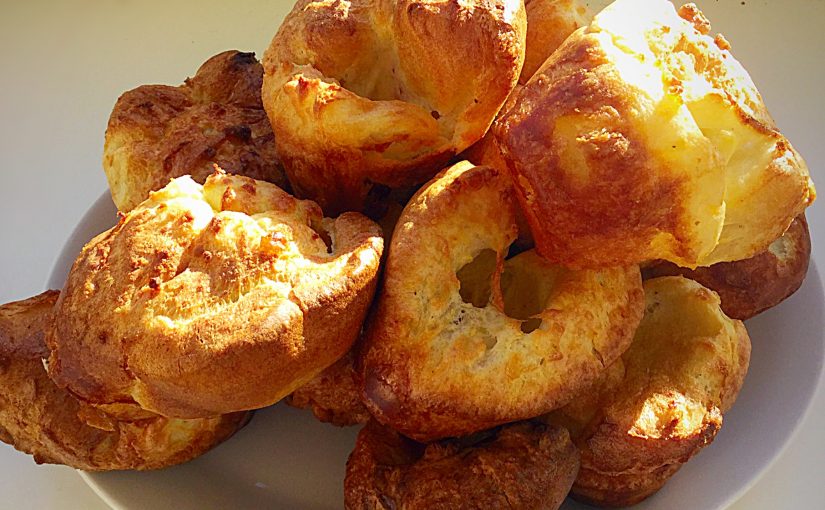
Actually, for me, Homemade Yorkshire Puddings me shouldn’t be uniformly perfect. Because part of their charm is the craggy appearance, some with a hole, others billowing  like cumulus clouds. Ready to soak up rich, meaty gravy.

FF Homemade Yorkshire Puddings
Homemade Yorkshire Puddings little effort for big reward.

Yet in the U.S.A. our beloved Yorkie Puds, are called ‘Popovers’. A fantastic name that I think describes them perfectly. Since they literally popover the top of the muffin tin whilst they bake.

Since childhood I enjoy happily watching these incredible bakes, laying prostrate, in front of the oven, in awe at the ‘magic’ as they rise.
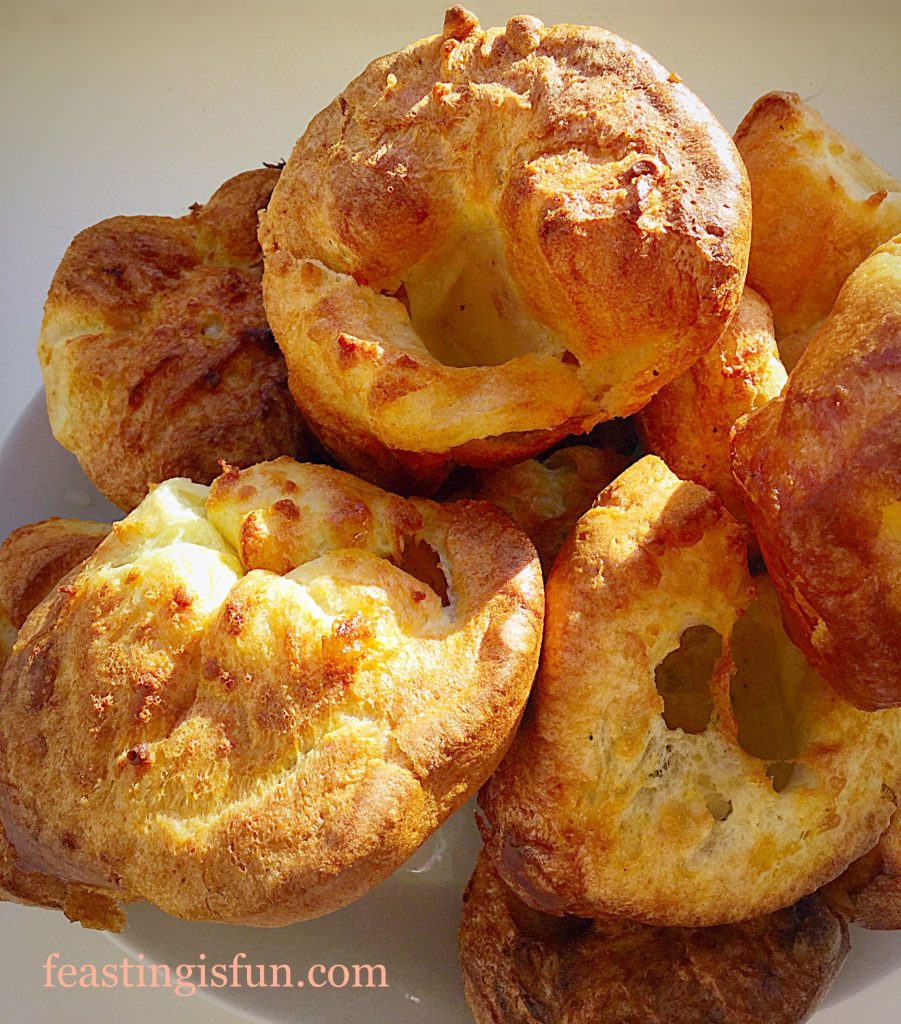
FF Homemade Yorkshire Puddings
Homemade Yorkshire Puddings just add meat and gravy.

Made from a simple batter, these gravity defying delights enhance any dinner plate they grace.

Various methods as well as recipes exist claiming to be the ‘best way’ of making a Yorkie Puds. While my method is tried and tested over the years. I have found no difference in the final result, whether I rest or use the batter immediately. Finally, what I am sure of, is that this recipe consistently works for me.

Furthermore, a real bonus to making these is that they can be made ahead and even frozen. What’s not to love about these savoury wonders?

Recipe: Makes 12 Large Homemade Yorkshire Puddings 

Vegetable oil or Lard for greasing the muffin tin

3 Large Free Range Eggs

250ml Milk -Whole or Semi Skimmed

200g Plain White Flour

1/8th tsp Salt – I use Maldon

1/8th tsp Freshly Ground Black Pepper

Pinch of Sugar

Method: Preheat the oven to 220C/200C fan, gas mark 7, 425F

Making The Yorkshire Pudding Batter

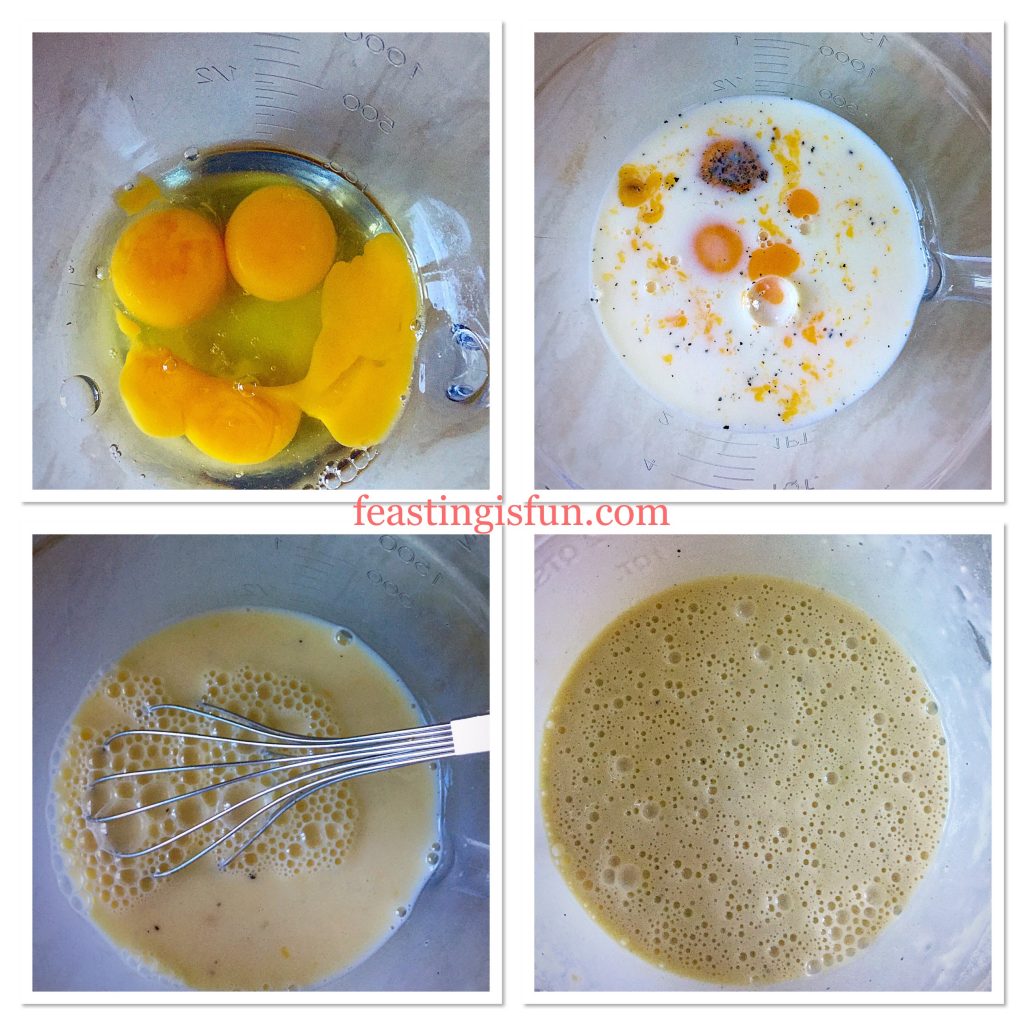
  • In a large jug add the eggs.
  • Next add the milk, salt, black pepper and sugar. Whisk using a balloon whisk until the egg and milk are thoroughly combined and there are lots of bubbles.
  • Now add the plain white flour, sugar and salt and pepper. Continue to whisk, by hand, for a couple of minutes. The batter should be completely lump free. Cover and set to one side.
FF Homemade Yorkshire Puddings
Steps showing the batter making process.

Baking The Homemade Yorkshire Puddings

  • Place a teaspoon of vegetable oil, or lard into a 12 hole muffin tin (or popover tin).
  • Put the muffin tin in the oven for 10 minutes until it is smoking hot.
  • Just prior to removing the tin from the oven, give the batter a quick whisk, in case it has settled.
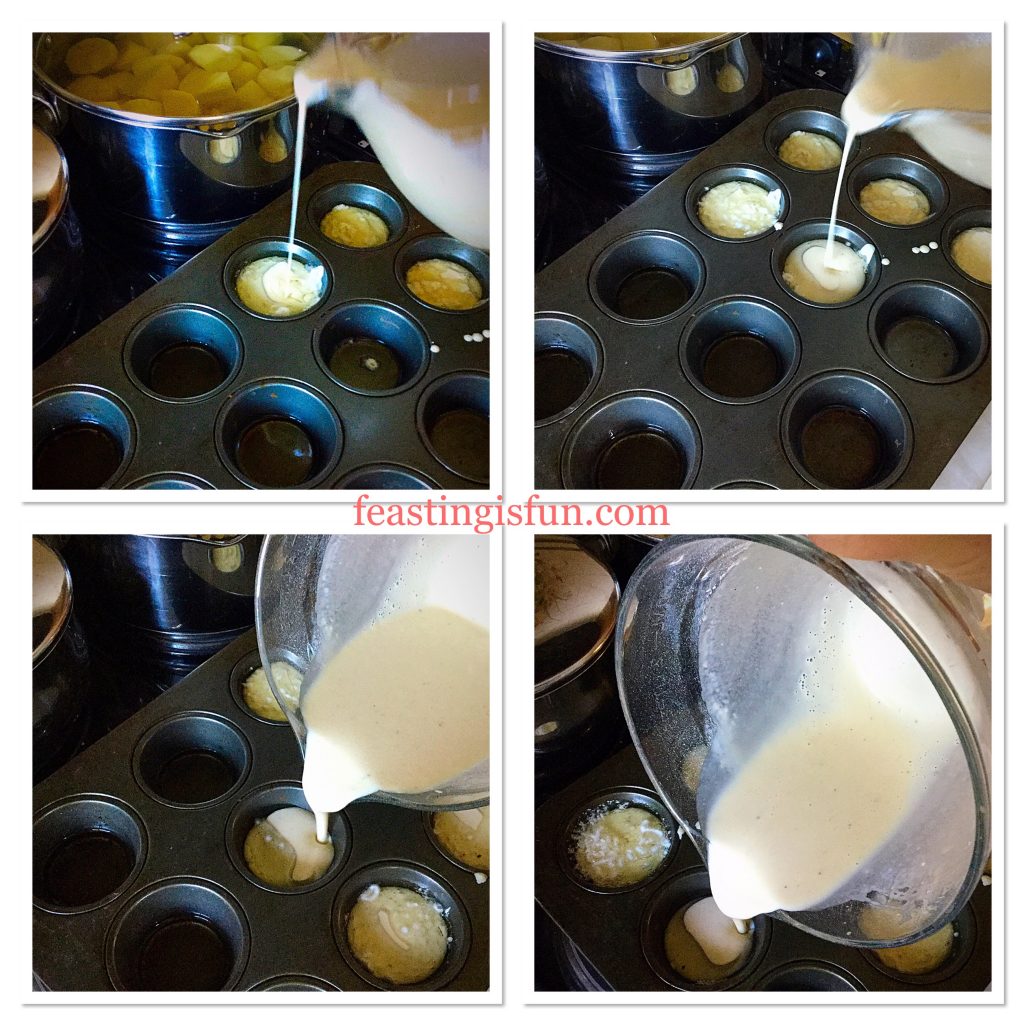
  • Working quickly, yet safely, remove the hot muffin tin from the oven and pour the batter mix into each hole. The batter should fill each muffin hole by half.
  • Return the muffin tin back into the top of the hot oven and bake for 20-25 minutes.
FF Homemade Yorkshire Puddings
Filling the muffin tin with batter.
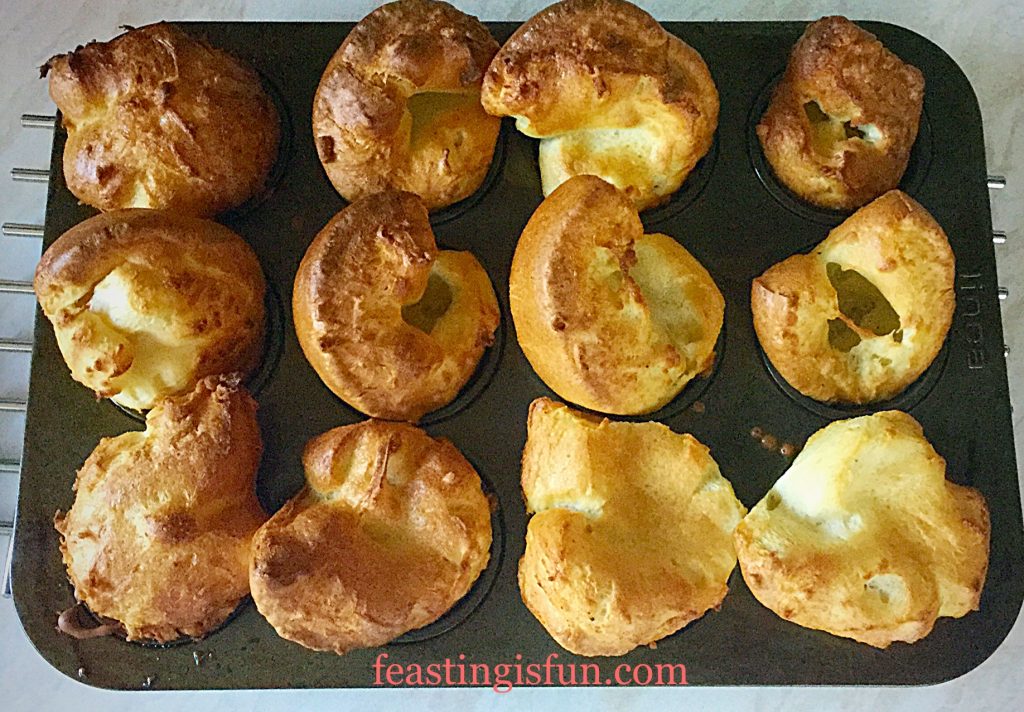
  • As soon as the Yorkshire Puddings are well risen, golden and crispy remove from the oven.
FF Homemade Yorkshire Puddings
Homemade Yorkshire Puddings they simply cannot be beaten.

To remove the Yorkshire Puddings simply lift them out from the muffin tin. If any have slightly stuck run a butter knife between the tin and the pudding and it should release easily.

Serve straight away, or as I frequently do, place on a baking tray to cool. While  dishing up the roast potatoes, pop the Homemade Yorkshire Puddings back into a hot oven to reheat.
FF Homemade Yorkshire Puddings
Homemade Yorkshire Puddings gloriously golden.

Make Ahead And Storage Instructions

Although our kitchen isn’t small, it does lack workspace. Yet being able to make these in advance, really is a huge help, especially if we have guests joining us for dinner.

To freeze, cool thoroughly, place in a freezer proof bag and keep in the freezer for up to one month. To reheat from frozen, place on a baking tray in a hot oven for 5 minutes. Once they are reheated they will taste as if you have just made them. No one will will ever know! Actually, I always make our Christmas Yorkshire Puddings ahead of the big day and freeze them. While I love cooking, I also want to have fun and enjoy myself too.

If you have enjoyed this recipe for Homemade Yorkshire Puddings you may also like these.
Slow Roasted Cider Pork

FF Homemade Yorkshire Puddings
Slow Roasted Cider Pork. Look at that crackling?

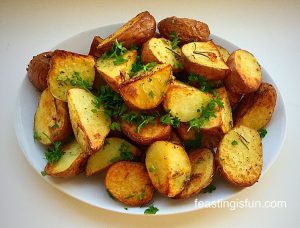
Garlic Rosemary Roast Potatoes

FF Homemade Yorkshire Puddings
Garlic Rosemary Roast Potatoes.

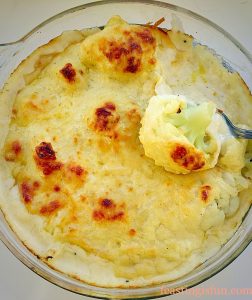
Homemade Cauliflower Cheese

FF Homemade Yorkshire Puddings
Homemade Cauliflower Cheese

Because this is such a simple recipe, im always surprised that shop bought Yorkshire Puddings so popular. Since I like the slightly softer centre that comes with Homemade Yorkshire Puddings. For such a simple recipe I am amazed at the extra ingredients needed for their pre made, shop bought counterparts.

Baking and cooking from scratch will always be my priority. I hope that you too choose to try these?

Sammie xx

No part of this post may be reproduced or duplicated without the written permission of the owner. Please see my Disclosure Policy.


Share
Facebooktwitterpinterestlinkedintumblr

Vanilla Bean Waffles

Share
Facebooktwitterpinterestlinkedintumblr

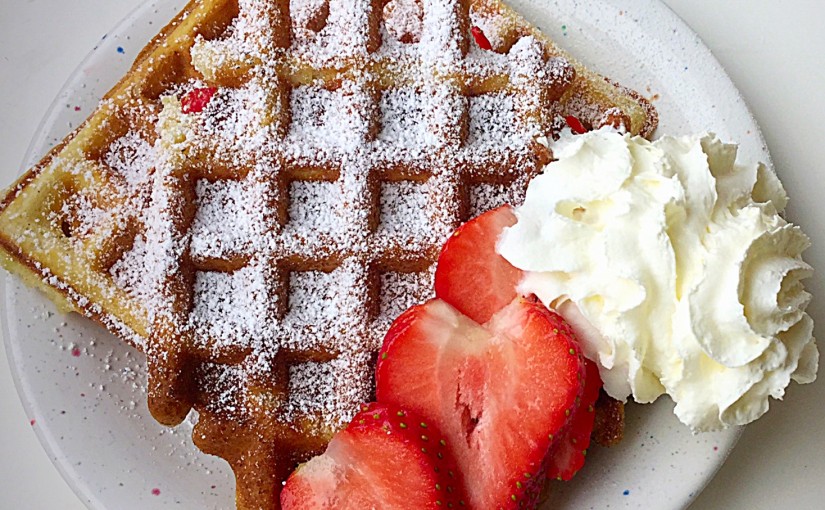
Vanilla Bean Waffles. Just think on that for a while, whilst you gawp stare graciously at this picture.

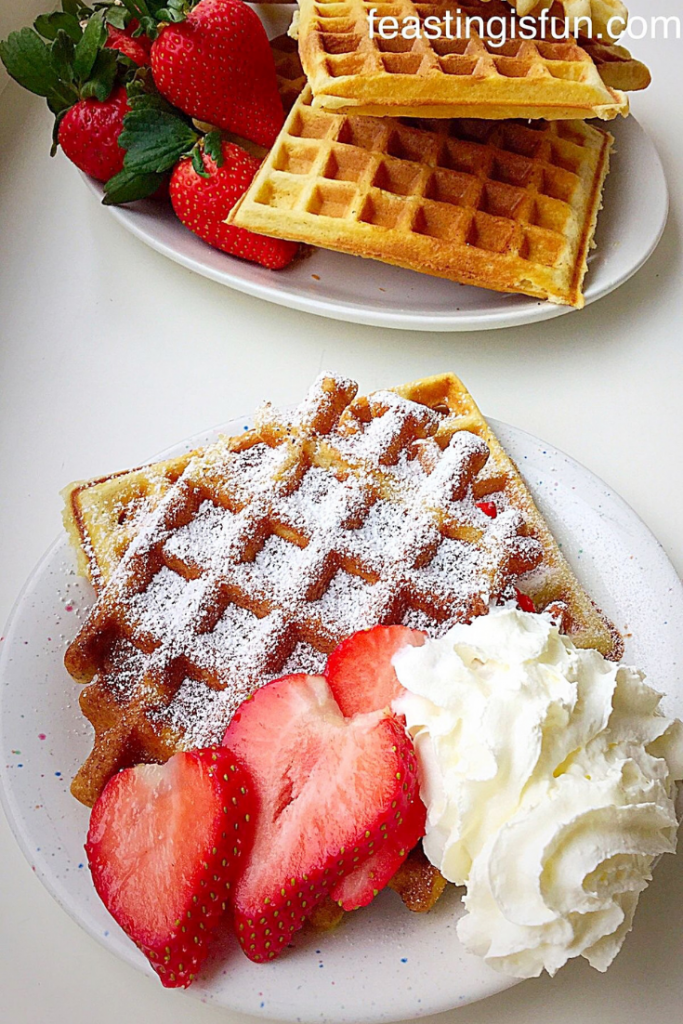
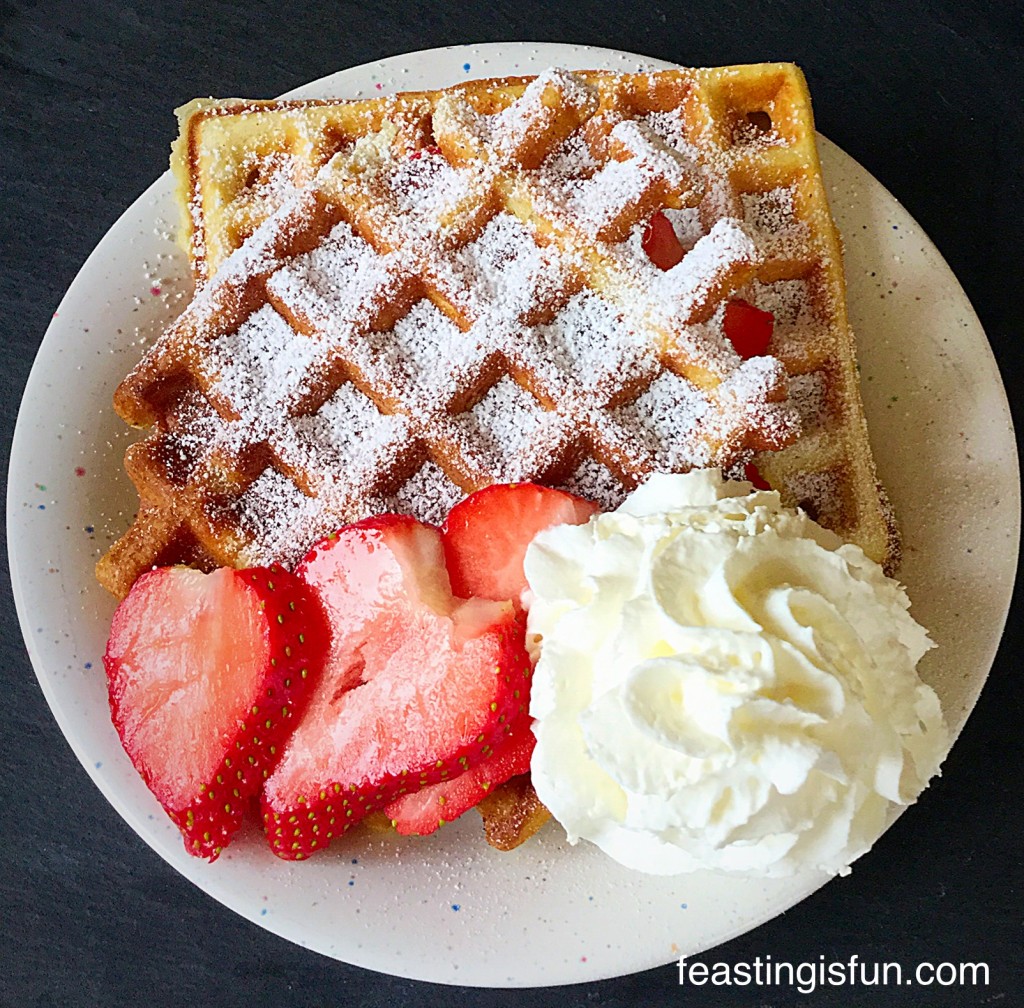
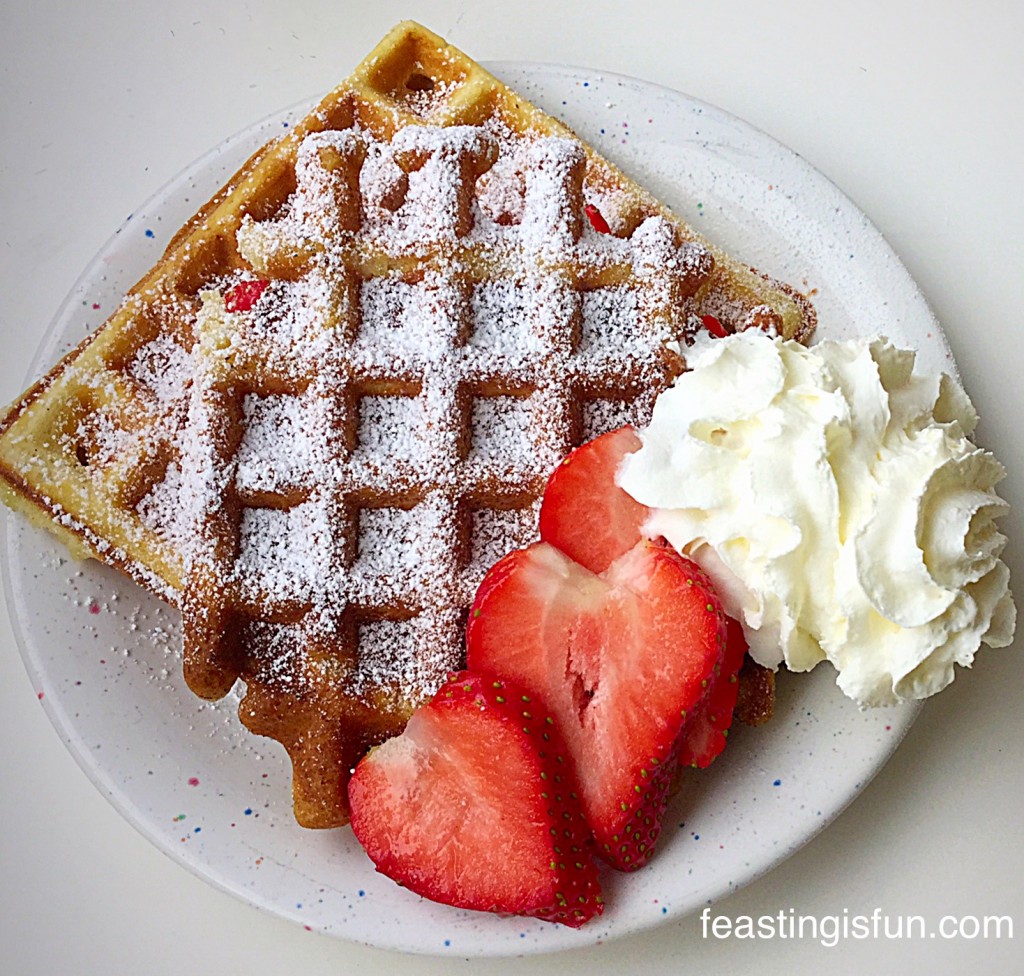
Waffles on a plate with sliced strawberries and whipped cream.

Light and fluffy inside, crispy and golden outer, these Vanilla Bean Waffles may just about be the best invention for breakfast, since sliced bread got a one-up and became toast!

Two waffles on a plate in the foreground with a stack of waffles and strawberries in the background.
Vanilla Bean Waffles

I have wanted a waffle maker for longer than I care to remember. This in itself is kind of odd, seeing as I’ve never eaten a waffle before in my life! Let alone made one. Yet after watching Diners, Drive-ins and Dives on Food Network UK, where Guy Fieri travels around the U.S. visiting various eating establishments. Since seeing all the incredible waffles sold all over the U.S.A I have been craving them. While I haven’t ever bought them pre-made from the supermarket, or even eaten them at a cafe or restaurant, I wanted to make them.

Homemade Food Tastes Better

It’s a little thing of mine, if I can buy it I want to make it. With only a couple of exceptions, don’t mention the croissants homemade always tastes better than pre-made, packaged, mass produced, supermarket produce.

Please don’t misunderstand me? I really couldn’t manage without the convenience of my weekly online grocery shop, especially as I cannot drive at the moment. Rather, it is simply that, fresh from the Waffle iron, these Vanilla Bean Waffles are a million miles away from their shop bought counterpart. Plus you can switch up what you add to them.

AJ Vanilla Bean Waffles
Vanilla Bean Waffles better than shop bought?

Fortunately our daughter has eaten (and loves) shop bought waffles. Her verdict after eating two Vanilla Bean Waffles was a firm 10 out of 10 and “so much better than any I’ve eaten before” verdict. And that response was thrilling. She can be a tough cookie and 8.5 out of 10 is usually the highest she goes! So I knew I’d struck gold with this recipe.

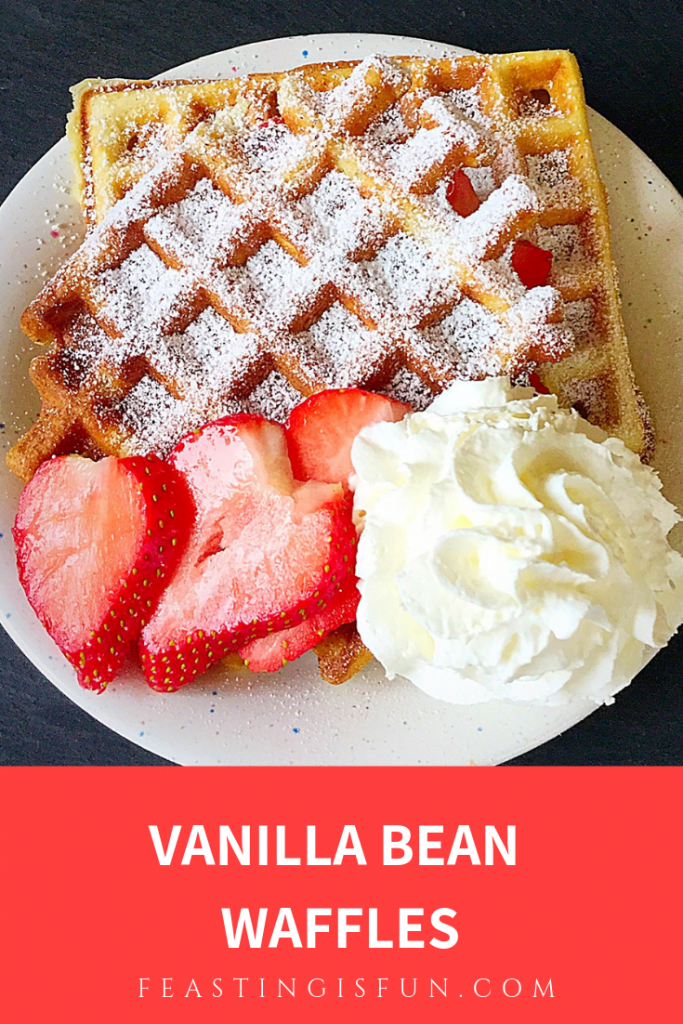
Served warm with a dusting of icing sugar, super fragrant strawberries and a swirl of cream to seal the deal, the plate you see above was my lunch.

Oh boy. Why have I waited so long? All these years I’ve been missing out on the absolute, utter deliciousness of homemade waffles. Plus I was pretty pleased that I’d managed to nail the recipe on my first attempt!

Back to the waffles. You must try these. Seriously, even if you’re not the worlds greatest cook, with this recipe and a trusted Andrew James Belgian Waffle Maker, you can’t go wrong.

Note: It is always recommended that you read through the entire recipe before proceeding. This applies to all recipes on this site and in general.

Recipe: Makes 10 Vanilla Bean Waffles

This recipe assumes that you have read the waffle maker’s instruction booklet and carried out any pre-treatment required. Mine was simple to wipe over the non stick plates with a clean, damp cloth.

  • 120g Unsalted Butter
  • 3 Large Free Range Eggs
  • 150ml/5fl oz Whole Milk
  • 1tsp Vanilla Bean Paste – I use Nielsen-Massey 
  • 30g/2tbsp Caster Sugar
  • 225g/8oz Plain Flour – Self Raising can be substituted, omit the baking powder
  • 2tsp Baking Powder
  • 1/8tsp Salt – I use Maldon-sea salt

Method:

Making The Waffle Batter

  • First of all place the unsalted butter into a small saucepan on a low – medium heat. Allow the butter to completely melt. Remove from the heat and allow to cool.
  • While the butter is cooling crack the eggs into a large bowl. Give them a quick whisk.
  • Add the milk, sugar and vanilla bean paste to the eggs and lightly whisk to combine.
  • Once cooled weigh 100g of the melted butter into the egg, milk, sugar, vanilla bean paste mixture and whisk briefly to combine (wet ingredients).
  • Weigh the flour and sift along with the baking powder and salt into the bowl containing the wet ingredients.
  • Gently mix both the wet and dry ingredients together until just combined – over mixing will lead to tough waffles.

Prepping The Waffle Maker


AJ Vanilla Bean Waffles

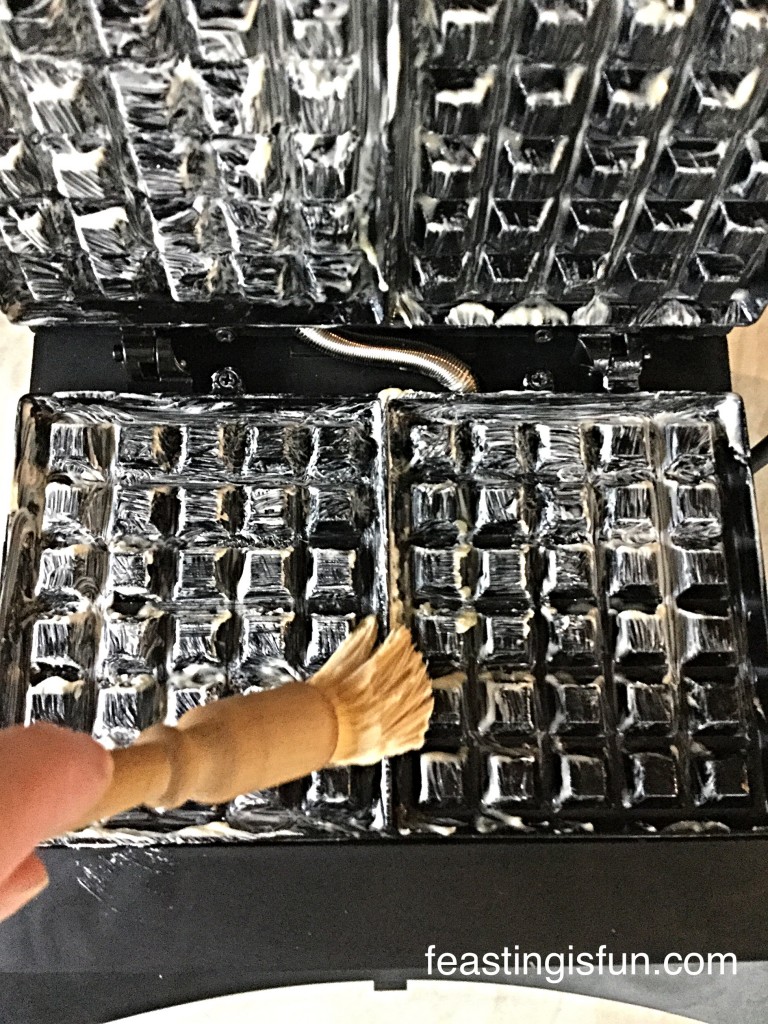
  • While the Waffle Maker is switched off brush the melted butter so that it completely covers each of the waffle plates.
  • Close the waffle maker and switch on. For the Andrew James Belgian Waffle Maker it is ready to cook with when the green ‘ready’ light illuminates.
  • Using oven gloves, to protect your hands, as the top of the waffle make plus the waffle plates get very hot, press the button and open the waffle maker.

AJ Vanilla Bean Waffles

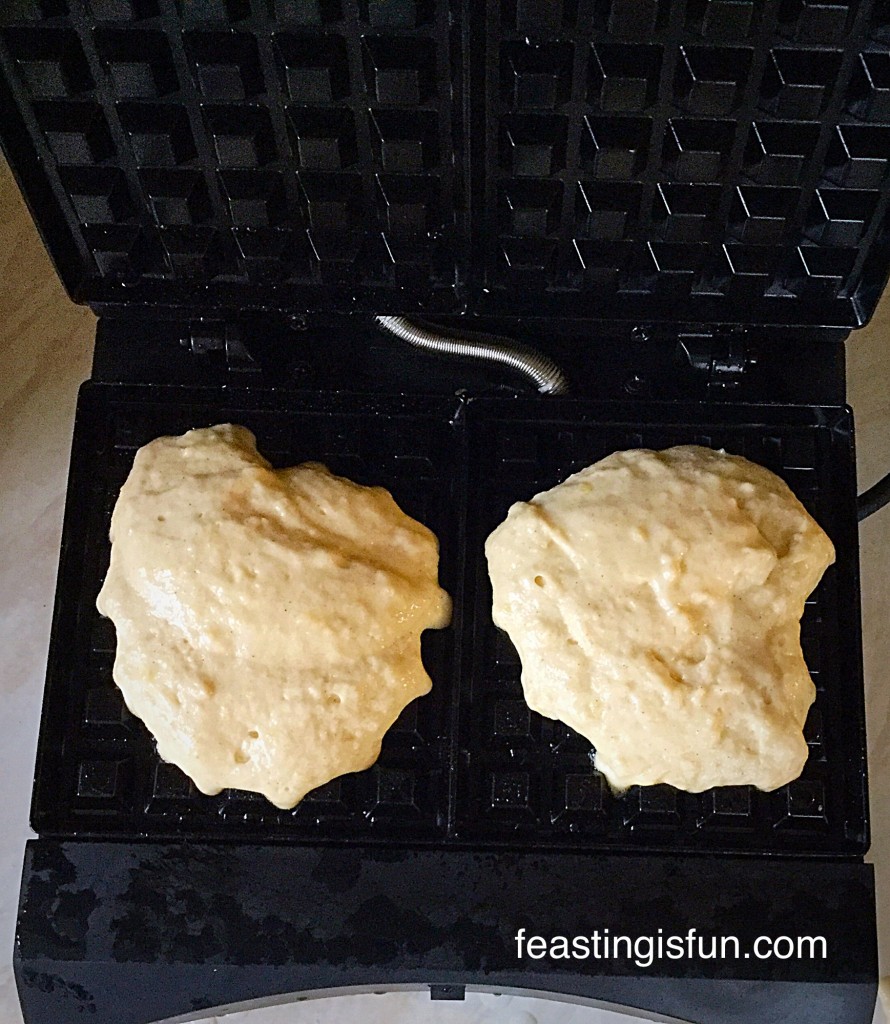
  • Use an American 1/4 cup measure (50ml – 2 heaped tablespoons).
  • Close the lid of the waffle maker and set a timer for 5 minutes.
  • Ensure the room is well ventilated as the cooking process produces steam.
  • I found 5 minutes to be the optimum time for cooking these Vanilla Bean Waffles in this waffle maker. Adjustments to time maybe needed if using a different brand.
  • Really enjoy the smell as the waffles are cooking – don’t be surprised if your neighbours line up at your front door!
  • After 5 minutes, wearing oven gloves, press the button to release the lid of the waffle maker.
AJ Vanilla Bean Waffles
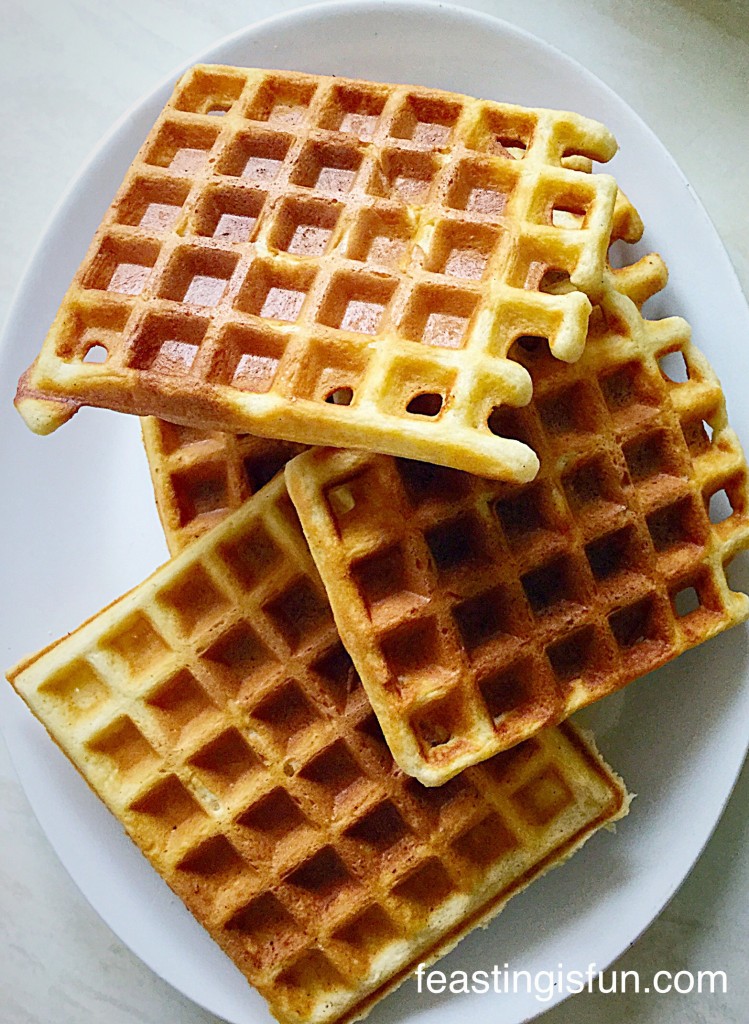
Vanilla Bean Waffles.
  • Use a wooden spatula to help remove the waffles from the plates. They come away really easily. Most importantly do not use anything metallic to remove the waffles as it could scratch the non stick coating on the waffle plates.
  • Repeat adding 1/4 cup (50mls) as before to each plate.
  • Continue until all the waffle batter has been used.
  • As soon as the last waffle has been removed switch the waffle maker off and leave to cool.
AJ Vanilla Bean Waffles
Vanilla Bean Waffles.

What I Added To The Waffles

Enjoy your Vanilla Bean Waffles however you want.

I added sliced strawberries, a dusting of icing sugar and some whipped cream. Our children reheated their waffles in the toaster, before adding various combinations of ice cream, Nutella and strawberries! What you put on yours is up to you. Flavoured fruit or spiced butters work well. Also a drizzle of maple syrup tastes amazing on these golden beauties.

They keep for up to 2 days in an airtight container and can be reheated in the toaster or oven. To freeze, ensure the waffles are completely cold then pack into zip lock bags or containers with an airtight lid. Keep for one month in the freezer.

AJ Vanilla Bean Waffles
Vanilla Bean Waffles

For a first attempt at waffle making I am surprised and pleased with how easy it is. I would happily make these at weekends, invite some friends over for a breakfast party.

Oh wow how much fun would that be?

However you enjoy your waffles, I really hope I have inspired you to have a go and make some at home. They simply taste so unbelievably good.

Vanilla Bean Waffles perfect for feasting, sharing and having fun!

If you have enjoyed making these Vanilla Bean Waffles you may also like these recipes:

Toffee Banoffee Waffles 

FF Vanilla Bean Waffles
Toffee Banoffee Waffles

Chocolate Dunking Waffles

FF Vanilla Bean Waffles
Chocolate Dunking Waffles


Cherry Bakewell Waffles

AJ Cherry Bakewell Waffles
Cherry Bakewell Waffles

Since discovering the deliciousness and versatility of homemade waffles, weekend brunches in our house have become something we all look forward to. And while I have the waffle maker out it makes sense to double up the recipe and freeze some for another day. Also, if you prefer savoury toppings on your waffles, simply leave the vanilla bean paste out of the recipe. Alternatively you could make some plain waffles and then add some vanilla for a sweeter version. Finally, to reheat cold waffles, simply pop them in the toaster.

So, whatever you are making, baking and creating in your kitchens, have fun preparing and sharing your feast.

Sammie xx

The Andrew James Belgian Waffle Maker was provided for the purposes of review. All opinions, recipes and content are my own. Please see my Disclosure Policy.


Share
Facebooktwitterpinterestlinkedintumblr