Easy Homemade Cottage Loaf

Share
Facebooktwitterpinterestlinkedintumblr

For me, nothing quite compares to the beauty, taste and smell of homemade bread. Four ingredients, flour, yeast, water and salt, when mixed together, worked, rested, shaped and baked give such incredibly satisfying results. Bread is surely the heart of any feast and therefore, teaching  others to bake it is of upmost importance to me. Using step by step instructions and photographs, you too can learn how to make and bake this Easy Homemade Cottage Loaf.
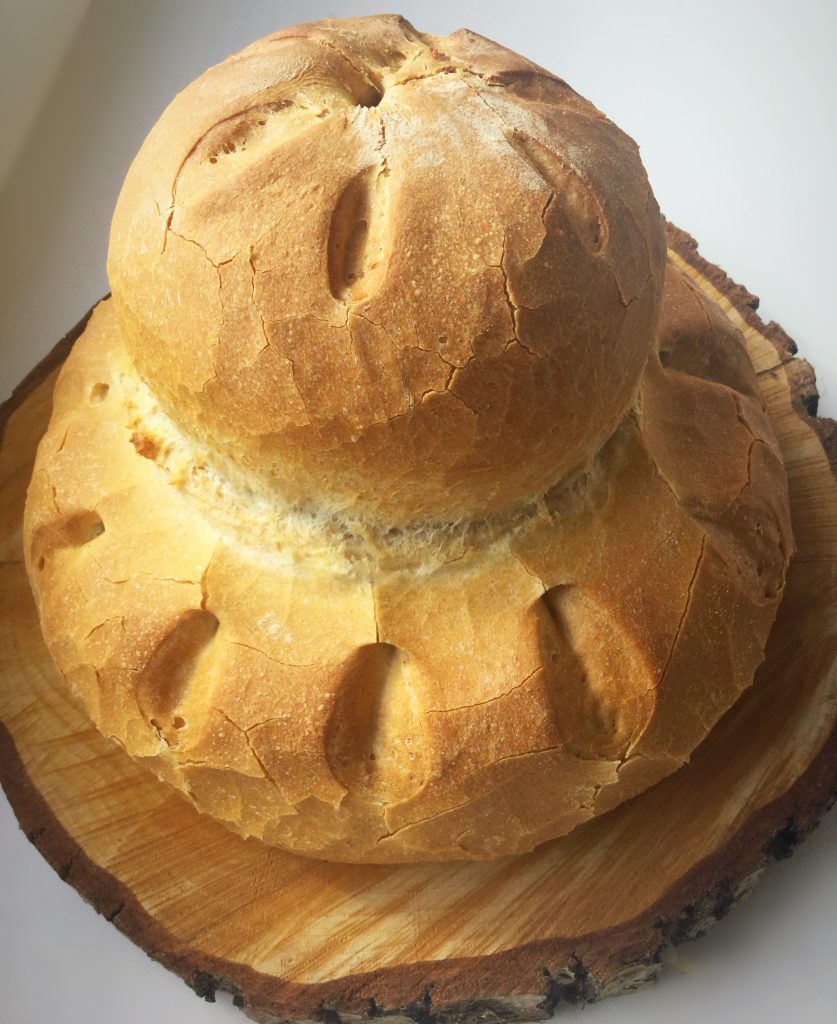
FF Easy Homemade Cottage Loaf
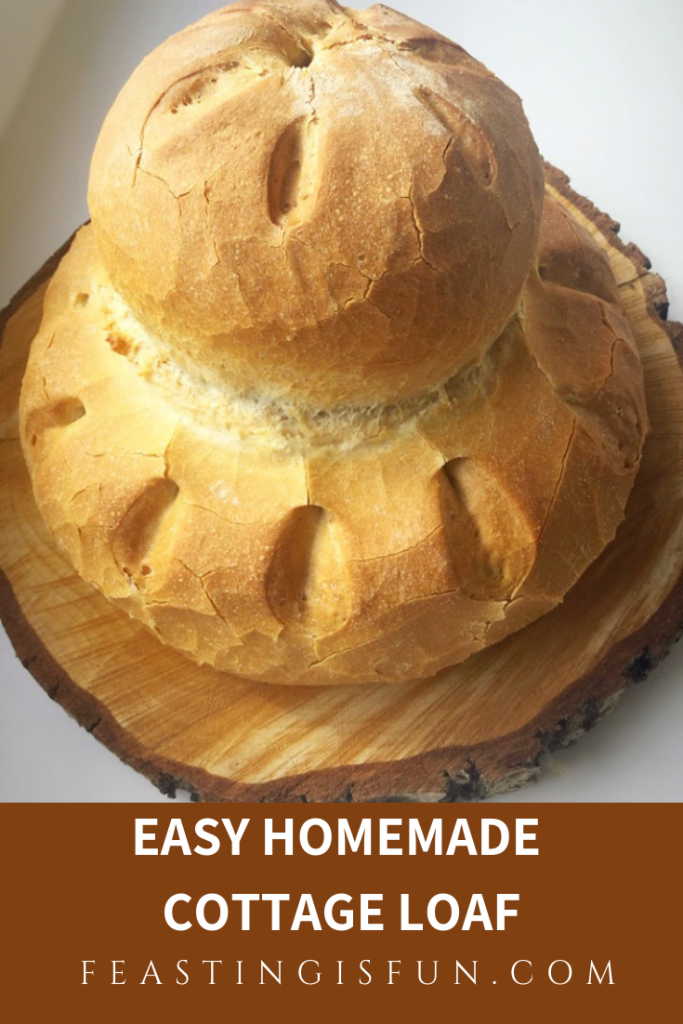
Easy Homemade Cottage Loaf.

Bread Making Is Easy To Learn And Bake At Home

Inspired by a friend on Twitter, who claimed that bread baking was beyond her, I set out to show her she could. While she is a very accomplished baker, far more so than me, bread is her baking stumbling block. Everyone can make bread. Are you wary of baking bread? With this guide and a relaxing cup of tea, read through and then get baking!
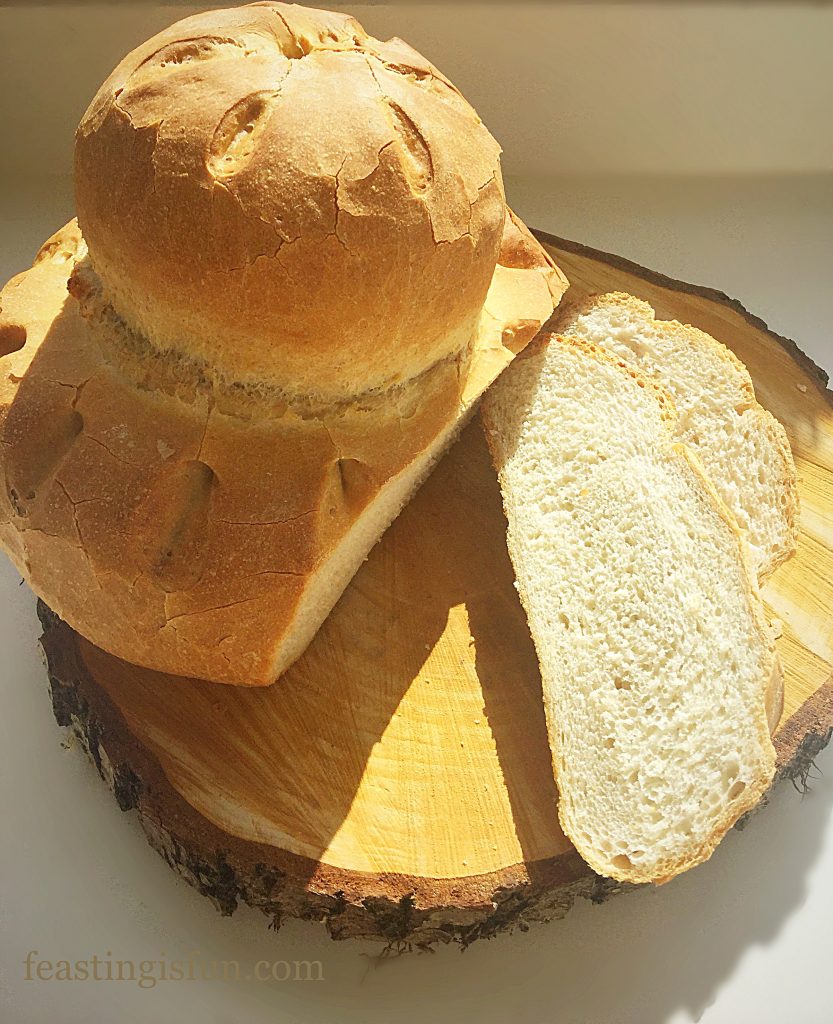
FF Easy Homemade Cottage Loaf
Easy Homemade Cottage Loaf soft crumb with crunchy crust.

Following the techniques and tips in this recipe will guarentee that you too, can make delicious, homemade bread. Also the more that you practise, the more confident and better you will get a baking bread at home. It is important to remember that occaisionally a loaf of bread will turn out mishapen. Rarely is it inebible though!
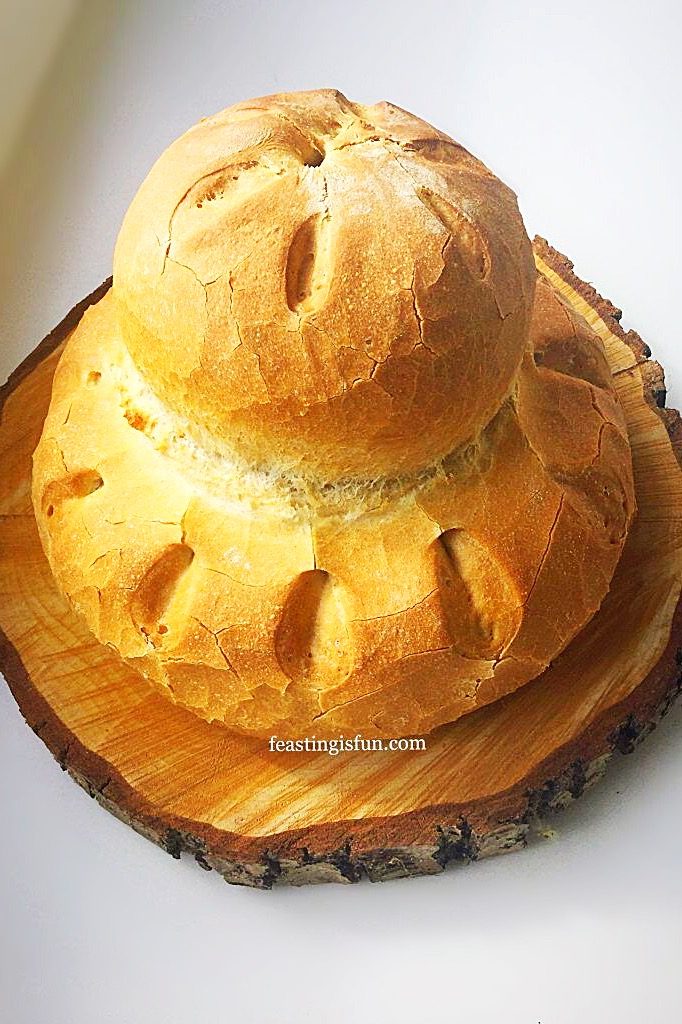
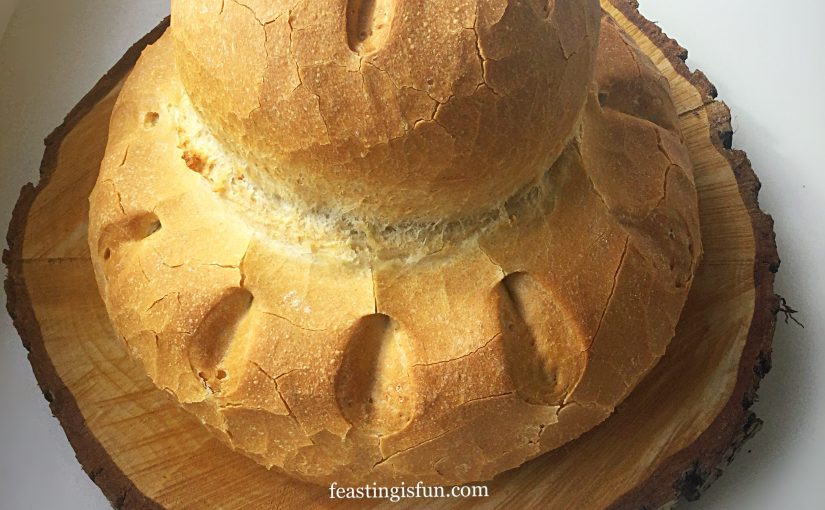
Two balls of bread on top of each other with the bottom one larger than the top. Grooves scored around the outside.
Easy Homemade Cottage Loaf

Recipe: Easy Homemade Cottage Loaf

320mls Water at room temperature

1/2tsp Caster Sugar

7g Dried Yeast make sure that is reasonably fresh (3 months old max) – I use Allinson in the green tub/sachets

500g/1lb 2oz Strong White Bread Flour – I use Shipton Mill

25g/1oz Unsalted Butter at room temperature

7g Sea Salt – I use Maldon

Method: For making by hand or using a stand mixer with dough attachment.

You will need a large, buttered baking tray.

Making The Bread Dough Using A Stand Mixer:

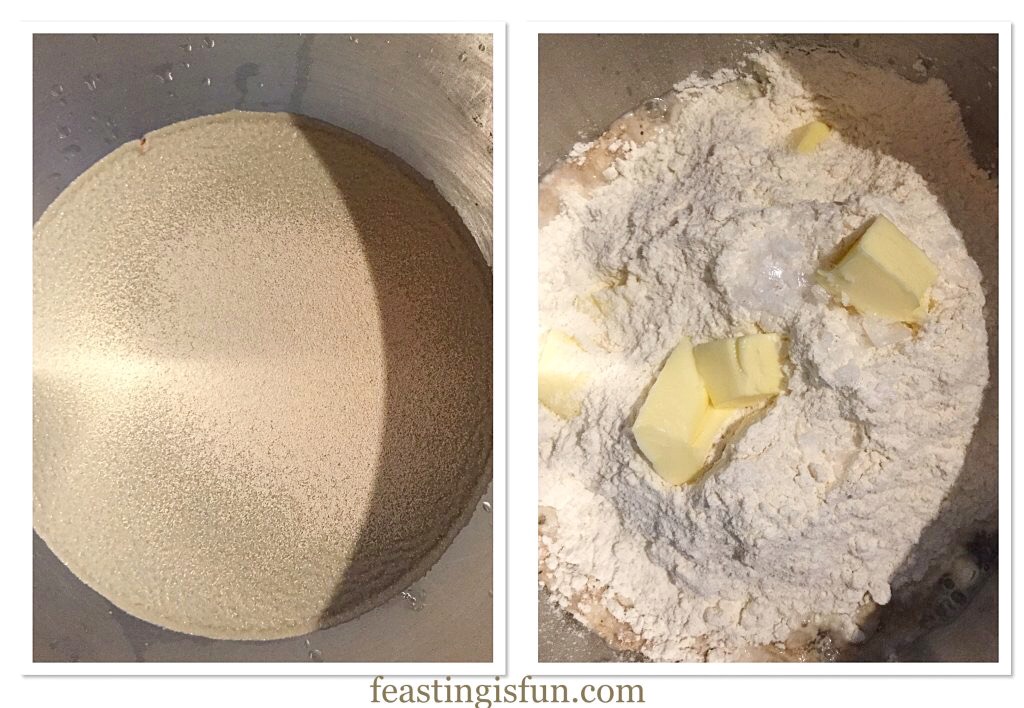
  • Add all of the ingredients to the bowl of a stand mixer in the order that they are listed. This ensures that the yeast does not come into direct contact with the salt.

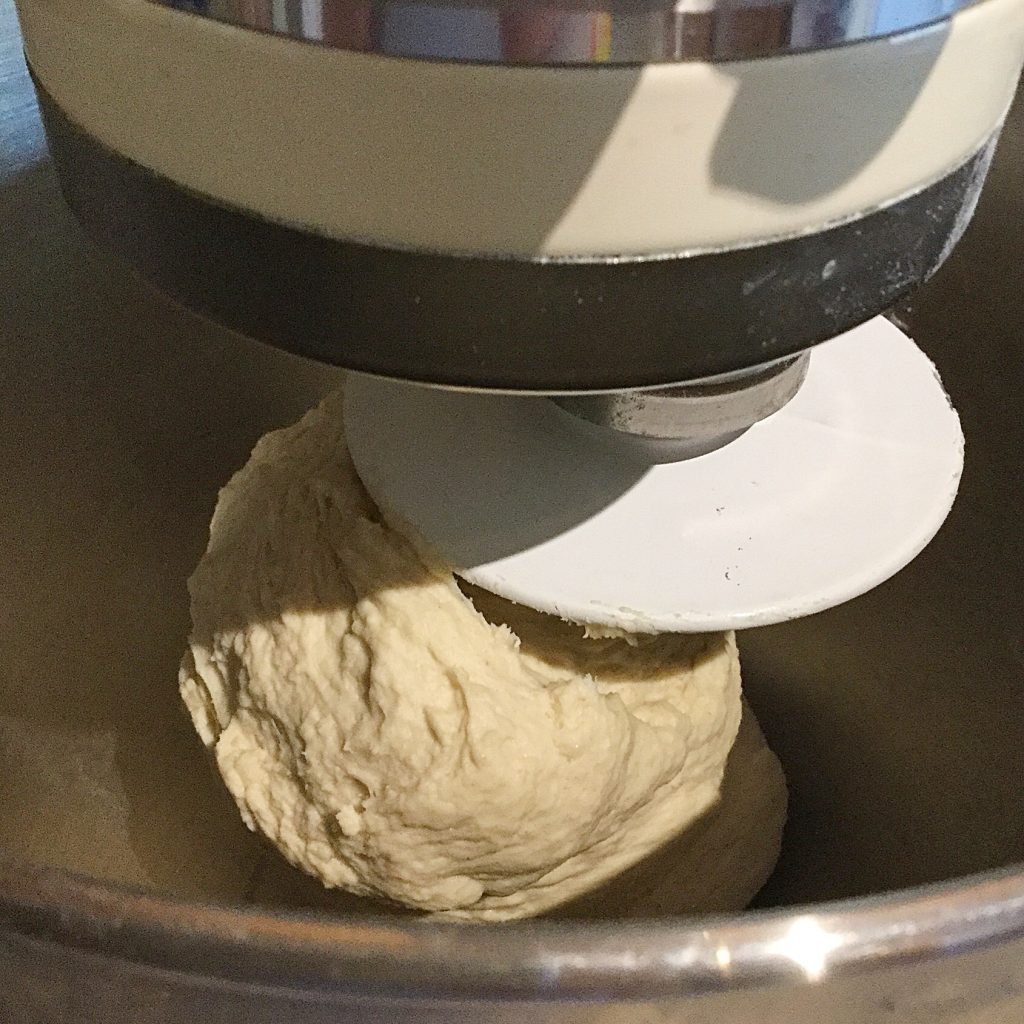
  • With dough hook attached mix on low speed until all the ingredients are combined.

Mixing dough using a stand mixer.

  • At this point if you wish to knead by hand, scrape the dough from the dough hook into the bowl. See making by hand method.
  • Continue mixing the dough on medium speed for a further 10 minutes.
  • After the kneading time has elapsed stop the machine and tear off a small piece of dough. Stretch it between your fingers until it is so thin that light can be seen through it. This is known as the windowpane test. If it tears whilst stretching, add back to the dough and continue to mix for a further 2 minutes as before. Repeat after each mixing period until the dough passes the test.
  • Scrape the dough from the dough hook into the bowl and cover with a clean tea towel.
  • Place the covered bowl in a draught free place, away from a direct heat source.

  • Leave until the dough has doubled in size.

Making The Dough By Hand

  • Place the flour and butter into a large bowl.
  • Rub the butter into the flower using your fingertips.
  • Add the sugar and yeast to the bowl on one side. Place the salt on the opposite side, so that it doesn’t come into direct contact with the yeast.
  • Make a well in the centre of the flour and then add all of the water.
  • Using your hand, shaped like a claw, bring the dry ingredients into the water and mix them together.
  • Continue mixing in the bowl until the dough has formed a sticky ball.
  • Place the dough on to a clean worktop and push with the heal of your hand to
  • Tear a small piece of the dough and perform the windowpane test as described above. If the dough tears knead for a further 2 minutes and test again.
  • Repeat the kneading and testing procedure until the dough passes the windowpane test.
  • Form the dough into a ball, place in a clean bowl, cover with a tea towel and leave in a draught free place until doubled in size.

Shaping And Building The Easy Homemade Cottage Loaf

For both methods given:

  • When the dough has doubled in size turn out on to a lightly floured surface, ensuring the top of the dough is in contact with the worktop. What was the top is now the bottom.
  • Weigh the dough and cut off one quarter.
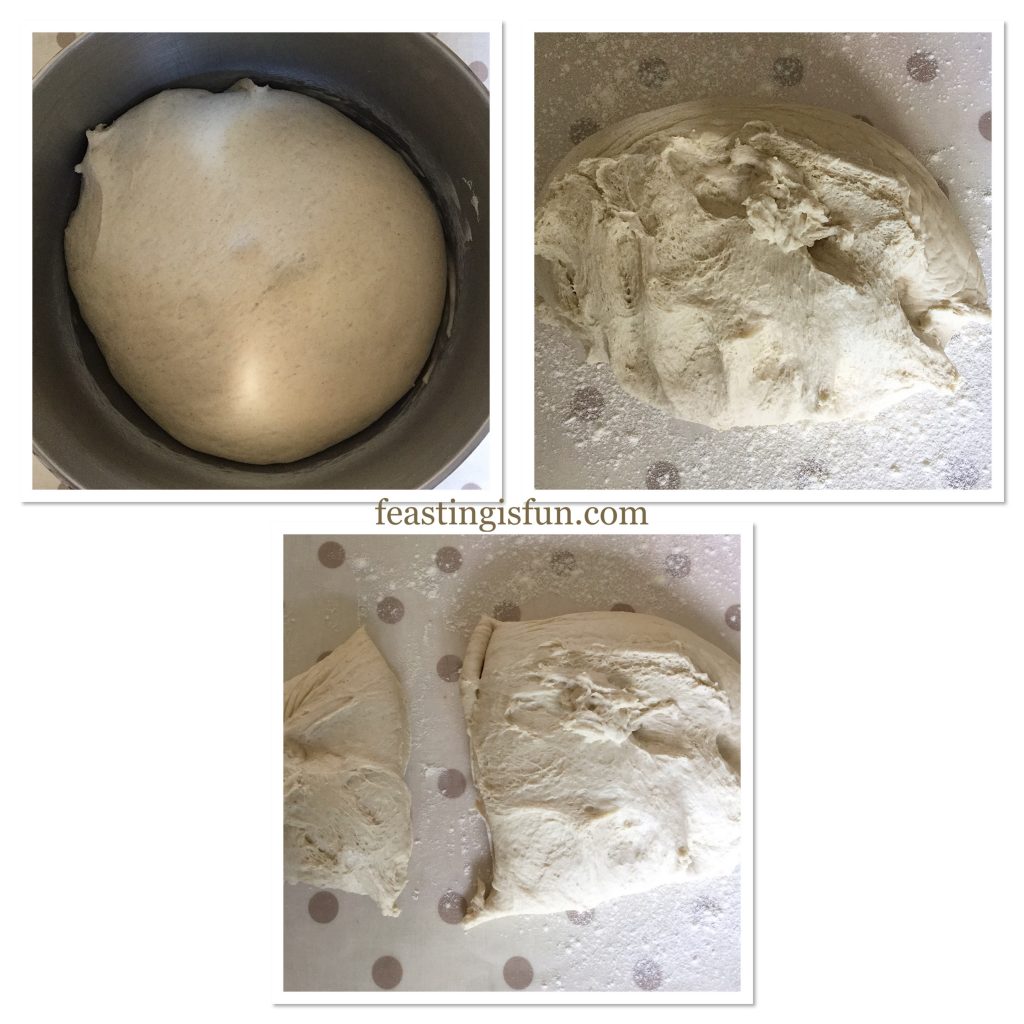
FF Easy Homemade Cottage Loaf
Turning out and dividing the dough
  • Starting with the larger piece of dough, stretch and pull one side and press down into the opposite side.
  • Now stretch and pull the opposite side. Press down as before.
  • Turn the dough and repeat 4 more times, where the edge is rough and untouched, until your dough resembles the bottom right photo.
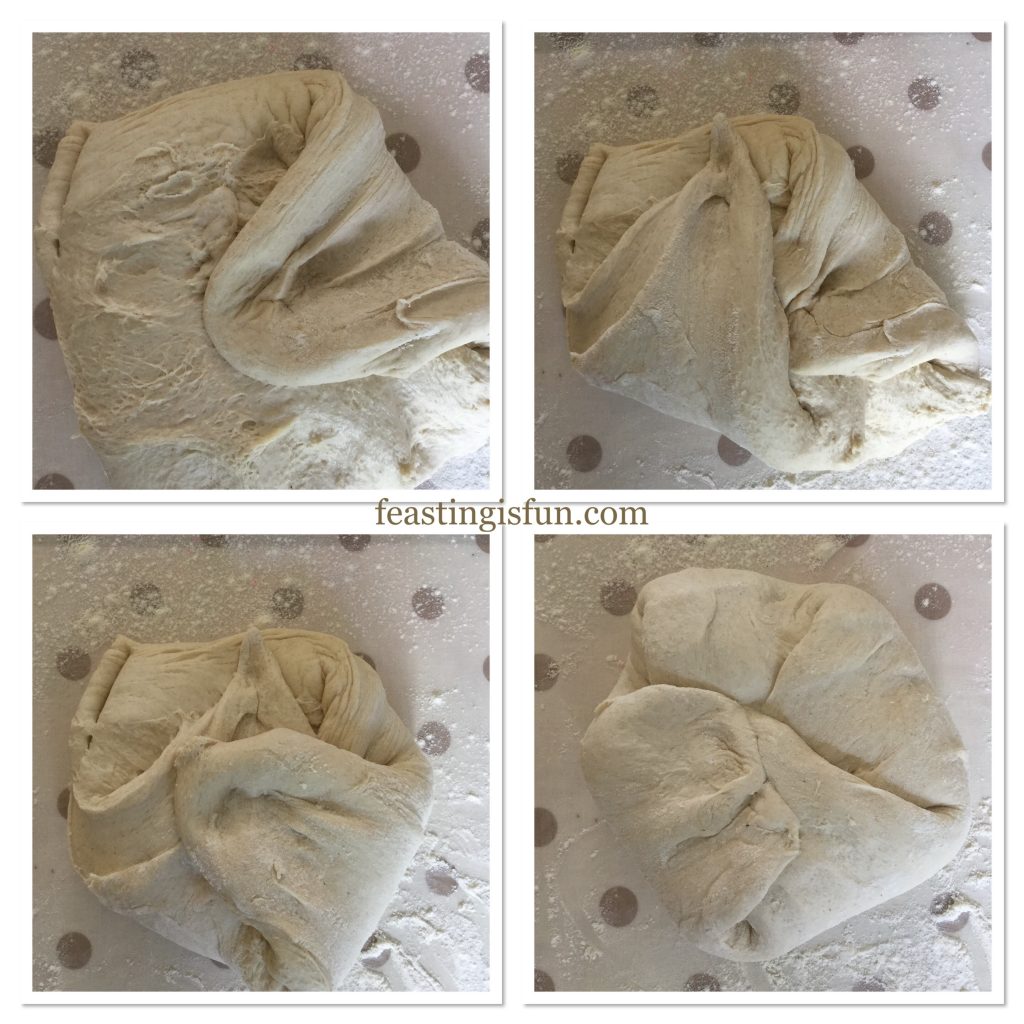
FF Easy Homemade Cottage Loaf
Building tension into the dough.
  • Flip the dough over and create a ball shape. Cup your hands around the dough, tucking and turning to create a tight ball shape.
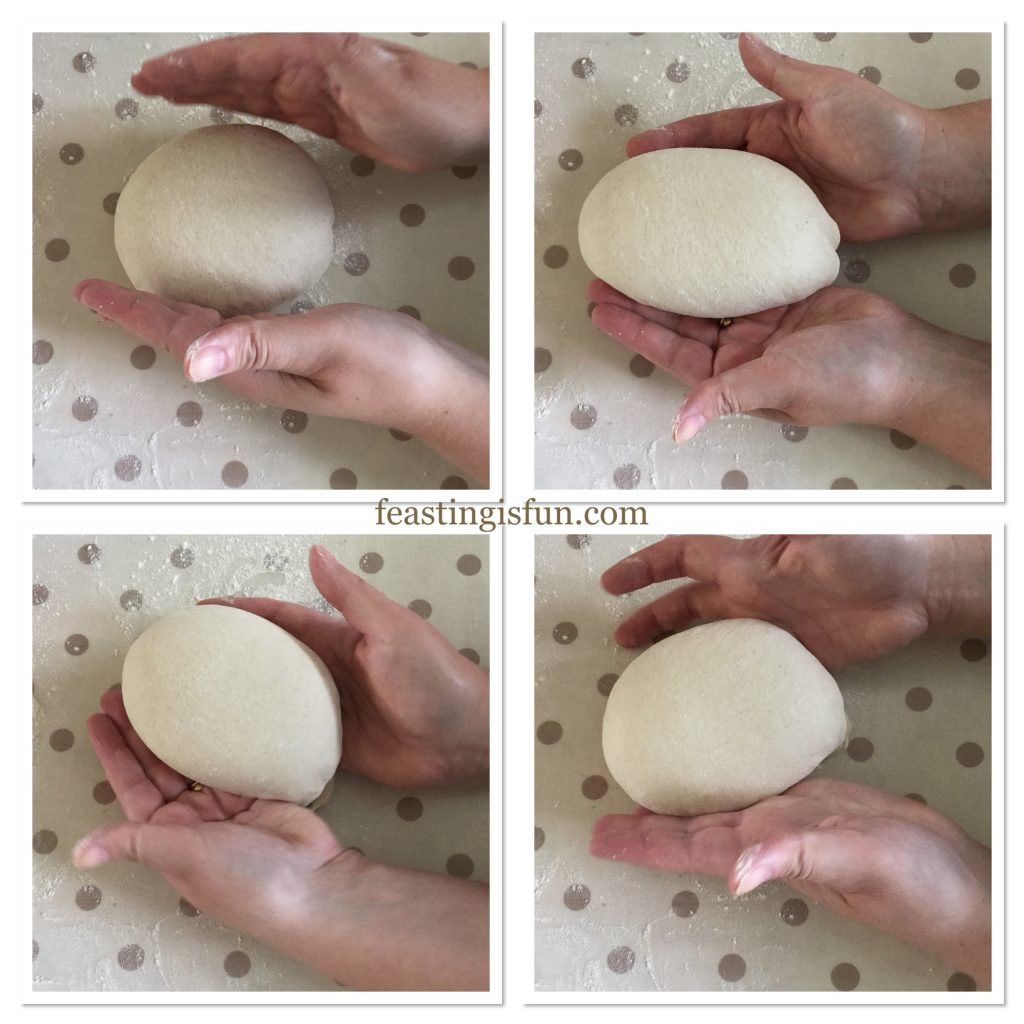
FF Easy Homemade Cottage Loaf
Creating a ball shaped dough using your hands.
  • Place the dough ball base of the cottage loaf, on to a prepared baking tray.
  • Repeat the streching/pulling process with the smaller piece of dough, then shape into a ball.
  • Place the smaller ball centrally on top of the base.
  • With two floured fingers push down, through the centre of the top ball, tight into the base. Doing so joins the top and bottom together, creating one loaf.
  • Score the top 6 times and the bottom 12 times. Cut vertically, from top to bottom.
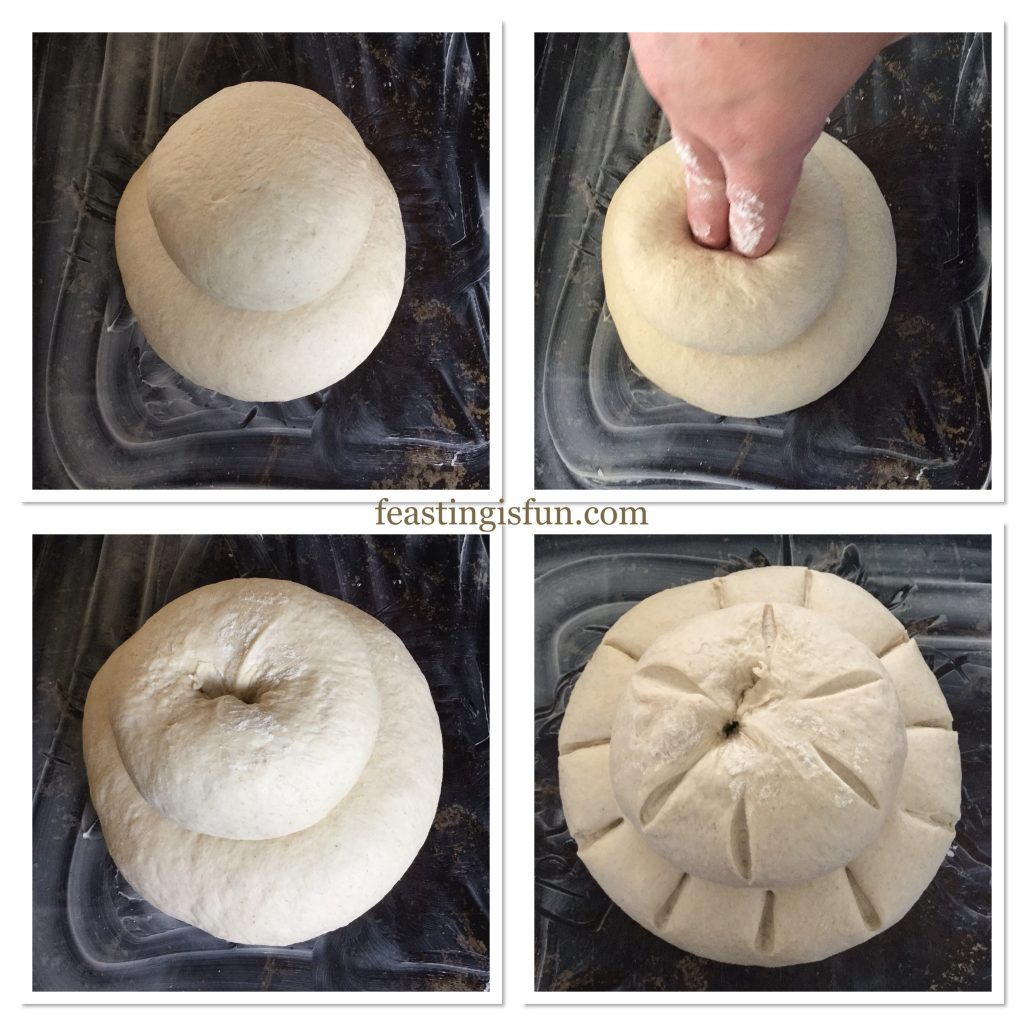
FF Easy Homemade Cottage Loaf
Assembling the Easy Homemade Cottage Loaf

Proving The Cottage Loaf A Second Time

  • Cover with a tea towel, leave in a draft free place until doubled in size, 45 – 60 minutes.
  • While the loaf is undergoing its second prove, preheat your oven to it hottest setting. Usually 250C/230C, gas mark 9, 500F.
  • 15 minutes before the loaf is ready, place a pan with 5cm/1″ of water in the base of the oven. The steam created will delay the forming of a hard crust on the loaf, allowing maximum expansion, also called oven spring, to take place.
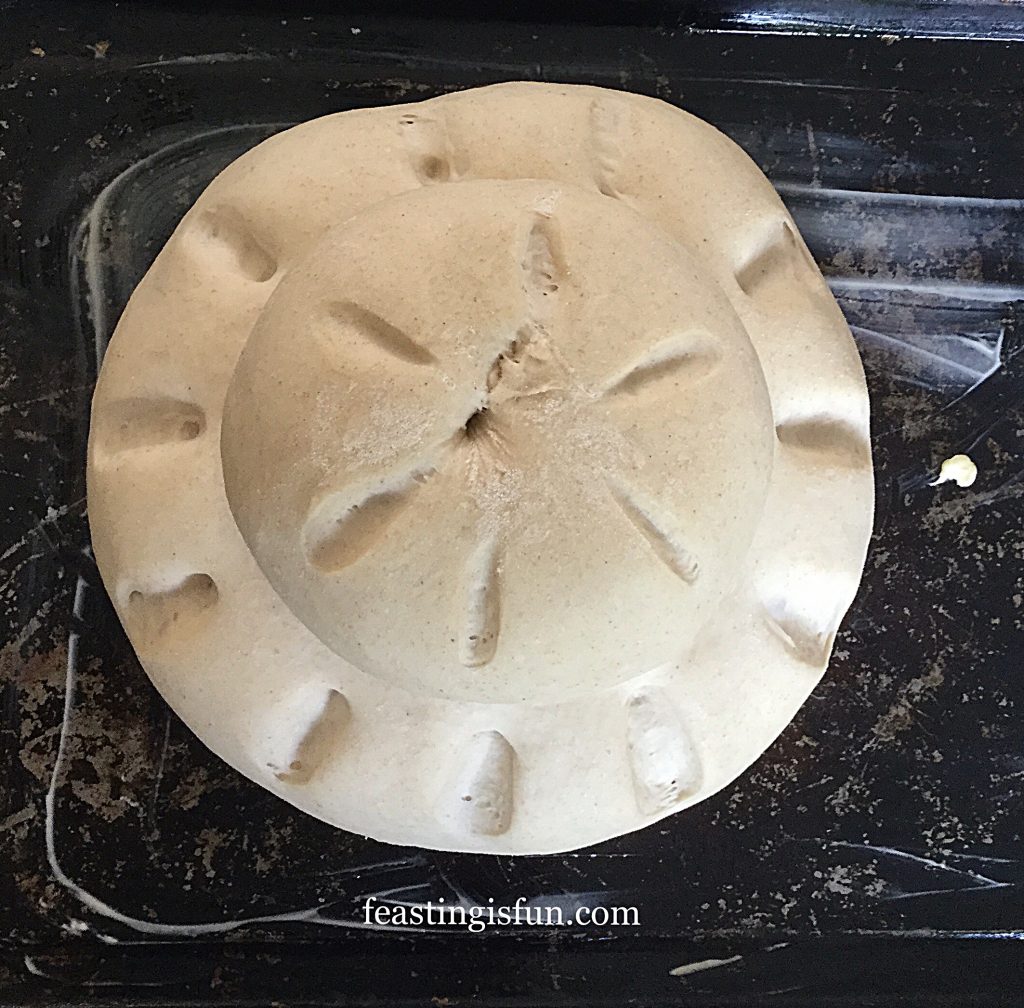
FF Easy Homemade Cottage Loaf
Easy Homemade Cottage Loaf ready for the oven.

Baking The Cottage Loaf

  • As soon as the loaf has doubled in size it is ready to bake.
  • Remove the tea towel and place in the middle/lower part of the oven. Make sure there is enough height room, allowing for oven spring, when placing your loaf in the oven.
  • Bake for 5 minutes at the hottest temperature and then reduce the oven temperature to 220C/200C fan, gas mark 7, 450F.
  • Continue to bake for a further 35-45 minutes.
  • The loaf is baked when it is a deep golden colour, feels light (not heavy and dense) in your oven glove protected hands and most importantly sounds hollow when rapped on the top and base with a knuckle.
  • Remove from the oven and place immediately on to a cooling rack.
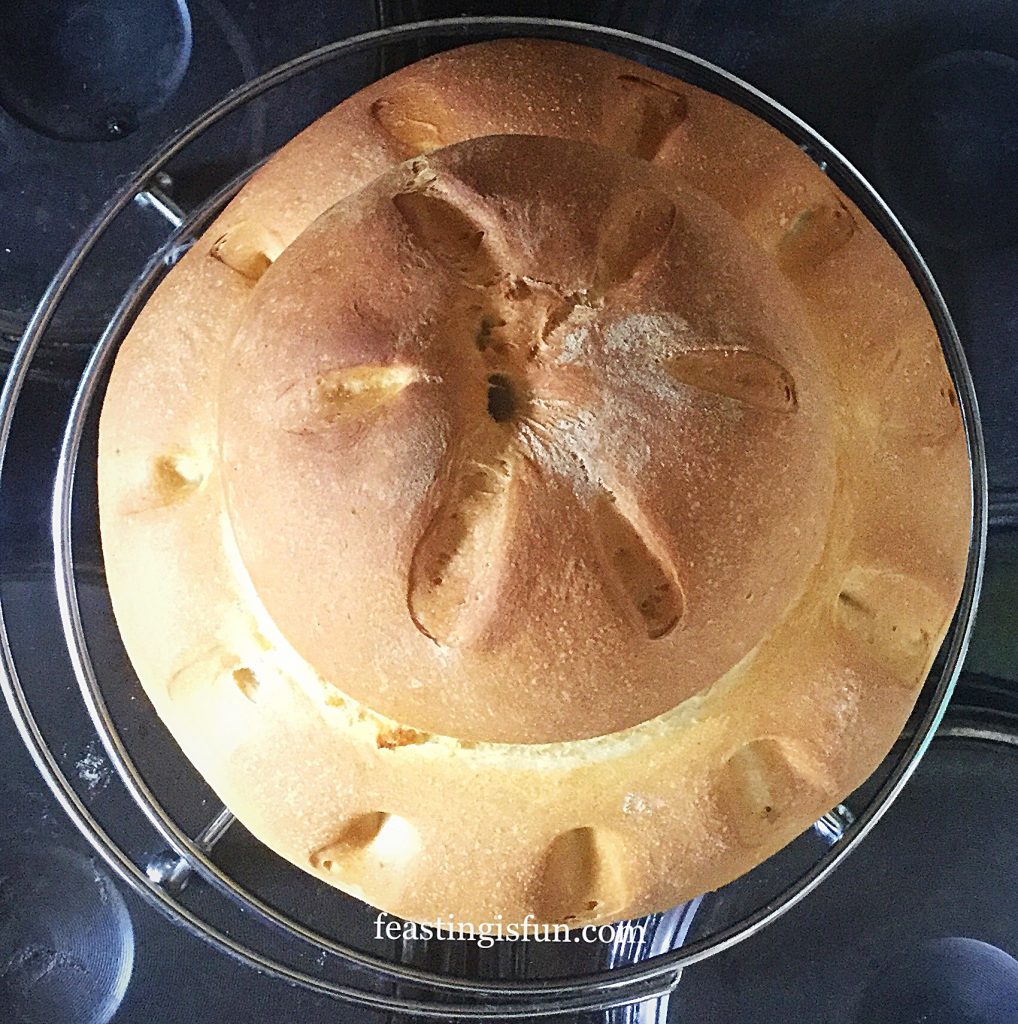
FF Easy Homemade Cottage Loaf
Easy Homemade Cottage Loaf golden and delicious.

An incredible homemade, home baked artisan style bread.
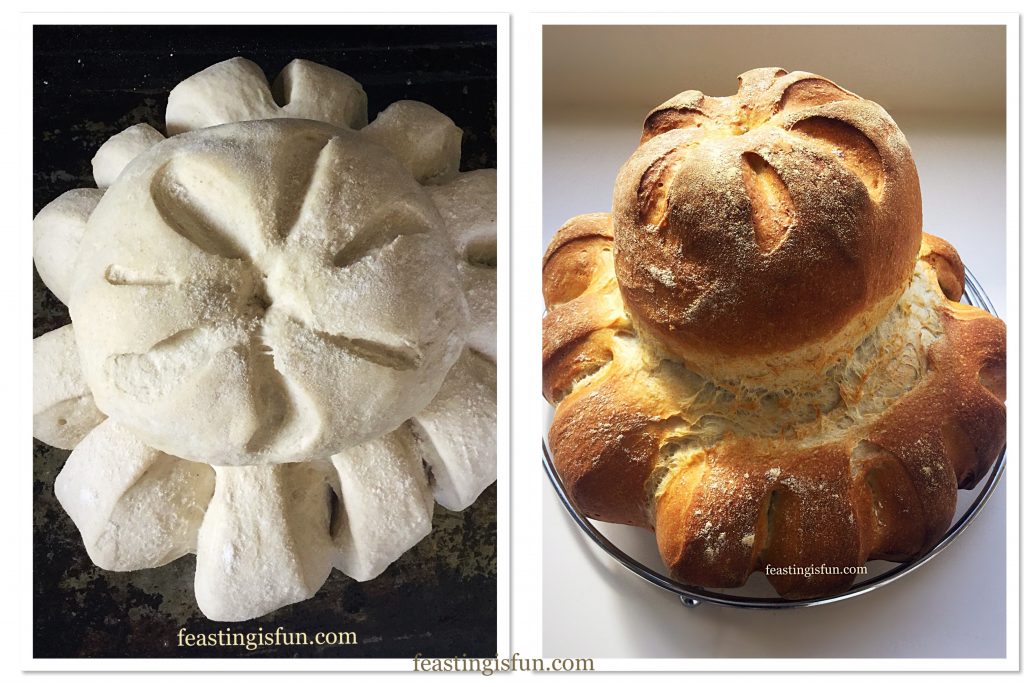
FF Easy Homemade Cottage Loaf
Easy Homemade Cottage Loaf with deeper slashes.

Serve sliced as open sandwiches, or toasted. Alternatively serve as an accompaniment to a meal, such as Spicy Sausage Bean Casserole.
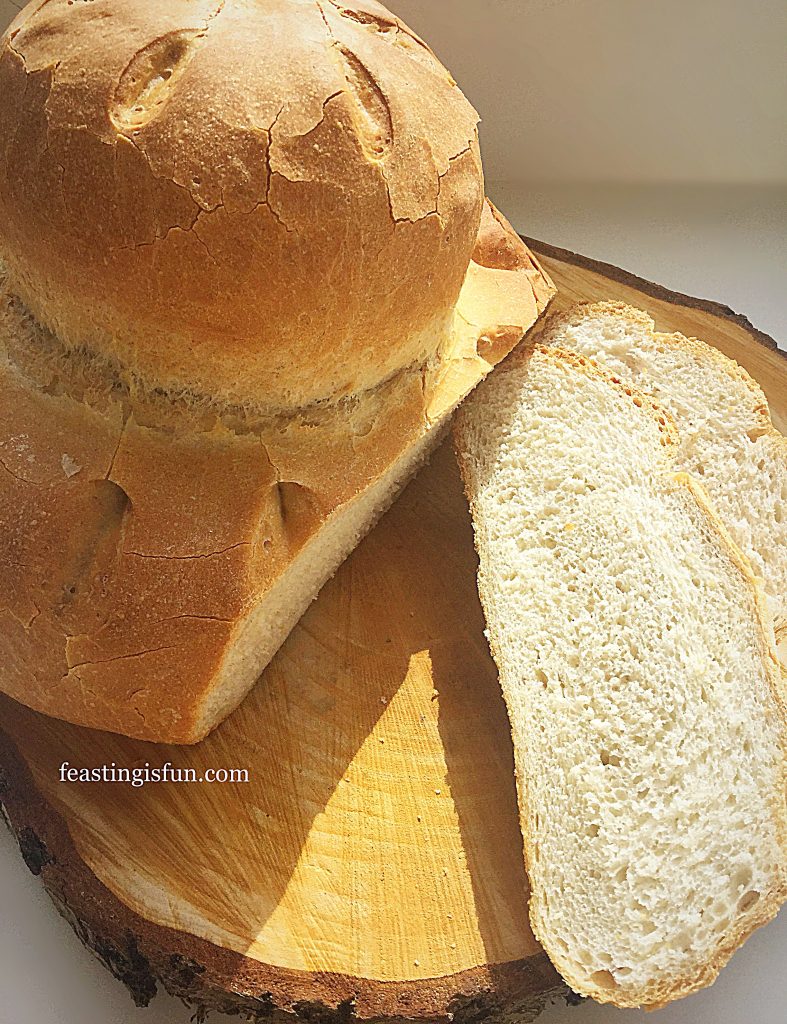
FF Easy Homemade Cottage Loaf
Easy Homemade Cottage Loaf

Best eaten within a day of making, this bread will keep for up to 4 days in a bread bin, which allows air to circulate. Do not to keep in an airtight container as it may go mouldy very quickly.

FF Cottage Loaf Breadmaking Tutorial

To freeze, thoroughly cool, then double wrap in cling film. Keep in the freezer for no longer than a month. Defrost at room temperature and refresh by placing in a moderate oven for 10 minutes.

If you have enjoyed this recipe for Easy Homemade Cottage Loaf then you make also like these:

Farmhouse White Loaf

Farmhouse White Loaf

Seeded Cob Loaf

Seeded Cob Loaf
Seeded Cob Loaf

Christmas Spiced Fruit Loaf

Christmas Spiced Fruit Loaf

Baking bread is such a rewarding experience. Whether you make the entire loaf by hand, or enlist the help of kitchen machinery, each loaf will be far superior in both flavour and quality than it’s mass produced counterpart. Even if you have a great bakery in your local vicinity, baking your own means you can make unusual, rarely seen loaves such as this Easy Homemade Cottage Loaf.

Whatever you are making, baking and creating in your kitchens, enjoy preparing your feast.

Sammie xx

No part of this post may be reproduced without the written consent of the owner. Please see my Disclosure Policy.


I am entering my Easy Homemade Cottage Loaf in the #GBBOBloggers2017 linky hosted by http://www.mummymishaps.co.uk


FF Easy Homemade Cottage Loaf

Share
Facebooktwitterpinterestlinkedintumblr

Oat Bran White Bread

Share
Facebooktwitterpinterestlinkedintumblr

For those of you who regularly read this blog, you may have noticed a few things about the way I cook and bake. Primarily I make food that is tasty to eat using ‘natural’ ingredients. For example, I unashamedly use butter when baking and cooking and tend to avoid overly processed foods. While I have a passion for baking bread, with nuttier and seeded loaves being my preferred loaves, yet I live in the real world. In a family of five people, three prefer white bread. So here is my compromise. Oat Bran White Bread is a soft loaf without the heaviness or chewing required by its wholemeal cousin.

FF Oat Bran White Bread

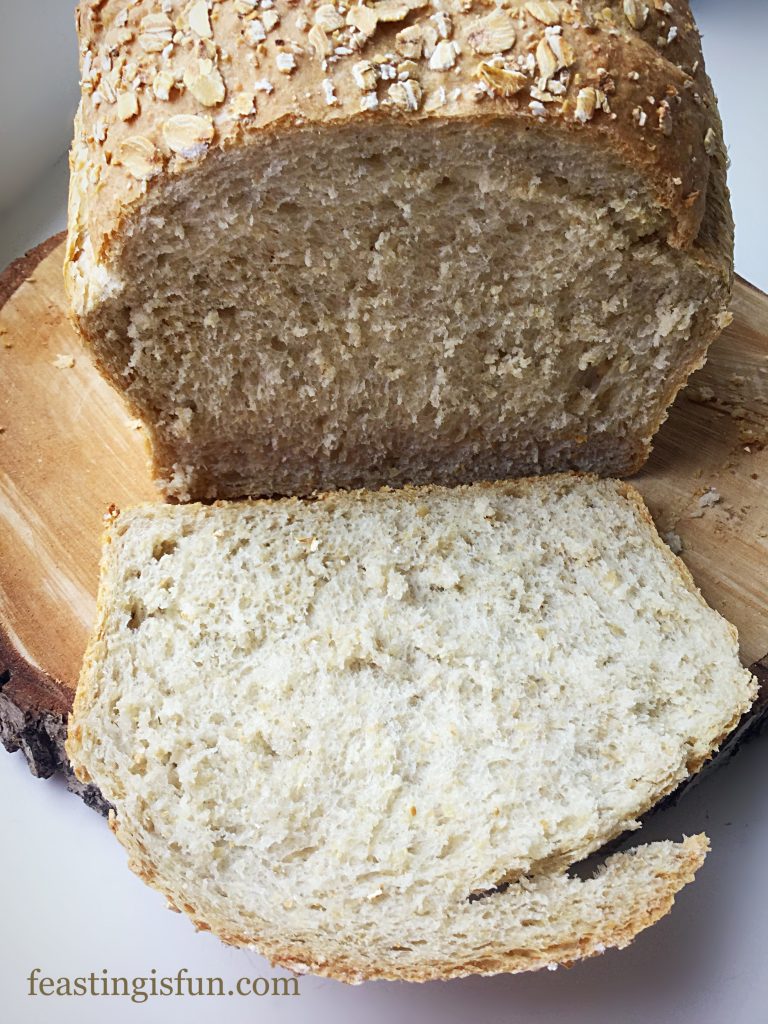
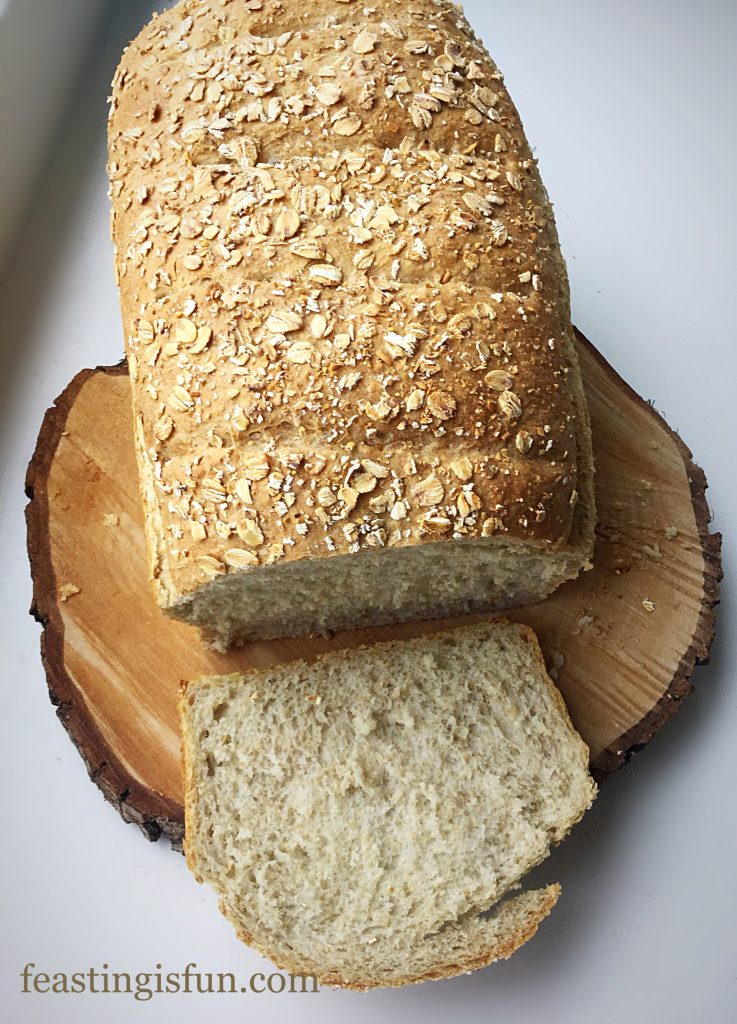
Since this bread is so soft it is perfect for sandwiches and also makes the most incredible toast. In fact, this loaf makes the best toast, in my opinion, of all the bread recipes here on Feasting is Fun. Packed full of fibre from the whole oats and oat bran, it is good for you as well as being a tasty, filling bread. Yet also having the lightness of a white loaf.

FF Oat Bran White Bread
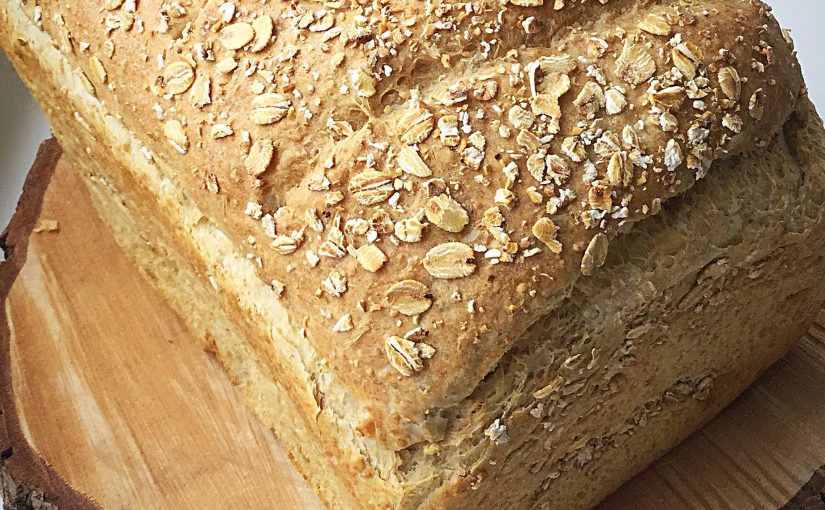
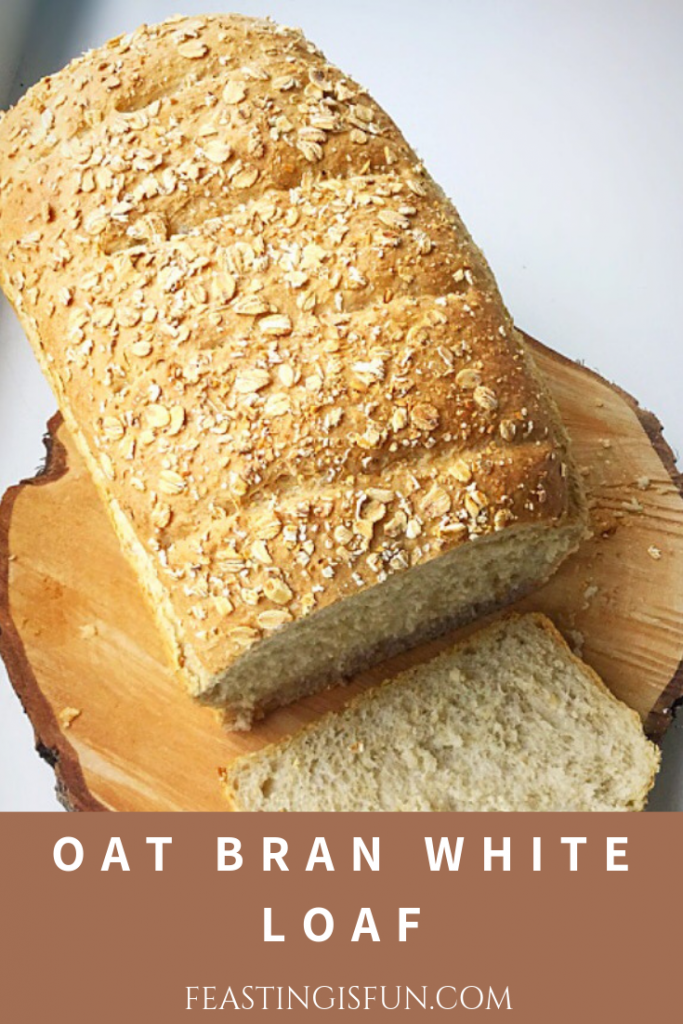
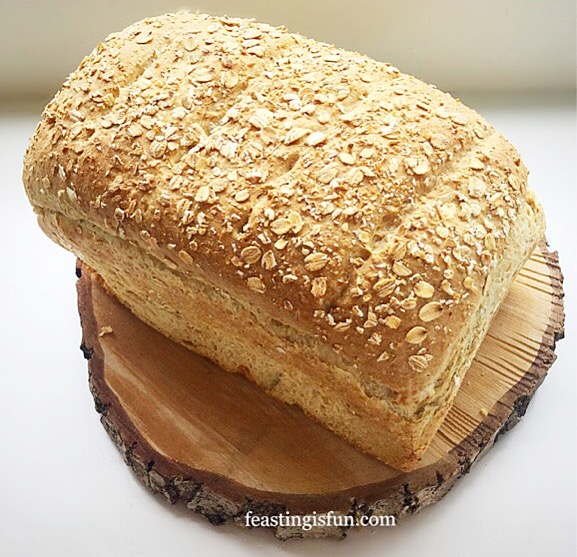
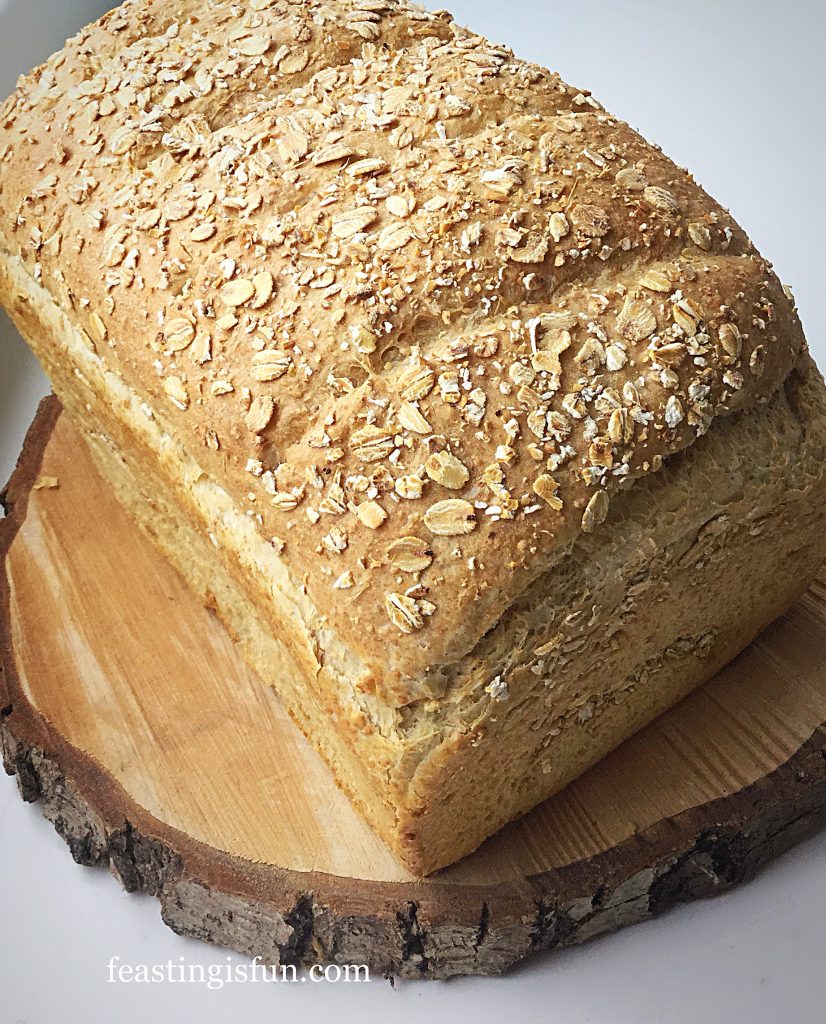
Oat Bran White Bread Loaf

Choosing To Eat Well

While I am not into faddy food, having food allergies myself means I am attempting to increase the variety recipes on this site. For example gluten free, dairy free and vegetarian. I try to use fresh local and seasonal food as much as possible in my everyday cooking and that is reflected in the recipes posted here. I am not perfect and we have standby dinners in the freezer for days when I can’t cook.

FF Oat Bran White Bread
Oat Bran White Bread

All that said, I do try to make as much of our own bread as possible. If I didn’t have a bread machine or stand mixer I simply would be unable to make bread from scratch. Kitchen machinery that earns its place will always be welcomed by me. Far better to make good quality, homemade bread with the help of a mixer, than buy its mass produced counterpart. Bread is a staple and a great tasting, fresh loaf will always be at the heart of any kitchen that I use.

FF Oat Bran White Bread
Oat Bran White Bread

A quick note about this Oat Bran White Bread: I have recently updated the recipe, replacing the butter for Rapeseed oil. First of all it gives the baked loaf a softer texture and also makes the recipe both dairy free and vegan. I am NOT jumping on the ‘vegan’ bandwagon, however, creating a loaf that more people can make and enjoy will always be a priority for me, providing there is no compromise on flavour.

Recipe:  Oat Bran White Bread

420ml Water at room temperature

450g/1lb Strong White Bread Flour – I use Shipton Mill

100g/4oz Fine Oat Bran available from health food shops and Amazon 

– alternatively blitz the equivalent weight of rolled oats in a food processor

50g/2oz Rolled Oats plus 1tbsp for sprinkling on top of the loaf

7g /1sachet Active Dried Yeast – I use the green tub/sachets from Allinson also known as fast acting dried yeast.

7g Sea Salt – I use Maldon

2 tbsp Rapeseed Oil (Canola Oil)

Making And Proving The Bread Dough

You will need a lightly oiled 3 lb loaf pan to bake this loaf of bread.

Using a bread maker or stand mixer, pour the water into the  bowl and then add the yeast.

Next add the flour, oat bran and oats.

On top of the dry ingredients add the salt and oil.

Set the bread machine to dough cycle and start.

If using a stand mixer, attach the dough hook and mix until all the ingredients come together. Continue to mix for 10 minutes. Stop mixing and remove the dough hook. Cover the bowl with a damp cloth until the dough has doubled in size, approx 1 hour.

Knocking Back And Shaping The Dough Ready For The Second Prove

Once doubled in size, remove the cloth and tip the dough out on to a lightly floured worktop so that the top of the risen dough is in on the bottom, in contact with the work surface.

Once the bread mixer has finished the dough cycle, start it again, allowing it to mix (knock back) the dough for one minute. Turn the dough out onto a lightly floured surface.

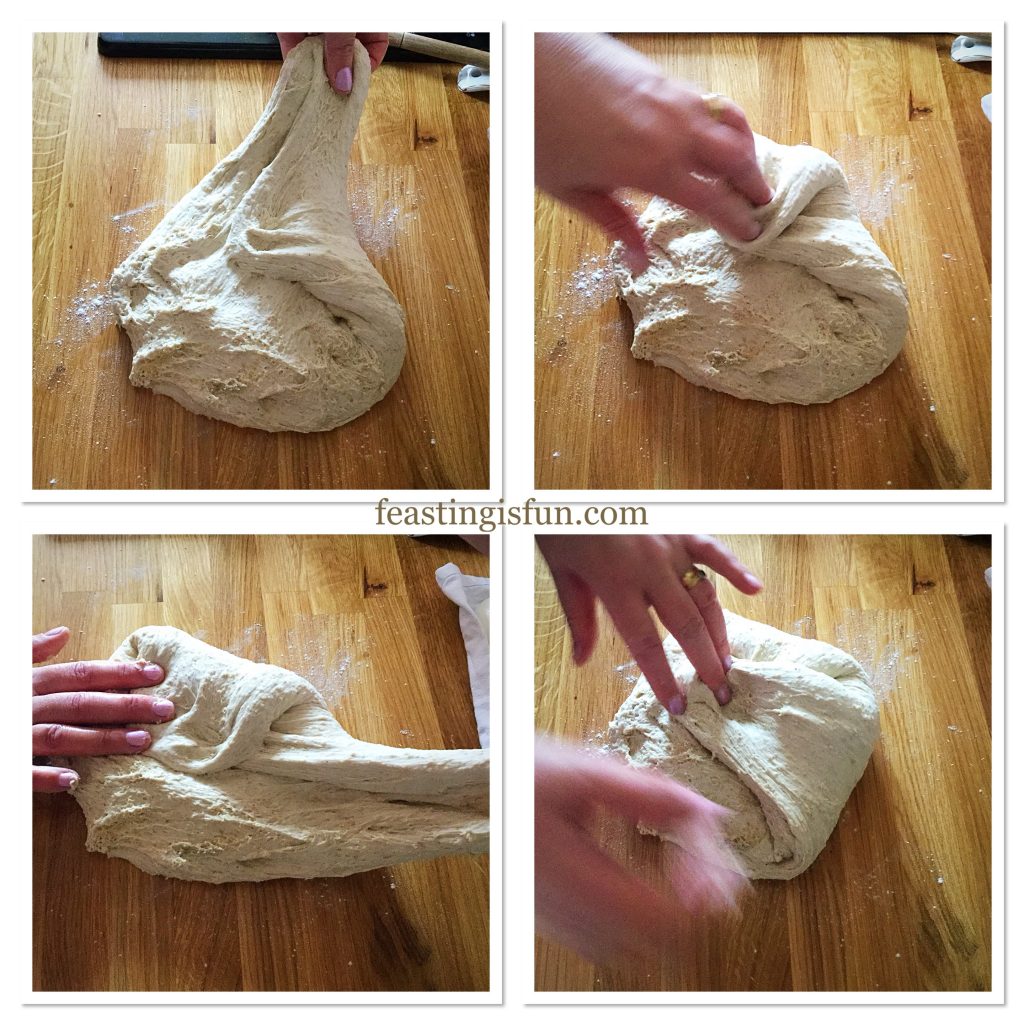
Working around the dough, take hold of the dough with your hand, pull out and then press into the centre. Continue, as in the photographs below, until you have a tight, neat lump of dough.

FF Oat Bran White Bread
Creating structure within the dough.

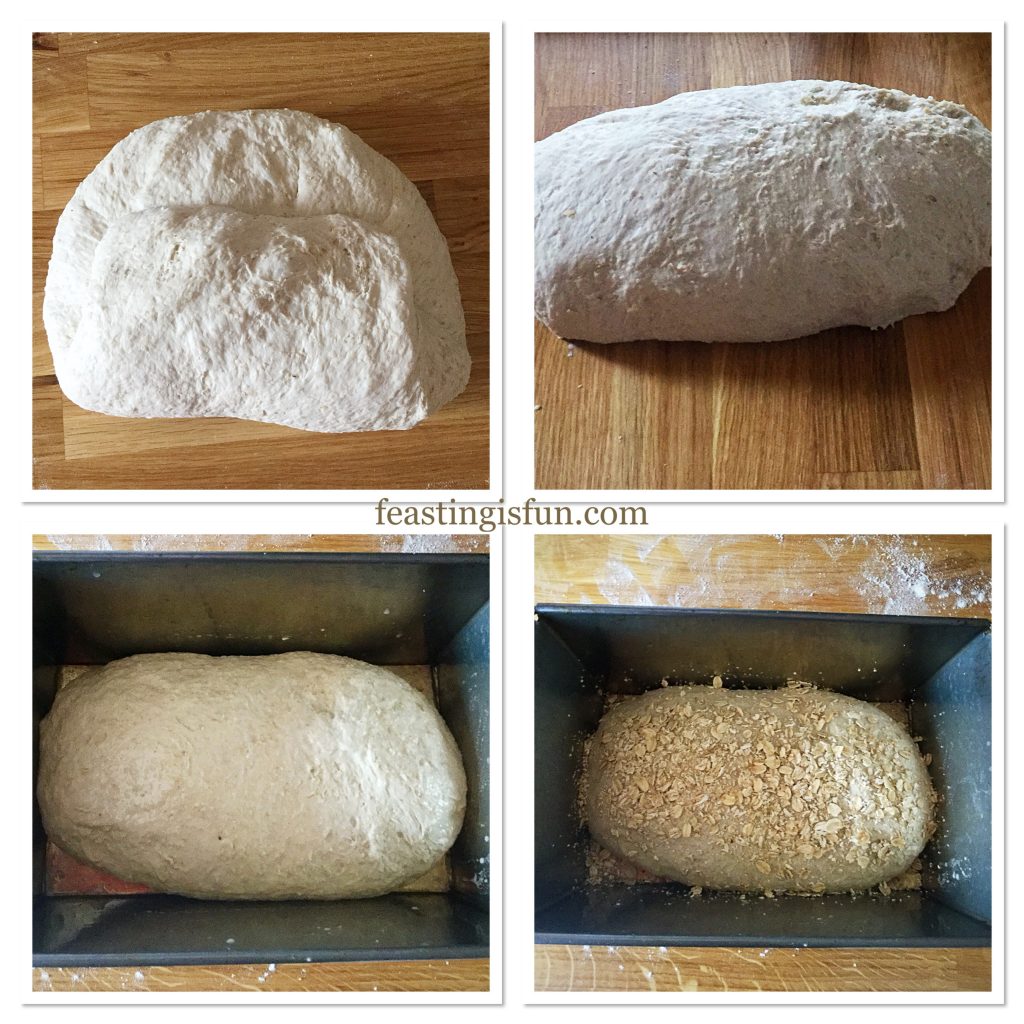
Gently, using your fingers, press the dough out to form a square shape.

Fold the bottom third of the dough up and then the top third of the dough is folded down, slighlty overlapping the seam.

Turn the dough over and place into a well greased 3 lb loaf pan.

Spray or brush with water and sprinkle over 1 tablespoon of rolled oats.

FF Oat Bran White Bread
Shaping the dough ready for the tin.

Cover with a clean tea towel, place in a straight free place and leave to rise until doubled in size.

Scoring And Baking The Oat Bran White Bread

Preheat the oven to 220C/200C fan, 425F, gas mark 7.

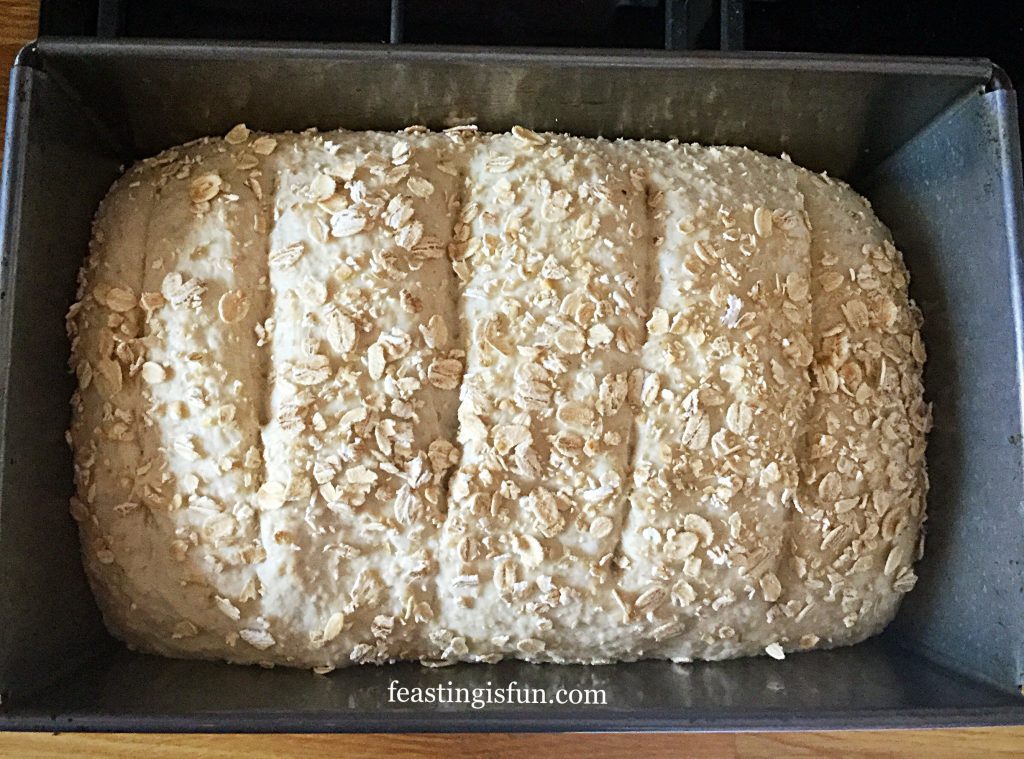
As soon as the dough has risen score across the dough with a very sharp knife or grignette 4-5 times.

FF Oat Bran White Bread
Proved and slashed Oat Bran White Bread ready for the oven.

Place the bread in the centre of the oven and bake for 30-40 minutes. The bread is baked when golden brown and carefully rapped with a knuckle and it sounds hollow.

As soon as the loaf is baked remove from the oven and turn out immediately on to a cooling rack to cool completely.

FF Oat Bran White Bread
Oat Bran White Bread

Allow the bread to cool fully before slicing.

If you have enjoyed this recipe for Oat Bran White Bread you may also like these:

Sunflower Seed Heart Cob Loaf

Sunflower Seed Heart Cob Loaf

Lighter Wholemeal Loaf

Lighter Wholemeal Bread Loaf
Lighter Wholemeal Loaf

Seeded Cob Loaf

Seeded Cob Bread
Seeded Cob Loaf

This Oat Bran White Bread loaf has a wonderful texture and flavour. While it does contain oats it certainly doesn’t taste like porridge. The oat bran lends a slight nuttiness, without the full on slog you get from a wholemeal loaf. It slices beautifully and makes equally good toast and sandwiches, although I confess to enjoying a slice with just butter on it. A really good loaf should have its own flavour and not just be a package for some cheese and ham.

If you love white bread, but want to incorporate more healthy fibre in your diet – this loaf is a great place to start!

Whatever you are making, baking and creating in your kitchens, have fun preparing and sharing your feast.

Sammie xx

No part of this post may be reproduced or duplicated without the written permission of the owner. Please see my Disclosure Policy.


Share
Facebooktwitterpinterestlinkedintumblr