Refreshing Tropical Fruit Sorbet

Share
Facebooktwitterpinterestlinkedintumblr

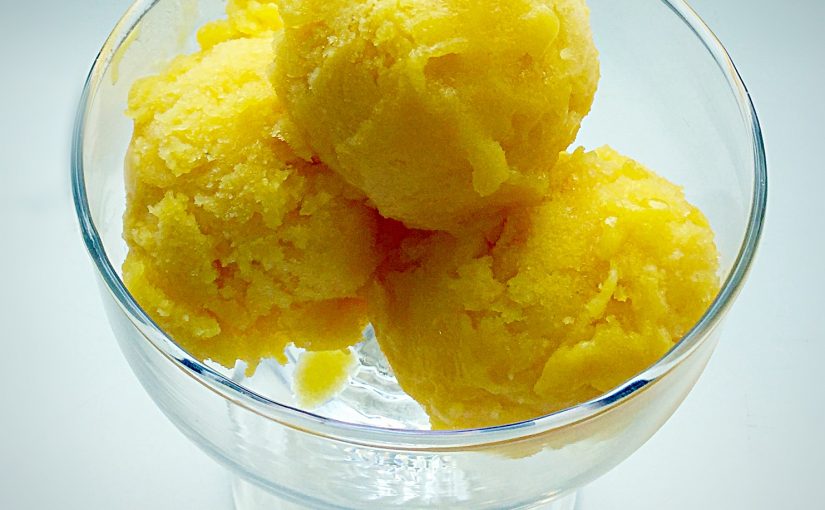
The smell of Summer. Sun tan lotion, seaside air and luscious seasonal fruits. Ok, I accept that the fruits in this Refreshing Tropical Fruit Sorbet are not necessarily grown in this country, although they are cheaper and more readily available during the summer.

FF Refreshing Tropical Fruit Sorbet
Refreshing Tropical Fruit Sorbet so good.

Making your own Refreshing Tropical Fruit Sorbet is so worth it. Forget about the adverts telling you that ‘you’re worth it’ this is a delicious, good for you treat, that tastes of fruit heaven!

FF Refreshing Tropical Fruit Sorbet
Refreshing Tropical Fruit Sorbet will make your tastebuds come alive!

The marriage between the flavours will make your tastebuds sing in harmony.

FF Refreshing Tropical Fruit Sorbet
Refreshing Tropical Fruit Sorbet a delicious alternative to ice cream.

There are a couple of steps needed to prepare the fruit for this sorbet, but they are absolutely worth it to extract every drop of flavour from the fruit.

Once the fruit is prepped it is then cooked for a short time. This breaks down the pineapple and separates the passionfruit seeds from their surrounding juice. The cooked fruit mixture is then sieved, to remove the very crunchy seeds. A quick whizz with an immersion blender, or liquidiser, cool and your sorbet is ready to be churned.

FF Refreshing Tropical Fruit Sorbet
Refreshing Tropical Fruit Sorbet so worth making.

This sorbet tastes of Summer. Light, intensely fruity, sweet – but not overly so and with a colour to brighten the dullest of days.

A light dessert or a delightful palette cleanser between courses for a more formal meal.

The mangos I bought for this recipe spent a few days on our sunny lounge window ledge ripening up, in fact they were warm when I prepared them. The passionfruit were smooth skinned when bought and ripened to a prune-like wrinkling of the skin. To test if a pineapple is ripe I suggest smelling it. If it smells of pineapple then it’s ripe.

Recipe: Makes 1L Refreshing Tropical Fruit Sorbet

6 Passion Fruit

2 Large Mango

1 Medium Pineapple

400mls Water

100g/4oz Sugar

Optional – see note at the end – Orange Blossom Water 1/4tsp – I suggest Nielsen-Massey

Method: Ensure the frozen compartment of your ice cream maker has been in the deep freeze overnight or according to manufacturers instructions.

  • Scoop the contents of the 6 passion fruit into a large heavy based saucepan. Squeezing the empty skins to ensure every drop of precious juice is used.
  • Next prepare the mangos. Cut down either side of the central stone, you will have three pieces. Take a fleshy side of the mango and score into three pieces using a sharp knife. With the blade flat to the skin, run the knife along each third, releasing a long slither of juicy, ripe mango. Repeat for the other side. Place the mango slices into the saucepan. Hold the central flesh and skin covered stone over the saucepan and squeeze as hard as you can. Scrape all of the pulp and juice from your hand into the pan.
  • Prepare the pineapple by cutting off the green spiky top and the flat base. Cut the pineapple into half and then divide each half into 3 sections. Cut down the outside of the central hard core – it will be the point of the pineapple. As with the mango, lay the blade flat between the fruit and the skin and slice to separate the two. Chop the pineapple into large chunks and add to the saucepan. Squeeze the skin and the hard core pieces over the saucepan to extracte as much juice as possible.
  • Pour the water over the fruit.
  • Add the sugar and turn the heat on to high under the pan.
FF Refreshing Tropical Fruit Sorbet
Refreshing Tropical Fruit Sorbet
  • Once the contents of the pan have started to bubble reduce the heat to medium, keep an eye on the fruit to ensure it doesn’t boil over.
  • Continue cooking for 20 minutes.
  • Carefully remove a spoonful of liquid from the saucepan, allow to cool and taste. The flavour should be pure fruit, not watered down and not super sweet – just as if you had eaten a slice of ripe mango. If the flavour is a little weak, continue cooking for a further 10 minutes and taste again.
  • When you are happy with the tropical fruit flavour, remove the saucepan from the heat.
  • Place a sieve over a large bowl.
  • Carefully pour the hot fruit mixture into the bowl through the sieve.
FF Refreshing Tropical Fruit Sorbet
This is going to become the most Refreshing Tropical Fruit Sorbet.
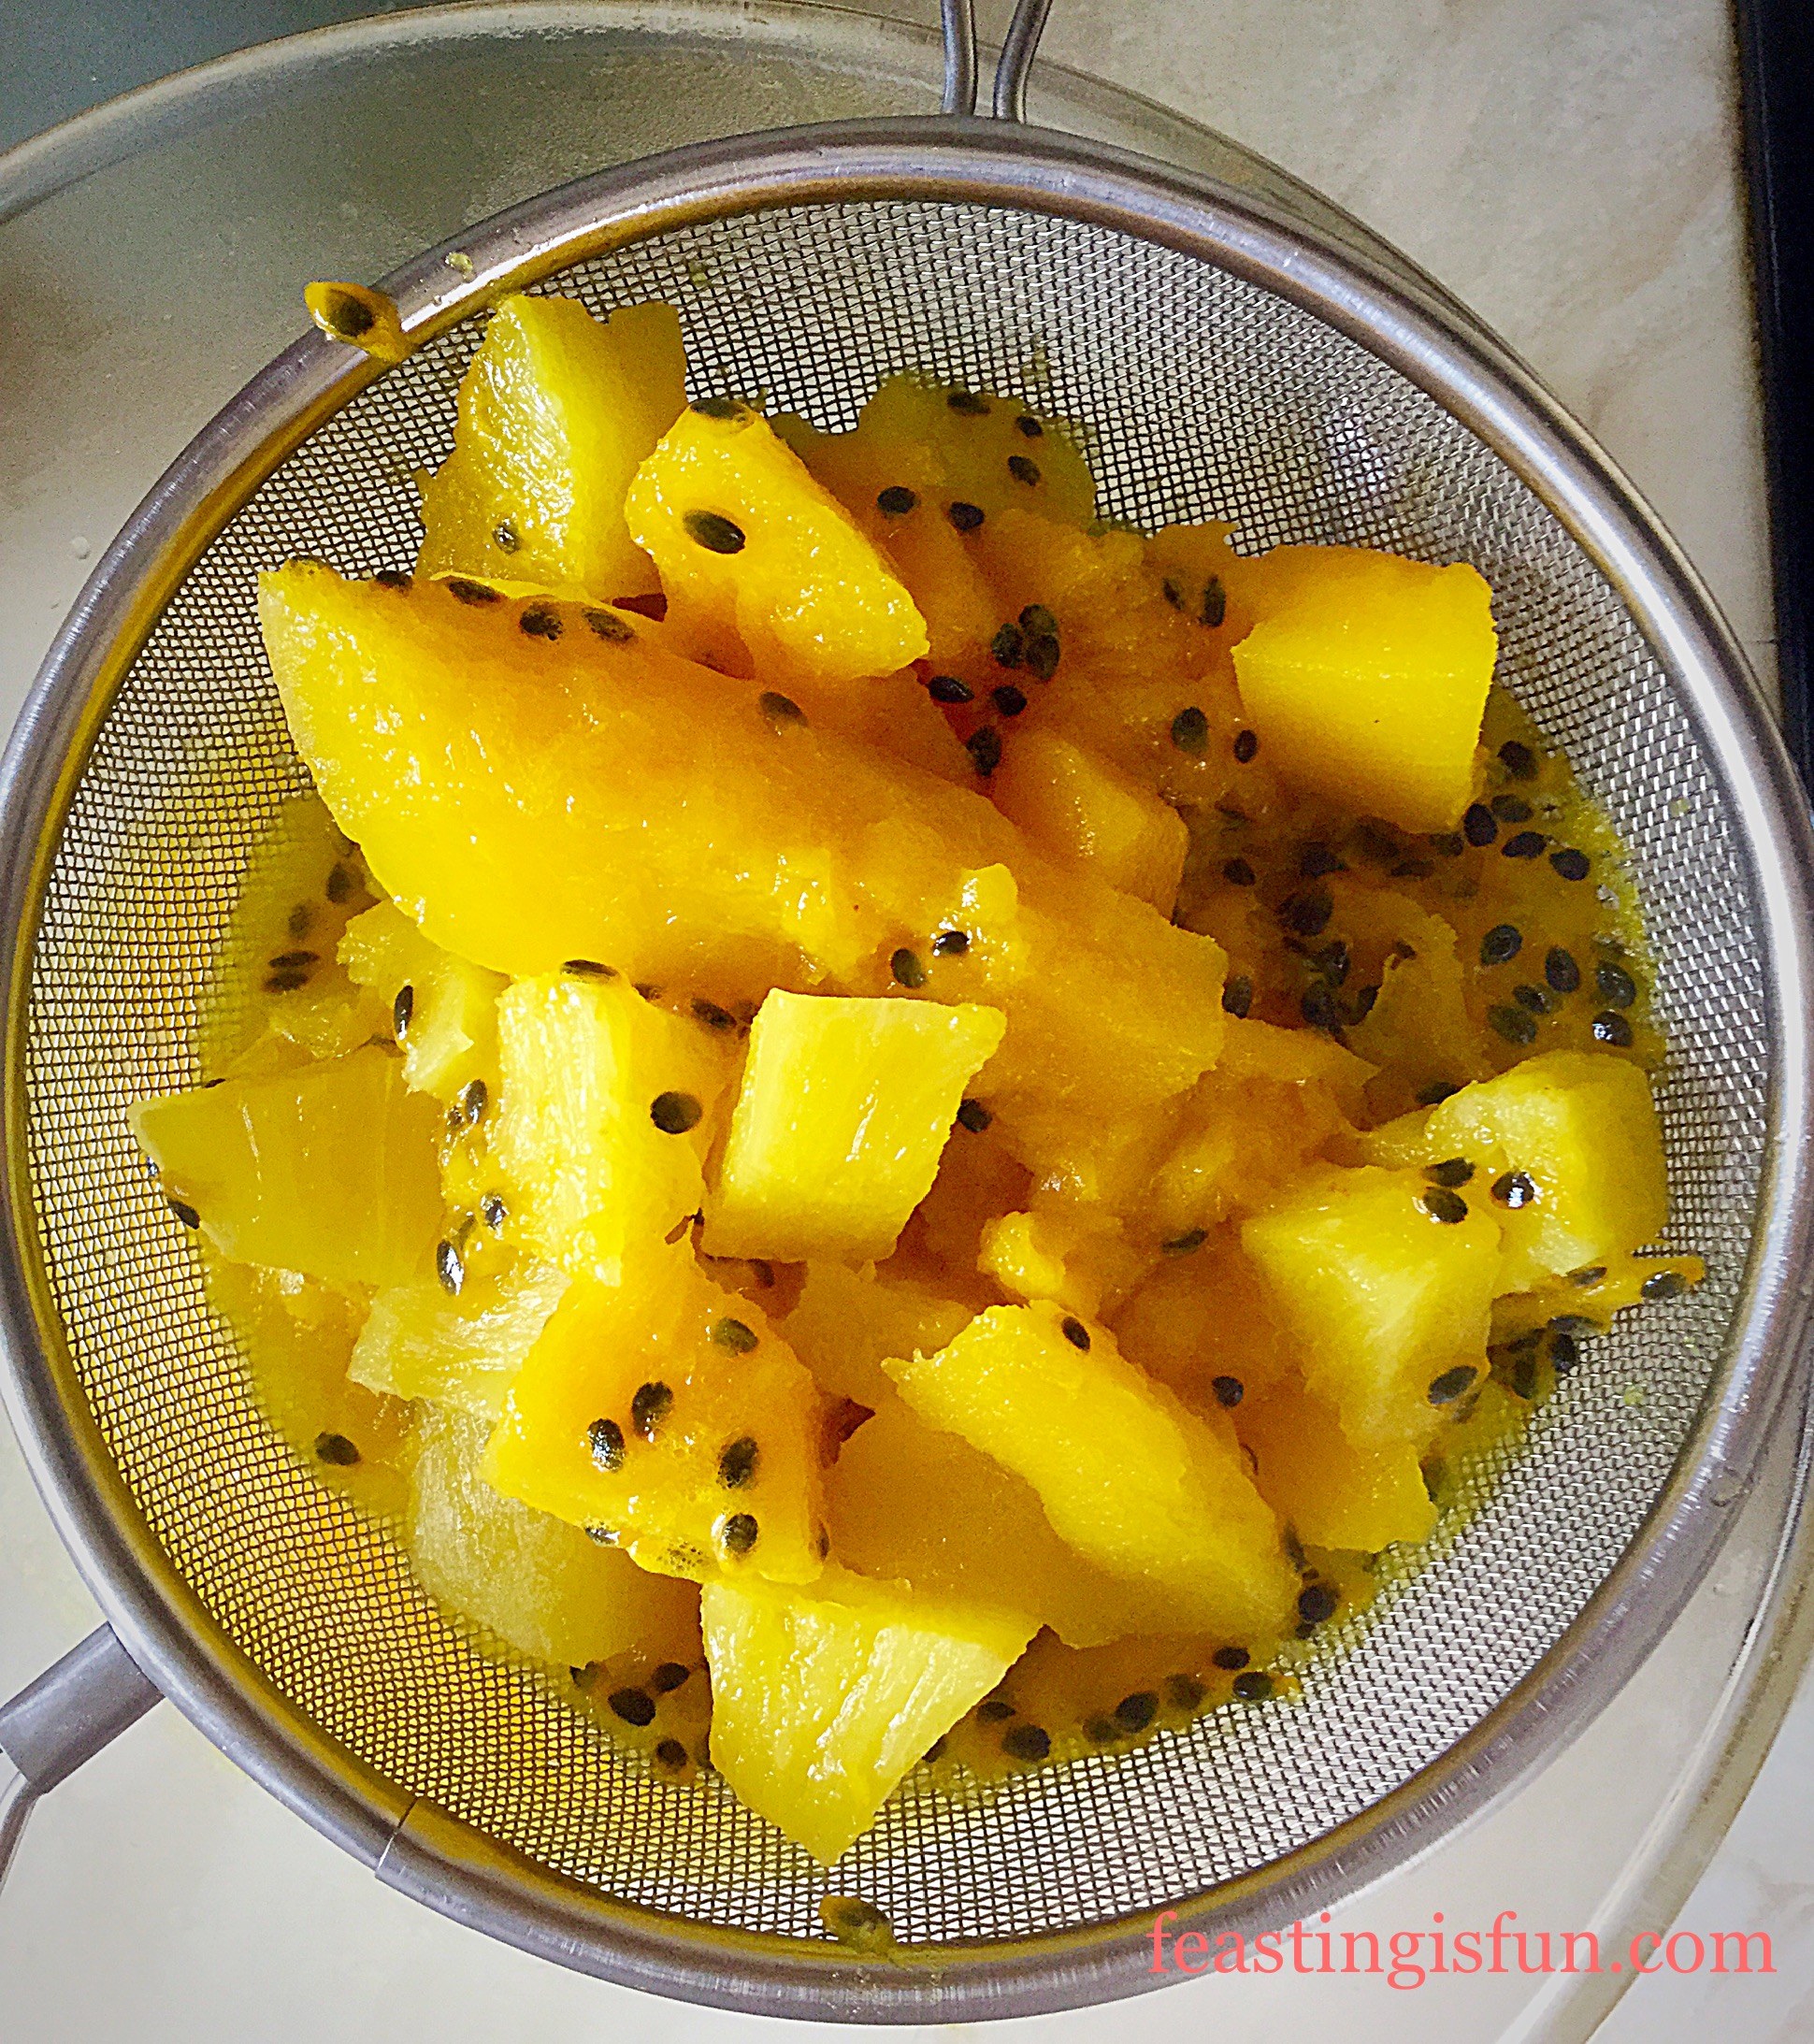
  • Using a strong dessert spoon press all of the fruit through the sieve. Occasionally clearing the underside of the sieve with a clean spoon, so that all the fruit pulp and juice goes into the bowl below.
  • This takes about 10 minutes to get it to this stage.
FF Refreshing Tropical Fruit Sorbet
Pips and pulp left in the sieve, all the flavour is in the bowl.
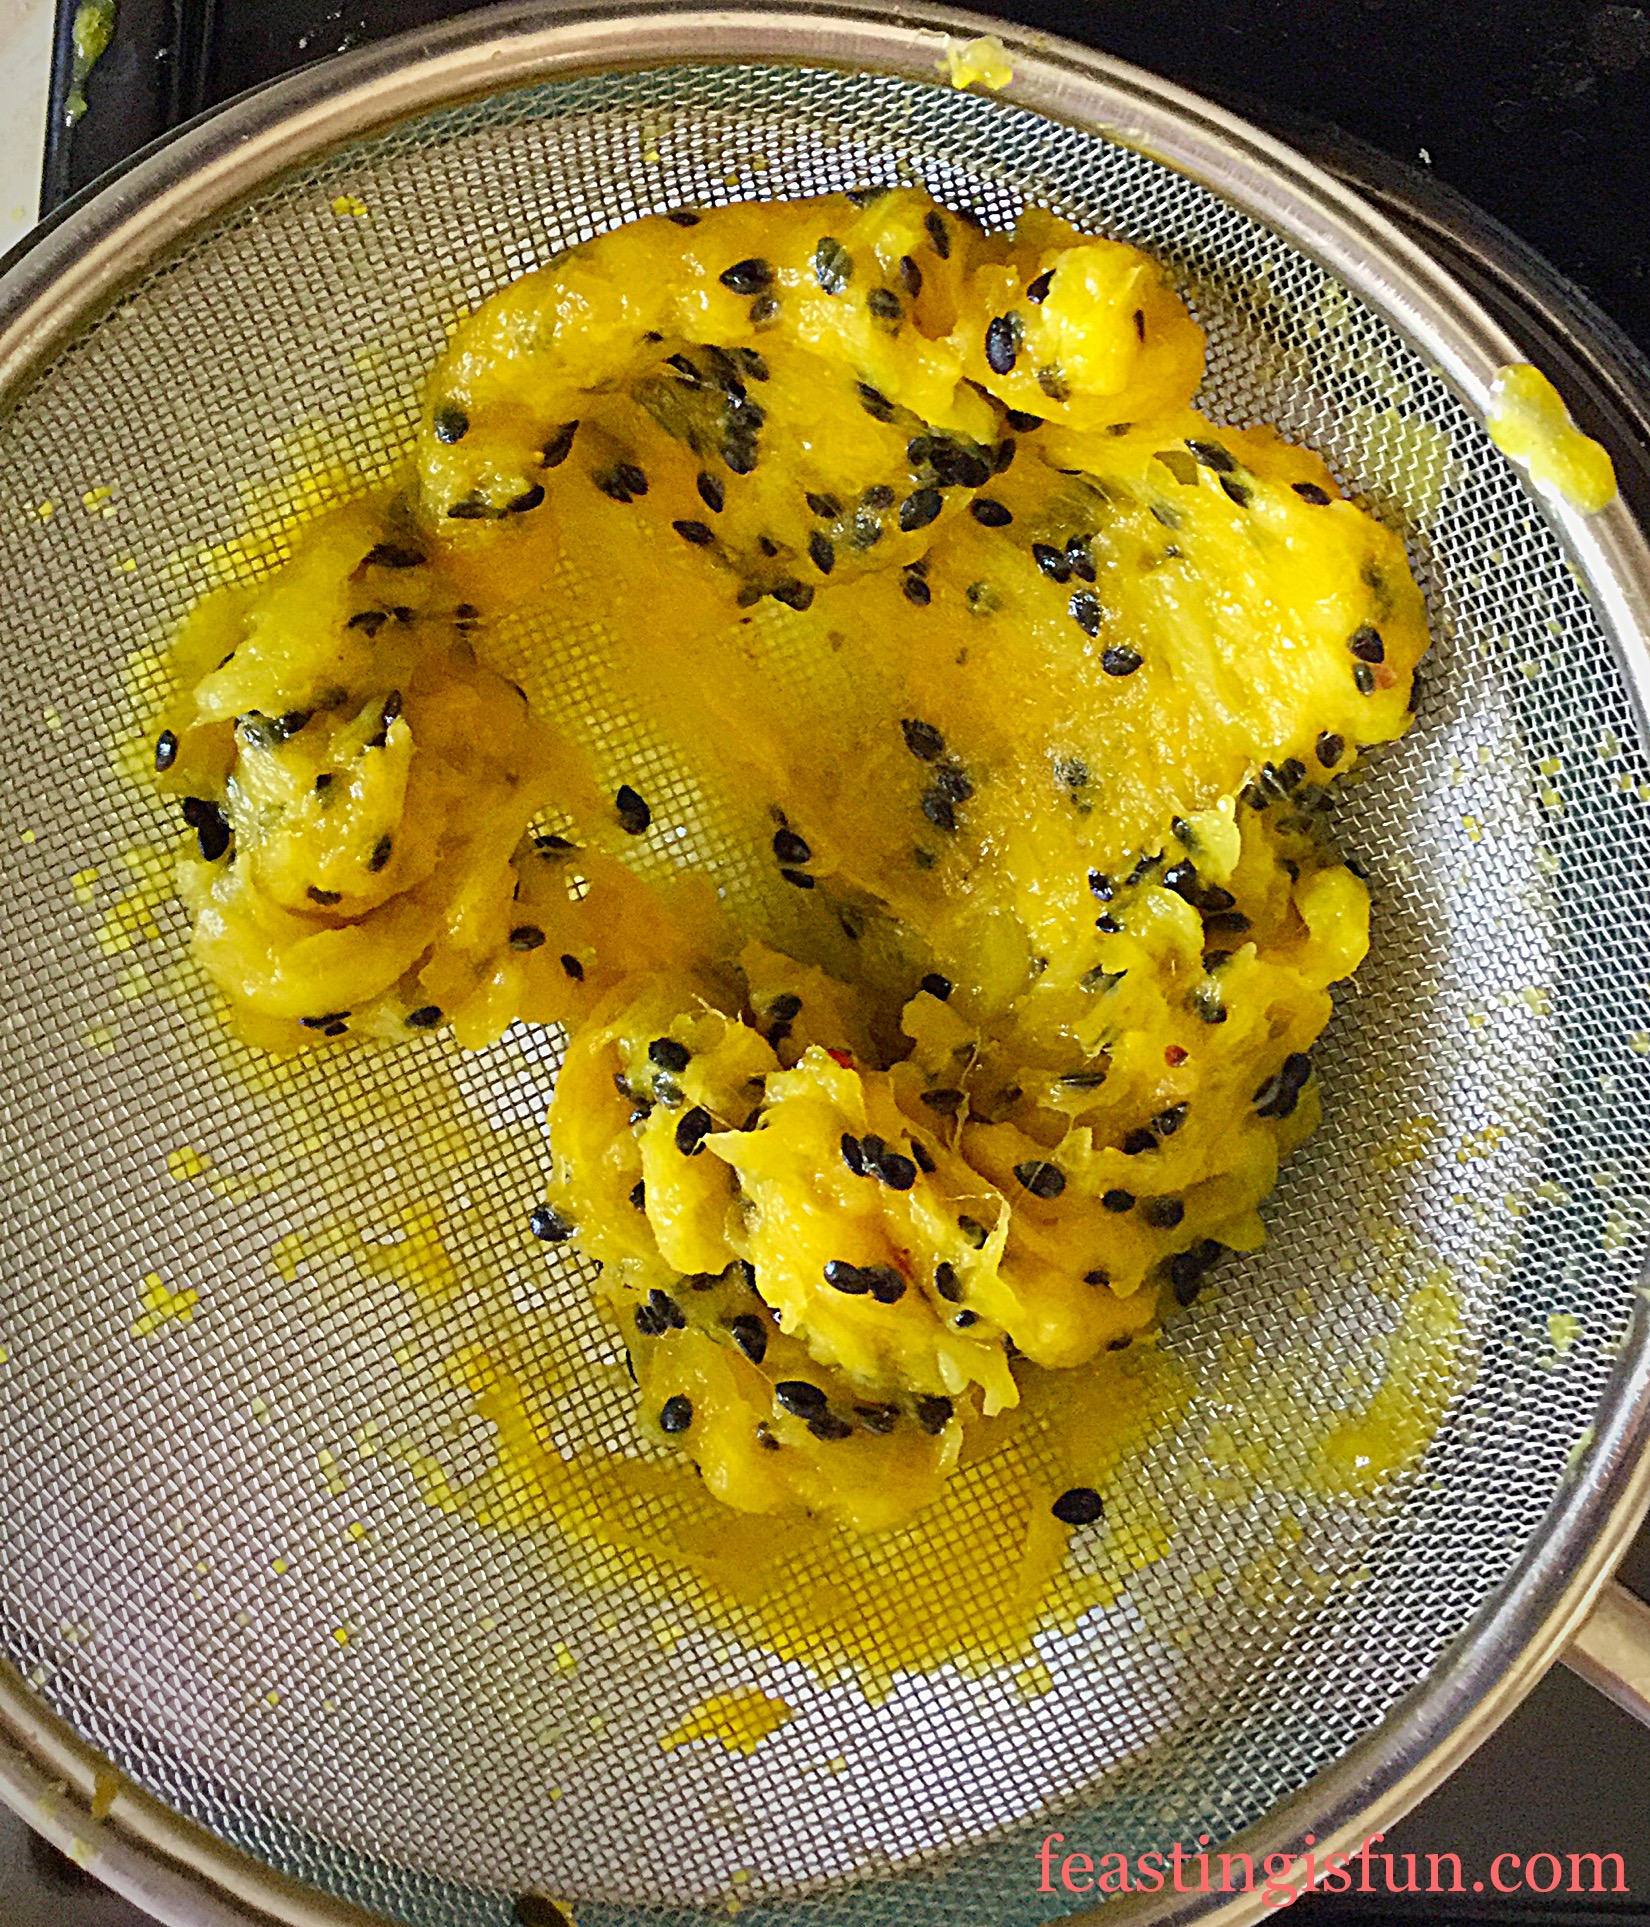
  • I did taste the remaining pulp and although crunchy it was pretty flavourless, that said you could still have it swirled through yoghurt for breakfast.
  • If you have an immersion blender or liquidiser, blend the resulting lumpy liquid until velvety smooth.
  • Place the bowl on a trivet, to aid cooling air circulation and cover with a net food tent, or cling film to stop flies having a taste!
FF Refreshing Tropical Fruit Sorbet.
Refreshing Tropical Fruit Sorbet cooling.
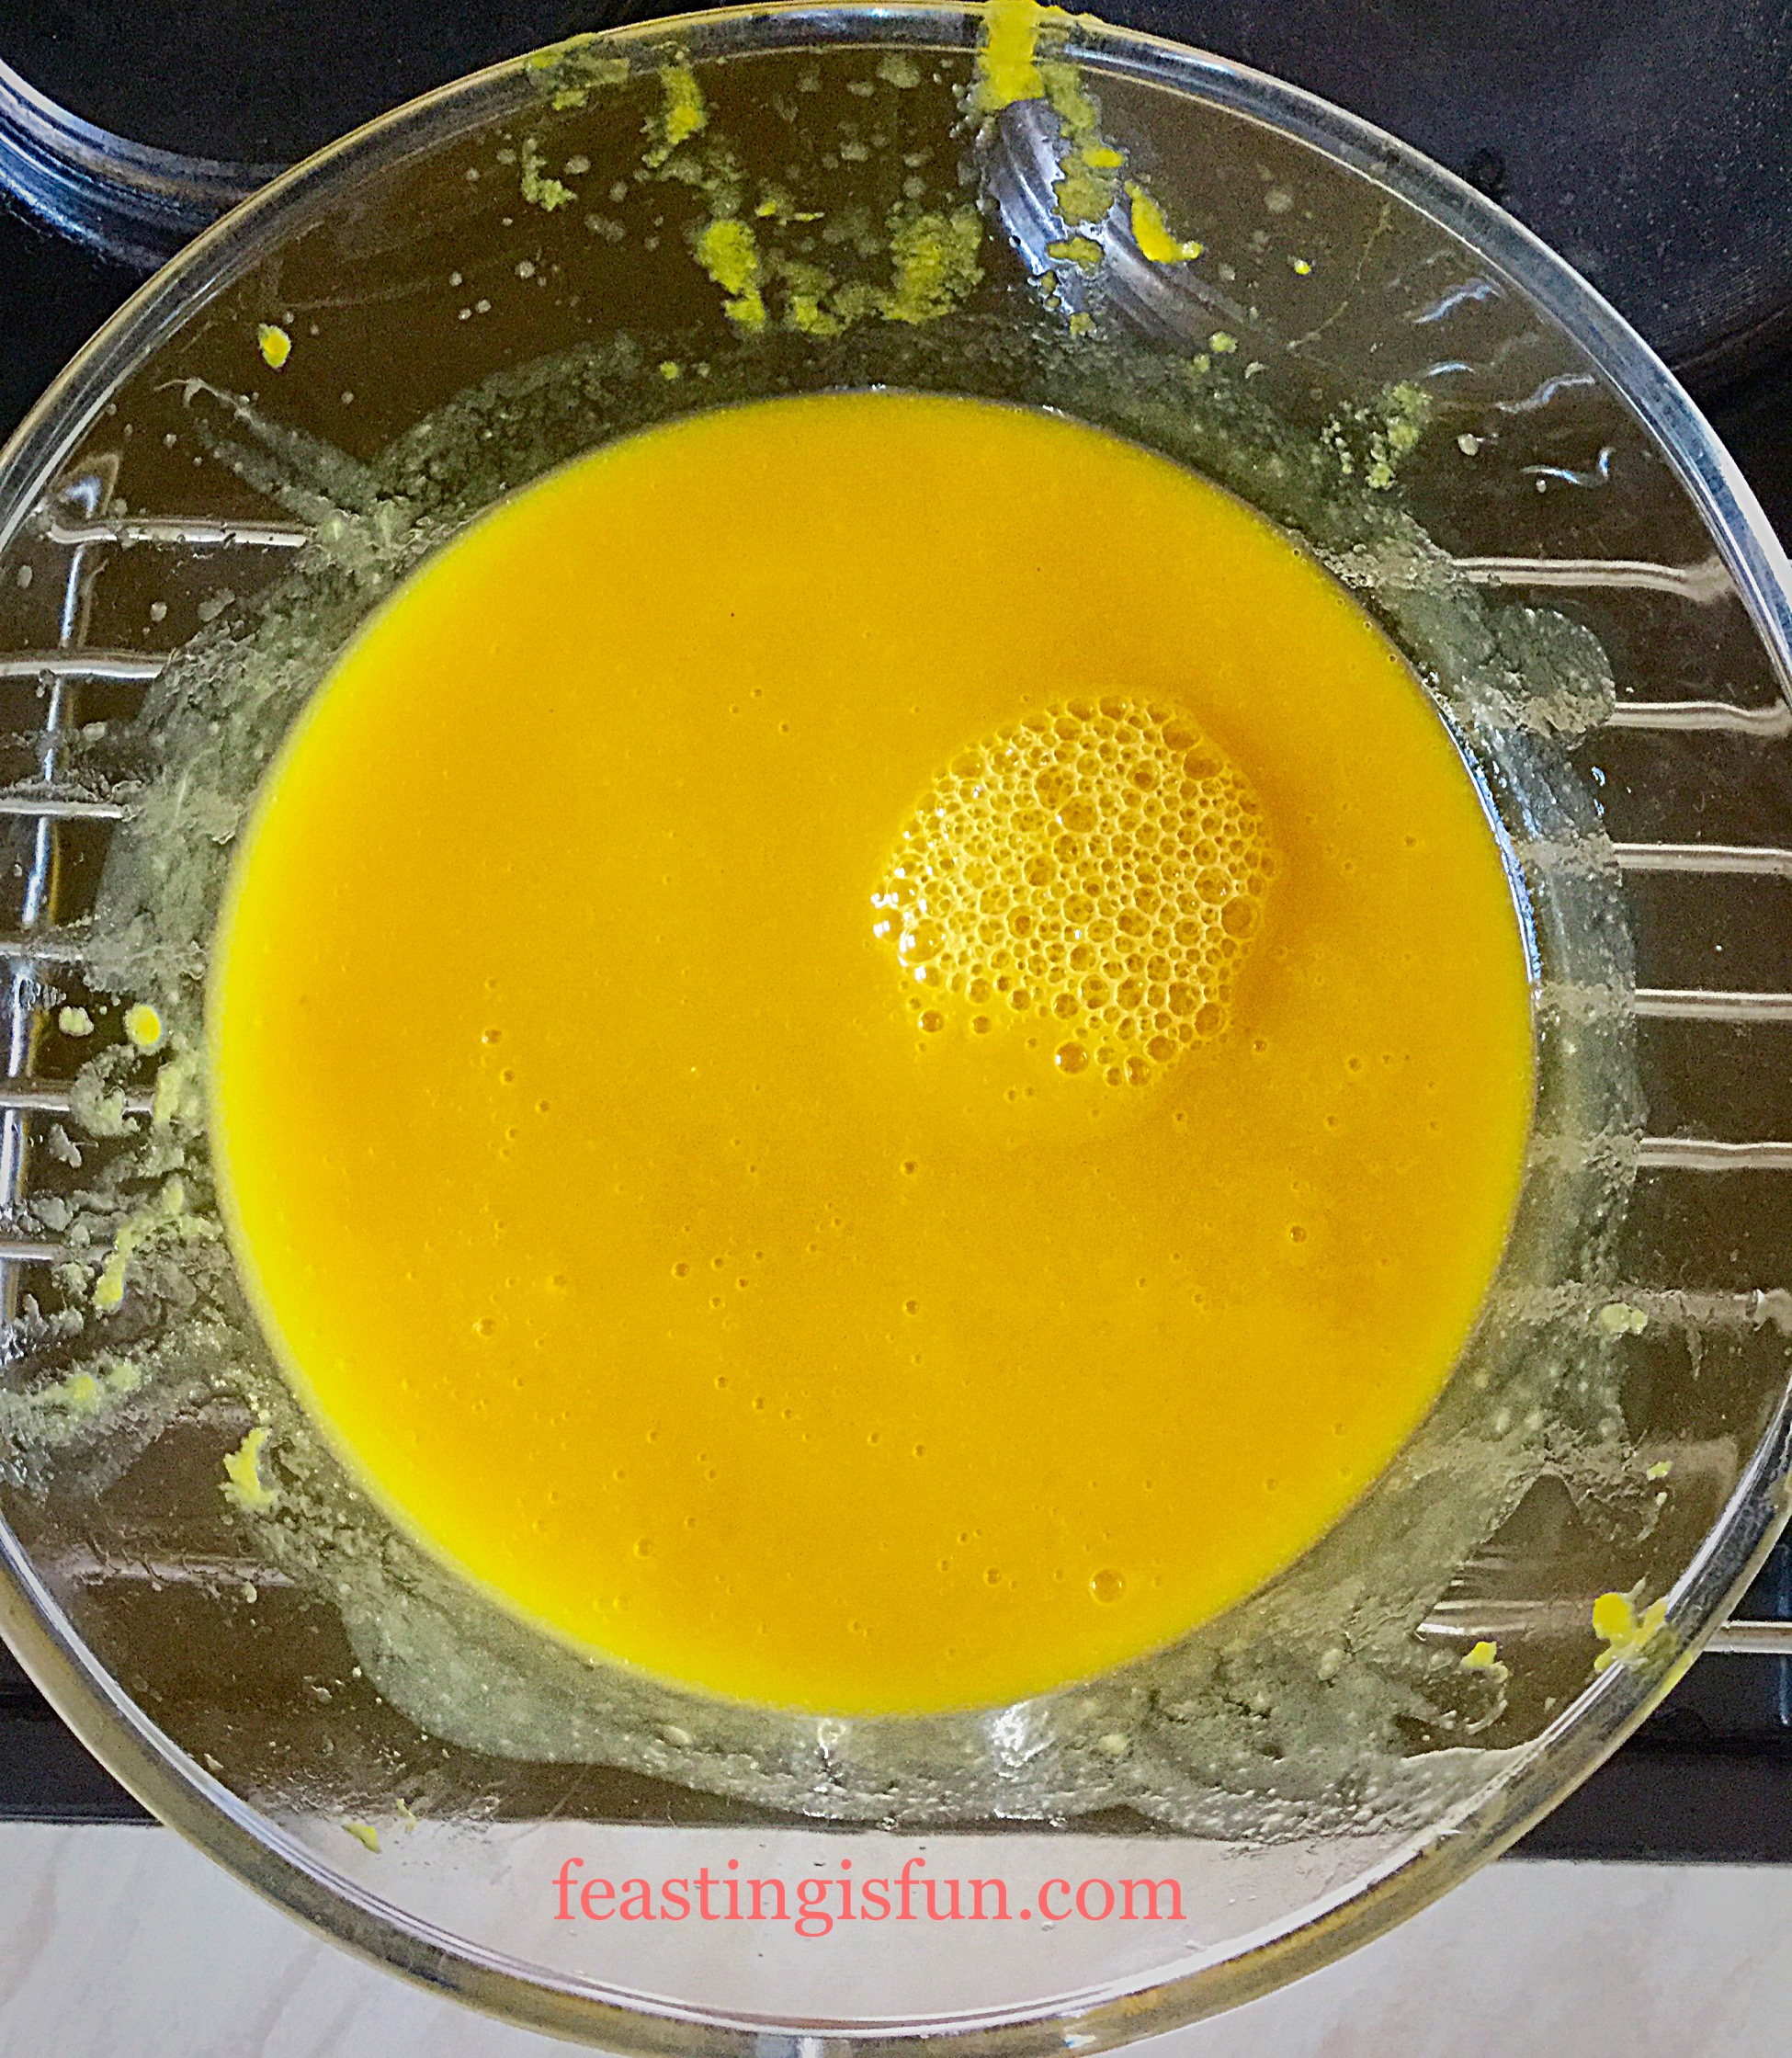
  • Allow the sorbet liquid to cool and then place in the fridge to chill.
  • Once chilled set up your ice cream maker according to manufacturers instructions.
  • Transfer the sorbet liquid to a jug, this makes pouring the liquid into the frozen chamber much easier.
  • With the machine churning pour the sorbet liquid into the ice cream maker and churn until slushy like.
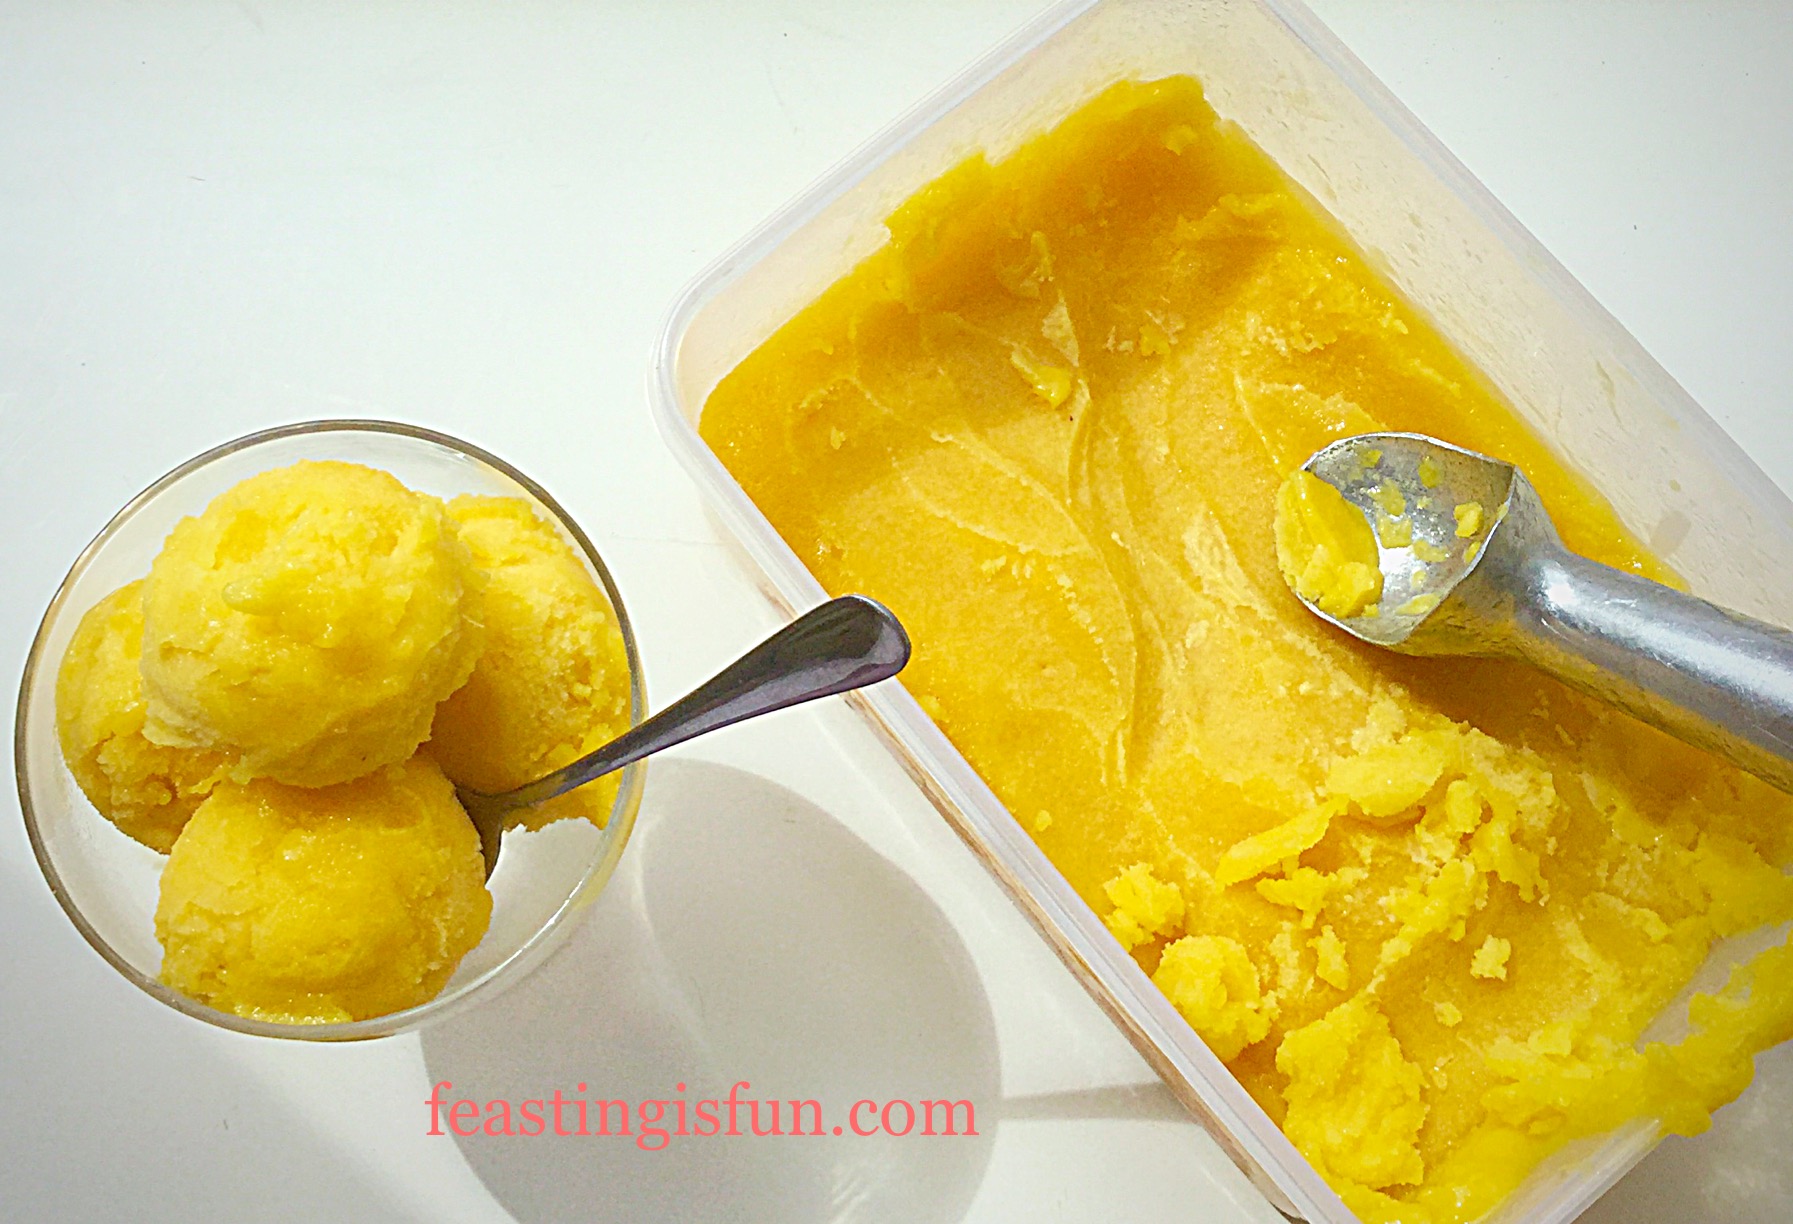
  • Stop the machine, remove the paddle and scoop/pour the slushy mixture into a freezer proof, resealable tub.
FF Refreshing Tropical Fruit Sorbet
Refreshing Tropical Fruit Sorbet so full of fruity flavour.
  • Pop the lid on and place in the deep freeze, generally I leave ice creams and sorbets overnight, until frozen through.

To serve, remove the sorbet from the freezer 15-20 minutes to allow to soften slightly.

FF Refreshing Tropical Fruit Sorbet
Refreshing Tropical Fruit Sorbet the perfect way to end a meal.

For me, this is the perfect dessert after a hot spicy meal such as a curry or my Chunky Chilli. The cool, fruity sorbet, soothing on your tastebuds.

This is the perfect sorbet to make if you happen upon marked down fruit in the market or shops. It will keep for 3 months in the deep freeze and brighten a dull Winter’s day.

If you have enjoyed the recipe for my Refreshing Tropical Fruit Sorbet here are some others you may also like:

Strawberry Ripple Ice Cream

FF Refreshing Tropical Fruit Sorbet
Strawberry Ripple Ice Cream

Dark Chocolate Chip Vanilla Ice Cream

FF Refreshing Tropical Fruit Sorbet
Dark Chocolate Chip Vanilla Ice Cream

Lemon Ripple Ice Cream

FF Refreshing Tropical Fruit Sorbet
Lemon Ripple Ice Cream


I love creating, experimenting, tasting and testing different recipes. If you love mangos but aren’t a fan of pineapple, add more mango and leave the pineapple out.

Being allergic to oranges, means I always have to double check when I buy anything labelled ‘tropical’. Making my own Refreshing Tropical Fruit Sorbet means I know exactly what has gone into it. By all means adjust the sugar quantity if your fruit is sweeter, or riper. That’s why it is important to taste the liquid from the pan, remembering all the flavours will be dulled slightly by the freezing process.

I hope I have inspired you to get creative in your kitchens. Cooking should be fun. Combining flavours, adding a little something here or there, I hope that you take my recipes, try them and then change them to suit your tastes. I very much suspect a drop or two of orange blossom water would work very well in this recipe. But then I’ll never know 😉

Sammie xx

Share
Facebooktwitterpinterestlinkedintumblr

Coconut Almond Date Flapjacks

Share
Facebooktwitterpinterestlinkedintumblr

Do you love the smell of coconuts? I do! And with coconut oil being hailed as the new all round, healthy oil, I was interested in what it would be like to bake with. So, after receiving a 250ml jar of cold pressed, organic coconut oil from the lovely people at Vita Coco I decided to make these vegan Coconut Almond Date Flapjacks.

Vegan flapjacks sized for Pinterest with descriptive graphics

Since having previously tried and failed, on two separate occasion to make flapjacks using honey, I knew I would have to go back to using sugar and golden syrup, if I stood any chance of these bars holding together. And switching the butter for coconut oil was also a risky proposition.

VC Coconut Almond Date Flapjacks
Medjool dates and Vita Coco coconut oil.

Since I was using beautiful medjool dates from the Medjool Date Co. I reduced the amount of golden syrup. The dates are so naturally sweet it didnt need the extra sweetness like my Cranberry Walnut Flapjacks. Also, flaked almonds added the perfect crunch, plus all their nutty goodness and flavour.

Three vegan flapjacks on a plate.
Coconut Almond Date Flapjacks

Finally, the swirl of milk chocolate gives the Coconut Almond Date Flapjacks a beautiful finish and let’s face it, a little chocolate always makes things better. Since these flapjacks are naturally vegan, use dairy free, vegan dark chocolate when sharing with those following a vegan diet.

Vegan flapjacks on a white platter.
Coconut Almond Date Flapjacks vegan and very delicious.

Wow!! These Coconut Almond Date Flapjacks taste amazing. I mean really, really good.

And I needn’t have worried about missing the buttery flavour of my usual flapjacks as these are packed full of chewy, nutty, flavour. Because my taste buds threw a party after my first bite, demanding another and then another bite.

So utterly delicious and clean tasting, if you get my meaning?

Recipe: Makes 16 Coconut Almond Date Flapjacks

225g/8oz One 250ml Jar of Vita Coco coconut oil

125g/5oz Light Soft Brown Sugar

75g/3oz Golden Syrup -light corn syrup

325g/11.5oz Rolled Oats – NOT quick cook oats

100g/4oz Flaked Almonds

125g/5oz Medjool Dates – seed removed and chopped into 1cm pieces

Optional – 100g/4oz Milk or alternatively Vegan Chocolate Sainsbury’s essential dark chocolate is Vegan

Method: Preheat the oven to 180/160C fan, gas mark 4, 350F

Making The Vegan Flapjacks

  • First of all, line an 8″ X 11″ – 20cm X 28cm Swiss roll tin with baking parchment. While I didn’t grease my tin first, the baking parchment lifted out without any problems.
  • In a large, heatproof/microwaveable bowl add the coconut oil, sugar and golden syrup.
  • Place in the microwave and heat on medium, for approximately 3 minutes, until the coconut oil has melted.
  • Stir the coconut oil, sugar and golden syrup together.
  • Add the rolled oats, chopped dates and flaked almonds.
VC Coconut Almond Date Flapjacks
All the ingredients for Coconut Almond Date Flapjacks in one bowl!
  • Mix all the ingredients together so that everything is coated in the melted coconut oil and sugar mix.
  • Tip the flapjack ingredients into the prepared tin.
VC Coconut Almond Date Flapjacks
Tip the delicious mix into a prepared tin.
  • Using the back of a metal spoon, press the mixture evenly into the tin.
VC Coconut Almond Date Flapjacks
Coconut Almond Date Flapjacks ready for the oven.

Baking The Coconut Almond Date Flapjacks

  • Place the flapjacks into the centre of the oven and bake for exactly 20 minutes.
  • The flapjacks should be a golden colour once cooked. As soon as the 20 minutes has elapsed remove from the oven.
  • Finally, resist the temptation to cook them for just a bit longer. Since this will result in the flapjacks becoming very hard and not chewy, on cooling.
VC Coconut Almond Date Flapjacks
Coconut Almond Date Flapjacks leave to cool completely in the tin.
  • Leave the flapjacks to cool completely in the tin.
  • Once cooled remove the from the tin using the parchment to lift them out.

Cutting And Decorating The Flapjacks

  • With a sharp knife cut down the length of the flapjack block, dividing it in two. Next cut across the middle of the flapjack, creating four quarters. Cur each quarter into four bars.
  • Break up the milk chocolate and place into a heatproof, microwaveable bowl.
  • Zap for 20 seconds at a time, on high, in the microwave. Stirring as the chocolate starts to melt. When the chocolate is nearly melted remove from the microwave and keep stirring until it is completely melted.
  • Pour the melted chocolate into a small piping bag (or a freezer/sandwich bag).
VC Coconut Almond Date Flapjacks
The glass keeps the bag steady as you pour in the melted chocolate.
  • Cut the very end of the piping bag (or corner of bag), so that you have a small hole.
  • Pipe a pattern of your choice down the length of each of the Coconut Almond Date Flapjacks.
  • Leave to set.
Chocolate decorated flapjacks
Coconut Almond Date Flapjacks

Store the flapjacks in an airtight container for up to a week.

Coconut Oil A Vegan Substitute For Butter

While the coconut flavour in these flapjacks is subtle, it mixes well with the dates and almonds to create a really flavoursome bar. Especially ideal for mornings when you’re in a rush and need breakfast on the go, or for filling that mid afternoon hunger gap and seeing you through to your evening meal!

I am incredibly impressed with how well the Vita Coco coconut oil worked in this recipe and I shall most definitely be buying more and using it in other recipes. So providing the chocolate is vegan, these Coconut Almond Date Flapjacks they are vegan, dairy AND gluten free (providing you use certified gluten free oats).

Coconut Almond Date Flapjacks

Creating a recipe that is not only nutritious, tasty and easy to pack up and take to work or school, but that can also be enjoyed by more people is a fantastic feeling!

Do you have diet constraints?

Have you substituted coconut oil for butter in any of your cooking/baking?

Please let me know as I am new to baking with coconut oil and would love to hear any tips you may have?

If you have enjoyed these Coconut Almond Date Flapjacks here are a couple more recipes you may like.

Cranberry Walnut Flapjacks

VC Cranberry Walnut Flapjacks
Cranberry Walnut Flapjacks

Macadamia Nut Apricot Flapjacks 

Macadamia Nut Apricot Flapjacks

Double Cherry Drizzle Oat Bars

Double Cherry Drizzle Oat Bars

Creating a vegan snack happened accidentally. Because the butter is switched to coconut oil and all of the other ingredients are gluten free and vegan I am thrilled that the resulting bake is so tasty. Since more people can enjoy this snack it fits in well with the theme of Feasting Is Fun.

So, whatever you are making, baking and creating in your kitchen, have fun preparing and sharing your feast.

Sammie xx

VitaCoco and The Medjool Date Co. provided me with coconut oil and dates which were used in this recipe. Also, all opinions, views, content and photographs are my own. I did not receive payment for writing this post. Please see my Disclosure Policy.

Also, this recipe is an entry into the #Swearbyit challenge with Vita coco. Find more great coconut oil recipes and tips on using coconut oil at www.swearbyit.com.

Vegan breakfast bars with descriptive graphics overlay.

Share
Facebooktwitterpinterestlinkedintumblr

Oat Bran White Bread

Share
Facebooktwitterpinterestlinkedintumblr

For those of you who regularly read this blog, you may have noticed a few things about the way I cook and bake. Primarily I make food that is tasty to eat using ‘natural’ ingredients. For example, I unashamedly use butter when baking and cooking and tend to avoid overly processed foods. While I have a passion for baking bread, with nuttier and seeded loaves being my preferred loaves, yet I live in the real world. In a family of five people, three prefer white bread. So here is my compromise. Oat Bran White Bread is a soft loaf without the heaviness or chewing required by its wholemeal cousin.

FF Oat Bran White Bread

Since this bread is so soft it is perfect for sandwiches and also makes the most incredible toast. In fact, this loaf makes the best toast, in my opinion, of all the bread recipes here on Feasting is Fun. Packed full of fibre from the whole oats and oat bran, it is good for you as well as being a tasty, filling bread. Yet also having the lightness of a white loaf.

FF Oat Bran White Bread
Oat Bran White Bread Loaf

Choosing To Eat Well

While I am not into faddy food, having food allergies myself means I am attempting to increase the variety recipes on this site. For example gluten free, dairy free and vegetarian. I try to use fresh local and seasonal food as much as possible in my everyday cooking and that is reflected in the recipes posted here. I am not perfect and we have standby dinners in the freezer for days when I can’t cook.

FF Oat Bran White Bread
Oat Bran White Bread

All that said, I do try to make as much of our own bread as possible. If I didn’t have a bread machine or stand mixer I simply would be unable to make bread from scratch. Kitchen machinery that earns its place will always be welcomed by me. Far better to make good quality, homemade bread with the help of a mixer, than buy its mass produced counterpart. Bread is a staple and a great tasting, fresh loaf will always be at the heart of any kitchen that I use.

FF Oat Bran White Bread
Oat Bran White Bread

A quick note about this Oat Bran White Bread: I have recently updated the recipe, replacing the butter for Rapeseed oil. First of all it gives the baked loaf a softer texture and also makes the recipe both dairy free and vegan. I am NOT jumping on the ‘vegan’ bandwagon, however, creating a loaf that more people can make and enjoy will always be a priority for me, providing there is no compromise on flavour.

Recipe:  Oat Bran White Bread

420ml Water at room temperature

450g/1lb Strong White Bread Flour – I use Shipton Mill

100g/4oz Fine Oat Bran available from health food shops and Amazon 

– alternatively blitz the equivalent weight of rolled oats in a food processor

50g/2oz Rolled Oats plus 1tbsp for sprinkling on top of the loaf

7g /1sachet Active Dried Yeast – I use the green tub/sachets from Allinson also known as fast acting dried yeast.

7g Sea Salt – I use Maldon

2 tbsp Rapeseed Oil (Canola Oil)

Making And Proving The Bread Dough

You will need a lightly oiled 3 lb loaf pan to bake this loaf of bread.

Using a bread maker or stand mixer, pour the water into the  bowl and then add the yeast.

Next add the flour, oat bran and oats.

On top of the dry ingredients add the salt and oil.

Set the bread machine to dough cycle and start.

If using a stand mixer, attach the dough hook and mix until all the ingredients come together. Continue to mix for 10 minutes. Stop mixing and remove the dough hook. Cover the bowl with a damp cloth until the dough has doubled in size, approx 1 hour.

Knocking Back And Shaping The Dough Ready For The Second Prove

Once doubled in size, remove the cloth and tip the dough out on to a lightly floured worktop so that the top of the risen dough is in on the bottom, in contact with the work surface.

Once the bread mixer has finished the dough cycle, start it again, allowing it to mix (knock back) the dough for one minute. Turn the dough out onto a lightly floured surface.

Working around the dough, take hold of the dough with your hand, pull out and then press into the centre. Continue, as in the photographs below, until you have a tight, neat lump of dough.

FF Oat Bran White Bread
Creating structure within the dough.

Gently, using your fingers, press the dough out to form a square shape.

Fold the bottom third of the dough up and then the top third of the dough is folded down, slighlty overlapping the seam.

Turn the dough over and place into a well greased 3 lb loaf pan.

Spray or brush with water and sprinkle over 1 tablespoon of rolled oats.

FF Oat Bran White Bread
Shaping the dough ready for the tin.

Cover with a clean tea towel, place in a straight free place and leave to rise until doubled in size.

Scoring And Baking The Oat Bran White Bread

Preheat the oven to 220C/200C fan, 425F, gas mark 7.

As soon as the dough has risen score across the dough with a very sharp knife or grignette 4-5 times.

FF Oat Bran White Bread
Proved and slashed Oat Bran White Bread ready for the oven.

Place the bread in the centre of the oven and bake for 30-40 minutes. The bread is baked when golden brown and carefully rapped with a knuckle and it sounds hollow.

As soon as the loaf is baked remove from the oven and turn out immediately on to a cooling rack to cool completely.

FF Oat Bran White Bread
Oat Bran White Bread

Allow the bread to cool fully before slicing.

If you have enjoyed this recipe for Oat Bran White Bread you may also like these:

Sunflower Seed Heart Cob Loaf

Sunflower Seed Heart Cob Loaf

Lighter Wholemeal Loaf

Lighter Wholemeal Bread Loaf
Lighter Wholemeal Loaf

Seeded Cob Loaf

Seeded Cob Bread
Seeded Cob Loaf

This Oat Bran White Bread loaf has a wonderful texture and flavour. While it does contain oats it certainly doesn’t taste like porridge. The oat bran lends a slight nuttiness, without the full on slog you get from a wholemeal loaf. It slices beautifully and makes equally good toast and sandwiches, although I confess to enjoying a slice with just butter on it. A really good loaf should have its own flavour and not just be a package for some cheese and ham.

If you love white bread, but want to incorporate more healthy fibre in your diet – this loaf is a great place to start!

Whatever you are making, baking and creating in your kitchens, have fun preparing and sharing your feast.

Sammie xx

No part of this post may be reproduced or duplicated without the written permission of the owner. Please see my Disclosure Policy.


Share
Facebooktwitterpinterestlinkedintumblr