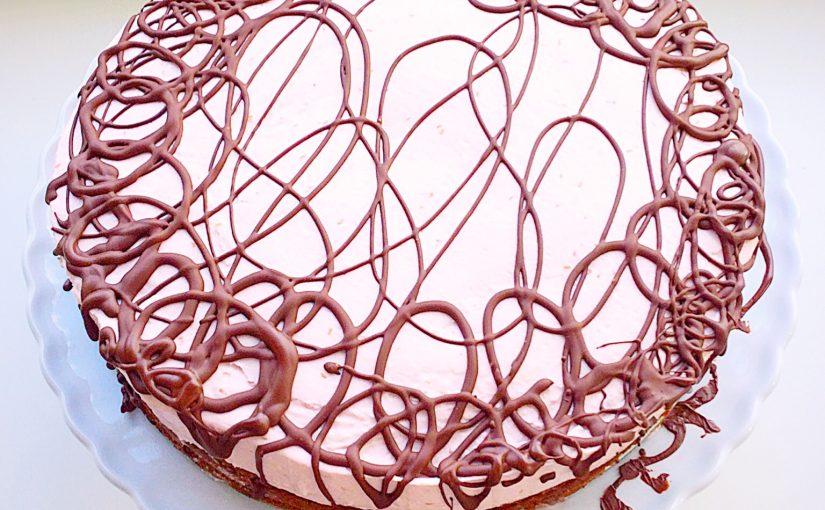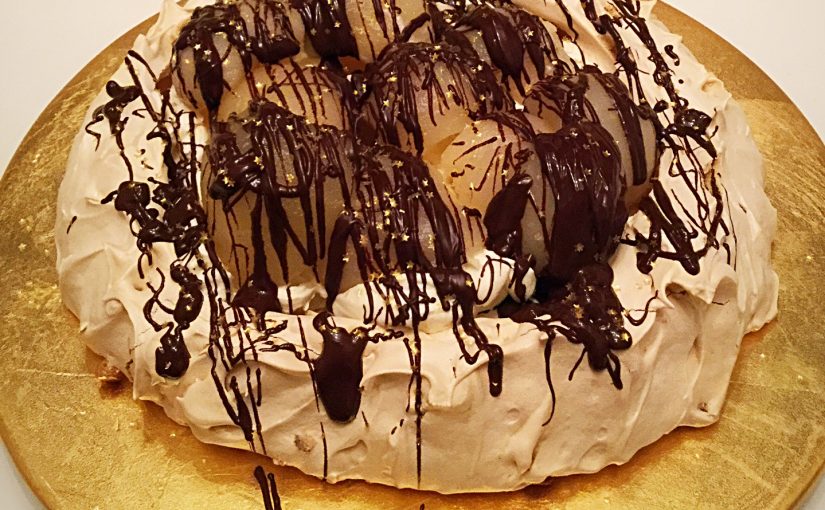
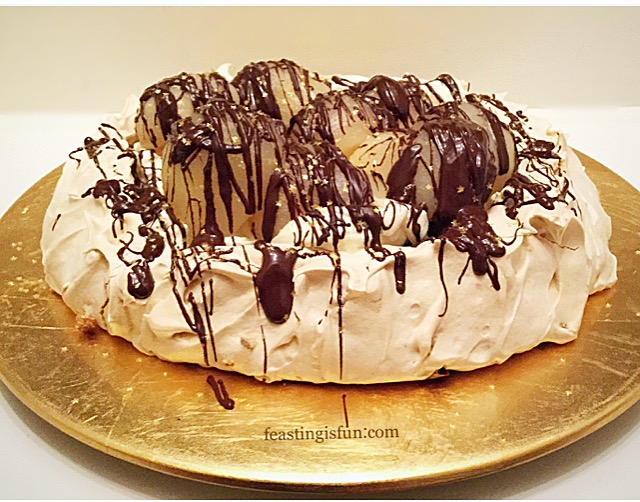
Sometimes ideas that seem to come out of nowhere, using simple, on hand ingredients, are the very best. And that’s exactly how this Dark Chocolate Drizzle Pear Ginger Pavlova came about. Since having egg whites left over, making a meringue is my go-to recipe. While adding in stem ginger for flavour and warmth, tinned pear halves, from the cupboard, as a topping seemed a no brainer! Finally, adding whipped cream, a dark chocolate drizzle and you have an elegant dessert that looks as sensational as it tastes.

Using leftover egg whites to make Pavlova is a really great way to create something incredible. Since they whip up to a much greater volume when not fridge cold, I leave them out on the worktop the night before I need them. While it may seem strange to add white wine vinegar to meringue, it’s use results in a marshmallow, chewy inner. Resulting in a great texture contrast with the crisp outer shell.

The Beauty Of Baking A Pavlova
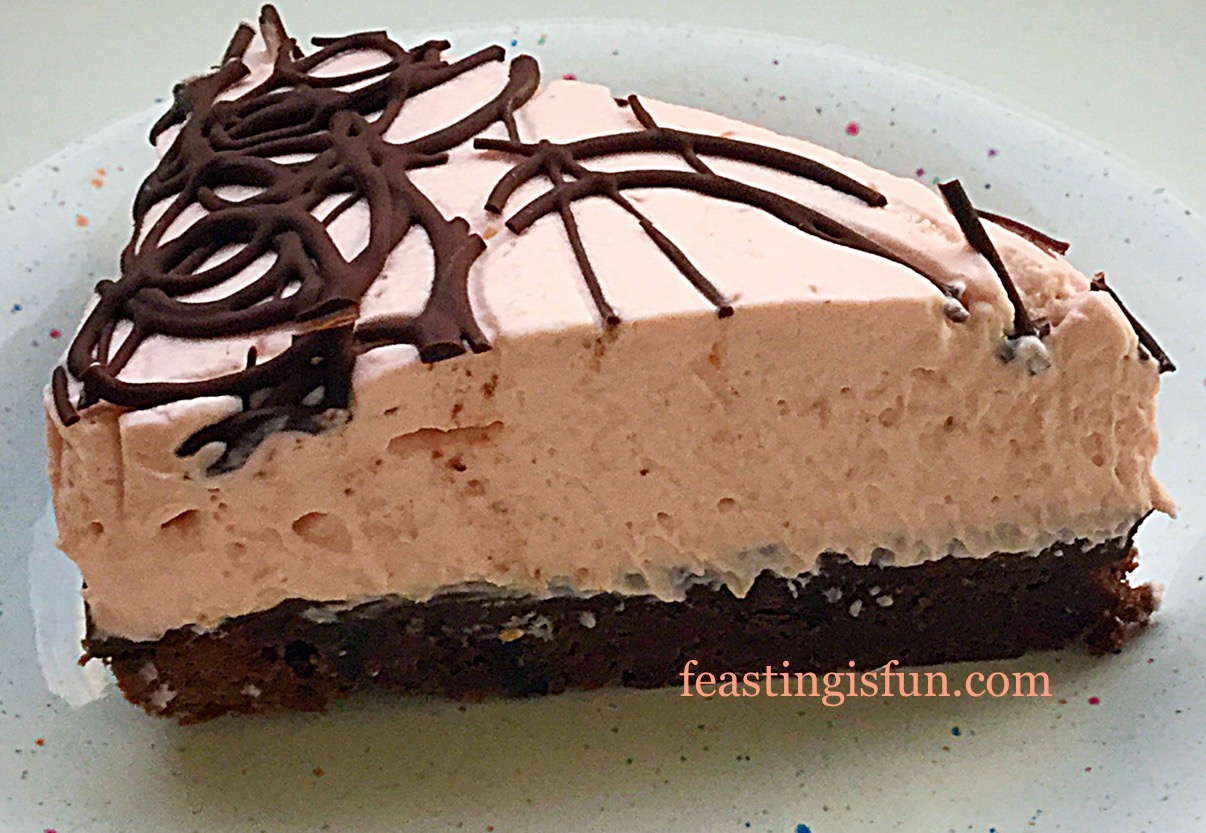
Baking low and slow, dries the outer Pavlova shell, whilst protecting that cloud like inner. While the chopped stem ginger provides hits of warmth in every mouthful. Cool, flavoured whipped cream is the perfect topping for any Pavlova. And soft, yielding pears, drizzled in deep, dark chocolate complete the flavour profile of this dessert.
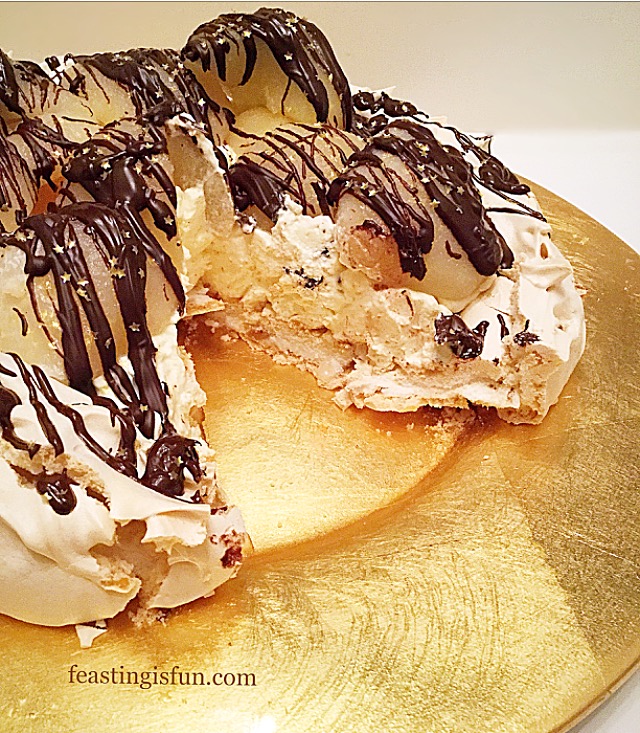
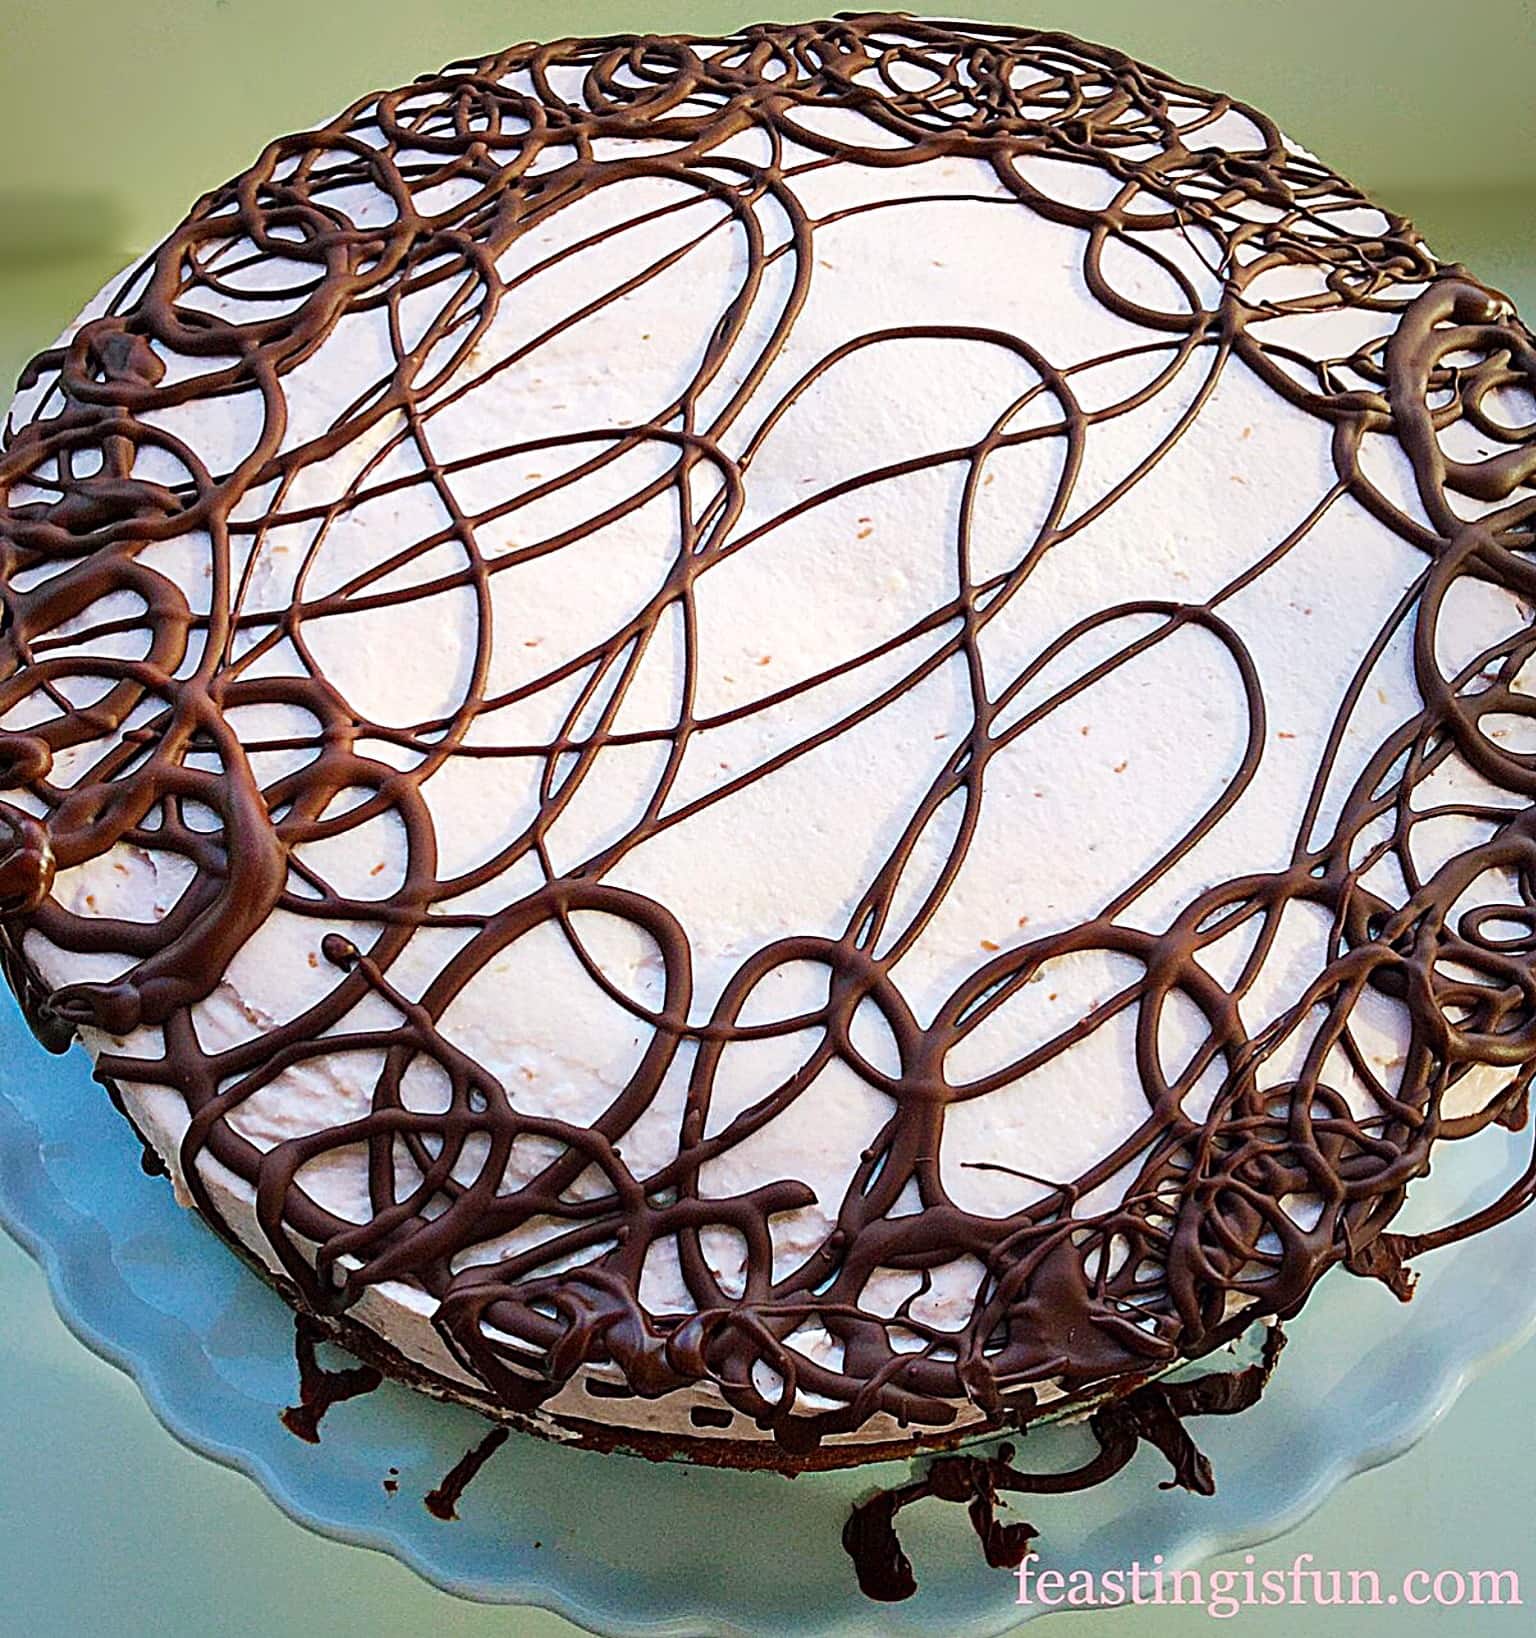
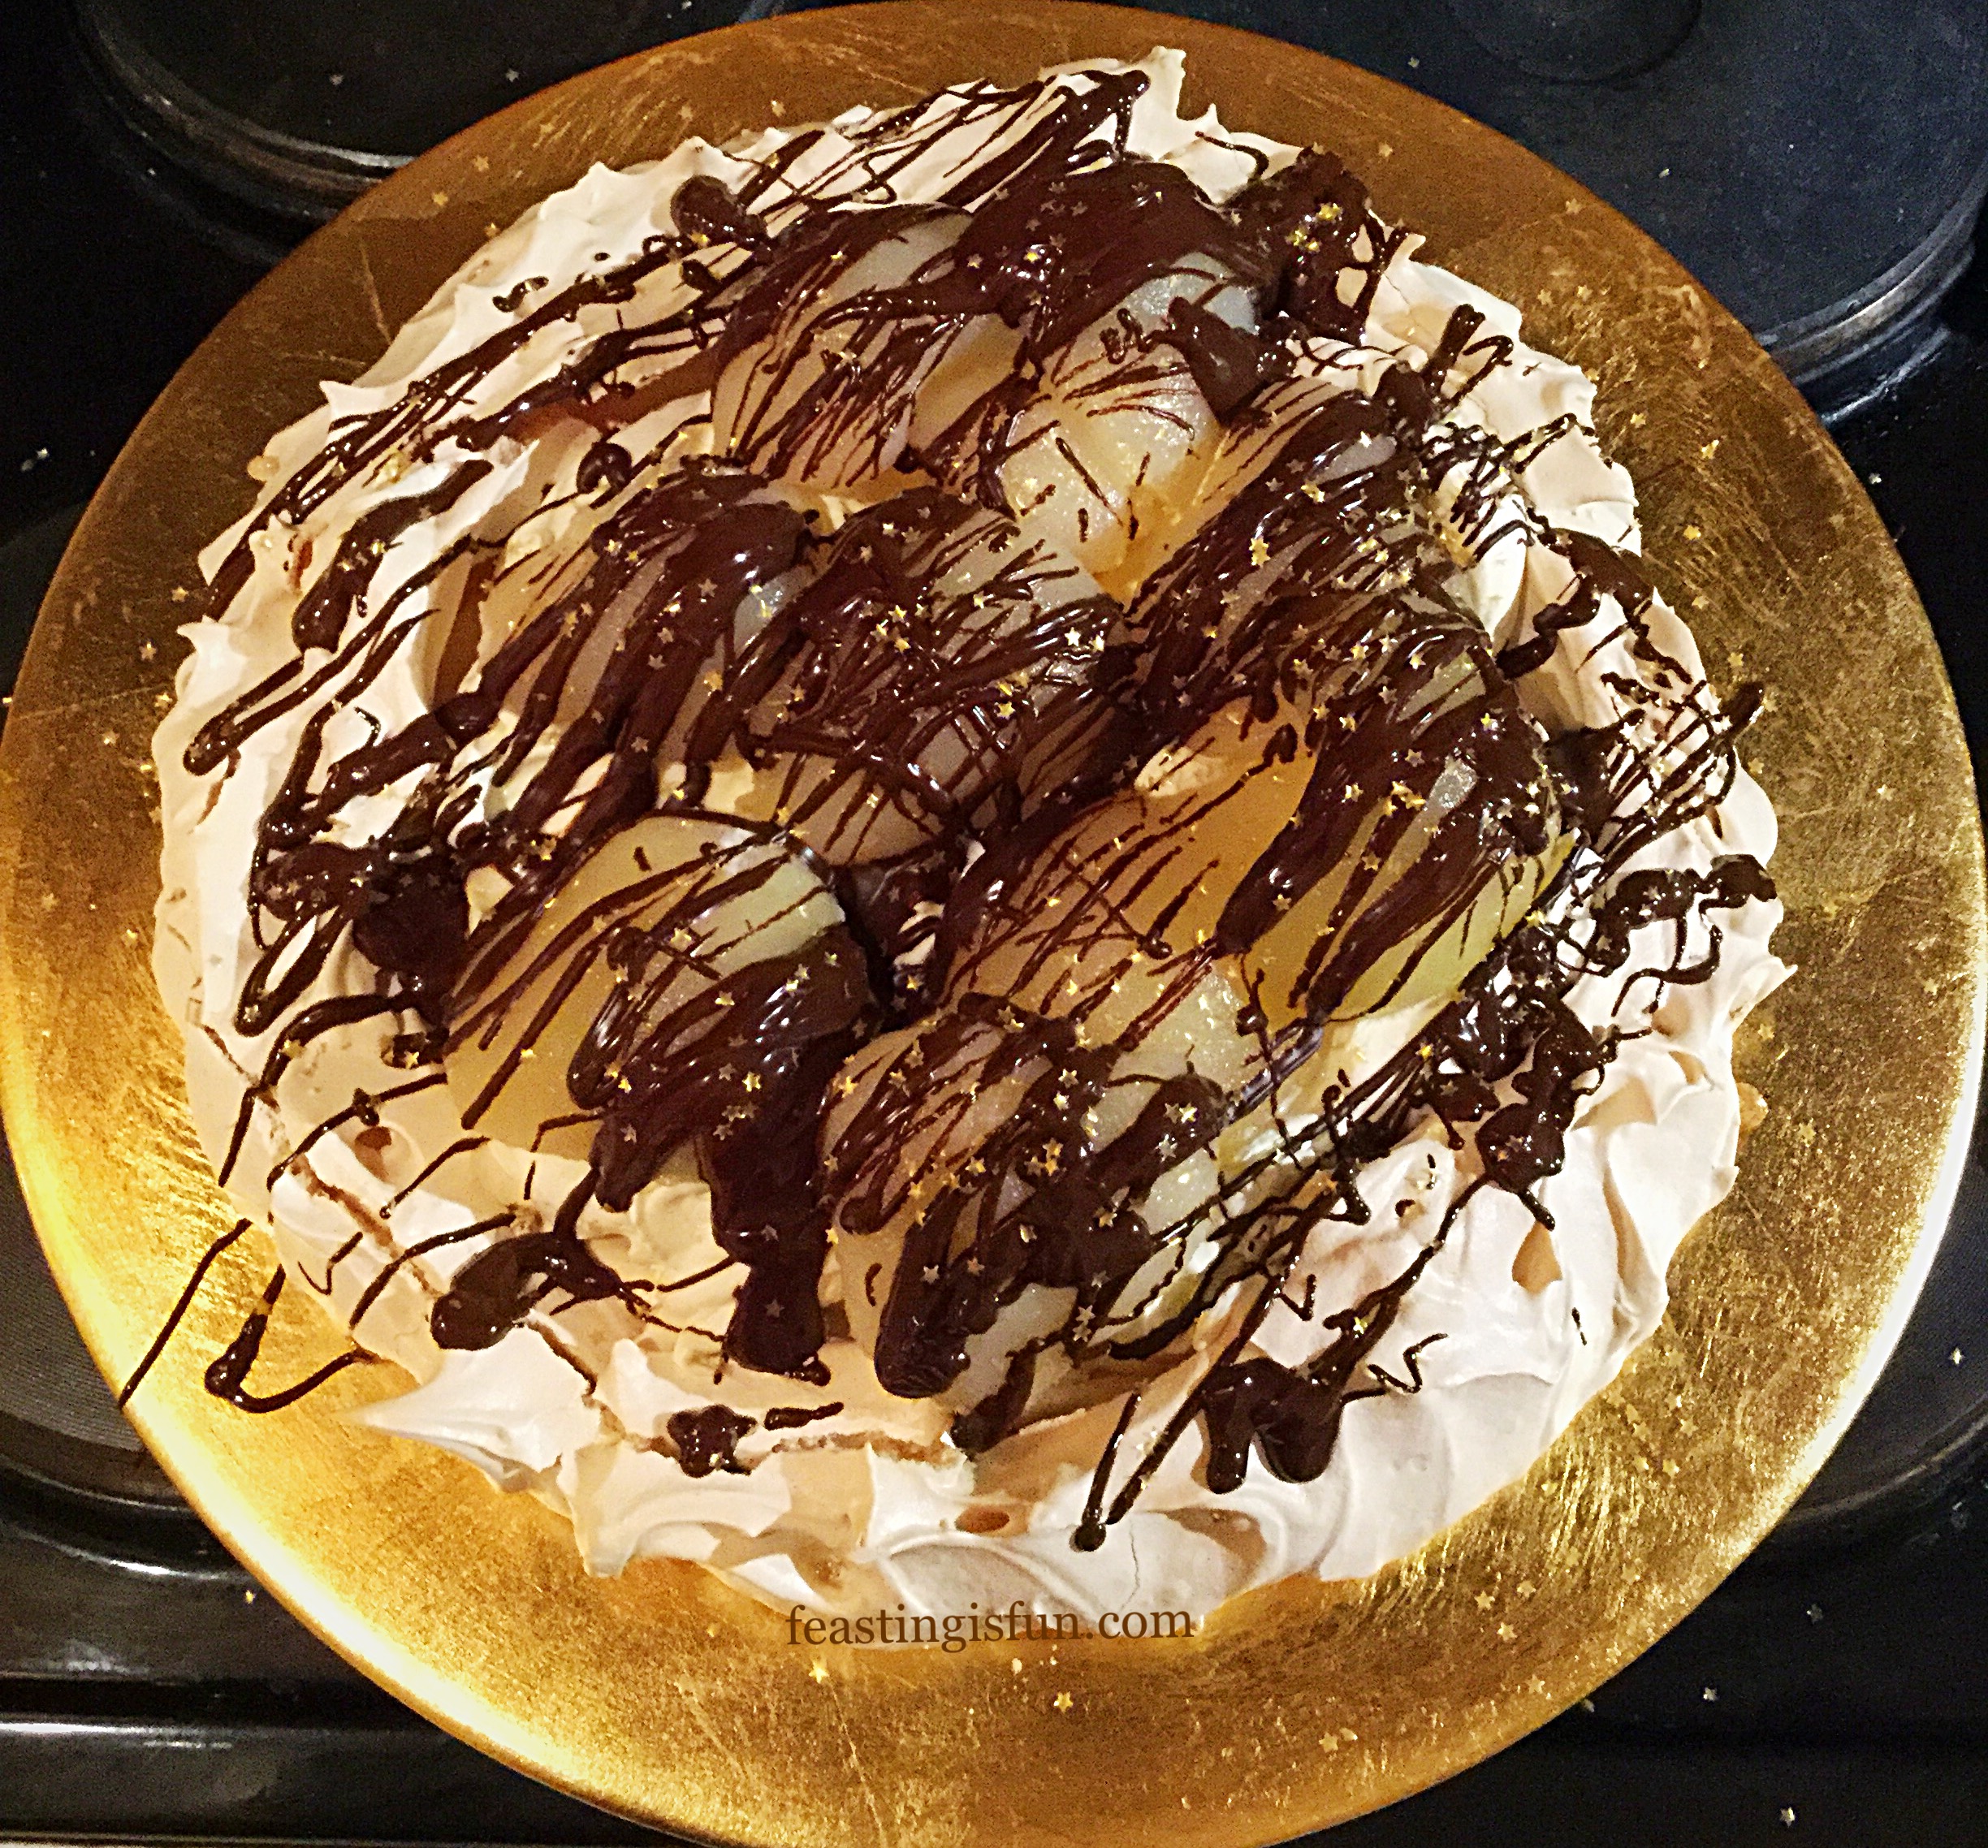
Glittering, sparkly and beautiful, this dessert is perfect to serve at the end of an elegant dinner party. Also, with Christmas, Thanksgiving and the holiday season coming up, not only do the flavours reflect the colder months of the year, it’s a simple dessert to pull together. And, aside from the initial whipping of the meringue, you need do nothing while this beauty bakes away in the oven. Since it’s really an assembly job, needing only a little whipping, a ping in the microwave. Resulting in an elegant dessert to share and wow your guests with.
Recipe: Dark Chocolate Drizzle Pear Ginger Pavlova serves 8-12
1/2 Fresh Lemon
4 Large Free Range Egg Whites at room temperature
200g/7oz Caster Sugar
1tsp Cornflour – I use Doves Farm as it is certified gluten free
1tsp White Wine Vinegar
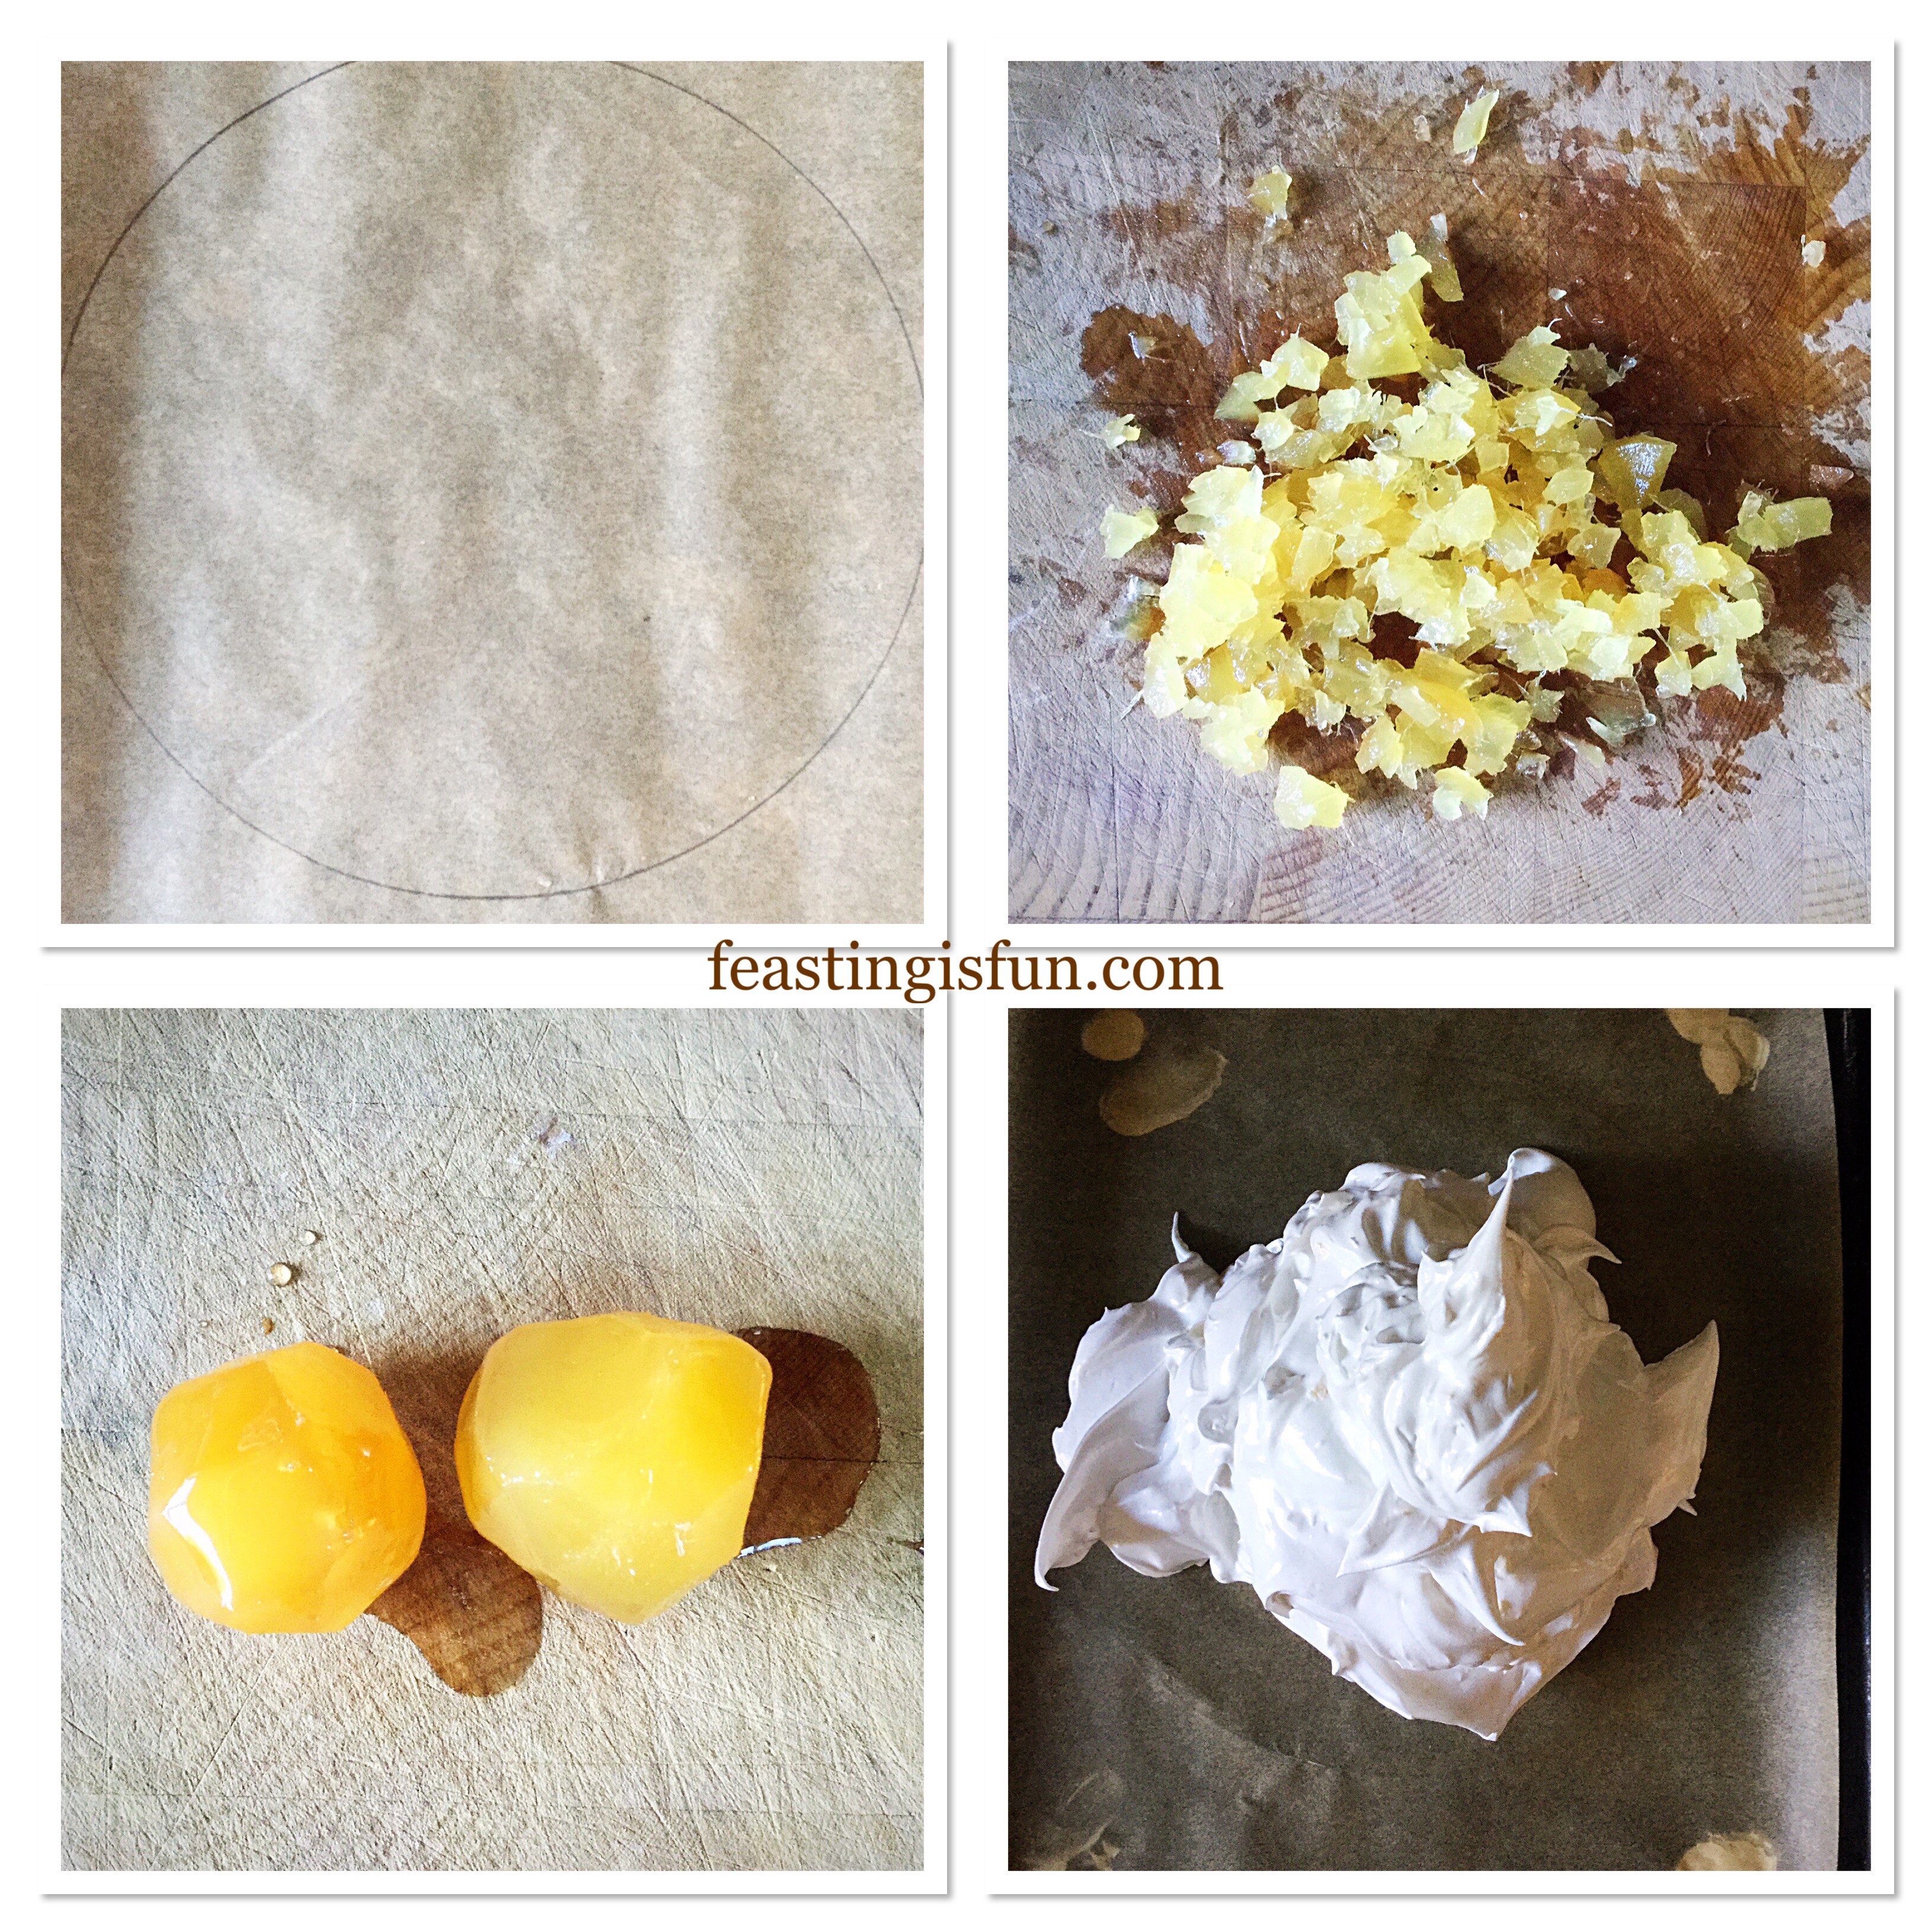
2 Balls Stem Ginger chopped finely
400ml Double Cream
1tsp Ground Ginger
1/2tsp Vanilla Bean Extract – I use Nielsen-Massey
2tbsp Syrup from Stem Ginger Jar
2 x 415g tins Pear Halves in natural fruit juice
50g/2oz Dark Chocolate minimum 70% cocoa
Optional – Edible Gold Stars available from Lakeland
Method: Preheat oven to 180C/160C fan, 350F. gas mark 4
You will need a large baking tray lined with baking parchment. Draw a 22.5cm/9″ circle, in pencil, on to the baking parchment and then turn the baking parchment over. As soon as the meringue is made stick it down with a little of it. Also an electric whisk, either hand held or using a stand mixer, will make the whole process much easier.
Making And Baking The Ginger Spiced Pavlova
- First of all, take the bowl in which the eggs will be whisked and rub the inside liberally with the lemon half.
- Now add the egg whites to the bowl.
- Whisk on a high speed until the whites are light and voluminous.
- Add the caster sugar one tablespoon at a time, continually whisking on a medium/high speed. Whisk for 2-3 minutes between each addition.
- As soon as half of the sugar is added, up the amount to 2 tablespoons each time.
- Continue whisking until all of the sugar is added and has a glossy sheen.
- Stop the whisk and rub a little of the meringue between your forefinger and thumb. If it feels gritty whisk for another couple of minutes.
- When the meringue is silky and smooth add the cornflour, white wine vinegar and chopped stem ginger.
- Using a large spoon fold the ingredients into the meringue, taking care to knock out as little of the whipped in air as possible.
- Spoon the meringue on to the baking parchment.
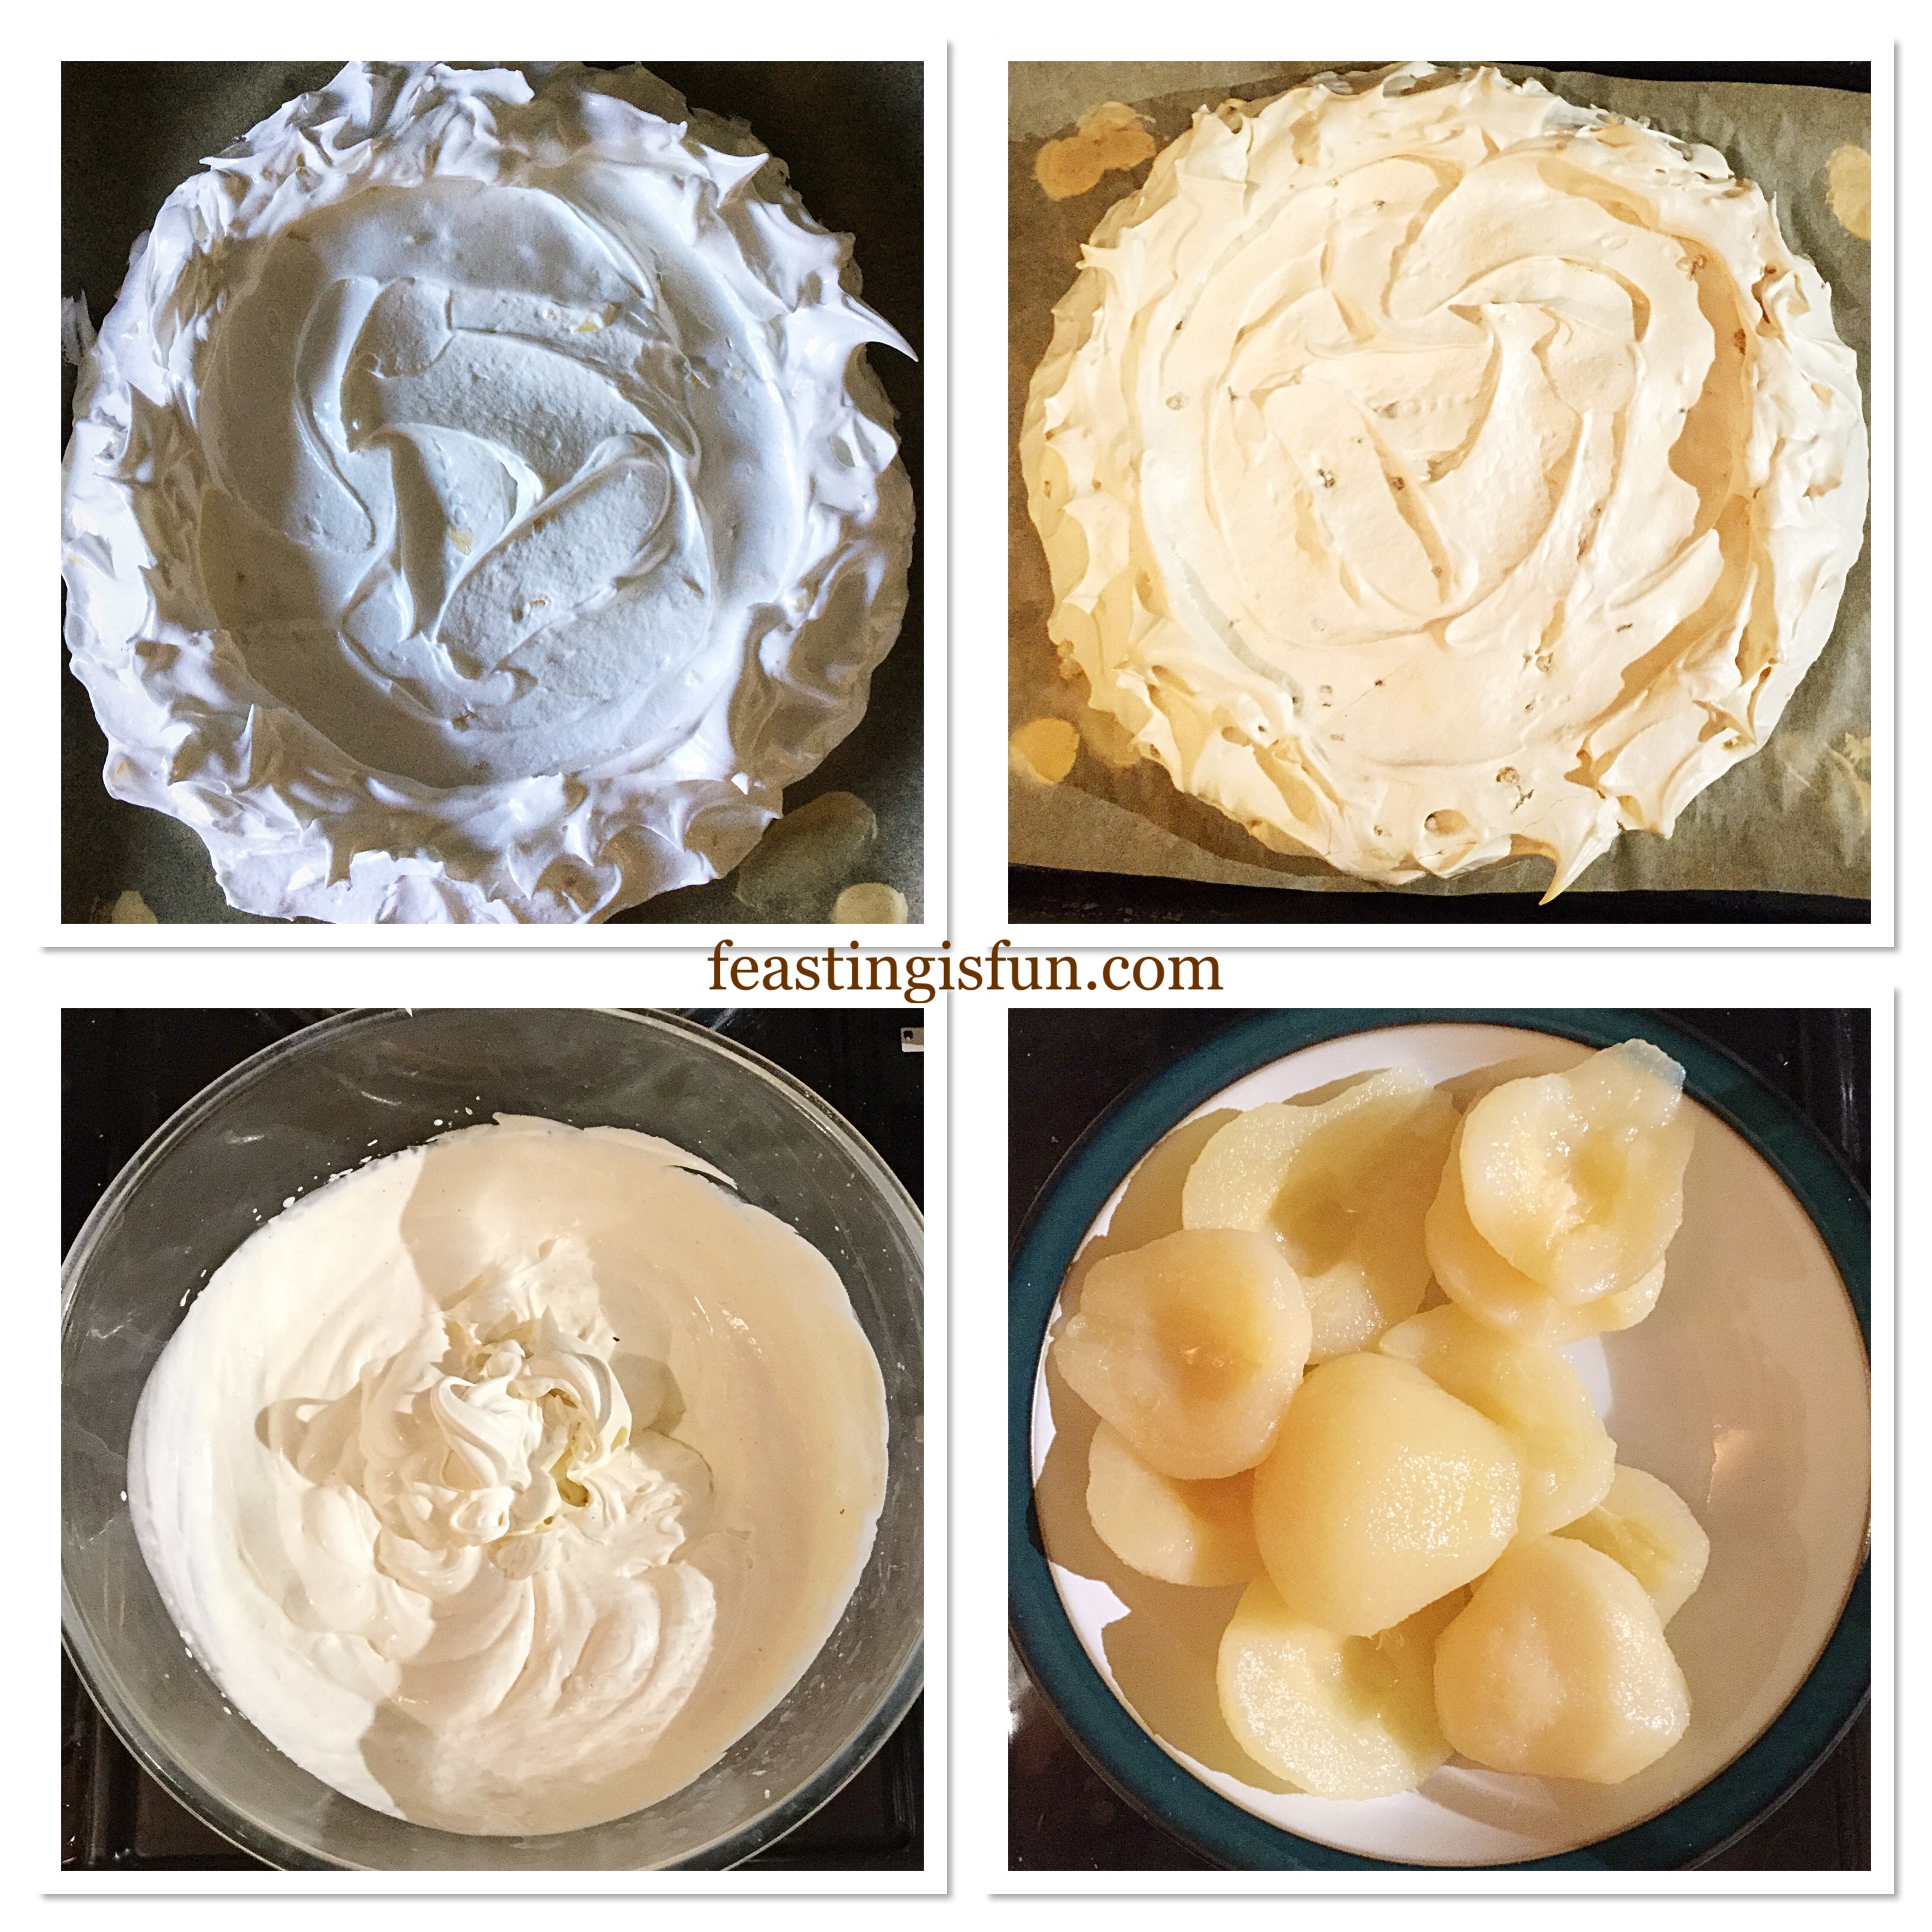
- Using a palette knife spread the meringue out to fill the circle template.
- Slightly build up the sides of the pavlova.
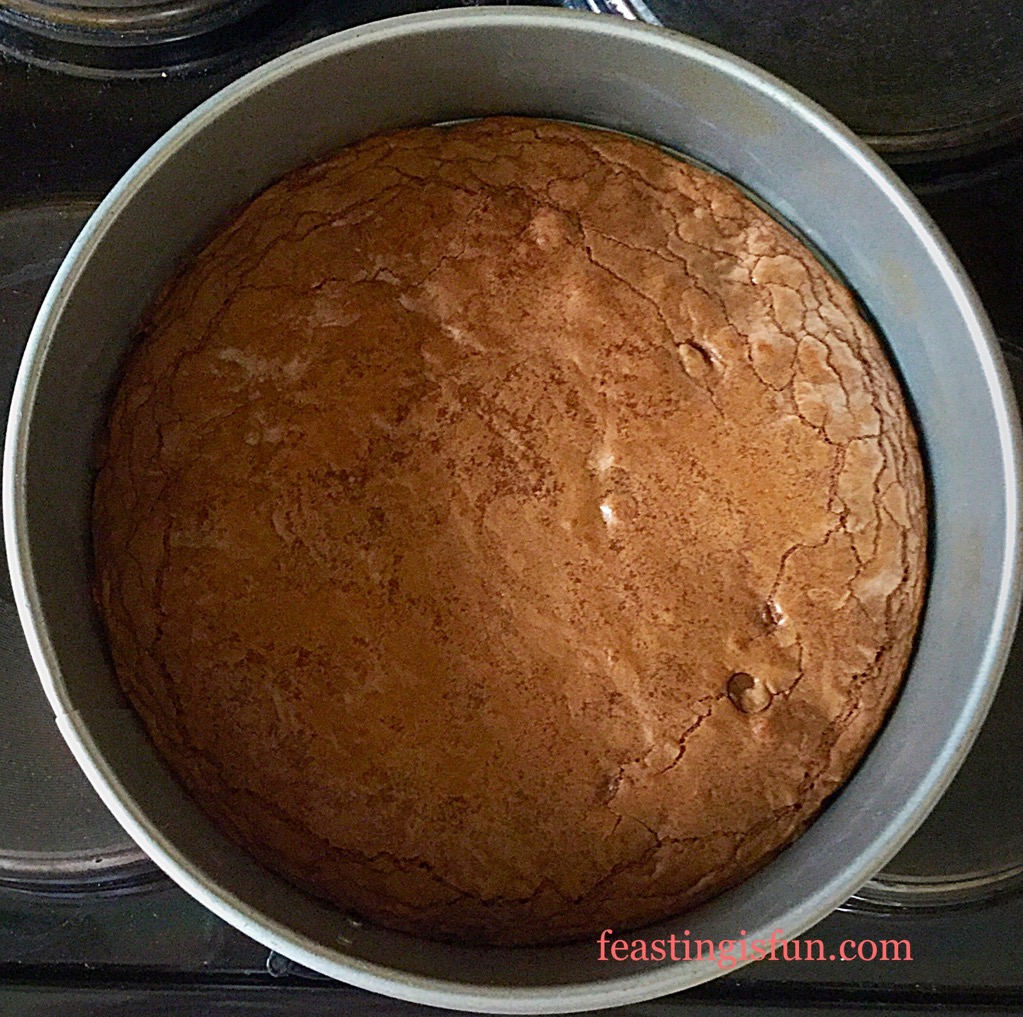
- Place the pavlova into the centre of a preheated oven and immediately turn the heat down to 140C/120C fan, 275F, gas mark 1.
- Bake for 2 and 1/2 hours.
- After the baking time has elapsed turn the oven off and allow the meringue to cool slowly, as the oven cools.
Filling The Baked Meringue
- When the meringue has completely cooled it can be filled and decorated.
- Drain the pears from the juice and leave in a bowl to slightly dry out.
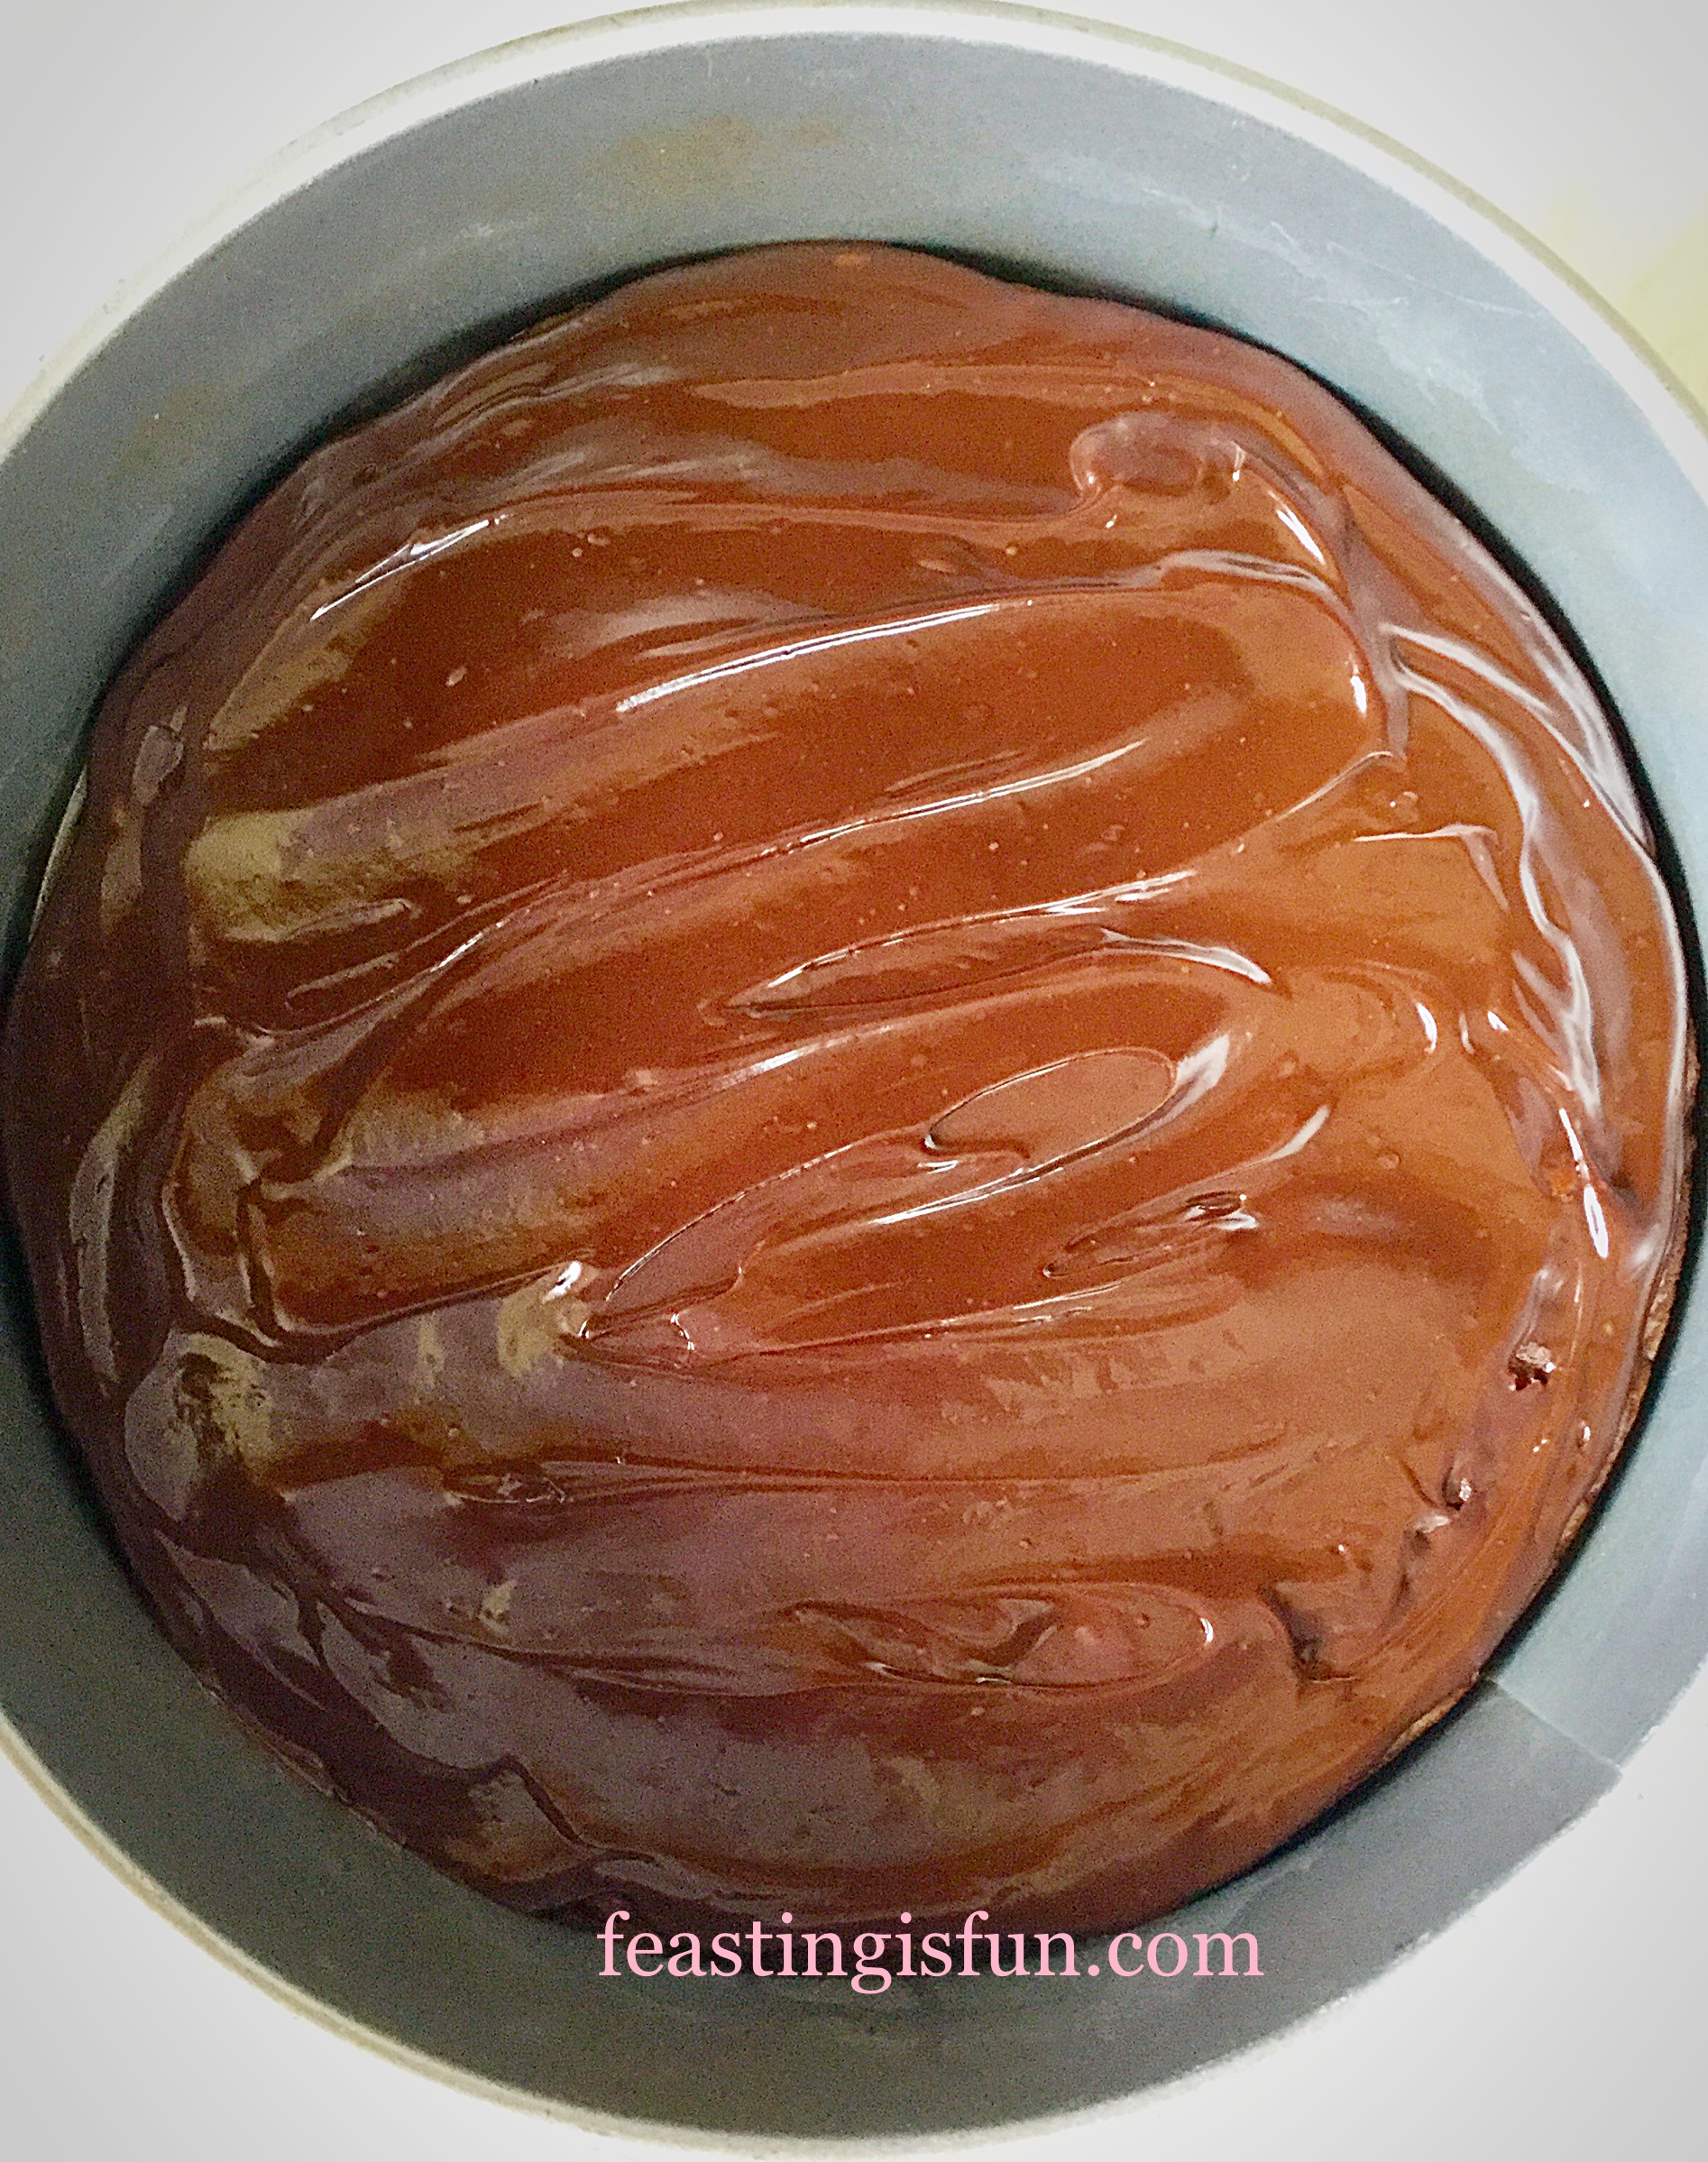
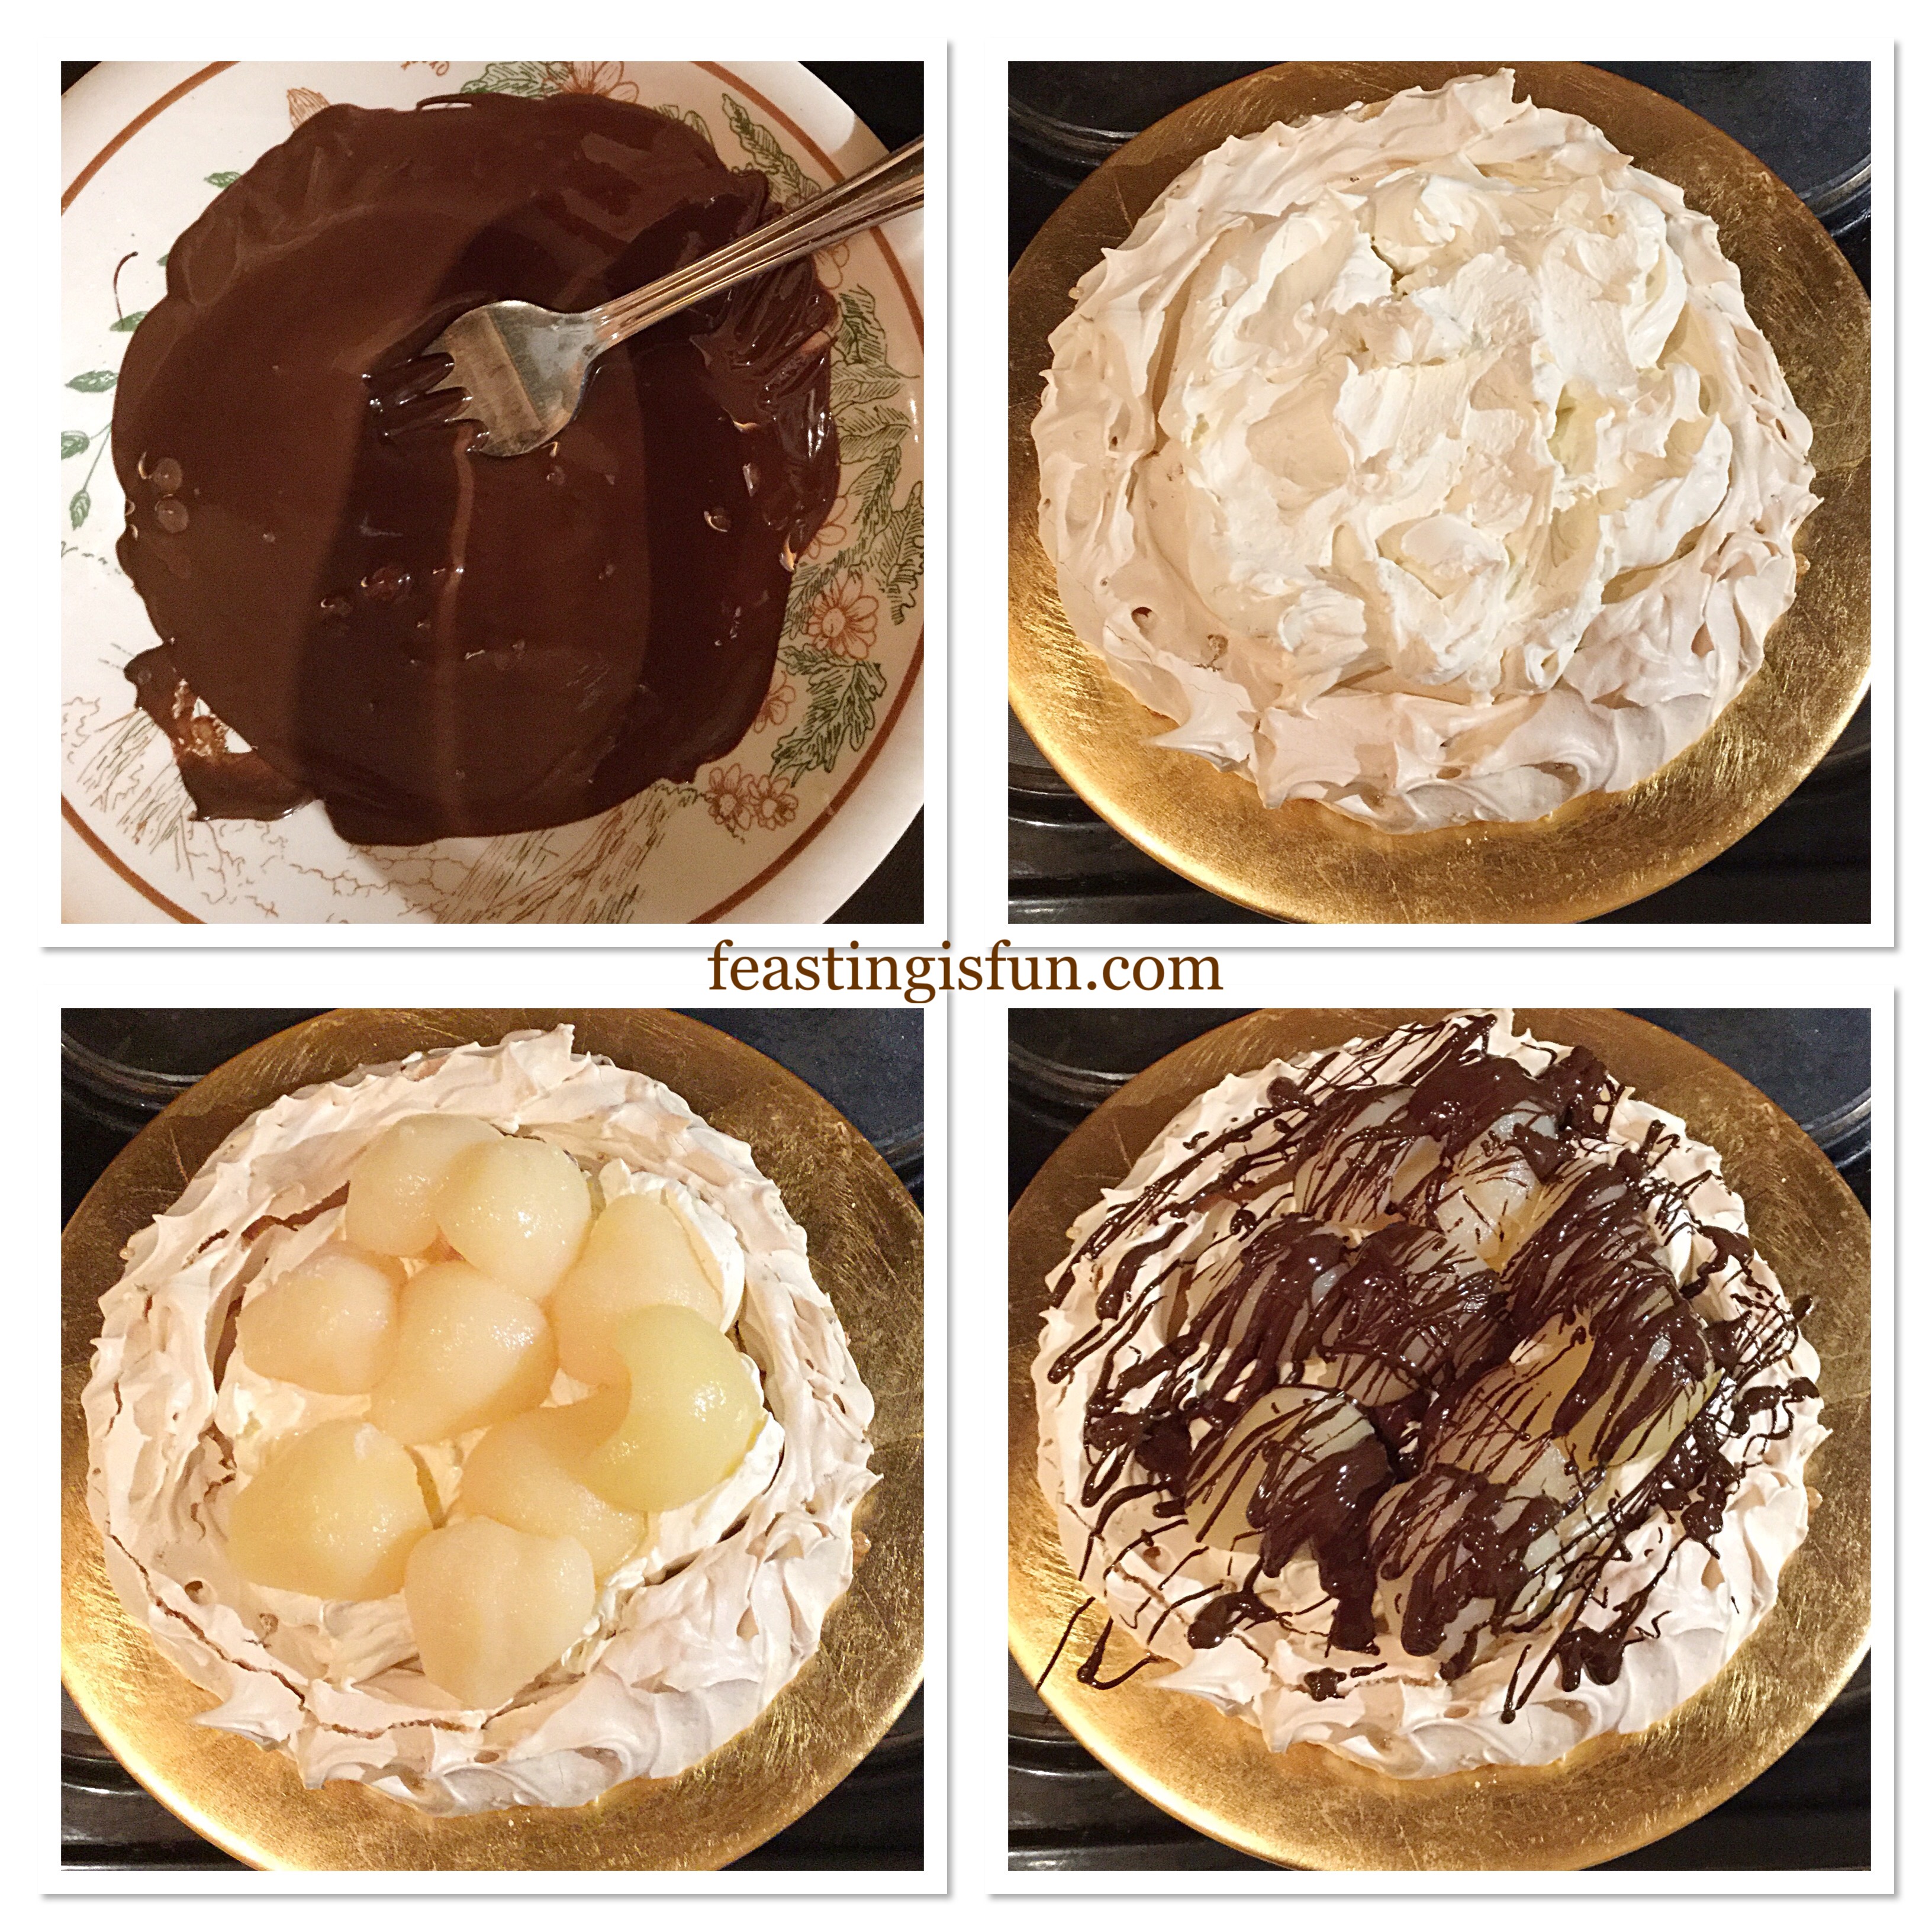
- Chop up the dark chocolate, place in a heatproof, microwaveable bowl and heat on medium power for 30 seconds at a time. Stir the chocolate after each heating burst. As soon as it starts to melt remove from the microwave and continue stirring until it is fully melted. Set to one side to cool slightly.
- Pour the chilled cream into a clean large bowl. Add the sugar, ground ginger and vanilla bean paste.
- Whisk the cream until it is thickened, stopping when it is still smooth and floppy.
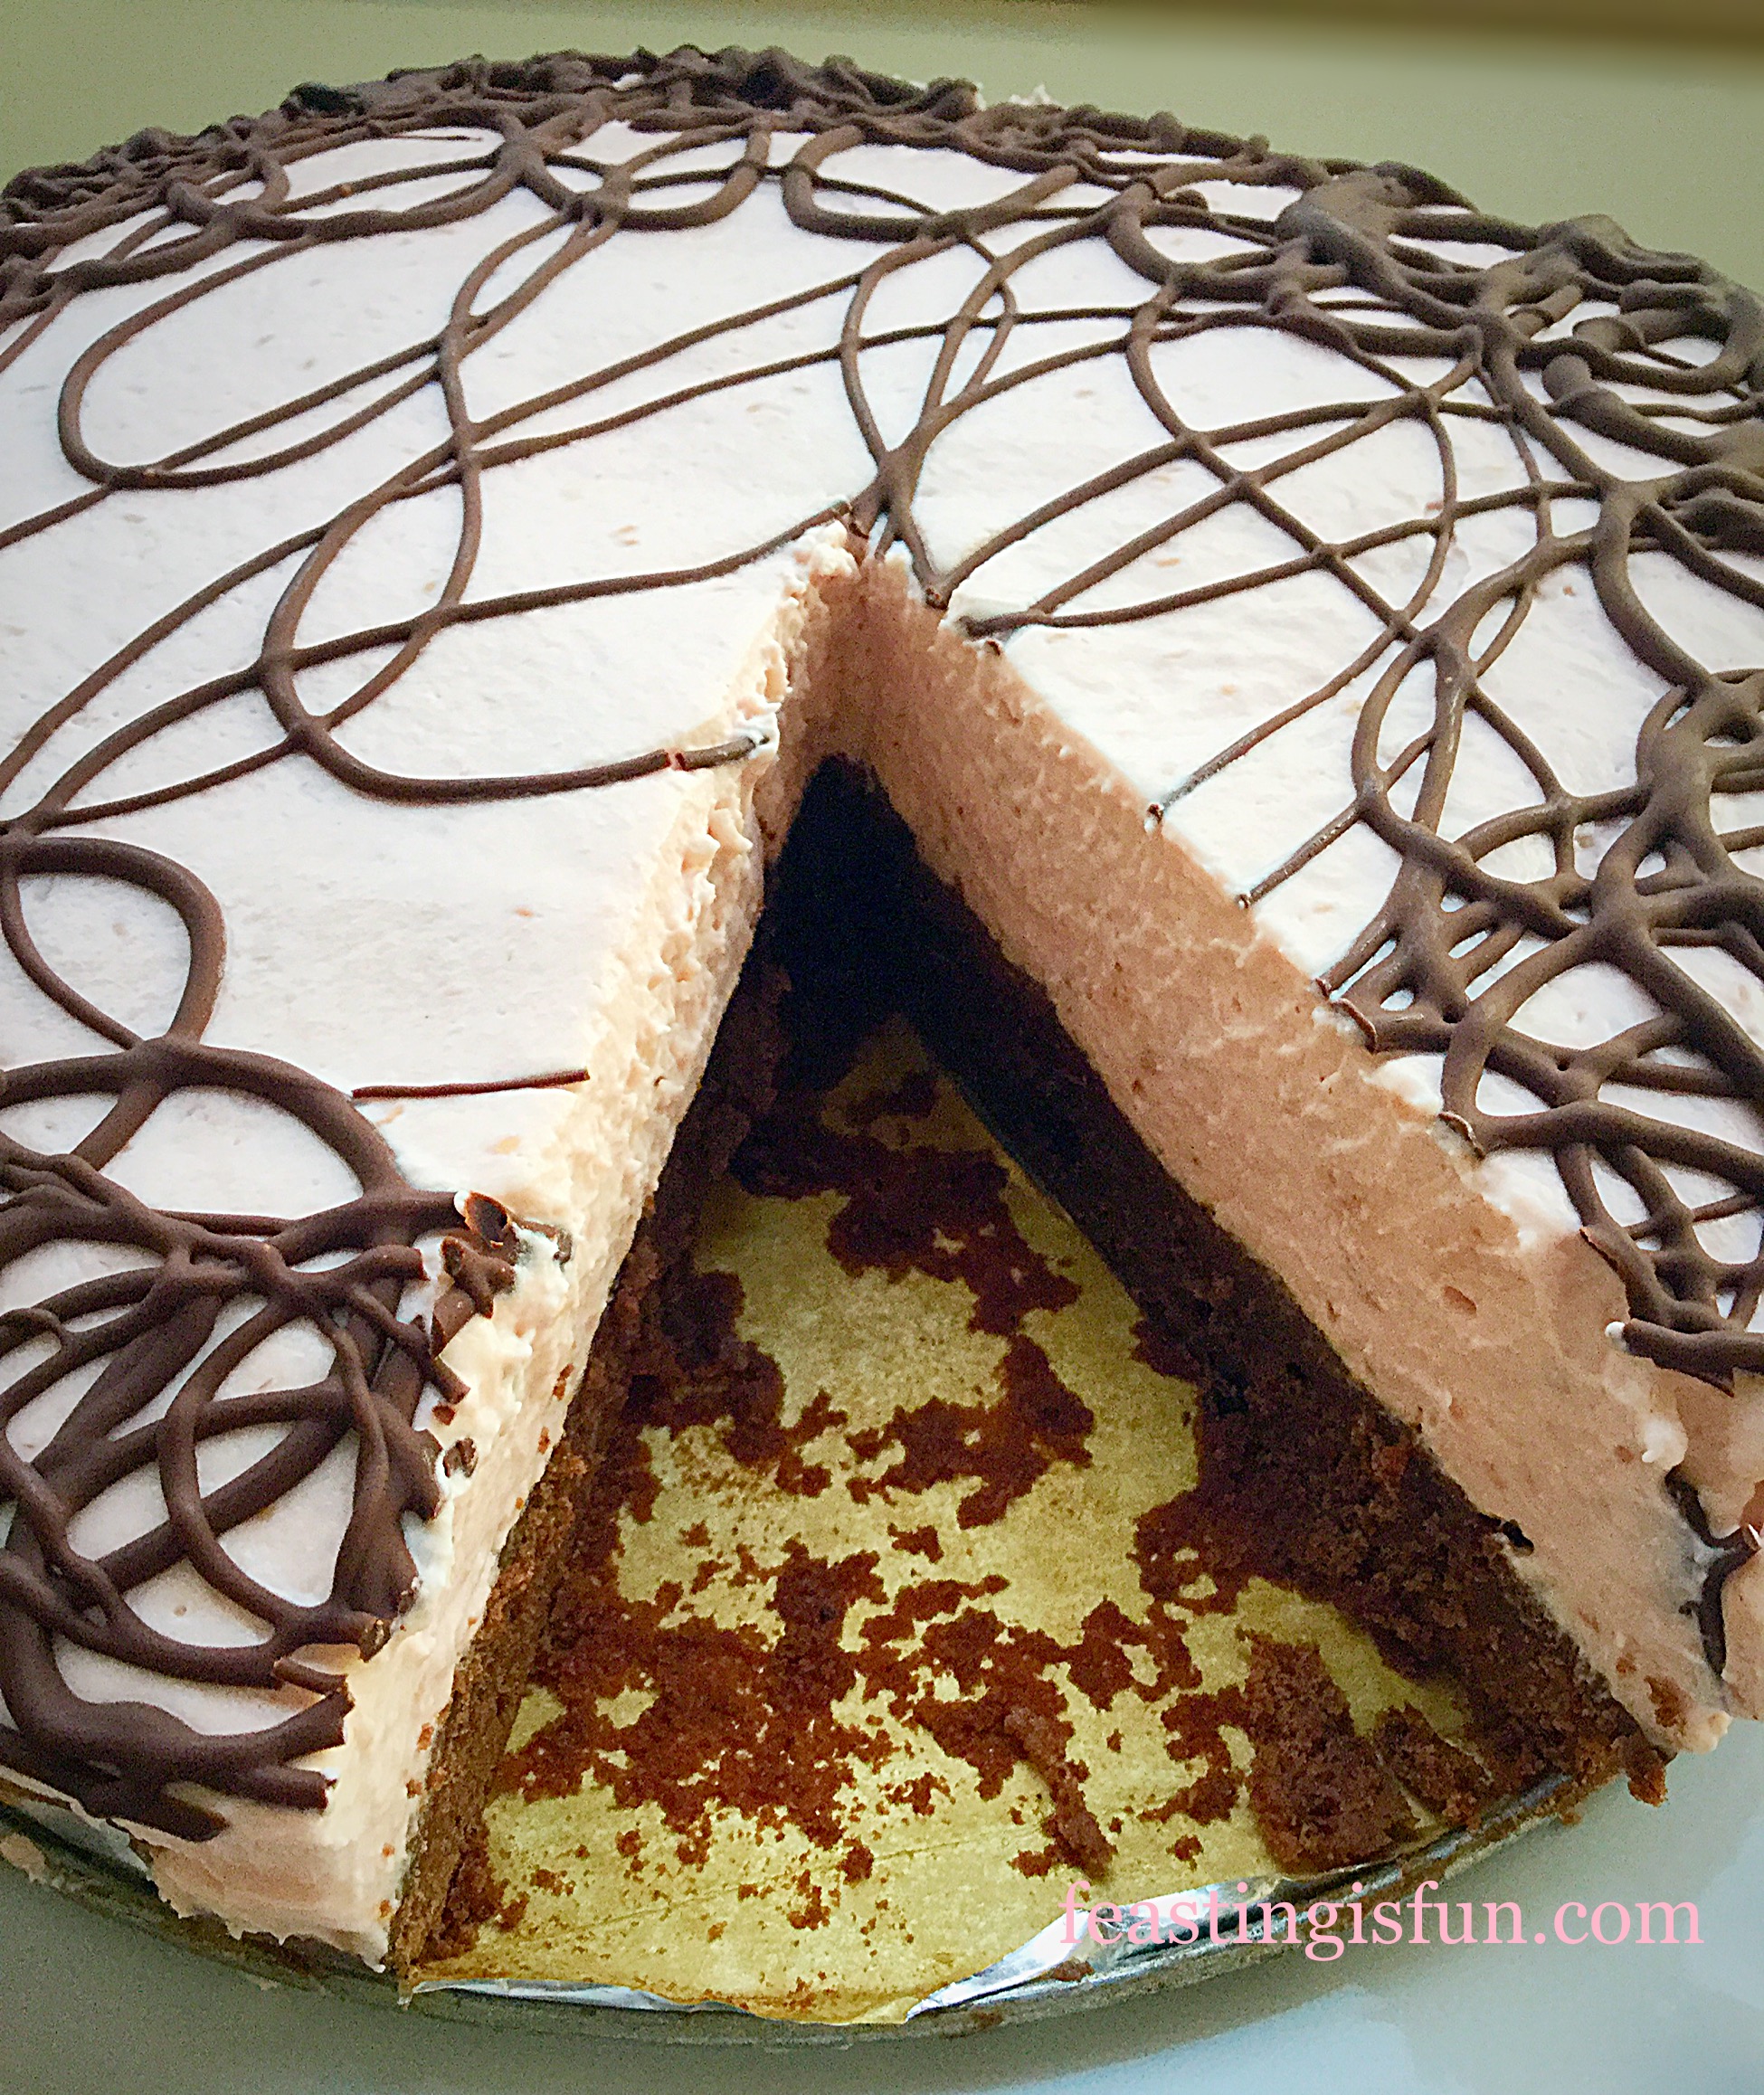
- Remove the meringue from the parchment paper and place on to a plate.
- Spoon the whipped cream on to the centre of the pavlova, inside the raised rim.
- Drizzle two tablespoons of ginger syrup over the whipped cream.
- Arrange the pear halves on top of the whipped cream.
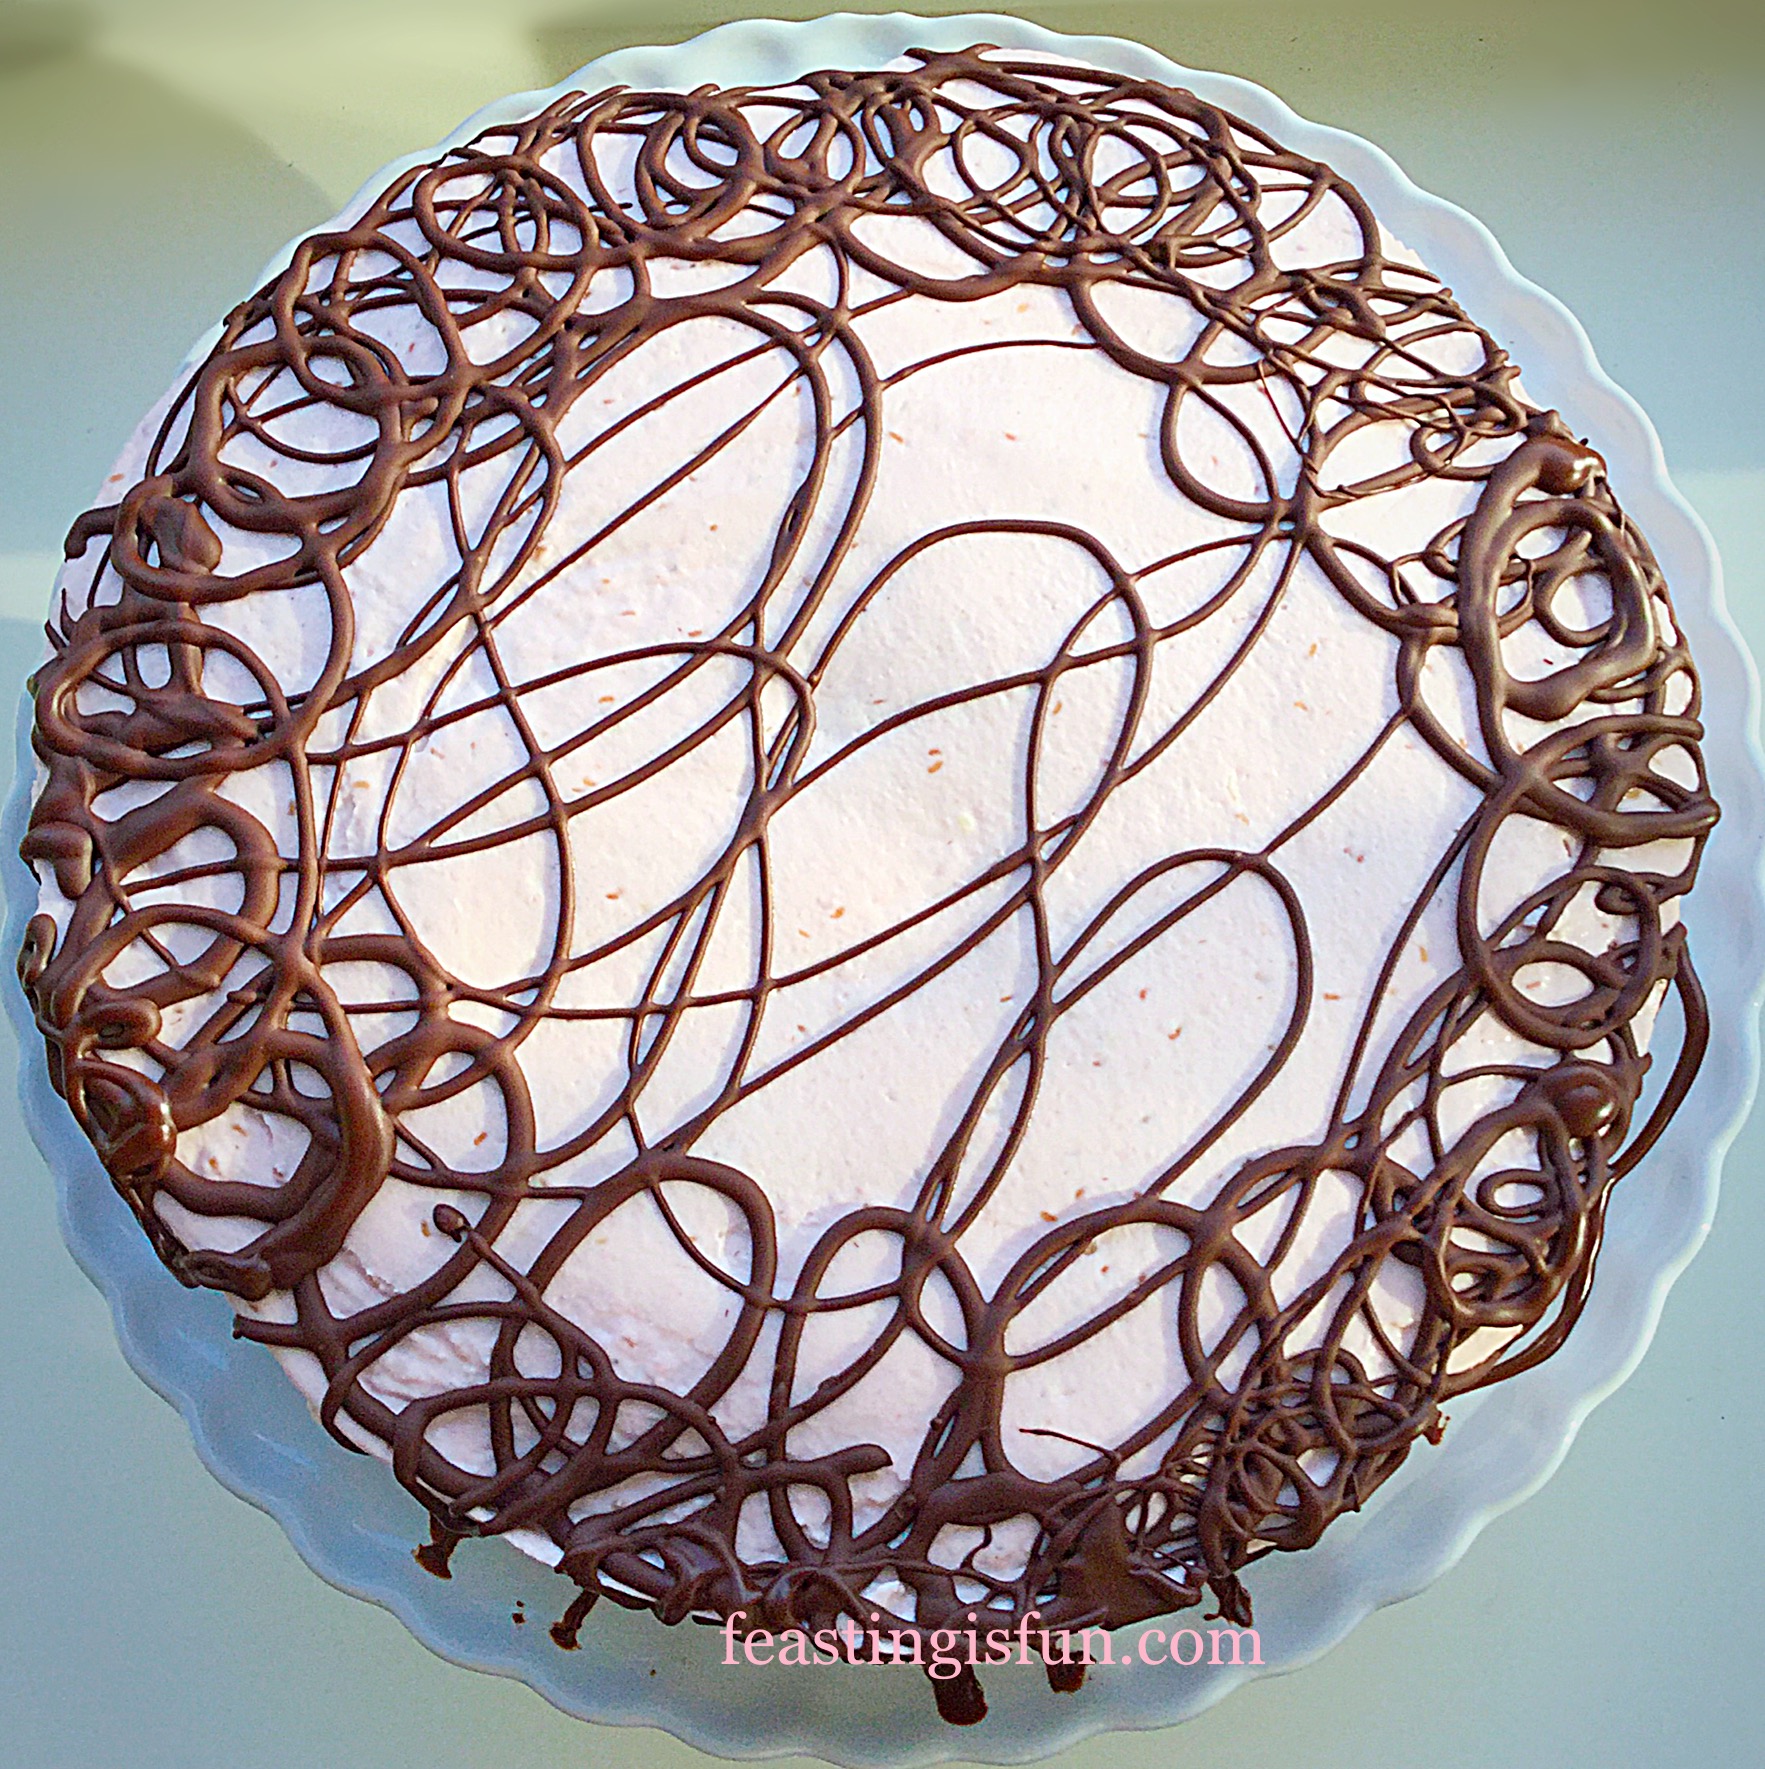
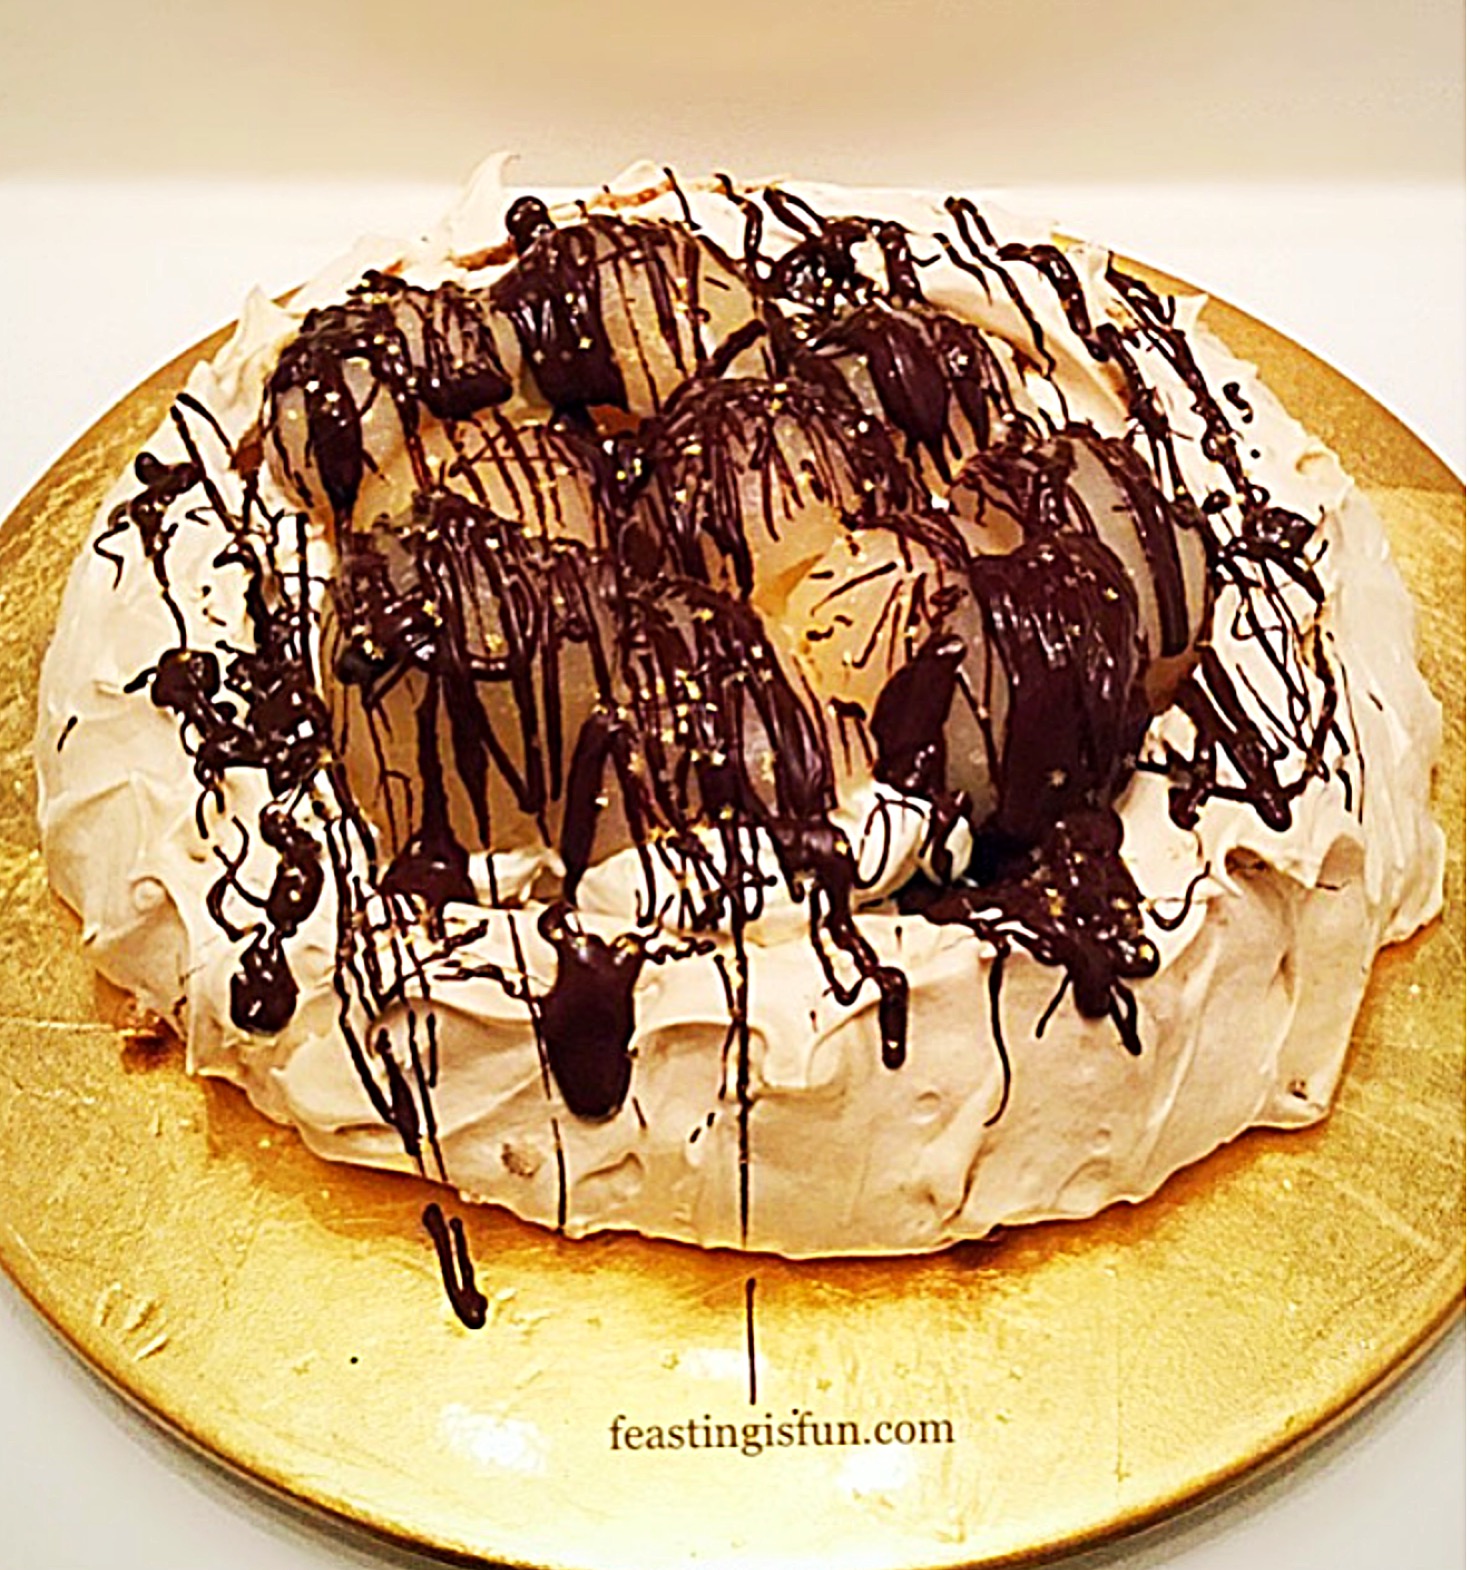
- Finally, drizzle dark chocolate over the entire pavlova.
- Finish with a sprinkle of edible gold stars, or alternatively a dusting of edible glitter.
Most importantly, assemble at the last possible moment. While the meringue can be made earlier in the day or even the night before, whipping cream, melting chocolate and assembly should, at the earliest, take place just prior to serving dinner. Also, any remaining Pavlova should be covered with cling film and eaten within 24 hours.
Since all food tastes better when shared, why not wrap up any leftovers and send them home with your guests?
If you have enjoyed this recipe for Dark Chocolate Drizzle Pear Ginger Pavlova you may also like these:
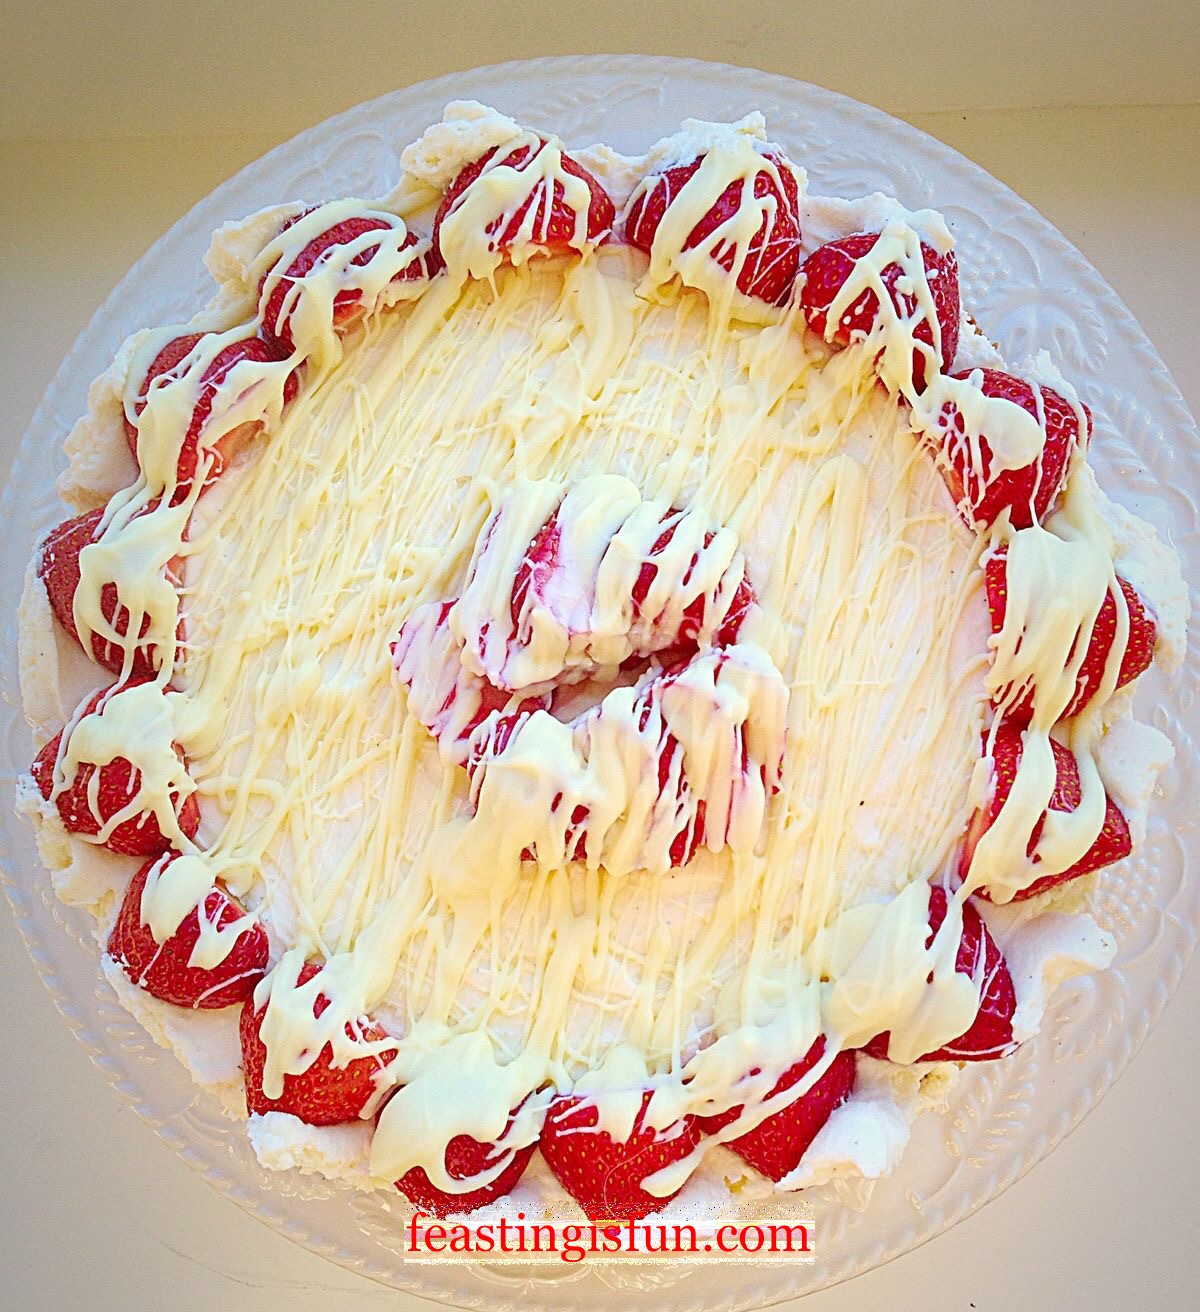
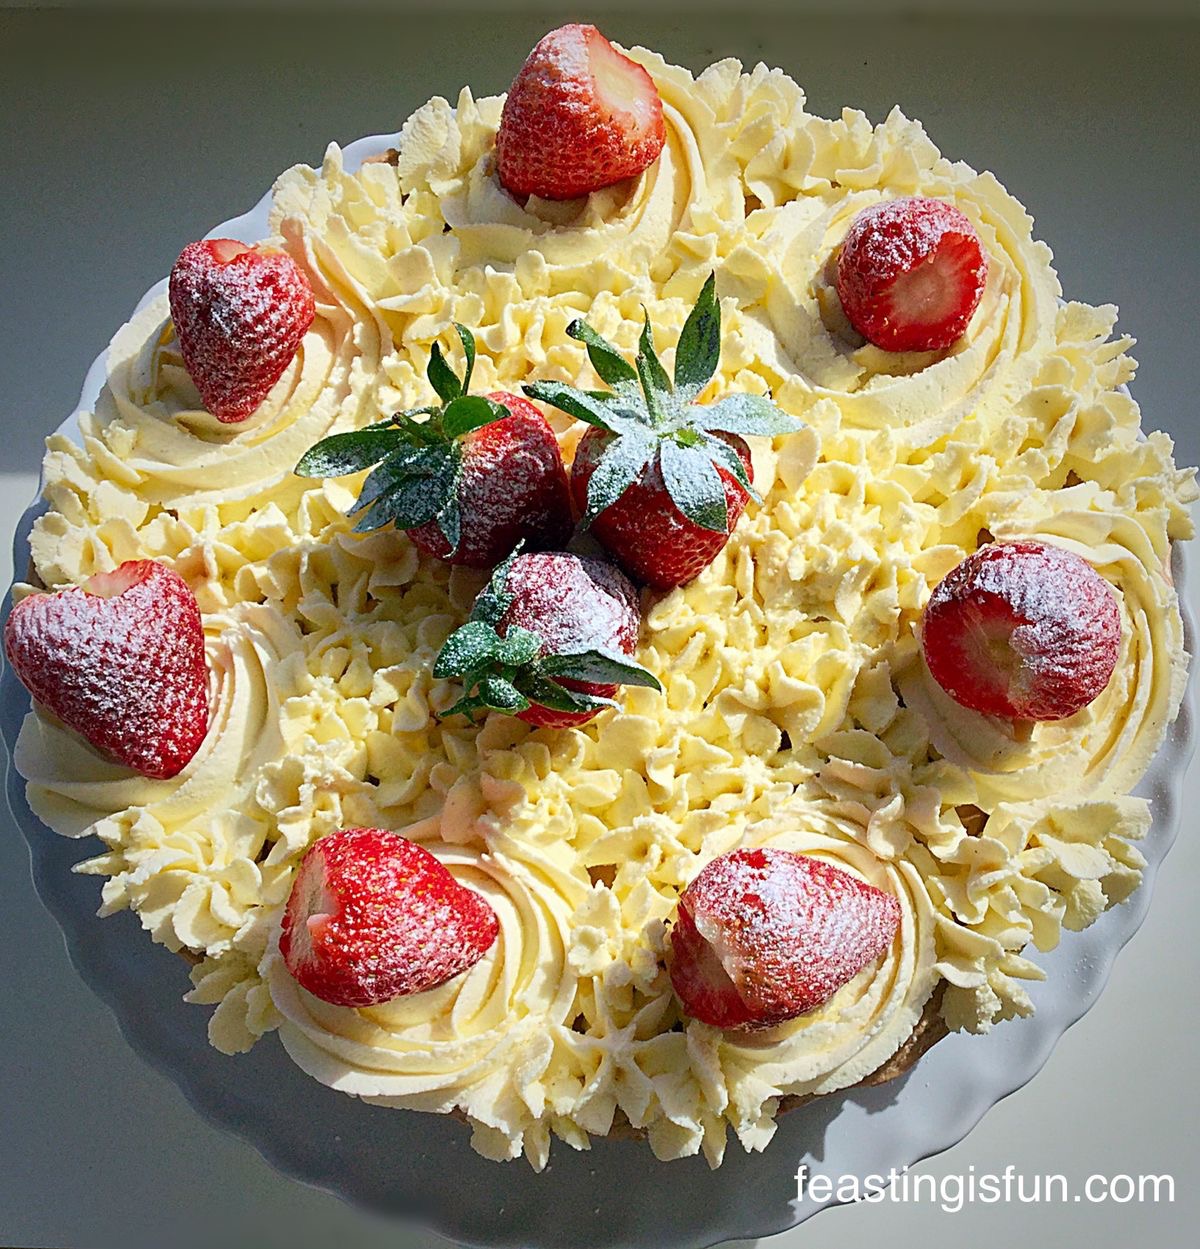
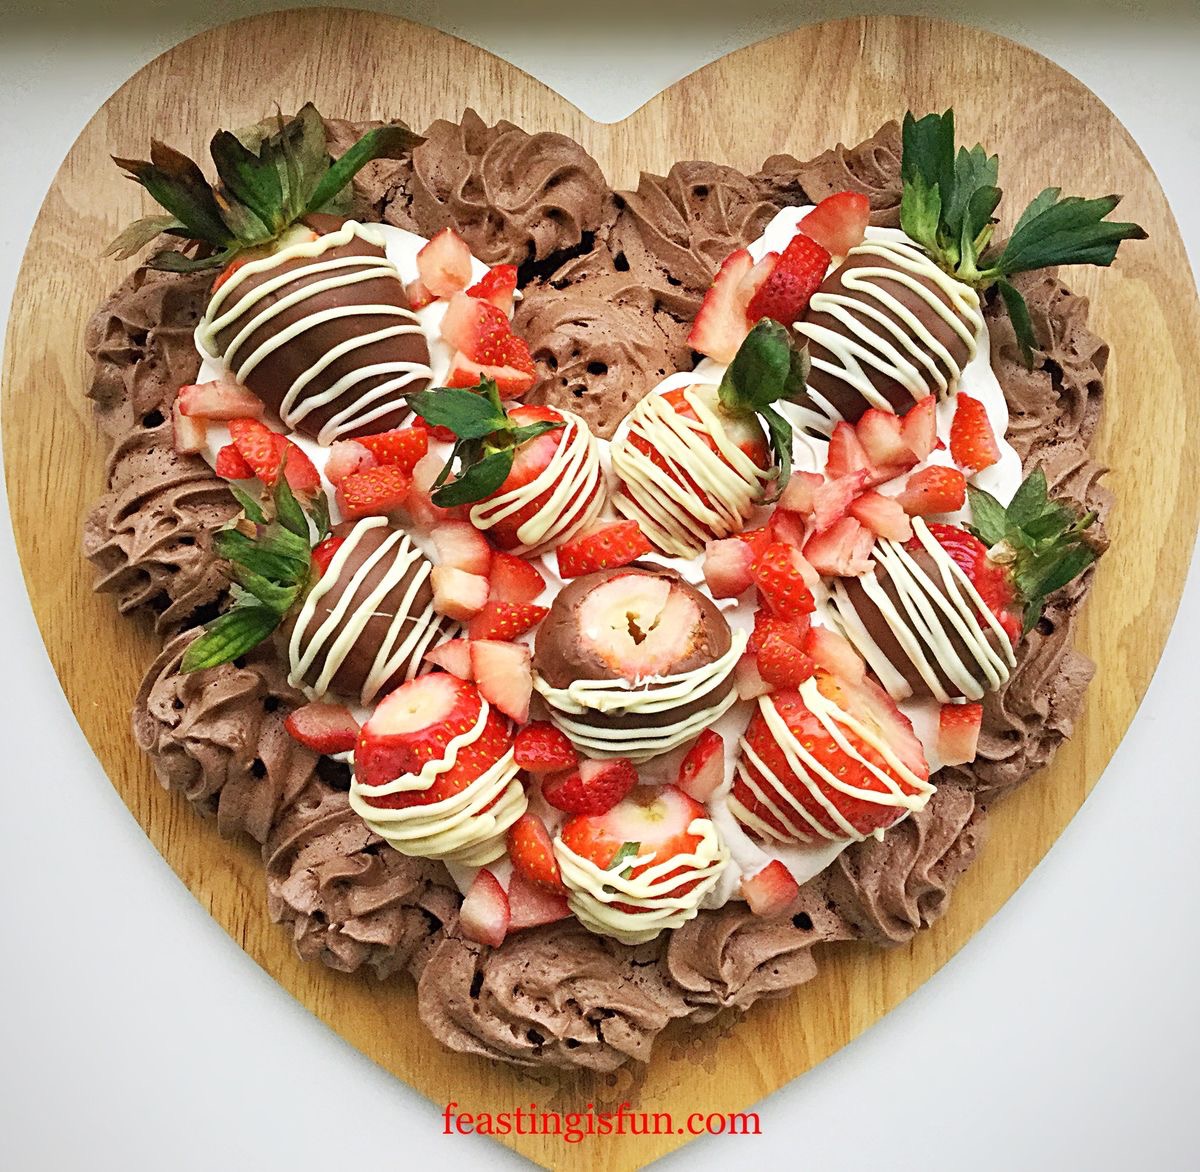
Strawberry Topped Chocolate Heart Pavlova
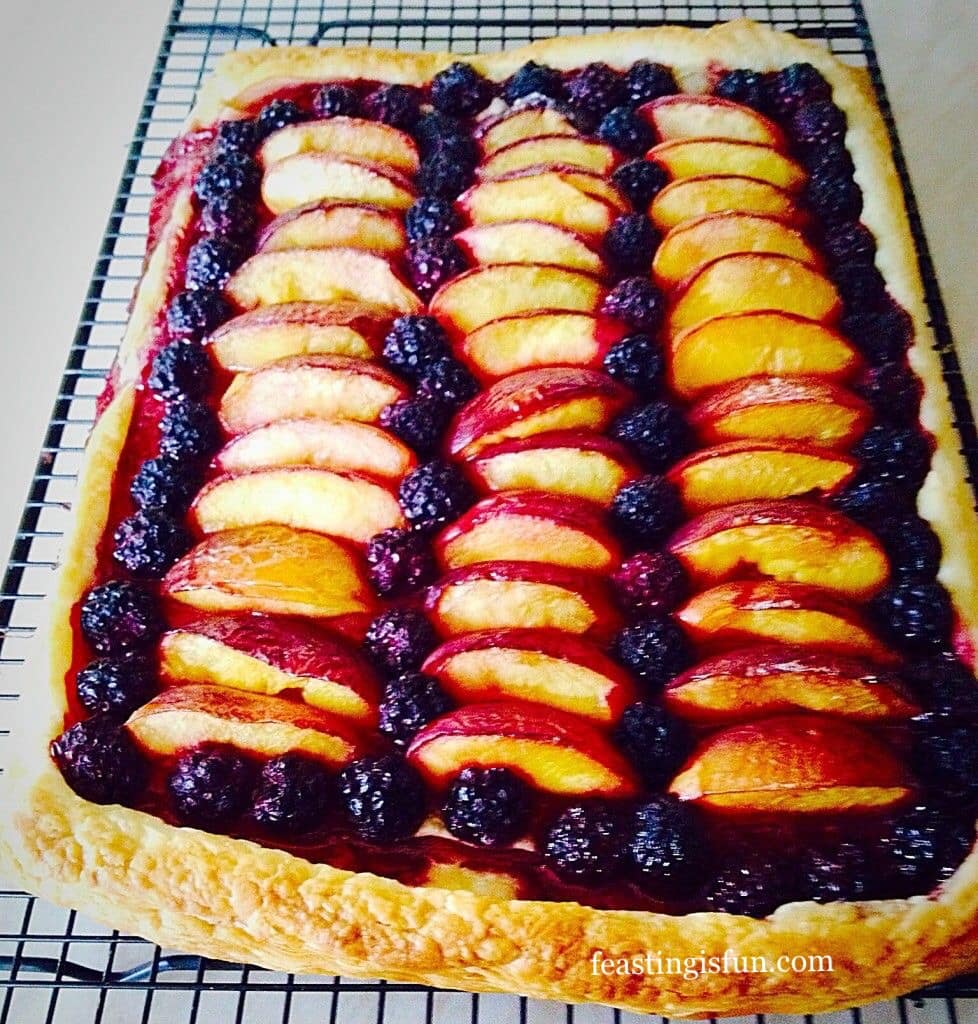
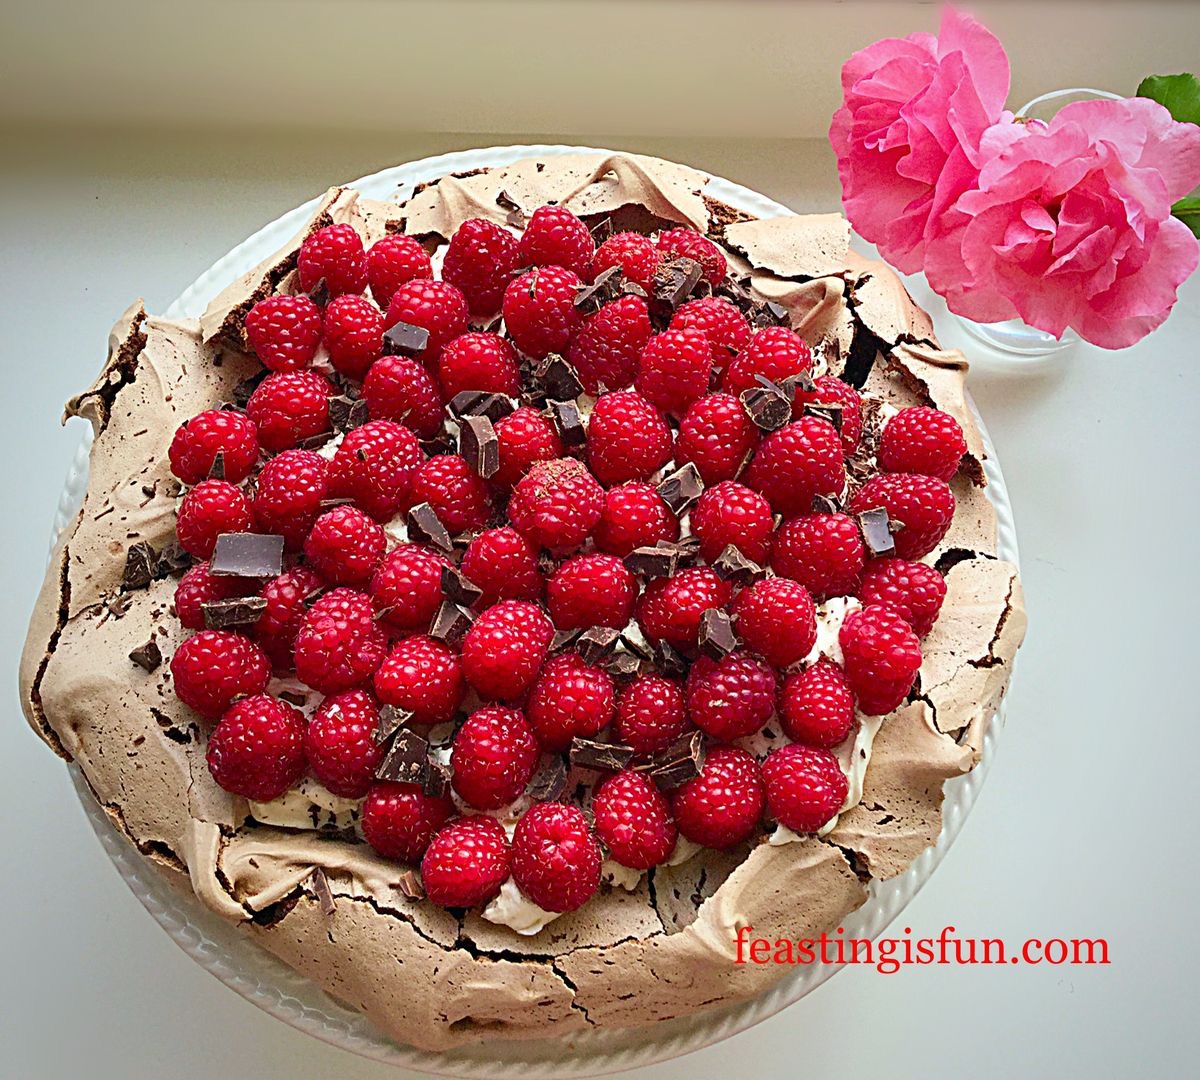
Raspberry Coulis Mixed Berry Pavlova
Since Christmas is a time for giving, getting together and sharing, why not make and take this meringue to a family gathering, or dinner party. Because, almost everything can be prepared beforehand. And here are some shortcuts, use thickened cream and bought chocolate sauce. While this dessert is simplicity itself, a few added cheats are always helpful during a busy time of year. Finally it is the people with whom you share this dessert, that ultimately make it a feast.
So, whatever you are making, baking and creating in your kitchens, have fun preparing your feast.
Sammie xx
No part of this post may be reproduced or duplicated without the written permission of the owner. Please see my Disclosure Policy.