Chocolate Vanilla Viennese Finger Biscuits

Share
Facebooktwitterpinterestlinkedintumblr

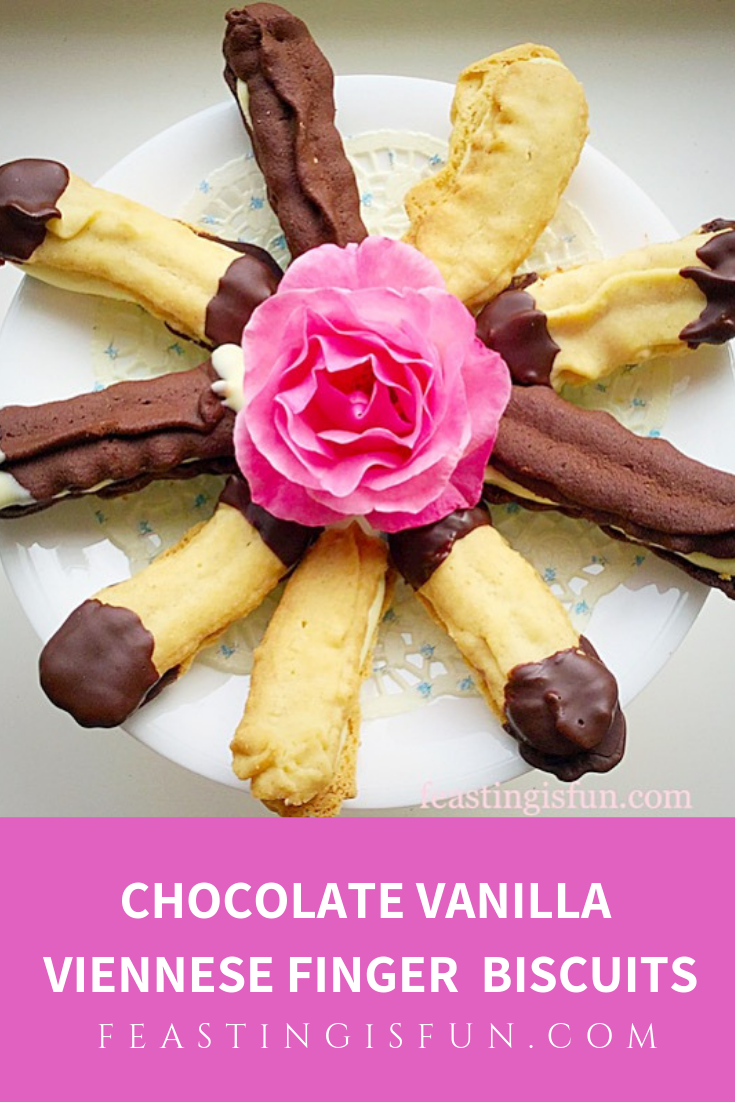
Chocolate Vanilla Viennese Finger Biscuits sandwiched together with a light, white chocolate ganache. These light, melt in your mouth biscuits are perfect for an Afternoon Tea or morning coffee treat.

FF Chocolate Vanilla Viennese Finger Biscuits

The first time I made Chocolate Dipped Viennese Fingers was an experience, shall we say. It was relatively early on in my blog and in my wisdom I decided to set the dipped Viennese biscuits on a cooling rack!

Most of them stuck. Badly.

Resulting in a kitchen full of broken biscuits where I  managed to salvage just enough for a decent photograph. So, learning my lesson I did not make the same mistake when making these delicious, finger biscuits.

FF White Chocolate Ganache Filled Viennese Sandwich Biscuits
Chocolate Vanilla Viennese Finger Biscuits

These light, meltingly delicious Chocolate Vanilla Viennese Finger Biscuits are so yummy and are a favourite of my husbands.

Starting my day right

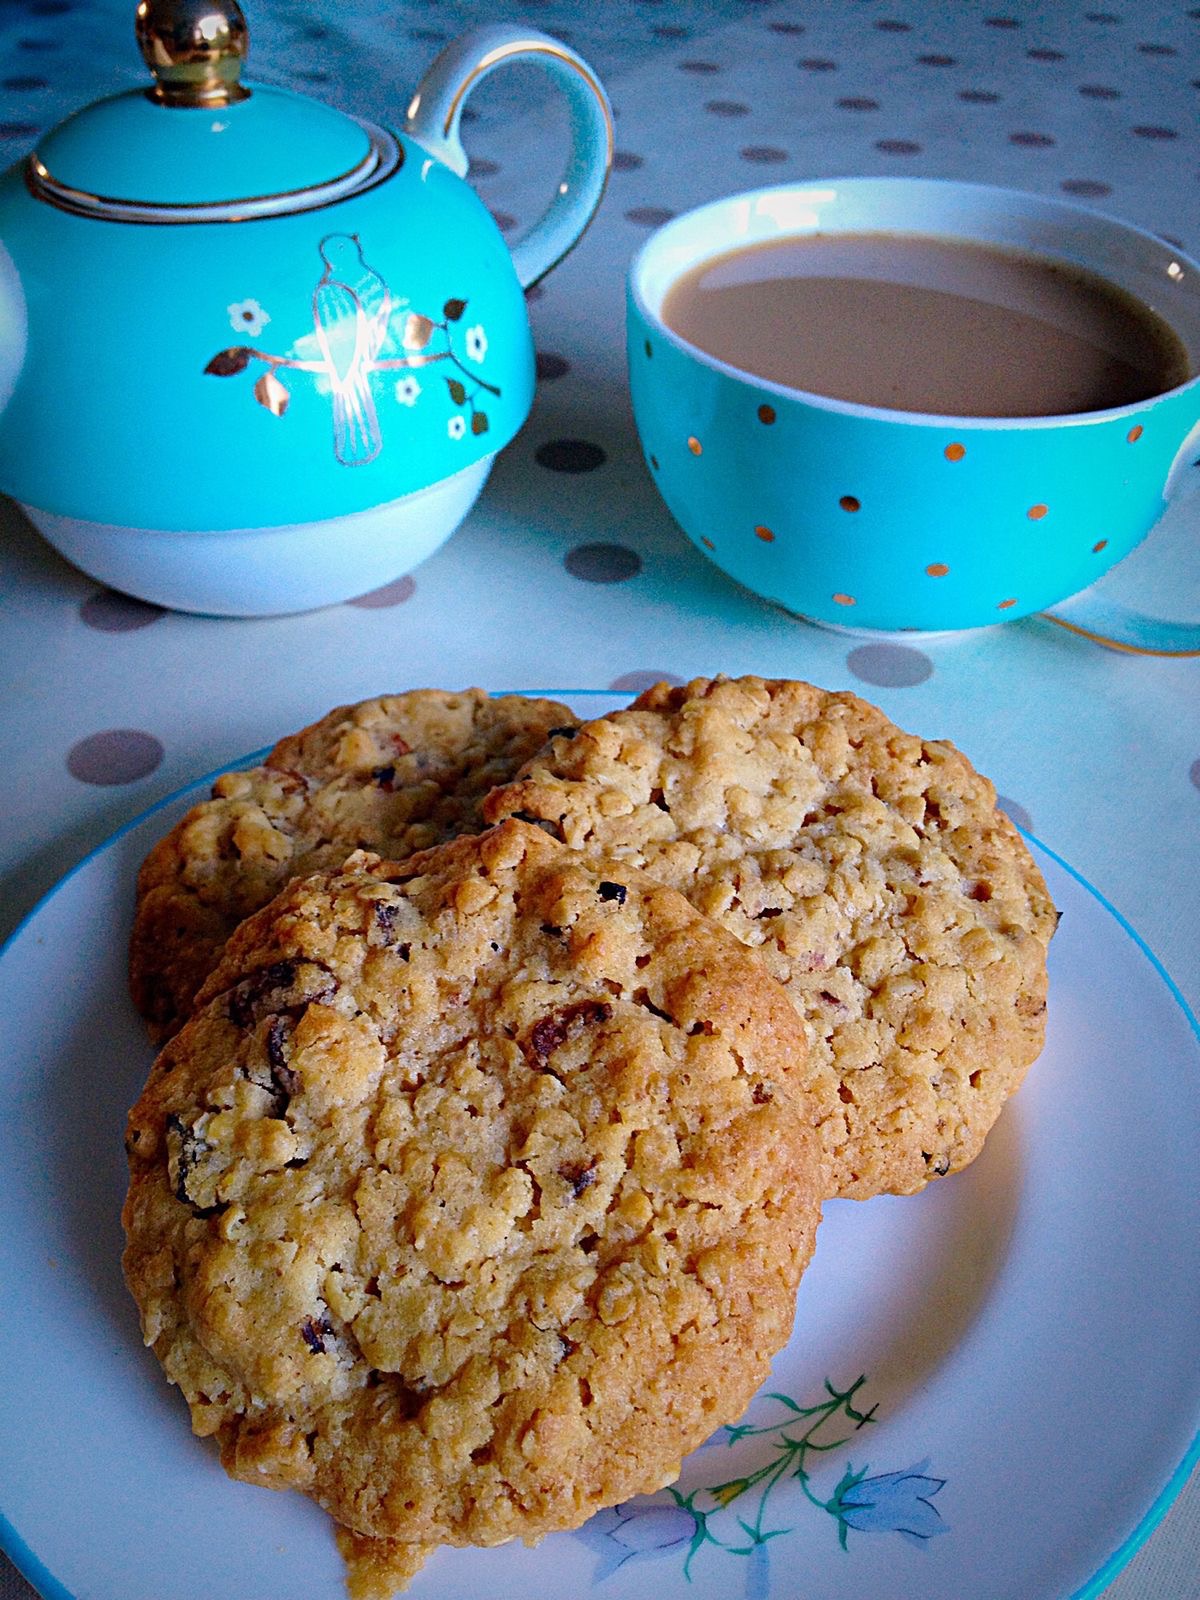
Now we all know I am a self confessed Cookie Monster. So are my whole family. When I was younger my Grandad would bring my youngest Auntie, my sister and I a cup of tea, in bed, every morning. And, no one can make tea like my Grandad did. Anyway, we would always get three biscuits, which we would swap so that we had our favourites. I still cannot understand the appeal of custard creams, but each to their own.

Chocolate Vanilla Viennese Finger Biscuits

Since I was little, staying in the comfort and security of my grandparents home having biscuits with my morning tea was my routine. It still is. I can miss breakfast and lunch, so long as I’ve had a cup of tea and a biscuit or cookie first thing in the morning. And, it is the one thing I would choose to never give up. It is part of my morning routine, so much so, that when I was in hospital last year see here, I would save my packet of 3 biscuits given out with the hot chocolate in the evening, so that I could have them with my morning tea.

Why Homemade Biscuits Are Best

While growing up, although my Grandma was an accomplished cook, I cannot recall her making biscuits. Yet for me, it was the very first skill I mastered in my kitchen. Although these days I tend towards lazy cookies rolled into balls, or scooped with an ice cream scoop. So, to actually pipe biscuits, make a ganache and sandwich them together is a first for me (not the piping), I’ve definitely never made sandwiched biscuits.

I made and baked one batch of my Chocolate Dipped Viennese Fingers and then tweaked the recipe to make a chocolate version. There’s a tiny bit more icing sugar in the chocolate finger biscuits as I wanted to offset any bitterness from the cocoa.

Chocolate Vanilla Viennese Finger Biscuits

Tomorrow morning, I will have a luxury start to my day. A Chocolate Vanilla Viennese Finger Biscuit to accompany my morning cup of tea!

Recipe: Makes 18-24 Chocolate Vanilla Viennese Finger Biscuits

200g/7oz Very Soft Unsalted Butter

60g/5.2oz Icing Sugar – sifted

Pinch 1/8tsp Salt – I use Maldon

1tsp Vanilla Extract – I use Nielsen-Massey

15g Corn Flour – approx 1tbsp

50g/2oz Cocoa Powder

100g/4oz Self Raising White Flour

50g/2oz Plain White Flour

100g/4oz White Chocolate – for dipping the ends of the biscuits

100g/4oz Dark Chocolate – for dipping the ends of the biscuits

For the white chocolate ganache:

100g/4oz White Chocolate

100mls Double Cream

Method: Preheat the oven to 180C/160C fan, gas mark 4, 350F.

Making And Piping The Viennese Biscuit Dough

  • First of all line 2 baking trays with non stick silicone mats or baking parchment.
  • Whisk the butter until it is very soft and pale – approx. 5 minutes.
  • Add the sifted icing sugar and vanilla extract and continue whisking for 2 minutes.
  • Next sift in the cocoa powder. Whisk for a further 2 minutes until the mixture is a dark, chocolatey brown colour.
  • Sift the corn flour, plain and self raising flour into the bowl.
  • Using a metal spoon mix the ingredients together until the are just combined, with no visible white streaks present.
  • Fit a large piping bag with a large, Wilton #1M star tip.
  • Fill the piping bag with the soft, chocolate biscuit dough.
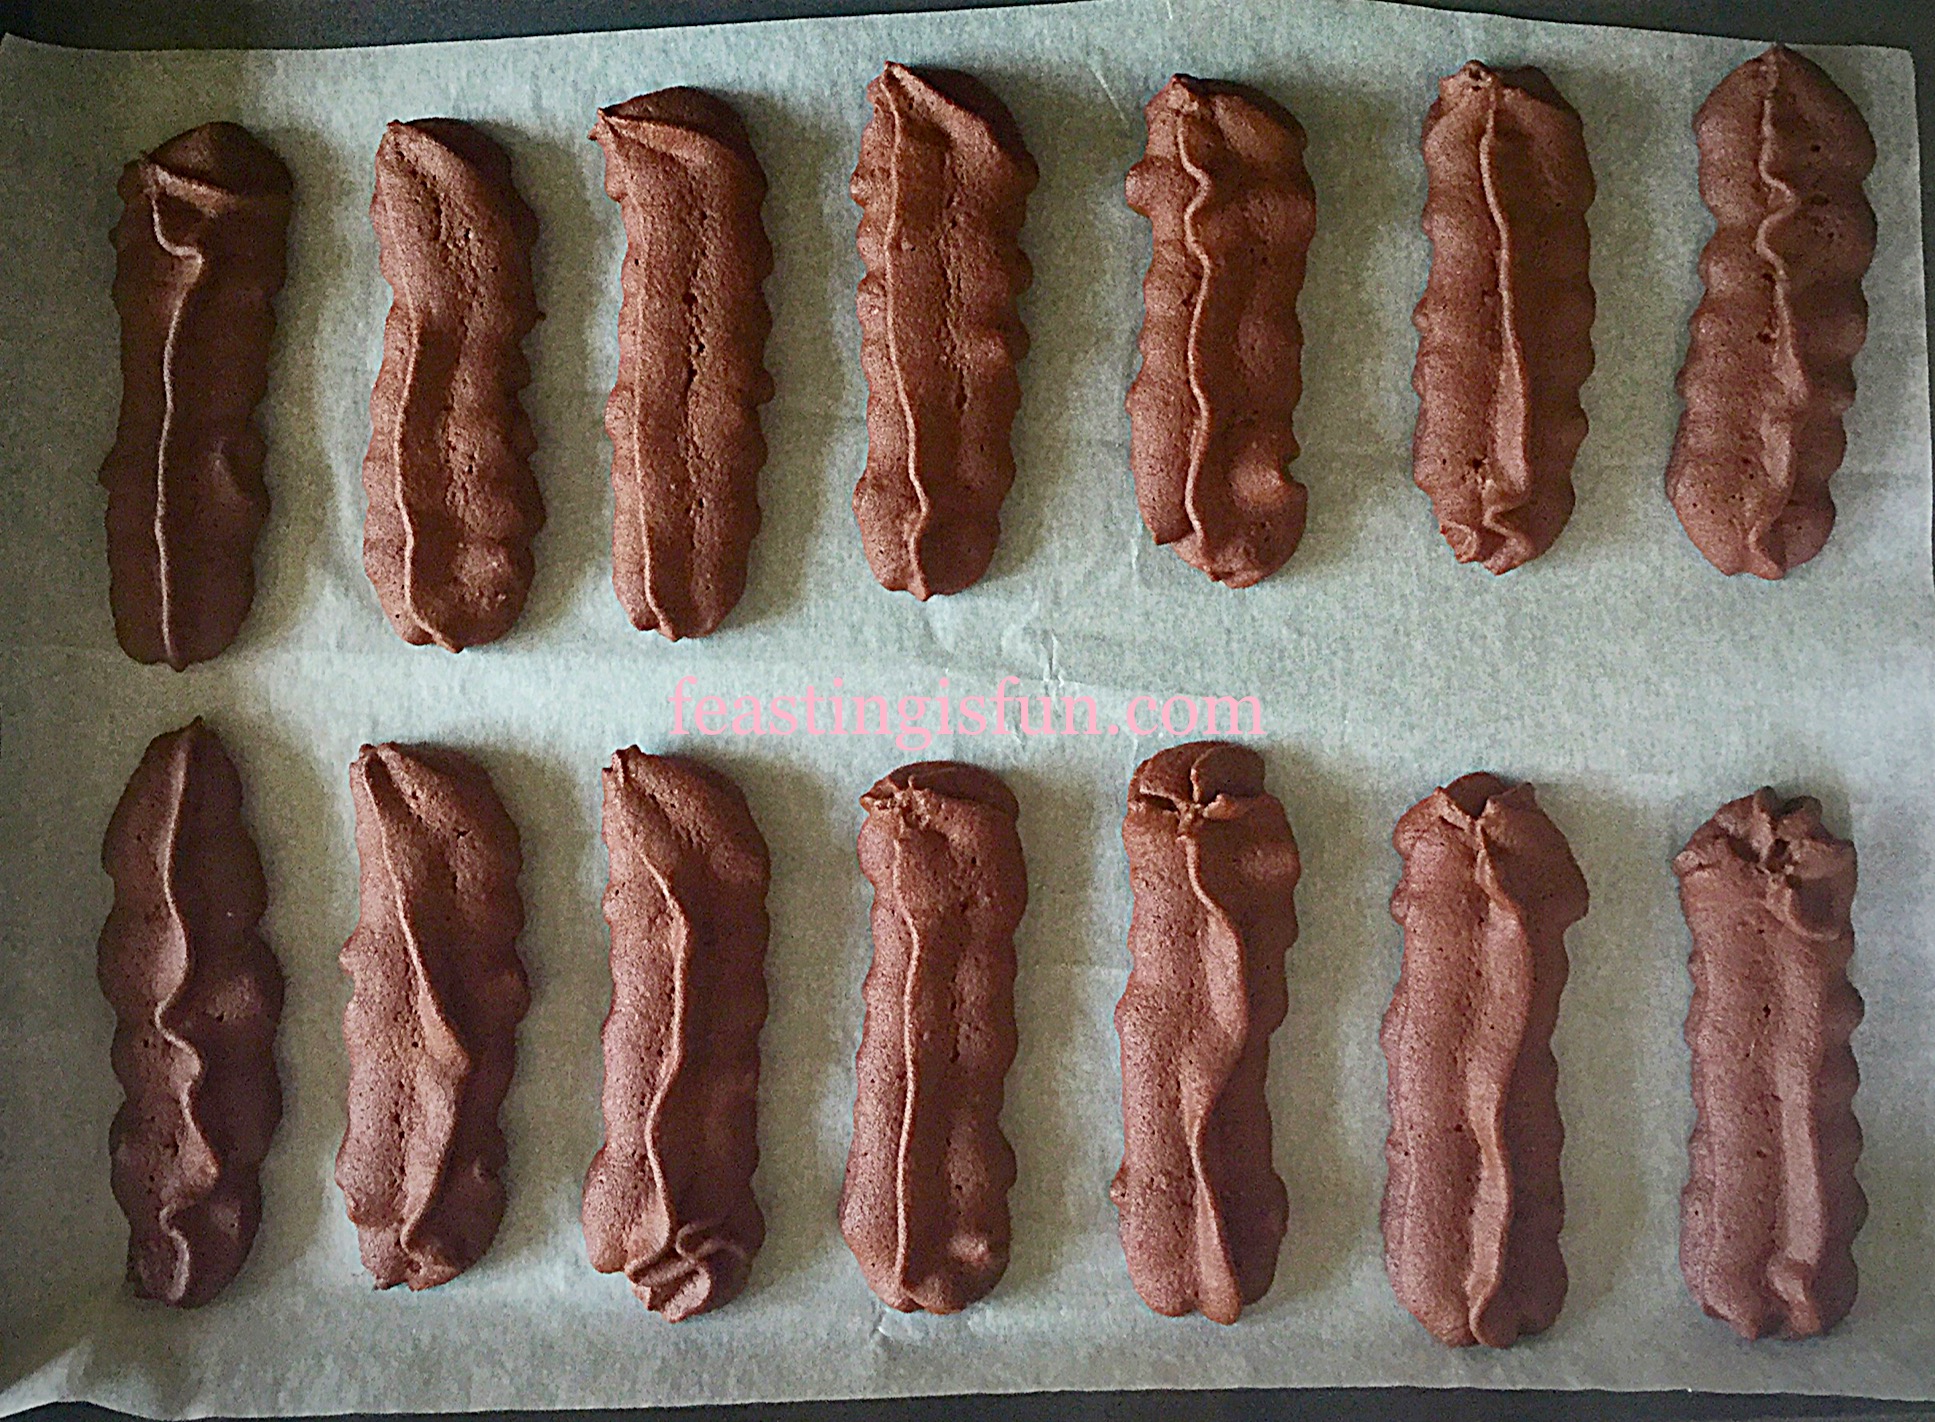
  • Pipe 3″/7-8cm lengths of biscuit dough on to the lined baking tray.
FF Chocolate Vanilla Viennese Finger Biscuits
Piped Chocolate Vanilla Viennese Finger Biscuits ready for the oven.

Baking The Biscuit Halves

  • Place both trays of piped biscuits in the centre and lower part of the oven.
  • Bake the biscuits for 12 minutes. They will be firm to touch and may have spread a little.
  • As soon as the biscuits are baked remove from the oven and allow to cool completly on the tray.
FF Chocolate Vanilla Viennese Finger Biscuits
Chocolate Vanilla Viennese Finger Biscuits beautifully baked.

Making The White Chocolate Ganache Filling

  • While the biscuit fingers are cooling make the  chocolate ganache that will be piped on the underside of the fingers for sandwiching together.
  • In a heatproof, microwaveable jug add the white chocolate and double cream.
  • Zap for 1 minute on medium power.
  • Remove from the microwave and stir. If there are still lumps of unmelted chocolate, pop it back in for a further 30 seconds on medium.
  • Stir the ganache until the melted white chocolate is fully mixed into the cream.
  • Whisk the ganache to cool it and continue whisking until the ganache thickens and becomes airy – today it was so warm that I wasn’t able to get the ganache to solidify.
FF Chocolate Vanilla Viennese Finger Biscuits
Whisk the ganache until it is cool and thickened.
  • If the weather is cool the thickened ganache can be scooped into a piping bag with a medium round tip fitted – I poured the ganache into a disposable piping bag, which I then sealed with an elastic band and I placed it into the coldest part of the fridge until it had thickened.

Decorating And Filling The Chocolate And Vanilla Viennese Sandwich Biscuits

  • While the ganache was cooling I melted both the dark and white chocolate in small heatproof, microwaveable bowls.
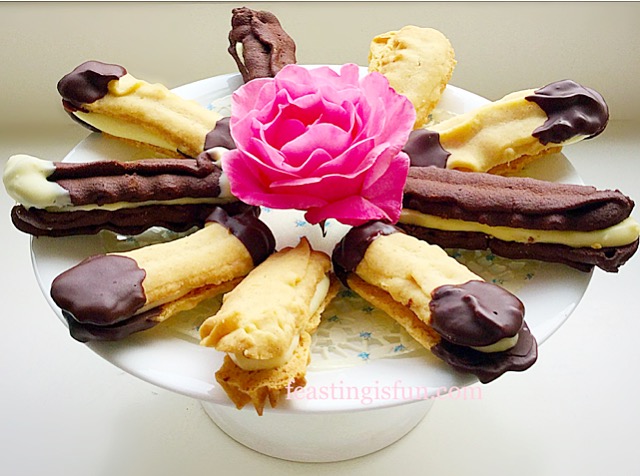
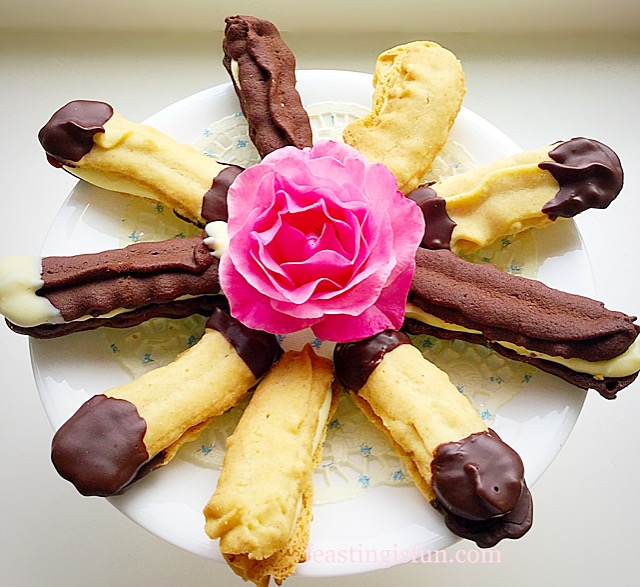
  • Dip the chocolate fingers into the white chocolate and the vanilla fingers into the dark chocolate. Lay the dipped biscuit fingers on to anon stick silicone mat or baking parchment.
  • Not all of the biscuit fingers will be dipped in chocolate, that’s fine it is nice to have a variety.
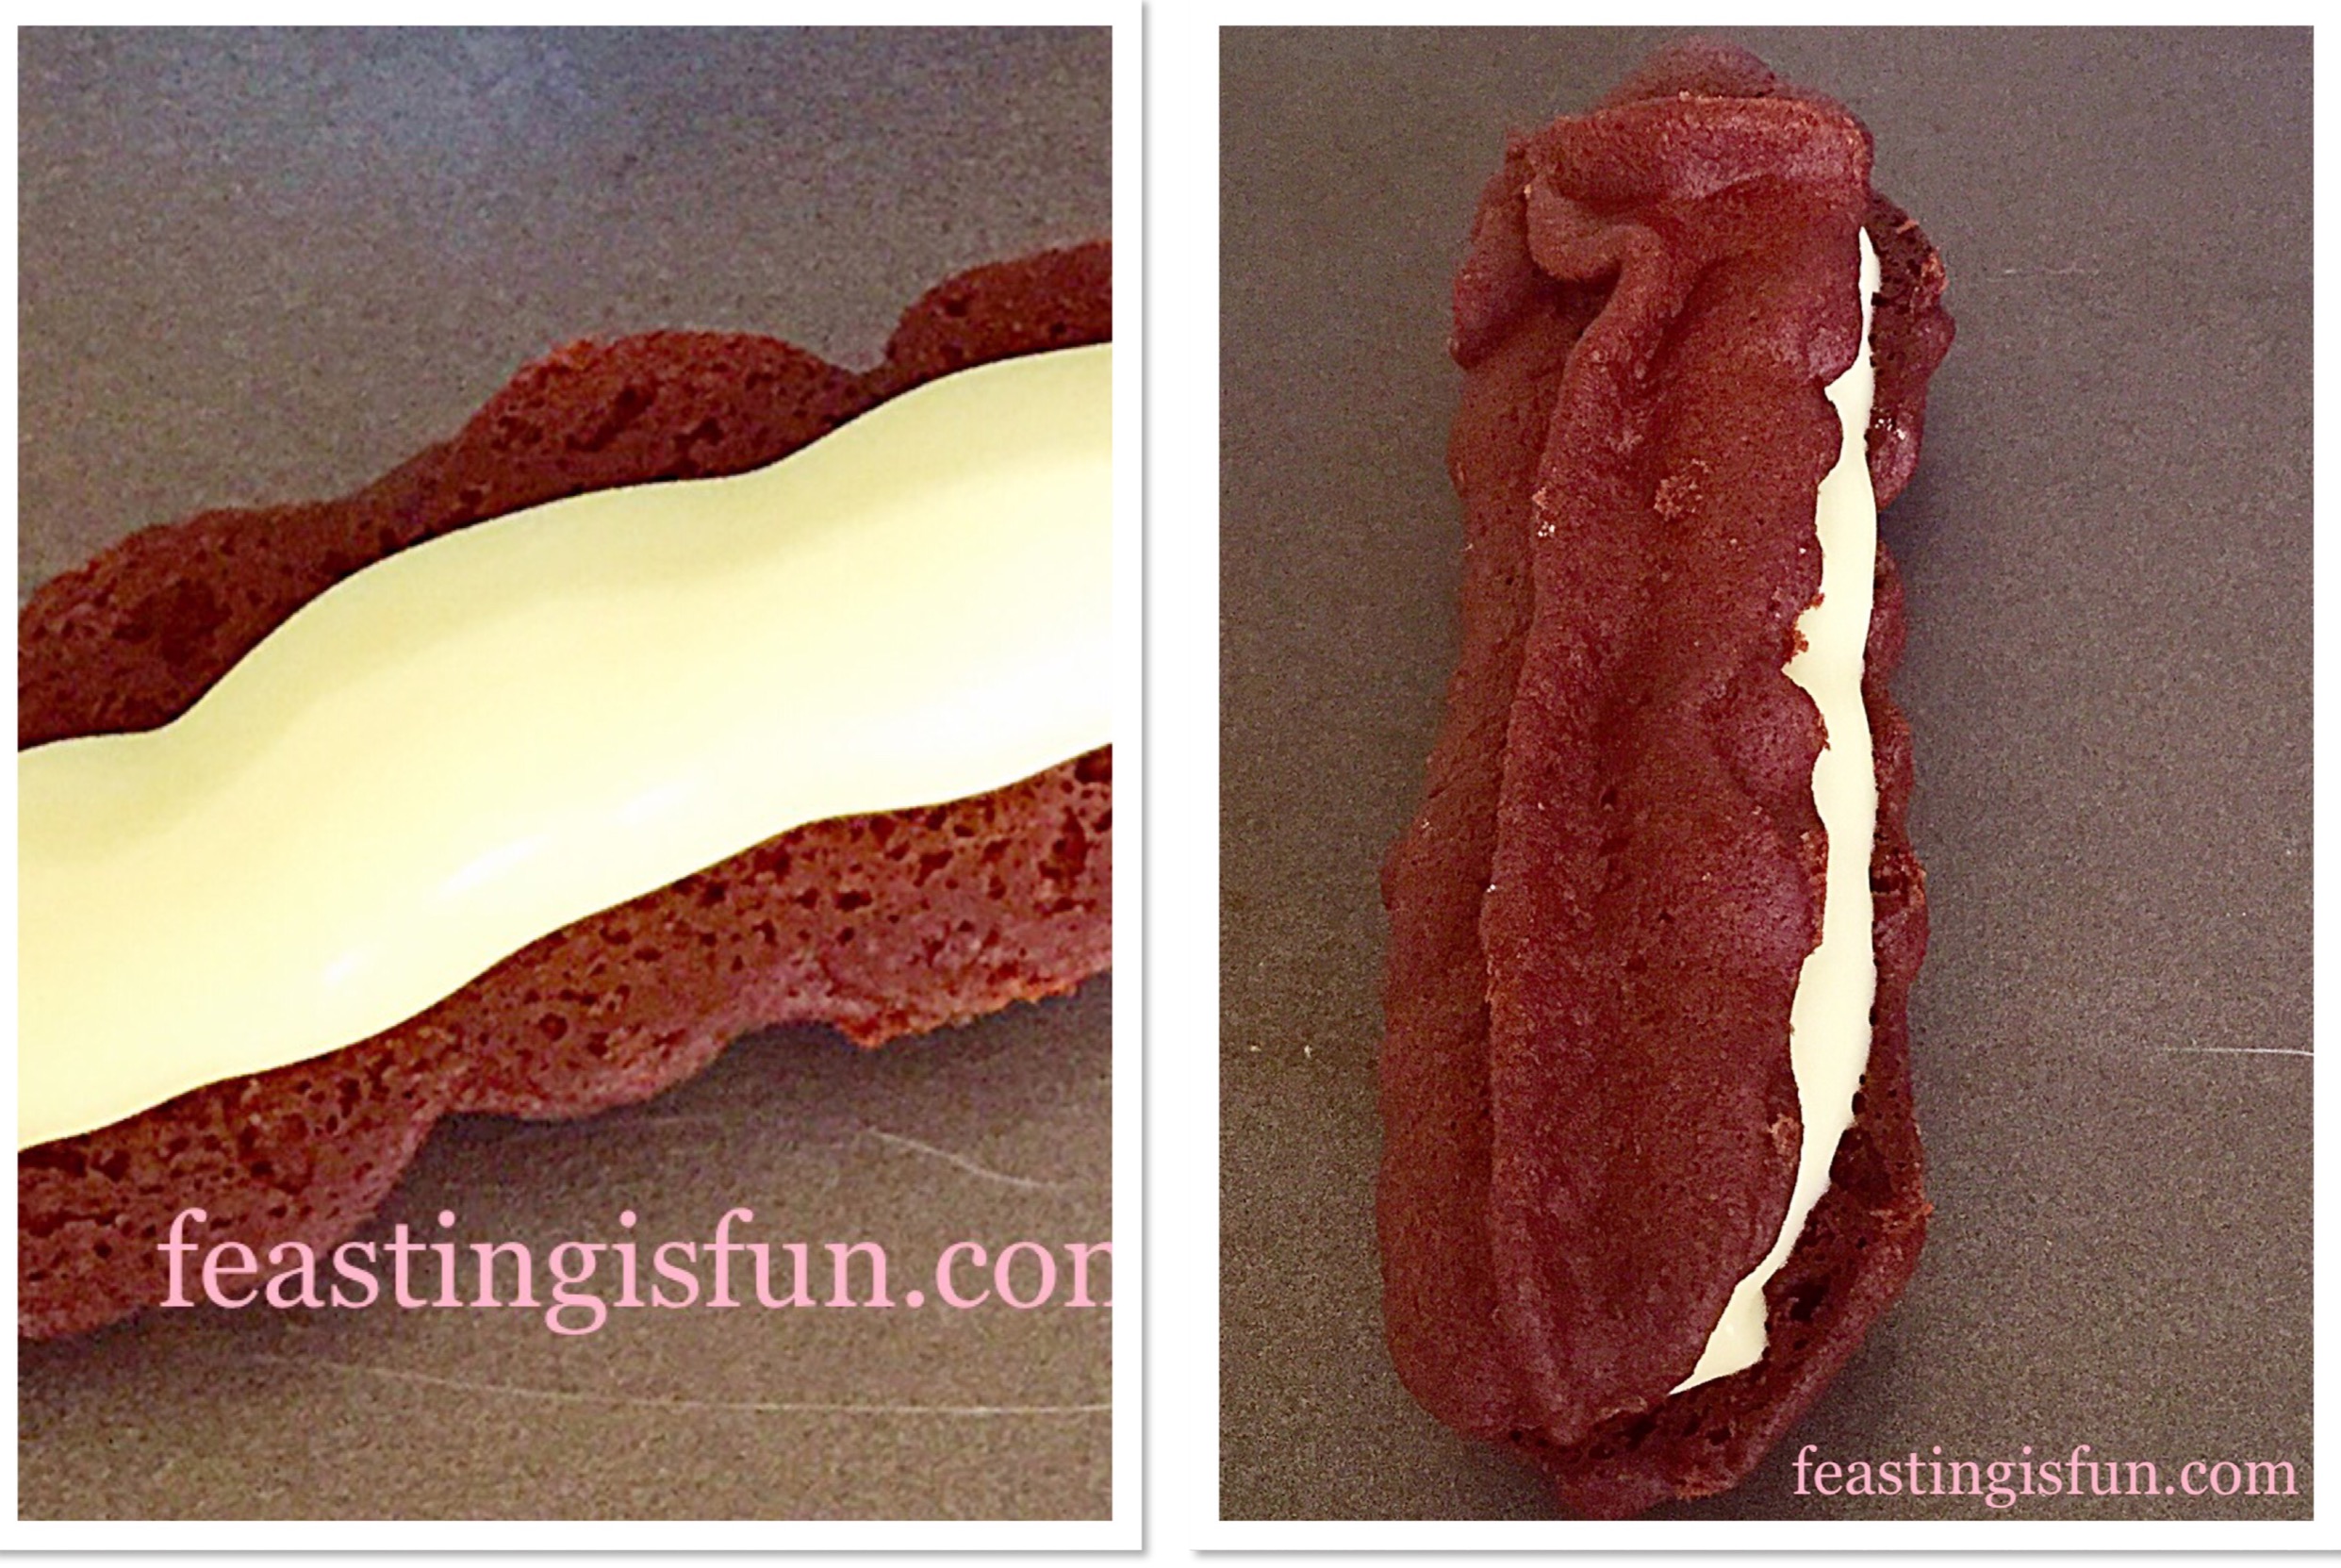
  • When the ganache has firmed up to piping consistency, think buttercream, then you are ready to assemble your biscuits.
  • Pipe a line of white chocolate ganache down the length, flat side upper, of one biscuit.
  • Place a similar sized biscuit on top and set aside.
  • Continue until all of the biscuits are sandwiched together.
FF Chocolate Vanilla Viennese Finger Biscuits
Chocolate Vanilla Viennese Finger Biscuits sandwiched together with ganache.
  • NOTE: Due to the fragile, melting nature of the Viennese biscuits, it is inevitable that some will break. I thoroughly enjoyed ‘taste testing’ the few breakages with our 2 daughters!
  • I ended up with 18 perfectly sandwiched biscuits.
  • Due to the heat I popped all the filled biscuits on to a baking tray and placed them back into the fridge to set, before taking the photographs.

To store place the Chocolate Vanilla Viennese Finger Biscuits into a shallow tin and put in the fridge. With temperatures set to rise over the next few days, assuming they last that long 😉, they will keep for up to 4 days in the fridge.

FF Chocolate Vanilla Viennese Finger Biscuits
Chocolate Vanilla Viennese Finger Biscuits ooh I bet you go back for seconds!

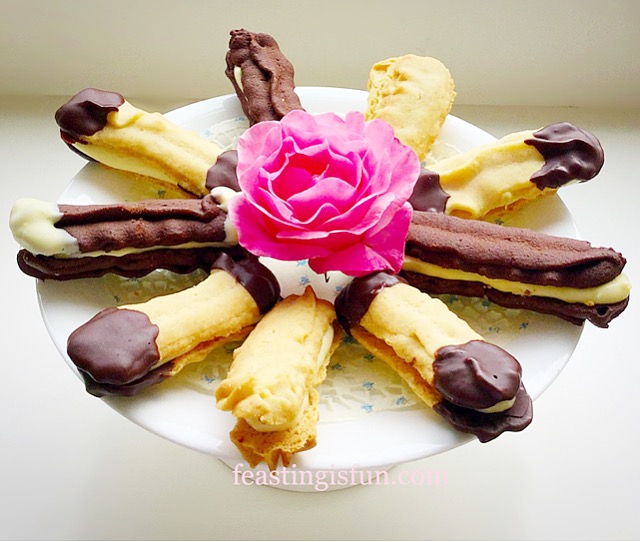
Serve on a pretty plate, adorned with flowers from the garden. These Chocolate Vanilla Viennese Finger Biscuits are perfect with afternoon tea, or morning coffee.

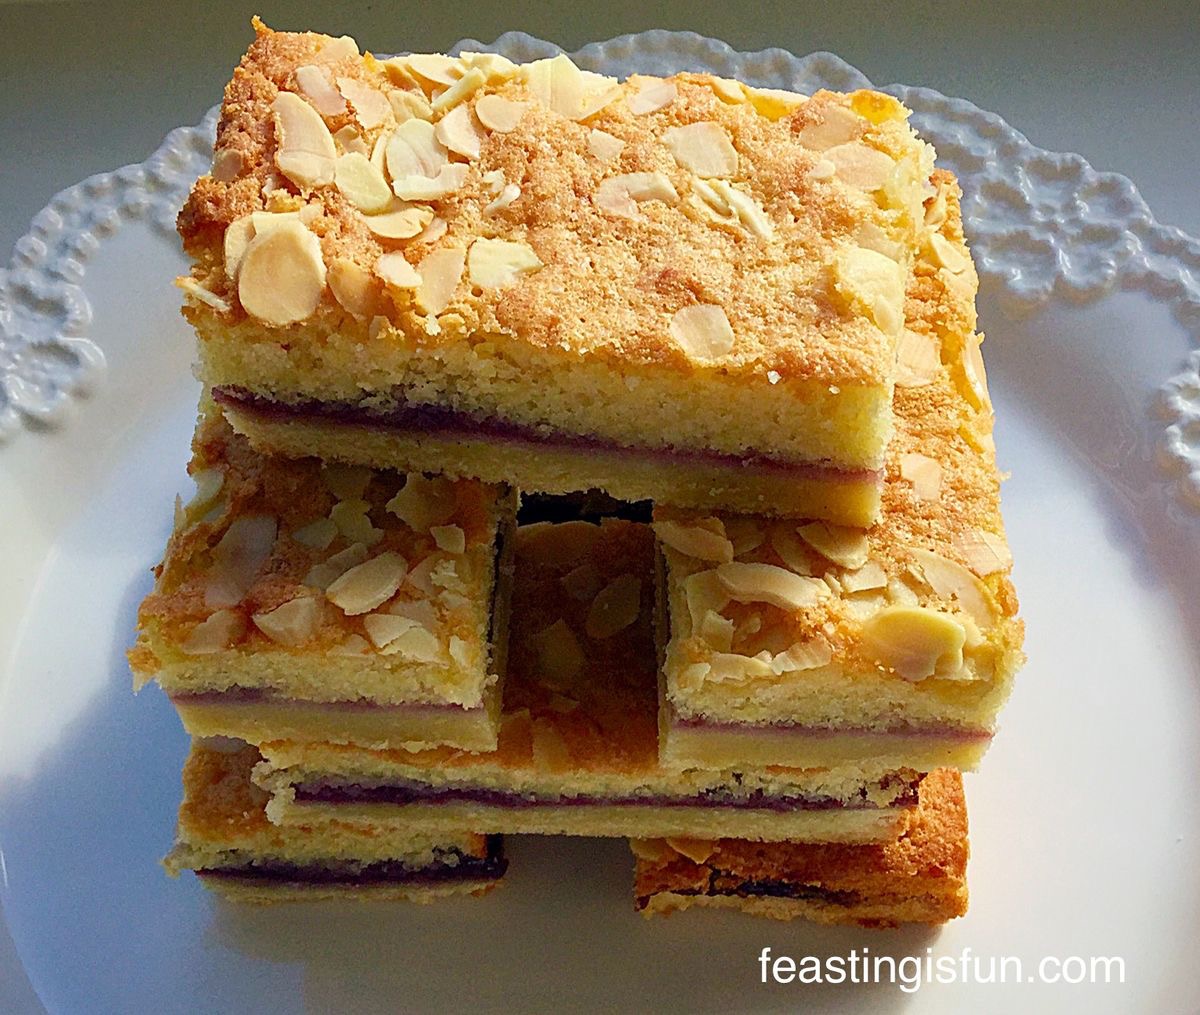
If you have enjoyed these Chocolate Vanilla Viennese Finger Biscuits here are some other recipes you may like:

Apricot Oat Crumble Cookies

FF Chocolate Vanilla Viennese Finger Biscuits
Apricot Oat Crumble Cookies

Bakewell Shortbread Bars

FF Chocolate Vanilla Viennese Fingers Biscuits
Bakewell Shortbread Bars

Lemon Drizzle Cake Bars

FF Chocolate Vanilla Viennese Finger Biscuits
Lemon Drizzle Cake Bars

Sitting together with friends over a mid morning coffee, or with family for afternoon tea, doesn’t have to be a formal occasion. Yet when a little extra effort is made, for example, adding the rose to the centre of the plate, it really lifts the occasion.

All food should be feasted on and enjoyed, not just eaten for the sake of it (unless circumstances, for example illness, dictate otherwise). Food shared, tastes better and eating with company can be more fun.

Make the most of what’s left of the summer to eat outside. Watching the butterflies, listening to the birds, bees and ruffling leaves of the trees, adds an extra element of fun to our feasting.

Sammie xx

Share
Facebooktwitterpinterestlinkedintumblr

Garlic Cheese Bombs

Share
Facebooktwitterpinterestlinkedintumblr

Who doesn’t love garlic bread, served alongside a great pasta dish, with a glass of something chilled? I certainly do and after seeing a fantastic foodie craze on Pinterest I knew I had to try it. Everyone is mad about these Garlic Cheese Bombs!


Baked mozzarella stuffed buns being pulled apart to show the gooey, melted cheese.
Garlic Cheese Bombs

In our house these are the BOMB 😉.

Everyone loves it when I make them and having successfully frozen them, uncooked, they are great to have on hand. Fresh or frozen.

Garlic Cheese Bombs
Garlic Cheese Bombs

Honestly these Garlic Cheese Bombs have become such a massive hit in our house. I’m really glad that they freeze well as my family would scoff the whole lot if I baked them all at once. I have learned from the first time I made Garlic Cheese Bombs

Garlic Cheese Bombs

Baking With Children

If you have little ones, they will thoroughly enjoy making these.

The only extra ingredient required to make the Garlic Cheese Bombs is a little patience. Making 30 – 40 individual, little cheese wrapped buns, could be seen as tedious – not here at Feasting is Fun though. We don’t do tedious!! So put on some great music or a play, clear the table and enjoy some therapeutic relaxation, whilst you play with dough!

Before you know it you’ll have two trays full of delicious, homemade, bread buns proving and you can give yourself a smug pat on the back, knowing that one tray is going to be stashed in the deep freeze.

Baking bread is a real passion of mine, second only to my faith see Important Stuff. As this week has been Real Bread Week it seemed fitting to end on a recipe that is fun to make and tastes best when feasting with family and friends.

Garlic Cheese Bombs
Garlic Cheese Bombs

Made From Scratch Versus Using A Bread Mix

I have made these Garlic Cheese Bombs using both my own dough recipe and a Wright’s bread mix. Truthfully and this almost hurts to write this, the children preferred the ones made with the bread mix.

Our children are very honest!!

Personally I think they are both great. The Wright’s bread mix is handy if you’re an infrequent bread baker, or haven’t made bread dough before and want to ensure they turn out great. My dough recipe is for those of us who are happy to make their dough from scratch. That said, there’s room in my kitchen for both.

Recipe: Makes 30 – 40 Garlic Cheese Bombs

1 quantity of dough that’s been proved and knocked back, from either my Farmhouse White Loaf or using Wright’s Baking Premium White Bread Mix

2 Tubs Mini Mozerrella Balls – there are approx 15 – 20 balls per tub

4 Fat Garlic Bulbs – or more if you want an extra garlic kick

100g/4oz Butter

4tbsp Olive Oil

1tsp Sea Salt – I use Maldon

1/2tsp Freshly Ground Black Pepper

Bunch of Fresh Parsley to garnish and add flavour

Making The Garlic Cheese Bombs

You will need a foil freezer/baking tray or 2 if you intend to freeze these.

  • Drain the mozerella balls well and count how many you have.
  • Make up the dough according to your chosen option.
  • Allow the dough to prove until doubled in size and then tip out on to a lightly floured surface.
  • For the very precise among you, weigh the bread dough and then divide that number by the number of mozerella balls. That will tell you exactly how much each piece of dough should weigh.
  • If you are more ‘laissez faire’ about things, like me, simply divide the dough evenly into 3 or 4 equal pieces (depending on whether you have 30 or 40 mozerella balls) and then divide each potion into 10.
  • Flatten a small portion of dough into a rough circular shape.
  • Place the mozerella ball in the centre of the dough circle.
  • Bring the edges of the dough up so that they cover the cheese and seal by pressing together.
  • Place the Garlic Cheese Bomb seam side down on a lightly oiled baking tray.
FF Garlic Cheese Bombs
After a while you get into a rhythm and the process becomes very relaxing.
  • Continue until all of the Garlic Cheese Bombs have been made, allowing space in between each one the tray so that it has room to rise.
FF Garlic Cheese Bombs
Cover with damp kitchen towel or oiled cling film.


Proving The Buns

  • The Garlic Cheese Bombs in the photo above are from the first batch that I made.
  • Leave until doubled in size.
  • Whilst the rolls are proving, make the garlic butter.
  • Place the butter, oil, crushed/finely minced garlic, salt and pepper into a small saucepan over a low heat.
  • Cook until all the butter has melted. Set to one side.
  • Preheat the oven to 200C/180C fan, gas mark 6, 400F.
  • When the Garlic Cheese Bombs have doubled in size, remove the damp cloth/cling film and brush liberally, using a pastry brush, with the melted garlic butter.
FF Garlic Cheese Bombs
You’ll be surprised at how much these delicious rolls puff up.

Freezing The Uncooked Bread Rolls

Now is the stage at which the Garlic Cheese Bombs can be frozen. Double wrap the foil tray with freezer safe cling film, label and pop in the freezer. They should be fine for at least one month in the freezer.

Baking The Garlic Cheese Bombs

  • To bake the freshly garlic glazed buns, place into the middle of the oven and bake for 25-30 minutes, or until the rolls are golden brown.
  • When baked remove the tray from the oven and immediately transfer the individual Garlic Cheese Bombs to a serving platter. Be careful as they will be very hot.
  • Pour over any garlic butter left in the tray and garnish with roughly chopped parsley,
  • Leave for 5 minutes before serving to allow thm to cool slightly.
  • Serve with a smile and watch as people break open these golden, light, cheesy rolls, flavoured with garlic butter.

Garlic Cheese Bombs

Baking From Frozen

To bake from frozen, preheat the oven to 190C/170C fan, gas mark 5, 375F. Remove all cling film/foil. Place the frozen rolls into the middle of the oven and bake for 40-45 minutes, until golden and baked through. To test remove a roll and cut in half, if the mozerella is gooey and melted then the Garlic Cheese Bombs are baked. Serve as for freshly baked.

Making Ahead Tips

So you’ve got a party in the evening and you want to make these earlier in the day? I’d suggest making them the day, or even a few days aheadand stashing them in the freezer. Alternatively make them in the morning, glazed with garlic butter before their final prove (it’ll save you stinking of garlic as you great your guests 😉), wrap in cling film and keep in the fridge. Take them out 10 minutes before baking, whilst you preheat the oven and bake as for fresh.

Make ahead recipes are fantastic as they allow you to enjoy spending time with your guests, rather than being stuck, on your own in the kitchen!

If you have loved these Garlic Cheese Bombs, then here are some other recipes you might like to try:

Breadsticks with Garlic and Herb Dipping Oil

Breadsticks with garlic and herb dipping oil.

Garlic Rosemary Focaccia Bread

Garlic Rosemary Focaccia Bread

Cherry Tomato Mozzarella Basil Focaccia 

Cherry Tomato Mozzarella Basil Focaccia


I really hope you do try making your own bread. Most bread doughs can withstand a reasonable amount of mistreatment and still turn into fabulous loves, breadsticks, baguettes. The possibilities are endless and nothing, not even chocolate cake such as this White Chocolate Swirl Fudge Cake beats the smell of home baked bread.

Thank you for all you lovely comments, especially on Twitter regarding the great yeast debate – more on that in a future post! It really makes my day to see pictures of you baking my recipes and in most cases they look even better. Which I think is completely brilliant. You all inspire me to try harder and write easy to follow, delicious recipes.

Together we really do make Feasting Fun!

Sammie xx

Wright’s Baking provided me with the Premium White Bread Mix used in this recipe alongside my own bread dough recipe. All opinions, views, content and photographs are my own. Please see my Disclosure Policy.

Share
Facebooktwitterpinterestlinkedintumblr

Chocolate Brownie Raspberry Cheesecake

Share
Facebooktwitterpinterestlinkedintumblr

Chocolate Brownie Raspberry Cheesecake. Whipped mascarpone cheese with fresh raspberries over a deep, chocolate ganache topped brownie base.

If I had known you were coming I would have made this elegant Chocolate Brownie Raspberry Cheesecake.

Chocolate Brownie Raspberry Cheesecake

How pretty does this cheesecake look?

And you can make it too, with the additional help of an IfIKnewYouWereComing Artisan Chocolate Brownie Baking Box! Alternatively, you can follow my recipe below for an easy brownie base.

A slice of Chocolate Brownie Raspberry Cheesecake

I love the gorgeously dense and fudgey brownie base to this cheesecake. Because chocolate and raspberry flavours work so well together this Chocolate Brownie Raspberry Cheesecake really is a dream dessert.

Why a brownie base?

Recently our youngest daughter revealed that she really didn’t like the traditional biscuit that usually is on the base of a cheesecake. YET she does love the creamy, top part. Therefore this cheesecake was made with her in mind.

Since she absolutely loves brownies I decided to make a cheesecake with a brownie base. Also adding a layer of deep, dark chocolate ganache to the top of the brownie base to stop the base from becoming soggy. While this too adds another chocolate layer!

Each ingredient comes in a separate package all I neede to do was add butter and eggs and follow the recipe!
Each ingredient comes in a separate package all I needed to do was add butter and eggs and follow the recipe!

Brownies this kit form

I was impressed with the ingredient packaging and the instructions provided with the Artisan Chocolate Brownie Bake Box. While baking these brownies was very similar to making my own homemade brownies, except someone had already weighed the ingredients out for me! So all I needed to do was add butter and eggs.

Chocolate Brownie Raspberry Cheesecake fudgey chocolate base covered in light raspberry mousse cheesecake.

This Chocolate Brownie Raspberry Cheesecake is utterly stunning to look at and even more delicious to eat.

The whipped, mousse like, raspberry cheesecake layer, isn’t overly sweet. Also, with an added splash of raspberry liquer and vanilla notes from the white chocolate, this dessert is an awesome combination of flavours.

Layered together, with a final swirl of the best quality dark chocolate, this cheesecake may be my favourite dessert yet?!!

Chocolate Brownie Raspberry Cheesecake

Recipe: Chocolate Brownie Raspberry Cheesecake serves 10-12

1 Brownie Bake Box from IfIKnewYouWereComing

(alternatively use half of my Chocolate Fudge Brownie Bites) recipe

115g Unsalted Butter

2 Large Free Range Eggs

300g/Raspberries I use frozen Raspberries from Waitrose when they are out of season

4tbsp Caster Sugar

2tbsp Framboise – raspberry liquer  – can be substituted for cassis or fresh apple juice

150g Dark Chocolate

300ml Double Cream

500g Tub Mascapone Cheese

100g White Chocolate

Method: Preheat the oven to 200C/180C fan, gas mark 6, 400F.

Making the Brownie Base:

  • First of all, line the base of a 10″ (25cm) Springform cake tin with the parchment backed, tin foil provided.
  • Follow the recipe card provided to make the brownies.
  • Pour the brownie mixture into the springform tin and tap against the work top twice to release any trapped air bubbles.
  • Place the tin in the oven and bake according to the instructions – my brownie base took 15 minutes to bake.
  • As soon as the base is  baked remove the tin from the oven and place on a cooling rack. Allow to cool completely.
Delicious brownie base studded with dark chocolate chips.

Making the Chocolate Ganache:

  • In a heatproof bowl add 100g dark chocolate and 100ml of double cream.
  • Place the bowl on top of a small saucepan that contains approximately an inch of barely simmering water – this is called a double boiler.
  • Stir the chocolate and cream together until the chocolate has completely melted and the mixture is thick and glossy.
  • Pour the chocolate ganache over the cooled brownie base.
  • Smooth to an even layer using the back of a metal dessert spoon.
  • Place in the fridge until the ganache has set.
Glossy chocolate ganache not only adds an extra layer of deliciousness, but also stops the brownie base from becoming soggy.

Making the raspberry cheesecake filling

  • Place the raspberries, caster sugar and framboise (or apple juice) into a blender.
  • Pulse until you have a smooth, deep cerise, thick raspberry coulis. Set to one side.
  • Break up the white chocolate and place into a heatproof microwaveable bowl.
  • Zap for 20 seconds at a time, stirring in between, until the chocolate has almost melted.
  • Remove from the microwave and continue stirring until completely melted. Set to one side.
  • In a large bowl add the tub of mascarpone cheese and 200mls of double cream.
  • Using a hand mixer, whisk until fully combined.
  • Pour the raspberry coulis into the cheesecake mix and whisk until fully incorporated.
  • Next pour in the melted white chocolate.
  • Whisk all of the cheesecake ingredients together until light and creamy.
  • Spoon the raspberry cheesecake on to the cold, set, chocolate ganache covered brownie base in the springform tin.
  • Smooth the top of the raspberry cheesecake to ensure a flat, even finish.
  • Cover the cheesecake with cling film and place in the fridge for at least 2 hours to allow to set.
Once you have smoothed the top of the cheesecake you can lick the spoon 😉
  • Remove the cheesecake from the fridge.
  • Run a palette knife between the outside edge of the cheesecake and the iside of the springform tin.
  • Place the springform tin centrally on a large tin of beans (or something equally as sturdy).
  • Release the springform catch and gently encourage the sides of the tin to fall away from the base.
  • Place the Chocolate Brownie Raspberry Cheesecake on to a serving plate or cake stand – the base will still be attached, don’t worry that’s fine.
  • Use a palette knife, that has been kept in a jug of boiling water, to smooth the top and sides of the cheesecake.

Decorating the cheesecake

  • Melt 50g of dark chocolate in a microwaveable, heat proof bowl, as before.
  • Pour the melted chocolate into a small, disposable piping bag.
  • Snip off the very end of the piping bag to create a small hole.
  • Pipe swirls of chocolate all around the edge of the cheesecake and larger loops in the centre. Continue piping over the swirls around the edge until the chocolate is all used.
Chocolate Brownie Raspberry Cheesecake so beautifully decorated and yet so easy to achieve.

Now stand back and look at the beautiful Chocolate Brownie Raspberry Cheesecake that you have made and decorated.

Such a simple piping technique and yet incredibly elegant. Resulting in a cheesecake that is perfect for adding the wow factor to any dinner party or celebration. Pale pink and chocolate brown are a classic colour combination, ensuring this dessert looks elegantly appetising.

While the taste and texture of the brownie base was perfect, exactly like homemade. So I would definitely recommend it, especially if you bake only at weekends or for special occasions. Also, all the ingredients come pre-weighed, so you can easily make and bake brownies in under 30 minutes!

A delicious dessert with a slice in the foreground.
Chocolate Brownie Base Topped With Raspberry Cheesecake.

If you have enjoyed this Chocolate Brownie Raspberry Cheesecake then you may also like these recipes:

White Chocolate Strawberry Cheesecake

FF Chocolate Brownie Raspberry Cheesecake
White Chocolate Strawberry Cheesecake.

Strawberry Chocolate Cheesecake

FF Chocolate Brownie Raspberry Cheesecake
Strawberry Chocolate Cheesecake.

Blackberry Nectarine Tart

Blackberry Nectarine Tart


I like to make cheesecakes all year round. Especially as frozen raspberries ensure that a glimpse of Summer can be seen and enjoyed, in the midst of the colder months. Likewise, fruit tarts can also be easily made using frozen and store cupboard ingredients. Ensuring dessert is only a short bake away!

So, whatever you are making and baking in your kitchens, have fun feasting on all your creations.

Sammie xx

IfIKnewYouWereComing supplied me with the Artisan Chocolate Brownie Bake Box for this recipe. All opinions and views are my own. Please see my Disclosure Policy.

Share
Facebooktwitterpinterestlinkedintumblr