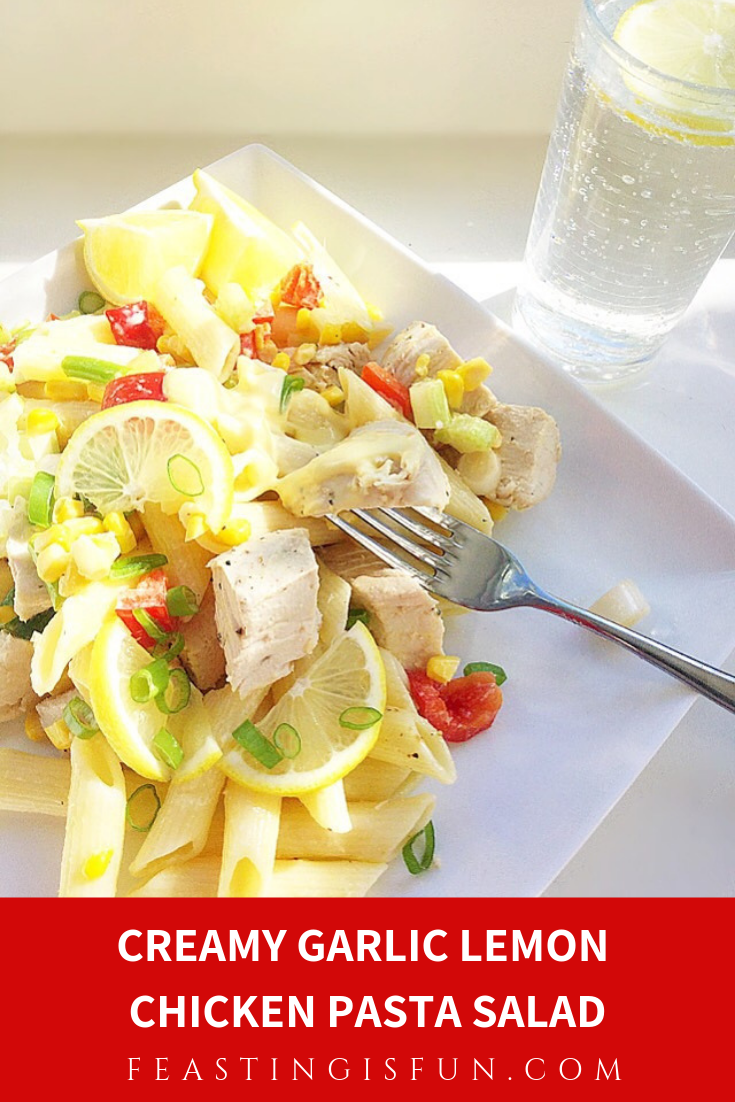
Phew this Summer has been hot, hot, hot so far. And for me that means super easy dinners that can be prepared early in the day before the heat builds. Also, as a family we are wanting cool meals in the evening. Especially meals that don’t leave a lot of washing up! Because everyone is just too hot and tired. So I created this recipe for Creamy Garlic Lemon Chicken Pasta Salad. Not only does it taste good, the bulk of washing up is done earlier in the day.

Since receiving a jar of Garlic Mayonnaise from Kentish Oils I wanted to use it almost as a sauce for a pasta dish. While sunny, daily temperatures are in excess of 30C I decided on a cold pasta dish. Although the mayonnaise has garlic in it, it is not an overwhelming, raw, hot garlic flavour. Also it blends beautifully with the lemon chicken and crunchy vegetables in this dish.
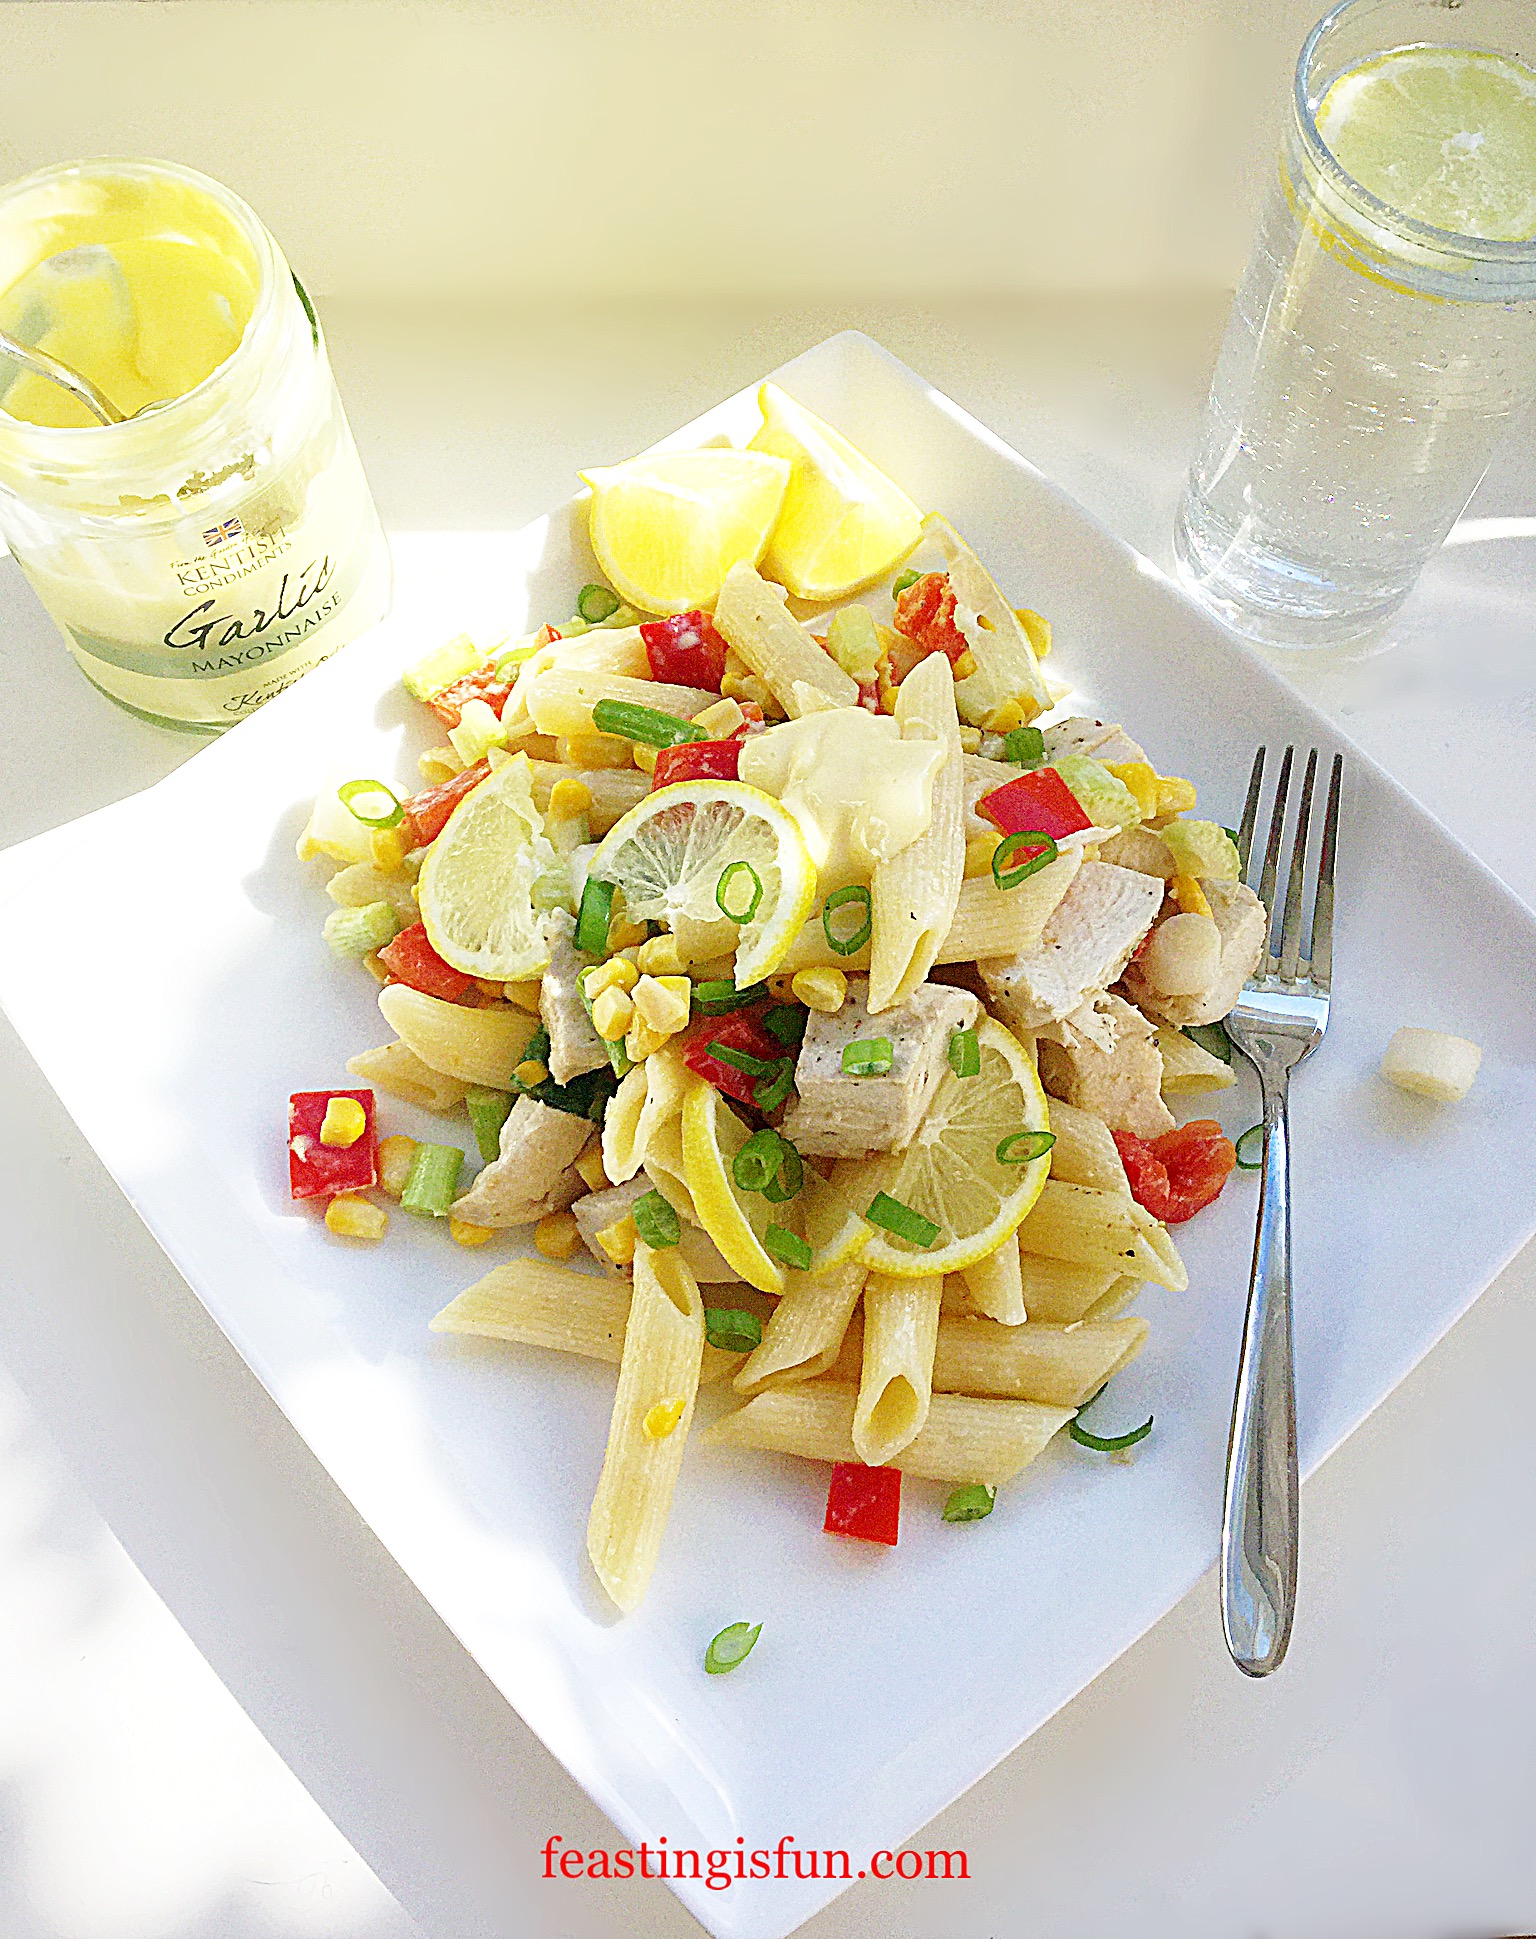
Because the chicken is baked in lemon juice it has a juicy, light lemon flavour. Also, when serving this dish I added very thinly sliced lemons. They are tangy to eat and add an extra punch to this cool, Summer meal. Likewise, an additional teaspoon of the garlic mayonnaise on top of the plated salad gives a tasty finishing touch.
Recipe: Creamy Garlic Lemon Chicken Pasta Salad serves 6
450g/1lb – Four Chicken Breasts skin and bone removed
3-4 Whole Lemons – washed and dried
2 Sweetcorn Cobs – approximately 275g/10oz or the equivalent tinned sweetcorn – drained
450g/1lb Pasta – I use rigatoni
8 Spring Onions (scallions)
2 Red Bell Peppers
2 Sticks of Celery
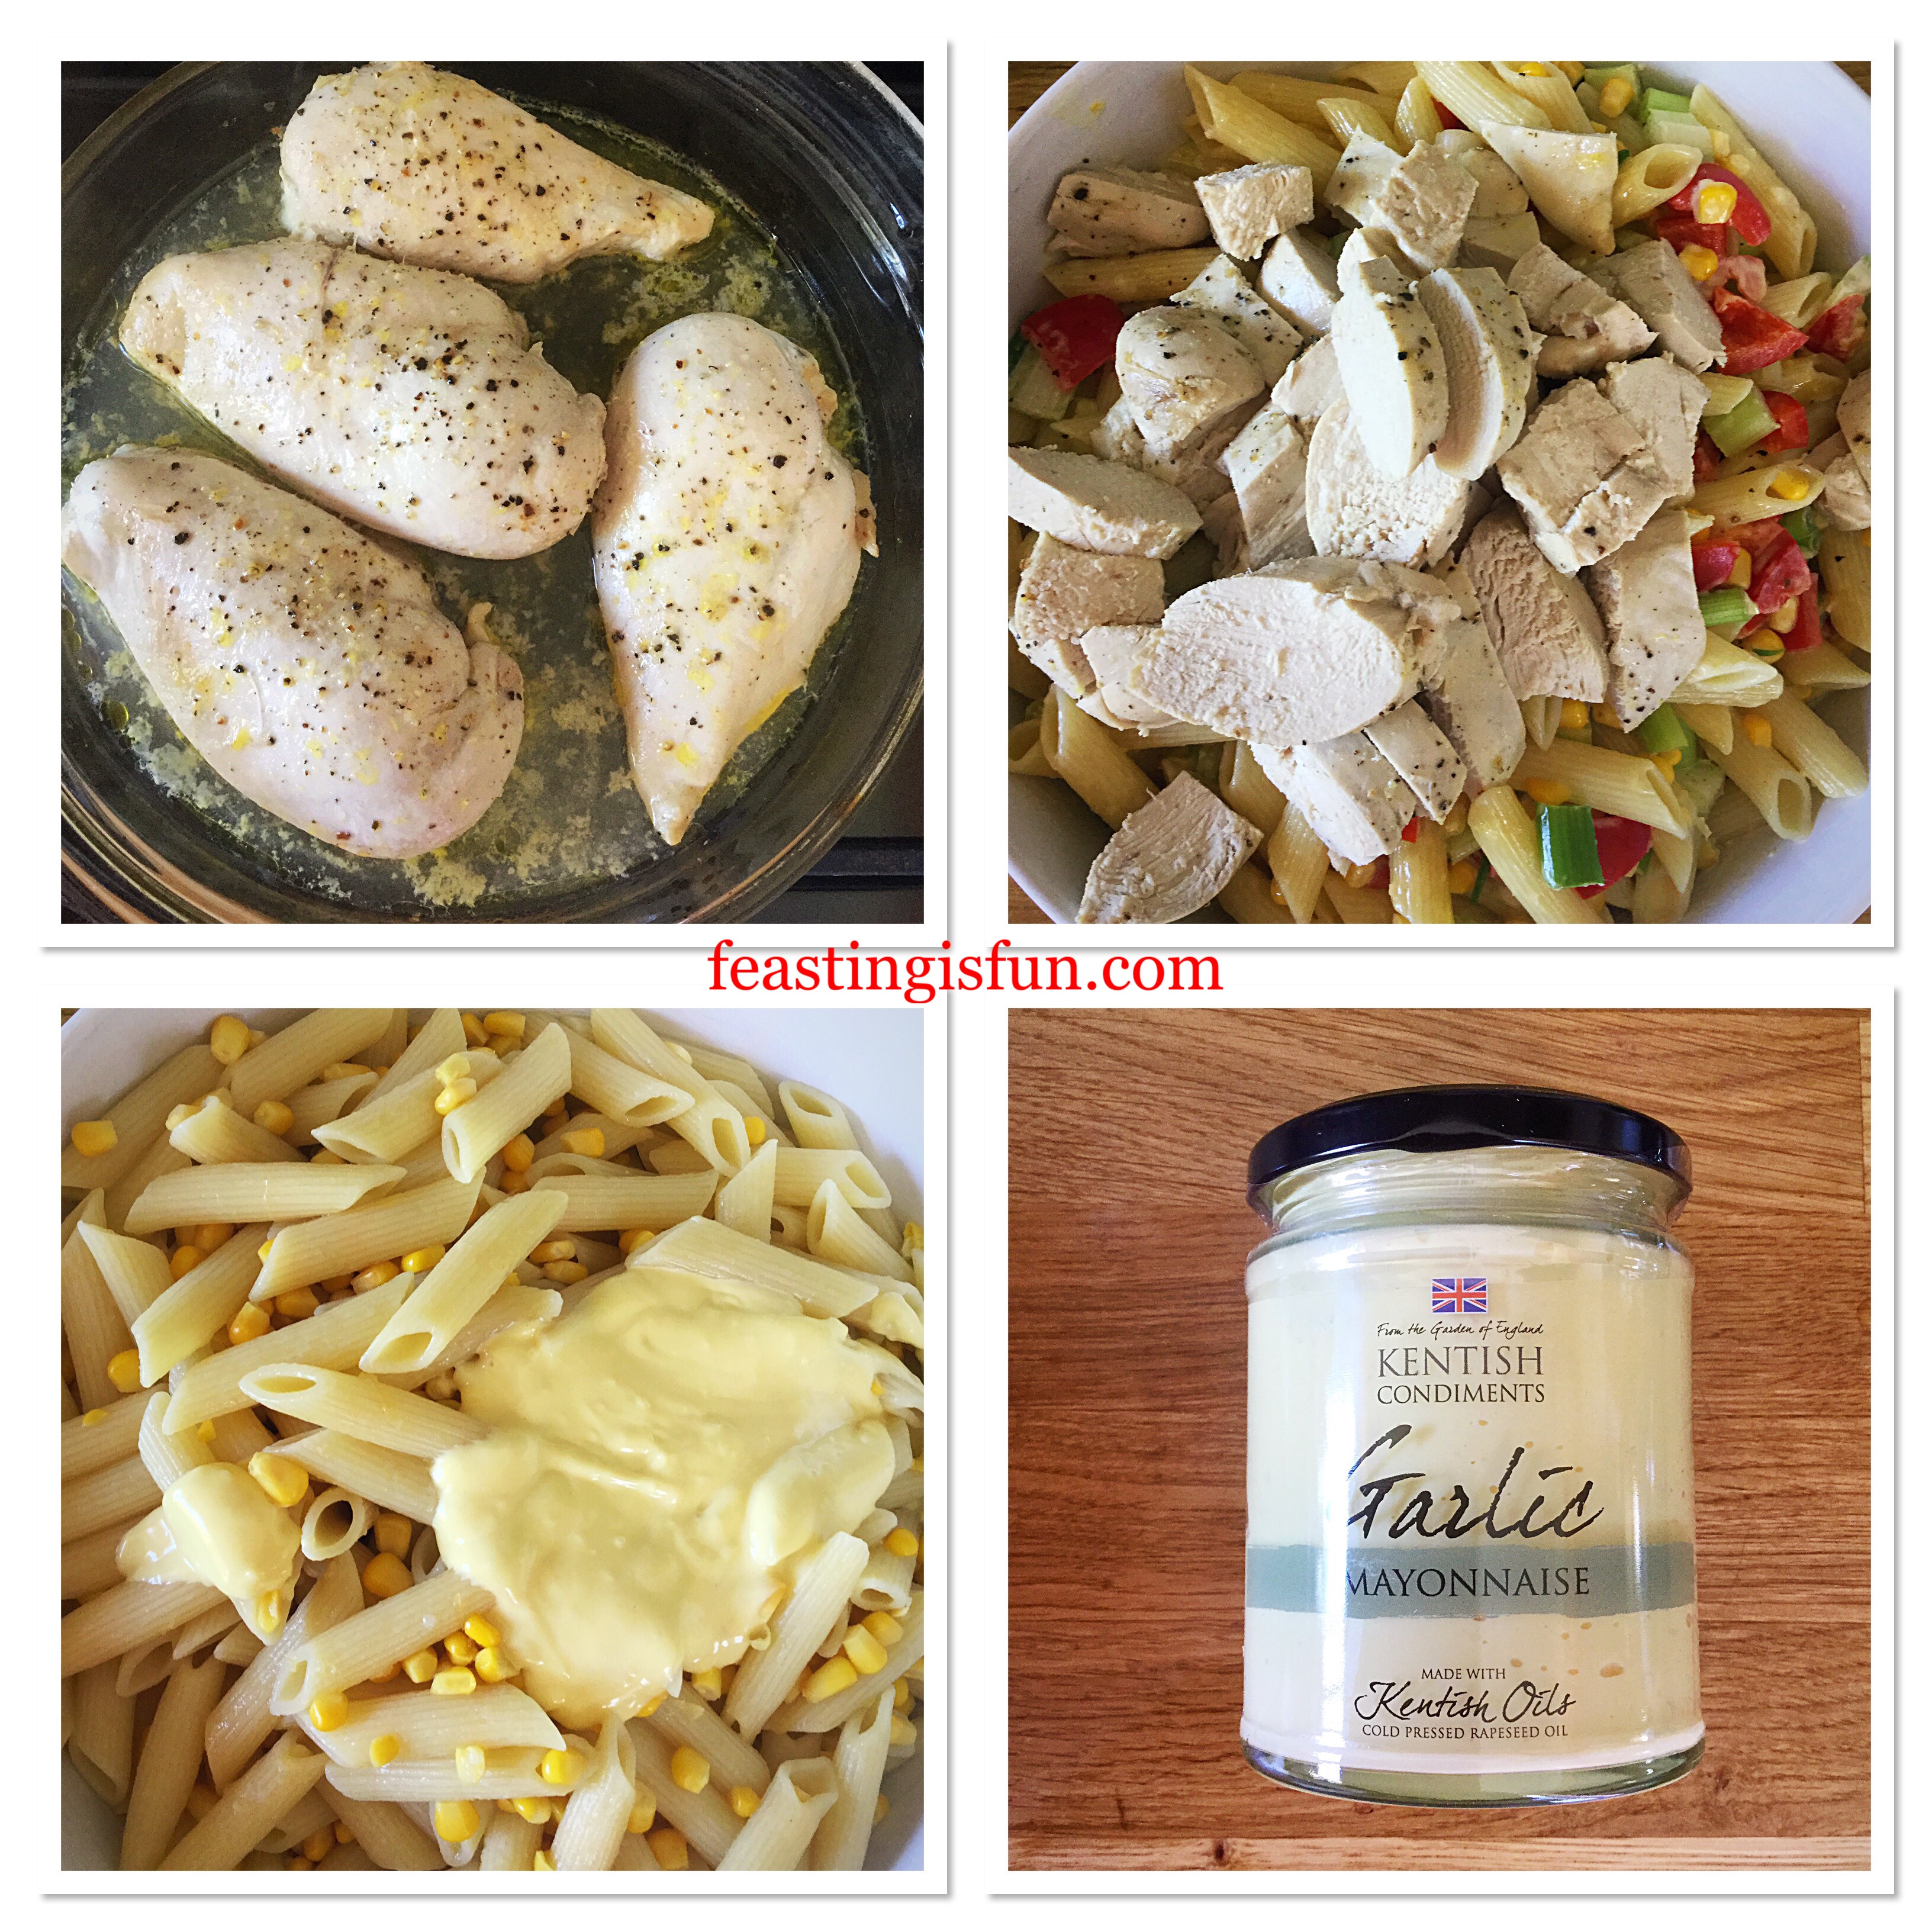
125g/4.5oz – approximately 5 tablespoons of Garlic Mayonnaise (plus extra to garnish) – I use Kentish Oils alternatively use the equivalent amount of mayonnaise and add one clove of minced/crushed garlic
Sea salt I use Maldon and freshly ground black pepper to season
Method: Preheat the oven to 180C/160C fan, 325F, gas mark 3.
Preparing the chicken
- First of all, place the chicken breasts in an ovenproof dish. Season with sea salt, freshly ground black pepper and the juice from two whole lemons.
- Cover the dish with aluminium foil and bake in the centre of the oven for 45 minutes.
Cooking the pasta and preparing the vegetables
- While the chicken is cooking place a large pan of water on a high heat. As soon as the water is boiling add 1 teaspoon of sea salt and then add the pasta. Cook the pasta according to the packet instructions.
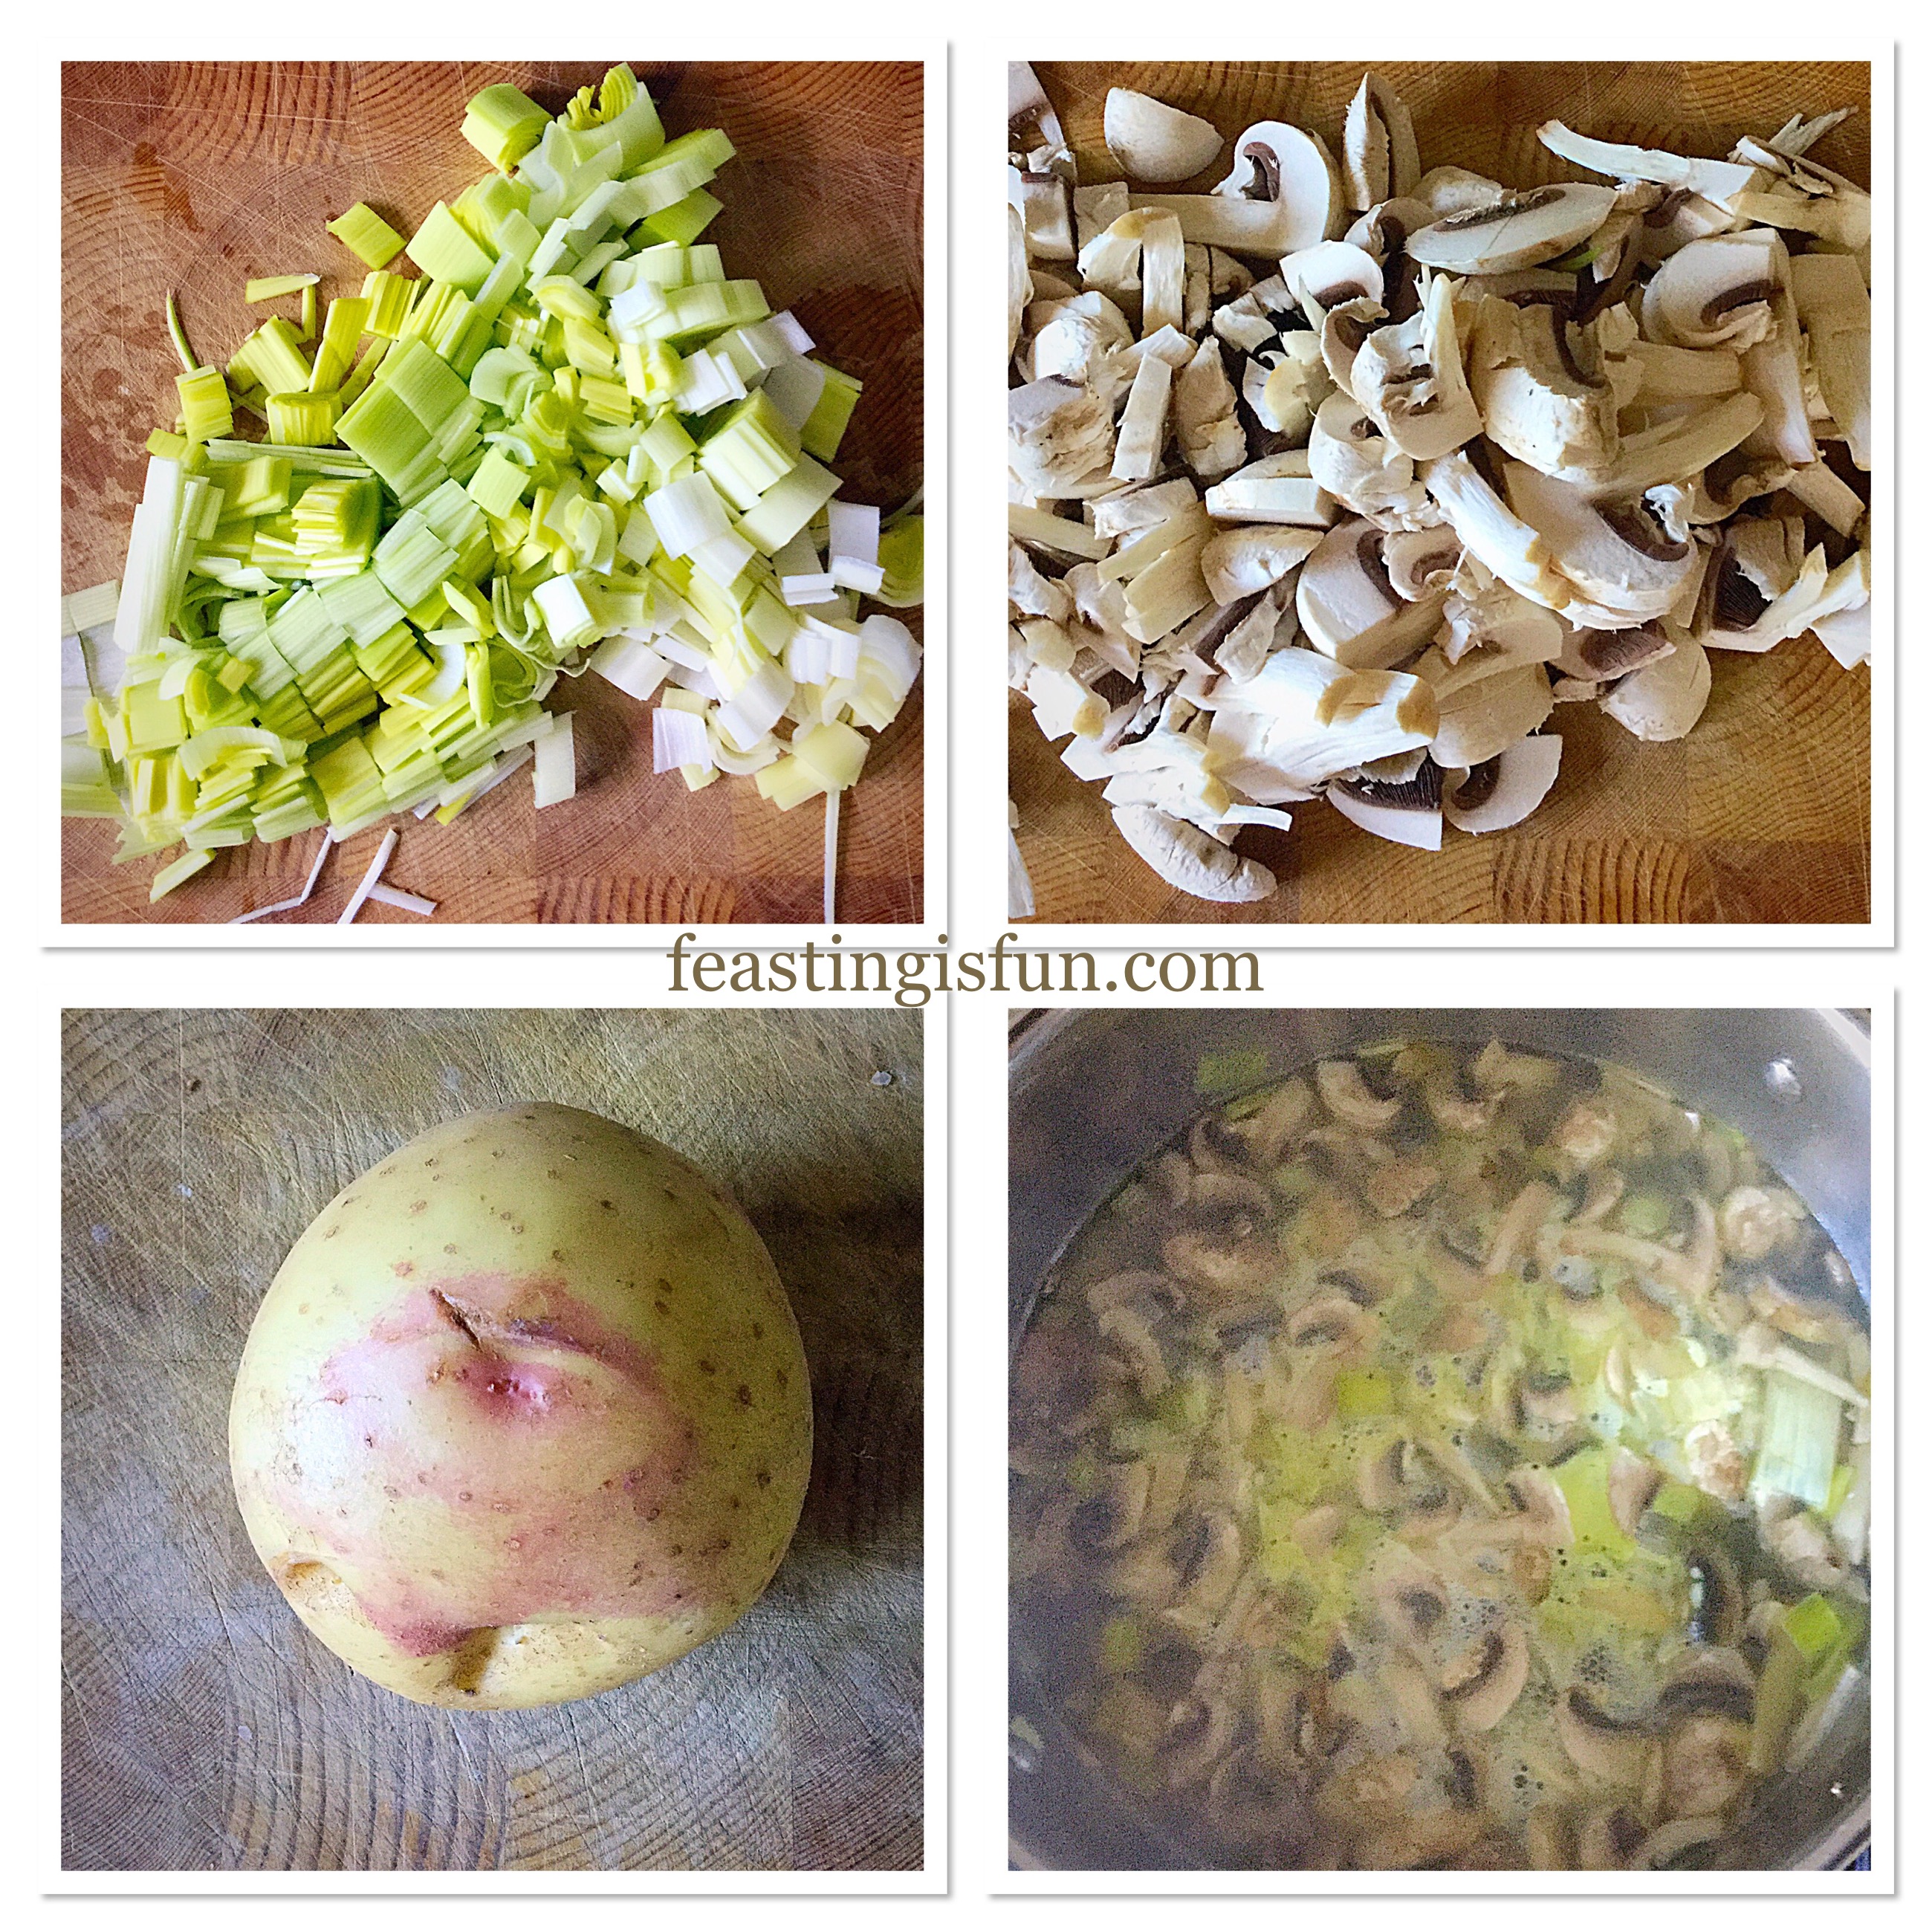
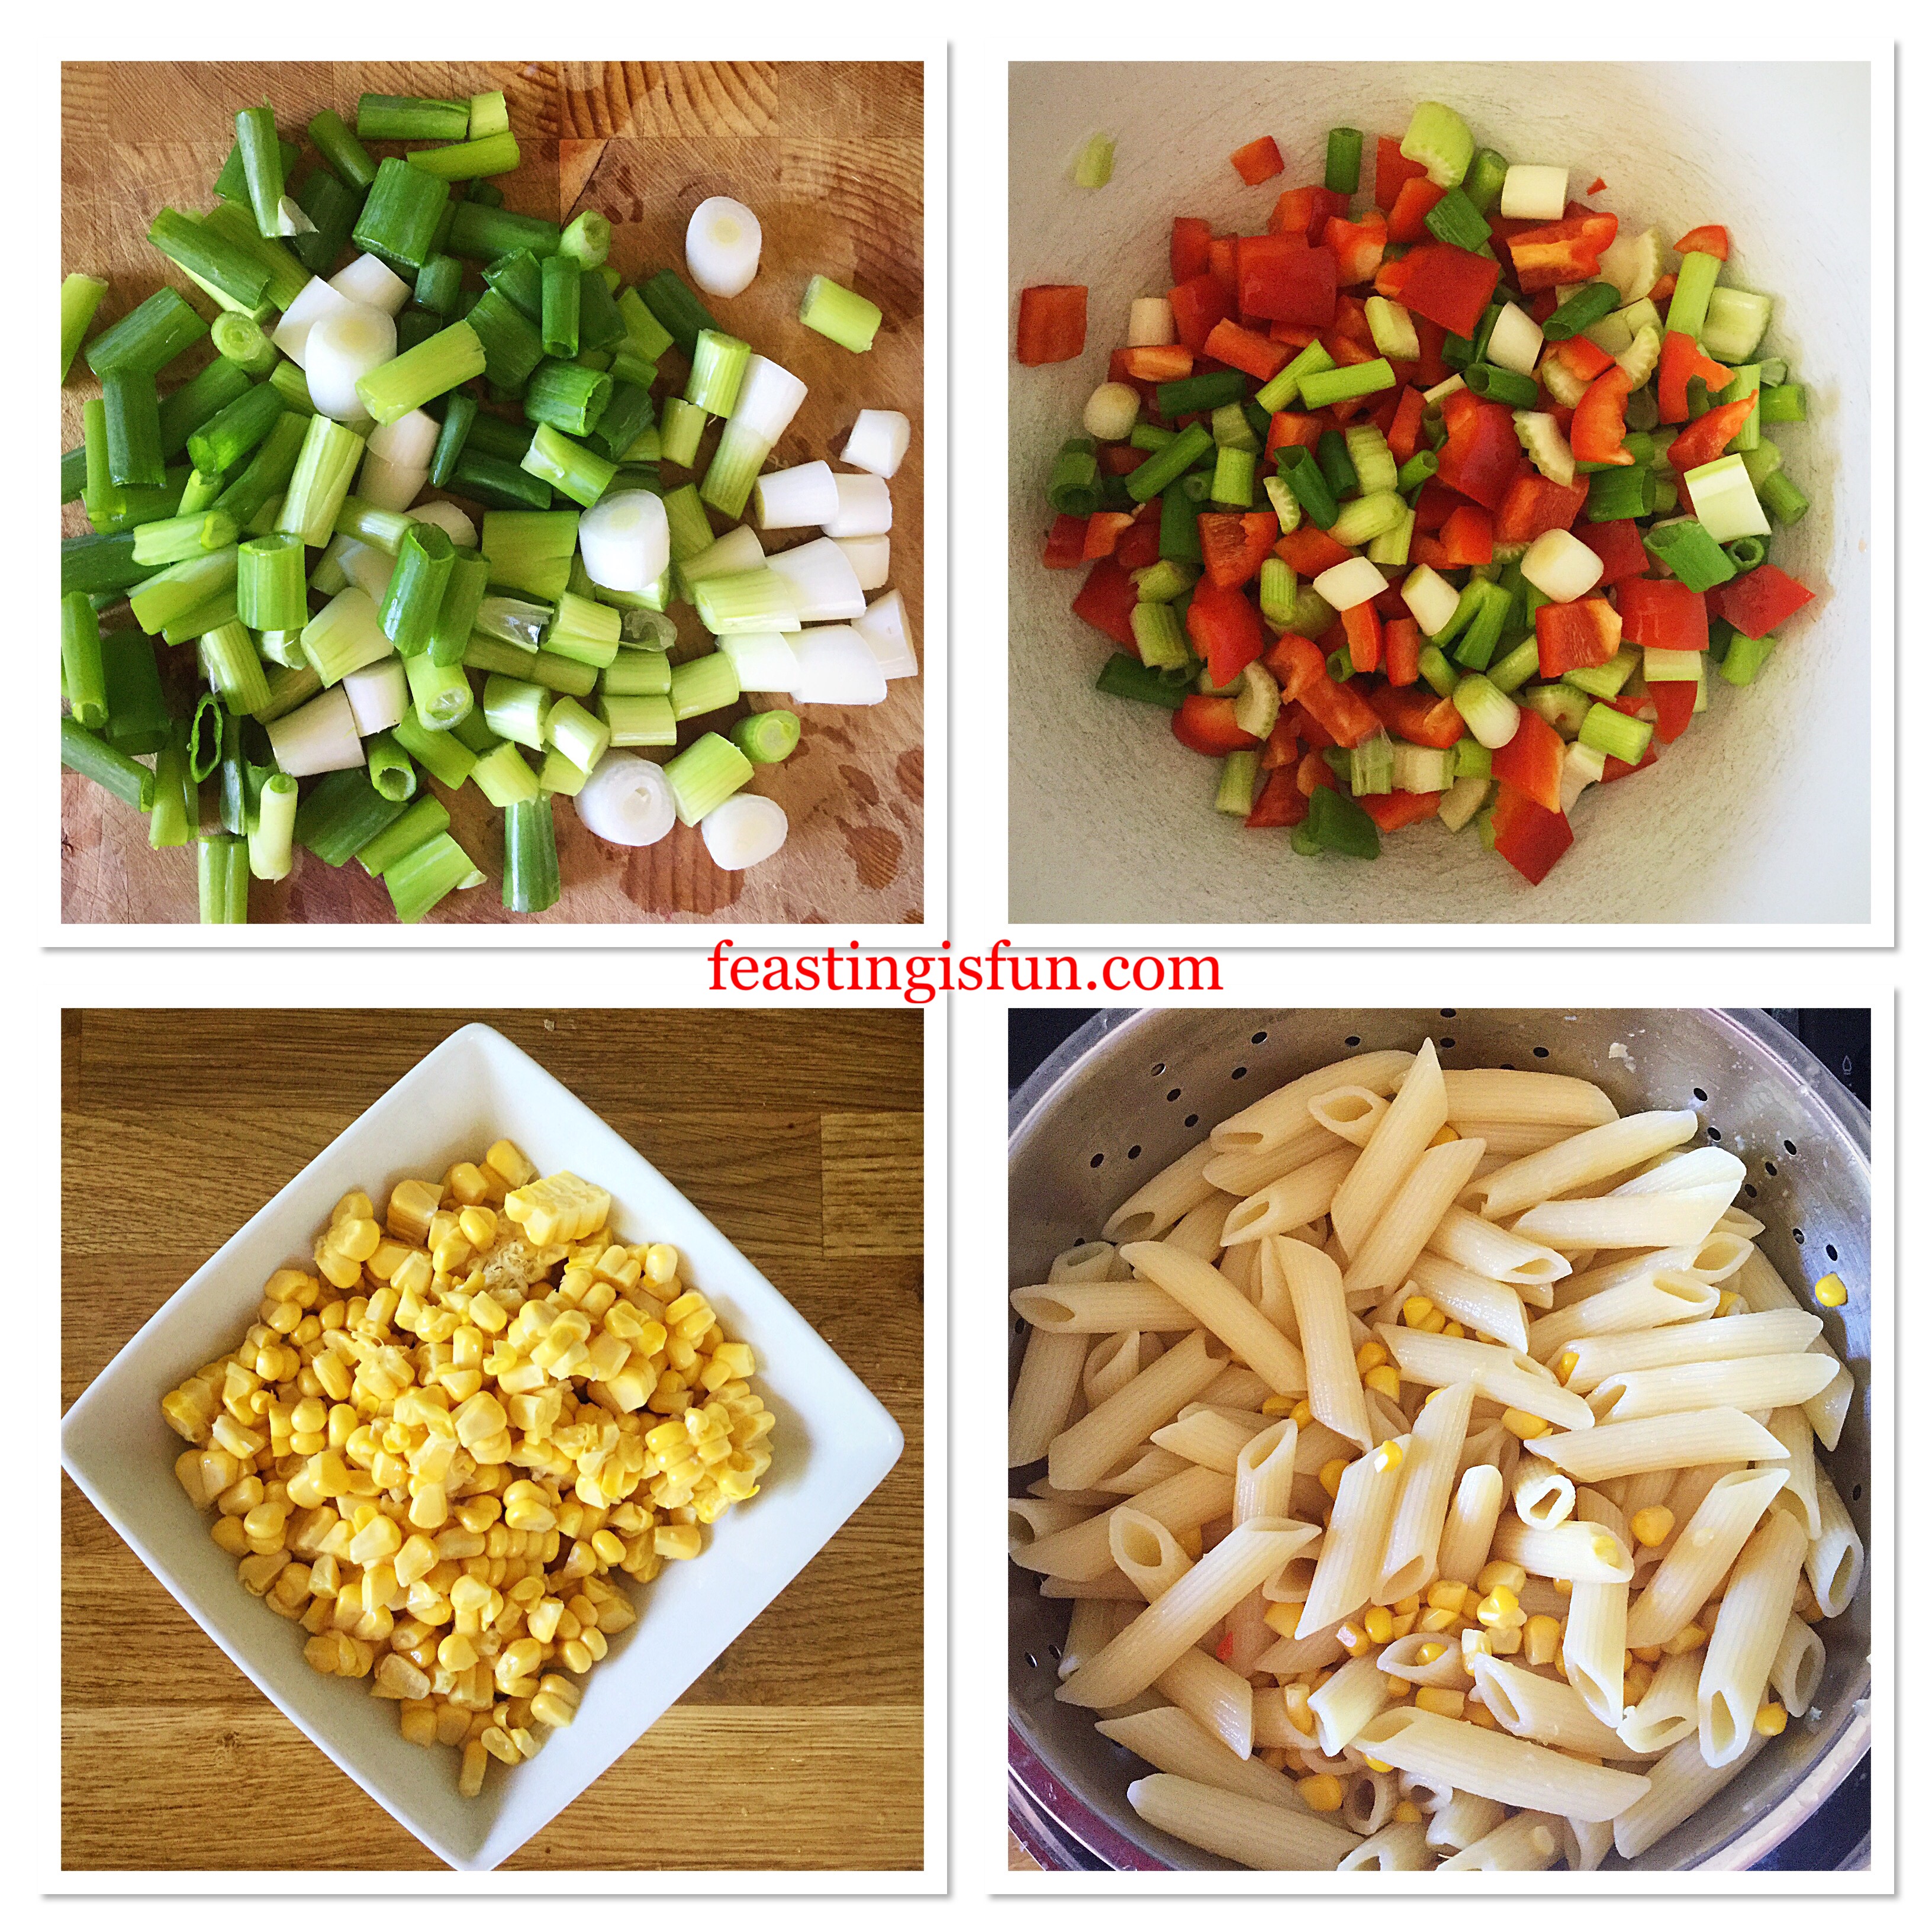
- Chop the spring onions, red peppers and celery to about the same size and place in a large bowl. If using tinned sweetcorn add it to the bowl.
- Stand a sweetcorn cob on one end and carefully cut down between the husk and the corn. Turn the cob and repeat until all of the corn is removed. Repeat for the second cob.
- 3 minutes before the pasta has finished cooking add the fresh sweetcorn to the pan.
- Once cooked drain the pasta and sweetcorn.
Assembling the salad
- After 45 minutes check that the chicken is thoroughly cooked. Cut through the thickest part of the biggest chicken breast, there should not be any pink colour, this shows the chicken is cooked. If there is even a hint of pink return the chicken to the oven for a further 10 minutes and check again.
- As soon as the chicken is cooked remove from the oven and place the chicken breasts on a plate for 10 minutes to rest.
- Cut the chicken into slices.
- Add the cooked pasta and sweetcorn to the bowl and the add the garlic mayonnaise. Mix using a large spoon.
- Now add the sliced chicken to the bowl and mix again.
- Taste and check for seasoning, adjust if needed.
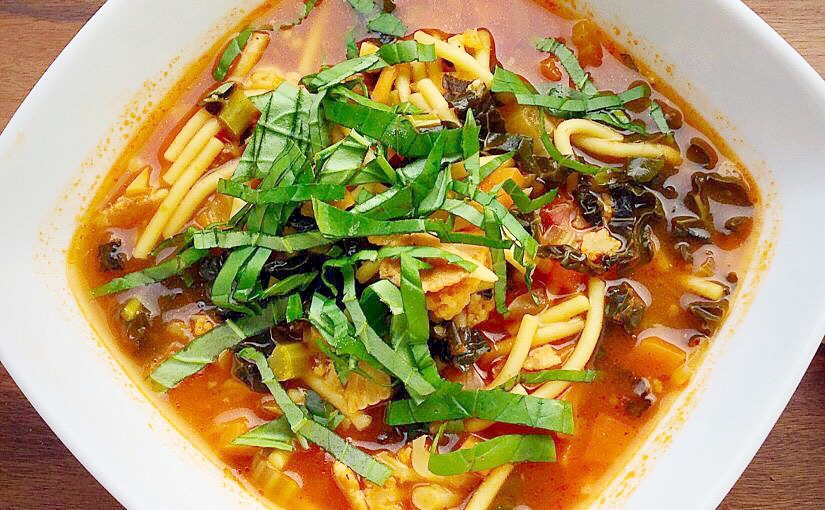
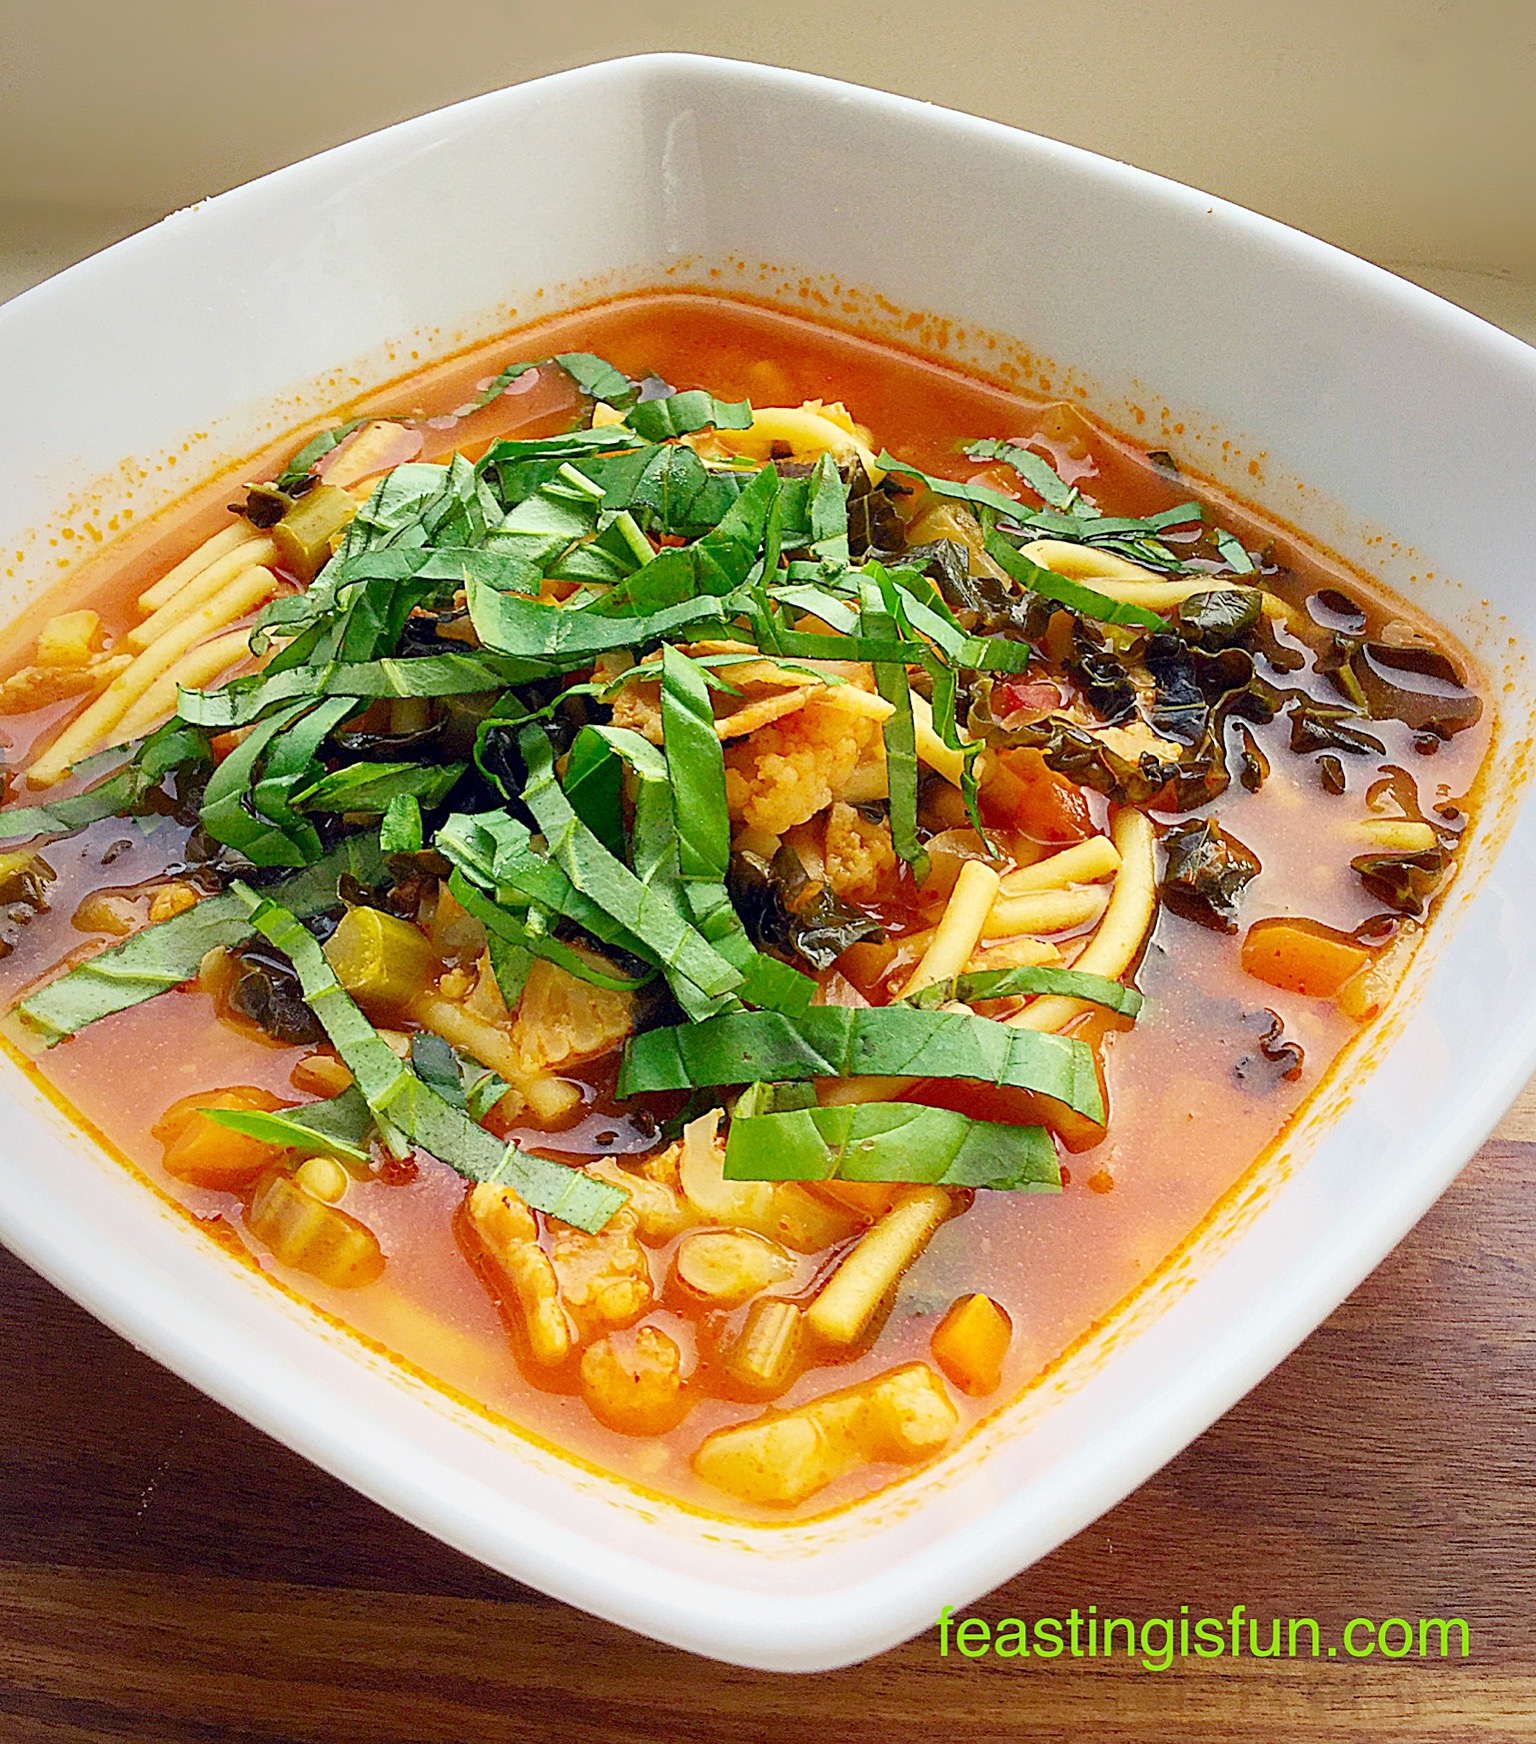
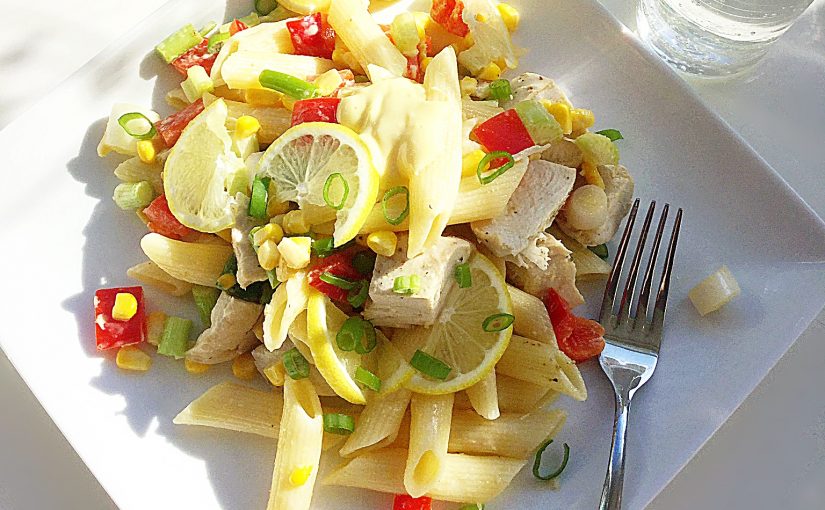
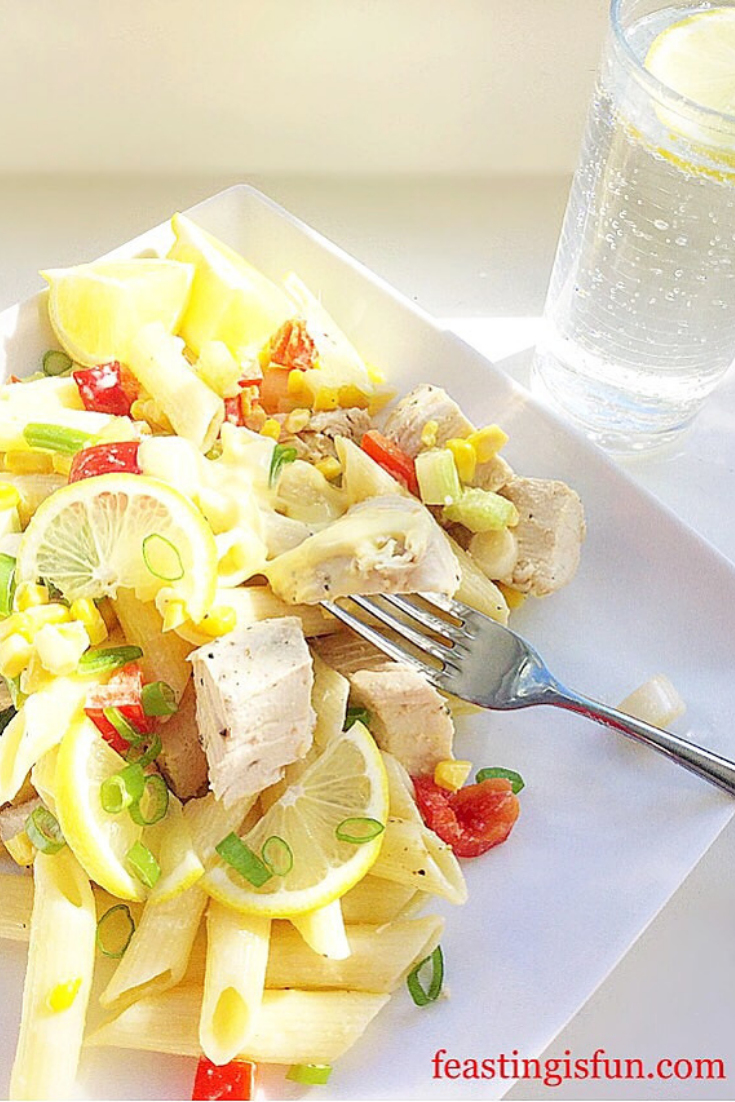
The finished Creamy Garlic Lemon Chicken Pasta Salad.

Cover the bowl with cling film and refrigerate until ready to eat. This dish tastes best when it is fridge cold.
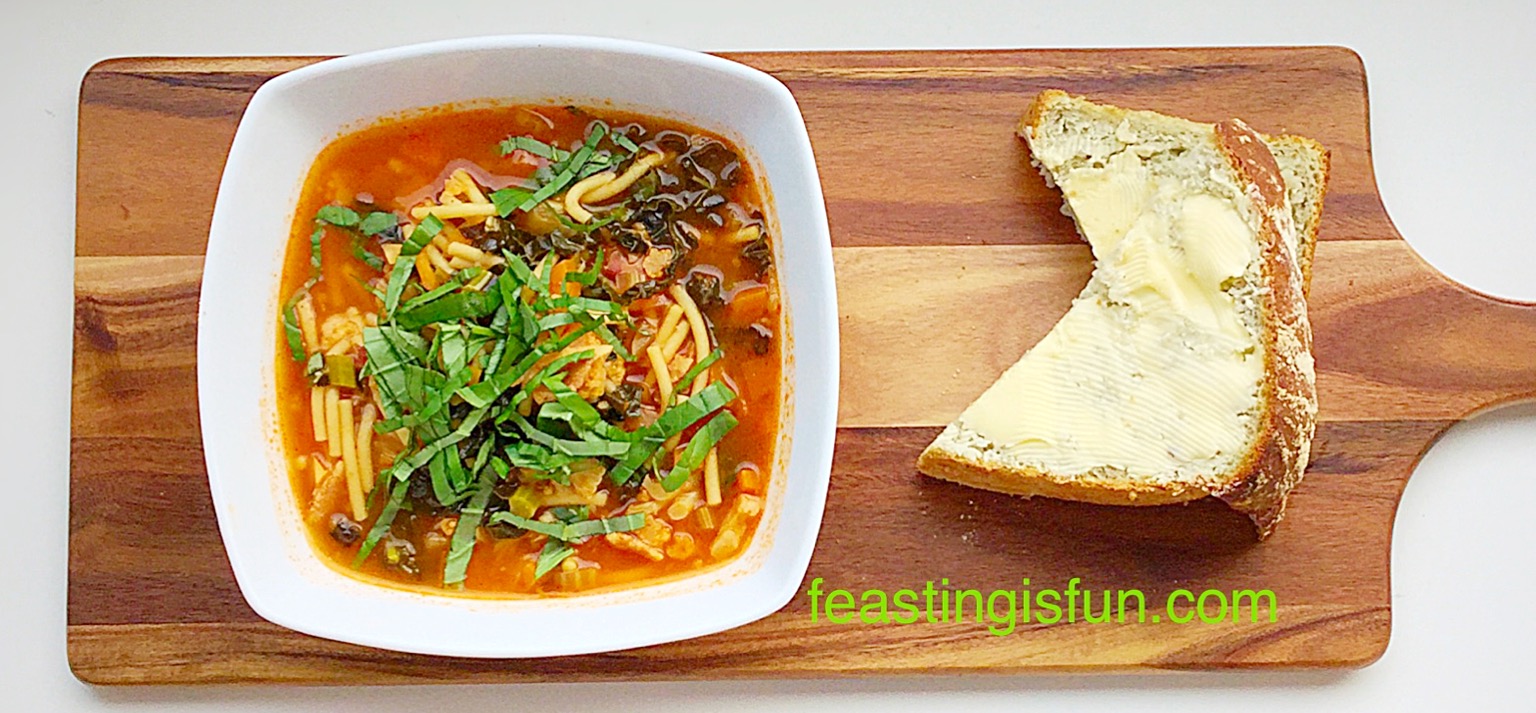
Serve the salad with very thin slices of lemon, extra wedges of lemon to squeeze over and a drizzle of garlic mayonnaise.
Keep any leftovers refrigerated in an airtight container and eat within two days.
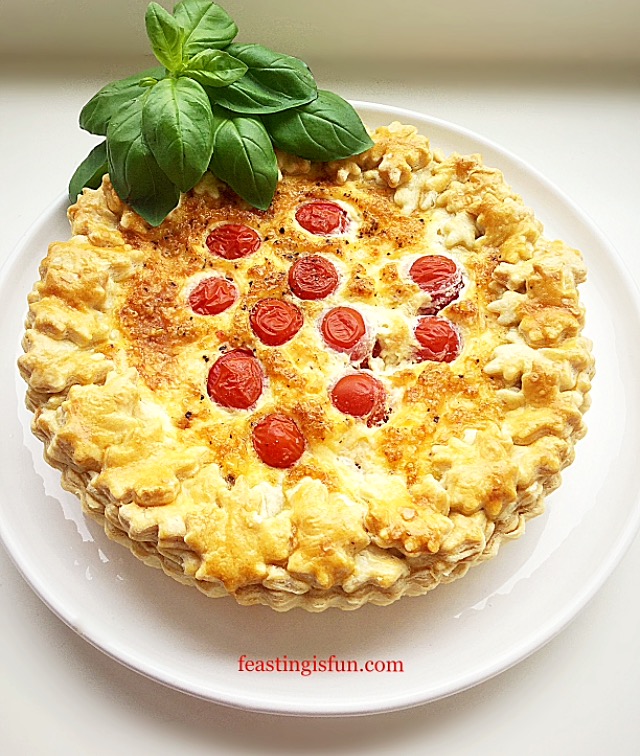
If you have enjoyed this recipe for Creamy Garlic Lemon Chicken Pasta Salad you may also like these:
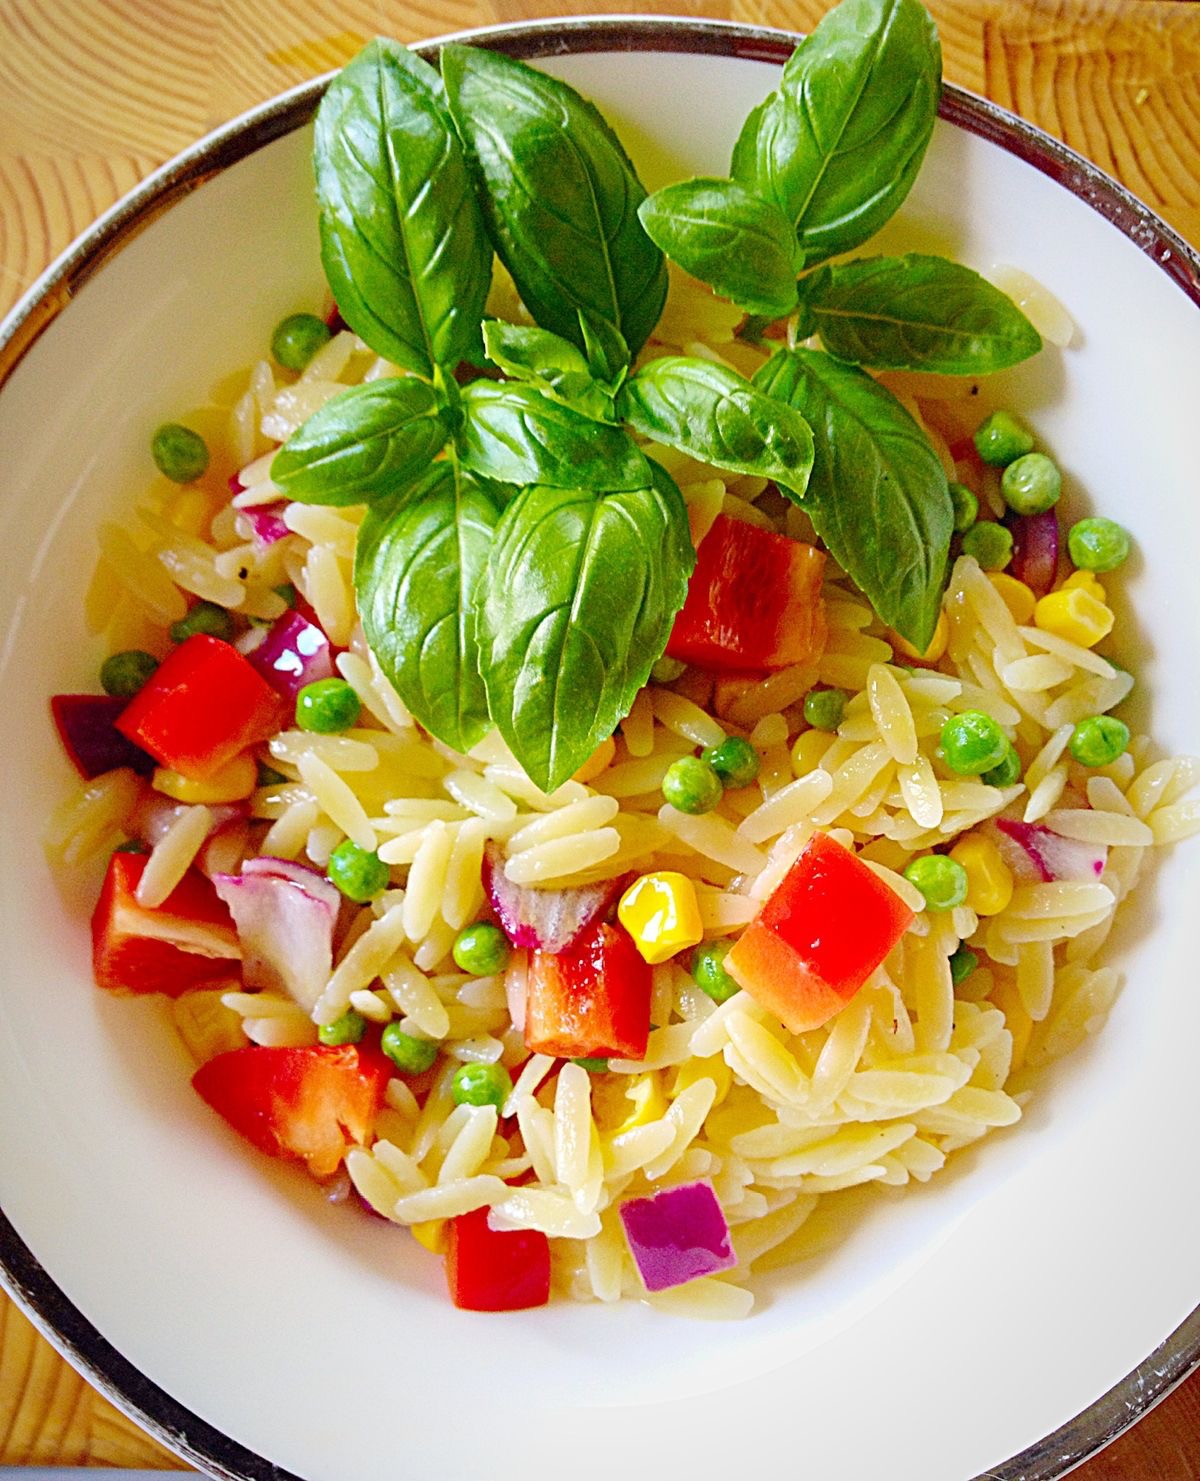
Roasted Summer Vegetable Orzo Salad

The versatility of pasta is why it is one of my favourite staples to have in the kitchen. Since all I need are a few crunchy vegetables and this yummy garlic mayonnaise I am set now for the heatwave! Because we all need a stash of easy, light, quick recipes for when we are busy and especially when the weather is hot. Now is not the time for slow cooked casseroles! I say cool, quick and easy saves the day.
Whatever you are making, baking and creating in your kitchens have fun preparing and sharing your feast.
Sammie xx
No part of this post may be reproduced or duplicated without the written permission of the owner. Please see my Disclosure Policy.
Kentish Oils sent me the Garlic Mayonnaise to try. All opinions and views are my own and this is NOT a sponsored post.