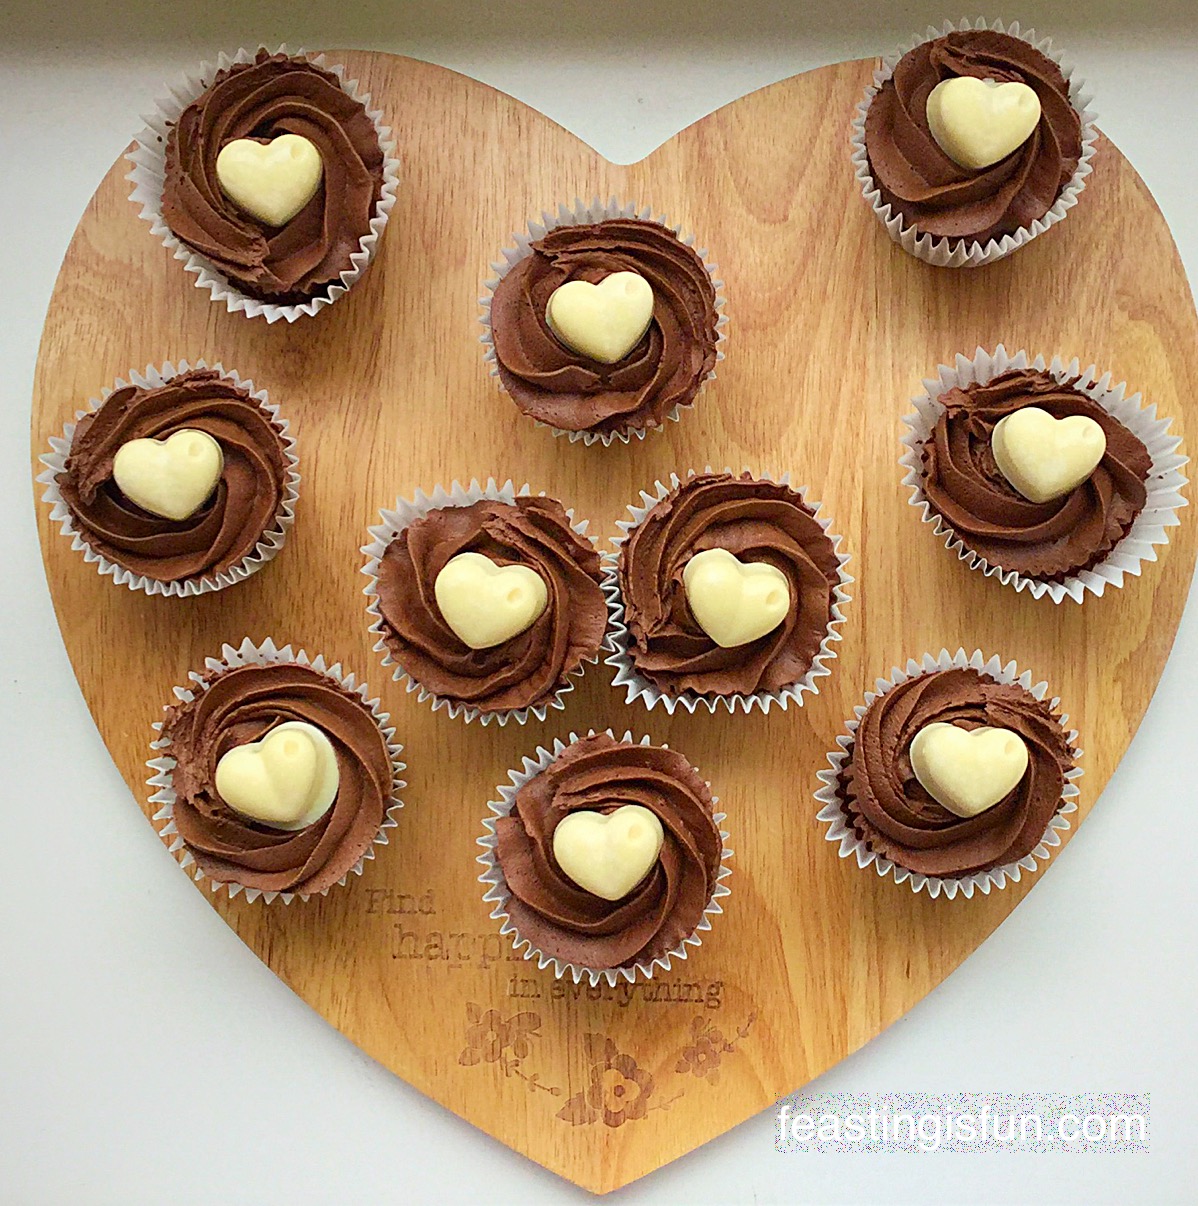
Yay it’s the weekend and I have the most fabulous treat for you. These absolutely delicious, 100% gluten free, Chocolate Cherry Cupcakes.
I’m so excited I could almost burst! Delicious Alchemy sent me some of their Vanilla Sponge Cake Mix to try. All of their products are 100% gluten free and so, with friends that cannot tolerate gluten, I was excited and intrigued to see how well this packet mix performed.
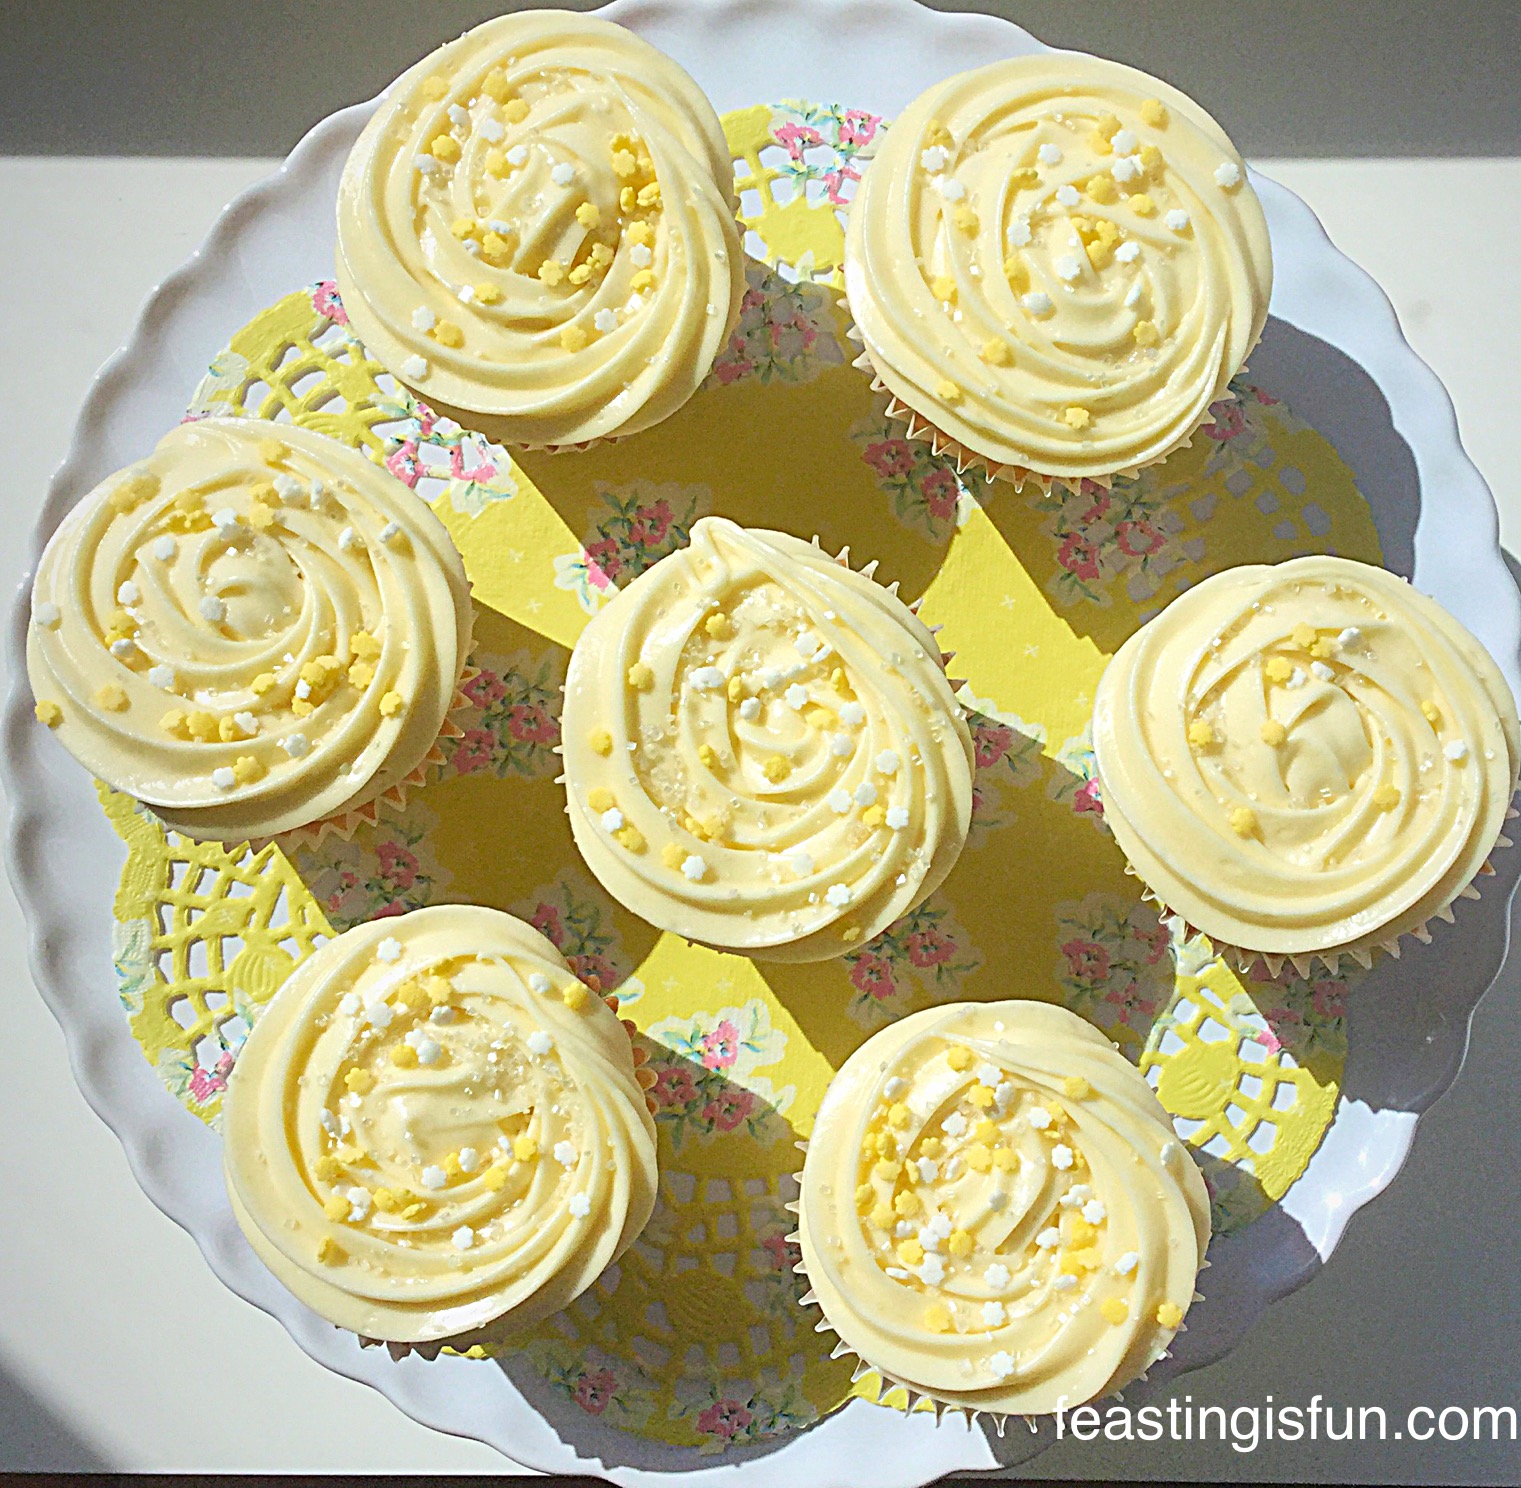
My first project was to remake my delicious Marshmallow Frosted Mango Cupcakes. The cake mix was made as per the packet instructions and I added 100g of mango before filling the cupcake cakes. Once baked and cooled I topped the cupcakes with Marshmallow Frosting. The cupcakes on tasting were deliciously light, tender and moist, with mango distributed evenly throughout each cake. A firm 9 out of 10 marks was given by all of the taste testers who had also tried my original recipe!
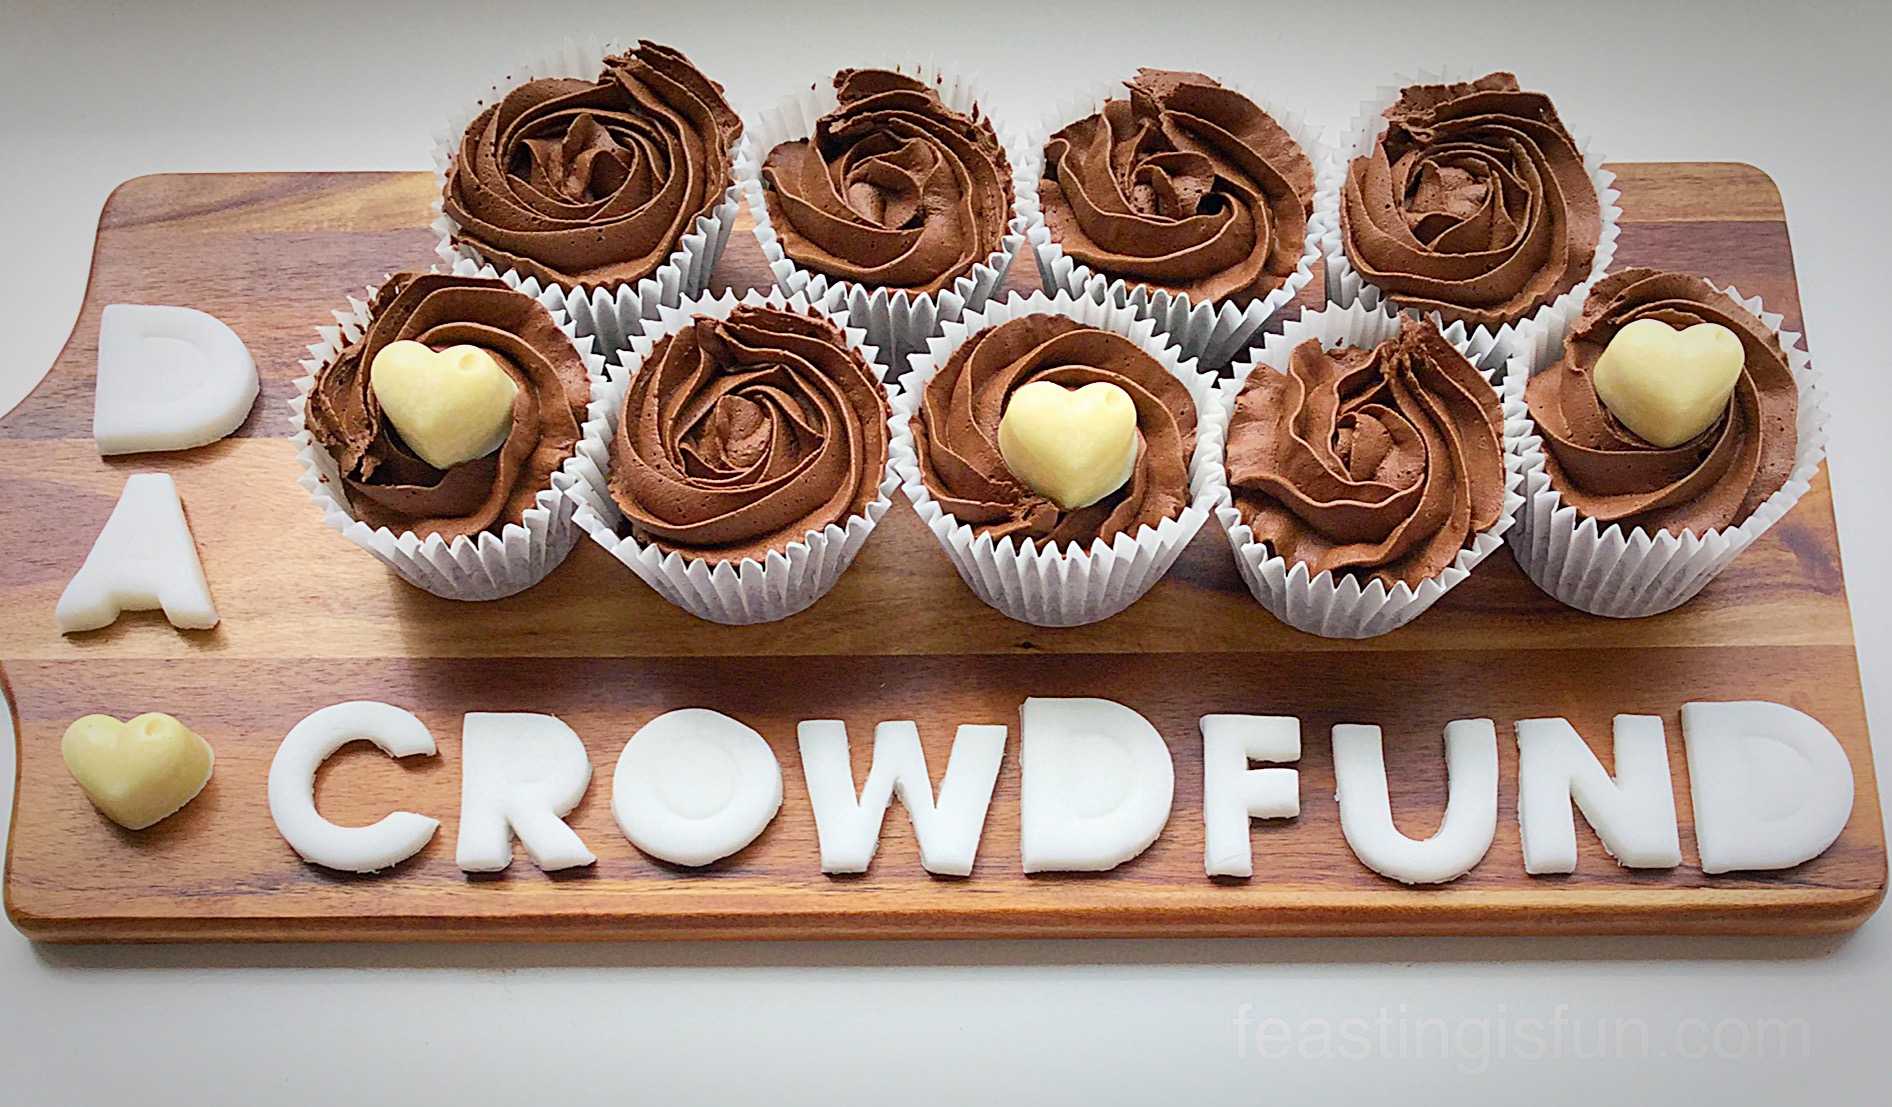
Delicious Alchemy are currently running a Crowdfund project, raising funds to create a book for people living on a restricted diet. Why not take a look at their website to find out more and see how you too can a be part of this fantastic project.
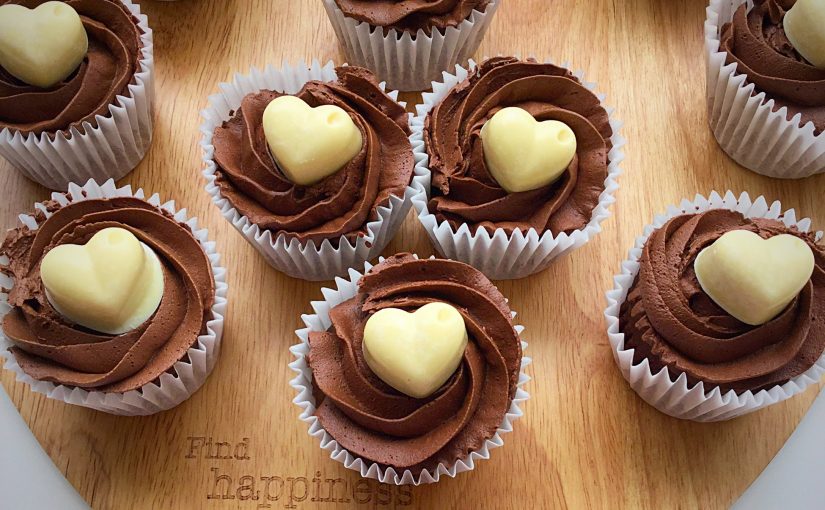
Offering my baking skills to help raise awareness for Delicious Alchemy’s Crowdfund Project, led to me creating these delightful Chocolate Cherry Cupcakes, ooh and a bit of playing with fondant and alphabet cutters 😉.

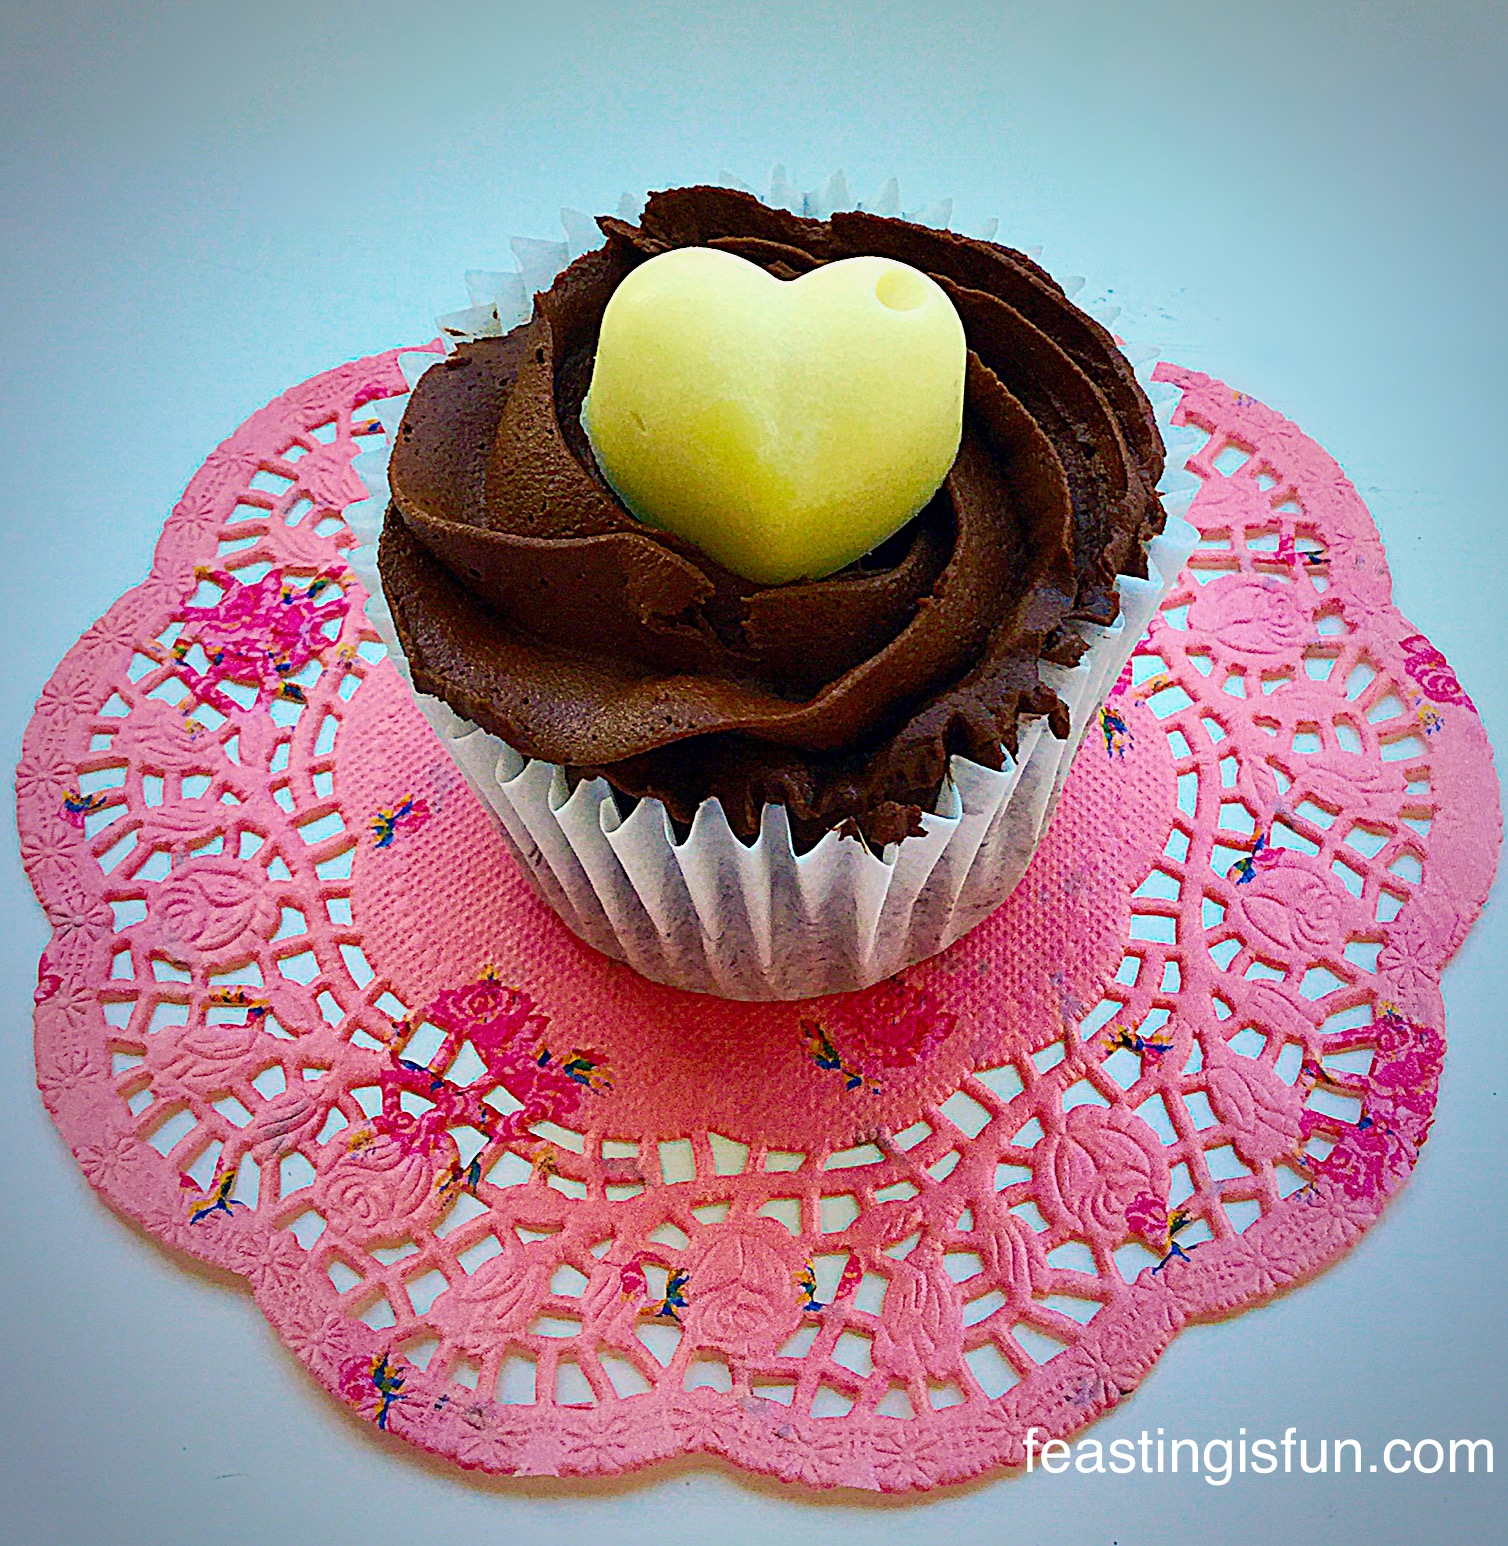
Sugar and Crumbs sell a range of naturally flavoured icing sugars, cocoa, baking ingredients and baking equipment. All of their flavoured icings and cocoas are gluten free! To make these Chocolate Cherry Cupcakes I used their Chocolate Cherry Cocoa added to a Delicious Alchemy Vanilla Sponge Mix. Then topped each cupcake with a buttercream frosting using Black Forest Icing Sugar.
The result, a firm 10 out of 10!
Well they are Chocolate Cherry Cupcakes and chocolate makes everything better right 😉.
Feasting is fun is an inclusive blog. The theme of sharing being it’s very backbone. Creating recipes that more people can enjoy appeals to the nature of who I am as a person. Supporting Delicious Alchemy in their Crowdfund by making these Chocolate Cherry Cupcakes was the very least I could do.
NOTE: All of Delicious Alchemy’s products are gluten and dairy free. The recipe below uses milk, butter and eggs.
Recipe: Makes 18 Chocolate Cherry Cupcakes
1 packet of gluten free Vanilla Sponge Mix from Delicious Alchemy
50g Cocoa Powder – I used Sugar and Crumbs cherry cocoa
180g Unsalted Butter – softened to room temperature
3 Free Range Eggs
60ml/4tbsp Whole Milk
250g Black Forest Icing Sugar
50g Cocoa
100g Plain Icing Sugar
200g Unsalted Butter – softened to room temperature
Approximately 3tbsp Hot Water
Optional – 200g White Chocolate for the chocolate heart decorations – alternatively ensure any decoration is gluten free
Method: Preheat the oven to 160C/140C fan, gas mark 3
- Line 2 cupcake tins with 18 cupcake cases.
- Add the softened butter, eggs, vanilla sponge mix, flavoured cocoa and milk to a bowl.
- Whisk until you have a smooth cake batter – approximately 2 minutes.
- Divide the cake batter evenly between the cake cases.
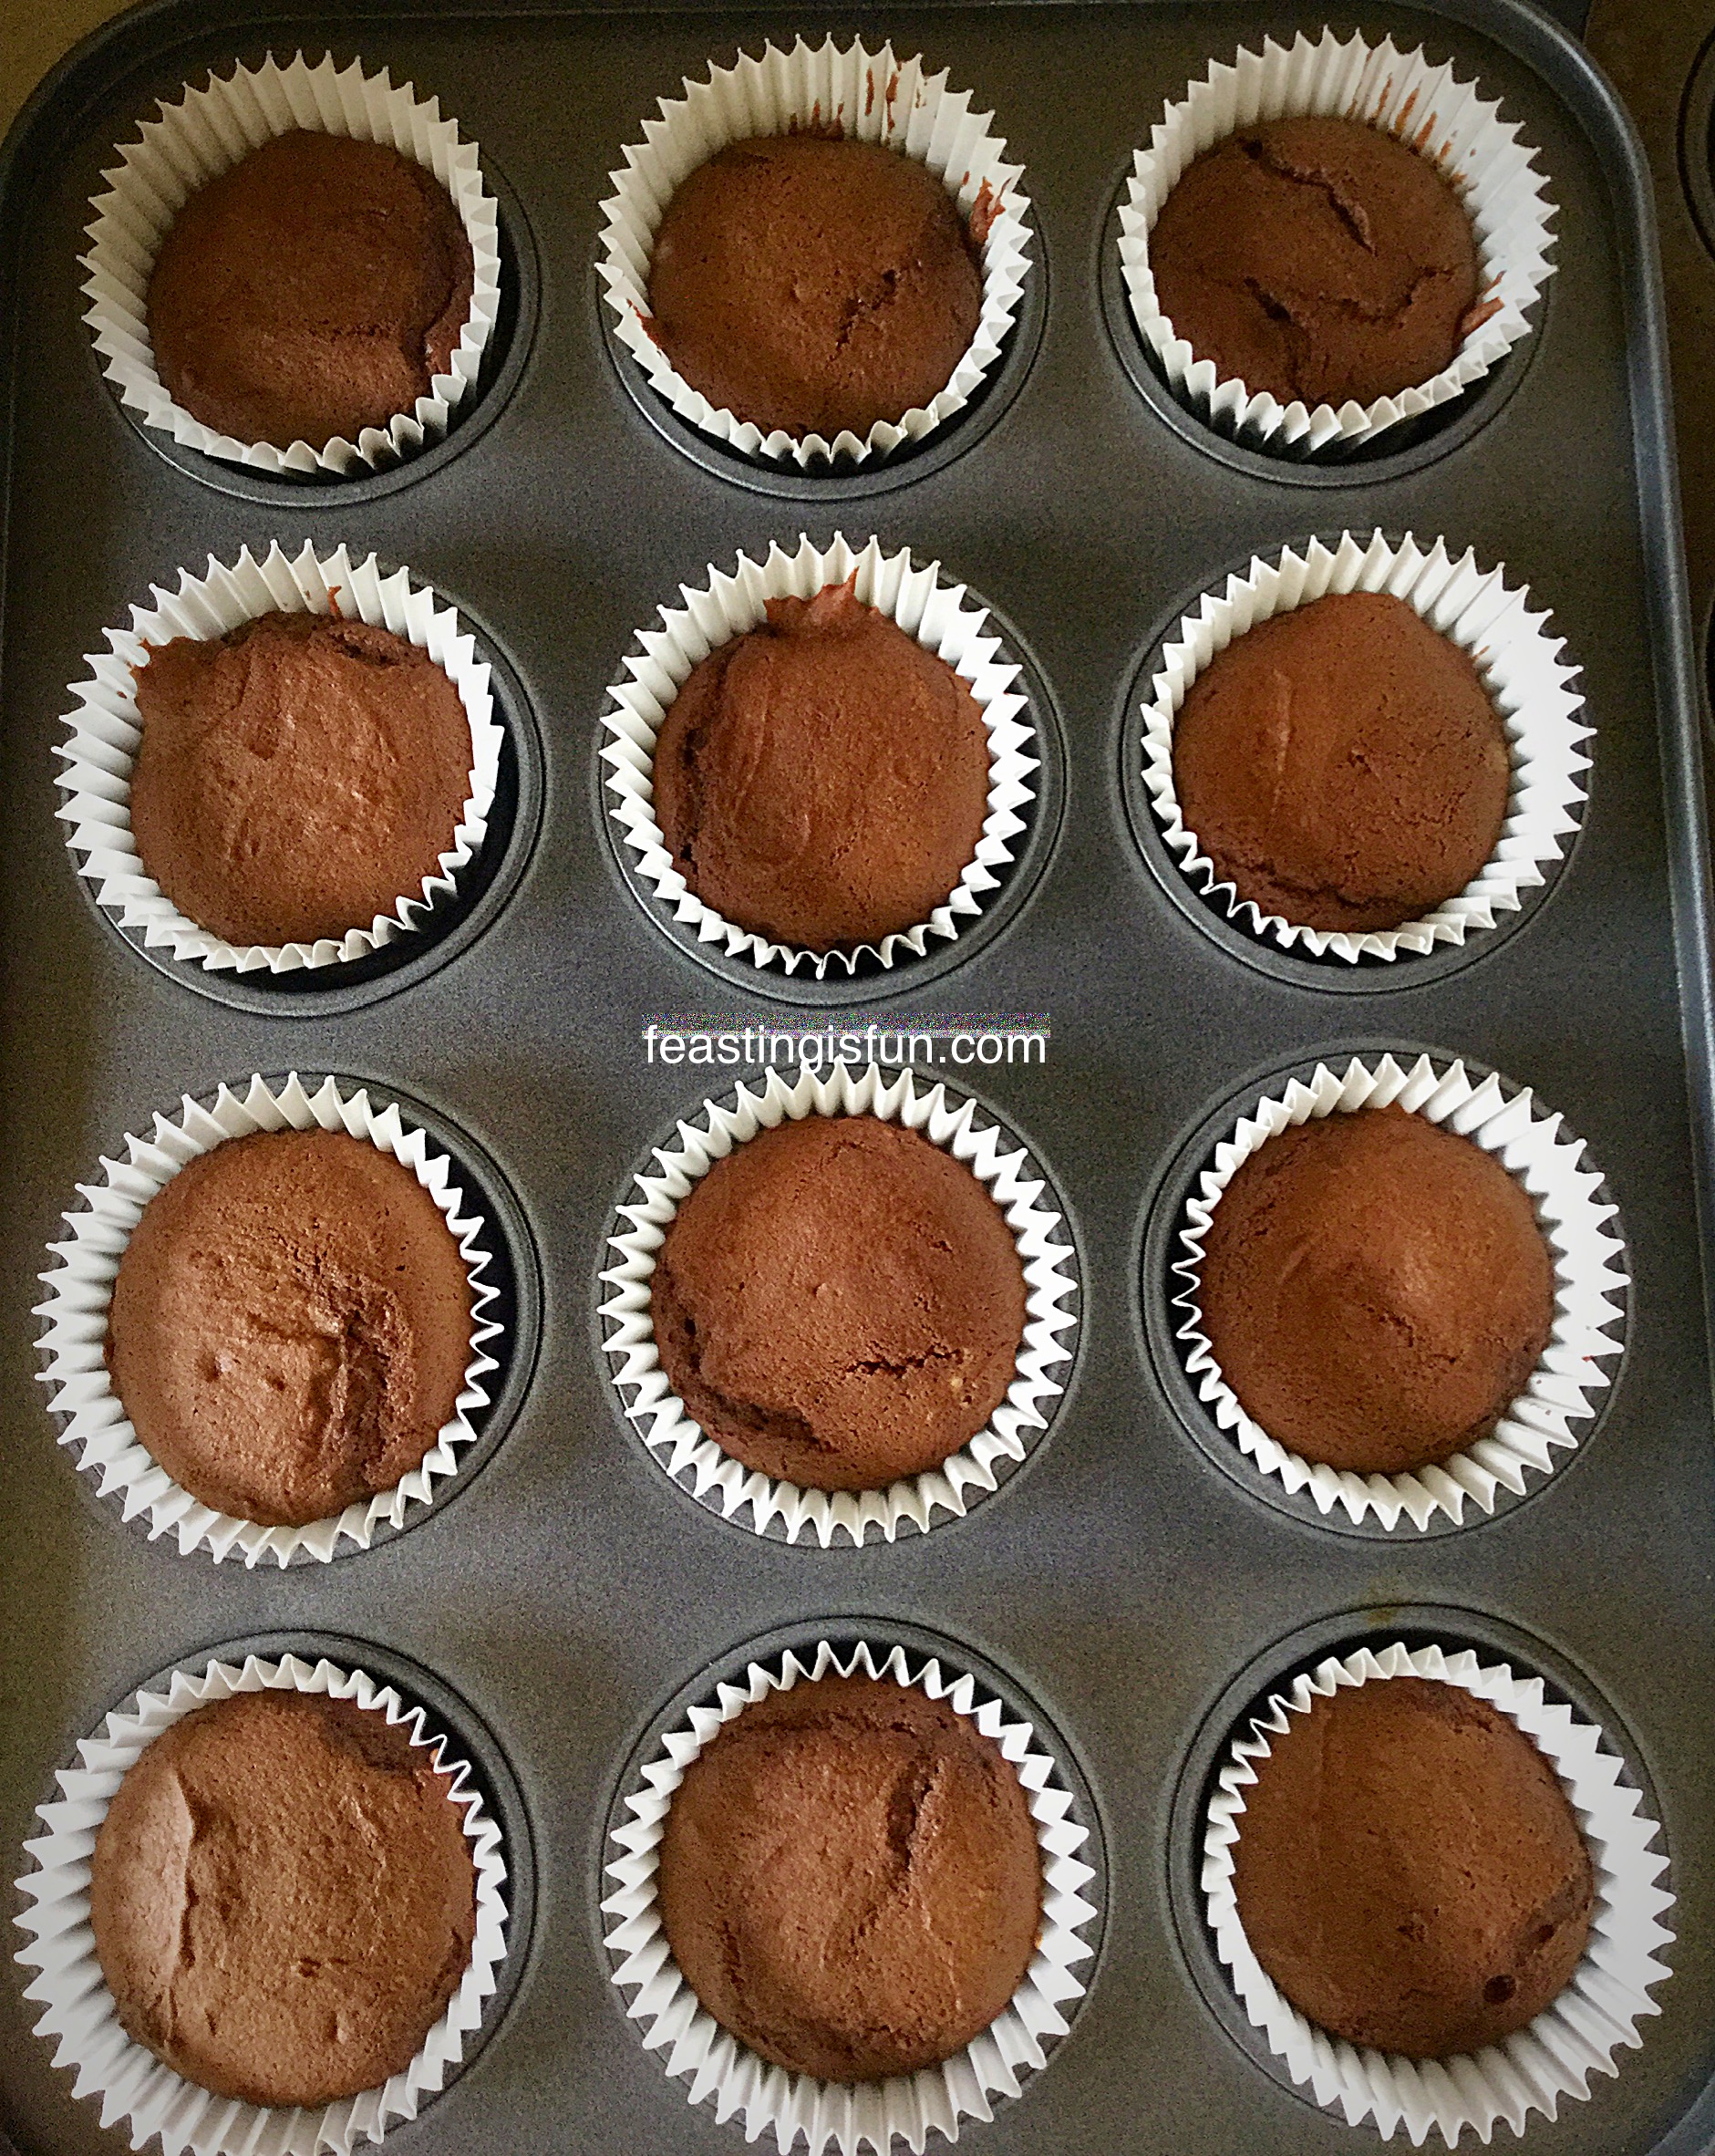
- Place the cupcake tins in the oven and bake for 20-25 minutes. The cupcakes are cooked when they are firm and spring back from a light touch.
- Once baked remove the cupcakes from the oven.
- Allow the cupcakes to cool, either in their tin or transferred to a cooling rack, before icing.
To make the buttercream frosting:
- Place the softened butter into a large bowl.
- Sift in the flavoured icing sugar, cocoa and plain icing sugar.
- Add 2 tablespoons of hot water from a recently boiled kettle.
- Whisk, starting on a very slow speed and gradually increasing, until the buttercream is light and creamy – add in the extra tablespoon of hot water if the buttercream is too stiff.
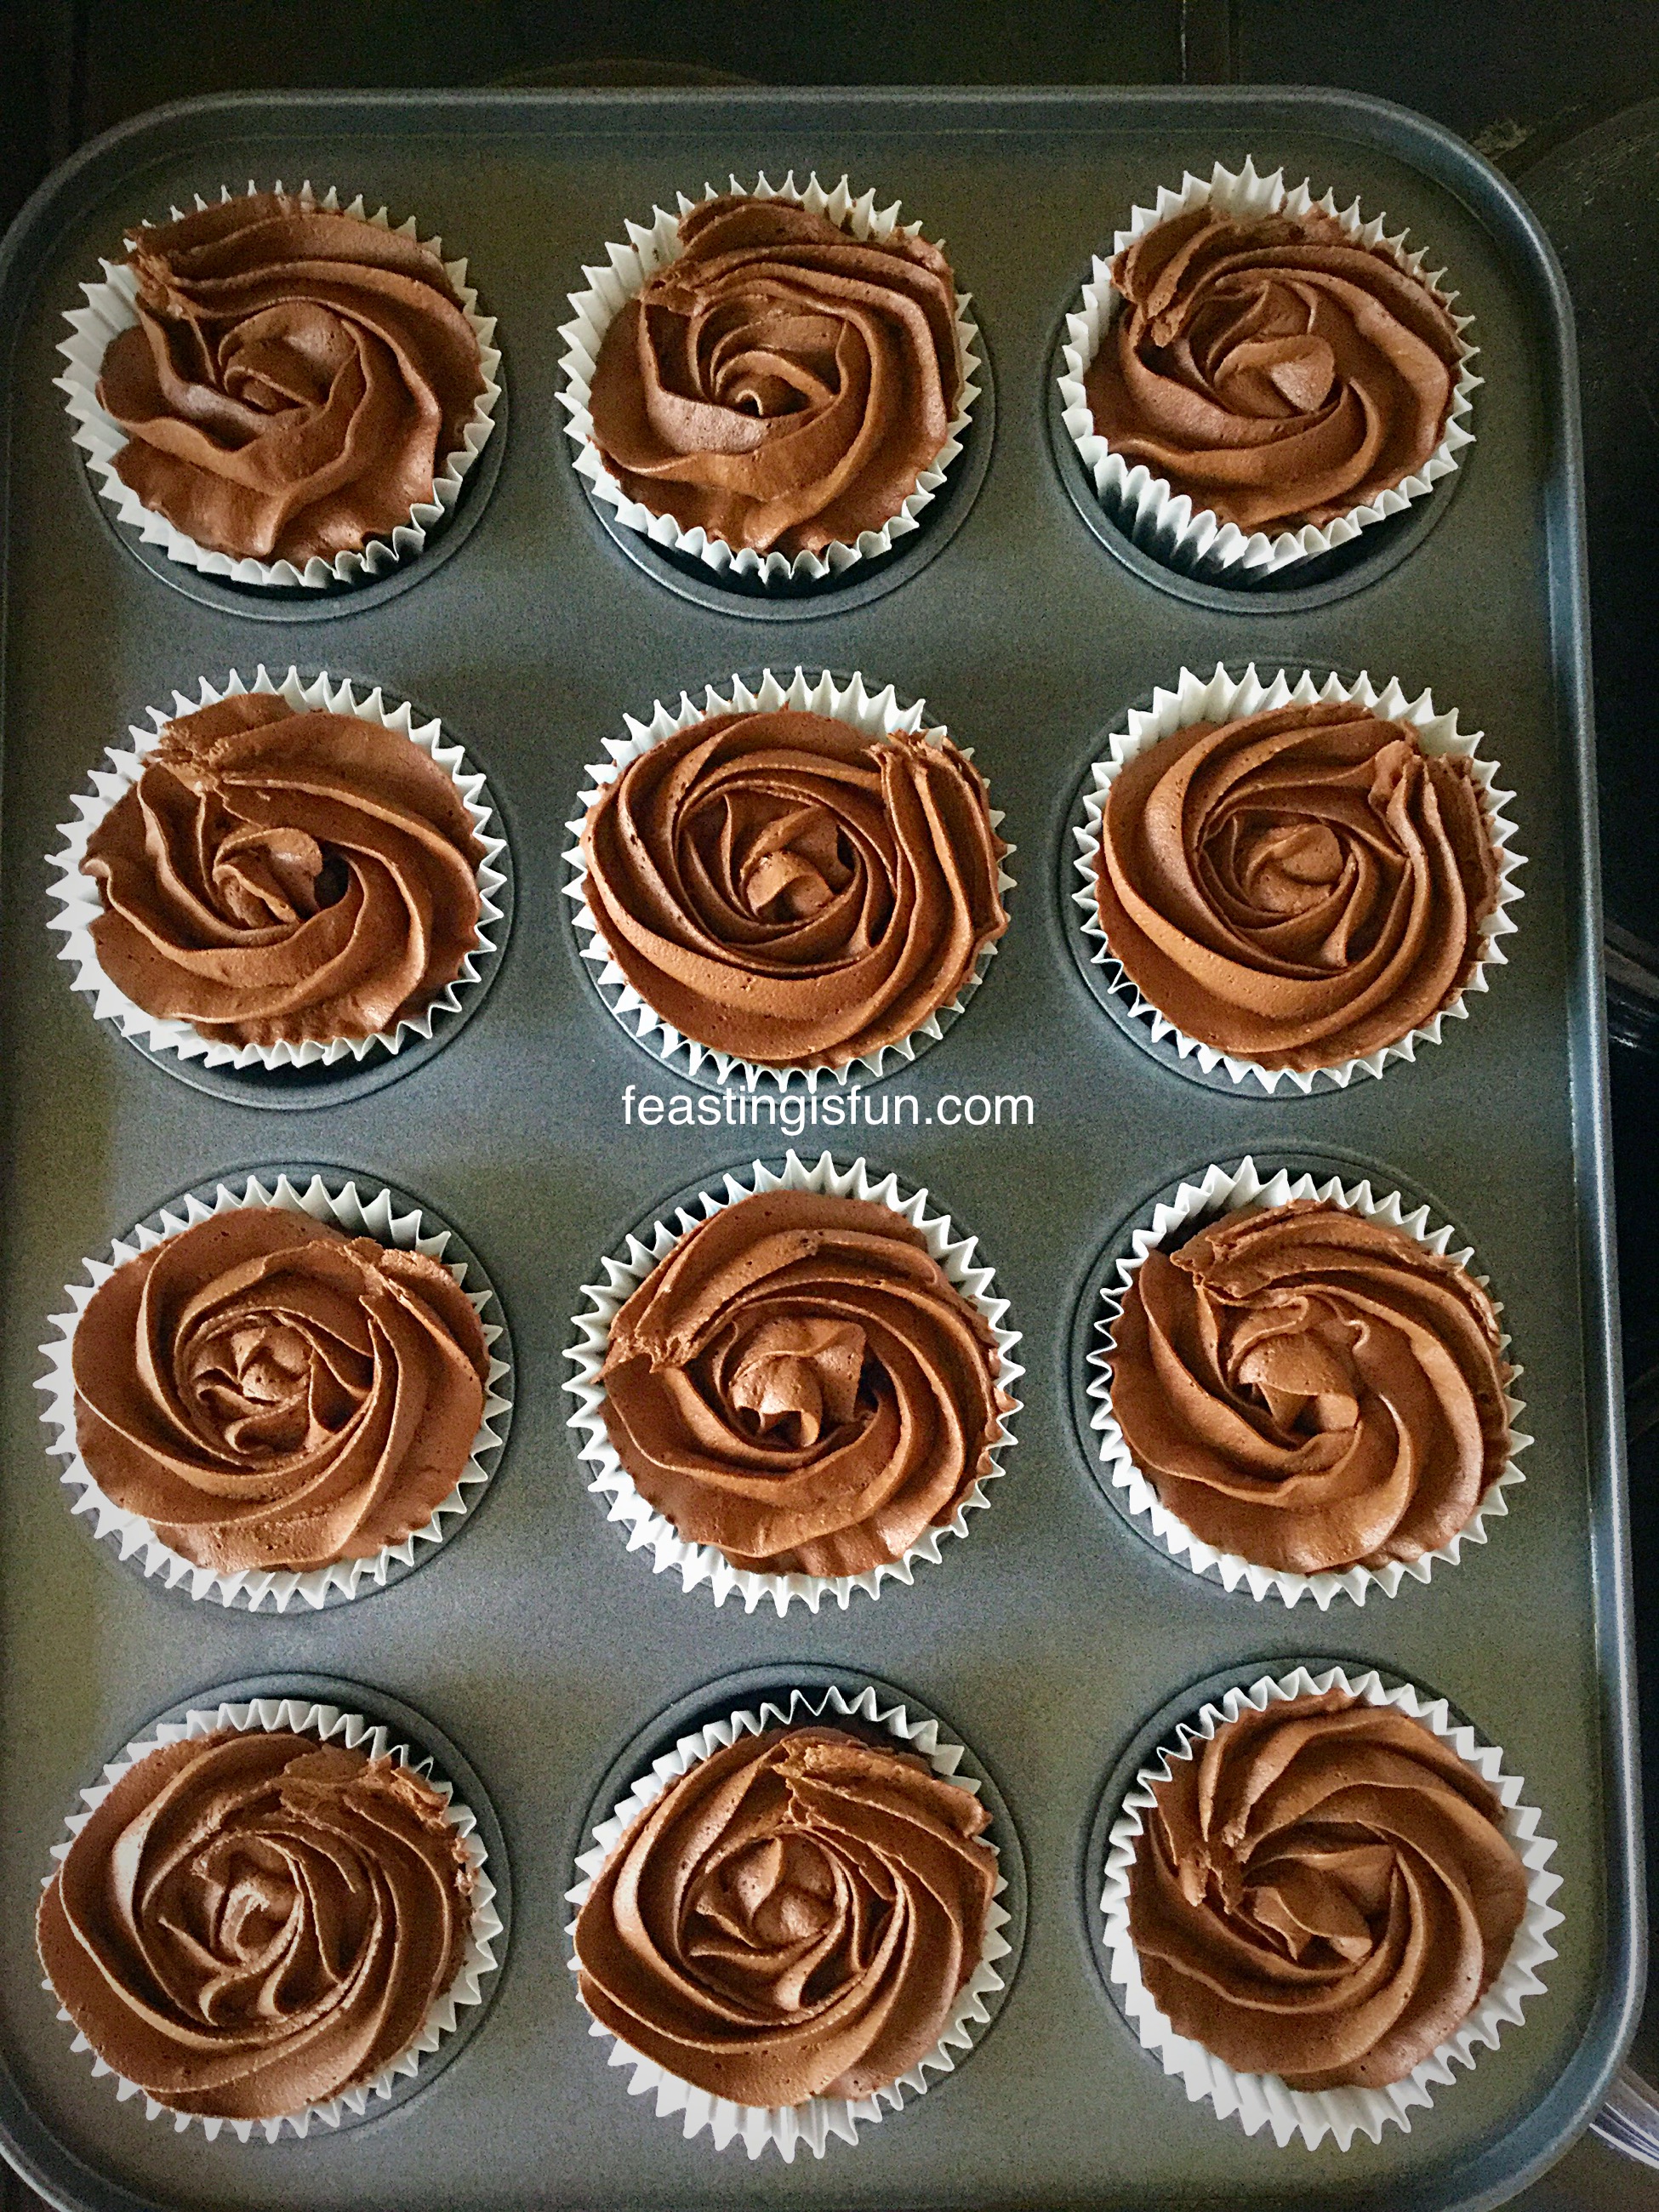
- Fit a large piping bag with a large star nozzle – I use Wilton’s #1M.
- Fill the piping bag with the buttercream.
- To pipe rose swirls, start with the nozzle just above the centre of the cupcake, pipe an e shape and then continue round.
To make the white chocolate hearts:
- Chop up the chocolate into small pieces.
- Place two thirds of the chocolate into a heatproof, microwaveable bowl.
- Zap for 20 seconds at a time stirring in between.
- When the chocolate is melted, remove from the microwave and immediately add the last third of chopped chocolate.
- Stir continuously until all of the chocolate is melted. This method is a cheat’s way of tempering chocolate and helps prevent any white marks (bloom) appearing on the cooled chocolate.
- Spoon the melted chocolate into the heart mould, tapping the mould after every three hearts are filled, to bring air bubbles to the surface.
- Leave the chocolate to set somewhere cool. You can chill the mould in the fridge.
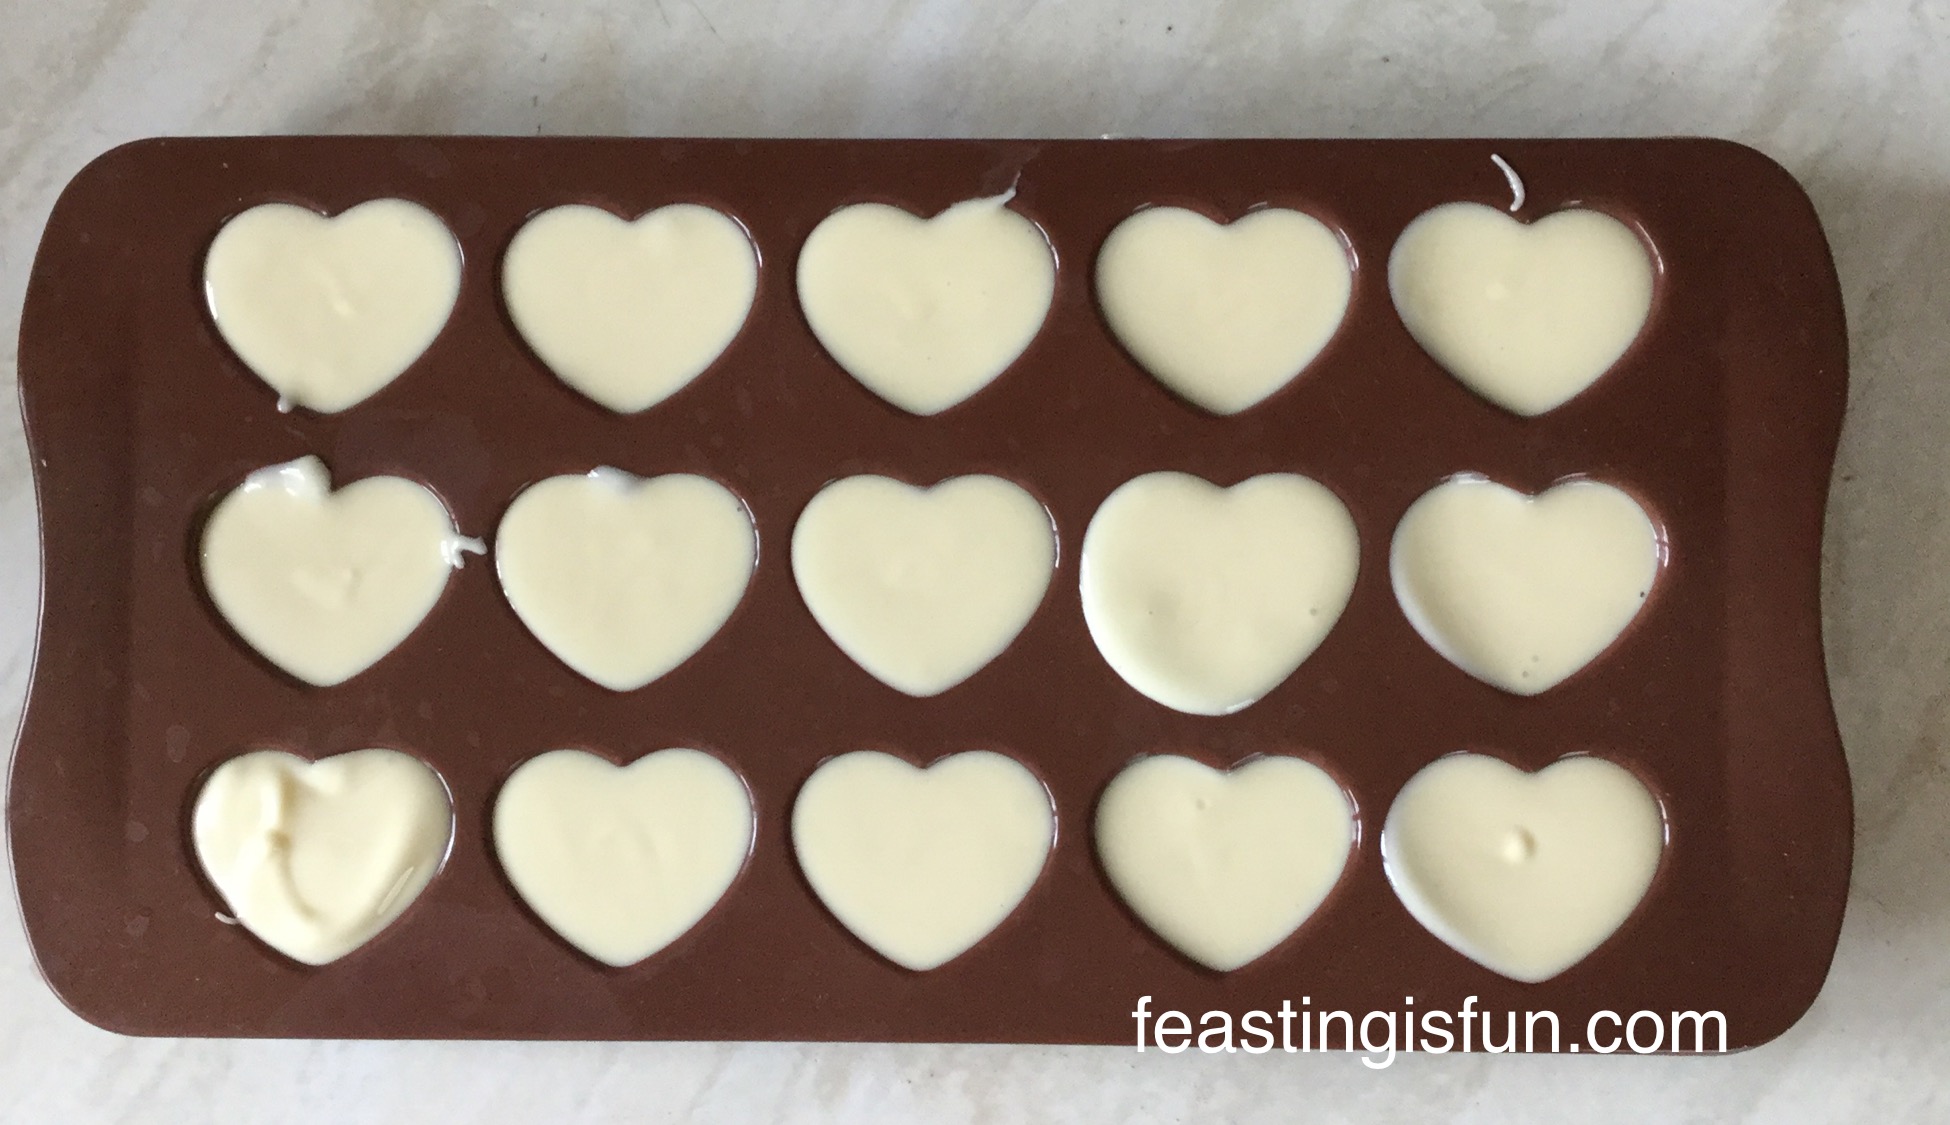
- Once the white chocolate hearts are firm, press out from the mould, ensuring you have cold hands for handling them, so as not to mark them.
- Place a chocolate heart on the top of each cupcake.
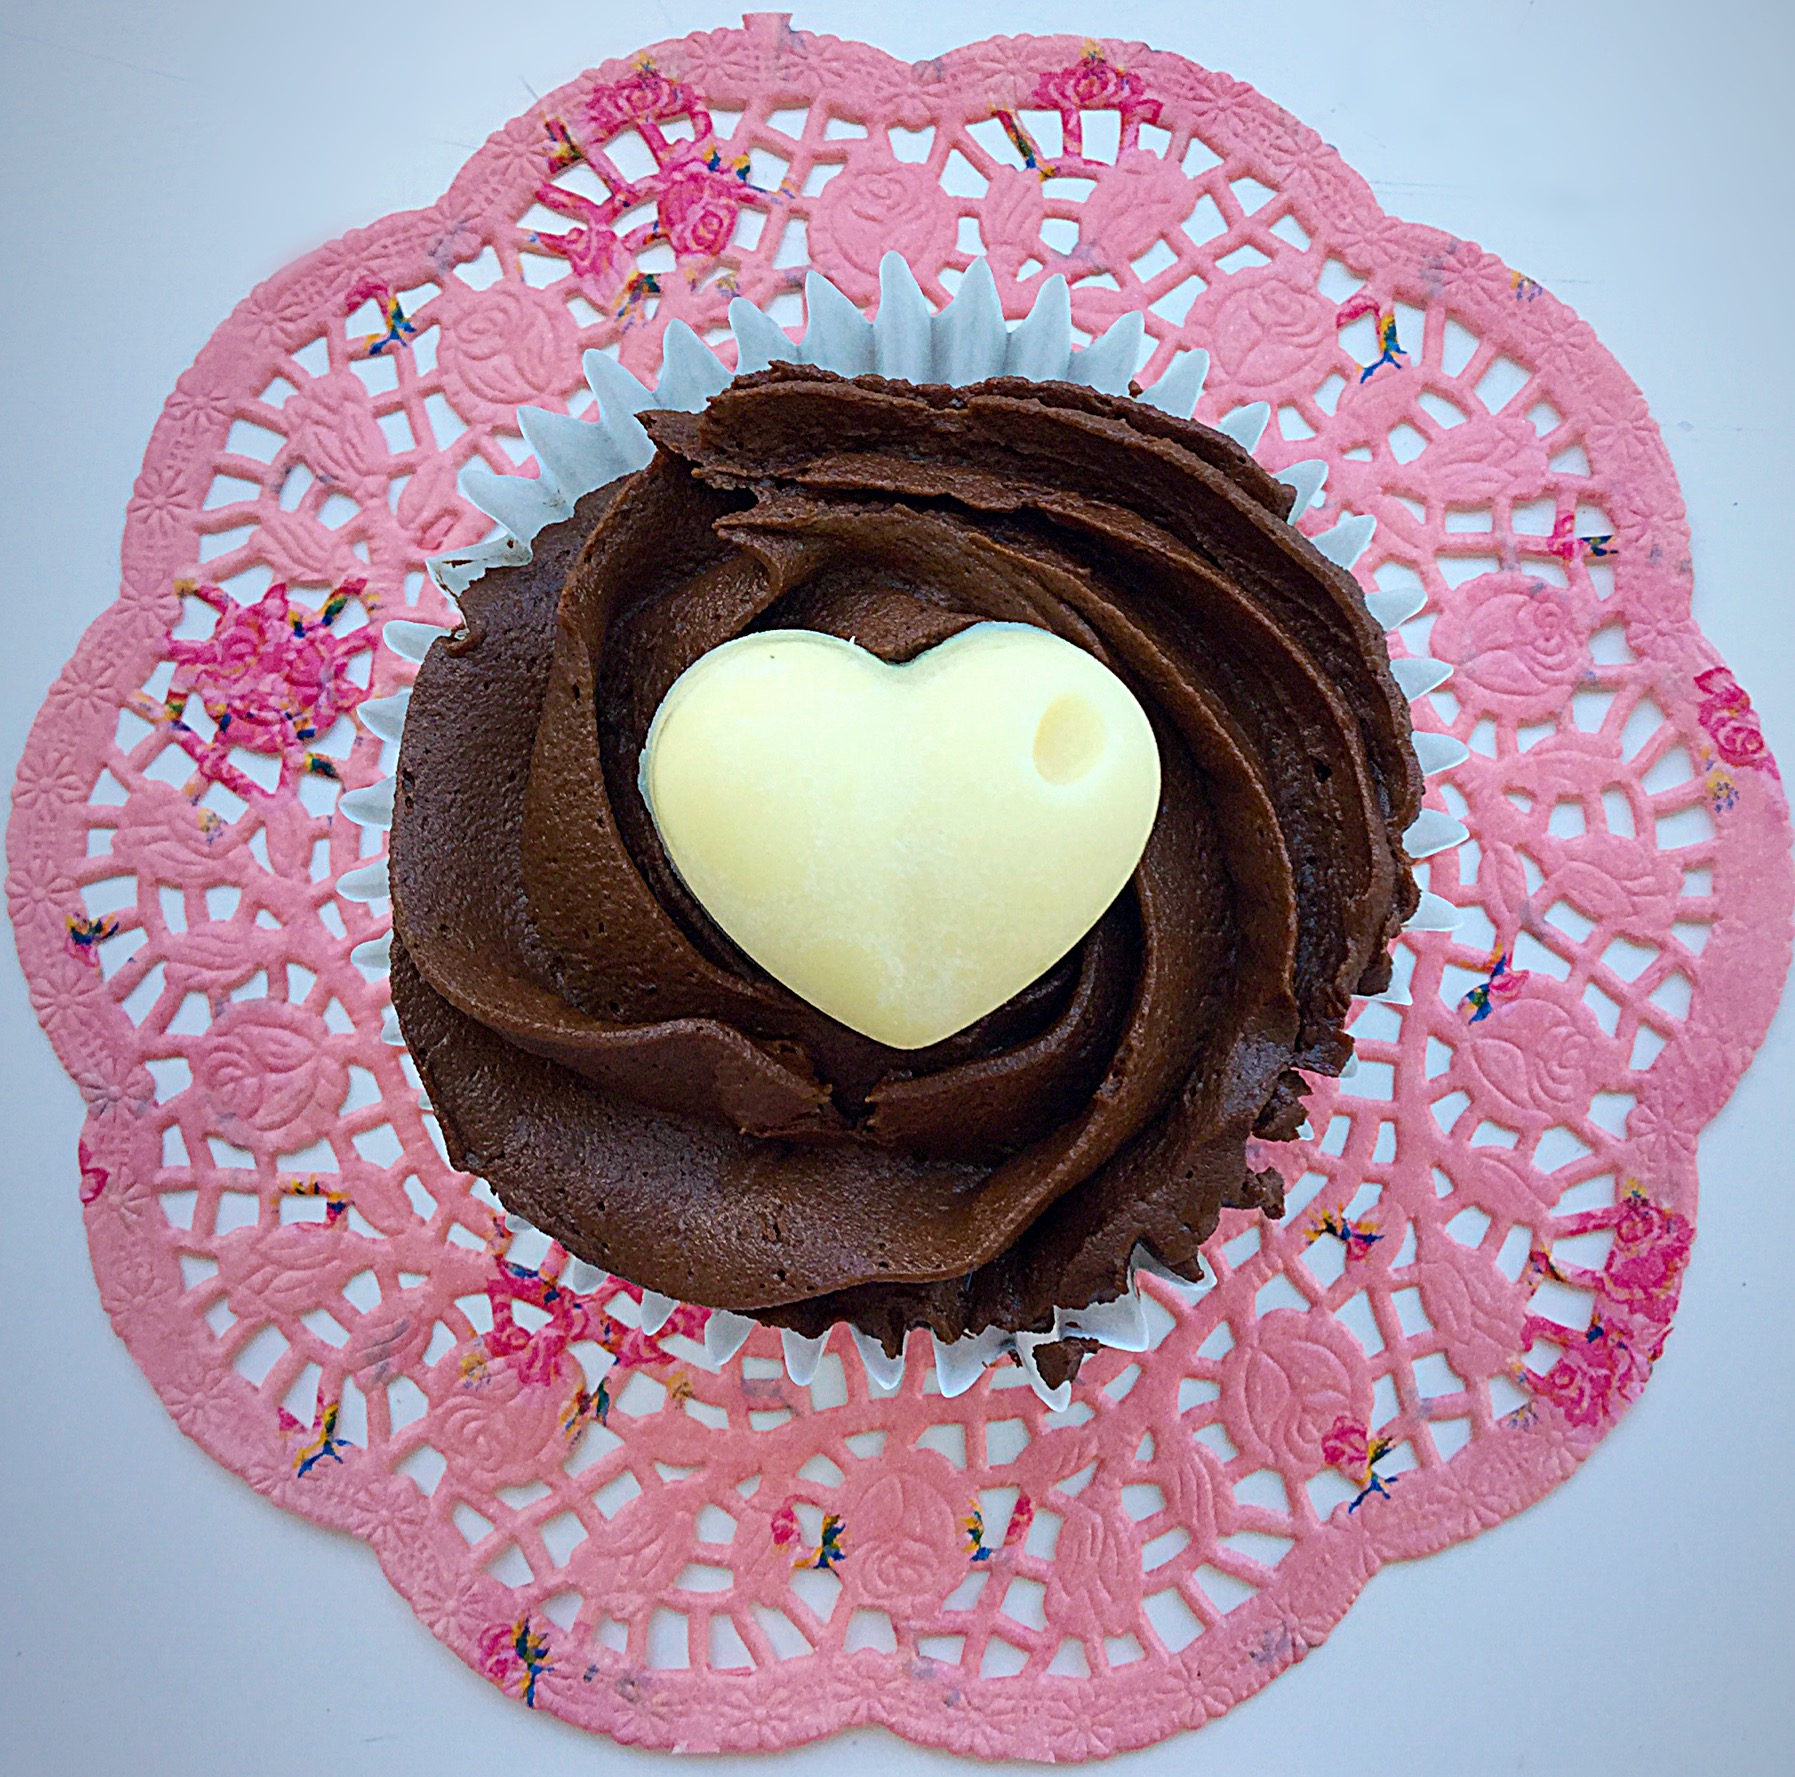
These gluten free Chocolate Cherry Cupcakes are so pretty and very delicious. Whilst eating one of these tasty treats I could honestly not tell any difference to ‘regular’ wheat flour cupcakes. Yet the great thing is that more people can enjoy these!
I thoroughly enjoyed making (and eating 😀) these cupcakes and supporting Delicious Alchemy in their Crowdfund campaign. Raising awareness for others who cannot eat freely and creating an ultimate guide to living with dietary restrictions is very close to my heart. Whilst I am able to eat wheat flour, having been a life long sufferer of migraines, there are certain foods that I too have to avoid.
Do you have dietary restrictions?
Are there recipes that you would like converted into gluten free versions?
Let me know and if I can help I absolutely will xx.
If you have enjoyed these gluten free Chocolate Cherry Cupcakes here are some other gluten free recipes you may like:

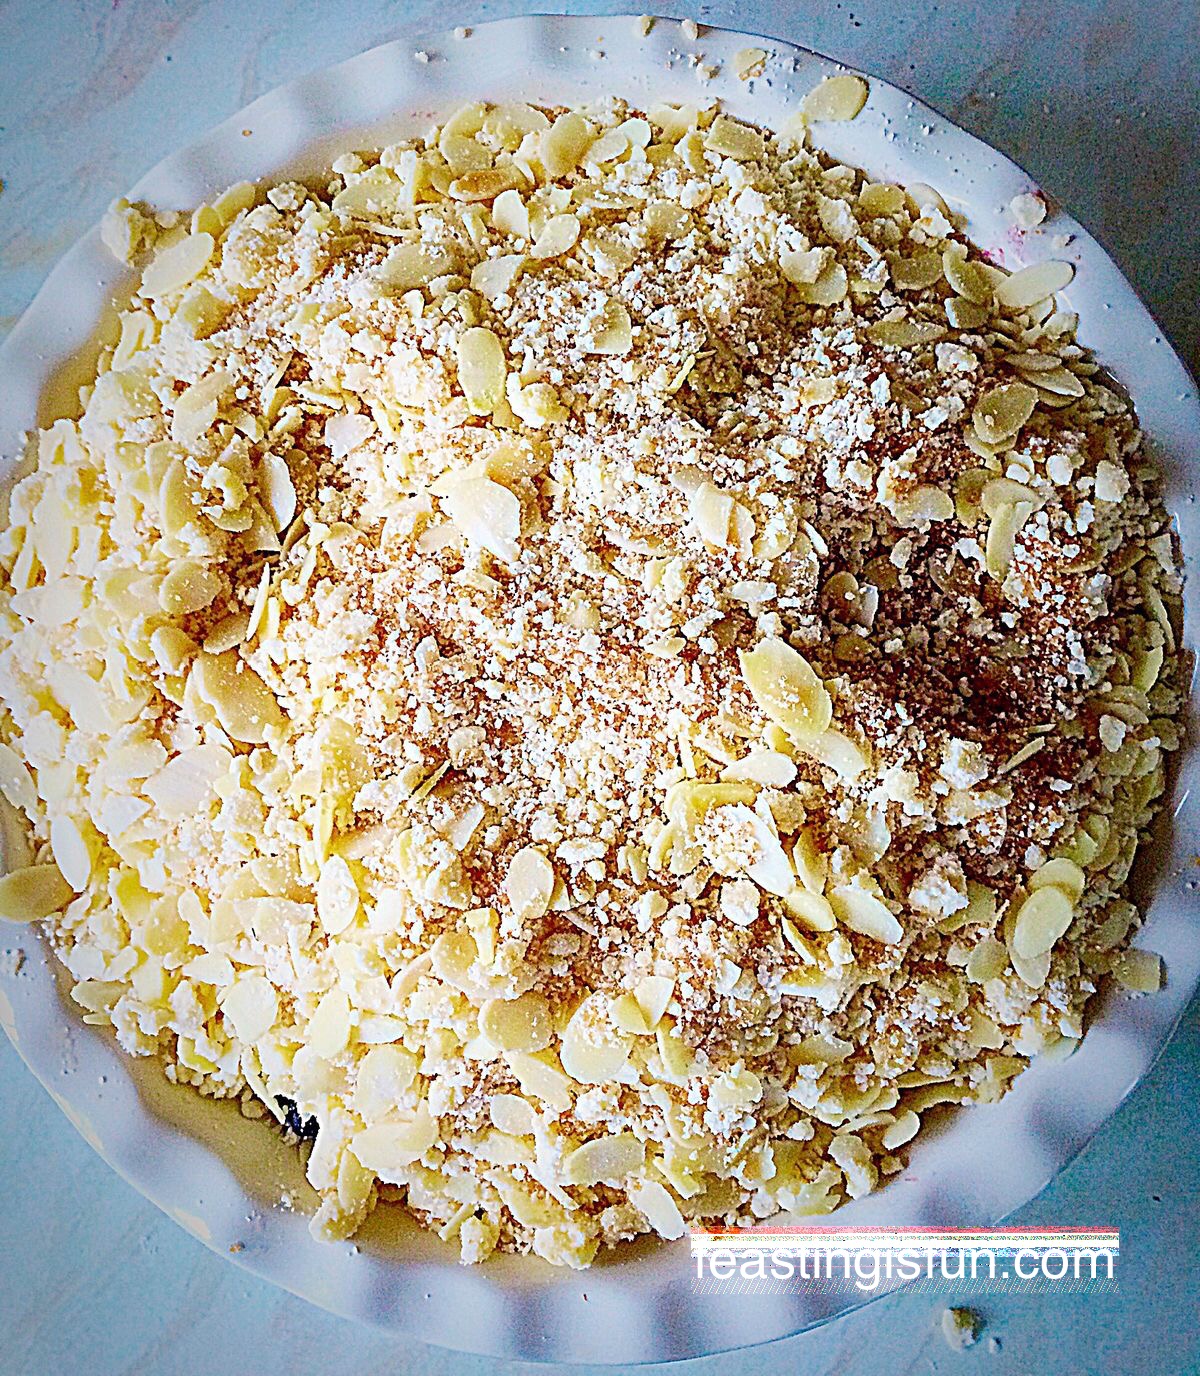
Almond Blackberry Pear Crumble
All of the above recipes are 100% gluten free and I have happily served them to guests who were not aware that wheat flour had not been used!!
Feasting on delicious homemade food should be fun. With these recipes more people can bake at home with confidence. Whilst supermarkets may provide a limited selection of gluten free products, they will never be as tasty as homemade. Having a gluten free cake mix in the cupboard means you can whip up a gluten free treat, for visitors with a restricted diet, without having to re-stock your baking cupboard!
Please let me know if I can help with the questions above?
Sammie xx
Delicious Alchemy provided me with the vanilla sponge mix for this post. All opinions, views, content and photographs are my own. I did not receive any payment for writing this post. Please see my Disclosure Policy.