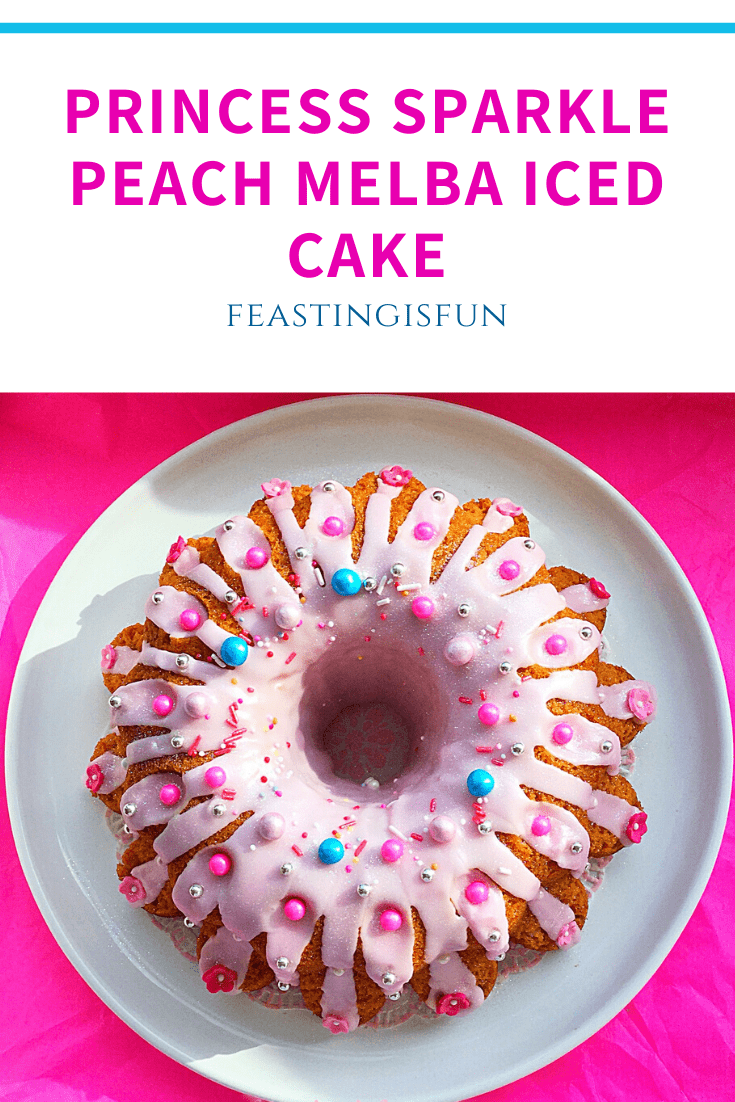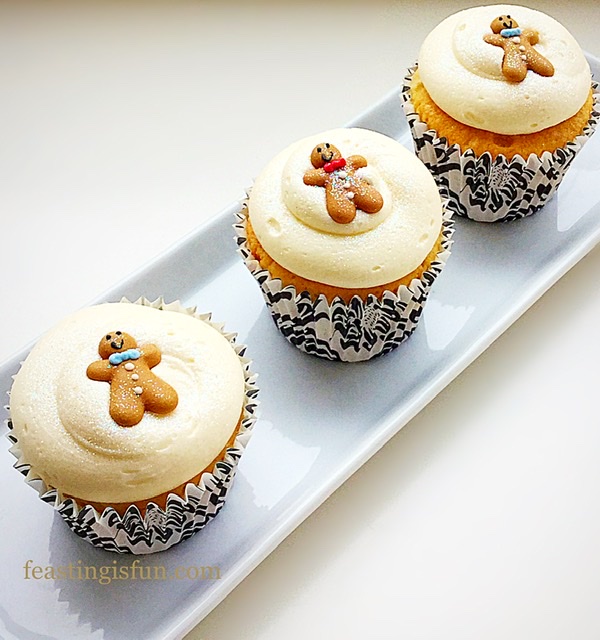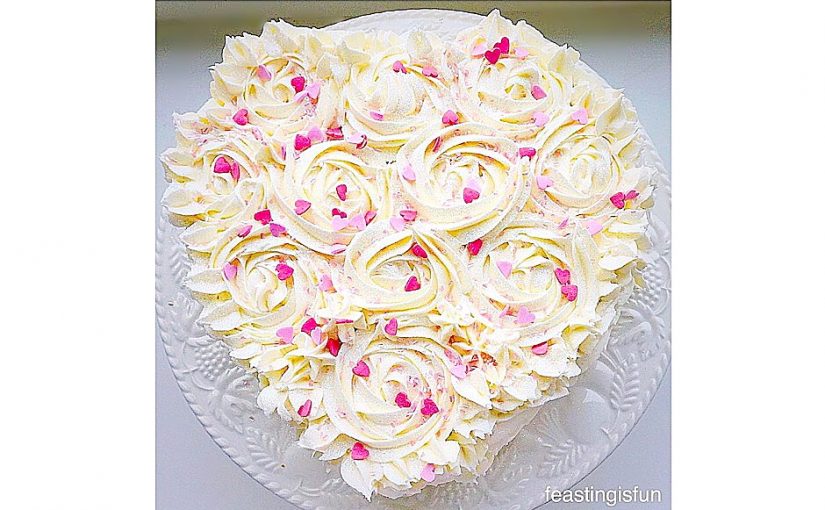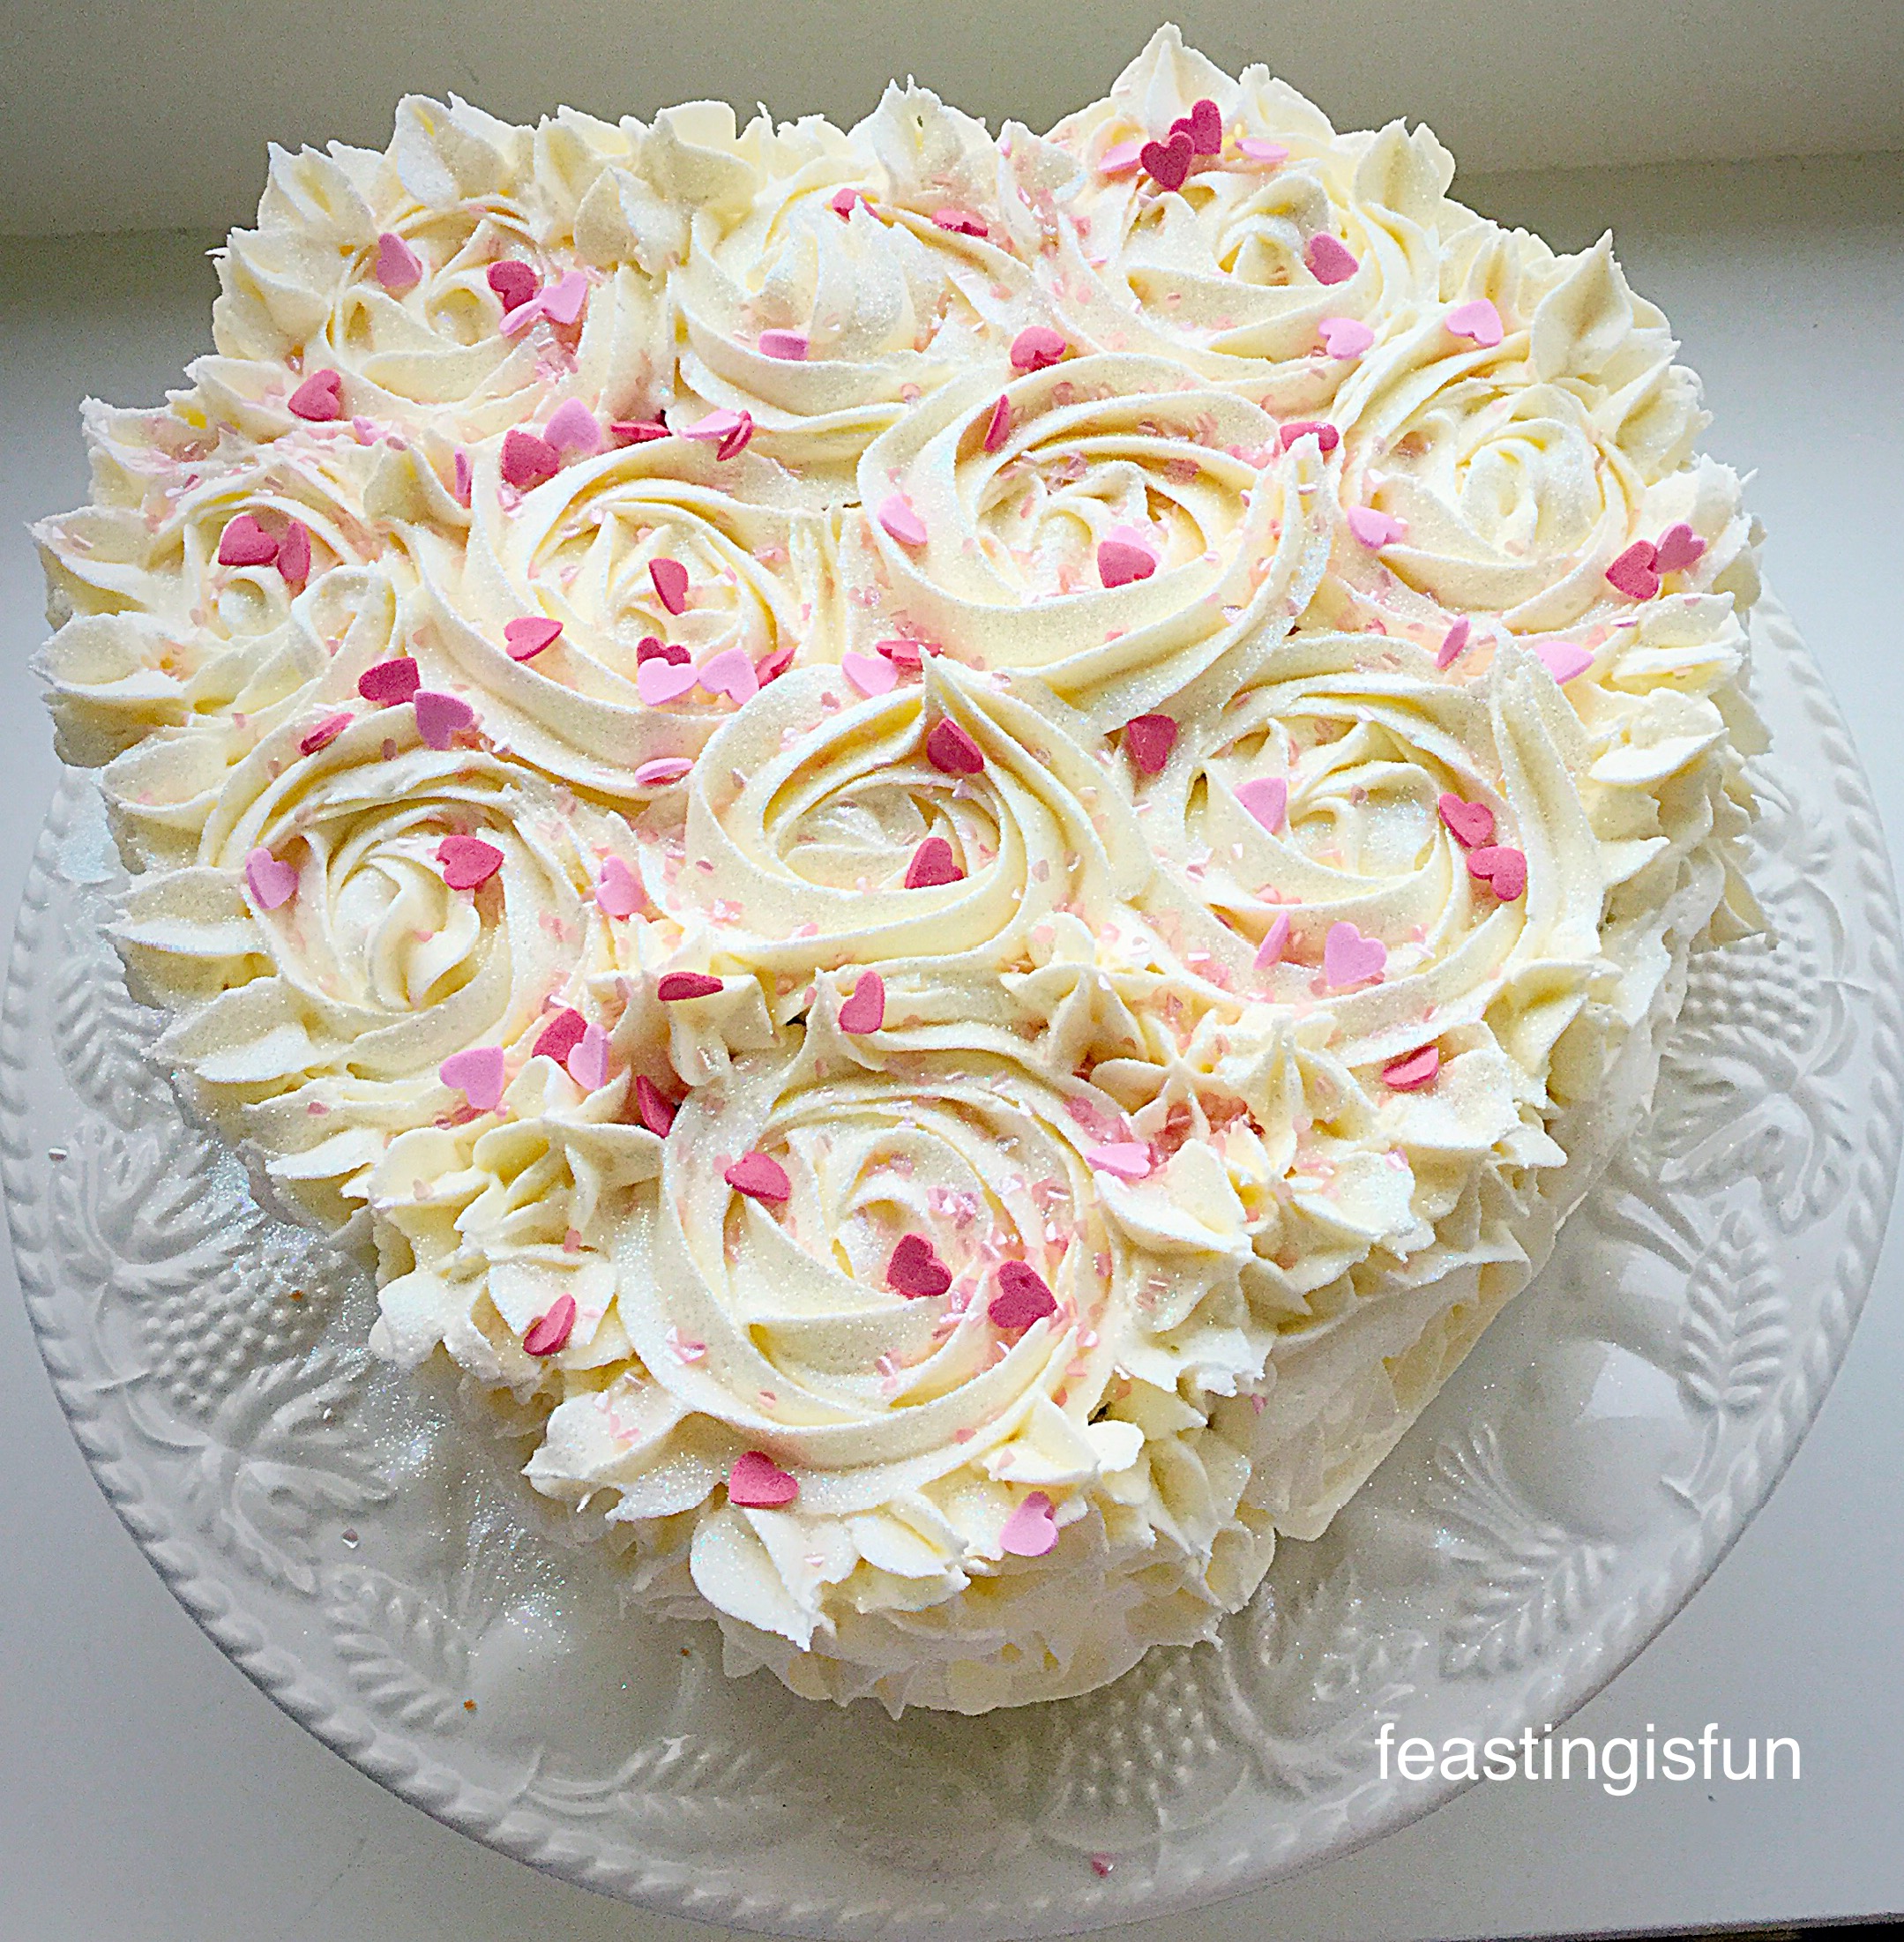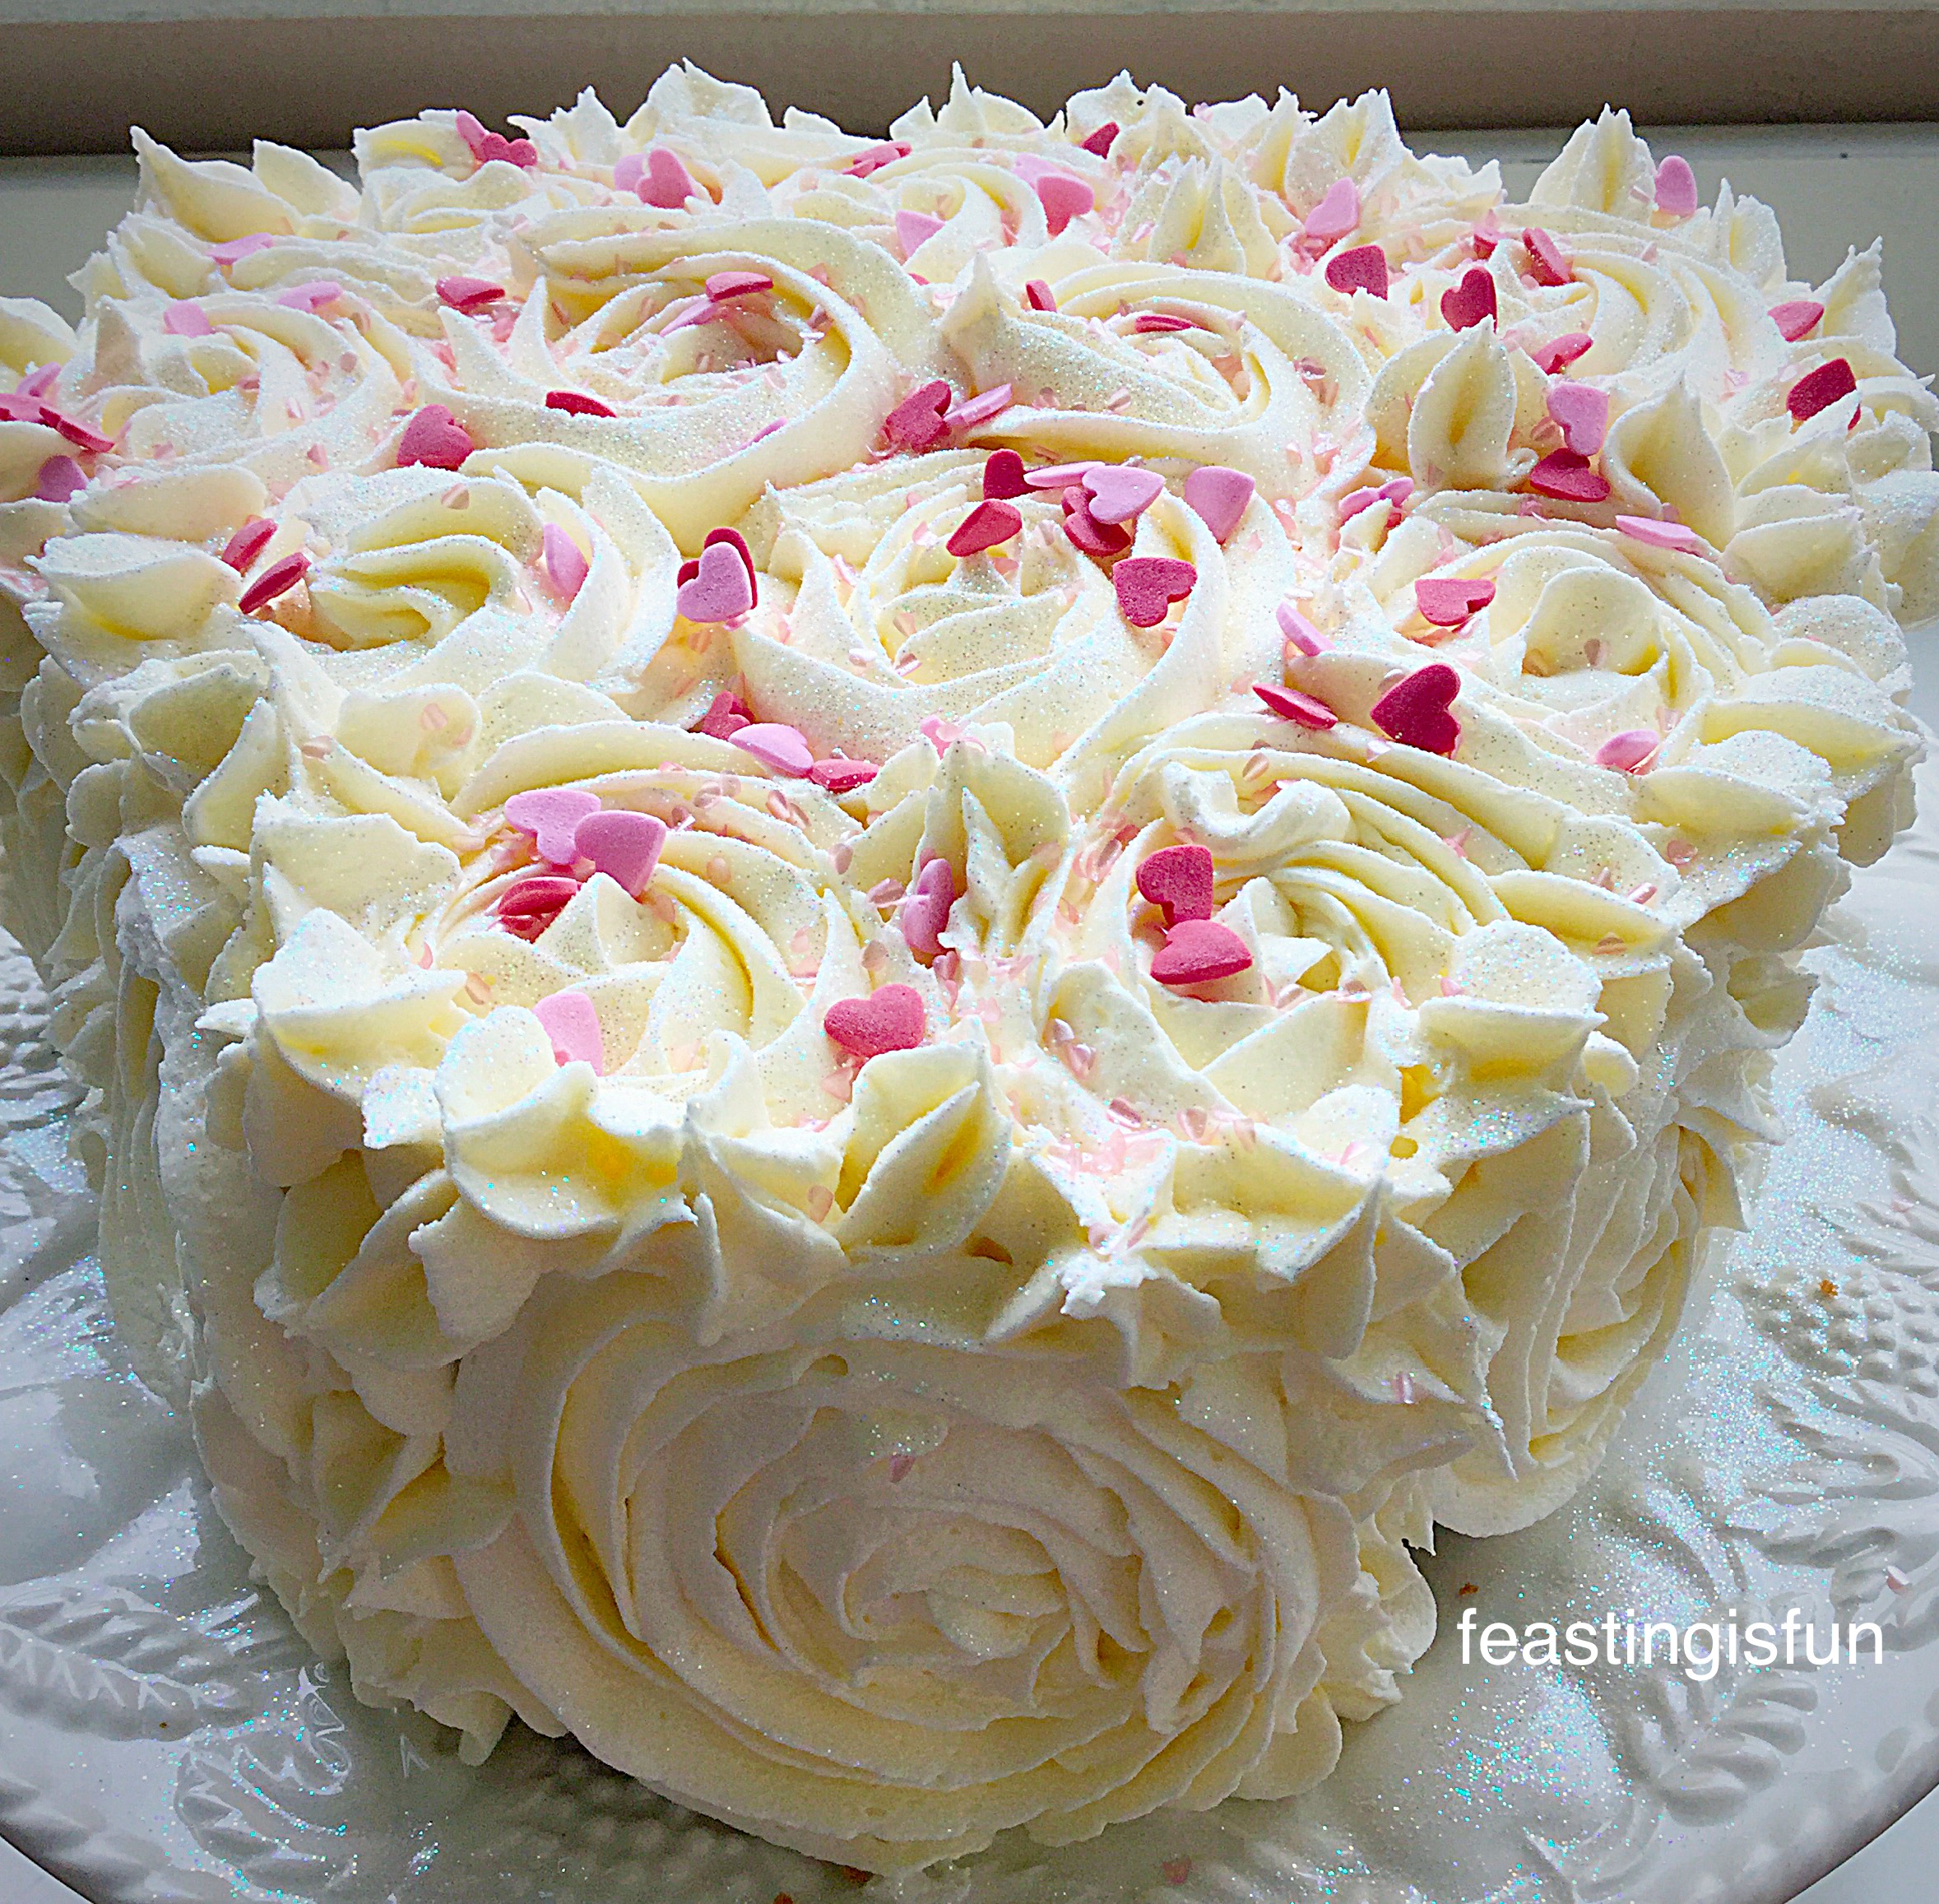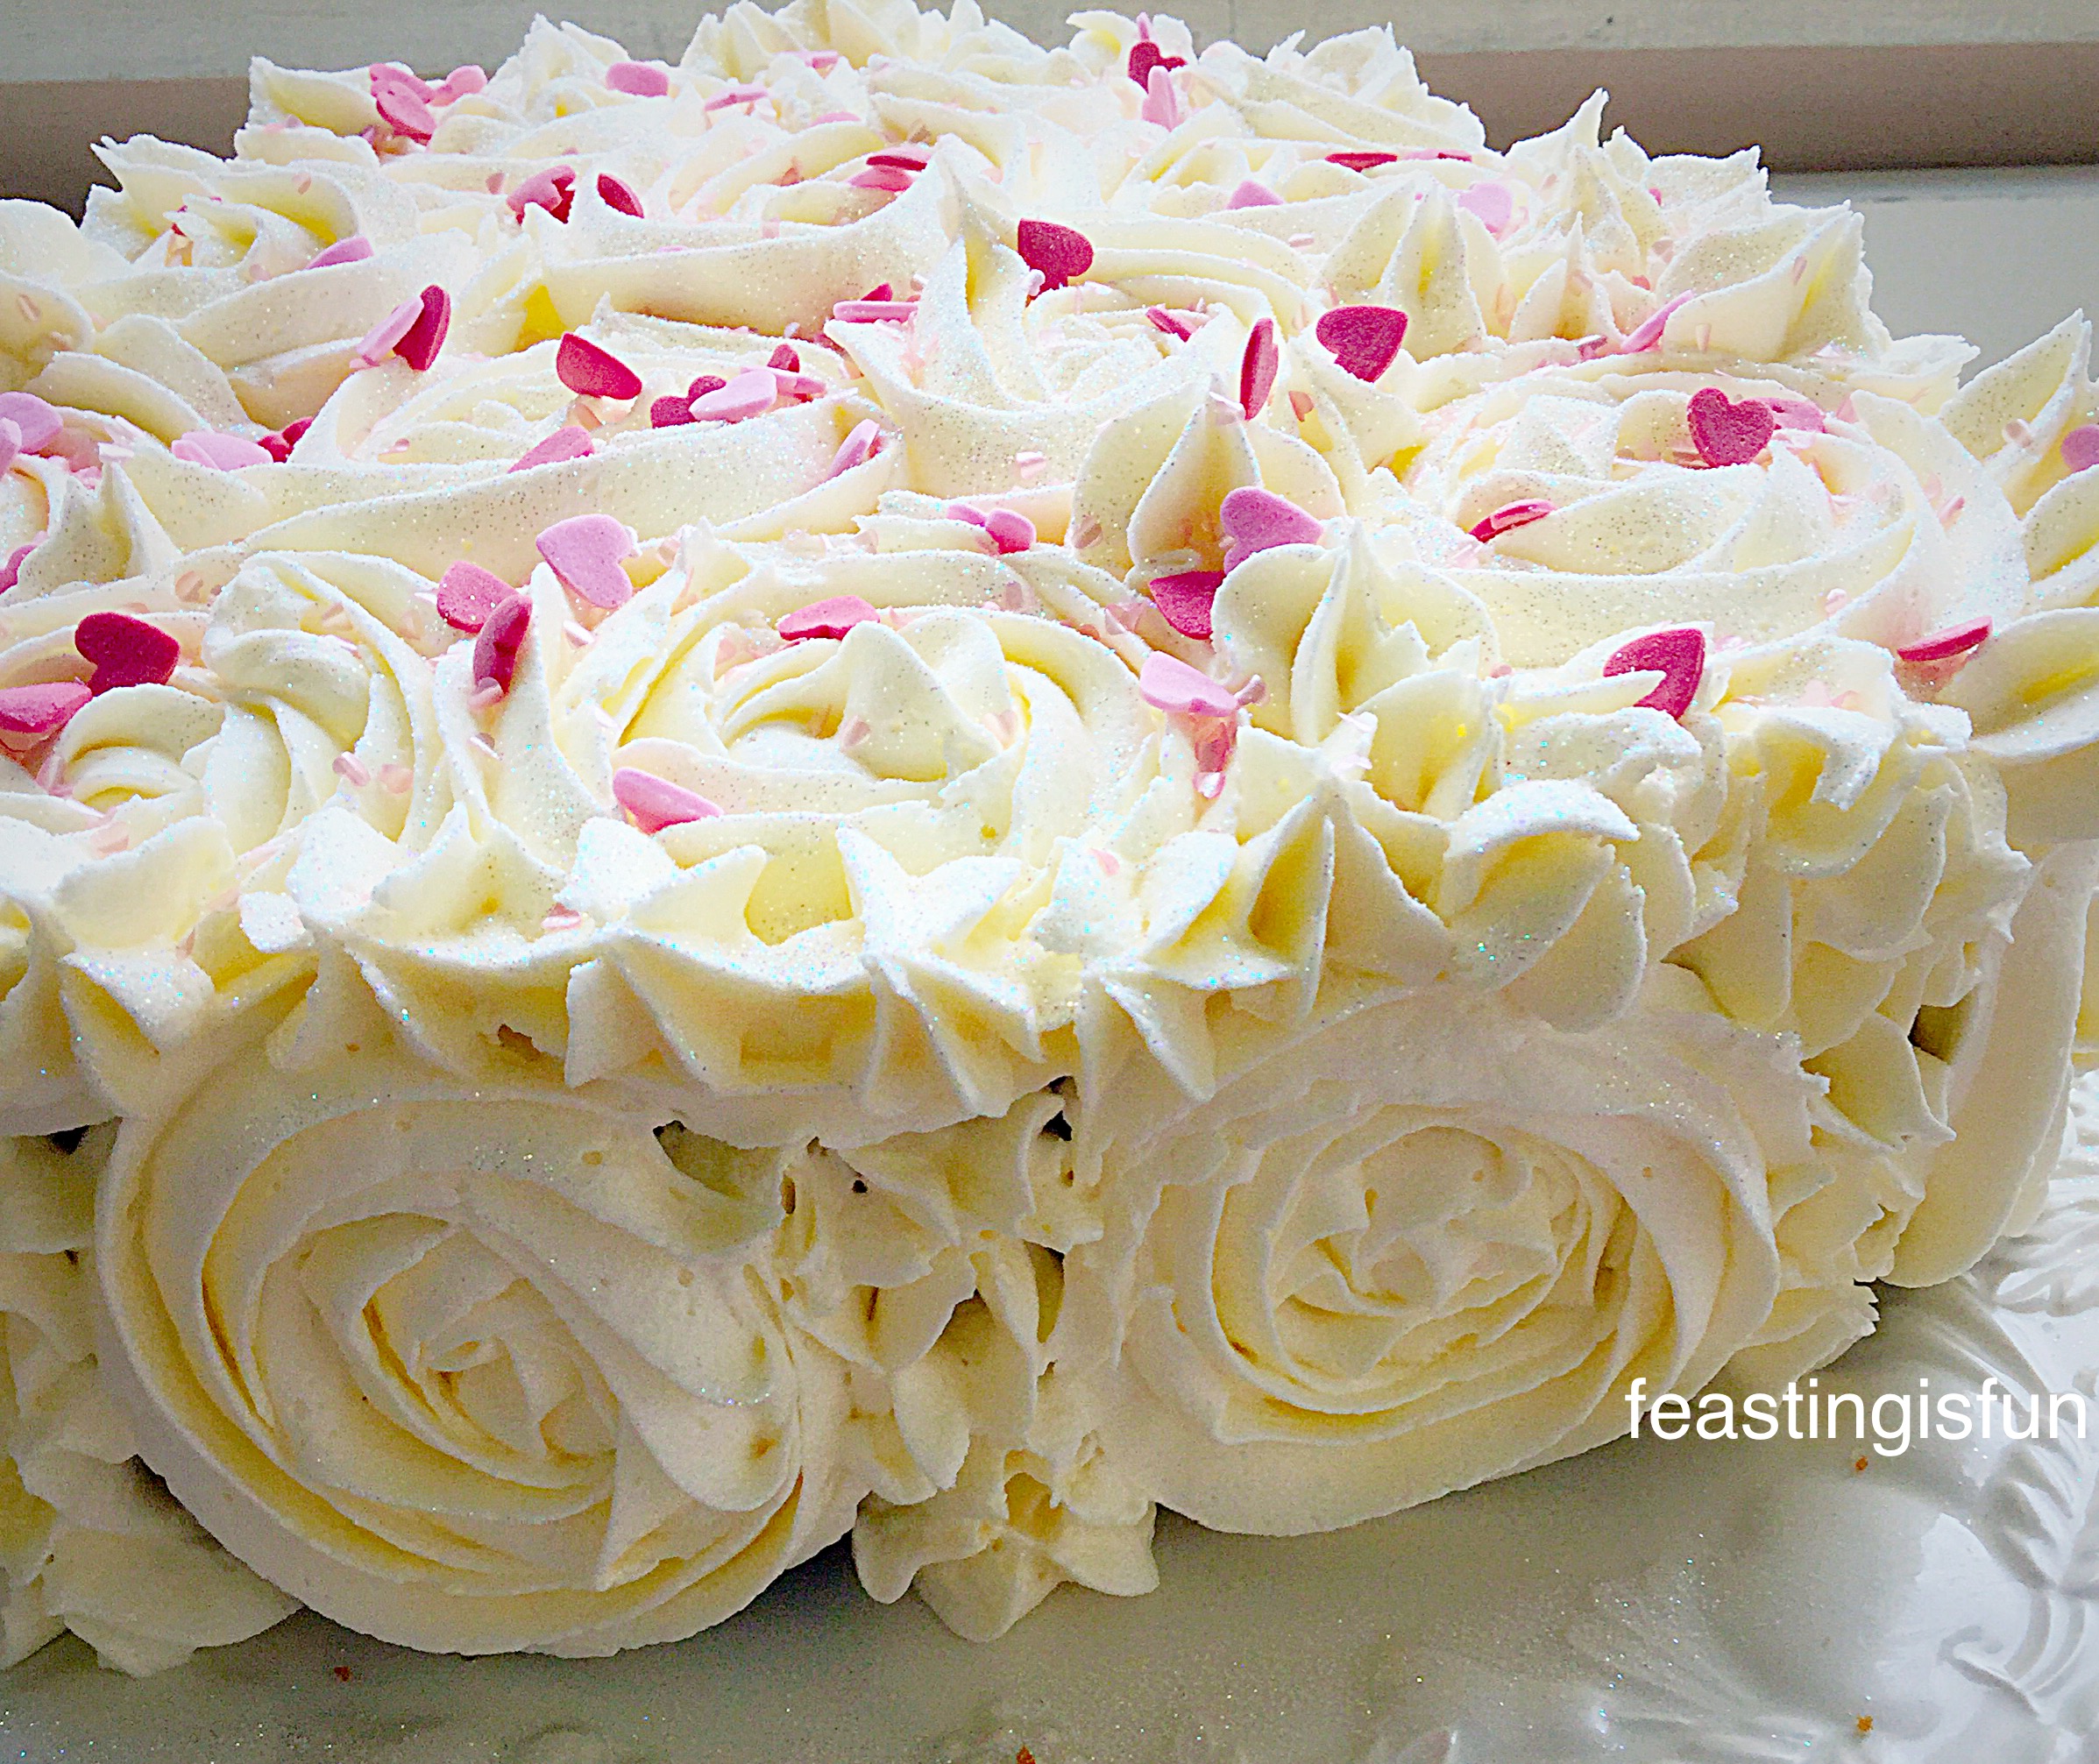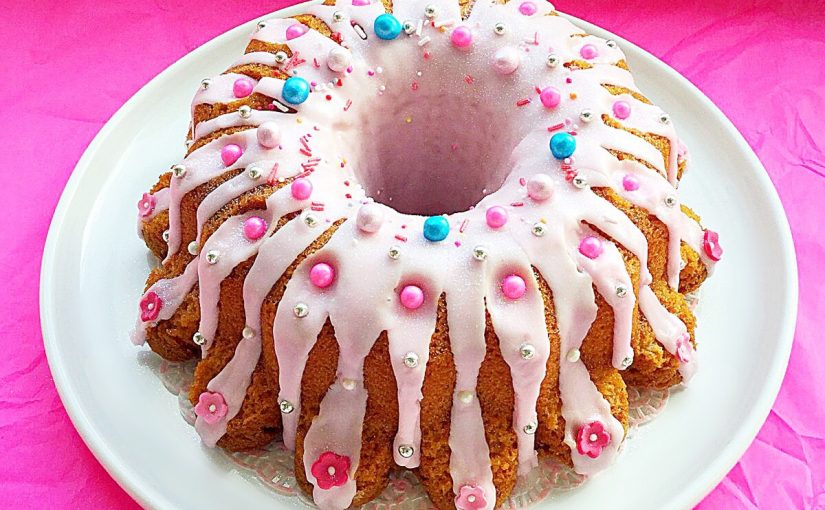
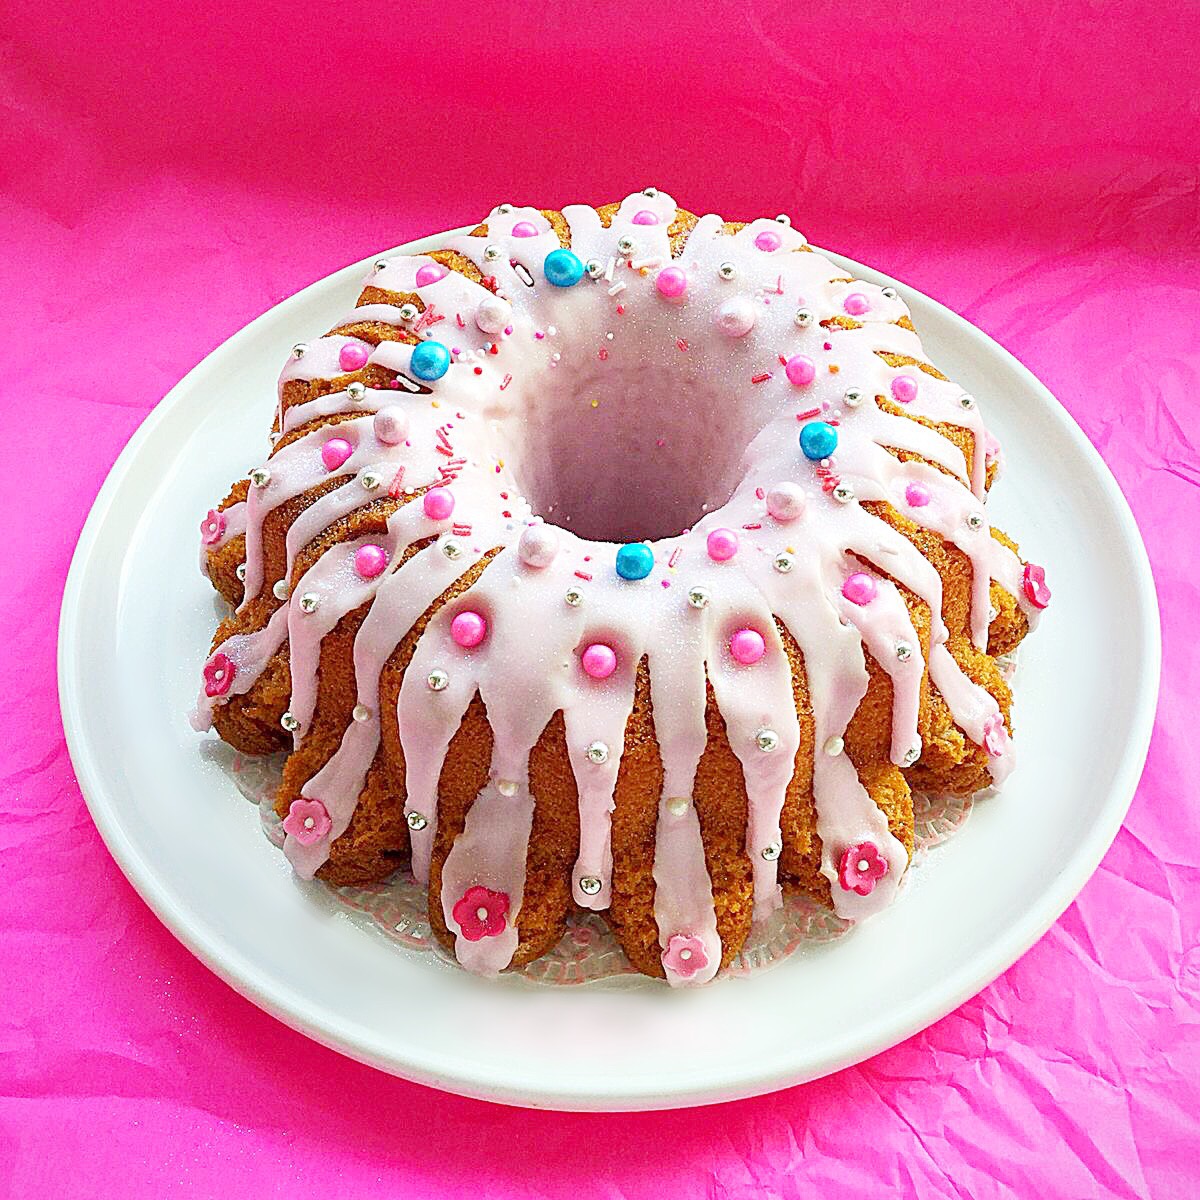
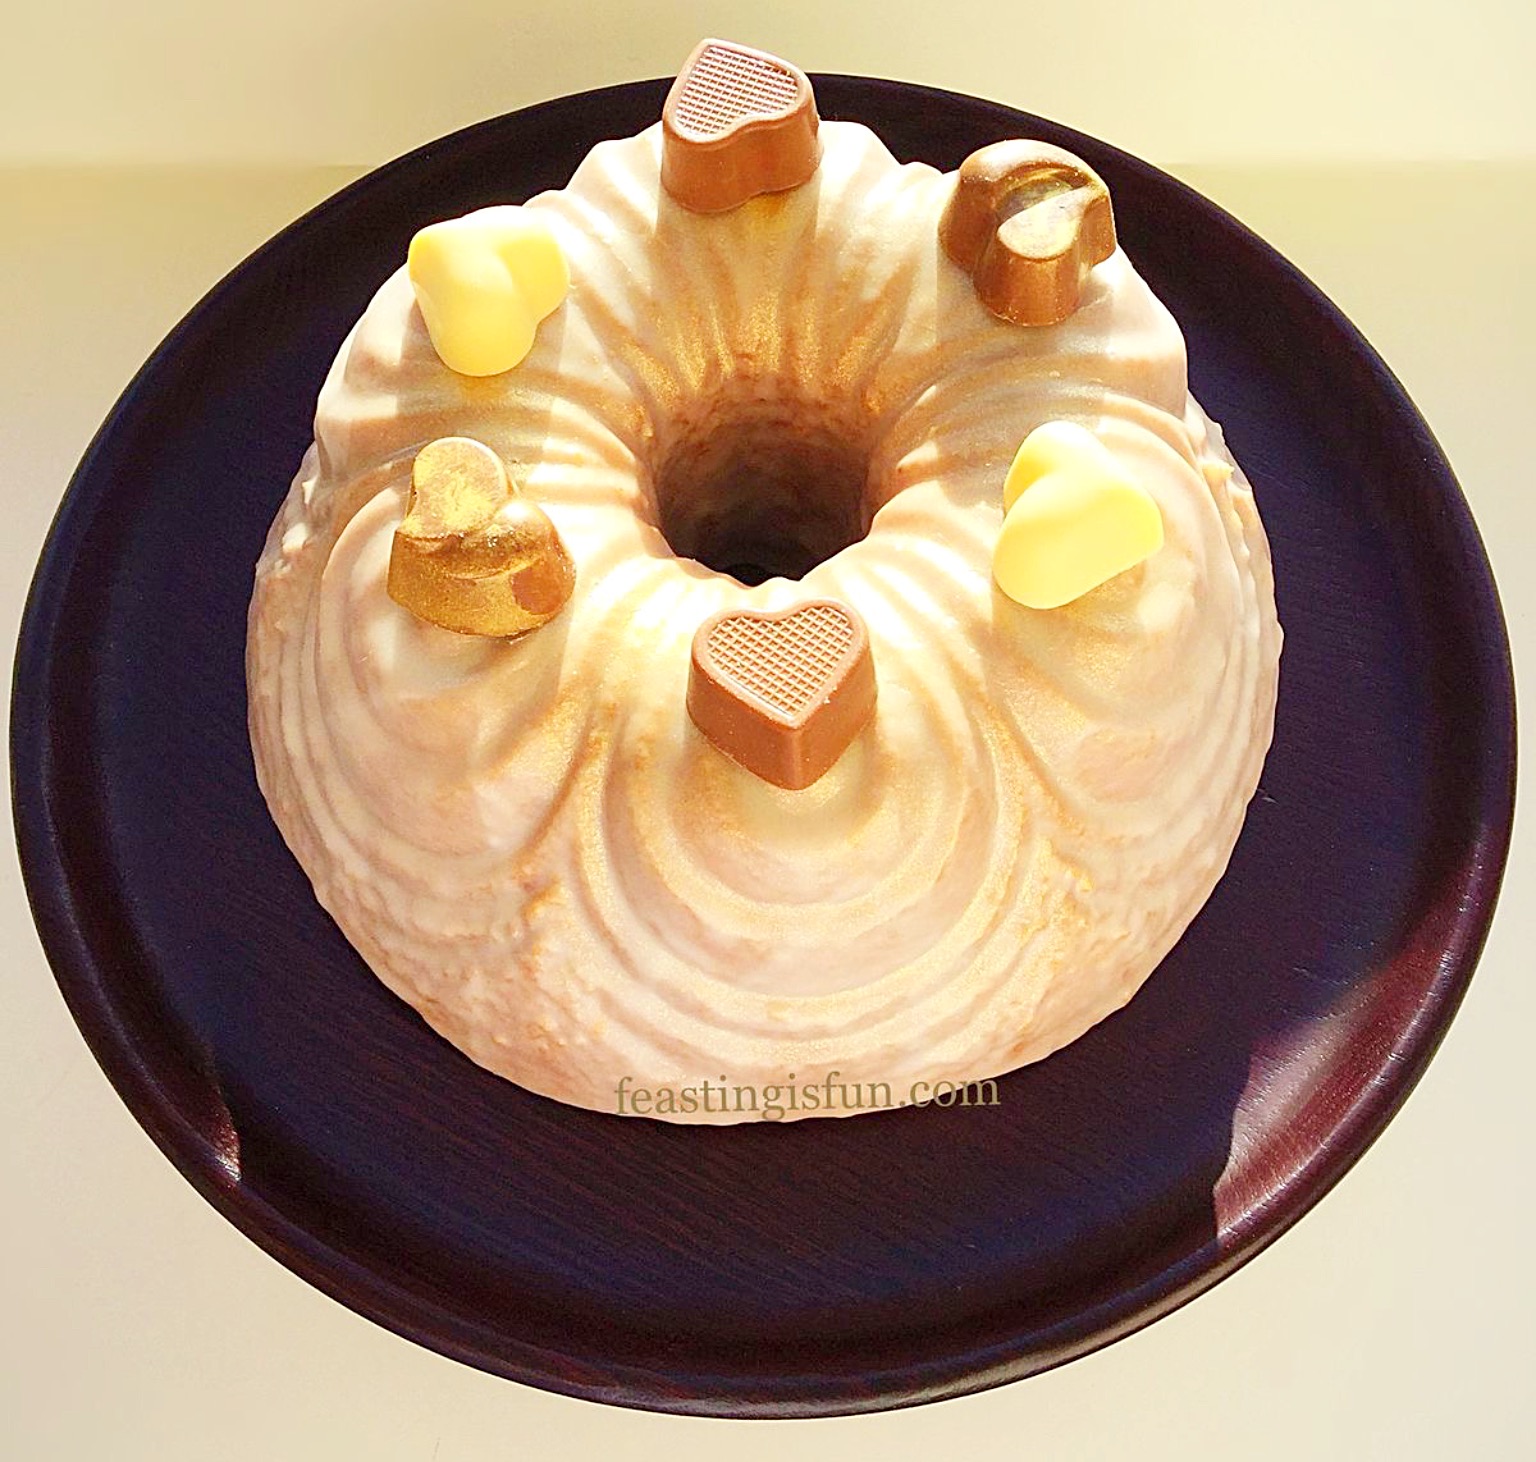
Today we celebrate National Pink Day. It can seem as though there is a national day for just about anything. Whoever thinks these things up? Yet, as our girls have grown, passing through the ‘pink’ stage, I have grown to love the colour pink. Rather than the sickly pink birthday cakes of their toddler years this Princess Sparkle Peach Melba Iced Cake provides an elegant update. Tastefully decorated and delicious to eat.
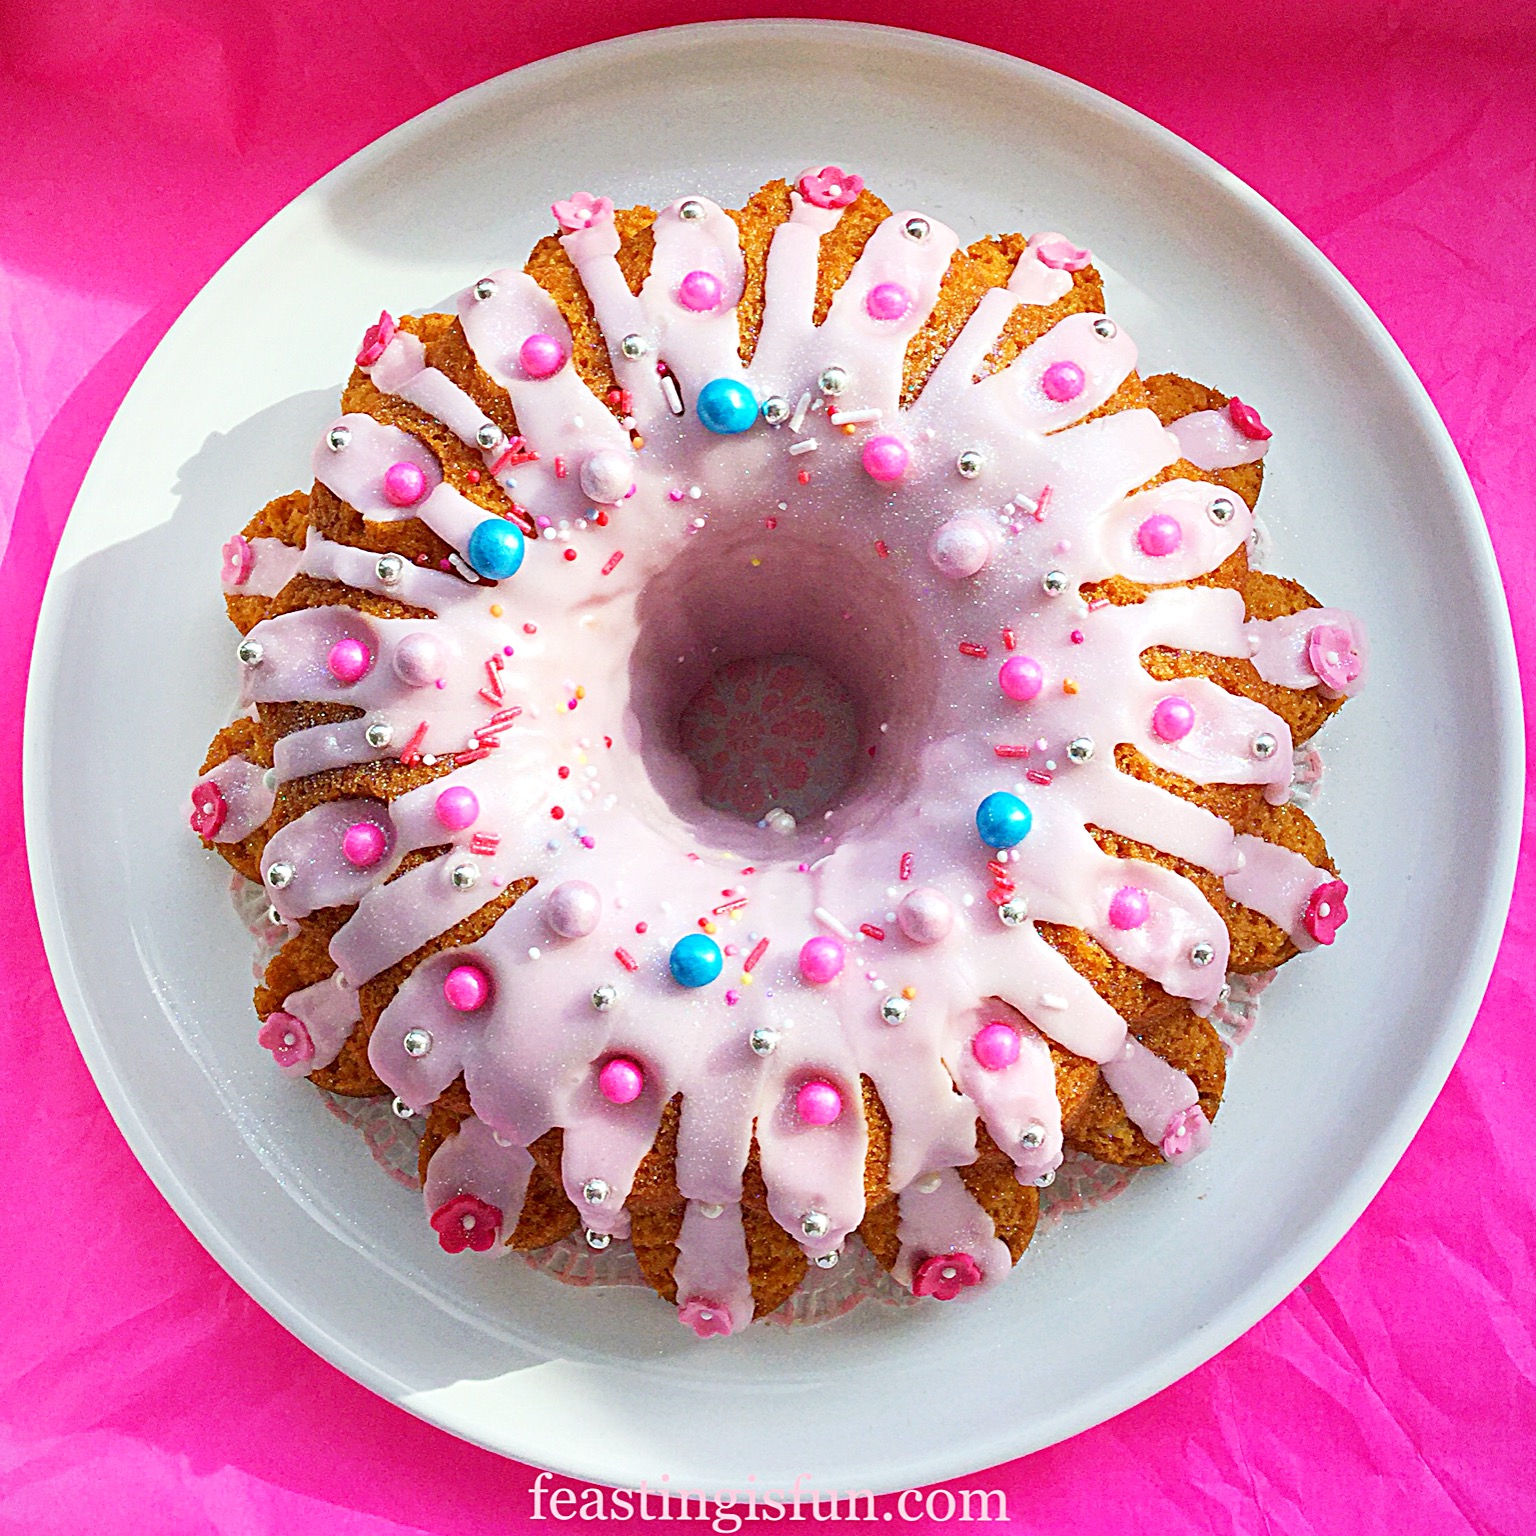
While raspberry subtly flavours the cake itself, peach bellini icing creates the overall peach melba flavour. And, having a light, fruity flavour, this cake really suits warm summer celebrations. Yet, you get to decide. If a fruity, glittering cake is needed, this cake fits the bill perfectly. A splash of colour and a sprinkle of sparkle may be what is needed at anytime of the year!
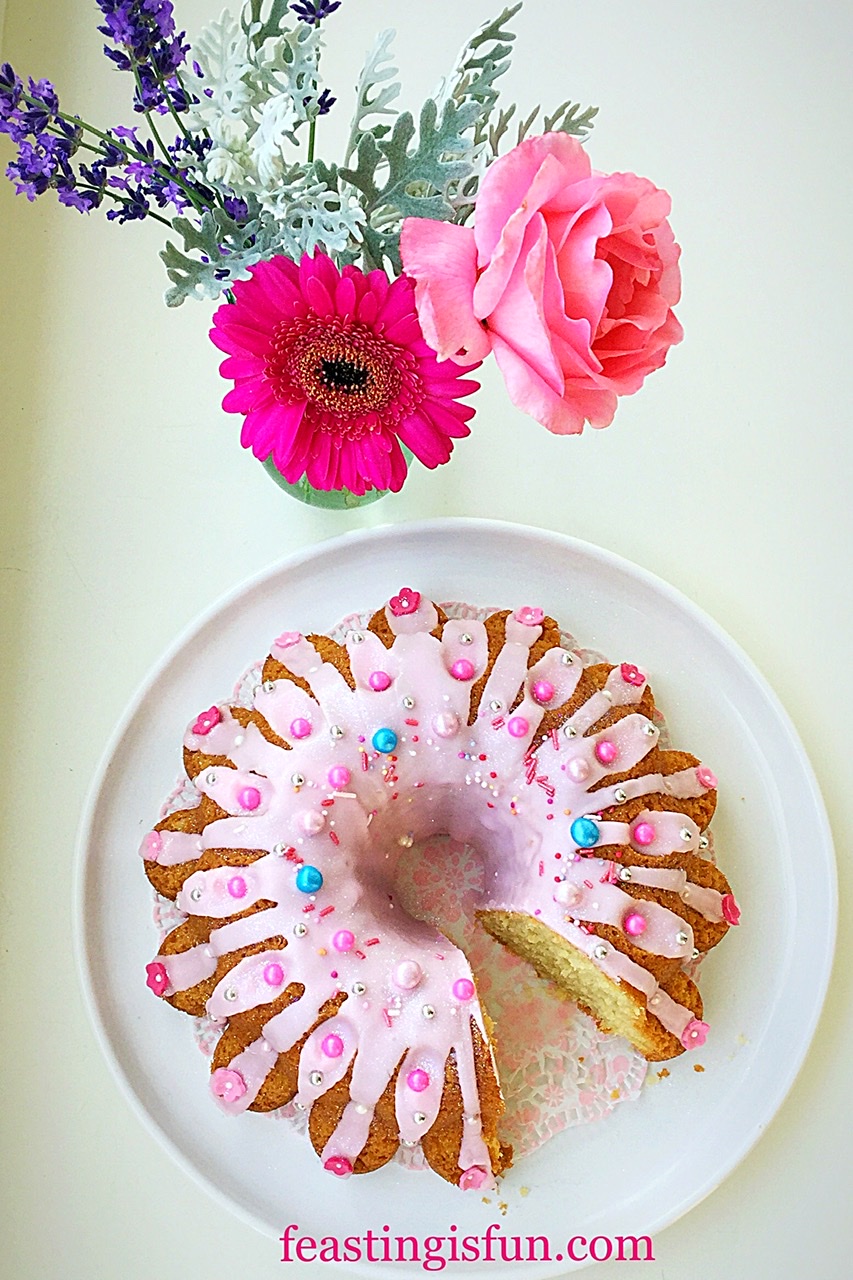
Since this cake is both pretty and tasty it deserves to be shared. Fun and perfectly pretty, anyone who loves the colour pink will be thrilled with this cake. Also, this is the perfect cake for those who prefer fruity flavours, rather than chocolate ones. Or, for those of us who enjoy both, the combination of raspberry and peach is a refreshing change.
Recipe: Princess Sparkle Peach Melba Iced Cake serves 10-12
250g/9oz Unsalted Butter
250g/9oz Caster Sugar
1/4tsp Salt – I use Maldon
1tsp Vanilla Extract – I use Nielsen-Massey
5 Large Free Range Eggs
2.5ml/ approx 1/2tsp or 50 drops of Natural Raspberry Flavour – I use Foodie Flavours natural flavouring drops
275g/10oz Plain White Flour
2tsp Baking Powder
400g Peach Bellini Flavoured icing sugar from Sugar and Crumbs
Food Colouring Gel – I used Wilton pink.
Assorted different sprinkles and dragee balls.
Preheat oven to 160C/140C fan, gas mark 3, 325F.
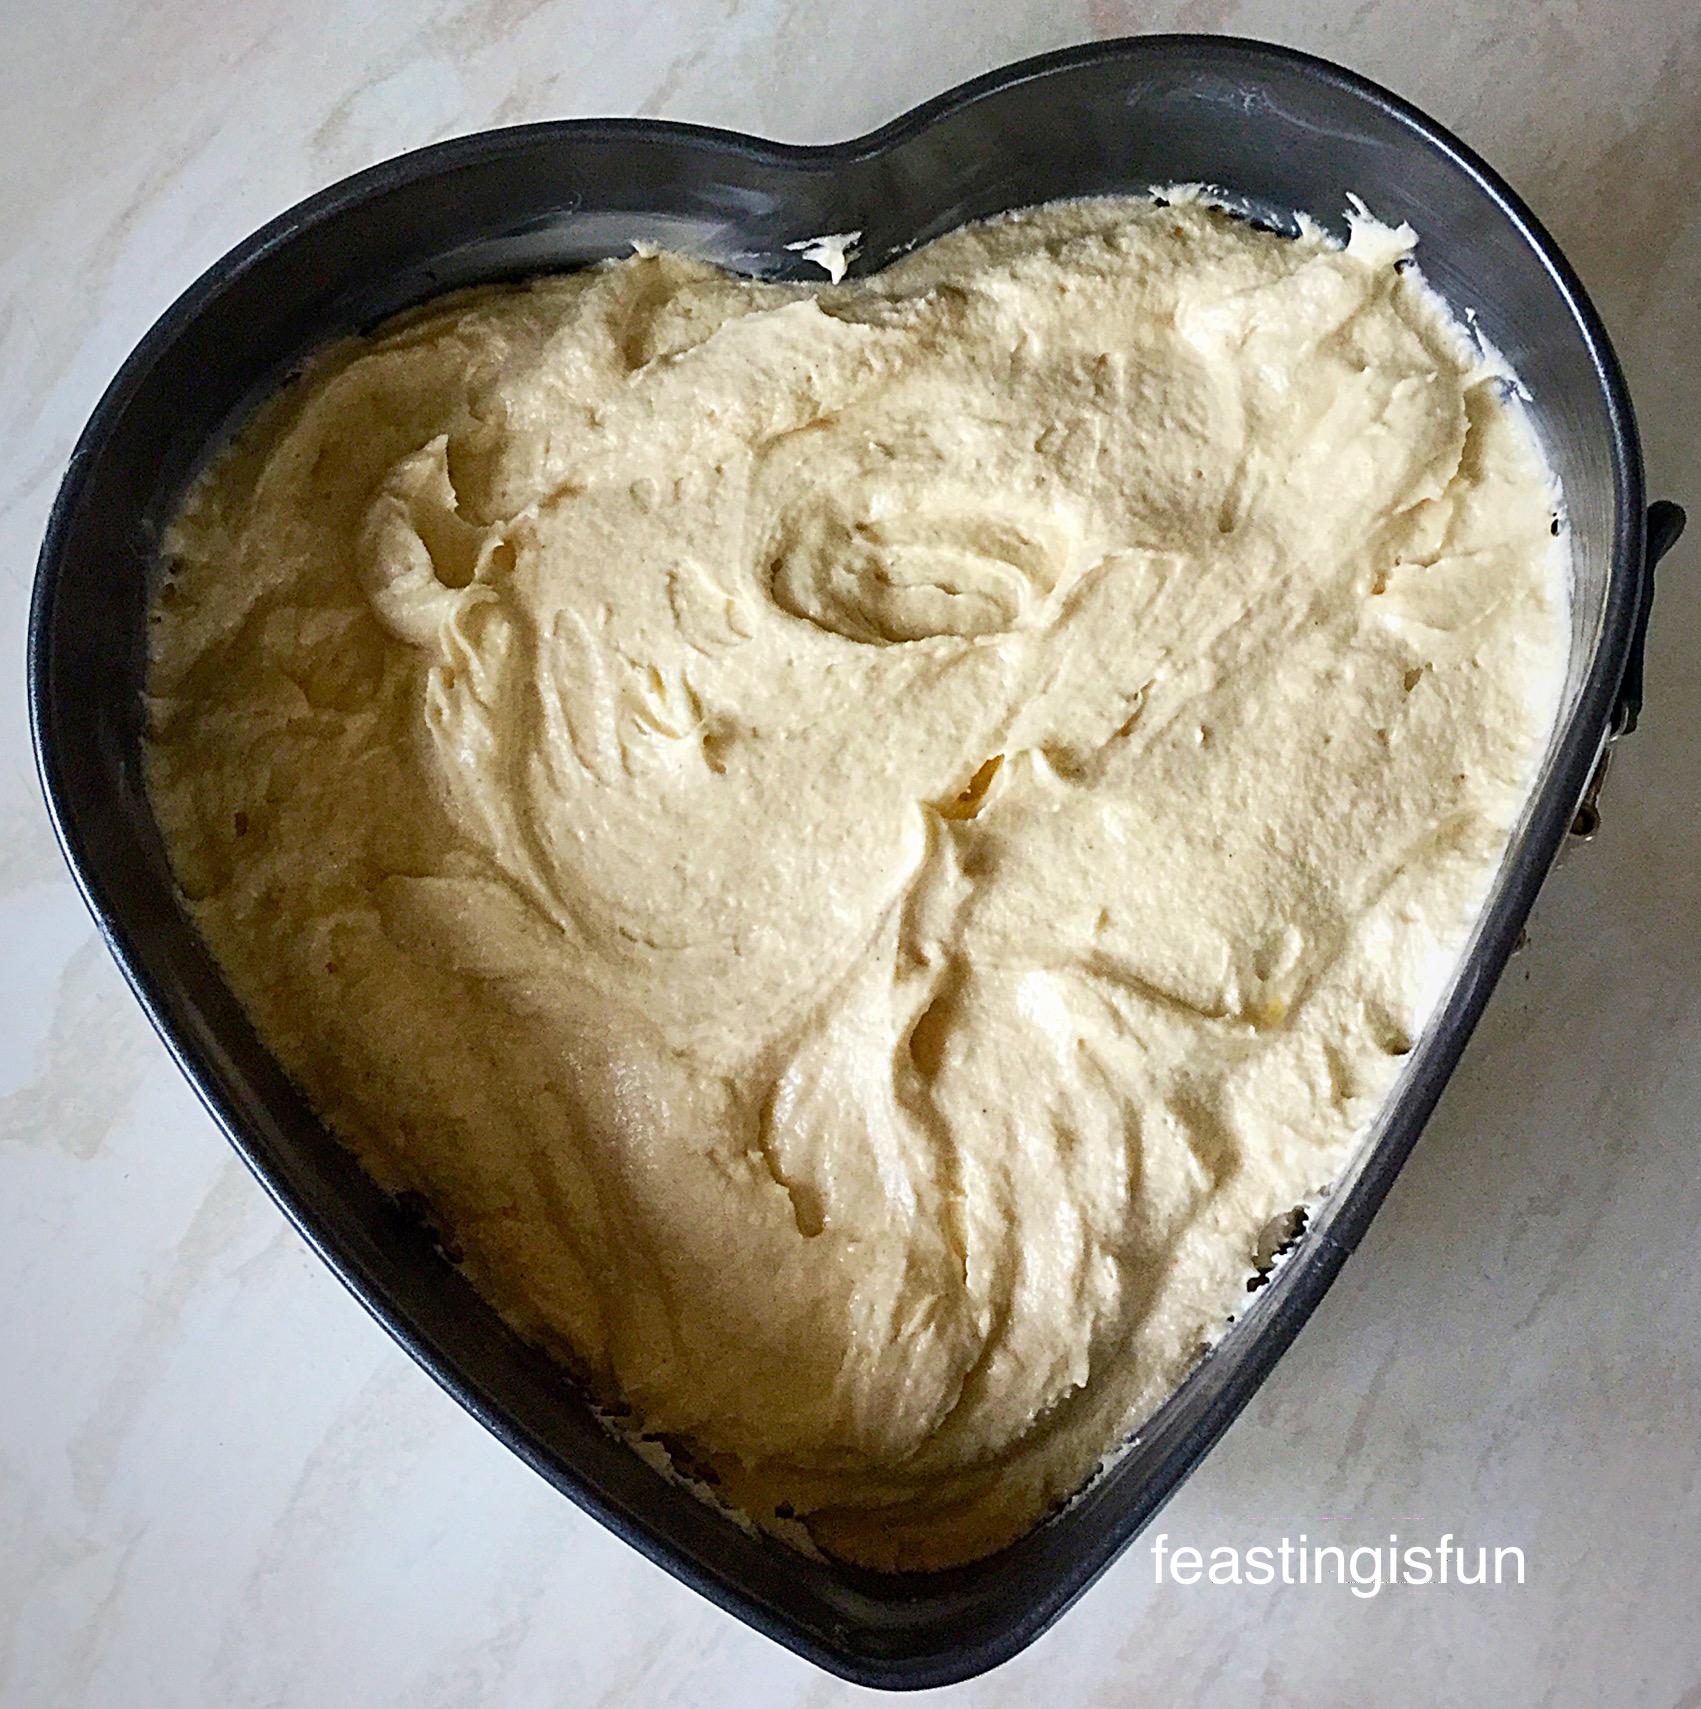
Note: This cake is baked in a 10 cup ring mould cake tin. If using a Bundt pan, a 10 cup size will also be needed.
Prepare the tin by spraying cake release spray thoroughly to the inside of the tin, using a pastry brush to ensure the cake release fully covers the inside of the tin. I recommend Wilton.
Making And Baking The Moulded Cake
- Place the softened butter, salt and sugar into a large bowl. Whisk until pale, creamy and no grittiness can be detected, by rubbing a little of the mixture between your forefinger and thumb.
- Next add the vanilla, raspberry flavour and all five eggs.
- Finally sieve the flour and baking powder into the bowl.
- Whisk slowly, until all of the ingredients have come together to form a cake batter.
- Stir the cake batter with a spatula to fully combine.
- Spoon the cake batter into the prepared tin. Ensure the top of the cake is level.
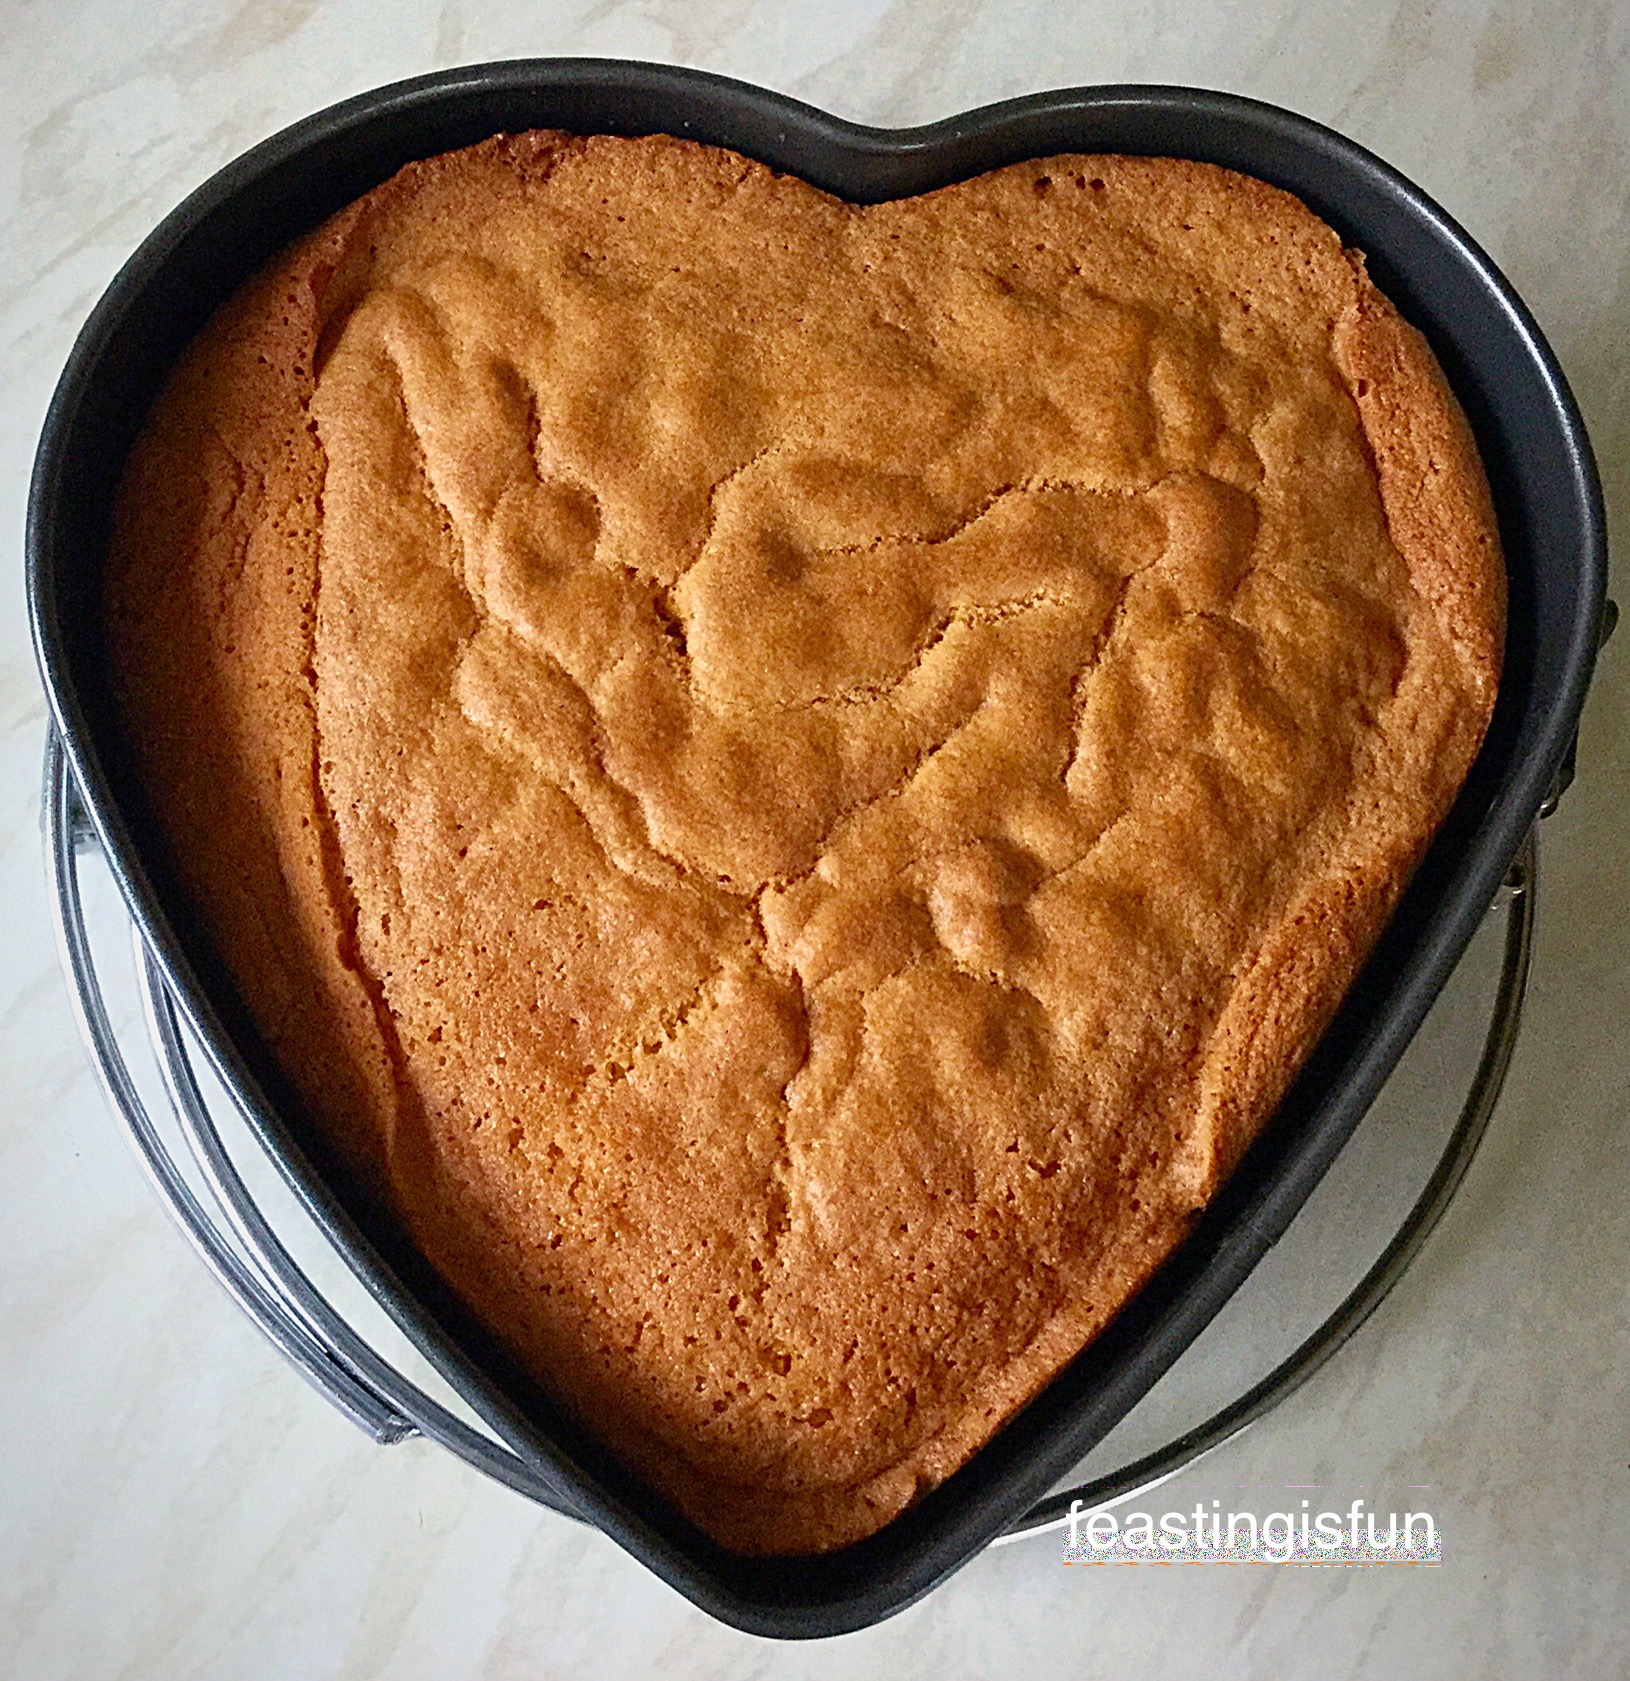
- Place the cake tin into the centre of a preheated oven and bake for 55-65 minutes.
- The cake is baked when it is a golden colour, starts to shrink away from the sides and an inserted skewer comes out clean.
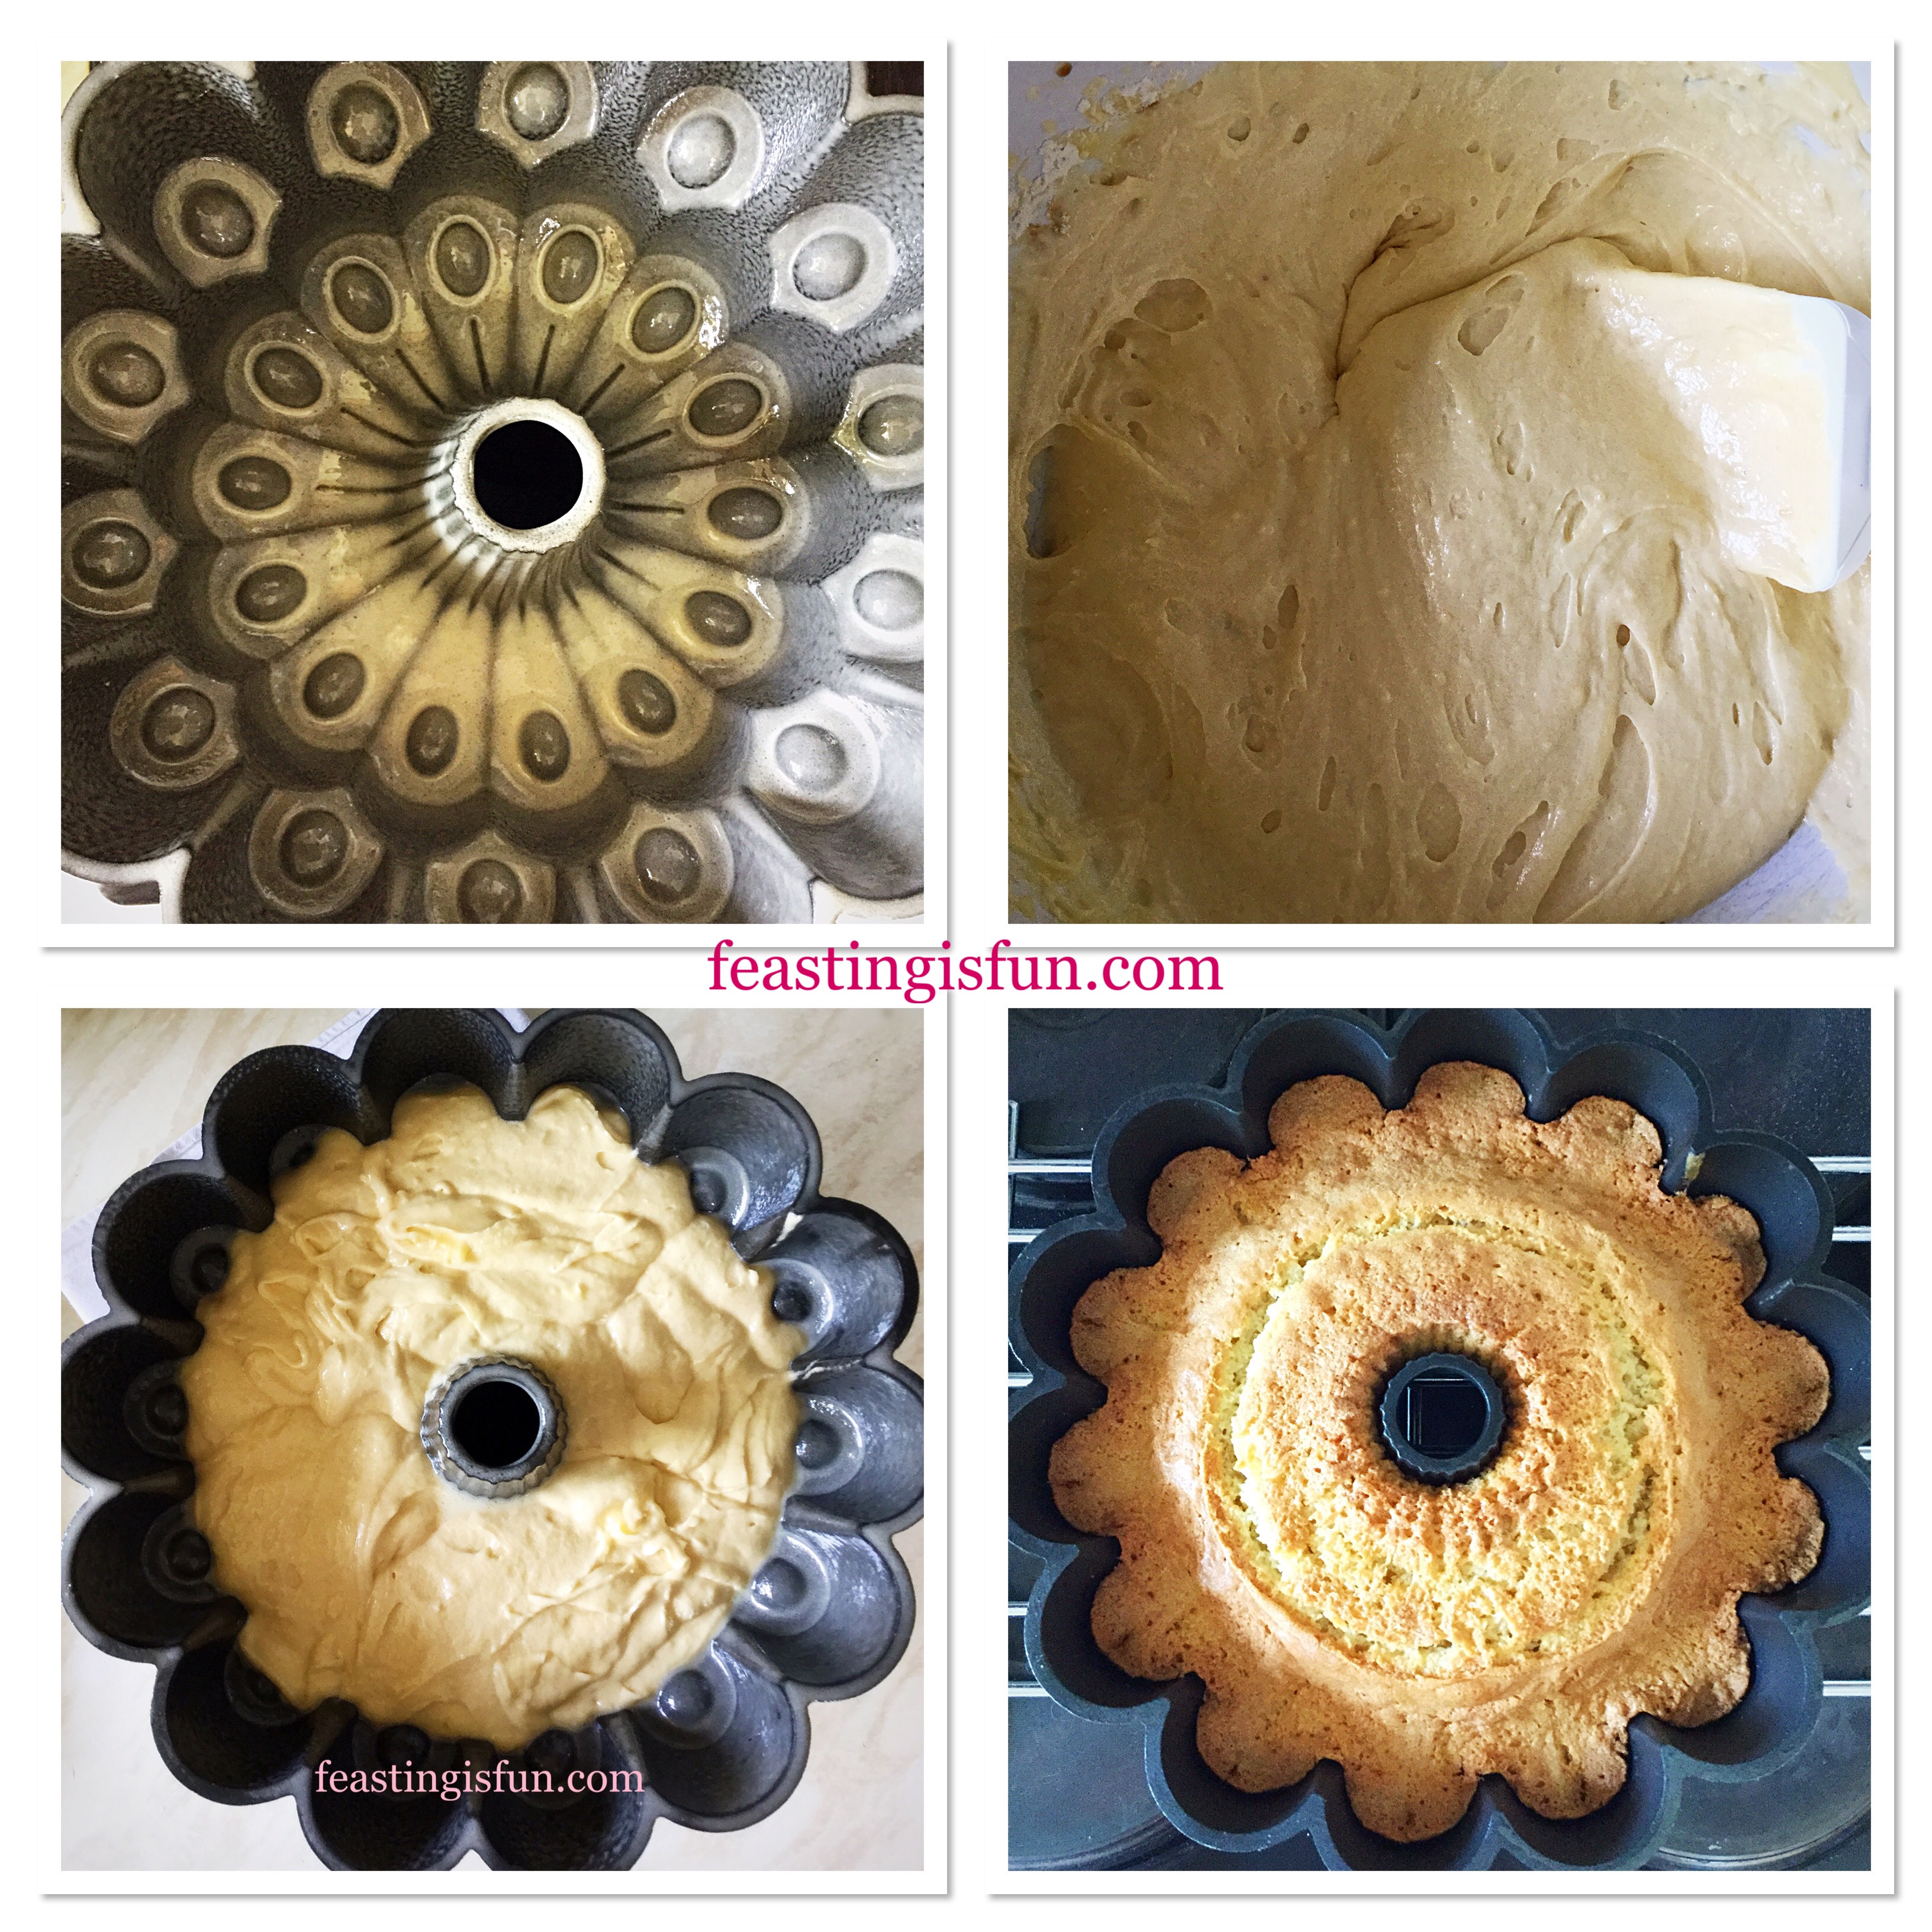
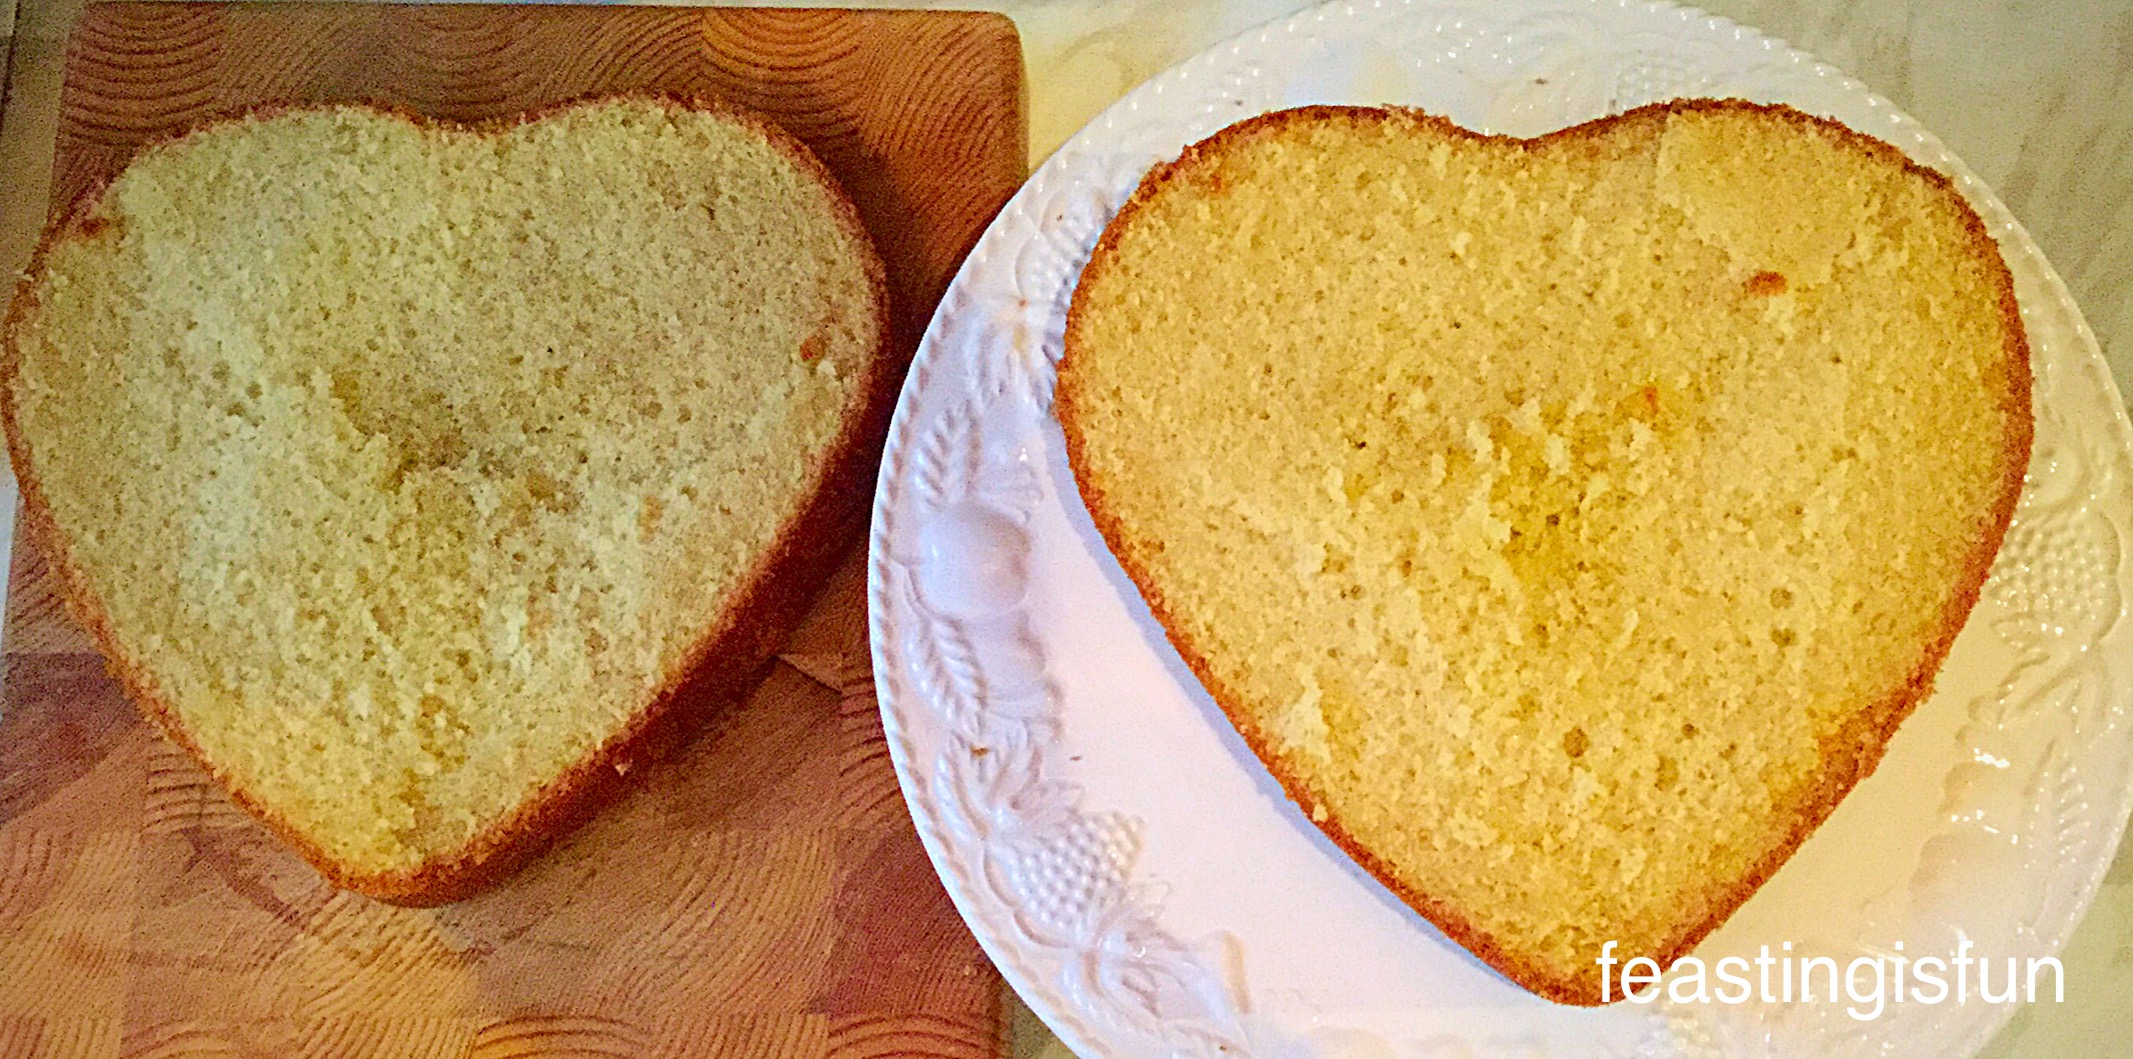
- As soon as the cake is baked remove from the oven and leave to cool for ten minutes in the tin before turning it out.
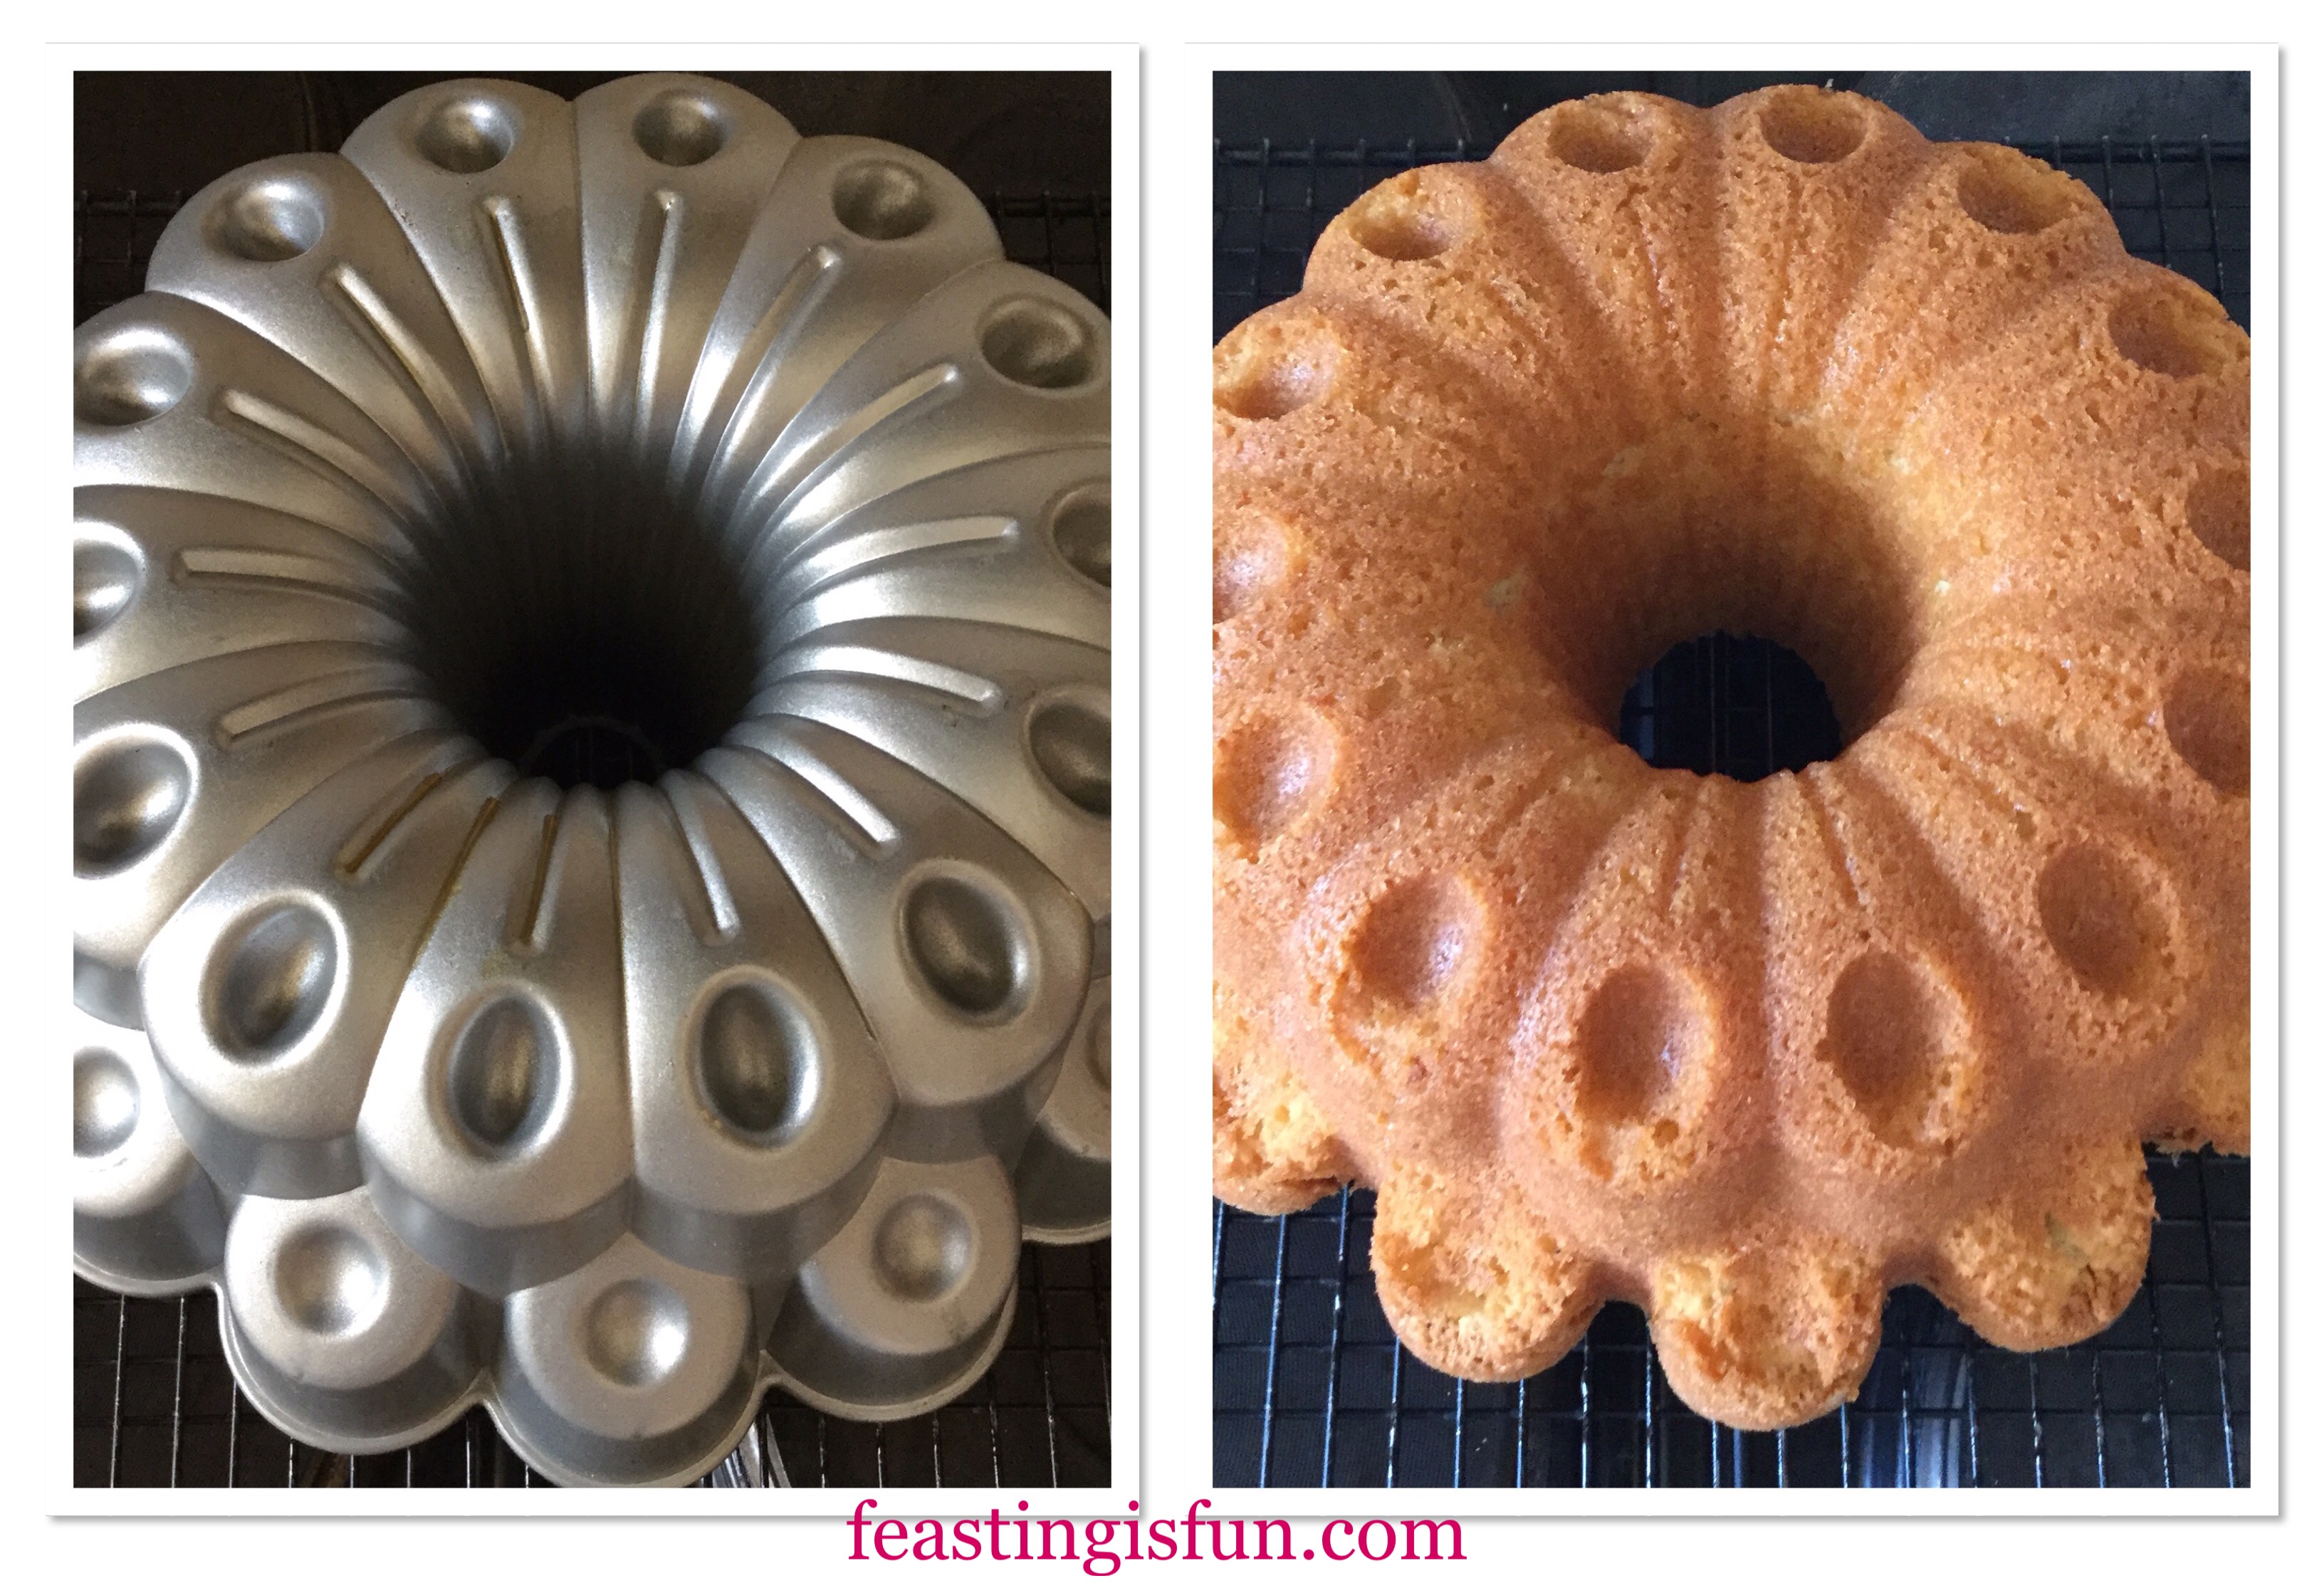
- Allow the turned out cake to fully cool before decorating.
Decorating The Princess Sparkle Cake
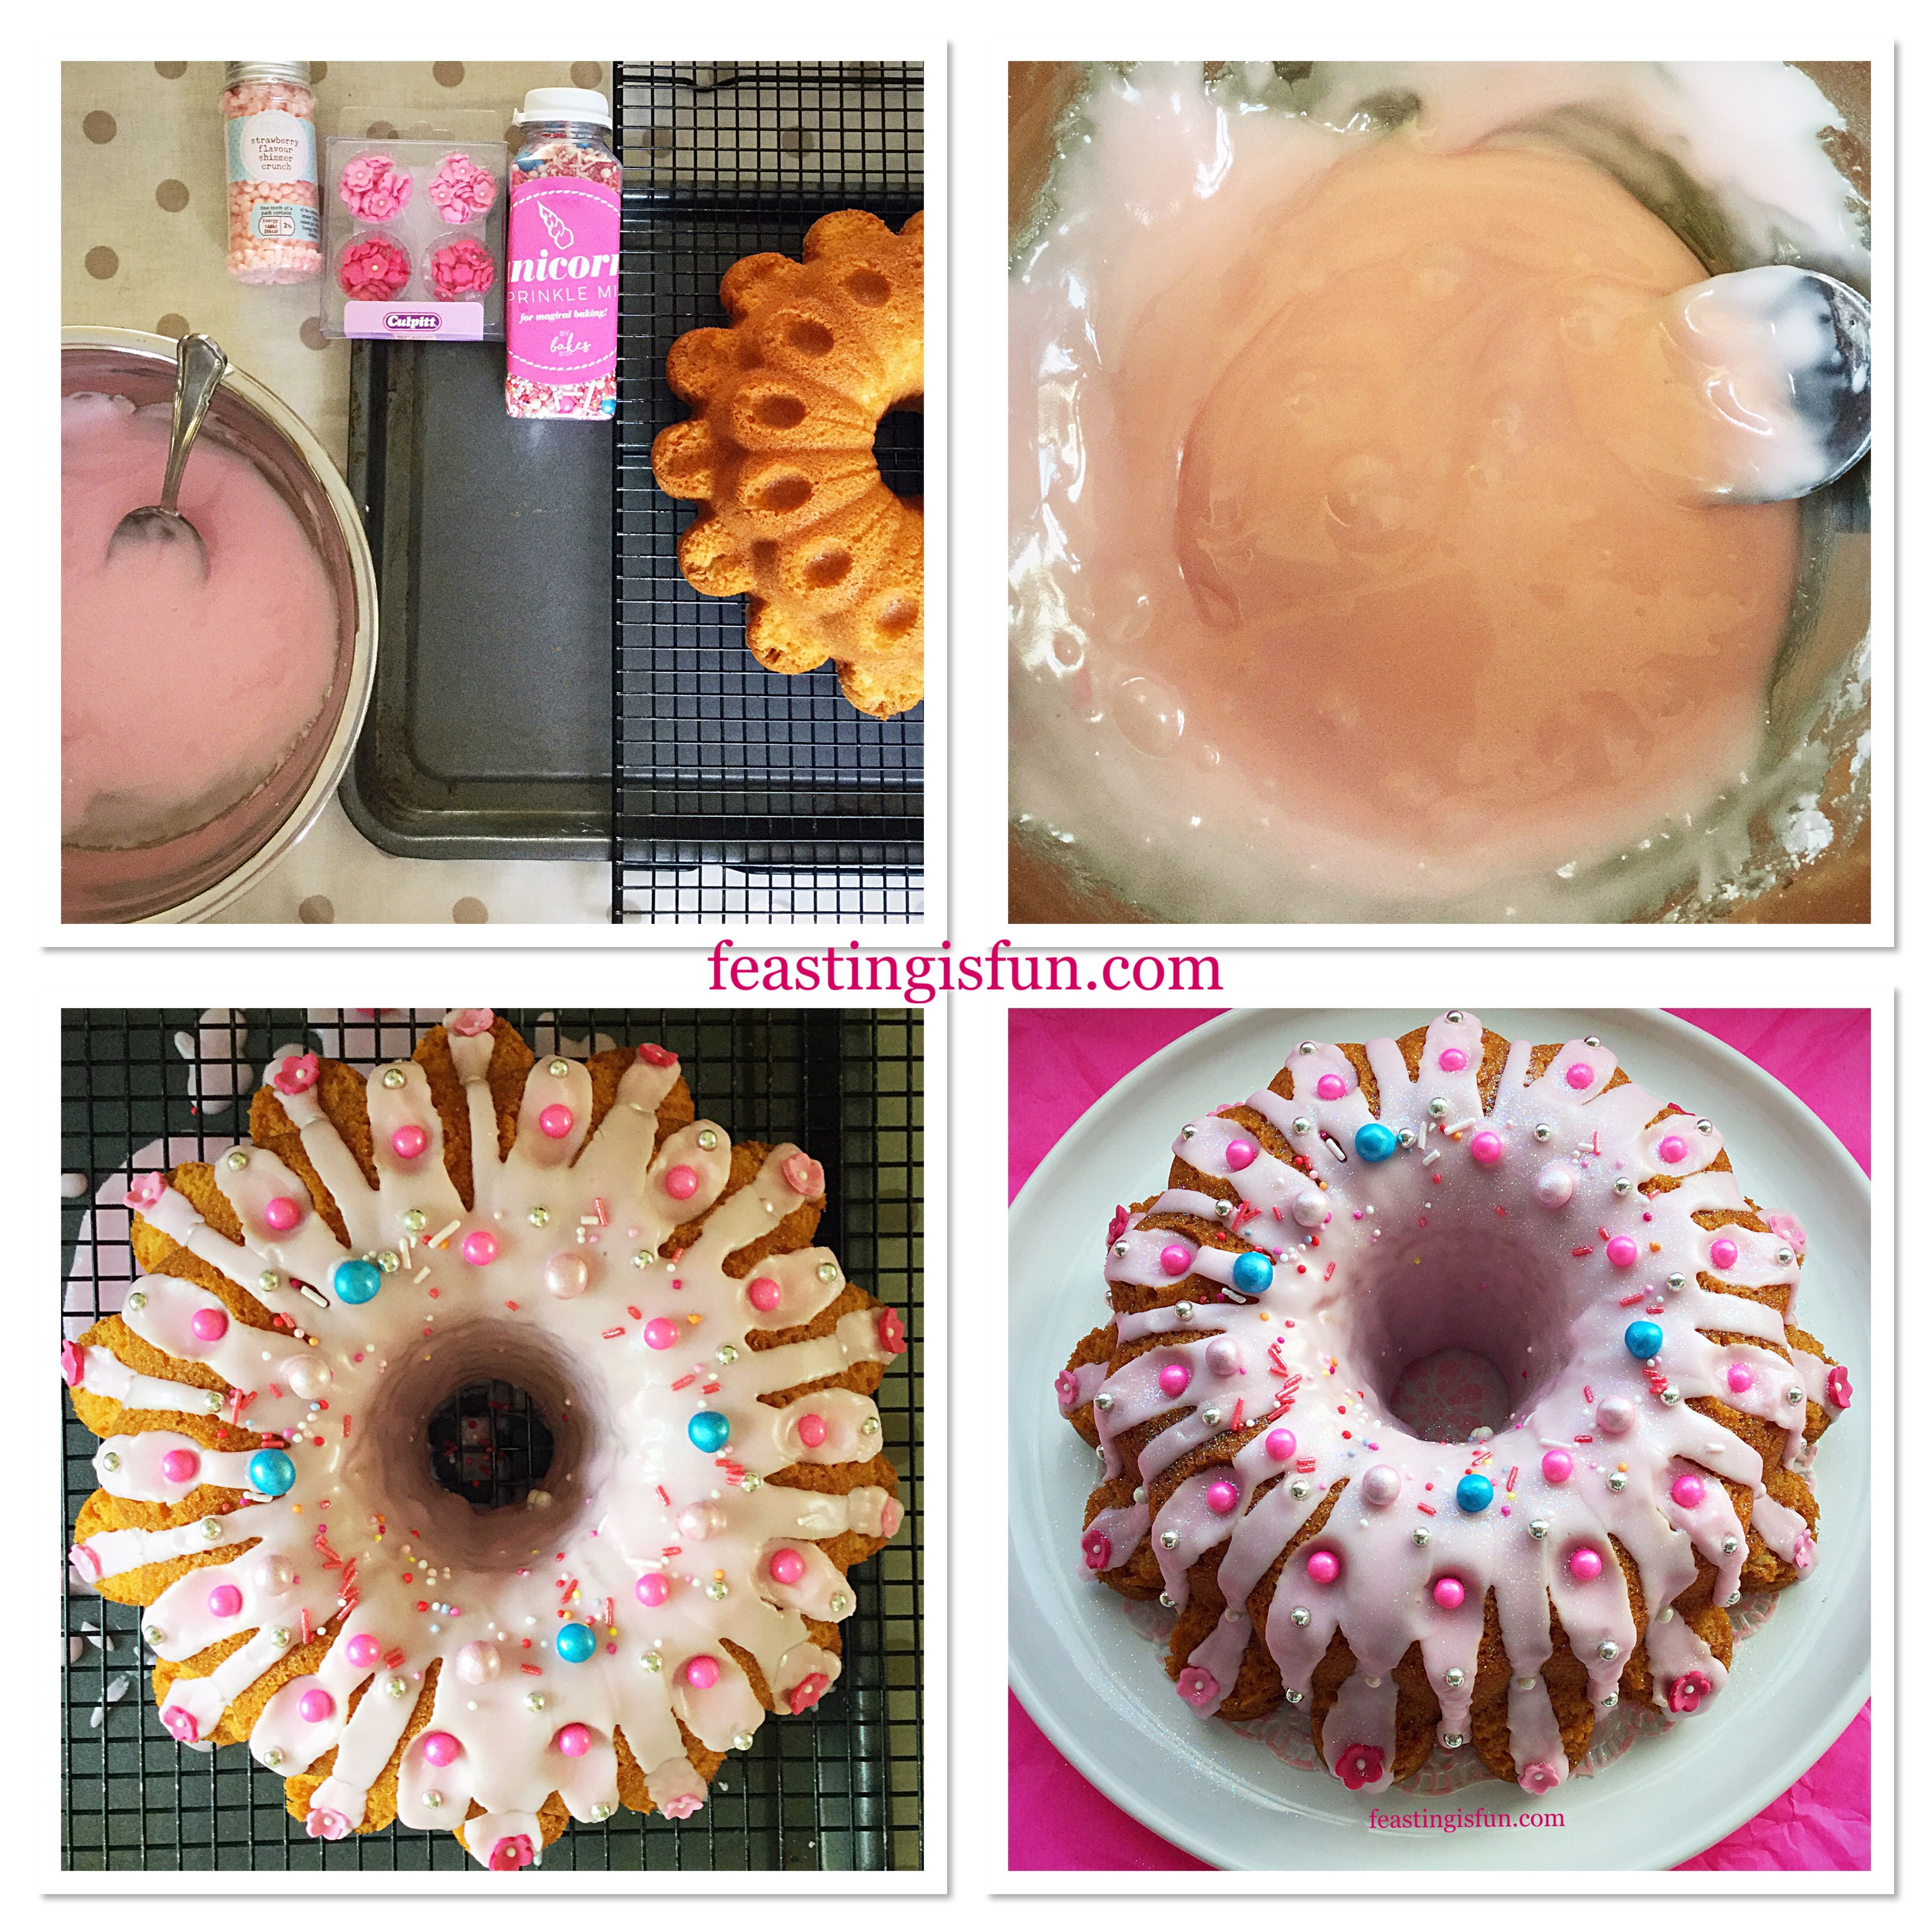
- While the cake cools, assemble everything needed to decorate the cake.
- Likewise the icing can be made.
- Sieve the flavoured icing sugar into a bowl.
- Add a few drops of water to the bowl and then, using a cocktail stick add a little of the coloured gel.
- Stir, adding drops of water to reach the desired thick, yet just dripping, consistency.
- Add extra colour now if required.
- Mix thoroughly to ensure even colouring.
- As soon as the cake is cooled place the cooling rack across a clean, large, baking tray.
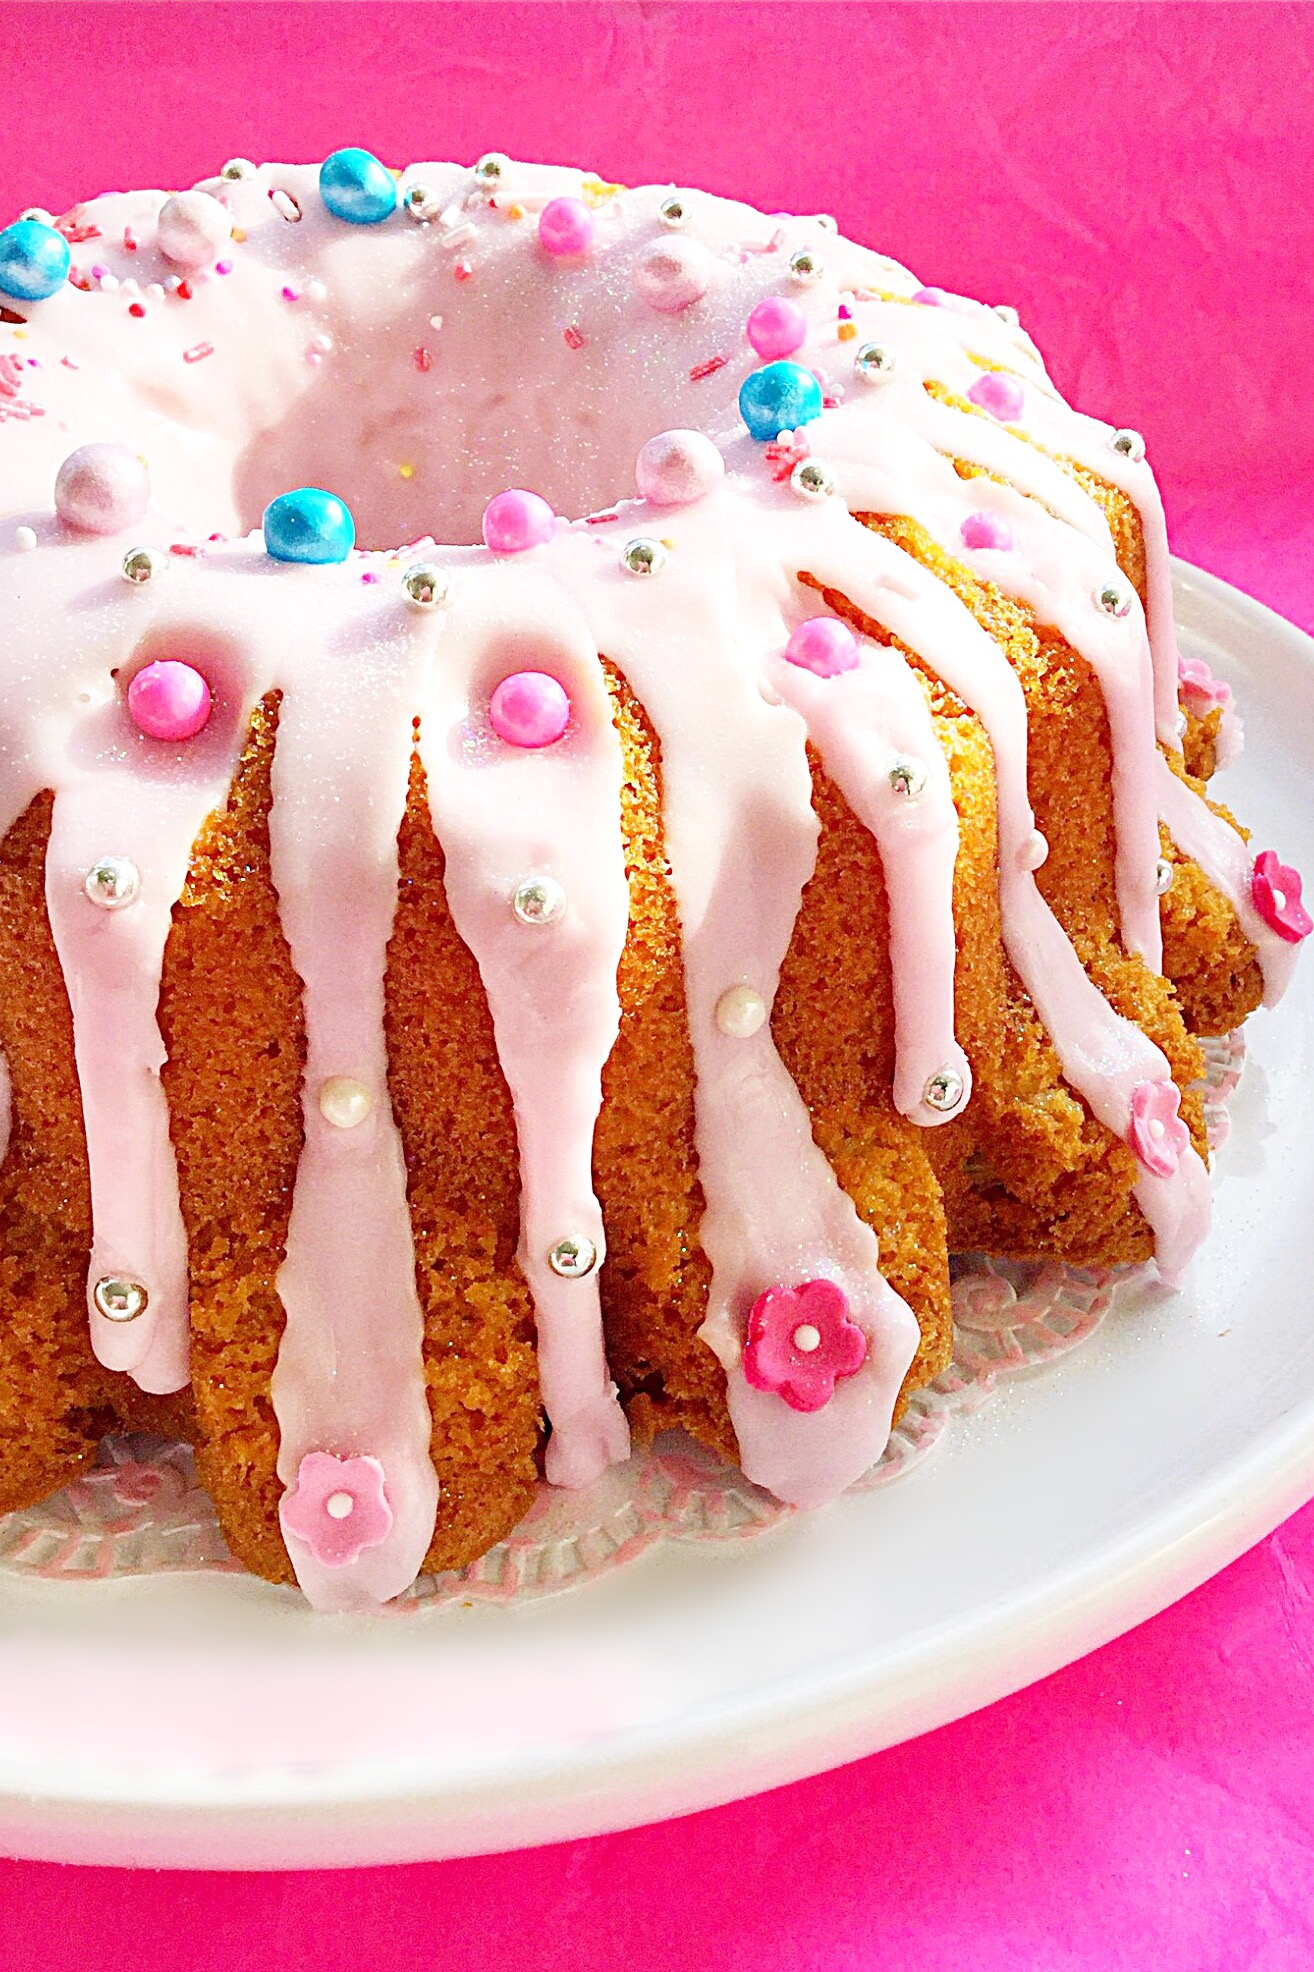
- Starting at the top of the cake, use a spoon to drizzle the icing.
- Work with the shape of the cake. Using the icing is to enhance, and emphasise. Also it aids the addition of sprinkles.
- As soon as the icing is finished decorate with sprinkles. Press the larger balls and flowers into the icing as it sets.
- Finally, place the fully decorated cake on to a plate, board or cake stand and leave to fully set.
Take a moment to look at your outstanding creation. Made by you. However the cake that you’ve designed turns out, it will be unique. Because, no other cake can impart the love and flair given while making this.
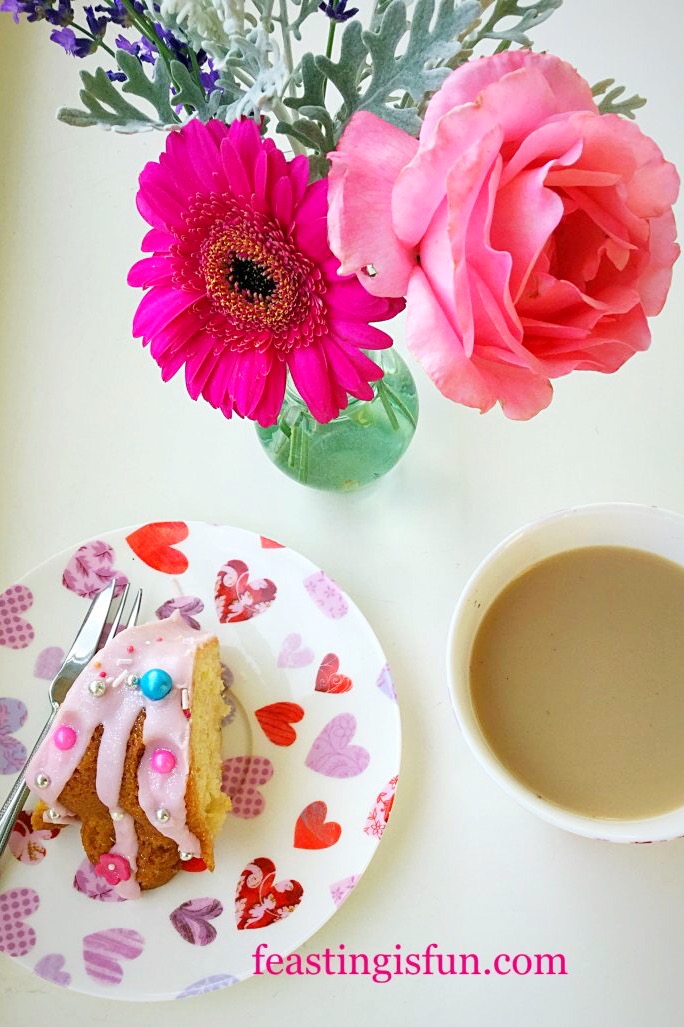
Serve this cake as party centre piece, for your princess or at a beautiful afternoon tea.
If you have enjoyed this recipe for Princess Sparkle Peach Melba Iced Cake you may also like these:
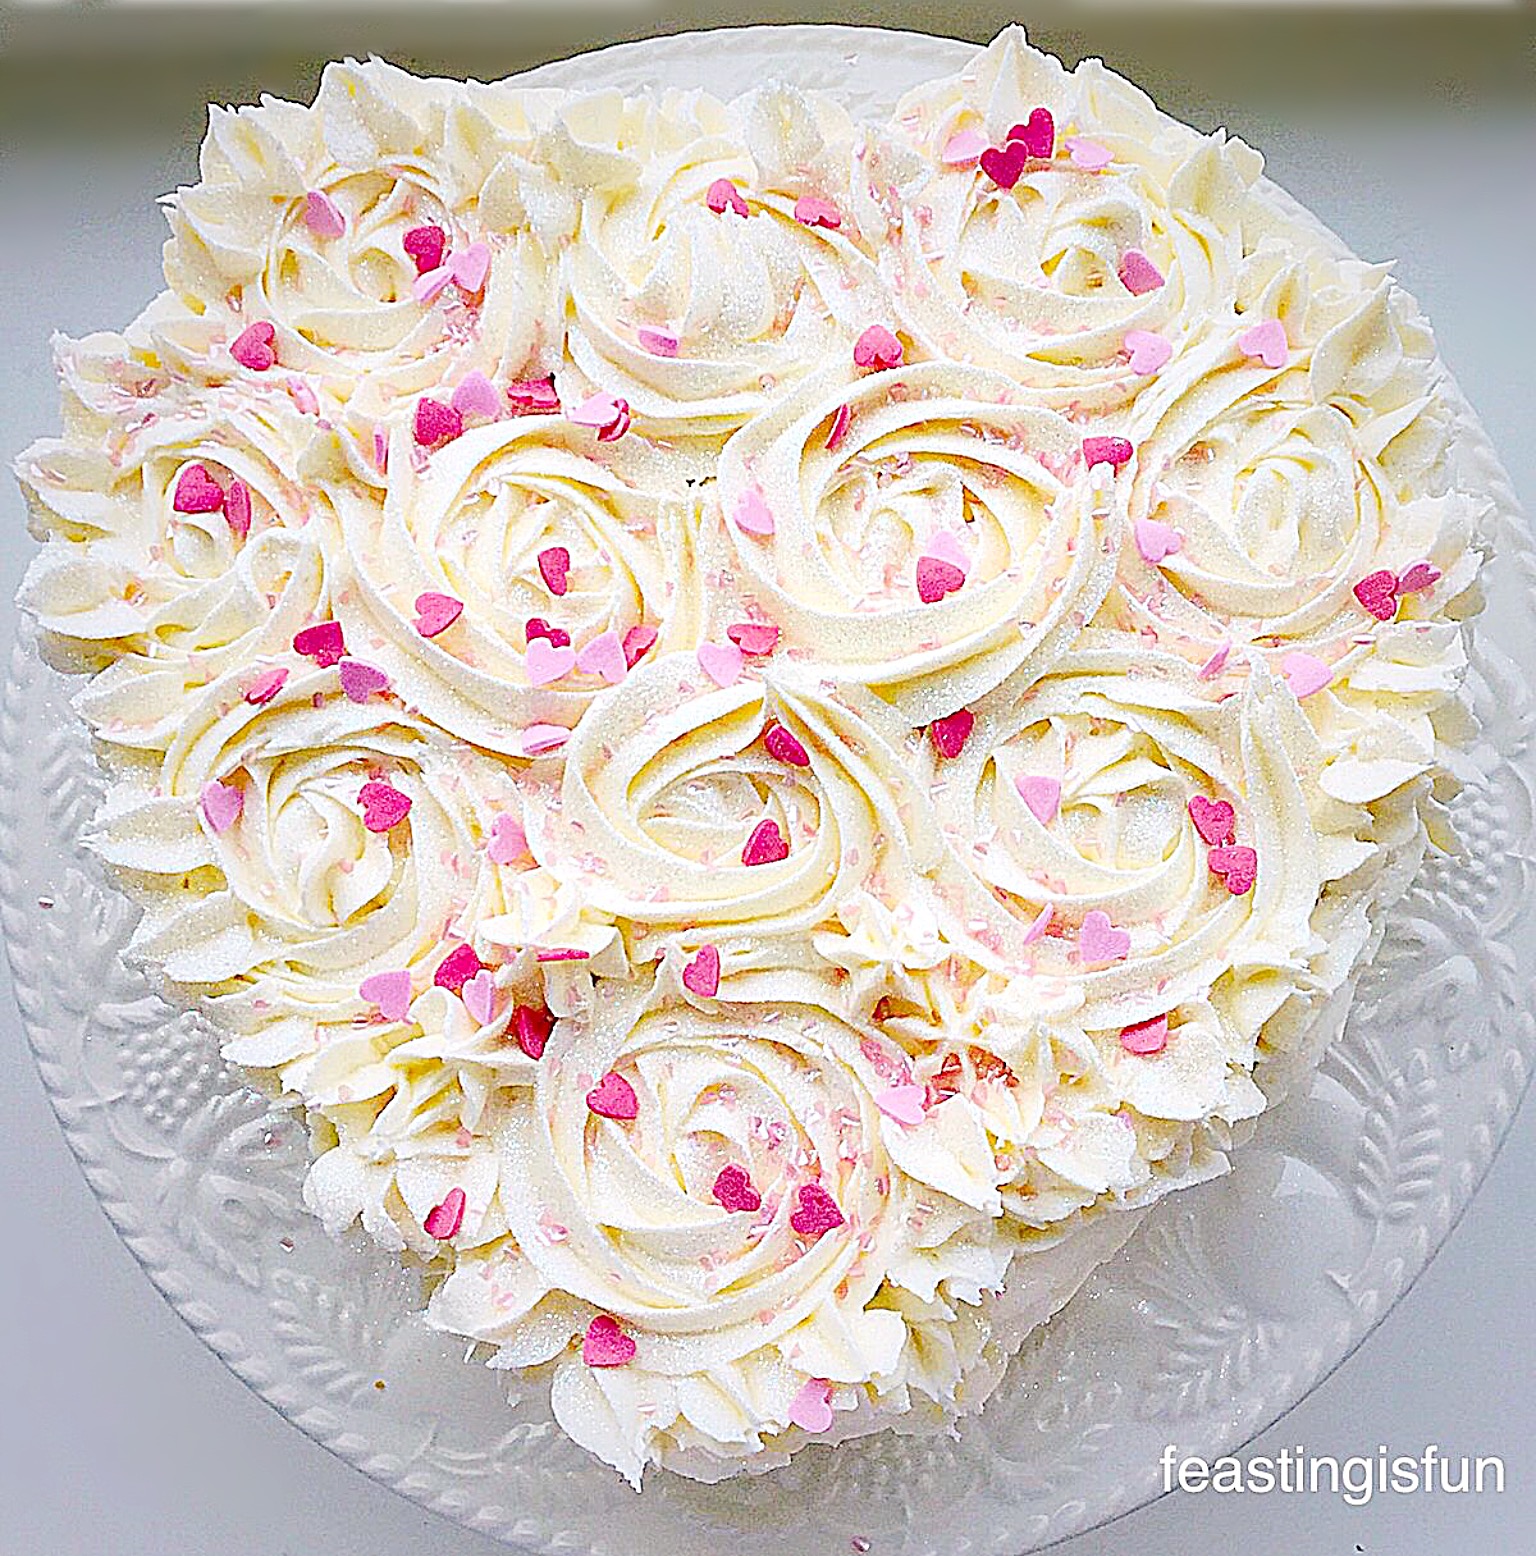
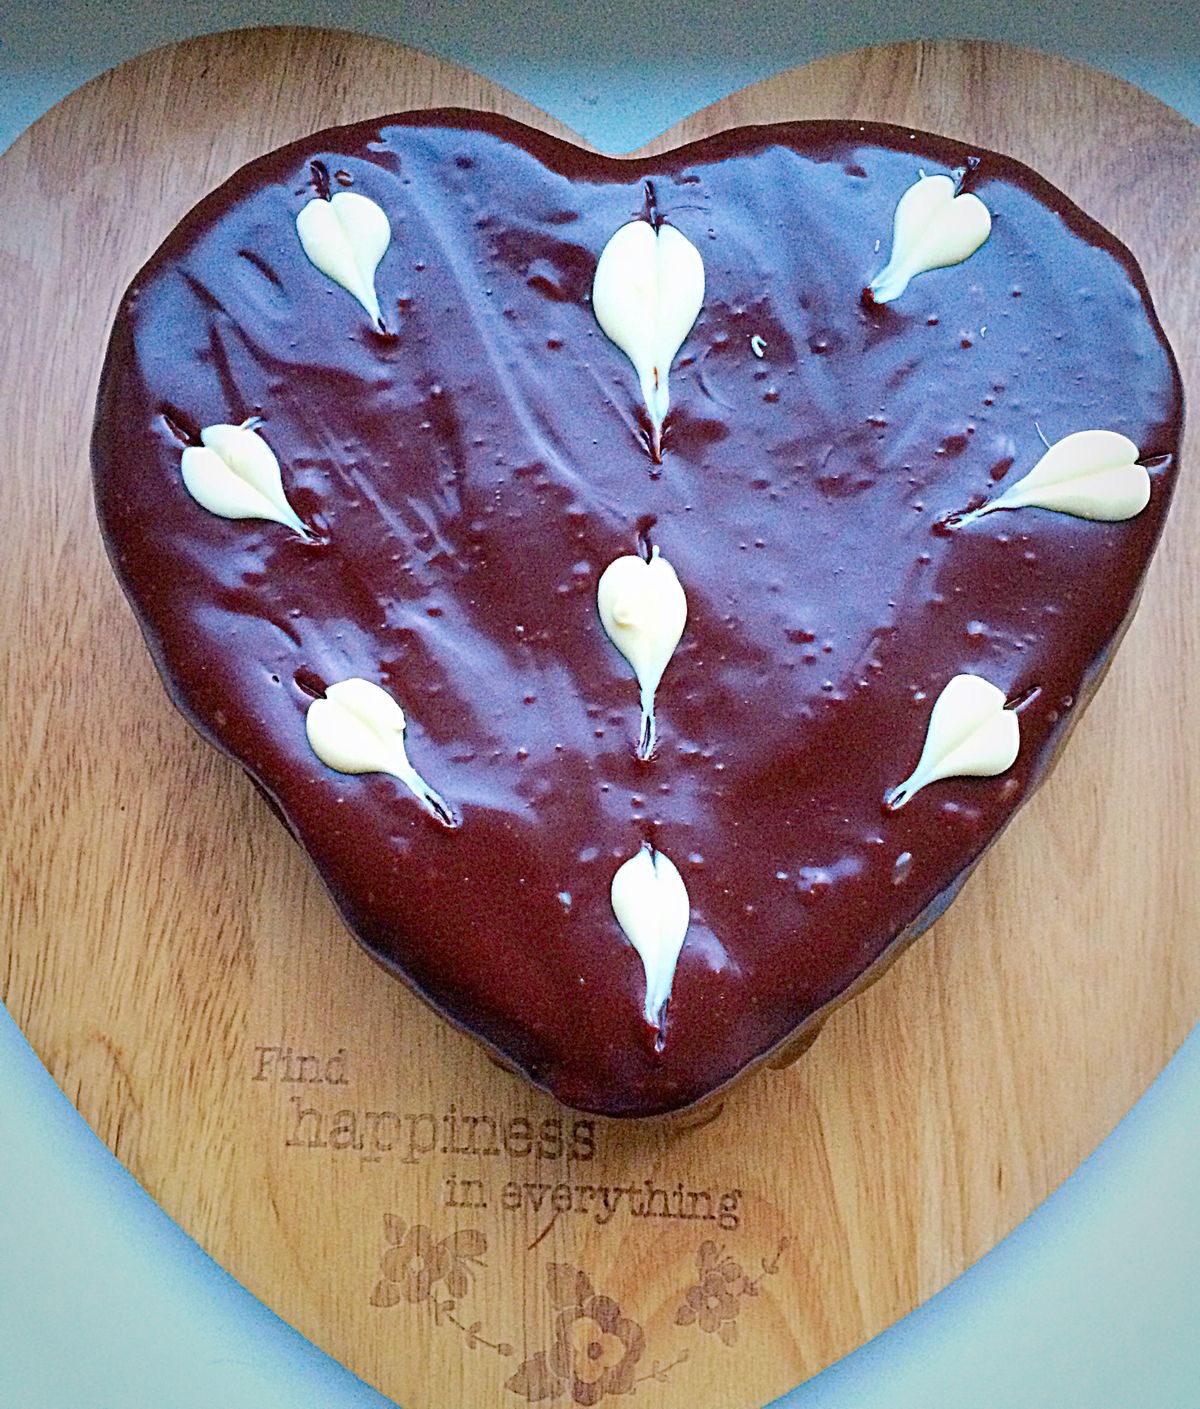
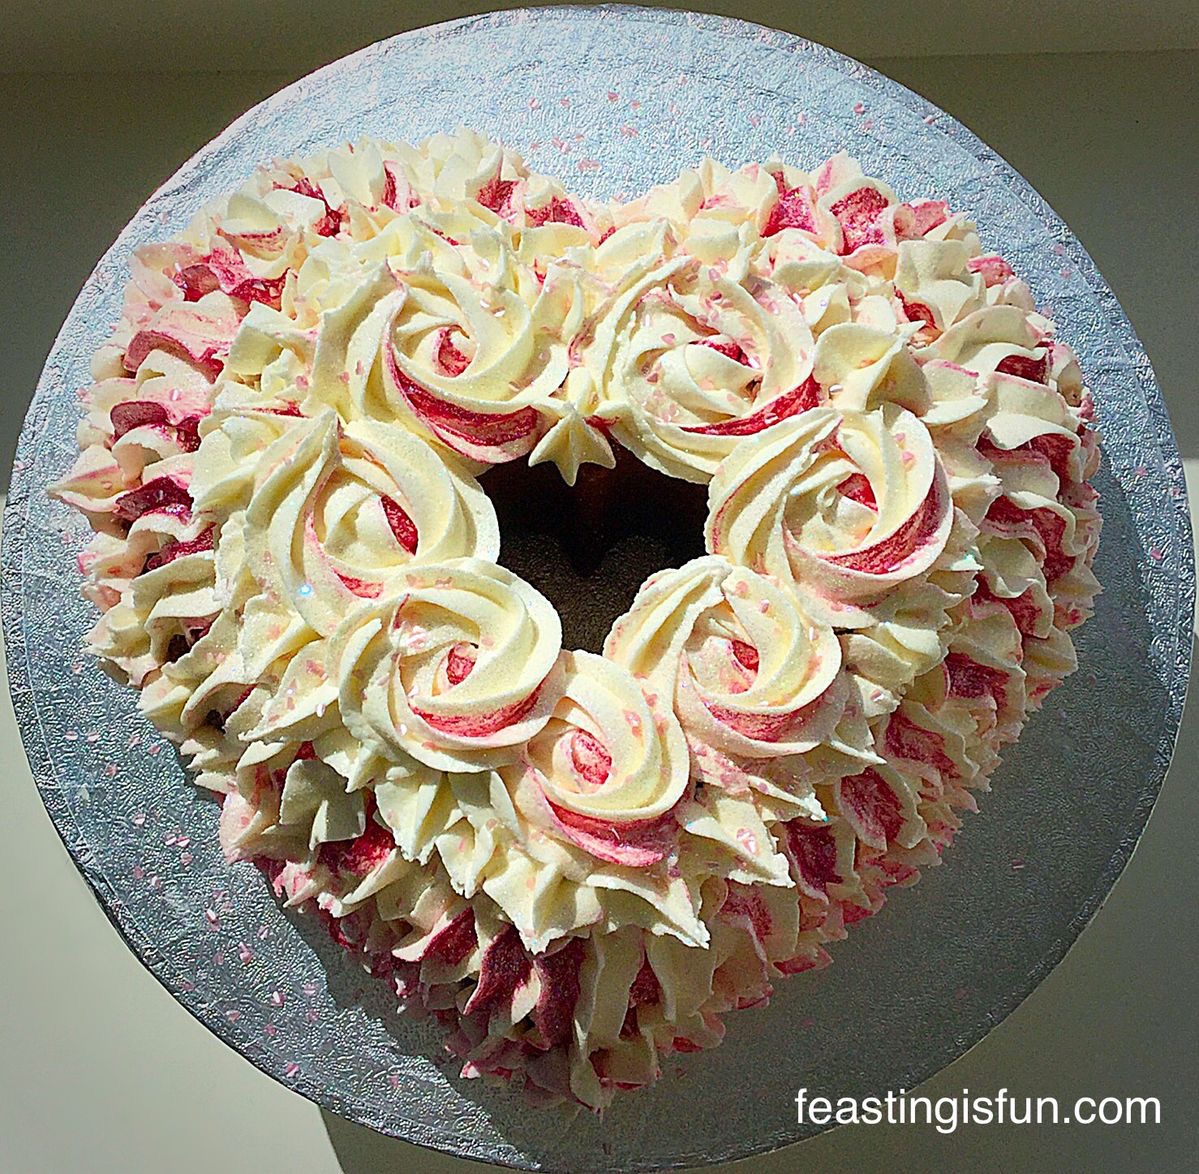
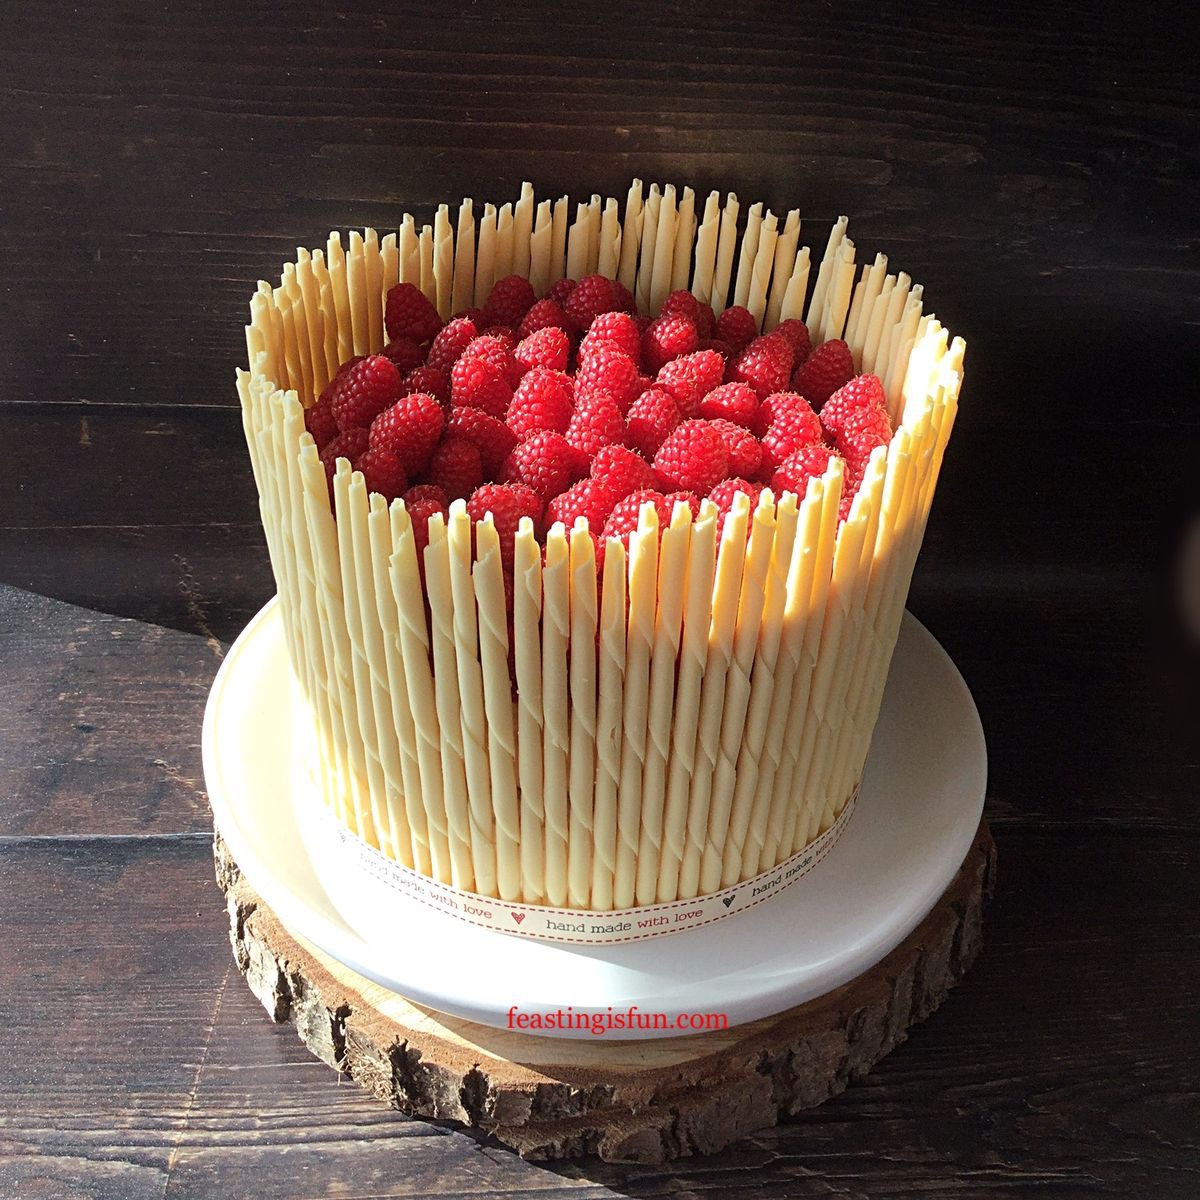
Strawberry Chocolate Vanilla Drip Cake

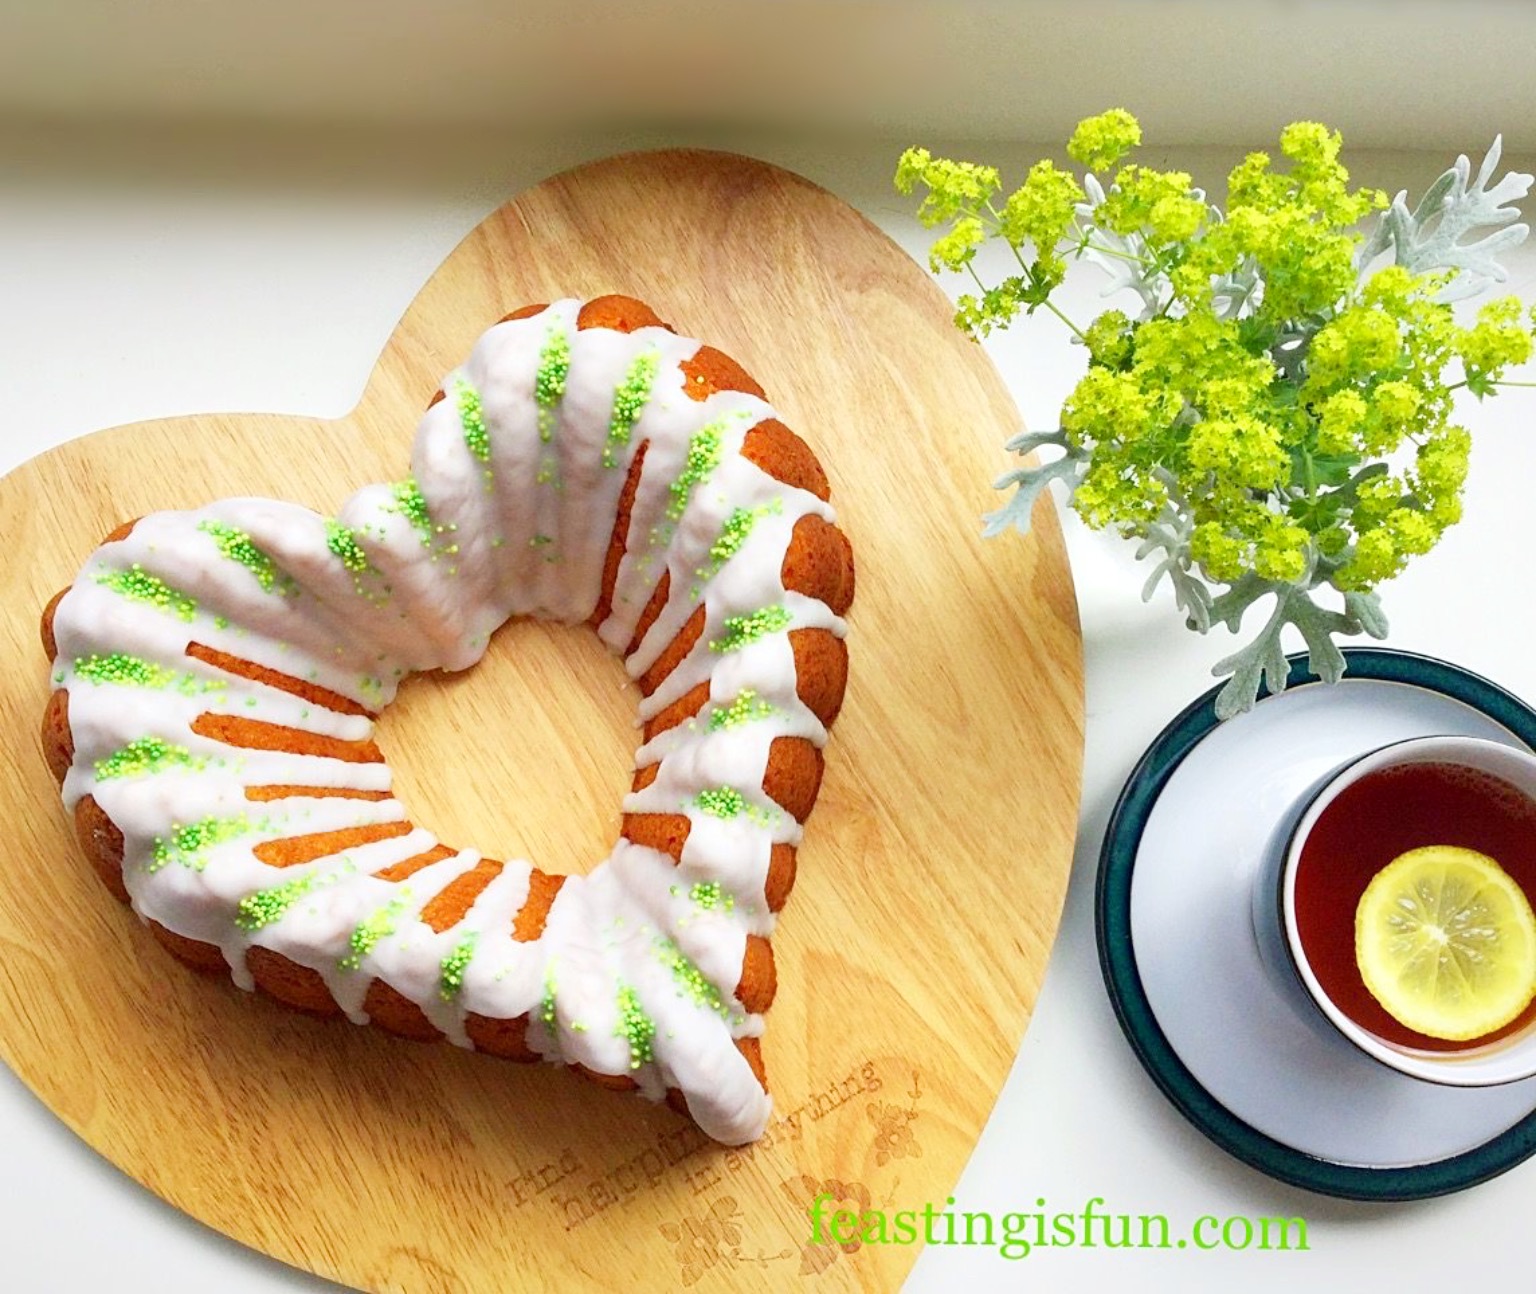
Lemon Lime Gin Heart Bundt Cake
Chocolate Heart Topped Rose Bundt Cake
Finally, I highly recommend investing in a ring cake tin or a Bundt pan. Since they create a unique, baked cake canvas on which to decorate. While there are many ways to decorate a cake, the shape of moulded tins and Bundts create an instant beautiful shape. Most importantly, if you are not a confident cake decorator, they are a wise investment.
So, whatever you are making, baking and creating in your kitchen, have fun preparing and sharing your feast.
Sammie xx
No part of this post may be reproduced or duplicated without the written permission of the owner. Please see my Disclosure Policy.