Boozy Lemon Drizzle Bundt Cake

Share
Facebooktwitterpinterestlinkedintumblr

I adore lemons. They are used in both sweet and savoury cooking in my kitchen. So, in honour of our eldest daughter’s birthday and inspired by last week’s first Great British Bake Off episode, I bring you my 100% gluten free Boozy Lemon Drizzle Bundt Cake.
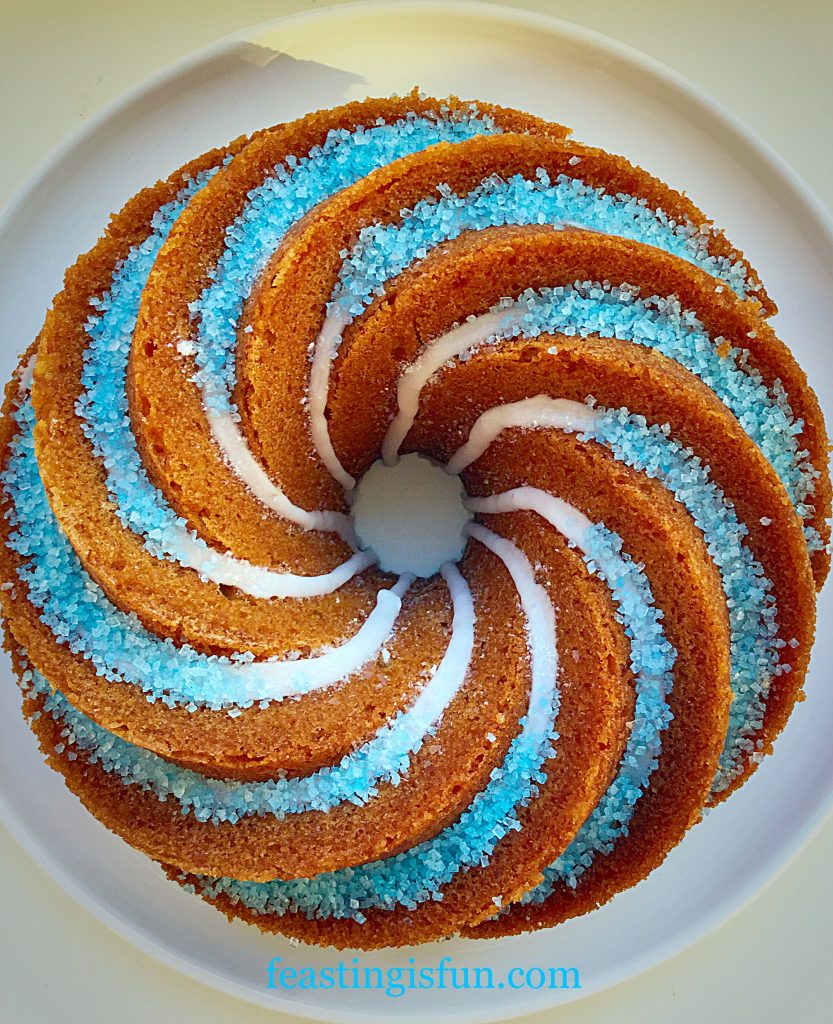
FF Boozy Lemon Drizzle Bundt Cake
Boozy Lemon Drizzle Bundt Cake moist, light with a great lemon tang.

This gluten free cake tastes no different to a regular cake made with ‘wheat’, which I am really pleased about, as it means more people can make and eat this delicious treat!

That said this Boozy Lemon Drizzle Bundt Cake can be made with regular, plain white flour if you do not need to make it gluten free.
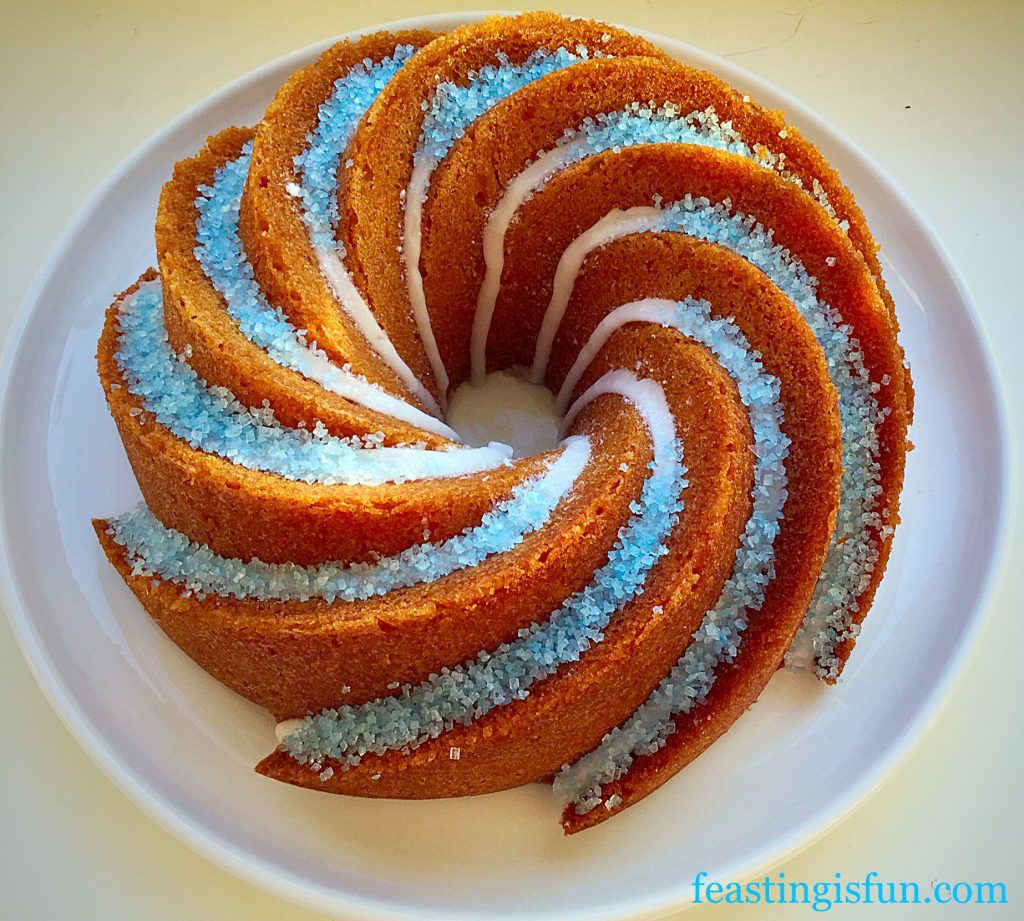
FF Boozy Lemon Drizzle Bundt Cake
Boozy Lemon Drizzle Bundt Cake as beautiful to look at as it is to eat.

Such a delightfully light, moist cake, with the tang of limoncello spiked drizzle soaked through the entire cake.

My Boozy Lemon Drizzle Bundt Cake, is a true lemon drizzle cake, in the sense that it has hot lemon syrup poured over a skewer spiked cake. Using a Bundt pan means that the syrup soaks from the bottom to the top, creating a fabulously flavoured cake.
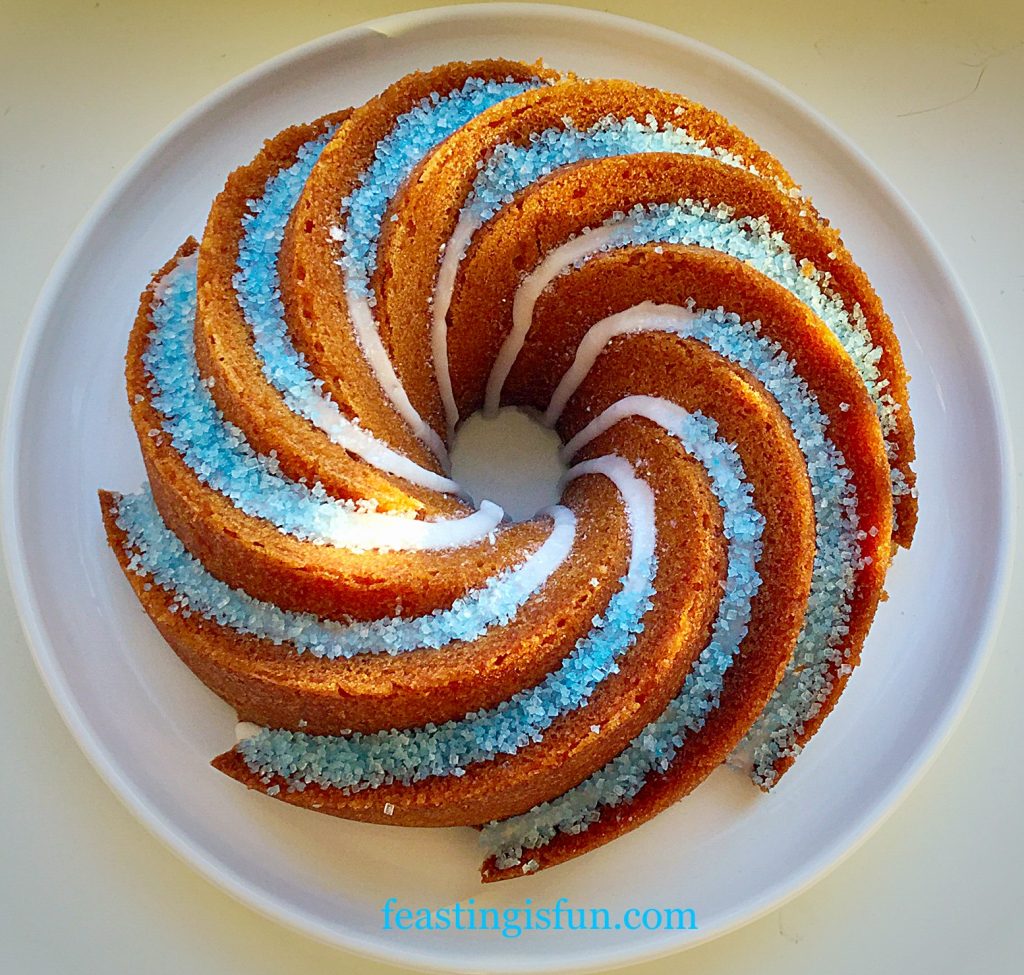
FF Boozy Lemon Drizzle Bundt Cake
Boozy Lemon Drizzle Bunt Cake such a stunning design.

As this cake was made for my daughter, to be shared with family and friends, I was very restrained when it came to adding the limoncello. For adults you could easily double, or triple the amount stated. Remember though it is the lemon flavour that needs to hit the palette first. Don’t knock everyone out with too much vodka 😉.
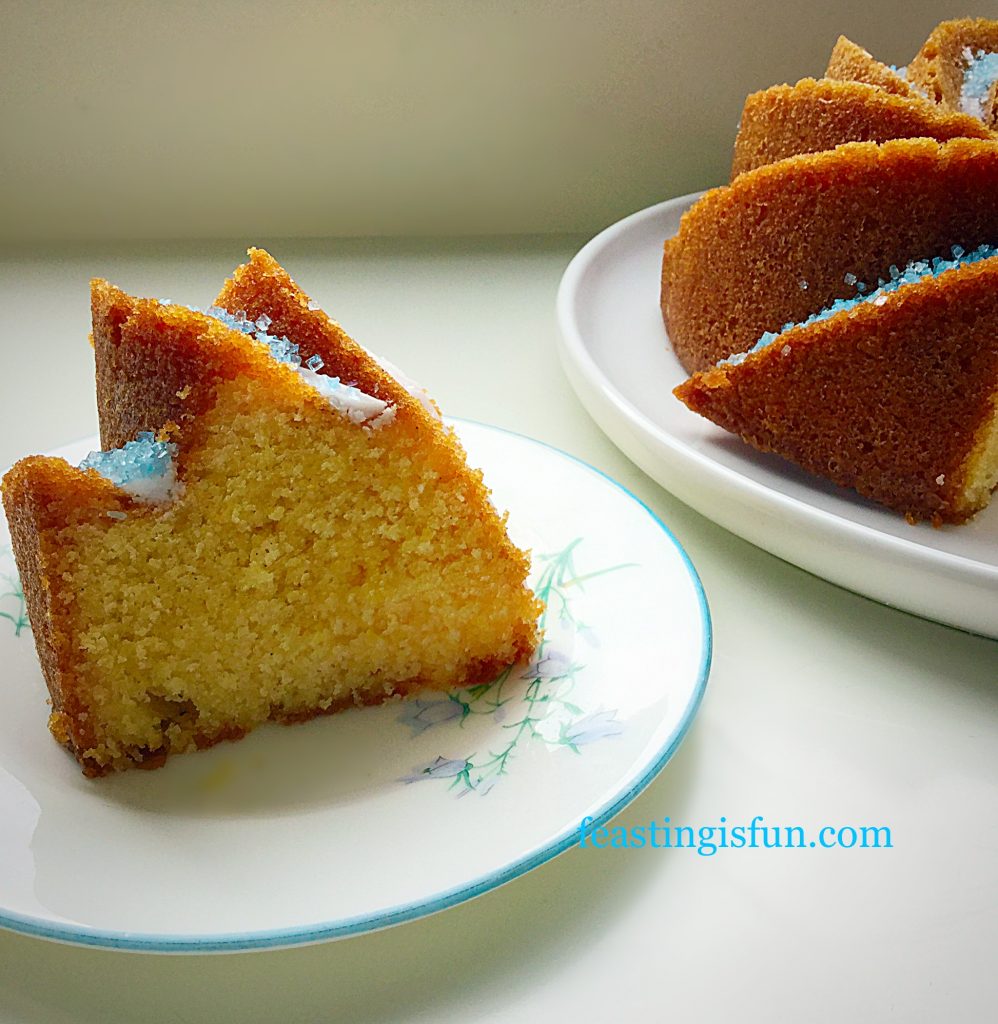
FF Boozy Lemon Drizzle Bundt Cake
Boozy Lemon Drizzle Bundt Cake with a damp, drizzled crumb.

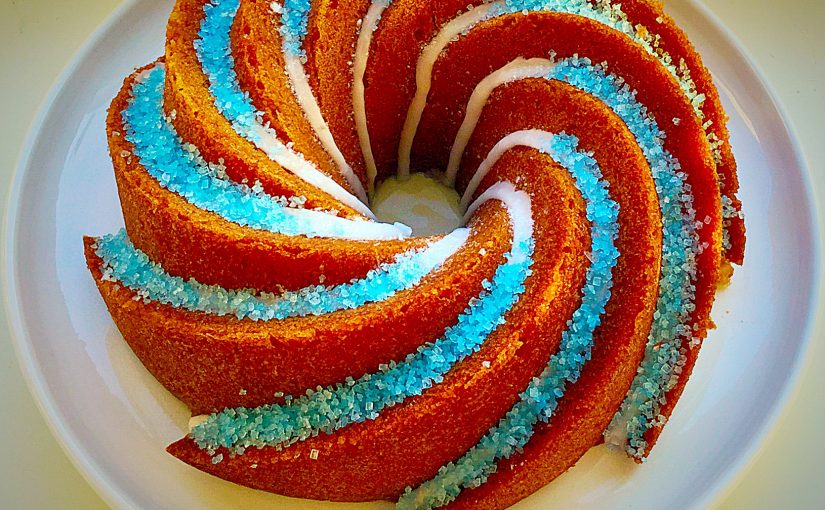
The colours used to decorate this cake are simply her favourite. I piped a line of thick, lemon icing along each ridge of the cake and then added sky blue sugar sparkles, pressing them in gently to the icing so they would stay. A finial dusting of white, edible glitter in the centre adds the necessary sparkle, even if it doesn’t show up in all of the photographs.

I chose to use the Heritage Bundt Pan by Nordicware.

Recipe: Boozy Lemon Drizzle Bundt Cake serves 10-12

I highly recommend Wilton cake release spray to grease the Bundt pan, alternitavely use melted butter and brush every part of the inside of the pan, then add 1 tablespoon of gluten free flour, tip the pan around until it is completely covered and tip out any excess flour – I cannot guarantee the same sharp edges using the butter/flour method.

For the Cake

275g/10oz Unsalted Butter softened to room temperature

275g/10oz  Caster Sugar

1/4tsp Salt – I use Maldon Sea Salt

275g/10oz Certified Gluten Free Flour – I use Doves Farm

2tsp Baking Powder – I use Waitrose as it is gluten free

1tsp Vanilla Extract – I use Nielsen-Massey extracts

1tsp Lemon Extract or juice of half a lemon

Zest of one lemon

6 Large Free Range Eggs

For the Drizzle

Approx 50ml Freshly Squeezed Lemon Juice – juice of 2 lemons

Approx 50ml of tap water to make up to 100ml with the lemon juice

100g/4oz Caster Sugar

2tbsp Limoncello – more can be added for a pronounced flavour if desired

Icing to Decorate the Cake

200g/7oz White Icing Sugar

Juice of one whole lemon – approx 30mls, make up to volume with water if needed

Optional – sprinkles and edible glitter – ensure they are gluten free

Method: Preheat the oven to 170C/150C fan, gas mark 3.5

  • Prepare the Bundt pan by spraying or brushing on cake release, ensuring every part of the inside of the pan is covered.
  • Into a large bowl add the butter, sugar and salt. Whisk/beat until pale and creamy.
  • Weigh the gluten free flour and sift into a separate bowl with the baking powder.
  • Add the 6 eggs to the butter/sugar mixture and 2 tablespoons of the pre weighed, sifted flour – this will stop the mixture from splitting, which can lead to a denser cake. Whisk/beat the eggs into the butter and sugar until you have a fully combined, light mix.
  • Add the rest of the flour/baking powder, the lemon extract, vanilla and lemon zest.
  • Using a metal spoon fold all the ingredients together until they are fully combined.
  • Spoon the cake batter into the prepared Bundt pan.
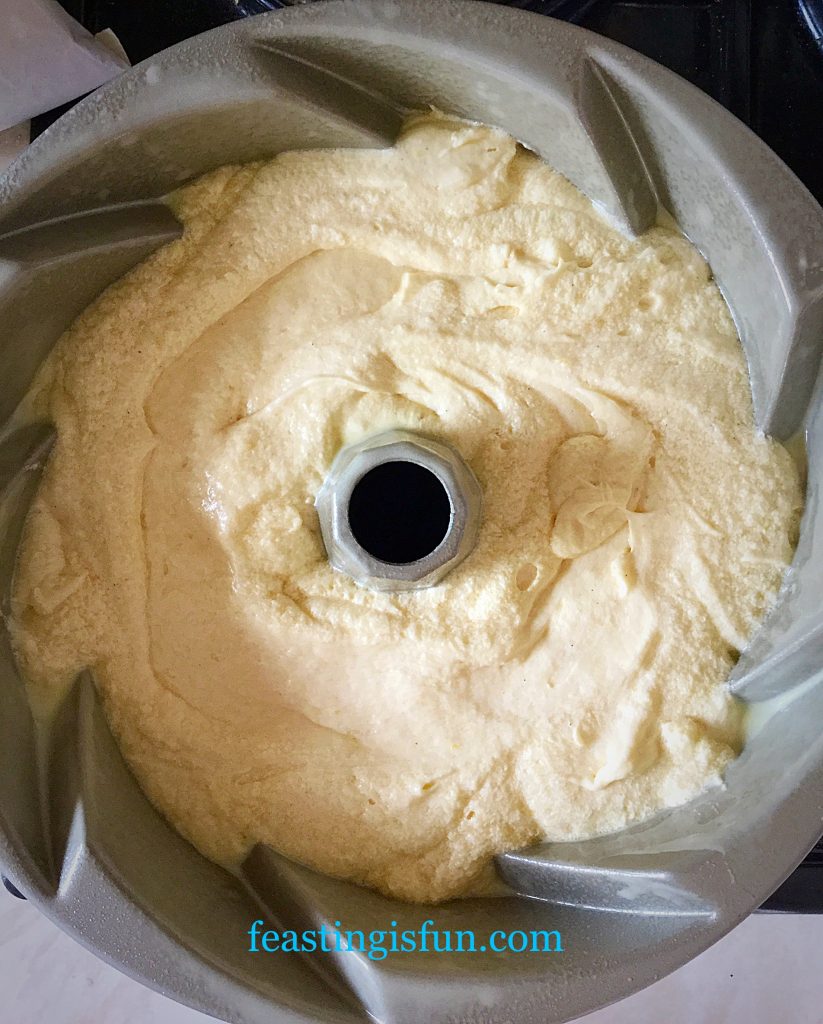
FF Boozy Lemon Drizzle Bundt Cake
Boozy Lemon Drizzle Bundt Cake ready for the oven.
  • Place the Bundt pan in the centre of the preheated oven and bake for 50-60 minutes.
  • Whilst the cake is baking make the drizzle:
  • Squeeze the strained juice of 2 lemons into a measuring jug, make the volume up to 100ml with tap water. Place 100g of sugar into a small saucepan and add the lemon juice liquid to it. Swirl to mix and place over a medium heat. Do not stir! Swirl occasionally, until the sugar is fully dissolved and the liquid starts to bubble. Remove the saucepan from the heat. Add your desired amount of limoncello and place a lid on the saucepan.
  • The cake is cooked when it is golden in colour, coming away from the sides of the pan and an inserted skewer comes out clean.
  • Once baked remove the cake from the oven. Allow the cake to cool for 10 minutes in the Bundt pan.
  • After 10 minutes use a wooden skewer to create holes right through the cake. I poked approximately 25 holes in the cake, this will allow the syrup to moisten the entire cake, not just the bottom – remember the Bundt cake is upside down.
  • Drizzle over the warm, boozy, lemon syrup, making sure you cover the entire base of the cake.
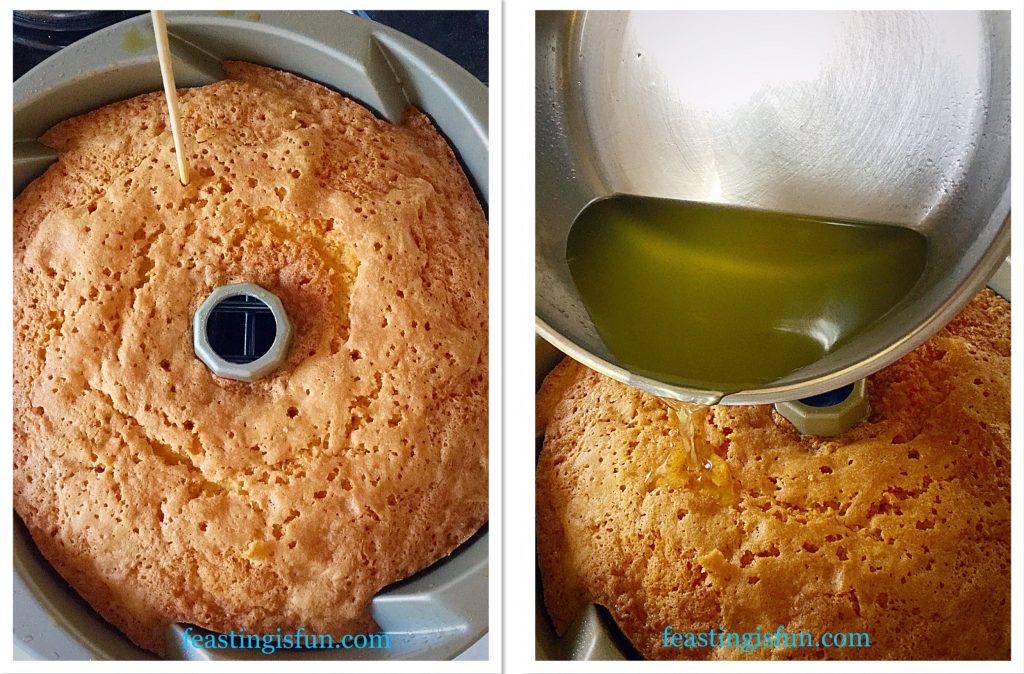
FF Boozy Lemon Drizzle Bundt Cake
Piercing holes with a wooden skewer that allow the boozy lemon drizzle to soak through.
  • Leave the cake for a further 5 minutes in the pan, to allow the drizzle to soak right through to the top of the cake.
  • Now turn the Boozy Lemon Drizzle Bundt Cake out on to a cooling rack and allow to cool completely.
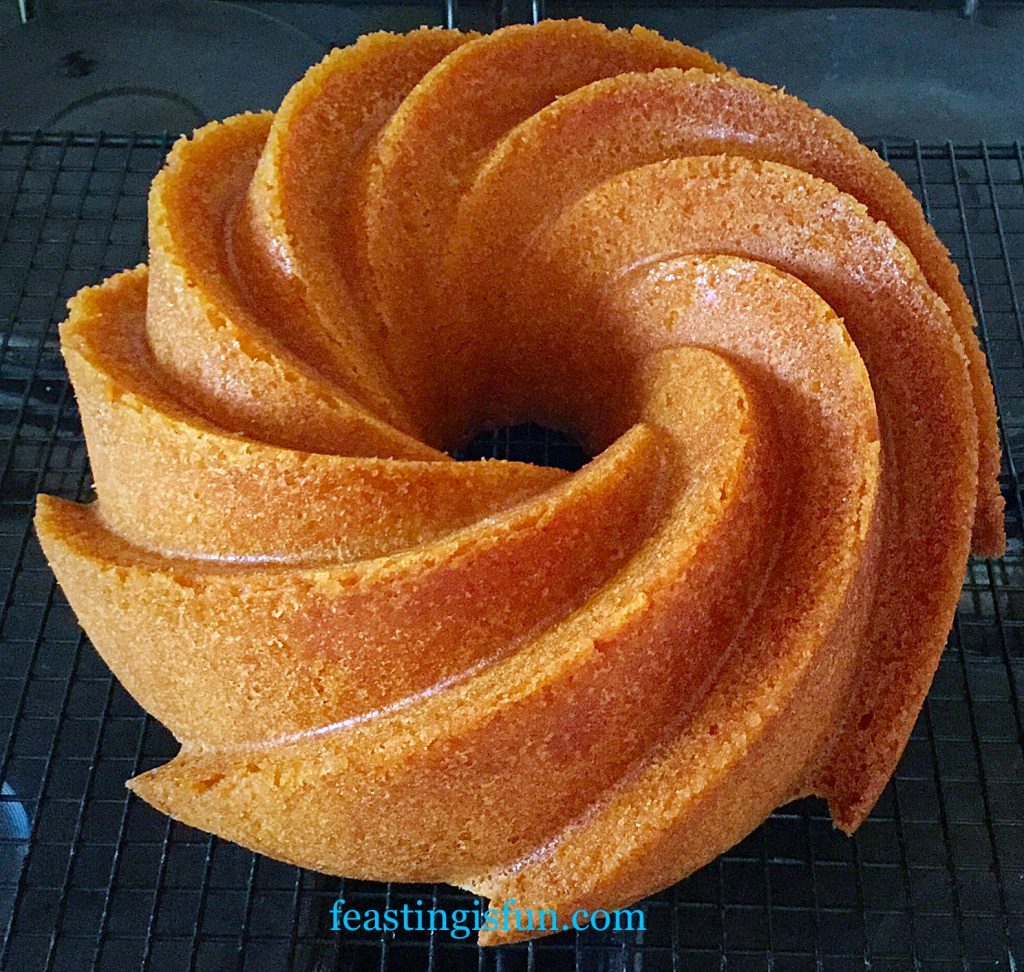
FF Boozy Lemon Drizzle Bundt Cake
Beautifully moist cake with clean, deep, swirling lines.

To Decorate the Boozy Lemon Drizzle Bundt Cake:

  • Sift the icing sugar into a bowl. Add 30mls of lemon juice and stir.
  • Add extra water to create a thick icing, that can still be piped.
  • Spoon the thick icing into a disposable piping bag (or piping bag fitted with a 3-4mm piping nozzle). Snip the end off of the disposable bag to leave a 3-4mm opening.
  • Place the cooling rack over a large baking tray – this will catch all the drips.
  • Starting from inside of the Bundt hole pipe the icing, following the lines of the swirl.  Keep the pressure steady and pipe into the groove of the swirl, finishing when you reach the edge. Pull the bag away from the cake and any excess icing will drip through the cooling rack.
  • Continue working around each swirl until the cake is completed.
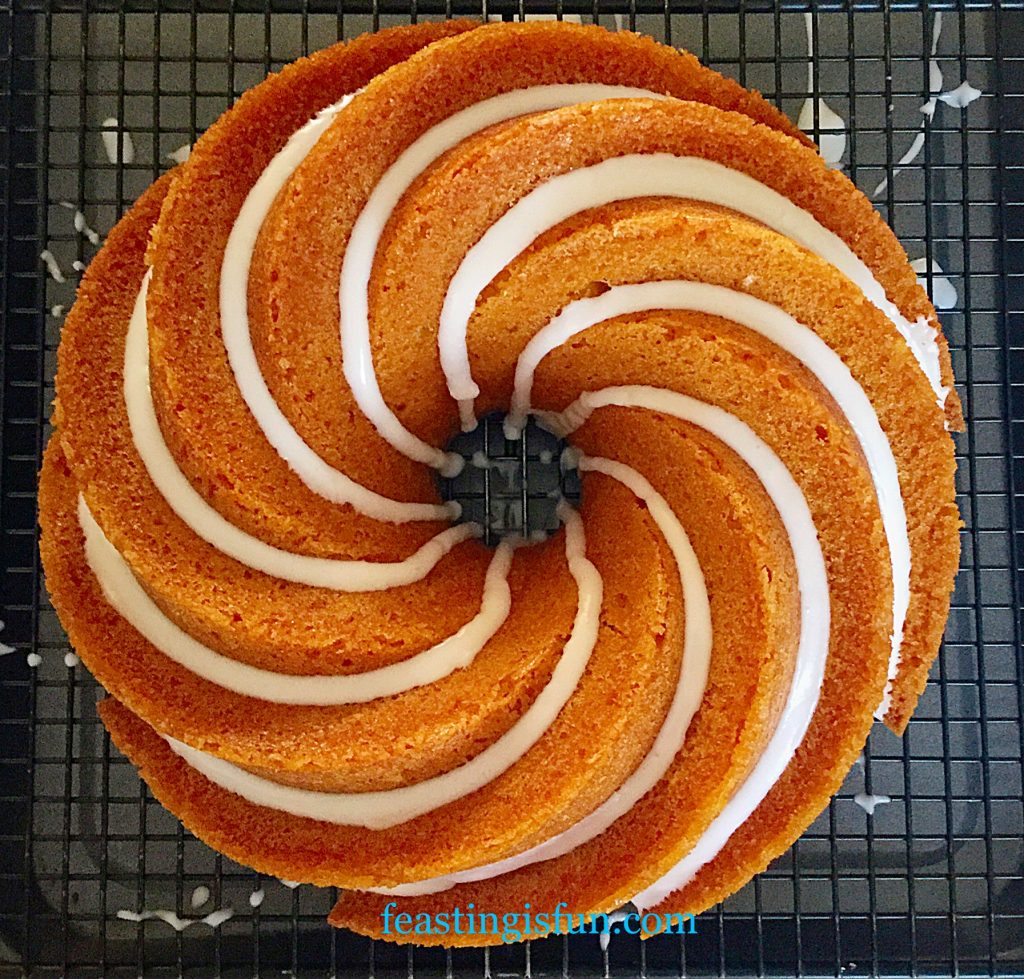
FF Boozy Lemon Drizzle Bundt Cake
Boozy Lemon Drizzle Bundt Cake looks perfect just like this.
  • If adding sprinkles, either follow my design, adding them just away from the centre of the cake, or let your imagination take over and create your own design!
  • Finally add a dust of (I used) white edible glitter, to give your cake some added sparkle.
  • Carefully transfer the cake to a board/stand/plate.
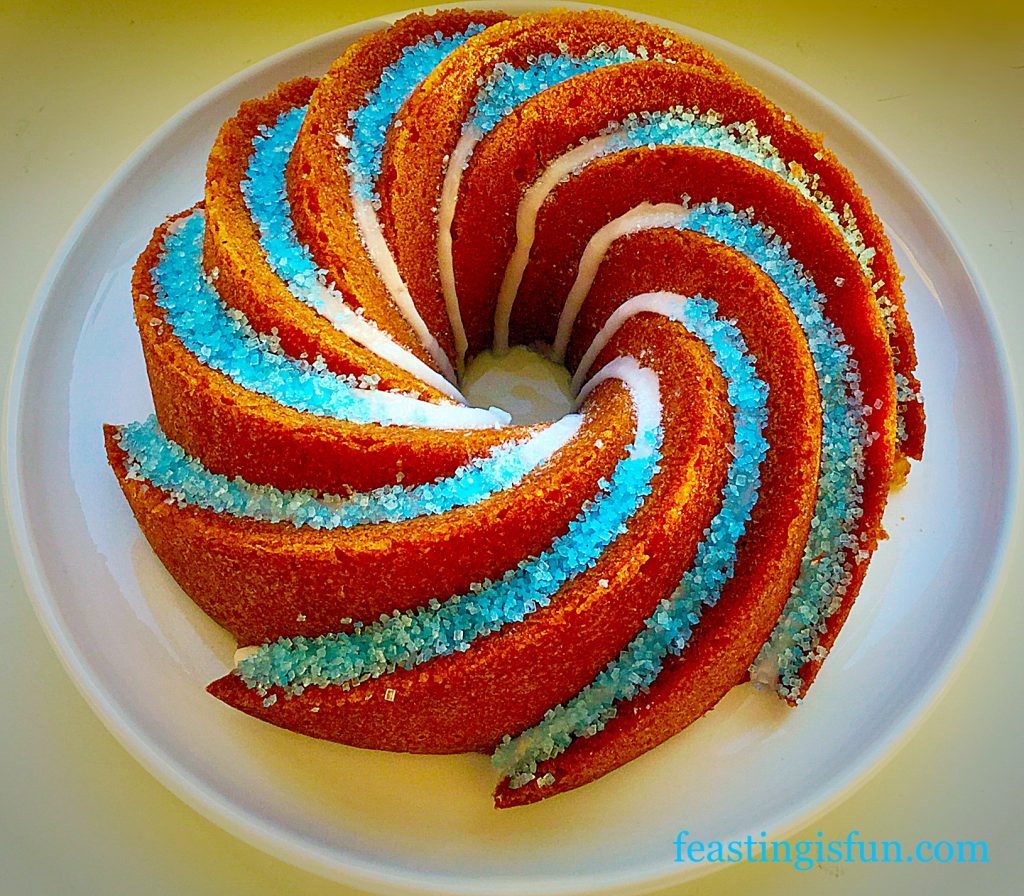
FF Boozy Lemon Drizzle Bundt Cake
Boozy Lemon Drizzle Bundt Cake simply stunning to look at!

Take photos of your beautiful creation.

Then serve it sliced with a cup of tea or coffee, or if it’s adults only, a shot of limoncello alongside 😉.
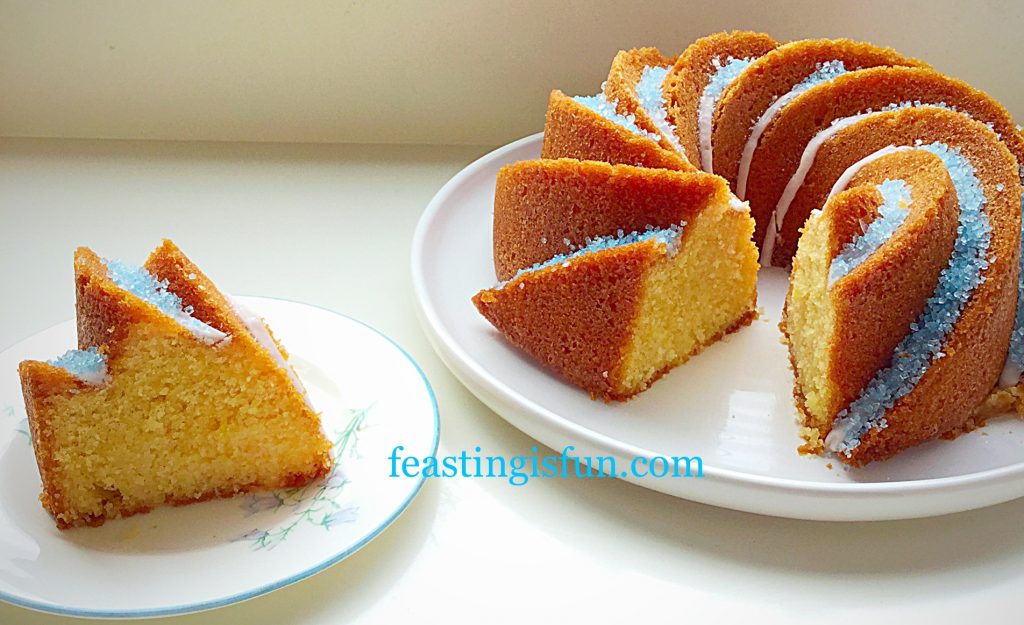
FF Boozy Lemon Drizzle Bundt Cake
Boozy Lemon Drizzle Bundt Cake definitely made for sharing.

I am so pleased our daughter chose the light blue sprinkles for this cake. To be honest, it isn’t a colour I would put with a lemon cake and yet it looks so beautiful. She has a brilliant eye for design and I regularly ask her opinion on colour schemes/layouts and photographs for Feasting is Fun.

Thank you Star and very happy birthday.

If you have enjoyed this recipe for Boozy Lemon Drizzle Bundt Cake you may also like these:
Lemon Blueberry Bundt Cake

FF Boozy Lemon Drizzle Bundt Cake
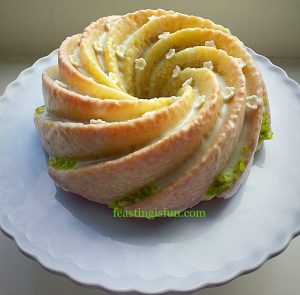
Lemon Blueberry Bundt Cake.

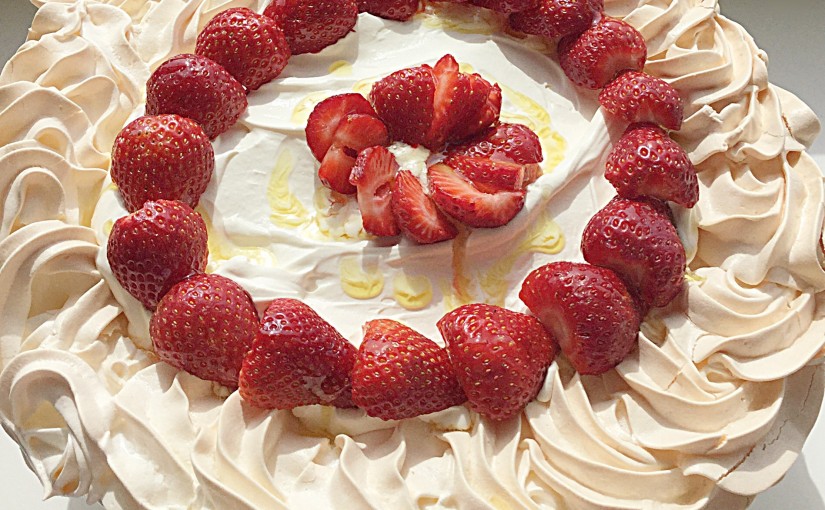
Lemony Strawberry Pavlova

FF Boozy Lemon Drizzle Bundt Cake
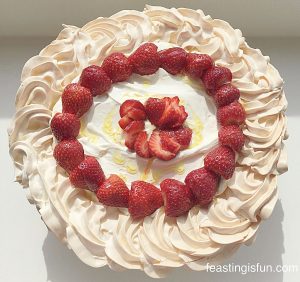
Lemony Strawberry Pavlova also gluten free.

Swirl Lime Drizzle Cake

FF Boozy Lemon Drizzle Bundt Cake
Swirl Lime Drizzle Cake

I have other gluten free cake recipes such as my Marshmallow Frosted Mango Cupcakes and my Strawberry Whipped Cream Giant Doughnut.

My aim is to make as many recipes as possible gluten free. Obviously this is going to take some time to retest recipes and make adjustments as needed.

Next on the agenda is cracking gluten free pastry. I’ve been asked many times for a recipe, so I will be working on that over the coming weeks.

Whatever you are making, baking and creating in your kitchens, remember food always tastes better when it’s shared. So why not invite your neighbours round for a cup of tea and a slice of something delicious?

Sammie xx

My Boozy Lemon Drizzle Bundt Cake has also been submitted for this weeks #GBBOTwitterBakeAlong on Twitter. Click on the hashtag on Twitter and join in the Baking Community fun!
 

Share
Facebooktwitterpinterestlinkedintumblr

Lemony Strawberry Pavlova

Share
Facebooktwitterpinterestlinkedintumblr

Hello my lovely readers. I have a rare recipe on my blog for you today – a dessert. I was shocked when I realised just how few dessert recipes I have. It just goes to show, we may have cake or cookies in the tin, but I rarely make dessert, much to my Hubby’s disappointment. So in order to correct this I have made a delicious Lemony Strawberry Pavlova!

FF Lemony Strawberry Pavlova
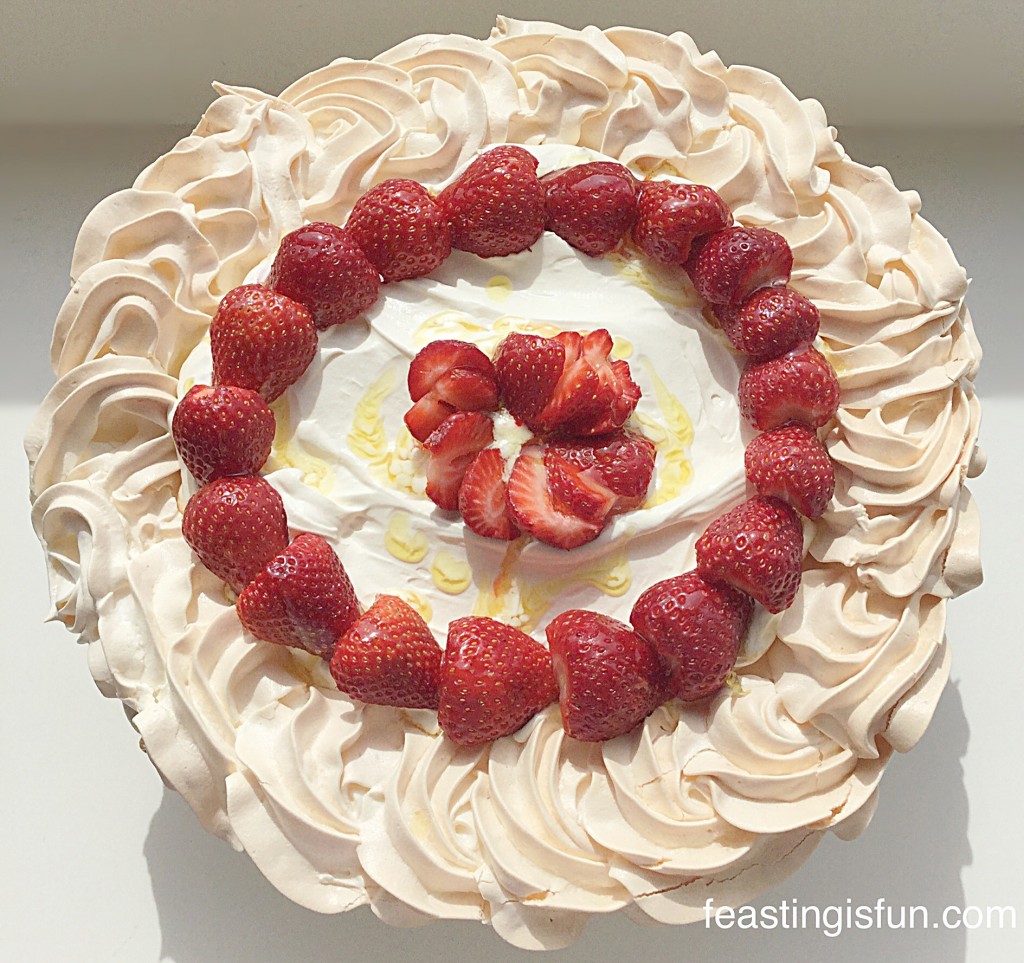
Lemony Strawberry Pavlova so light and refreshing.

As you may be aware, I love lemons, especially in cakes like my Mini Lemon Drizzle Bundt Cakes. This lemon pavlova is the stuff of fairies, rainbows and dreams. It is incredibly light, with a crisp, outer shell that hides a soft, marshmallow like interior. It really does melt in your mouth!

Slathering the top with dreamy, lightly whipped cream, fragrant strawberries and finishing with a limoncello sticky drizzle. This Lemony Strawberry Pavlova is the perfect dessert, especially on a Sunday after a roast.

FF Lemony Strawberry Pavlova
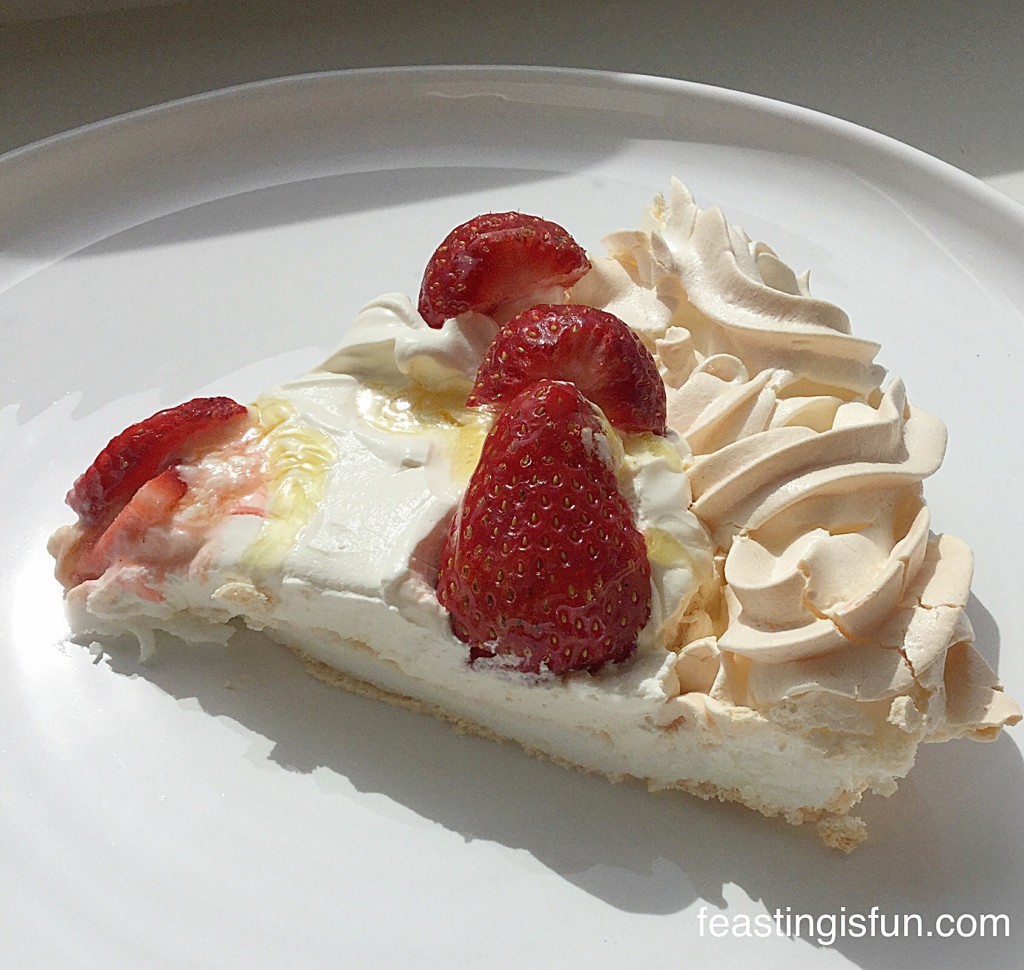
Lemony Strawberry Pavlova a generous slice!

Having made a few pavlovas now, I think that I’ve got them pretty much nailed. Yes I know that the weather, in particular humidity, can play havoc with them, but they are a fairly easy, foolproof dessert. The way I see it is this; if the worse happens and they crack and crumble, then make an Eton mess – whipped cream, crumbled meringue and fresh fruit. Altenatively if the cracking isn’t that bad, slather them with whipped cream and fruit and nobody will notice the disaster you have managed to avert 😉.

FF Lemony Strawberry Pavlova
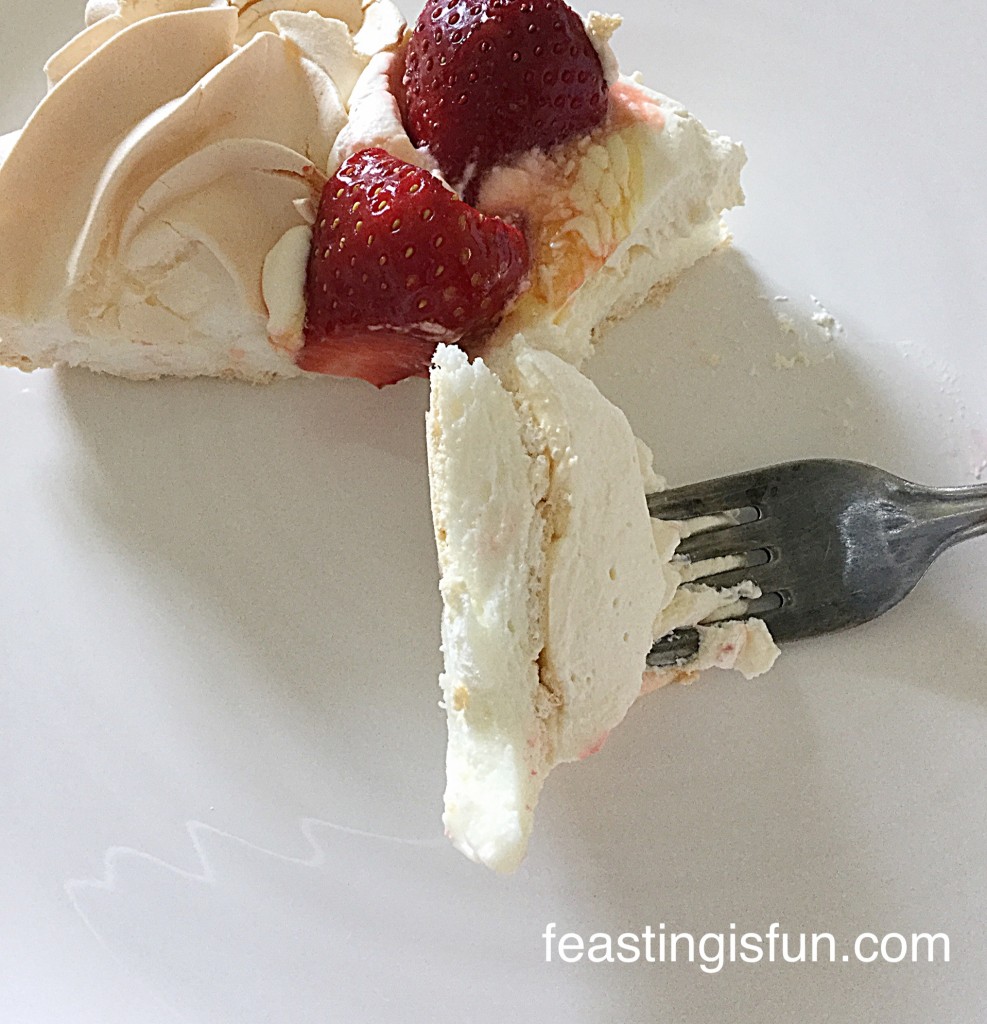
Lemony Strawberry Pavlova look at the marshmallow inner, utterly melt in the mouth.

Fortunately this Lemony Strawberry Pavlova behaved. Today is a sunny dry day and apart from me using a new baking tray that was just a teeny bit too wide for our oven, hence this pavlova was cooked on a slant, it turned out beautifully. Better than that it tastes amazing. If you’ve ever eaten lemon roulade, then that has a similar texture to this pavlova.

When I first started making pavlovas I hadn’t any pictures to guide me through the process, so I’ve included a few so that you will know how things are supposed to look!

Also I managed to get hold of some early season British strawberries, they smelled so fragrant. This pavlova would also work well with Raspberries, Blackberries and Blueberries, so use whatever fruit is in season.

Recipe: Makes one Lemony Strawberry Pavlova serves 8

6 Large Free Range Egg Whites – the yolks will keep for a day in the fridge and I’m making ice cream tomorrow which they will be perfect for!

300g/10.5oz Caster Sugar plus 1tablespoon for the drizzle

2 Lemons

1tsp Corn Flour – also known as corn starch I use Dove Farms as it is gluten free

1tsp White Wine Vinegar

300ml Double Cream

300g/10.5oz Fresh Strawberries

50ml Limoncello – optional use water if preferred

Method: Preheat the oven to 180C/160C fan, gas mark 4.

  • Make sure the large bowl you will be whisking the egg whites in is scrupulously clean.
  • Cut 1 lemon in half and wipe around the inside of the bowl with it.
  • Separate the egg whites from the yolks and place the egg white into the clean, lemon wiped bowl.
  • Squeeze the juice of the cut lemon into the bowl with the egg whites, ensuring pips and pulp are caught by a sieve.
  • Start whisking on a slow speed and gradually build up to high.
  • Keep whisking until the egg whites have reached the stiff peak stage.
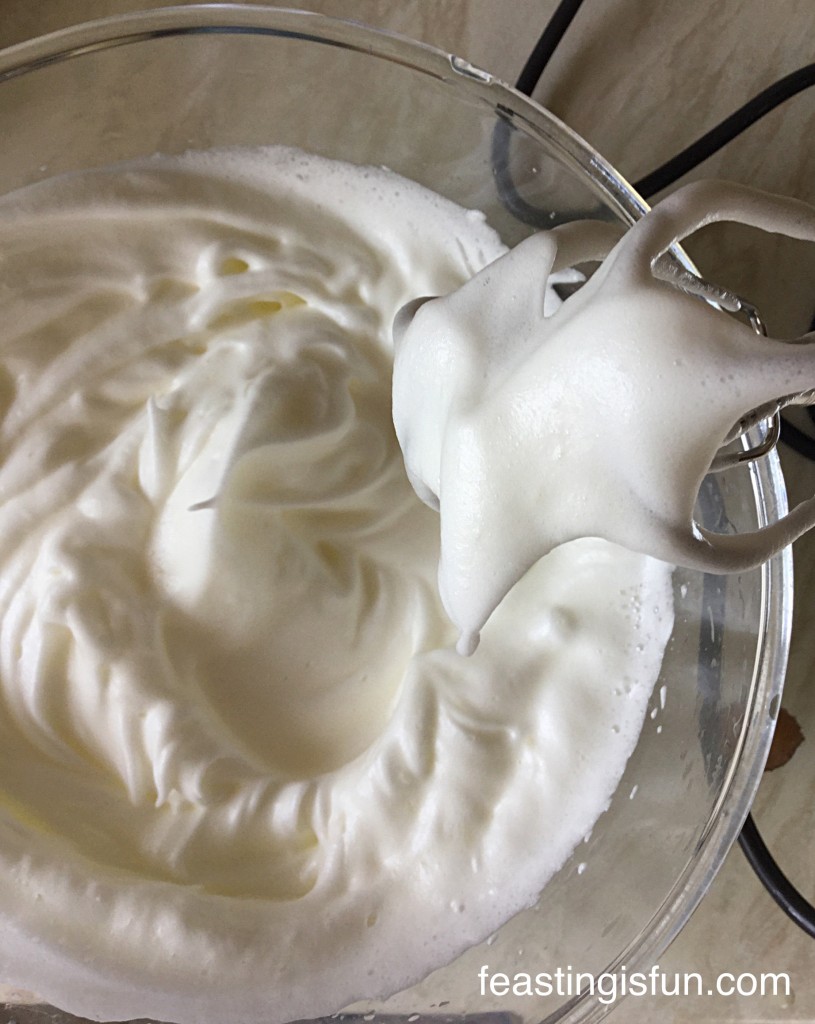
  • This is where, if you hold the whisk up the whisked egg white will not flop over
FF Lemony Strawberry Pavlova
This is a stiff peak – now time to start adding the sugar.
  • I couldn’t take a photo and hold the whisk up, but you can see the peaks in the bowl stand up and the egg white on the whisk didn’t move whilst I stopped to take a snap.
  • Resuming whisking on a high speed add the caster sugar 1 tablespoon at a time, or do as I did, pour it from a jug in a slow gentle stream so that it all becomes slowly incorporated into the egg whites.
FF Lemony Strawberry Pavlova
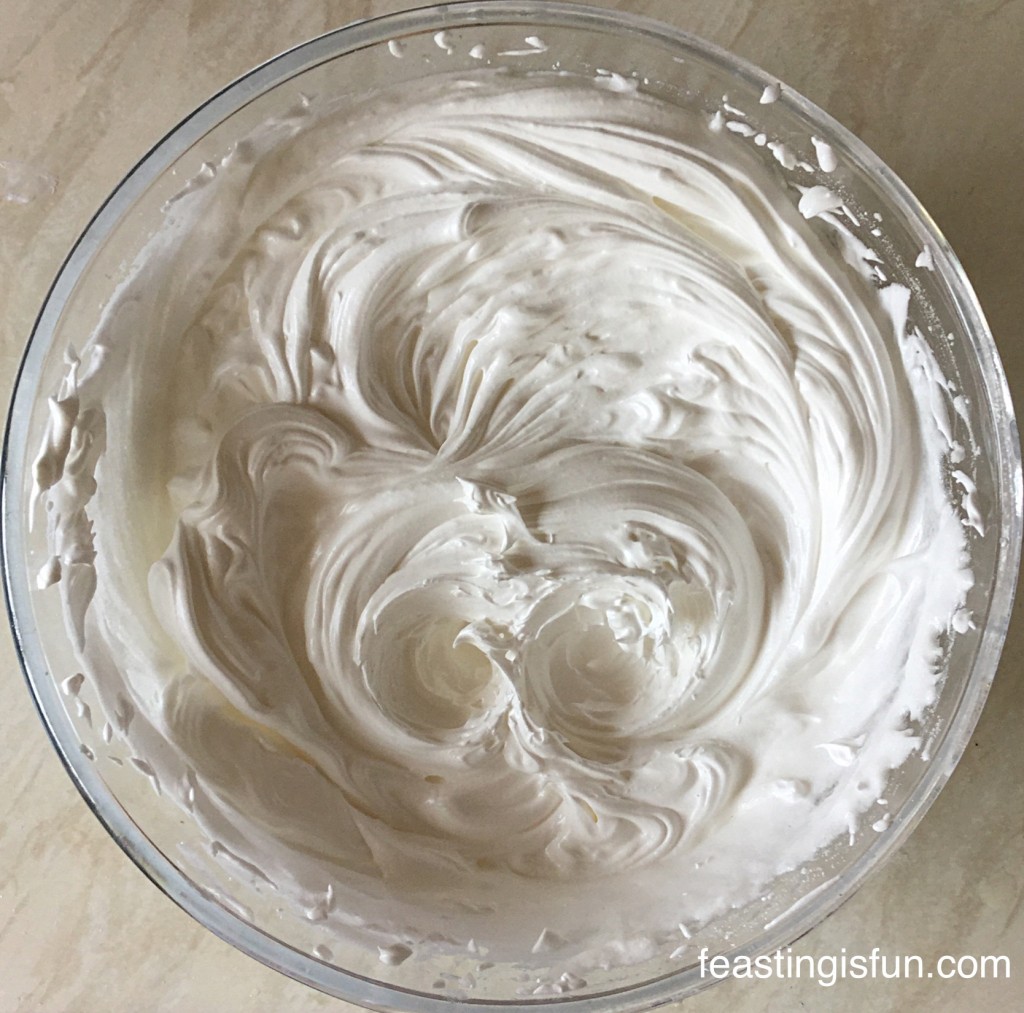
Beautifully glossy, satin meringue.
  • Once the meringue looks glossy, with a satin sheen, the meringue is mixed.
  • Add the corn flour and vinegar and gently fold into the meringue, so as not to knock out any of the air.
  • Draw a 25cm circle on a piece of baking parchment that fits onto a baking tray.
  • I drew round a 10″ cake pan.
  • Flip the baking parchment over and secure to the baking tray with a dob of meringue in each corner.
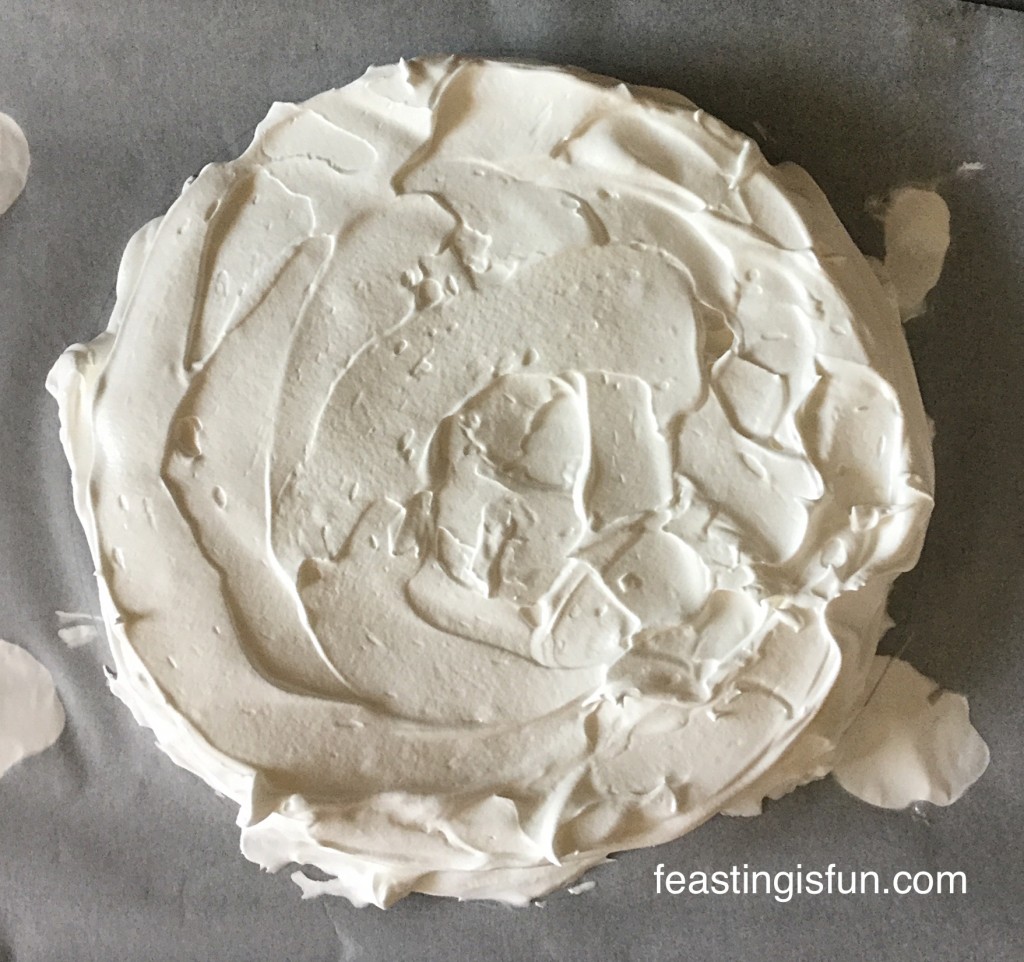
  • Scoop half of the meringue onto the middle of the disc.
  • Using a palette knife spread the meringue out so that it fills the marked circle, ensuring it is fairly level.
FF Lemony Strawberry Pavlova
The pavlova base.
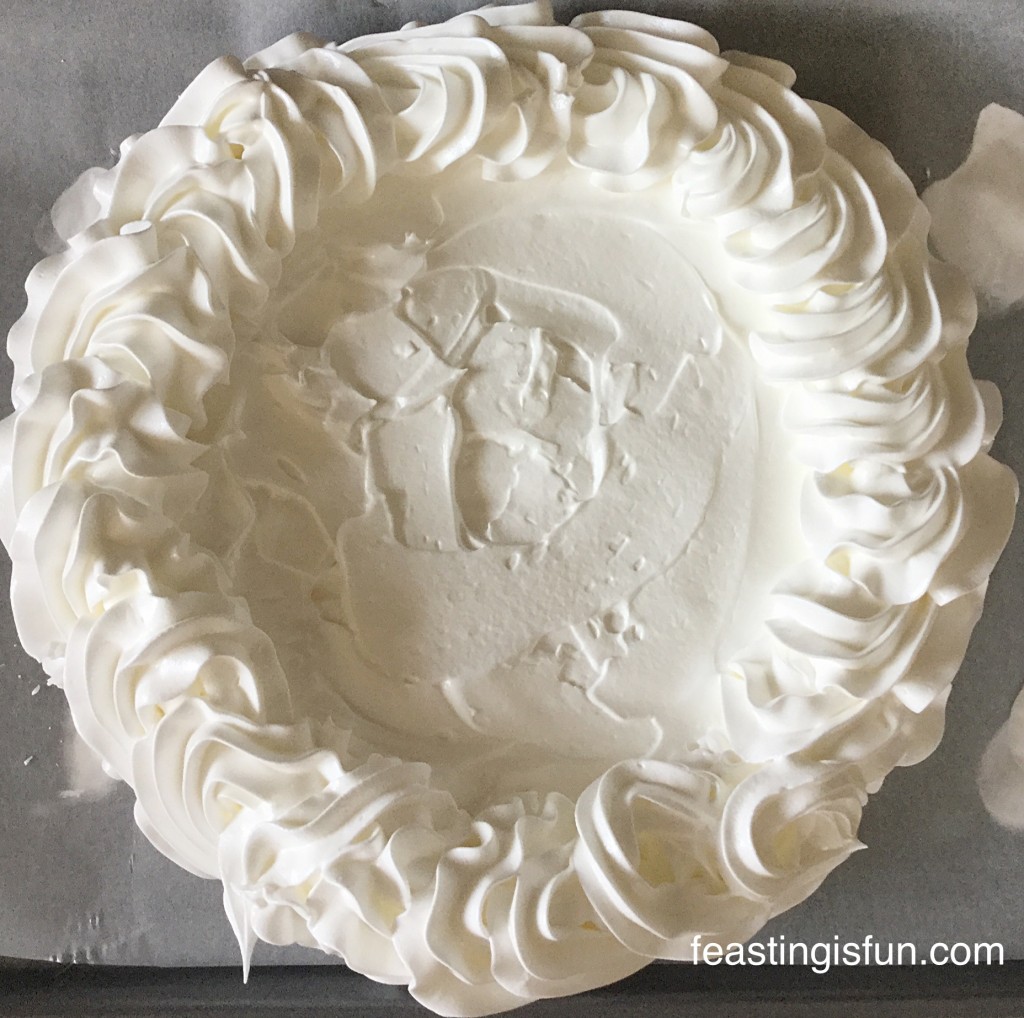
  • Fill a large piping bag, fitted with a large star tip, with the remaining half of the meringue.
  • Pipe a swirl pattern around the edge of the pavlova base.
FF Lemony Strawberry Pavlova
Piped swirls around the edge of the base give this pavlova a very pretty finish.
  • Place the meringue into the hot oven and immediately turn the heat down to 150C/130C fan, gas mark 2.
  • Bake for 1 hour 15 minutes – 1 hour 30 minutes.
  • When baked the pavlova will have a hard outer shell with a hint of soft marshmallow deliciousness inside.
  • Remove from the oven and allow to cool on the baking tray.
  • Once cooled use a palette knife to slide under the pavlova and separate it from the baking parchment. Transfer to a cake stand or serving dish.
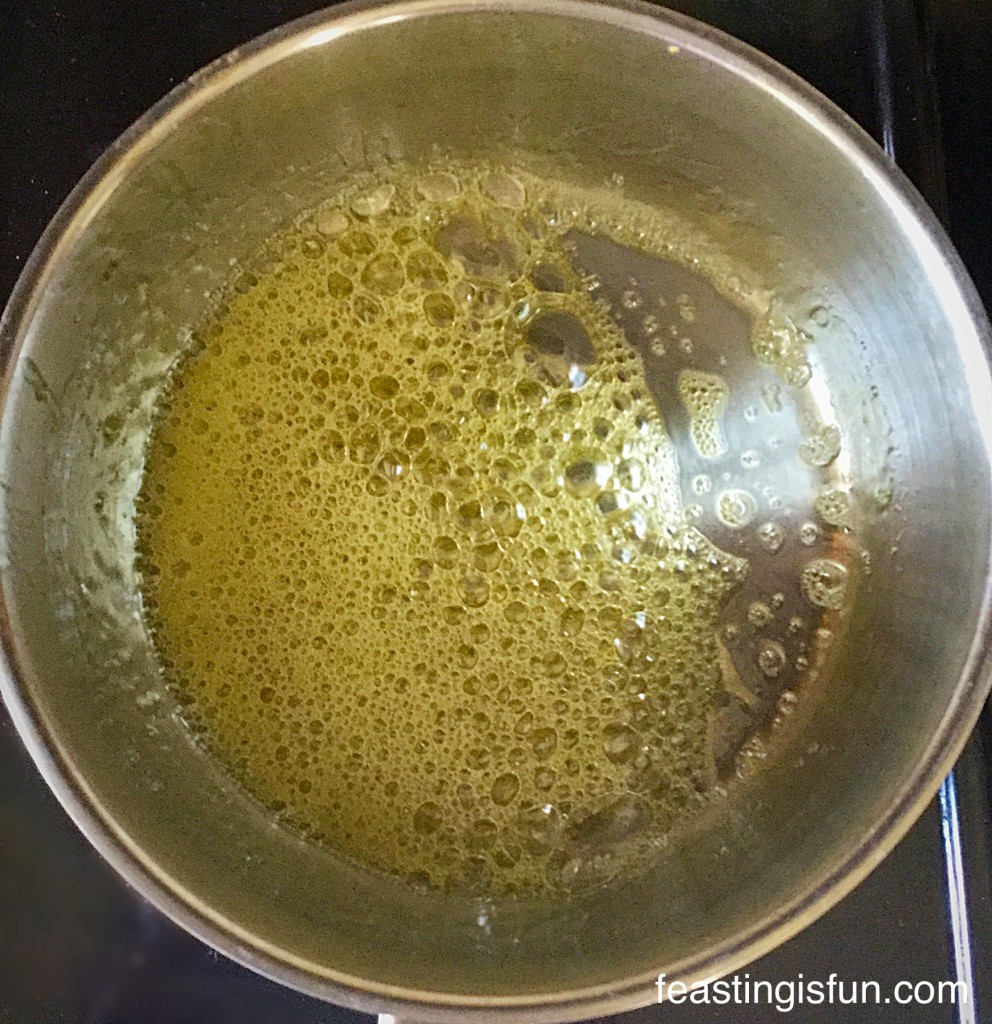
  • When ready to decorate, place the limoncello, juice of 1 whole lemon and tablespoon of caster sugar into a small pan. Bring to a bubble and reduce the heat until the liquid is about a quarter of its original volume.
  • Whilst the lemon drizzle is reducing, pour the double cream into a bowl and whisk until it has reached the floppy stage. It will not be stiff, just thickened enough to hold a figure of eight.
  • Spoon the whipped cream onto the inner part of the pavlova.
  • Decorate with strawberries.
FF Lemony Strawberry Pavlova
Concentrated lemon luscious drizzle.
  • The concentrated lemon drizzle should look like the picture above.
  • Drizzle it over the strawberries, for an intensely lemon flavour.
  • Serve immediately.
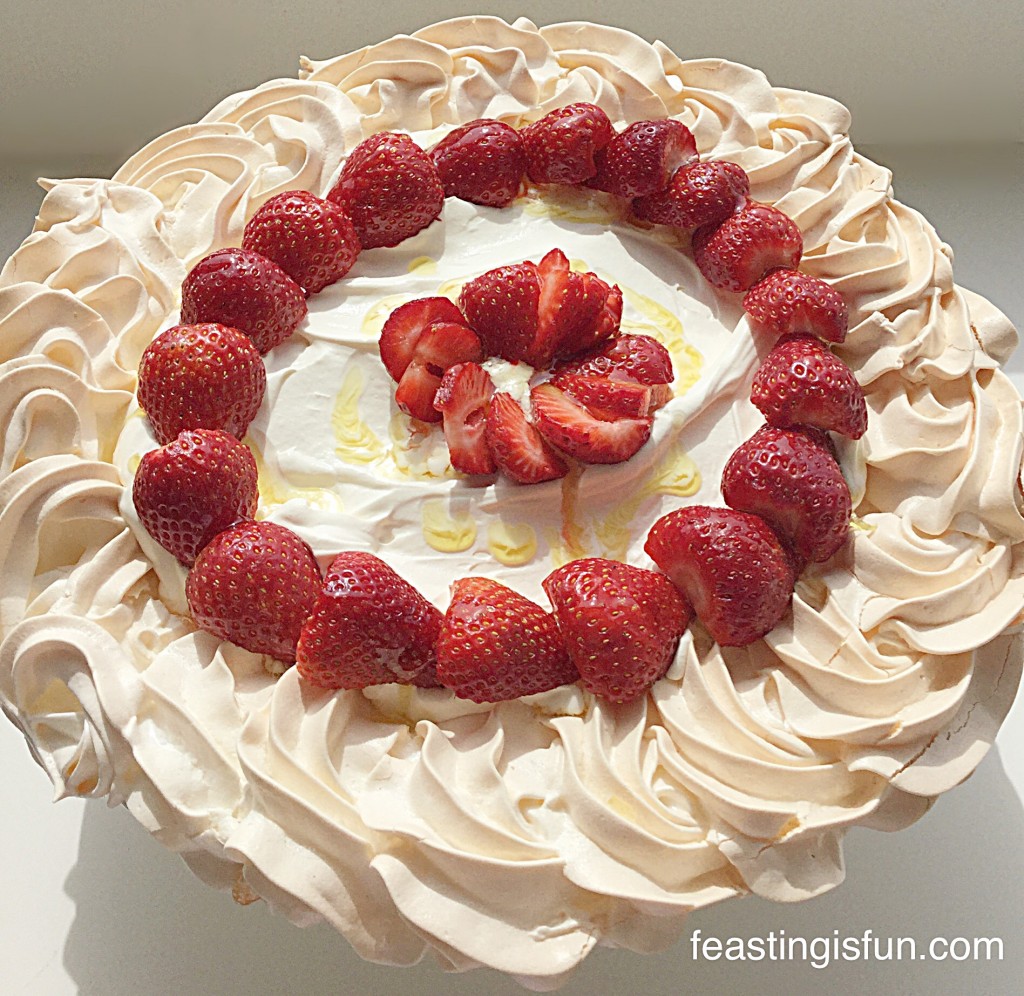
FF Lemony Strawberry Pavlova
Lemony Strawberry Pavlova pretty delicious.

The lemon pavlova can be made, unfilled a day in advance. Store on the original baking parchment, but loosen it first with palette knife, wrap in cling film. The cream can be whipped ahead of time and stored covered, in the fridge. Make the drizzle and assemble just before serving.

This Lemony Strawberry Pavlova is sure to wow any dinner party guests and your family. It is so light and the lemon so refreshing, it is absolutely perfect for dessert after a heavy meal, such as a roast or curry.

One bite of this delicious delight and my mouth felt cleansed and ready for a second, third……. 😉.

Whilst I am unreliable at the best of times, I really am going to try to make one dessert a month. Yes really, a proper pudding, or lighter dessert during the warmer months. My husband will be a very happy man!

Are you a dessert person? Do you look at a restaurant menu, pick your dessert and plan your meal around it??

If you have enjoyed this Lemony Strawberry Pavlova here is my other pavlova dessert for you to try:

Raspberry Chocolate Pavlova

FF Raspberry Chocolate Pavlova
Raspberry Chocolate Pavlova soo good.

I love reading your comments, thank you for taking the time to leave them and keep them coming please? I’m usually around on Twitter most days, so if you have any cooking/baking dilemmas send me a tweet and I’ll do my best to get back to you? I may not always have the answers, but I belong to an awesome community of amazing cooks and bakers. Between us there isn’t usually much that we can’t help with!

Have fun whilst you are cooking/baking and remember a feast can be improved with good company.

Sammie xx


Share
Facebooktwitterpinterestlinkedintumblr