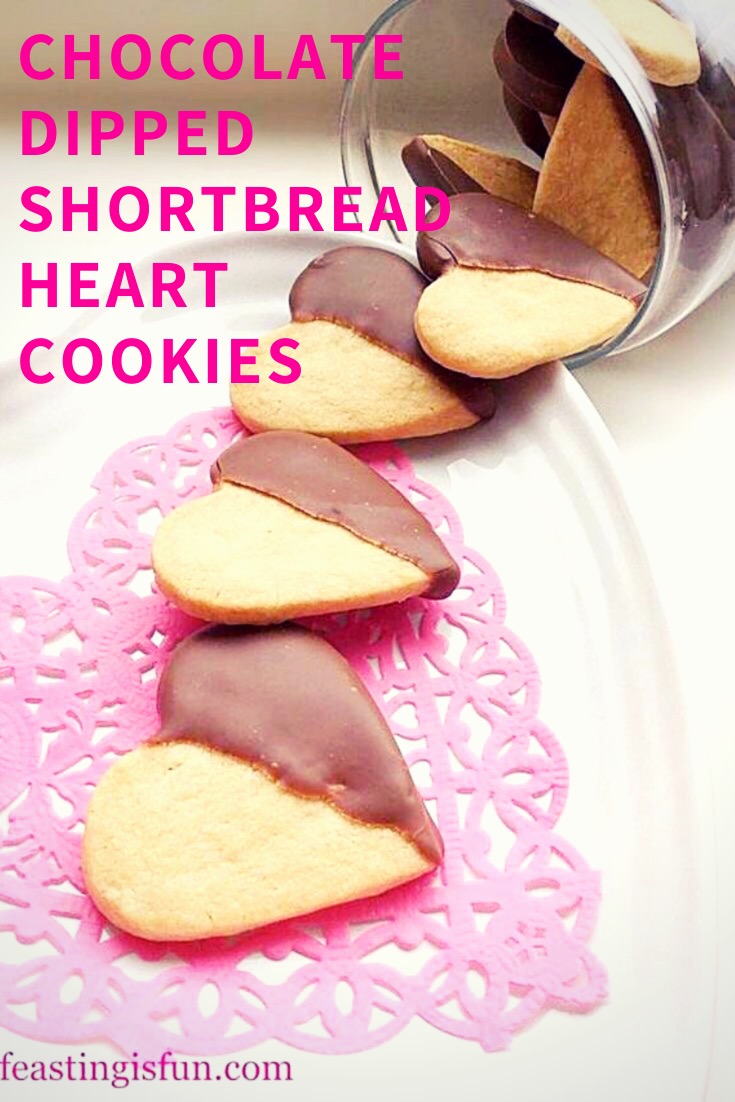
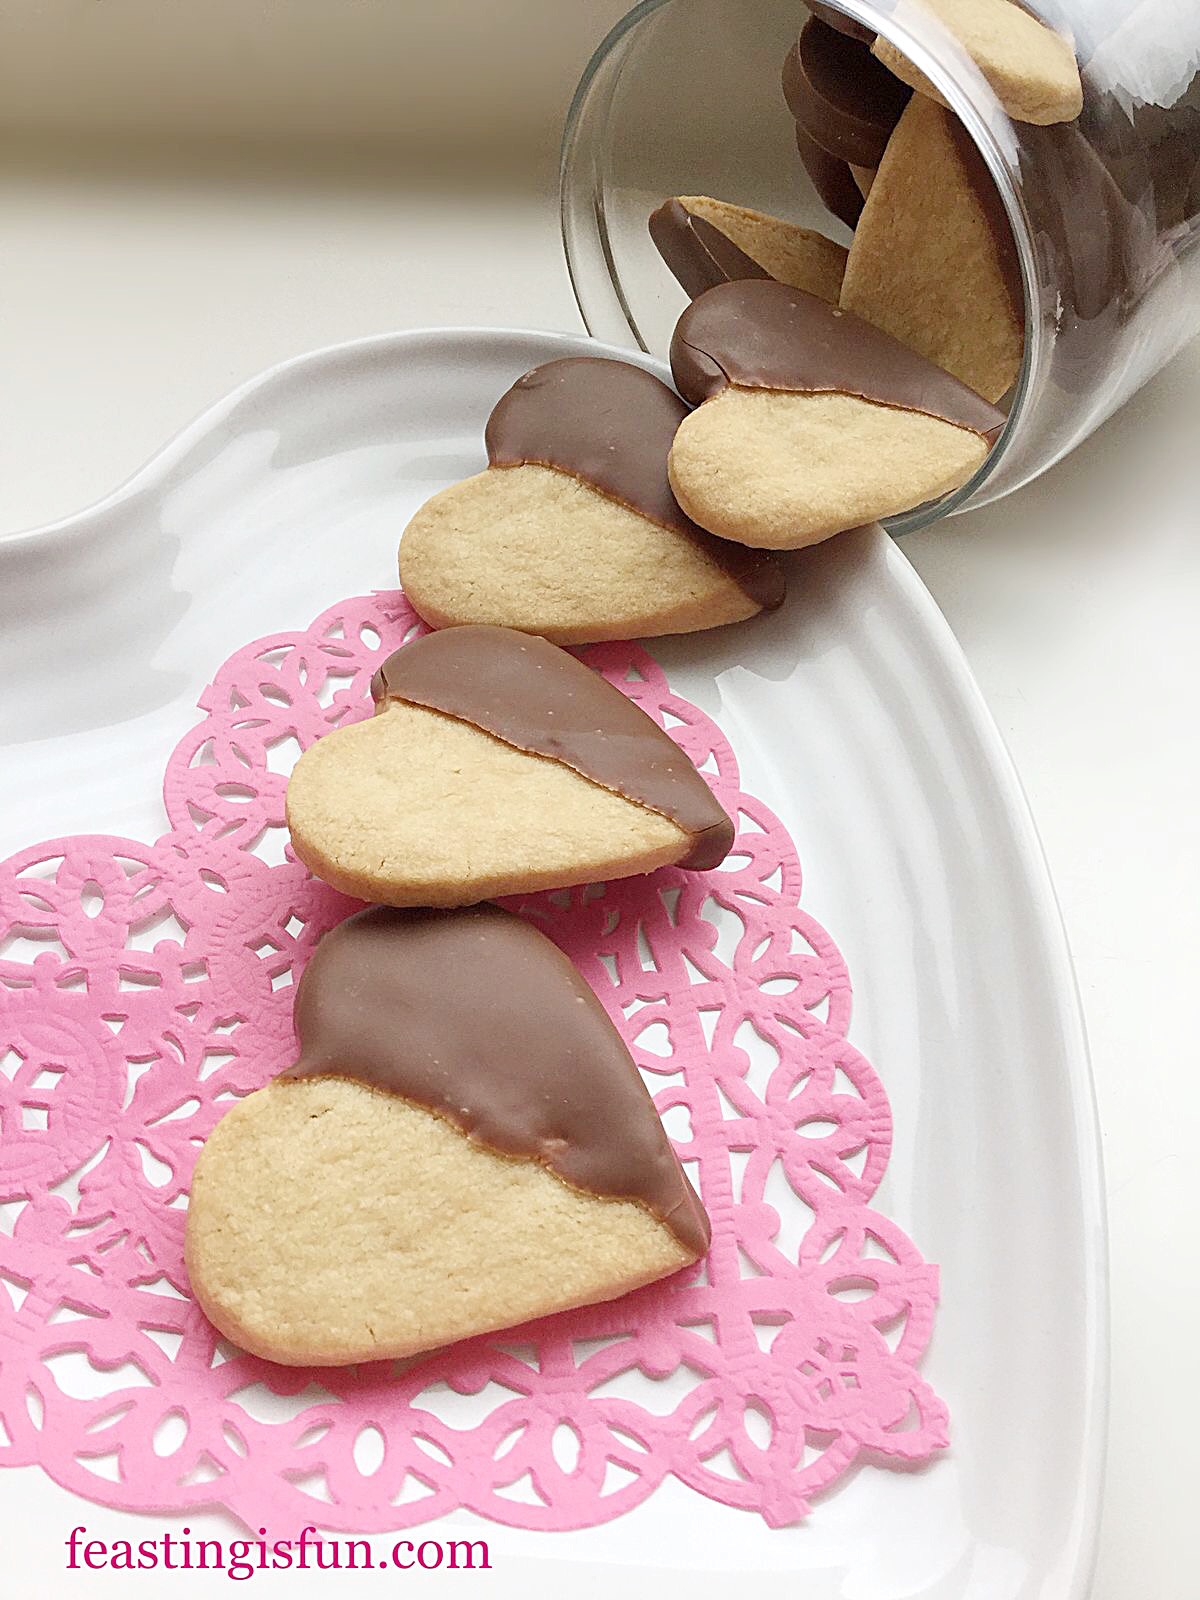
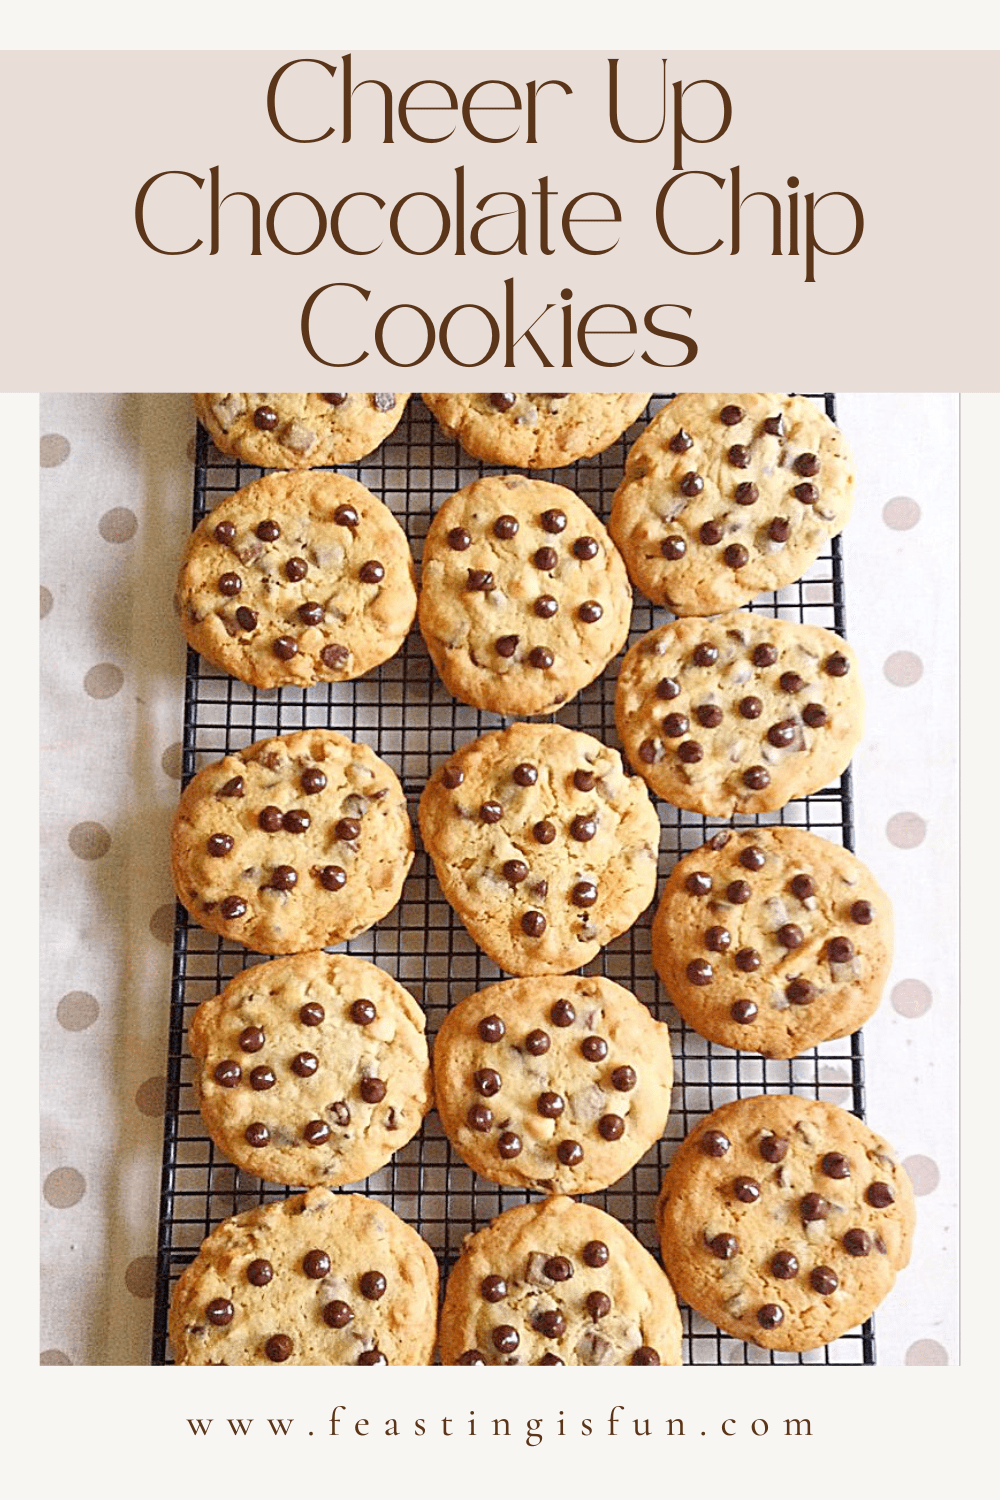
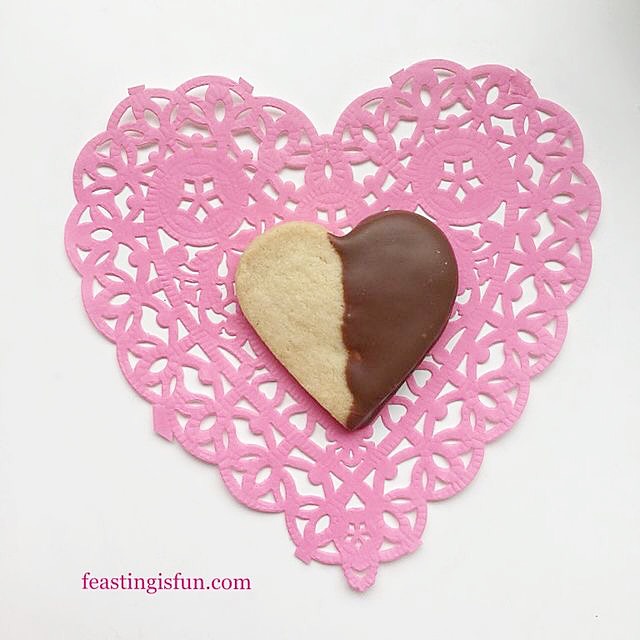
Valentines Day is only couple of weeks away. Yet, although it is nice to take one day out of the year to tell those you care about how much they mean to you, I don’t believe that should be kept for just one day. Showing people that we love and appreciate them should be an everyday occurrence. Not the insincere gushing of some, who say the word love too easily and yet have not the slightest comprehension of what real love truly is. No, showing love in a quiet, sincere way. A gentle loving way, so as not to embarrass those we care about. A few encouraging words, a hug, or a small token, such as these Chocolate Dipped Shortbread Heart Cookies.
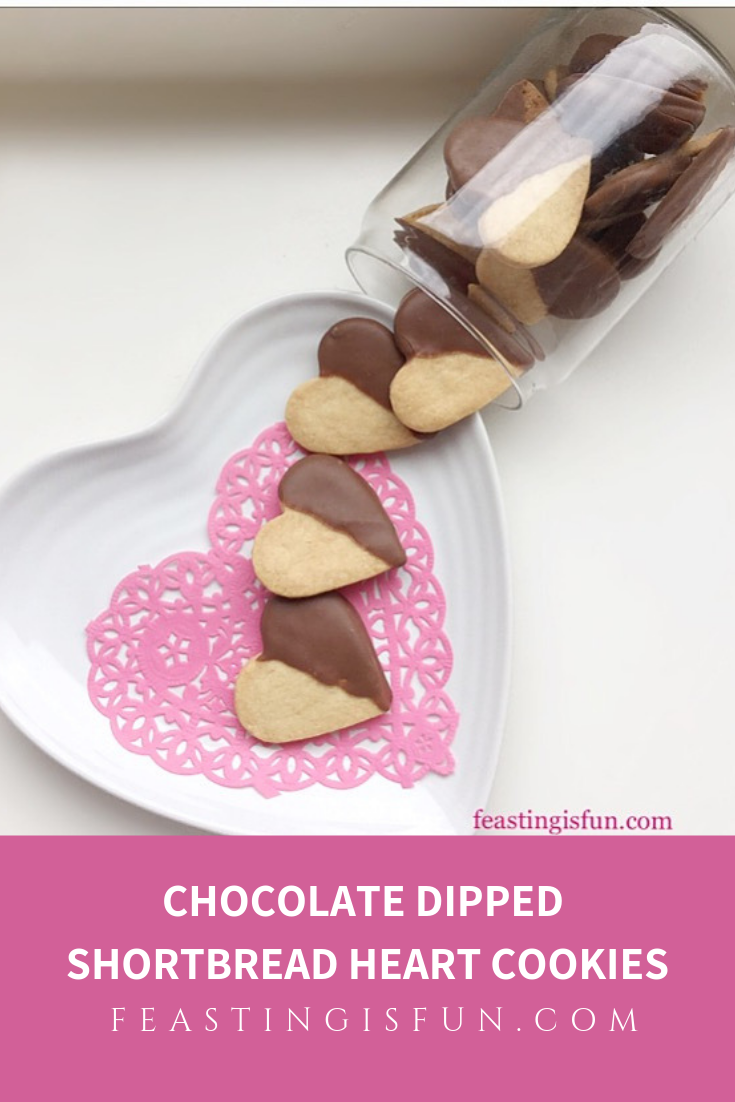
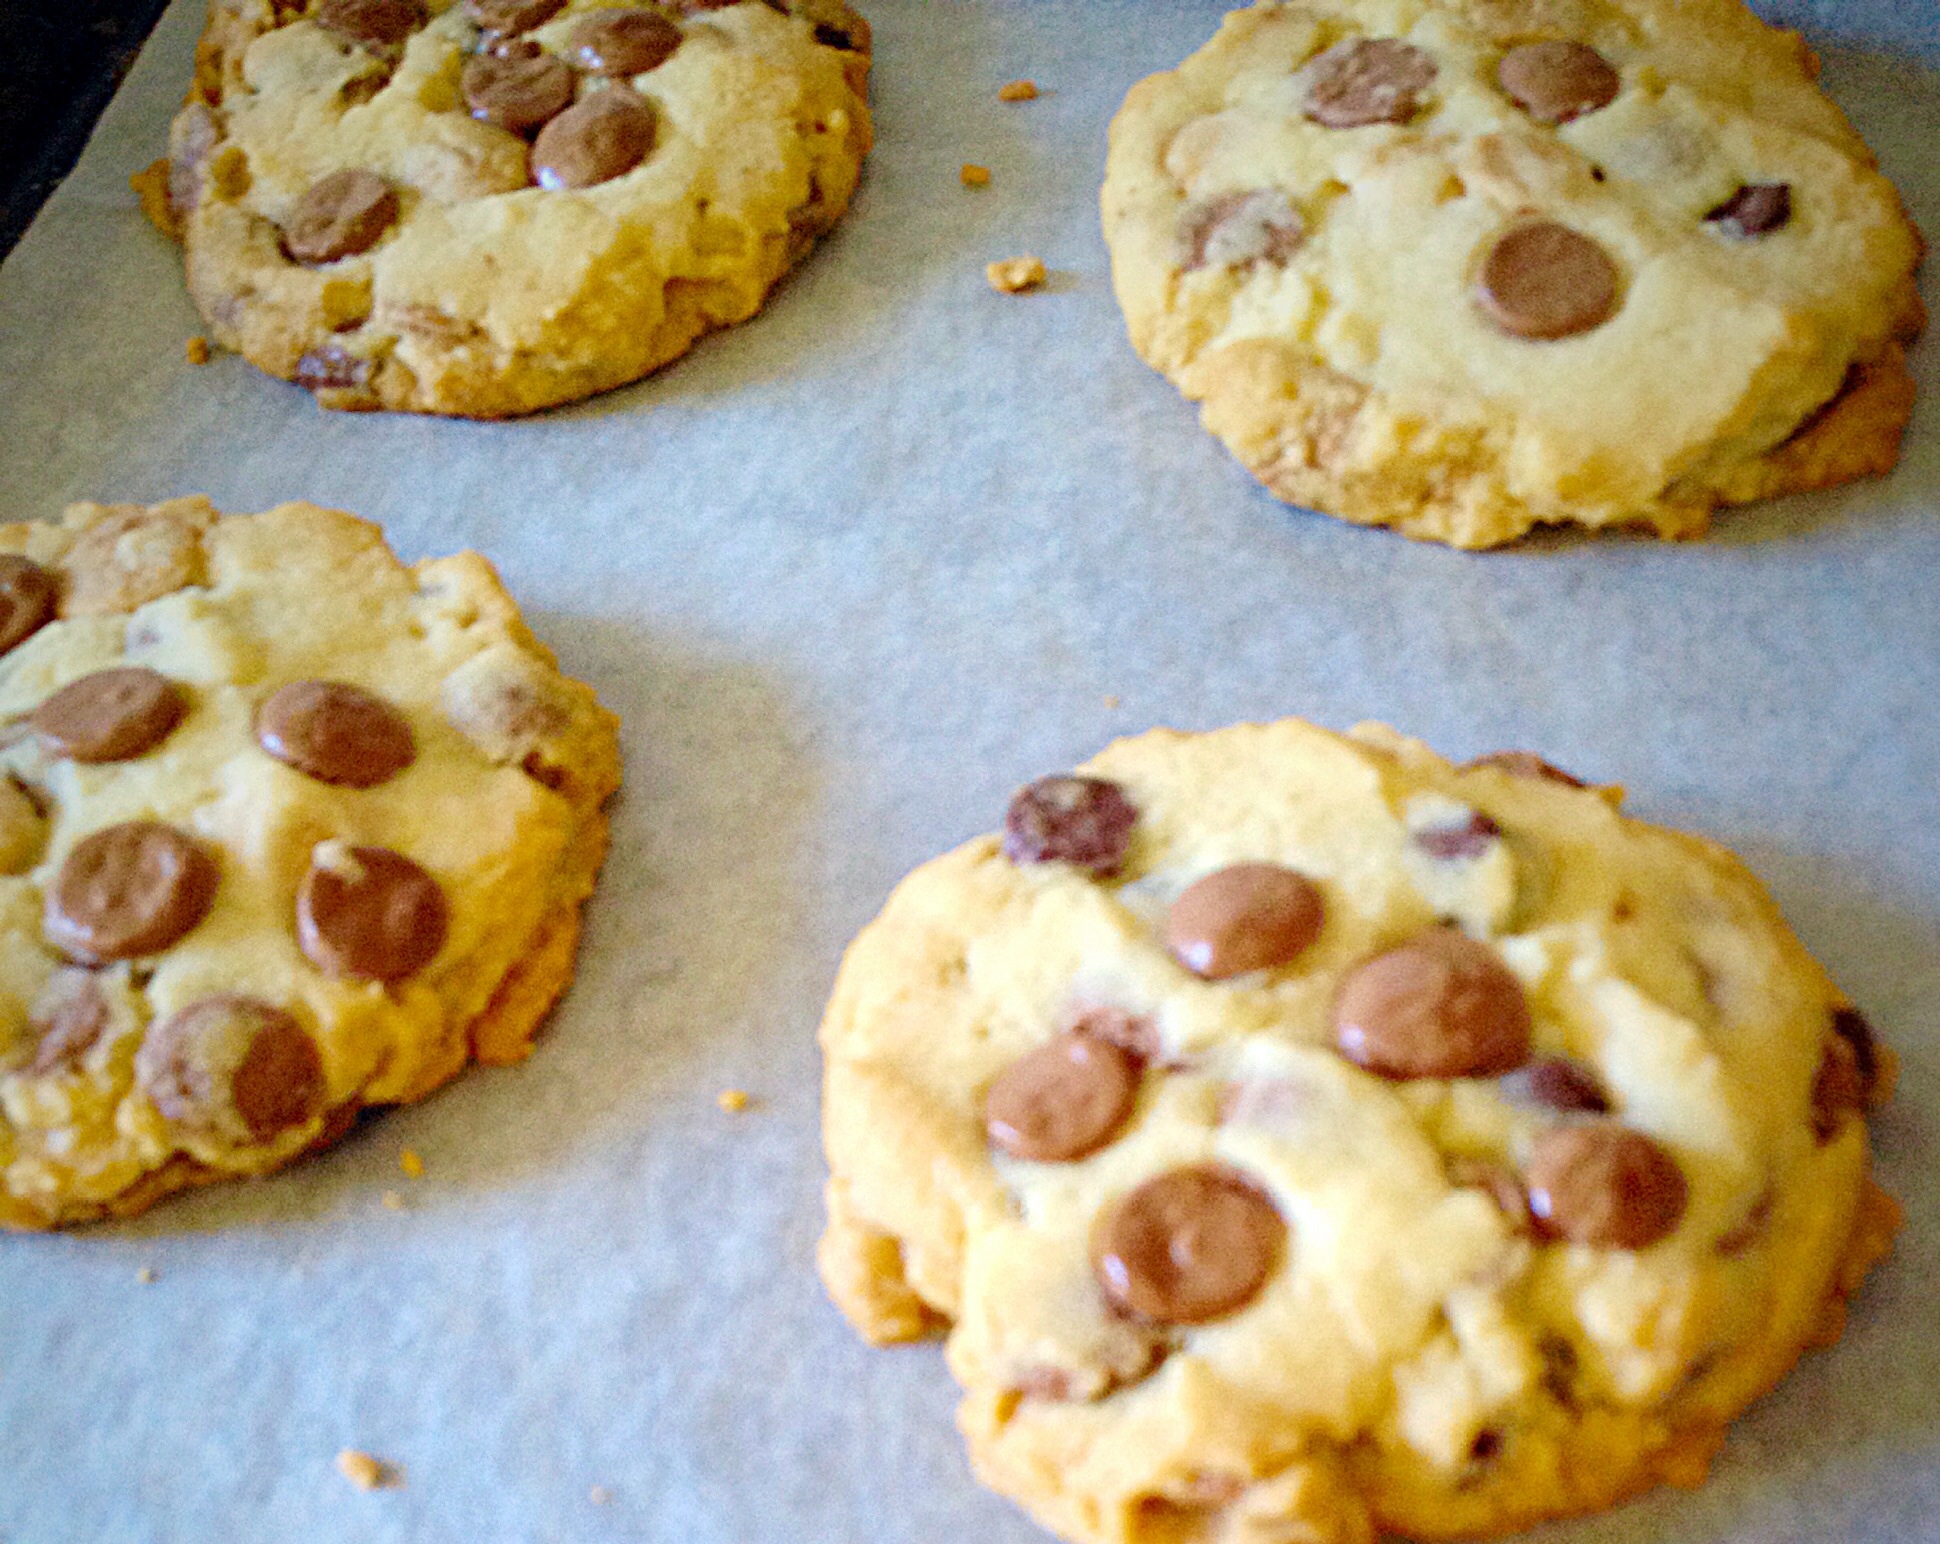
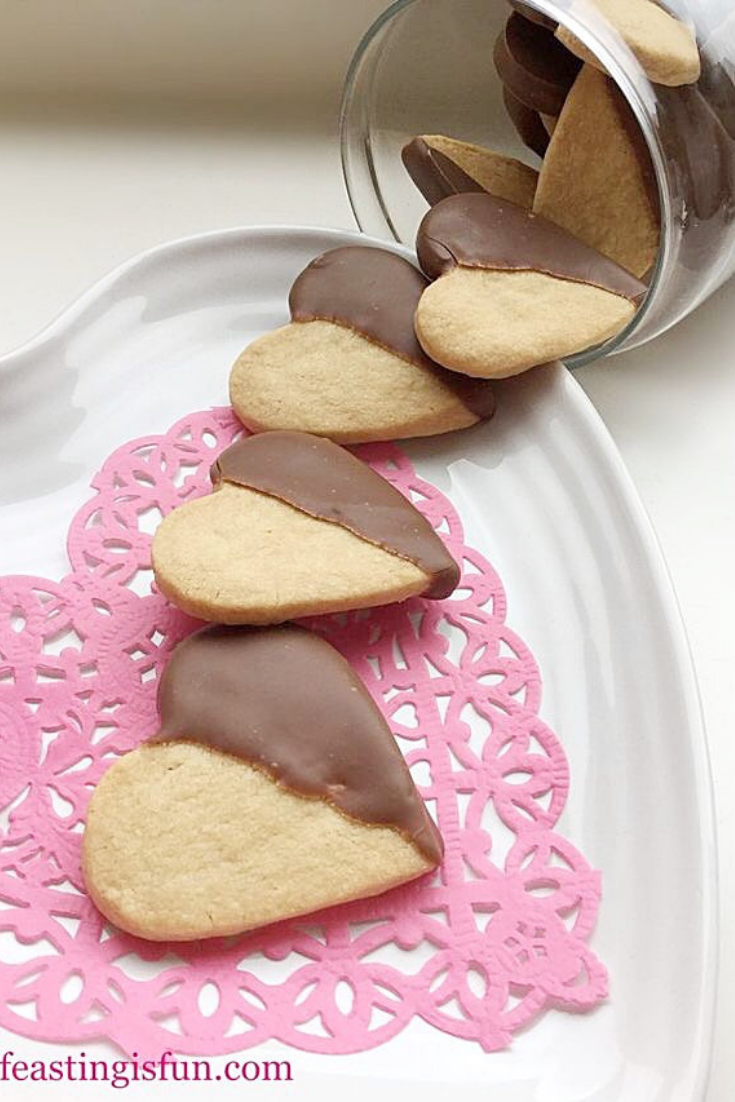
Since we are talking about love, did I mention how much everyone here at Feasting headquarters loves these cookies? Oh they do. Rich, buttery shortbread with thick, milk chocolate on one half. While these cookies are solid enough to be dunked in a hot drink, they also crumble beautifully on the tongue. Not just a Valentines Day bake!
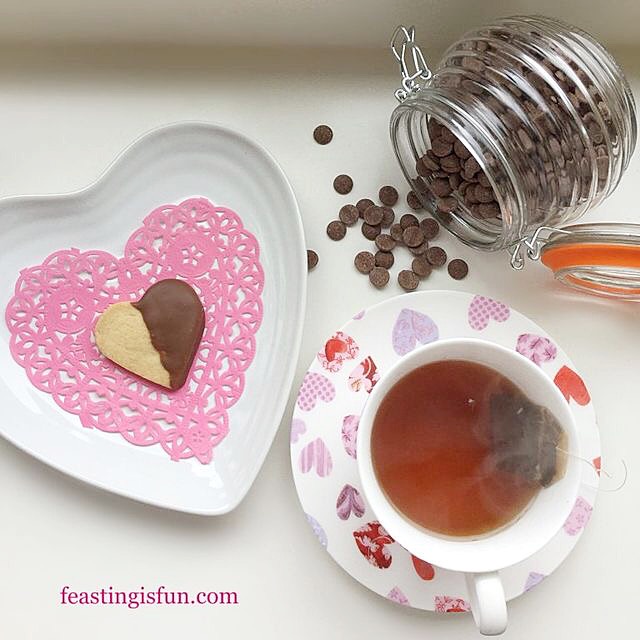
Since I couldn’t find my collection of different size heart cookie cutters, my dear, late friend Pat, was here to help me. Amongst the baking items I had been given by her family was a perfect sized heart. Smaller than I had initially wanted for this recipe, it turned out to be the perfect size. Each cookie being exactly the right size.
Use whatever size cutter available to you. The recipe yielded 40 cookies using a 5cm x 5cm heart shape cookie cutter.
Recipe: Chocolate Dipped Shortbread Heart Cookies
100g/4oz Caster Sugar
200g/7oz Unsalted Butter at room temperature
1/4 tsp Sea Salt – I use Maldon
1 tsp Vanilla Extract – I use Nielsen-Massey
50g/2oz Corn Flour (also known as corn starch)
250g/9oz Plain White Flour – I use cake and pastry flour from Shipton Mill
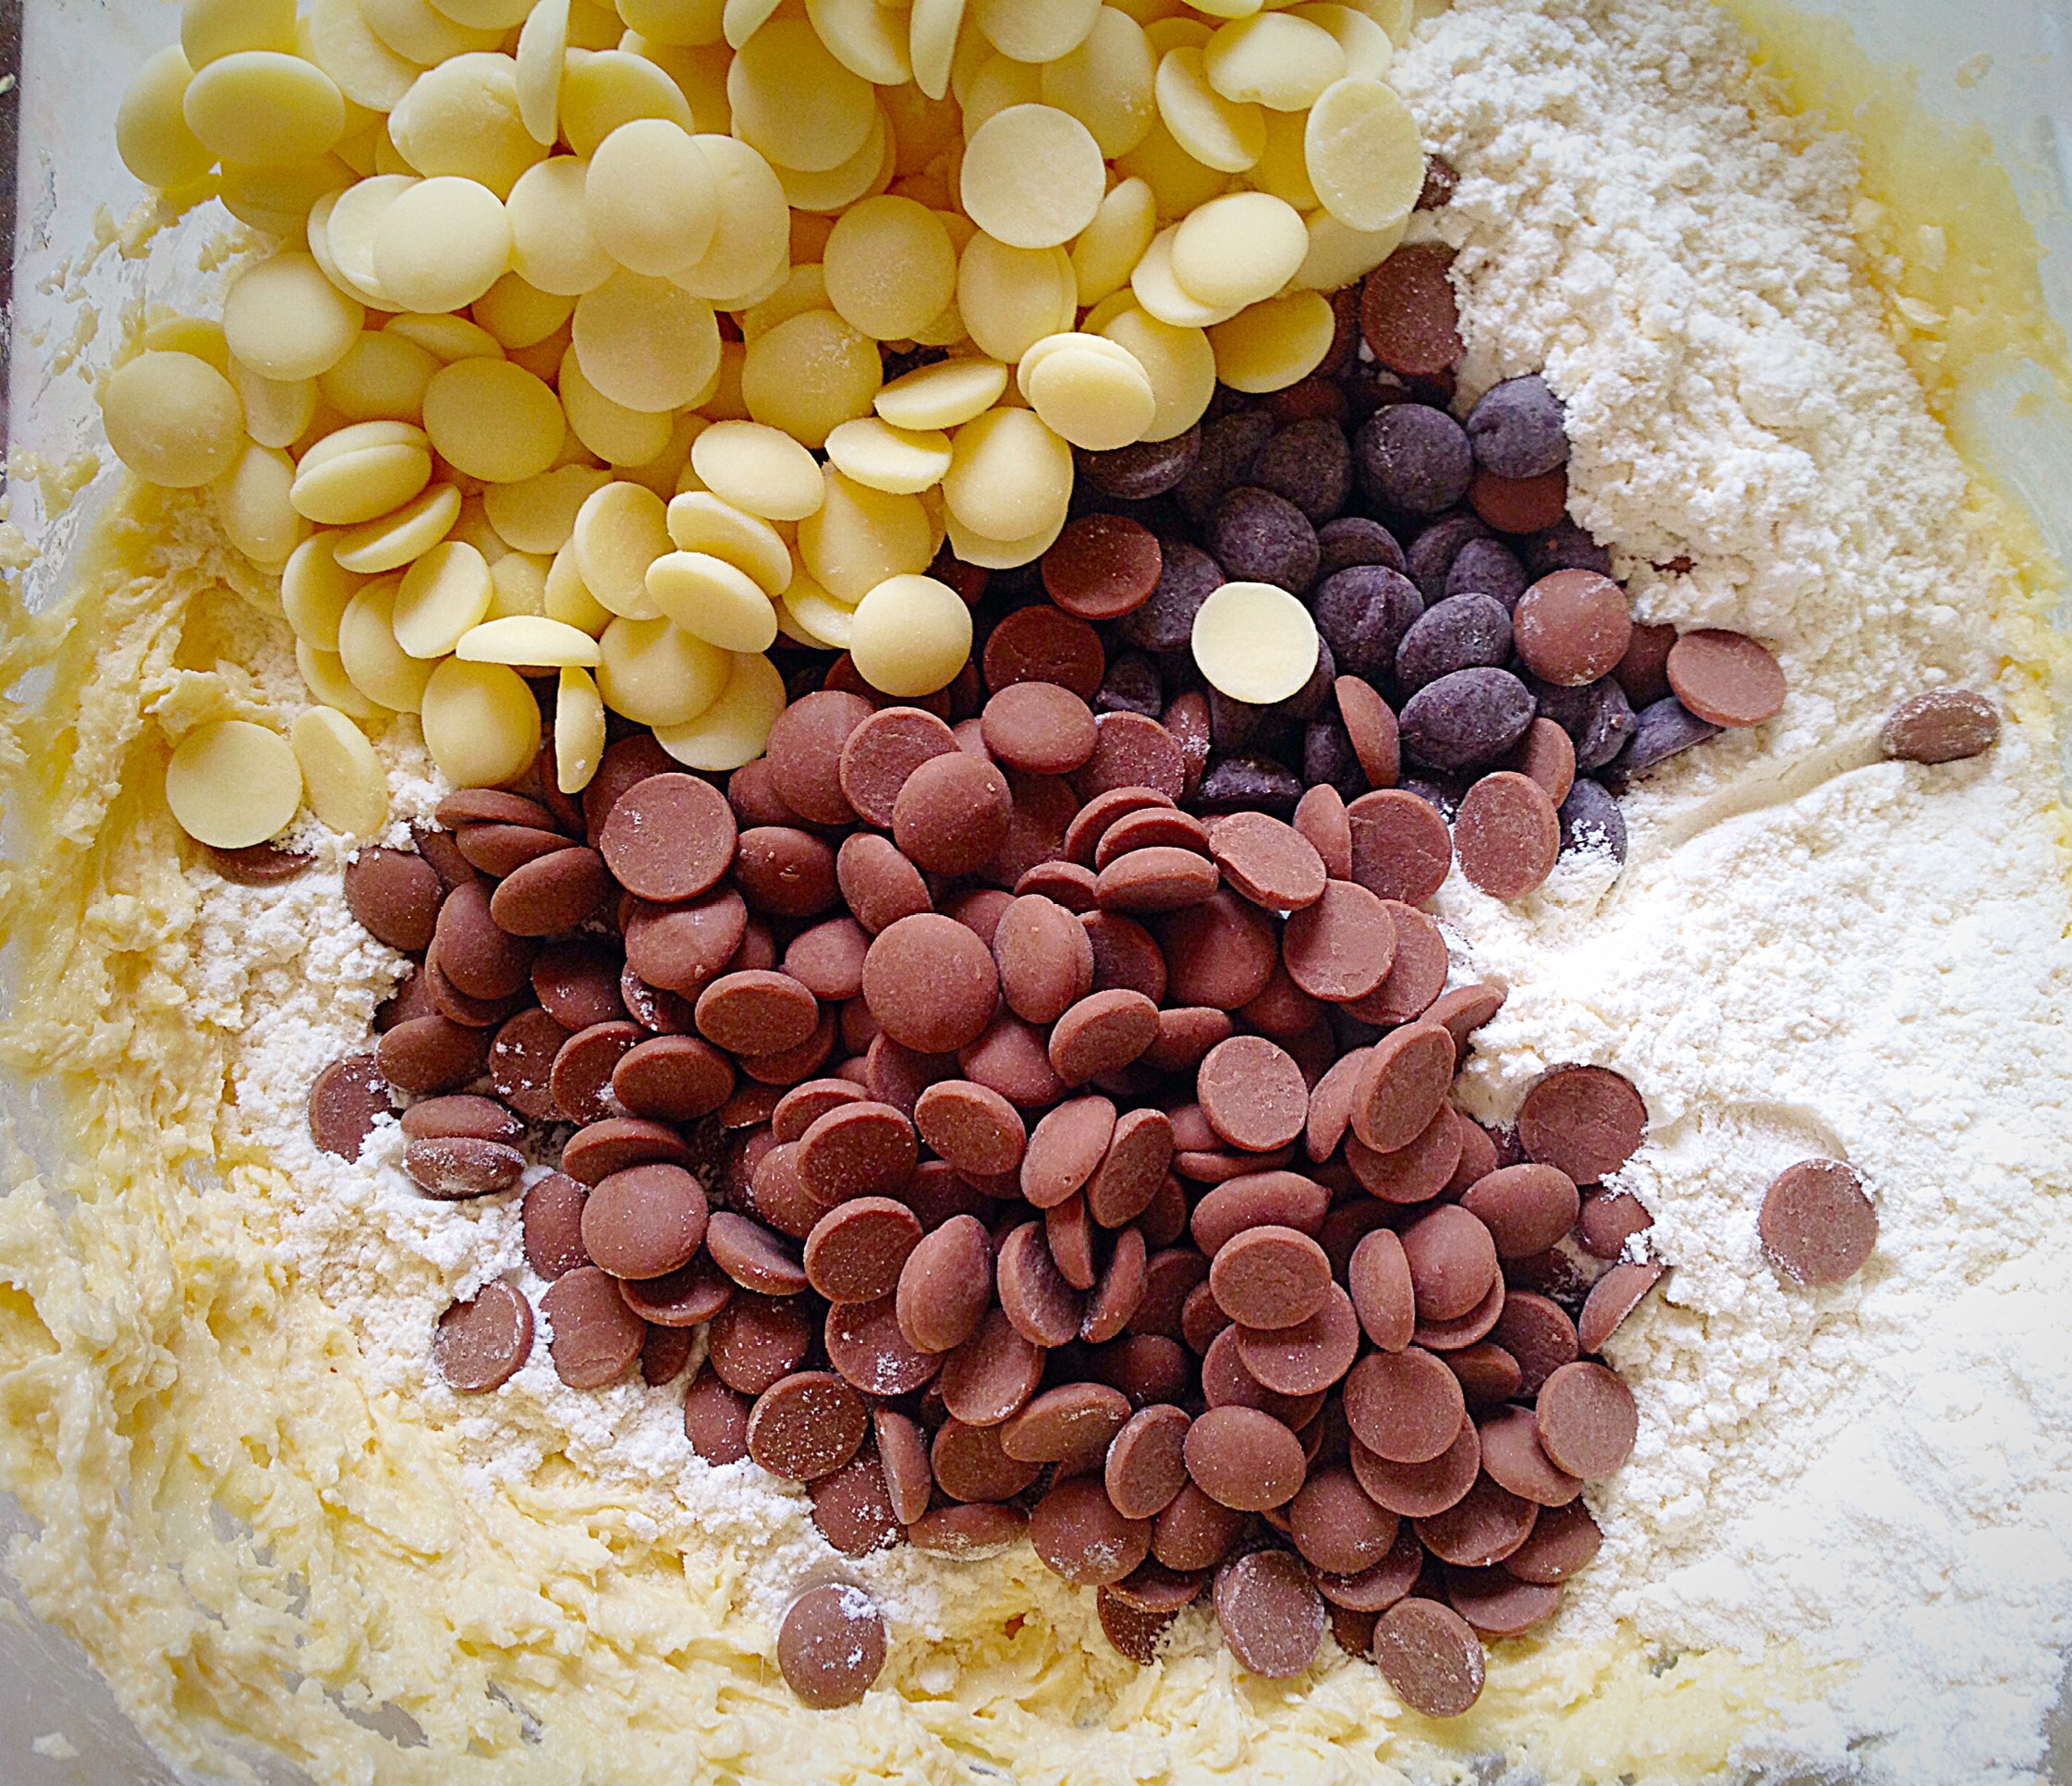
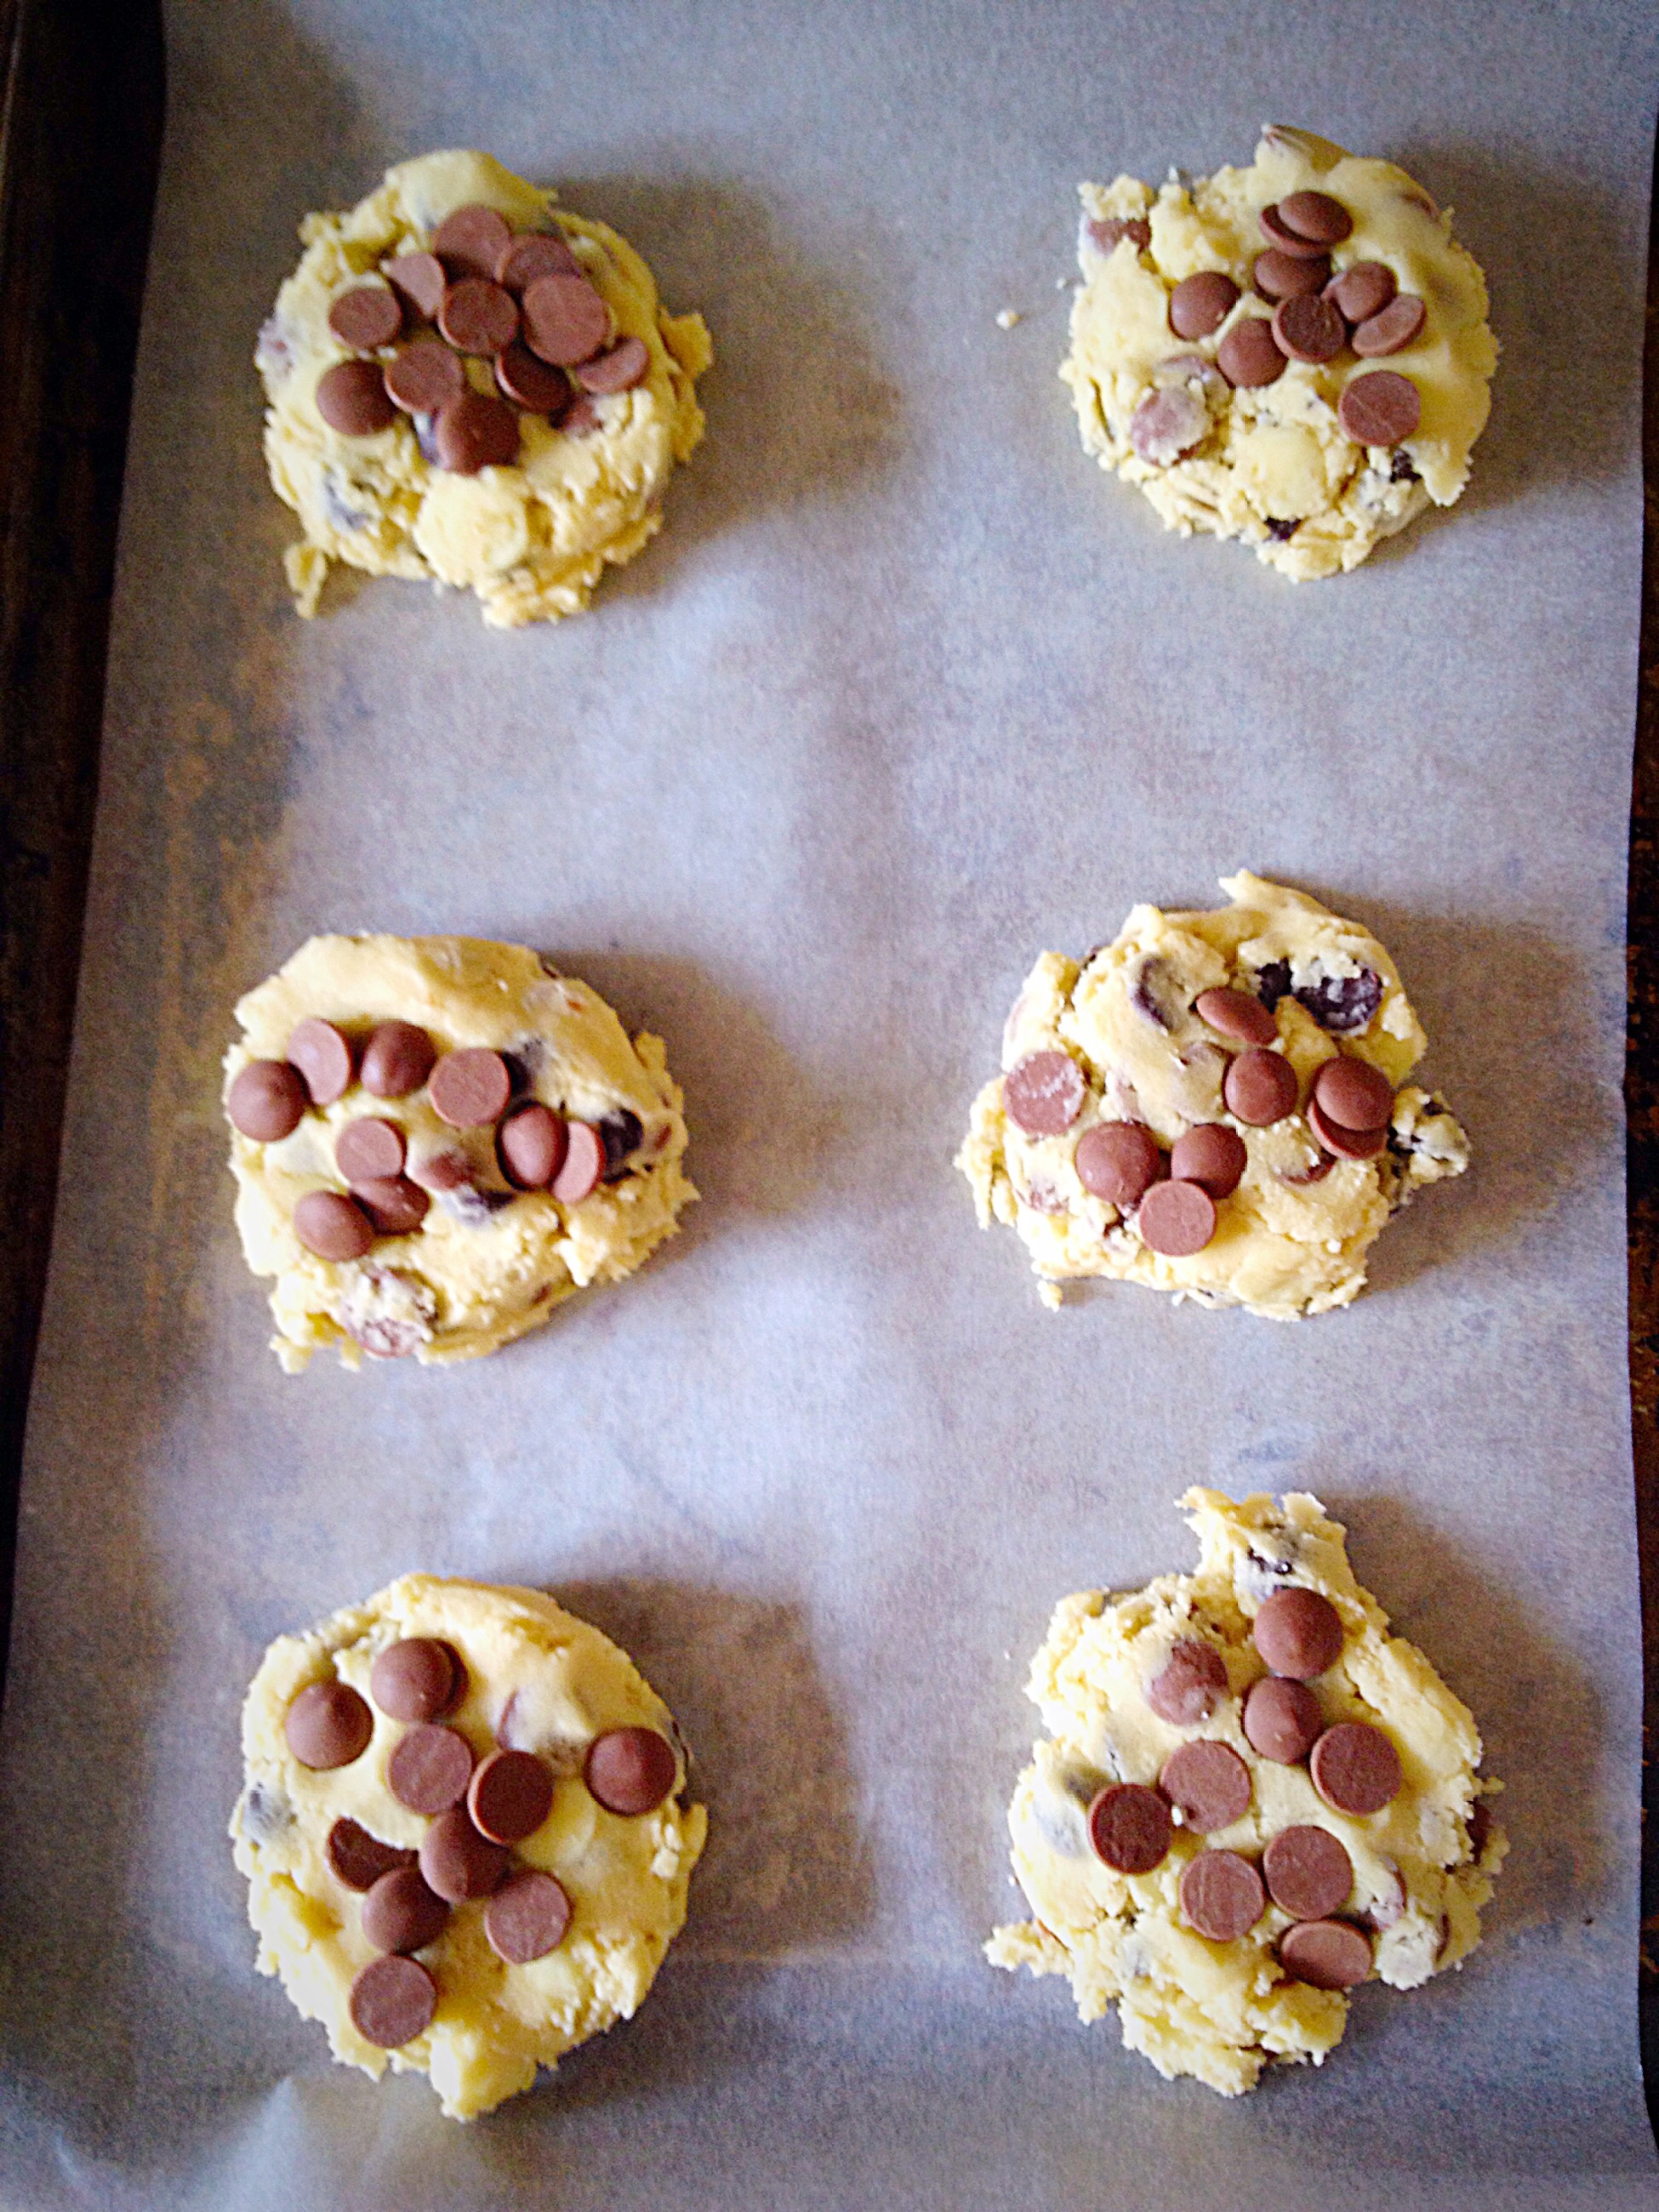
300g/10.5g Milk Chocolate – I use 34% milk chocolate callets from Callebaut
Method: Preheat the oven to 180C/160C fan, 350F, gas mark 4
Making The Shortbread Dough
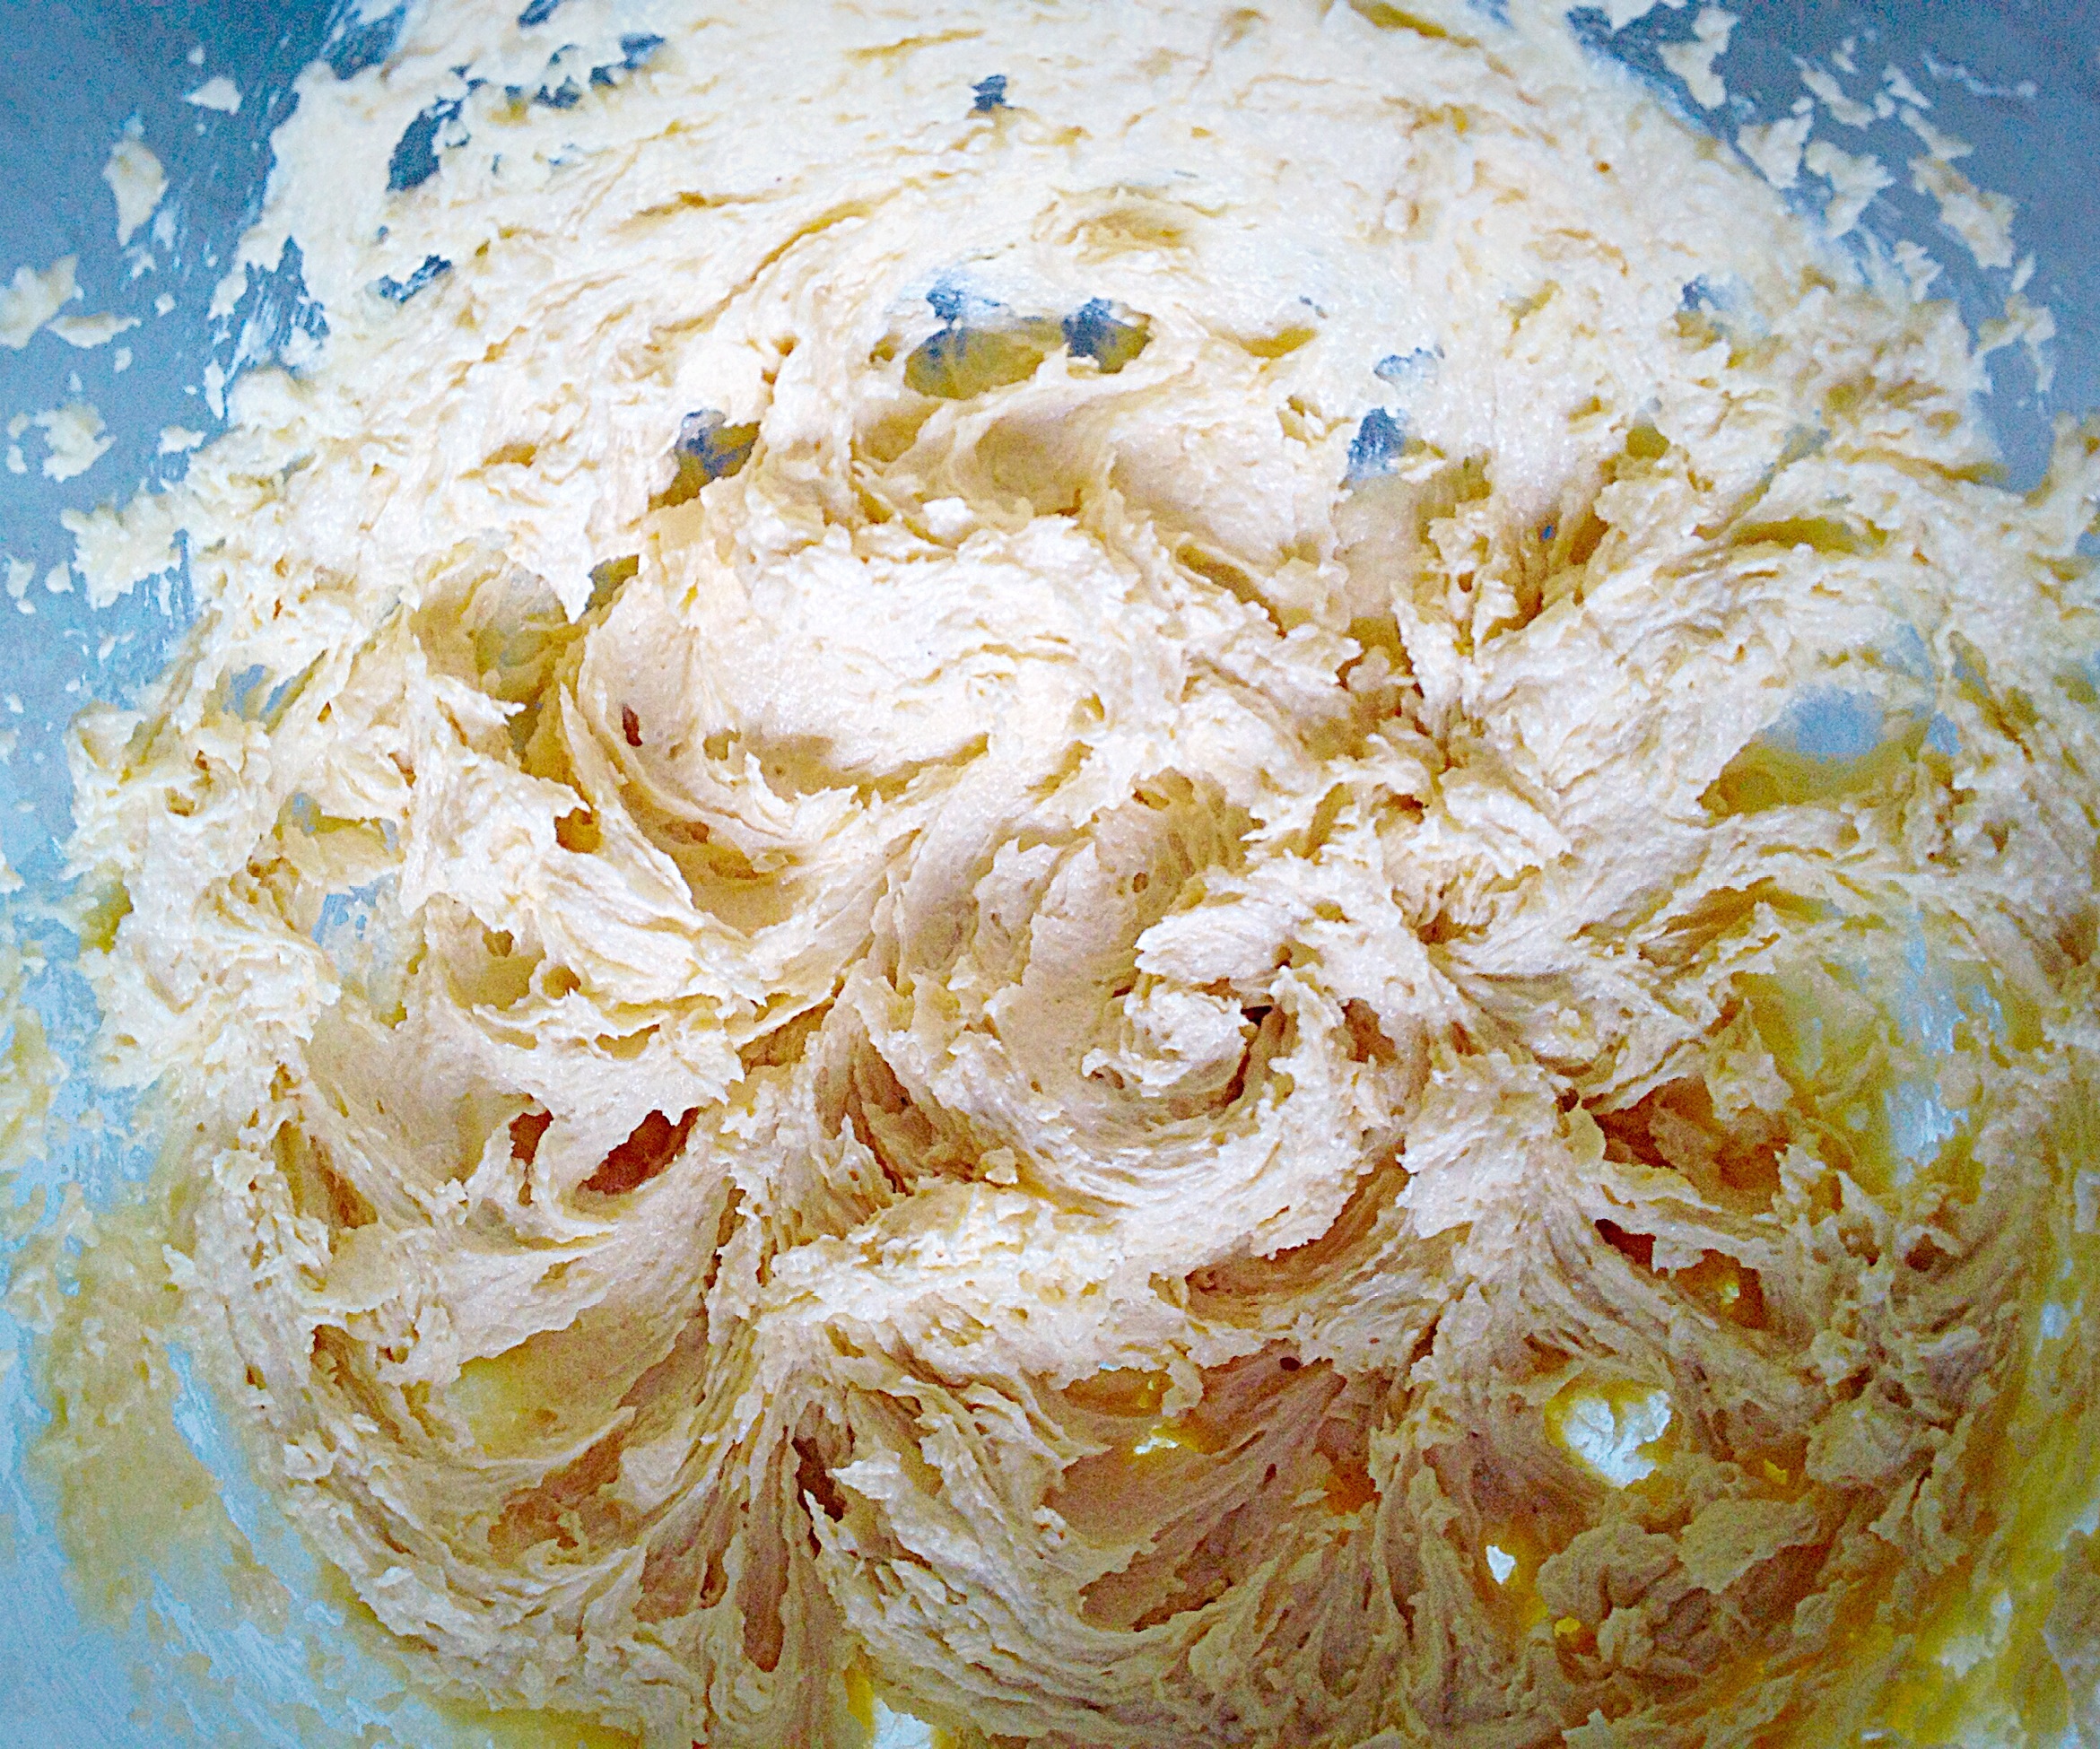
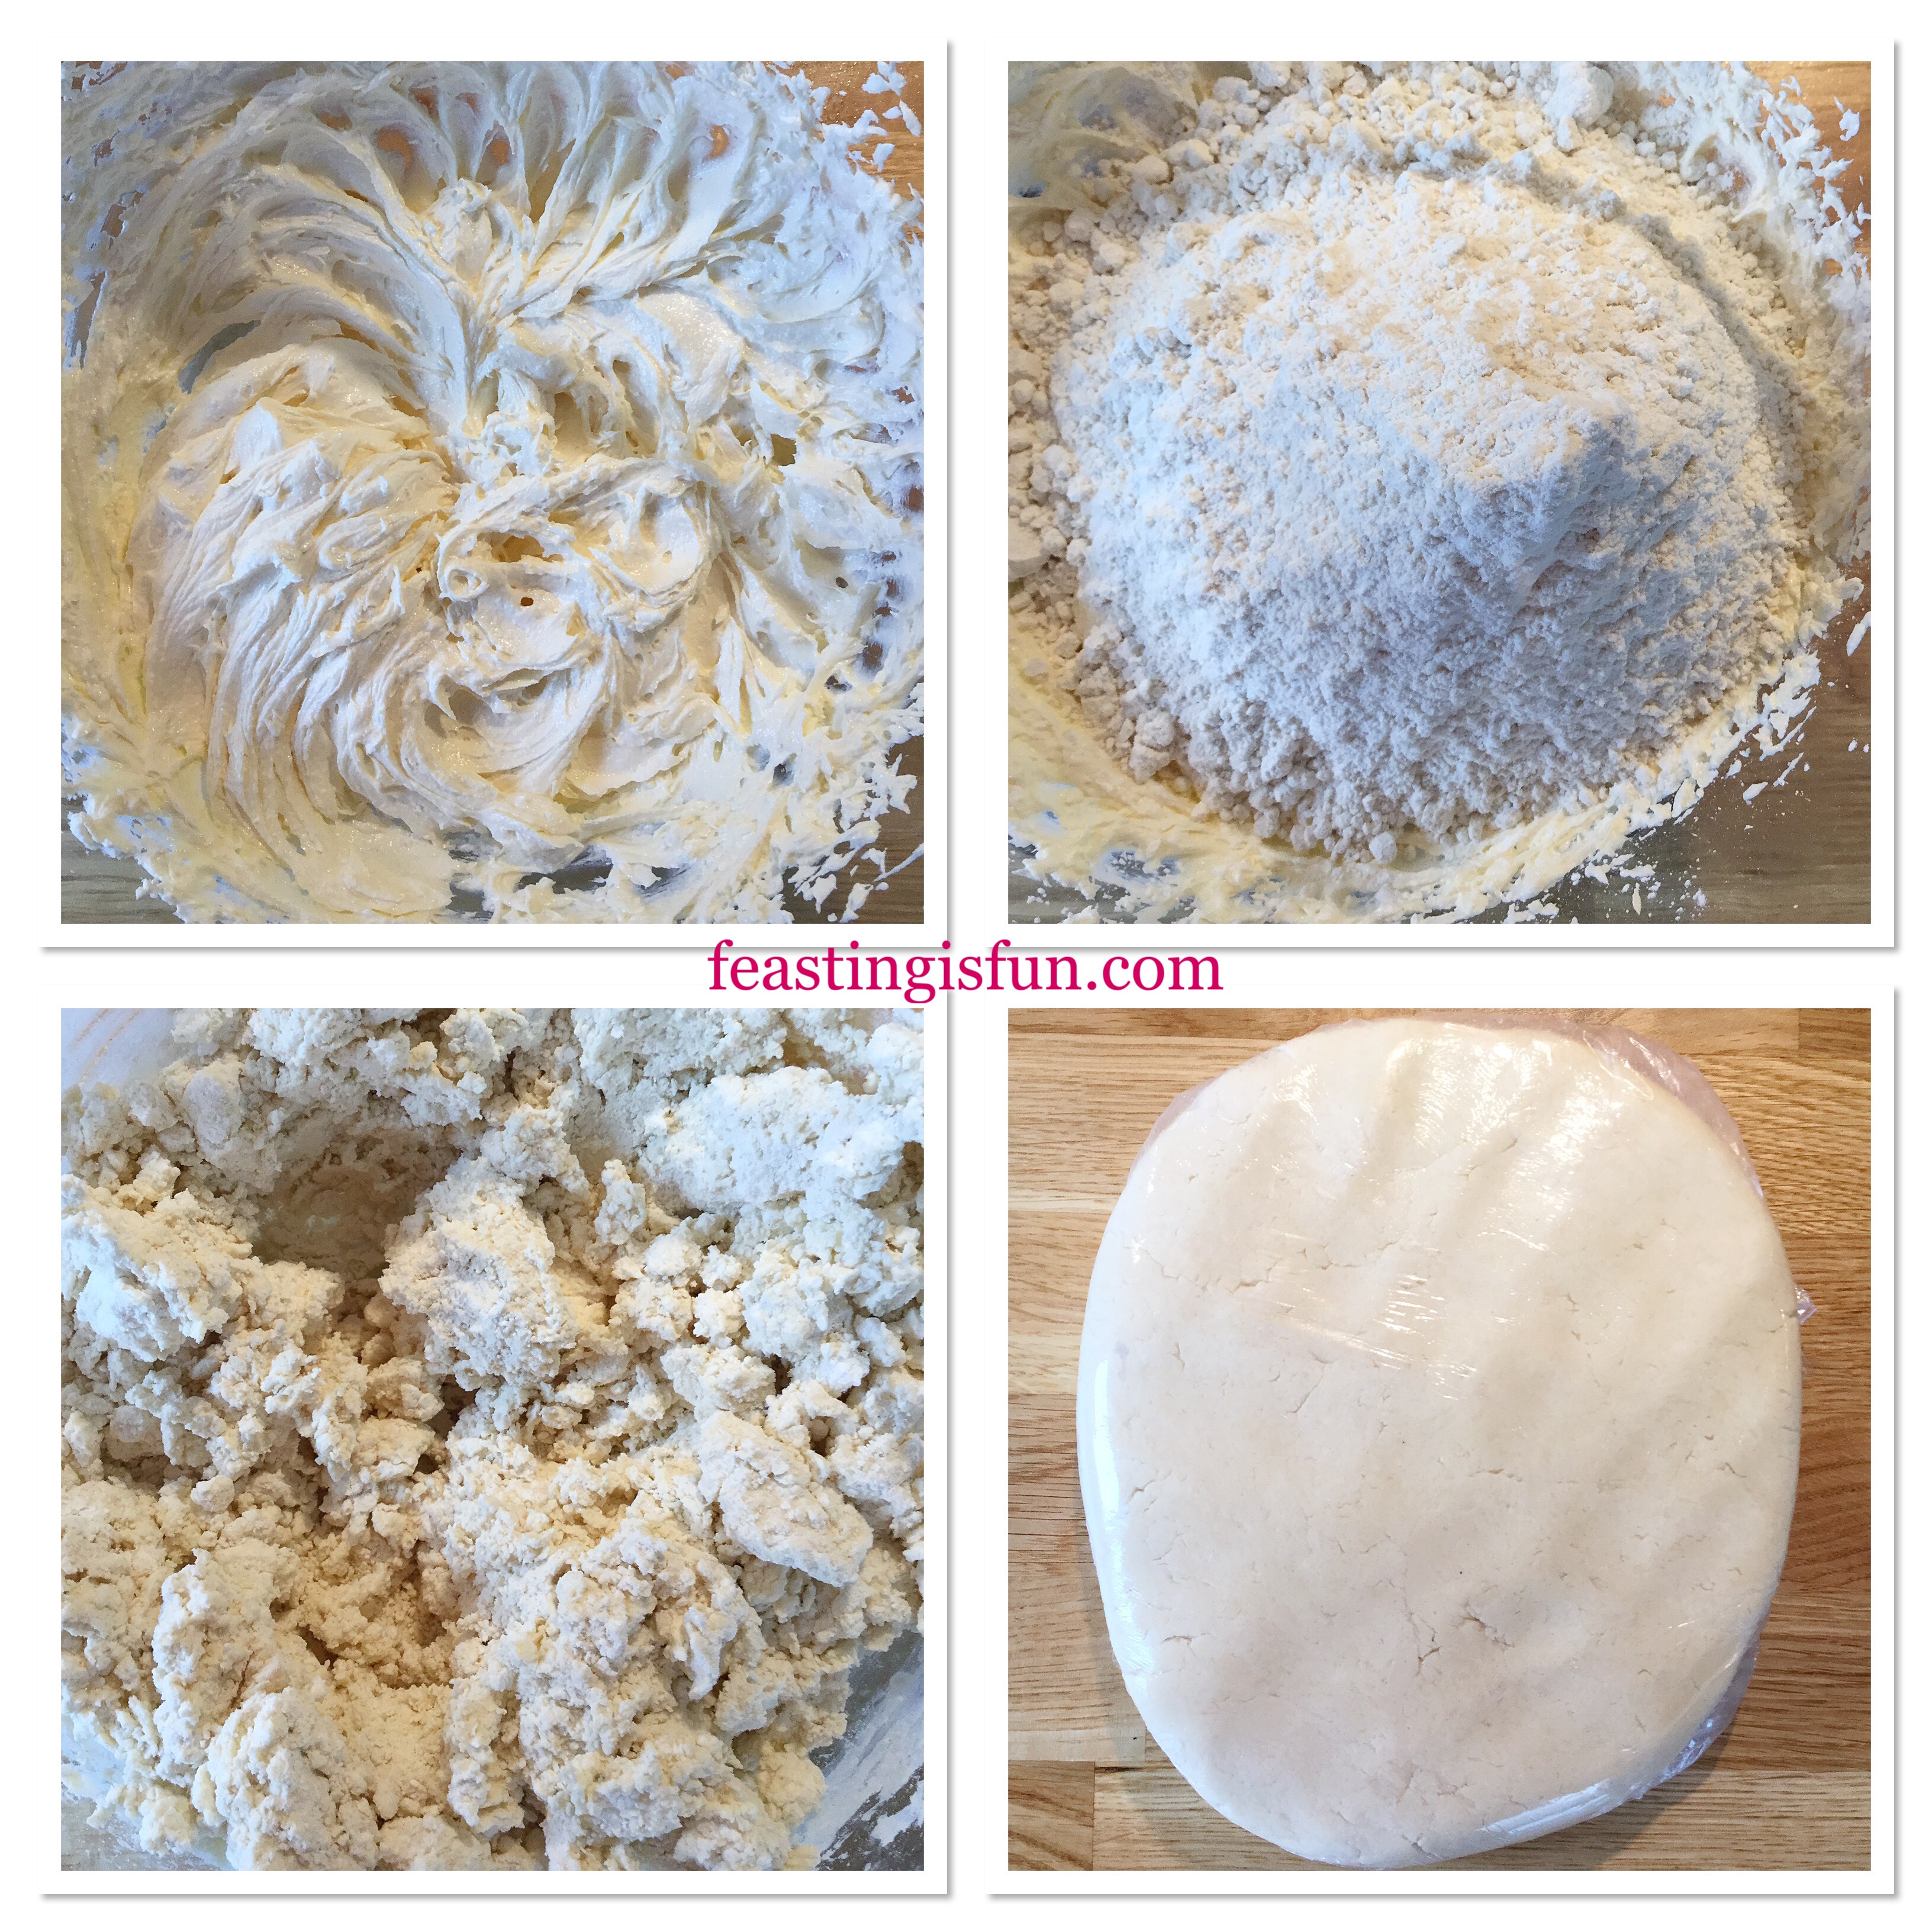
- First of all add the butter, caster sugar and salt to a large bowl.
- Whisk together until fully combined, pale and creamy in appearance.
- Add the vanilla extract and whisk again until combined.
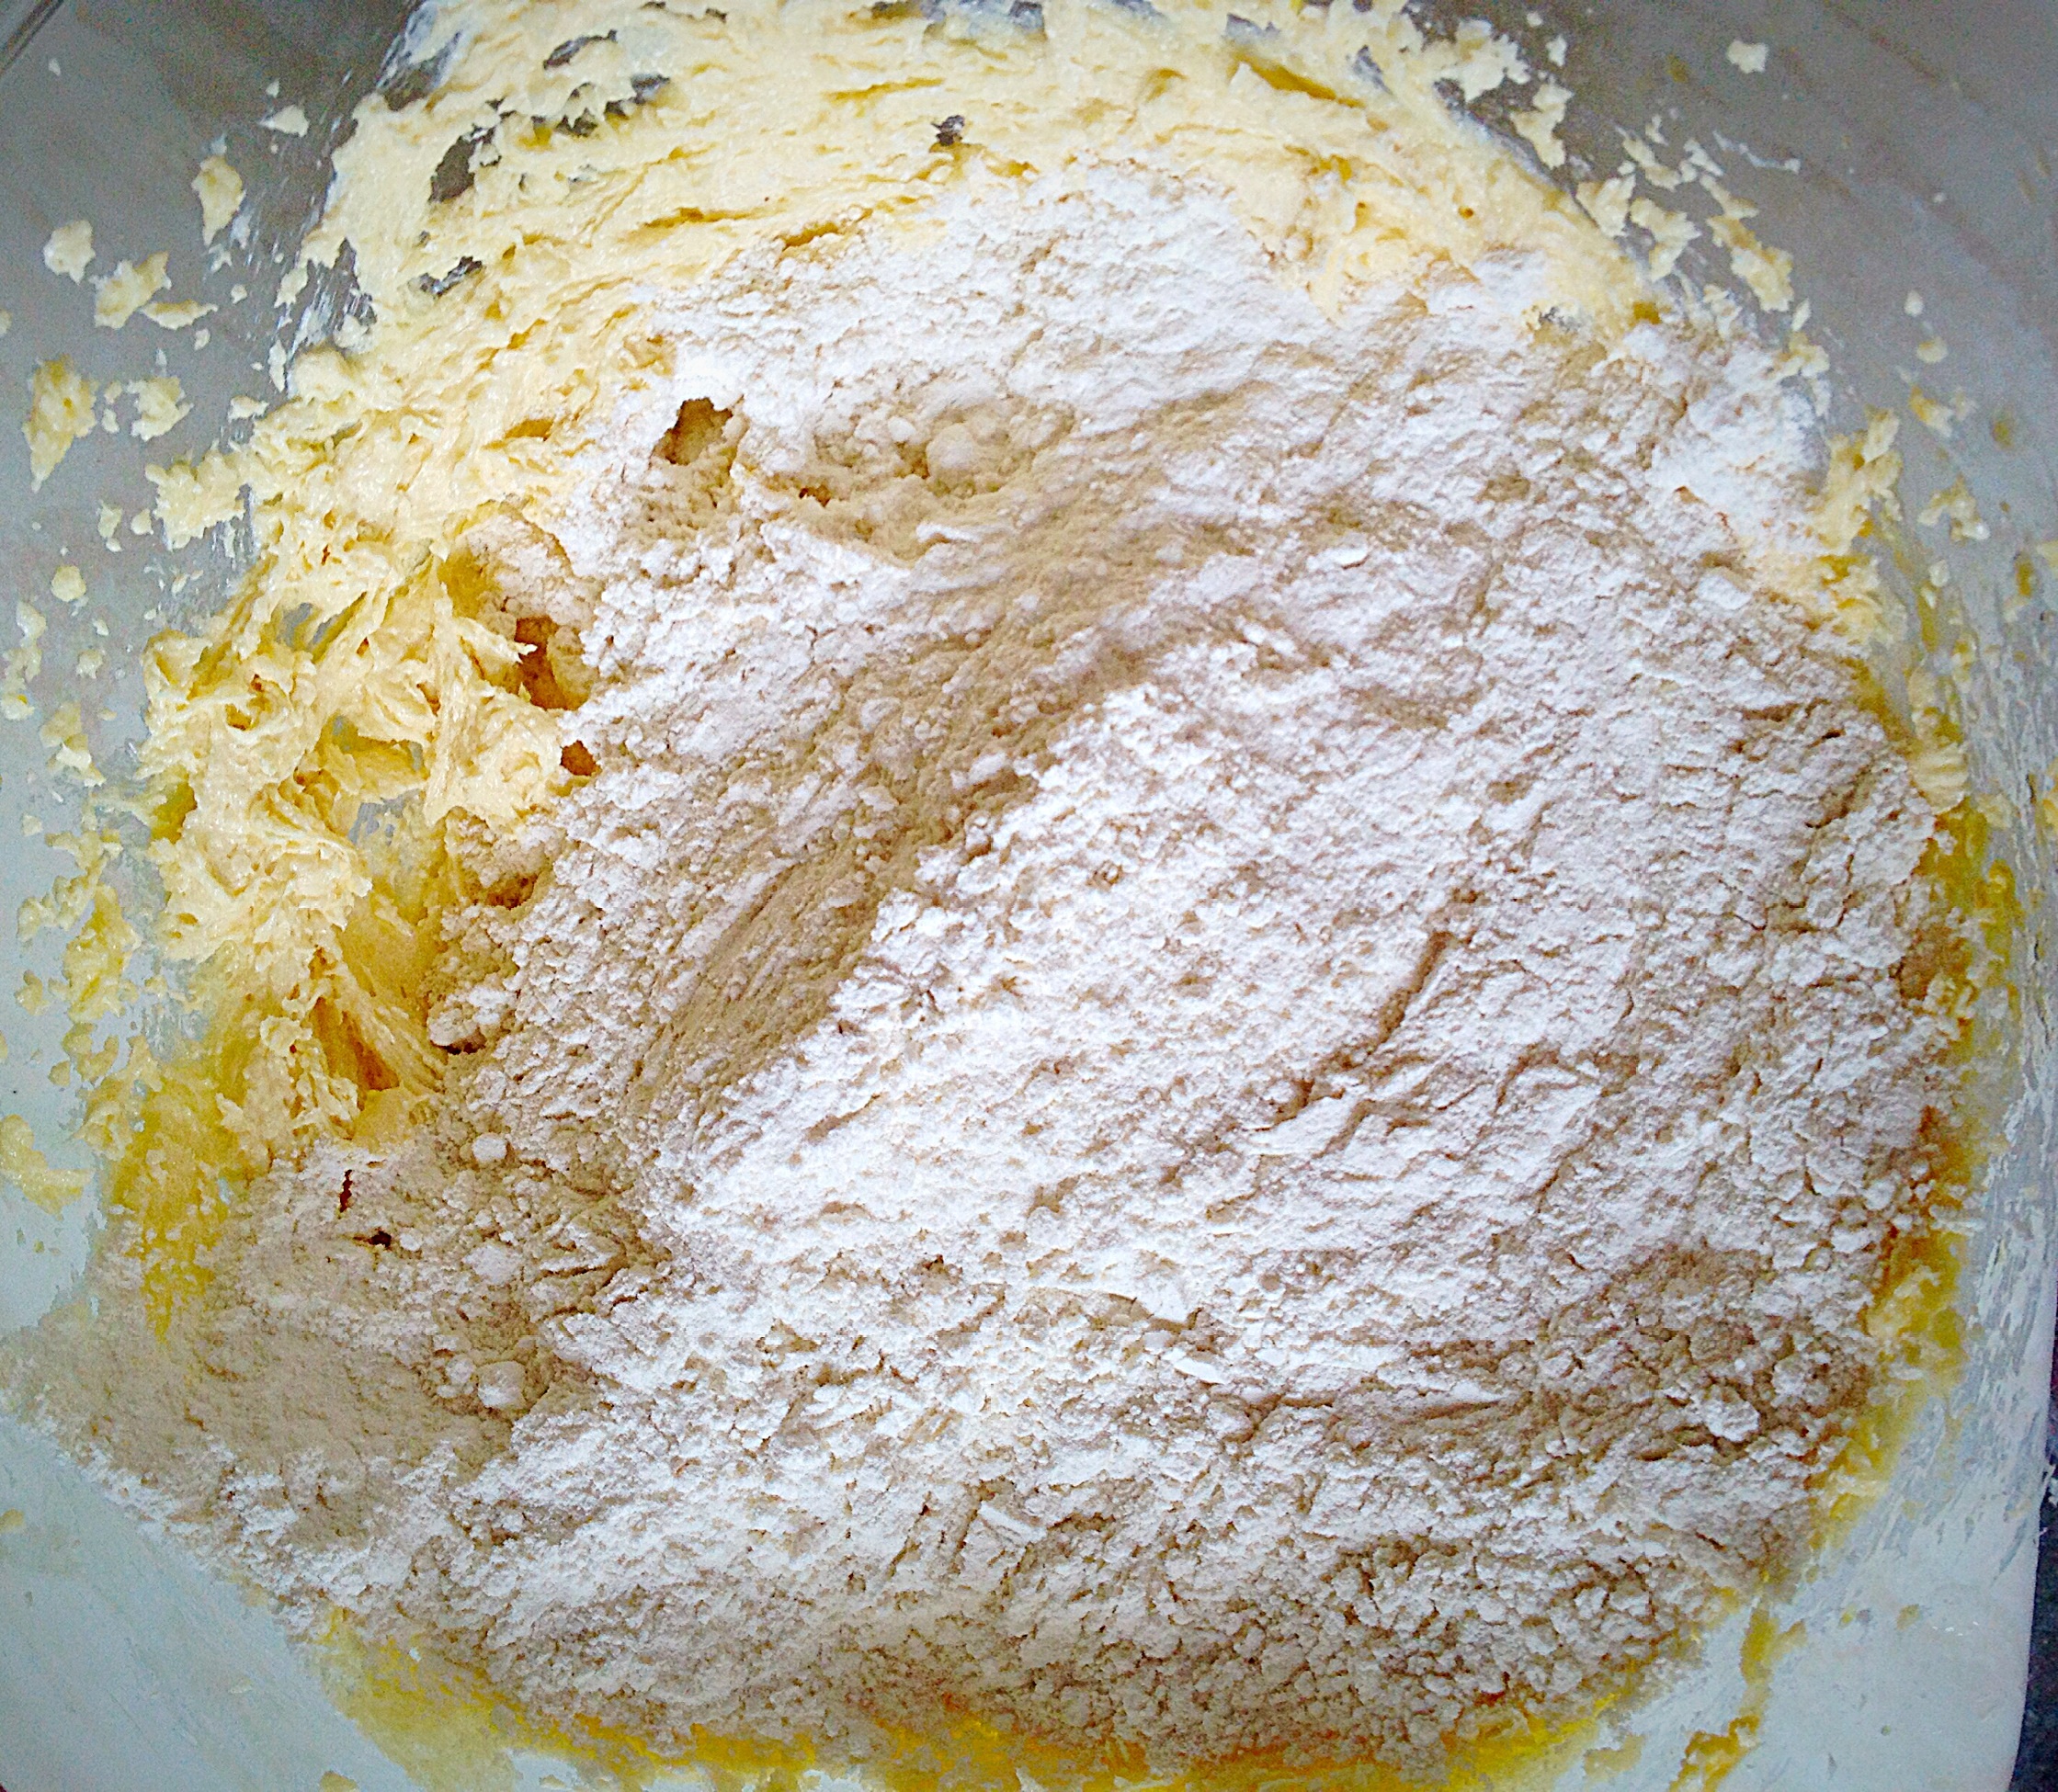
- Sift the plain flour and corn flour into the bowl together.
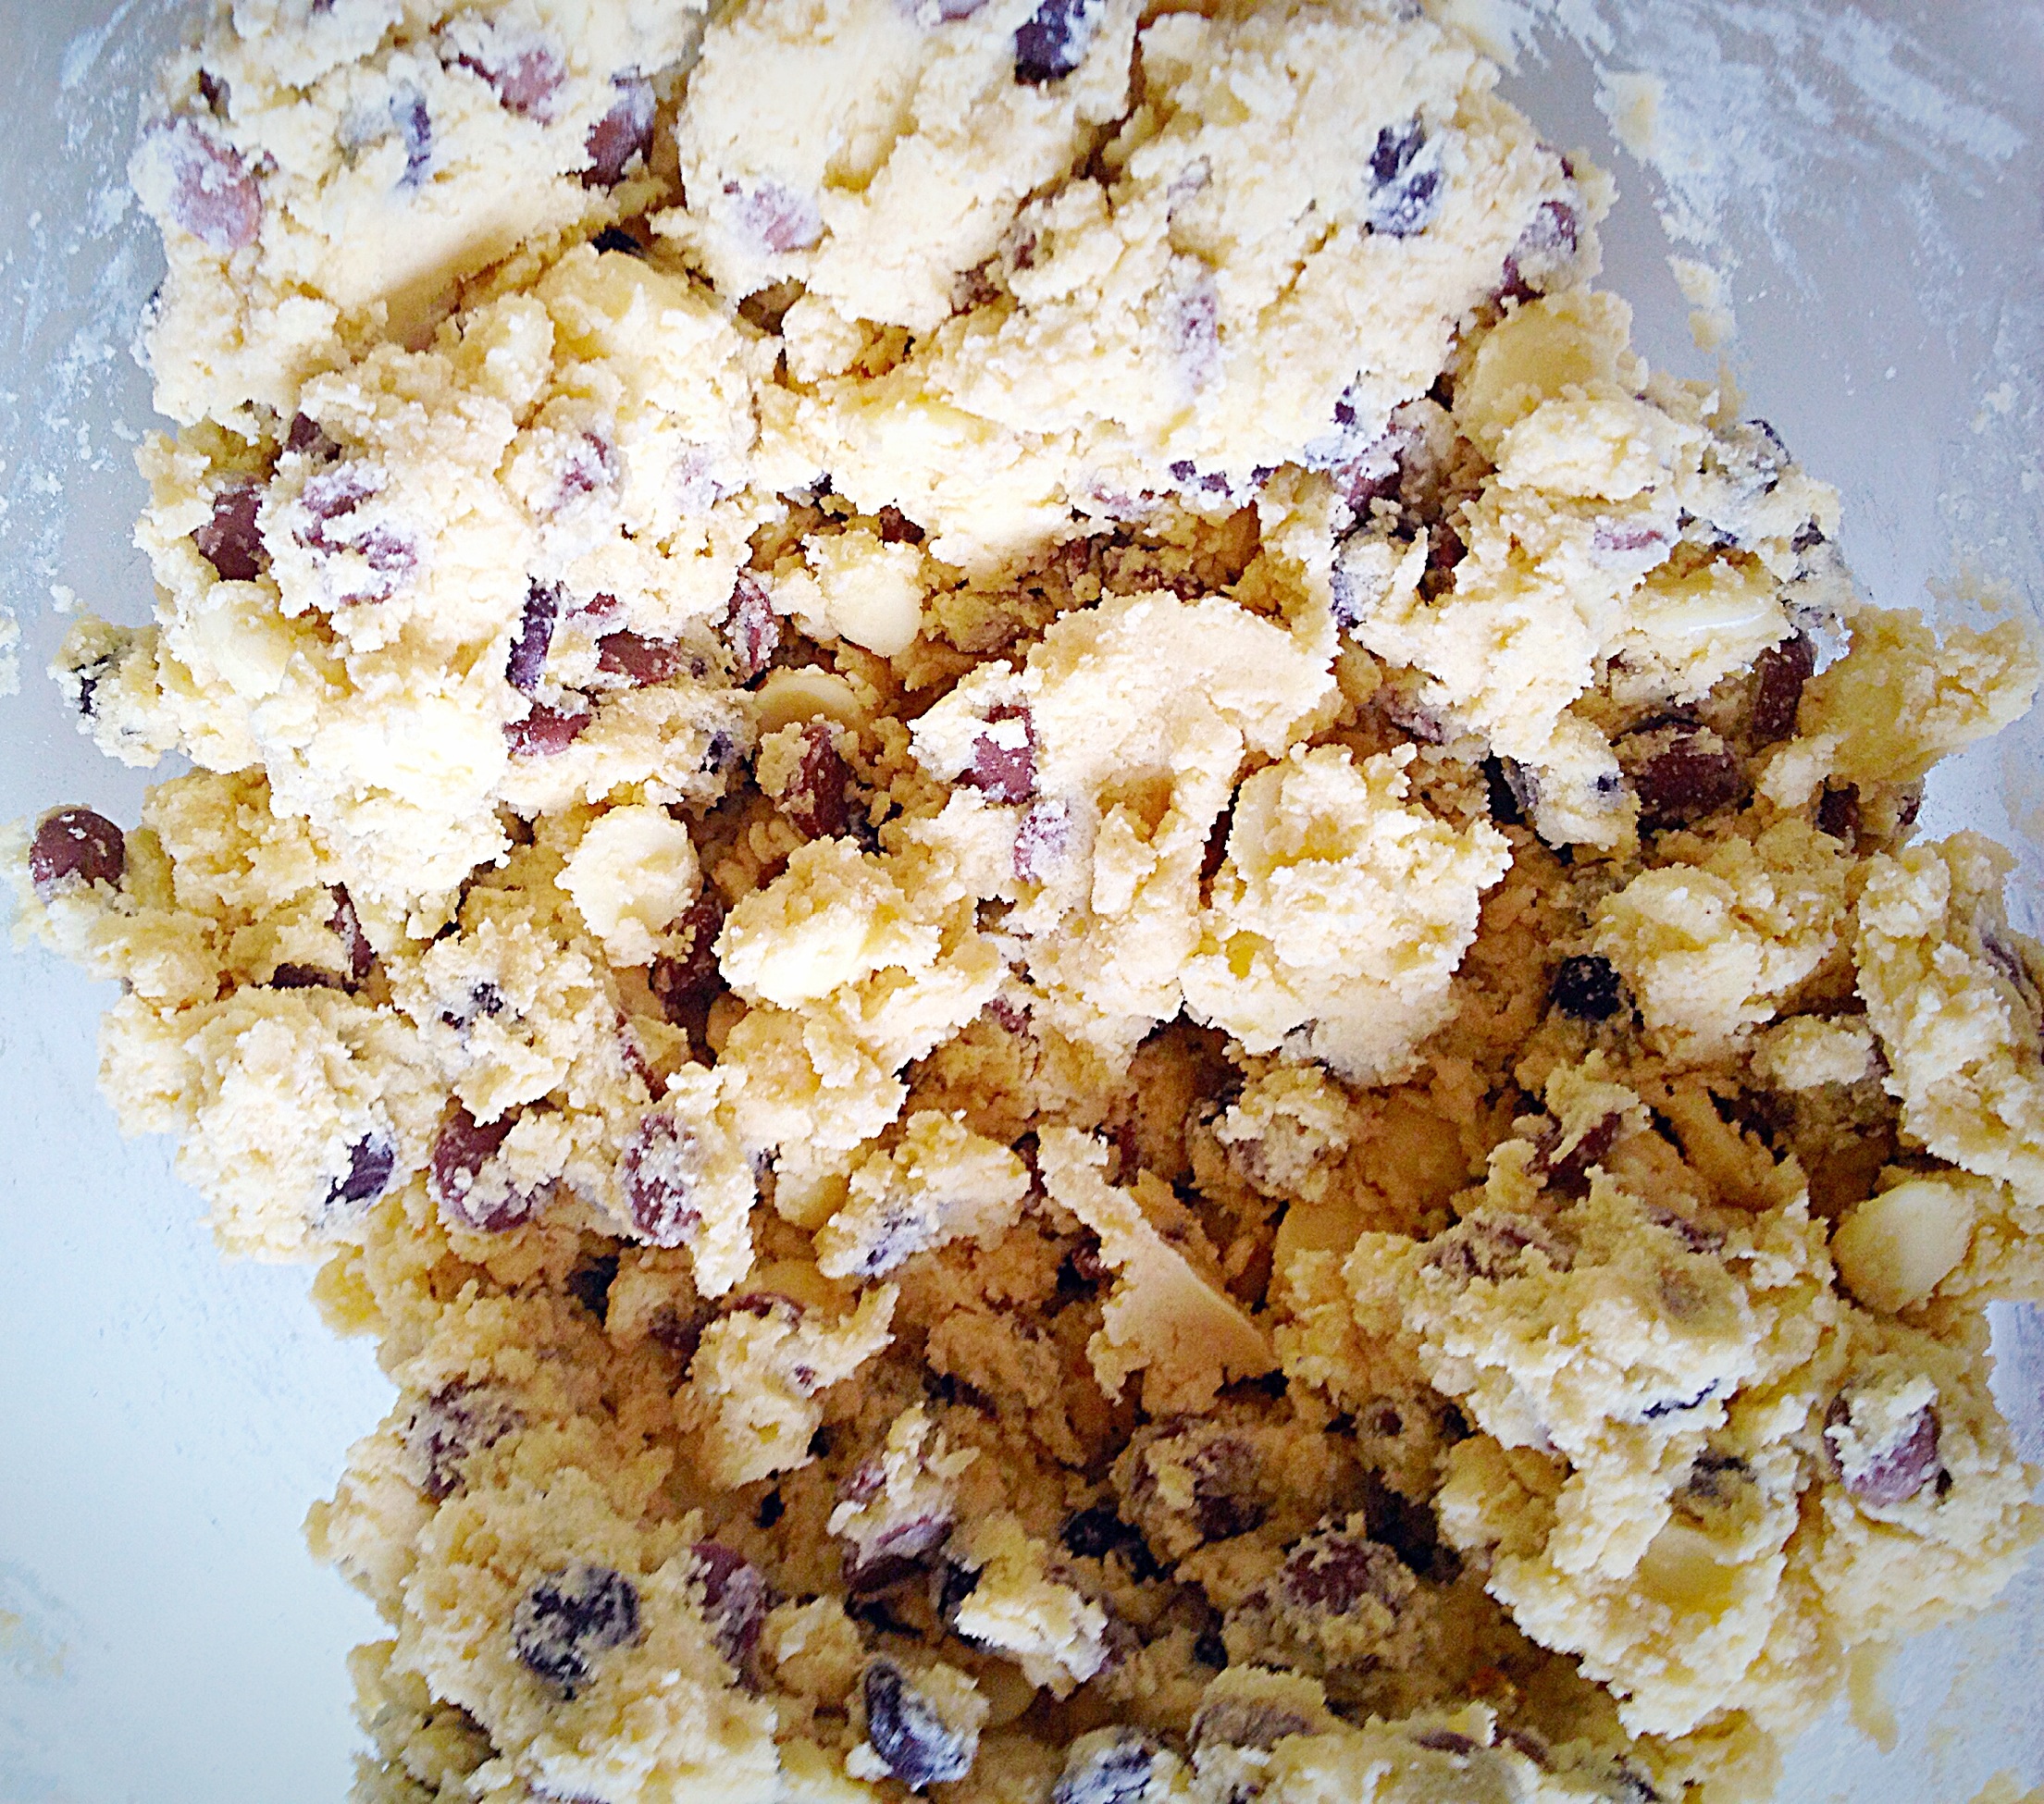
- Using a spoon gently mix the ingredients until it comes together in clumps.
- Wipe the worktop with a damp cloth and lay a large piece of cling film on to the damp surface; it will stick to the worktop.
- With clean hands bring the dough together into a ball.
- Place the shortbread dough on to the cling film and wrap into a disc shape.
- Chill the dough in the fridge for at least 30 minutes.
- While the dough is chilling line 2 large baking trays with baking parchment paper.
Cutting Out Abd Baking The Shortbread Hearts
- As soon as the dough is chilled remove from the fridge.
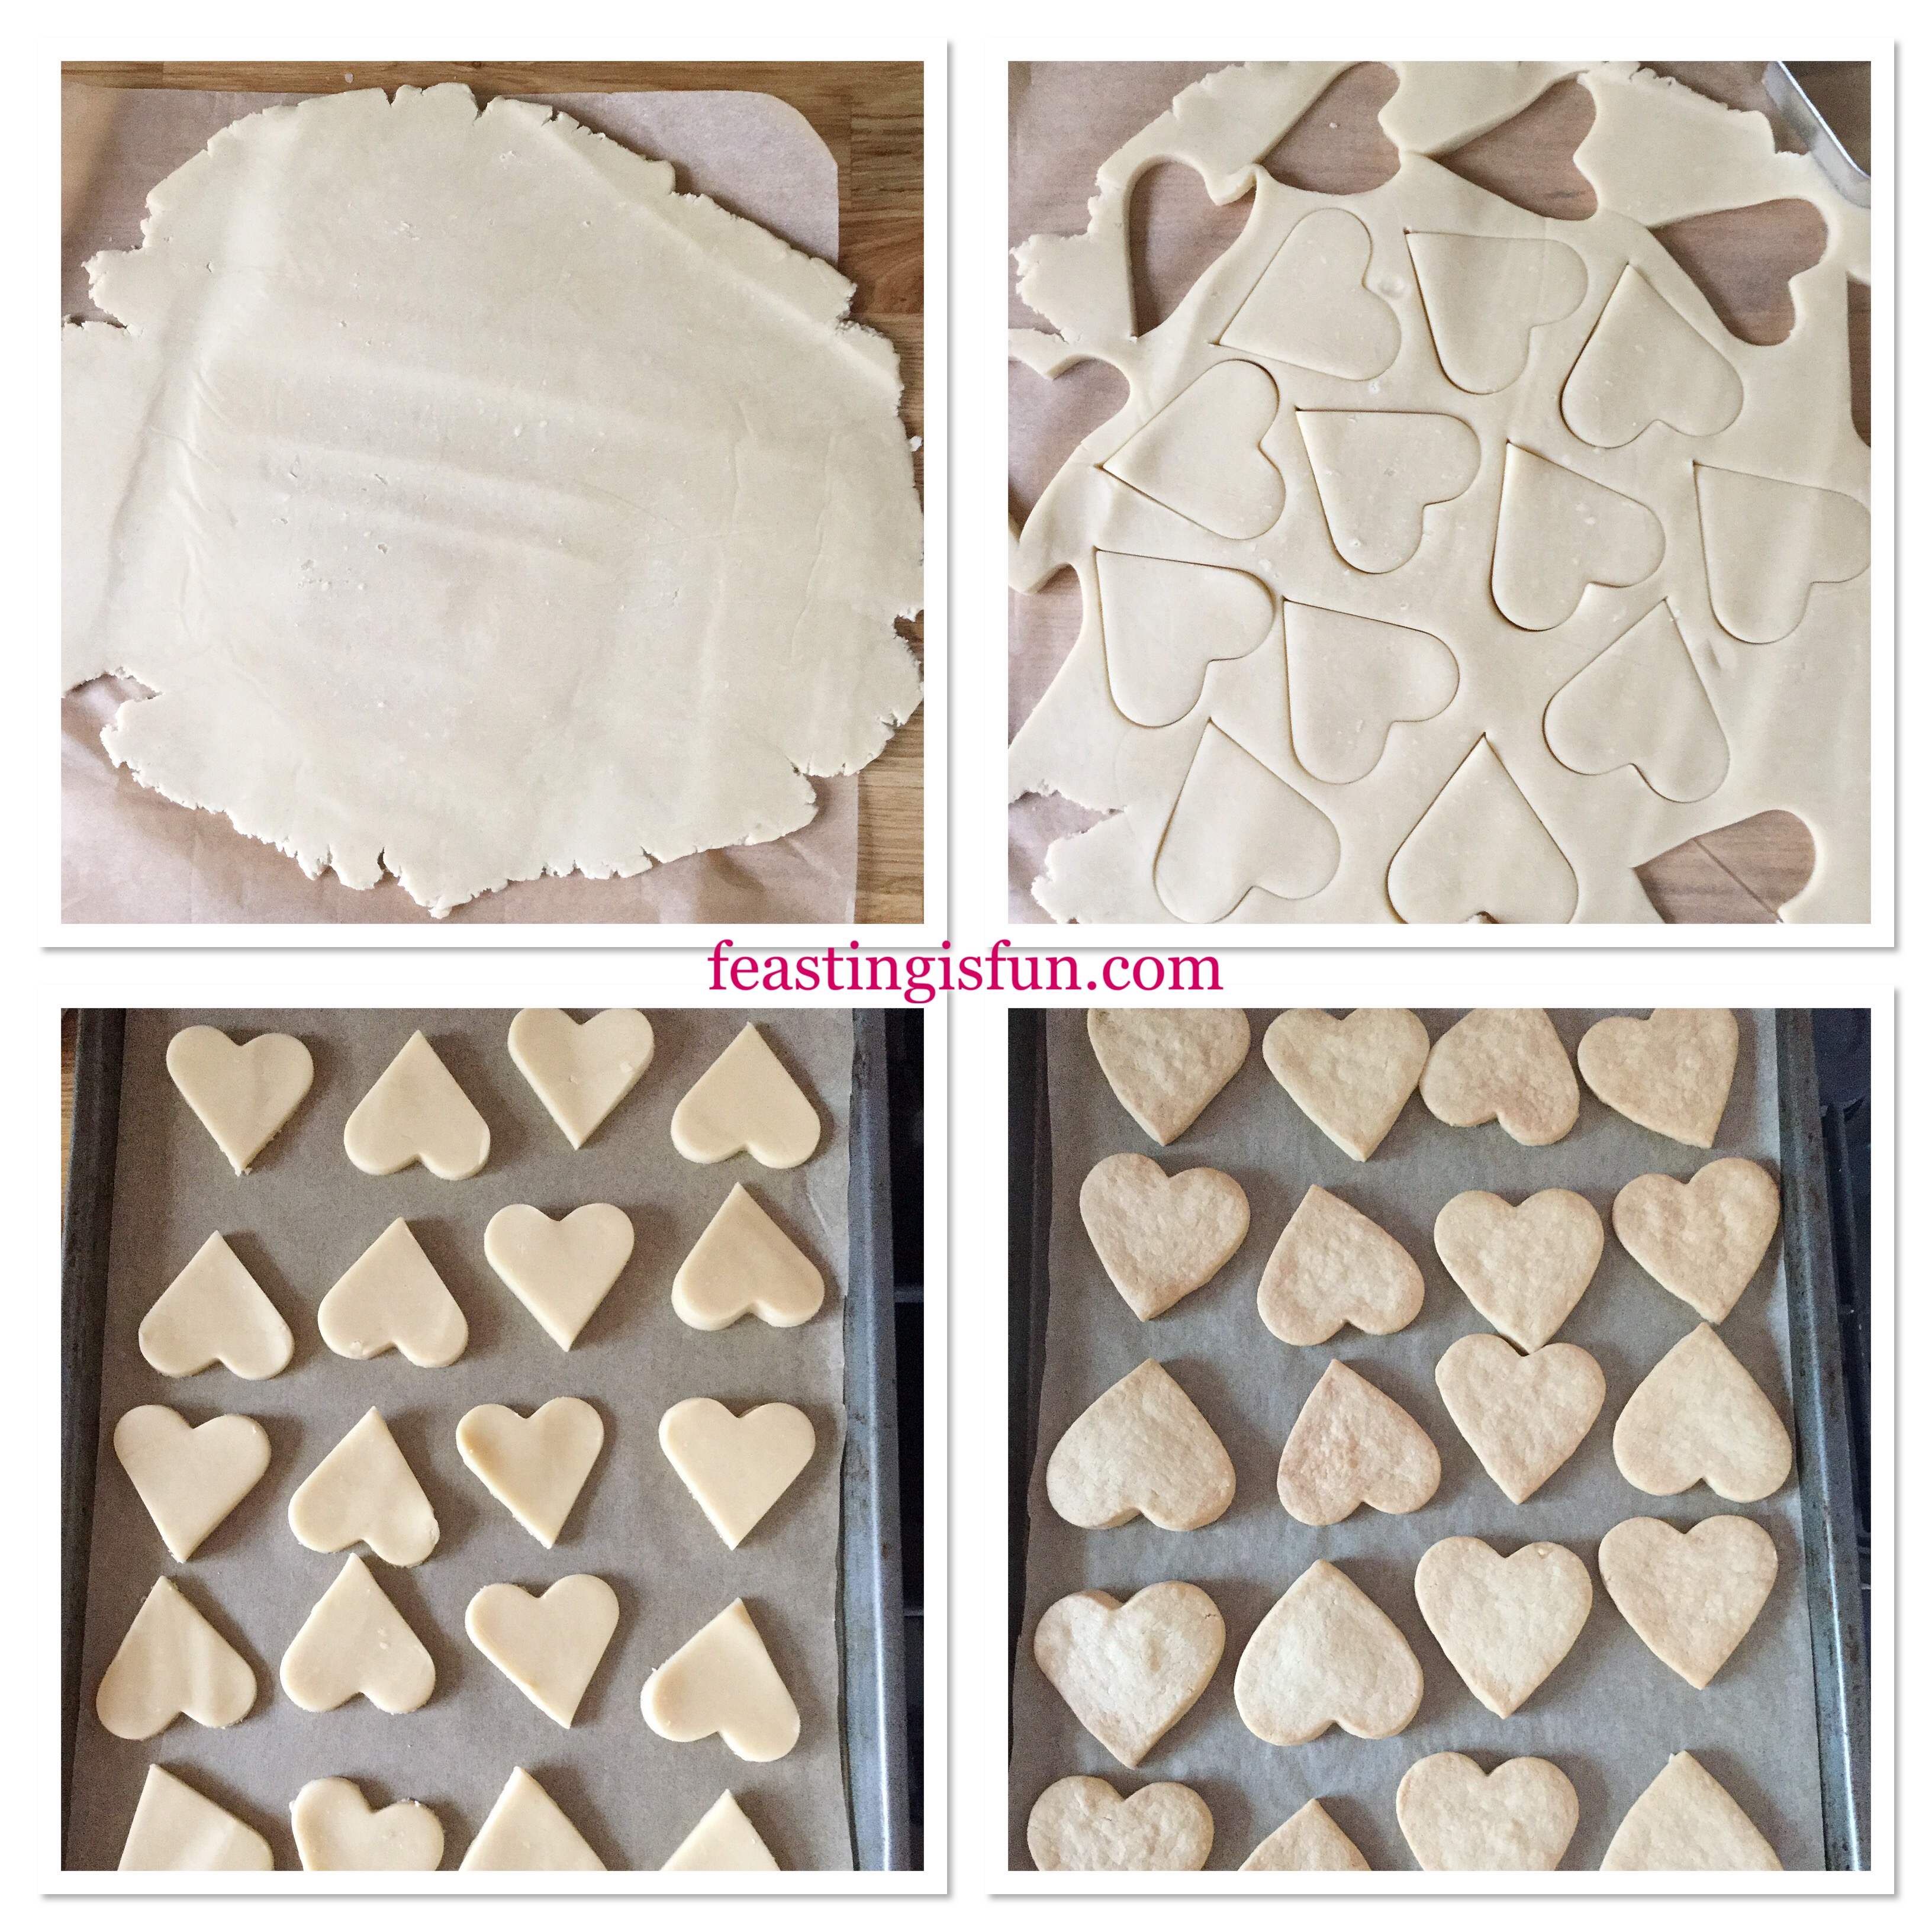
- Knead lightly and then roll out the dough between 2 pieces of parchment paper. Roll to a thickness of 5mm.
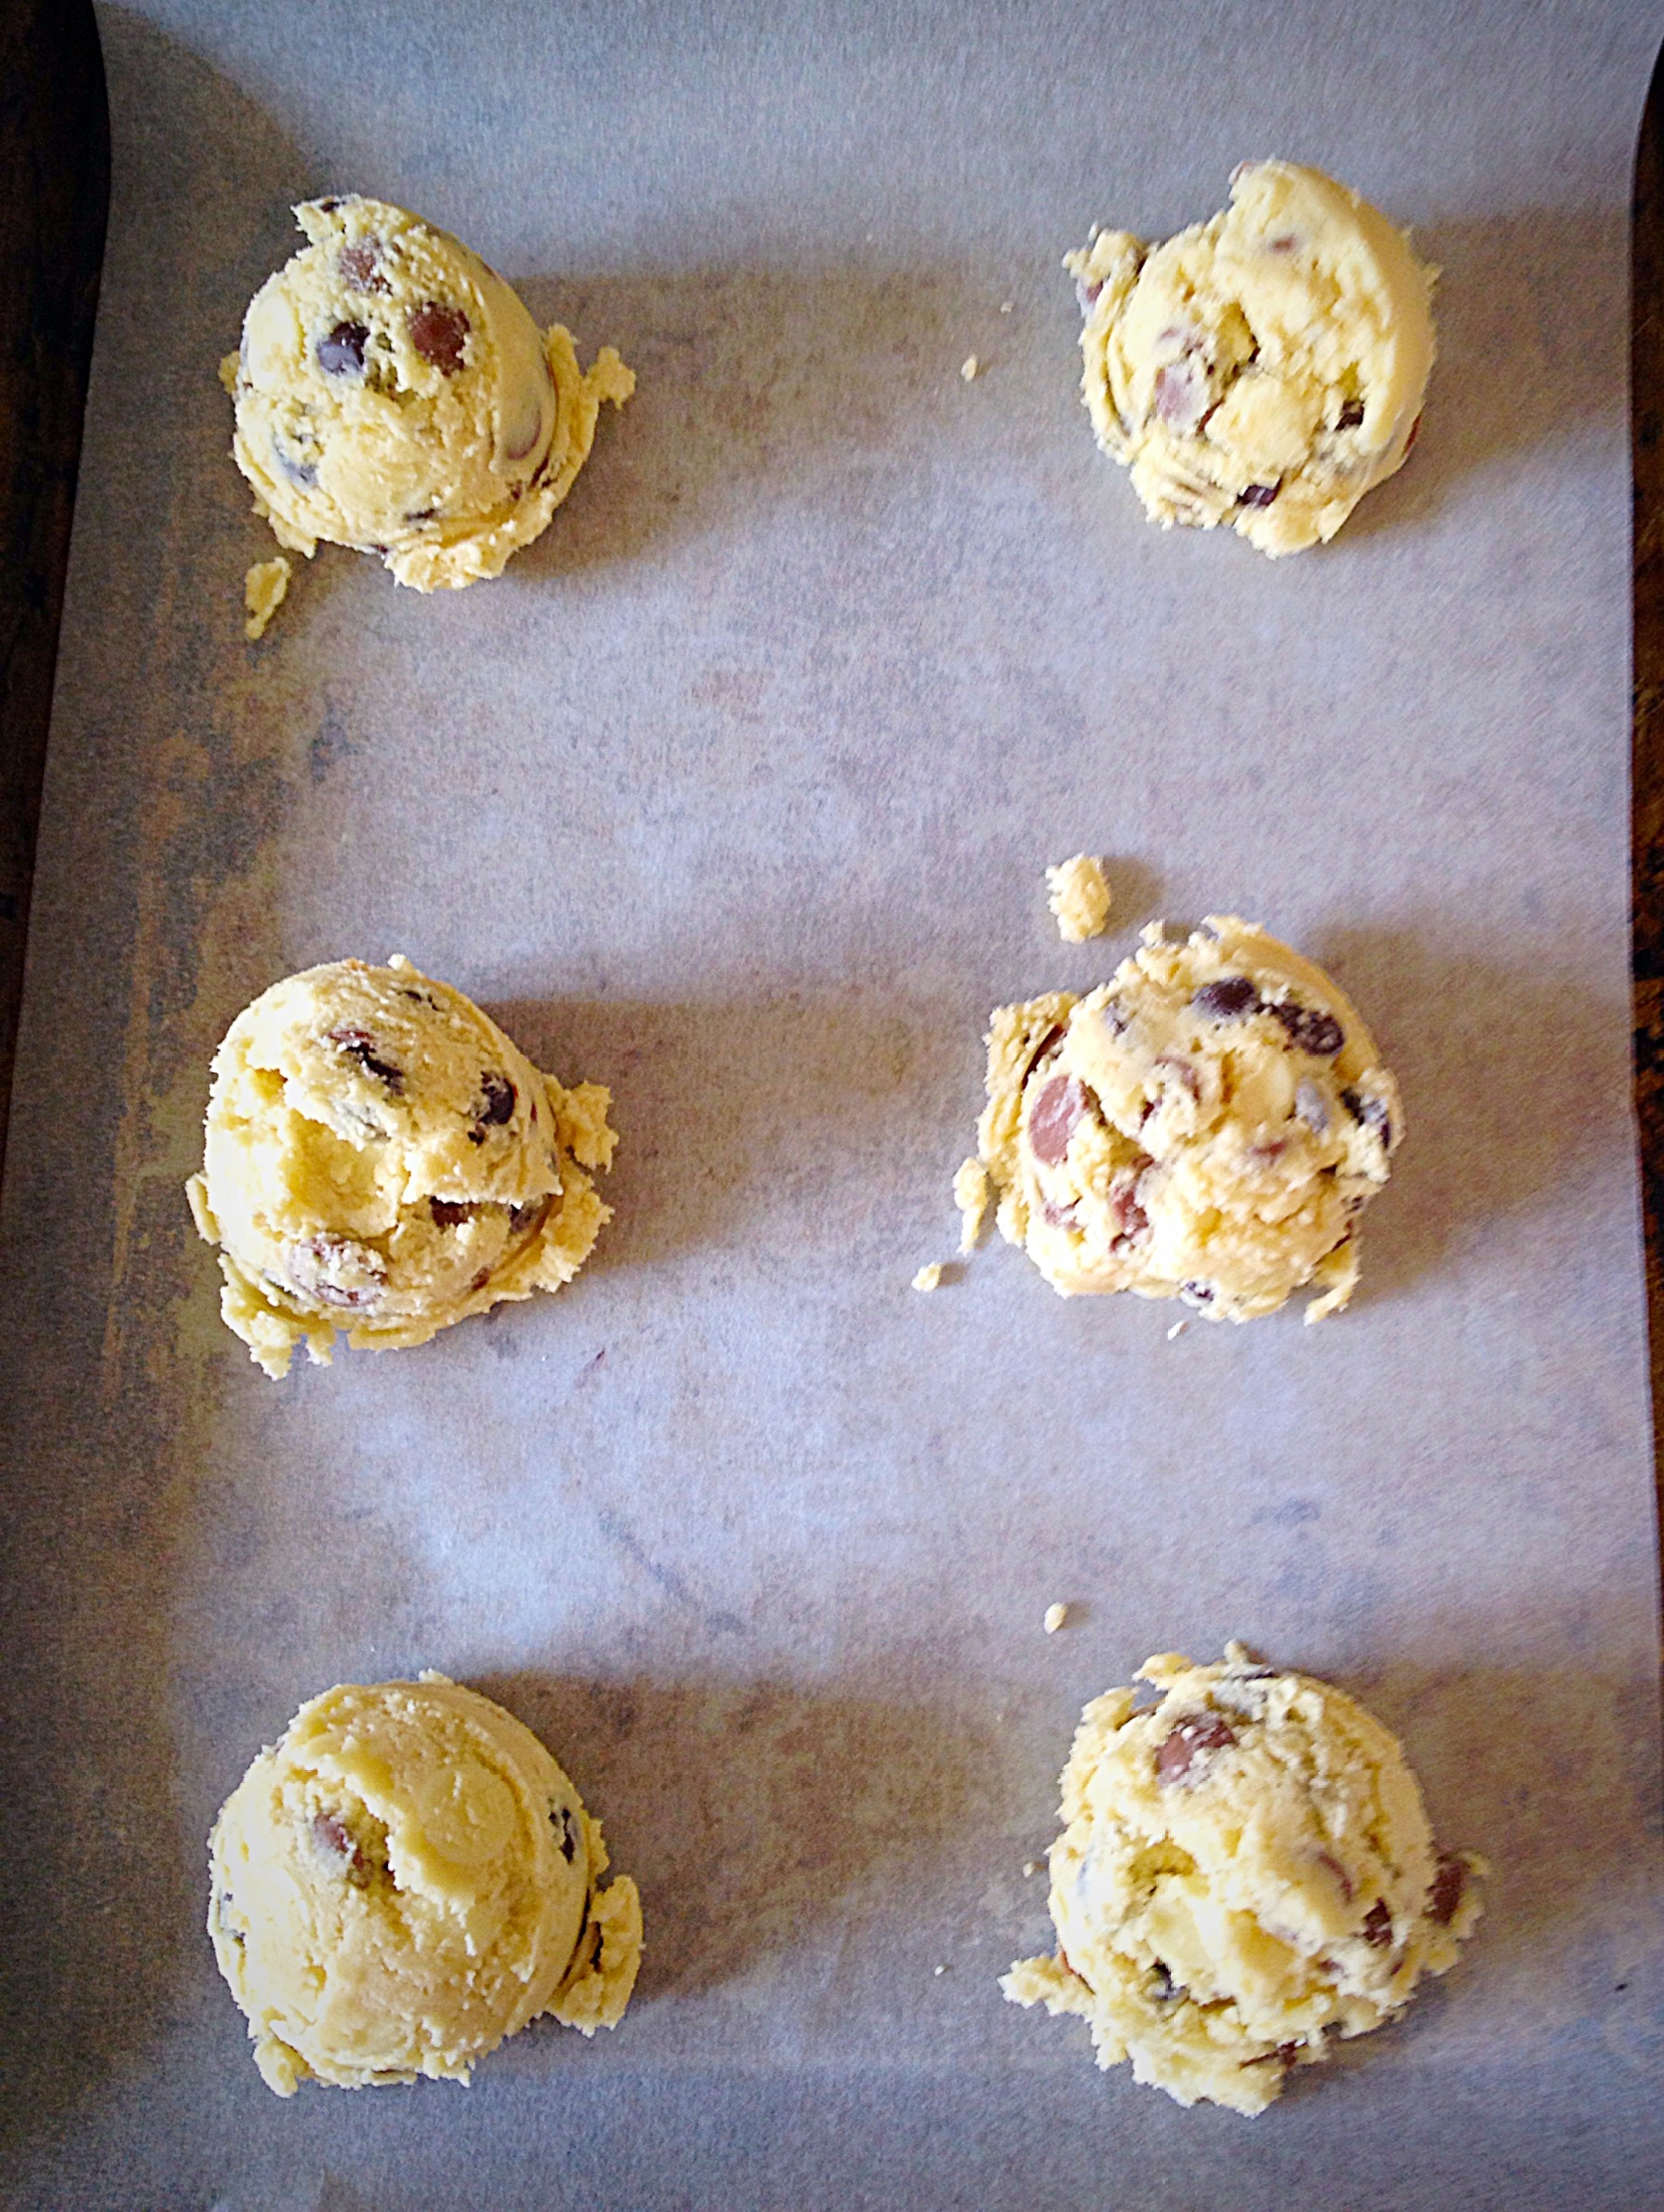
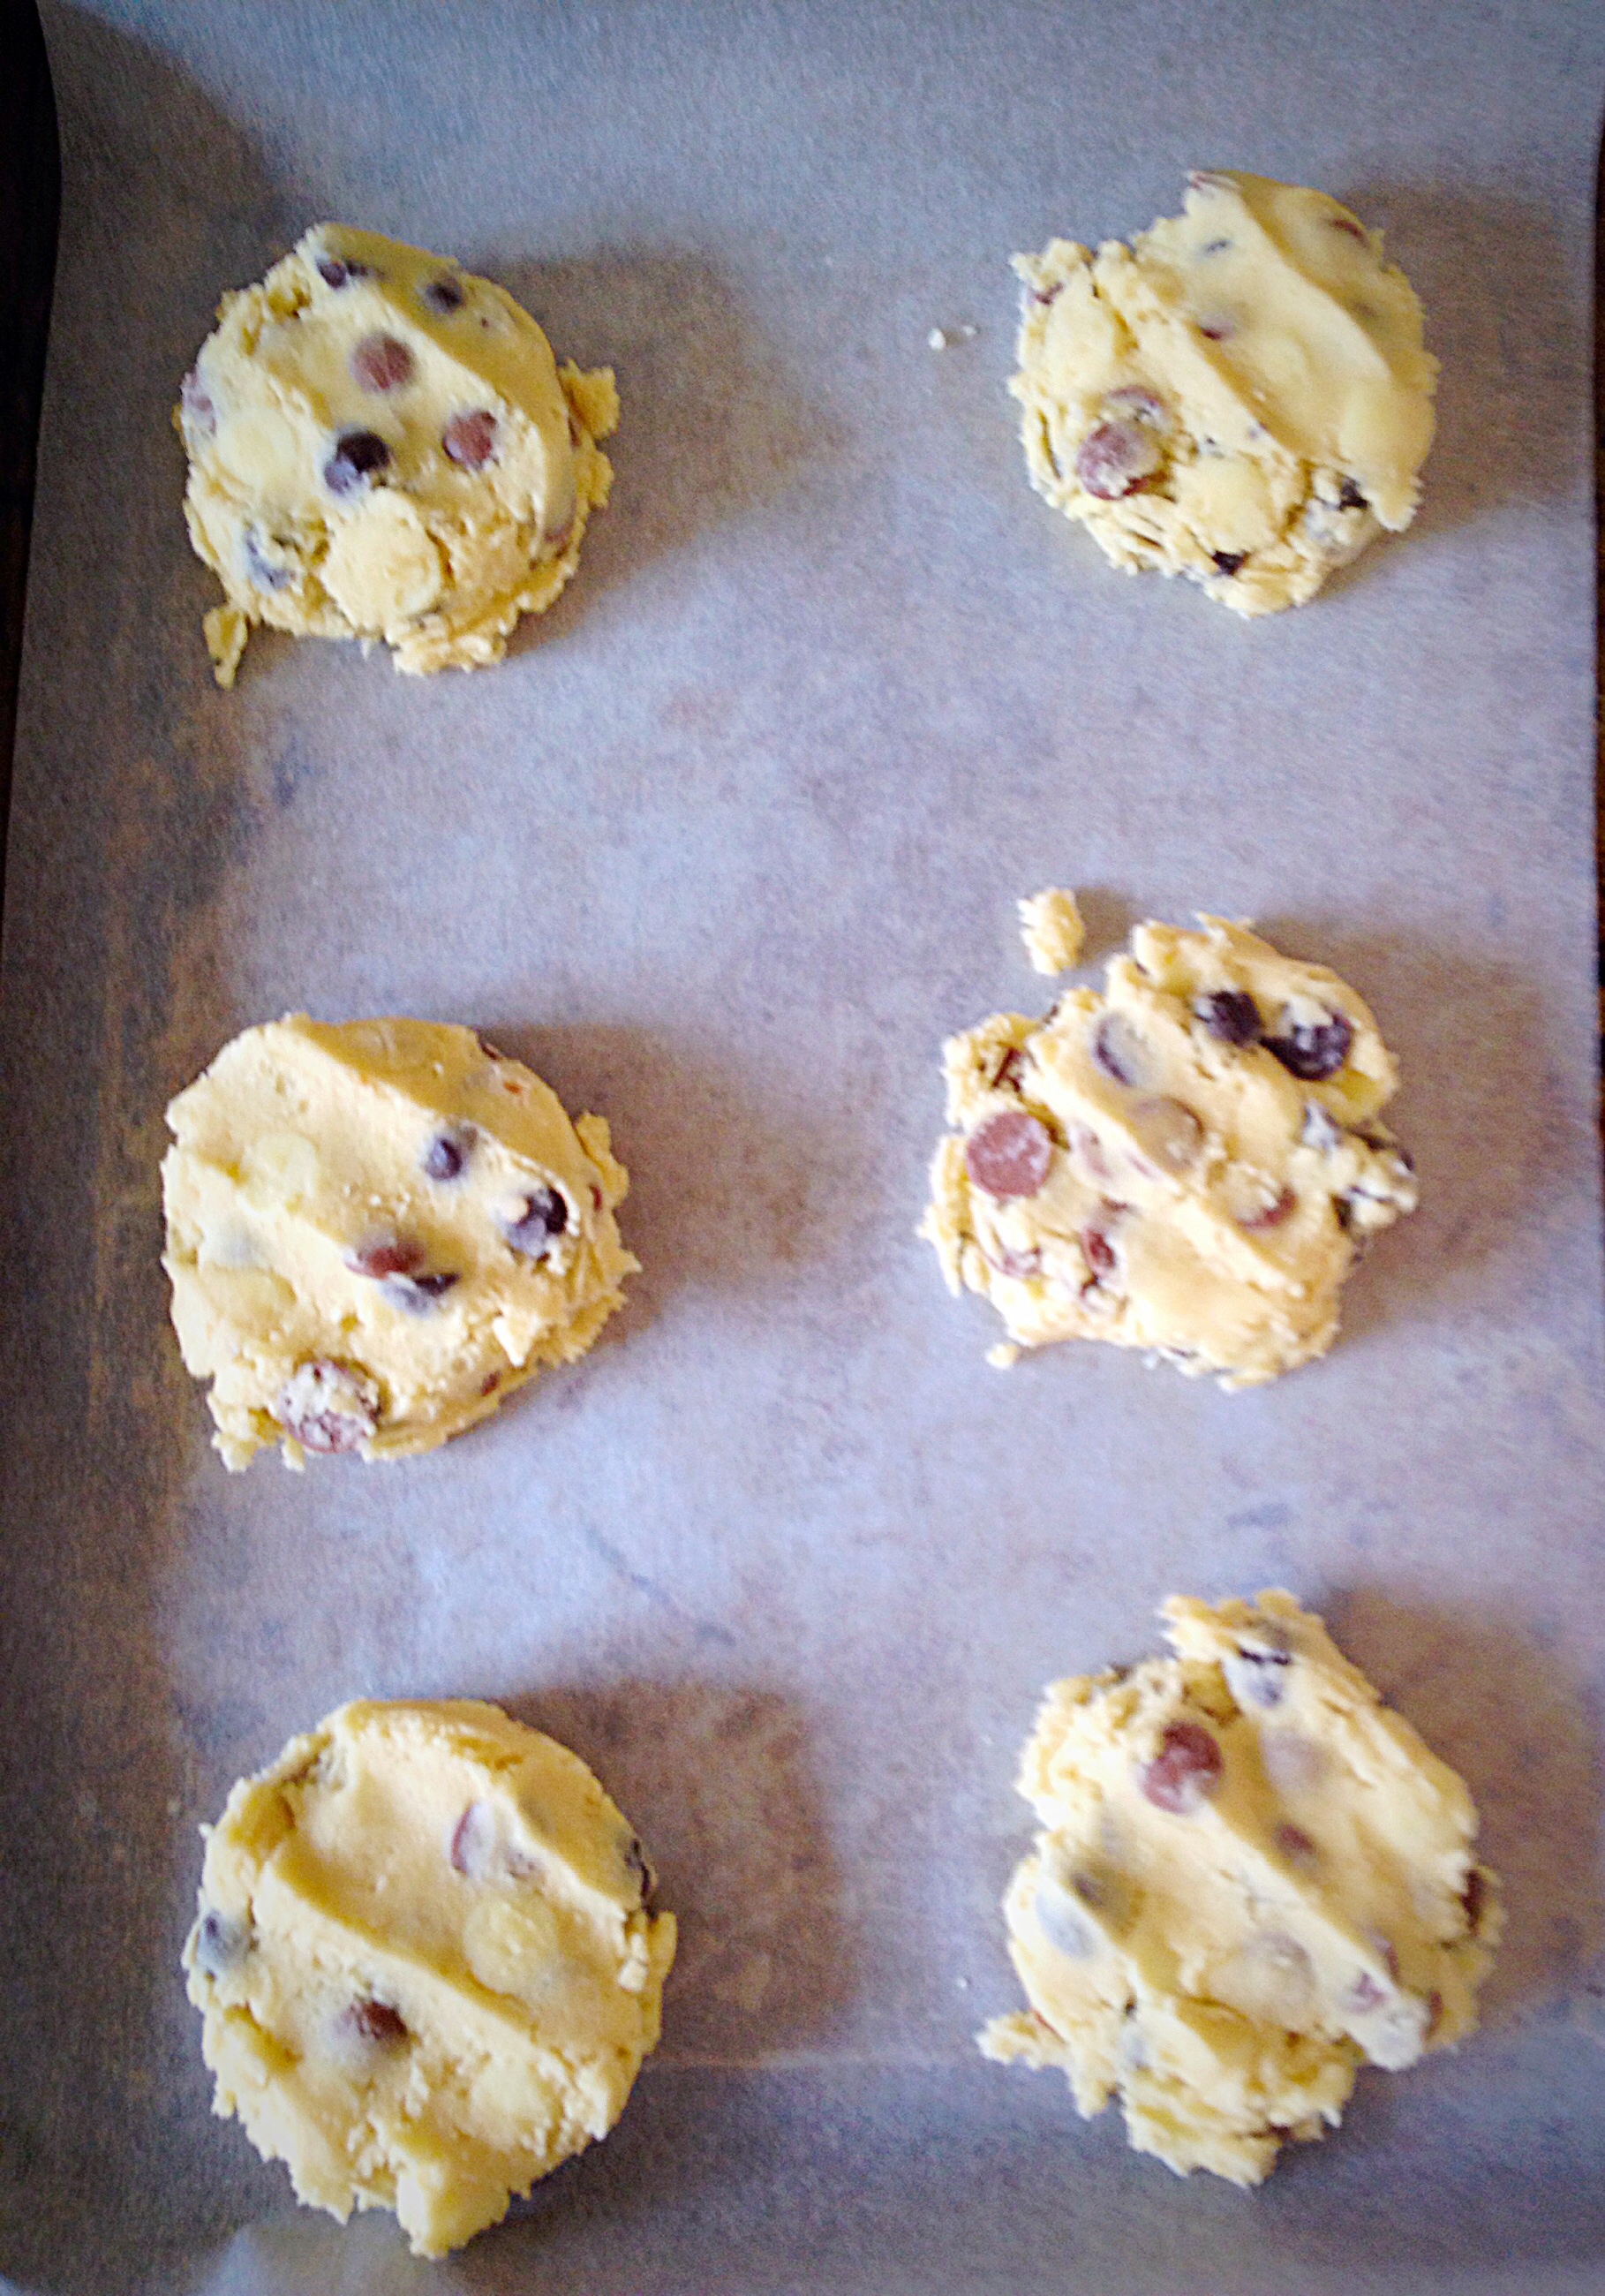
- Using a heart cookie cutter cut out the first batch of cookies. Placing them carefully on to the baking tray.
- Because the dough is cold the cookies do not spread on baking, so they can be placed close together on the baking tray.
- As soon as the baking trays are full place them into the middle and lower shelves of a preheated oven.
- Bake for 20-25 minutes until they are a pale golden brown. Baking time will depend on the size and thickness of the cookies.
- While the shortbread is baking gather together any remaining dough, wrap in cling film and chill.
- Once baked remove from the oven, allow to cool for 5 minutes on the tray and then transfer the shortbread hearts to a cooling rack.
- Allow the baking trays to cool completely.
- Flip over the baking parchment on each tray and using the chilled dough proceed to roll out and cut out the cookies as before. Laying them on the baking trays and baking as before.
- Cool the shortbread hearts completely before the next step.
Dipping The Cooked Shortbread Hearts In Chocolate
- Chop up the chocolate and place into a microwaveable, heatproof bowl.
- Place in the microwave and heat on medium power for 30 seconds at a time, stirring after each burst. As soon as the chocolate starts to melt remove the bowl and stir continuously until all of the chocolate has melted. An extra burst of heat in the microwave may be needed to ensure the chocolate is completely smooth.
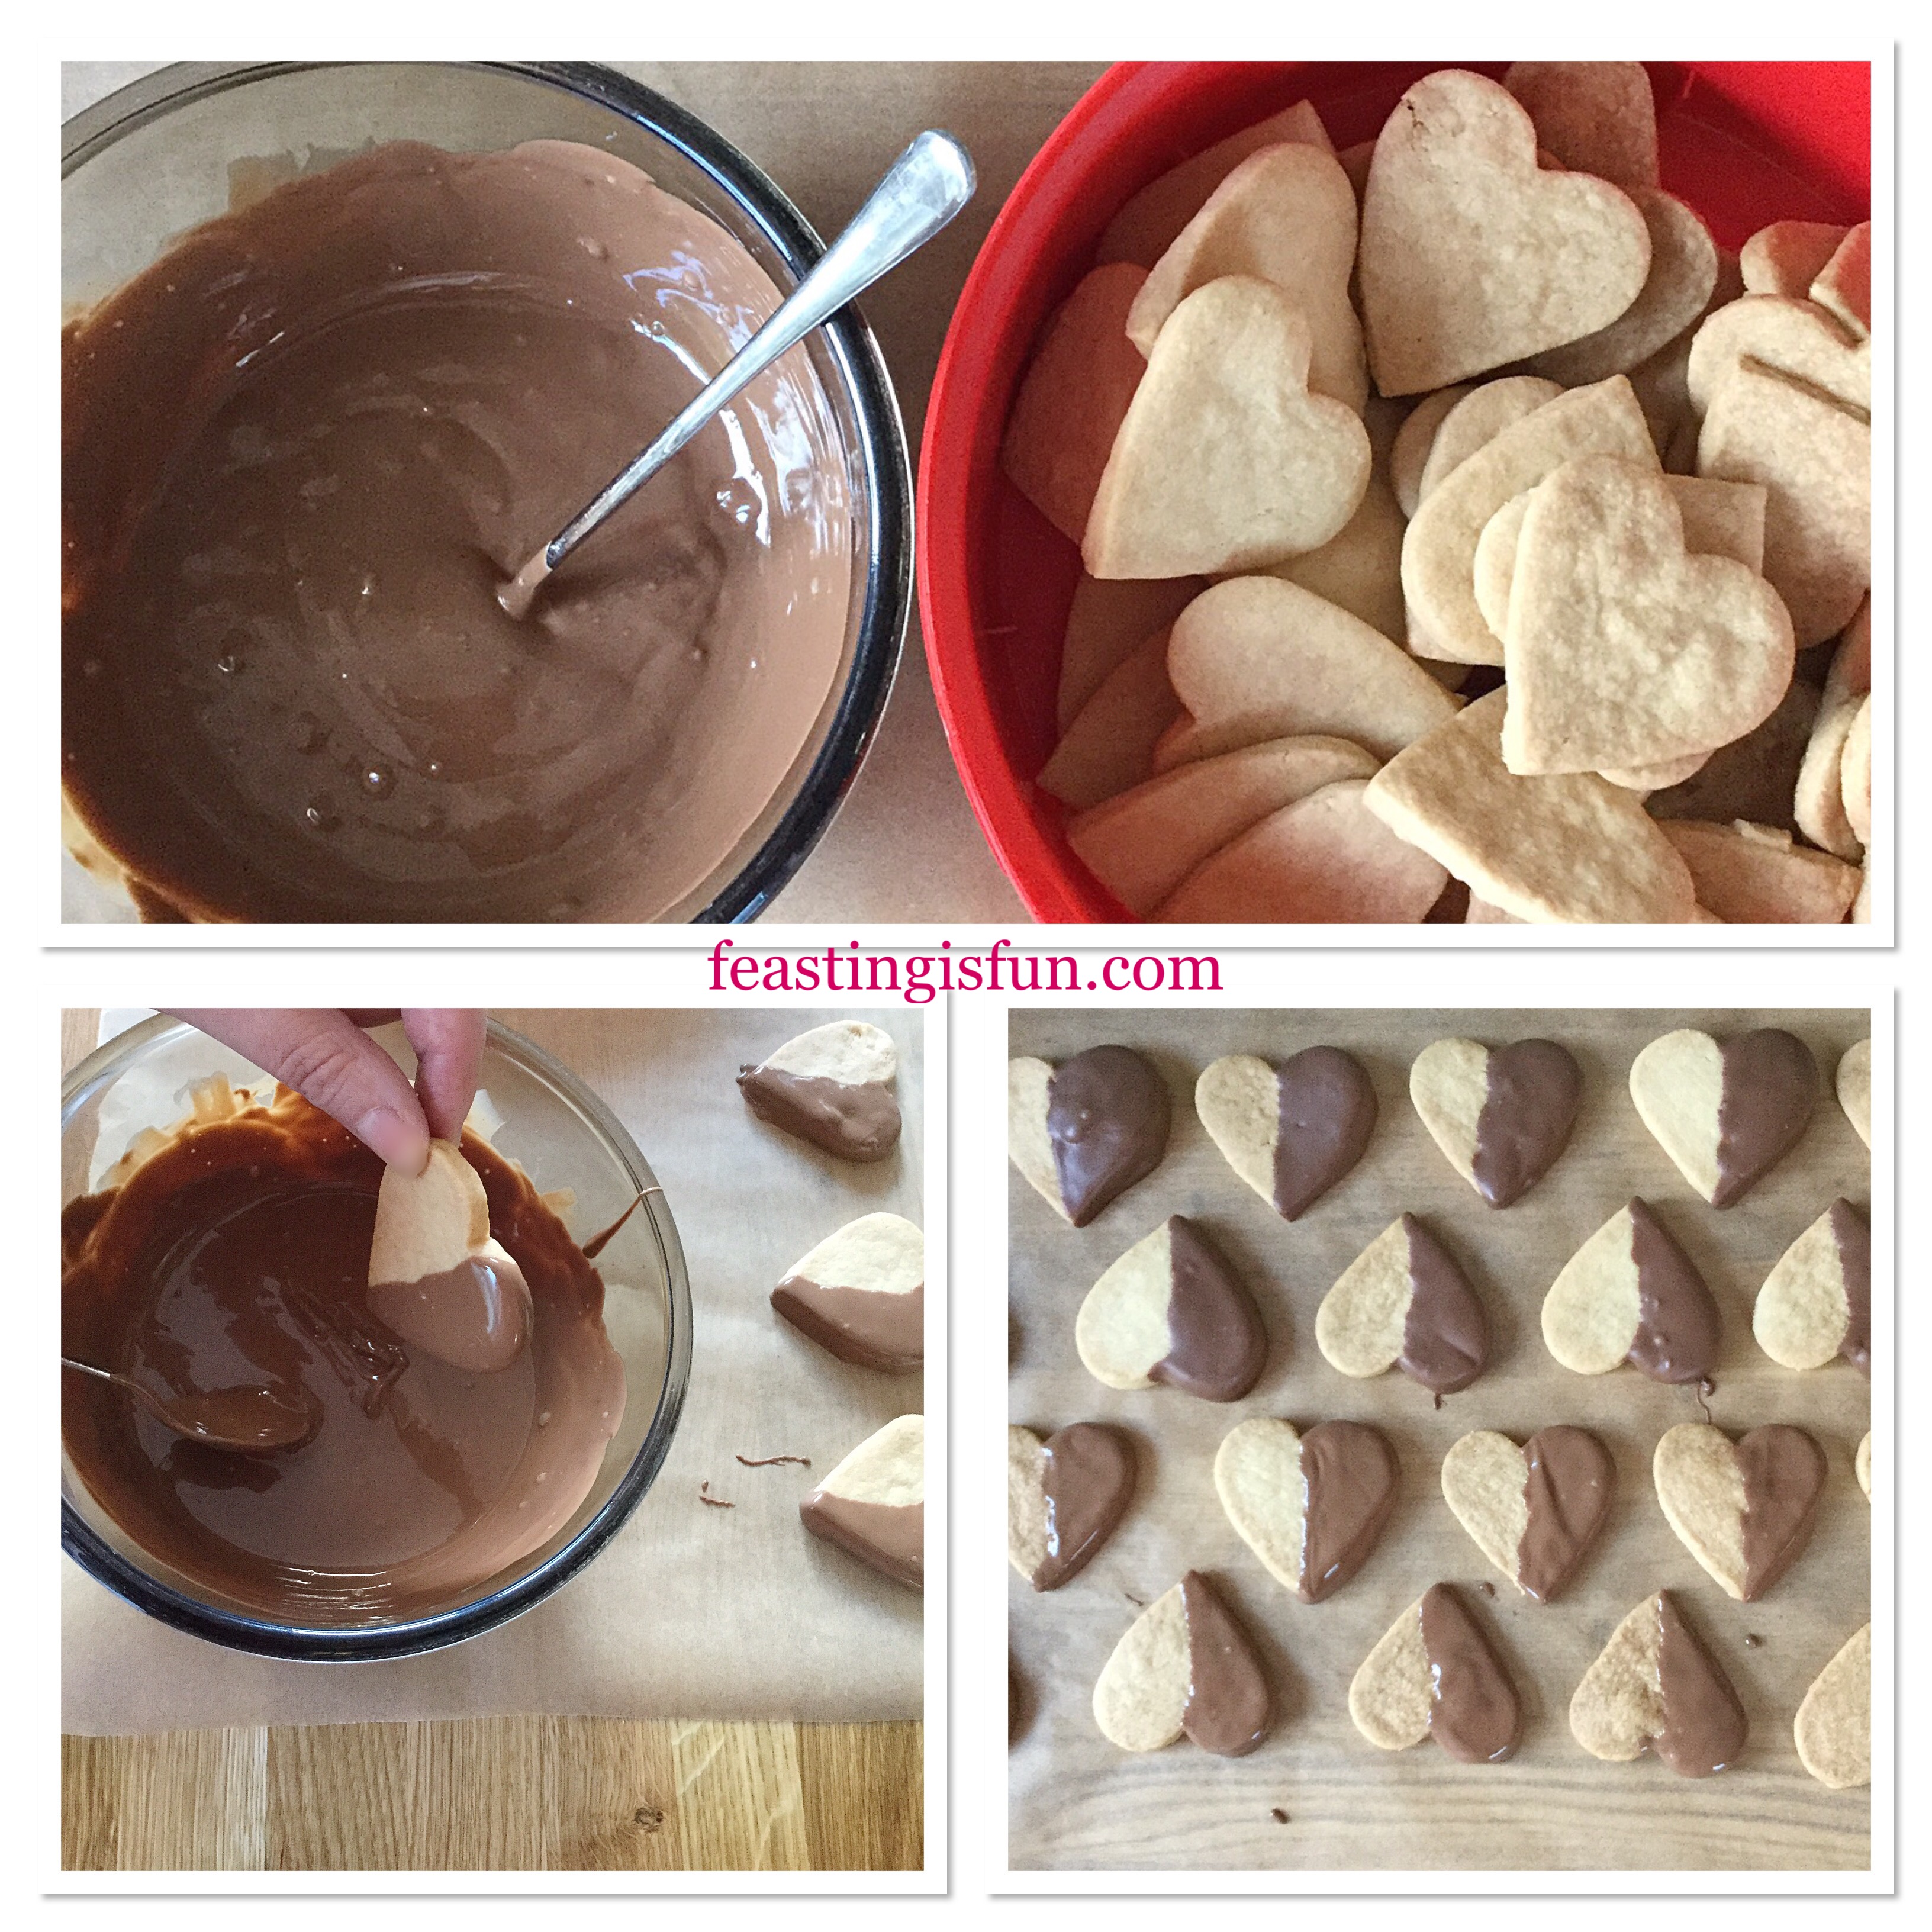
- Lay a long strip of baking parchment on to the worktop.
- Take one shortbread heart at a time and hold on the opposite side that is to be dipped.
- Carefully dip the shortbread into the melted chocolate, using a spoon (a long handled sundae spoon is ideal) to help cover one half of the cookie completely in chocolate.
- Allow any excess chocolate to drip back into the bowl, then place the chocolate dipped heart on to the baking parchment.
- Continue this process until all of the cookies have one half completely dipped in chocolate. If necessary, halfway through the process, place the chocolate back into the microwave for a 20 second heating burst, to ensure the chocolate remains fluid enough to easily work with.
- Once finished leave the chocolate to set completely on the cookies.
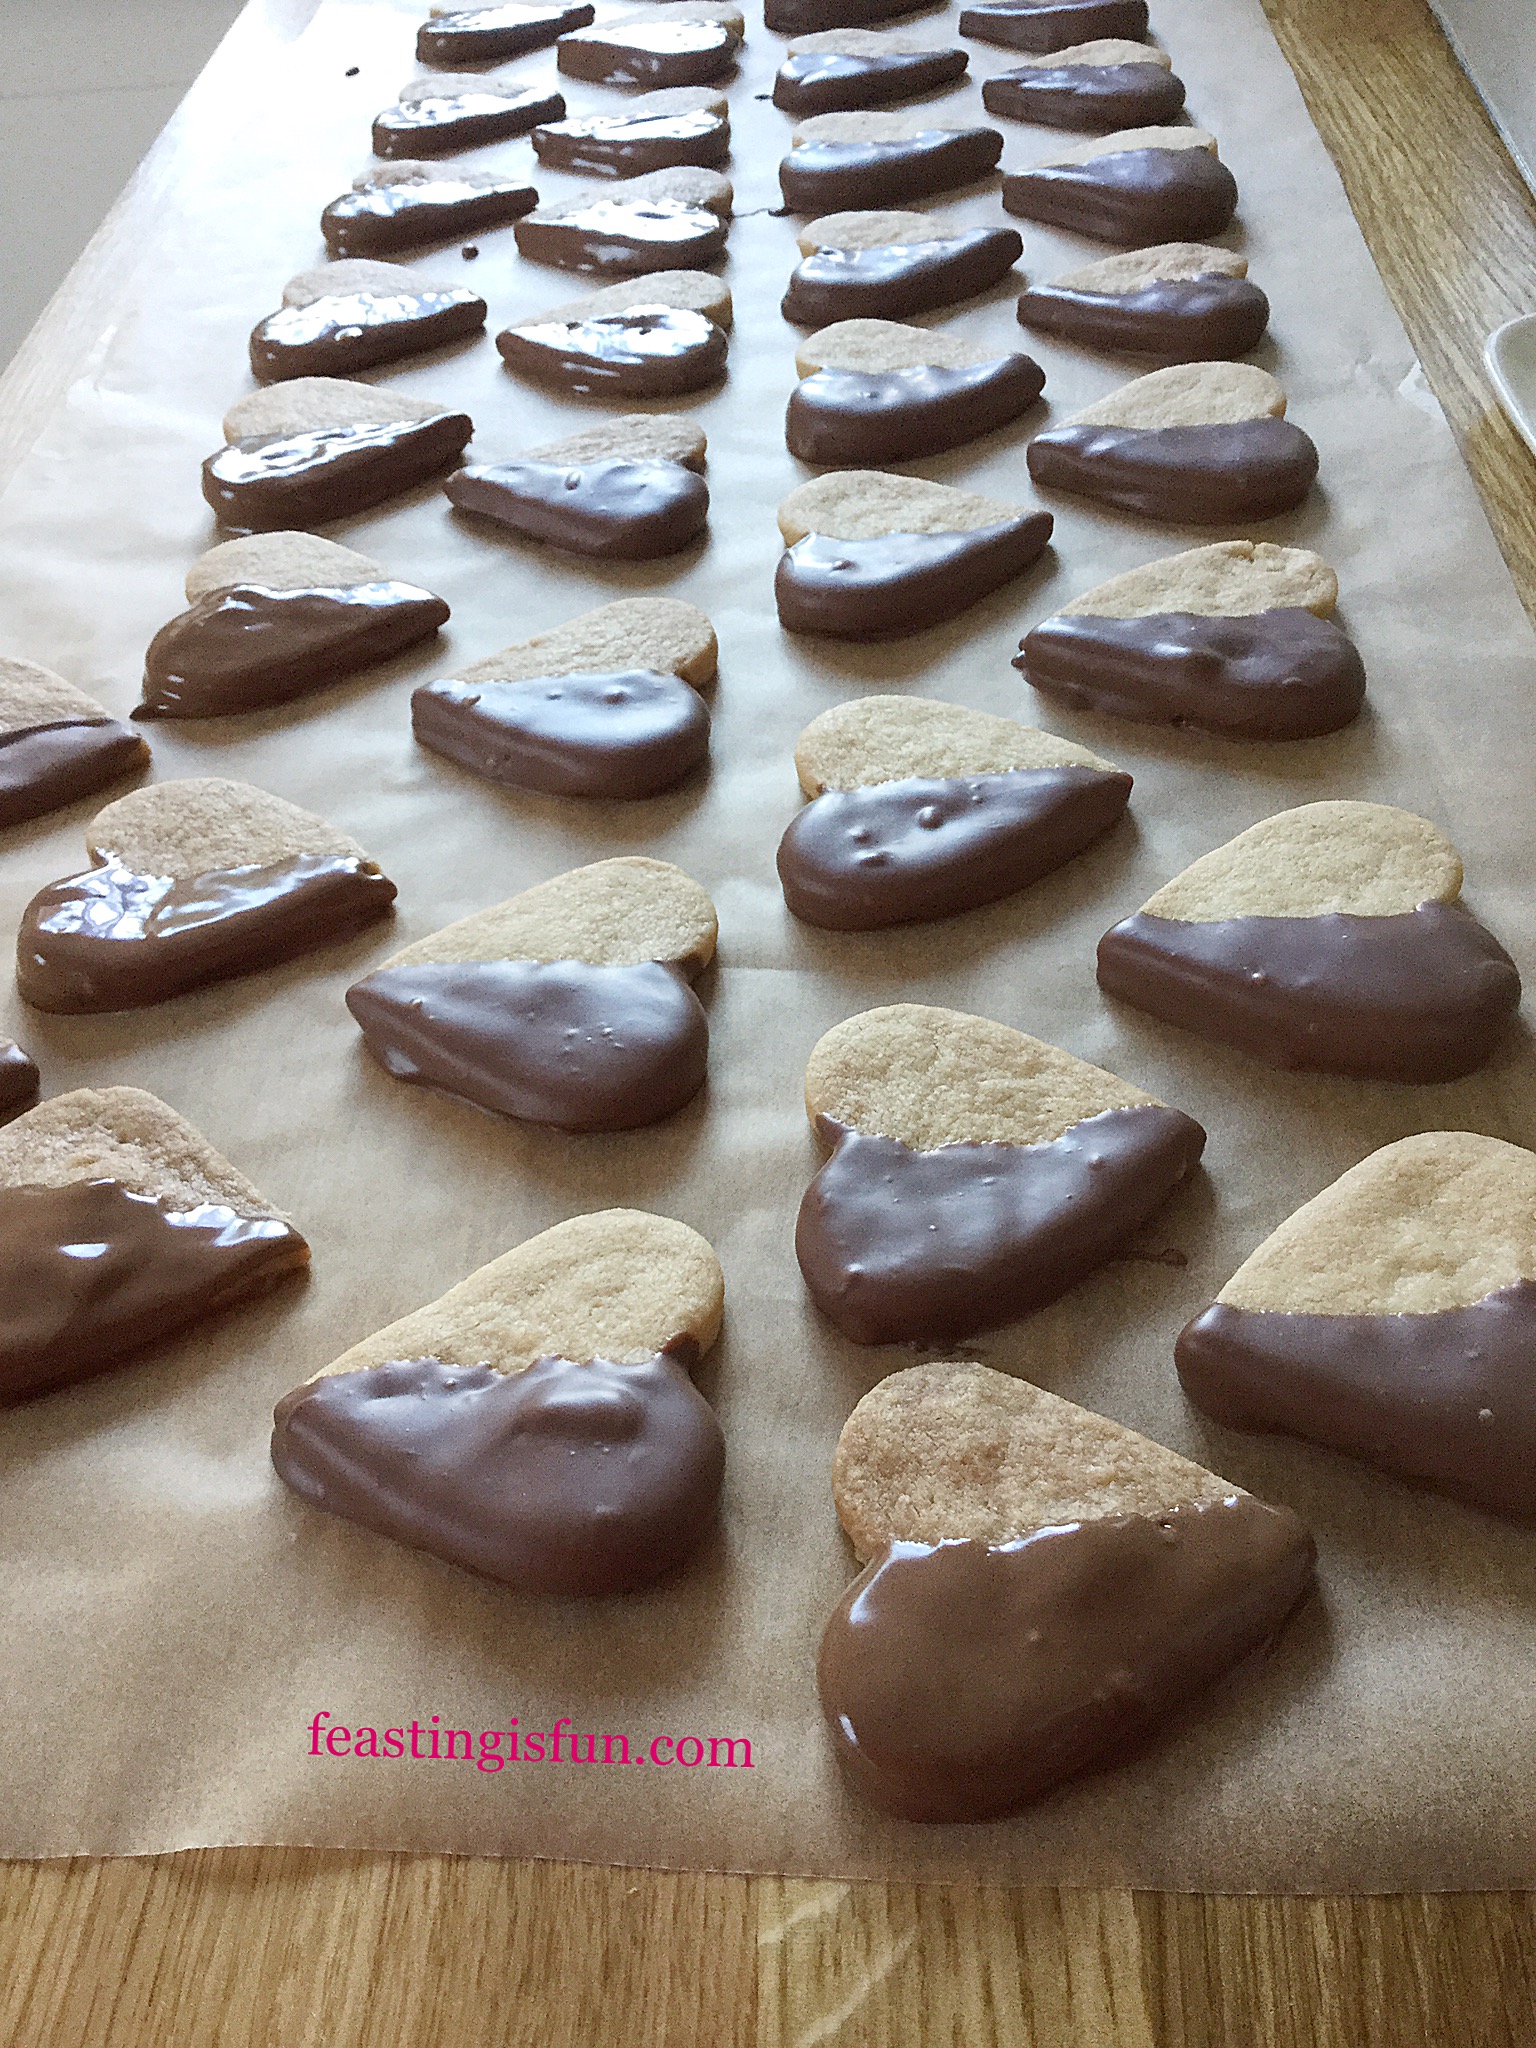
- Store the finished shortbread hearts in an airtight container.

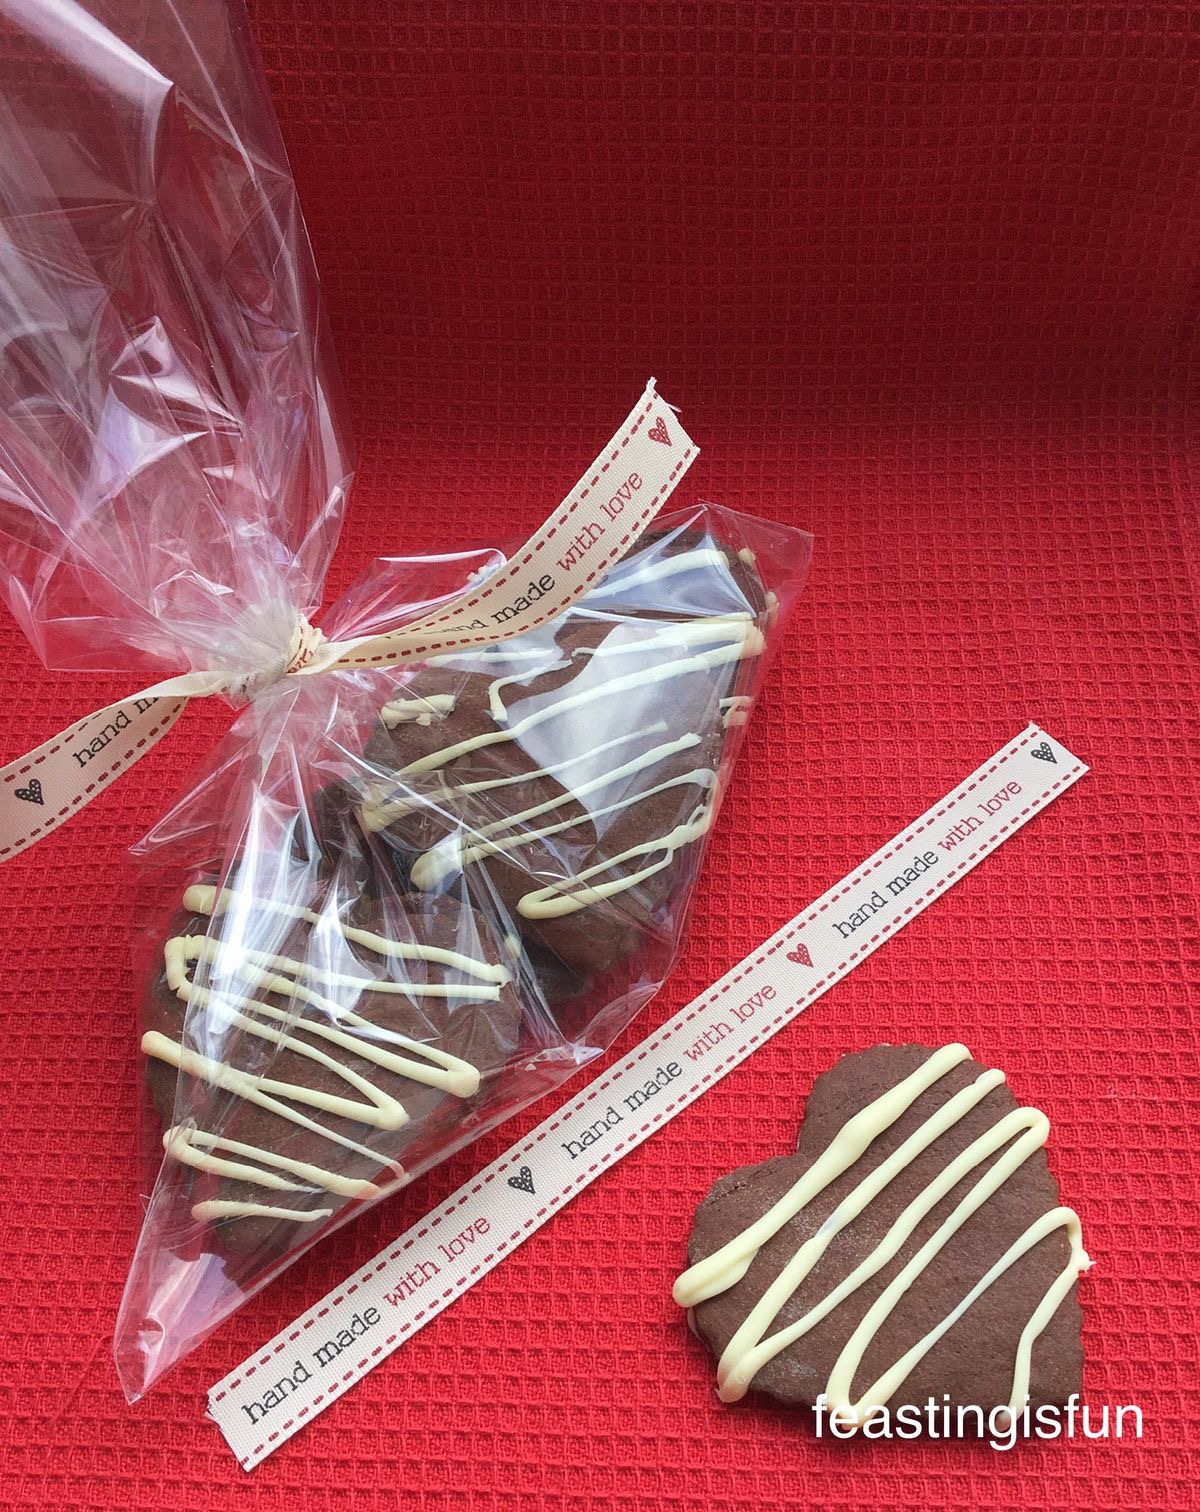
Share these cookies with those you love. Package a few in a small cellophane bag, tied with pretty ribbon and give as gifts.
Eat within 5 days, if they last that long!
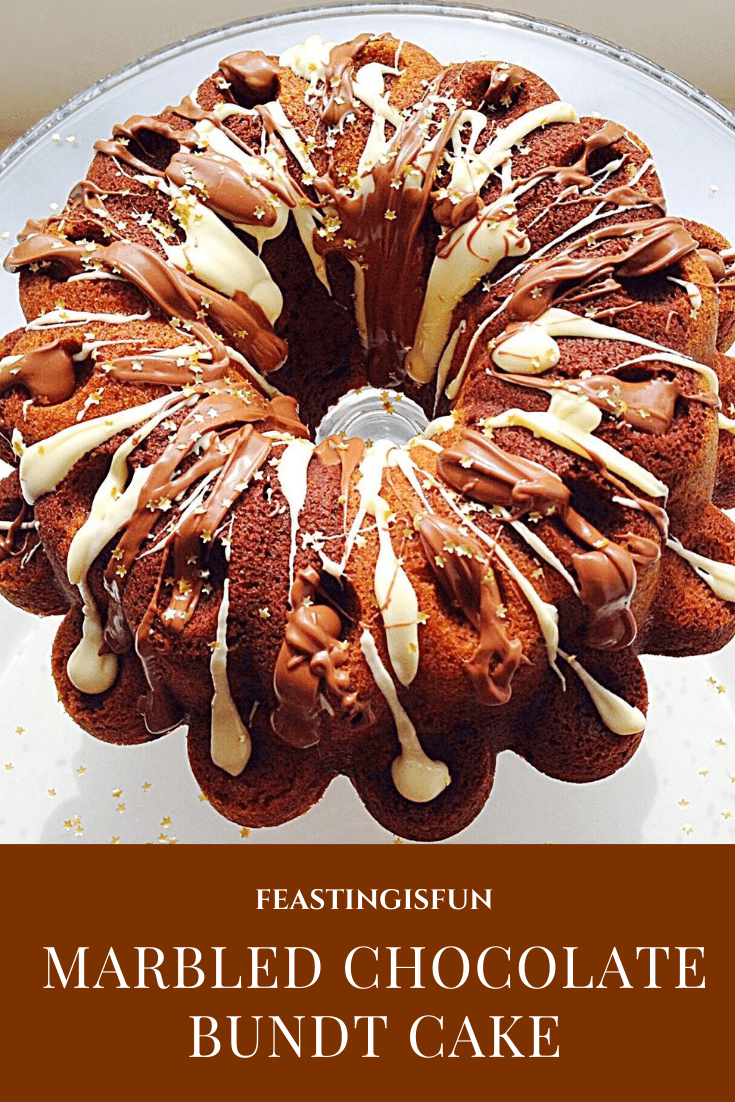
If you have enjoyed this recipe for Chocolate Dipped Shortbread Heart Cookies you may also like these:
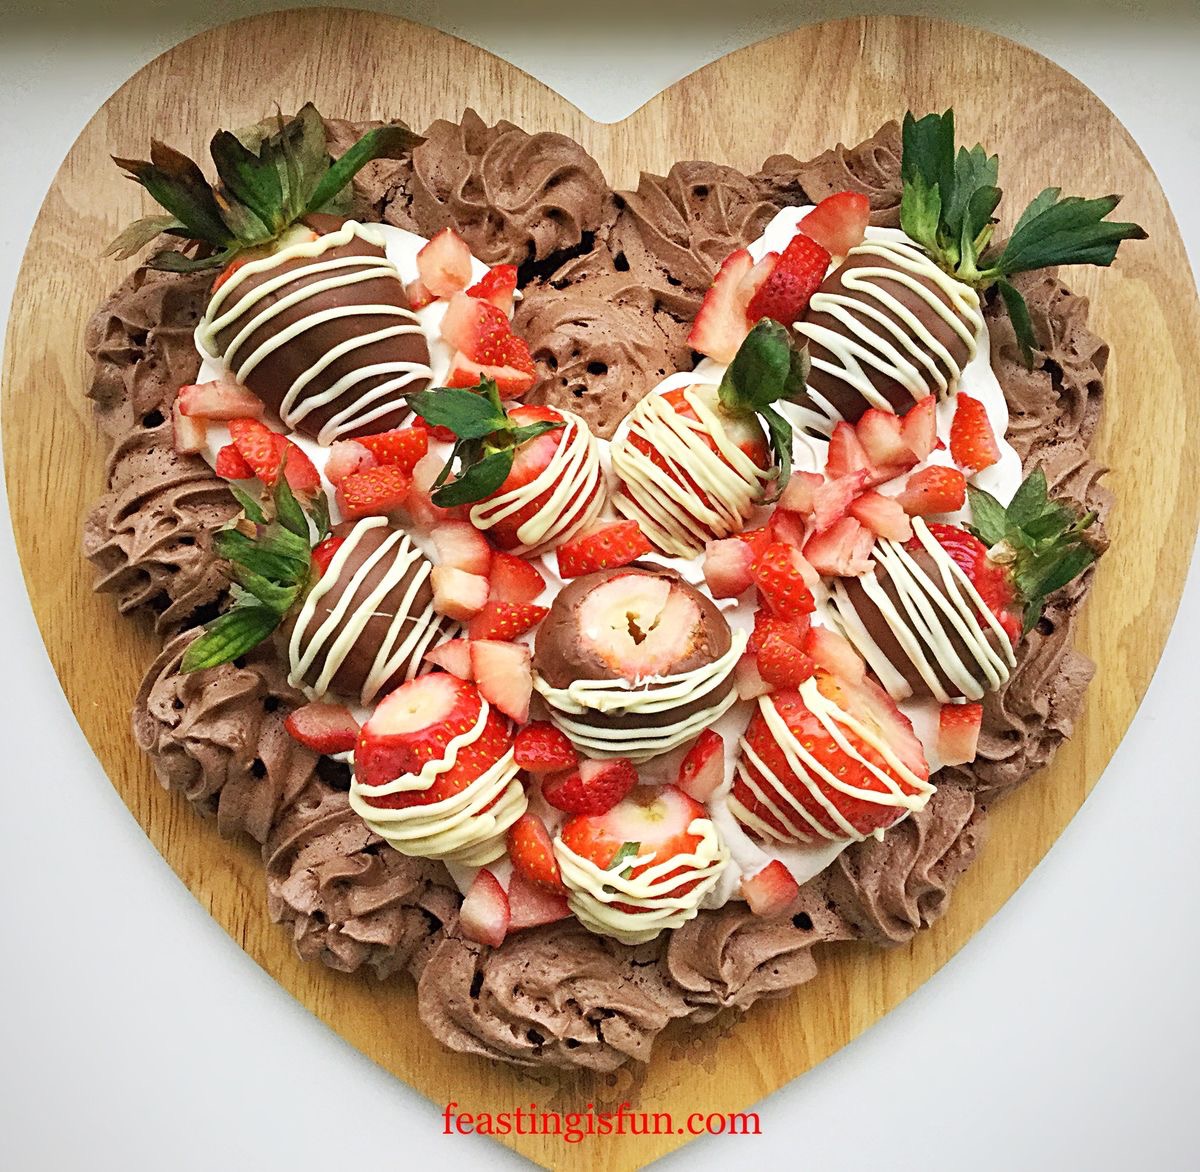
Strawberry Topped Chocolate Heart Pavlova
Showing appreciation and love in a way suited to the recipient is a gift in itself. Either a small thank you, a handwritten note, even a text, sent in love is how we share our feelings with others. While not done for our benefit, it is good for us too. Even when the emotion felt is gratitude, not love, it is good to express thanks. Surely the gift of love is the best gift ever? See Important Stuff.
Whatever you are making, baking and creating in your kitchens, have fun creating your feast.
Sammie xx
No part of this post may be reproduced or duplicated without the written permission of the owner. Please see my Disclosure Policy.