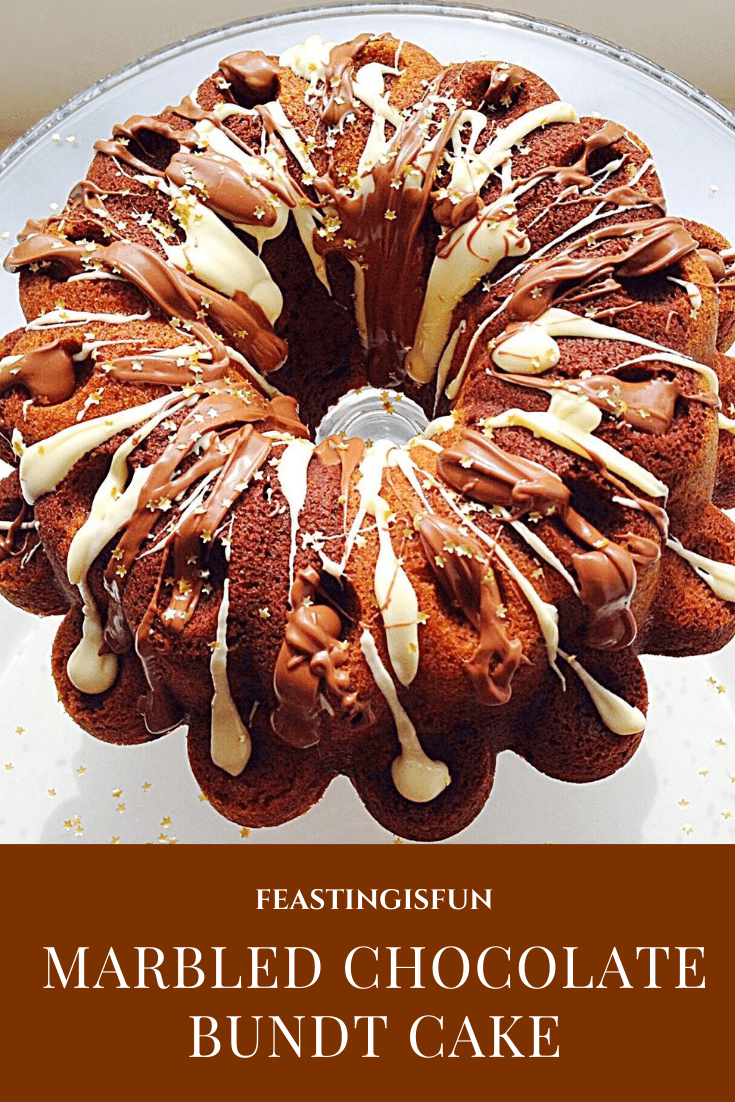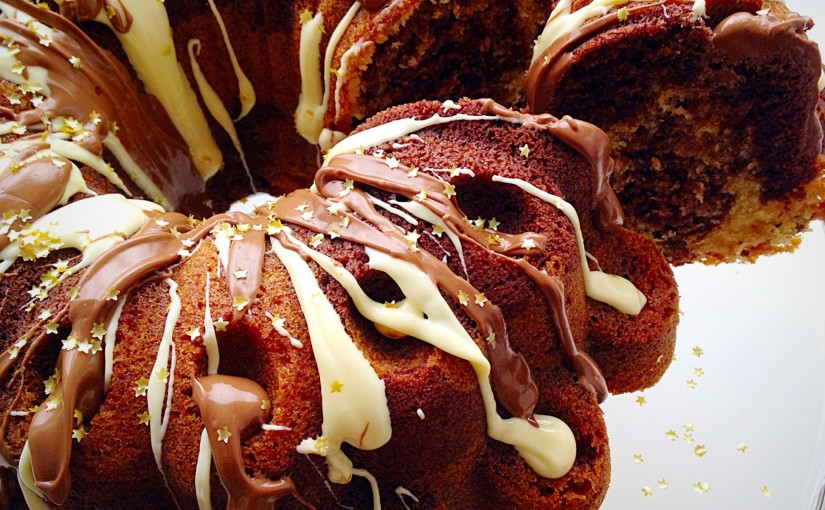
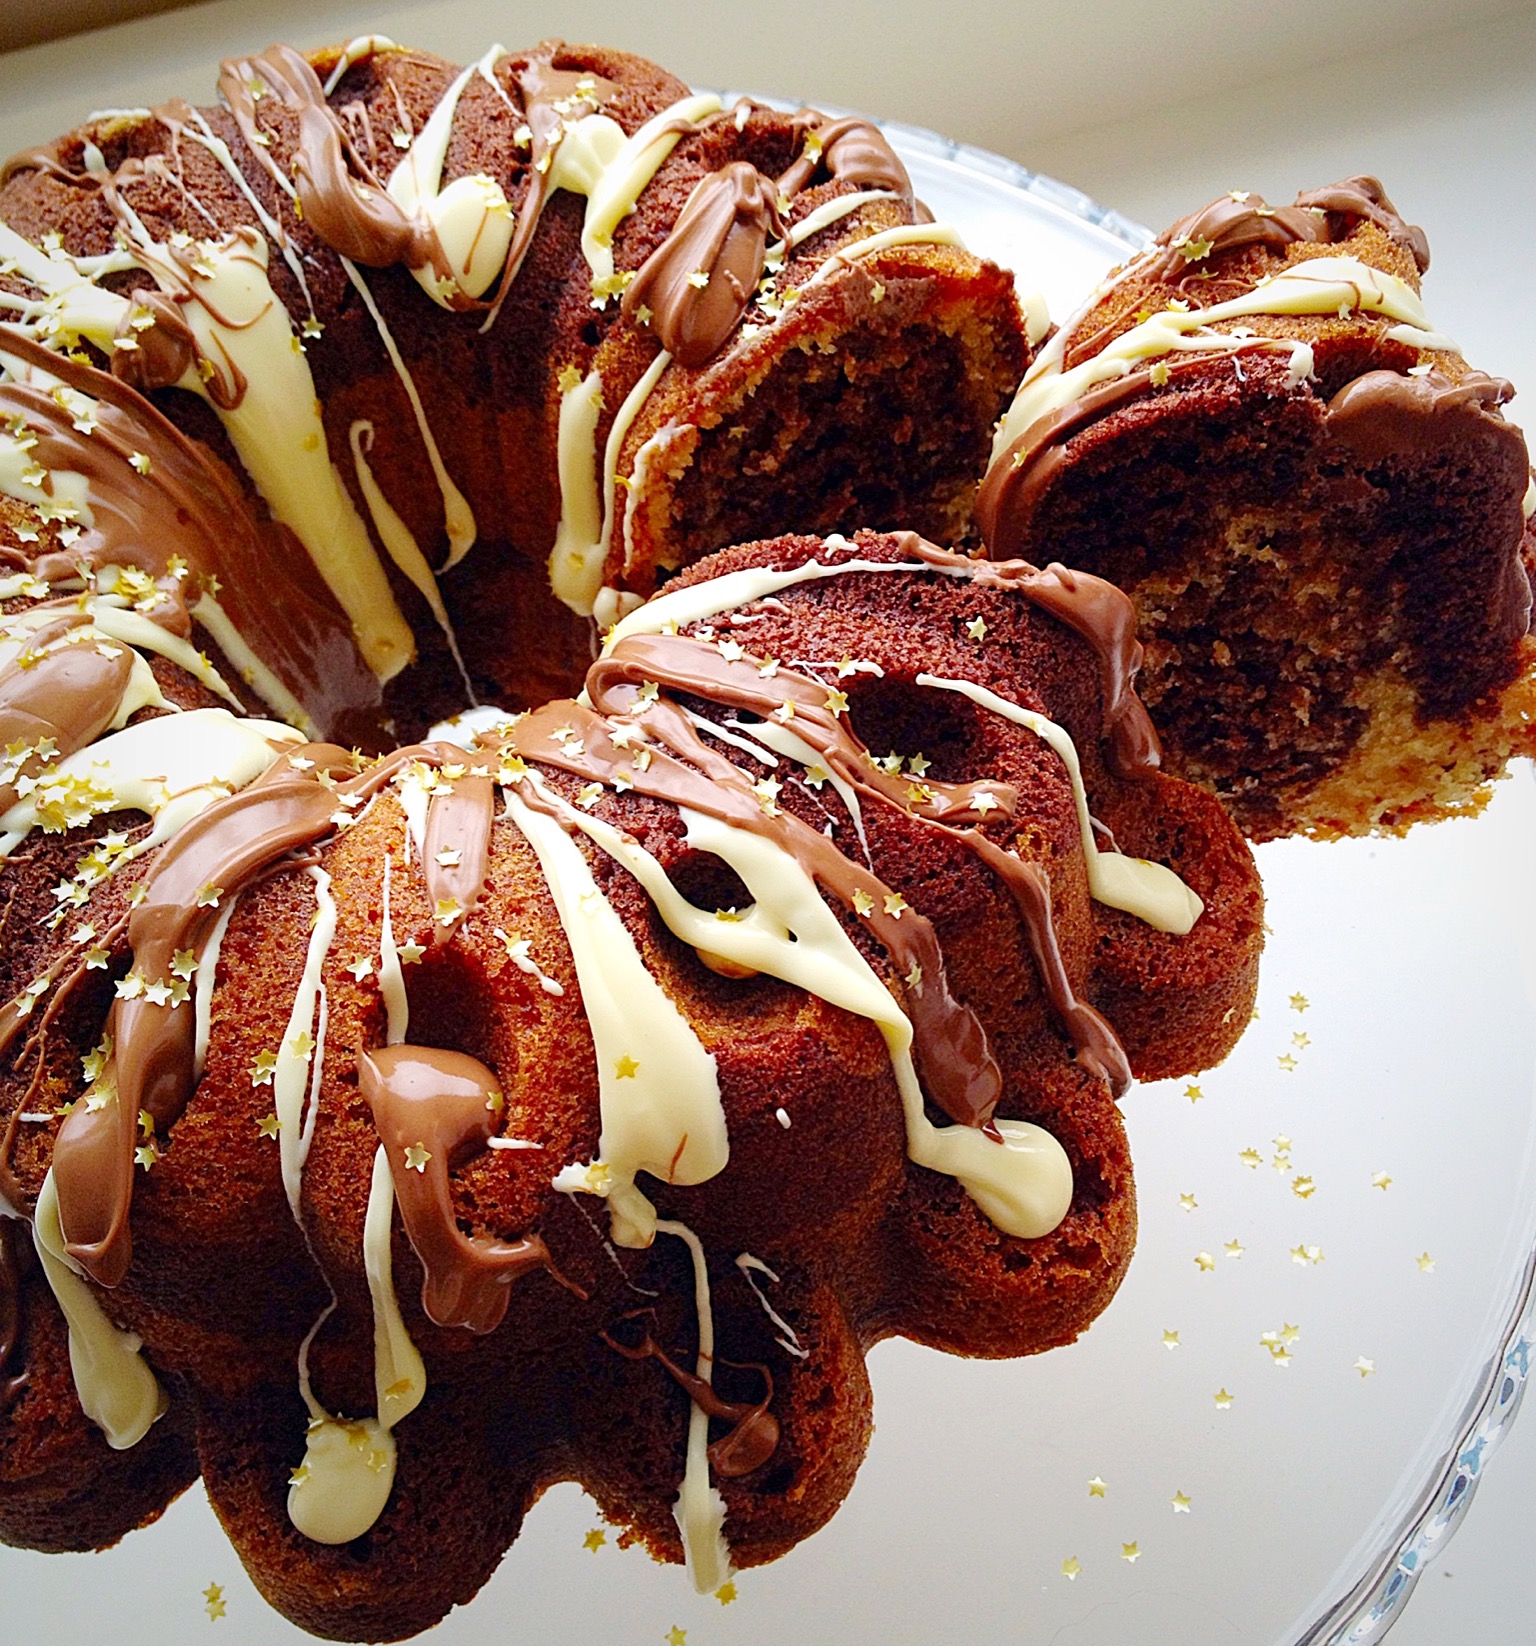
Hello, I’m back after a couple of weeks away with our family, during which we celebrated our eldest daughter’s 16th birthday. Wow, where did those years go! Anyway, I digress. Because it really was a wonderful holiday, especially as we were joined by family for a few days over the birthday celebrations. So, I took my spring form cake tin with me – doesn’t everyone? Star had a maltesers ice cream cake on her birthday, which was knockout! However, now we are home and there are even more family and friends to celebrate Star’s birthday. Since I know her favourite cake is Chocolate Marble and she’s not a big fan of icing, I decided to make her a Marbled Chocolate Bundt Cake. And you are going to be so pleased I came up with this cake – just look!
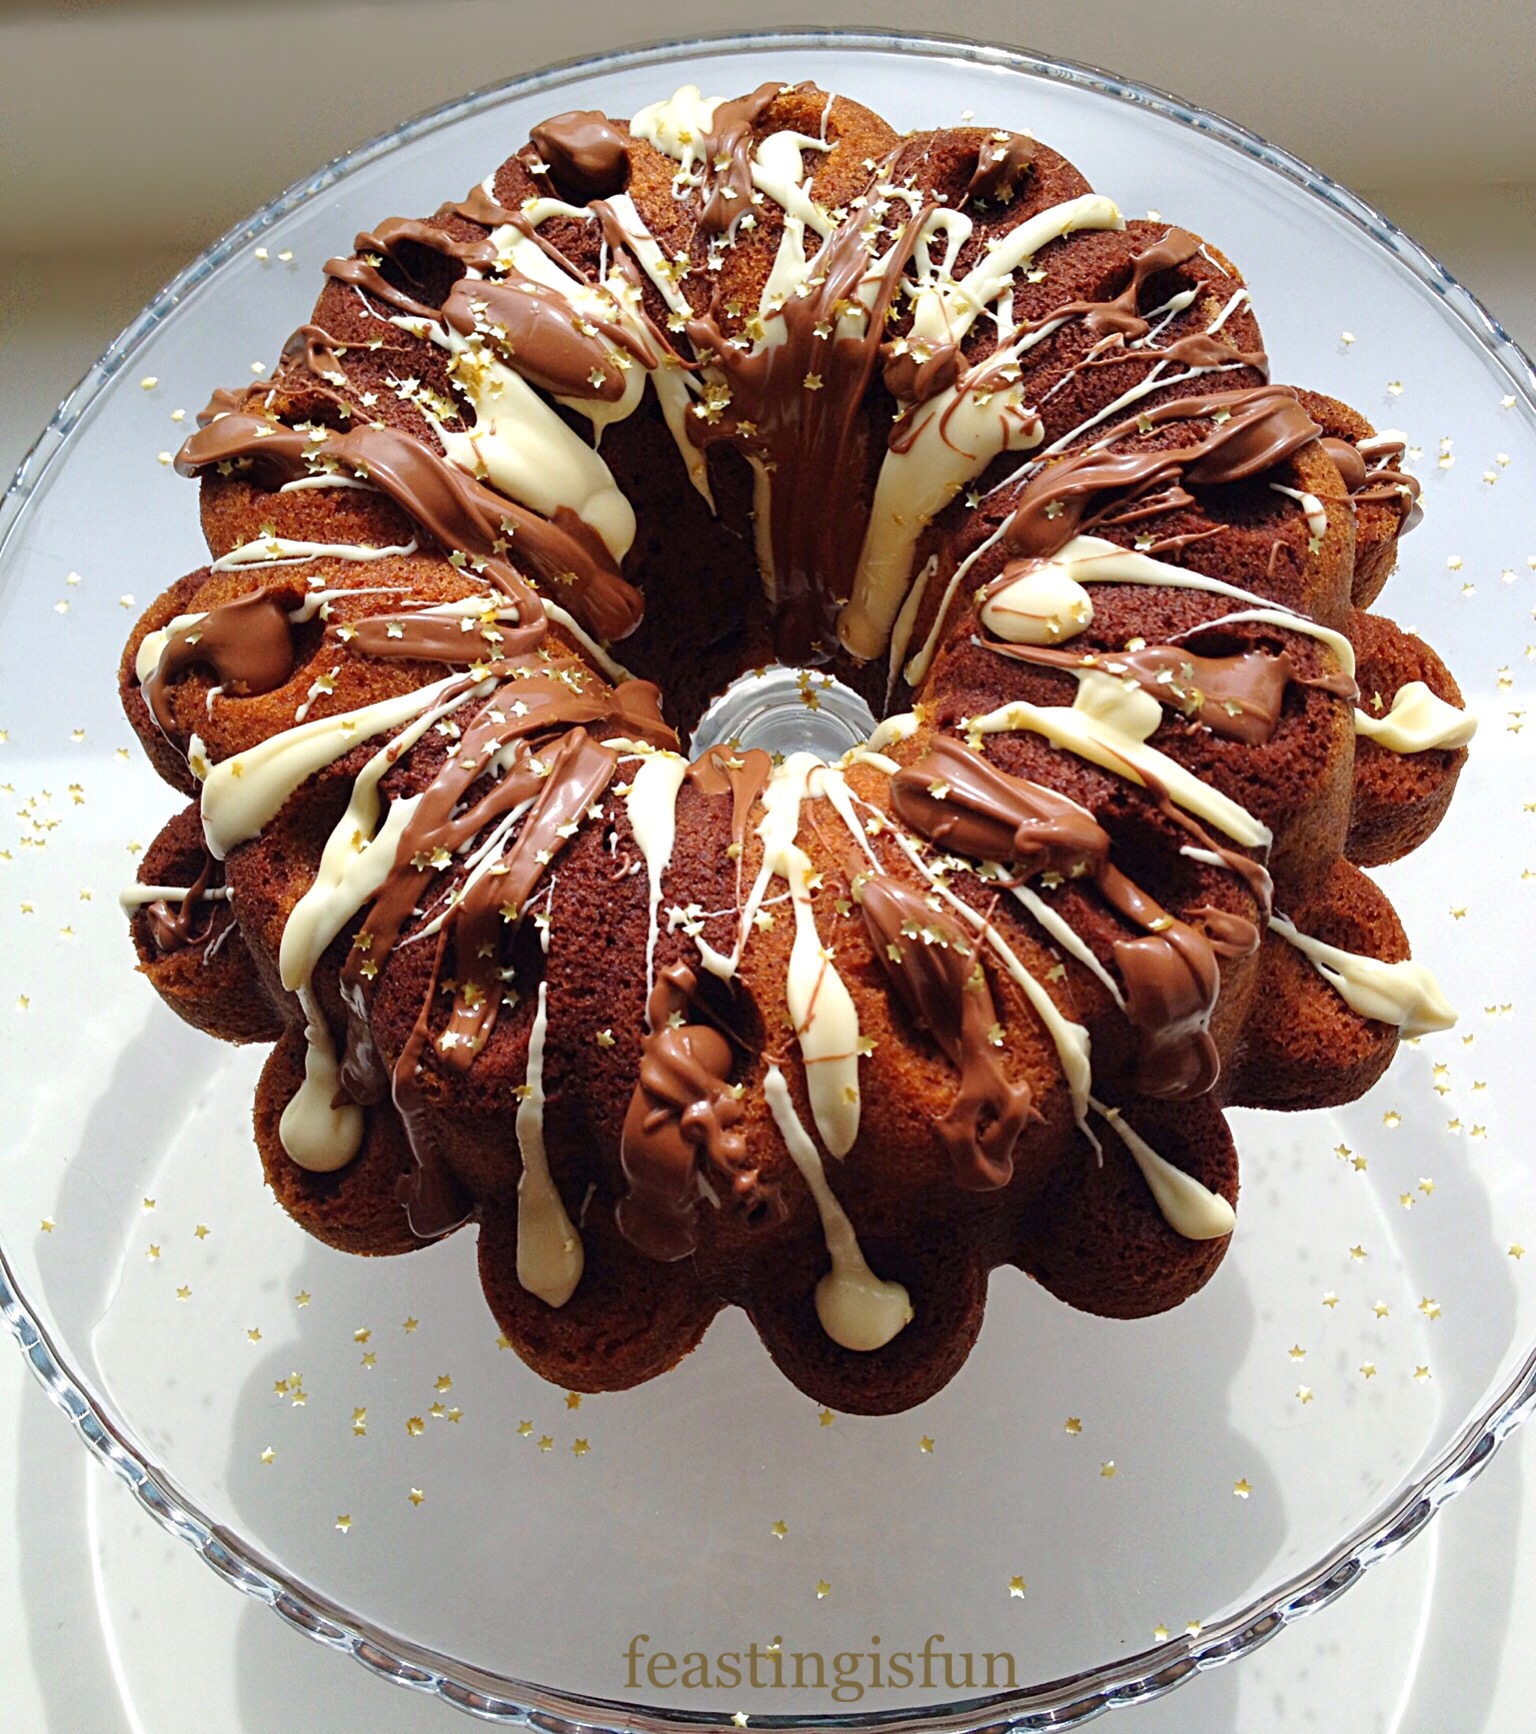
And I knew you’d be pleased. Because, this is the second recipe I have made where I use plain flour and add the baking powder separately, it gives more control over the rise of the sponge. Also, I guessed all the quantities for the size of cake (I mean, I did have a rough idea!!). Resulting in this Marbled Chocolate Bundt Cake, a complete success, both visually and in the taste department.
Birthday Bundt Baking
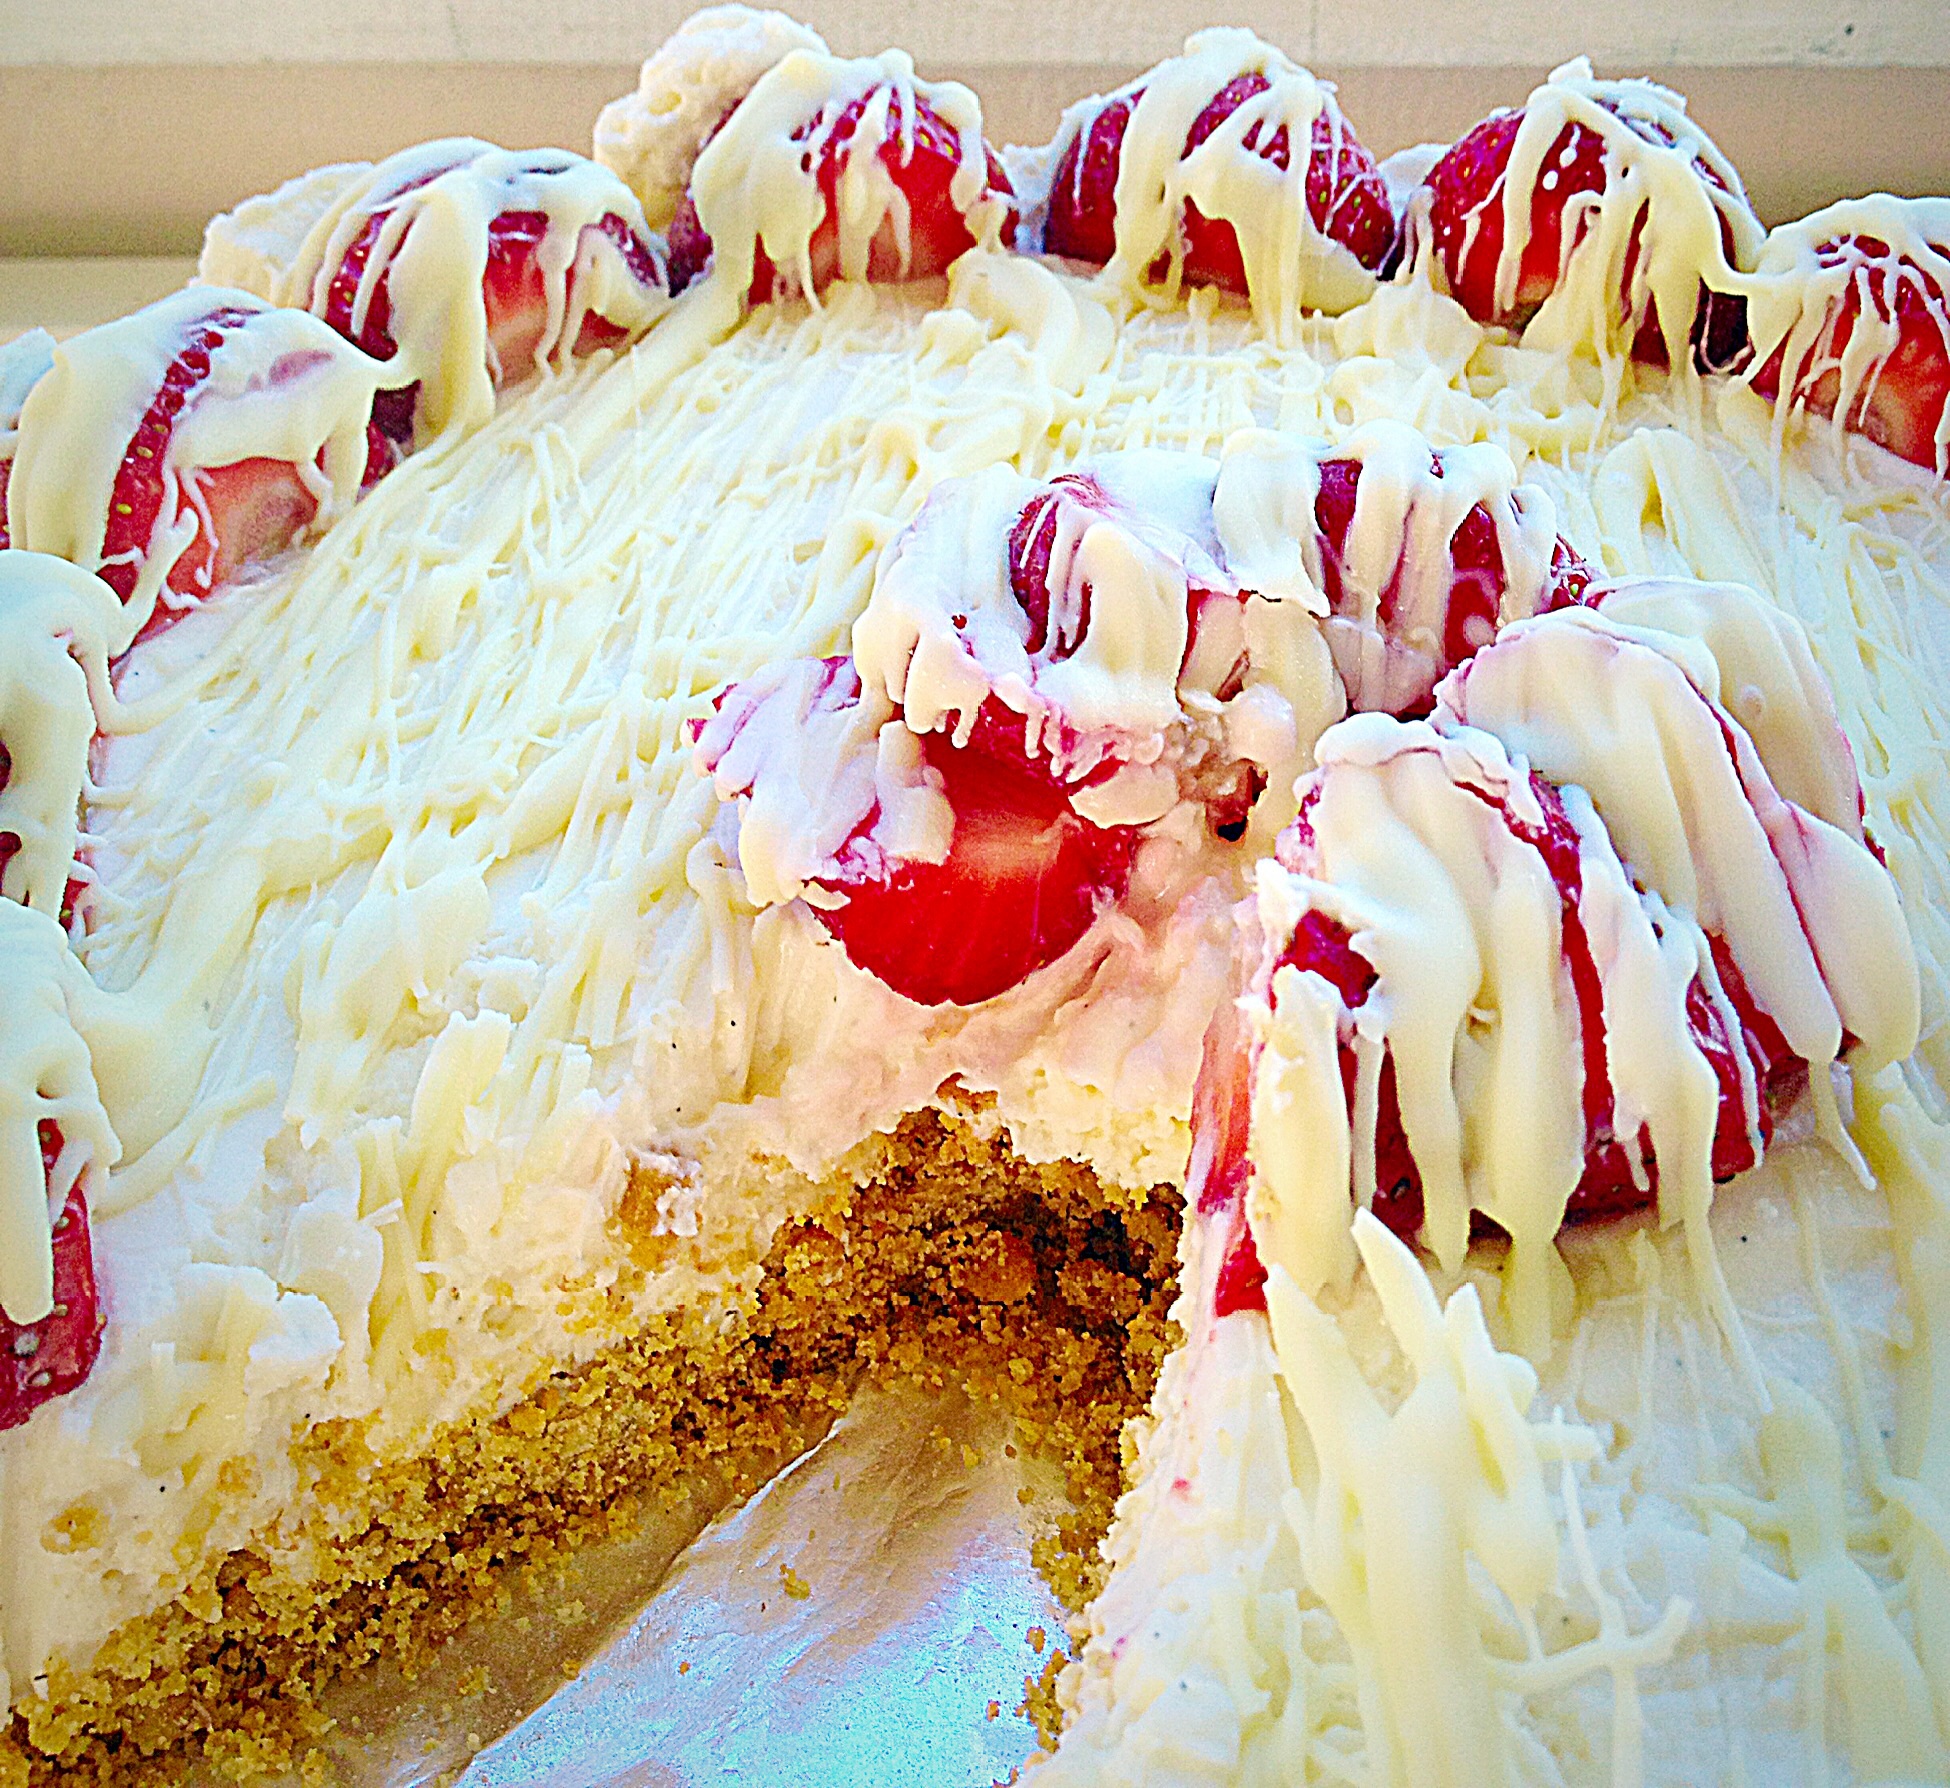
Most importantly, is the birthday girl herself liking it. Tick box – result! This cake has a wonderfully moist texture, resulting in most of it being consumed on the day of baking. While the drizzled chocolate adds different flavours and texture, sprinkled with edible stars, this cake is a stunner. So, perfect as a Celebration cake.

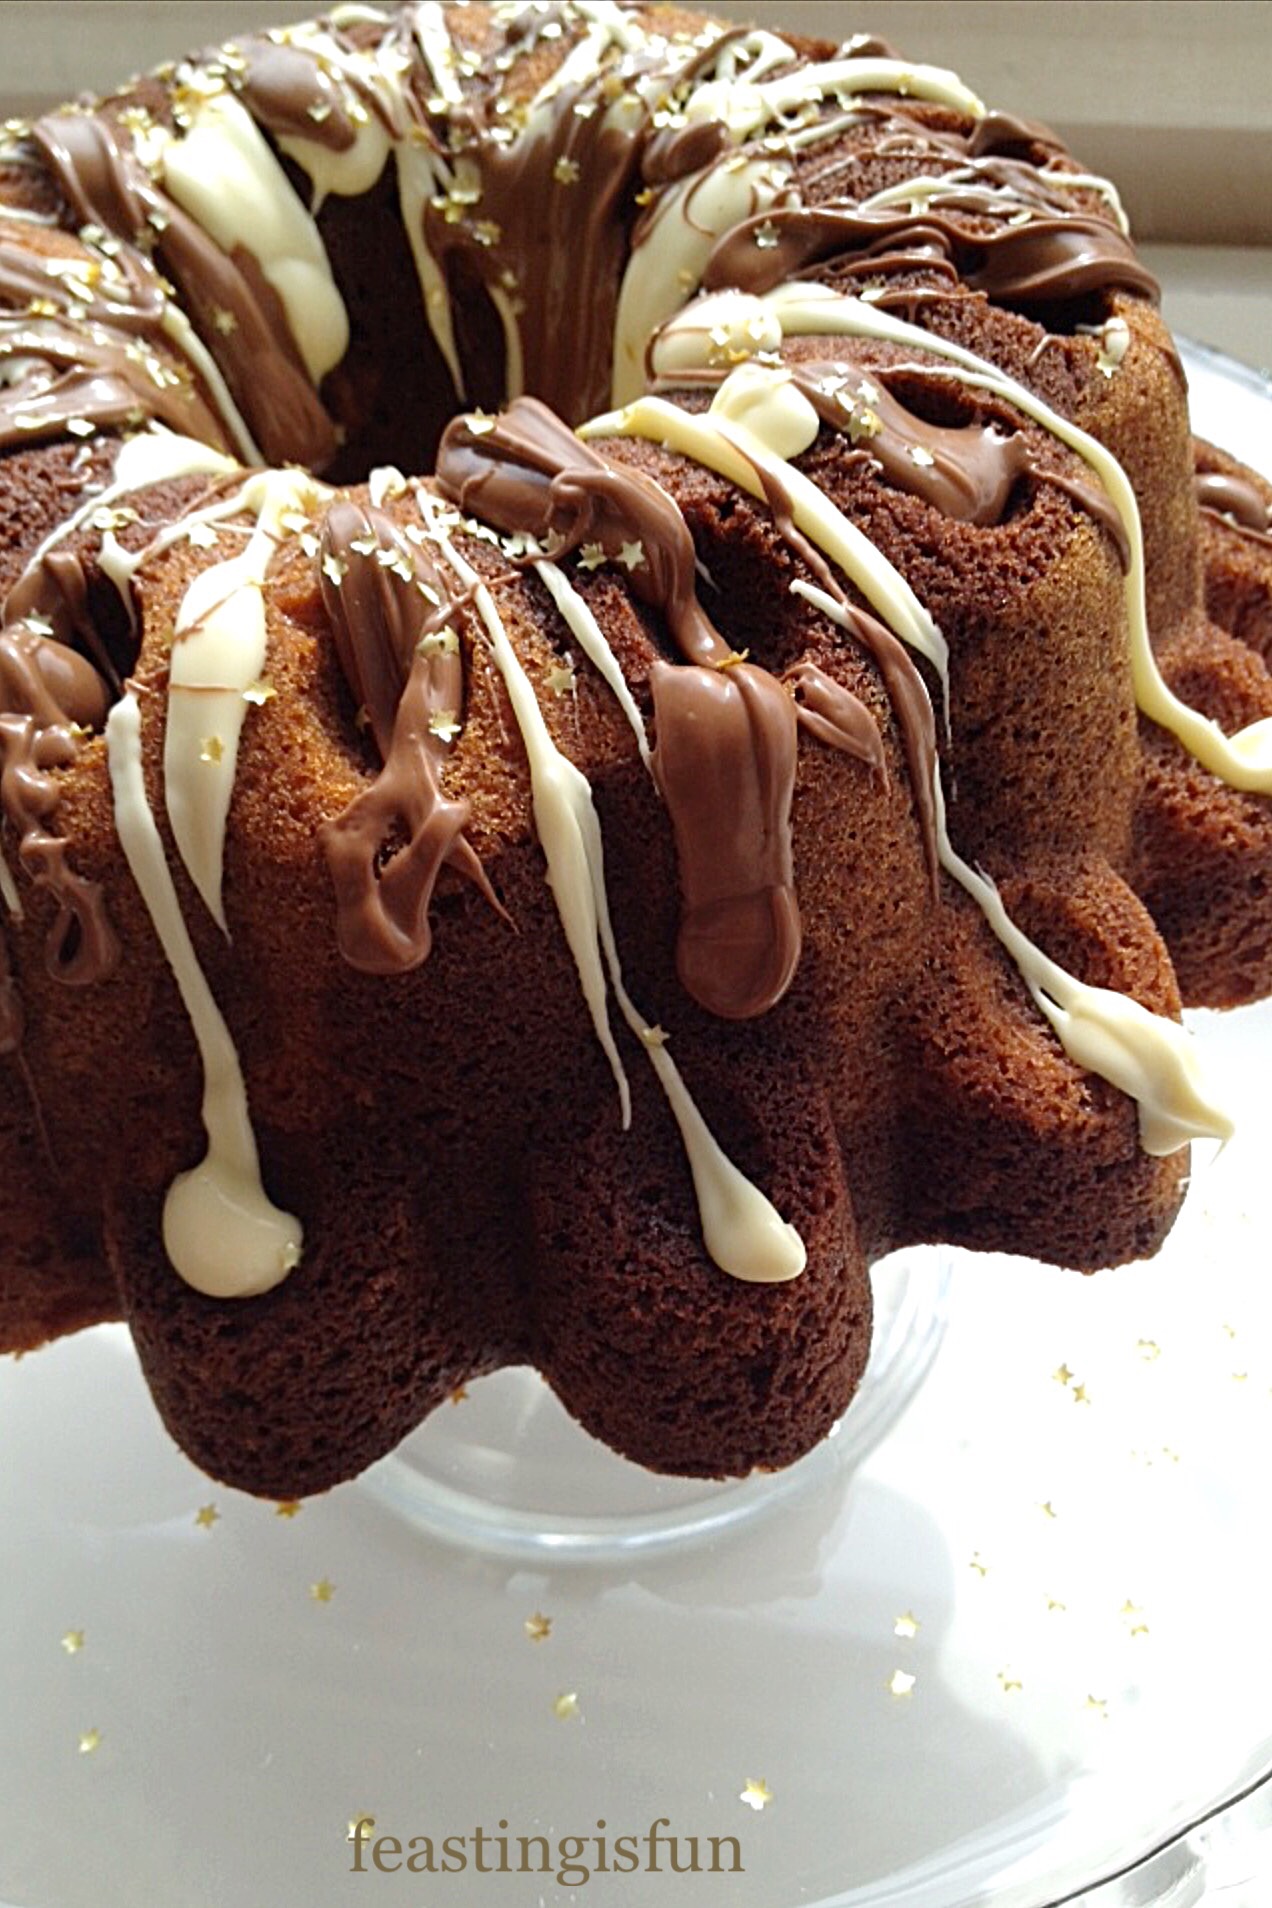
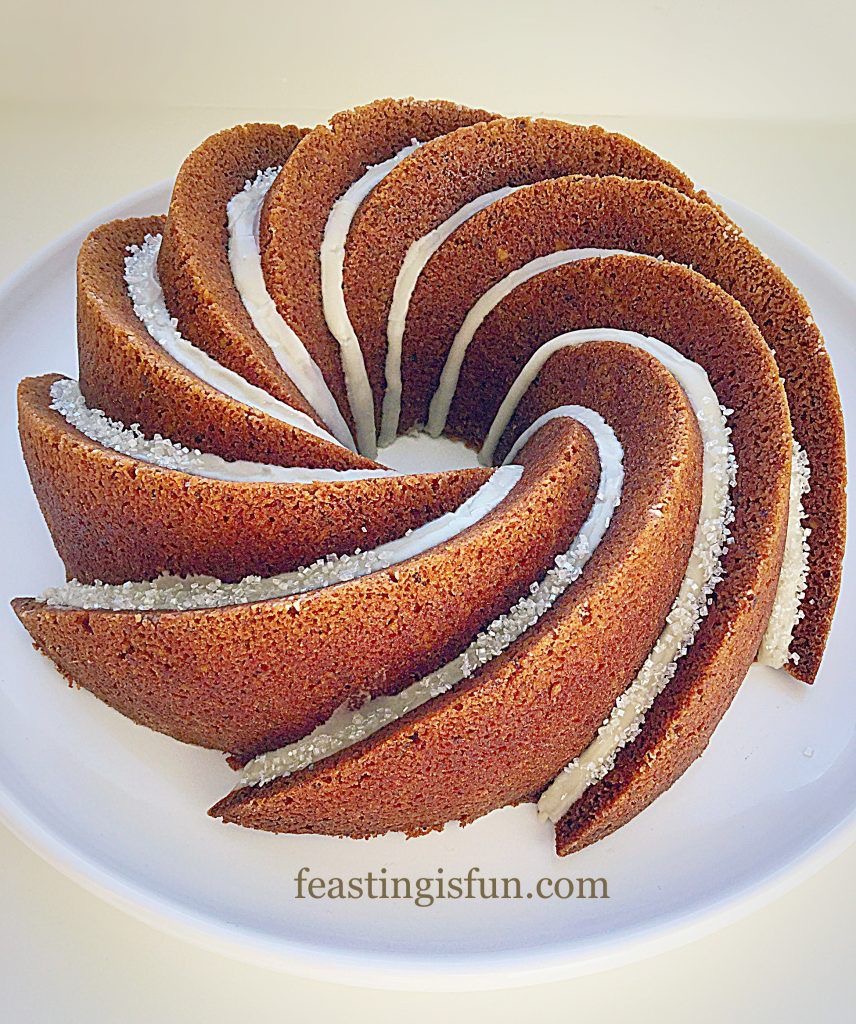
I absolutely am falling in love with Bundt cake pans. And who wouldn’t? Since they give such beautiful detail to the baked cake. Although I was very tempted to put Maltesers into the little dimples on the cake, it looked better with just the drizzled chocolate. Yet, if I was baking my Malted Marbled Chocolate Cake I absolutely would sprinkle a few crushed Maltesers over the top as well. While the possibilities of how to decorate a Bundt cake are endless, with the cake shape lends itself to all sorts of ideas, including leaving the cake plain.

And this pan is so gorgeous. I’m even toying with the idea of making a jelly in it, can you imagine?? Have you ever tried making a jelly in a Bundt tin? I’m guessing you’d have to lightly oil the inside of the pan with a flavourless oil, I think it could totally work. I’ll keep you posted!
Anyway enough about glorious Bundt pans and onto how to make this cake!!
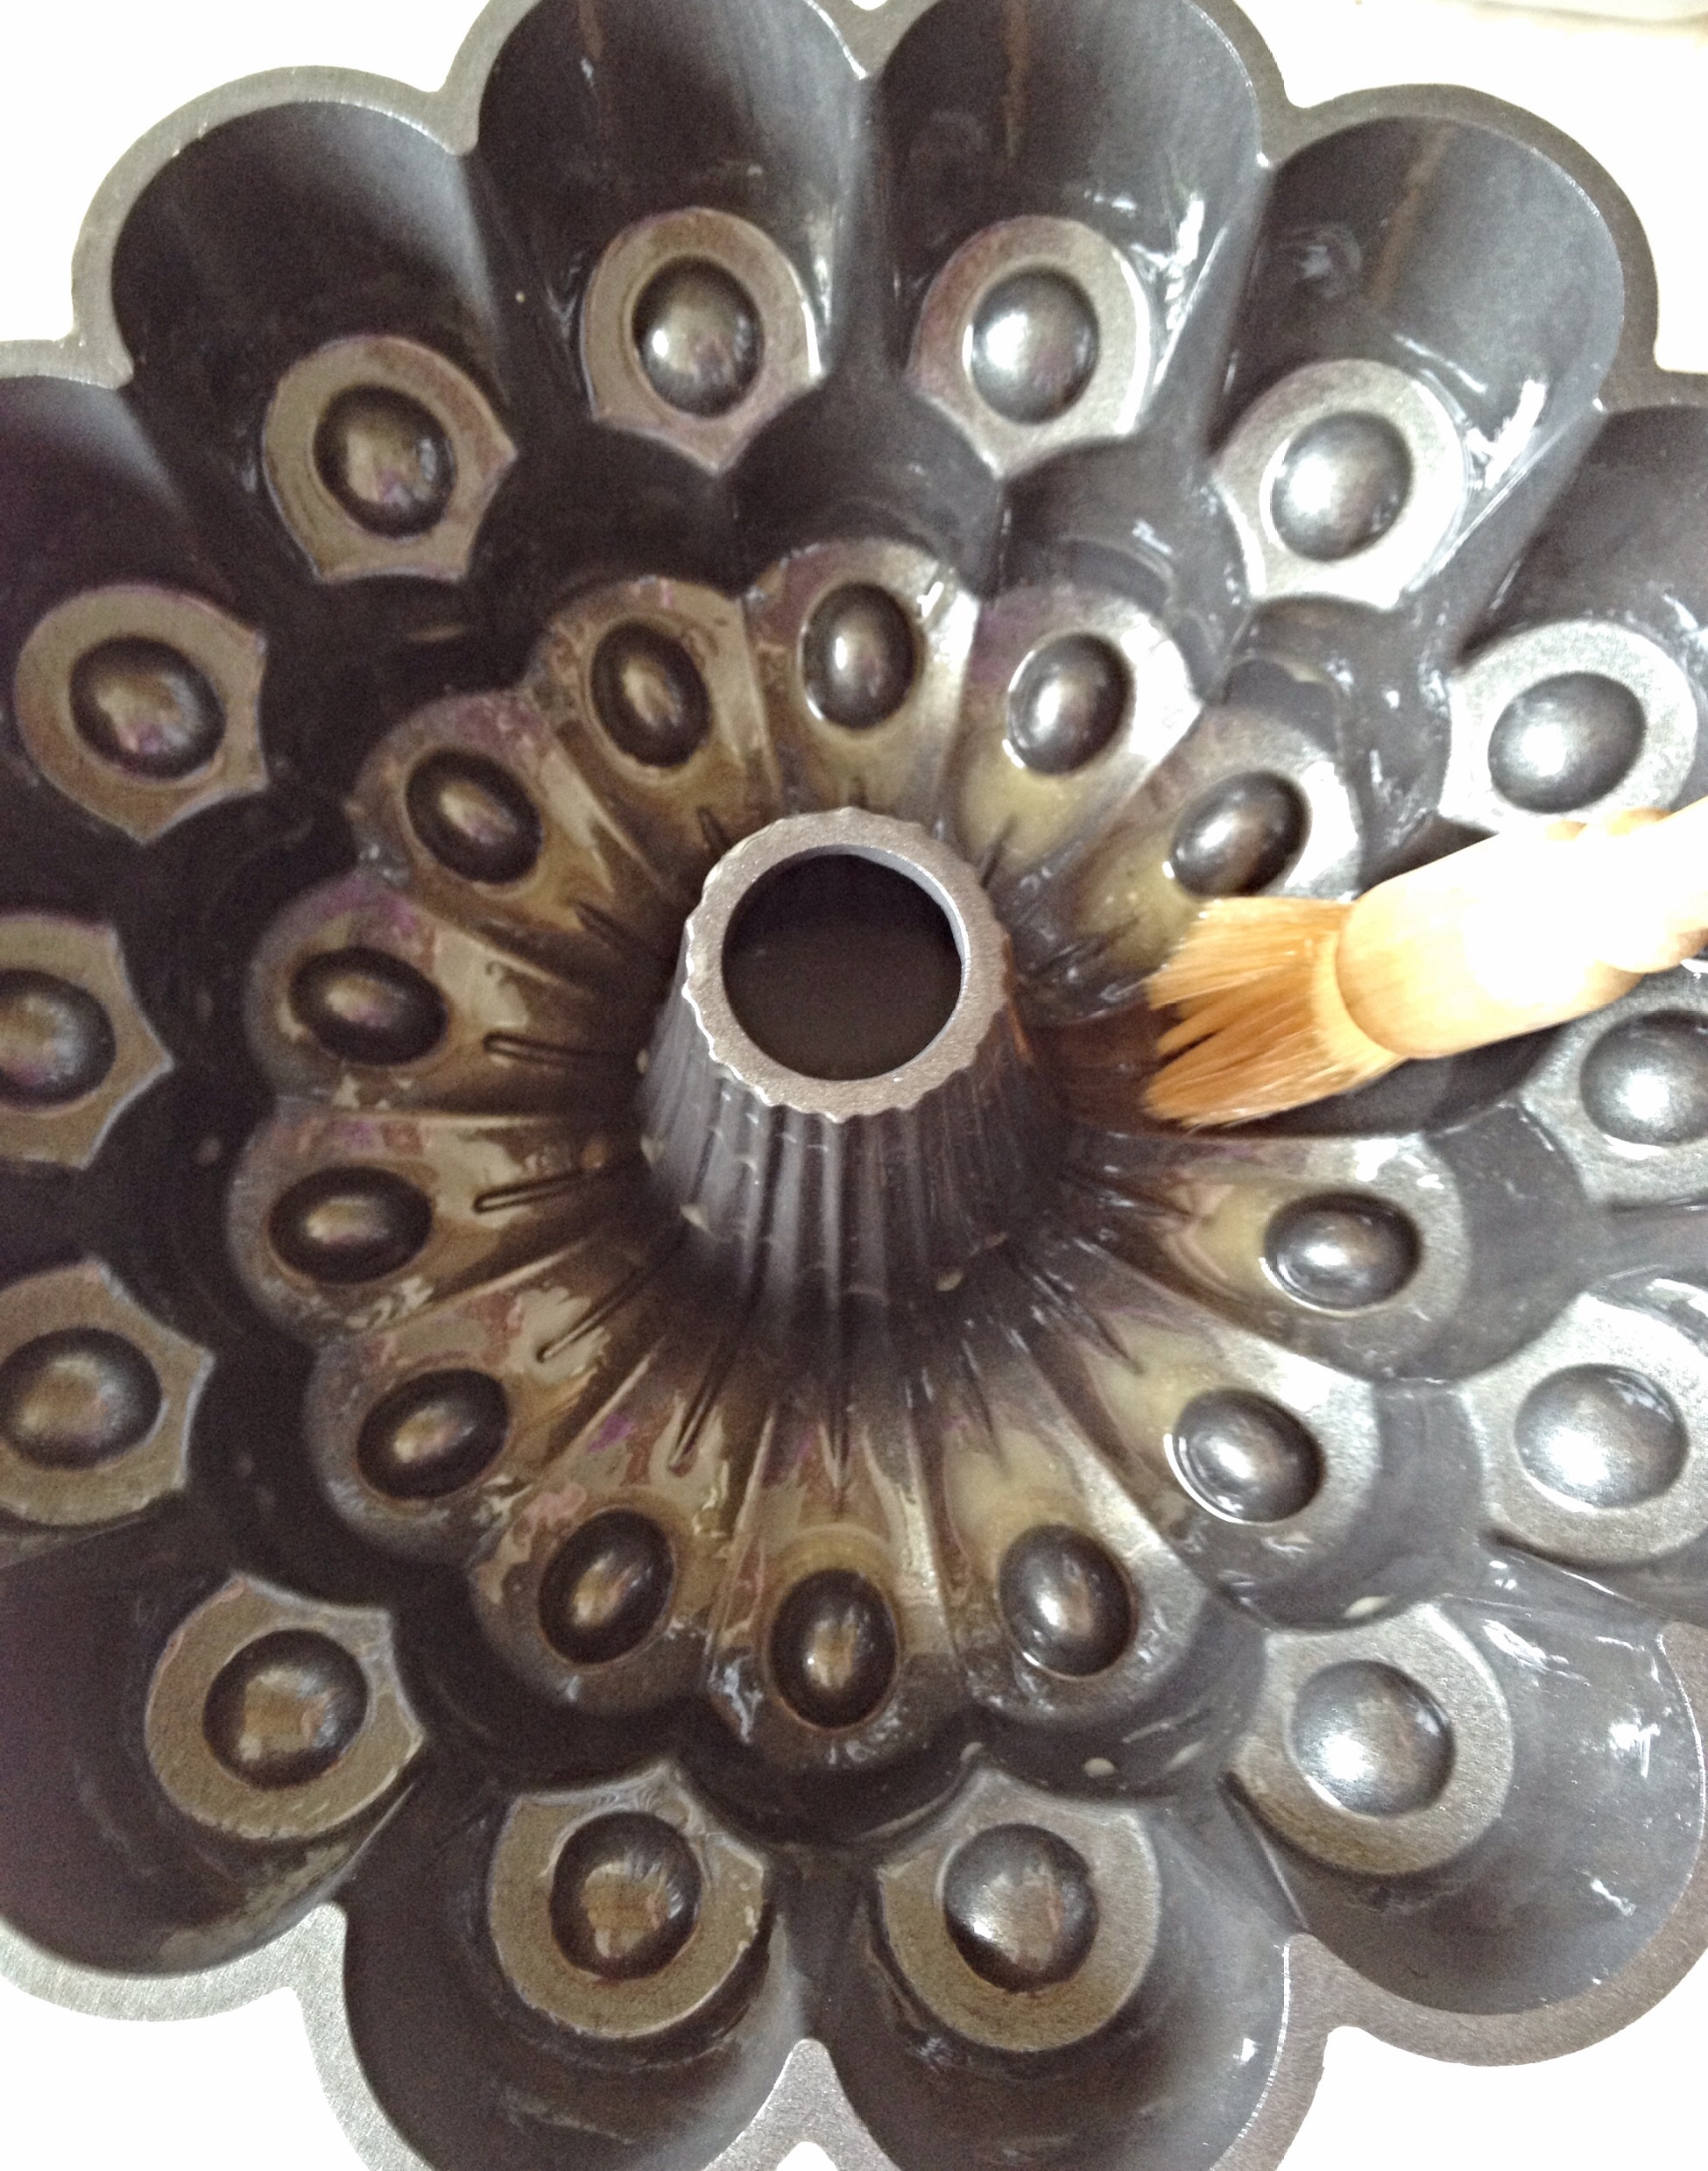
Most importantly, the Bundt pan dimensions are 23.5cm (9″) wide x 11cm (4.5″) deep. The pan holds 3 litres (5.3 UK pints).
Recipe : Marbled Chocolate Bundt Cake serves 8-10
For the cake:
25g/1 oz Butter – melted
275g/10 oz Unsalted Butter at room temp
275g/10 oz Caster Sugar
1/4 tsp Salt – I use Maldon
2 tsp Vanilla Extract – I use Nielsen-Massey
5 Large Eggs – free range
275g/10 oz Plain White Flour
2.5 tsp Baking Powder
80mls/3fl oz Milk – Whole or Semi Skimmed
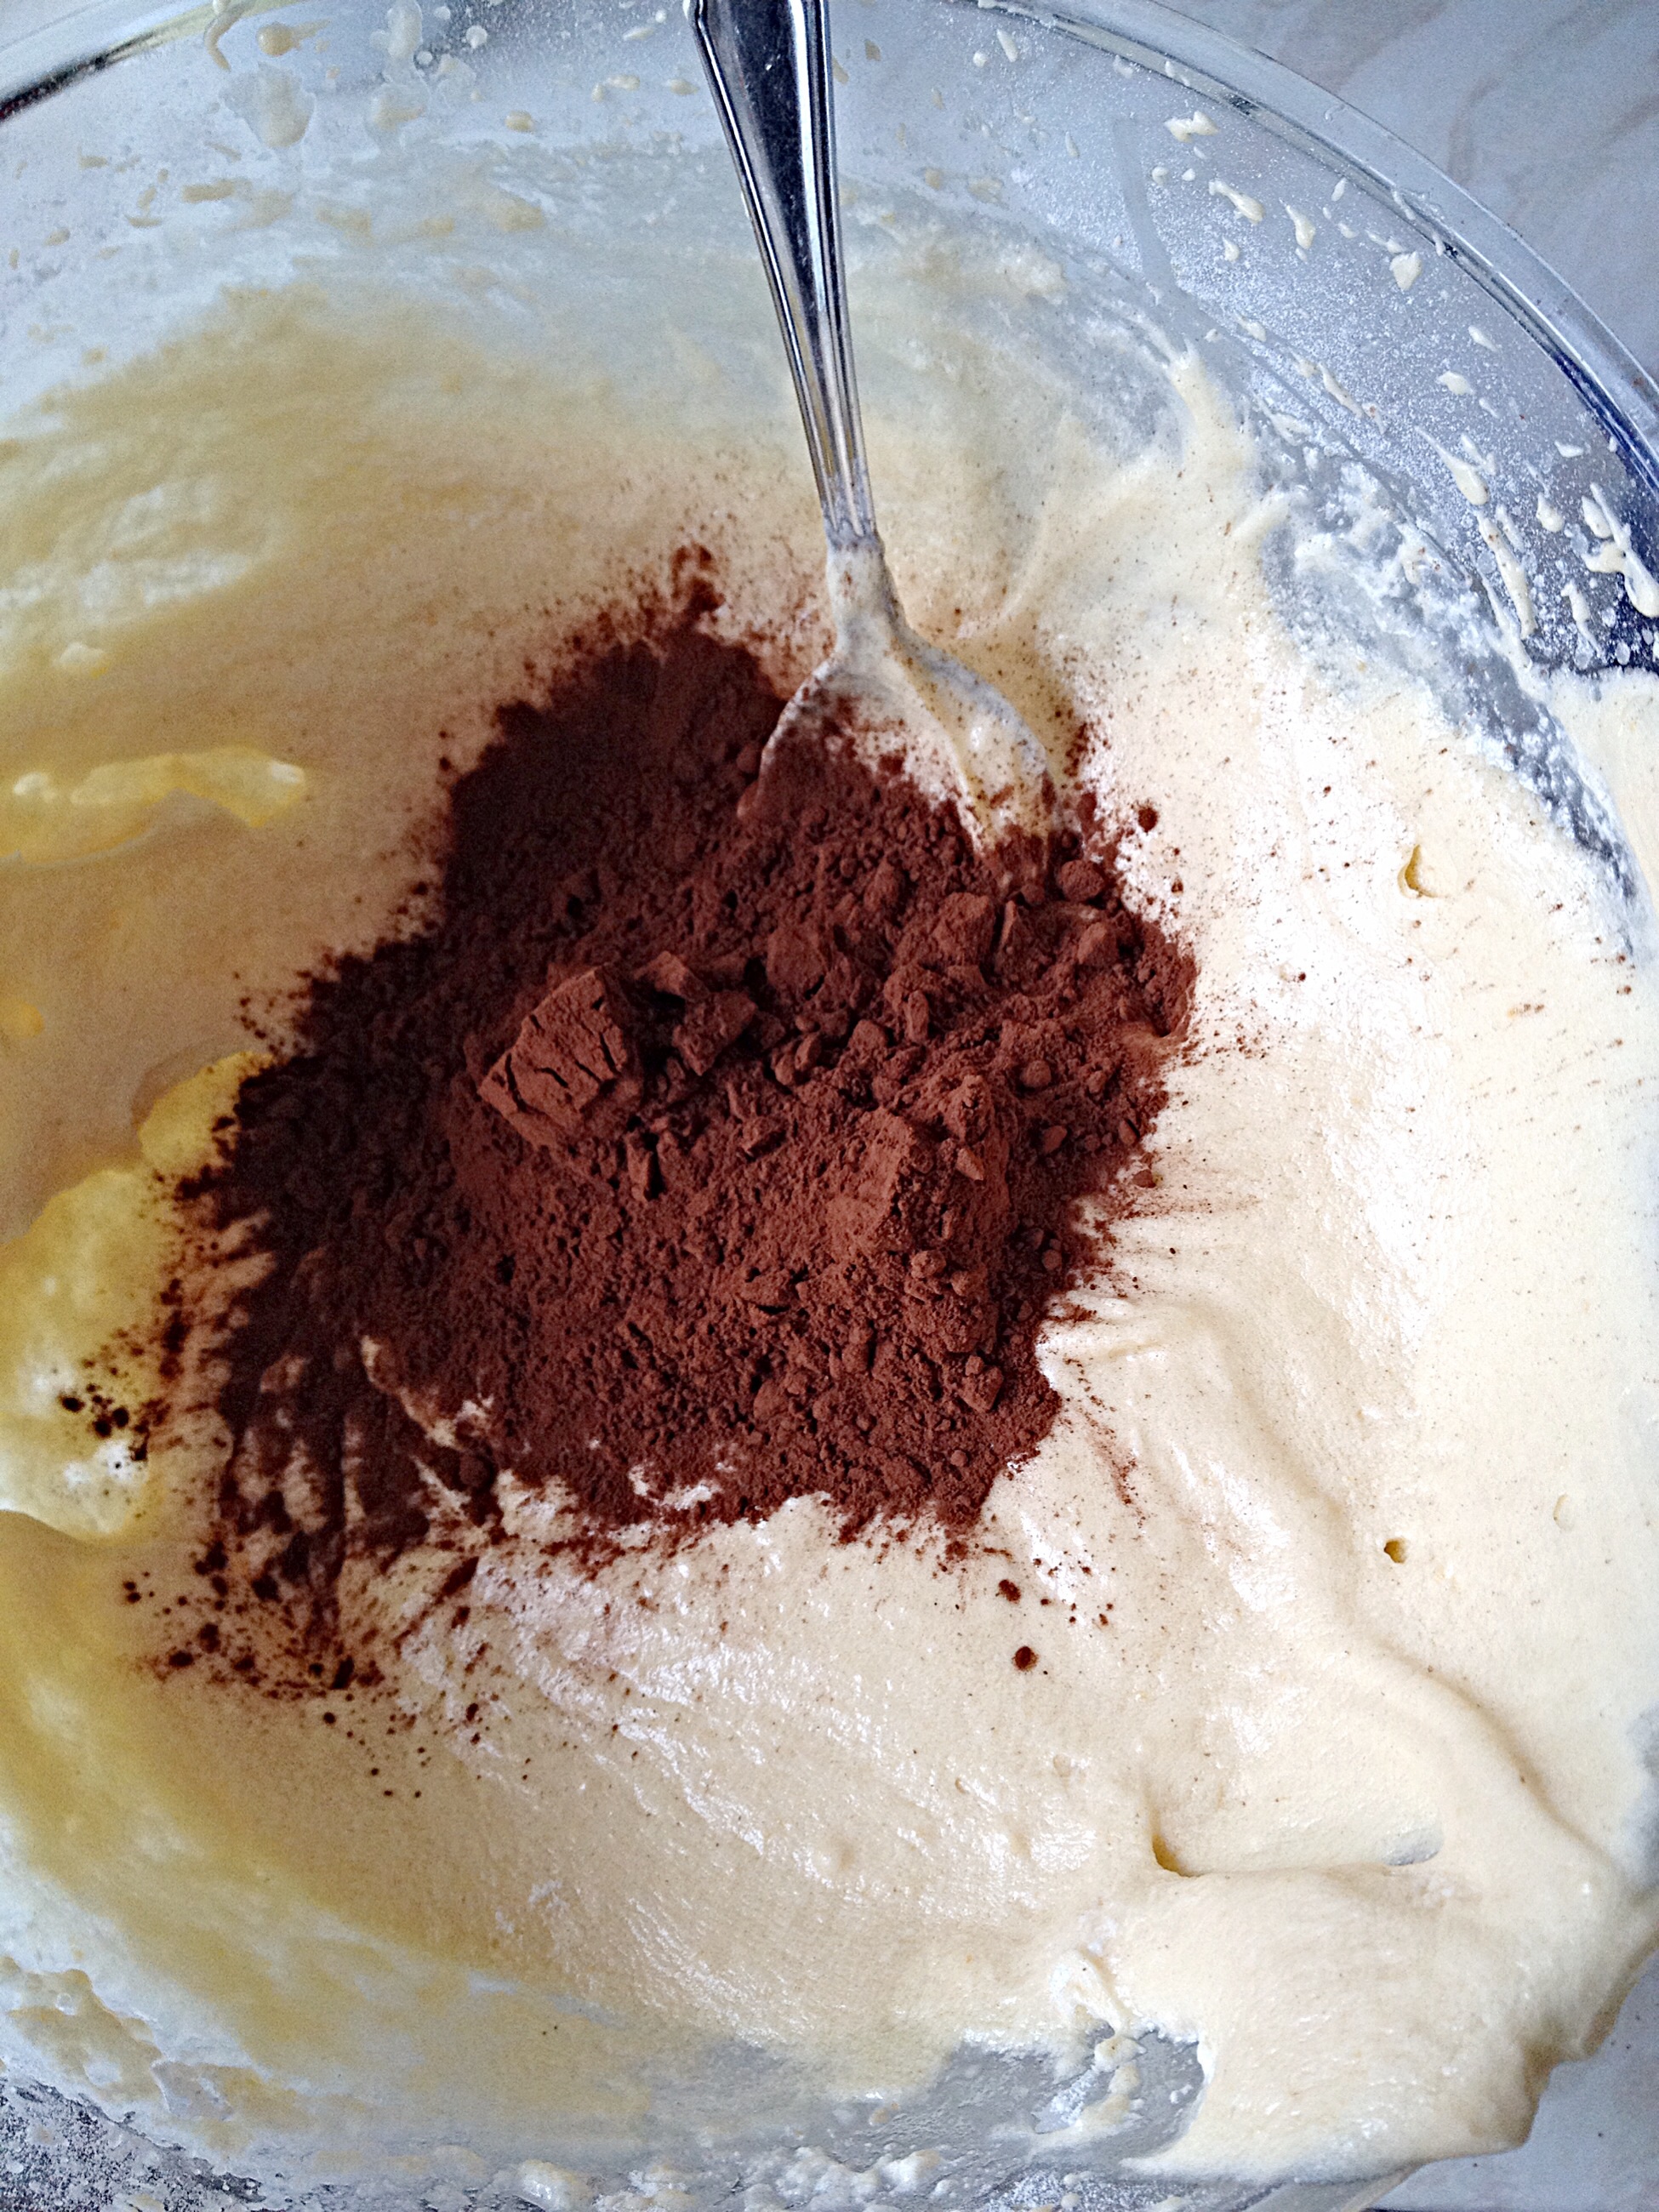
3 tbsp Cocoa Powder
For the decoration:
75g/3oz White Chocolate
75g/3oz Milk Chocolate
Edible gold stars – alternatively use your own choice of decoration.
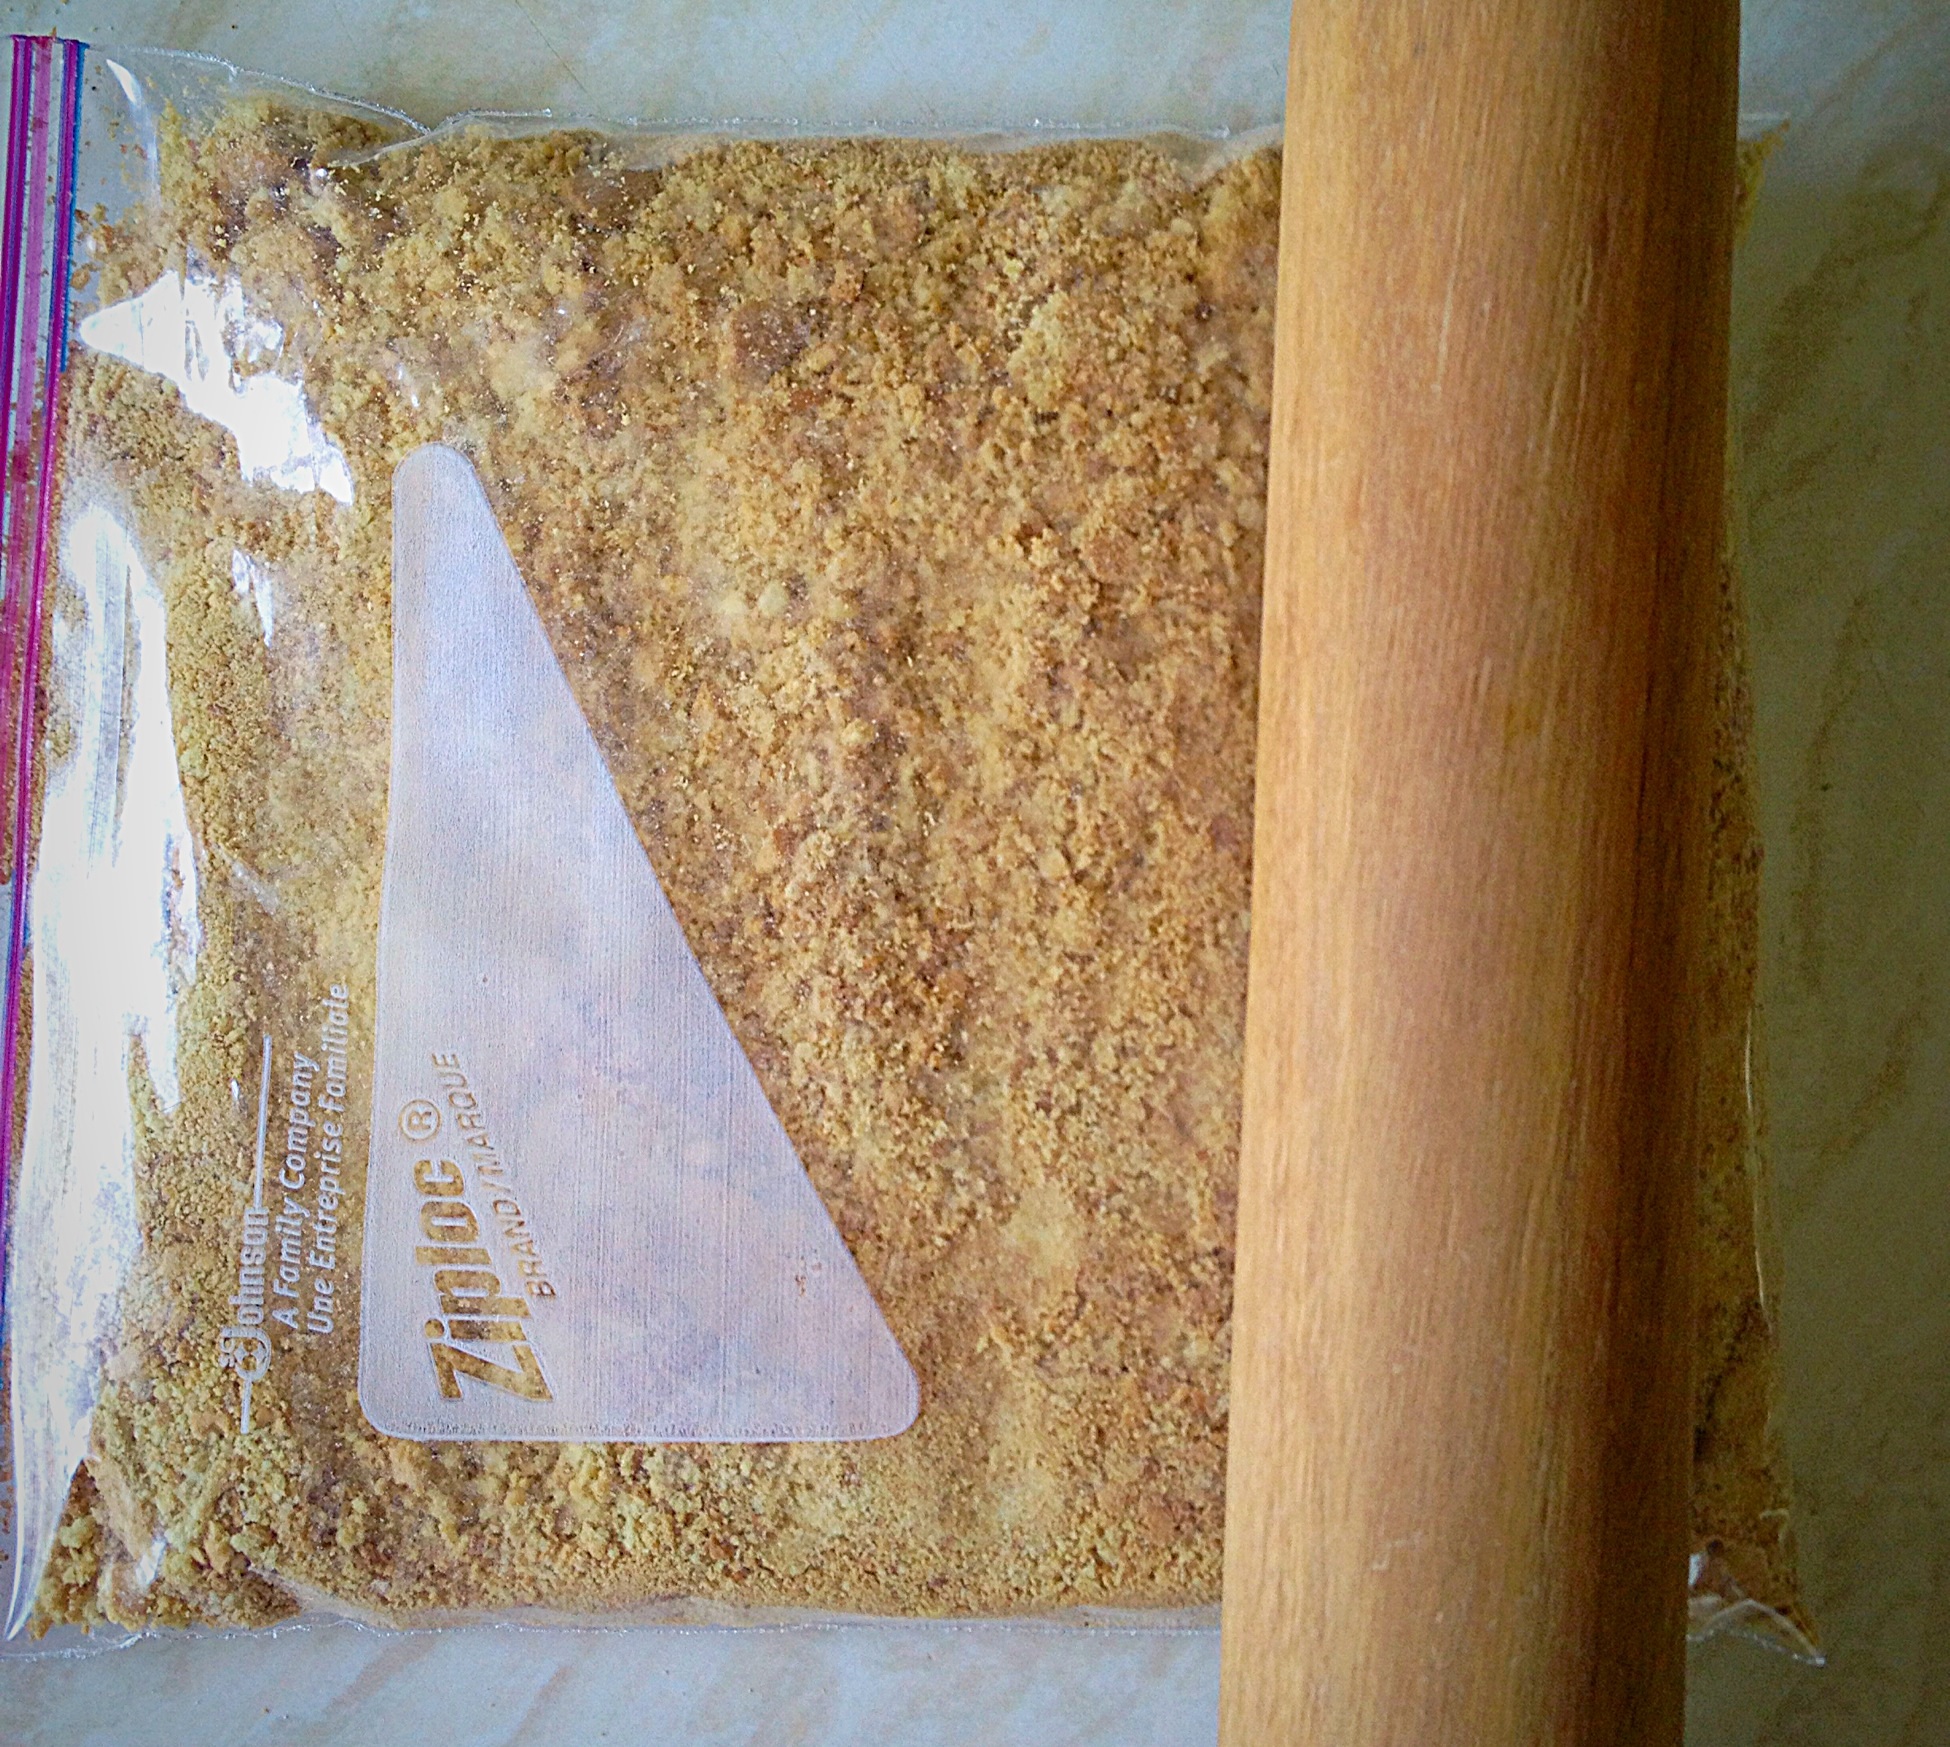
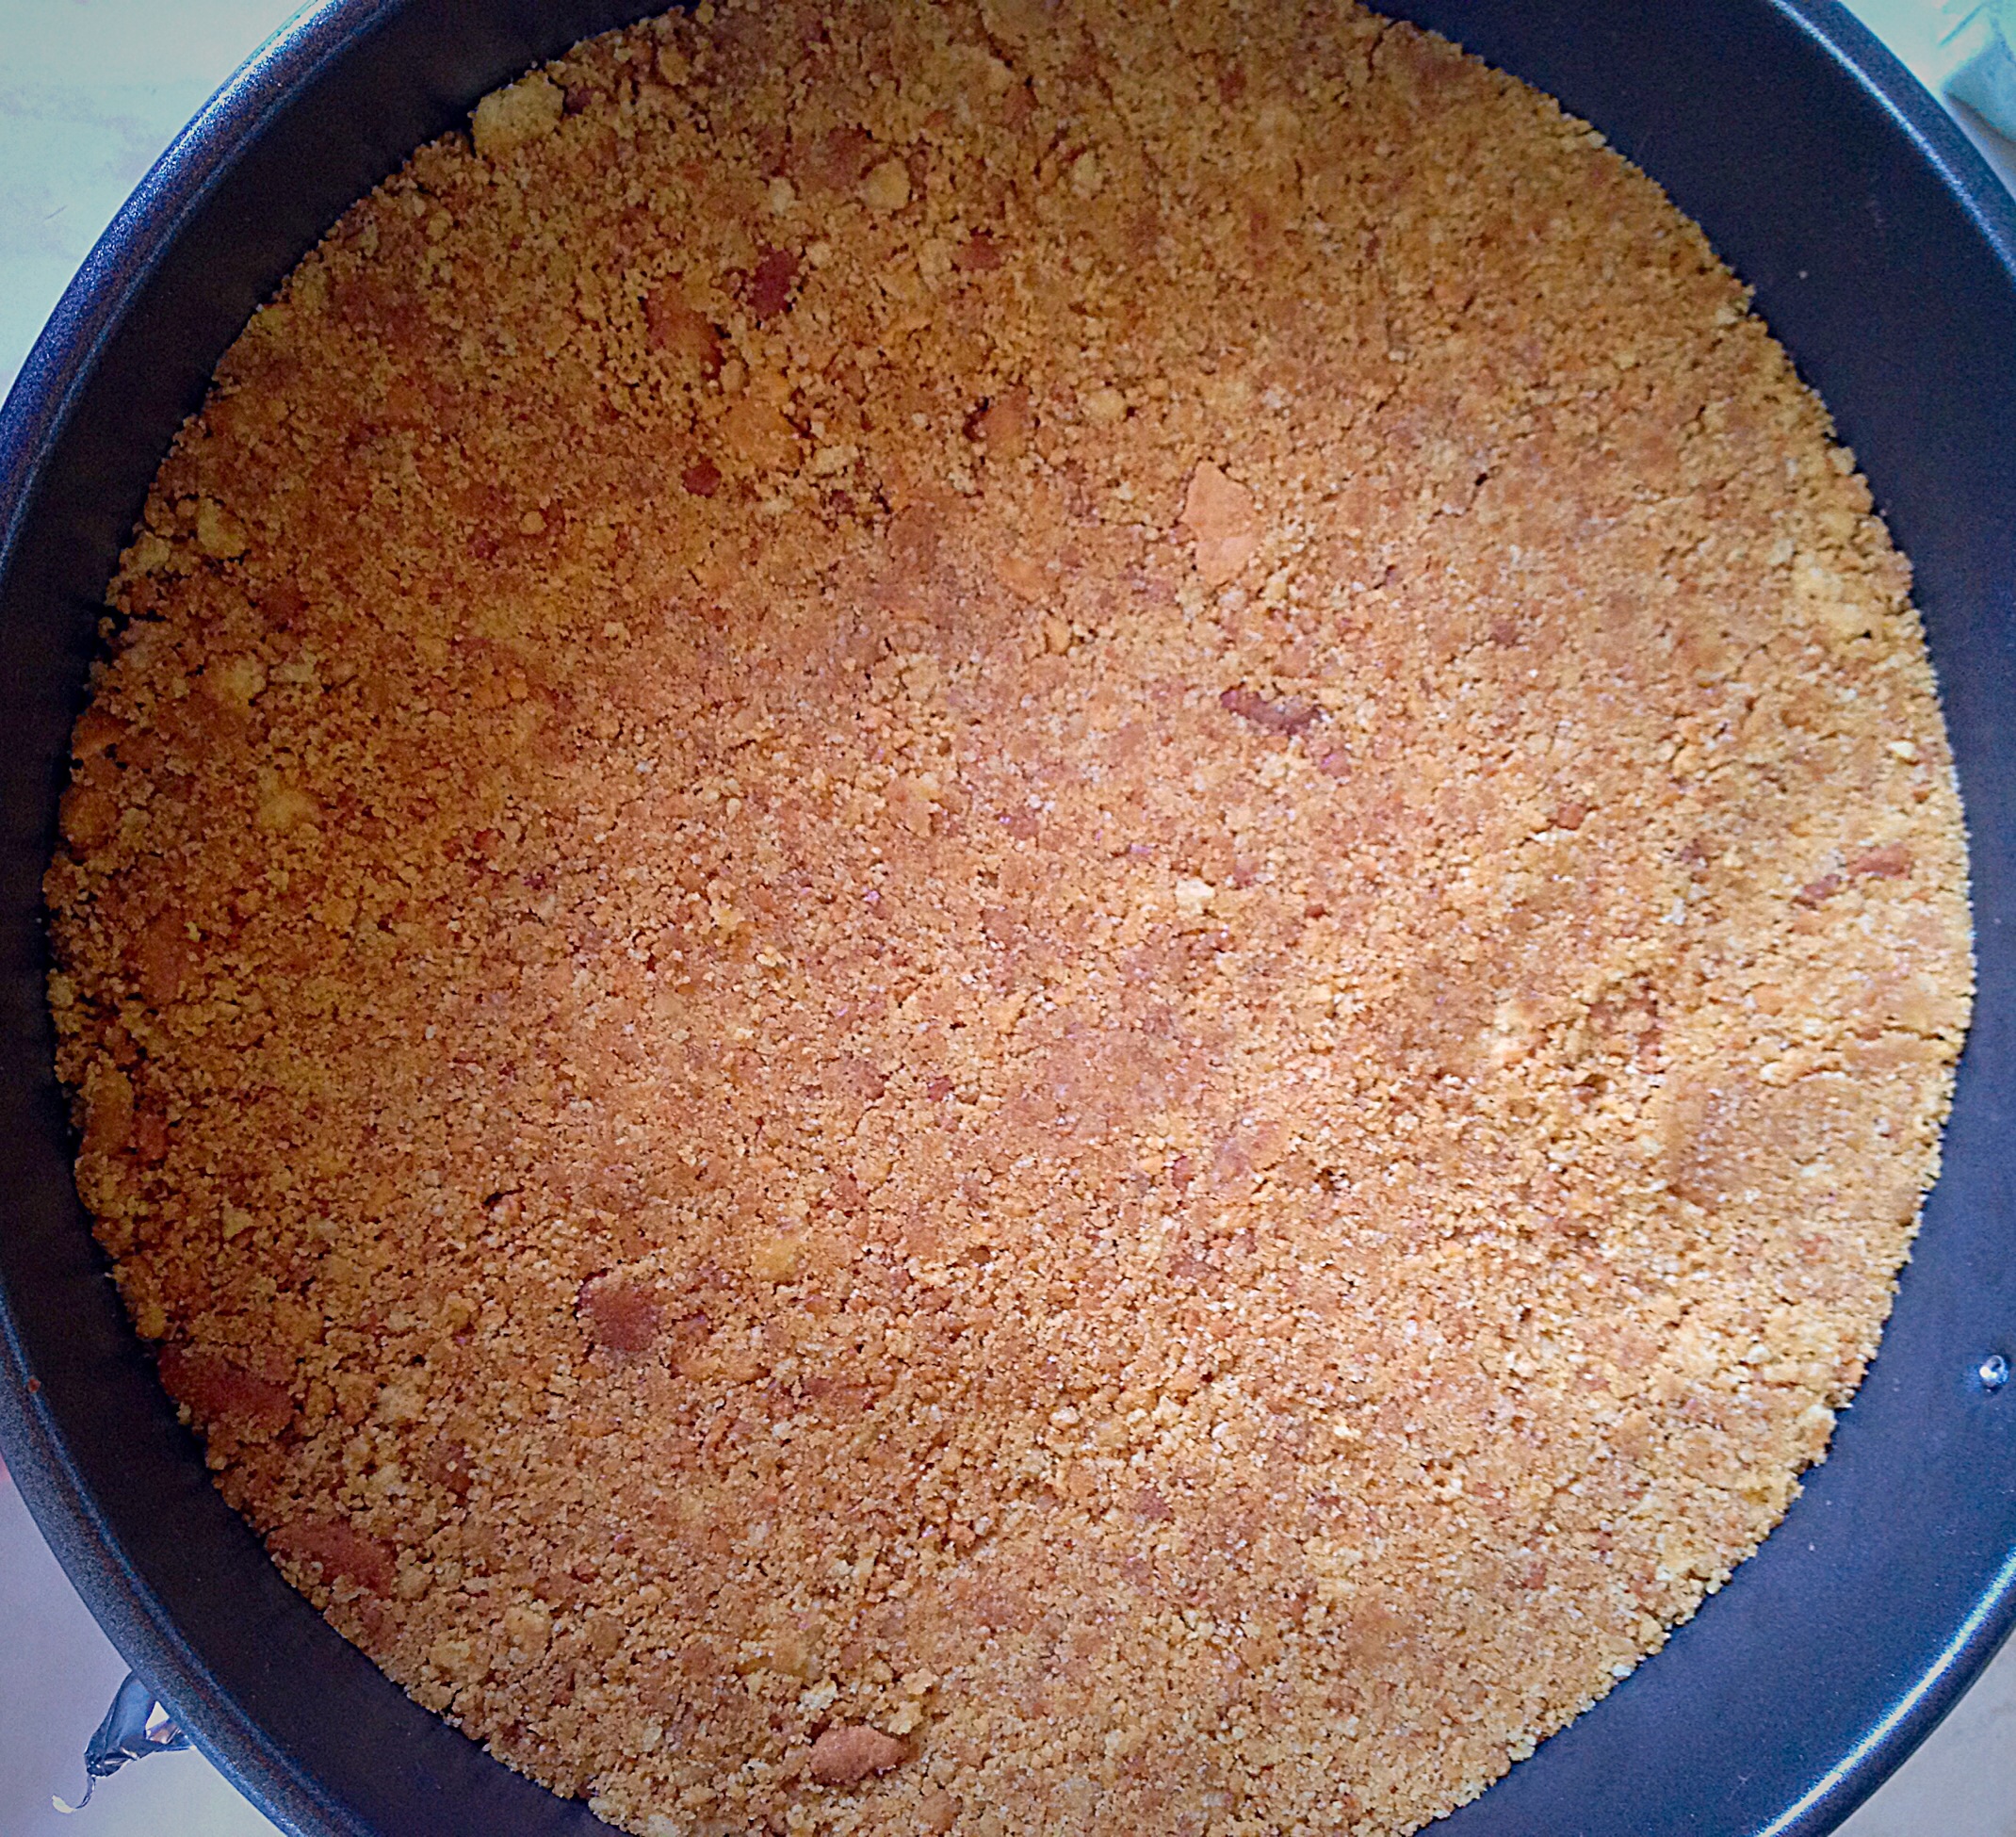
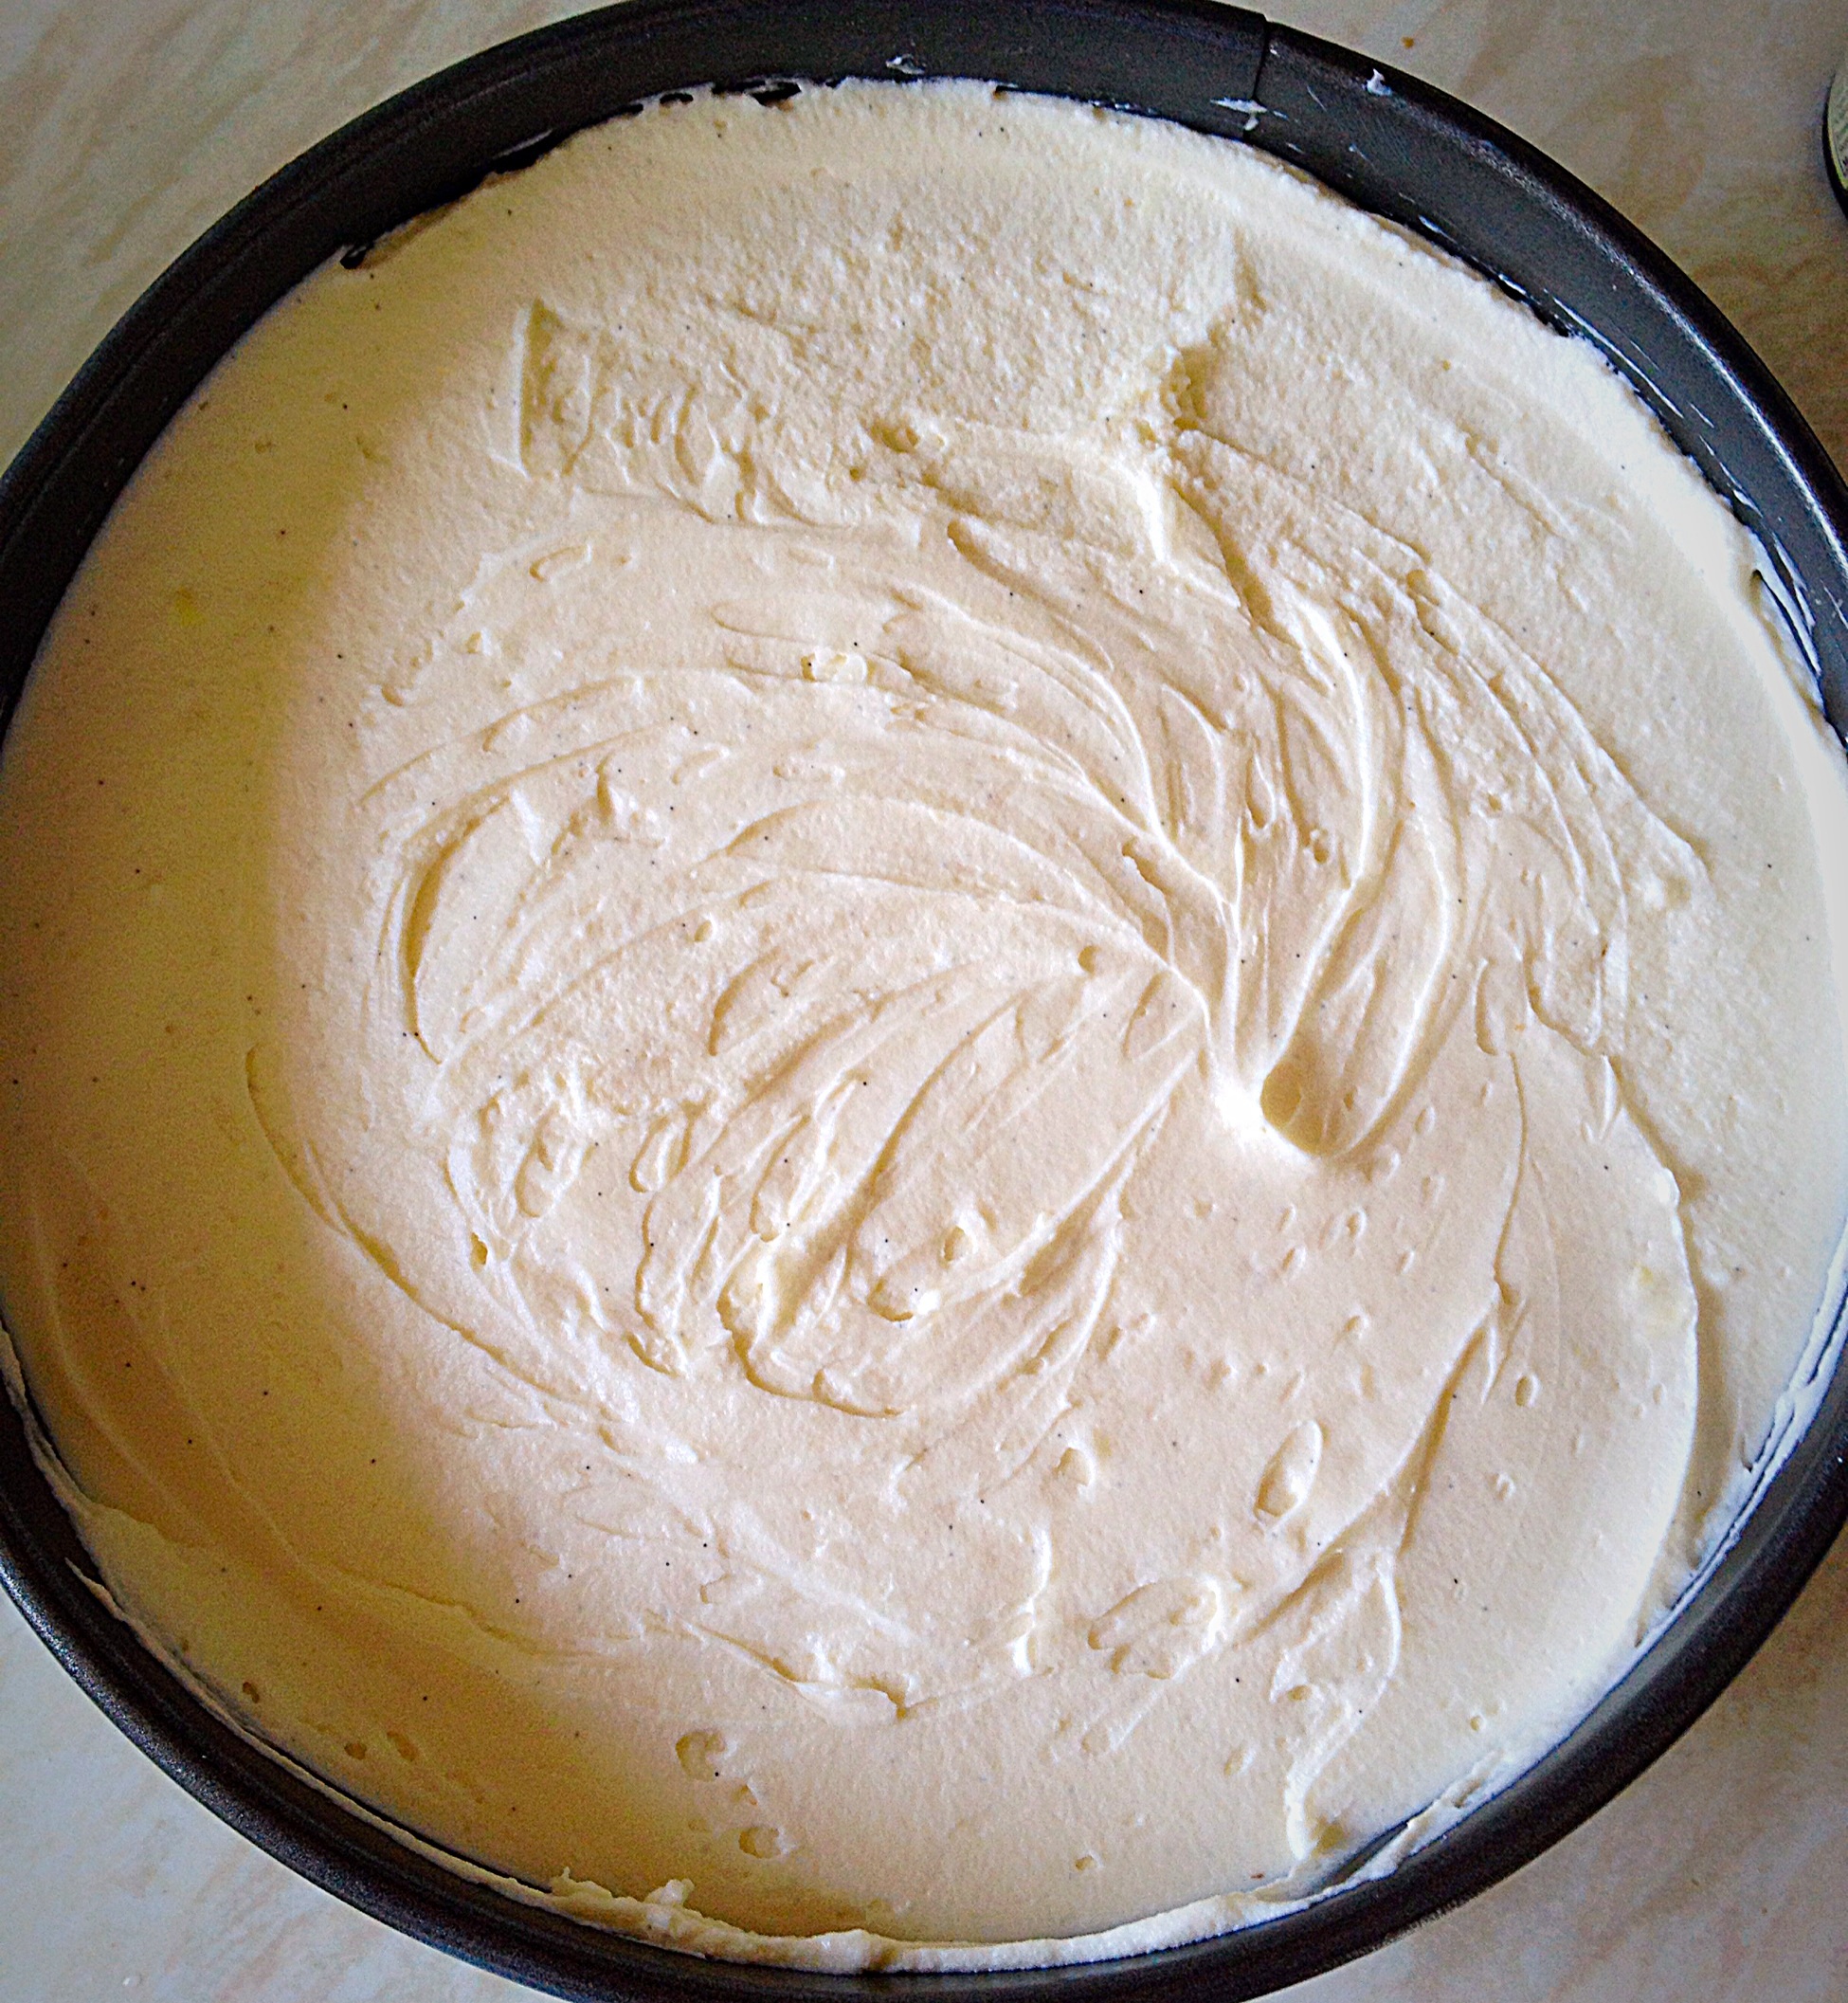
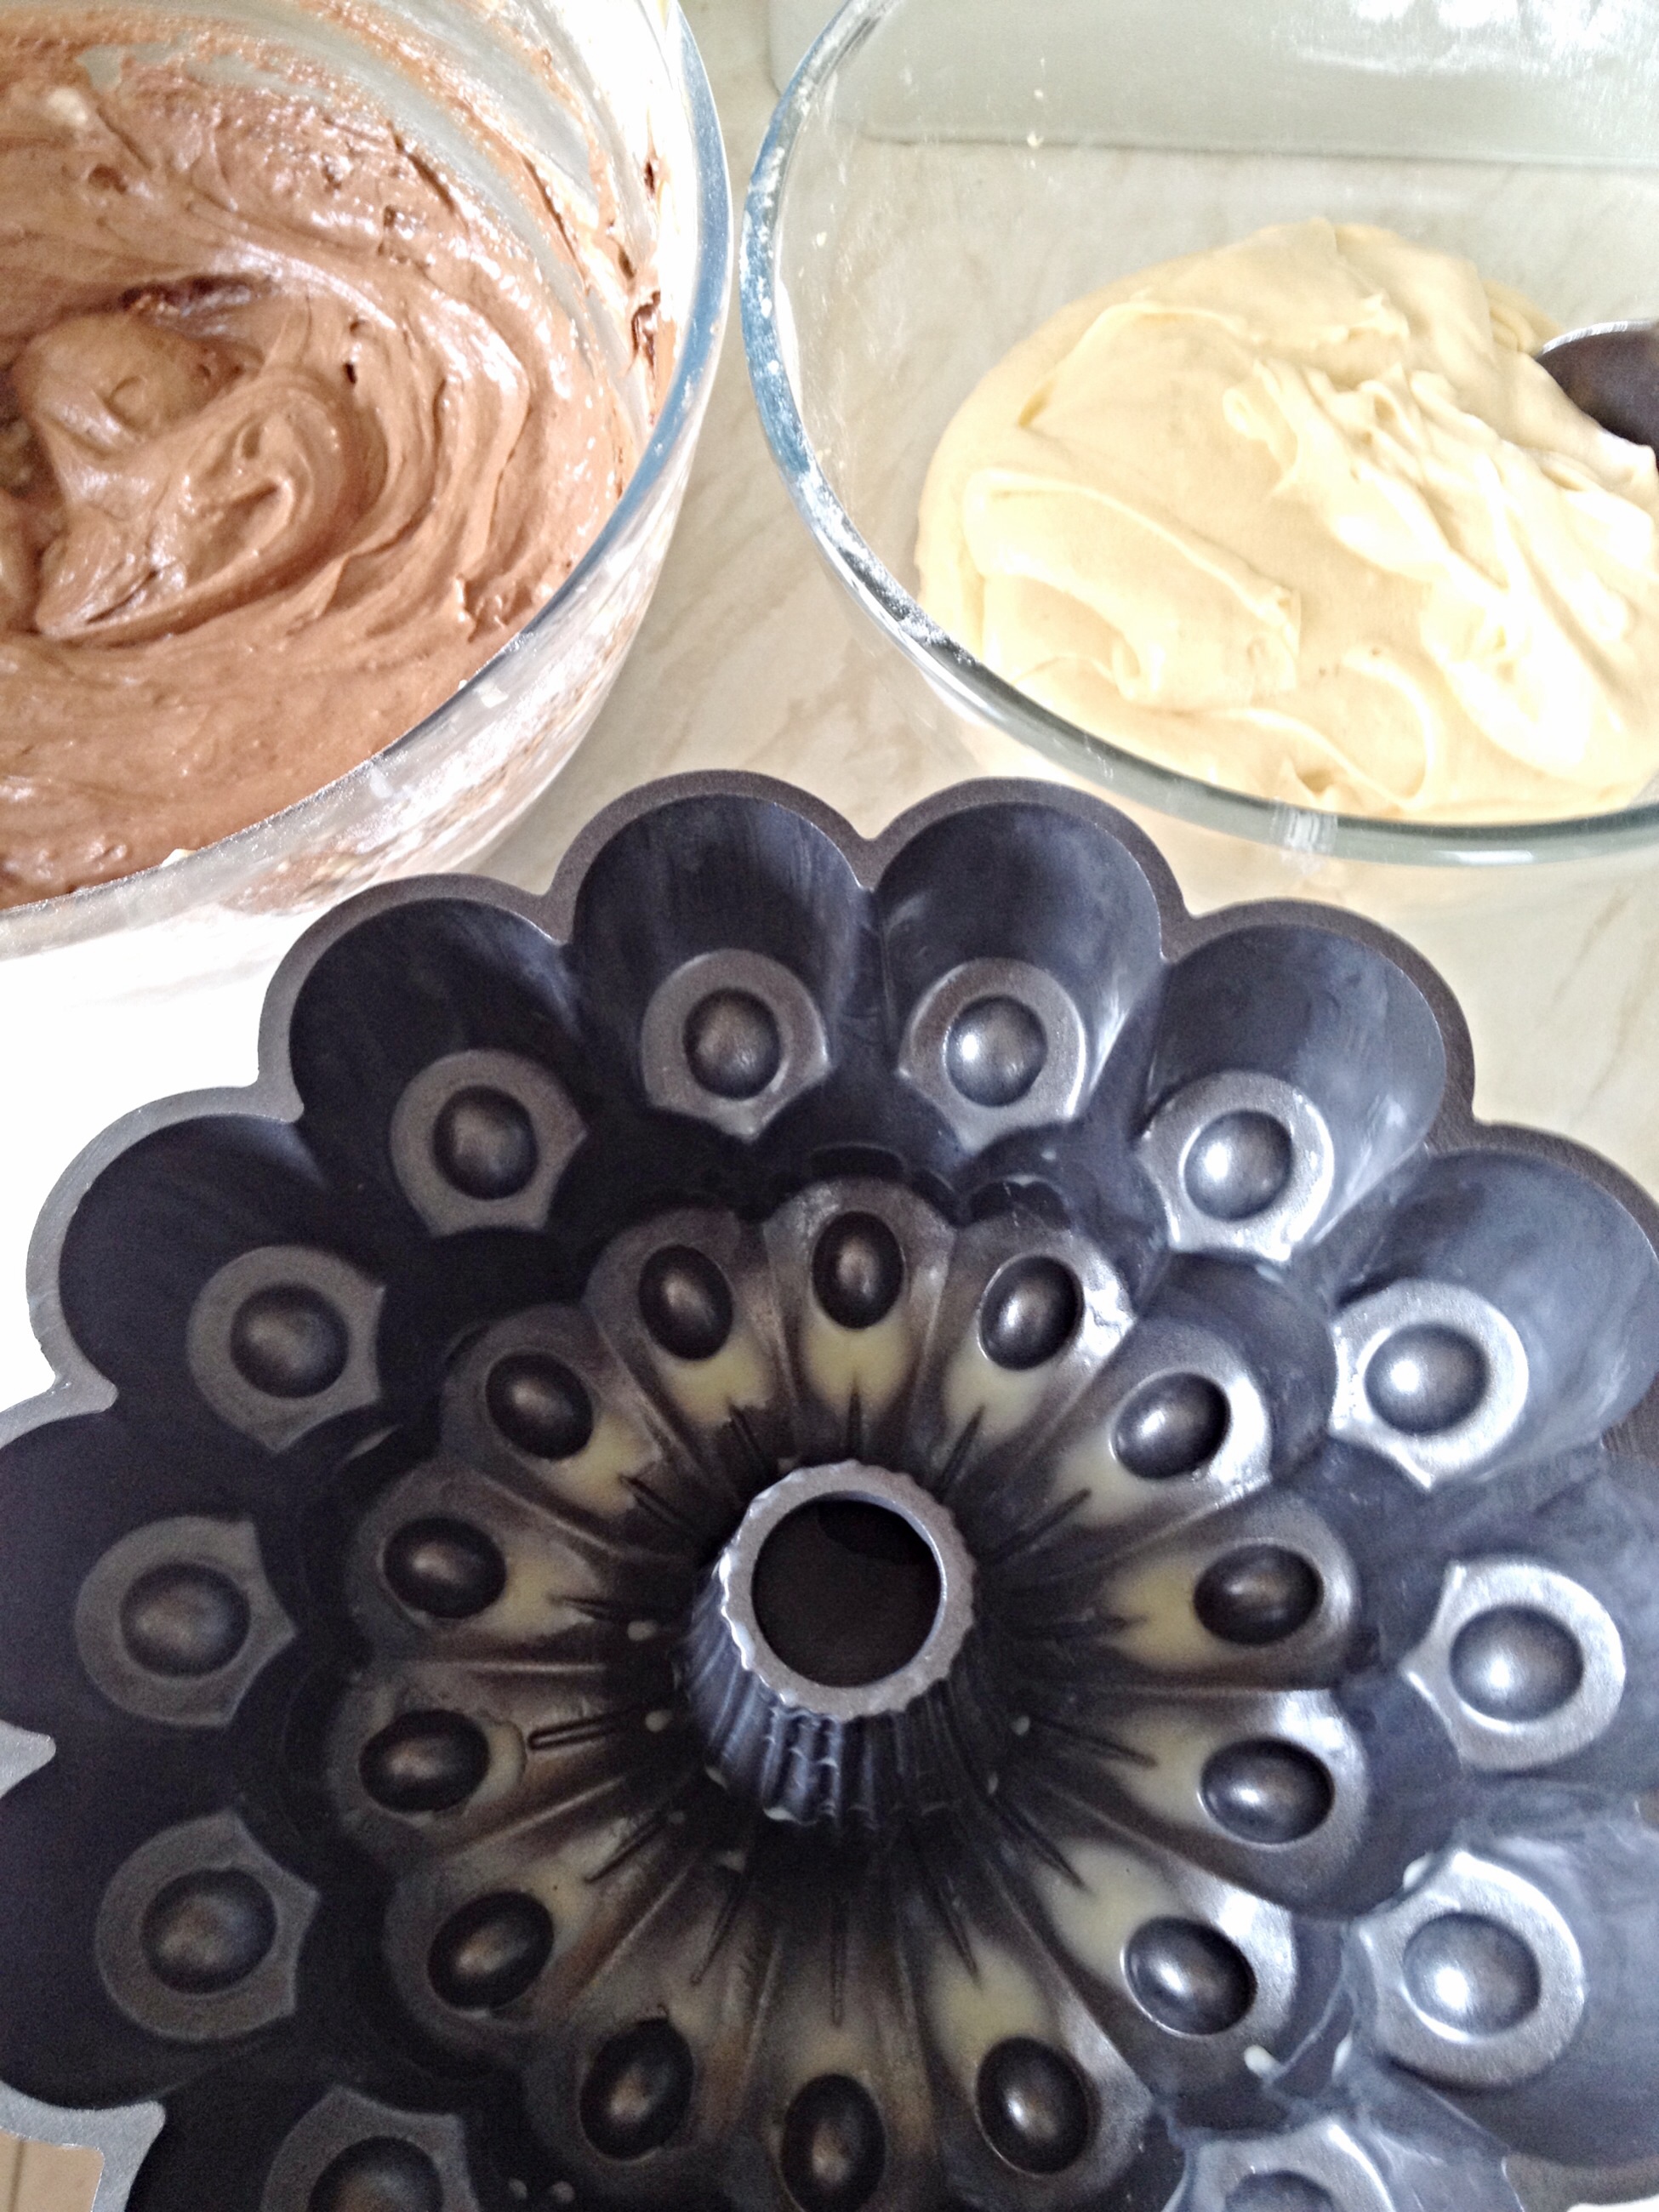
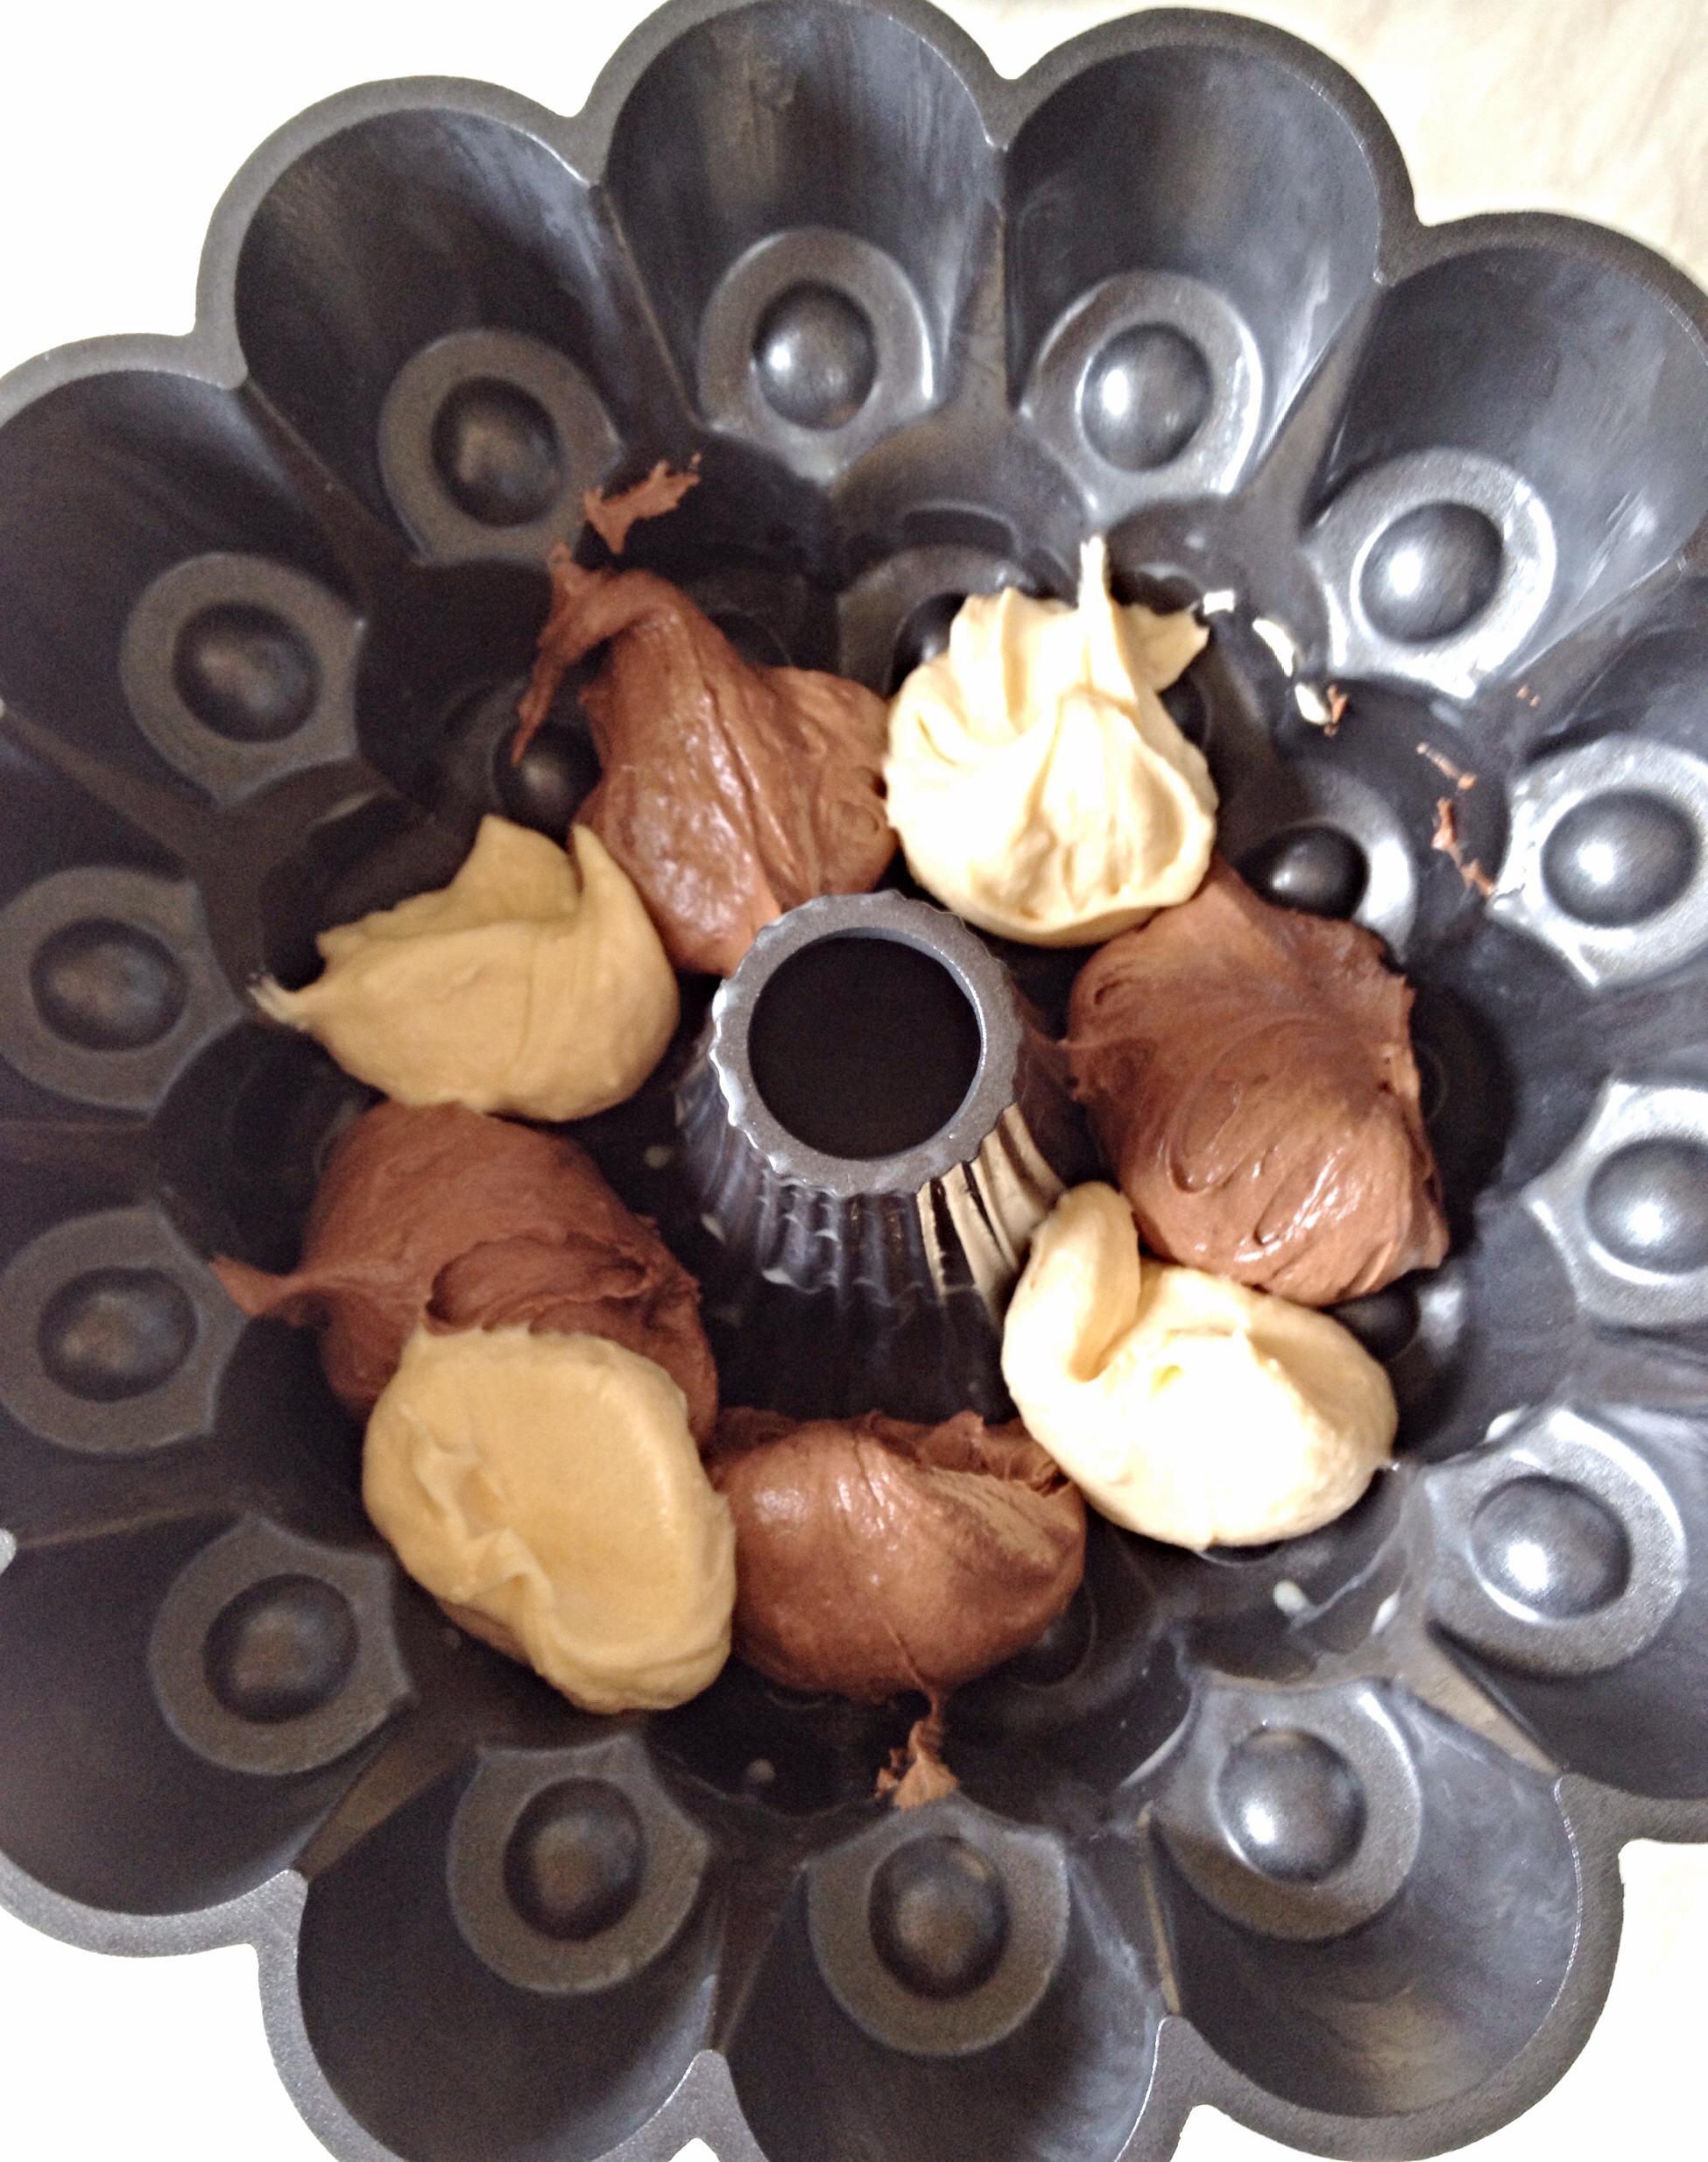
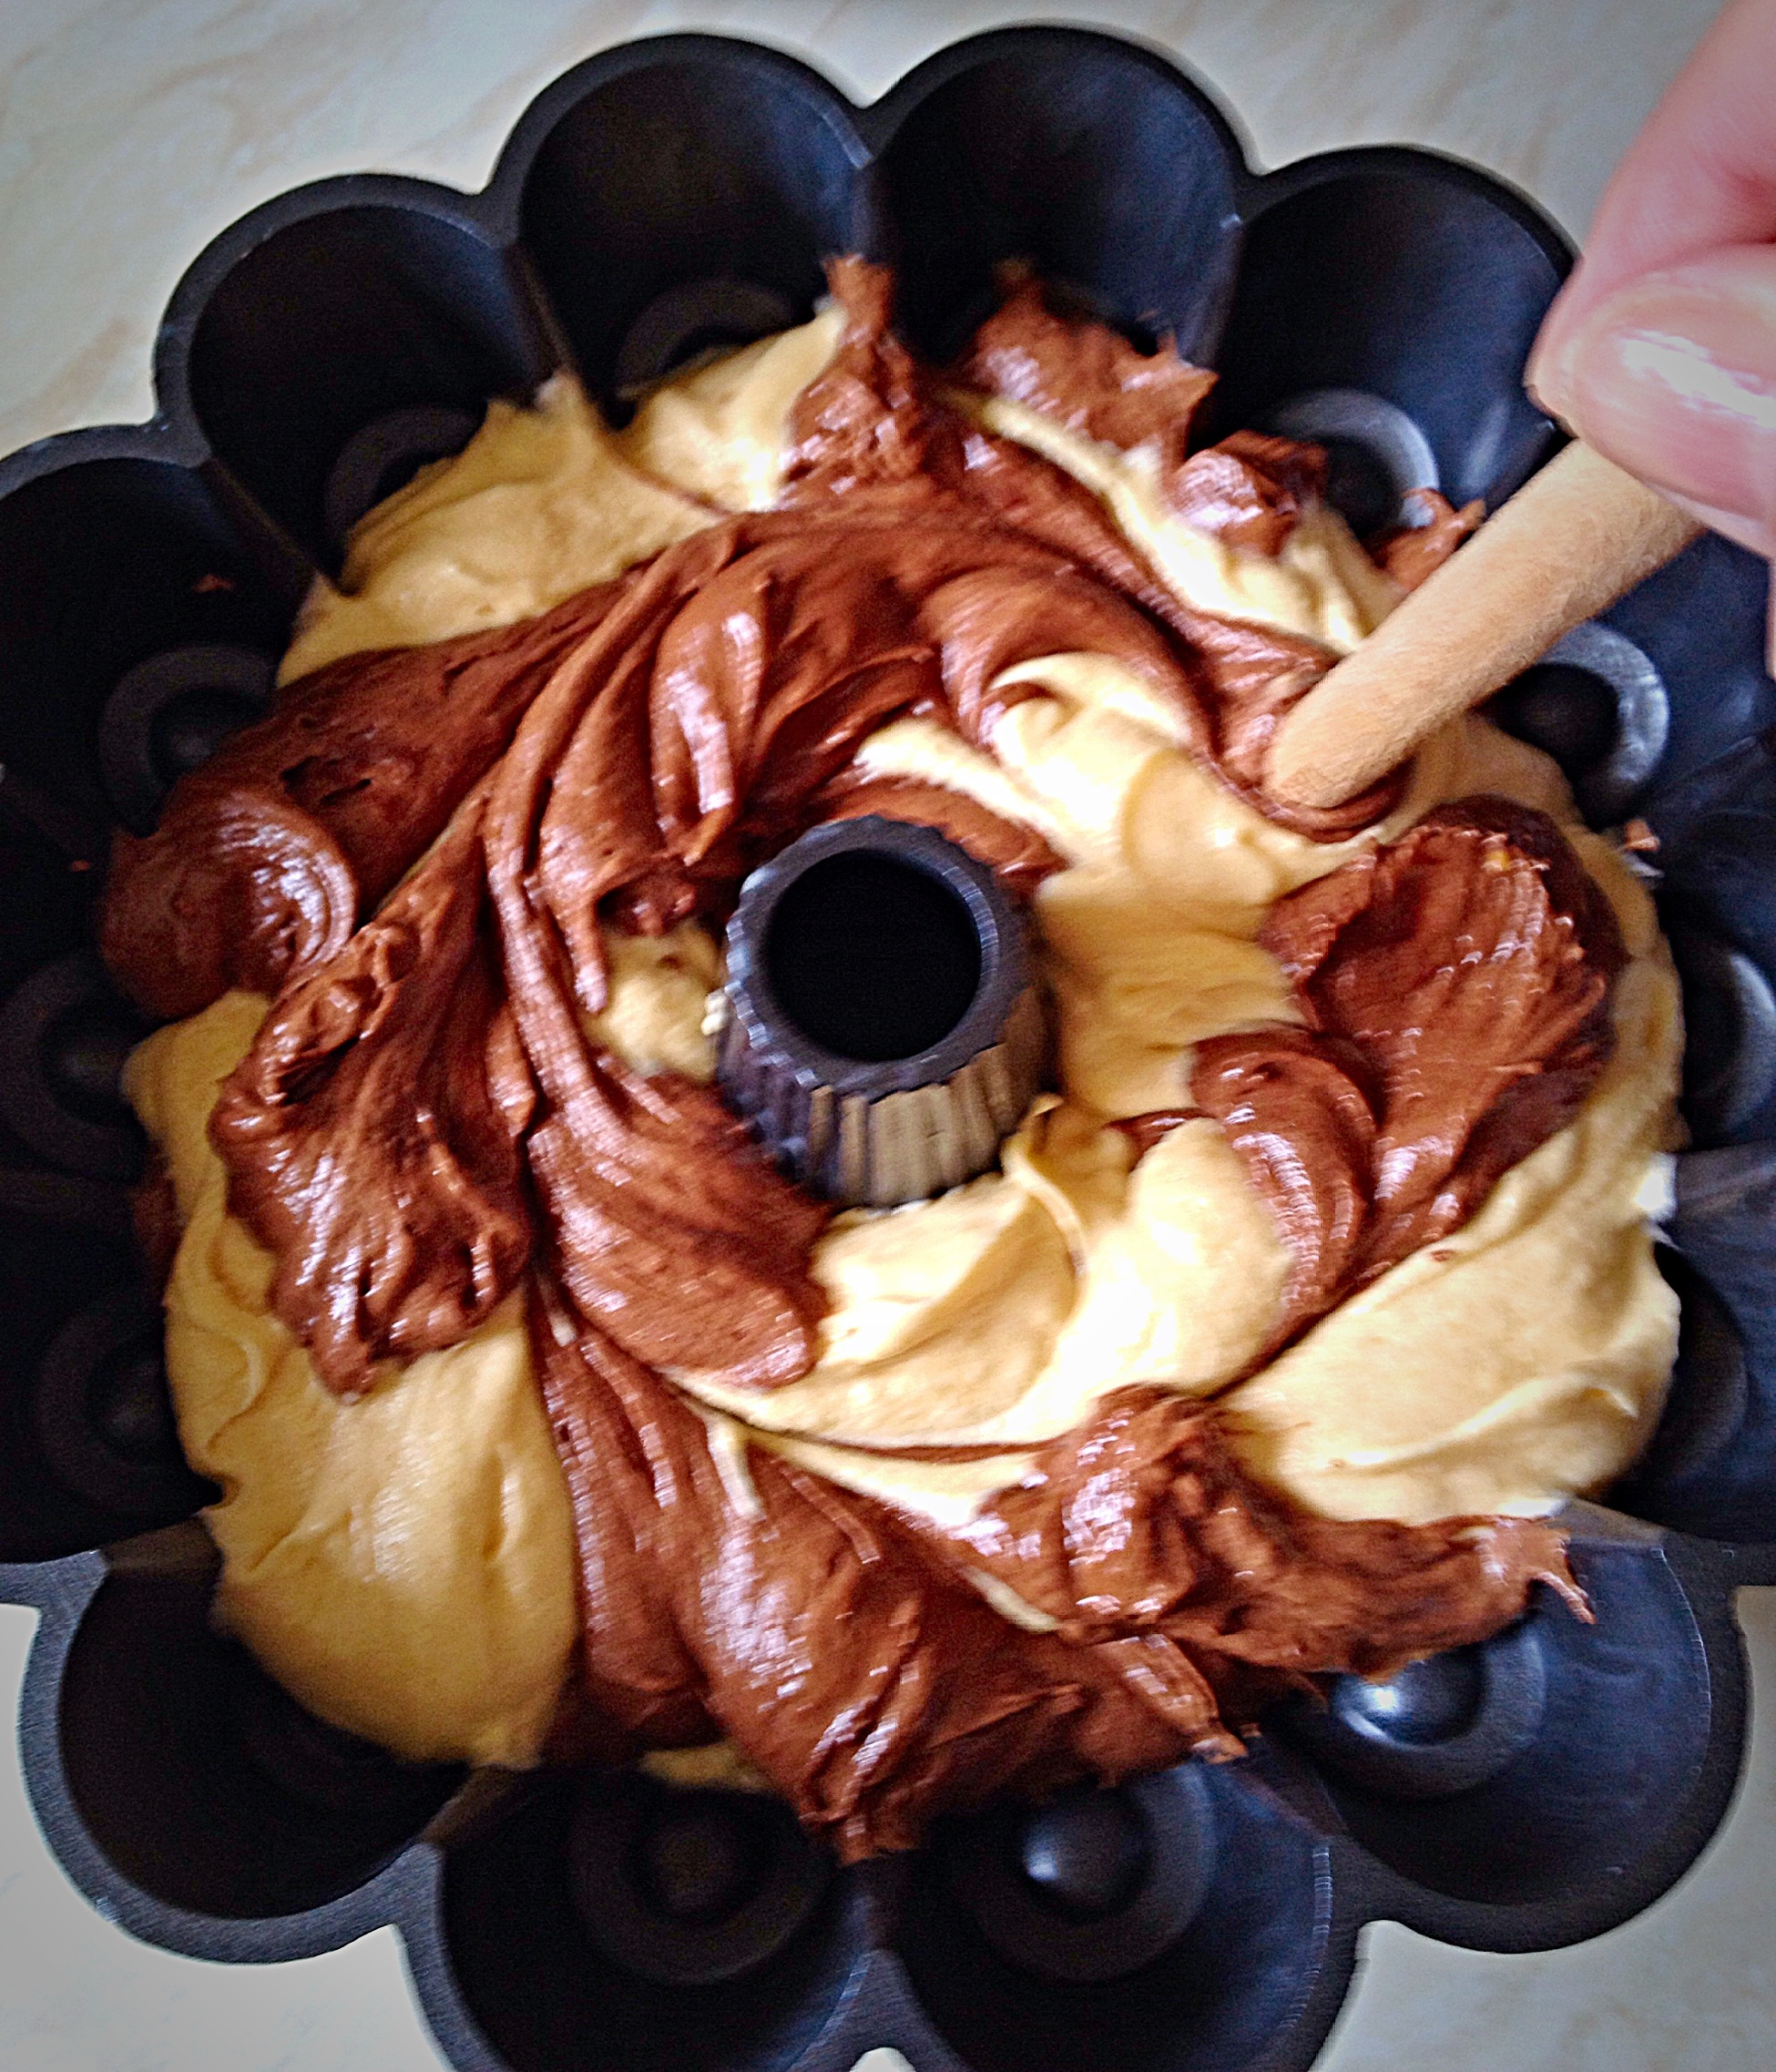
Preparing the Bundt pan
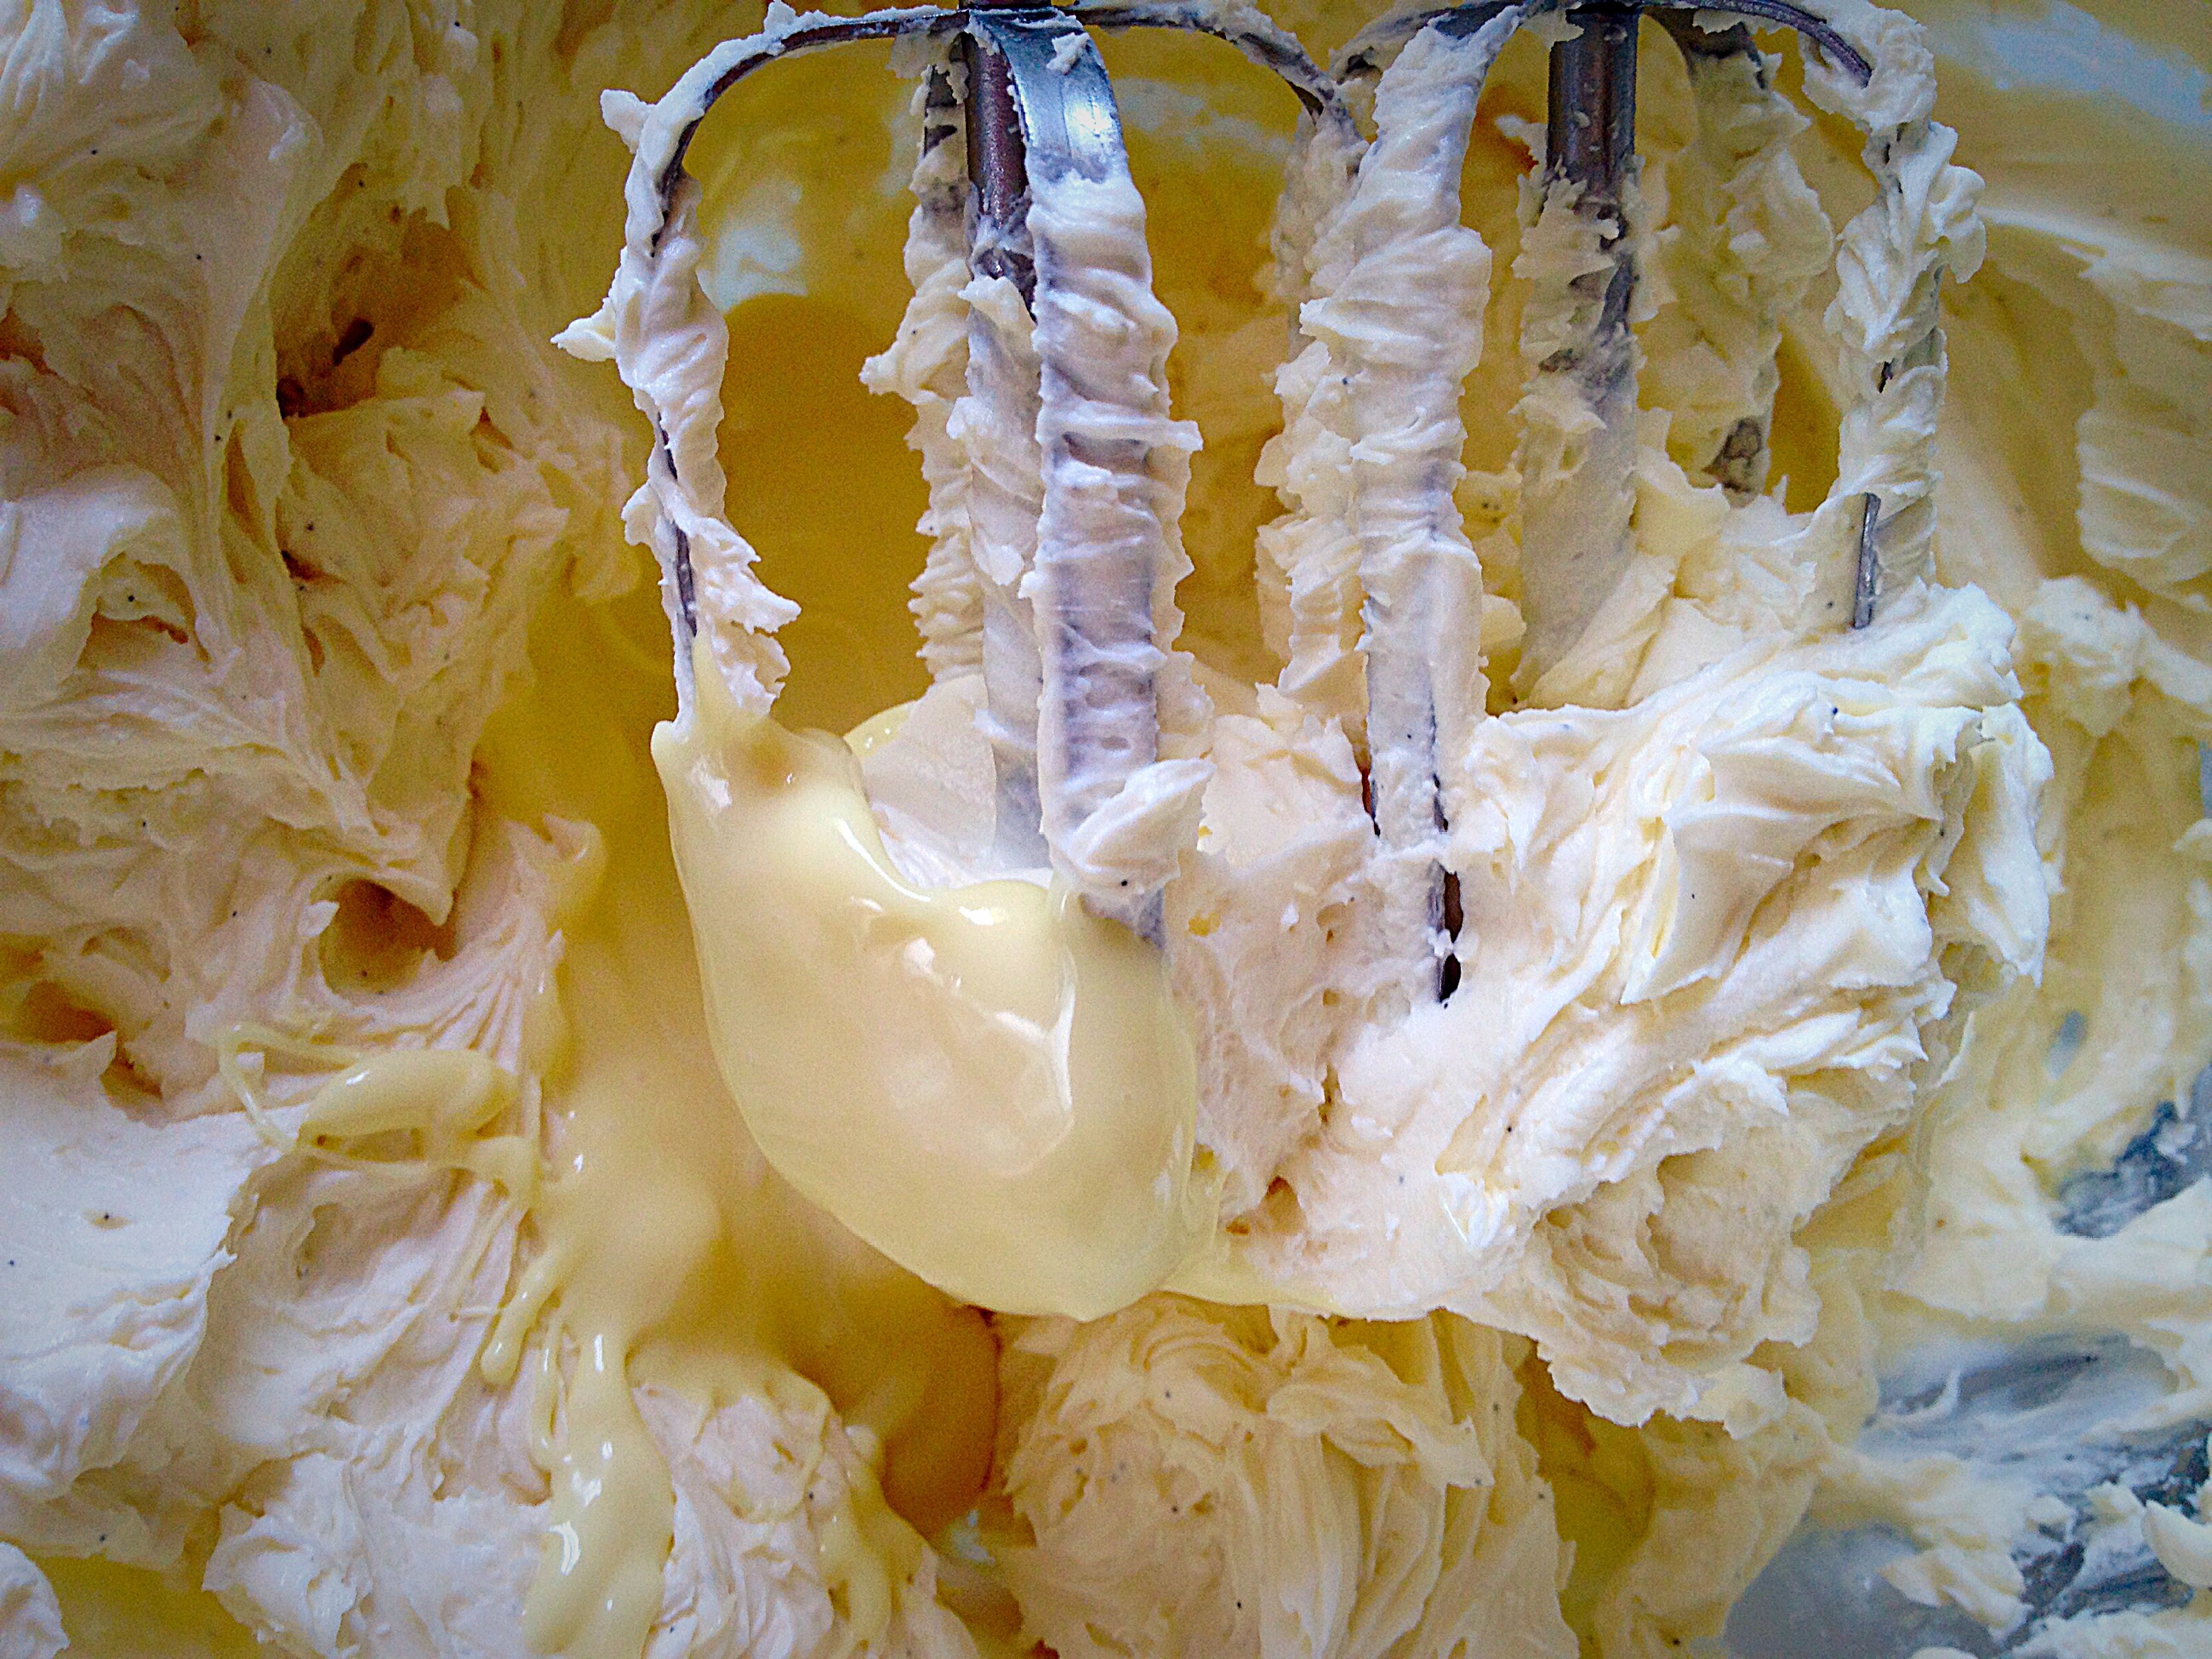
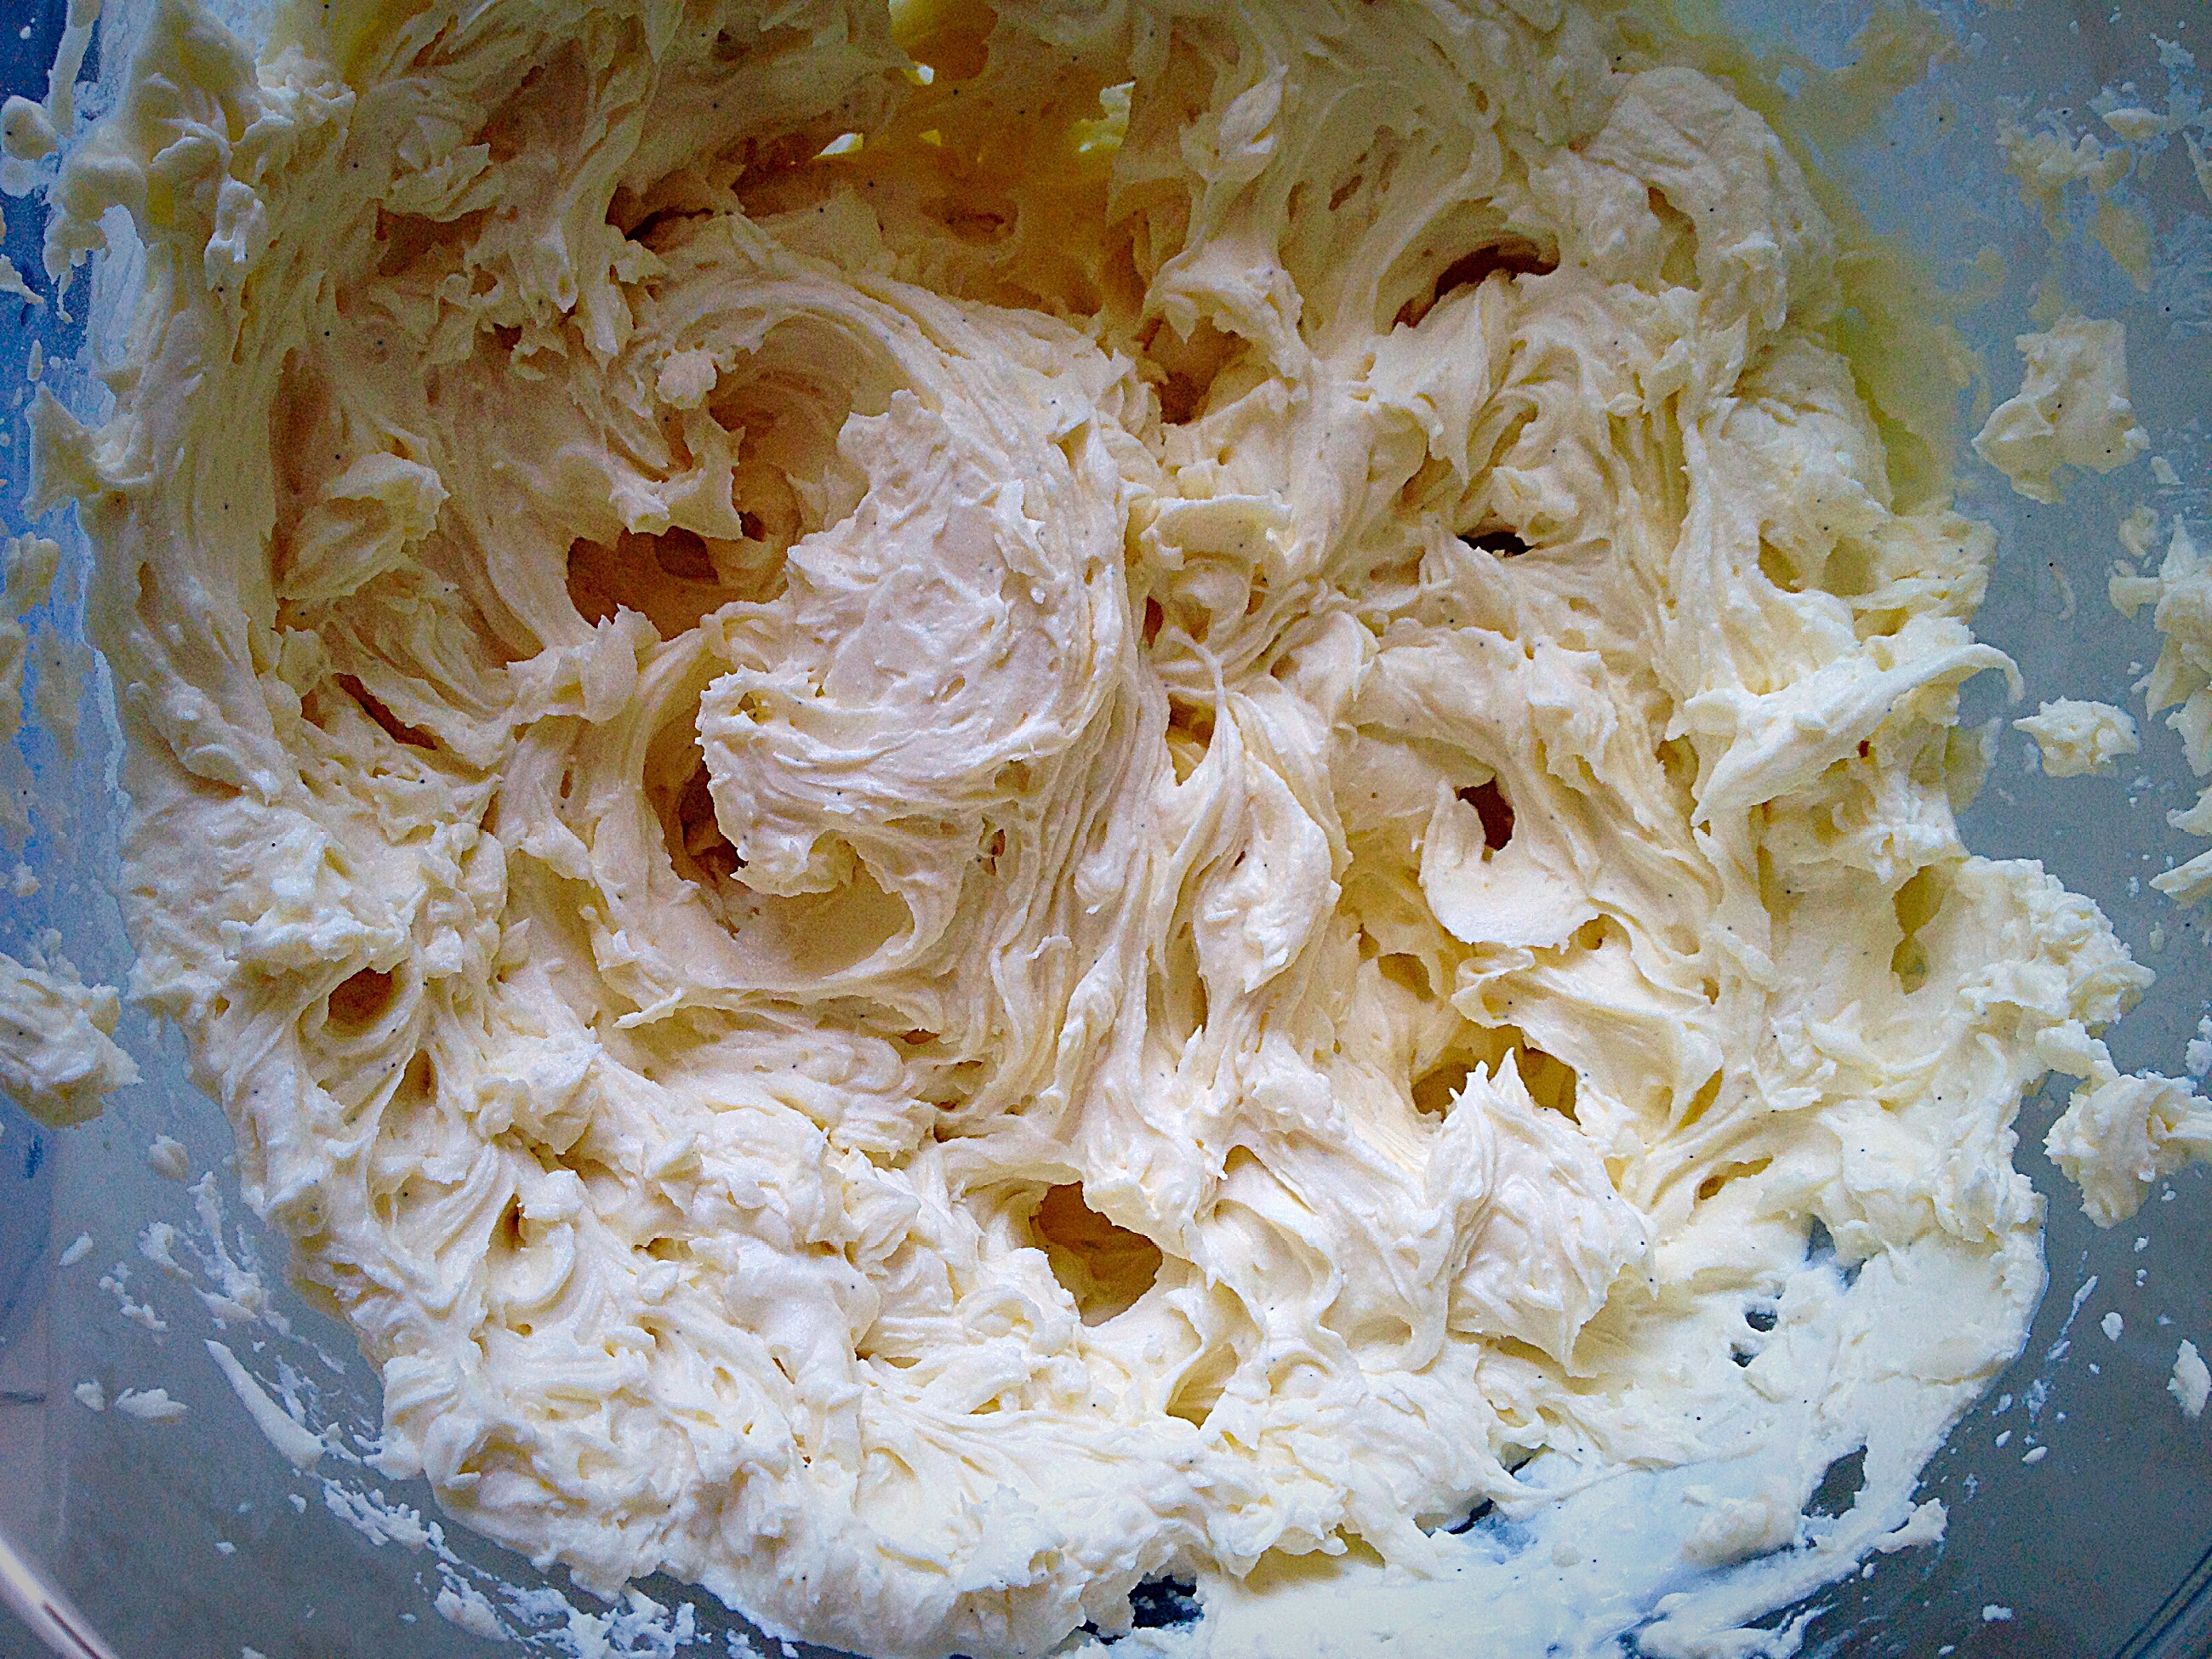
Making the cake batters
Preheat oven to 180C/160C fan oven, gas mark 4, 350F.
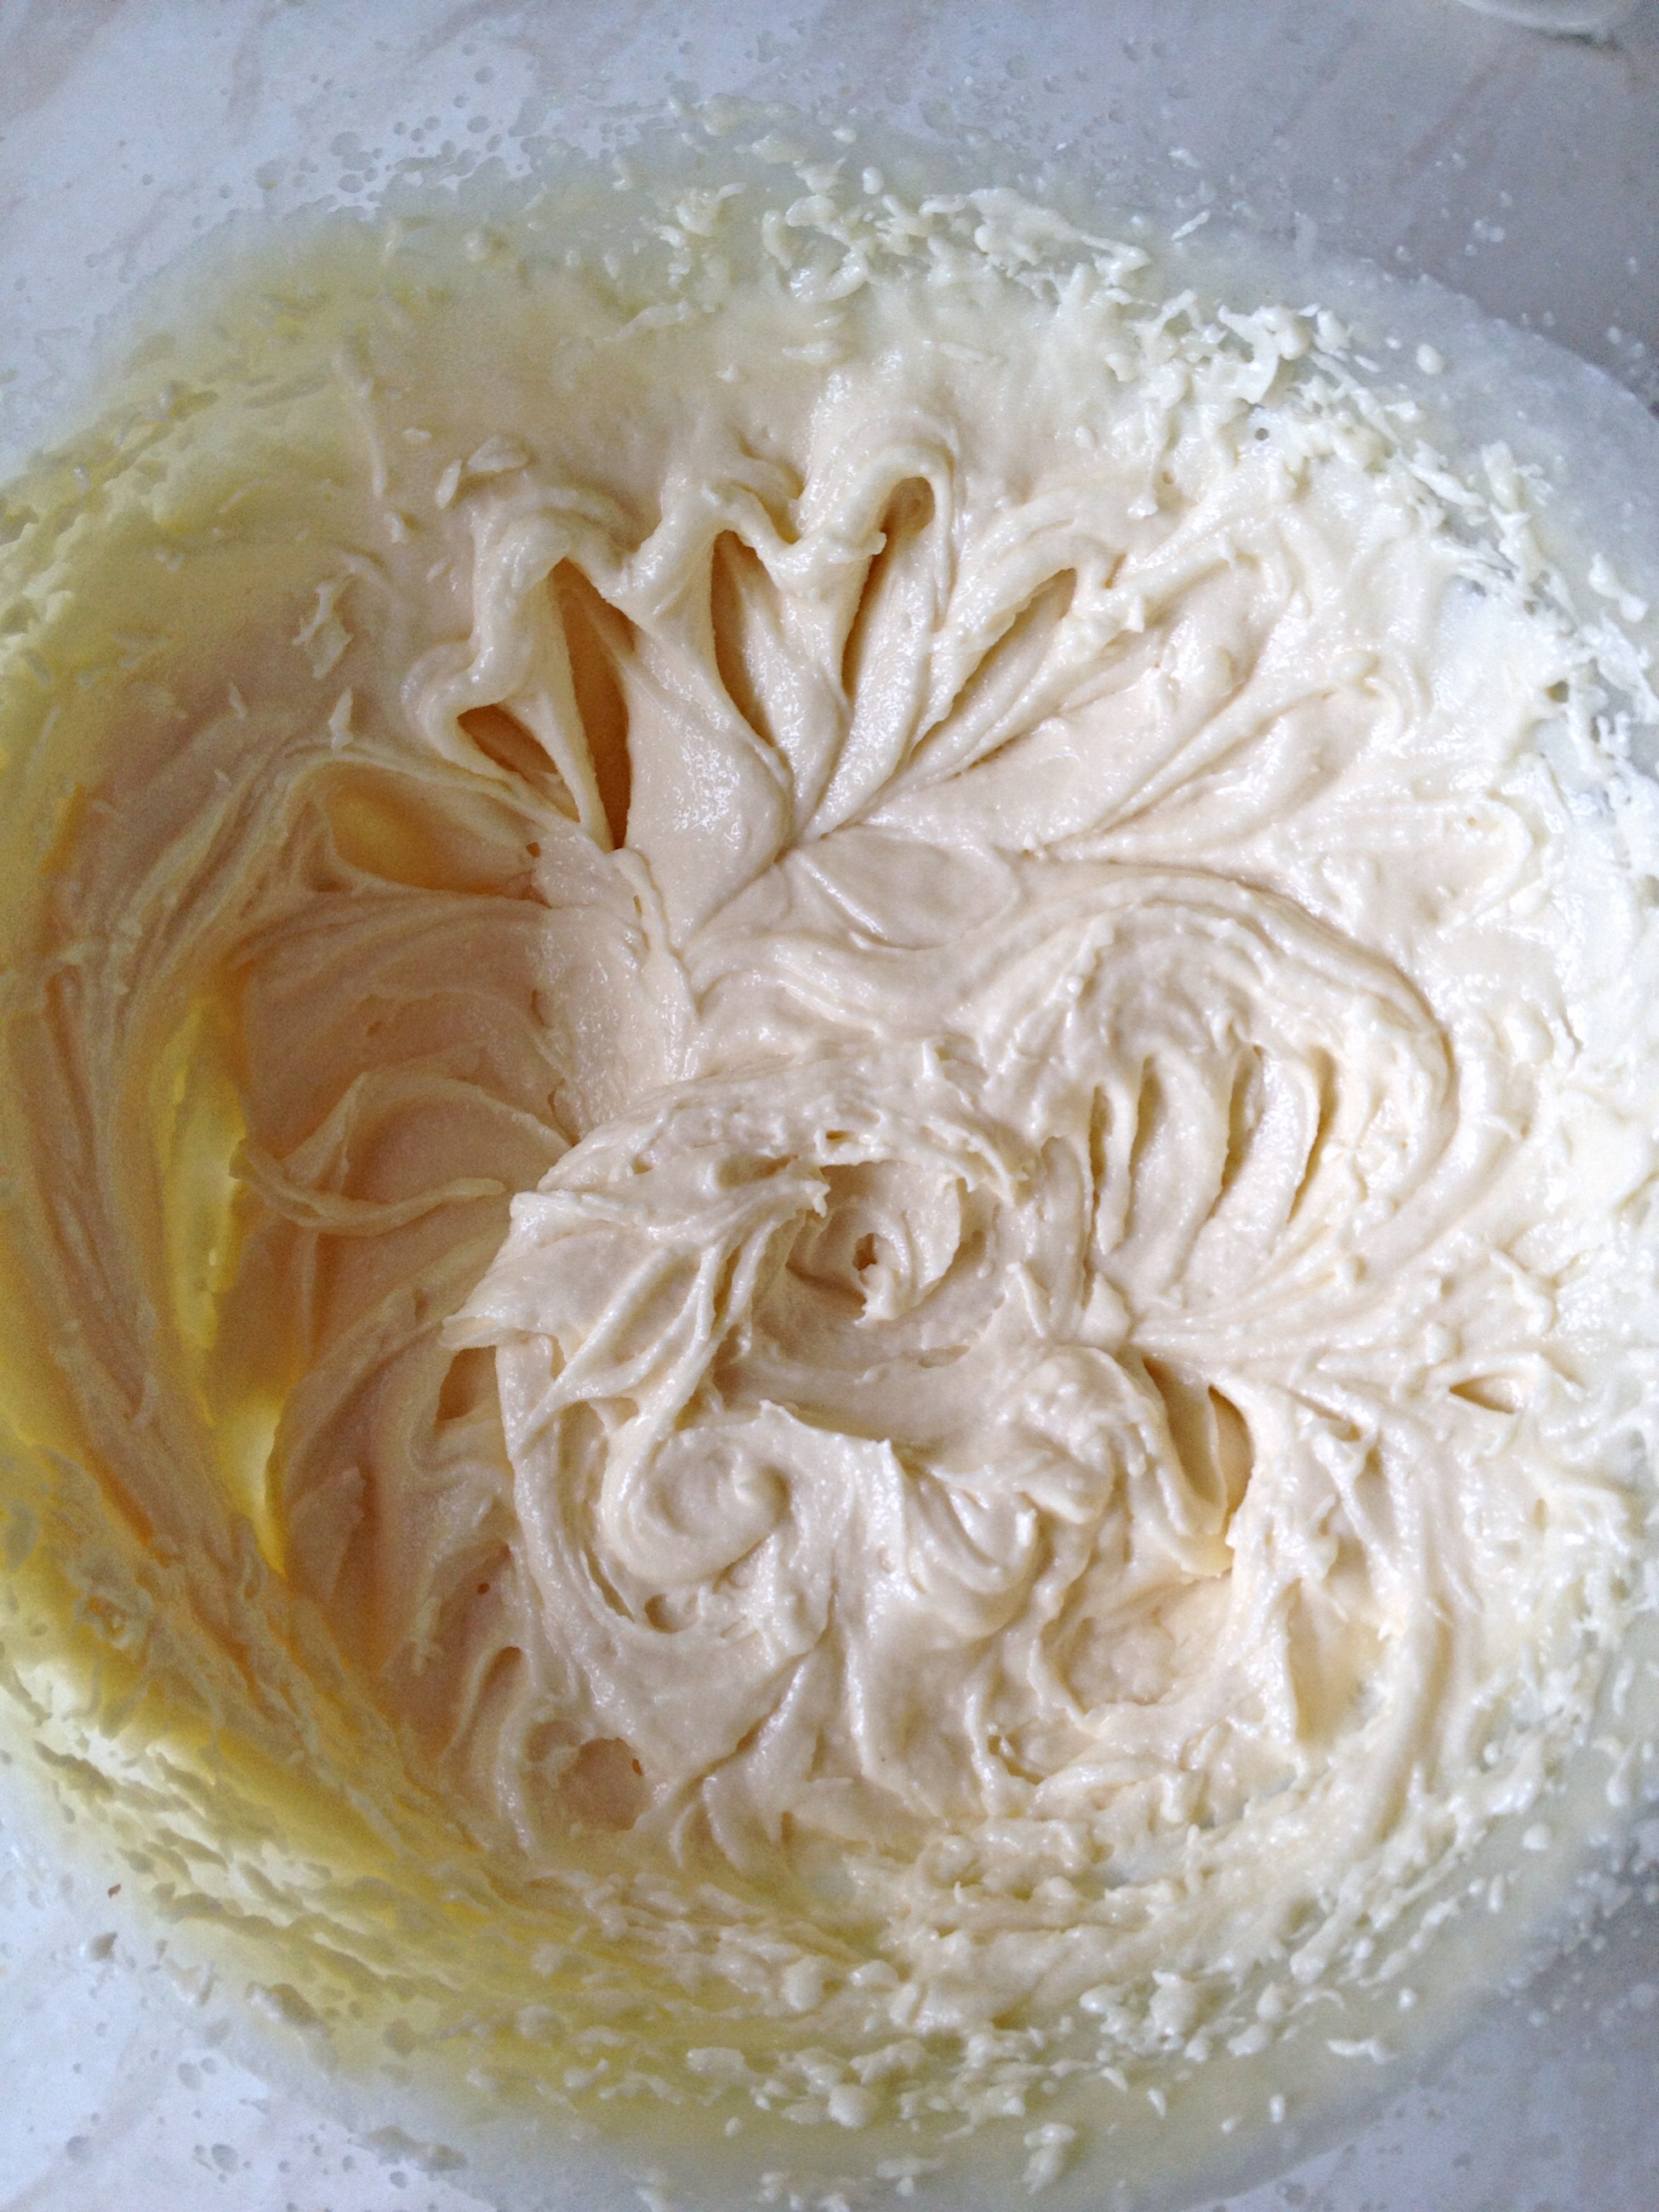
Crack all the eggs into a jug. Sift the flour and baking powder together in a separate bowl. Start with the dry ingredients add a third to the butter mixture, followed by half of the eggs, beating gently to incorporate the ingredients. Repeat this step. Finally, finish by adding the final third of the dry ingredients and beating to mix. Add the milk and mix to incorporate.

Remove half of the cake batter to a separate bowl. This will be the vanilla part of the cake.
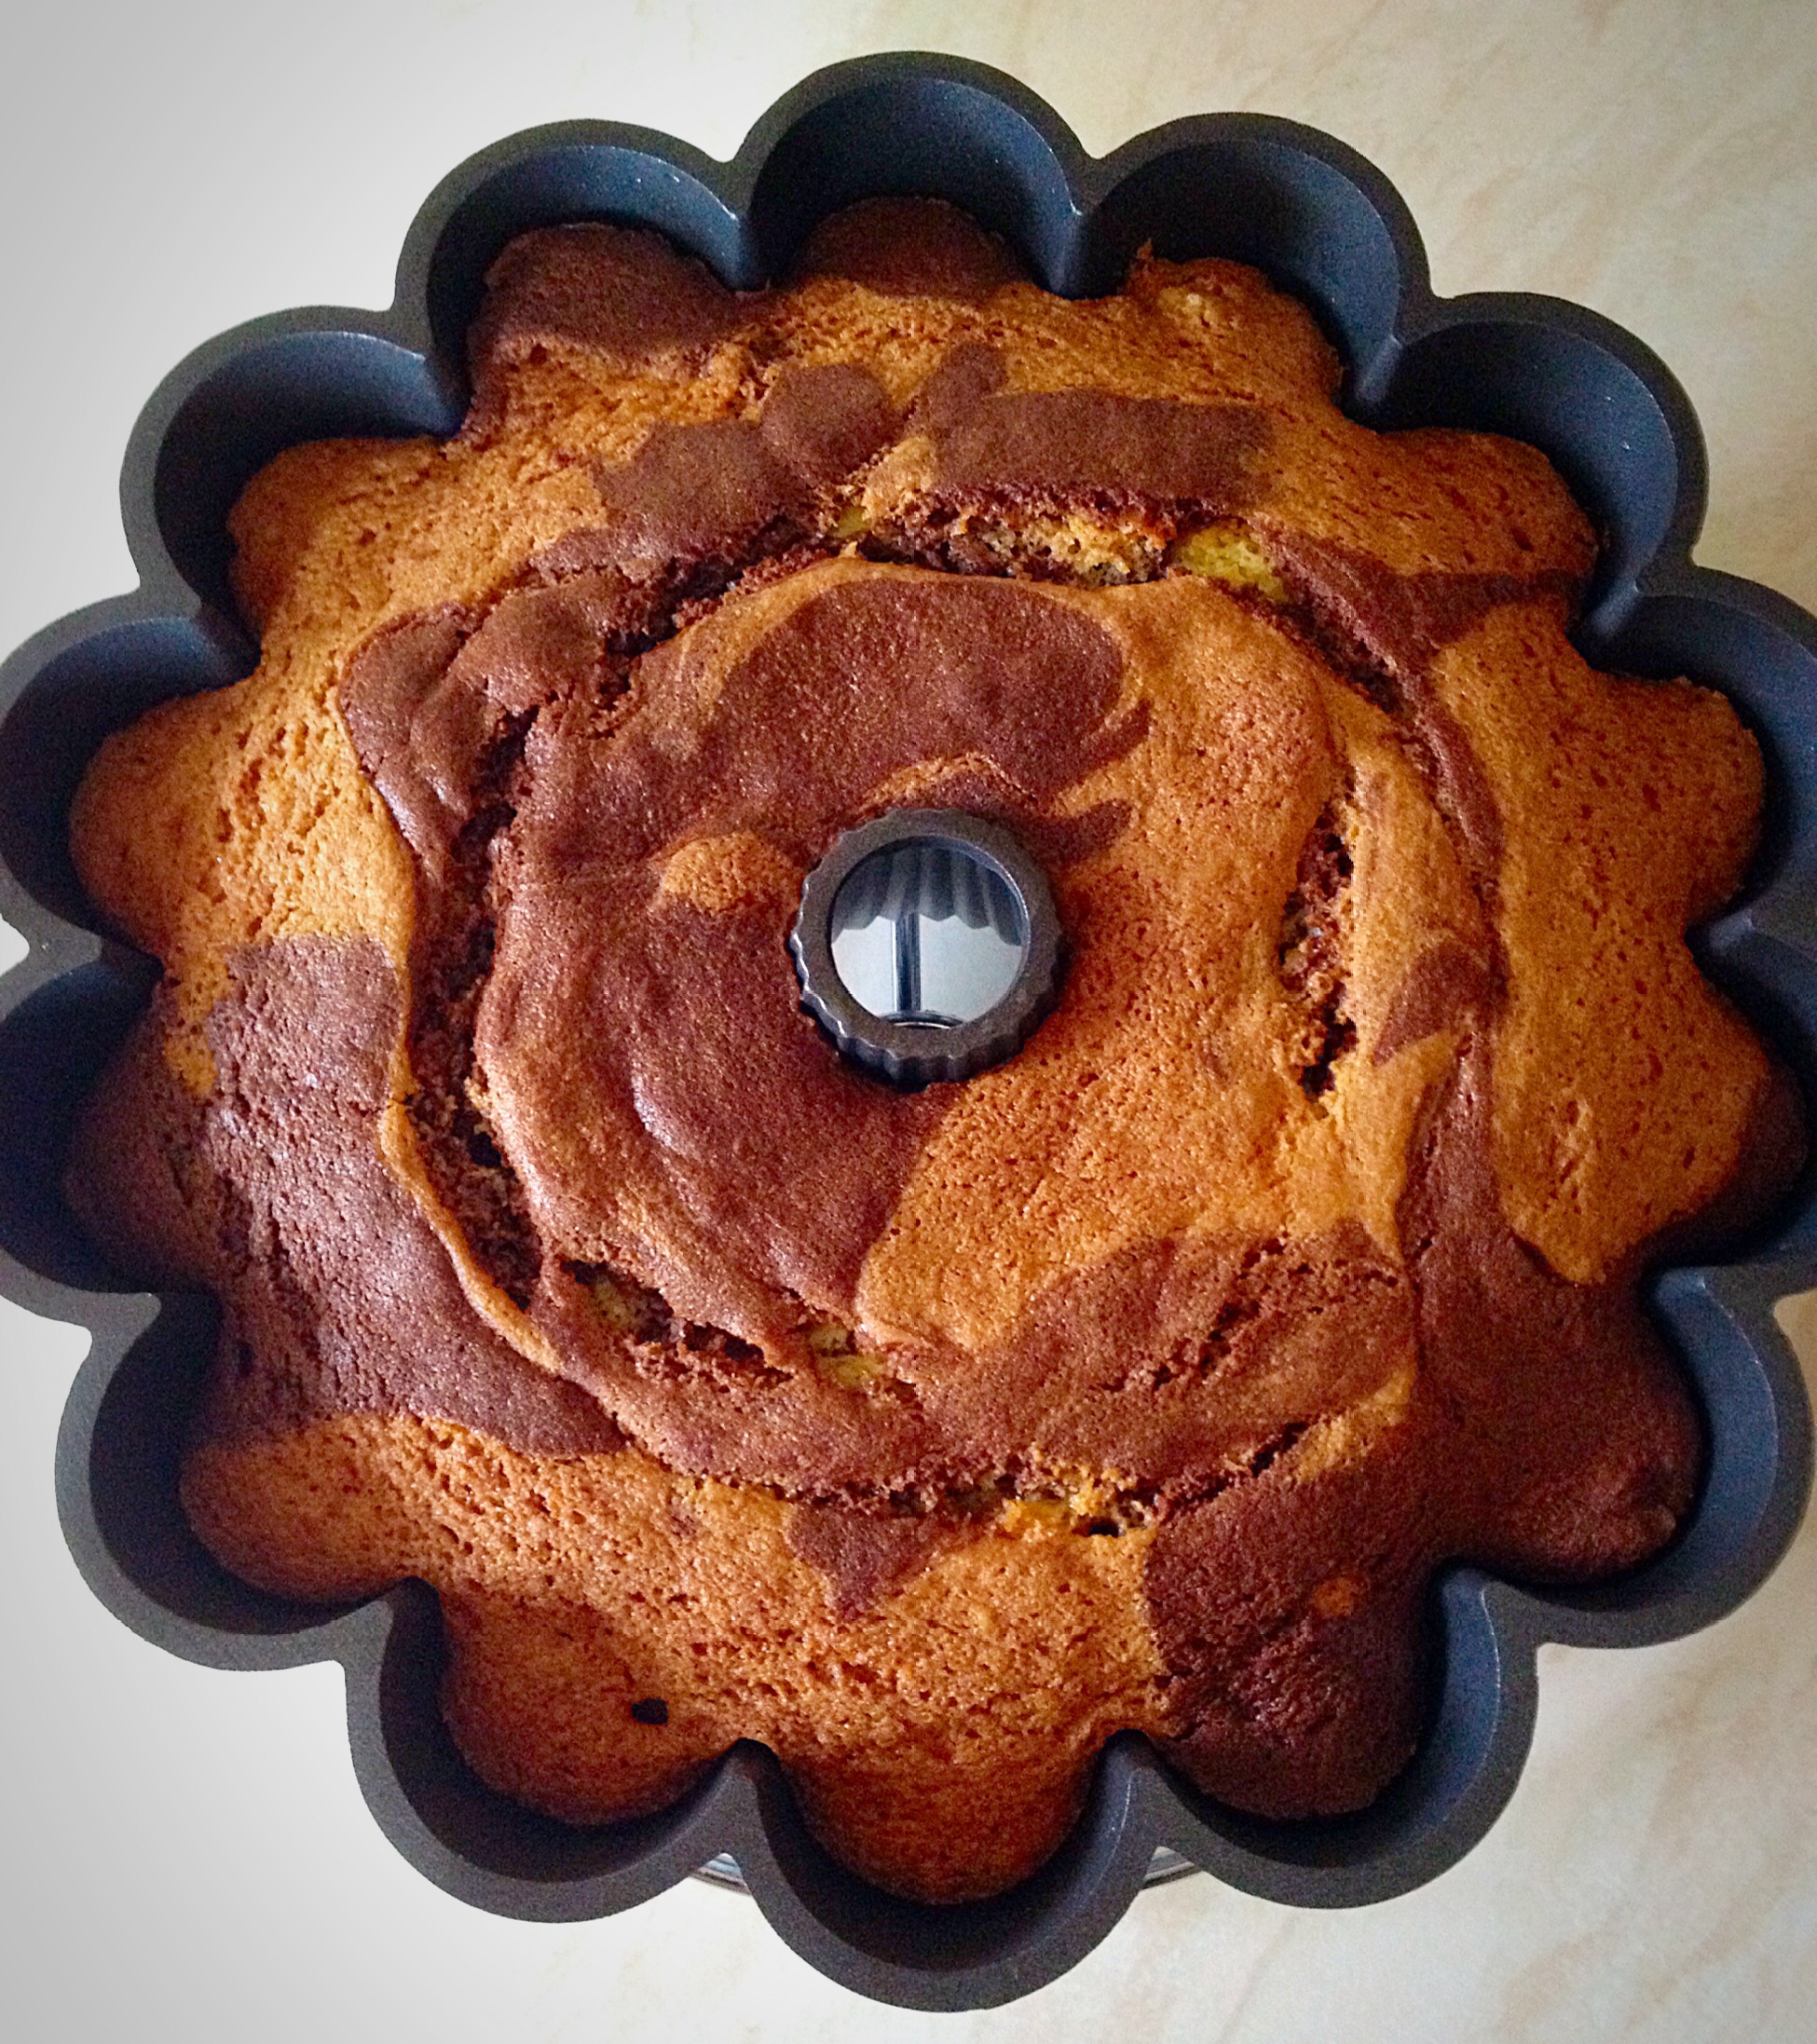
Baking The Marbled Chocolate Bundt Cake
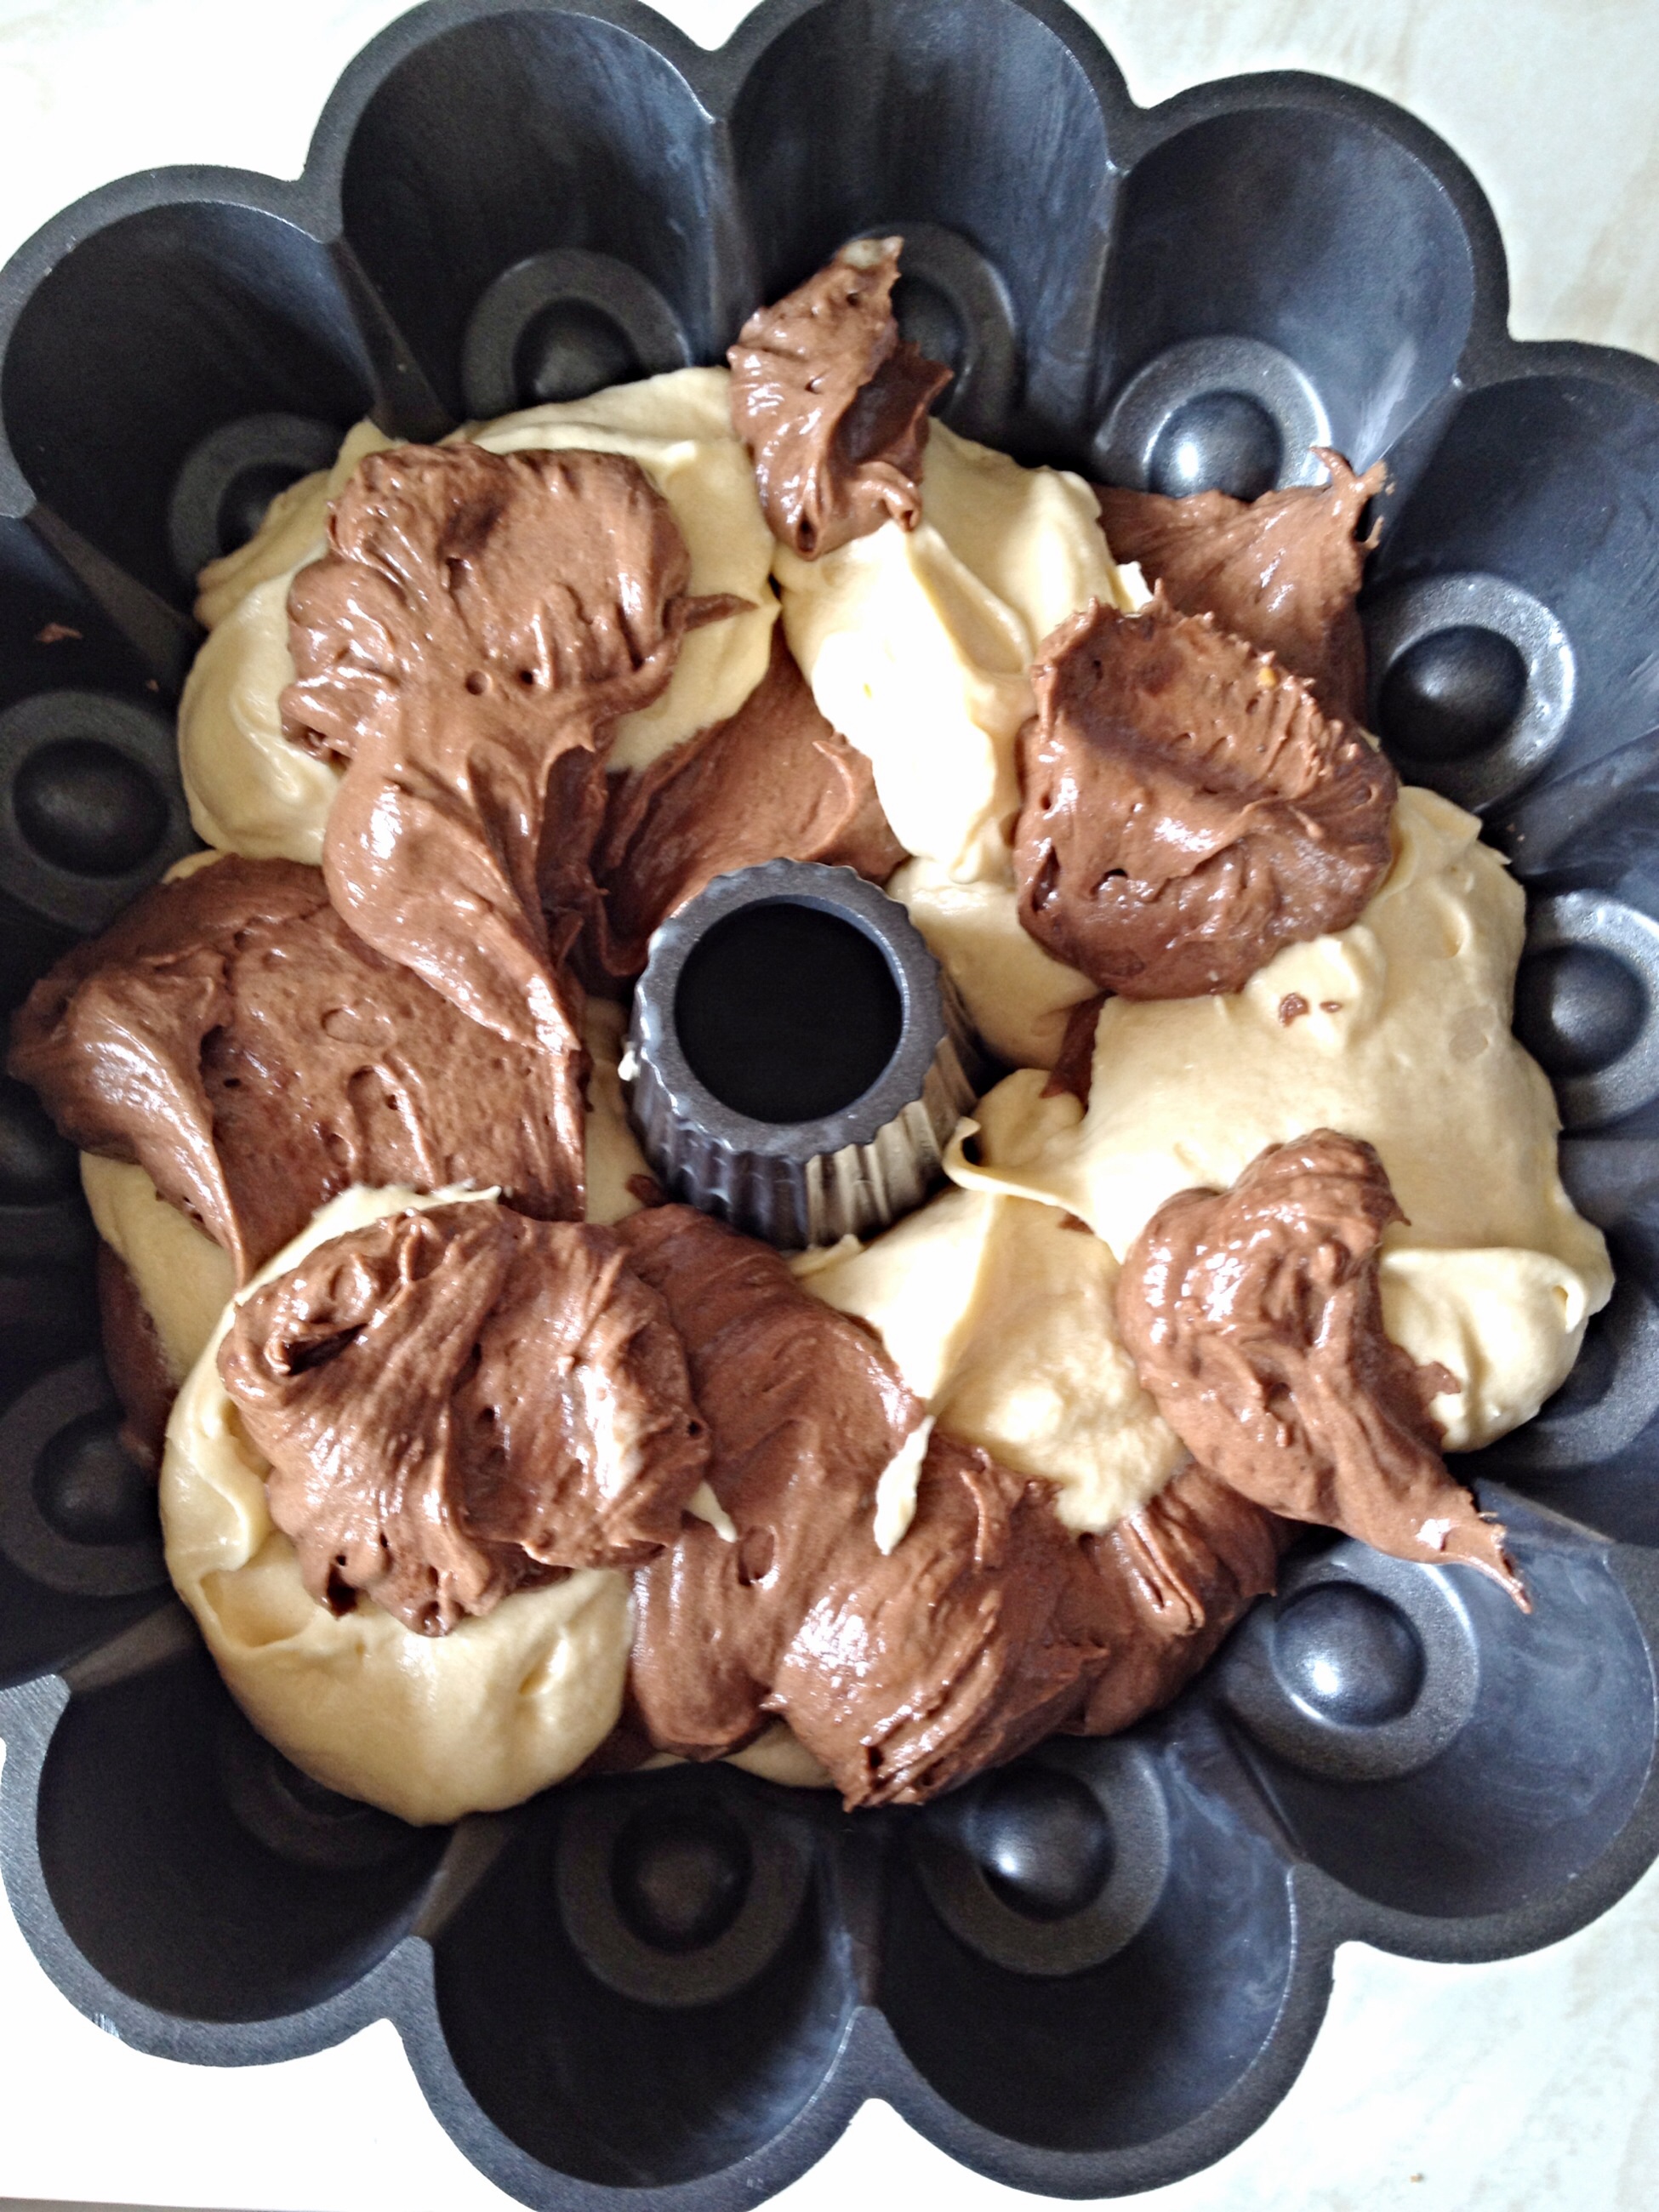
Please don’t worry if you think there is not enough batter for the pan (I worried), this cake rises beautifully.
Place the cake pan in the middle of the oven and bake for 50-55 minutes.
The cake is baked when it is risen and pulling away from the sides of the pan.
Test with a skewer (I used a bamboo one) by inserting it through the deepest part of the cake. The cake is baked when a skewer comes out clean.
As soon as the cake is baked remove from the oven. Leave to cool for 15 minutes.
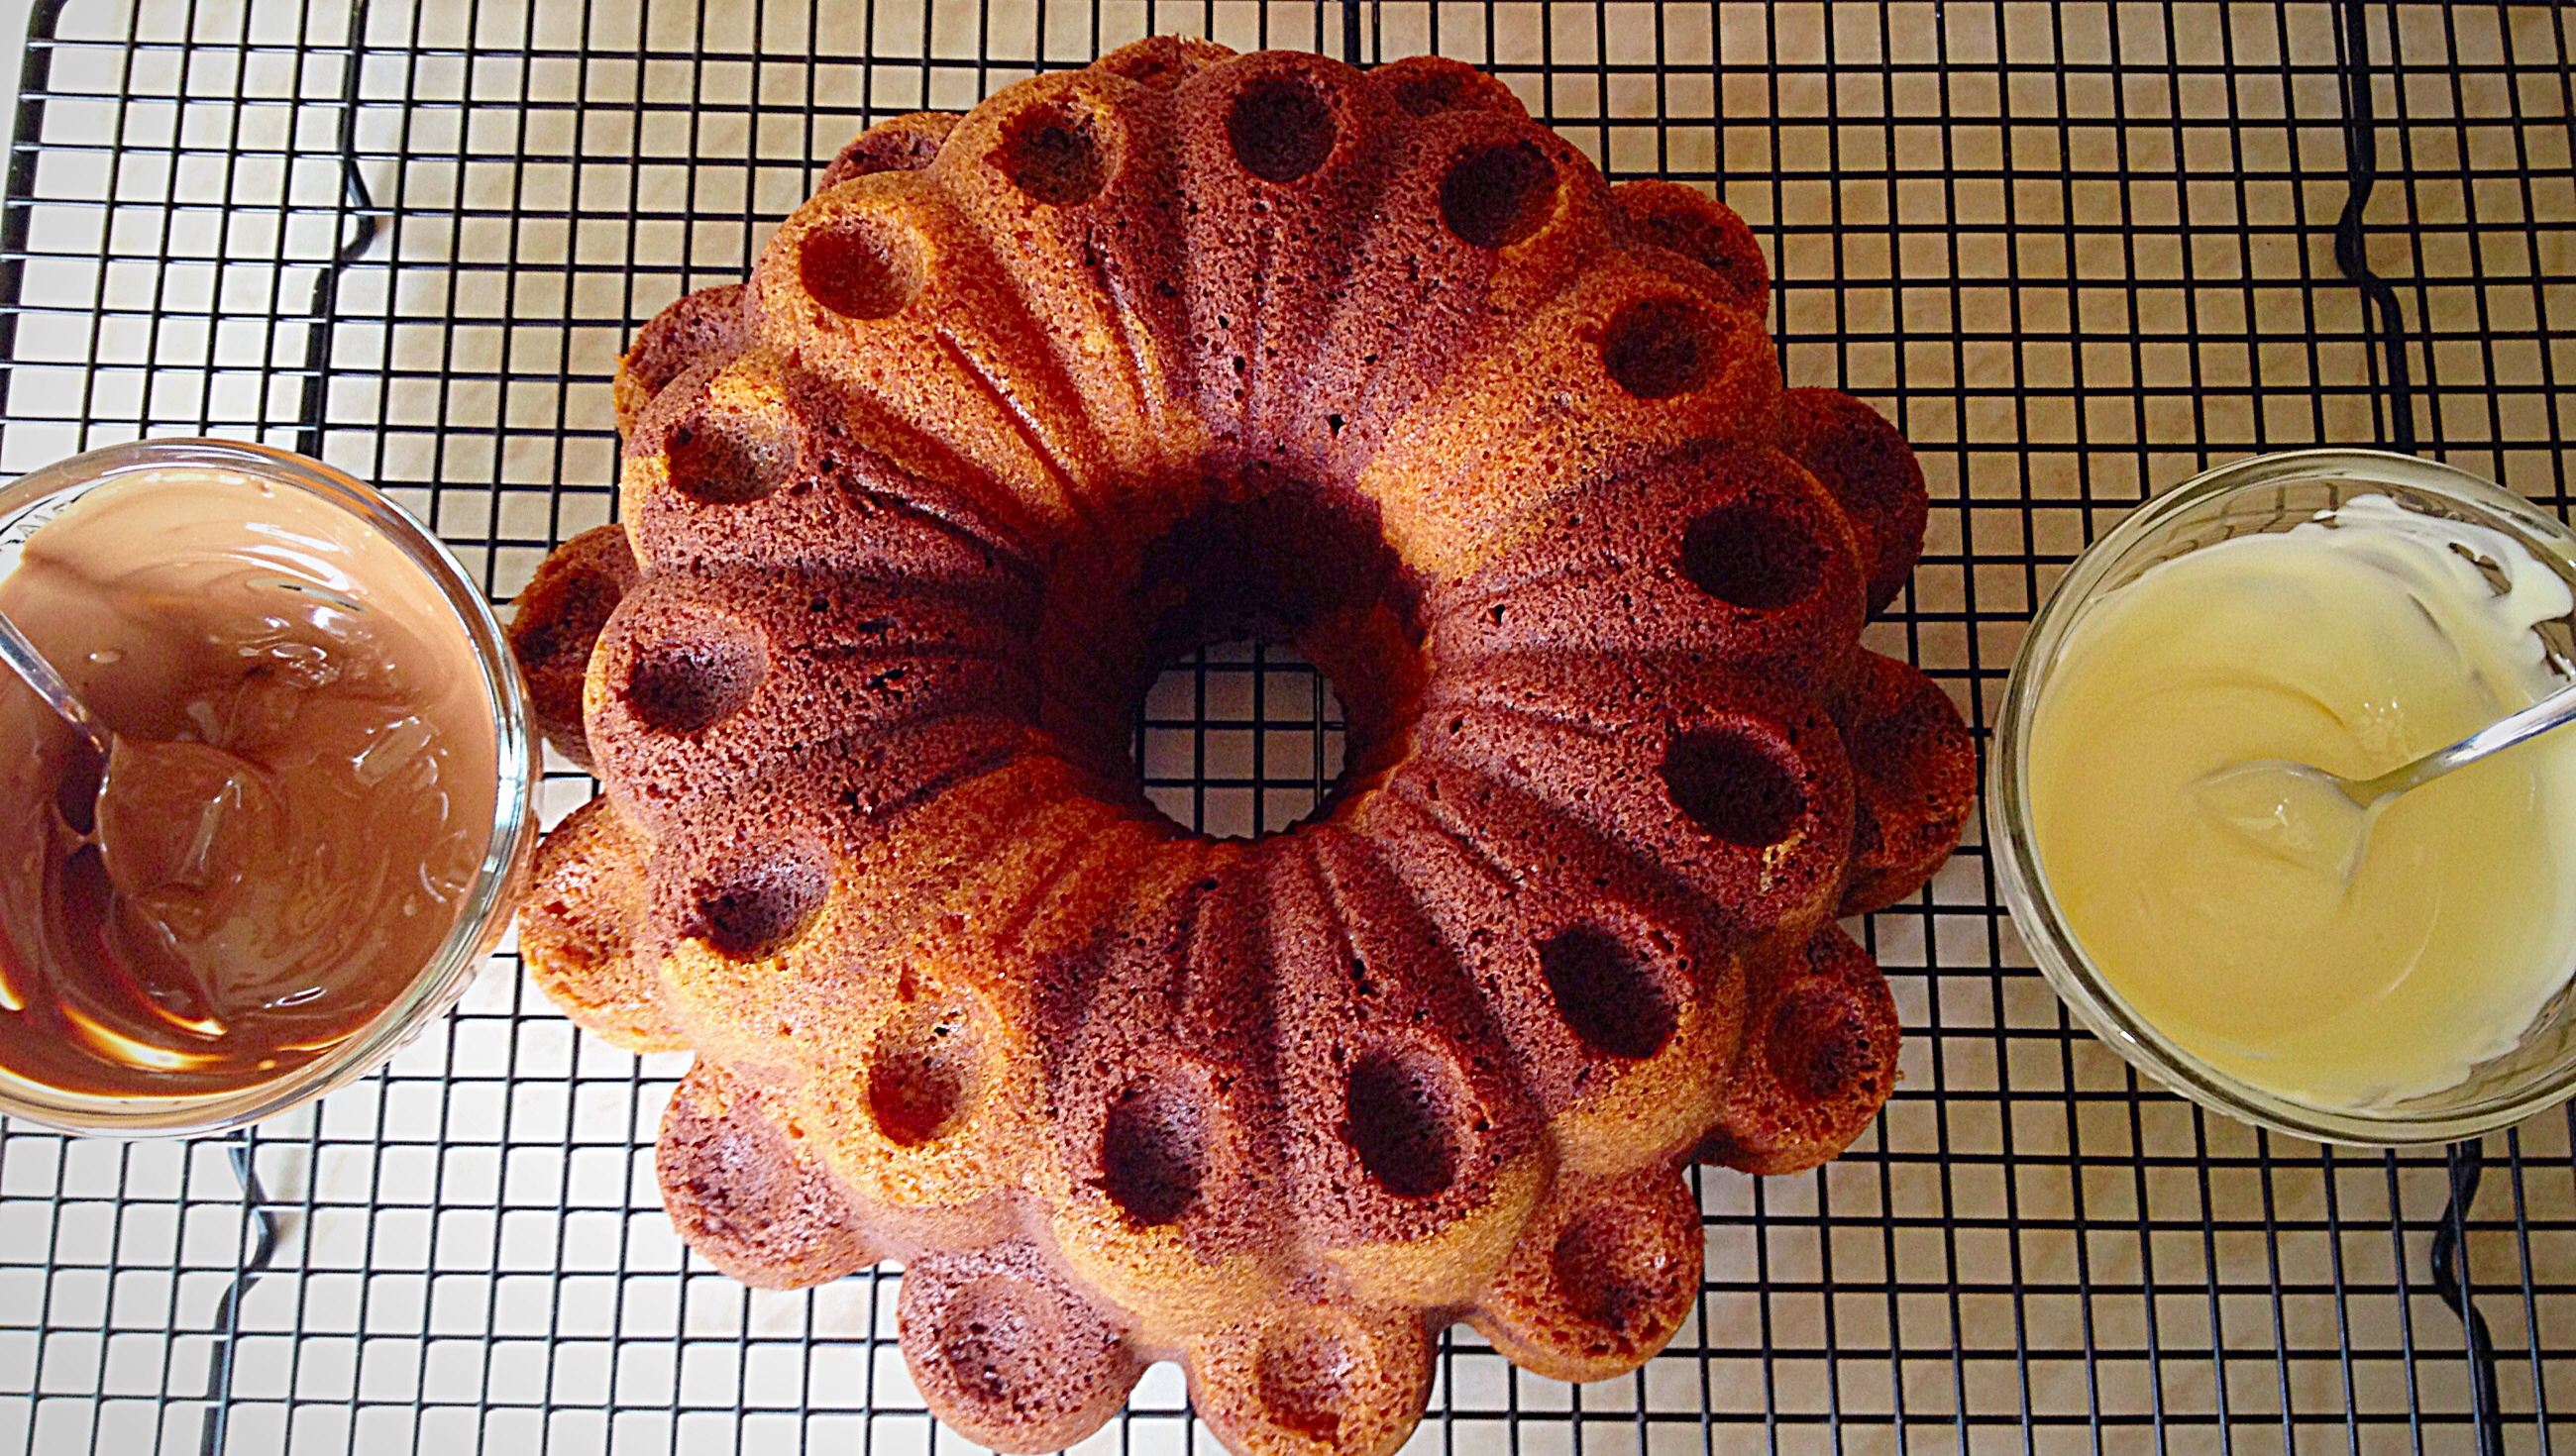
After cooling for 15 minutes turn your cake out onto a cooling rack. Stand back and admire your beautiful piece of art, I mean cake! Allow to fully cool.
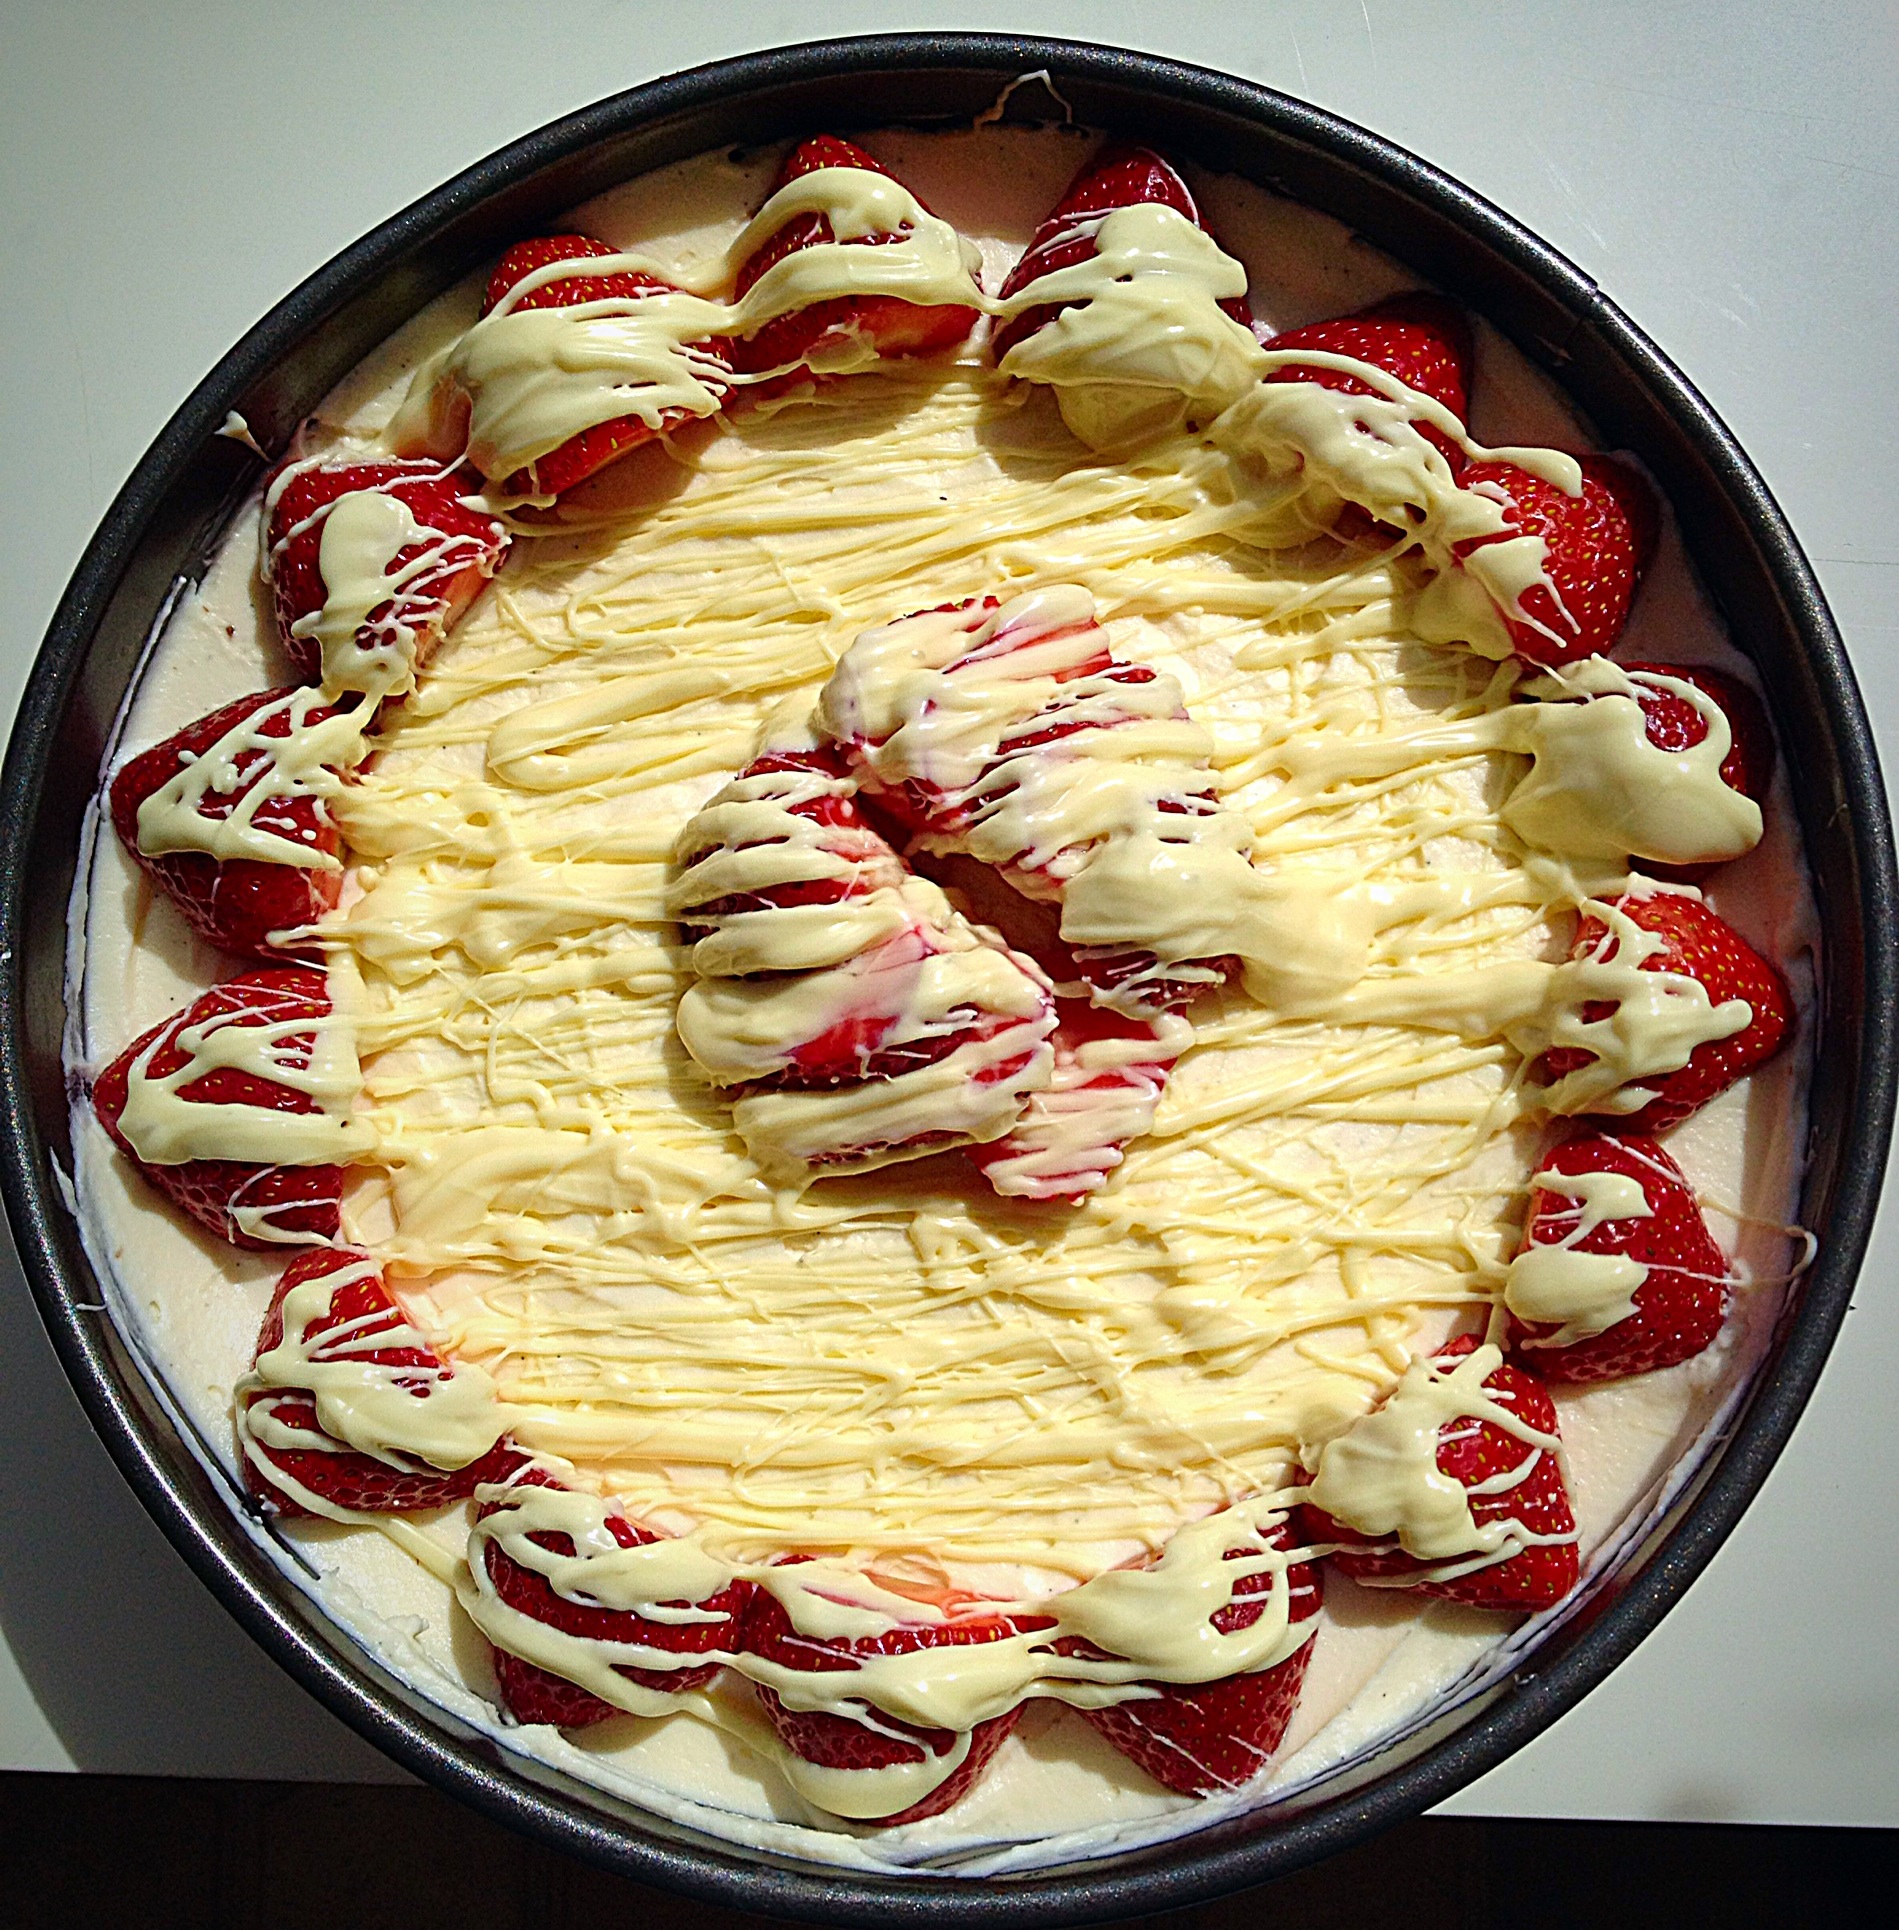
Decorating the cake
Melt the white and milk chocolate in separate bowls. I use the microwave, use whichever method you feel most comfortable with.
NOTE : White chocolate is easy to over heat. So go easy and stir between each heating session!
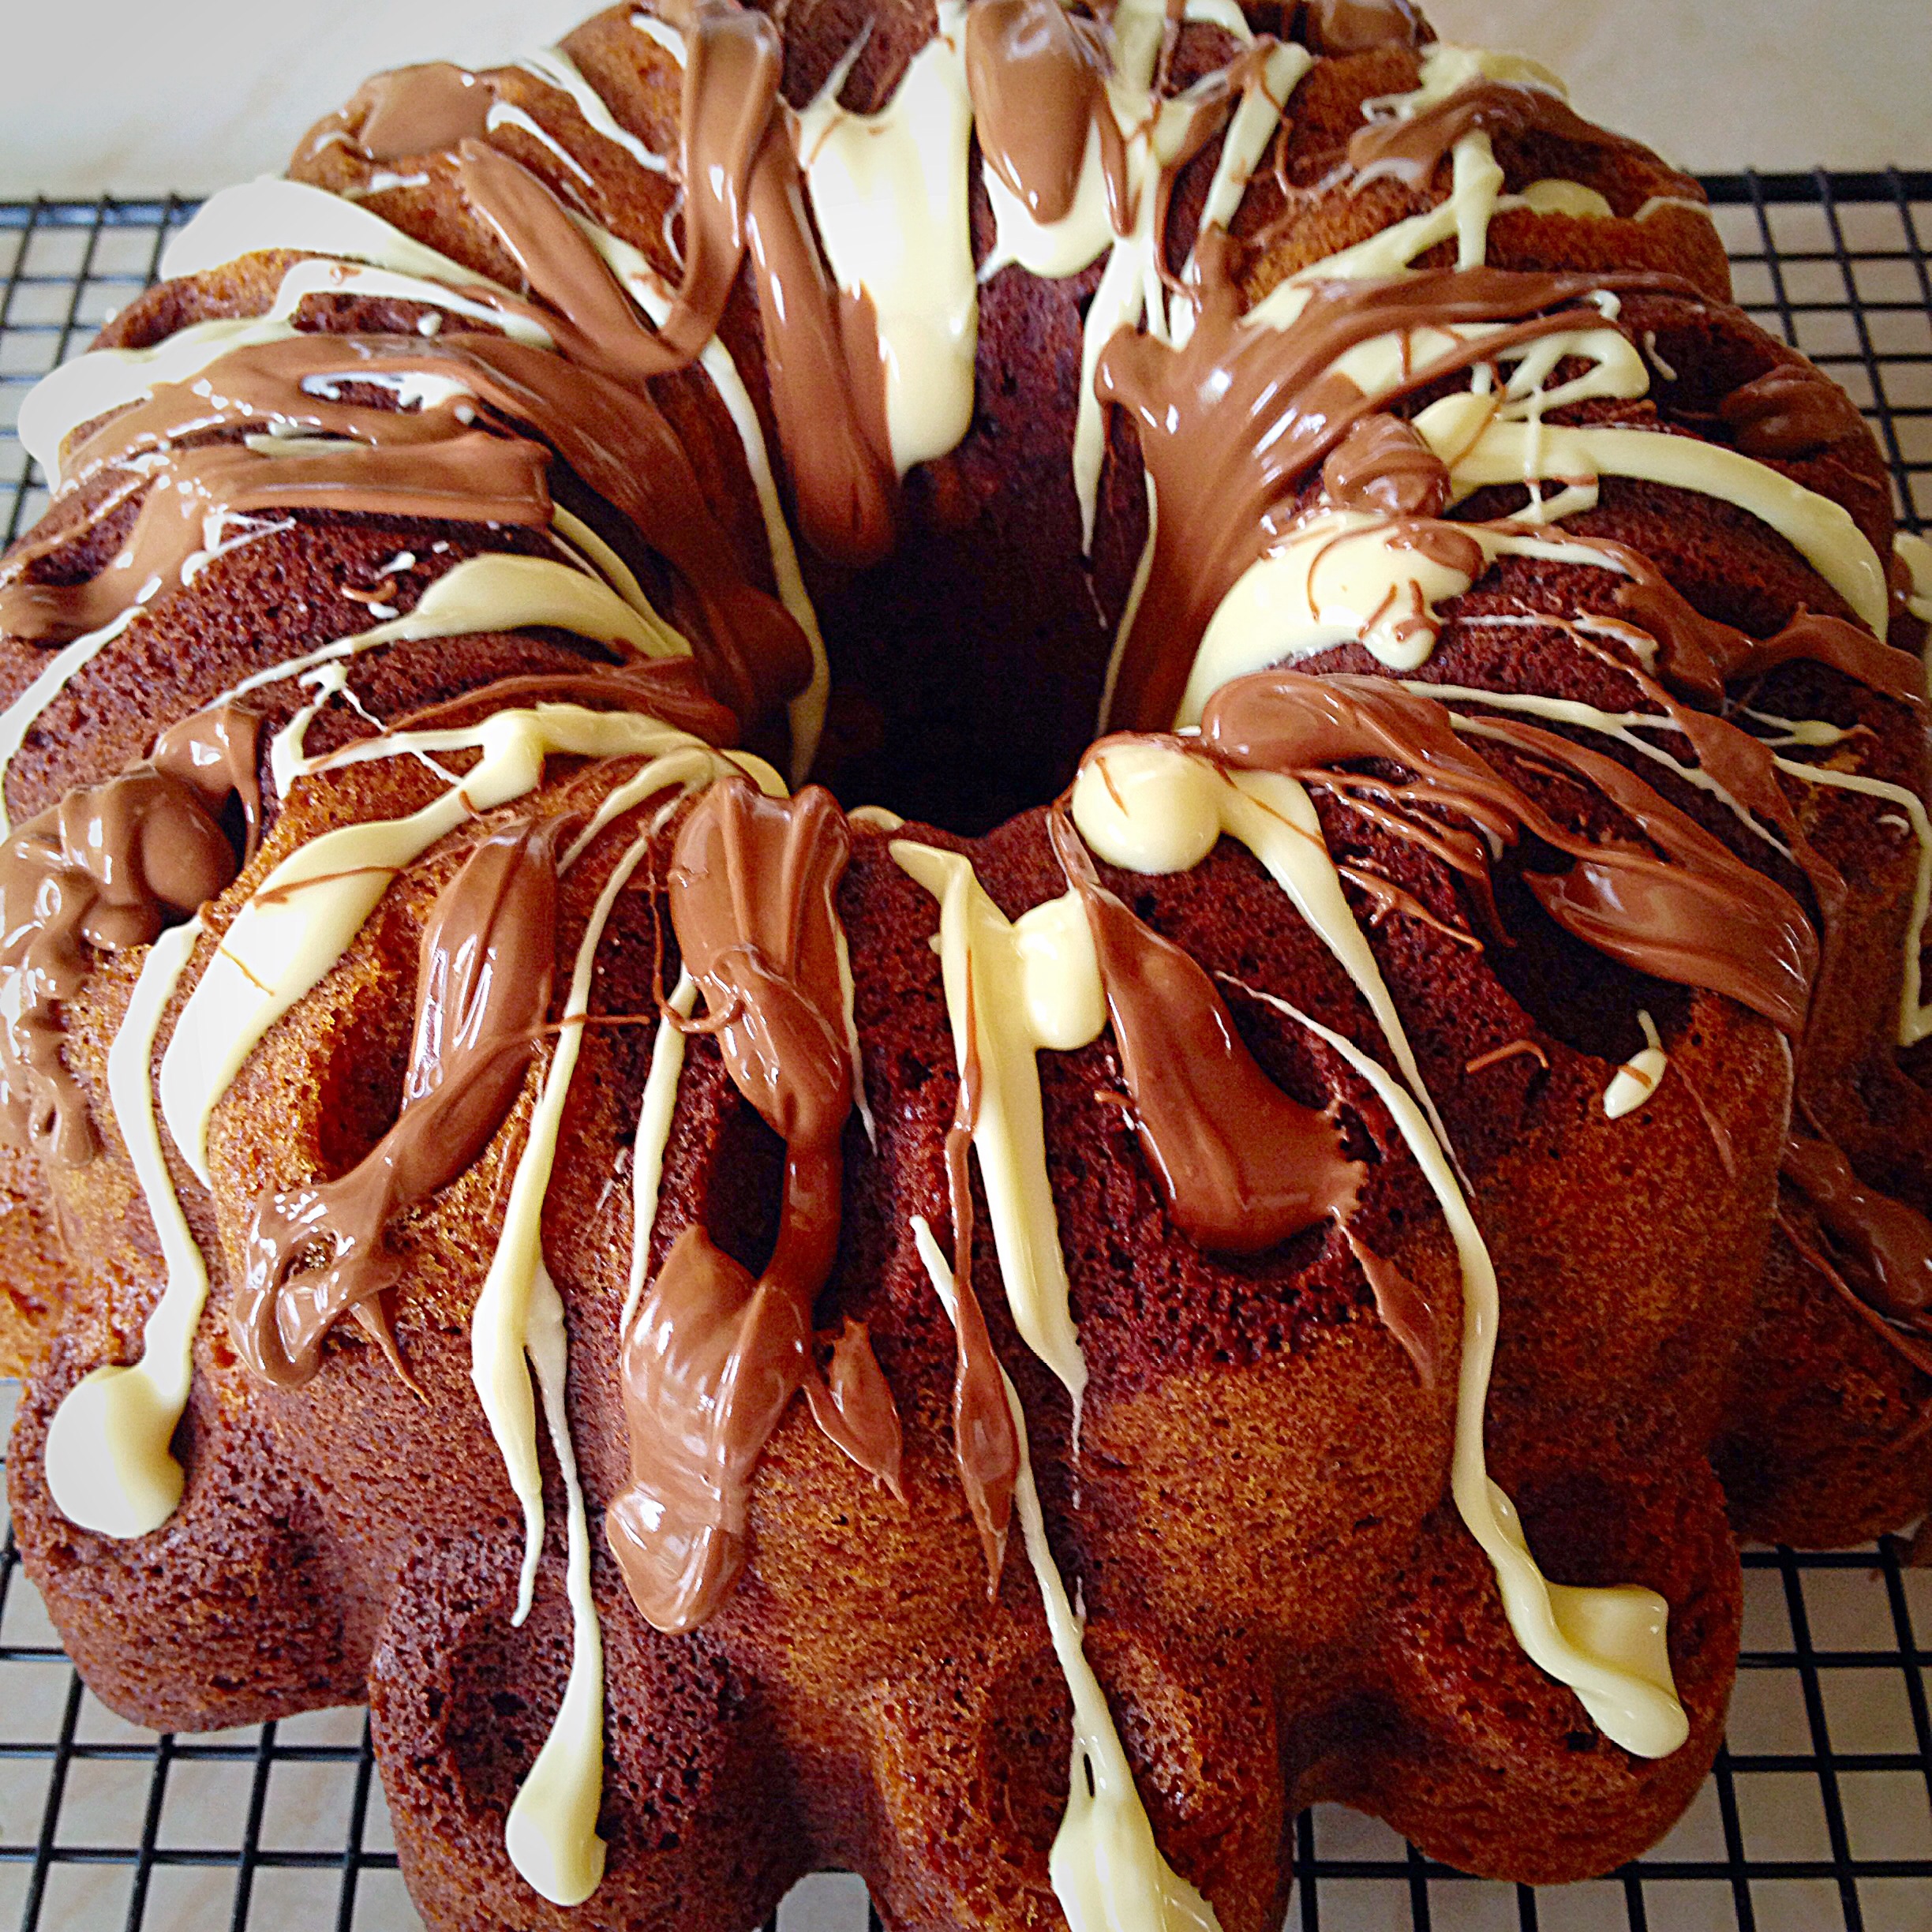
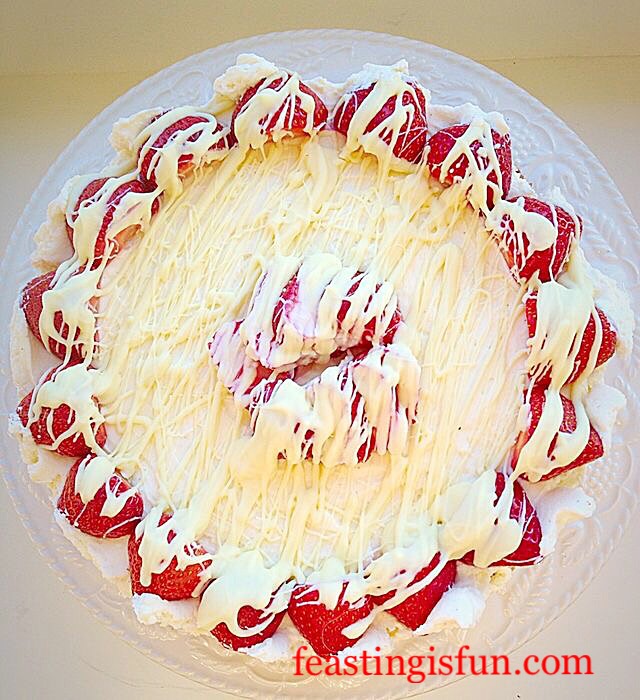
Use a teaspoon to gently drizzle, first the white and then the milk chocolate over the cake. Finally add a sprinkle of gold stars, or decorations of your choice.
Allow the chocolate to set before serving.
This Marbled Chocolate Bundt Cake is a real show stopper. I had to stop myself from adding gold candles, although that would totally work.
If you have enjoyed this recipe for Marbled Chocolate Bundt Cake you may also like these:
Maple Syrup Iced Coffee Bundt Cake
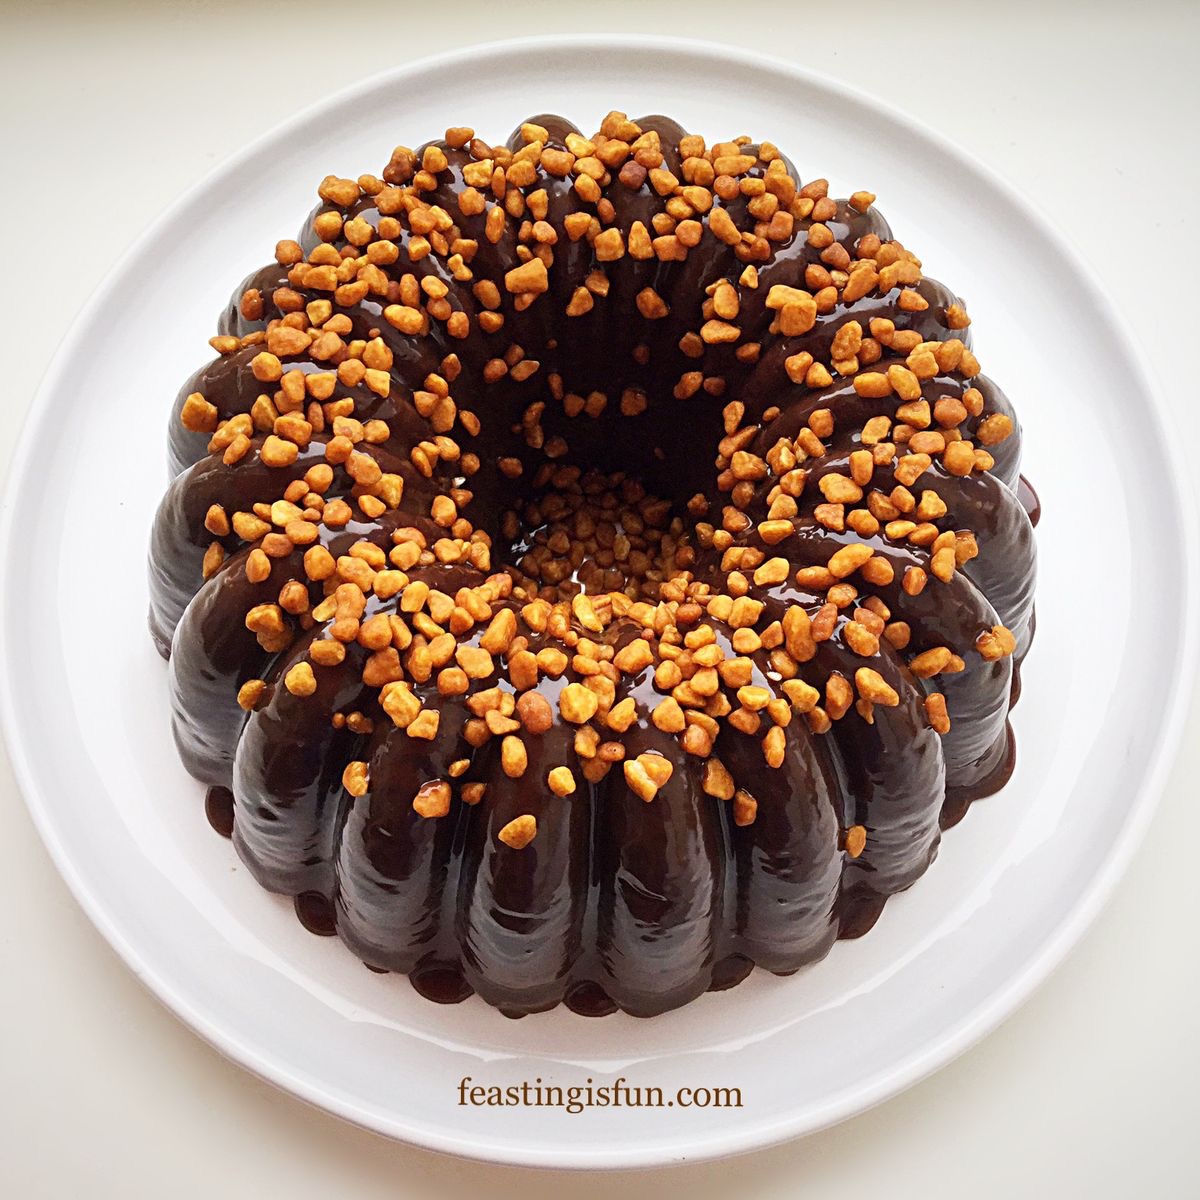
Caramel Crunch Topped Chocolate Bundt Cake
Chocolate Hazelnut Baked Giant Doughnut

Finally this beautiful Bundt cake is perfect for any celebration, including birthdays and anniversaries. Since this cake has the WOW factor and is best when shared amongst friends, family, neighbours, or work colleagues. Because anyone would have their day brightened with the gift of this cake.
So, whatever you are making, baking and creating in your kitchens today, have fun preparing and sharing your feast.
Sammie x
No part of this post may be reproduced or duplicated without the written permission of the owner. Please see my Disclosure Policy.