As much as I enjoy baking, sometimes it is nice being able to whip up a sweet treat, without putting the oven on. Especially these Caramel Crunch Rocky Road Bars, requiring nothing more than a spot of microwave melting and chilling before being ready to eat. Resulting in a perfect, last minute party contribution, or satisfying Saturday evening hunger fest.
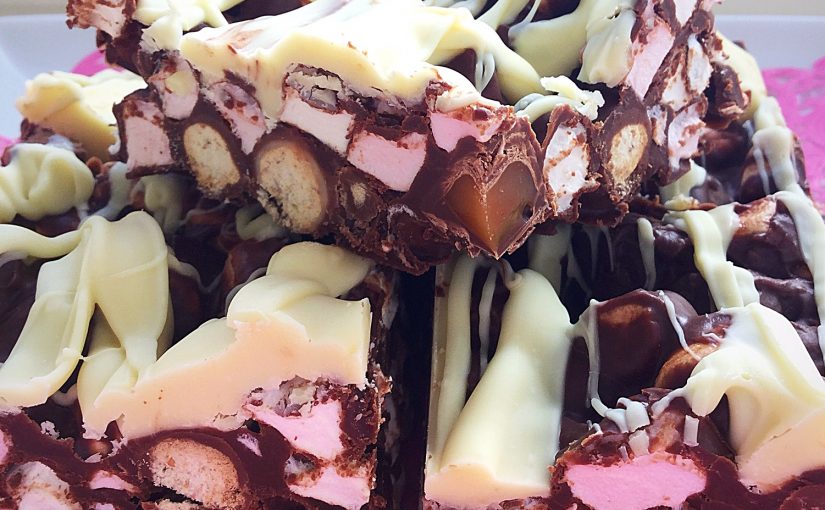
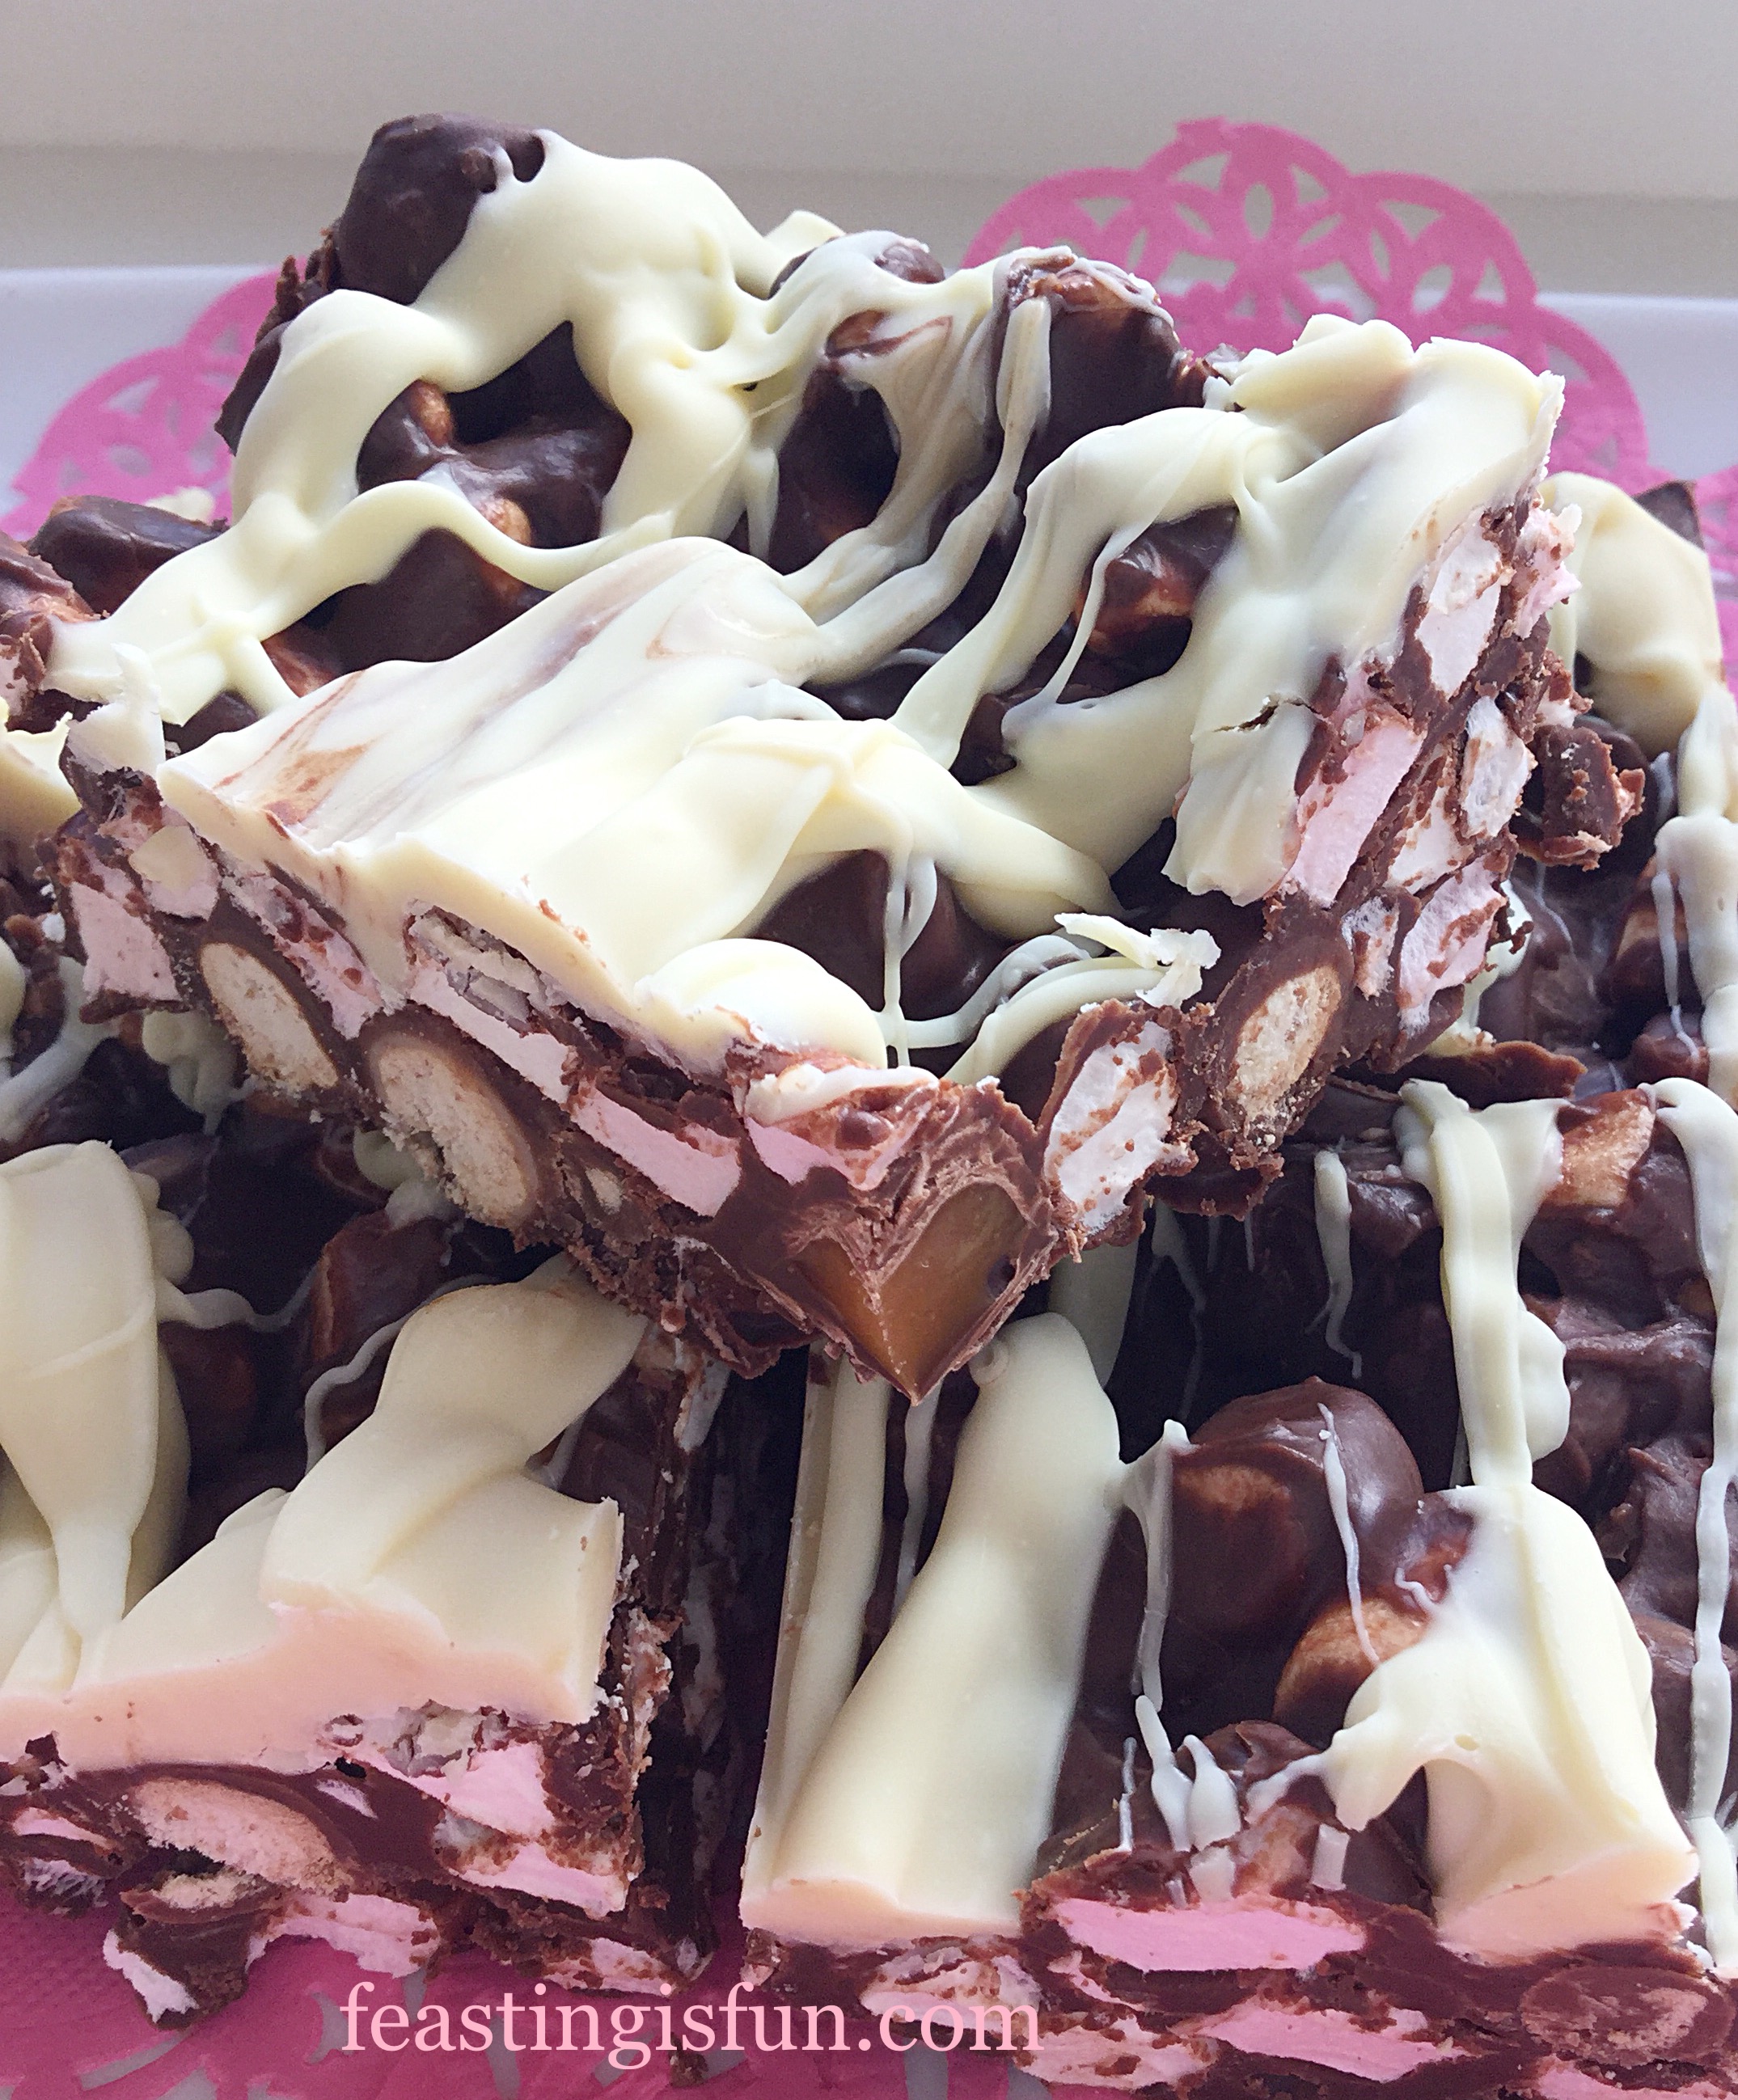
Using two packs of the ‘relatively new’ digestive nibbles gives these bars a really satisfying crunch. While the addition of Rolo’s add a not too sweet caramel bite. Mixed with mini marshmallows and set within a delicious chocolate base, every possible texture pops in the mouth. Crunchy, chewy and melting. The combination of all of the ingredients is incredible. Finished with the perfect white chocolate drizzle.
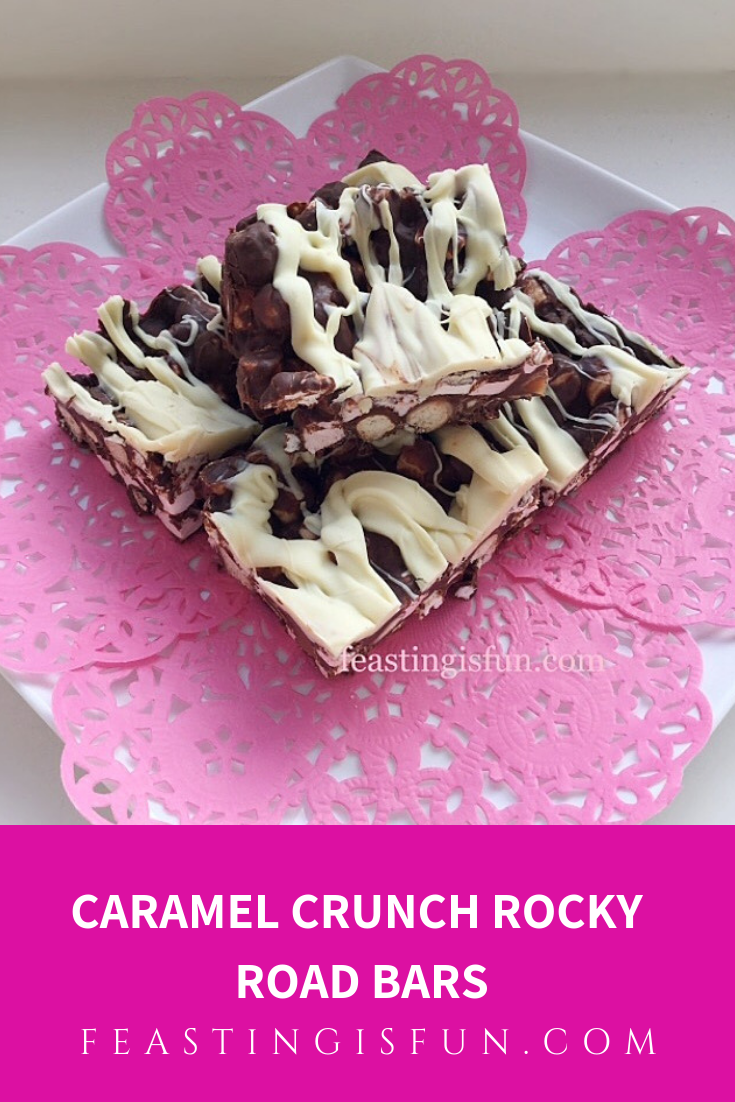
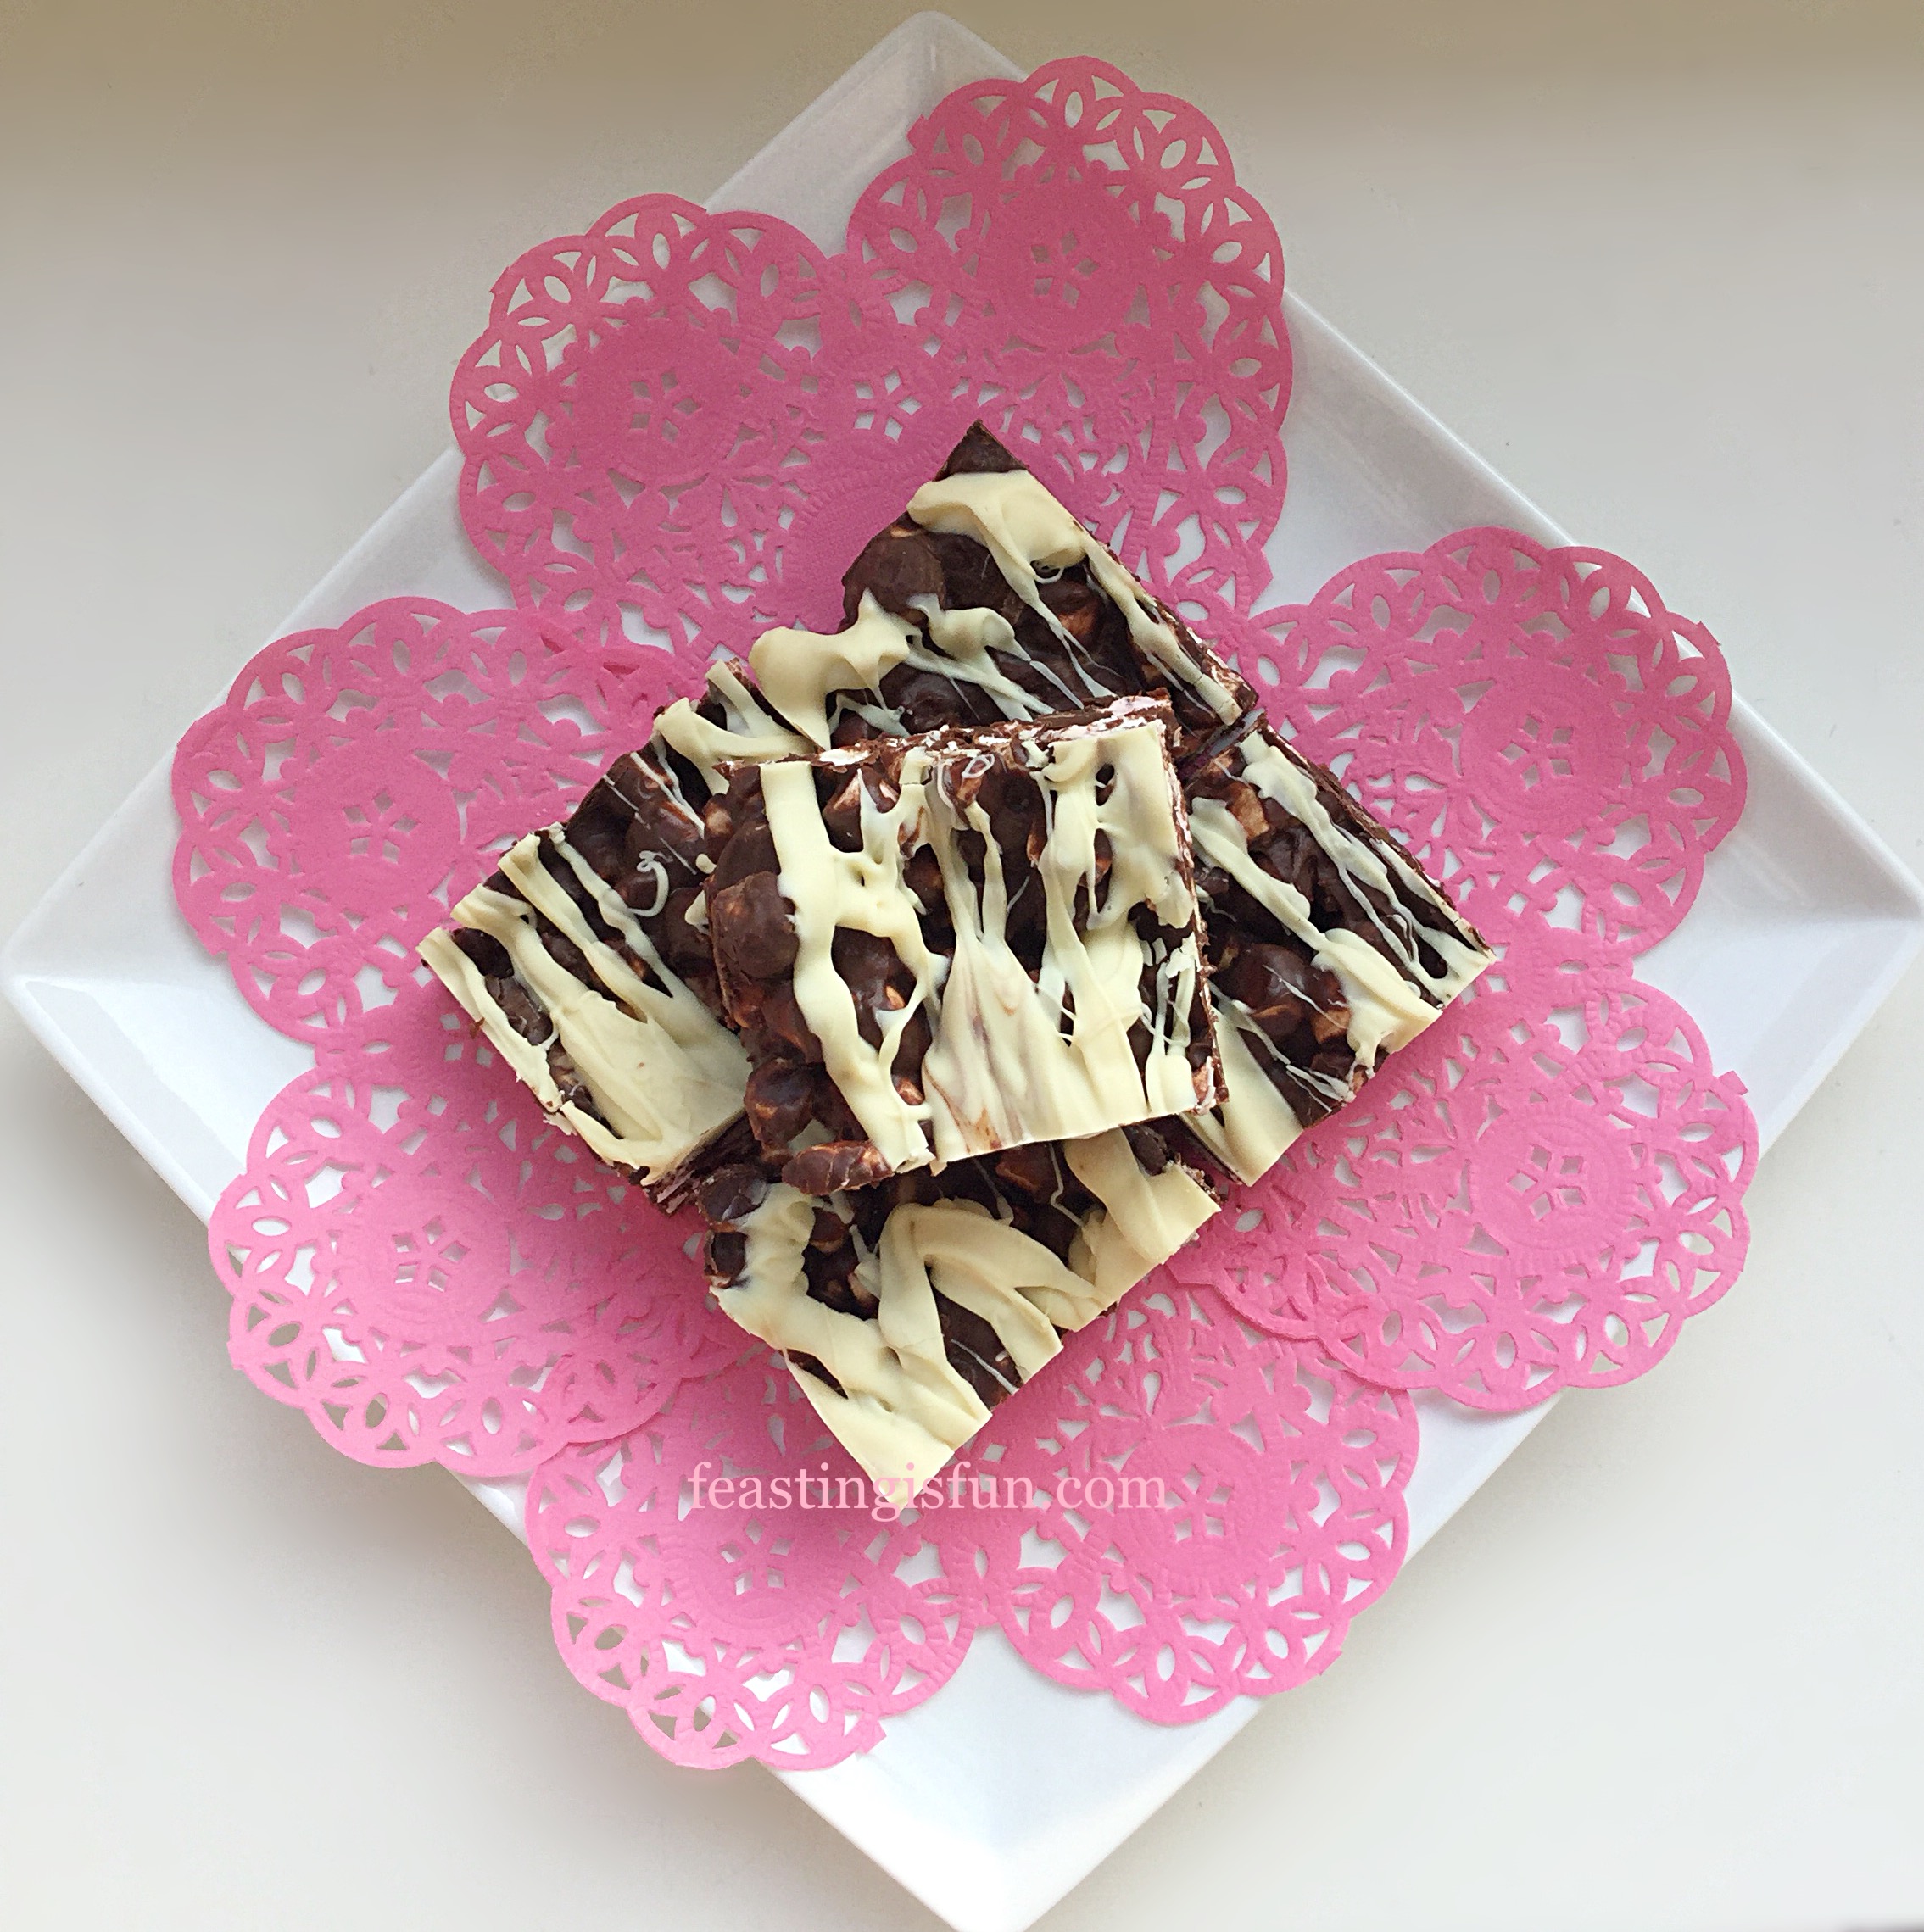
Caramel Crunch Rocky Road Bars.
So quick and easy to make, perfect for sharing.
Recipe: Caramel Crunch Rocky Road Bars makes 12 large or 18 small
2 Packs McVities Digestive Nibbles – 240g combined available from Waitrose,Sainsburys, Ocado, Tesco. – or 2 large bags of Maltesers. Alternatively substitute with an equal weight of shortbread or digestive biscuits
200g/7oz White Chocolate
Method:
Making the rocky road
First of all, line a 20cm x 28cm x 5cm tin (8″ x 11″ x 2″) with baking parchment.
Into a large, heatproof, microwaveable bowl add the butter and broken up milk and dark chocolate. Heat in the microwave, on medium power, for 30 second bursts. Stir after each heating burst. As soon as the chocolate and butter are melted remove the bowl from the microwave. And then add the golden syrup and salt. Stir continuously until the mixture is fully combined and glossy.
Next add 2 packets of Digestive nibbles.
Follow by adding the marshmallows and Rolos.
Stir until everything is slicked in chocolate.
Combining ingredients for Caramel Crunch Rocky Road Bars.
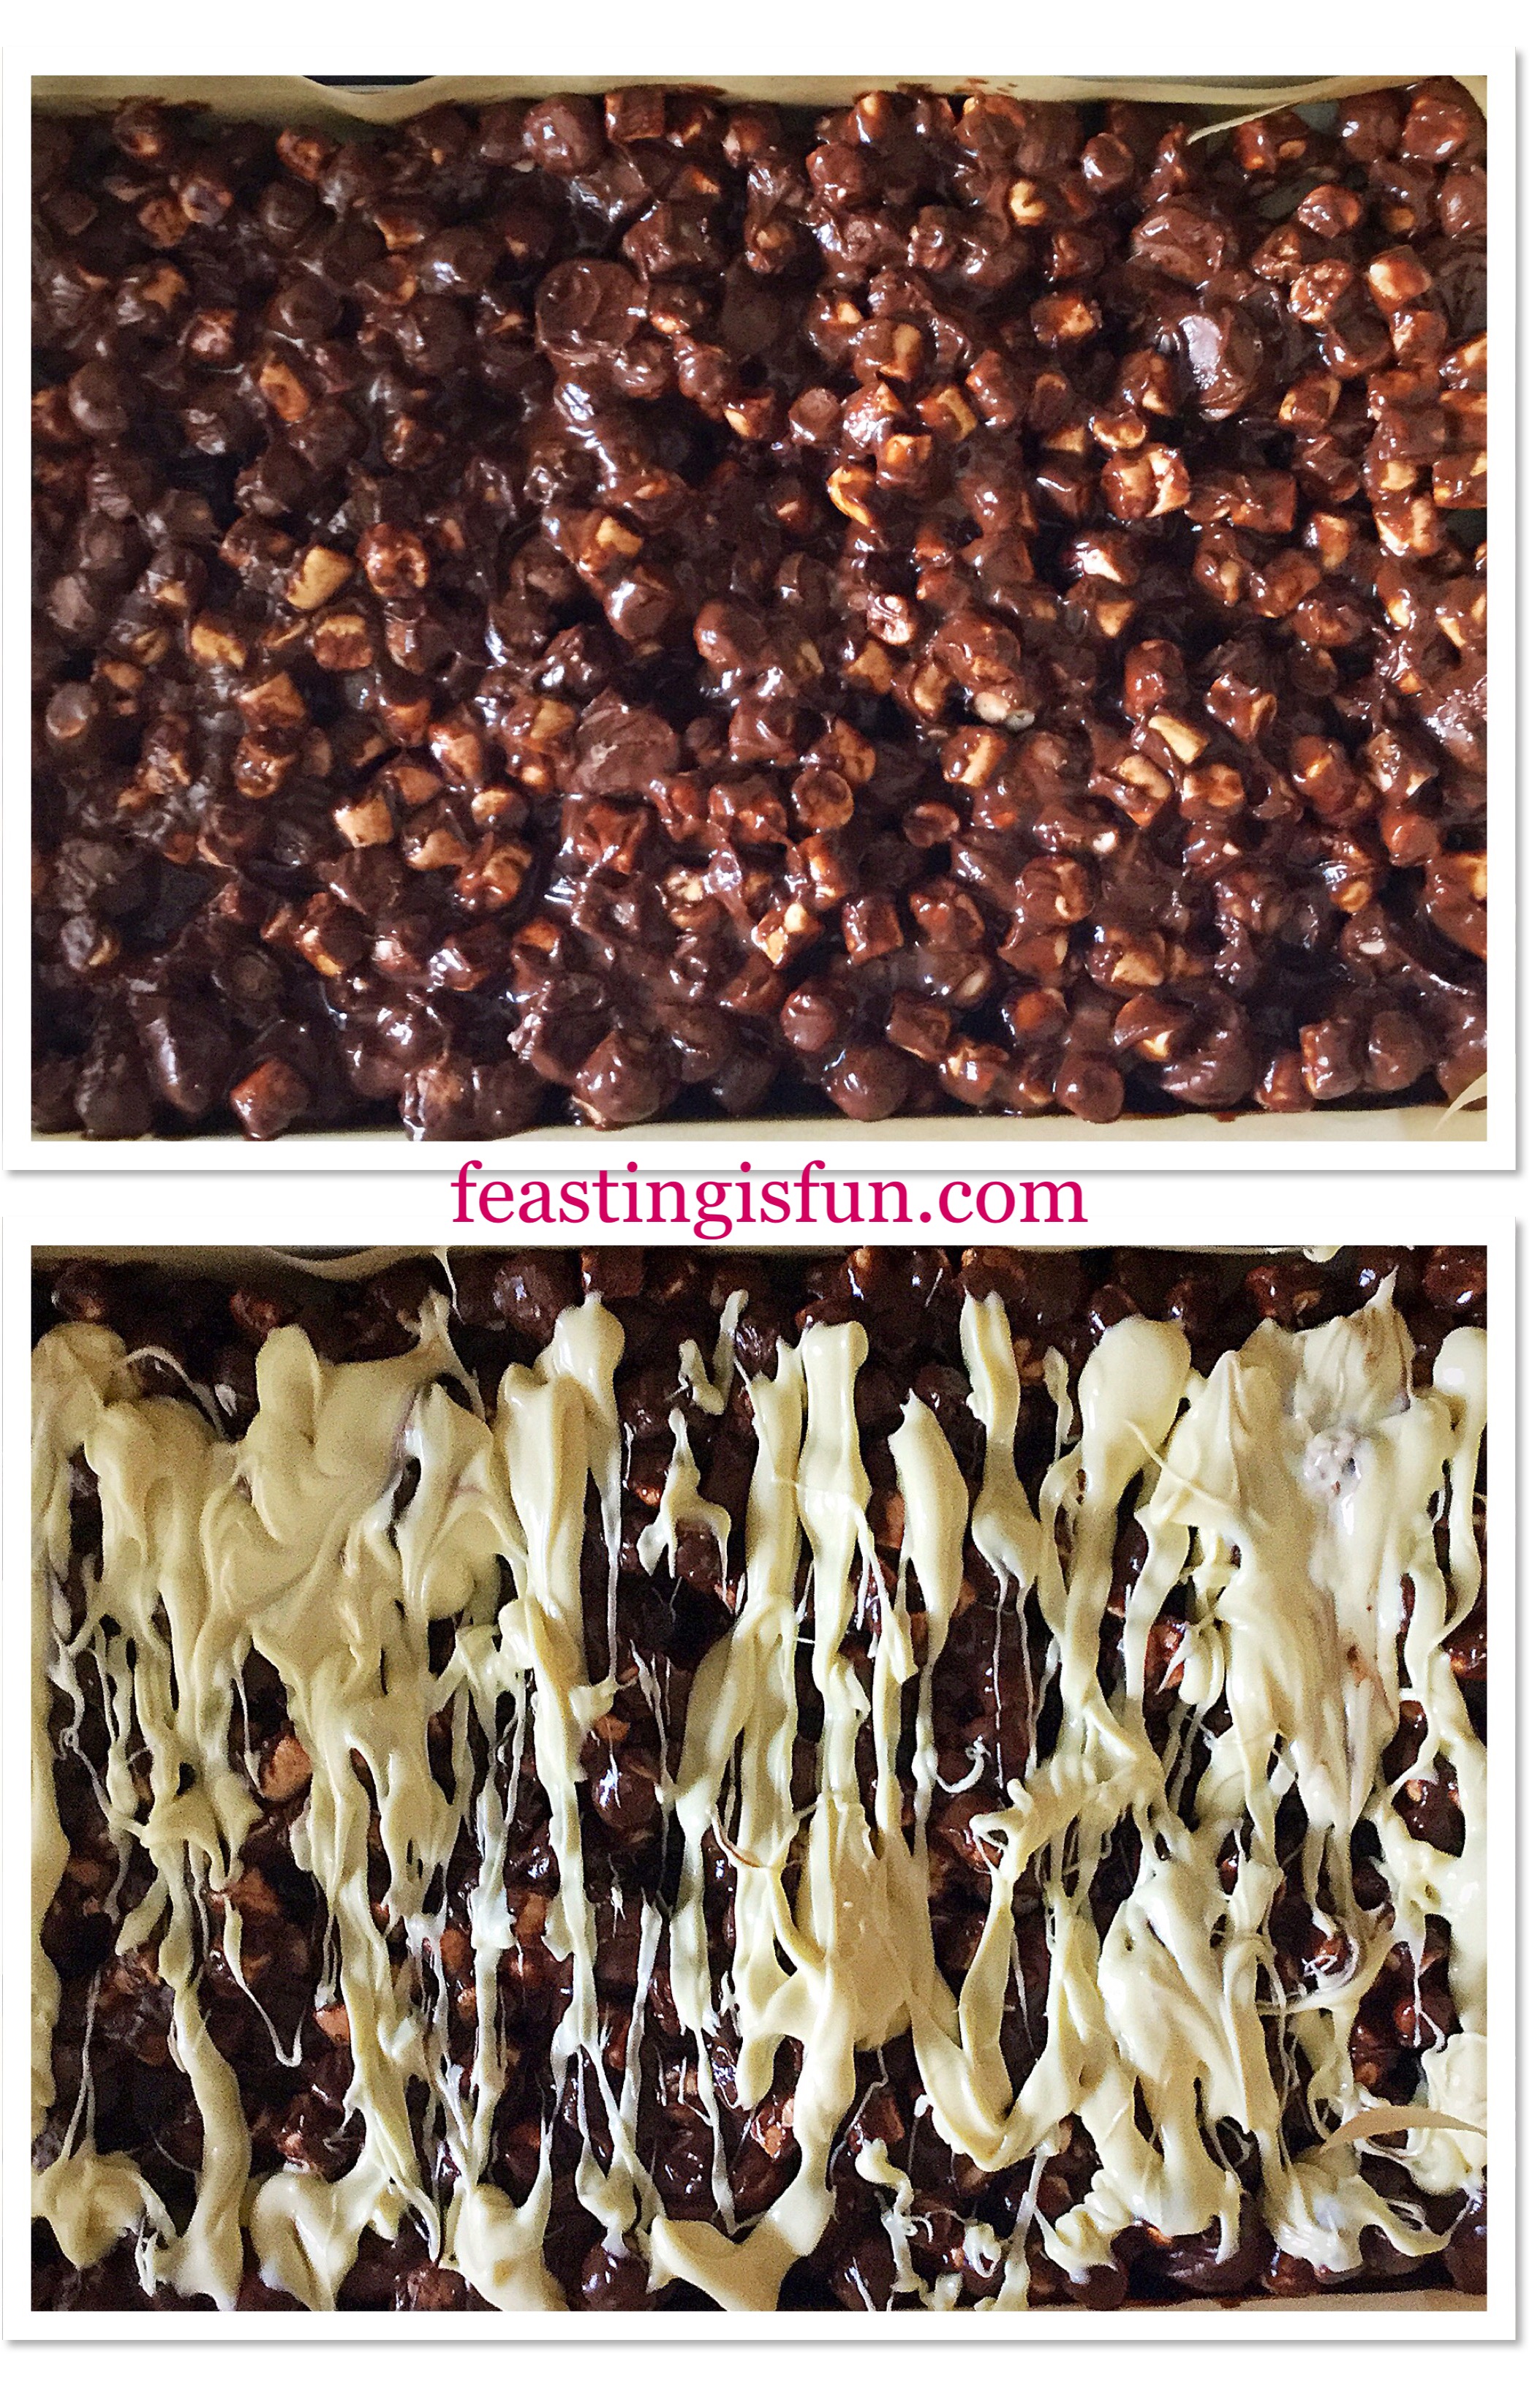
Spoon the mixture into the prepared tin, taking care to fill evenly.
Now break up the white chocolate and place into another heatproof, microwaveable bowl. Again, heat on medium for 30 seconds stirring after each heating burst. Take care not to overheat the chocolate. As soon as it starts to melt remove and stir continuously until it is completely liquid.
Using a spoon, drizzle the white chocolate over the rocky road mixture in the tin.
Filling the tin and drizzling over white chocolate.
Place the tin in the fridge for 30 minutes, or until the chocolate has completely set.
Two portion sizes
As soon as it is set, remove the slab of rocky road from the tin using a palette knife to lift beneath the baking parchment.
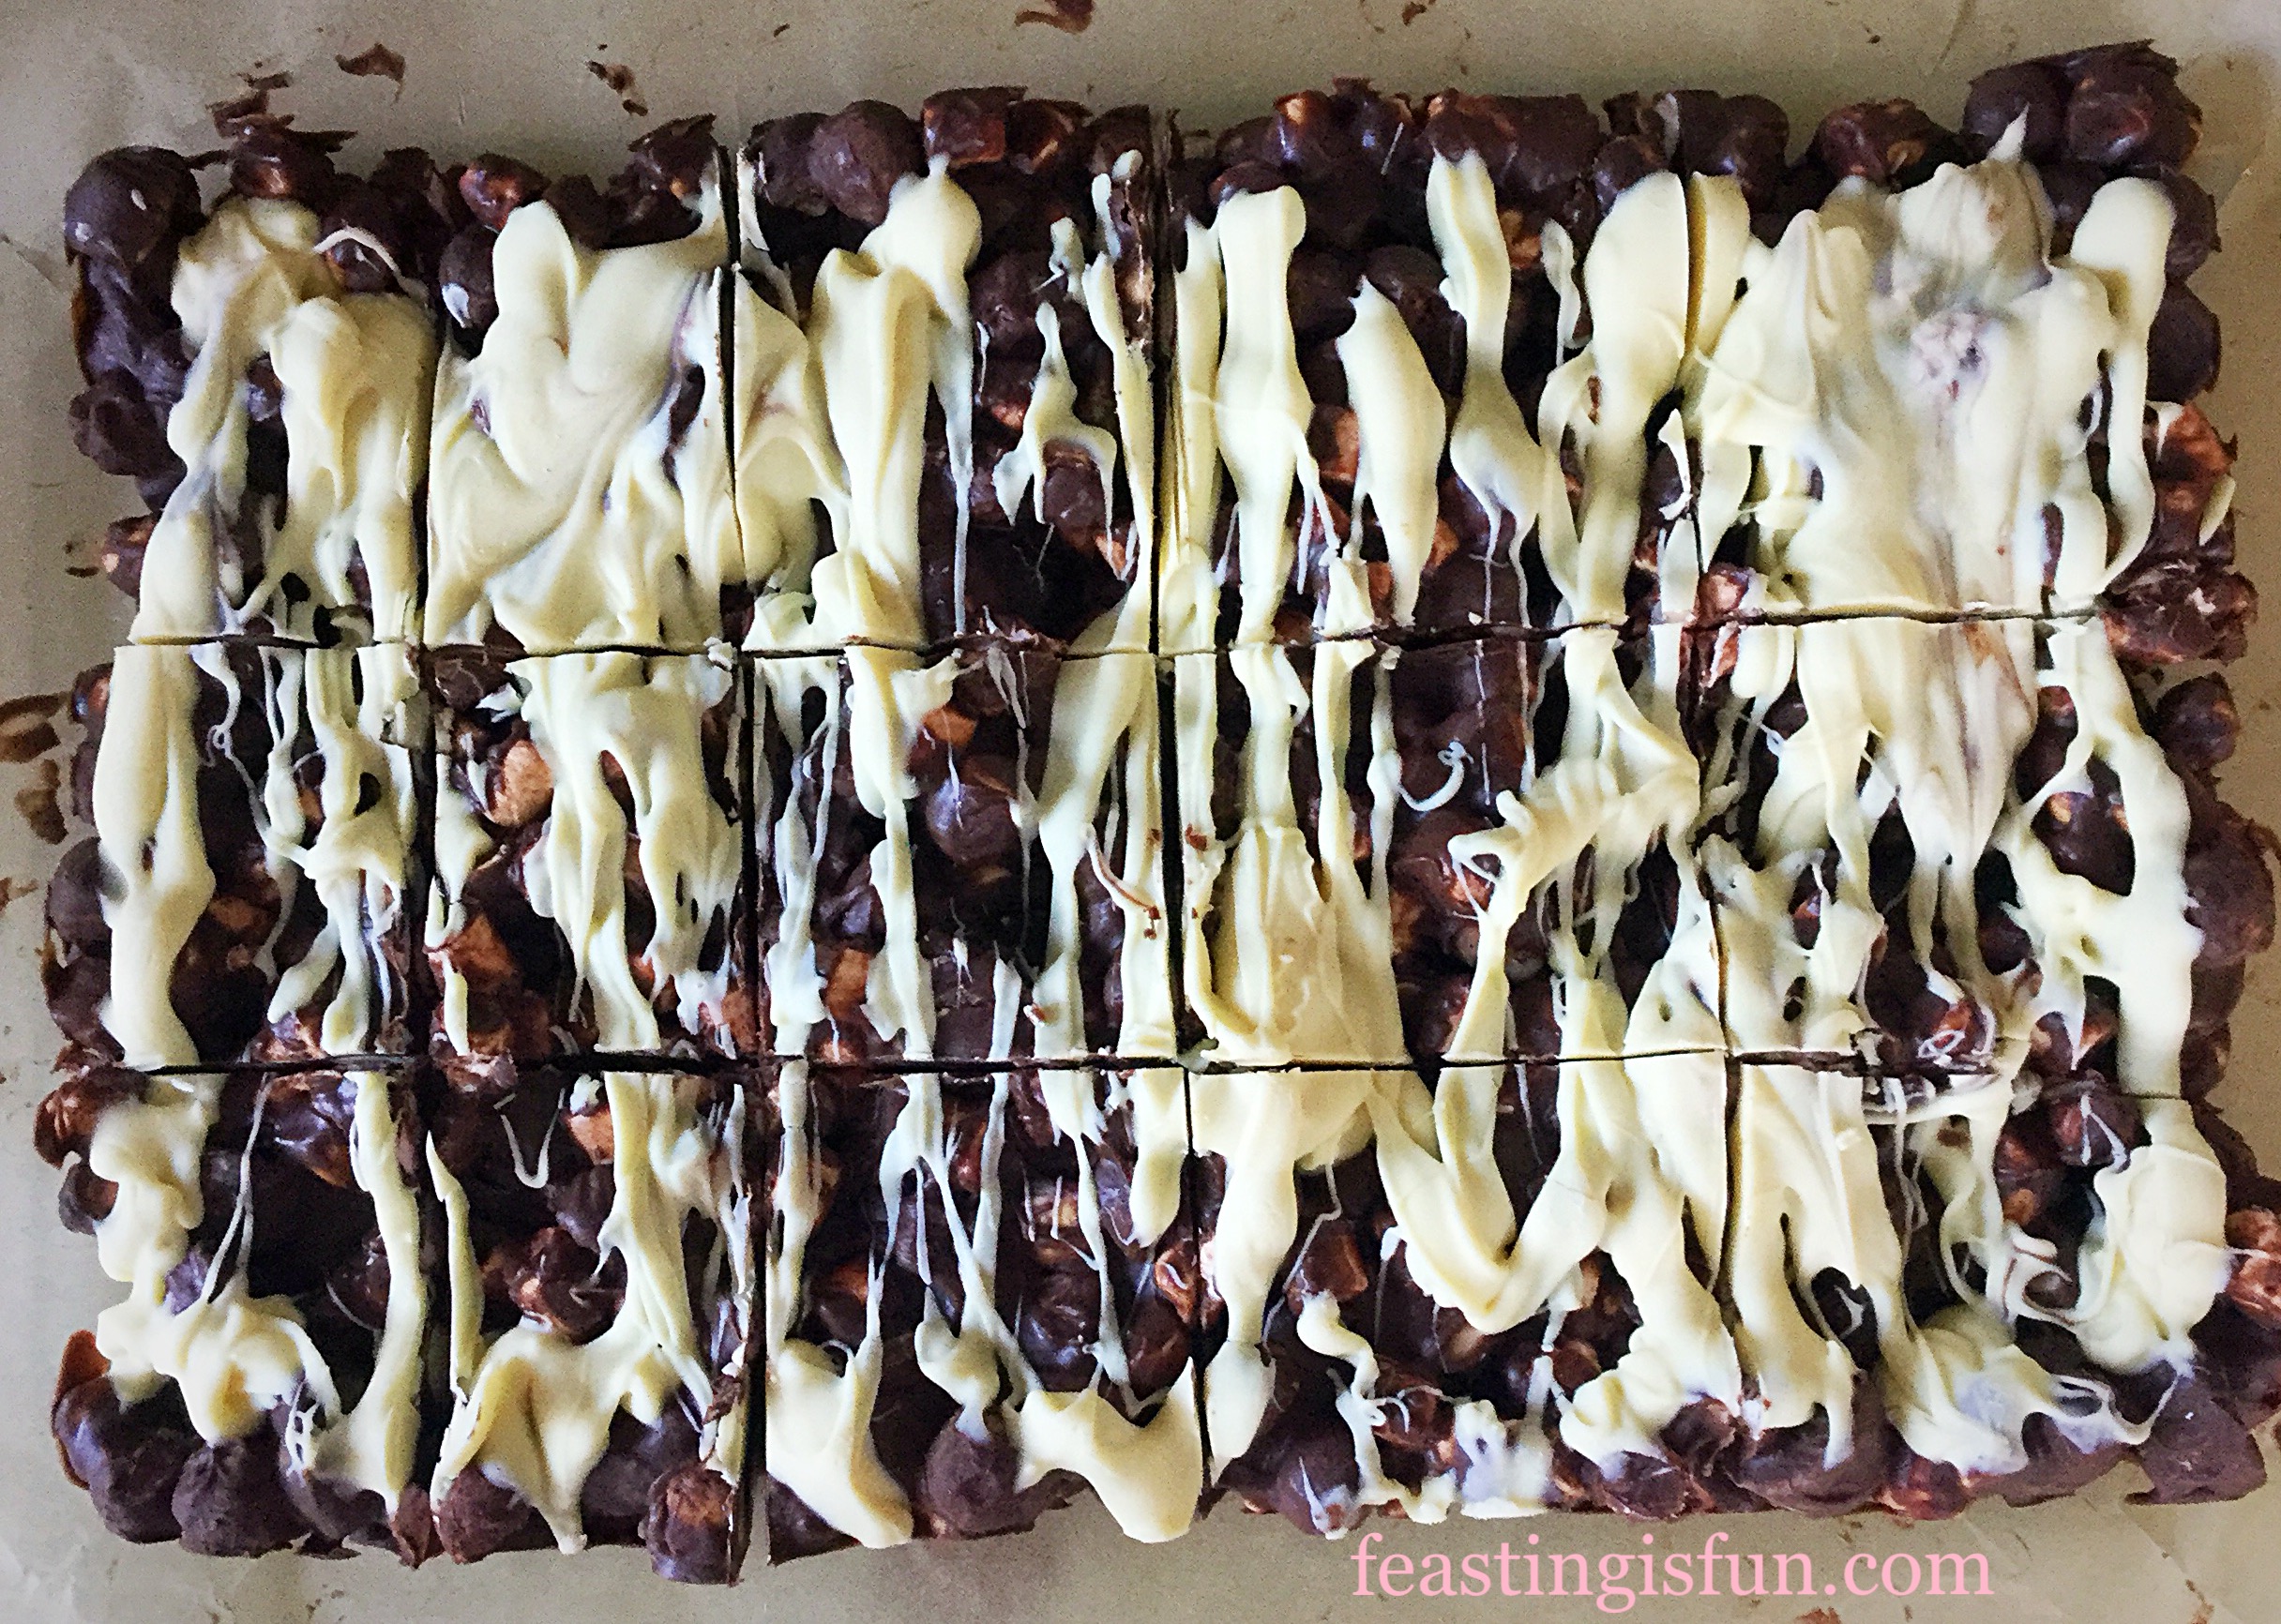
Using a sharp knife cut across the width, creating 3 evenly sized portions. Then cut through the centre. For smaller bars divide each half into 9 squares, as on the left. Divide into 6, as on the right, for larger bars.
Slicing into bars.
Finally some advice, if you are making these for a party, place in a baking parchment lined, airtight container and hide them!
During warm weather keep in the fridge. While they will keep for up to one week, however I very much doubt, if you have children or teenagers around that you will have any left after 48 hours. I speak from experience.
Caramel Crunch Rocky Road Bars.
So incredibly delicious and surprisingly not overly sweet, these Caramel Crunch Rocky Road Bars are perfect for parties and family gatherings.
If you have enjoyed the recipe for Caramel Crunch Rocky Road Bars, then you may also like these:
Over the years I have made many different versions of this recipe. Digestive biscuits work well, when broken up. Because their slightly salty, wholemeal flavour balances the sweetness from marshmallows and chocolate. And Digestive Nibbles have that same quality. While they also bring a uniform shape to the cut bars, resulting in less crumbling when handled.
So whatever you are making, baking and creating in your kitchens, have fun preparing your feast.
Sammie xx
No part of this post may be replicated or copied without the written permission of the owner. Please see my Disclosure Policy.
Summer is near, not that you’d know it, with certain parts of the country blanketed in snow and with it heralds the start of the soft fruit season. I do like all fruit, but soft fruits are my favourites; strawberries, raspberries, peaches, nectarines, apricots and plums, as well as many others. To celebrate this I have made this utterly divine Strawberry Chocolate Cheesecake.
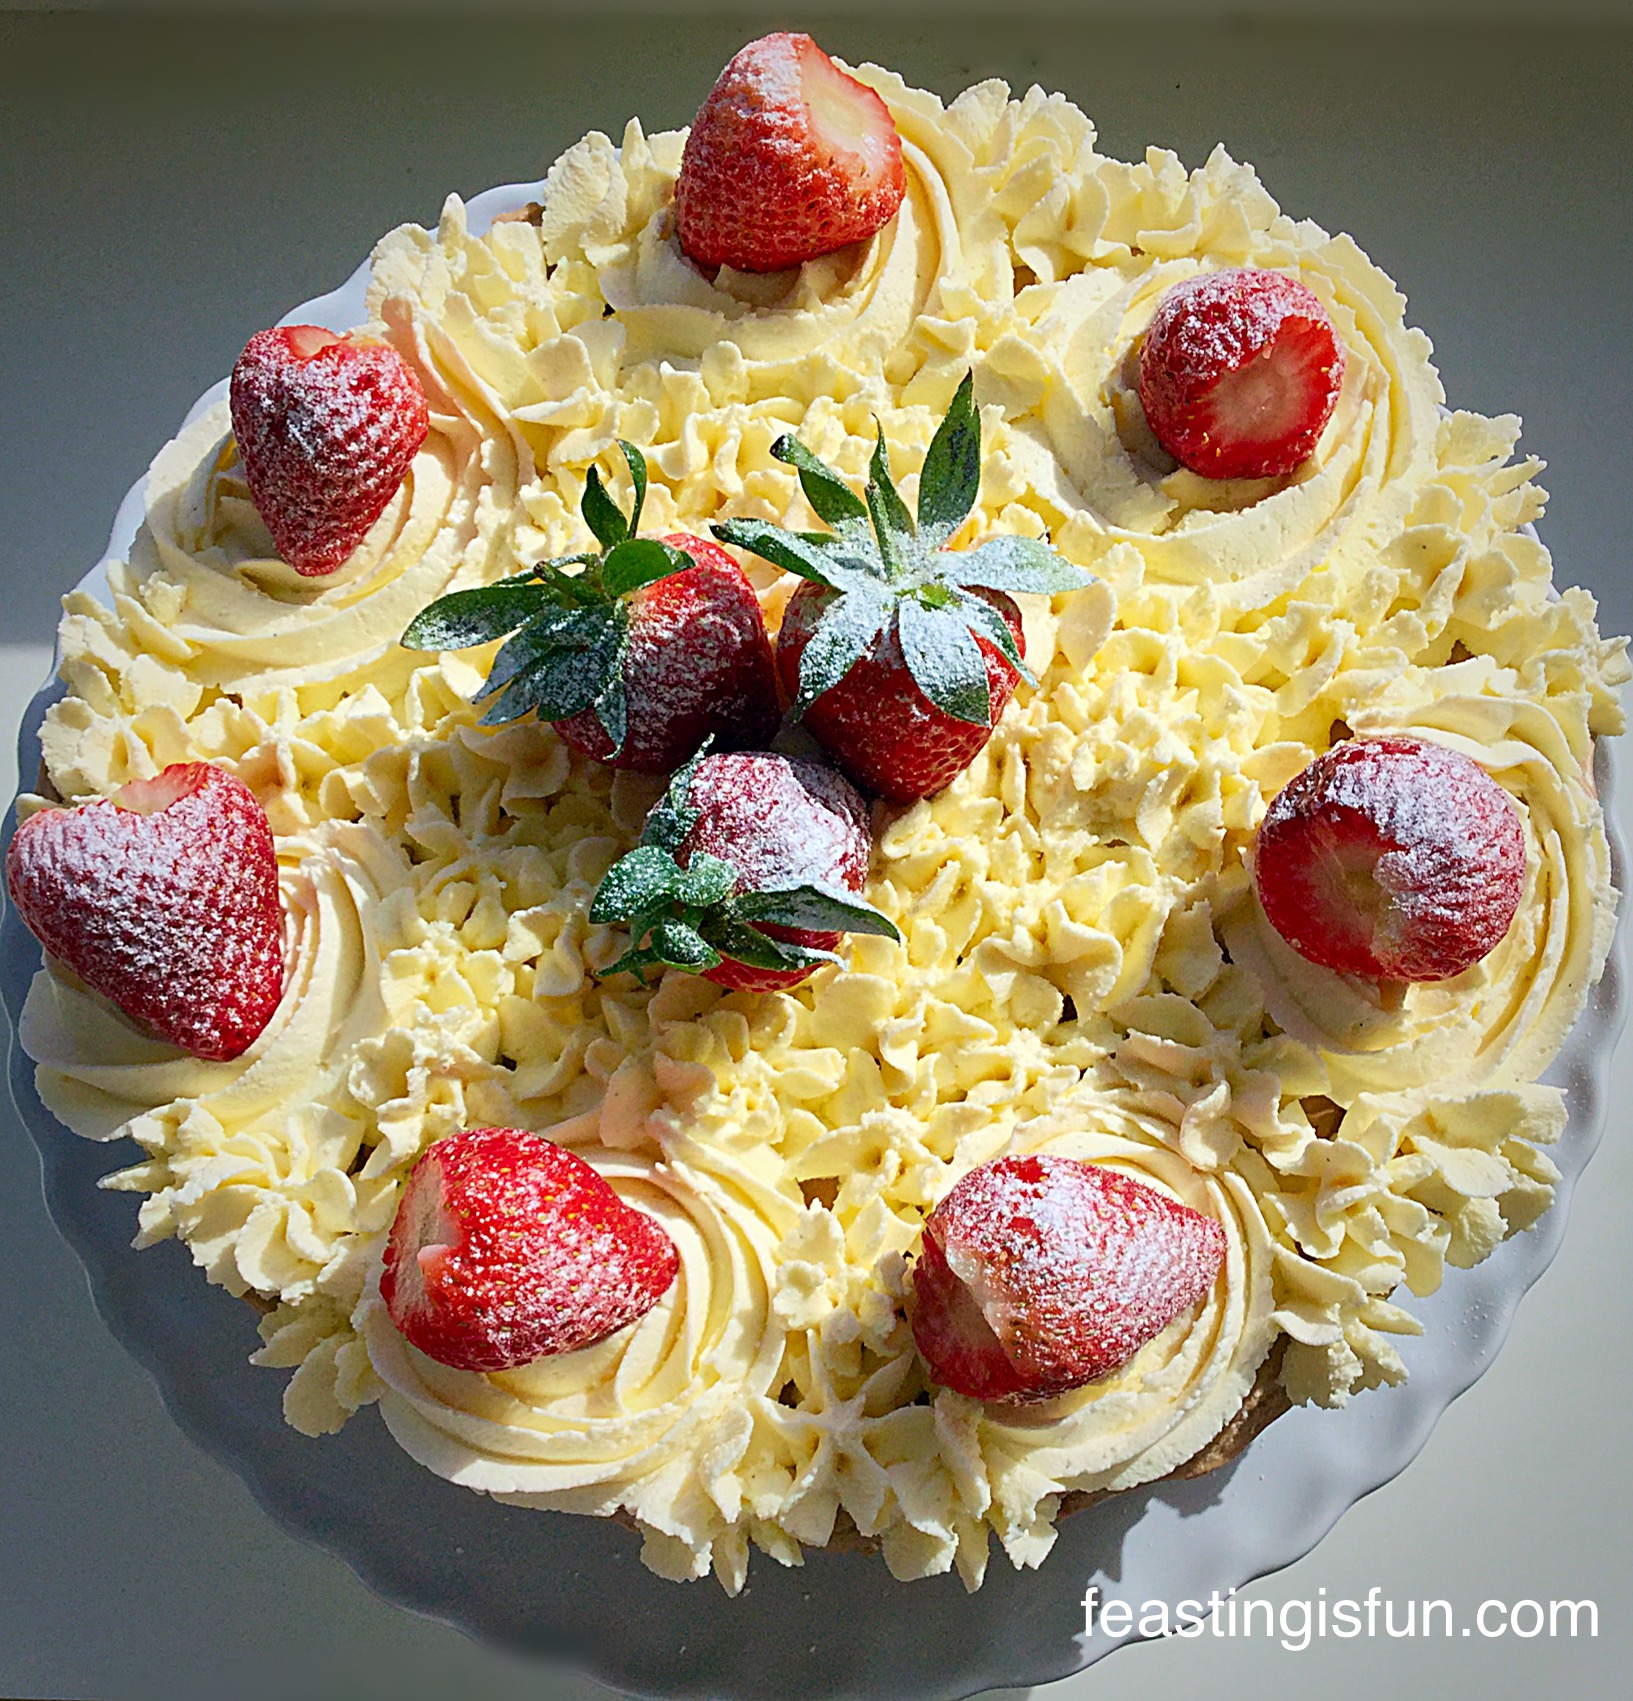
Strawberry Chocolate Cheesecake the perfect no bake dessert.
No bake cheesecakes are incredibly easy to put together. So whether you’re an experienced home cook, or just starting out, I can guarantee that you can make this Strawberry Chocolate Cheesecake.
All you need, aside from the ingredients is a 10″ (25cm) springform cake pan.
A slice of delicious Strawberry Chocolate Cheesecake?
Oh yes please!!
As promised, I am making a conscious effort to include more desserts on Feasting is Fun. I have been making cheesecakes for many years and the recipe has adapted over time. When I was younger I would whip vanilla angel delight into mascarpone and single cream. It makes an utterly delicious cheesecake, however, I can no longer find angel delight in the shops.
This has been a good thing! As good as the cheesecake of years passed was, this Strawberry Chocolate Cheesecake is better!
Whipping melted chocolate into cream cheese and cream gives this cheesecake a wonderful lightness. This Strawberry Chocolate Cheesecake is perfect to serve at any time, however, it is beautifully light after a large Sunday Roast Dinner like my Redcurrant Glazed Roast Lamb.
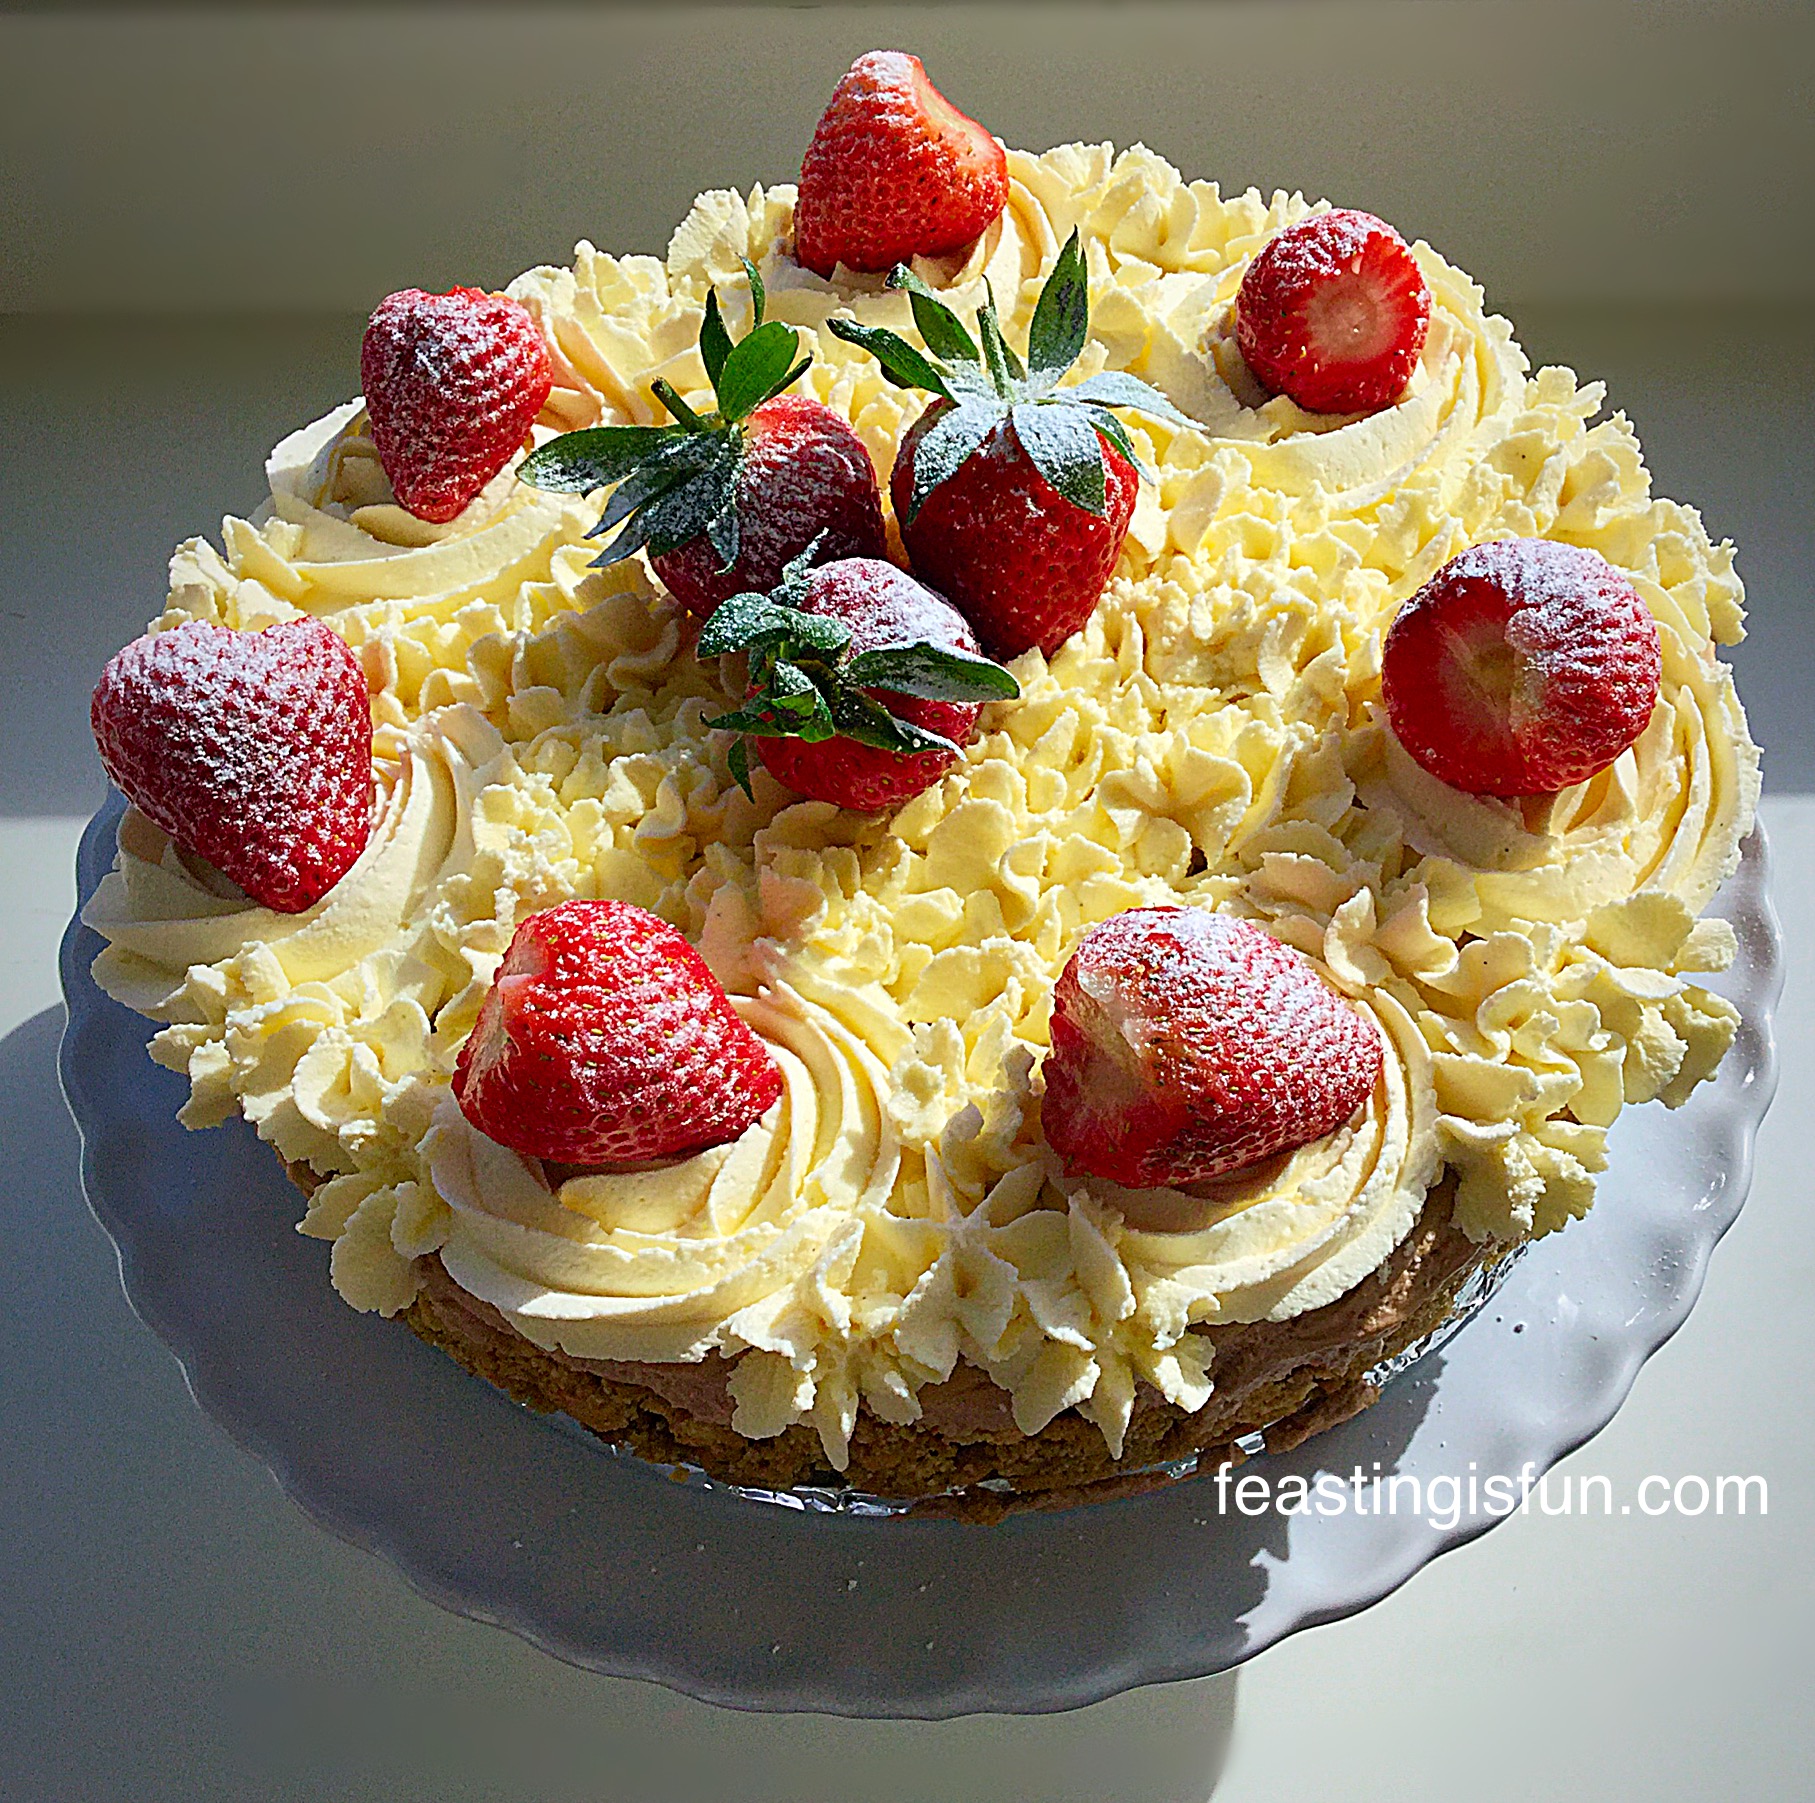
Strawberry Chocolate Cheesecake a delightfully light dessert.
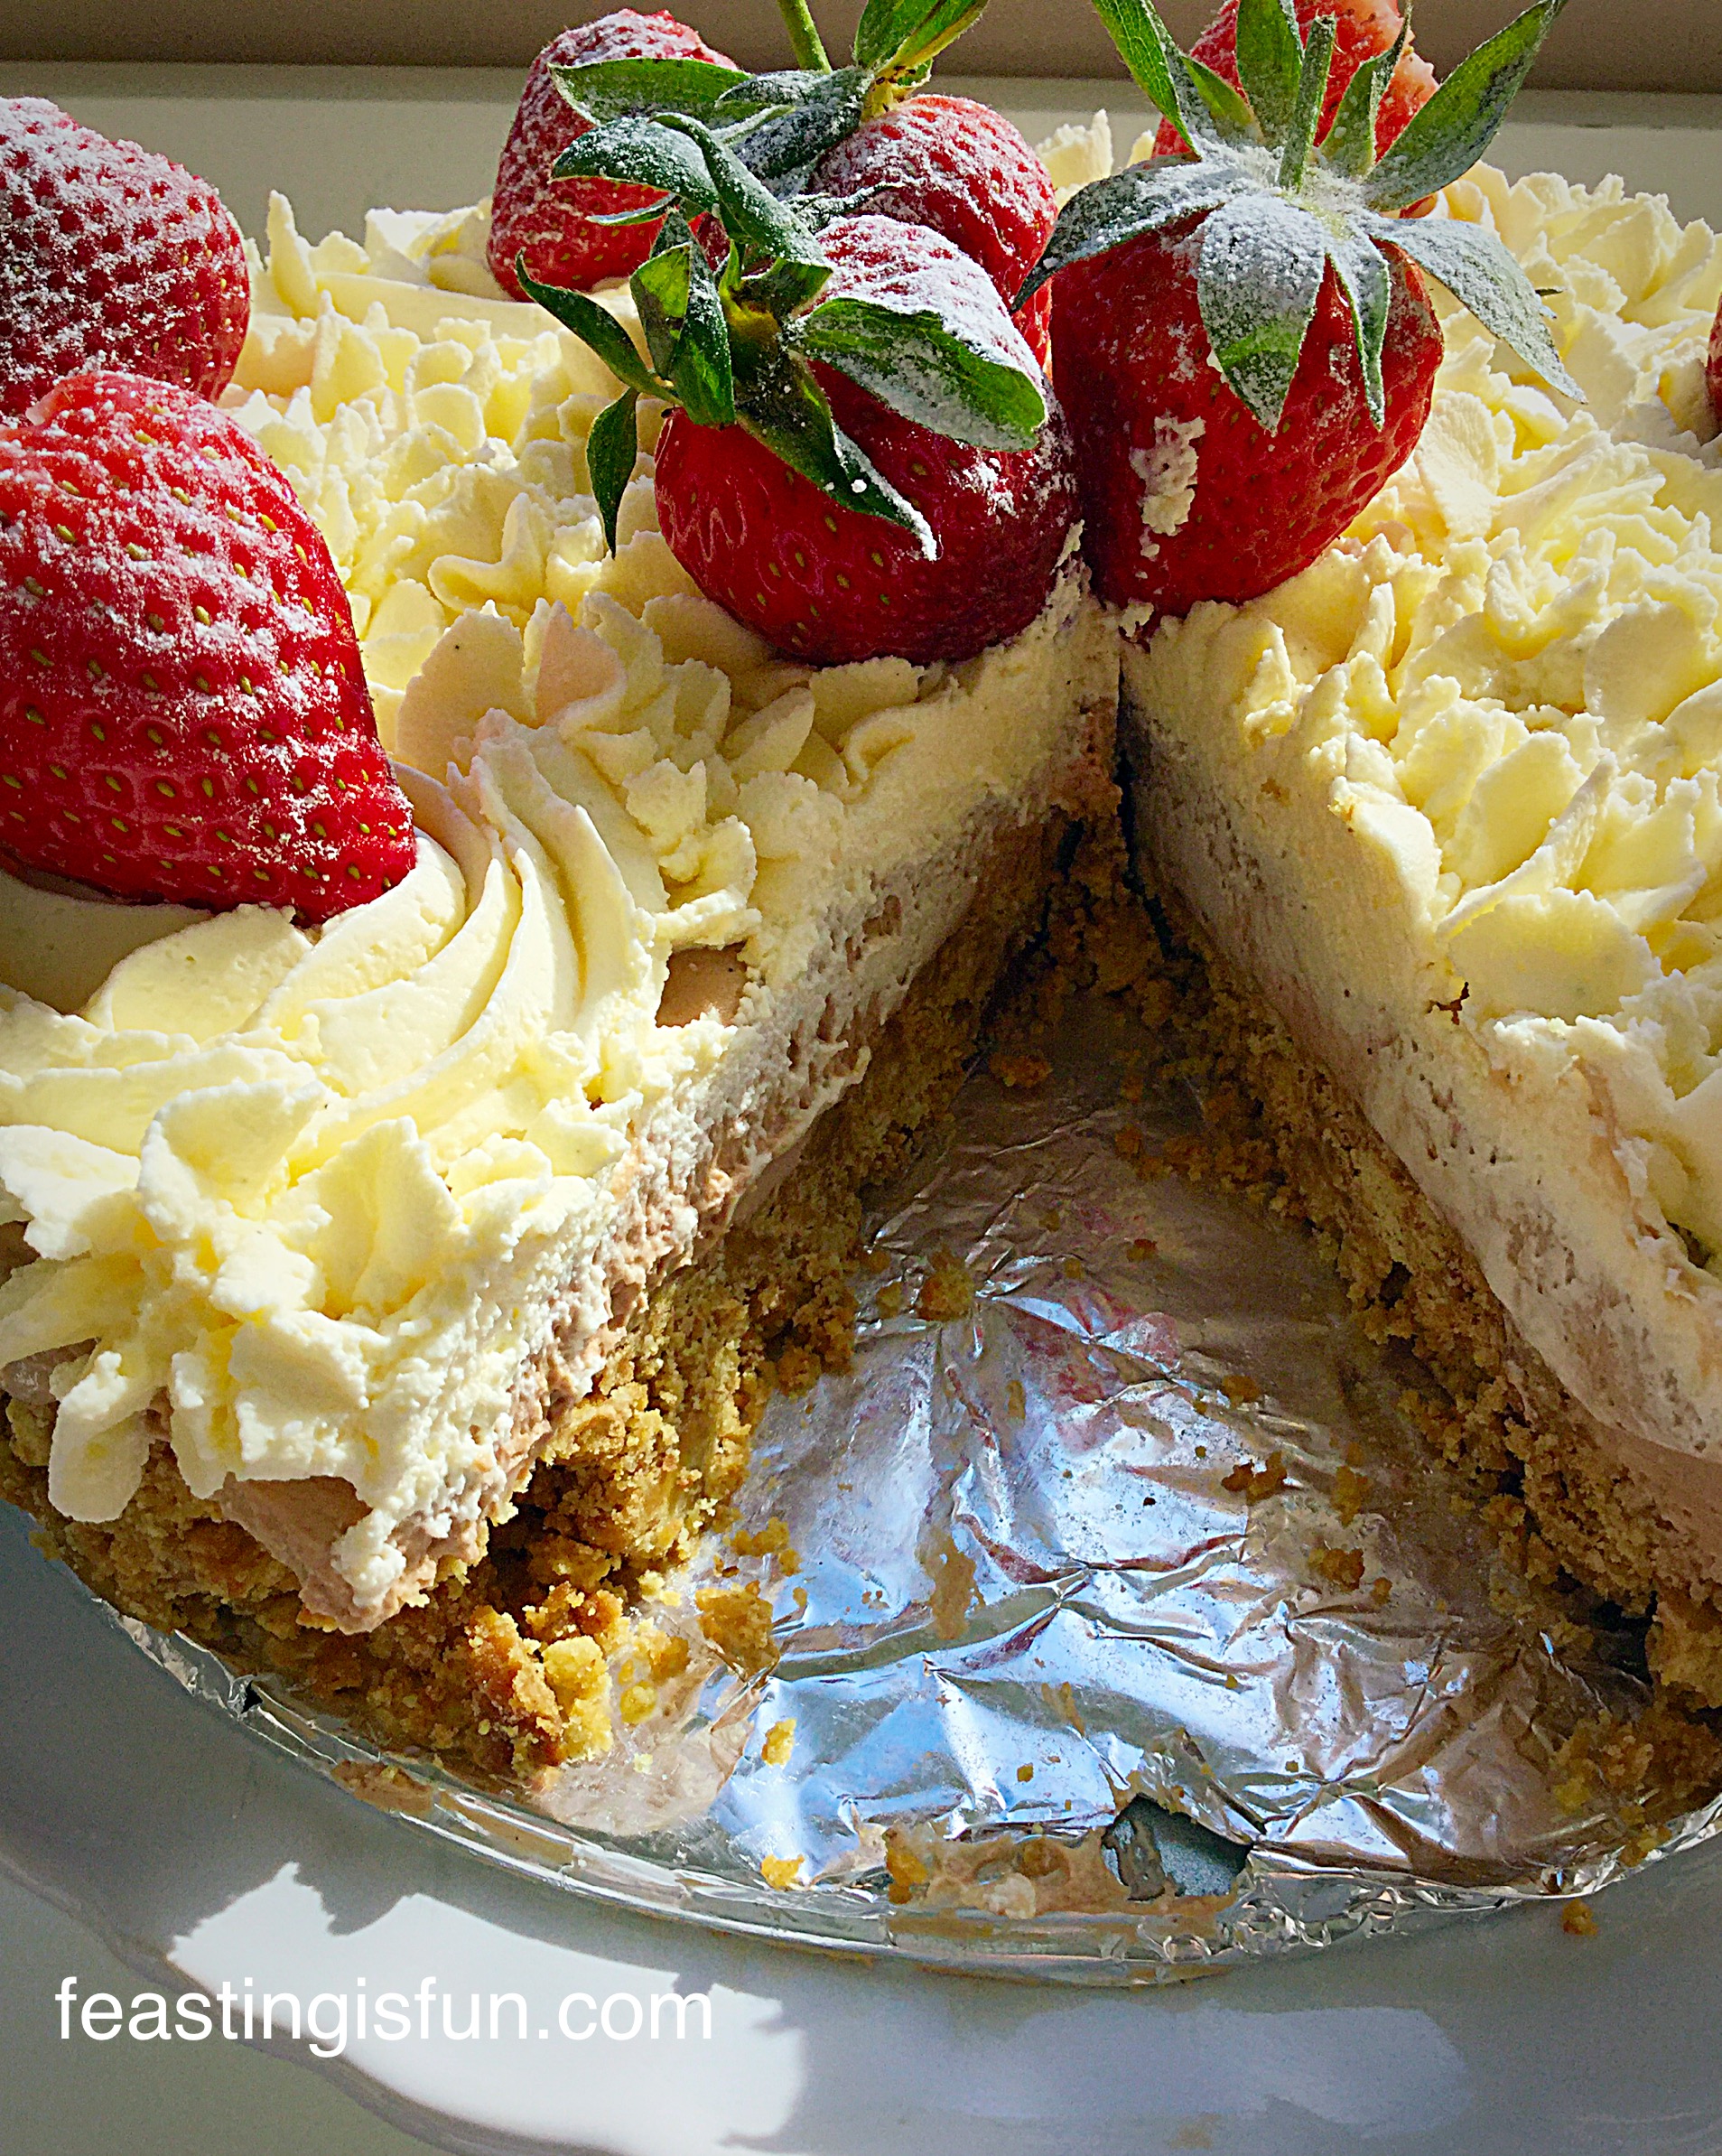
One of the most important parts of a cheesecake to me, is the crust. I don’t want some flimsy – can barely hold it together, low carb nonsense – I need a thick, crunchy base, that is delicious and contributes to the cheesecake as a whole. Digestive biscuits are the answer! Not too finely broken up either. A few small chunks makes for incredible texture against the smoothness of the softly whipped cream cheese and cream.
Strawberry Chocolate Cheesecake ooh look at this layer – delicious!
The crunchy, crumbly, golden base also gives this Strawberry Chocolate Cheesecake a very slight, salty hit. Not as salty as pretzels, just enough to balance out the sweet tang of the chocolate cheesecake that covers it. To conclude, this cheesecake is more than the sum of it’s individual parts. Eating a little of each layer together will give your taste buds a flavour party like never before!
Before we start, I should mention that there are a few hours chilling in the fridge required, so it’s best to plan for that. If this cheesecake is needed for the same day, start the base in the morning, if you have a little more warning, I suggest making the base the night before. Actual time spent hands on making this cheesecake is very little, but it’s worth knowing about the chilling times before you start.
Recipe: Makes one Strawberry Chocolate Cheesecake serves 8-10
300g/11oz Digestive Biscuits – Graham Crackers can be used as an alternative
200g/7oz Milk Chocolate – at least 35% Cocoa – or use plain chocolate if you want a richer chocolate flavour
1tsp Caster Sugar
10 Strawberries – or more
1tsp Icing Sugar to finish
Method: Line the base of a 10″ – 25cm Springform Pan with aluminium foil.
Place the digestive biscuits into a freezer bag and whack with a rolling pin until they are almost completely broken up. You can also you a food processor to blitz them, I’m just too lazy to get it out for a few biscuits 😉.
In a medium sized saucepan gently melt the butter. Note: if you melt the butter too fast it could spit and burn you, also the butter may burn. I have learnt this from experience!
Once the butter is melted, remove the pan from the heat and add the crushed biscuits to the melted butter.
Stir well, ensuring all the biscuit crumbs are covered in melted butter.
Tip the butter slicked biscuit crumbs into your foil line springform pan.
Press the biscuit crumbs into a uniform layer using the back of a metal spoon.
Cover the pan with cling film and place into the fridge to chill and set the biscuit layer – I actually made the base the night before – a couple of hours should be sufficient to set the base.
Once the base has set the cheesecake layer can be made.
Break or chop up the chocolate and place into a heatproof microwaveable bowl.
Zap for 30 seconds at a time stirring in between. When almost melted remove from the microwave and keep stirring until completely melted. Set the chocolate to one side.
Into a large bowl add the cream cheese, 200mls of double cream and 1tsp of vanilla extract.
Whisk until light and creamy – approx 3 minutes.
Next, whist whisking add the melted chocolate to the cheesecake mix – it helps if you have someone to hold the whisk whilst you add the chocolate, alternatively add the chocolate in thirds, whisking well after each addition.
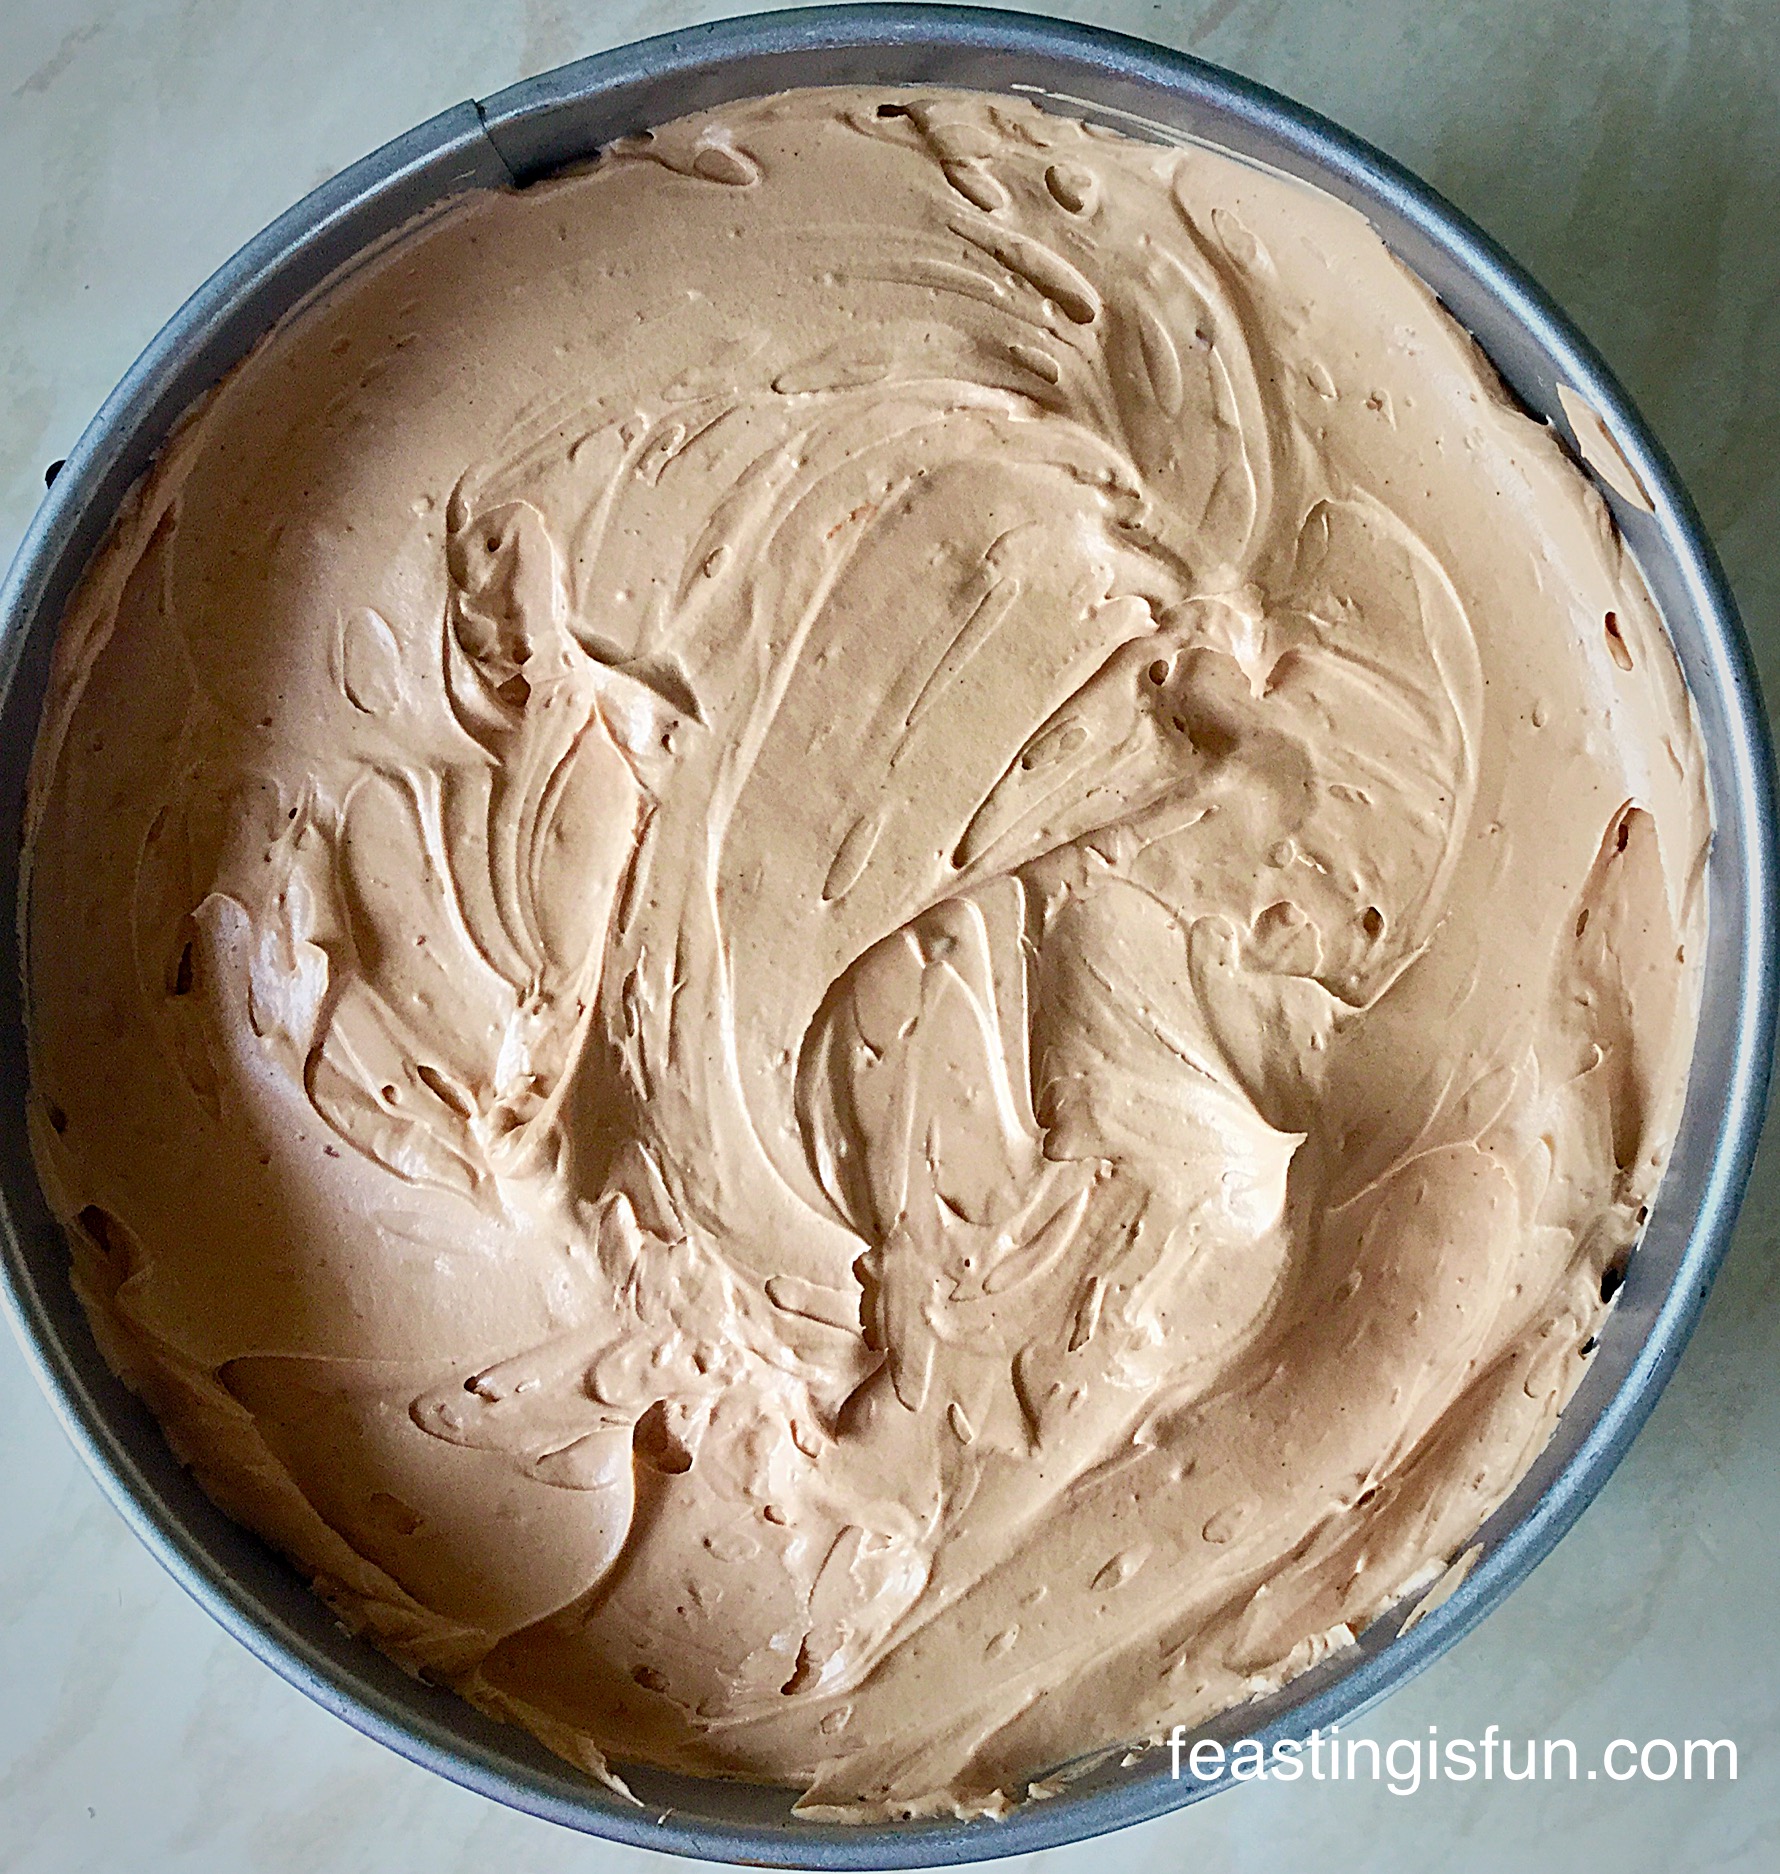
Spoon the chocolate cheesecake mix on to the biscuit base. Smooth the surface with the back of a spoon.
Once you have smoothed the top of the cheesecake lick the spoon!!
Cover the pan with cling film and pop back into the fridge for an 2 hours. This allows the chocolate to set the cheesecake layer. The cheesecake layer does not set to a firm consistency, rather it is able to hold its shape and support the whipped cream a strawberries on top.
When set and ready to decorate, run a palette knife that has been dipped in very hot water, between the pan and the cheesecake. Place the springform pan on to a large can (of beans or whatever you have in the cupboard) and release the spring latch. Allow the sides of the pan to drop down.
Place the cheesecake – still on the foil covered pan base – on to a cake stand or serving plate. Note: I have never successfully transferred an entire cheesecake off of its base, so I cover the base in foil to protect it from knife marks and keep the cheesecake on the pan base!
Into a large bowl add the remaining 400mls of double cream, 1tsp vanilla extract and 1tsp of caster sugar. Whisk until the cream holds its shape.
Fit a large piping bag with a large star tip – I use Wilton #1M.
Fill the piping bag with the whipped cream.
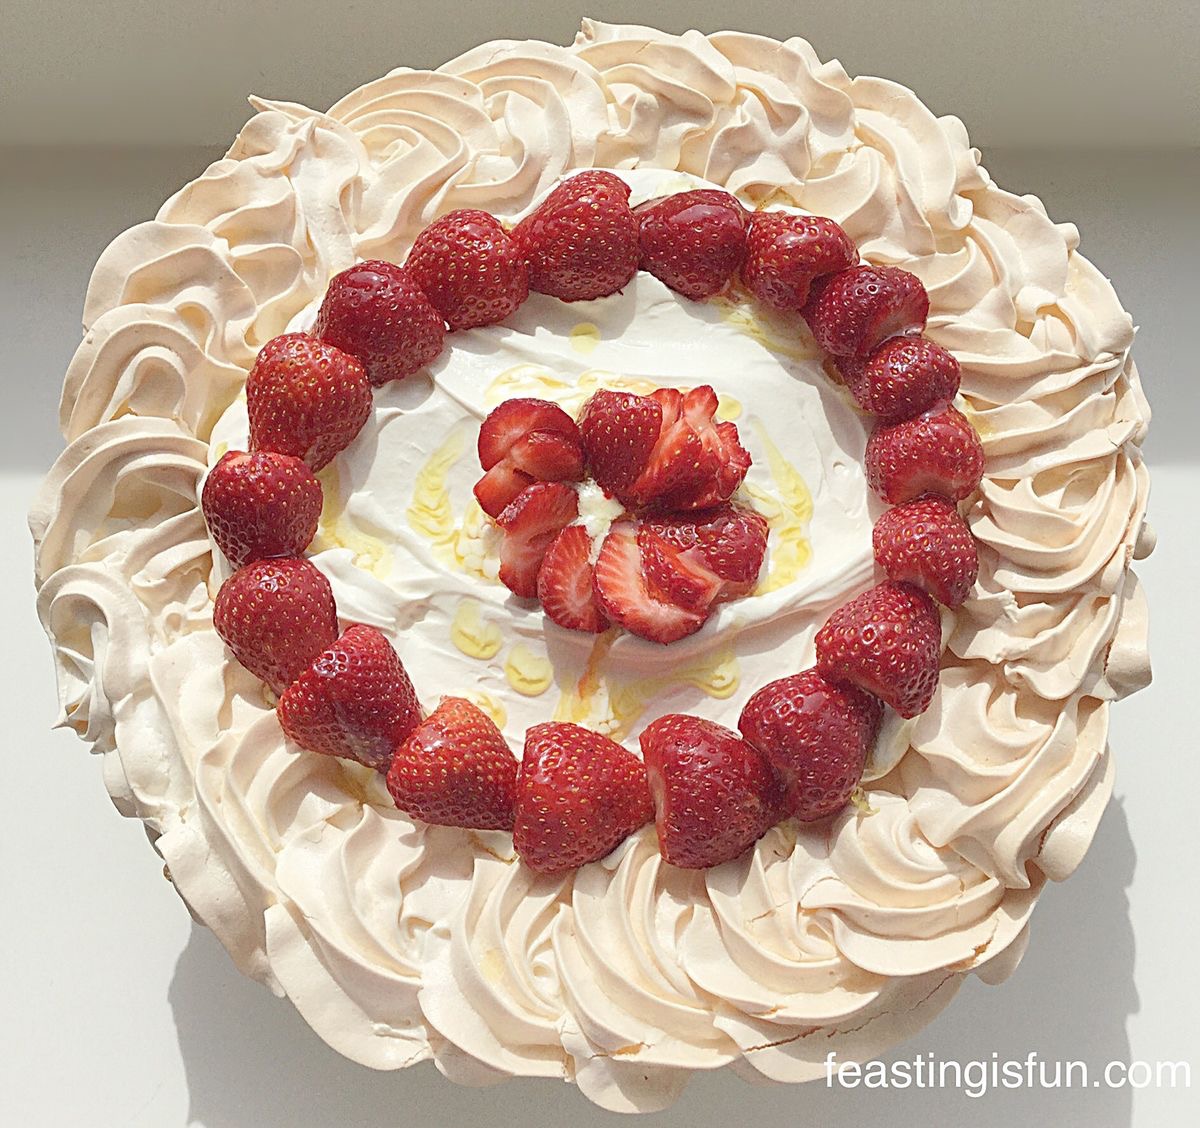
Pipe swirl roses – start piping the letter e and continue round – around the outside edge of the cheesecake. Fill in the empty spaces with simple piped stars.
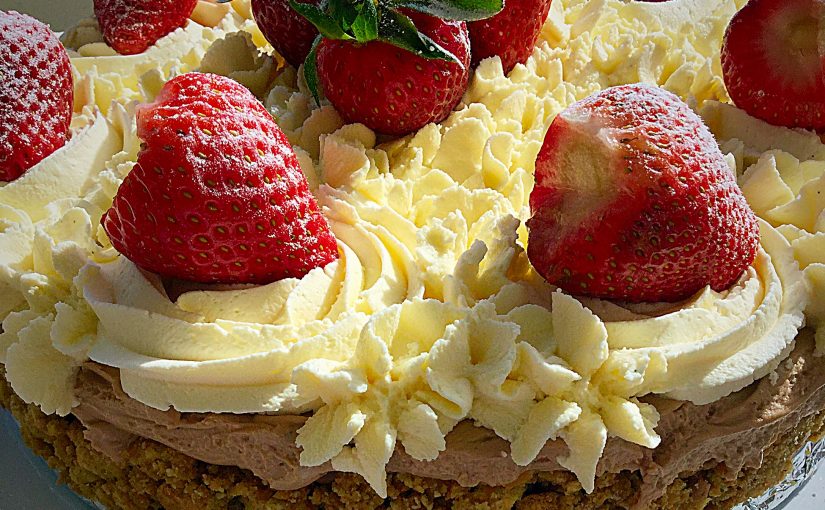
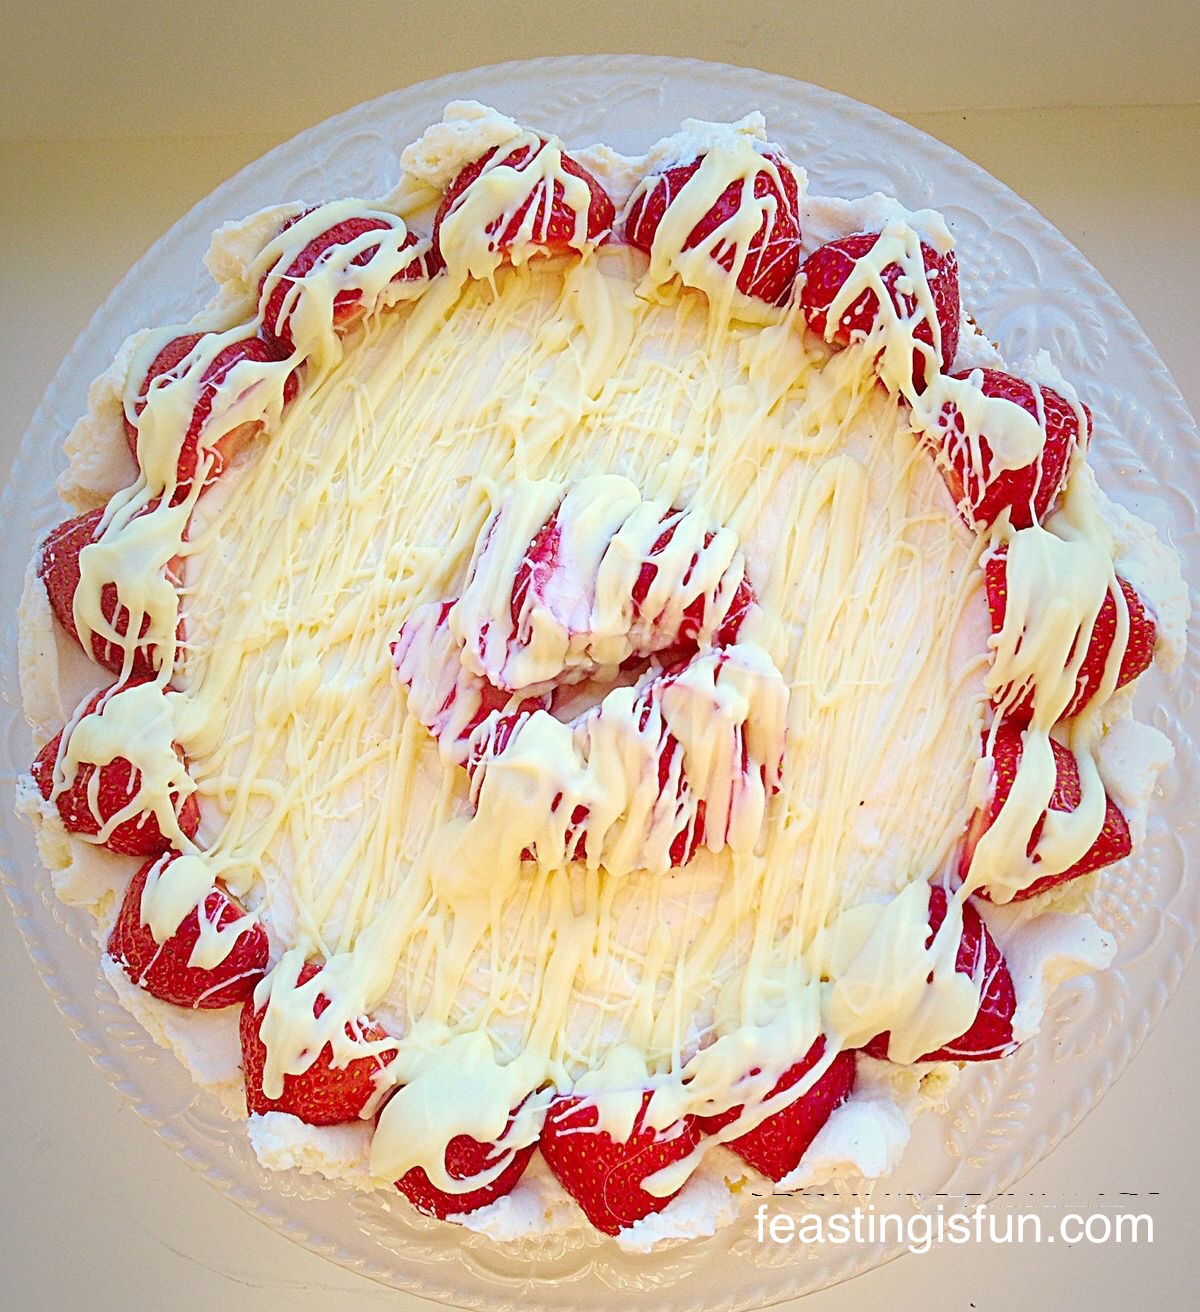
Place a strawberry on each of the piped swirls – I removed the green stalks for these – and place three strawberries, with their stems still on, in the centre of the cheesecake.
Dust the Strawberry Chocolate Cheesecake with icing sugar – I use a clean tea strainer – and serve.
Strawberry Chocolate Cheesecake a fantastically easy, yet sensational dessert.
How enticing does this Strawberry Chocolate Cheesecake look?
It is said that we eat with our eyes first. Well this is certainly a feast to be gazed upon – and then eaten 😉.
This cheesecake travels well too. Simply prepare the cheesecake without the whipped cream and strawberries, take to your destination and complete the decoration there!
Once fully decorated this cheesecake is best eaten straight away, although it will keep for up to two days wrapped in cling film, or stored in an airtight container, and placed in the fridge.
Cheesecake for breakfast anyone??
I hope that you have enjoyed this Strawberry Chocolate Cheesecake recipe, here are some others you may like too:
Thank you for all your lovely comments, please keep them coming I love reading your views on what I am posting. Again it is wonderful to see so many of you cooking and baking my recipes and popping a photo on Twitter or Instagram. I always feel genuinely honoured that you have chosen to make one of my recipes.
I am working hard to balance Feasting is Fun with a few more savoury recipes. Is there anything you would particularly like to see more of on here?
Have fun making and baking in your kitchens and enjoying the memories that you are making whilst feasting together with friends and family.