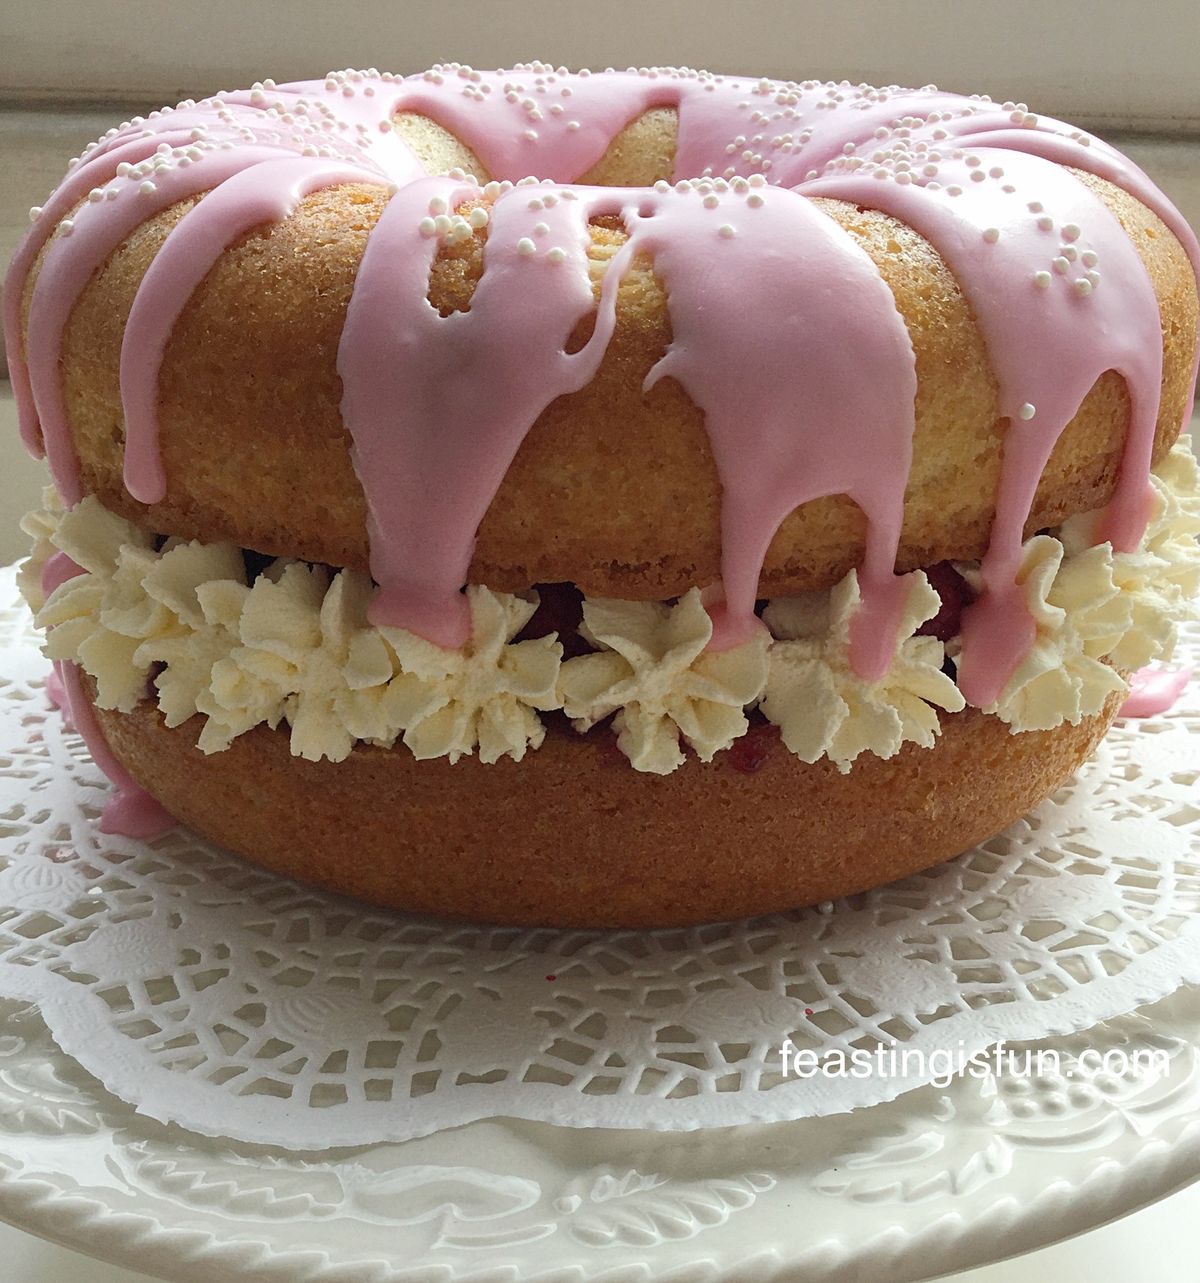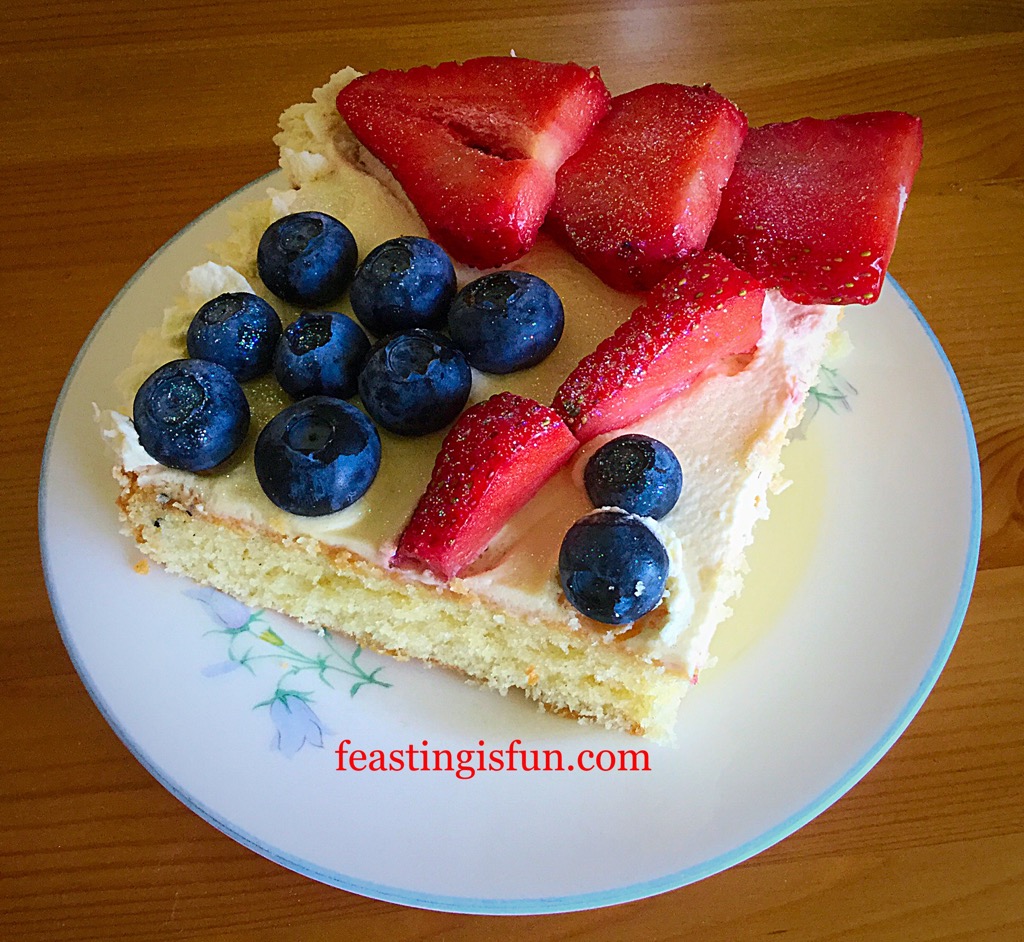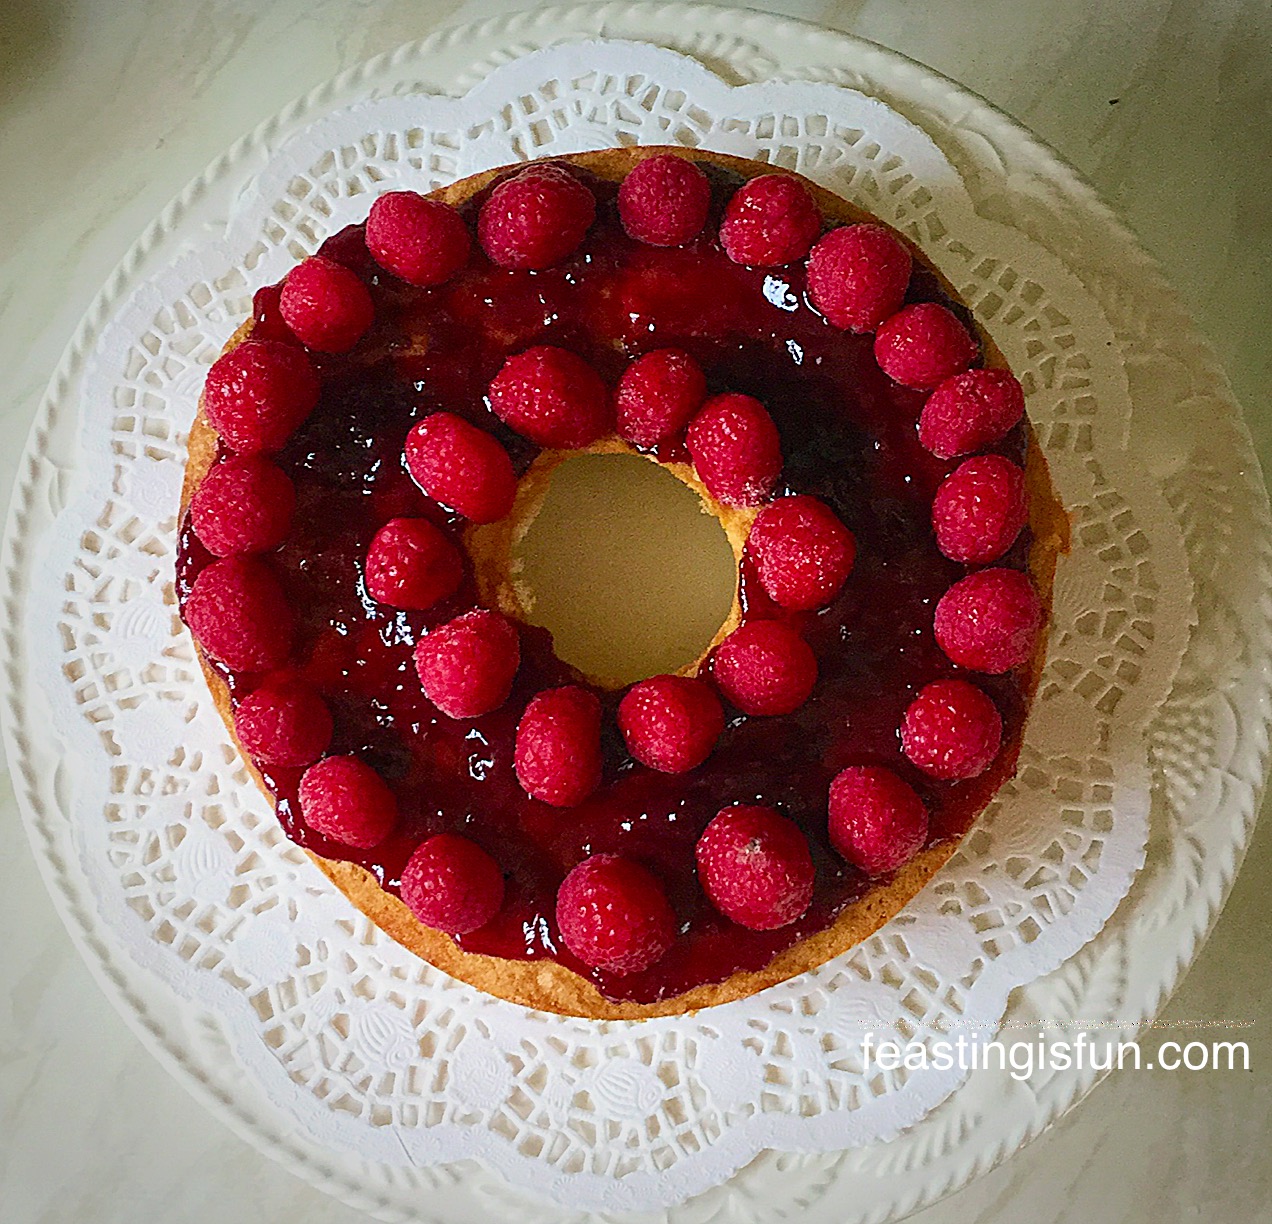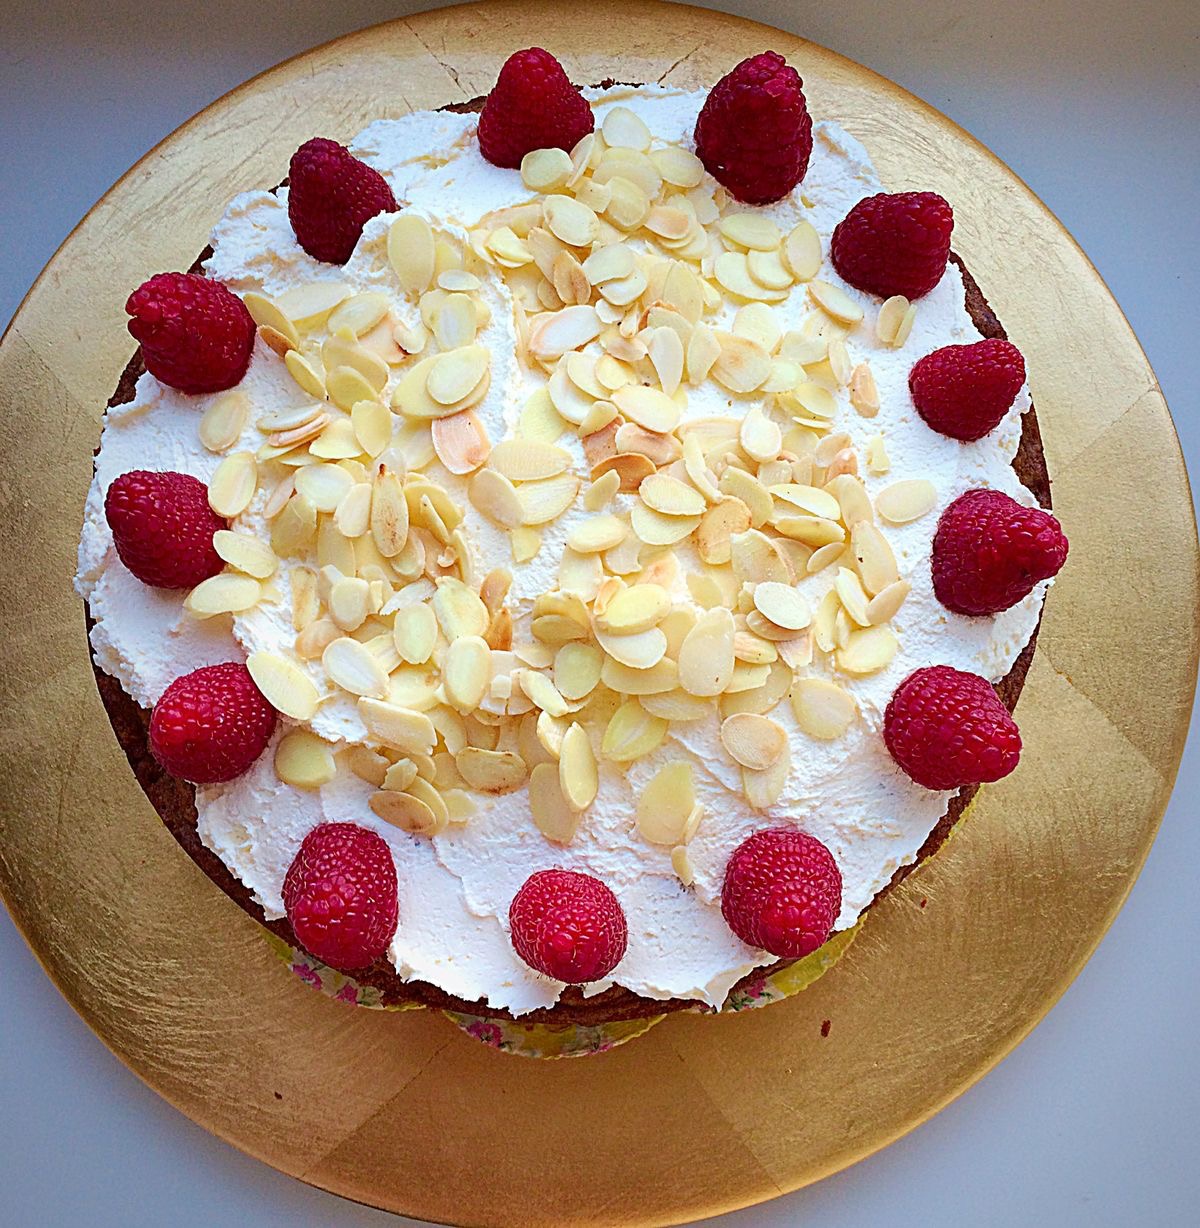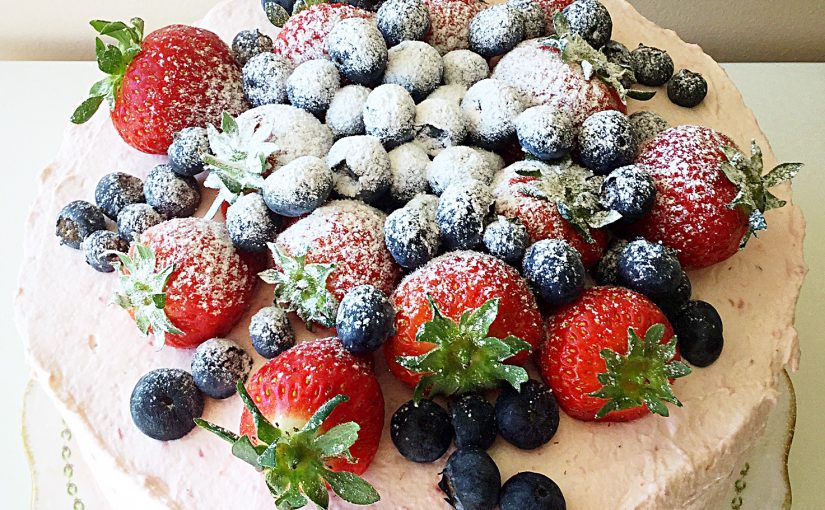
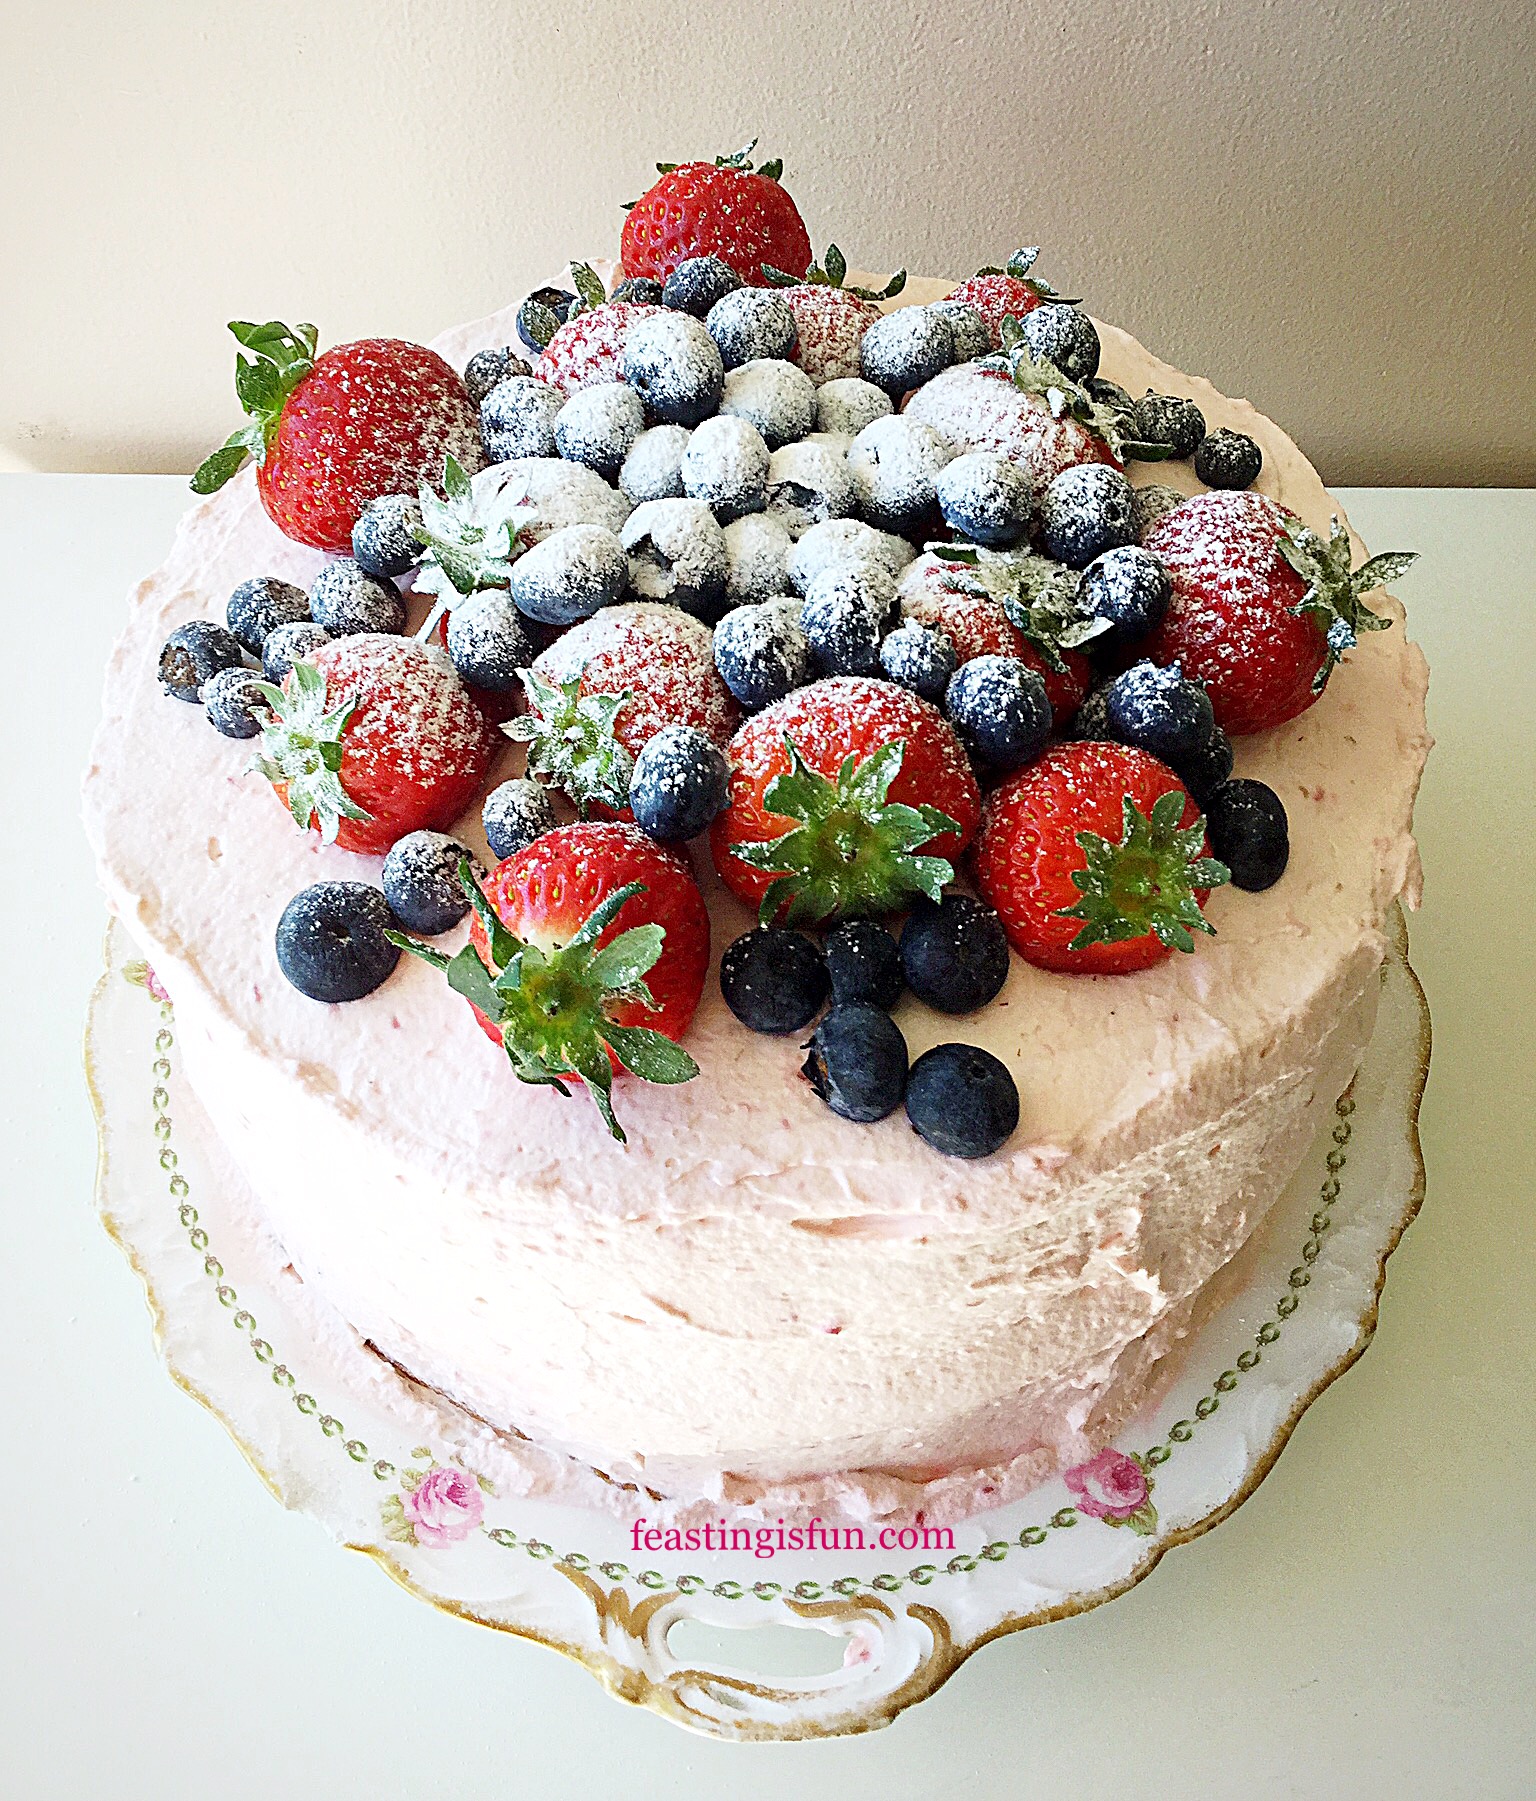
I adore the variety and abundance of fresh fruit available during the warmer months of the year. So, if I can restrain myself from simply eating them as they are I love to use them in recipes. And here in my Summer Mixed Berry Sponge Cake they are given centre stage. Freshly made raspberry and blueberry jam sandwiched between the two sponges with fresh raspberry whipped cream covering the entire cake. Finally topped with more fresh blueberries and strawberries this cake is a celebration of summer fruit.

Since not everyone here at Feasting headquarters is a fan of sweet frosting, I decided to use something different to cover this cake. And fresh raspberries added to whipped cream are utterly delicious. While the raspberries are tart, when whipped into the cream they lend a sweetness and very light raspberry flavour. Also, as the cream is used between the sponges and to cover the cake it adds a very pretty pink colour to the finished creation.

Seasonal fruits
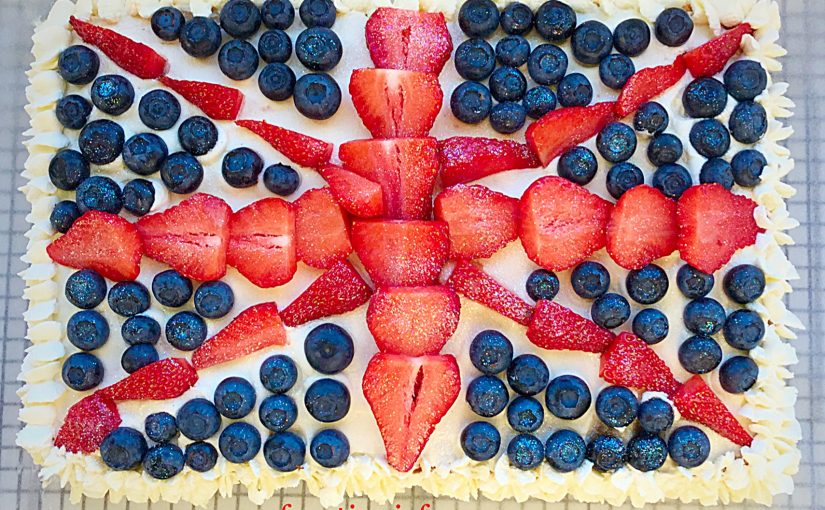
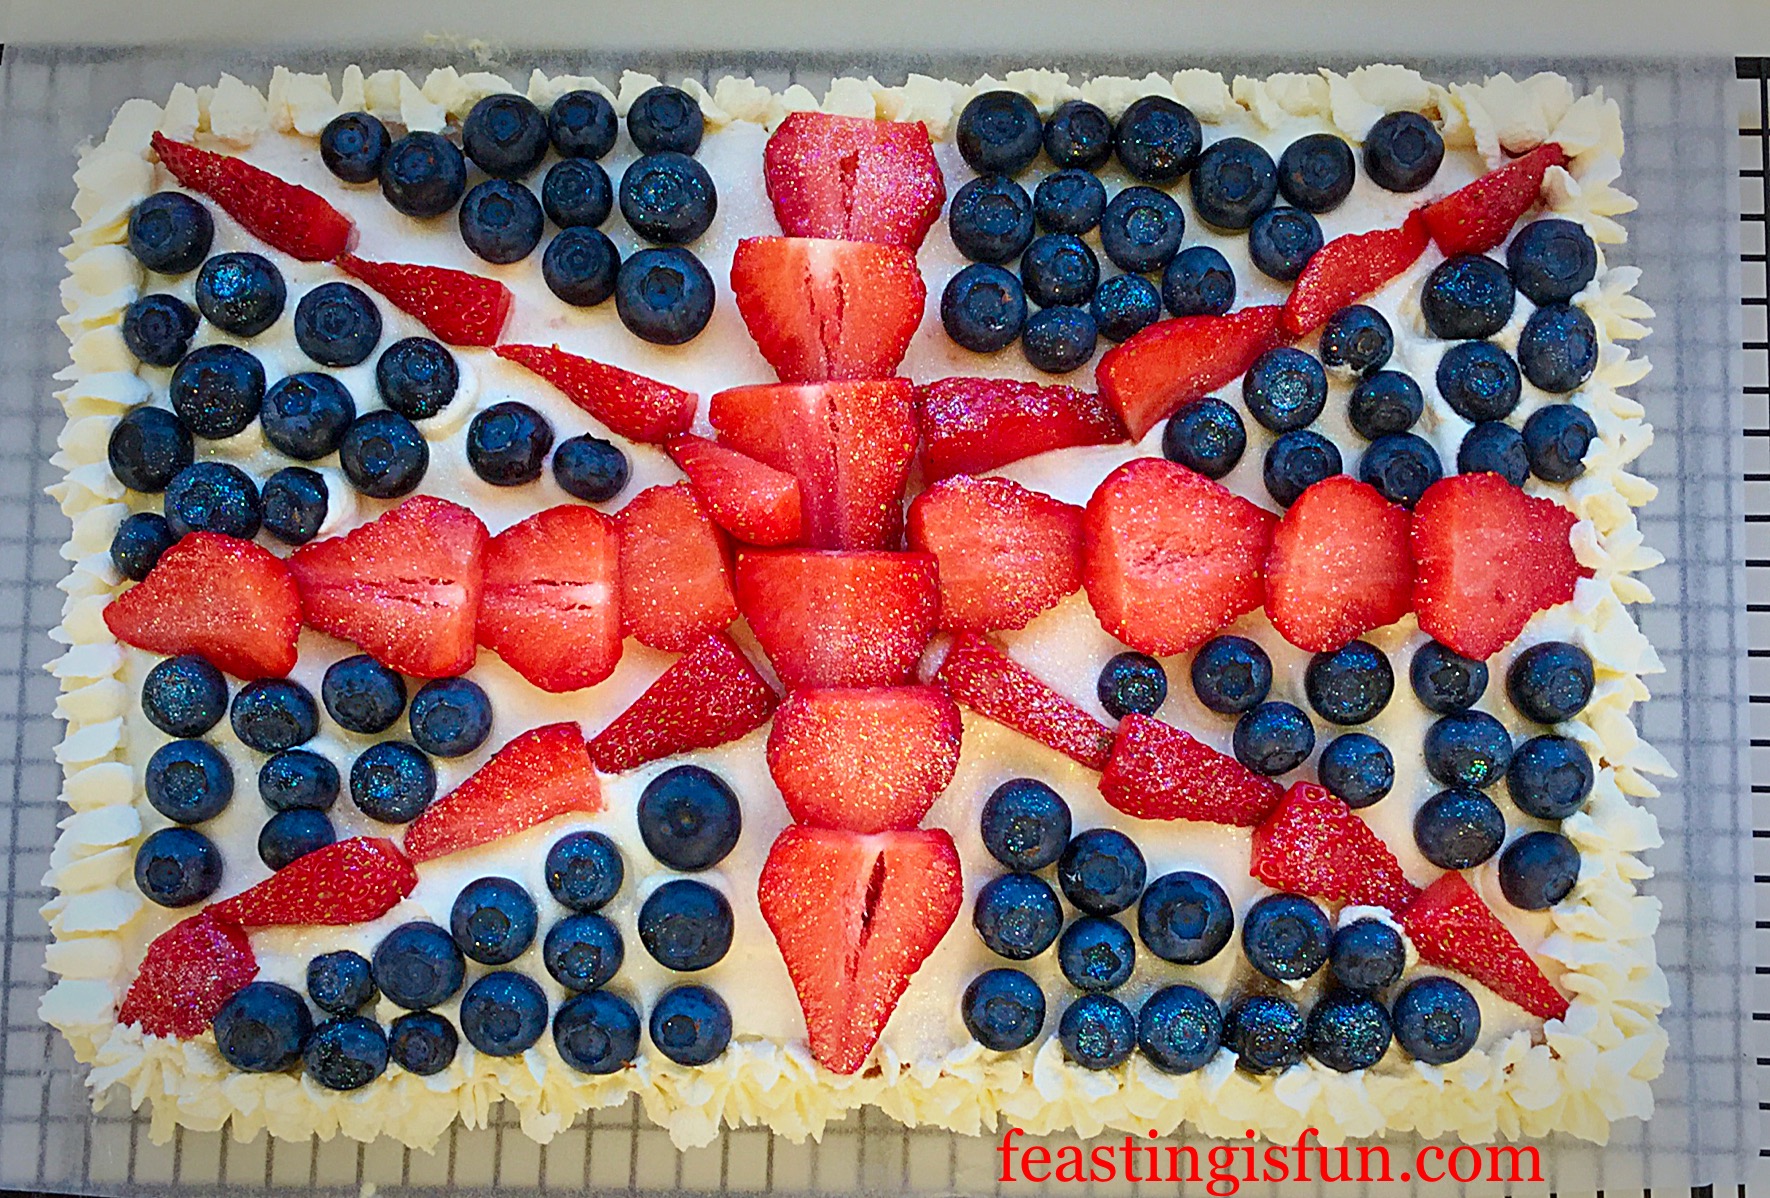
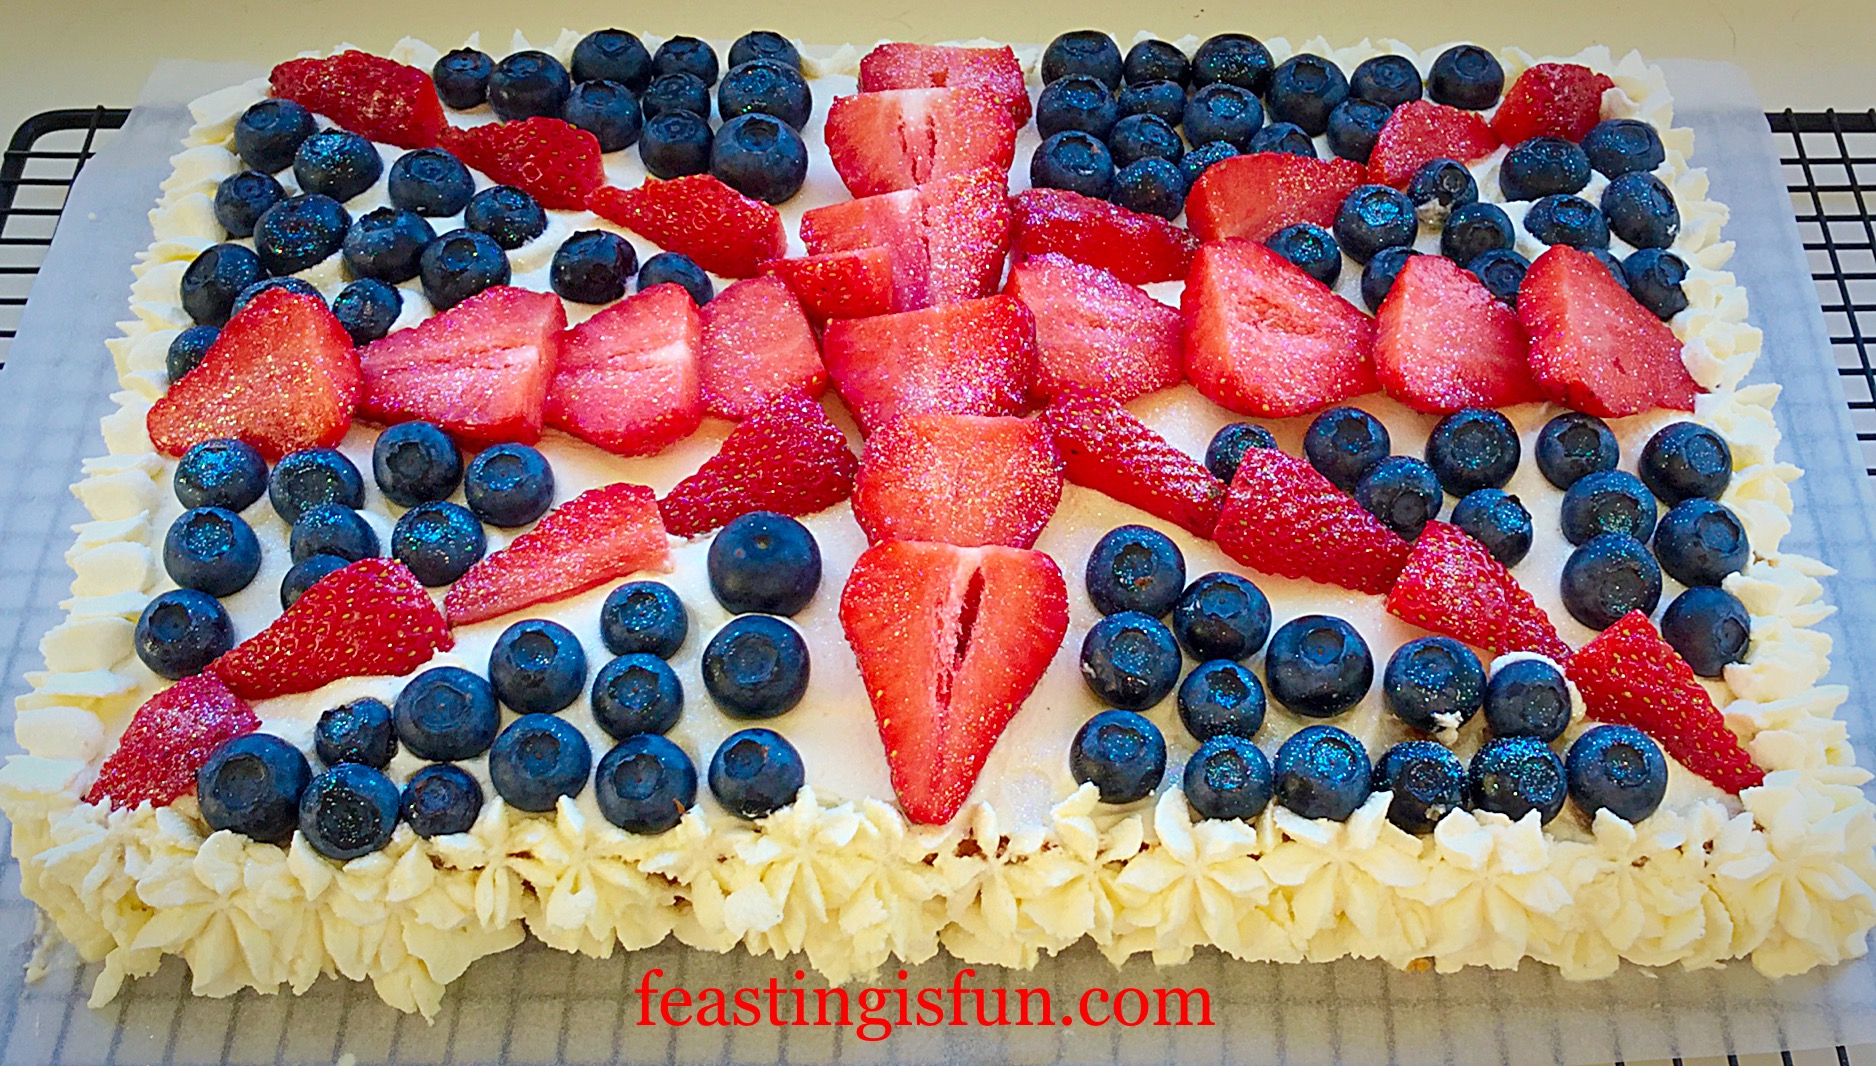
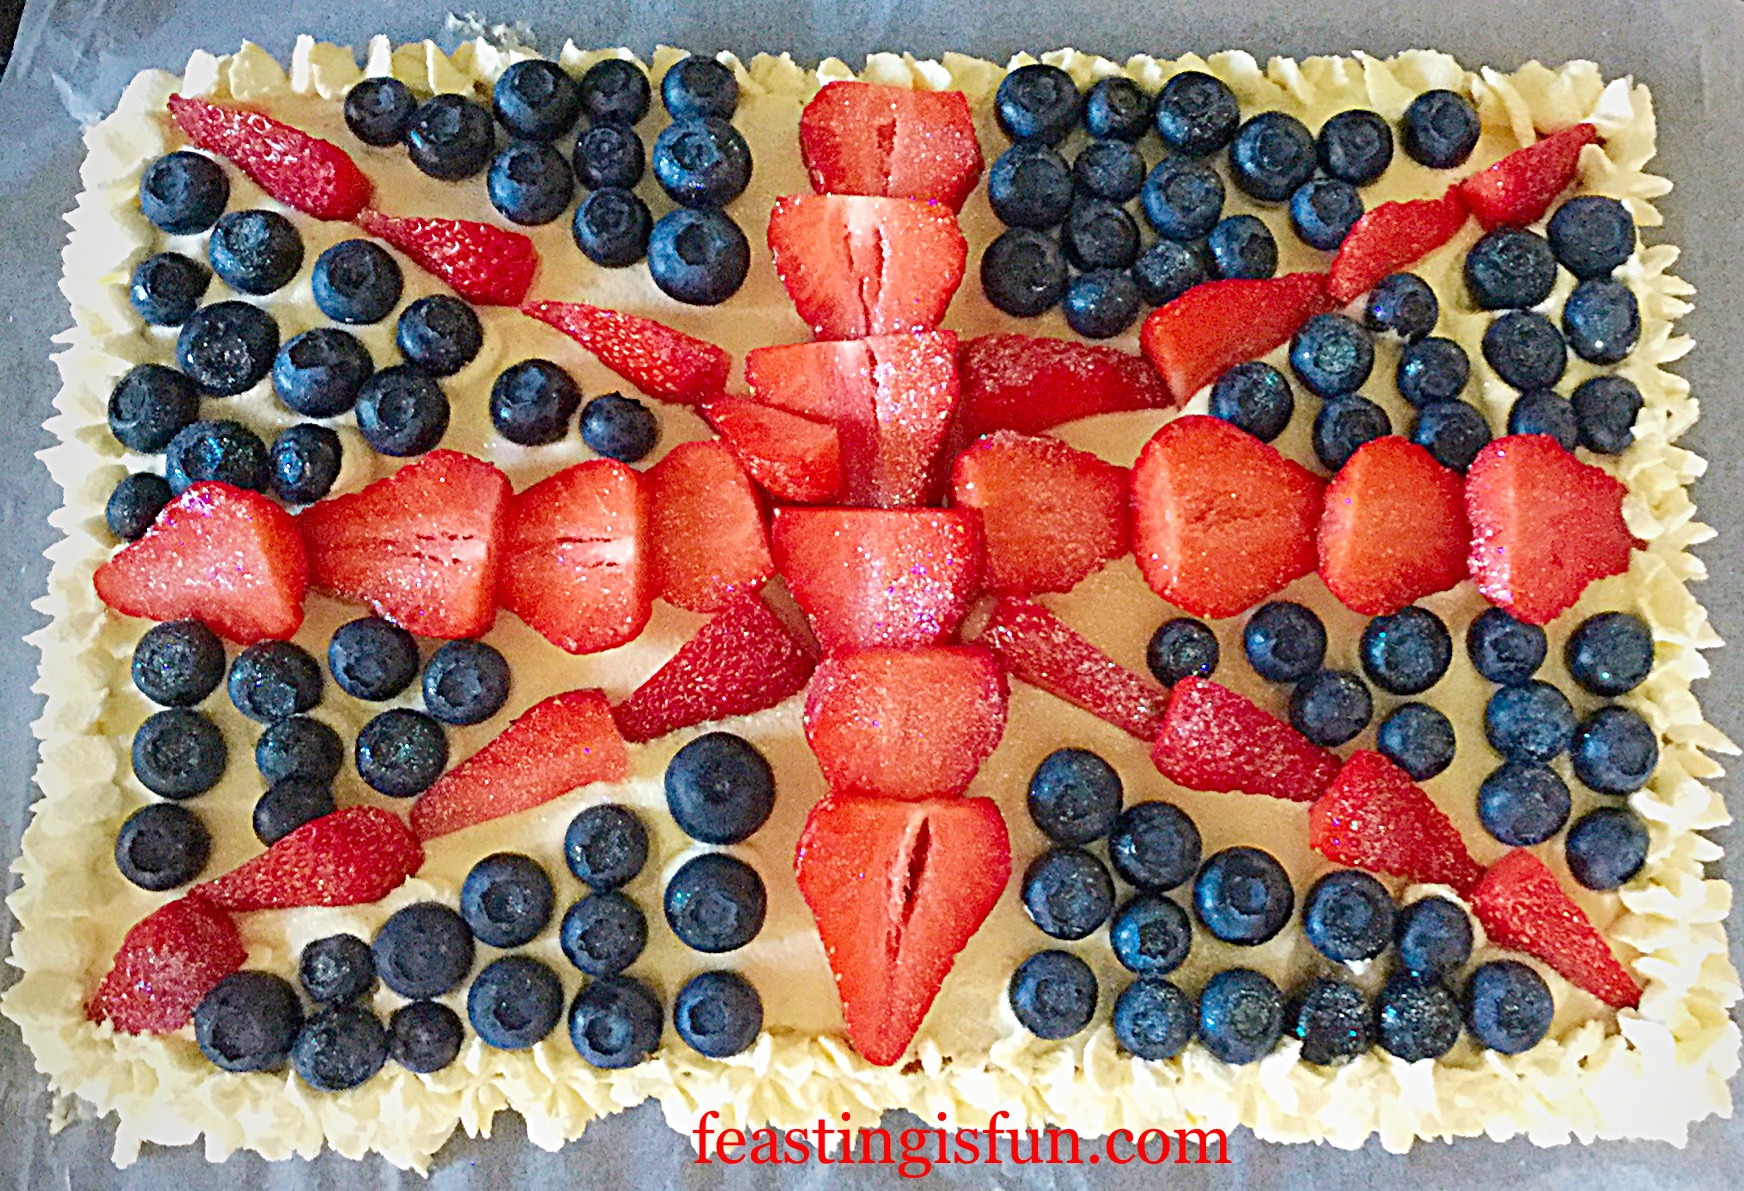
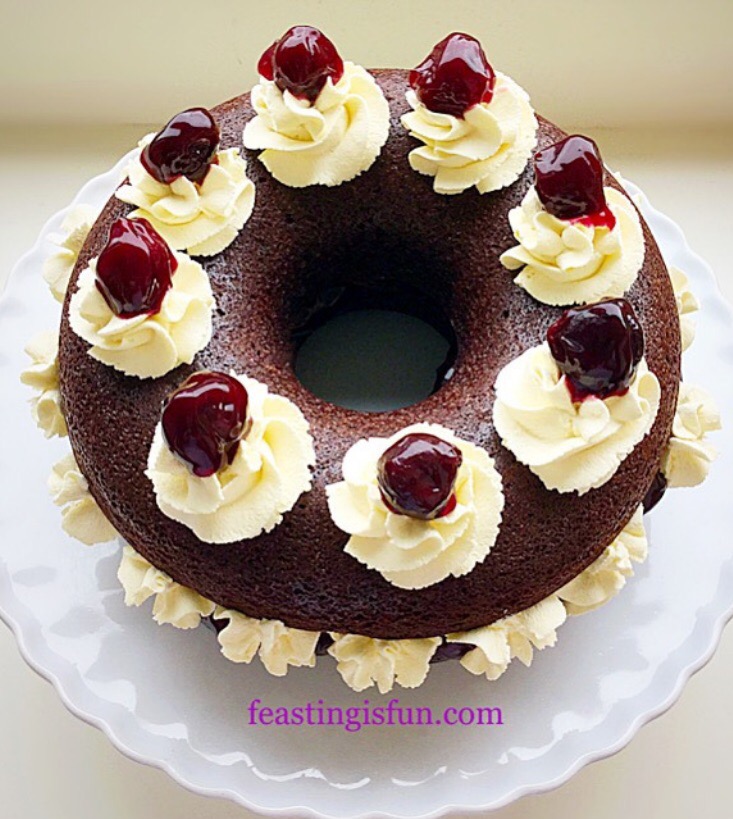
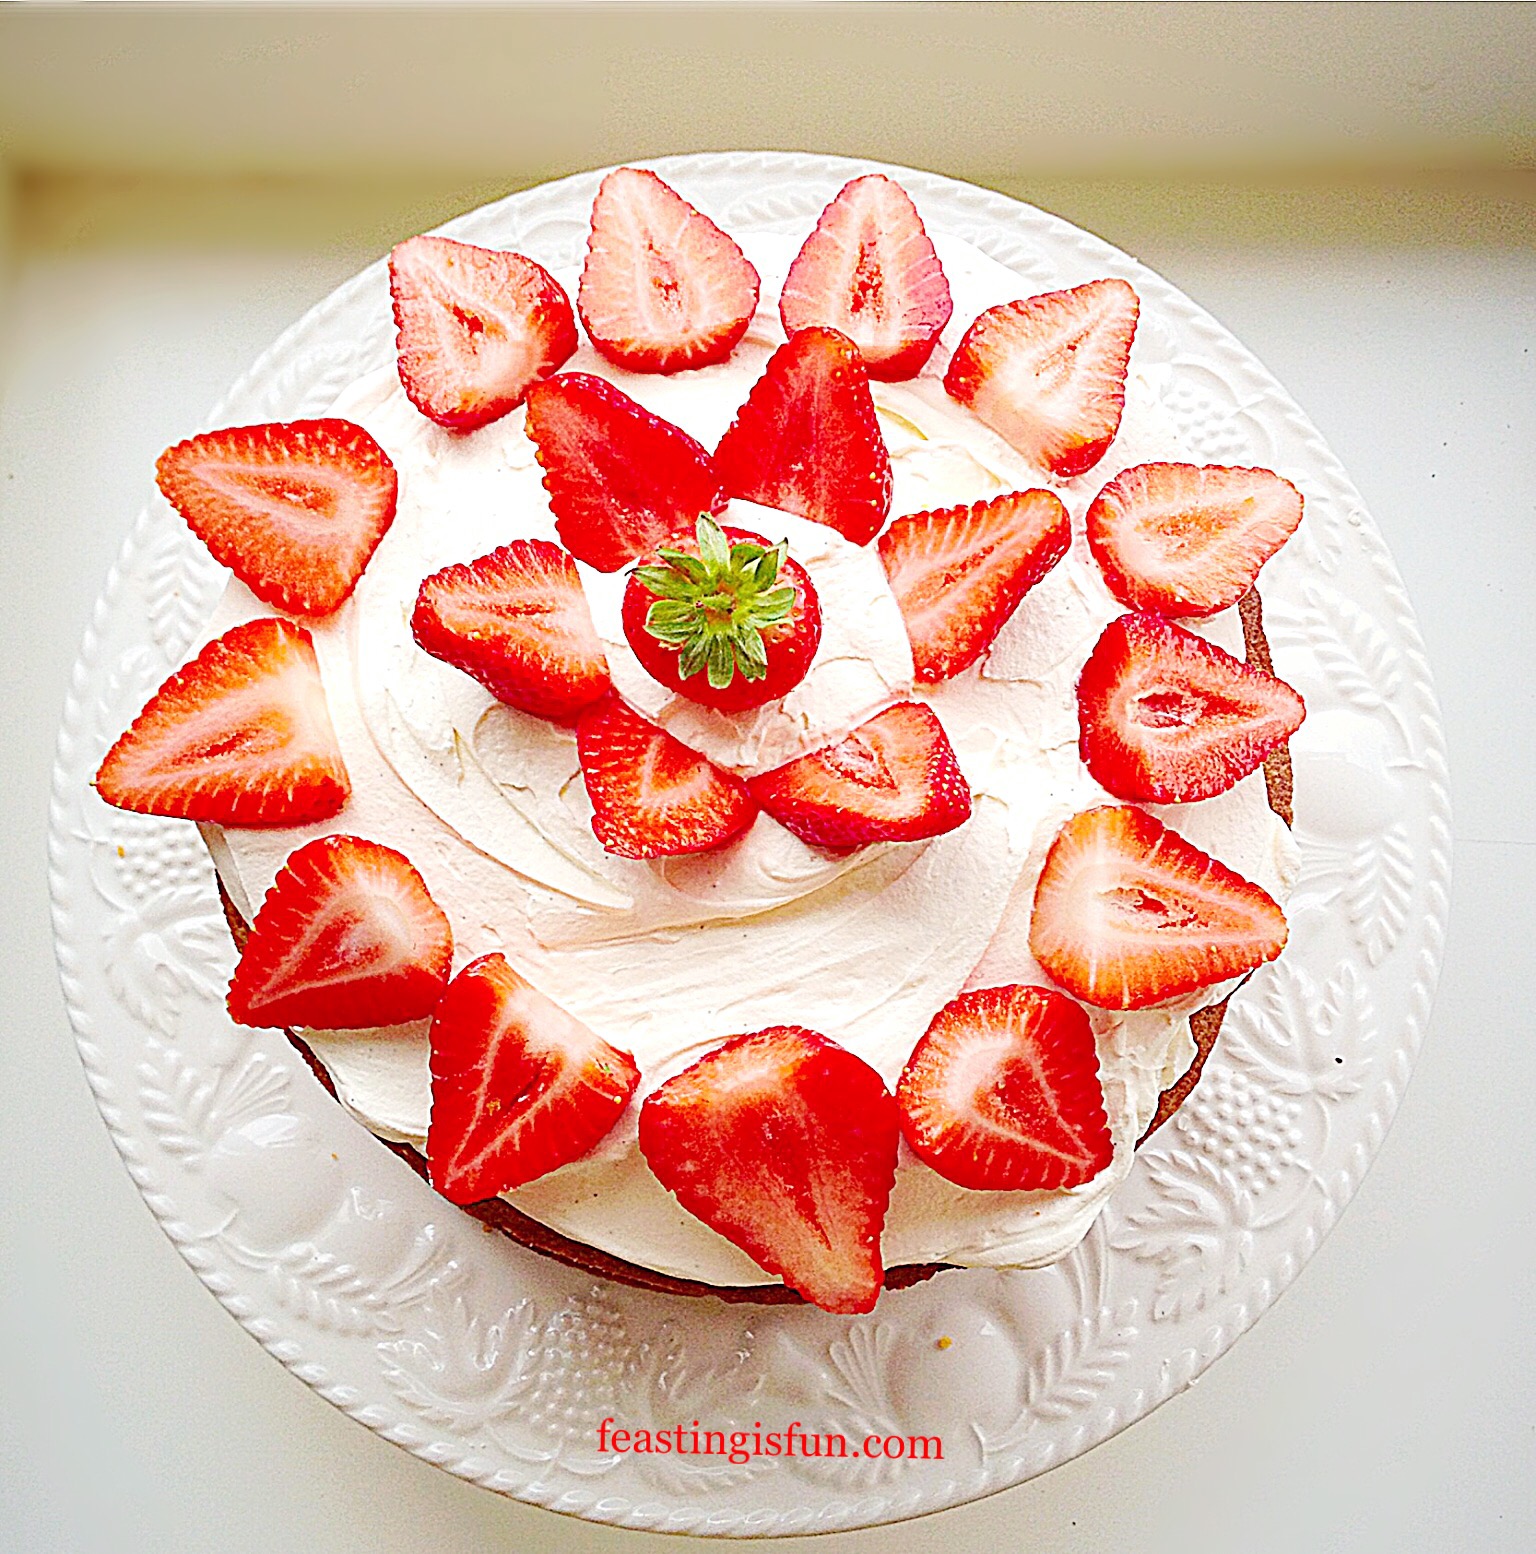
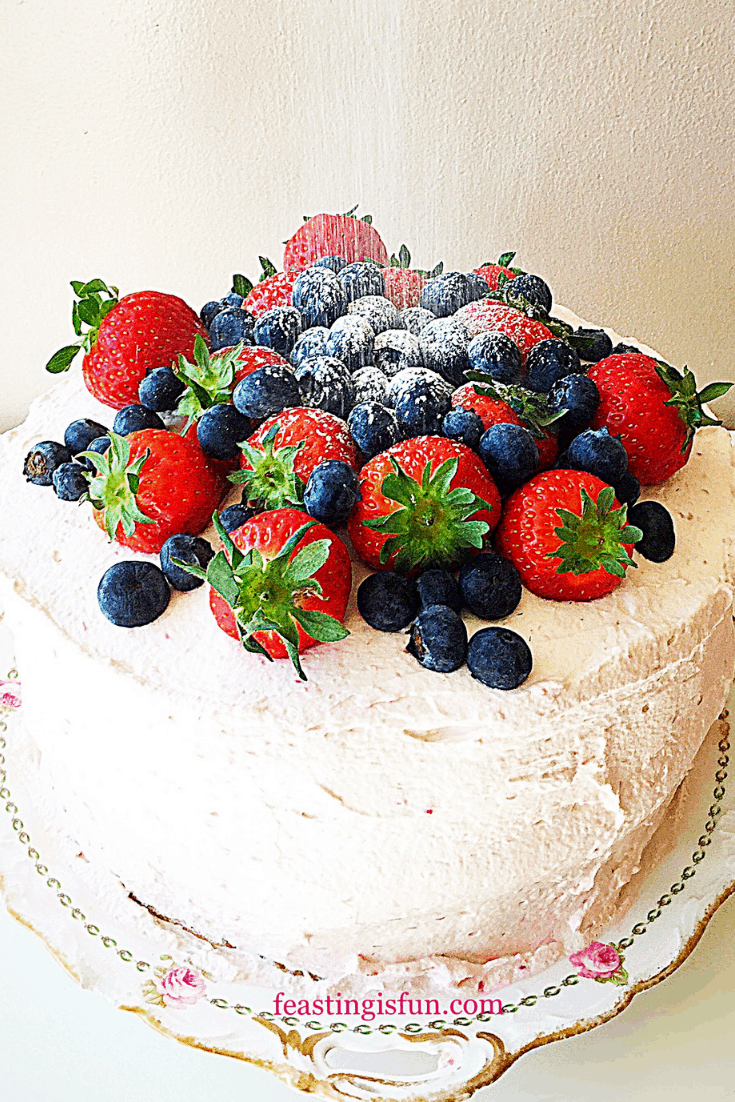
Finally the cake it topped with a tumble of seasonal strawberries and blueberries. Alternatively switch up and swap around the fruits according to what is abundant, available and in season. Since I have blackberry, raspberry, tayberry, redcurrant, blackcurrant, strawberries AND a cherry tree in our garden I will have different choices as the season progresses. Also I am sure that strings of redcurrants dripping over the side of this cake will look really pretty.
A guide for changing up the fruit is to keep at least one ‘sweet’ fruit for the top. Also I would be careful about adding strawberries to the whipped cream. Since they can be quite watery and may cause it to split. If in doubt, scoop a spoonful of whipped cream on to a plate and mash in a small amount whichever fruit you want to use. And the fruit should mix easily into the cream. Alternatively, if the mixture splits try a different fruit.
Recipe: Summer Mixed Berry Sponge Cake serves 8-10
For the sponge cakes:
275g/10oz Unsalted Butter at room temperature – plus a little extra to grease the cake tins
275g/10oz Caster Sugar
1 tsp Vanilla Extract – I use Nielsen-Massey
1/4 tsp Sea Salt Flakes – halve if using free flowing
5 Large Free Range Eggs
275g/10oz Plain White Flour
3 tsp Baking Powder
1 Large Lemon – scrubbed and finely zested
To fill and cover:
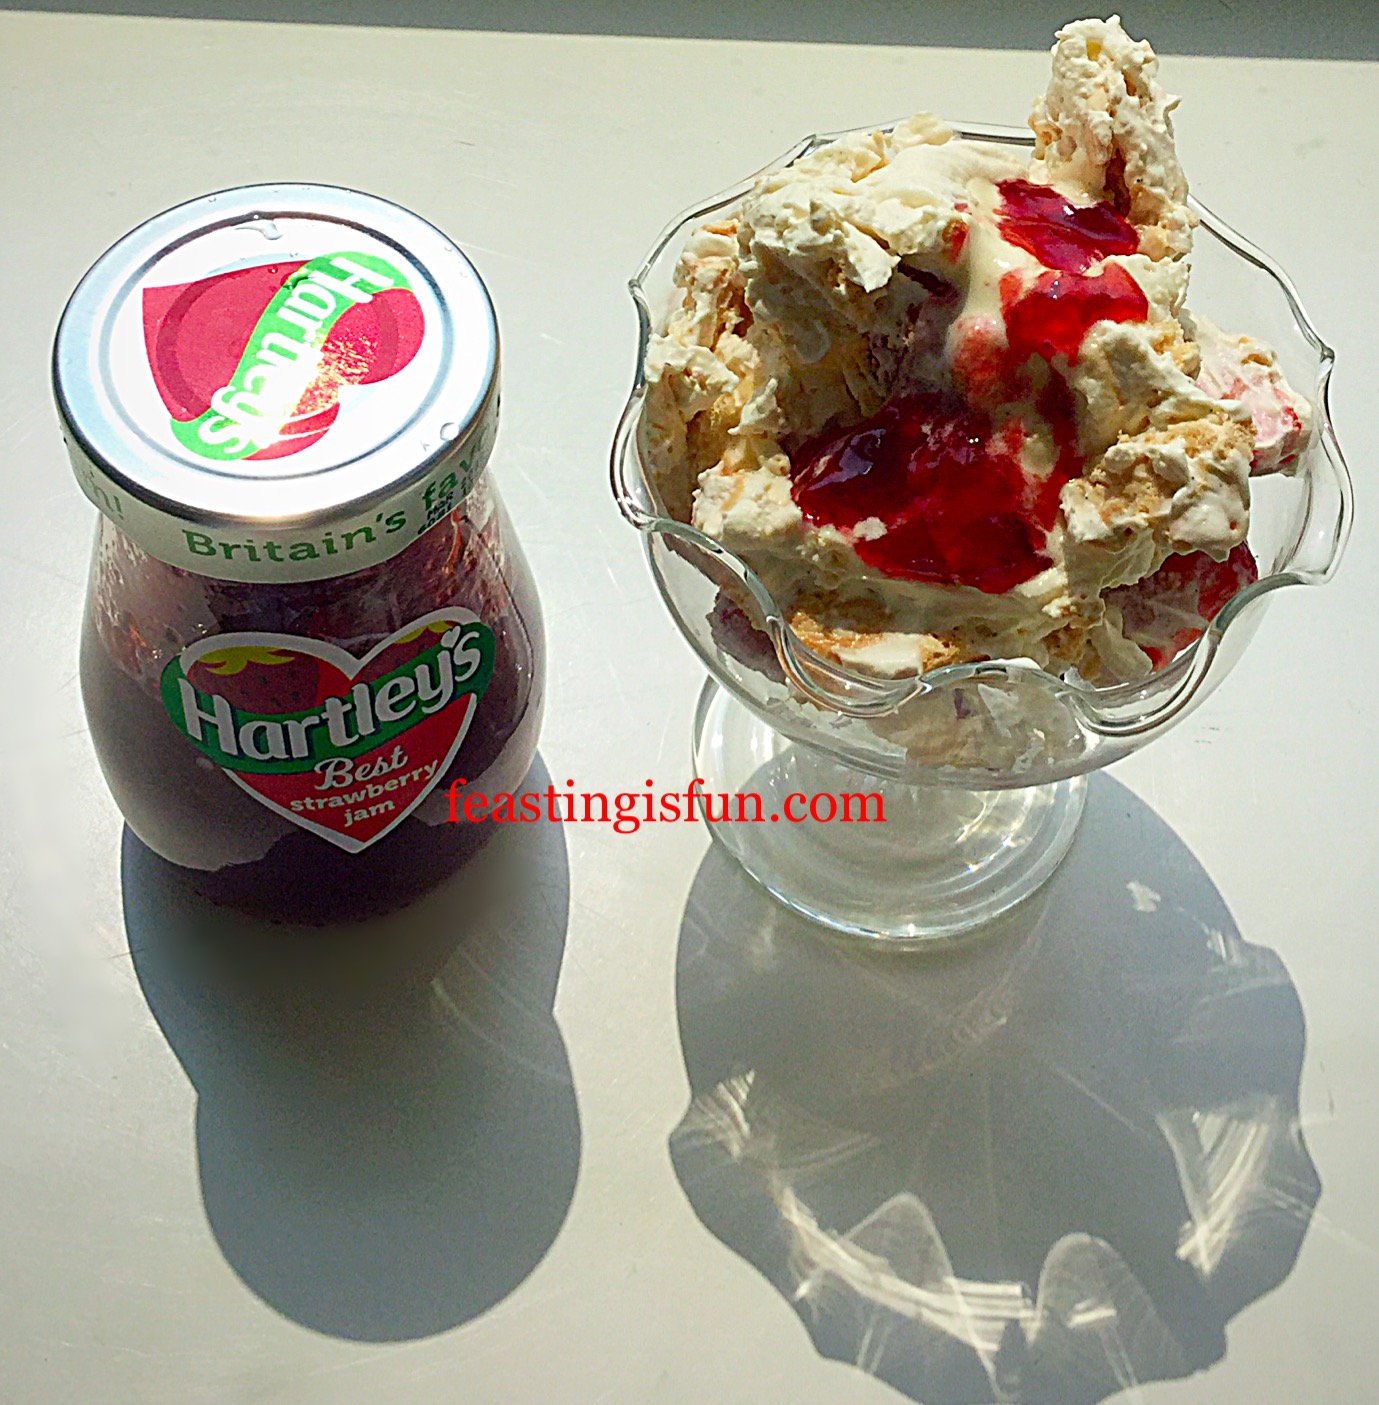
225g/8oz Fresh Fruit Jam – to make fresh raspberry jam please see the recipe on Victoria Sponge Cake substitute half of the raspberries for blueberries for the jam I used here
450ml/1 pint Double Cream (heavy cream)
100g/4oz Fresh Raspberries
25g/1oz Caster Sugar
1 tsp Vanilla Extract
To decorate:
150g/5oz Fresh Blueberries – alternatively use blackberries
225g/8oz Fresh Strawberries – alternatively use raspberries
Optional – 1 tsp Icing Sugar to dust
Method: Preheat oven to 160C/140C fan, 325F, gas mark 3.
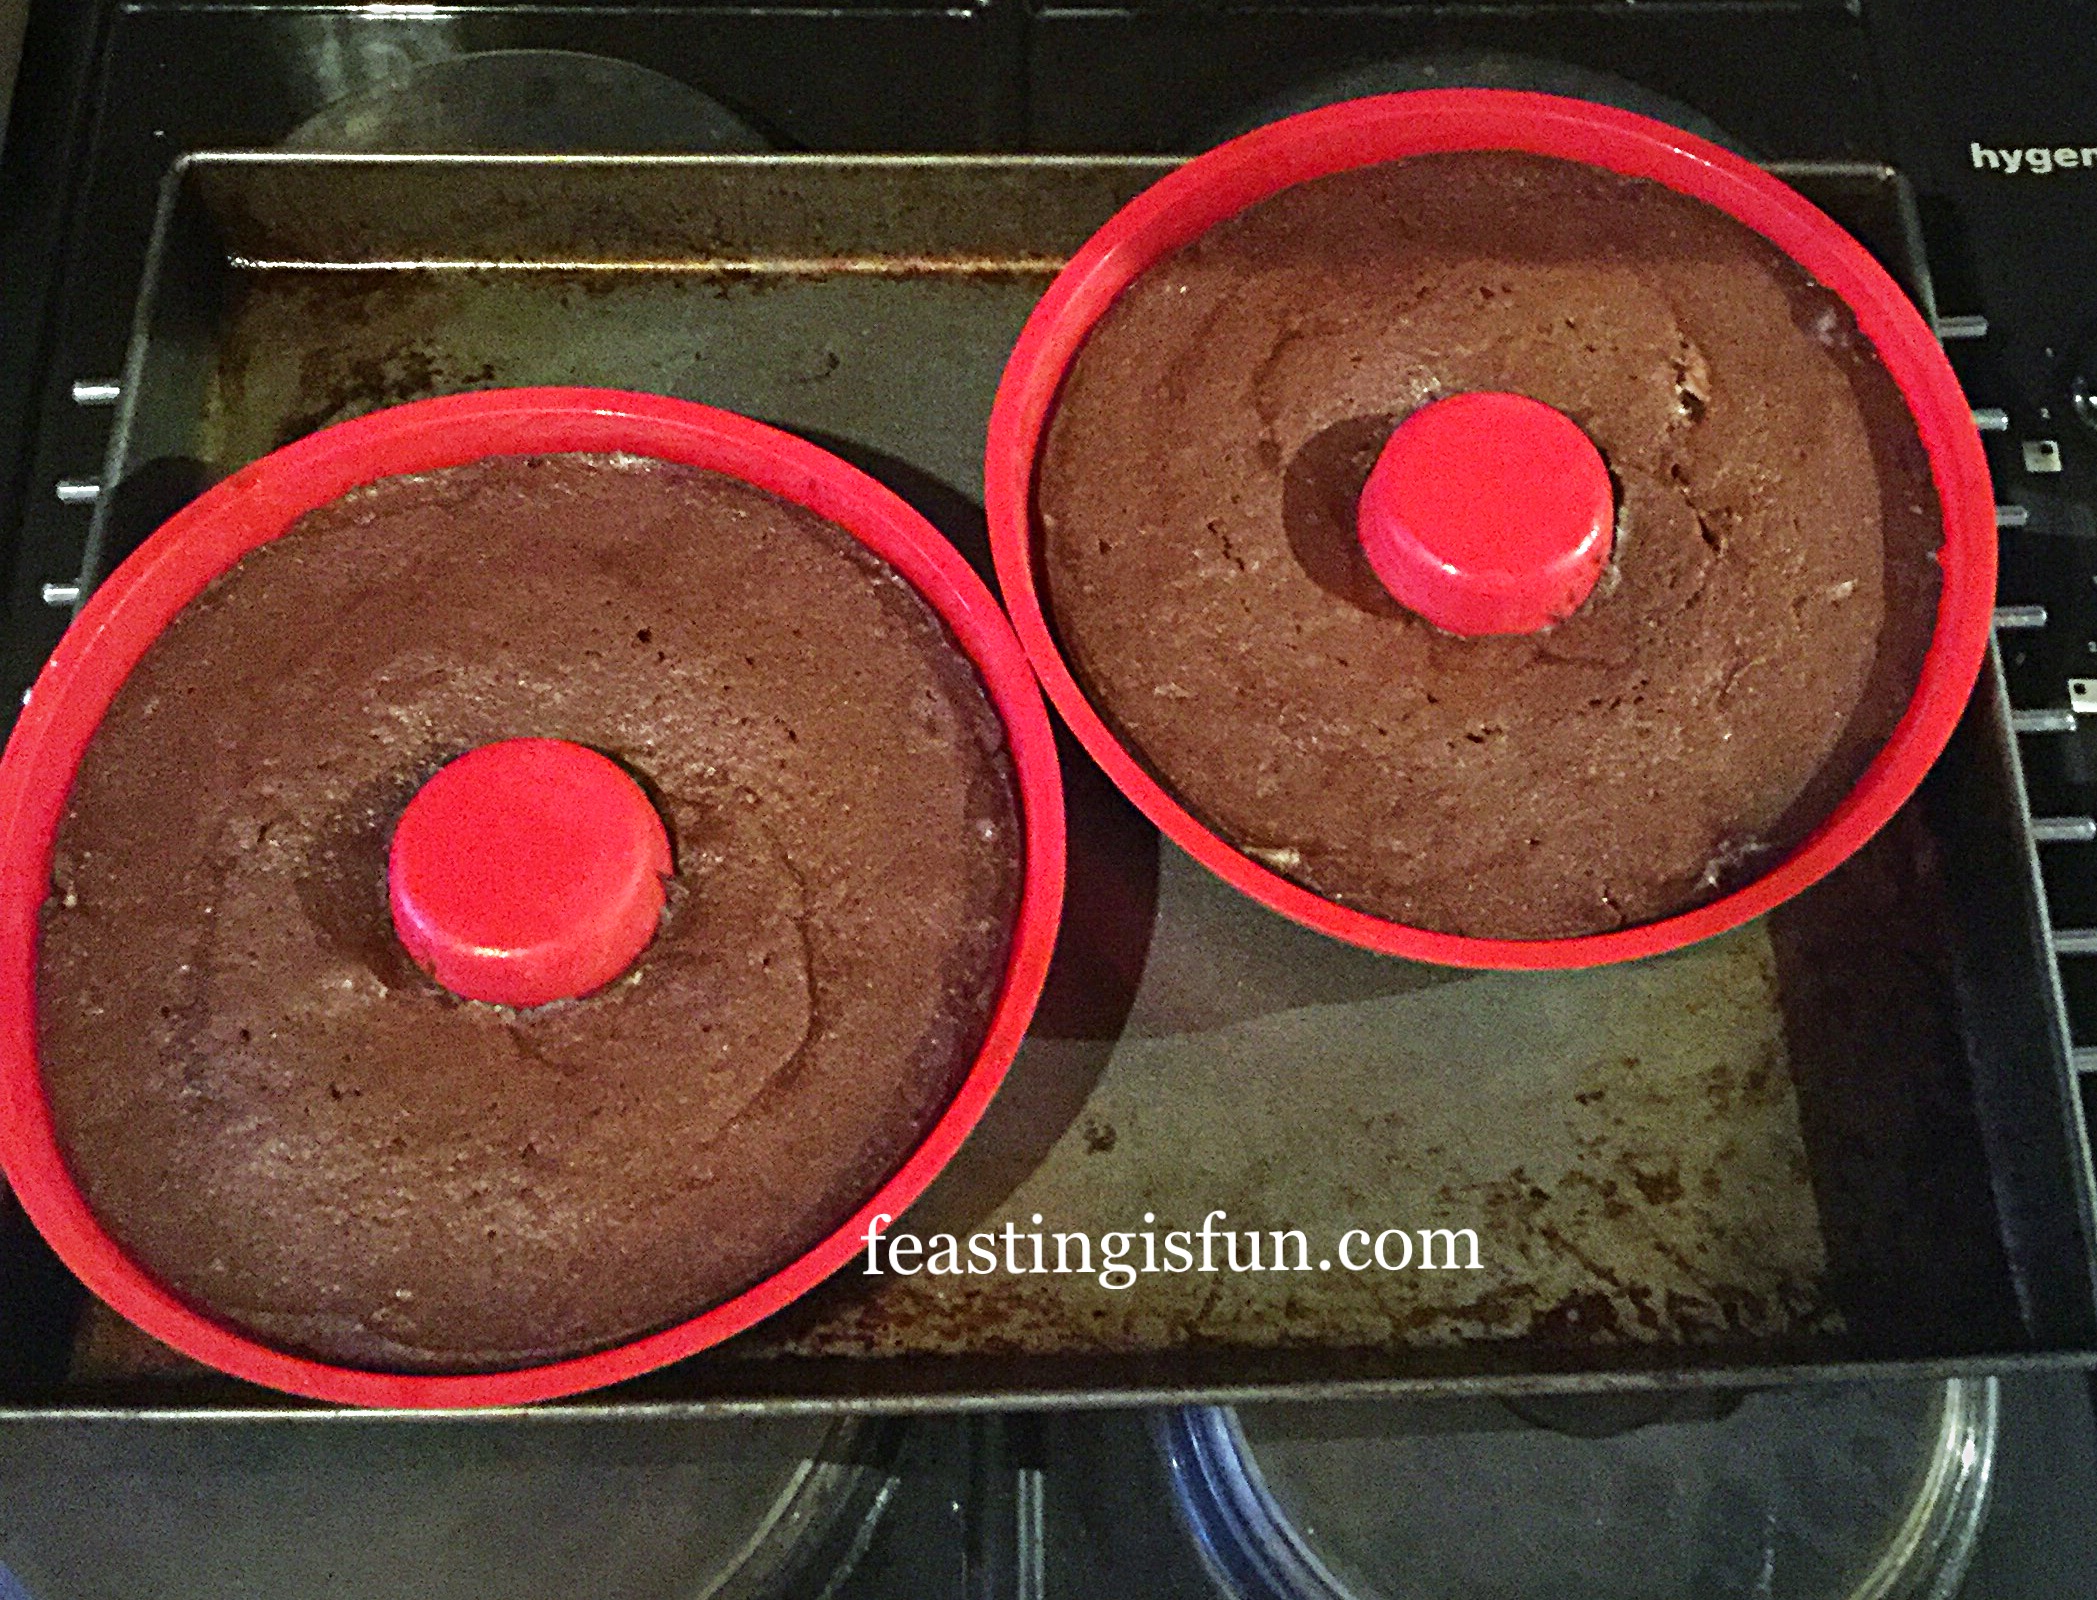
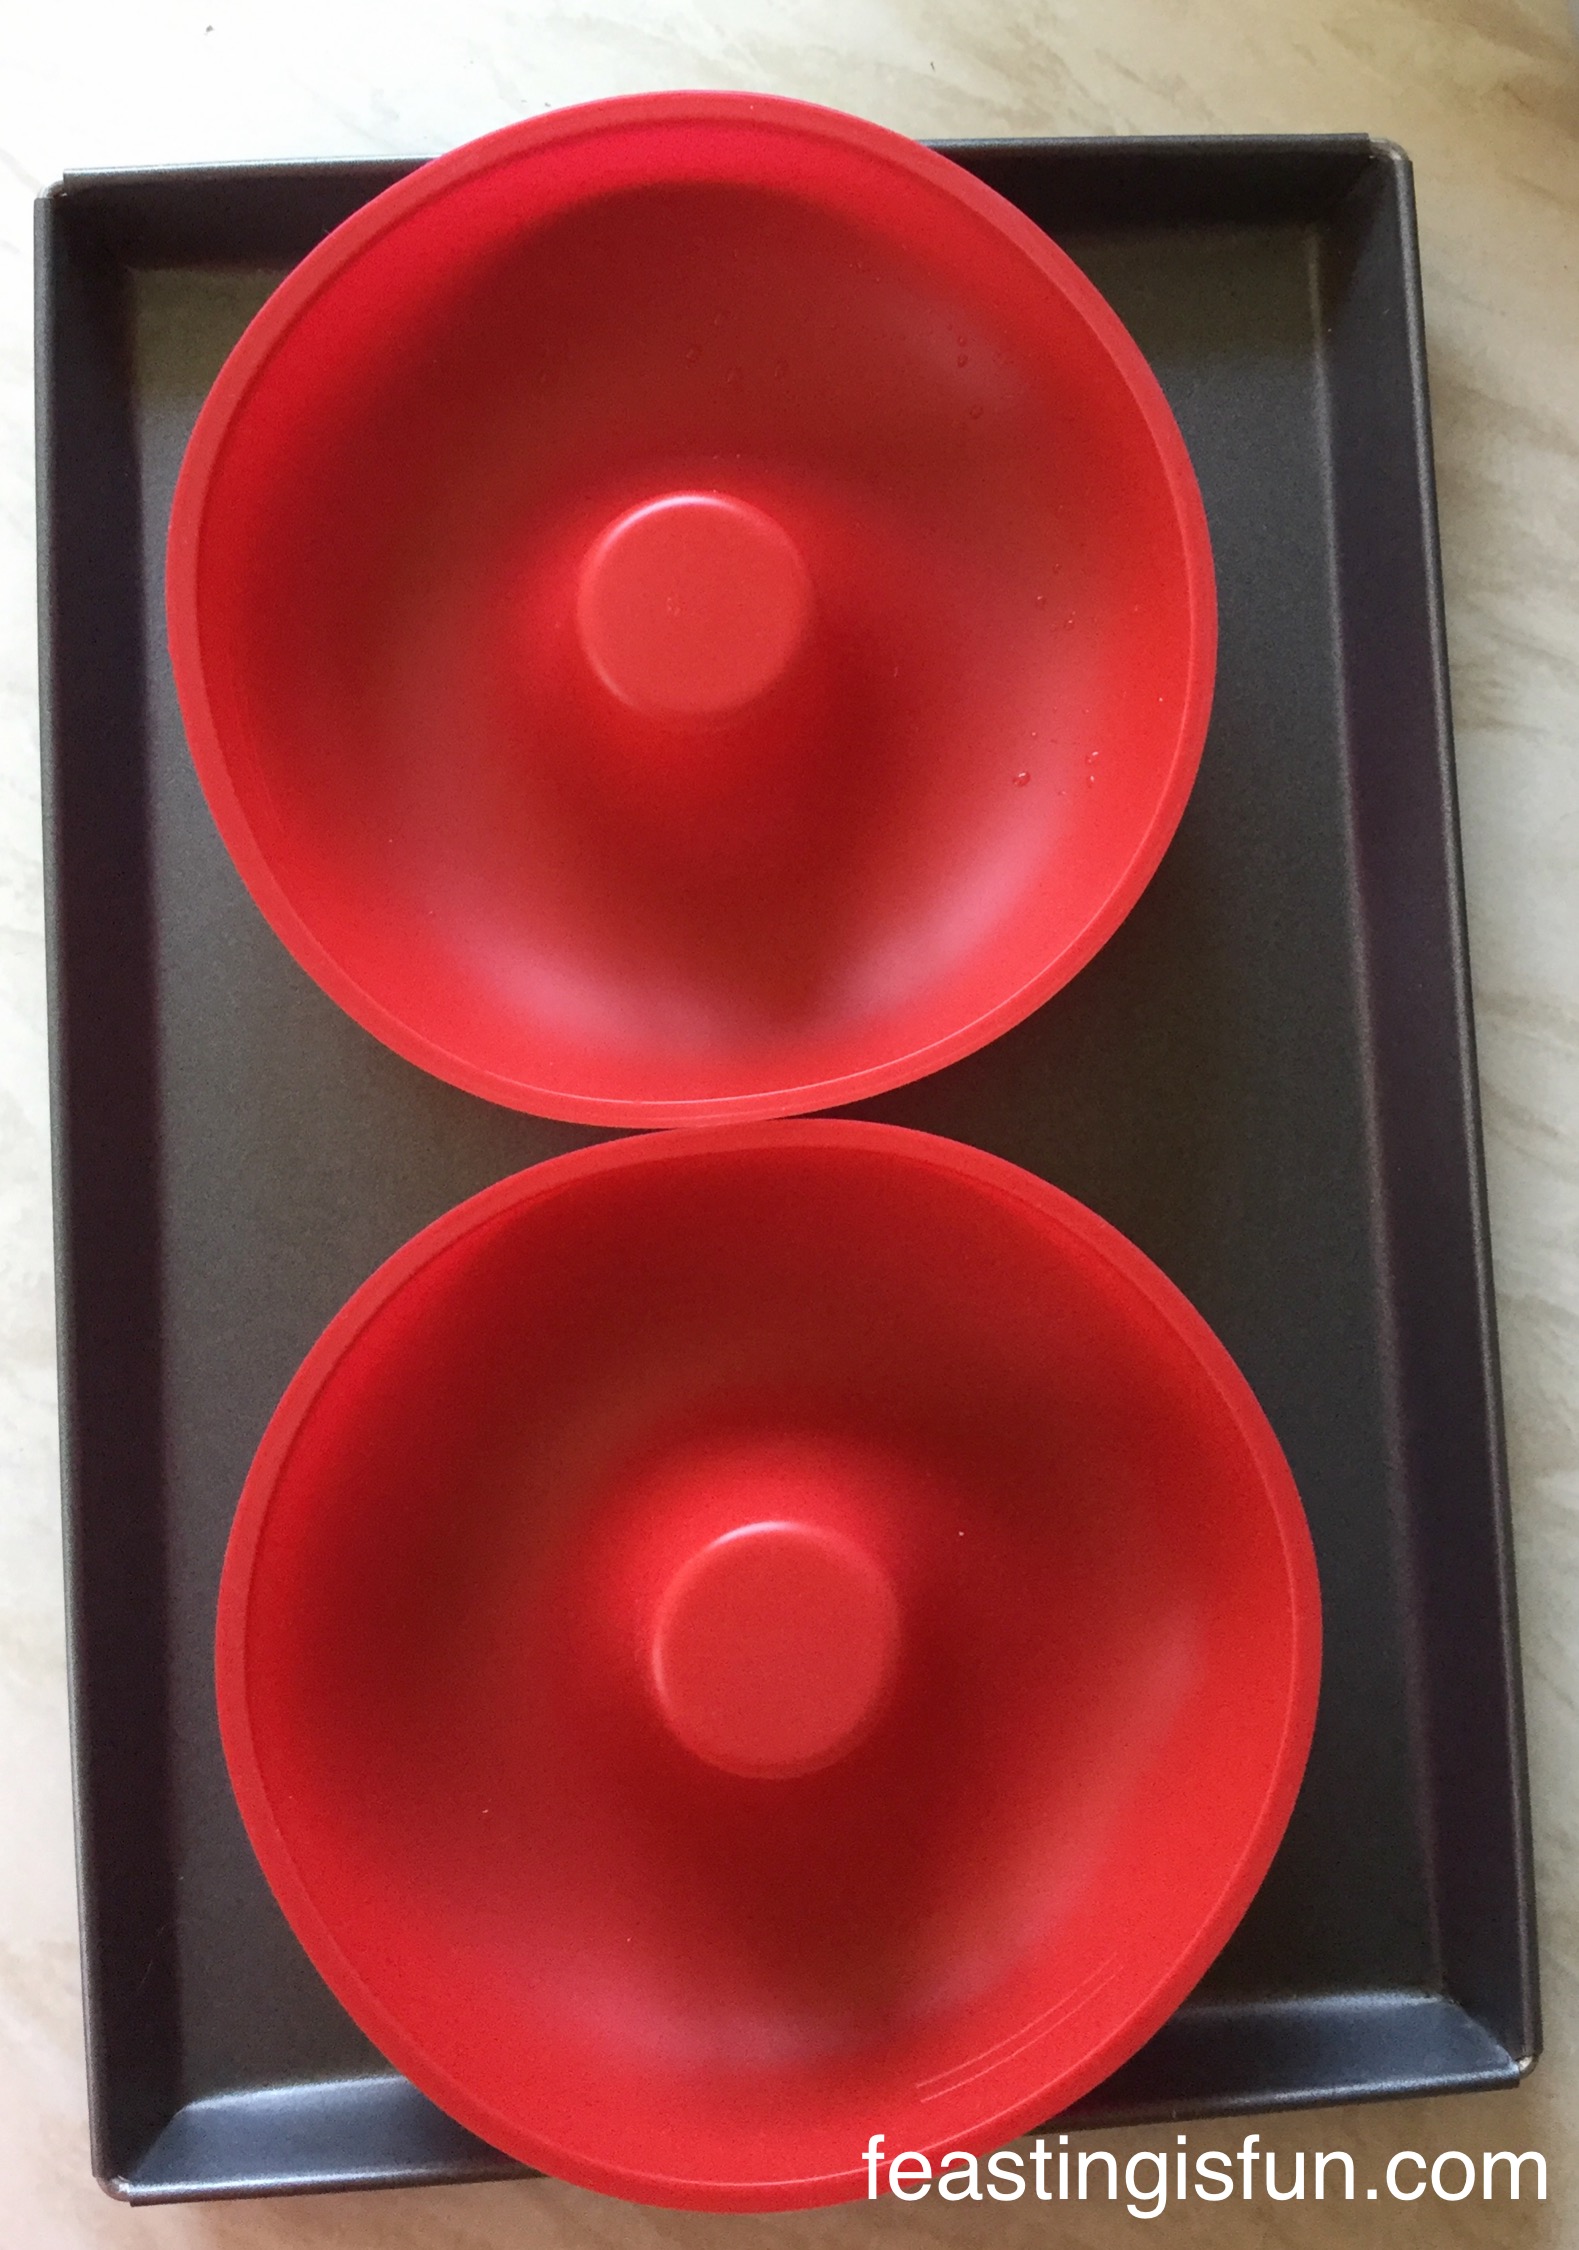
You will need two 20cm/8in sandwich tins, buttered and the base lined with baking parchment.
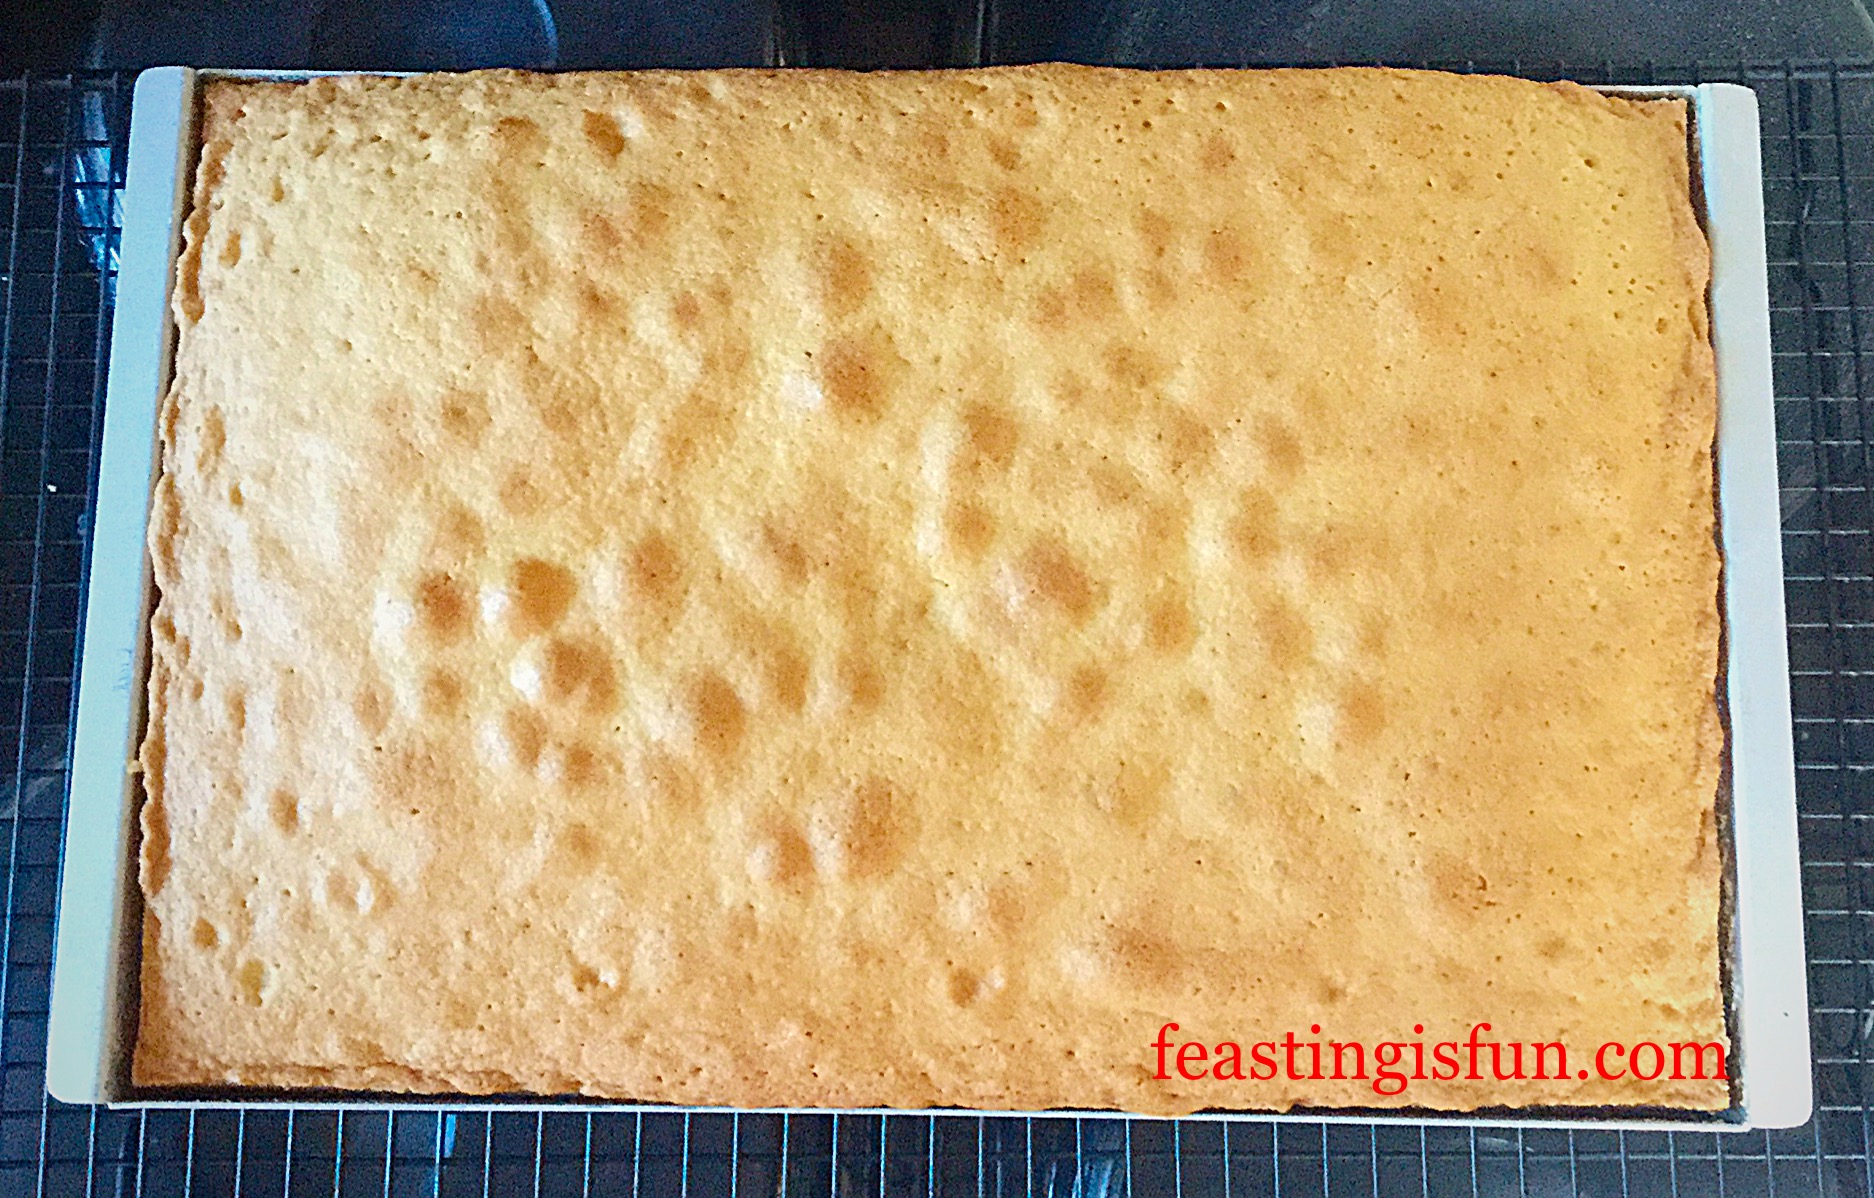
Making and baking the sponge cakes
- First of all, into a large mixing bowl add the butter, sugar and salt. Whisk everything together until pale and creamy.
- Now add 2 eggs, vanilla extract and half of the flour. And whisk until just combined.
- Finally add the remaining flour and baking powder, 3 eggs and the lemon zest. Whisk together until everything is just combined. Over mixing will cause the cake to be dense.

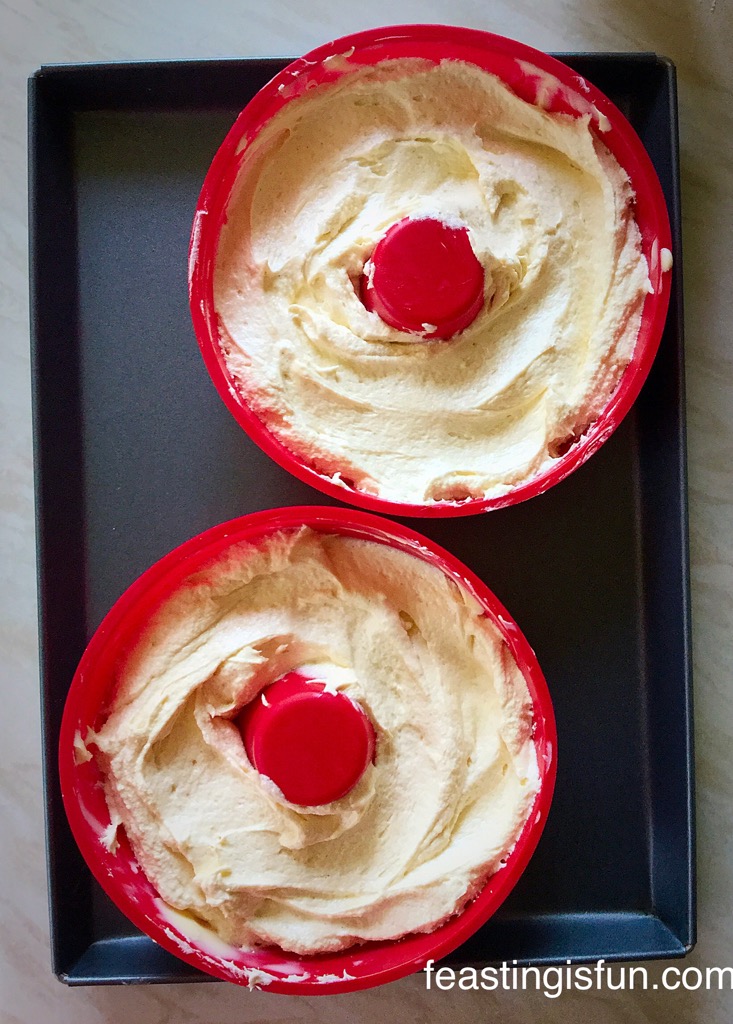
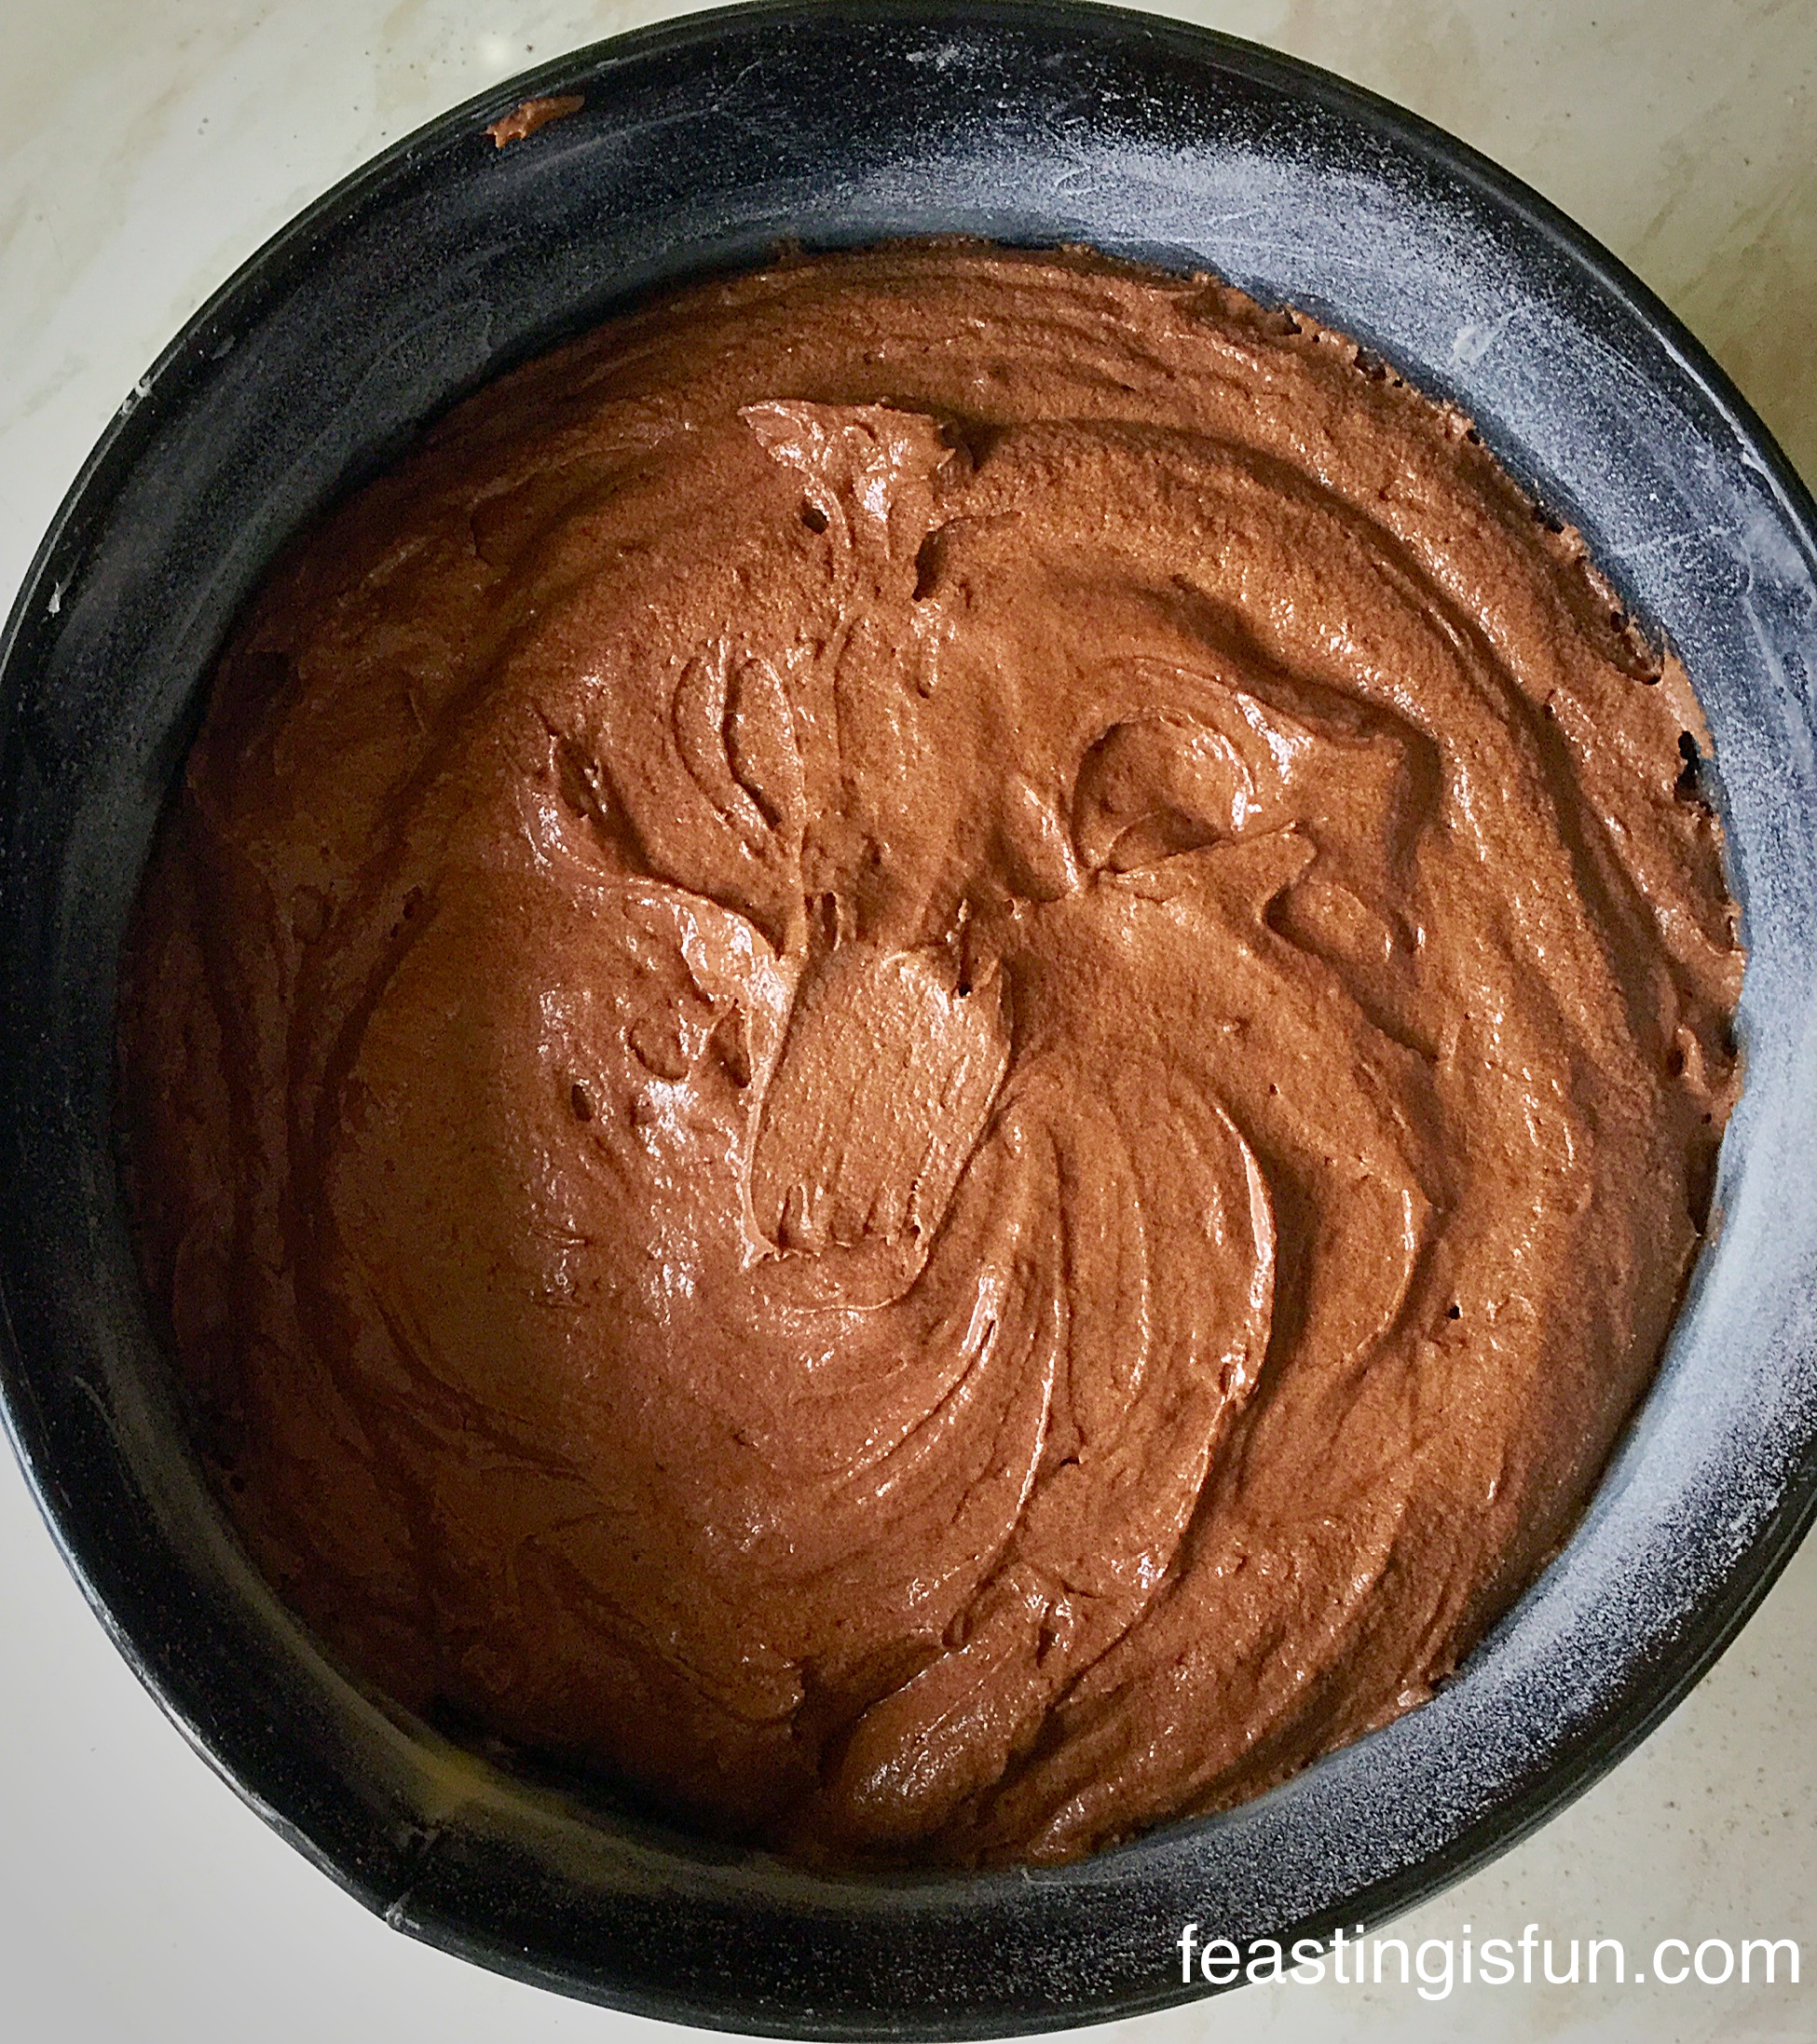
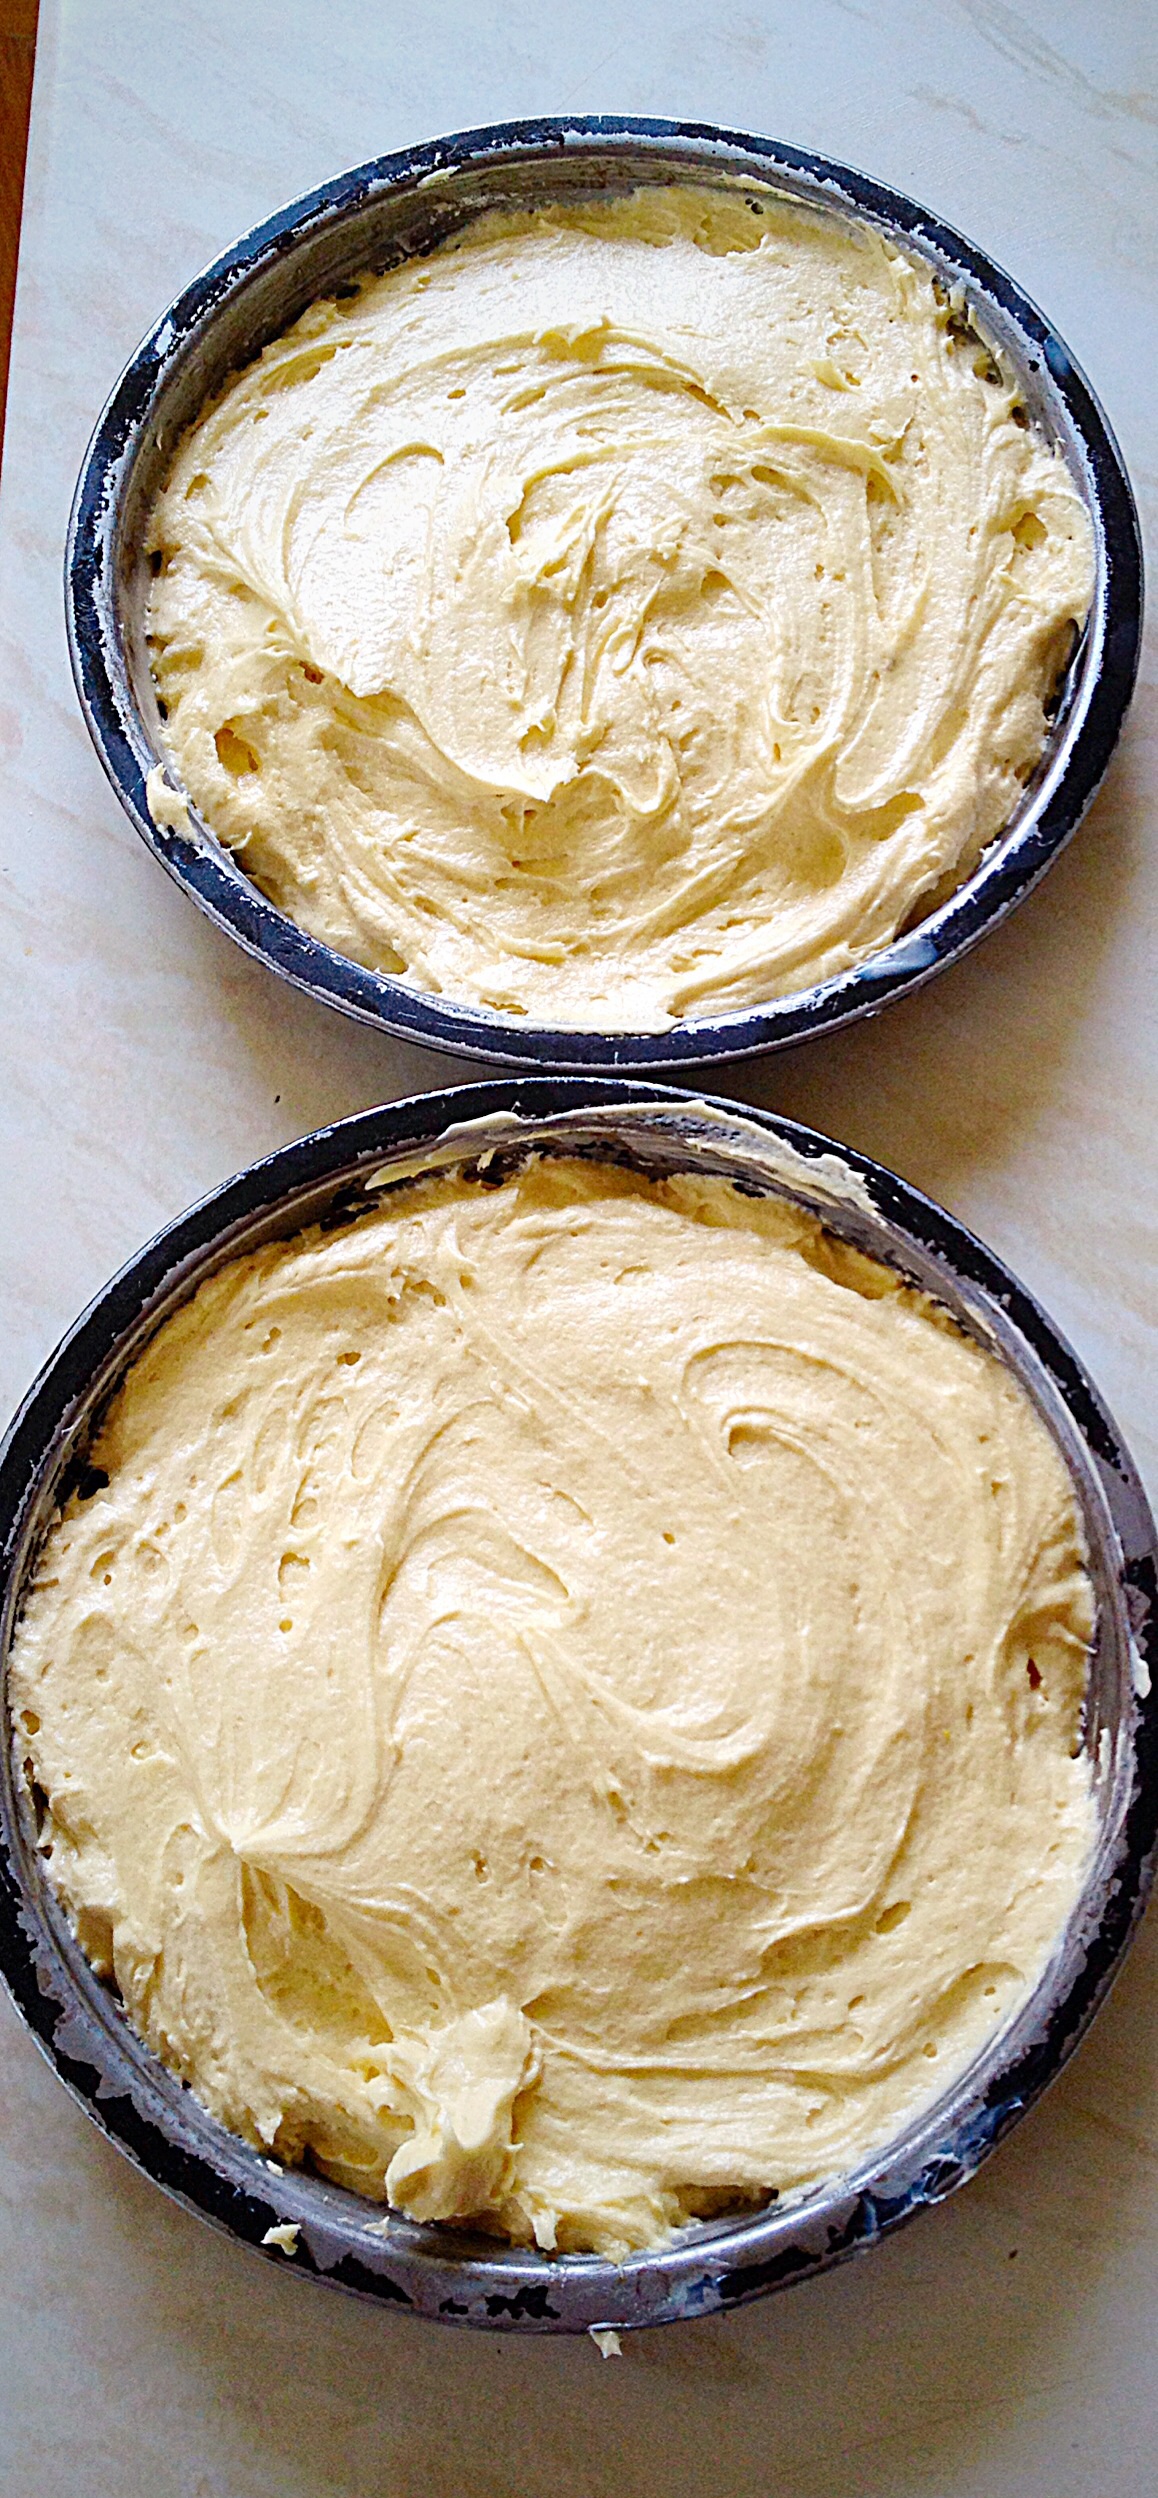
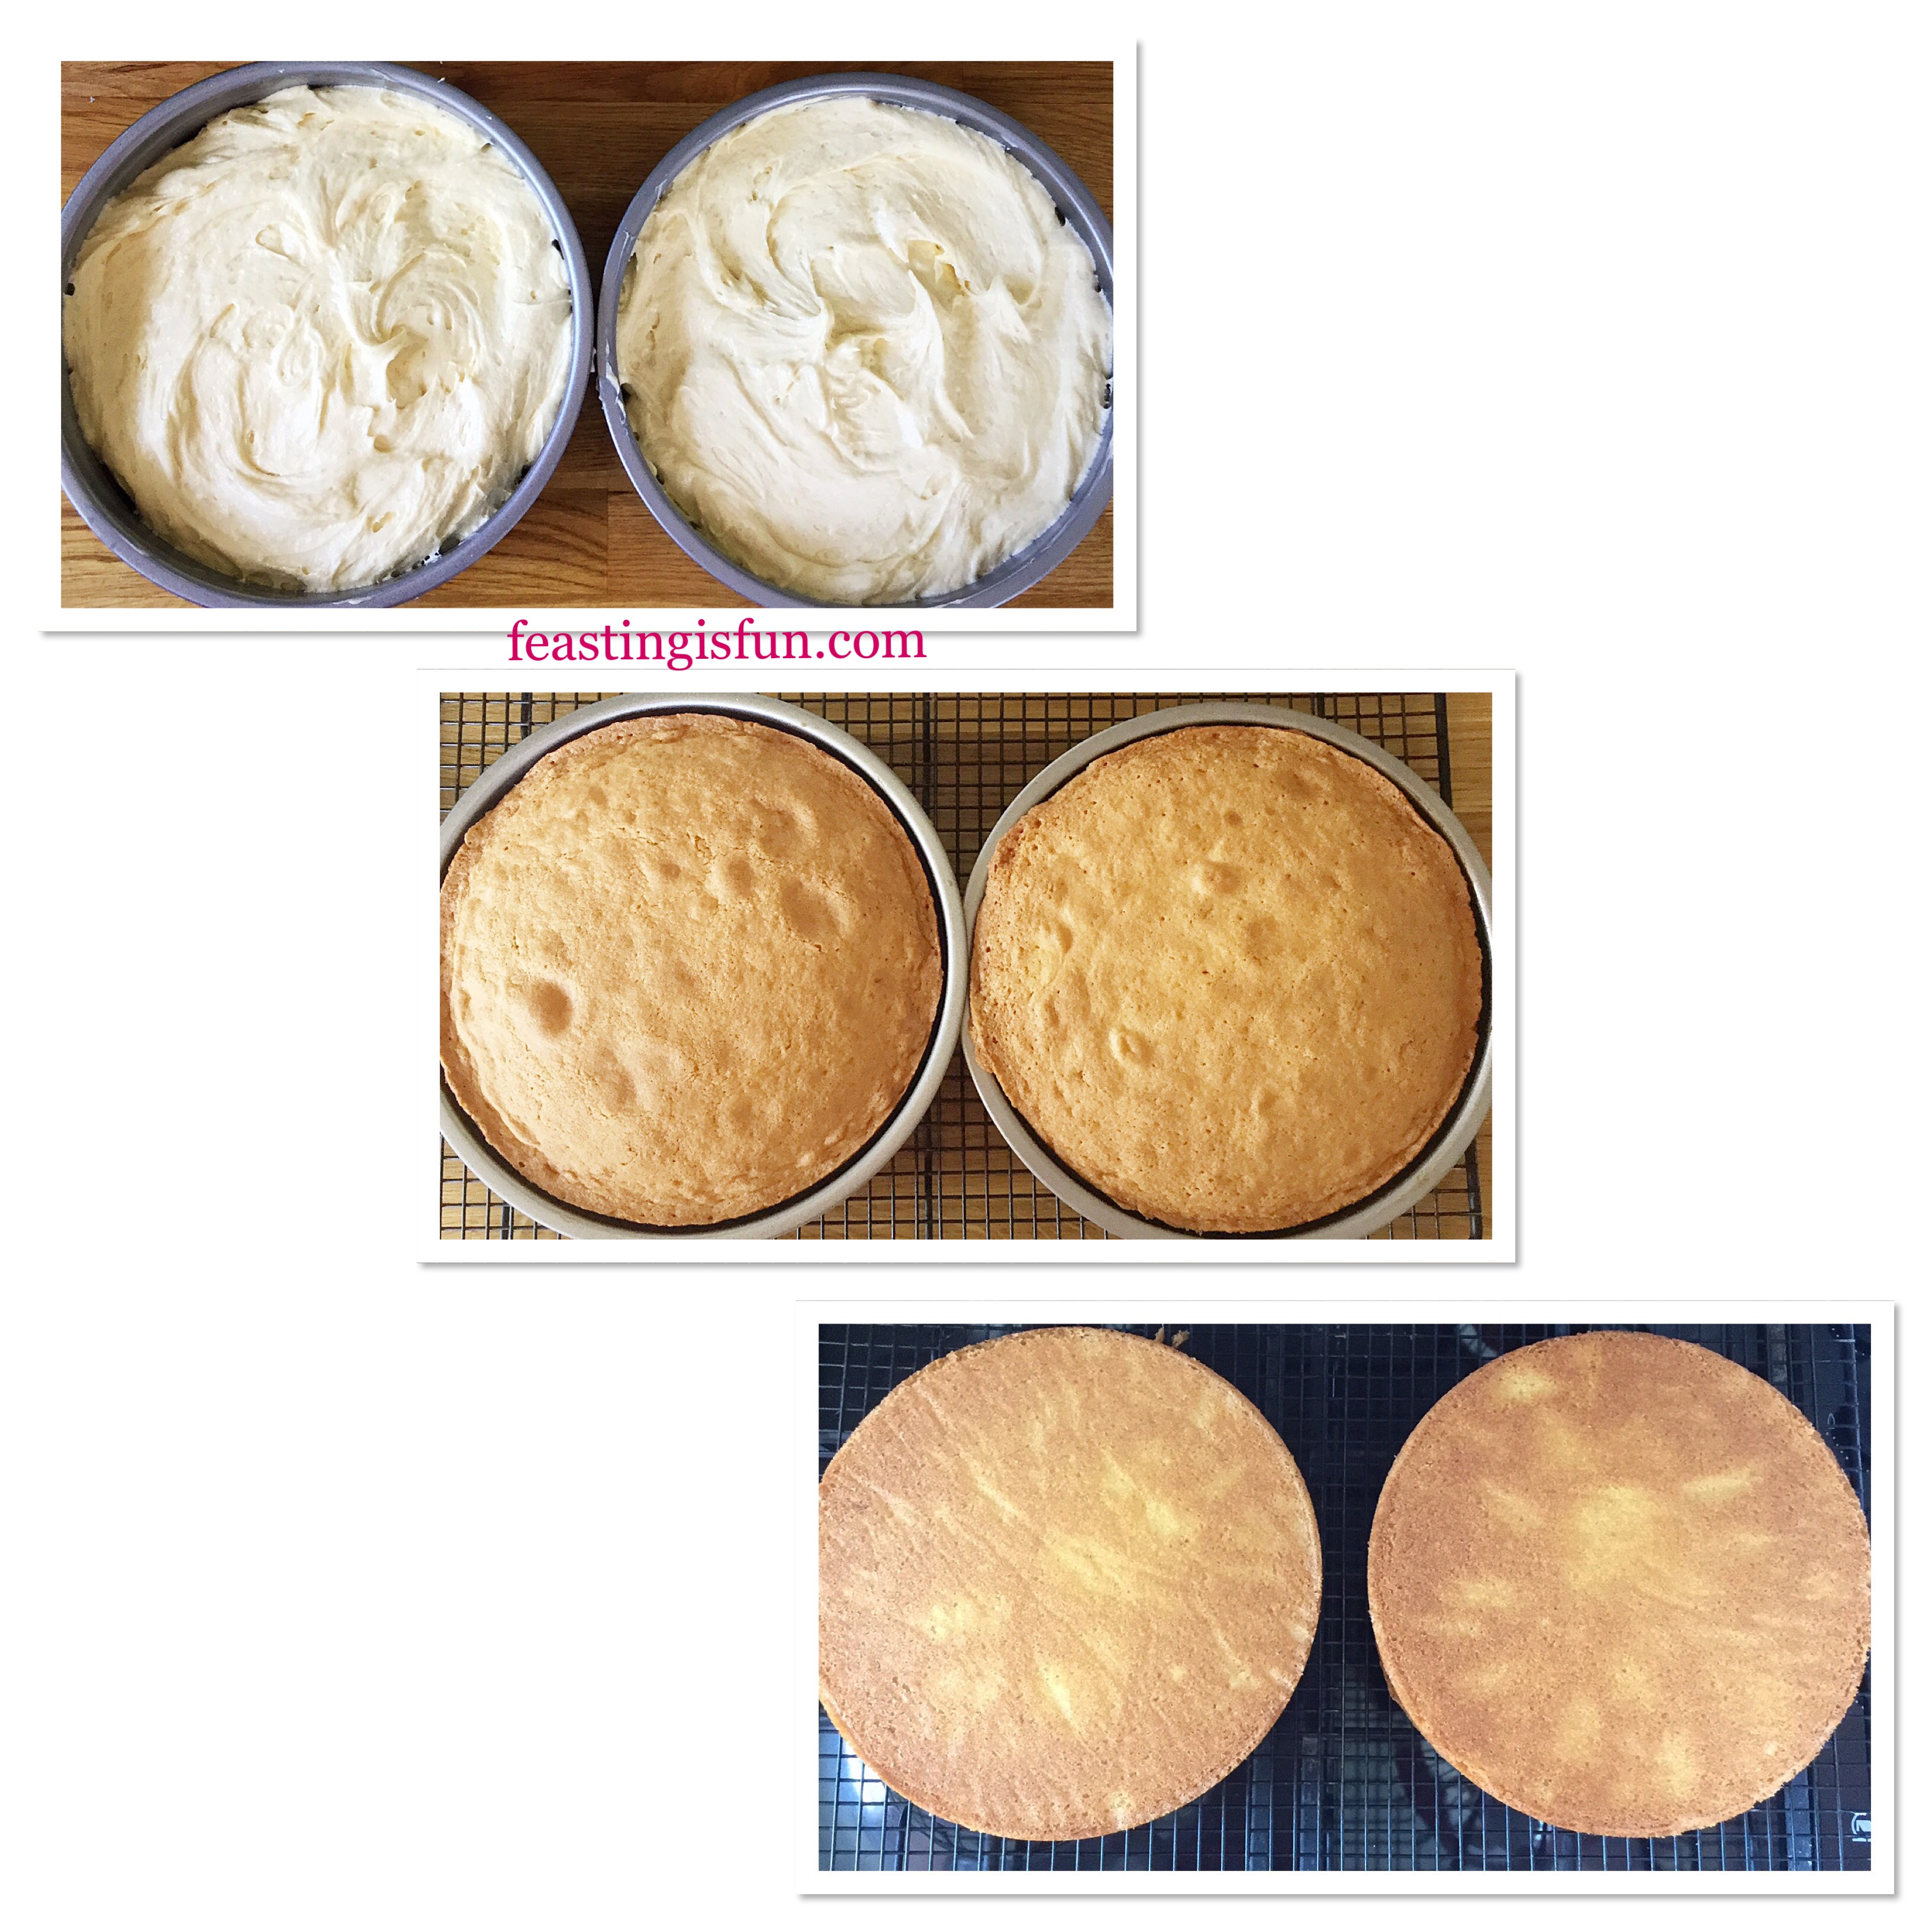
- Divide the cake batter evenly between the sandwich tins.
- Place into the centre of the oven and bake for 35-40 minutes.
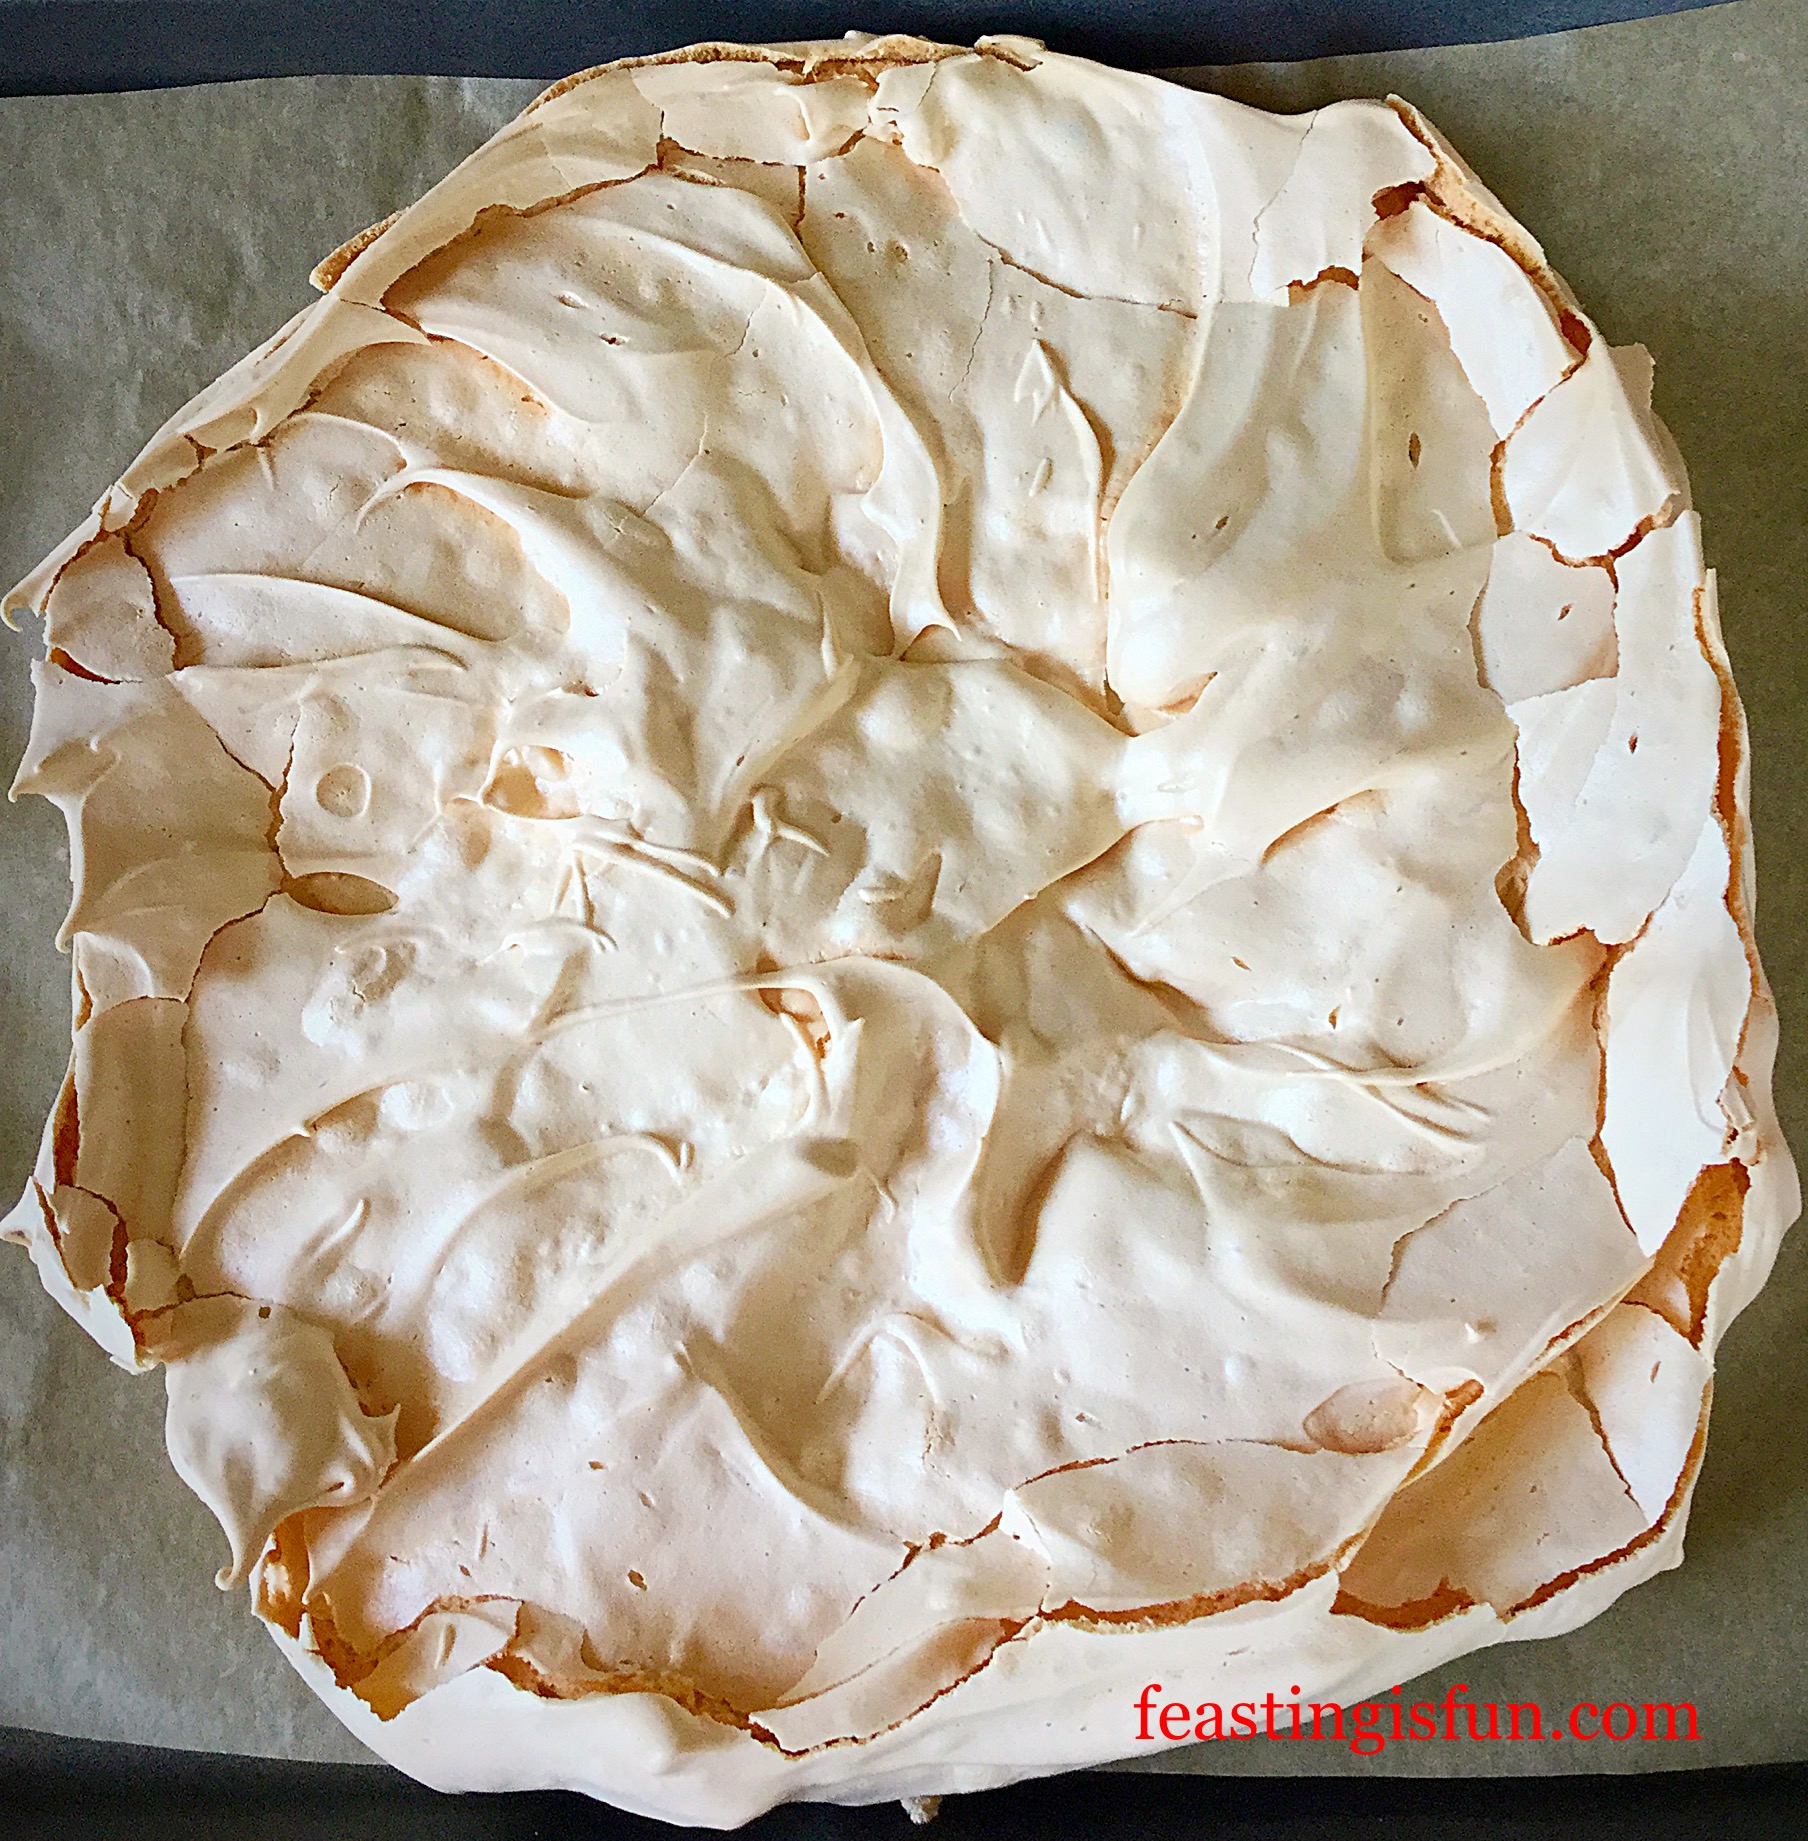
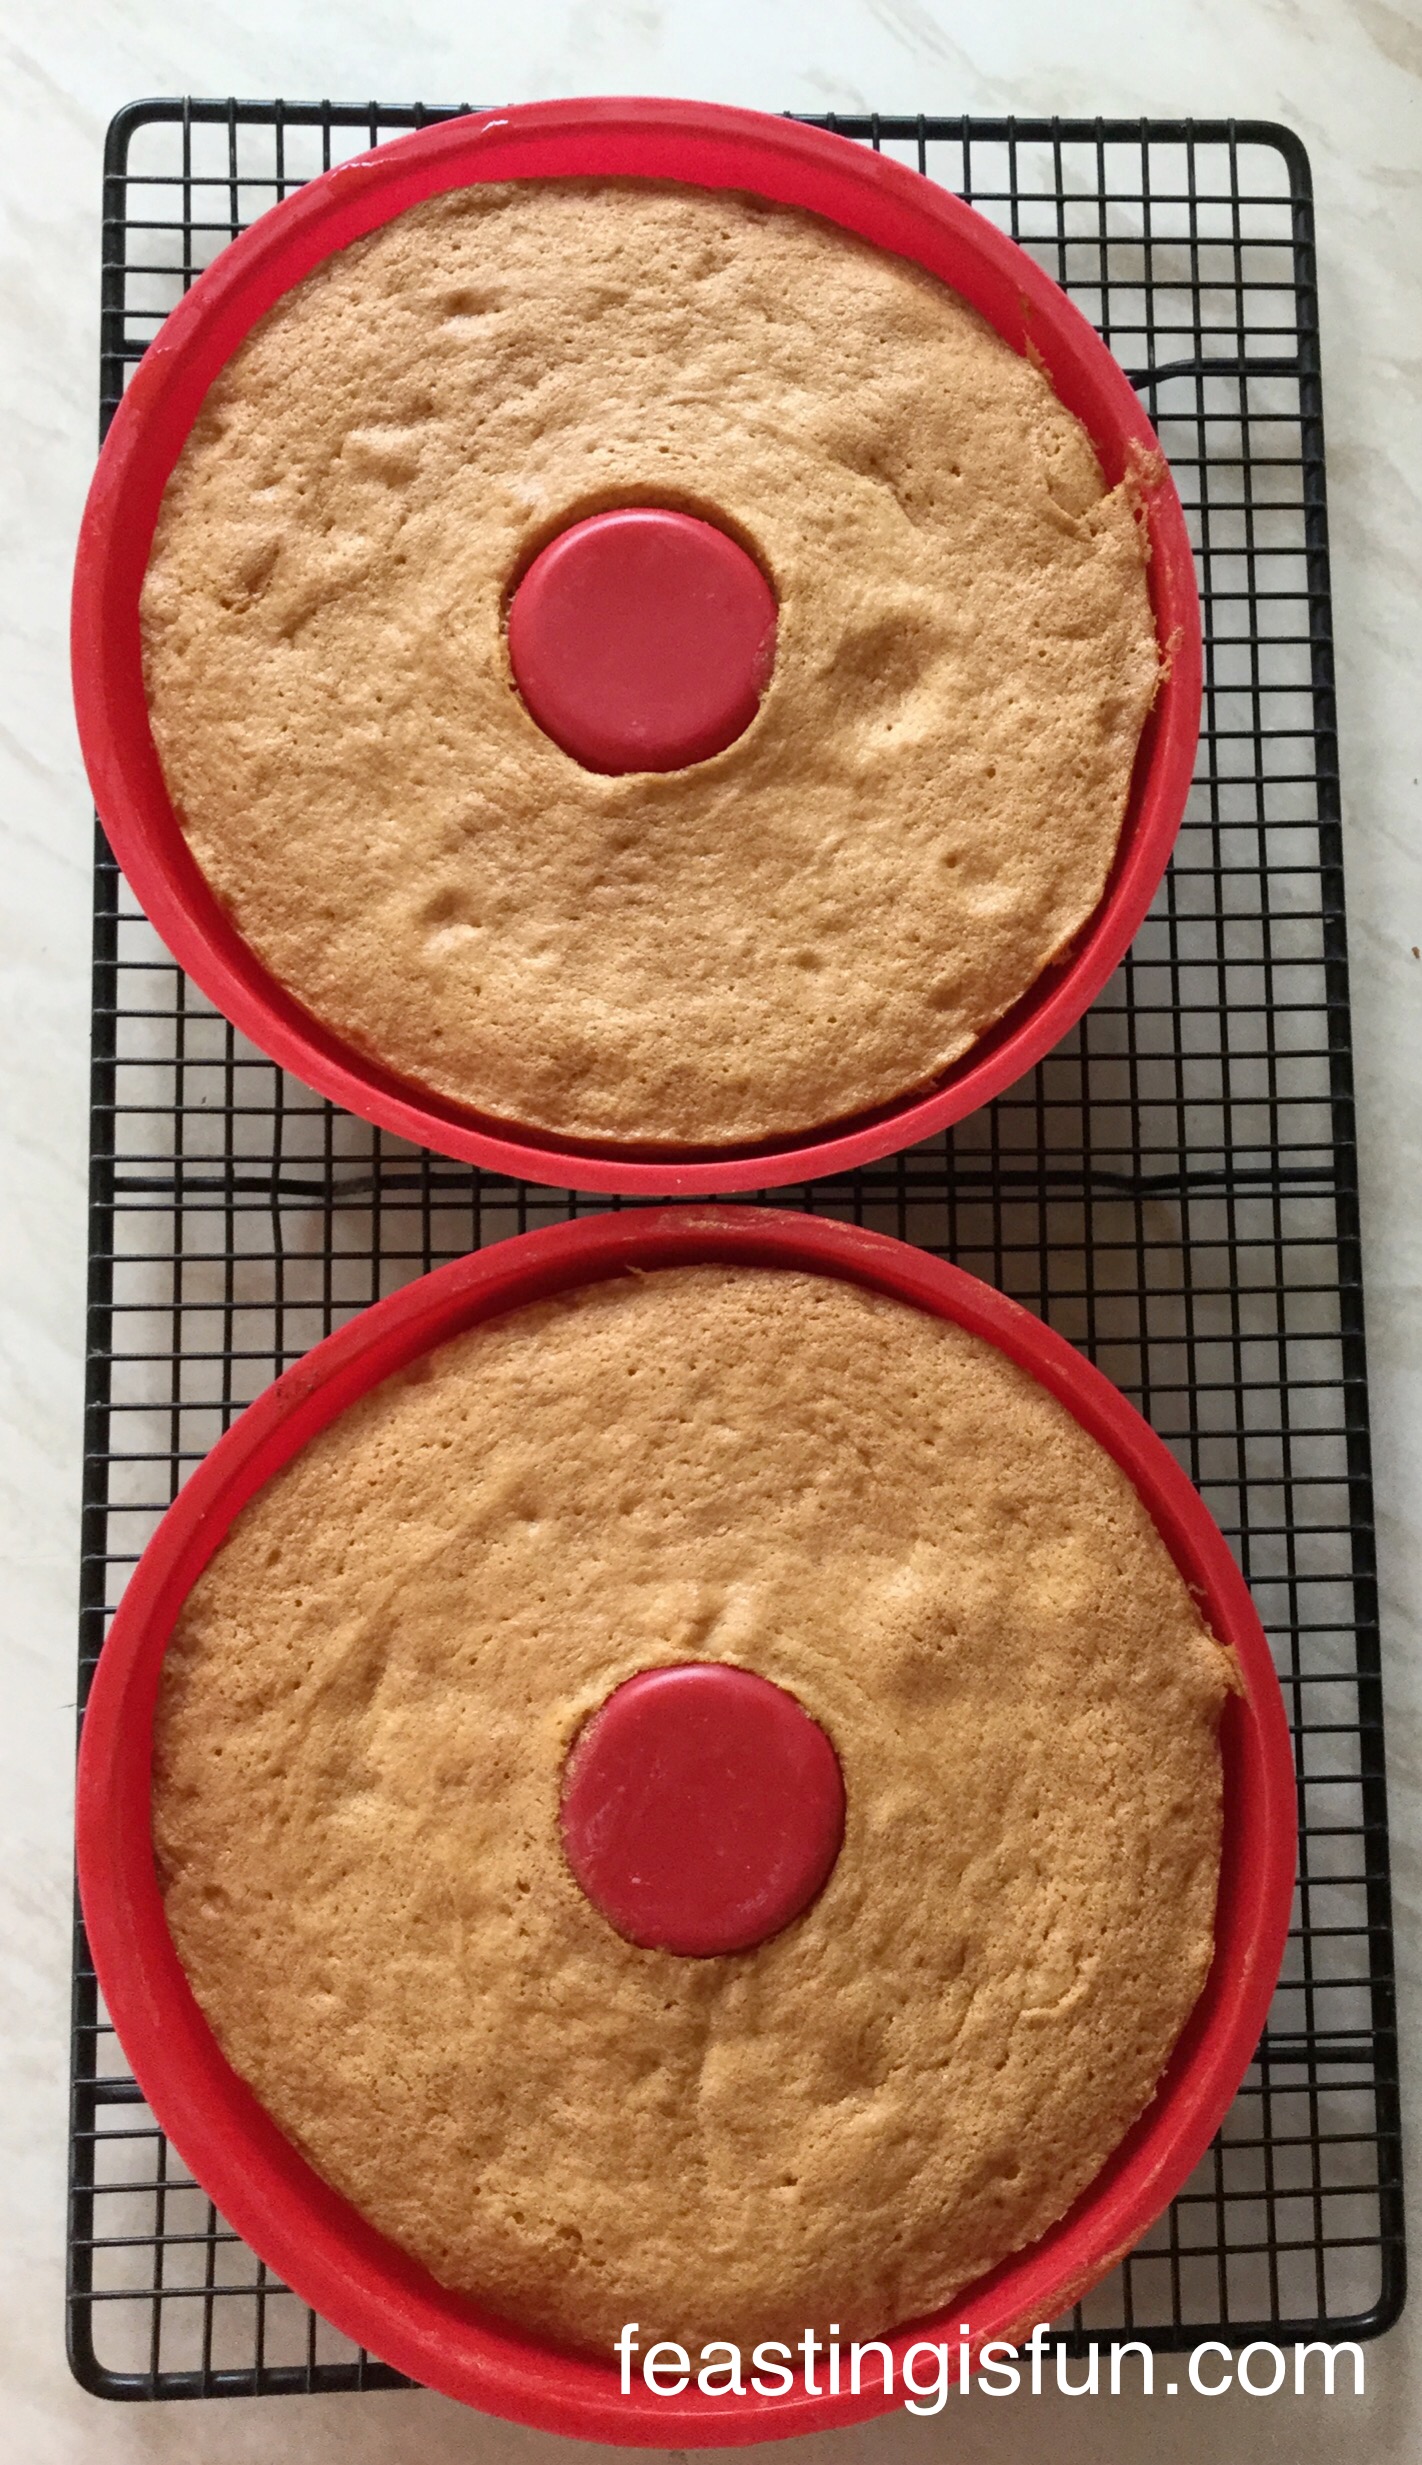
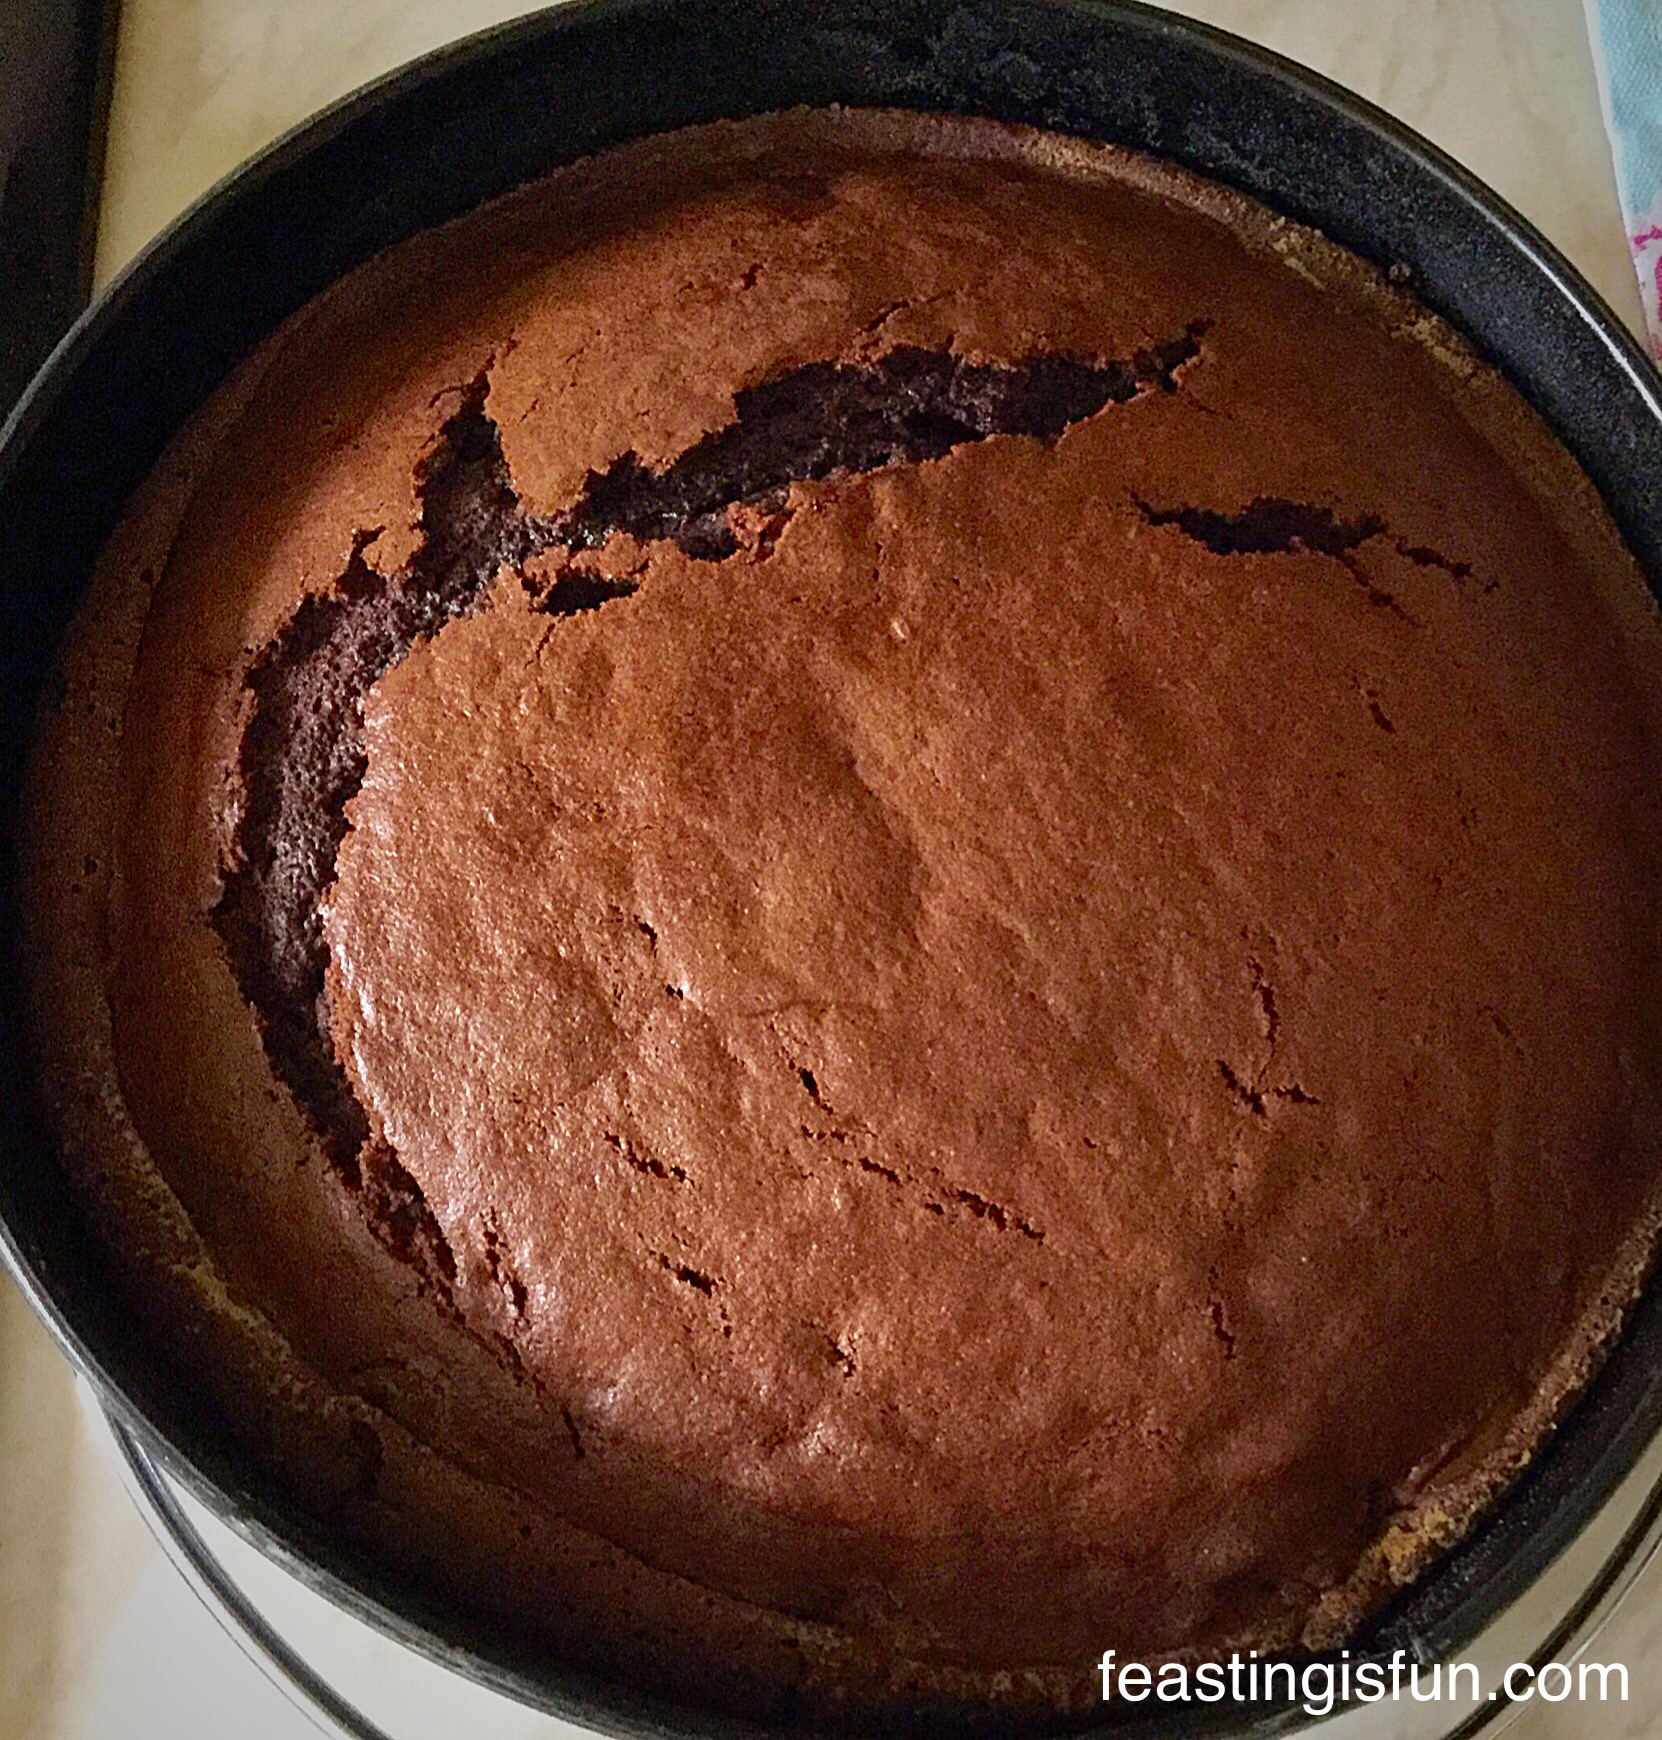
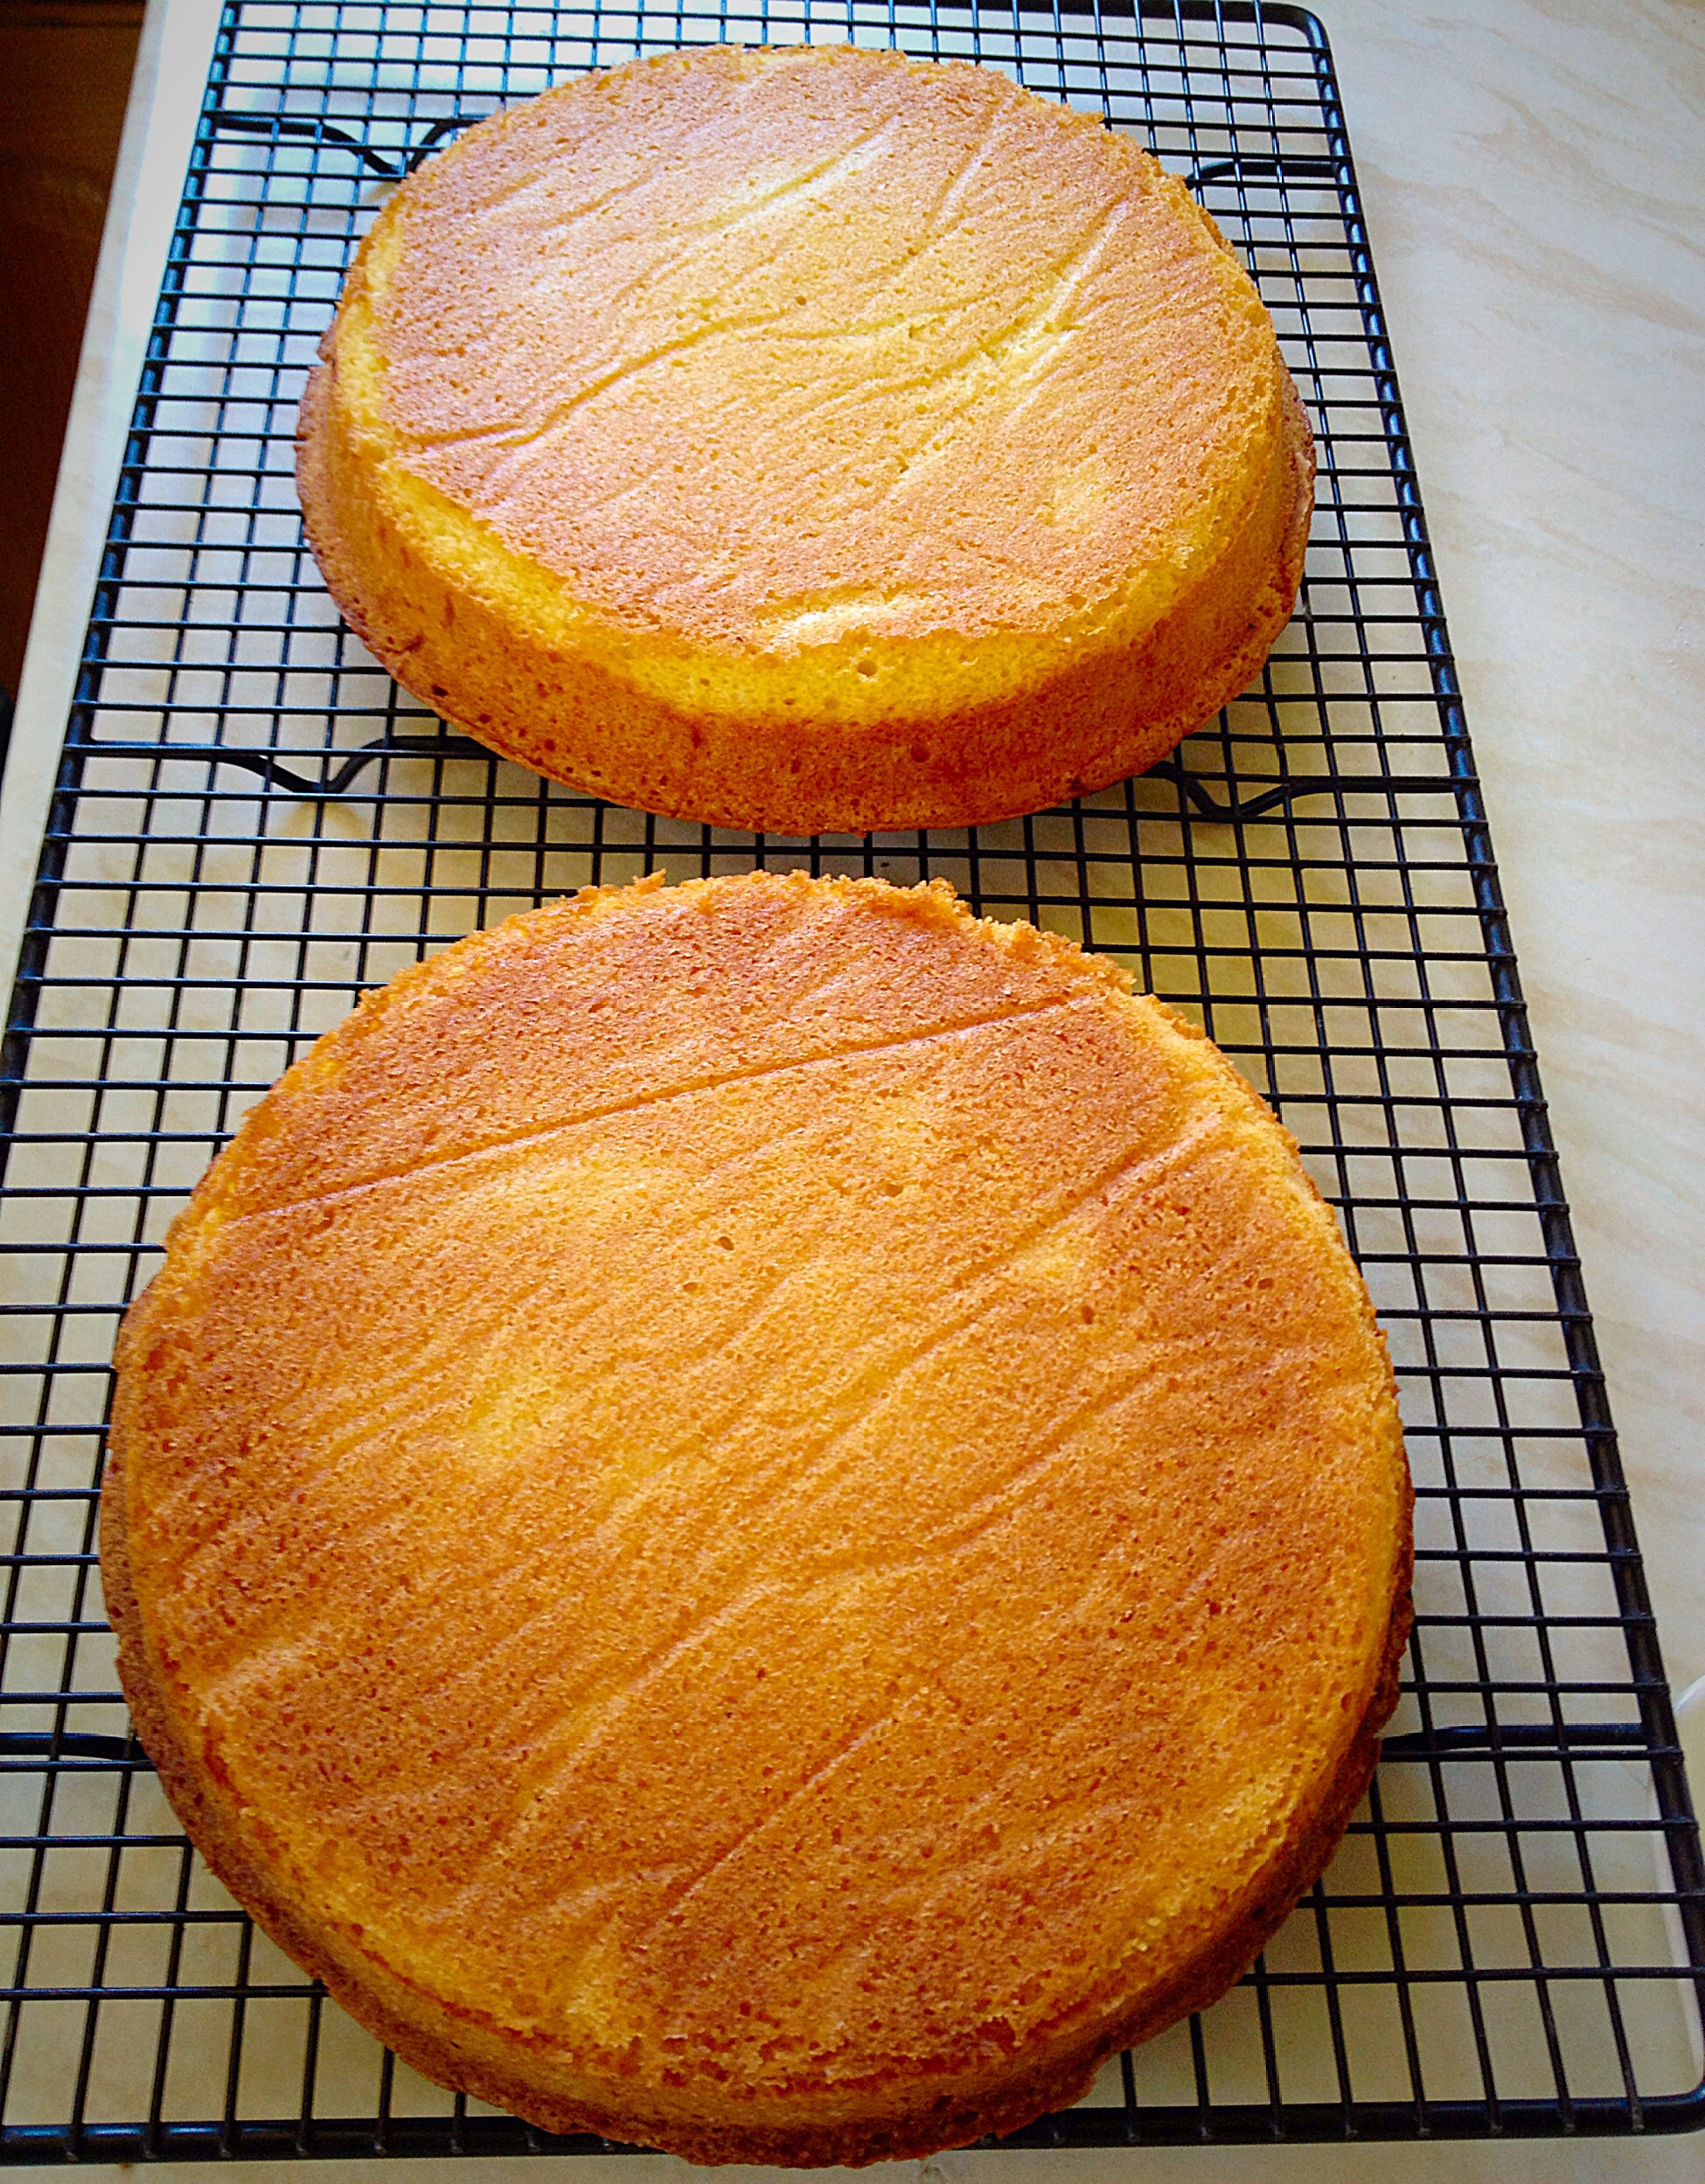
- The sponge cakes are baked when golden in colour and firm to a light touch. Also an inserted skewer will come out clean.
- As soon as the cakes are baked remove from the oven and place the tins on to a cooling rack.
- Leave the cakes to cool in the tin for 10 minutes, then turn the cake out carefully removing the baking parchment.
- Allow the cakes to fully cool on the rack.

Making the raspberry whipped cream
- As soon as the cakes have cooled make the raspberry whipped cream.
- Place the fresh raspberries on to a plate and mash with a fork.
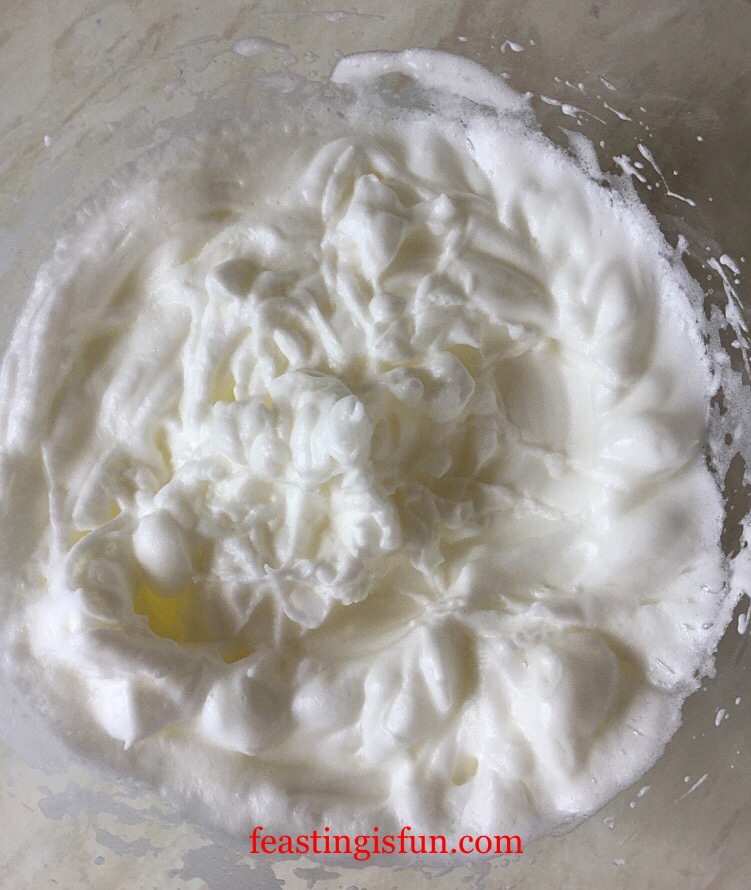
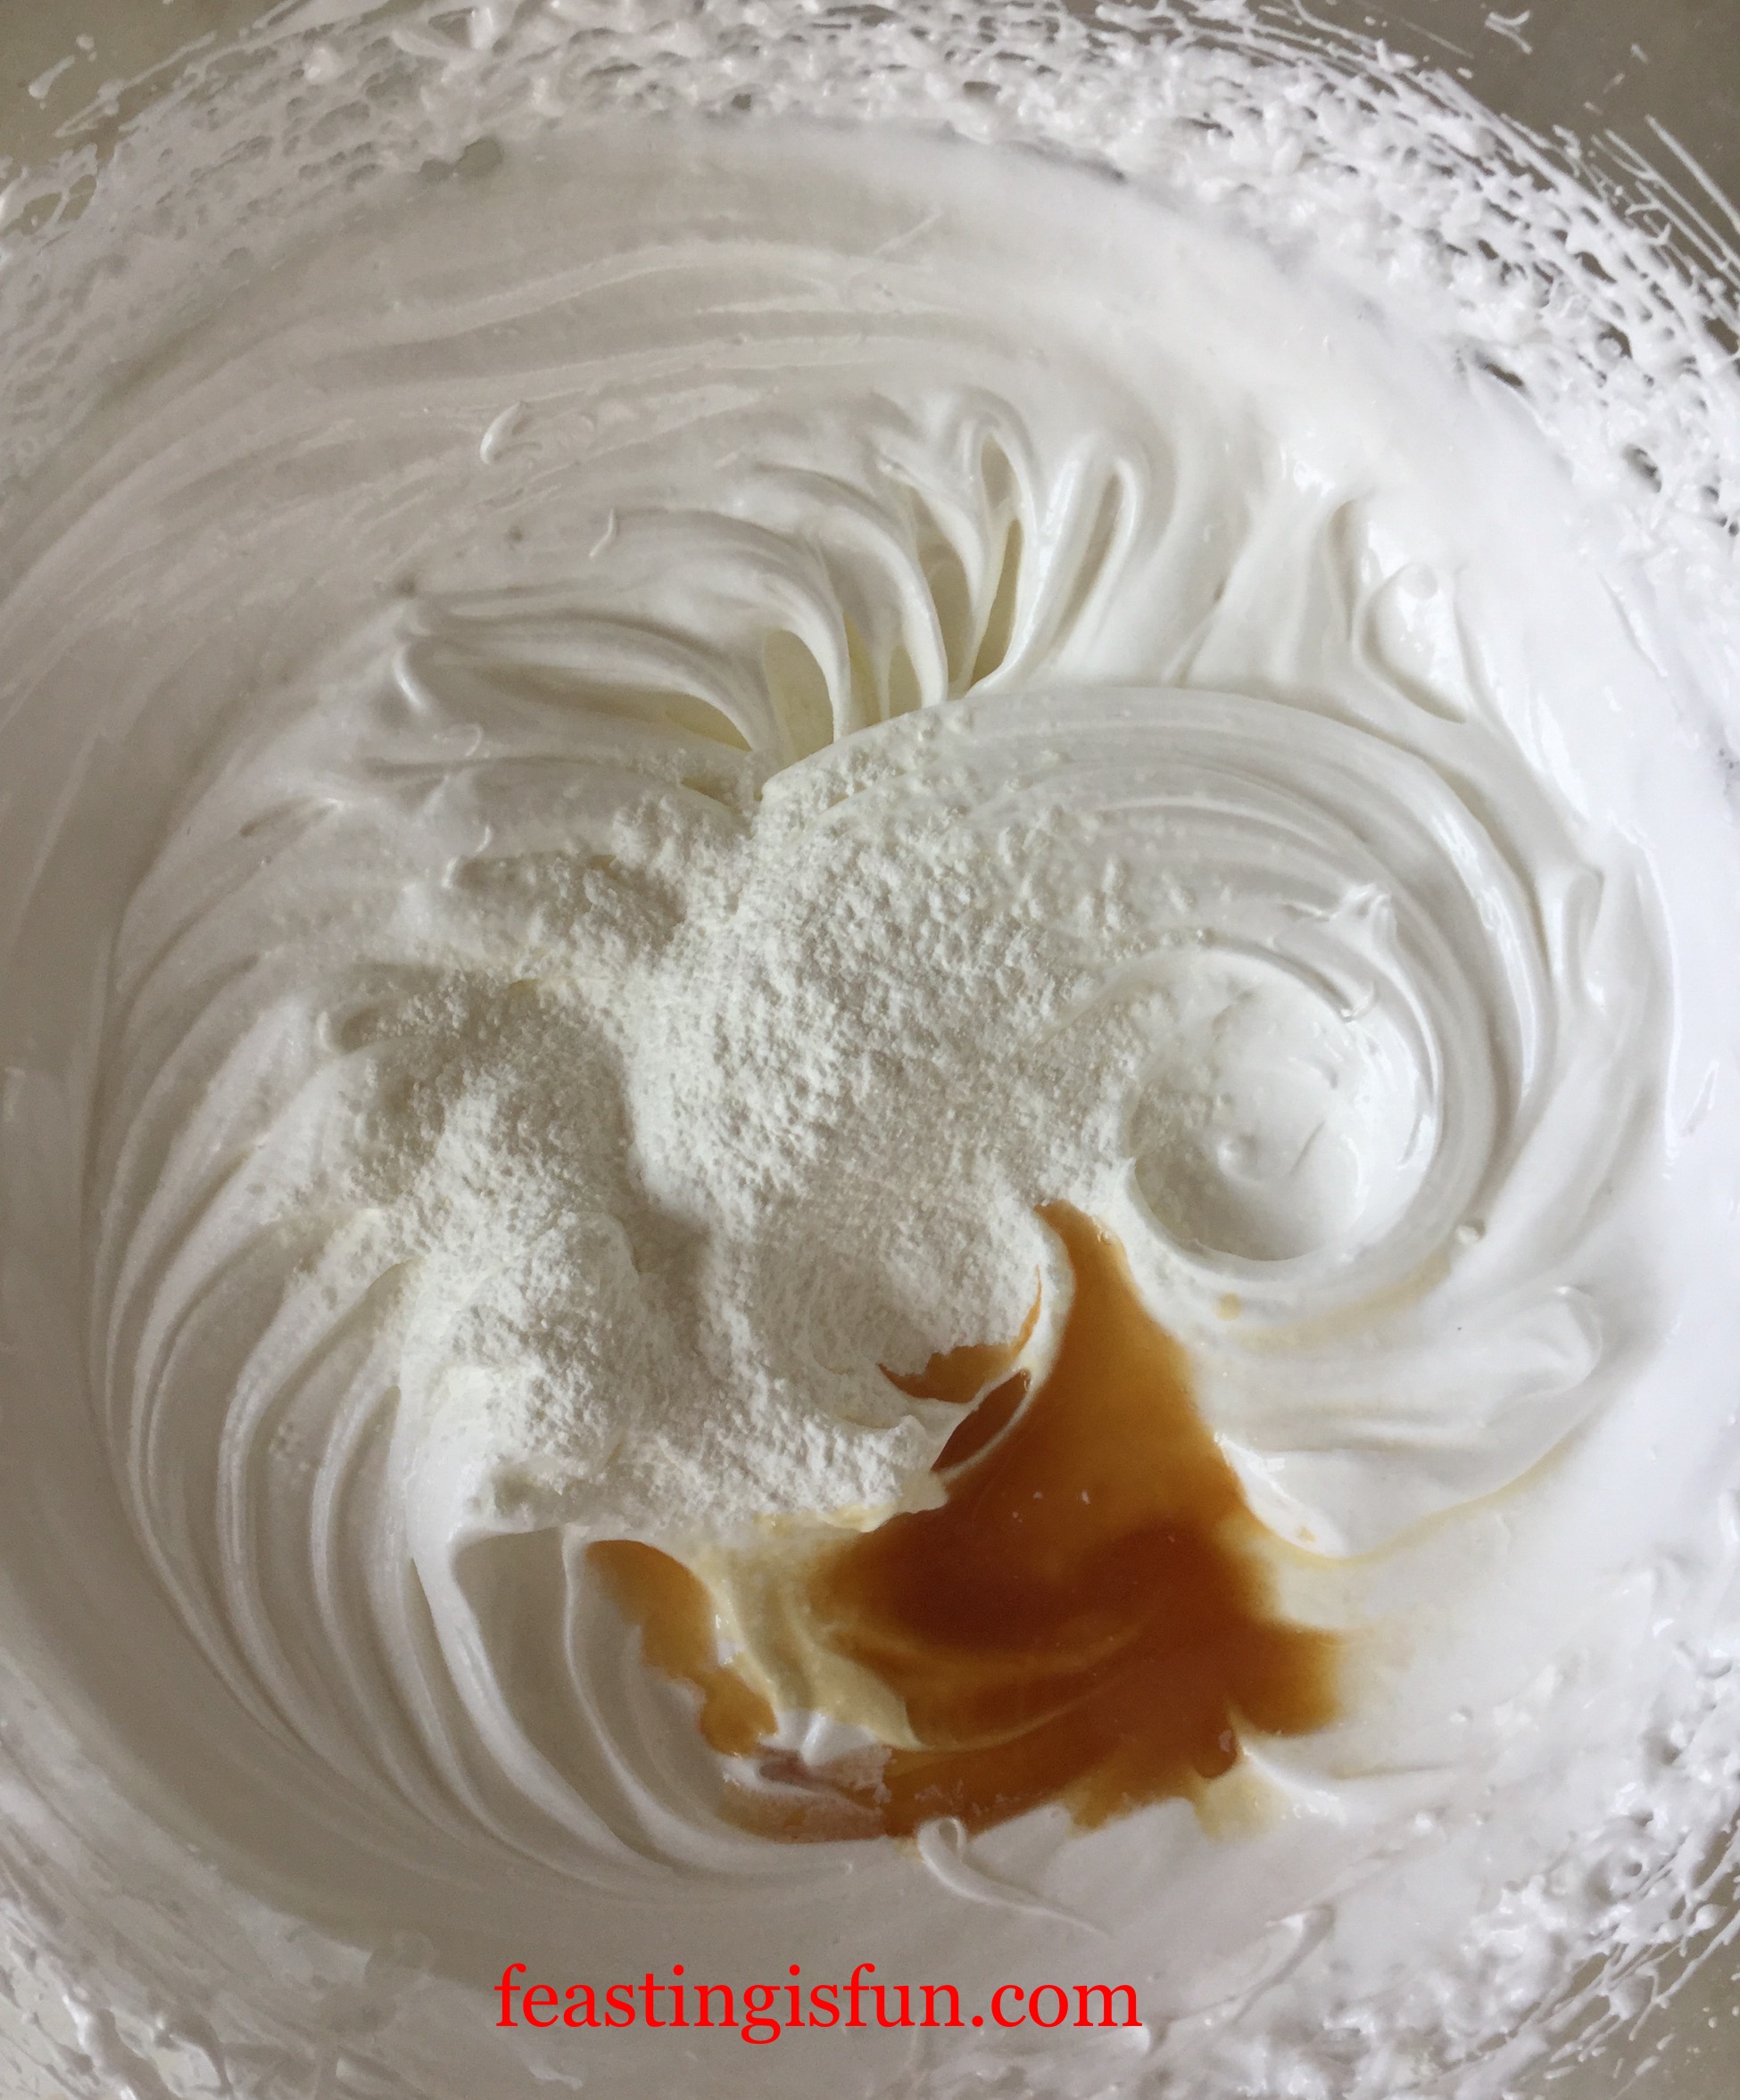
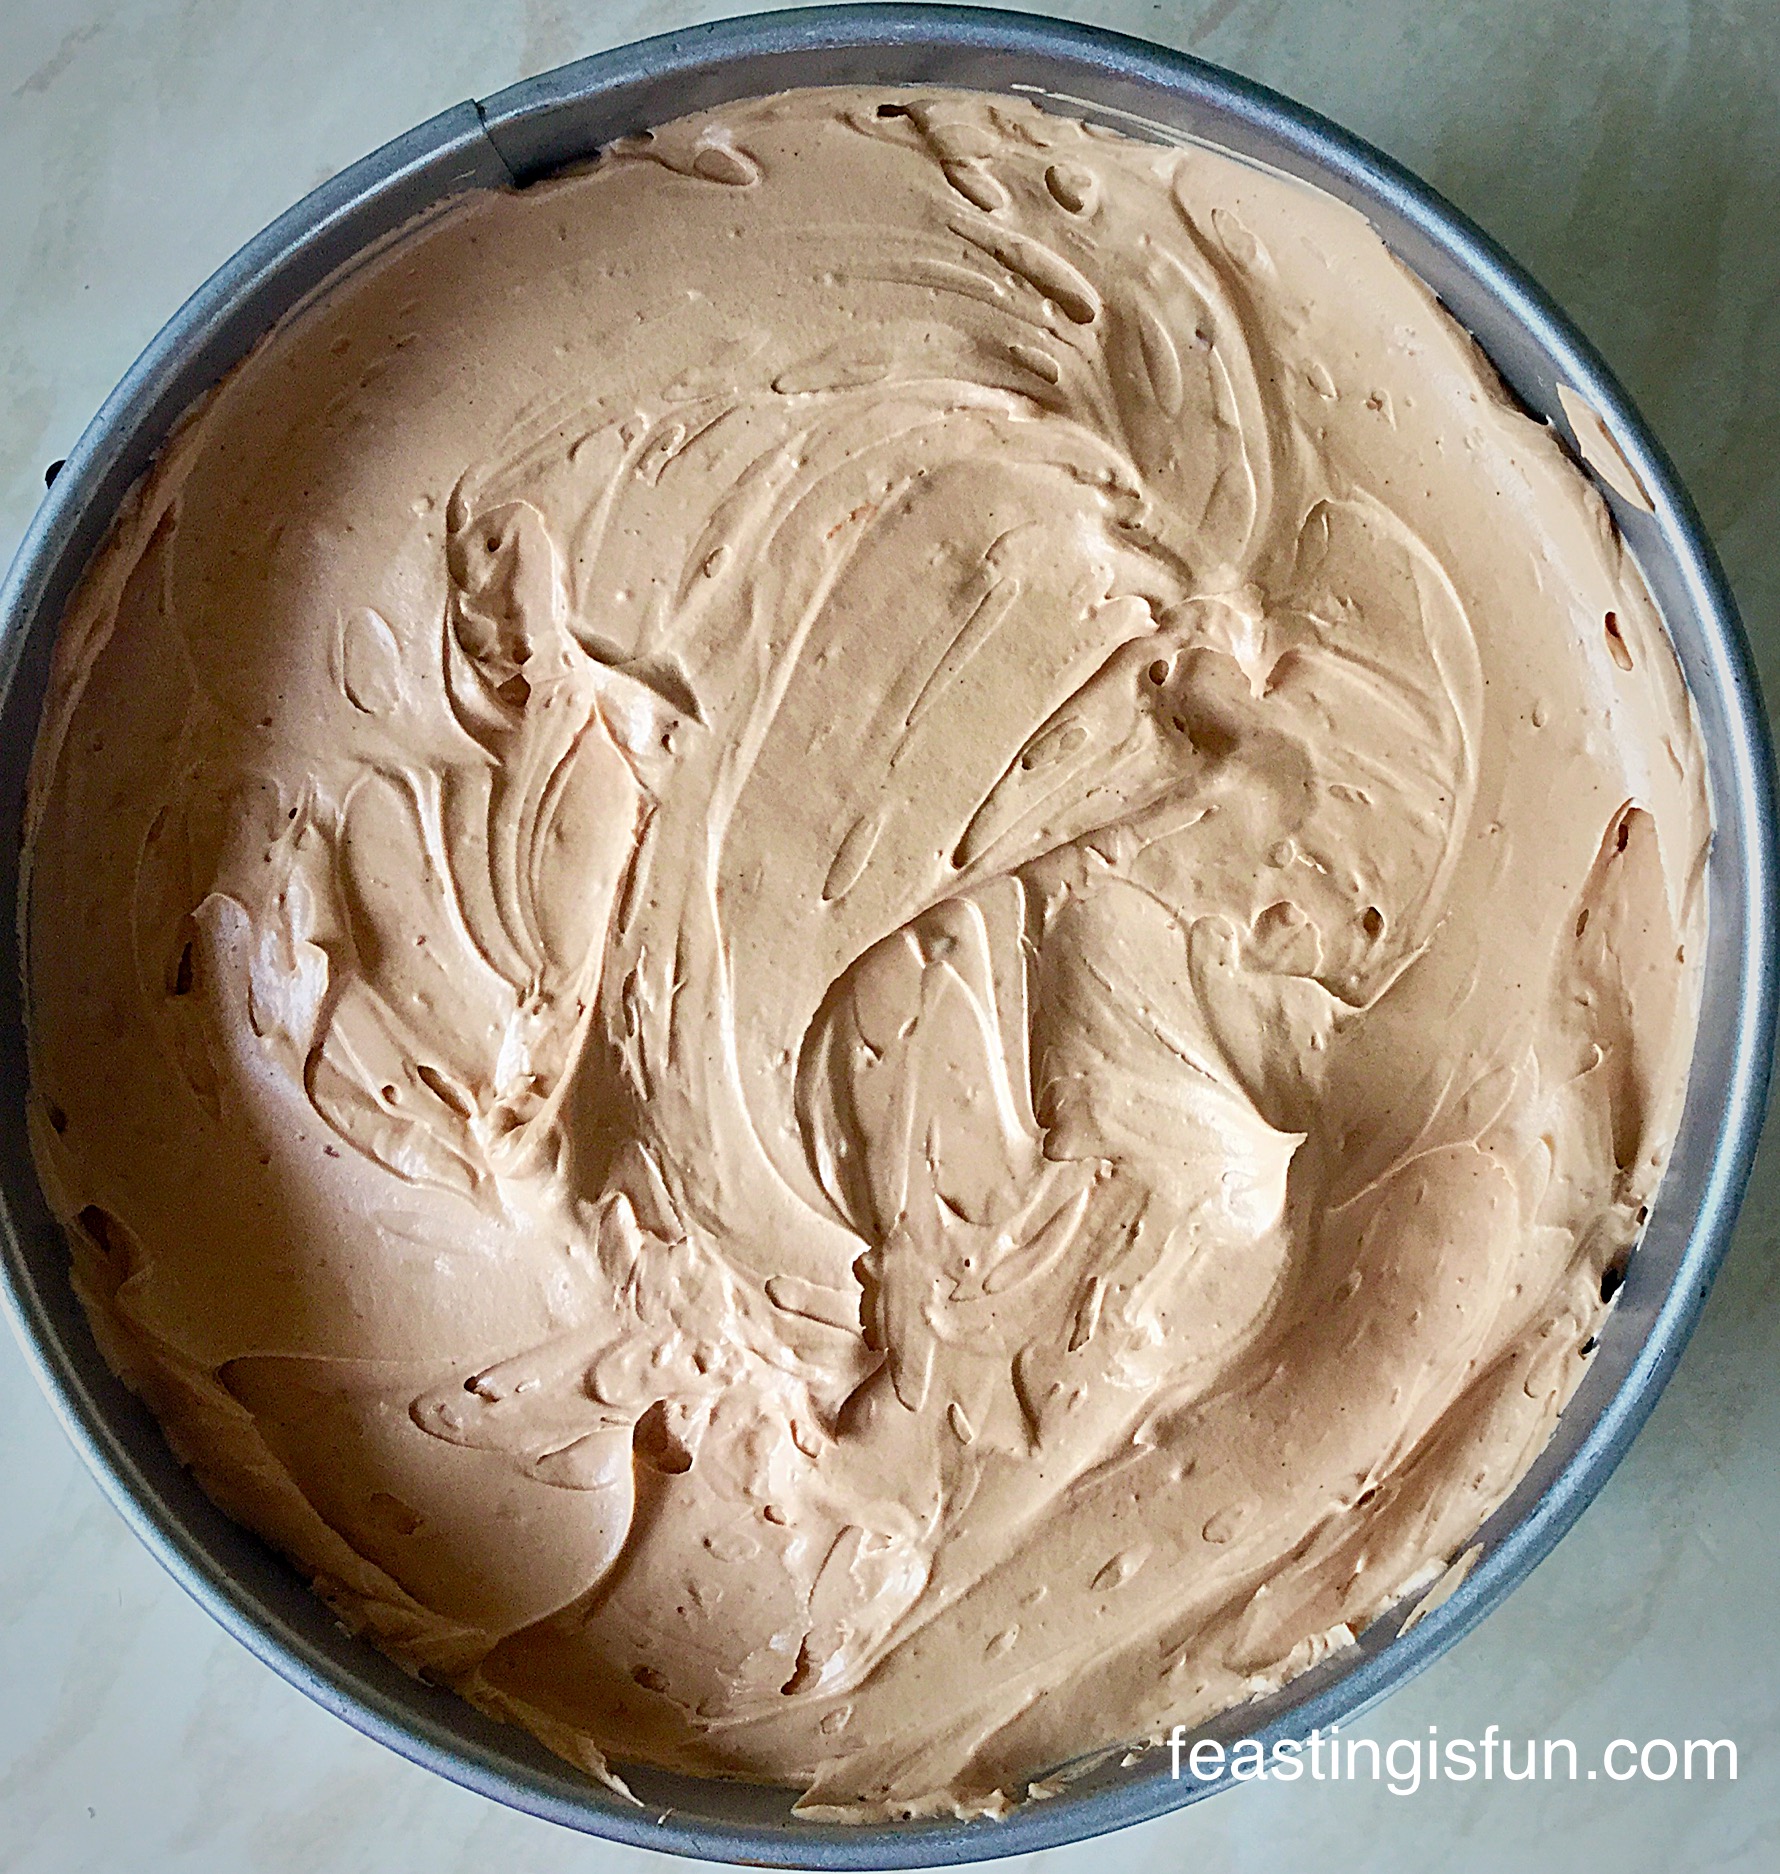
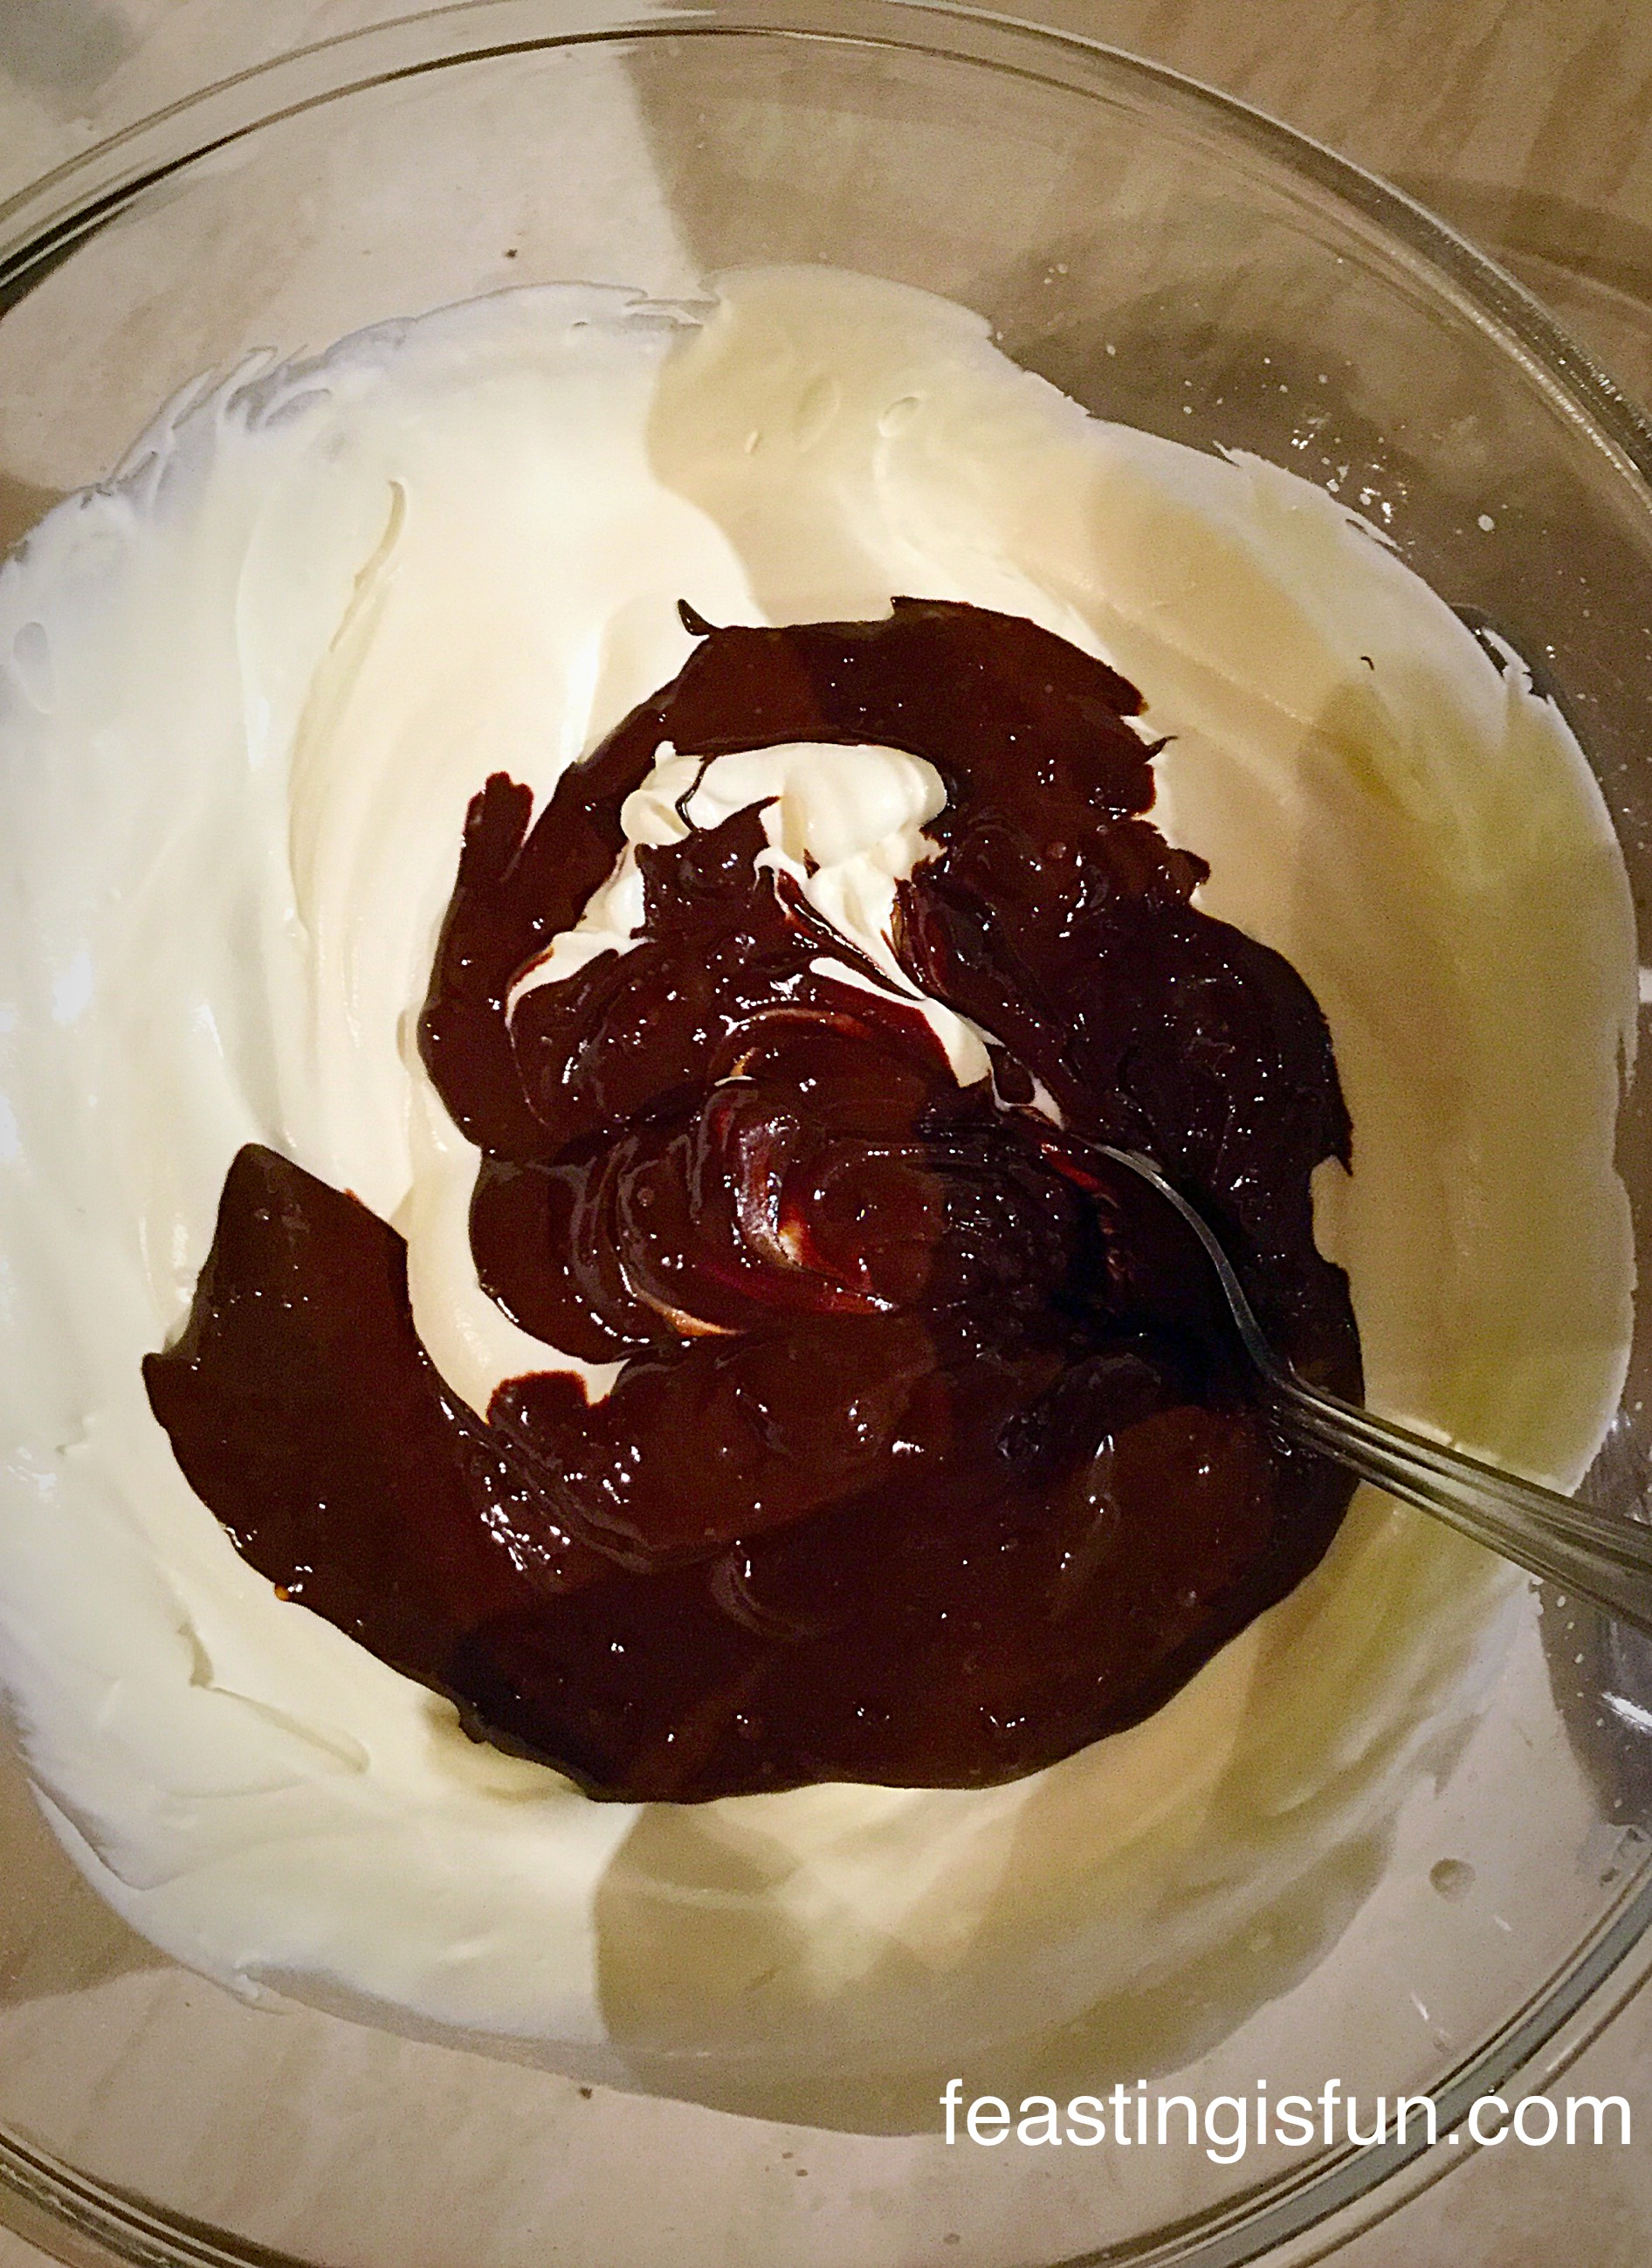
- Pour the cream, vanilla extract and sugar into a bowl and whisk until thickened but still floppy, not stiff.
- Add the mashed raspberries to the cream and continue to whisk until the cream has thickened and holds it’s shape.

Filling and decorating the cake
- Place the first sponge, flat side up on to a plate or board.
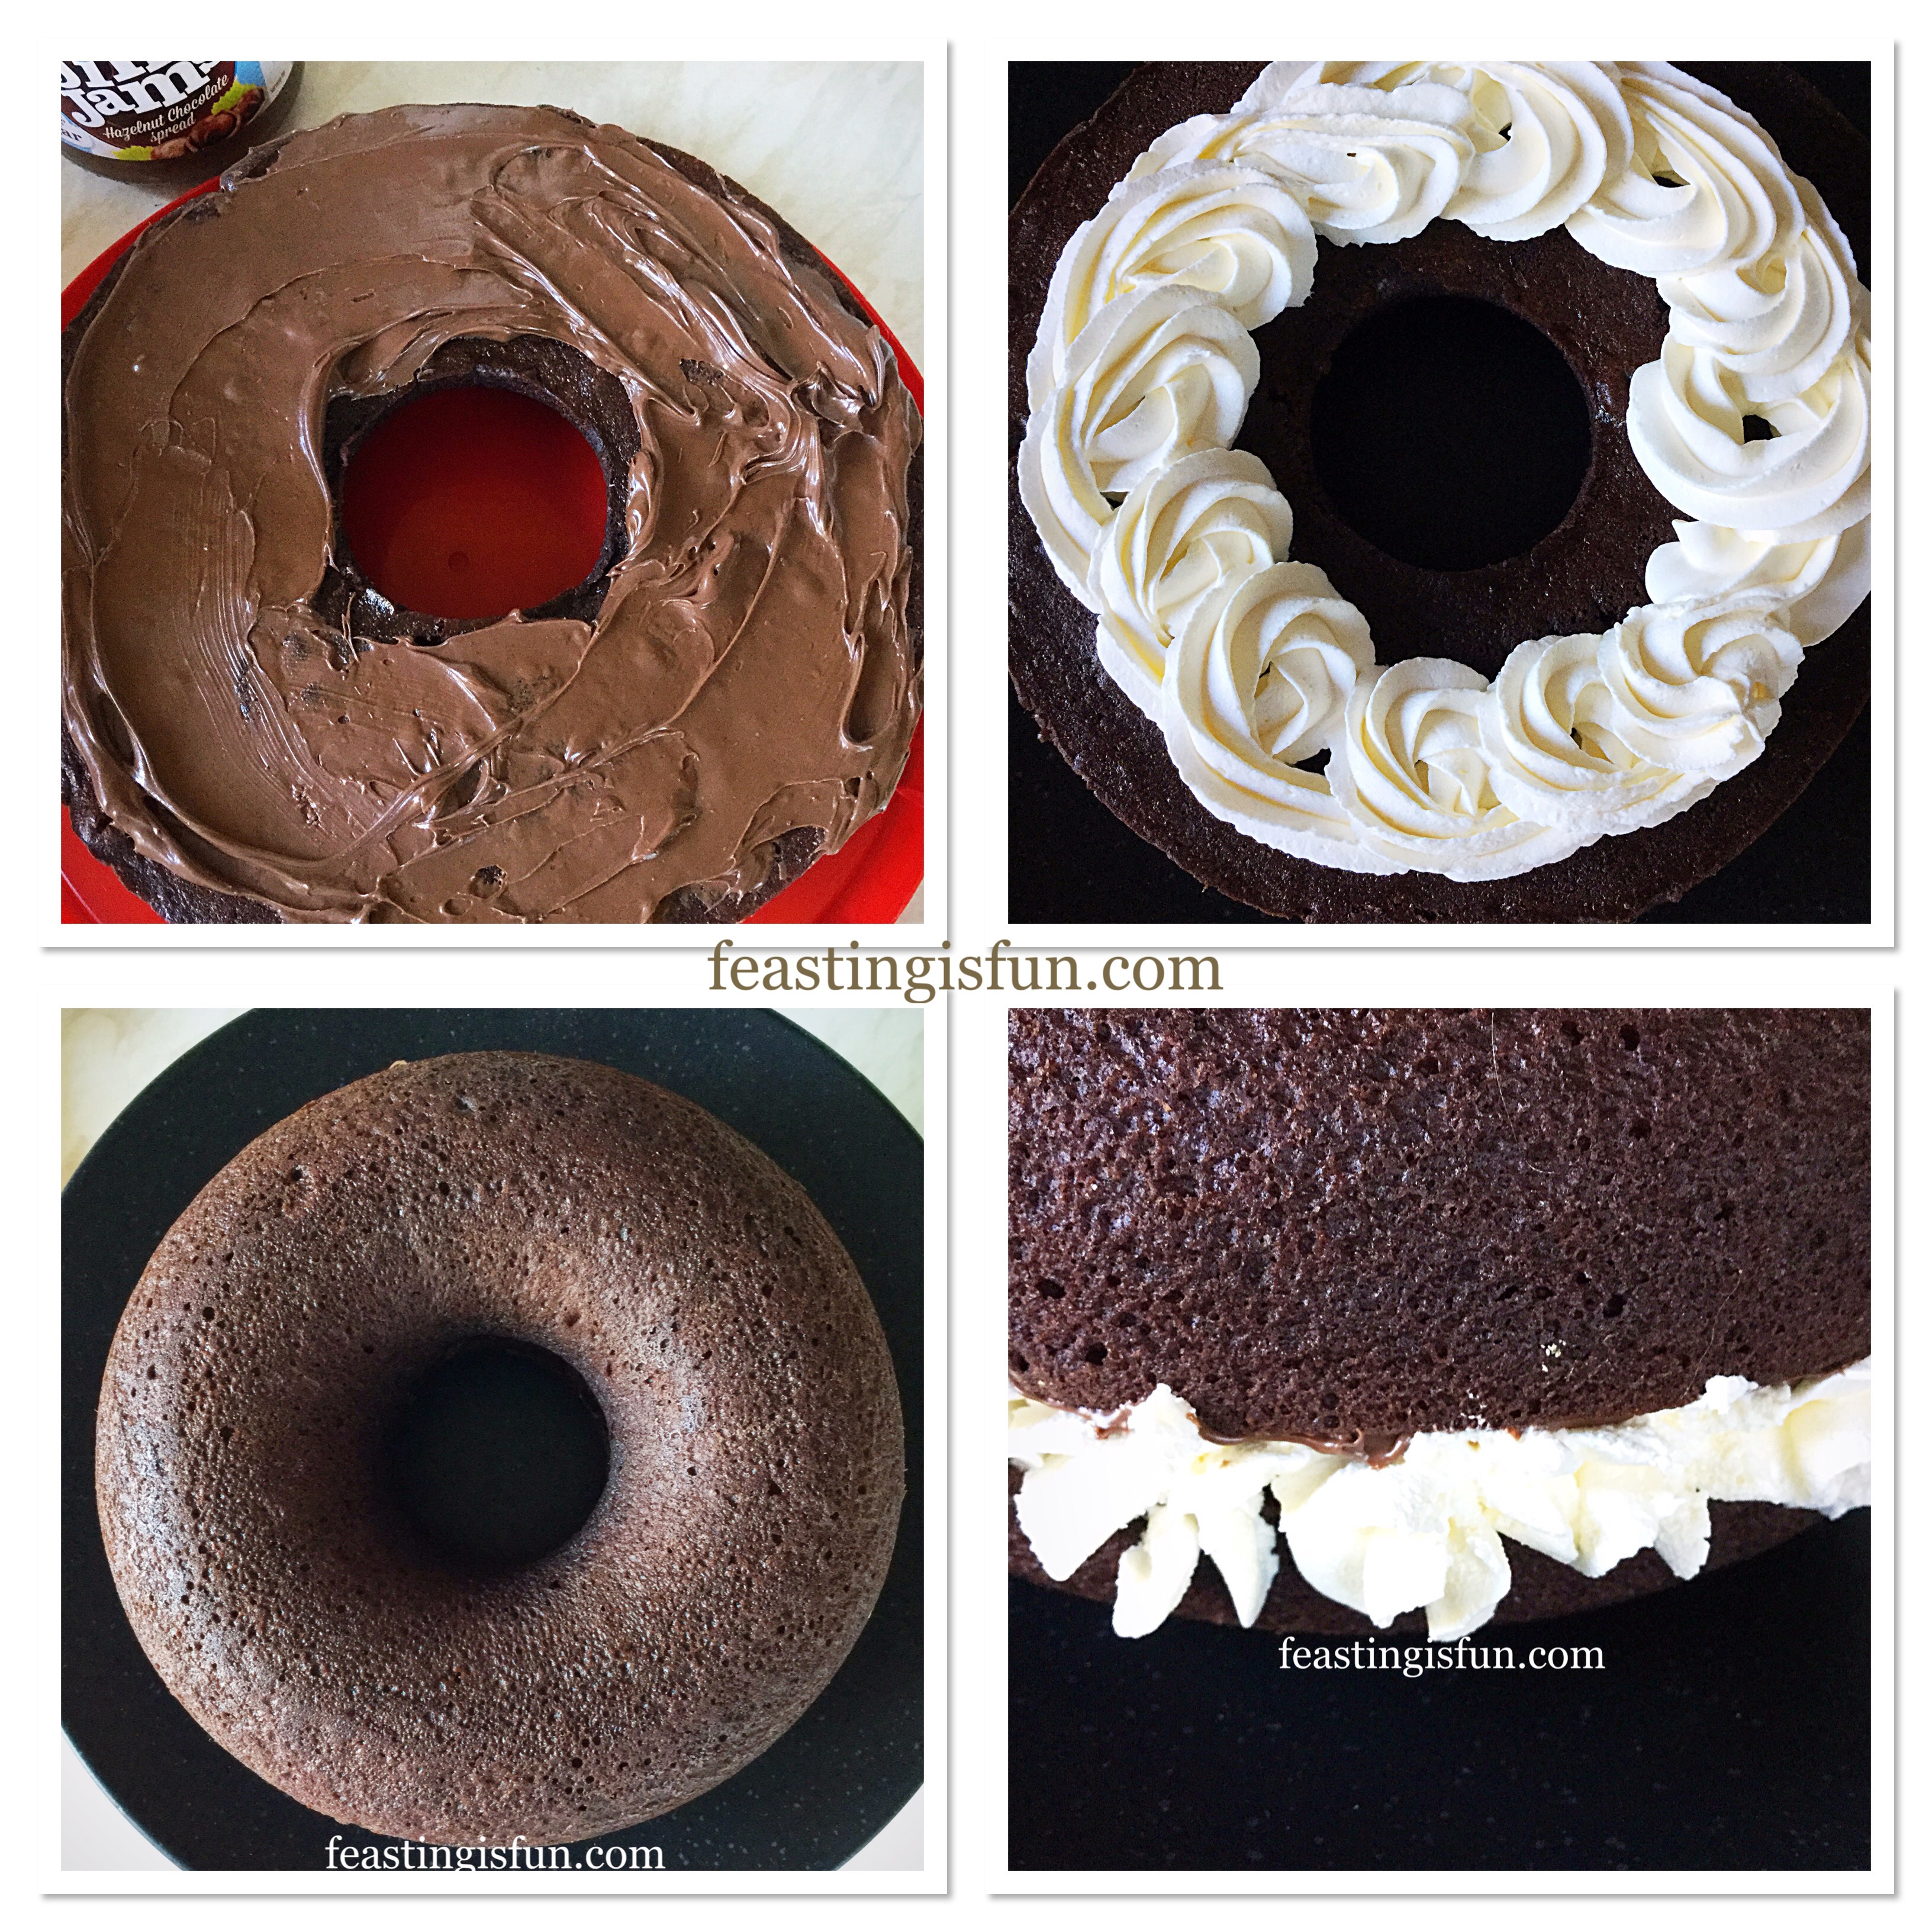
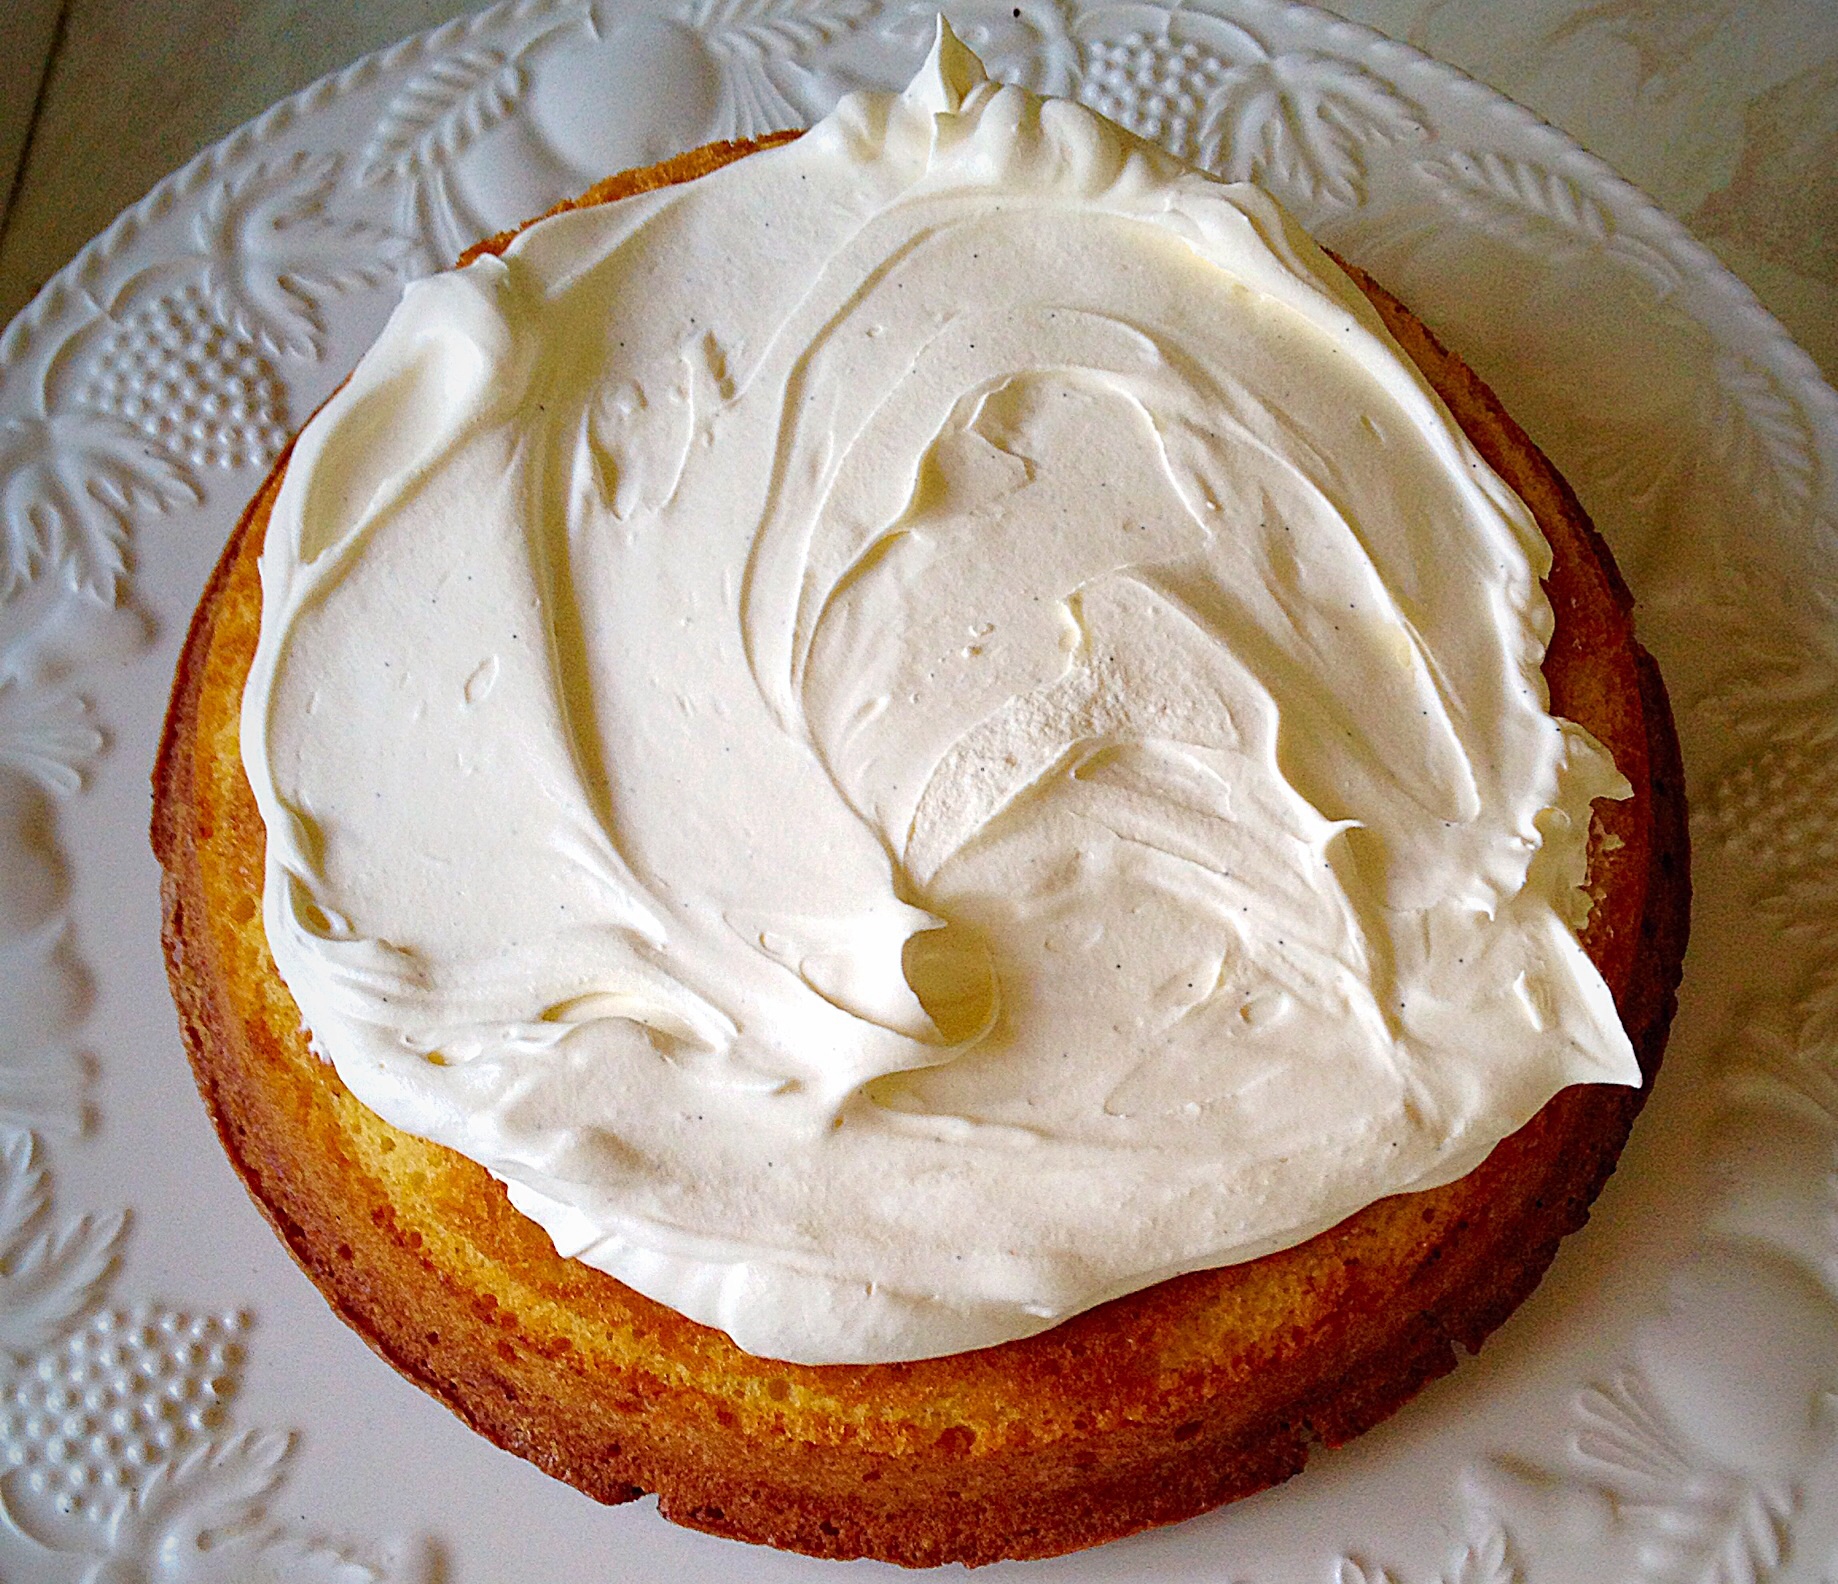
- Spoon jam on to the sponge and spread to almost the edge. Leaving a small gap around the rim of the sponge.
- Now spoon some of the raspberry cream on top of the jam. Spread the cream to the edge of the cake.
- Place the other sponge, flat side down, on top of the bottom sponge.
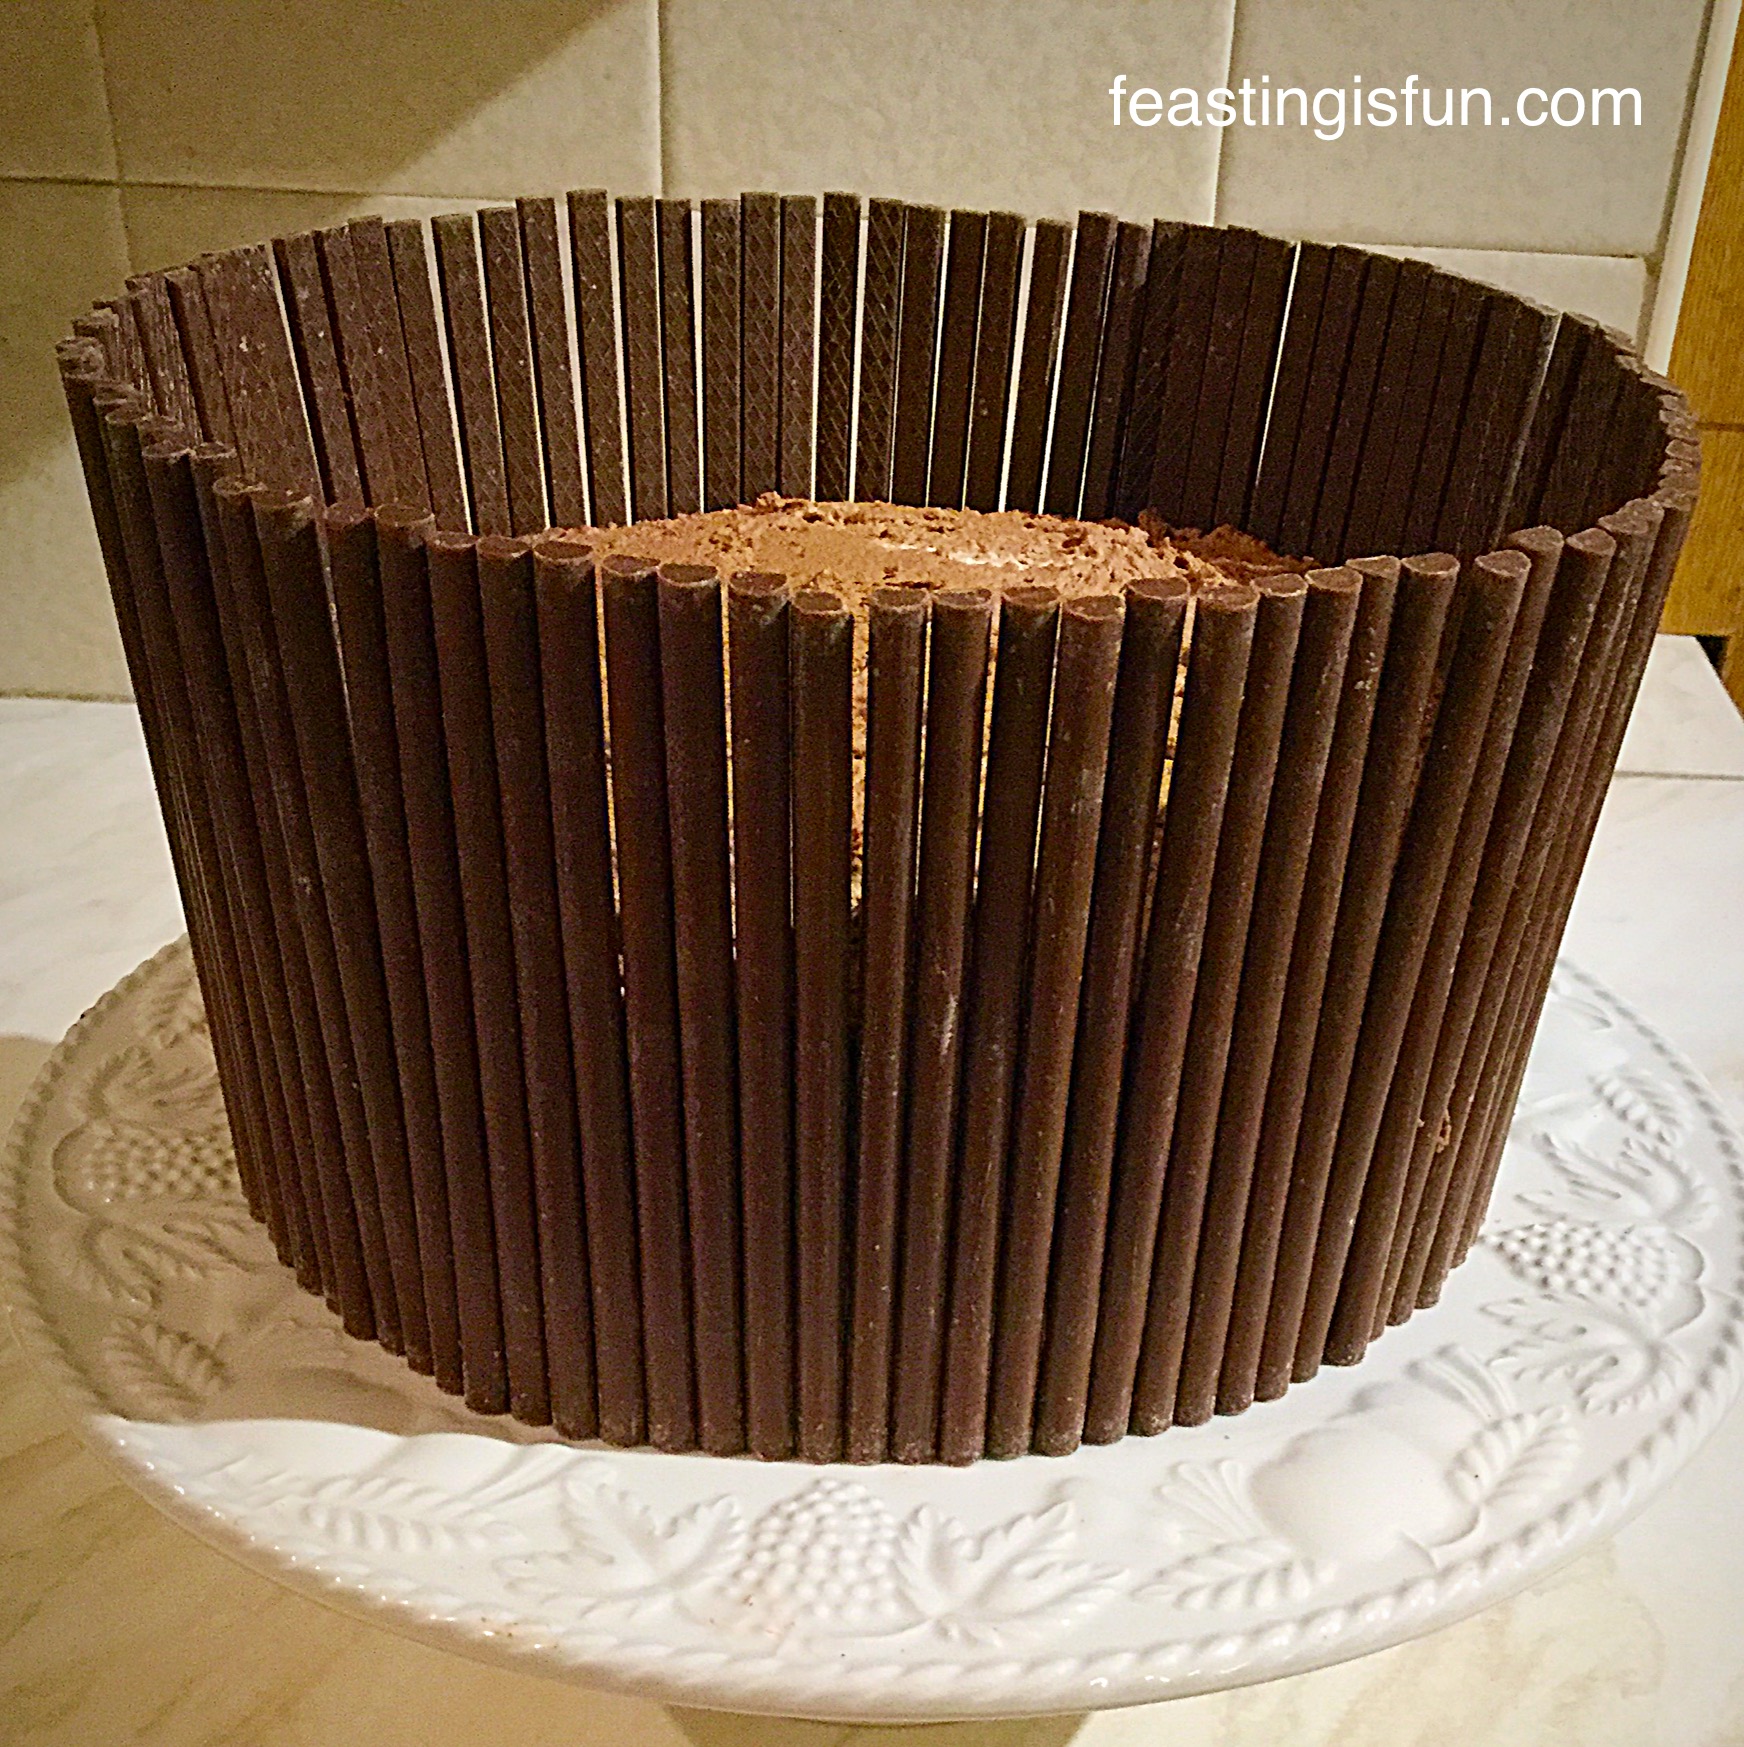
- Spoon plenty of raspberry cream on to the top of the cake. Using a palette knife push the cream on to the side of the cake. See photos above.
- Once all of the cake is covered with raspberry cream smooth the top and sides using a palette knife.
- Finally, with a clean piece of kitchen towel, wipe around the base of the cake, removing any excess cream.

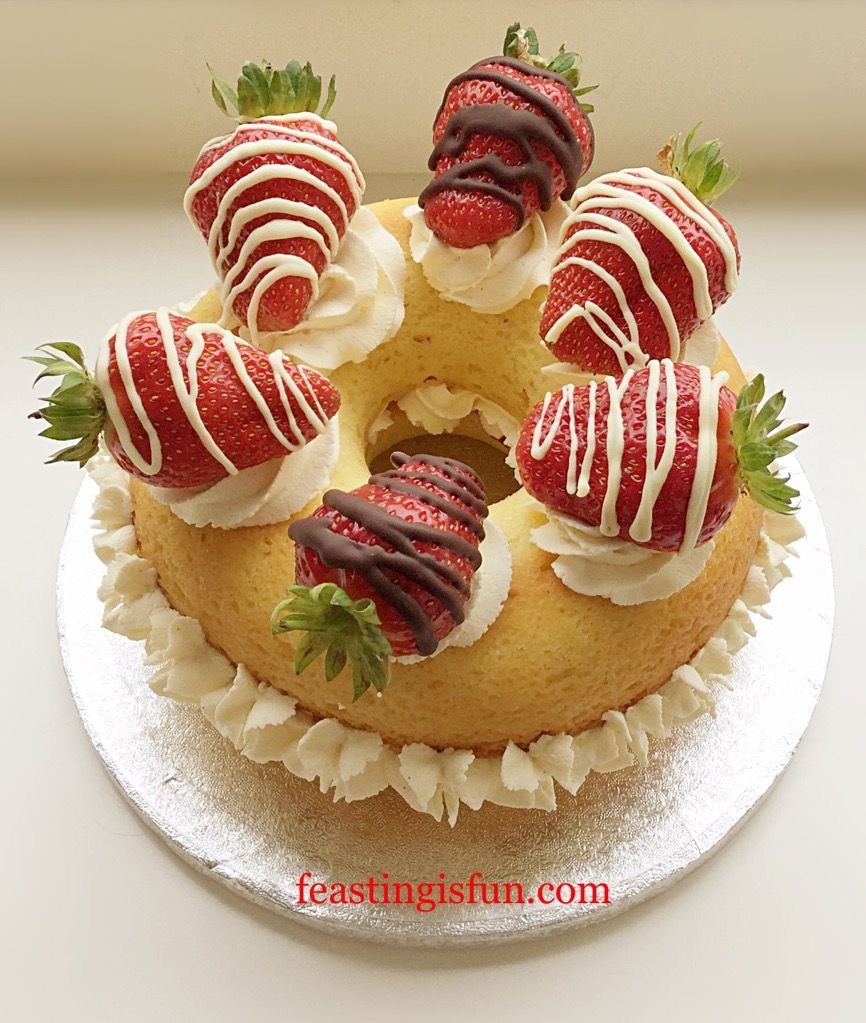
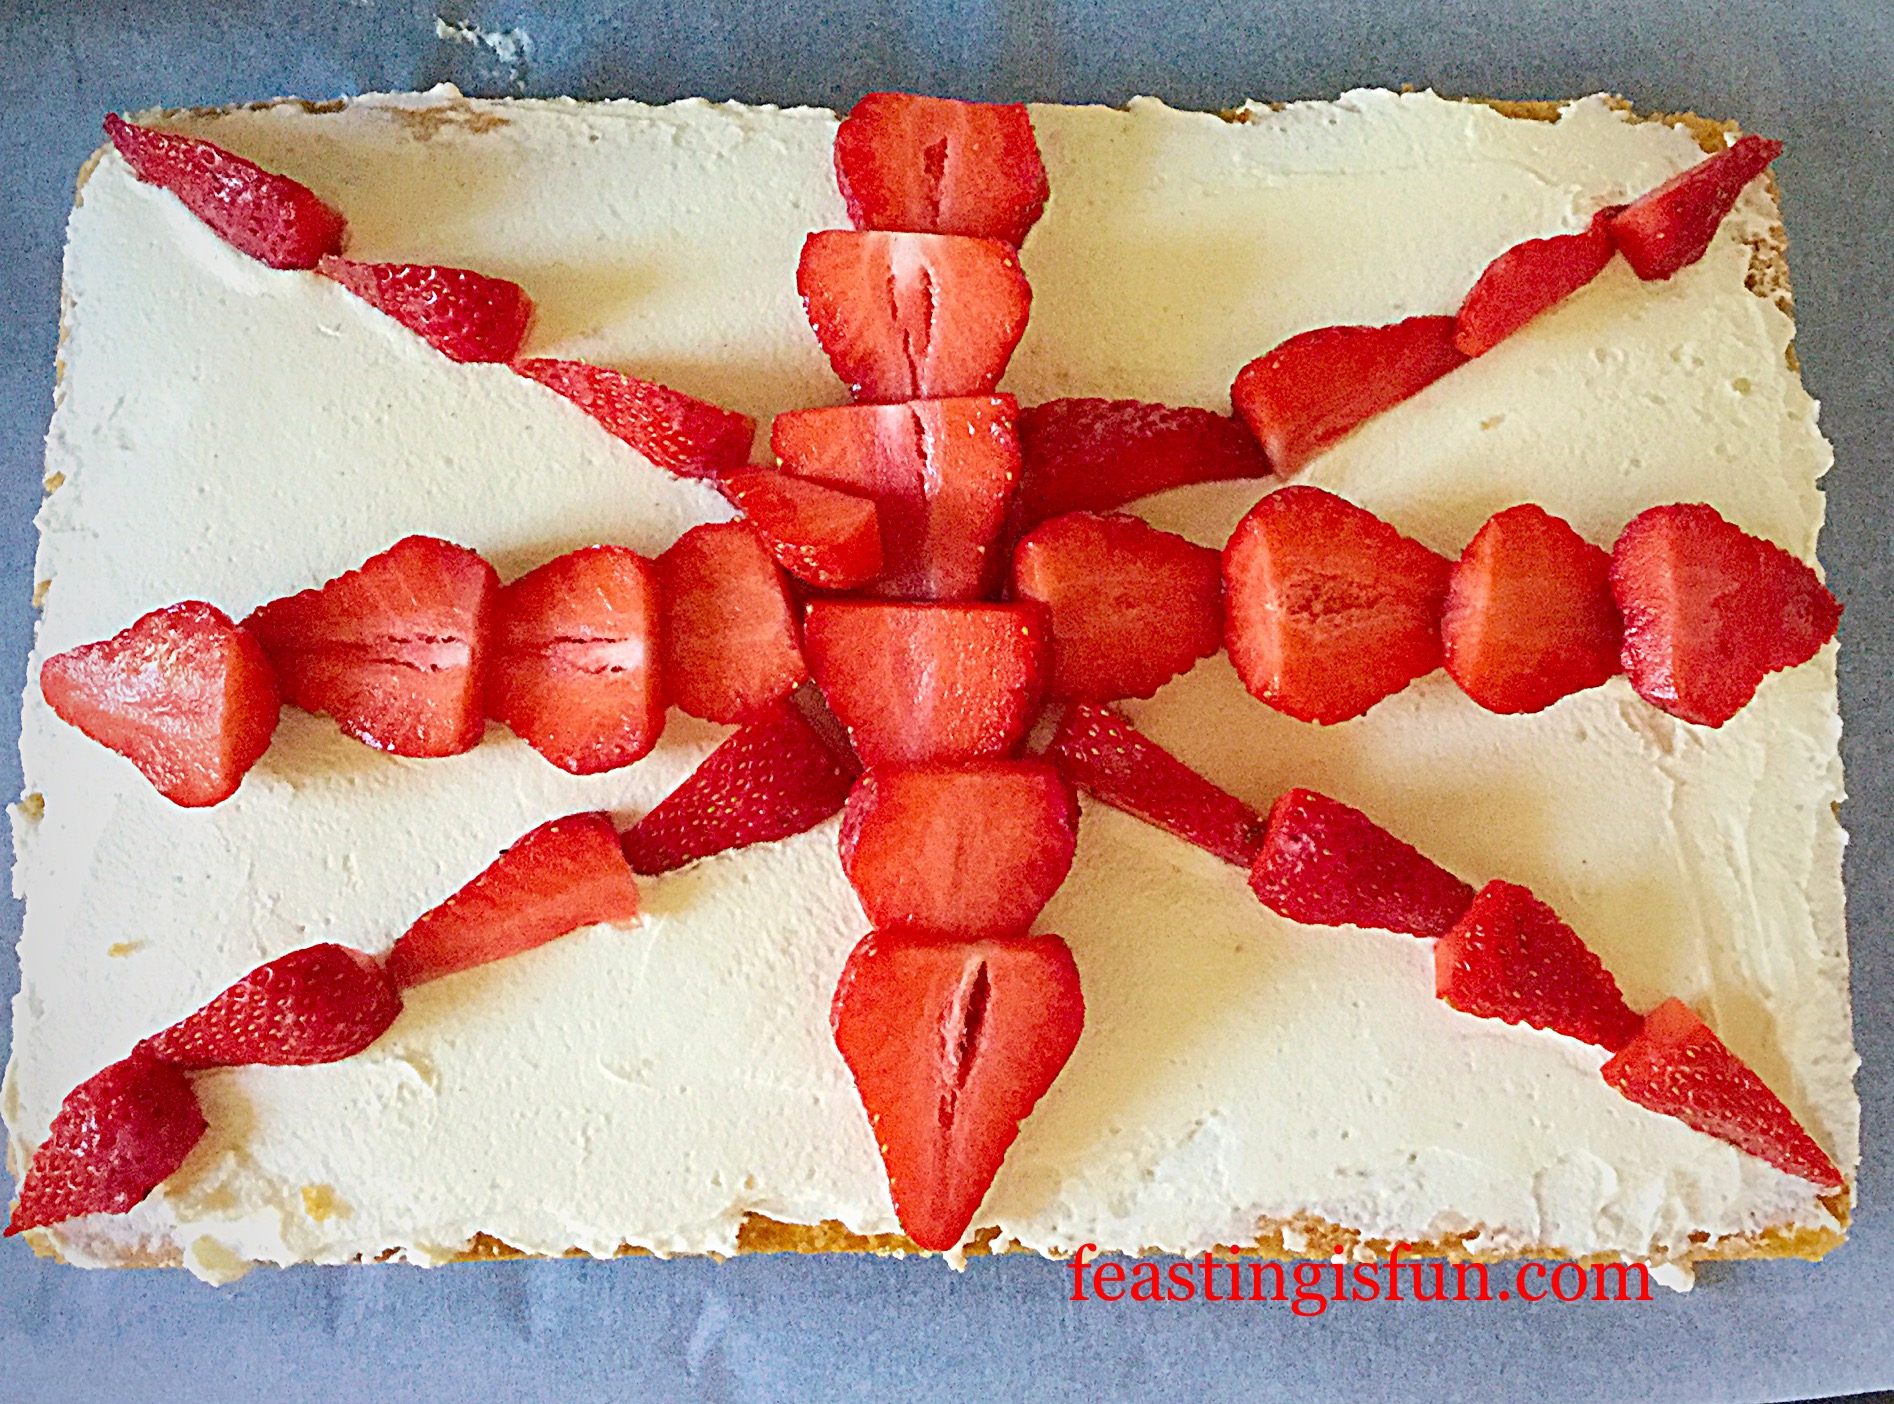
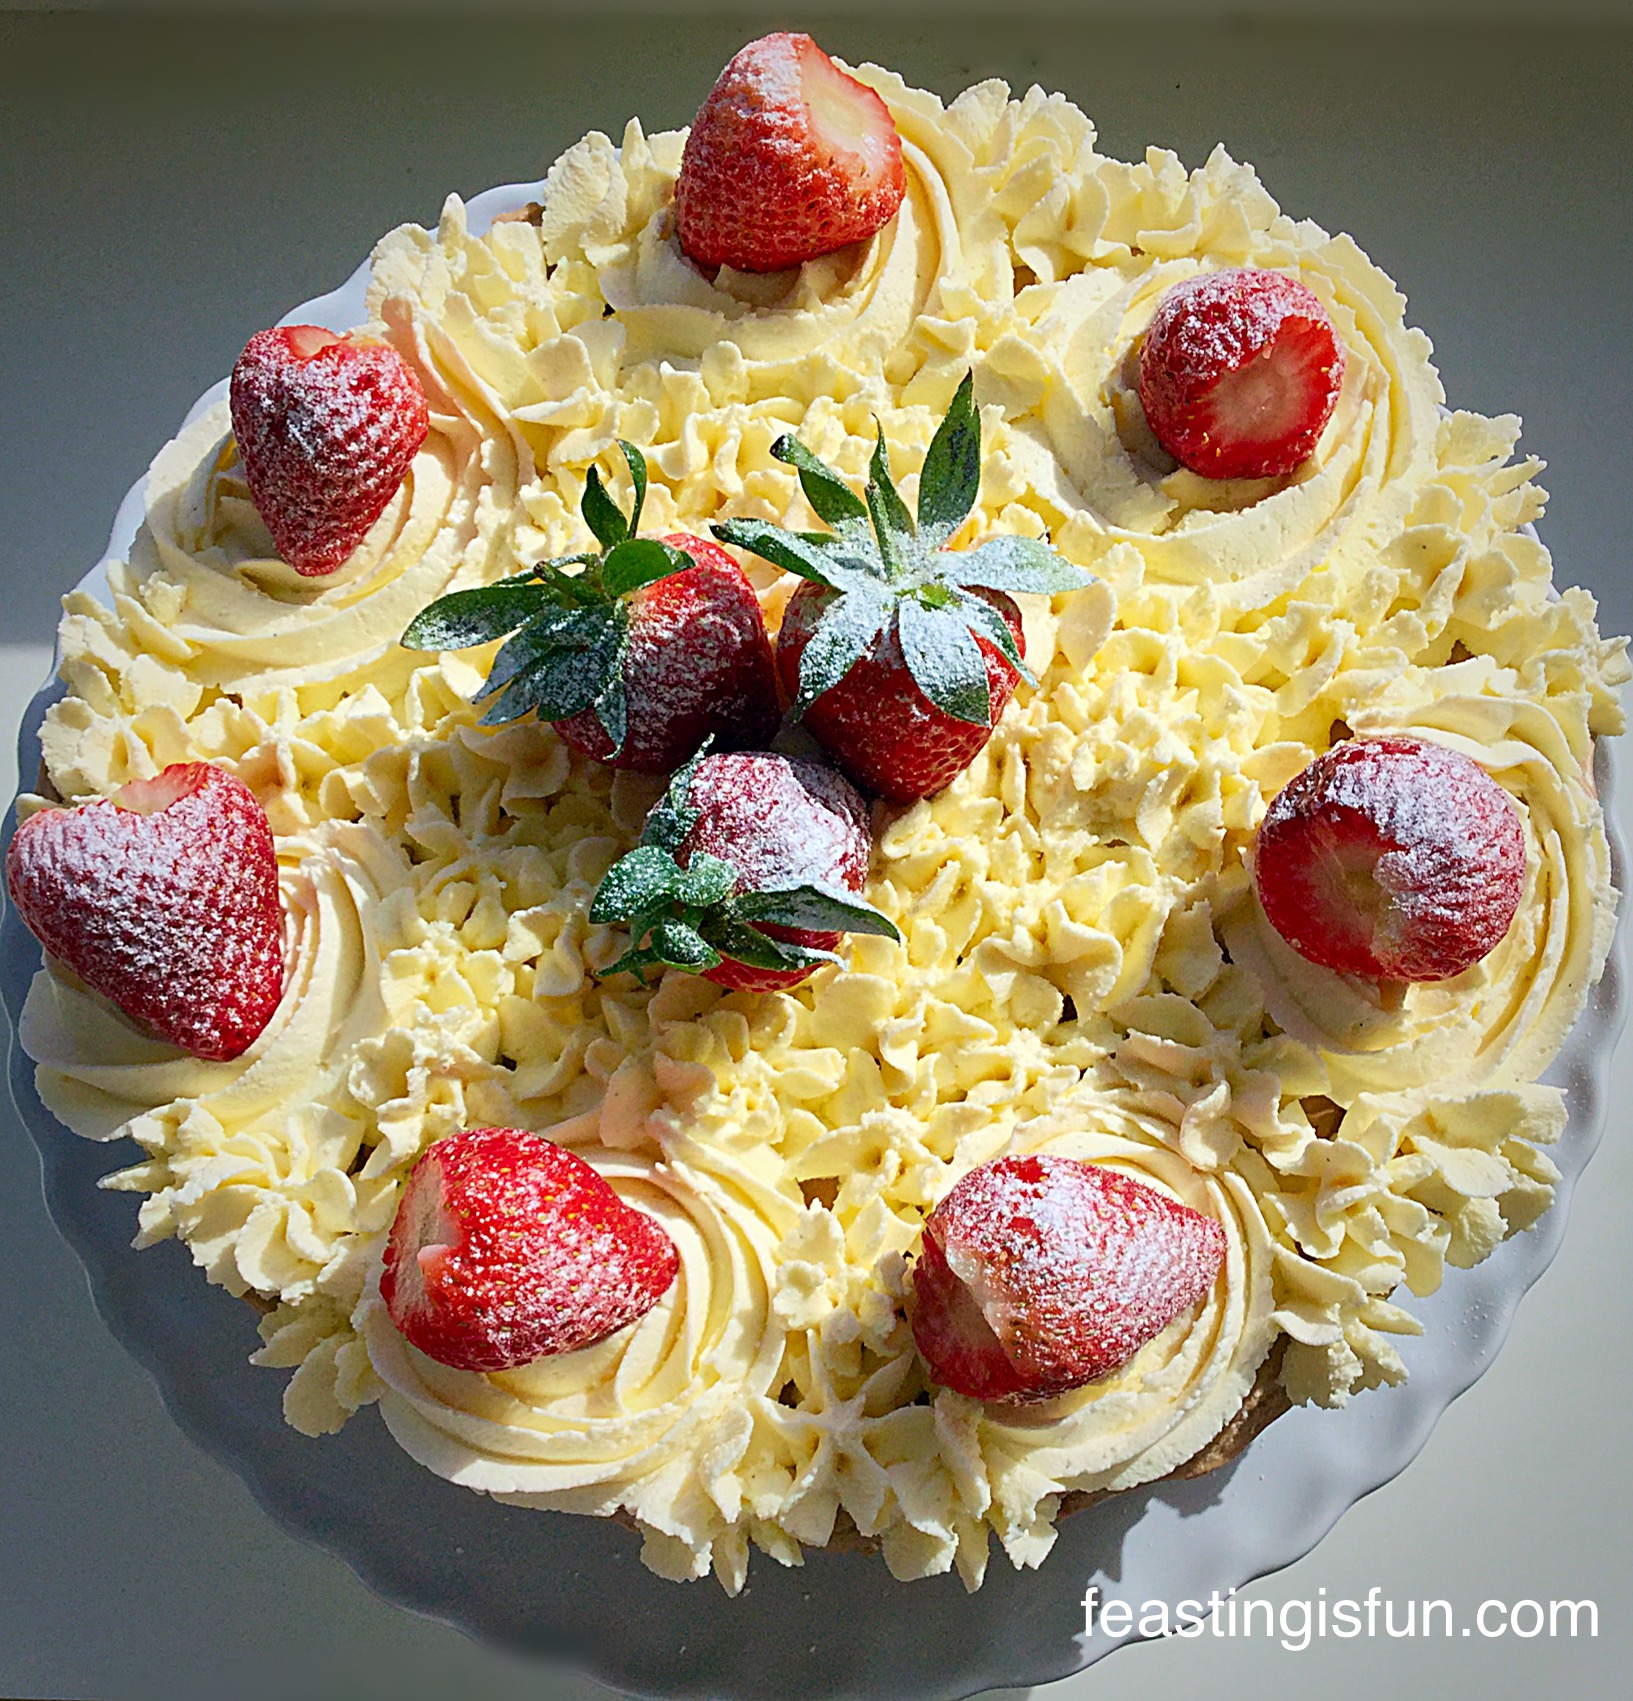
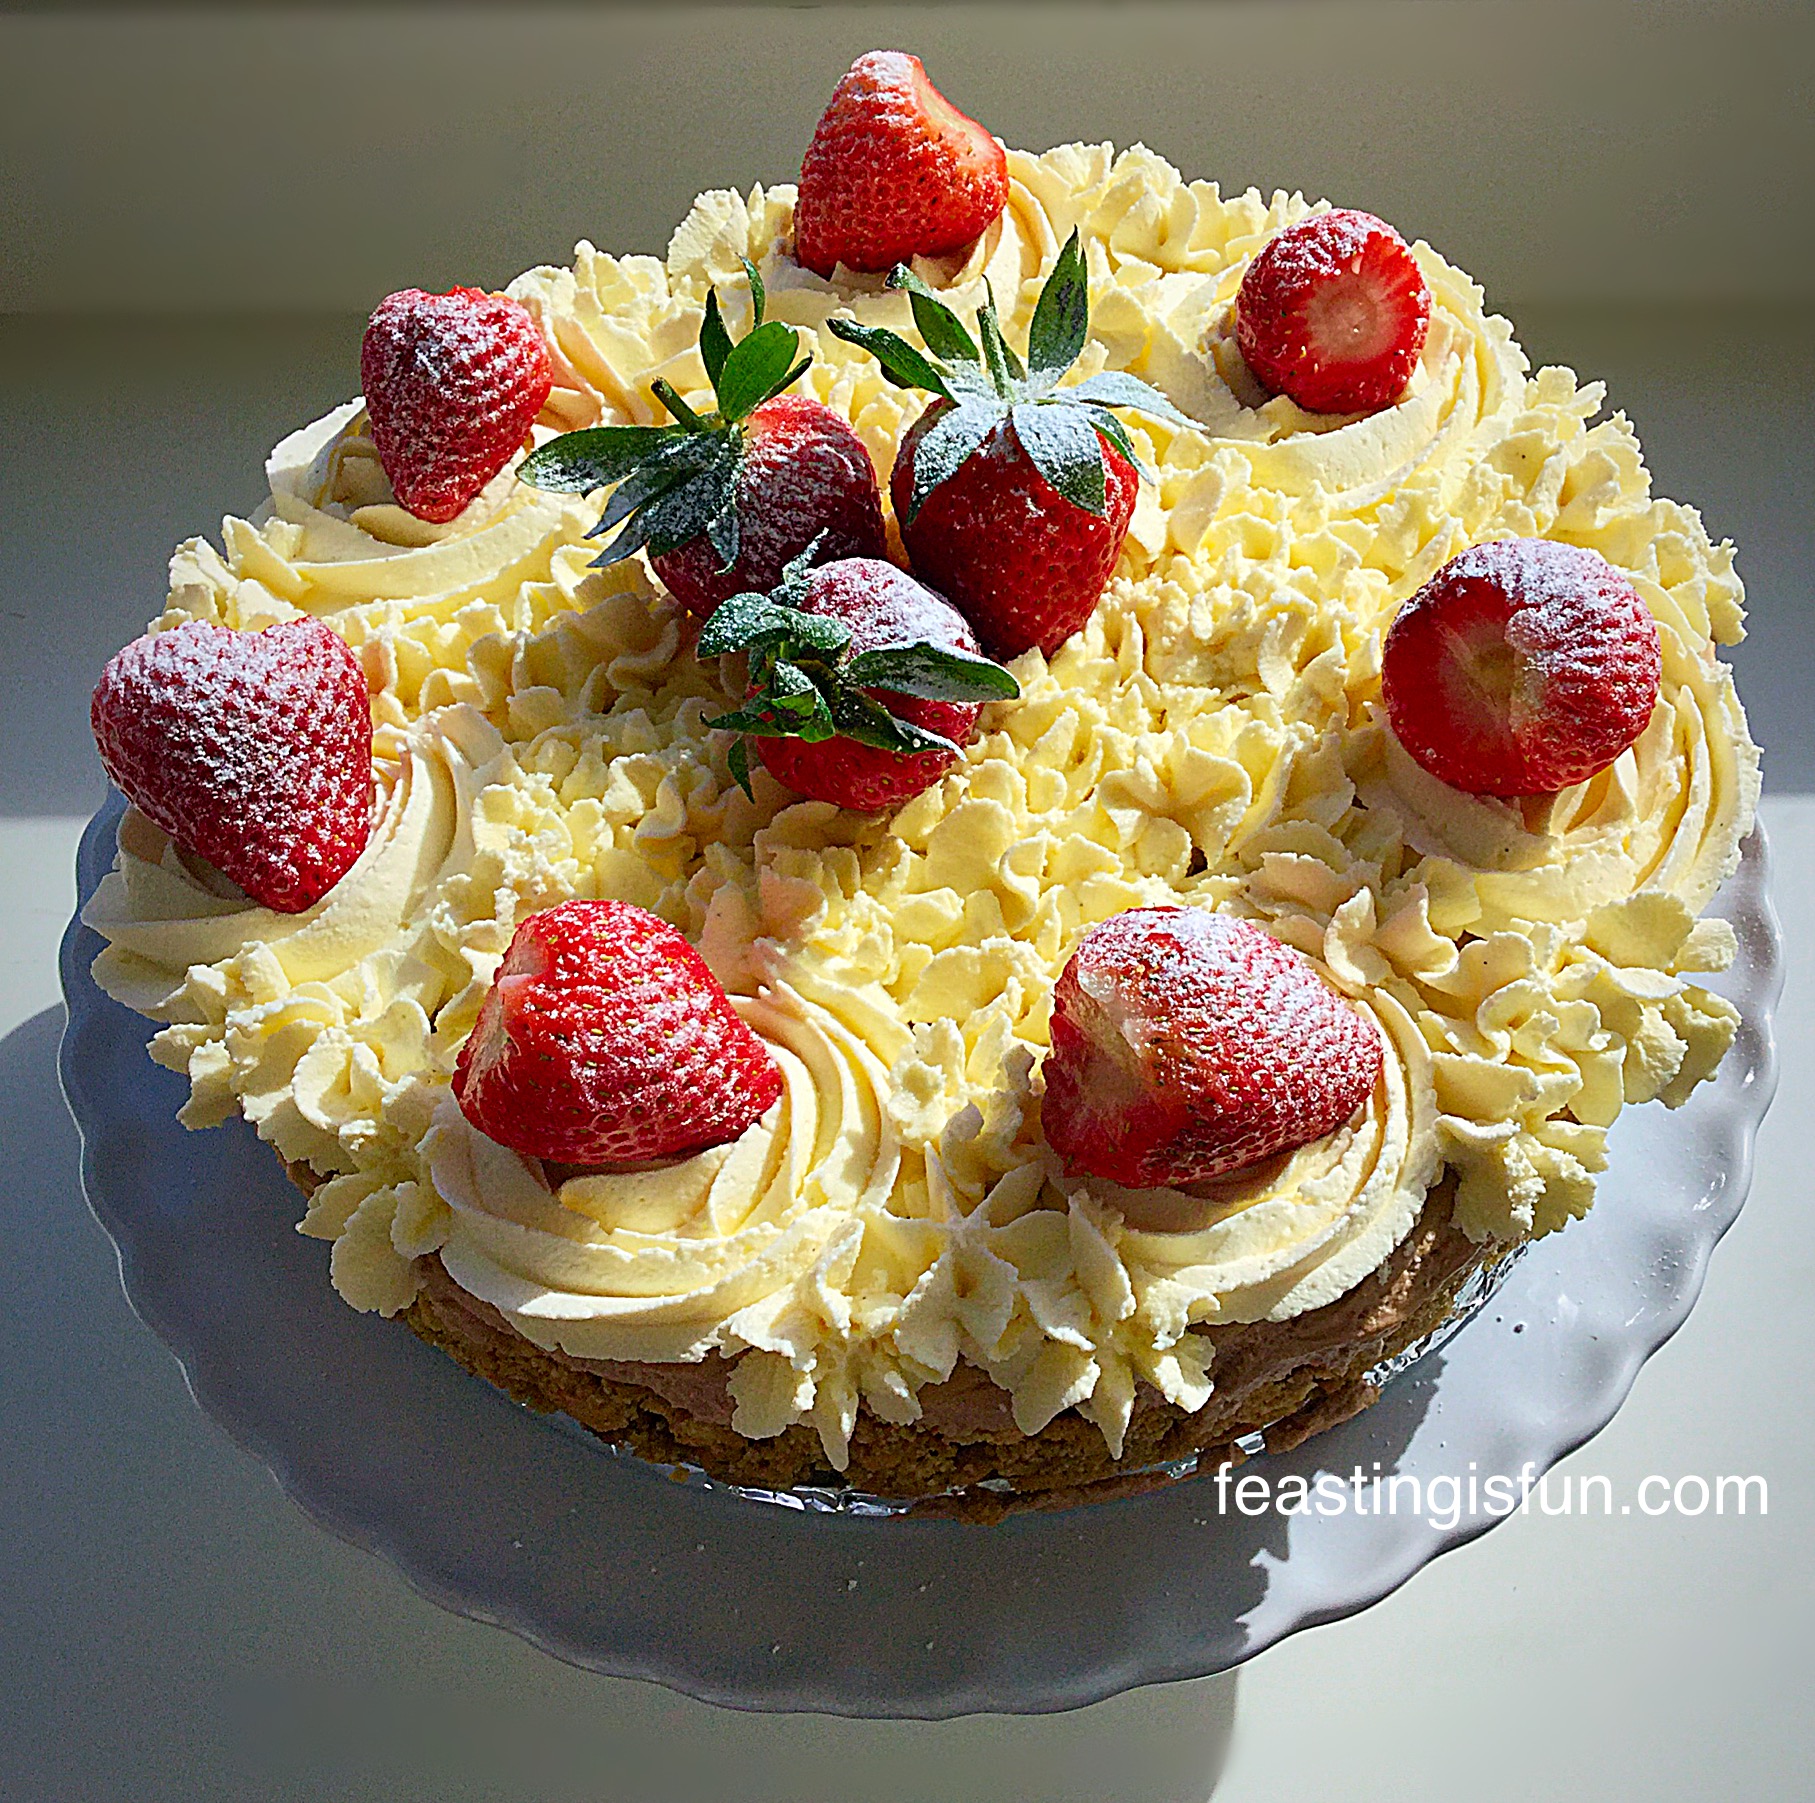
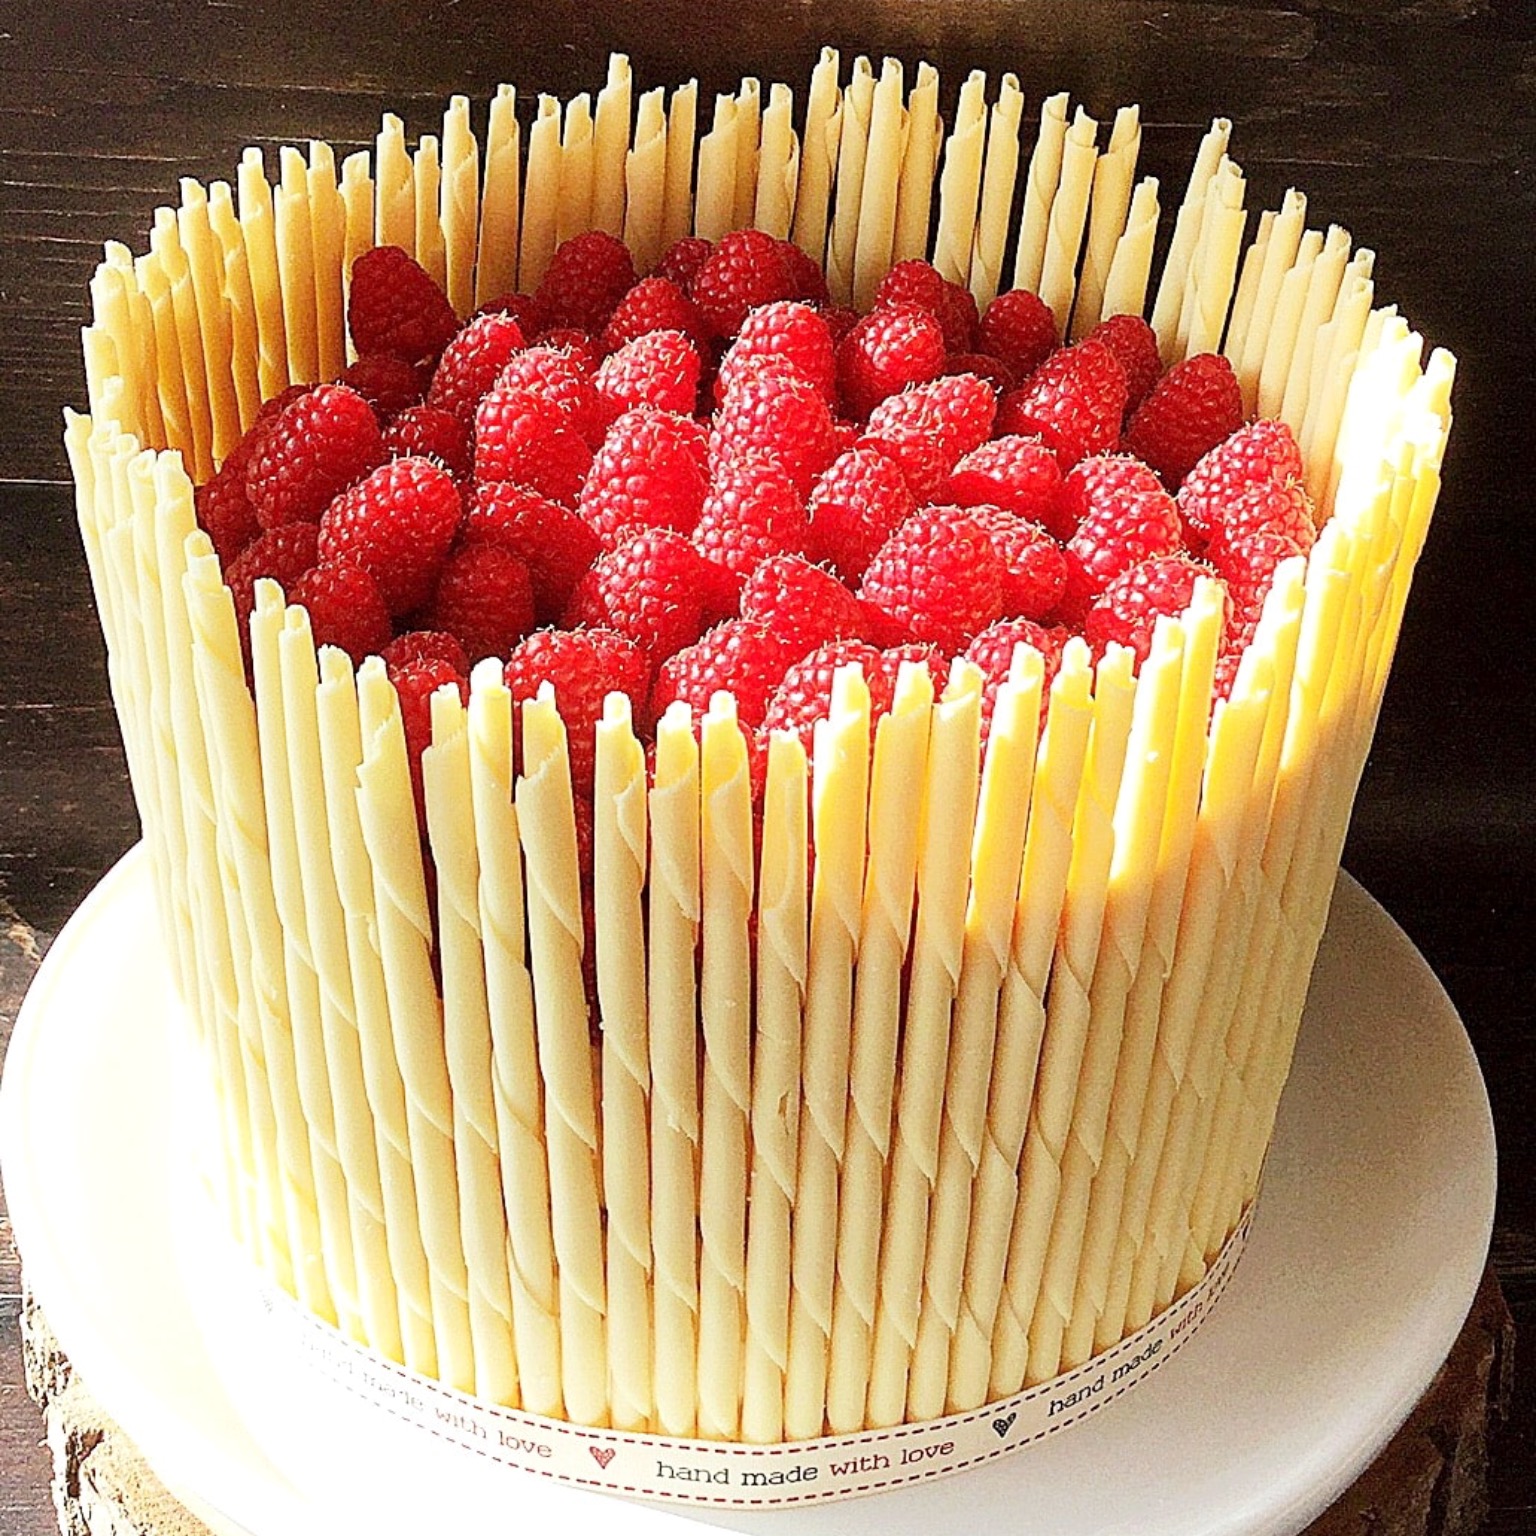
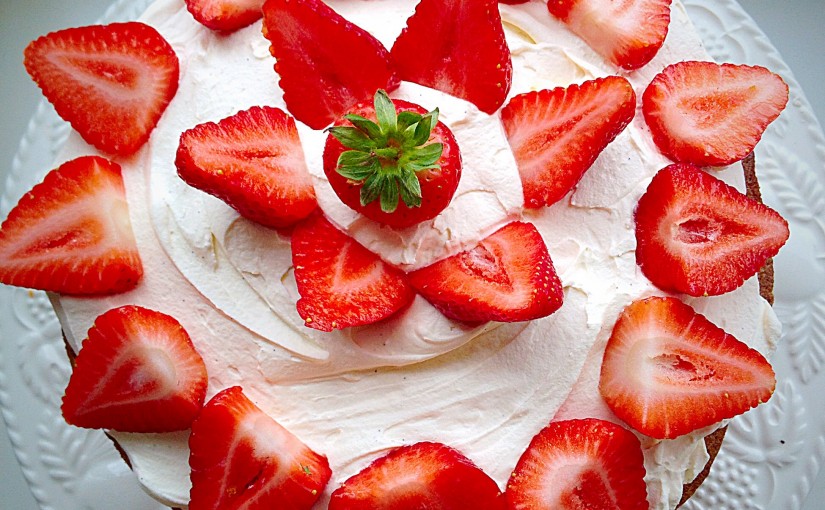
- To finish the cake add fruit to the top. Importantly aim for a little height in the centre.
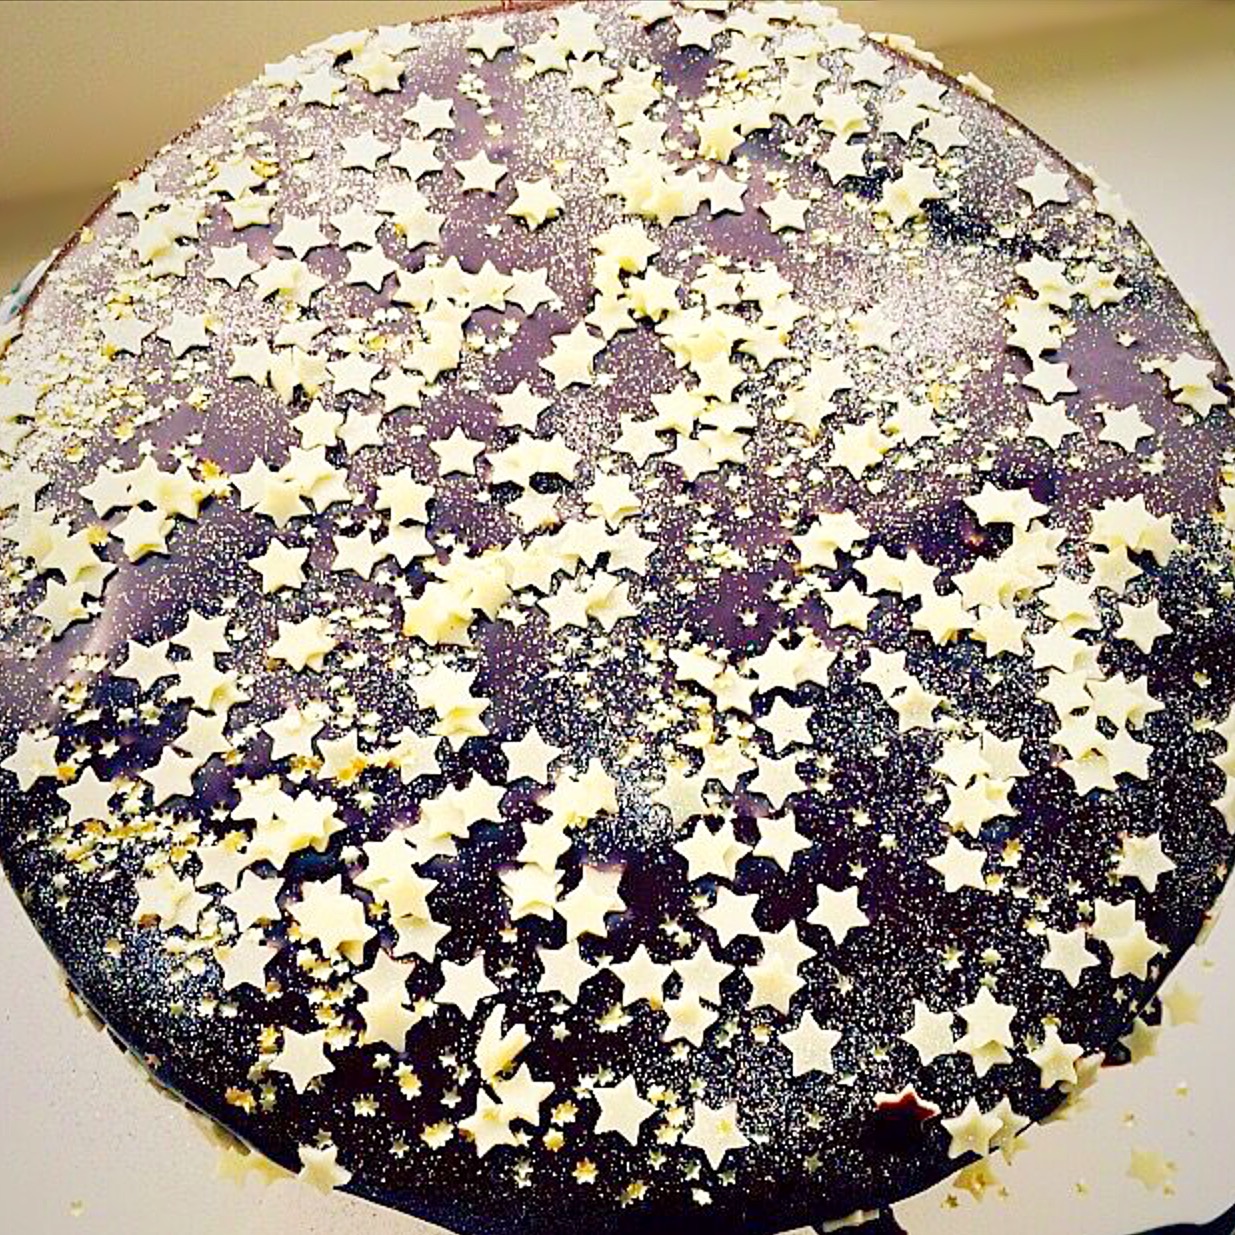
- Finally dust the top of the cake with icing sugar if desired.
- Place the finished cake into the fridge to chill for one hour.
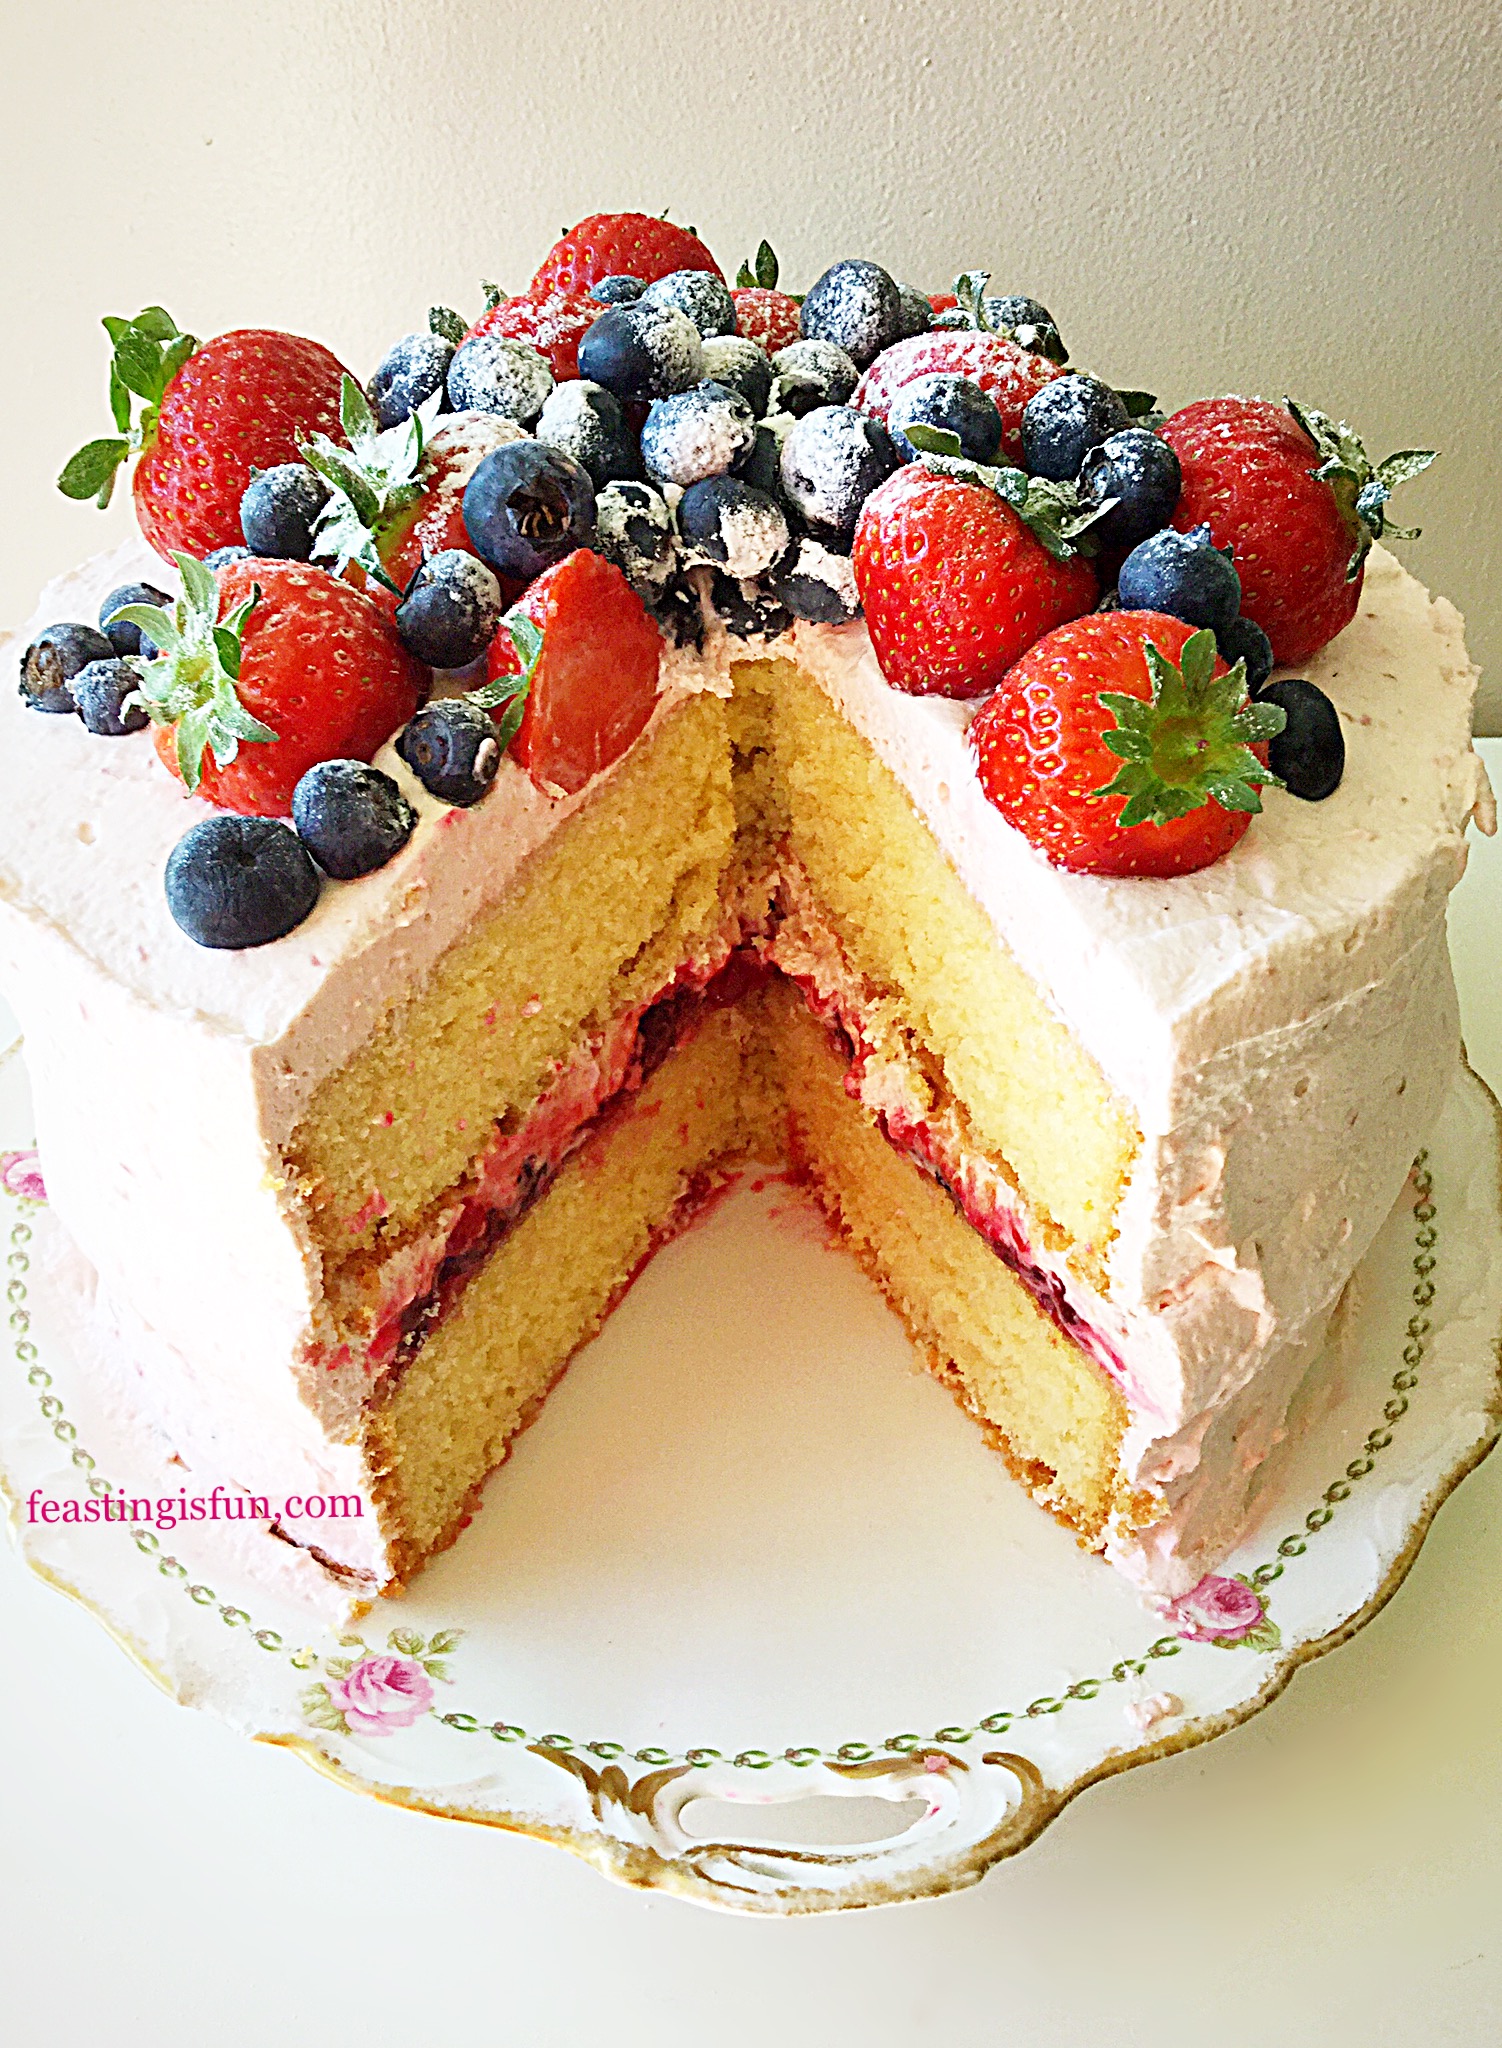
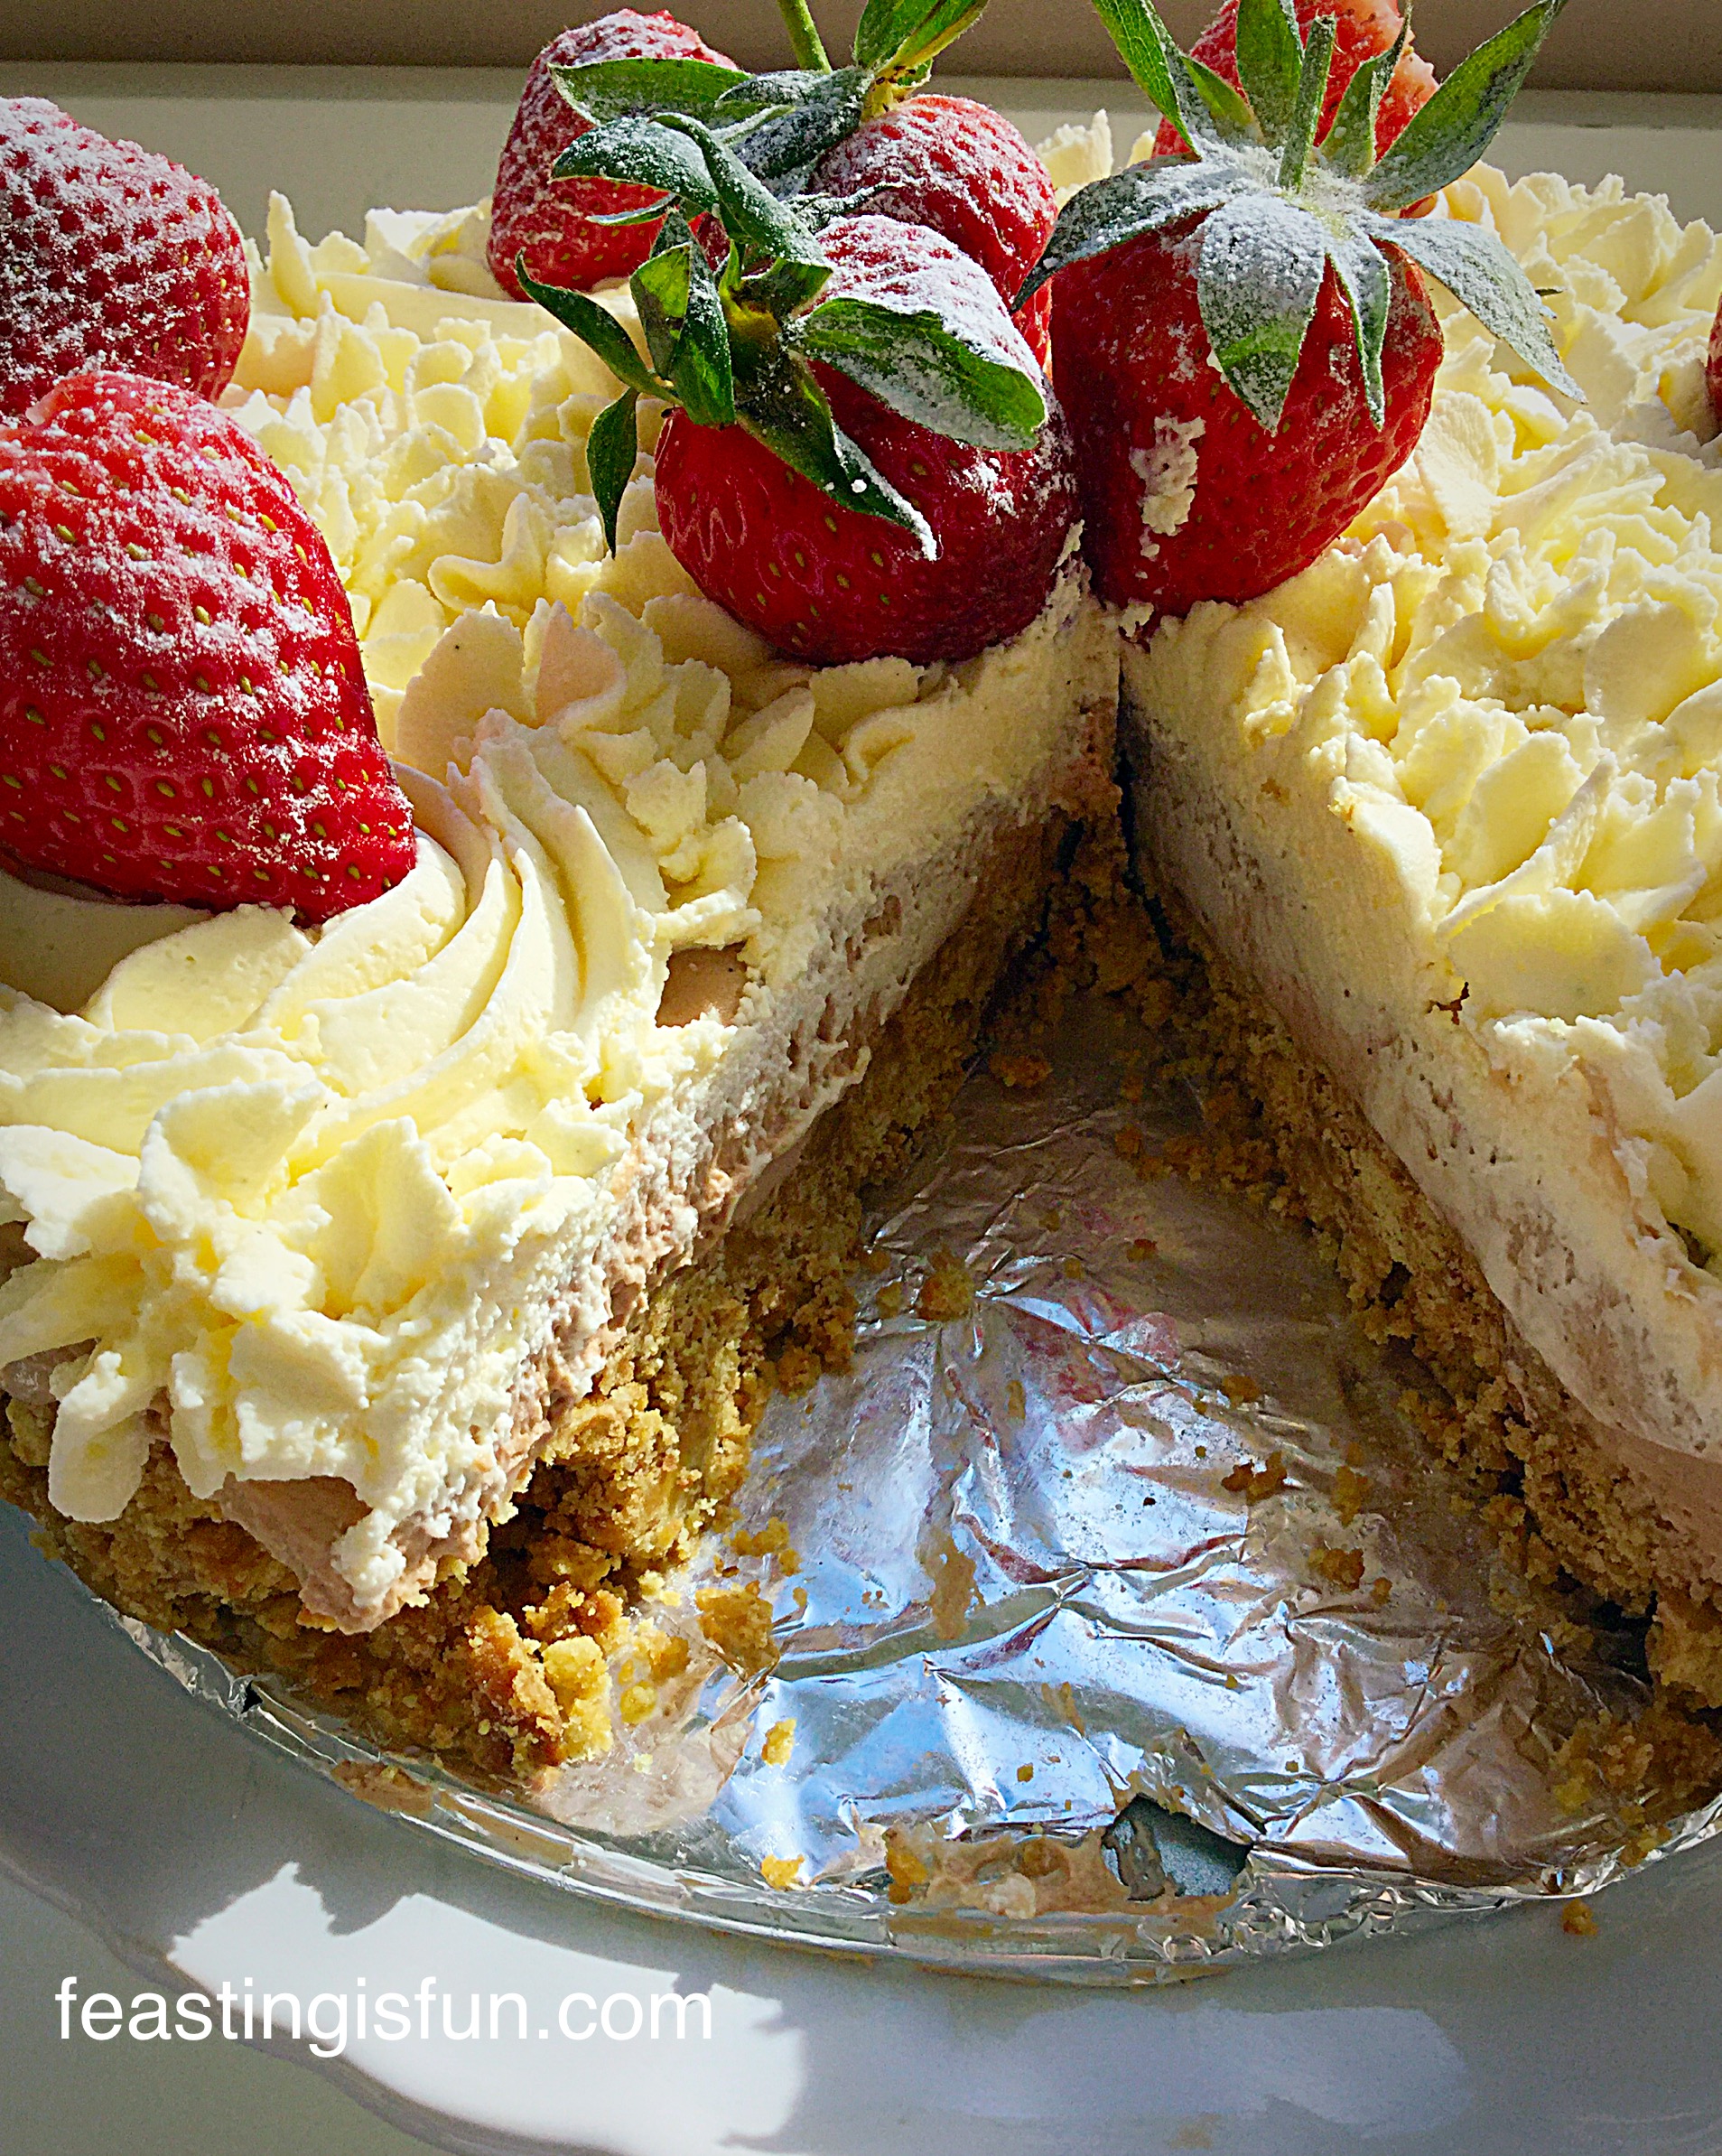
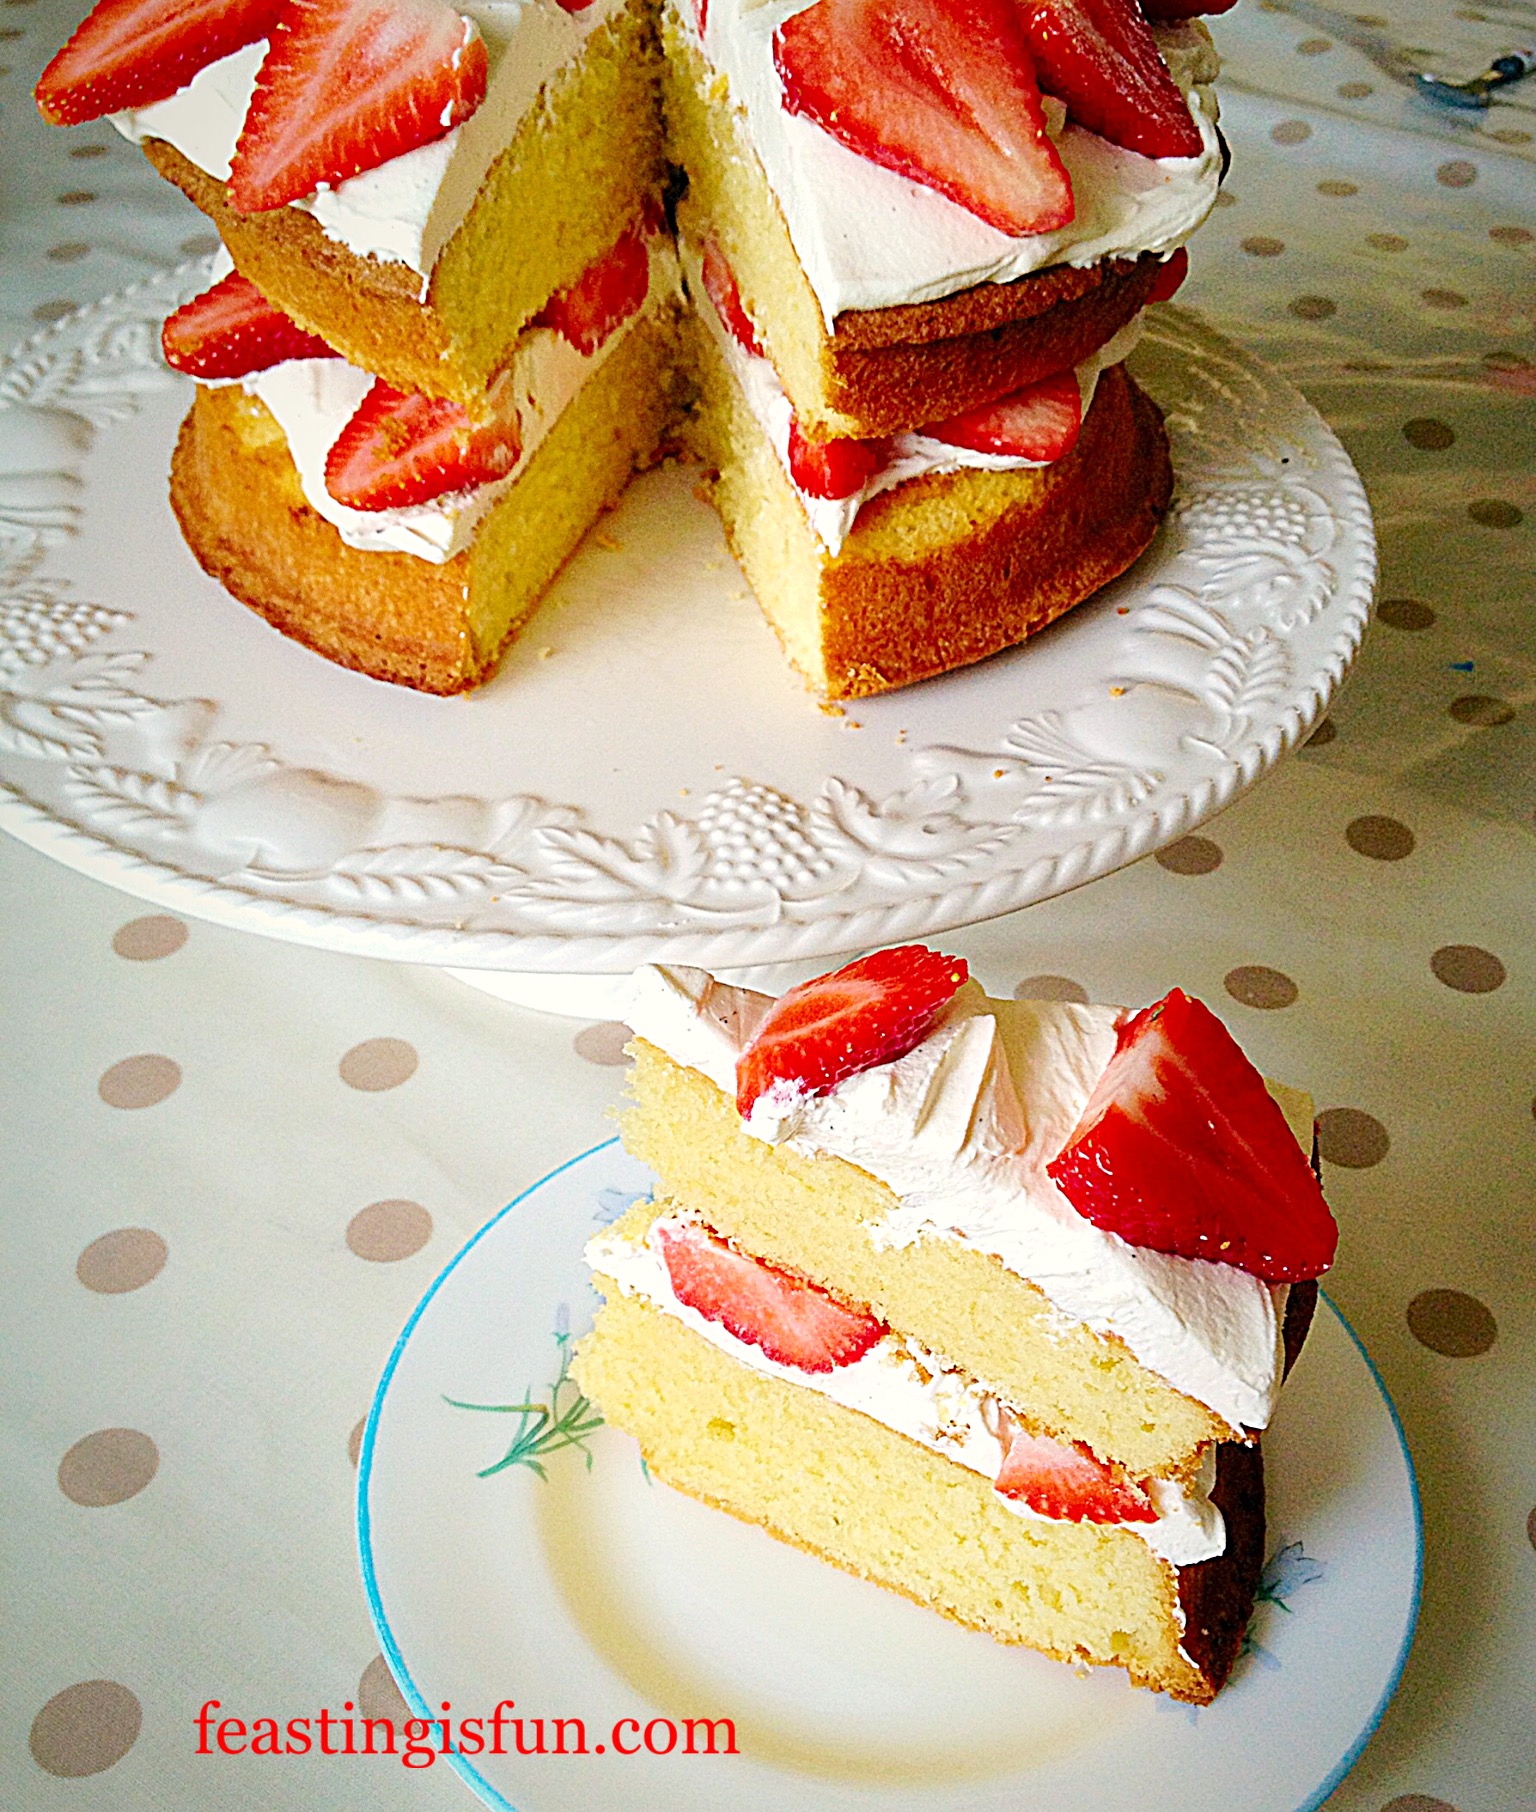
As soon as the cake is chilled it can be sliced and served. Also a useful tip is to wipe the cutting knife with kitchen paper after each cut. Since doing so keeps the cake slices clean.
While the sponges can be made one day ahead and stored in an airtight container. Ideally this cake is best eaten the day it is assembled. Store leftover cake in an airtight container in the fridge and eat within 3 days.

If you have enjoyed this recipe for Summer Mixed Berry Sponge Cake you may also like these:
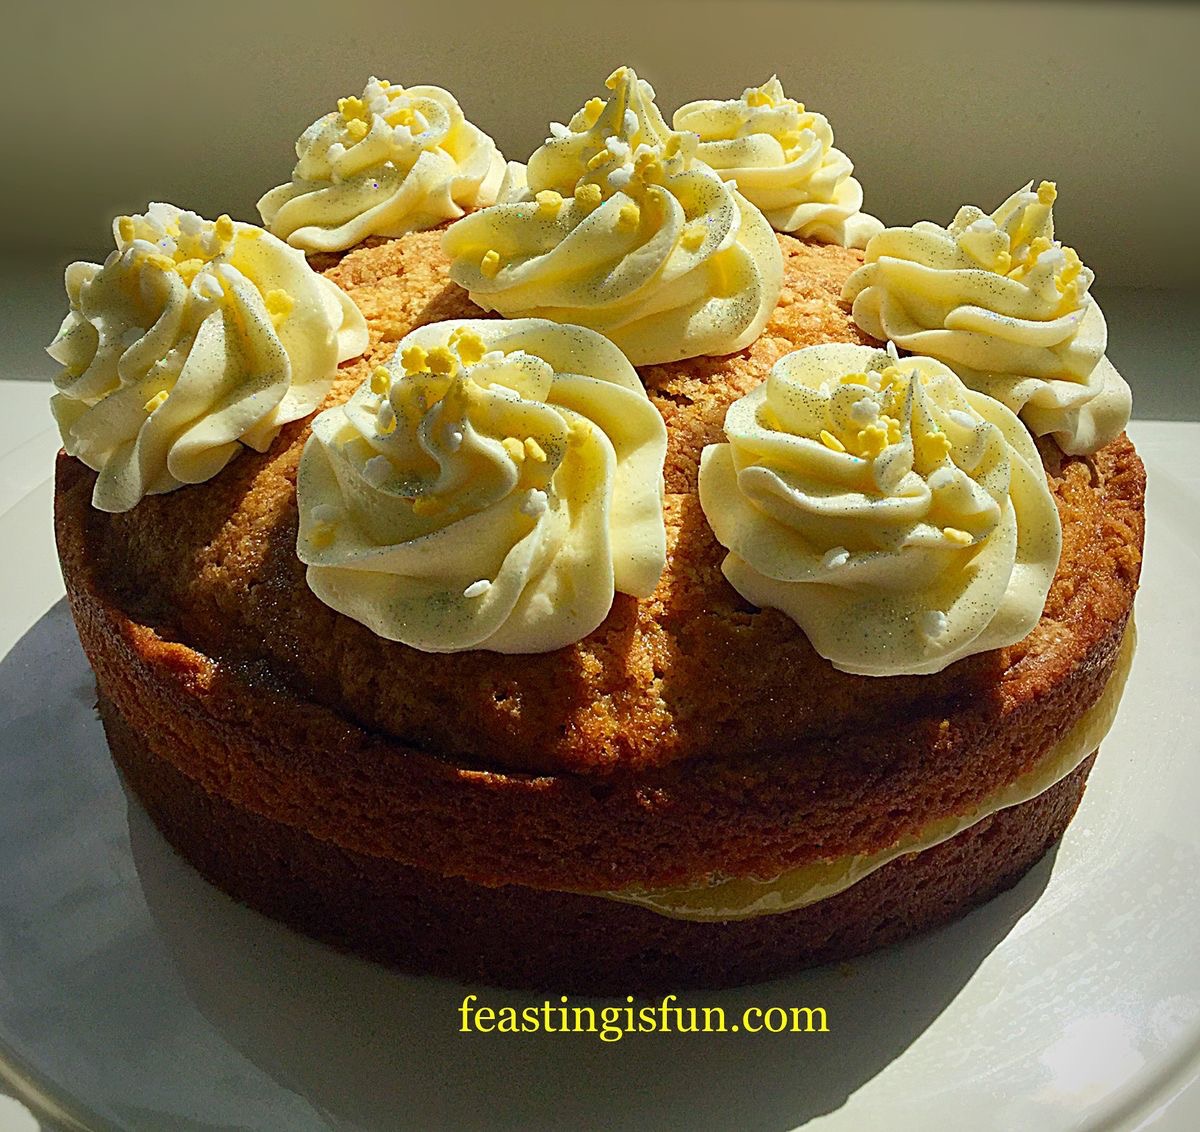
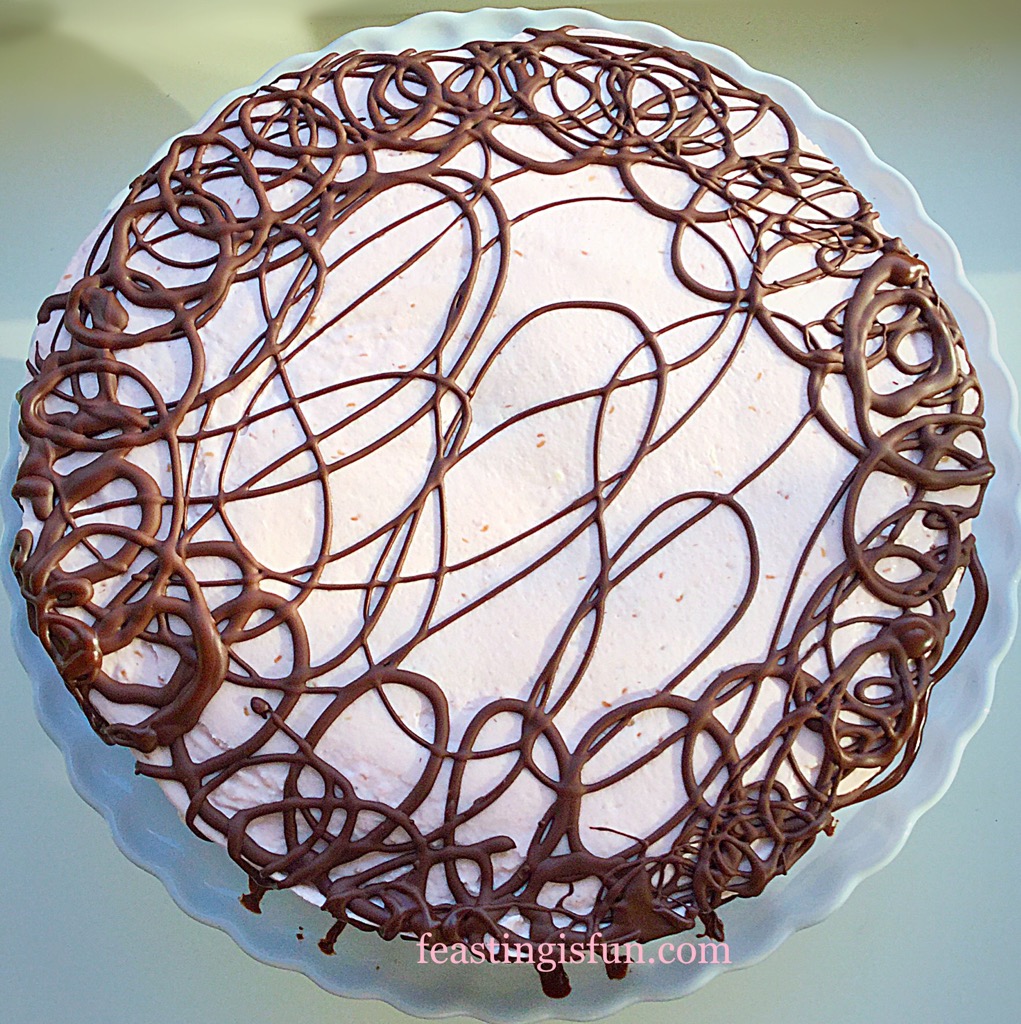
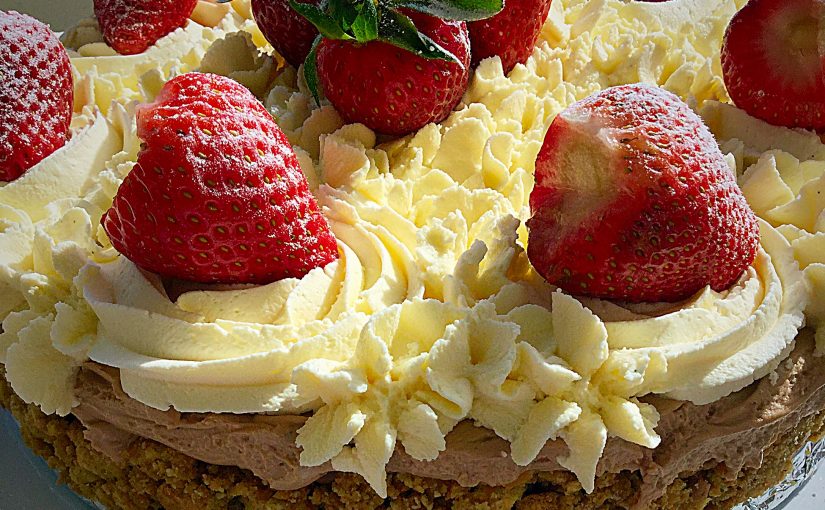
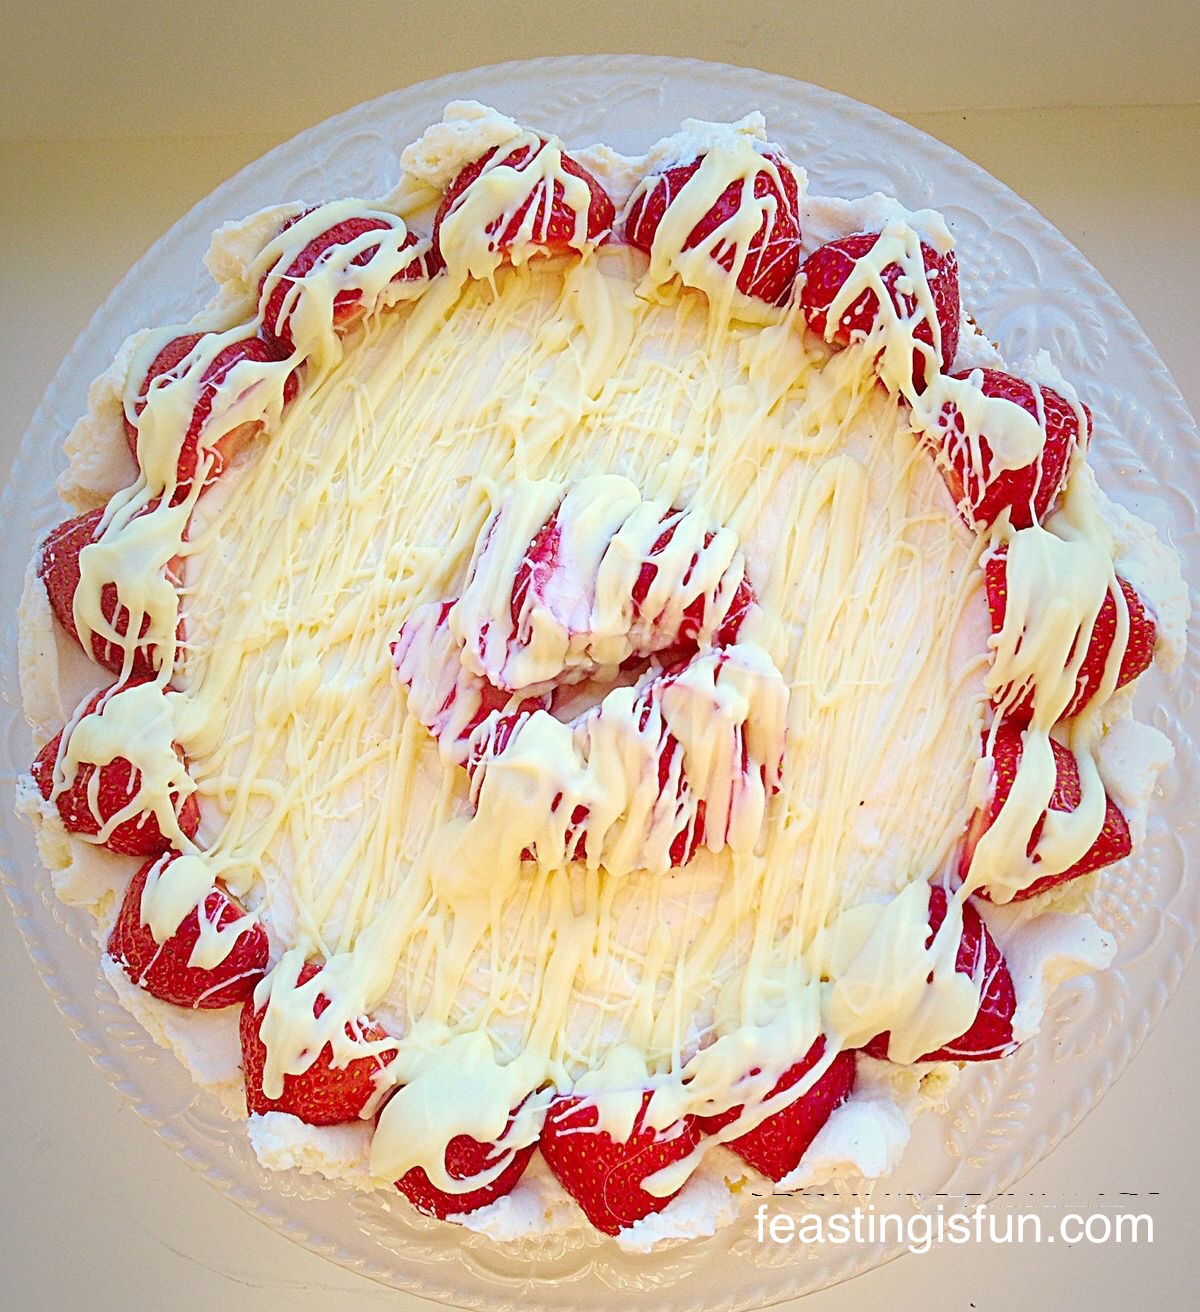
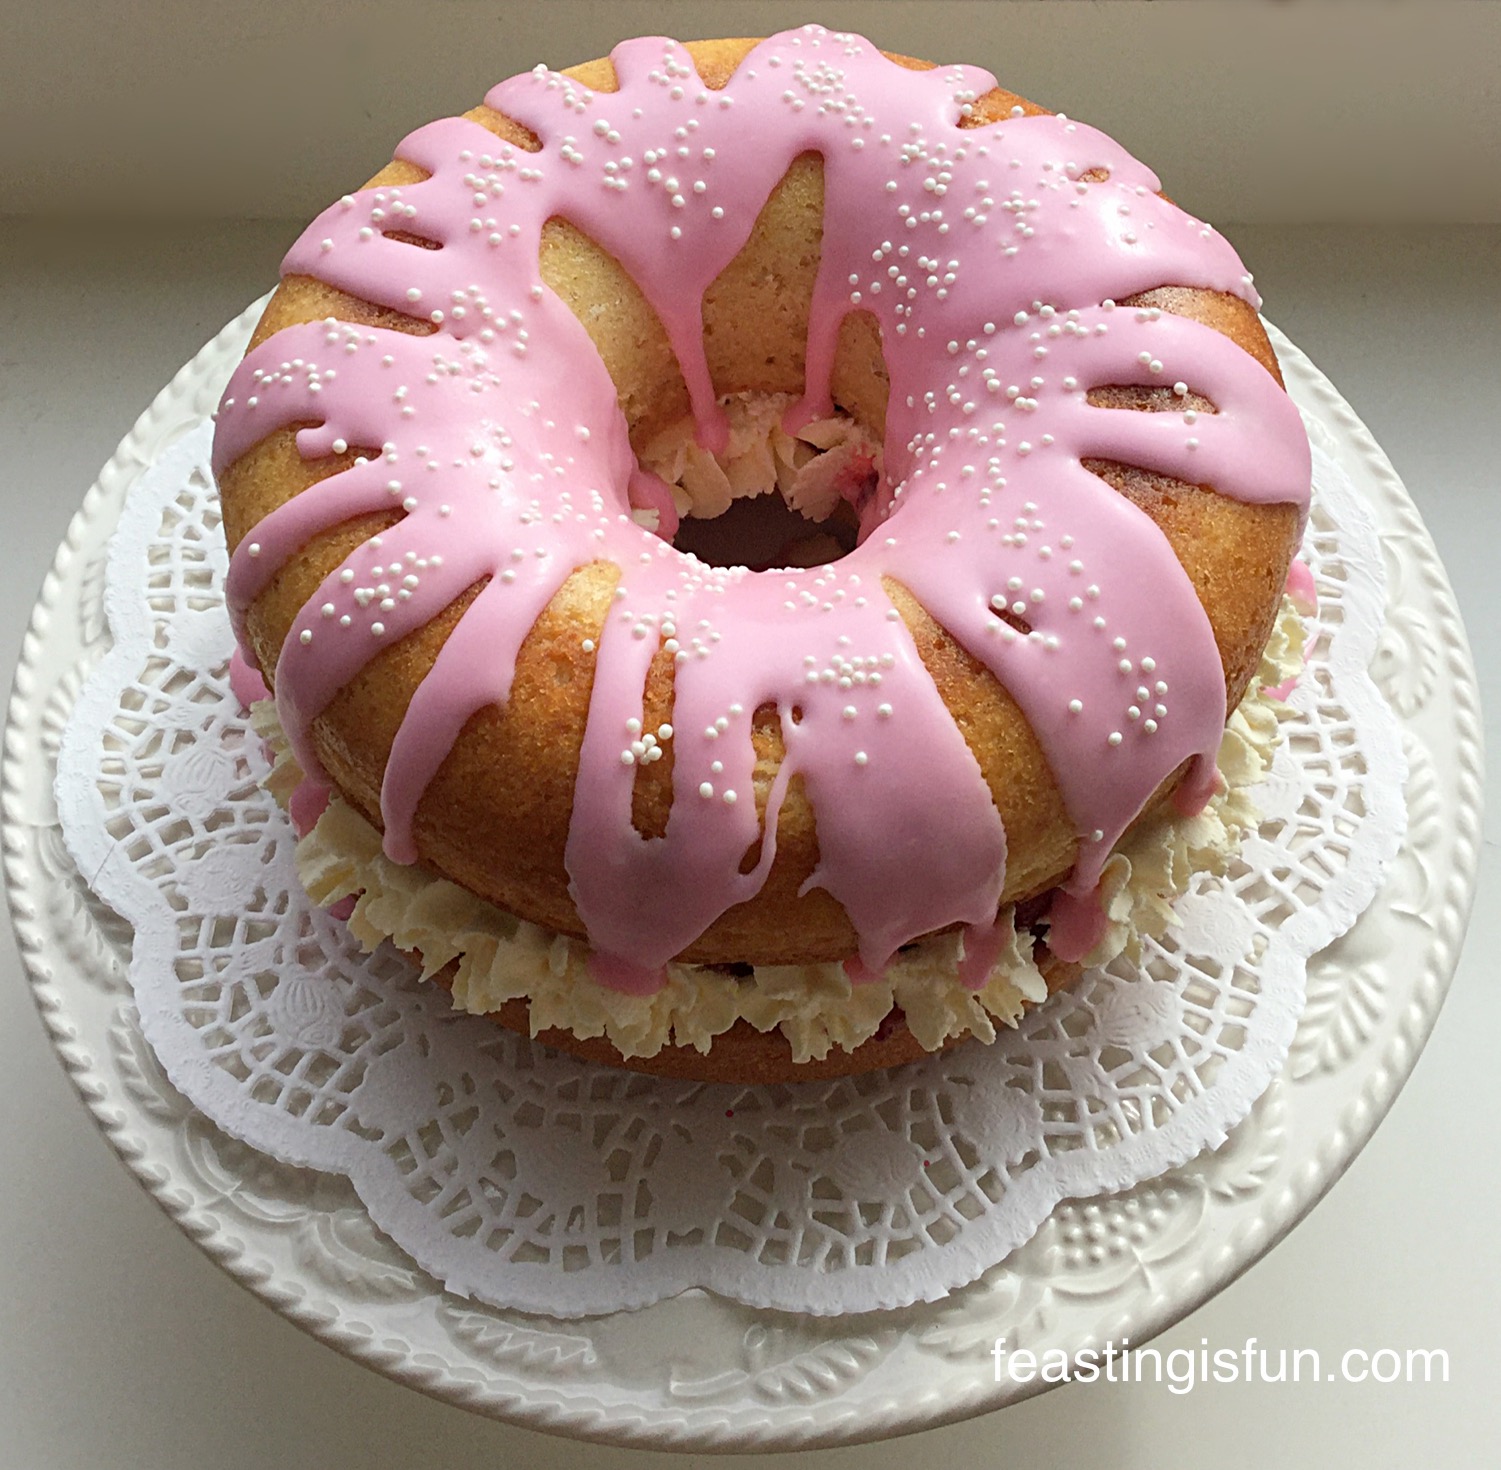
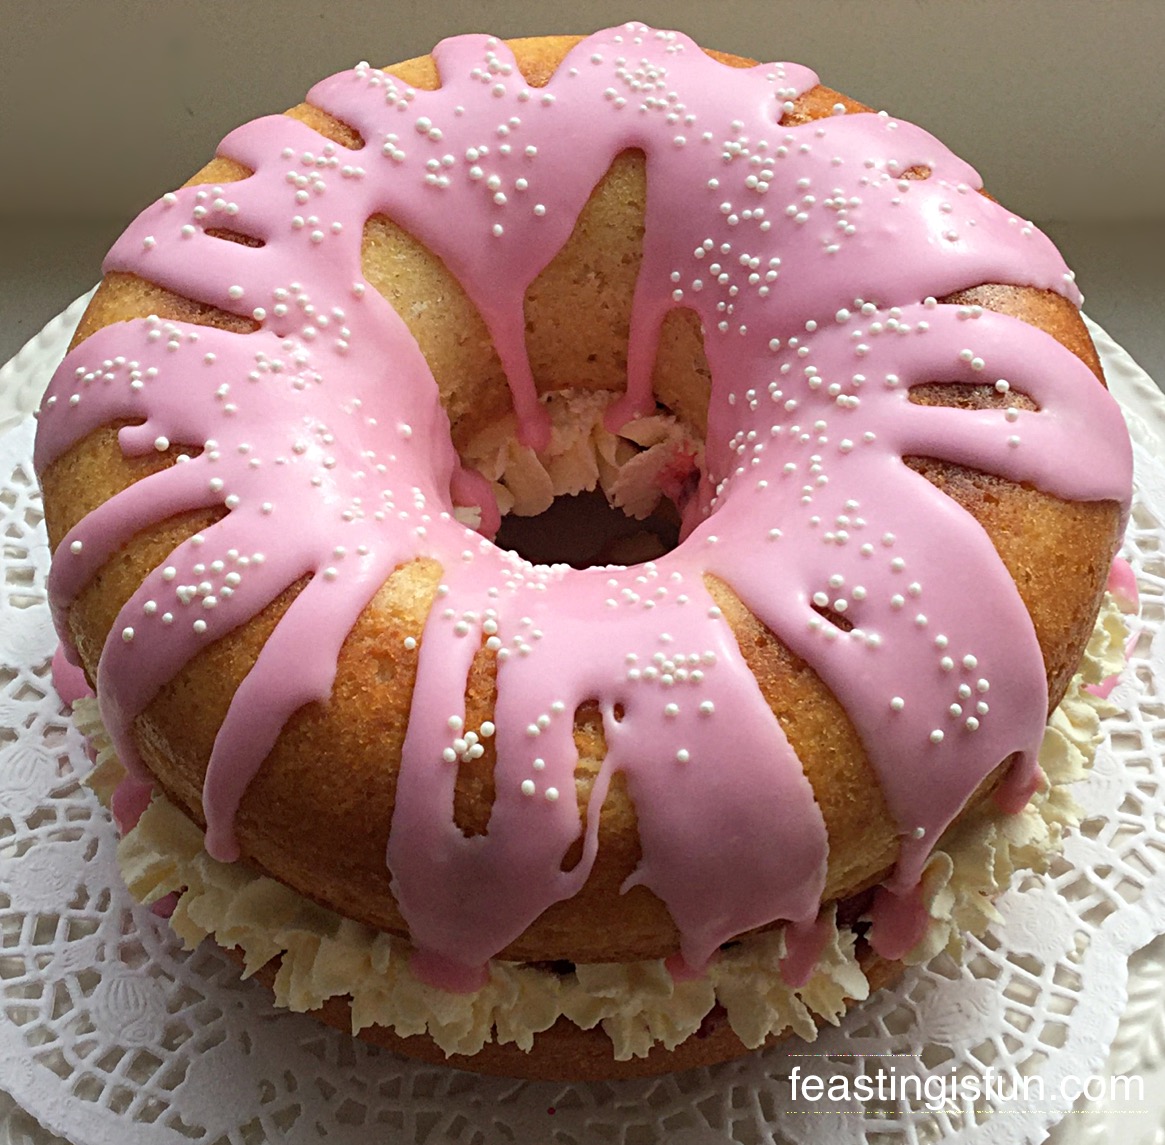
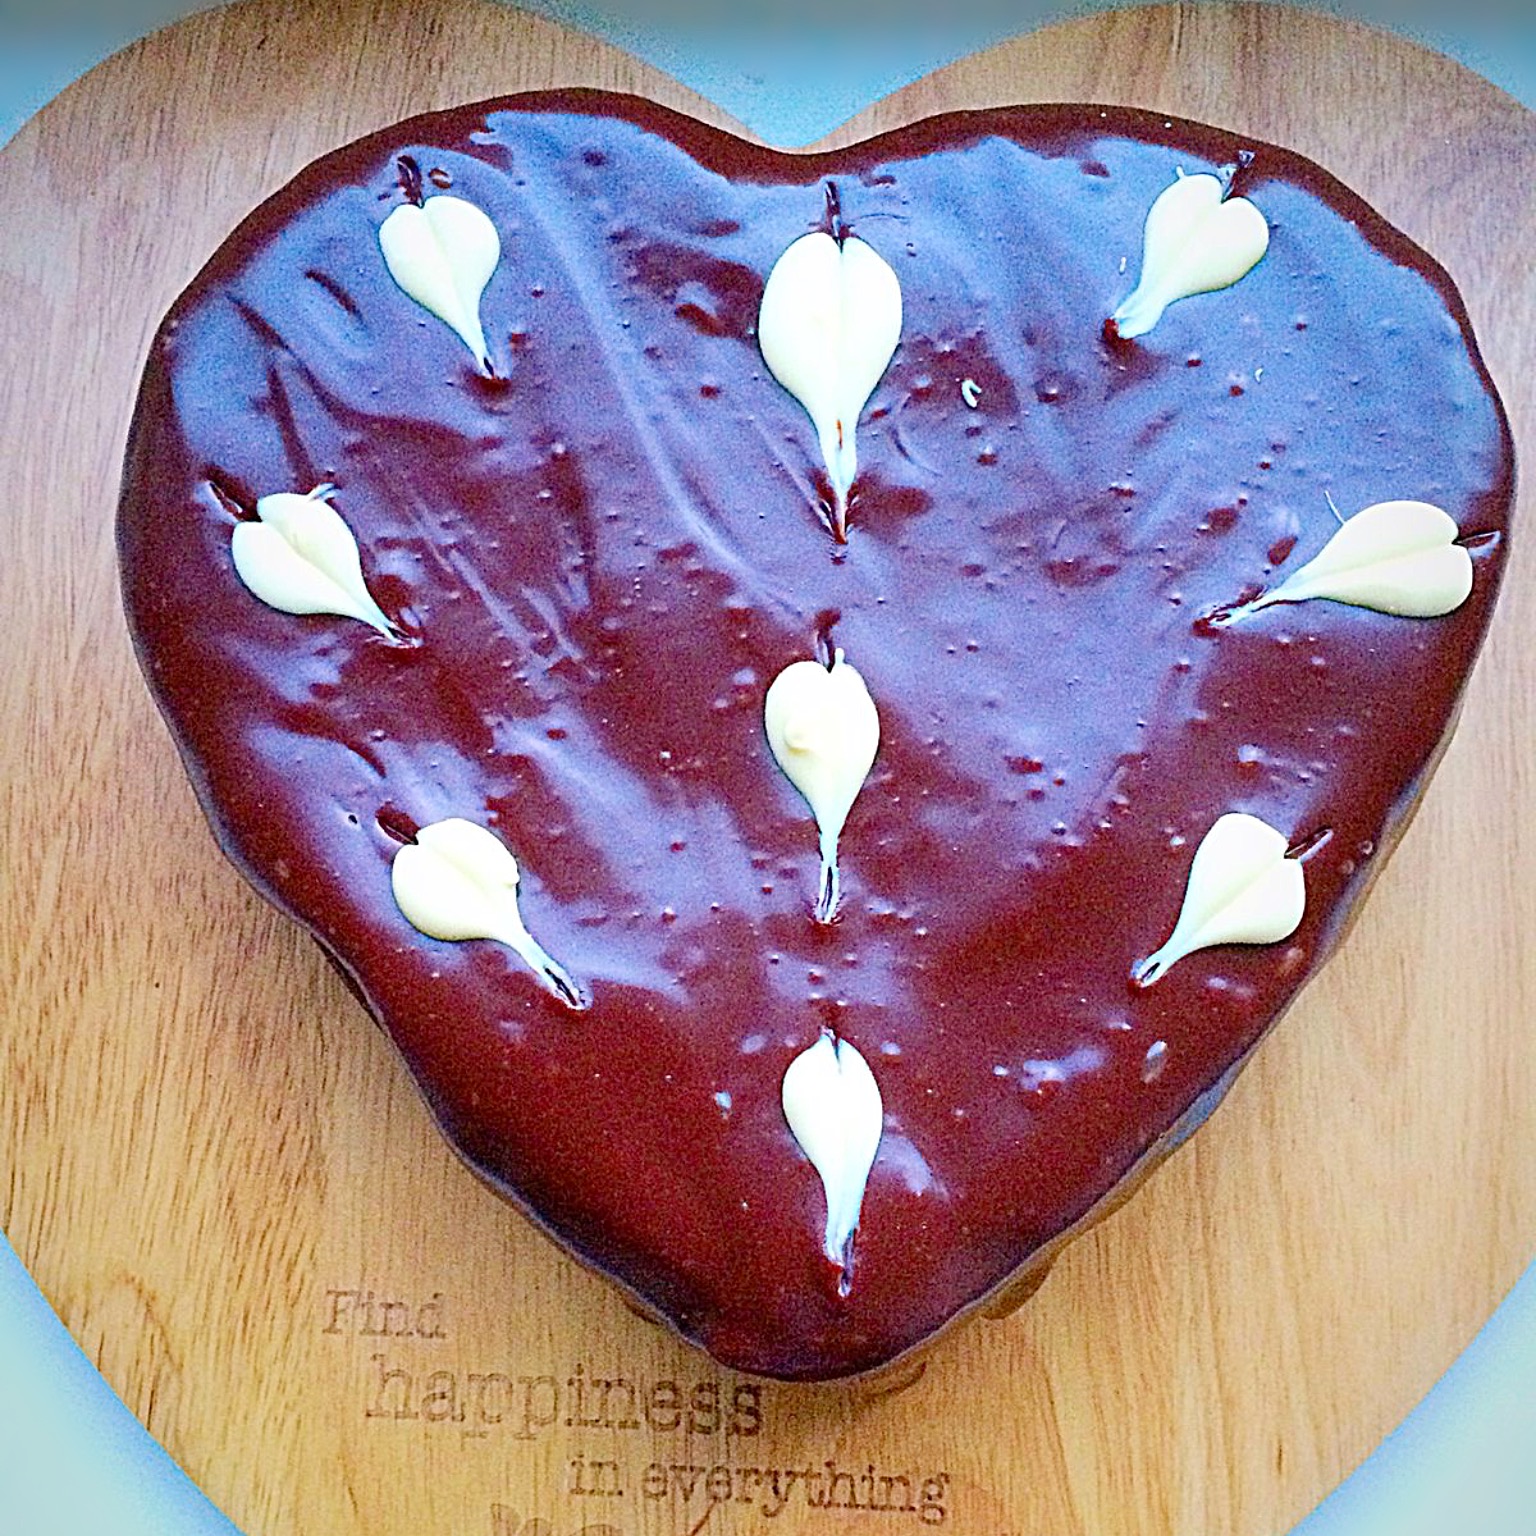
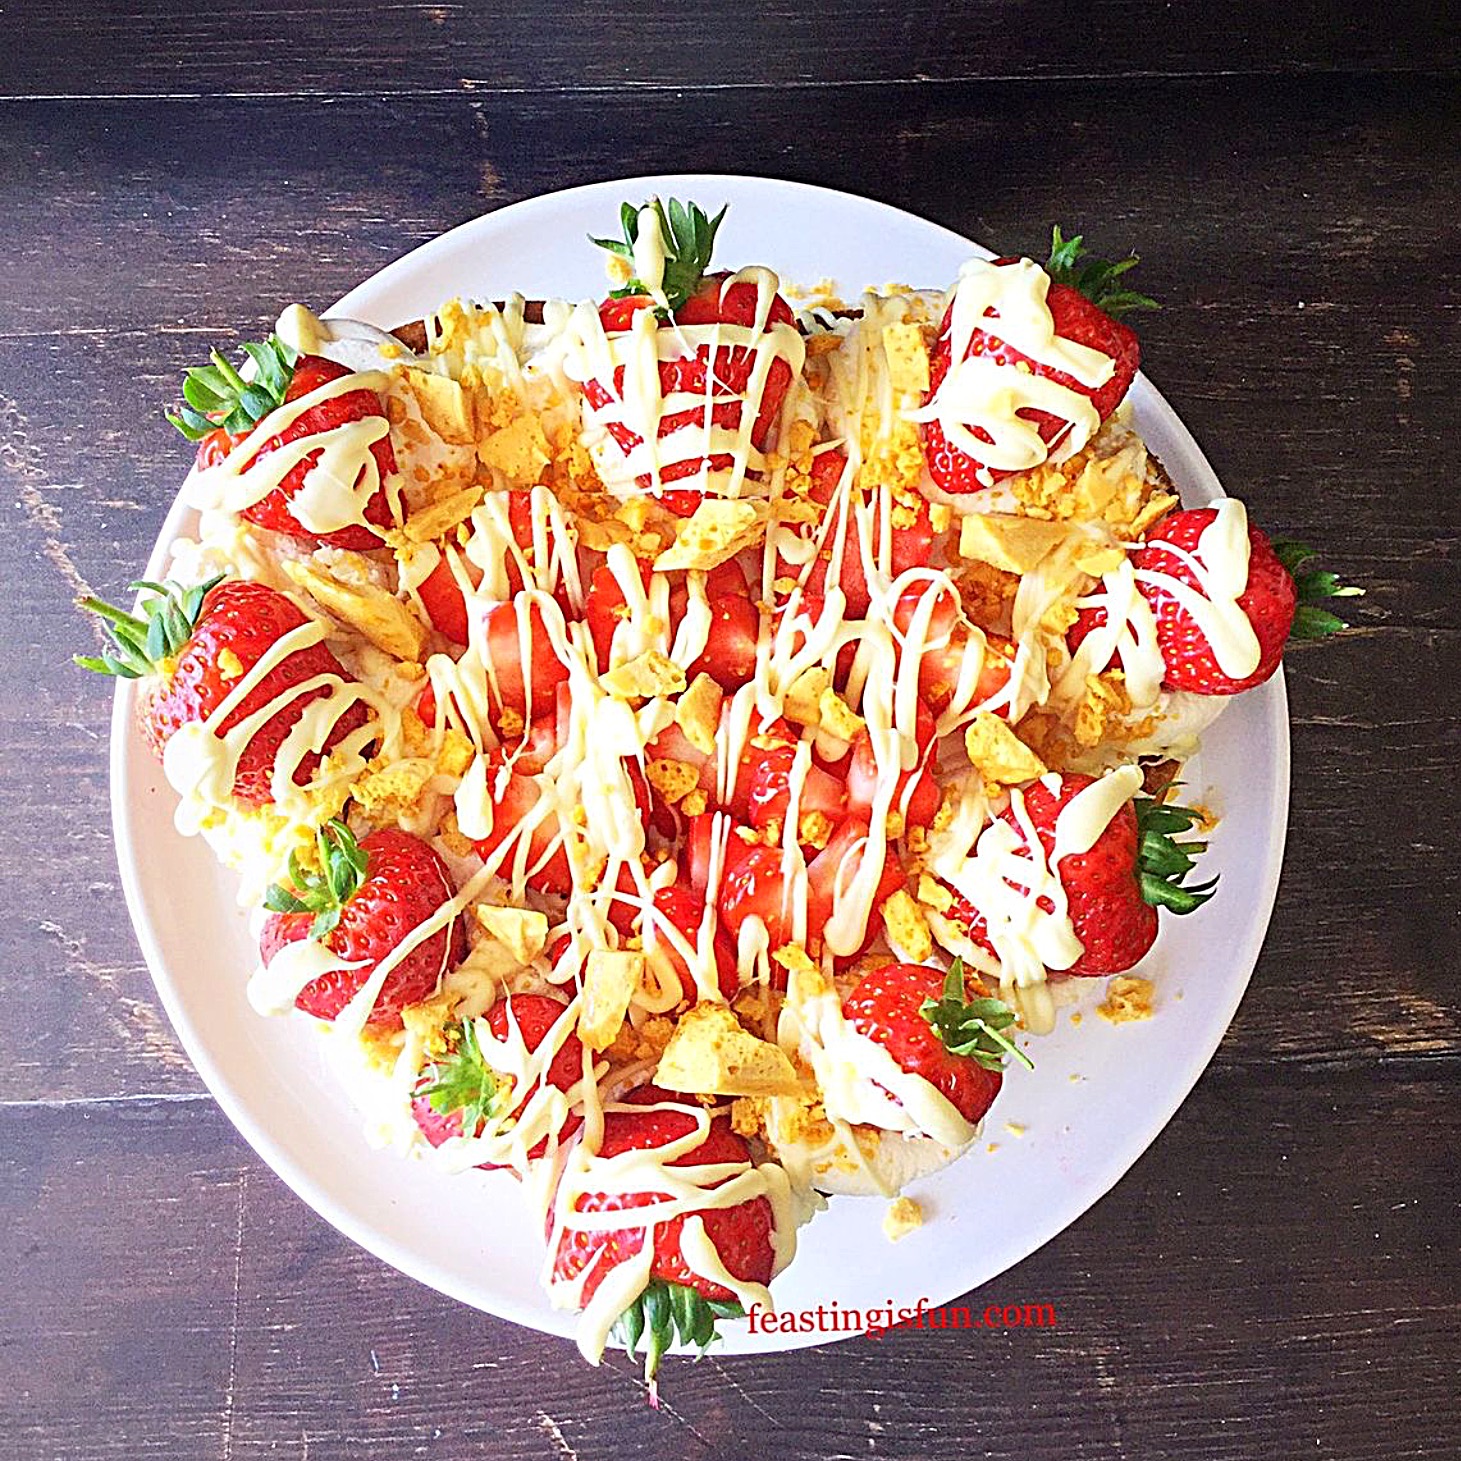
White Chocolate Drizzle Strawberry Cream Cake
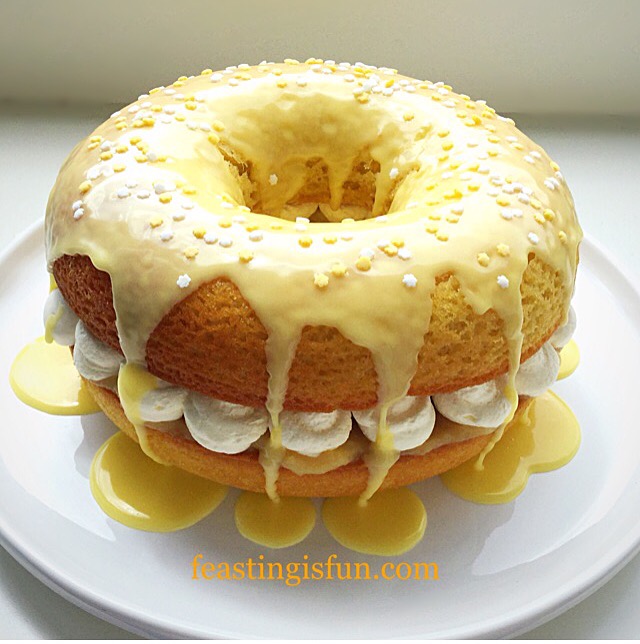
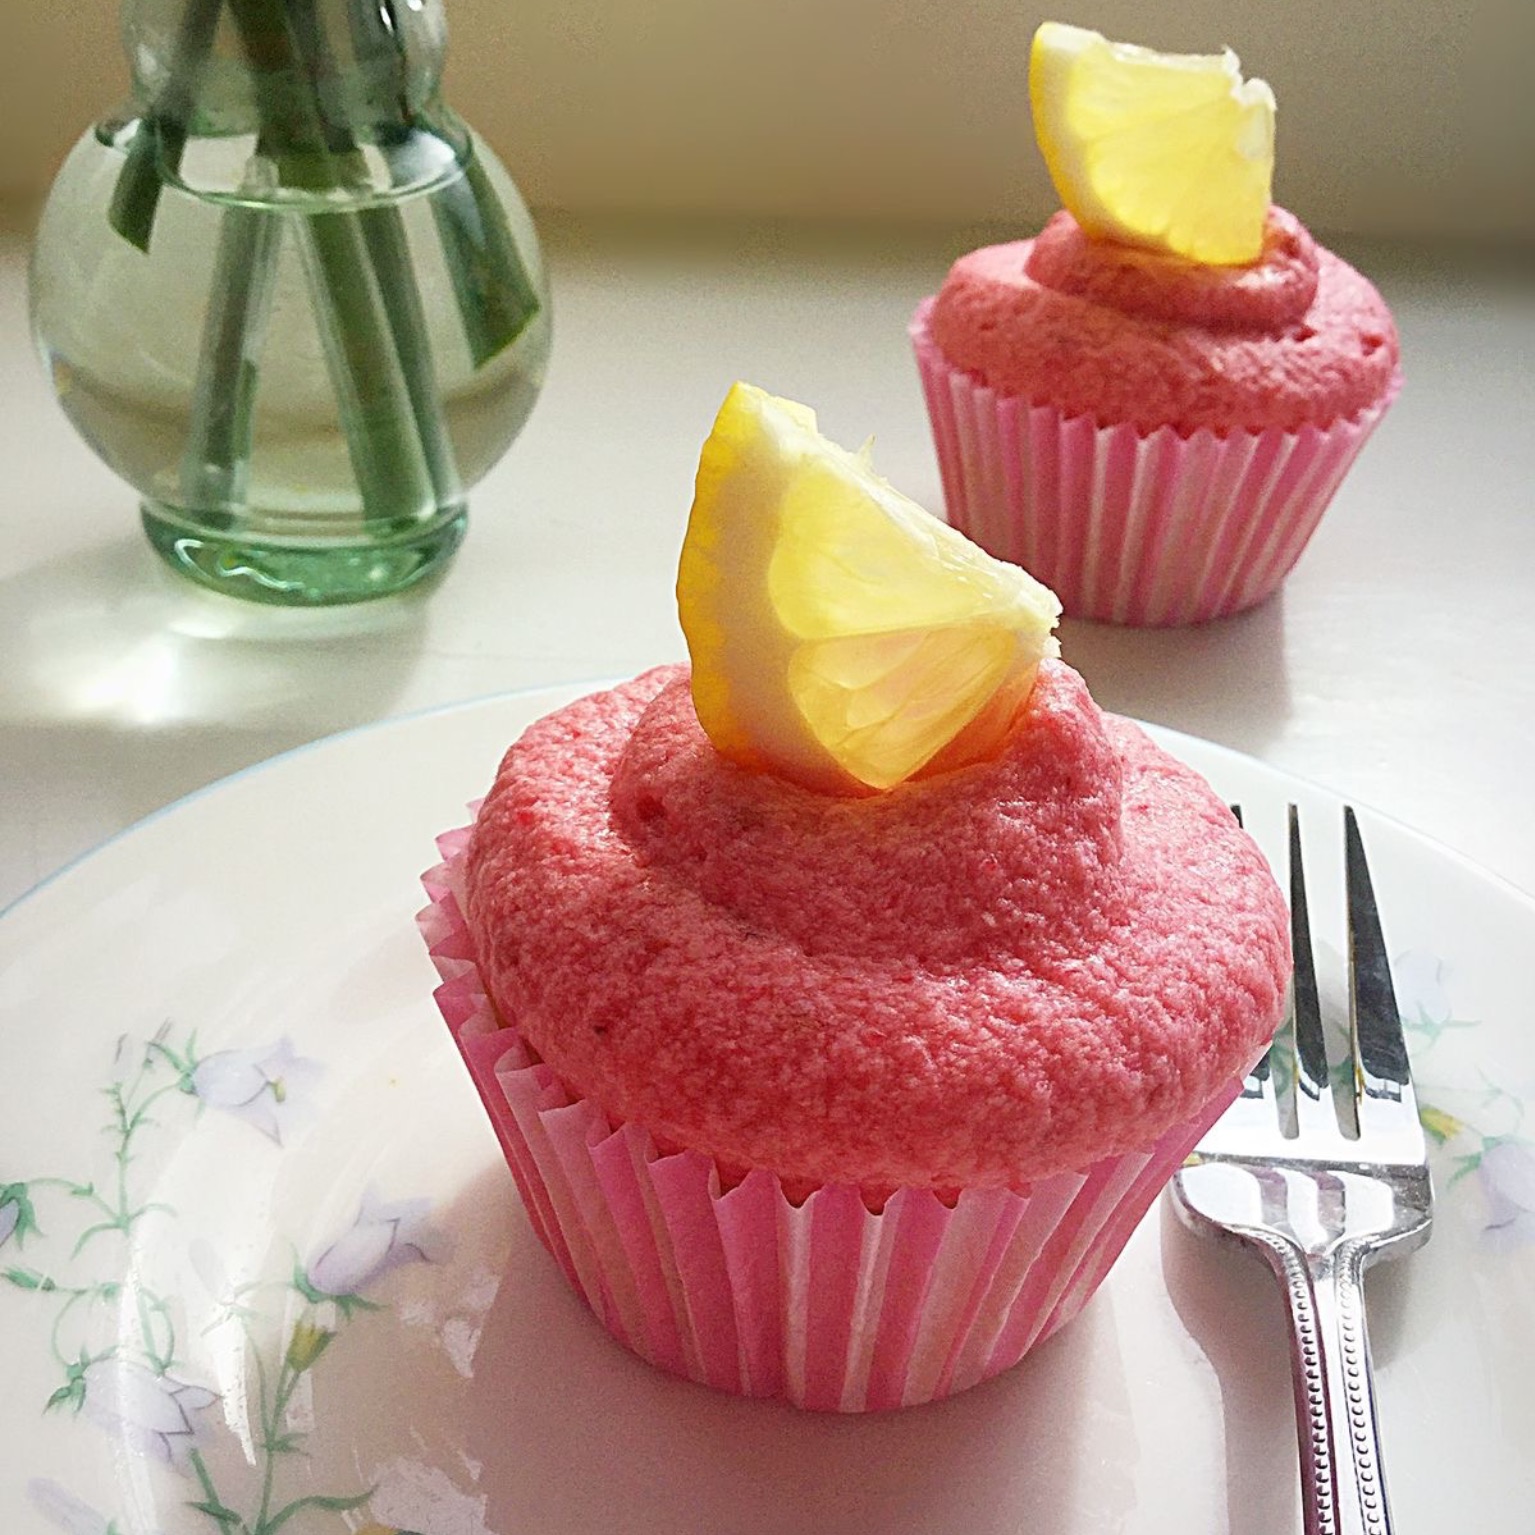
Fresh Raspberry Frosted Lemon Cupcakes
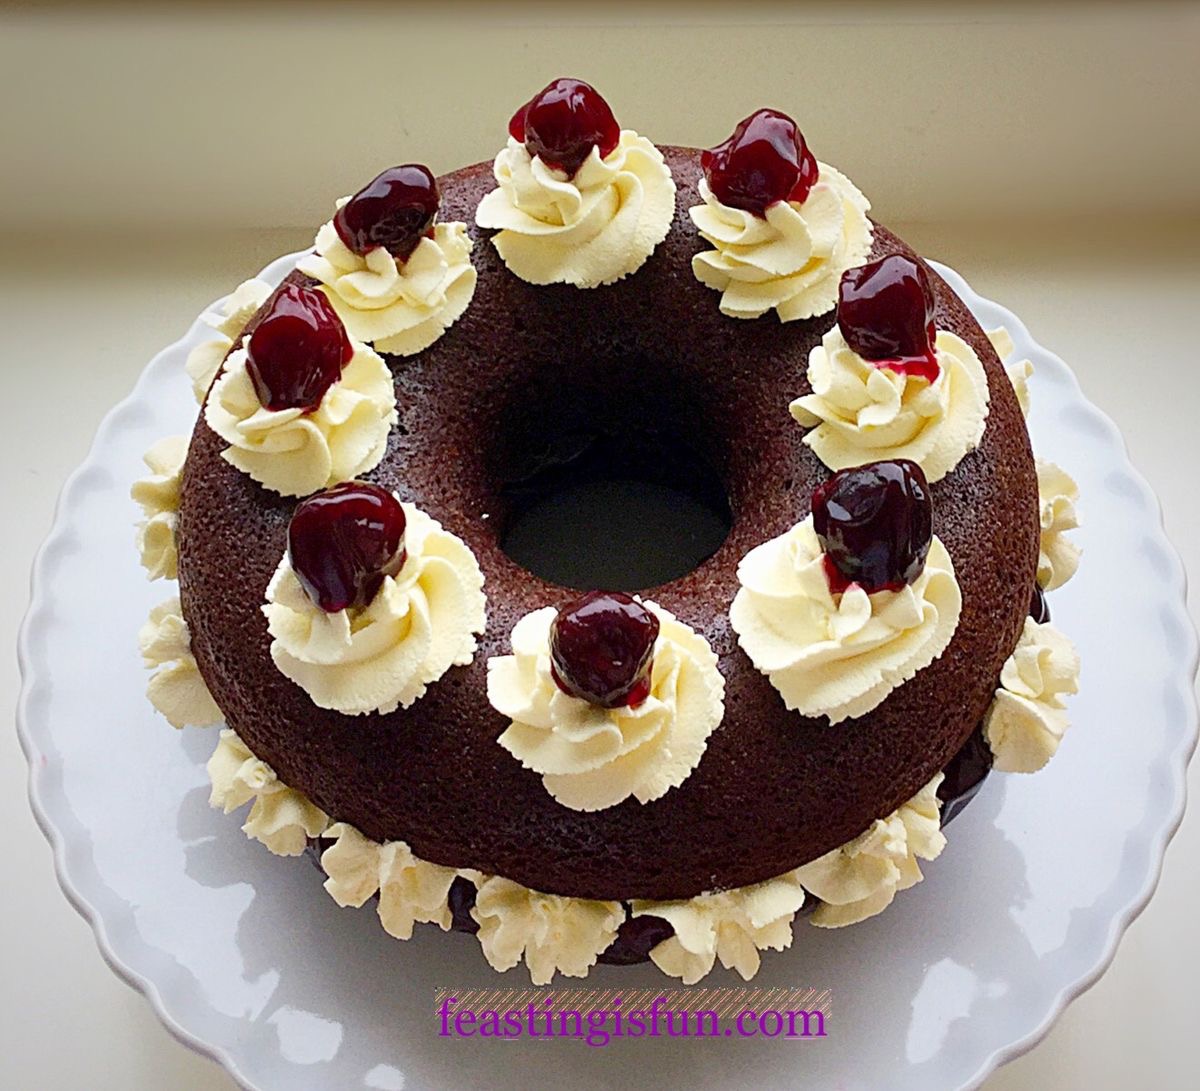
Raspberry Vanilla Naked Celebration Cake

Sharing this cake with friends and family gives me a real buzz. Because I do not sell anything that is made for this blog it also helps to keep our family healthy. While I can see how people may think we eat cake all of the time. We don’t! As a family cakes are treats for us too.
So, whatever you are making, baking and creating in your kitchens, I hope you have fun preparing and sharing your feast.
Sammie xx
No part of this post may be reproduced or duplicated without the written permission of the owner. Please see my Disclosure Policy.