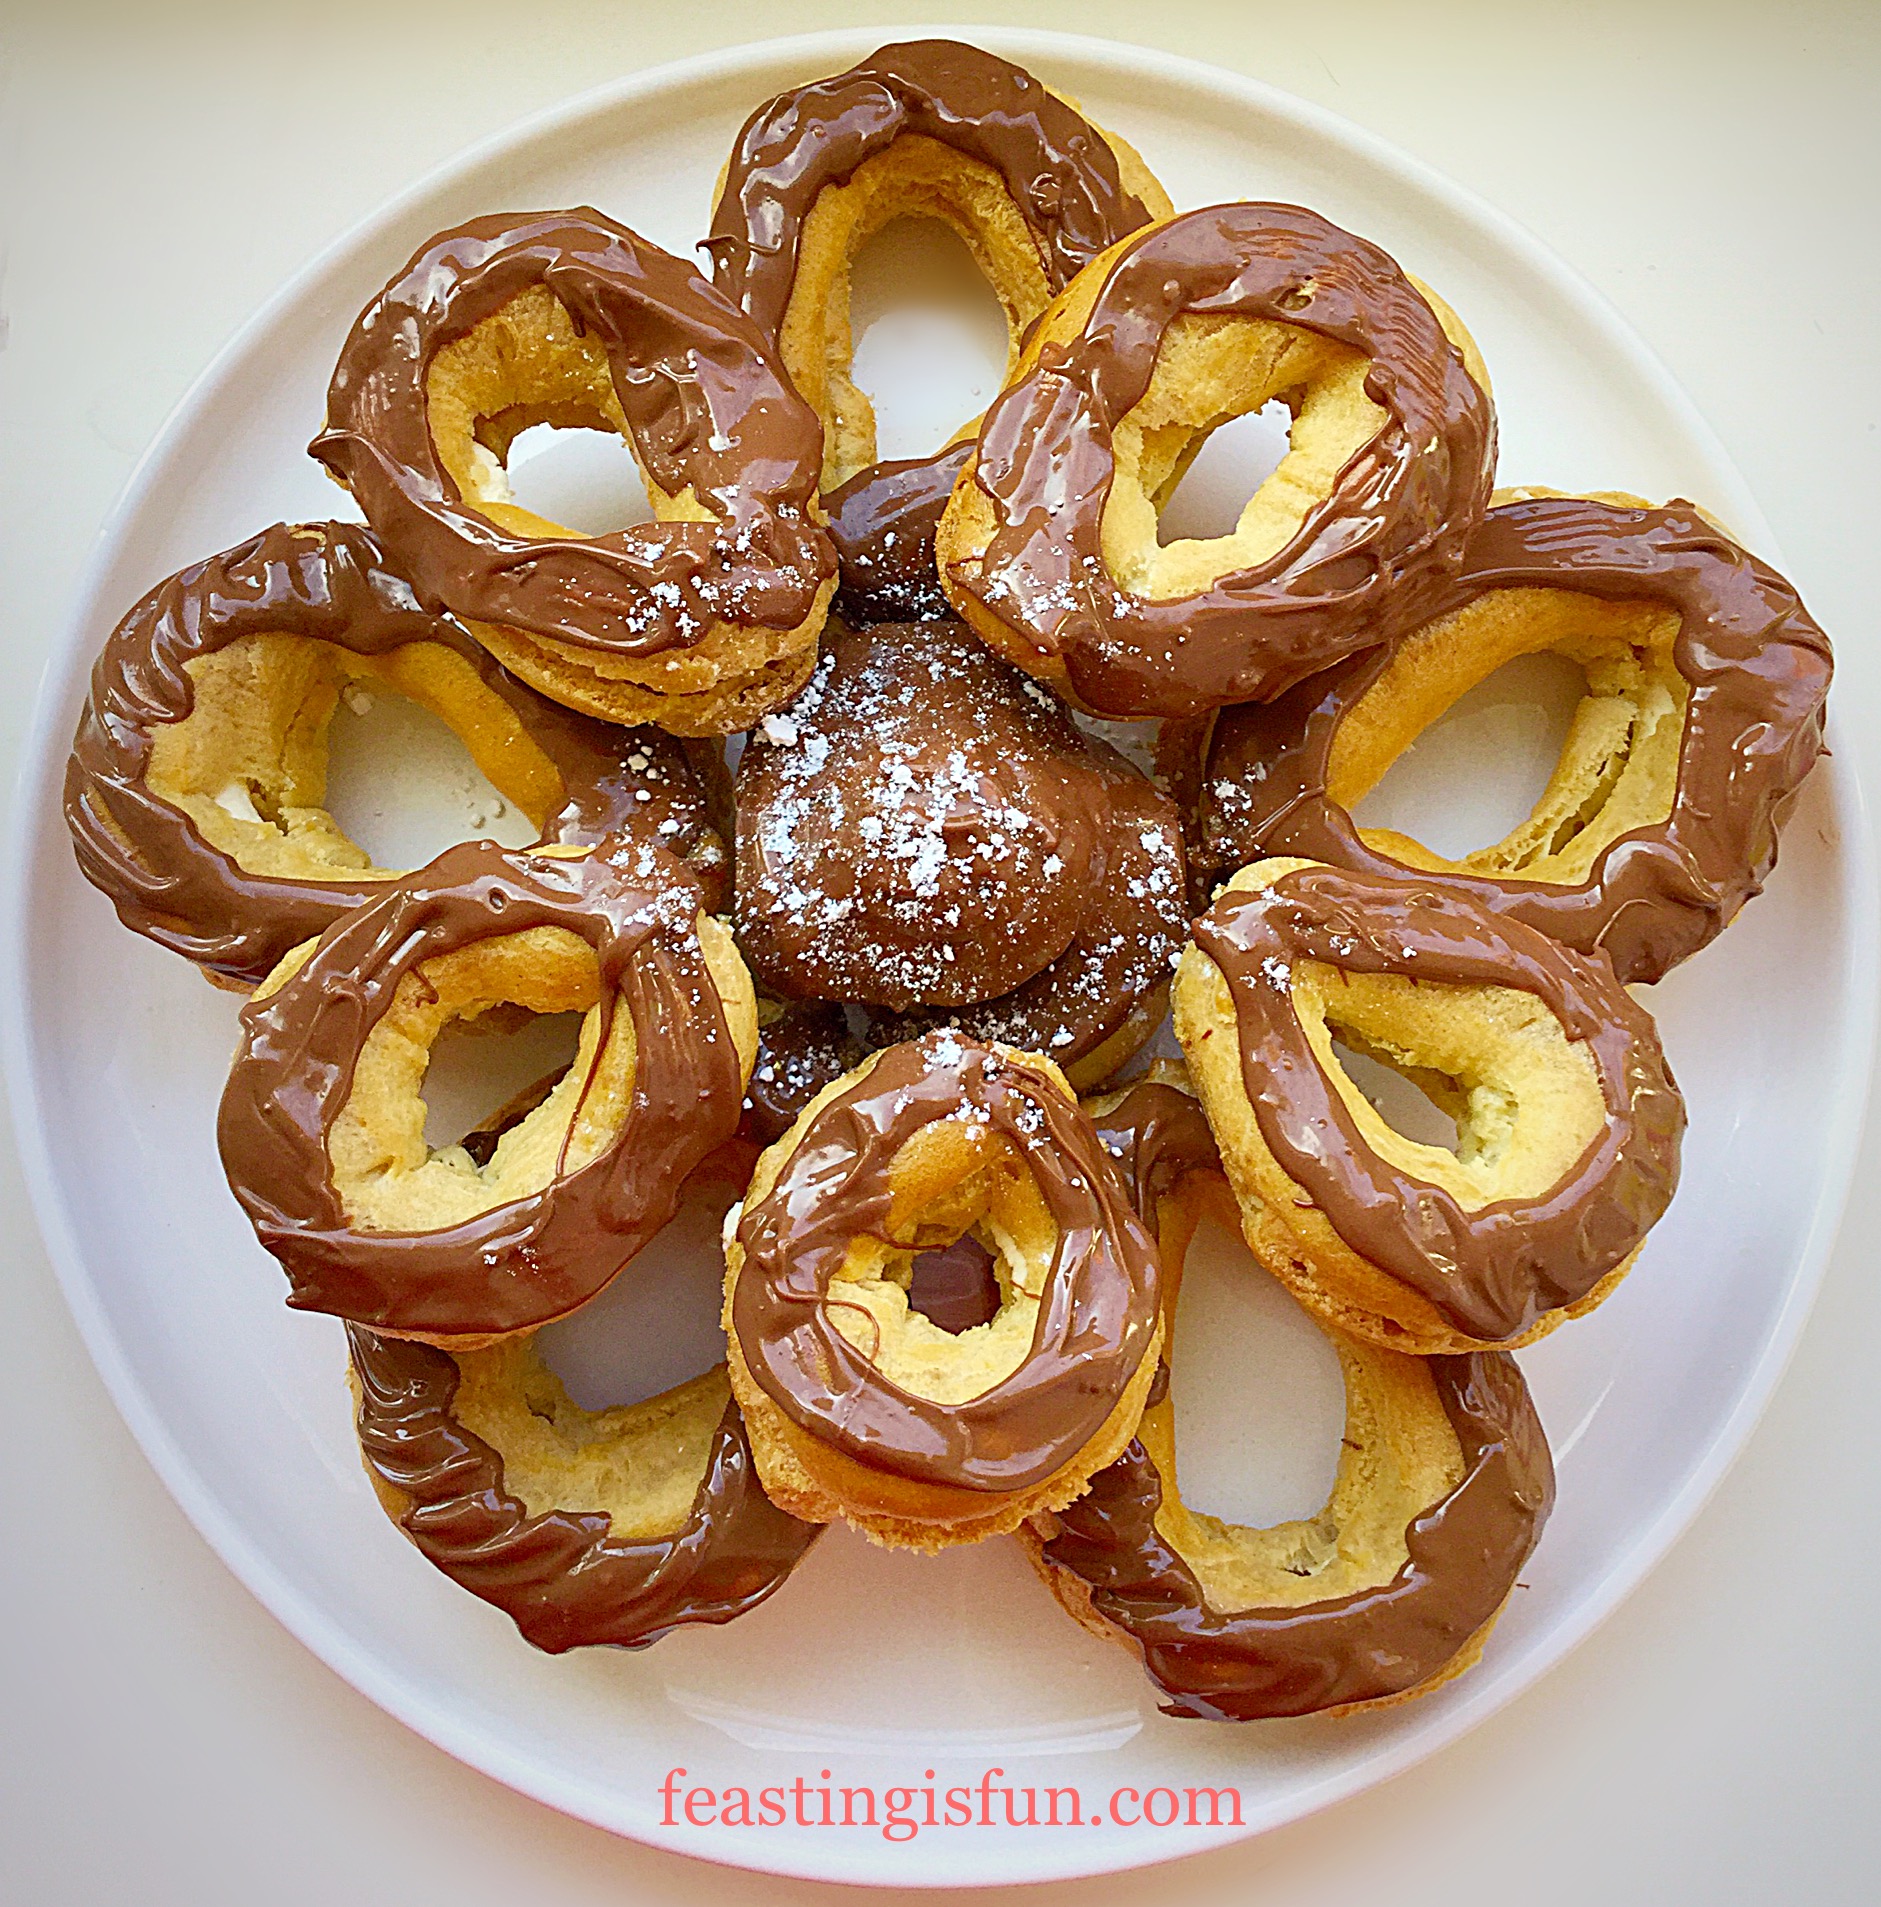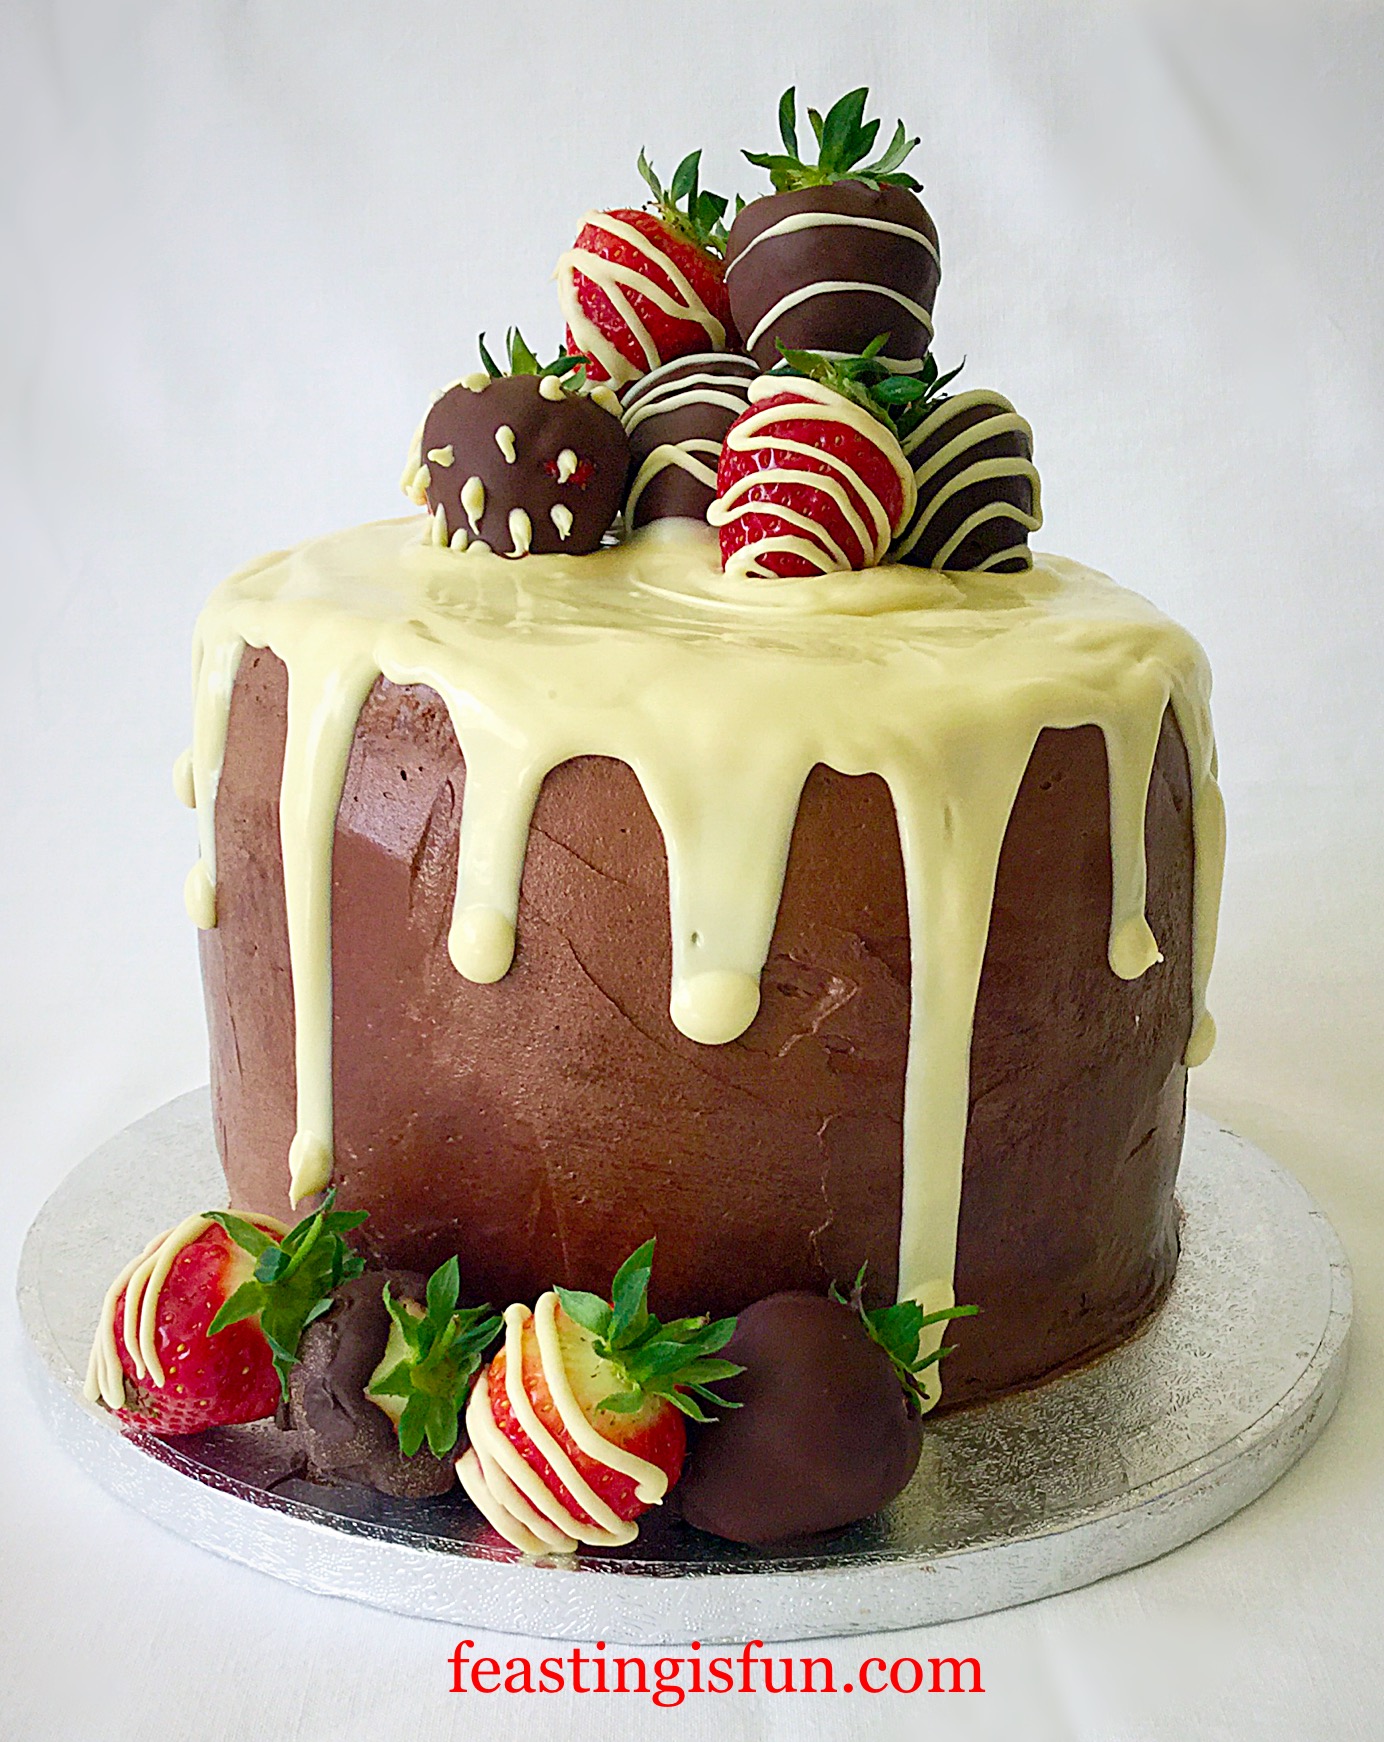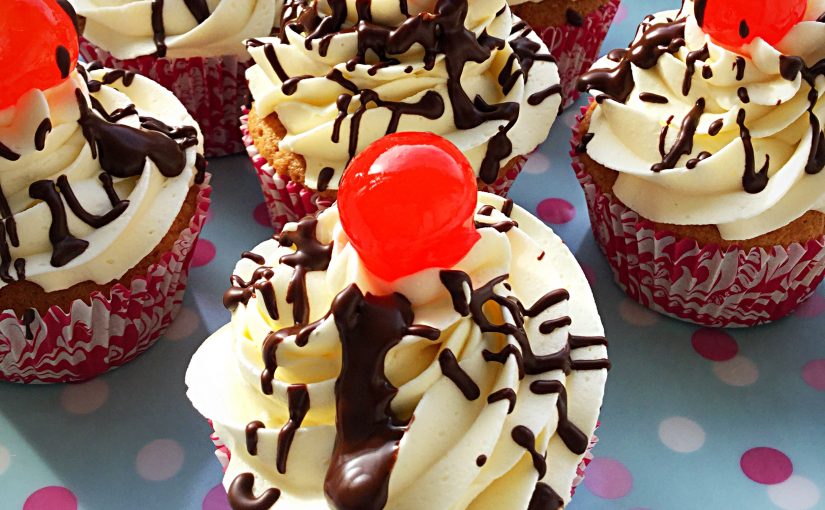
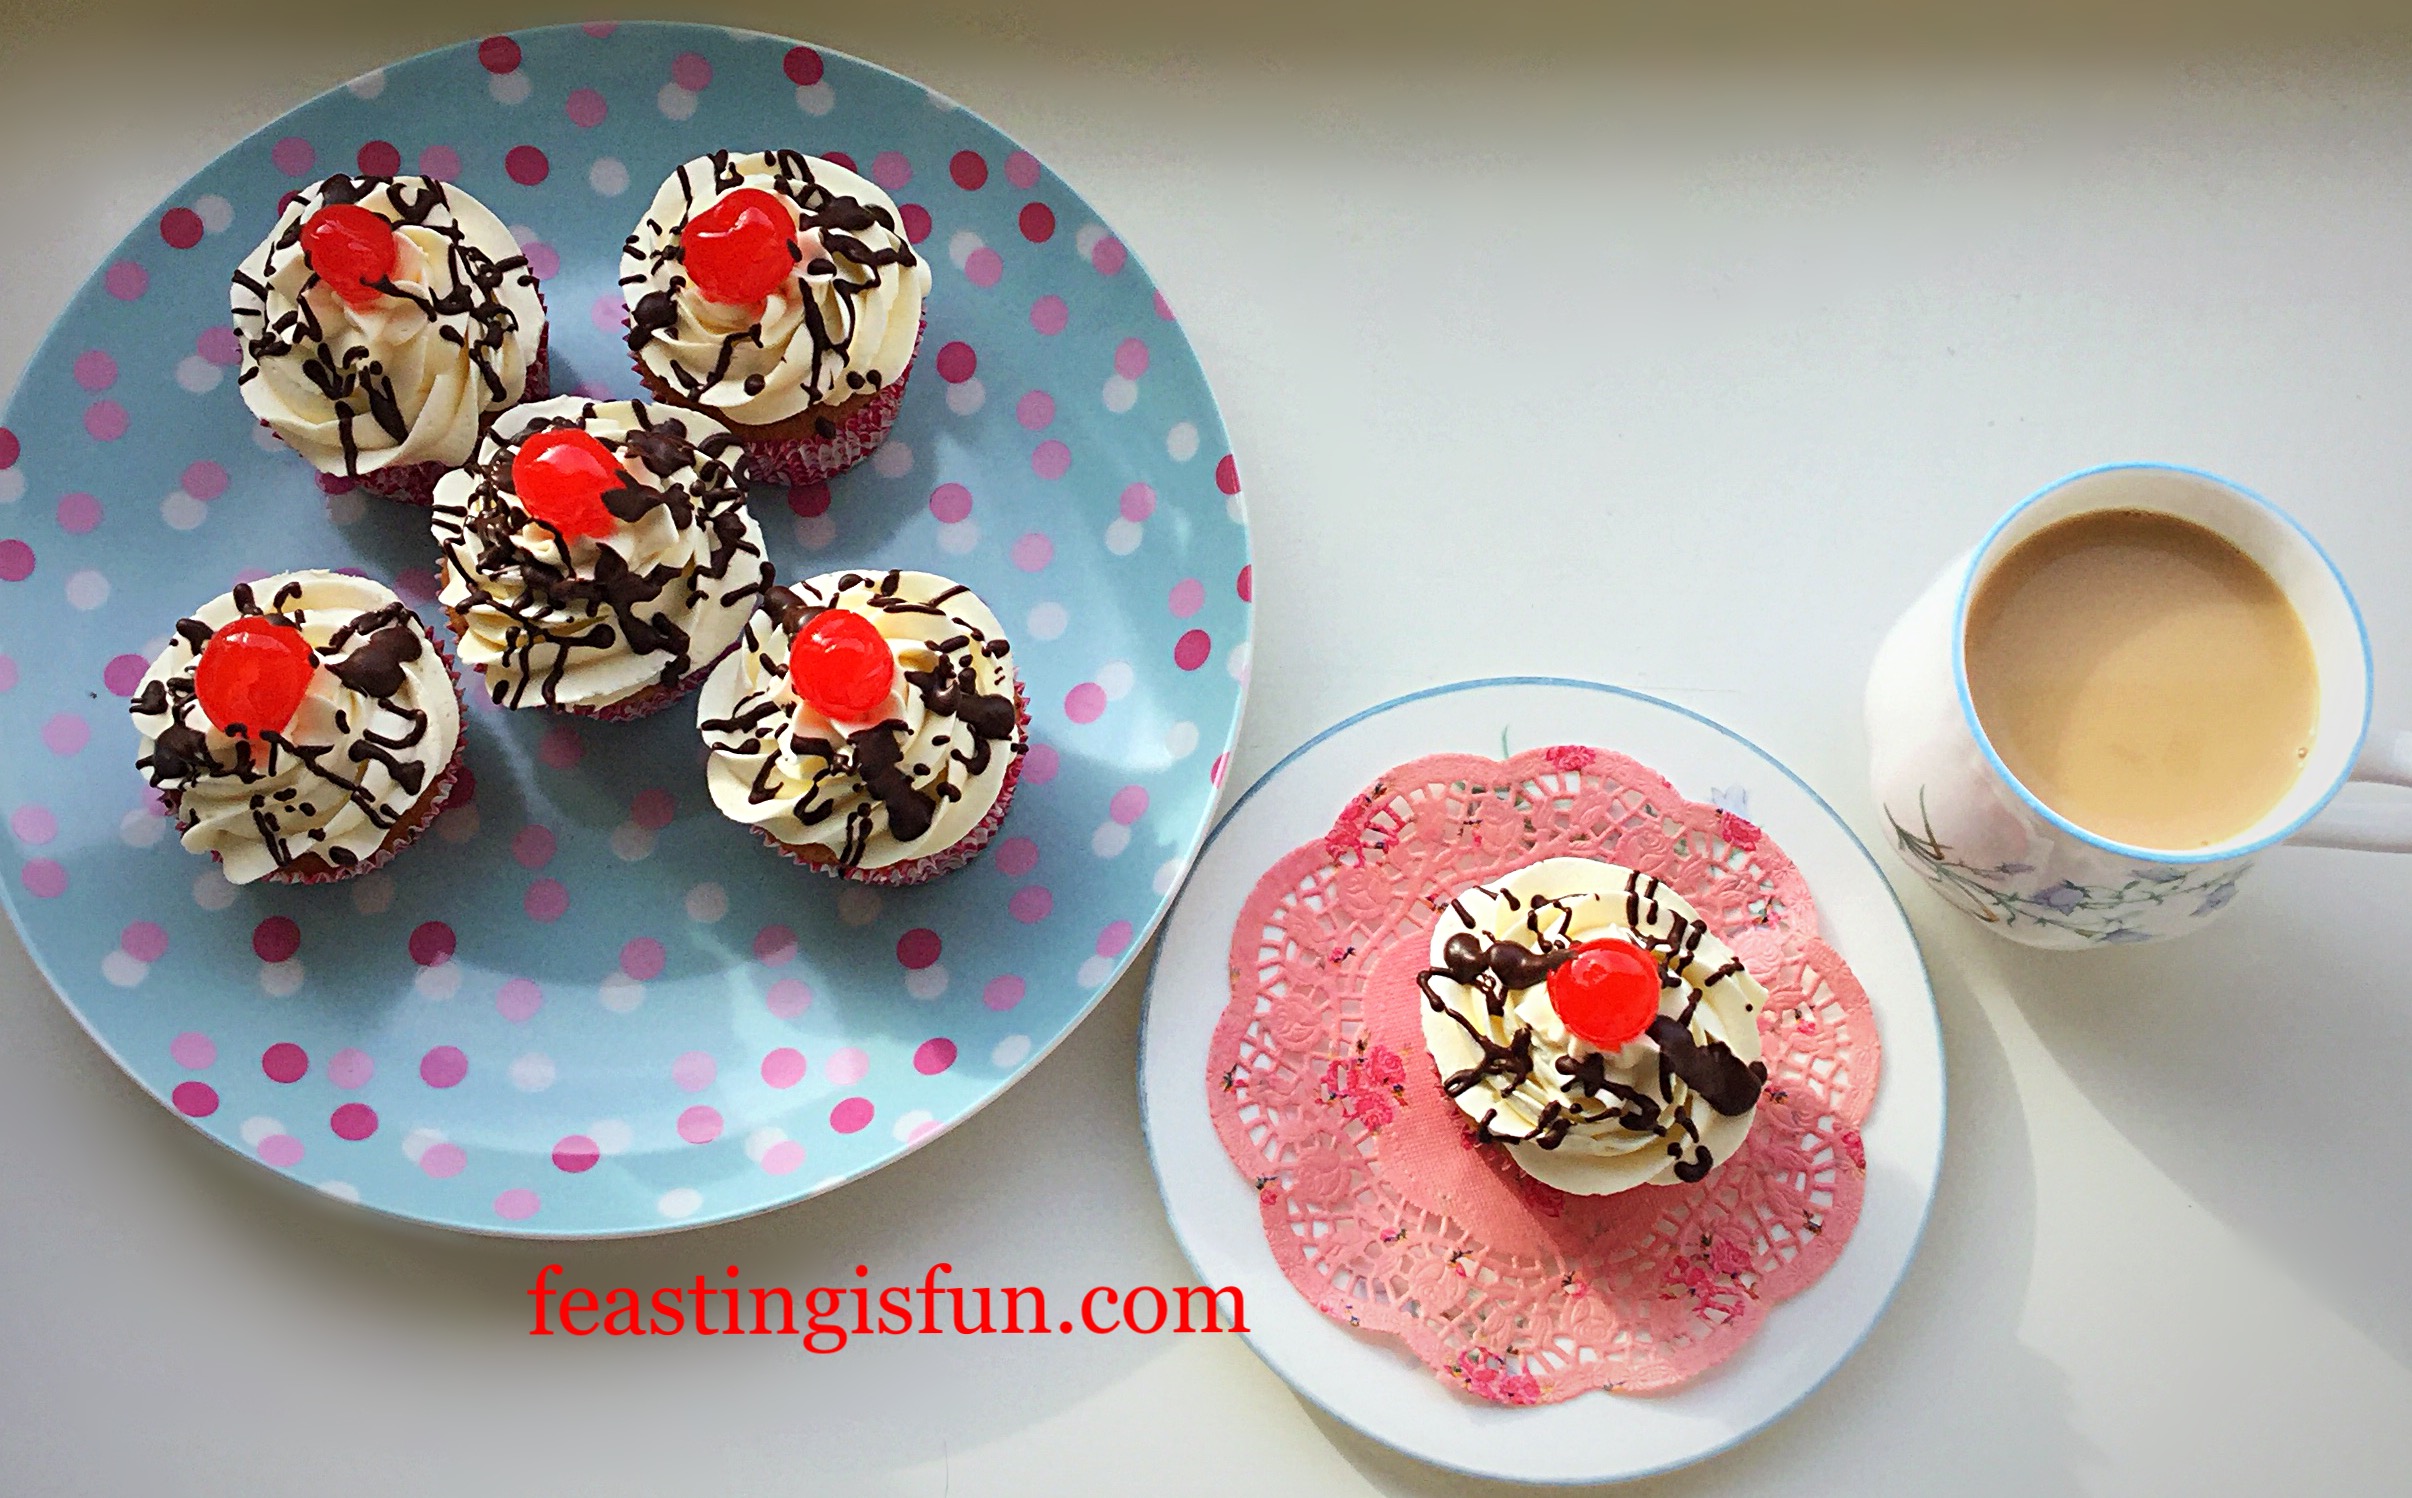
Who doesn’t love a cupcake? A beautifully decorated, perfectly portioned, whole cake to yourself. While I’m known for encouraging people to share, here on Feasting is Fun, that’s not a problem with these cupcakes. Because they taste so incredible, you will want to share these, with those you love. And my Maraschino Cherry Chocolate Drizzle Cupcakes are perfect for sharing.
Cupcakes are great for those who struggle to share. Indeed I used to not be as keen on sharing when I was younger. Nowadays, however, if you visit, knock on the door, clean the windows, etc I am more than willing to give you a cookie or cupcake. Since cupcakes come as a complete package, they are easier to share. Our window cleaners and post lady were very appreciative of these Maraschino Cherry Chocolate Drizzle Cupcakes that I gave them today.
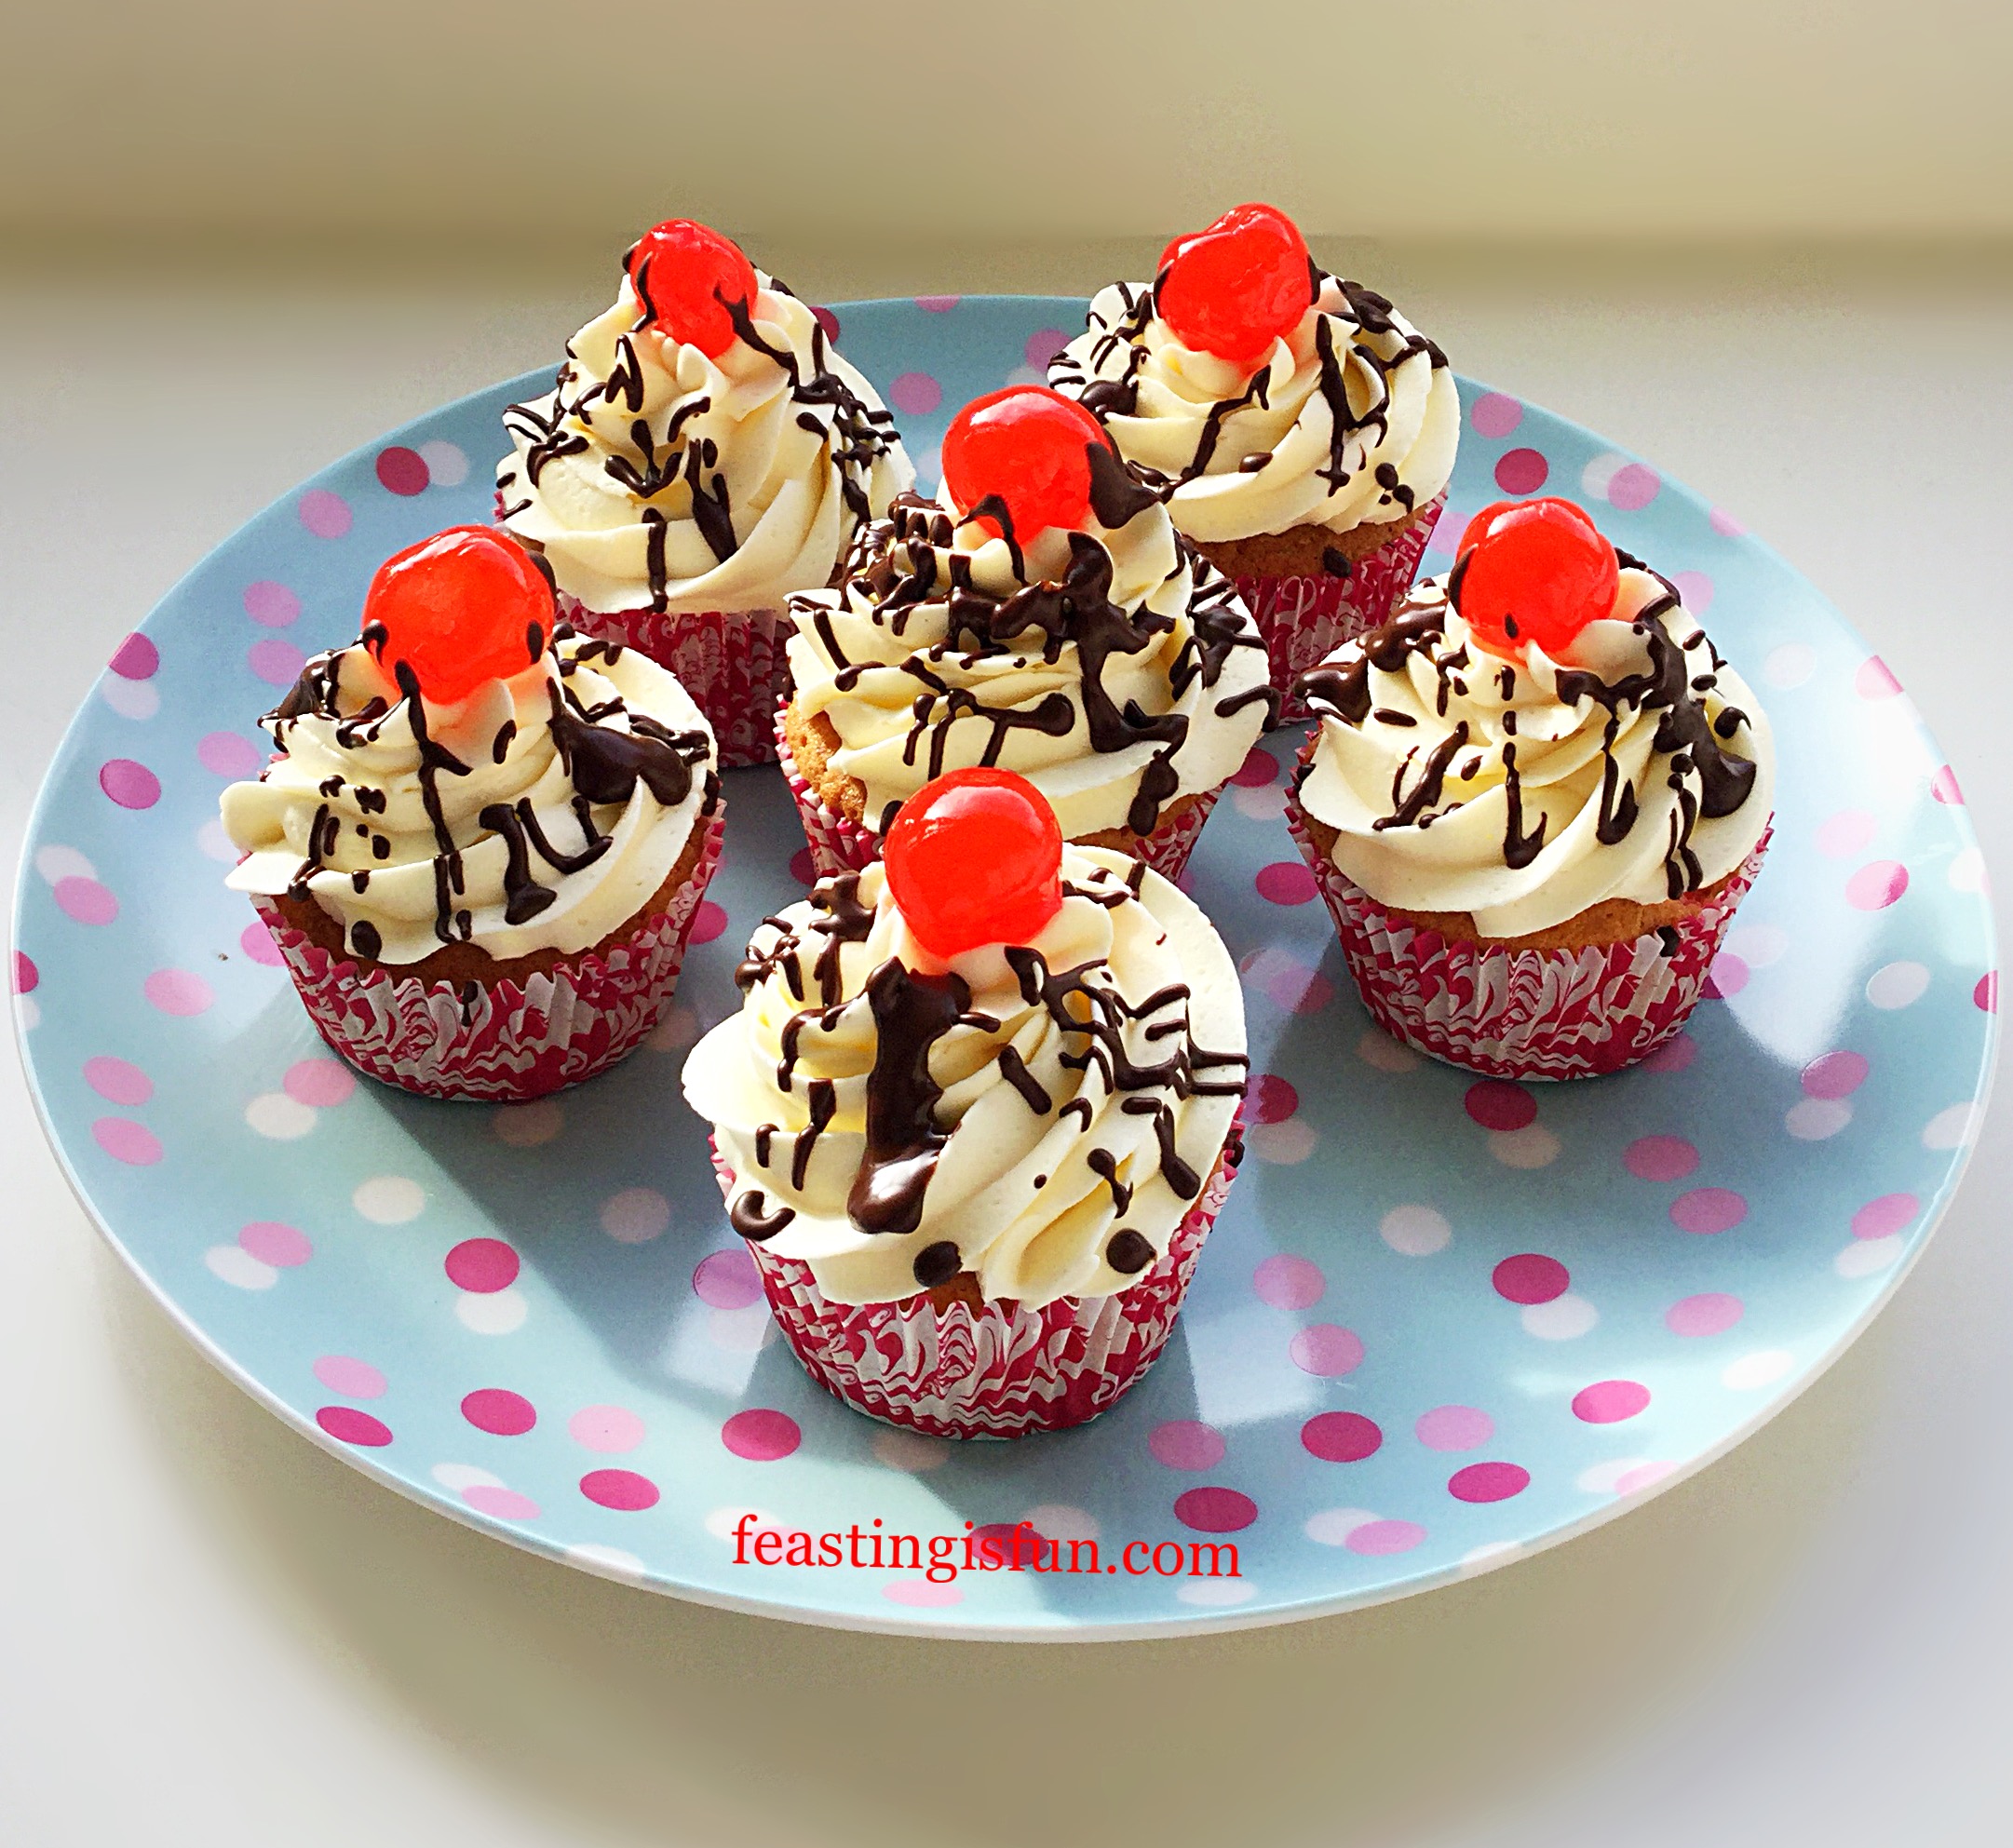
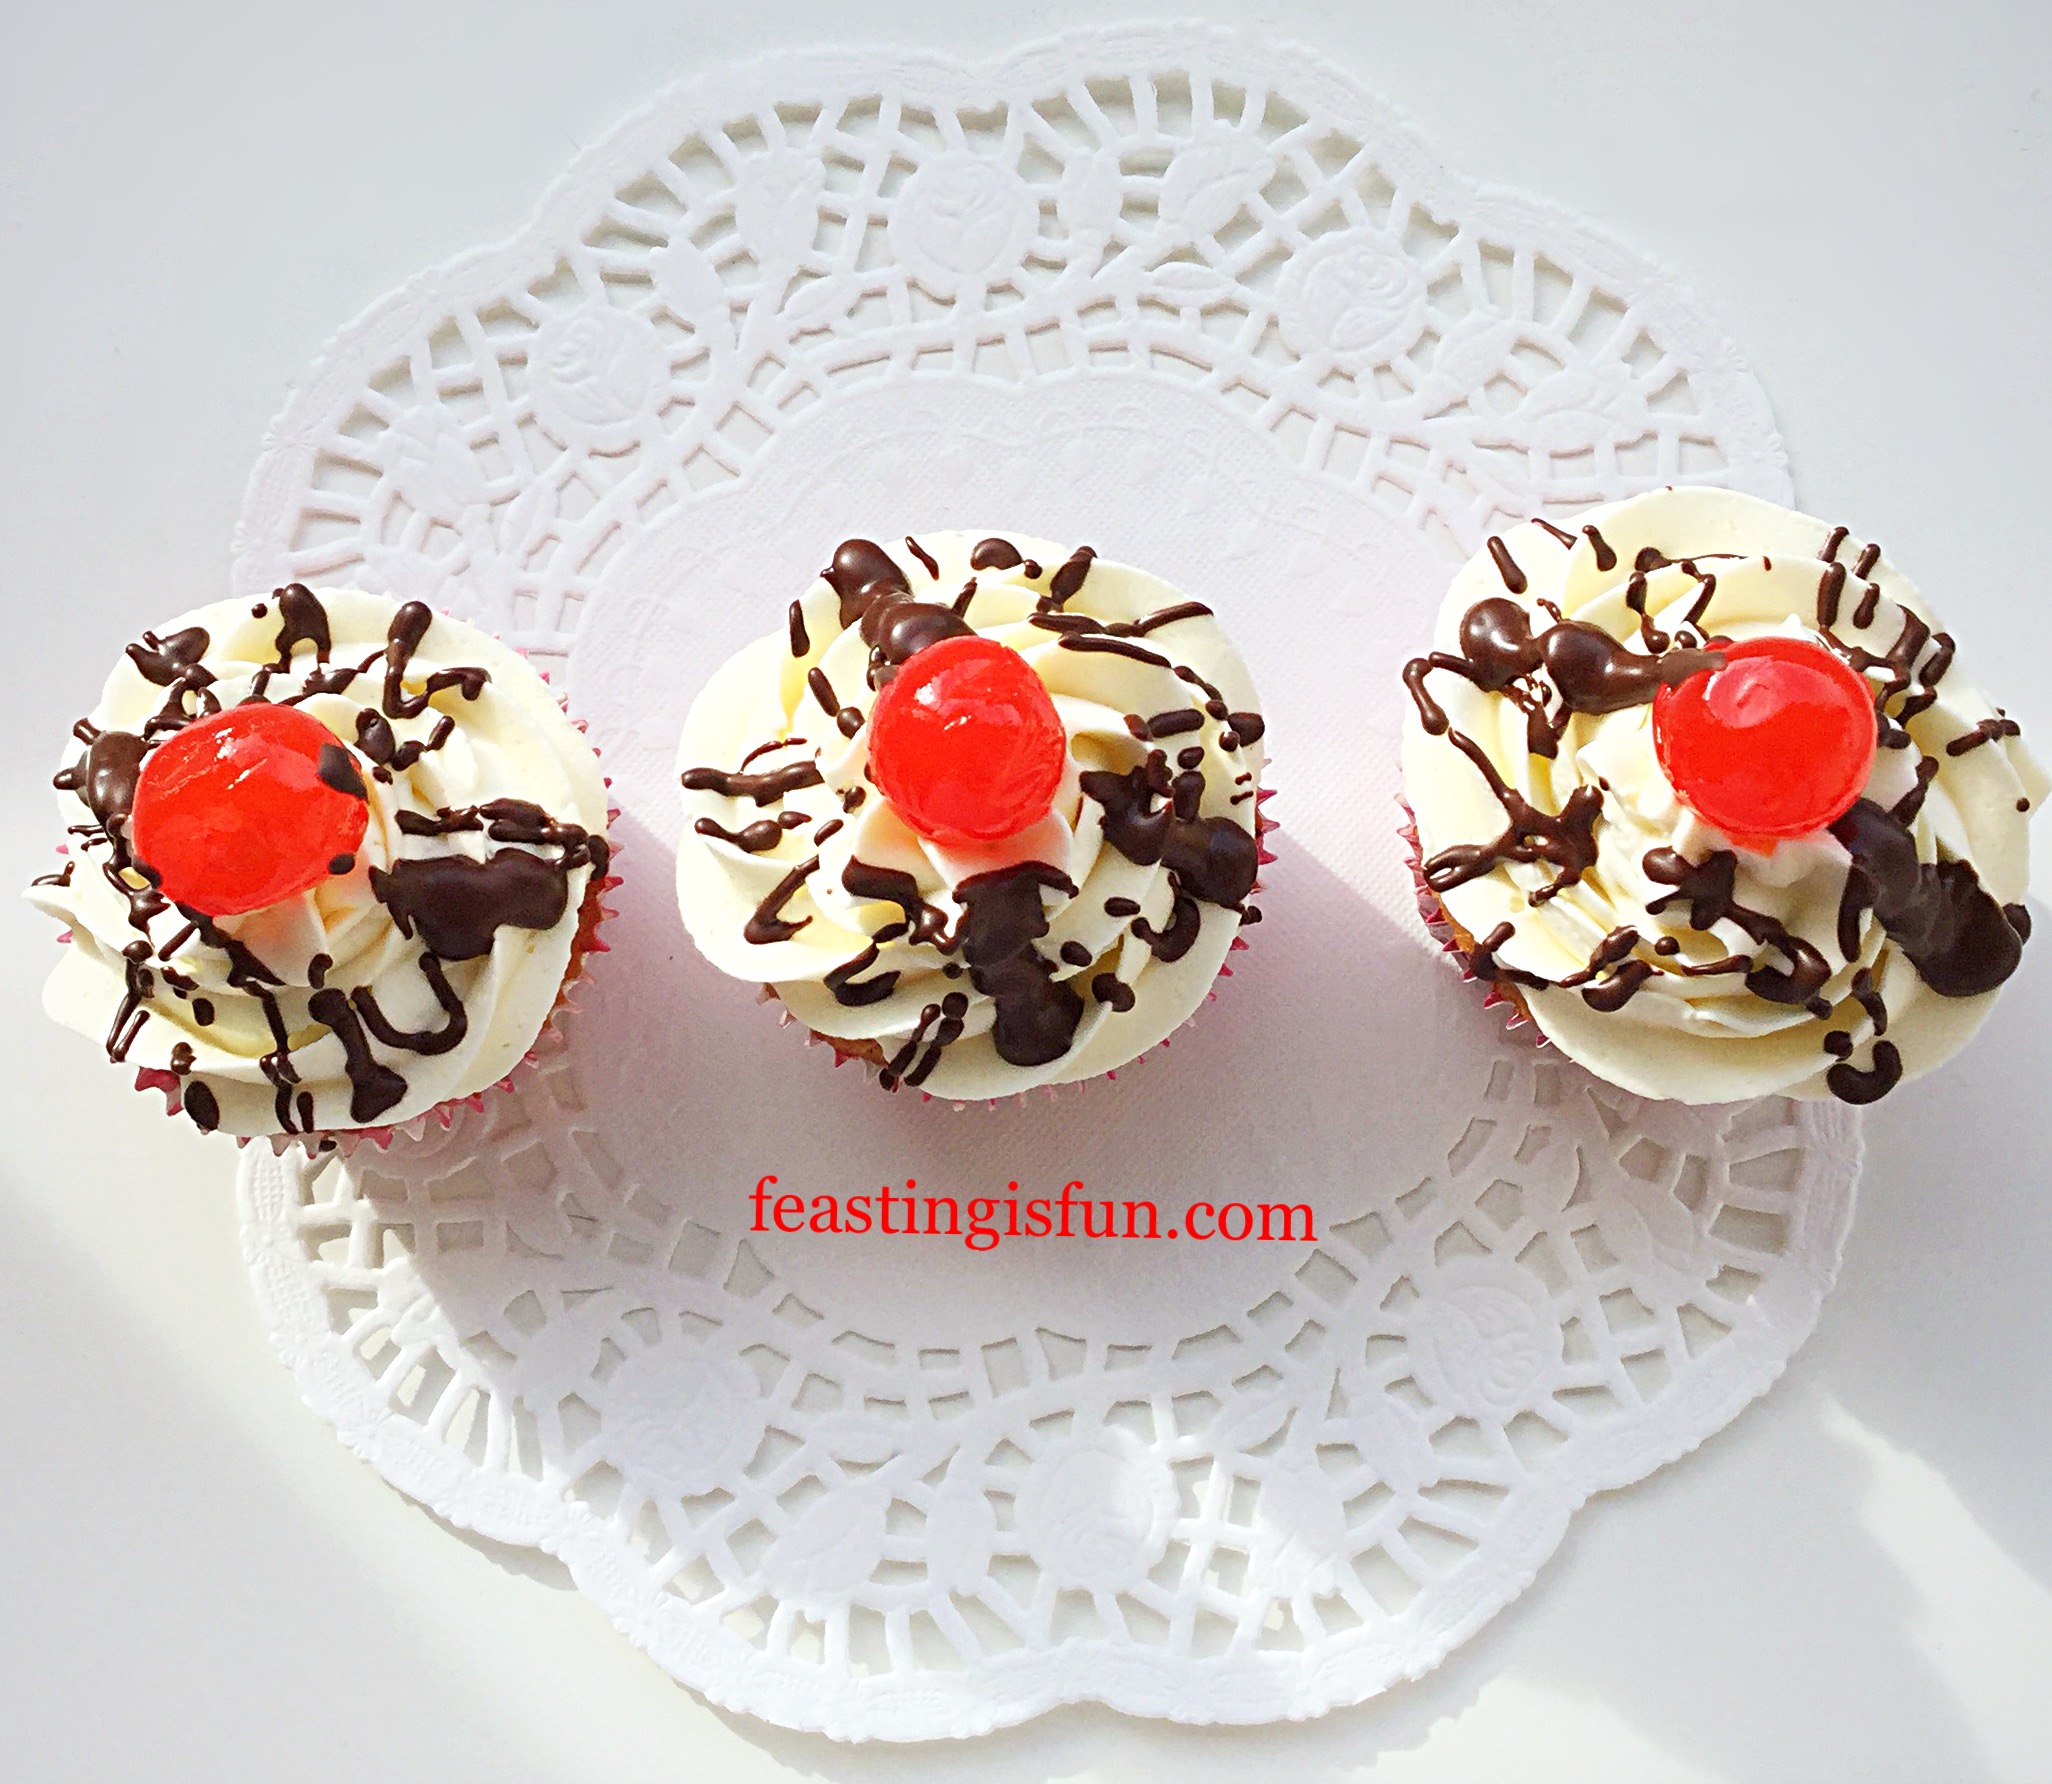
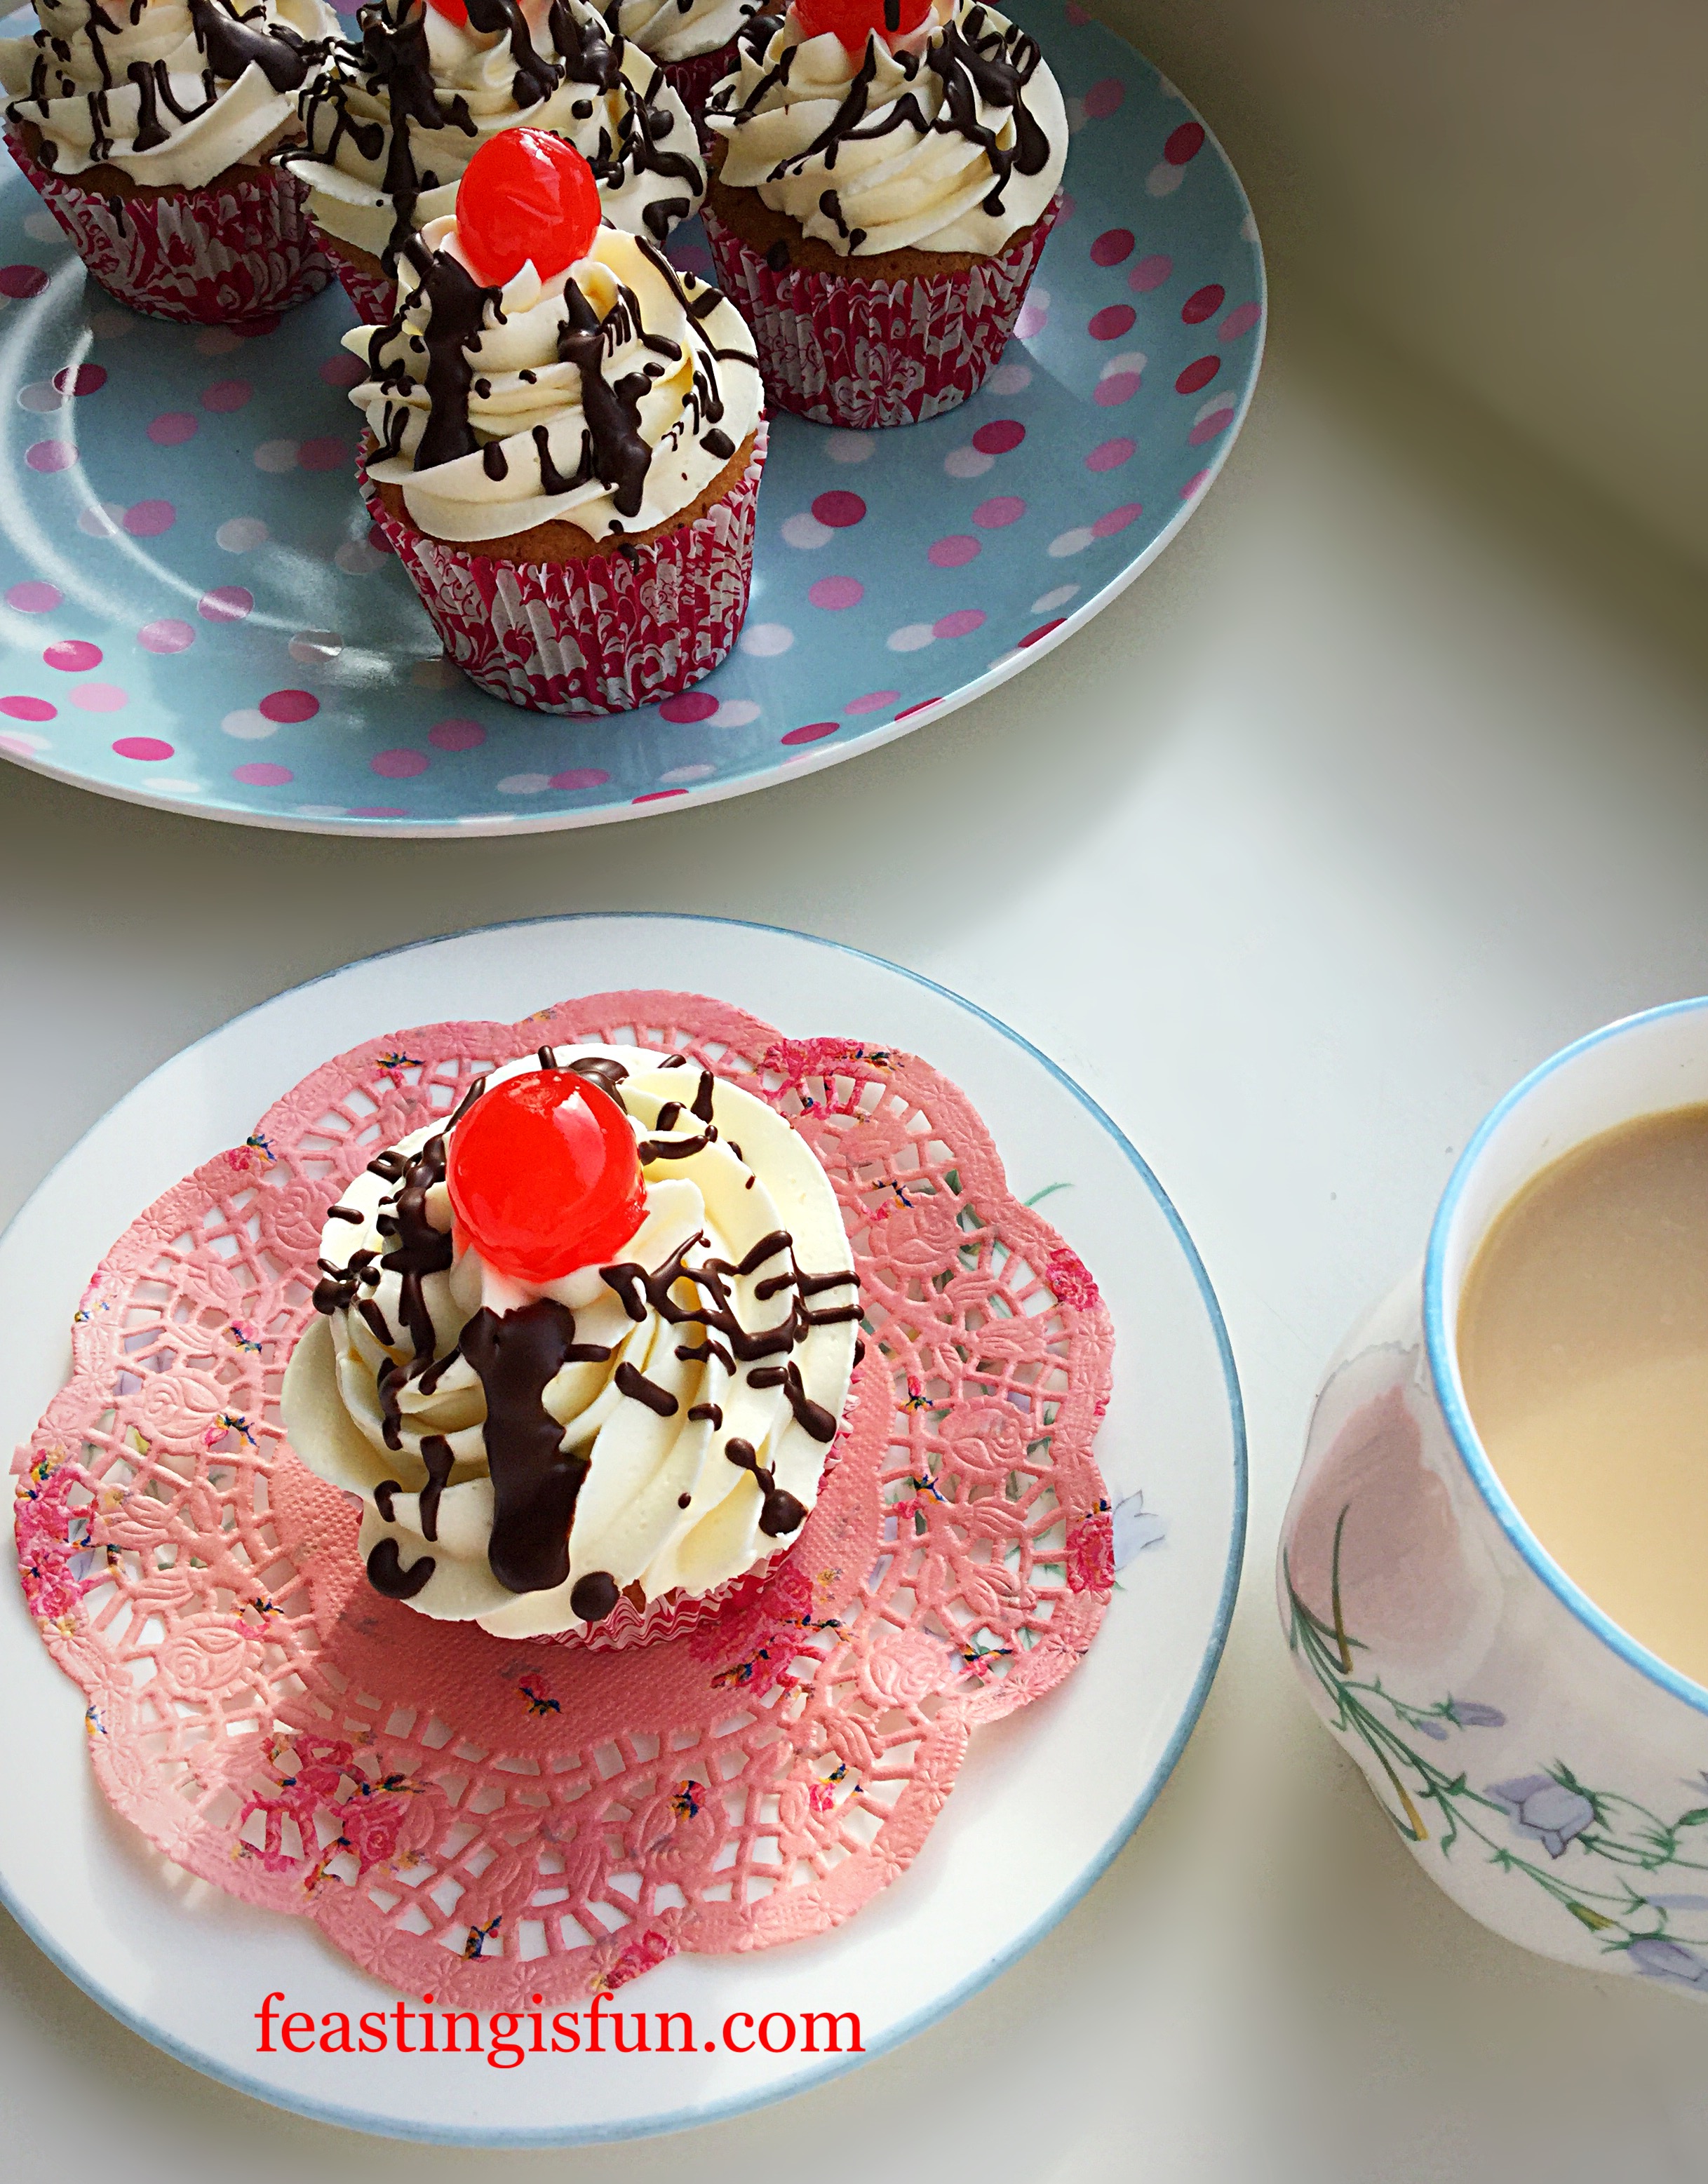
Light sponge tinged pink with chopped maraschino cherries, topped with a swirl of frosting and a whole cherry. Dark chocolate is drizzled over the frosting. Resulting in a perfect balance of flavours. Most importantly, the dark chocolate tempers the sweet frosting and compliments both the cherry and almond flavours.
The unique flavour of maraschino cherries can be tasted through every single bite of these cupcakes. Adding almond extract to the frosting emphasises their flavour too. Substituting glacé cherries wouldn’t give the same result. Maraschino cherries are easily found in the supermarket. Usually near the alcoholic drinks section!
Since these cupcakes are each topped with a bright red cherry, they would also make a great ‘Red Nose Day’ bake!
Recipe: Maraschino Cherry Chocolate Drizzle Cupcakes makes 12
125g/4.5oz Unsalted Butter softened
125g/4.5oz Caster Sugar
1tsp Vanilla Extract
2tsp Liquid from the maraschino cherry jar.
1/4tsp Salt – I use Maldon
50g/2oz Maraschino Cherries plus 12 whole cherries to top the cupcakes
150g/5oz Plain White Flour
1.5tsp Baking Powder
For the frosting and decoration:
400g/14oz Plain White Icing Sugar
200g/7oz Unsalted Butter softened
1tsp Almond Extract – I use Nielsen-Massey
2tbsp Very Hot Water – from a recently boiled kettle
50g/2oz Dark Chocolate minimum 70% Cocoa
Method: Preheat the oven to 160C/140C fan, gas mark 3, 325F.
Making And Baking The Cherry Cupcakes
- First of all, line a cupcake or muffin tin with 12 cupcake cases.
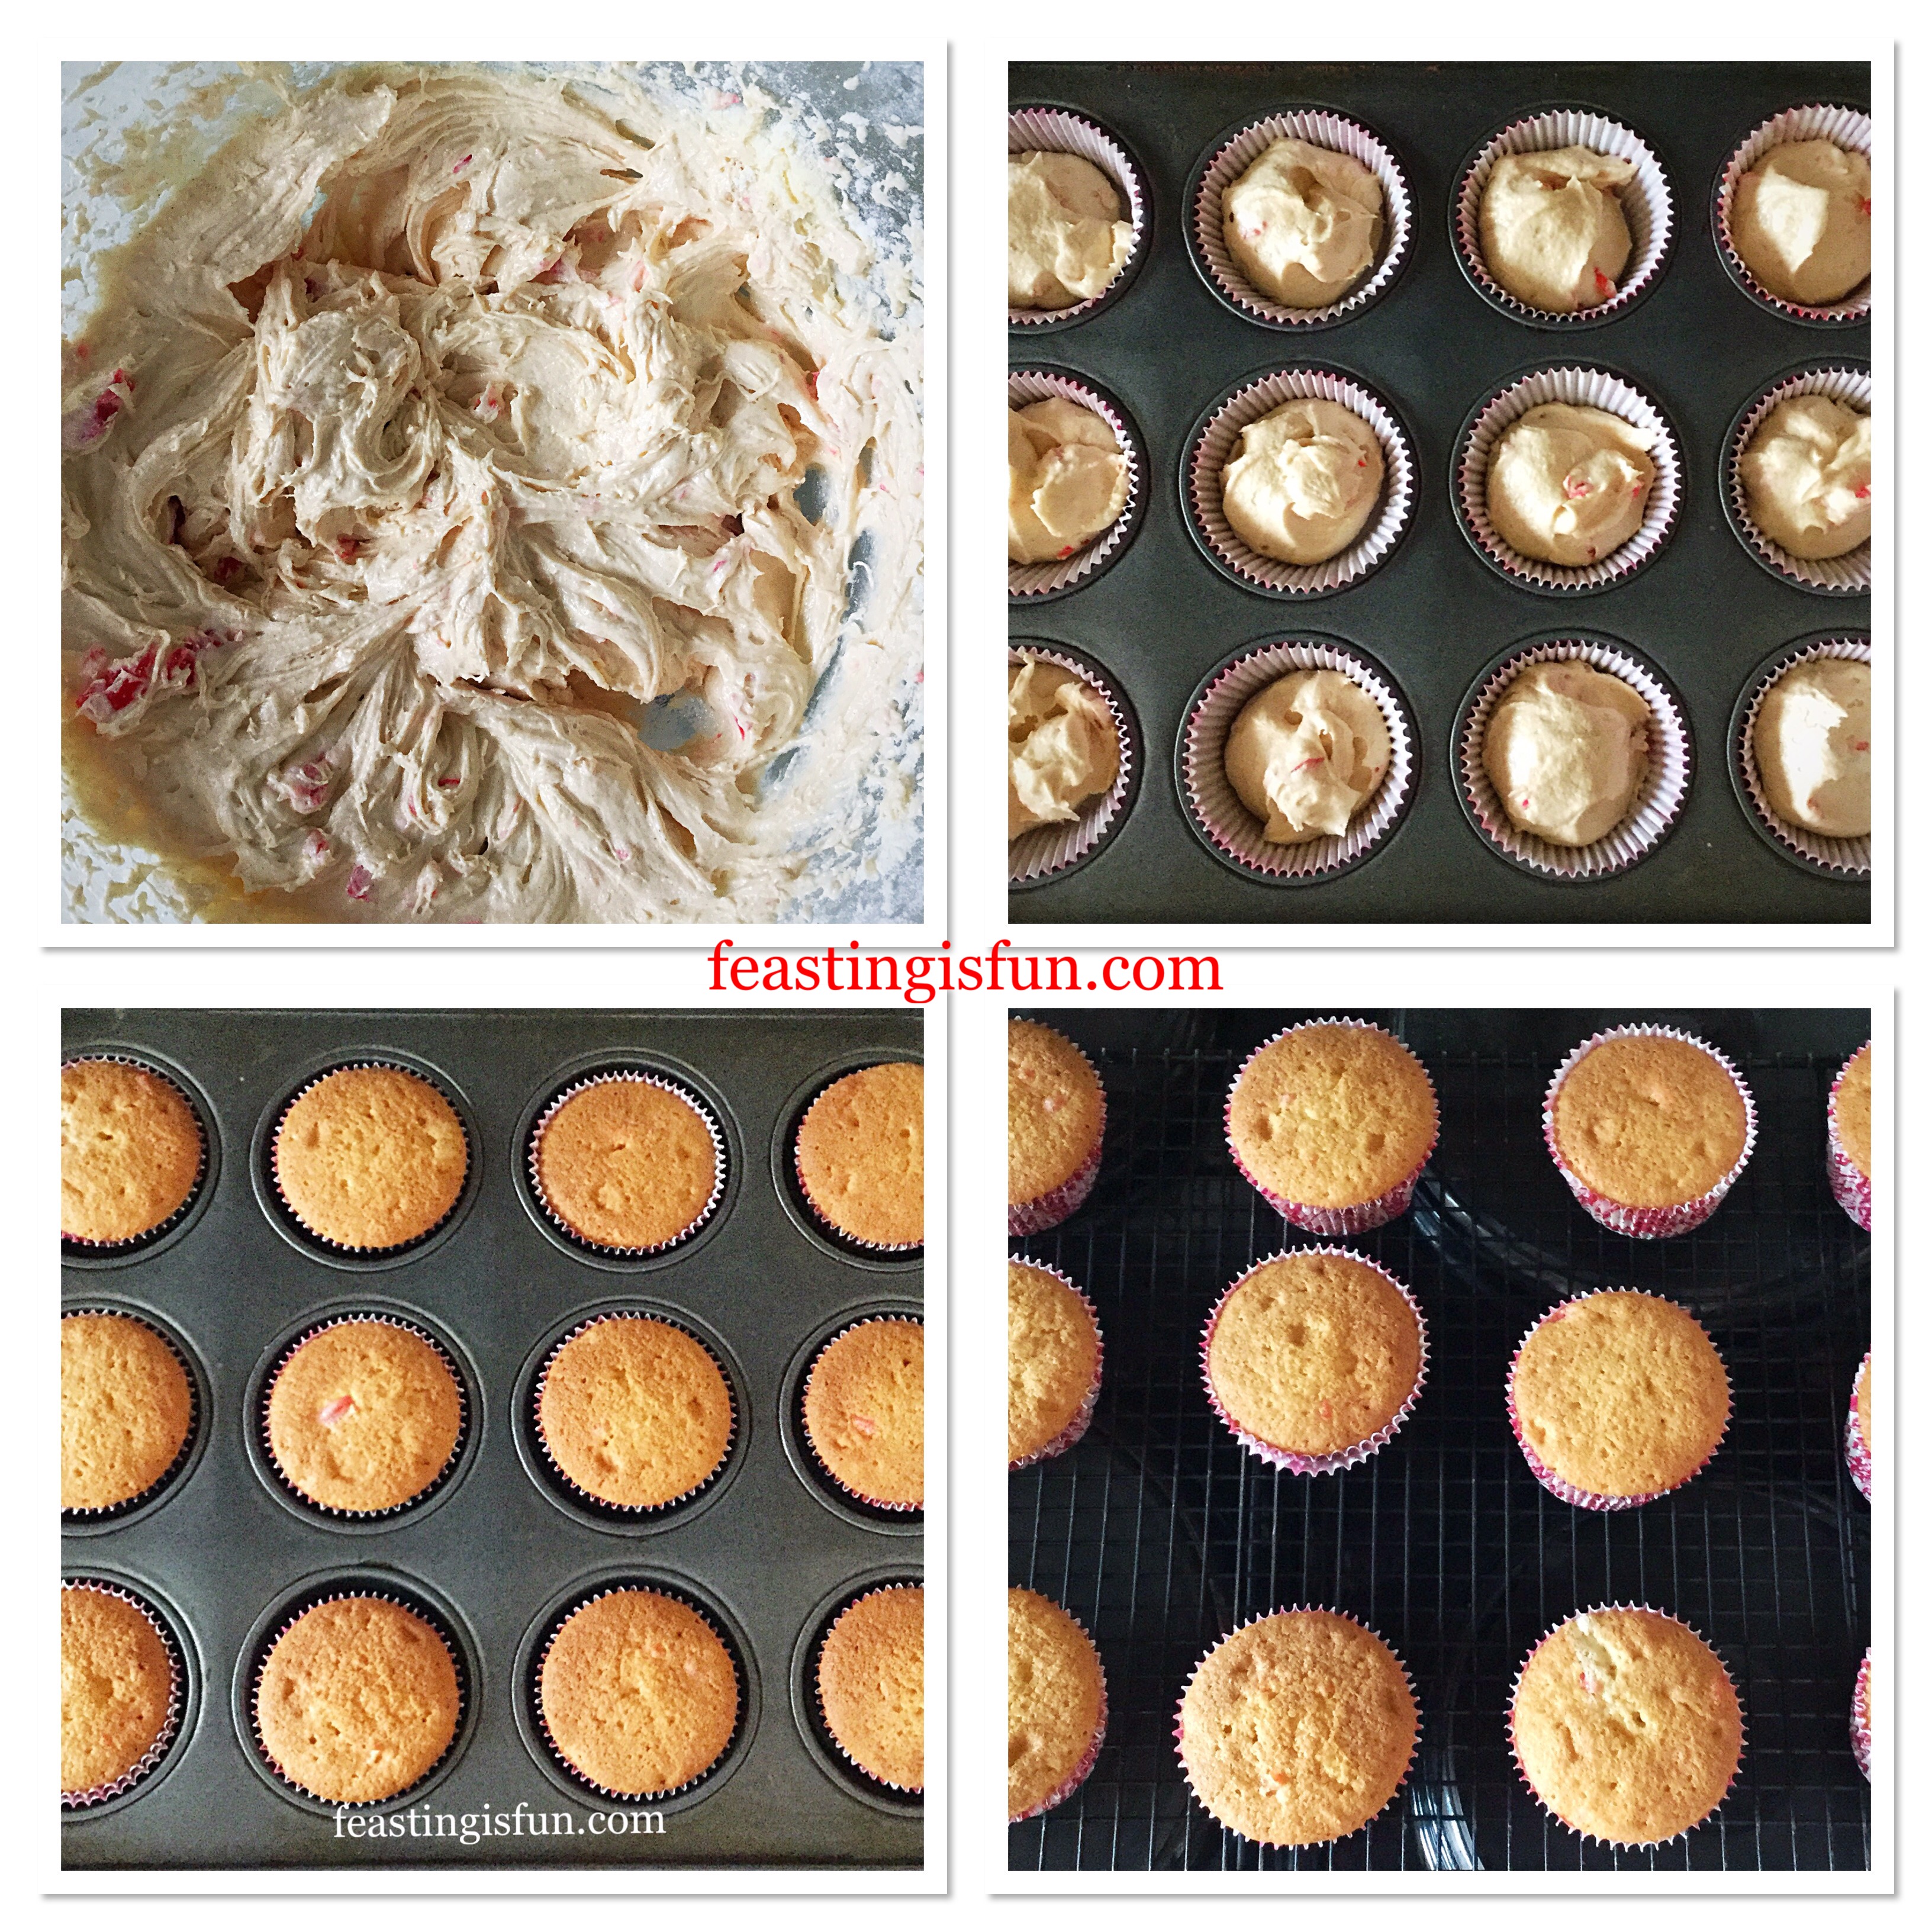
- Remove 12 nicely shaped, maraschino cherries from the jar and place on to kitchen towel to drain. Weigh out slightly more than 50g of cherries and place into a bowl. Tip away any excess liquid that collects in the bowl. Follow, by cutting the cherries in the bowl into small pieces and set to one side.
- Next, into a large bowl add the sugar, butter and salt. Beat until pale and creamy.
- Add the vanilla extract and 2 teaspoons of liquid from the cherry jar and beat into the mixture.
- Using the ‘all in one’ method, add the eggs to the bowl and then sift in the flour and the baking powder. Finally add the chopped cherries and gently mix the ingredients together until they are combined.
- Fill each cupcake case with one dessert spoonful of cake batter.
- Place the tin into the centre of the preheated oven and bake for 25-30 minutes.
- The cupcakes may look a little darker than usual. This is due to a combination of the cherries in the batter and the liquid from the jar added to the cake batter.
- They are fully baked when the sponge springs back from a light touch, or an inserted toothpick comes out clean.
- As soon as the cupcakes are baked remove from the oven.
- Remove the cupcakes from the baking tin and place on a cooling rack.
Making The Whipped Buttercream And Piping It Onto the Cupcakes
- While the cupcakes are cooling make the buttercream frosting.
- Into a large bowl add butter and then sift in the icing sugar.
- Next add the hot water and almond extract.
- Start whisking on a very slow speed, until the butter and icing sugar have combined.
- Gradually build the whisking speed to high. Continue whisking until the frosting is pale and fluffy.
- Spoon the frosting into a piping bag that has been fitted with a large star tip. I use a Wilton #1M.
- Starting at the outside edge, on the top of the cupcake pipe a complete swirl. As the next swirl overlaps, lift the piping bag to bring the swirl inwards. Continue piping in swirls, finishing in the centre, by pulling the bag away. Similar to piping a Mr Whippy ice cream.
- Continue until all of the cupcakes have been piped with frosting. Do not worry if there is a little buttercream left in the piping bag.
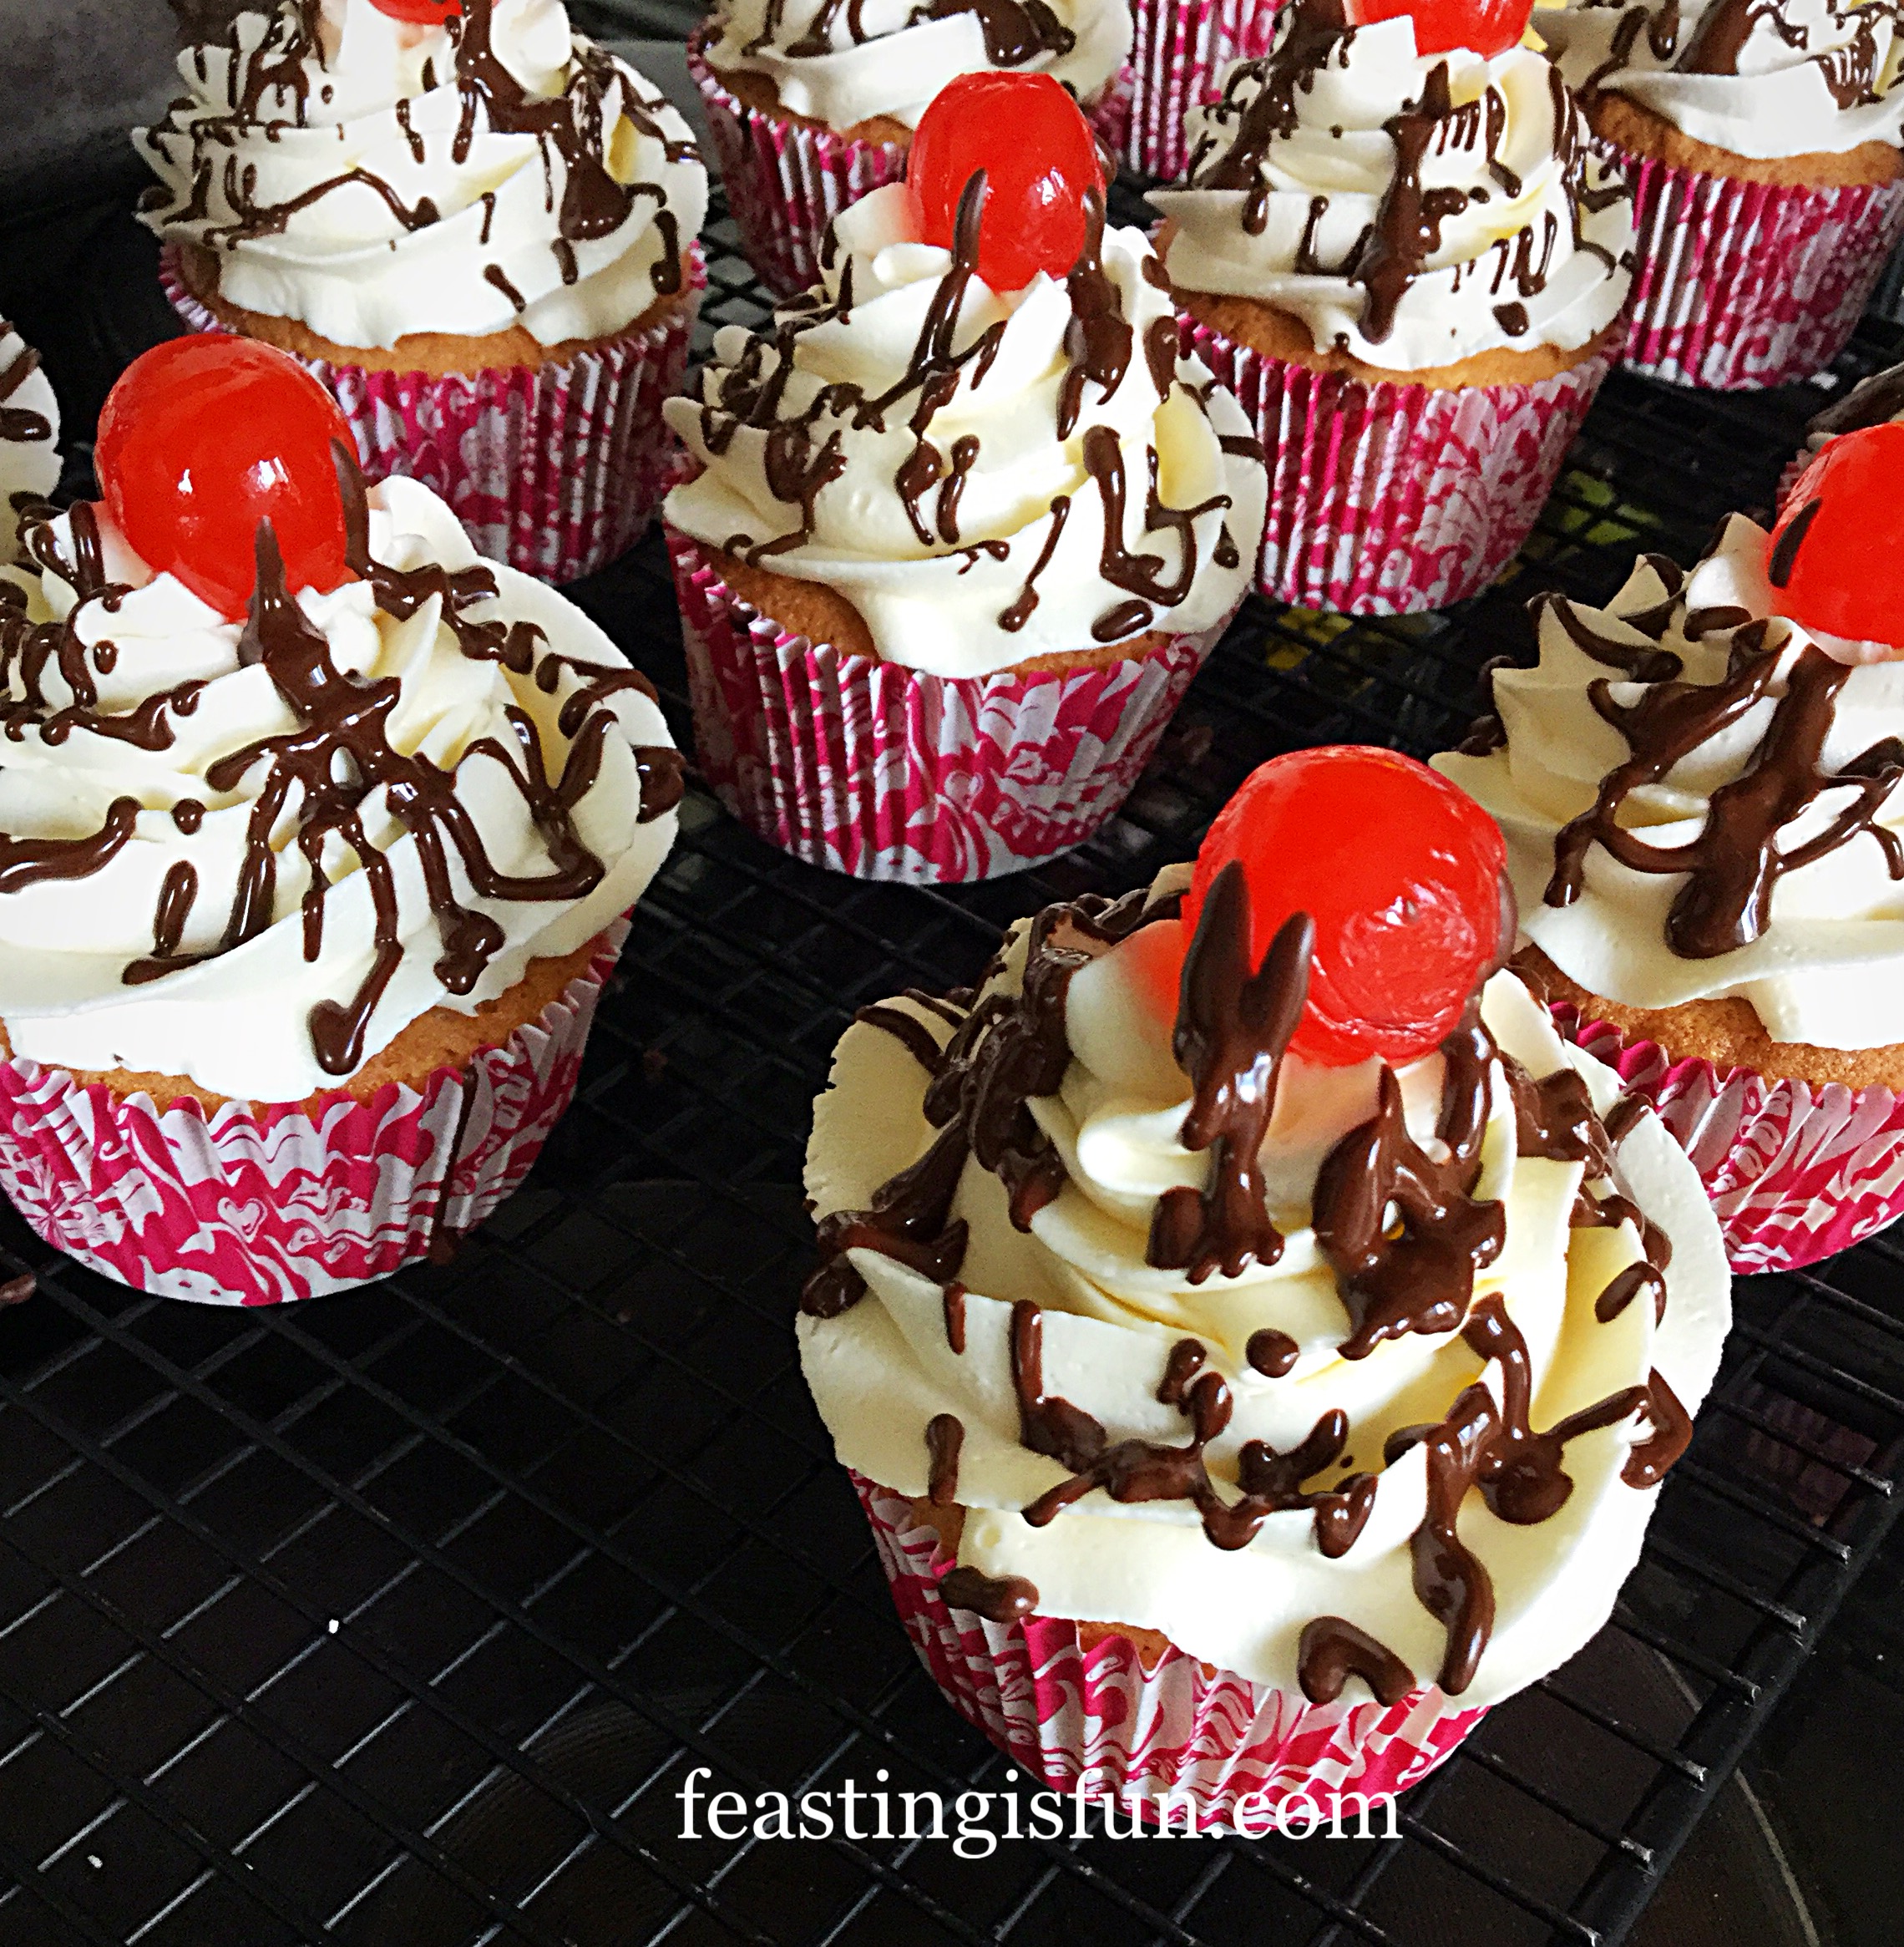
- Finally, place a cherry on top of each cupcake.
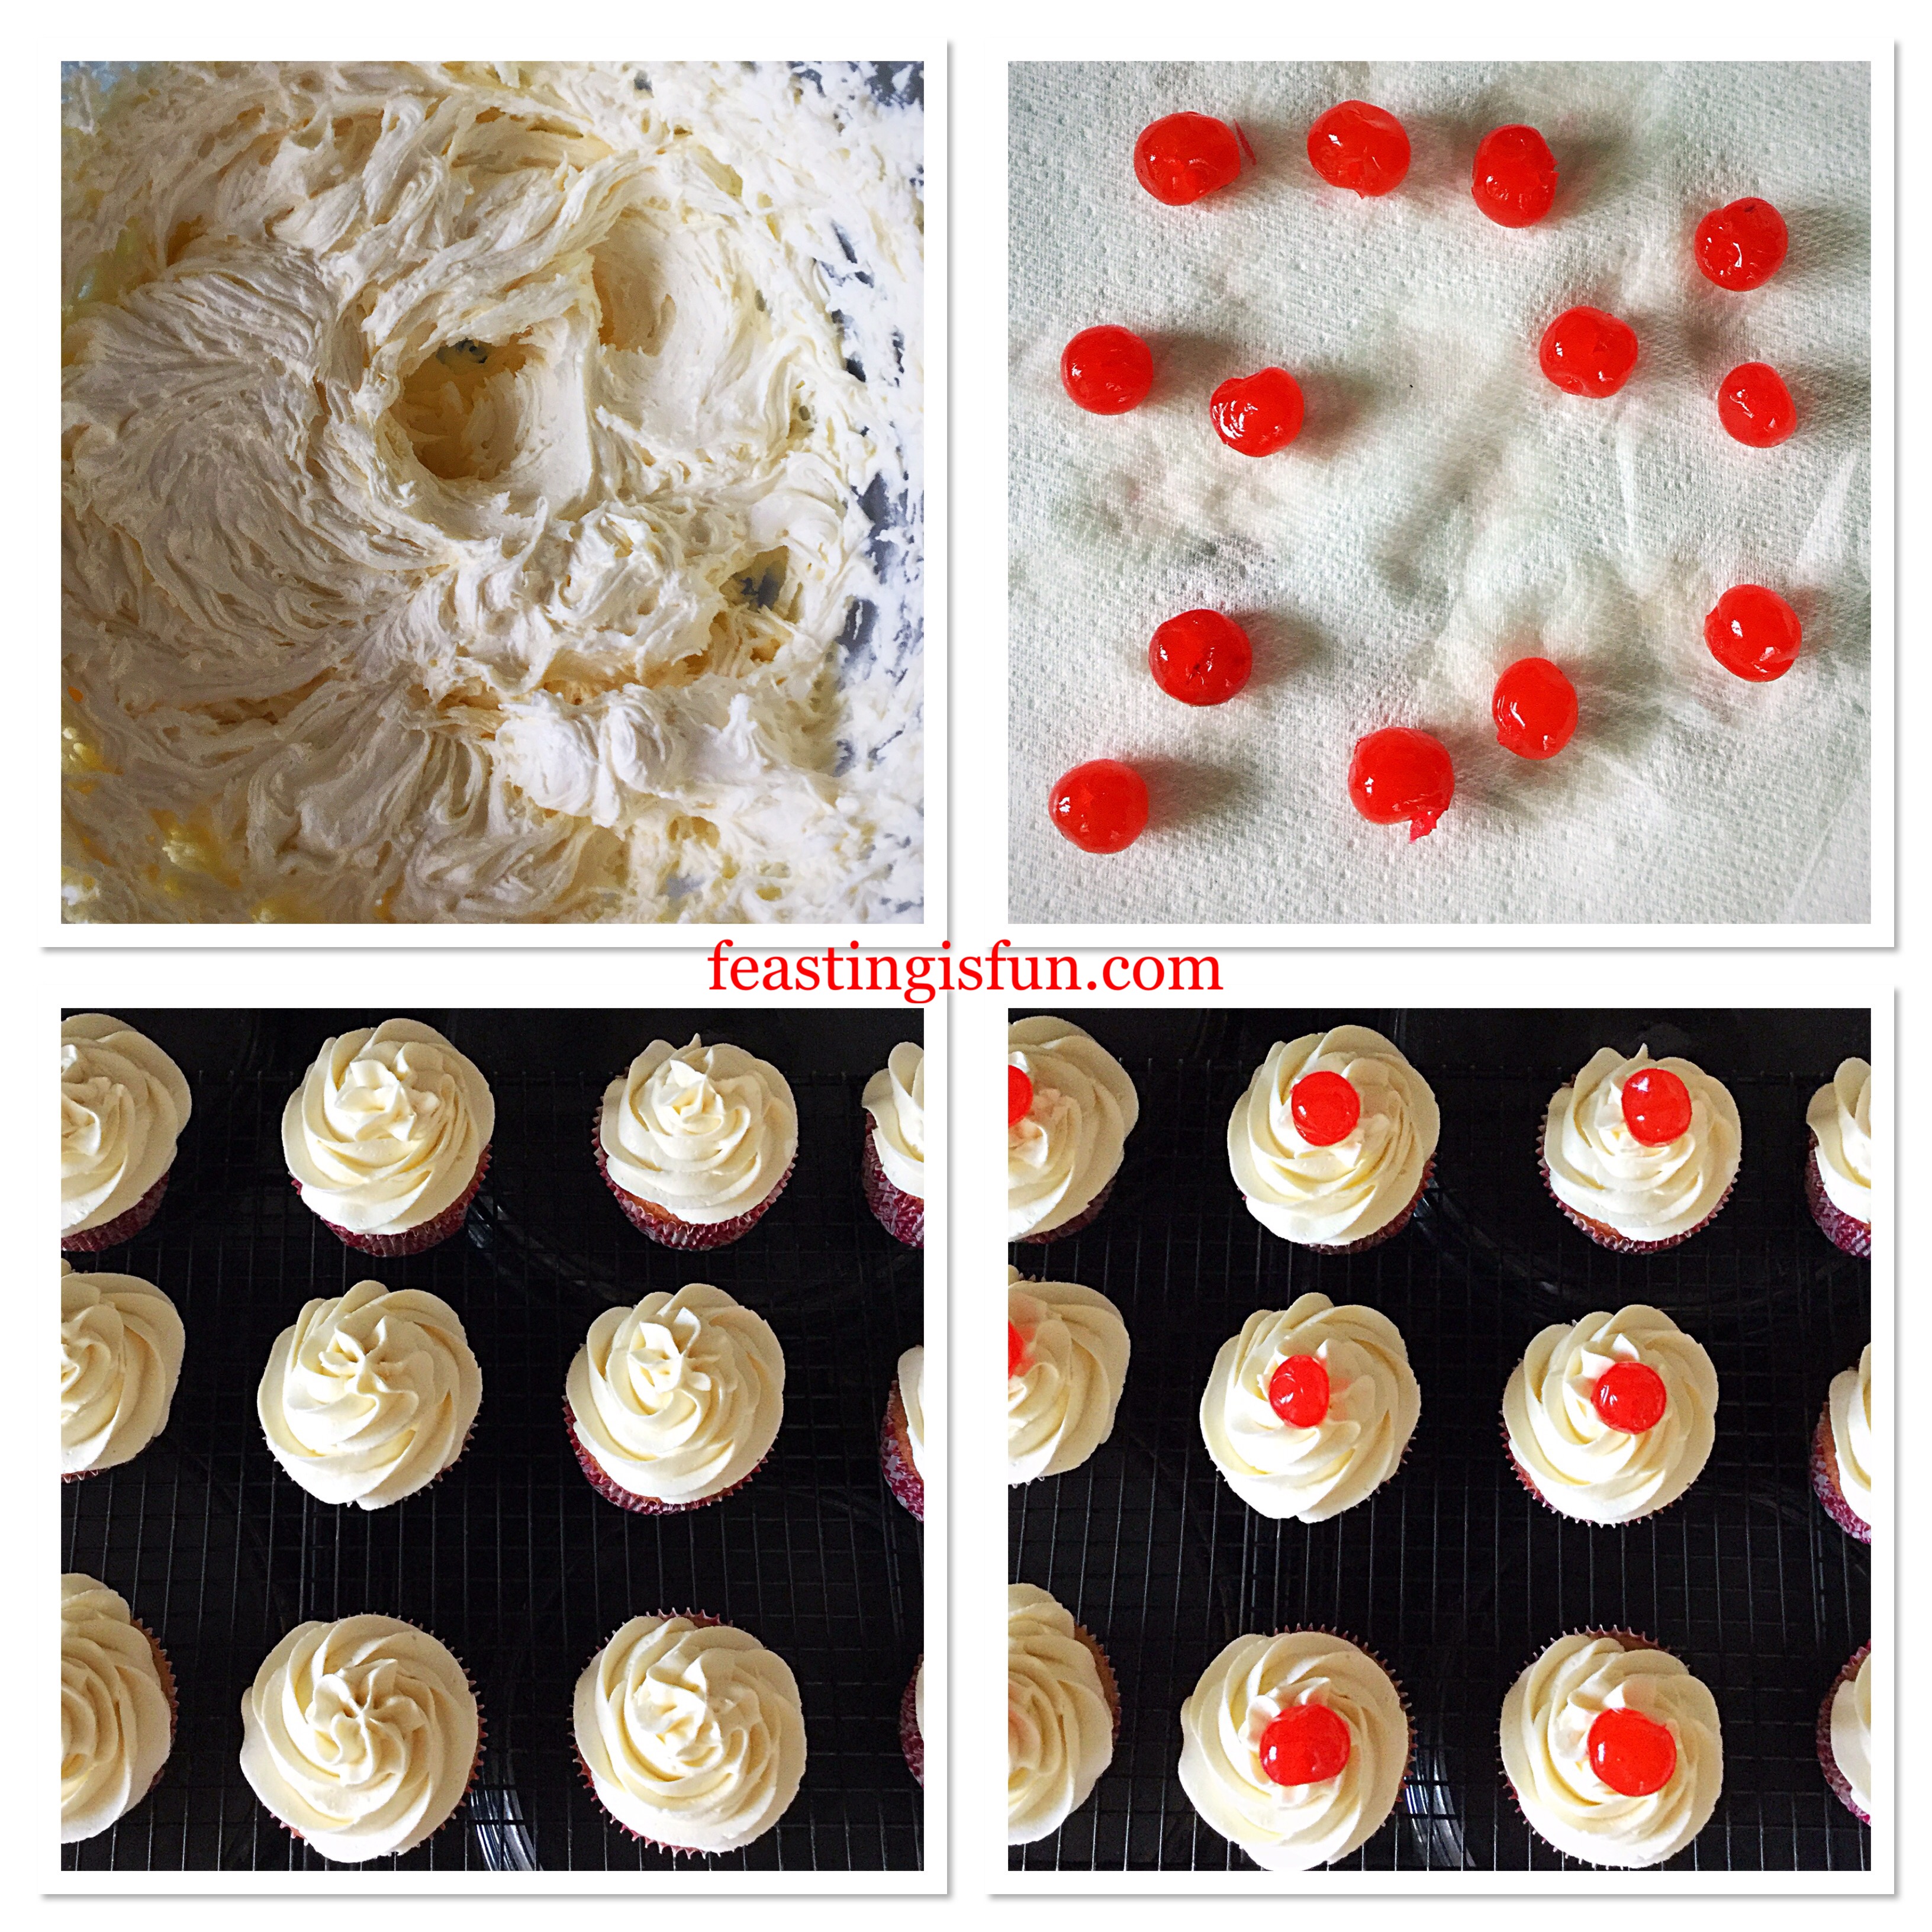
- Allow the icing to set on the cupcakes.
Making The Chocolate Drizzle And Decorating The Cupcakes
- While the cupcakes are setting, make the chocolate drizzle.
- Break up, or chop the chocolate and place into a small, heatproof, microwaveable bowl. Heat for 20 seconds at a time, in the microwave. Making sure to stir the chocolate after each heating. When the chocolate has completely melted pour into a small, disposable piping bag.
- Snip the very end of the bag off and drizzle chocolate over each cupcake.

Finally, allow the chocolate to set before serving these Maraschino Cherry Chocolate Drizzle Cupcakes.
These cupcakes will last for 5 days if kept in an airtight container, refrigerate during warm weather. Although, it is very doubtful, once shared that they will last that long!
If you have enjoyed this recipe for Maraschino Cherry Chocolate Drizzle Cupcakes you may also like these:
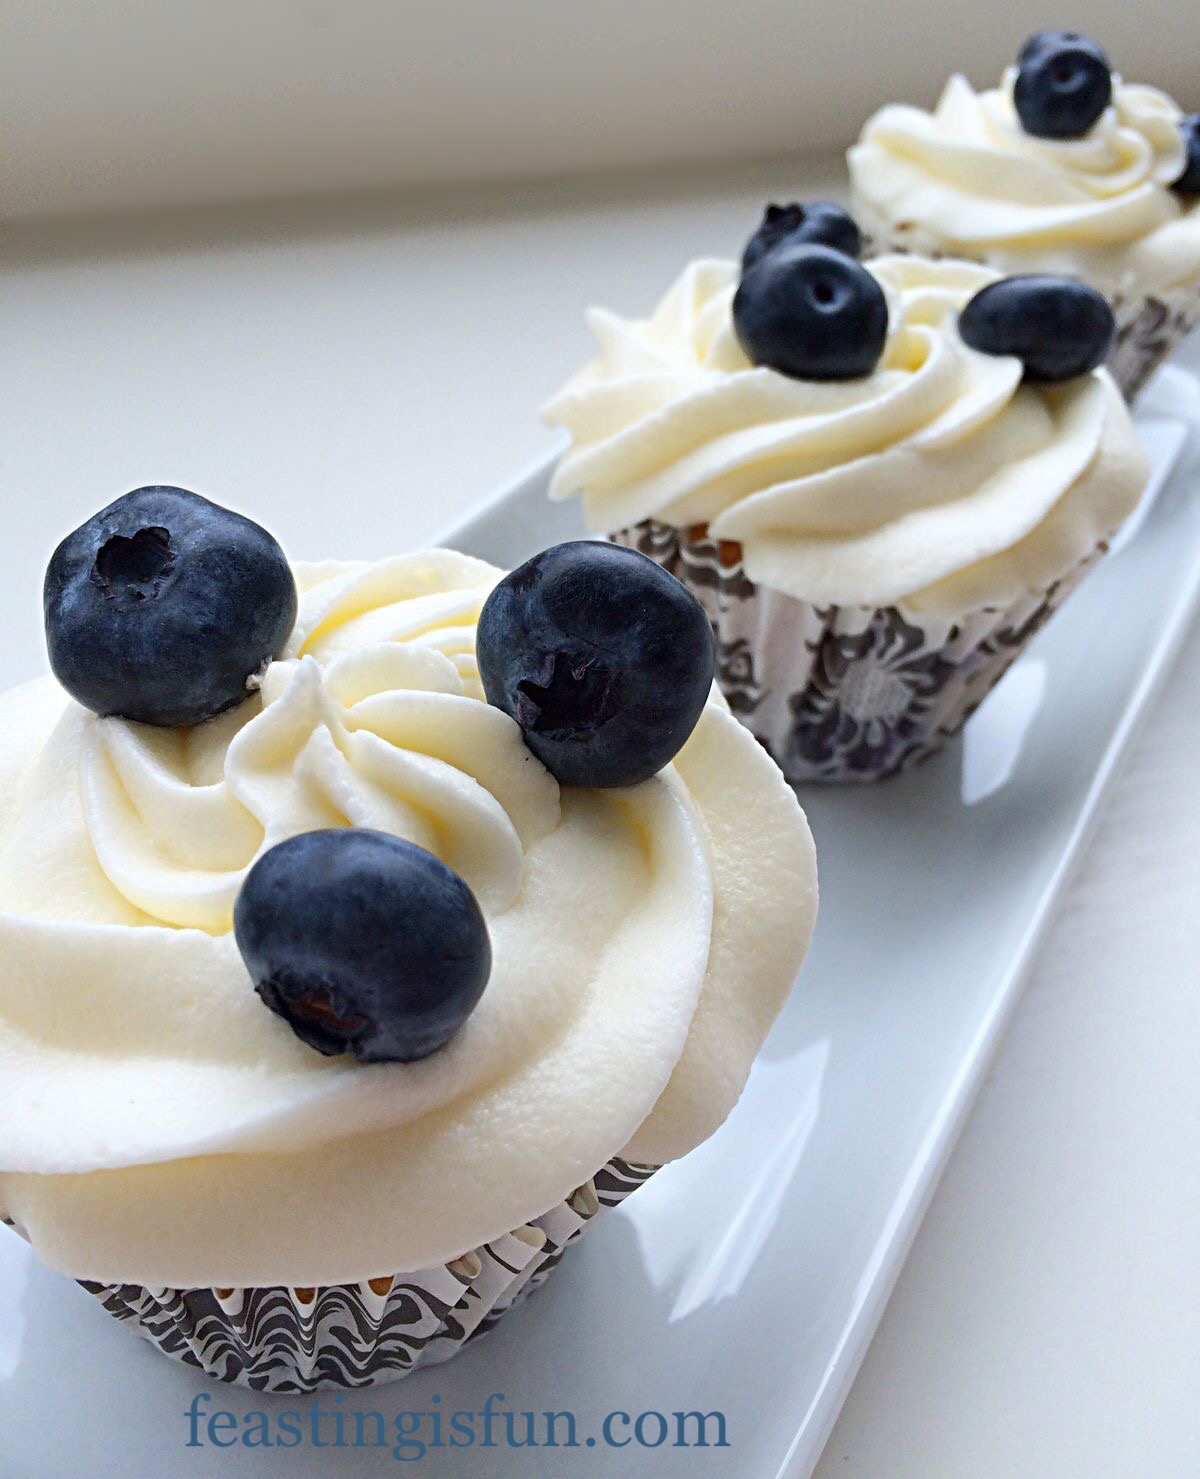
Marshmallow Frosted Mango Cupcakes
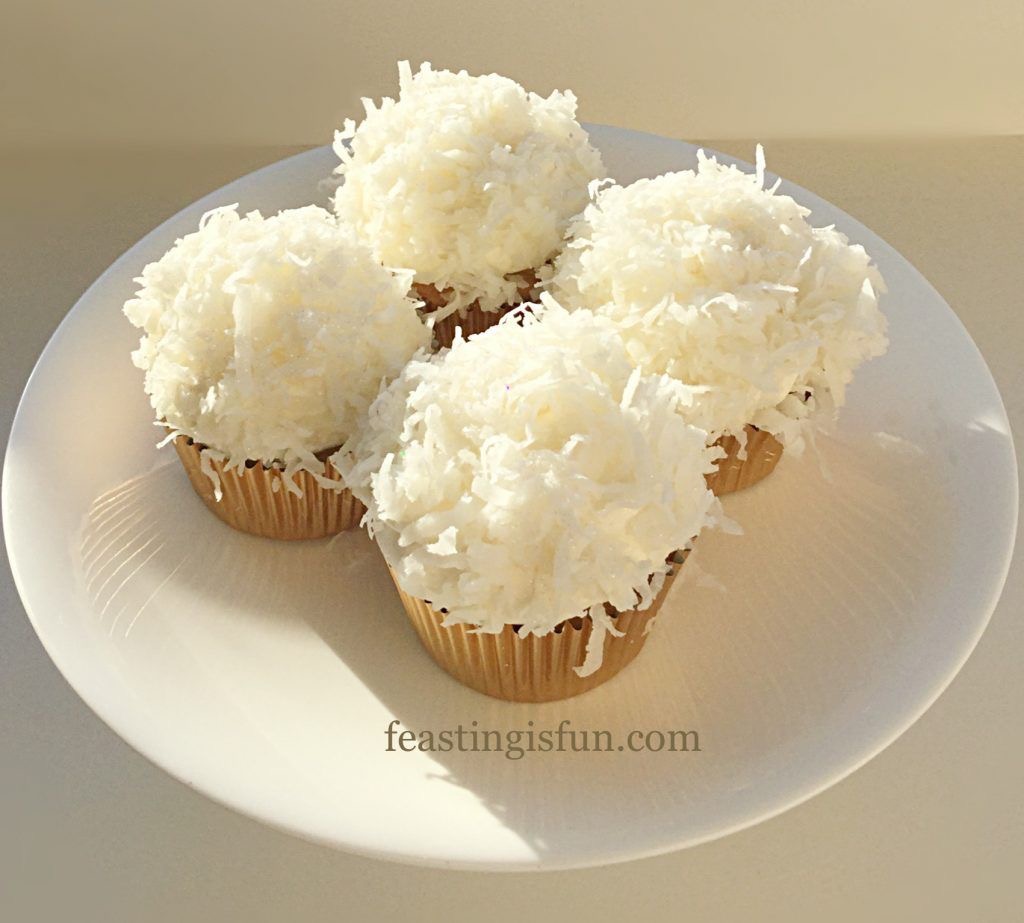
Coconut White Chocolate Snowball Cupcakes
Sharing baked goodies, not only makes others happy, it also keeps waistlines from expanding! While selling my own bakes is not something I ever wish to do, sharing them allows me to follow my real passions. First of all sharing and also recipe development, mixing flavours, textures, being creative, giving away baked treats actually helps me. Resulting in smiles all round!
So, whatever you are making, baking and creating in your kitchens, have fun preparing and sharing your feast.
Sammie xx
No part of this post may be reproduced or duplicated without the written permission of the owner. Please see my Disclosure Policy.