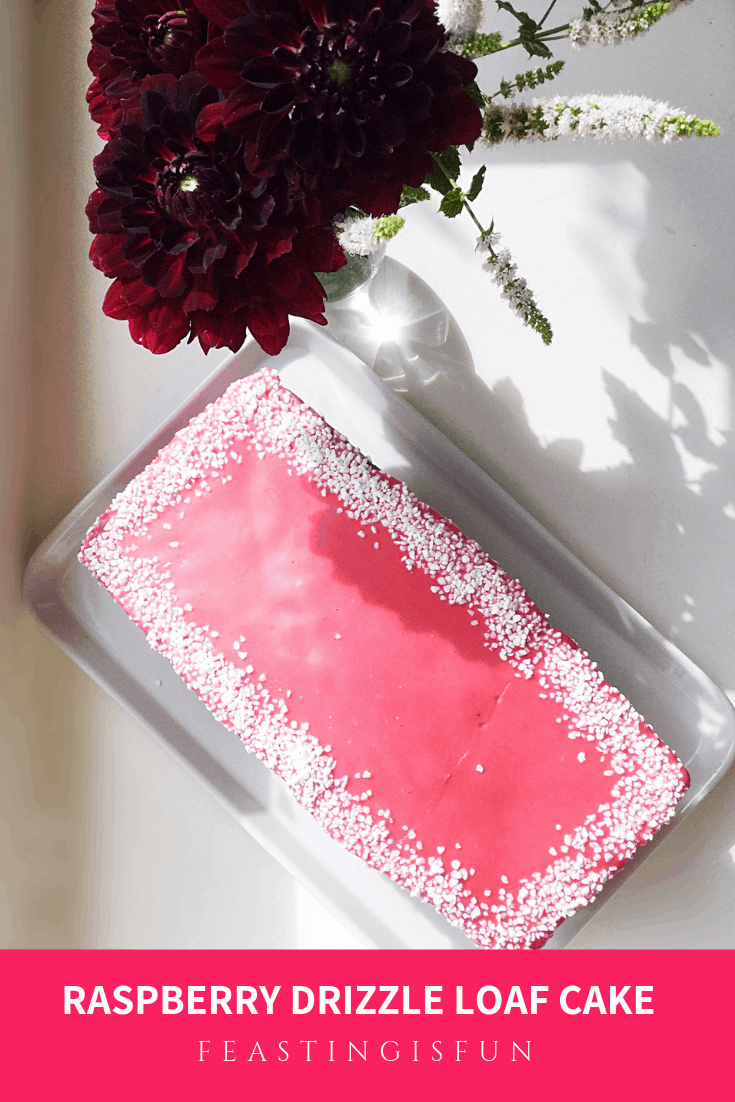
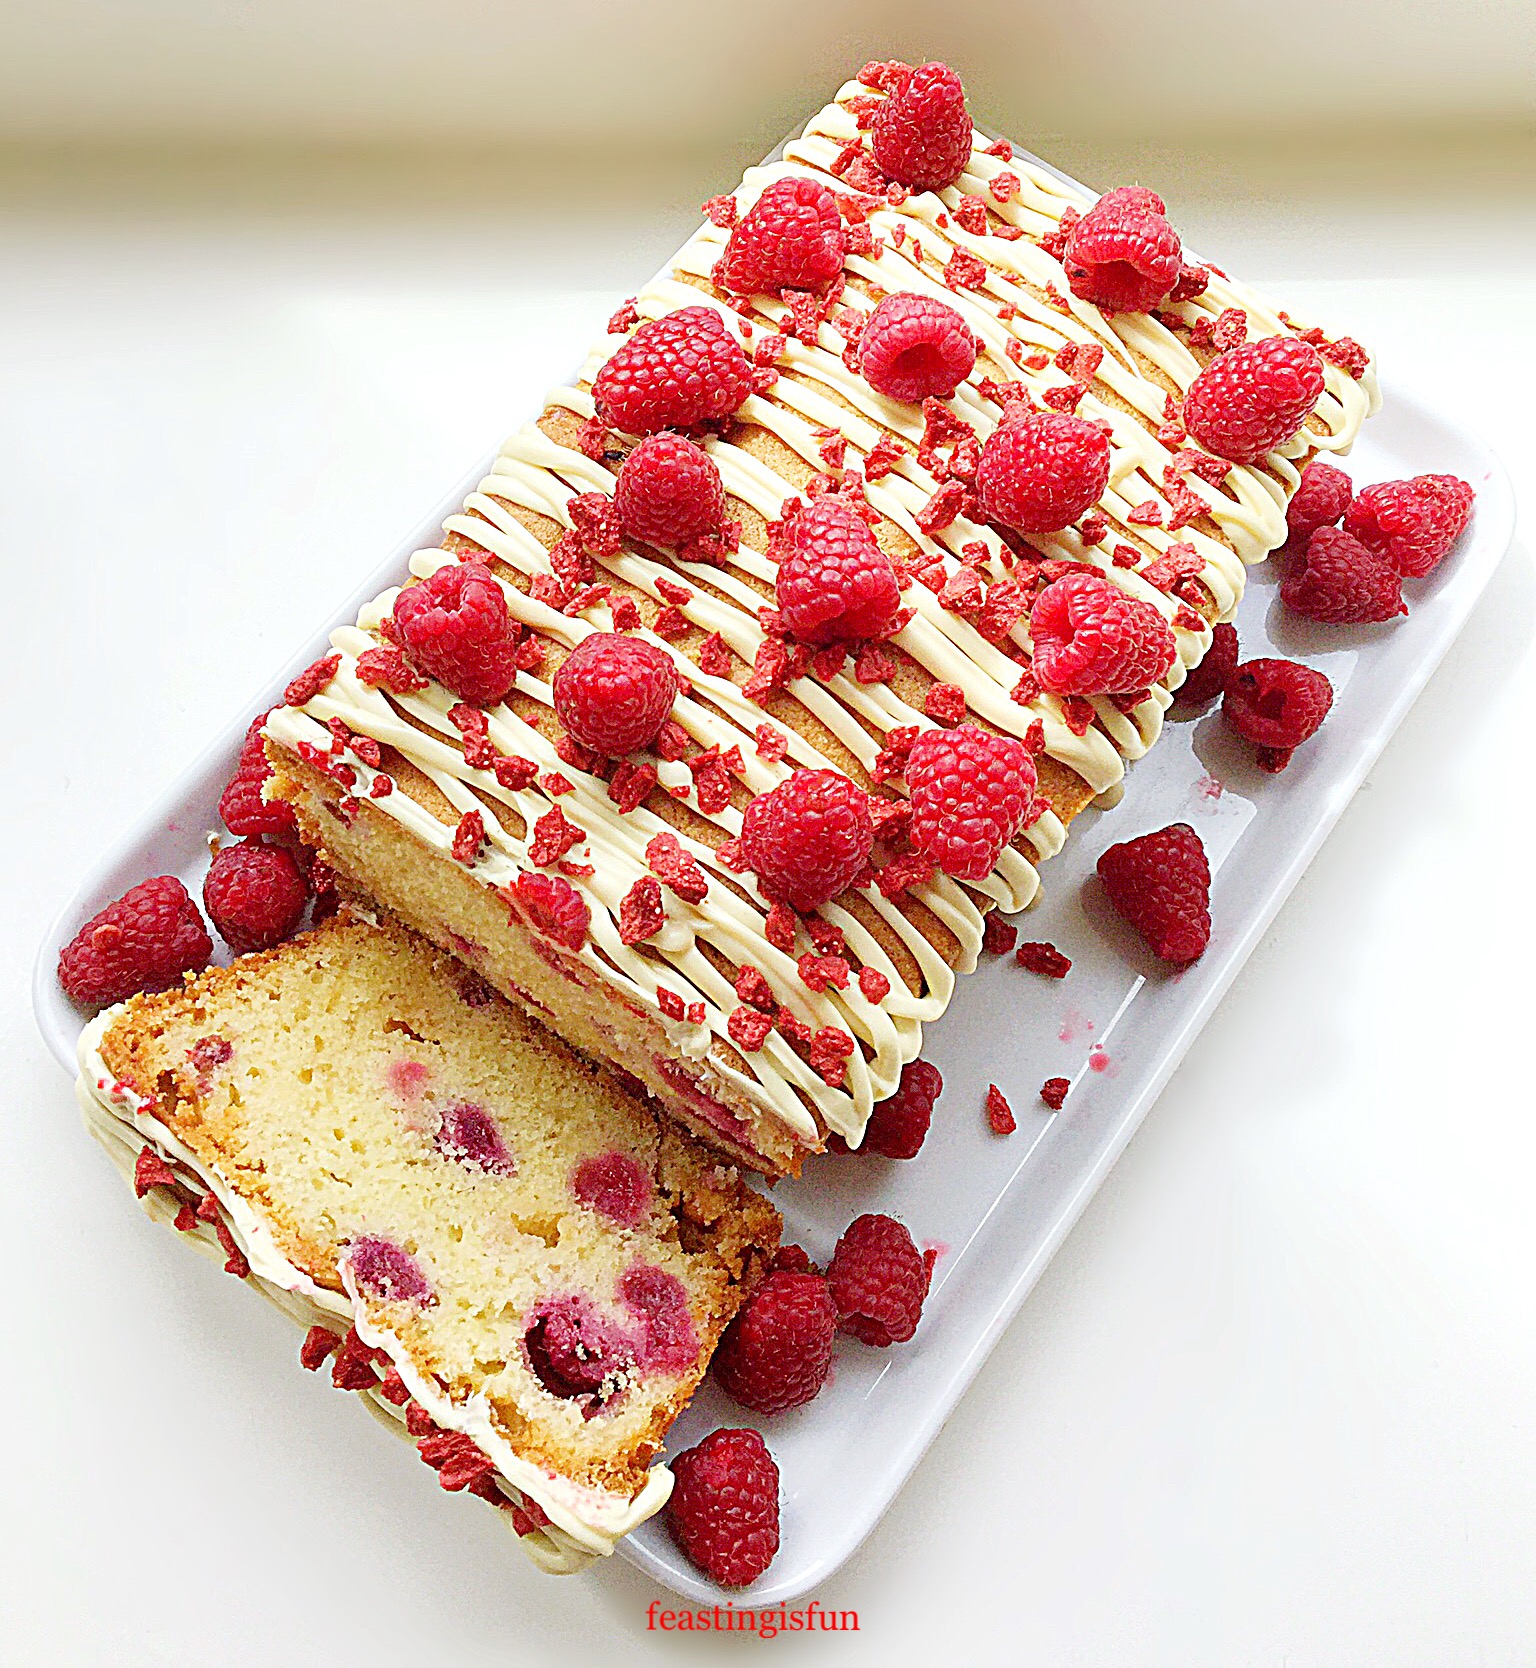
Summer is well and truly here and while enjoying the gorgeous sunshine, here in the Southeast of England I am also indulging myself in all of the delicious soft fruits available at this time of year. My Summer Mixed Berry Sponge Cake is always a big hit using berries in the frosting as well as to decorate. So, drawing inspiration from that cake I set about creating an easier bake. Specifically a loaf cakes as they are very popular with you, the readers of my blog. Let me introduce my Raspberry Drizzle Loaf Cake.
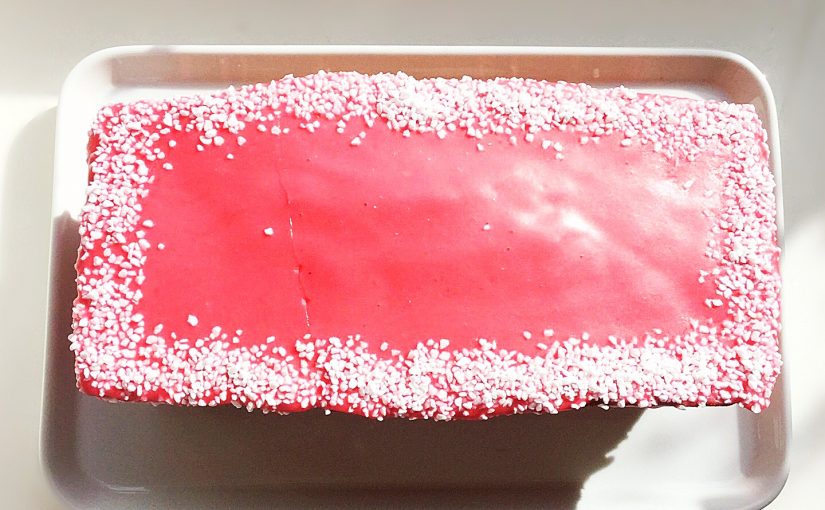
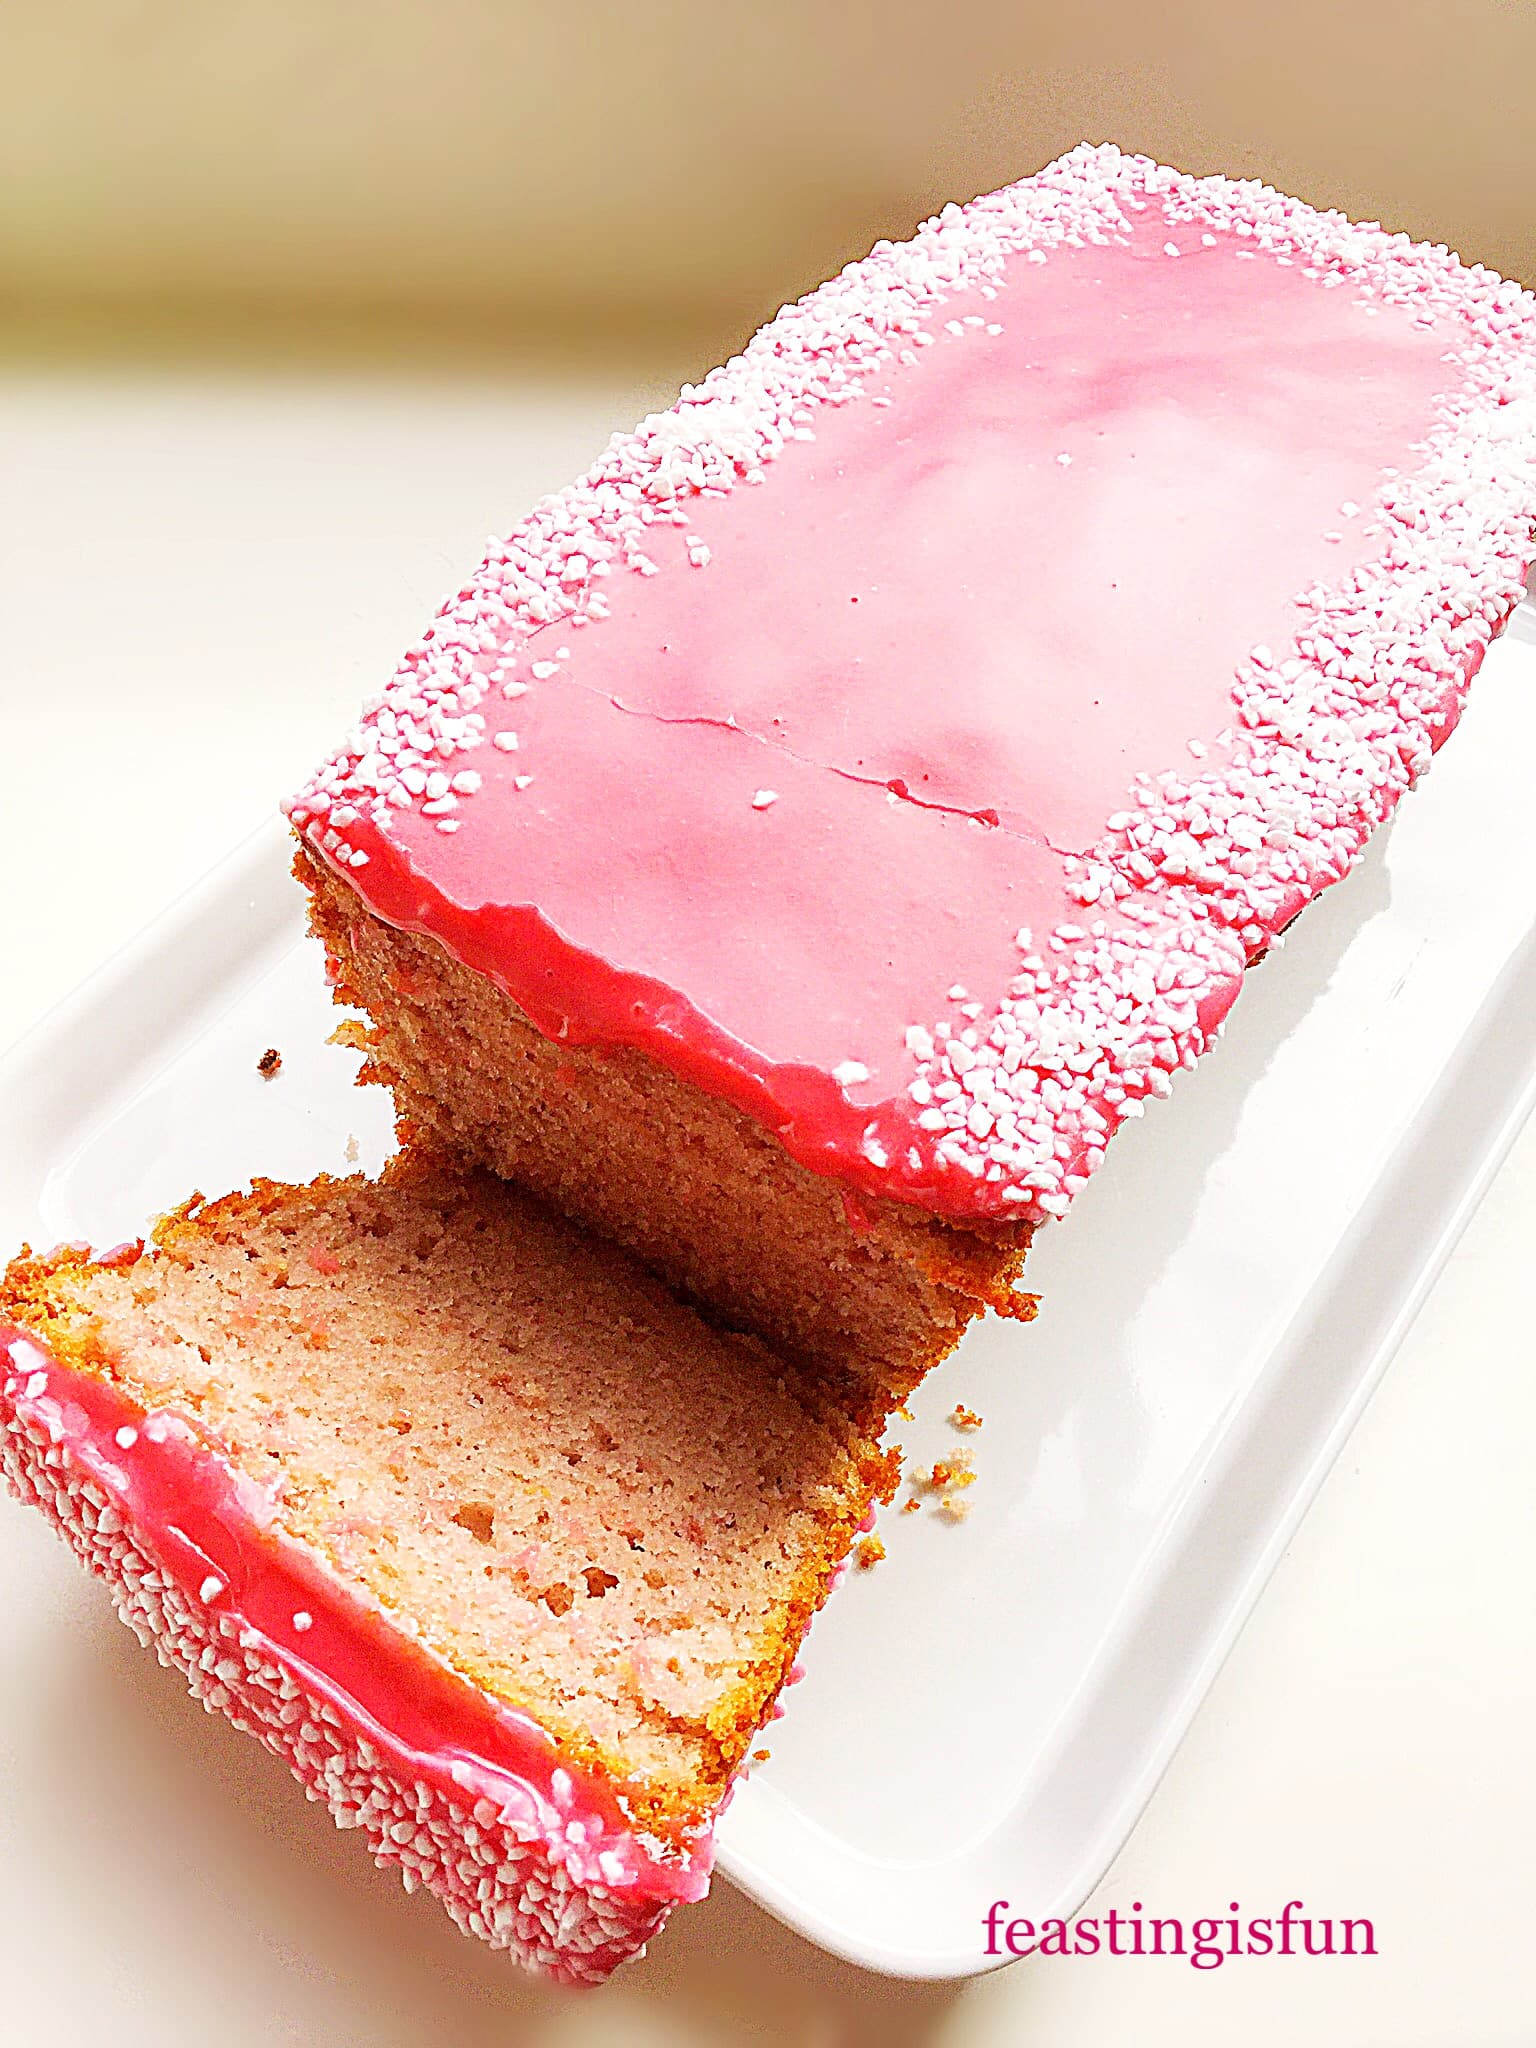
Because this cake has fresh raspberries whipped into the cake batter it naturally turns light pink, keeping the colour while baking. Likewise the coral pink icing, that I use to drizzle over the cake, gets its hue from fresh raspberry pulp. Pushing the raspberries through a sieve ensures that the icing remains silky smooth and without any pips. Sieving the raspberries doesn’t take long to do and really makes a difference to the finished cake. And although the cake has whole raspberries in it, the seeds seem to get lost in the batter, as they are hardly noticeable when eating the cake.

Fresh Raspberry Cake Baked To Share
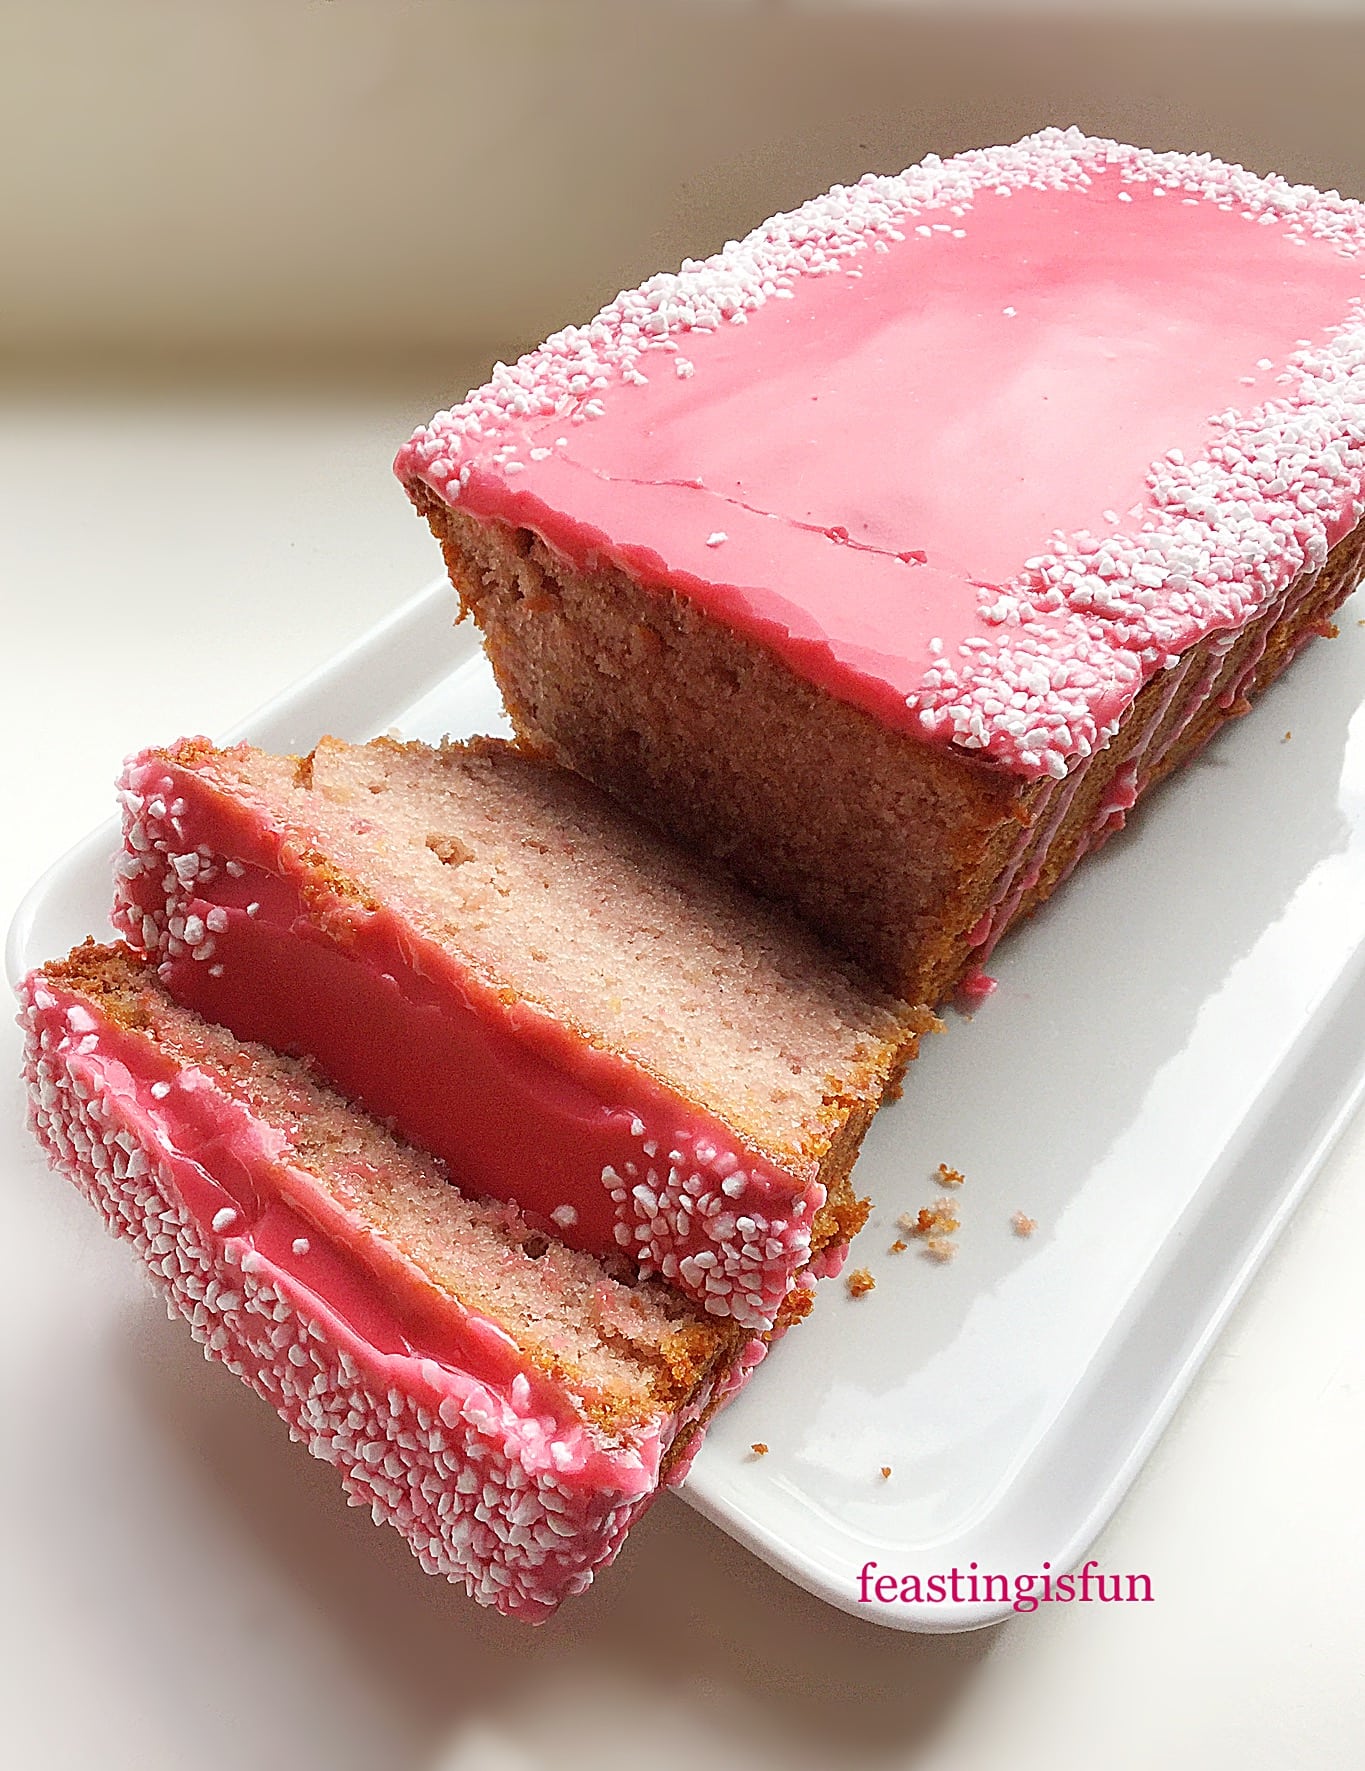
Raspberries may well be my favourite of the summer berries, although it is hard to choose! Yet, while planning this recipe, a raspberry drizzle cake became an exciting and delicious prospect. And loaf tin bakes always result in a cake that is both easy to transport and slice, making it ideal for sharing with friends, family or colleagues. Taking a cake to anyone’s home or workplace is never a bad idea!
I always recommend reading a recipe through thoroughly before starting and especially so with this cake. Since you will find the lemon whose zest is needed for the cake is also required for its juice in the icing.
Recipe: Raspberry Drizzle Loaf Cake – serves 8-10
For the raspberry cake batter:
225g/8oz Unsalted Butter at room temperature
225g/8oz Caster Sugar
1/4tsp Salt – I use Maldon
Finely Grated Zest Of 1 Lemon – scrub the lemon under hot water and dry before zesting (the juice will be needed for the icing).
4 Large Free Range Eggs
1tsp Vanilla Extract – I use Nielsen-Massey
250g/9oz Plain White Flour
1tbsp (3tsp) Baking Powder
225g/8oz Raspberries – fresh (when making this cake during the colder months frozen berries are a perfect substitute, I buy 300g frozen punnets of raspberries from Waitrose).
For the raspberry icing:
100g/4oz Raspberries – same as for the cake
1tsp Fresh Lemon Juice
225g/8oz Icing Sugar (confectioners sugar)
2-3tbsp Sugar Nibs – alternatively use edible, small white cake decorations such as balls.
Method: Preheat the oven to 160C/140C fan, gas mark 3, 325F.
For this loaf cake you will need a 2lb loaf tin that is approximately 25cm x 11cm x 7.5cm (10in x 4.5in x 3in). Grease with butter and line the base with baking parchment.
Making And Baking The Raspberry Cake
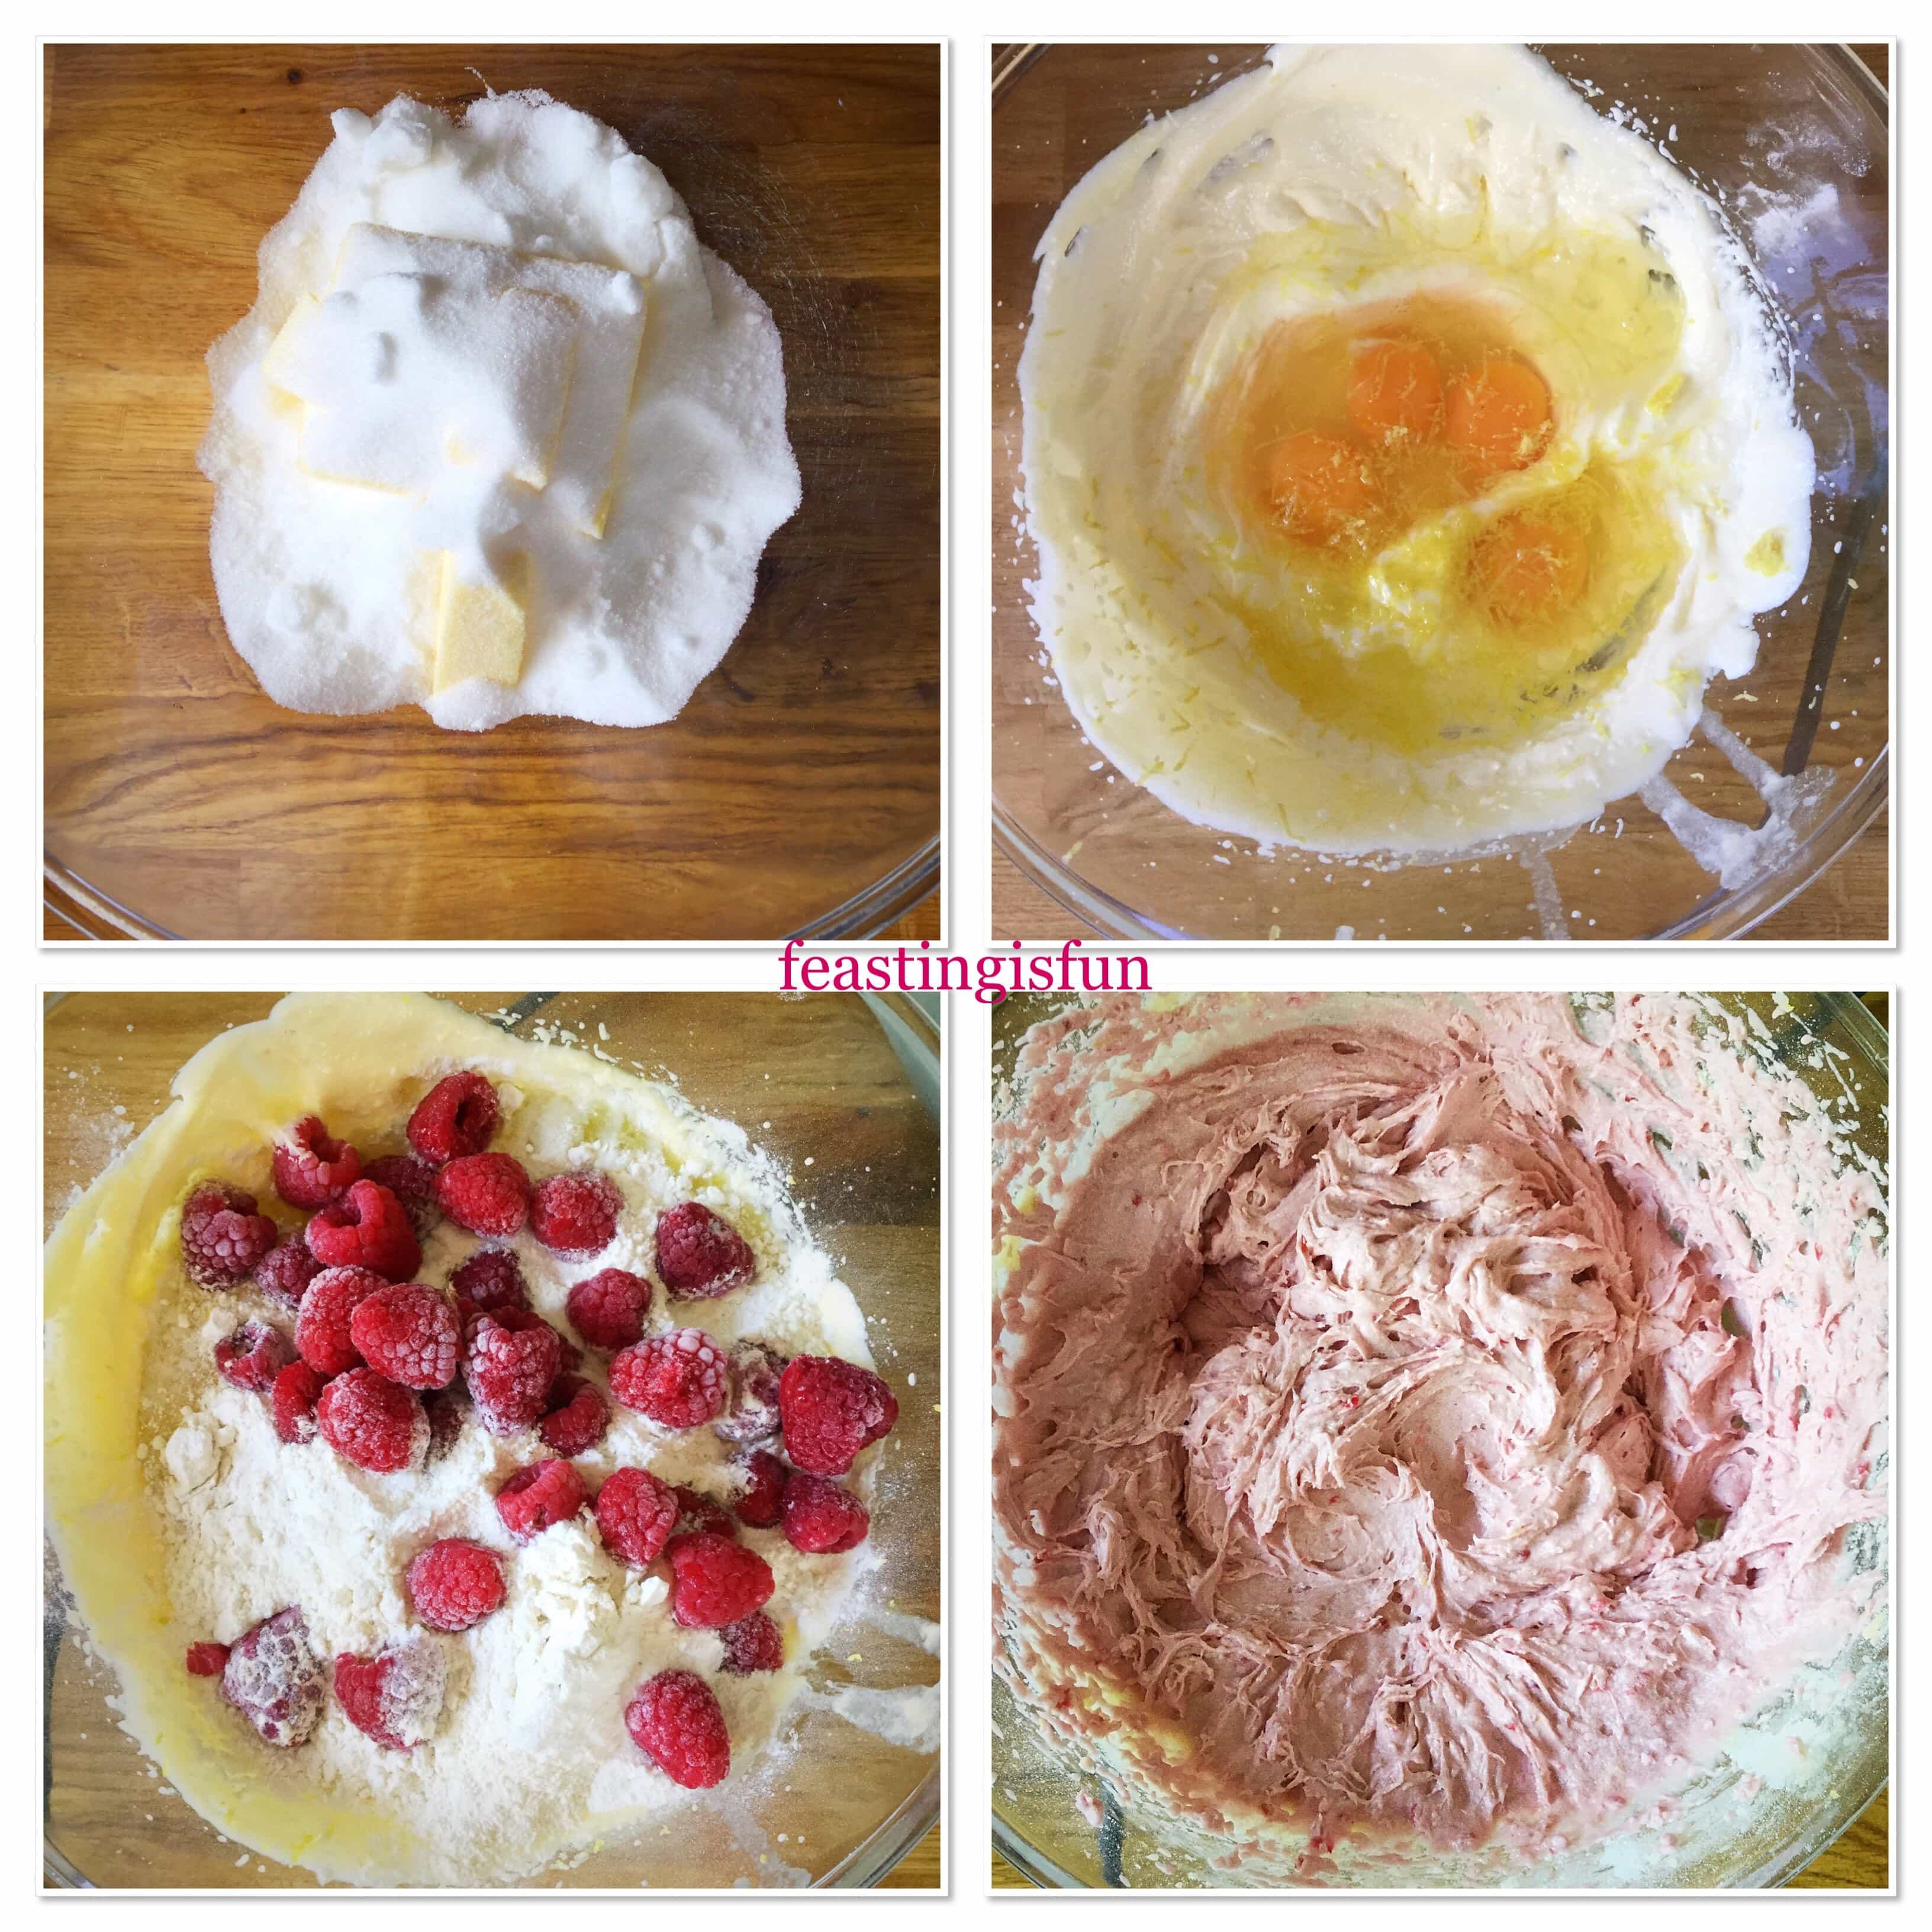
- First of all, add the butter, sugar and salt to a large mixing bowl.
- Using an electric hand whisk beat all the ingredients together until pale and fluffy.
- Next add the zest of a finely grated lemon, four large eggs and the vanilla extract.
- Sift the flour and baking powder onto the wet mix and then add the fresh raspberries.
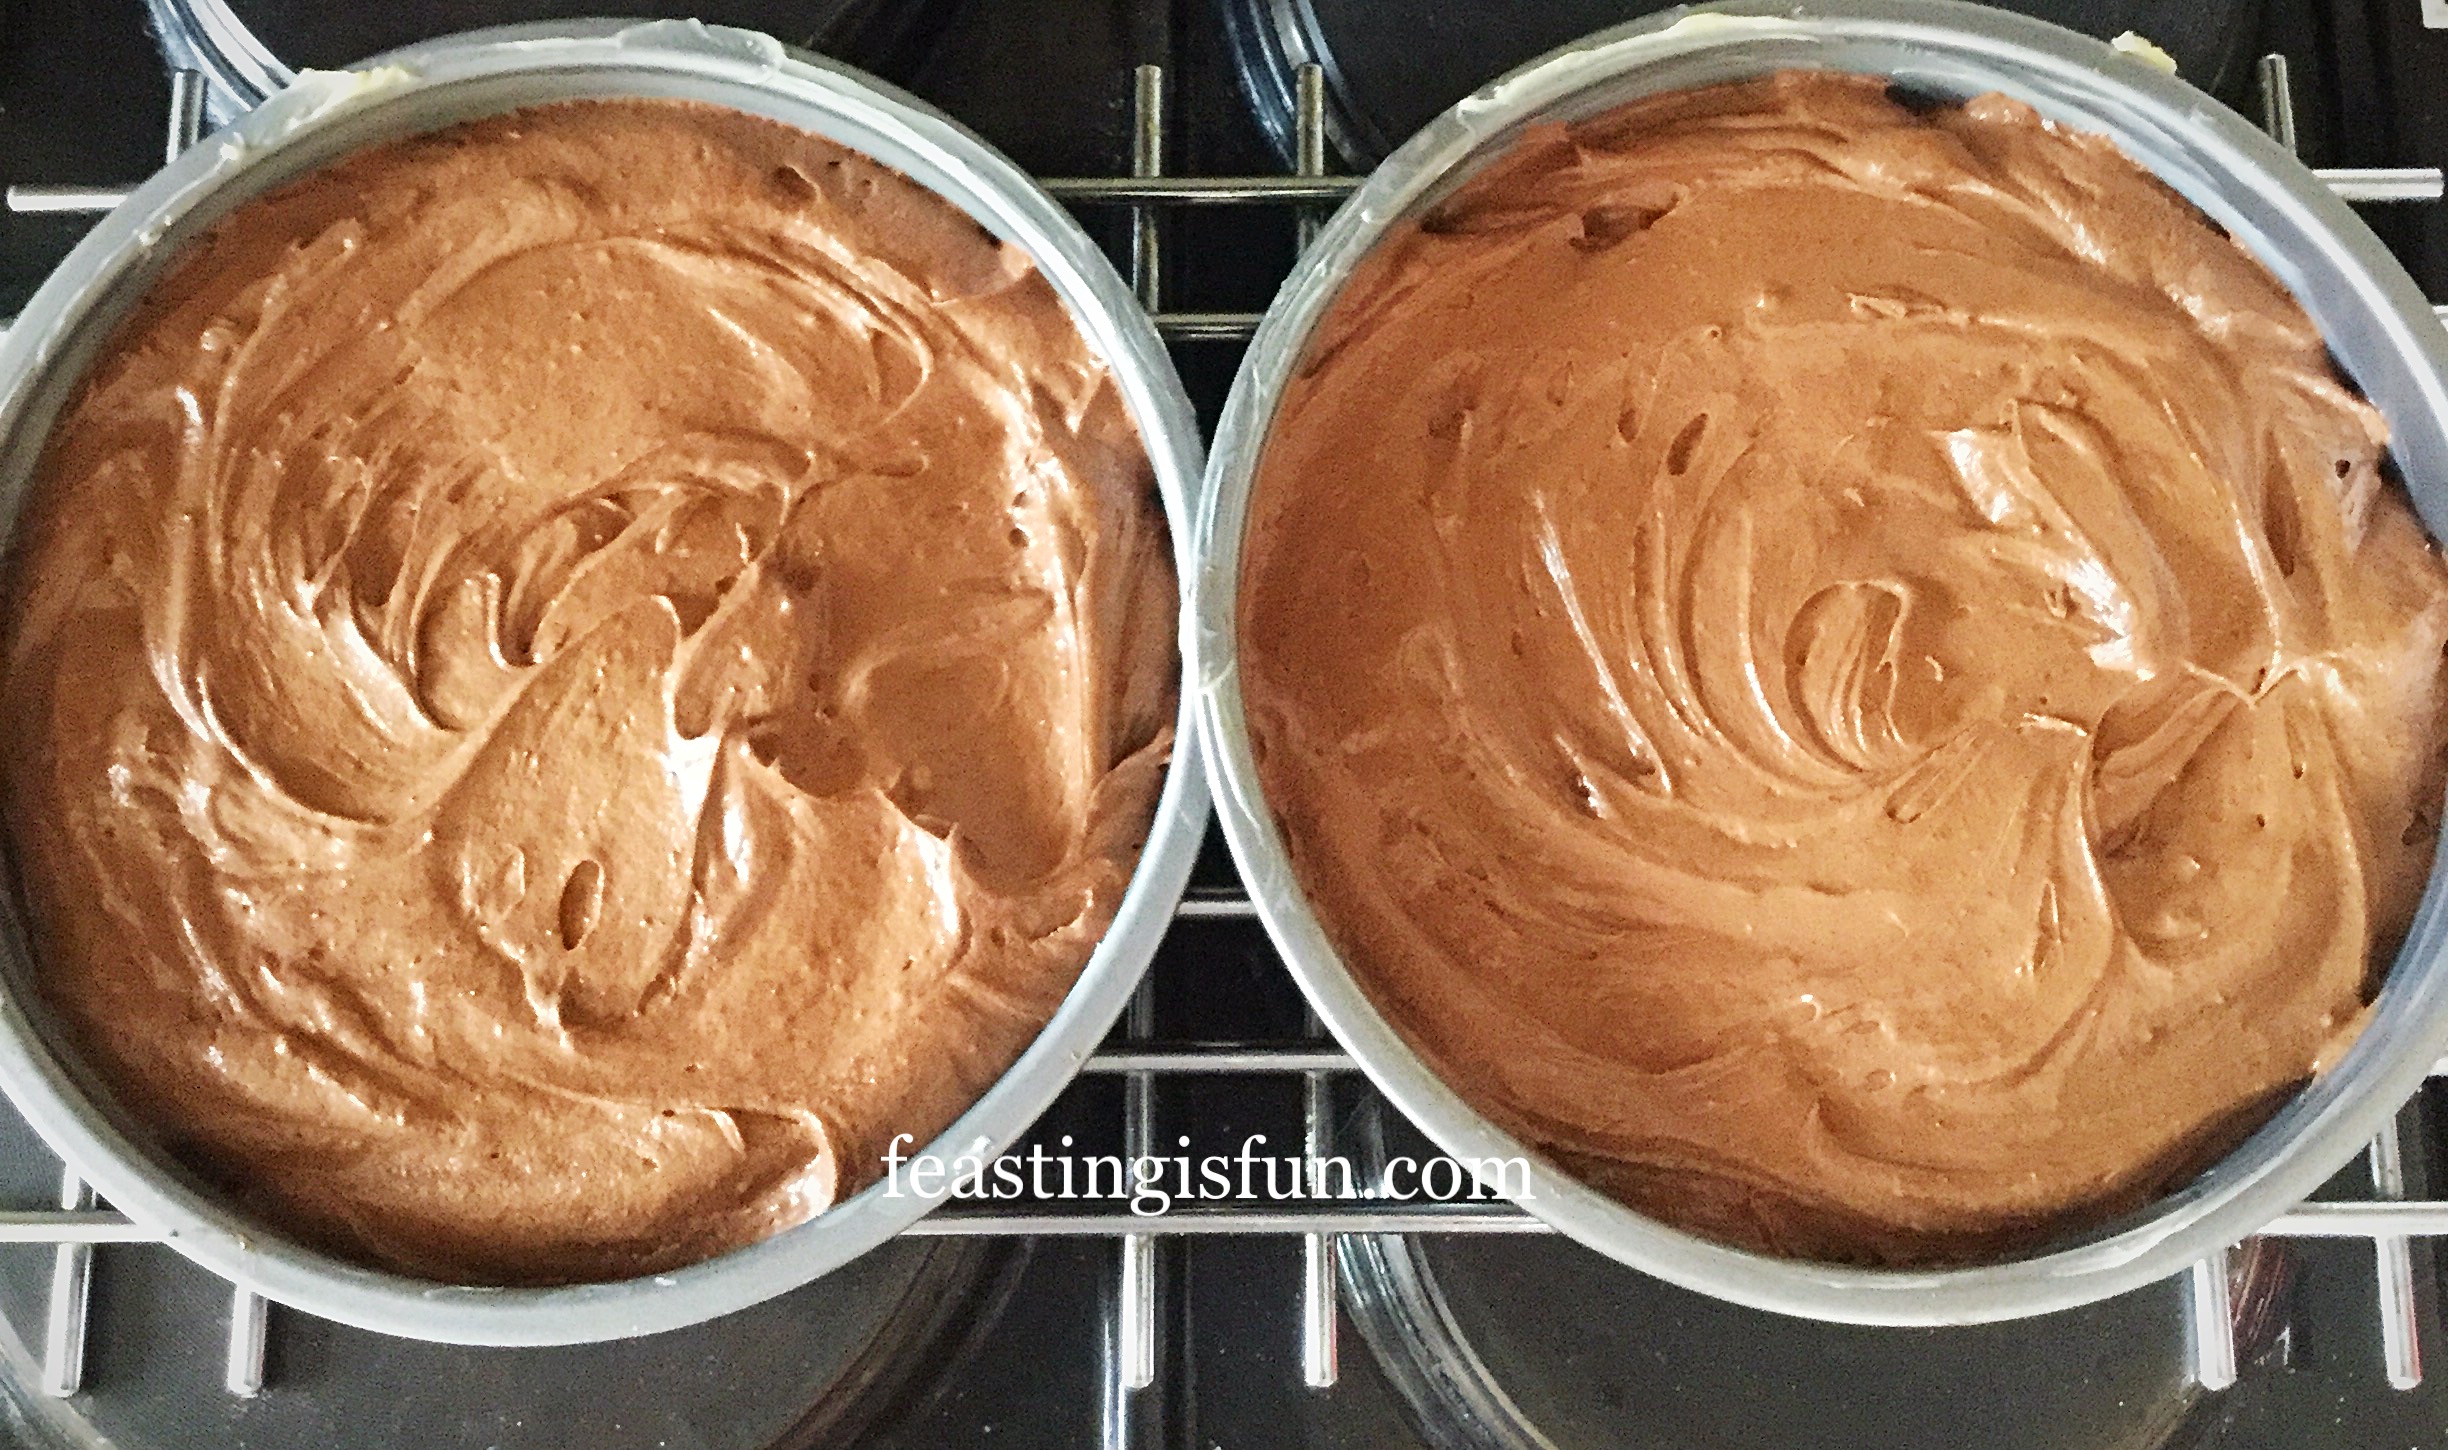
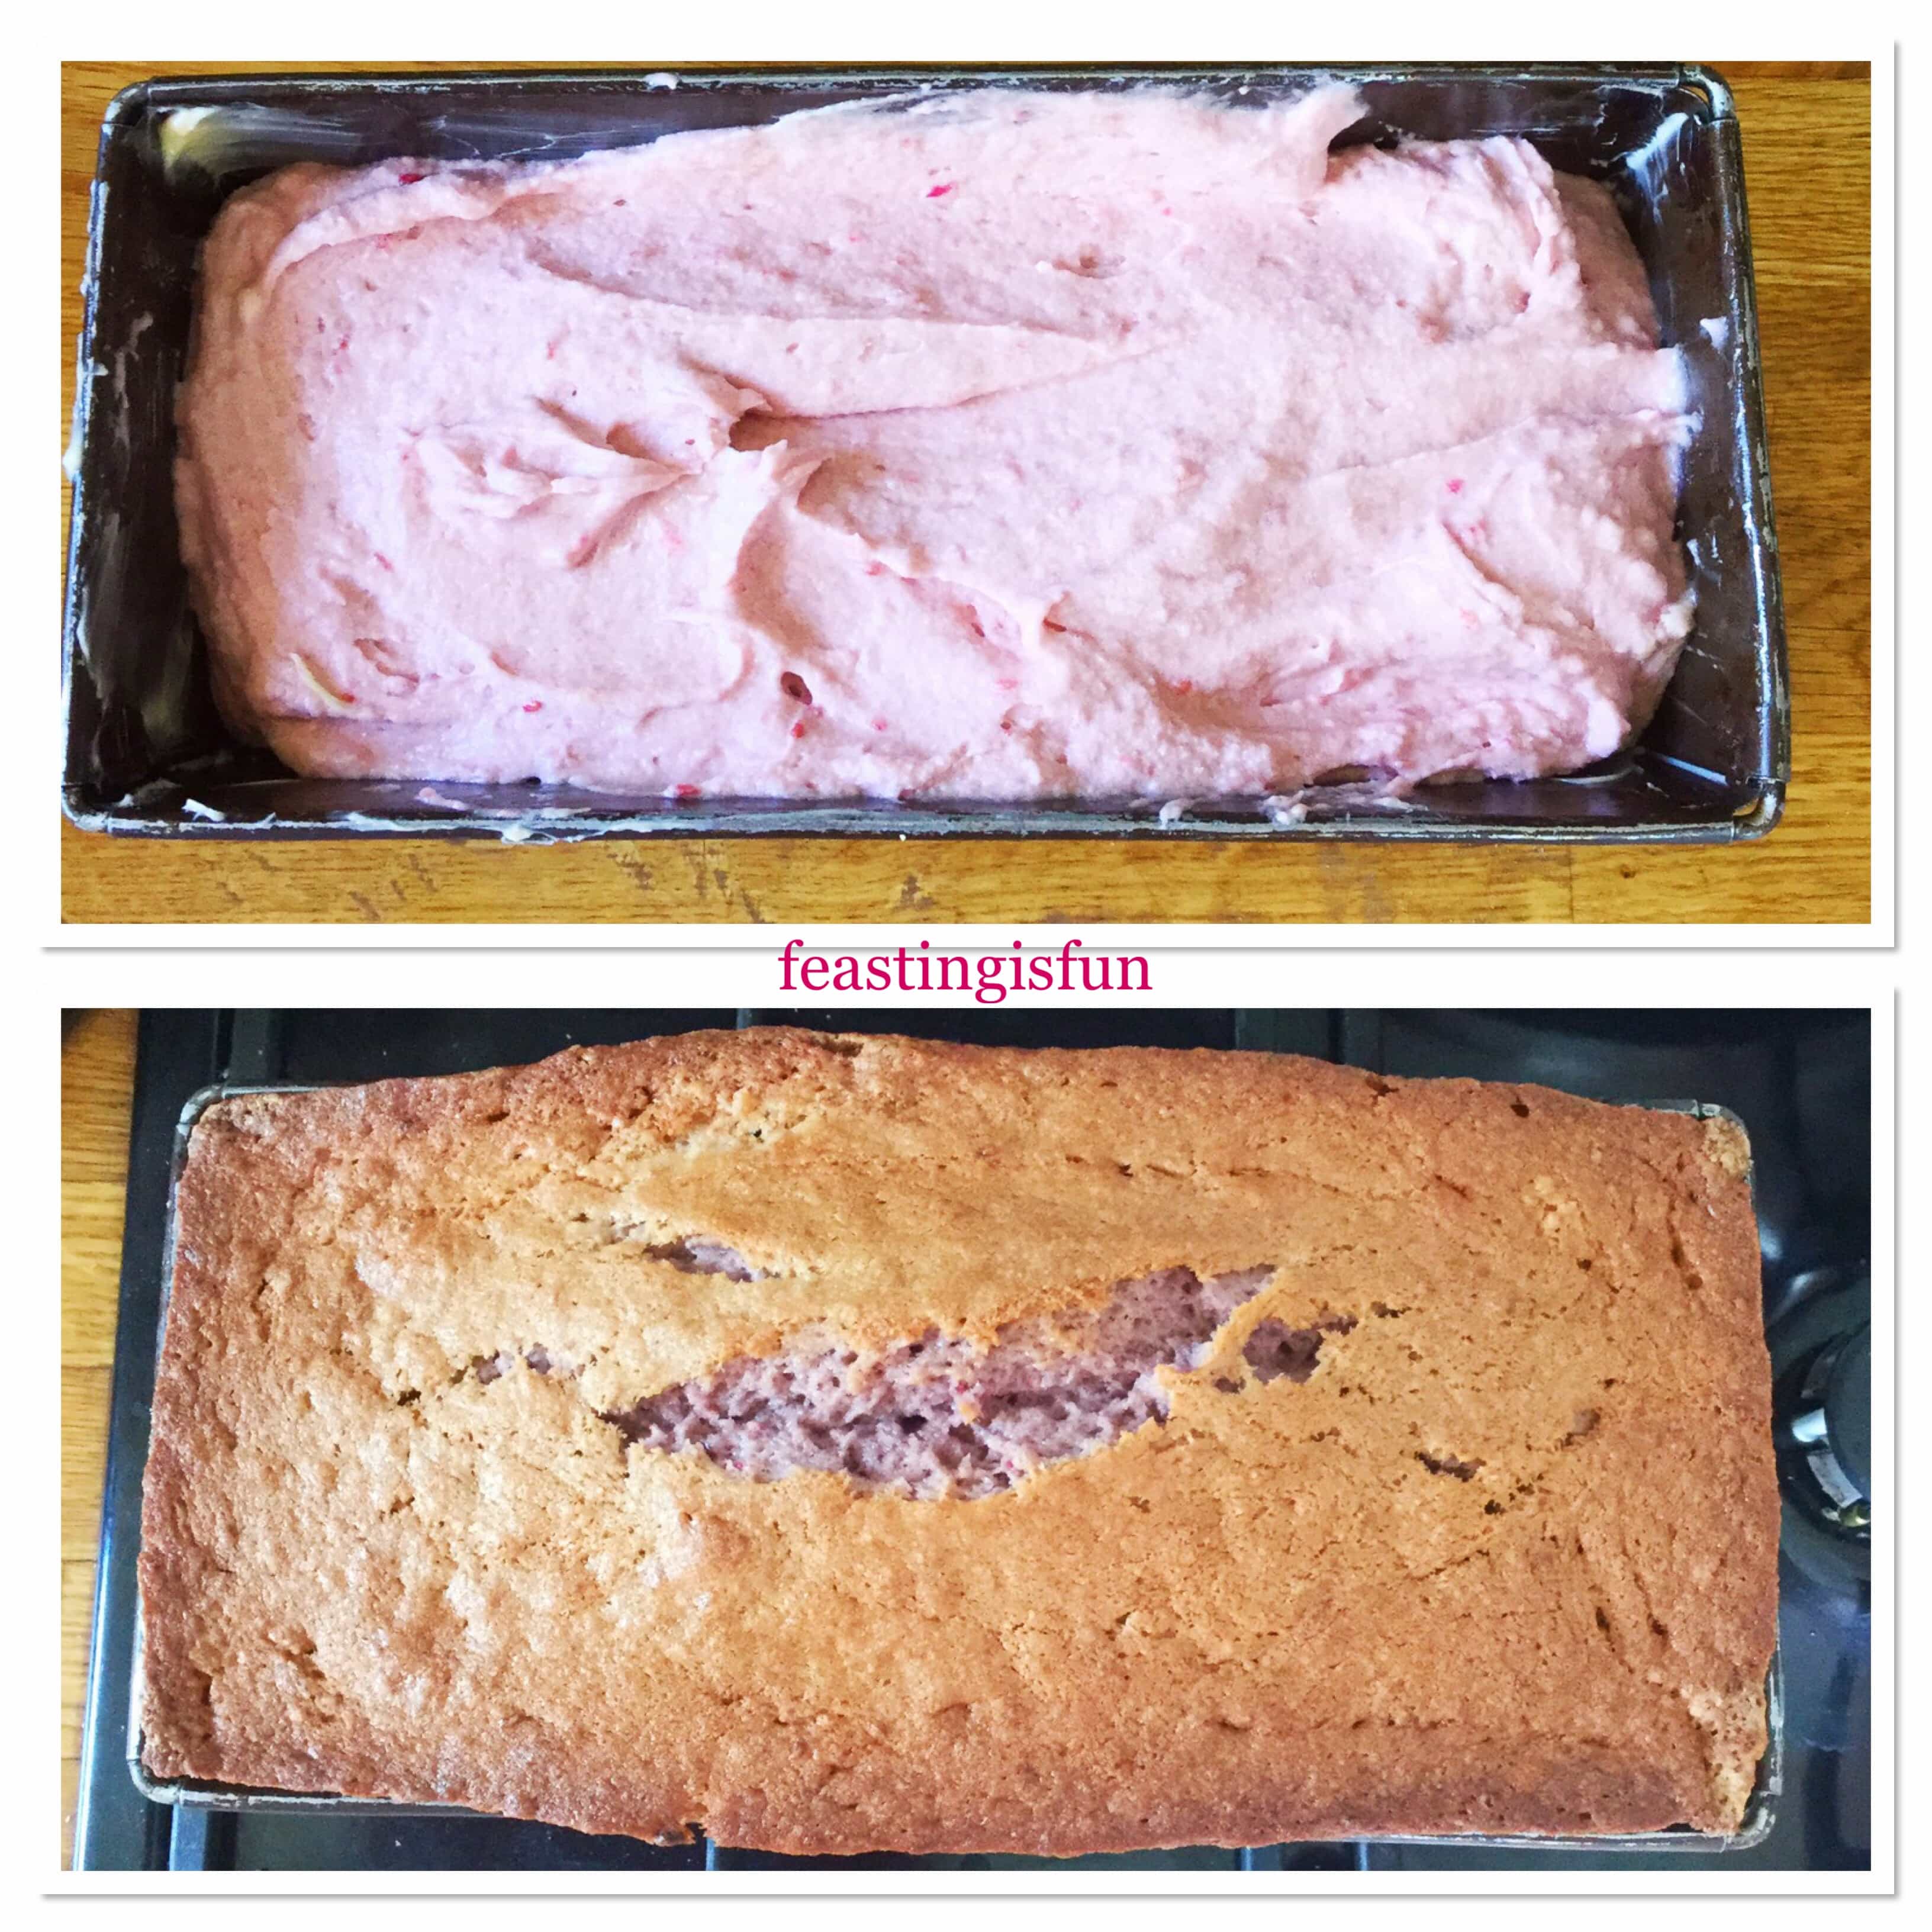
- Now, using the electric hand whisk, beat all of the ingredients together until they are combined and the pink colour is uniform throughout the batter.
- Spoon the pink cake batter into the prepared loaf tin and smooth the surface.
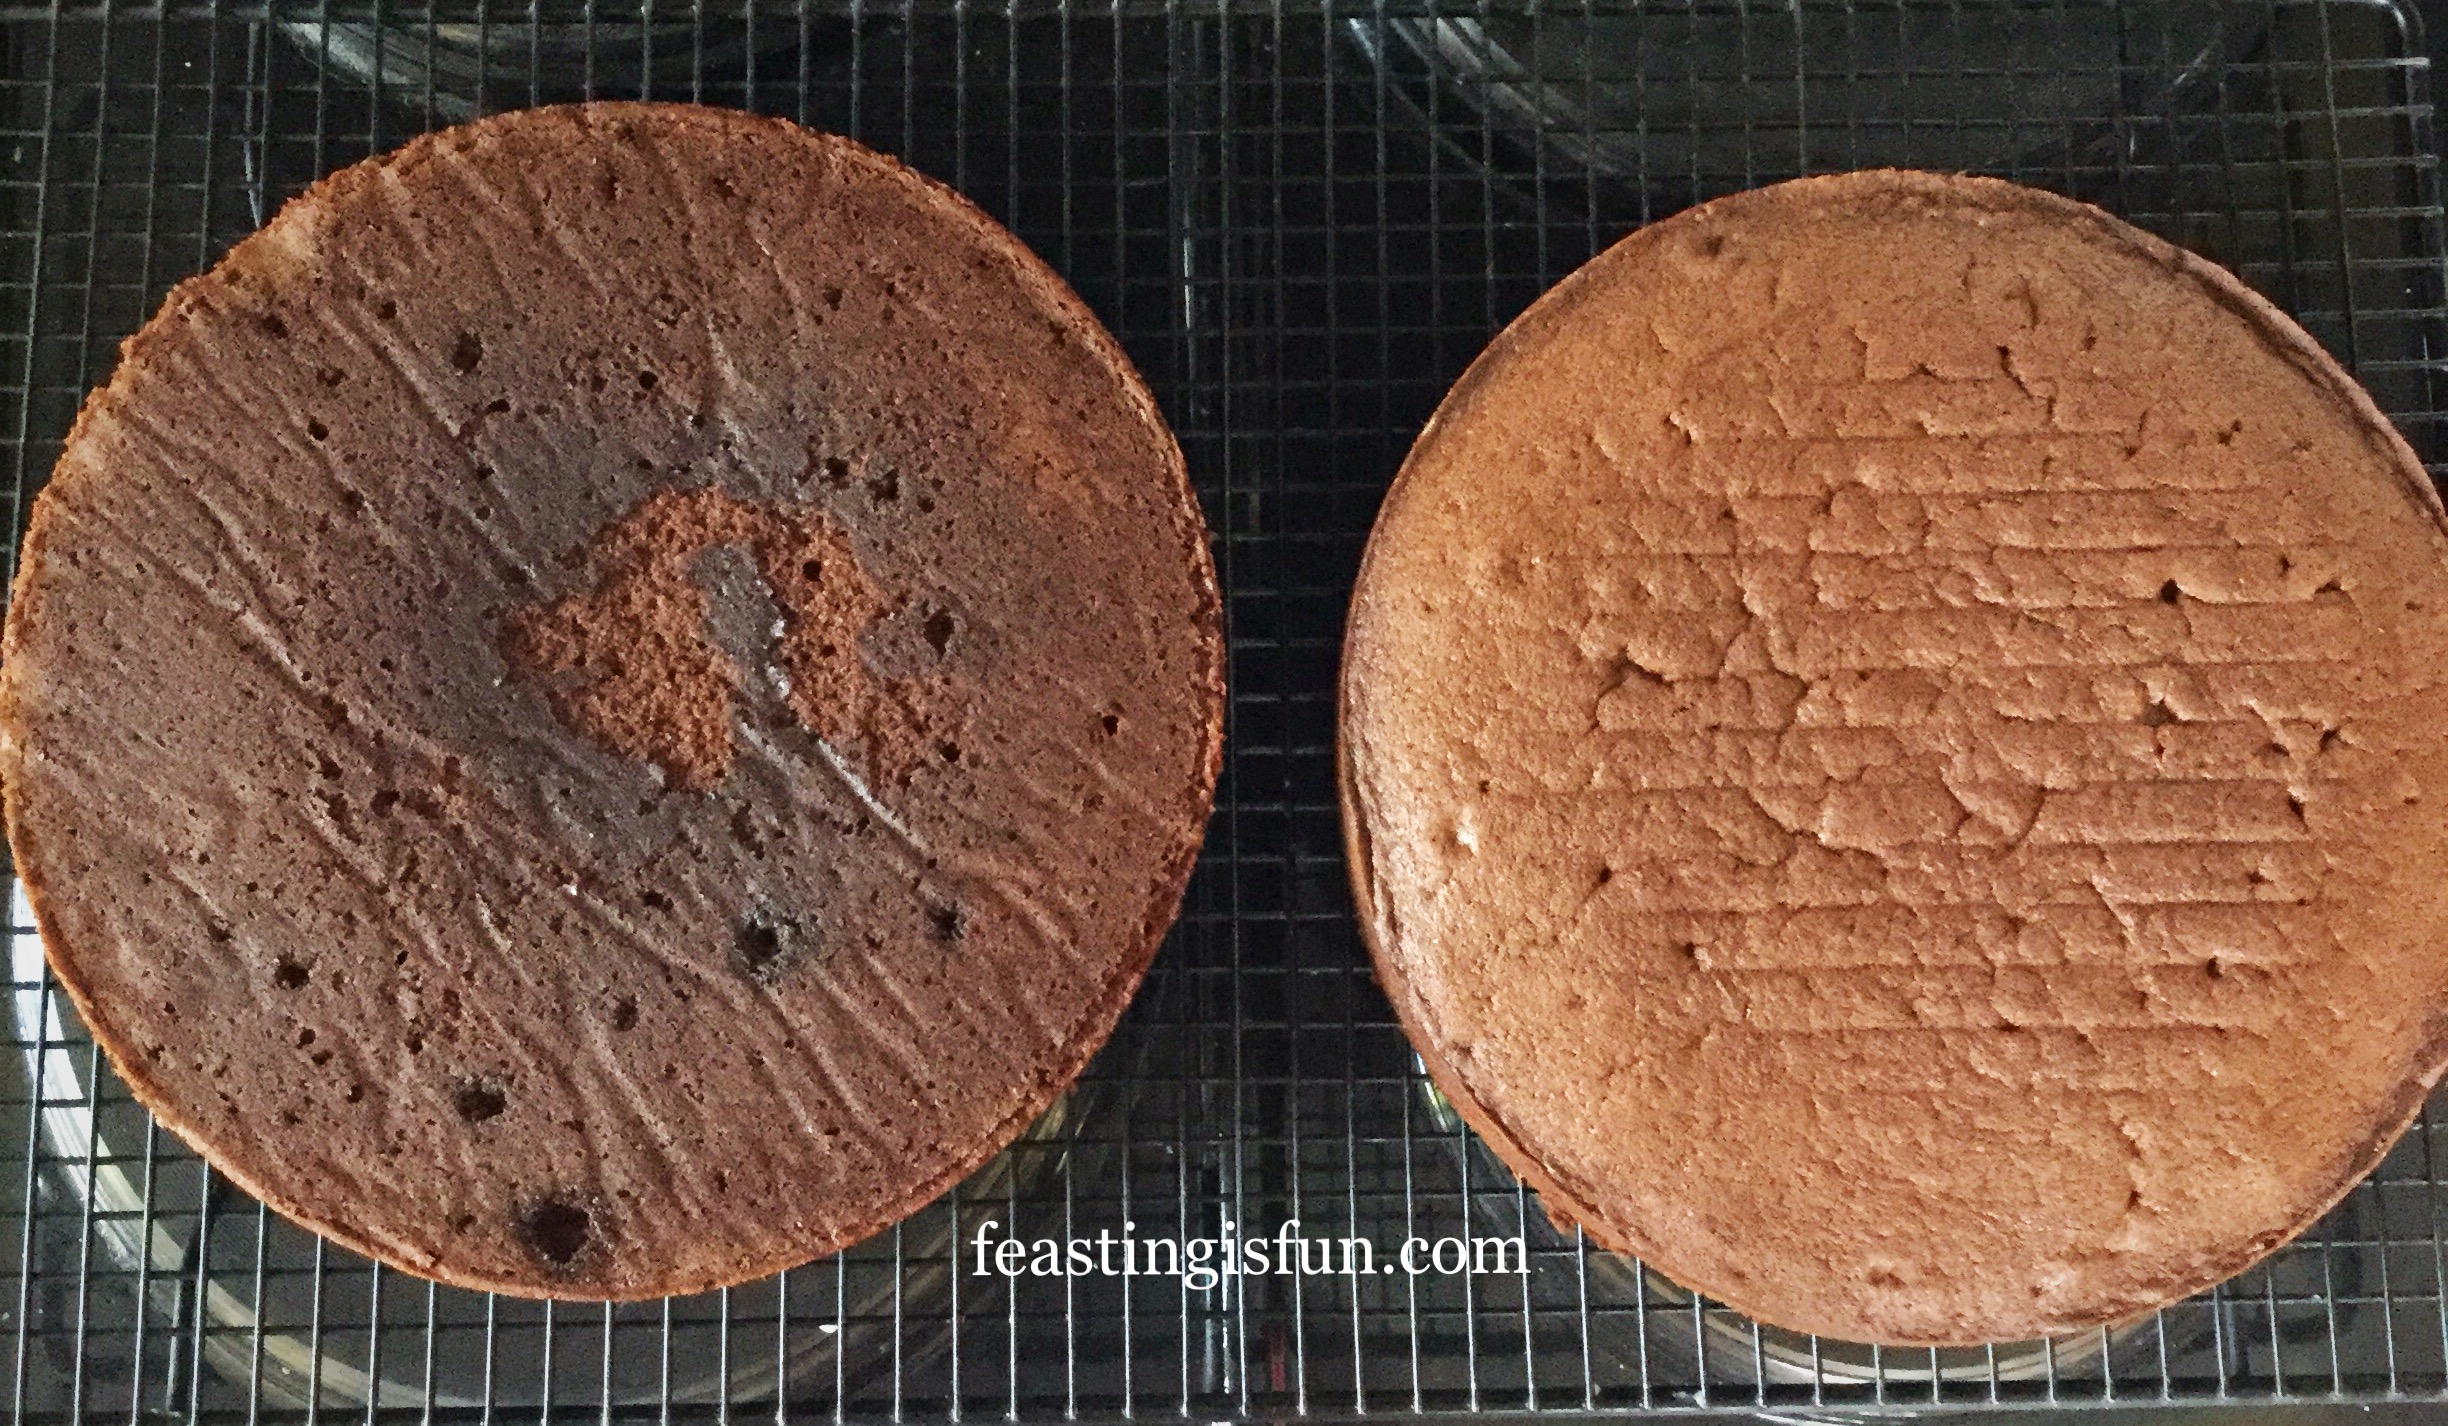
- Place the tin into the centre of a preheated oven and bake for approximately 1 hour 30 minutes. Allow 10 minutes either side of this guide due to differences between ovens.
- To test if the cake is baked insert a skewer (I use a metal one) into the centre of the cake. The cake is baked if the skewer is clean when removed. However, if there is cake batter on the skewer bake the cake for a further 5-10 minutes before retesting.
- As soon as the inserted skewer comes out of the baked cake clean, remove the cake from the oven and place the cake, in its tin, onto a cooling rack. Leave the cake to cool completely in the tin.
Making Fresh Raspberry Drizzle Icing
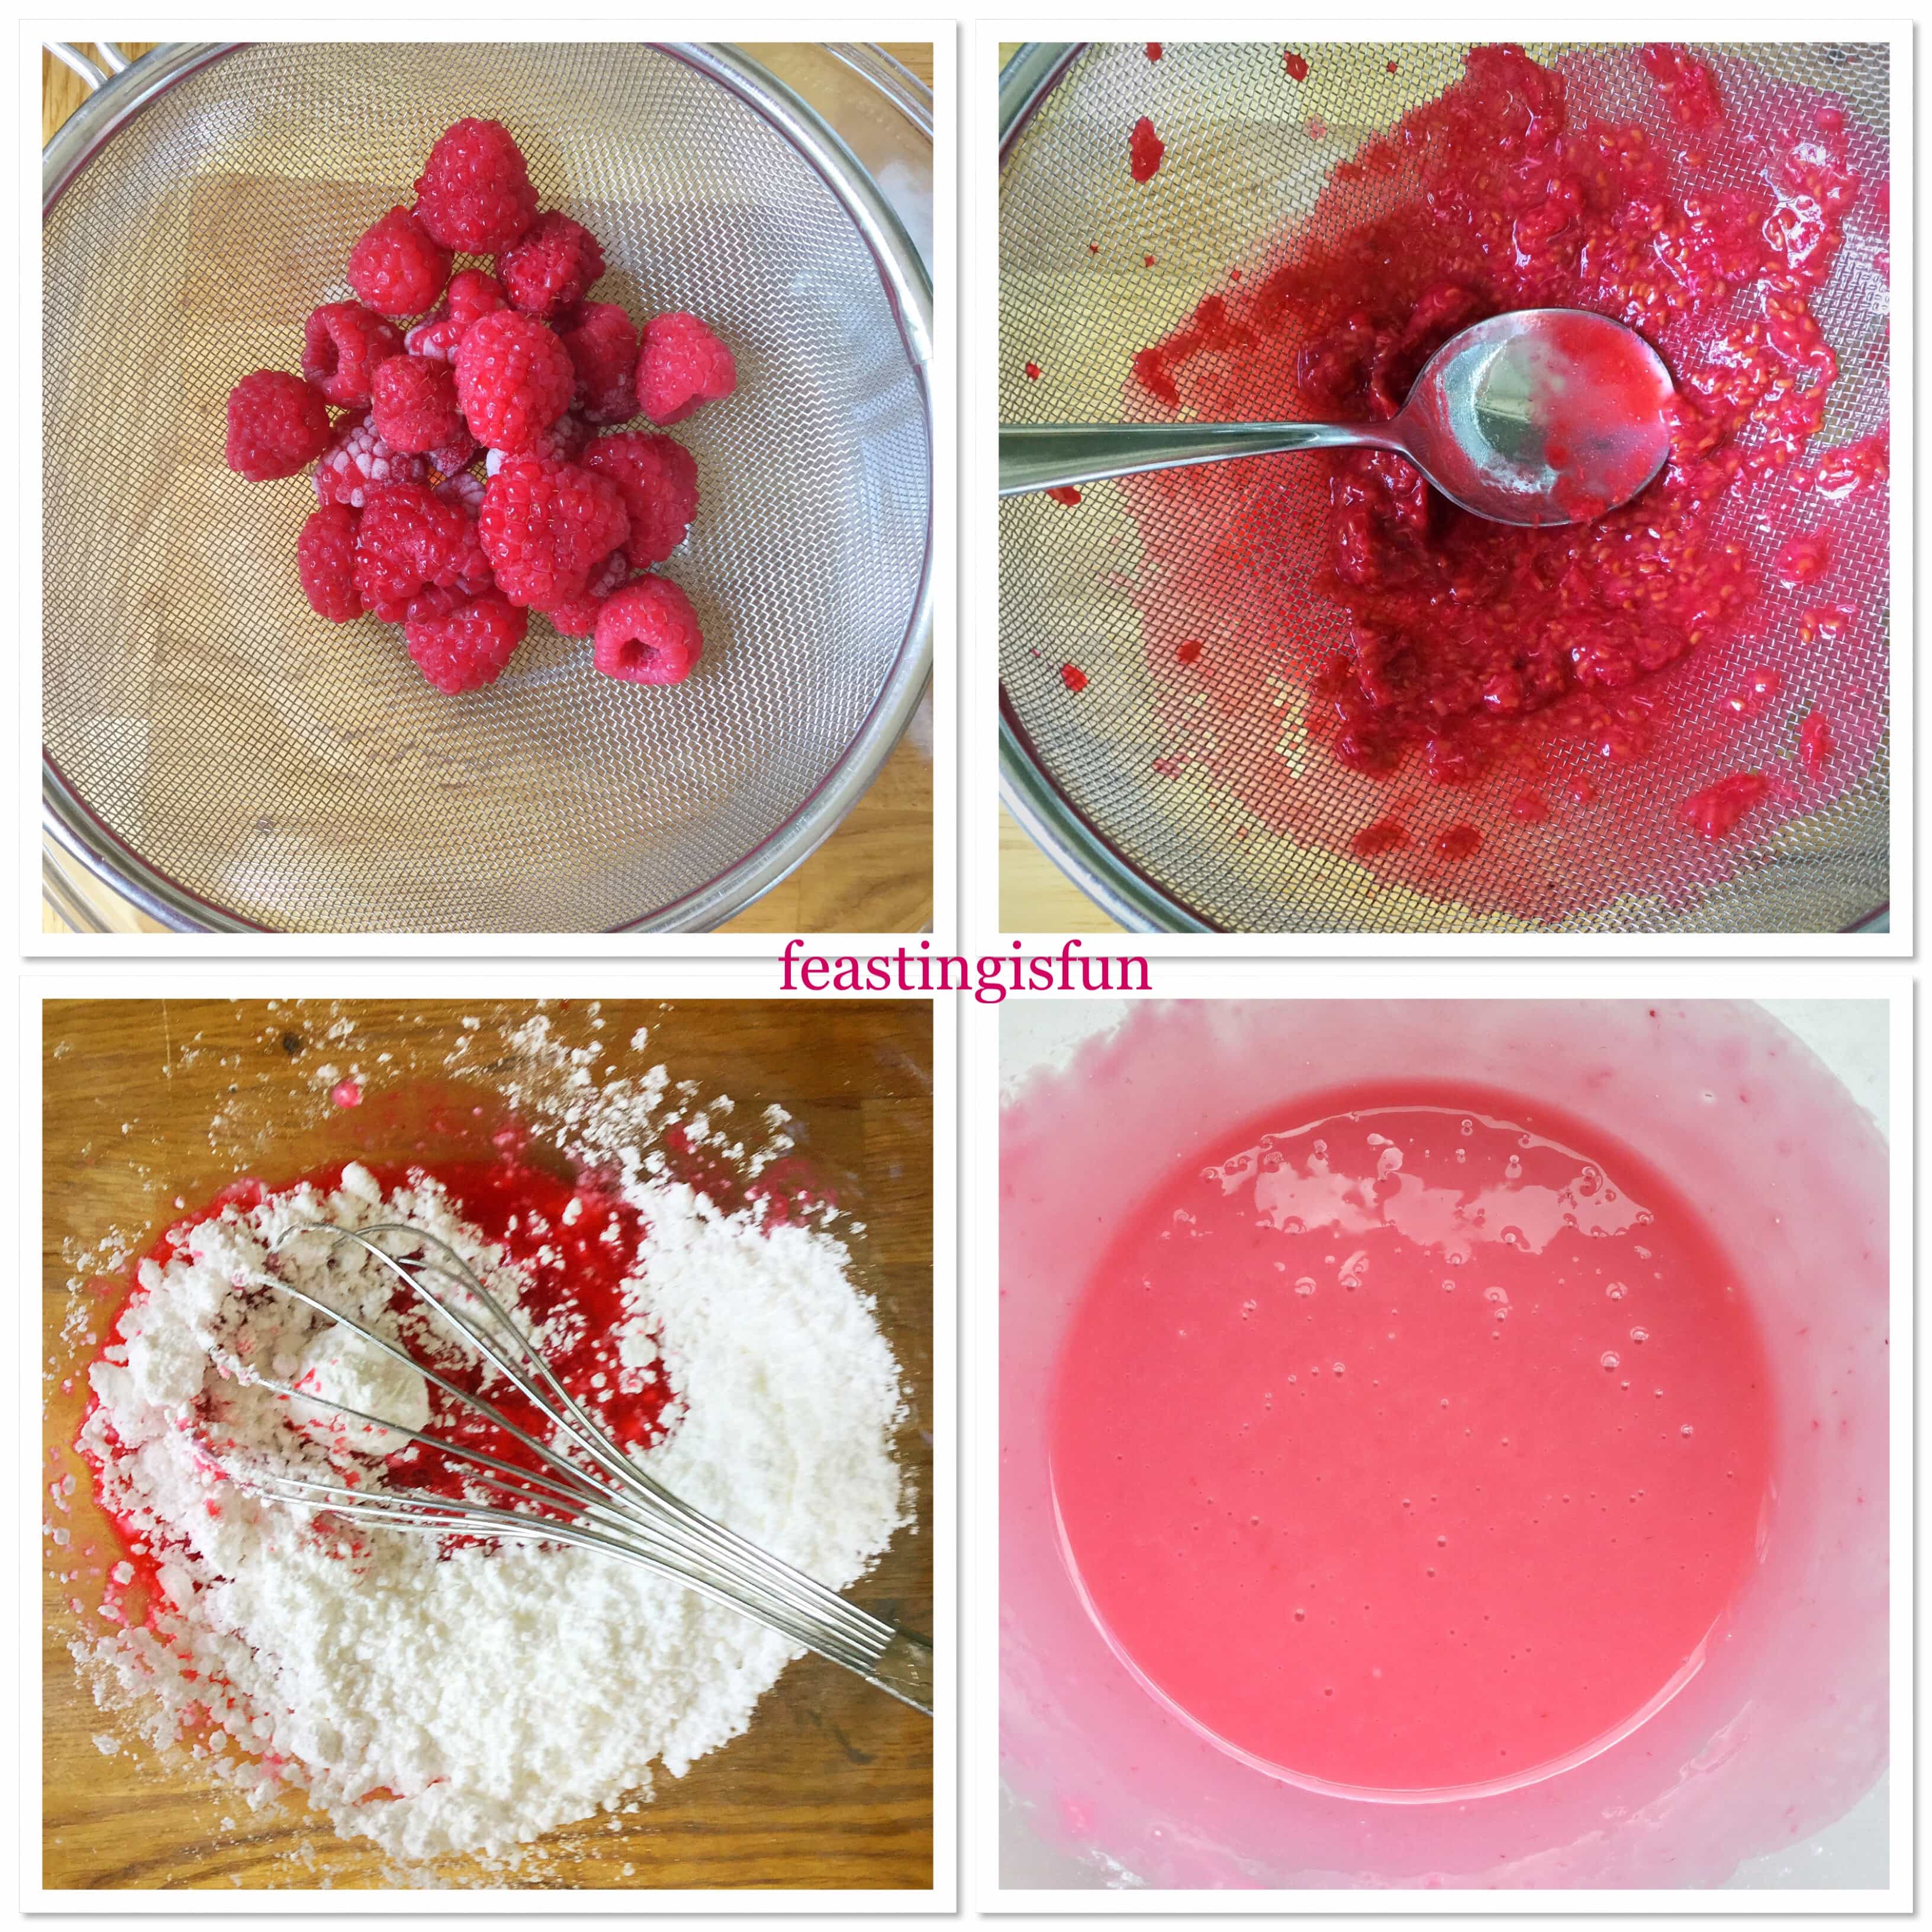
- While the cake finishes cooling make the raspberry icing.
- Place the raspberries into a fine sieve over a bowl. Note – the sieve needs to be fine enough to stop raspberry seeds from passing through.
- Use a spoon to push the raspberries against the sieve.
- Every few minutes, ensure that the spoon is clean, lift up the sieve and scrape the raspberry pulp from underneath into the bowl.
- Continue until only seeds and a small amount of pulp is left in the sieve.
- Add one teaspoon of fresh lemon juice to the raspberry pulp in the bowl.
- Next add the icing sugar to the bowl and mix the ingredients together with a balloon whisk, ensuring the finished icing is smooth and lump free.
- The finished icing should be thin enough to spoon over the cake and drizzle down the sides, without soaking into the cake. If the icing seems too thin add some more icing sugar.
Decorating The Cake With Raspberry Icing
- First of all run a palette knife between the outside of the cake and inside of the tin.
- Turn out the cake and remove any parchment paper stuck to the base.
- Place the cake on to a cooling rack which has a baking tray underneath.
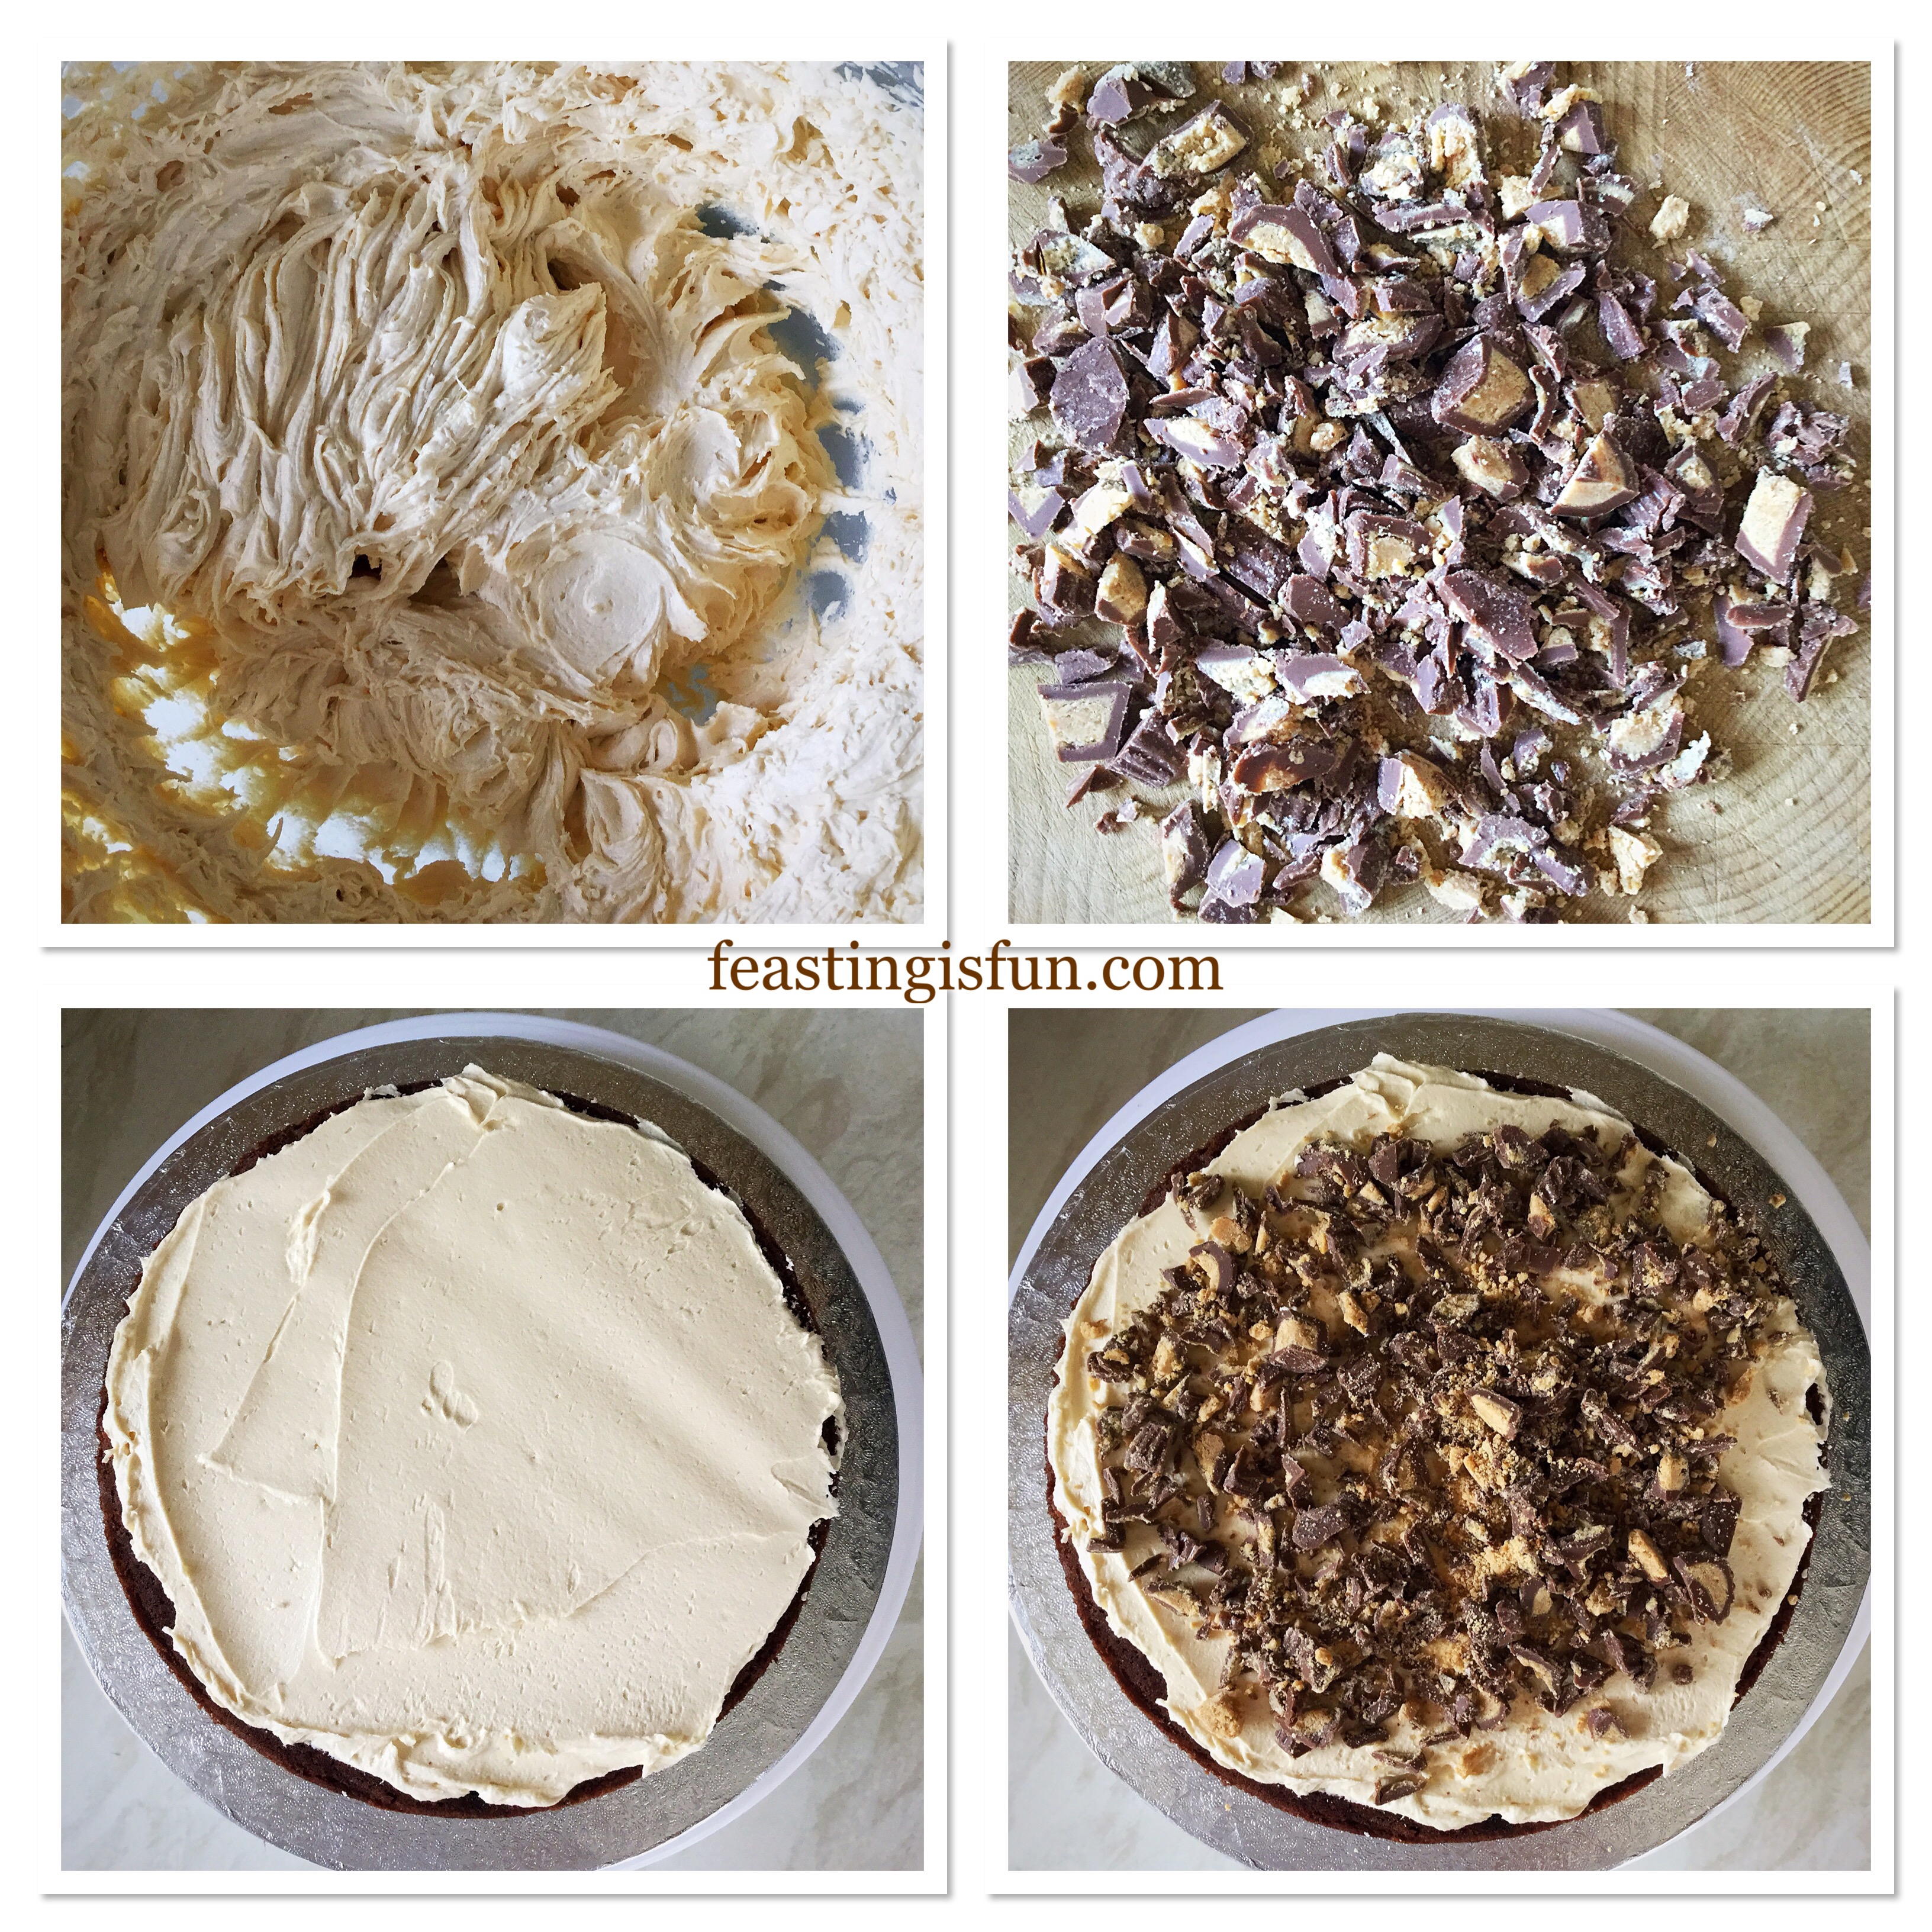
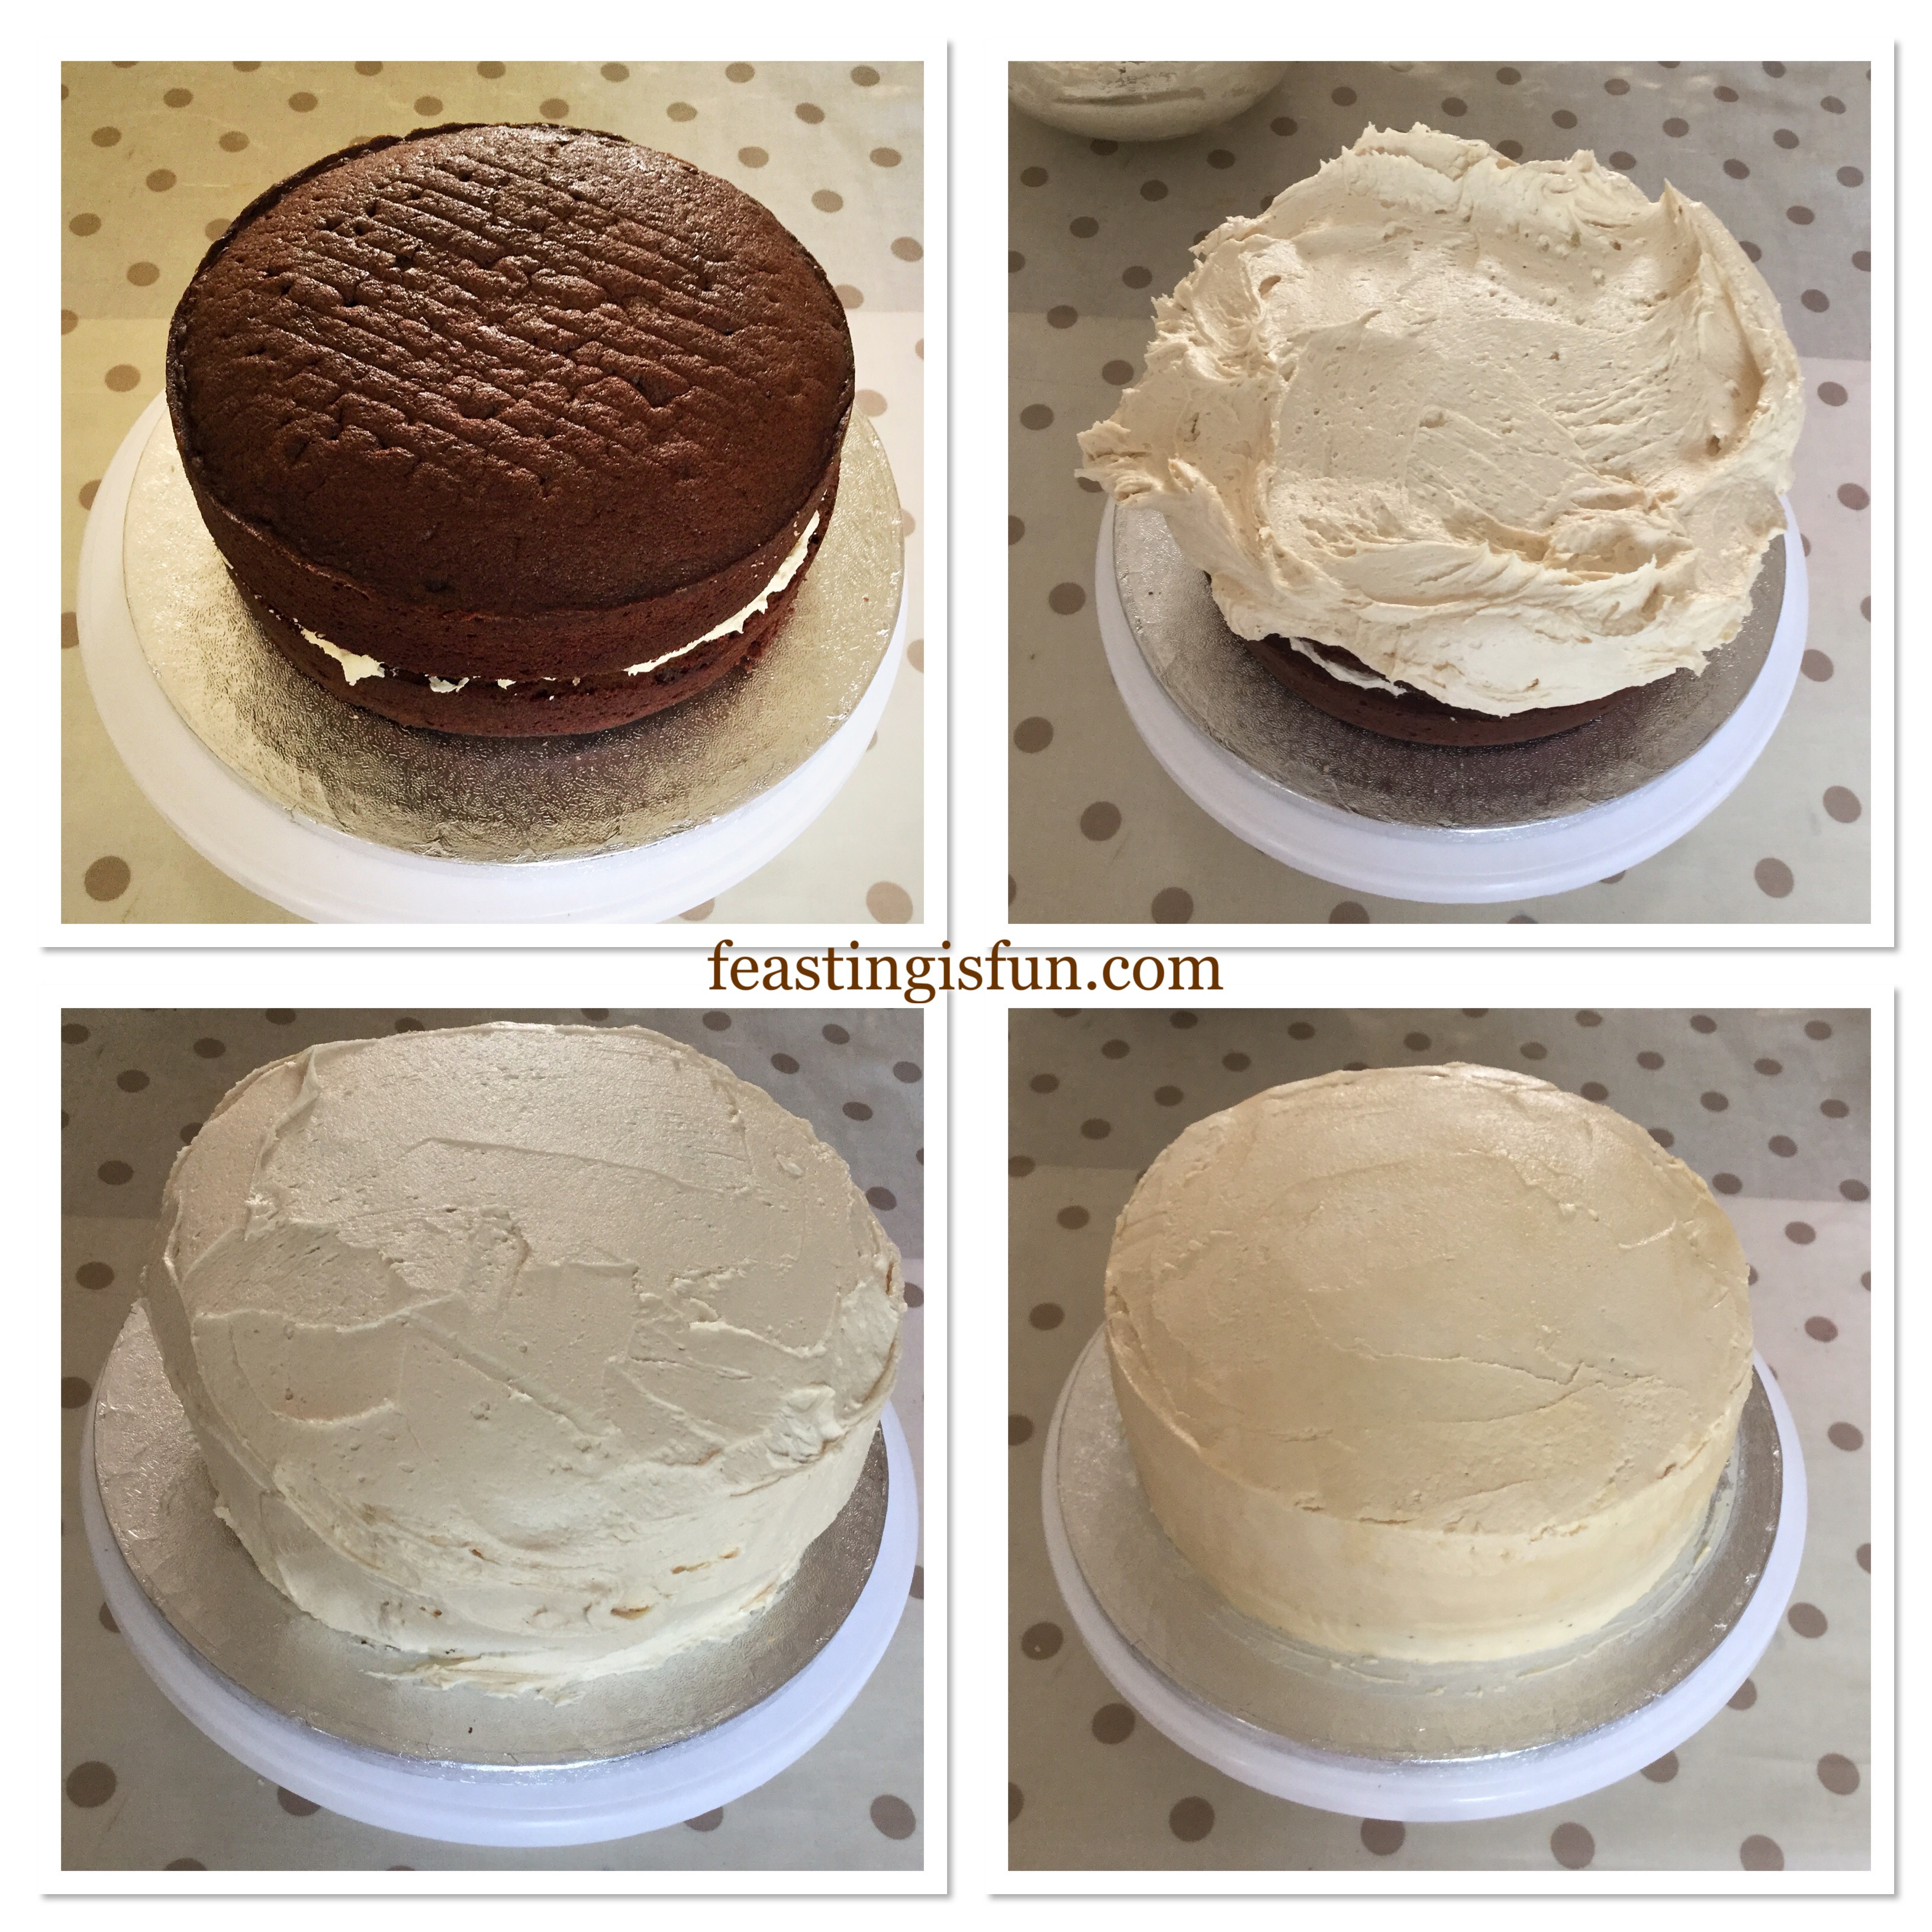
- Spoon the icing over the top of the cake, encouraging it to drip down the sides.
- Continue until the top of the cake is completely covered and there are drips on all four sides. Discard any excess icing.

- Finally, sprinkle around the outside edge of the cake with your chosen decoration. I have used small, white, sugar nibs to contrast with the pink icing.
- Transfer the cake to a serving plate. I use a fish slice on either end to lift the cake.
- Leave the cake to set for at least 30 minutes.
- During very warm weather I suggest putting the cake in the fridge to set.
- Serving before the icing is set may result in the icing dripping from where it has been cut!

For best results bake and ice this cake the day before it is needed. Likewise as the cake cools overnight in the fridge it’s overall flavour and texture improves. Once cut, place the remaining cake in an airtight container and eat within four days. Store in the fridge during warm weather.
If you have enjoyed this recipe for Raspberry Drizzle Loaf Cake you may also like these:
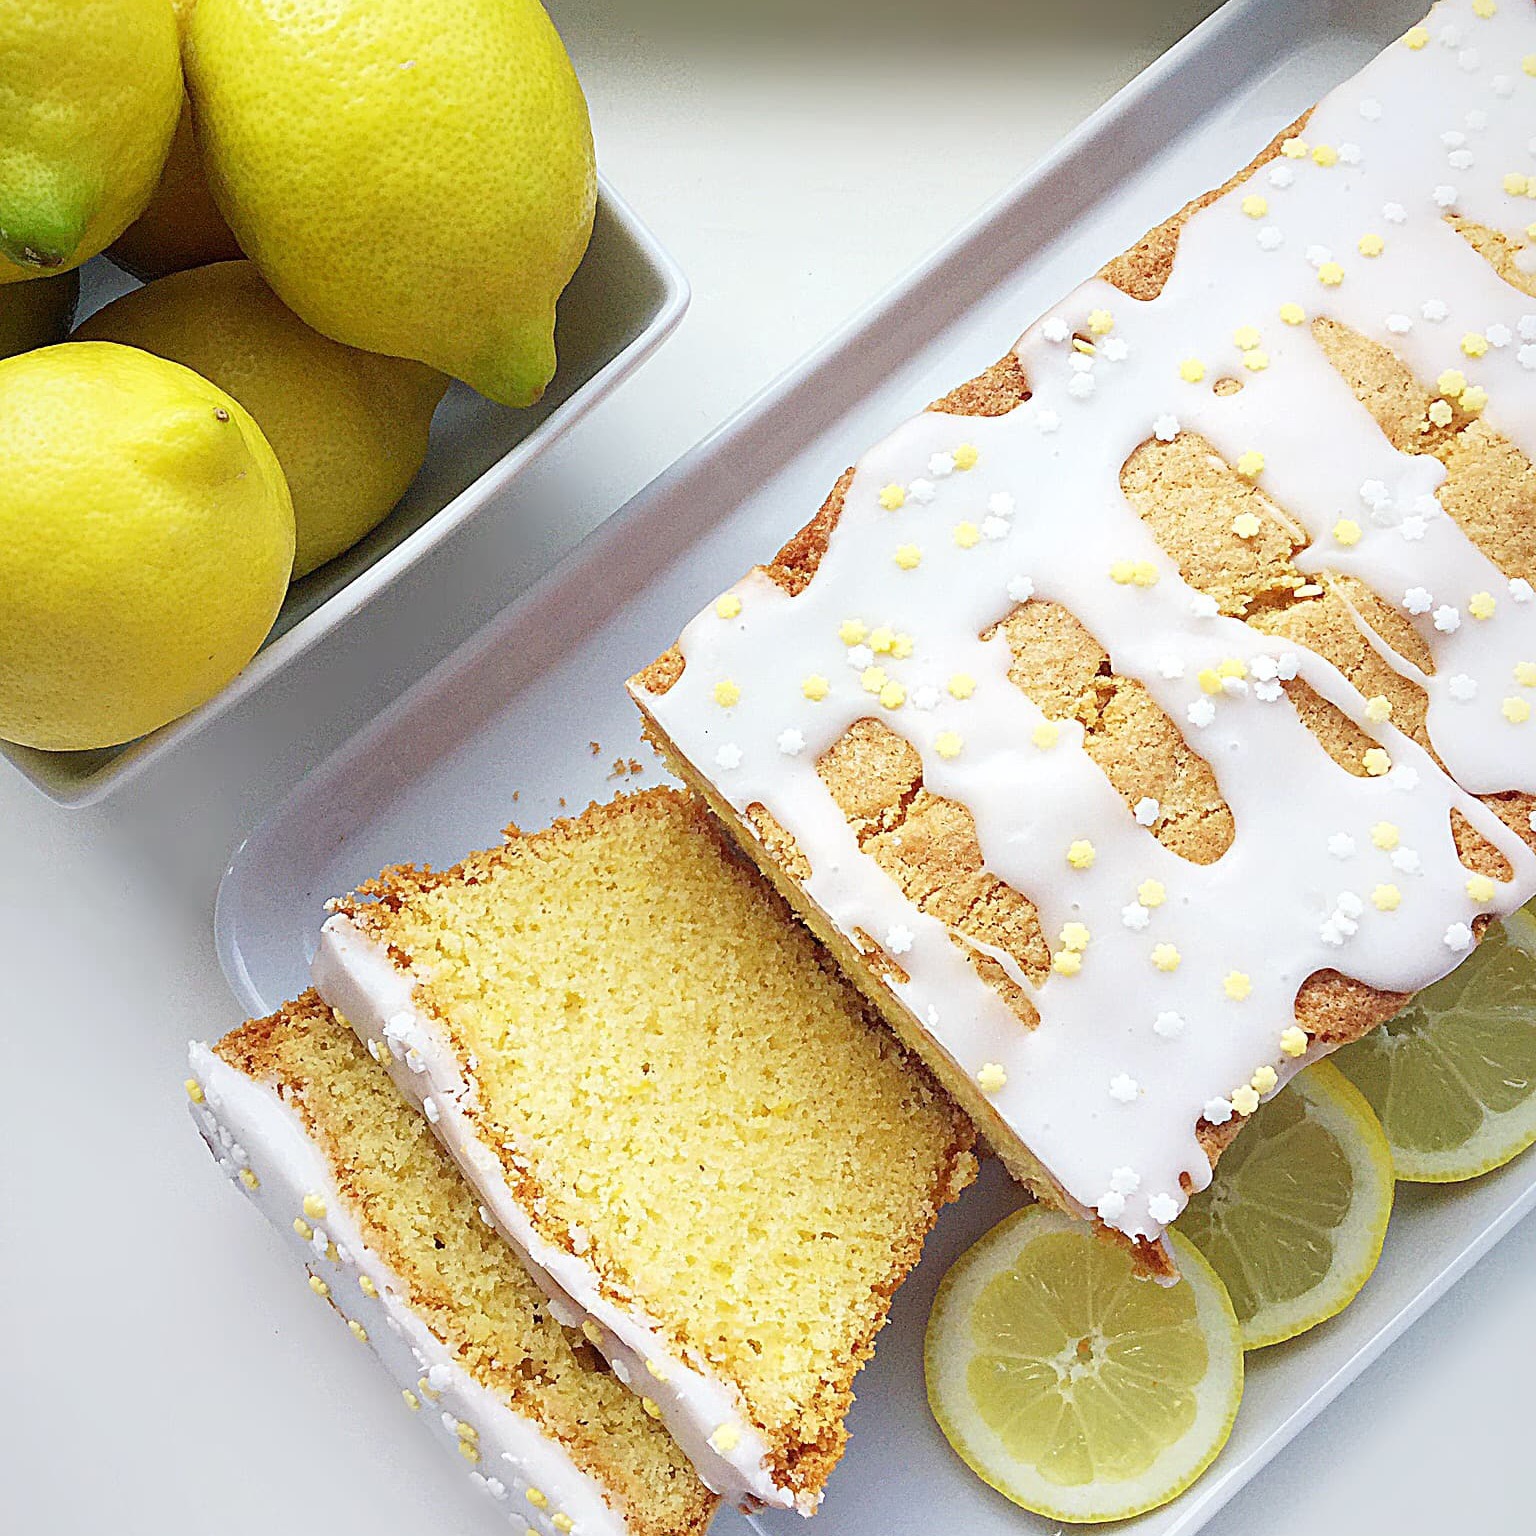
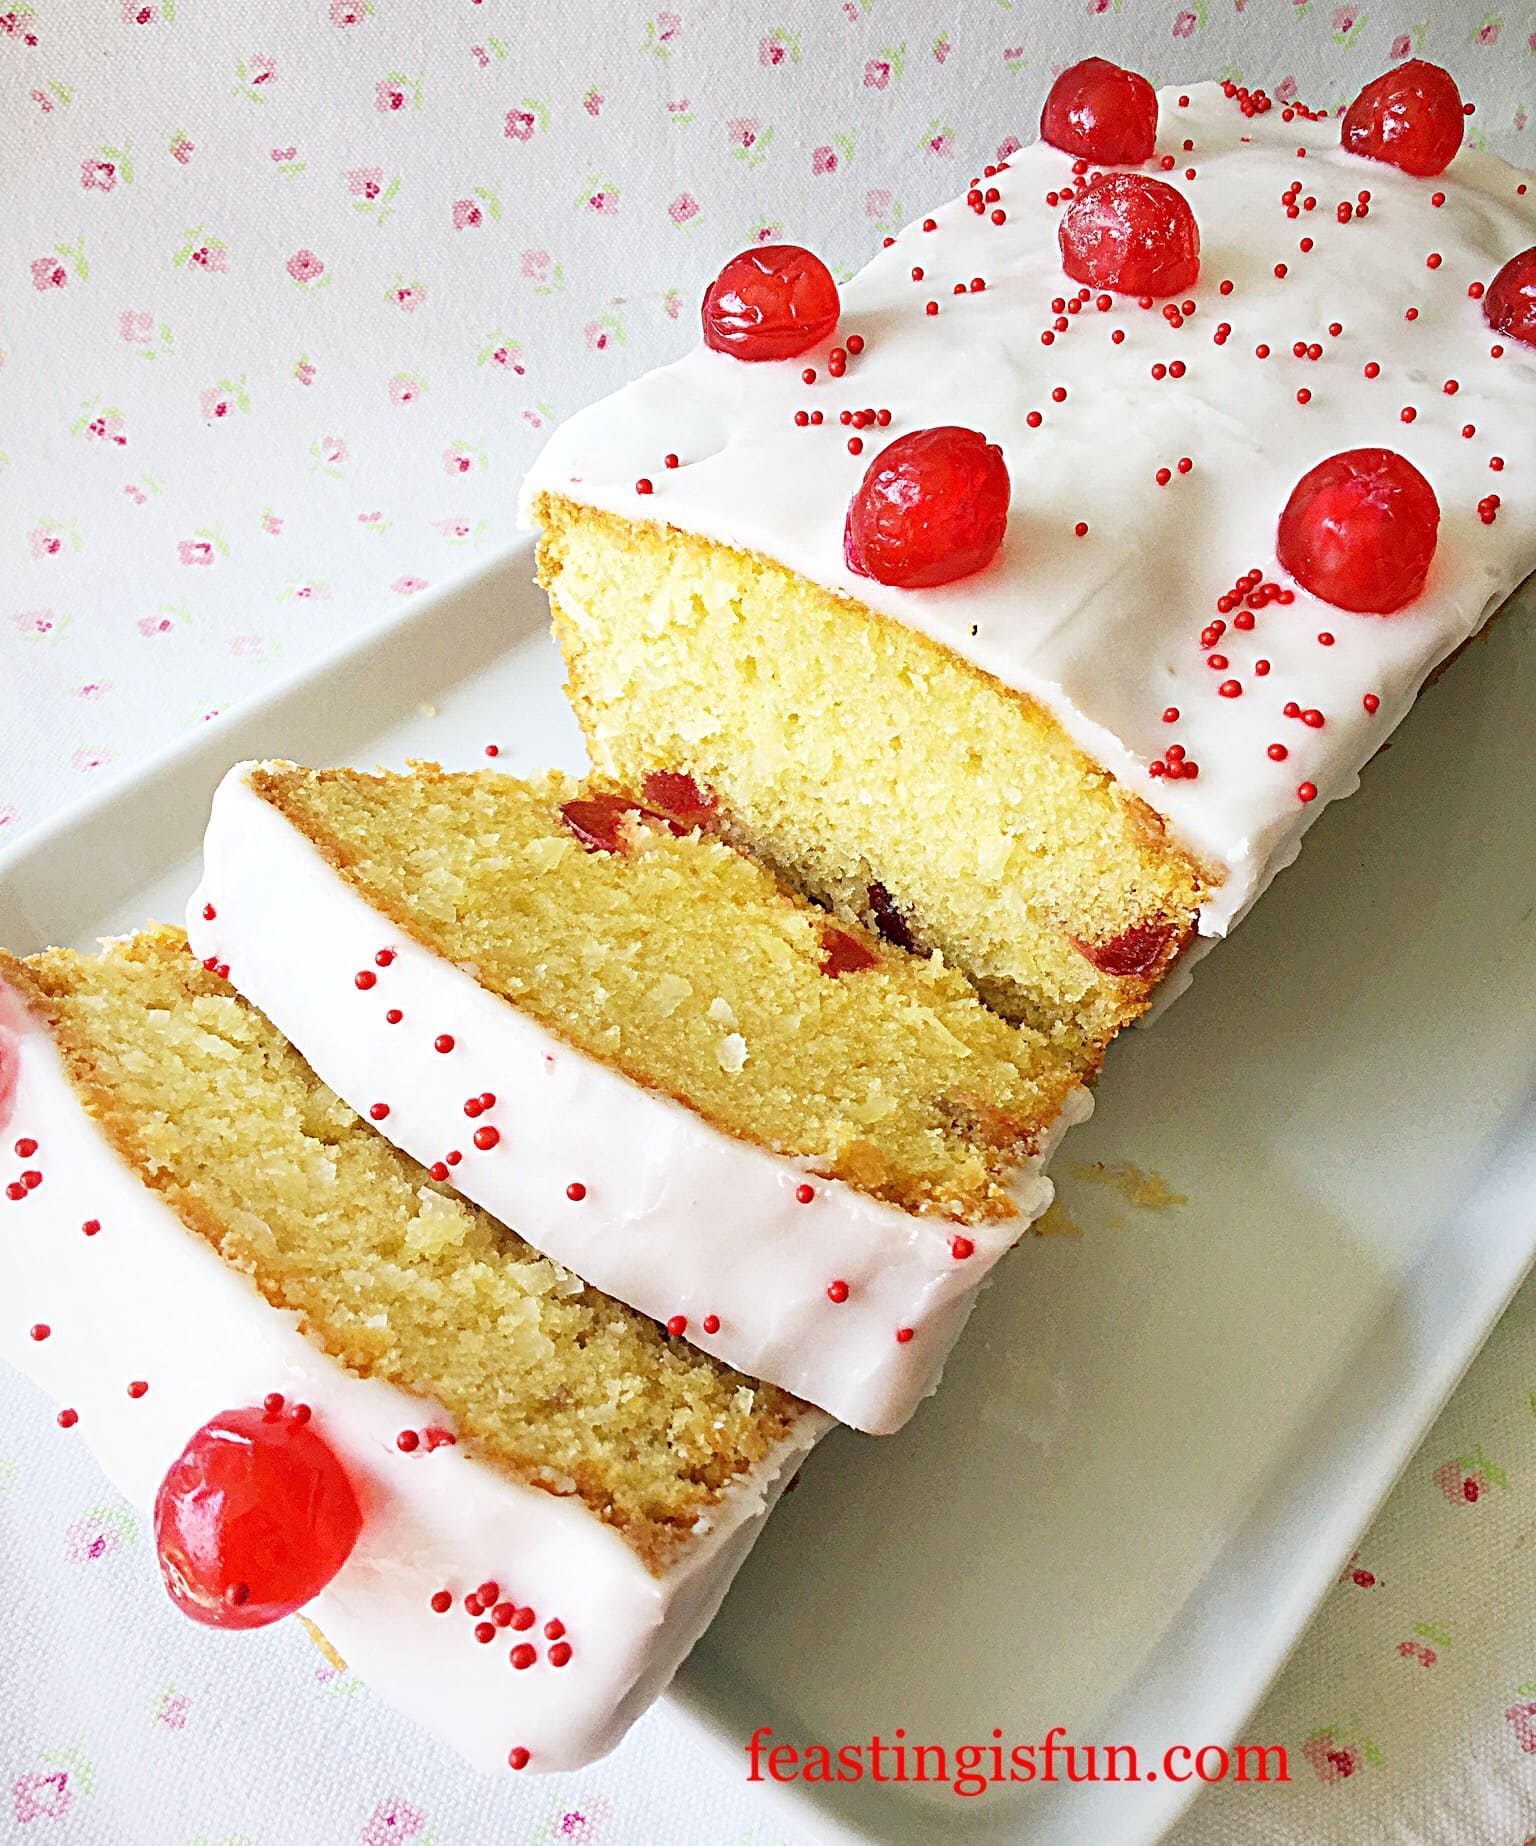
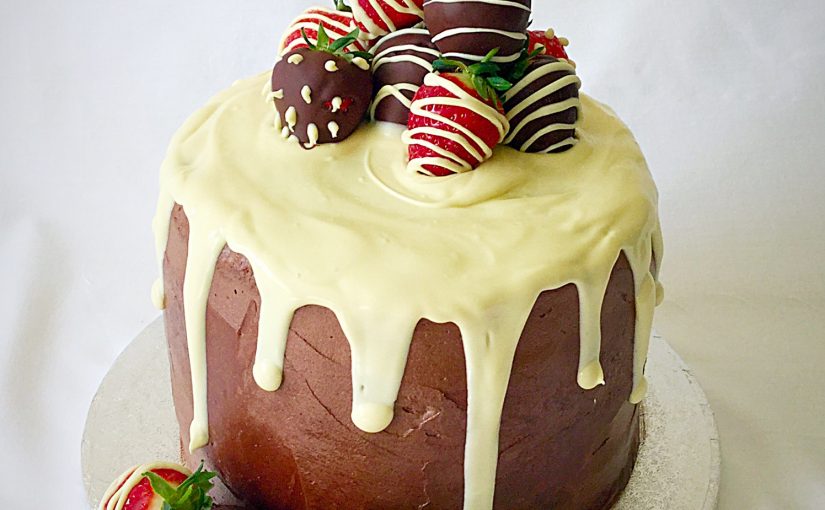
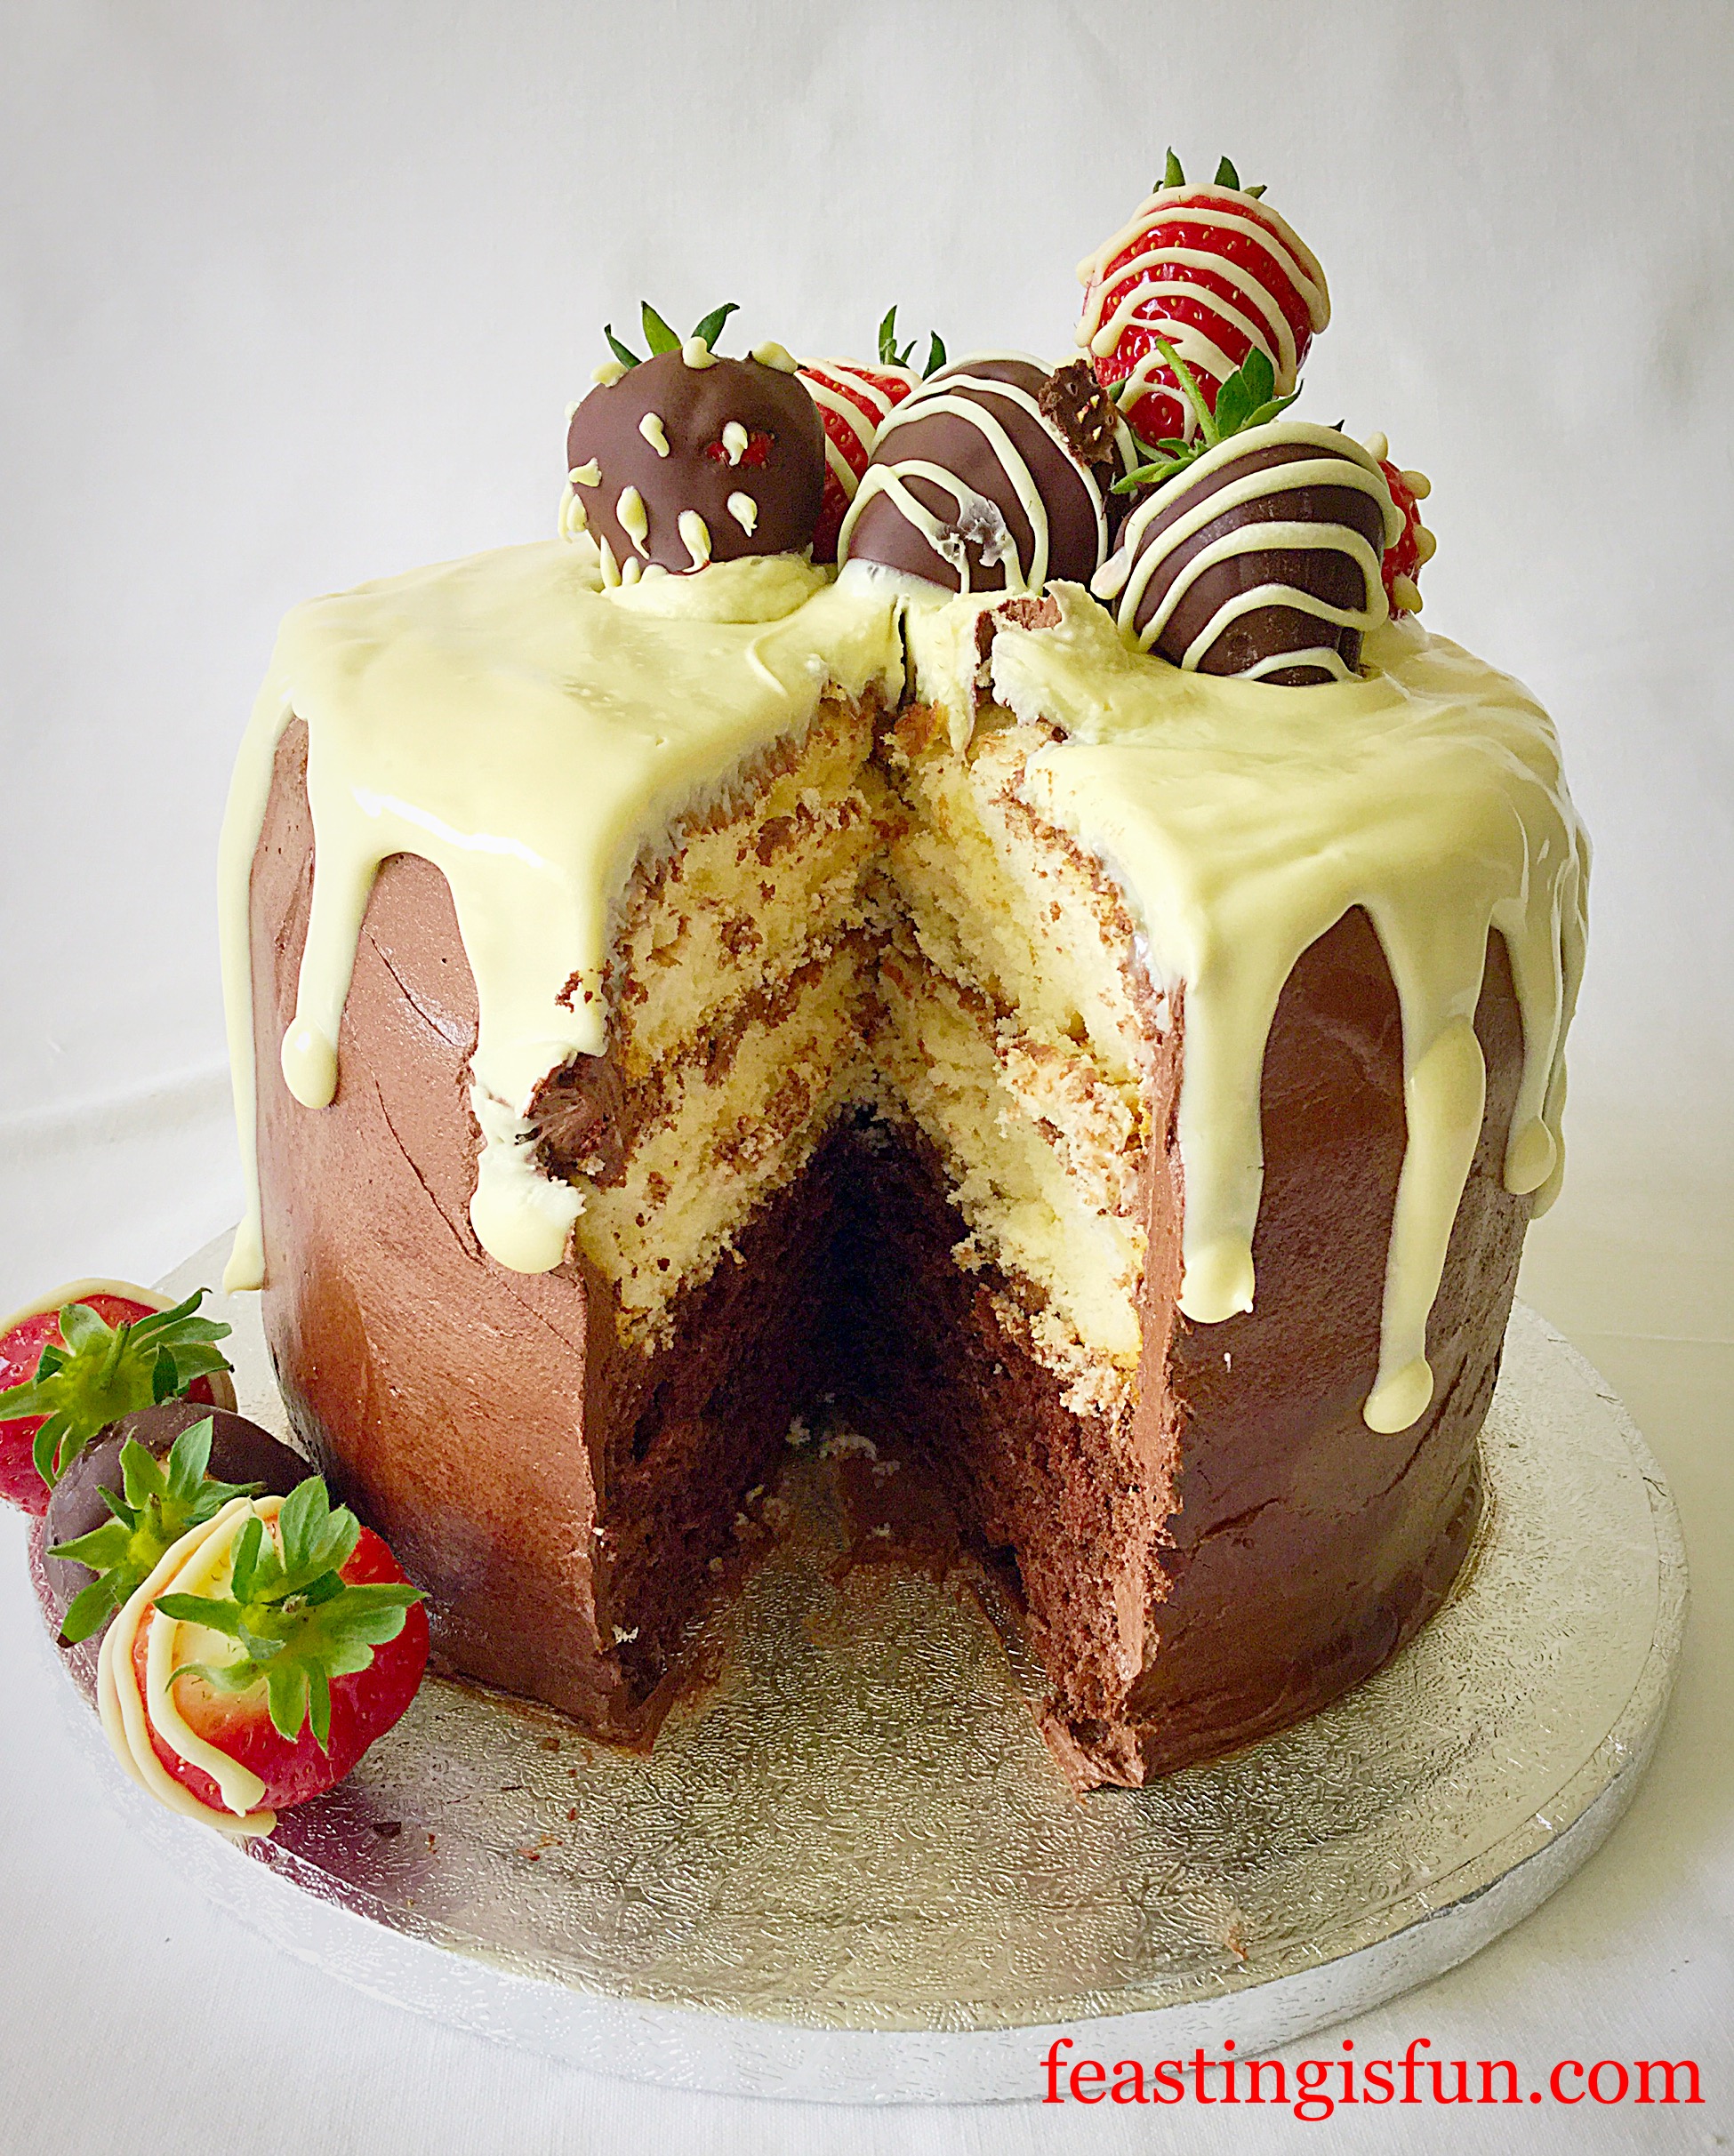
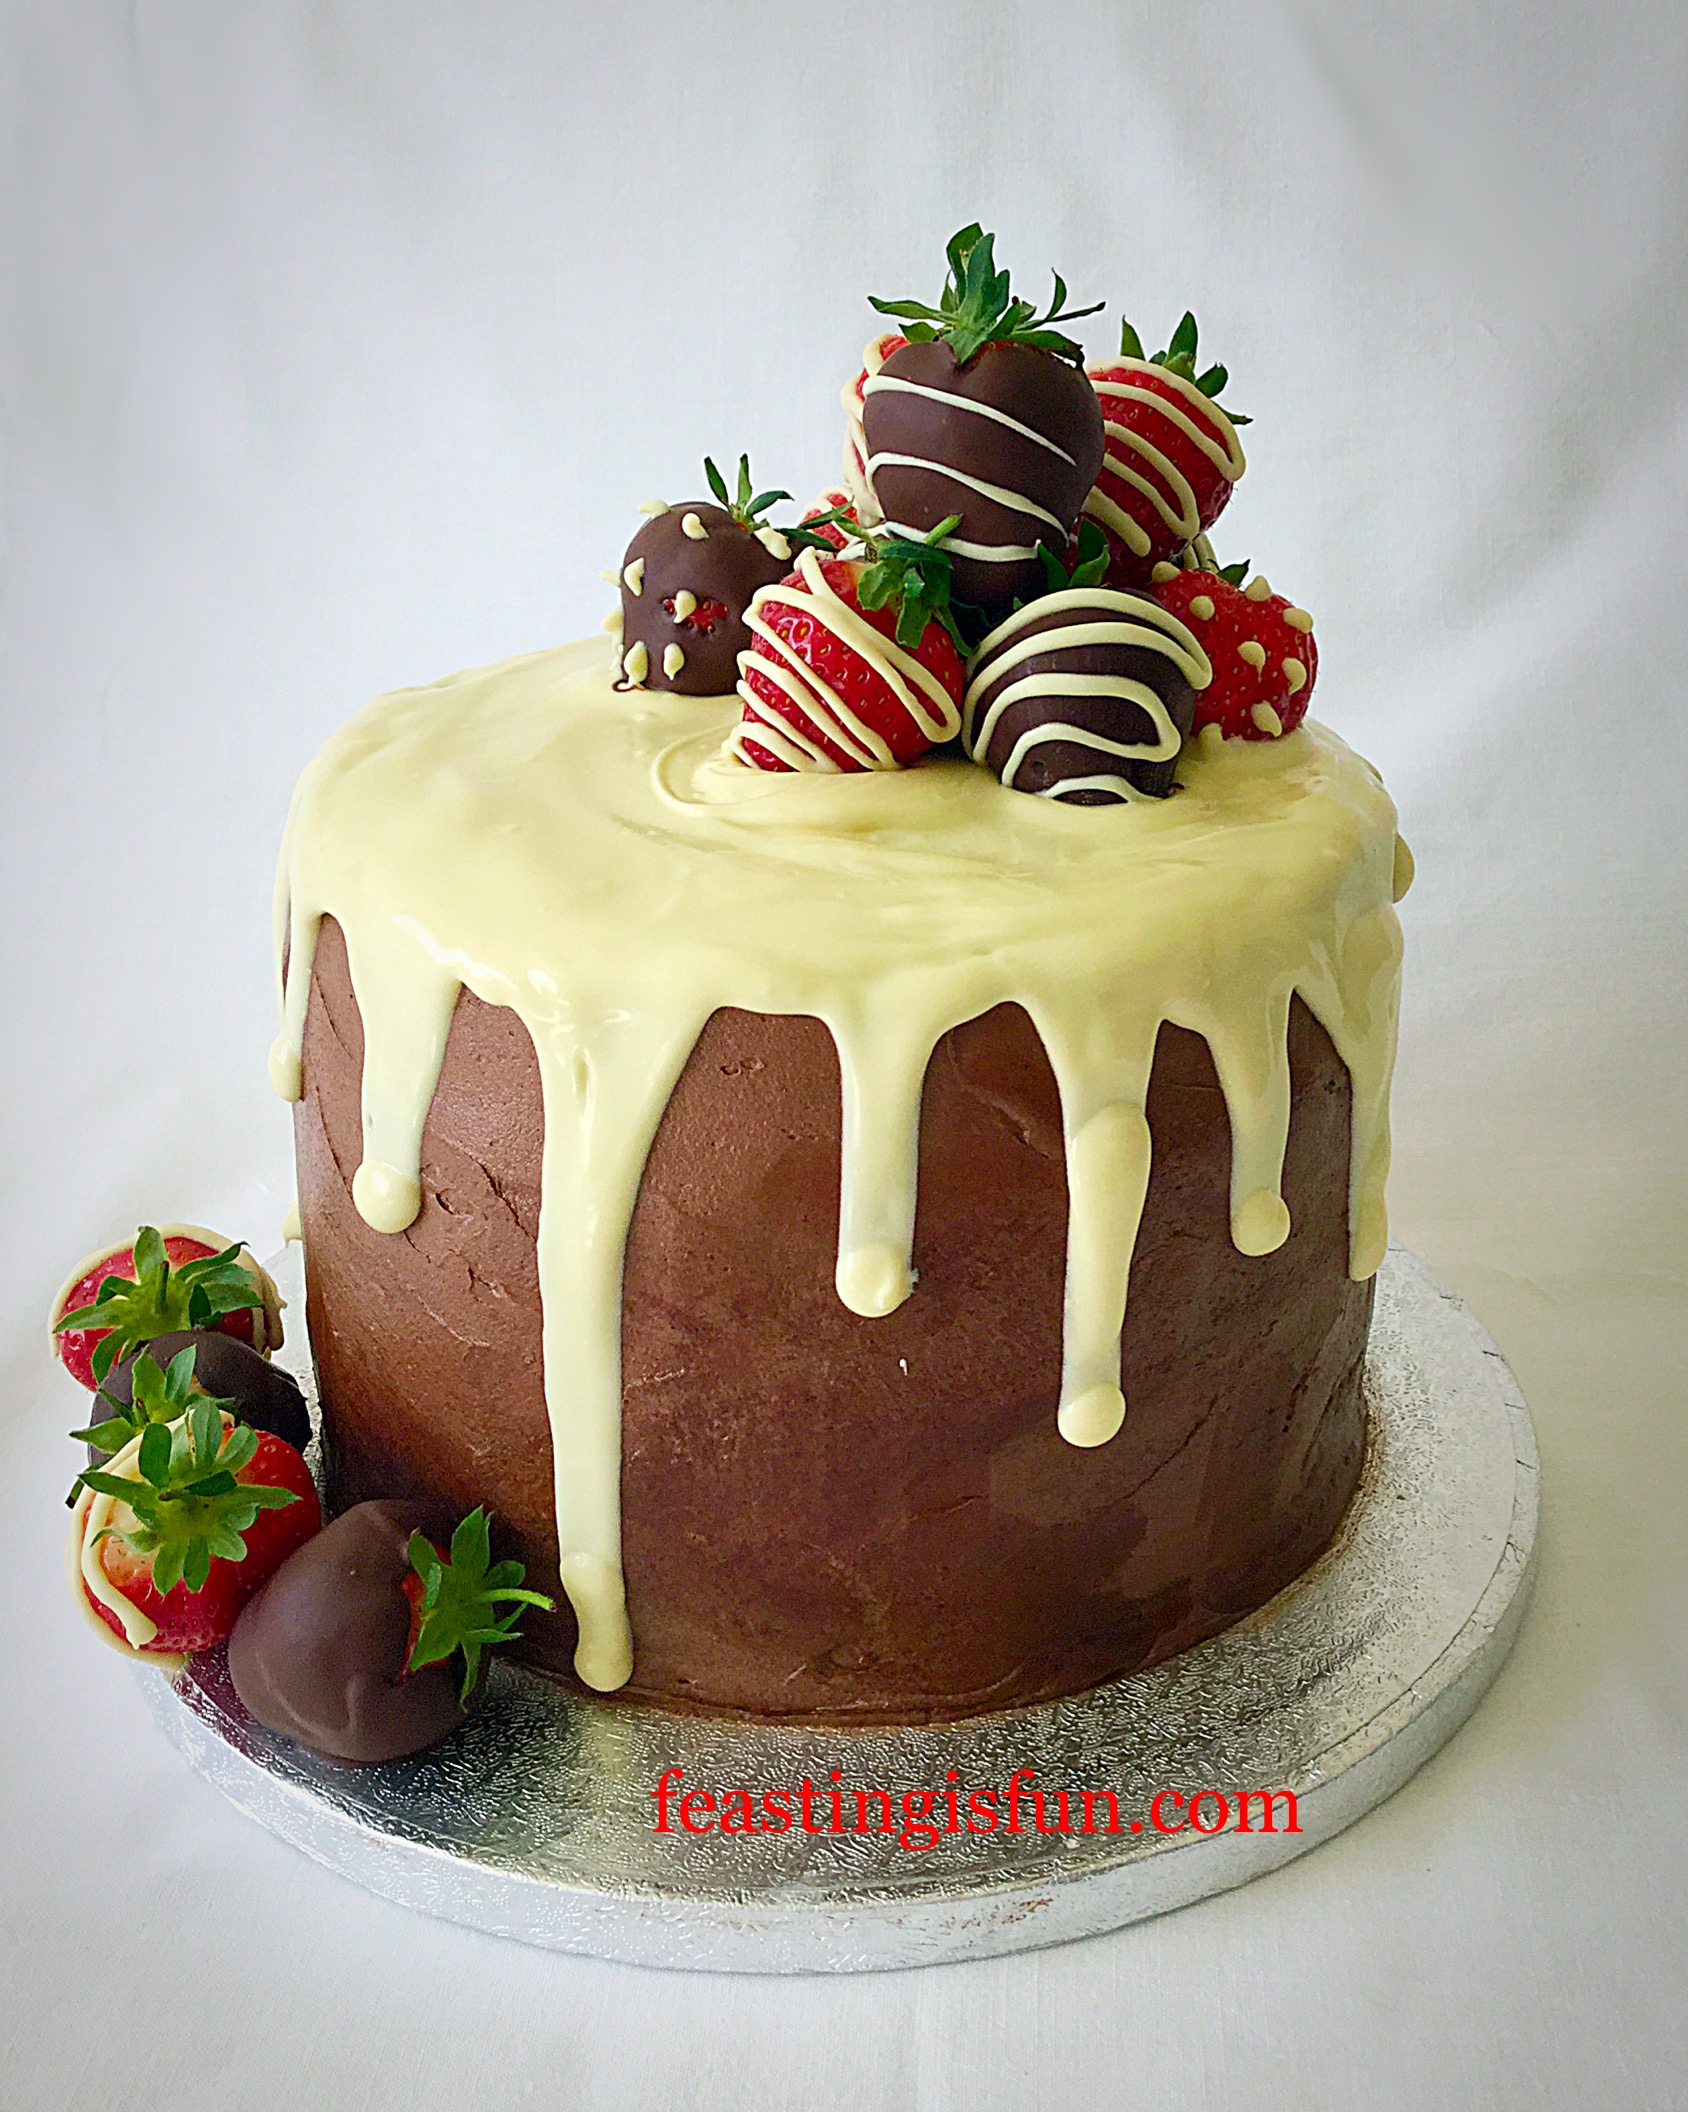
Raspberry White Chocolate Loaf Cake
Since making this raspberry cake I have received very positive feedback, especially from those who normally prefer ‘chocolate’ cake! Because the fruit in this cake is fresh, tangy and not too sweet, it is fast becoming a firm favourite among friends, family and neighbours. And we know that all food tastes better when it is shared. So who will you share your cake with?
So, whatever you are making, baking and creating in your kitchens, have fun preparing and sharing your feast.
Sammie xx
No part of this post may be reproduced or duplicated without the written permission of the owner. Please see my Disclosure Policy.