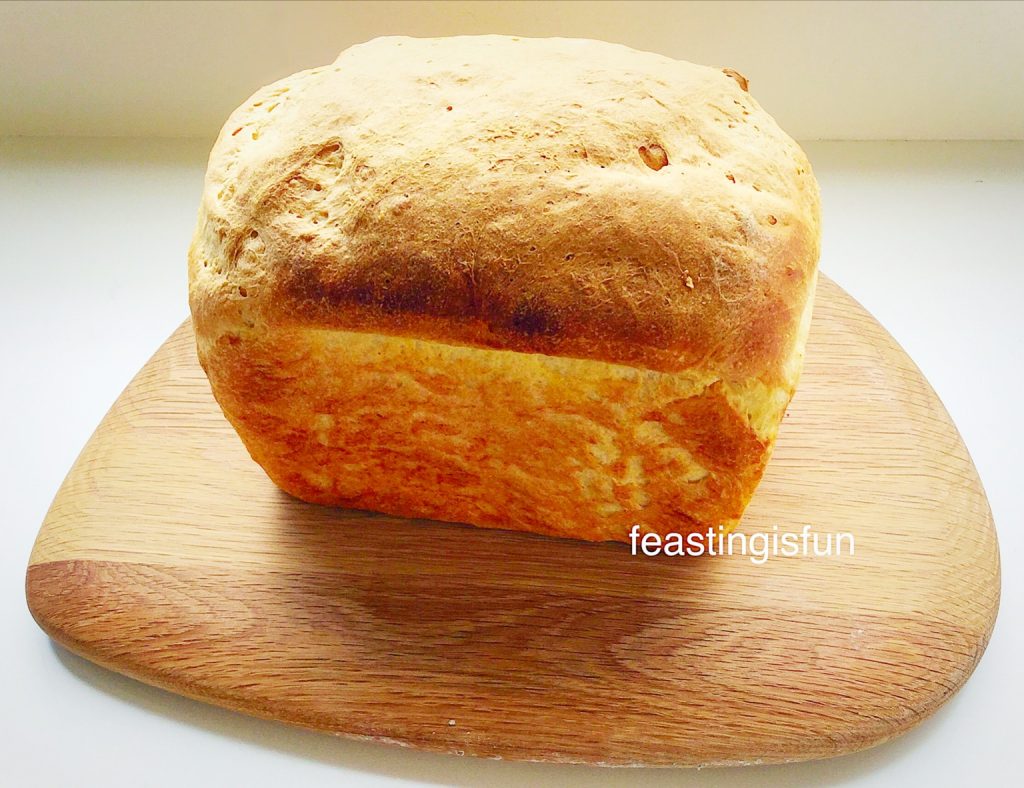
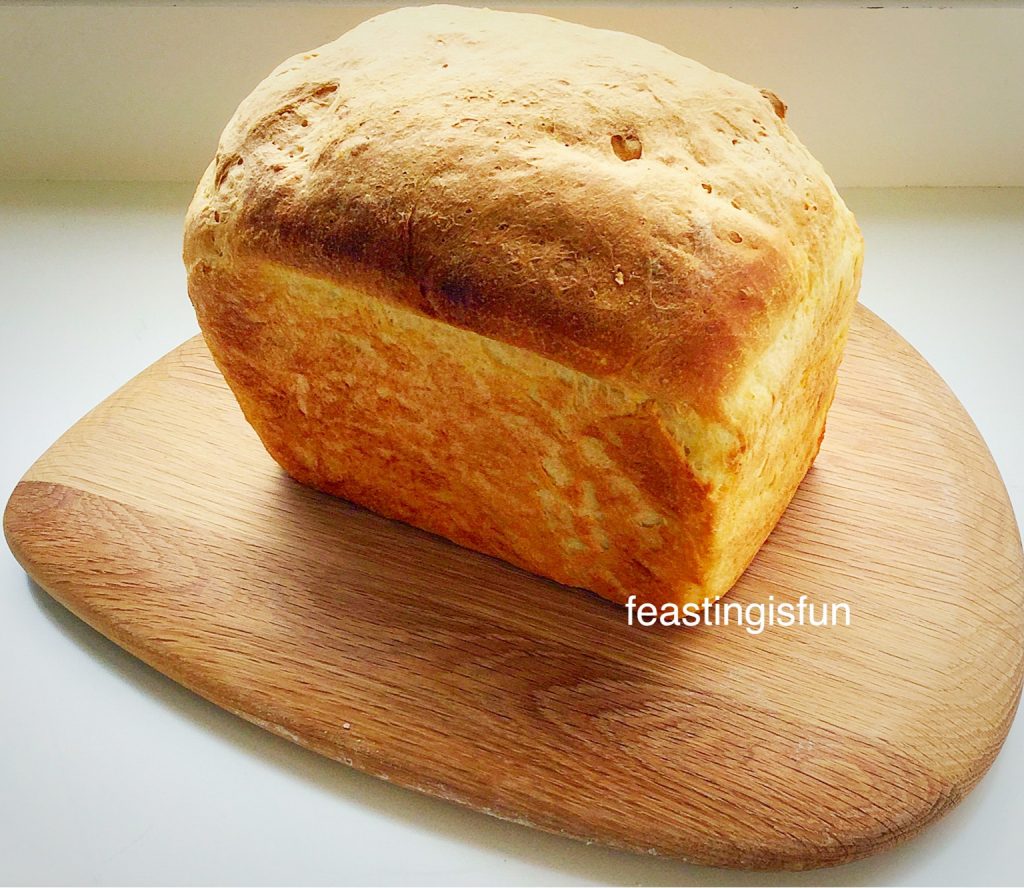
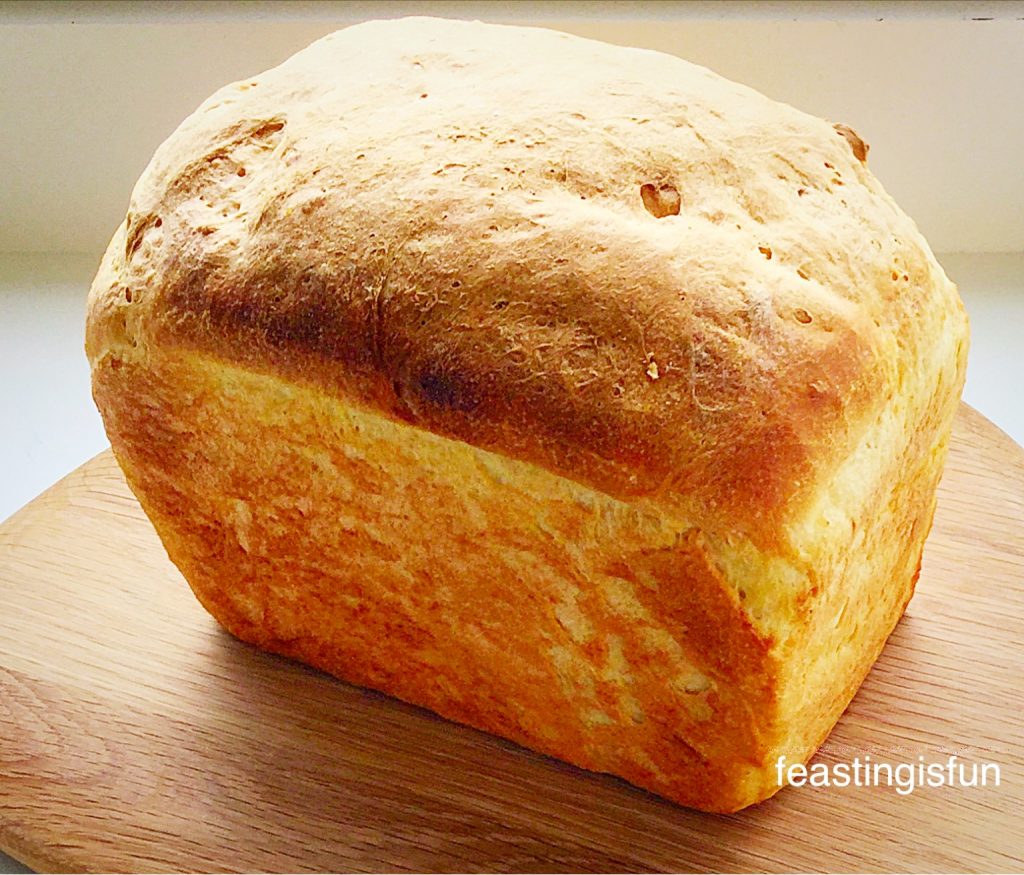
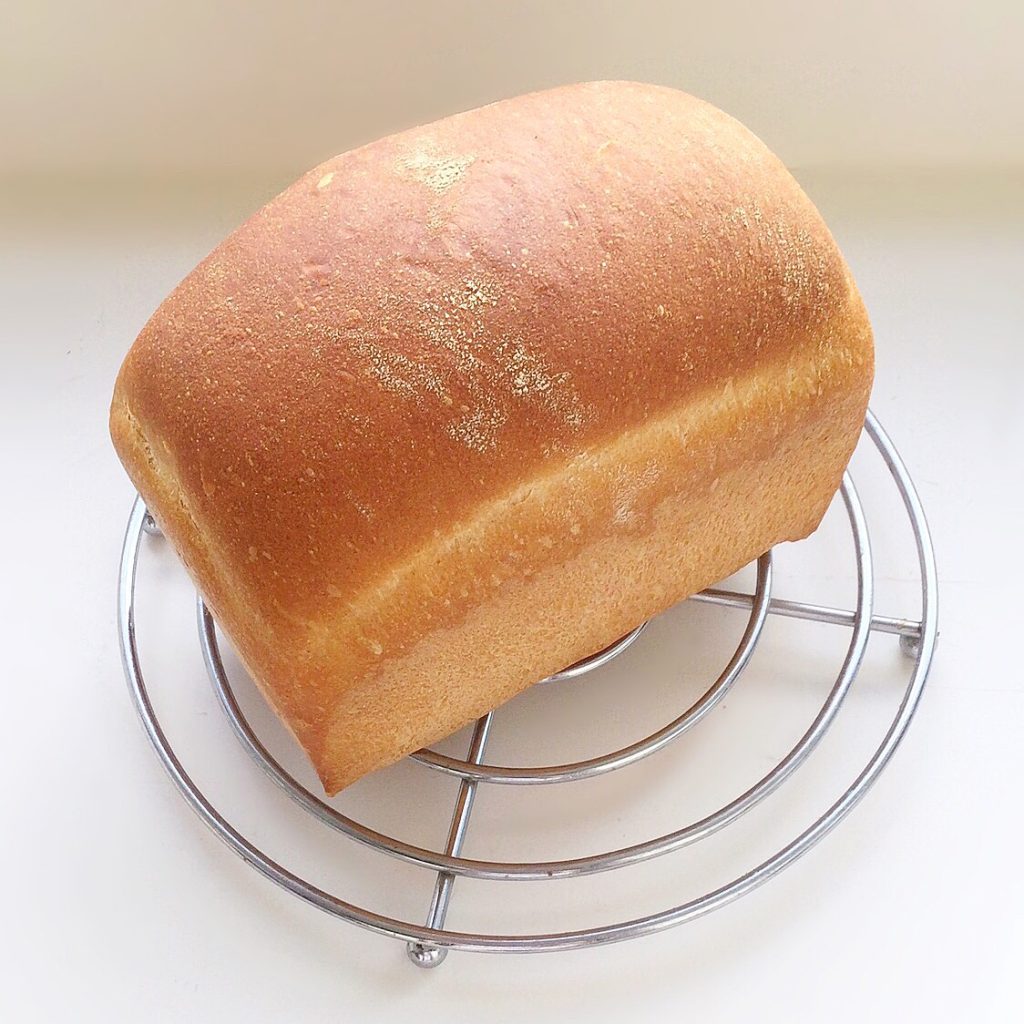
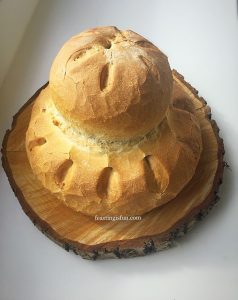
Welcome to Autumn here in the U.K. A time when storms rip across the land, pulling leaves from trees, tousling our manicured summer gardens. While shadows lengthen as the days shorten and golden sunshine illuminates the changing colours of our landscape. As temperatures begin to drop thoughts turn to indoors where we crave comfort and being cosy. The kitchen, no longer churning out endless salads that quench summer heat, now become our sanctuary. And baking bread again becomes a pleasure, as the house fills with welcoming aromas and our appetites are satiated. Crusty and delicious this Easy White Cob Loaf is the simplest bread to make, requiring no special tin to bake it in.
Taking The Hard Work Out Of Making Bread
Crusty bread is so appealing. Whether toasted and slathered in jam, or buttered and served with soup, it never fails to deliver on taste and texture. Made using simple ingredients; flour, water, yeast, salt and a little butter or oil, it only requires the minimum handling when using a stand mixer to mix and knead the dough. So, for those who struggle with painful hands due to arthritis, as I do, this recipe is simple and easy to make. Alternatively, this recipe can easily be made by hand for those who prefer to knead bread themselves.
Easy Bread Making For Everyone
Whether this is your first time making bread or the millionth, the simplicity of this recipe is so rewarding. Since we use the same bowl to mix the ingredients together and prove the dough. And when using a stand mixer all of the kneading also takes place in this bowl. A baking tray is necessary and a dough scraper recommended. Finally, a sharp knife to score the dough and you’re all set!
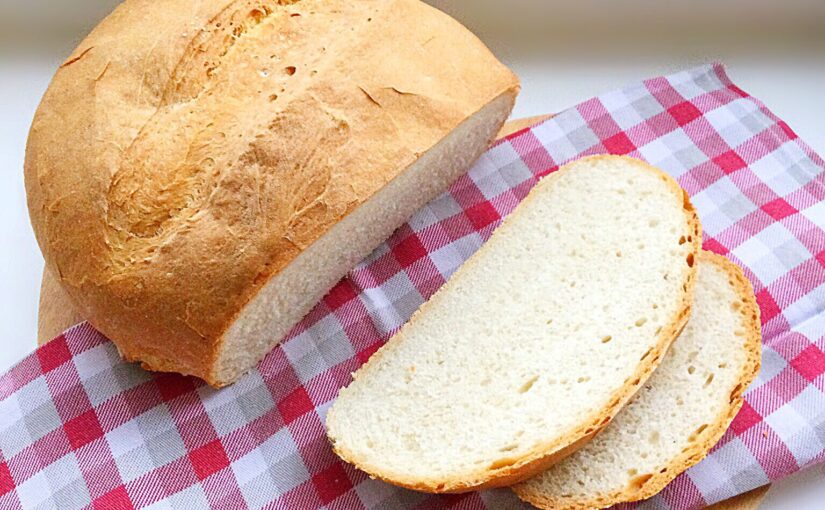
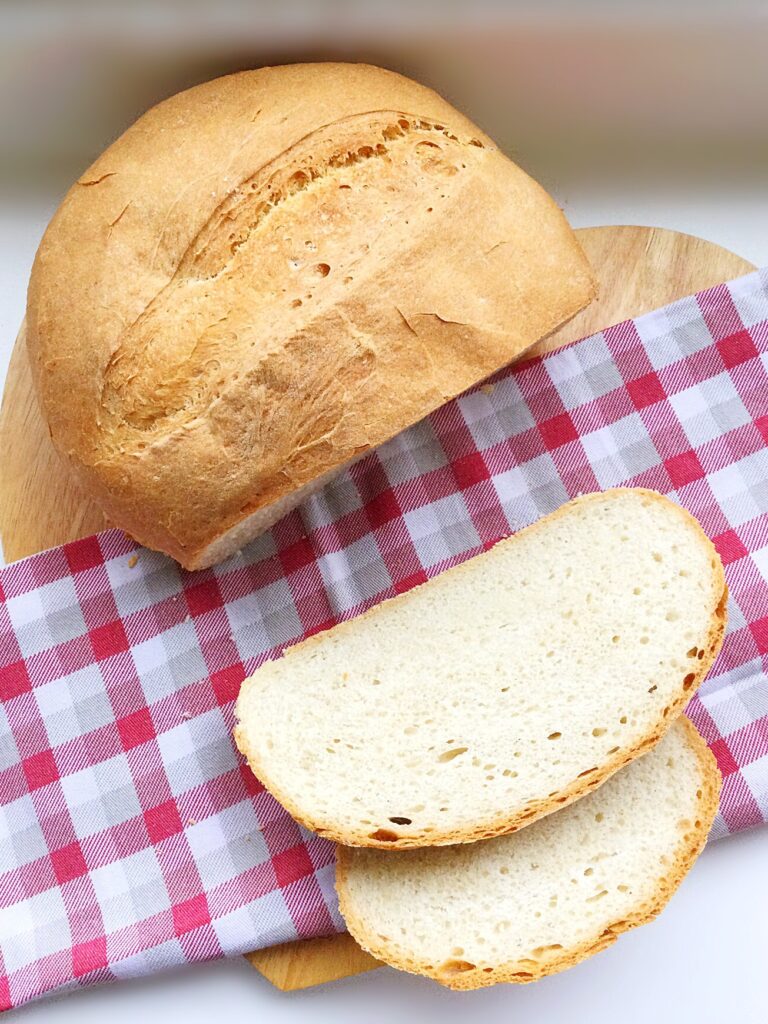
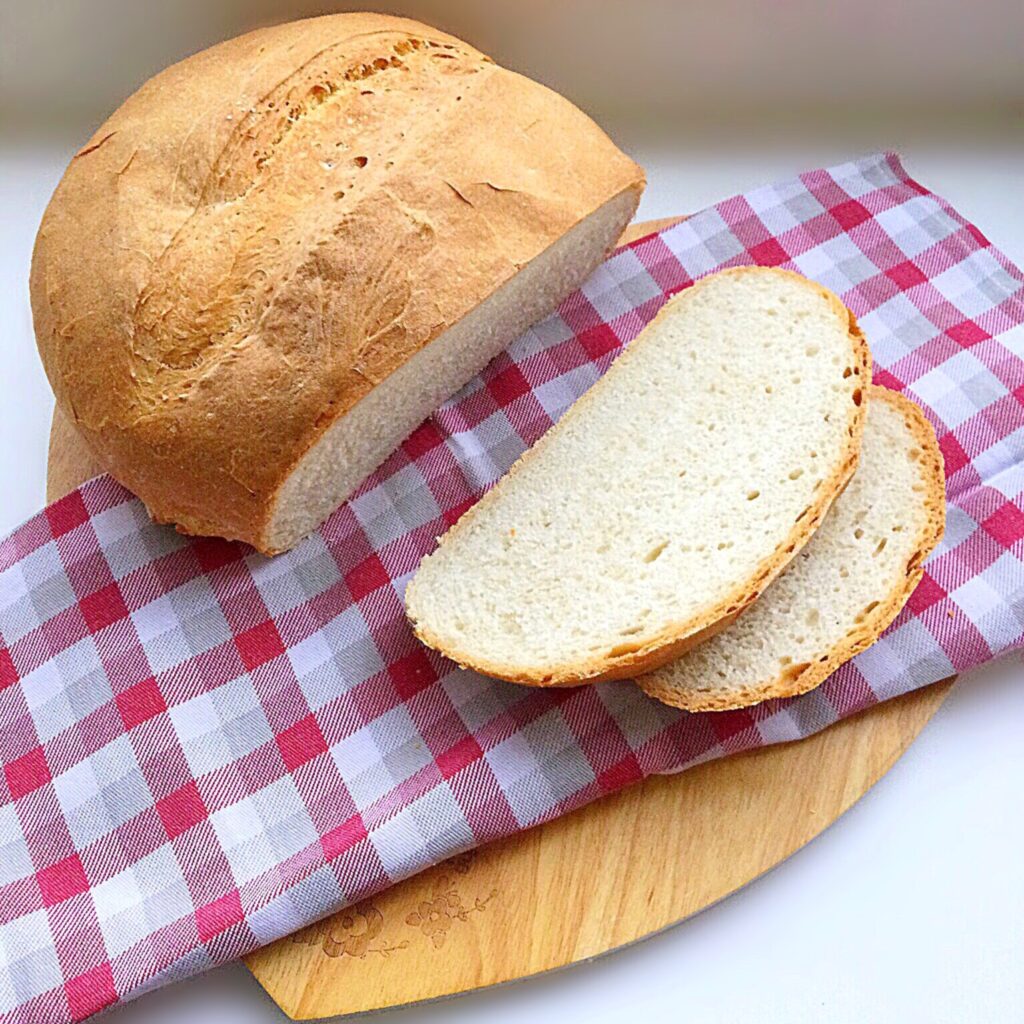
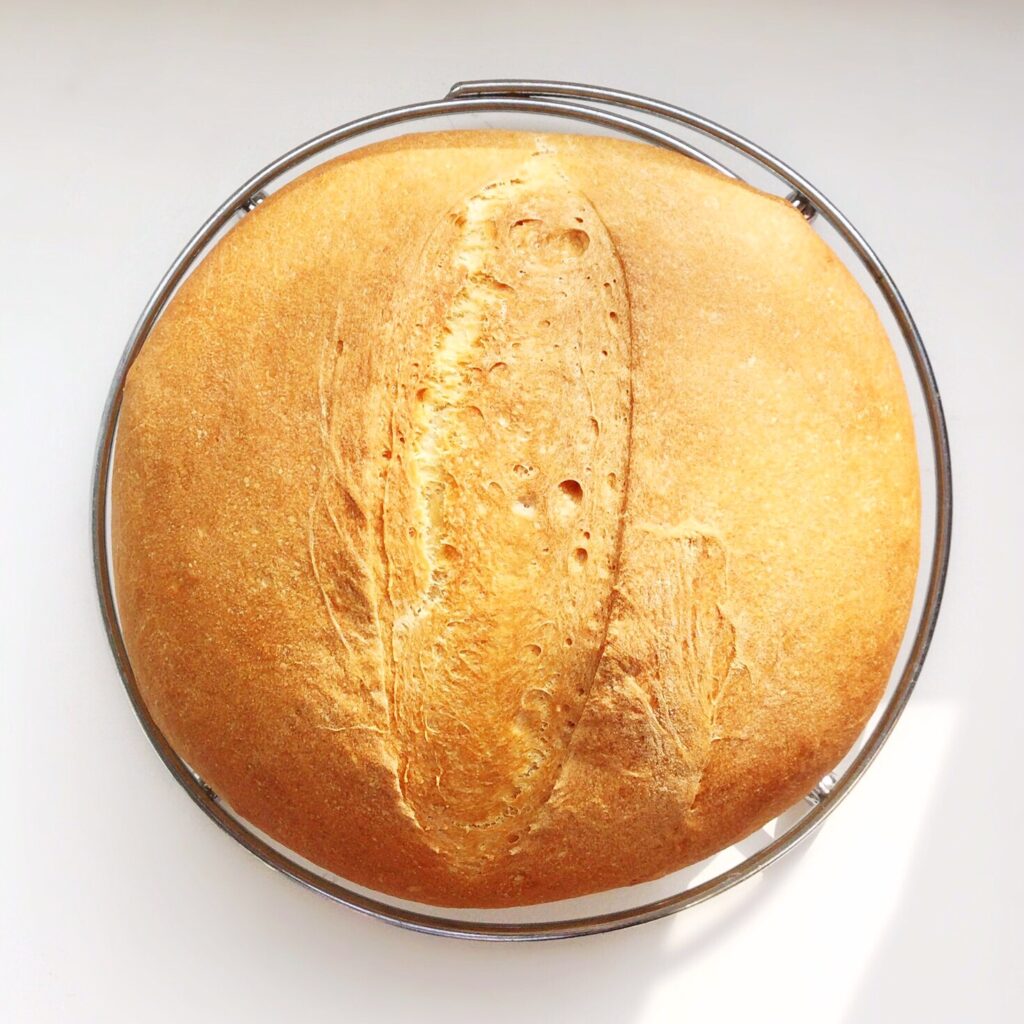
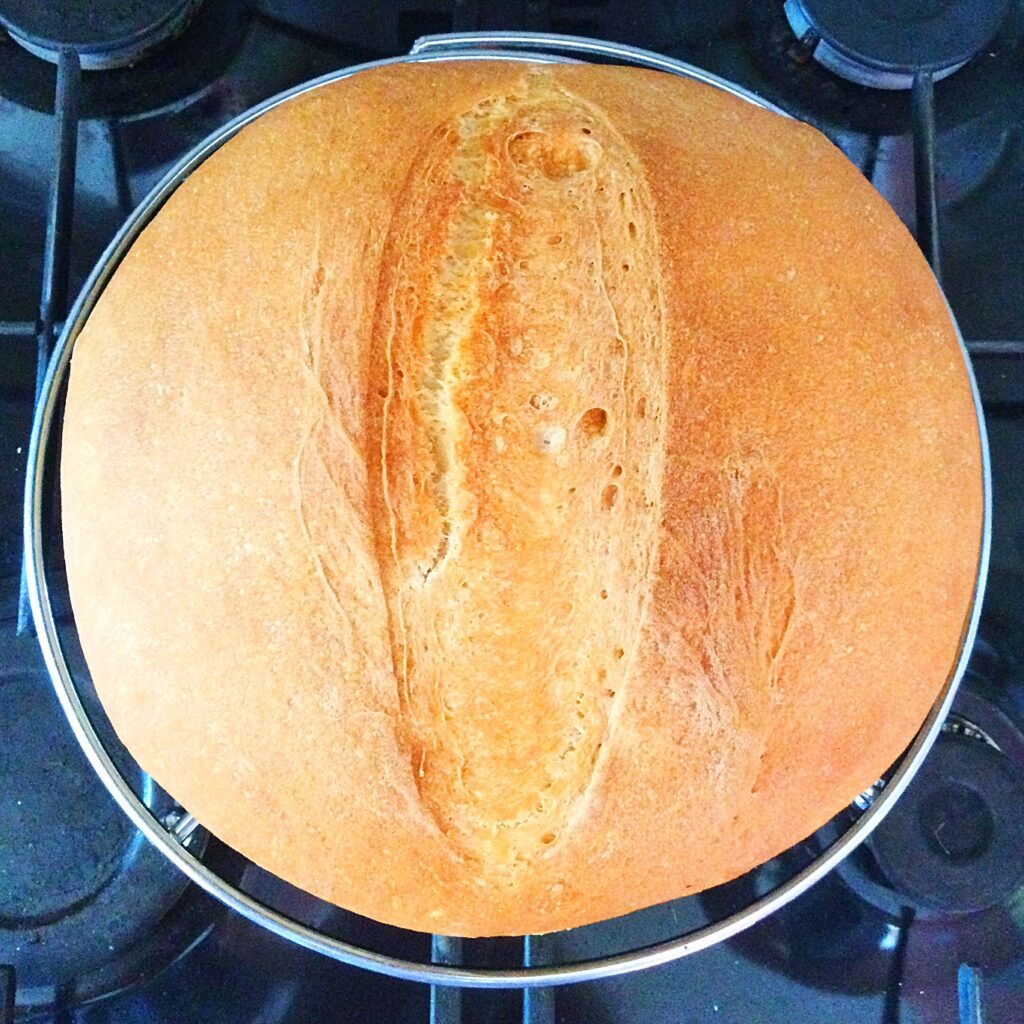
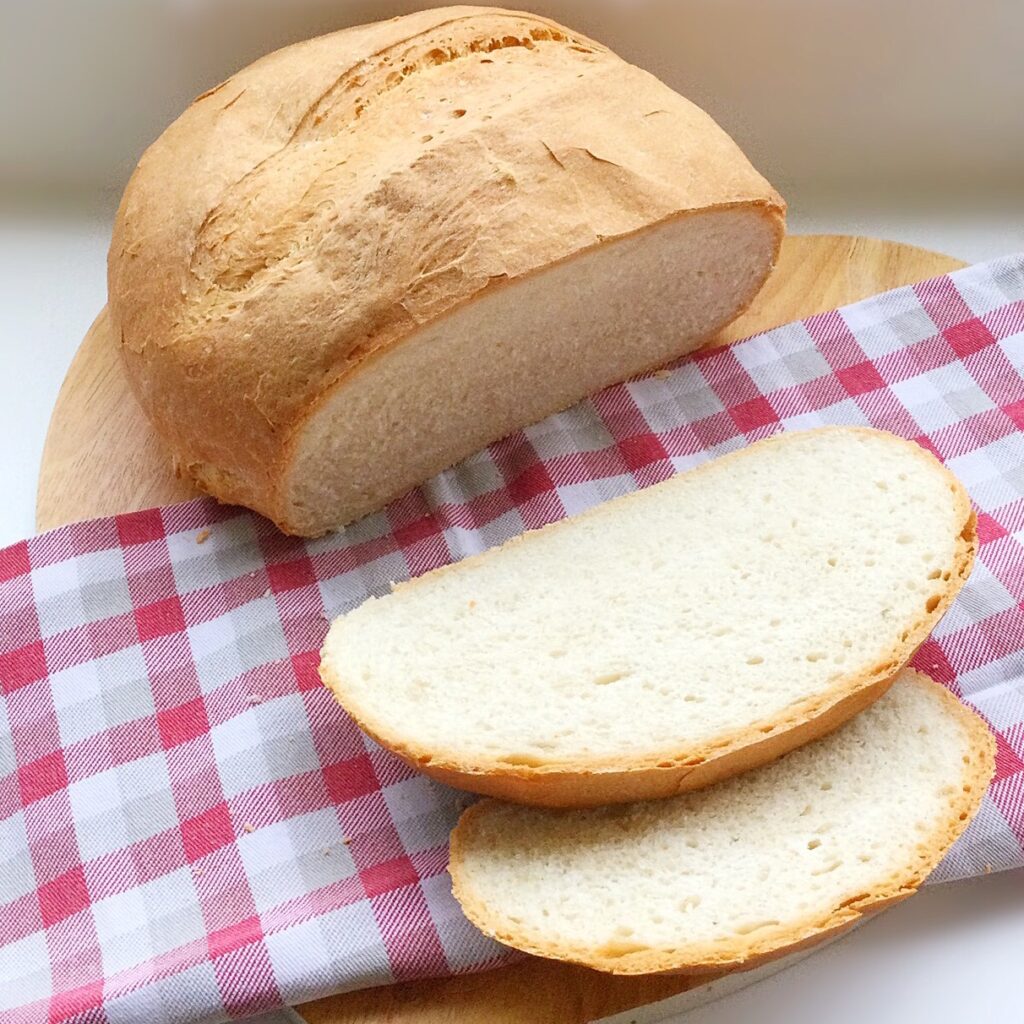
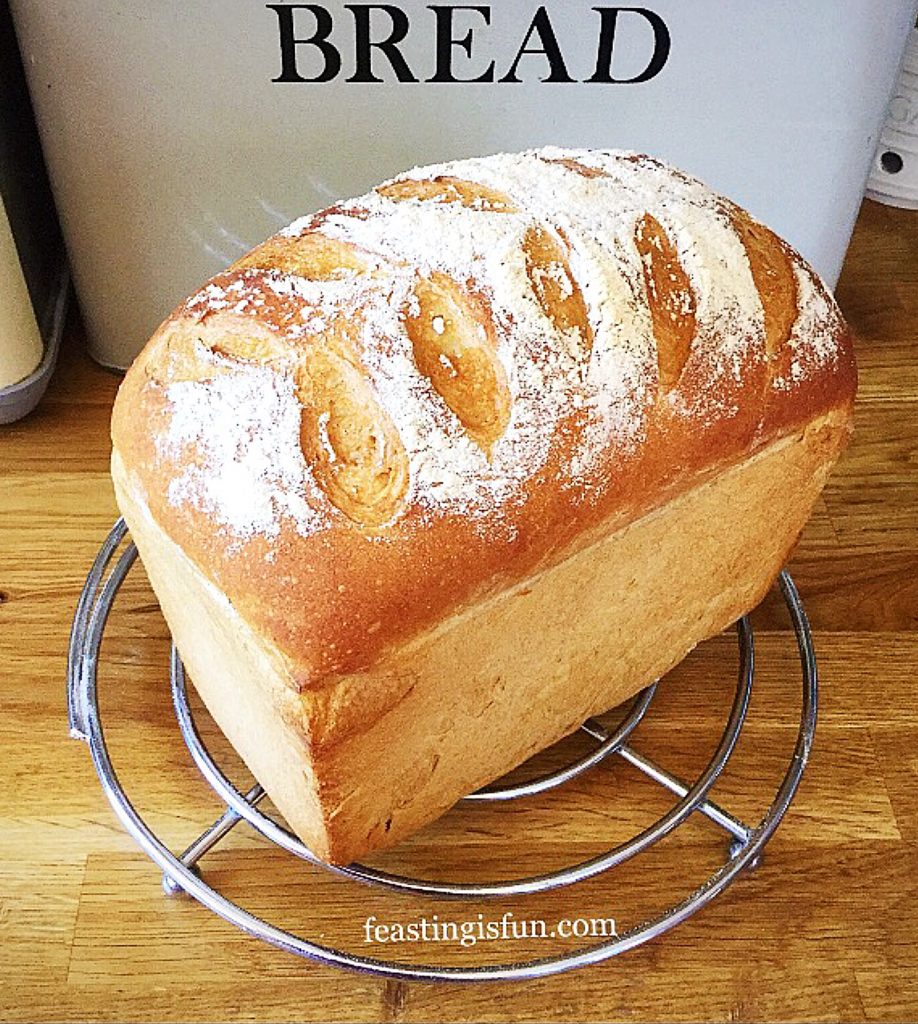
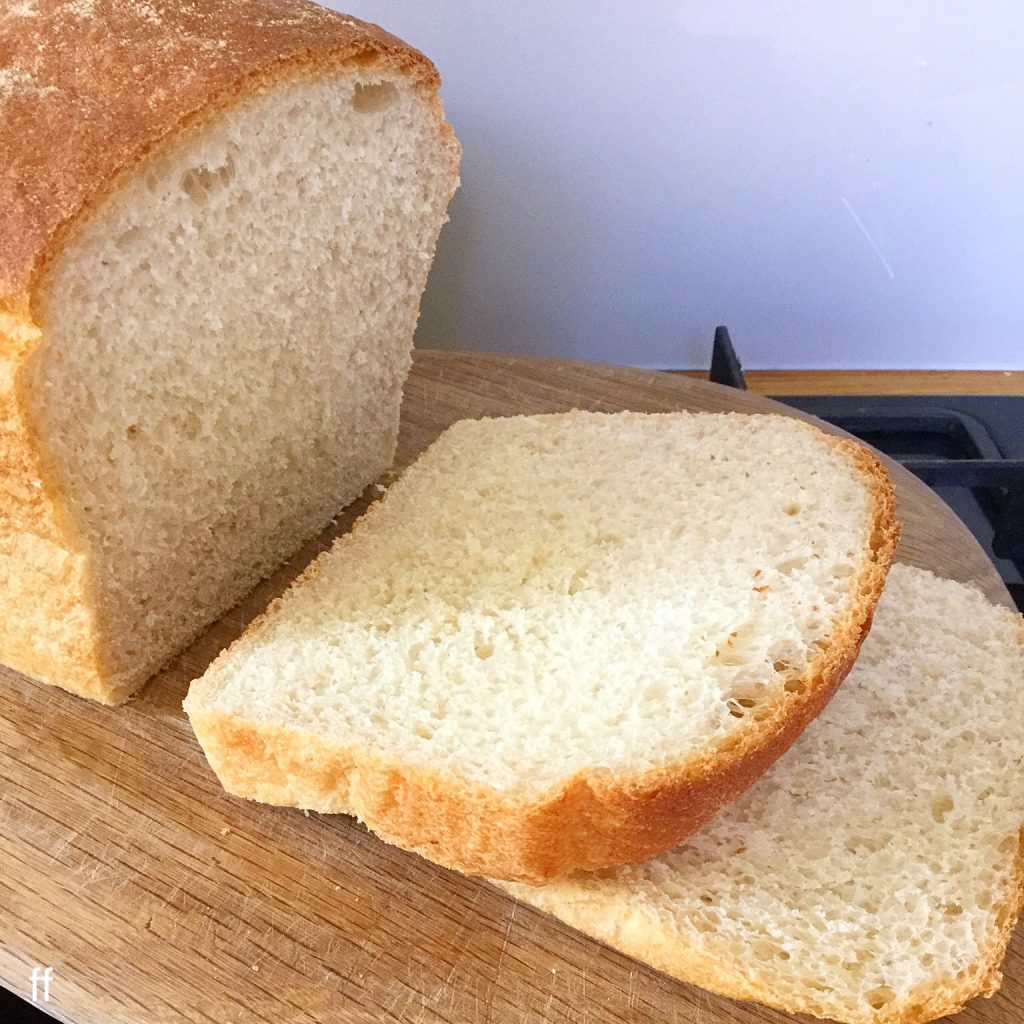
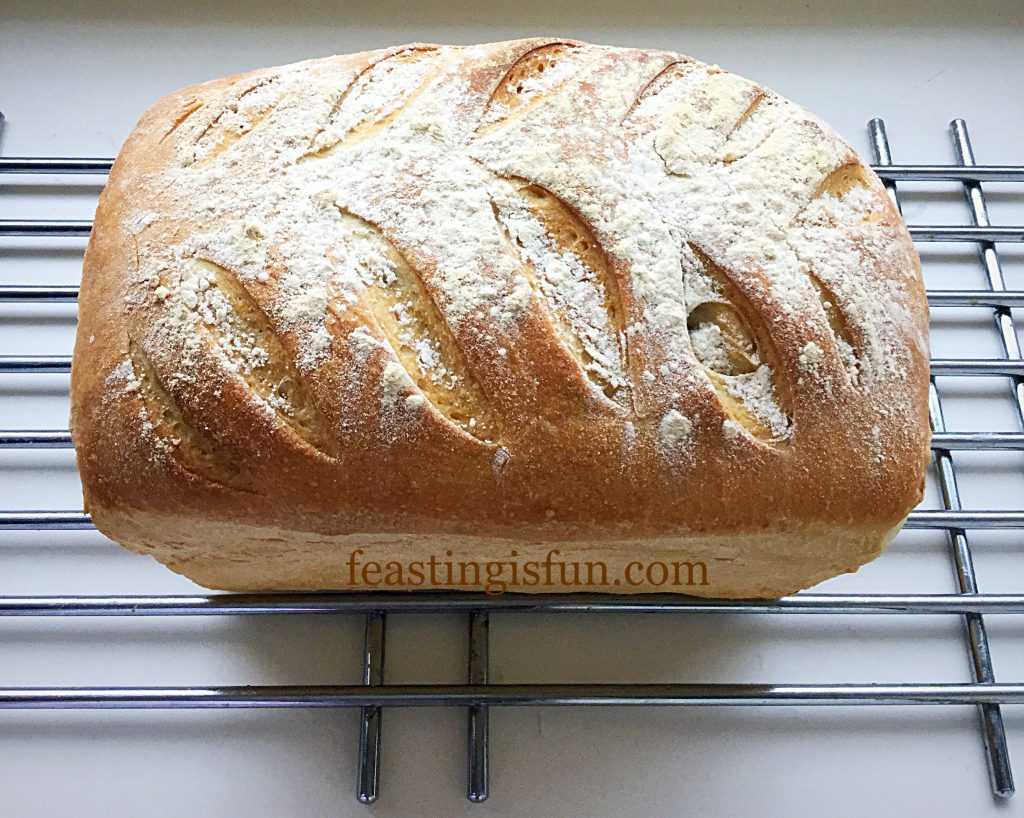
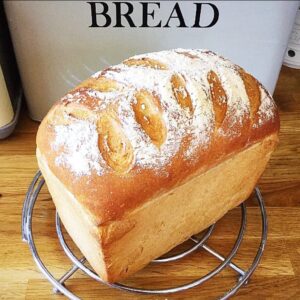
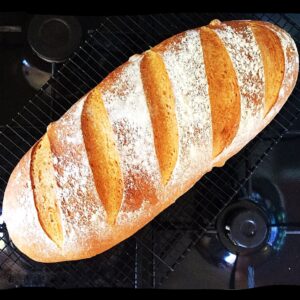
A beautiful, golden, crusty Cob Loaf.
Recipe: Easy White Cob Loaf
400ml/13.5fl oz Water at body temperature 37C/98.5F
7g Fast Action Dried Yeast – I currently use Doves Farm
600g/1lb 5oz Strong White Bread Flour – I use Organic White Bread Flour from Shipton Mill plus a little extra for dusting the worktop
7g Salt – I use Maldon Salt as it doesn’t contain any other chemicals
25g/1oz Unsalted Butter at room temperature. Alternatively use 1tbsp rapeseed oil – plus a little extra for greasing the baking tray.
Making And Proving The Easy White Cob Loaf Dough
- First of all add the water to the stand mixer bowl. I prefer to weigh it as it is more accurate.
- Next add the yeast and then the flour.
- Add the salt on top of the flour.
- With a dough hook attachment slowly (speed 1 on a Kitchenaid mixer) mix the ingredients for 5 minutes.
- Following the initial mixing add the butter or oil and turn the speed of the mixer up slightly (speed 2 on a Kitchenaid mixer).
- Continue to mix the dough for a further 10 minutes.
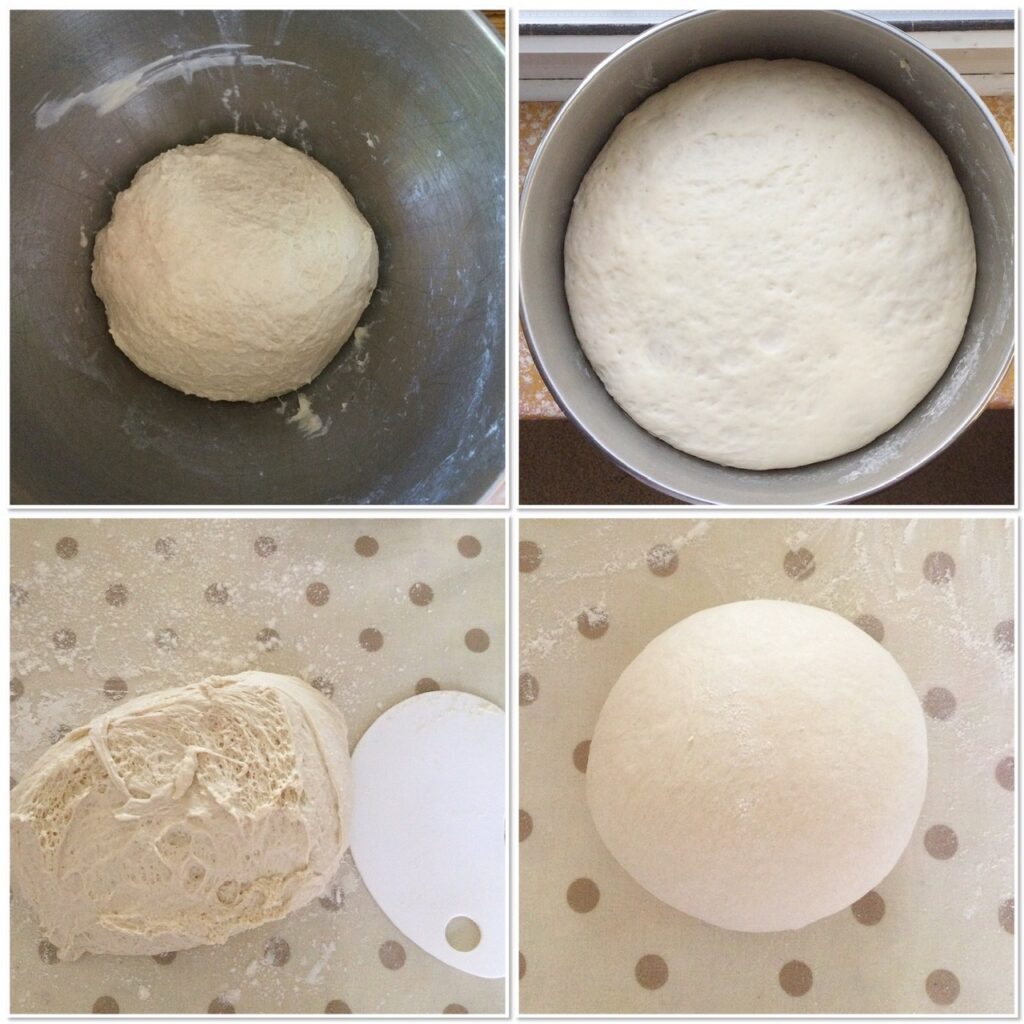
- Finally stop the mixer and using clean wet hands form the dough into a ball shape.
- *Cover the bowl with a clean tea towel and leave to prove until doubled in size.
- Lightly dust a clean worktop with flour. Using the dough scraper release the dough from the bowl so that the top of the dough is now underneath. This is important as we build tension across the dough as we shape it.
Making Bread By Hand
- Alternatively, add the ingredients to a bowl as previously mentioned and mix by hand adding the butter/oil as the dough comes together, then turn out onto a lightly floured surface and knead by hand for 10 minutes. Shape into a ball and place back into the bowl. Carry on from step *.
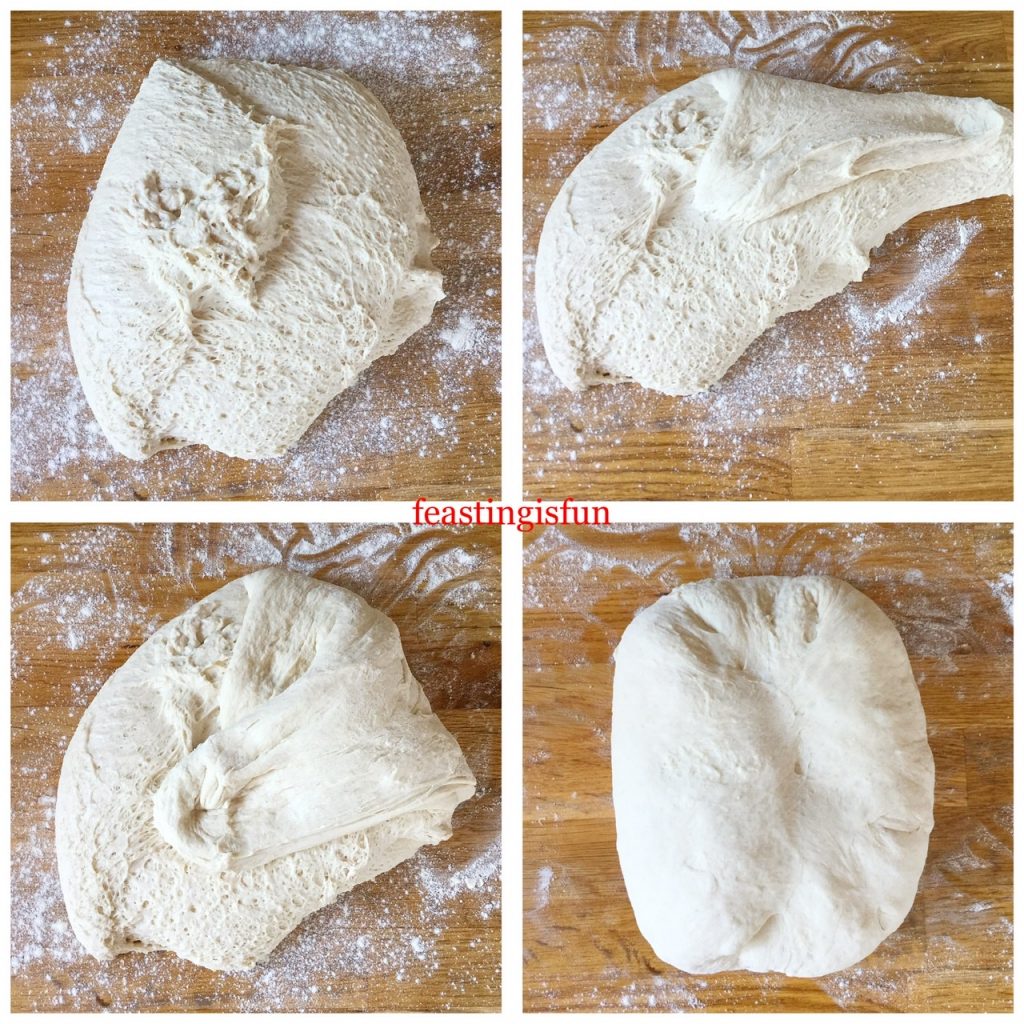
- In the image above you can see the unshaped dough turned out of the bowl and a perfectly round, shaped dough ready for the second prove. The following steps will teach you how to shape and build tension across the dough so that it keeps it’s shape during baking.
- First of all, dust your hands with flour.
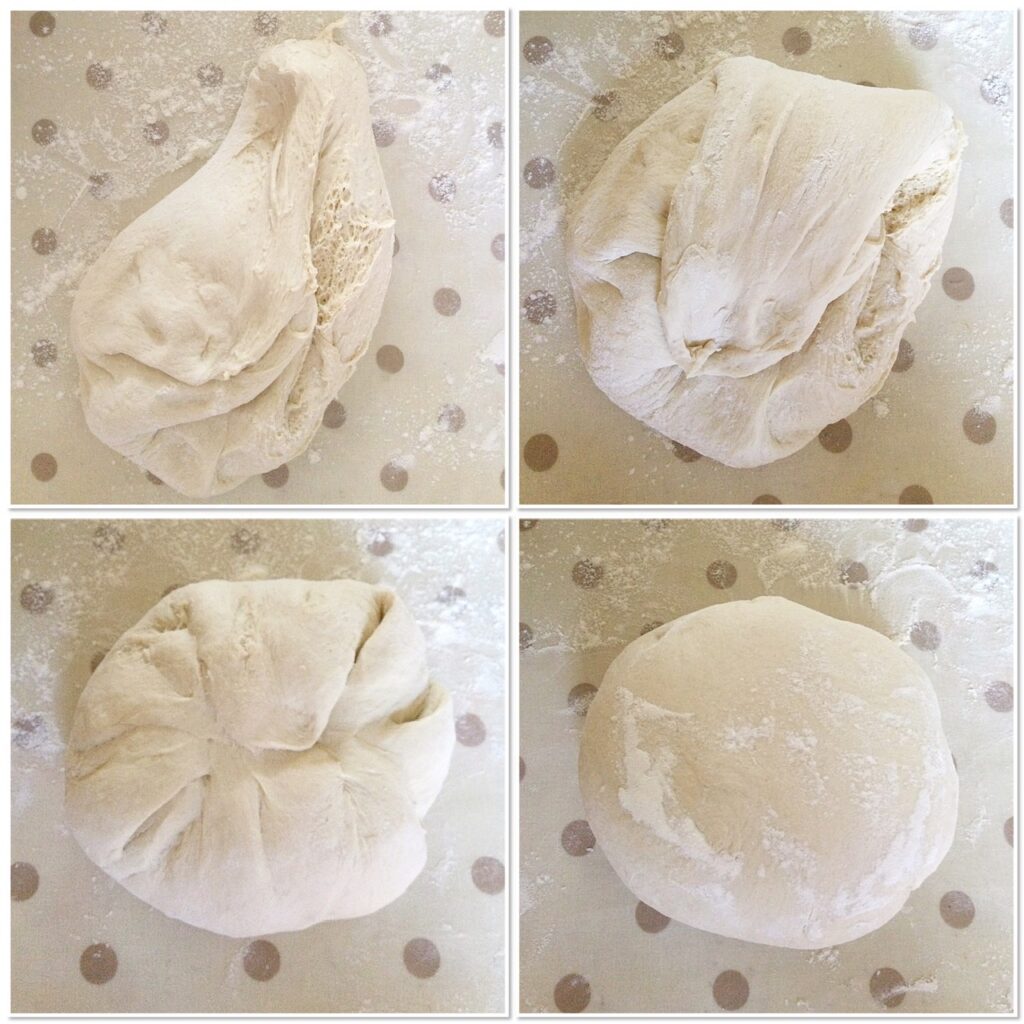
- Pull out part of the dough and then press it back into the centre. See the images below.
- Turn the dough and repeat the last step. While you are doing this you are creating tension across the base of the dough.
- Continue turning the dough, pulling and pressing into the centre until you have a tight, roundish shape.
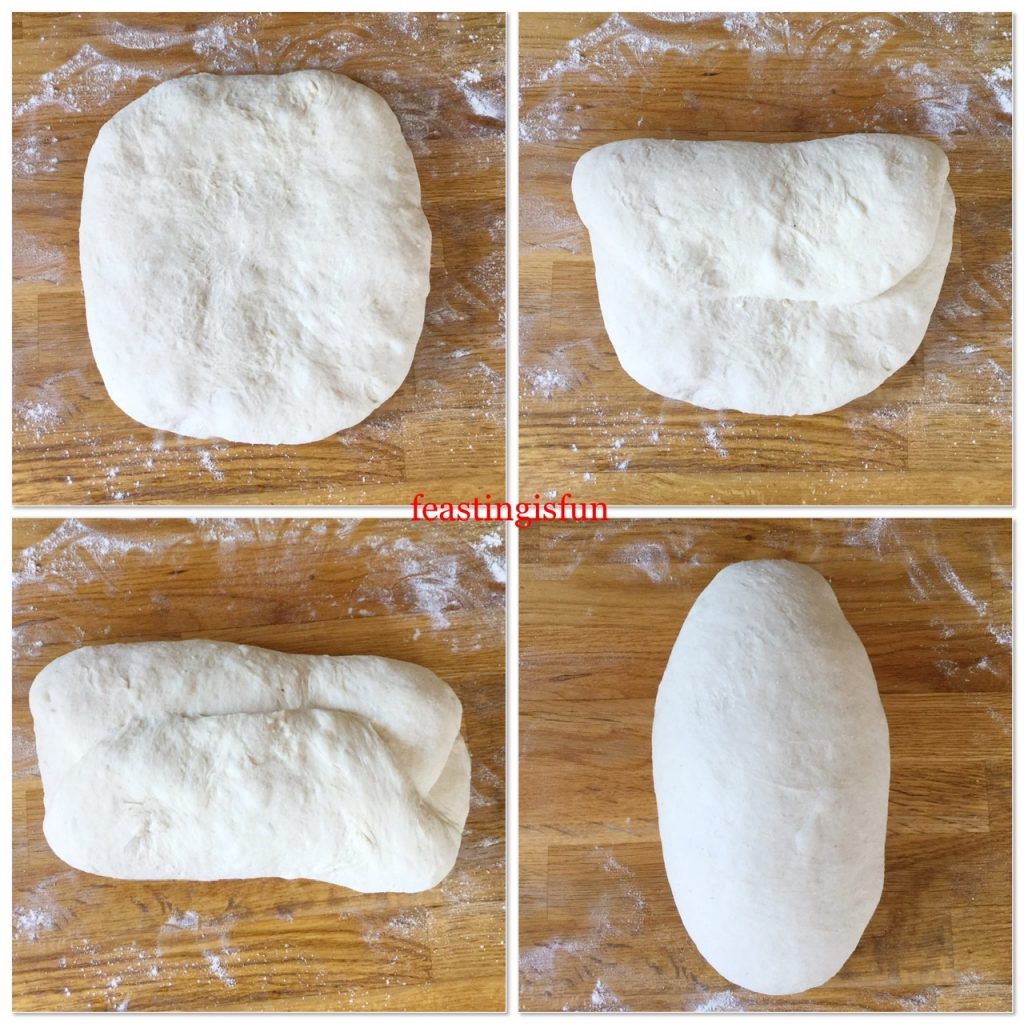
Creating The Perfect Cob Loaf Shape
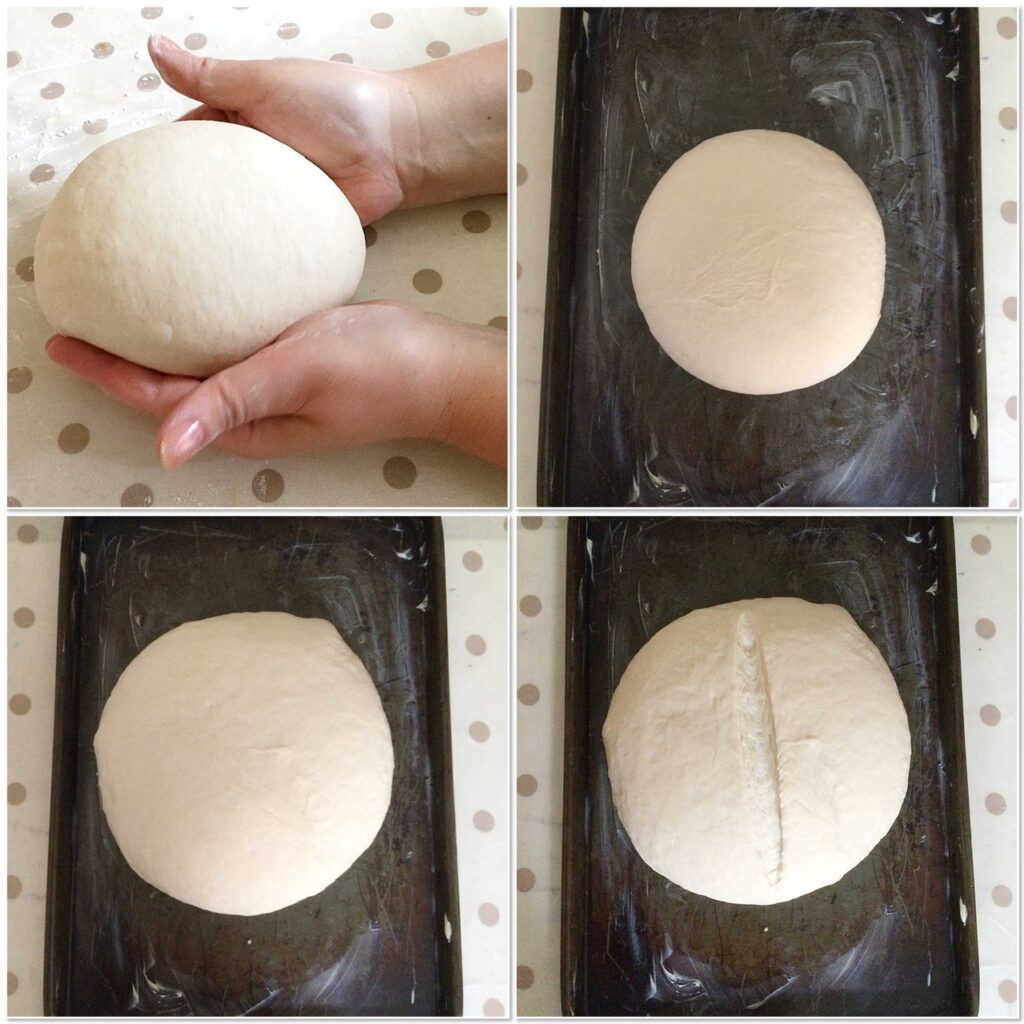
- Flip the dough over and use your hands to cup and twist the dough.
- Continue until you have a neat, tight, dough ball.
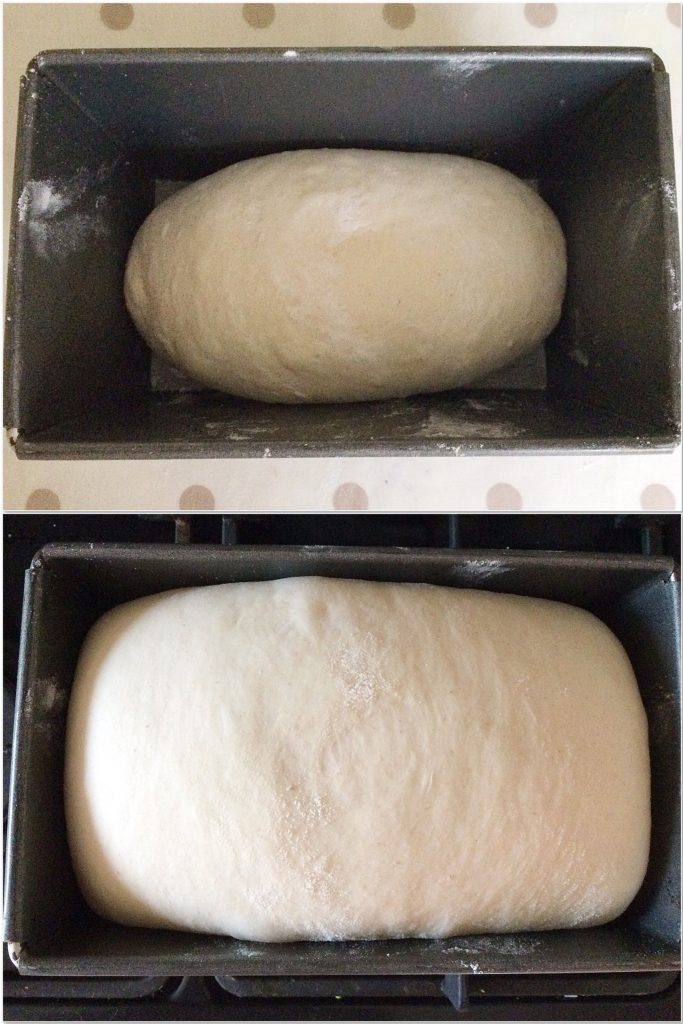
- Finally place the dough ball onto a greased baking tray, cover with a tea towel and leave to prove for 20 minutes.
- PRE HEAT your oven to 220C/200C fan, 425F, gas mark 7. Place a shallow, ovenproof dish with water in it on the bottom shelf of the oven.
- After 20 minutes of proving use the blade of a sharp knife to score down the middle of the dough.
Baking The Easy White Cob Loaf
- Preheating the oven with water in it creates a steamy environment that allows the dough to expand more before setting a crust.
- Place the baking tray in the middle of the oven.
- Bake the bread for 50-55 minutes.
- The loaf should be golden in colour and sound hollow when rapped on the base with a knuckle (take care it will be hot).
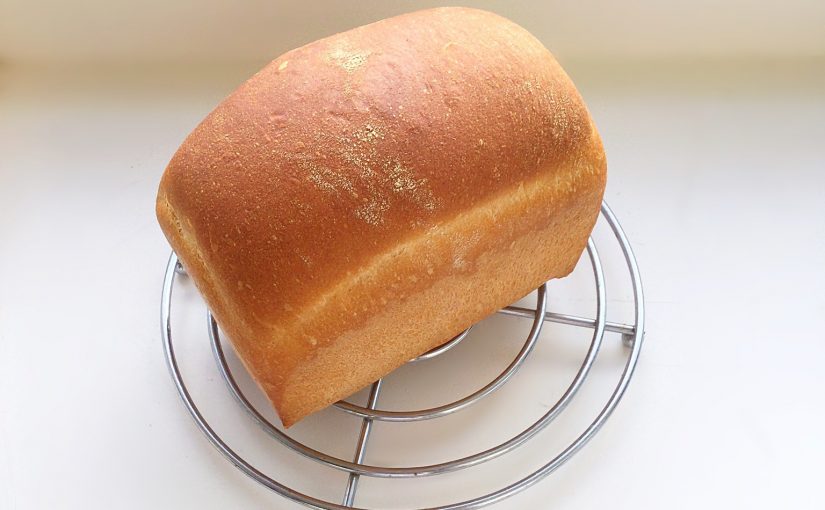
- As soon as the bread is baked remove it from the oven and place on a cooling rack or trivet to cool completely.
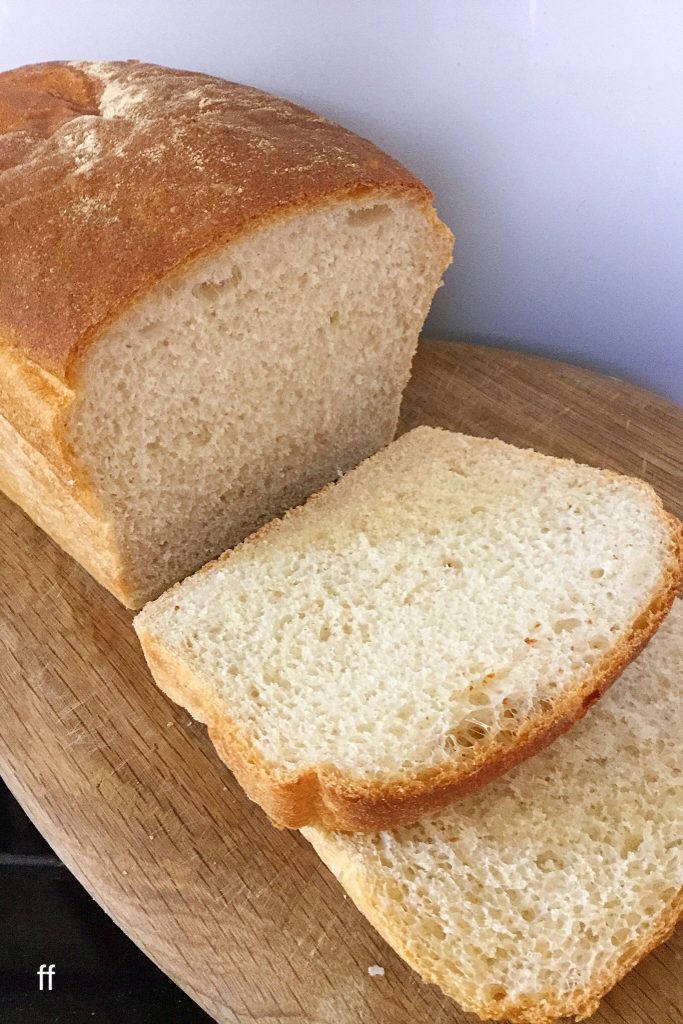
Leave the bread to completely cool before cutting it.
Attempting to cut hot or warm bread will cause it to lose it’s structure and collapse as it’s cut.
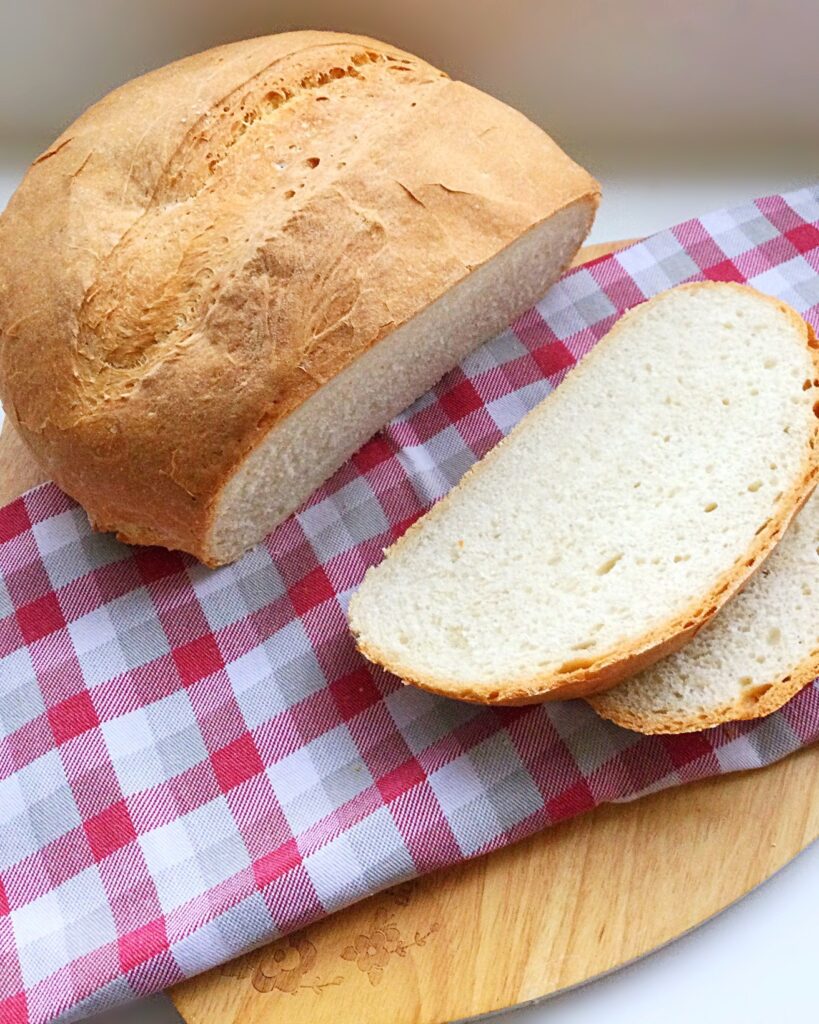
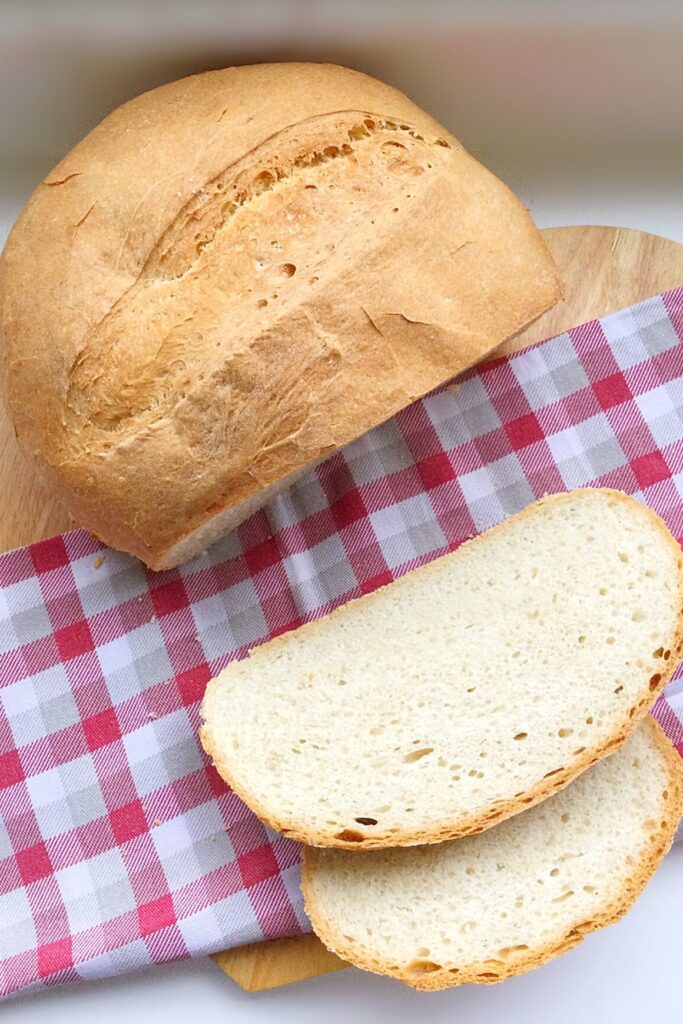
Beautiful, easy to cut, crusty bread.
If you have enjoyed this recipe for Easy White Cob Loaf you may also like these:
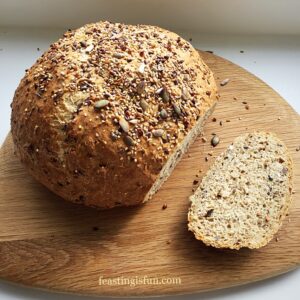
Since making bread is a passion of mine, sharing recipes, with you the reader, is important to me. Everyone who wants to should be able to make bread using simple, affordable ingredients. Equally important are clear, concise recipes with photographs. Together these aid confidence in the baker through each stage of the recipe, turning fear into fun!
So, whatever you are making, baking and creating in your kitchens, have fun preparing and sharing your feast.
Sammie x
No part of this post may be reproduced or duplicated without the written permission of the owner. Please see my Disclosure Policy.
Share
