Hello, I really have the easiest snack for you today – Vanilla Sugar Popcorn. Perfect to make on a grey, drizzly day, with the children on school holidays – or any time!
Vanilla Sugar Popcorn
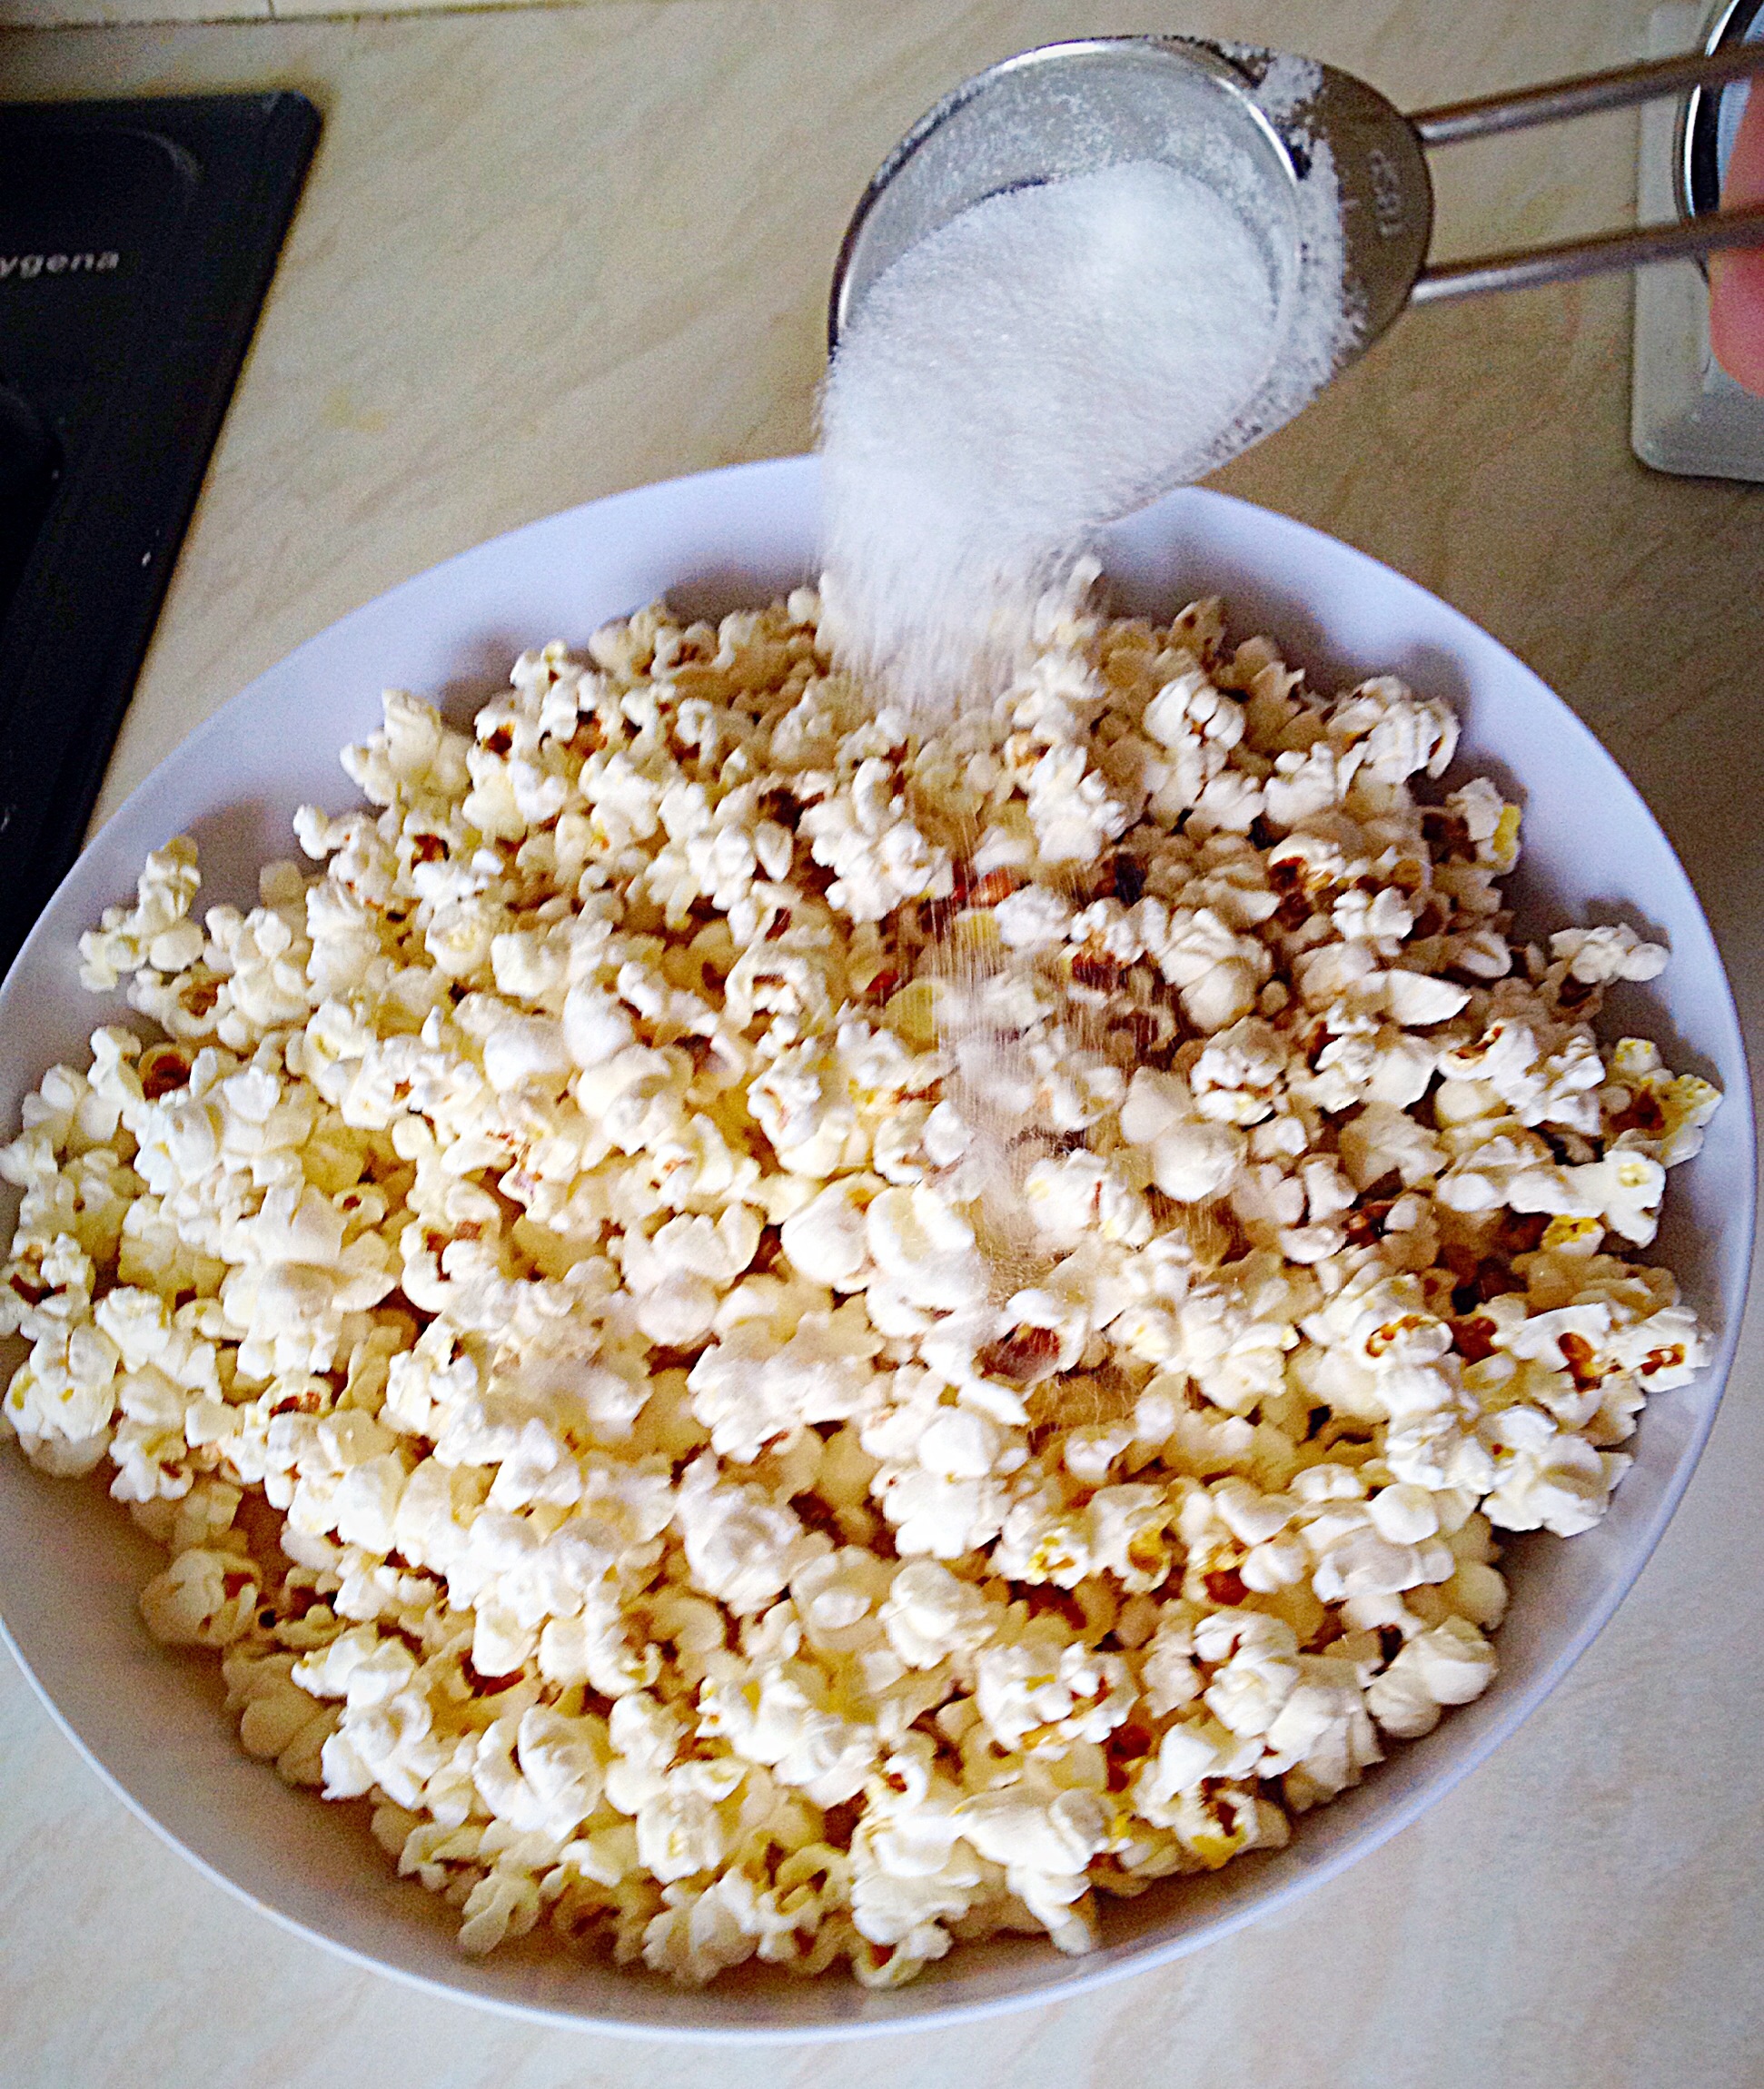
Popcorn is incredibly easy to make at home AND can be quite a healthy snack. I know I’ve made Vanilla Sugar Popcorn – but in this great big bowl of popcorn I have only added 2 tablespoons of vanilla sugar!! I know that may not be healthy enough for some, compared to the caramel smothered, shop bought, popcorn, maybe it’s better to say it’s a healthier alternative?
Vanilla Sugar Popcorn – my children couldn’t wait to get stuck in!!!!
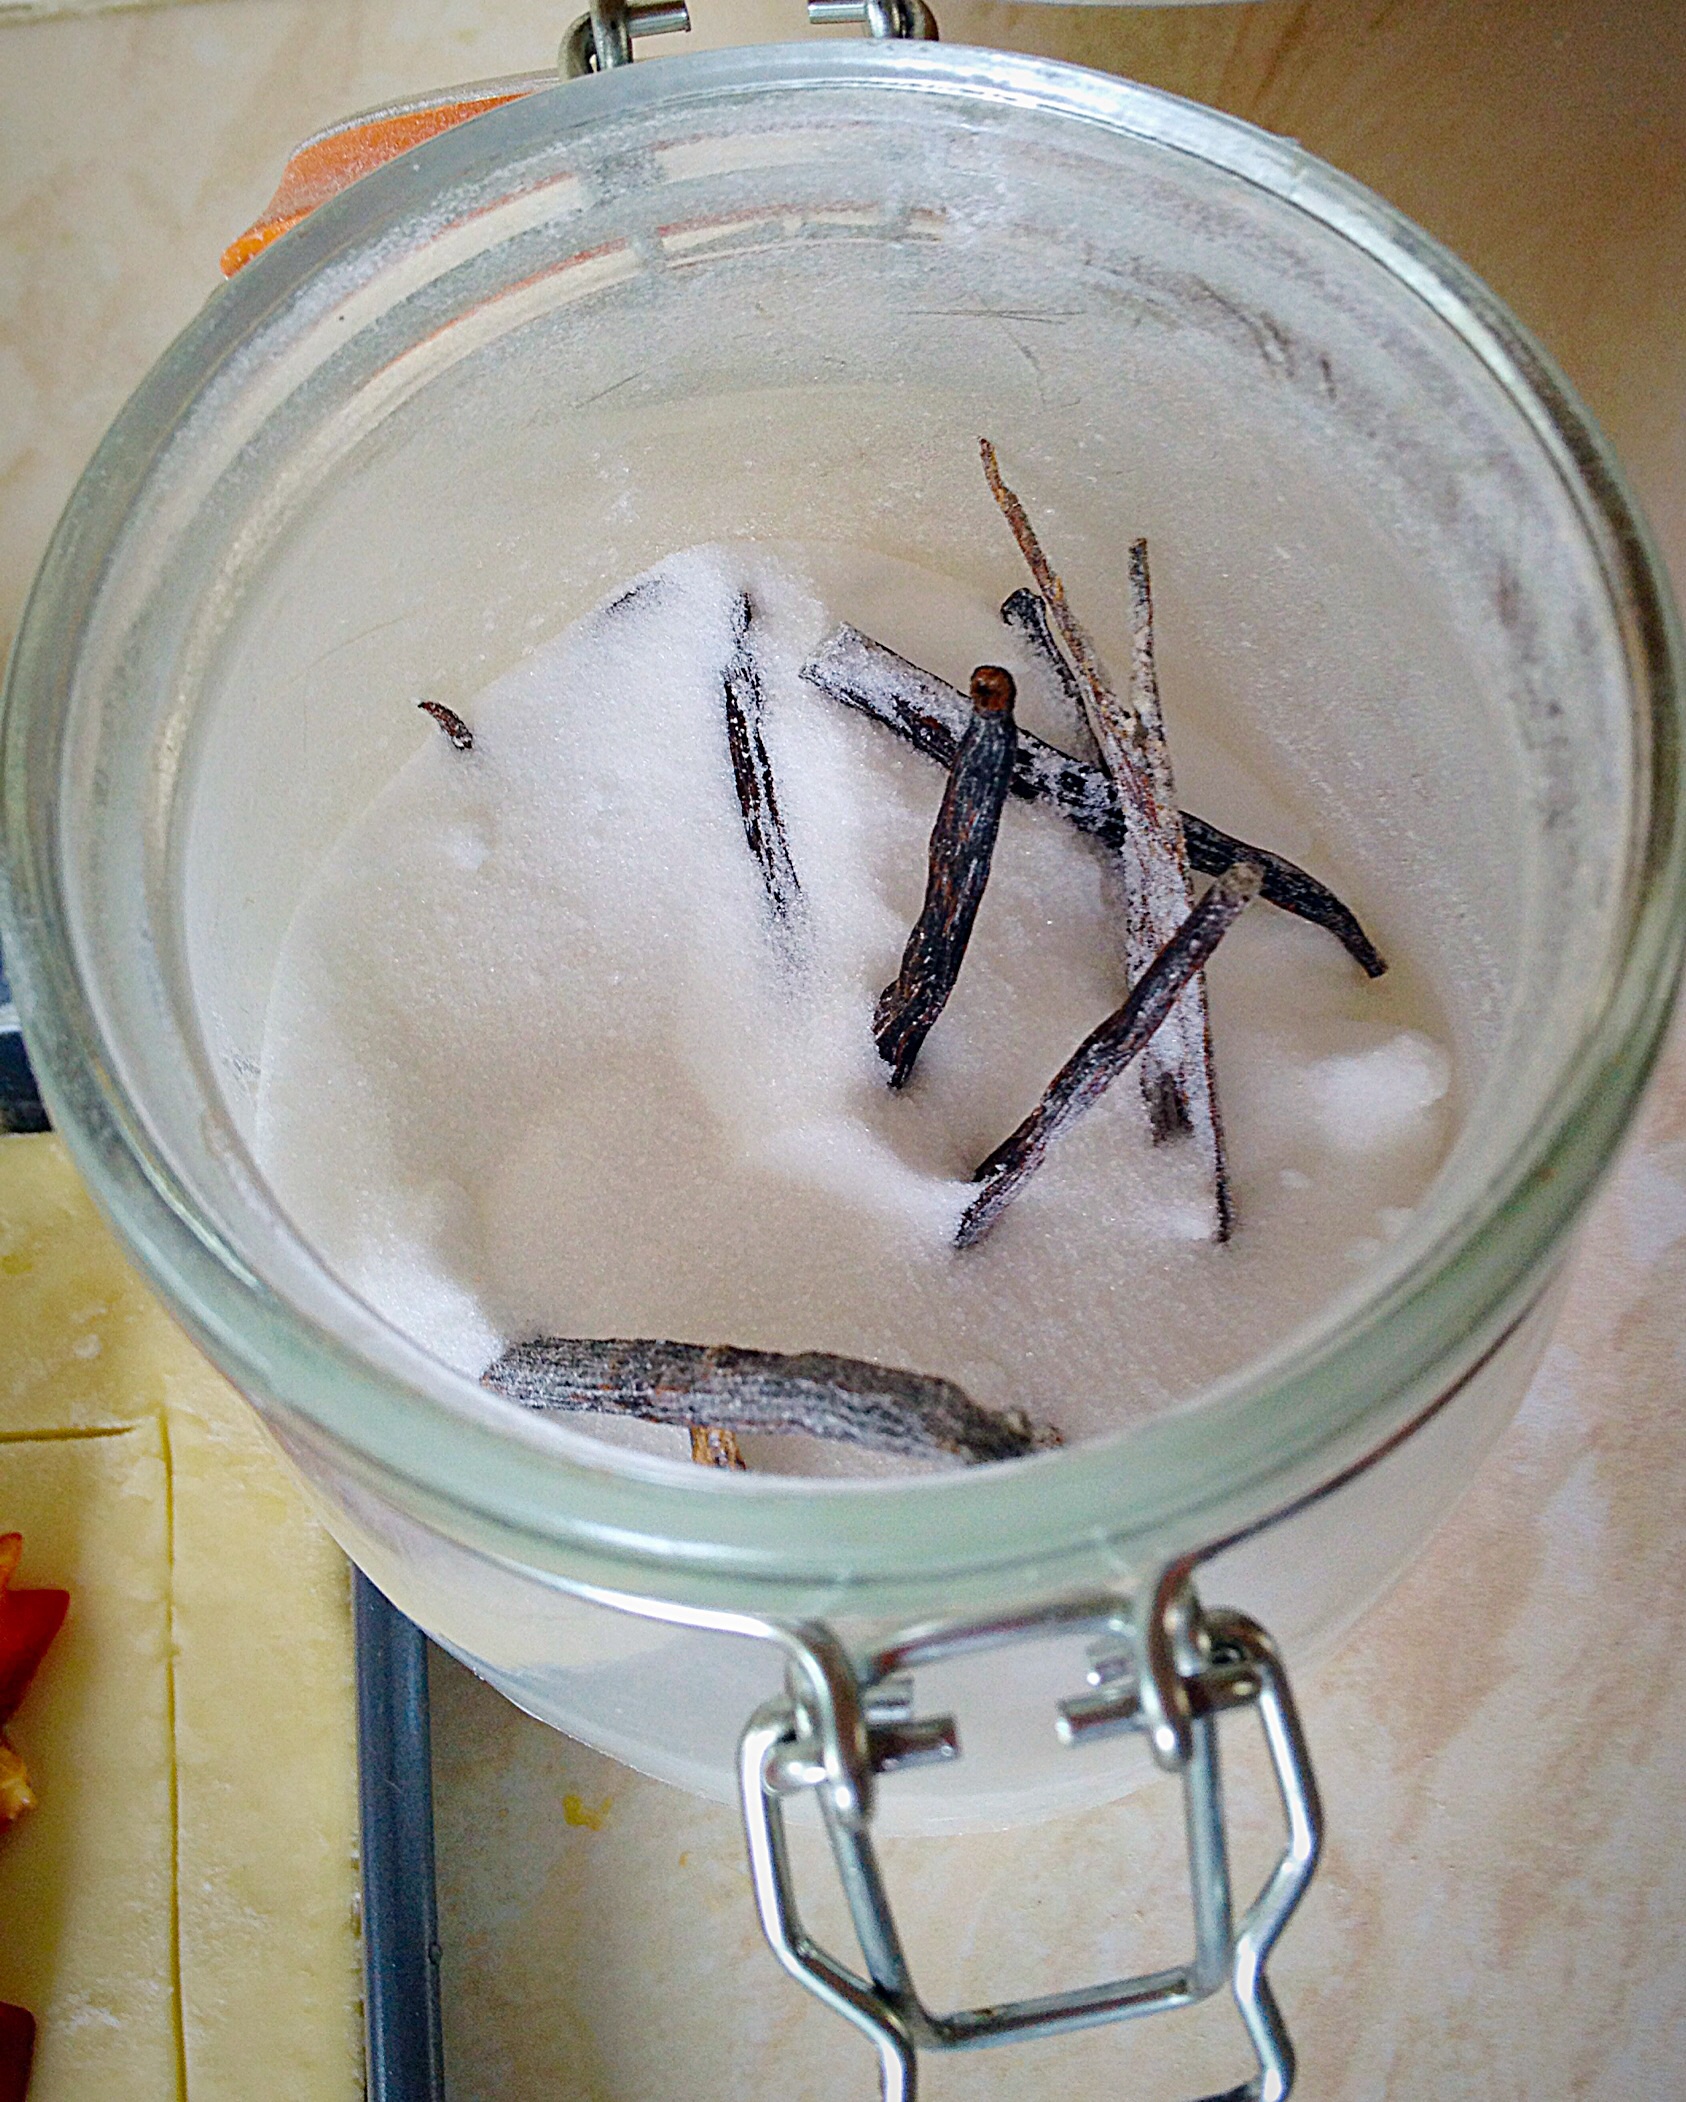
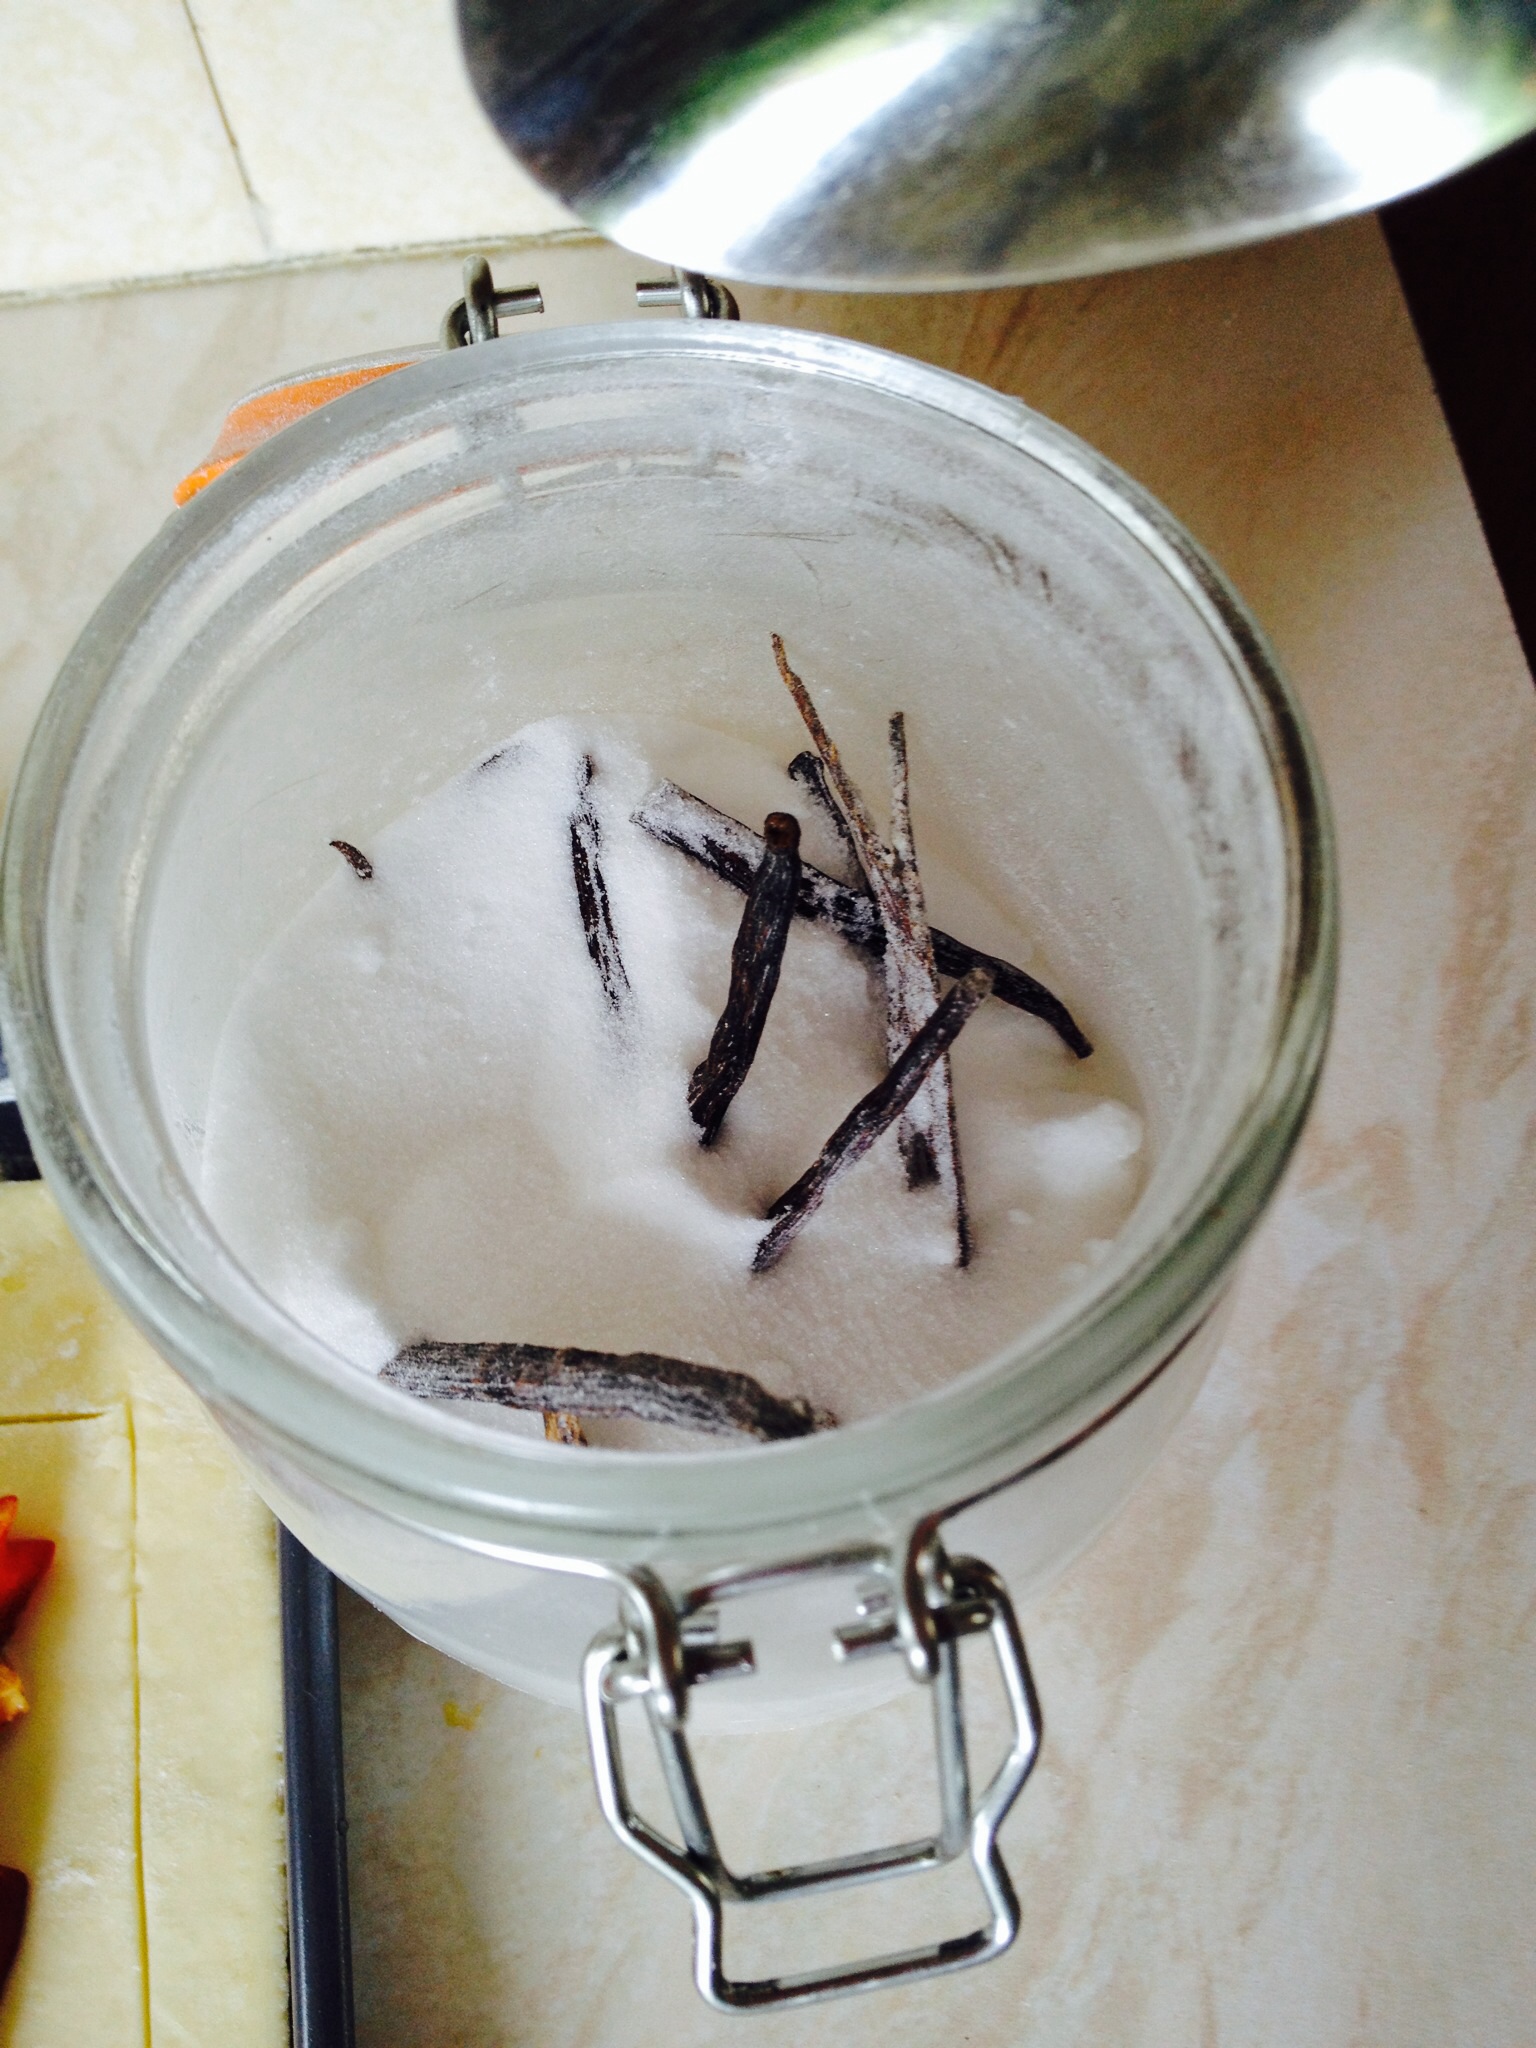
Firstly, if you don’t have Vanilla Sugar, it’s easy to make : Grab a sealable jar (I use a Kilner jar), fill with sugar (caster or granulated) pop in a few vanilla pods and leave for at least a week. You now have sugar infused with the gorgeous scent and subtle flavour of vanilla!
Vanilla Sugar – perfect for popcorn, cakes, coffee – the possibilities are endless!!
Recipe : Vanilla Sugar Popcorn Serves 6-8
1 tbsp Vegetable Oil
150g/5oz Popping Corn
2 tbsp Vanilla Sugar
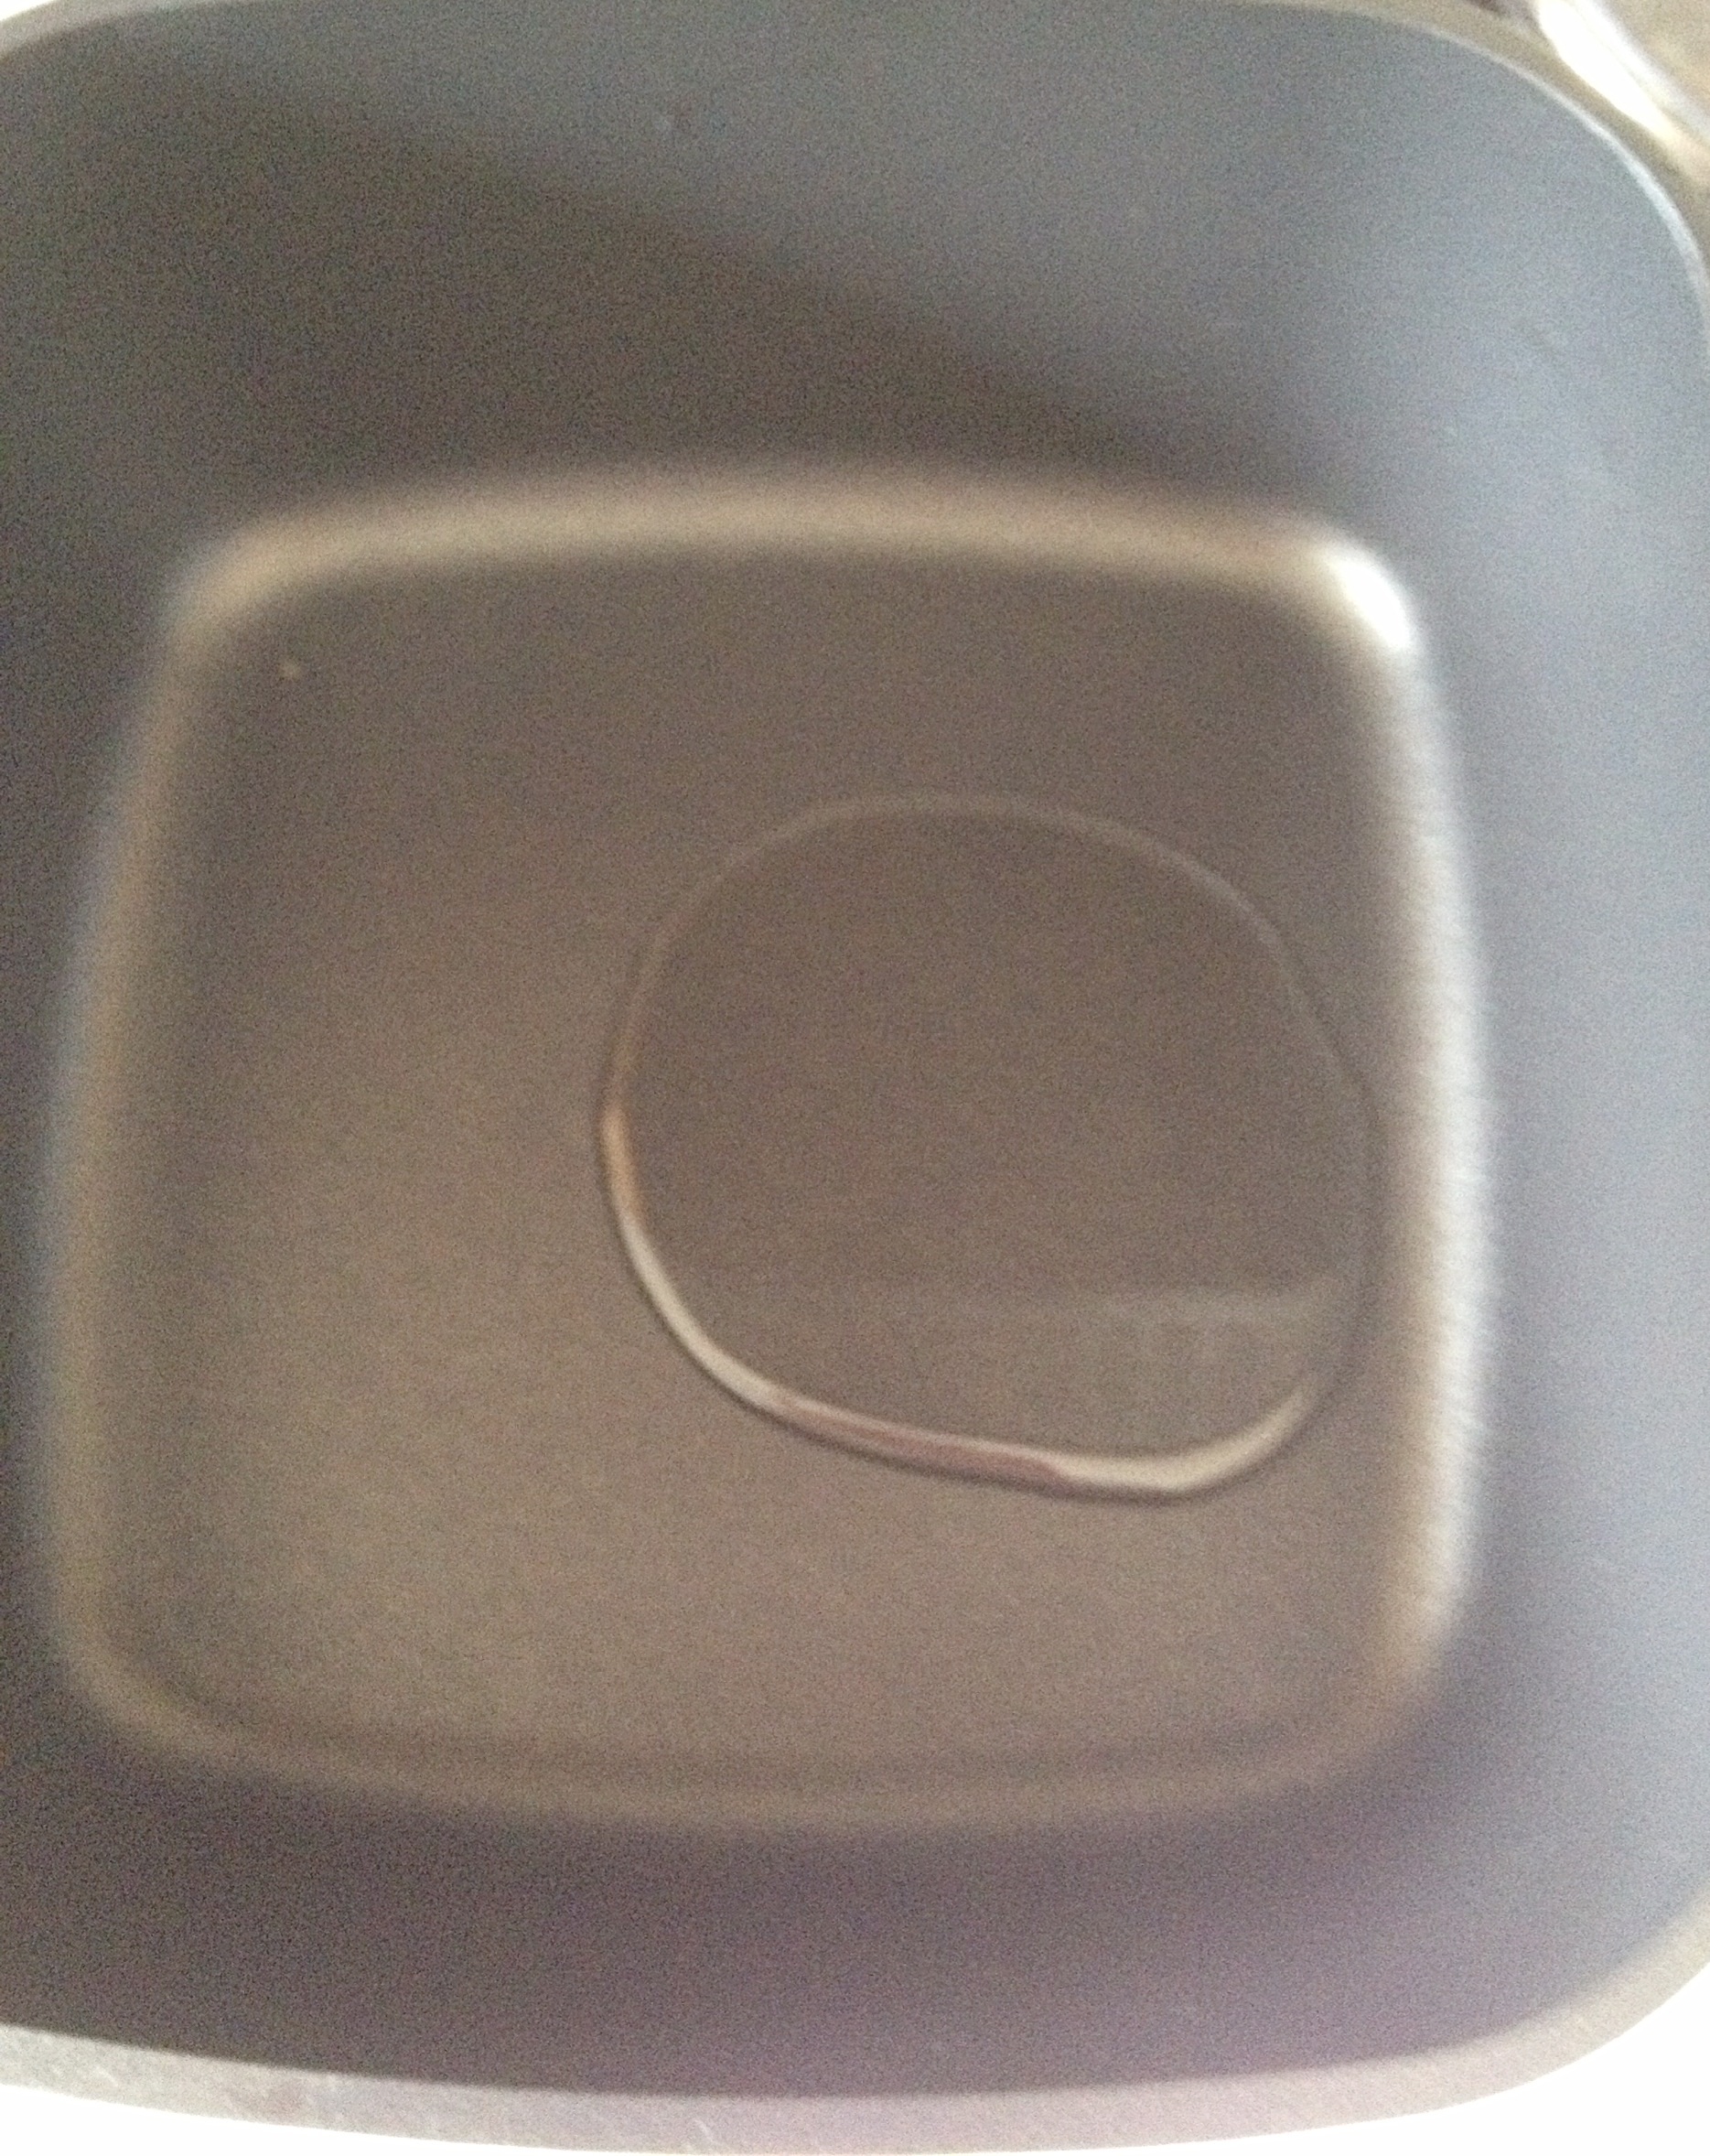
Method : You need a large saucepan with a lid.
This clear lidded pan was perfect and made popping corn more fun for the kids!!
I used a 24cm pan from Wilko. The clear lid and large size of this pan were perfect for popping corn.
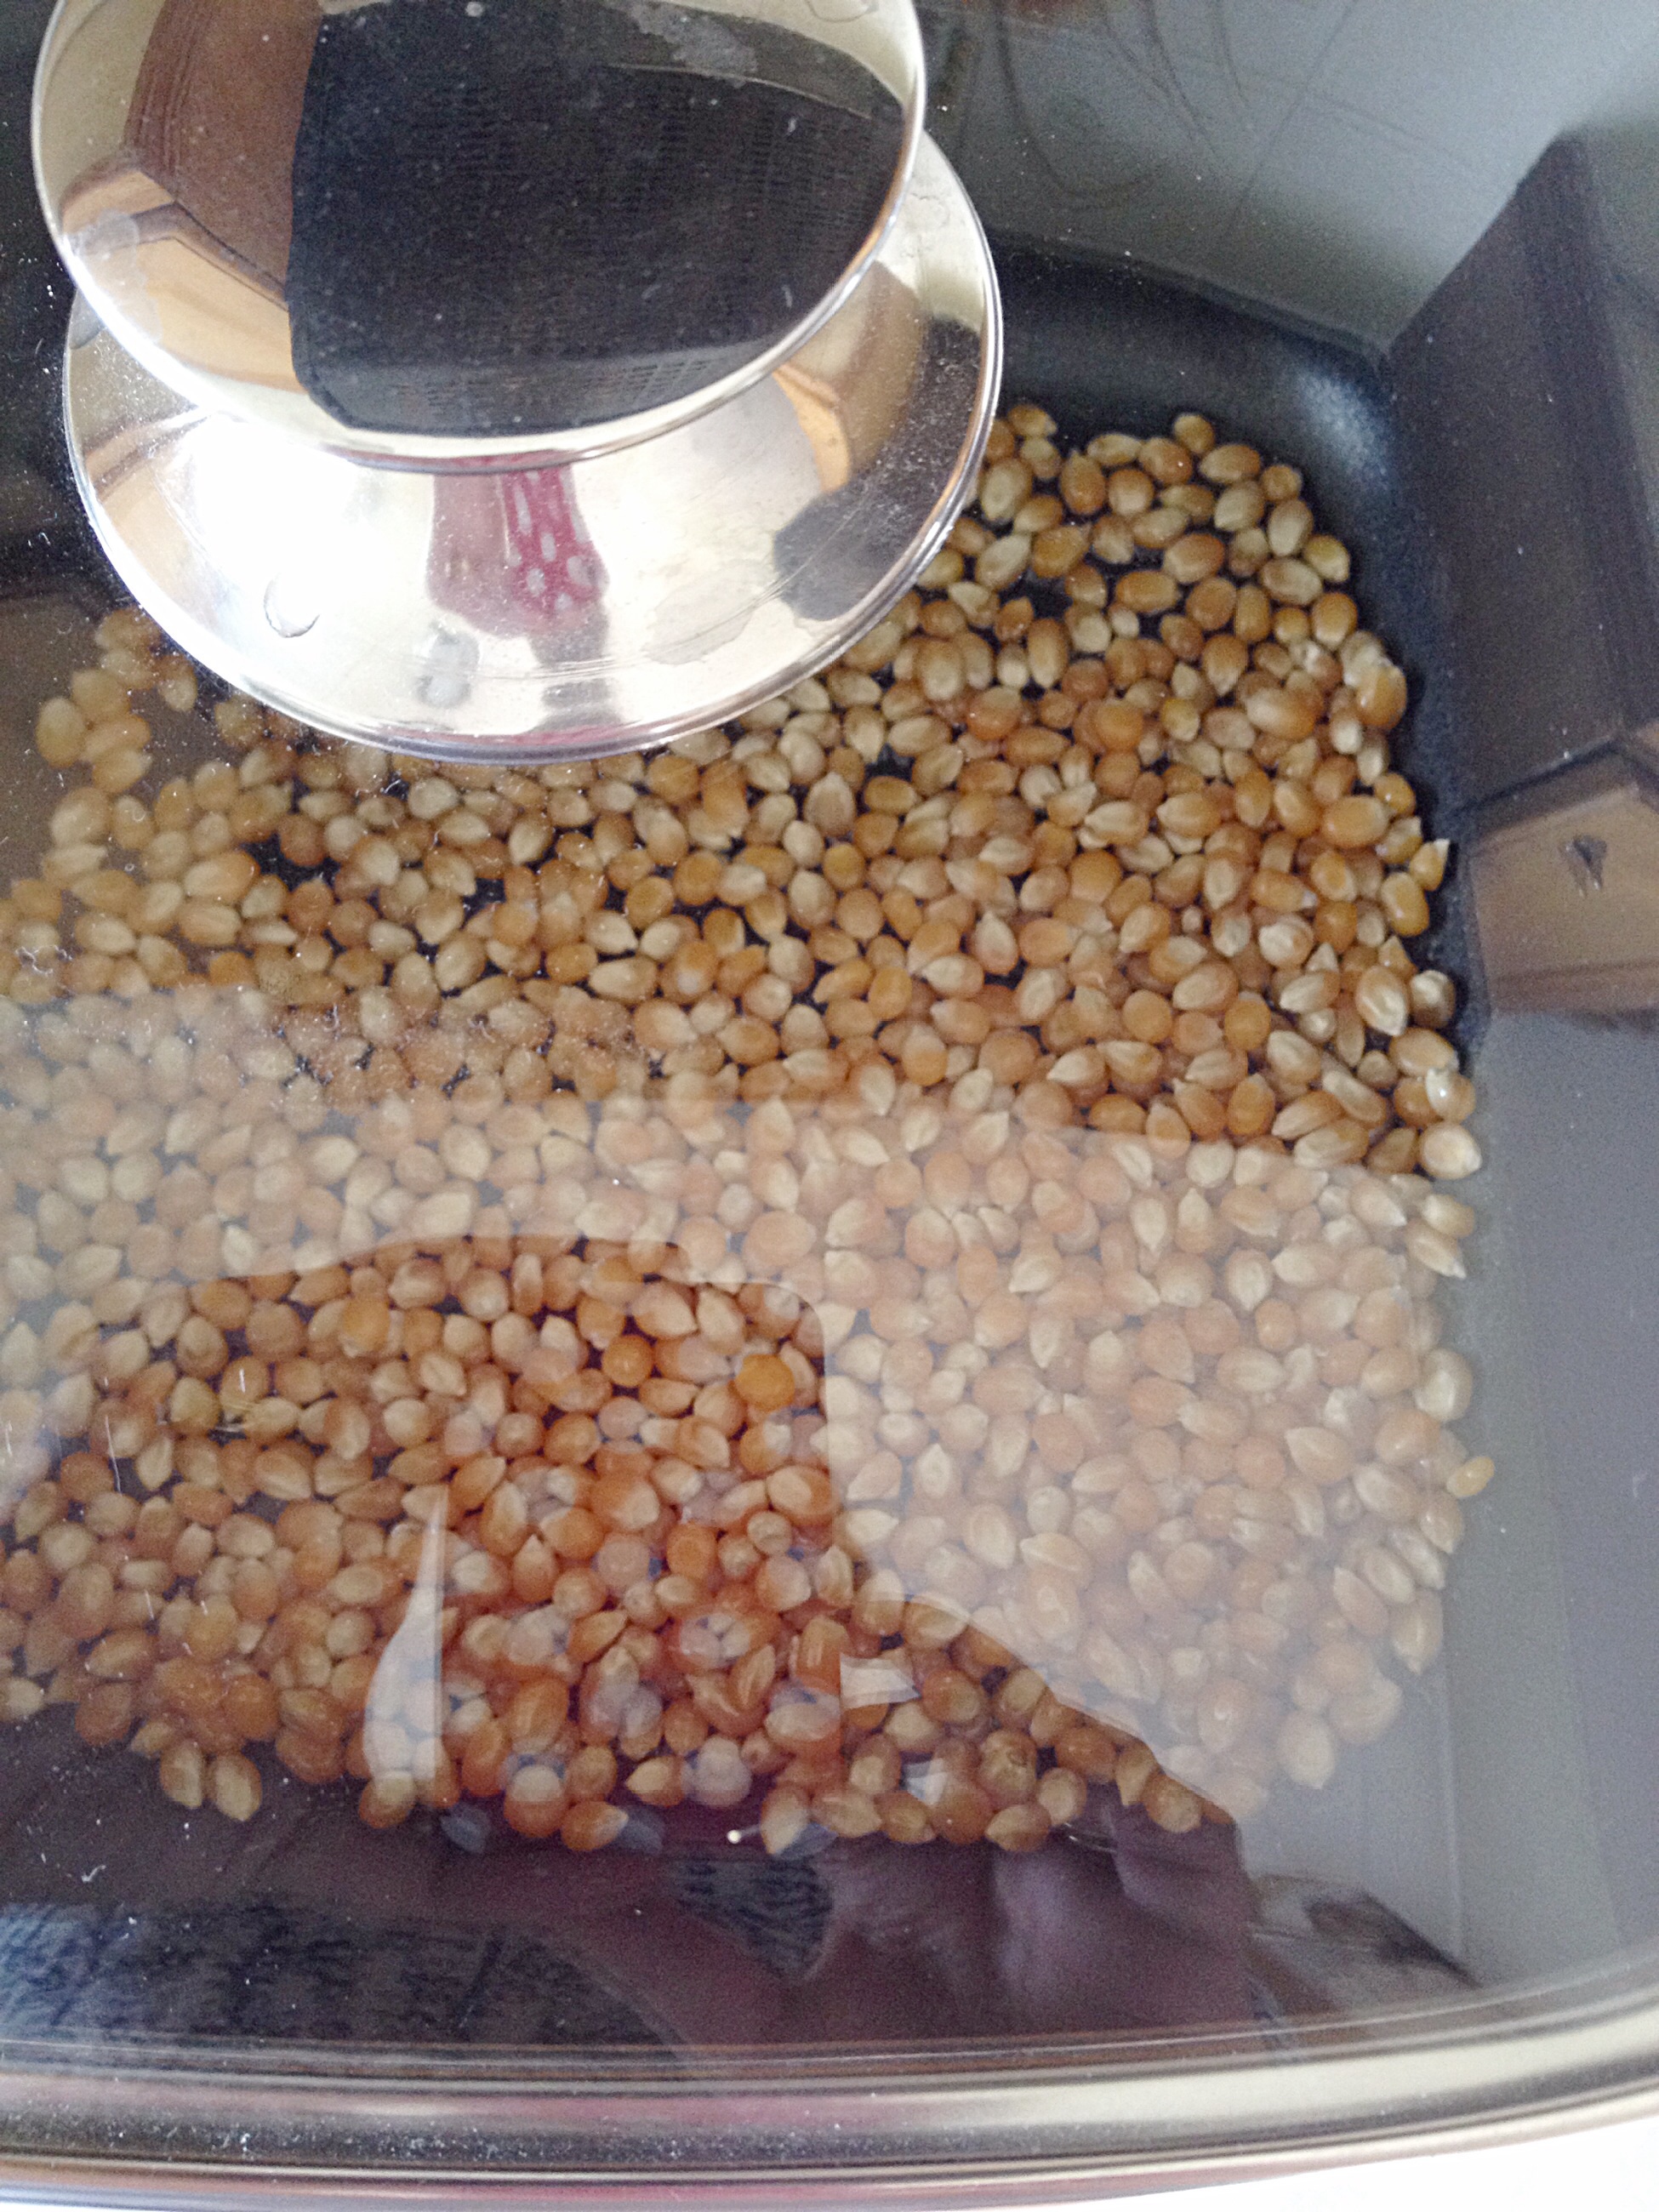
Add the oil to the pan over a medium heat.Vanilla Sugar Popcorn – add the popping corn and immediately put the lid on the pan.
Shake the pan ocaisionally (making sure you protect your hands from the hot handles). This ensures the unpopped corn settles to the bottom of the pan where the heat is.
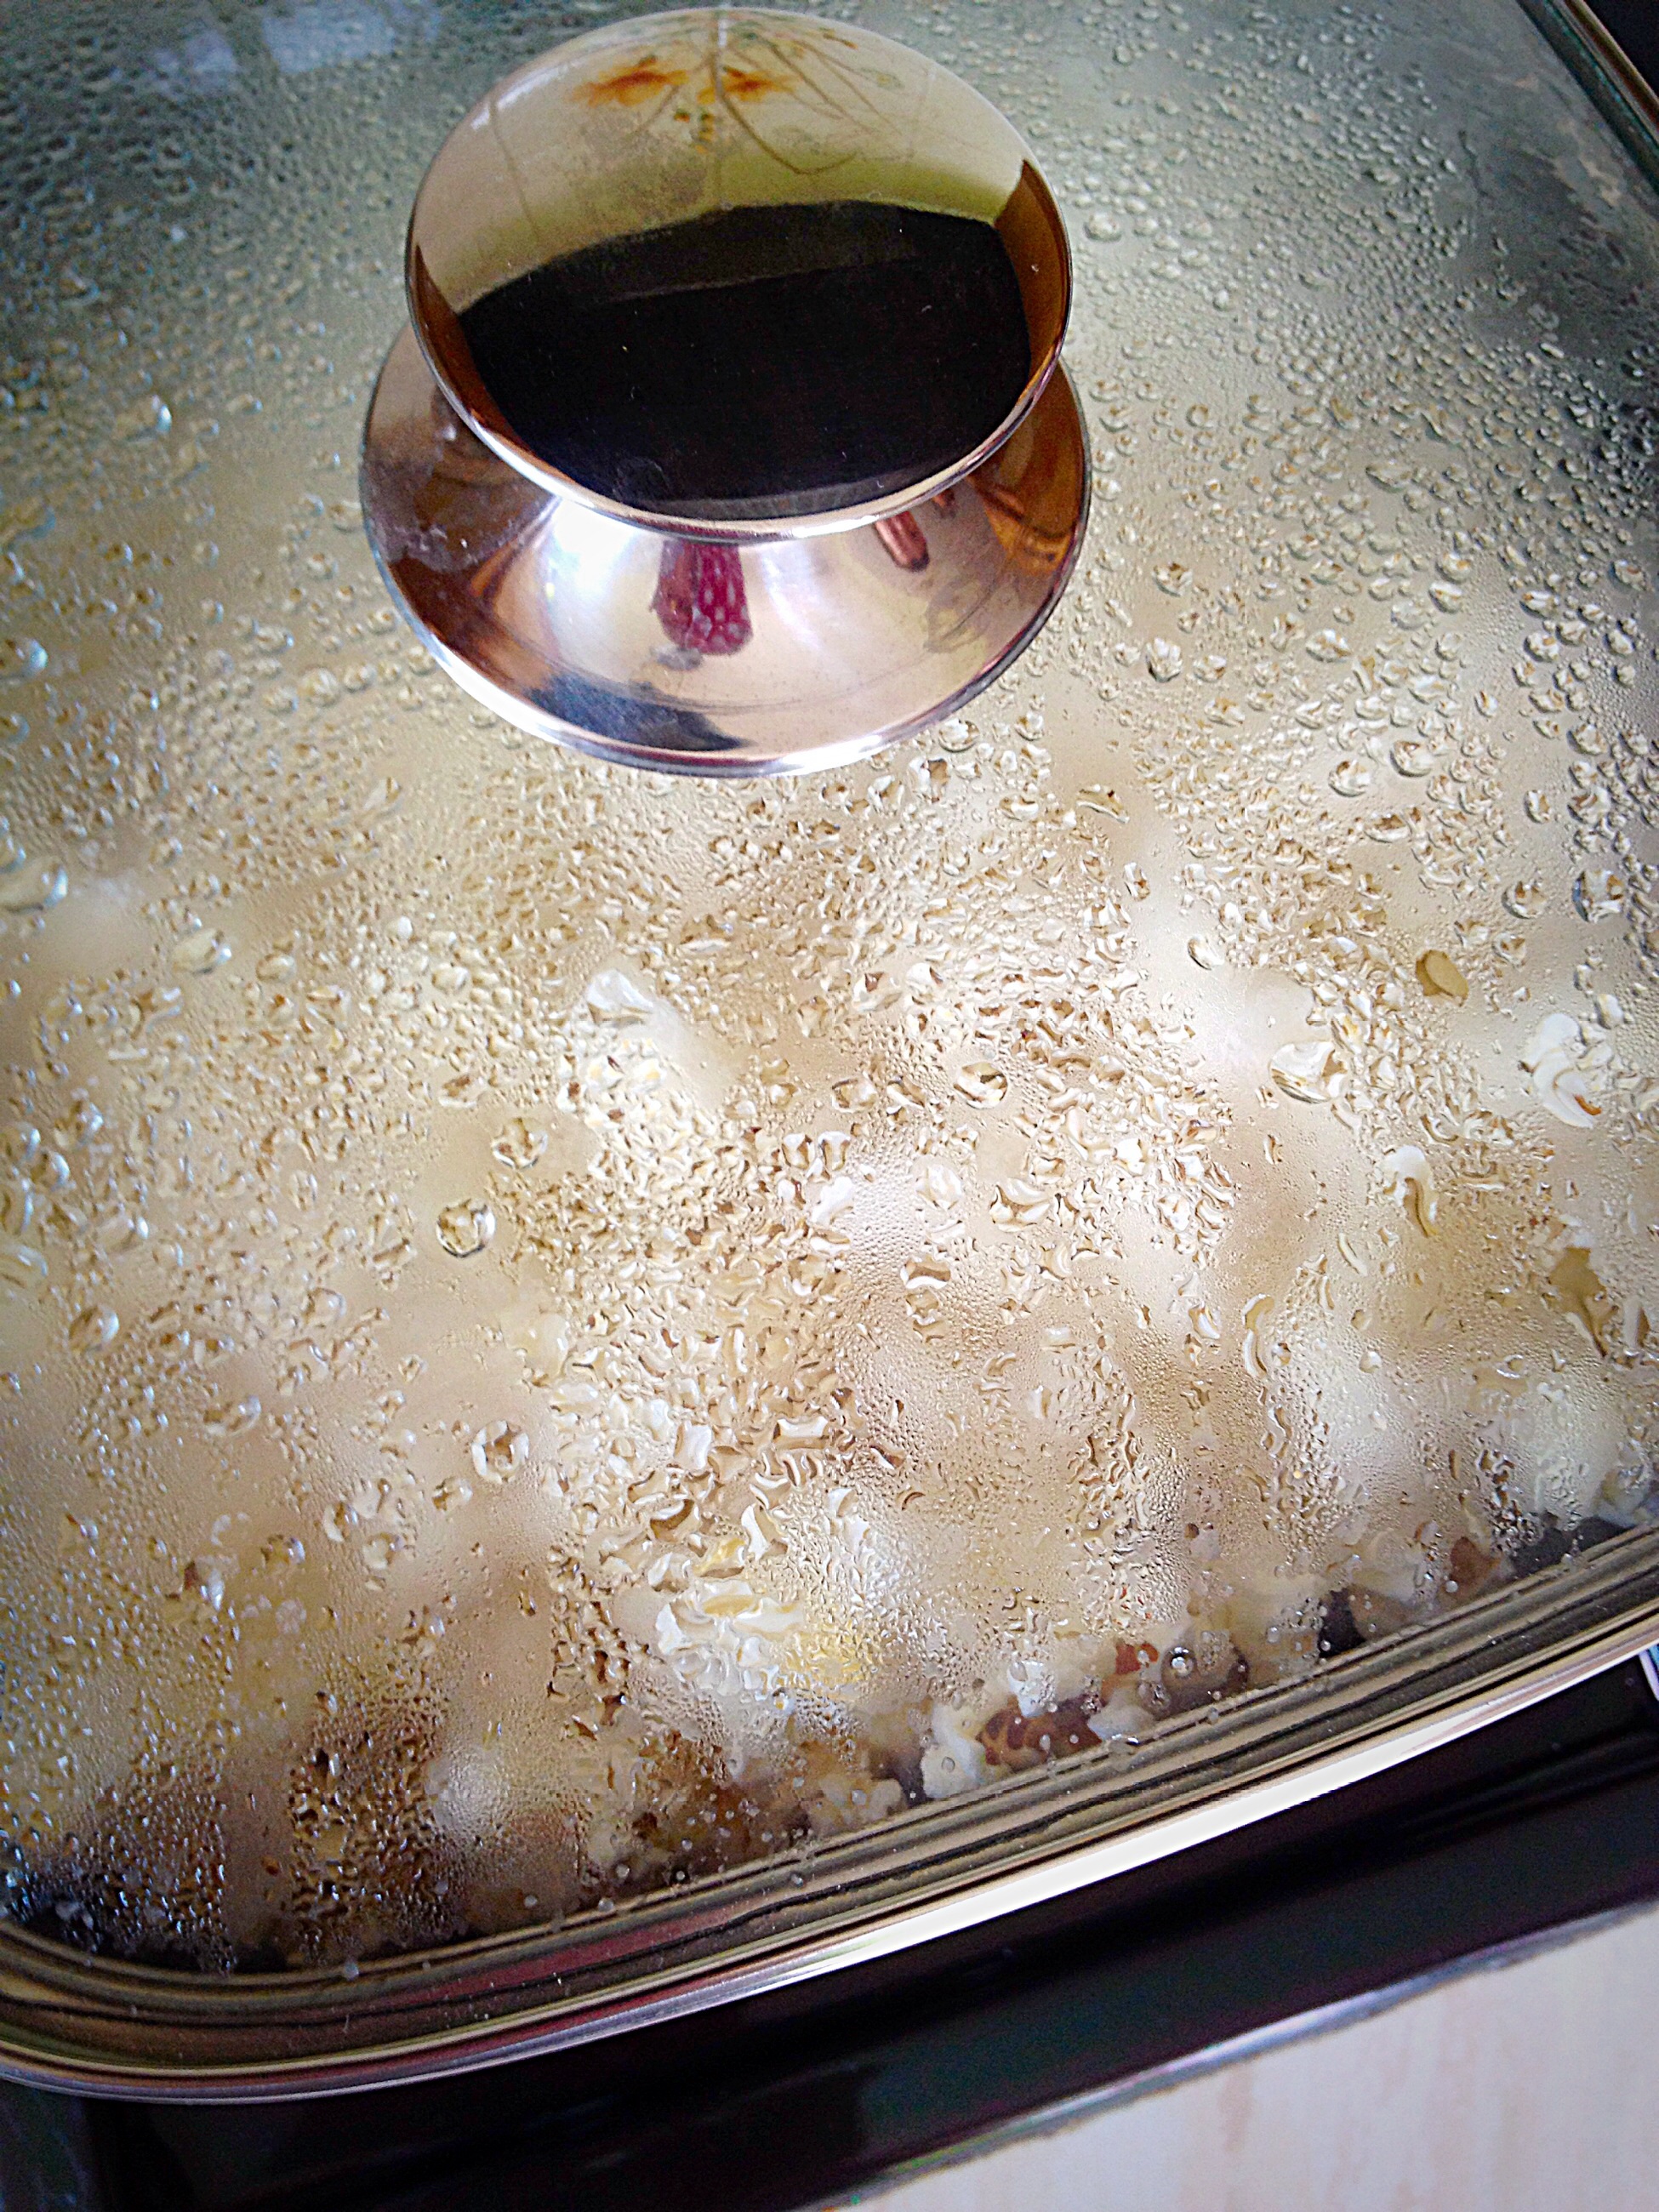
Vanilla Sugar Popcorn – with a glass lid it’s fun to watch the corn popping!!Vanilla Sugar Popcorn – remove the lid when the popping has almost stopped.
Remove the pan from the heat and breathe in the gorgeous smell of freshly popped corn. It smells amazing!
Vanilla Sugar Popcorn – tip the popcorn into a large bowl.Vanilla Sugar Popcorn – sprinkle over 2 tablespoons of vanilla sugar.
Give the popcorn a good mix using a large spoon. Dont worry if some of the popcorn escapes – there’s sure to be people around, drawn in by the smell, to help pick up the escaped popcorn!!!
This is the perfect snack for a film afternoon/night. It costs a tiny portion of shop bought popcorn and tastes infinetly better. Perfect for a rainy summer holiday afternoon with a houseful of children and teenagers, or an evening with friends.
Vanilla Sugar Popcorn – the ideal food for feasting and fun!!!
Make sure you taste some as this Vanilla Sugar Popcorn will not last long!
For a twist use Cinnamon Sugar – I keep a jar of sugar with a couple of cinnamon sticks added.
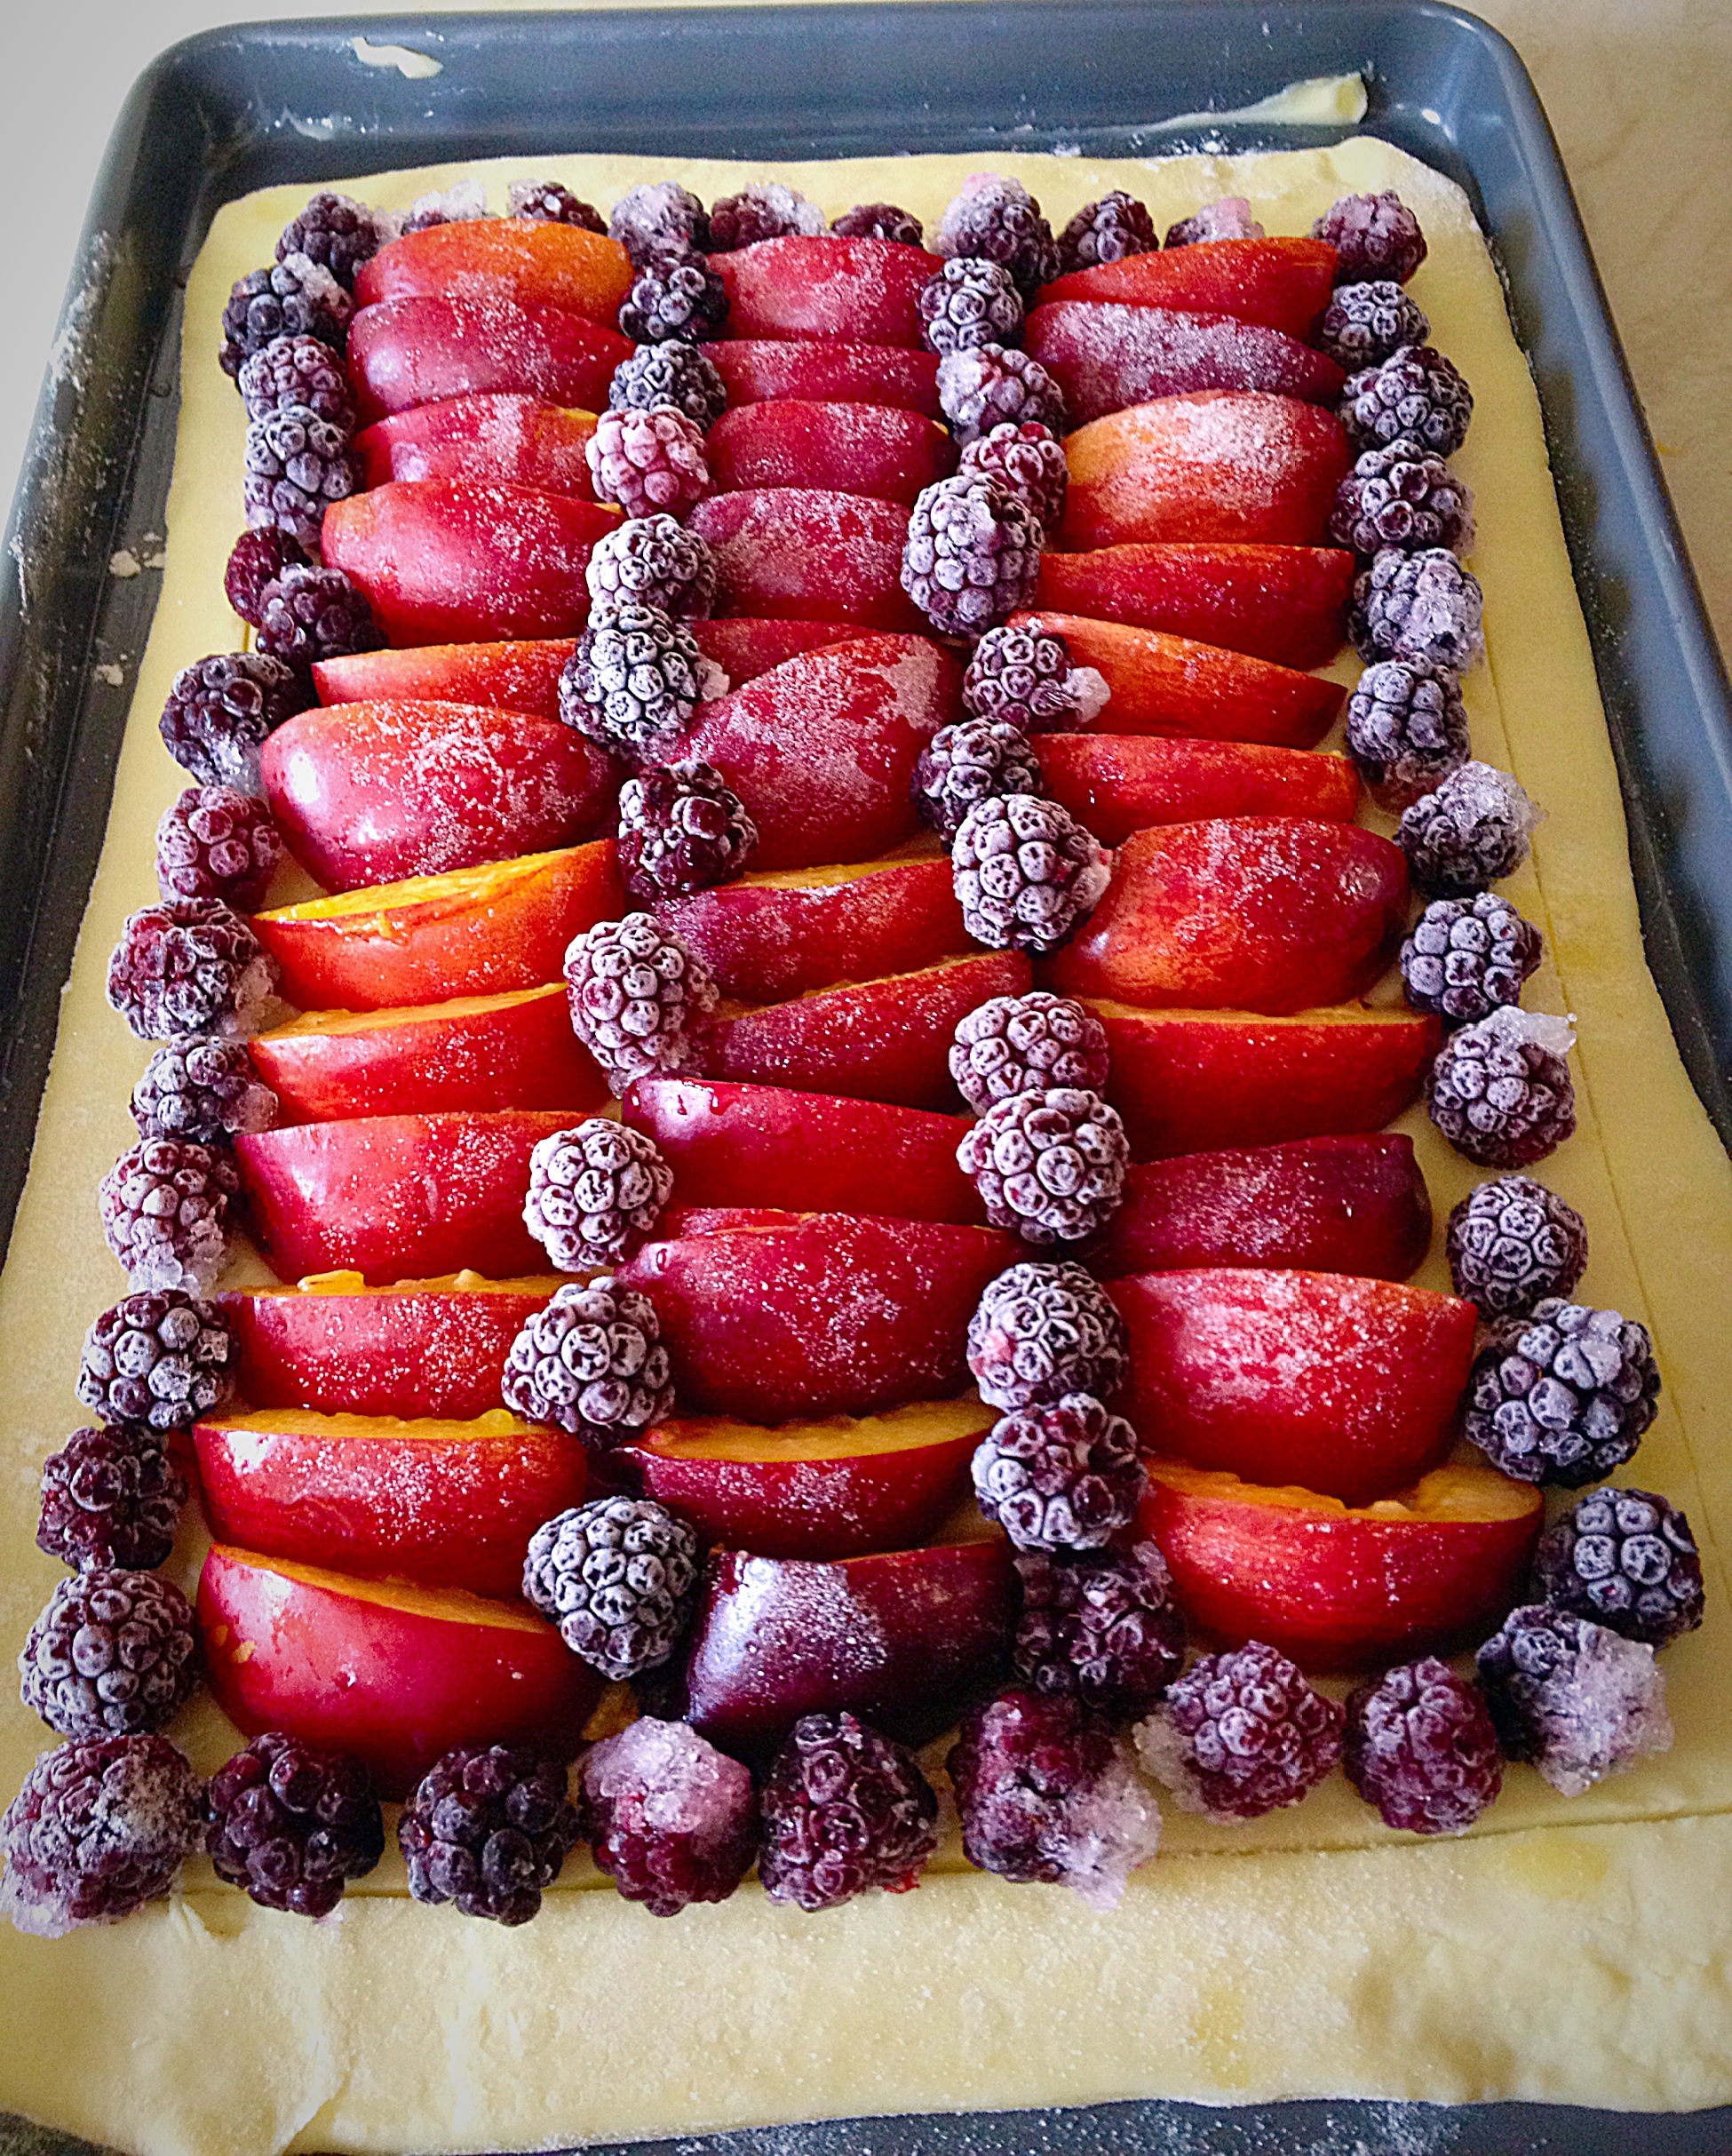
Hi, I’m celebrating. Because today is the first day I’ve woken up without a migraine for too long. So when I get a fairly good day I smile and give thanks, harder to do on the other days, more like clinging on by my fingertips. AND I made the easiest tart ever! This Blackberry Nectarine Tart is made with shop bought, all butter, puff pastry, a tub of blackberries (mine were frozen) and a punnet of nectarines. Alternatively you could easily use peaches.
So if you imagine roasting vegetables intensifies their flavour, then think what 30 minutes in a hot oven does to the fruit in this tart. Even with the addition of a sprinkle of vanilla sugar the intense fruit flavours in this Blackberry Nectarine Tart are a delight on the taste buds. While this is not a sweet tart. For me it’s a perfect balance of fruity flavour and flaky, buttery pastry.
Blackberry Nectarine Tart
Create An Easy Dessert Using Store Cupboard Staples
I really can’t emphasise how easy this tart is to make. Since the pastry and blackberries were in the freezer, the nectarines, ridiculously cheap and in season, ripening at an increasingly rapid pace, needed using. Also, given how well this tart turned out I would happily make this during the colder months using, shock, horror, tinned peaches! Yup I would, with custard poured over. I am shameless!!!
Blackberry Nectarine Tart – a perfect summer dessert, even in the winter.
I hope I’ve convinced you to give this tart a try? Because as they say “The proof of the pudding, is in the eating!”
Recipe : Blackberry Nectarine Tart Serves 6
375g/13oz All Butter Puff Pastry – defrosted, if frozen, I use JusRol. Alternatively use vegetable fat puff pastry for a vegan dessert.
300g/11oz Blackberries – if frozen don’t defrost – I buy frozen punnets from Waitrose
7-8 Nectarines – peaches are a good substitute
1tbsp Vanilla Sugar
Method : Preheat oven to 220C/200C fan, 425F, gas mark 7
Grease or line with parchment paper a baking tray with shallow sides, the fruit give off juices when baked, 26cm x 39cm (10.5″ x 15.5″).
Assembling The Puff Pastry Tart
First of all, on a clean, dry, lightly floured surface, roll out the pastry so that it will just fit in the baking tray – I haven’t given dimensions, as if your baking tray size differs from mine a few centimetres either way, it won’t matter.
Using your rolling pin transfer the pastry to the baking tray.
I lightly scored the pastry approx. 1cm in from the edge with a sharp knife. This will ensure that a nice, even, crust, borders the tart.
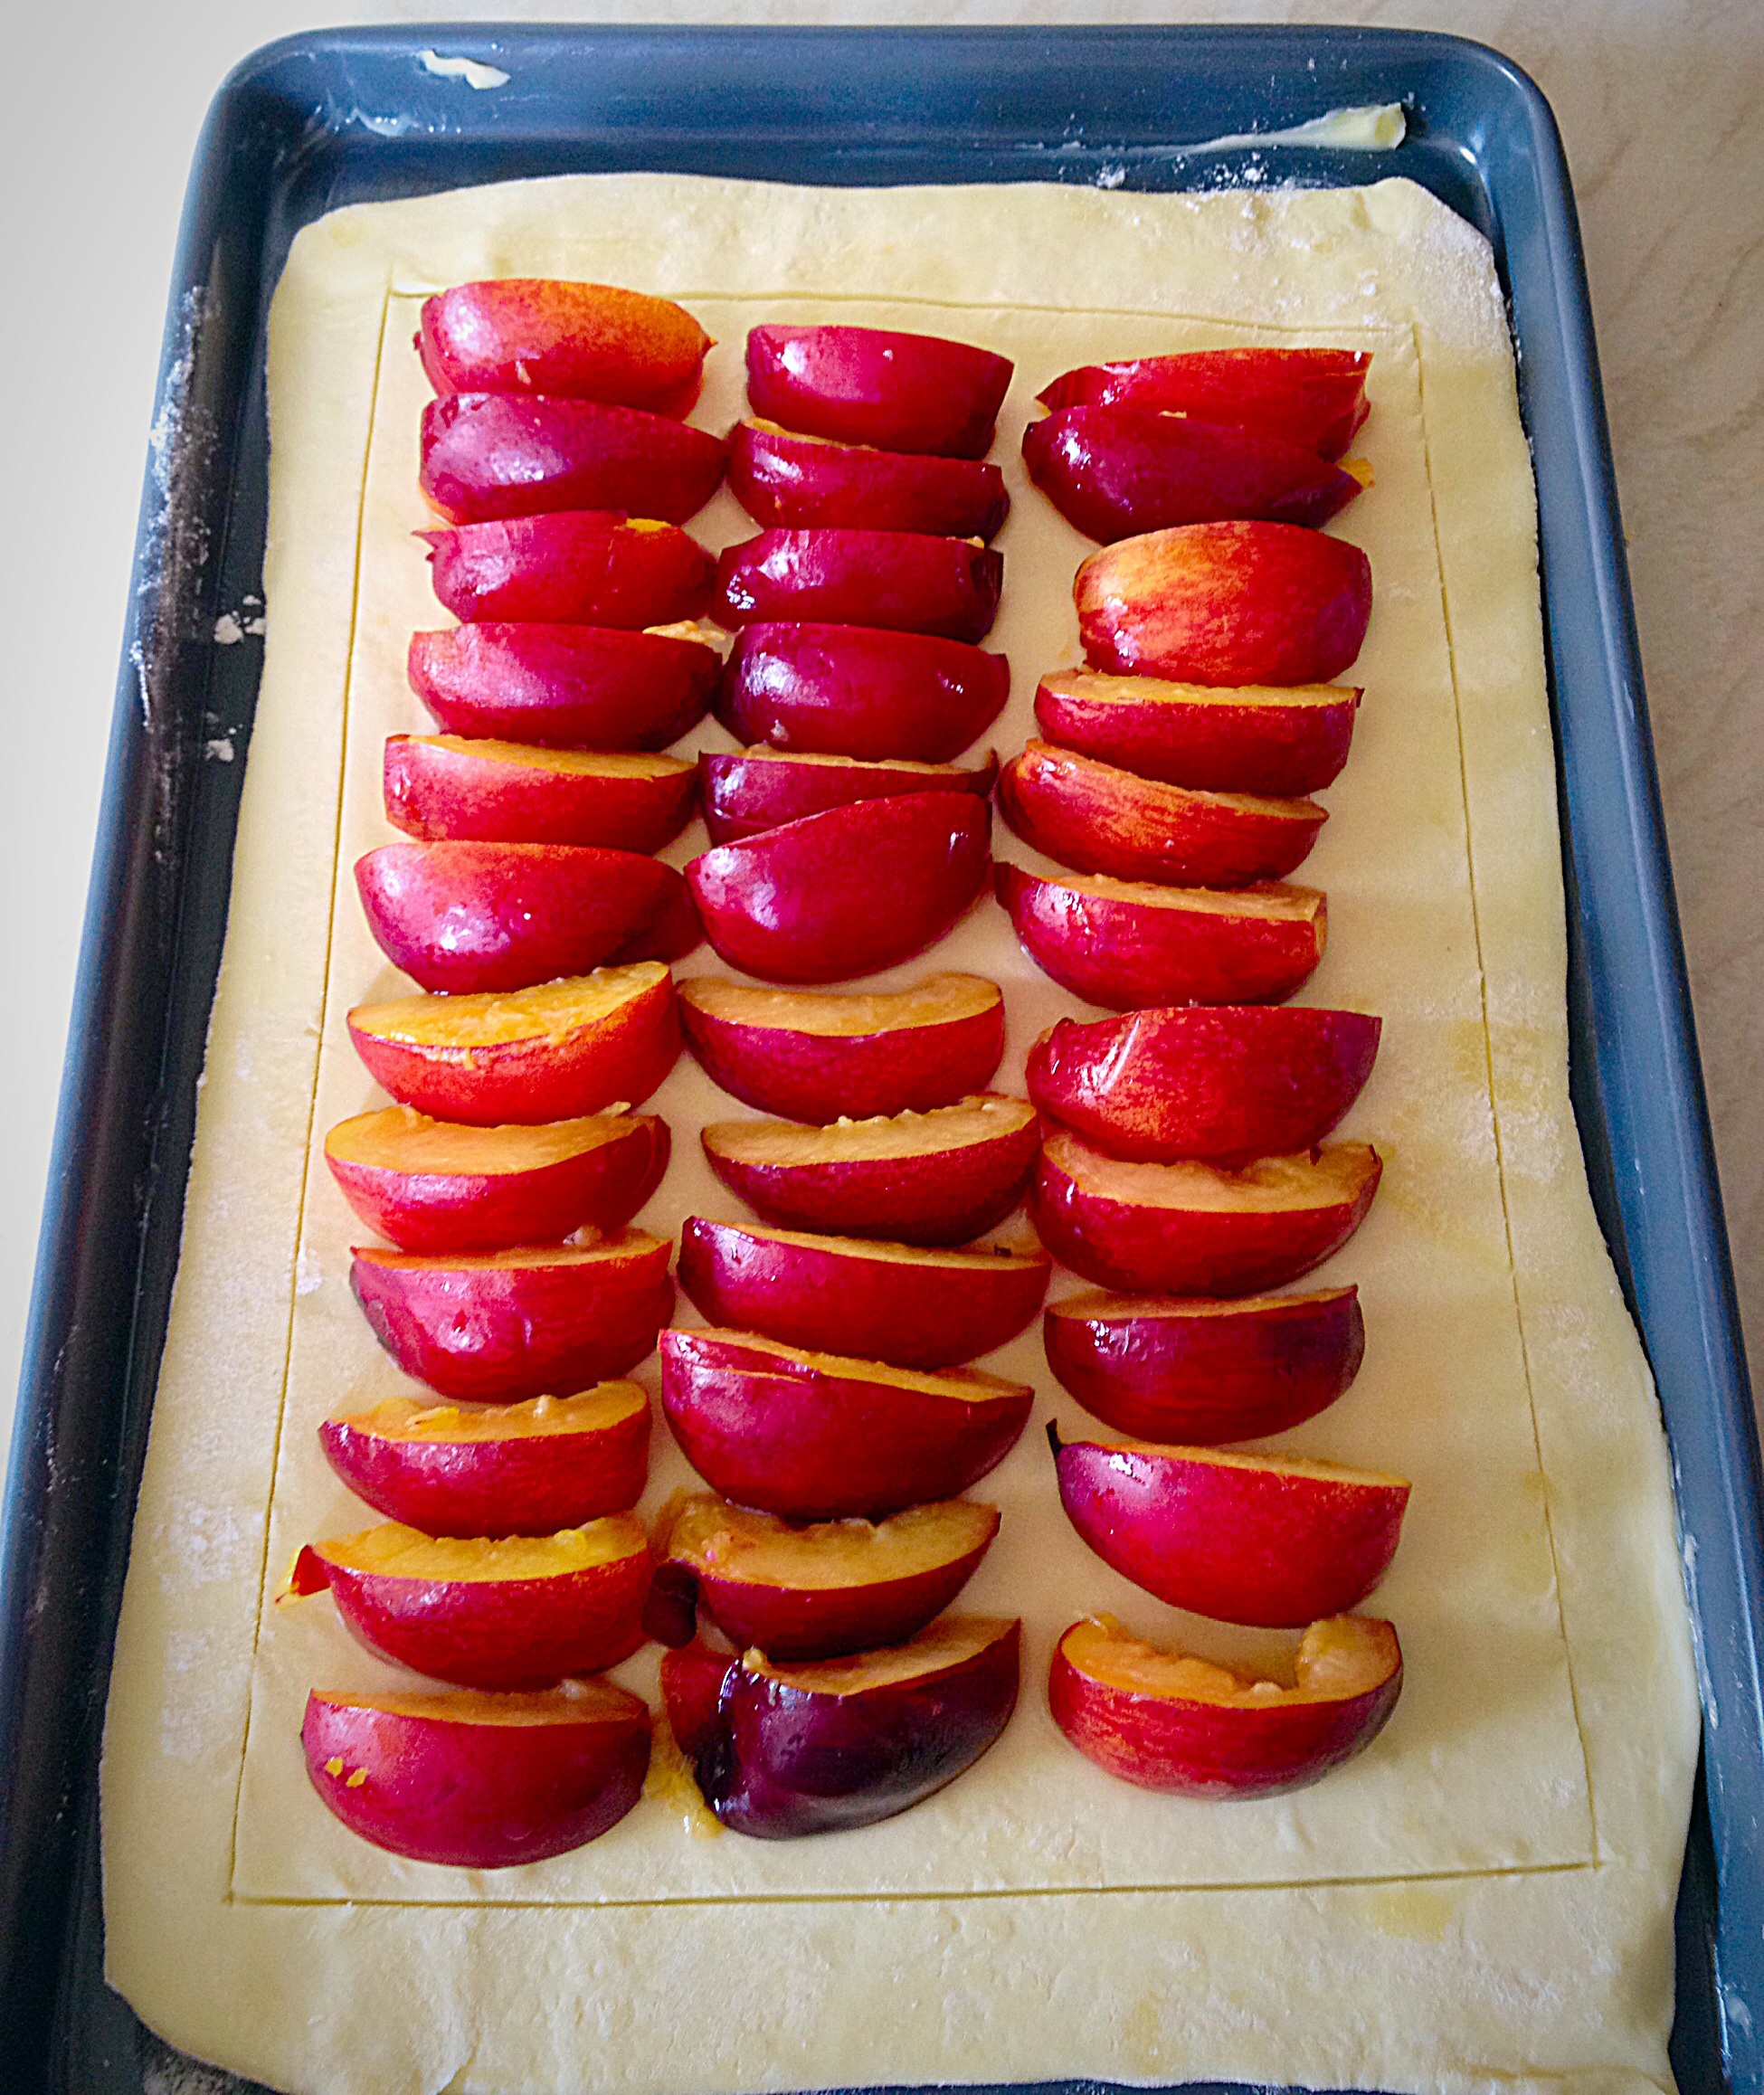
Next slice each nectarine into 6 equal(ish) portions. If they are still firm this should be fairly easy. Because mine were very ripe so I cut out the slices, against the stone, while holding the nectarine, over a bowl to catch the juices.
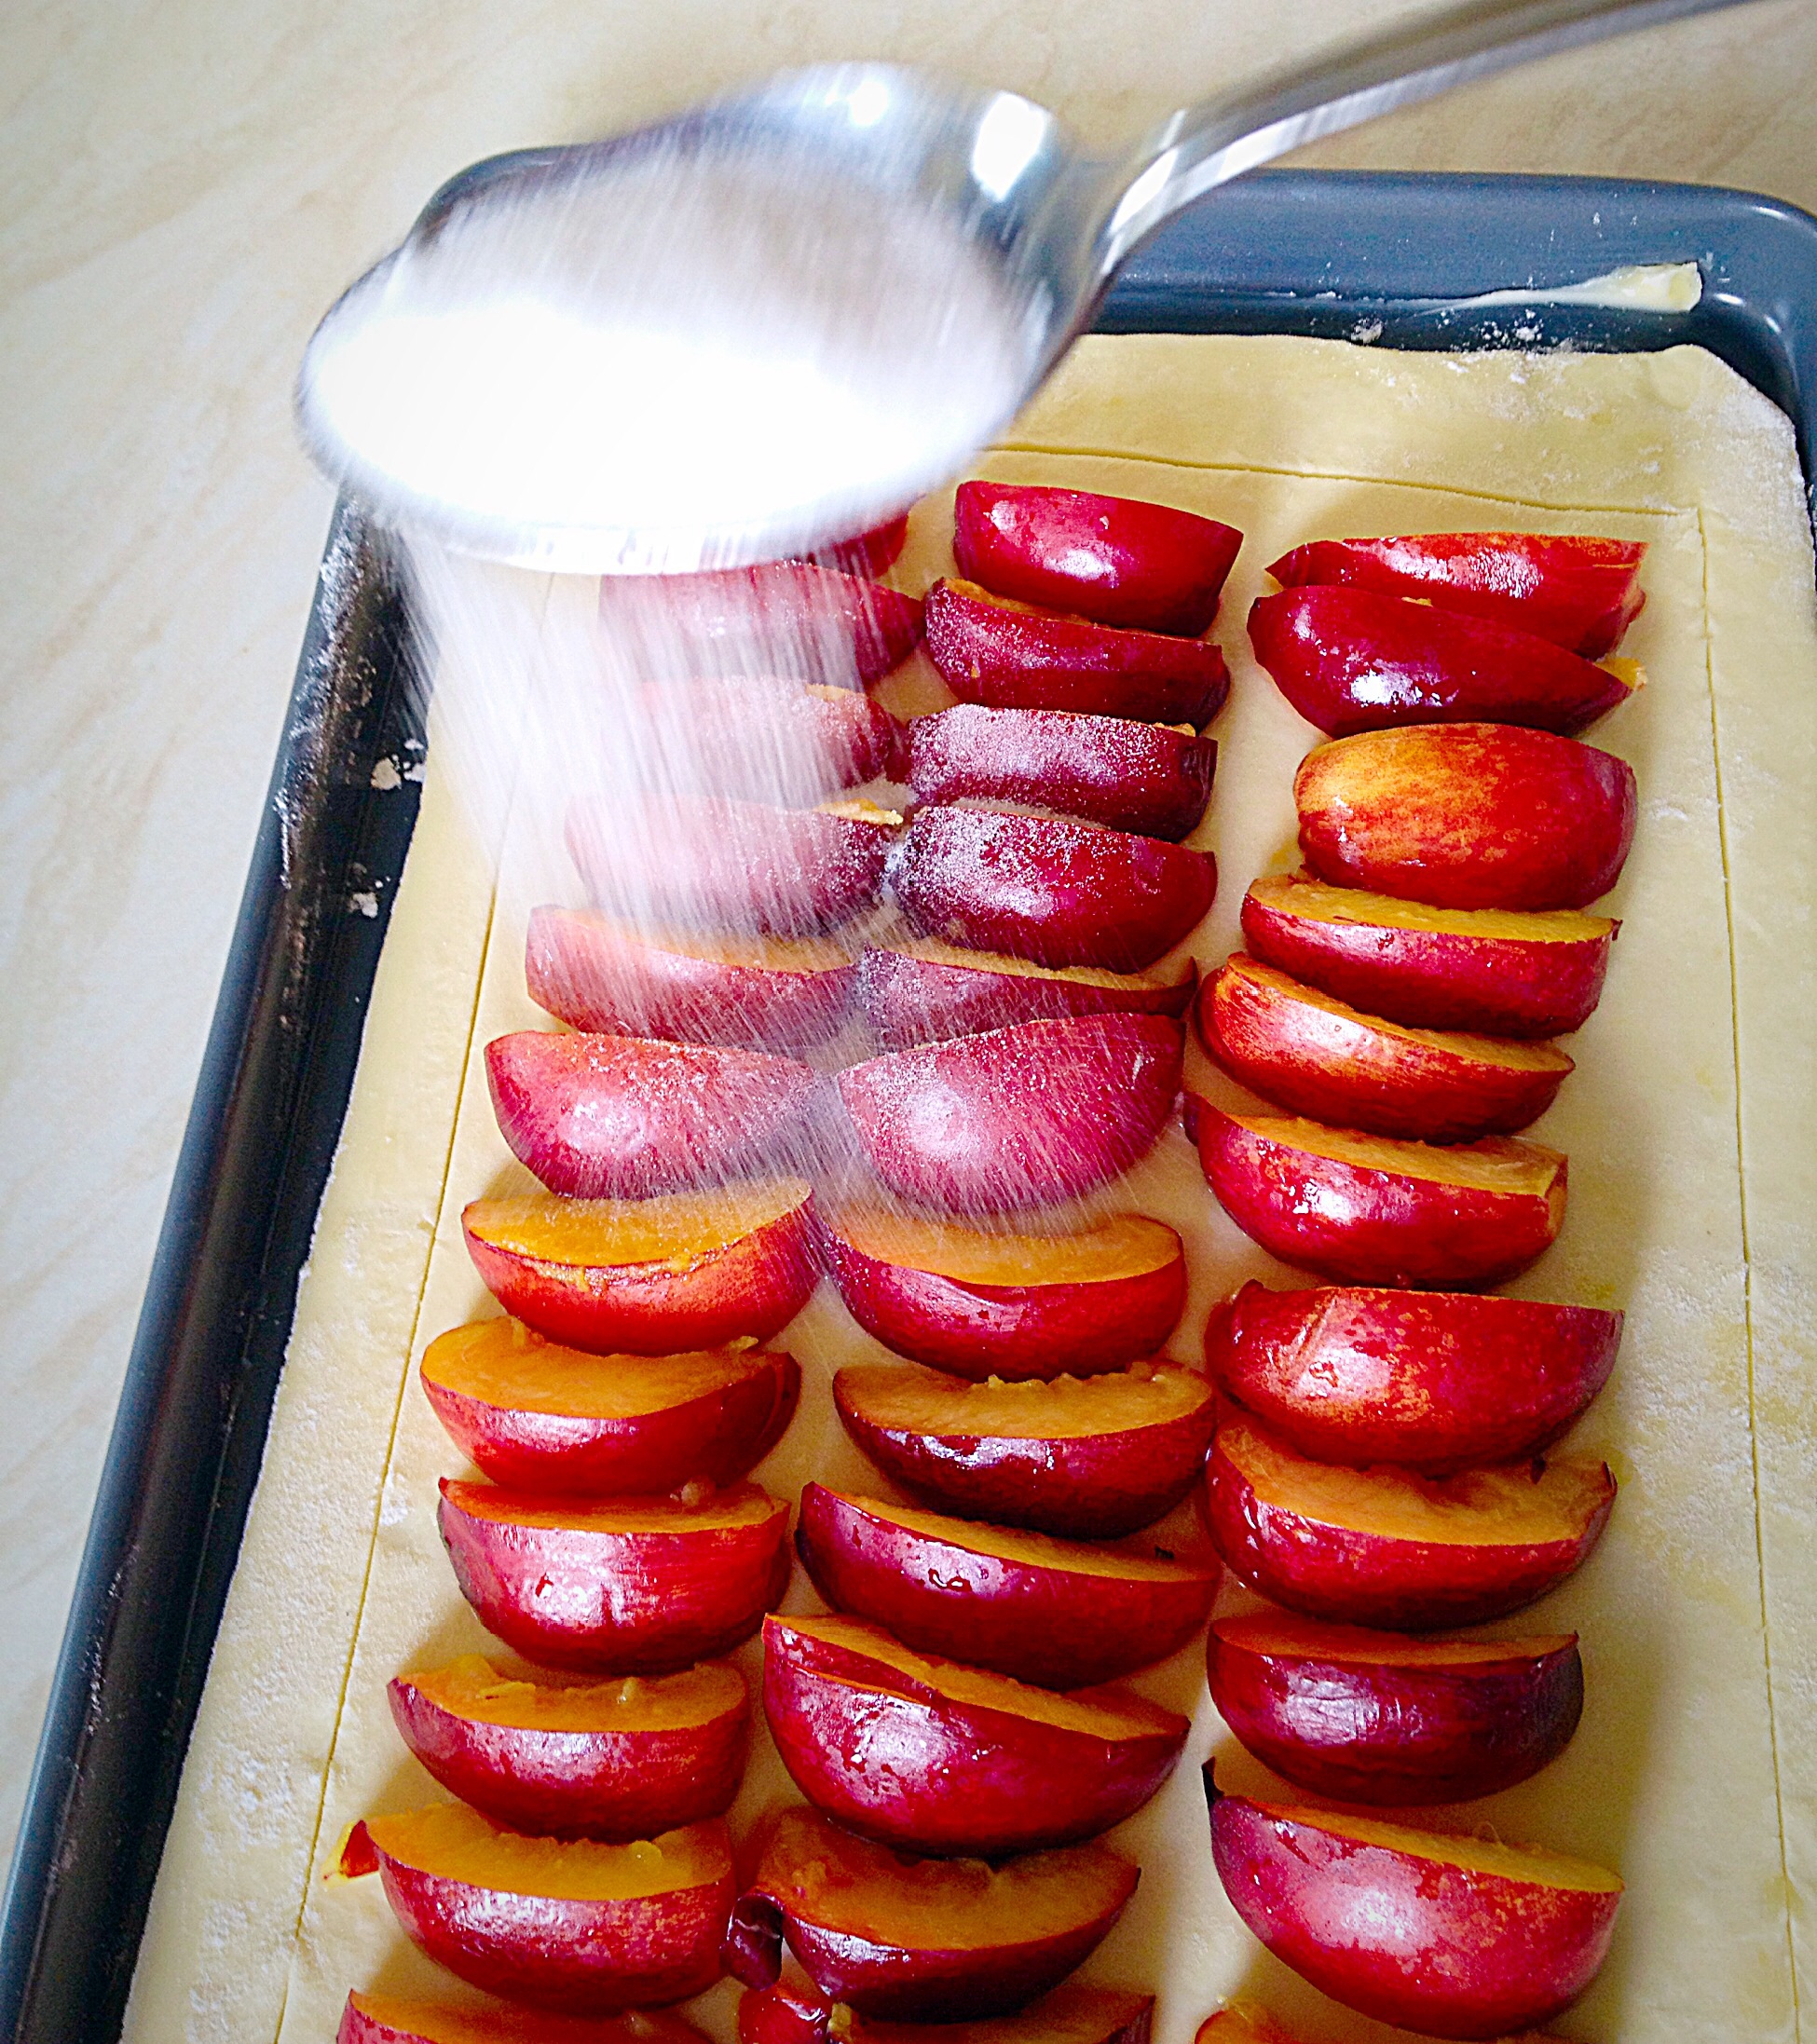
Blackberry Nectarine Tart – arrange the nectarine slices in rows.Blackberry Nectarine Tart – sprinkle over 1 tablespoon of vanilla sugar.
Either buy Vanilla Sugar, or alternatively you can make your own.
Vanilla Sugar – I have a Kilner jar filled with caster sugar and a few vanilla pods. Leave for one month and the vanilla will have infused the sugar with it’s delicious flavour and scent.
Tip : A light (little goes a long way) sprinkling of Vanilla Sugar over homemade popcorn is delish!!
Next arrange the blackberries on the tart, however you choose. I chose to go with the lines of the tart.
Blackberry Nectarine Tart – using frozen blackberries I think helped them retain their shape during baking.
Baking The Fruit Tart
Place the tart in the oven and bake for 30 – 35 minutes. While some juice from the fruit leaks, I found, once the 30 minutes baking time was up, it had concentrated and did not make that part of the tart soggy.
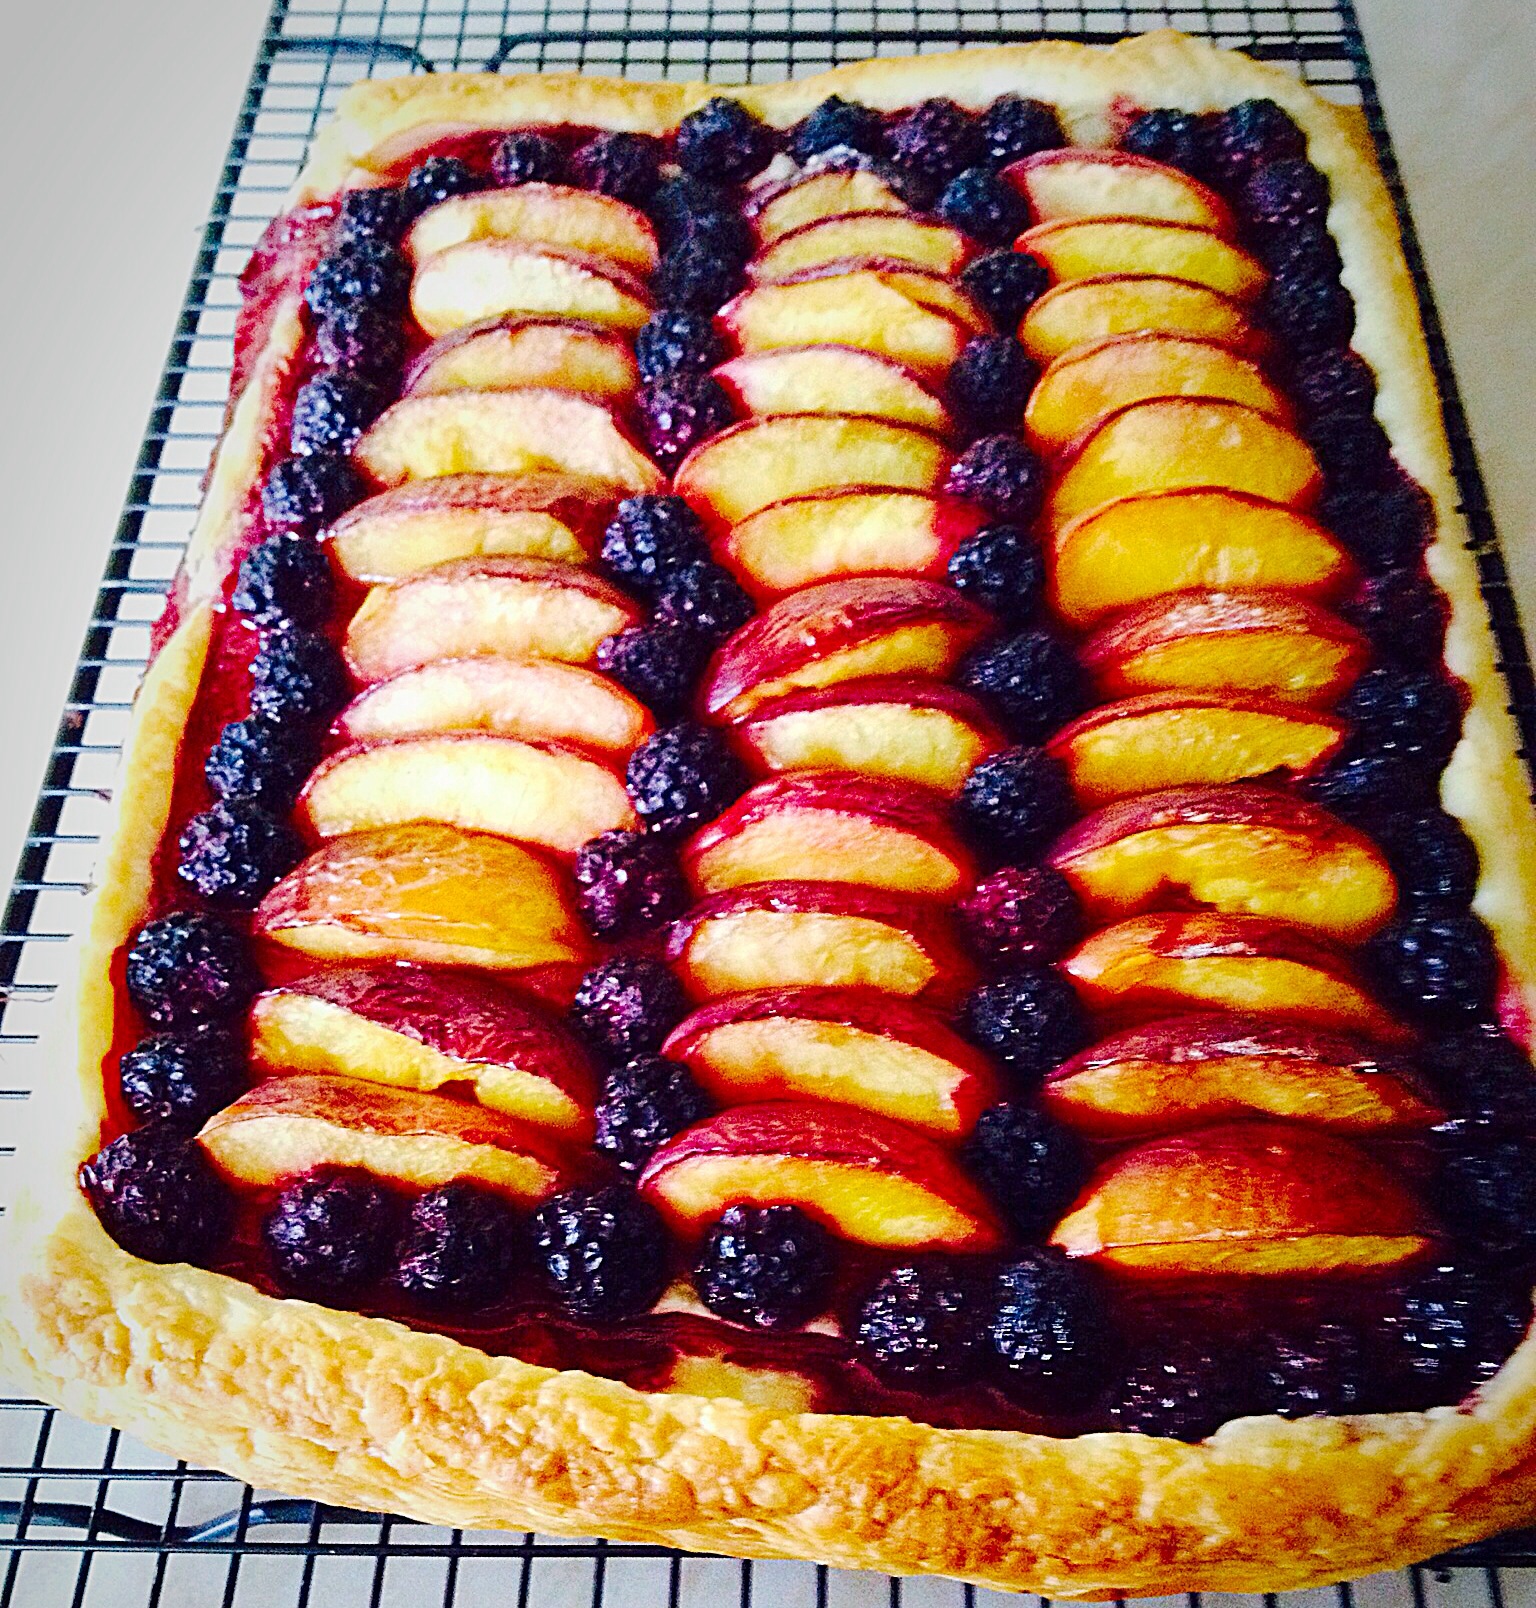
The tart is cooked when the outside crust is golden brown and the base, when gently lifted, is golden brown too.
As soon as the tart is baked remove from the oven.
Blackberry Nectarine Tart – once baked remove from the oven.
Transfer the Blackberry Nectarine Tart on to a cooling rack. This keeps the tart bottom and crust nice and flaky.
Blackberry Nectarine Tart – if you like a bit more sweetness a dusting of icing sugar would be perfect.
Serve warm or cold. This tart was perfectly complimented by a scoop a good, vanilla ice cream.
Blackberry Nectarine Tart – utter deliciousness.
If you have enjoyed this recipe for Blackberry Nectarine Tart you may also like these:
If you keep pastry and fruit in the freezer regularly, I’d say this is the perfect, pull together, easy dessert. Especially perfect for eating while snuggling on the sofa watching a film, or entertaining last minute, or even planned dinner guests!!
Because I used nectarines their tender skin doesn’t need to be removed.
What go-to freezer staples do you keep on hand. As well as ice cream!
So whatever you are making, baking and creating in your kitchens, have fun preparing and sharing your feast.
Sammie xx
No part of this post may be reproduced or duplicated without the written permission of the owner. Please see my Disclosure Policy.
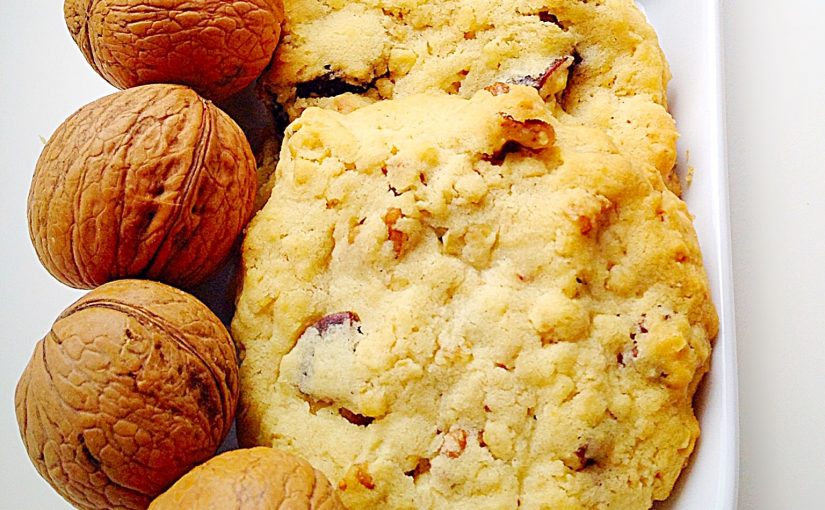
Hello, I’ve got a question for you; do you like Figs? Because in our house opinion is divided. So I, being a massive lover of Figs, fresh or dried, was sneaky and made these Walnut Fig Oat Cookies. Also I kinda forgot to tell everyone what was in them! I’m very naughty, I know. Guess what happened?
Everyone liked them! Now there are distinct Fig haters in our home, I mean they are very vocal when I bite into a perfectly ripe fresh Fig, or snack on a pack of dried Figs. I totally get that Figs have more of a distinct texture maybe than taste ( the inside of a fresh Fig described to me, as looking like raw flesh, very vocal ). So, loving them as I do – both Figs and our children – I thought I’d see if I could unite them, if only once AND I did!
Introducing Children To New Flavours
Our children, like most I suspect, love cookies, especially those with chocolate in or on them. Preferably both! While I’m more your fruit and nut (case) girl. So when I’m baking it’s nice to branch out with flavour combinations. In doing so, I’m also, hopefully, educating taste buds. Am I alone in this quest?
Walnut Fig Oat Cookies
I’ve always cooked our children the same food as for hubby and me. When they we’re little I would ‘water-down’ with added veg. For example, carrots in spaghetti bolognaise. With the odd exception they have grown up eating Wholemeal bread, curries, salads (with all manner of ingredients), in fact all of the foods we eat. Also we all sit at the table and eat and enjoy the same meal together.
Nothing Ventured Nothing Gained!
Anyway, I knew Figs would be pushing it. Because, not knowing they were eating chopped, dried Figs, allowed them to taste without prejudice. I’m not silly, I realise the chocolate option would win, hands down, every time, given the choice – I also know that Walnut Fig Oat Cookies would be munched, if there was no choice! Balance is everything!
Recipe : Walnut Fig Oat Cookies – makes approximately 20 Cookies
First of all preheat oven to 190C/170C fan, gas mark 5, 375F.
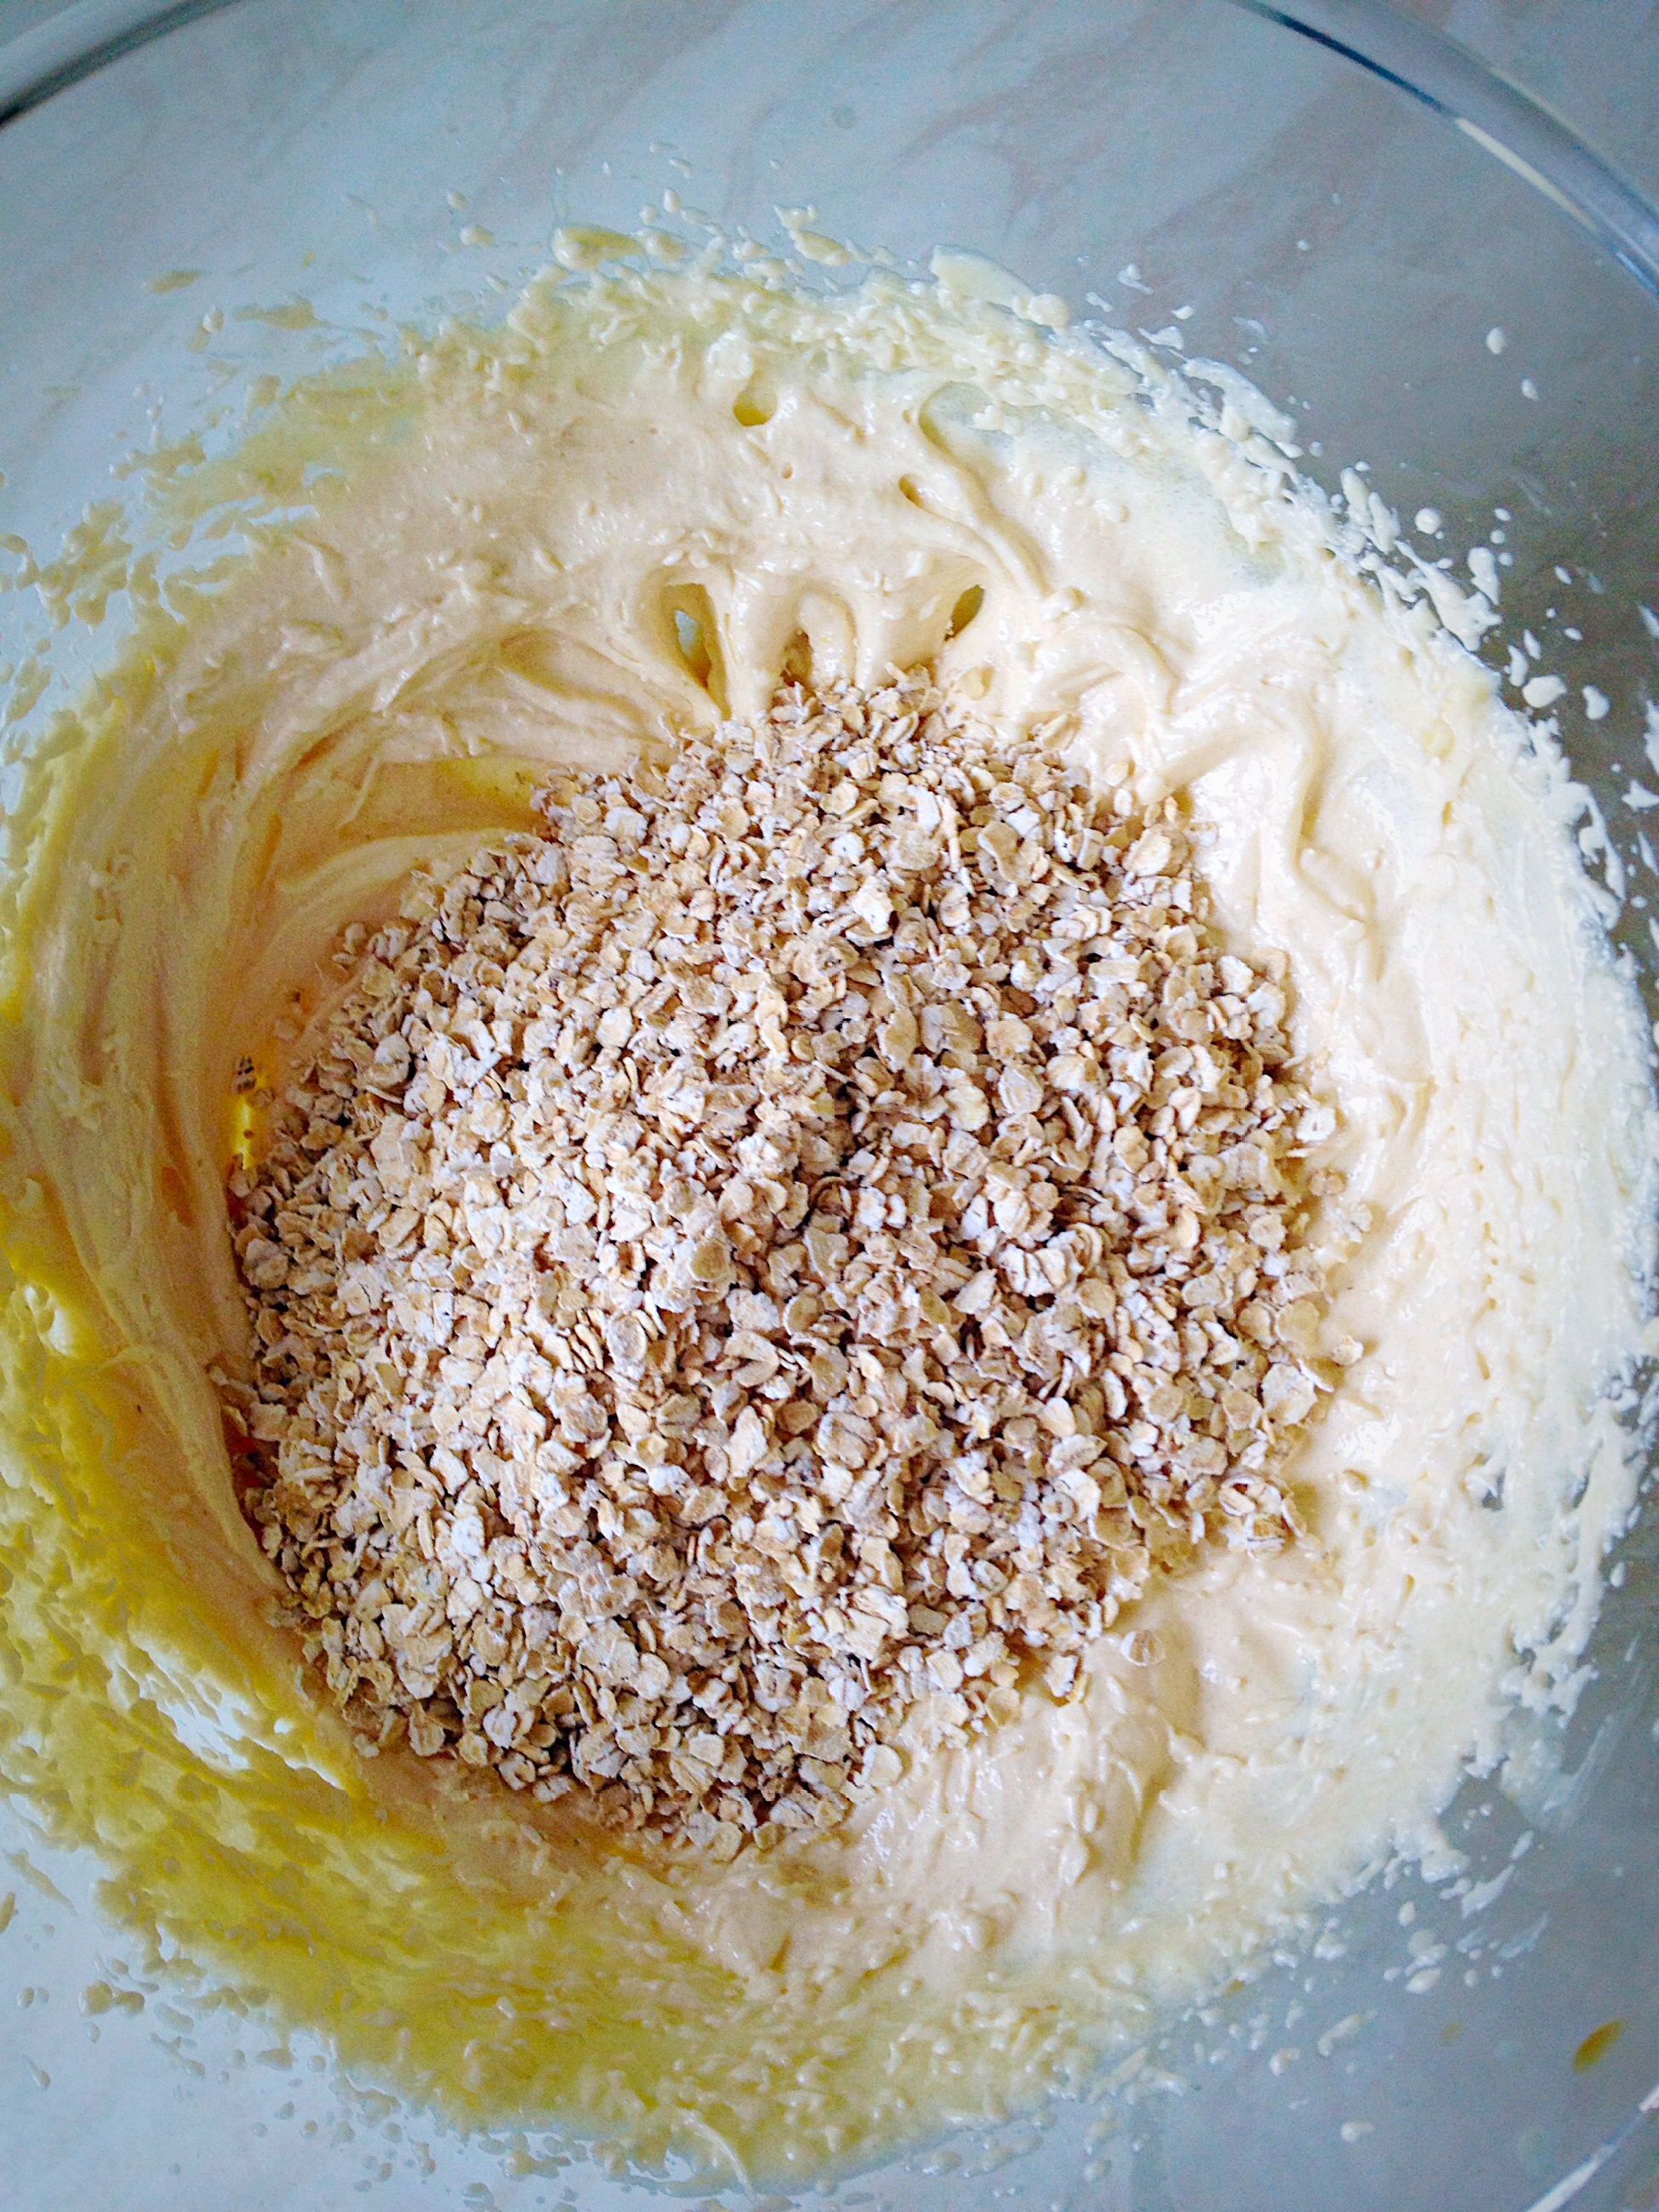
In a large bowl whisk the butter, sugar and salt until pale and creamy.
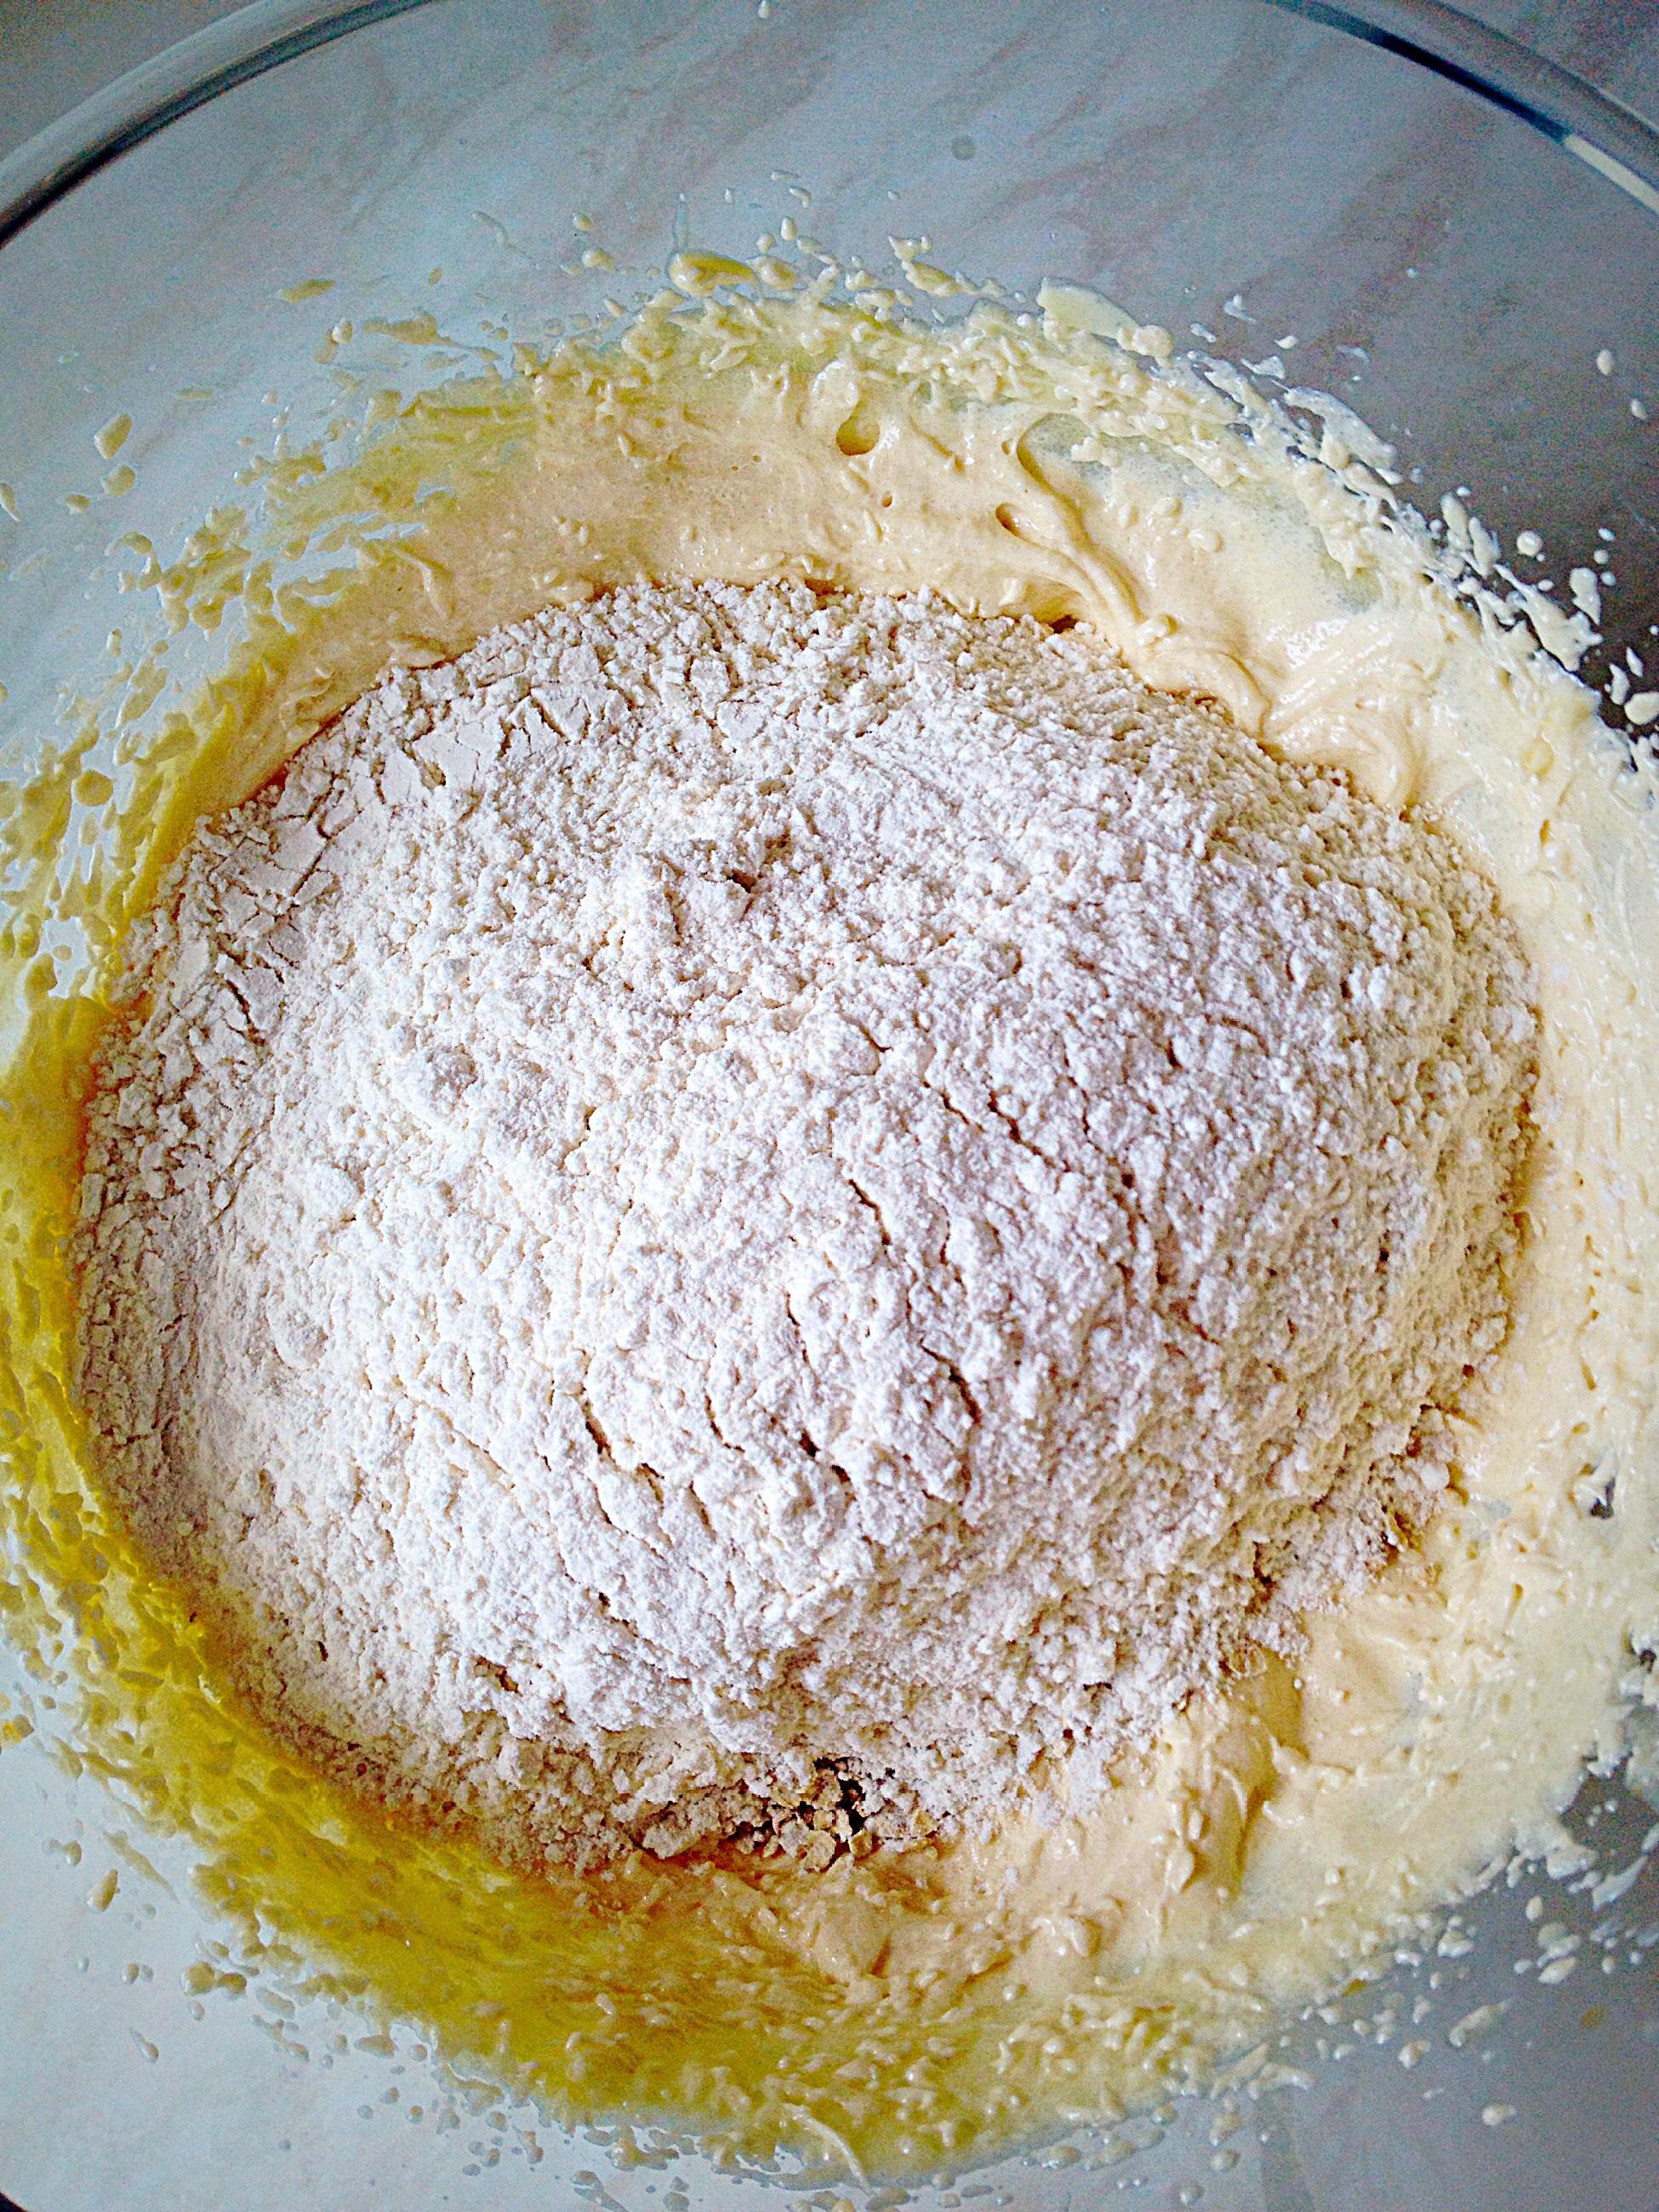
Add the egg yolk and vanilla extract. Whisk until thoroughly incorporated.Add the oats.Add the flour.
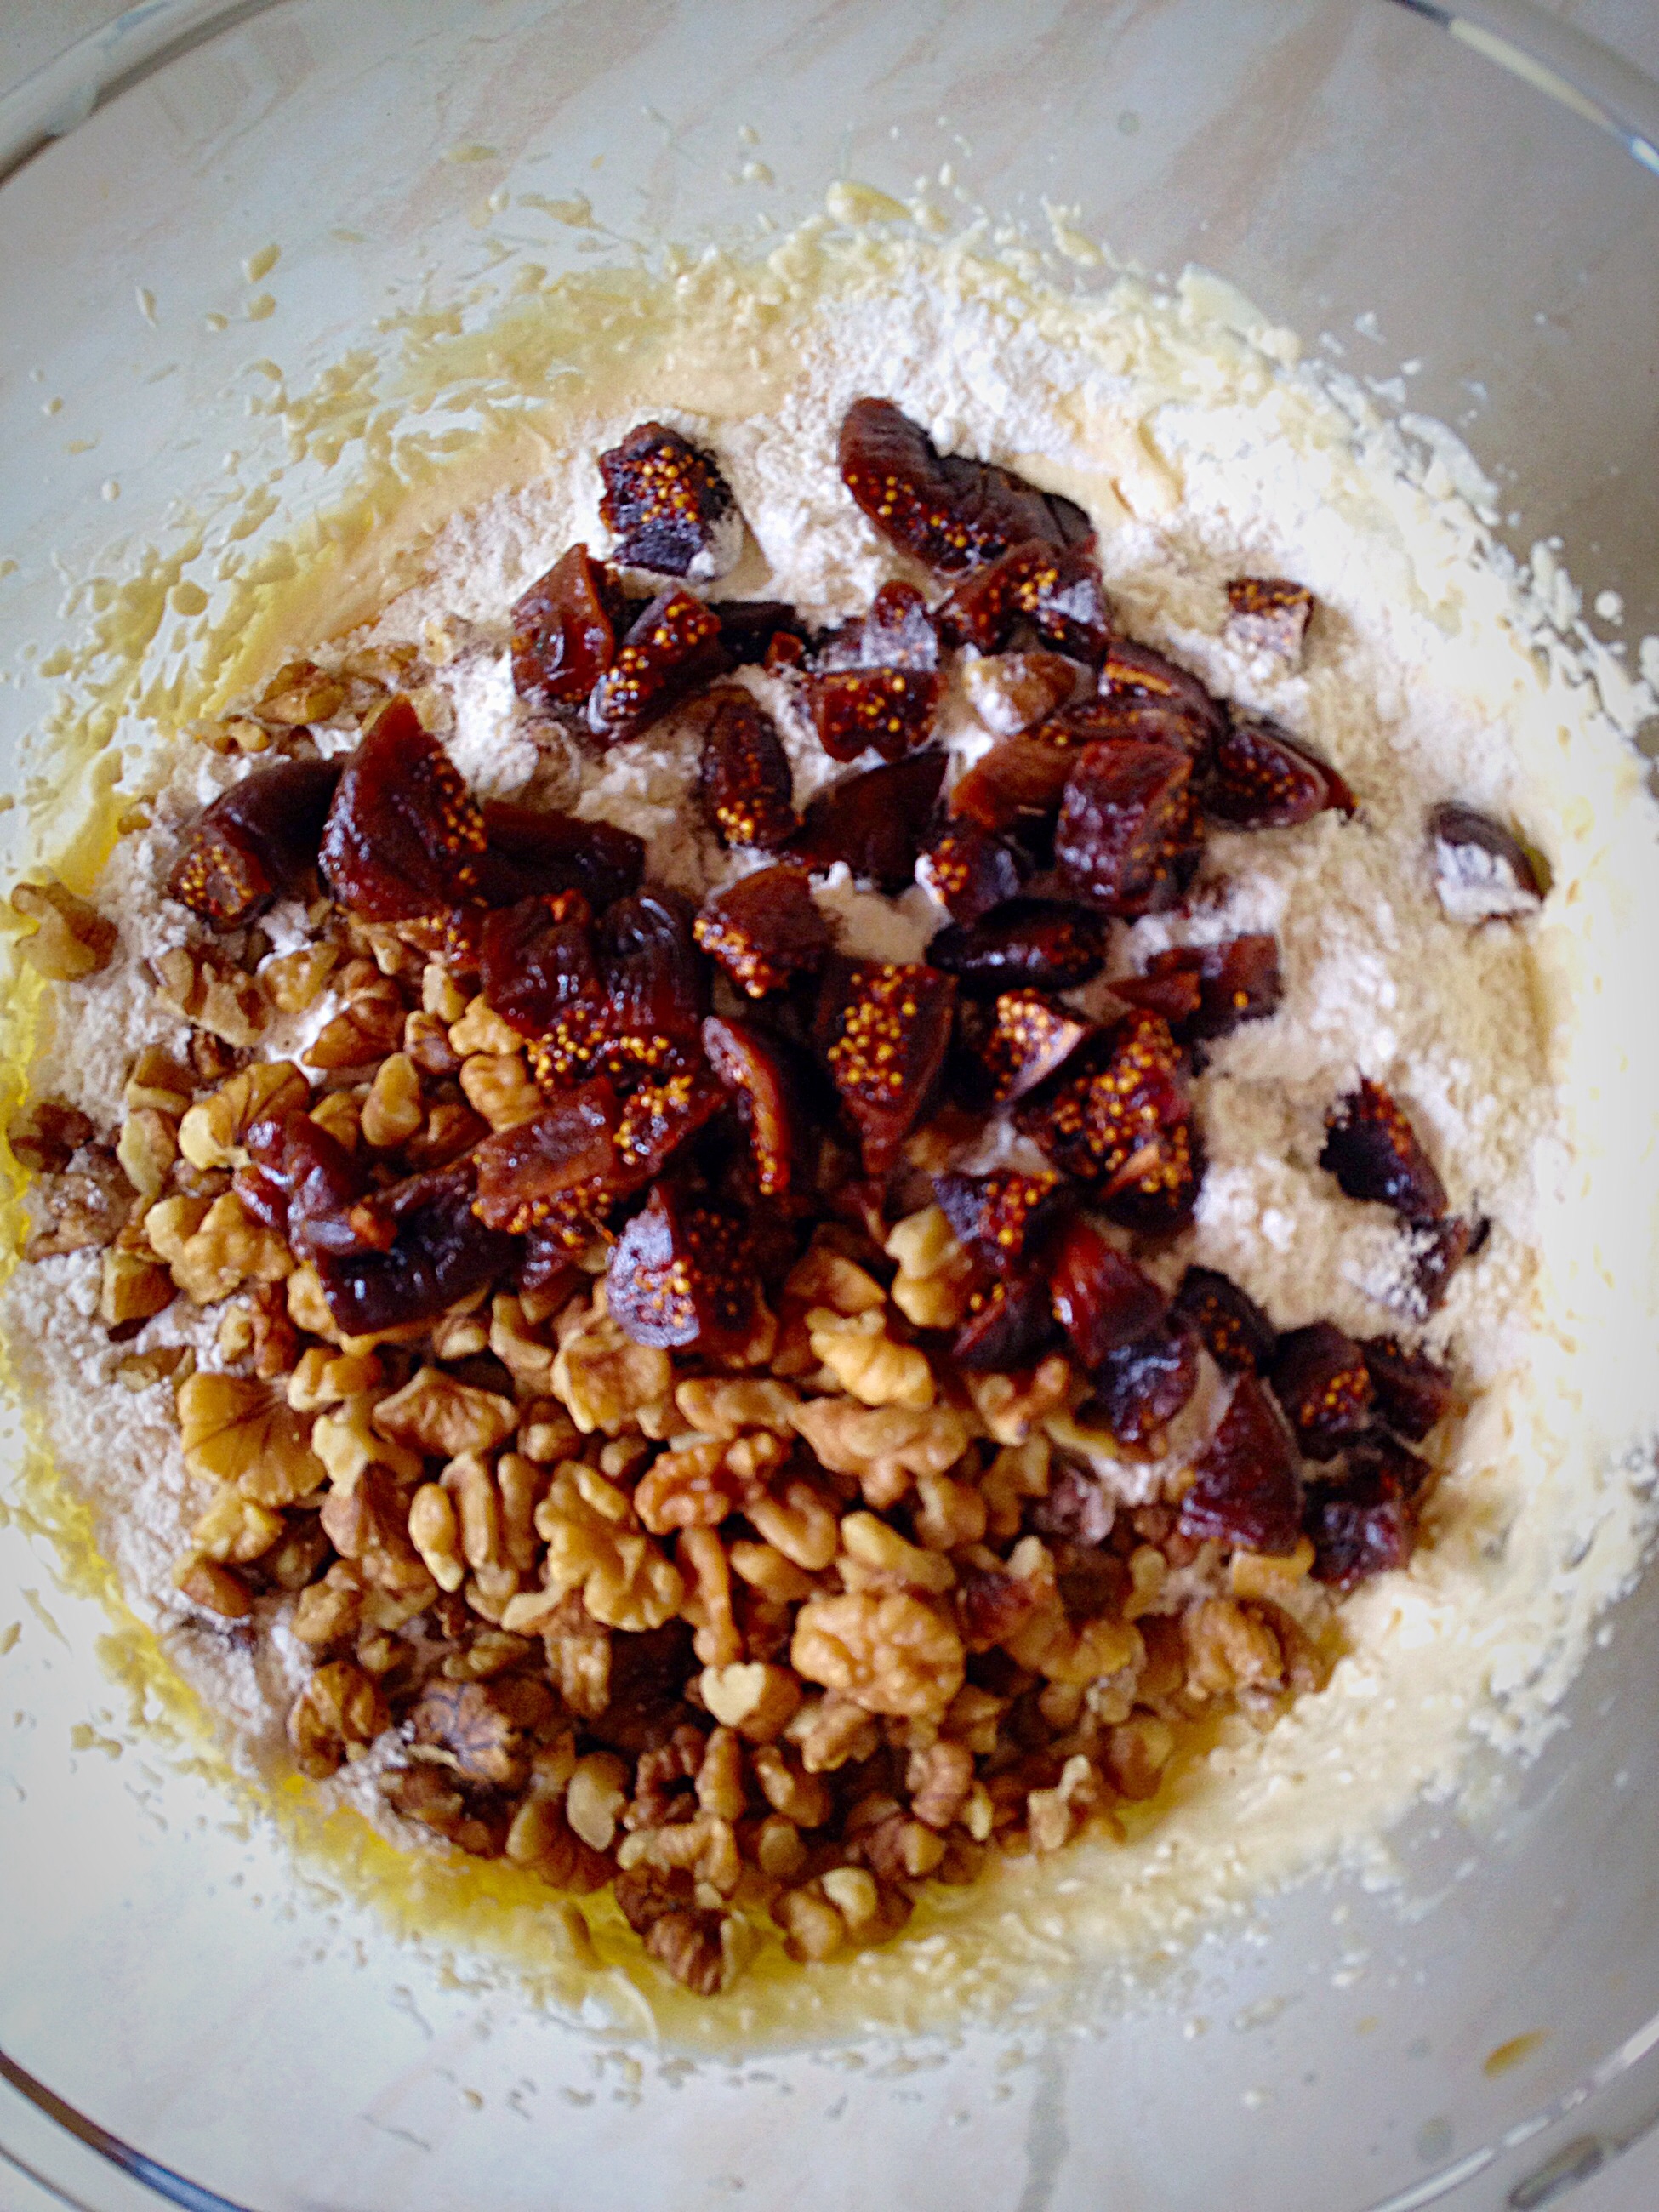
Chop the Walnuts and Figs to approximately the same size – 1cm.
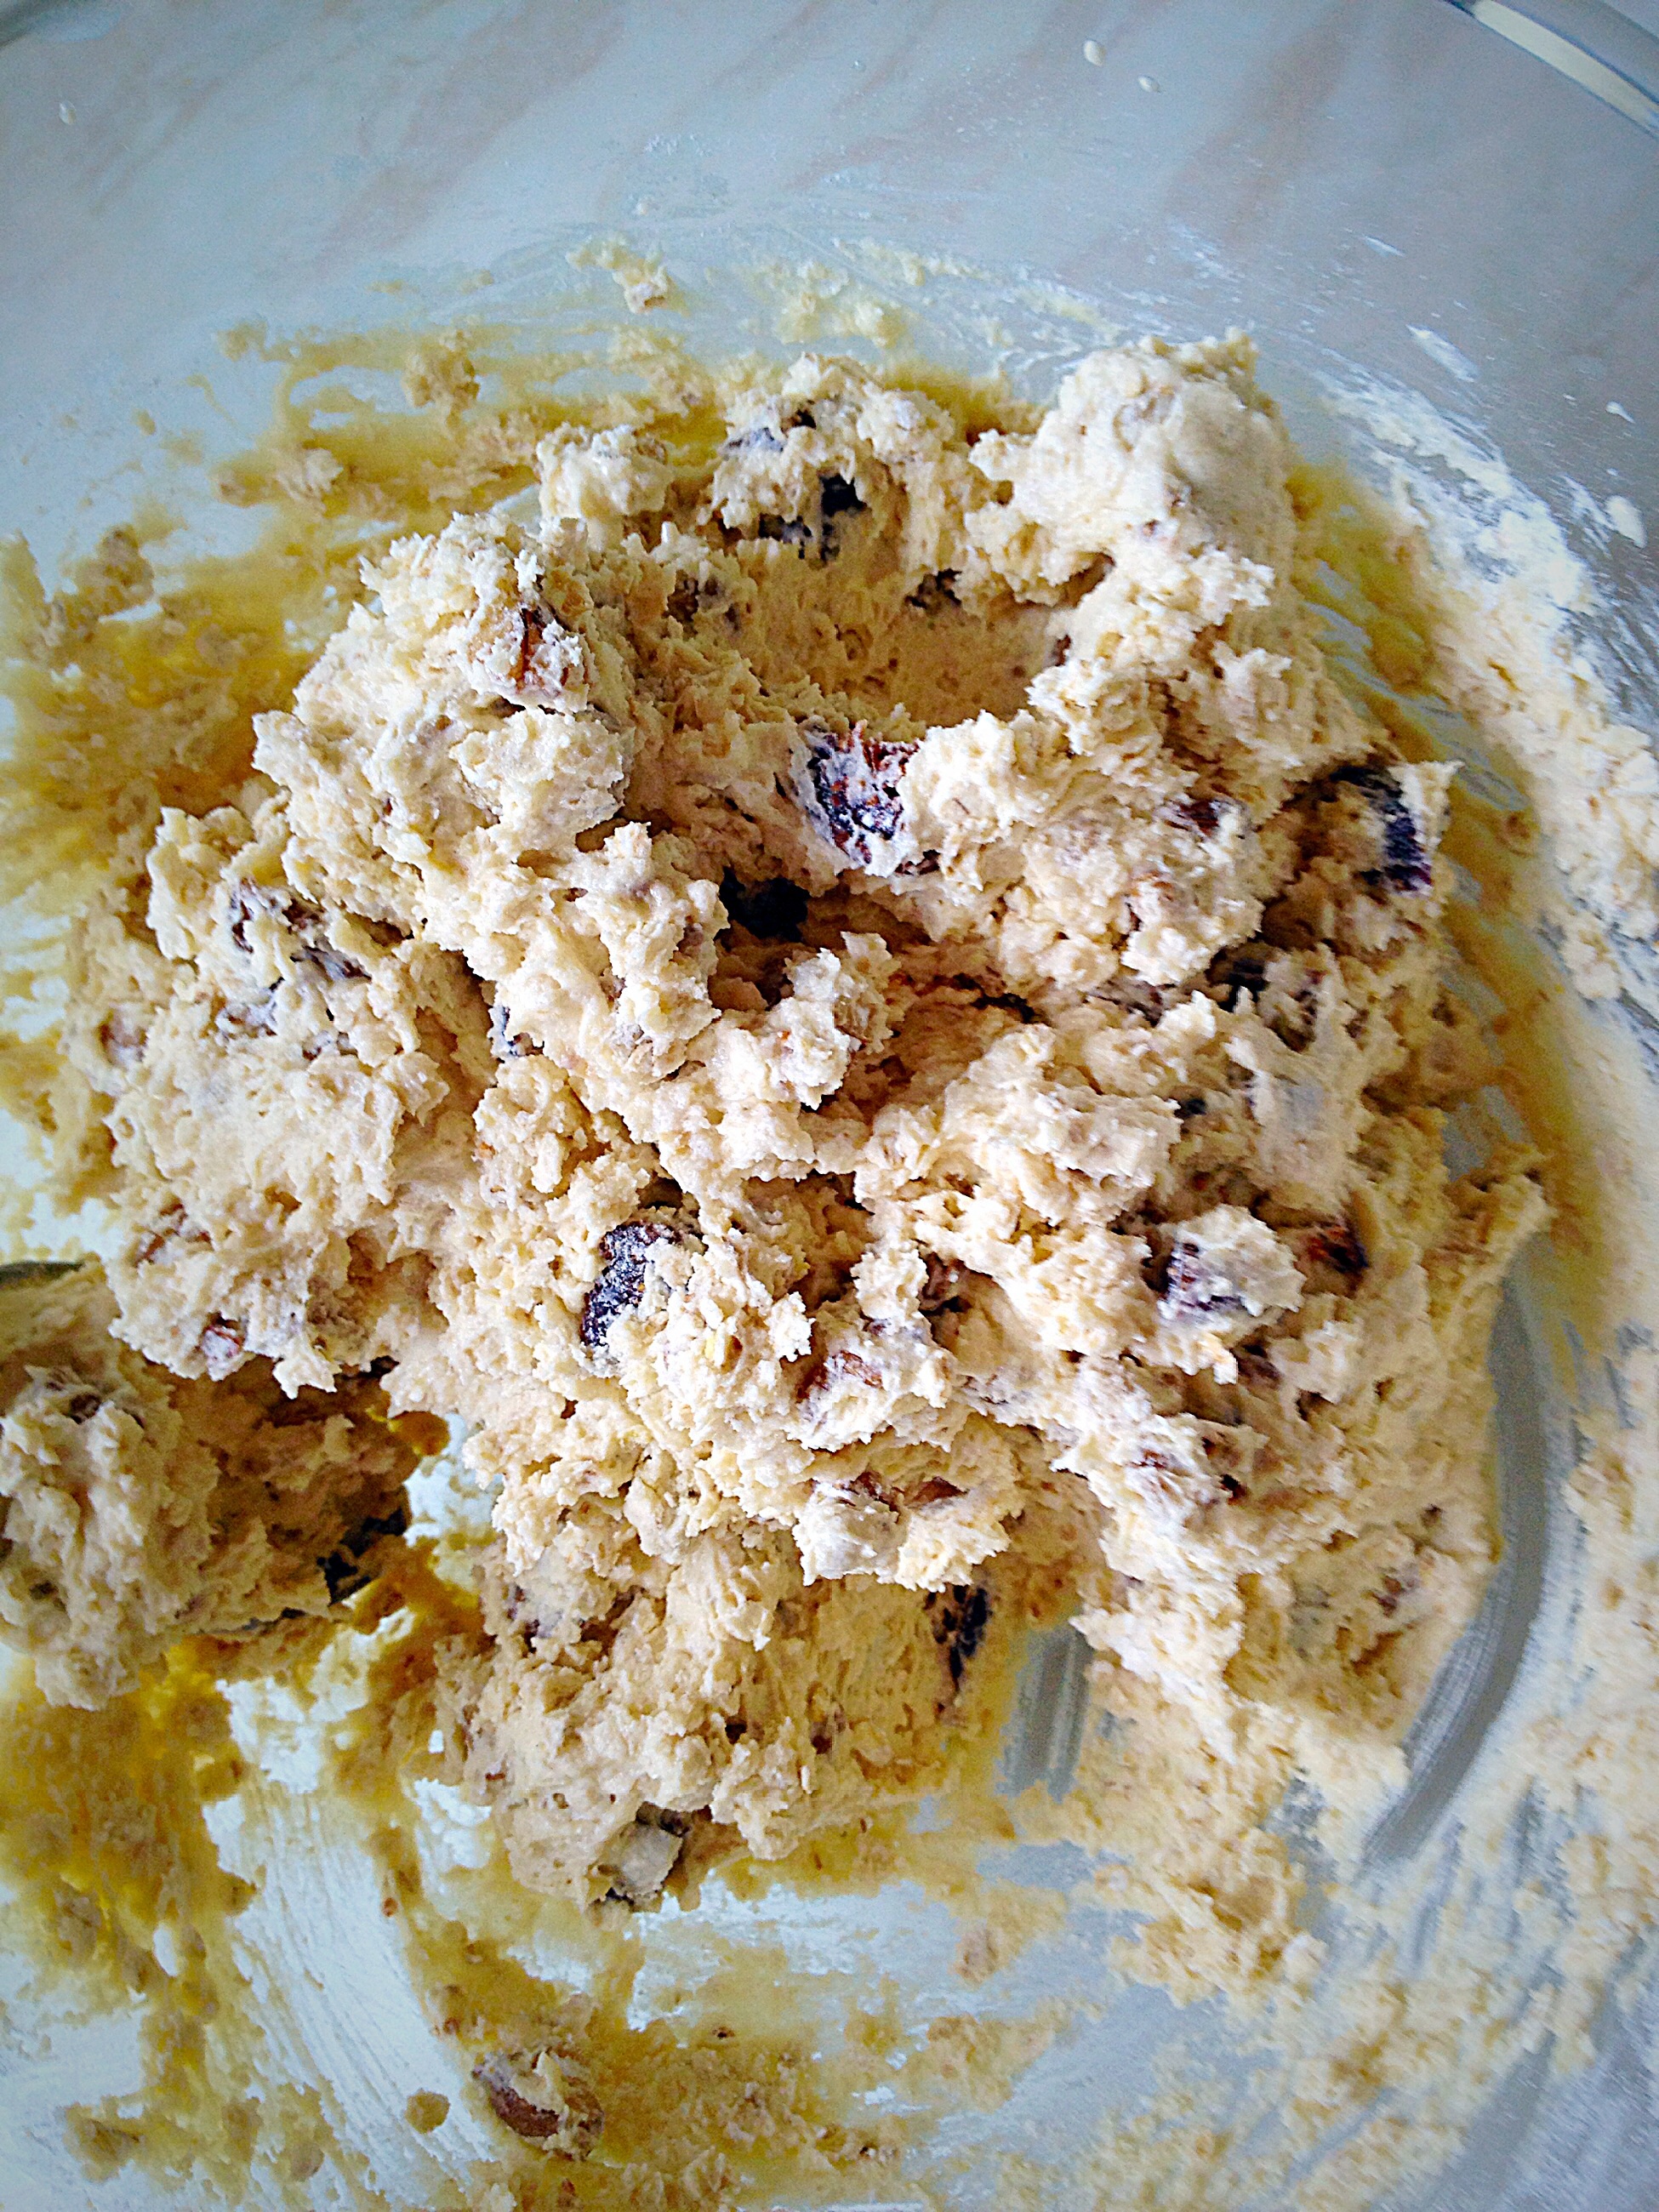
Walnut Fig Oat Cookies – add the chopped walnuts and figs.Walnut Fig Oat Cookies – stir until all the ingredients are just mixed.
Portioning The Cookies
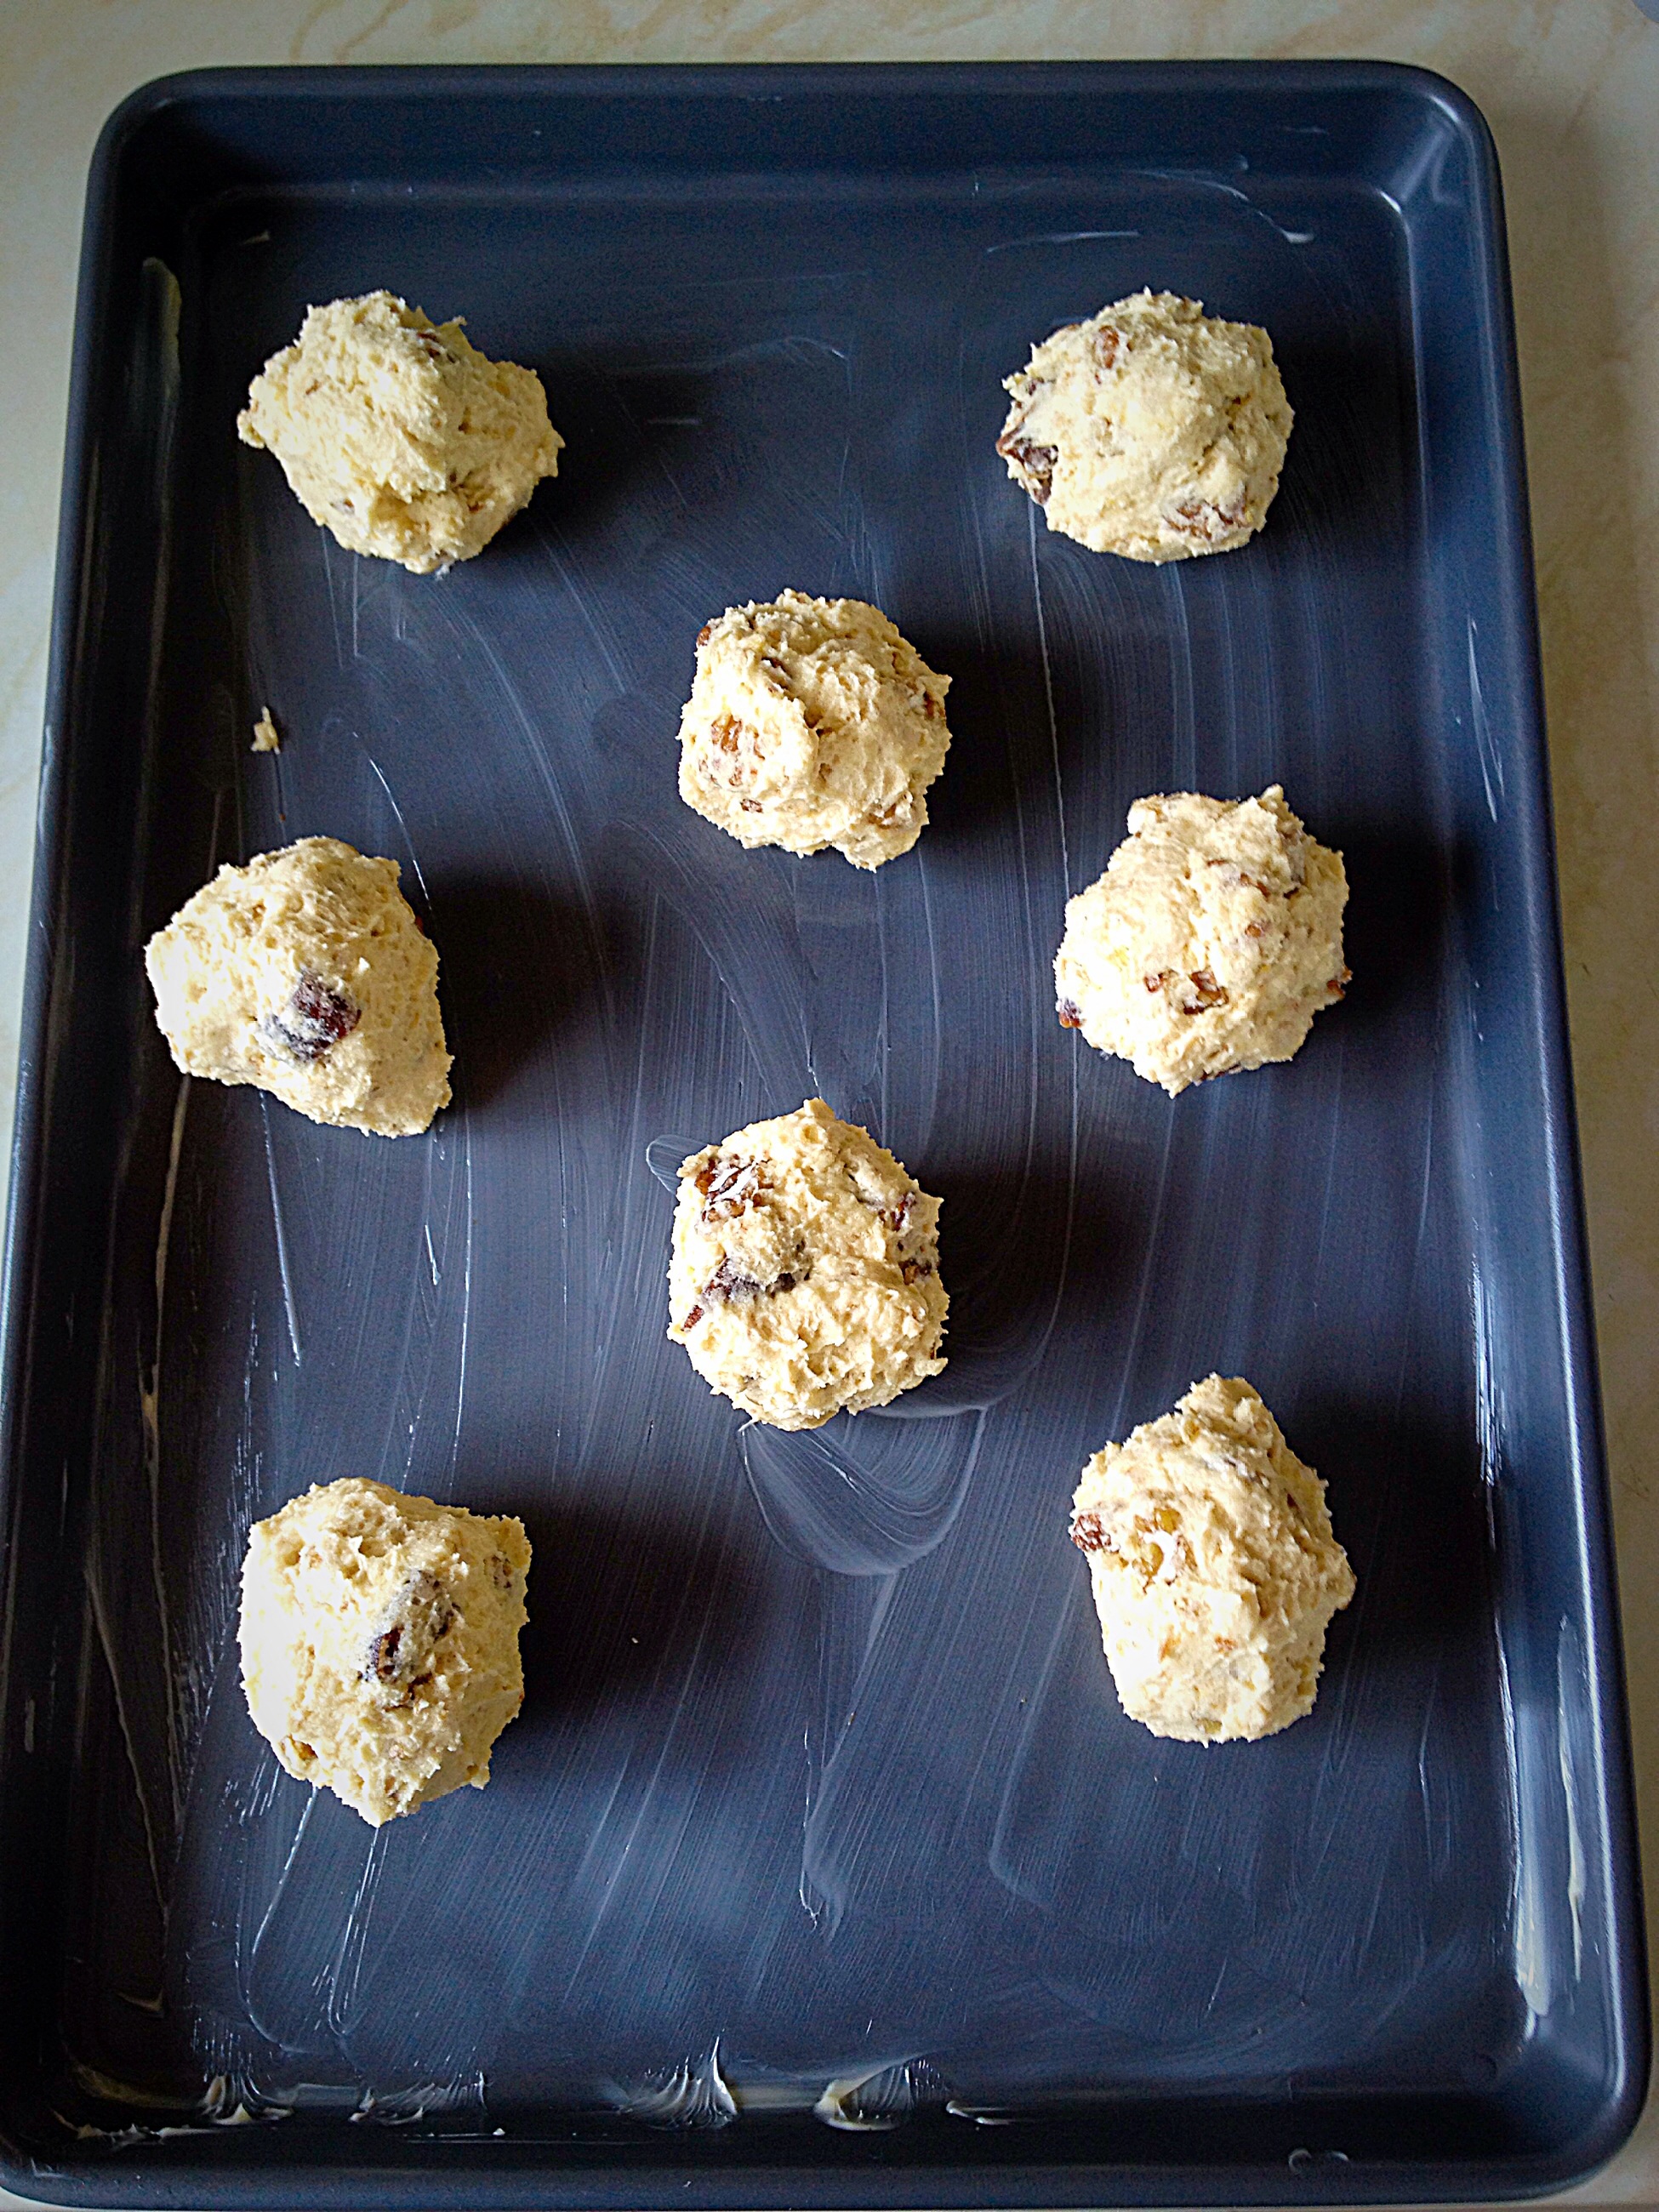
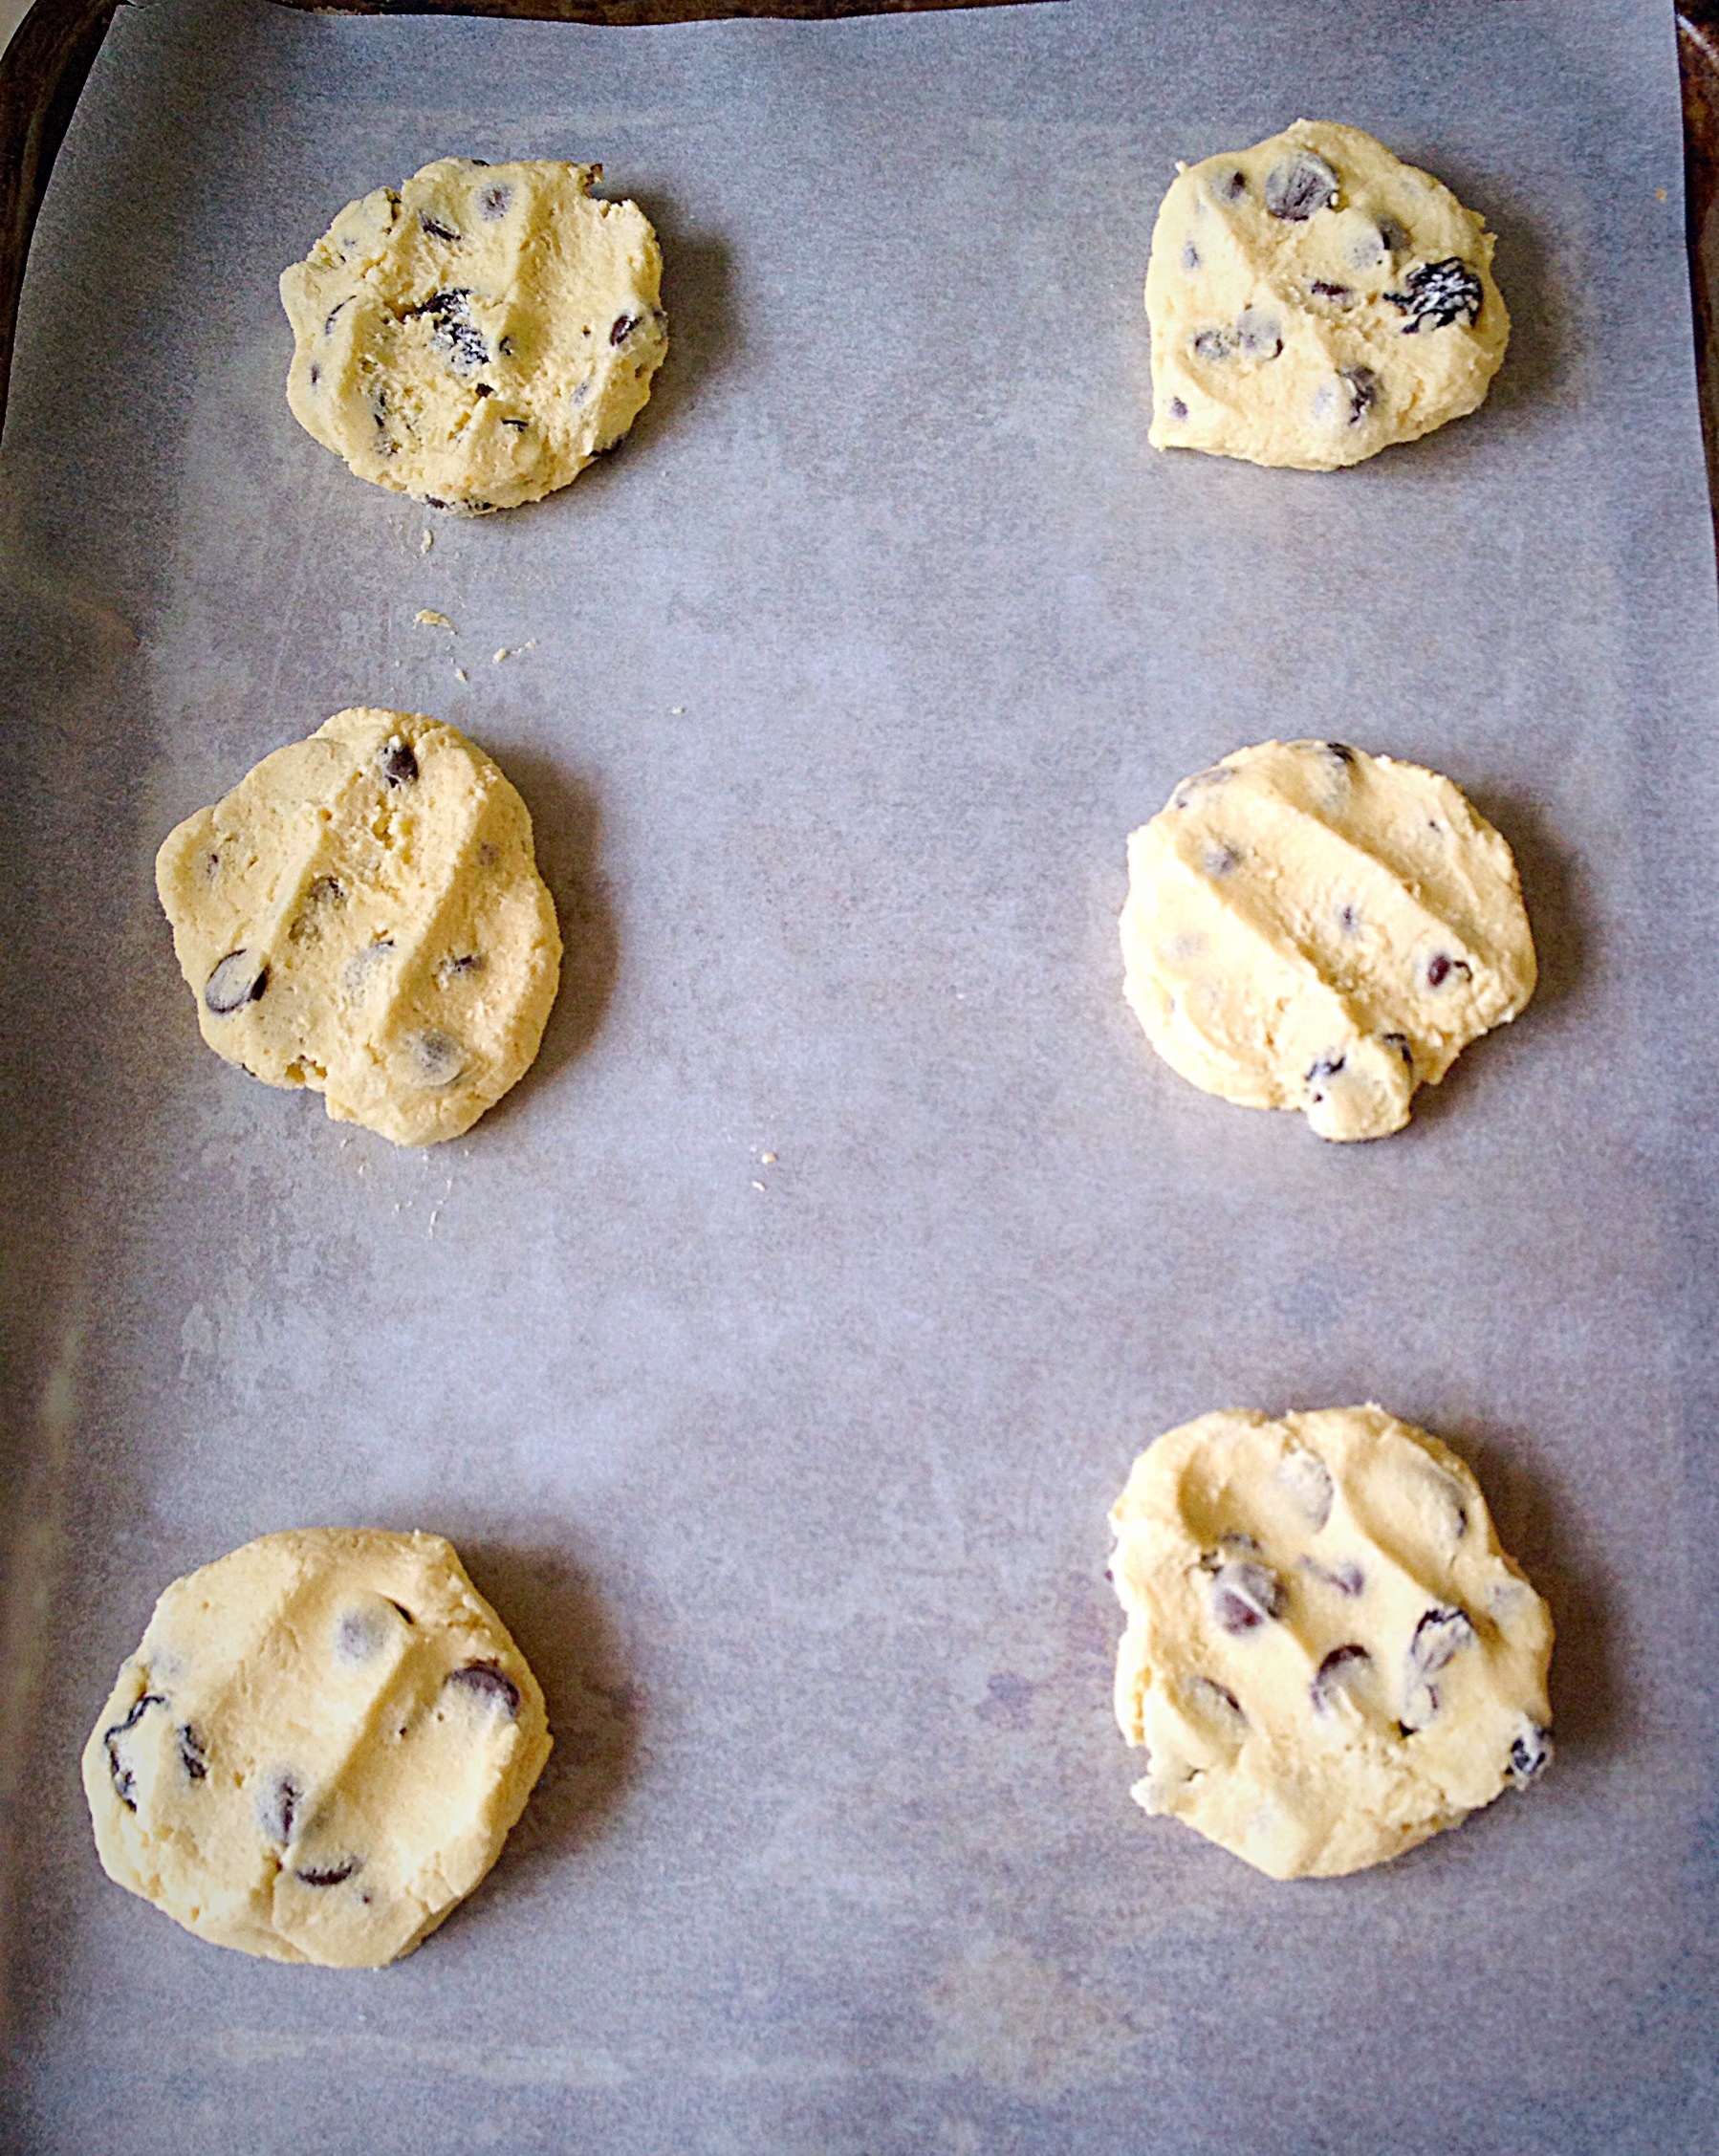
Grease or line baking trays with parchment paper. Using a medium ice cream scoop or your hands, place balls – approx 4cm – onto the baking tray.
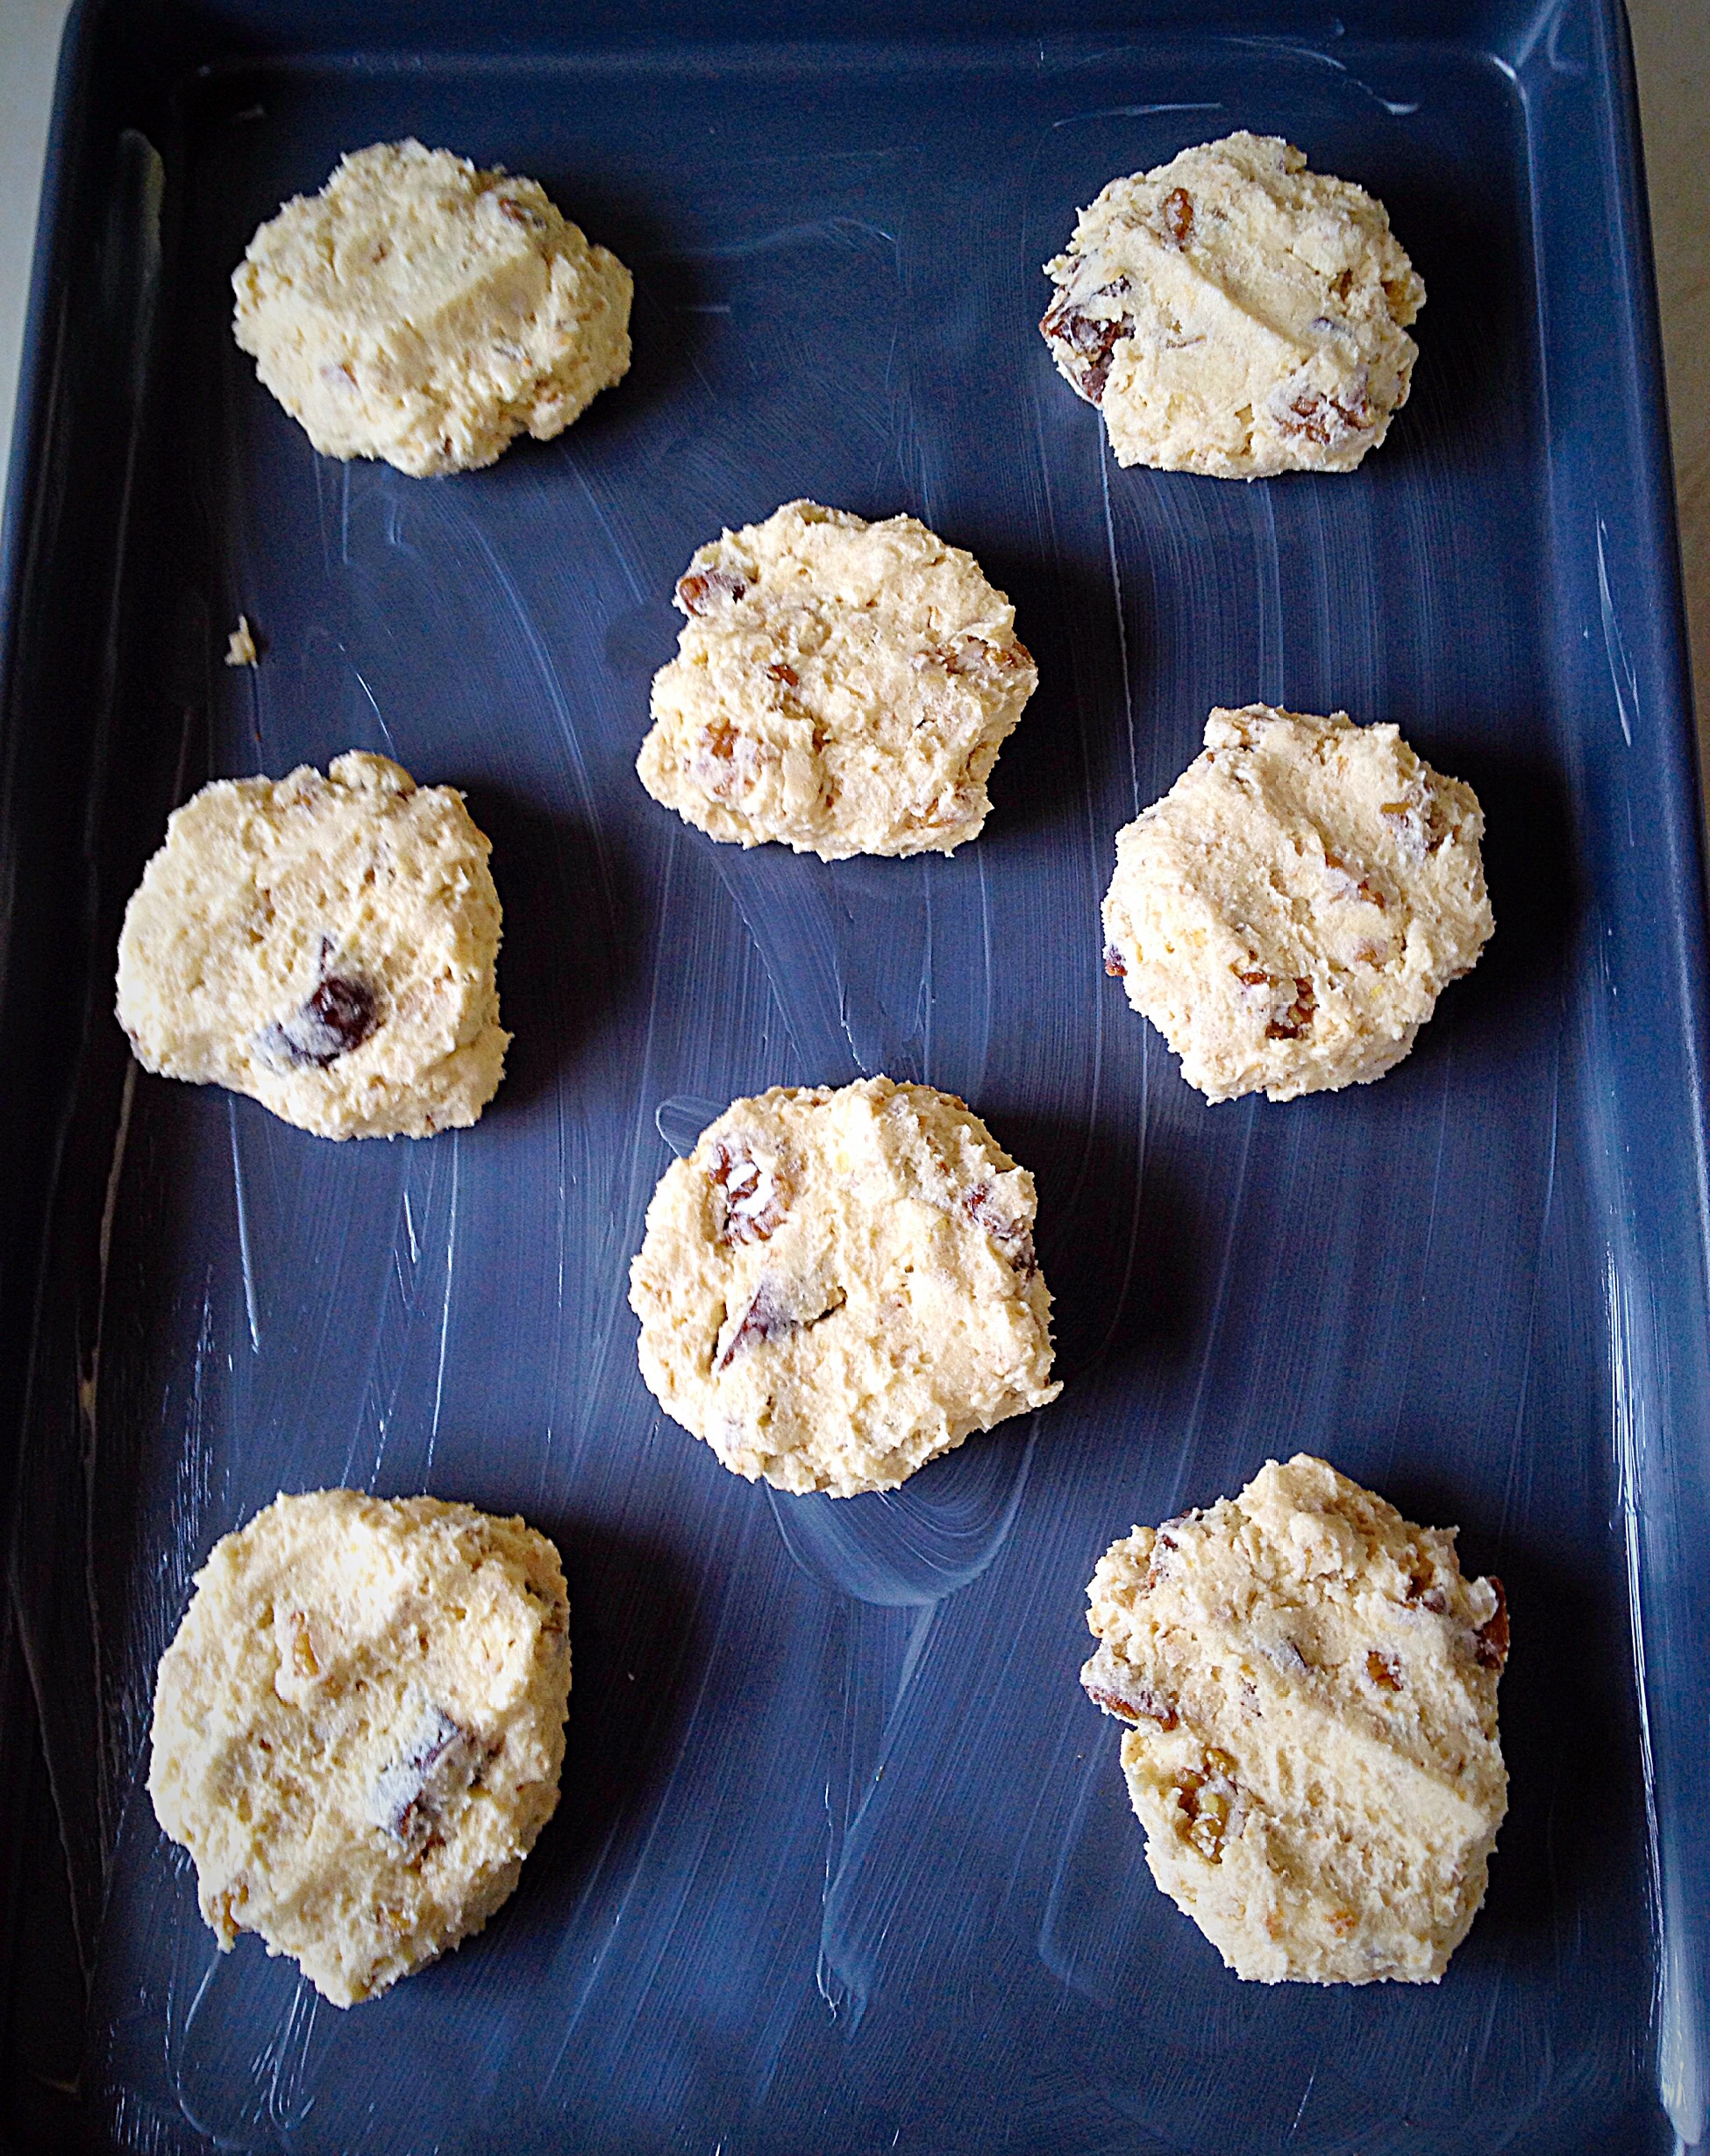
Walnut Fig Oat Cookies – leave some space between each dough ball.Walnut Fig Oat Cookies – using clean, wet fingers, press down on each dough ball to flatten the cookie.
Baking The Walnut Fig Oat Cookies
Place the baking trays into the oven and bake for 20-25 minutes. The cookies are baked when they have turned a lovely golden colour on top. As soon as the cookies are baked remove the trays from the oven.
Note : Depending on the thickness, I had to carefully remove some cookies from the tray and return the others back to the oven for a few minutes – note to self, ensure all cookies are an even thickness before baking.
Leave the cookies on the tray for 10 minutes to firm up before moving to a cooling rack.
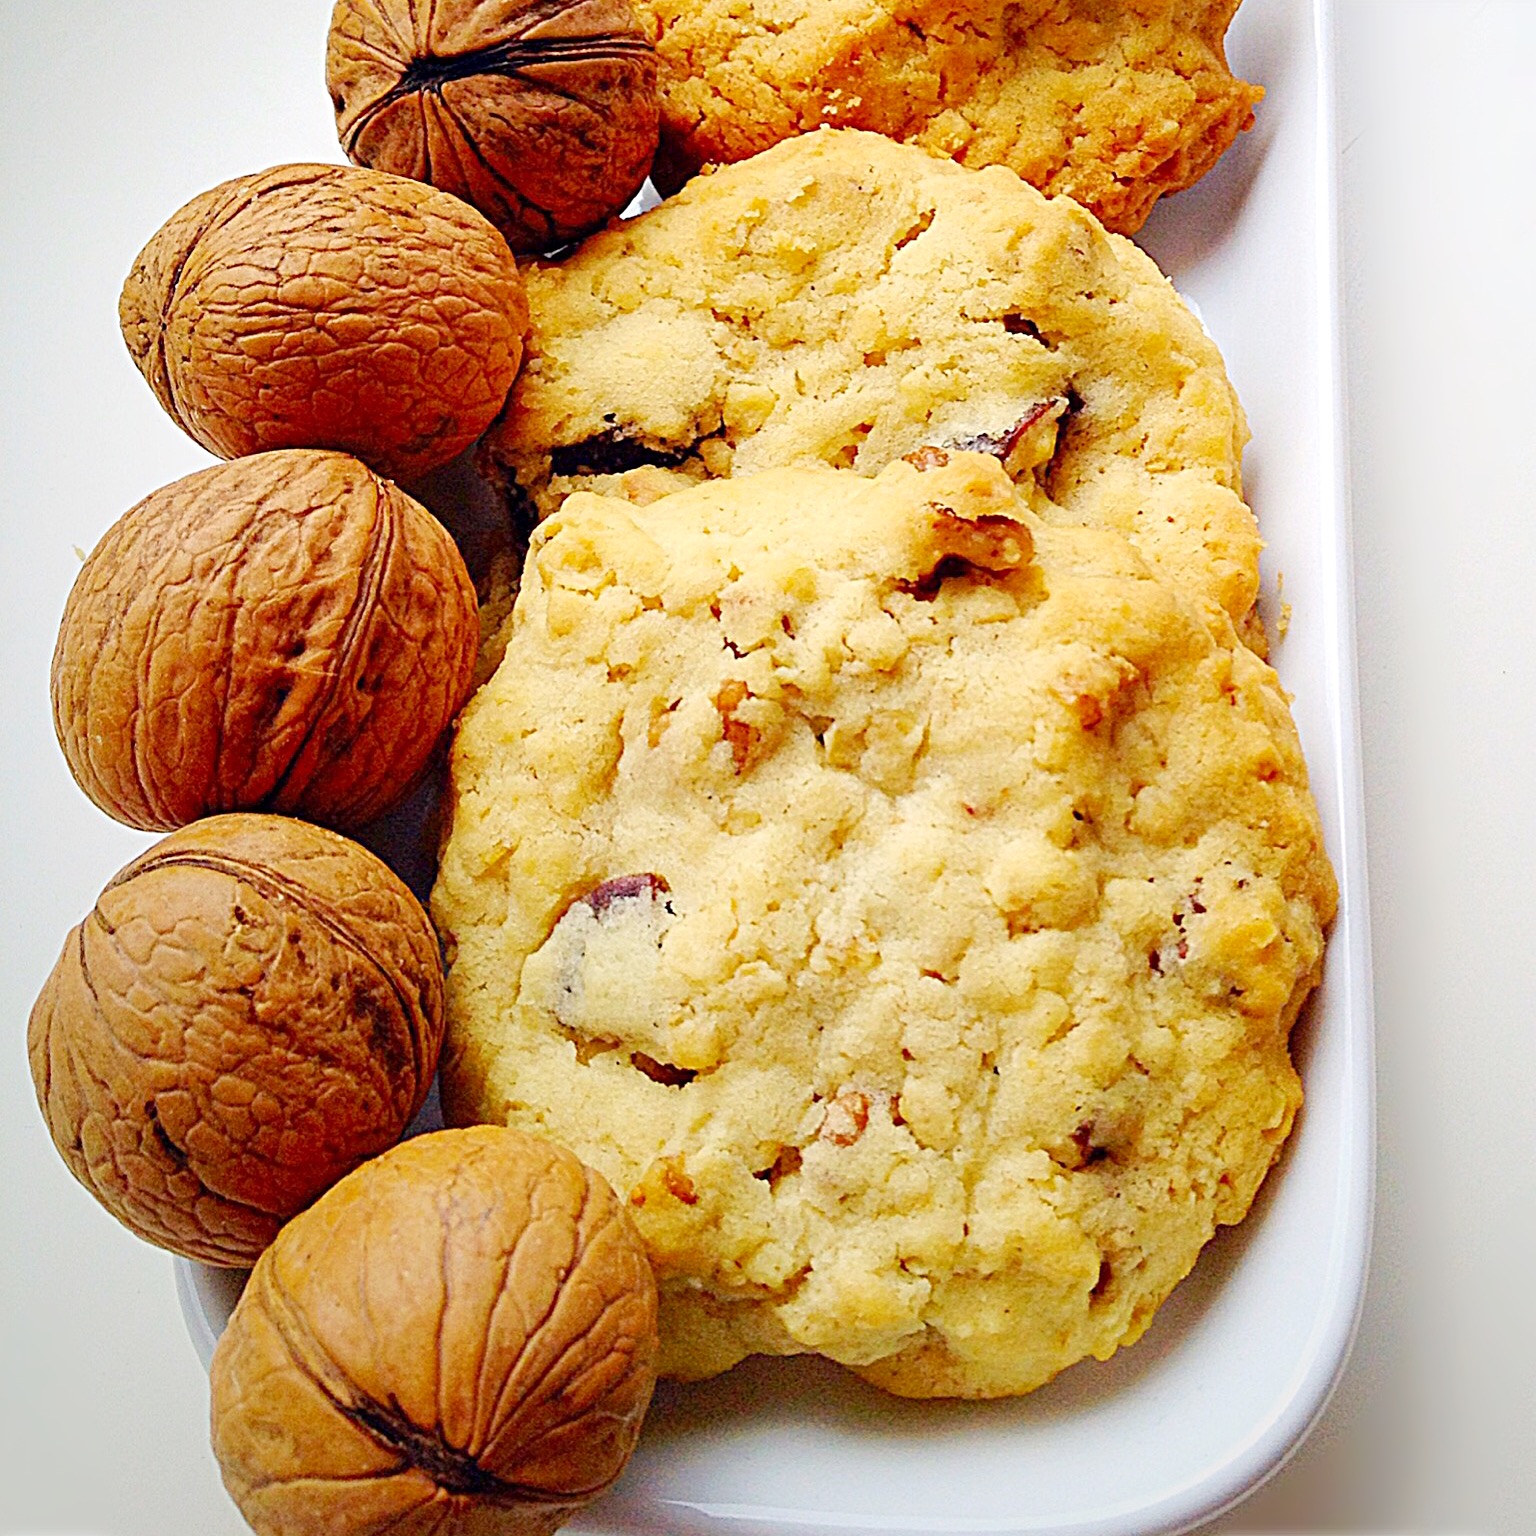
Enjoy the smell of toasted Walnuts pervading through your kitchen. Mmm delicious. Once cooled see who you can fool into eating one of these delicious Walnut Fig Oat Cookies!! The oats, whilst also being good for you, add to the rustic charm of these yummy Cookies.
I really do urge you to try these delicious, crunchy, fudgey cookies. They come personally recommended!
If you have enjoyed this recipe for Walnut Fig Oat Cookies you may also like these:
Hello lovely readers, do you think I’m crazy? Because my Chunky Chilli is made in the midst of Summer! And I understand, I had a moment with myself before going ahead and making this anyway. Trust me it’s good, even on the most scorching of days.
So here’s the thing – I try, on most days to get our evening meal made in the morning. Yet my body, frustratingly disruptive and painful that it is, does not, can not, start chopping and stirring at 5pm when dinner used to be made. Usually around 3 o’clock in the afternoon, very often well before that time, I’m done in and need to lay down. Consequently, any task that takes more than a couple of minutes standing just ain’t gonna happen!
While I’m learning to adapt (see Adapting to a New Normal) I made this Chunky Chilli. Most importantly, it was bubbling away, on the hob, by 10am. And the malted loaf was baked and cooling by 11am. Result!
How I now approach cooking:
I simply love cooking, yes there are more days than I’d like, where I can’t. Yet on the days I can, I do. Sometimes I double up on the recipe, so I can stash a meal in the freezer. Although that comes with it’s own challenges; more time standing, chopping, slicing, stirring etc. So I do what I can and at the end of the day, whatever sort of day it’s been I look at what I’ve achieved. And it keeps me positive and (not literally) on my toes, constantly thinking of new ways of getting dinner on the table.
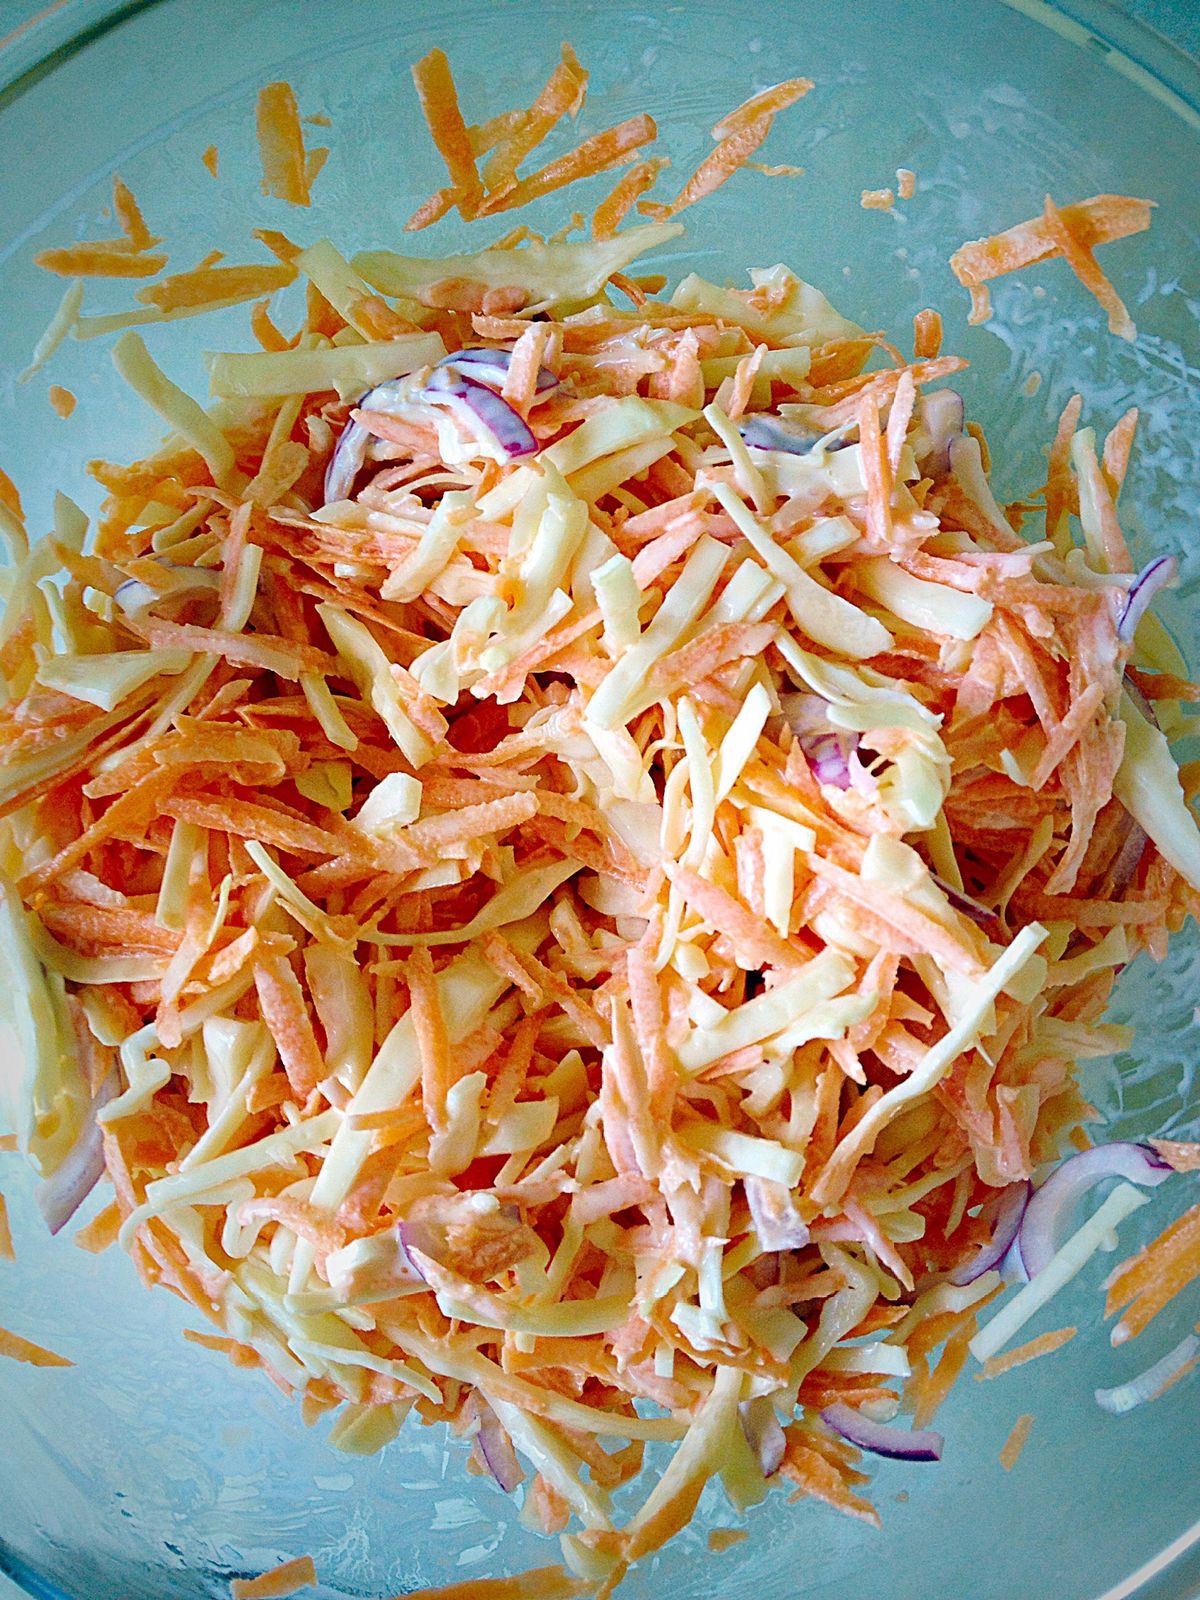
Also, I am actively teaching all three of our children to cook. In fact, my heart swelled the other day, when I found a printed copy of my Crunchy Homemade Coleslaw recipe. Our eldest daughter had made it to go with dinner and it was perfect!
1-2 Red Chilli’s – or more if you really like it hot
4 Garlic Cloves – minced
1tsp Ground Cumin
4 x 400g/14oz Cans of Plum Tomatoes
2 x 400g/14oz Cans of Kidney Beans
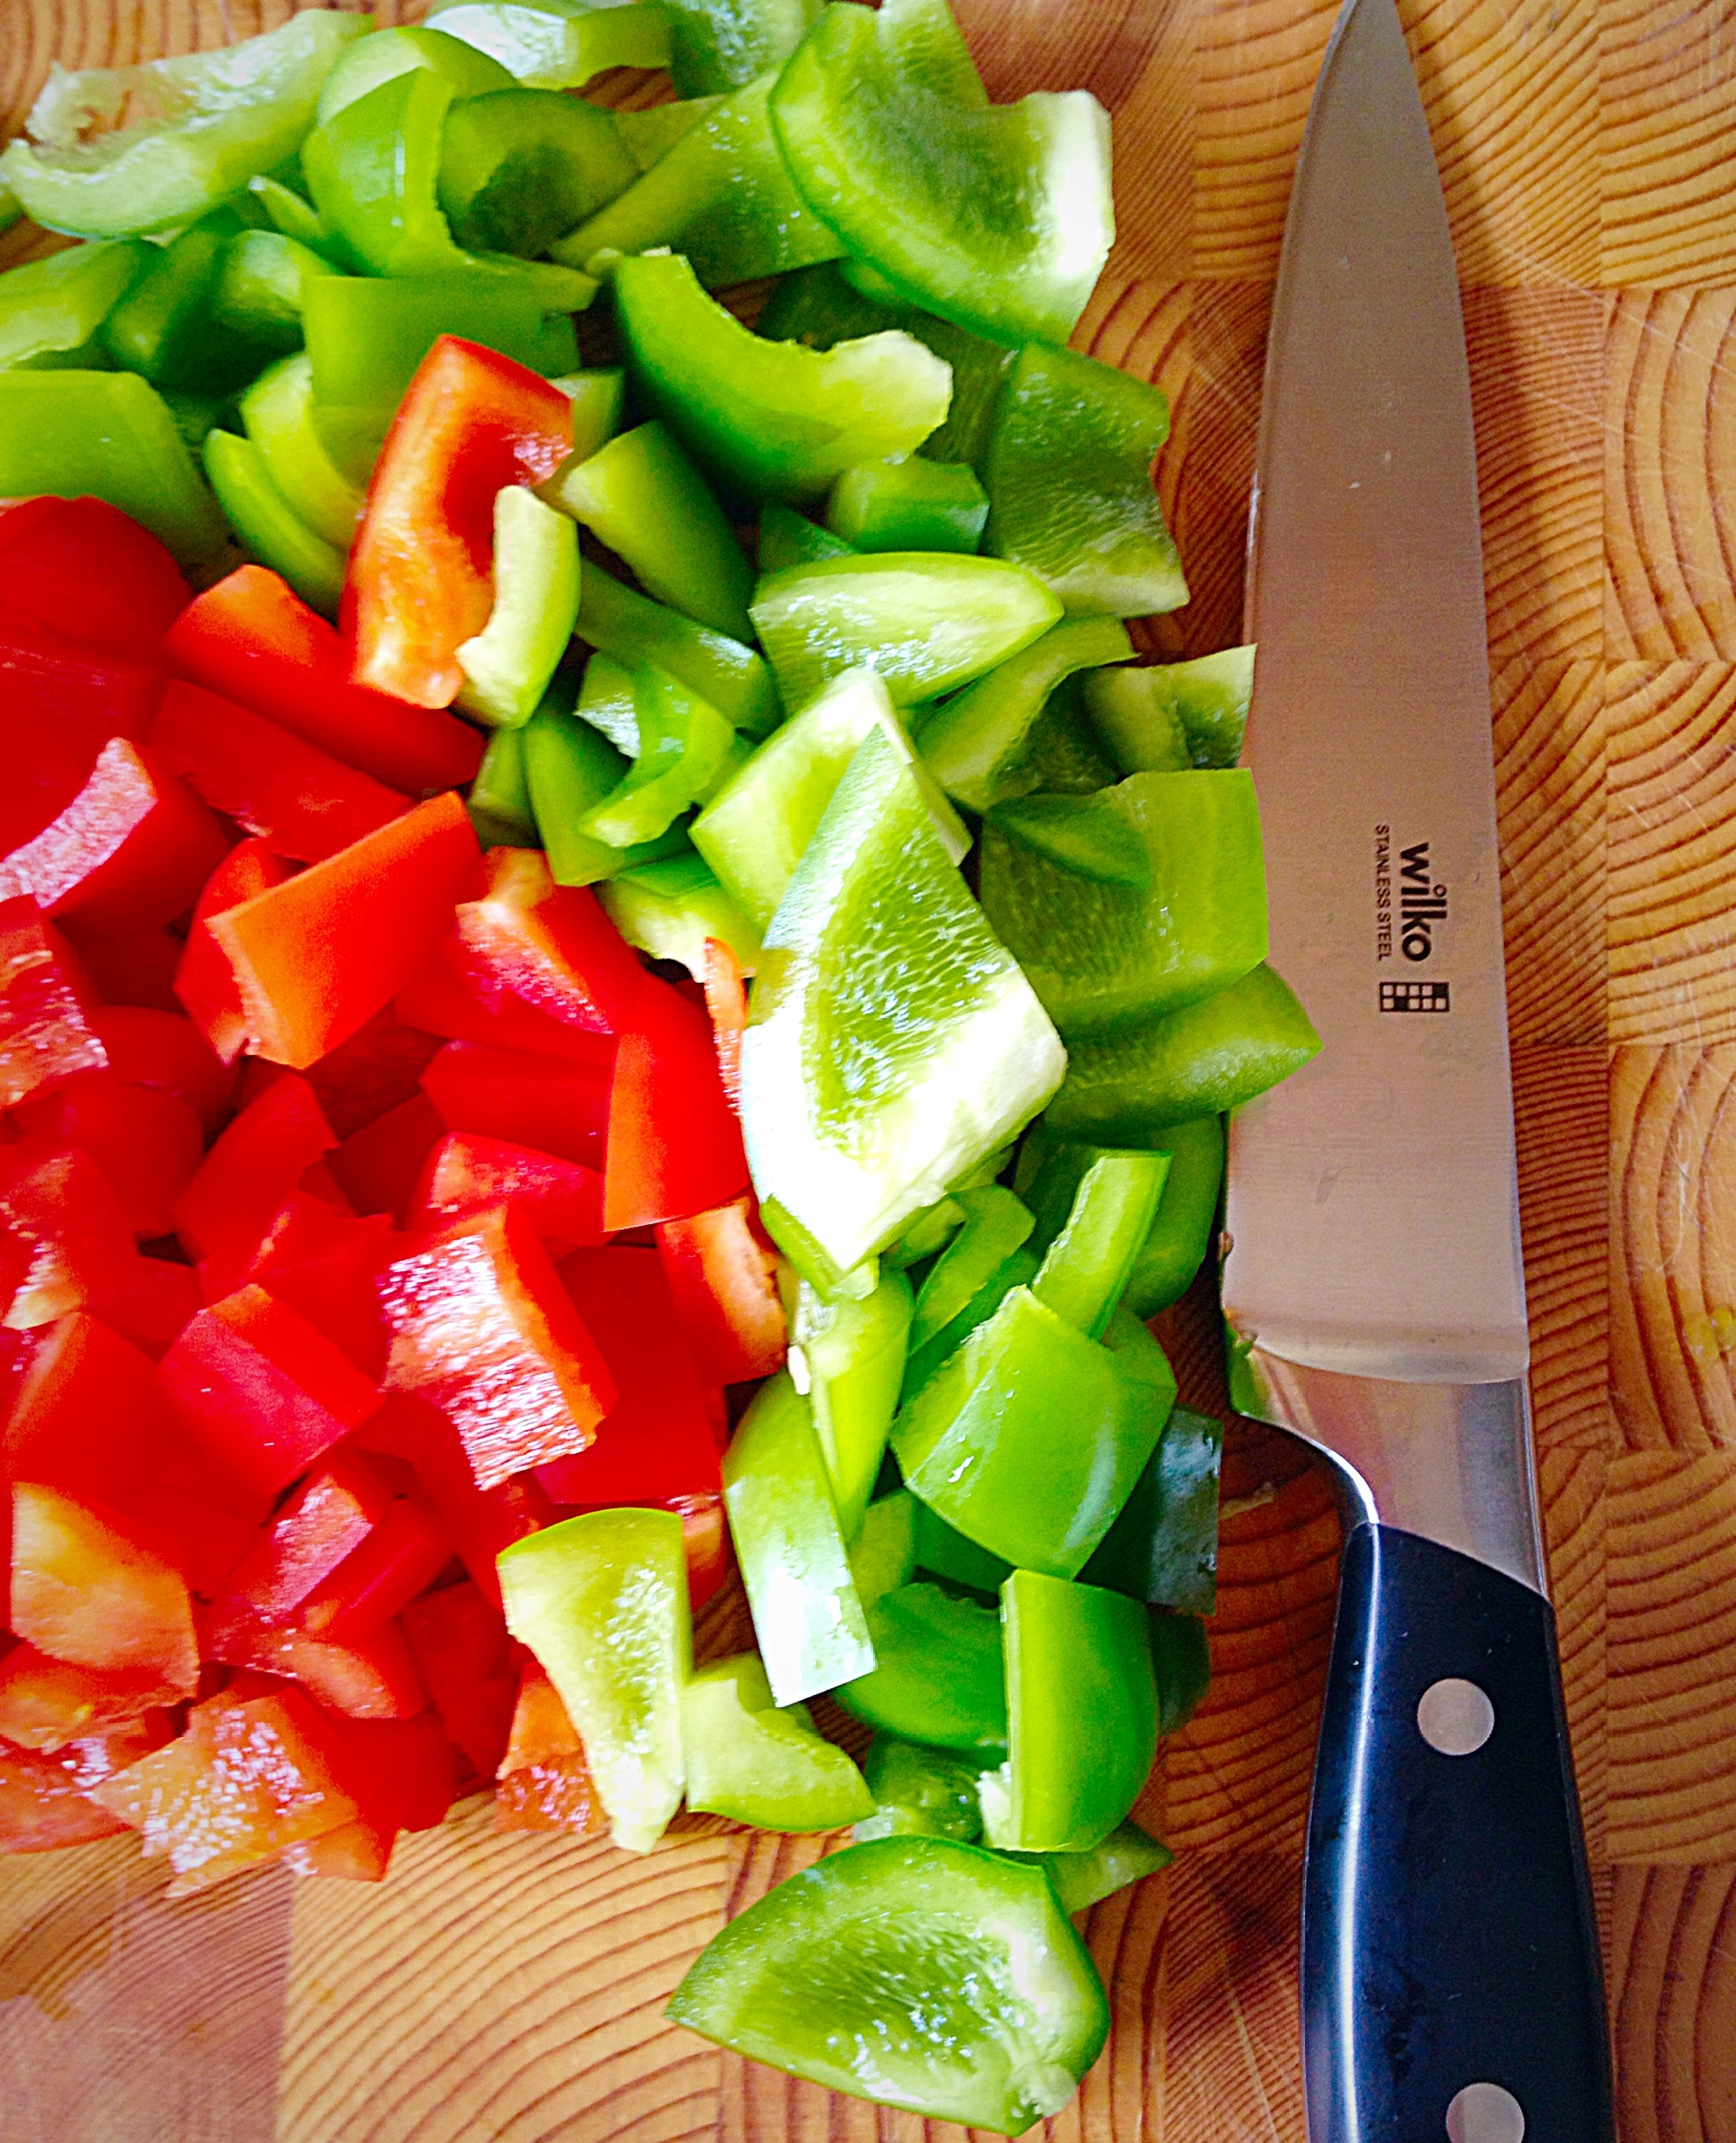
3 Red/Green Bell Peppers – cut into large chunky dice
1tsp Corn Flour
Salt and Ground Black Pepper to taste
Making the Chunky Chilli
First of all add the oil to a large, heavy based pan, over a medium heat.
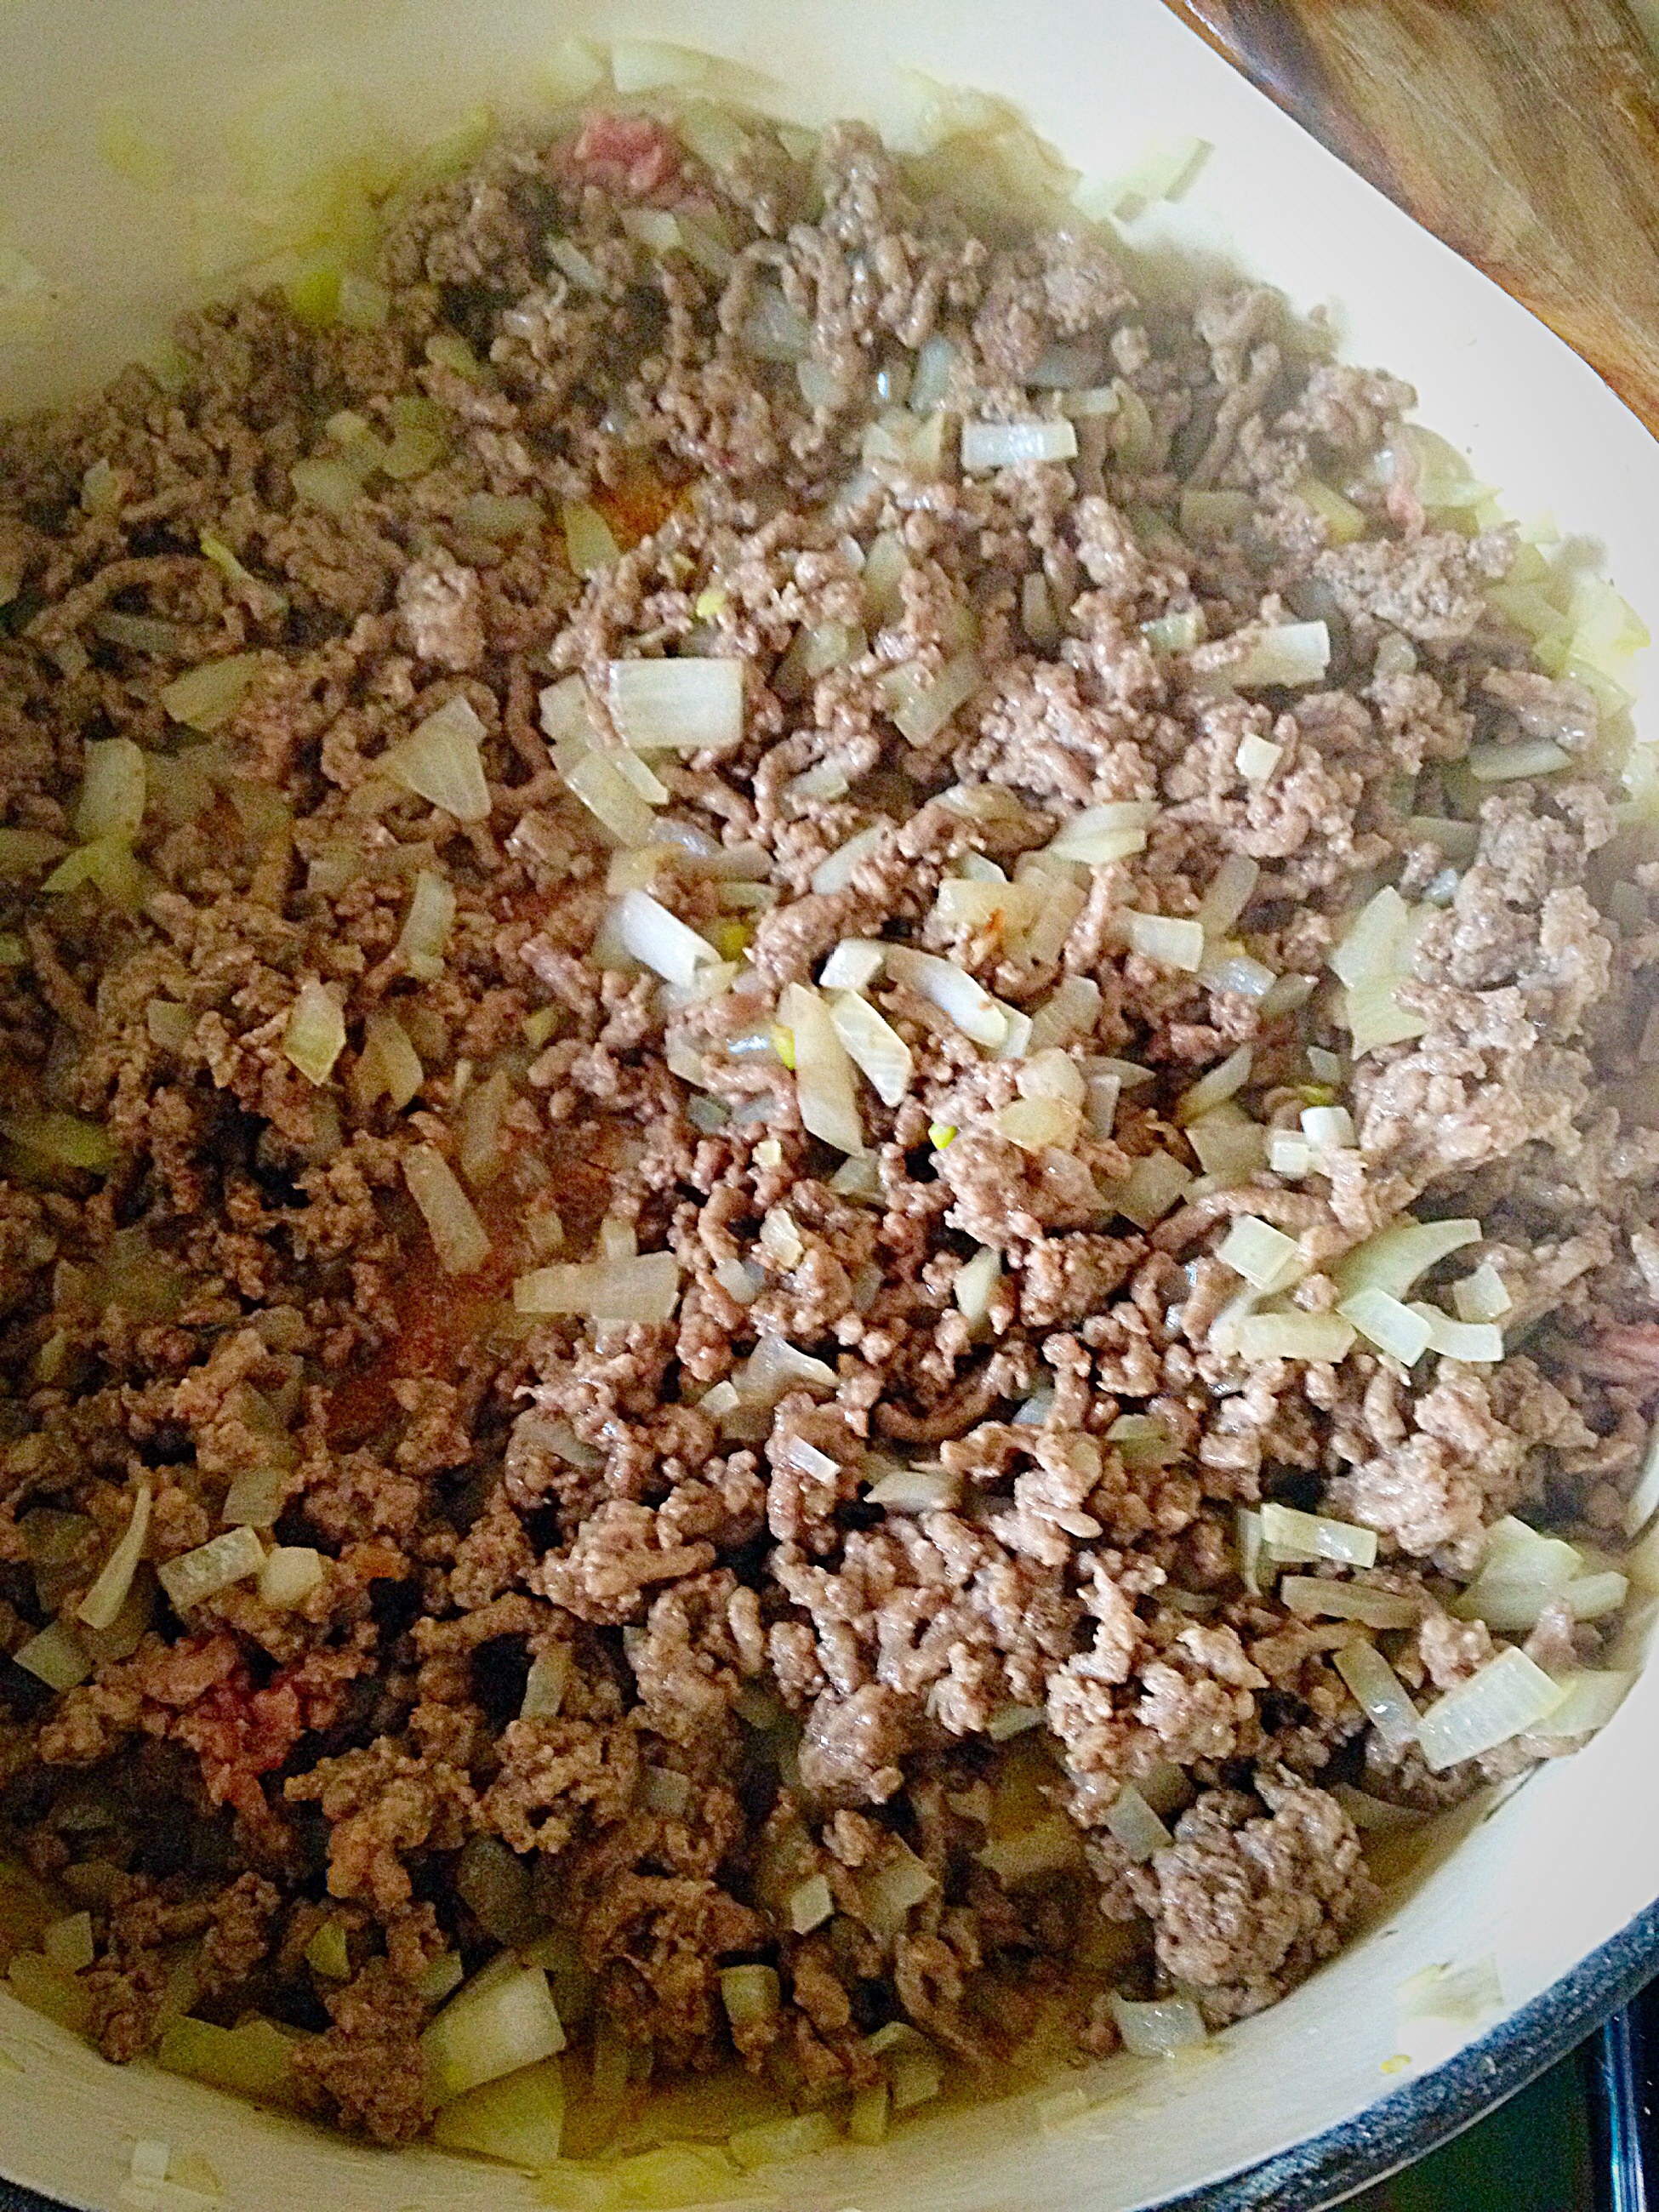
Next add the onion and cook until just soft and slightly translucent.
Tip the minced/ground beef into the pan and cook until browned.
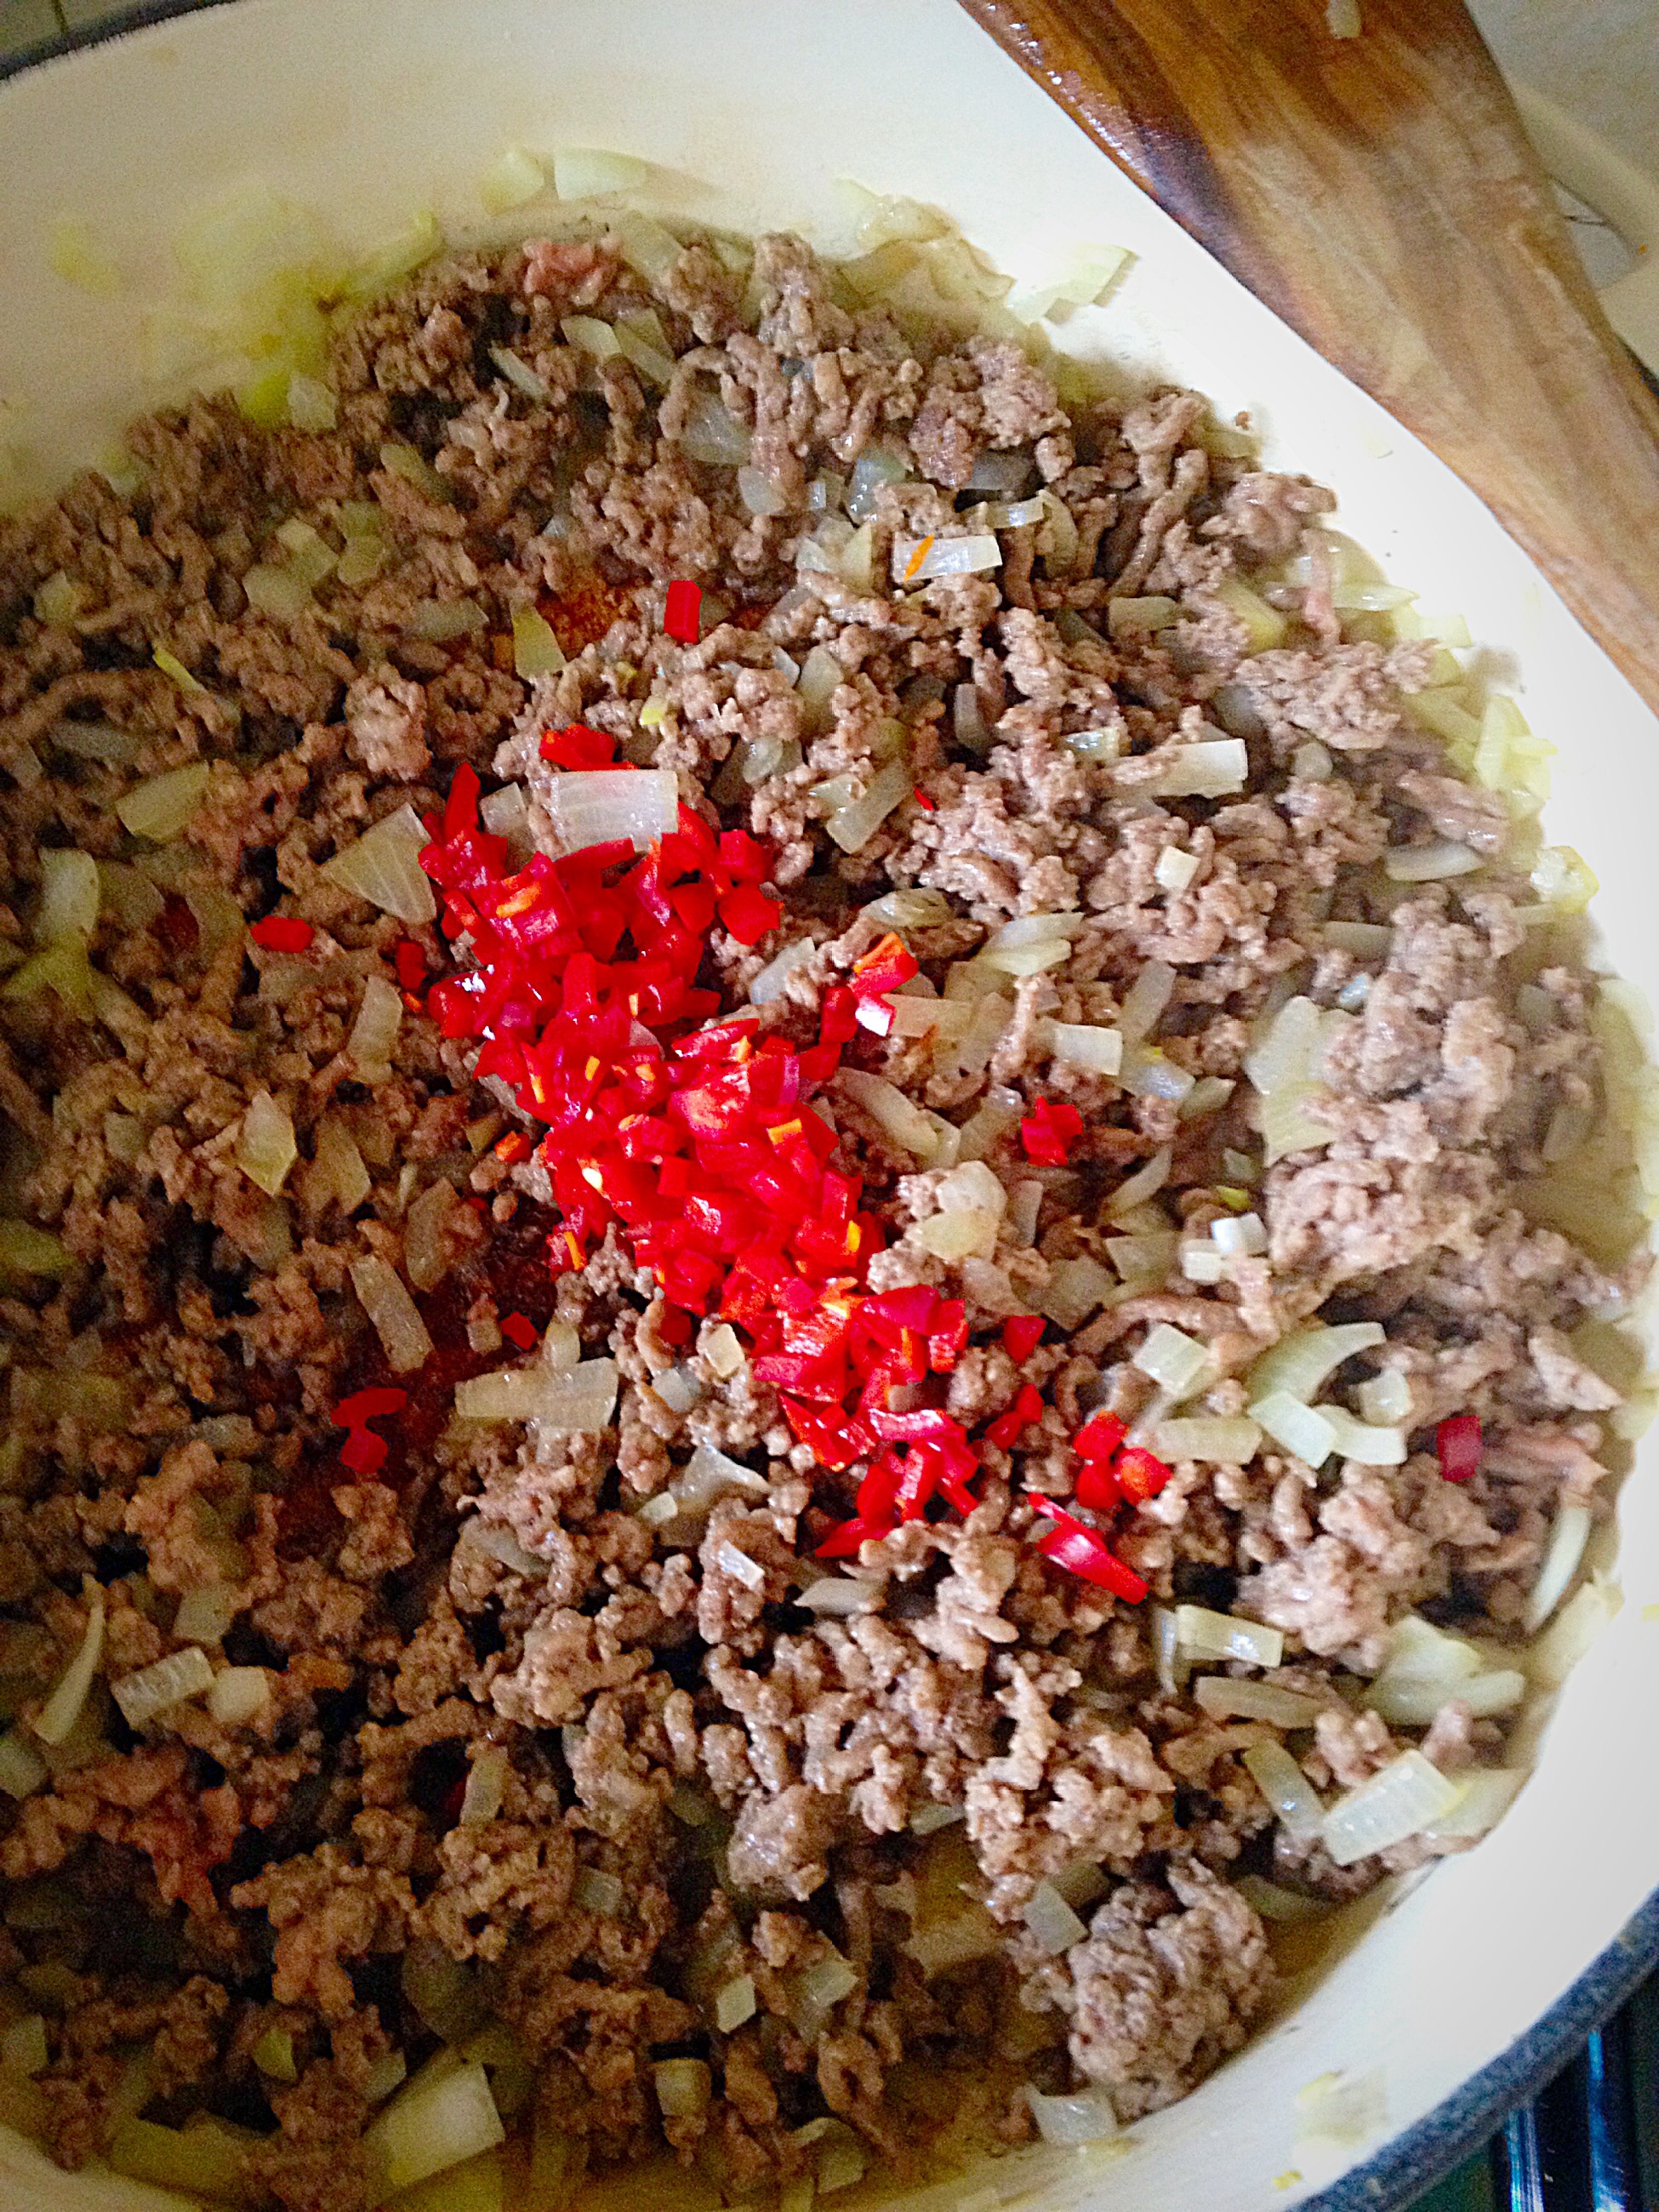
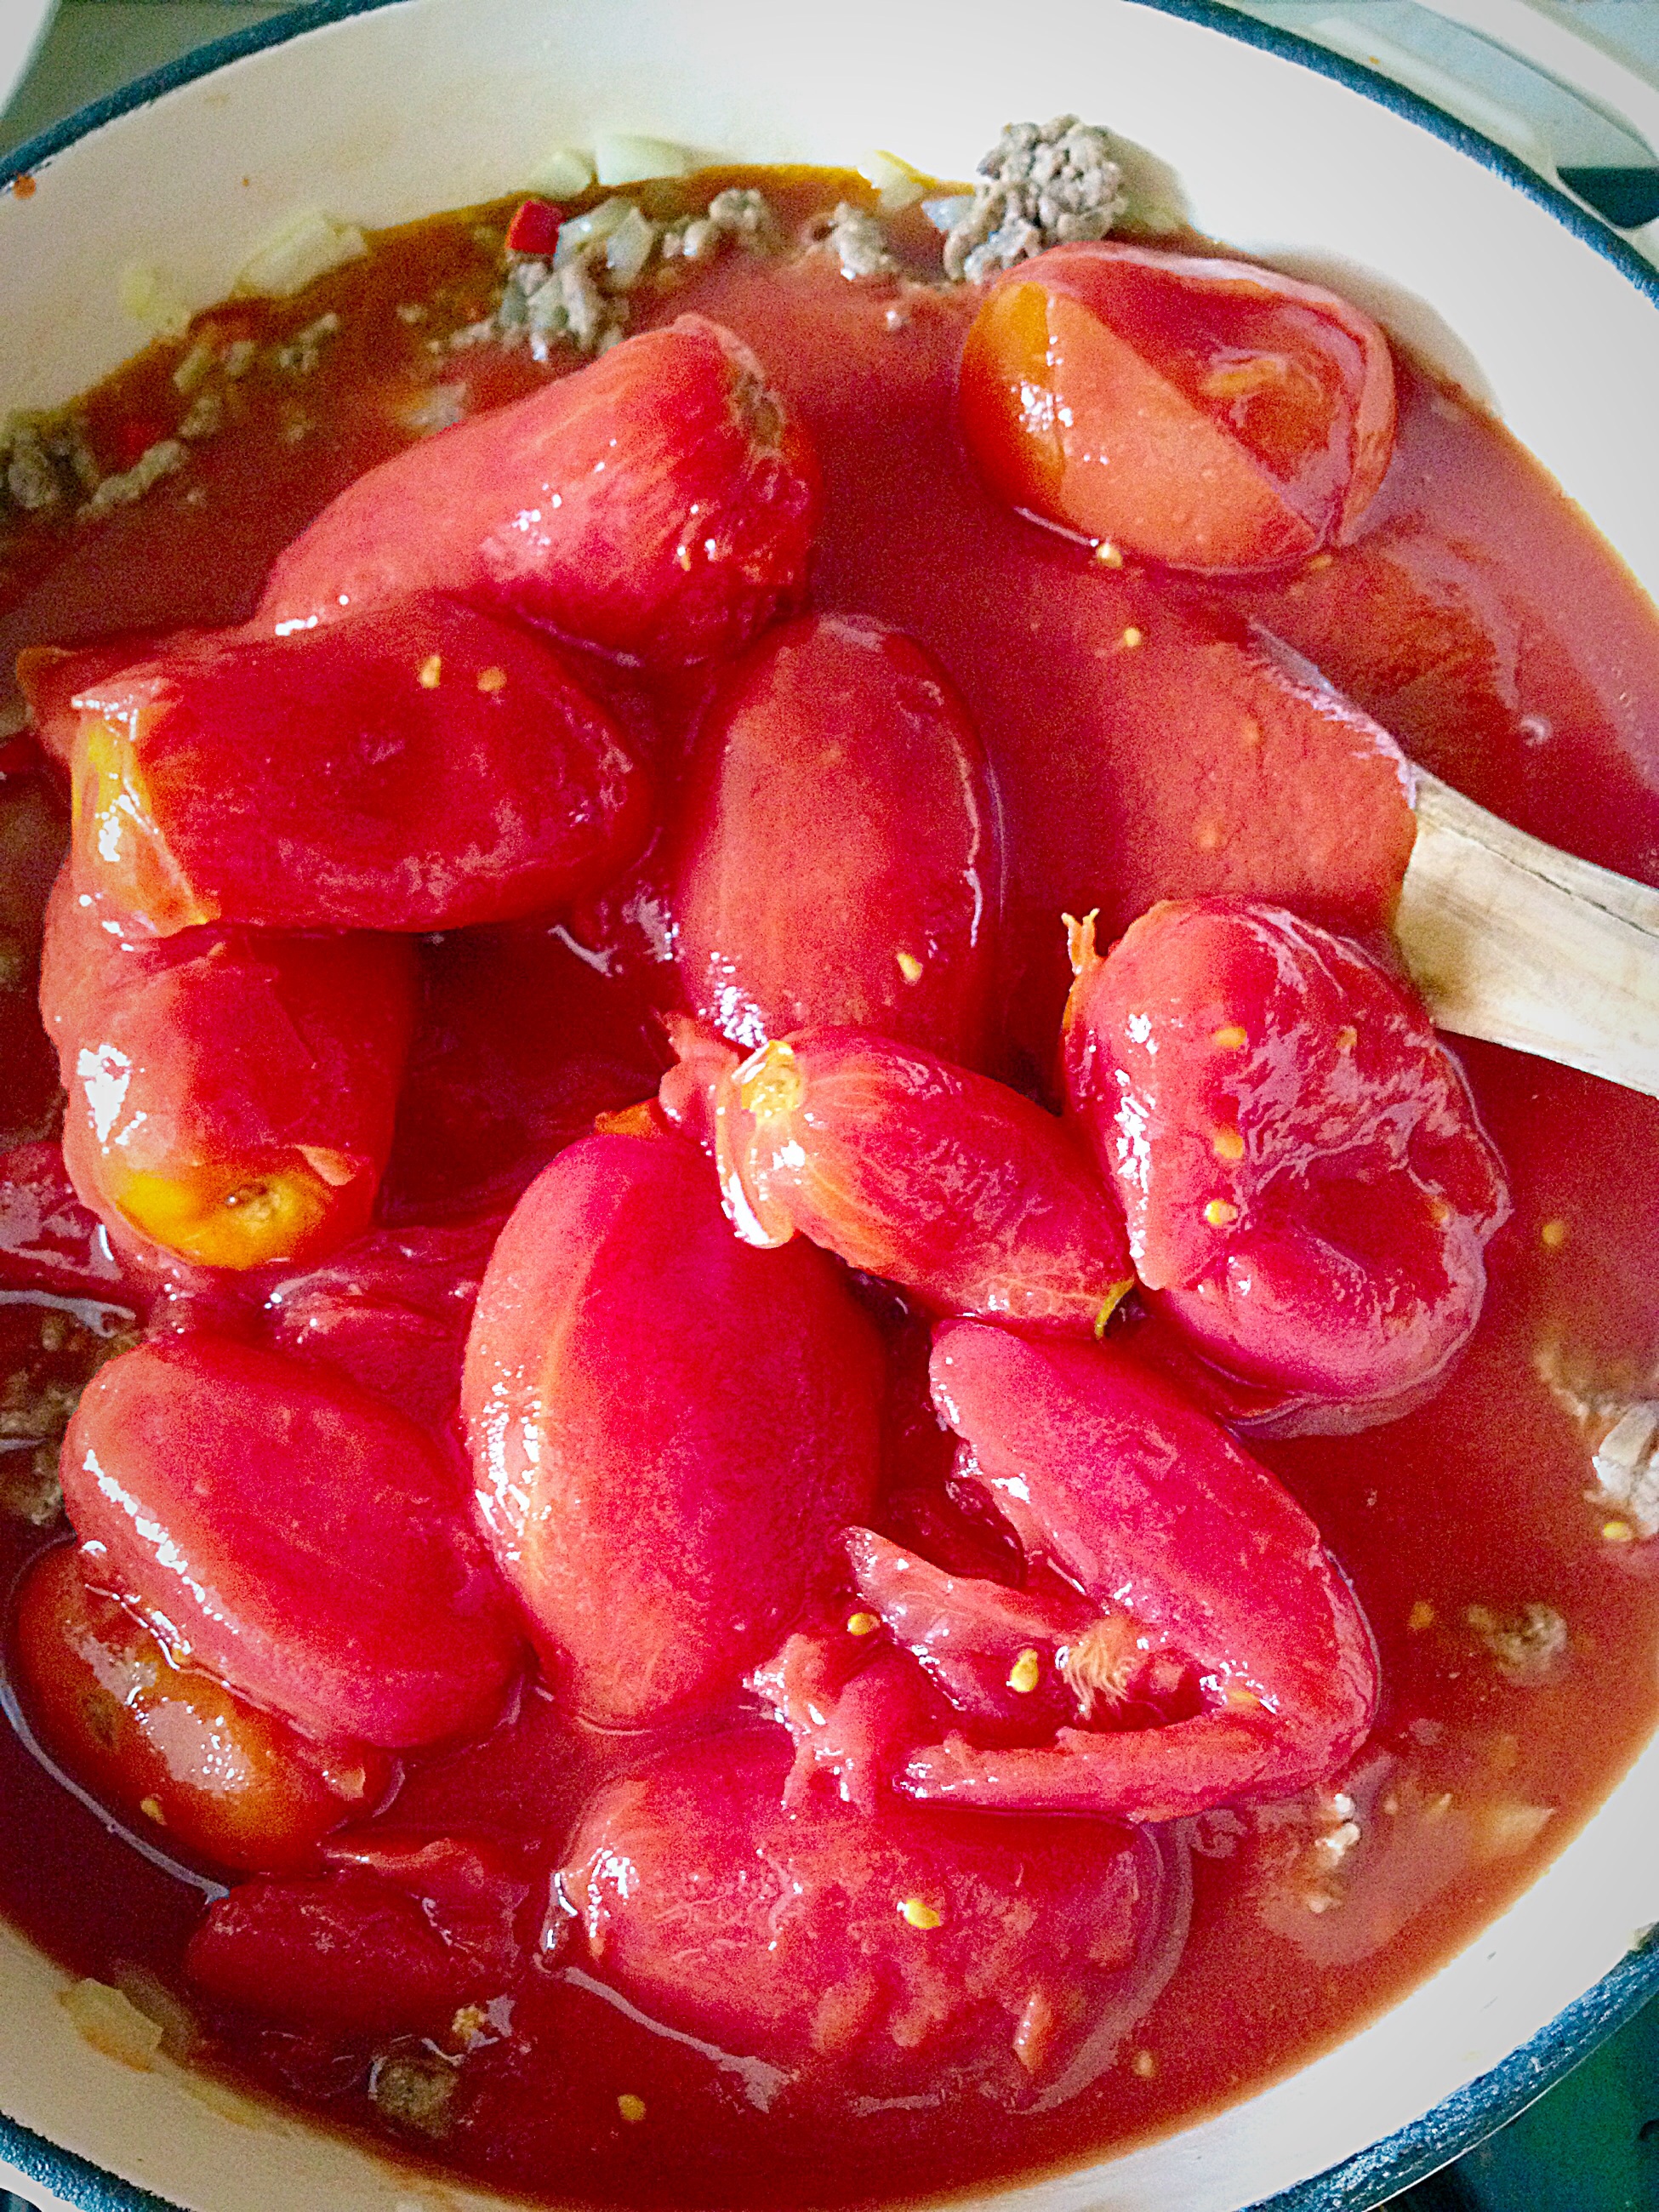
Add the finely diced chilli and tinned tomatoes.
Rinse each tomato can out with a little water and add this to the pan.
Chunky Chilli
Now add the cumin and garlic.
And use a wooden spoon or spatula to gently break up the plum tomatoes. During cooking they will break down further.
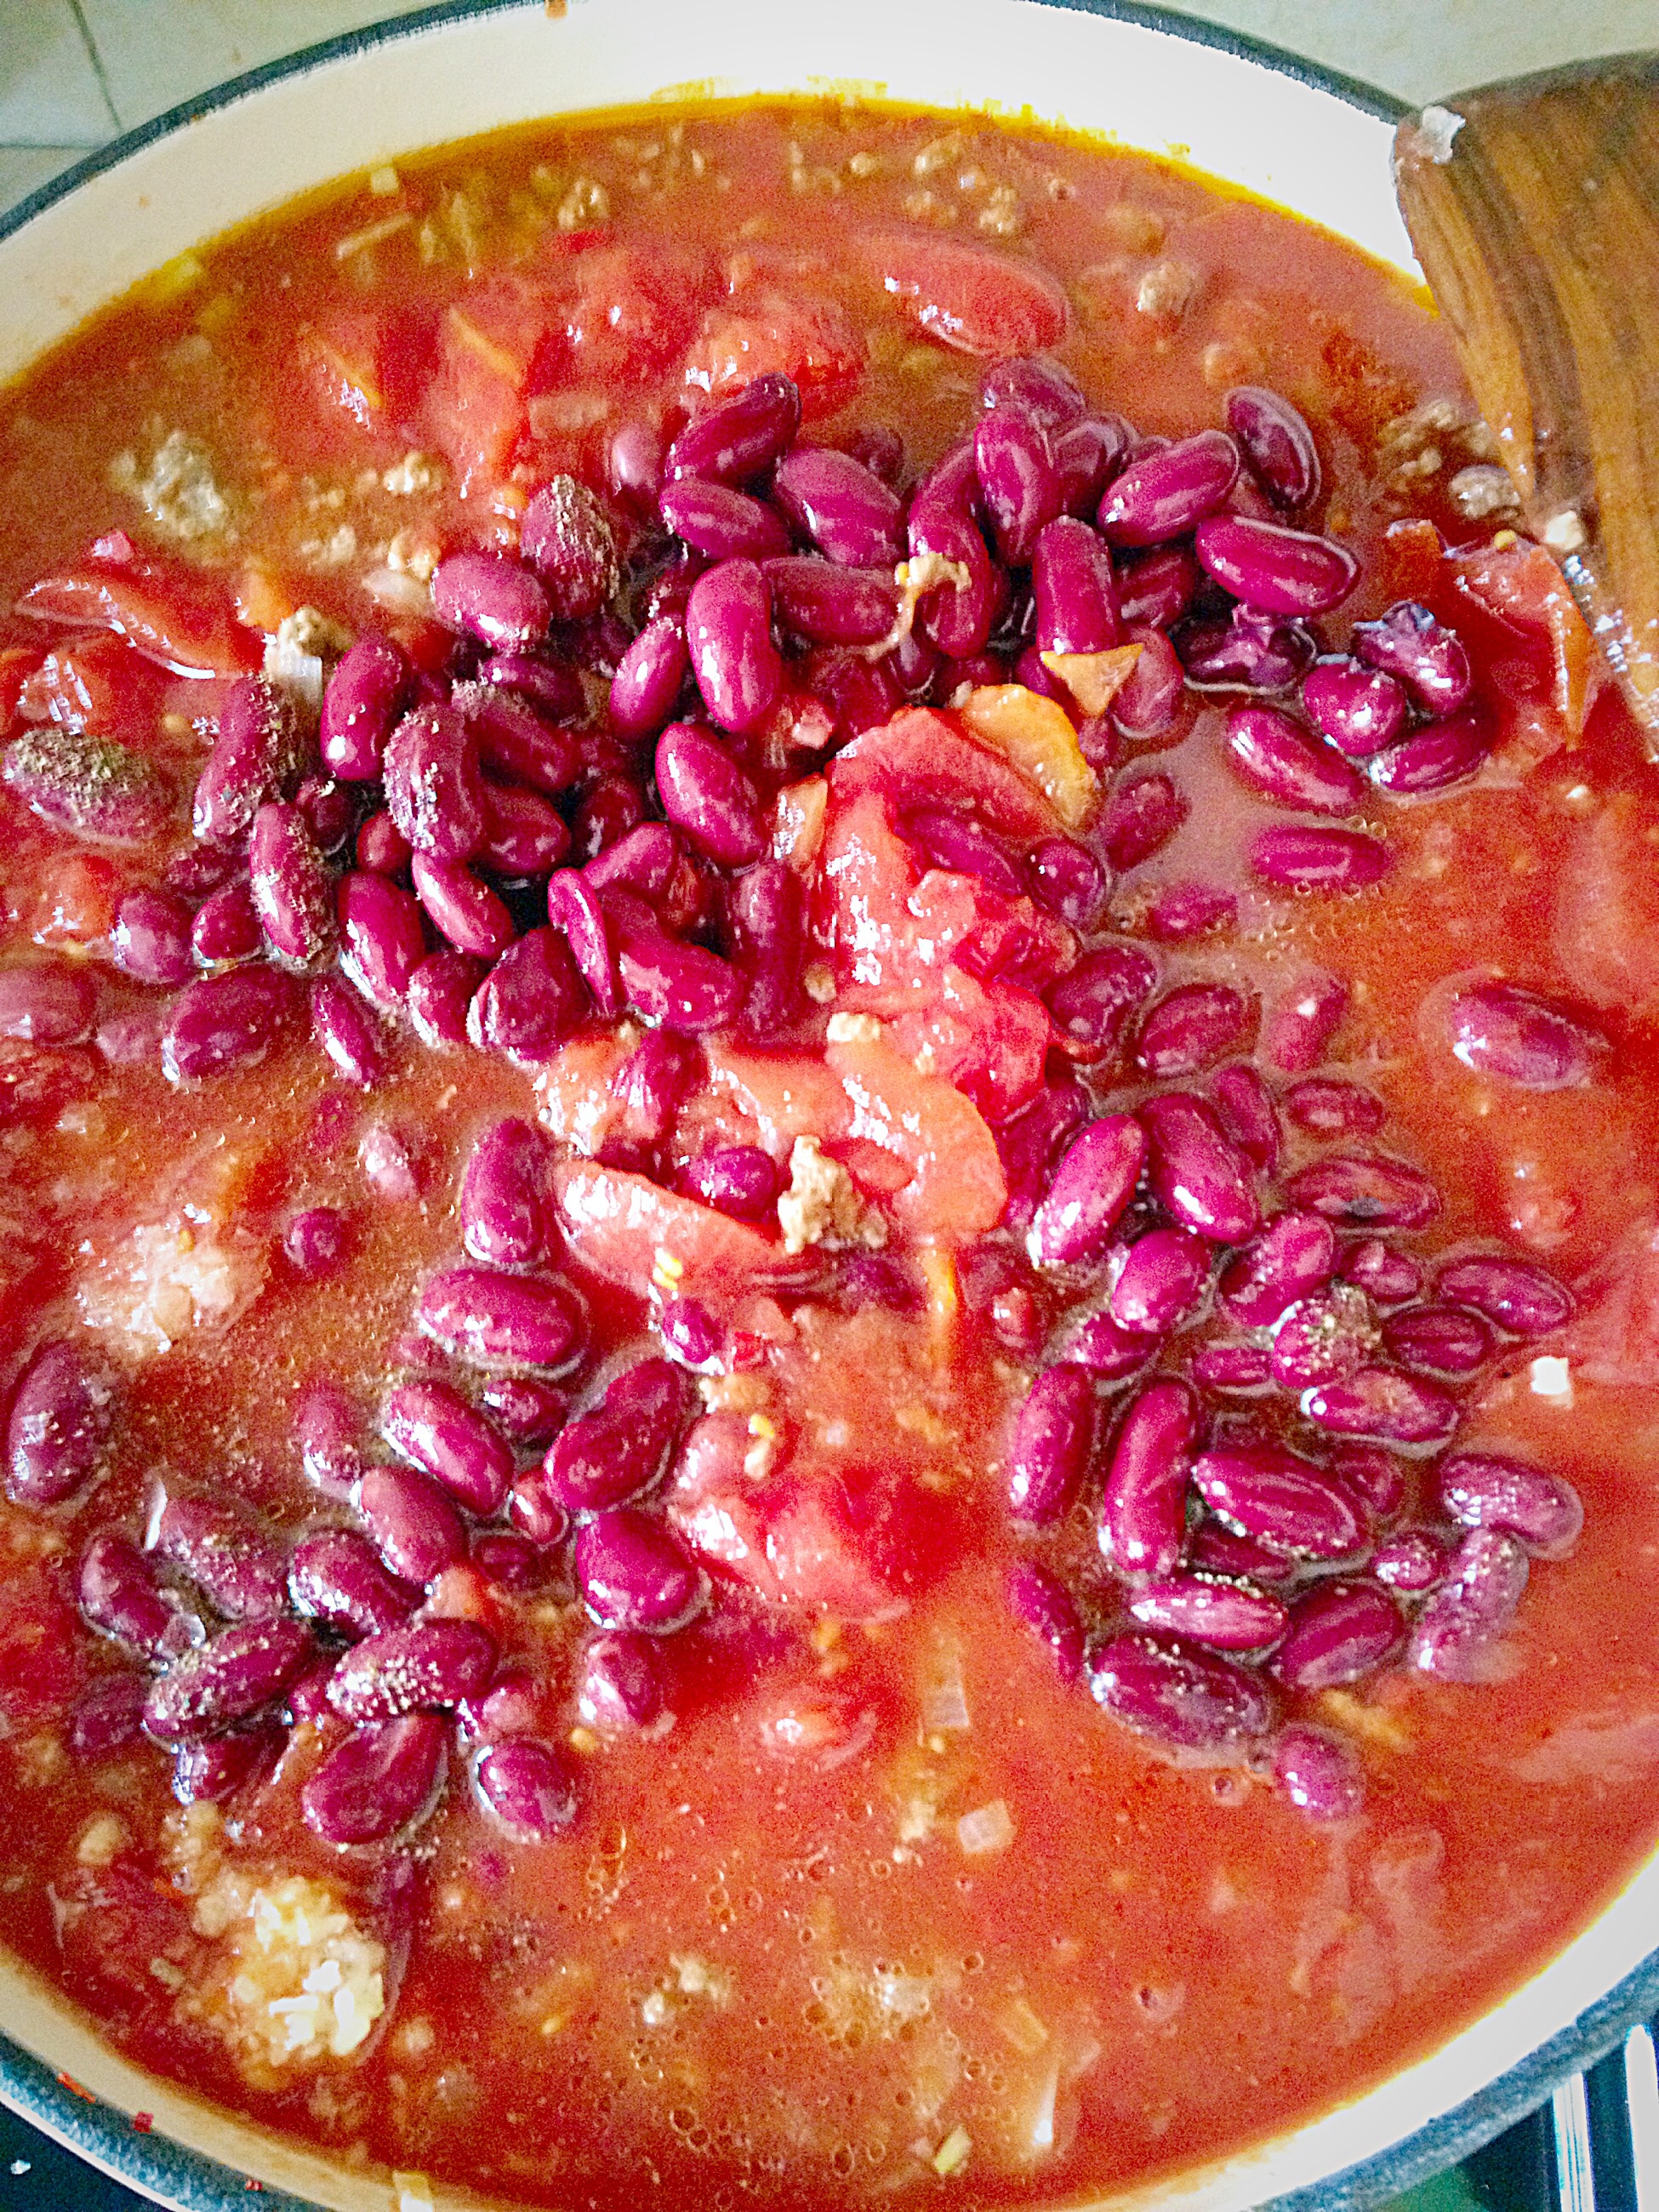
Empty the kidney beans into a big sieve and rinse under cold, running water.
Add the rinsed kidney beans to the pan.
Chunky Chilli
Allow the chilli to bubble gently for 2 hours partially covered with a lid.
I prepared this Chunky Chilli in the morning. After 2 hours cooking the heat was turned off.
Check the seasoning and adjust as necessary.
Chunky Chilli – so called because of the Chunky diced 2 green and 1 red peppers!
Then add the diced bell peppers, the chilli will be reheated later. Alternatively if you make this chilli ready to eat, add the peppers during the last 10 minutes of cooking time. Ensuring the peppers retain their crunch.
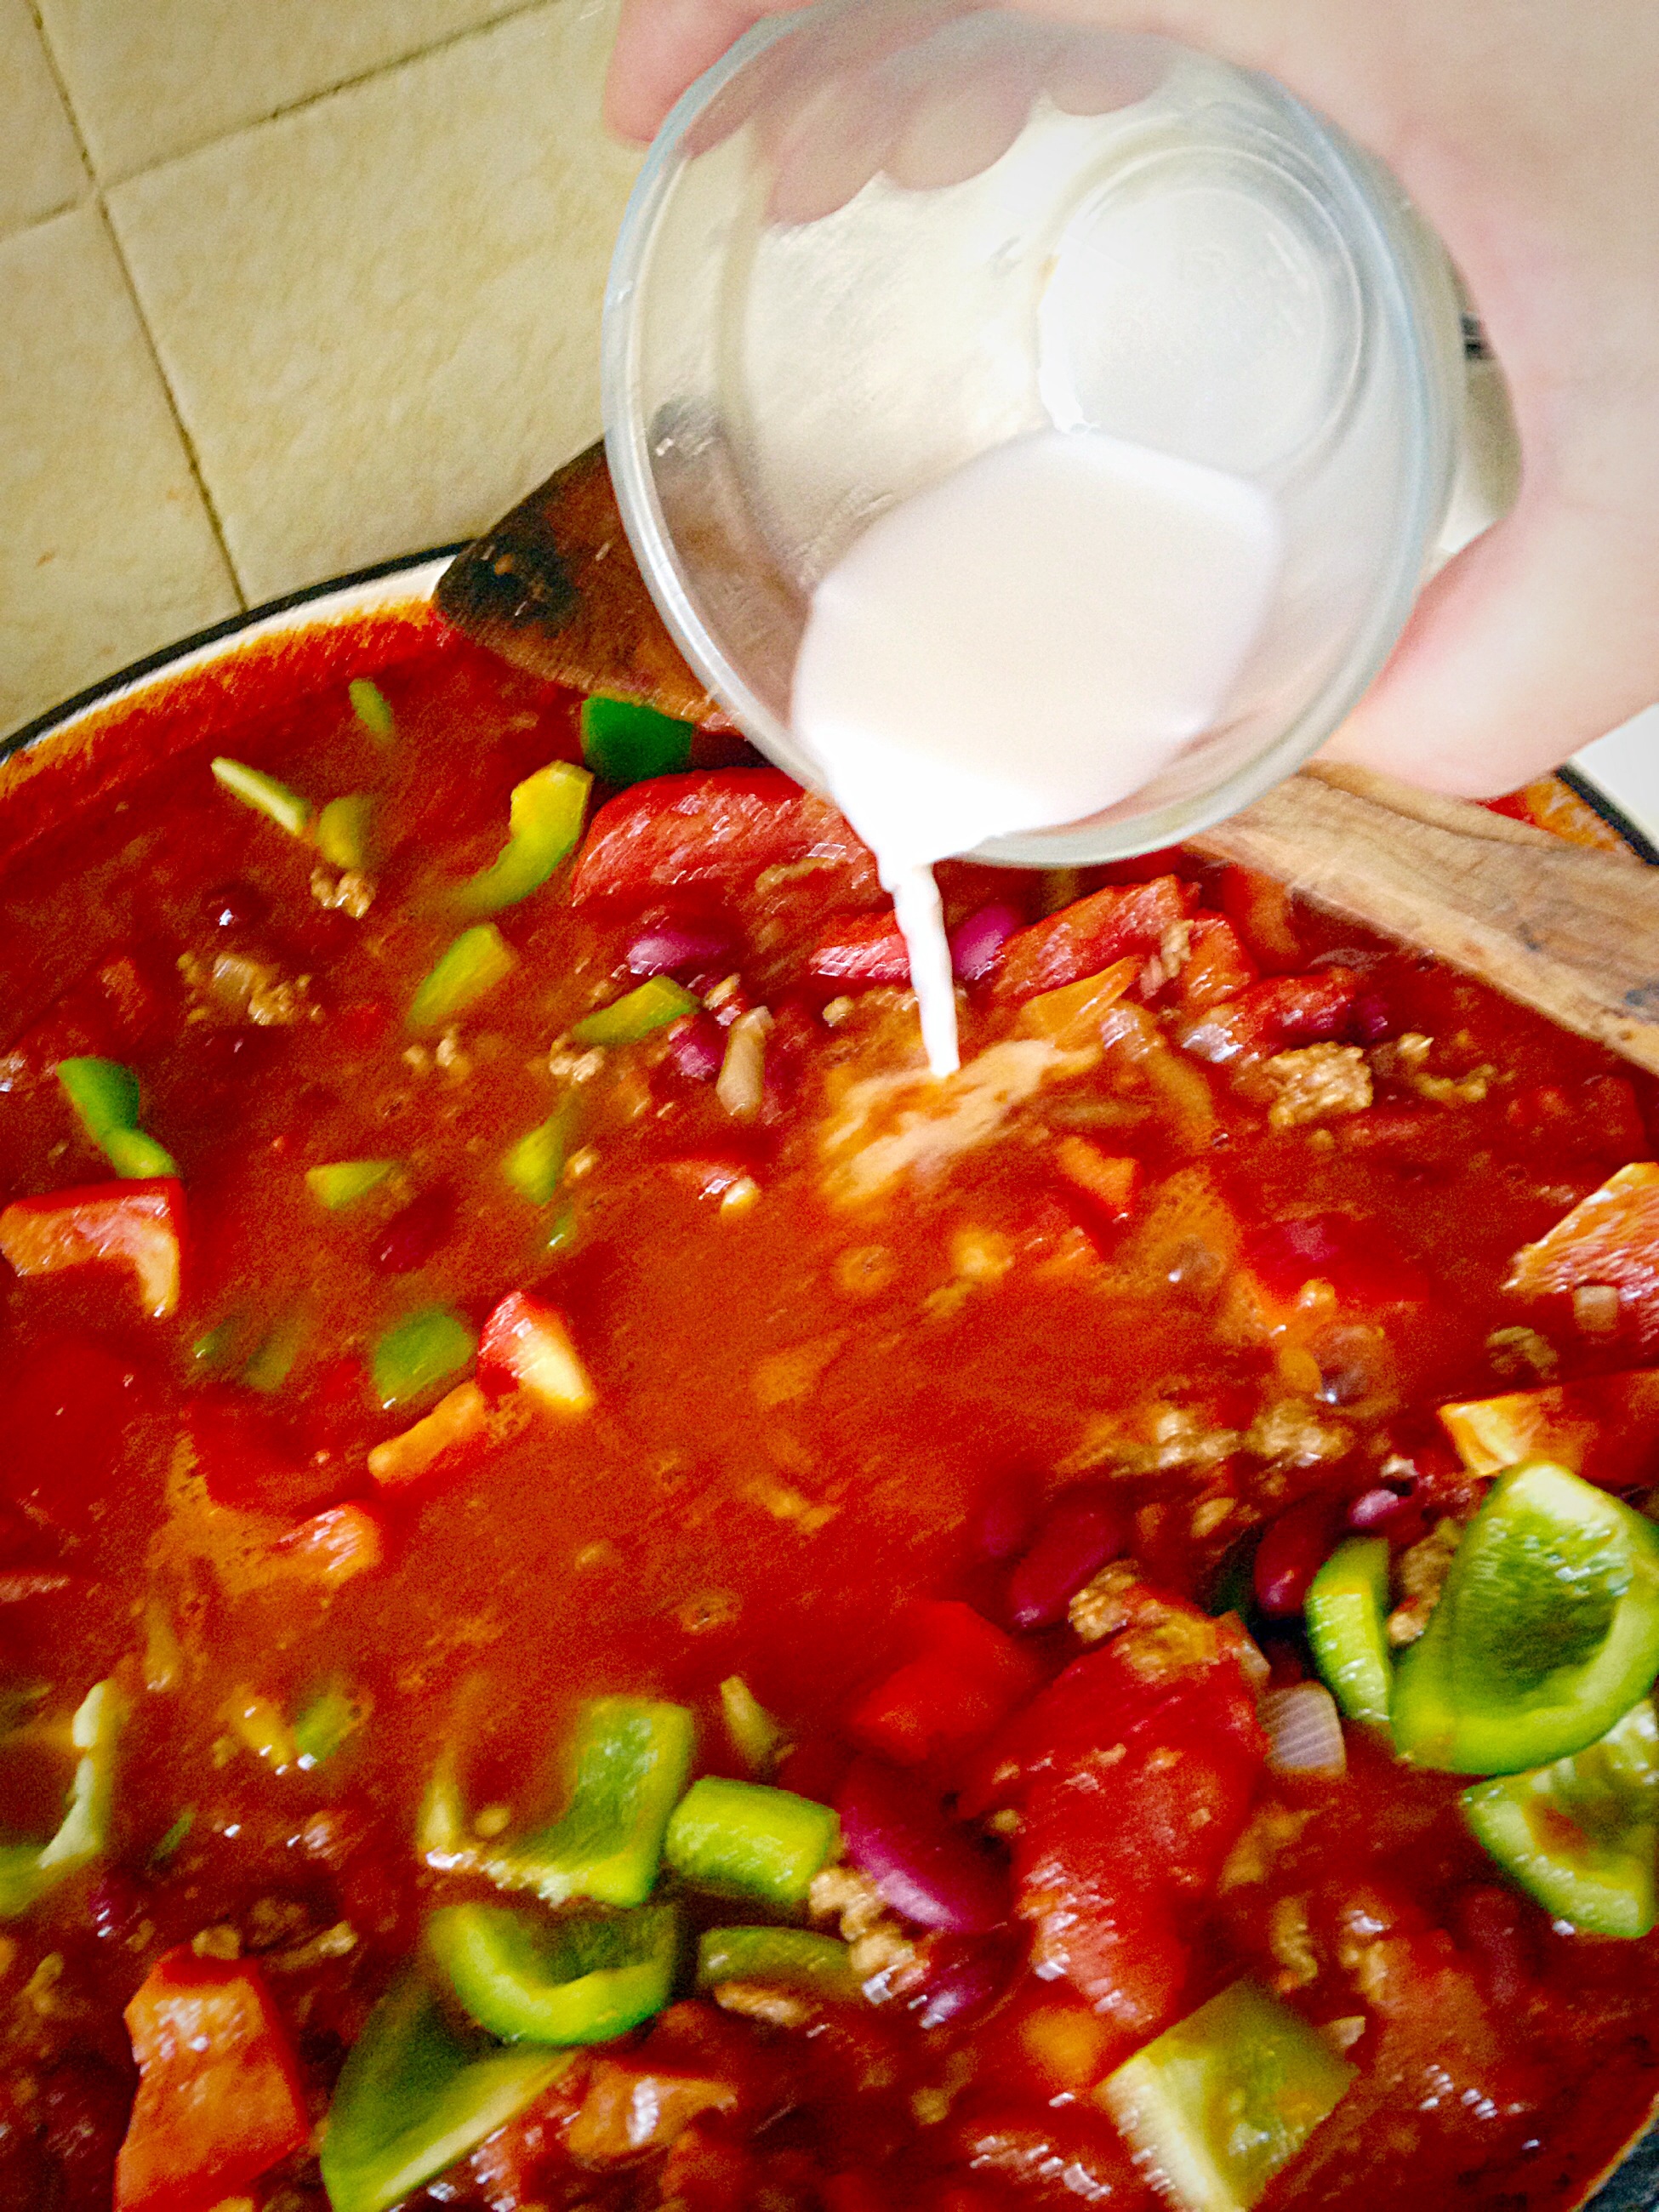
Dissolve the corn flour in a couple of tablespoons of cold water and add to the chilli.
Chunky Chilli
Give the chilli a good stir and allow the corn flour to thicken the sauce. Finally pop a lid on the pan and leave to cool until needed.
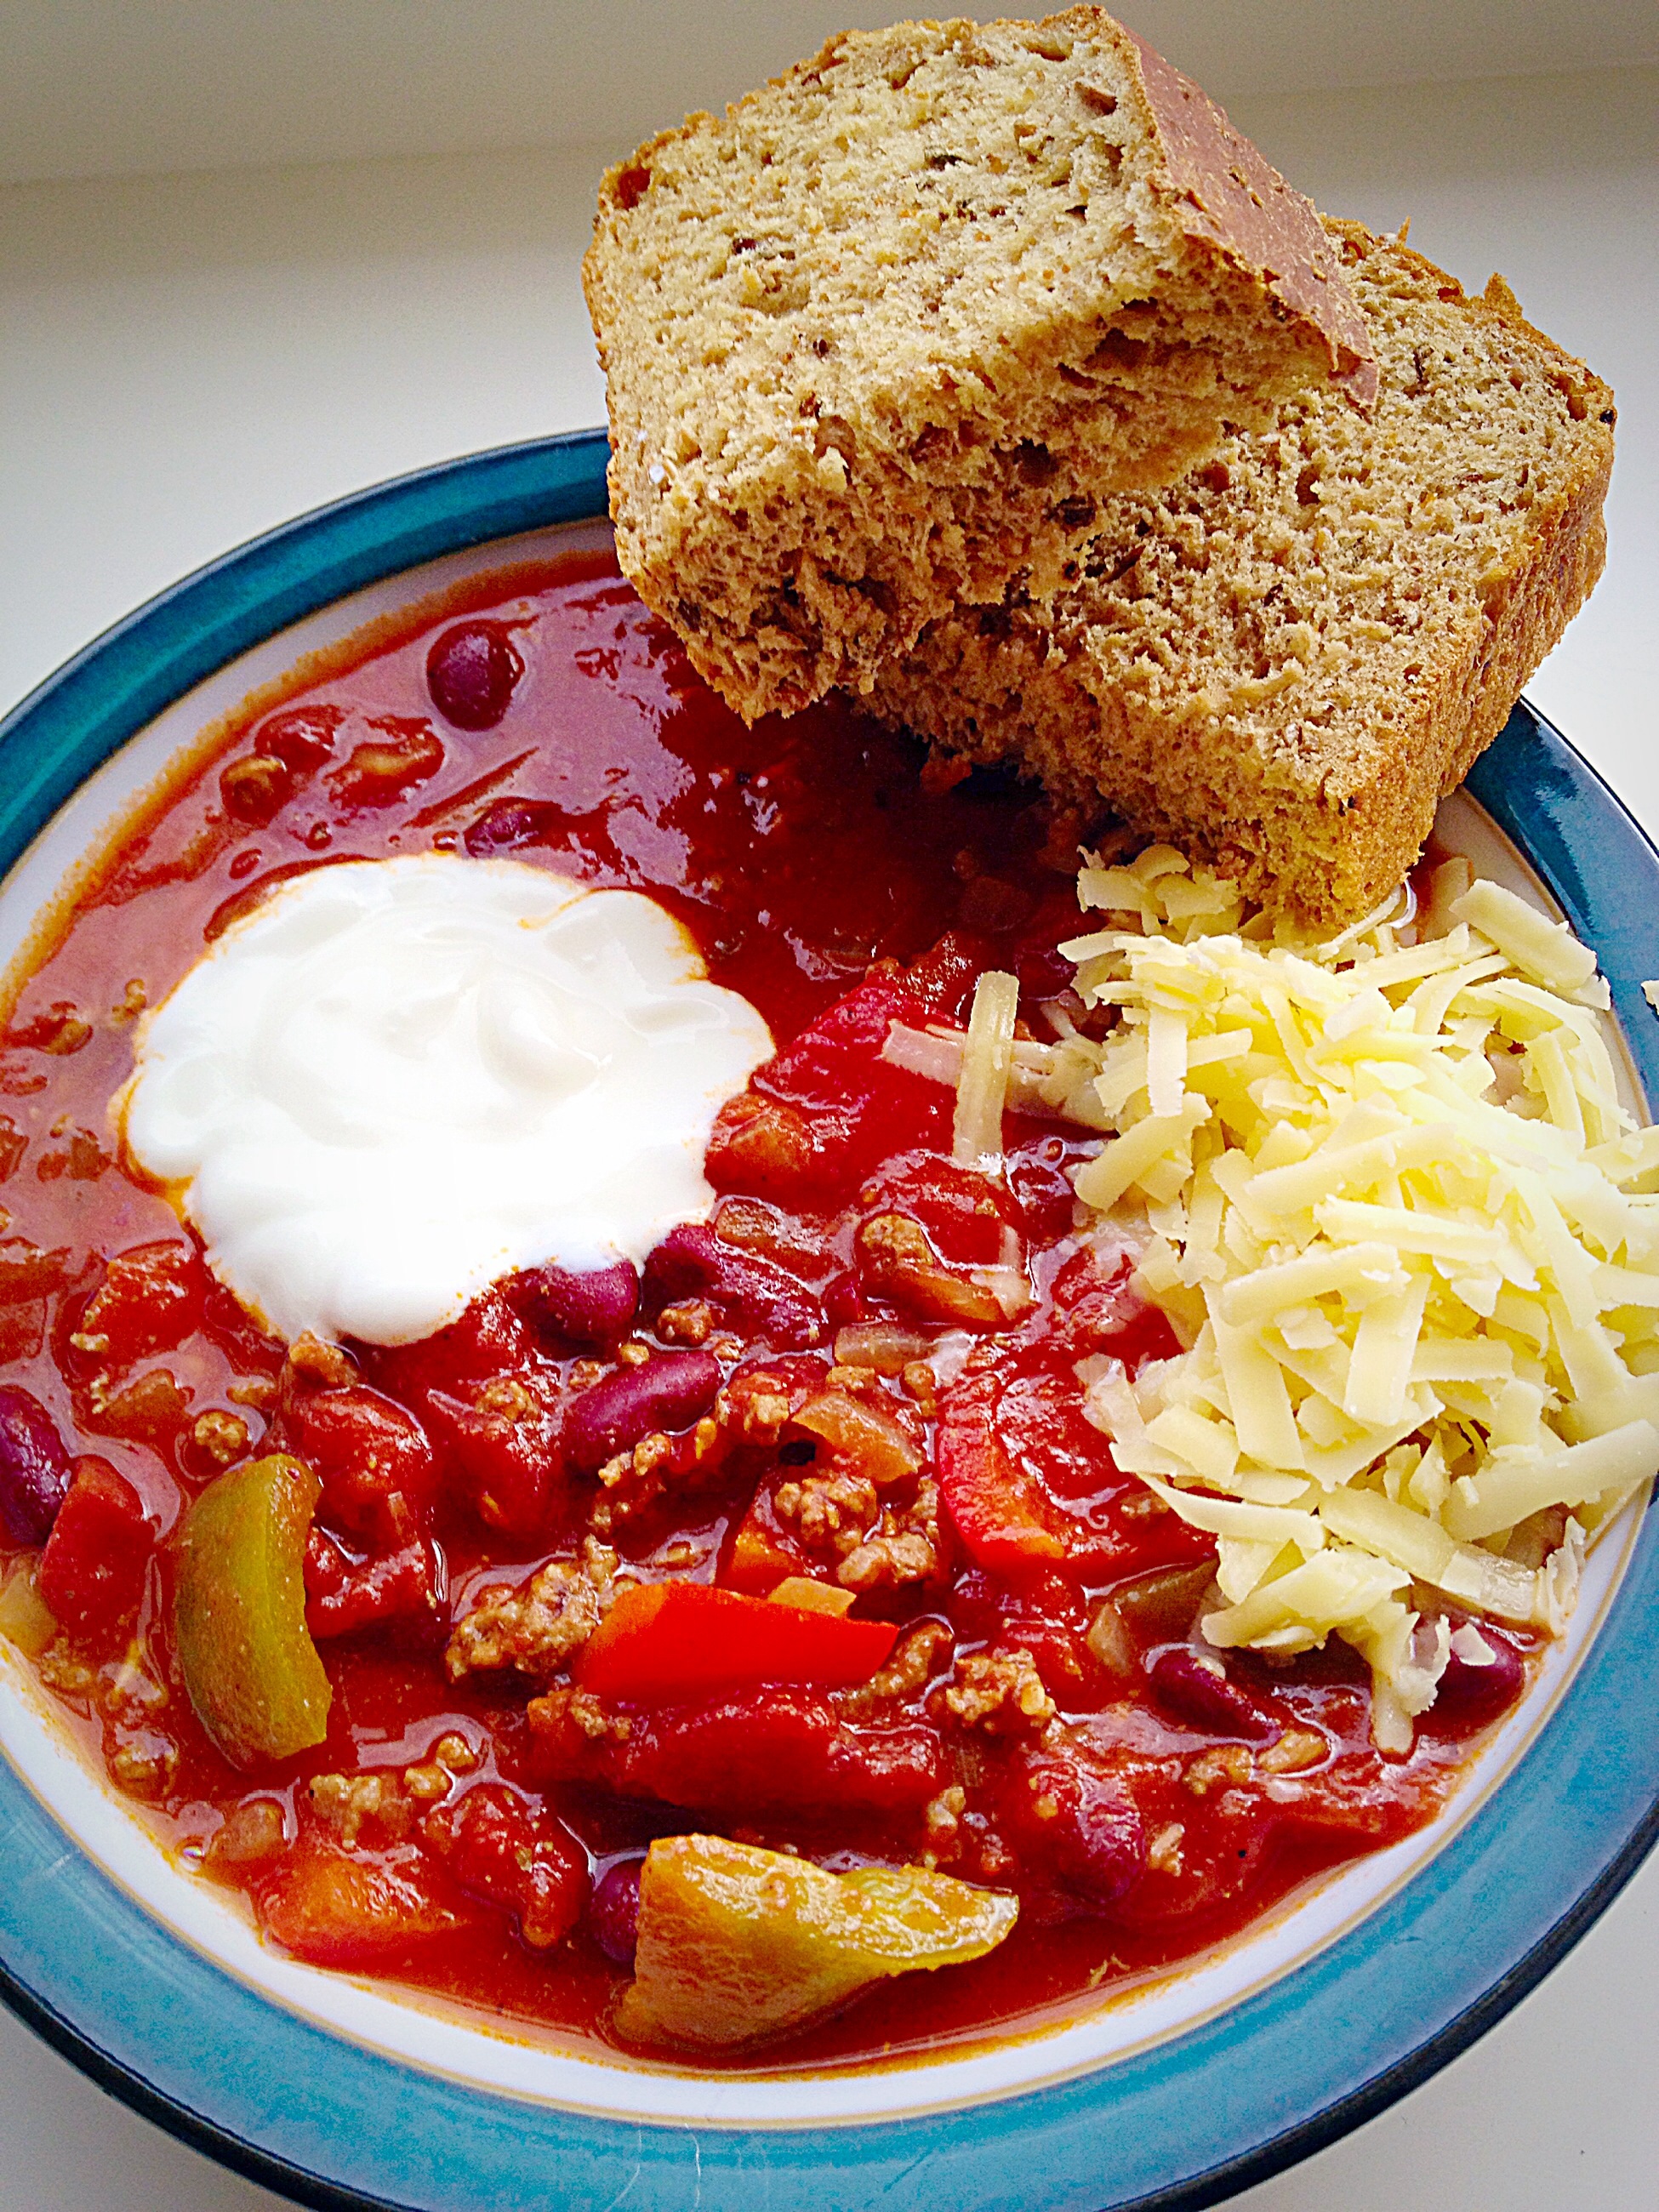
Chunky Chilli –
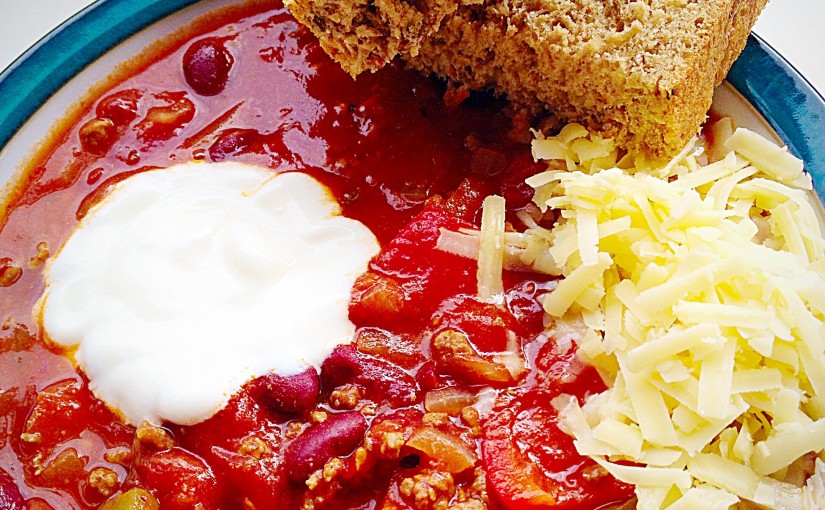
I like to serve this Chunky Chilli in a bowl with a generous dollop of plain yoghurt, tortilla chips or a thick slice of hearty, homemade bread and a little sprinkle of grated sharp cheddar.
Chunky Chilli
If you have enjoyed this recipe for Chunky Chilli you may also like these:
Making this hearty, warming and economical meal is an easy way to feed the family.. Likewise they can all be easily scaled up if you need to feed a crowd. Also adding some crusty bread, such as my Seeded Cob Loaf or Easy Homemade Cottage Loaf not only makes this meal go further, they are perfect for dunking in spicy juices! Resulting in a delicious feast for all to share.
Sammie xx
No part of this post may be reproduced or duplicated without the written permission of the owner. Please see my Disclosure Policy.
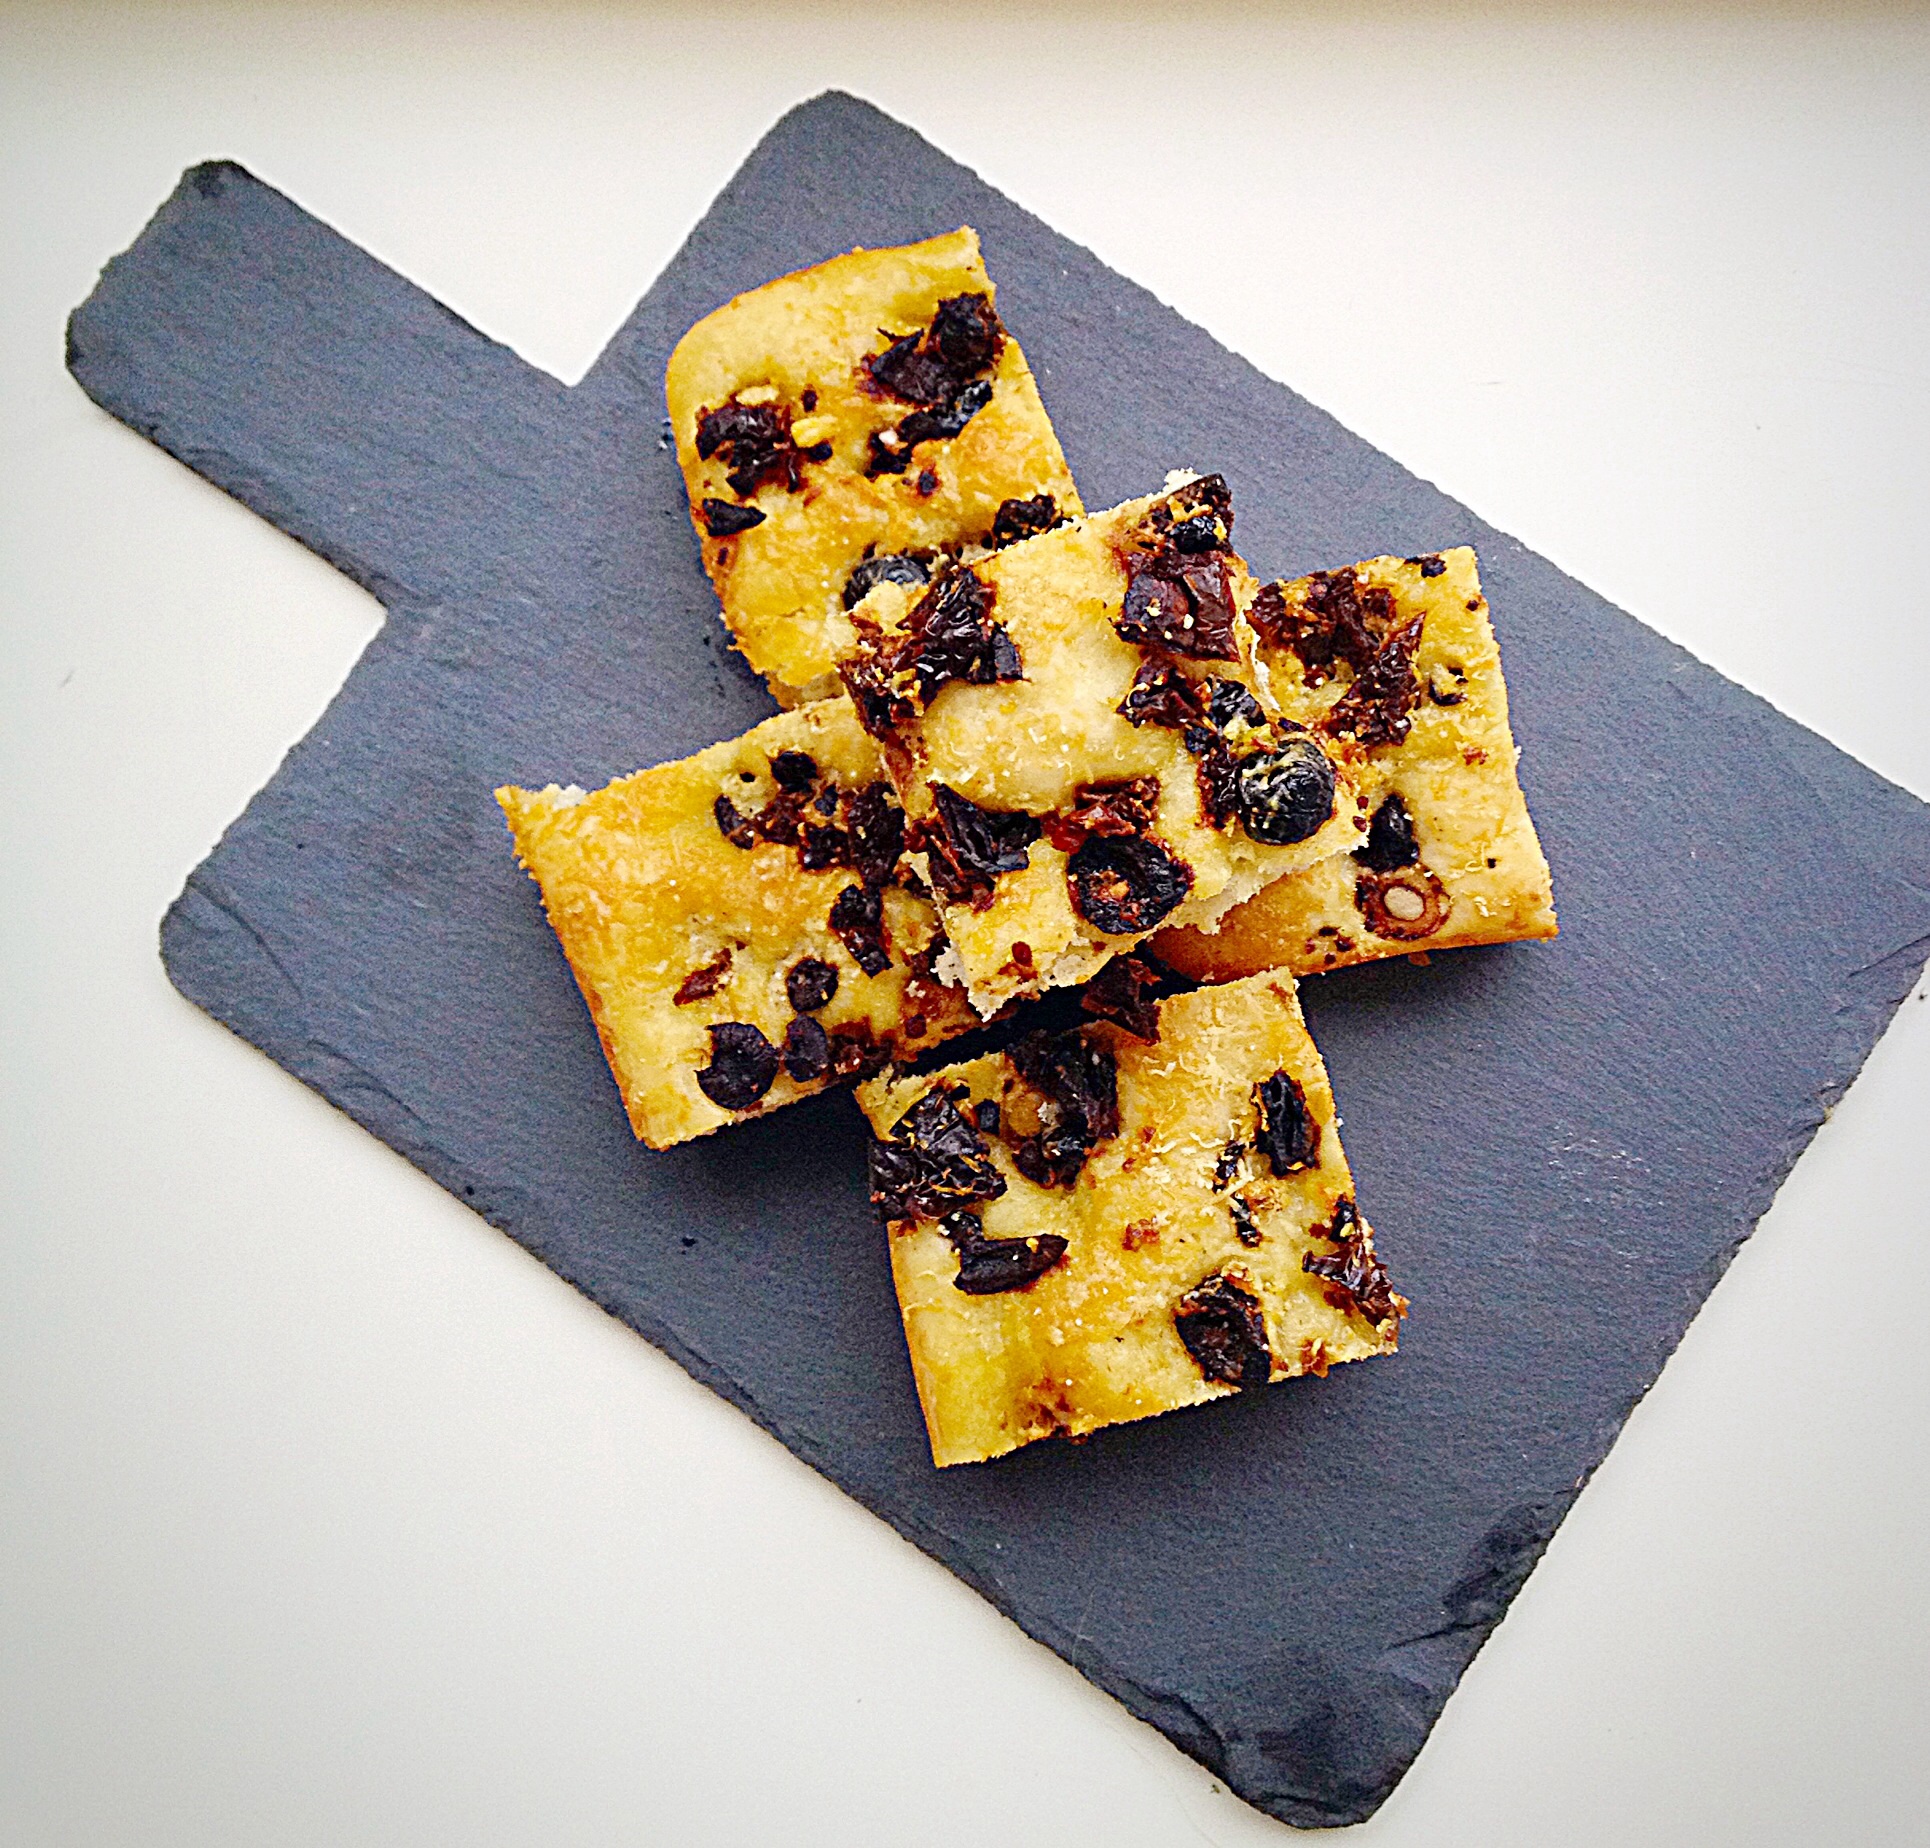
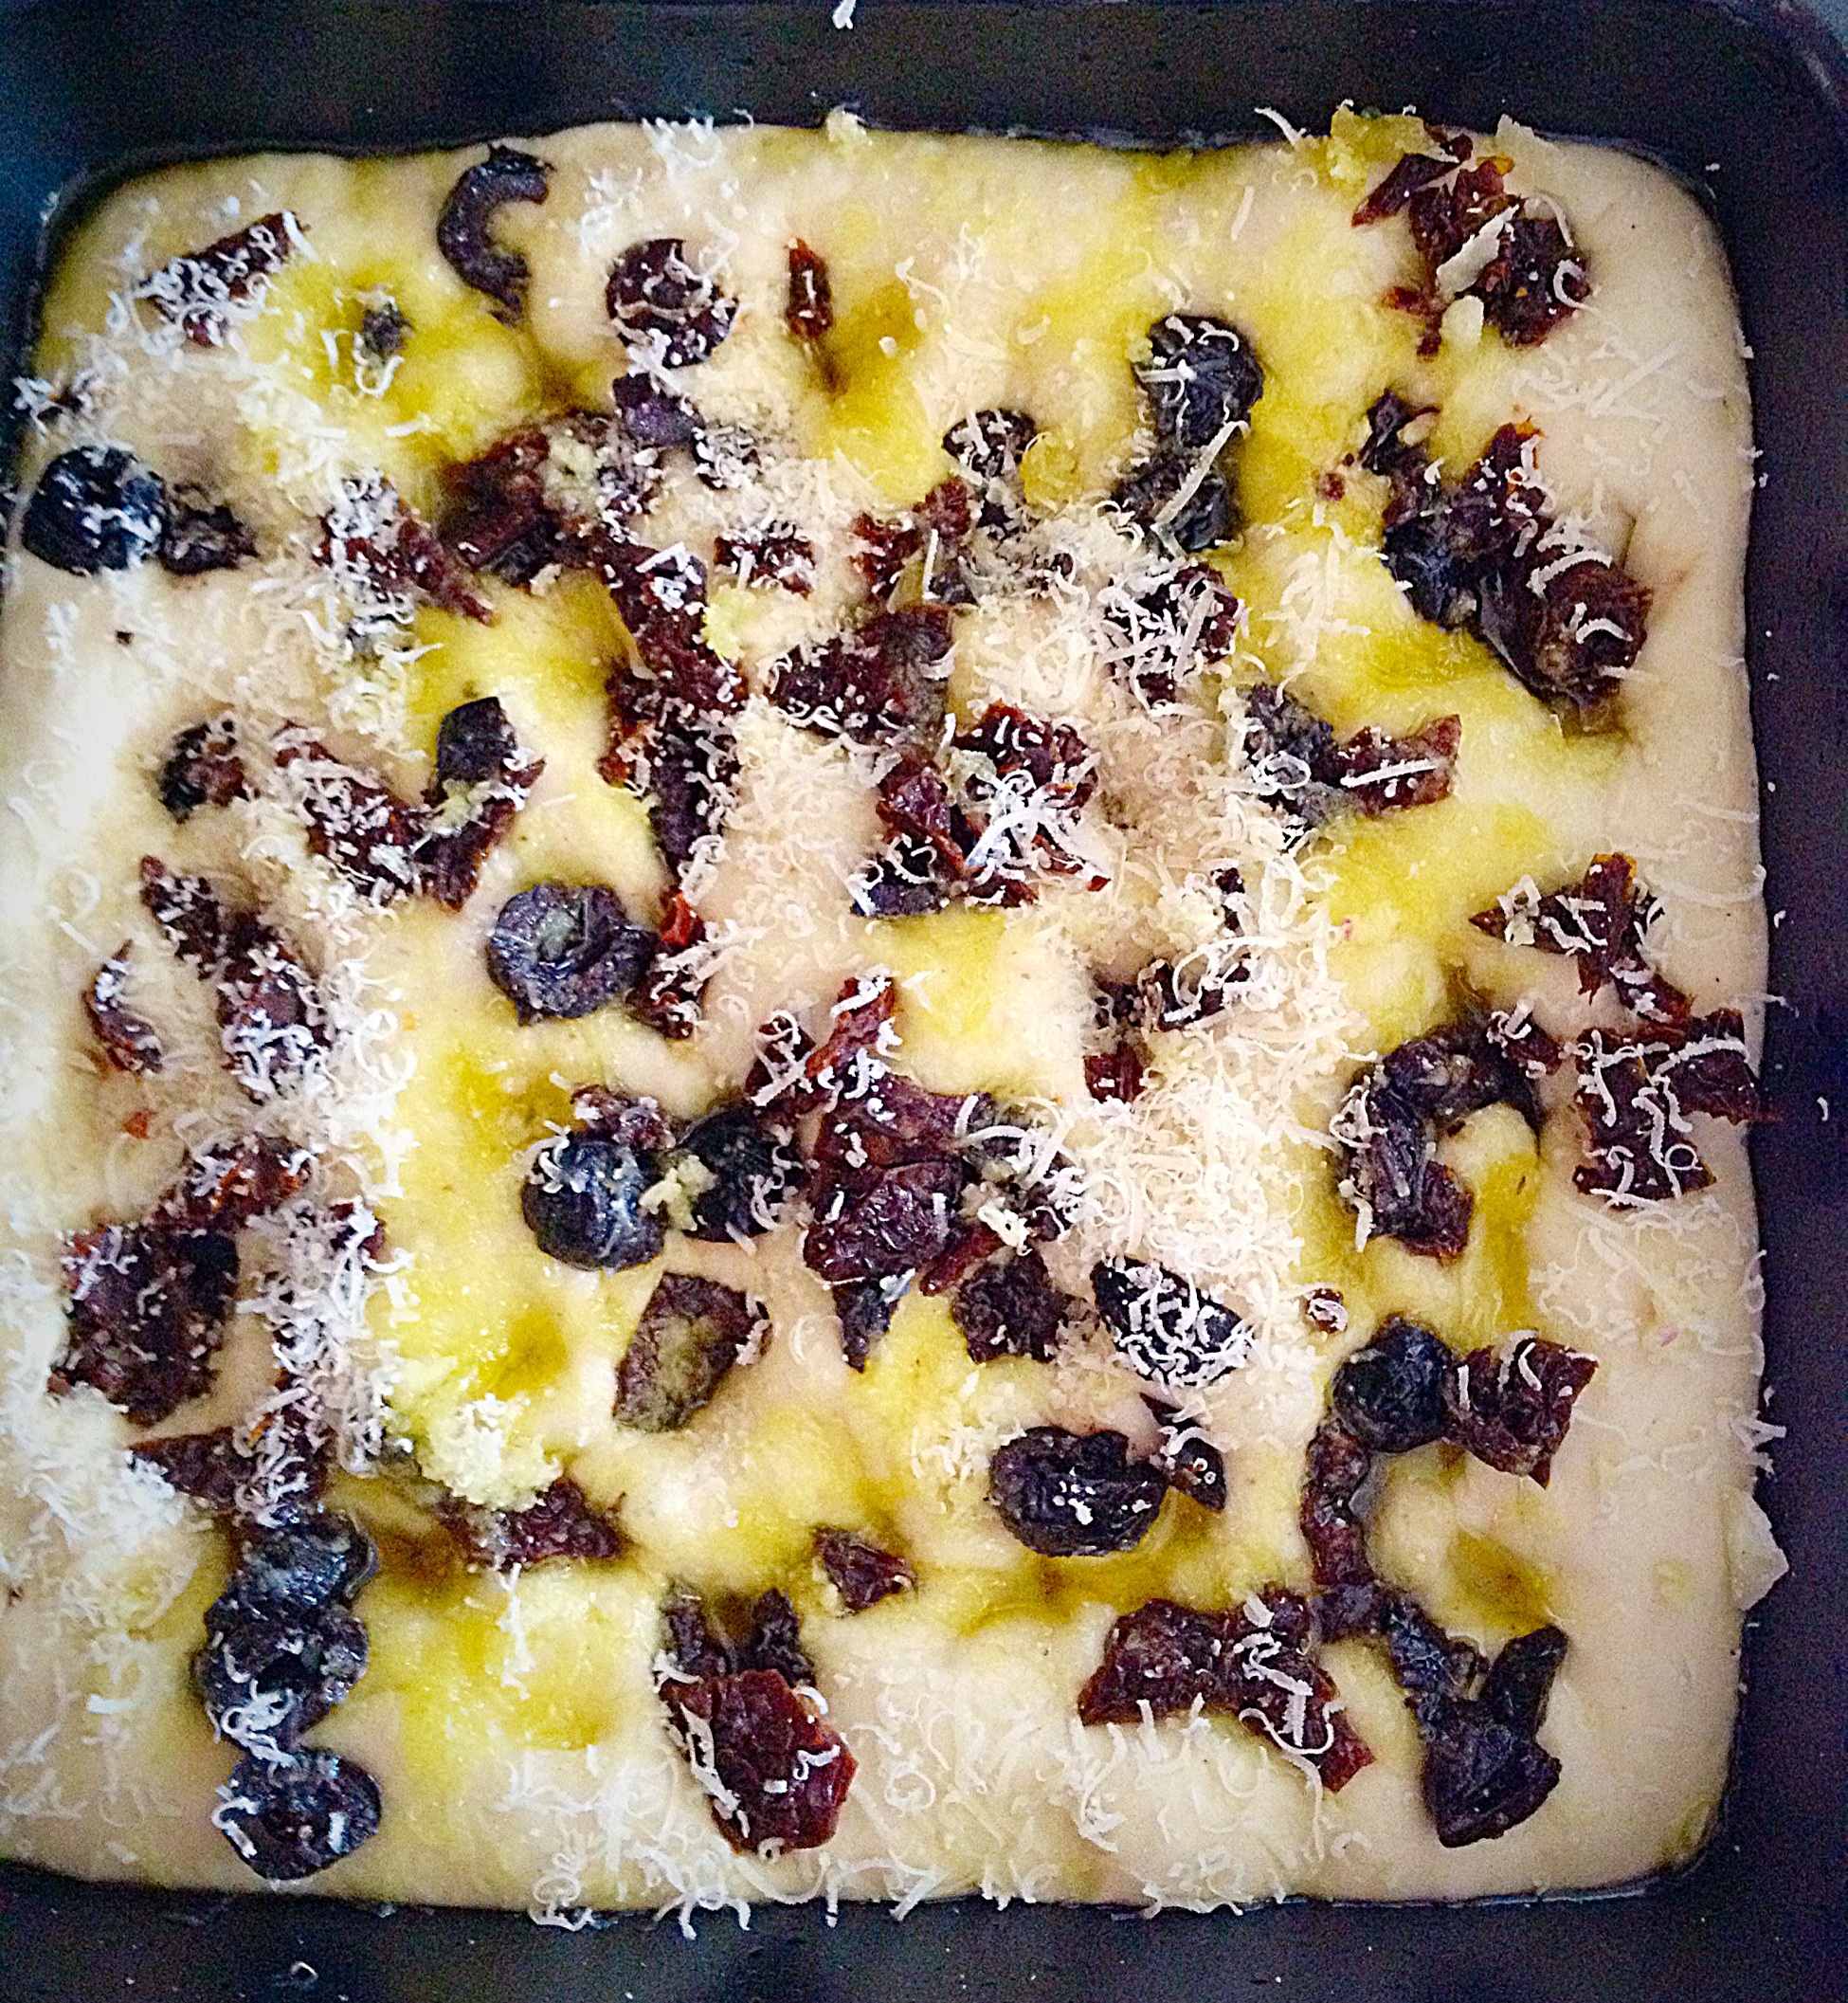
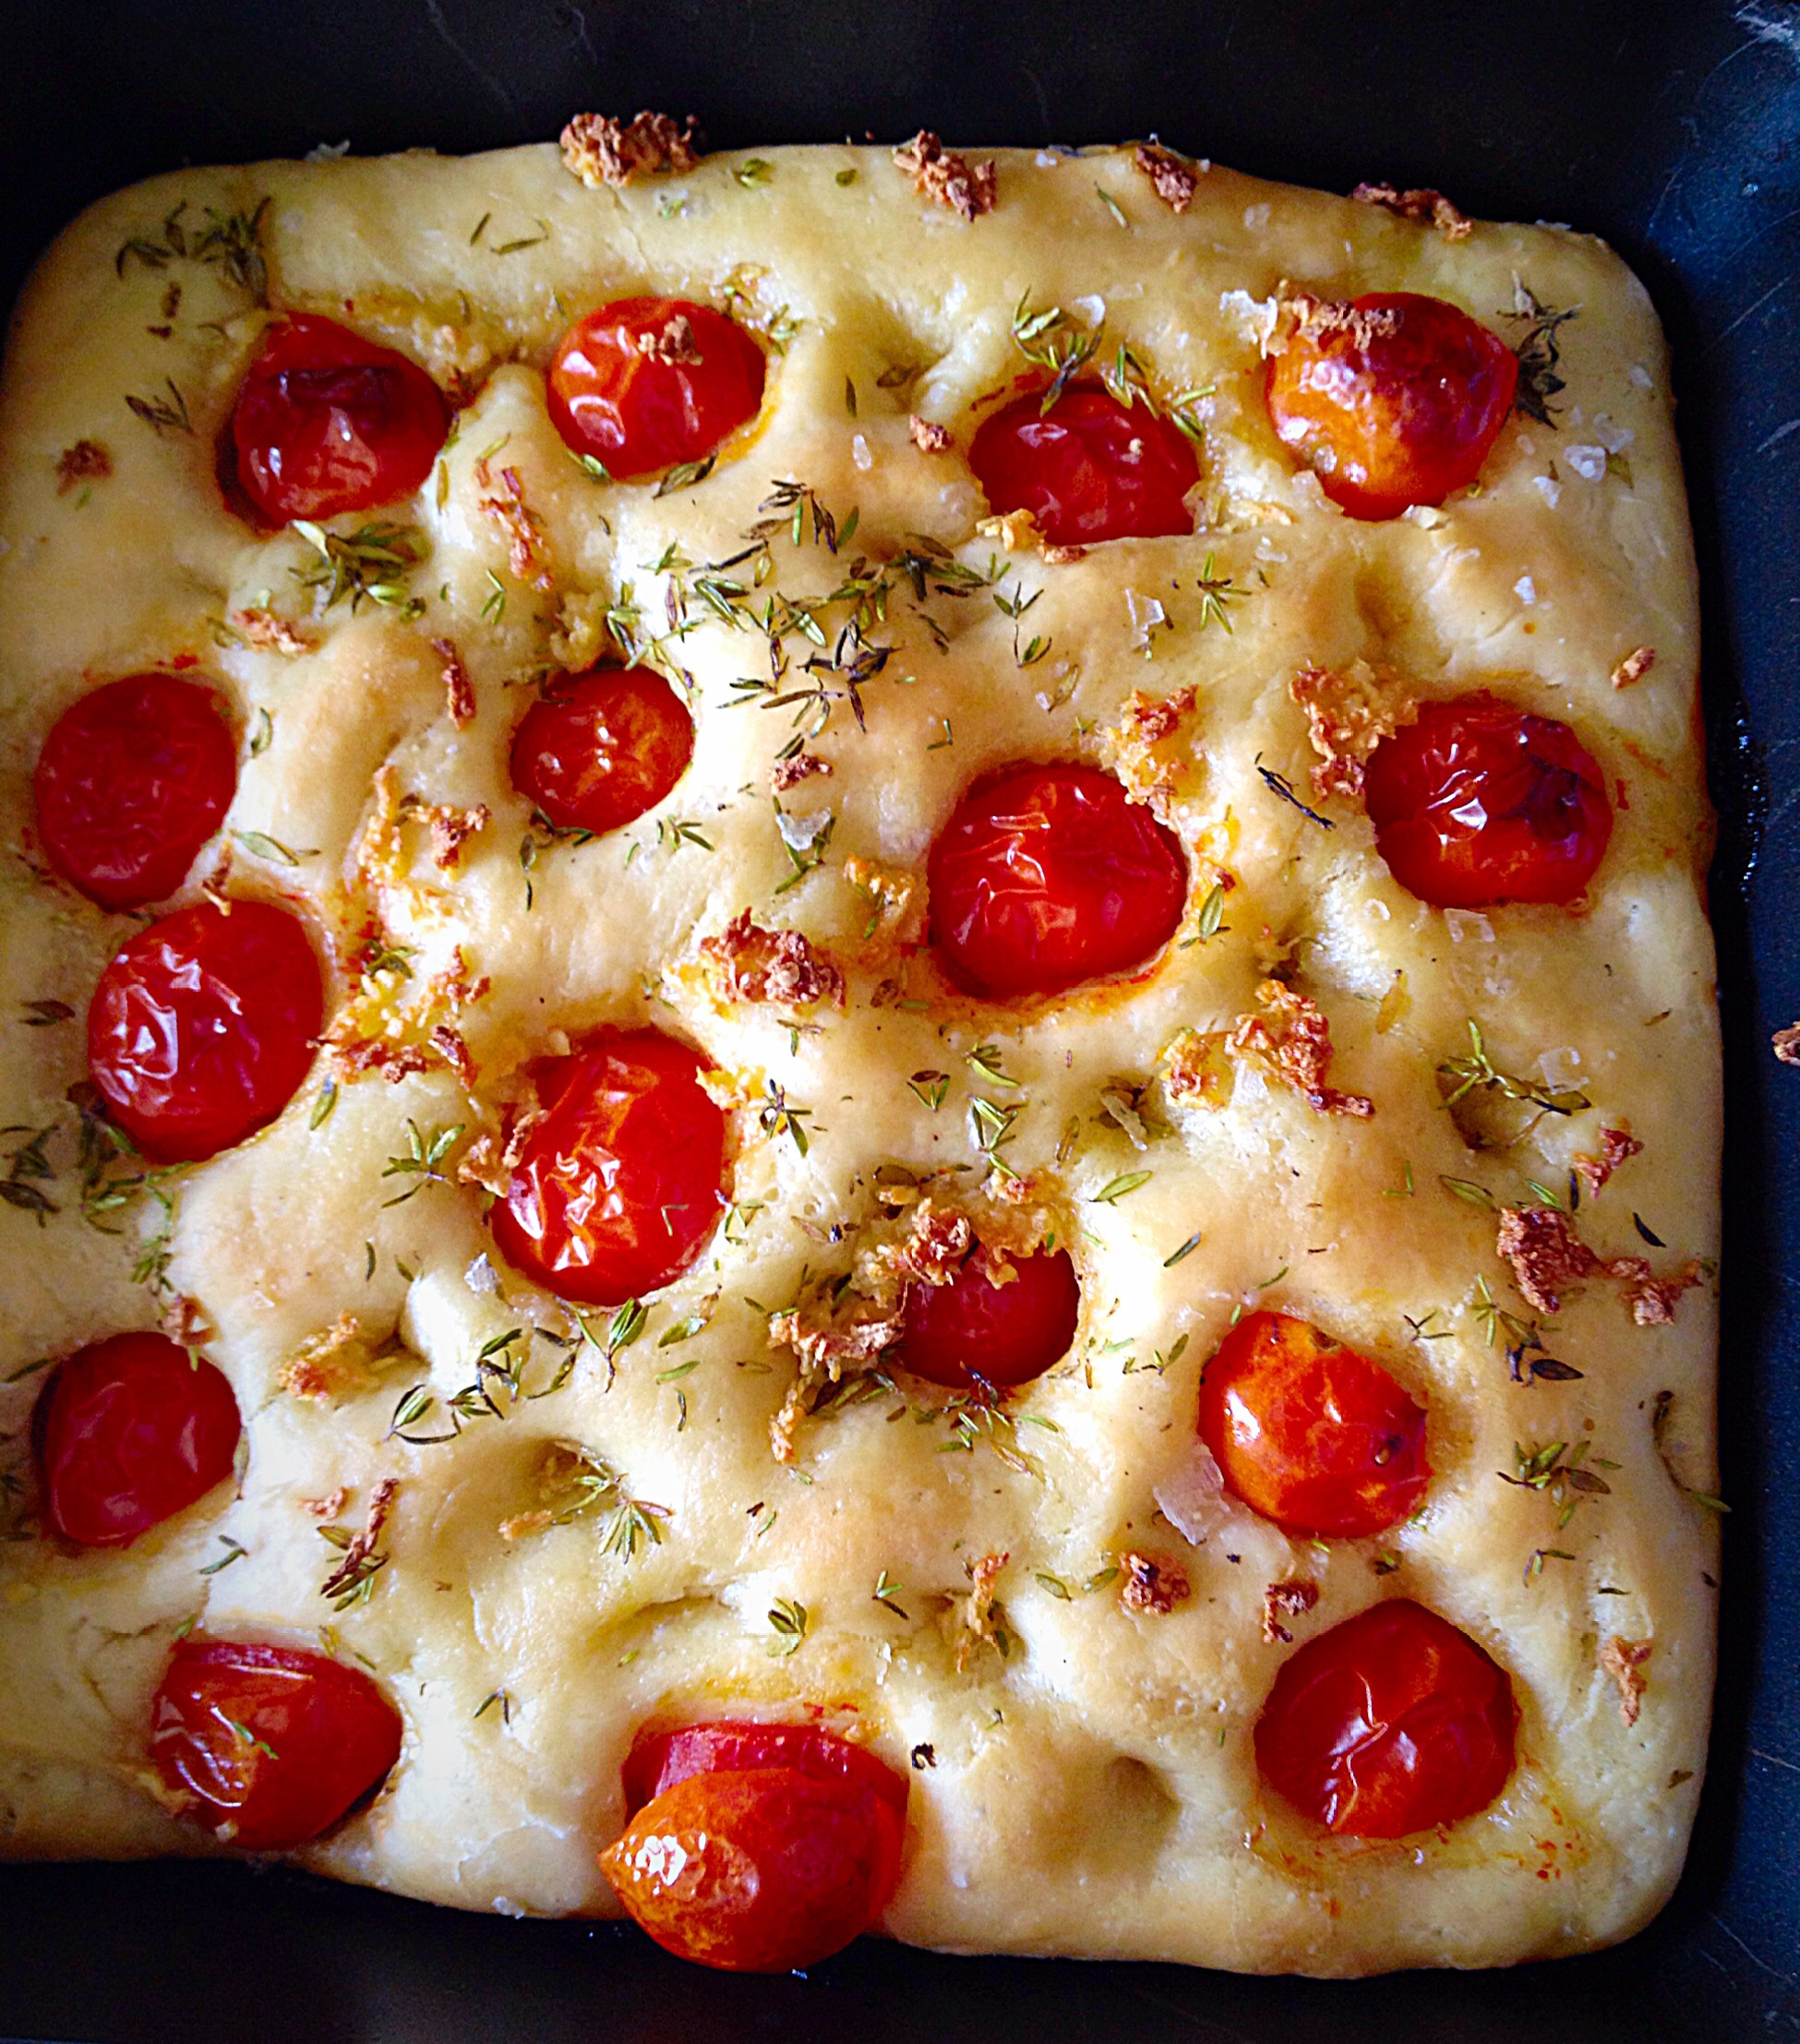
Hello there lovely readers. I’d just like to say a very big Thank You for all your comments and support for my last post 10 Ways To Improve Your Food Blog. So to celebrate I thought I’d share my latest bread recipe Sundried Tomato Olive Focaccia Bread.
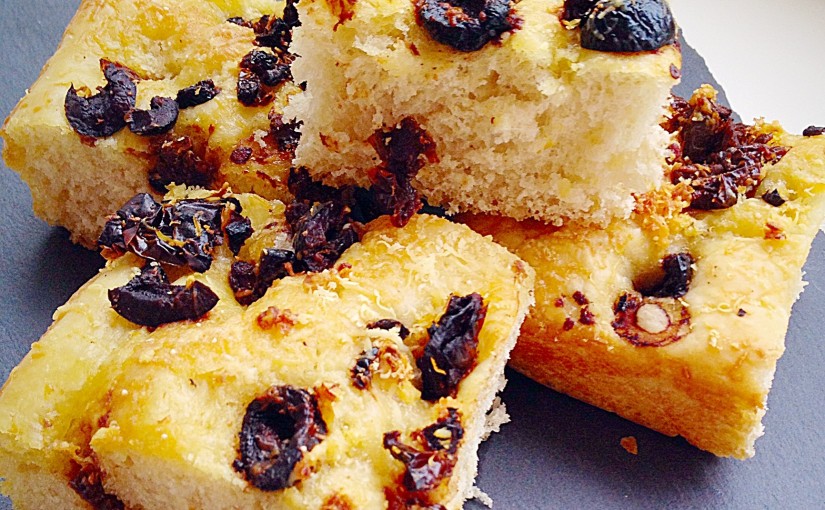
Sundried Tomato Olive Focaccia Bread – perfect for dipping in flavoured oils.
To be completely honest I wasn’t quite sure whether the flavour combinations would work – I was sooooo wrong. The salty Black Kalamata Olives contrast with the slightly sweet Sundried Tomatoes on a moist, light, bread, that has been sprinkled with Parmesan cheese and good Extra Virgin Olive Oil. Yum my mouth is watering just thinking about all the different flavours. In fact one of our daughters who has a distinct, dislike of Olives, LOVED this bread!! Of course I didn’t tell her there were Olives in the bread!
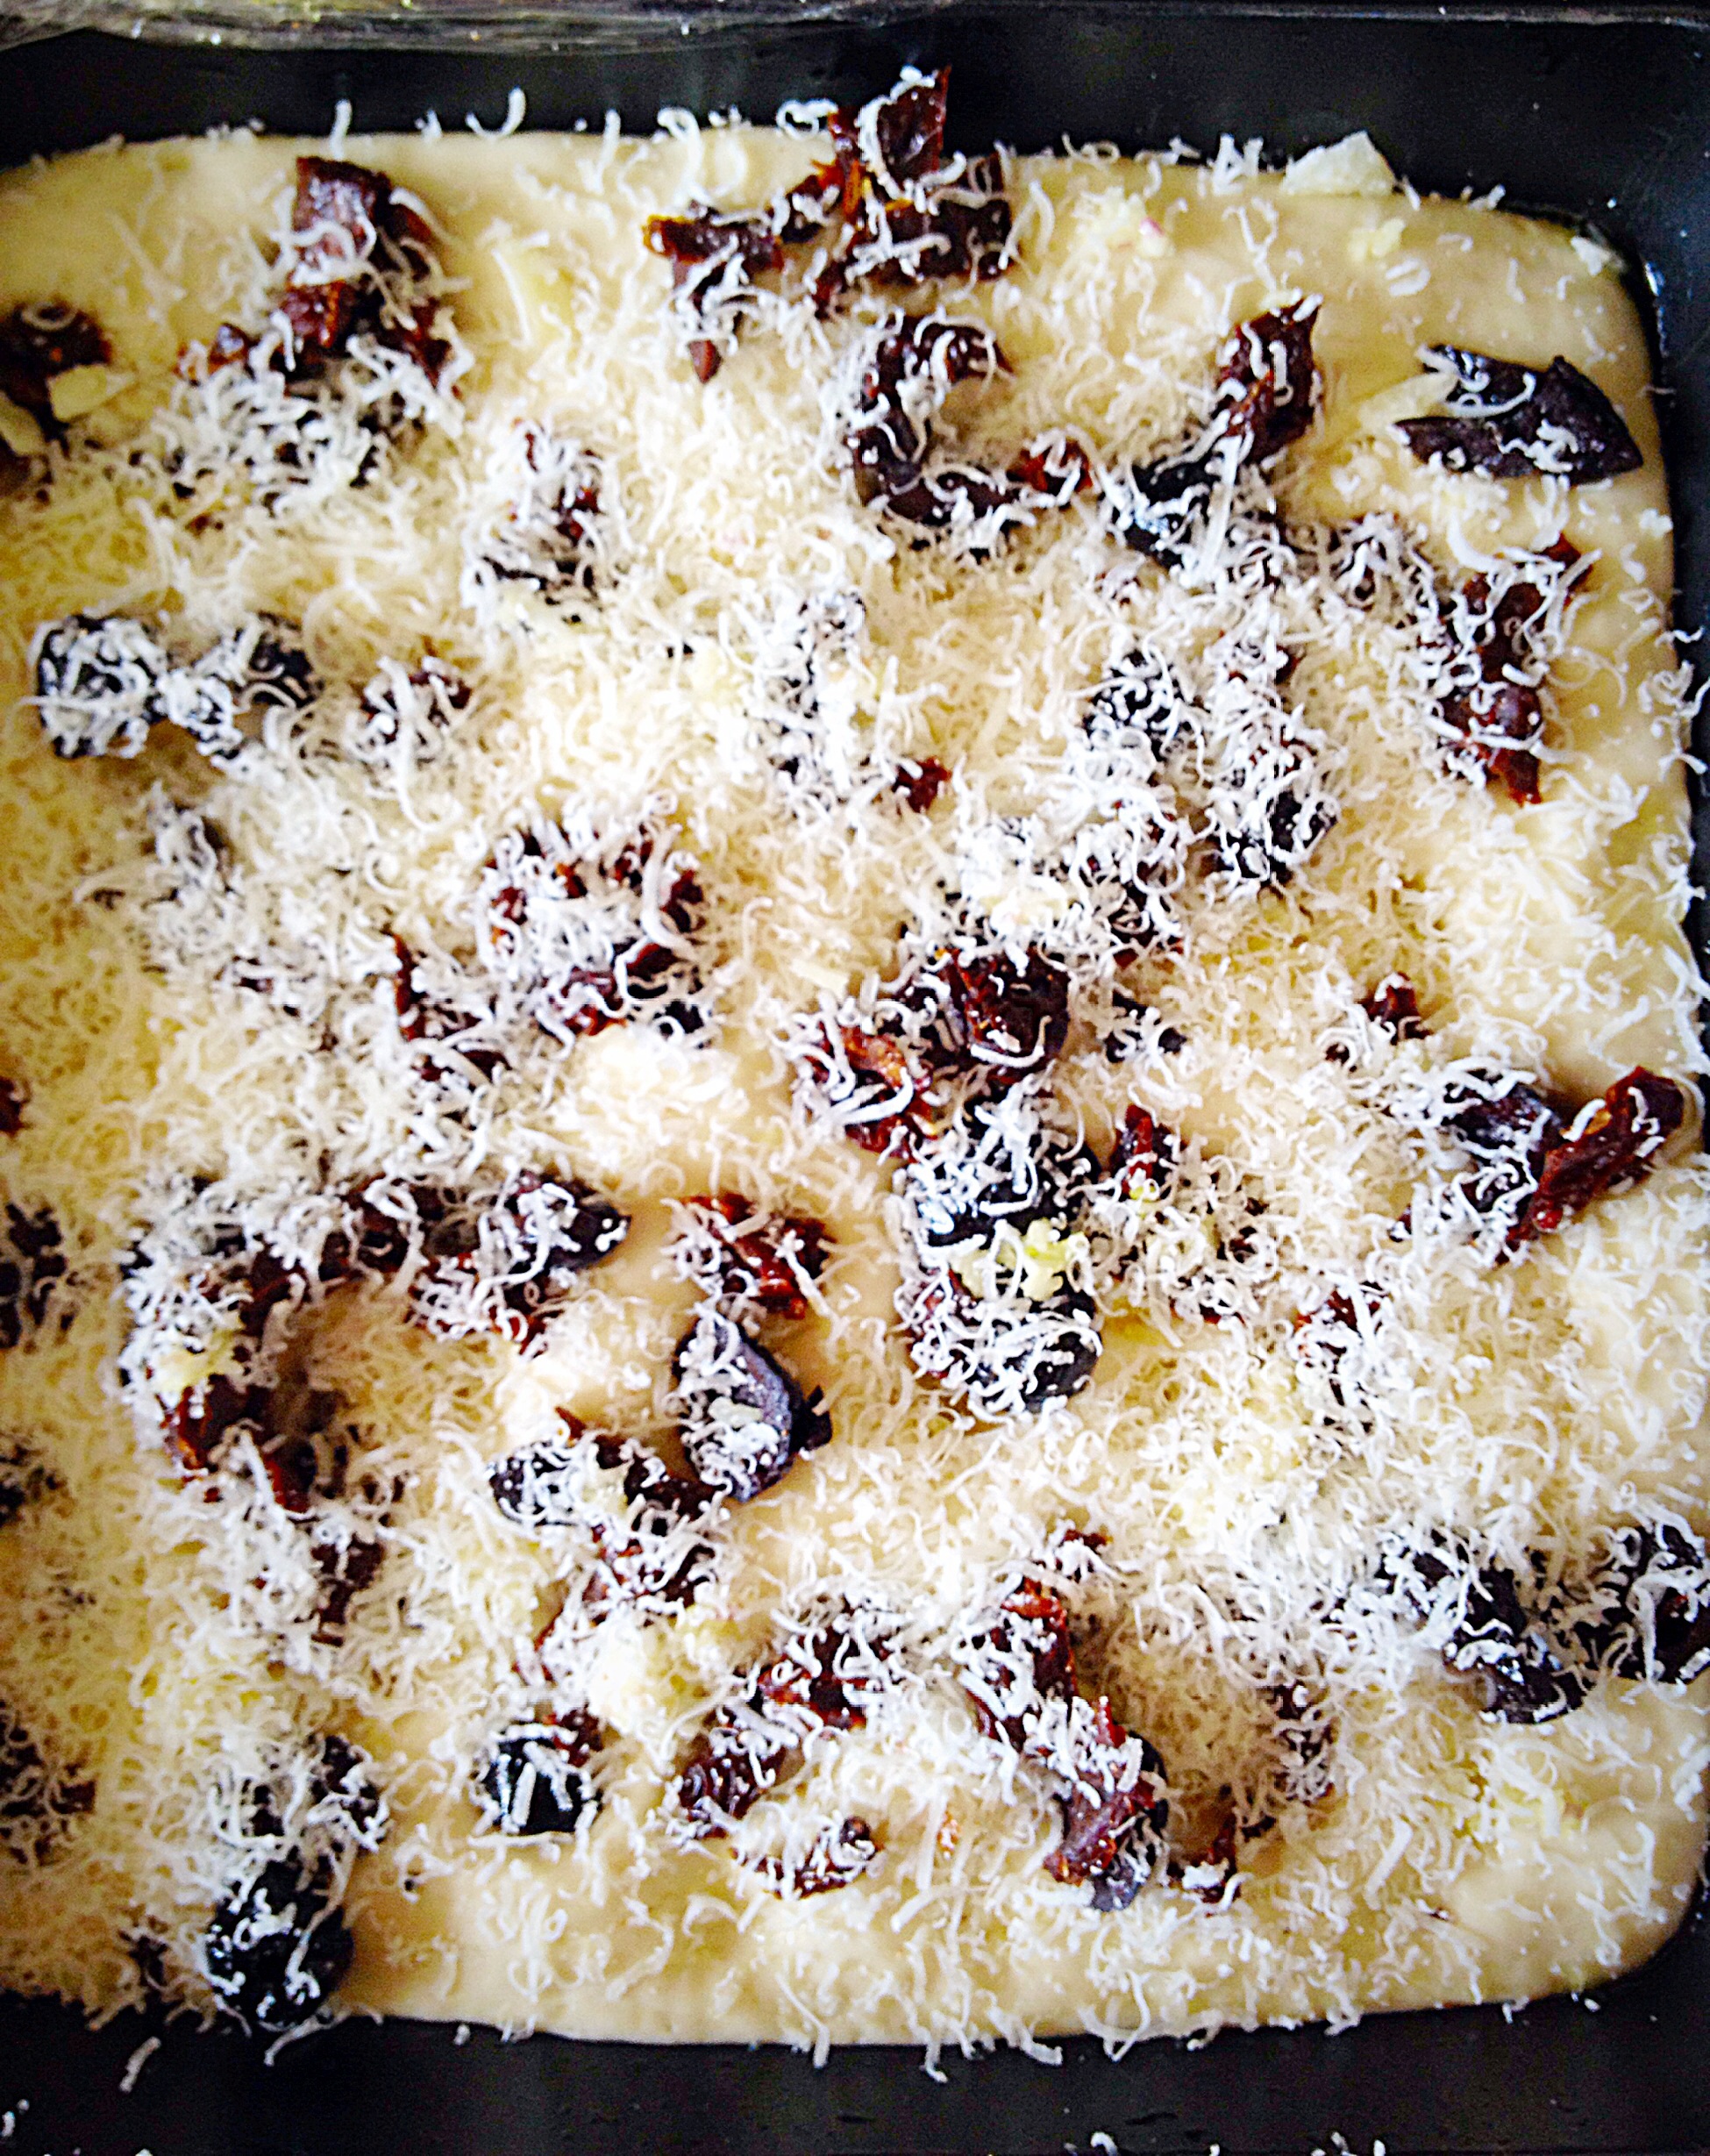
Sundried Tomato Olive Focaccia Bread – the Parmesan adds to the seasoning without making the Focaccia taste cheesey.
Although I made this Sundried Tomato Olive Focaccia Bread to mop up delicious tomato pasta sauce – and it tasted oh so good – I also think it would be a great bread for dipping into flavoured oils. Glass of cold wine in hand, chatting with friends, casually dipping and dunking on a sultry, summer’s eve. Now that sounds like a great idea!
Sundried Tomato Olive Focaccia Bread – beautifully displayed on this slate board.
The basic dough recipe is exactly the same as my Tomato Thyme Garlic Focaccia Bread. However, to save you hopping about, all over my site I’ve placed it here for you.
Note: The Tomato Thyme Garlic Focaccia Bread is unsuitable for freezing, this Sundried Tomato Olive Focaccia Bread can be frozen. Simply double wrap with cling film once the bread is cold and freeze for up to three months. Handy as this recipe makes two Focaccias!!
Recipe :
500g/1lb 2oz Strong White Bread Flour
1 x 7g Sachet Fast Action Dried Yeast
1tsp Maldon Sea Salt (3/4tsp if using free flowing)
2tbsp Extra Virgin Olive Oil, plus extra for drizzling.
Approx 300-350ml lukewarm water
12 Sundried Tomatoes – chopped (6 per Focaccia)
24 Black Kalamata Olives – chopped (12 per Focaccia)
50g/2oz Parmesan Cheese finely grated
Method :
Using bread maker or stand mixer with dough hook attached.
Place 300ml of water into the bowl of your mixer.
Add the yeast and then the flour.
Add 2tbsp Extra Virgin Olive Oil
Now add the salt.
Set the bread maker to the mix/prove cycle.
If the dough seems dry add extra water 20mls at a time until the dough has a smooth elasticity, while being mixed. If the dough is too dry either machine will be clunking!
With a stand mixer mix on medium speed until the dough is soft and elastic. Using Olive oil on your hands to stop the dough sticking, roll the dough into a tight ball, place back into the mixer bowl, cover with cling film and leave to double in size.
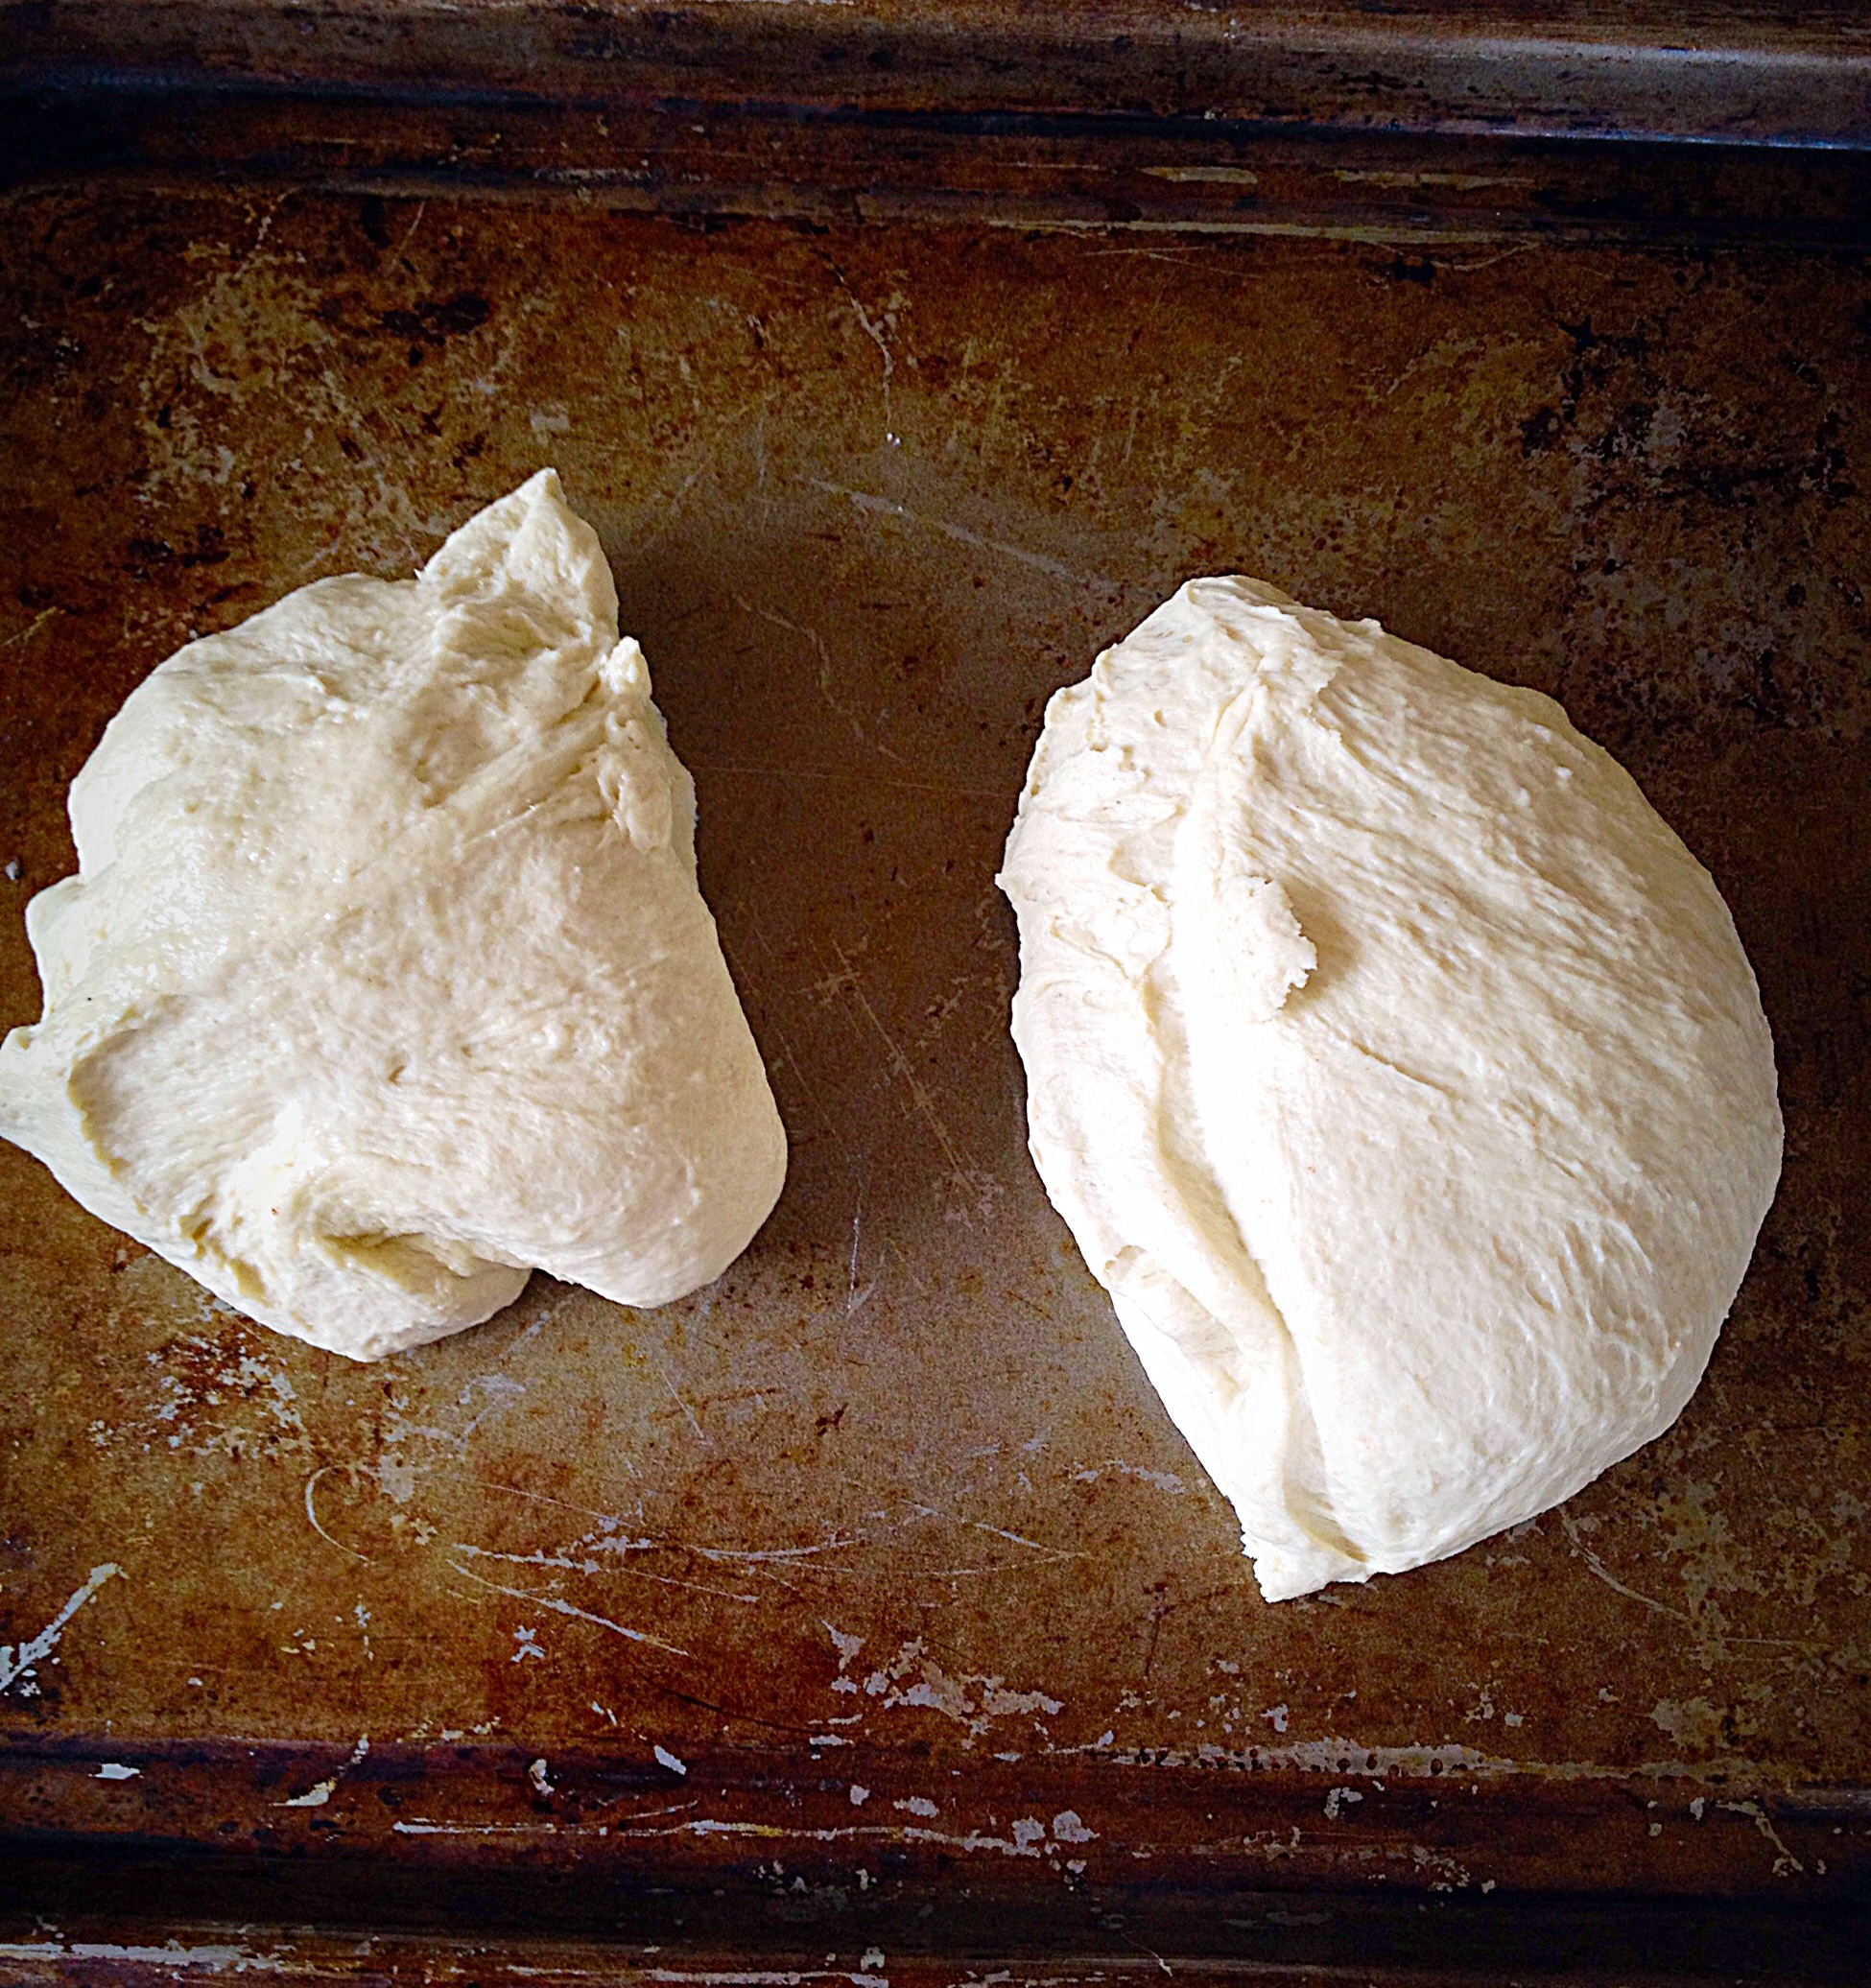
Using either method, once the first prove is finished, knock back, restarting the mixing on the bread machine and removing the cling and mix for a further 10 minutes.
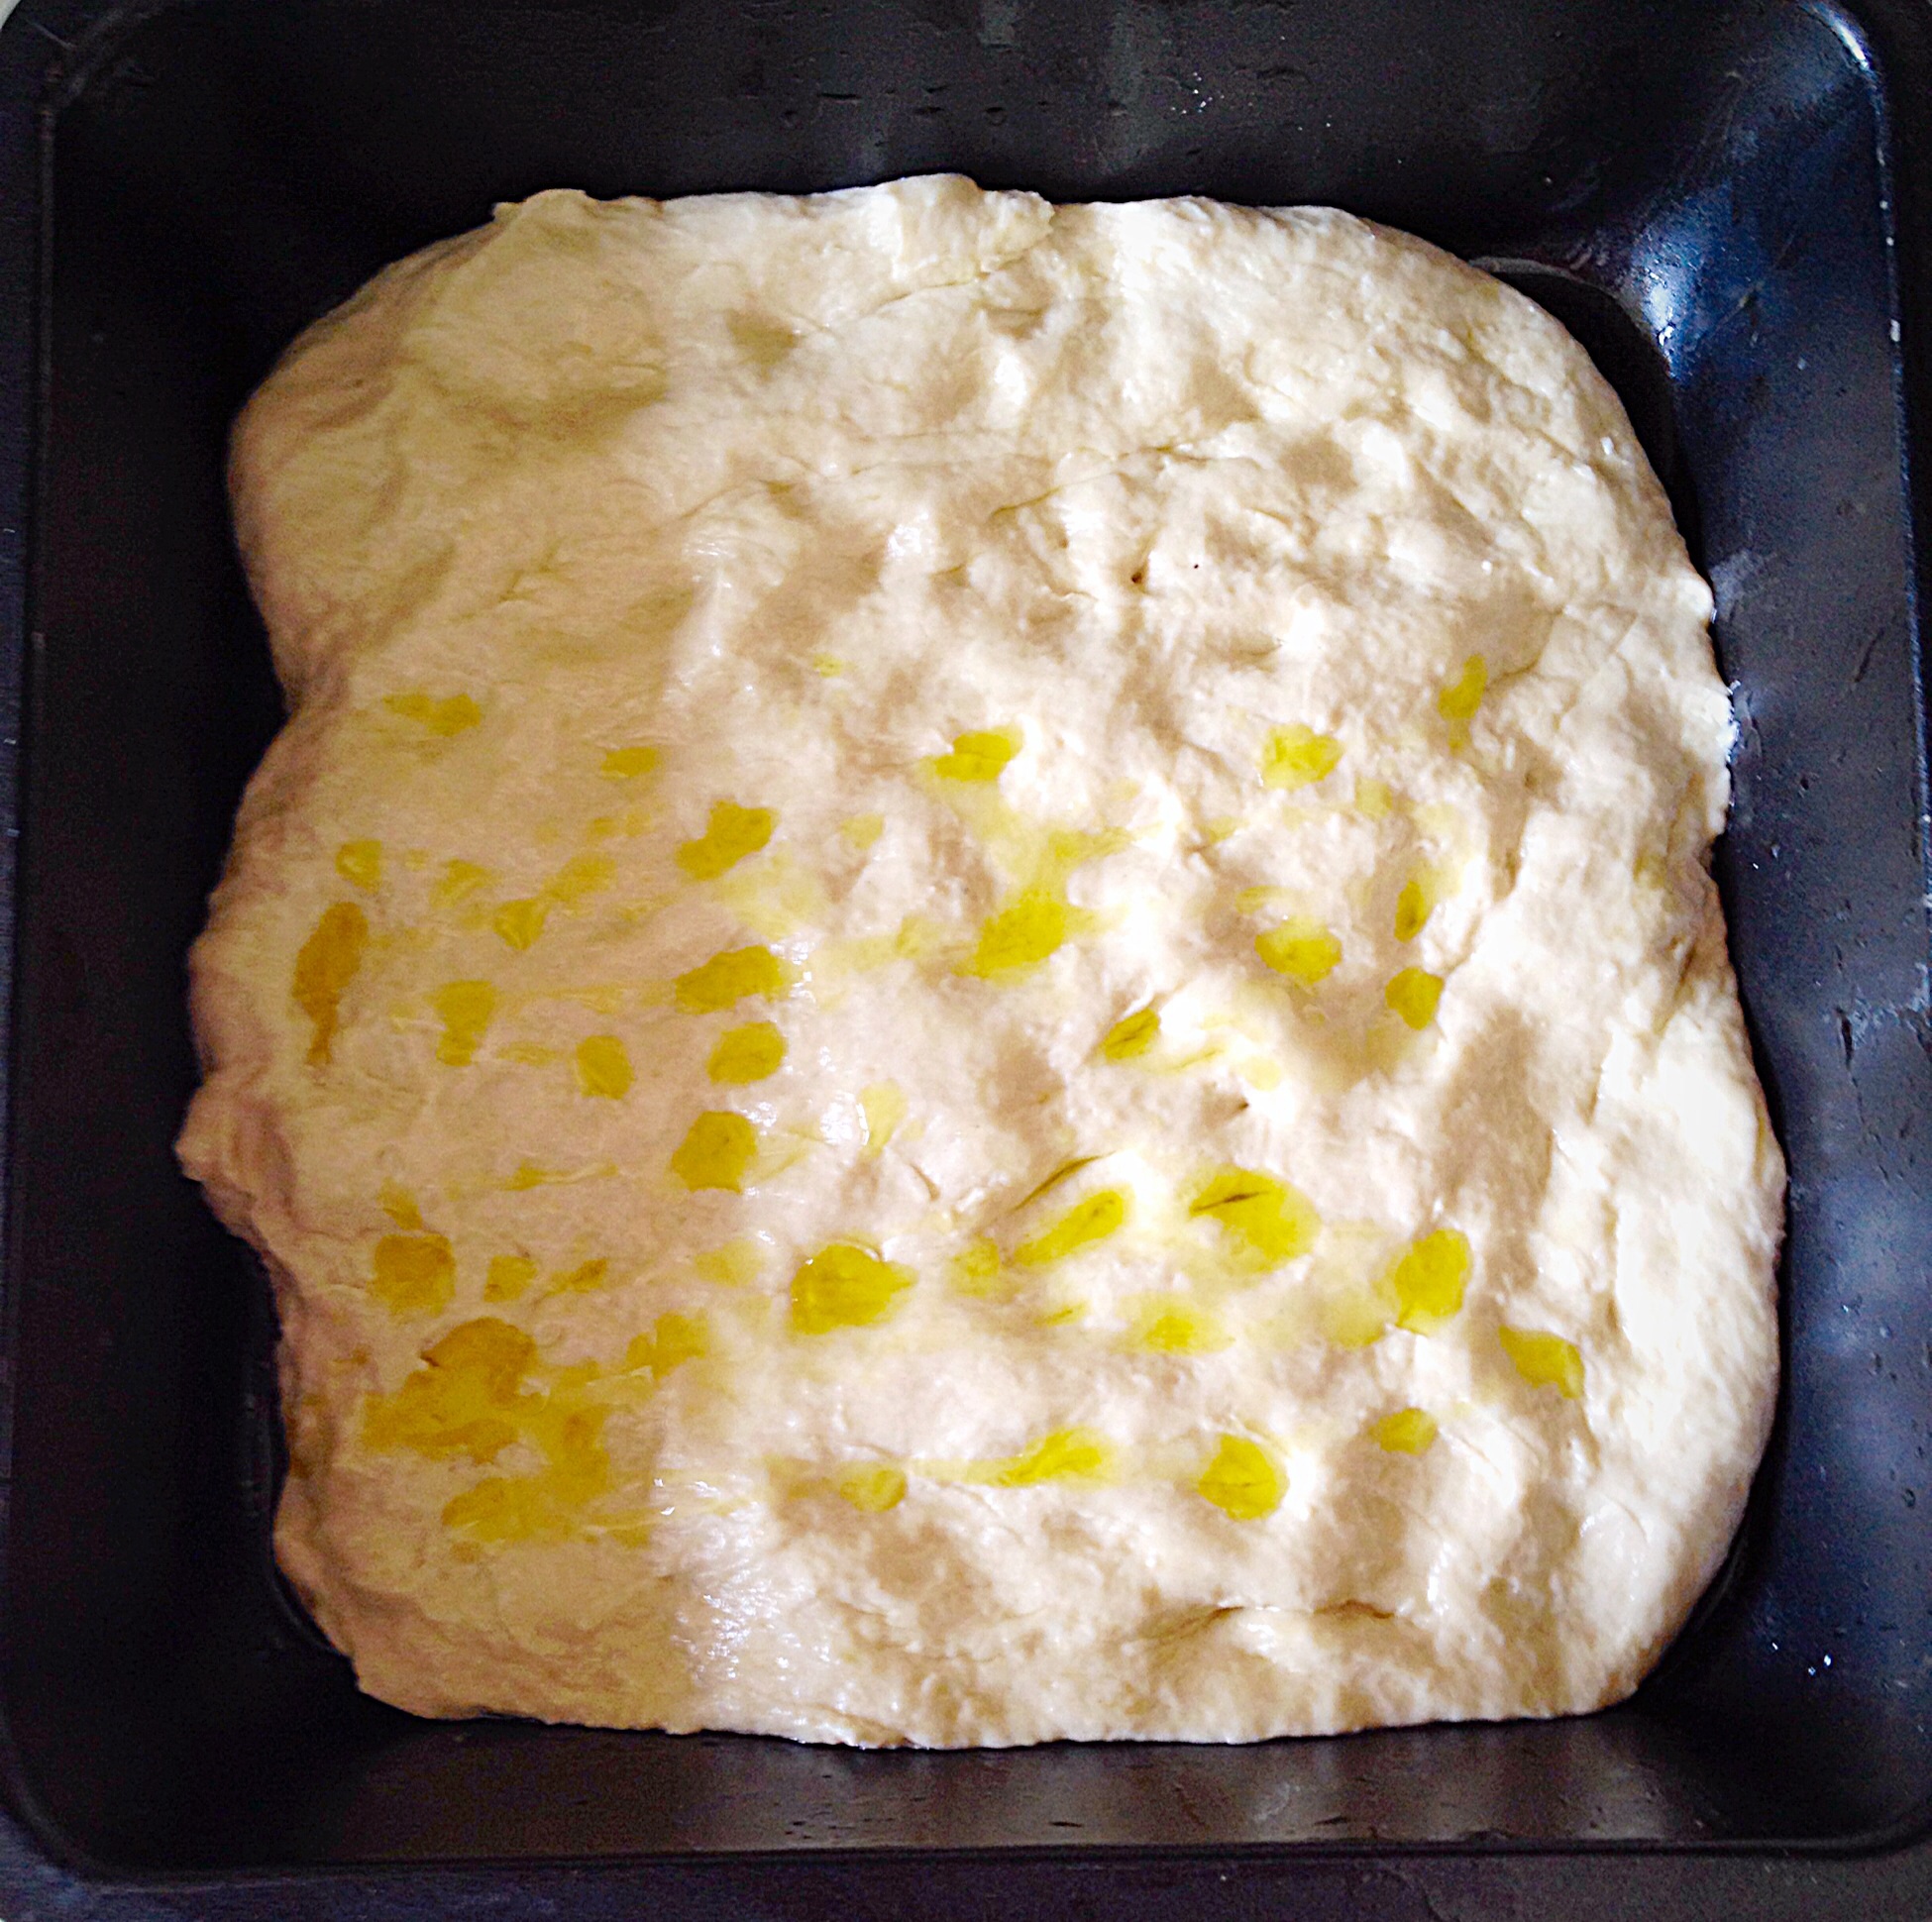
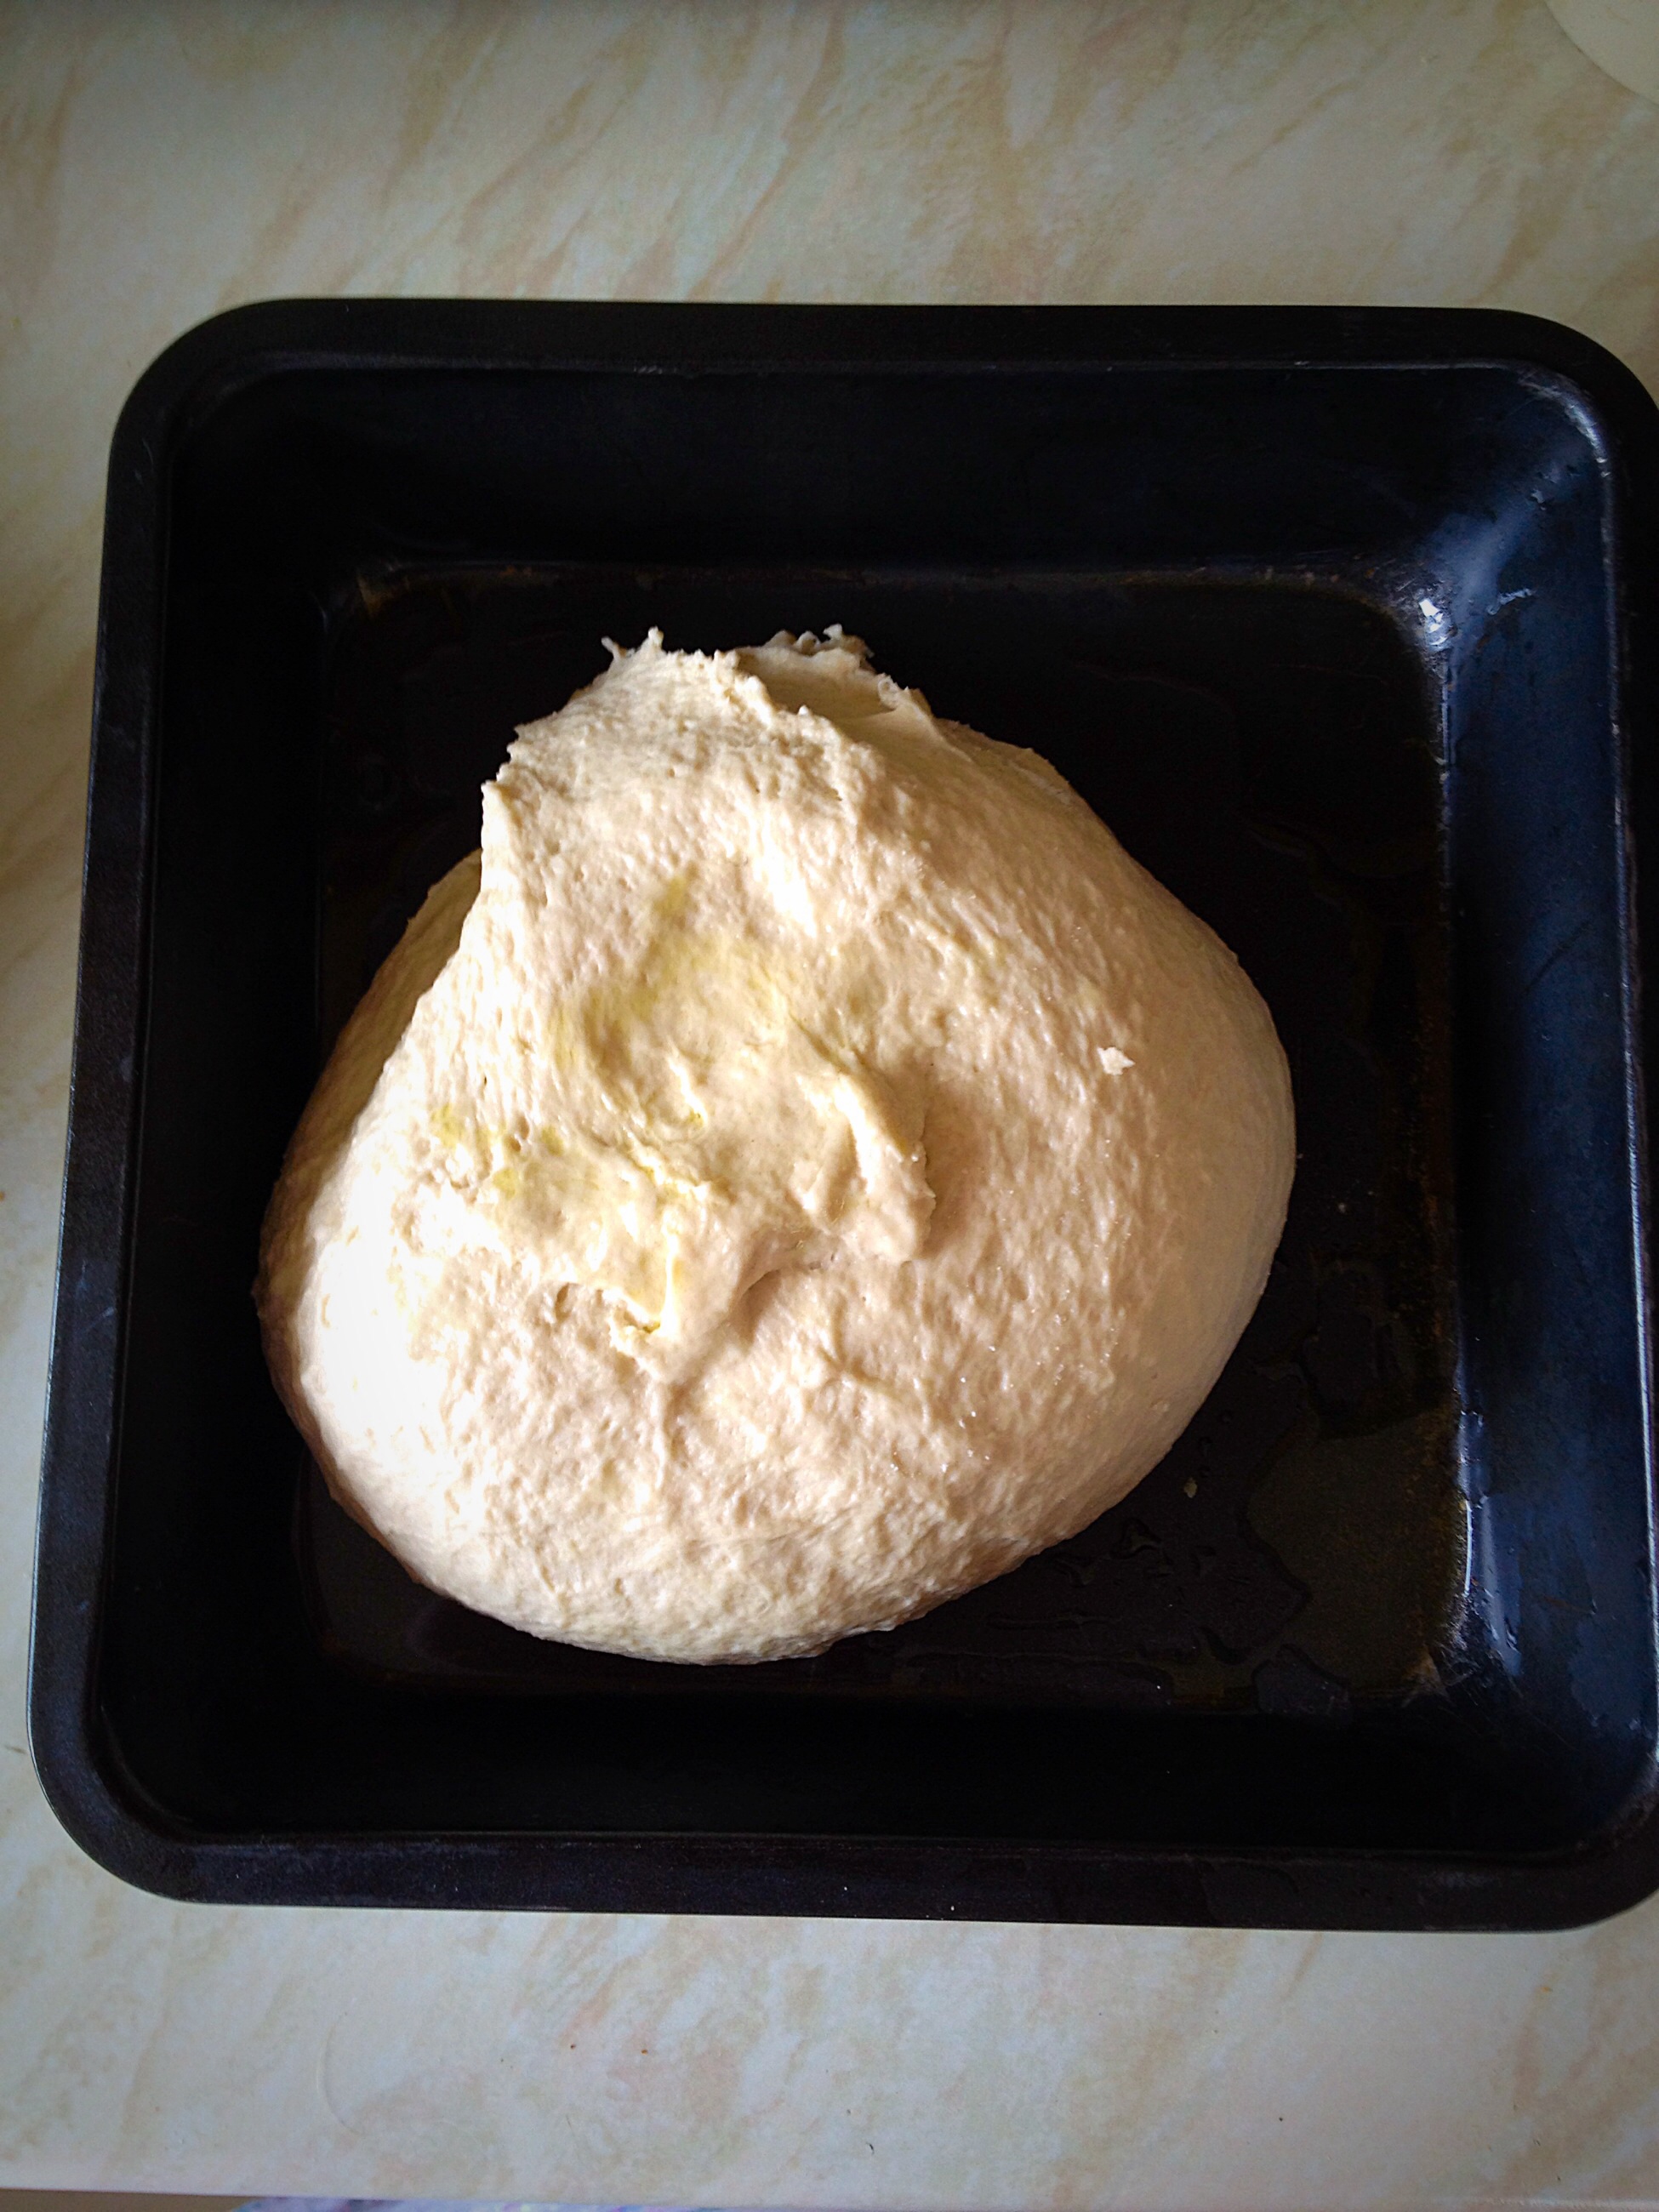
Oil 2 x 20cmx20cm (8″ x 8″) square tins.
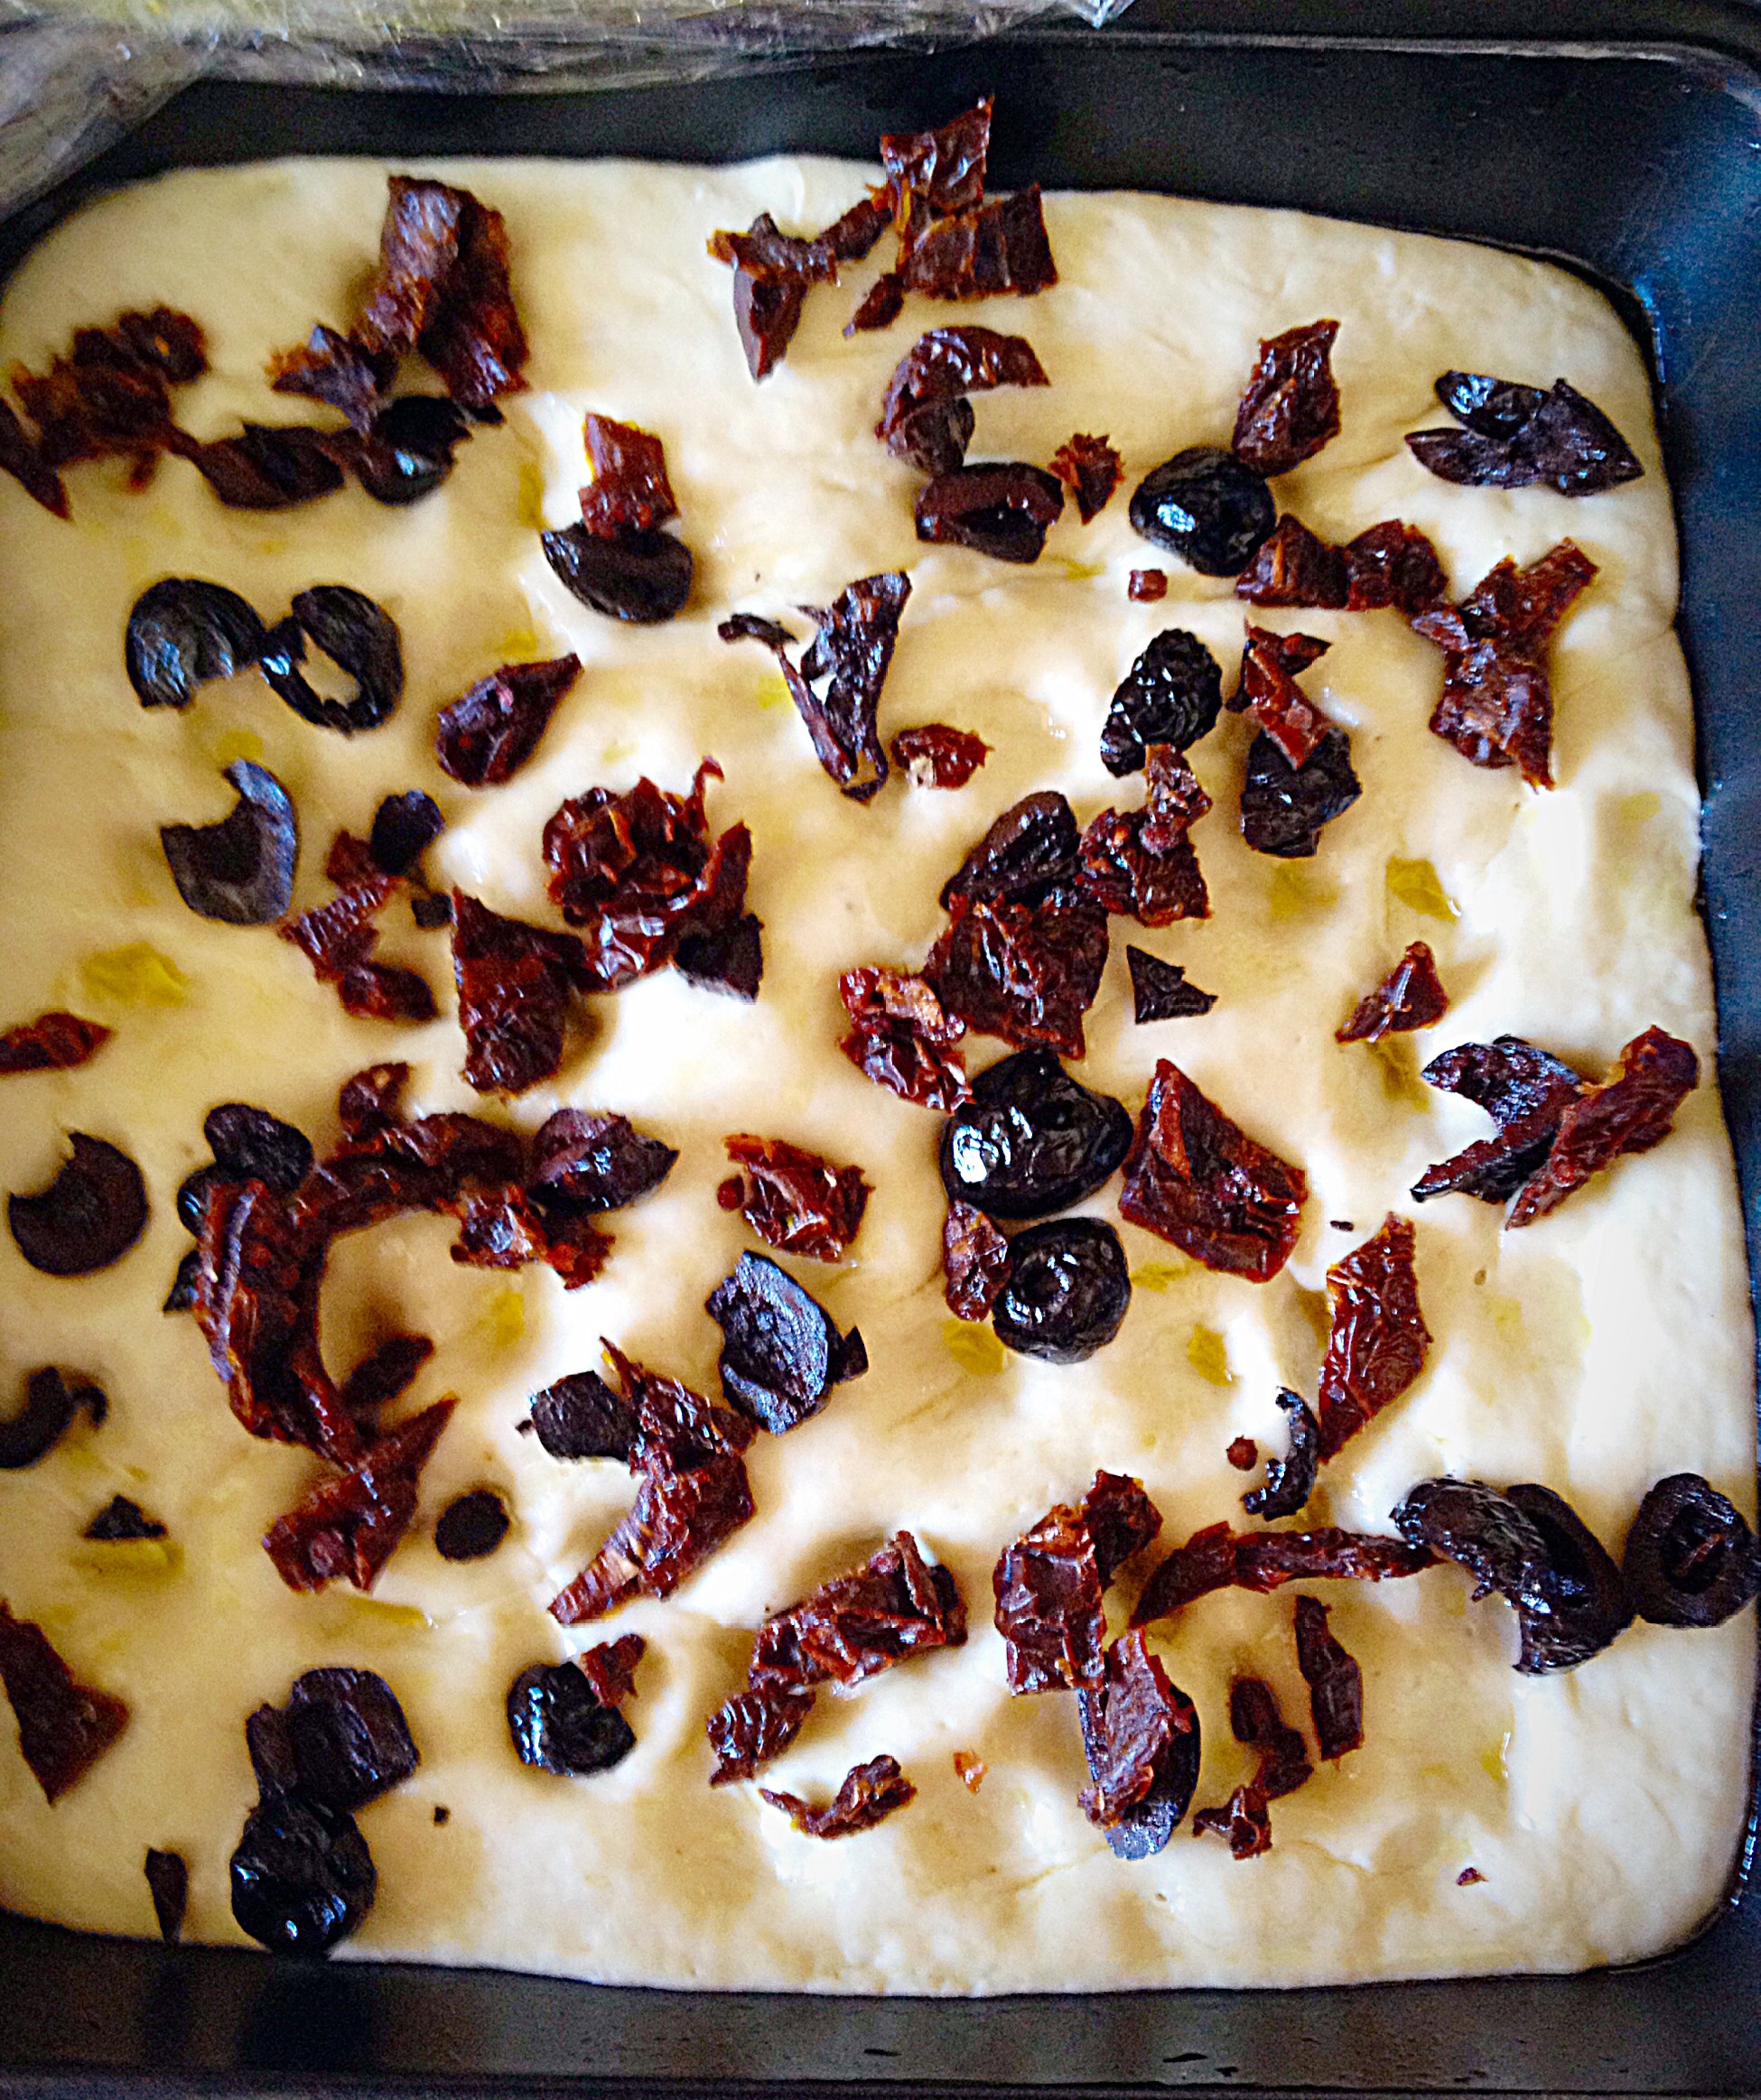
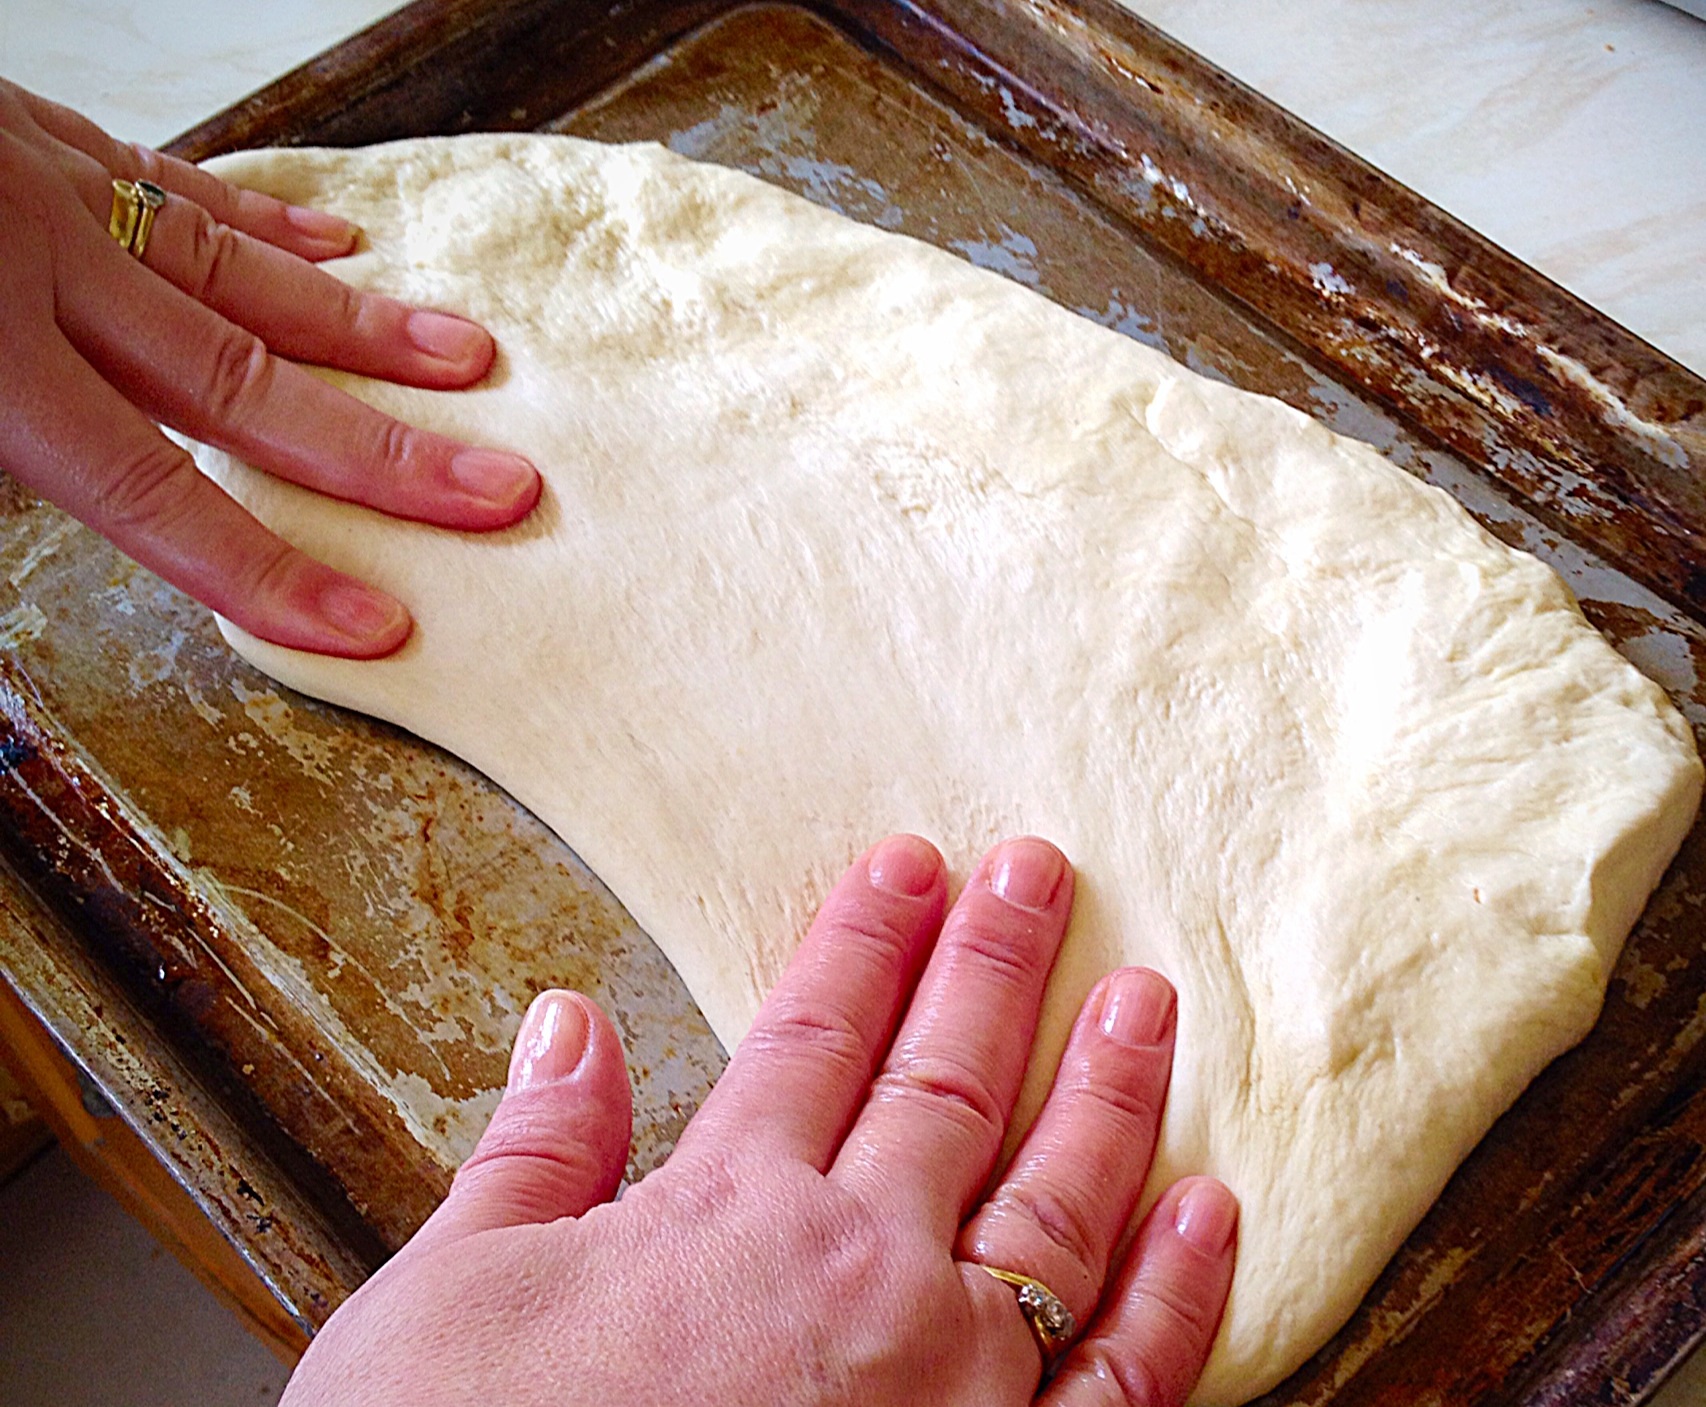
Place half of the dough in each pan. Use your fingers to make indentations all over the dough. Drizzle over some Olive oil.Sprinkle the chopped olives and sundried tomatoes evenly over the surface of the dough.Finely grate the Parmesan cheese over the top of the dough.Drizzle a little more Olive oil onto the top of the dough.
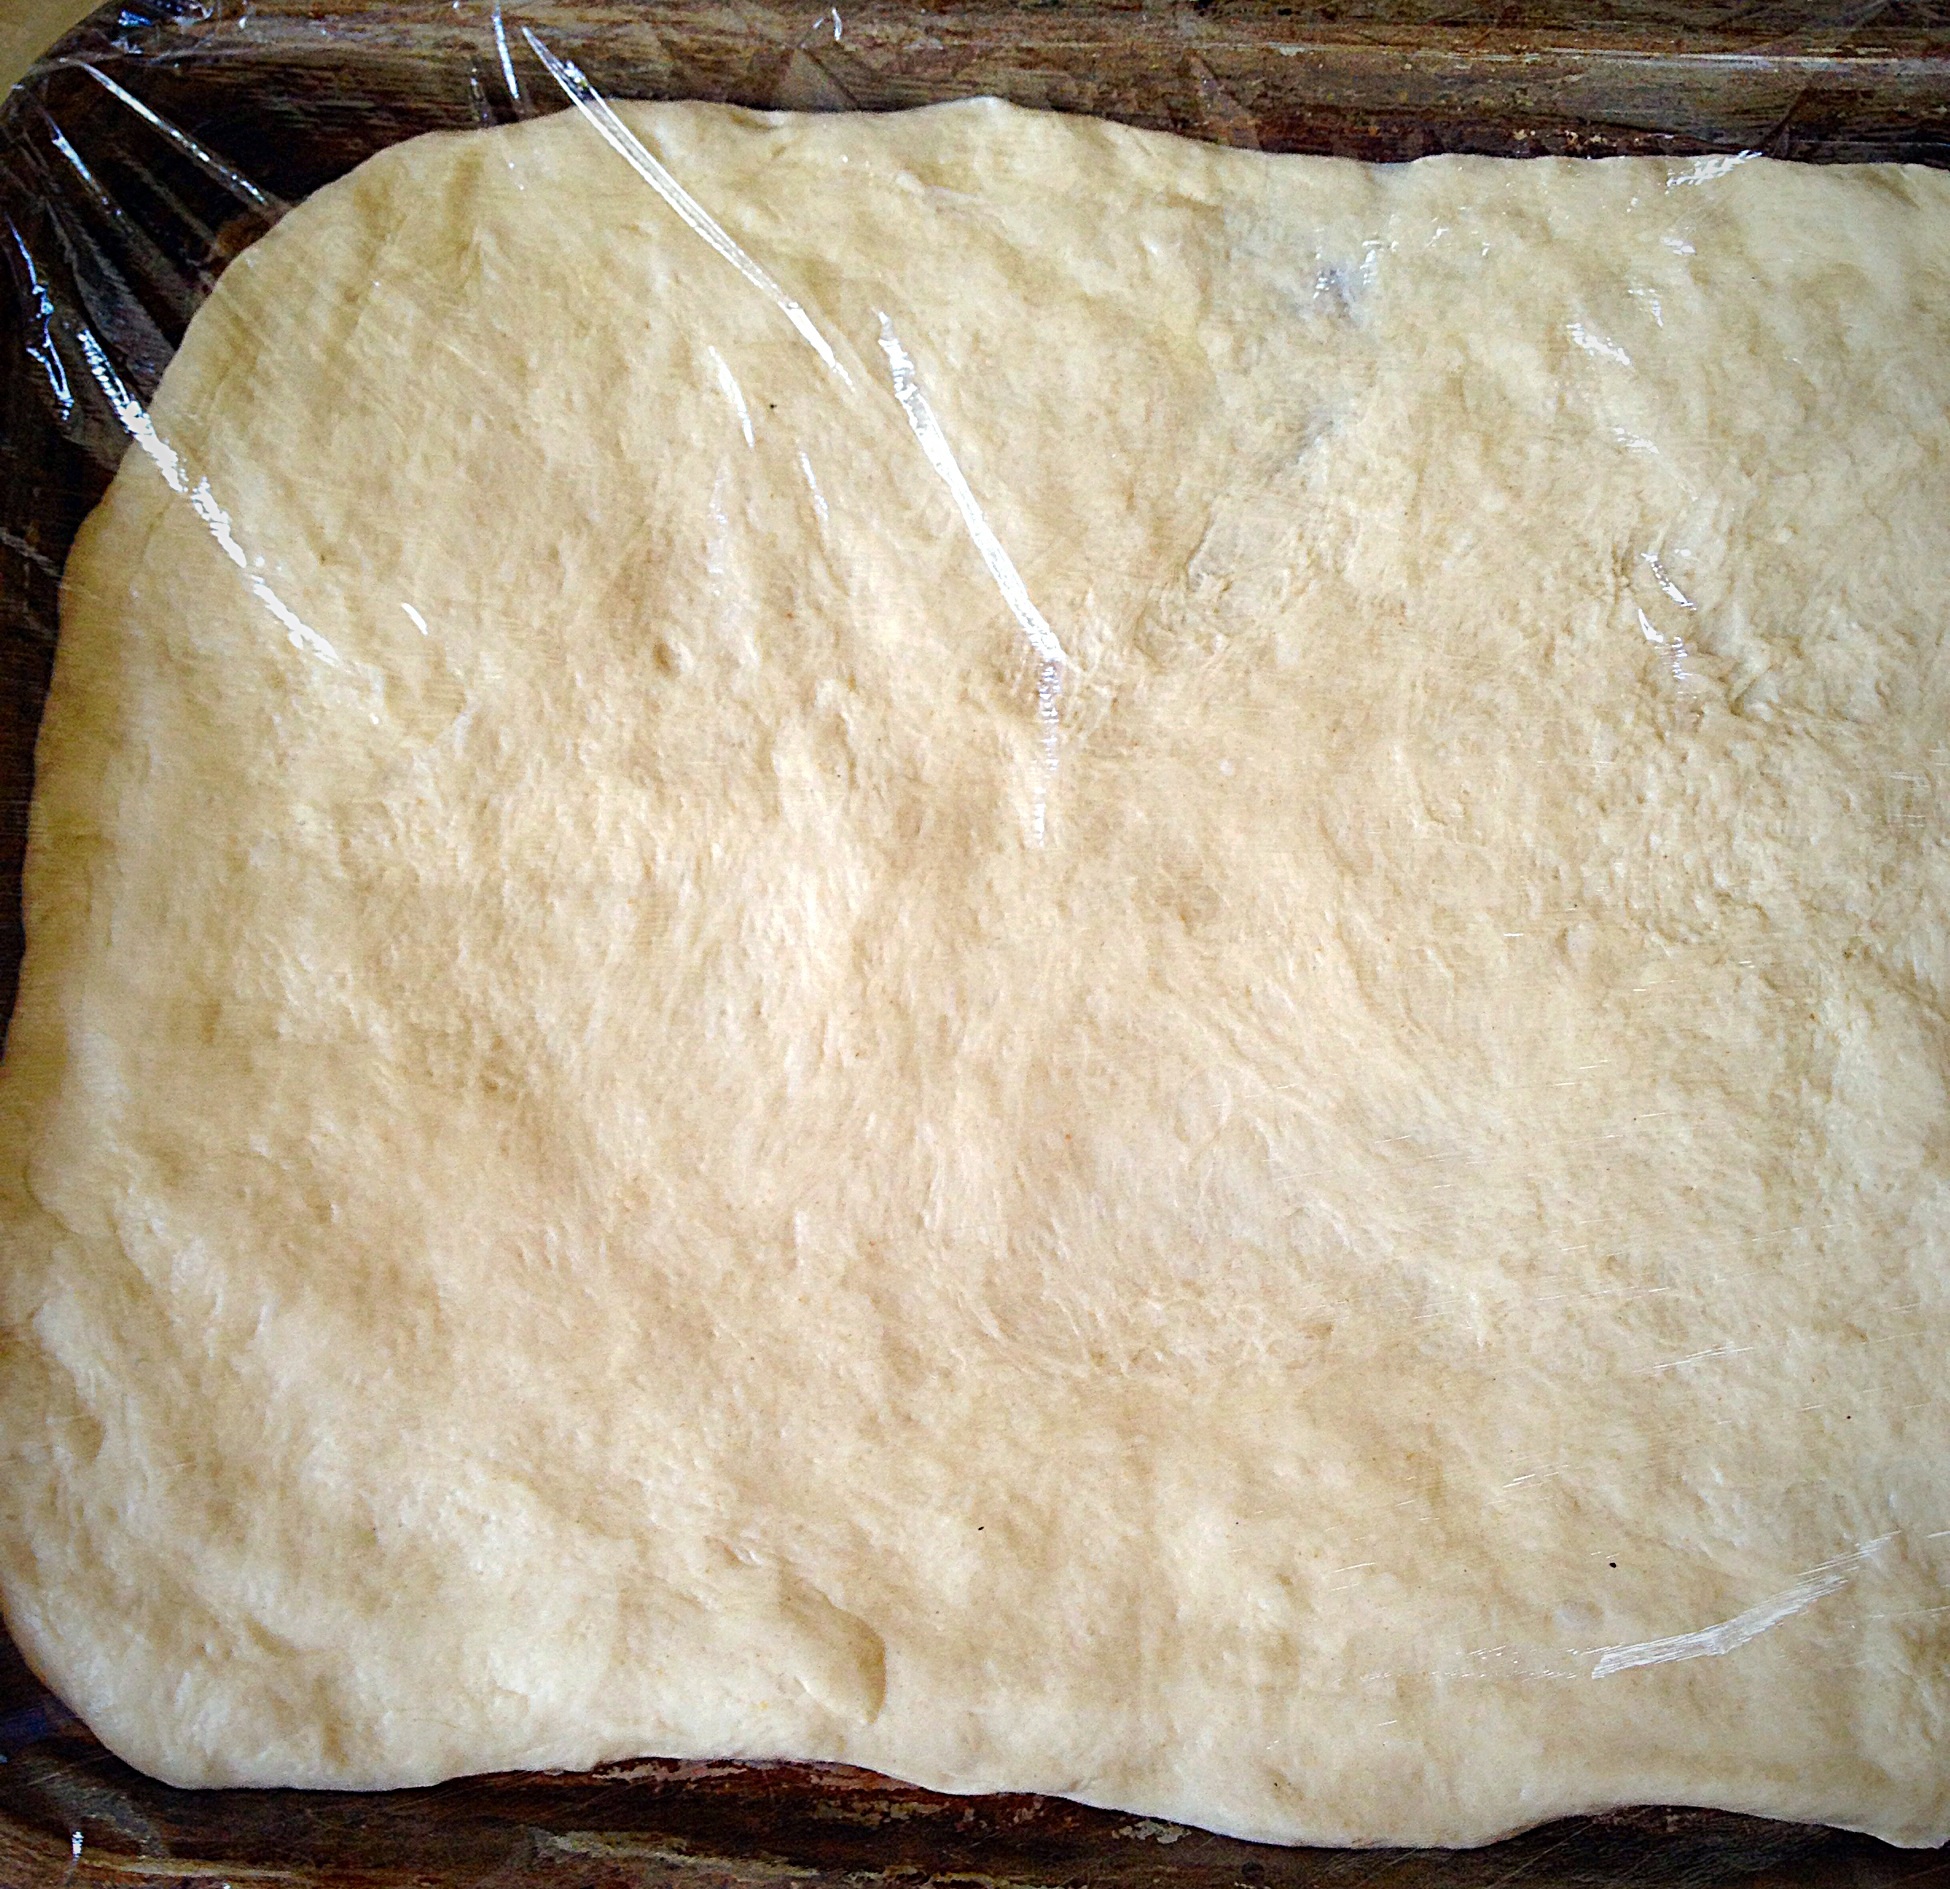
Cover and leave to double in size. Whilst proving preheat your oven to 220C/200C fan.
When your dough is doubled in size place in the preheated oven for 25-30 minutes.
There really is nothing to compare with the smell of freshly baking bread. I never tire of it. Everytime I bake bread i honestly think I enjoy the smell as much as the taste of delicious, homemade bread.
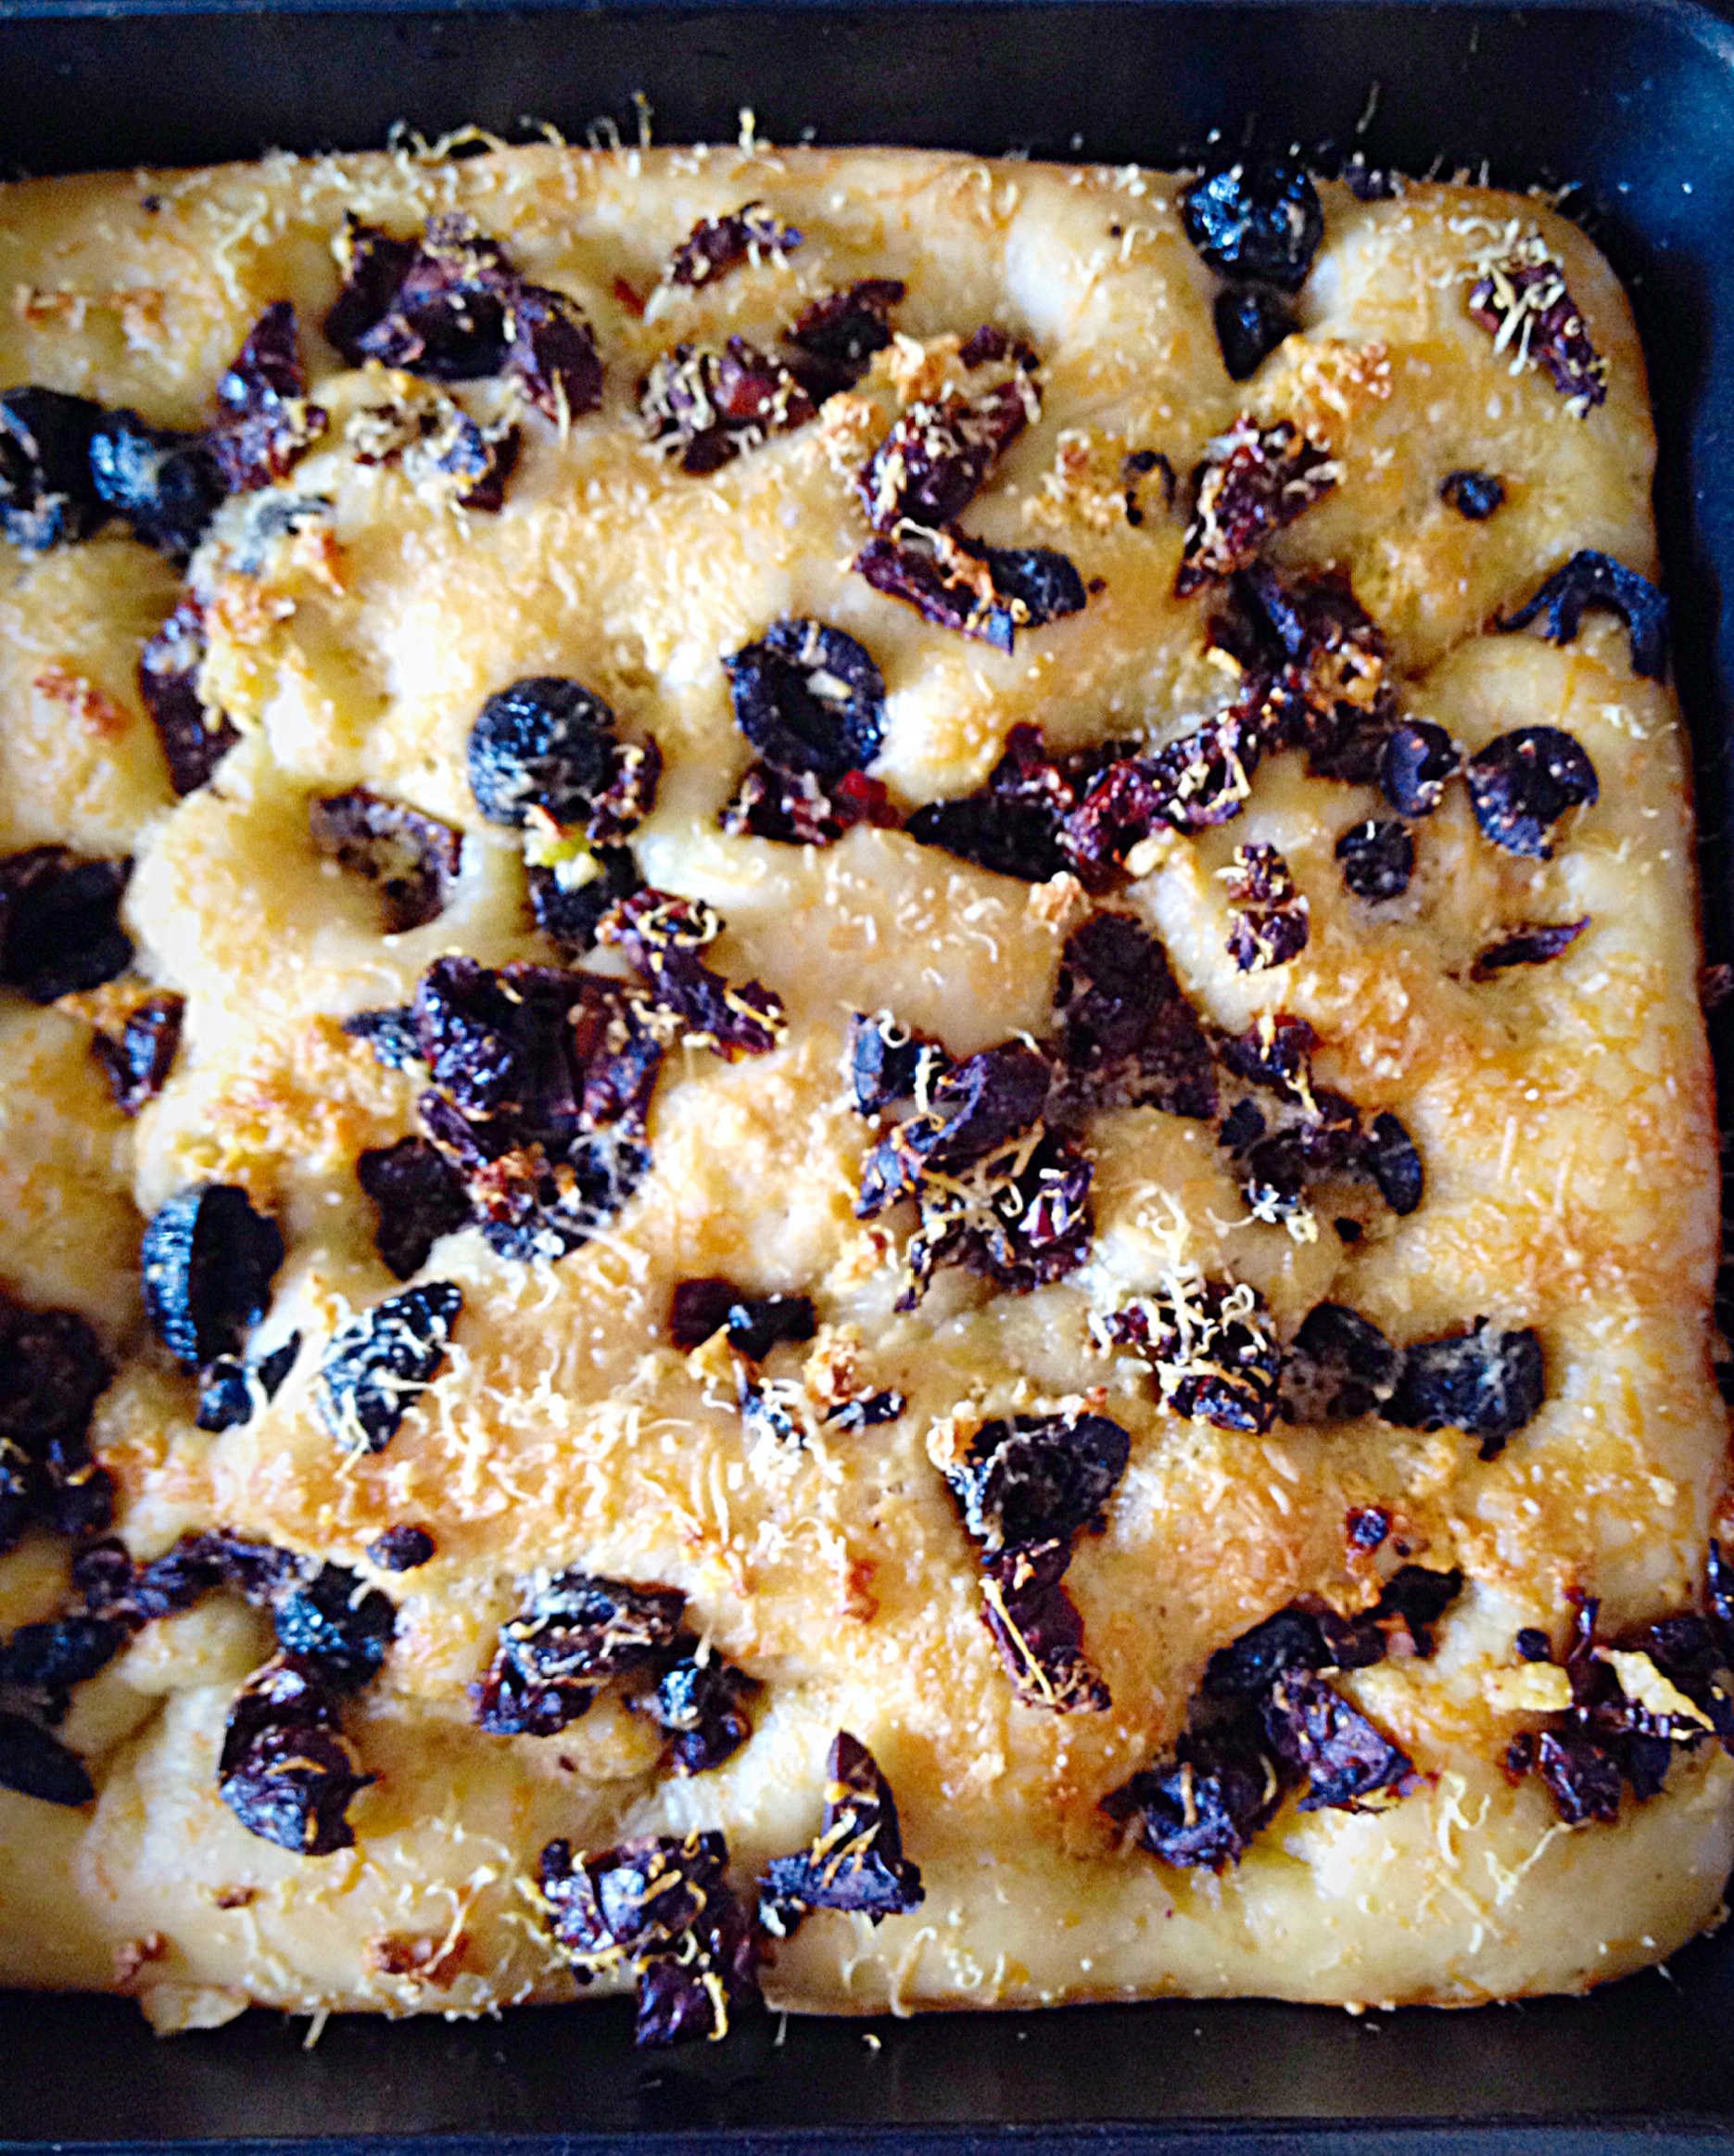
When the Sundried Tomato Olive Focaccia Bread is golden and coming away from the sides of the pan remove from the oven.
Using a palette knife gently work around the sides of the Focaccia and the lift the bread out of the pan.
Sundried Tomato Olive Focaccia Bread – cooling on a rack.
Unlike a freshly baked loaf of bread, this Focaccia can be eaten warm. It is still best to let it cool for 10 minutes on a cooling rack. Letting the bread rest and cool makes it easier to slice.
Sundried Tomato Olive Focaccia Bread
Delicious, homemade bread. Perfect for sharing and feasting on.
Do you have any Focaccia Bread toppings you would like to try?
Hello to all bloggers, blog readers and want-to-be bloggers. Although this post 10 Ways To Improve Your Food Blog is aimed mainly at food bloggers, there are tips and tricks that may help you. So please have a read and see what you think.
10 Ways To Improve Your Food Blog : Cherries from our garden really make these Cookies pop.
Before I started feastingisfun.com I knew absolutely nothing about blogging. I did know, however, that my passion for cooking, sharing the food I made and sharing the recipes I created was starting to get outta control!!
I was badgering meat/fish/veg suppliers to create a place on their website where I could post recipes. “Yes” they said – all through Facebook. “Ah” said I. I’m not ‘on’ Facebook and had no intention of joining.
So I started researching ‘those blog things’!! I was scared stiff, setting up and running a blog seemed overwhelmingly complicated. So I left it until one day I could deny myself no more. I took the plunge, after a little more research and set up my site. Which brings me to my first point.
1: I chose to set up my own site, through WordPress, but I own the domain name. feastingisfun.com is my own. I own the name and the content. Having done some research, especially for food bloggers, I decided that as I was creating the content for my site, I wanted to own my content, which includes recipes and photos. This incurred a small cost, but I was happy with my choice.
The alternative is to have someone ‘host’ your blog for you. In my case my blog would have been www.feastingisfun.wordpress.com
This service is free and WordPress are a great platform from which to start a cost free blog. However, you do not own your domain name.
The choice is yours, I wanted feastingisfun.com to be mine. Money, earnings, sponsorship never even entered my head when starting up, I just knew if I was going to do it, better to set up from the beginning, than have to transfer at some point in the future.
This is one opinion. I made it the first point as I think knowing what you are getting into is important. Research this area, so that you make an informed choice.
2 : Make sure the recipe you write works!! I know it sounds funny, but in the beginning 2 out of 3 of my recipes went in the bin. Yes the food was probably eaten, my family are a fairly forgiving lot. But – if you are going to share a recipe on the internet, make sure it works consistently. Otherwise you may get negative feedback, from readers, who are hard enough to get anyway!!
So only post practised, reliable, consistent recipes.
3 : Learn to write everything down as you are cooking. Ingredients, quantities, timings, size of bakeware – everything! If you decide to add an extra pinch of this or that, measure that pinch.
I write this as THE worlds worst recipe follower, I never used to time anything, I could just tell by the smell if a cake or loaf was cooked – not a lot use to someone following my recipe. I have trained myself to use a timer and make notes. Guess what? My organisation has improved, as has the consistency of my baking!
4 : Photography. Honestly whether you’re a complete novice, the next David Bailey or somewhere in between, good photos will enhance your site and blog.
I take all my food photos using my iPhone!! Whether you’ve got a super duper Canon, a cheap point and shoot camera or a phone, there are lots of Apps available that will help edit your photos.
Daylight will always give the best, natural results, but editing your photos is a handy tool to have – especially in the darker months. Just don’t over edit. The resulting photo should be a true reflection of your creation, over editing is obvious and readers will spot it!!
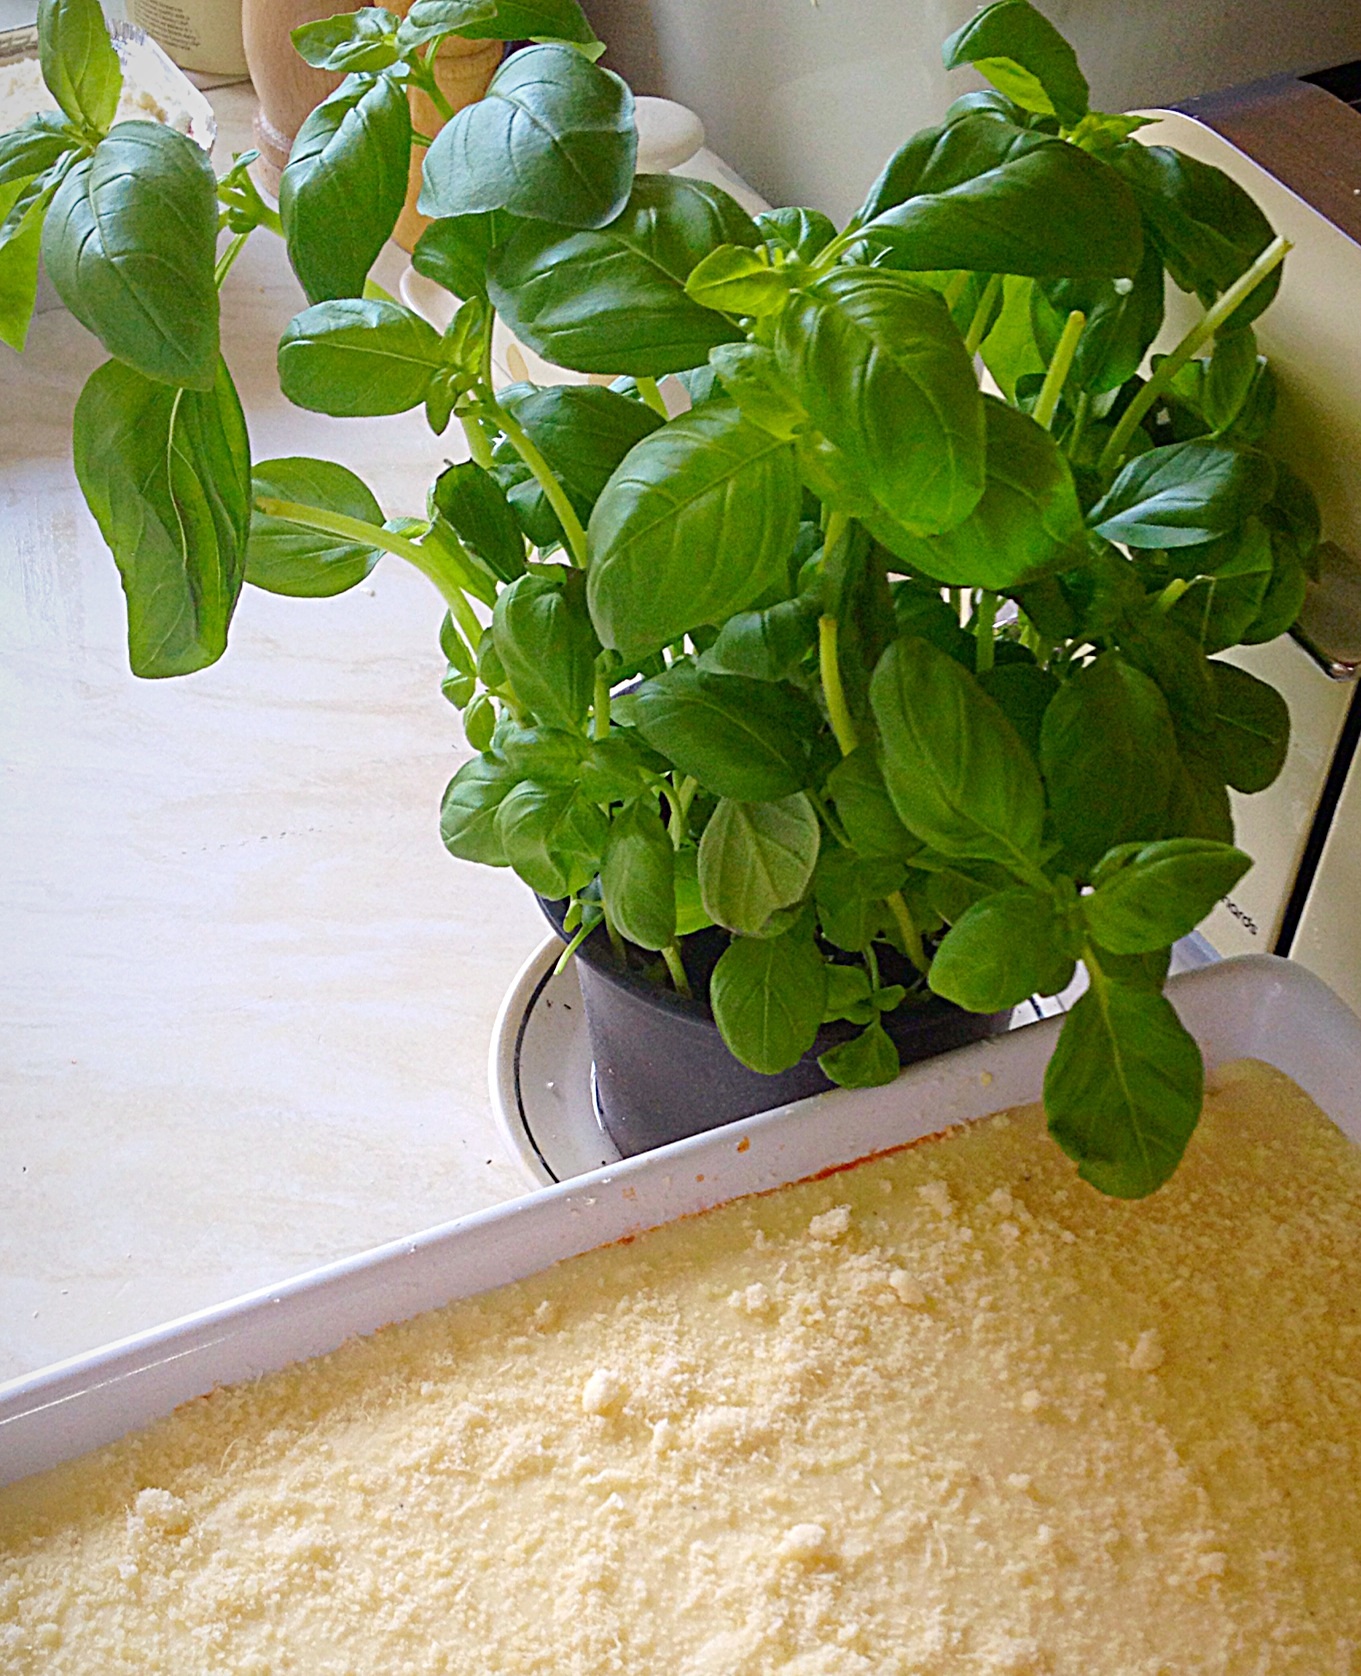
5 : Using shop bought pots of fresh herbs as props!
Here I’ve used shop bought, fresh, potted Basil. Not only is it in the lasagne, it enhances the photo!
Buy fresh, potted herbs cheaply from the supermarket is a great trick. You have a lush green photo prop that can also be used in the dish!
6 : Be creative, use what you already have in the house, especially the kitchen, even the garden, to brighten or add interest to a photo.
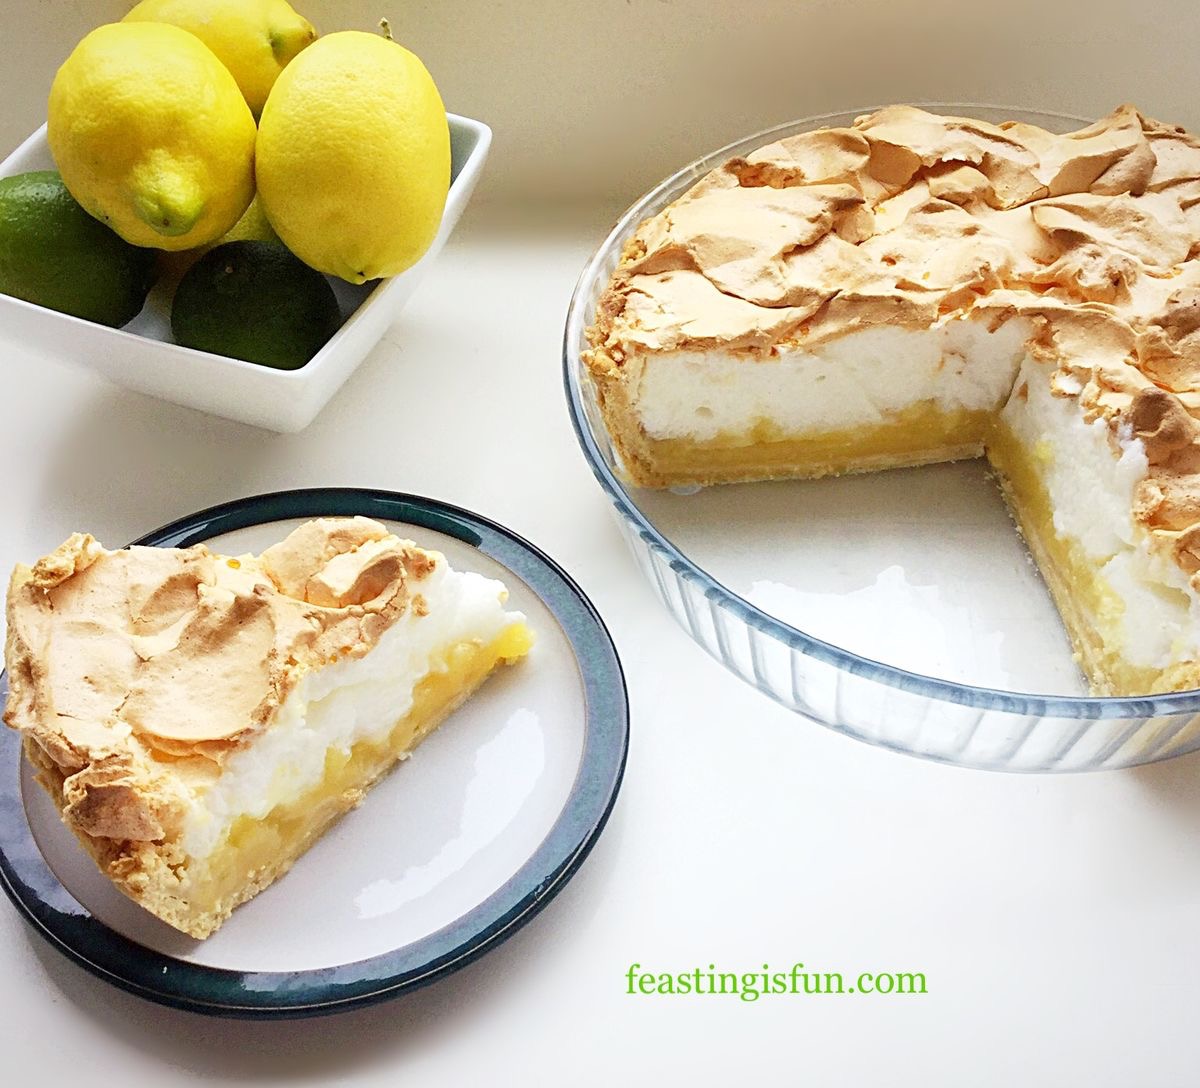
A simple bowl of lemon and limes – screams sunshine.
I used the above bowl of lemons and limes to sit alongside a photo of my Zesty Lemon Lime Cake. It adds interest, lifts the photo and let’s the viewer know what’s in the cake. You then use the fruit in your cooking!
7 : Display your food well.
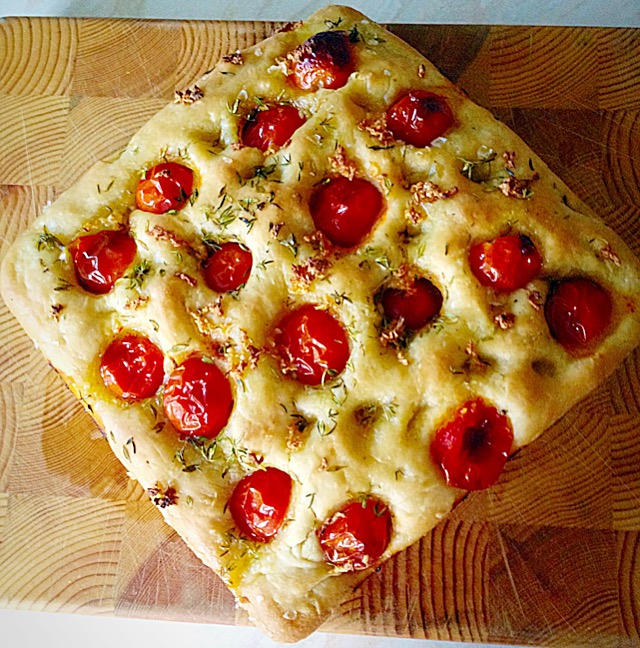
This Slate board was inexpensive and shows this Sundried Tomato Olive Focaccia beautifully.White is a fantastic background to display food on. The photograph draws your eye to the food not the dish!A wooden chopping board creates a fantastic background for this Tomato Thyme Focaccia Bread.
I picked up the white salad bowl and small rectangular platter as well as the slate board from Wilko using their online delivery service Wilko.com which is free on orders over £50. So I added a few other baking items, their prices are incredible and I was amazed at the range of baking/cookware/kitchen items that they stock. Then I placed my order. I was very happy with everything I had bought!
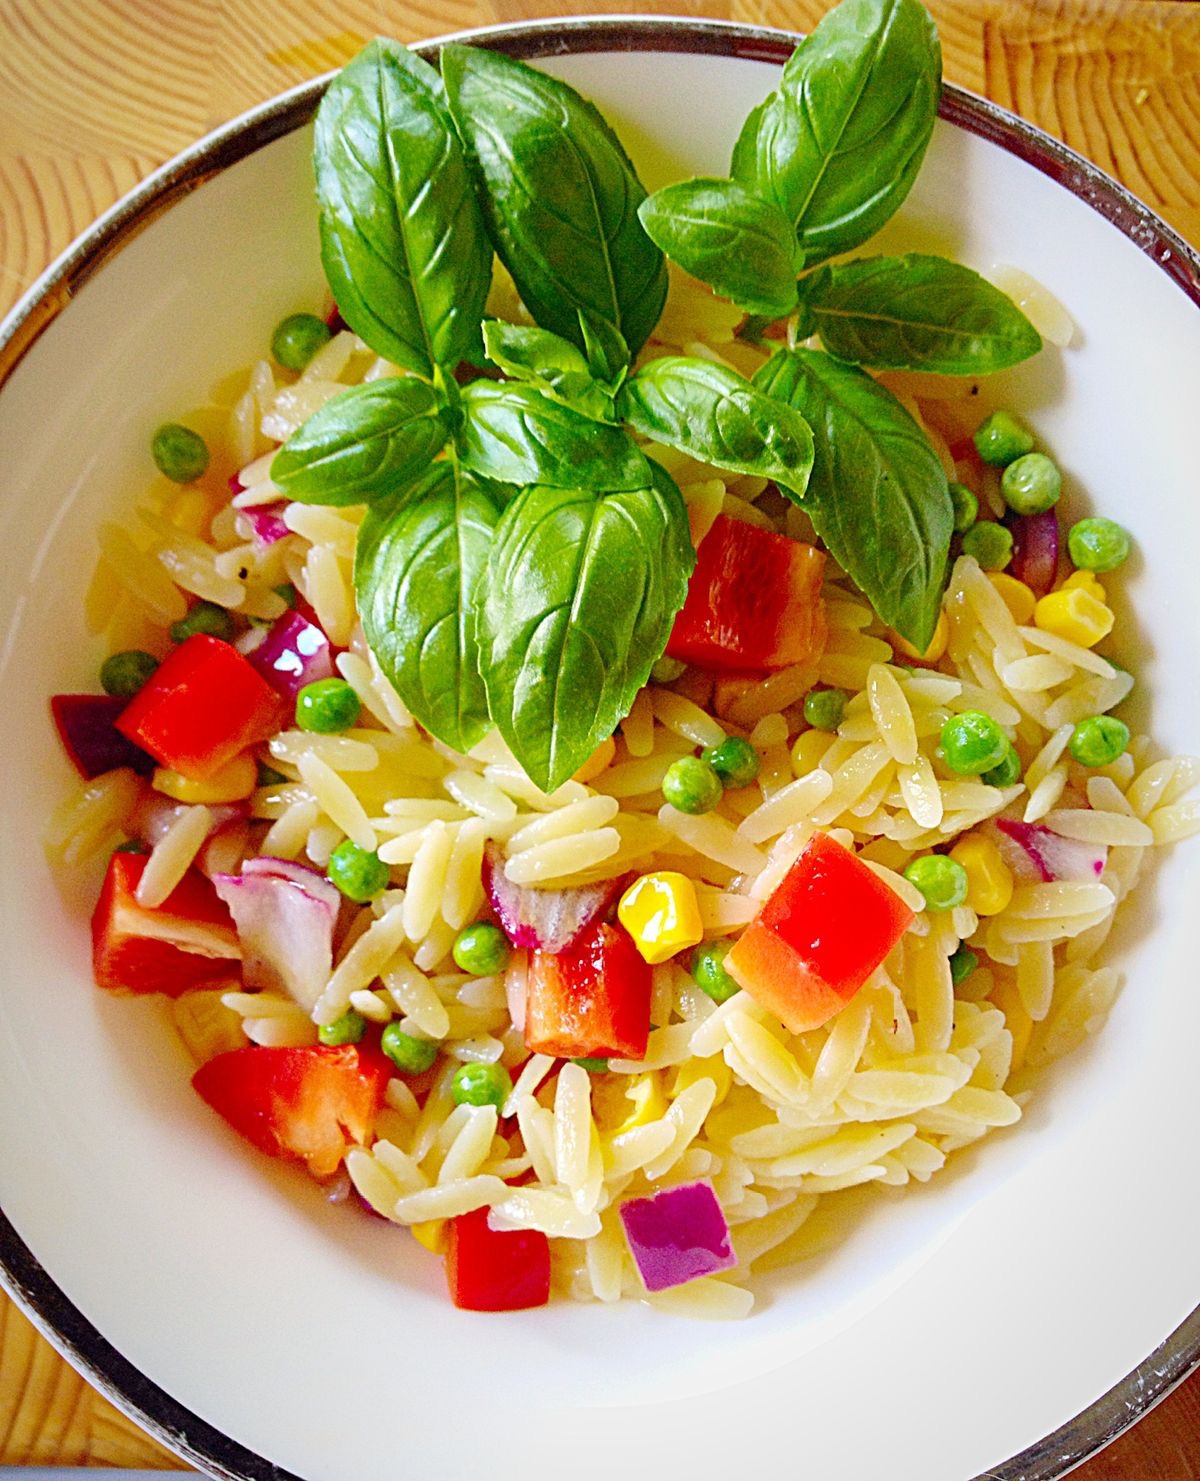
So shop clever for dishes that can be used for photos and home use. The white salad bowl is used most days and has also featured on my post Tangy Lemon Potato Salad.
8 : Use photographs to show detail in a recipe. A one picture food blog is not as appealing as showing stages of the cooking/baking process.
For example:
These Chocolate Dipped Viennese Fingers look delicious. If I were attempting to make them for the first time then…..A photo showing how the fingers are piped, really helps, except these look quite frilly, so…….A quick shot of the cooked Viennese Fingers, reassures the reader of how they look once baked.
Again, here in these photos I’ve used a good quality, non stick baking tray, purely to enhance the contrast and therefore achieve a better photo.
9 : Have an honest support network! This may sound odd, but honest criticism is your greatest tool! Having a group of people – friends/family who will give an honest, independent opinion, will help to ensure you post only the very best recipes on your site. Quality over quantity for building a reputation as a Food Blogger is key.
Remember though, they are only opinions. Take them on board and then you decide if the recipe needs tweaking, or not.
I’ve improved, so now just over half of all the recipes I create, make and photograph make it onto my site. I am still my biggest critic and that’s how it should be. You are the person with the final decision over what gets posted on your site!
10 : Allow your personality to shine through when writing your blog. Yes, ensure the recipe and method are accurate. Include references to any recipe you have used; for example – This recipe is from www.feastingisfun.com/recipe – name/ or, if you’ve altered any part of the recipe, it’s fine to say – This recipe was inspired by www.feastingisfun.com/recipe-name/.
It’s not cool to copy and paste recipes/photos from other sites, without the writers permission. It also kind of defeats the object, this is YOUR blog. Writing about how you baked a cake is YOUR experience.
Some people are naturally gifted writers, others are not. I fall into somewhere in the middle – but, as this is my 100th post, I look back and see how my writing (and photography) have improved. That fills me with a sense of achievement!!
Finally, just a teeny, tiny piece of advice. Be patient and don’t compare your blog to others. Sure, it’s fine to take inspiration from other blogs – I read a LOT of beauty/lifestyle blogs, I enjoy them and pick up ideas from them.
Patience can be the tough one. It takes time and dedication to build up your readership numbers. For me, I still get a thrill when someone leaves a comment after reading a post. Interaction is great and you can maximise it using social media. More on that one in another post!
I really do hope 10 Ways To Improve Your Food Blog is helpful?
This list is by no means exhaustive and I’d love to hear any tips that you may have?
Sammie x
Note : All dishes/props etc. were purchased by the writer and the opinions expressed are my own.
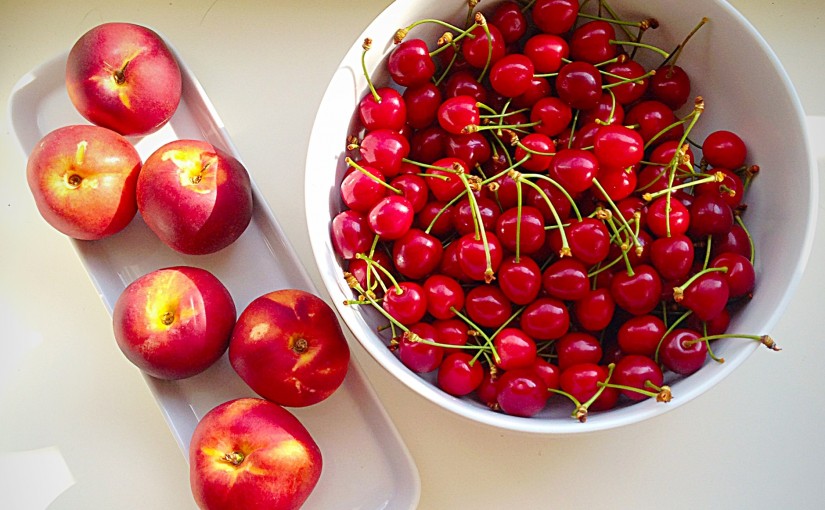
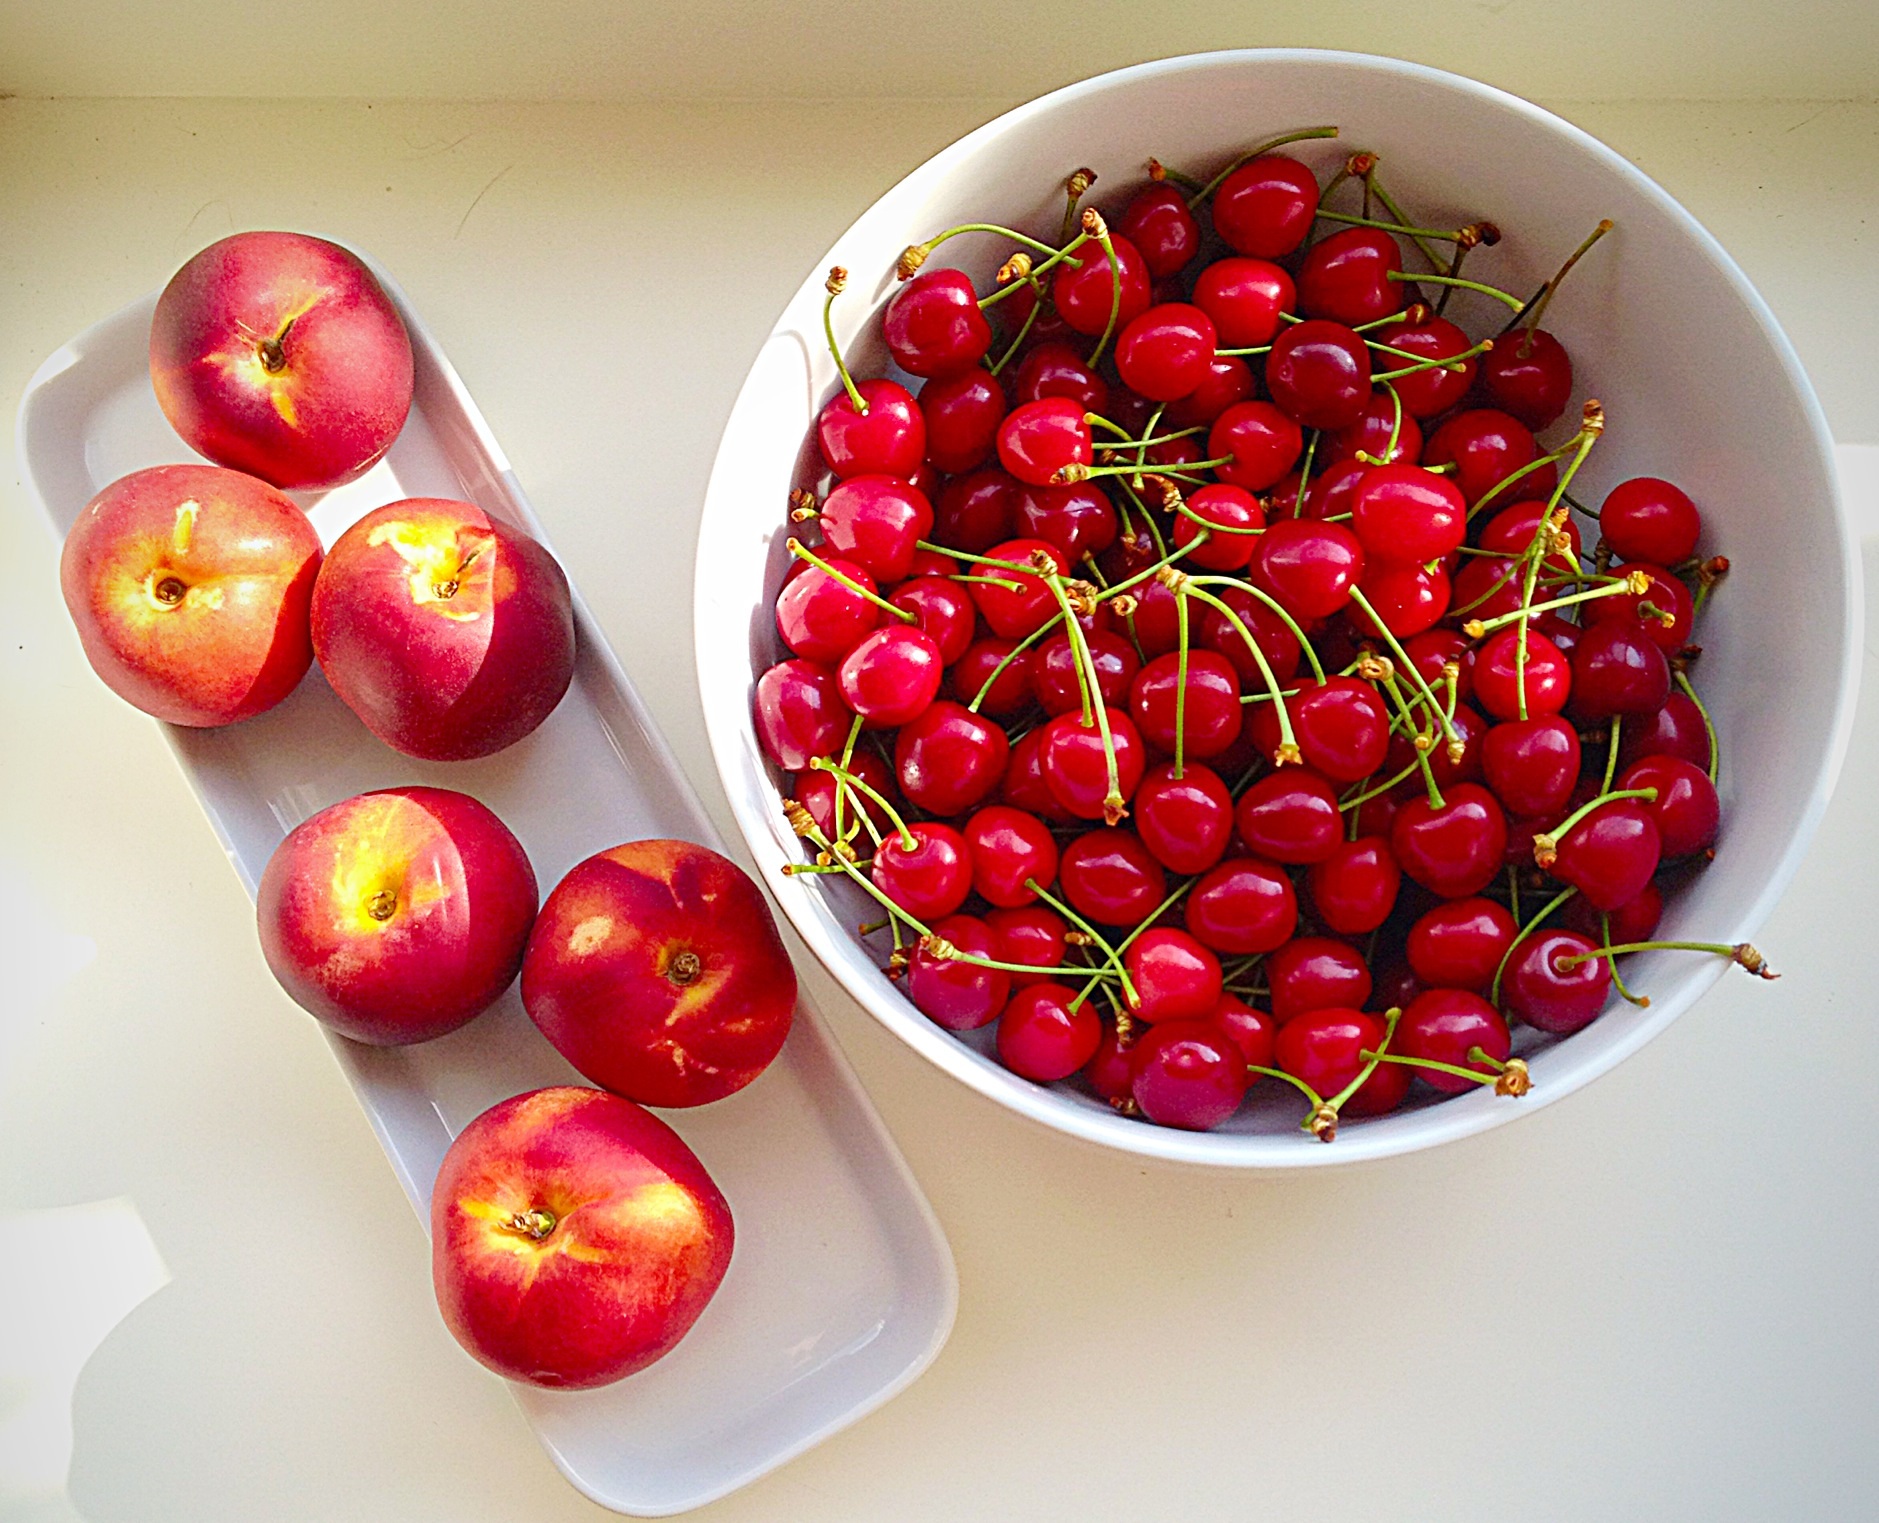
Hello lovely readers, I do hope that your Saturday is a very good day. I always start my day with a cup of tea and cookie and my Sour Cherry Chocolate Chip Cookies are perfect with my cuppa.
So I’m going to be honest, I’m not a massive fan of dark chocolate, in any form, to eat, just as it is. Melted and mixed into a cake batter – not a problem – although if it’s a very chocolatey cake I usually don’t have more than one slice. Dark chocolate, although usually the best chocolate to use when baking, well, it’s just a bit too intense for me. Here, however, in these Sour Cherry Chocolate Chip Cookies it was absolutely necessary to use good quality, dark chocolate chips. Because the contrast against the sour, chewy, cherries balances the flavours in this buttery cookie perfectly.
Sour Cherry Chocolate Chip Cookies
You’d think with 3 growing teenagers in the house, everything I bake would get eaten and mostly it does! There have been a few failures over the years and I guess, because they’ve eaten good, home cooked food all their lives, they’ve become very discerning!!! Most goodies achieve an 8 out of 10 score (and that’s high praise indeed), these cookies got a gold star. 10 out of 10!! I love baking for others, especially my family. Their encouragement and honesty help make me a better cook/baker. It’s also another way for me to show them how much they are loved.
The Joy Of Sharing
I find the process of baking very relaxing and rewarding. It’s lovely to bake a cake for someone, just because you love them, or remember a particular friend, who loves meringue but rarely eats it as her hubby is diabetic. Little thoughtful treats, to show, in this fast paced world, that you’ve taken time, for that particular person. Makes me go all warm and fuzzy inside.
So I’d better show you how to make these buttery, yummy, Sour Cherry Chocolate Chip Cookies so you can share them too!!
Recipe : Makes 20-25 Sour Cherry Chocolate Chip Cookies.
Method : Preheat oven to 180C/160C fan, gas mark 4, 350F.
Making And Baking The Cookies
First of all in a large bowl whisk together the butter, sugar and salt until light and fluffy.
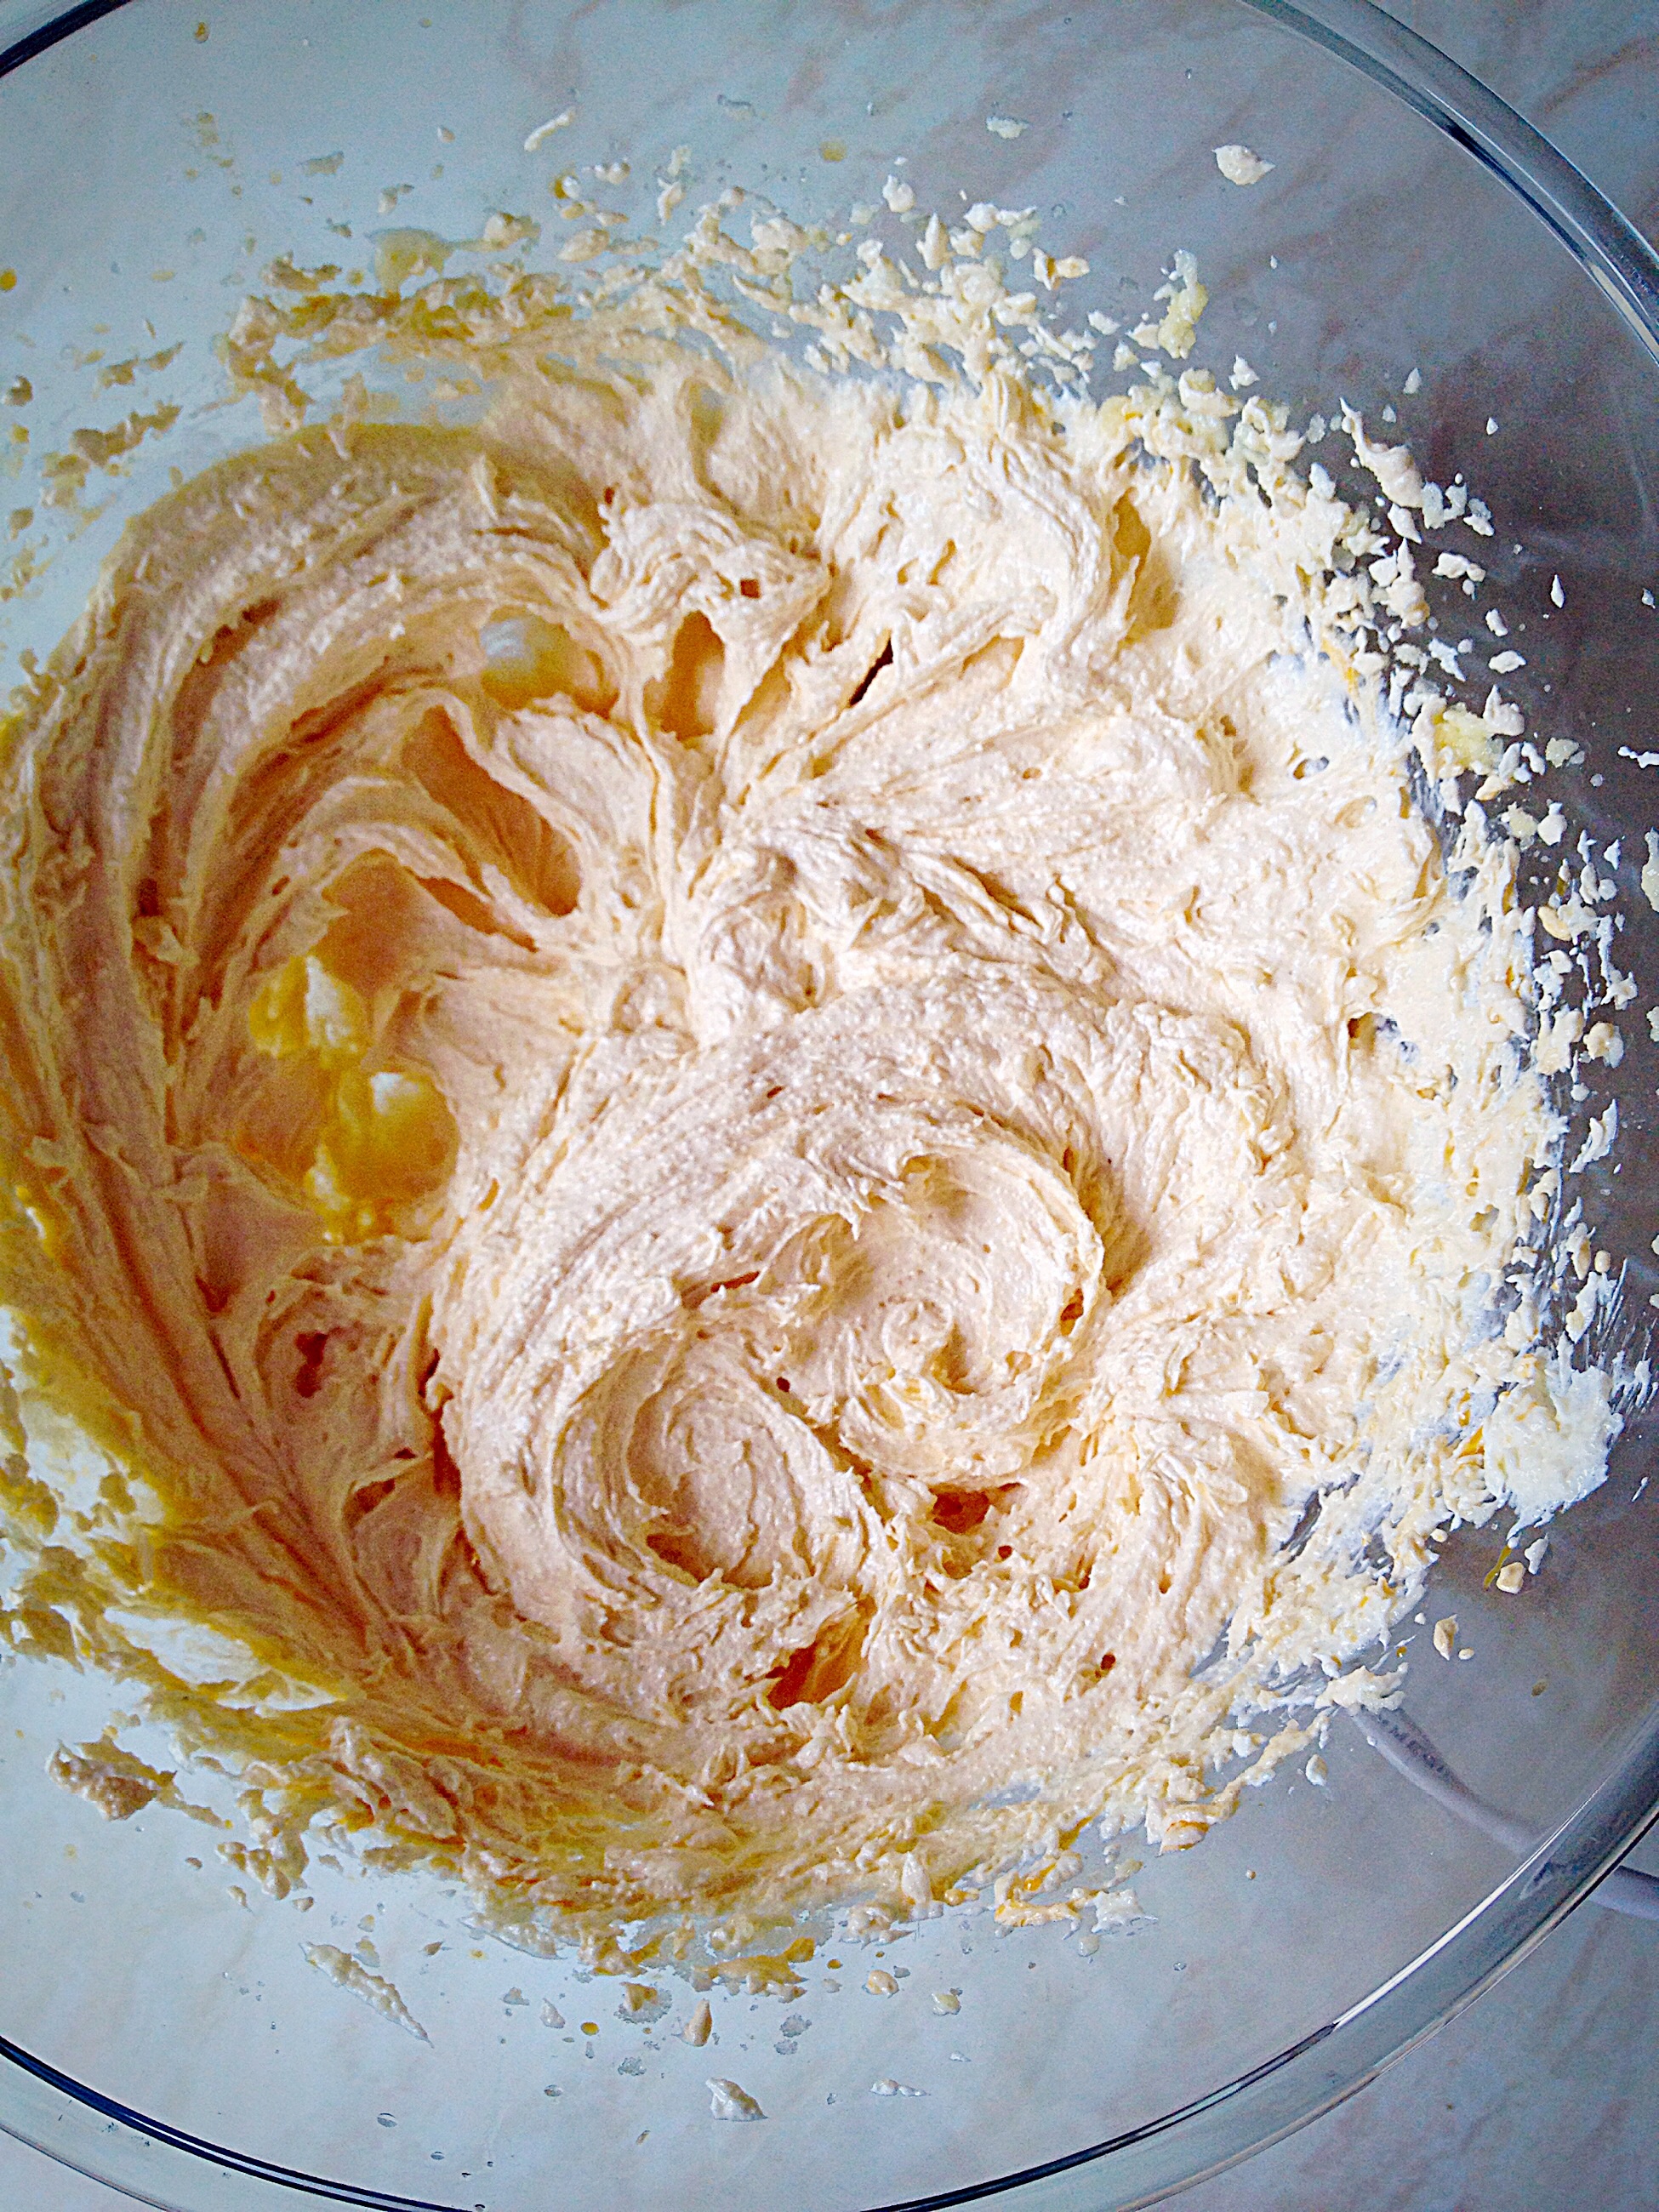
Next add the egg yolk and vanilla extract. Continue whisking until fully incorporated.
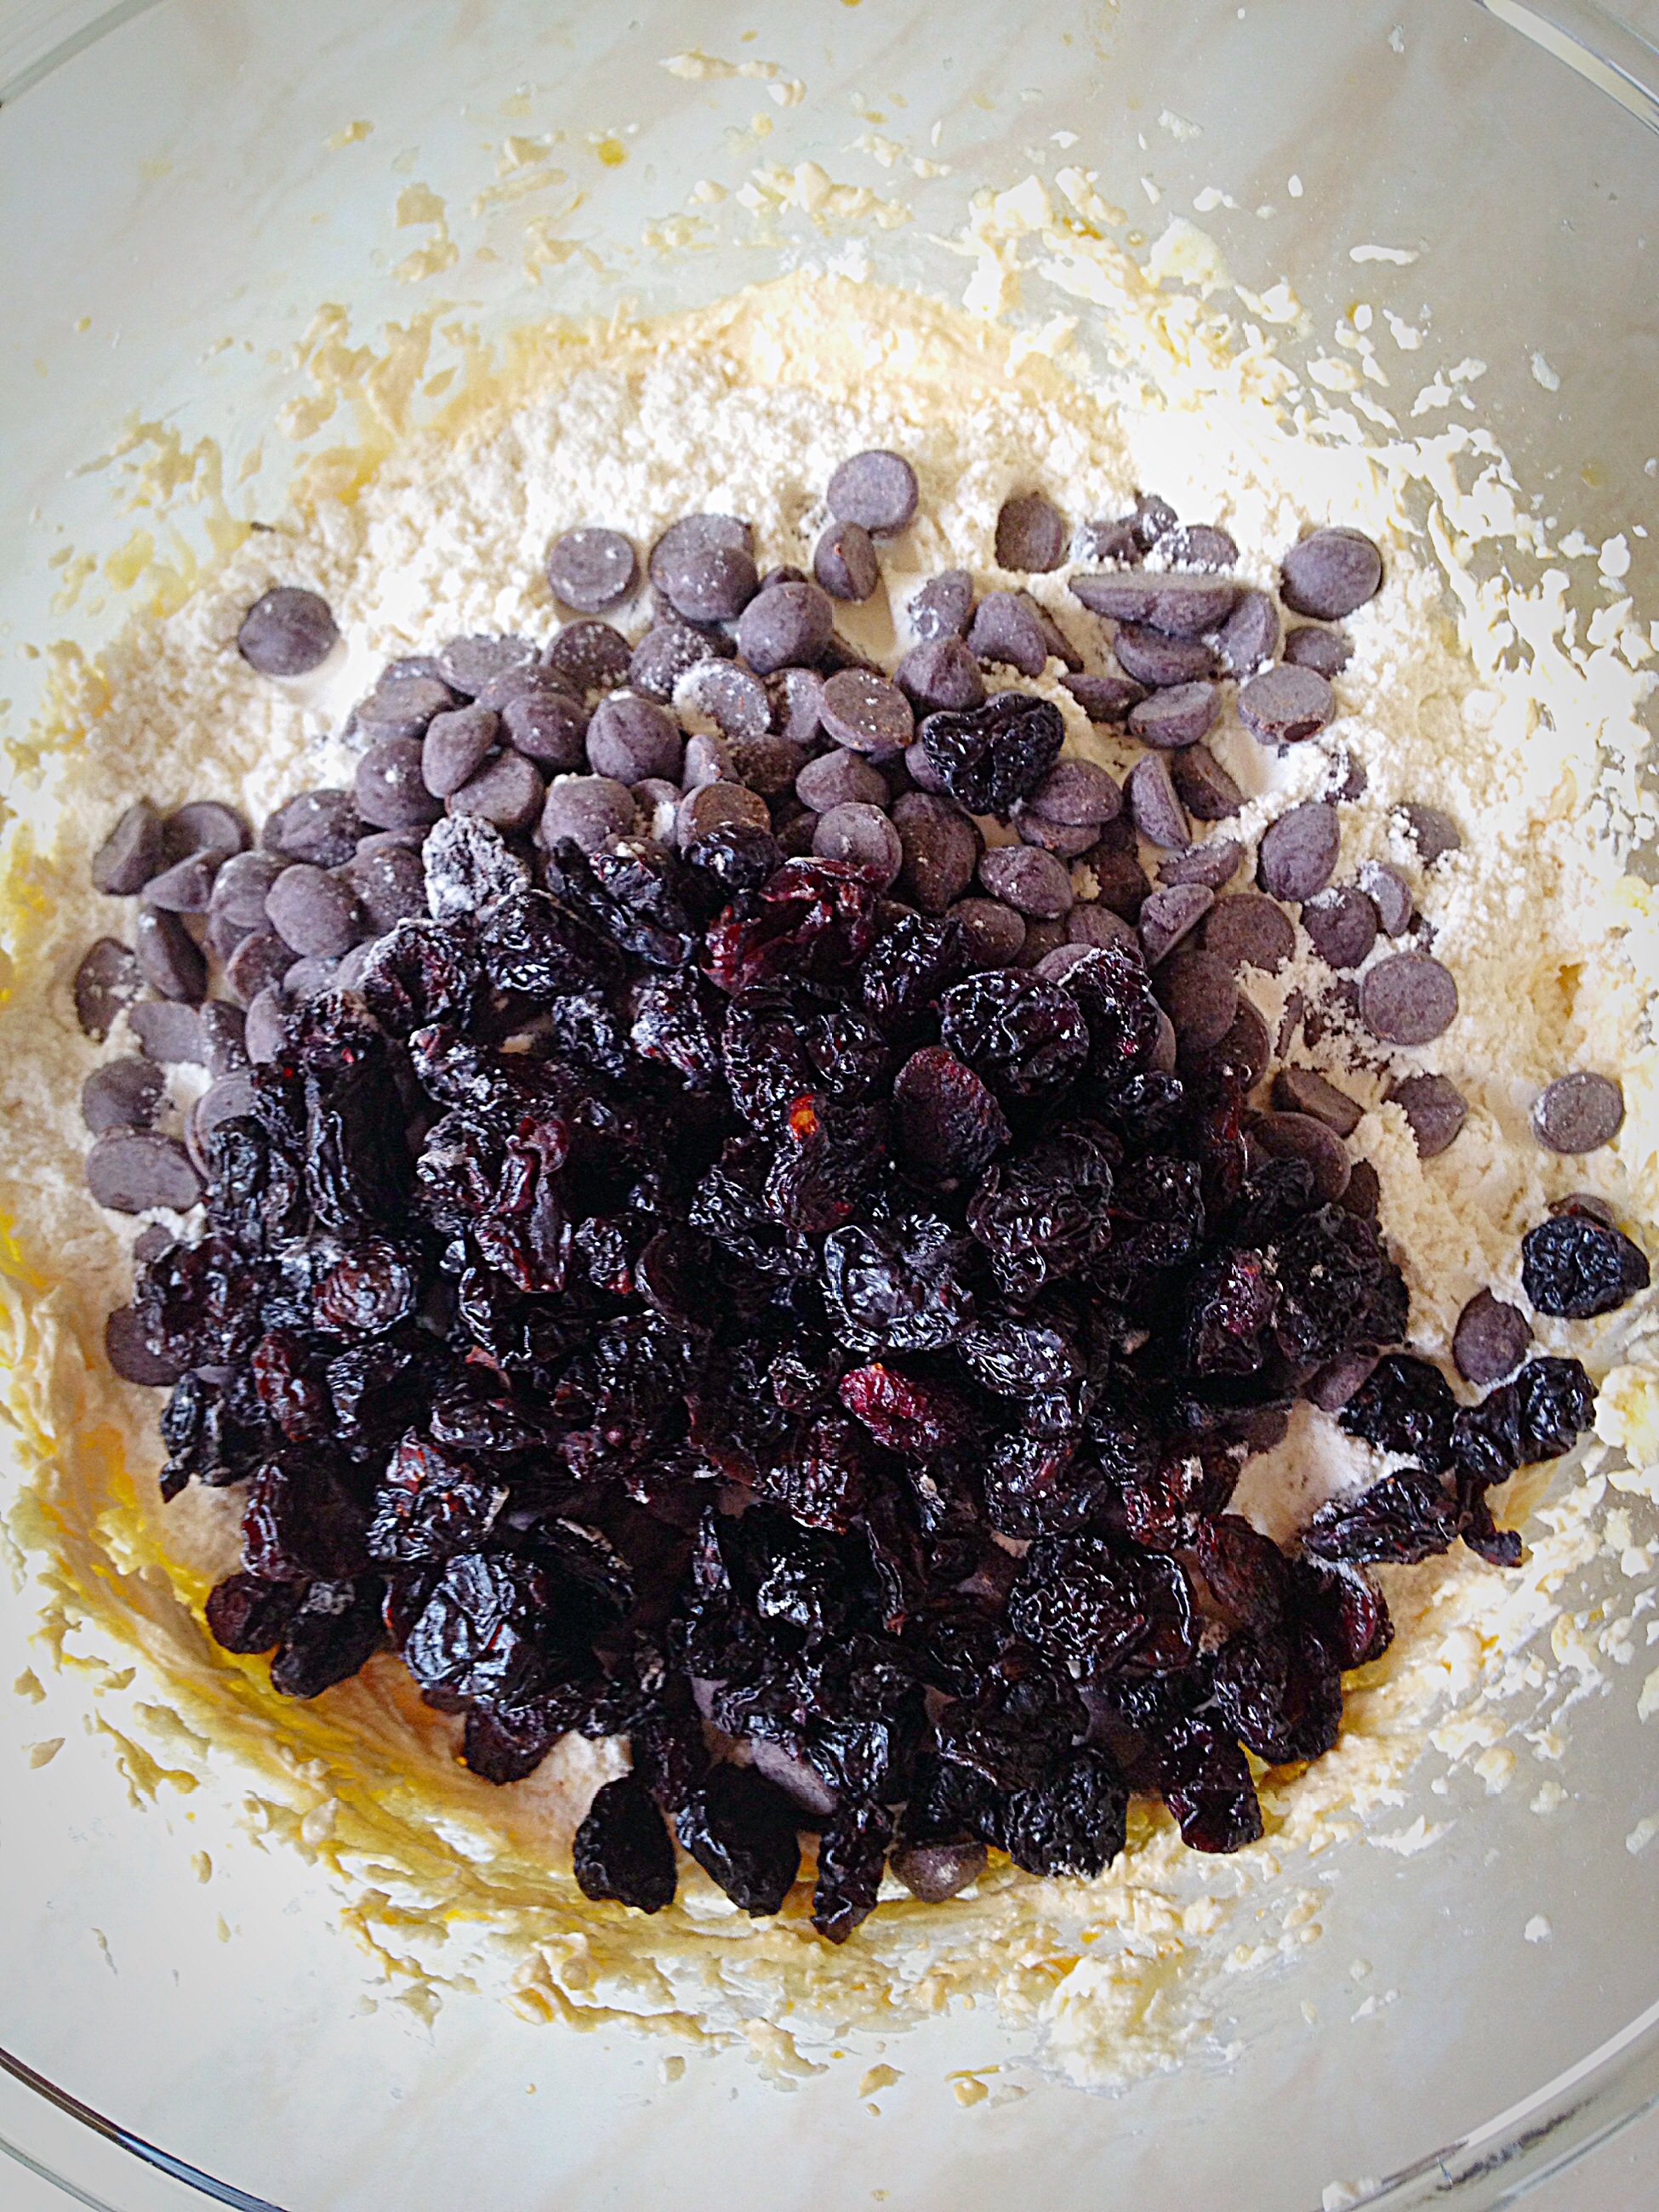
My egg had a gorgeous orange yolk and I used golden caster sugar (it was on offer!!), so the mixture has more colour than usual!Add in the flour, chocolate chips and dried cherries.
Mix all the ingredients together slowly, I like to do this by hand using a spoon, until they just come together. The more you mix the tougher your cookie will be!
The dough for your Sour Cherry Chocolate Chip Cookies – resist the urge to taste – or not!!!
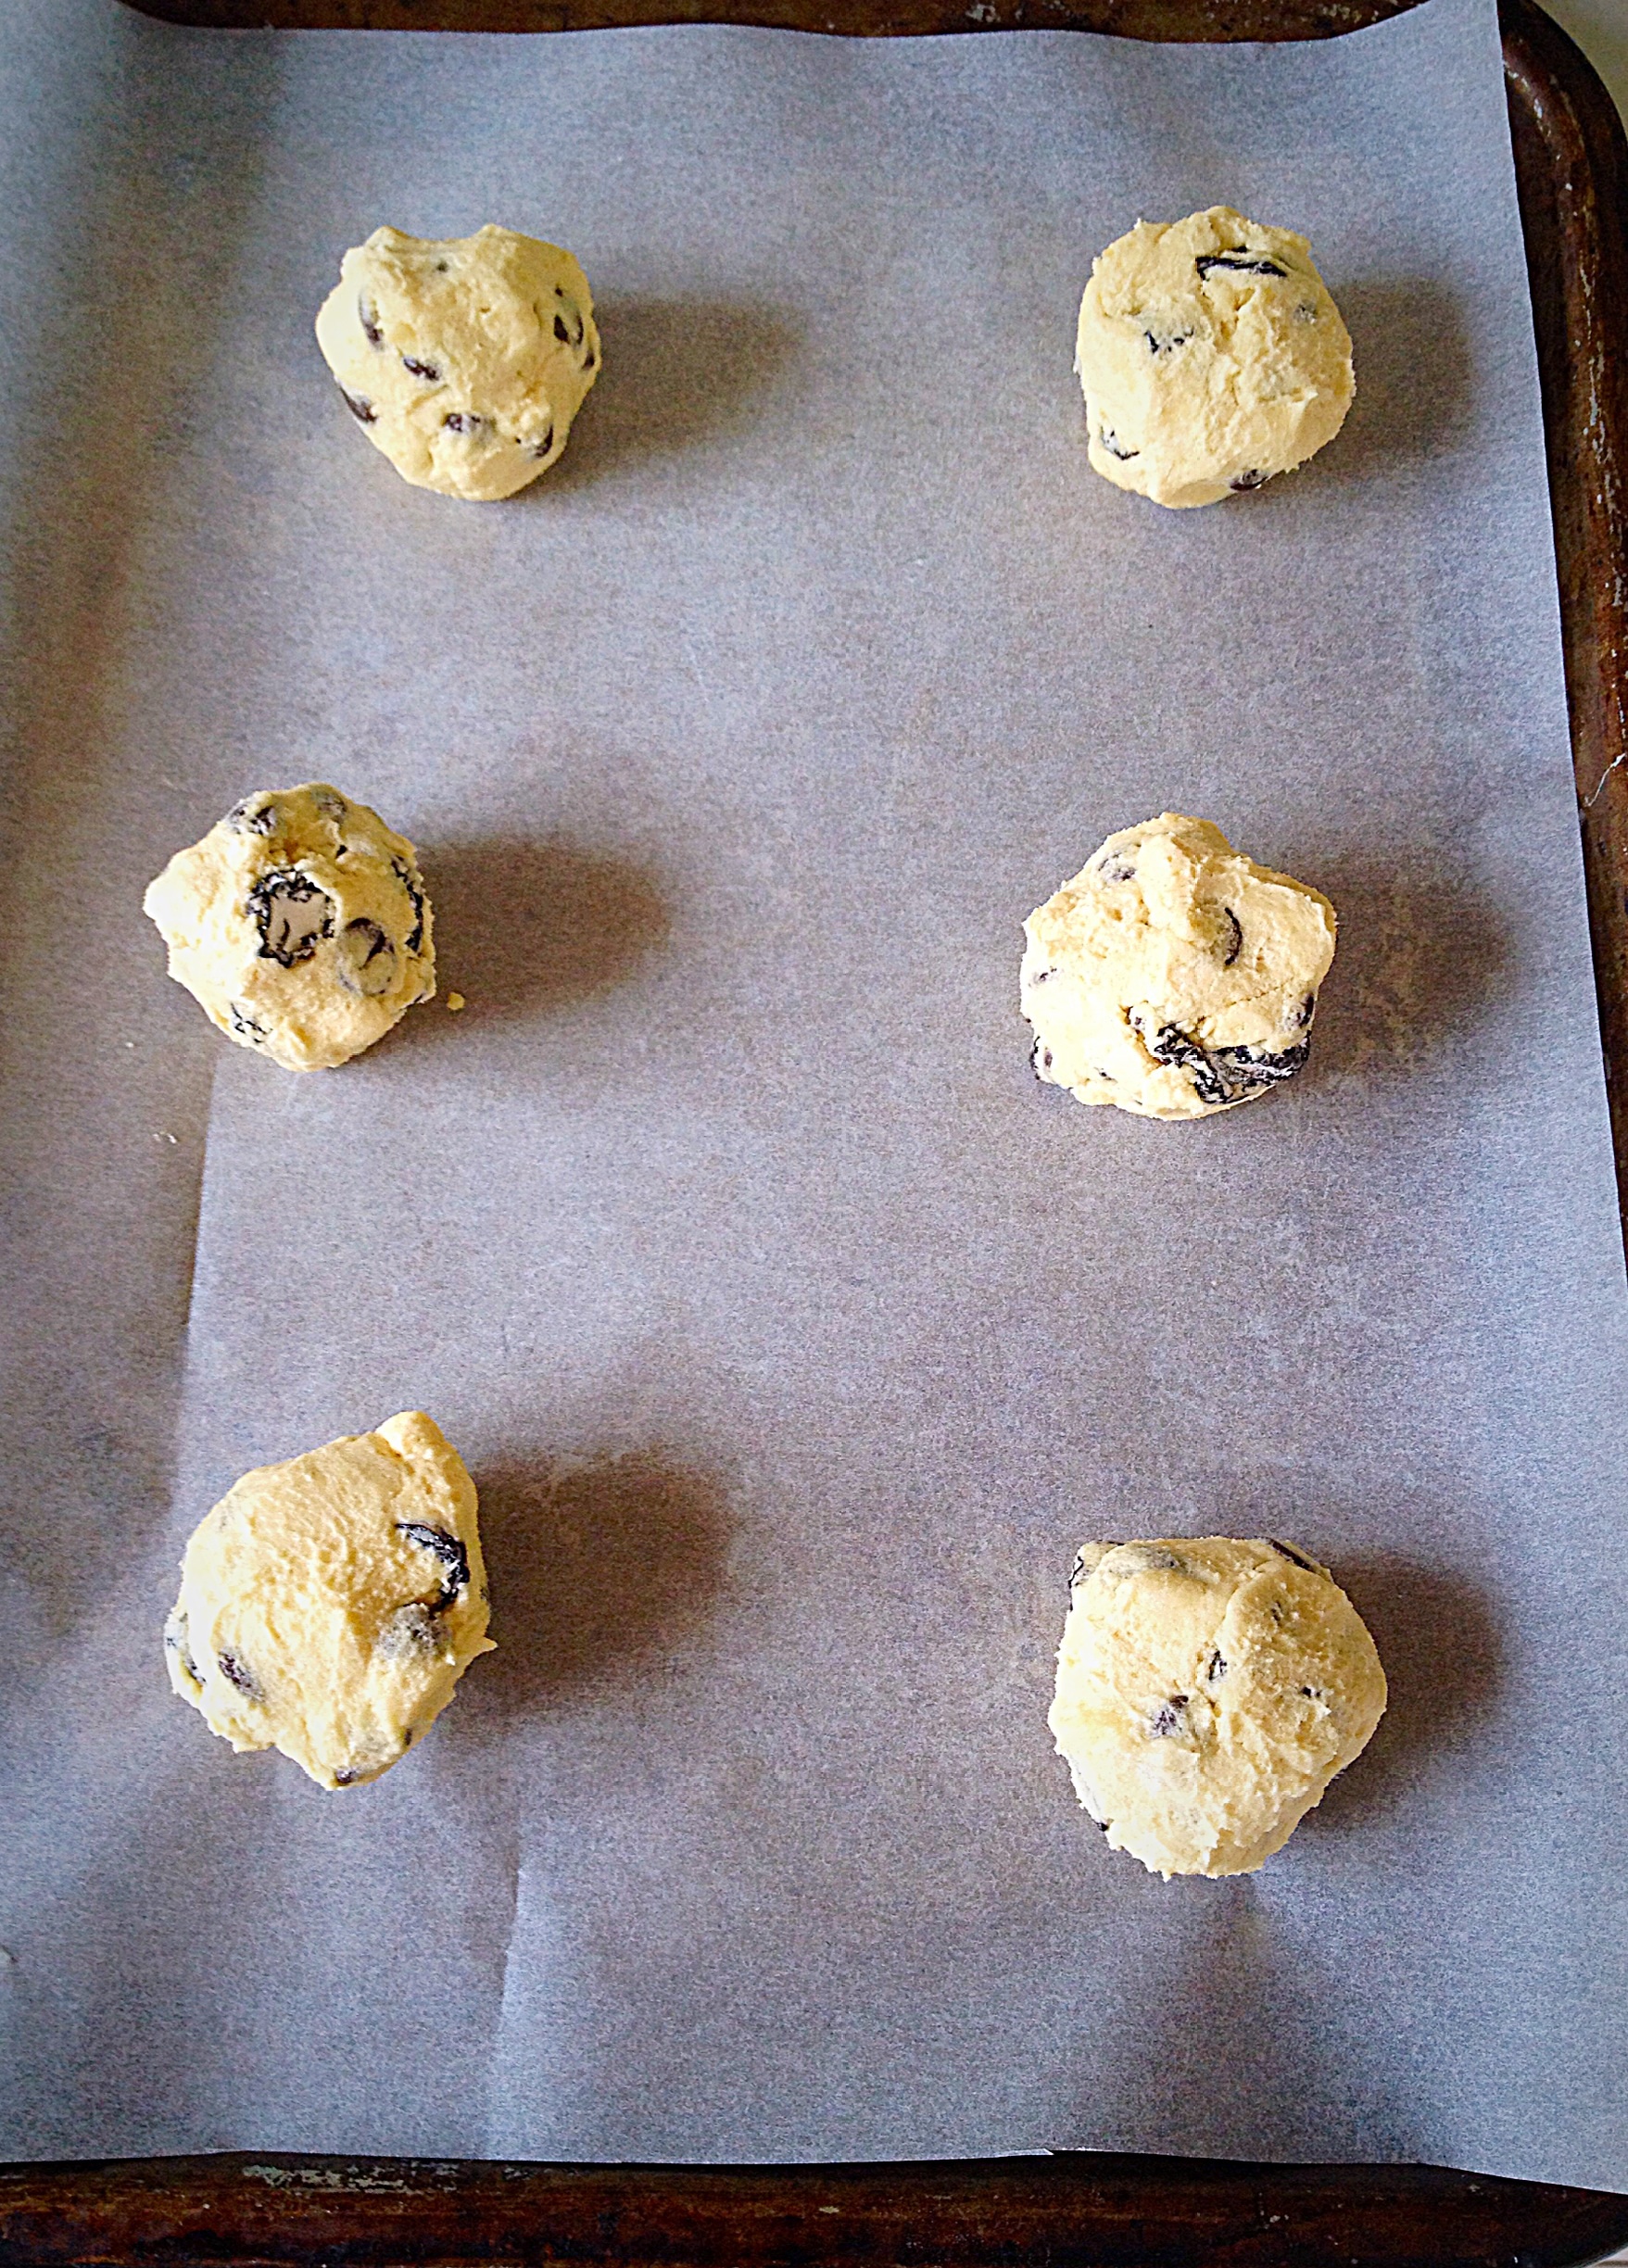
Line two baking trays with parchment paper.
Using a 5cm/2″ ice cream scoop, or your hands, make balls of cookie dough and place on the parchment lined baking sheet.With clean hands lightly press down on the dough balls to flatten them. The imprint of your fingers leaves a pretty pattern.
Place in a preheated oven and bake for 18-23 minutes until golden brown on top.
Sour Cherry Chocolate Chip Cookies – remove from the oven and leave to cool on the baking tray.
The cookies will still be soft once cooked and will firm up on cooling.
Time to put the kettle on or pour a nice glass of milk. Once cooled enjoy biting into the buttery, chewy, chocolatey gooey Sour Cherry Chocolate Chip Cookies!
If you have enjoyed this recipe for Sour Cherry Chocolate Chip Cookies you may also like these:
It is no secret, to those of you who have visited here before, that I love baking bread. Whether it’s a crusty loaf for sandwiches and toast, or Knotted Poppyseed Roll the flavour and quality of homemade bread wins every time I make it. Since I do not live near an artisan bakery, I now make pretty much all of our own bread, here at home. Today I have something very special to share my Tomato Thyme Garlic Focaccia Bread.
I honestly can’t begin to tell you just how yummy this bread is. It truly is proof that the sum of the parts is greater than the whole. Tomato Thyme Garlic Focaccia Bread is taking bites of bread and then experiencing your taste buds explode with all the flavours, in your mouth.
Tomato Thyme Garlic Focaccia Bread
This Focaccia is perfect with pasta (we had it with Lasagne, perfect for mopping up tomato and cheese sauce). I also think it would be great to take on a picnic, served with some good cheddar and a glass of something cold!
Bake Once Eat Twice
I made enough for 2 loaves, so just halve the recipe if only one Focaccia is needed – as the tomatoes won’t freeze well. Alternatively make two and leave the tomatoes off of the loaf you intend to freeze. Double wrap in cling film and the bread will last 3 months in the freezer!
Tomato Thyme Garlic Focaccia Bread
We love any kind of bread with our meals, especially if it has garlic added. This hit the spot big time and Snugs, who can be a little but careful when it comes to ‘different foods’ loved this!! I guess you could even add some shards of sharp cheddar before baking? Might have to try that!!!!
Recipe : Tomato Thyme Garlic Focaccia Bread makes 2
2tbsp Extra Virgin Olive Oil, plus extra for drizzling – I use Filippo Berio
Approx 300-350ml lukewarm water
16-20 Cherry Tomatoes – halved
2tbsp Fresh Thyme Leaves – halve if using dried thyme
4 Cloves of Garlic
Method : Using bread maker or stand mixer with dough hook attached.
Making The Focaccia Dough
Place 300ml of water into the bowl of your mixer.
Add the yeast and then the flour.
Add 2tbsp Extra Virgin Olive Oil
Now add the salt.
Set the bread maker to the mix/prove cycle.
If the dough seems dry add extra water 20mls at a time until the dough has a smooth elasticity, while being mixed. If the dough is too dry either machine will be clunking!
With a stand mixer mix on medium speed until the dough is soft and elastic. Using Olive oil on your hands to stop the dough sticking, roll the dough into a tight ball, place back into the mixer bowl, cover with cling film and leave to double in size.
Shaping The Focaccia Dough
Using either method, once the first proof is finished, knock back, restarting the mixing on the bread machine and removing the cling and mix for a further 10 minutes.
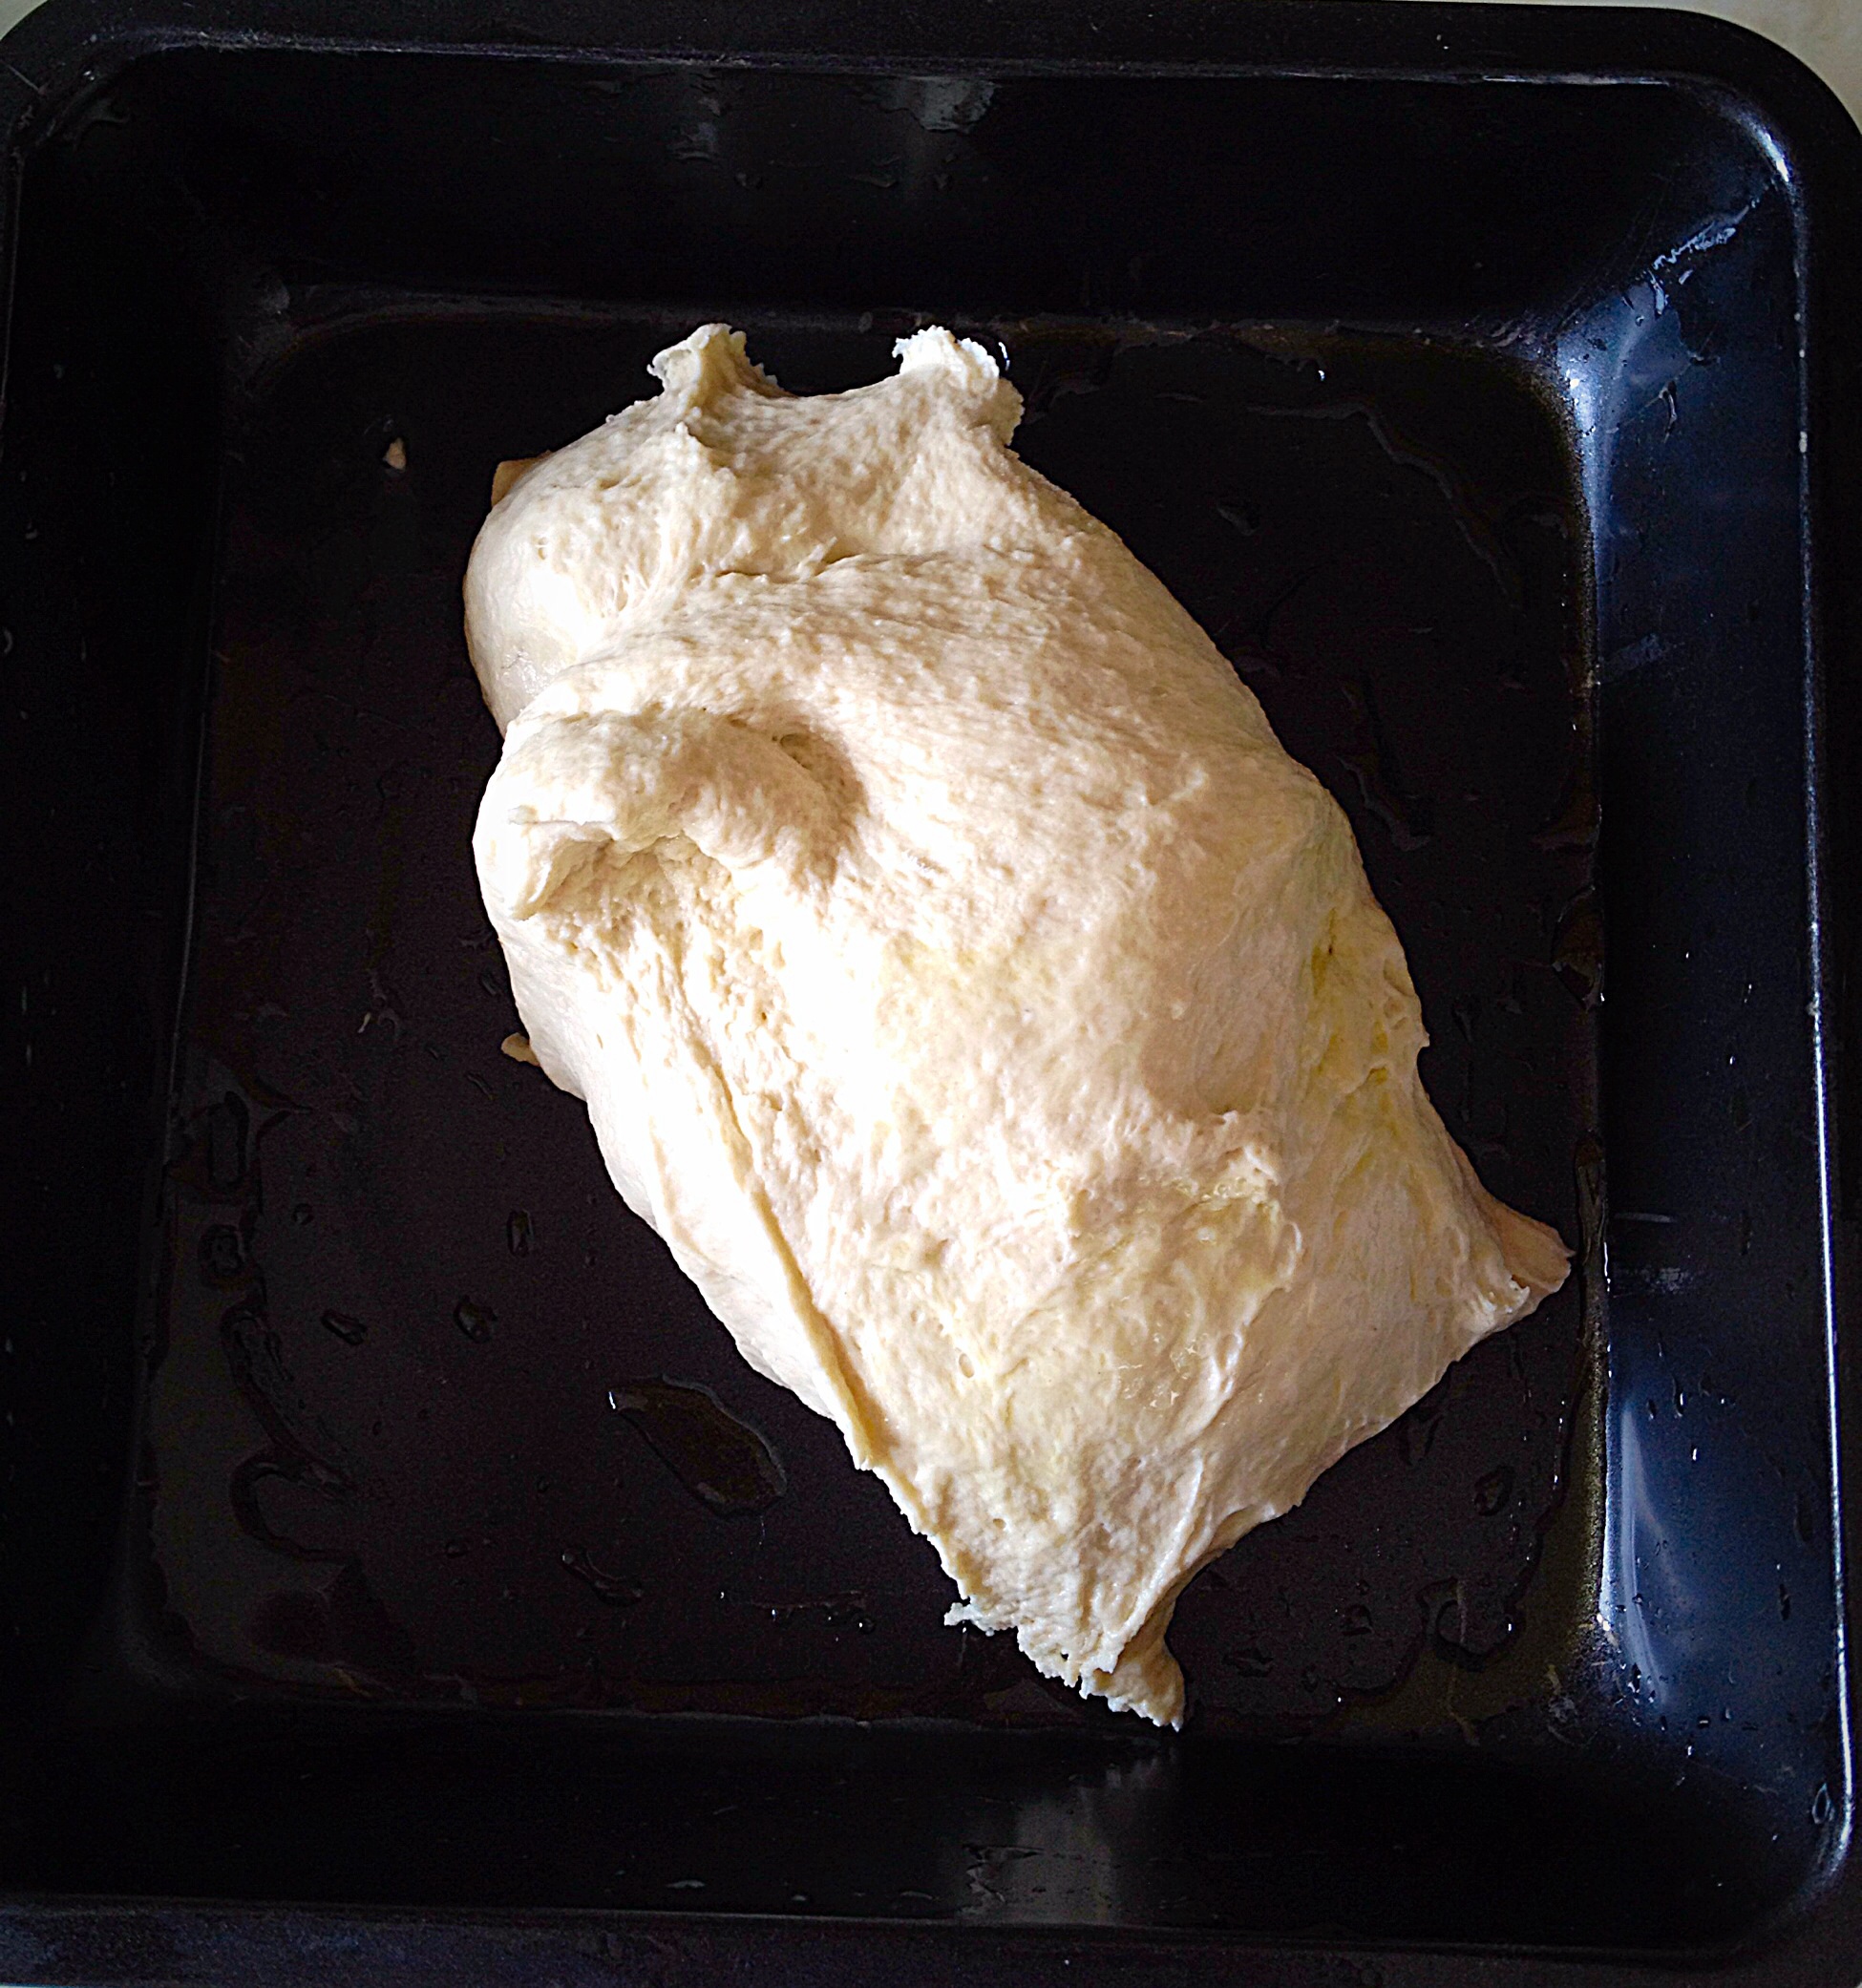
Oil 2 x 20cmx20cm (8″ x 8″) square tins.
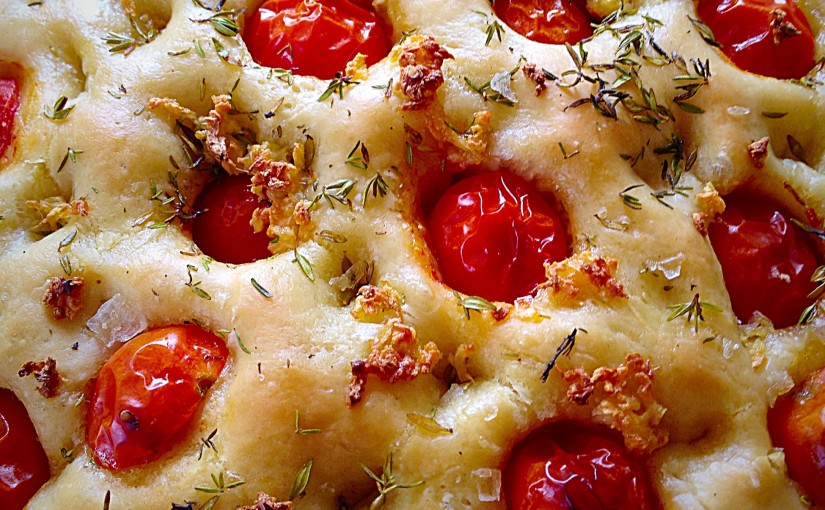
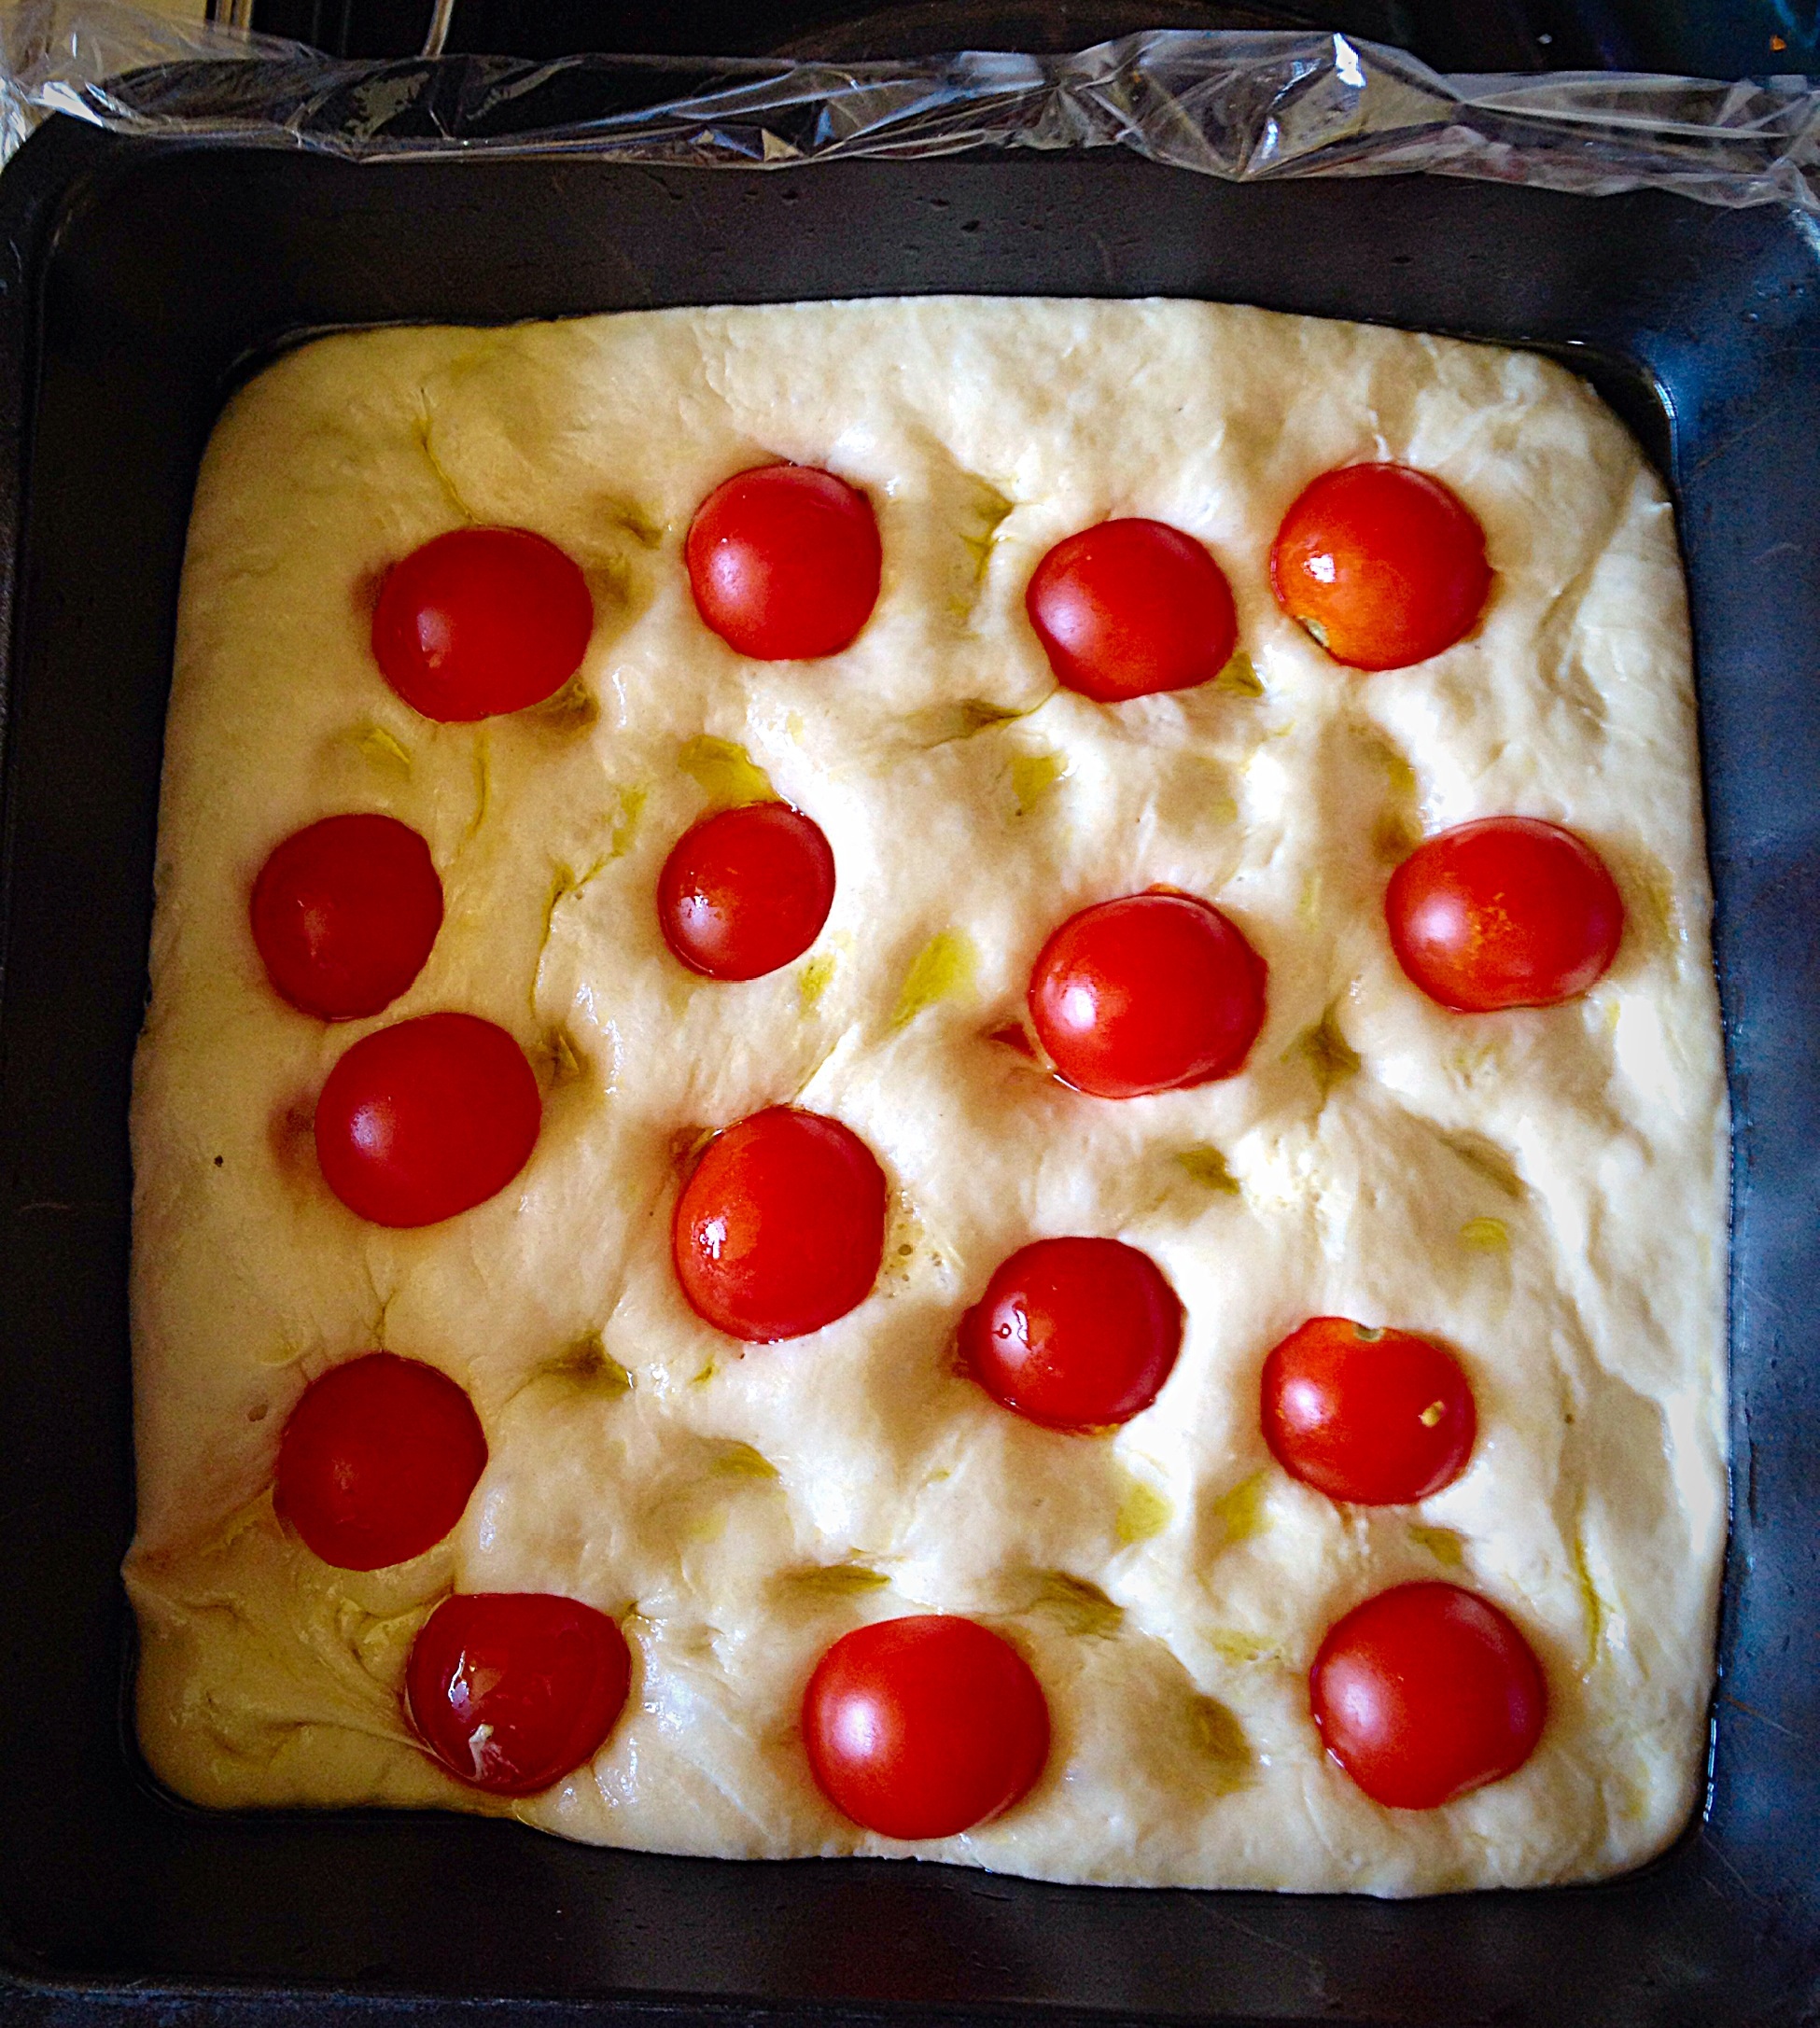
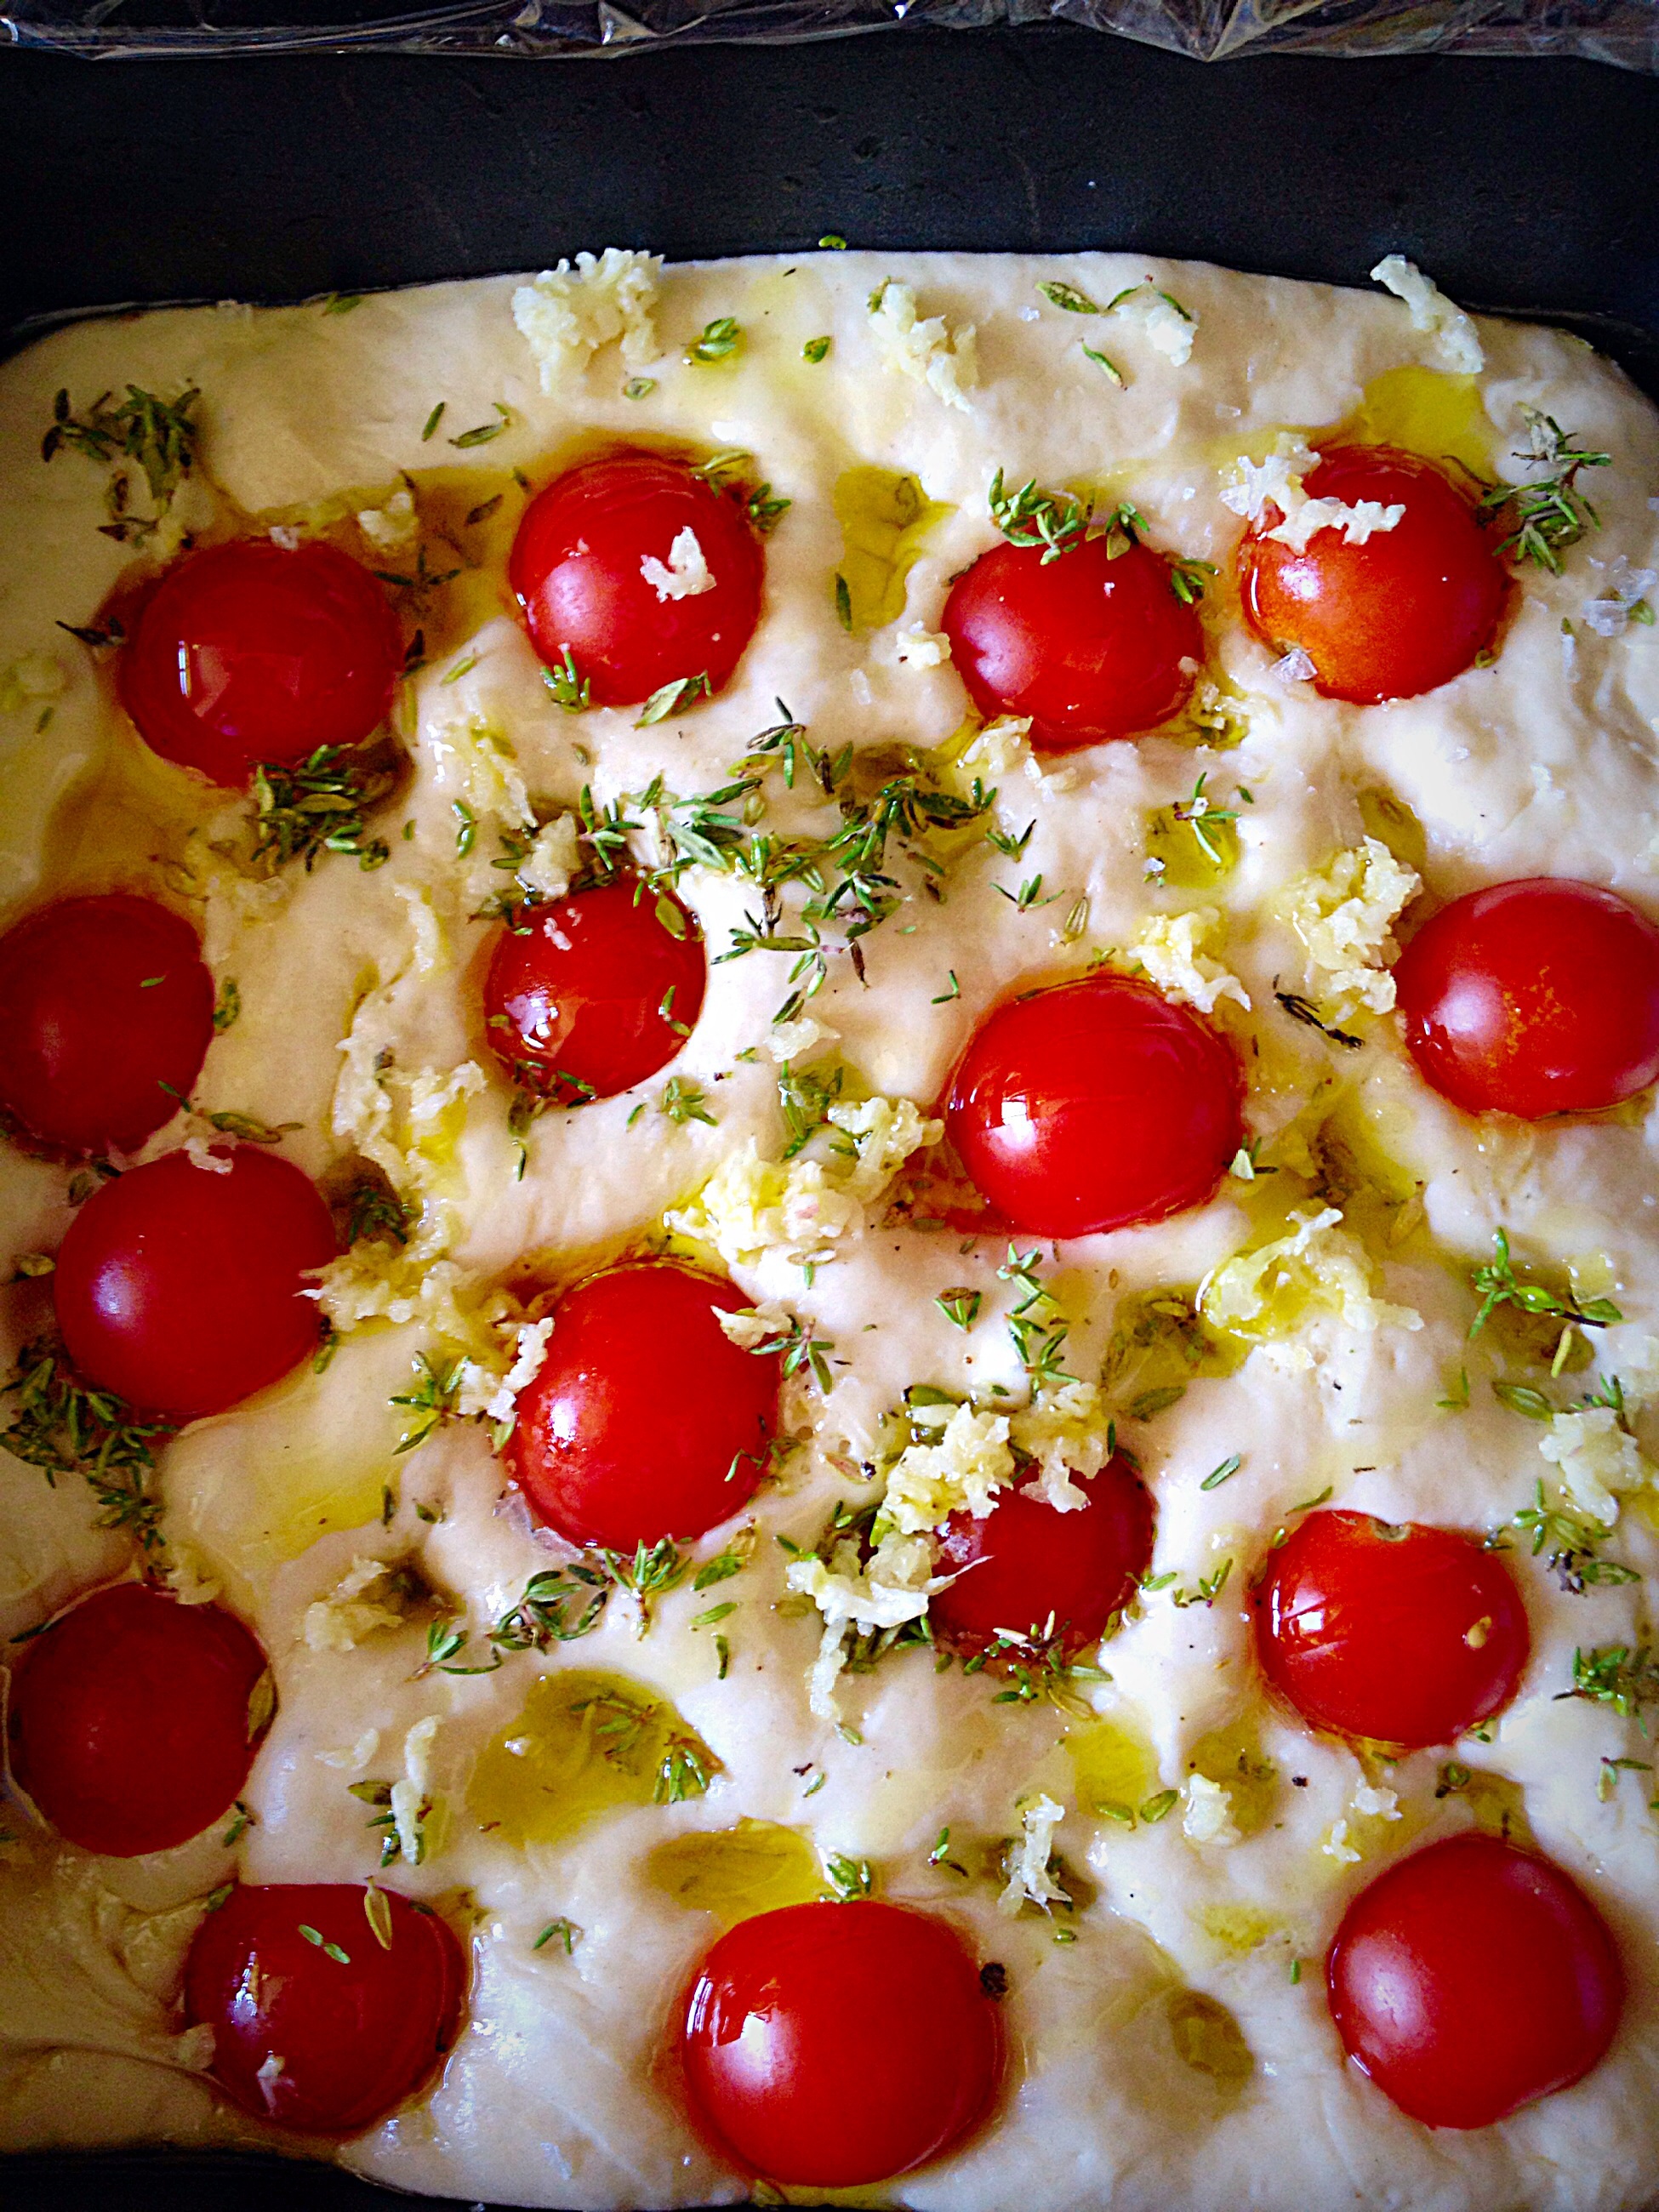
Tip the knocked back dough into one of the oiled pans.Place half the dough into each pan.Using your fingers spread the Focaccia dough so it covers the base of the pan evenly. Drizzle a little Olive oil over.Add the cherry tomato halves.Sprinkle the thyme and garlic over the top and give your dough a final drizzle with Olive oil.
Cover and leave to double in size.
Baking The Tomato Thyme Garlic Focaccia Bread
While the bread is proving, preheat your oven to 220C/200C fan oven, gas mark 7, 425F.
As soon as your dough is doubled in size place in the centre of a preheated oven for 25-30 minutes.
Breathe deeply. Mmm, that smell coming out of the oven is your Tomato Thyme Garlic Focaccia Bread. Enjoy, it smells and tastes amazing!
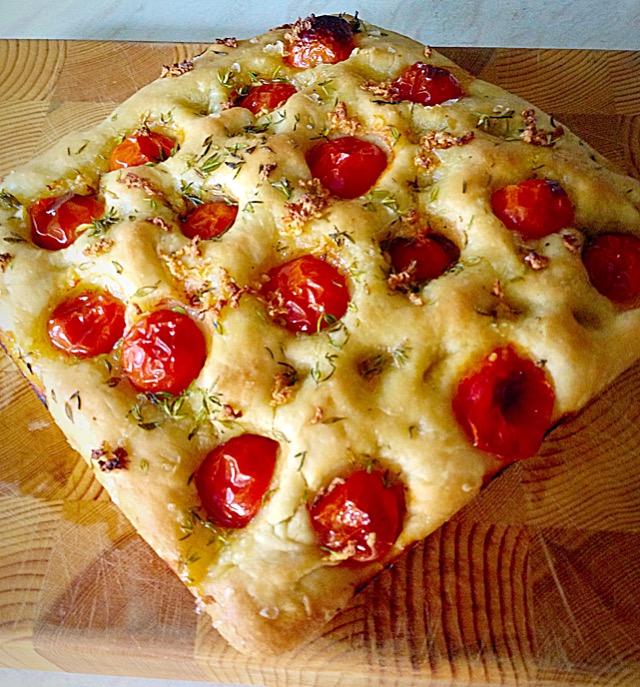
Remove your Tomato Thyme Garlic Focaccia Bread from the oven when it is golden all over.Remove the Tomato Thyme Garlic Focaccia Bread from the pan and cool on a rack, if not eating straight away!!
Allow the focaccia to cool so that it is just warm before serving. Cut into squares to serve.
Tomato Thyme Garlic Focaccia Bread
If you have enjoyed this recipe for Tomato Garlic Focaccia Bread you may also like these:
I almost always use a stand mixer and dough hook to knead any dough that I’m making. While I really love the feel of dough in my hands the combination of a bad back and now arthritis in my thumbs joints means it’s painful. Yet by using the mixer I can still make fresh bread for us as a family and I get to shape it by hand. Resulting in a happy me, as I can still bake bread and a happy family who really enjoy fresh, home baked bread.
Whatever you are making, baking and creating in your kitchens, have fun preparing and sharing your feast.
Sammie x
No part of this post may be reproduced or duplicated without the written permission of the owner. Please see my Disclosure Policy.
Hello lovely people, I have been wanting to share my Homemade Ciabatta Base Pizza recipe with you for ages. The trouble is I always forget to photograph the pizza once it’s cooked. I’m sorry, too many blonde moments! Yesterday though, I was resolute. That pizza was getting it’s picture taken no matter what.
Pizza Love And Baking With Kids:
So, I have been making pizzas with our children and many of their friends who’ve come to dinner, since, well, they could stand on a chair and smoosh pizza dough about. And over the years we’ve had various shaped pizzas, including; guinea pigs, batman (and pretty much every superhero a little boy could think of), lemons, flowers, cats, hearts and many more. It’s a great cop out. Invite your children’s friends for dinner, then get them to make it. First of all, they absolutely love it, secondly, I’ve never had a child who didn’t want to make their own pizza and lastly every single piece of their creation gets eaten. Also there’s no worrying about fussy eaters, just allow them to decorate their own pizza, whatever it’s shape, with a selection of toppings; pepperoni makes a great piggies snout.
Resulting in the perfect child friendly combination, messy hands, creativity and they bake and eat their creation. Because each child’s pizza is different, they happily chatter over the dinner table deciding whose is the biggest, most realistic, it literally goes on and on. I kinda miss those days. These days all 3 children can make large pizzas for the whole family, with a bowl of salad or homemade coleslaw to go alongside.
I Get By With A Little Help From My Friends!
These pizzas are made from scratch except for one teeny tiny cheat. I use a 500g bag of Ciabatta bread mix, instead of making the pizza bases from scratch. Although I have made ciabatta pizza dough from scratch in the past, Wright’s Ciabatta Bread Mix gives such a fantastically crunchy, crisp crust, that is reliable and a lot less work than making your own!
Recipe: Makes 2 Large Homemade Ciabatta Base Pizza – serves 6 Adults.
500g Bag Ciabatta Bread Mix – Olive oil according to packet instructions, plus 2 tbsp extra – I use Wright’s – bread mixes are available from Morrison’s, The Co-Op, Sainsbury’s and Asda, as well as directly from their website.
Tomato purée – approx 4tbsp – I use Waitrose own brand
Optional – Dried Oregano/ Mixed Herbs – 1tsp per large pizza. When baking with kiddies I don’t add any herbs.
300g Mozzarella – drained weight
Toppings – I used a Spanish charcuterie selection : Serrano ham, Chorizo and Salchichon – use whatever you like, mushrooms, meatballs, sweet corn, bell peppers, sliced chillis, more cheese. The options and combinations are endless!
Method :
Making The Ciabatta Pizza Base
First of all, make the Ciabatta bread dough according to the packet instructions. I use my bread maker to mix, prove and knock back. Alternatively a stand mixer with dough hook attachment works well. Also you can make the dough by hand. Leave the dough to prove.
While the pizza dough is proving thoroughly oil 2 x 38cm x 28cm (14″ x 11.5″) baking trays. I prefer to use trays as it creates a crunchy pizza crust and avoids any molten cheese drips dropping and burning on the oven base.
Shaping The Pizza
As soon as the dough has reached the knocked back stage tip the dough on to one of the baking sheets. Rub the palms of your hands over the oiled baking sheet, this will stop the dough sticking to them.
Using a dough cutter or knife, divide the dough in half.
Now comes the fun bit. Especially for children or the child within us! Using your hands pat the dough out so that it is flat.
Keep patting with your hands, very gently stretching the dough as you do…Work with the dough, gradually patting/stretching so that it reaches the edges of the baking tray.The base to your Homemade Ciabatta Base Pizza is complete!Drizzle a little Olive oil on your pizza base, smoosh about with your hands and then cove with cling film.
If you haven’t got a child or someone else to do the other pizza base, repeat with the second half of the dough.
Leave the pizza bases, covered in oiled cling film, in a warm place until doubled in size, or placed on separate shelves in the fridge for a few hours until needed.
Time To Add The Toppings
When the pizza is ready to assemble, preheat the oven to 220C/200C fan, gas mark 7, 425F.
I find it easiest to have all the ingredients prepped and ready before I start assembling the pizza. In fact when I make pizza with little people, reckon on 1 x 500g batch of pizza dough to make 4-6 individual pizzas. I also have ham, cheese, sliced peppers (they make great light sabres) in bowls ready for little fingers.
Place 2tbsp tomato purée on each pizza base – smoosh with the back of a spoon or your hands to roughly cover the dough.
Now add the cheese and other toppings. I have learnt it is best not to overload with toppings, as you will end up with a soggy pizza base.
Baking The Pizza
As soon as both of the Homemade Ciabatta Base Pizzas are ready, place in a hot, preheated oven and bake for 20-30 minutes.
The pizzas are cooked when they are crusty around the edges and cooked through in the centre. I test this using a knife, the centre won’t be as crusty as the edges but you should feel resistance. If it’s still soft give the pizza another 5 minutes baking, reducing the heat slightly if the top is cooked.
Using a palette knife loosen the pizza around the edges and run it underneath. Slide the pizza out of the baking tray onto a large wooden board, or I have glass worktop saver (don’t use knives on glass it’ll blunt them) which I only use for pizzas. Cut into squares using a pizza cutter. I usually get 15 squares per pizza.
This Homemade Ciabatta Base Pizza is so easy, adaptable and reliable that makes it perfect for parties, buffets, weekend meals, sleepovers the list is endless. The perfect food for Feasting, Sharing and having Fun!
If you have enjoyed this recipe for Homemade Ciabatta Base Pizza you may also like these:
Homemade pizza can be so much fun. Since you are fully in control of the toppings you can add as much, or little as you like of your favourites. Also you can adapt parts of the pizza to suit individual tastes. For example by adding chopped jalapeño pepper to one half and not the other. Likewise, for those who dislike cheese, it is easily omitted.
Whatever you are making, baking and creating in your kitchens, have fun preparing and sharing your feast.
Sammie xx
No part of this post may be reproduced or duplicated without the written permission of the owner. Please see my Disclosure Policy.
When the sun is shining and the temperature gauge keeps going up, cool, refreshing food is what we need. So my Tangy Lemon Potato Salad is perfect, cool and refreshing with a hint of crunch. Also this is the perfect side dish to, well, just about anything! We’re having this with fish tonight.
While my Tangy Lemon Potato Salad does have mayonnaise in the sauce, you can easily substitute a light/lower fat mayo. The mayonnaise is thinned down with the juice of a whole lemon. And it’s this zesty juice that permeates the warm potatoes so that once chilled they take on a tongue tingling tang. Also at the same time it stops the mayonnaise from becoming gloopy.
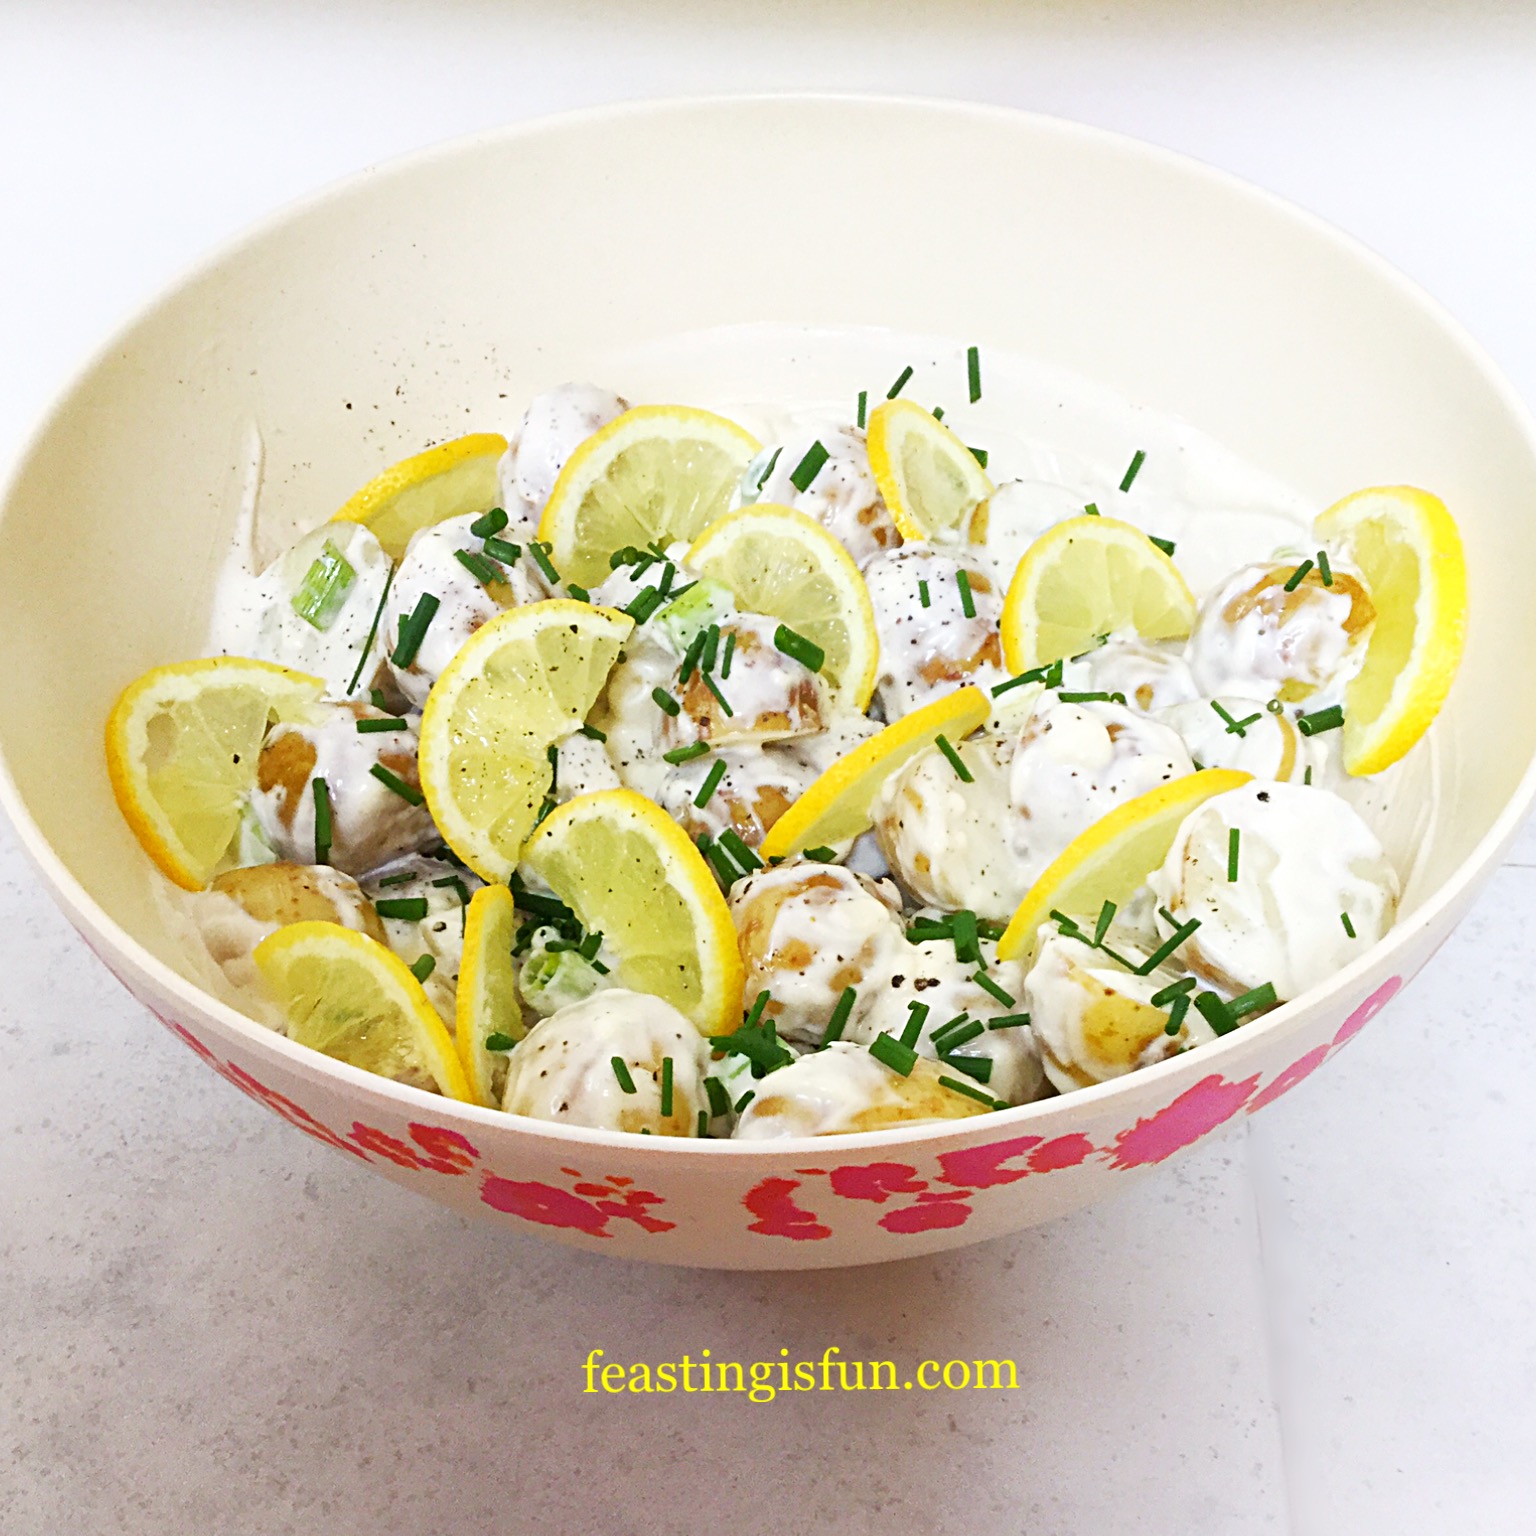
Tangy Lemon Potato Salad
If, like me you’re organised, cooking the potatoes and getting this salad made first thing in the morning, or even the night before, not only allows all the flavours to merge together, but you are also guaranteed a cold salad. Resulting in a side dish that works well with hot fish, quiche and any number of dishes including barbecues. Also it is ideal as part of a cold meal, buffet and picnic.
Tangy Lemon Potato Salad
So I can guarantee that once you have made this Tangy Lemon Potato Salad you will want to keep making it. Especially if you take it to friends and family to share. Easy to make and perfectly portable!
Recipe : Tangy Lemon Potato Salad, serves 6 as a side dish.
1kg/2.2lb Baby New Potatoes I like Charlotte as they are available all year roundfrom most supermarkets including Waitrose and Sainsbury’s
Juice of 1 Whole Lemon
1 Lemon – for slicing
4 Heaped Tablespoons Mayonnaise
1/2tsp Sea Salt – I use Maldon, halve the quantity if using free flowing
1/2tsp Ground Black Pepper
2 Celery Sticks
3 Spring Onions
2 tbsp Chives
Making The Potato Salad
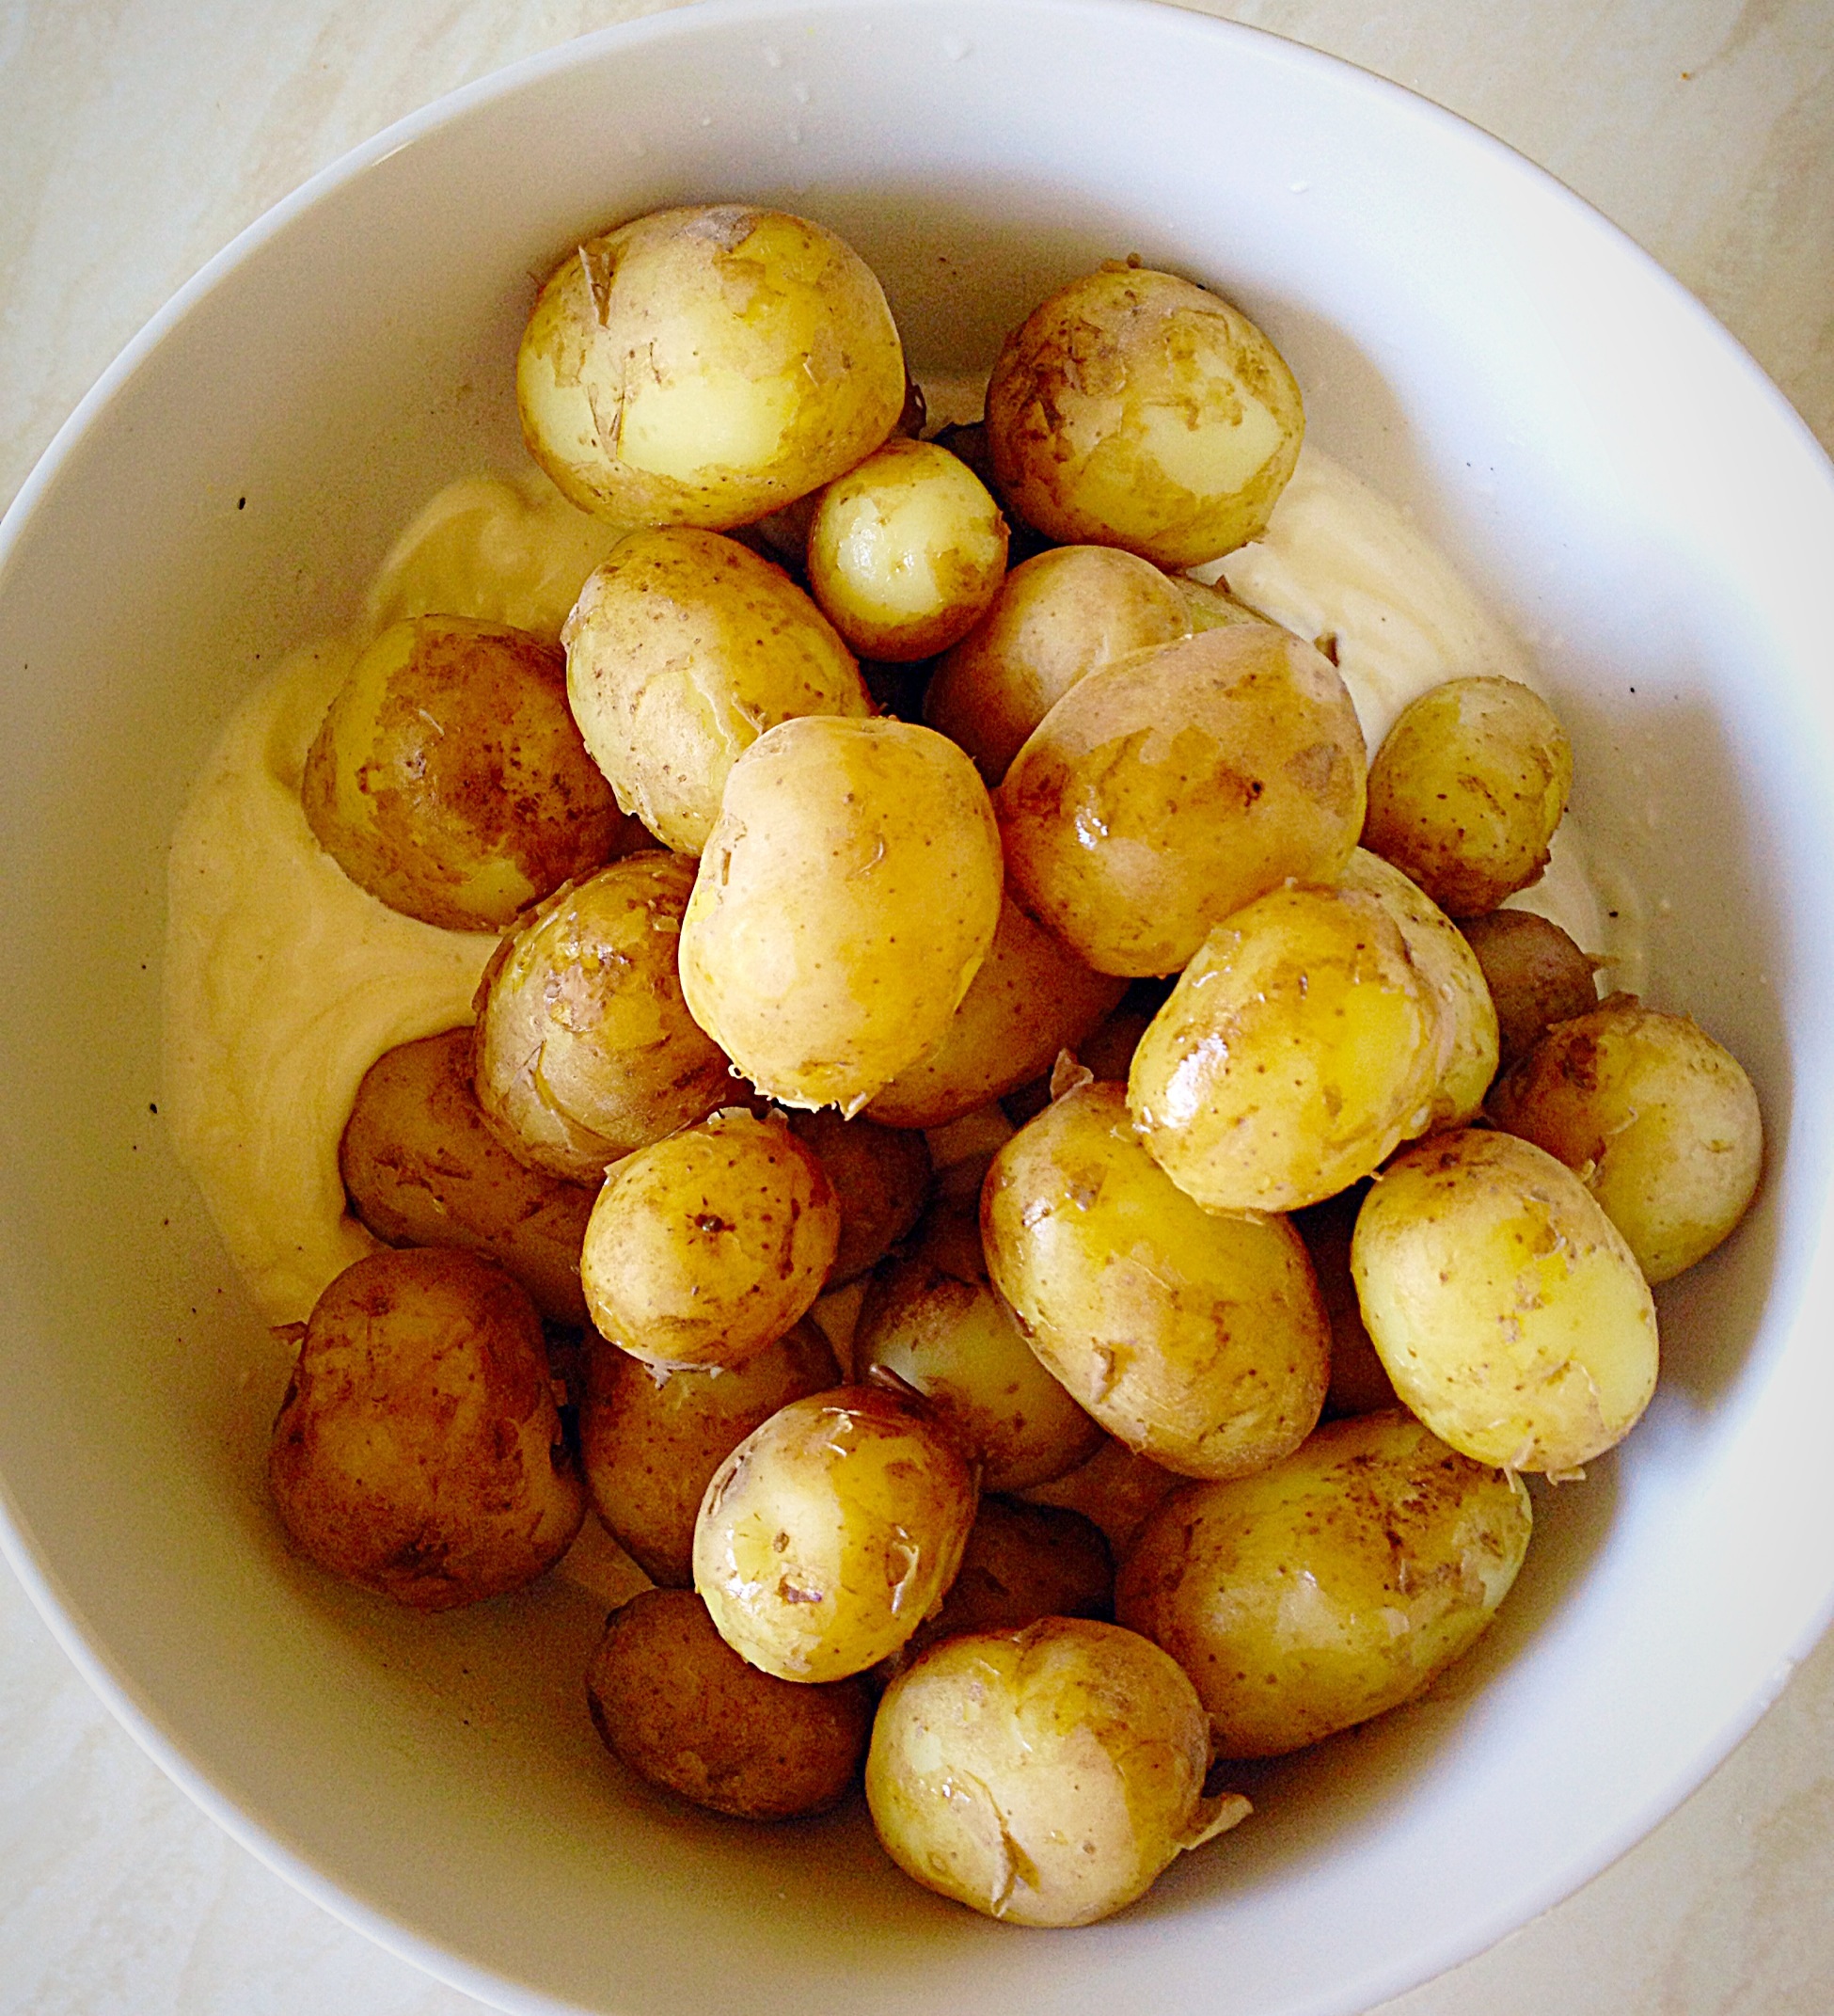
First of all, scub the potatoes to remove any dirt. Cut any larger potatoes in half so that all the potatoes are roughly the same size.
Place the potatoes in a saucepan, cover with water and bring to the boil.
Simmer the potatoes until just tender, drain, return to the pan and leave with the lid on, to finish steaming for 20-30mins.
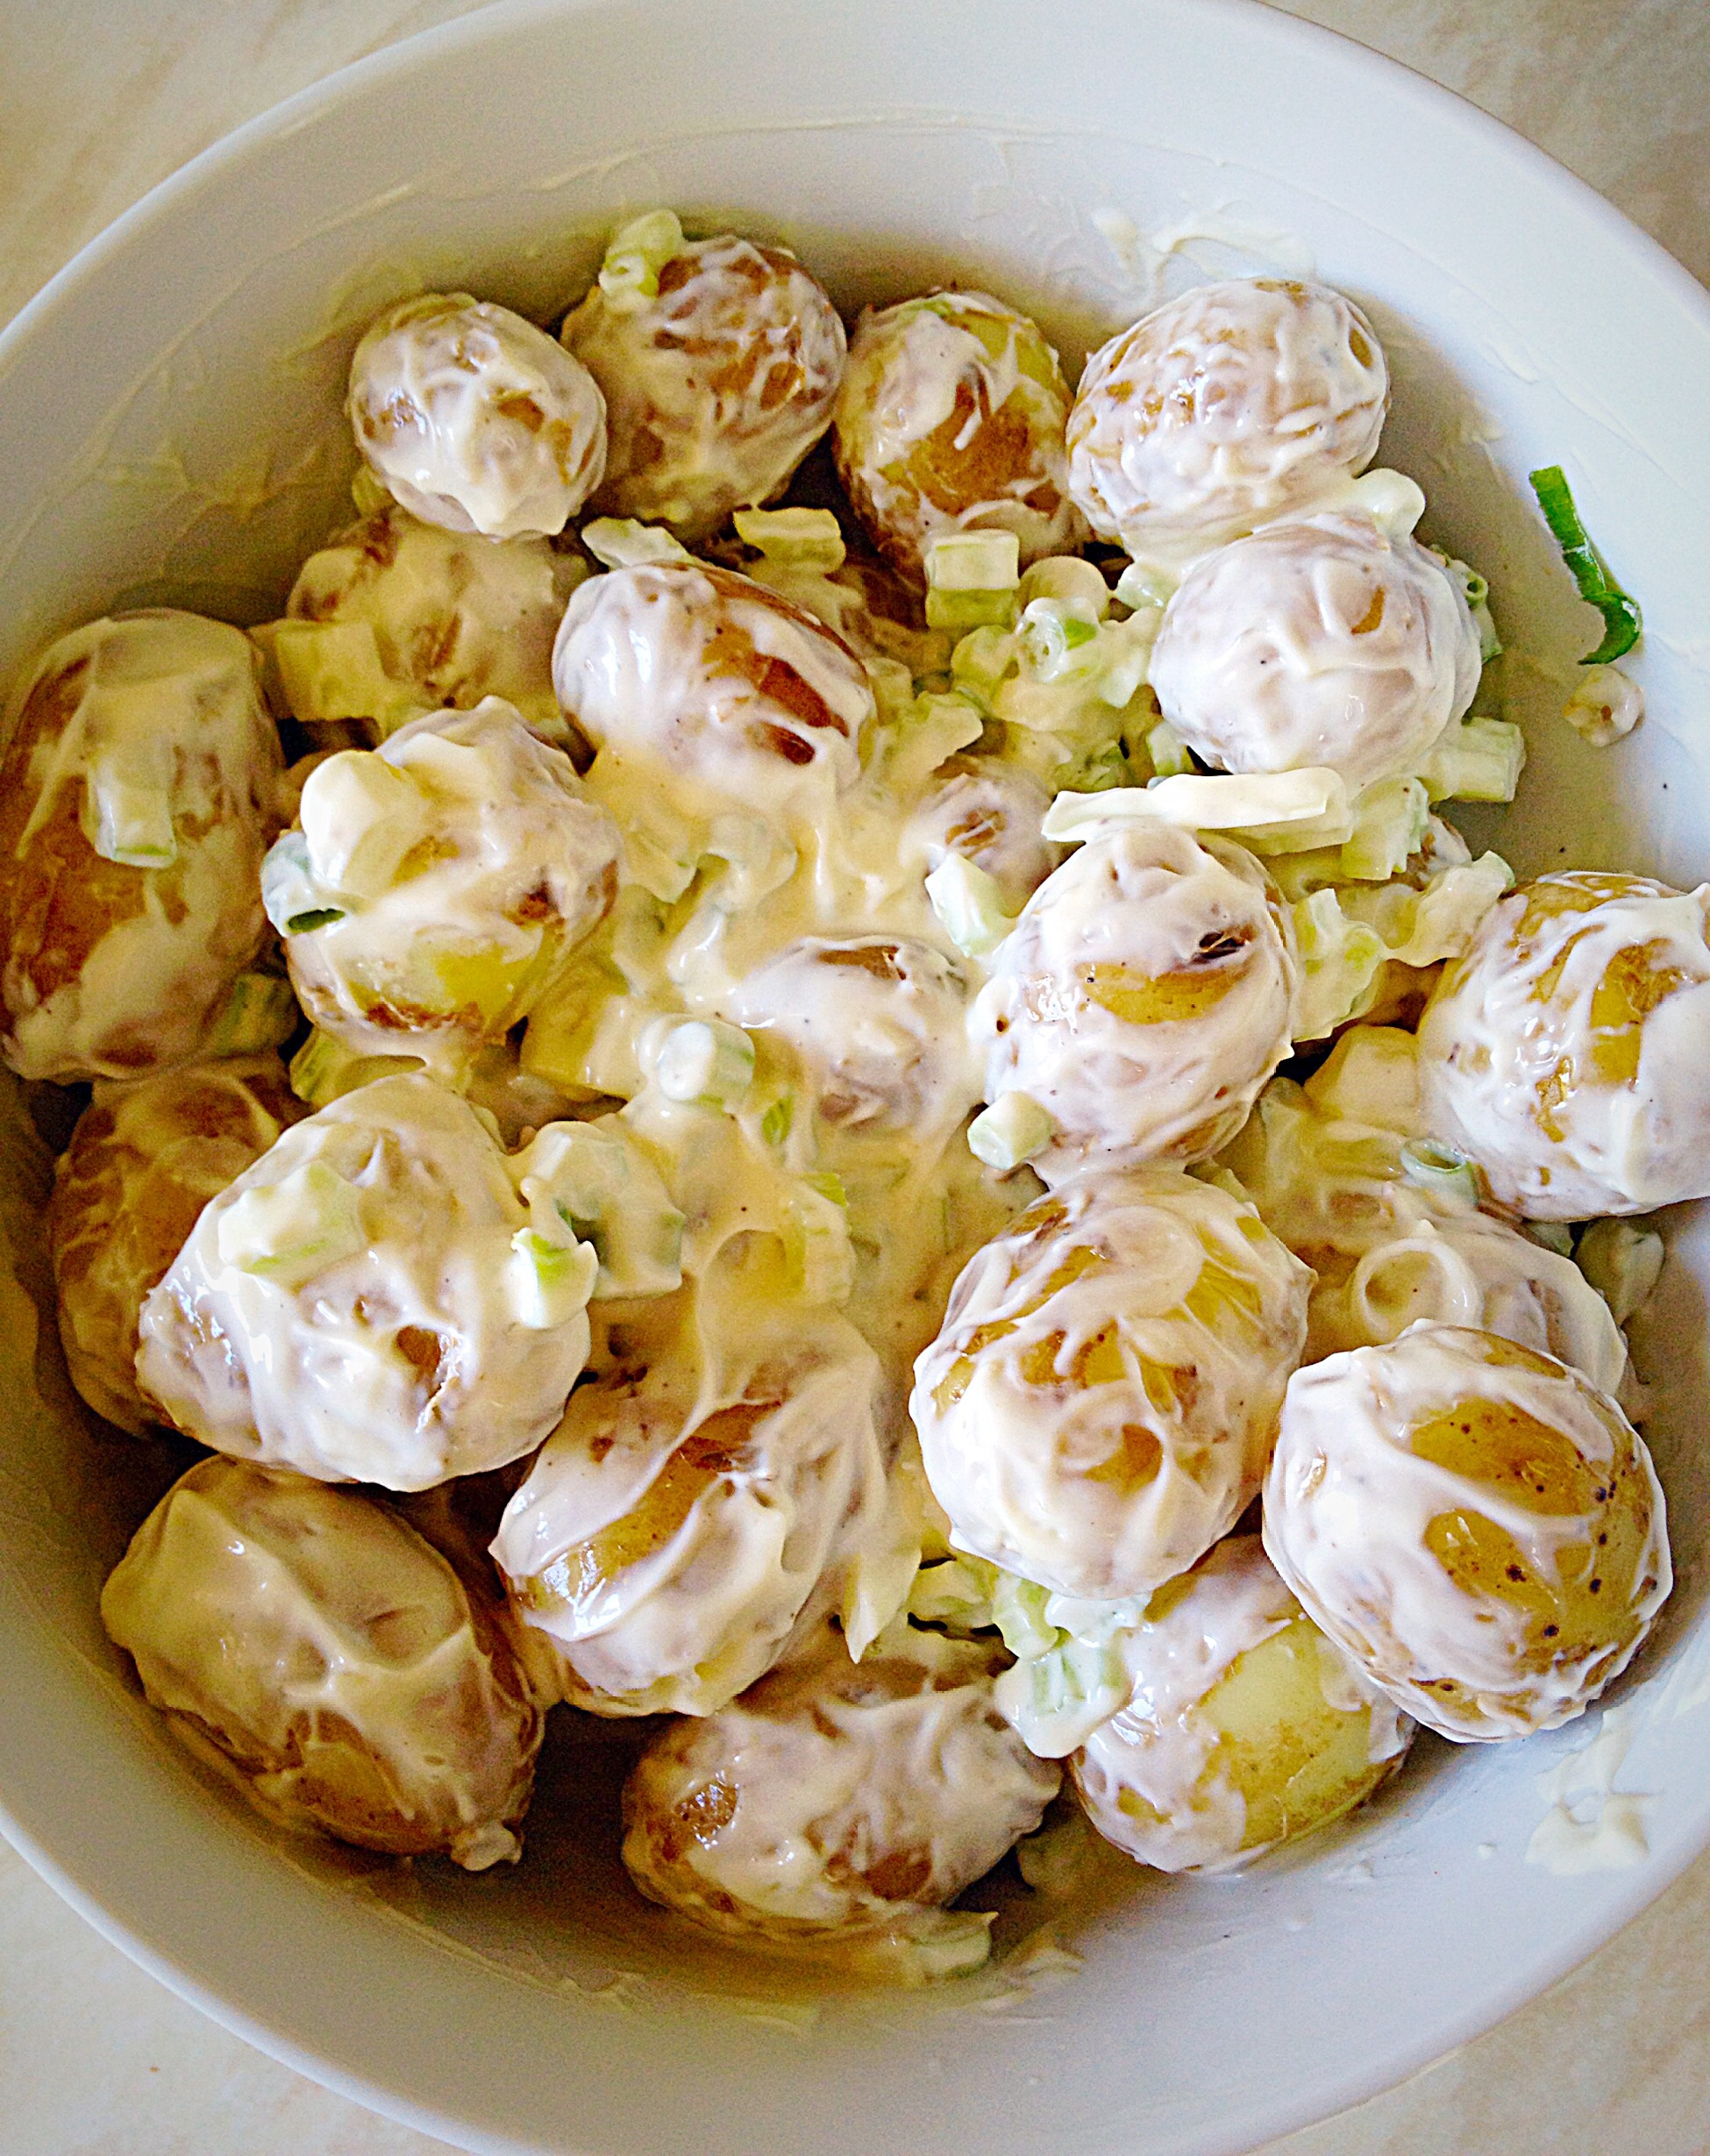
In a bowl add the juice of one lemon, mayonnaise, salt and pepper.
Stir until thoroughly combined.
Drain the potatoes and leave to steam dry in a colander for 5 minutes.
Add the potatoes to the bowl.
Chop the spring onions and celery into small dice.
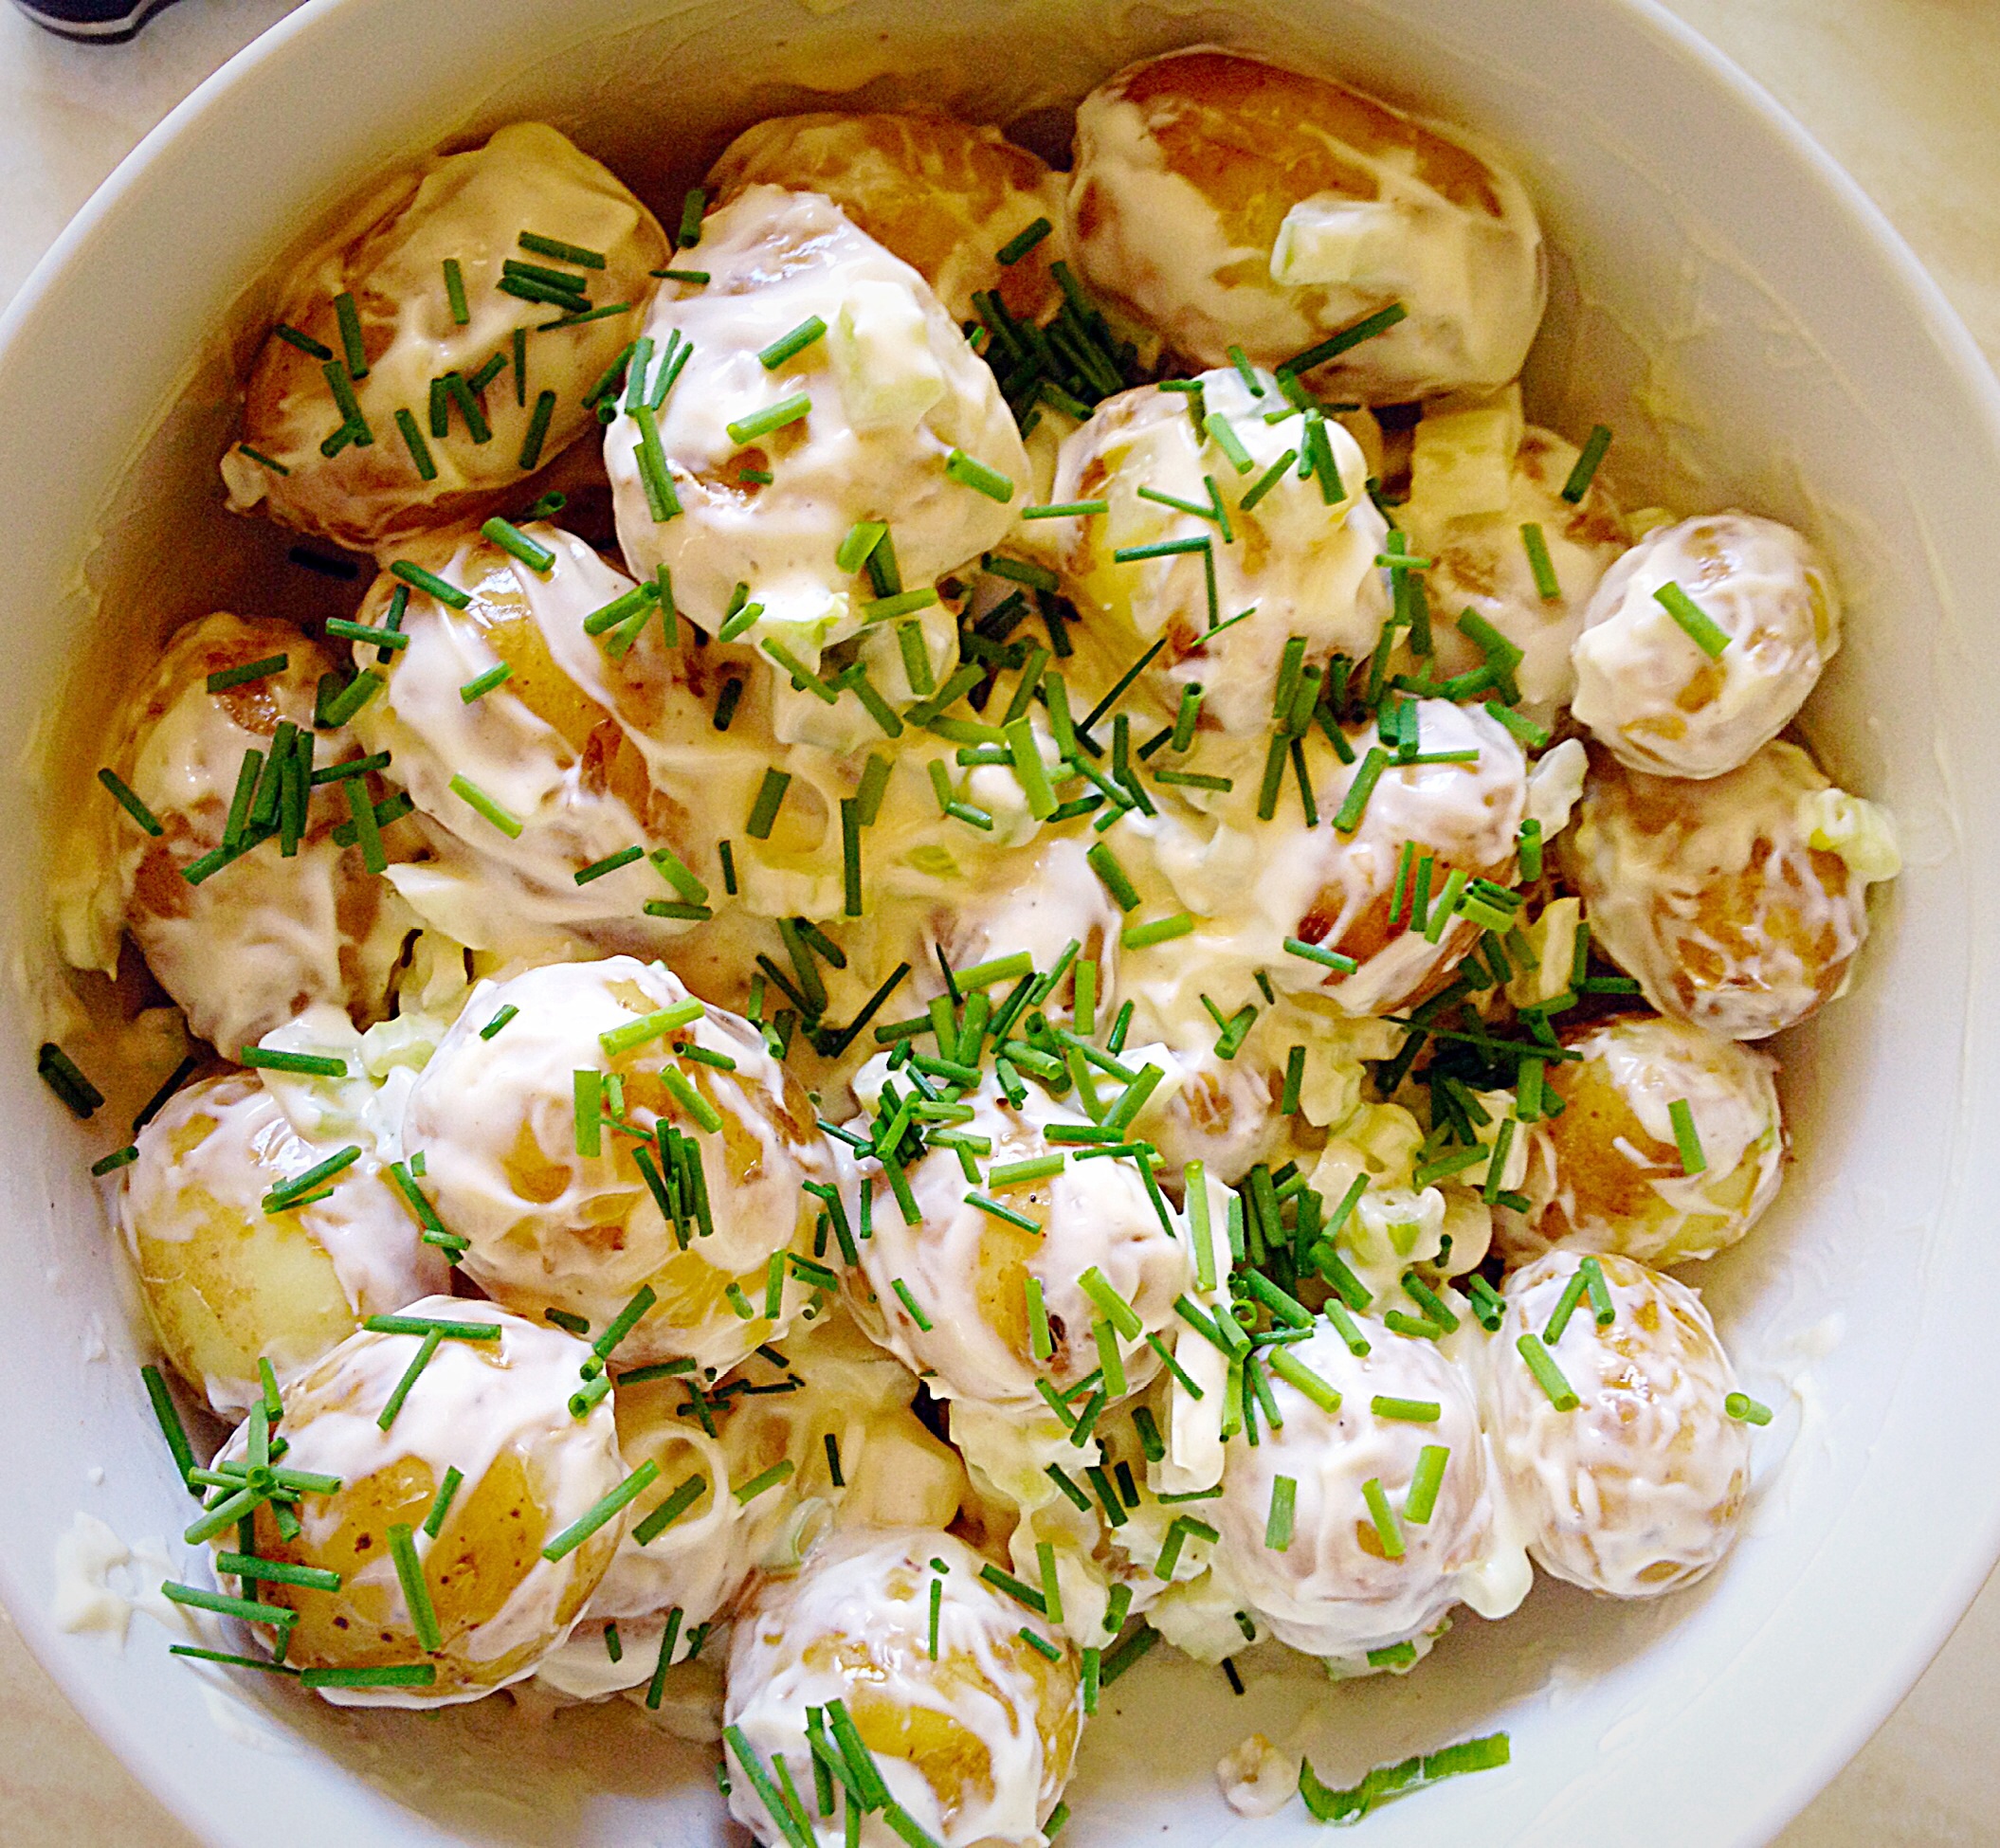
Add the chopped celery and spring onions to the bowl.Give everything a gentle mix.Snip the fresh chives over the top, taste and adjust the seasoning as necessary.
Finally, if you prefer you can serve the Tangy Lemon Potato Salad as it is. Although I like to jazz it up with a few, very finely sliced lemon halves. Because they are perfectly edible (although if you just want to use them for garnish that’s fine) and taste delicious. Also the sliced lemon let’s people know that there is lemon juice in the potato salad.
Make this Tangy Lemon Potato Salad up to a day ahead. Store in a bowl wrapped in cling film and keep refrigerated. Eat within 3 days.
If you like the bowl featured in this post, it is available from Emilie OConnor home store. It is made using bamboo fibre and comes with a fitted chopping board lid and inset salad servers. I was very fortunate to win this eco-friendly bowl in a competition on Instagram. Check out her website, as her items are practical, beautiful and kind to the environment.
If you have enjoyed this recipe for Tangy Lemon Potato Salad then you may also like these:
Lemons give a fresh, zesty, citrus burst to any dish they are used in, whether sweet or savoury. And a particular favourite of ours, here at home is Lemon Thyme Roast Chicken followed by Lemon Ripple Ice Cream for dessert. Sharing a feast around the table as a family is an important part of our lives.
So, whatever you are making, baking and creating in your kitchens, have fun preparing and sharing your feast.
Sammie xx
No part of this post may be reproduced or duplicated without the written permission of the owner. Please see my Disclosure Policy.