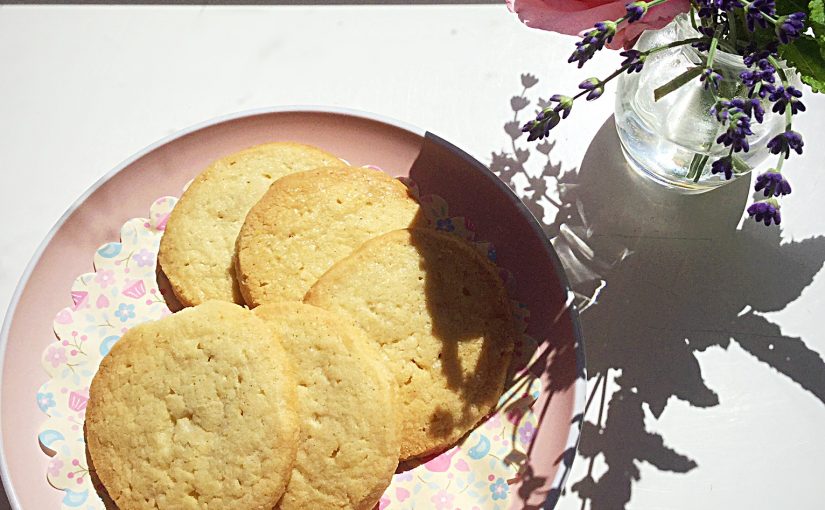
Hello again. I’m really enjoying this blogging lark, I hope you are enjoying my thoughts and recipes too? Please leave a comment if you try any. I’d love to hear how you got on. So, today let me bring you my Super Easy Shortbread Cookies.
Today is the day…..all the children back at school. My mind is buzzing with all the possibilities that today holds! All the things I put off during the summer holidays to spend time with our 11, 13 and 15 year old children.
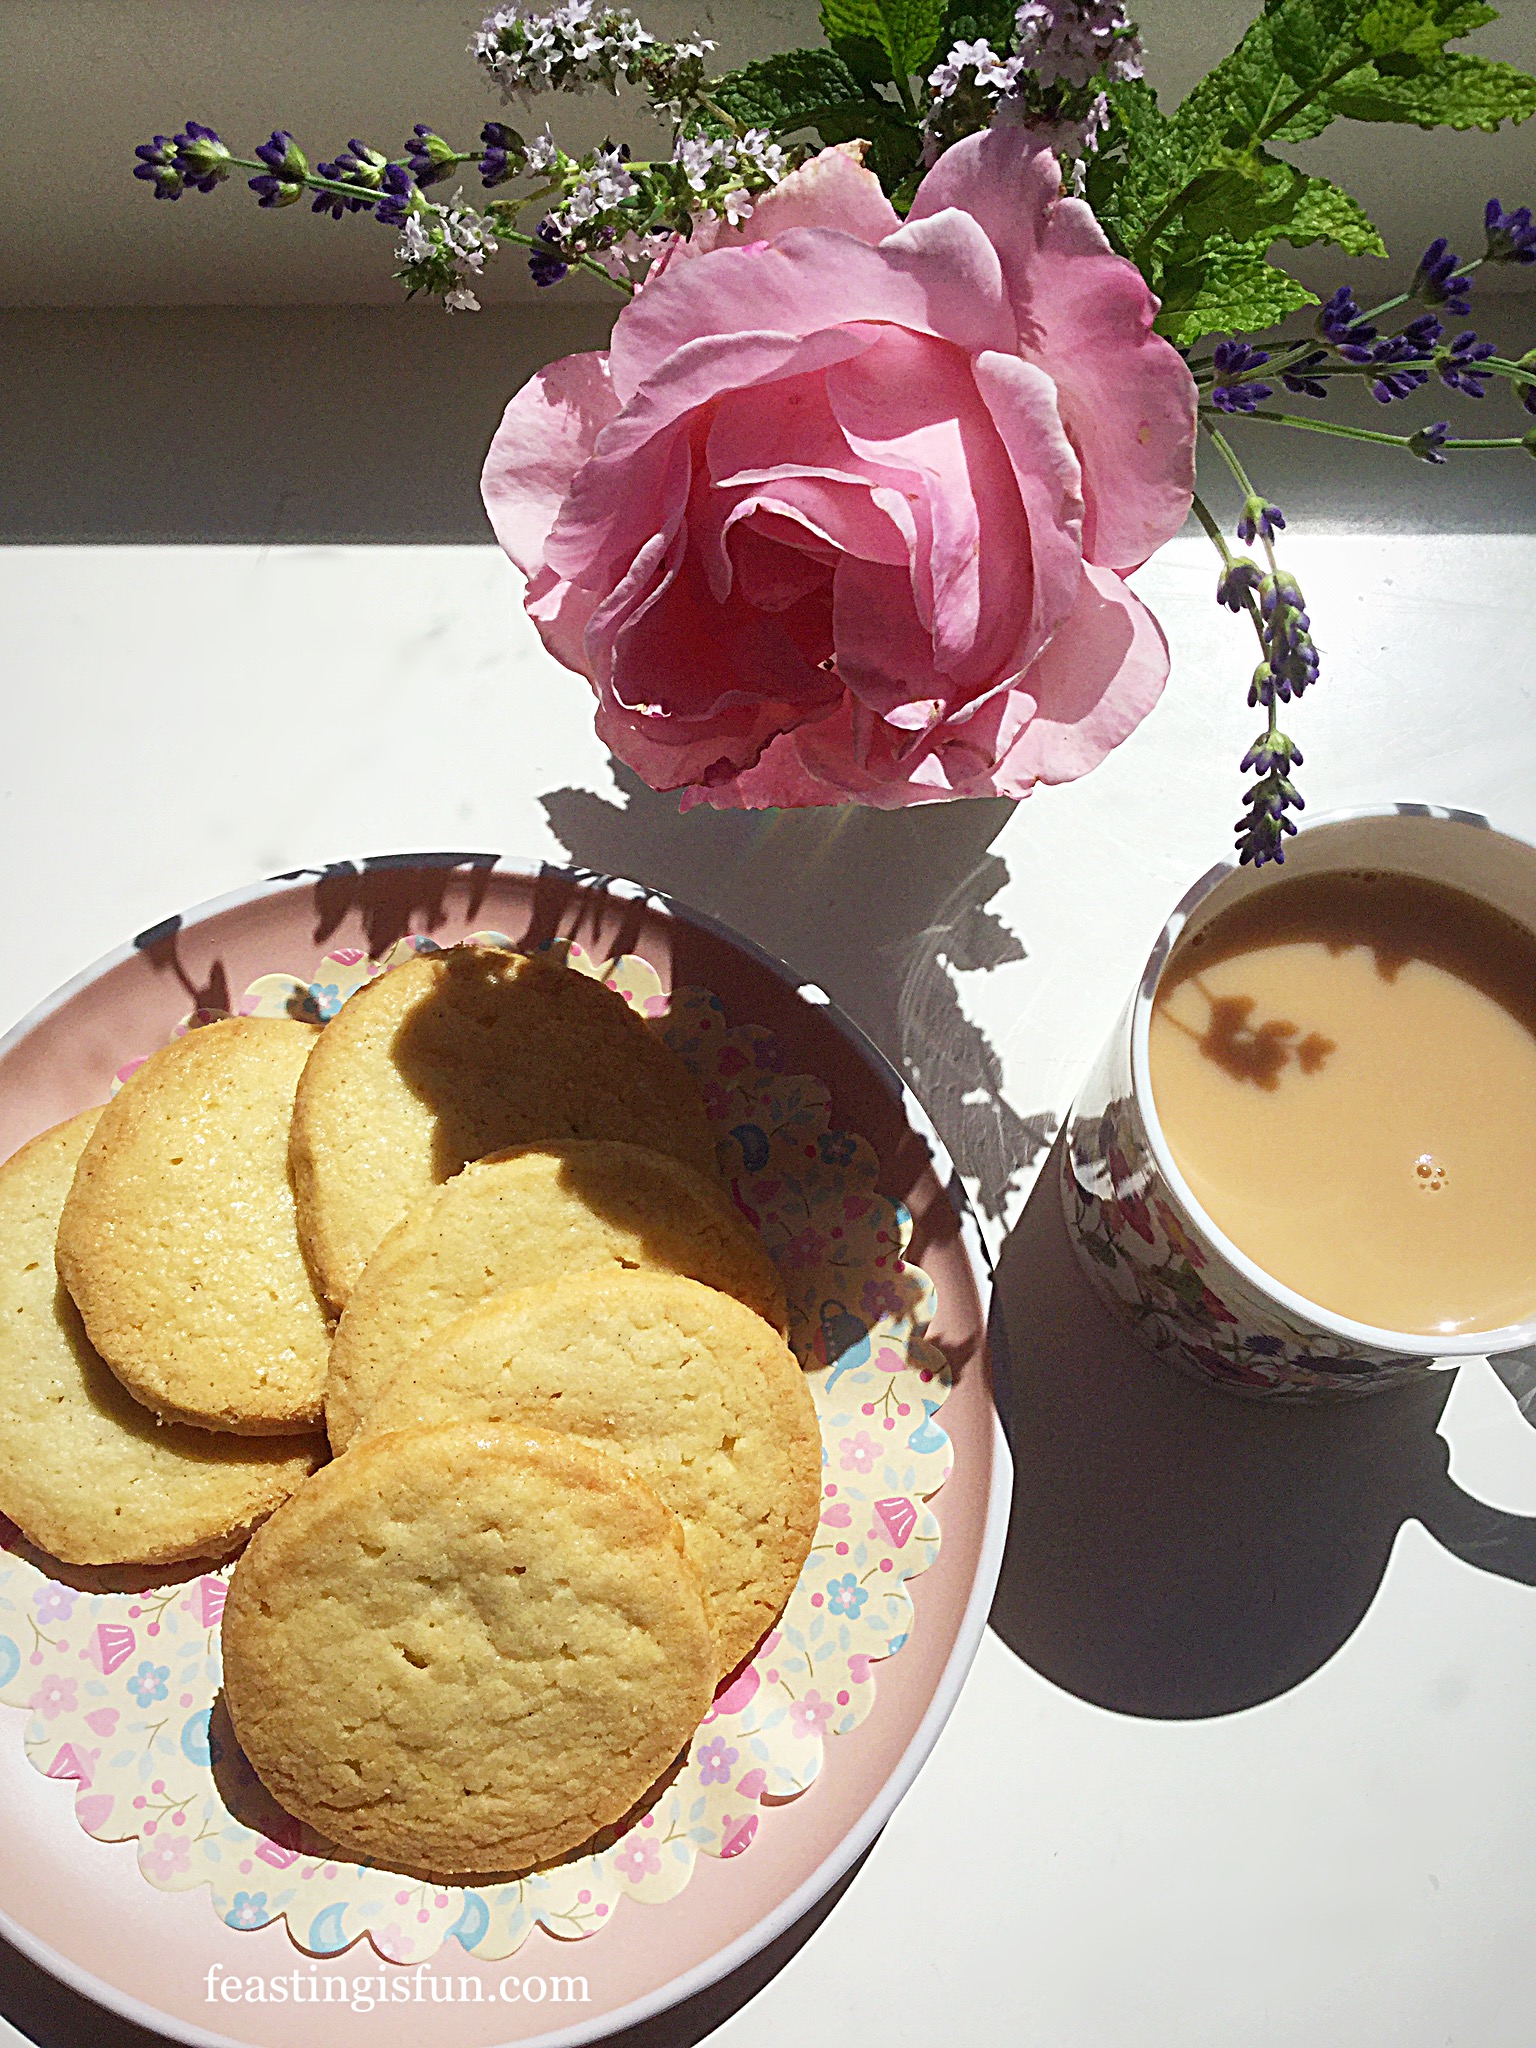
Time To Bake Cookies
I love having them home, they all get along pretty well (not bad for 2 older girls and my boy) and I shall miss their music/chatter/mess… Well maybe not the mess. But they do fill our home with energy and fun. Still tomorrow is the weekend, so today I shall enjoy the peace knowing chaos is only a day away.
Hmmm there’s jam to be made, not really in the mood for that, tidying – but it’ll only need doing again on Monday. Cookies! I have nothing really against shop bought biccies but you really can’t beat homemade and these are a doddle.
You will need:
2 x baking sheets with parchment paper on them.
Cling film (I’ll explain later)
Make sure all your ingredients are at room temperature : it really makes a difference.
Recipe: Super Easy Shortbread Cookies makes 20-24
150g/5 oz Caster Sugar (plus 2 tsp for sprinkling on top)
1/4 tsp Salt – I use Maldon
225g/8 oz Unsalted Butter
1 tsp Vanilla Bean Paste, or 1 tsp Vanilla Extract – I use Nielsen-Massey
1 Large Free Range Egg Yolk – the white can be frozen for up to one month, perfect for Pavlova
225g/8 oz Plain White Flour
50g/2 oz Corn Flour – corn starch
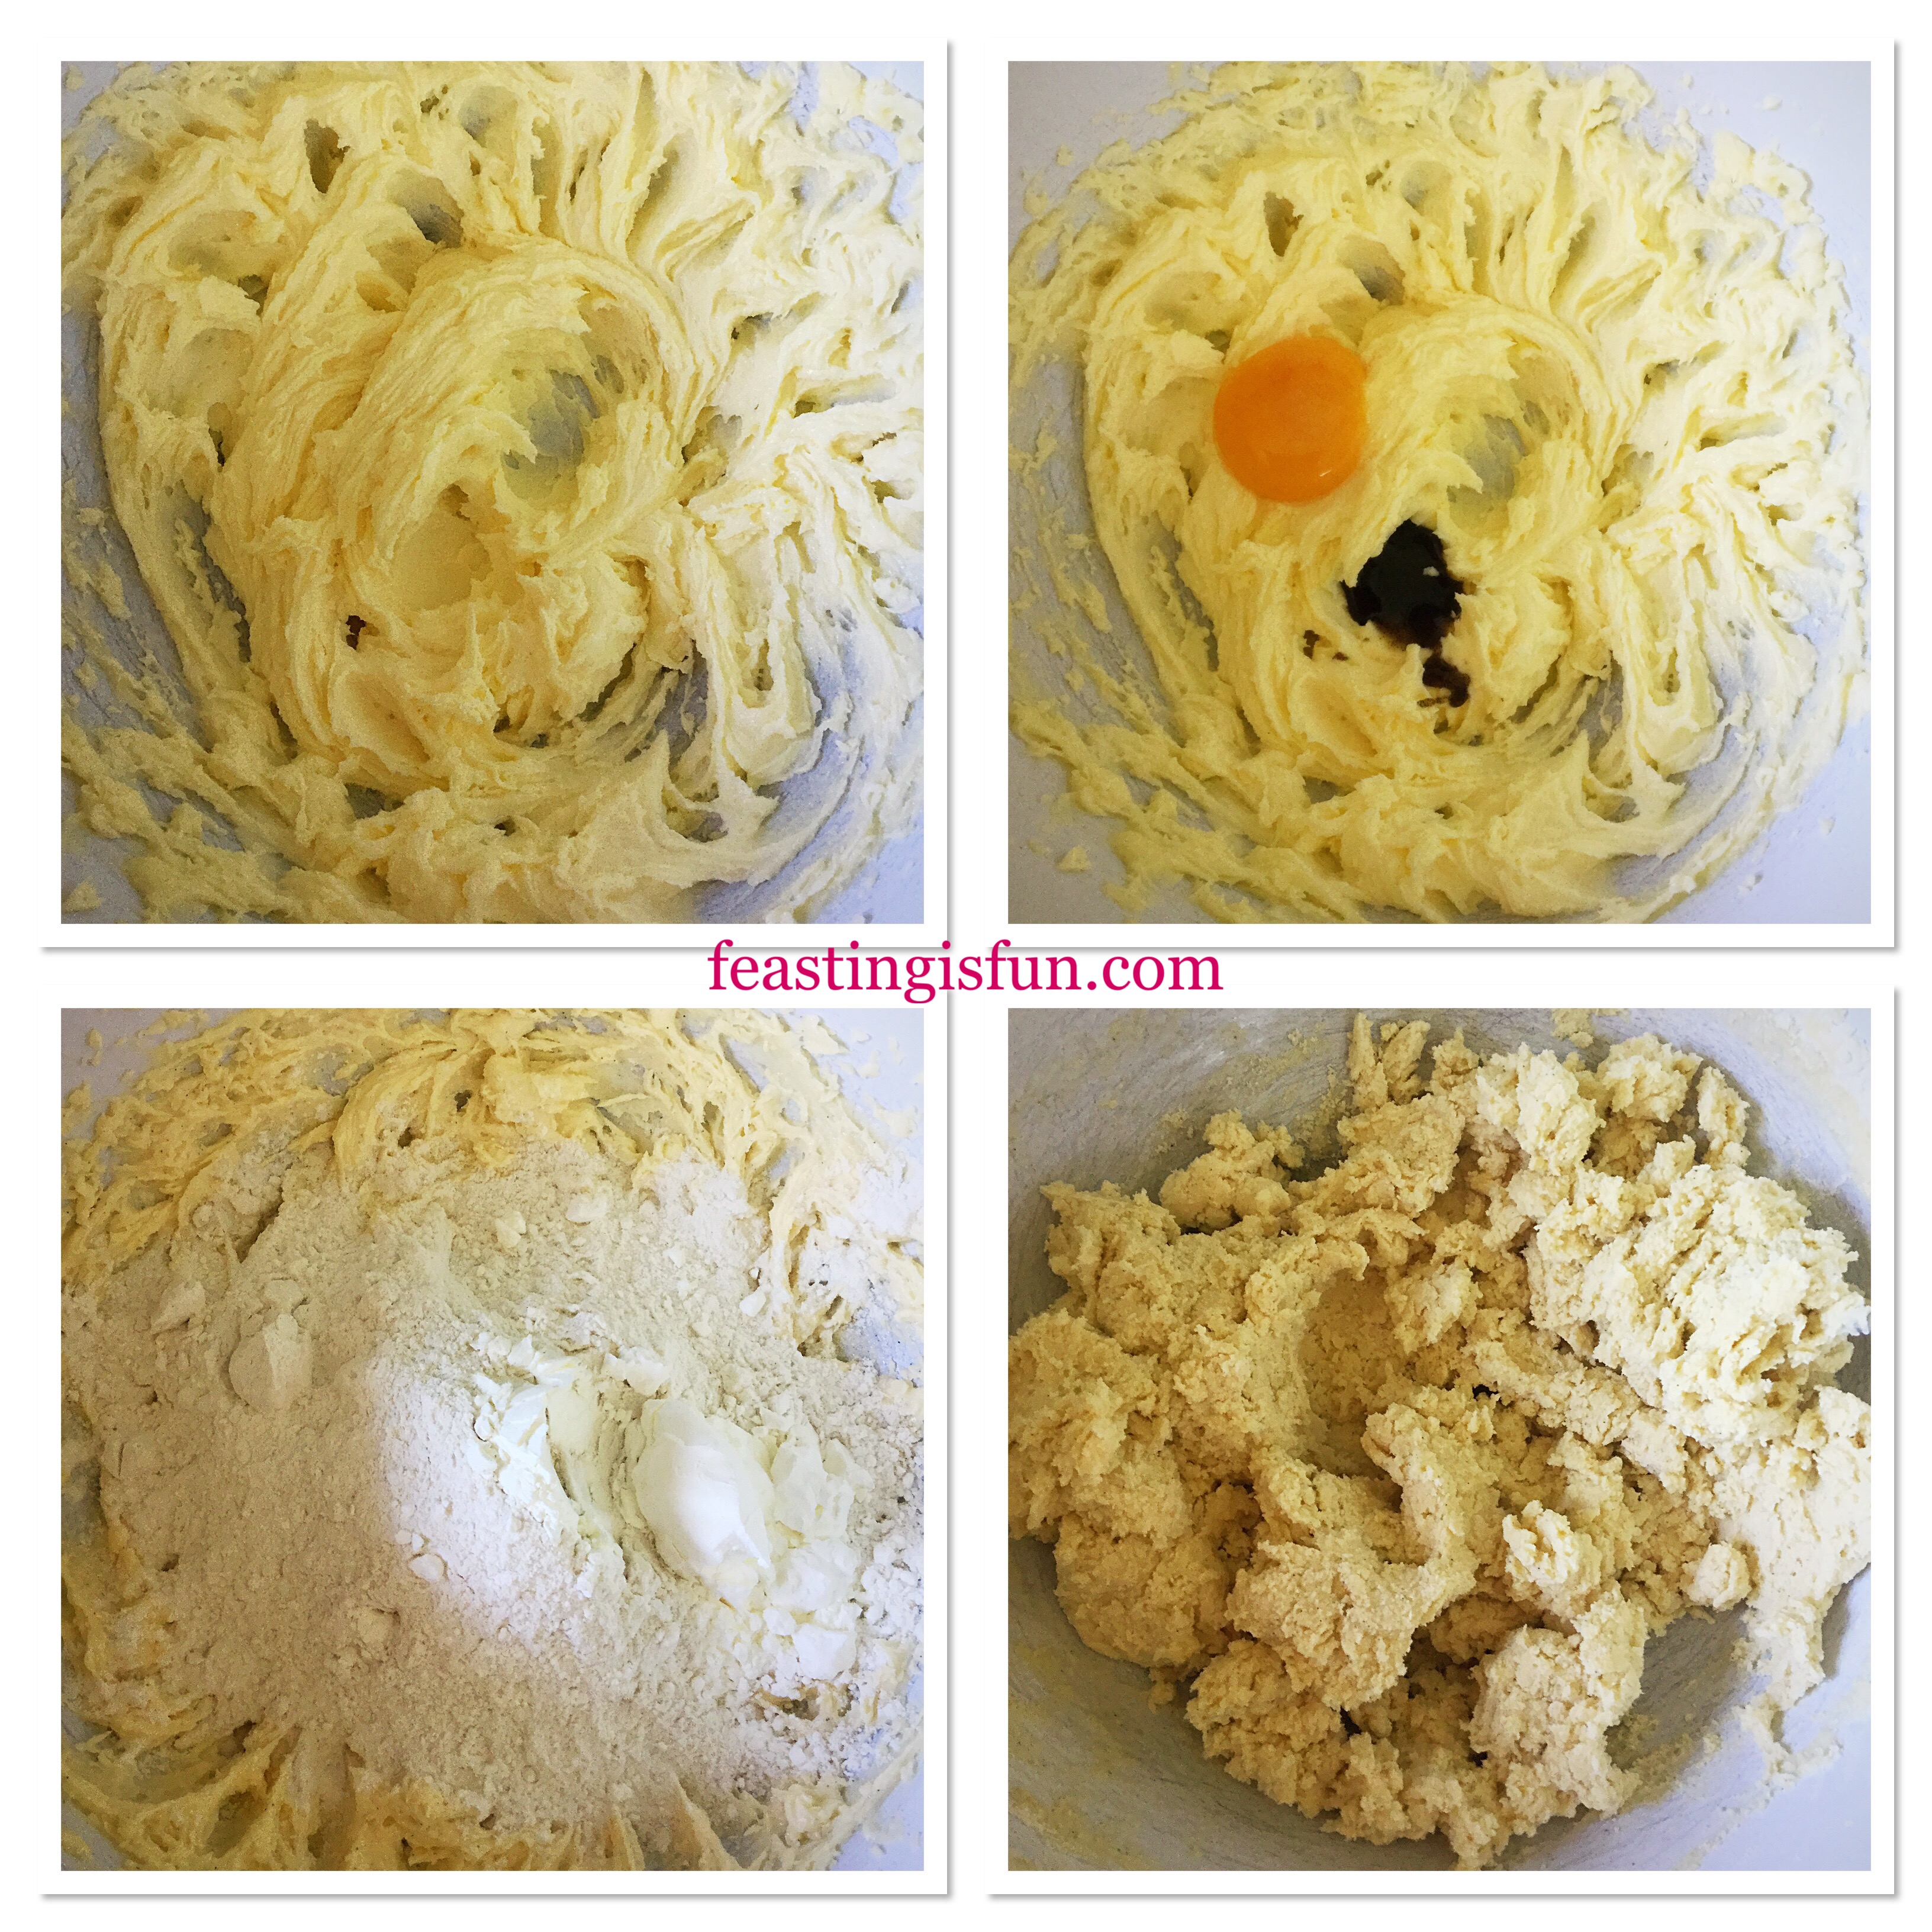
Making The Shortbread Cookie Dough
- Place butter, sugar and salt into a large bowl.
- Whisk or beat (using a wooden spoon) together until the mixture is very pale yellow.
- Now mix in the egg yolk and vanilla paste/extract.
- Sift in the flour and corn flour.
- Mix thoroughly, but gently until all the ingredients are combined.
- Now take a big, deep breath. The smell is scrummy and will help you recognise later when the Super Easy Shortbread Cookies are nearly cooked!
Shaping And Chilling The Cookie Dough
- Set the mixture to one side so that you have a clear work top in front of you. You will need a clear space in front of you. Wipe this space with a clean, slightly wet, dish cloth.
- Taking the clung film unwrap about 12 inches (30cm) lay it over the damp work surface as you do so. Magically the cling will lay flat and not become a tangled mess!
- Place half of your cookie dough on the cling film in a rough log shape.
- Using your hands and the cling mould the dough into a log, with a diameter of approx 1 1/2″ (7cm)
- Wrap tightly making sure the cookie dough is as even as possible along the log.
- Carefully transfer this to the fridge laying it on a flat surface (the dough will still be quite squishy – I usually lay it lengthways across my palm).
- Repeat this process with the rest of the cookie dough. Leave the dough to rest and harden up for at least 2-3 hours.

Slicing And Baking The Shortbread Cookies
Preheat oven to 180C/160C fan, 350F, gas mark 4, just before you remove the cookie dough log from the fridge.
- Remove 1 log from the fridge and leave to warm slightly for 5 minutes (I find leaving it for this time makes the dough easier to cut and not crack).
- Using a sharp knife cut regular discs approx 1/4″ (1/2cm) wide.
- You should end up with 10-12 cookie discs.
- Place these on the parchment paper lined baking sheets, making sure there is at least 1″/2.5cm gap each way between the discs.
- Sprinkle each cookie with a little sugar.
- Place the baking trays in the centre and lower part of the oven
- Bake the Super Easy Shortbread Cookies for 14-17 minutes.
- The cookies are baked when they are a light golden colour.
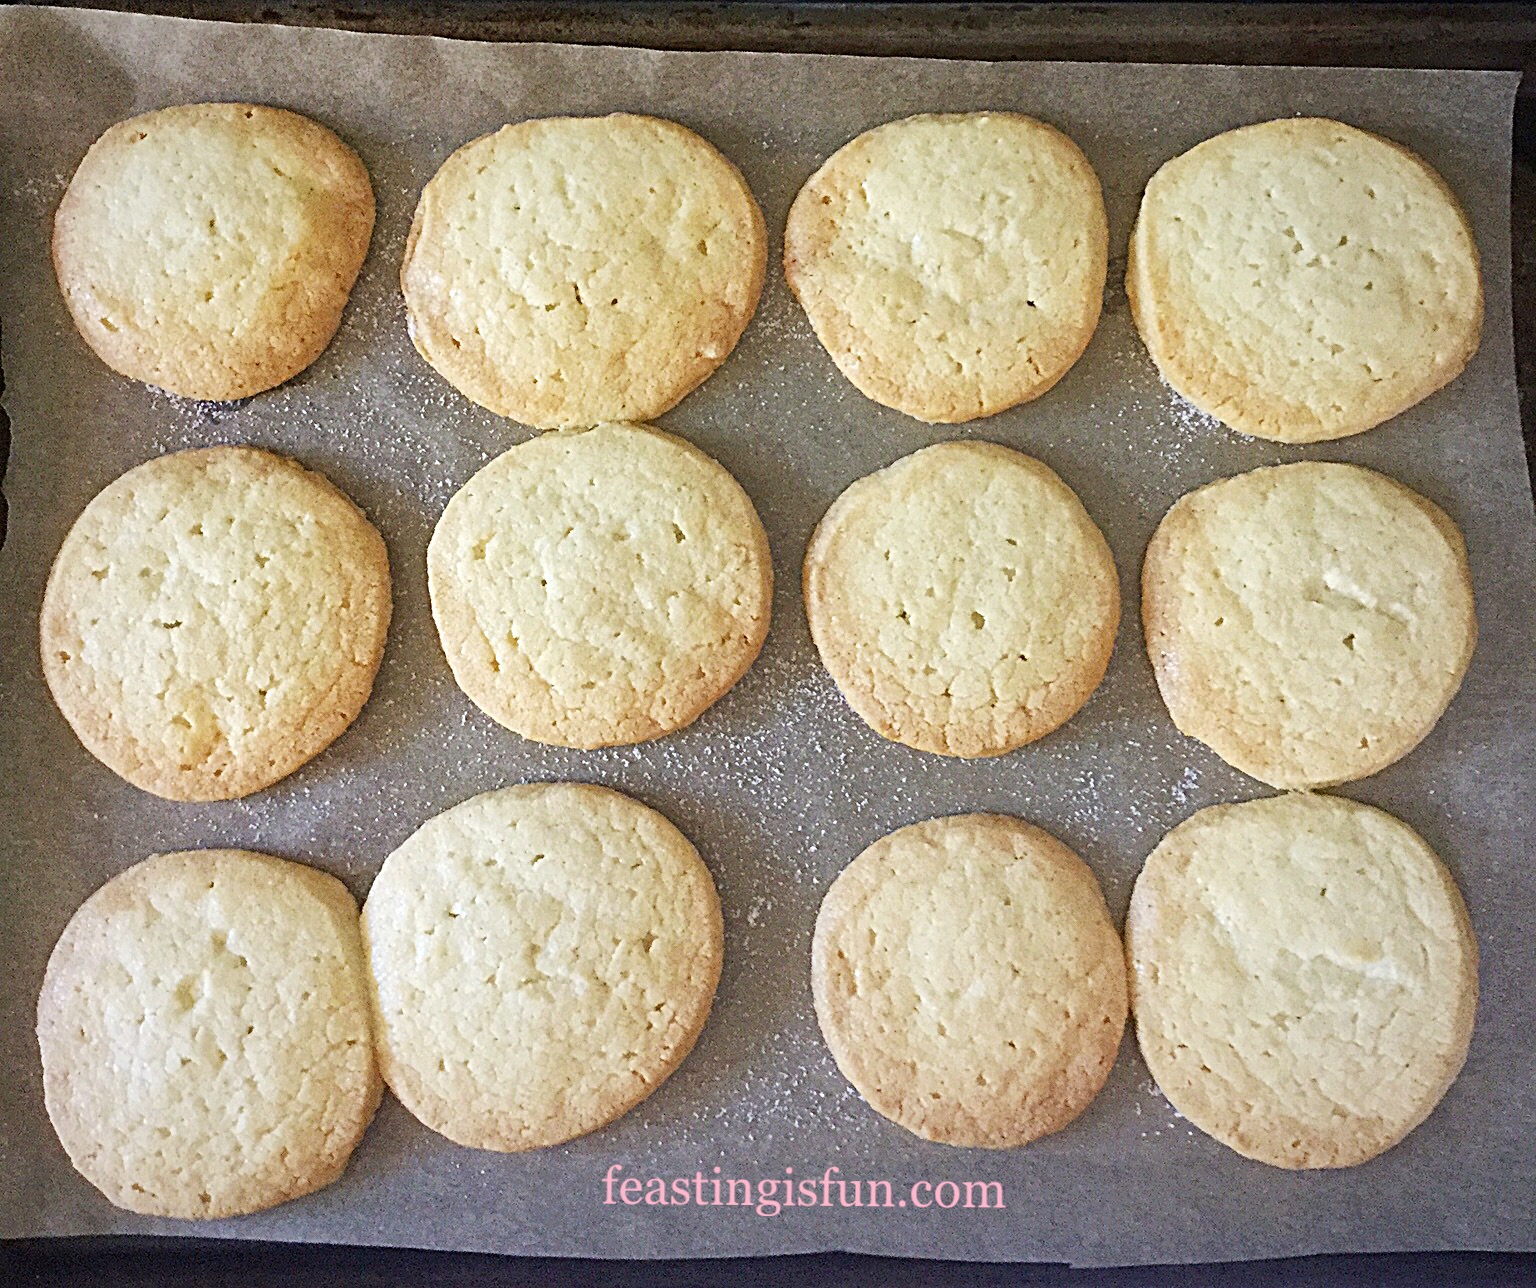
- When you start to smell the scrumptious buttery, vanilla smell it’s time to check on your cookies. DON’T PROD THEM – however tempting! They will still be soft and firm up on cooling. These cookies are cooked when they turn a light golden colour.
- As soon as they are baked remove from the oven, careful they are hot!
- Leave the cookies on the baking tray to cool completely.
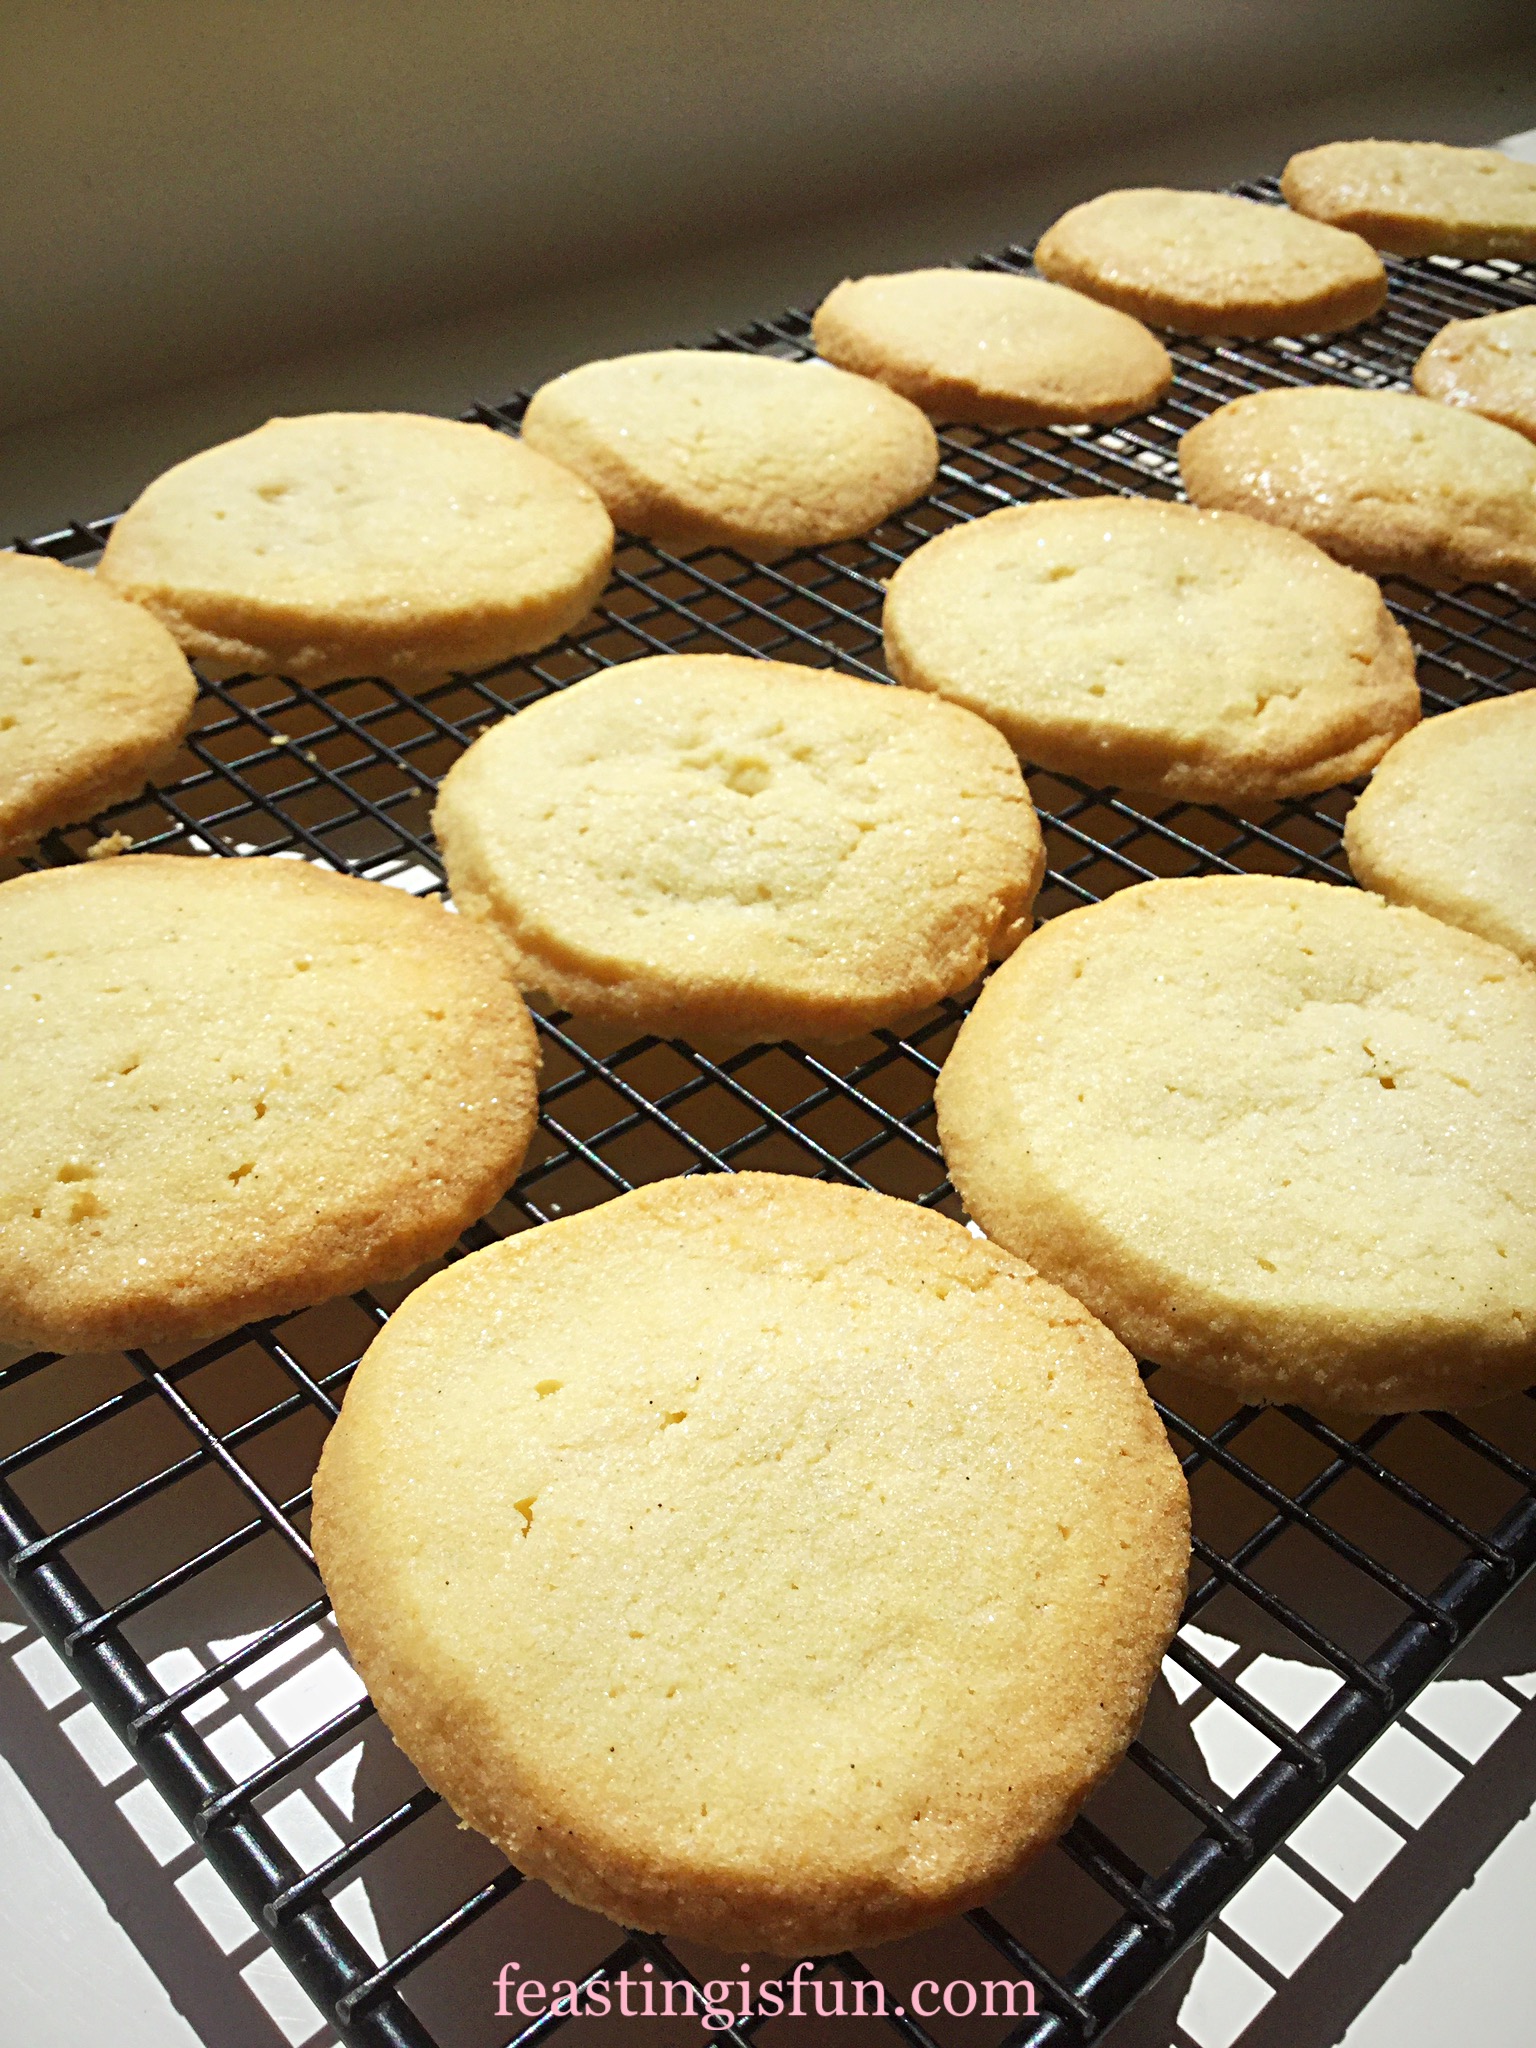
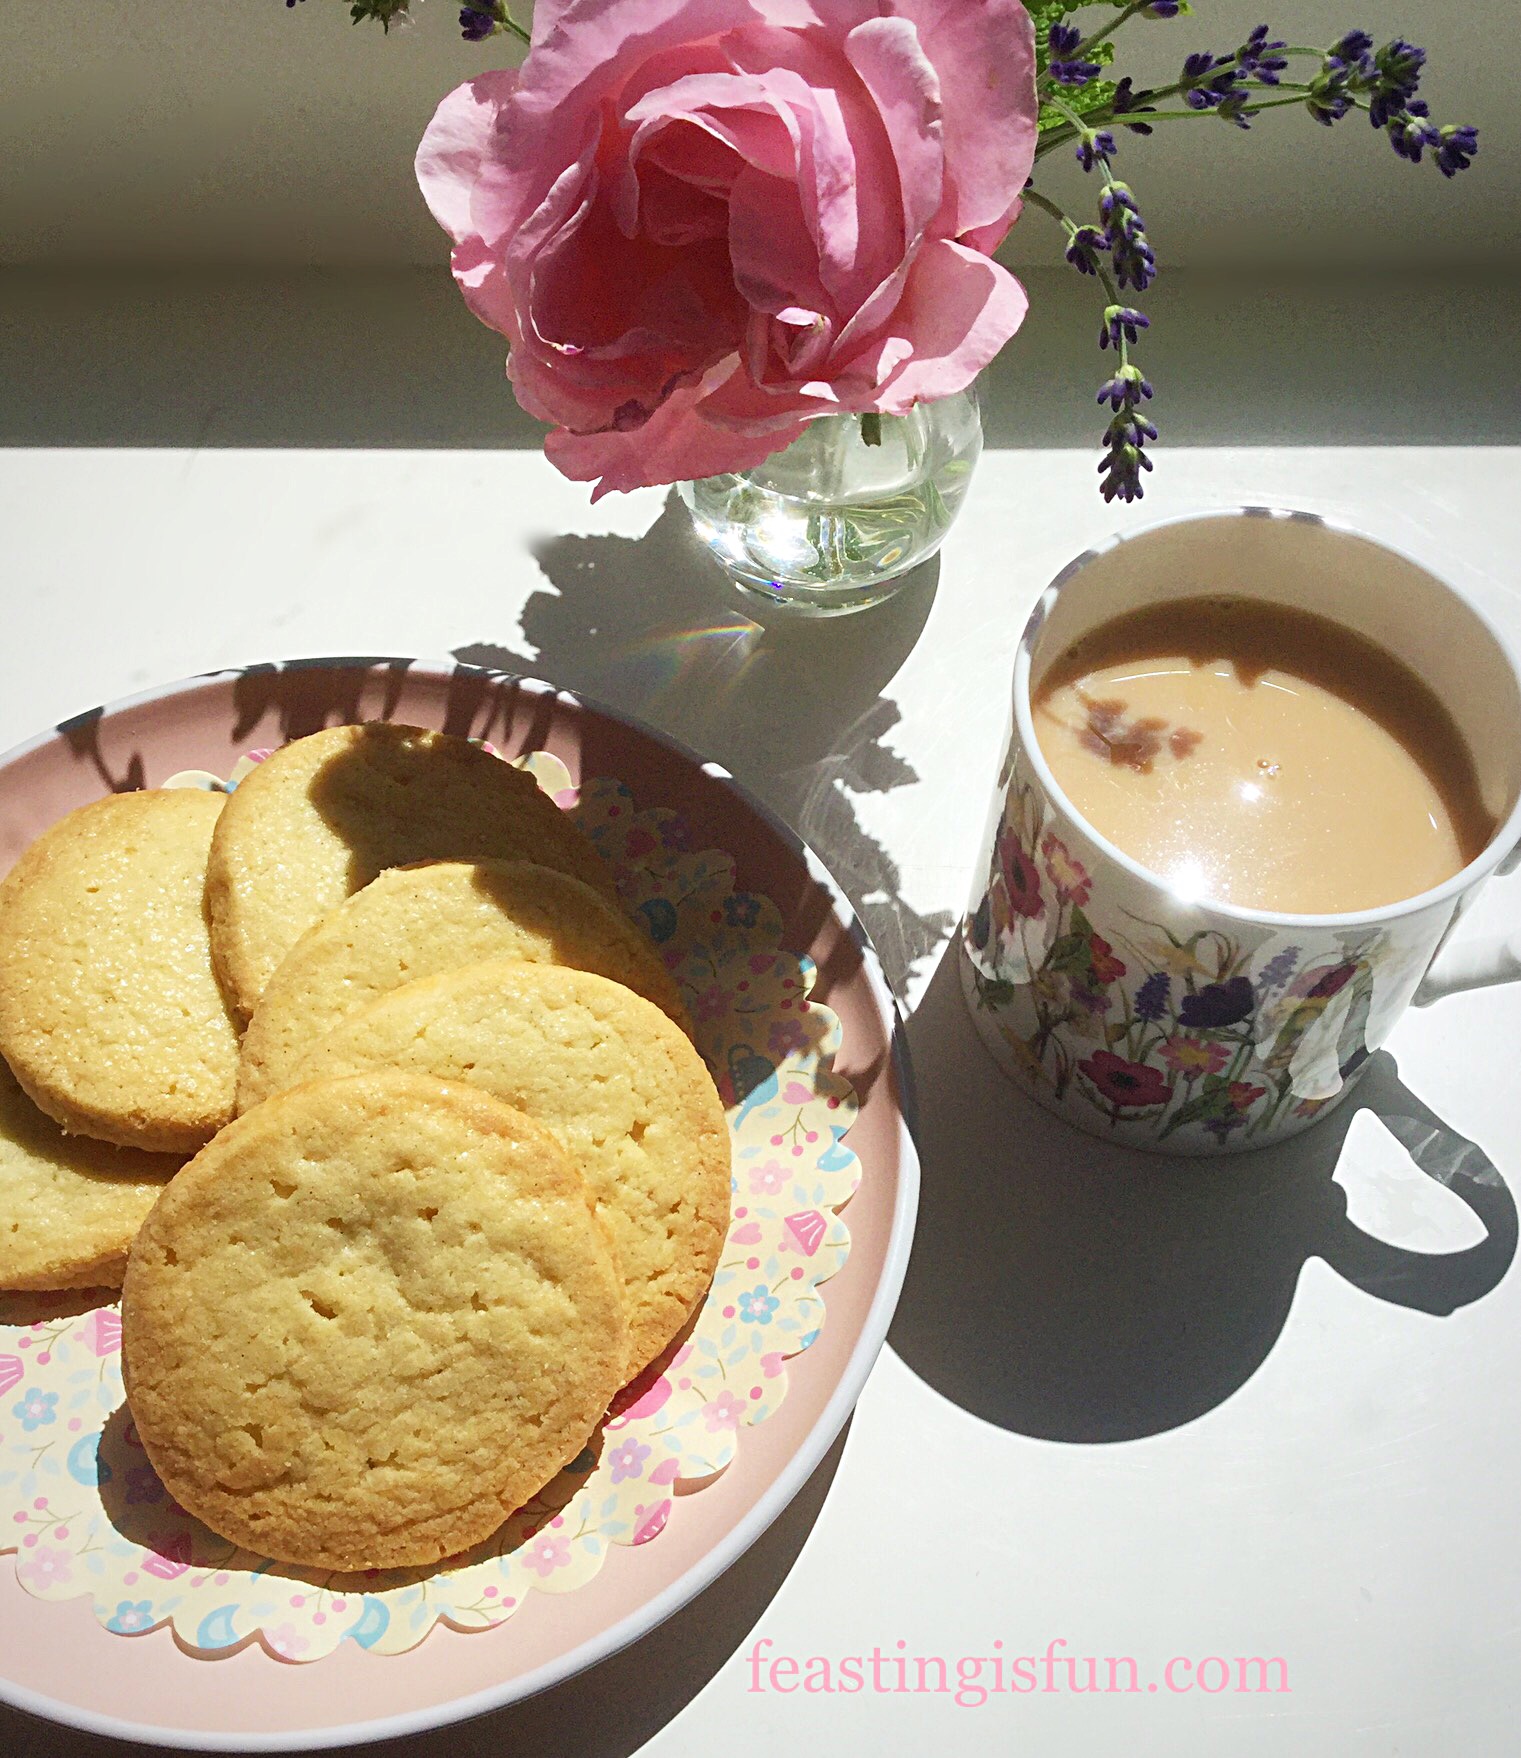
- The sprinkle of sugar added just before baking gives the cookies a sparkling sheen once baked.
Pop the kettle on and try one, just to make sure they’re good. These cookies travel well and I like to pop some in cellophane bags tied with pretty ribbon and pass them on to friends andfamily. They are also scrummy when shared with a close friend over a cuppa and a heart to heart chat.
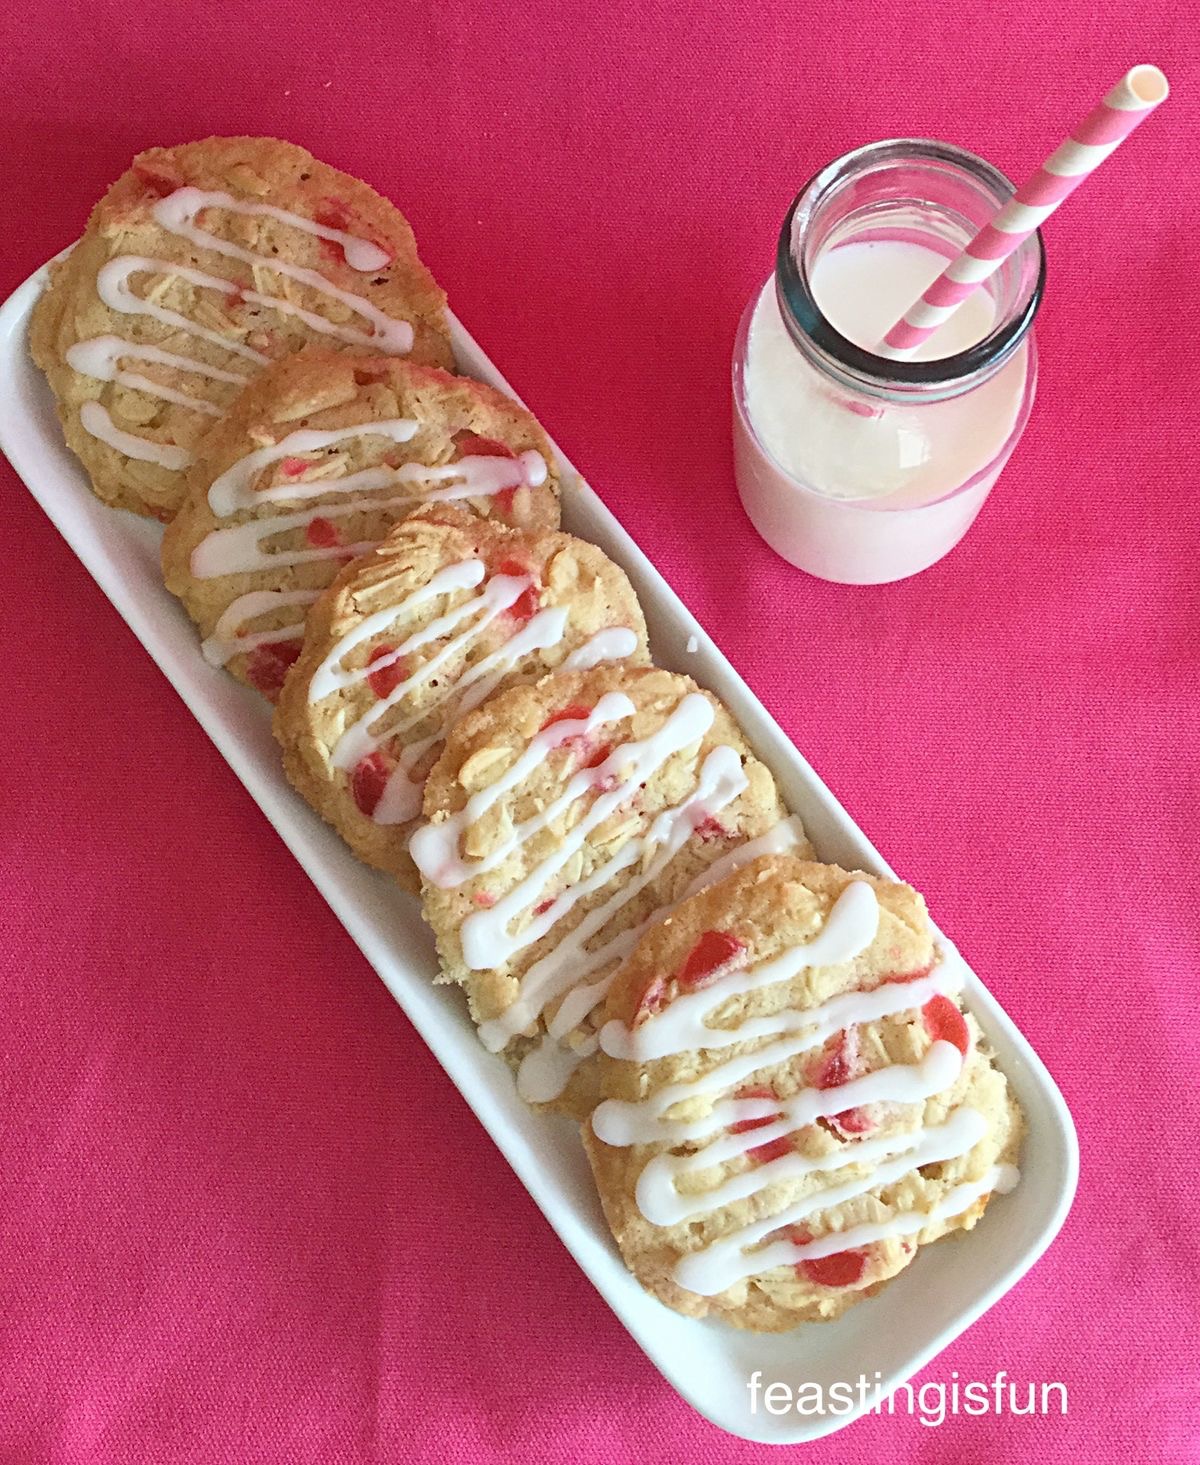
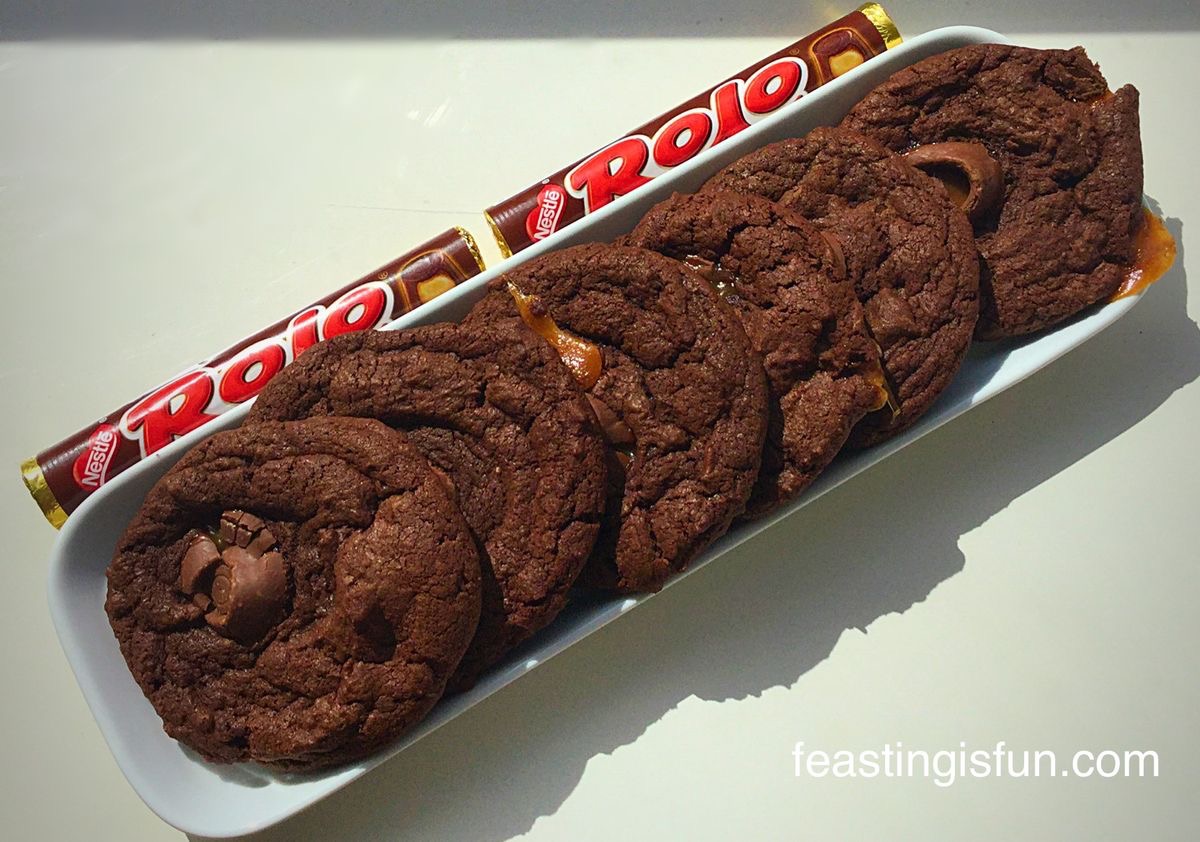
If you have enjoyed this recipe for Super Easy Shortbread Cookies you may also like these:
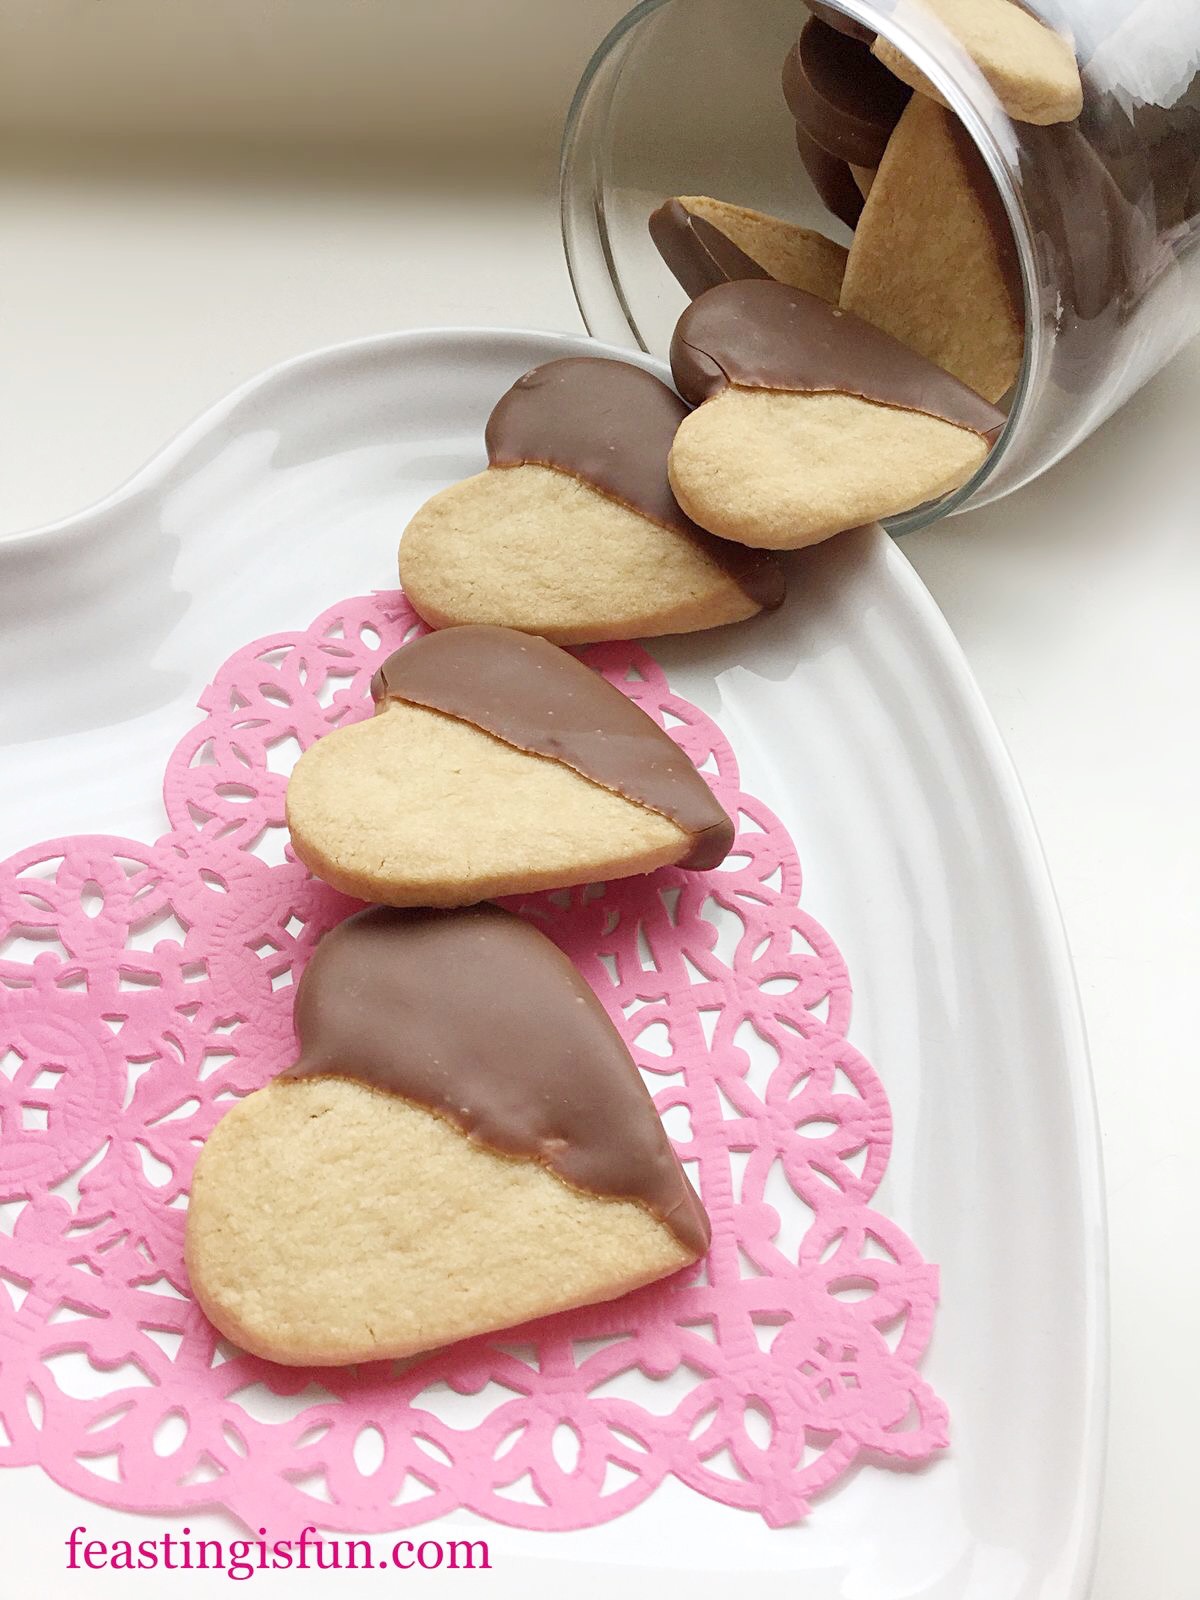
Chocolate Dipped Shortbread Heart Cookies
Since I am a self confessed Cookie Monster, I assume that others are too. Baking fresh cookies, ready to share, is one way of showing my friends and family how much I love them. I mean I’m giving away cookies! Whether it’s cookies, cakes or other bakes, I have never had anyone turn down the gift of a homemade treat.
If you want to see more of my recipes, or show me your bakes you can find me on Twitter/Instagram/Pinterest – @sammiefeasting
Sammie xx
No part of this post may reproduced or duplicated without the written permission of the owner. Please see my Disclosure Policy.
.