The past fortnight has been a busy one here at home. Hospital appointments for me, rugby matches for our son and both of our girls working hard on their studies. Life has been hectic. Yet, during this time, we have also celebrated two special birthdays in our family. Amidst the coming and going, we made time for what is important. Spending time together. Celebrating birthdays and enjoying the company and love that we have for each other. Laughing, catching up, chatting, more laughter and sharing this delicious Chocolate Peanut Butter Drip Cake.
Family First Support And Sharing
For me, nothing is more important than spending time with those that I love. Whether family, friends or both. Yet due to the continued frequency of seizures see here, these occasions have been few and far between over the last two years. While I was able to attend the wedding of my amazing nephew and my new niece, there have been very many missed opportunities, simply due to my health. Finally, this trend seems to be on the turn and change is afoot!

Since our son and my sister celebrate their birthday on the same day, it has become a tradition for them to see each other on their special day. While last year this event was cancelled, we more than made up for it this year! We gathered and celebrated this very special day together. Presents were unwrapped, cards opened, cuddles given. Most importantly we were a family celebrating together. Is there anything that is better?
Peanut Butter And Chocolate
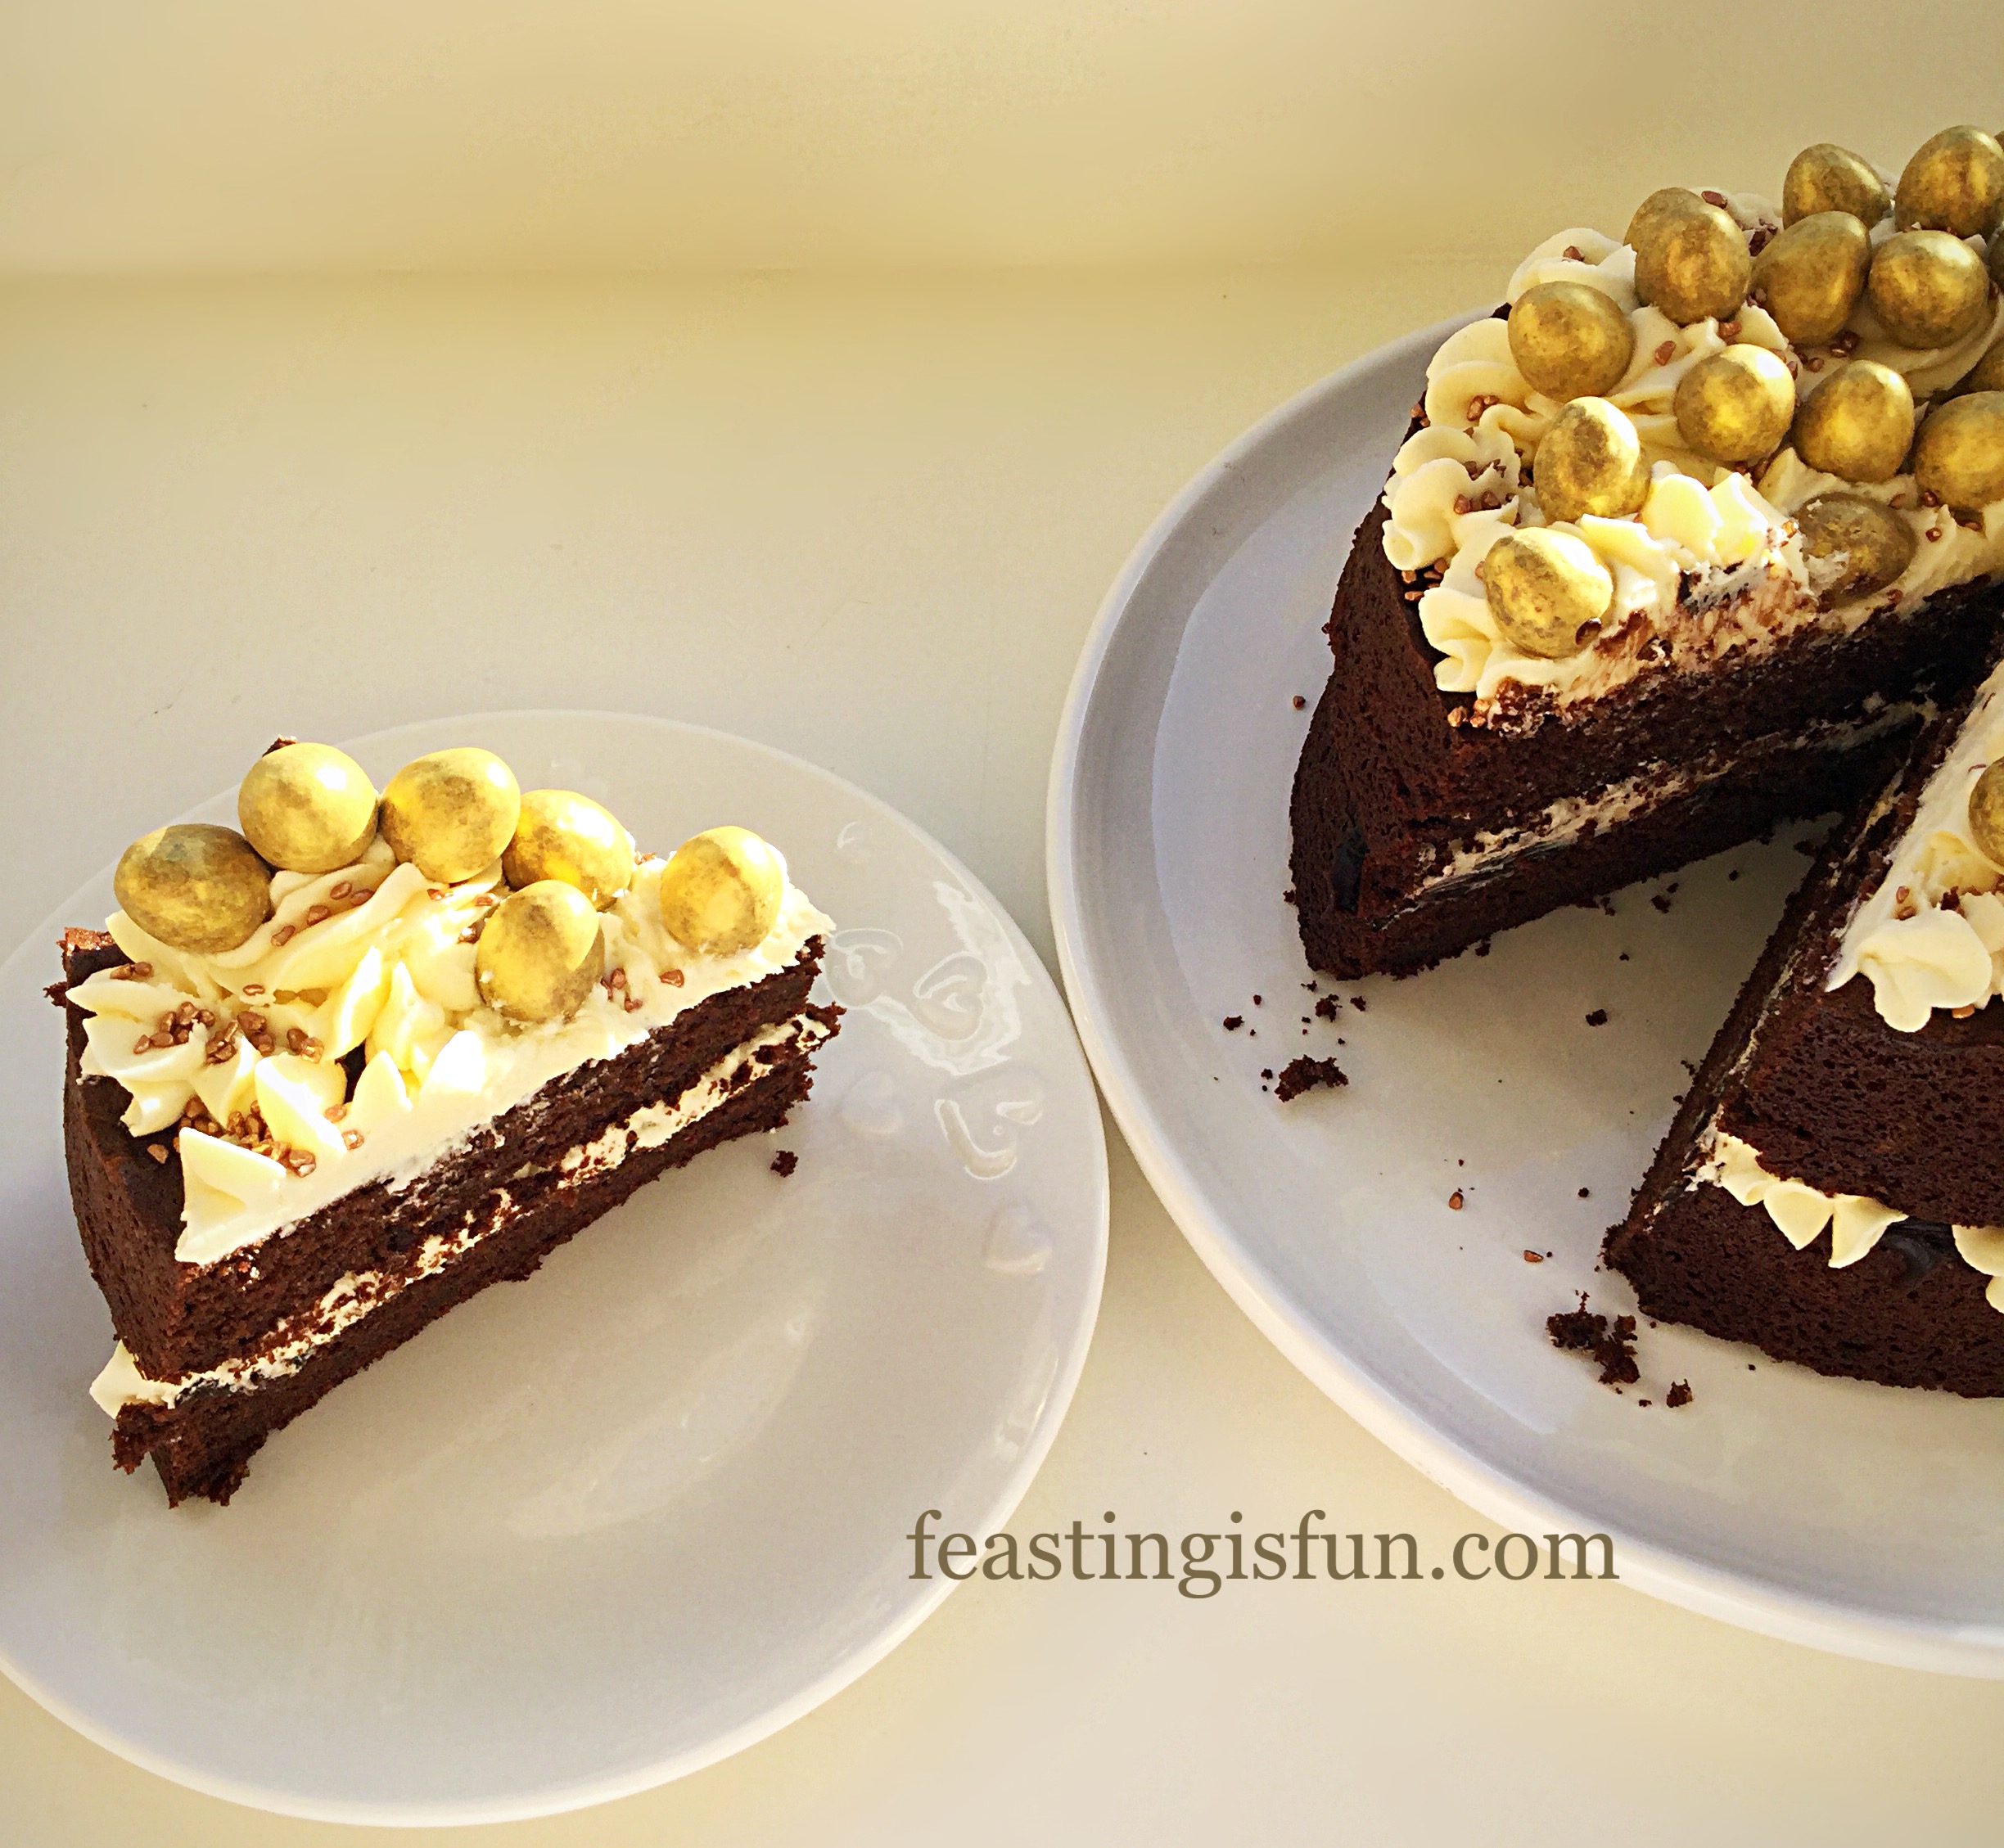
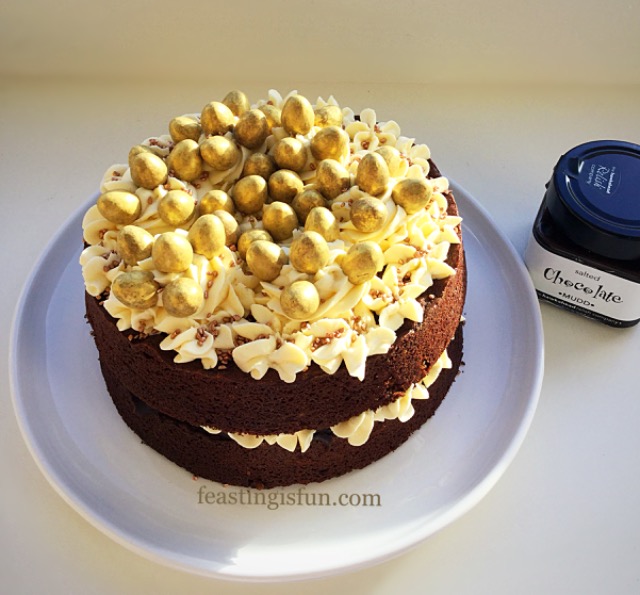
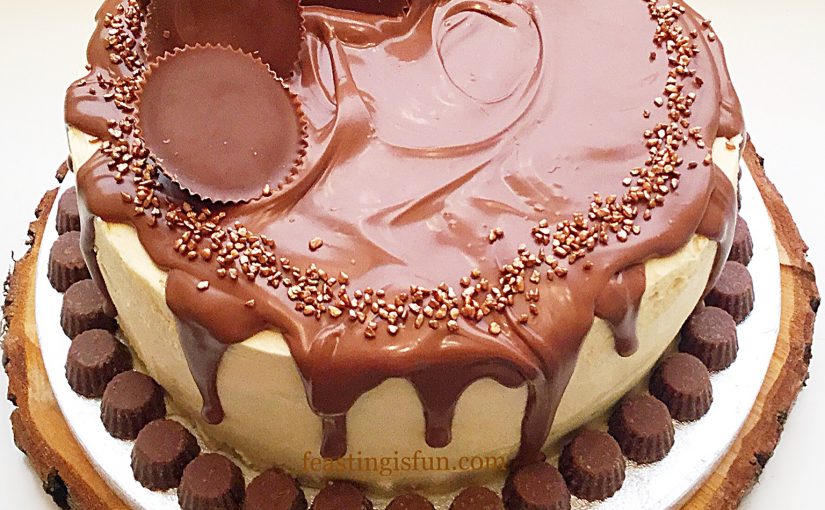
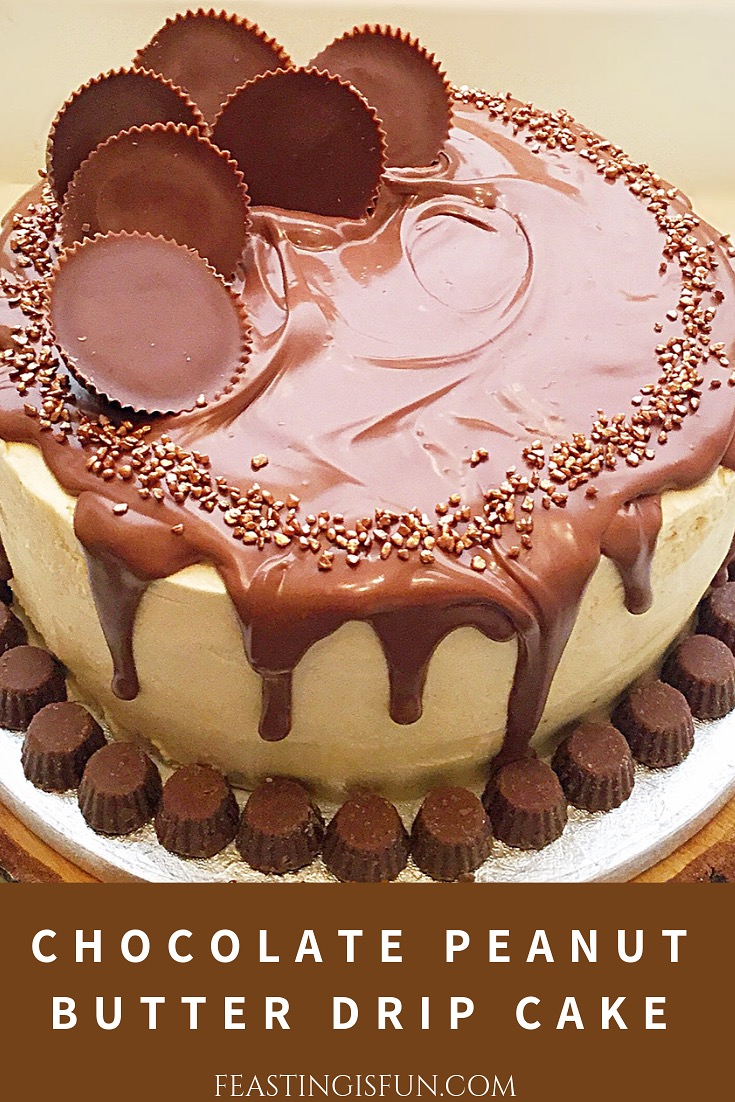
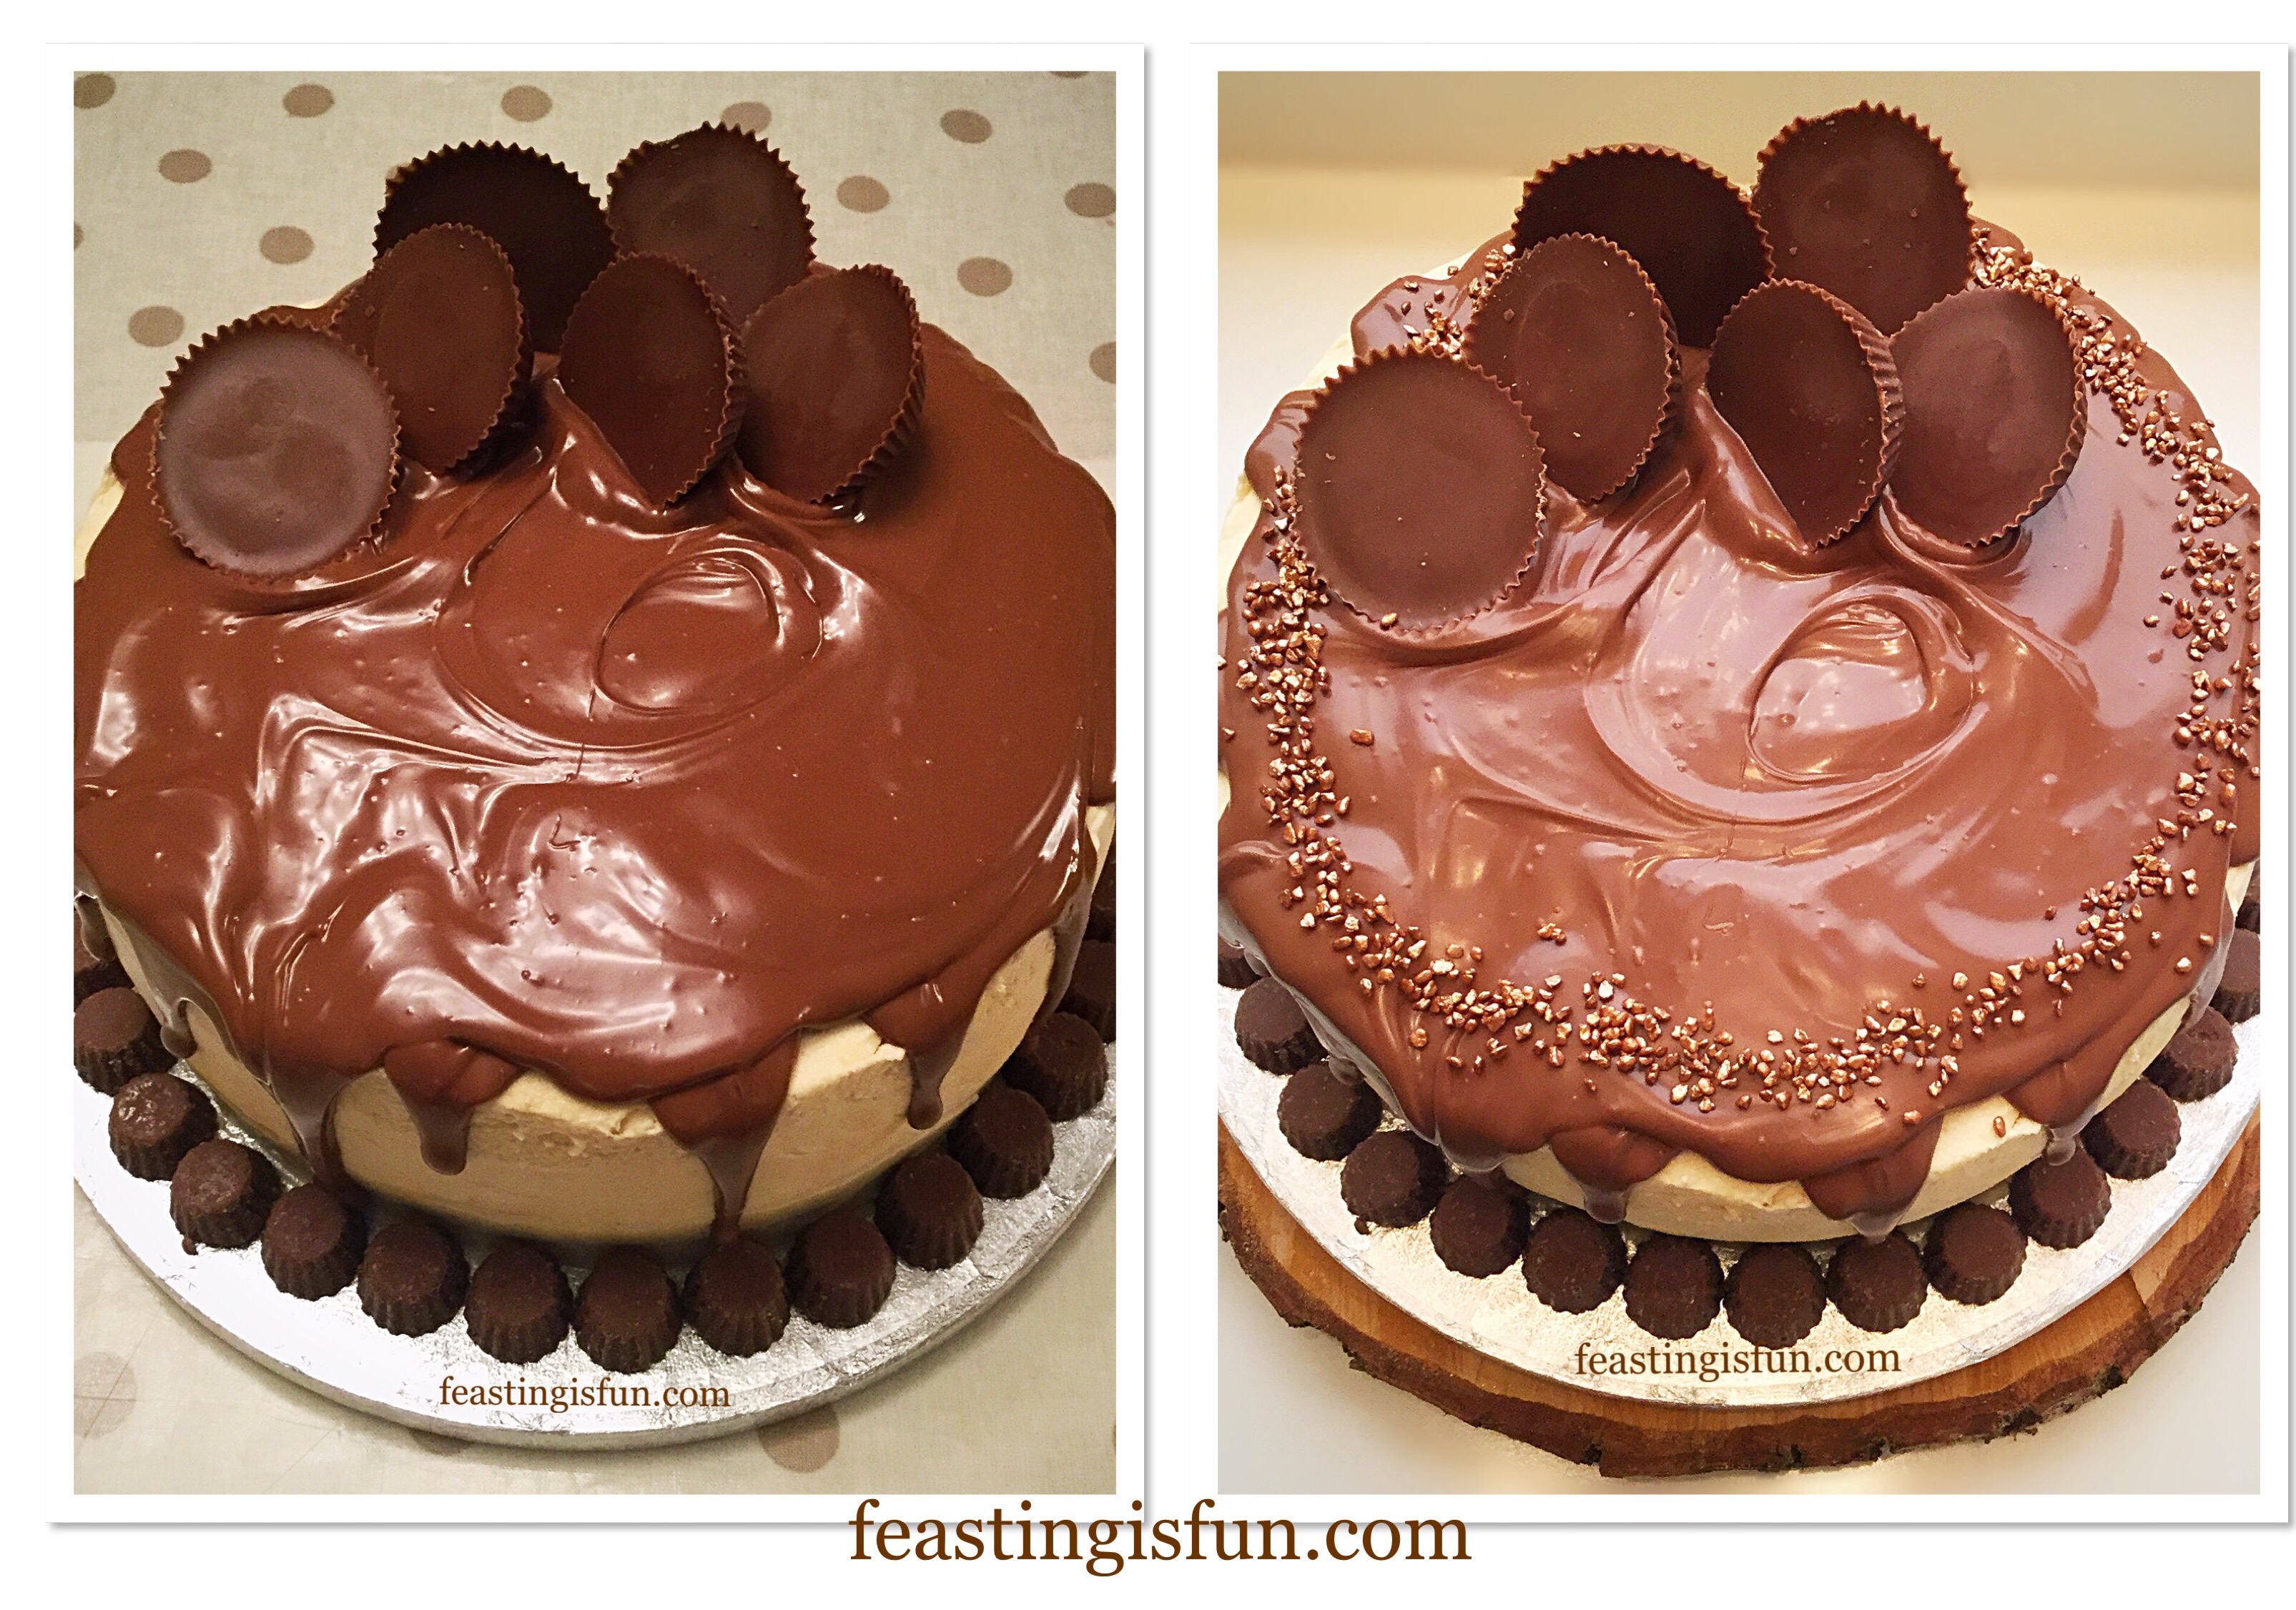
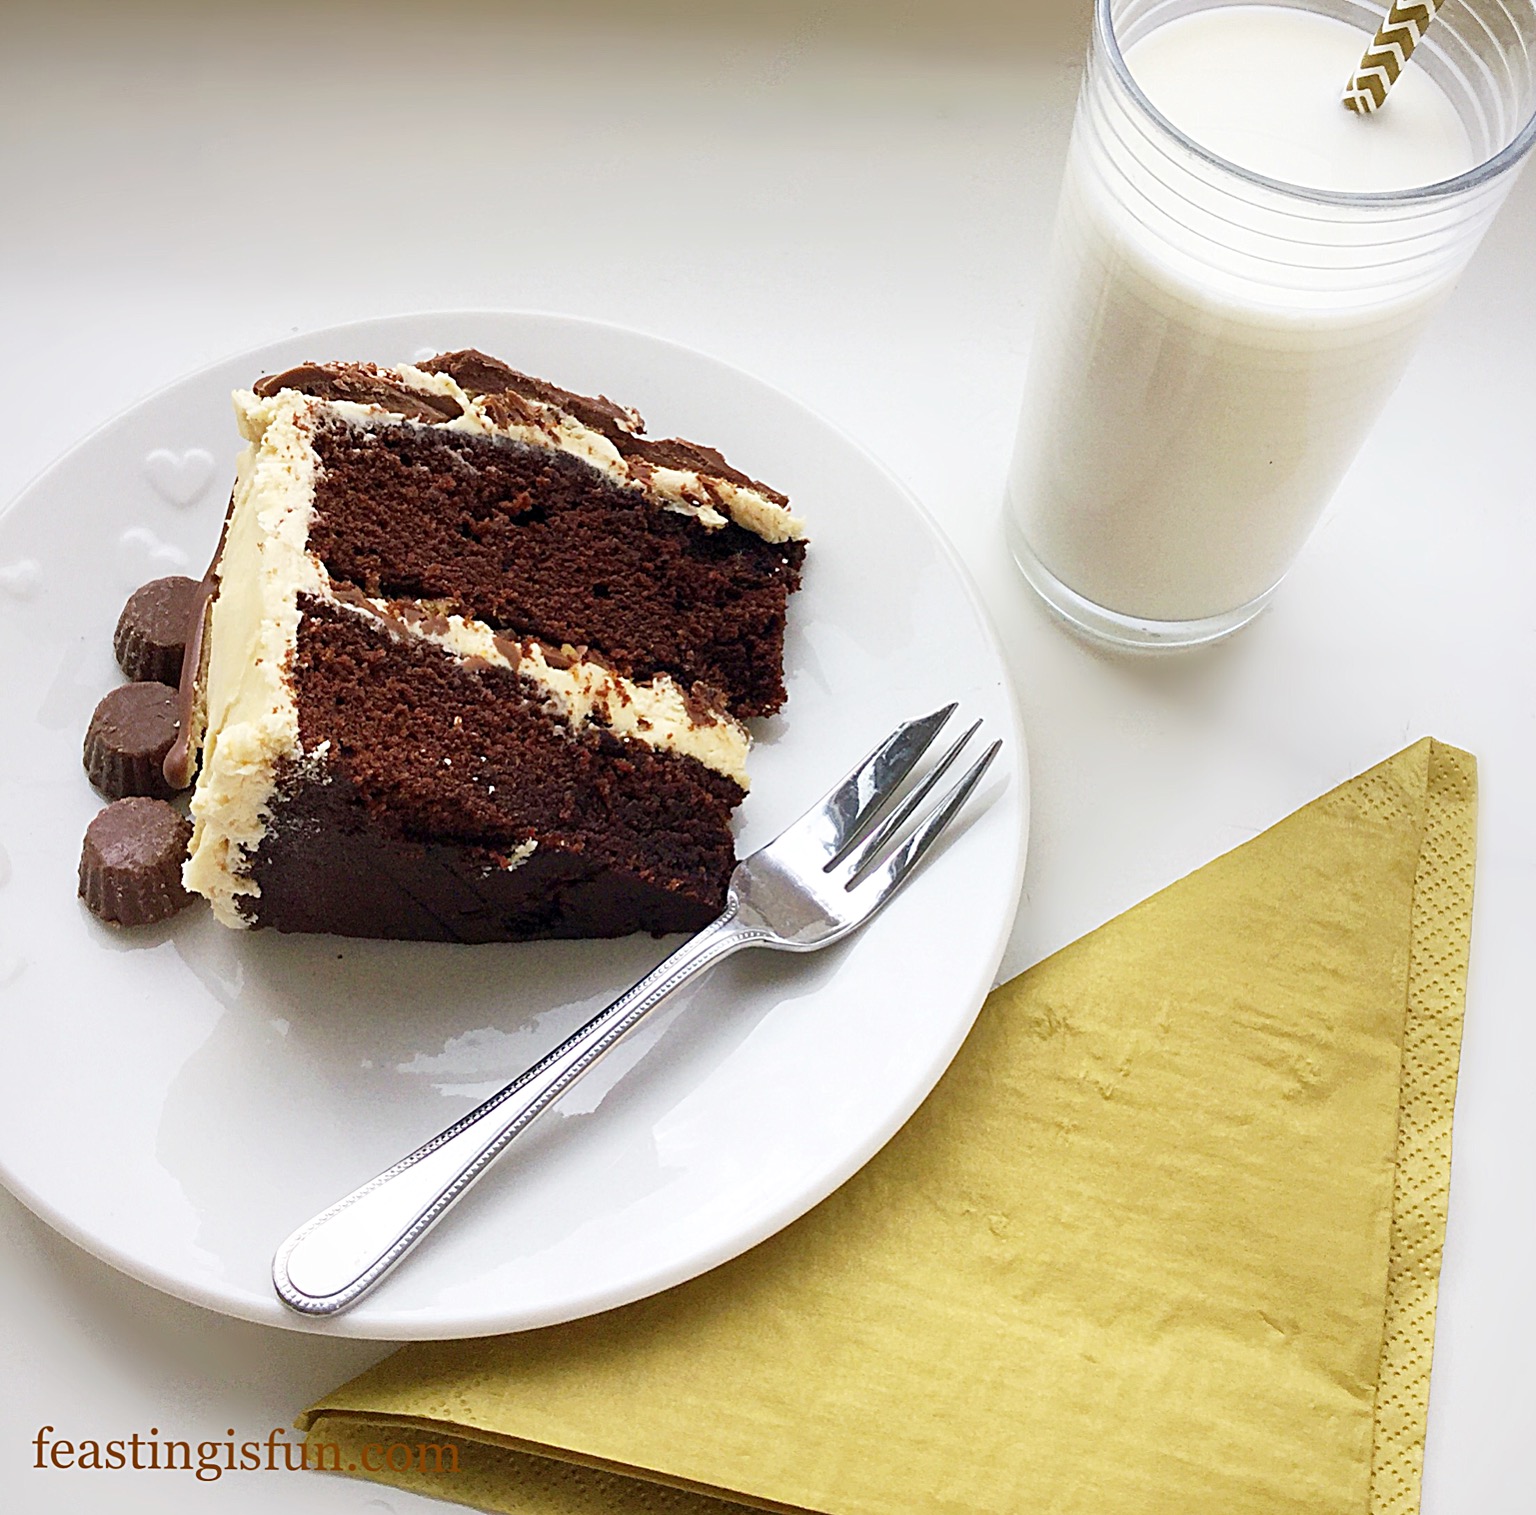
Because I made our, not so little boy, a fruit cake for his birthday over the past couple of years, change was definitely needed! Since I know how much he loves Reeces Peanut Butter Cups I suggested a chocolate and peanut butter cake. Resulting in a huge smile and a big yes from the birthday boy. So I made light chocolate and peanut butter sponges, sandwiched together with peanut butter icing, along with hidden, chopped peanut butter cups in the centre. Frosted all over with the same icing and decorated with a milk chocolate drip and more peanut butter cups. Finally, a sprinkle of bronze crunch added elegance to the finished cake.
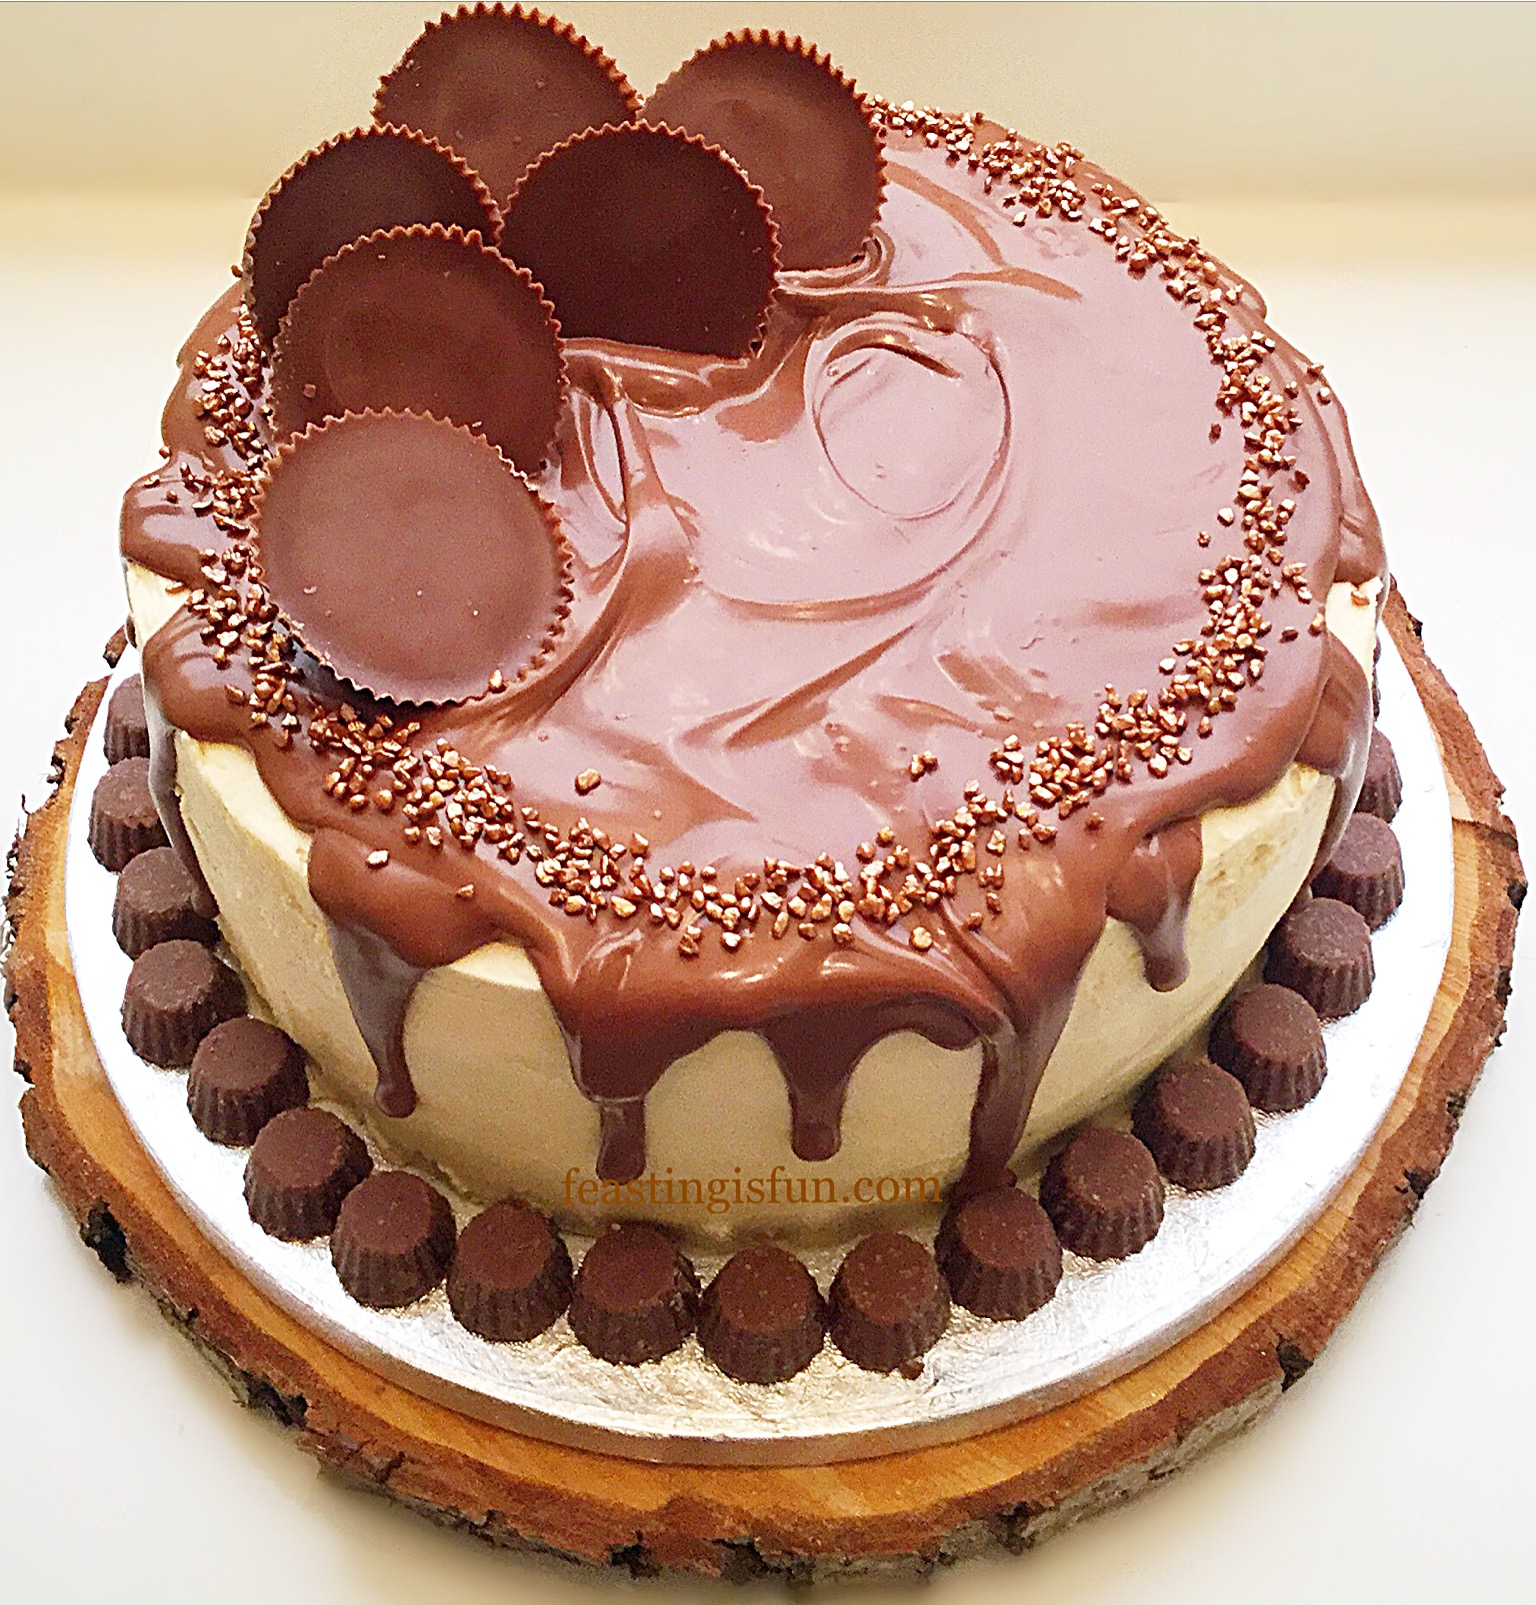
Above all I had made the cake of our son’s dreams. Utterly thrilled with both the look and taste of his birthday cake, oohs and aahs escaped from everyone’s lips. While delivering completely on taste, as it did looks, this cake proved to be a huge hit. Most importantly from the birthday boy himself. Resulting in a day full of happy shared memories.

Recipe: Chocolate Peanut Butter Drip Cake serves 10-12
For the cake:
275g/10oz Unsalted Butter at room temperature
275g/10oz Light Brown Sugar
50g/2oz Peanut Butter smooth – I use Reeces available from Amazon
1/4 tsp Sea Salt – I use Maldon
2 tsp Vanilla Extract – I use Nielsen-Massey
5 Large Free Range Eggs
75ml/5tbsp Whole Milk
200g/7oz Plain Flour
2 tsp Baking Powder
75g/3oz Cocoa – I use Callebaut
Frosting and Decoration:
250g/9oz Unsalted Butter softened to room temperature
75g/3oz Peanut Butter smooth
1/4 tsp Sea Salt
500g/1lb 2oz White Icing Sugar
2 tbsp Very Hot Water
1 tsp Vanilla Extract
20 Mini Reeces Peanut Butter Cups plus additional to place around the base of the cake
6 Regular Reeces Peanut Butter Cups
200g/7oz Good Quality Milk Chocolate
Bronze Crunch Sprinkles available from Waitrose
Method: Preheat oven to 160C/140C fan, 325F, gas mark 3
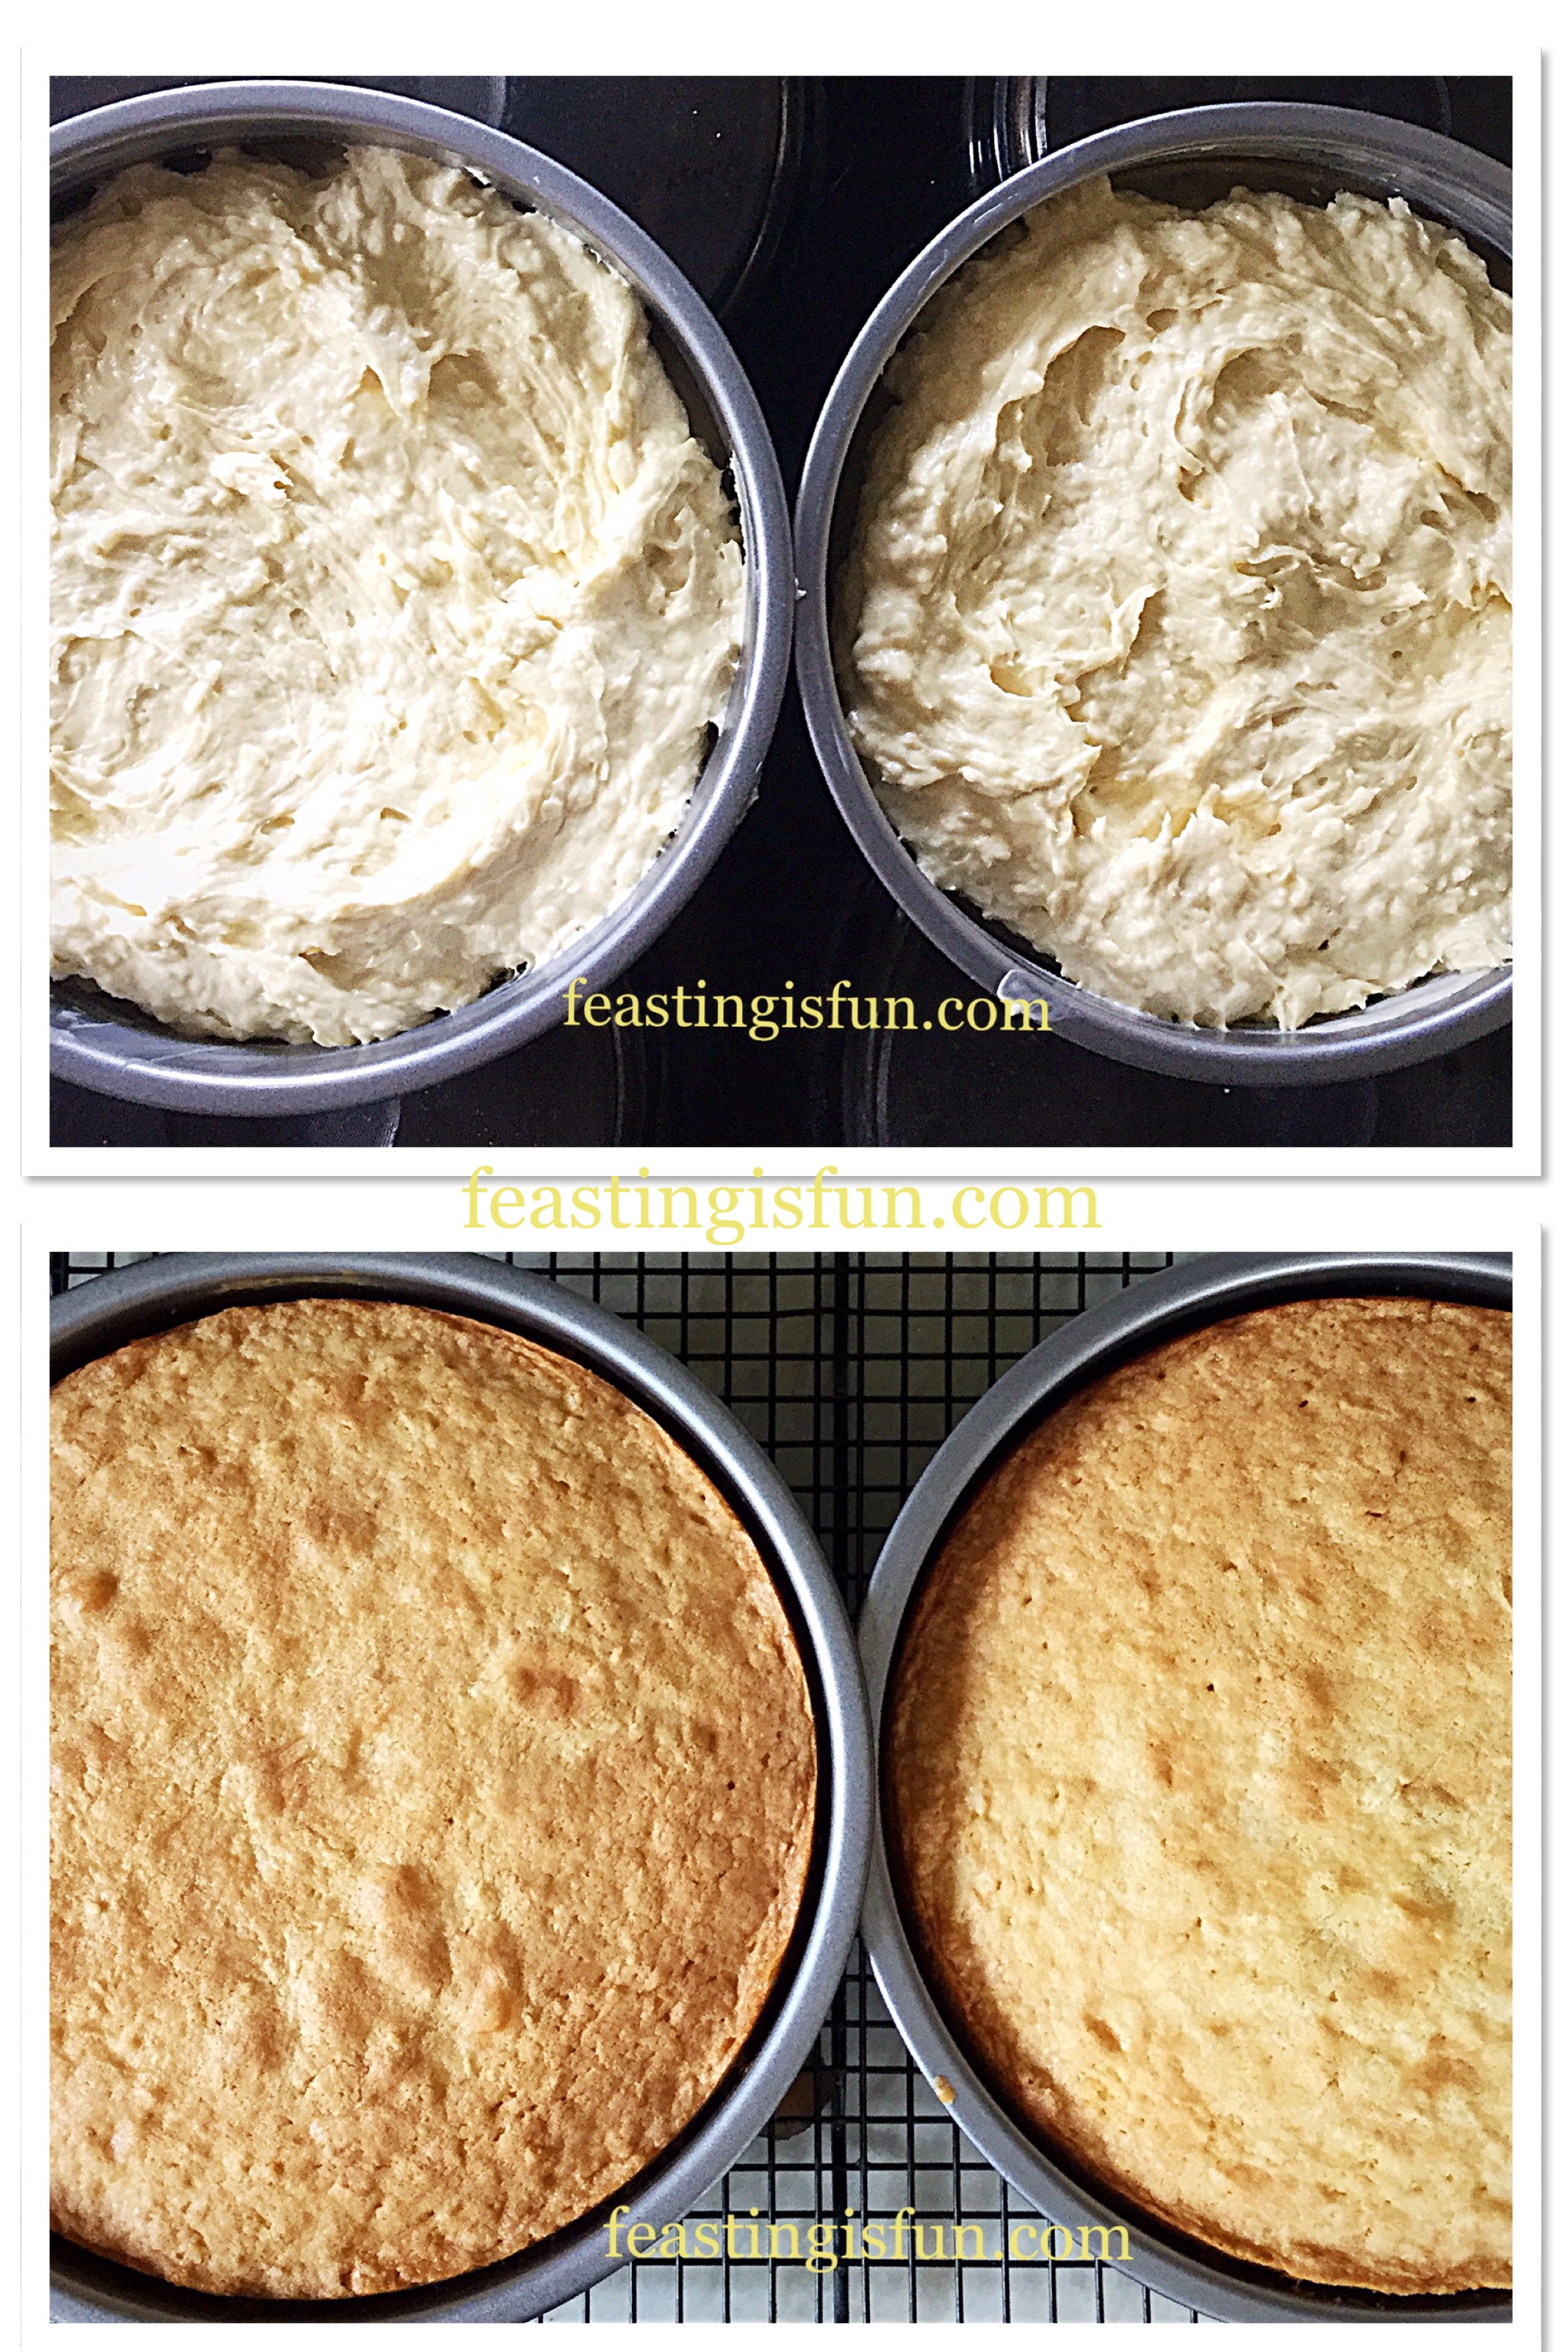
Making And Baking The Sponge Cakes
First of all, you will need 2 x 20cm/8″ sandwich tins that are 5cm/2″ deep. Grease thoroughly with butter and line the base with baking parchment.
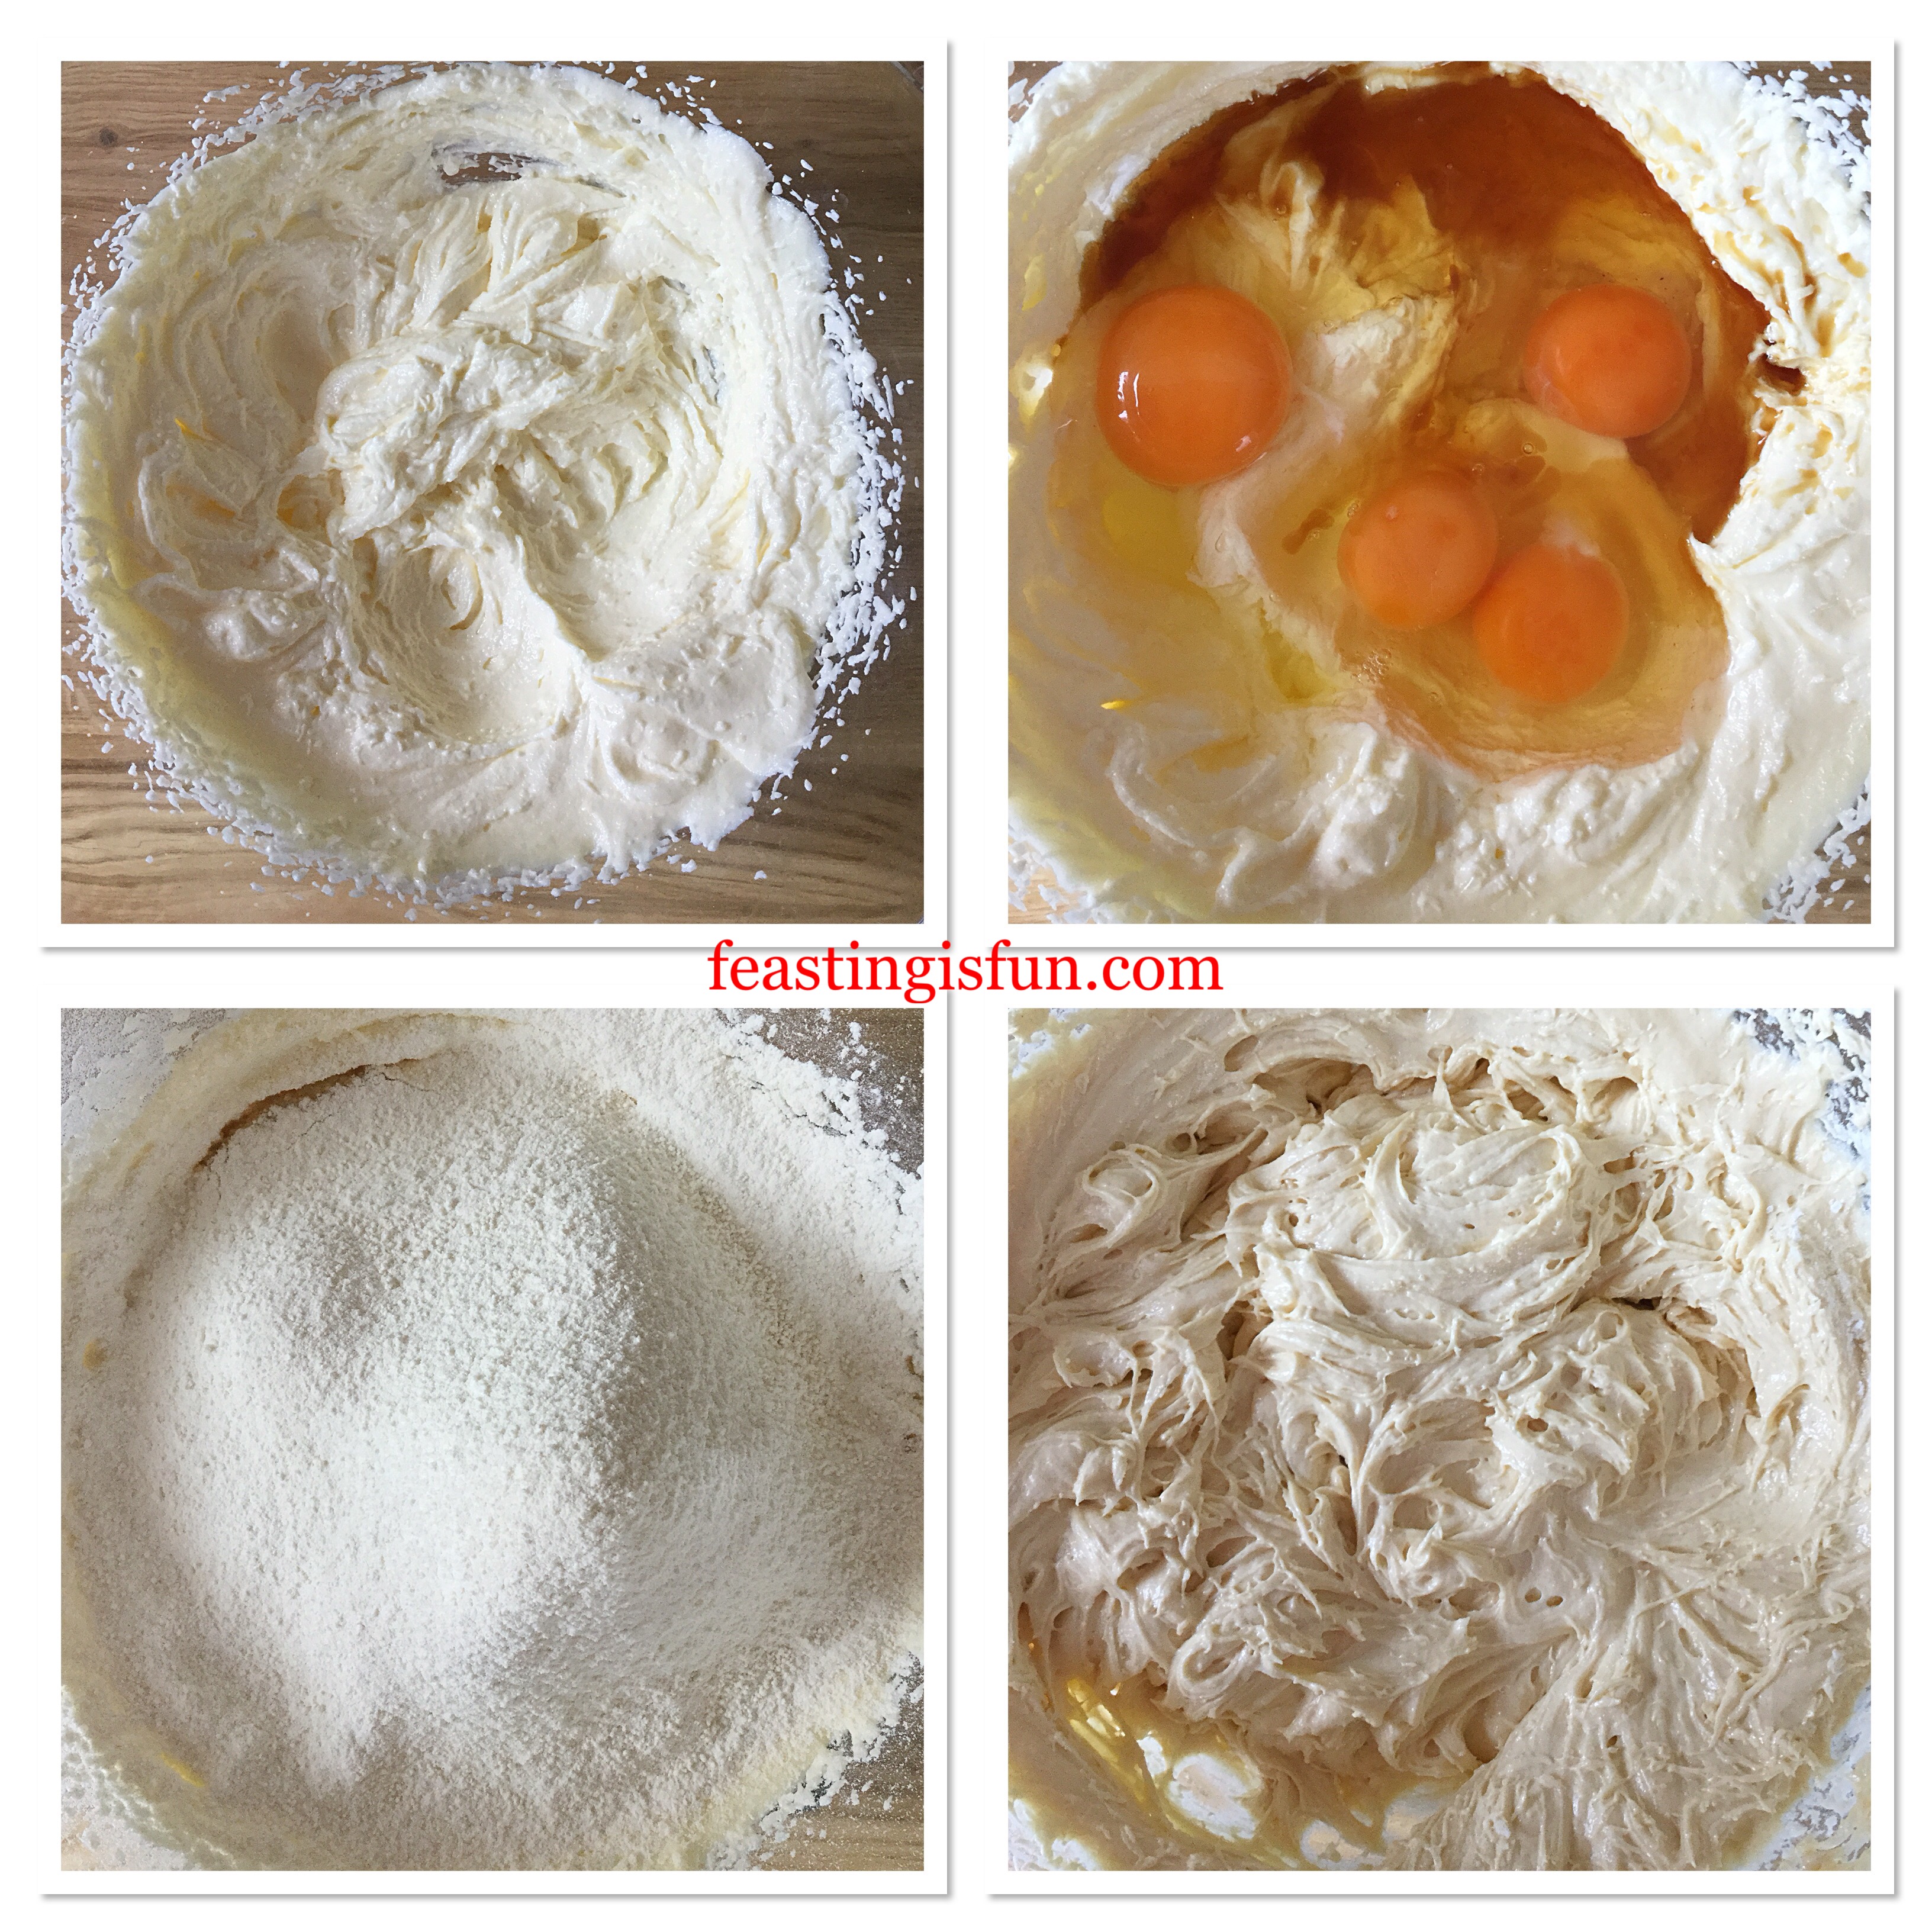
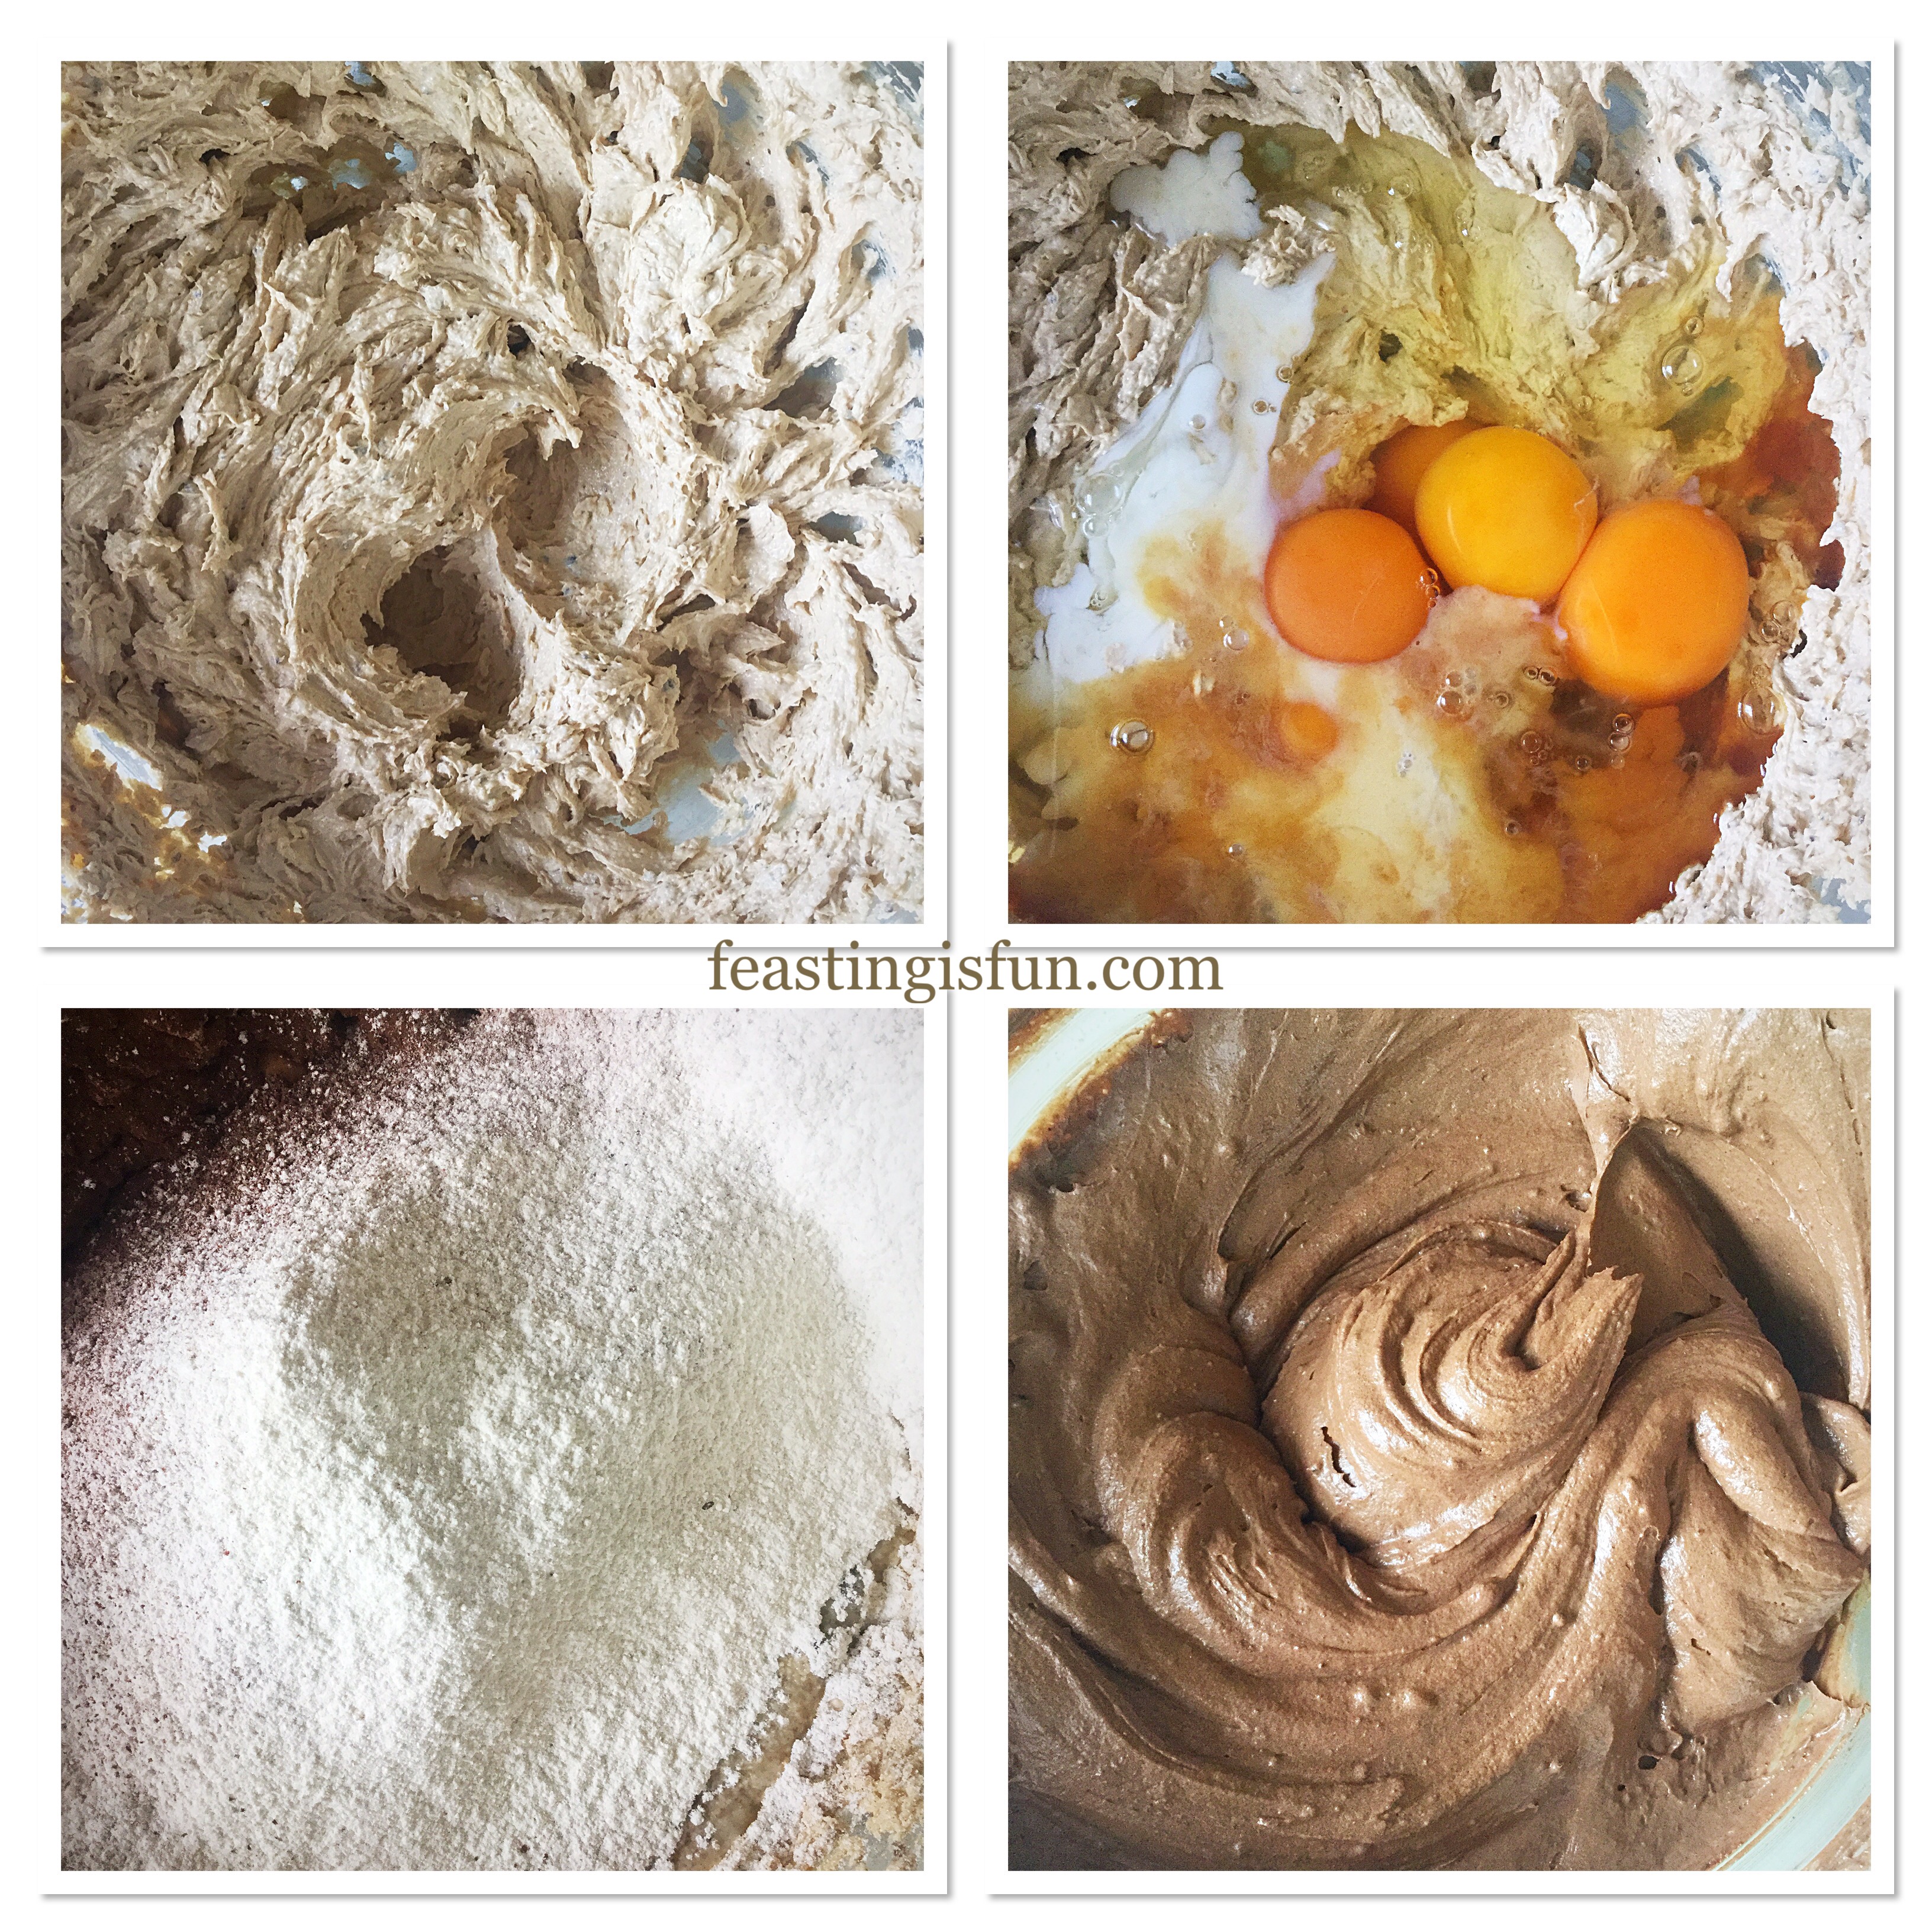
- Into a large bowl add the butter, peanut butter, sugar and salt. Whisk until pale and creamy, this will take around 5 minutes. Creaming the butter and sugar together properly helps create a light sponge.
- Next add all 5 eggs, the milk and vanilla extract. Whisk briefly to break up the eggs.
- Now sift in the dry ingredients, flour, cocoa powder and baking powder.
- Finally, whisk or beat all of the ingredients together until they become a smooth batter. Over whisking will create a tough cake sponge.
- Divide the cake mixture evenly between the two prepared tins.
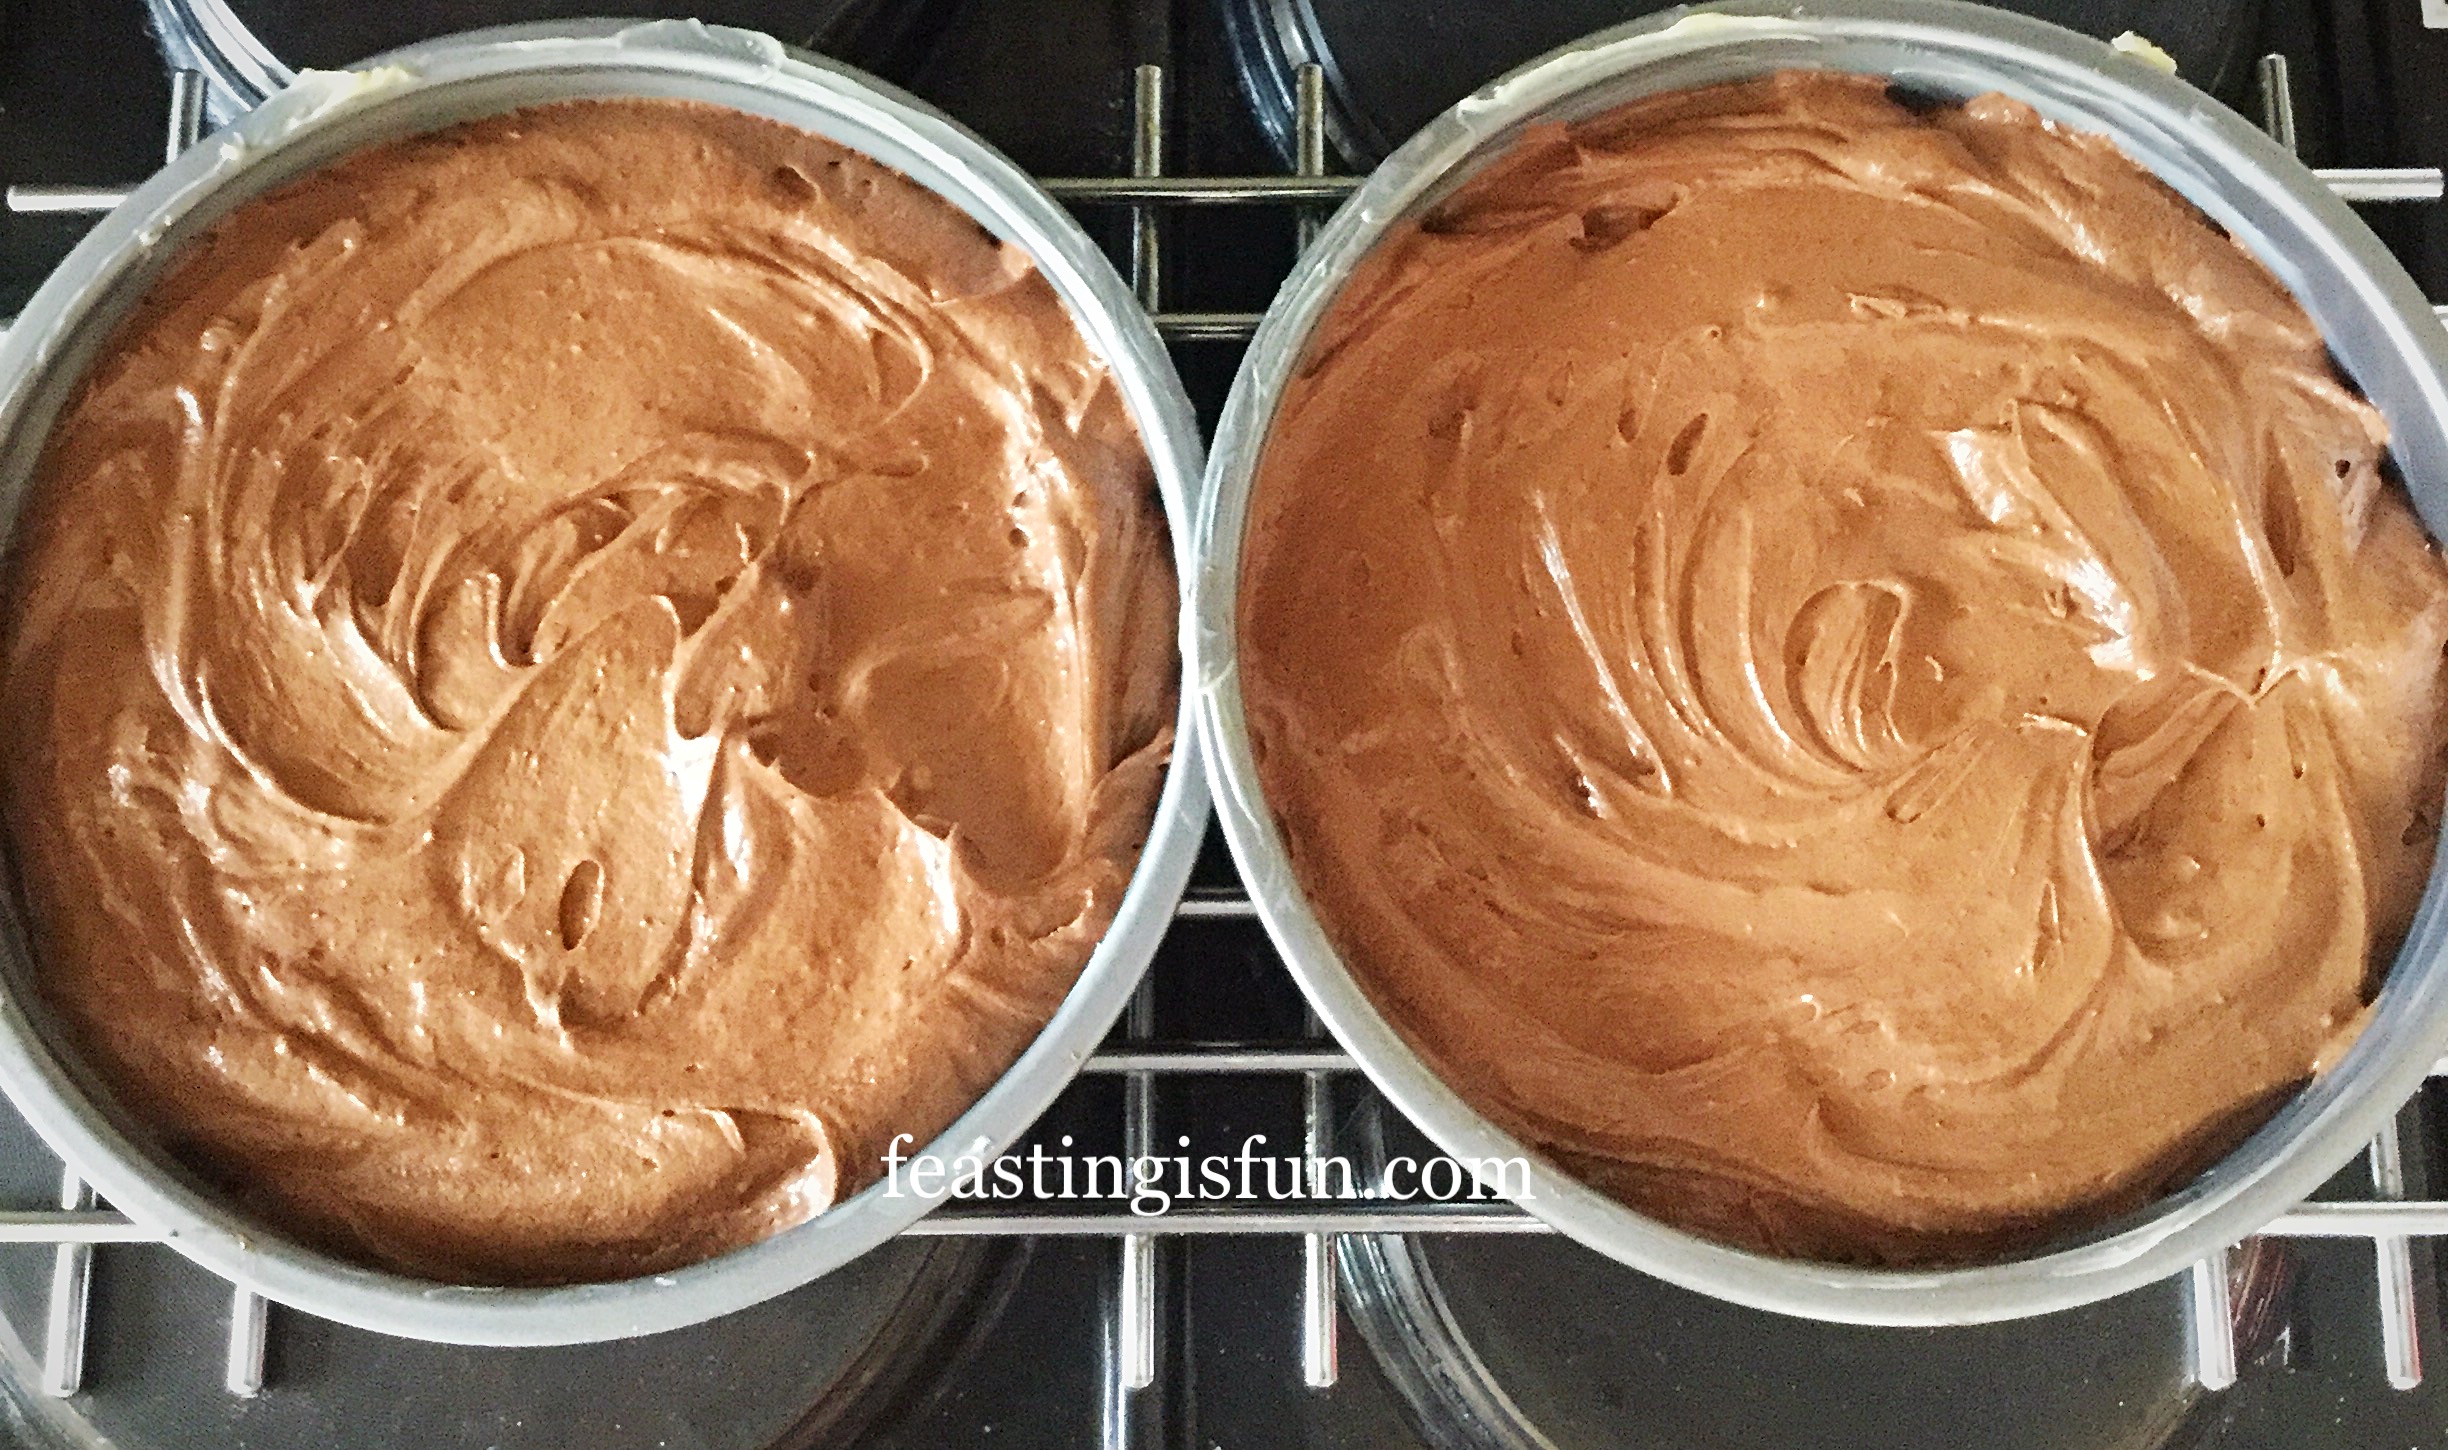
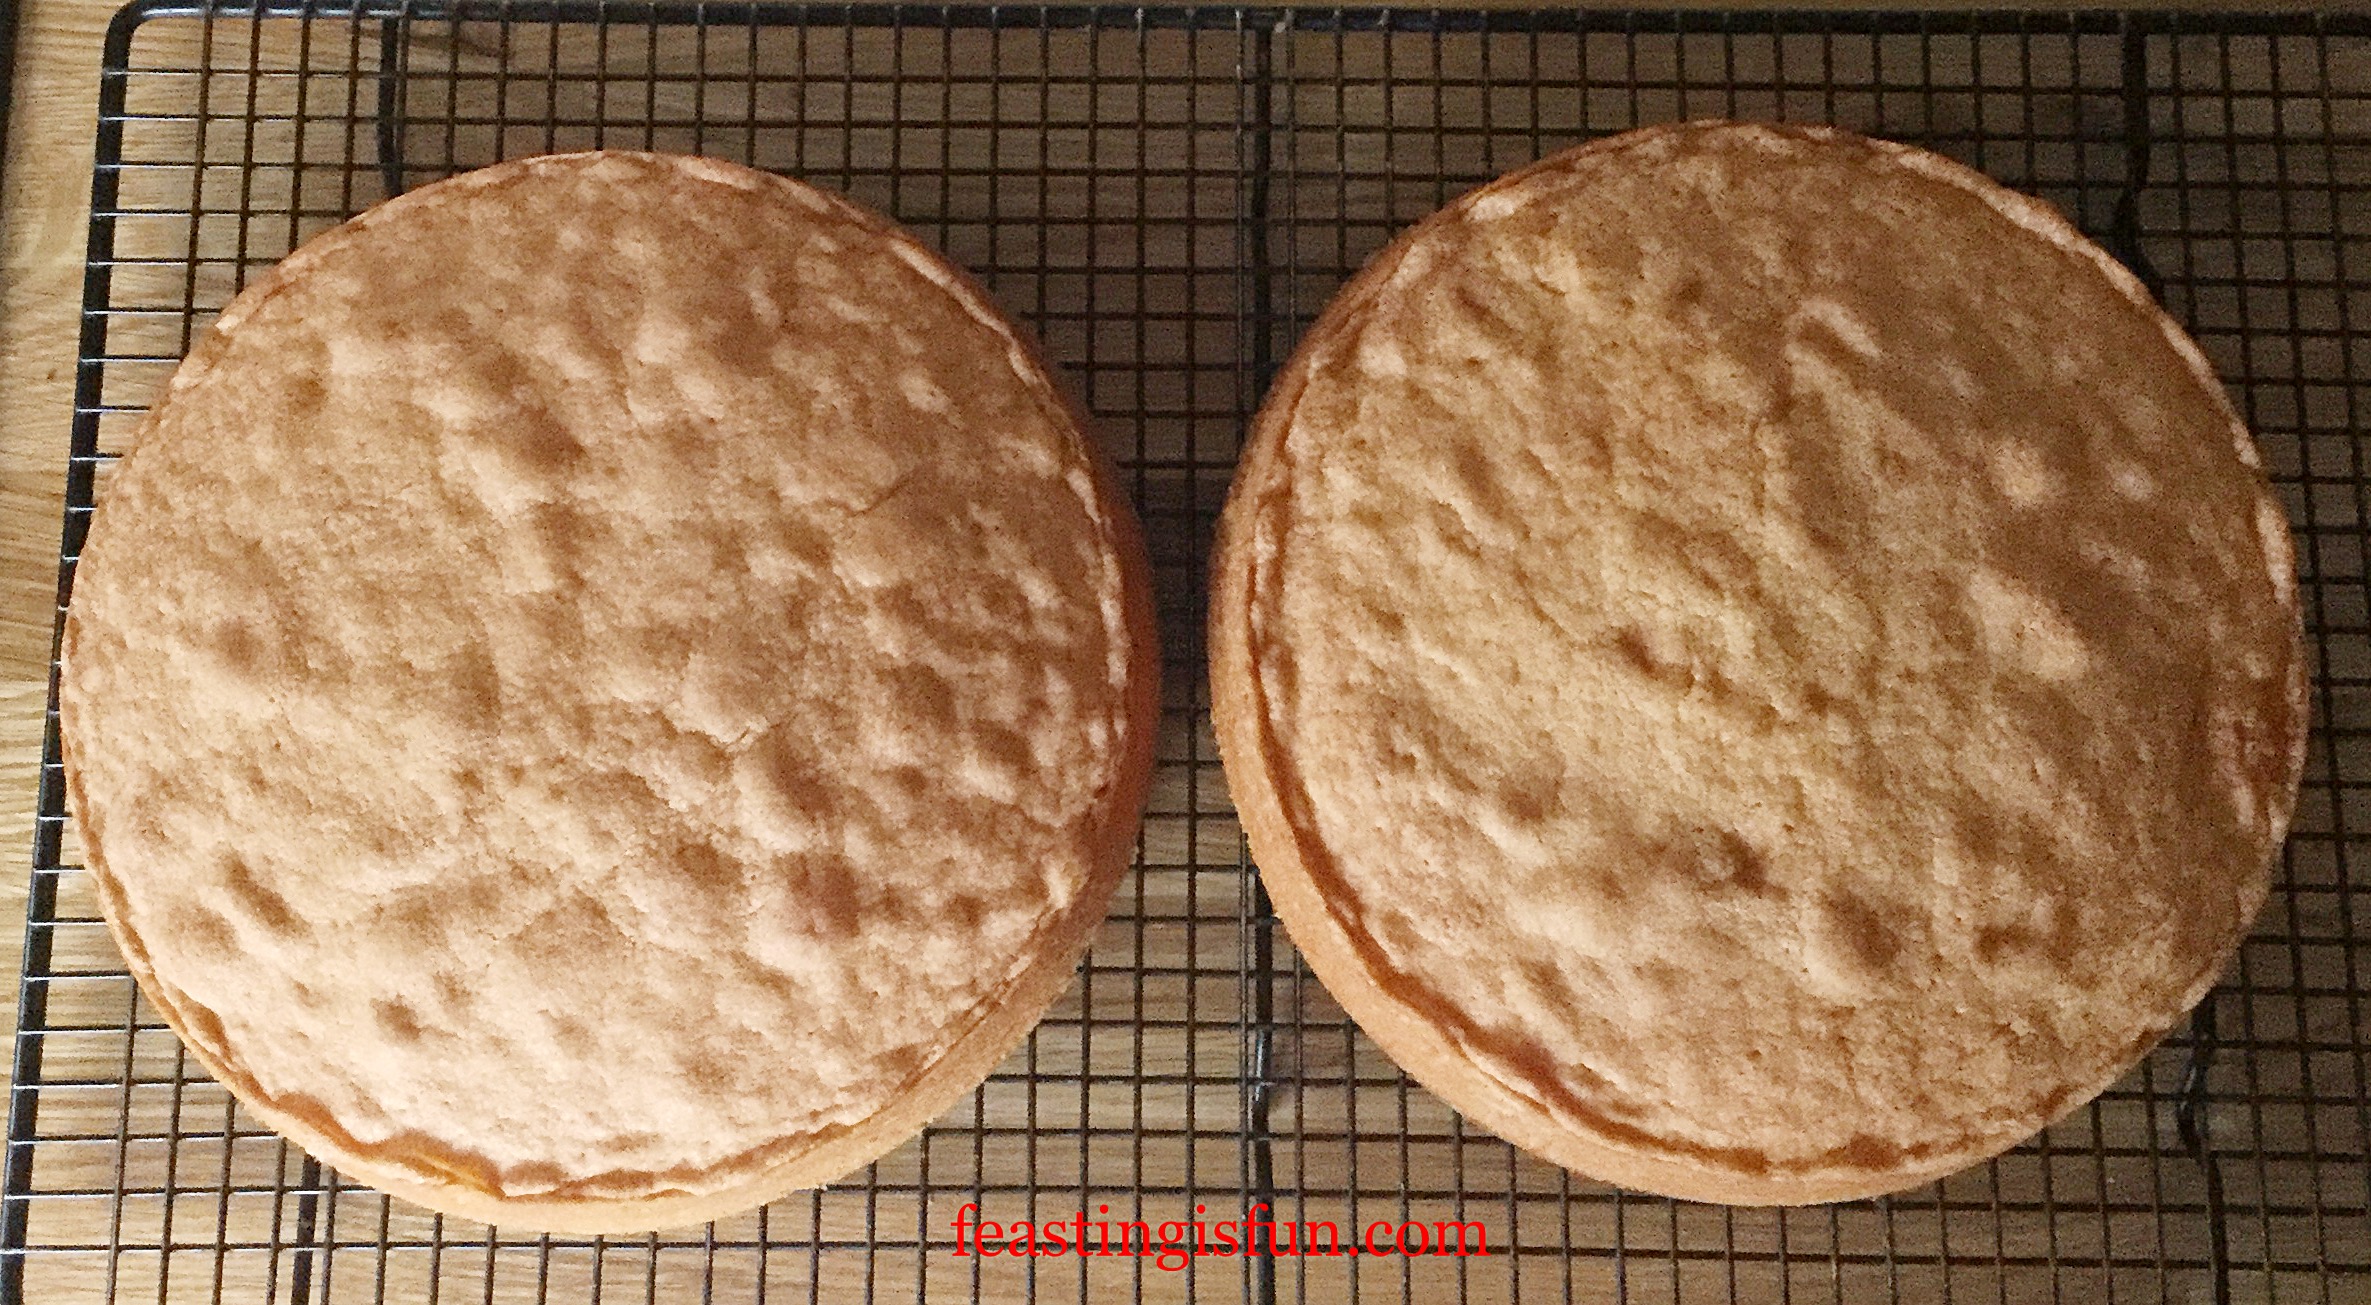
- Place the cake tins evenly spaced apart, into the oven and bake for 30-40 minutes.
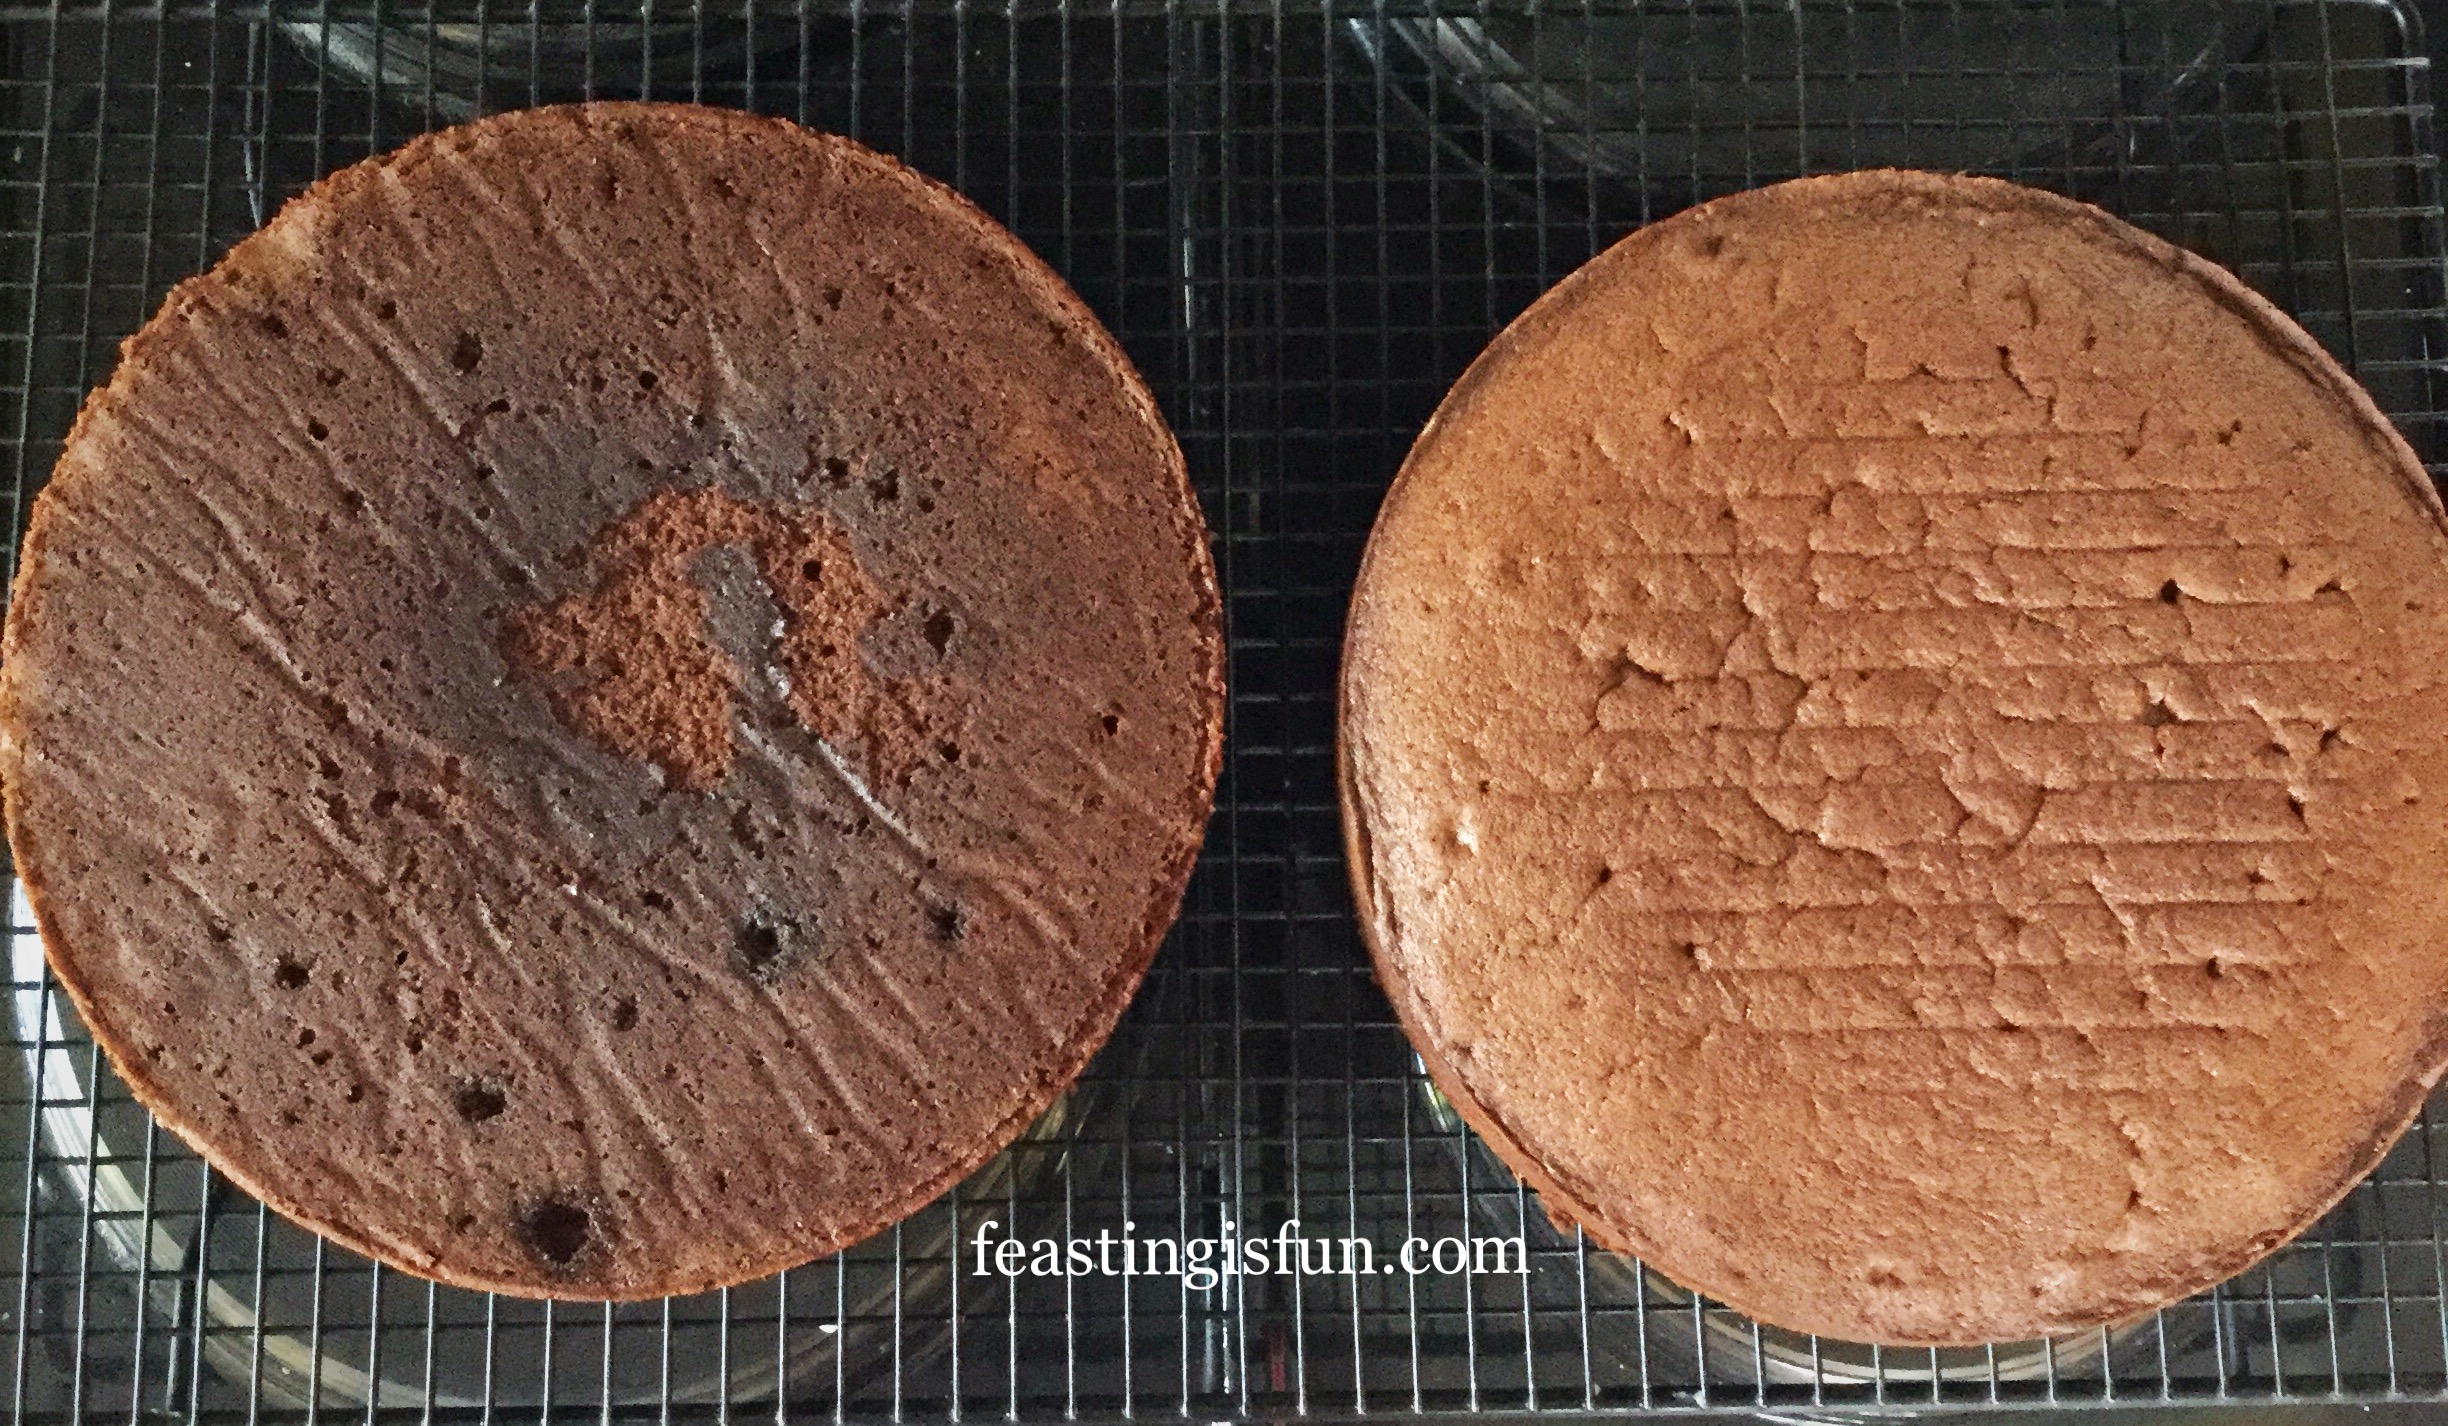
- The cakes are baked when they spring back from a light touch. as soon as they are baked remove from the oven.
- Allow the cakes to cool for 15 minutes in the tin before turning out on to a cooling rack.
How To Frost The Cake
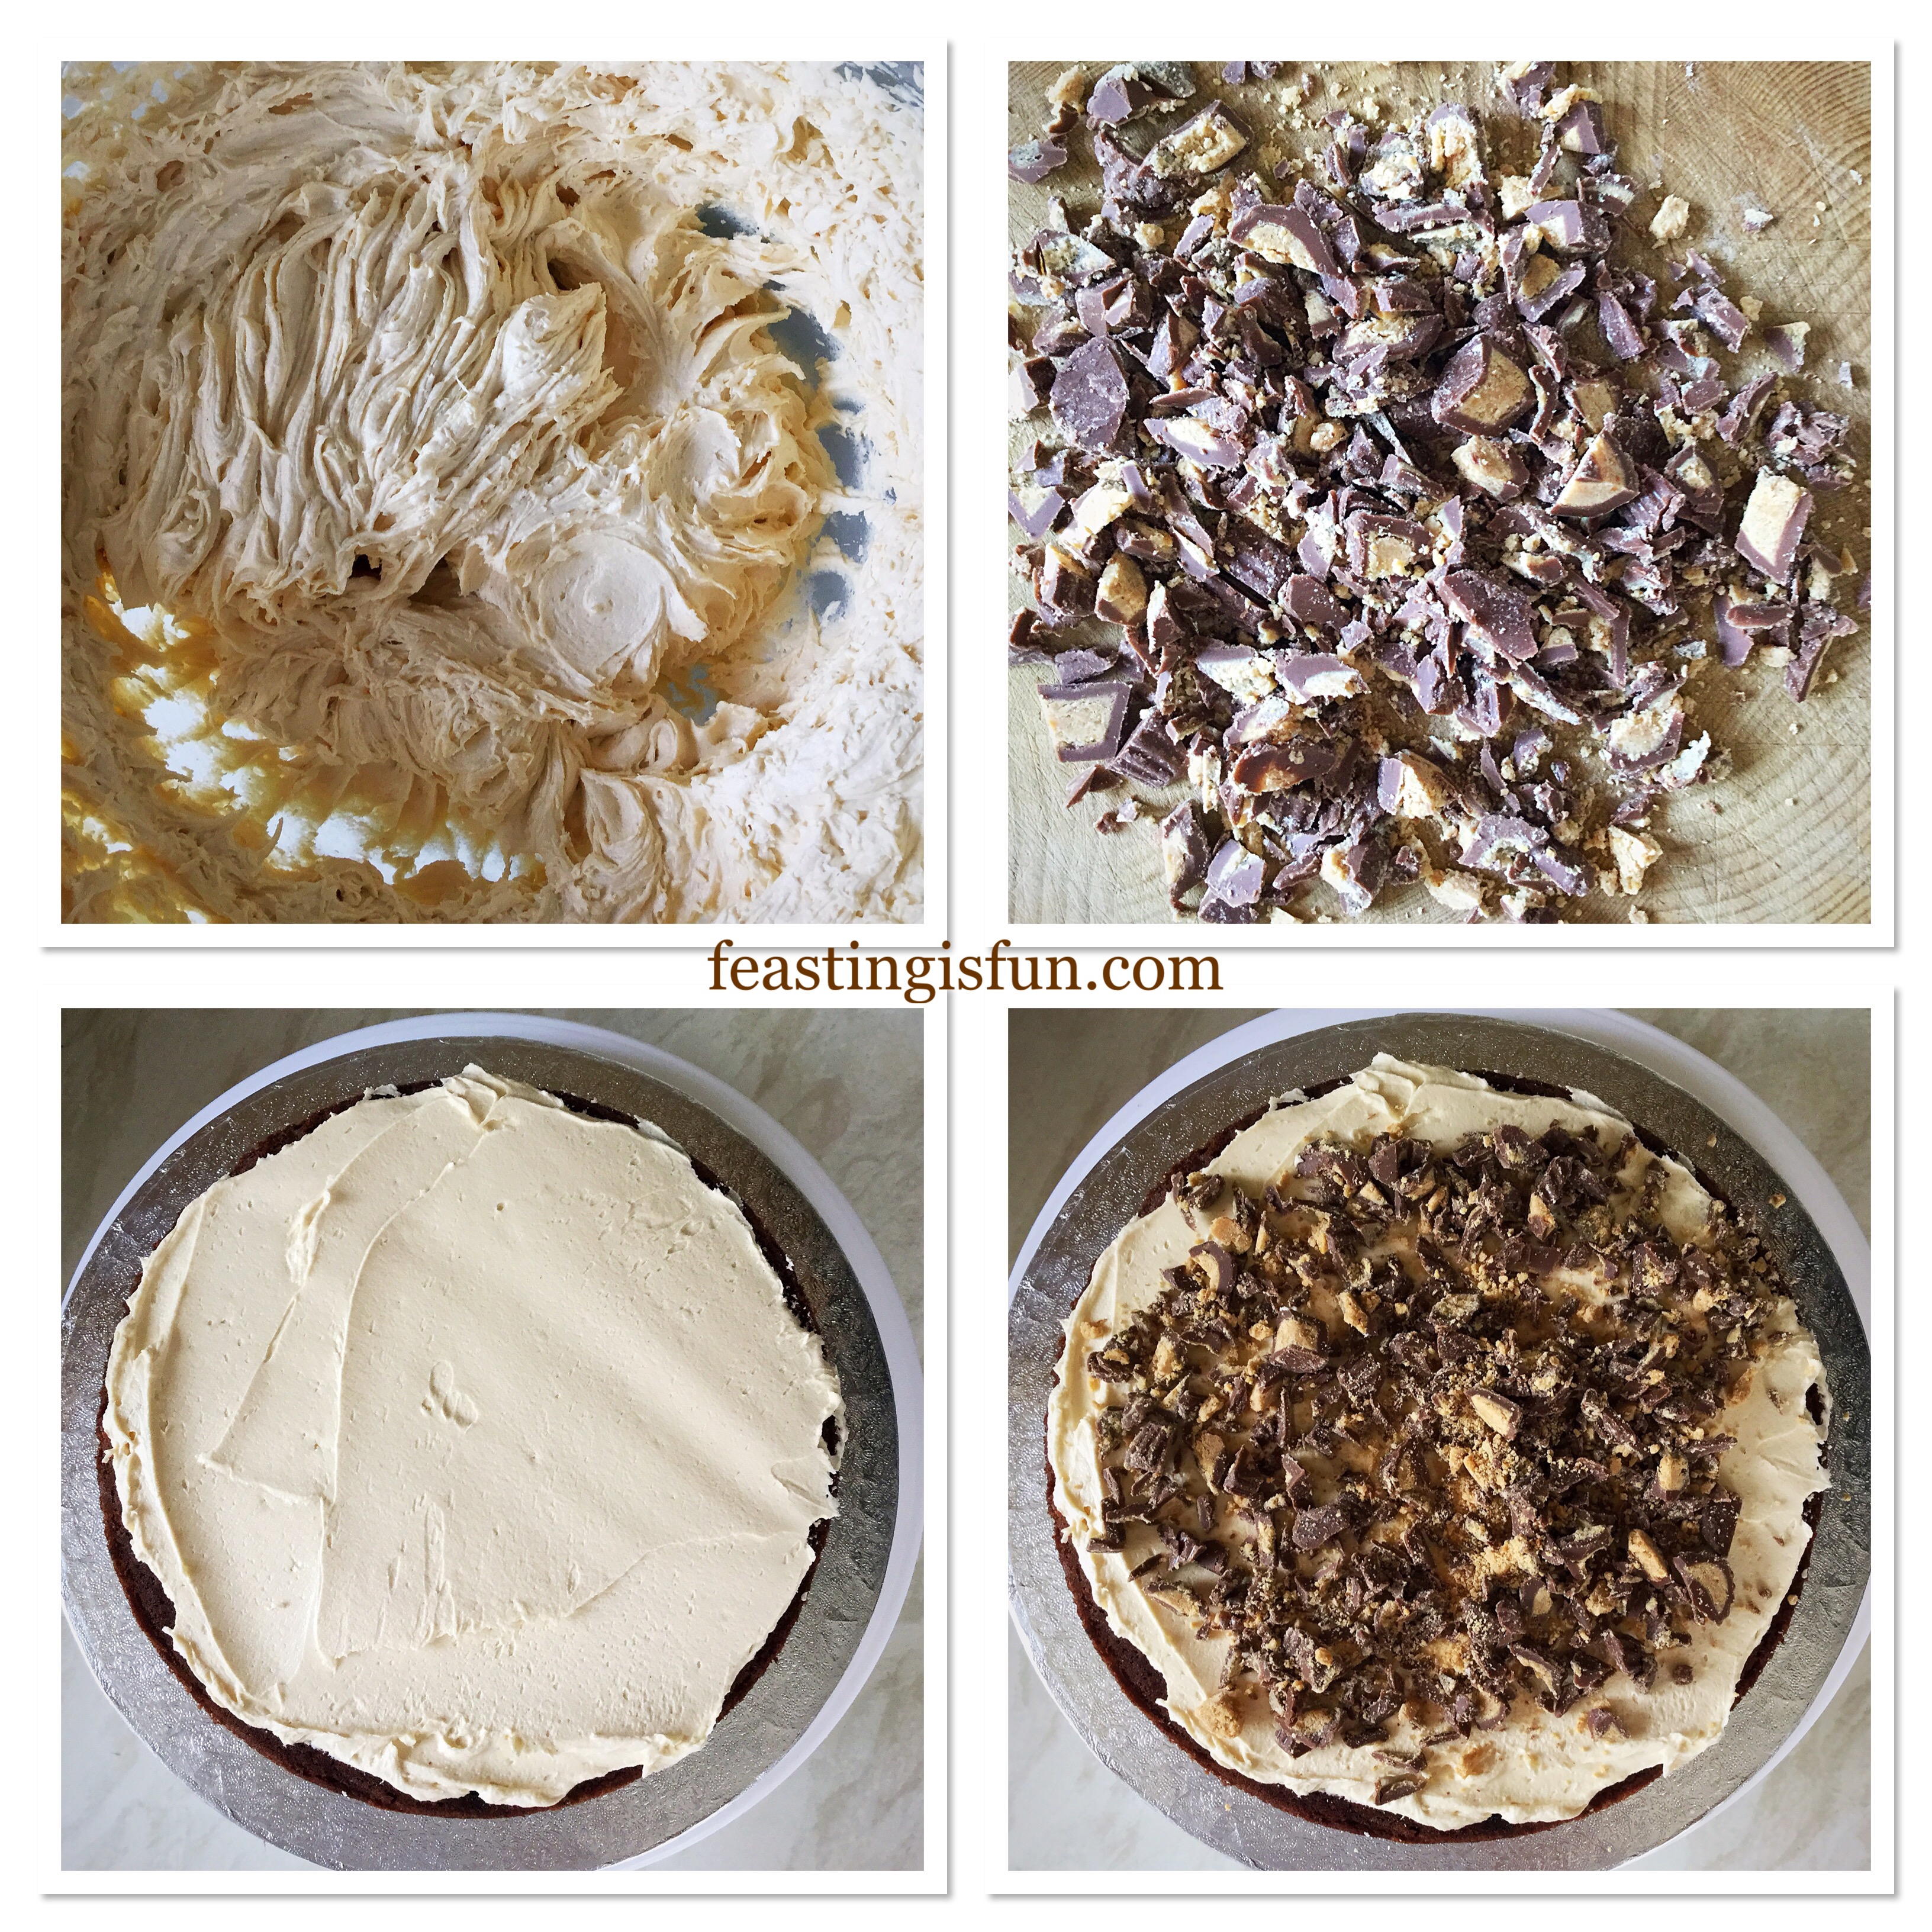
- First of all, chop 20 mini peanut butter cups into small pieces. See the photograph below as a guide. Set to one side.
- Into a large bowl add the butter, peanut butter, salt, vanilla extract and icing sugar. Next pour the very hot water down the inside of the bowl.
- Starting on a slow speed whisk the ingredients together, increasing in speed as they become combined. Continue whisking until the buttercream is light and creamy in consistency, with no visible lumps.
- Check the cake is completely cooled before frosting.
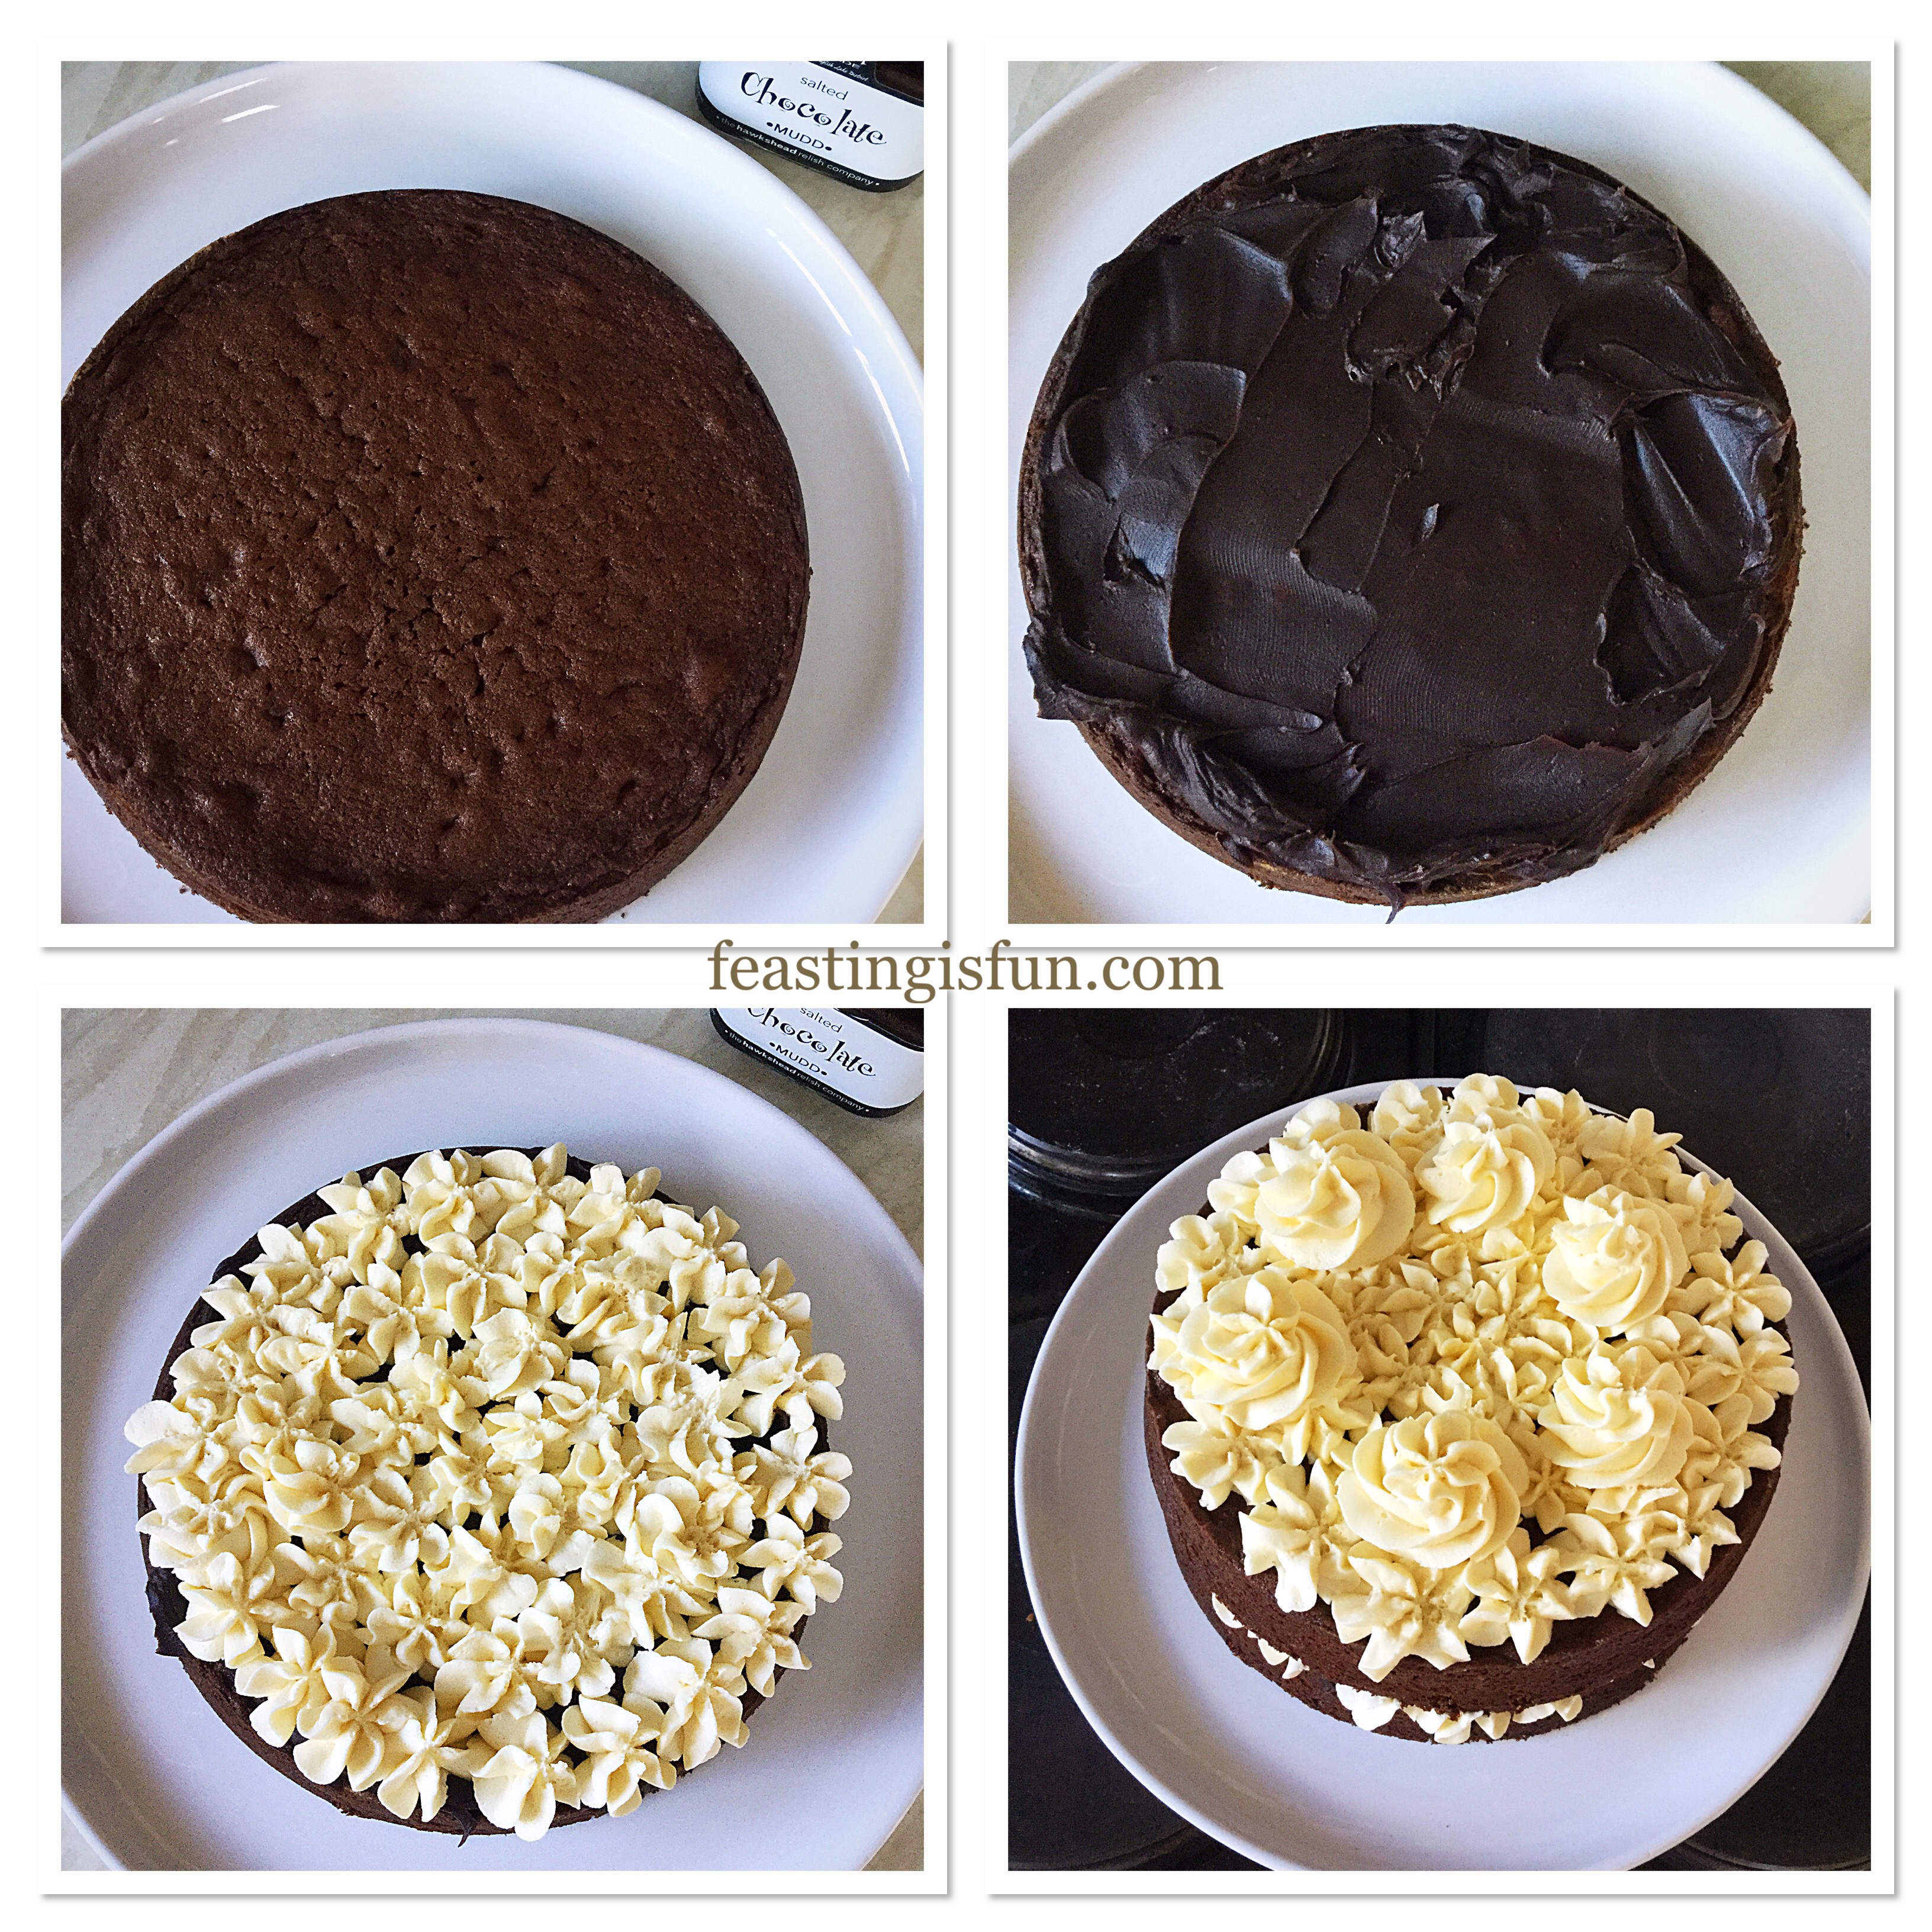
- Place one cake sponge, flat side up, on to a cake board or plate. Spoon 3 heaped dessert spoons of frosting on to the sponge and spread evenly across the sponge with a palette knife.
- Next, sprinkle over the choped peanut butter cups so they create an even layer across the frosted sponge.
- If you have a turning, cake decorating stand place the cake on it. Alternatively place the cake board on to a cake stand. The cake can then be rotated on the board, making the frosting process easier.
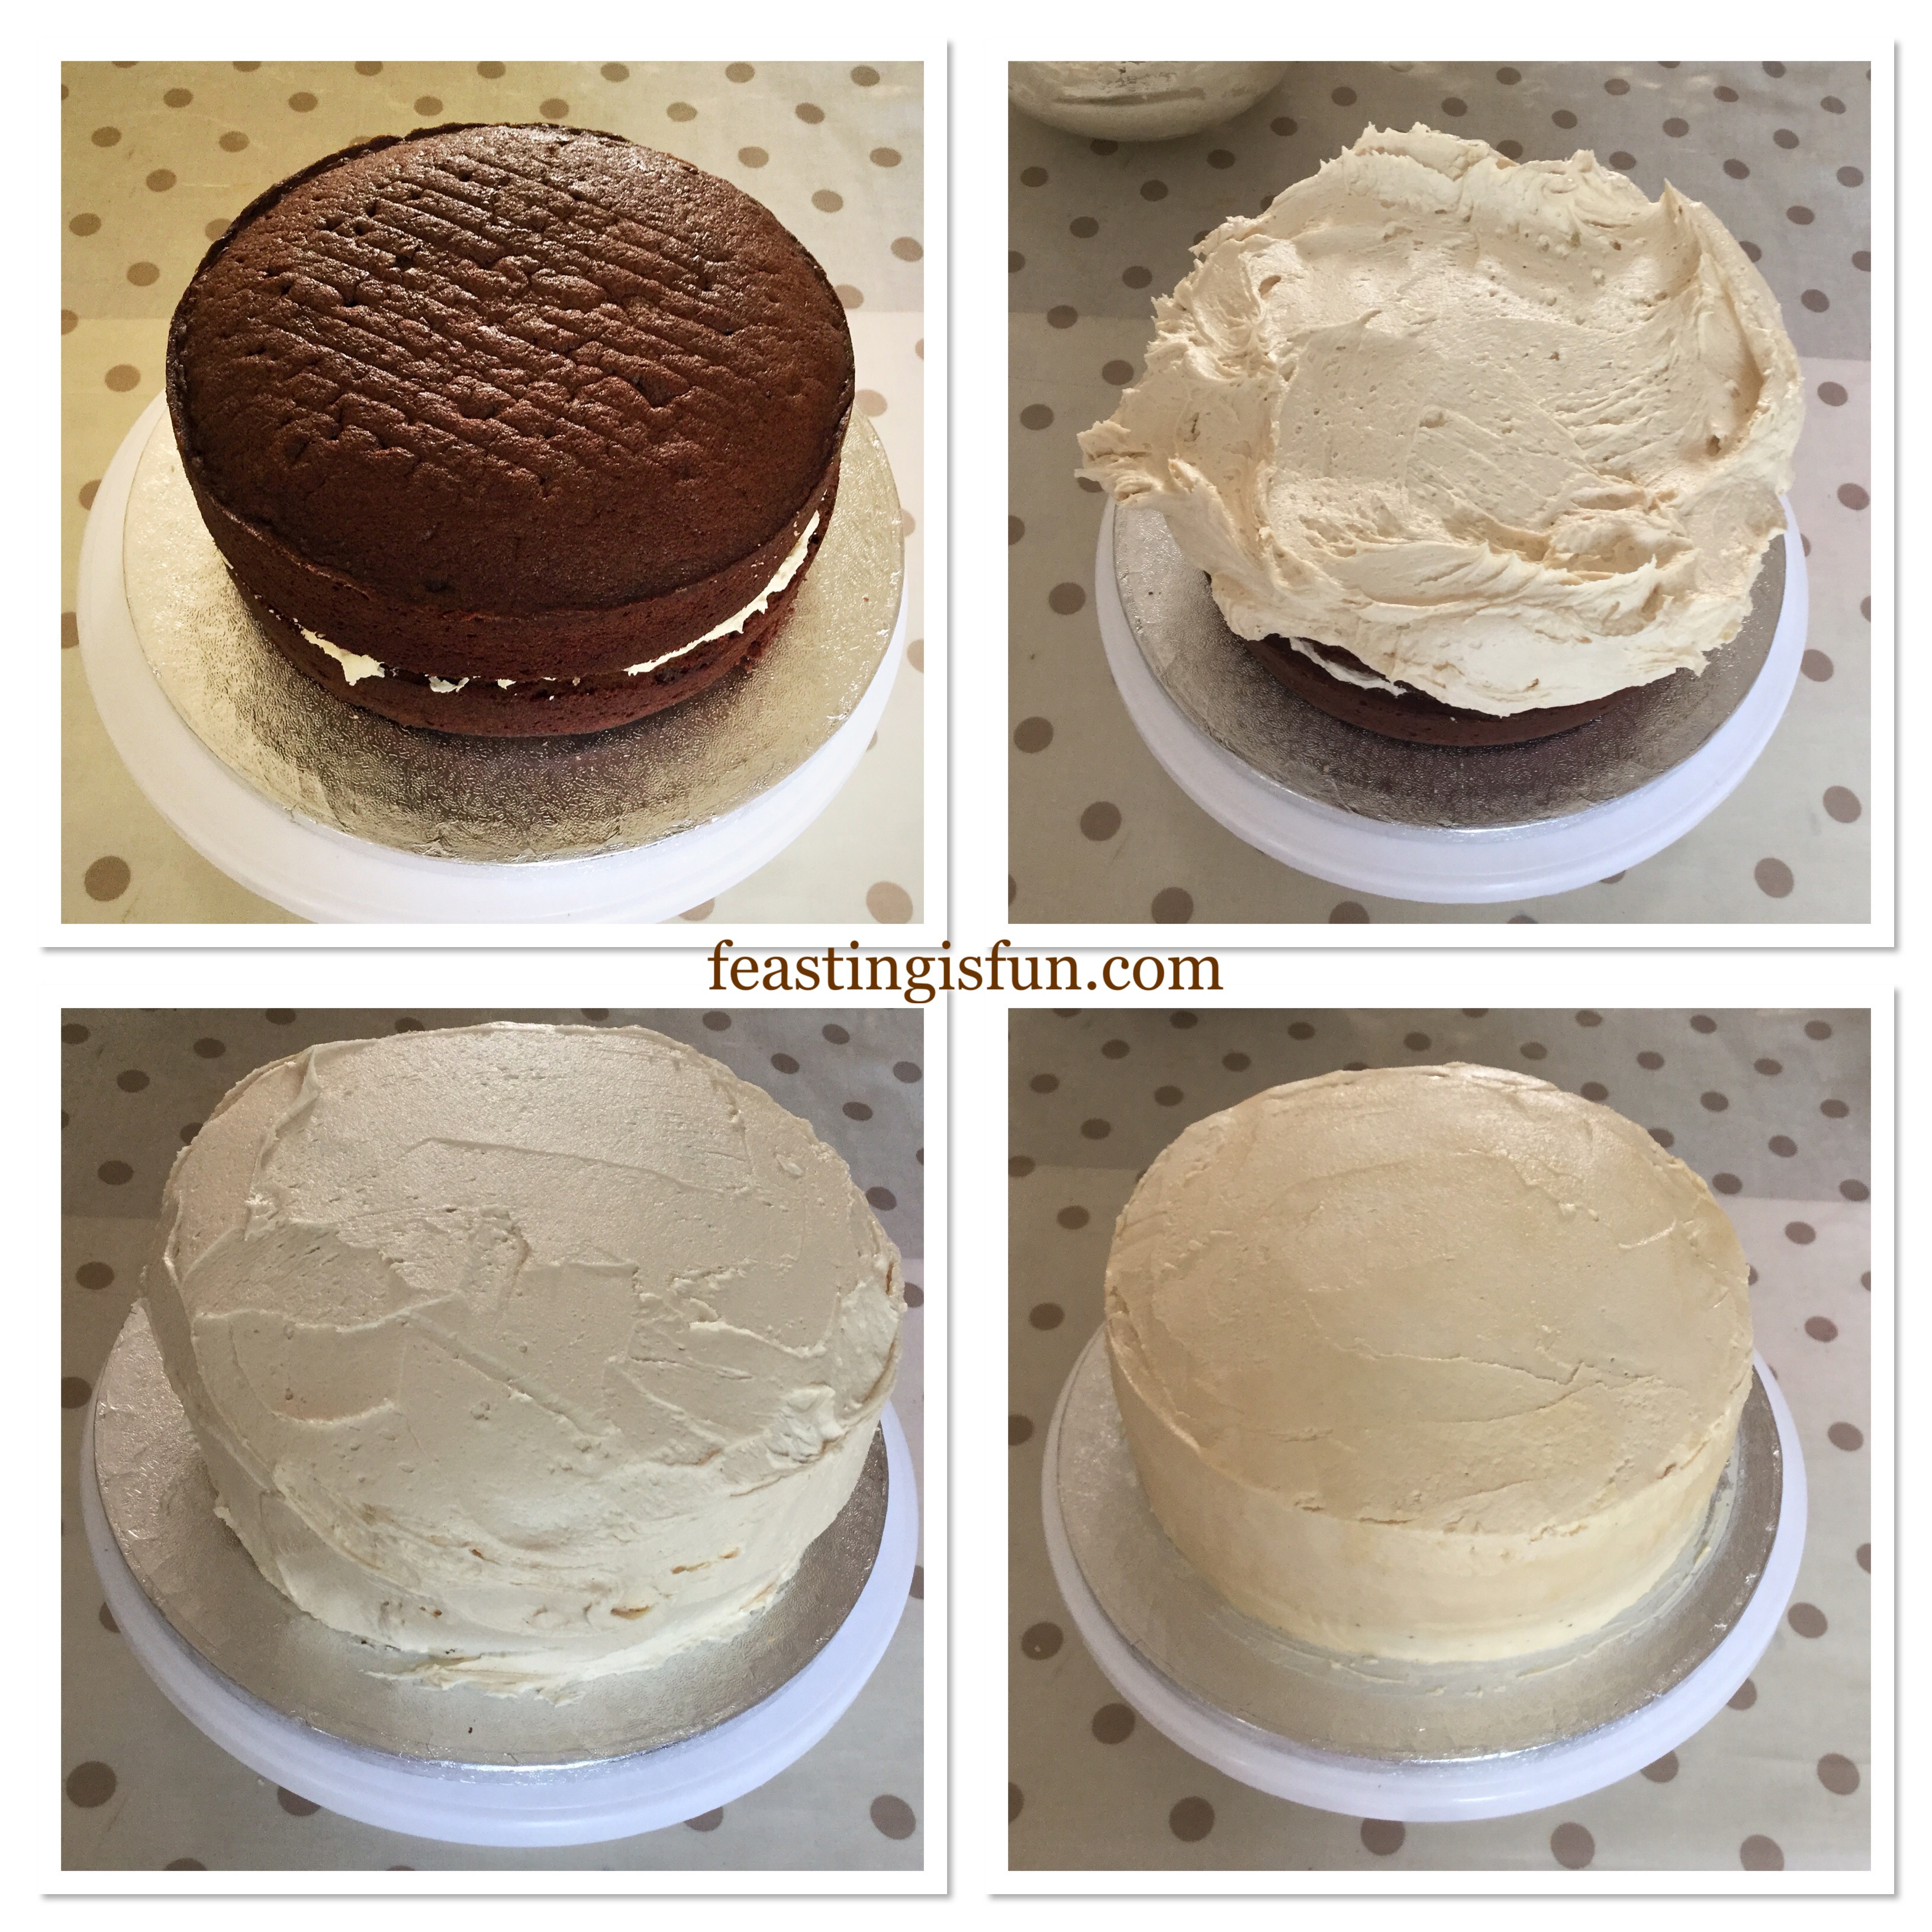
- Place the other cake sponge, flat side down, on top of the bottom sponge.
- Scoop three quarters of the remaining frosting on to the top of the cake.
- Using a palette knife spread the frosting across the top of the cake and over the sides. Add the remaining frosting as needed.
- Rotate the cake, spreading the frosting, until an even finish is achieved.
- Fill a jug with very hot water. Place a clean palette knife into the water, for a couple of seconds, remove and wipe away the water. Smooth the frosting using the hot pallet knife. Repeat this process until you have a smooth and even finish to the cake.
- Refridgerate the cake for at least one hour. The cake may be left in the fridge overnight at this stage.
Creating The Chocolate Drip Effect
- While the cake is finishing chilling, prepare the chocolate.
- Break up, or chop the chocolate and place into a heatproof, microwaveable bowl.
- Heat in the microwave, on medim power, for 30 second bursts. Stirring after each heating burst.
- As soon as the chocolate starts to melt remove the bowl and continue to stir until completely melted.
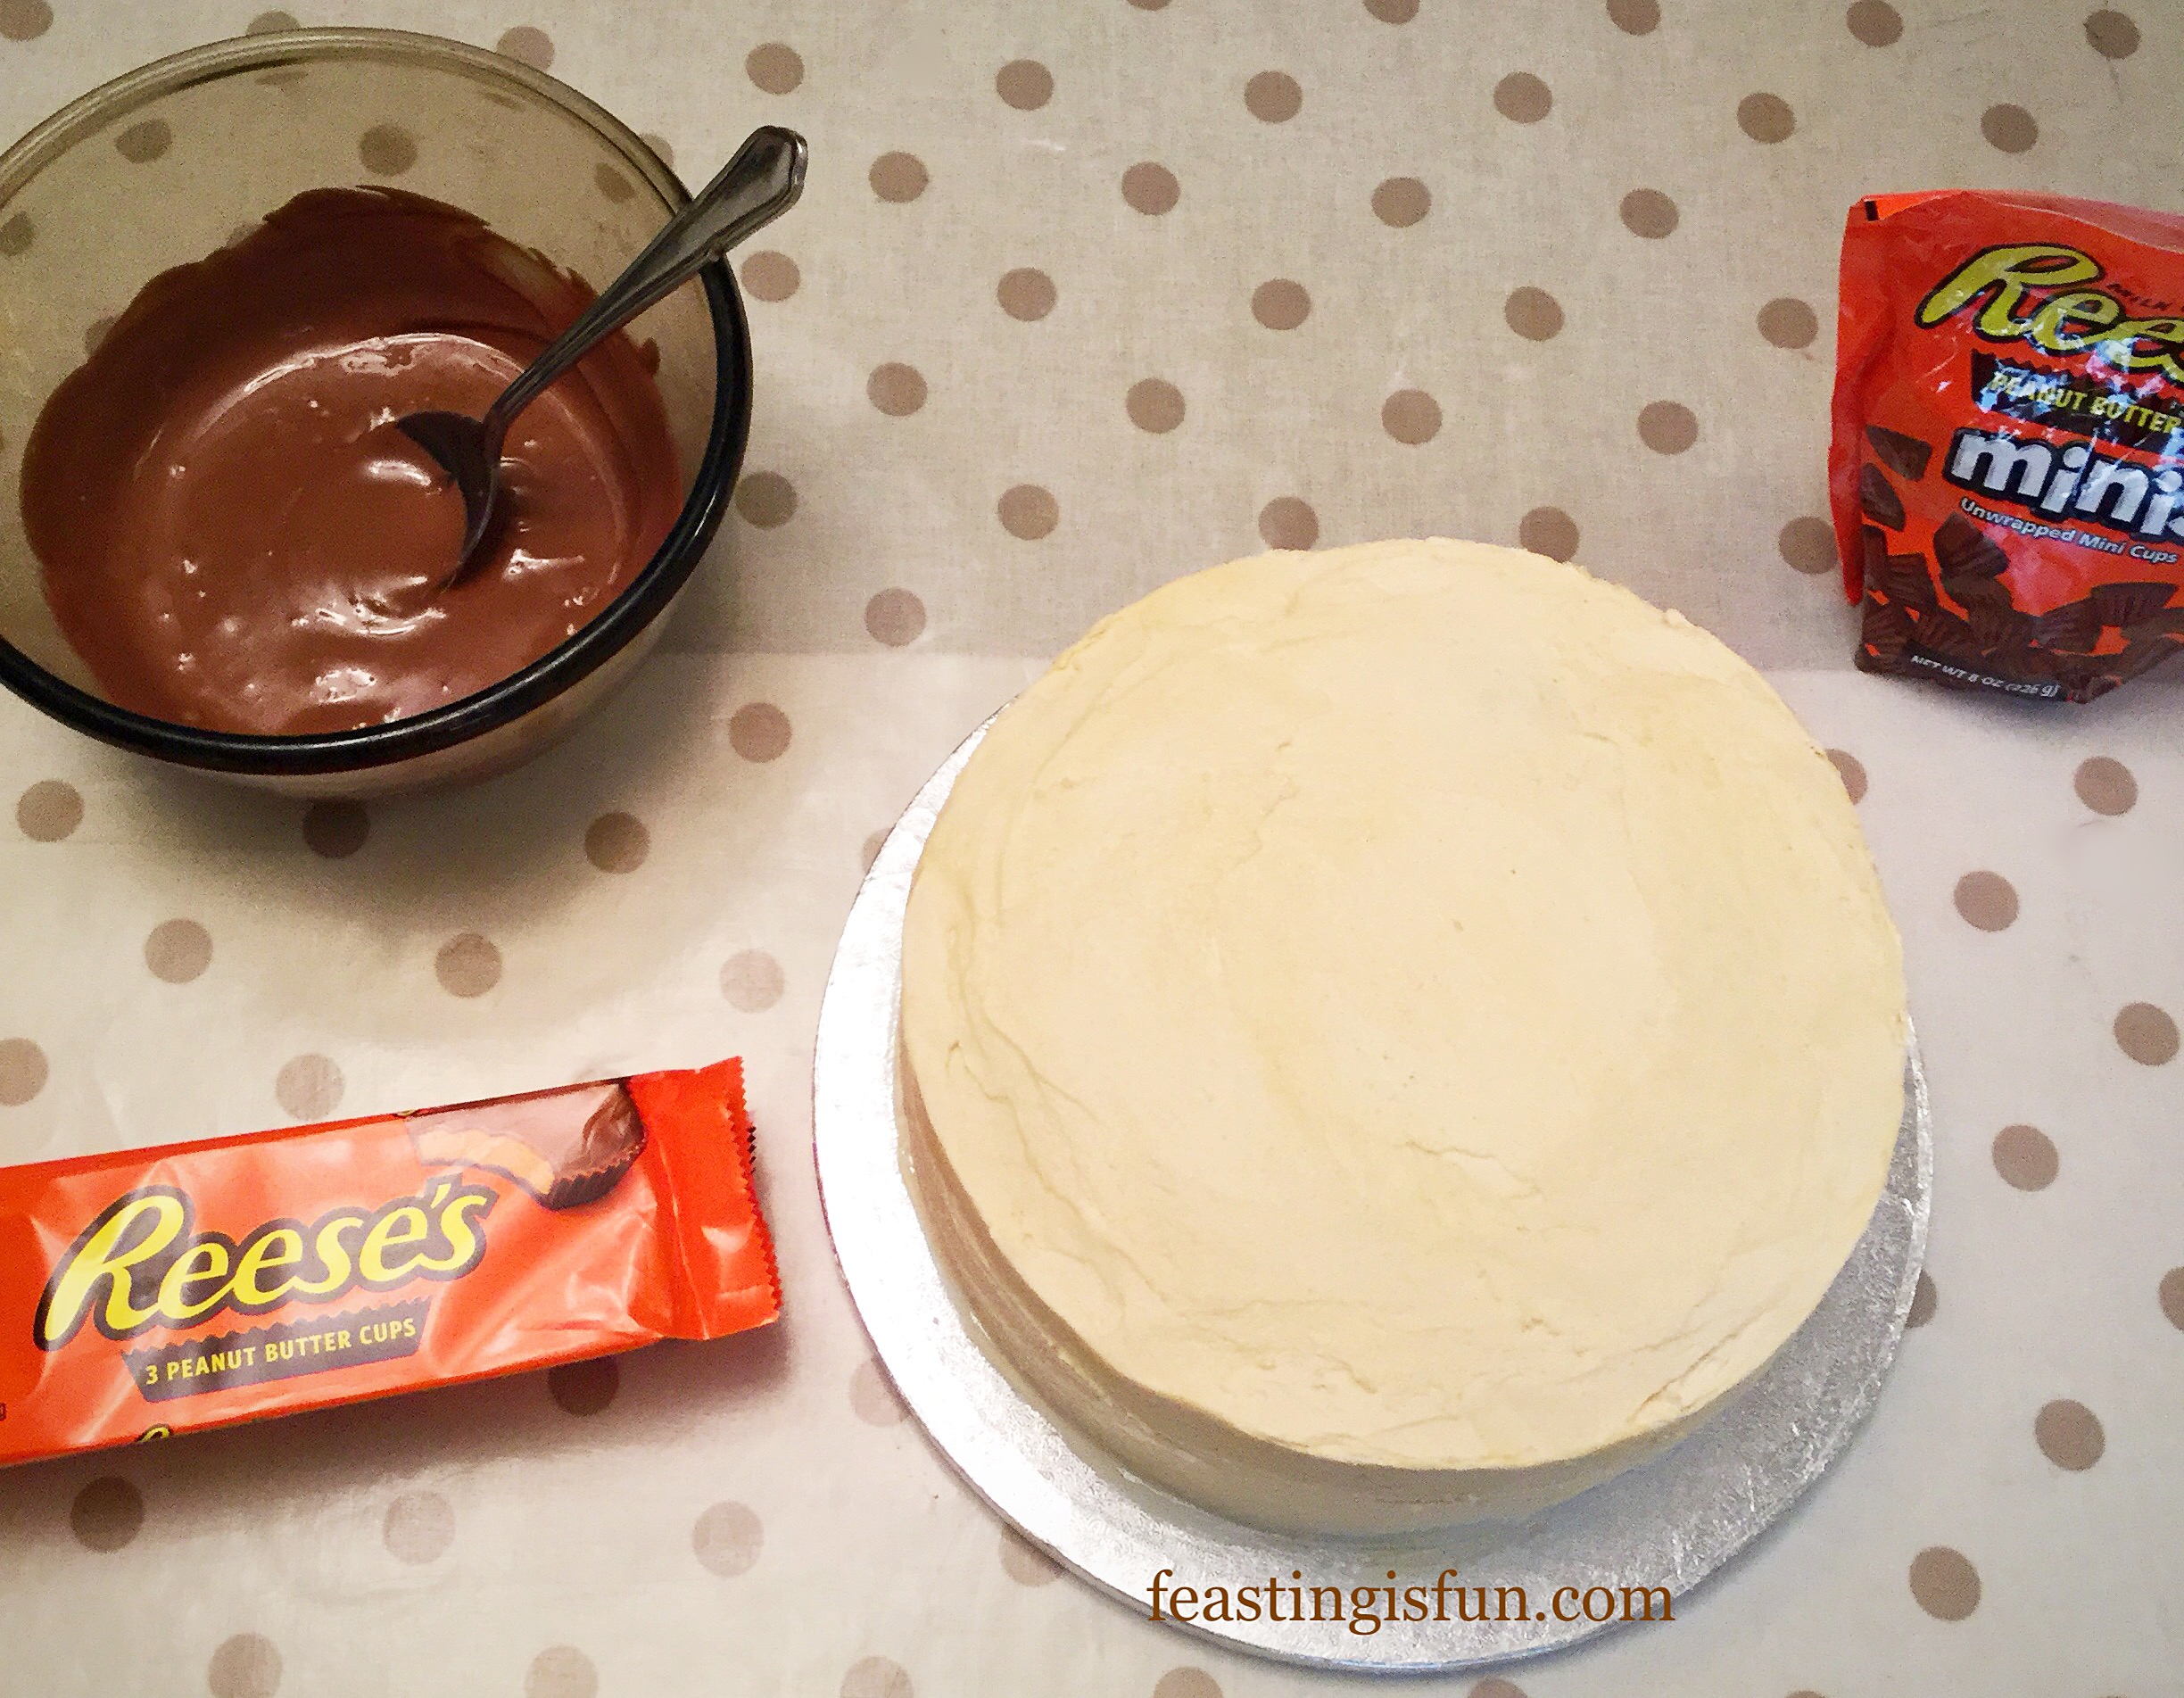
- Remove the chilled cake from the fridge and make sure that you have everything needed to hand.
- Spoon the melted chocolate on to the middle of the top of the cake, gradually working towards the outside edge.
- As the chocolate reaches the edge add more to encourage it to drip down the side.
- Continue all the way around the cake until you have the desired ‘drip’ effect.
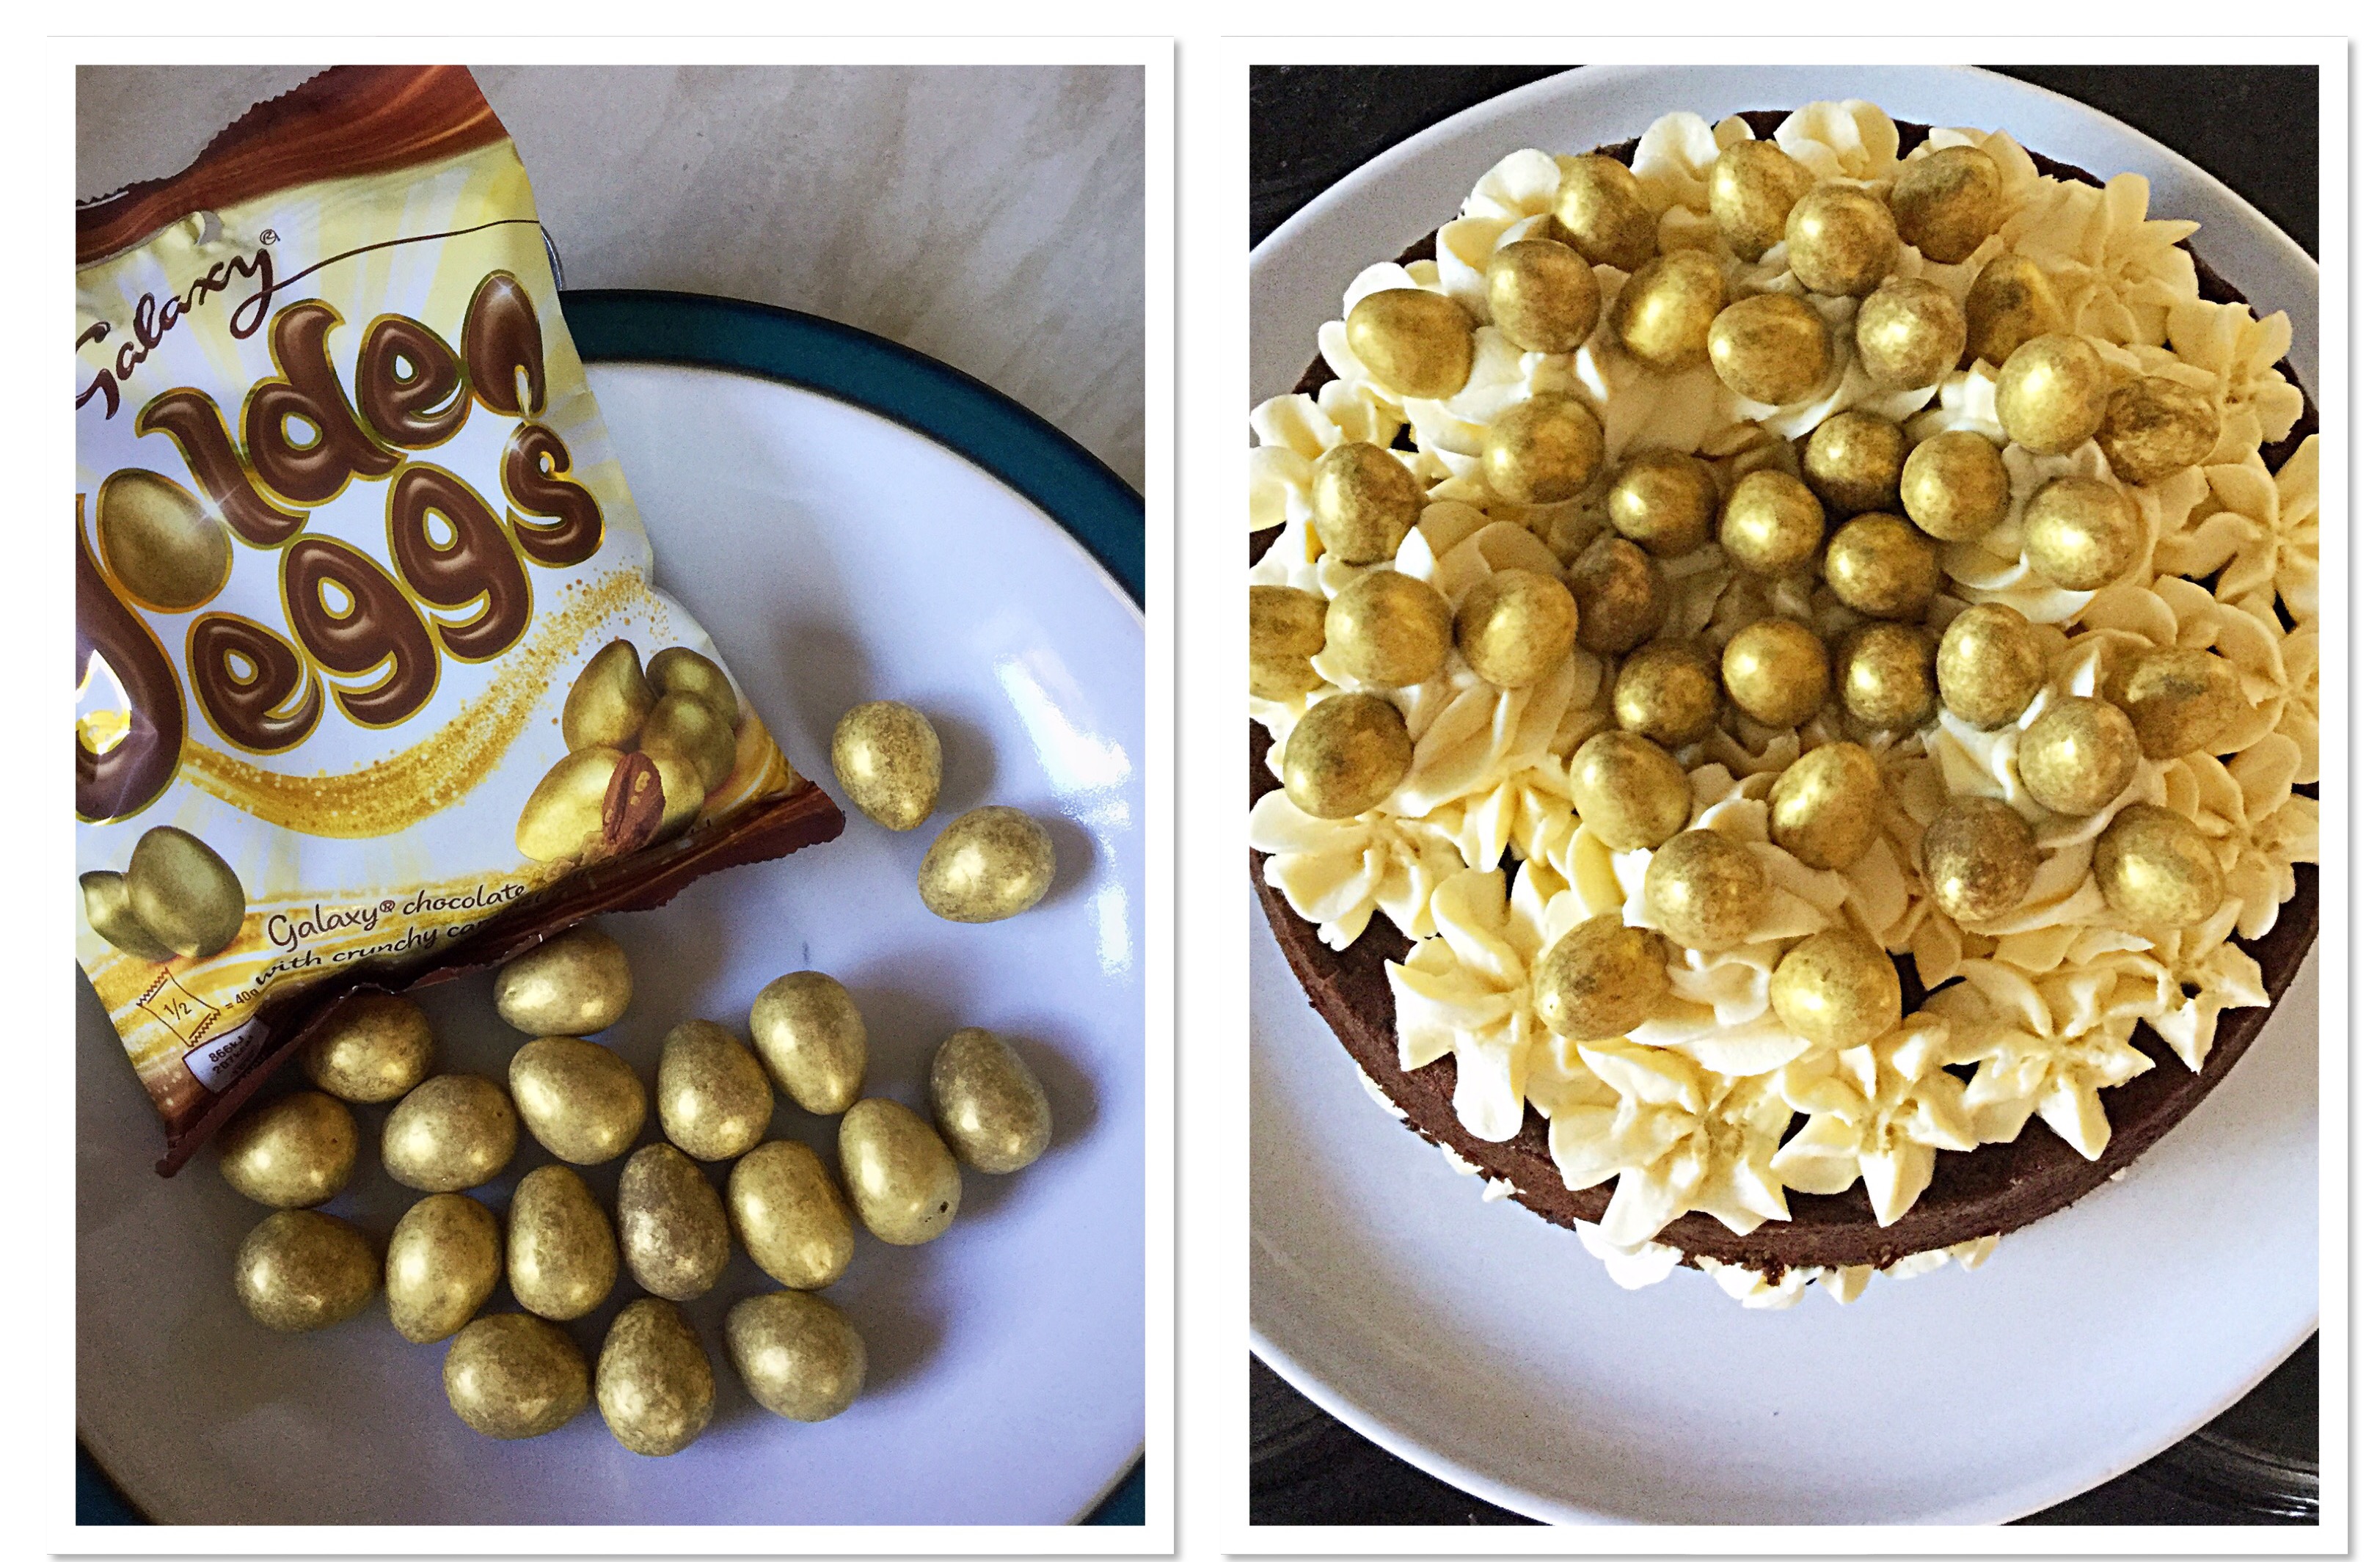
- Place the larger peanut butter cups in a pattern and set into the still molten chocolate.
- Follow by placing mini peanut butter cups aroung the base of the cake.
- Finish with bronze sprinkles around the outside edge of the cake.
- Leave the cake to set. This can be achieved more quickly by chilling in the fridge.
To serve, remove the cake from the fridge. Place a sharp knife into a jug of very hot water for a couple of seconds. Wipe the knife dry and then easily slice through the set chocolate and cake.
Store the cake in an airtight container for up to 5 days. Keep refridgerated during warmer weather.
If you have enjoyed this recipe for Chocolate Peanut Butter Drip Cake you may also like these:
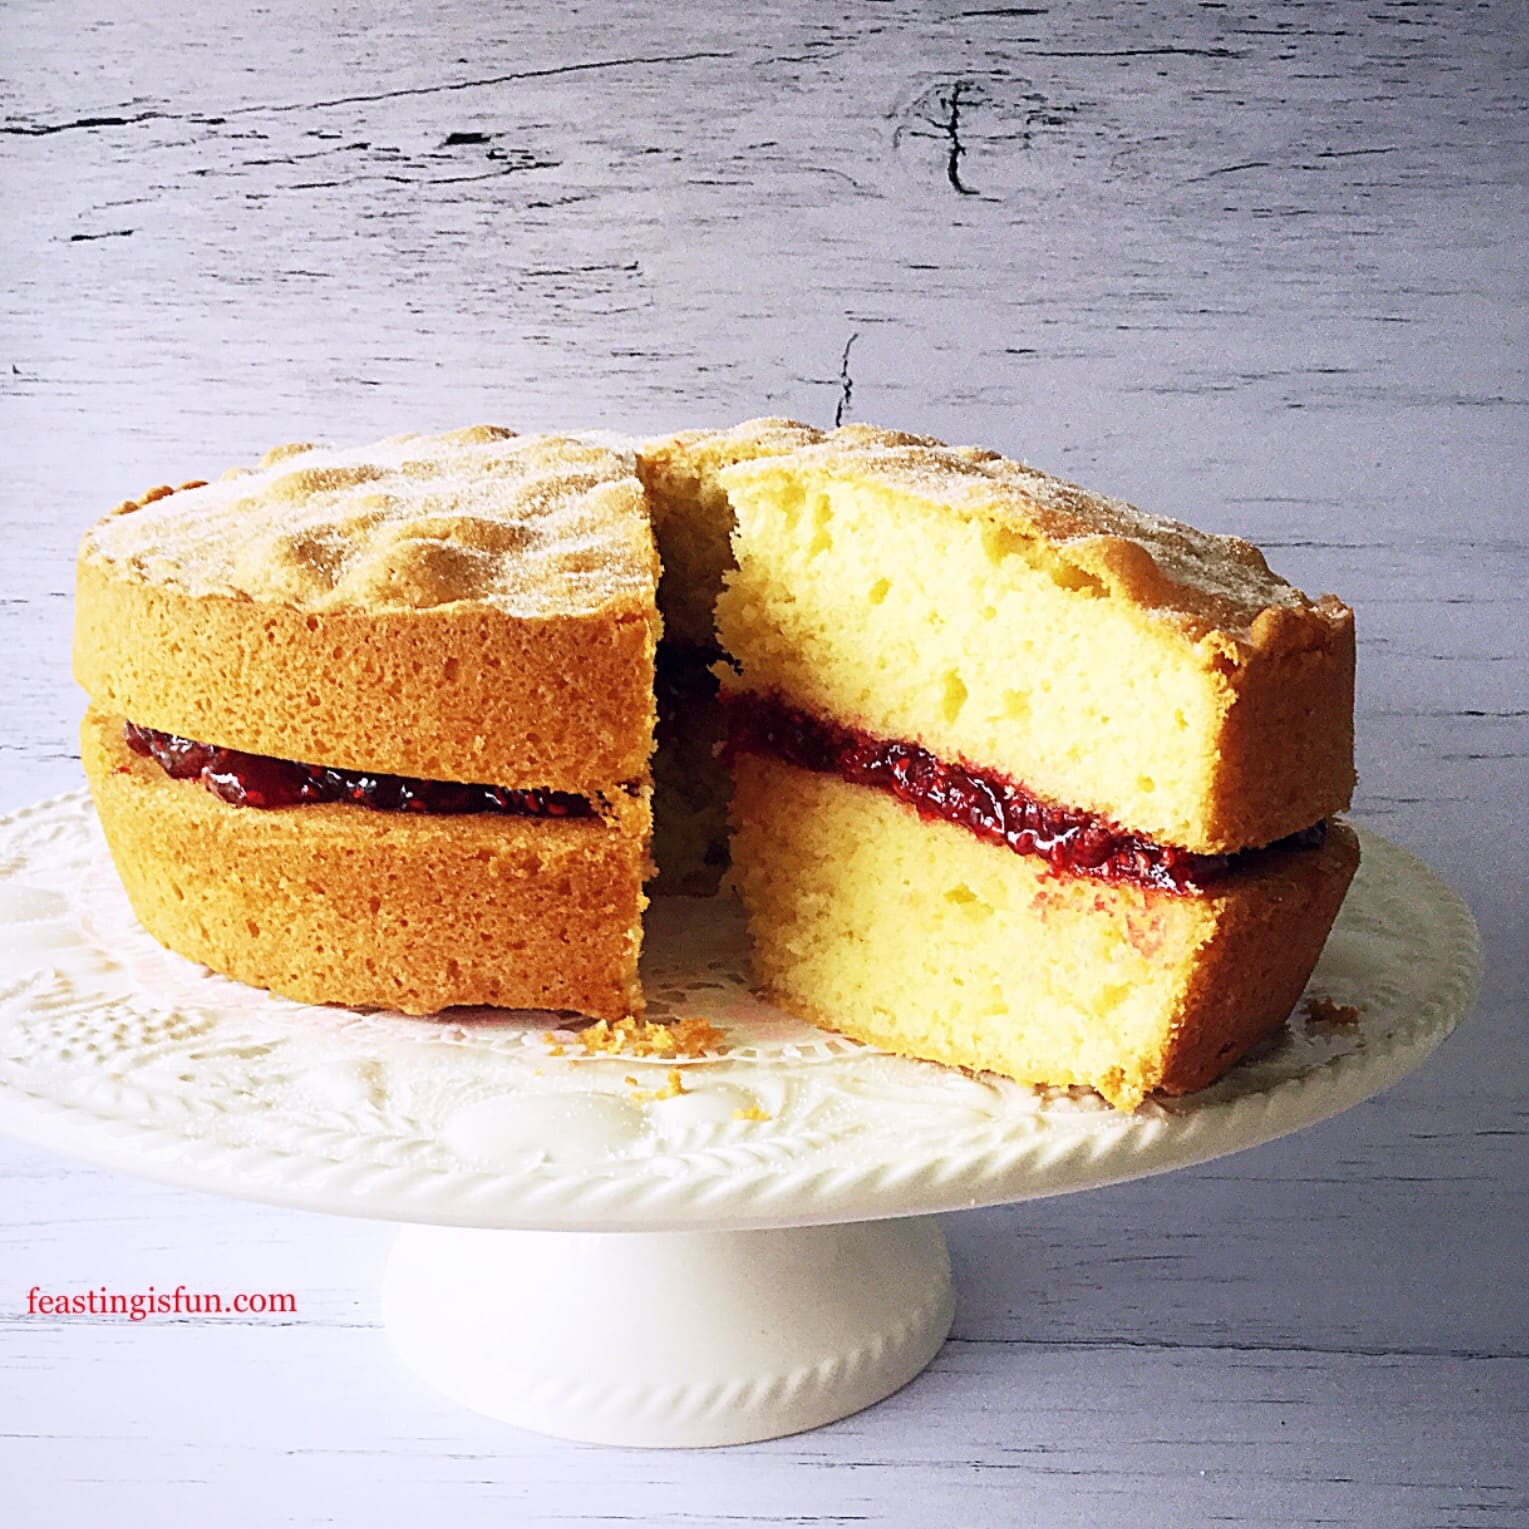
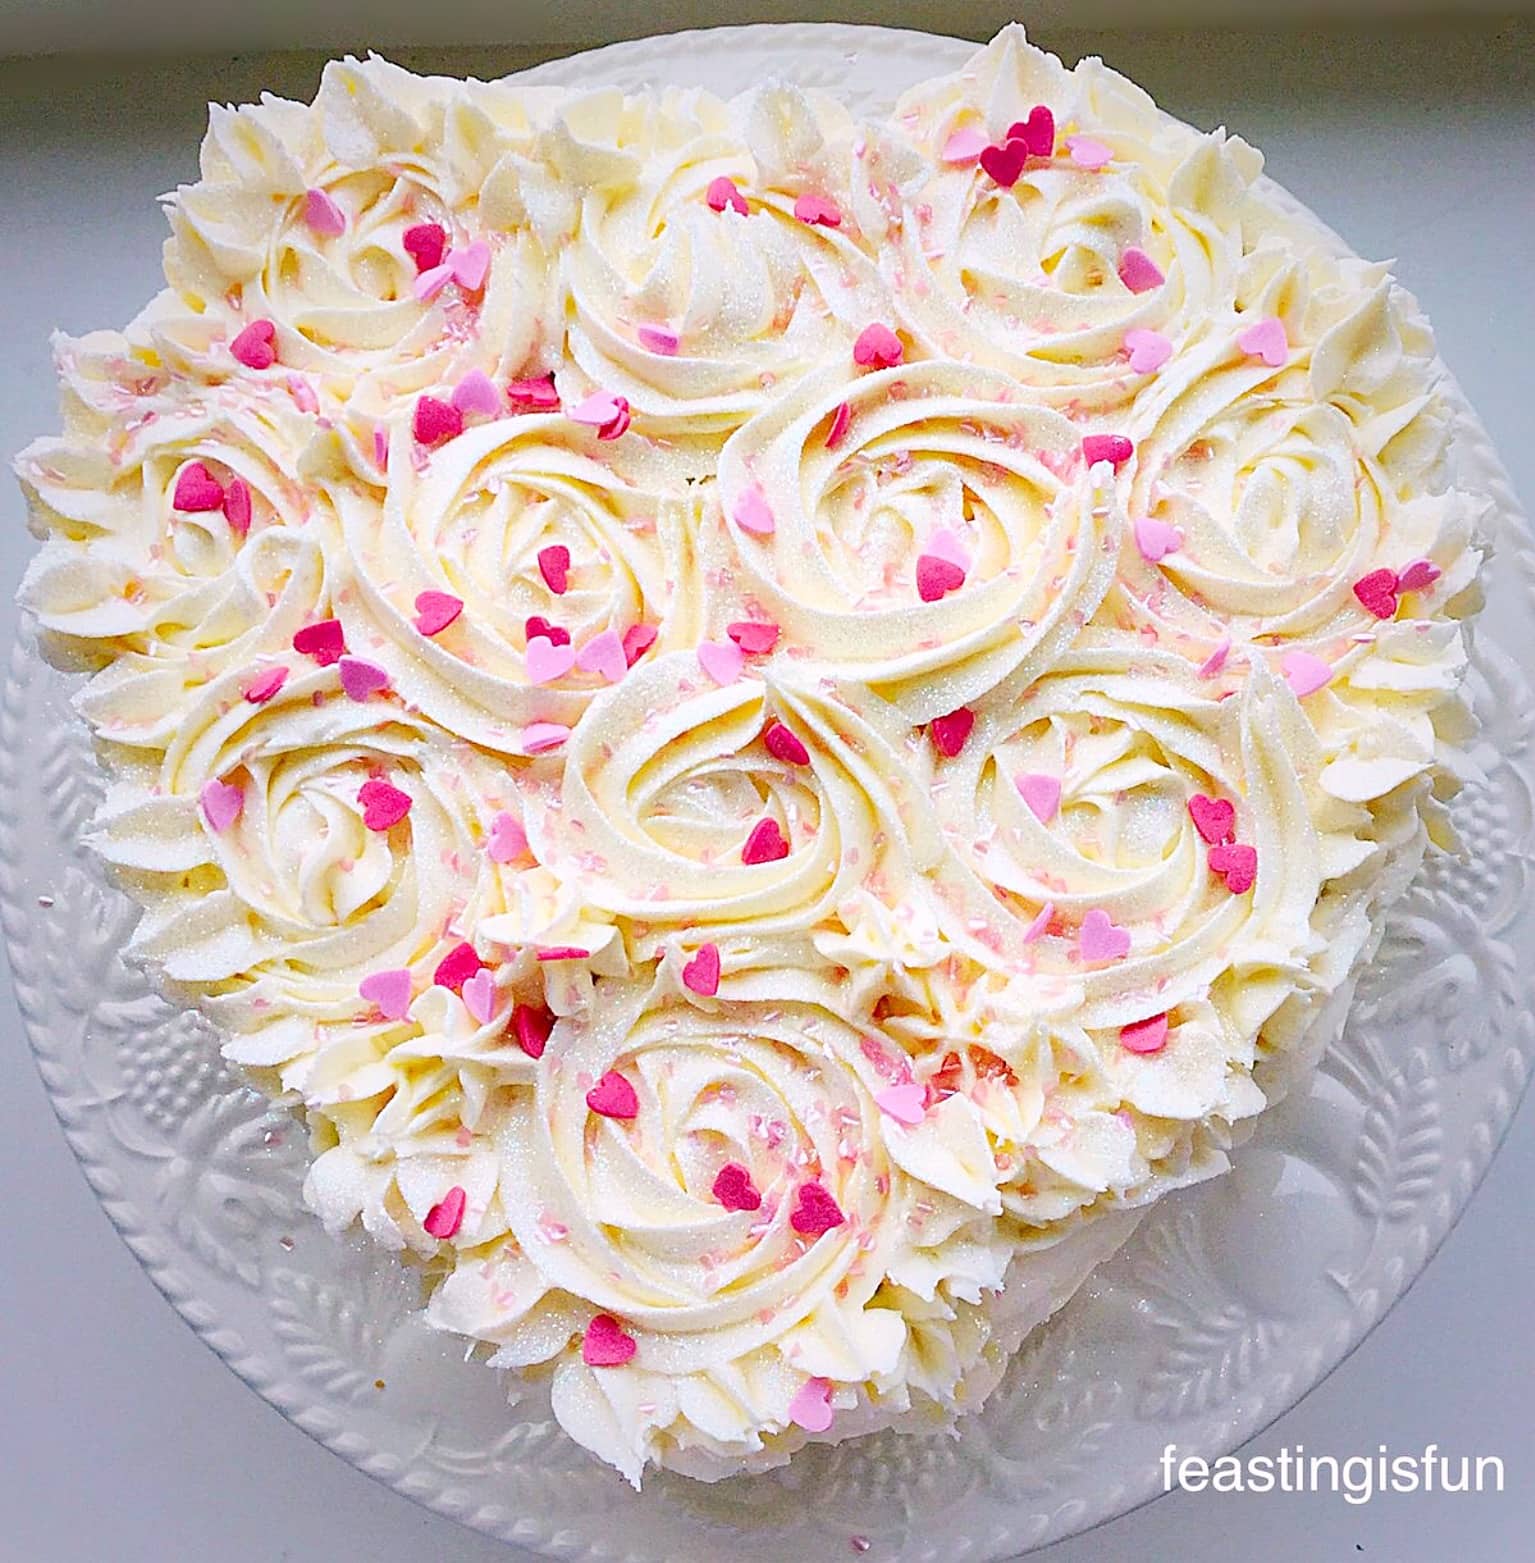
Raspberry Vanilla Naked Celebration Cake

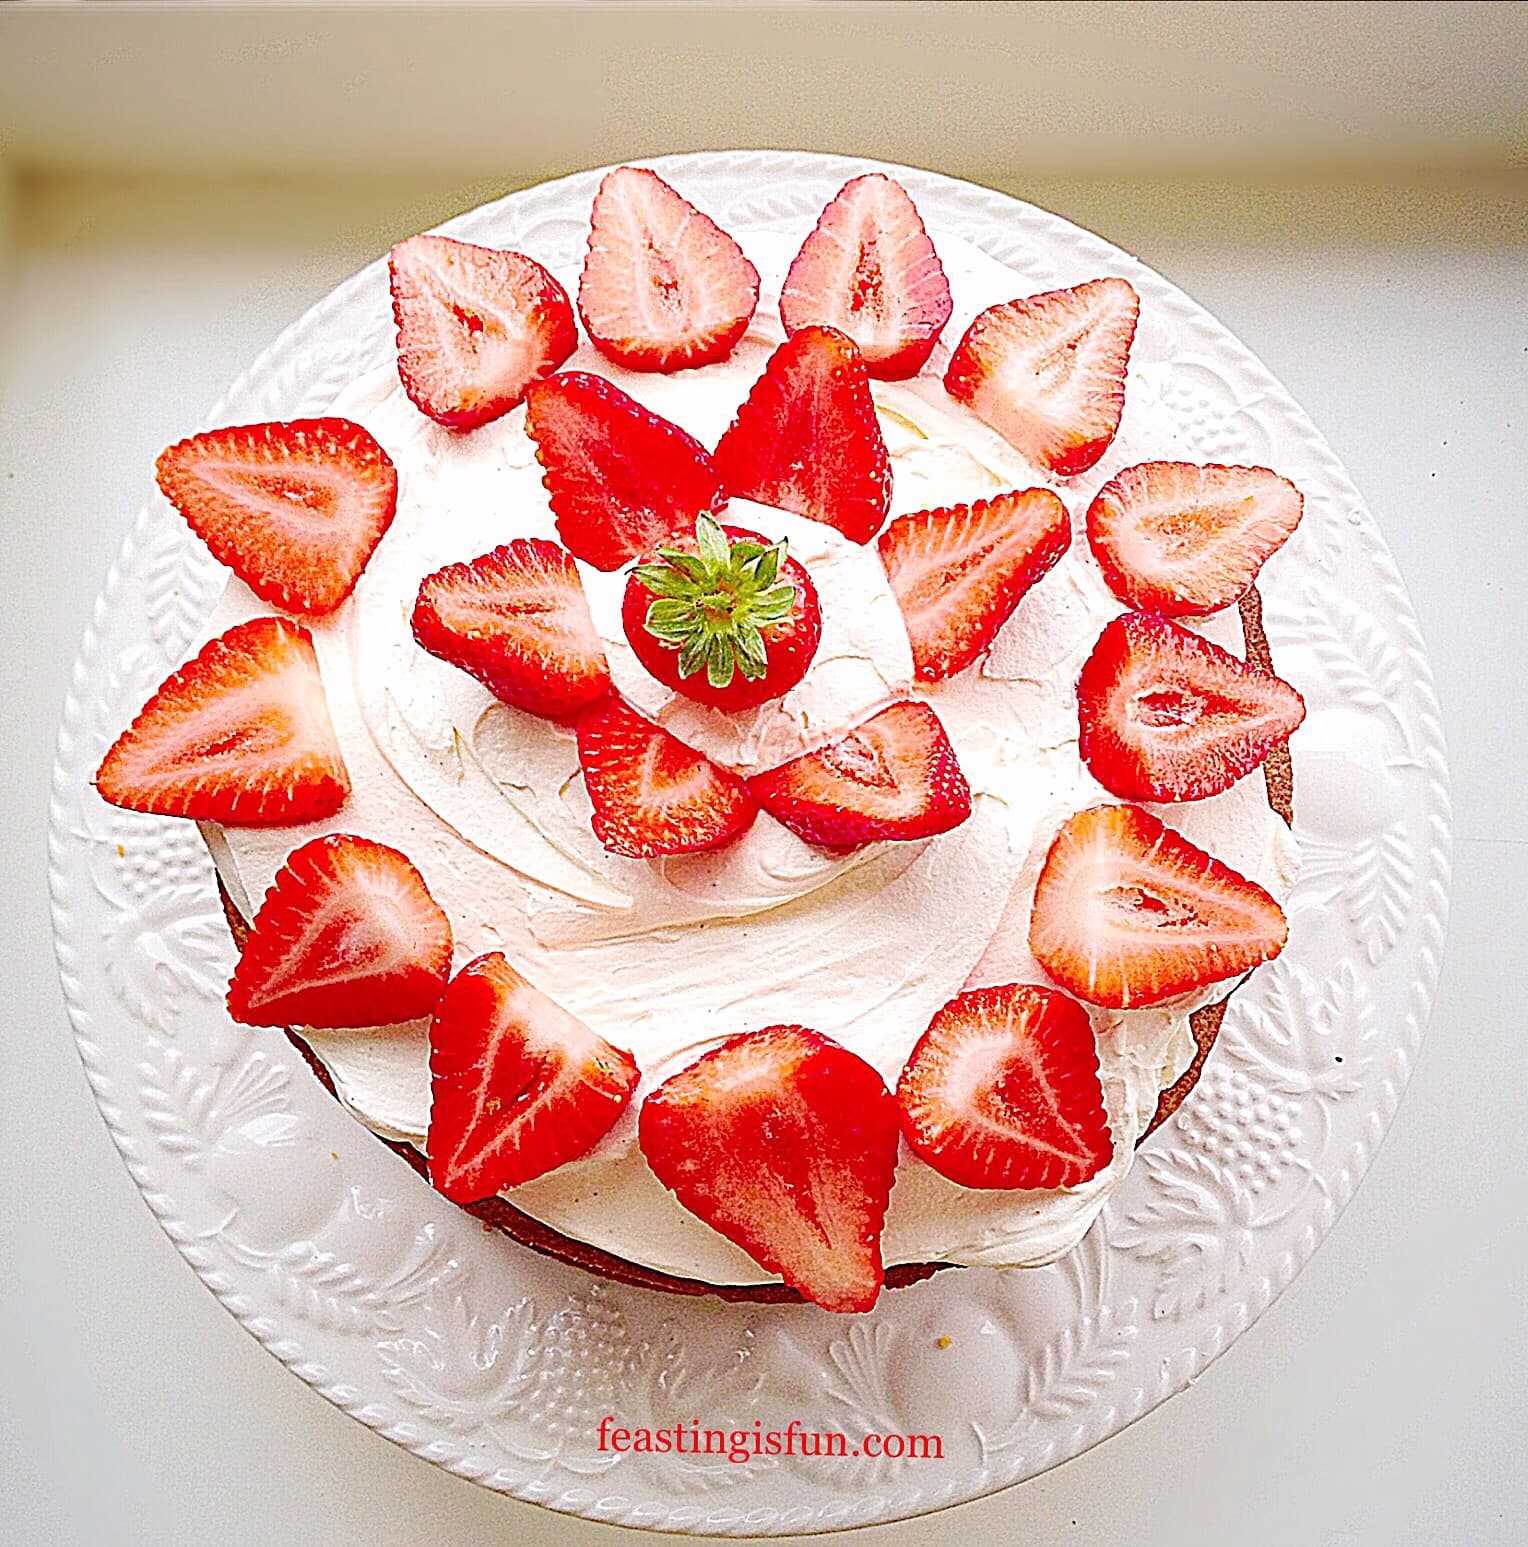
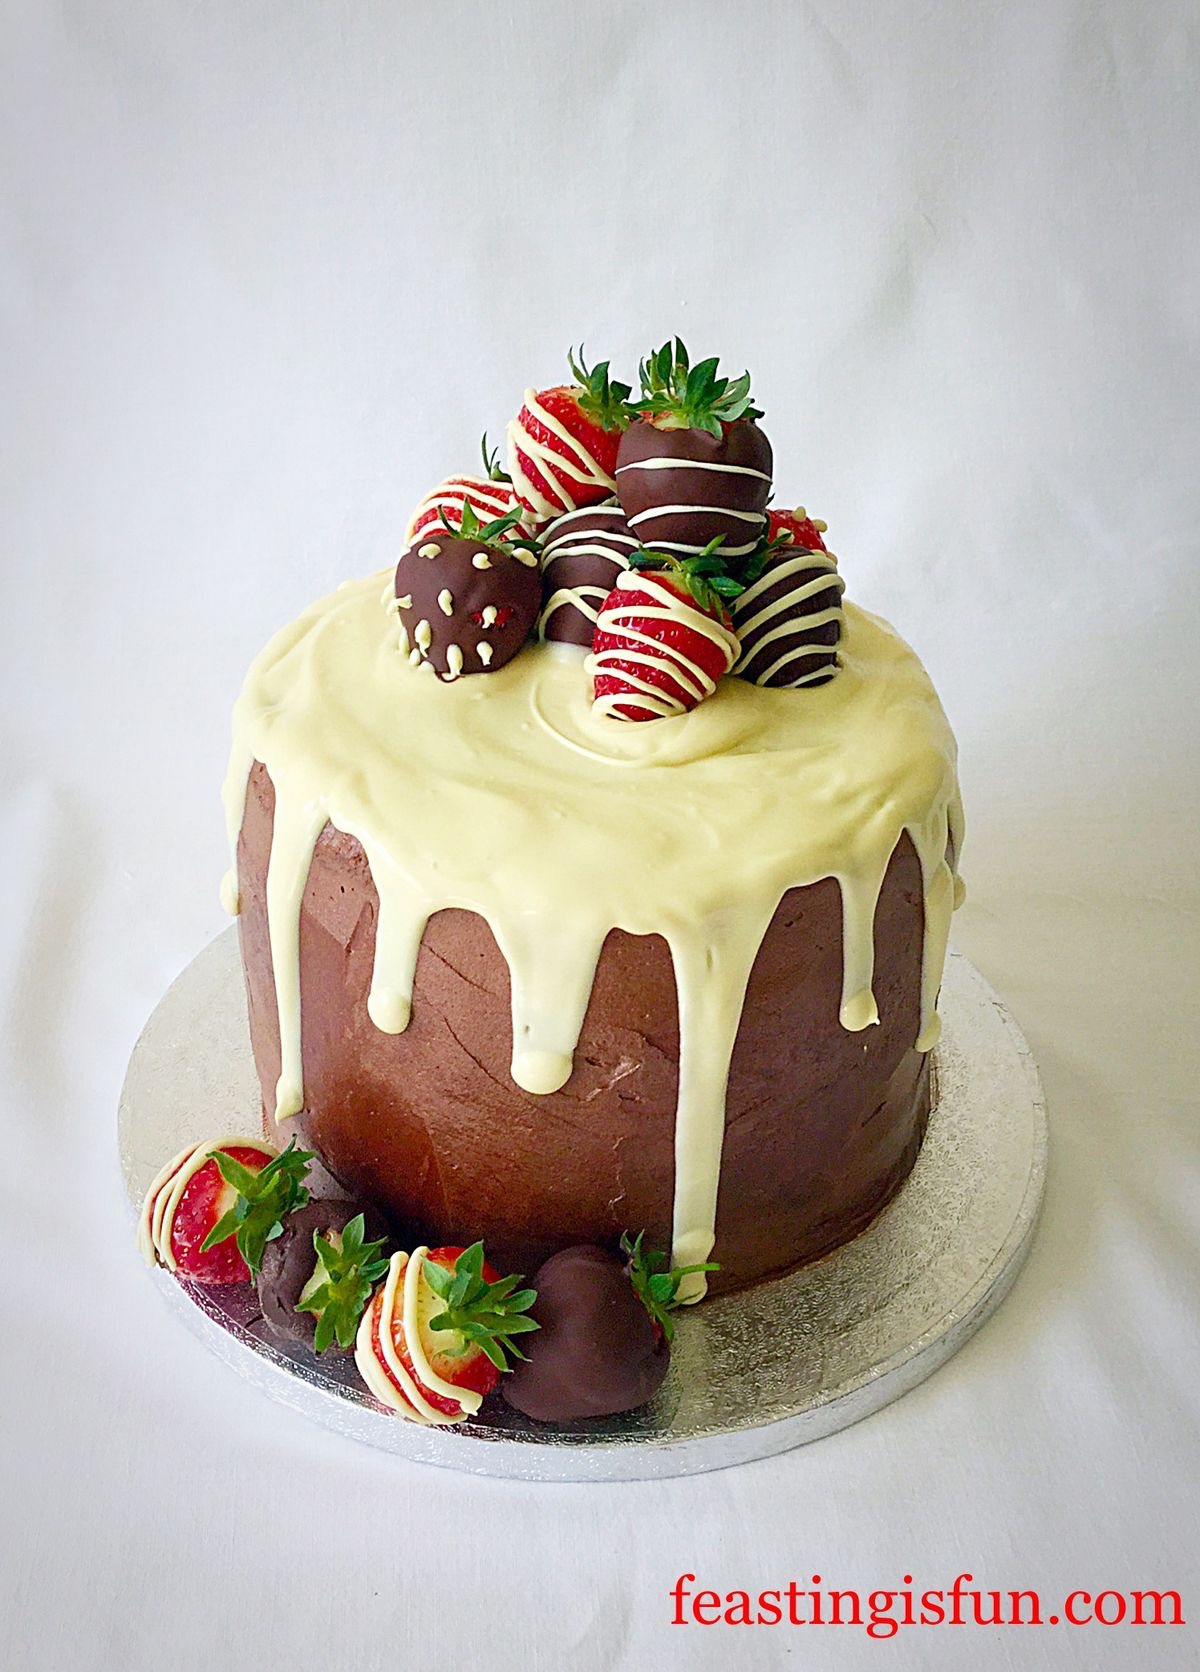
Strawberry Chocolate Vanilla Drip Cake
Homemade cakes are so much better and far more delicious than their mass produced counterparts. Since each cake made at home is individual in both style and flavour. Knowing that someone has taken the time to create and bake a cake makes me personally feel very special and loved. That is exactly the same feeling I hope to invoke when baking for others. Seeing a big smile is my motivation and reward.
What motivates you to bake?
Whatever you are making, baking and creating in your kitchens, have fun preparing your feast.
Sammie xx
No part of this post may be copied or replicated without written permission from the owner. Please see my Disclosure Policy.