Cherry Tomato Mozzarella Basil Focaccia

Share
Facebooktwitterpinterestlinkedintumblr

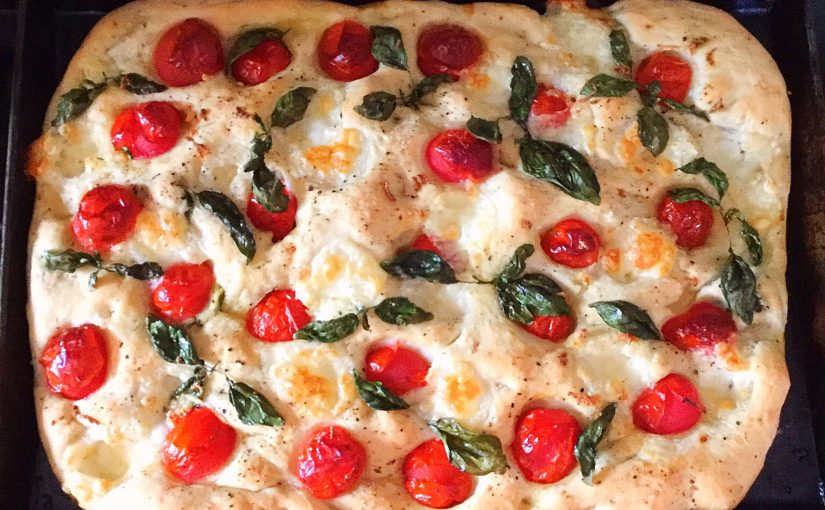
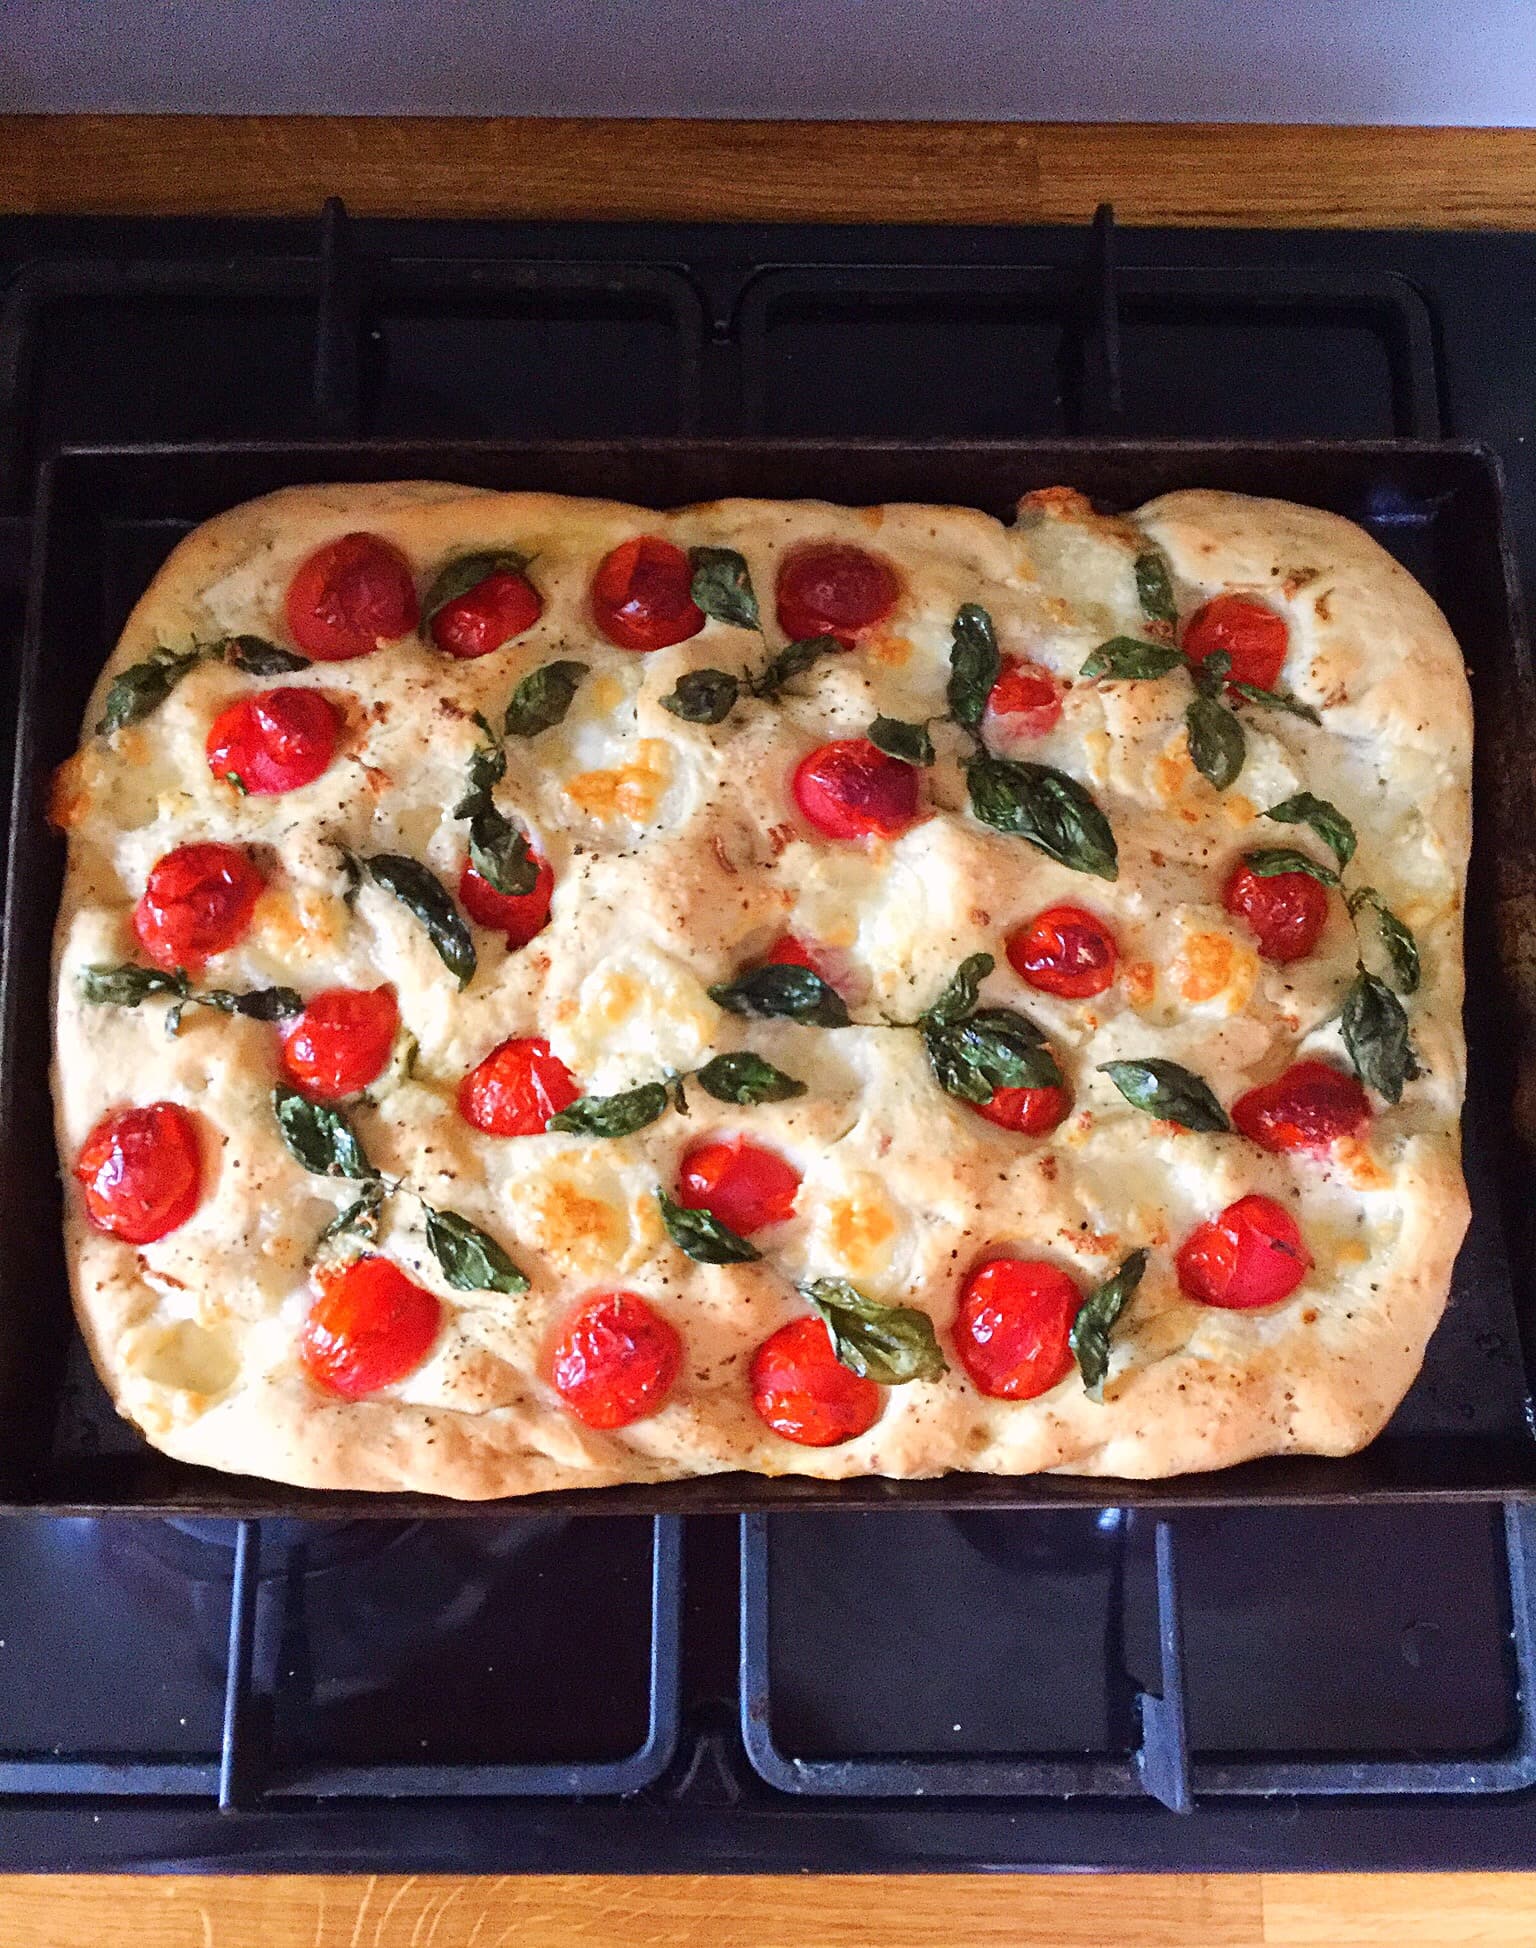
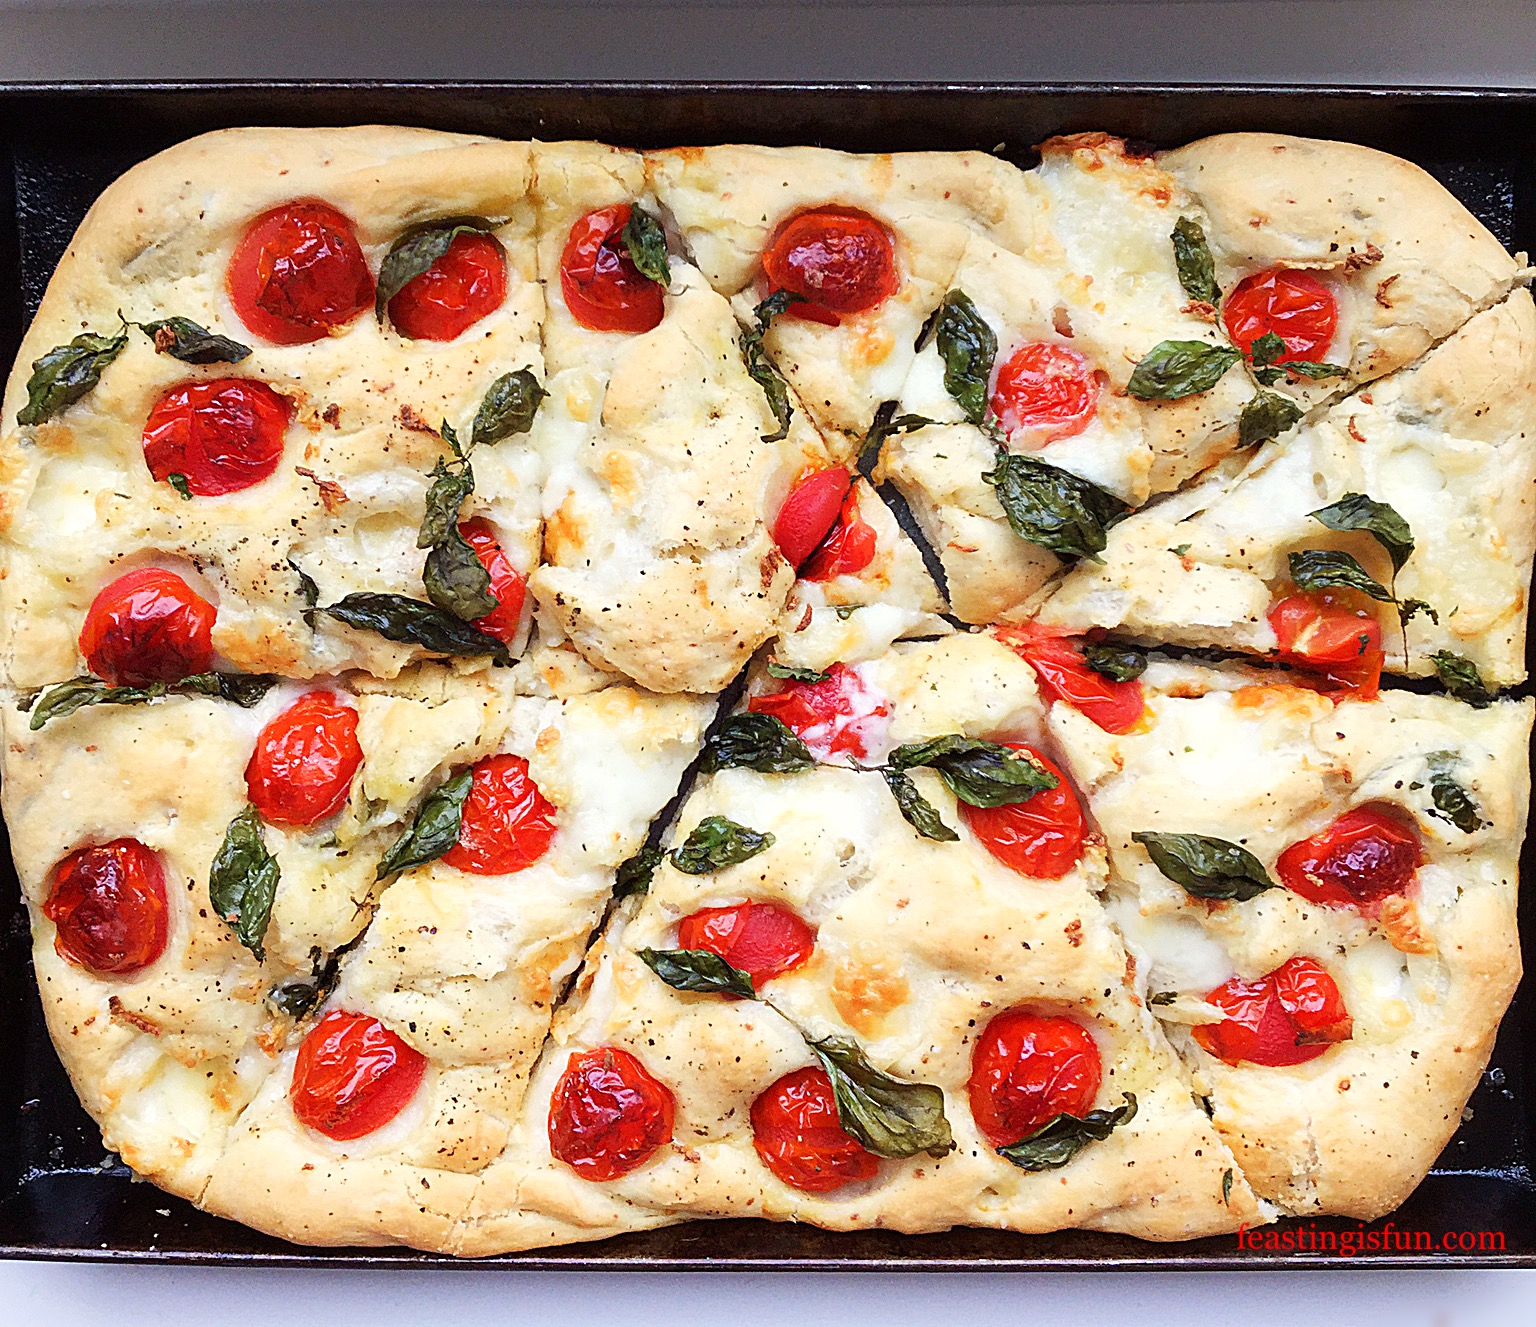
Today is the first of June and finally it is beginning to feel like Summer. And, of course my mind immediately turns to all the lovely fresh produce that this season yields. Since we are currently celebrating British Tomato Fortnight I am creating recipes that celebrate the diversity of this tasty little fruit. So with caprese salad as my inspiration let me introduce you to my Cherry Tomato Mozzarella Basil Focaccia.

Pinterest sized image of Cherry Tomato Mozzarella Basil Focaccia Bread with descriptive graphics.

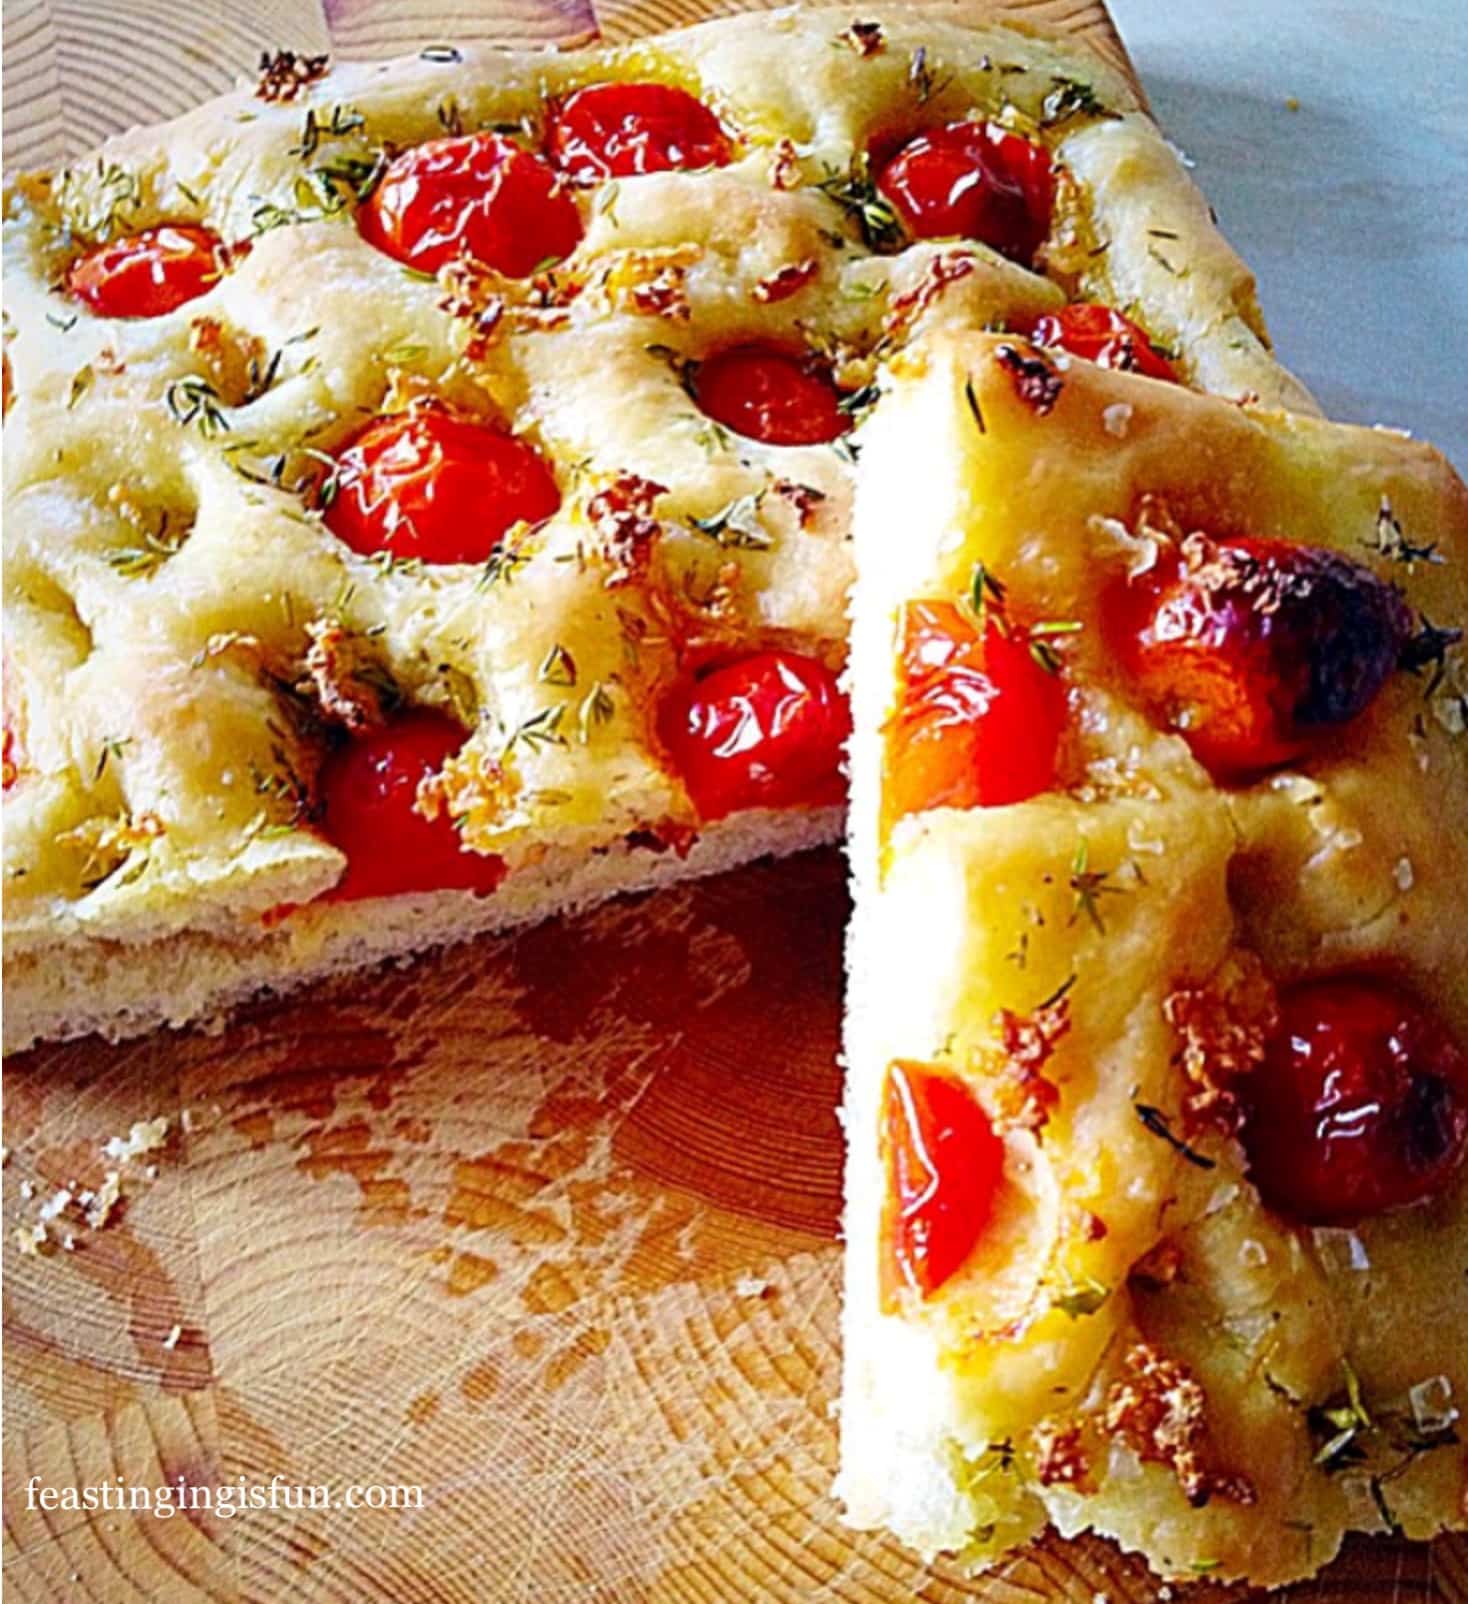
Focaccia is a bread with Italian origins. At its simplest it is a flat, white, airy bread, drizzled with olive oil and having a dimpled appearance. Serve it with salad, soup, pasta or as part of antipasti, the key is in the lightness of its crumb. In comparison, this cherry tomato and mozzarella topped bread with layers of basil hidden within the bread, is almost a meal in itself.

Two images of Cherry Tomato Mozzarella Basil Focaccia showing the light, airy crumb of the bread and the gooey, stringy cheese.
Cherry Tomato Mozzarella Basil Focaccia a feast that really is fun to make and eat!

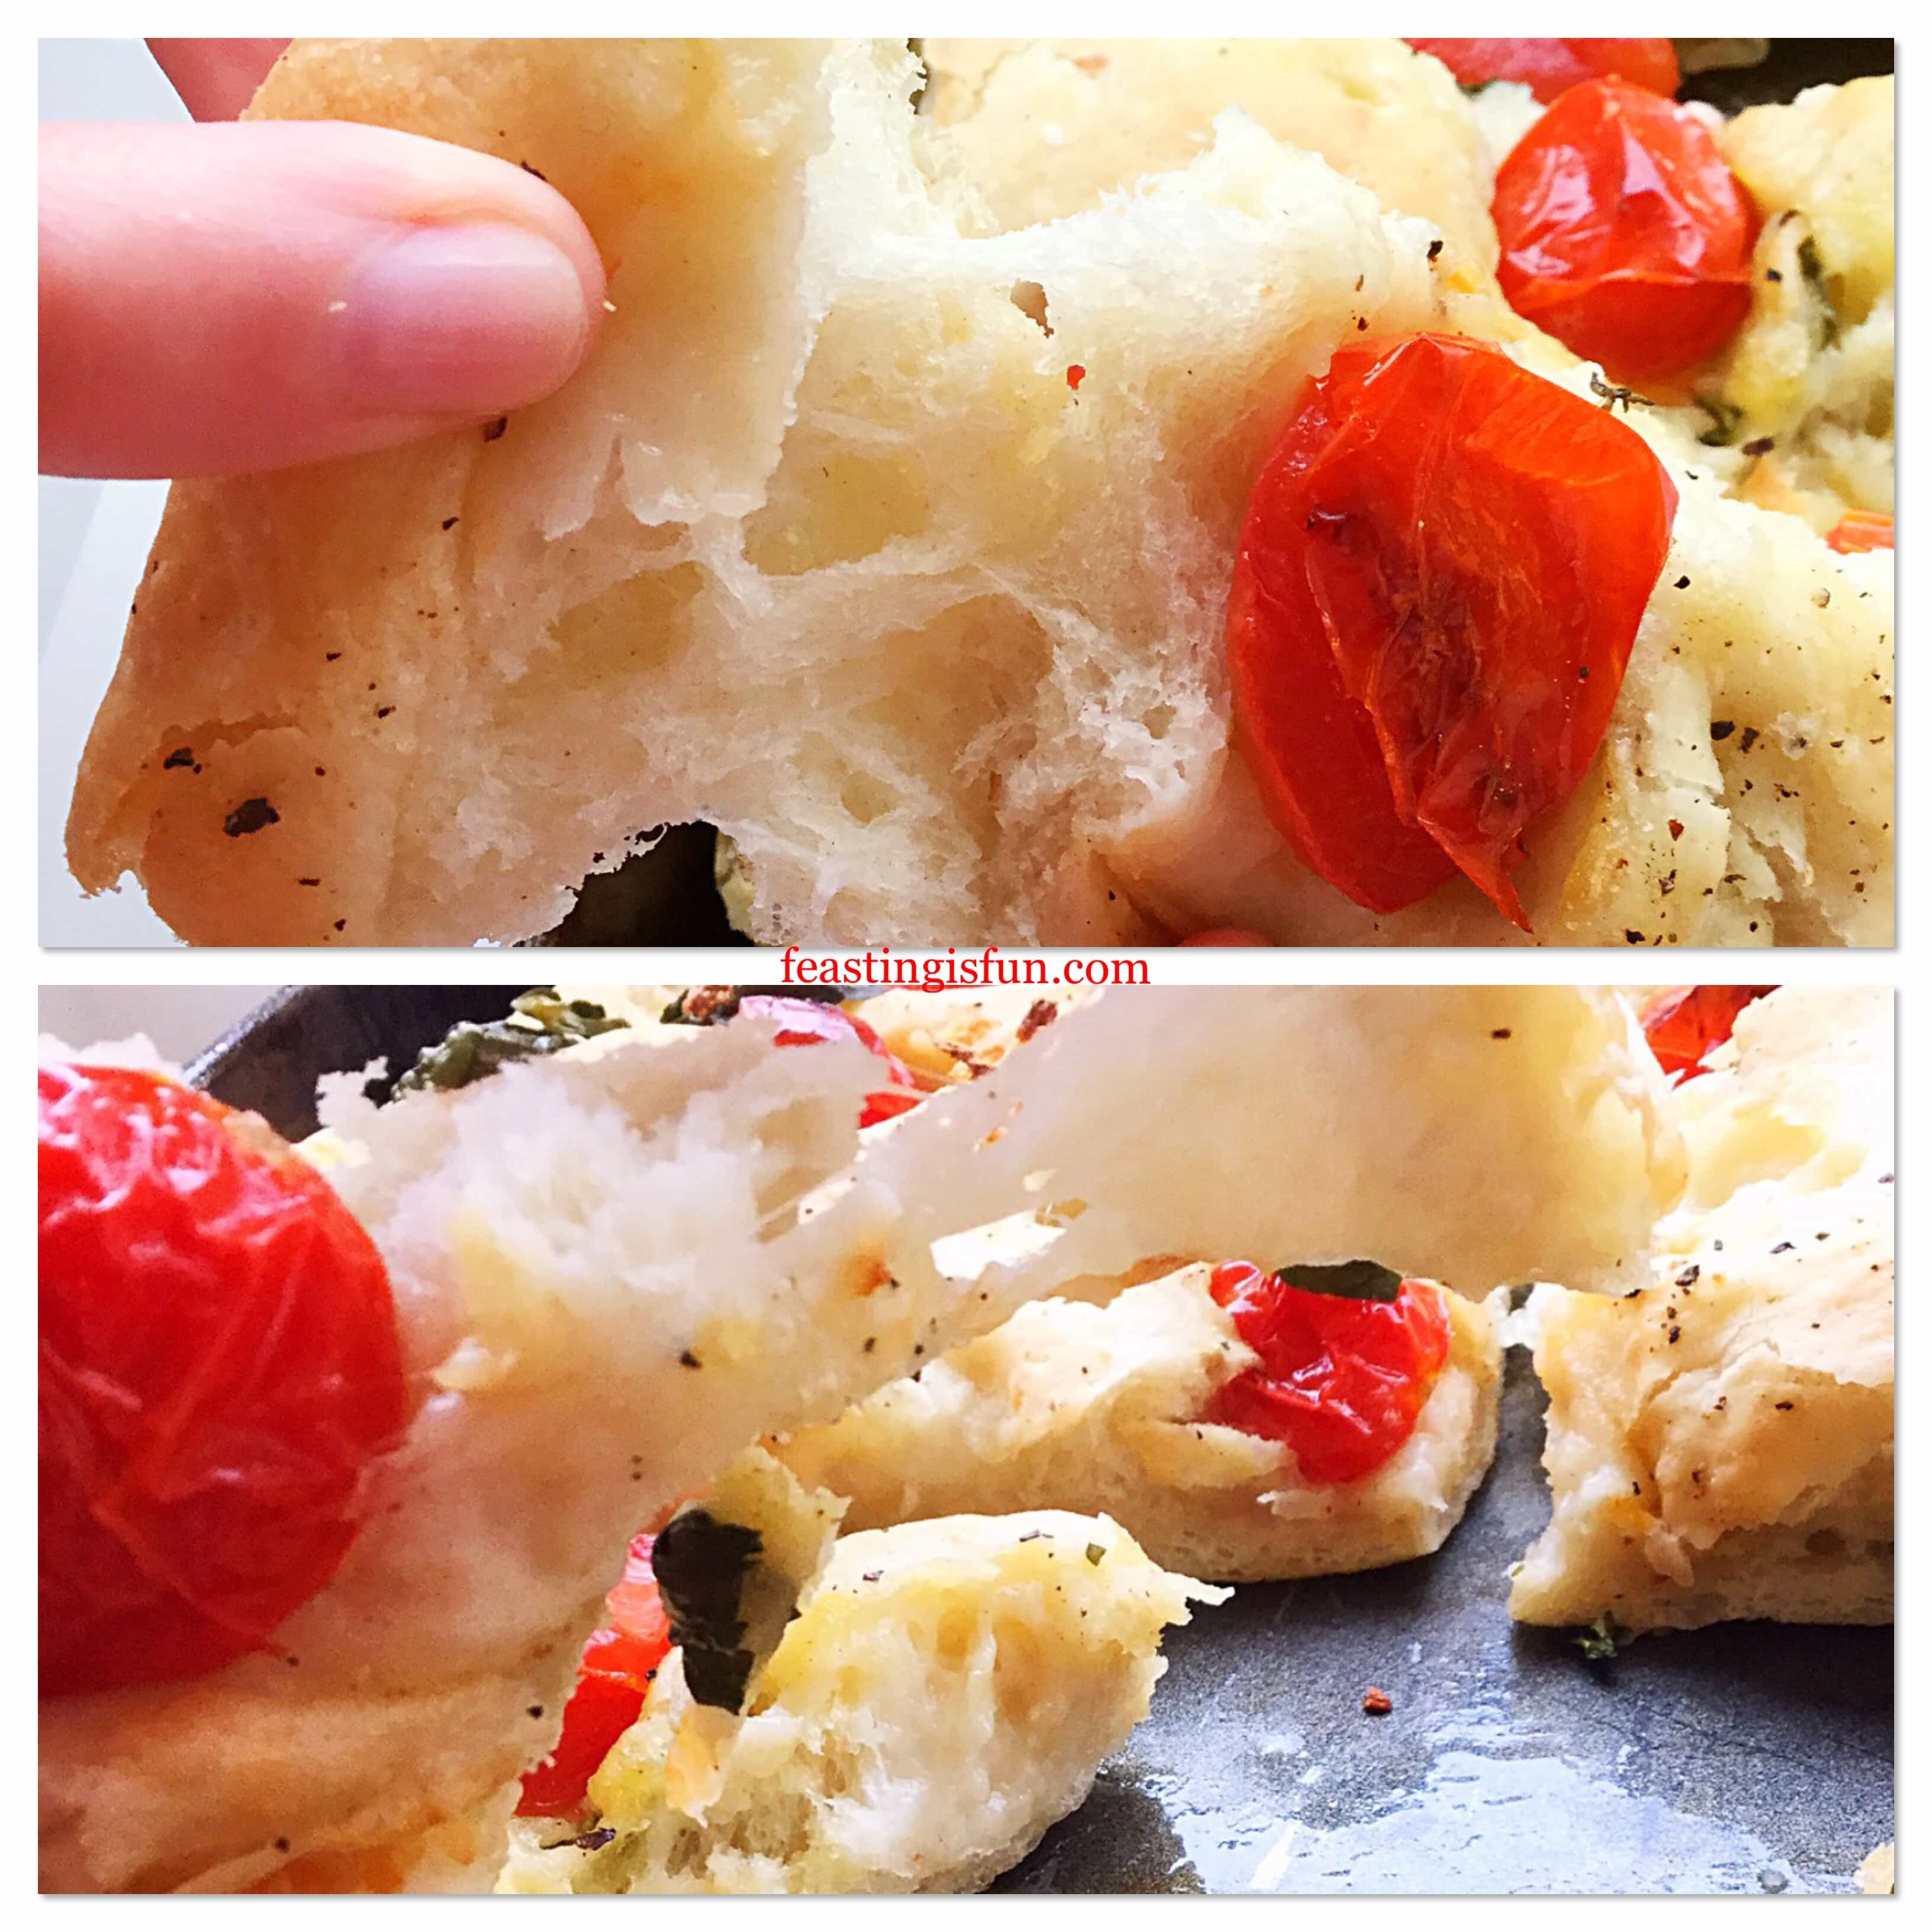
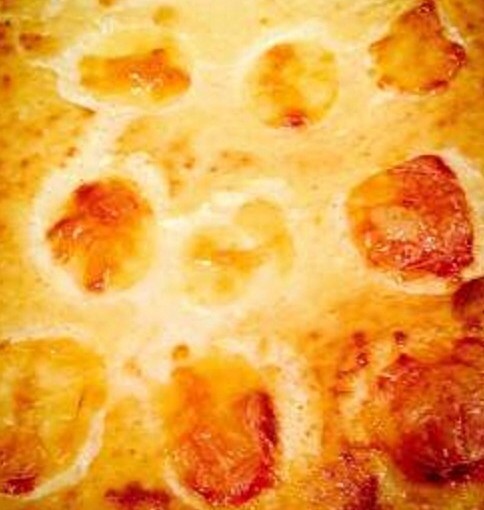
As the bread bakes the fresh basil and garlic permeate throughout creating an incredible savoury flavour. Also, the fresh, vine ripened tomato flavour intensifies in the heat of the oven. Resulting in a joyfully flavoursome bread that is perfect for sharing, Italian style, around a table full of friends, family and food.

Baked Cherry Tomato Mozzarella Basil Focaccia fresh out of the oven
Cherry Tomato Mozzarella Basil Focaccia

If you haven’t made bread before, please do not worry. Because, as I am writing a recipe I always imagine the person reading it is standing next to me. Since I am a natural chatter-box, I describe each part of the process in easy to understand language and include photos for every step of the recipe. So you can be confident as you start your baking process.

Recipe: Cherry Tomato Mozzarella Basil Focaccia

For The Focaccia Dough

250ml Tap Water – at room temperature

7g Dried Yeast – I use Allinson 

1tbsp Runny Honey

350g/12oz Strong White Bread Flour – I use Wright’s 

5g Salt – I use Maldon sea salt

2 Garlic Cloves – finely minced or crushed

2tbsp Olive Oil

Filling And Topping The Focaccia 

2 Generous Handfuls Of Fresh Basil Leaves (approximately 25-30) – one handful for folding into the dough and the second for topping the focaccia

12 Mini Plum Tomatoes – cut in half. Alternatively use 24 small round cherry tomatoes

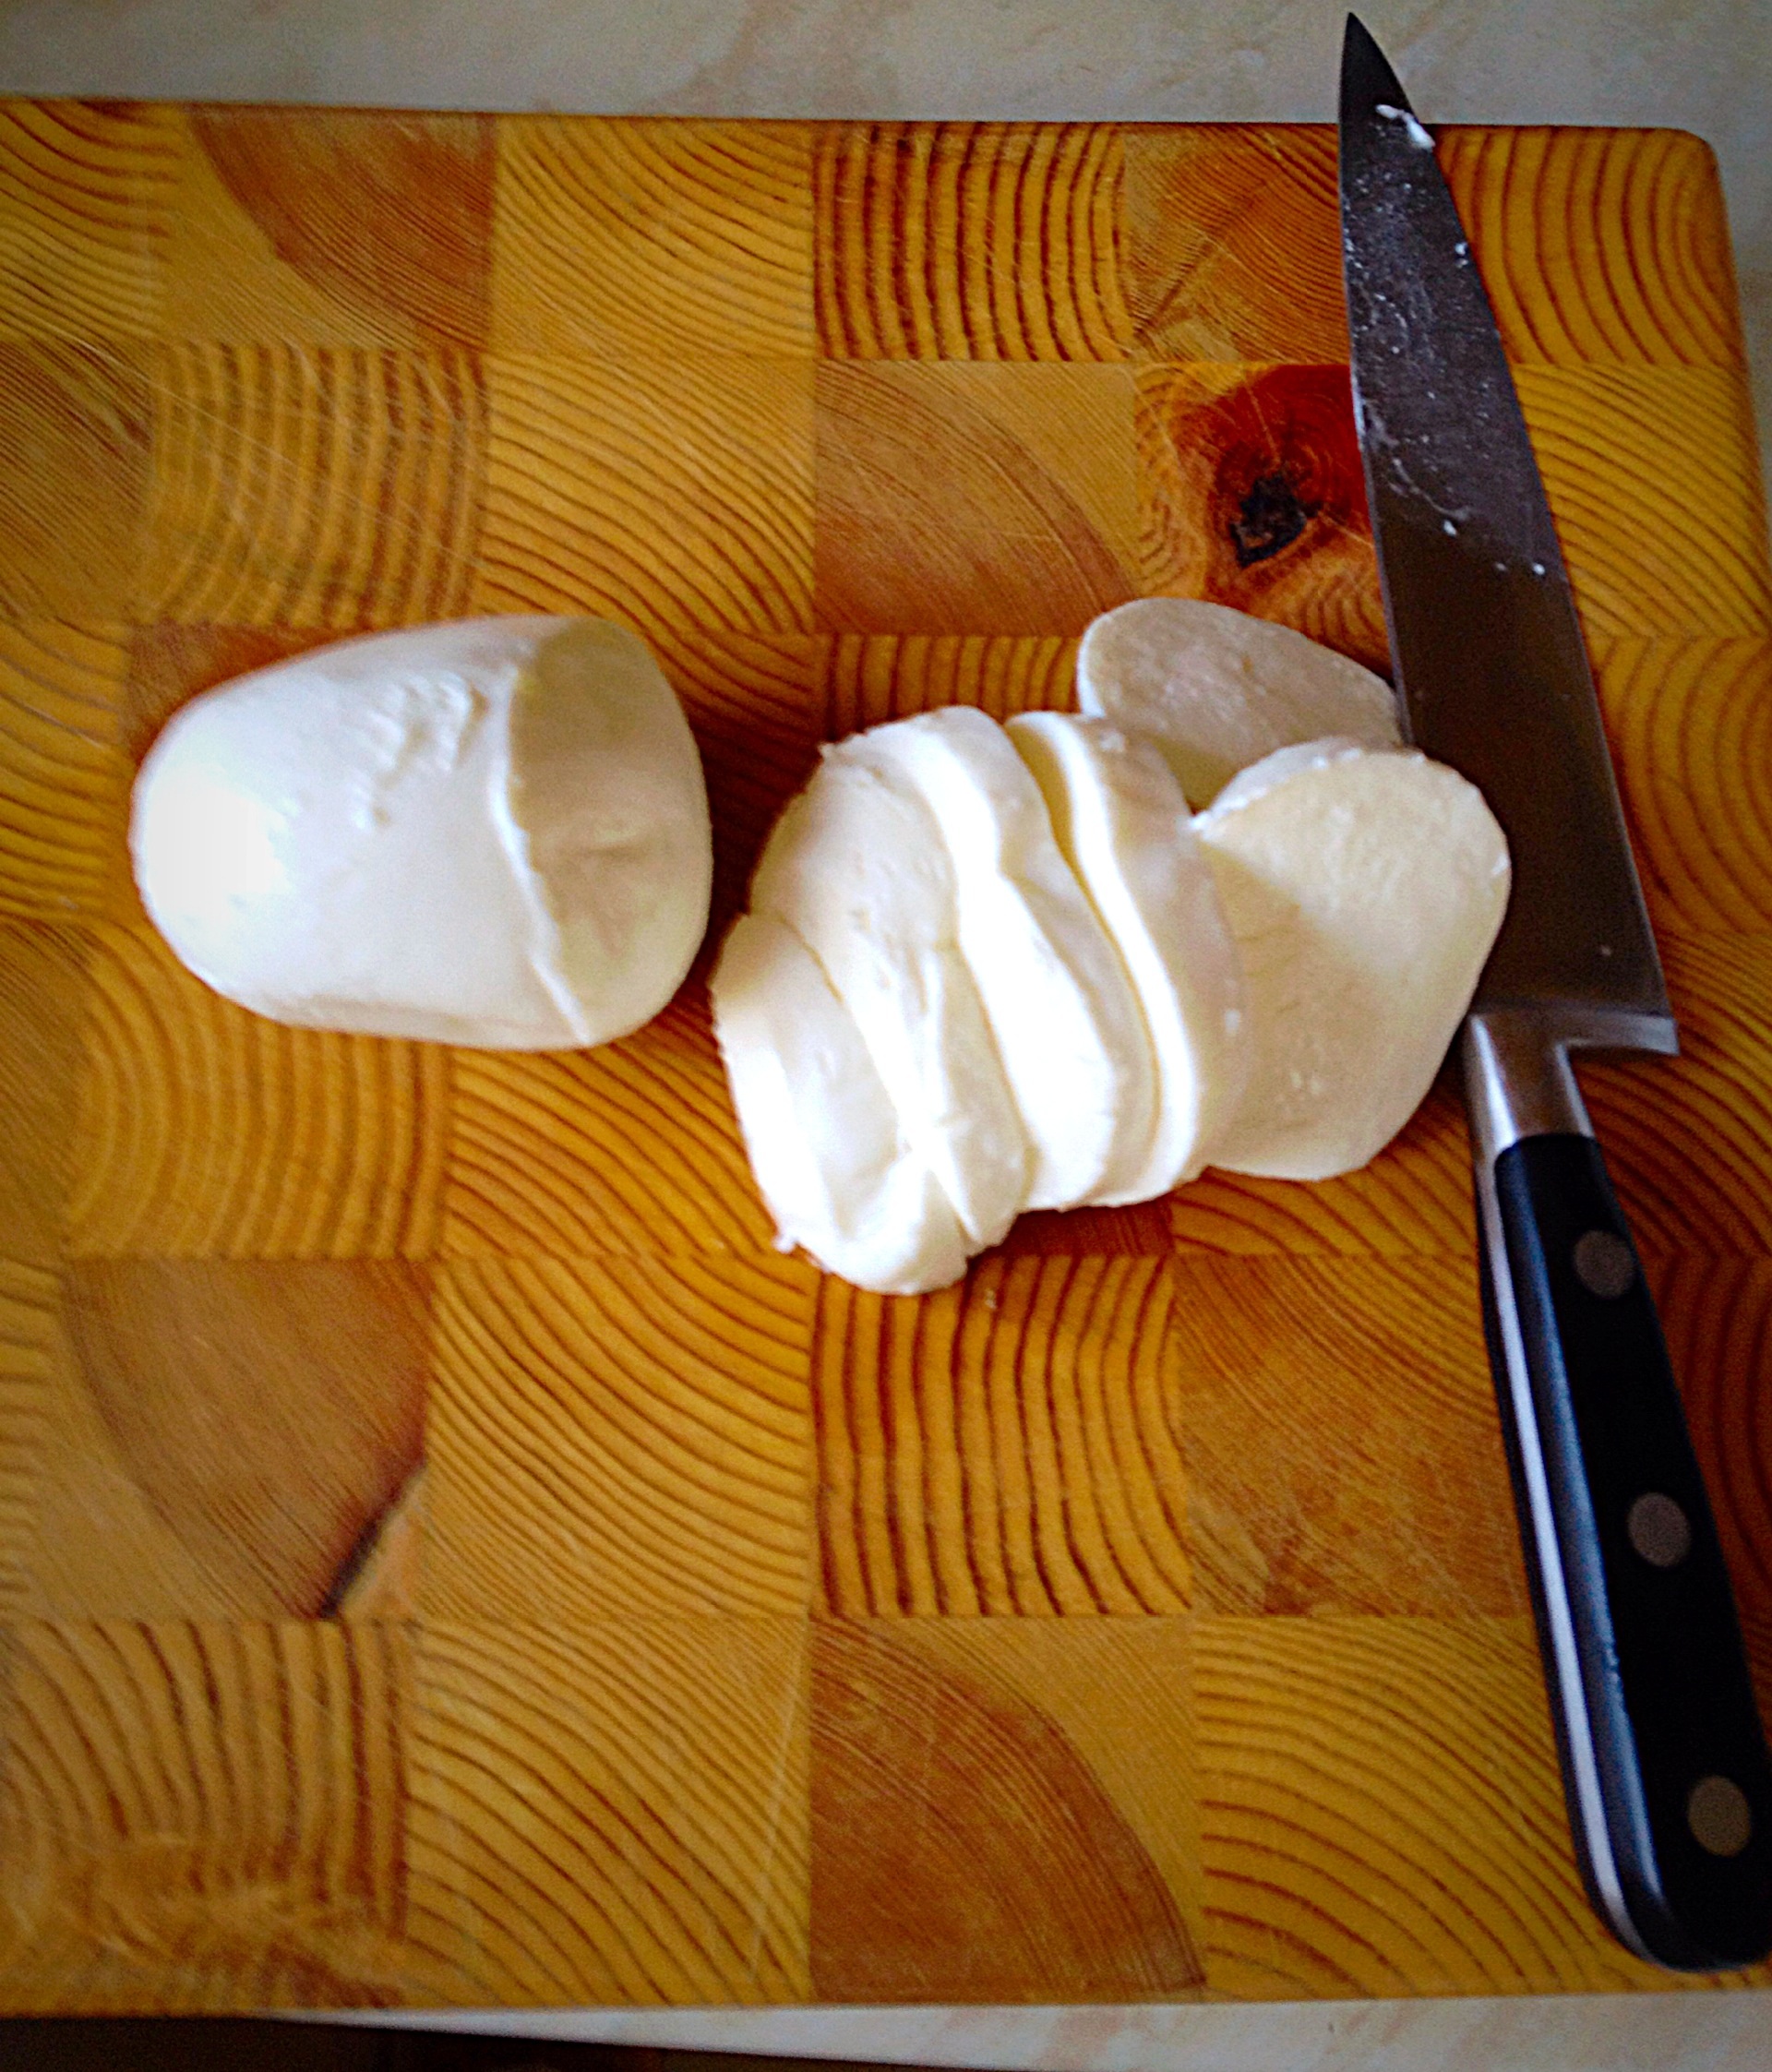
150g/5oz Approximately 20 Mini Mozzarella Balls – drained

1-2 Garlic Cloves

2tbsp Olive Oil

Pinch of sea salt and freshly ground pepper

Method:

Making The Focaccia Dough

I use a stand mixer with the dough hook attachment for the first part of mixing and proving the dough. Alternatively you can make the dough by hand. Large bowl in the instructions refers to the stand mixer bowl or the bowl used for hand mixing. Also, it is important to weigh all of the ingredients accurately to ensure a successful bake.

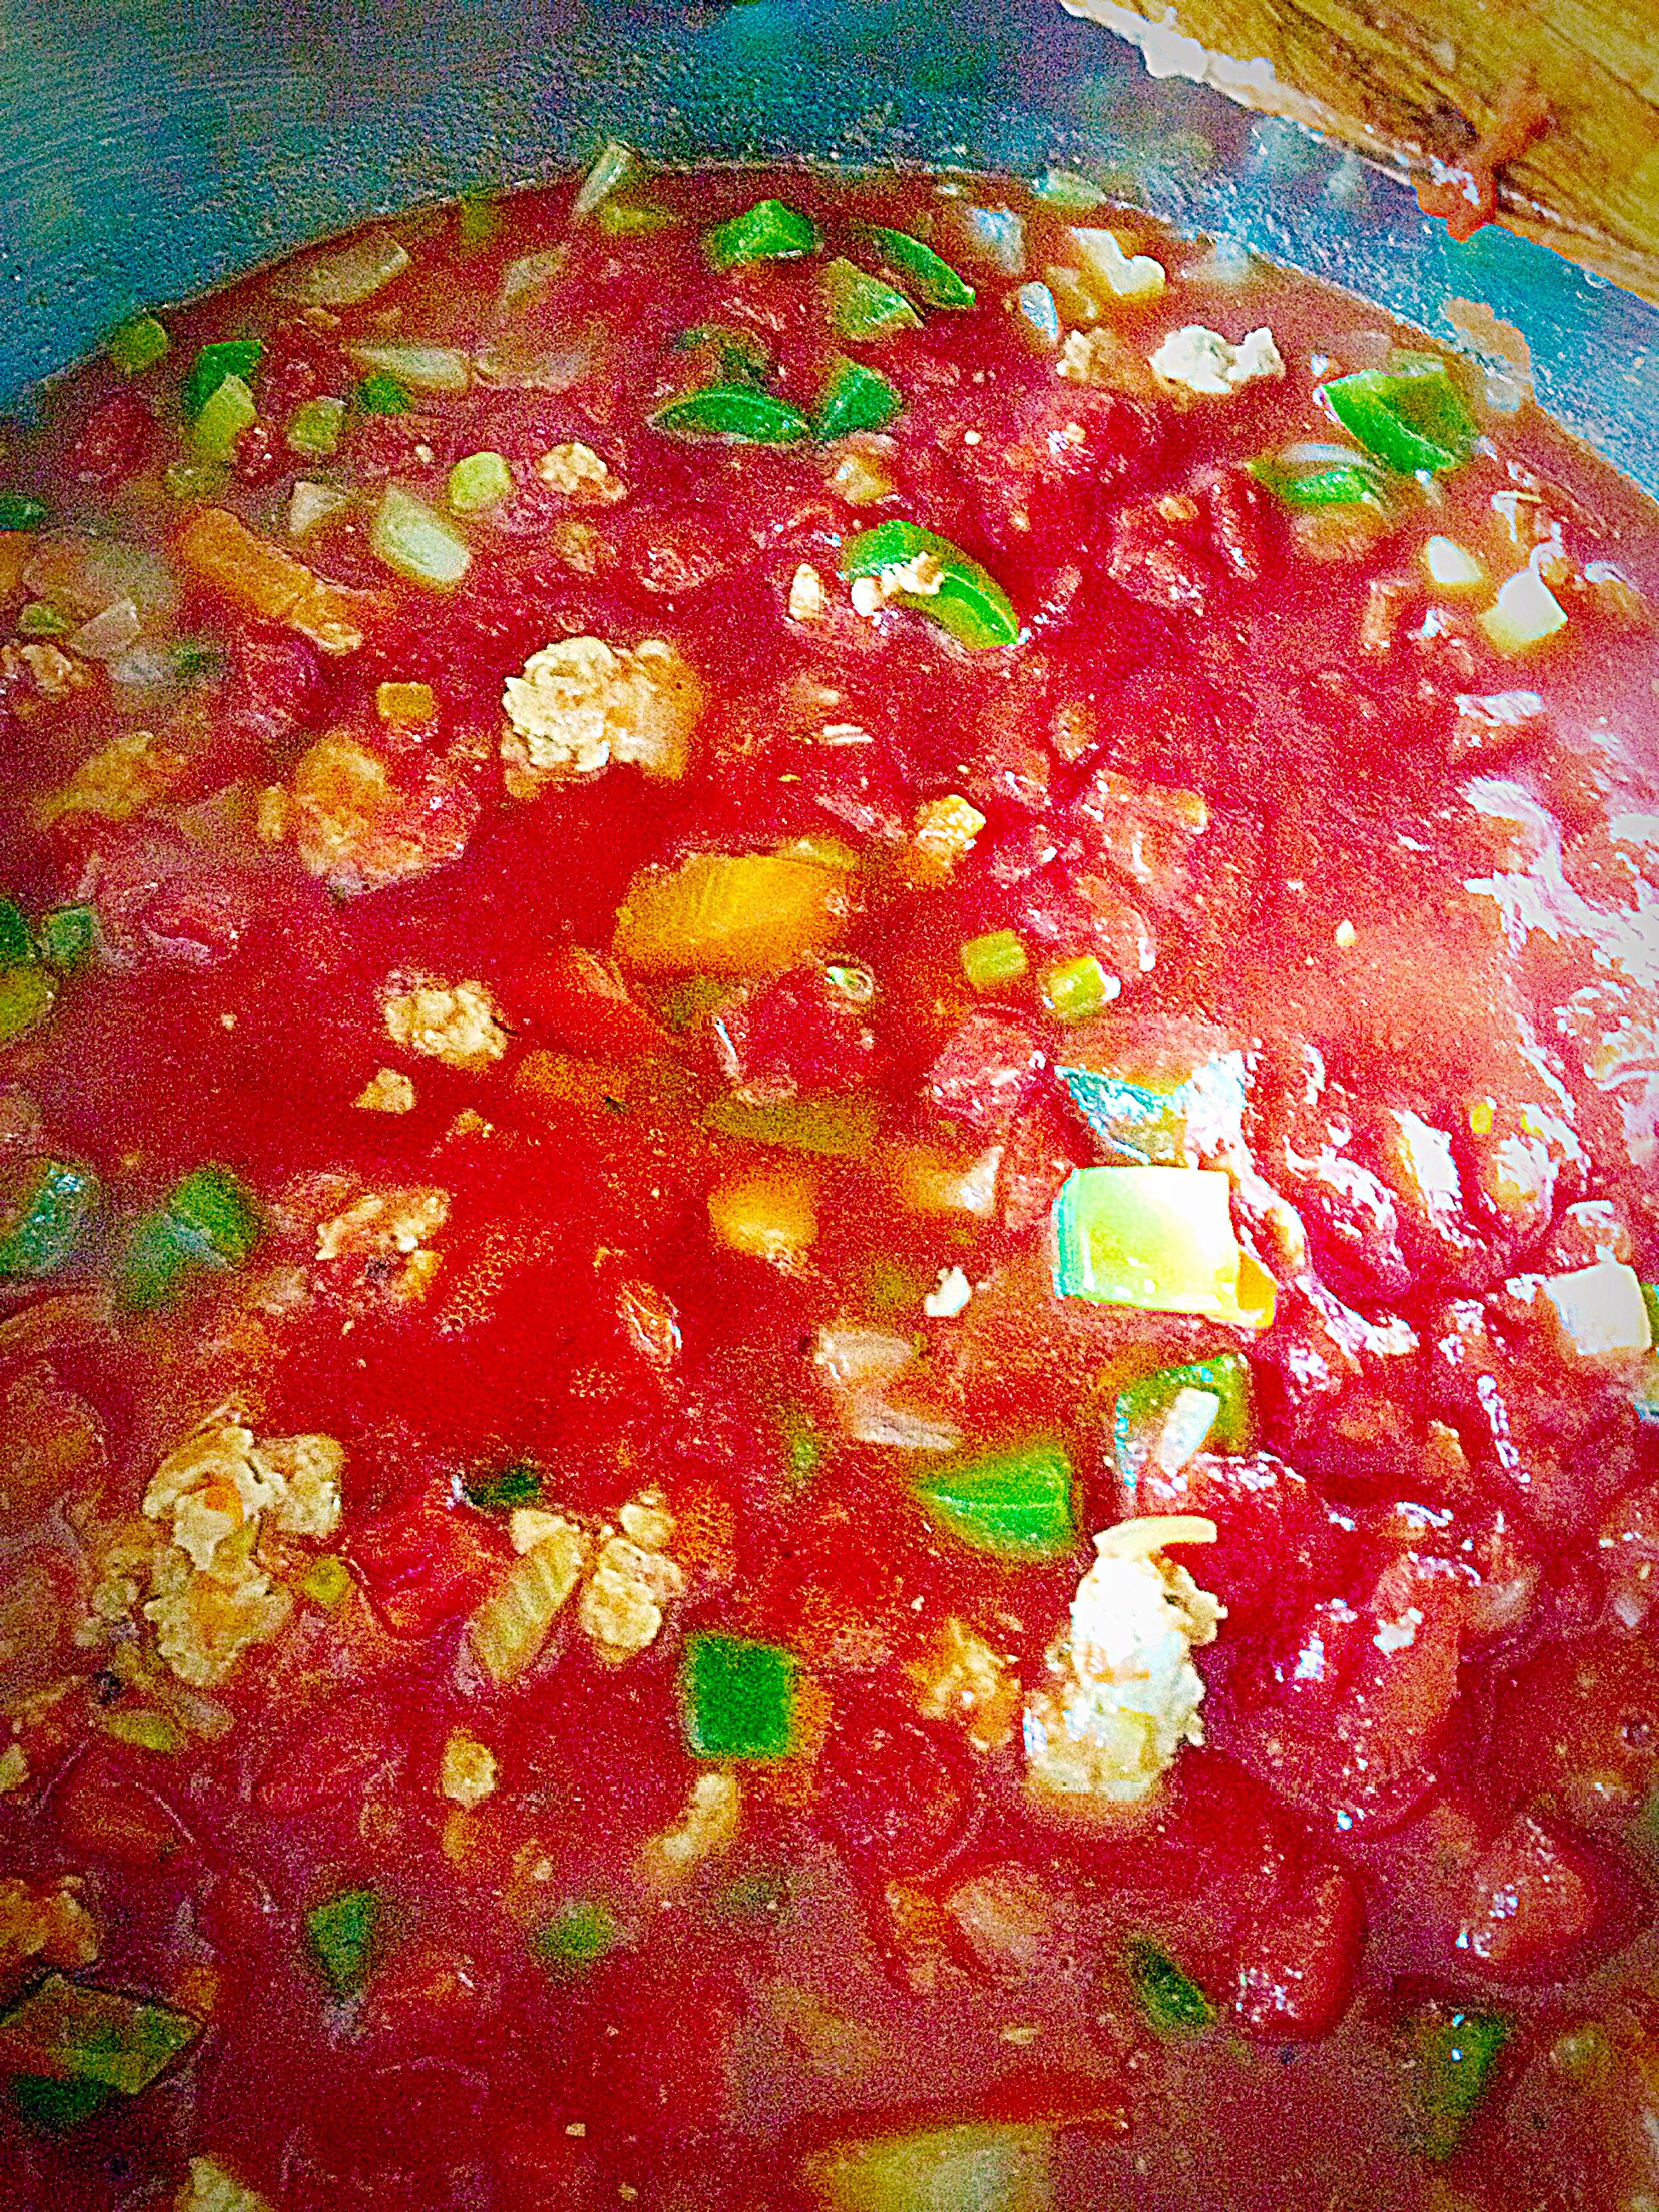
  • First of all add the tepid water to a large bowl and add the olive oil and then the honey. Adding the olive oil first ensures that the honey releases easily from the oiled tablespoon.
  • Next add the yeast.
  • Add the flour so that it covers all of the liquid ingredients.
  • Finally add the salt and minced garlic.
  • Fit the bowl to the stand mixer and lower the dough hook.
  • Mix on a low speed until all the ingredients are combined. Increase to a medium speed for approximately 10 minutes until the dough passes the windowpane test. To carry out the test stop mixing/kneading. Remove a small piece of dough and stretch it between your fingers. To pass the test the dough should stretch without tearing until light is visible through the dough. If the dough tears continue mixing/kneading for a further 2 minutes and test again.
  • As soon as the dough passes the windowpane test stop mixing/kneading and scrape any dough from the dough hook into the bowl.
  • Form the dough into a ball, place back into the bowl and cover with a clean tea towel.
  • Place the bowl in a draught free place and leave until the dough is doubled in size.

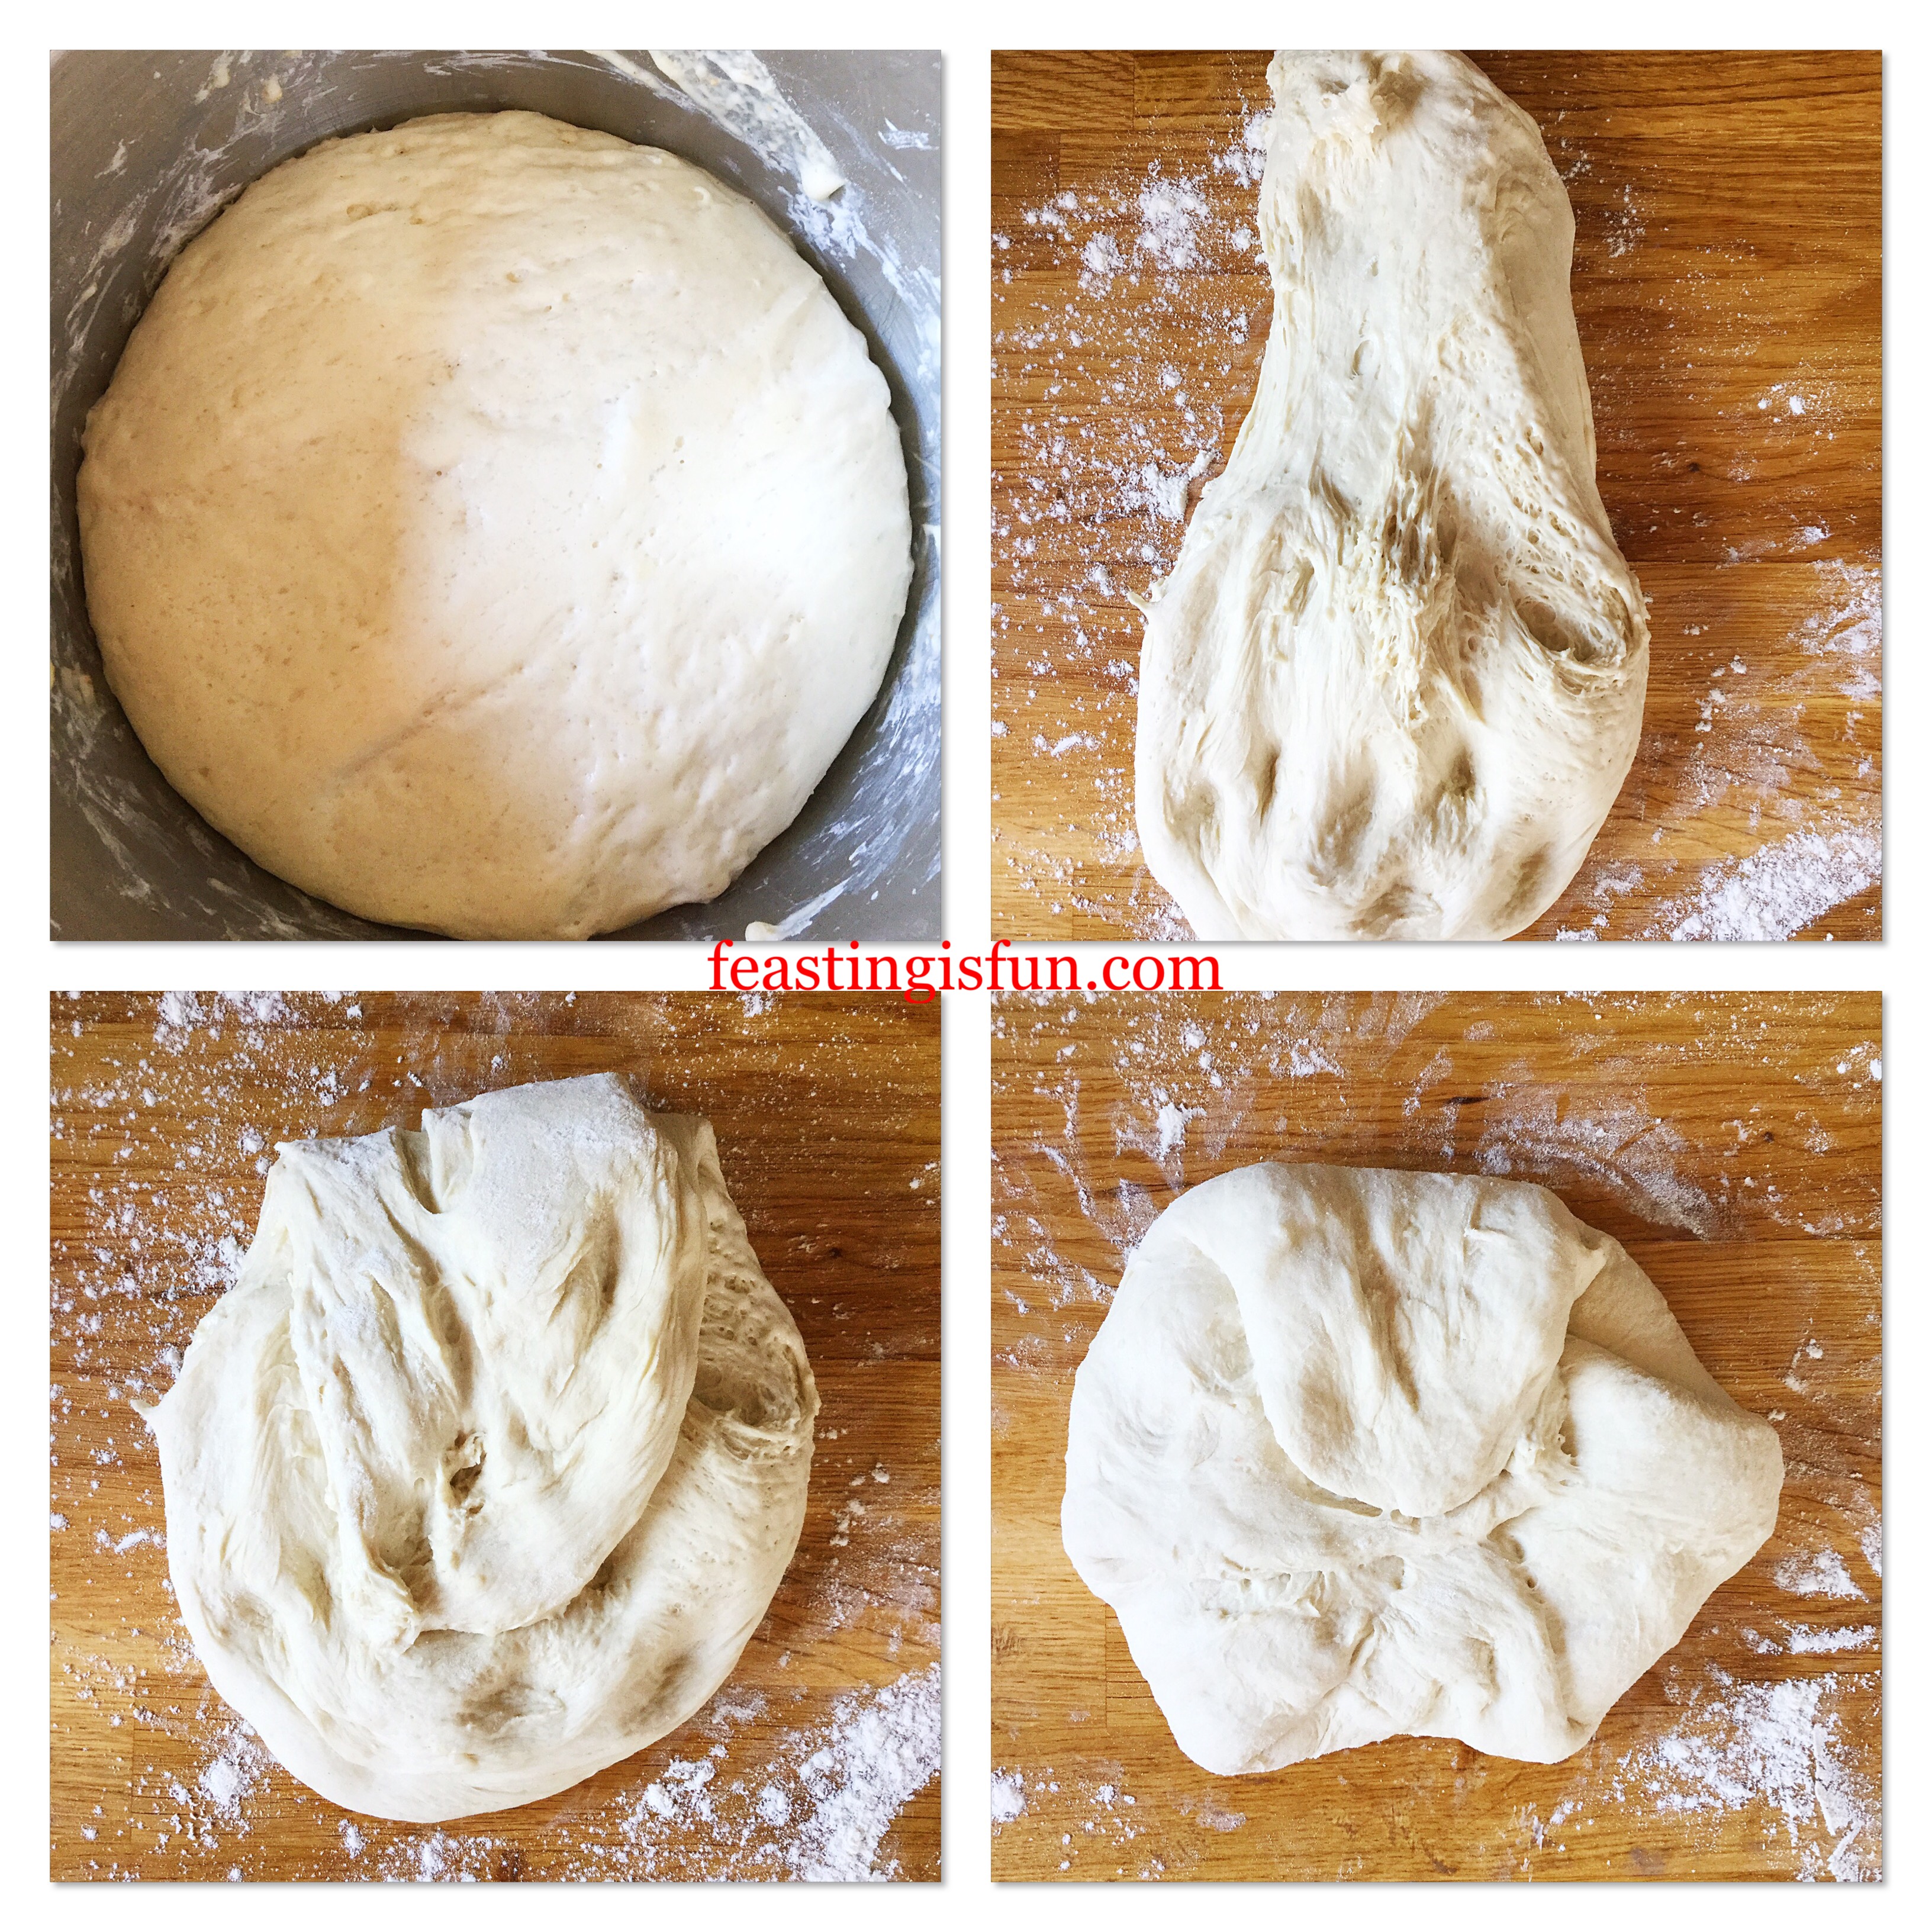
Knocking Back The Dough And Adding The Fresh Basil Leaves

  • As soon as the dough is doubled in size, turn it out of the bowl onto a lightly floured worktop. Most importantly, ensure the top of the risen dough is in contact with the worktop and the sticky underneath is now on top.
  • Pull out part of the dough with your hand and then tuck it into the centre of the dough.
  • Turn the dough clockwise, approximately 10 minutes if it were a clock and repeat the pulling and tucking technique. Repeat this process until the dough is smooth and not sticky to touch. See bottom right photo.
Four images showing each stage of shaping bread.
Building structure within the focaccia dough.
  • Turn the dough over and press out using your fingertips until it is a roughly square shaped approximately 10”/25cm.
  • Lay one handful of fresh basil leaves on top of the dough.
  • Fold the top third of the dough down and then fold the bottom third of the dough up and over.
  • Turn the dough by a quarter and repeat the folding step.
Detailed images showing fresh basil being folded into bread dough
Folding fresh basil into the bread dough.

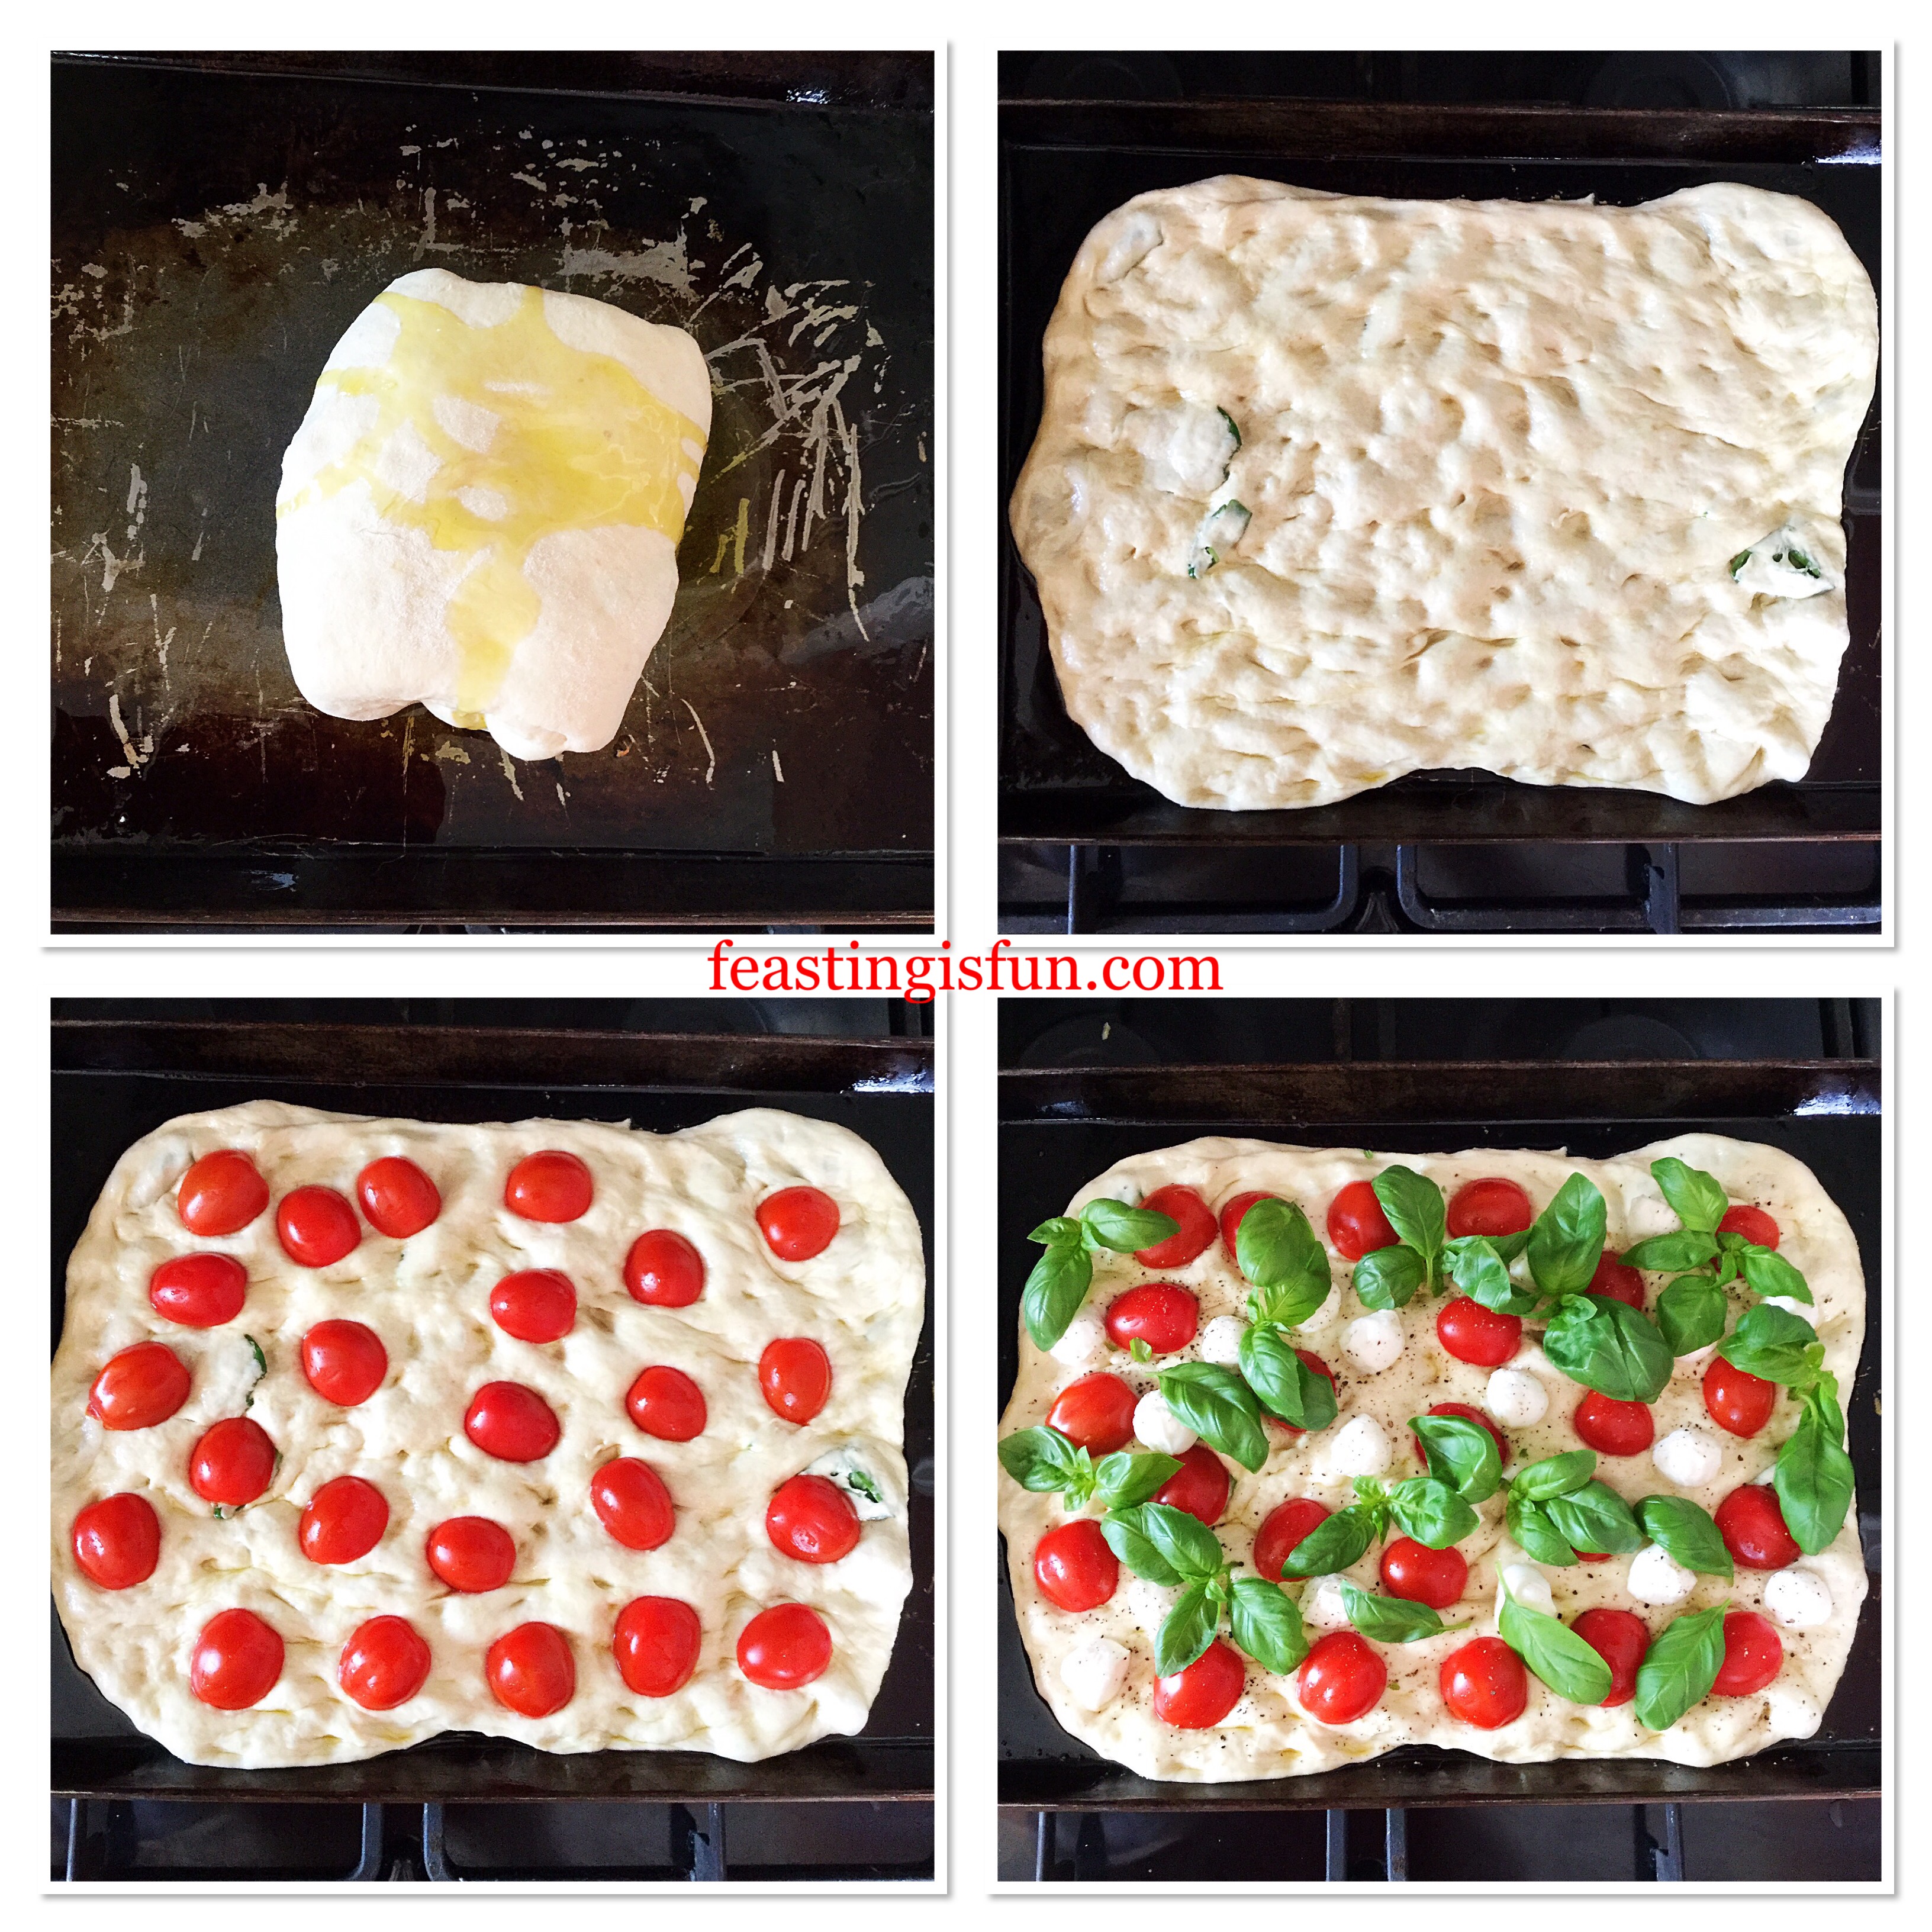
Pressing Out The Focaccia Dough And Adding The Toppings

  • Turn the dough over and place onto a lightly oiled baking tray.
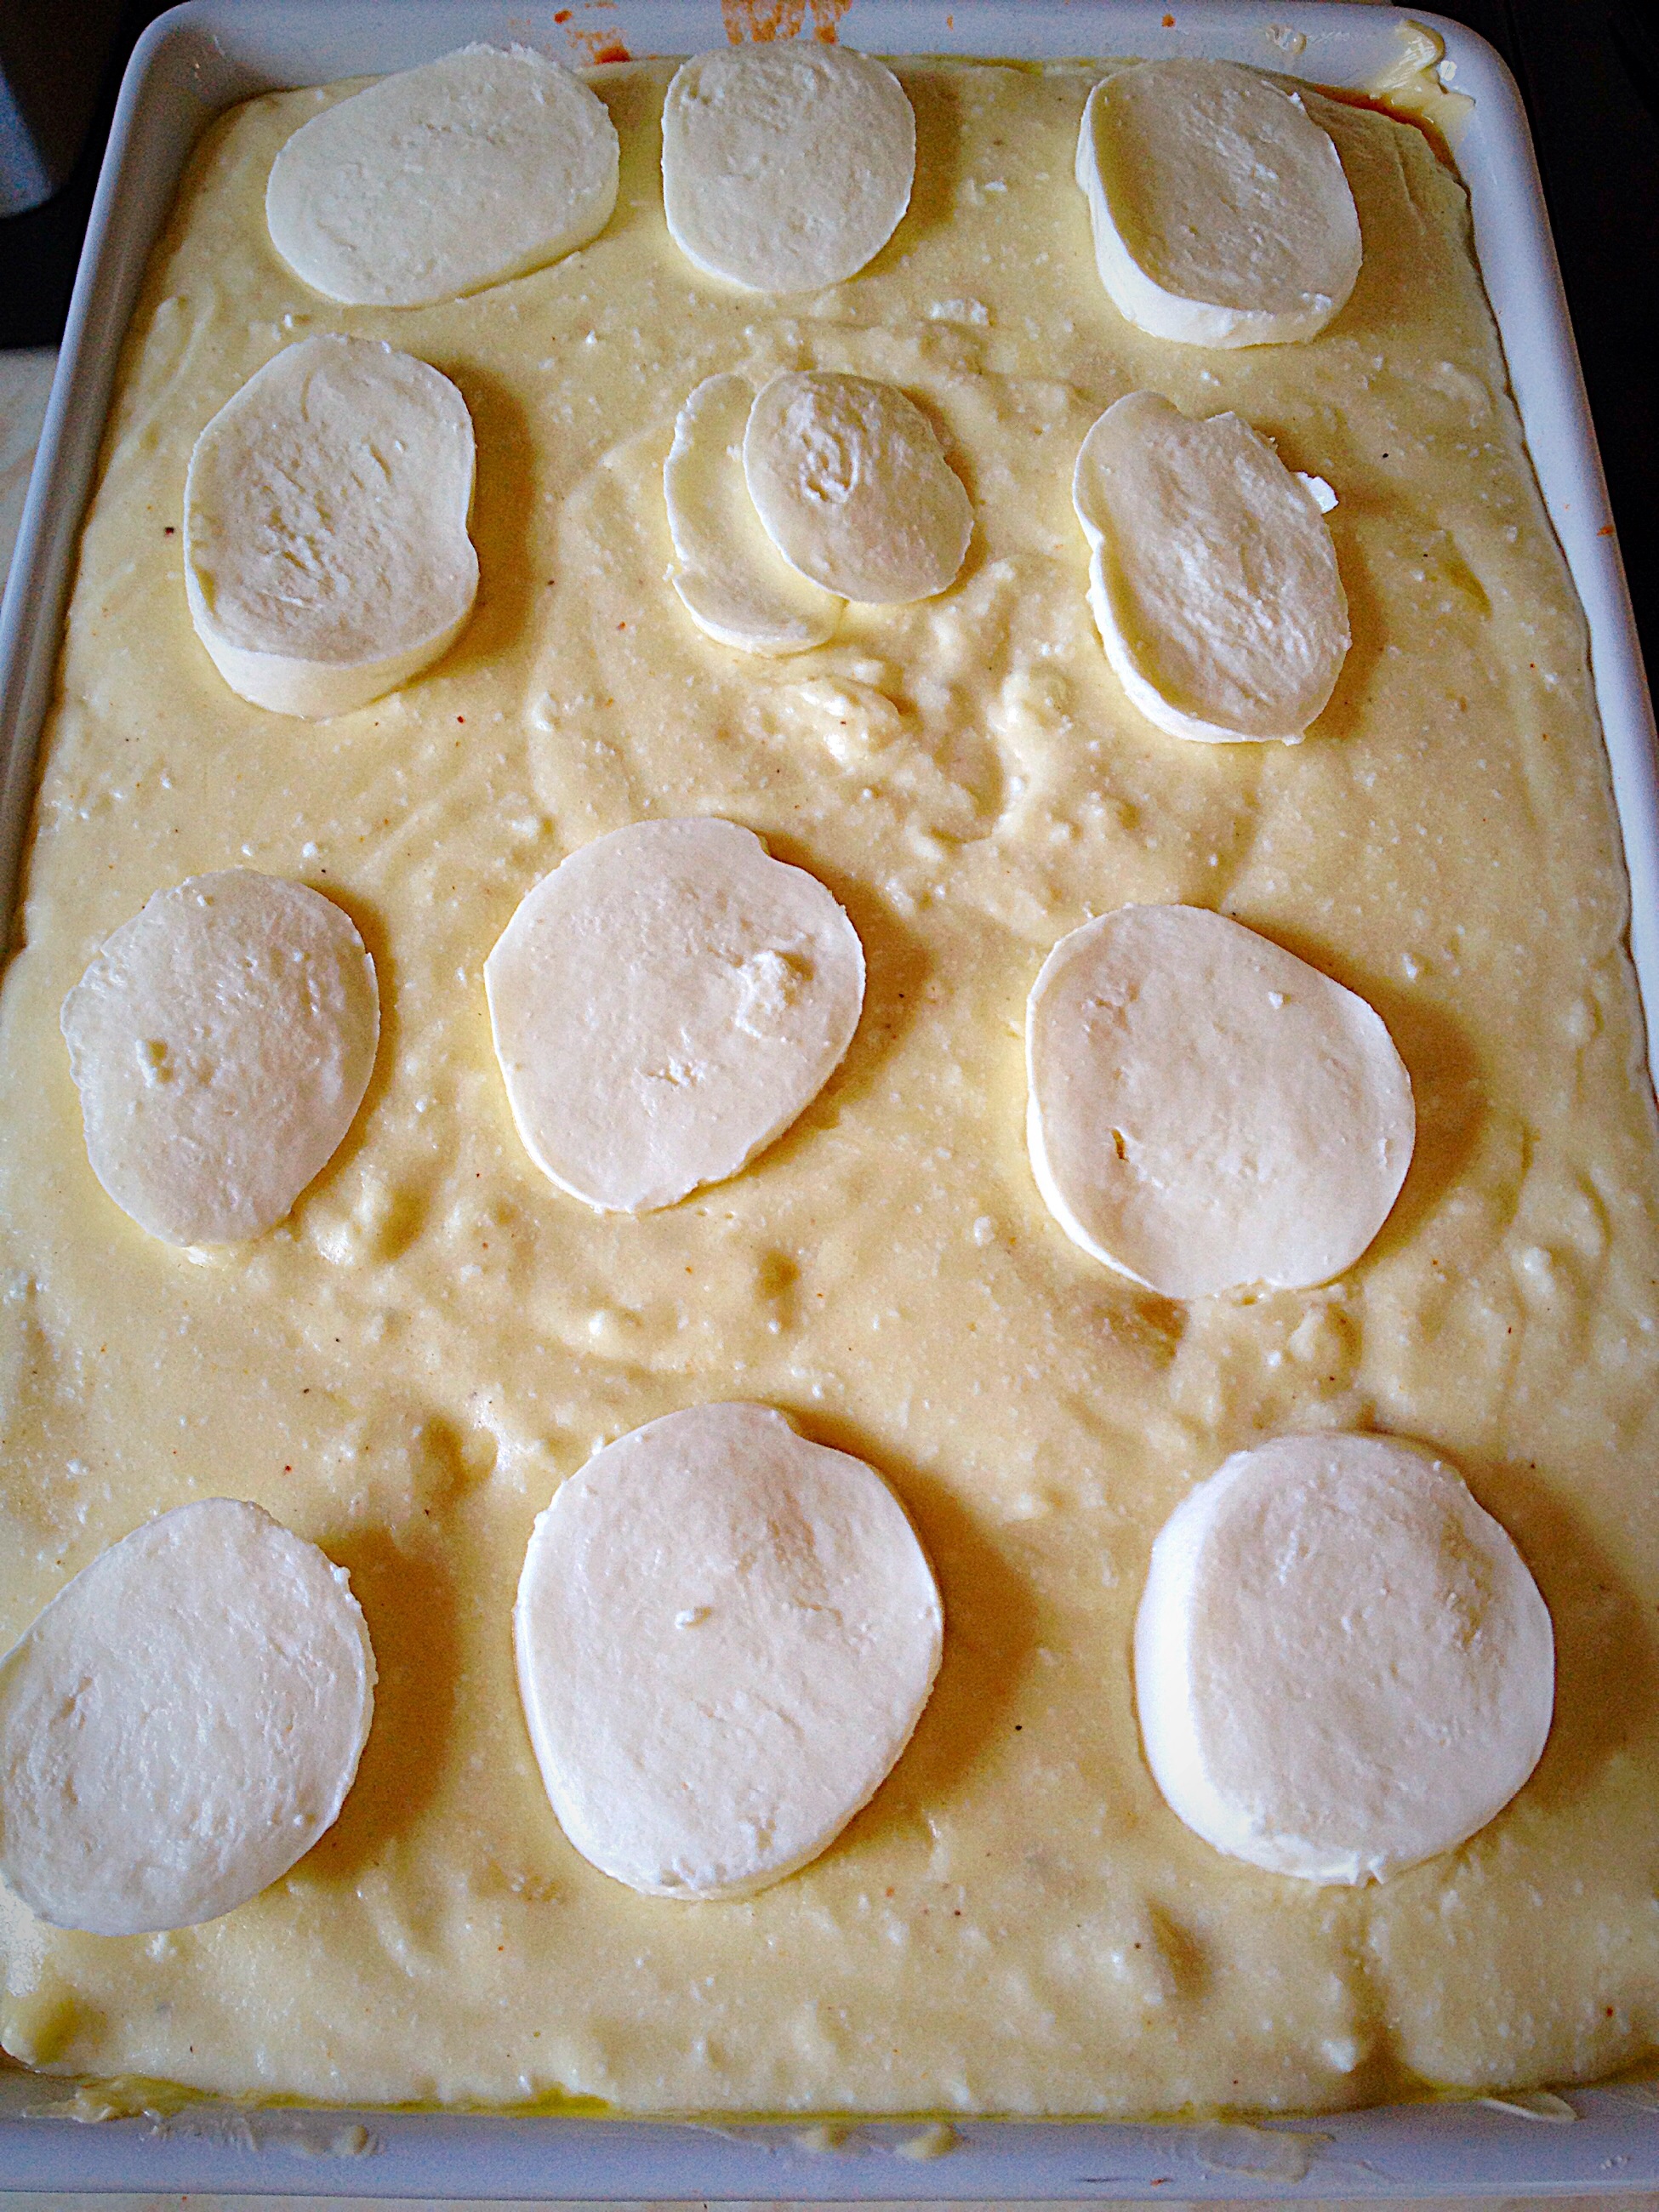
  • Drizzle 1 tablespoon of olive oil over the dough and use your fingers to press out the focaccia dough, taking care to keep the basil leaves within the dough.
  • Press the halved mini plum tomatoes into the dough.
  • Likewise add the mini mozzarella balls in the same manner.
  • Scatter over the minced garlic and last handful of basil leaves.
  • Finally drizzle lightly with olive oil and add a pinch of sea salt and black pepper.
  • Leave in a draught free place to rise and preheat the oven to 200C/180C fan, gas mark 6, 400F.
Four images showing the focaccia and adding the toppings
Shaping the focaccia bread and adding the toppings.

Baking The Cherry Tomato Mozzarella Focaccia

  • As soon as the focaccia has plumped up around the tomatoes and basil, while doubling in size, it is ready to be baked.
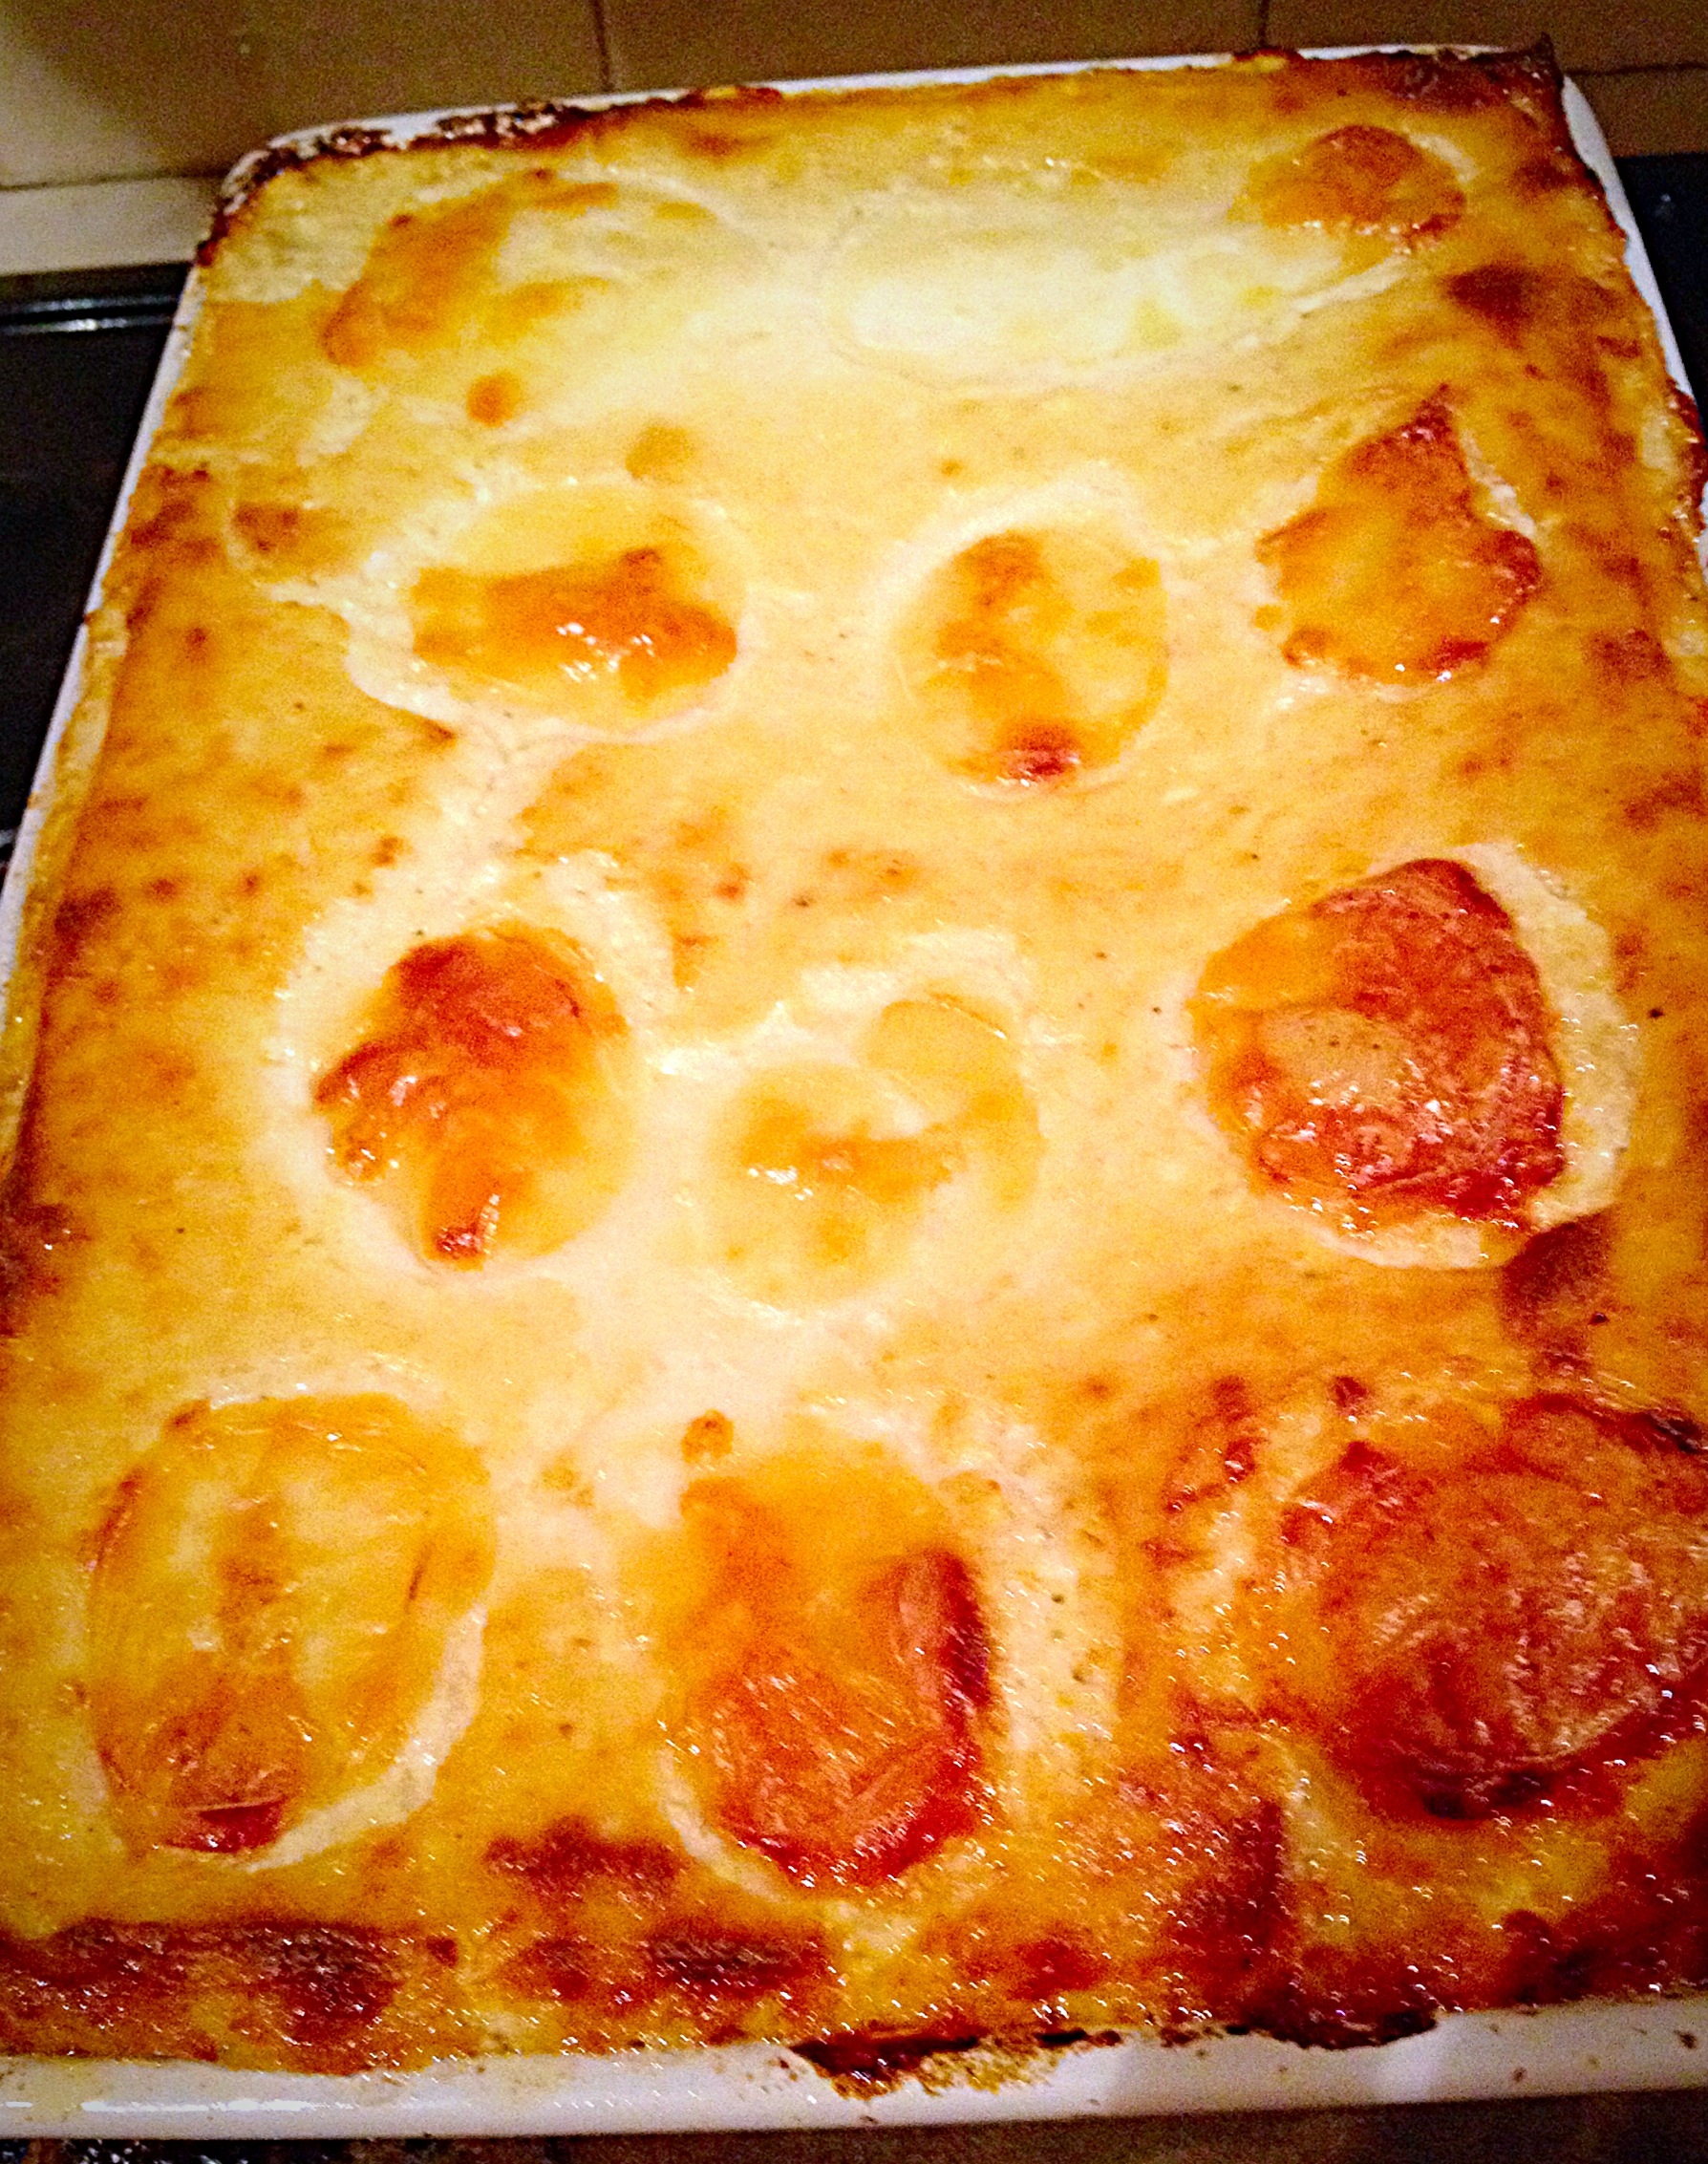
  • Place the focaccia into the centre of the oven and bake for 25-35 minutes.
  • The bread is baked when it is golden on top and underneath, use a palette knife to lift a corner.
  • And once baked remove from the oven.
Cherry Tomato Mozzarella Basil freshly baked.
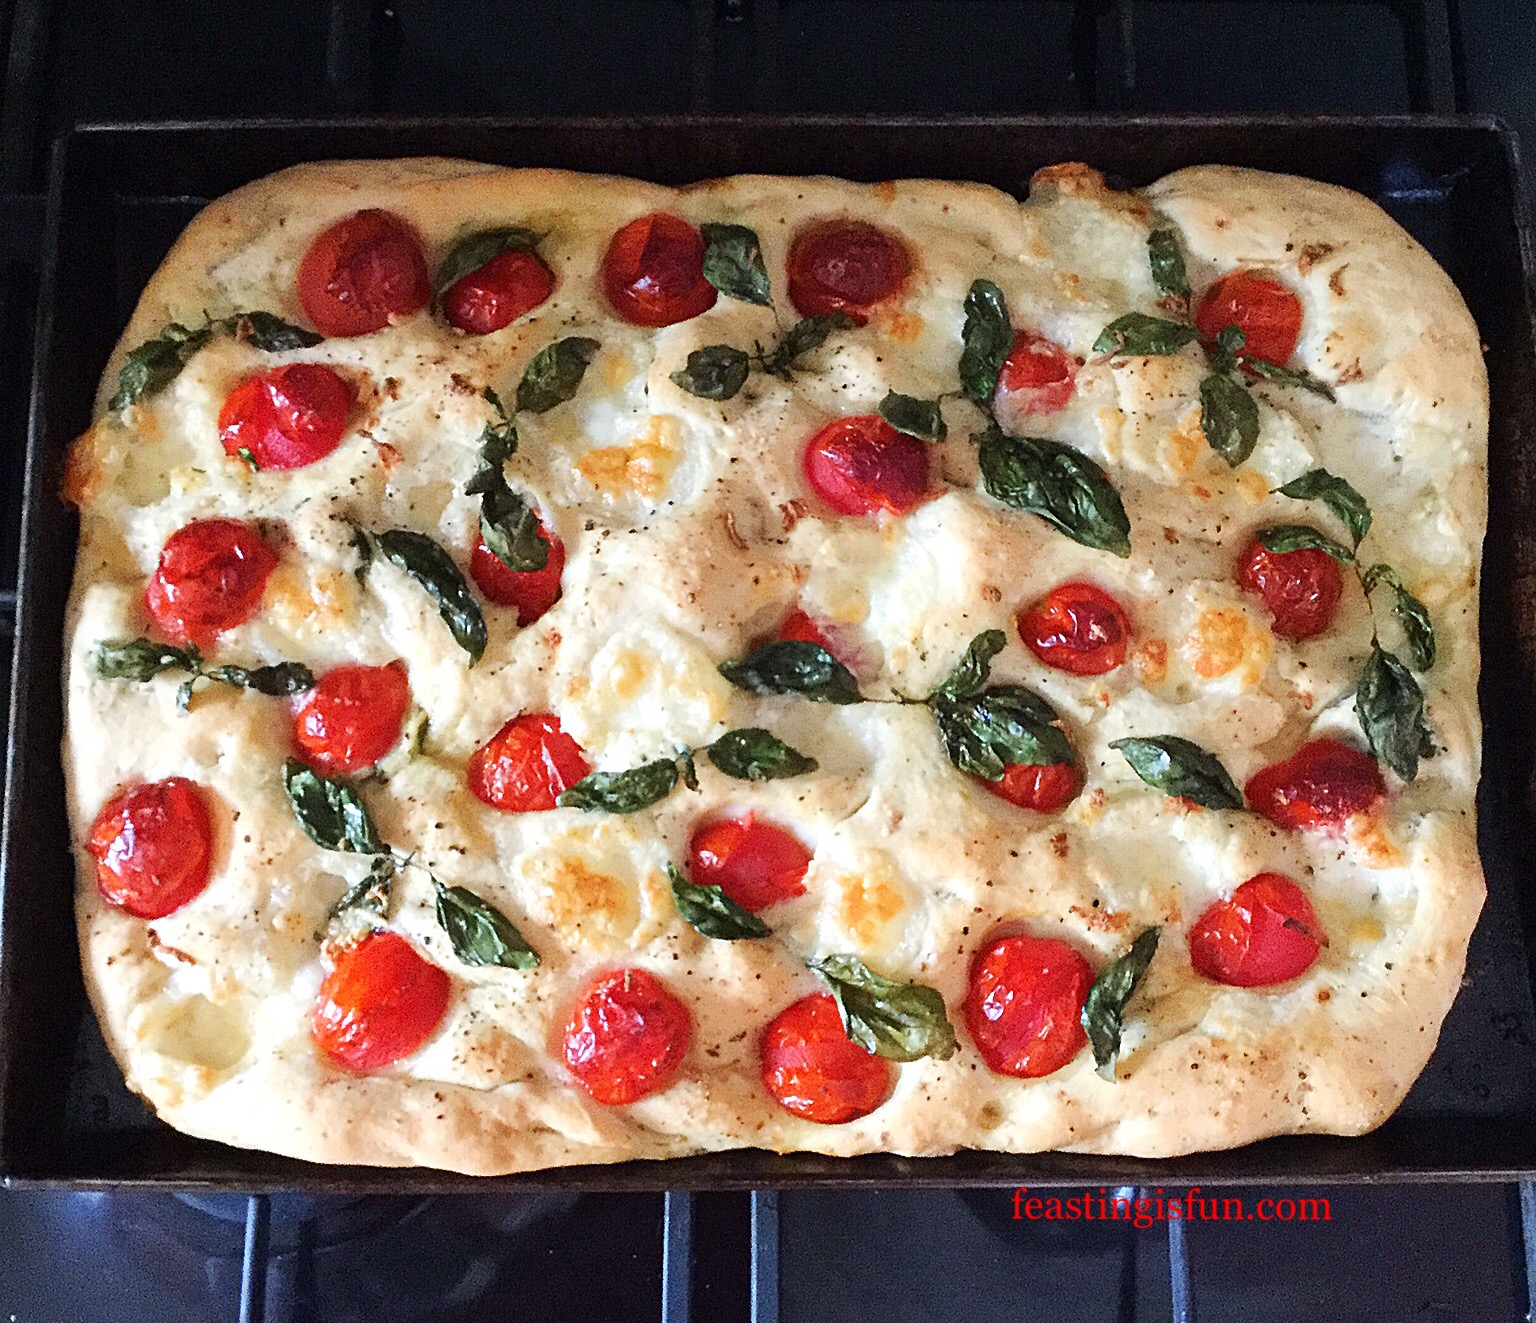
  • Leave the focaccia to cool for 5-10 minutes before serving.
  • Alternatively, bake earlier in the day and reheat in a moderate oven for 10 minutes prior to serving.

To serve this focaccia I ran a pizza wheel across it at various angles to create interesting shapes and portions.

A pizza wheel is used to divide the Italian bread into portions for serving.
Cherry Tomato Mozzarella Basil Focaccia divided into portions.

This bread can be made a day in advance, including the toppings. Cover with cling film and refrigerate. To bake, remove from the fridge, allow the dough to come up to room temperature and puff up and then bake as per the recipe.

Any leftover focaccia can be placed in an airtight container and refrigerated for one day. Also, freezing the focaccia is not recommended due to the fresh tomatoes.

If you have enjoyed this recipe for Cherry Tomato Mozzarella Basil Focaccia you may also like these:

Baked Cheese Olive Ciabatta Bread

Baked cheese olive ciabatta bread being pulled apart to show the gooey cheese.
Baked Cheese Olive Ciabatta Bread

Tomato Thyme Garlic Focaccia Bread

Tomato thyme garlic focaccia bread cut in half.
Tomato Thyme Garlic Focaccia Bread

Garlic Cheese Bombs

Garlic cheese bombs mini bread rolls filled with mozzarella image shows one being pulled apart showing the gooey cheese.
Garlic Cheese Bombs

Because, when I bake, I use the very best ingredients I can afford, this always has an impact on the final flavour. And including locally grown, British produce give me a sense of pride at how incredible our farmers are here in the U.K. Supporting British farmers and also British businesses, such as Room Forty who provide an Afternoon Tea service, is something that I am passionate about. Our country has a wealth of talented people who produce an amazing array of produce and products. While they may be a little more expensive than mass produced imports, what they have in abundance is love and care. Resulting in far higher quality produce grown and made by people who are passionate about what they do.

Do you consider where your food comes from when grocery shopping?

Whatever you are making, baking and creating in your kitchens, have fun preparing and sharing your feast.

Sammie xx

The British Tomato Association gifted me the tomatoes produced by Eric Wall to sample and taste during British Tomato Fortnight #BTF19. I have not been paid or received any financial gain for writing this blog post. All opinions, views and content are my own. No part of this post may be reproduced or duplicated without the written permission of the owner. Please see my Disclosure Policy.


Share
Facebooktwitterpinterestlinkedintumblr

Chicken Four Cheese Lasagne

Share
Facebooktwitterpinterestlinkedintumblr

Hi, roadway I’m sharimg my recipe for Chicken Four Cheese Lasagne. It is a tasty twist on a classic dish. While there are a few steps to follow, each part of the recipe is easy to follow. And there is no need to precook the lasagne sheets. Making this recipe using minced chicken is a tasty twist on an Italian classic.

Delicious, cheese sauce topped, chicken lasagne - delish!
Delicious, cheese sauce topped, chicken lasagne.

As a busy household, make ahead meals are a life, or should I say a sanity saver.

A perfect, portable meal for sharing with others.

By substituting beef with minced chicken, the resulting baked lasagne becomes a lighter dish. Not lighter in calories, with the delicious four cheese sauce. Rather, not as heavy on the stomach. And the four cheese sauce was the result of me raiding the fridge for leftover Christmas cheese.

The Four Cheese Sauce tops of this lasagne perfectly!!

Since minced chicken may not be available everywhere, minced turkey is a great substitute.  Alternatively, processing skinless chicken breasts, thighs or a combination in a food processor would be another way to make your own chicken mince. Another option, finely chopped chicken using a sharp knife would work and give the lasagne added texture.

Recipe : Chicken Four Cheese Lasagne Serves 6-8 portions.

Chicken Lasagne Sauce

450g/1lb  Chicken Mince

1  Large White Onion

2tbsp  Olive Oil – I use Filippo Berio

2  Celery Stalks – the larger outside stalks

1  Green Pepper – washed, deseeded and finely diced

2-3  Carrots – peeled and finely diced

3  Garlic Cloves – minced or crushed (using a garlic press)

3 x 400g  Chopped Tinned Tomatoes

2tbsp  Tomato Puree

1tsp  Dried Mixed Herbs – or fresh basil, oregano, parsley and thyme – to taste

1tsp  Sugar

Salt and Ground Black Pepper – to taste

Cheese Sauce :

3tbsp  Butter

3tbsp  Plain White Flour

750-800ml/Approx 26fl oz Whole Milk

6oz  Hard Cheese – I used a 50/50 mixture of Mature Cheddar and Swiss Cheese cut into small cubes or grated

4.5oz/125g  Riccota Cheese

250g/8.5oz Mozzarella Cheese

1 tsp  Nutmeg – freshly grated if possible

Salt and Freshly Ground Black Pepper to taste.

Butter – For Greasing the Lasagne Dish

1 packet Dried Egg Lasagne Sheets 375g/13-14oz – dont worry if the packet requires pre-cooking you won’t need to.

Method:

A rectangular, ovenproof dish approximately 30cm x 20cm x 9cm (12in x 8in x 3.5in) is needed to make this lasagne.

Making The Chicken Lasagne Sauce

  • First of all finely chop the onion, celery, green pepper and carrots.
  • Heat the olive oil in a large sauté pan.
  • Add the diced onion and sauté for 5 minutes over a medium heat until the onions start to turn translucent.
  • Next add the diced celery to the pan and continue to sauté for a couple more minutes until the celery starts to soften.
  • Push the onions and celery to one side of the pan and add the Chicken mince to the other side. Alternatively if you don’t have a large sauté pan, remove the onions and celery, into a separate dish and then add the Chicken to the pan.
  • Cook the chicken, using a wooden spatula to break up the mince so large clumps of meat don’t form.
Having a large sauté pan means you can cook all the ingredients in one go!!!
  • Unlike beef mince, the chicken mince will get lighter as it cooks.
  • Cook the chicken turns opaque but not browned.
  • Now add the carrots, green pepper and the minced garlic.

Mix all the veggies and garlic with the Chicken mince. Inhale the gorgeous aroma!

  • As soon as everything is mixed together add the tomatoes. Also fill each empty can almost to the top with water and add that to the pan.
  • Add the tomato purée, dried or fresh chopped herbs.
  • Give everything a good stir then add the sugar, half a teaspoon of salt and a good grinding of black pepper.
  • Turn the heat to medium-low and leave to gently bubble away on the stove for an hour, stirring occasionally.

This gorgeous Chicken, vegetable and tomato sauce just bubbles away happily on the stove! Pop the kettle on for a cuppa!!!!

Making Four Cheese Sauce Lasagne Topping

  • Place a medium sized pan over a gentle heat. Add the butter and cook until melted and starting to sizzle.
  • Next tip the flour on to the melted butter stirring constantly until combined and smooth.
  • Continue to cook for a couple of minutes.
This is what the butter and flour should look like.
  • Start slowly adding the milk, stirring vigorously as the paste thickens. Continue stirring while adding small amounts of milk.
The sauce will become very thick. DON'T WORRY!!!!
The sauce will become very thick.
  • As more milk is added lumps may form, switch to a balloonwhisk at this stage.
  • Continue until all the milk has been added and absorbed.
  • The sauce will be thick enough to cover the back of a spoon.
No lumps here - if you squint!!!!!!
No lumps here – if you squint!!!!!!
  • Remove the pan from the heat and add the ricotta and the other cheeses (except the mozzarella), stir vigorously.
The Ricotta gets dumped in and then add the hard cheeses.
  • Add the nutmeg and season with salt and pepper to taste.
  • Ricotta cheese will give the Four Cheese Sauce a slightly grainy texture, that’s normal. While grated cheese will melt into the sauce easily, cubed cheese will almost never become completely smooth, that’s ok as it will when it’s baked in the oven later. Also the addition of freshly ground nutmeg elevates the flavour above and beyond, but please, if you can, grate your own nutmeg.
  • Set to one side to cool.

Assembling The Lasagne Layers

  • First of all liberally butter the ovenproof dish. Since I’ve made a LOT of lasagne buttering the dish before hand not only helps when serving, it also doesn’t require 3 days soaking to remove baked on lasagne.

I always butter my lasagne dish, it makes the cooked lasagne much easier to dish up!

I wasn’t joking when I said that you don’t have to precook the lasagne sheets. Since I’ve used lots of different makes, some with ruffled edges, green spinach lasagne sheets, egg versus plain AND this recipe works with all types.


These are dried lasagne sheets. Any brand will do!


As soon as you have buttered the dish place a layer of hot chicken lasagne sauce into the bottom of the dish, so that it is completely covered.

The first layer is down, time to start building!!!
The first layer is down, time to start building!
  • Next place enough lasagne sheets to cover the bottom layer.  The layers should meet or very slightly overlap.
If your lasagne sheets don't fit exactly, just snap bits off to adjust them.
If your lasagne sheets don’t fit exactly, just snap bits off to adjust them.
  • Repeat the sauce/lasagne sheet layering twice more finishing with a sheet layer.
All the bits and pieces of the lasagne sheets will be covered by the Four Cheese Sauce.
  • Pour the cooled cheese sauce all over the top of the lasagne sheets.
Ooh this is going to be sooooo good - look at that yummy cheese sauce layer!
Ooh this is going to be sooooo good – look at that yummy cheese sauce layer!

Finishing The Lasagne

  • Drain and slice the mozzarella cheese.
The final gooey, stringy, adornment for this fab lasagne dish!
  • And now arrange the mozzarella slices on top of the cheese sauce.
The Four Cheese Sauce tops off this lasagne perfectly!!
The Four Cheese Sauce tops off this lasagne perfectly.
  • Finally leave the lasagne for at least 4 hours or ideally overnight. So that the dried lasagne slices have time to absorb moisture from both sauces. Also this  dish can be made 1-2 days in advance, wrapped in cling film and left in the fridge.

Baking The Lasagne

  • As soon as the lasagne is ready to bake preheat the oven to 180C/160C fan oven, 350F, gas mark 4.
  • Place the lasagne dish on to a slightly larger baking tray; this dish can bubble up and over.
  • Bake the lasagne for 1 1/2 hours until piping hot all the way through and golden brown.
Delicious, cheese sauce topped, chicken lasagne - delish!
Delicious, cheese sauce topped, chicken lasagne – delish!
  • Remove from the oven 10-15 minutes before serving.  Doing so allows the lasagne to cool slightly and more importantly, hold it’s shape when served.

This Chicken and Four Cheese Lasagne is delicious on it’s own, served with a salad and freshly baked Garlic Rosemary Focaccia Bead. Also it can be frozen at the pre-bake stage or in individual portions, wrapped tightly in foil and popped into the freezer. Or why not double the quantities and make an extra meal for the freezer?

If you have enjoyed this recipe for Chicken Four Cheese Lasagne you may also like these:

Cheesy Vegetable Pasta Bake 

FF Chicken Four Cheese Lasagne
Cheesy Vegetable Pasta Bake

Smoked Bacon Asparagus Quich

FF Chicken Four Cheese Lasagne
Smoked Bacon Asparagus Quiche

Creamy Tomato Spinach Chicken Pasta

FF Chicken Four Cheese Lasagne
Creamy Tomato Spinach Chicken Pasta


While traditional recipes will stand the test of time, importantly it’s fun to change things up. And sharing those changes is especially important as is sharing the food we make.  Most of all if you know a new mum, or someone who has been ill for a while, or just a very busy family that you would like to bless, then this is THE perfect, portable, all in one meal for sharing!

Sammie x


Share
Facebooktwitterpinterestlinkedintumblr