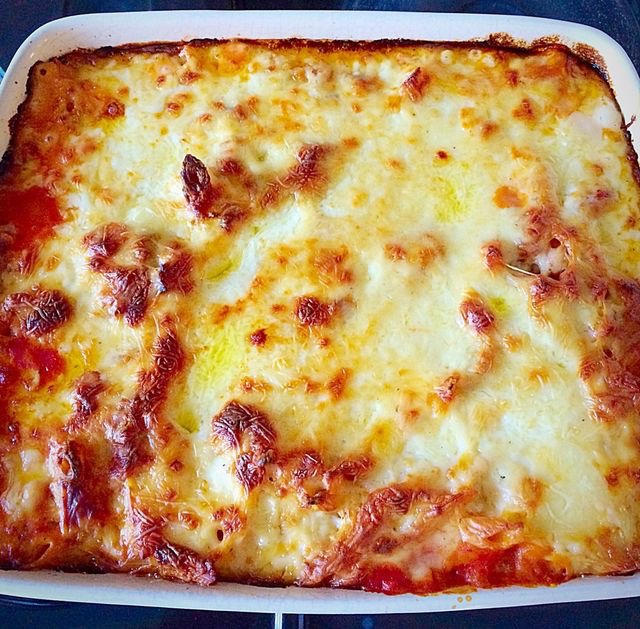
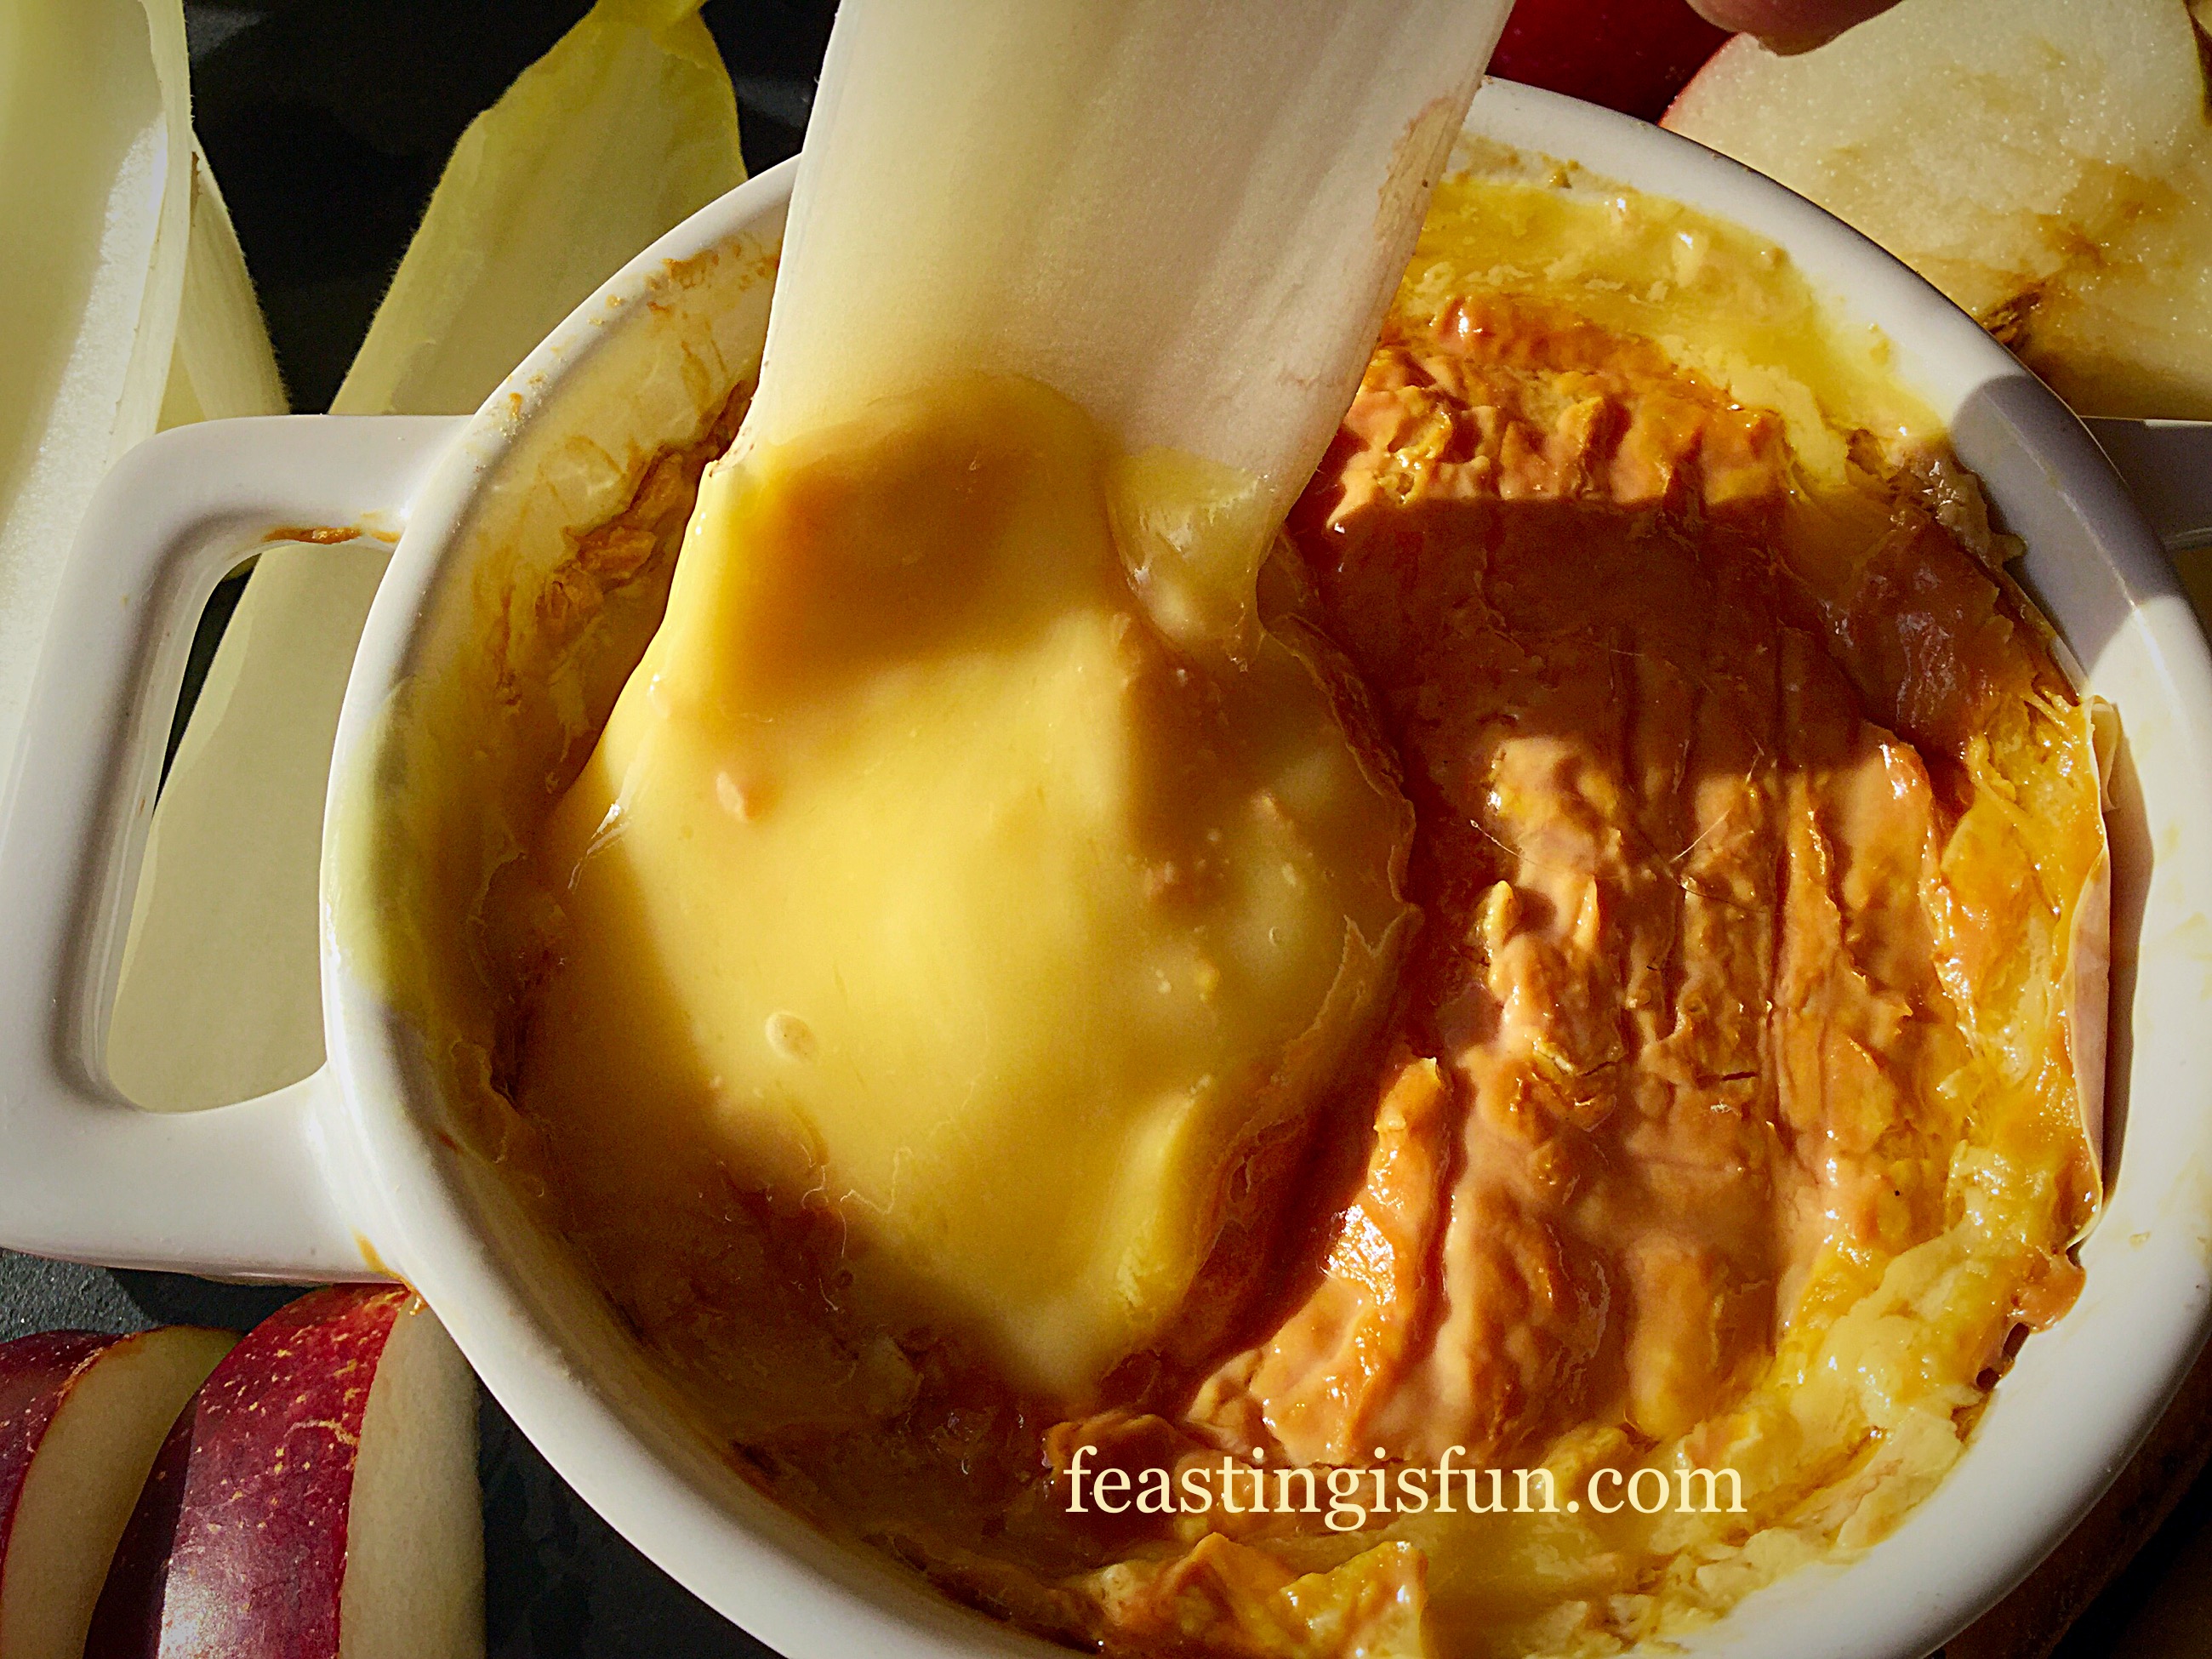
Baked Whole Epoisses De Bourgogne bubbling, gooey, pungent cheese.
Do you like cheese? Then you will love this rich, melted Baked Whole Epoisses De Bourgogne, perfect for dipping, dunking and feasting on.
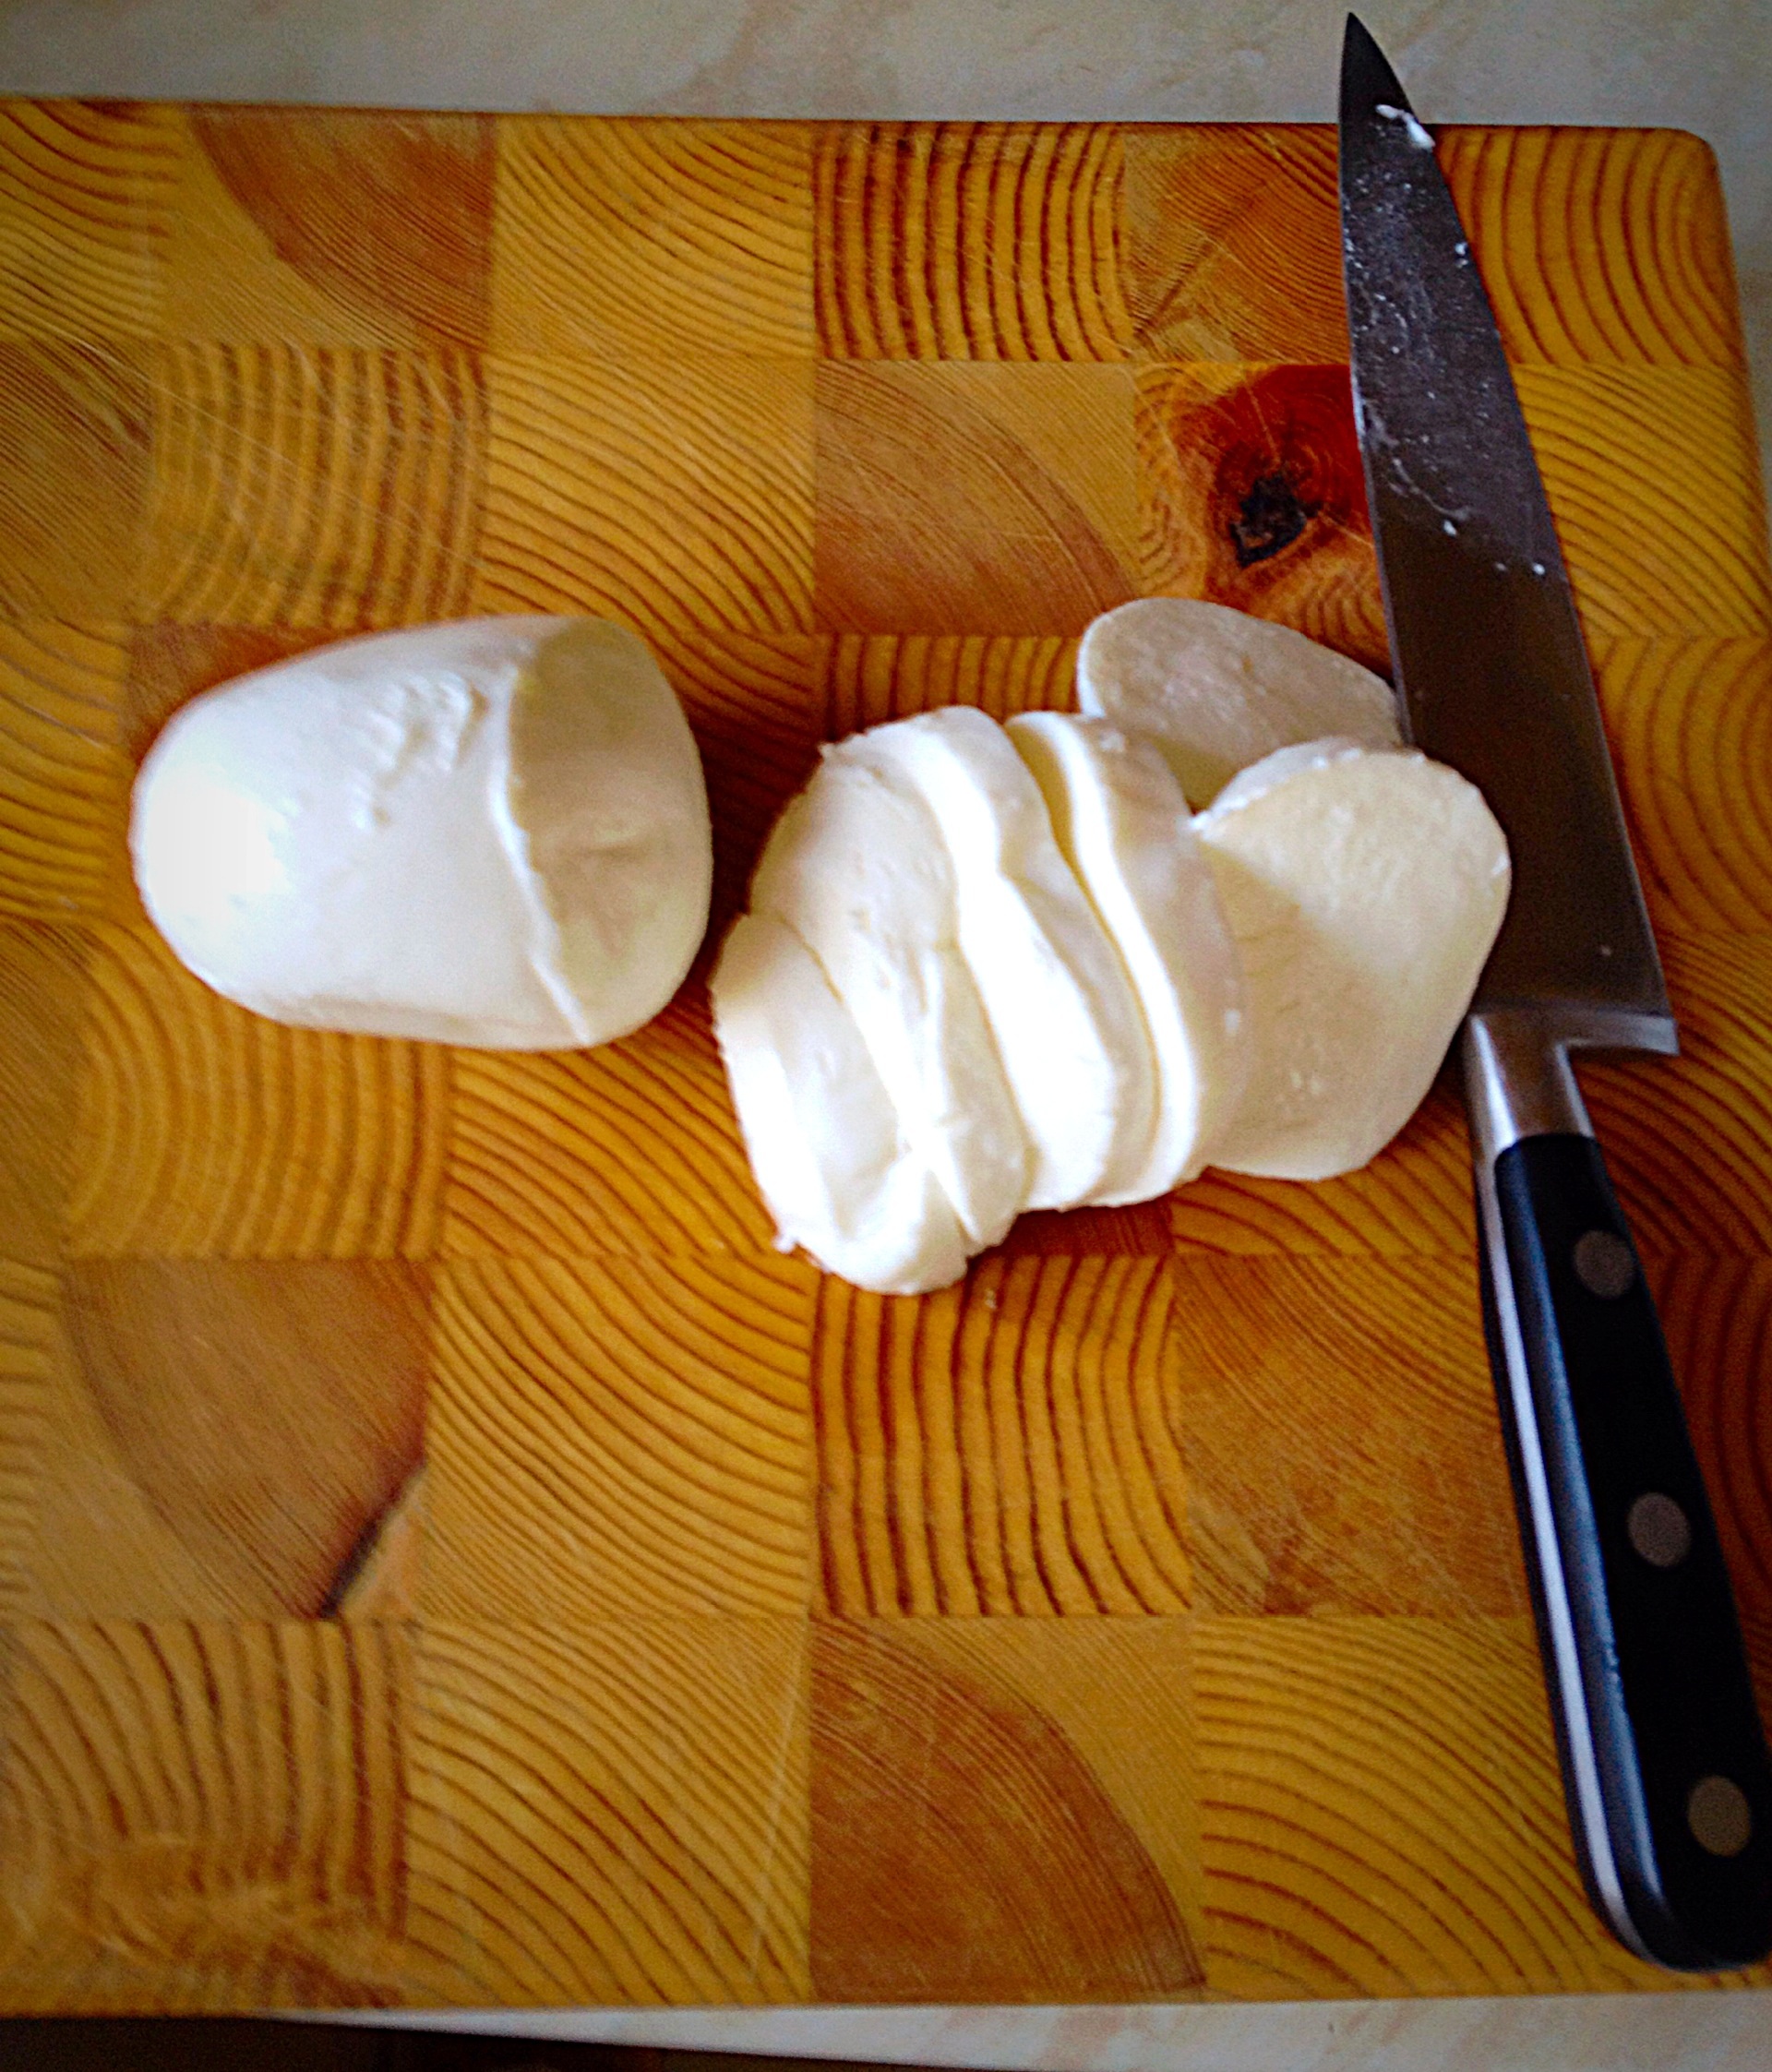
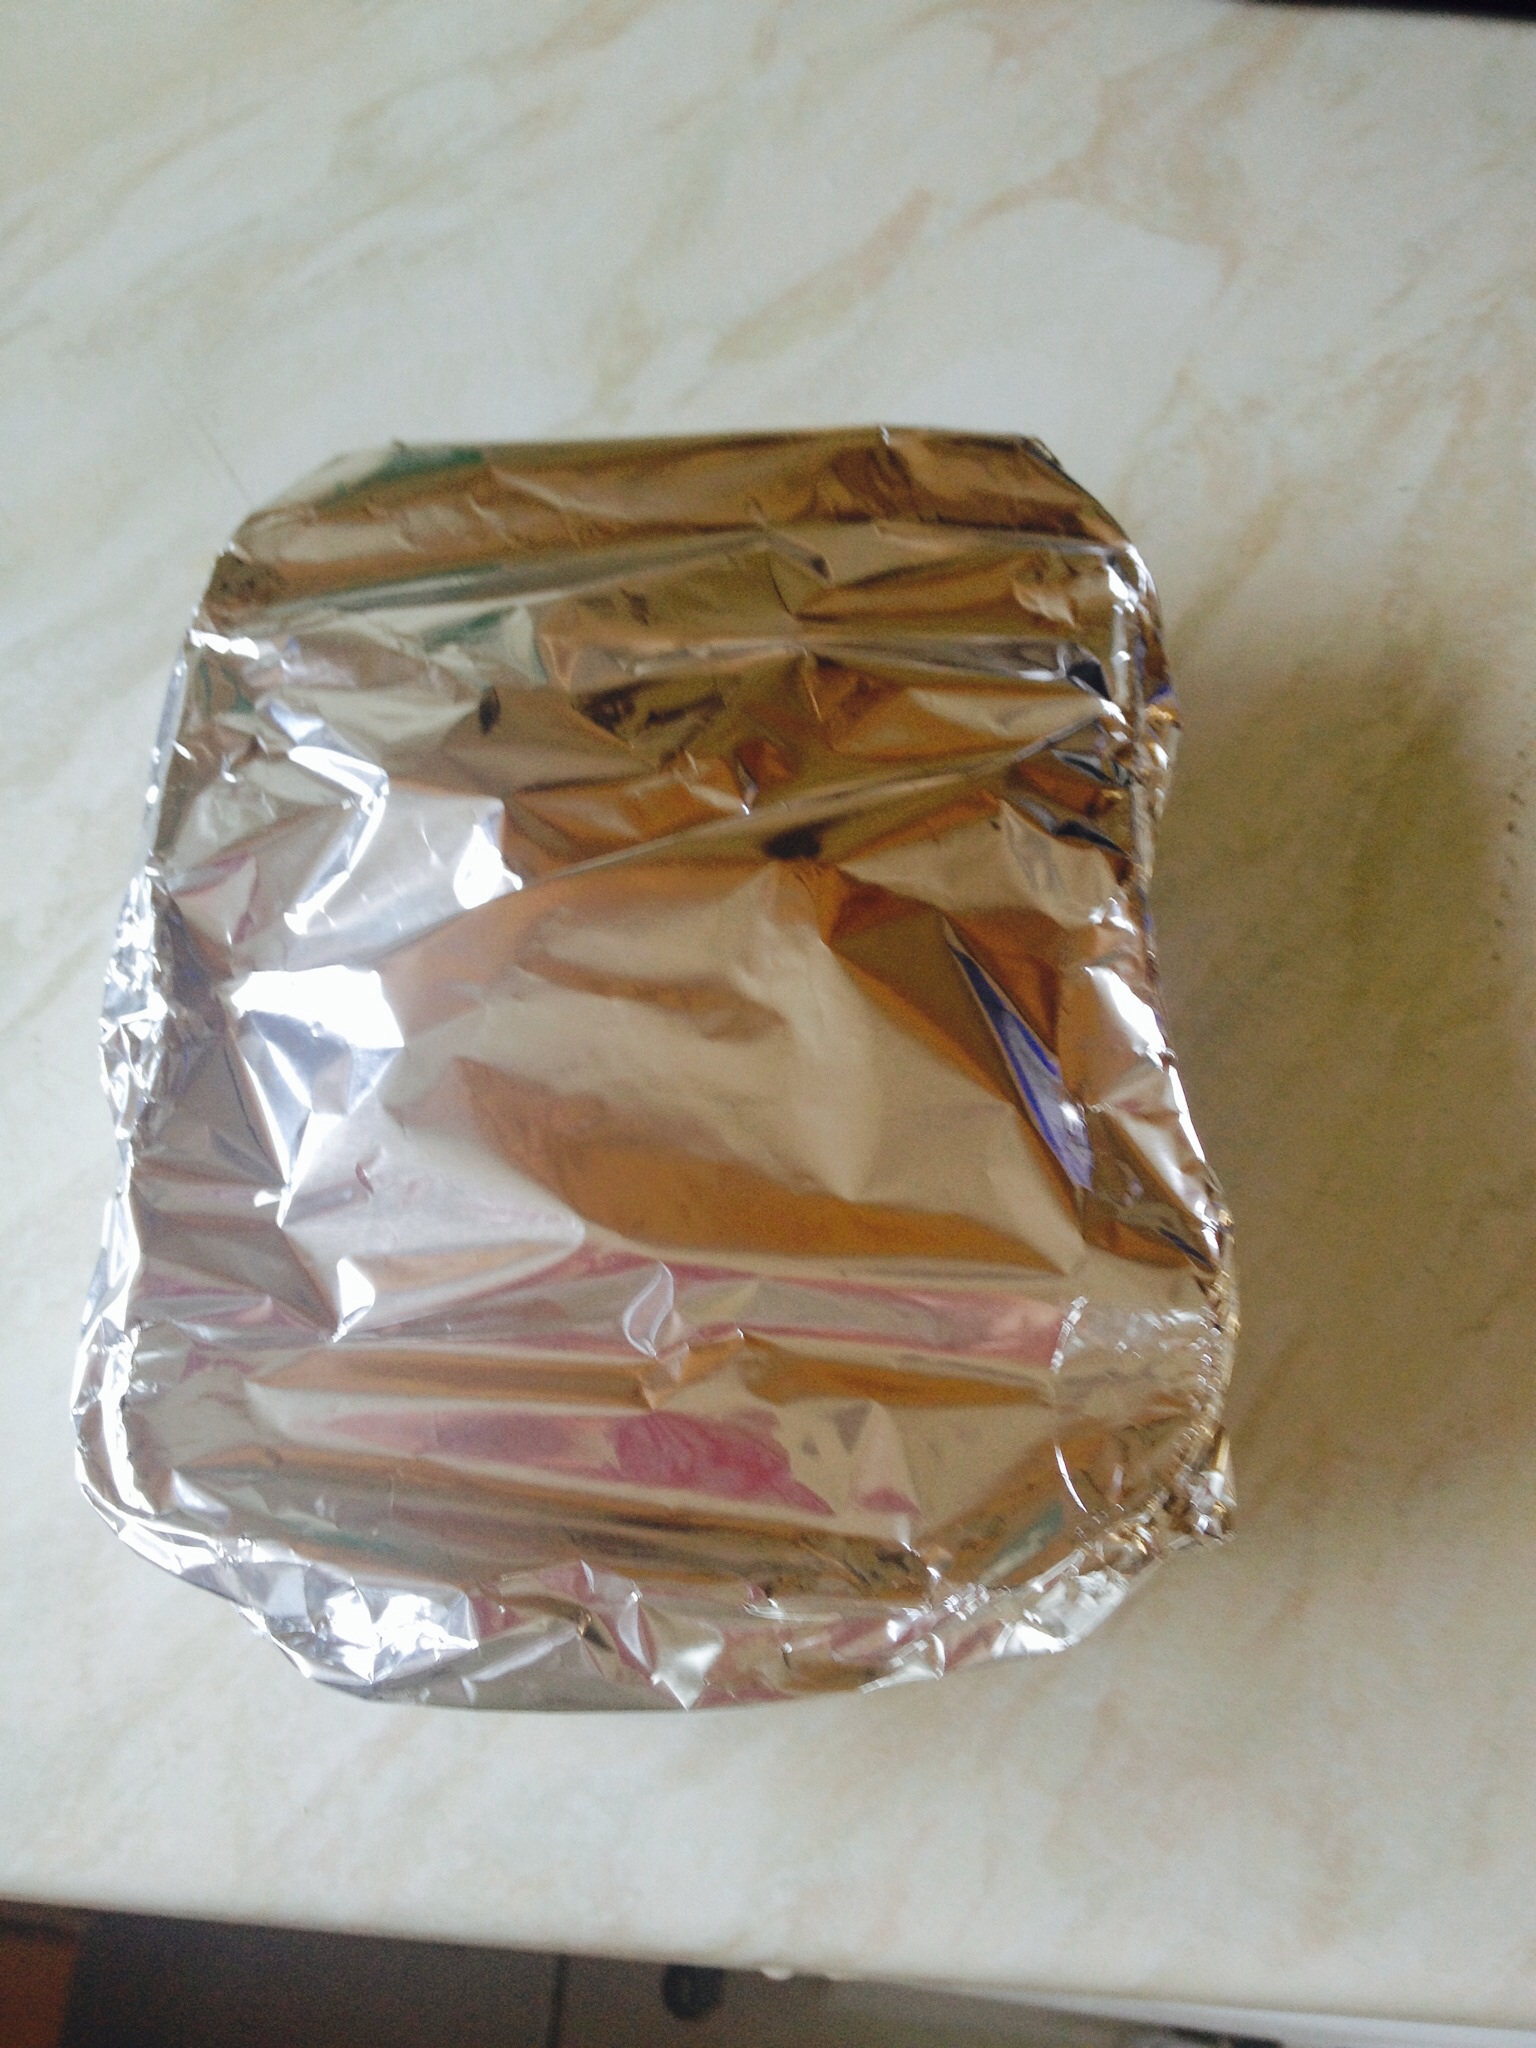
When asked by Pong Cheese to bake this heady Epoisses De Bourgogne, I knew that I would need my hubby’s help. First, I needed a hand model and also I absolutely knew he would relish the taste of this incredible cheese. A semi-soft to soft, pasteurised cow’s cheese, washed in Marc De Bourgogne, creating a spicy, pungent cheese. Most importantly, this incredible cheese is only made in the Burgundy region of France and therefore has an AOC – authentication of origin certificate.
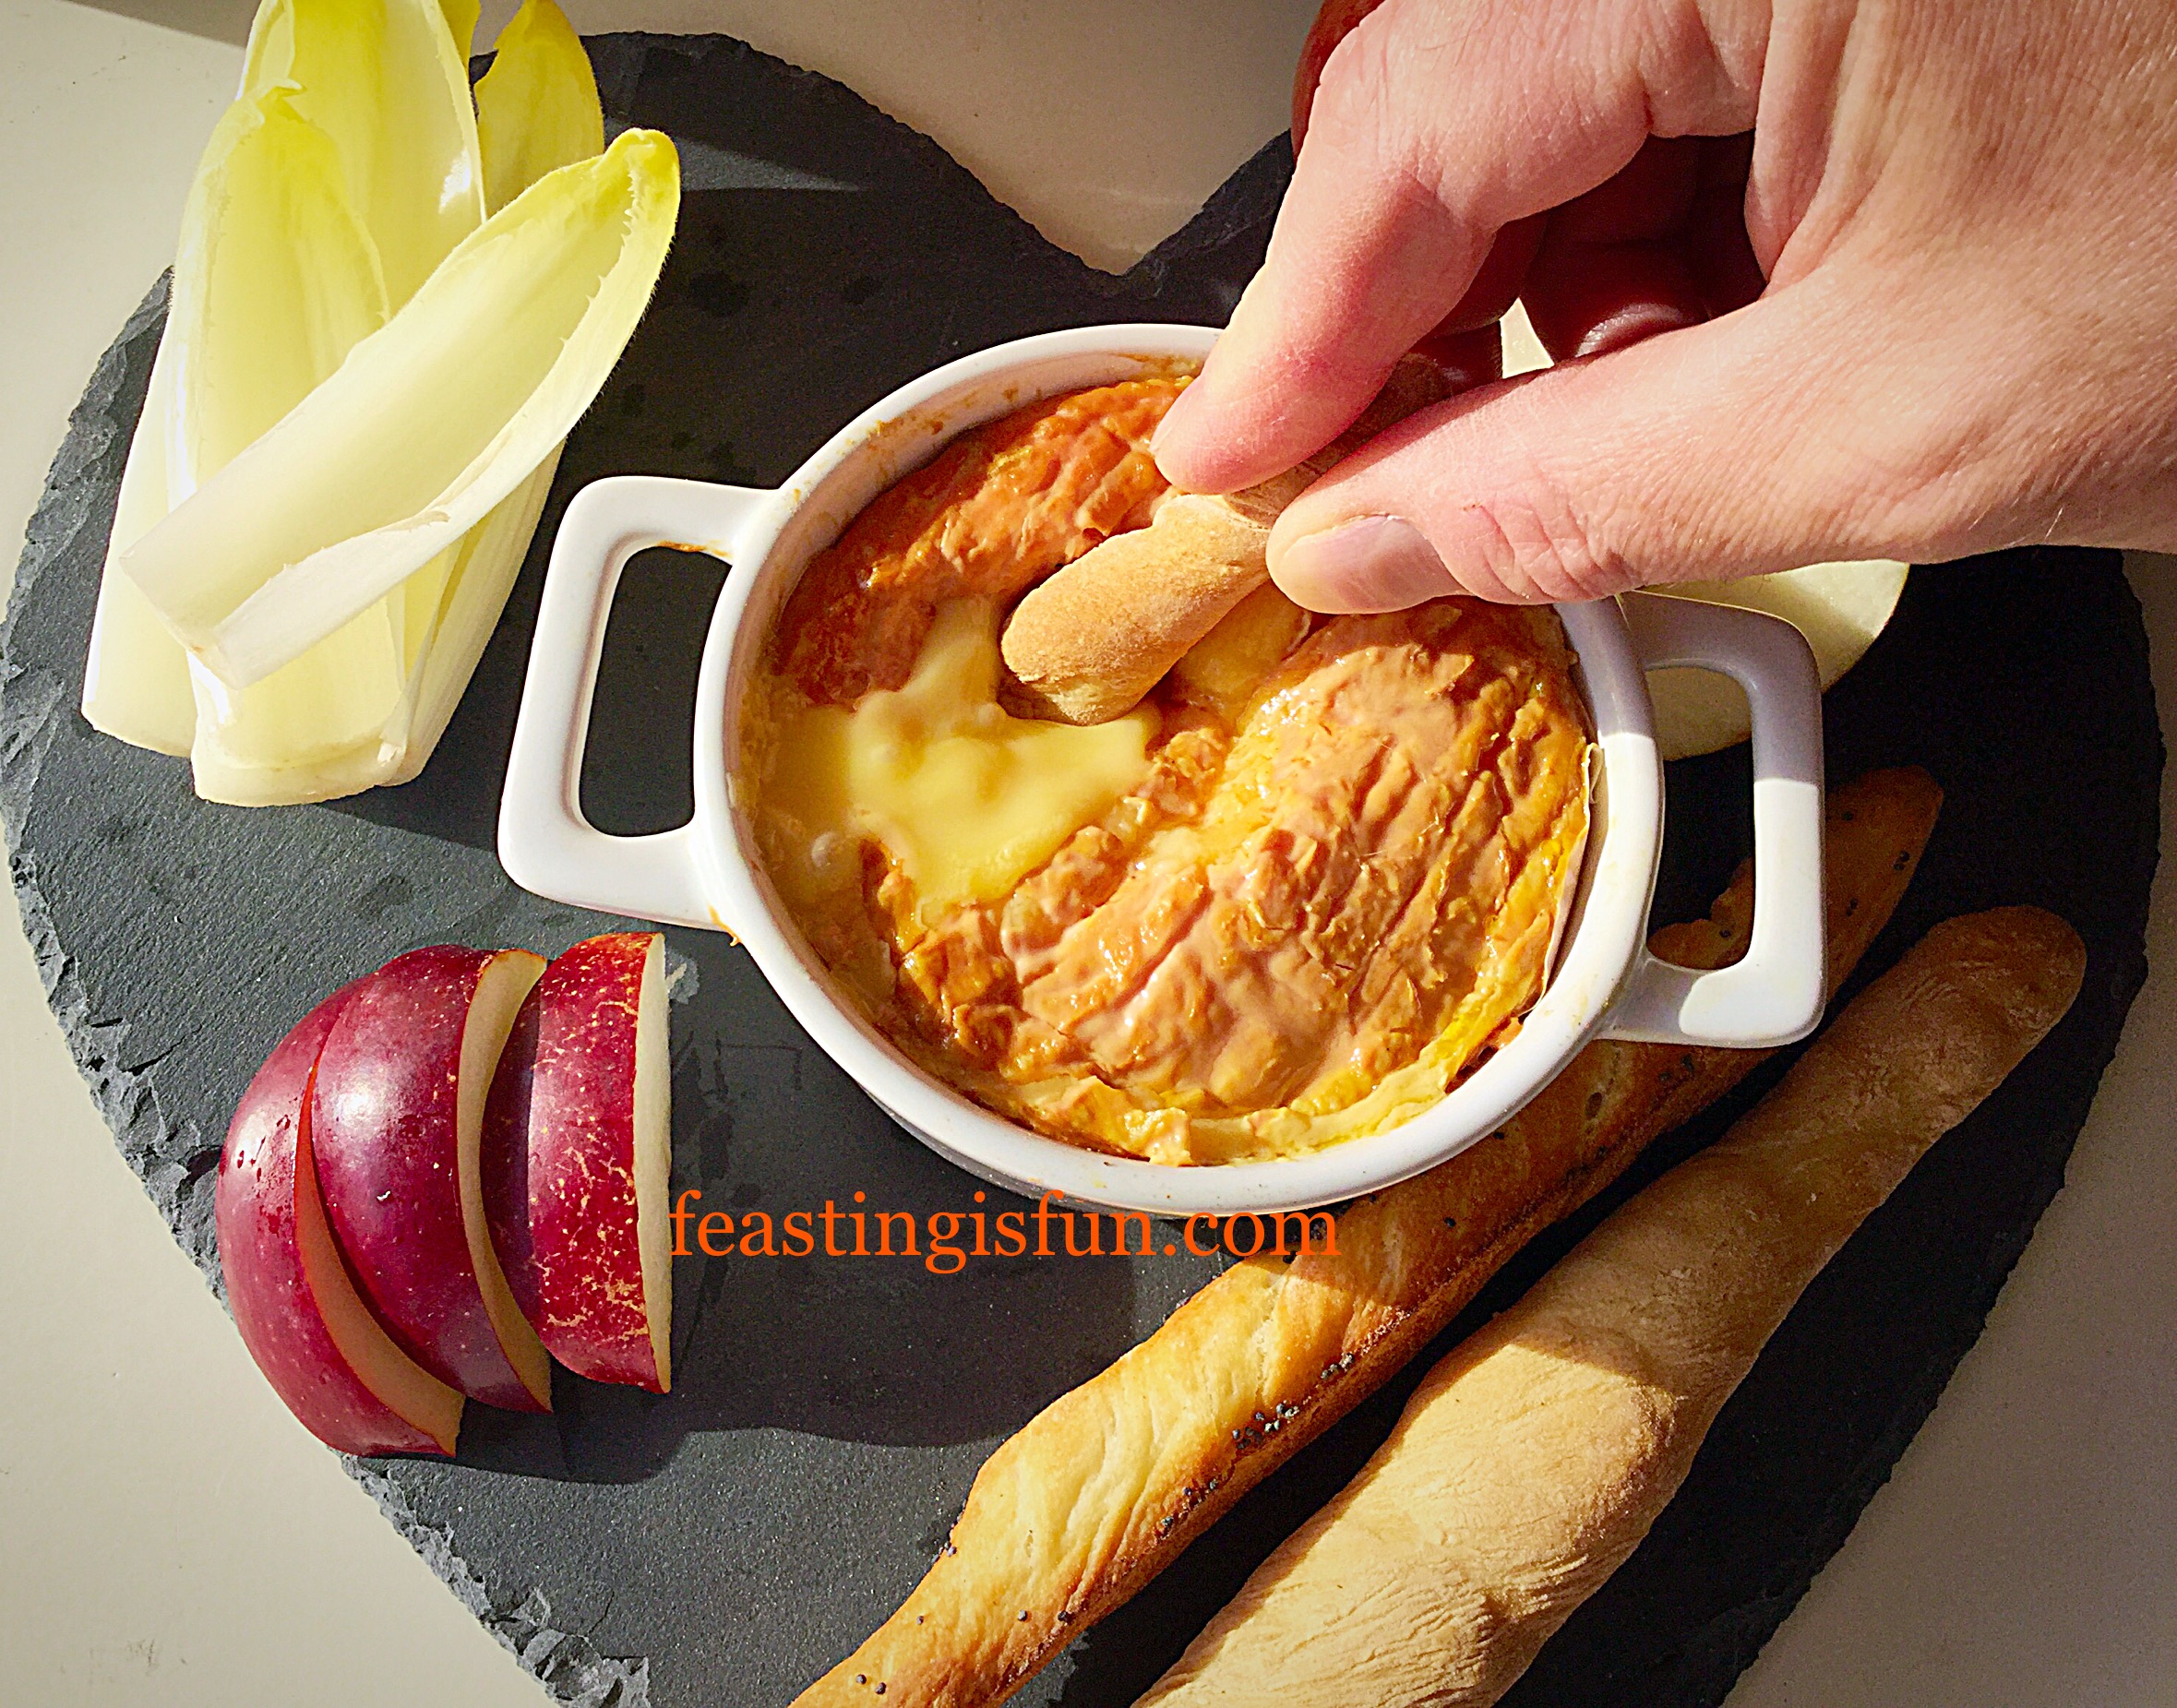
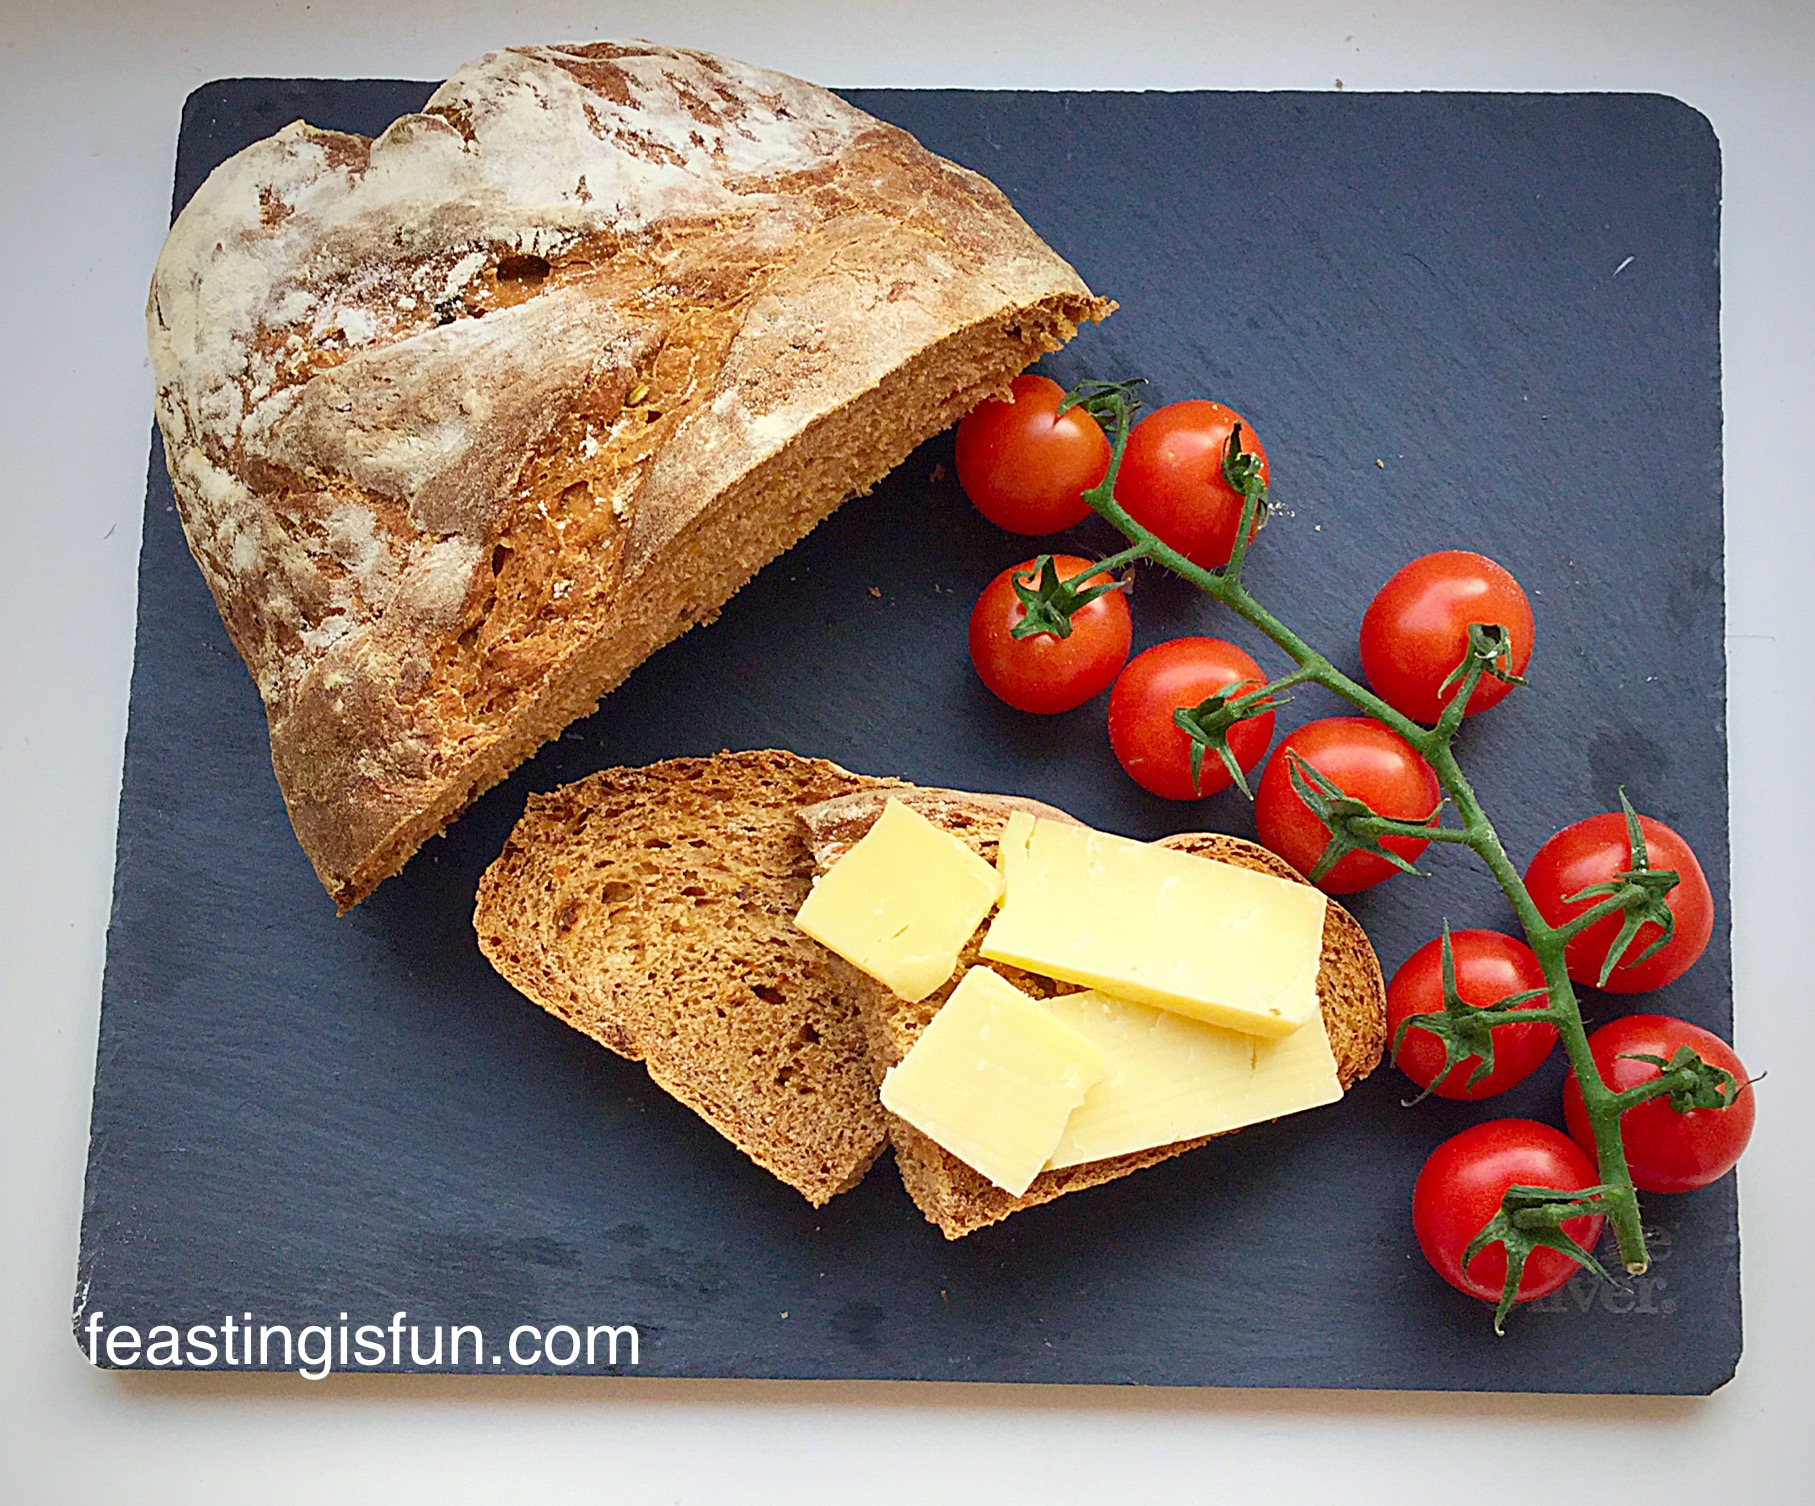
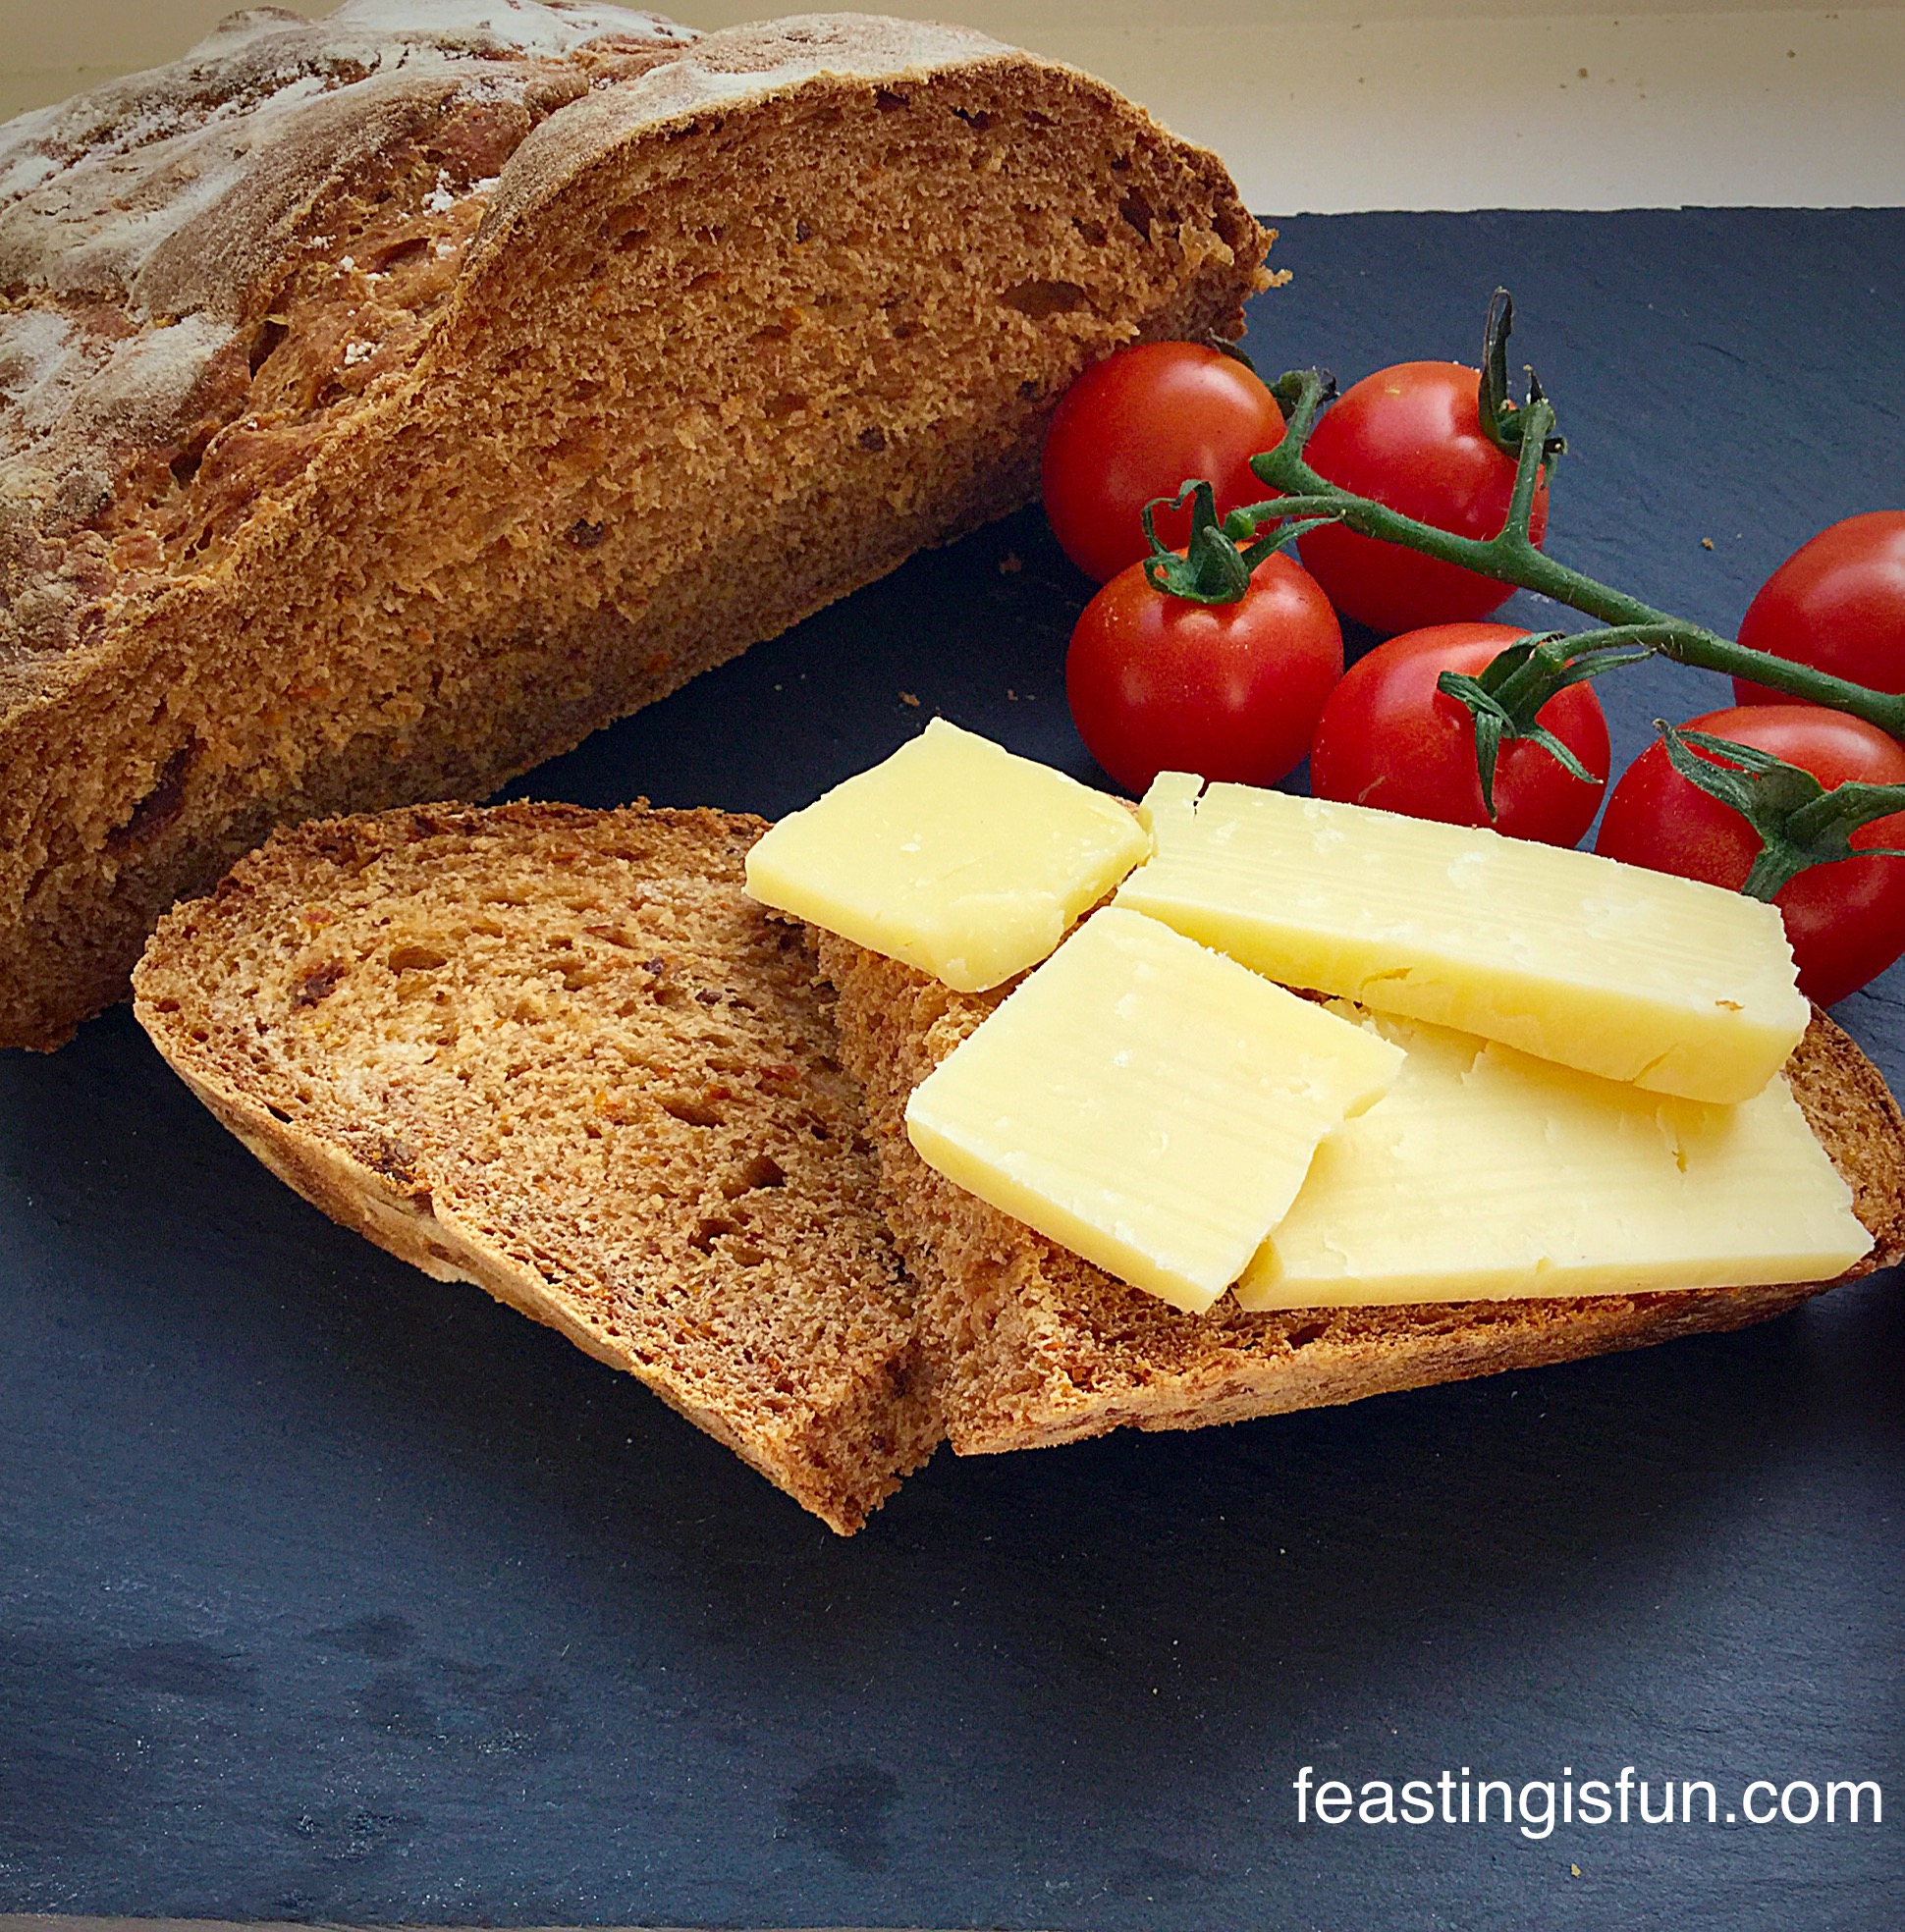
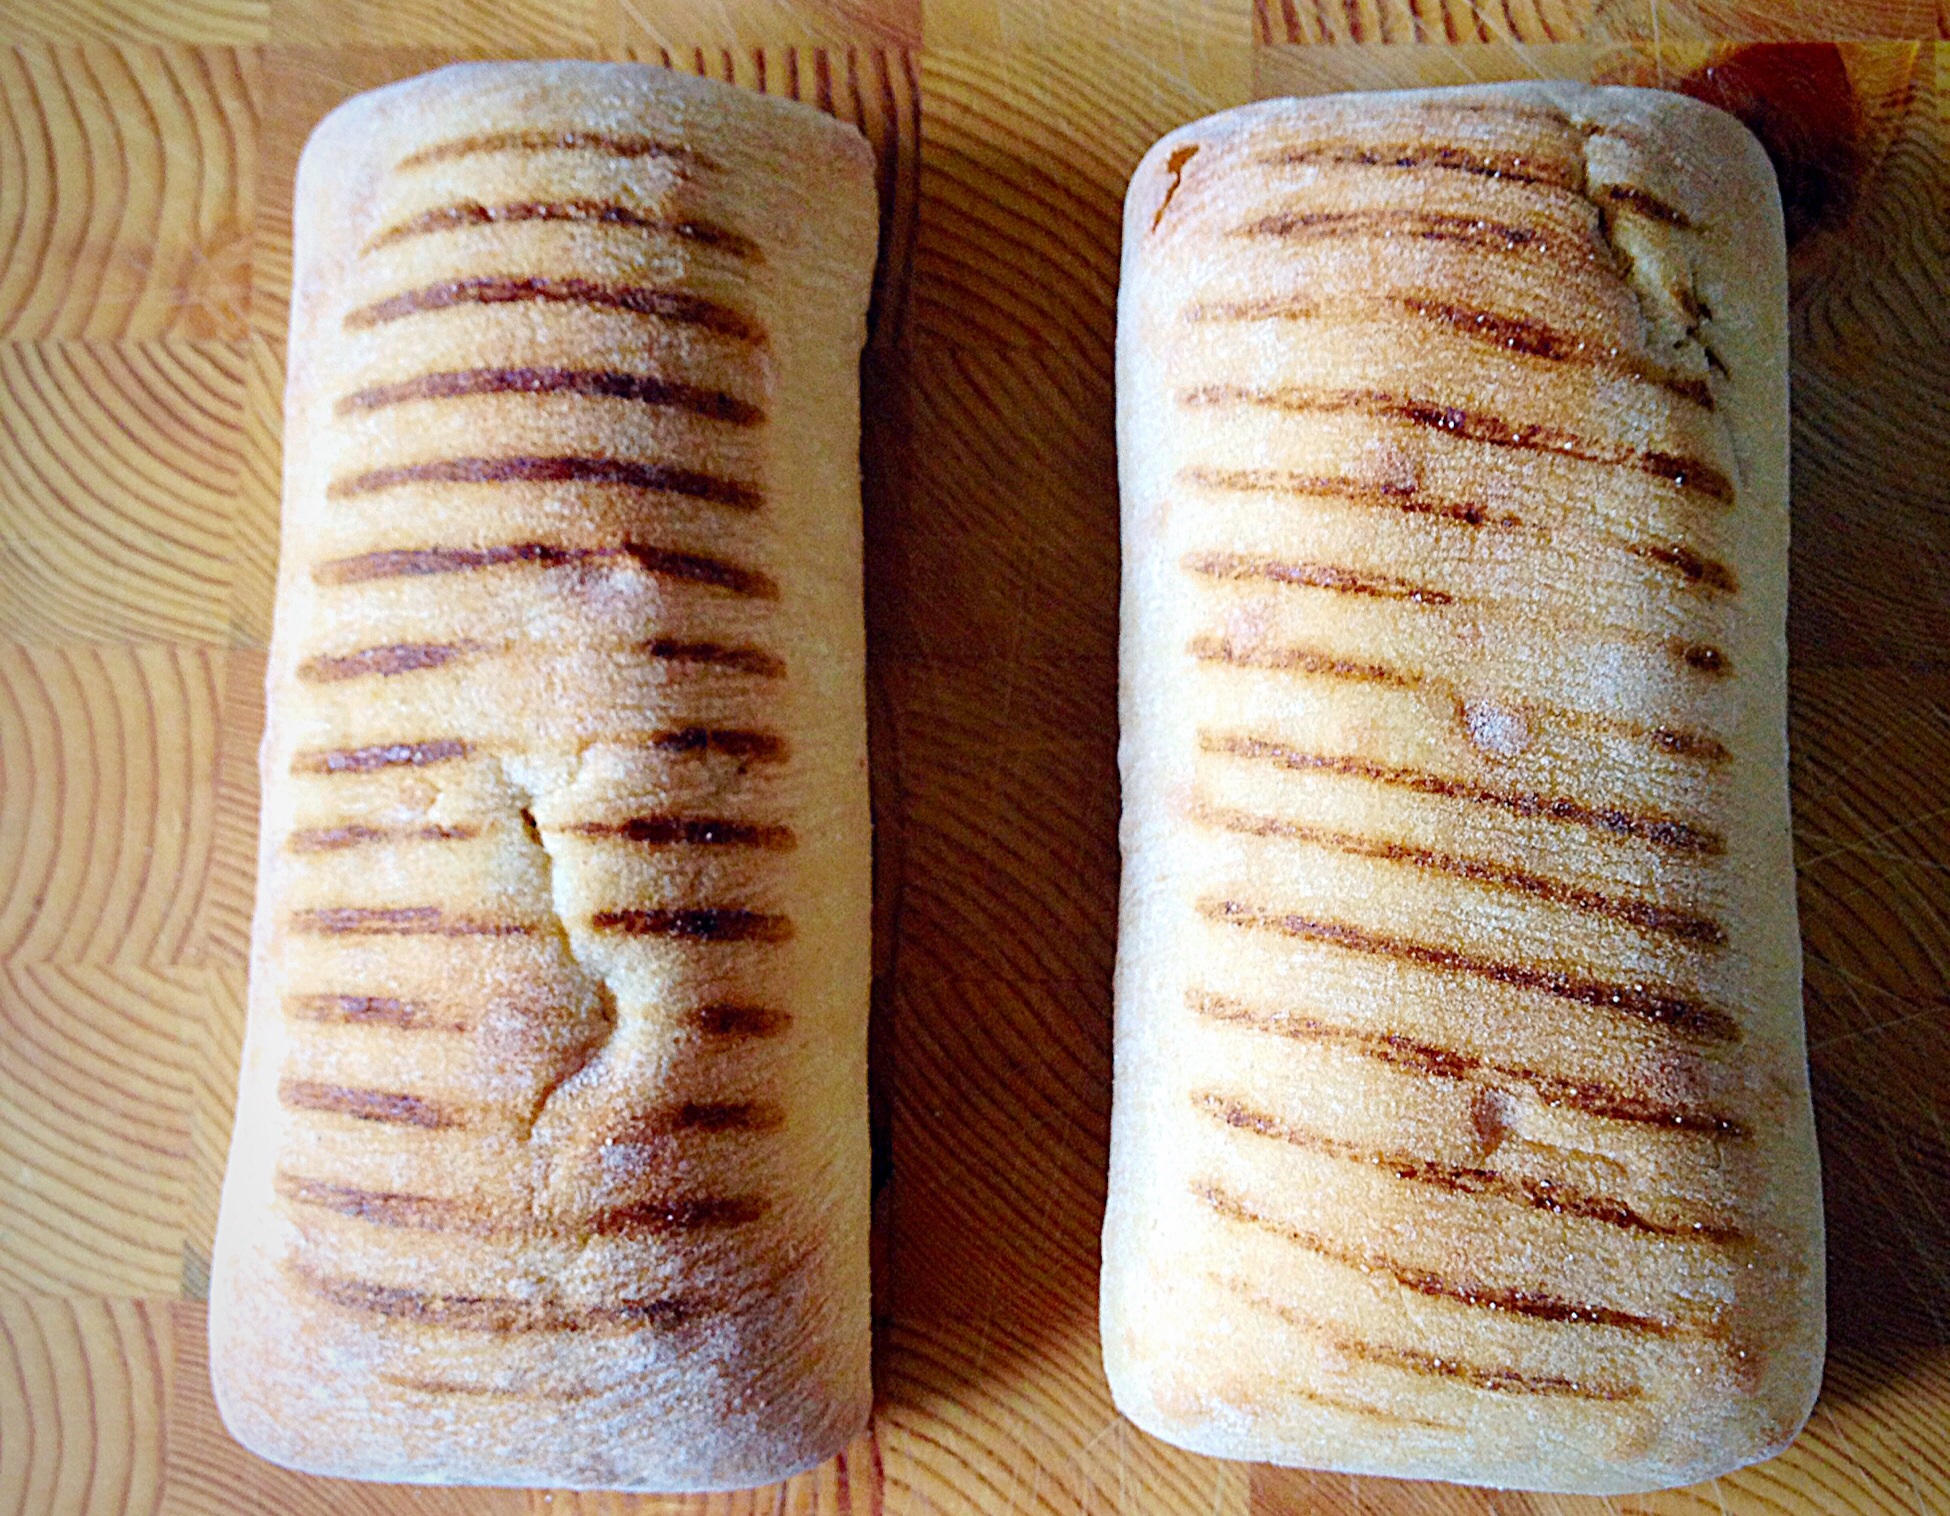
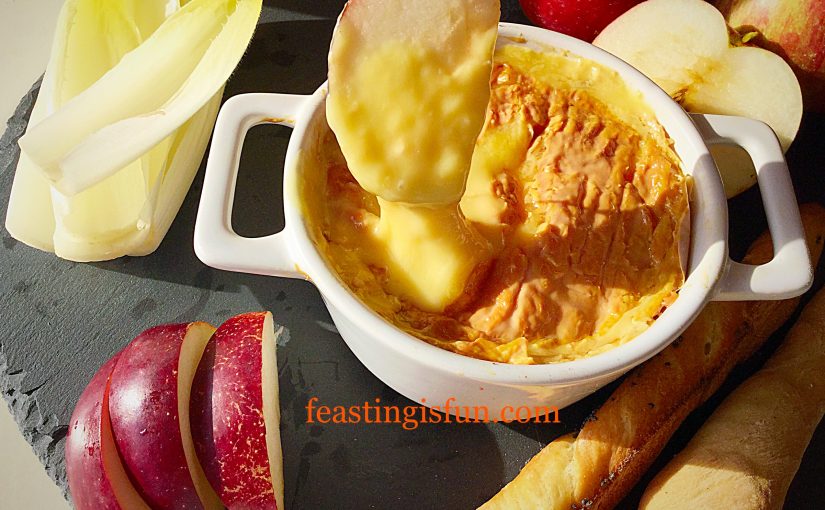
Homemade breadsticks break through the crust to reveal the warm, bubbling, unctuous cheese below. The full taste is revealed when eaten with bread. Salty, spicy and pungent, any cheese lovers dream.
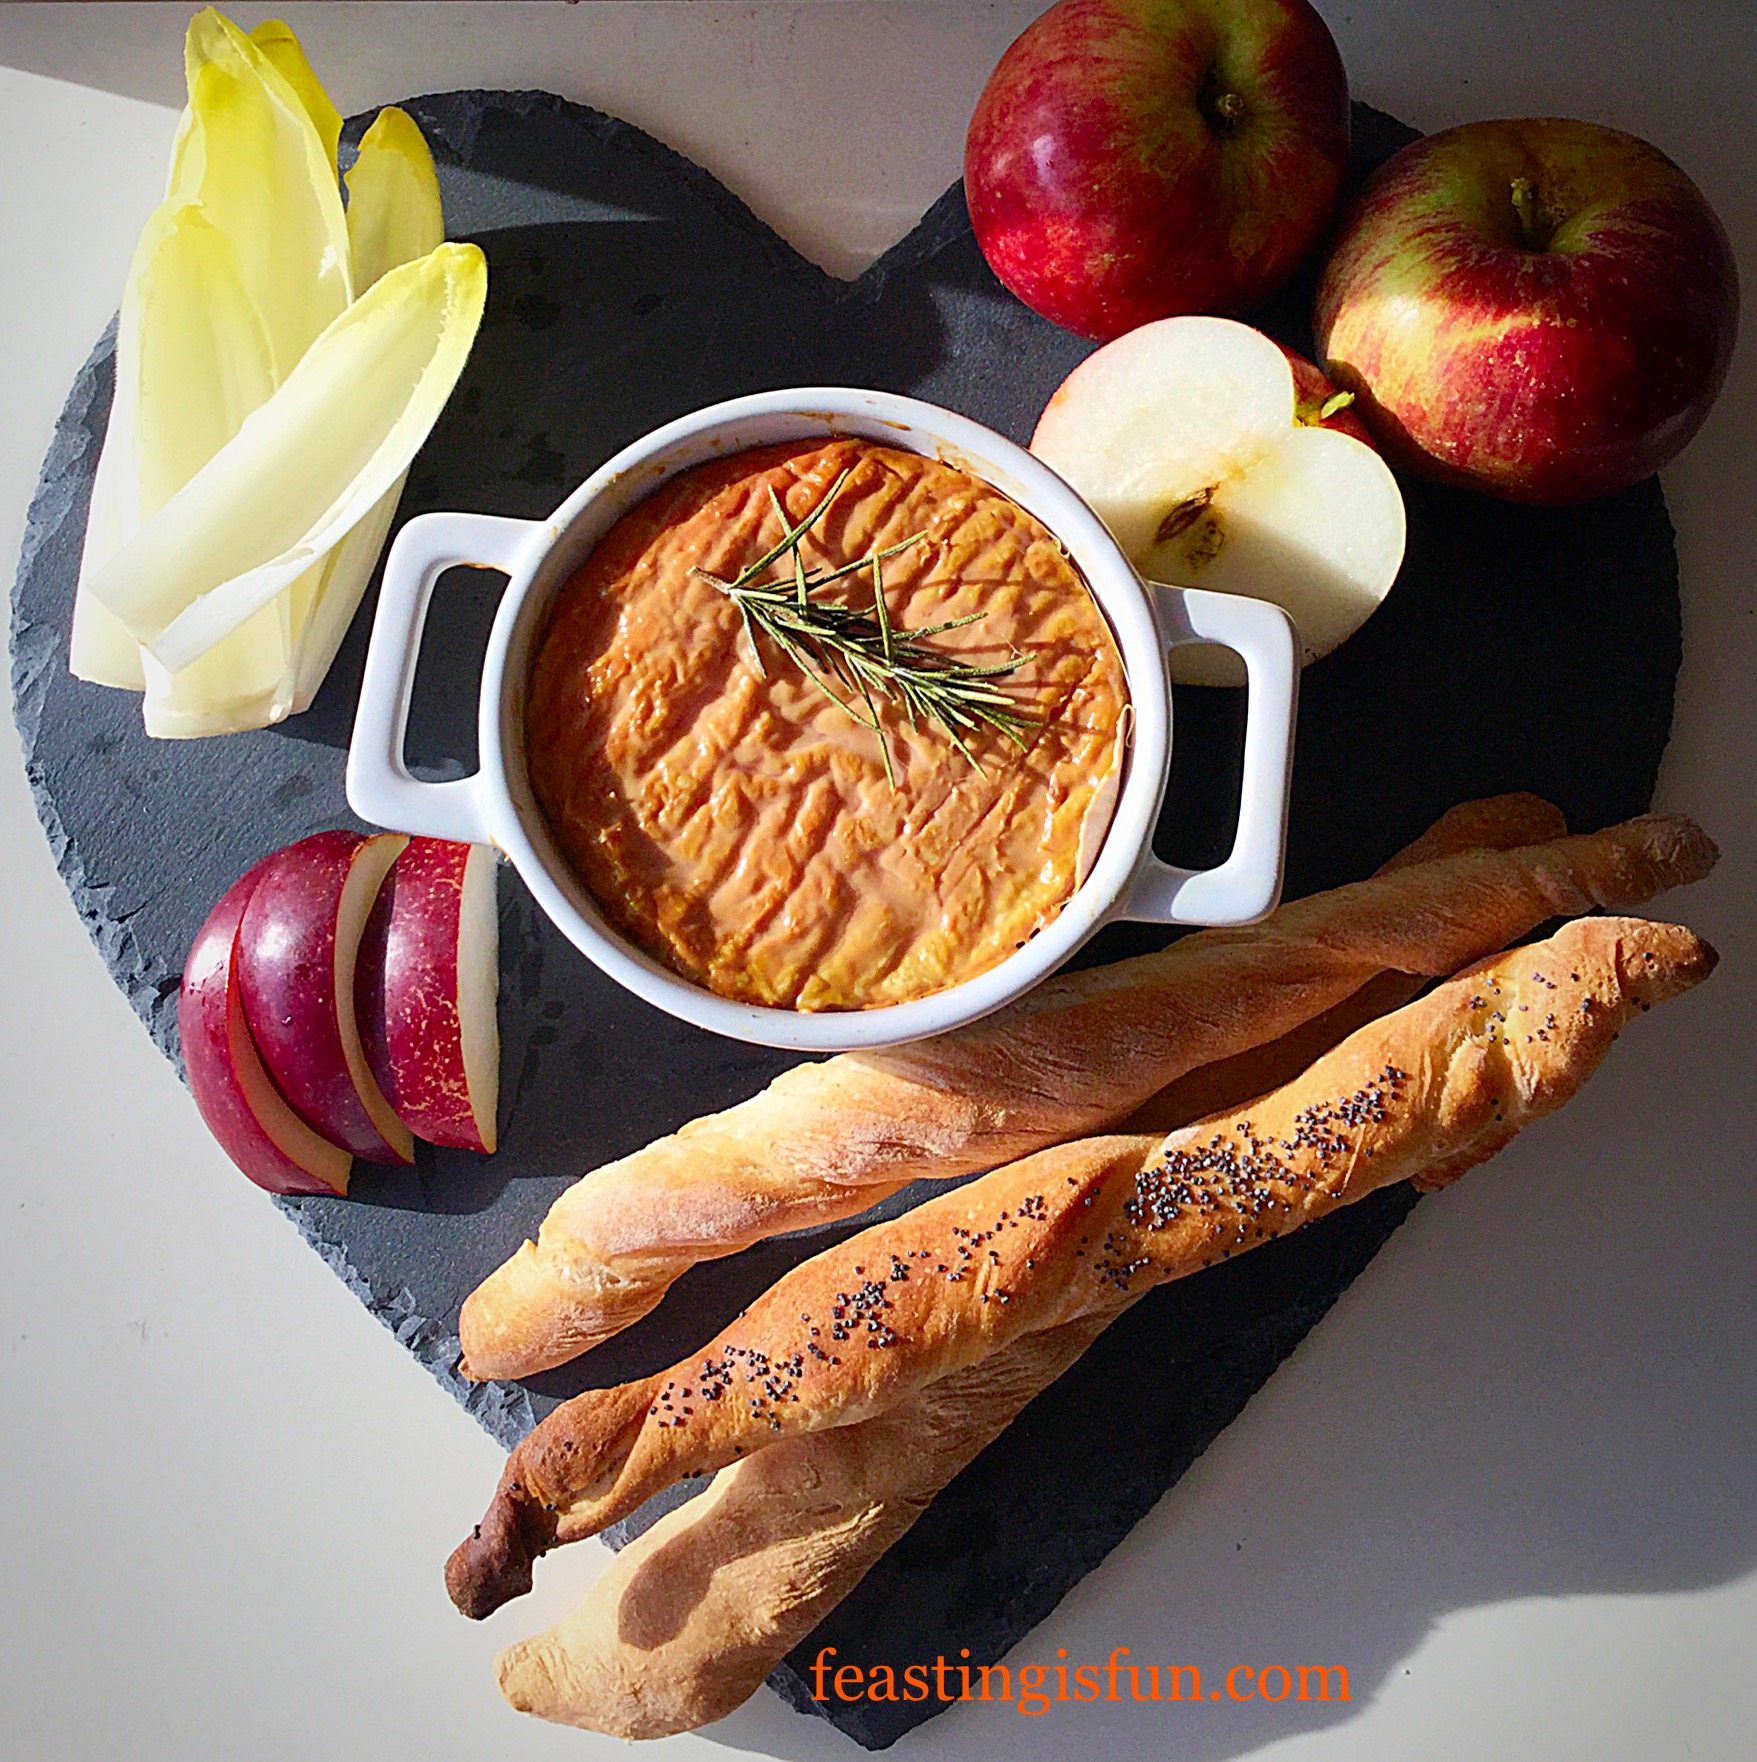
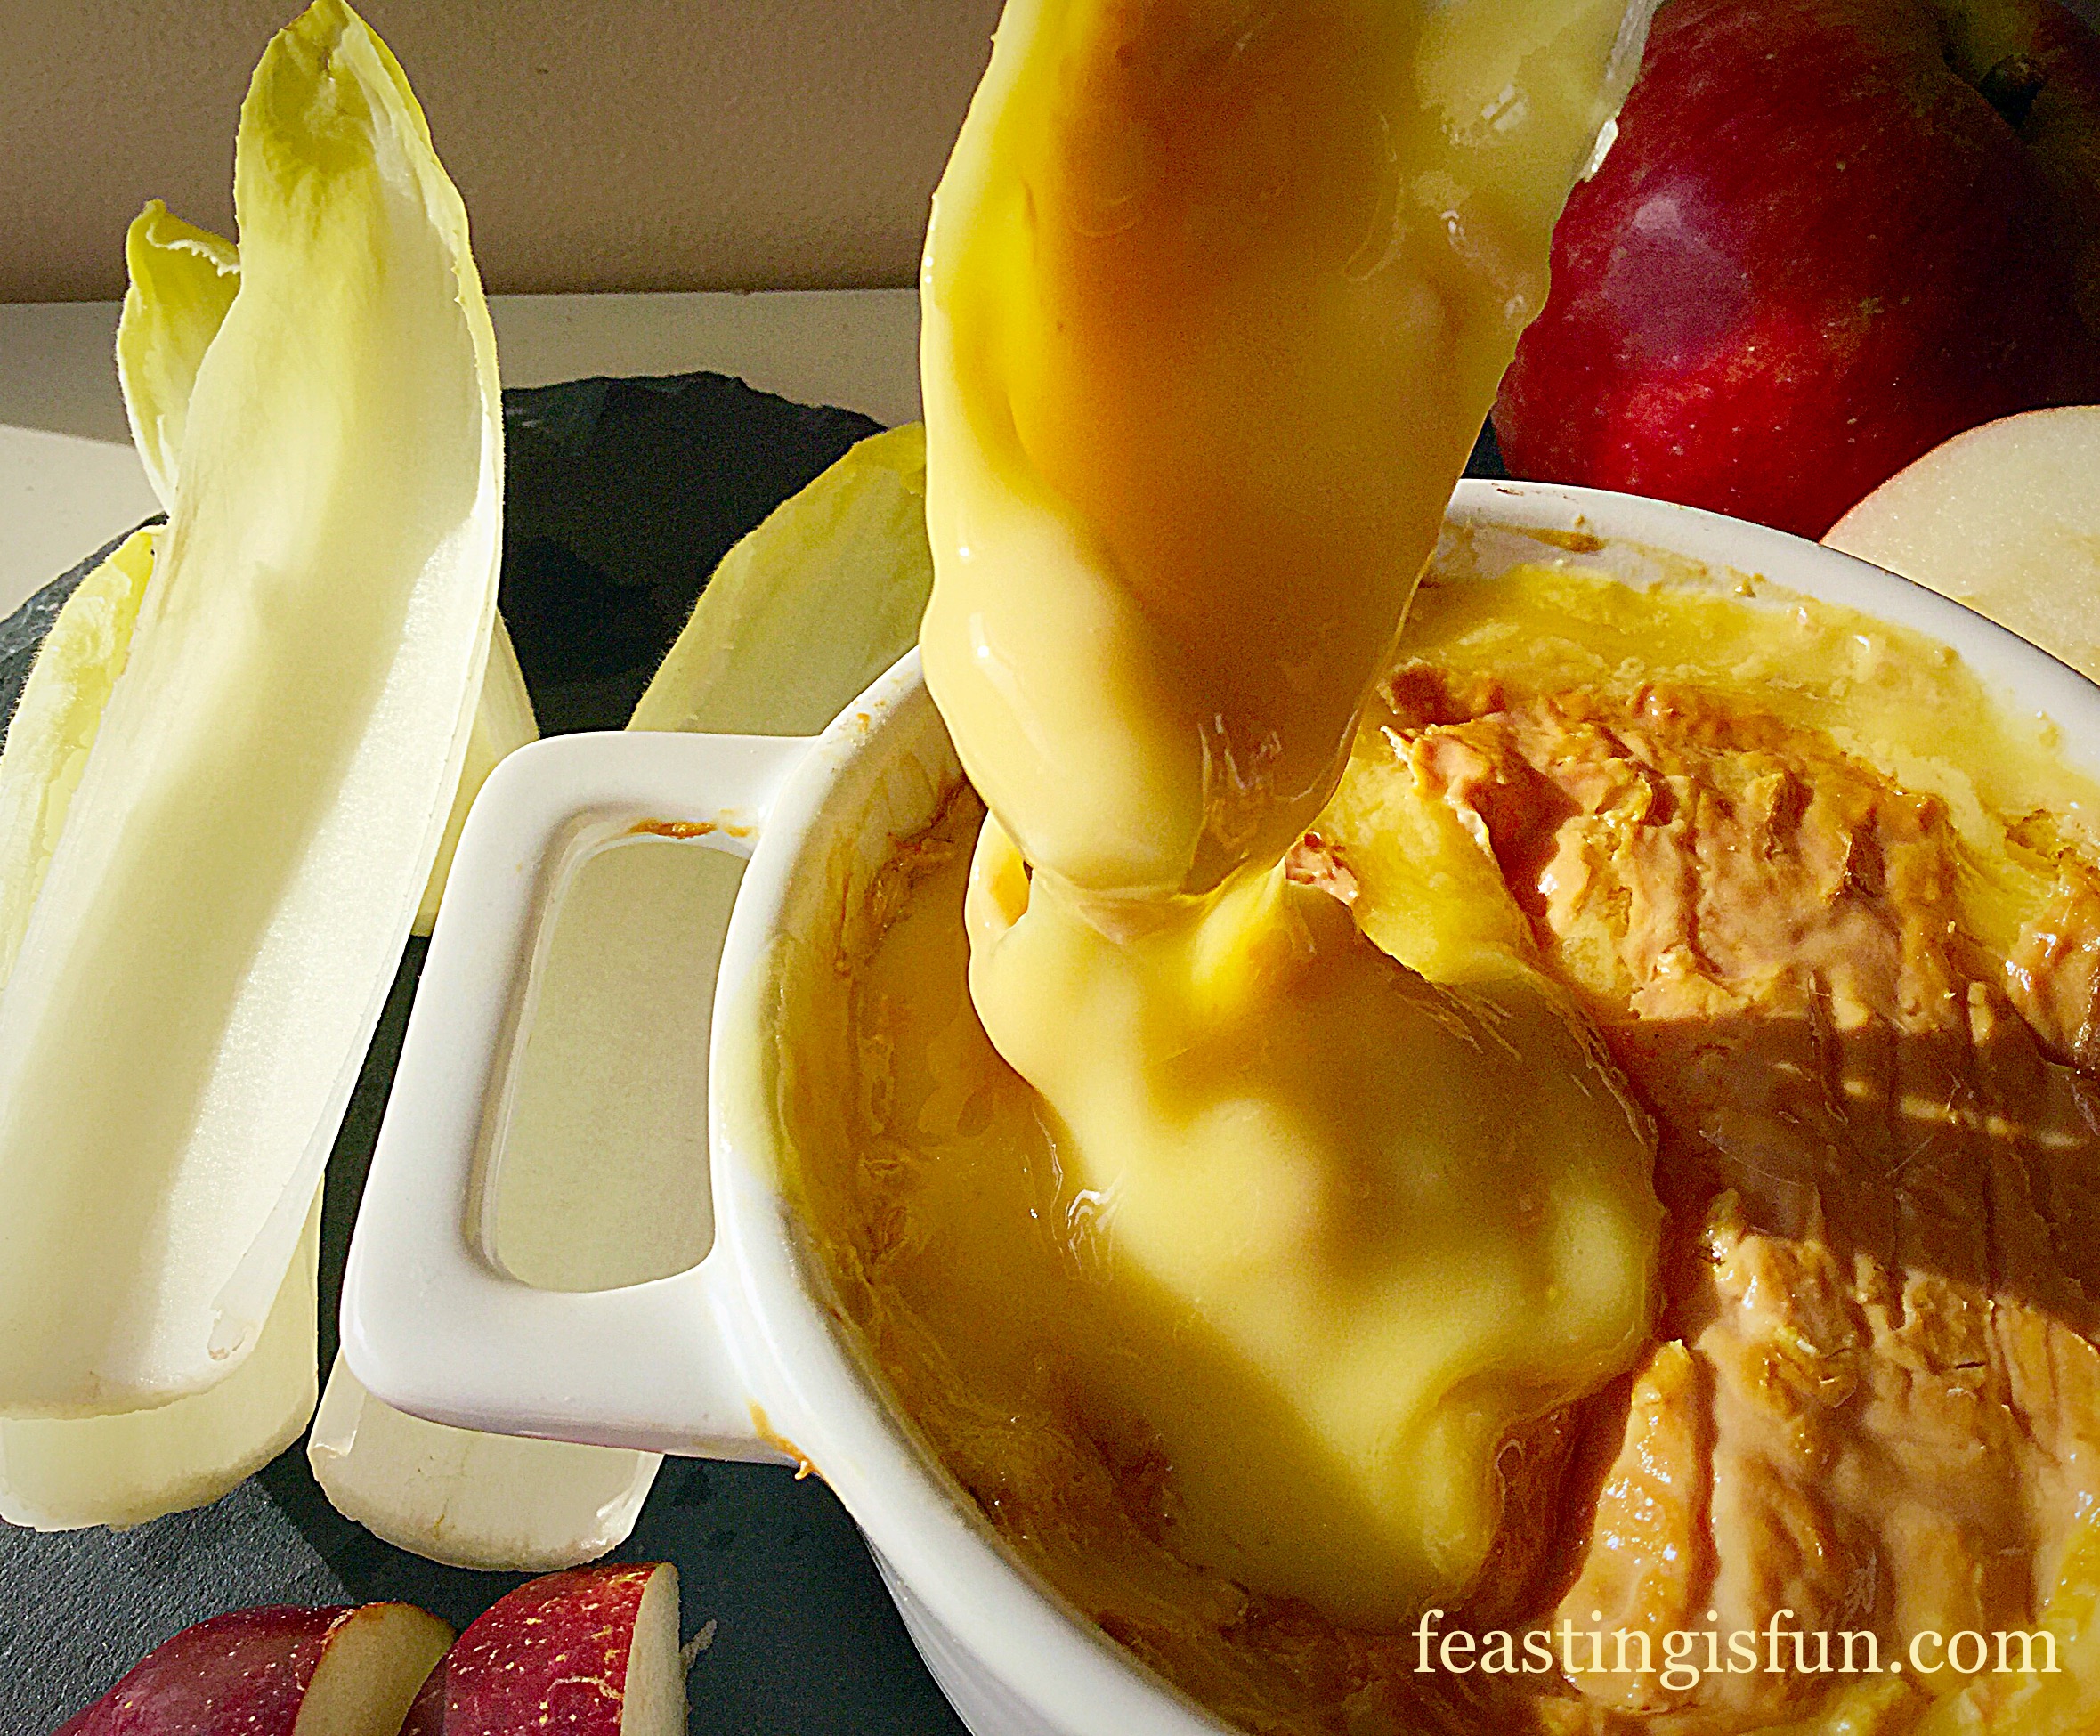
Chicory, with it’s crunch and slightly bitter flavour is a perfect accompaniment to the melted cheese. While sweet, red apple provides contrast to the saltiness of the cheese. This for me was my favourite flavour pairing, my husband preferring the full flavour of the cheese, unhindered by the breadsticks.
While, this is hardly a recipe, the method and increased flavour of the cheese, means it is extremely worthwhile taking the extra step to bake it.
Recipe: Baked Whole Epoisses De Bourgogne
250g Whole Epoisses De Bourgogne available from Pong Cheese
Sprig of rosemary – either fresh from the garden or order a plant from most supermarkets such as Waitrose
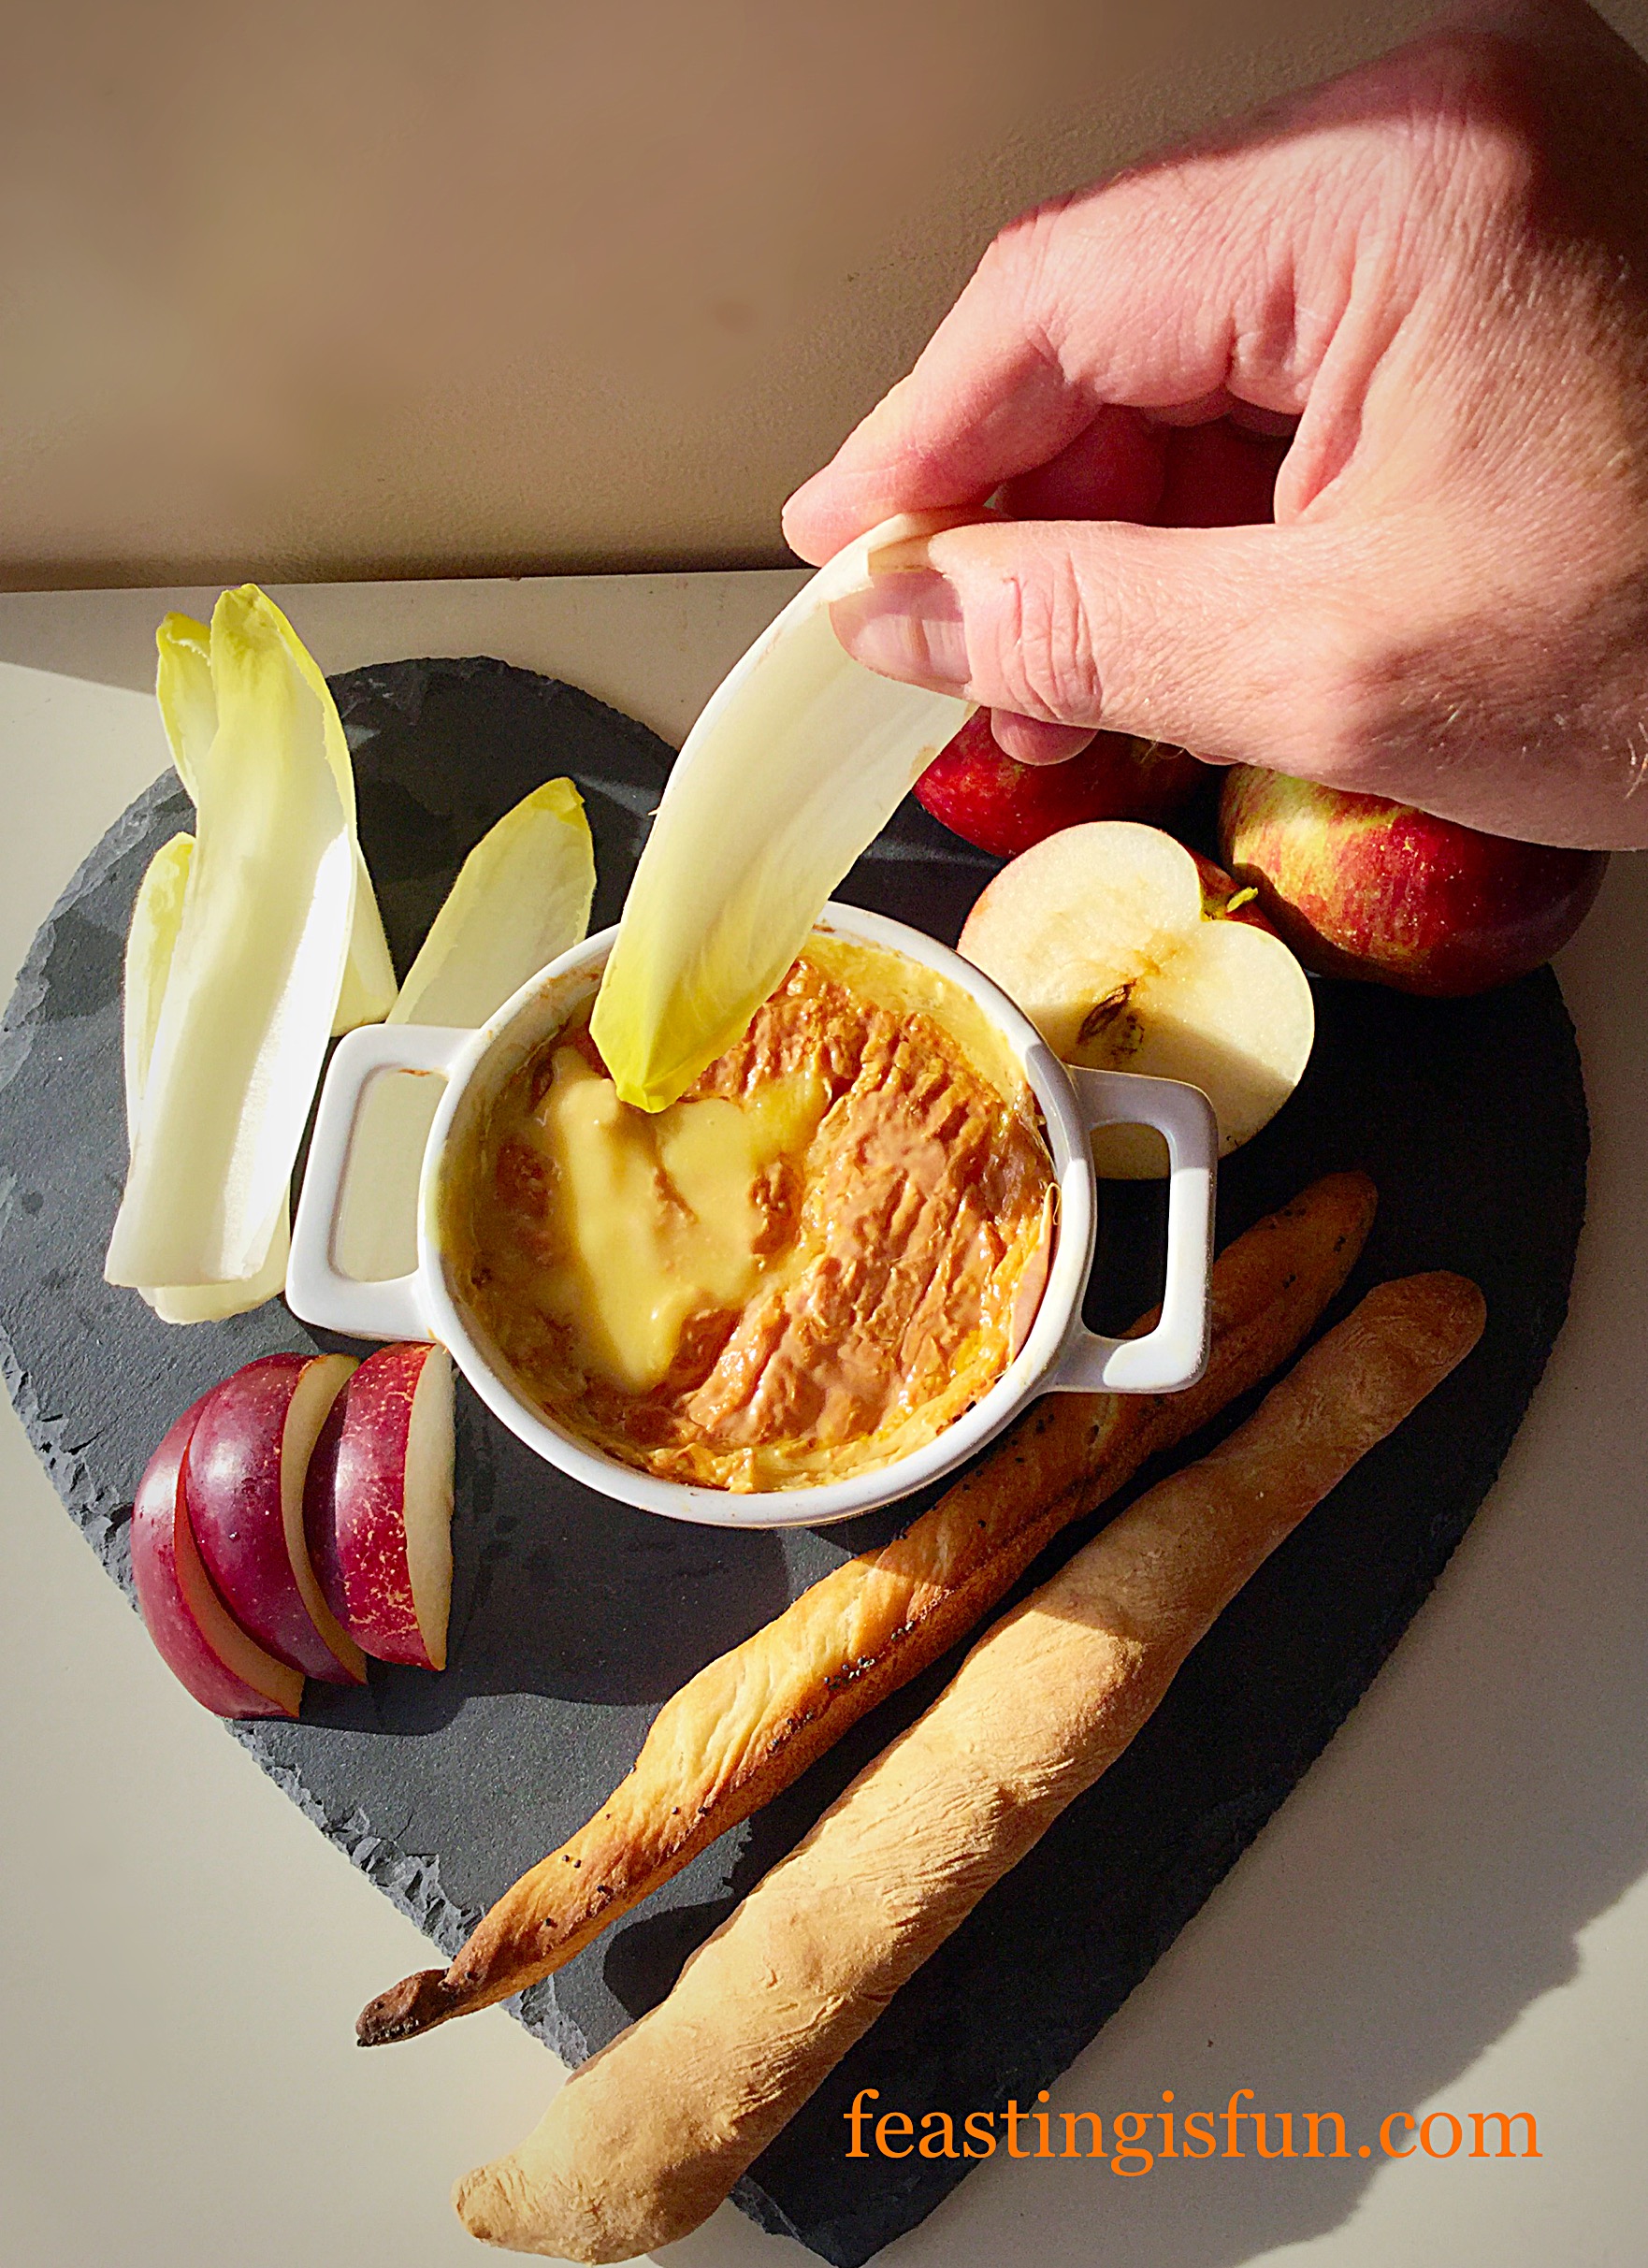
Breadsticks, chicory, apple, pear, crackers for dunking
Method: Preheat the oven to 180C/160C fan, gas mark 4, 350F.
Baking The Cheese
You will need an ovenproof dish that is about the same size as the Epoisses. A Camembert dish will be fine, any bigger and the cheese will spread as it bakes.
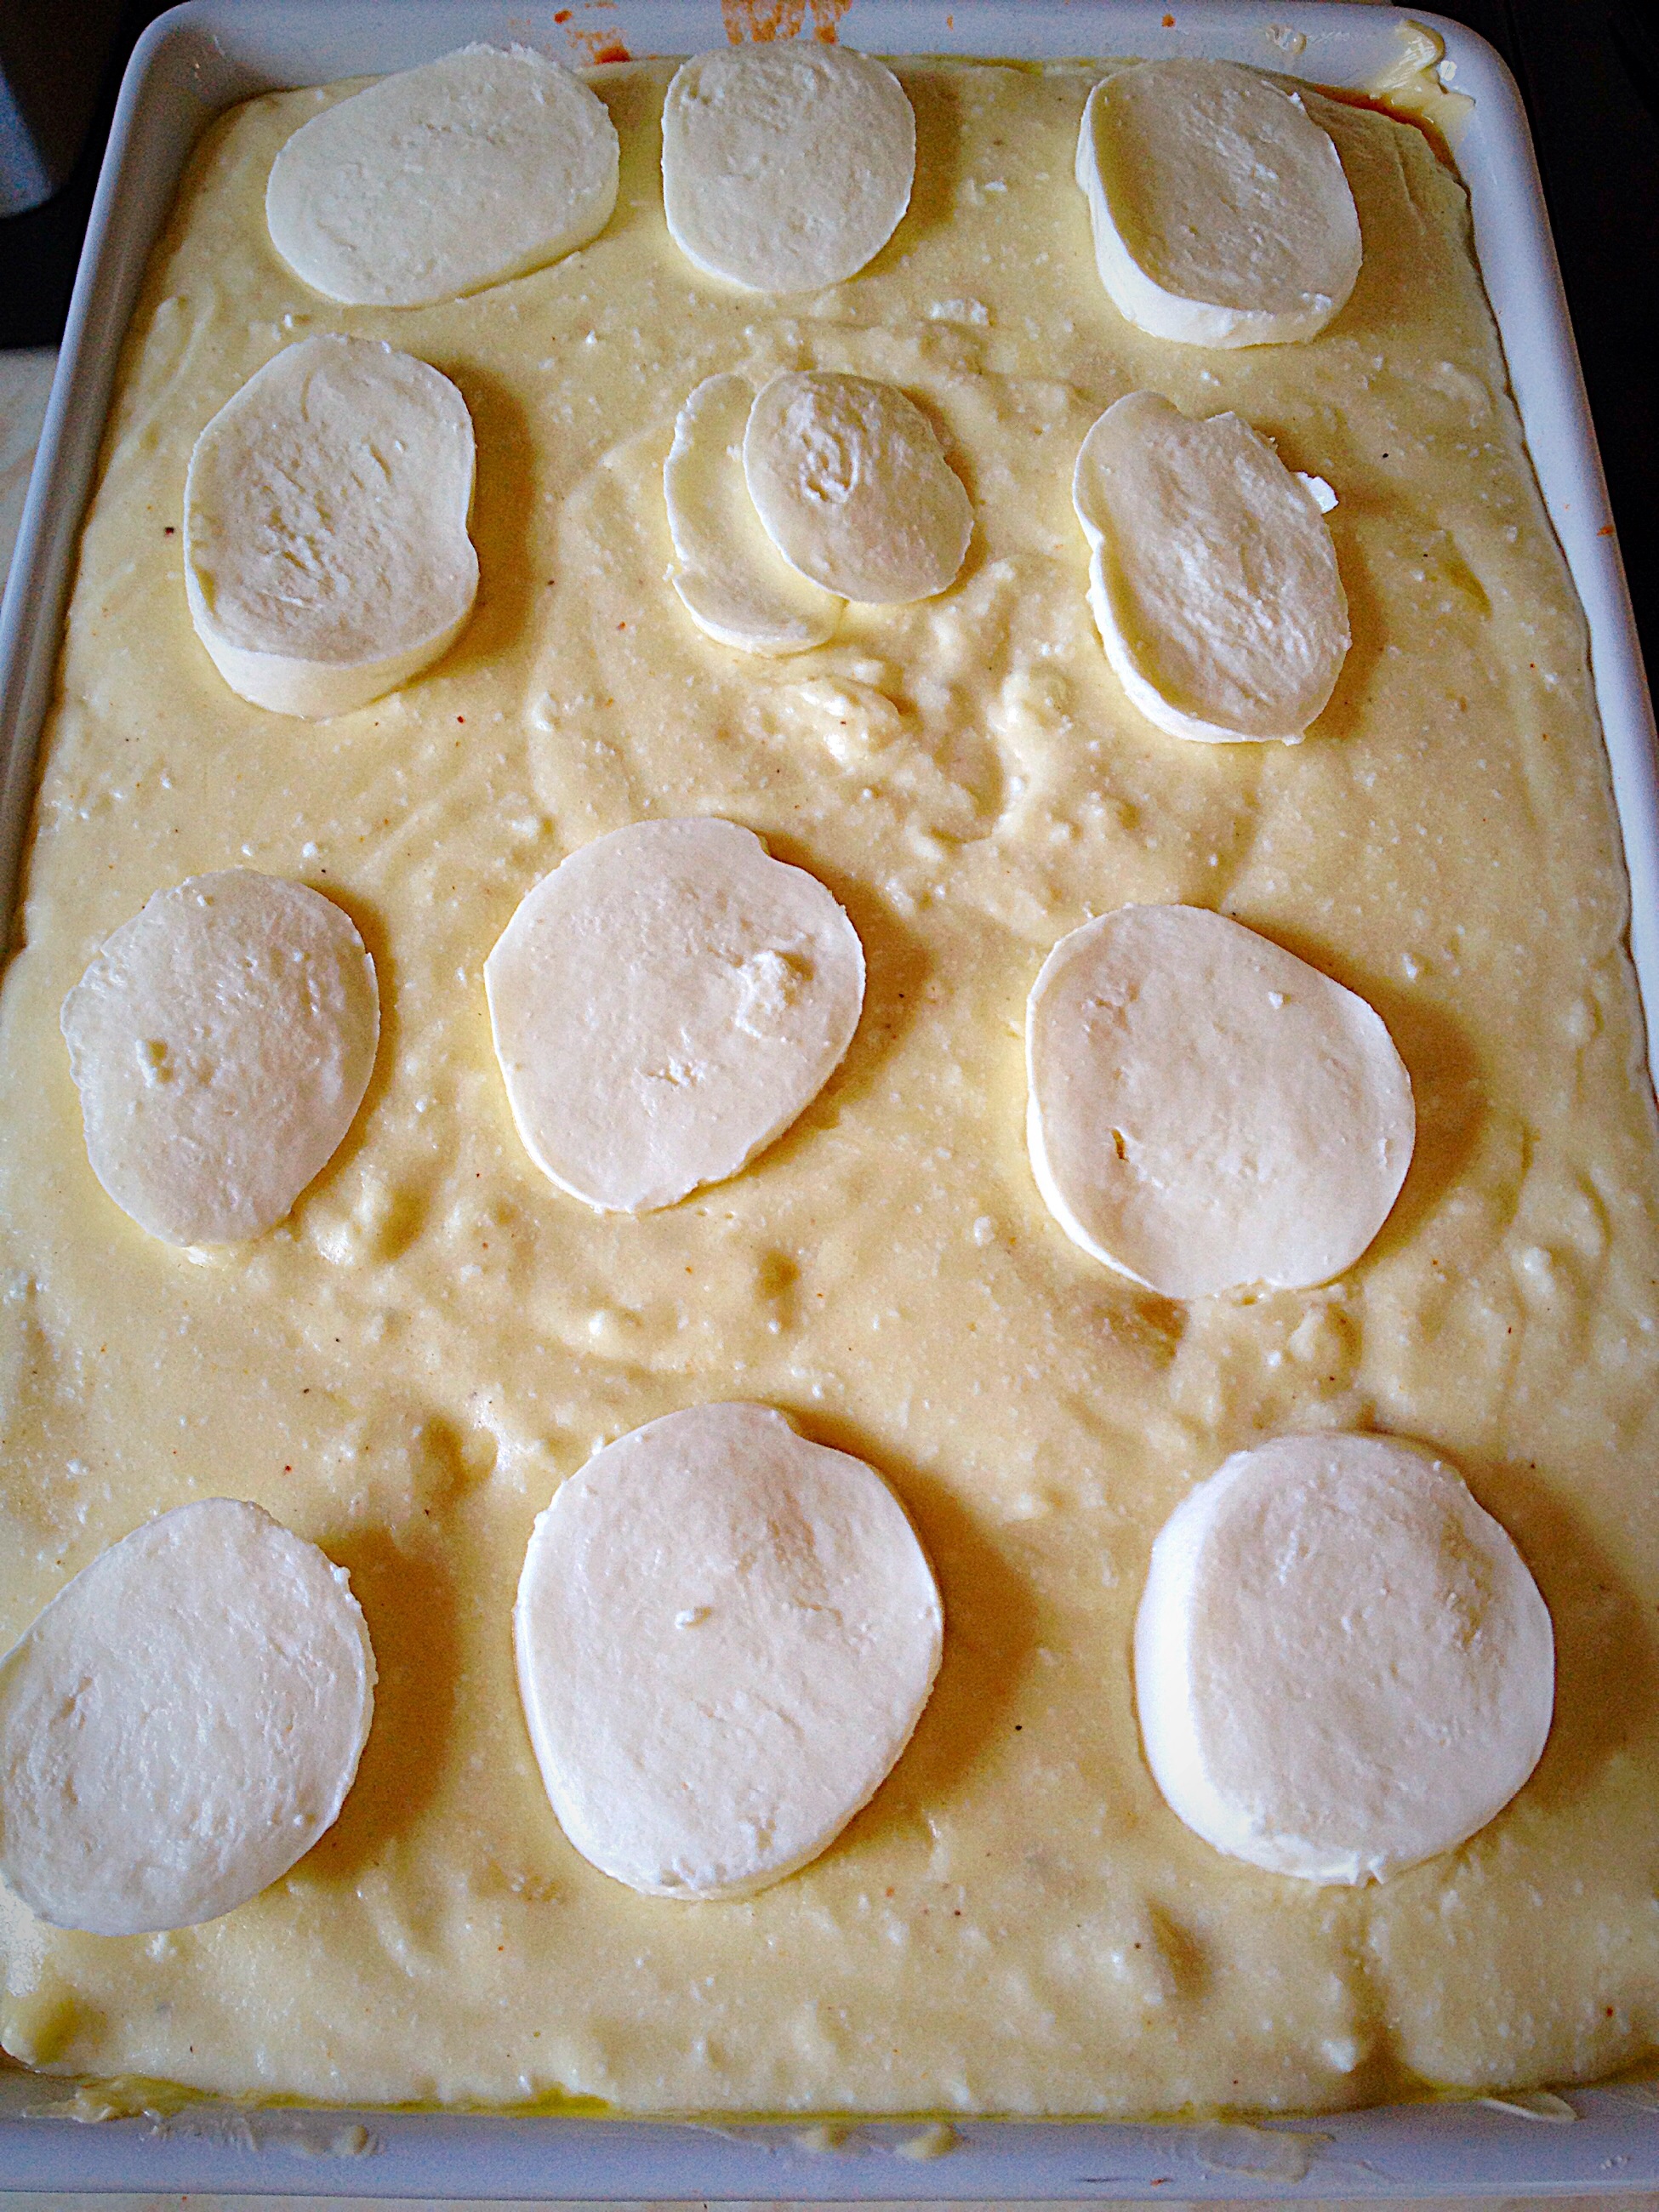
- First, remove all of the packaging from the Epoisses.
- Next place the whole cheese into the ovenproof dish, laying a sprig of rosemary on the top.
- Now place the ovenproof dish on to a baking tray and place in the middle of the preheated oven.
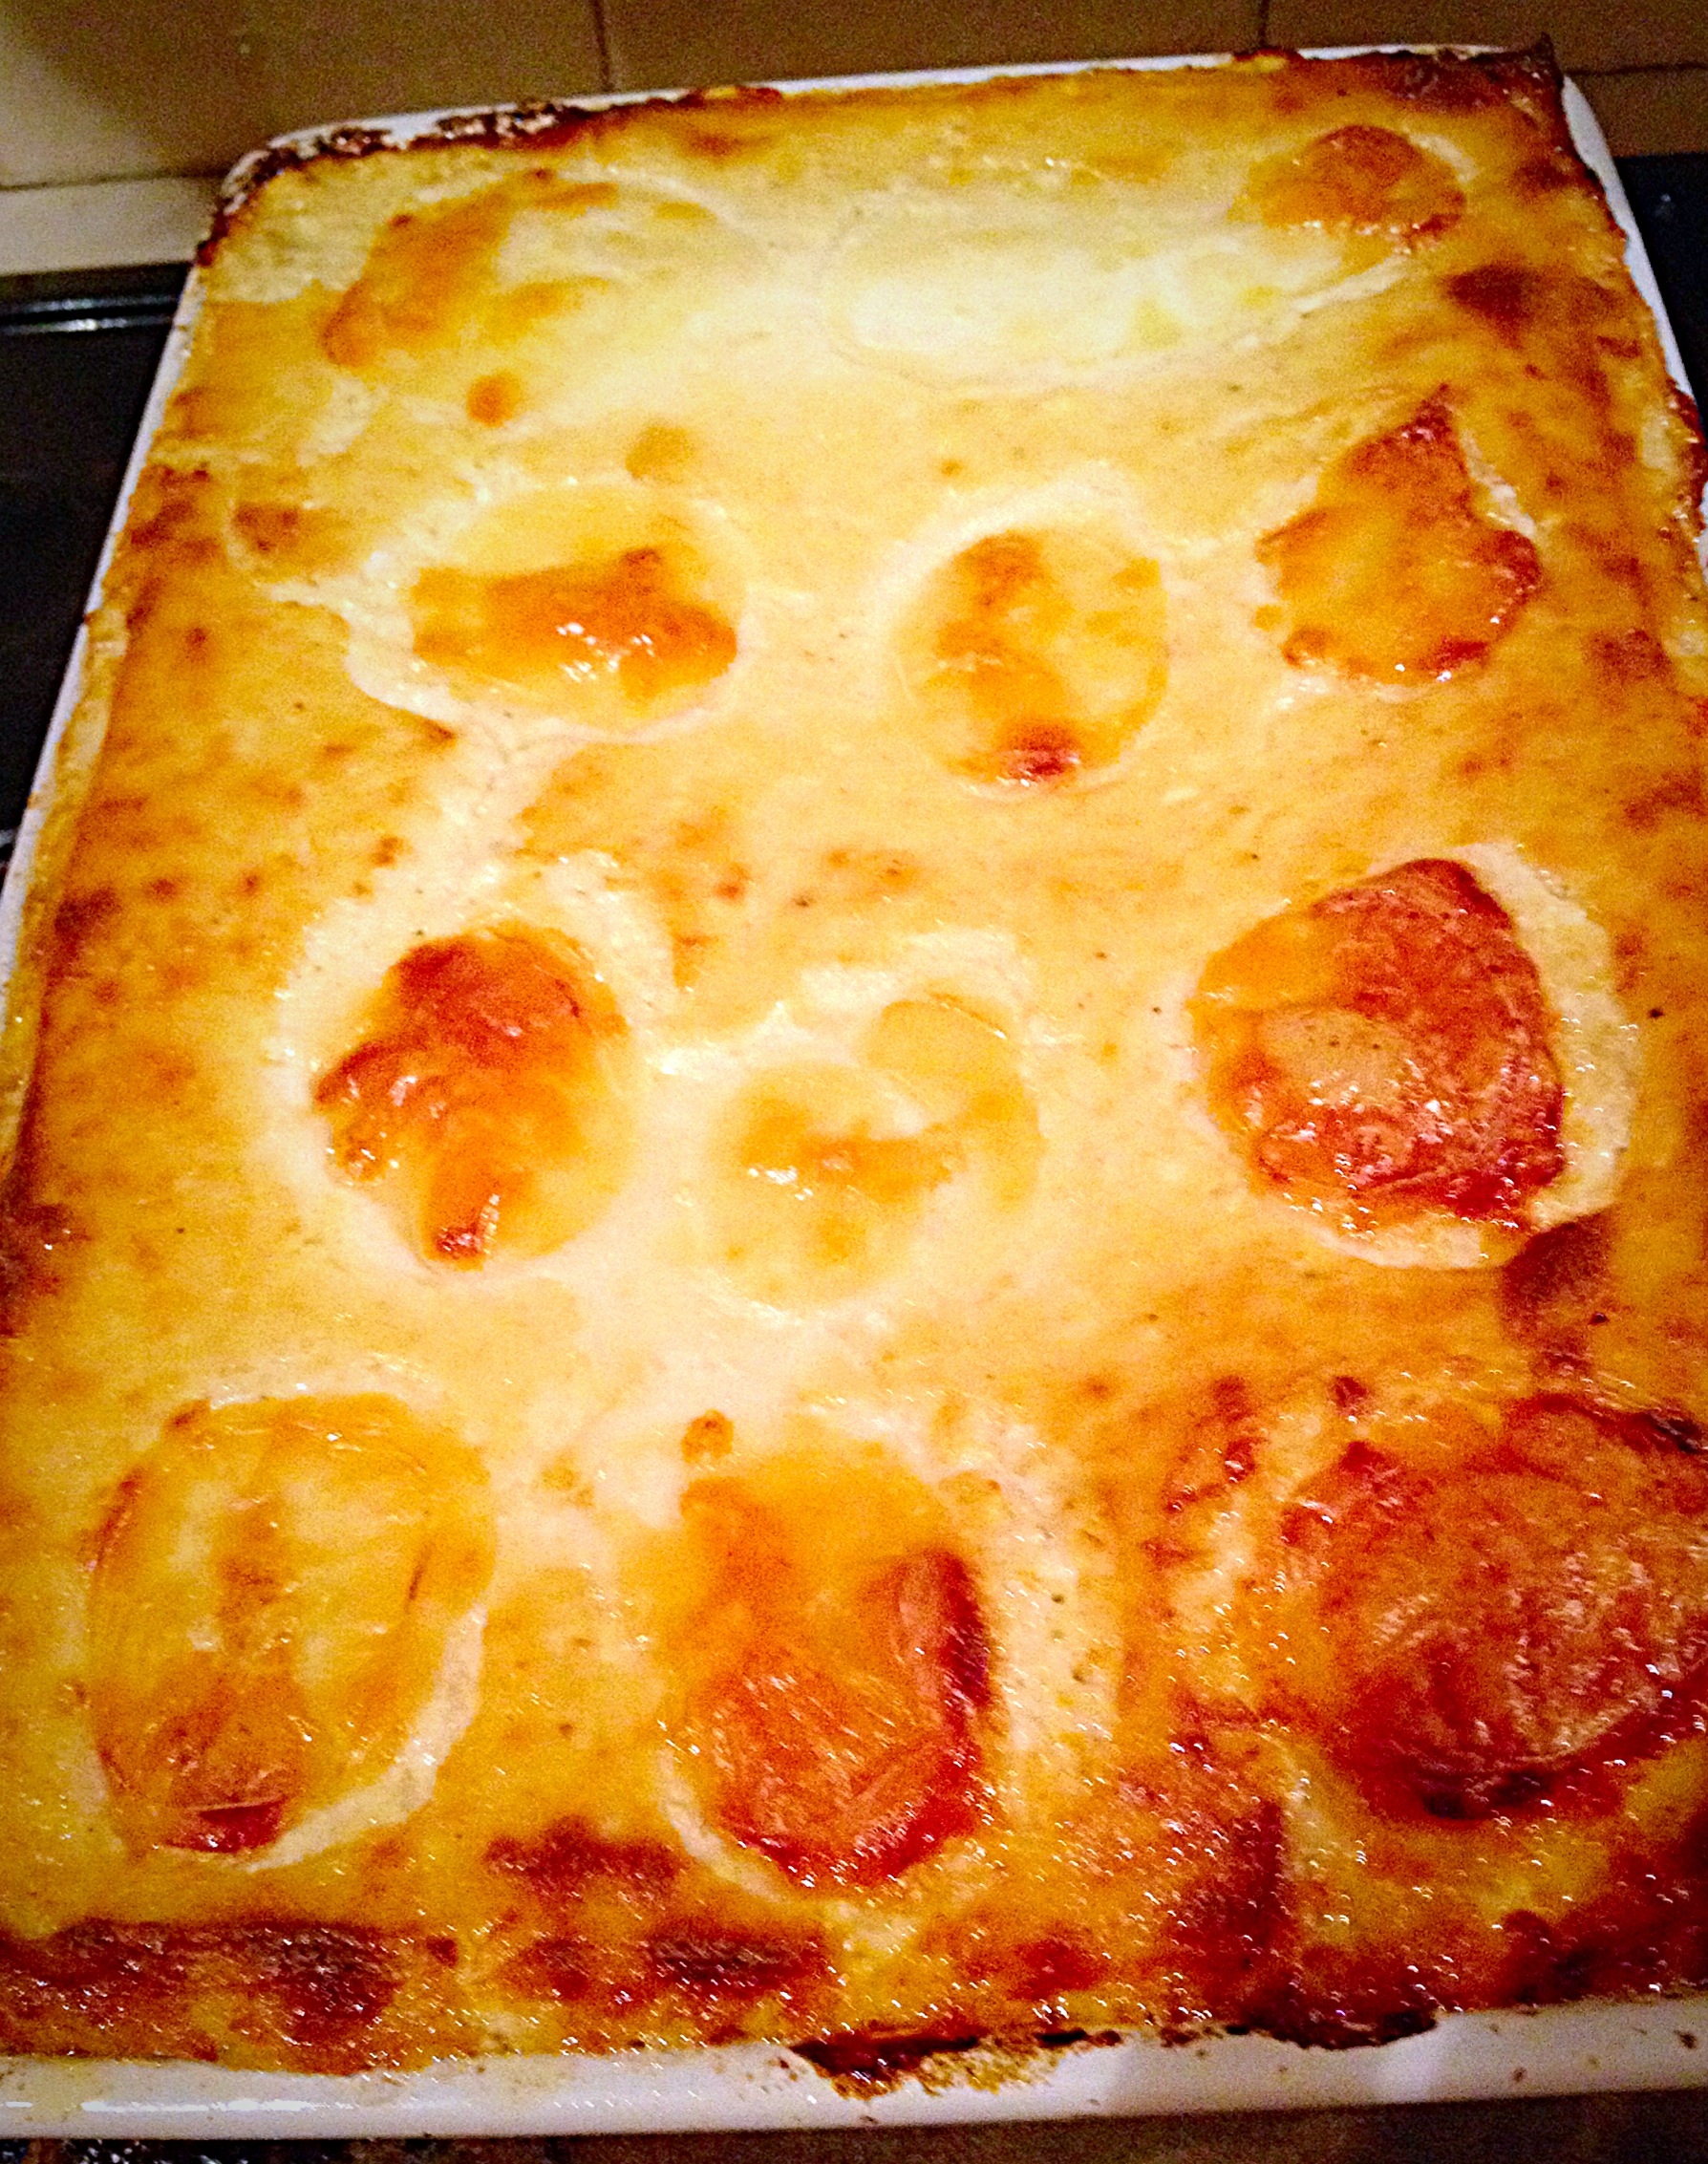
- Bake the cheese for 15 minutes, or until you can see it bubbling around the side of the dish.
- Once baked remove the baking tray, with the bubbling cheese in its dish, from the oven.
- Allow the cheese to sit for a couple of minutes as it will be extremely hot.
Serve the cheese in its dish with a selection of fresh fruit, vegetables and bread or crackers. Most of all share with good company and an excellent glass of wine!
Sharing this baked cheese, either with a group of friends, or with the one that you love, infinitely improves the whole experience of eating it. Since memories are created and observations exchanged, whilst feasting together.
If you have enjoyed this recipe you may also like these:
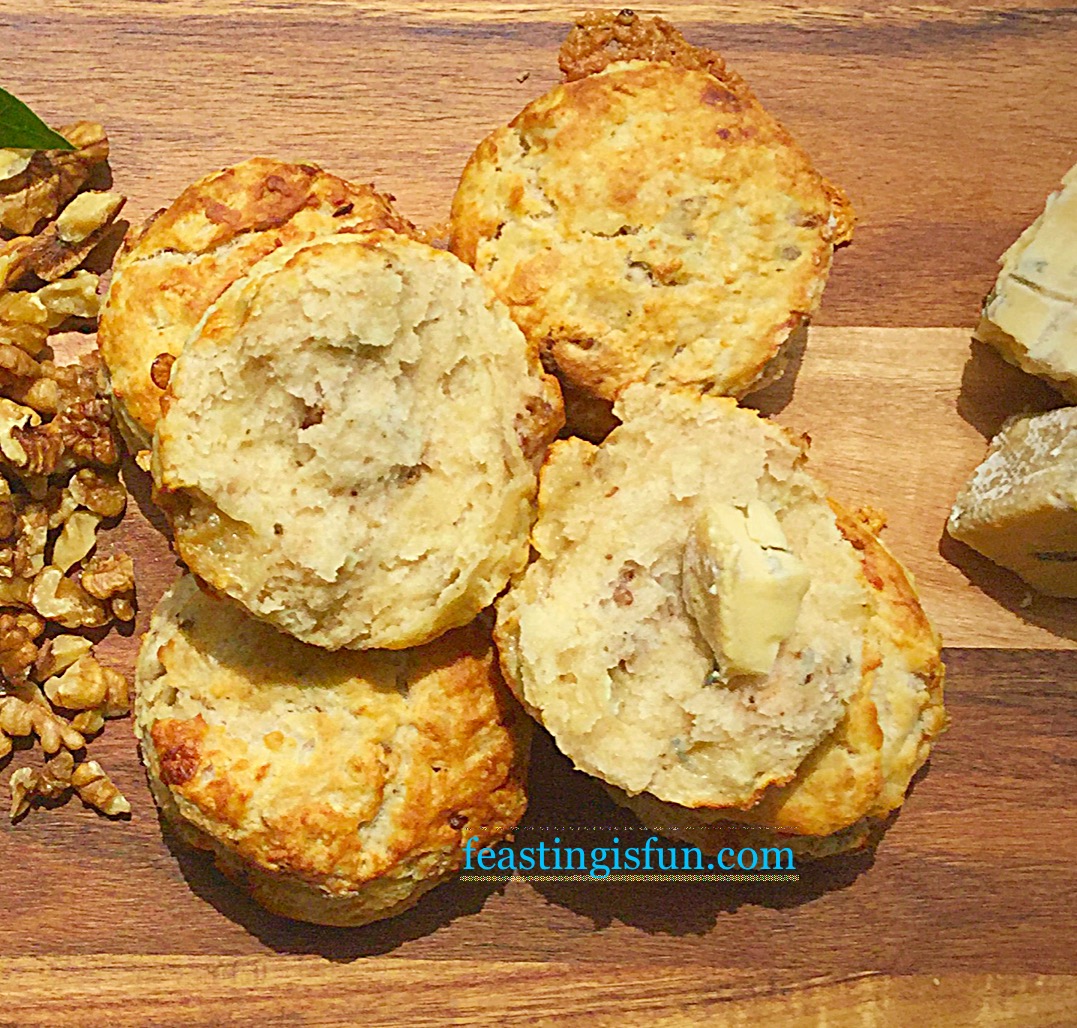
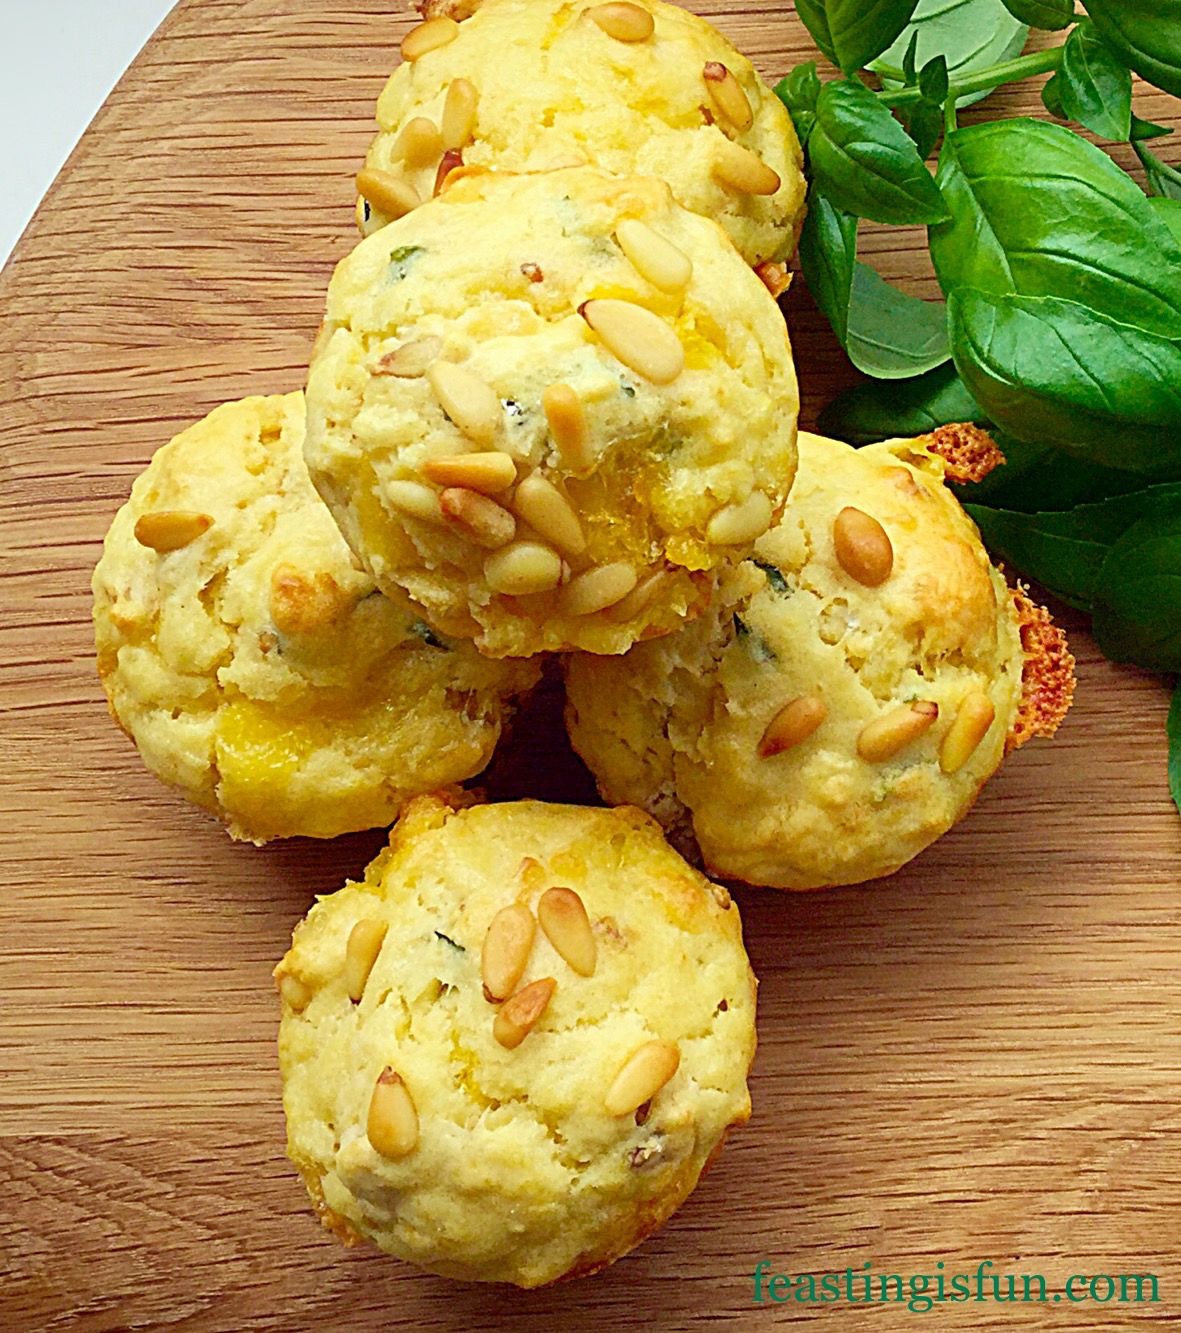
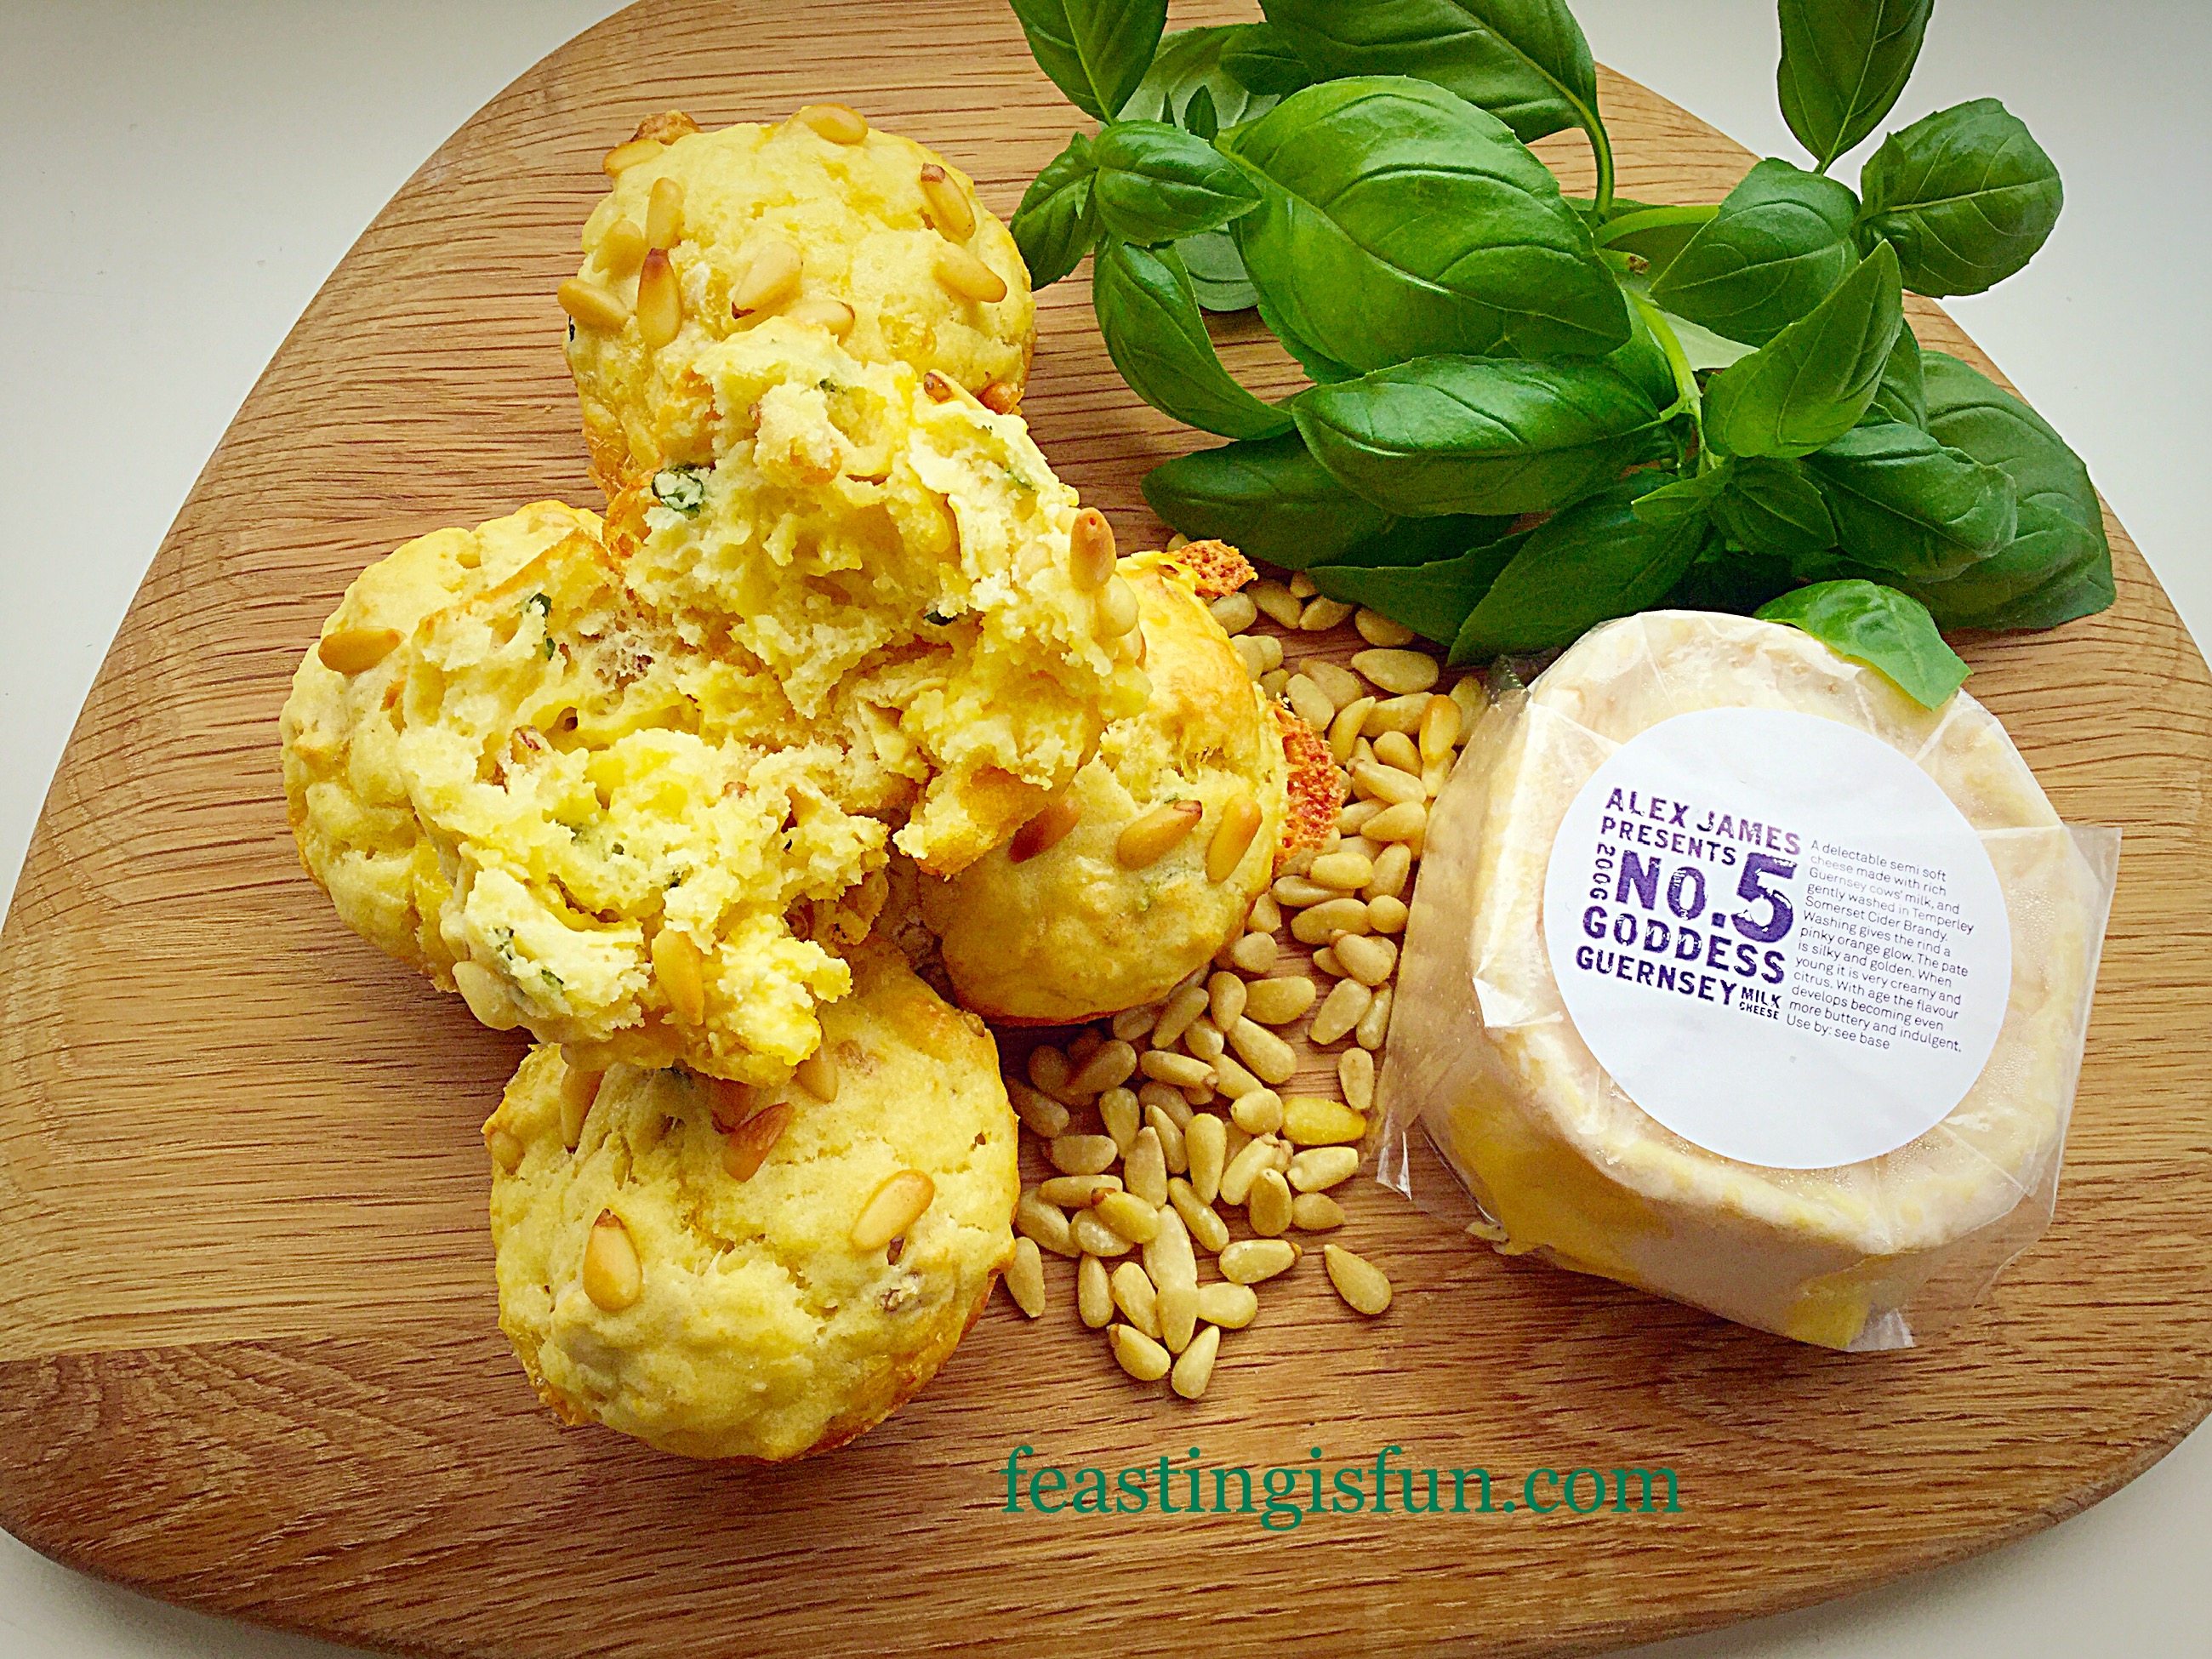
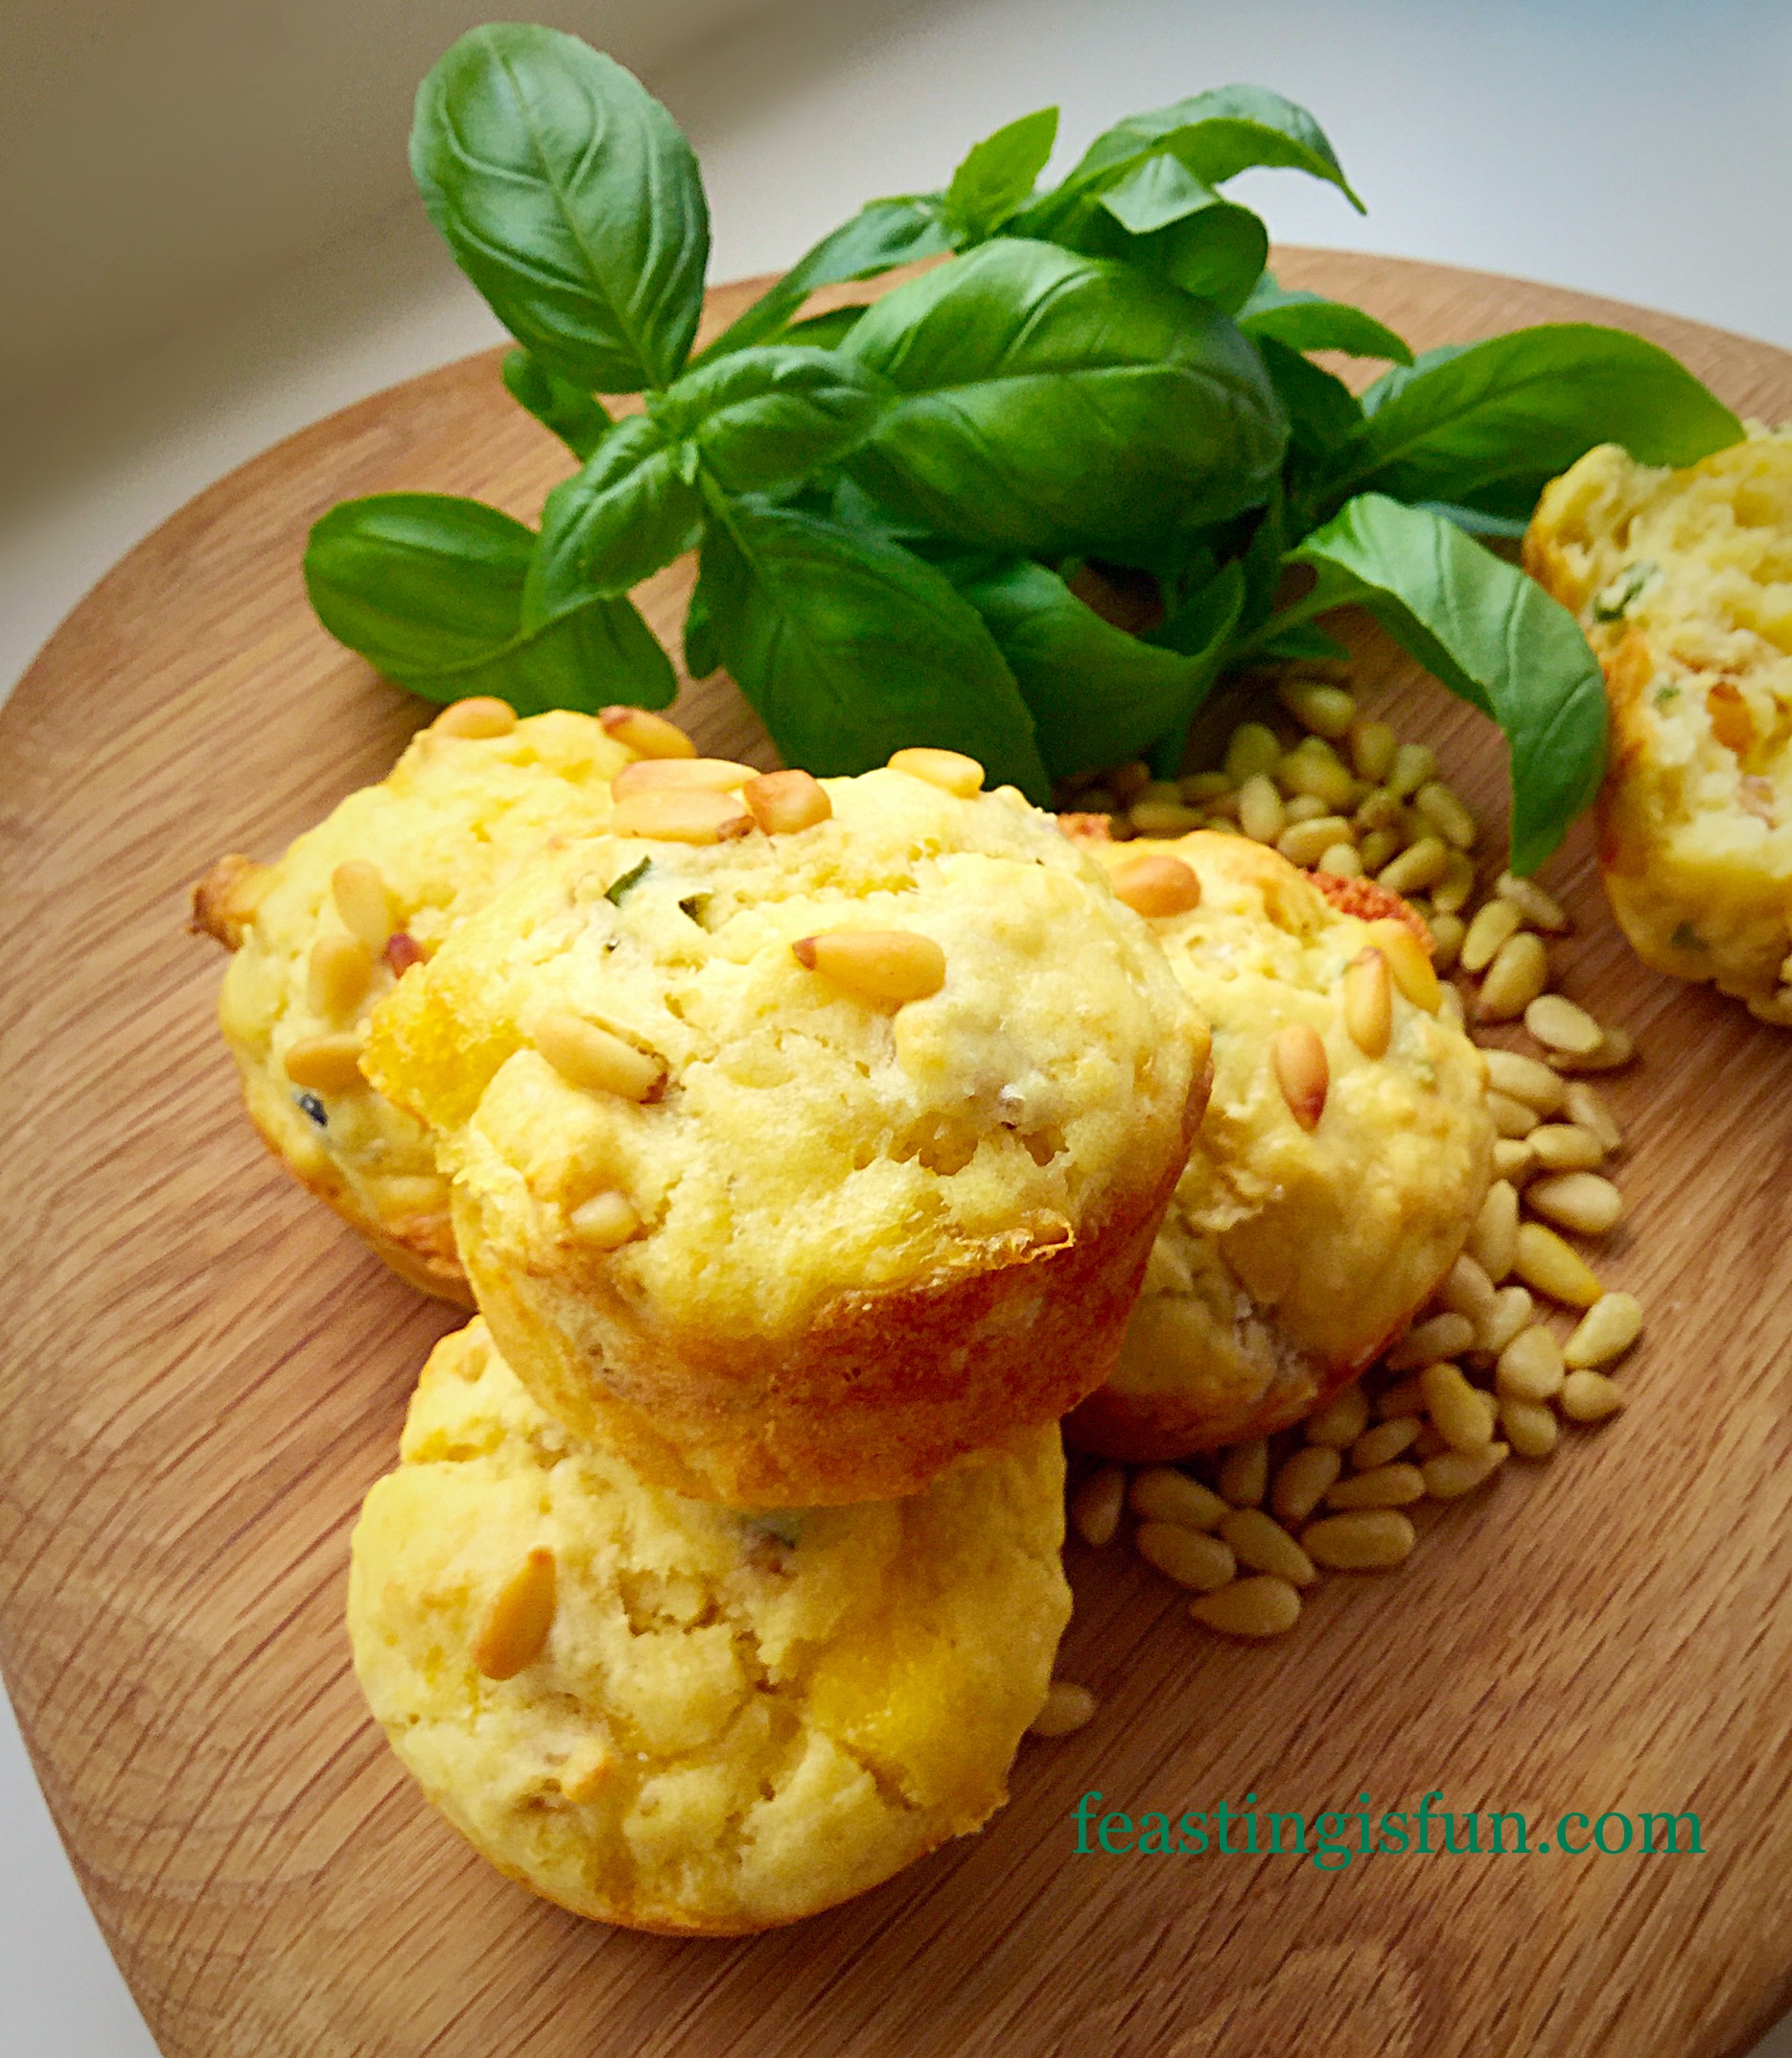
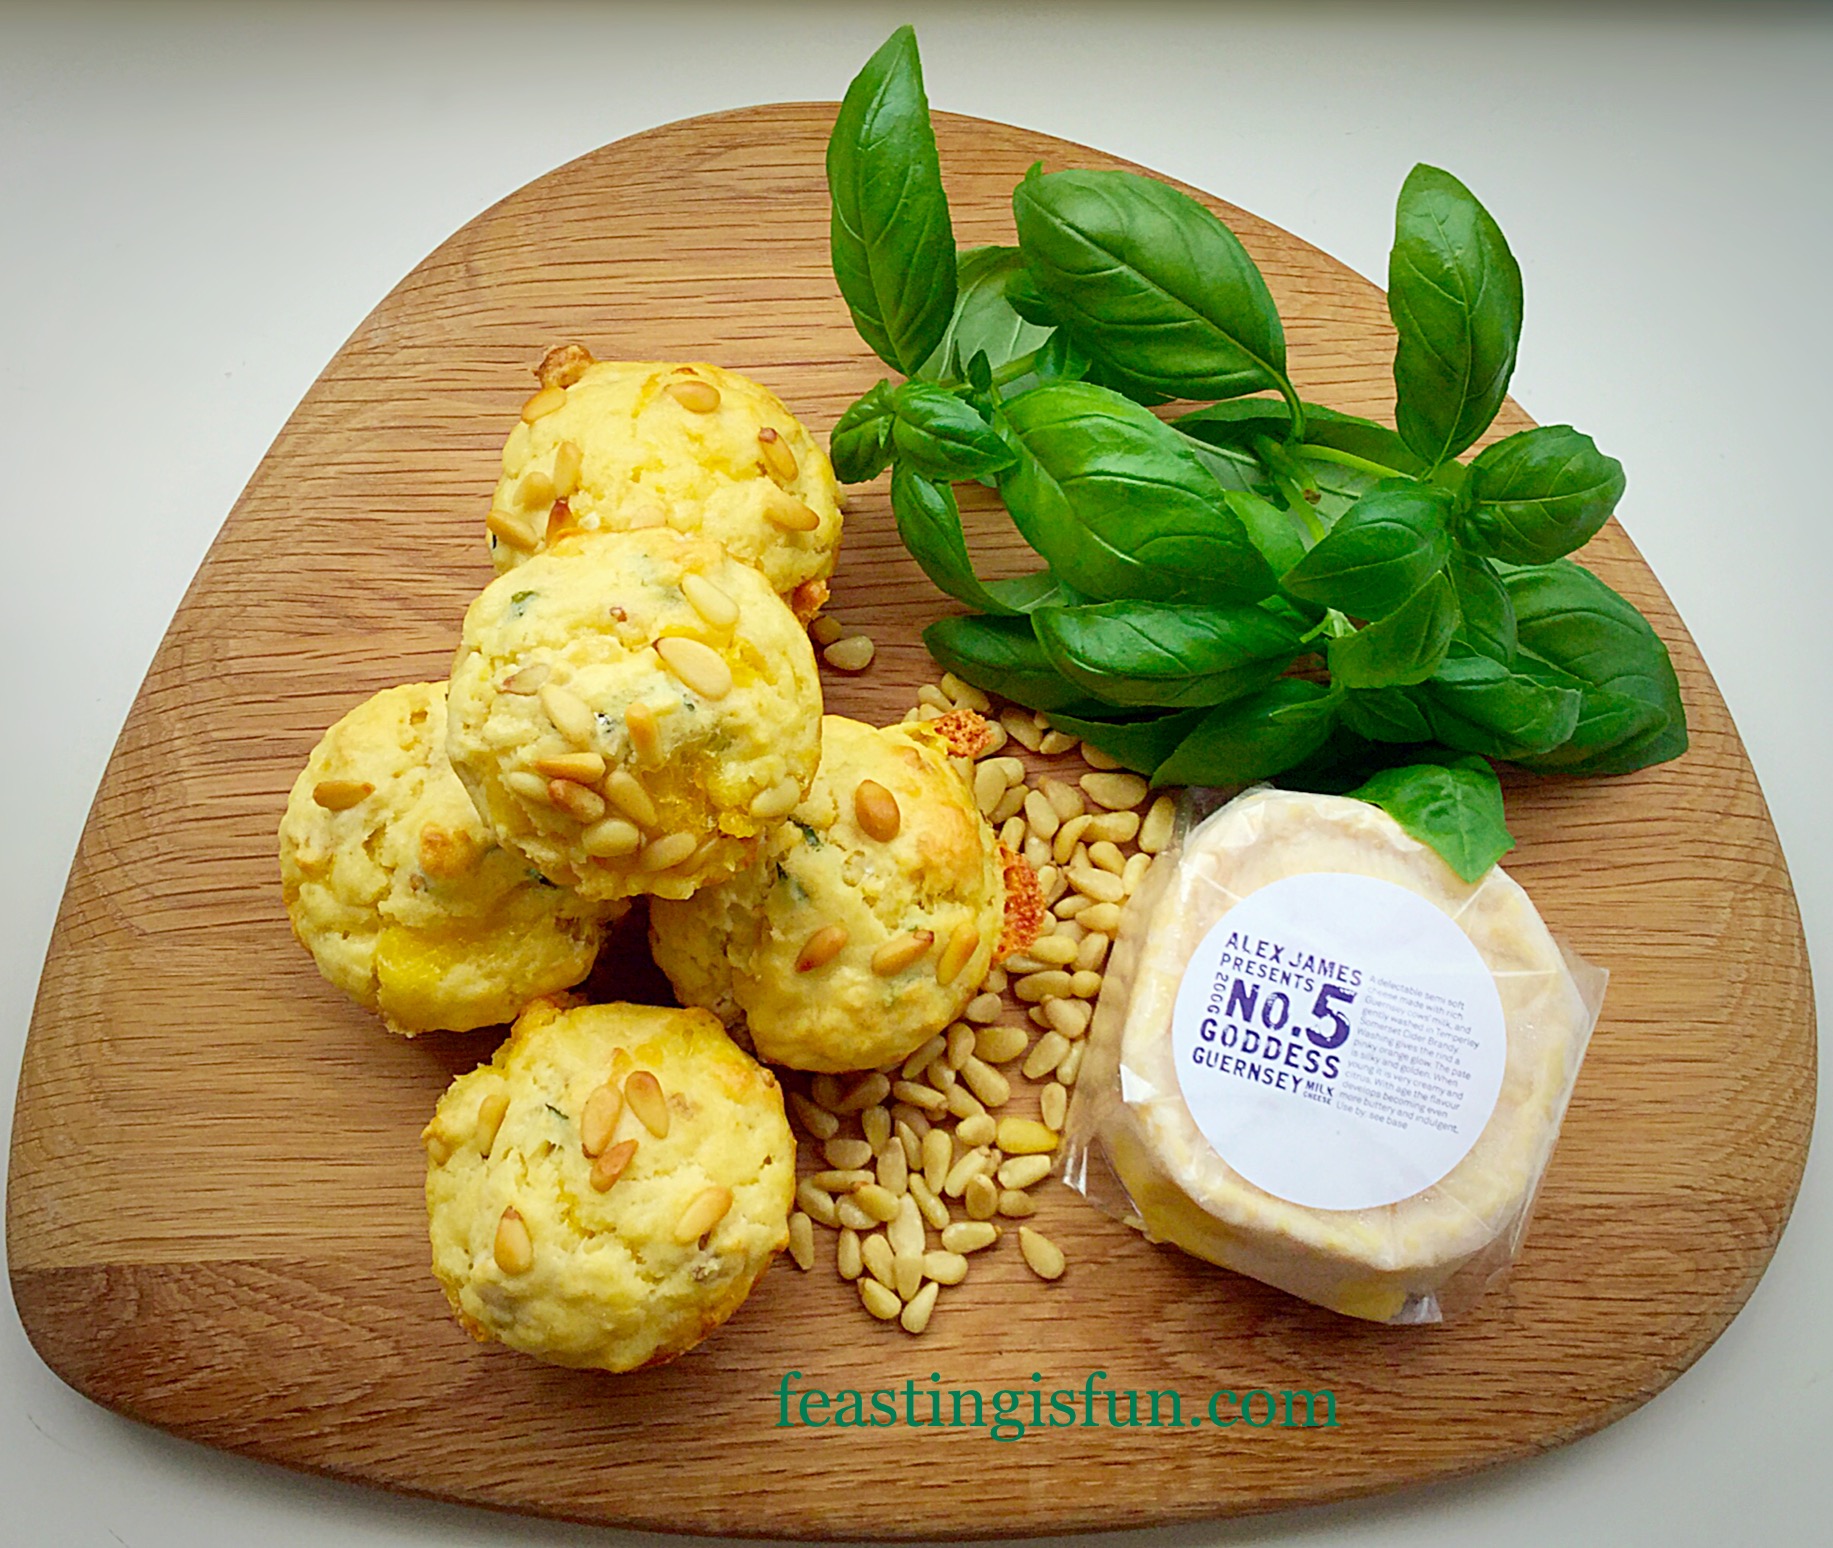
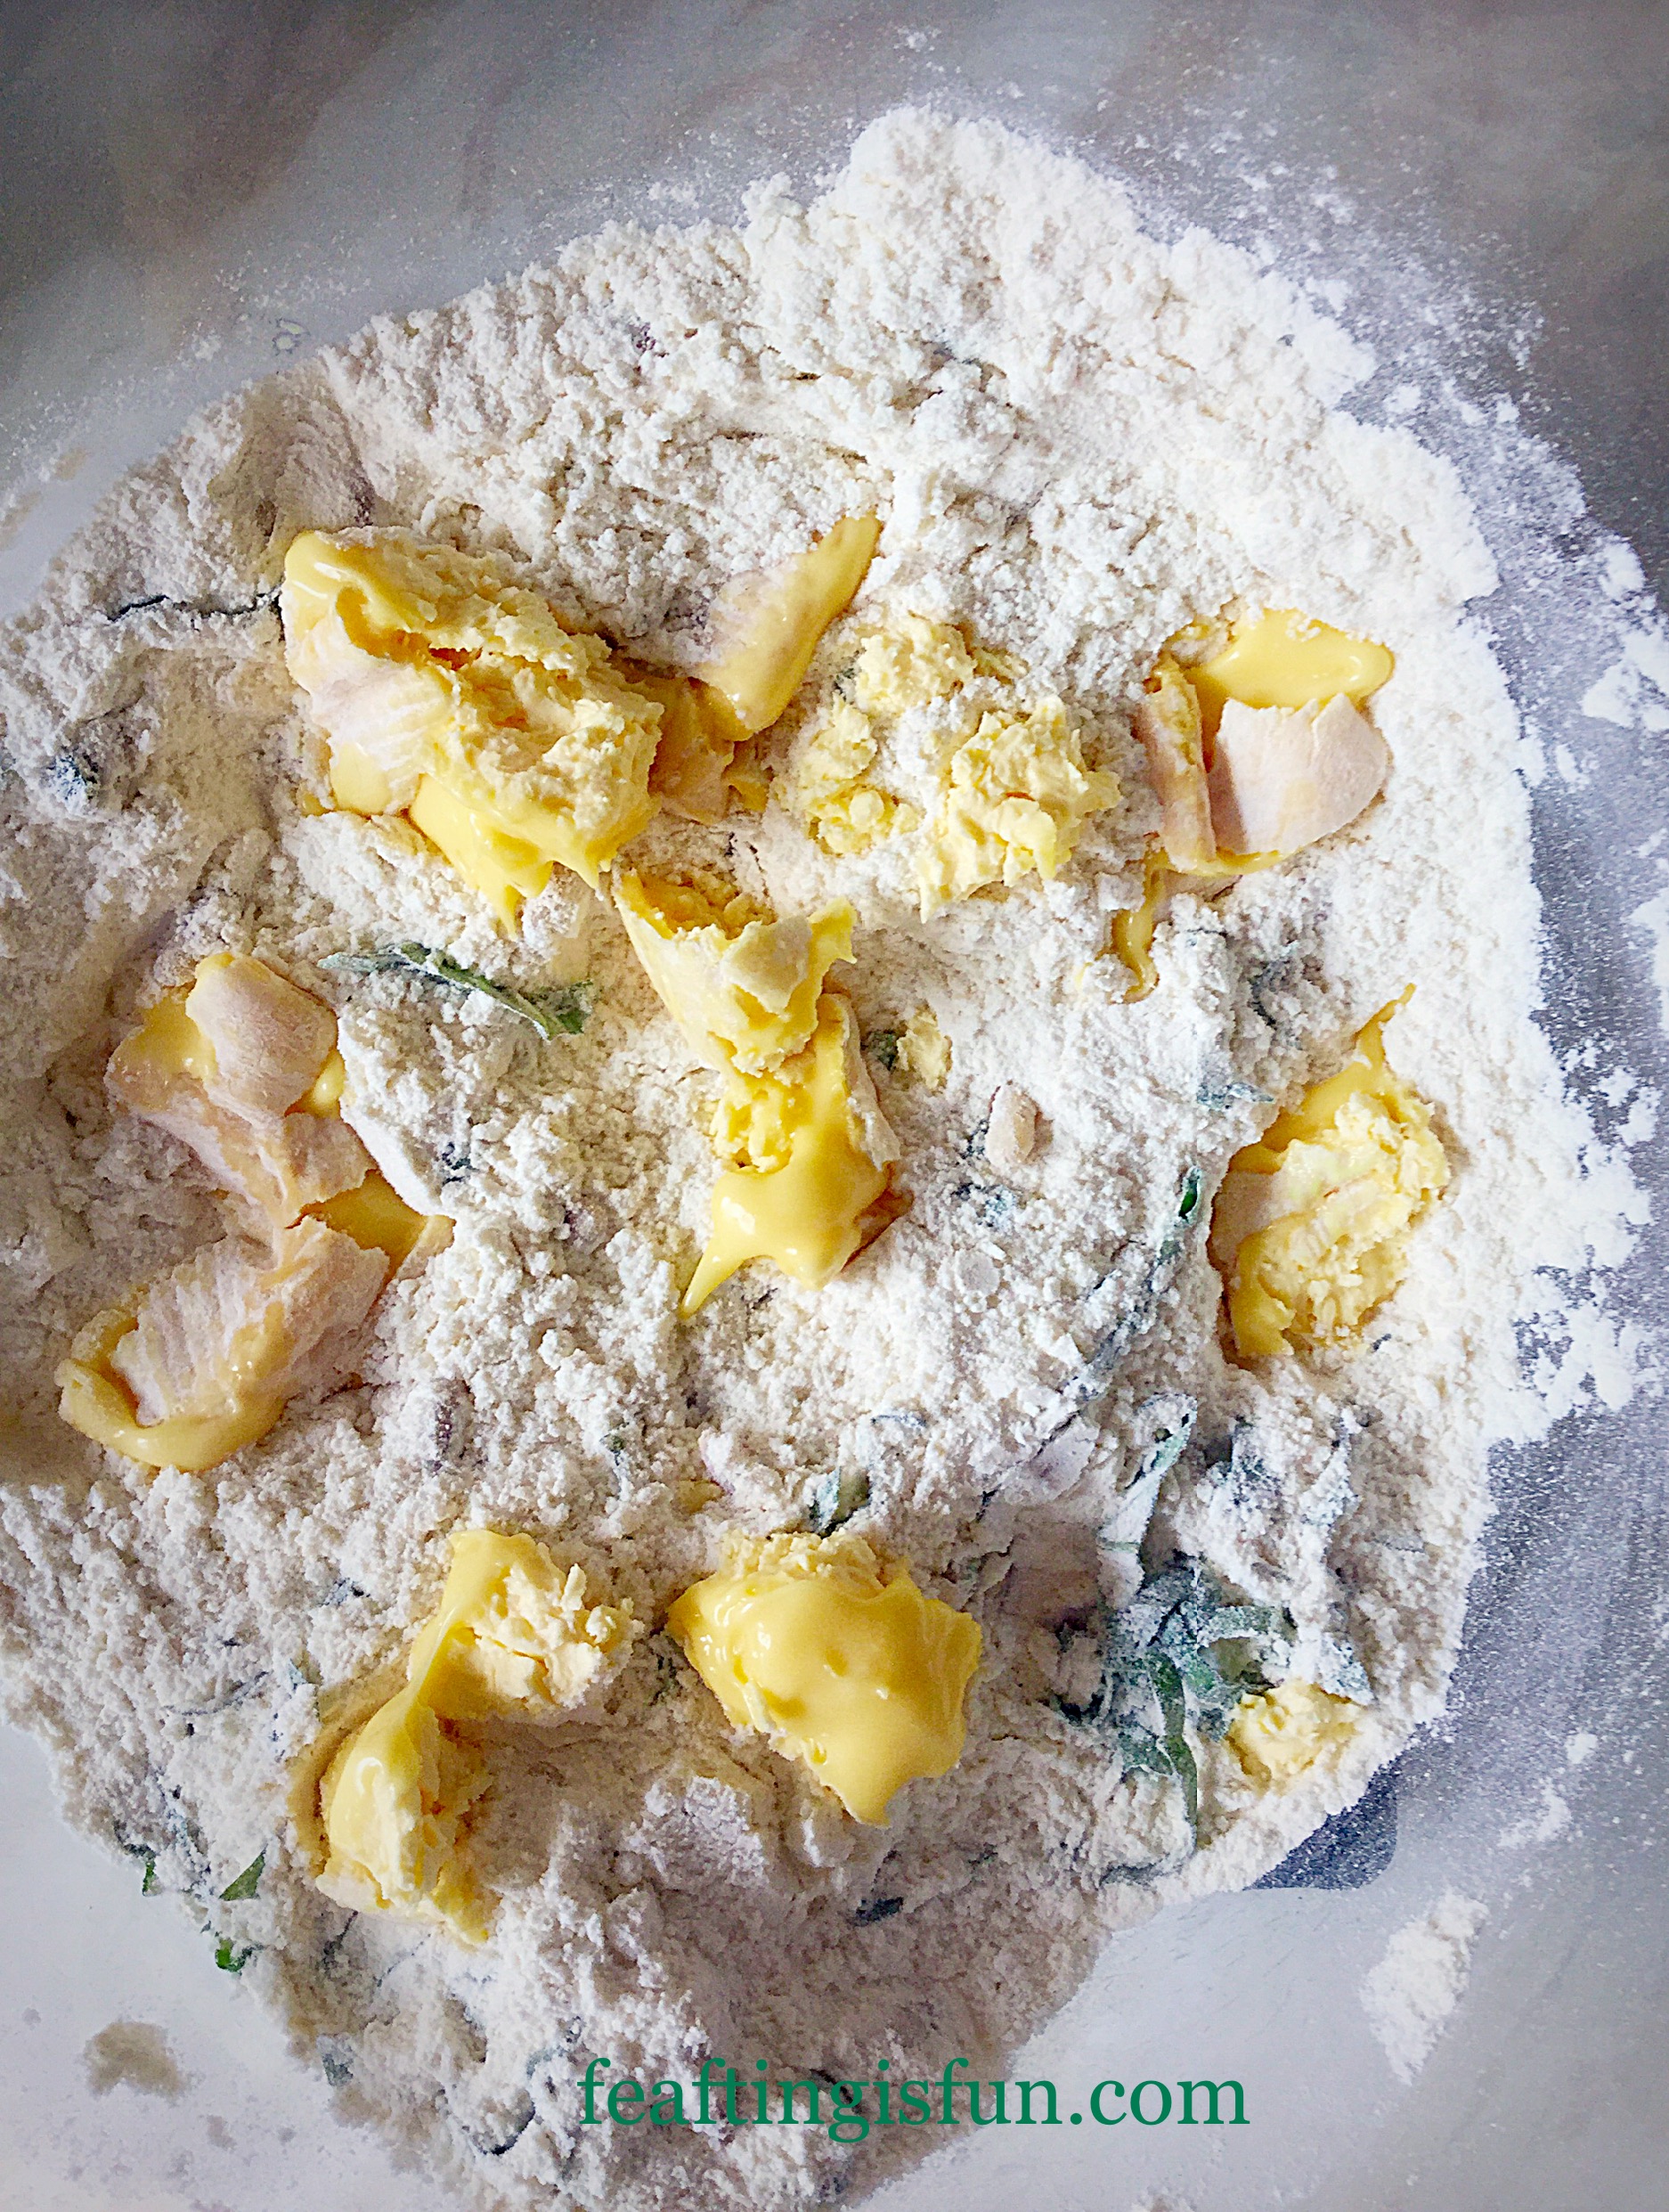
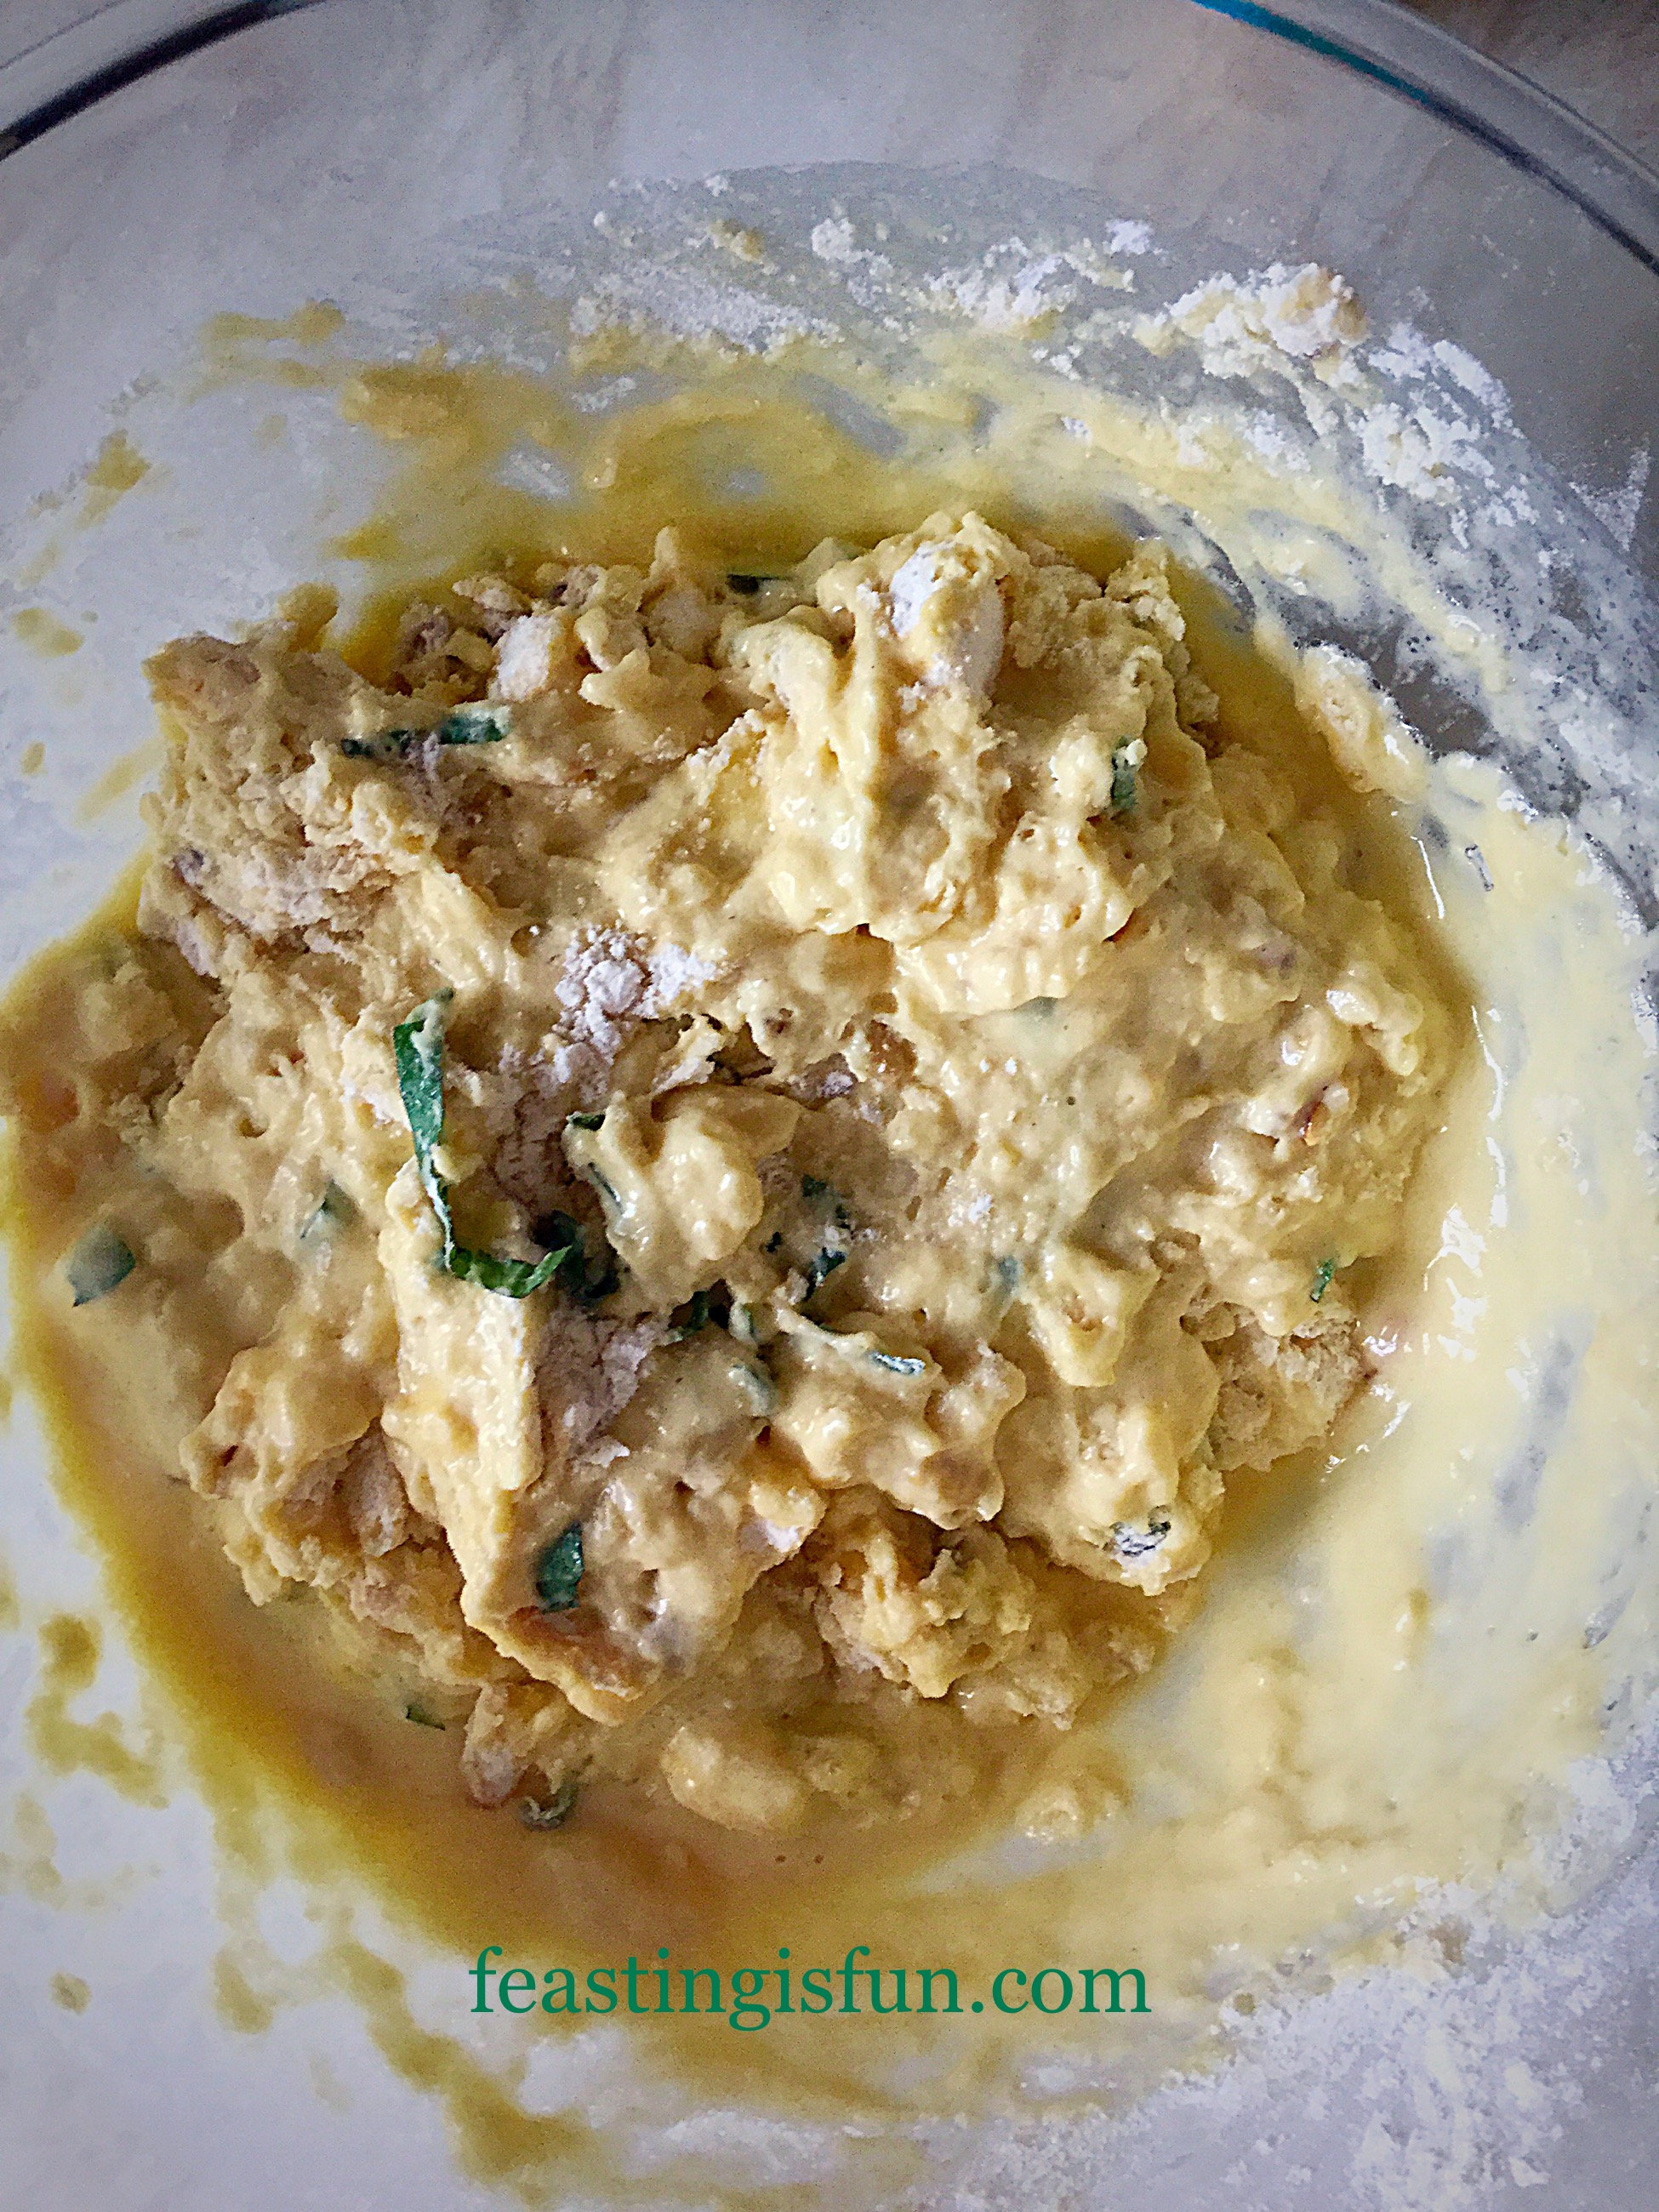
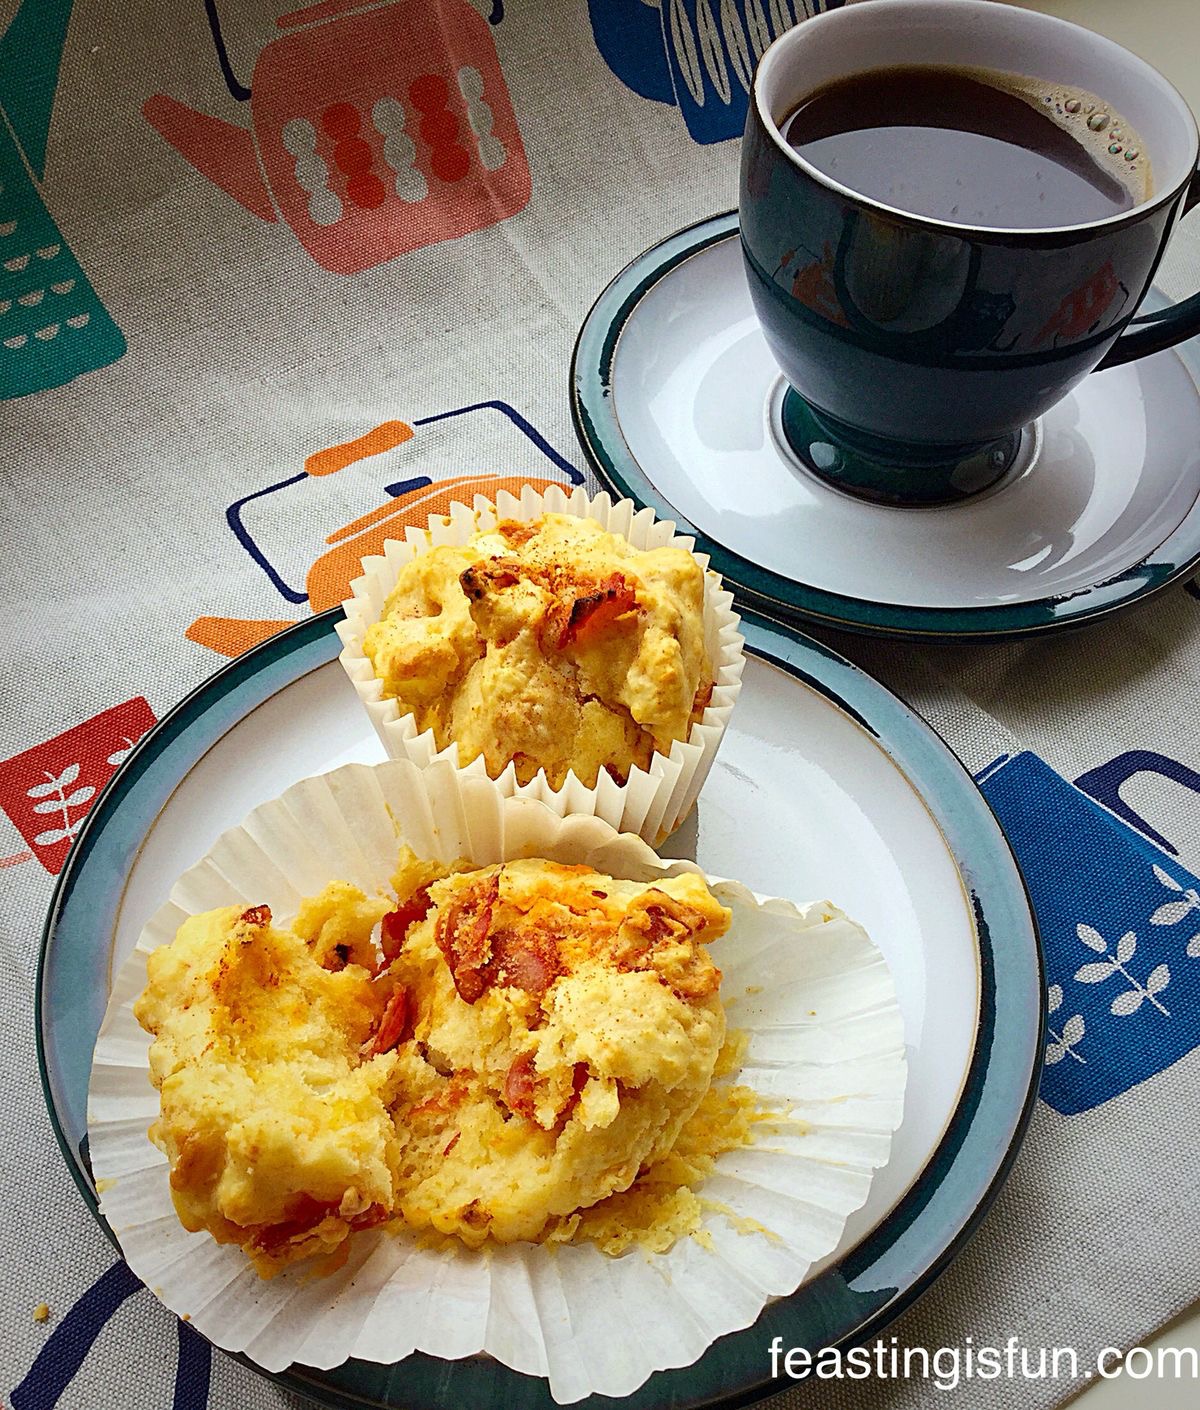
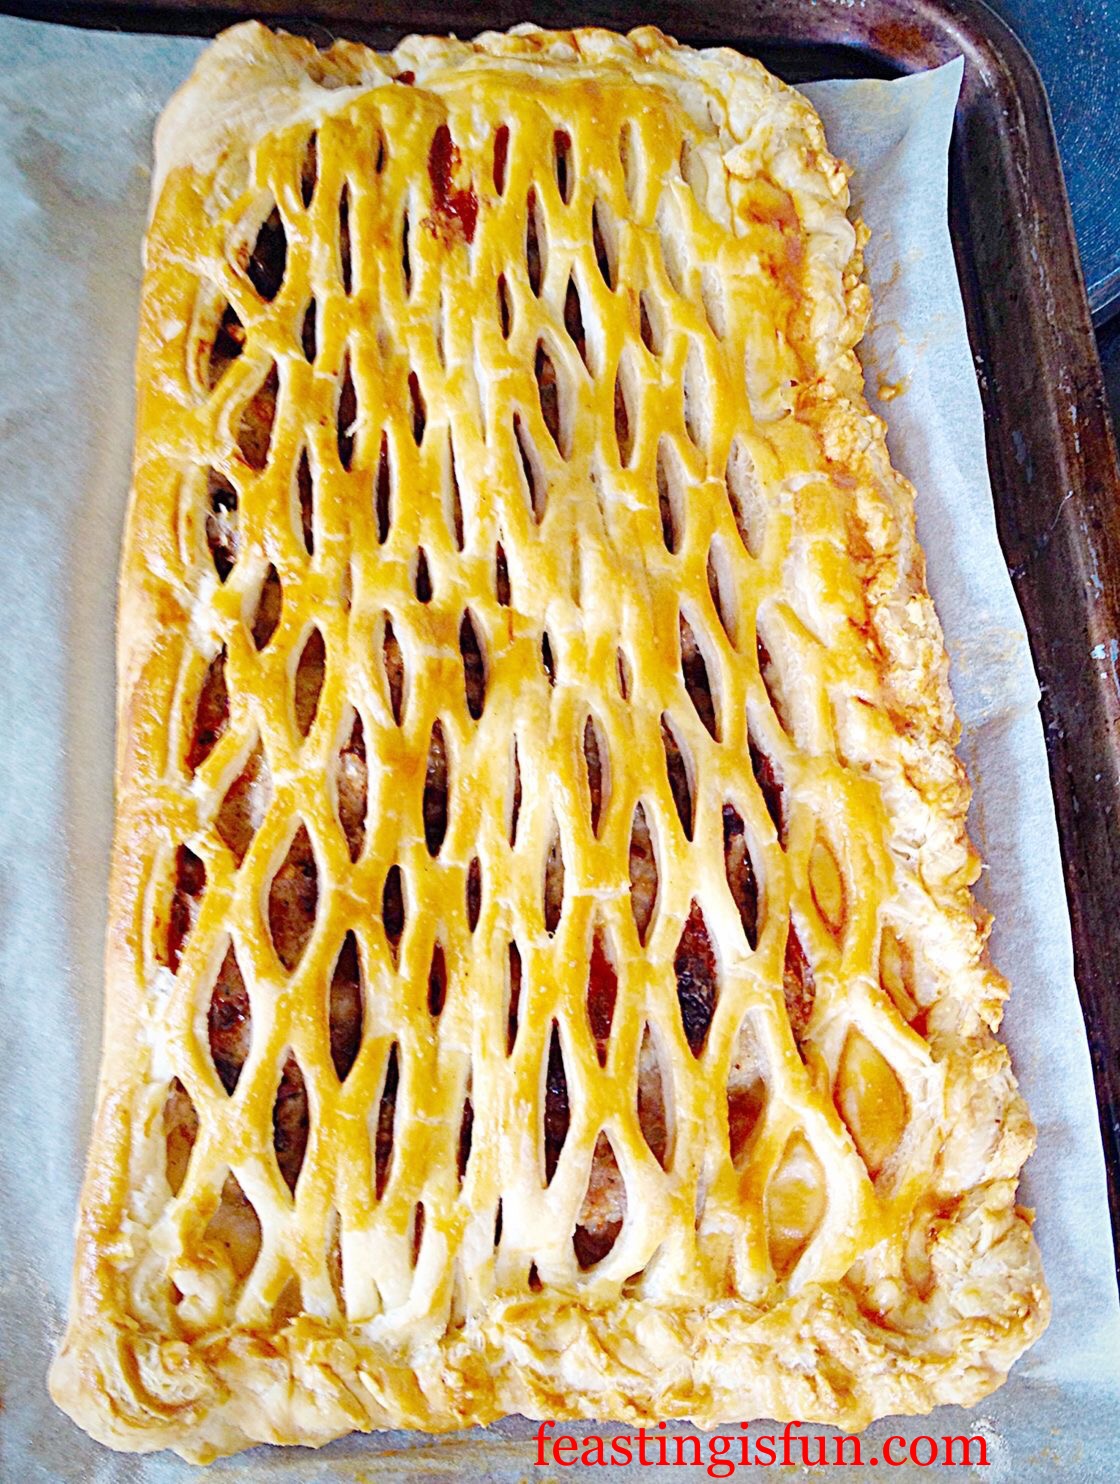
Goddess Cheese Pine Nut Muffins

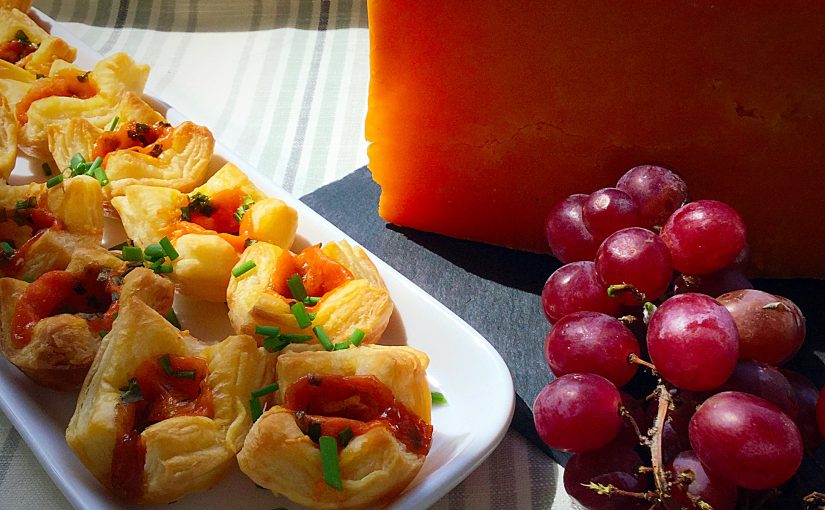
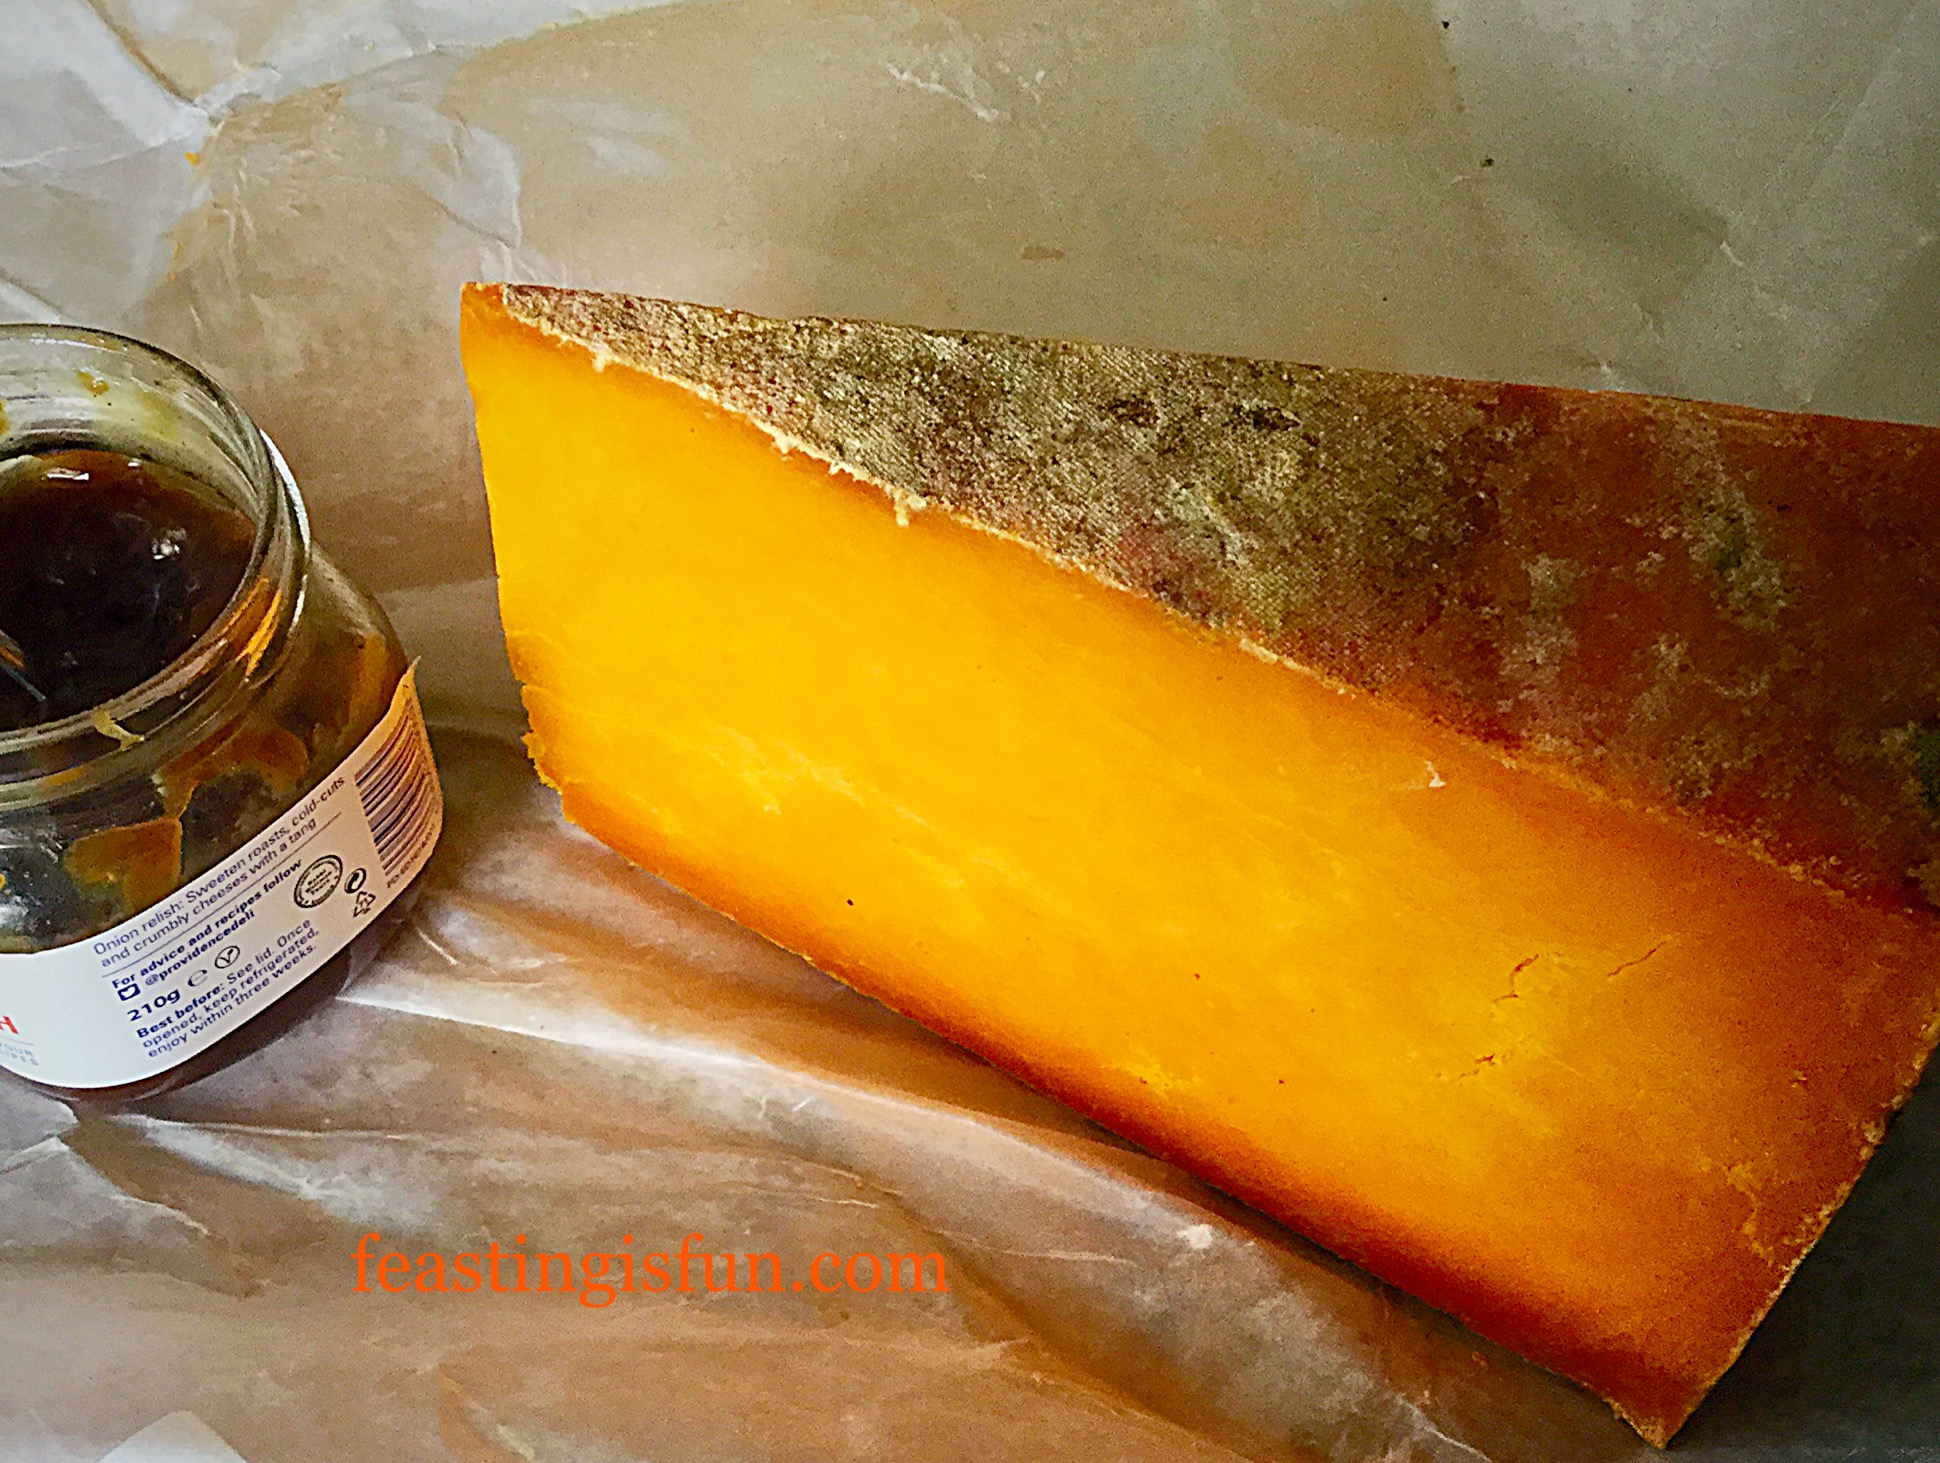
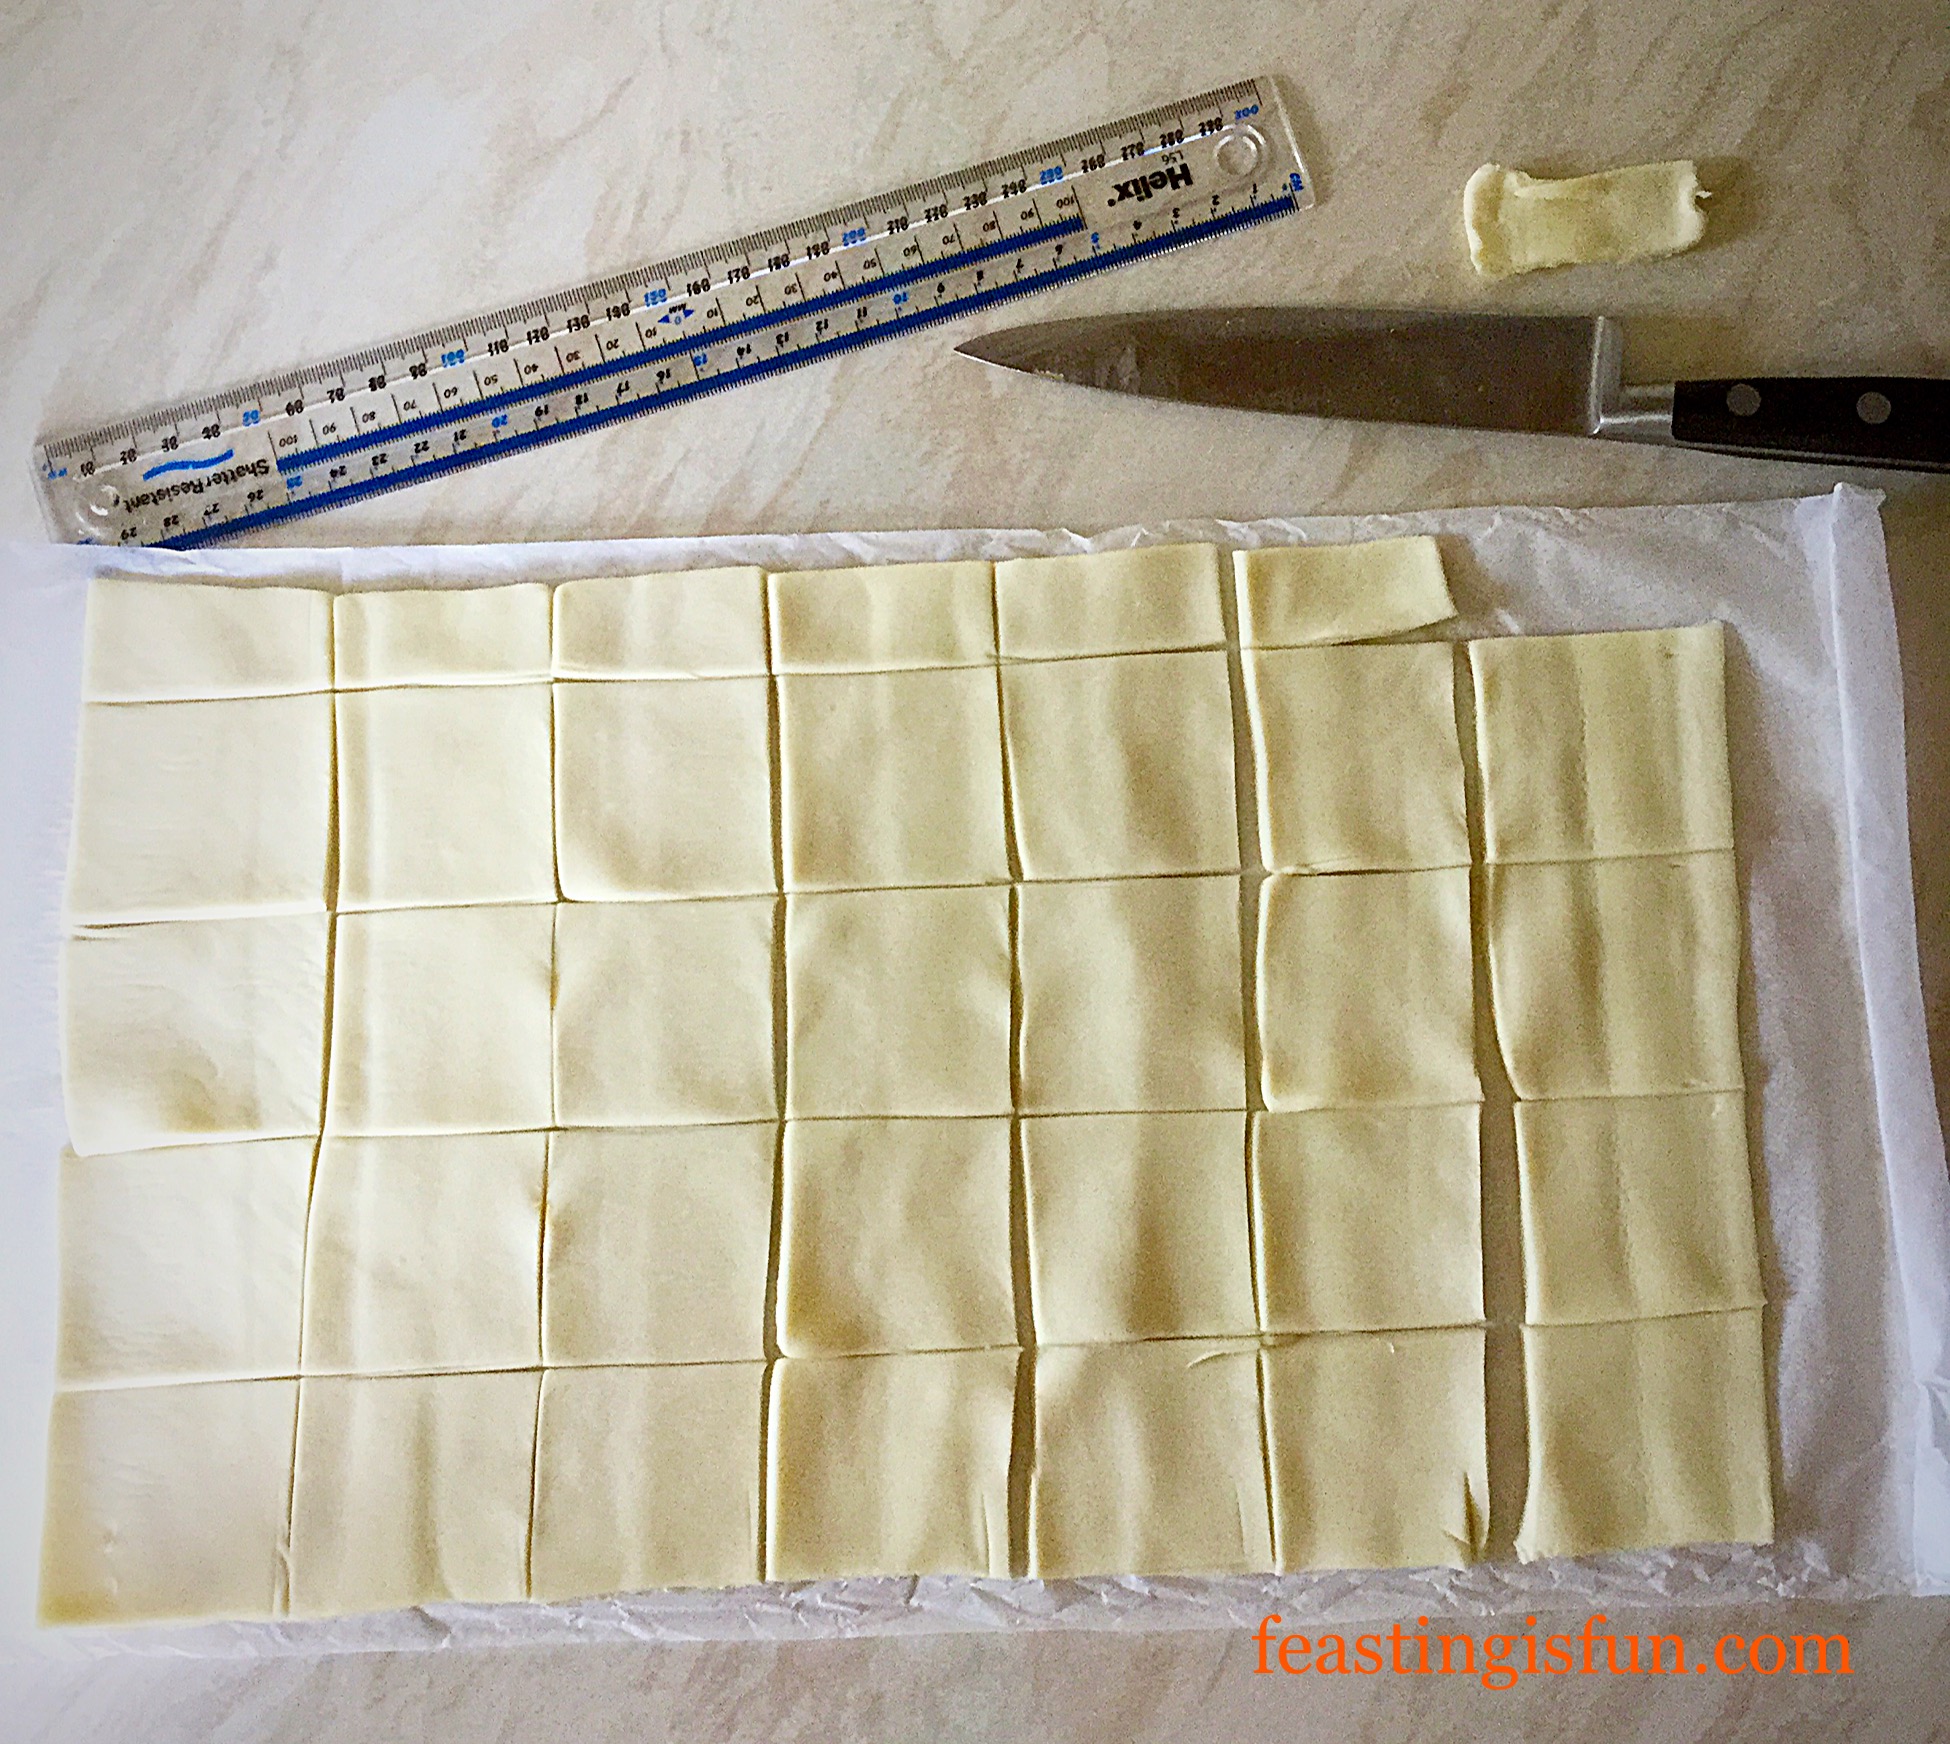
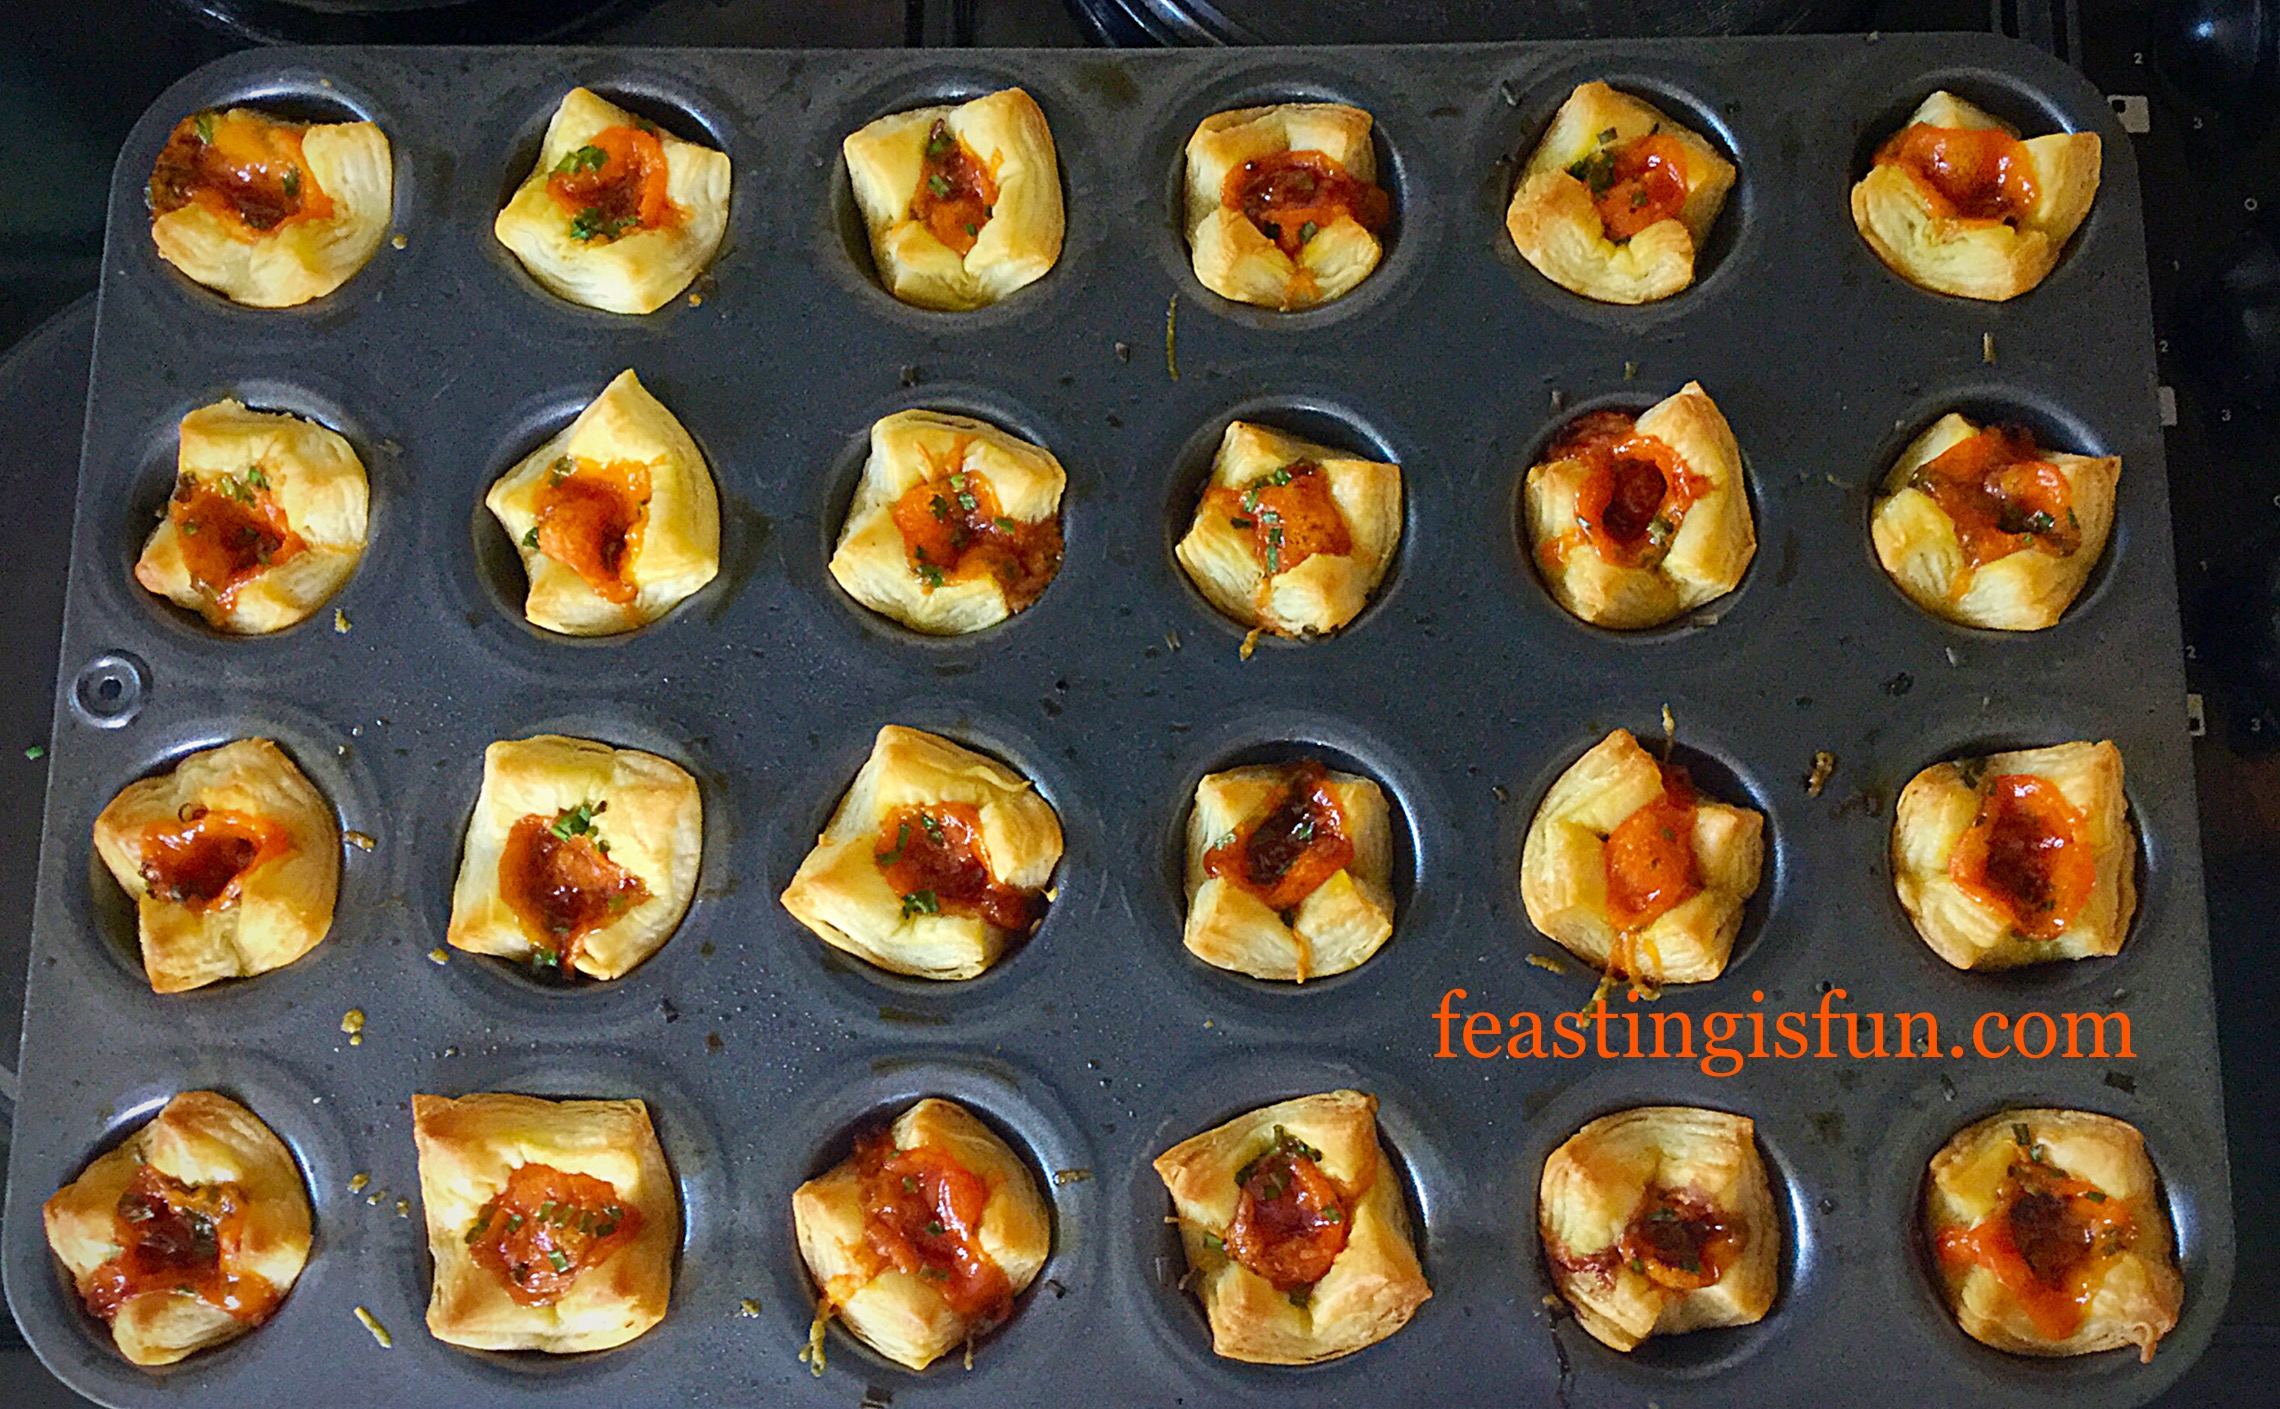
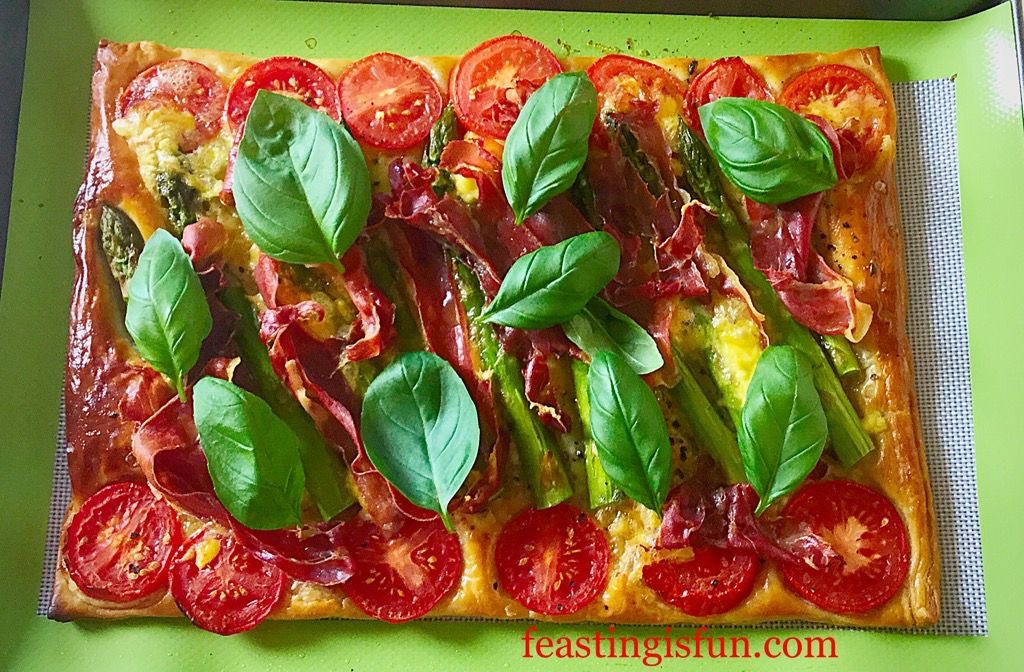
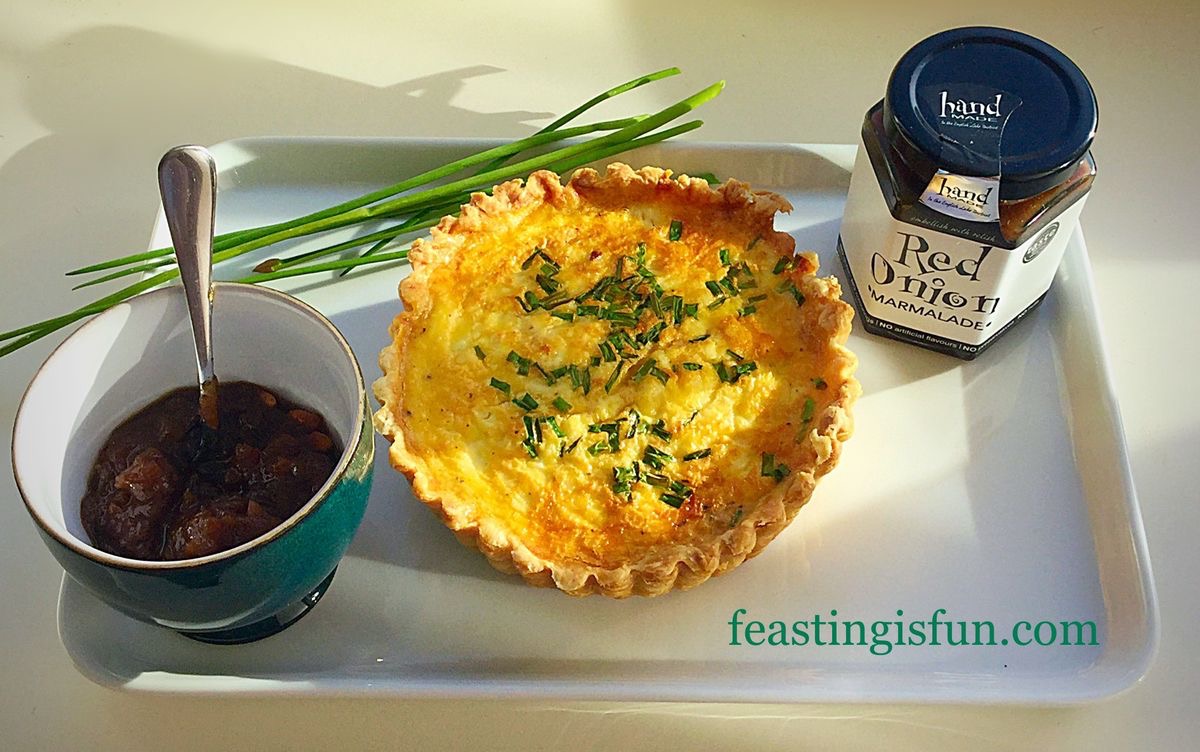
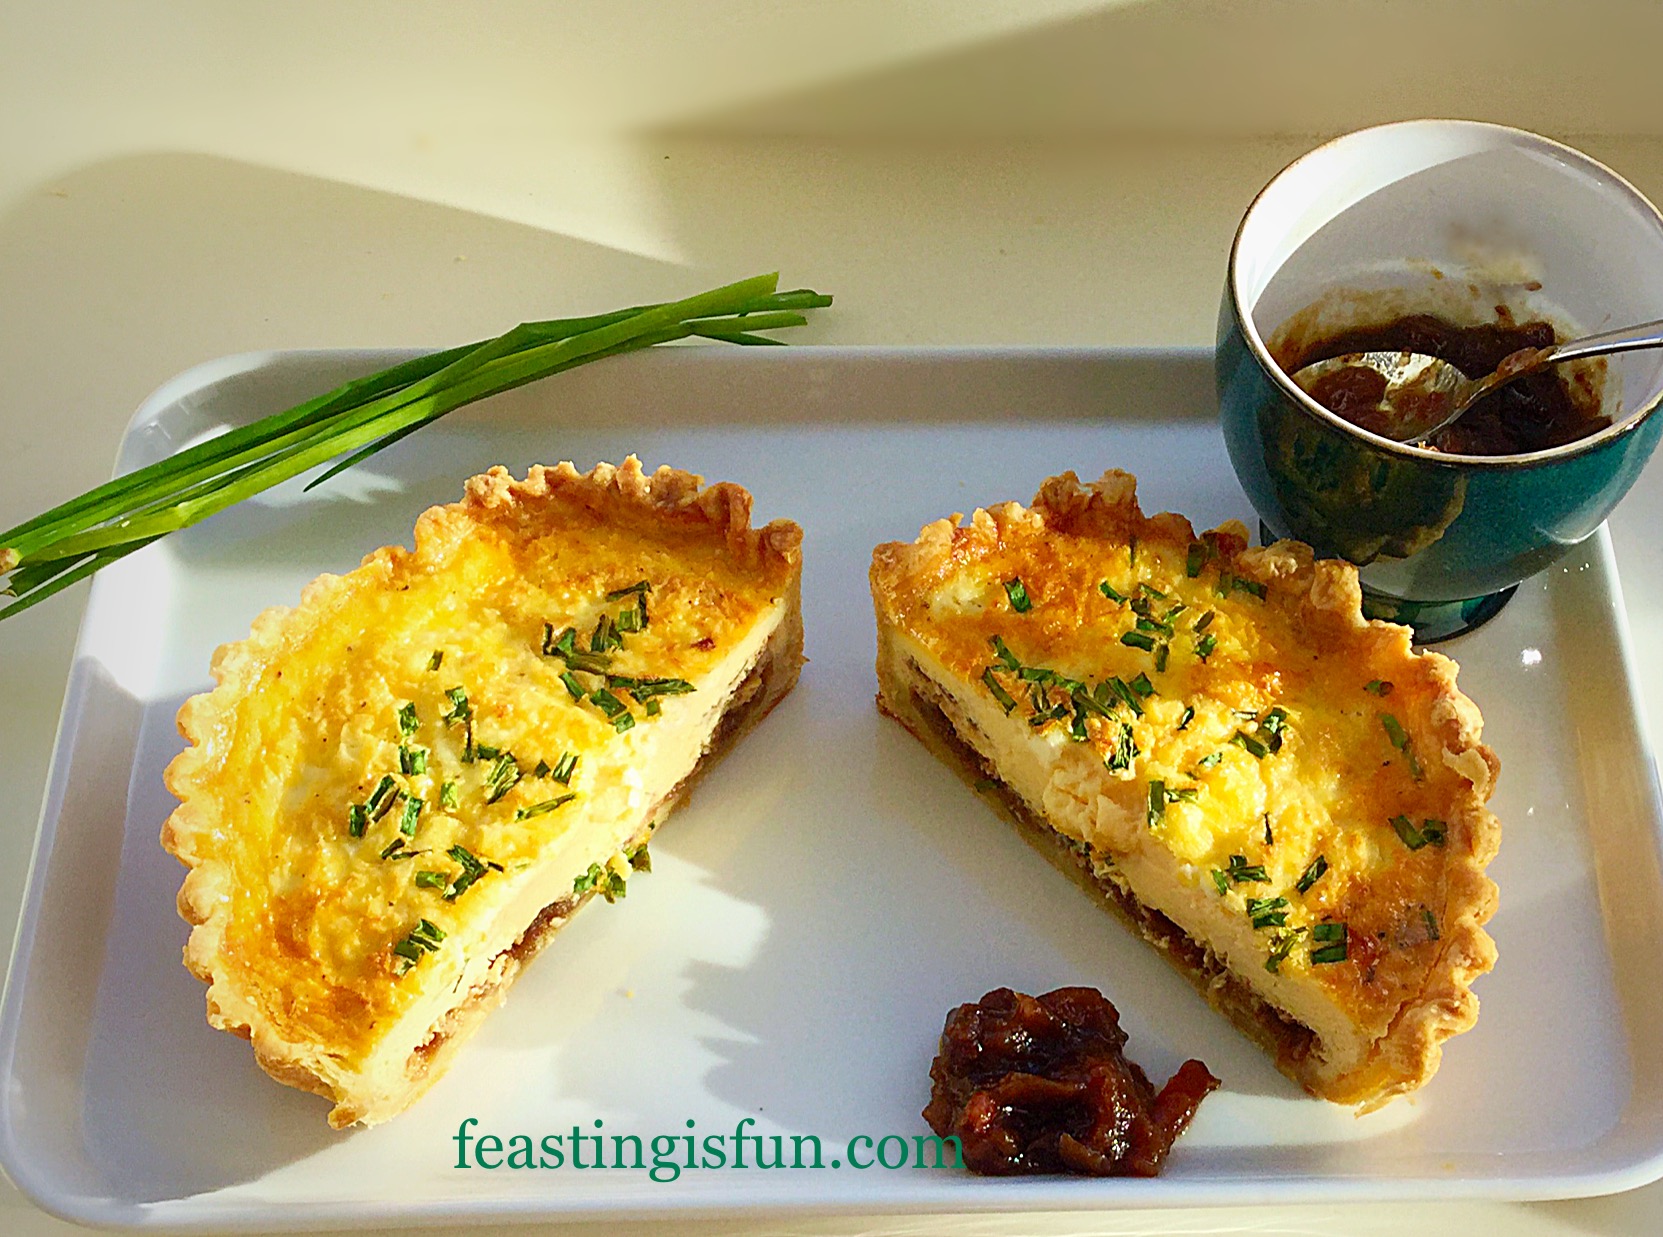
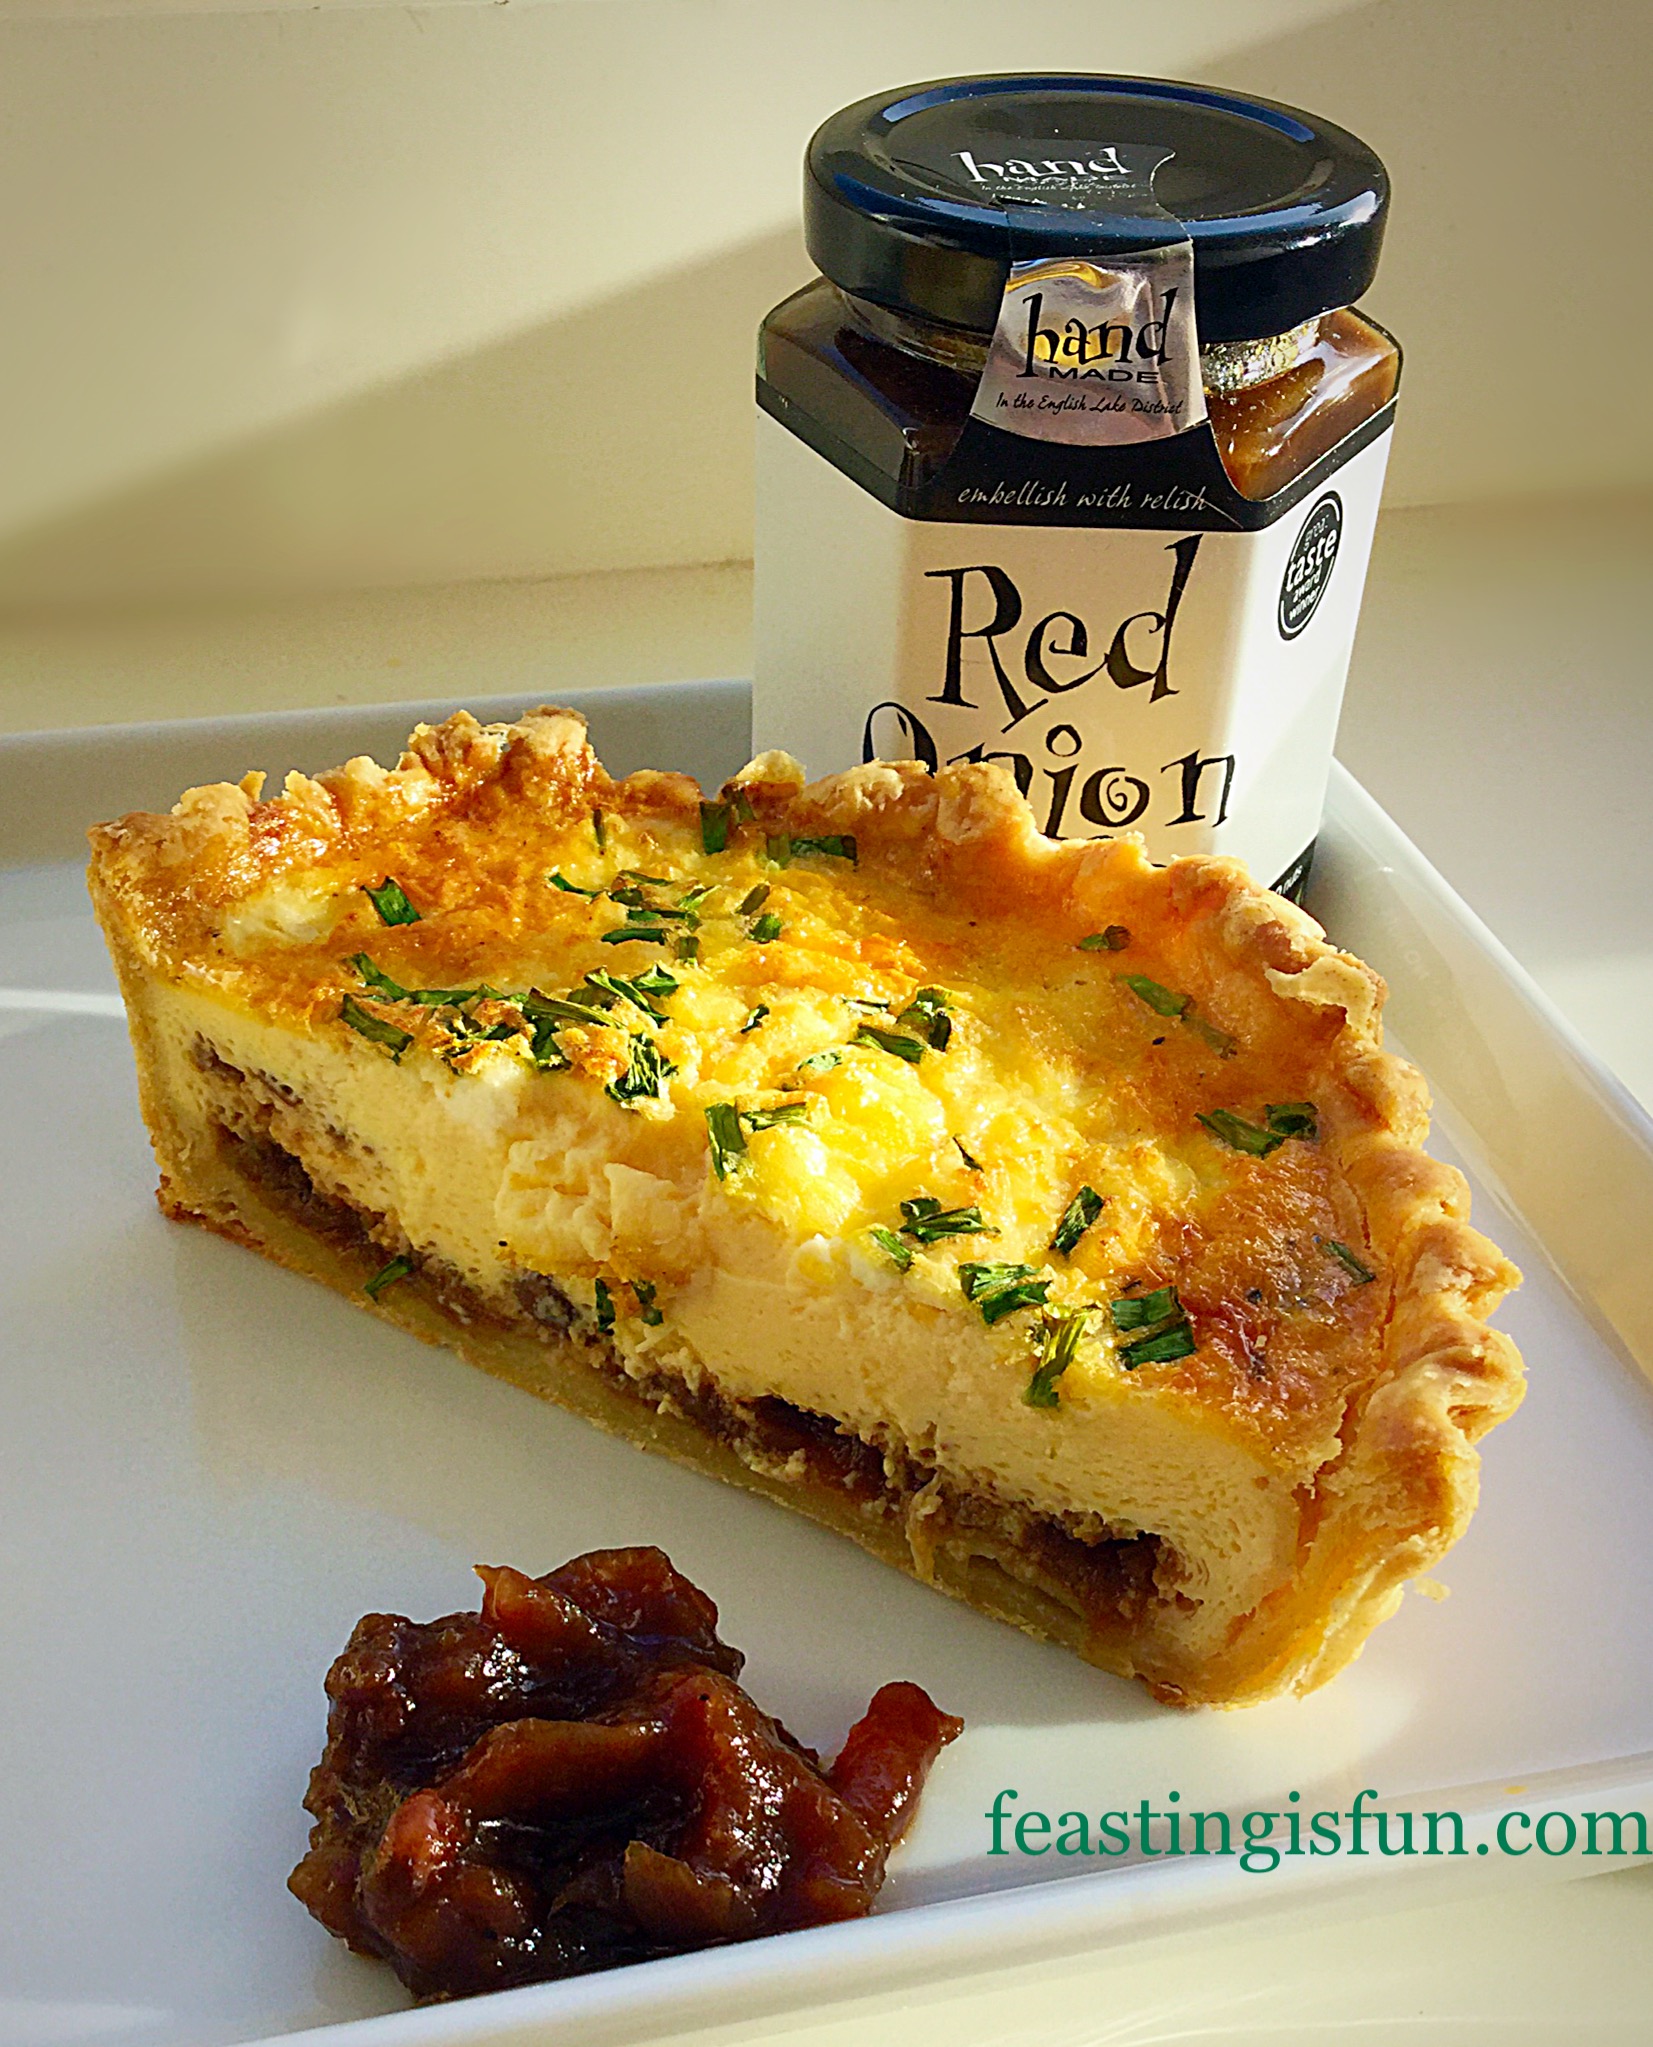
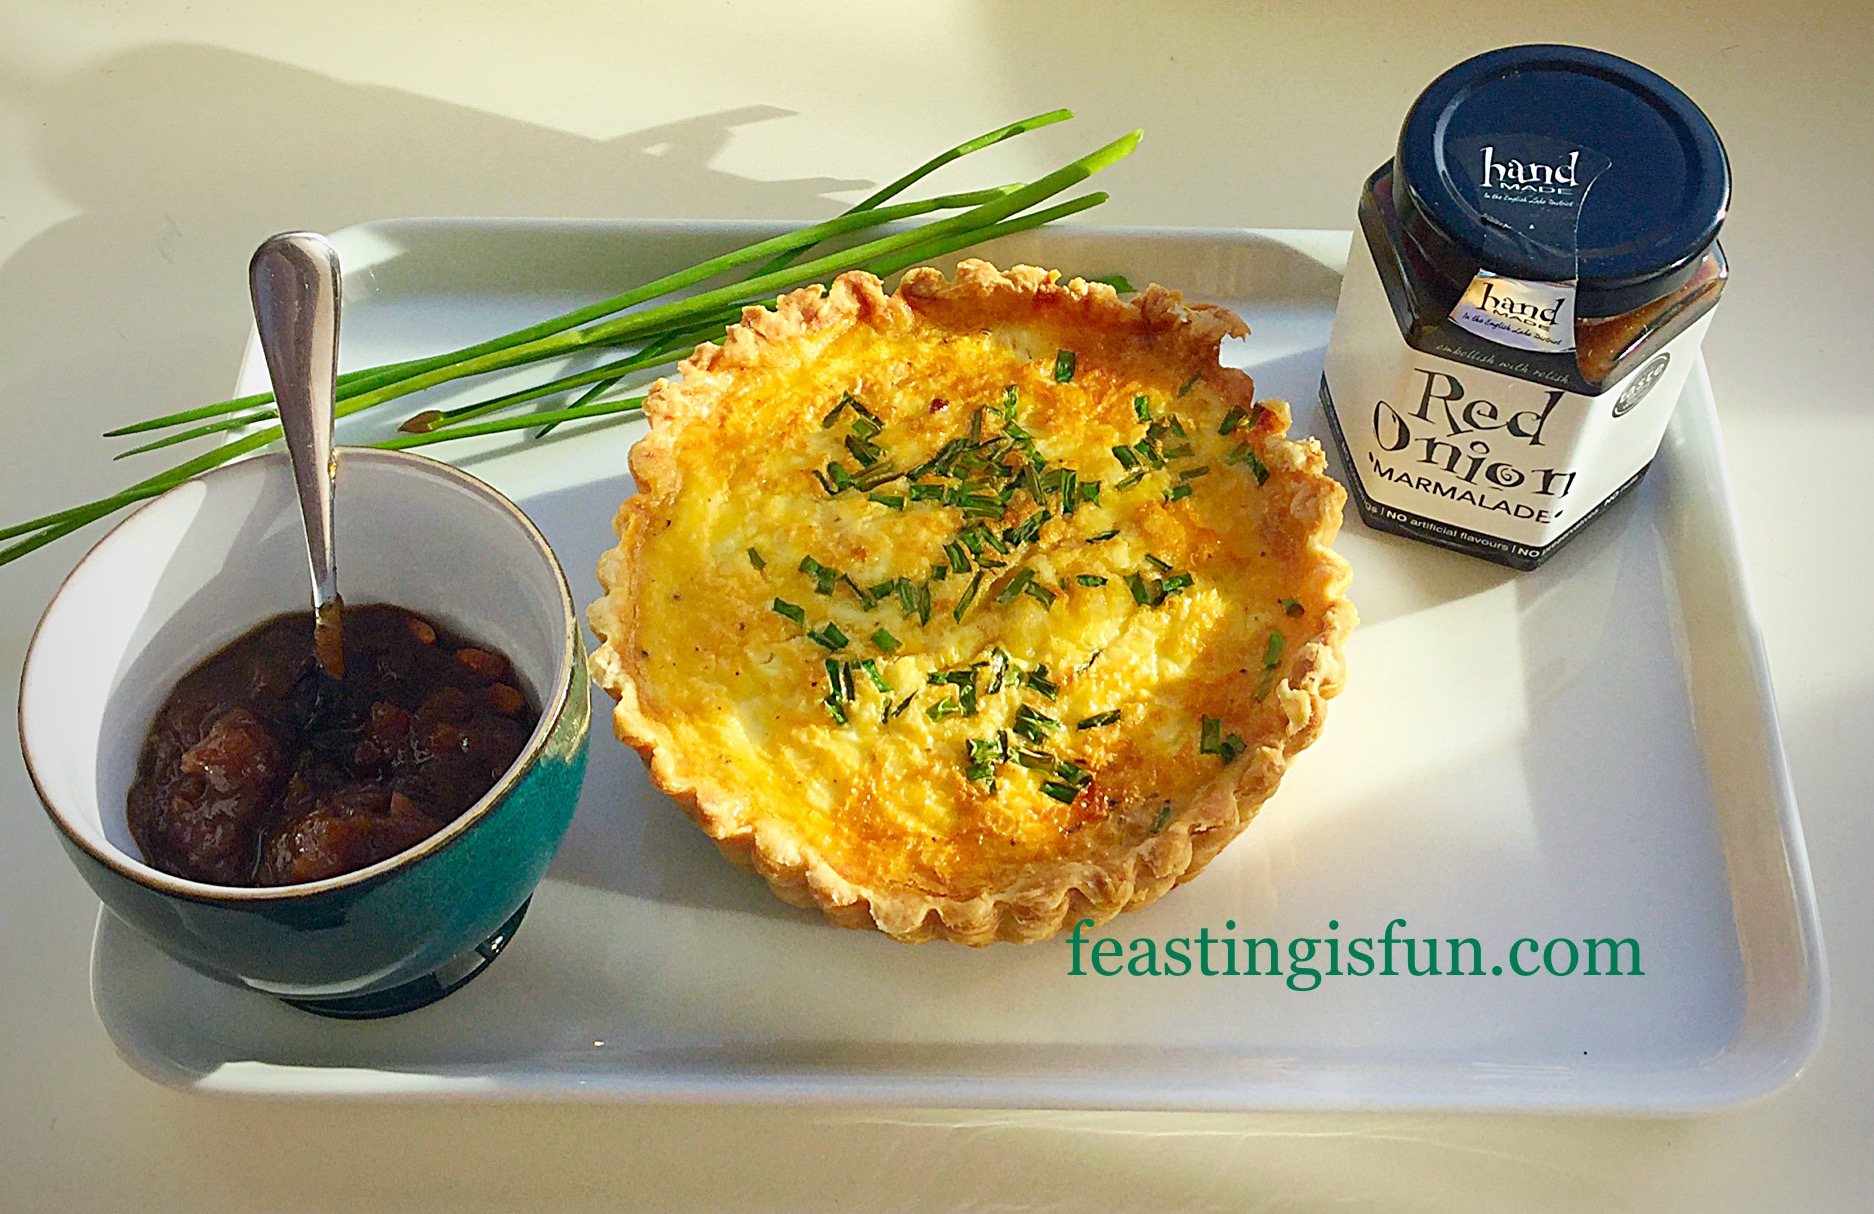
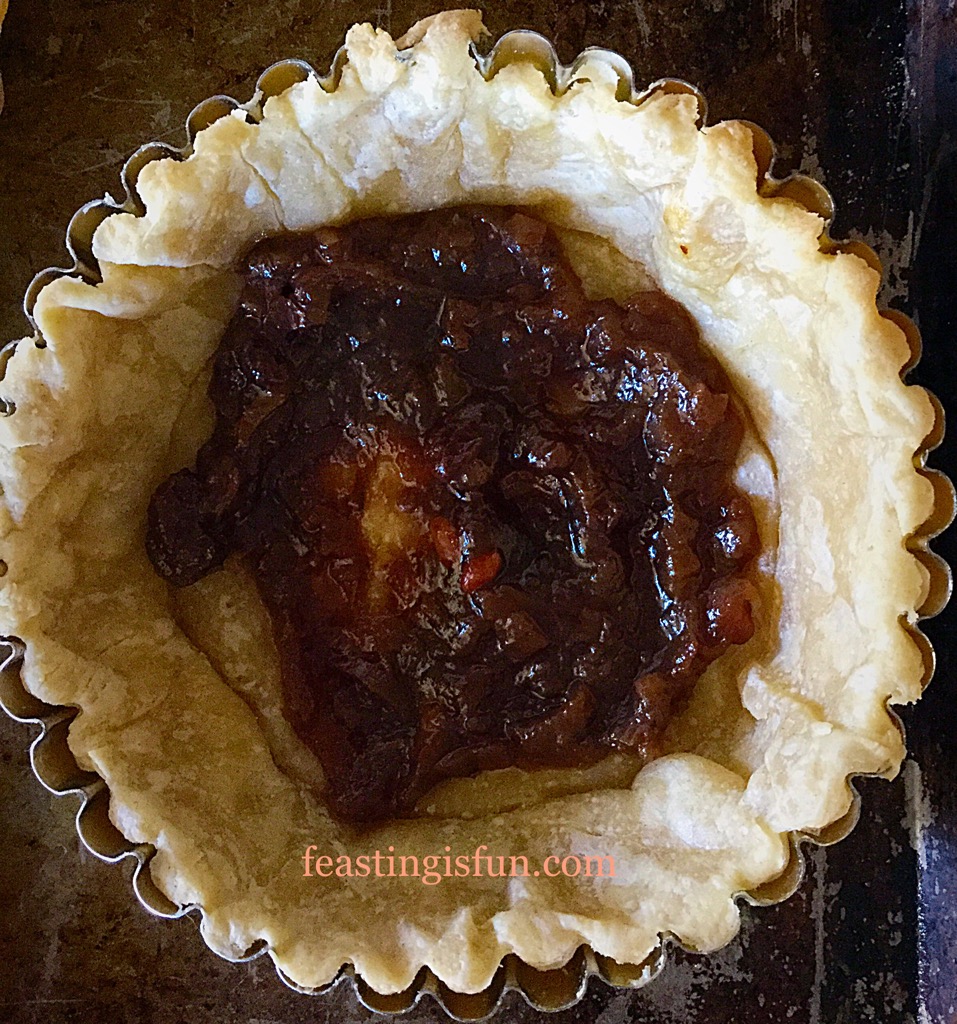
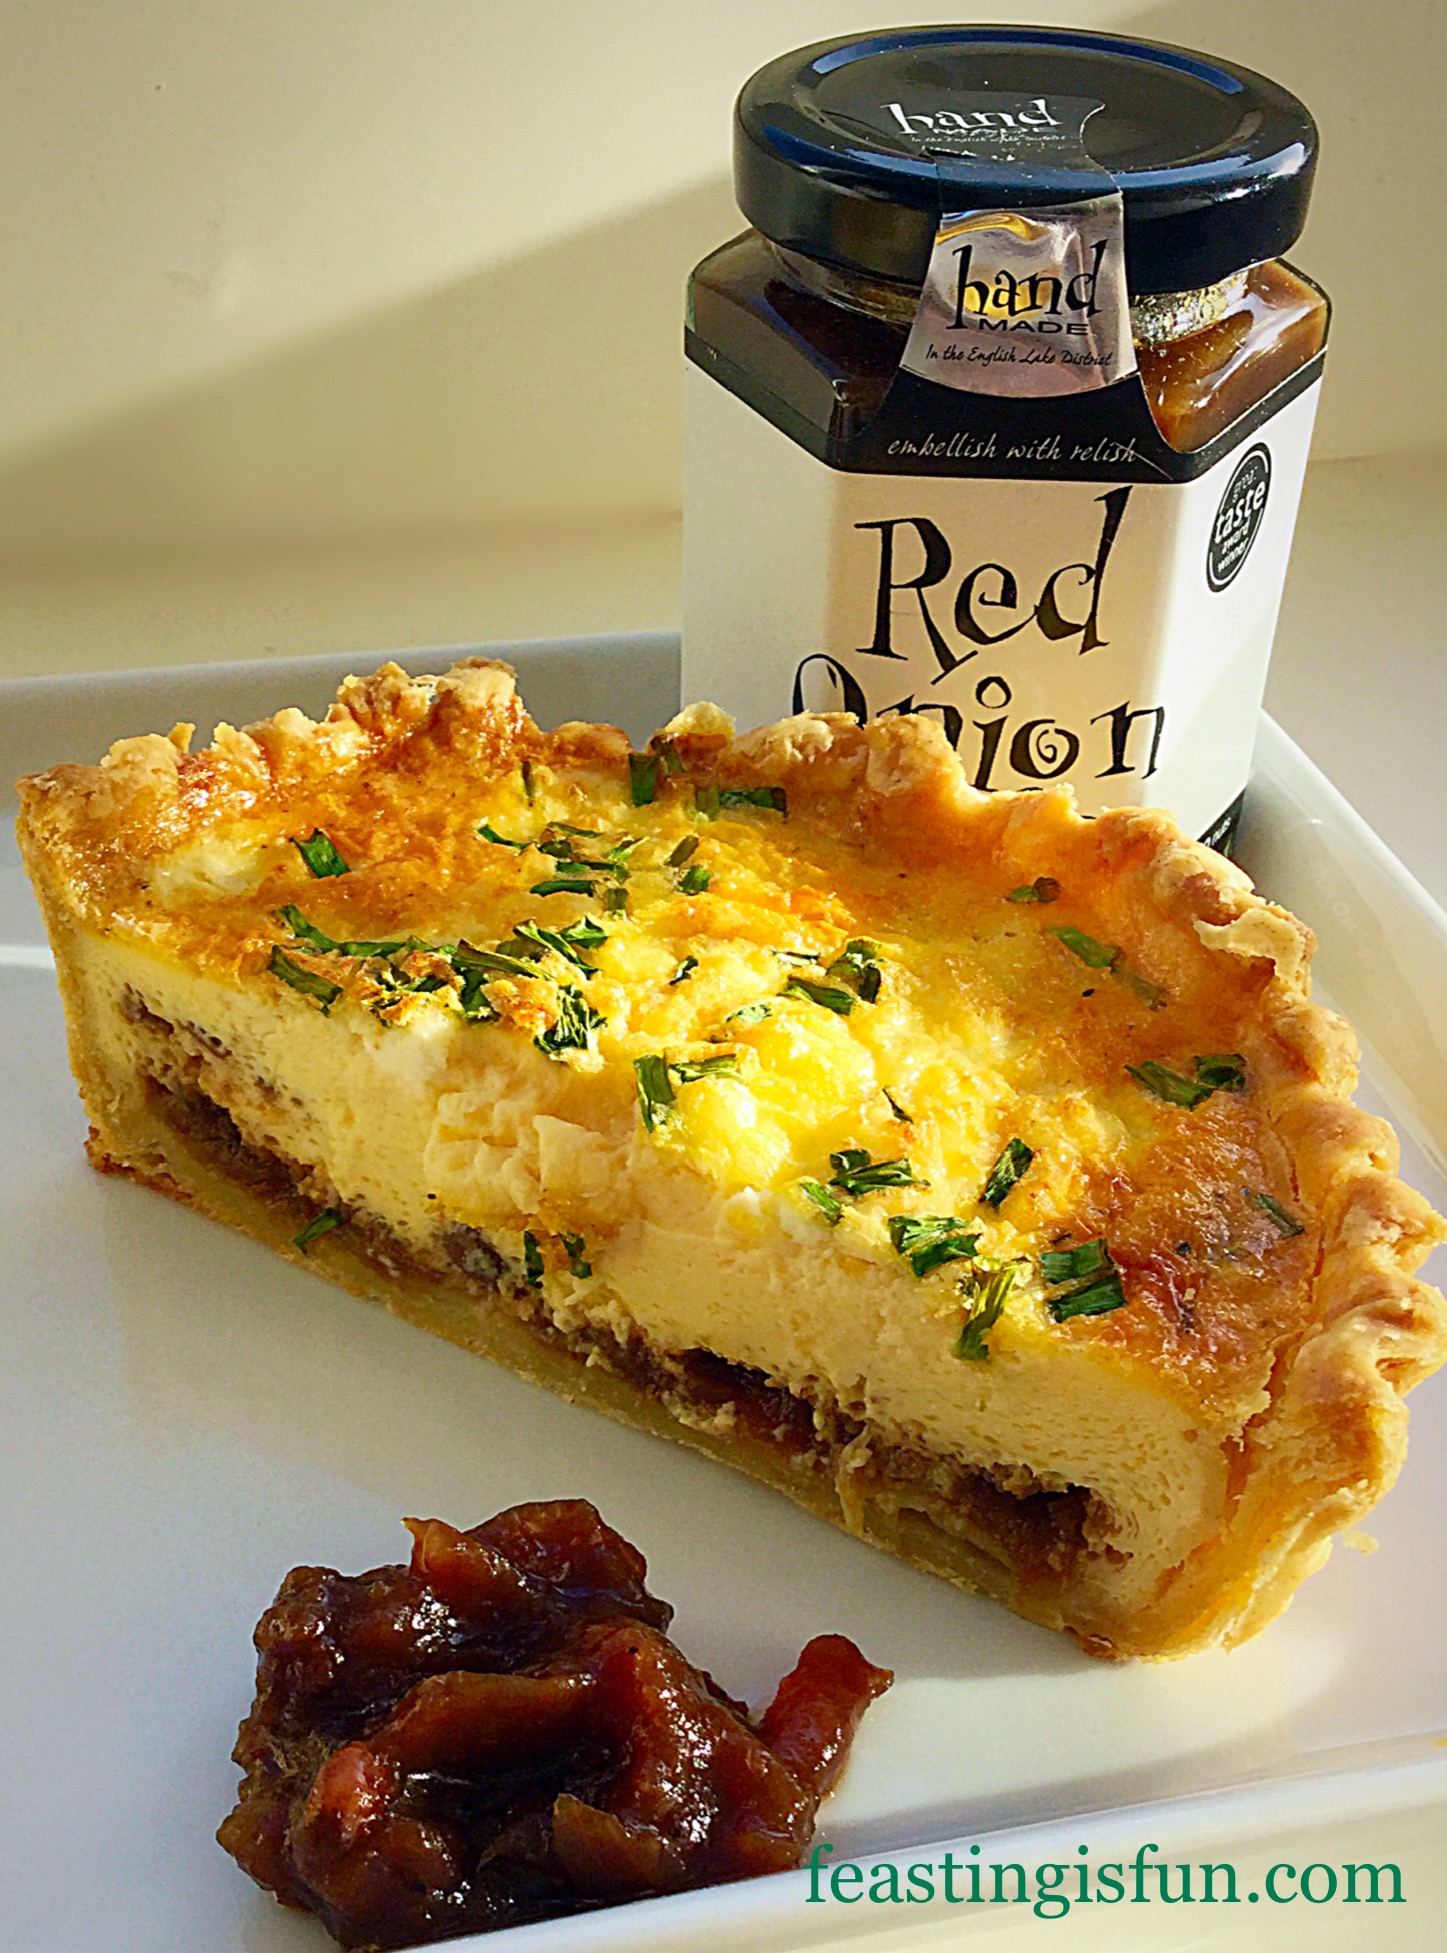
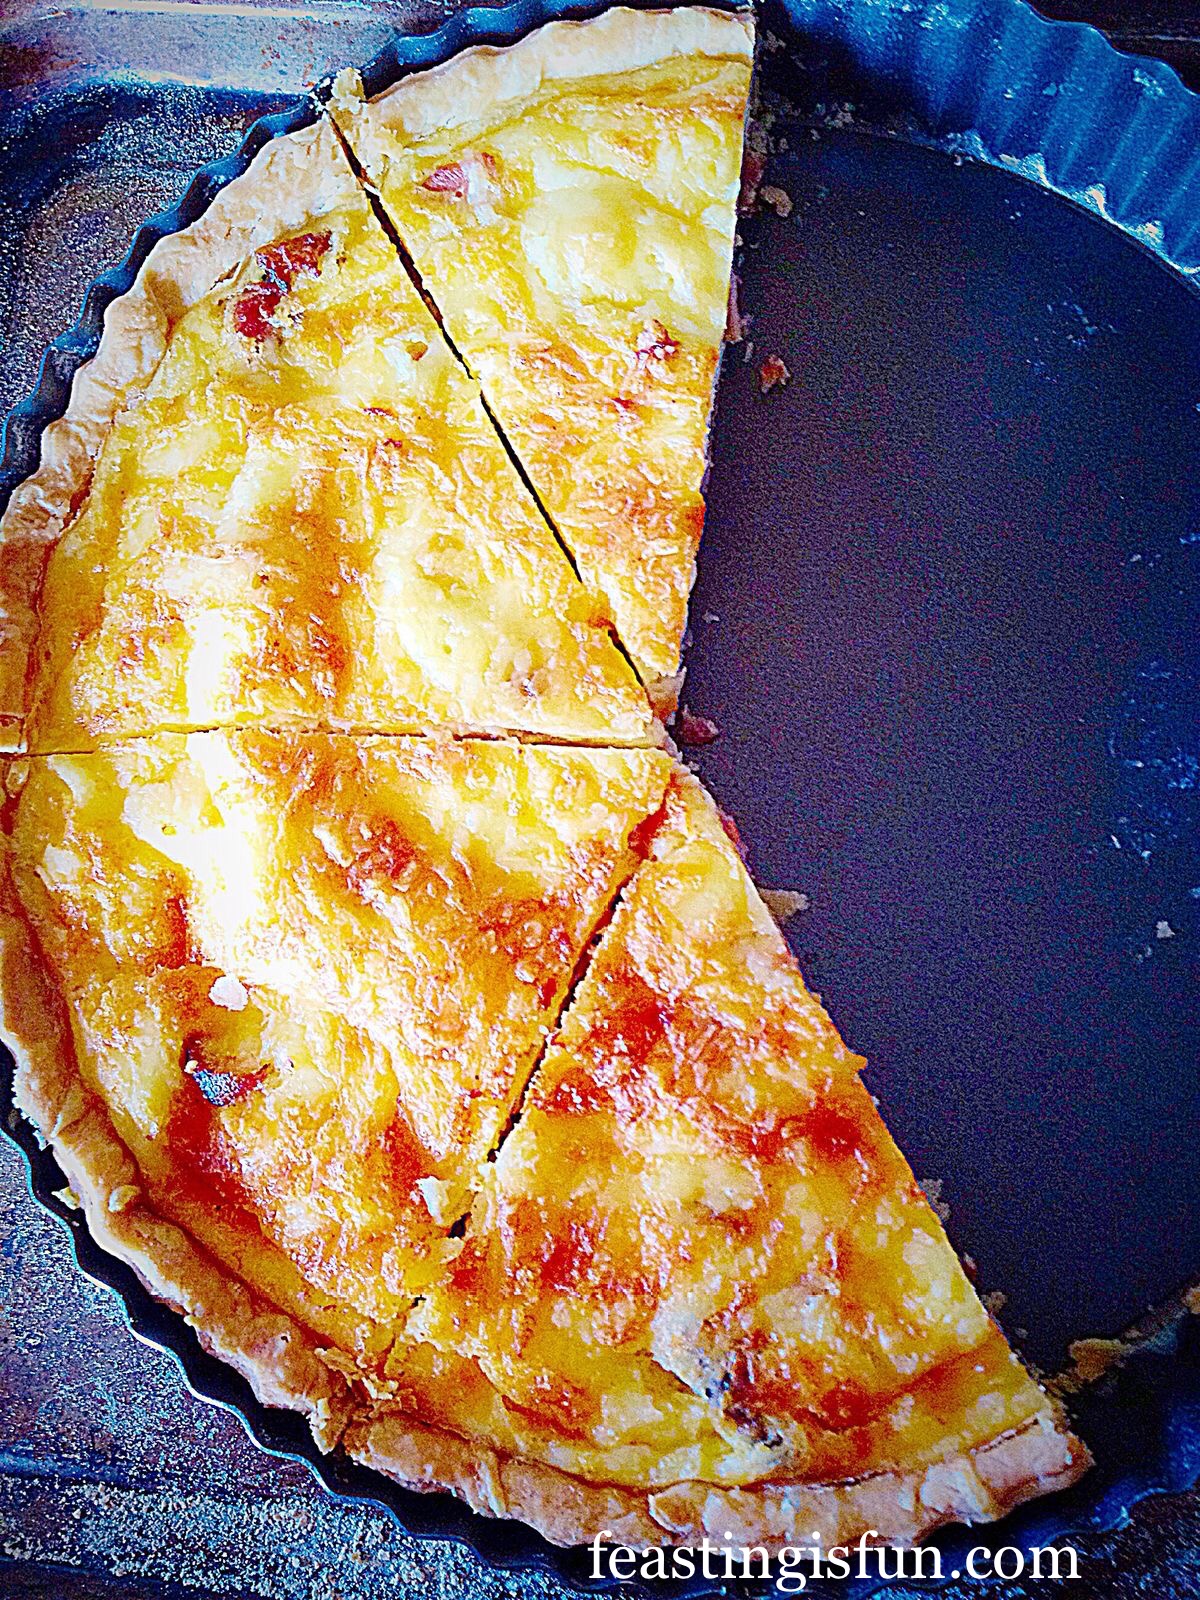
Mini Sparkenhoe Red Leicester Tarts

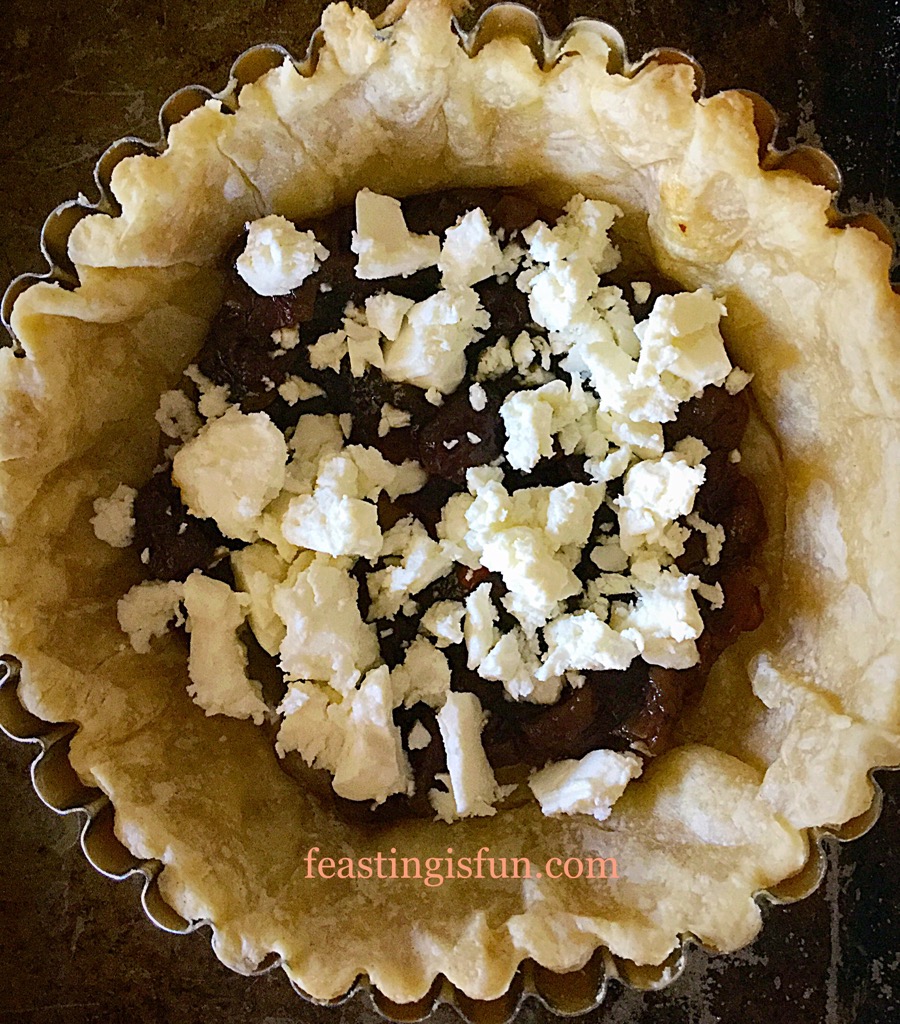
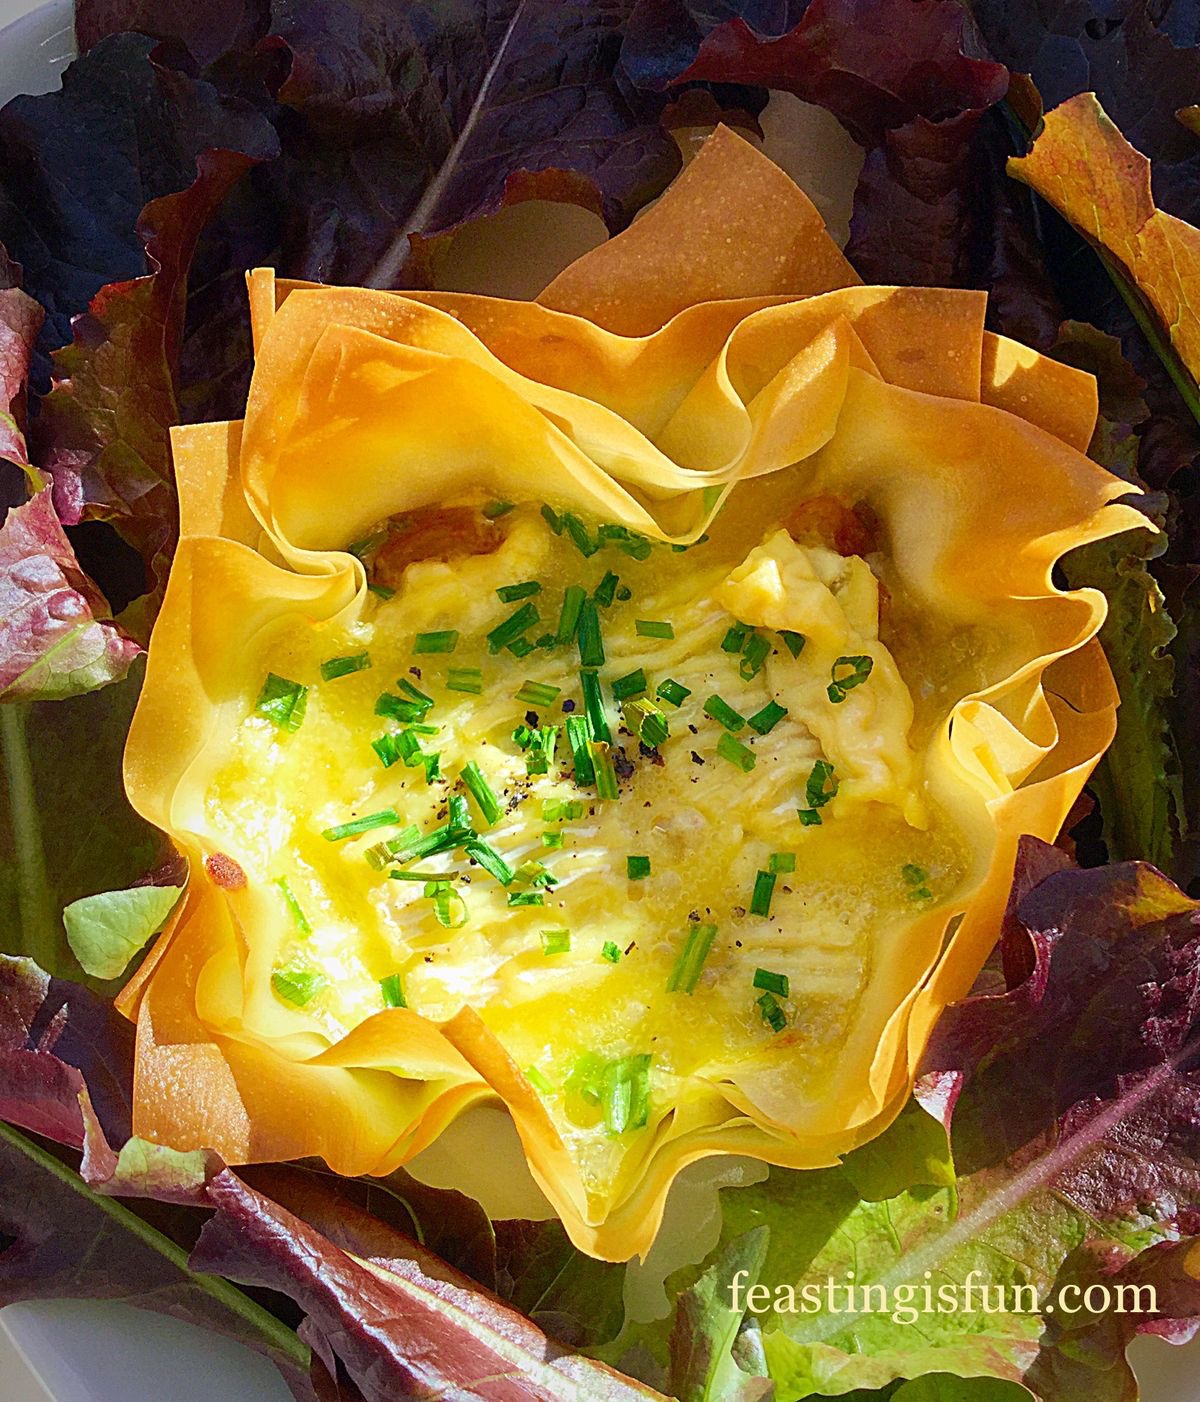
Cheese is such a versatile ingredient. Whether baked and eaten as is, piled on top of chilli pickle in a crunchy filo tart, or simply eaten cold with crackers, it remains one of my favourite ingredients. As with most things that have a relatively high fat content, their flavour truly comes alive when heated. Baking the Epoisses De Bourgogne certainly brought all of its delicious and interesting flavours to the fore.
Do you enjoy using cheese as an ingredient?
Have fun baking, making and creating in your kitchens, preparing a feast.
Sammie xx
Pong Cheese supplied me with the Epoisses De Bourgogne for this recipe. All opinions, views, photographs and content are my own. Please see my Disclosure Policy.