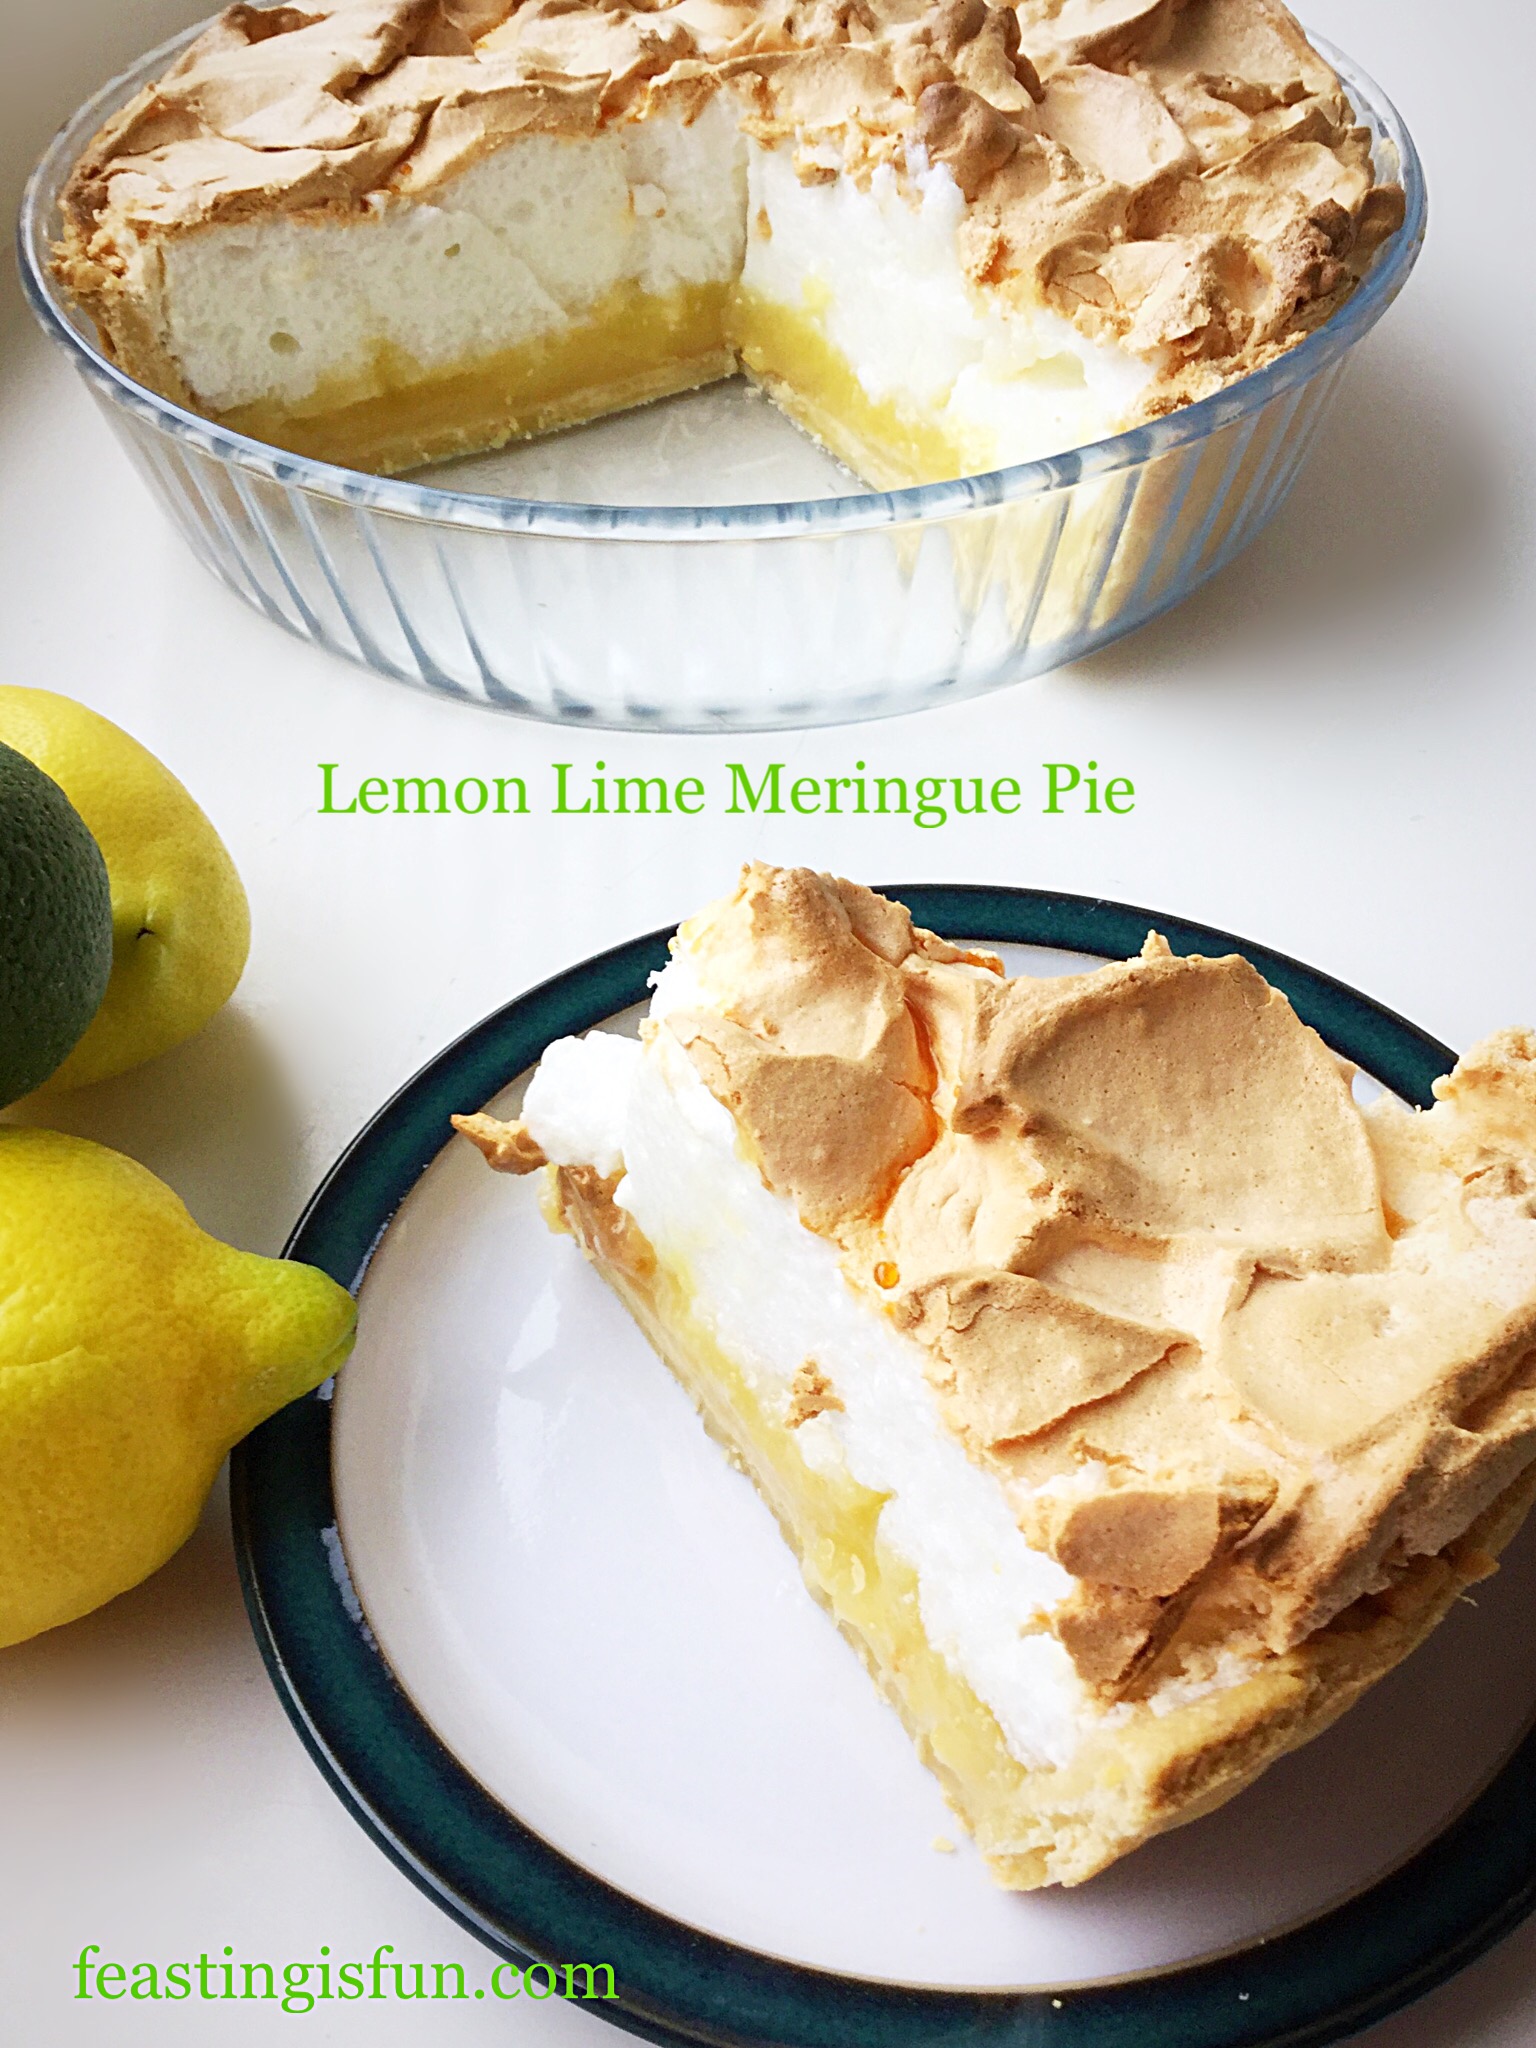
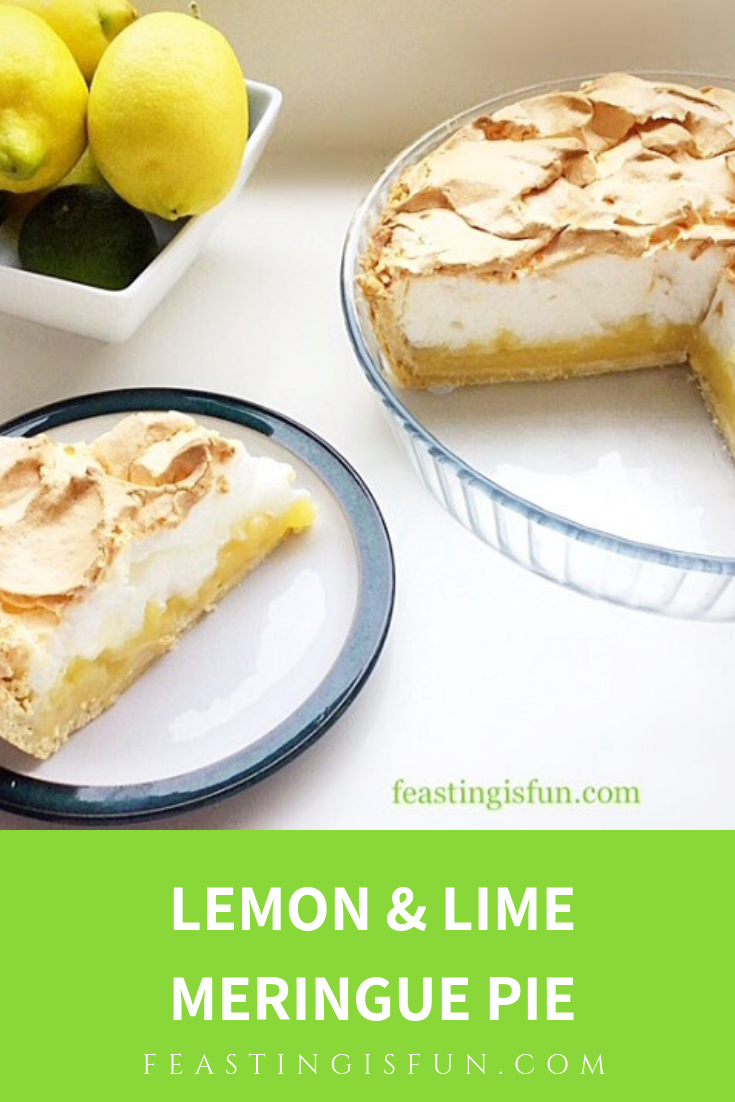
It is no secret that I love both sweet and savoury recipes that include lemon or lime. My Lemon Ripple Ice Cream is a favourite not just with me, it is also one of the most popular recipes on this blog. Lime too, with its softer and more floral flavour is also a winner, showcased here in my Lime Ripple Luxury Ice Cream. This Lemon Lime Meringue Pie combines both fruits in the curd, creating an utterly sublime dessert dish.
Pyrex, quality kitchenware
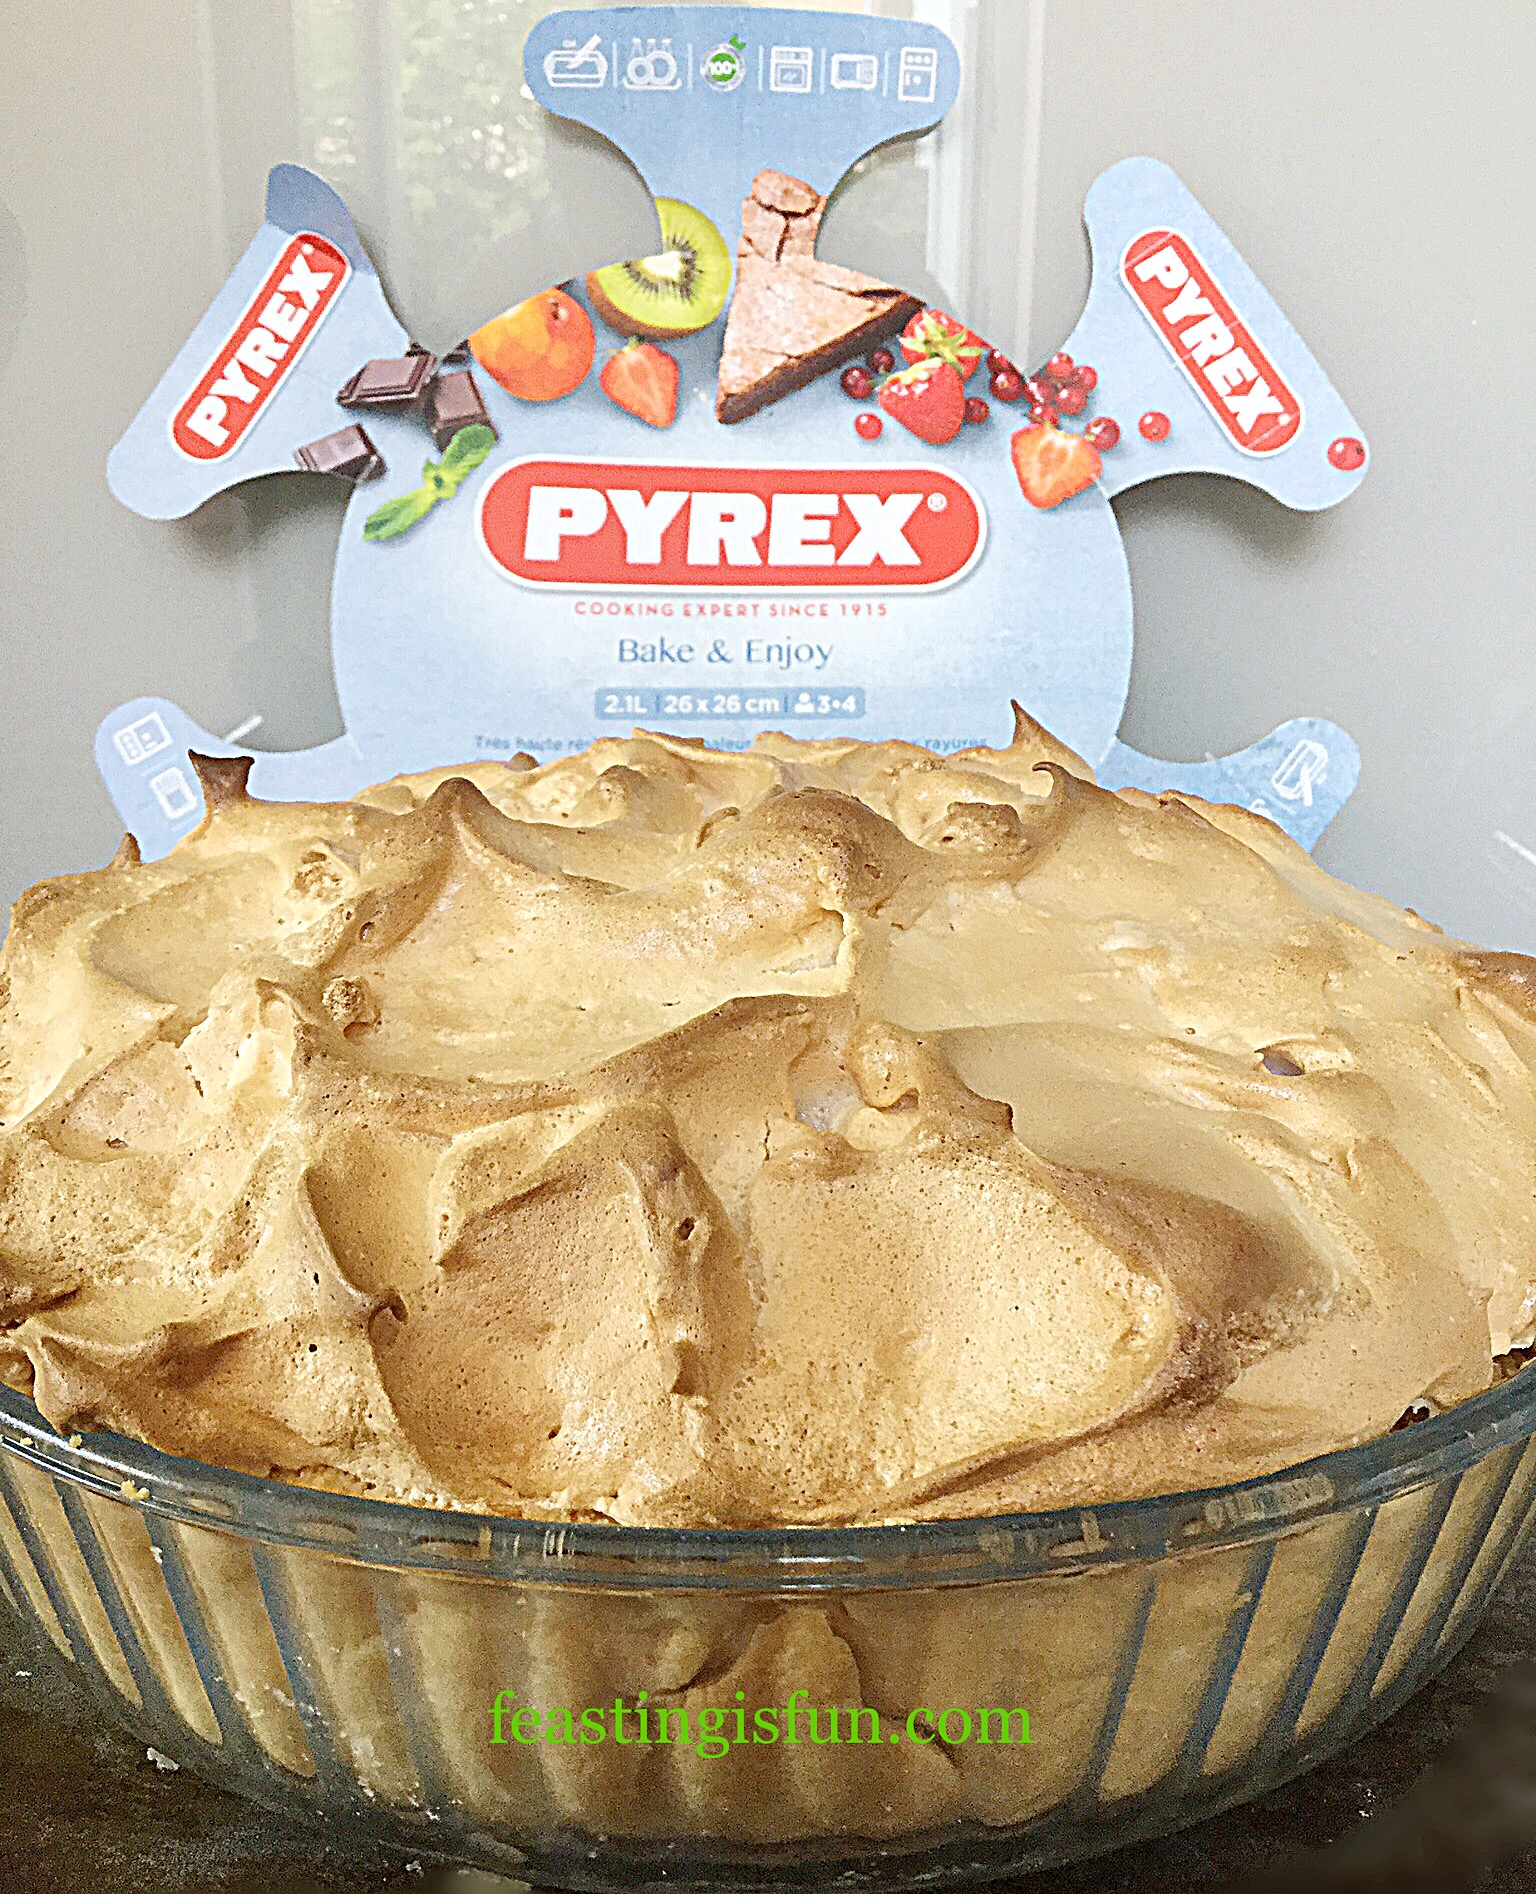
I was sent a Pyrex deep 26cm glass fluted flan dish and a Pyrex 3L classic glass bowl by Maha Home and I must say that both products were well packaged. When ordering online this really is of key importance to me. As soon as they were unwrapped I was keen to make a dessert that would show off both products. Pyrex have a recipe for Lemon and Lime Meringue Pie on their website and I used this as the basis for my dish. Since I naturally tweak anything I make, the recipe given is my interpretation of the original.
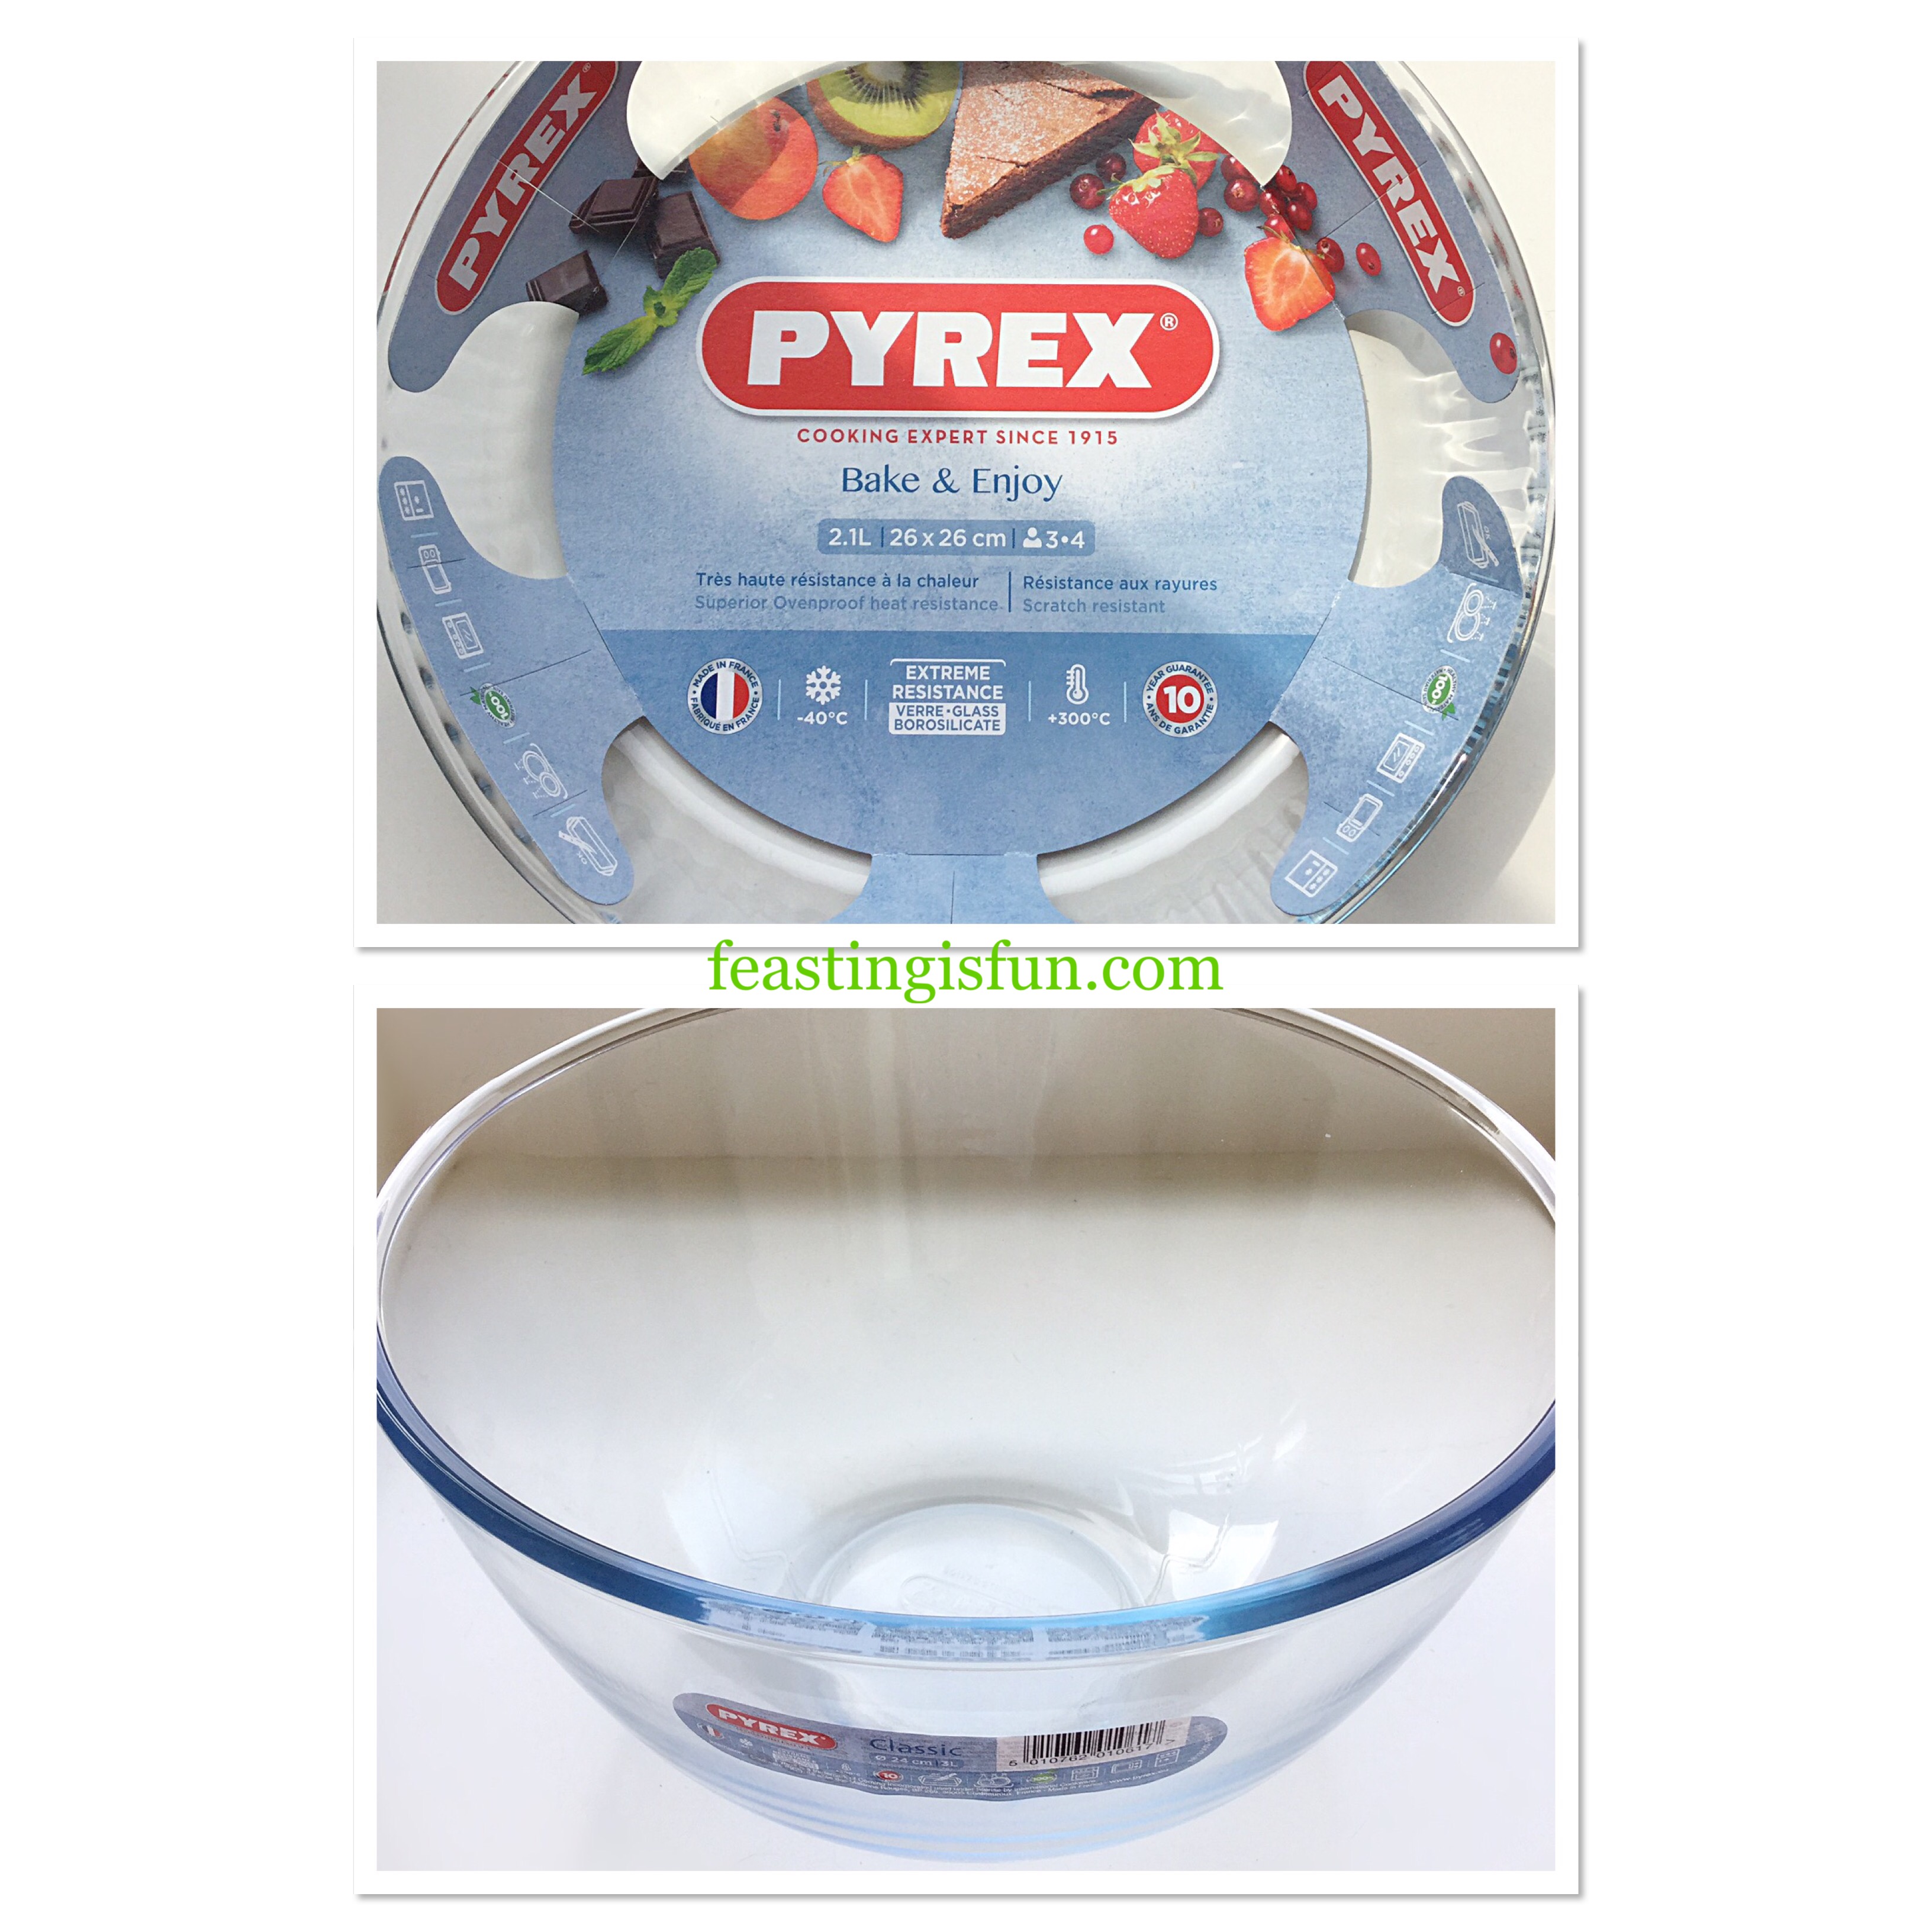
Since I have been on the hunt for a deep flan dish I was particularly excited to try this out. As I have mentioned in previous posts, any new kitchen equipment has to earn it’s cupboard space in my home. Because, let’s face it, very few people have massive kitchens with tons of space! What Maha Home did not know, is that I already have and regularly use the 3L Pyrex glass bowl. I most certainly have room for 2 of these deep, hard wearing bowls in my kitchen.

Creating The Layers In A Lemon Lime Meringue Pie
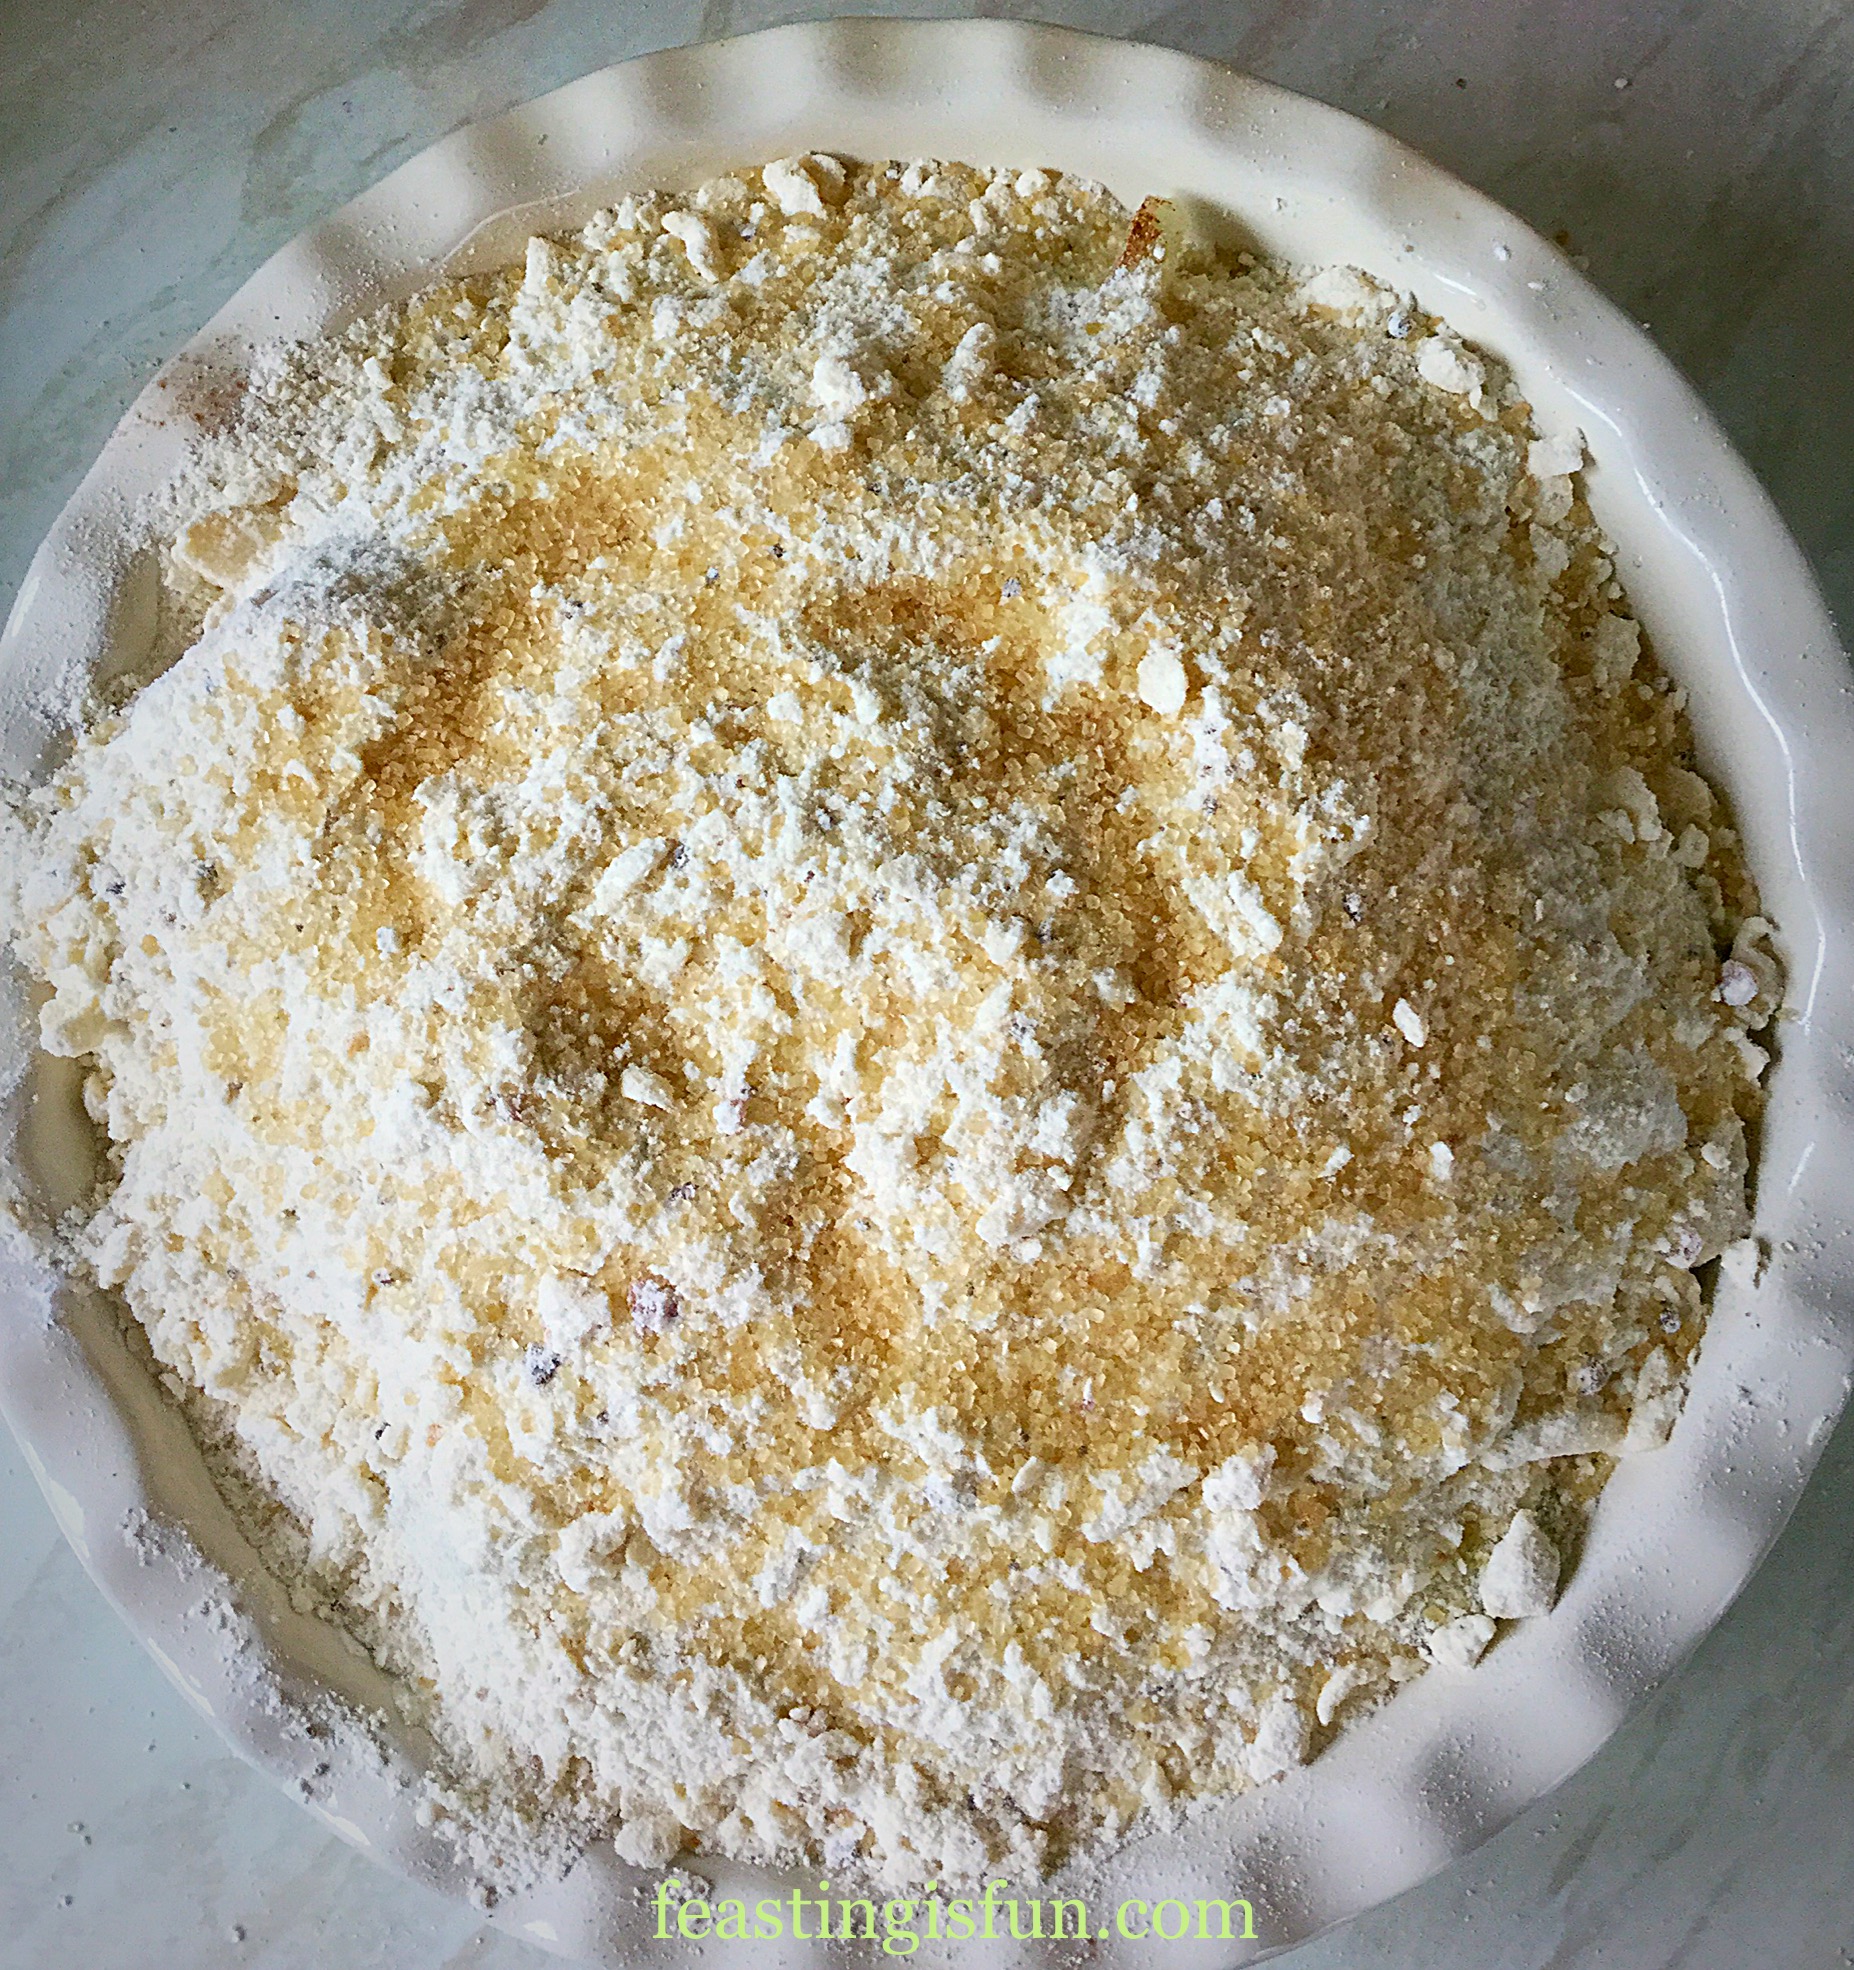
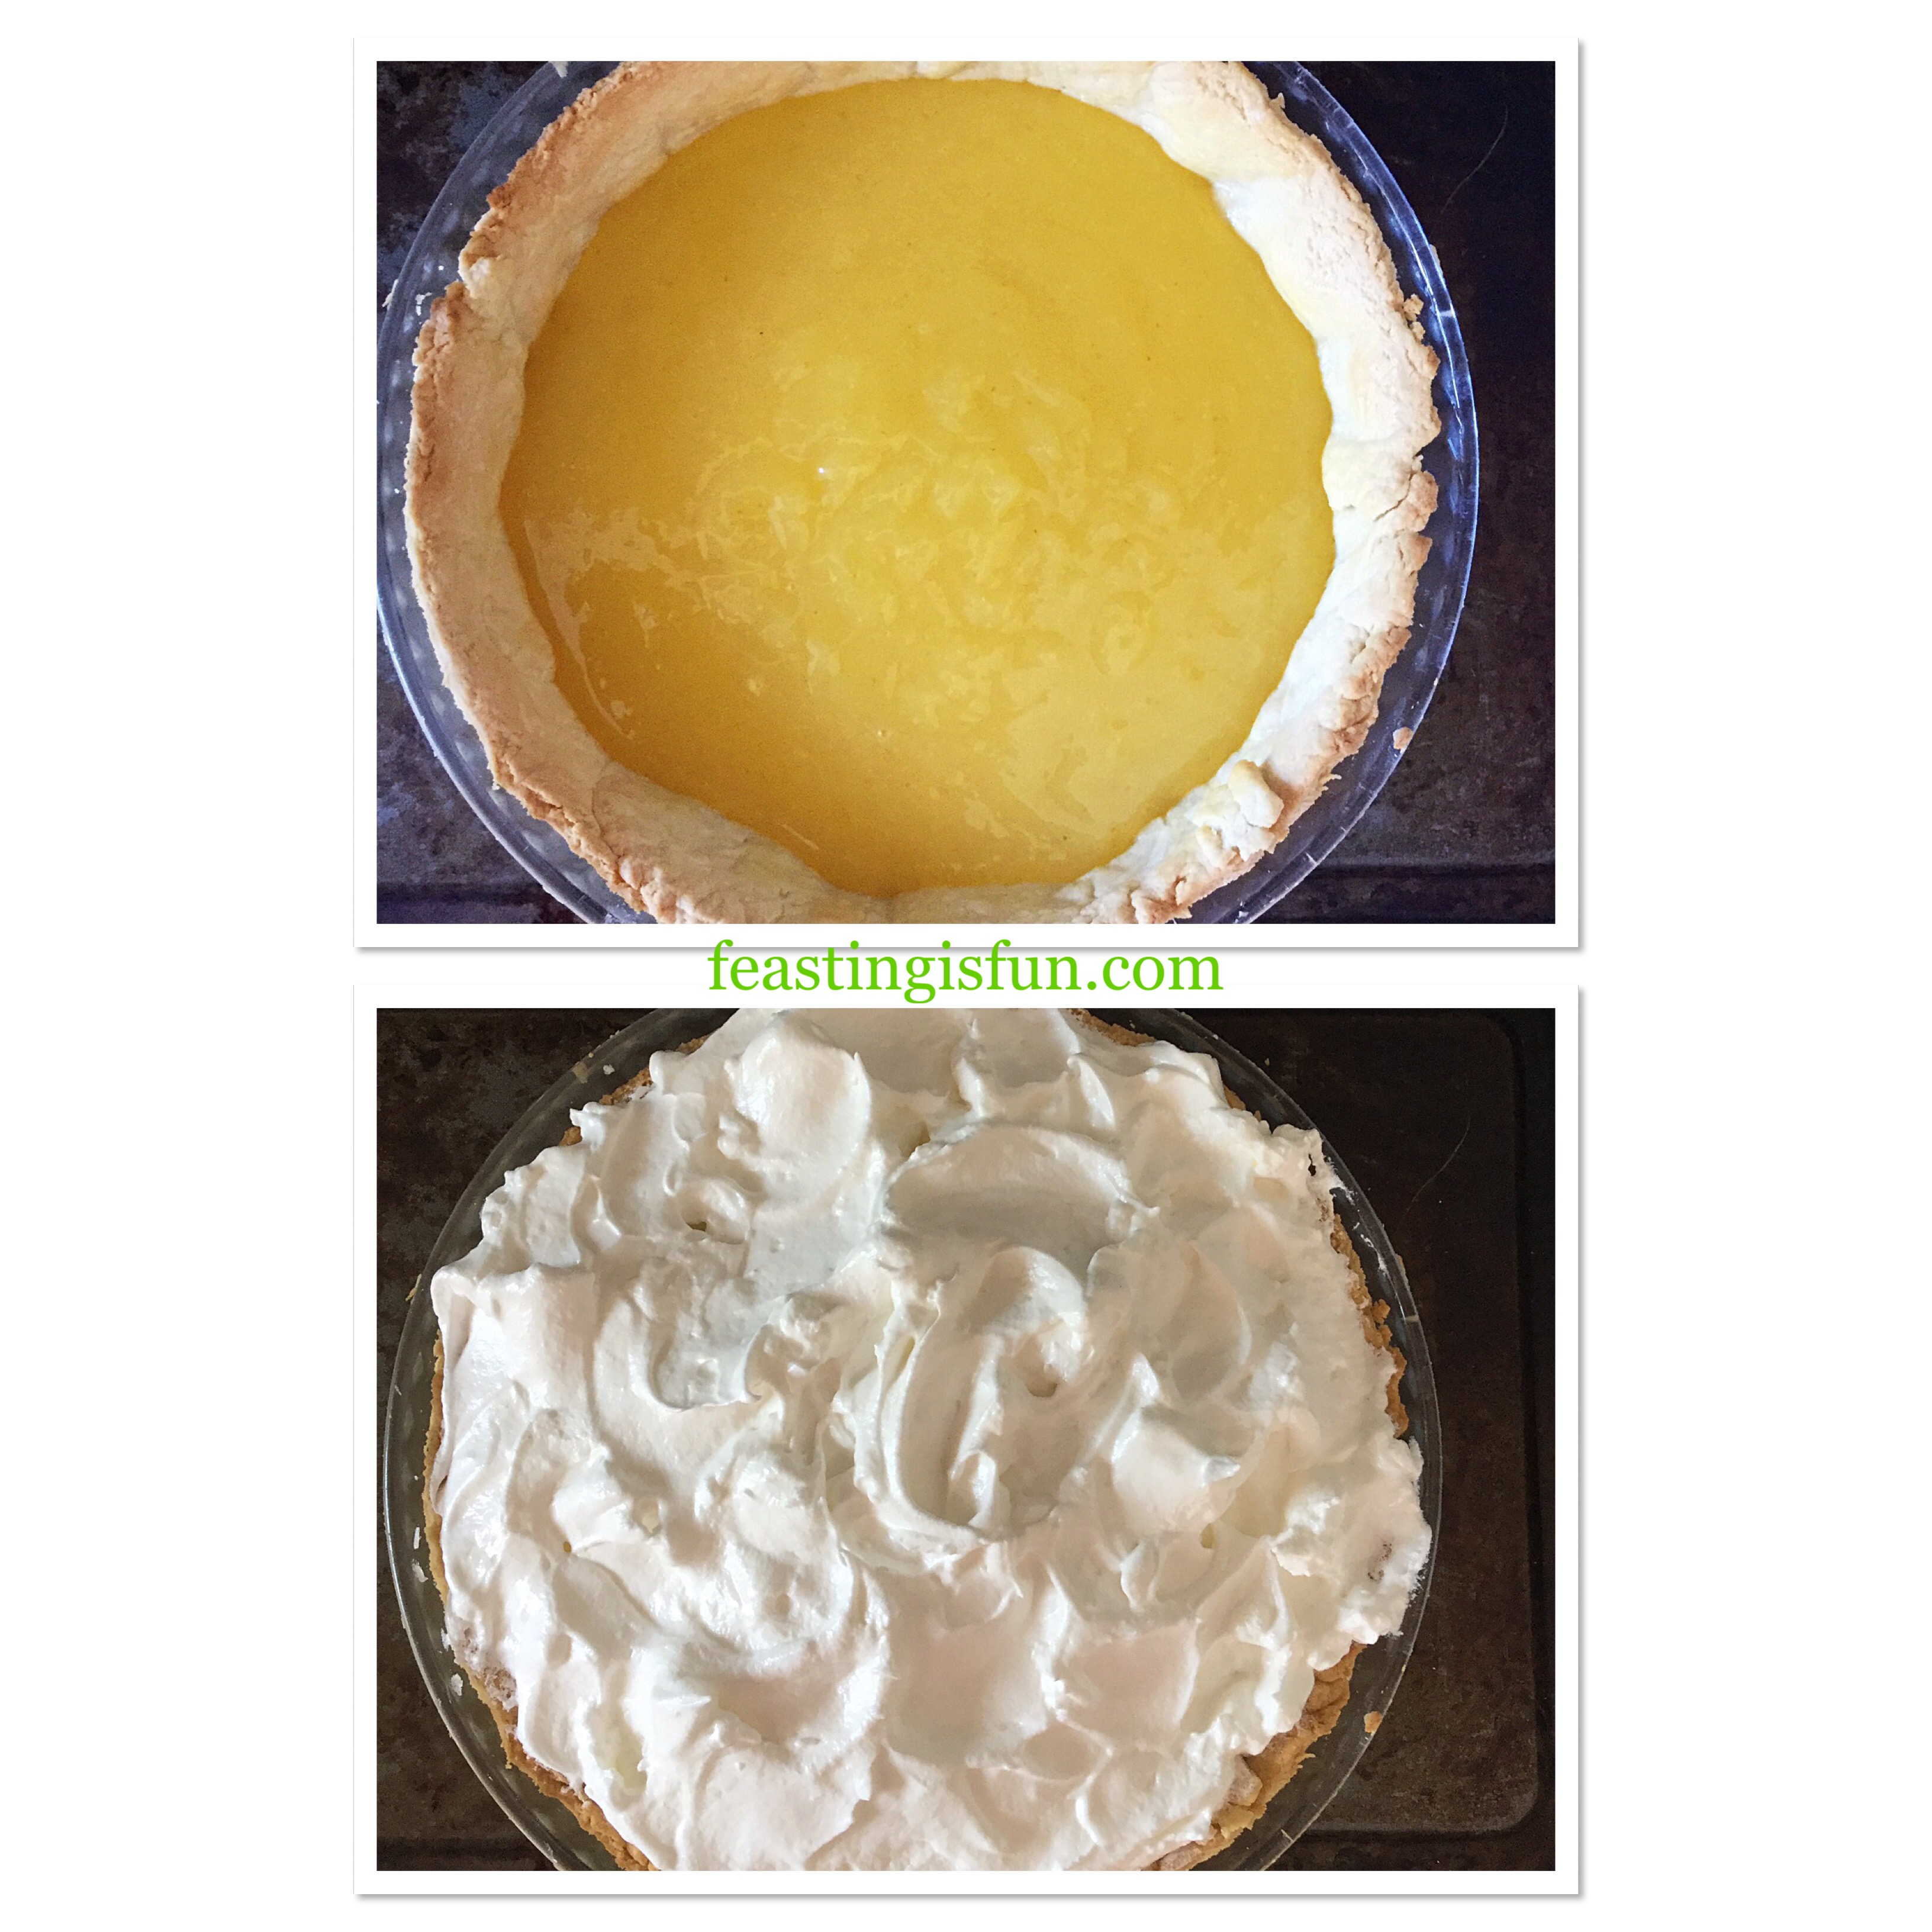
Creating the Lemon Lime Meringue Pie involves four separate stages. First of all making and baking the pie crust shell. Zesting, juicing and cooking the lemon and lime curd. Whisking up egg whites with sugar to create the light, airy, meringue topping and finally assembling and baking the pie. While there are four stages, making this pie does not feel like a chore. Since each step is relatively quick and the pie crust and curd can be made the day before, breaking the process down even further.
I made this pie on an extremely hot and humid day. In doing so I learned a thing or two. Most importantly is to make the meringue topping at the very last minute, literally just before it needs to be spooned on to the pie. Making it any earlier can cause it to lose volume. Also, once baked and cooled the pie must be refrigerated. Doing so allows the curd to set and makes for easier slicing. Finally, once chilled this pie is easy to transport, making it an ideal dessert to take to friends and family.
Recipe: Lemon Lime Meringue Pie serves 8-10
For the pie crust:
450g/1lb Shortcrust Pastry – I used my Perfect Butter Shortcrust Pastry recipe. If buying ready made ensure it is all butter
1 tsp Vegetable Oil for greasing the flan dish – I used Rapeseed oil
For the filling:
3 Fresh Lemons – finely zested and juiced
2 Fresh Limes – finely zested and juiced
175g/6oz Caster Sugar
300ml/ 1/2 pint Water
6 tsp Cornflour (cornstarch) I use Doves Farm
4 Large Free Range Egg Yolks
For the topping:
4 Large Free Range Egg Whites I use Burford Brown Eggs from Clarence Court
150g/5oz Caster Sugar
3 tsp Cornflour (cornstarch)
Method: Preheat oven to 220C/200C fan, 425F, gas mark 7
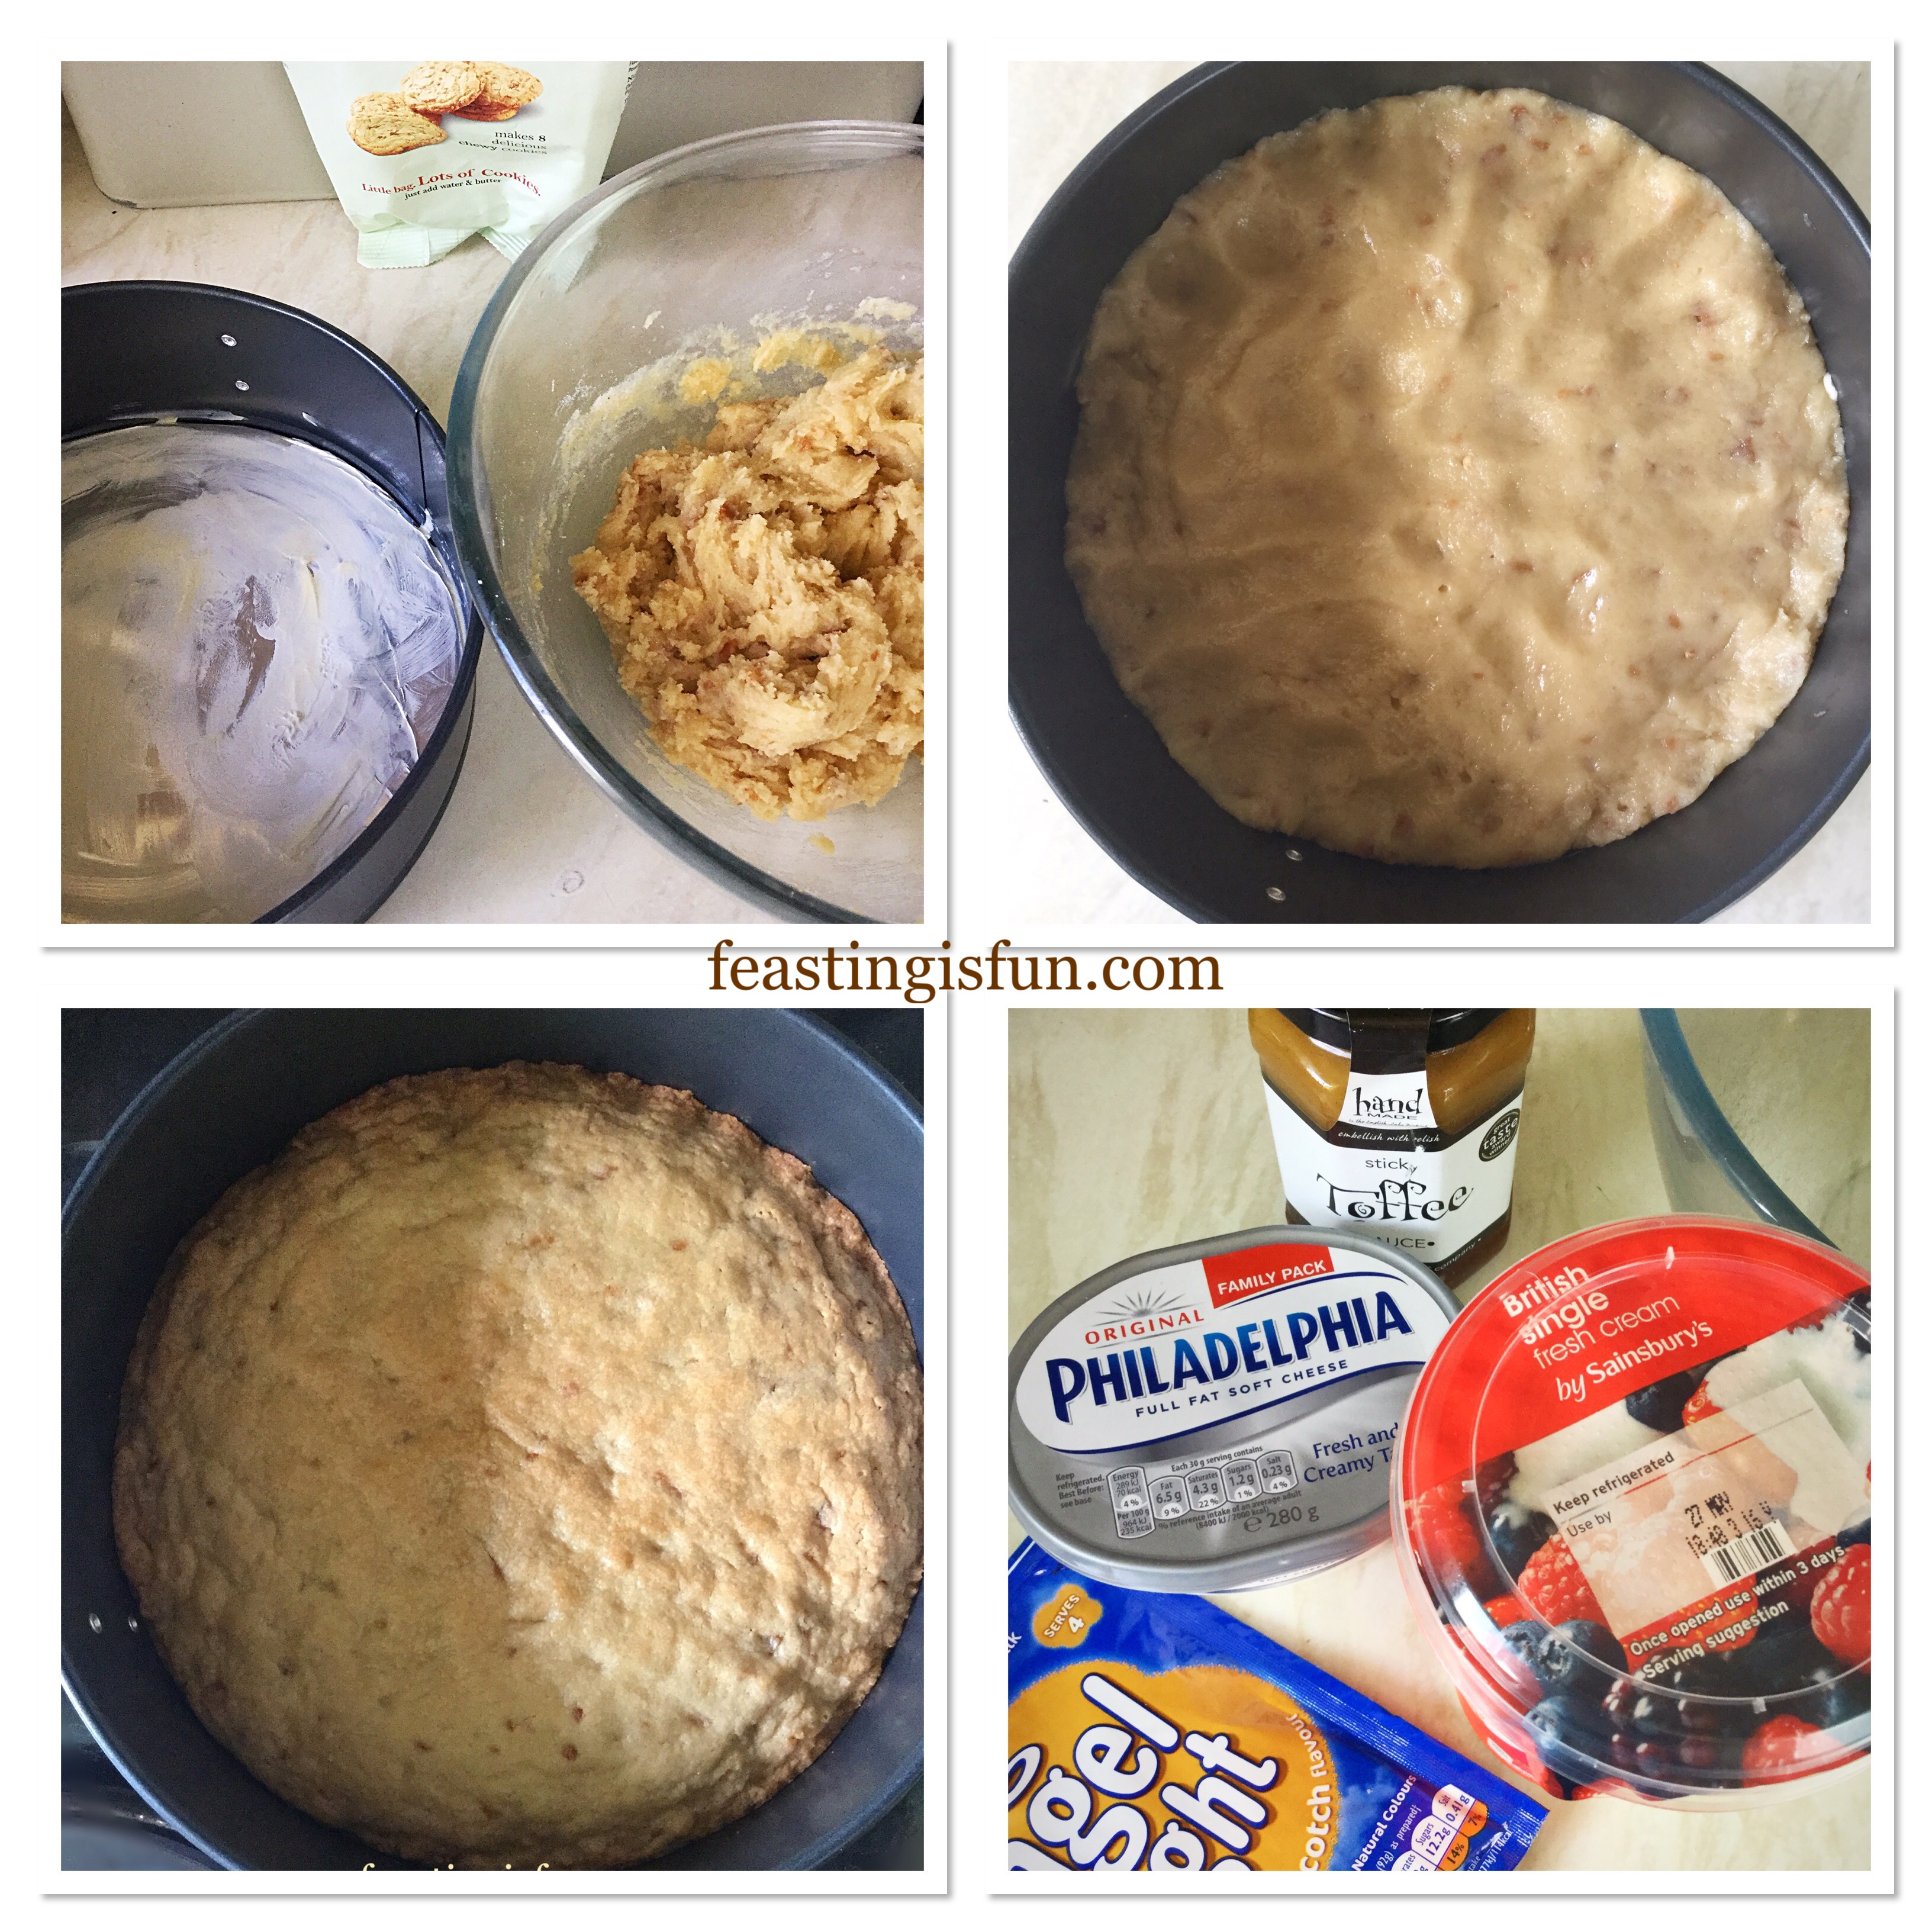
Making the shortcrust pie case
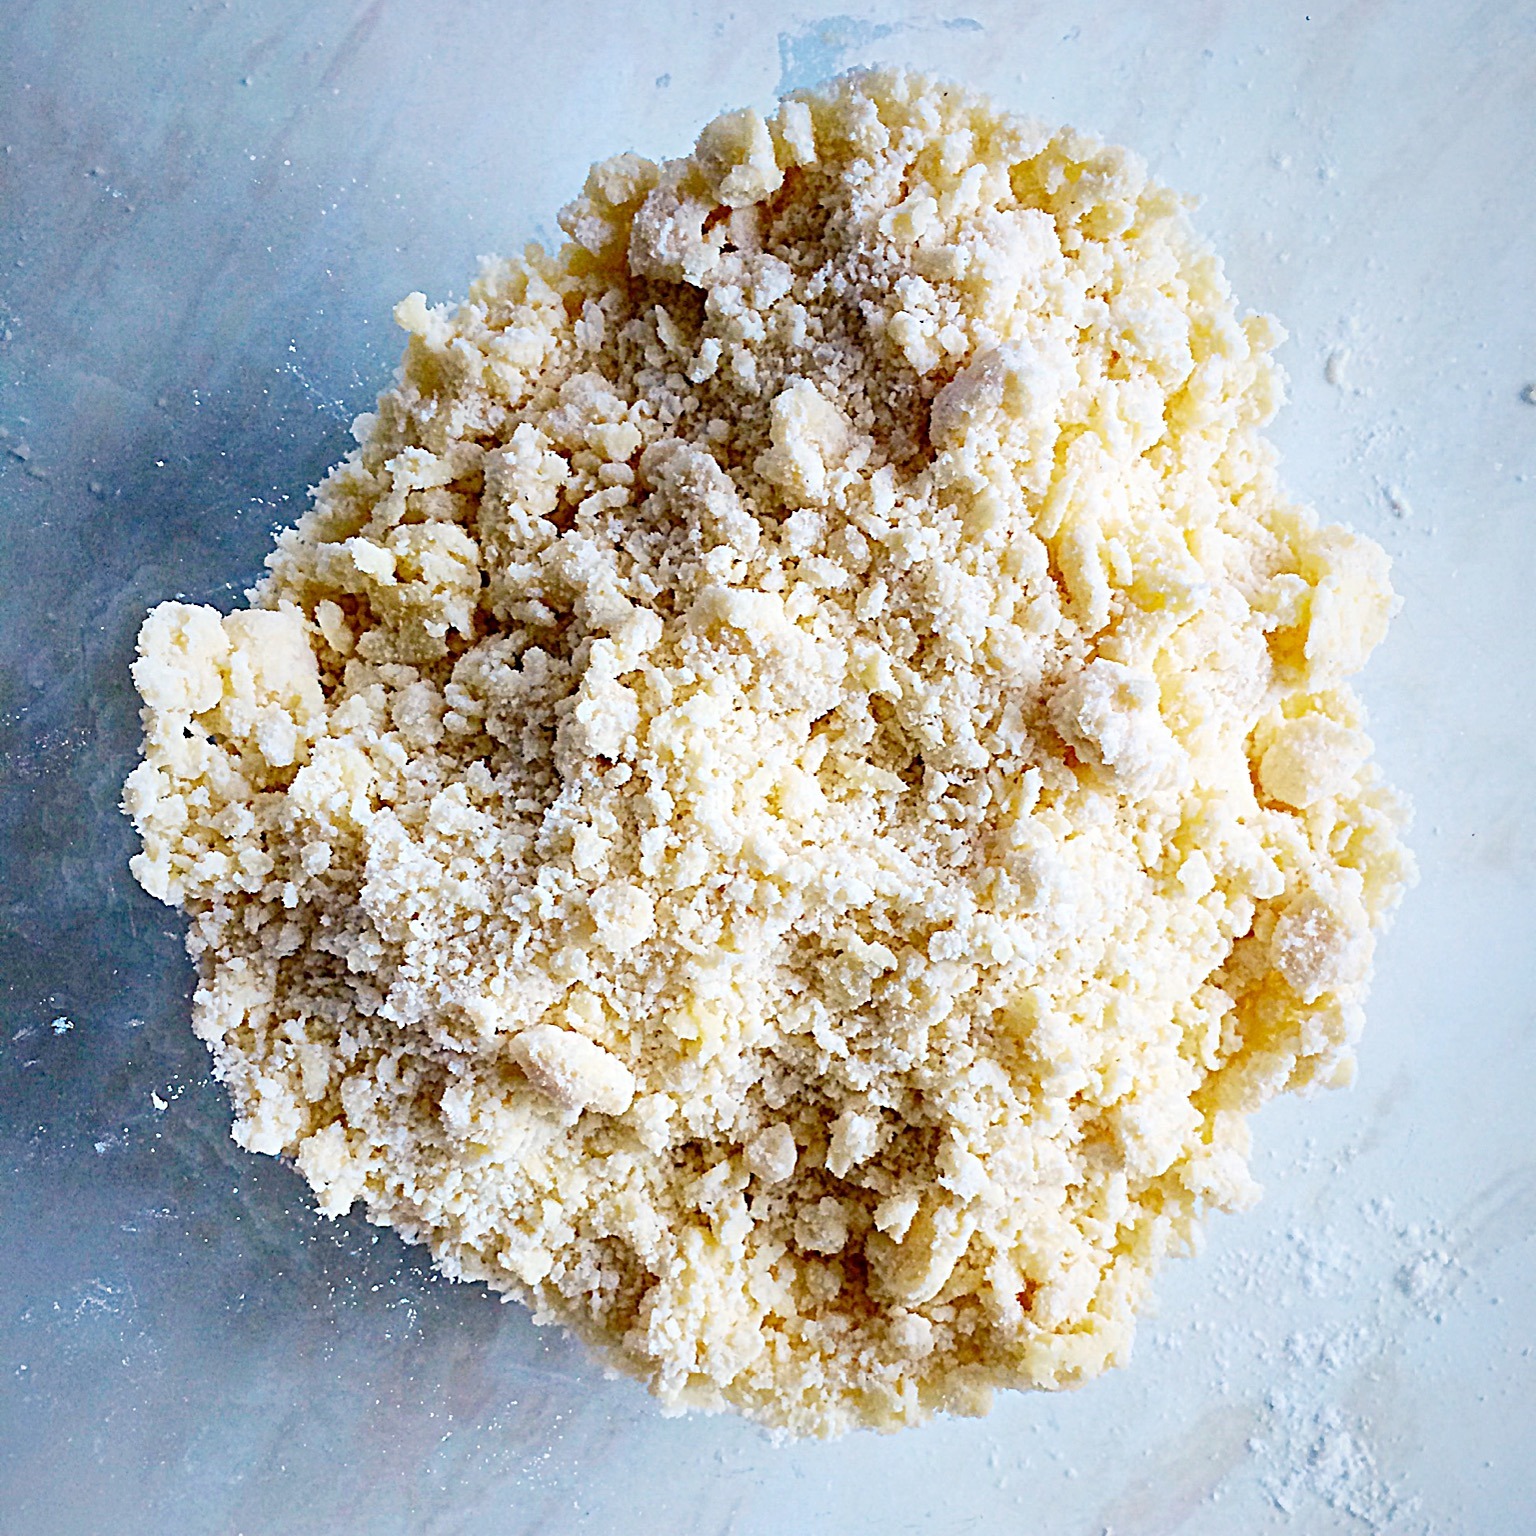
- First of all make the pastry and place in the fridge to chill for one hour.
- Pour one teaspoon of oil into the Pyrex flan dish. Using a clean sheet of kitchen paper ensure the inside of the dish is lightly coated in oil, taking special care around the inner rim.
- Remove the pastry dough from the fridge and place on a lightly floured worktop.
- Knead the dough lightly so that it becomes pliable, taking care not to overwork it as this will result in a tough pastry crust.
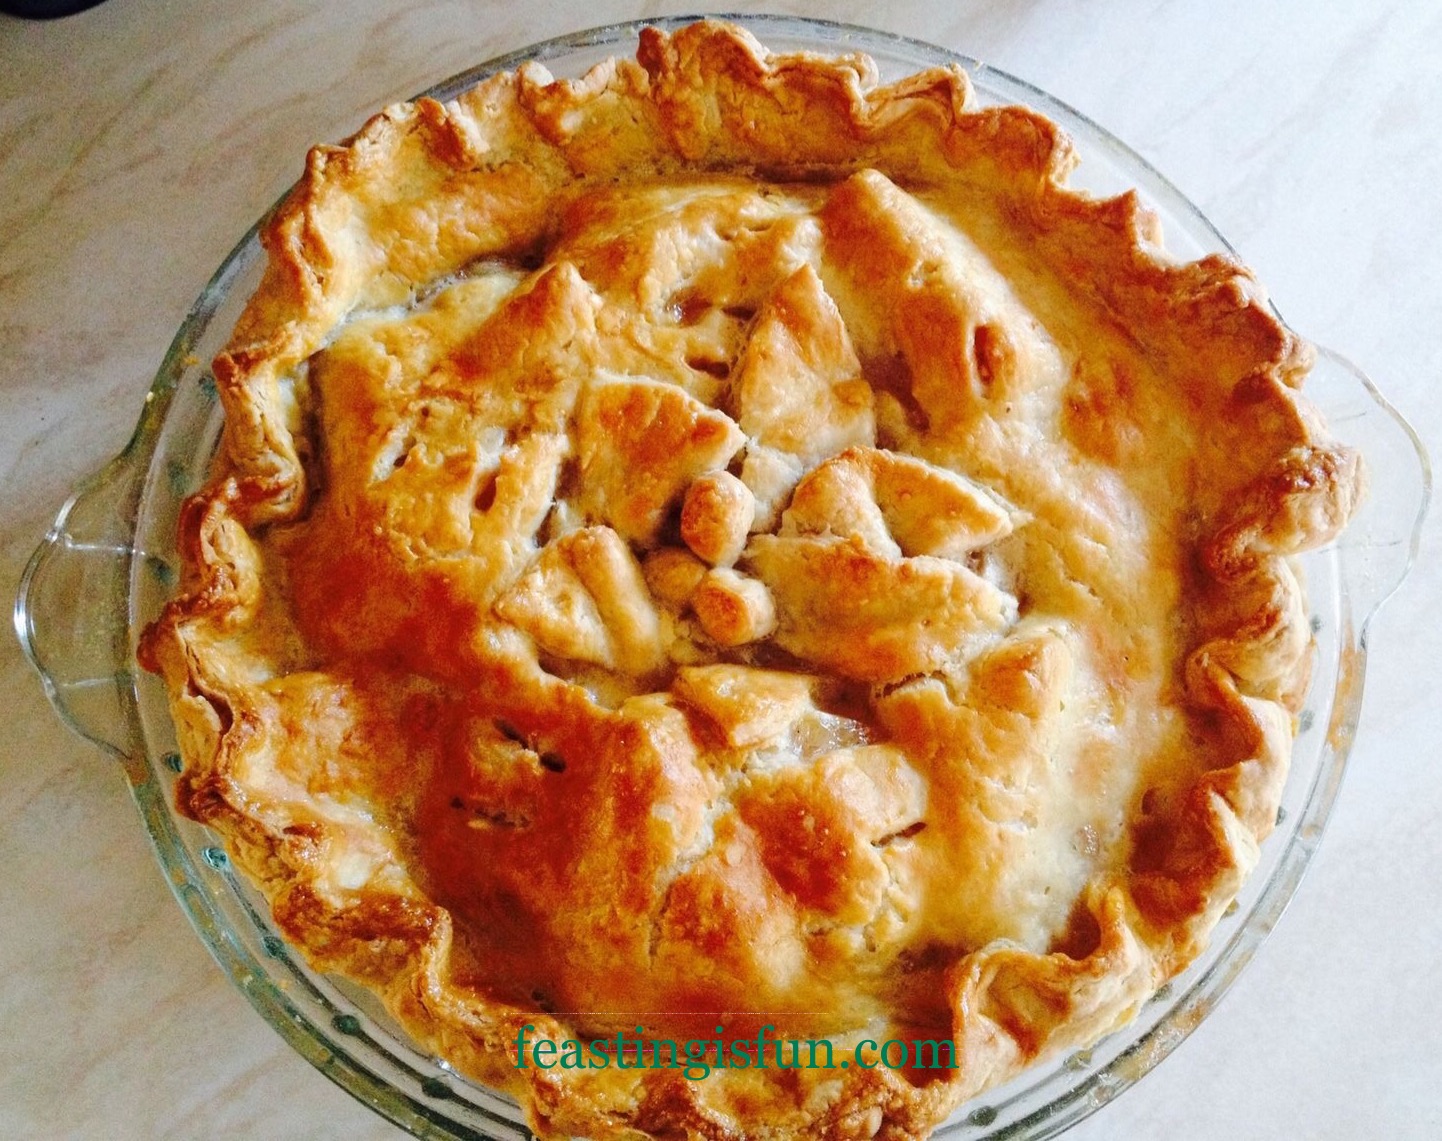
- Roll out the pastry so that it is slightly bigger than the flan dish – see photo below.
- Wrap the pastry over the rolling pin and place over the flan dish.
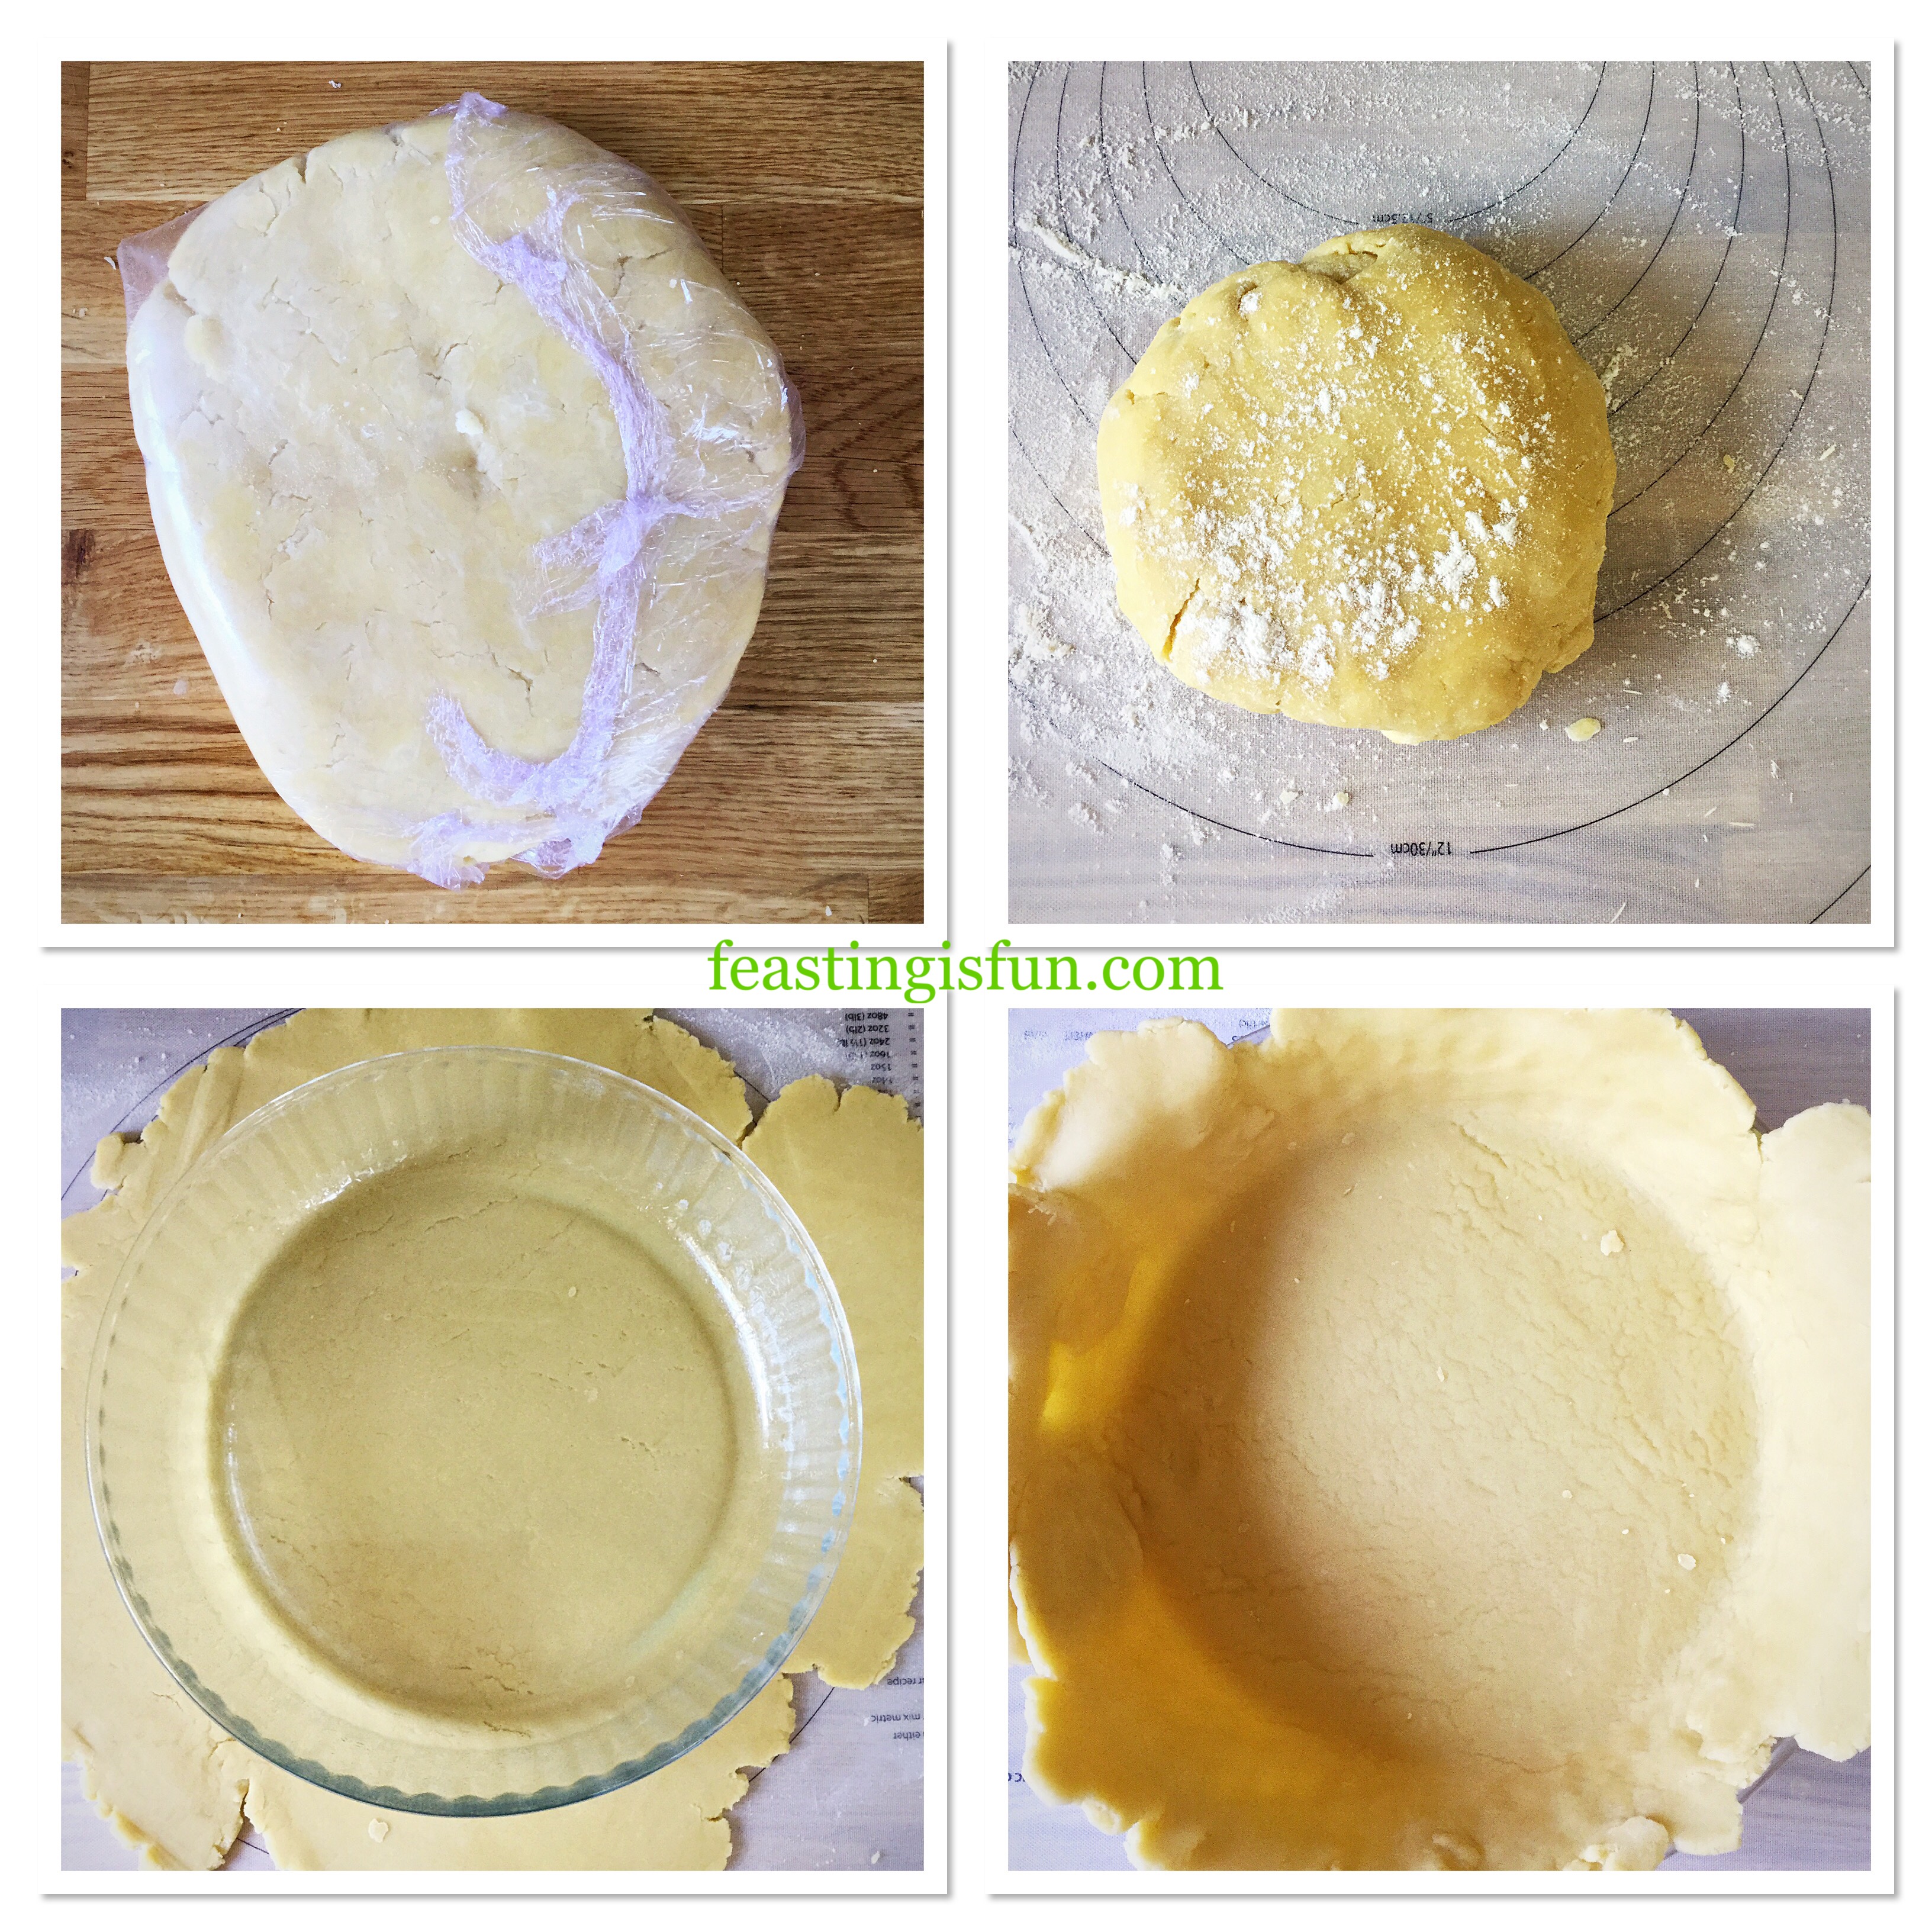
- Press the pastry into the flan dish taking care not to stretch it, as this will cause the pastry to shrink on baking. Also if the pastry tears, patch using a little of the leftover pastry with a tiny amount of water.
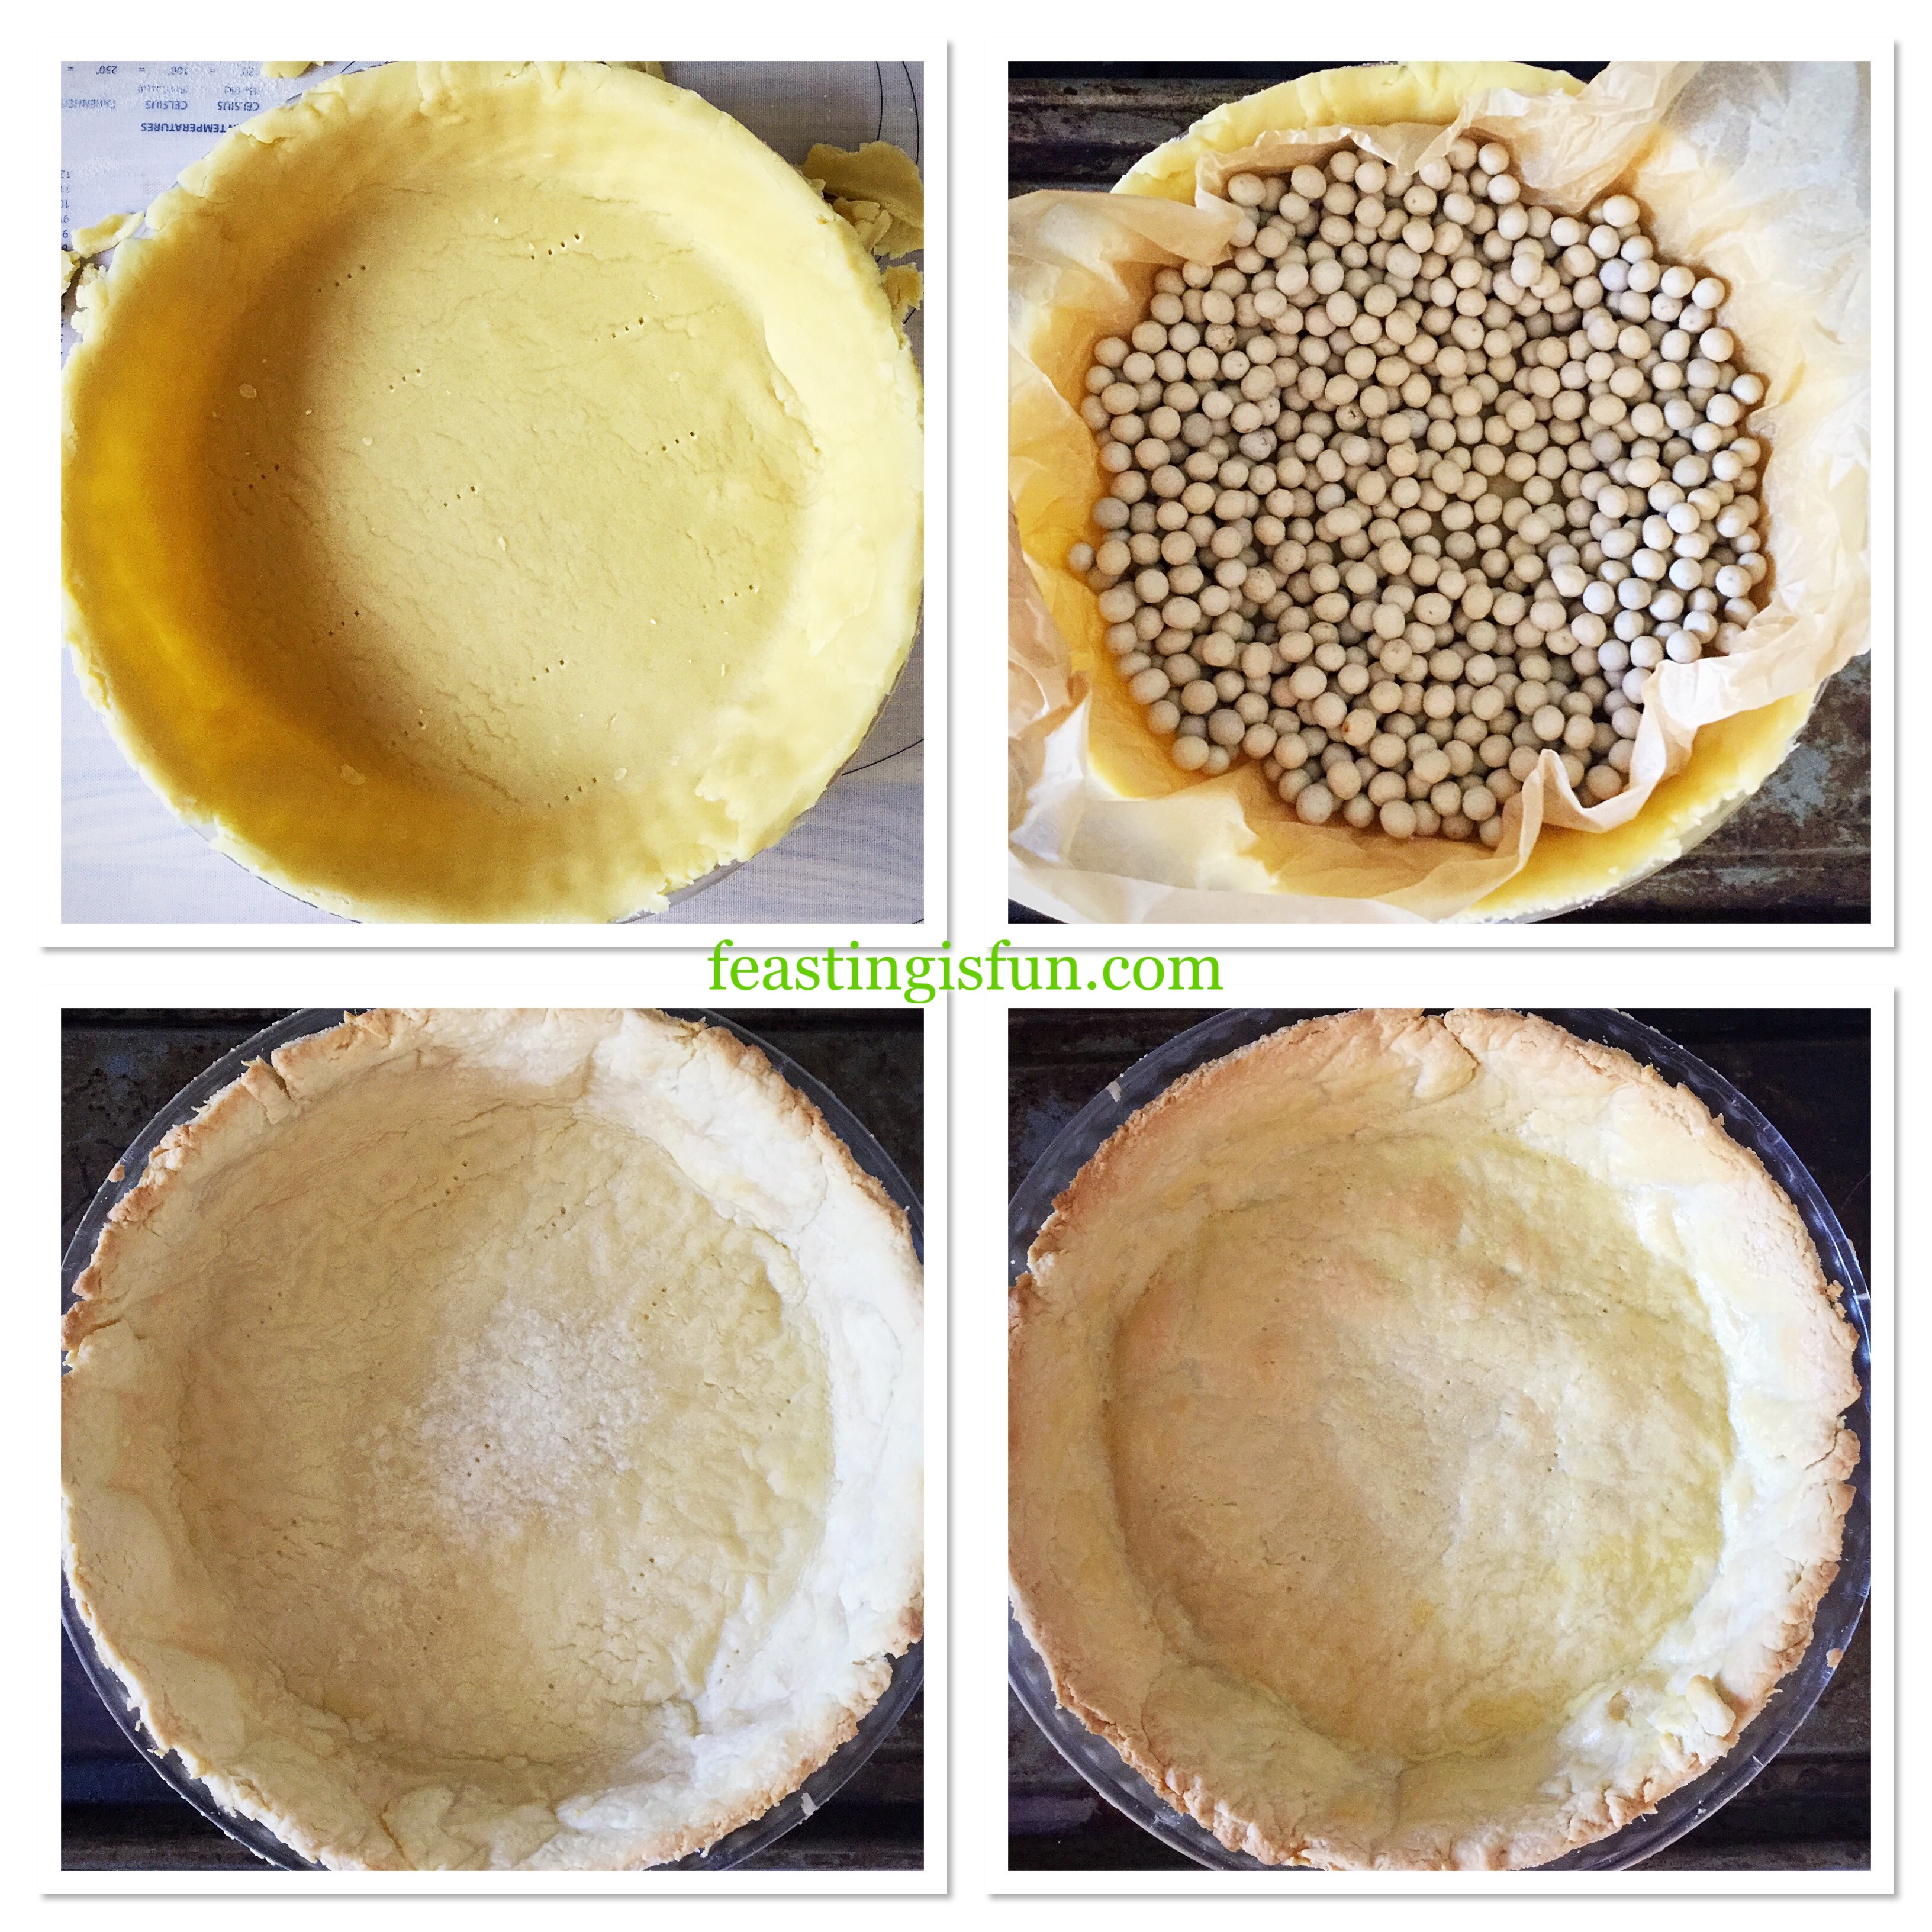
- Trim the pastry and dock the bottom with a fork. Add baking parchment and baking beans.
- Place on to a baking tray and into the centre of a preheated oven and bake for 15 minutes.
- Remove the pie crust, immediately reduce the oven temperature to 200C/180C fan, 400F, gas mark 6.
- Lift out the baking beans, taking care as they are hot.
- If any cracks have appeared in the pastry patch, as before, using leftover pastry.
- Return the pie crust to the cooler over and bake for a further 7 minutes.
- As soon as the pie crust is baked remove from the oven.
- While the pie crust is baking make the curd.
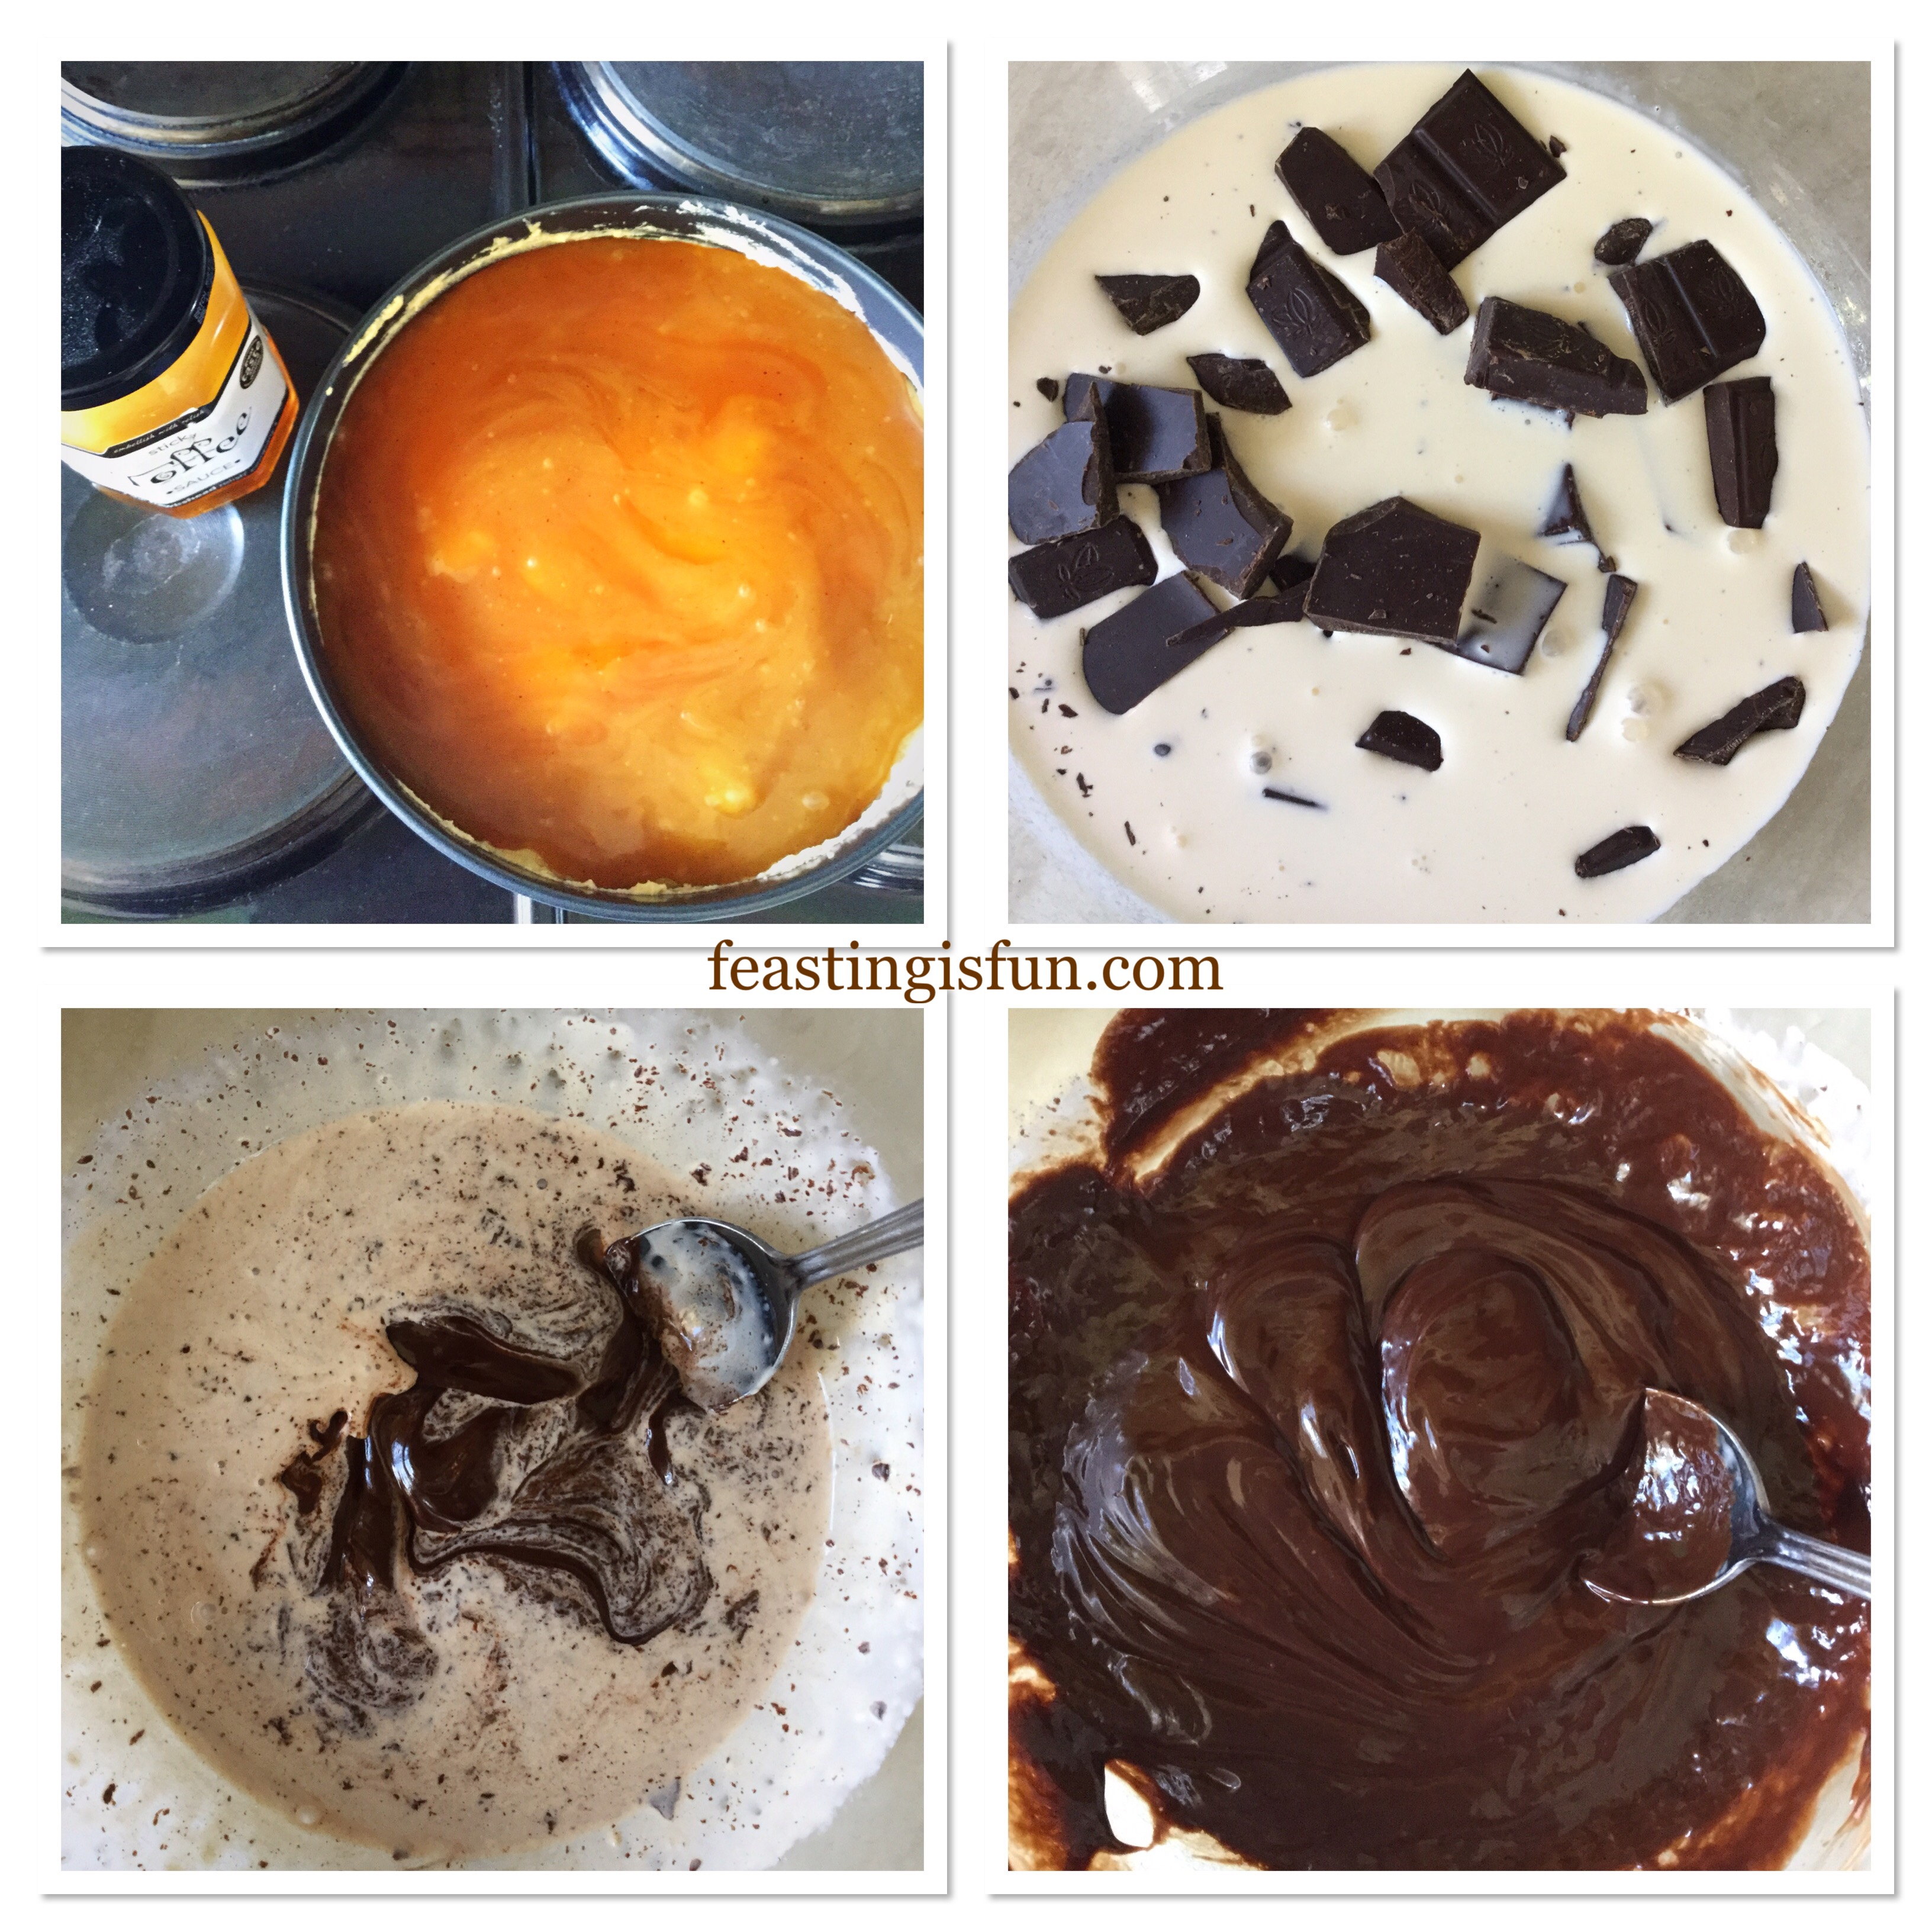
Making the lemon lime curd filling
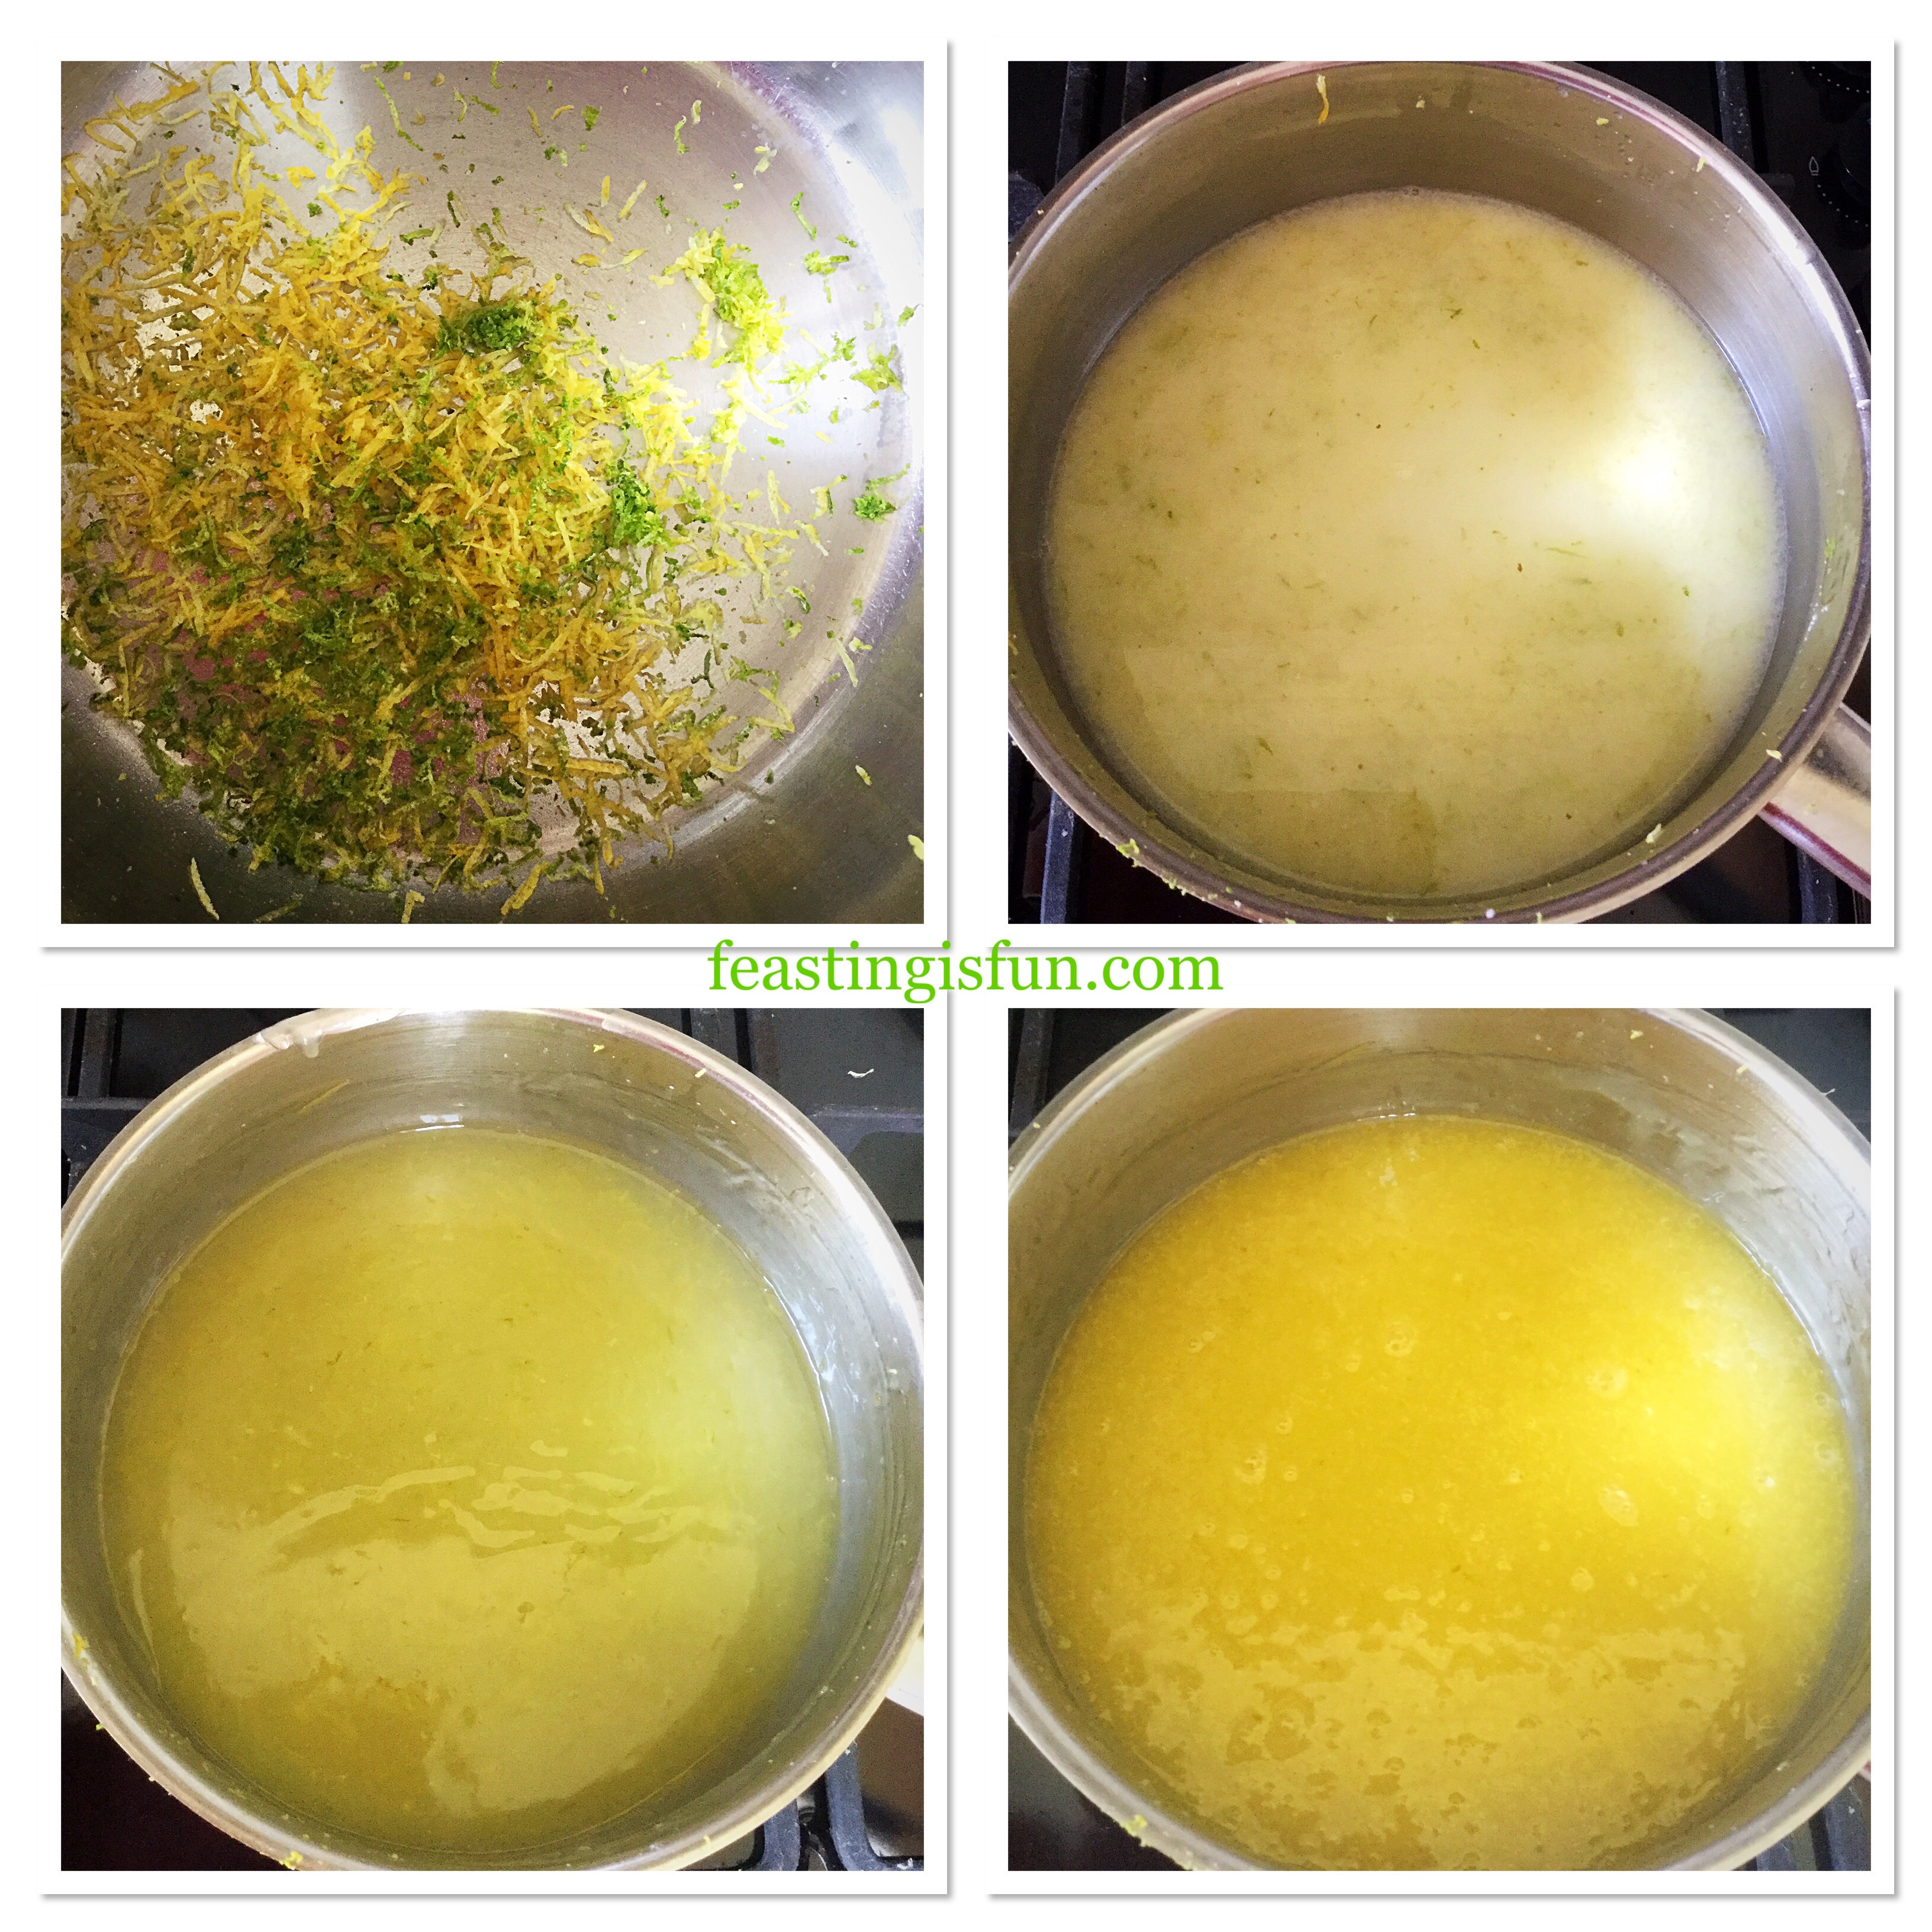
- Into a large, heavy bottomed saucepan add the lemon and lime zest and juice. Also add the water, sugar and cornflour. Gently mix with a whisk until there are no lumps.
- Cook the liquid over a medium heat, stirring continuously.
- As soon as the liquid has thickened and has turned from cloudy to clear turn off the heat.
- Leave to cool for 5 minutes and then whisking continuously add the egg yolks one at a time.
- Pour the curd through a sieve into a wide jug. Press the liquid through using a clean spoon.
- Place cling film directly on to the top of the curd, this will stop a skin from forming.

- Just before you are about to assemble the pie make the meringue topping.
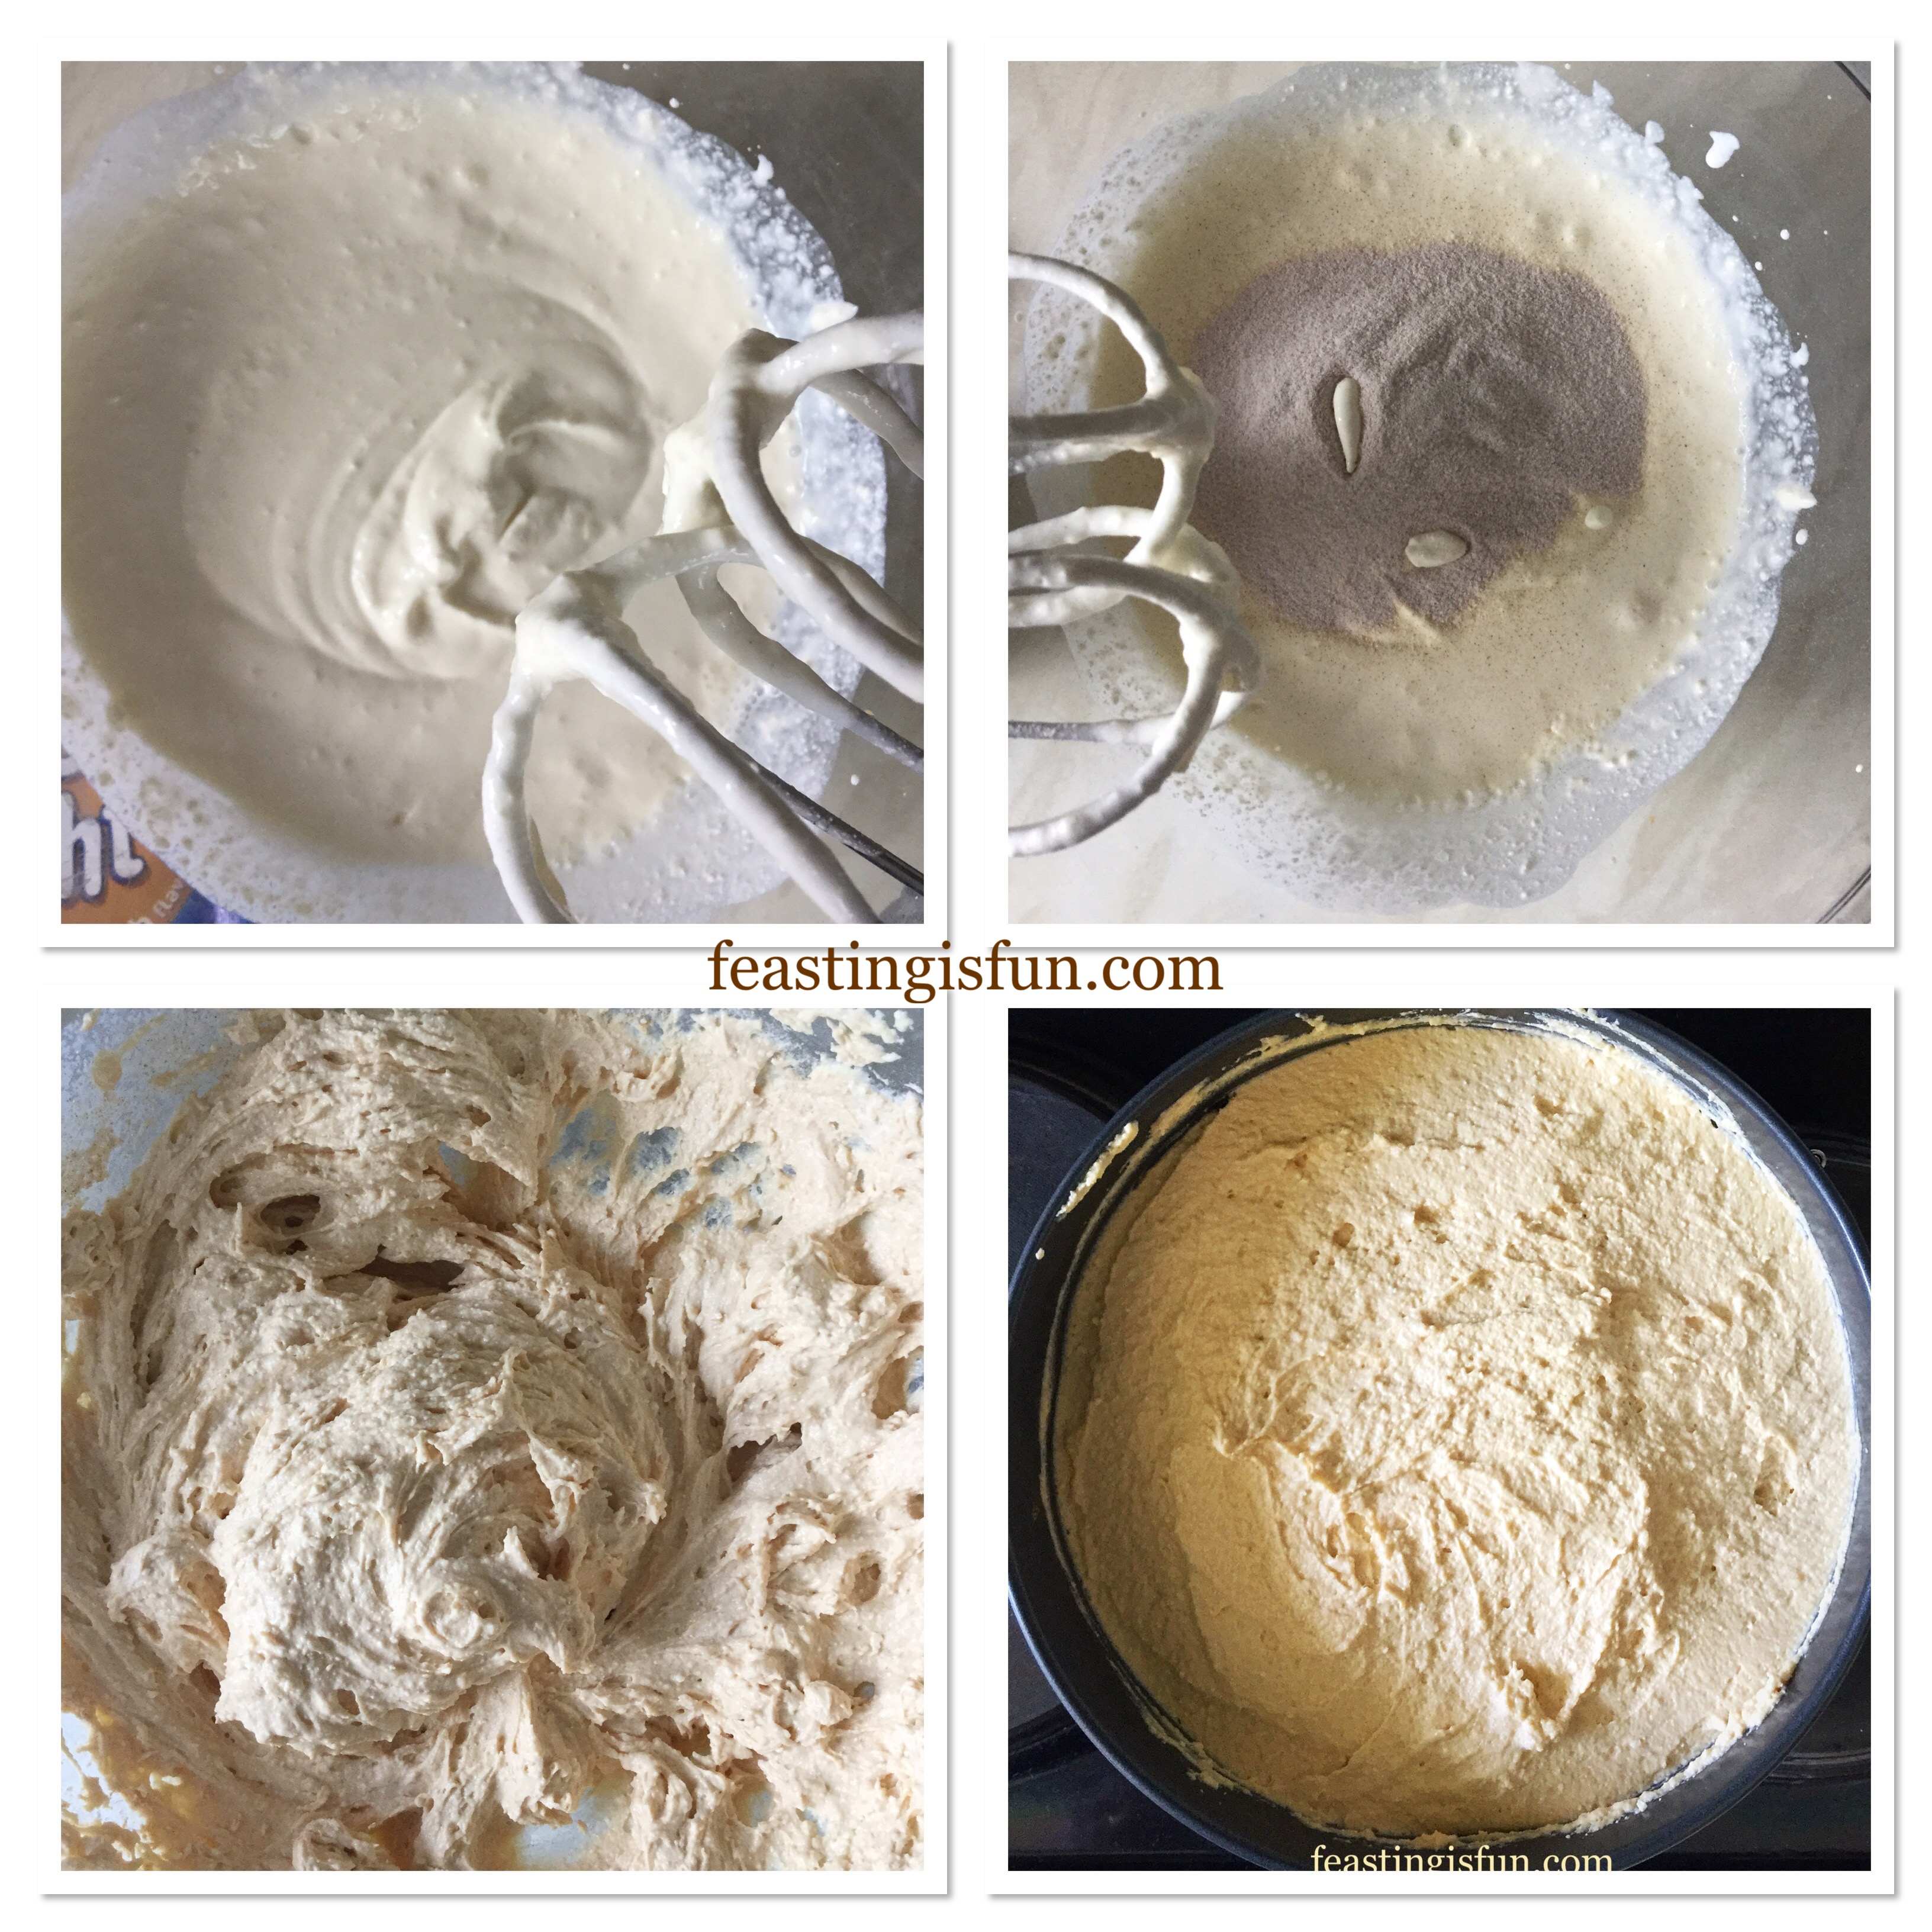
Whipping up the meringue topping
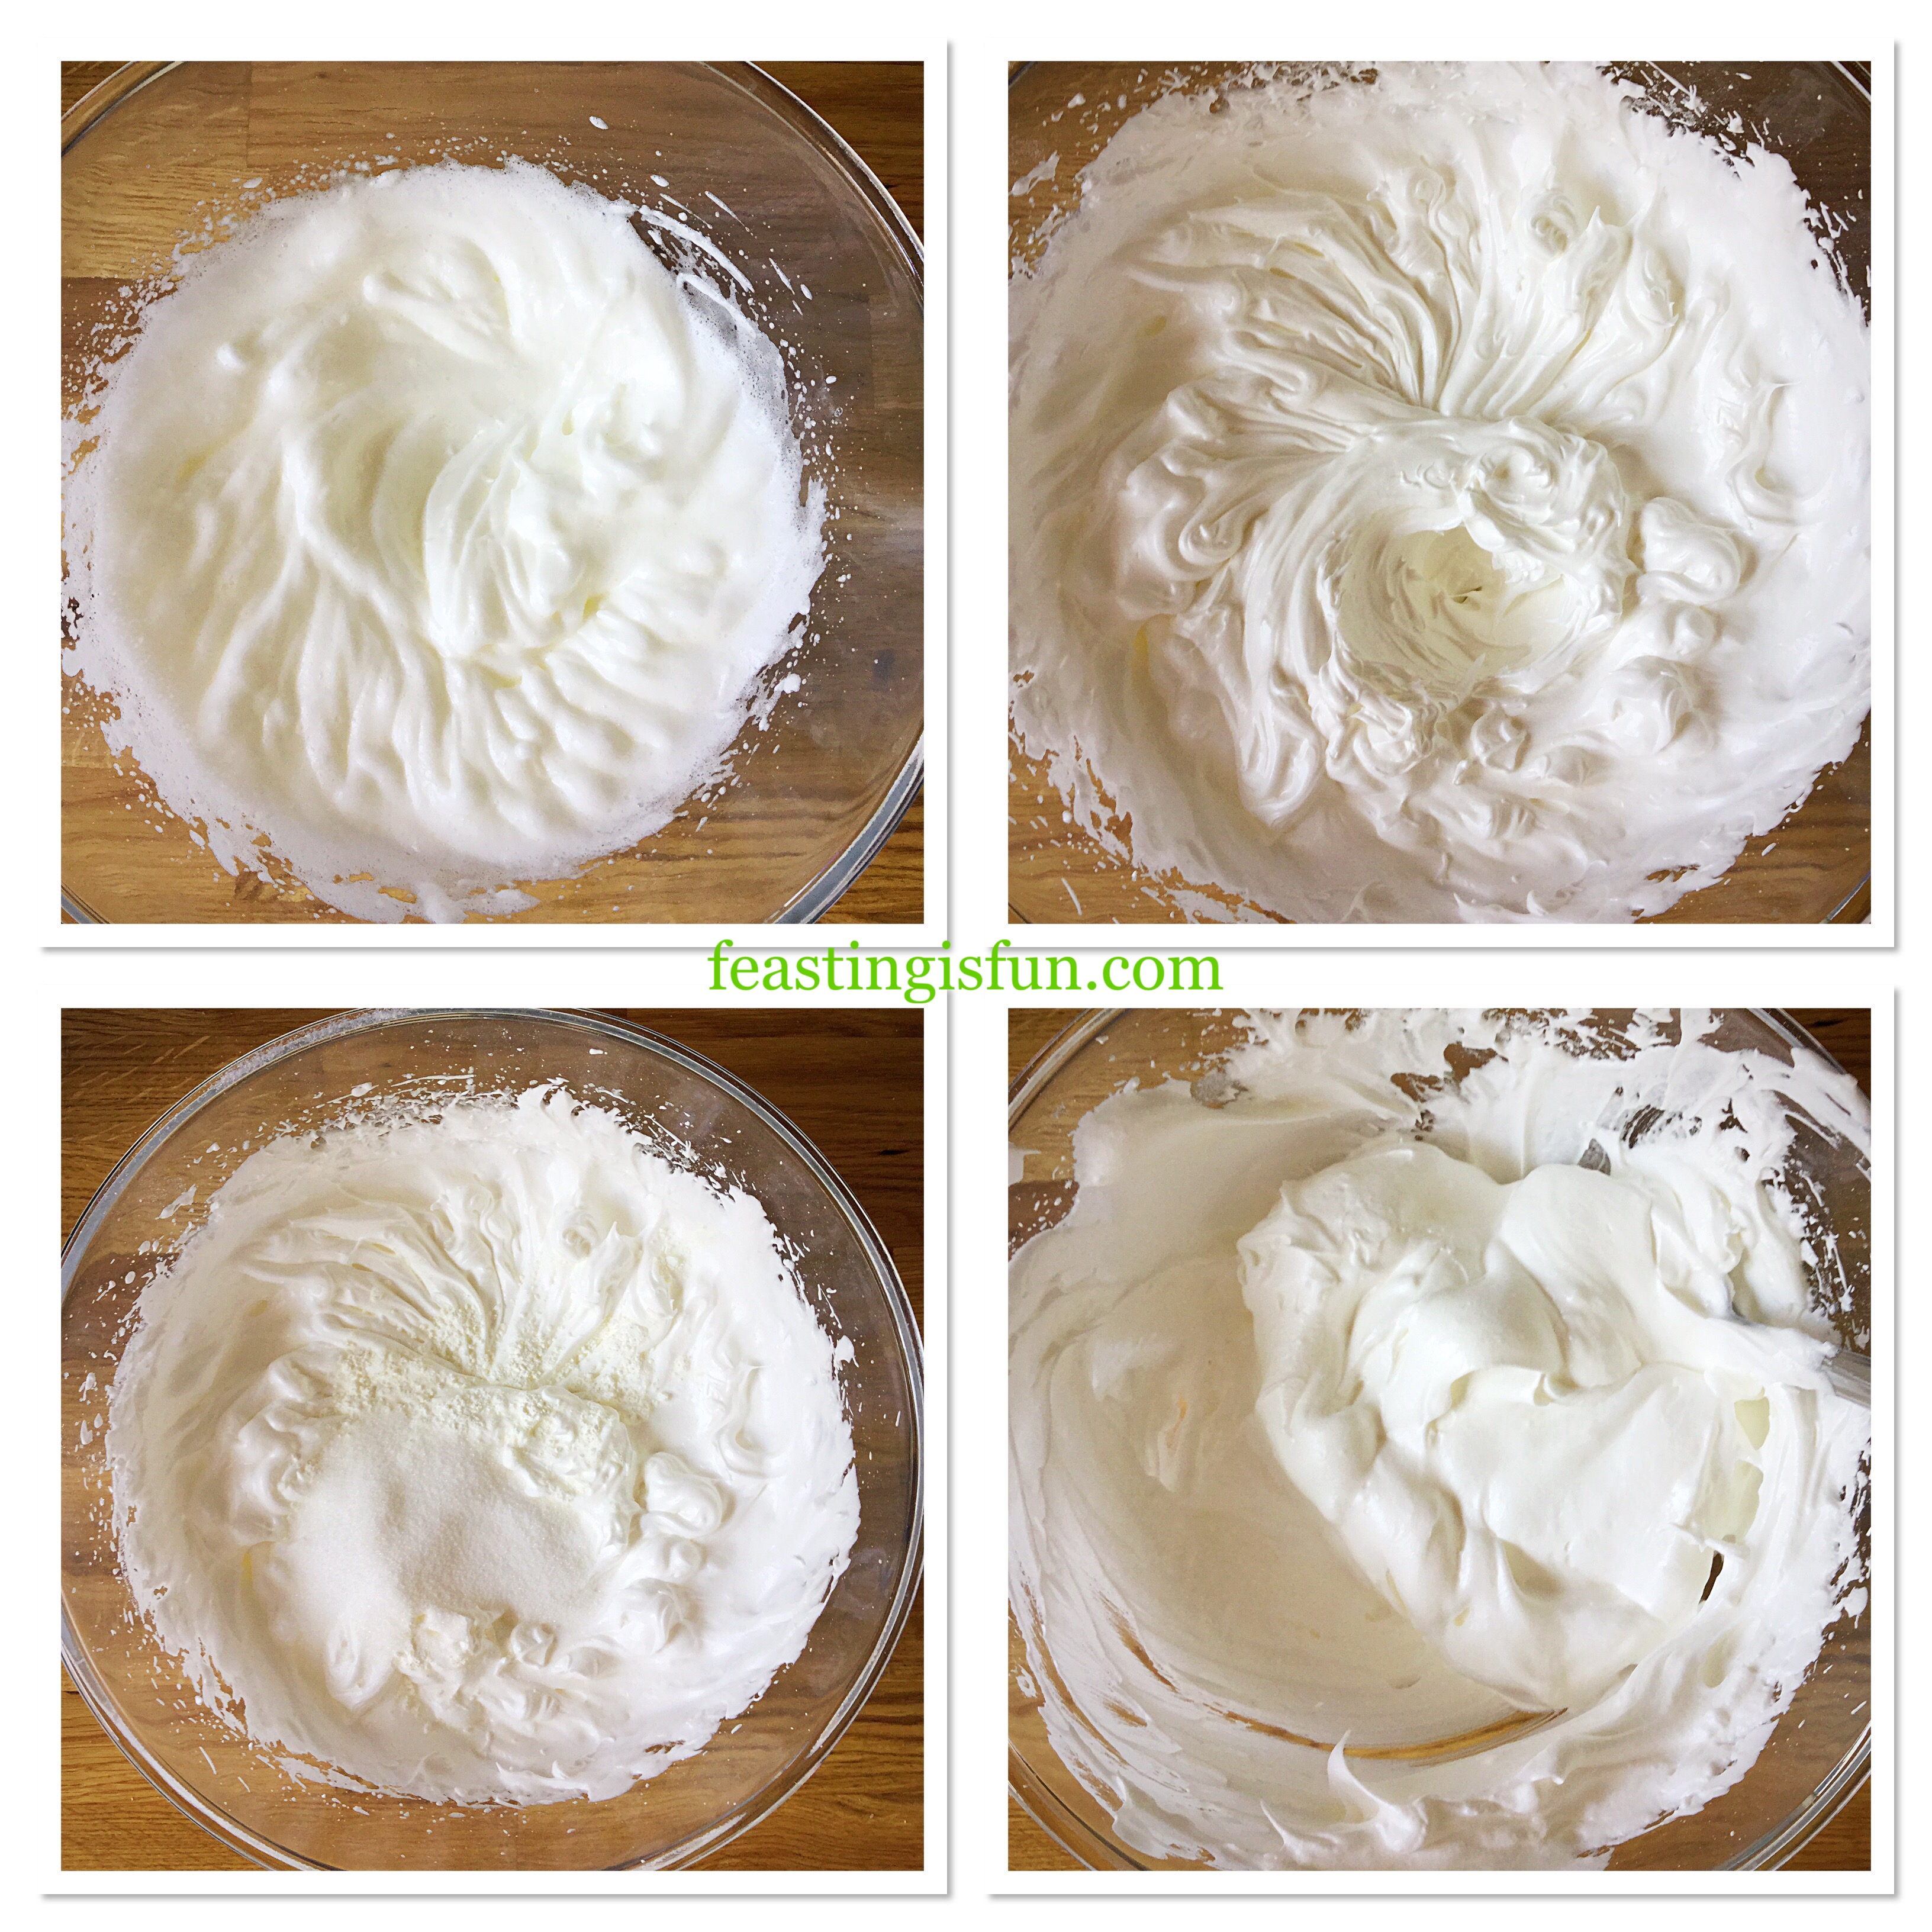
- Into a large, scrupulously clean bowl add four large egg whites.
- Whisk until the egg whites form stiff peaks.
- Continue whisking adding a tablespoon of sugar at a time, until half of the sugar is incorporated.
- Add the remaining sugar and one teaspoon of cornflour.
- Using a large metal spoon fold the dry ingredients into the meringue, taking care not to deflate the air whisked into the meringue.
- To assemble the pie ensure the oven is preheated to 200C/180C fan, 400F, gas mark 6.
Assembling and baking the pie
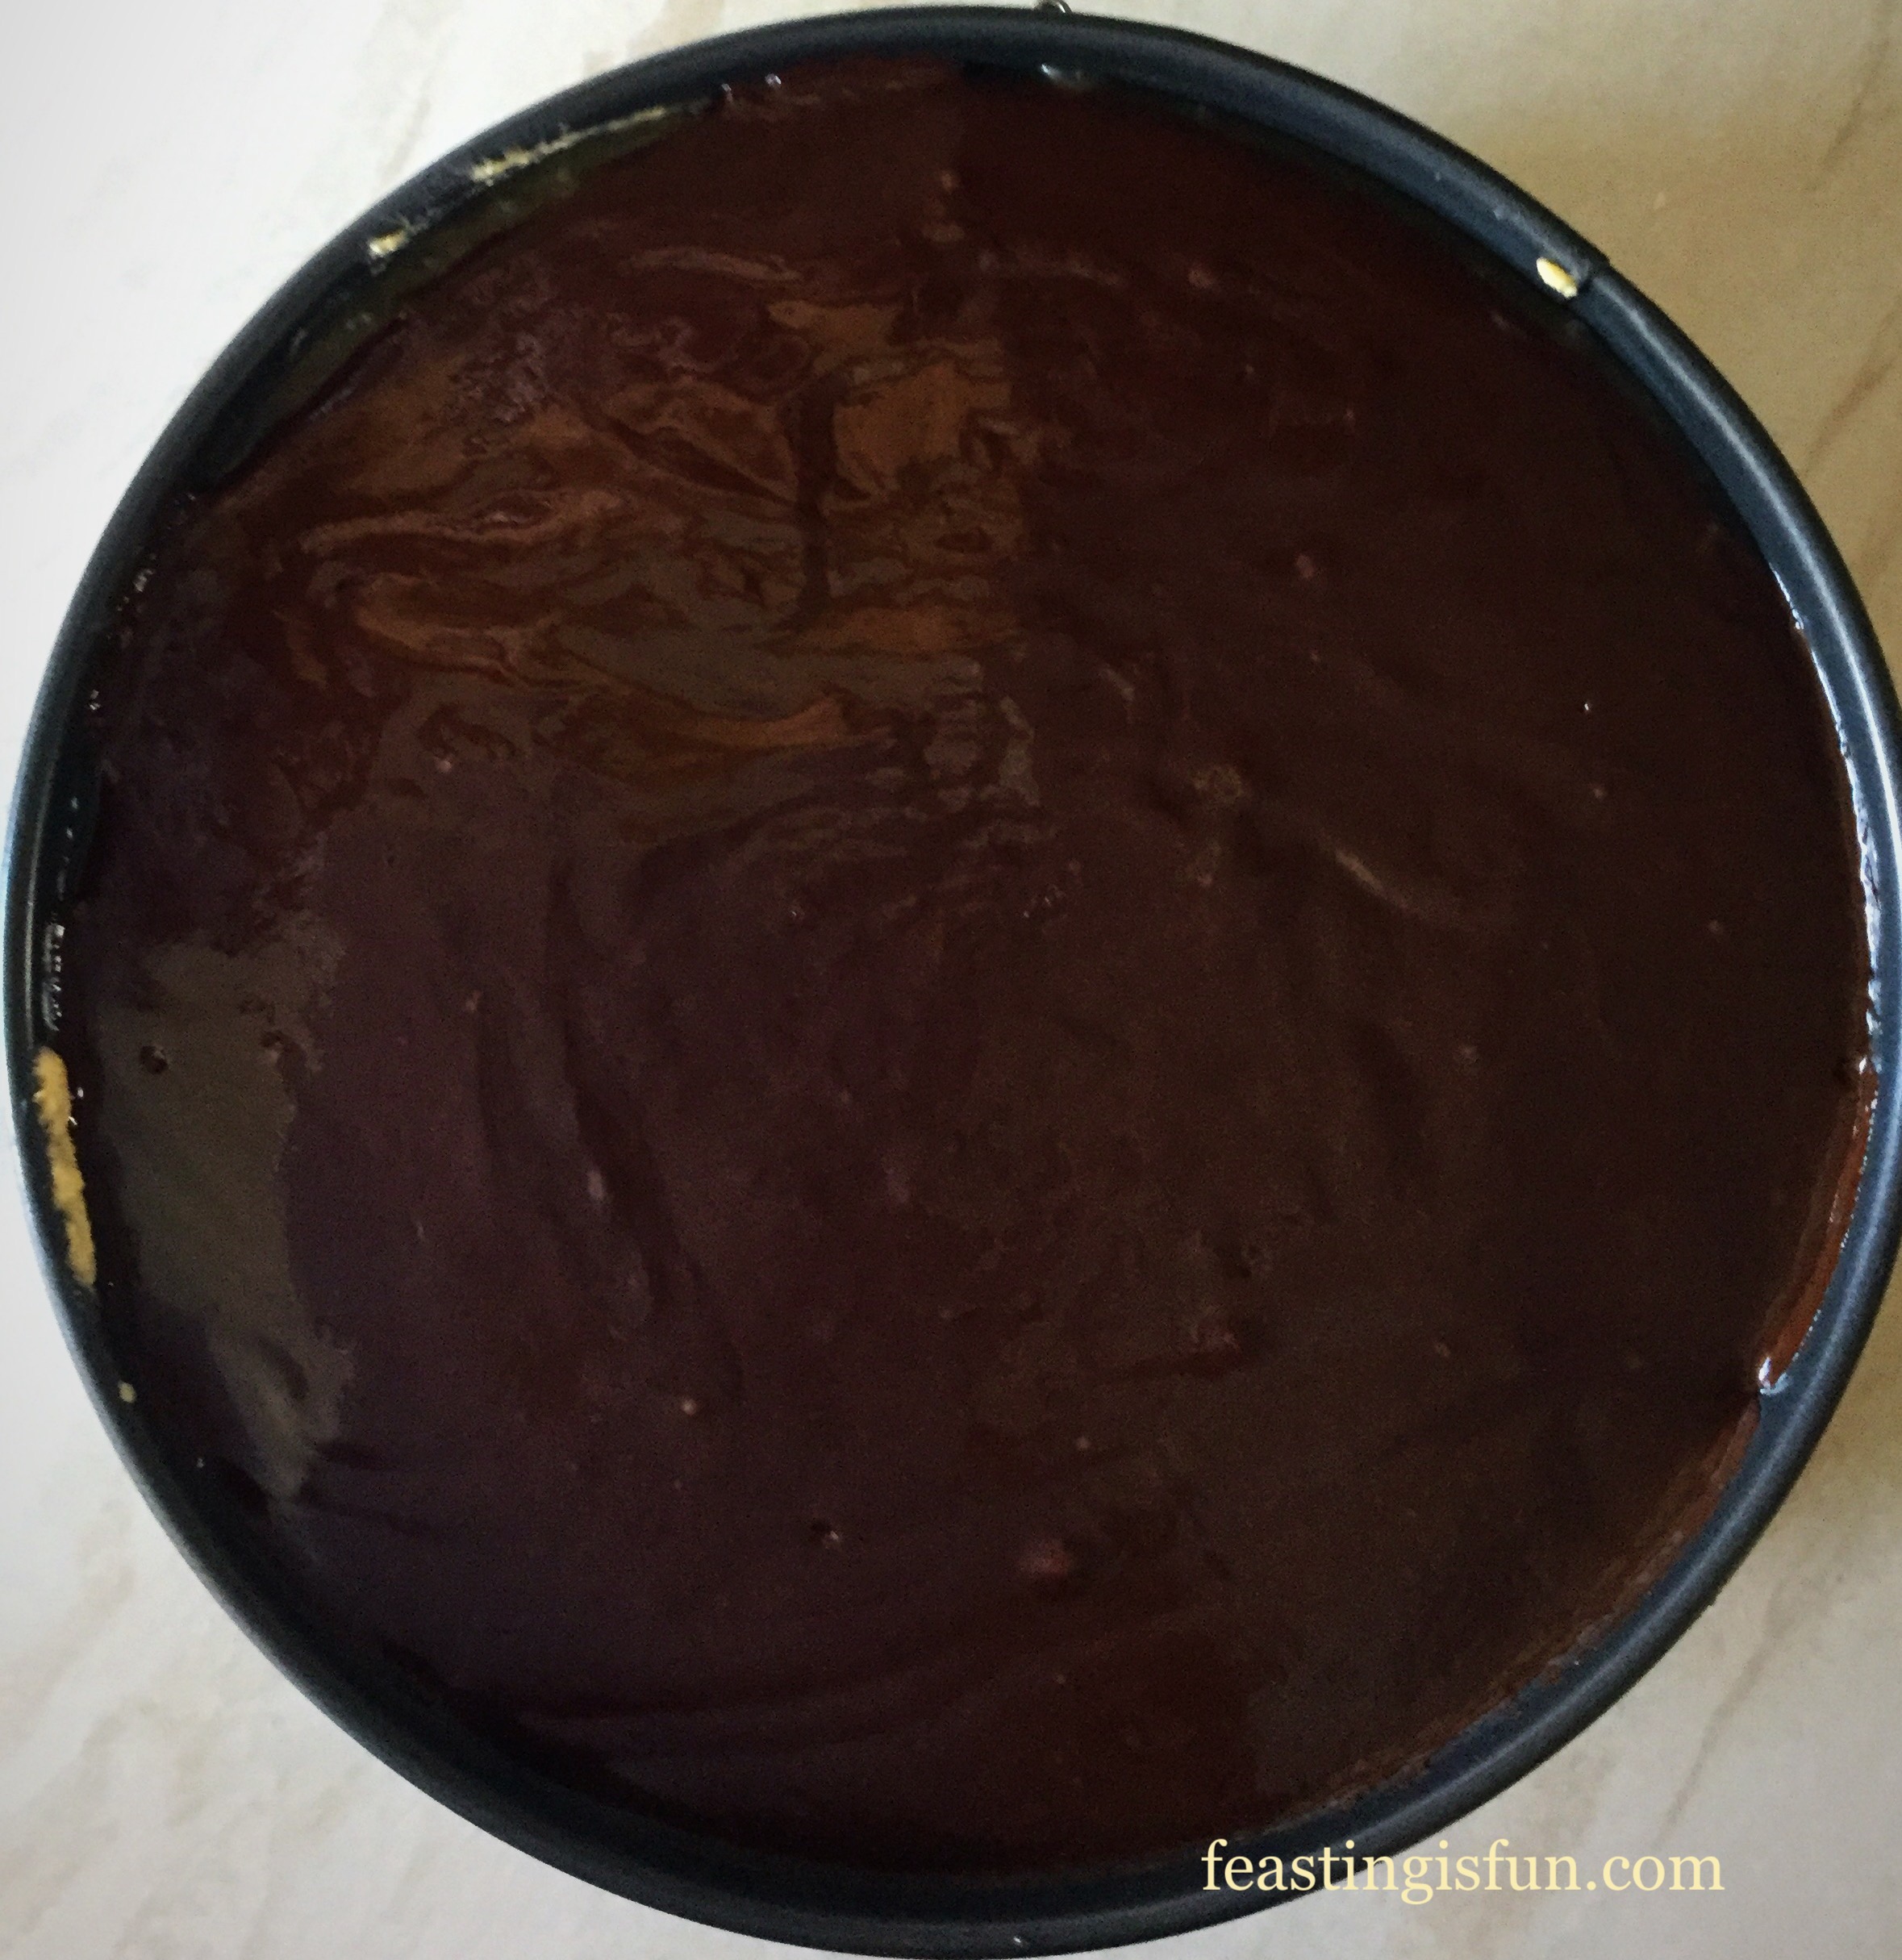
- Remove the cling film from the curd and stir.
- Pour the lemon and lime curd into the pie shell.
- Spoon over the meringue so that the top of the pie is covered. Ensure the meringue touches the crust around the rim of the pie.
- Place the pie on to a baking tray and put in the centre of the oven.
- Bake for 25 minutes. If after 10-15 minutes the top is browning too quickly reduce the heat by 20C.
- After the baking time has elapsed turn the oven off and leave the pie to cool in the oven for 30 minutes. This helps set the meringue and stop it from cracking.
- After the oven cooling time has elapsed remove the pie from the oven and leave to cool to room temperature.
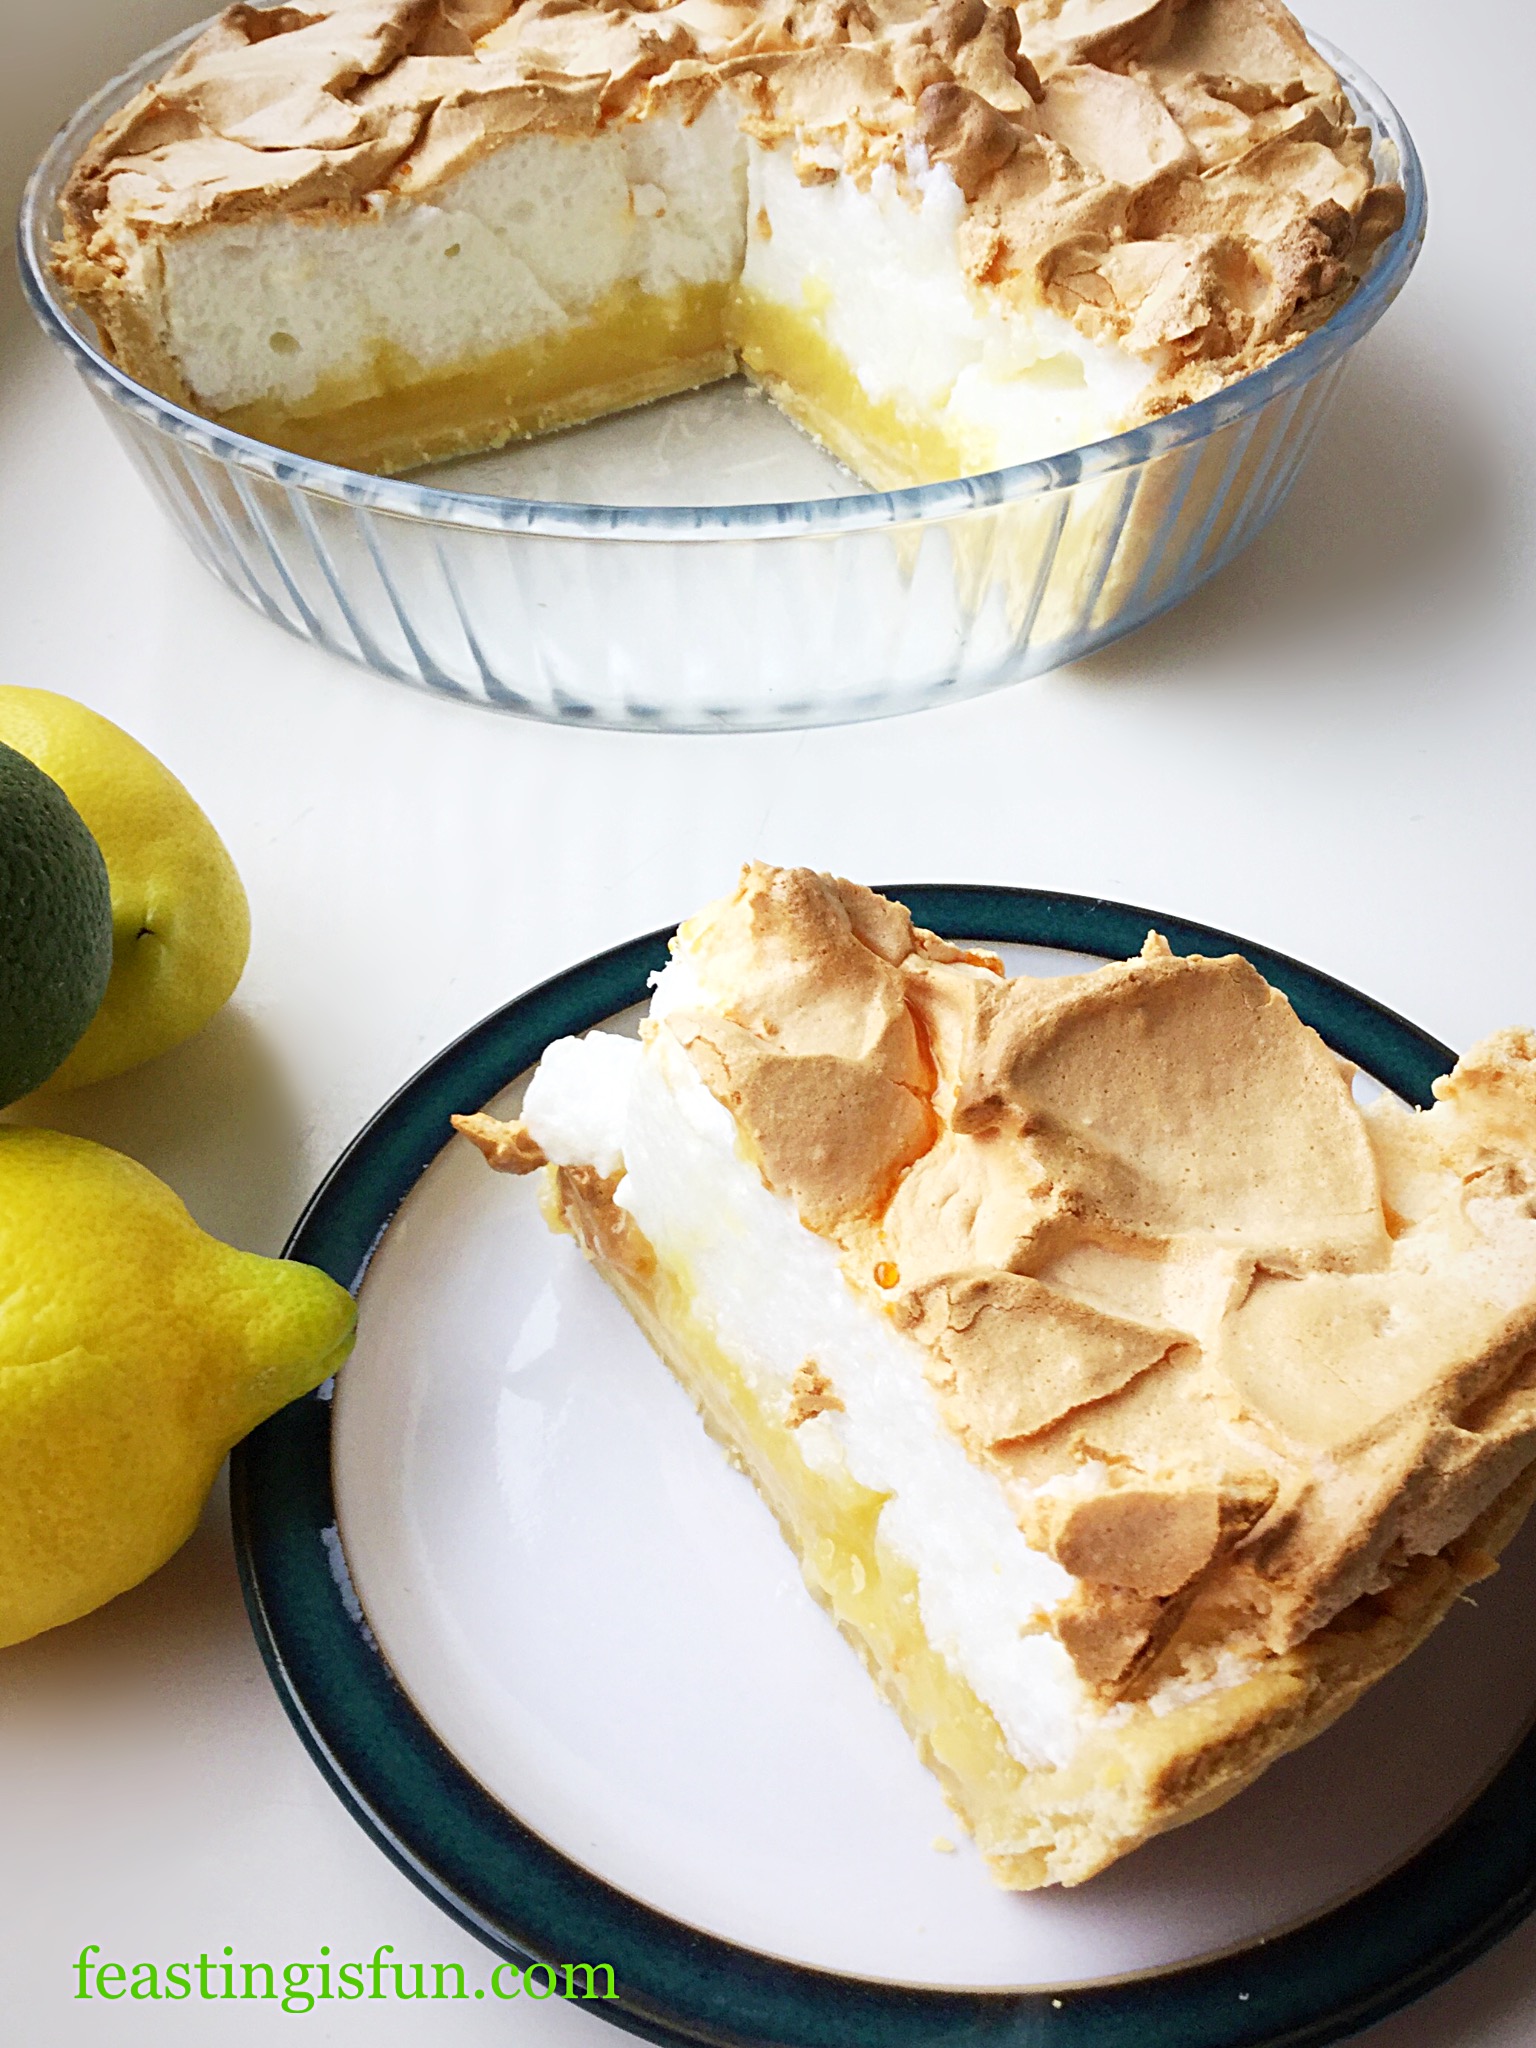
- Refrigerate the cooled pie for at least 4 hours, ideally overnight before serving.

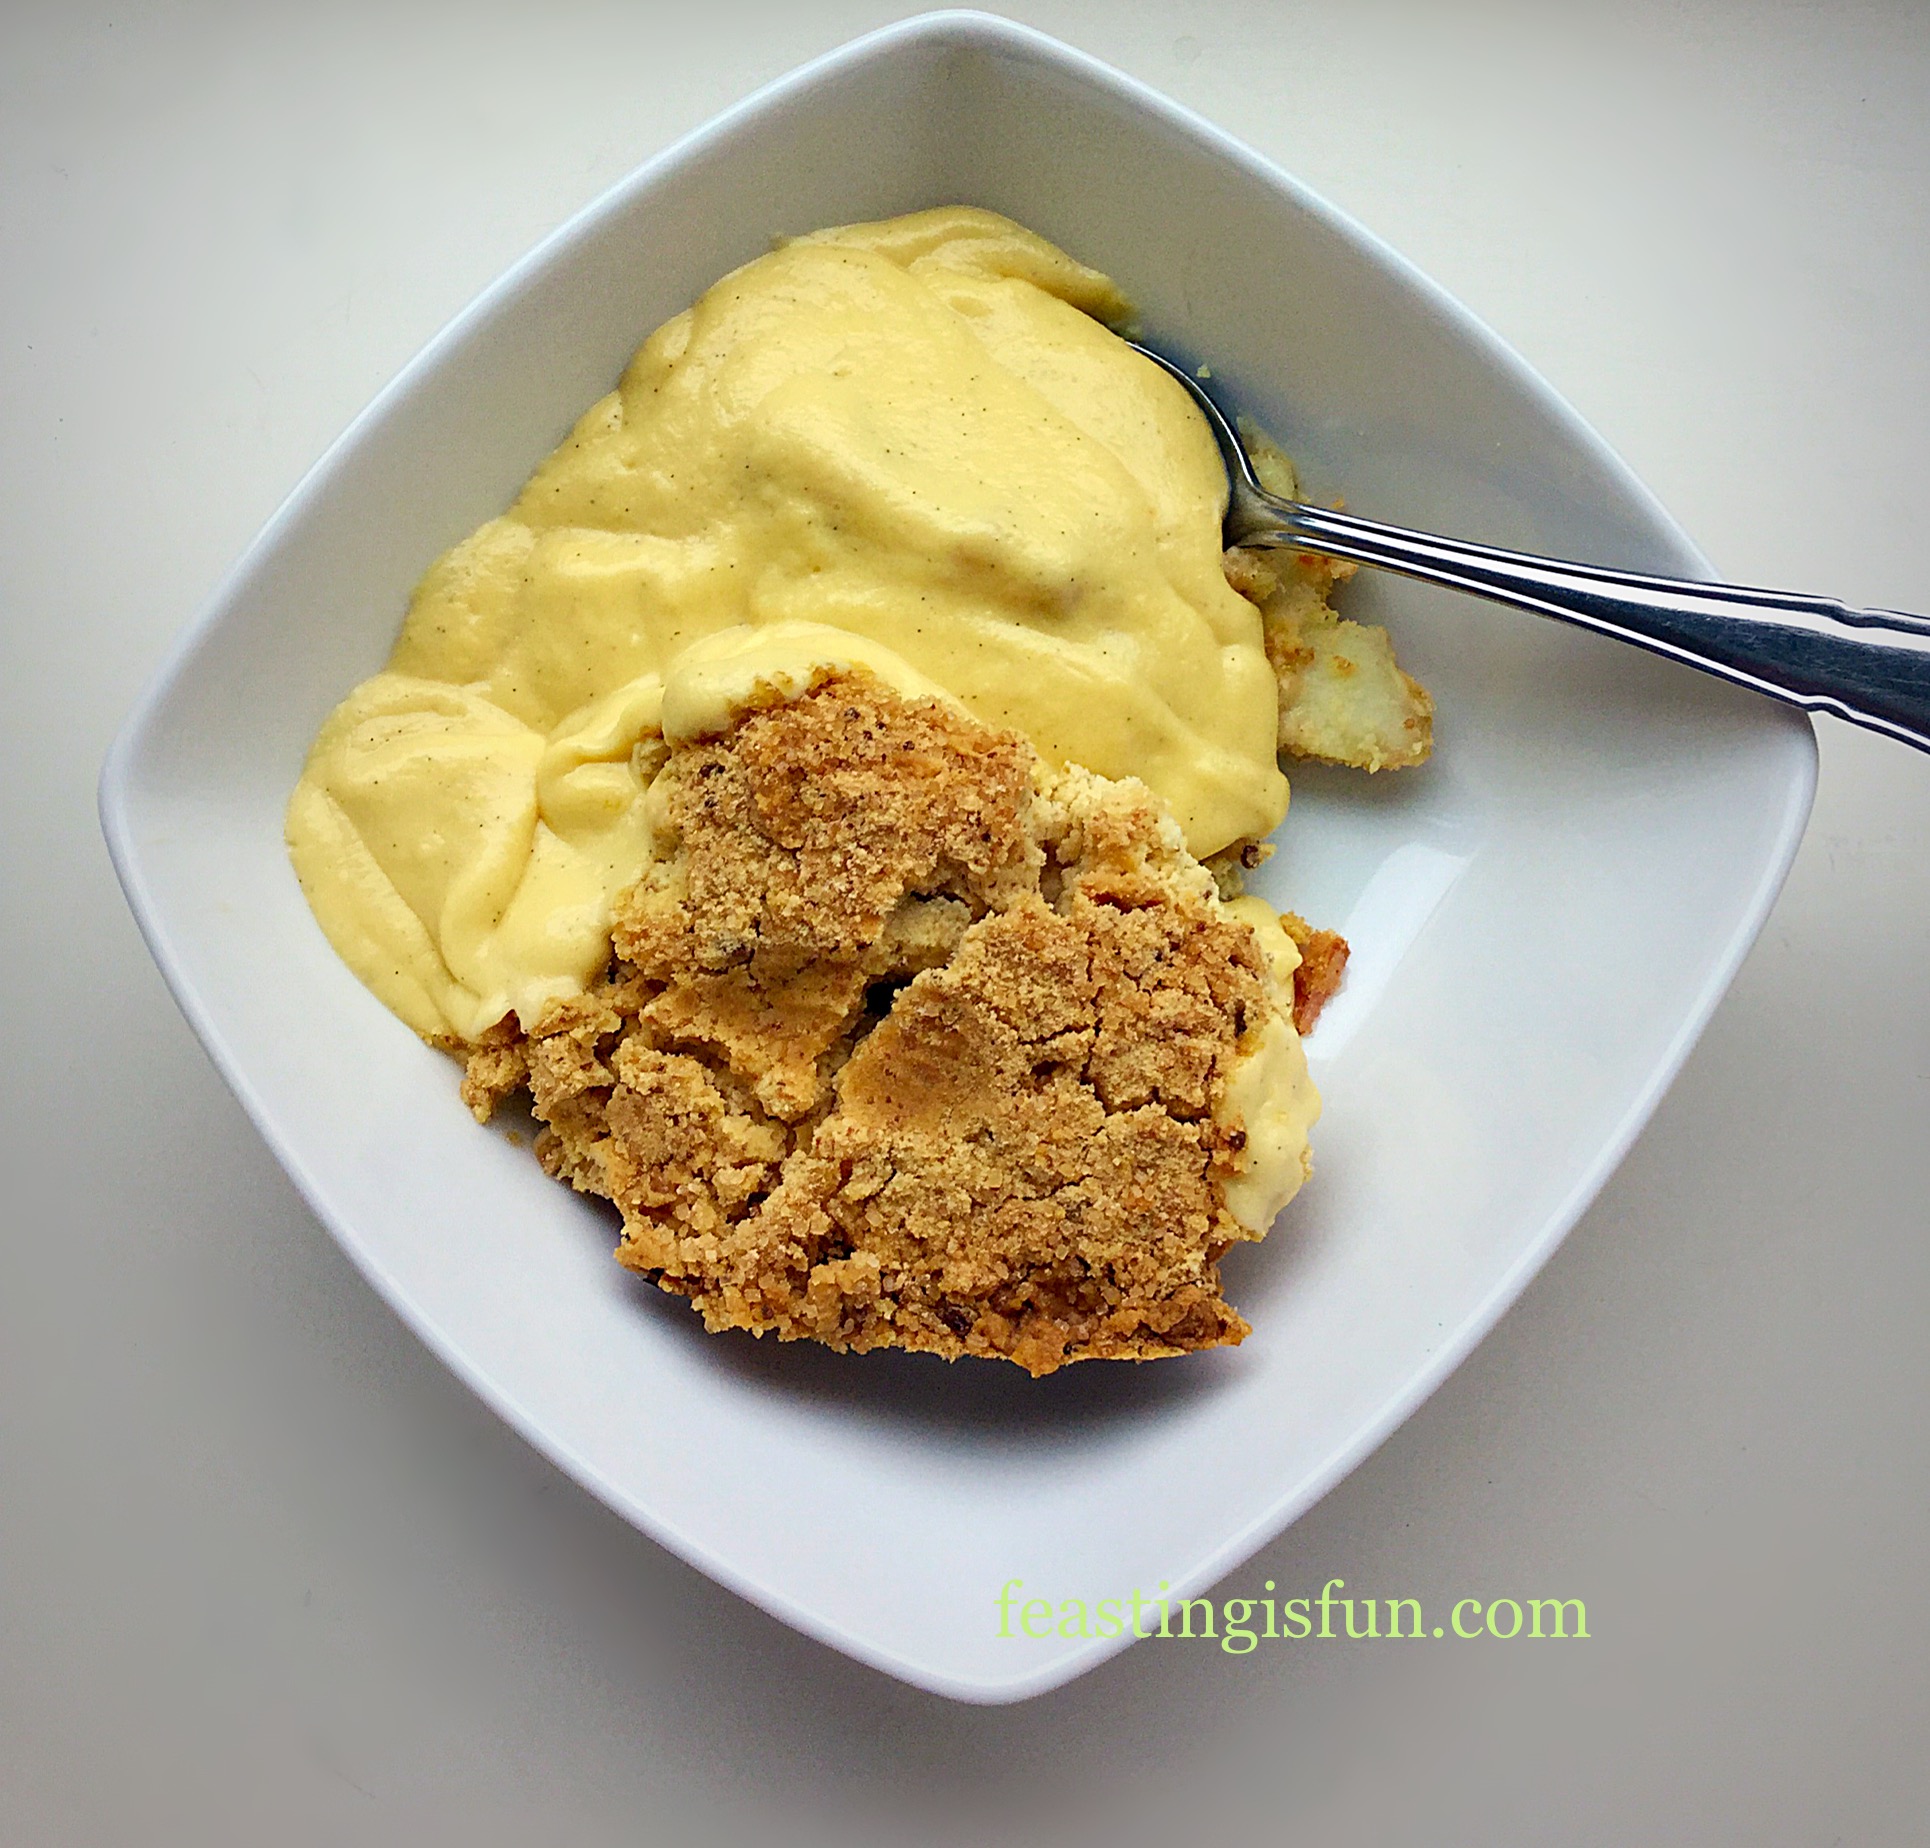
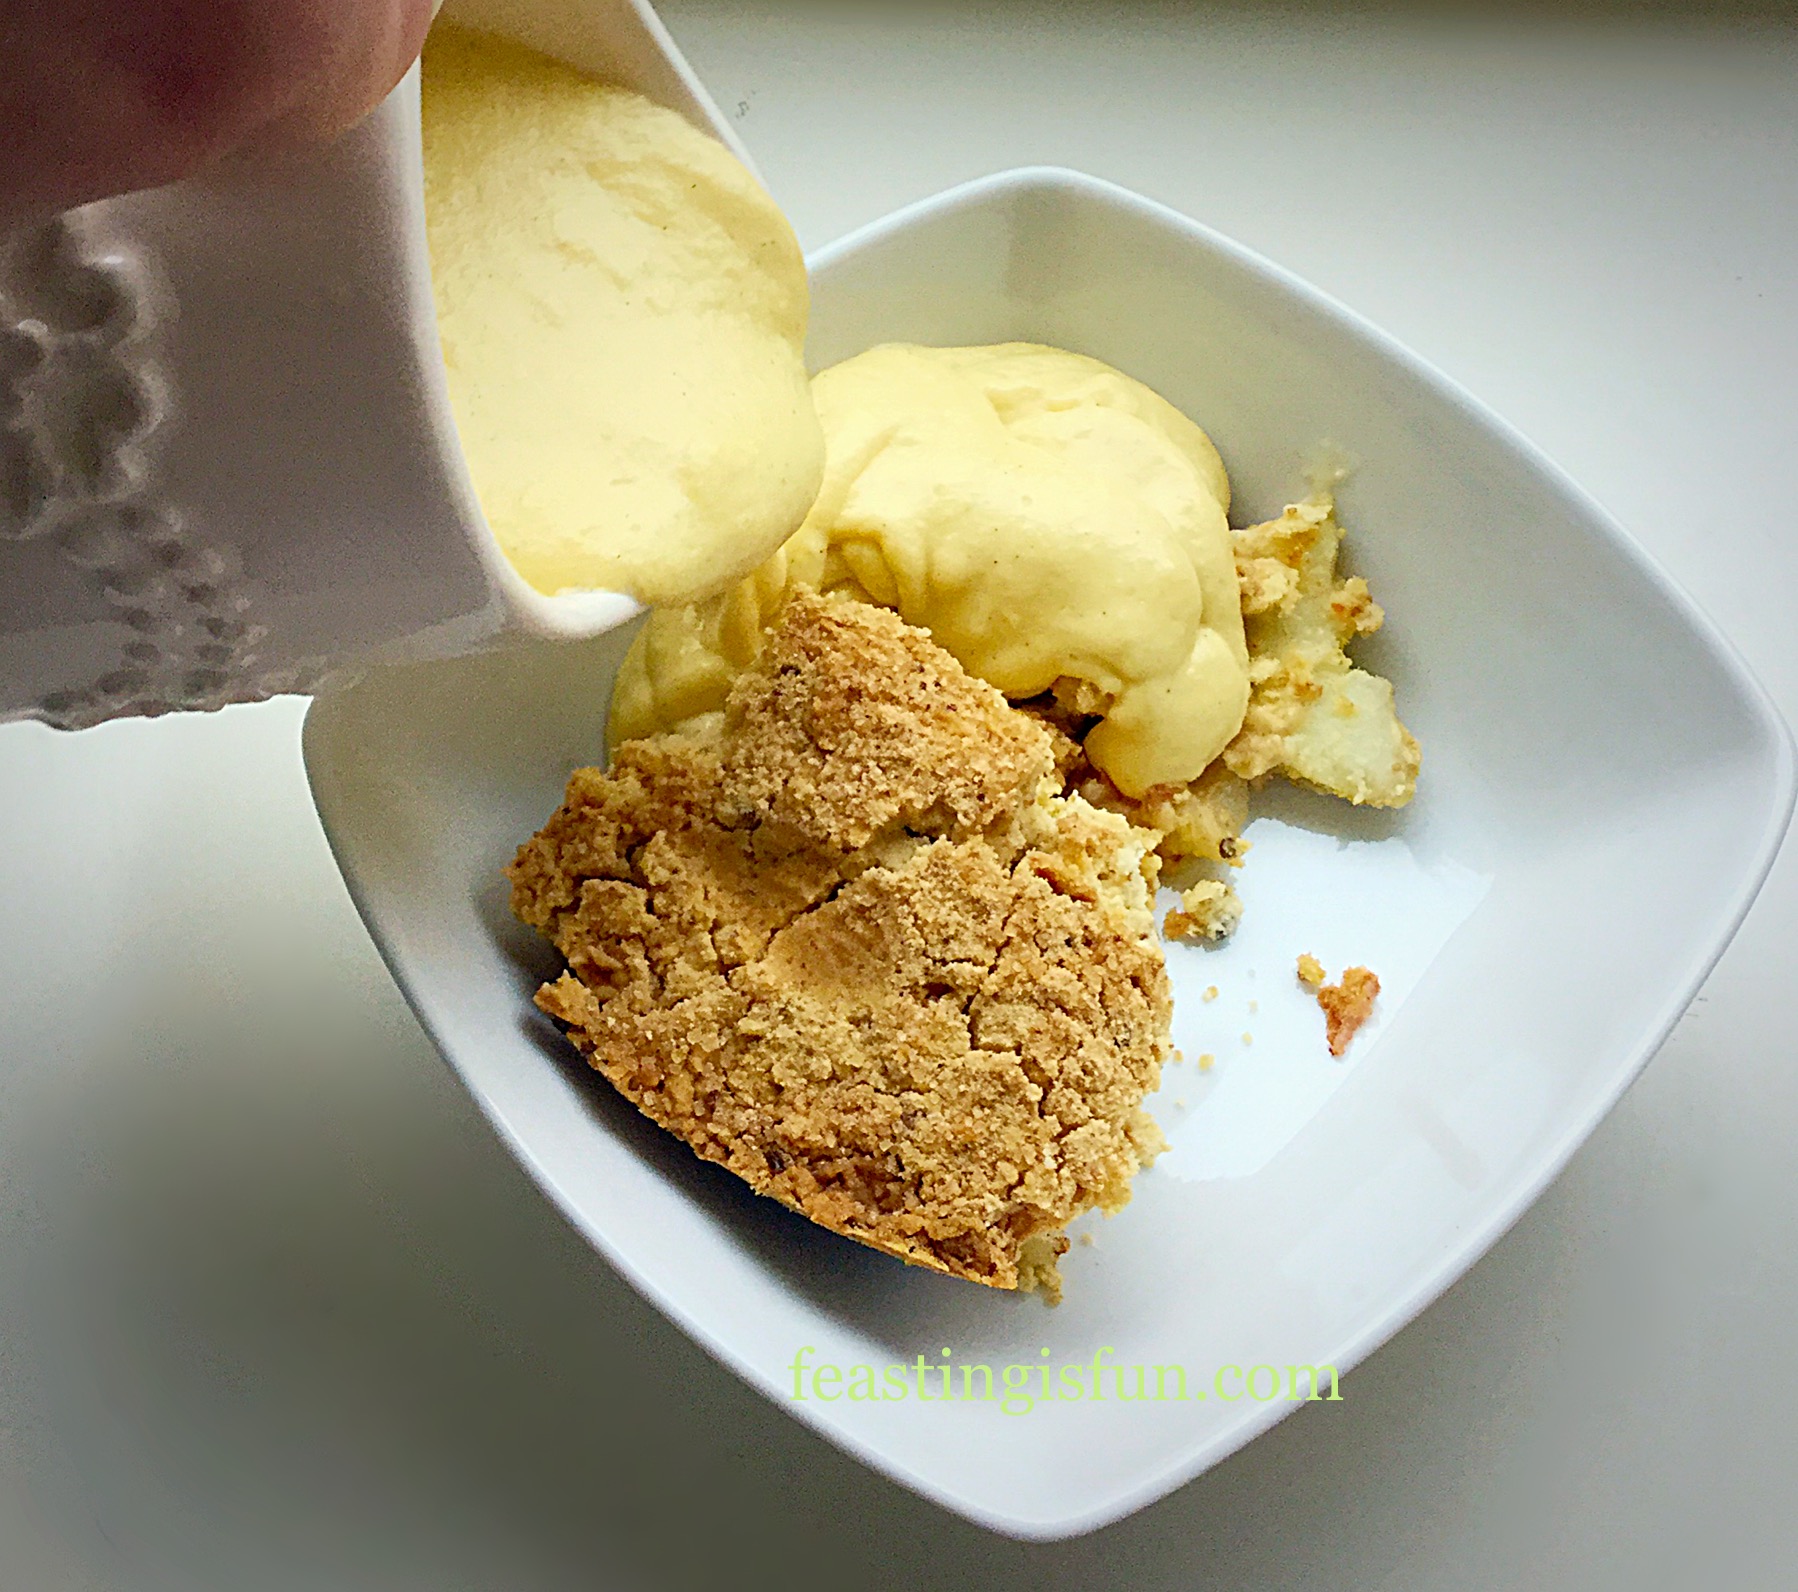
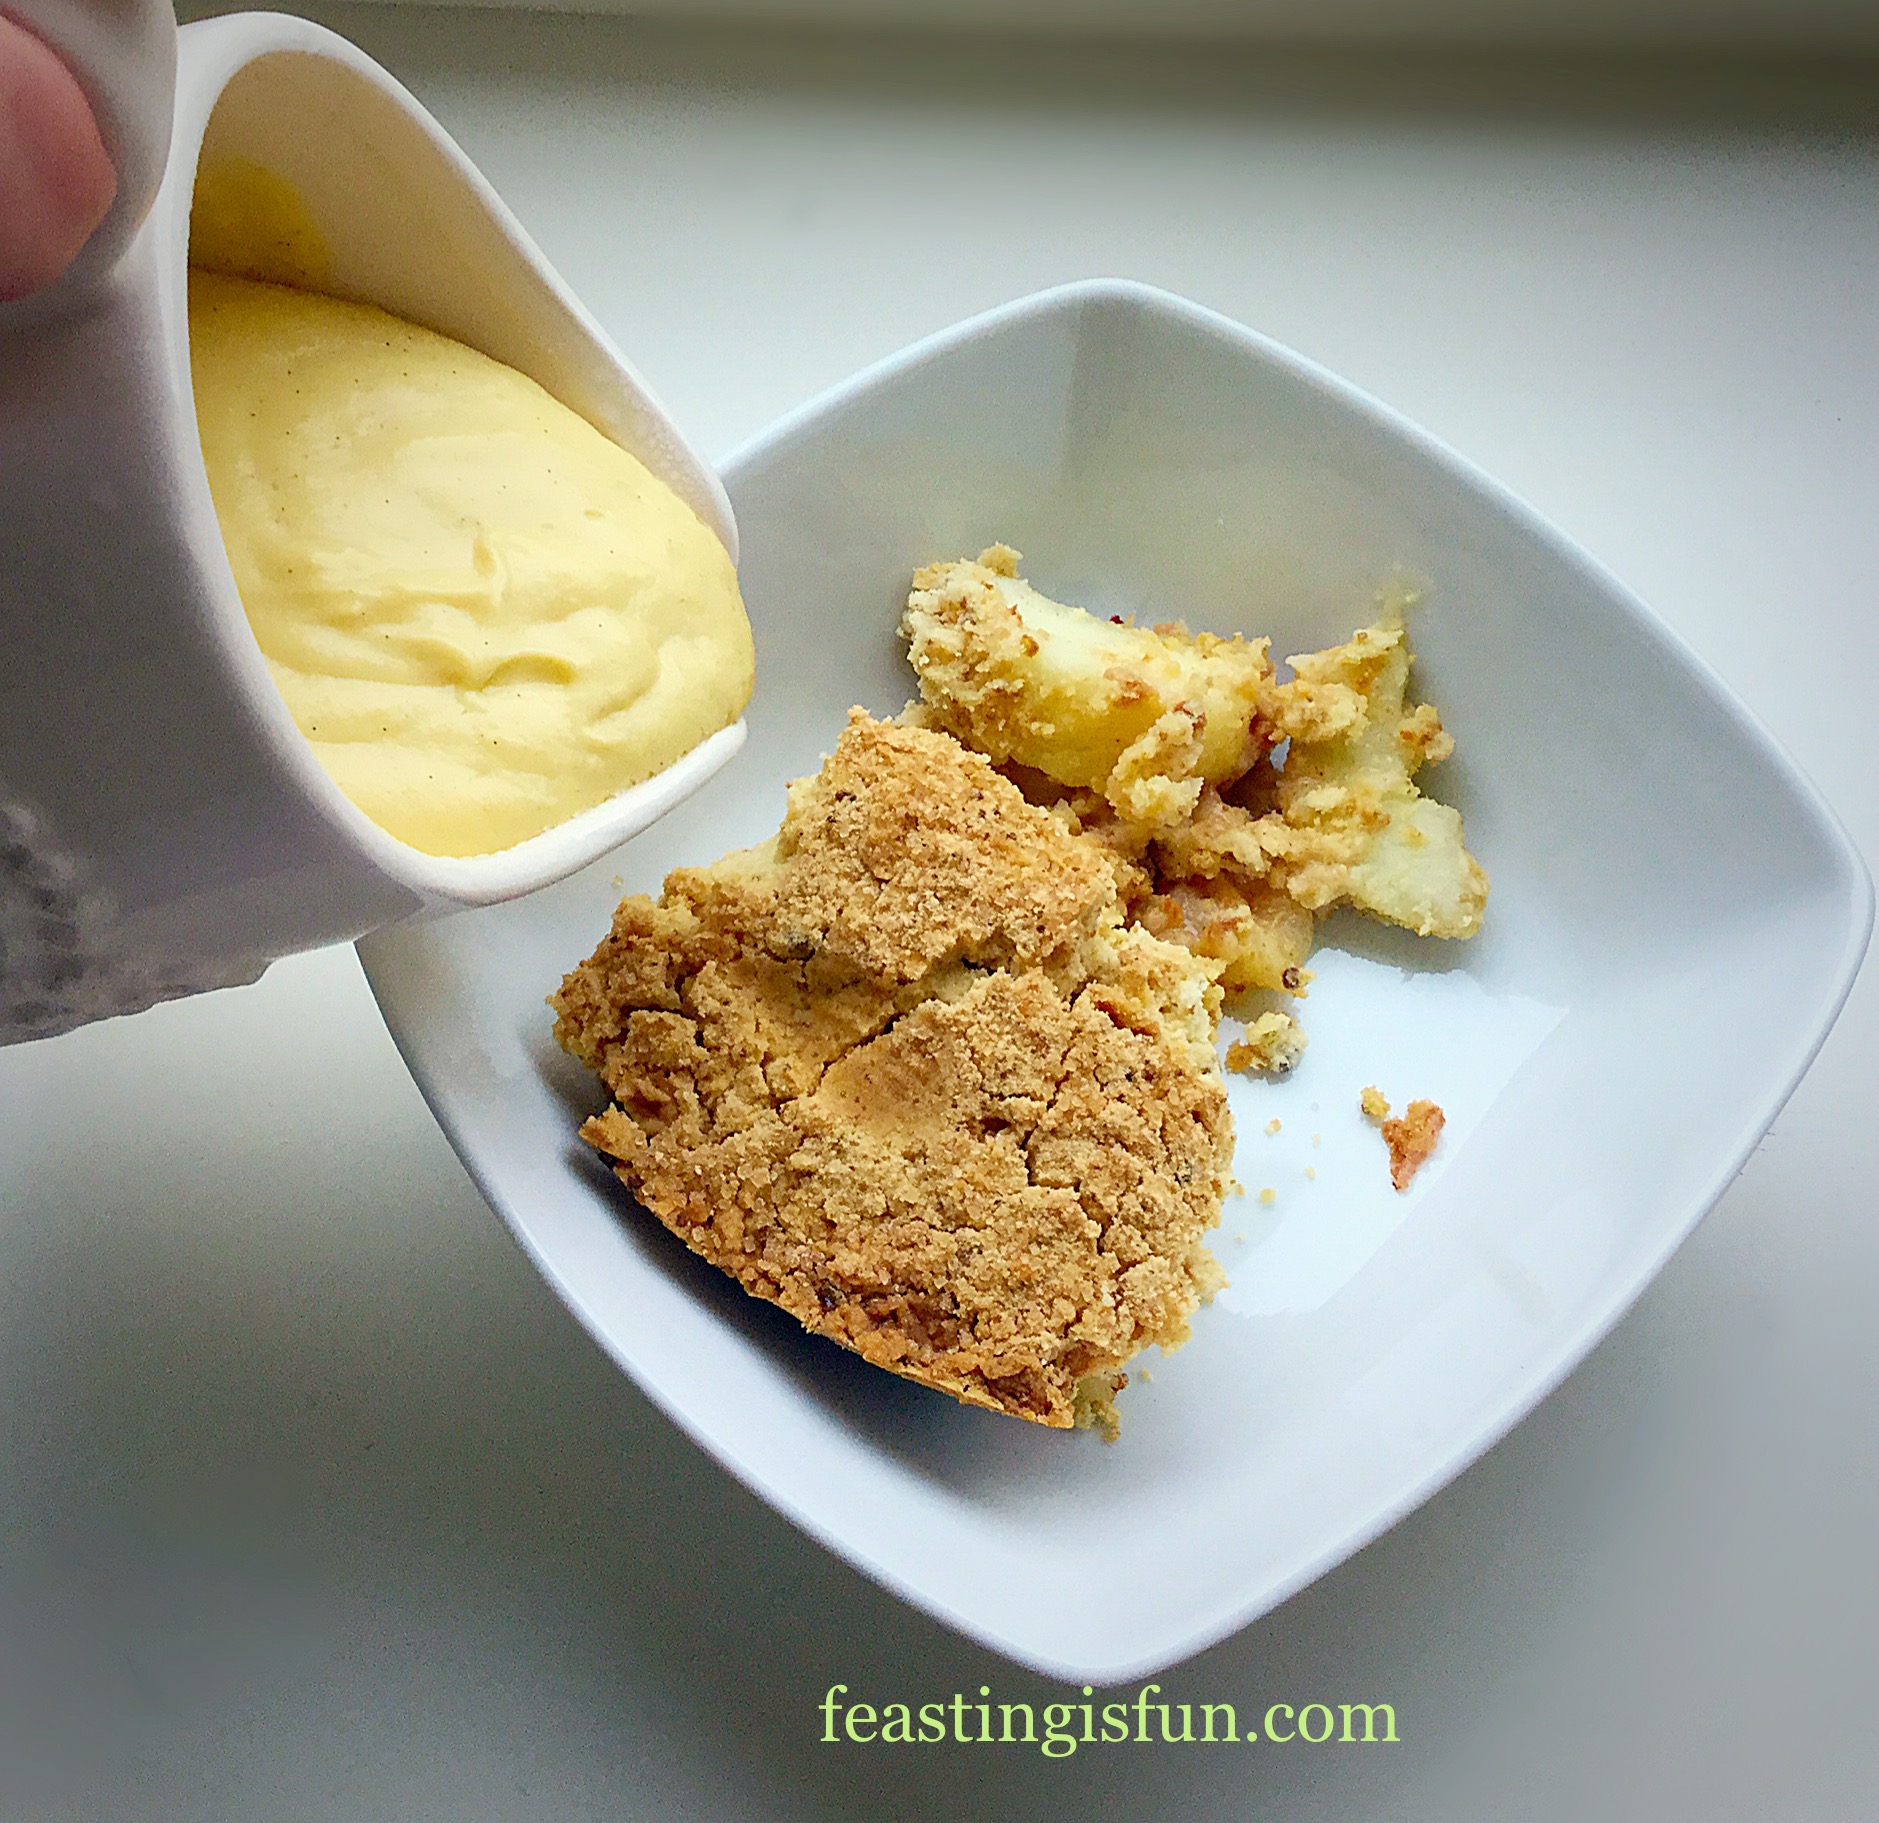
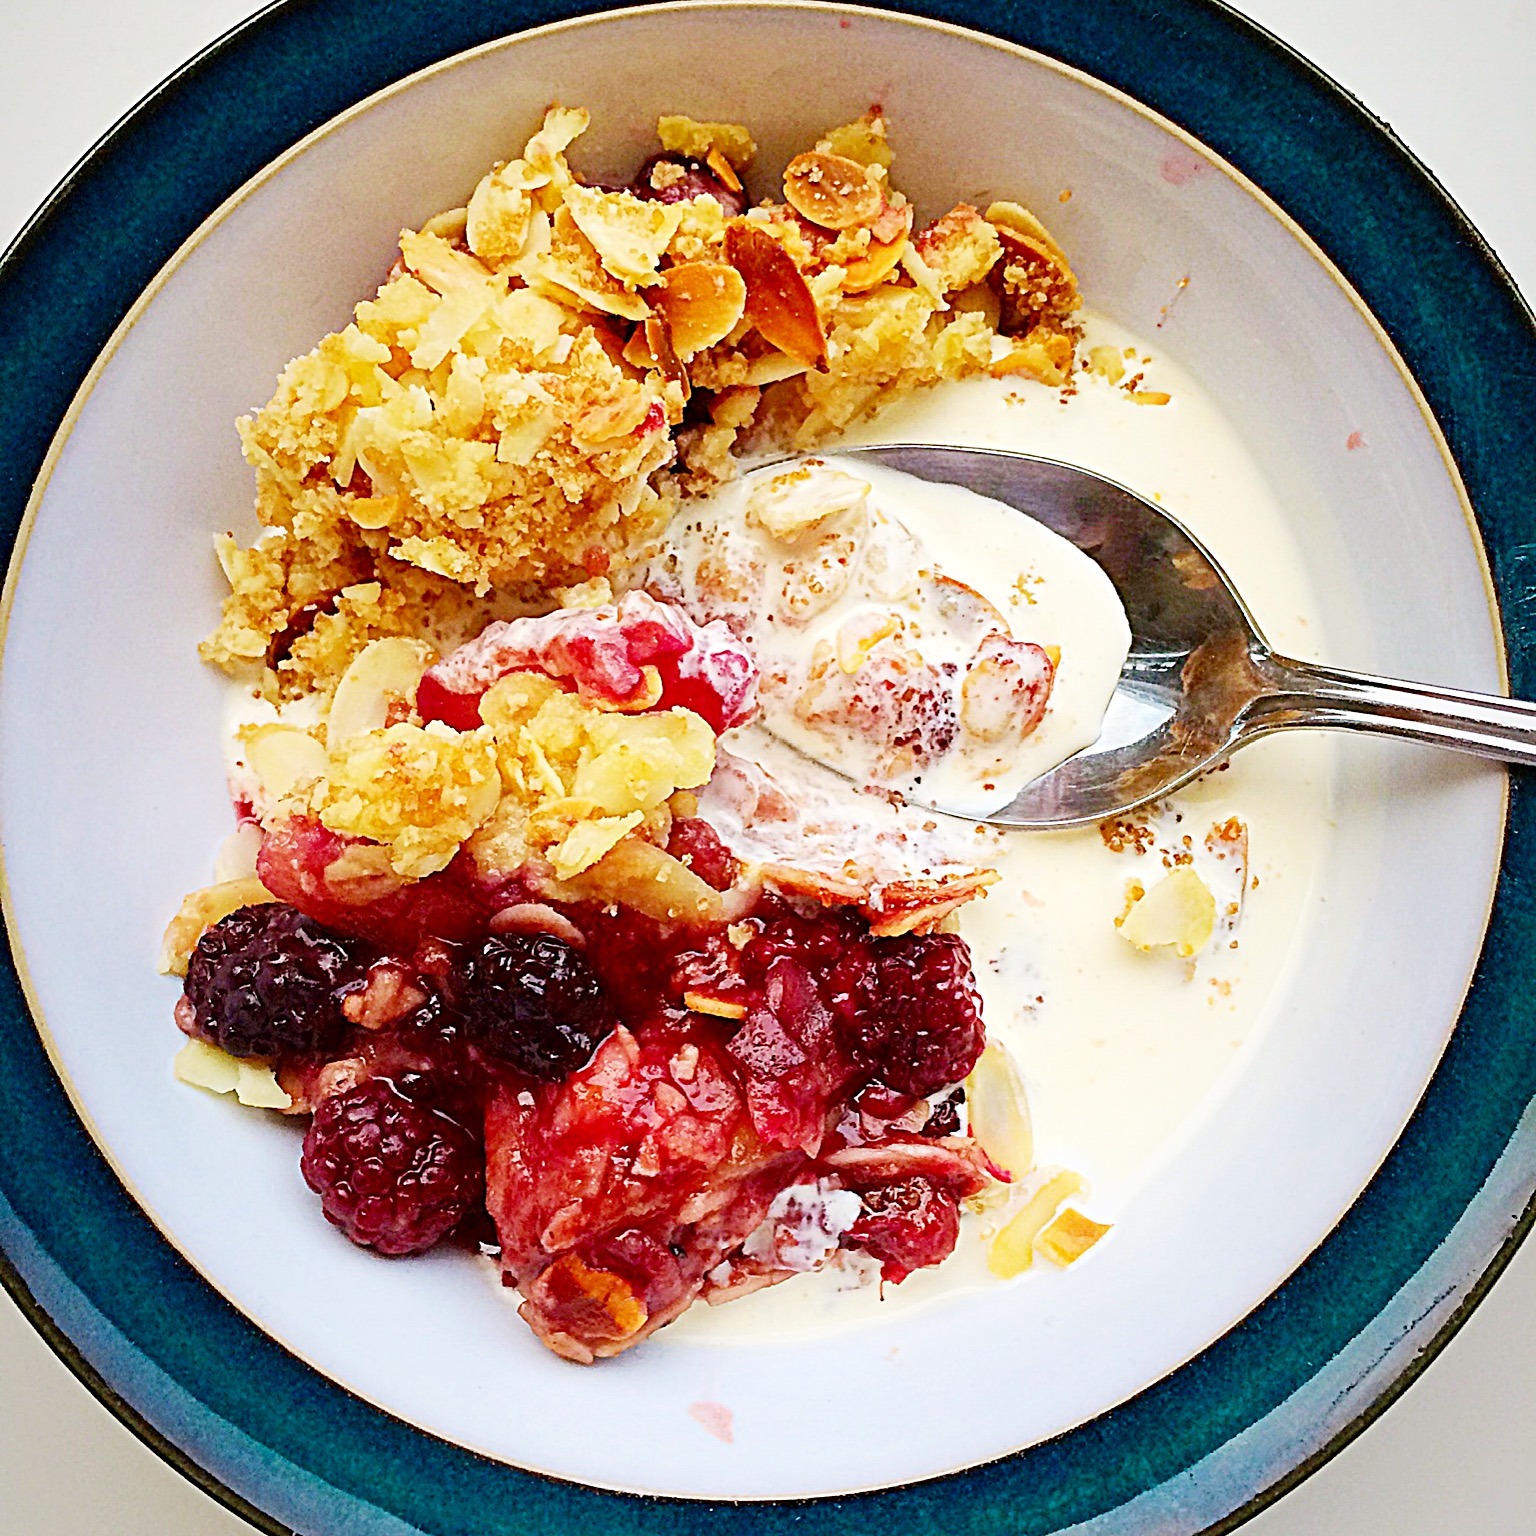
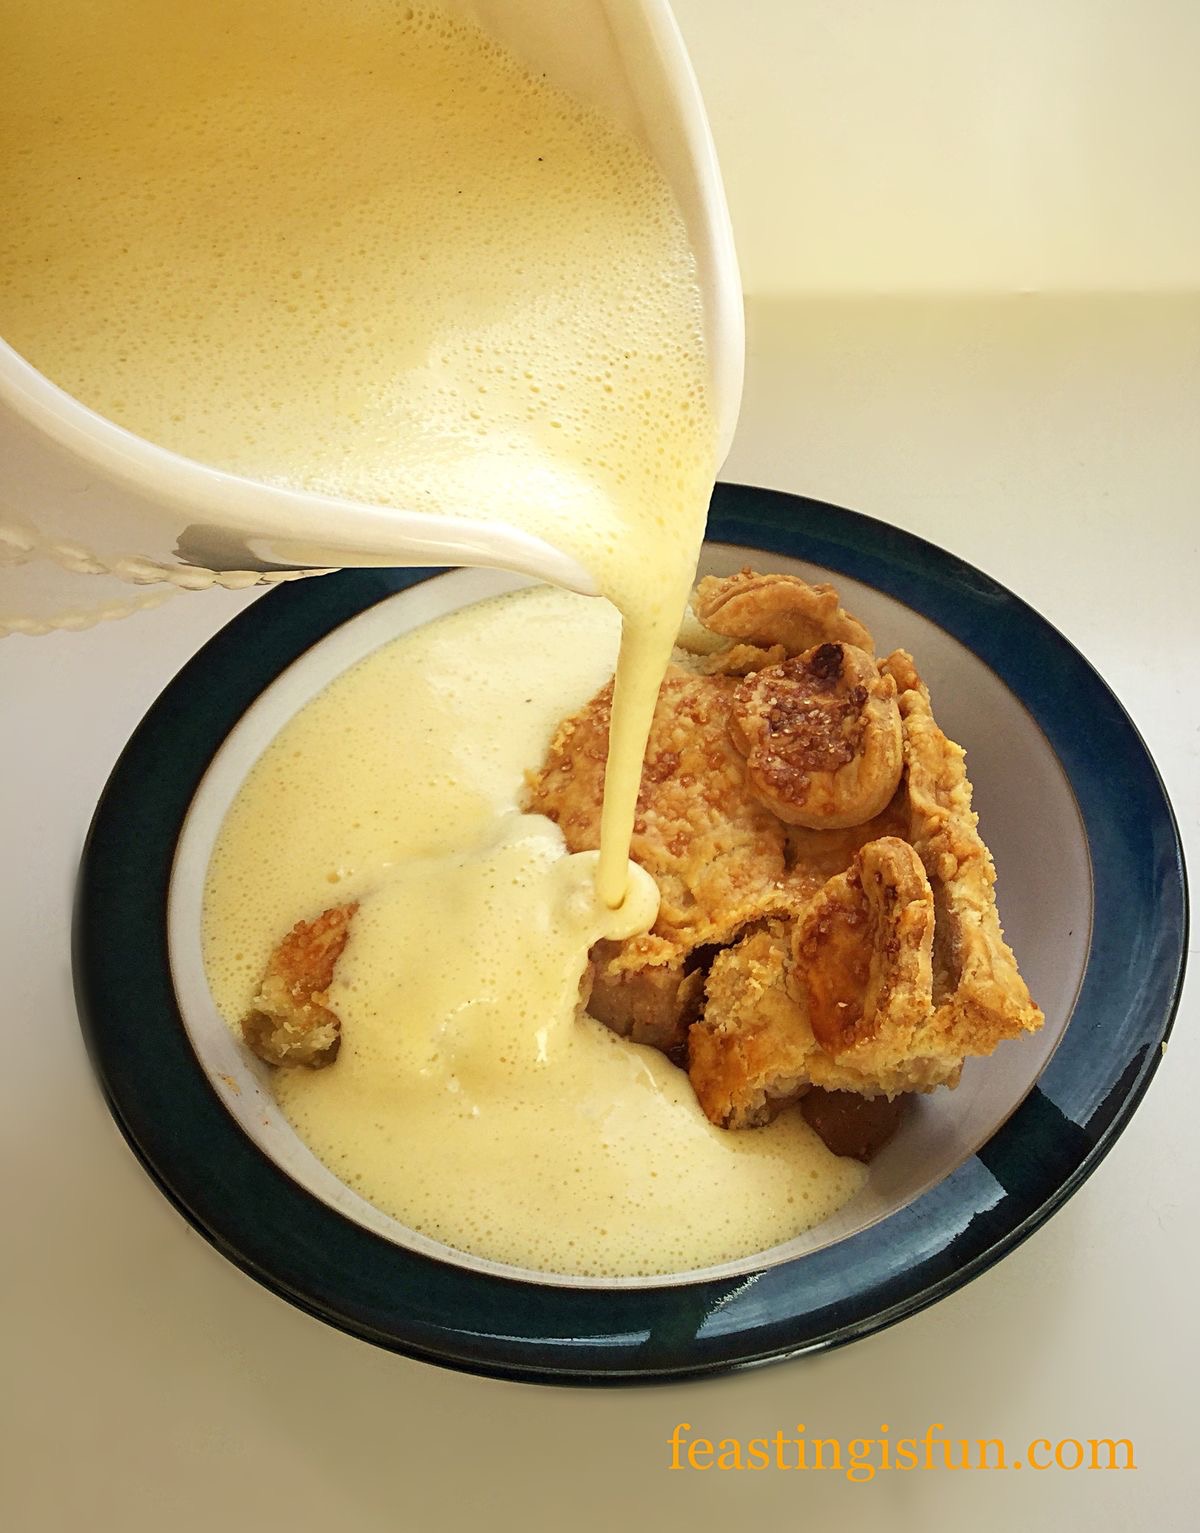
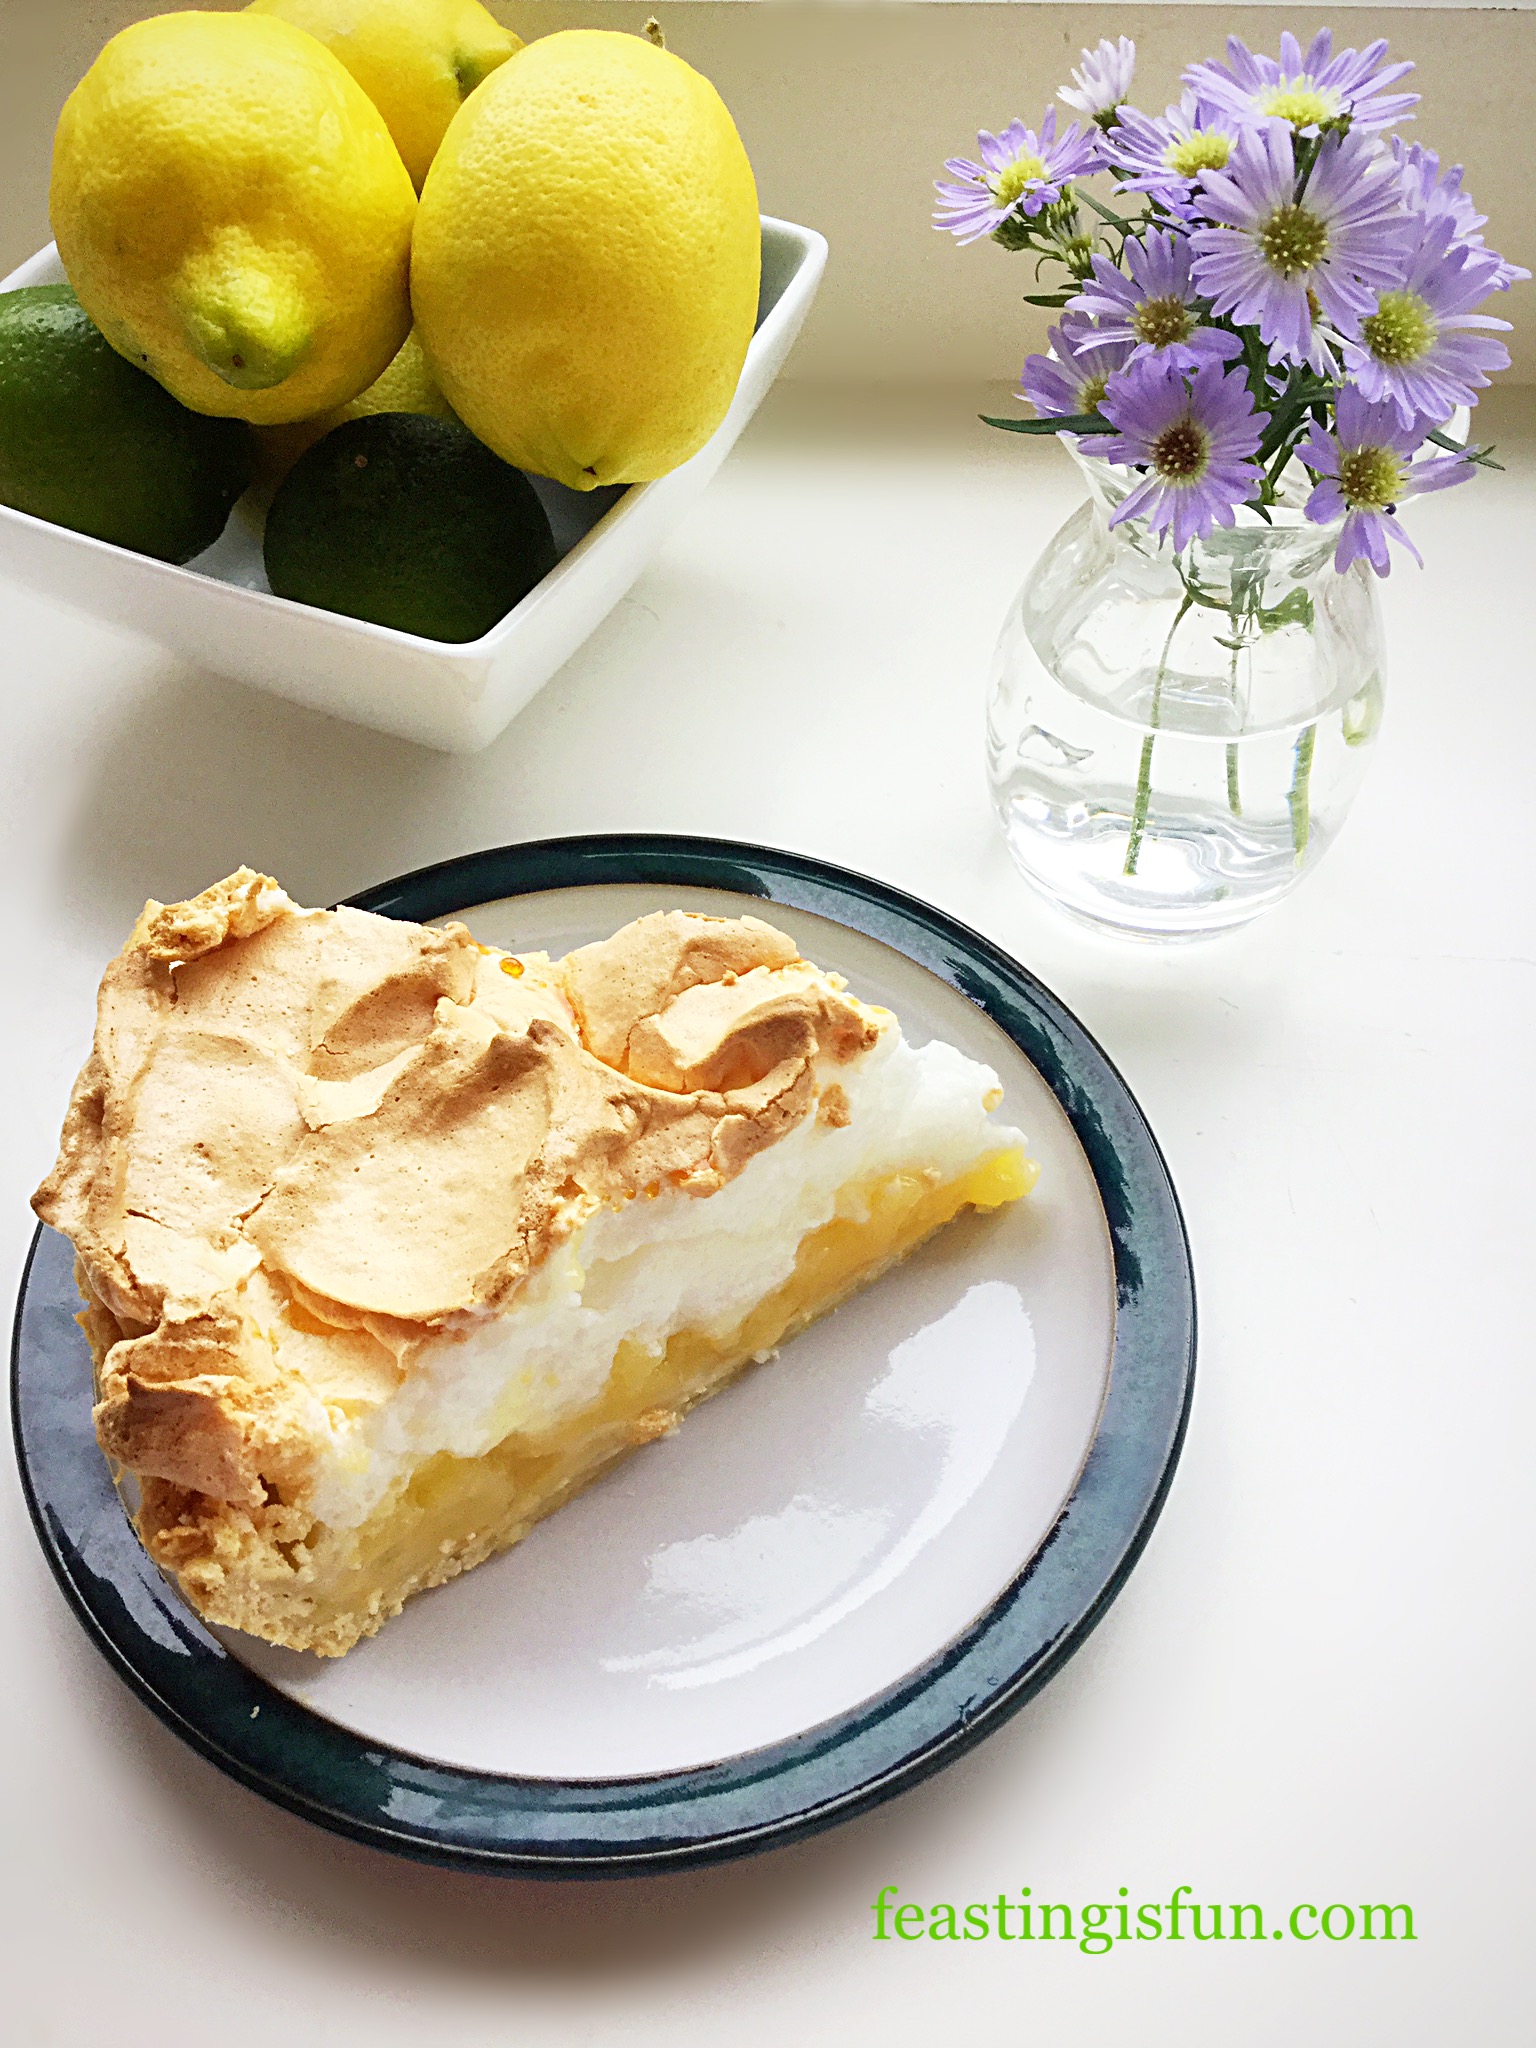
Serve slices of chilled Lemon Lime Meringue Pie as a refreshing dessert, or an afternoon treat.
Both pie crust and curd can be made a day ahead. Cool both, wrap the cold pie crust in foil and place somewhere cool and dry. Cling film the top of the jug and refrigerate the curd.
If you have enjoyed this recipe for Lemon Lime Meringue Pie you may also like these:
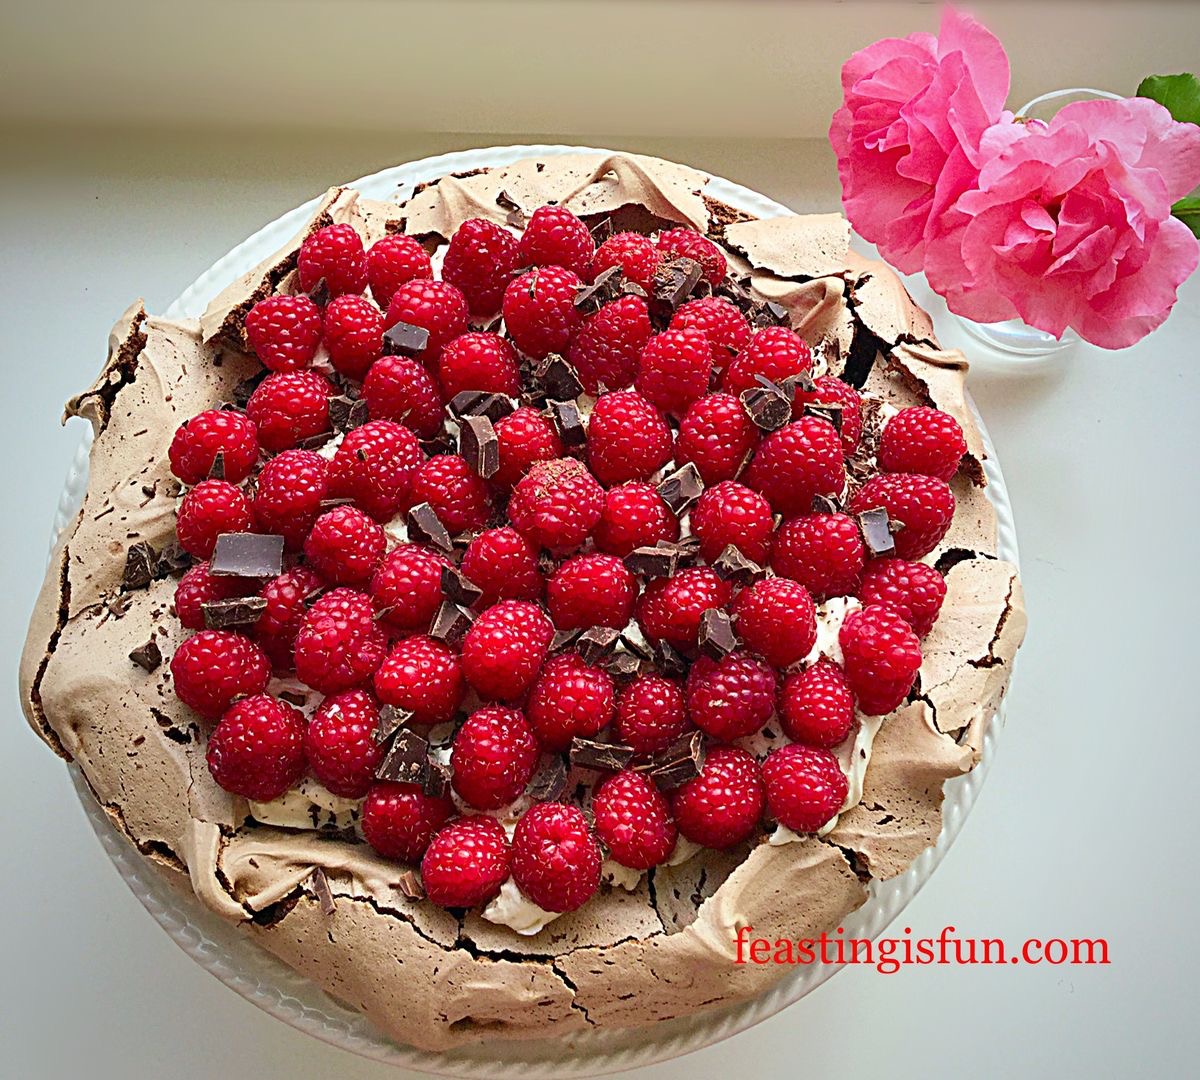
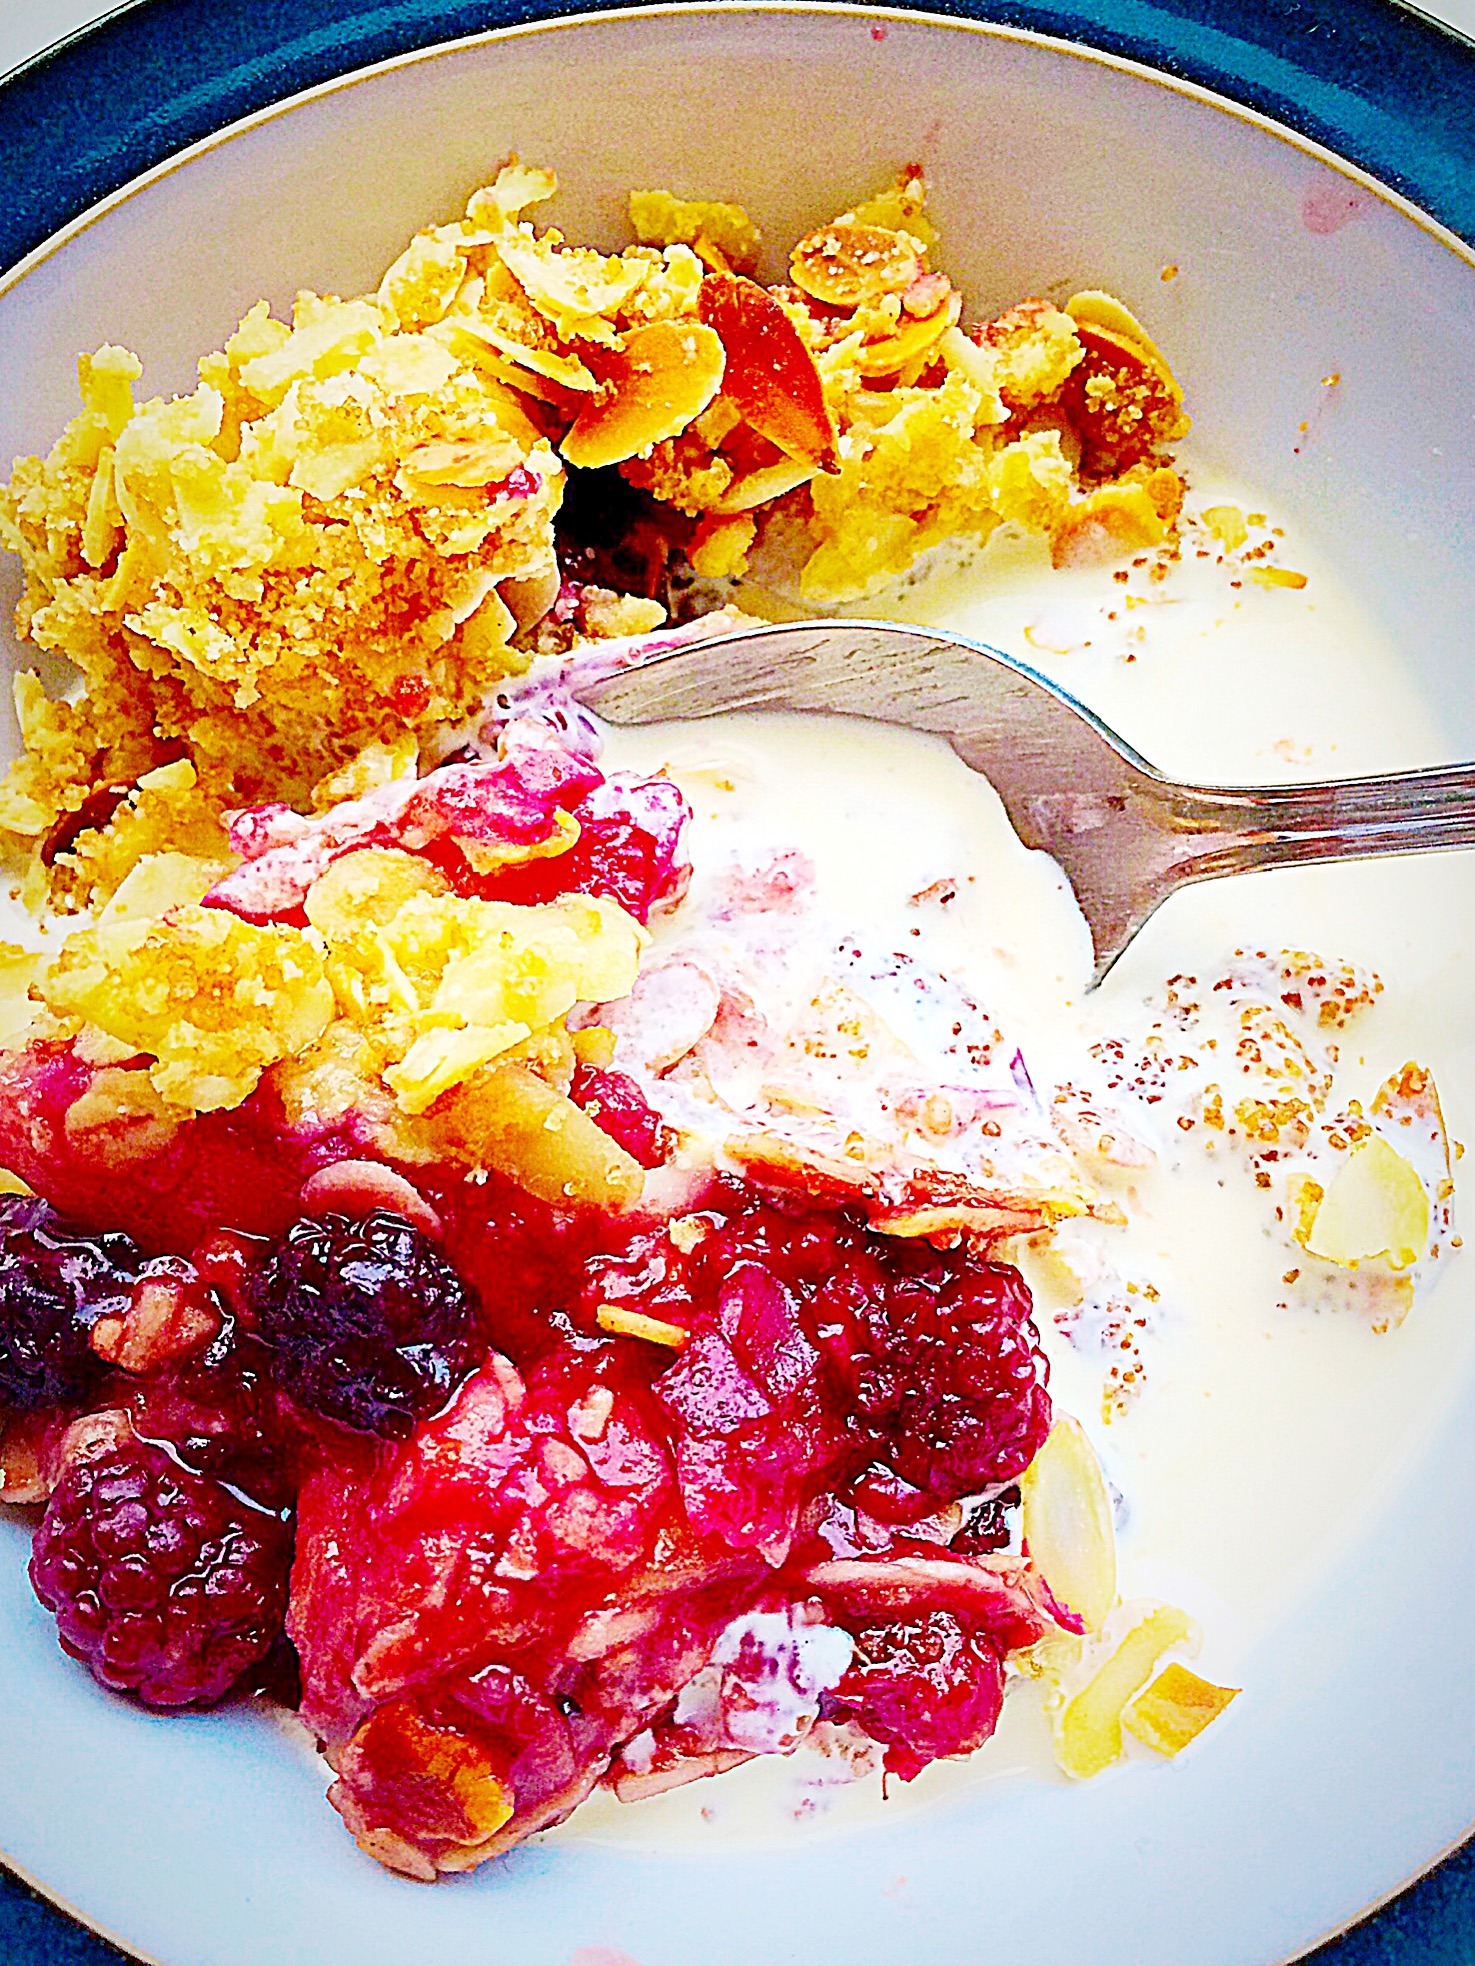
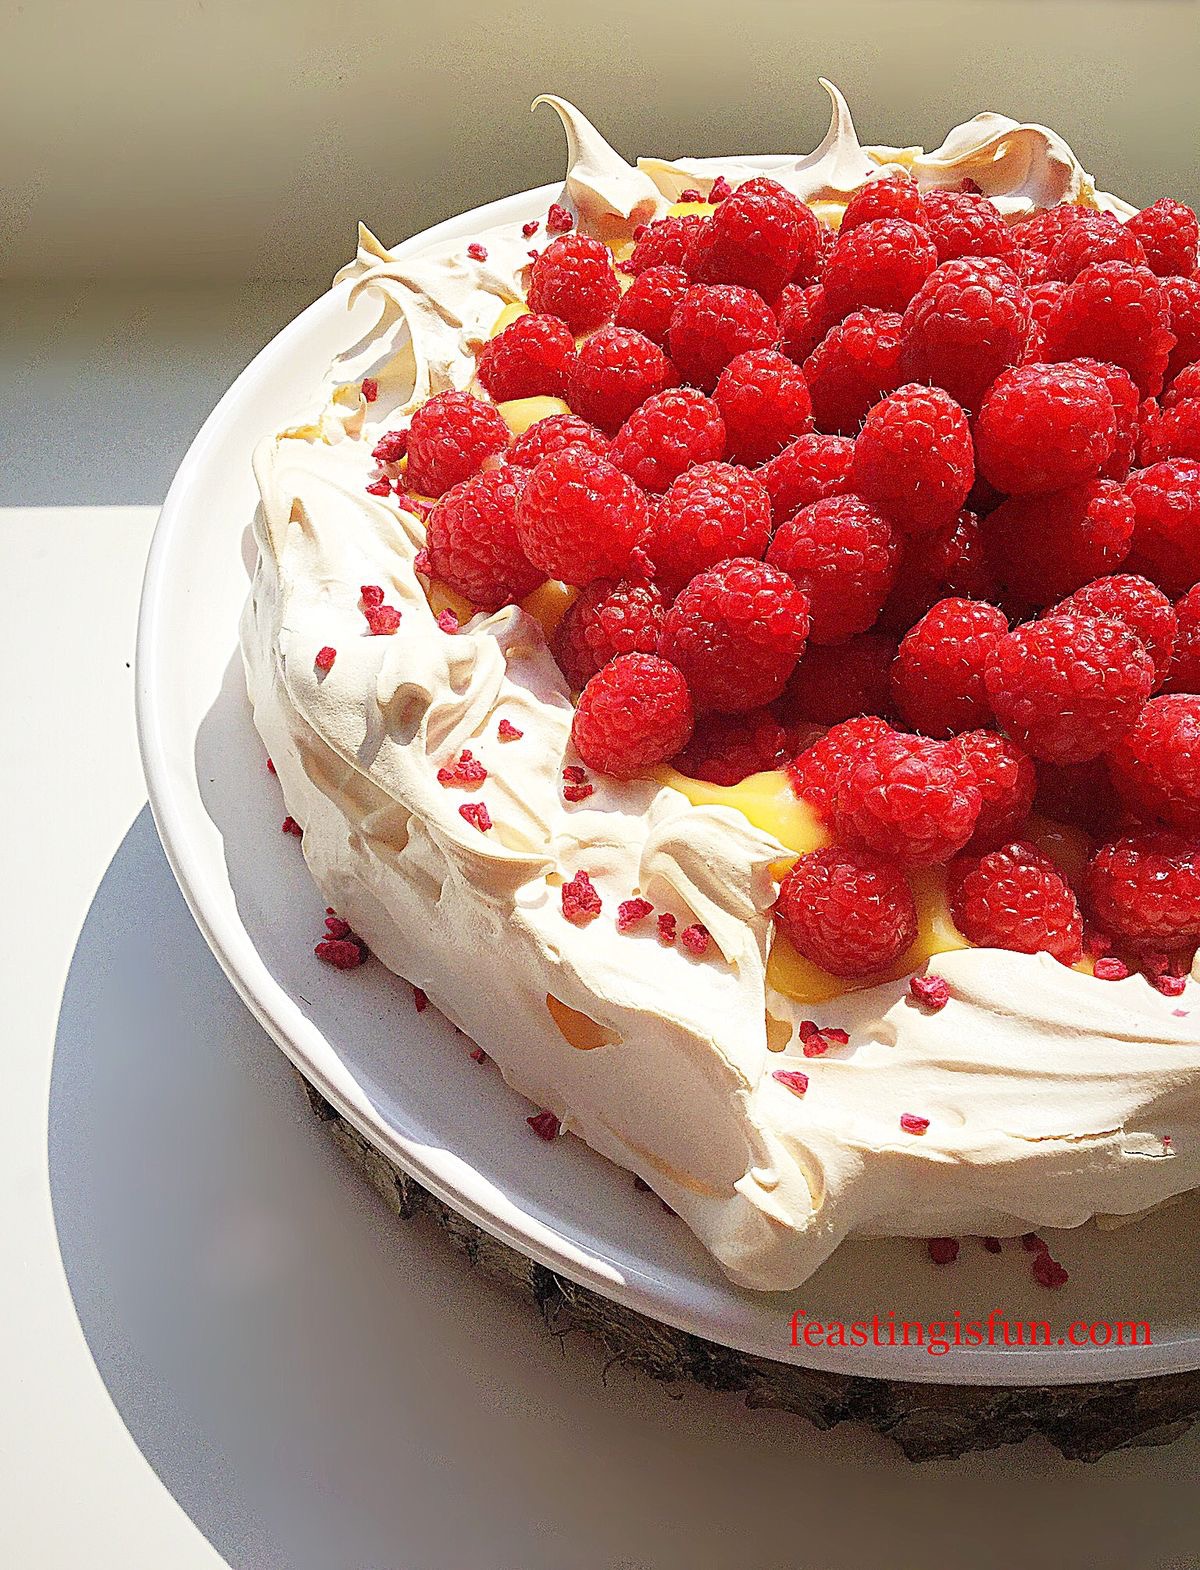
Raspberry Topped Lemon Curd Pavlova
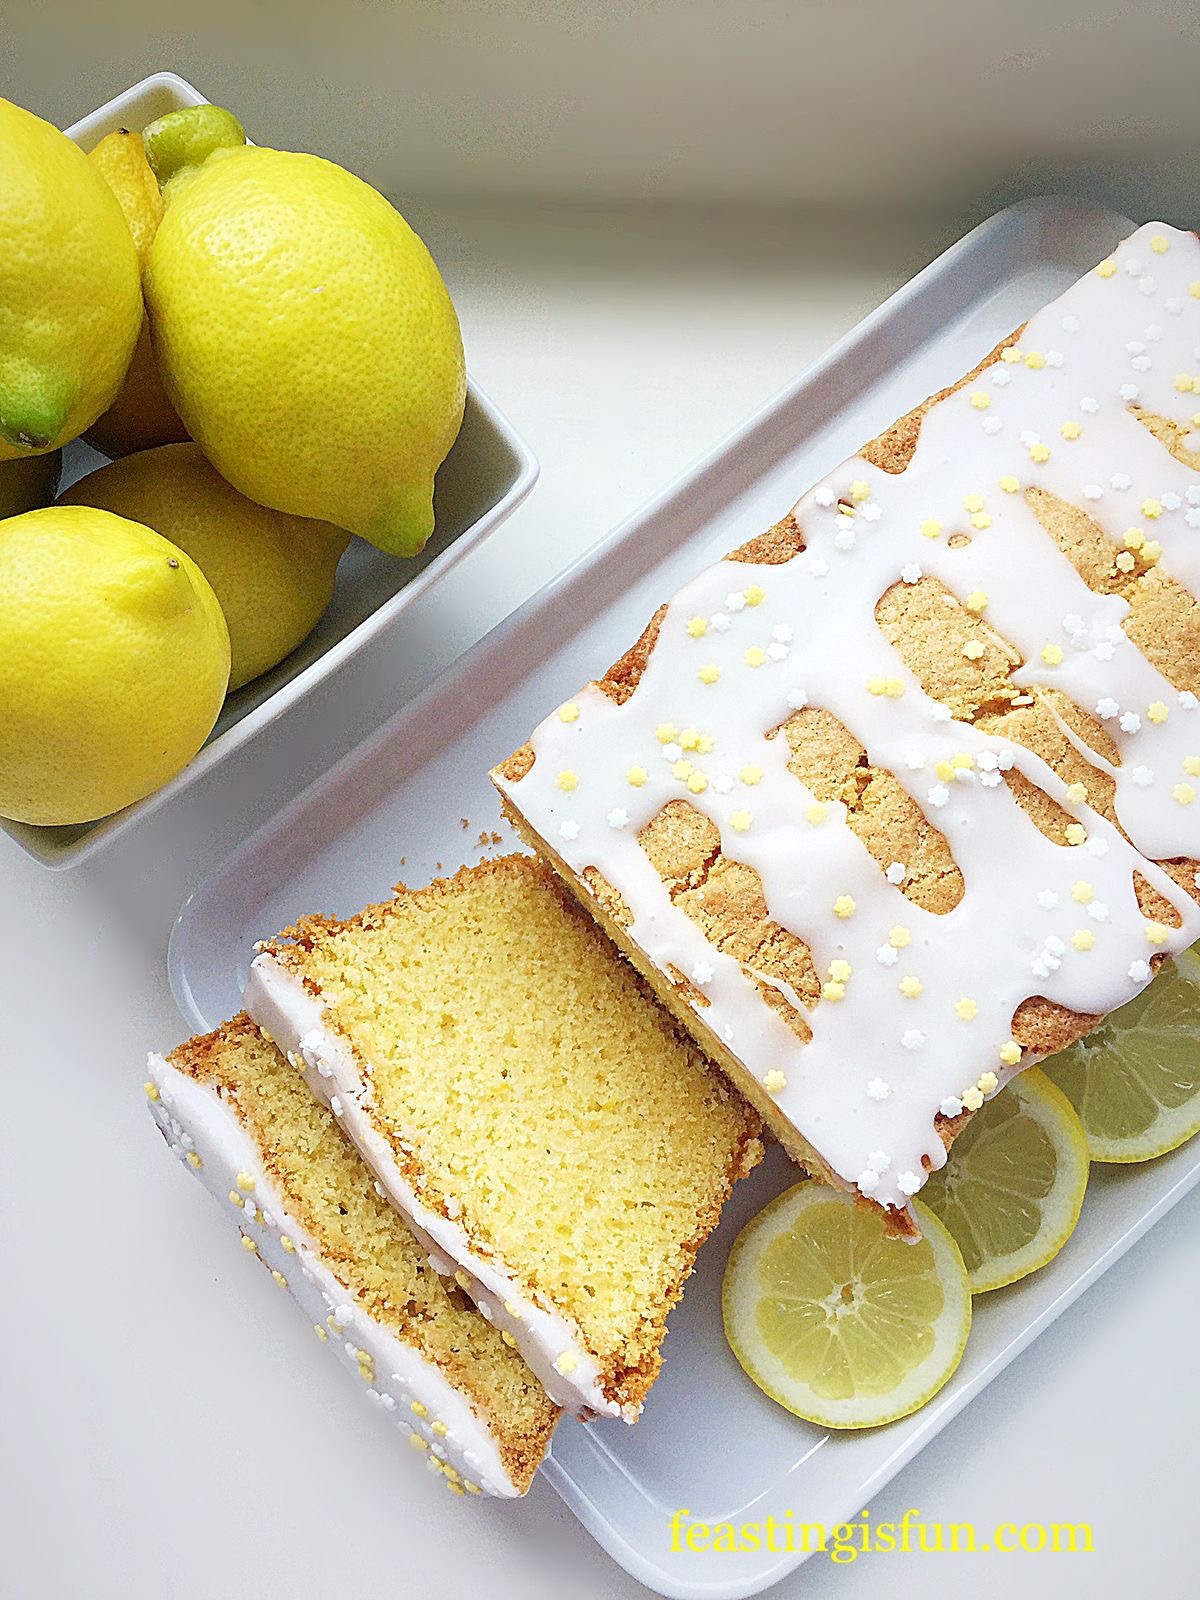
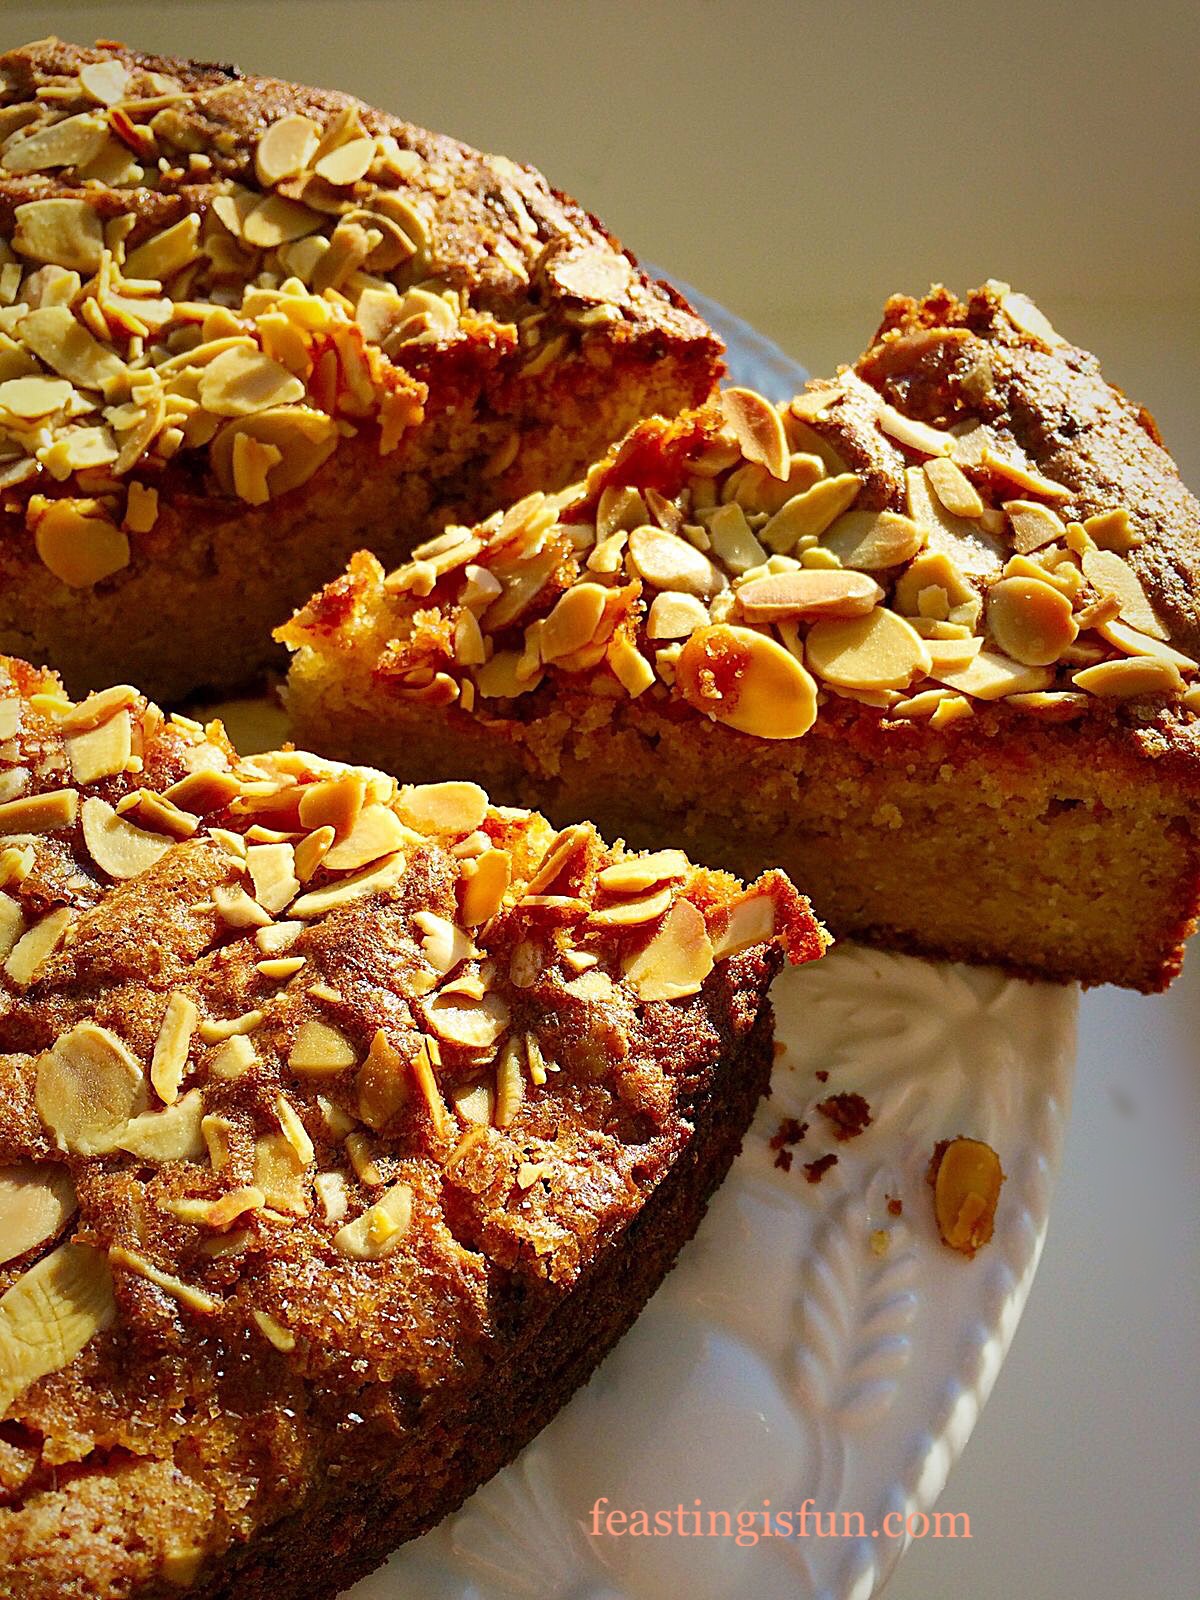
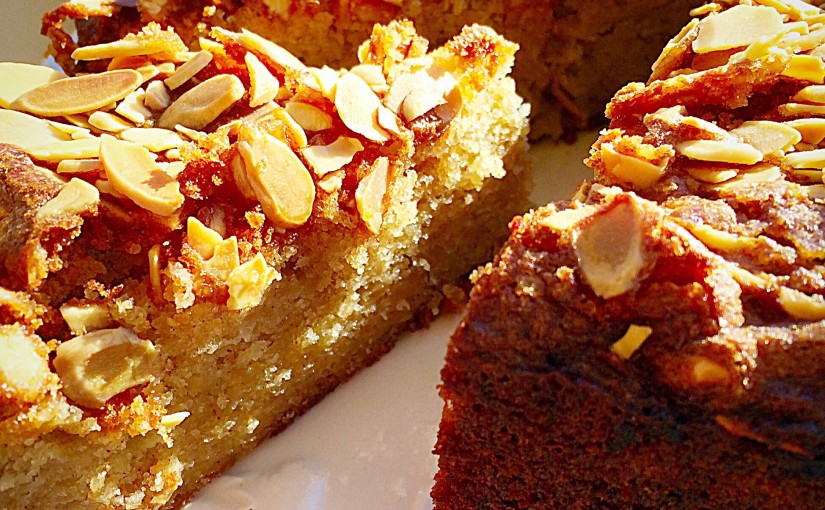
Raspberry Lemon Celebration Layer Cake

Good quality kitchenware is essential to me in my cooking and baking. While Pyrex is a well known brand, made from toughened glass, baking with this flan dish has reminded me why it is such a vital kitchen staple. Even the jug (which is my own), used to capture the sieved curd is used daily in our house. For everything from microwaving milk for hot chocolate, to making jelly for a trifle. I will definitely be using both the bowl and flan dish frequently in my kitchen. Anyone for quiche?
Whatever you are making, baking and creating in your kitchens, have fun preparing and sharing your feast.
Sammie xx
Maha Home gifted me both the Pyrex deep flan dish and 3L large bowl for the purpose of reviewing. All opinions and views are my own. I have not been paid to write this post, neither do I receive any payment following sales of product as a result of this post.
No part of this post may be reproduced or duplicated without the written permission of the owner. Please see my Disclosure Policy.