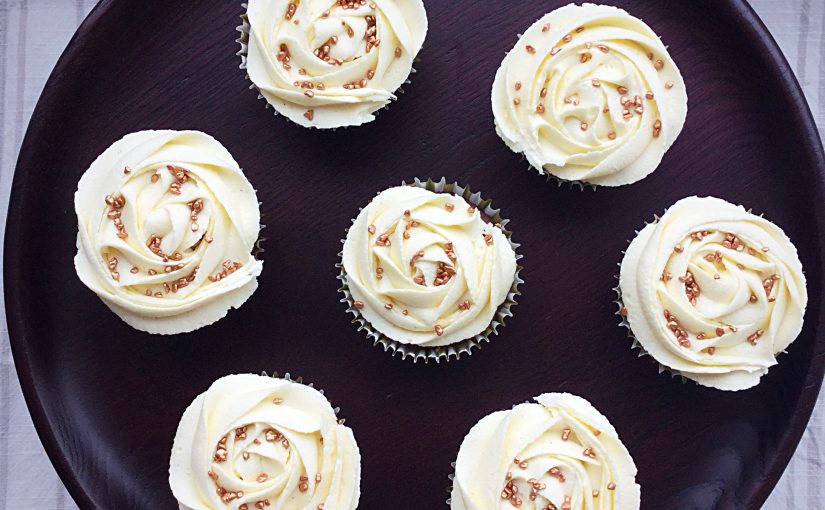
If you are a parent and have children, you will know that from year 6, exams become an important part of their lives. Whether it’s SATS, GCSE’s, A Levels. College or University exams. The end game always focuses on tests or exams. Since today is the start of GCSE’s here in England these Double Chocolate Exam Busting Cupcakes, are designed to lift the spirits and fill the tummies of all students sitting their exams.
Of course these cupcakes could and should be made all year round, such is their delicious simplicity. Chocolate cake topped with the ultimate white chocolate vanilla frosting. Perfect for chocolate lovers everywhere.
A quick bake
Since these cupcakes can be made, from start to finish in under an hour, they are also handy for short notice or unexpected guests. Likewise they can be whipped up, literally, in moments. The comforting aroma of home baking, wrapping around your weary children, like a cosy, soft blanket, when they arrive home.
While my hard working teens are sitting and studying for their exams, I can be found in the kitchen. Busy rustling up delicious, sustained energy food and lots of treats. The amount of energy burned up during studying is vast. Since this can be a tough time of year for them, their usual ‘healthy’ food intake is topped up with extra yummy goodies!
Recipe: Double Chocolate Exam Busting Cupcakes makes 12
100g/4oz Unsalted Butter – softened to room temperature
50g/2oz Caster Sugar
50g/2oz Light Brown Sugar
1/4tsp Salt – I use Maldon
1tsp Vanilla Extract – I use Nielsen-Massey
3 Large Free Eggs
60g Plain White Flower
1tsp Baking Powder
40g Cocoa Powder – I use Callebaut
For the frosting:
150g/5oz Icing Sugar
75g/3oz Unsalted softened to room temperature
1tsp Vanilla Bean Paste
100g/4oz White Chocolate
Sprinkles of your choice
Method: Preheat the oven to 160C/140C fan, gas mark 3
First of all line a 12 hole cupcake tin with cupcake cases.
Making the cupcakes
- Into a medium sized bowl add the butter, both sugars and salt. Beat together until the mixture is free from lumps and smooth.
- Now add the vanilla extract and all three eggs.
- Sift in the flour, cocoa and baking powder.
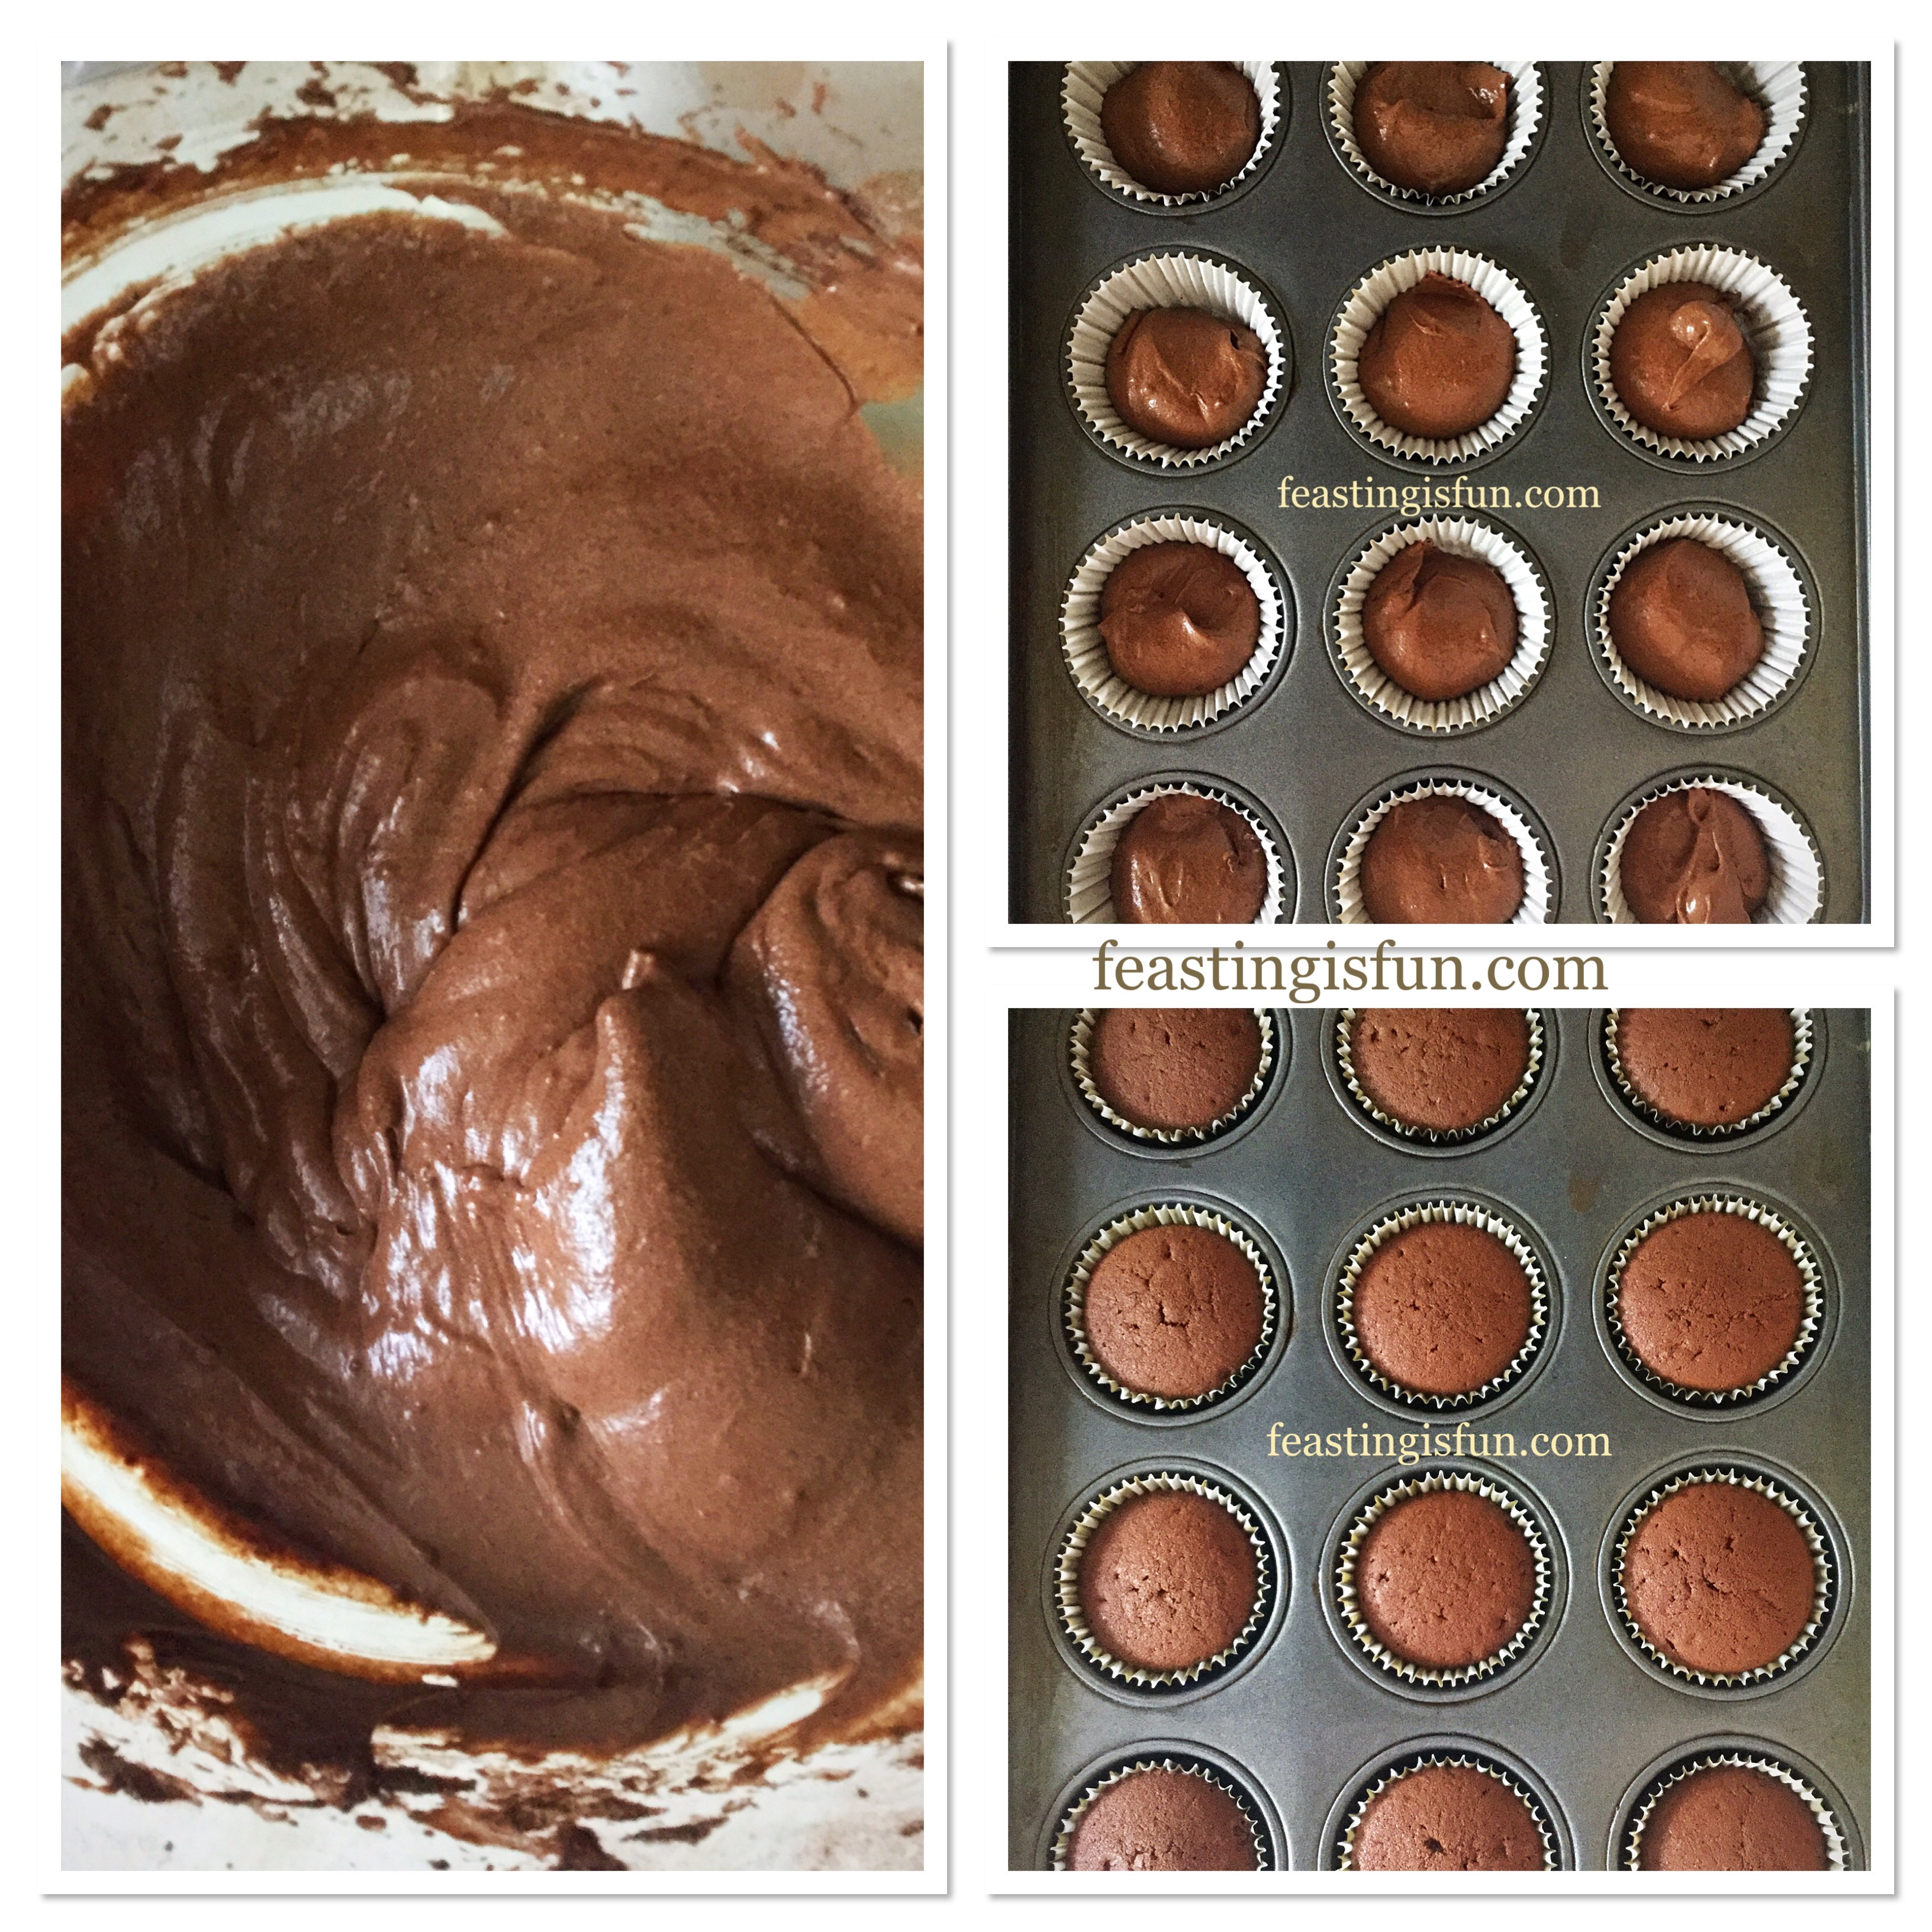
- Beat/whisk all of the ingredients together until fully mixed.
- Divide the mixture between the 12 cupcake cases – approximately one dessert spoonful of mixture per case.
- Place the cupcake tin into the centre of the preheated oven and bake for 25-30 minutes.
- The chocolate cupcakes are baked when they spring back from a light touch.
- When baked remove from the oven and allow to cool for 10 minutes before transferring to a cooling rack. Allow to fully cool.
Preparing the frosting and decorating the cupcakes
- Note – due to the high chocolate content of the frosting it is advisable to make it directly before piping, while it is soft.
- Firstly, break up the white chocolate and place in a heatproof, microwaveable bowl. Set to one side.
- Into a separate bowl add the icing sugar, butter and one teaspoon of very hot water, from a recently boiled kettle. Whisk until almost combined.
- Place the bowl with the white chocolate into the microwave. Heat for 20 seconds, stirring in between, until the chocolate is liquid.
- Pour the warm, melted chocolate in with the butter and icing sugar mixture.
- Whisk the ingredients together immediately and then continue to whisk until the frosting is light and fluffy. During the whisking add the vanilla bean paste.

- Fit a large piping bag with a large closed star piping nozzle.
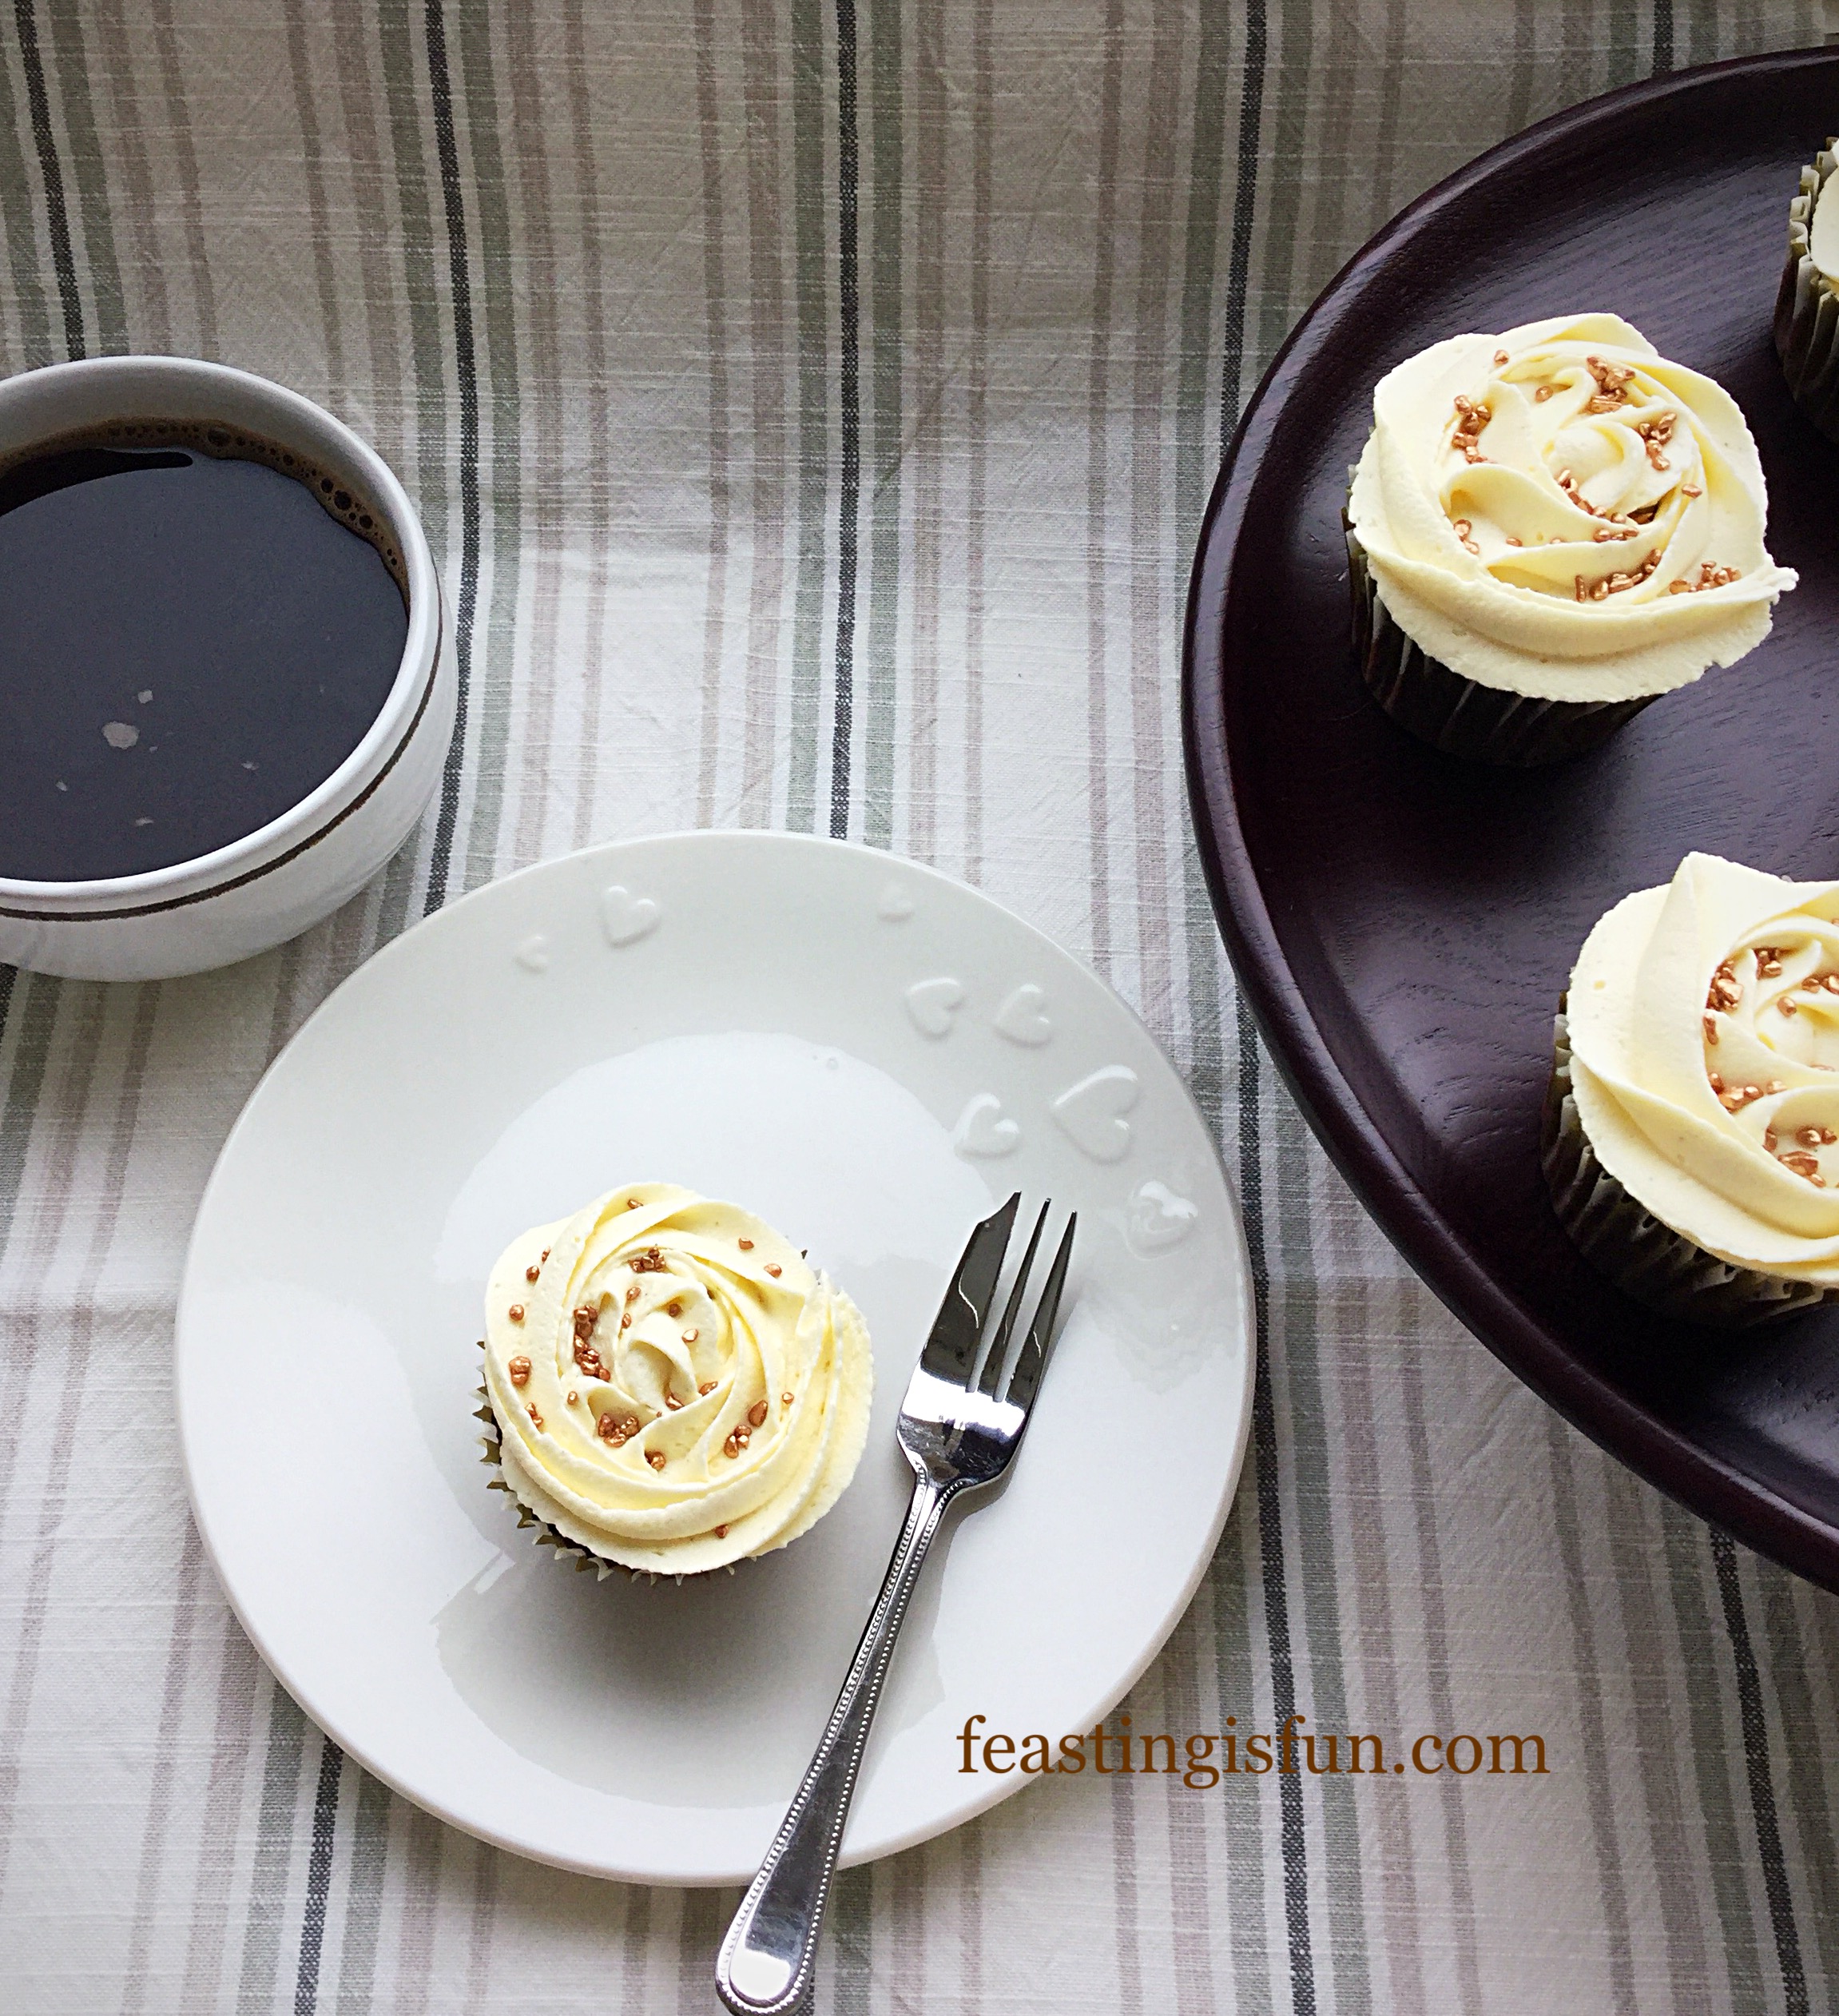
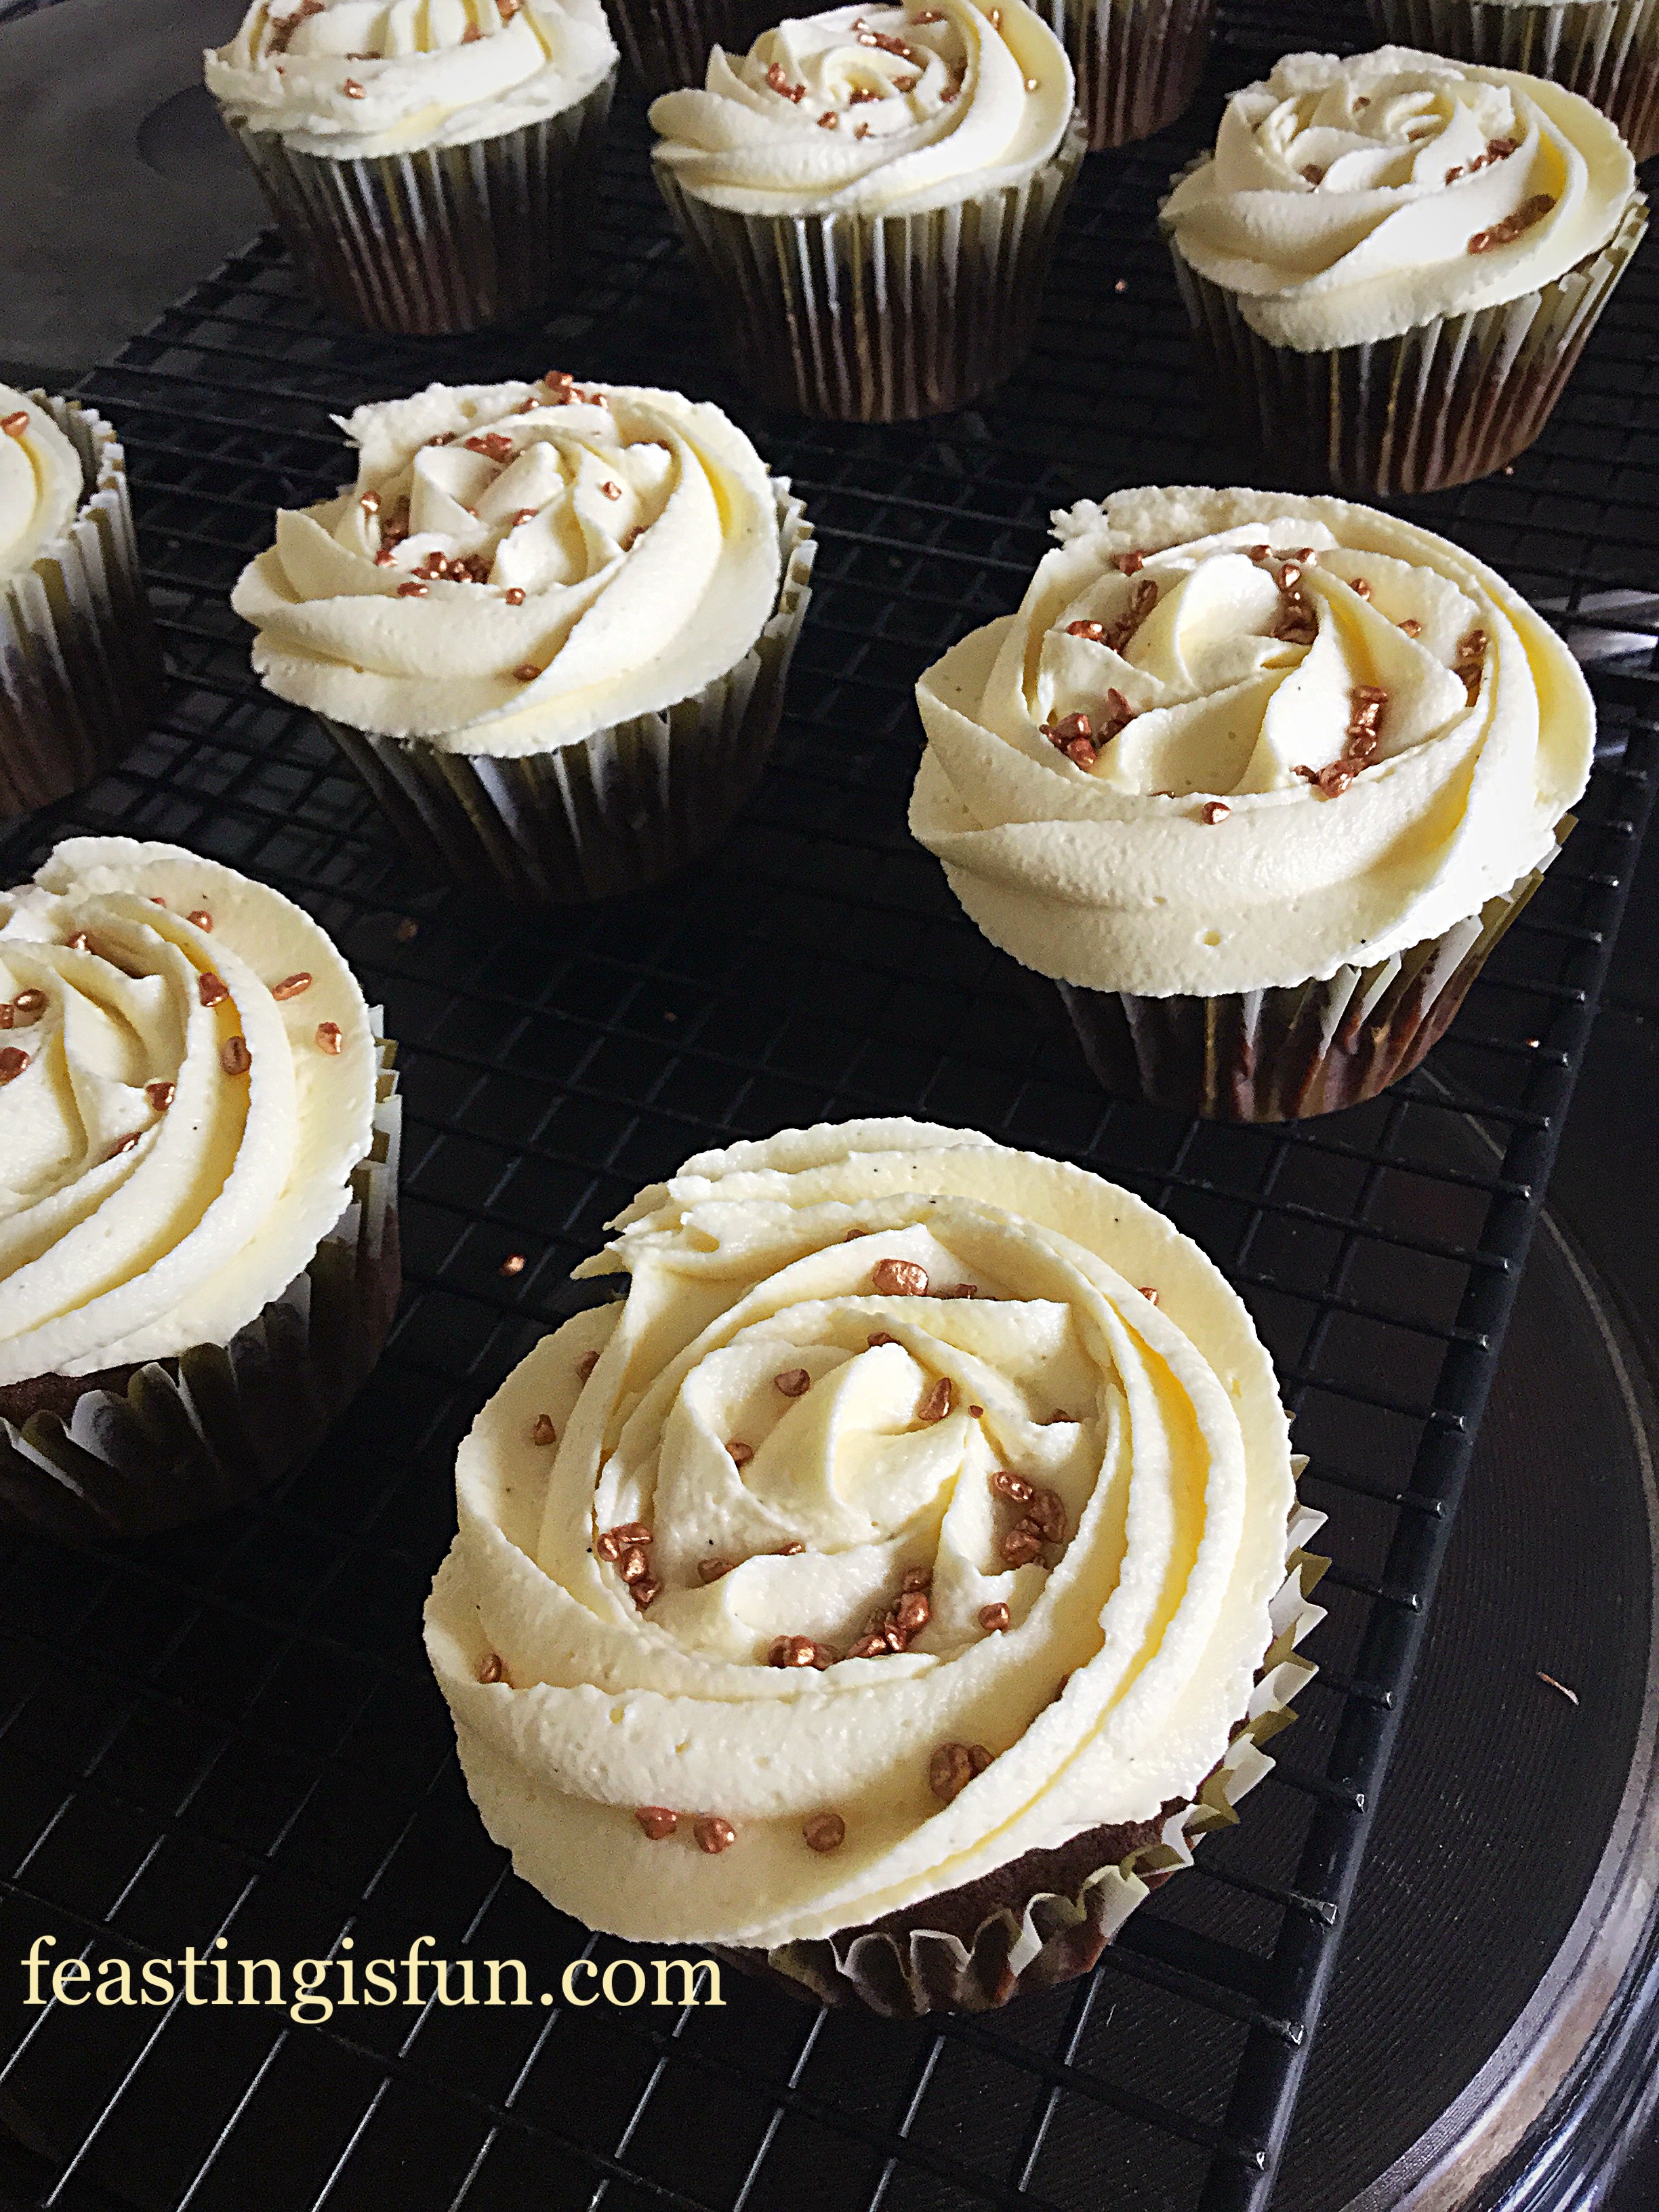
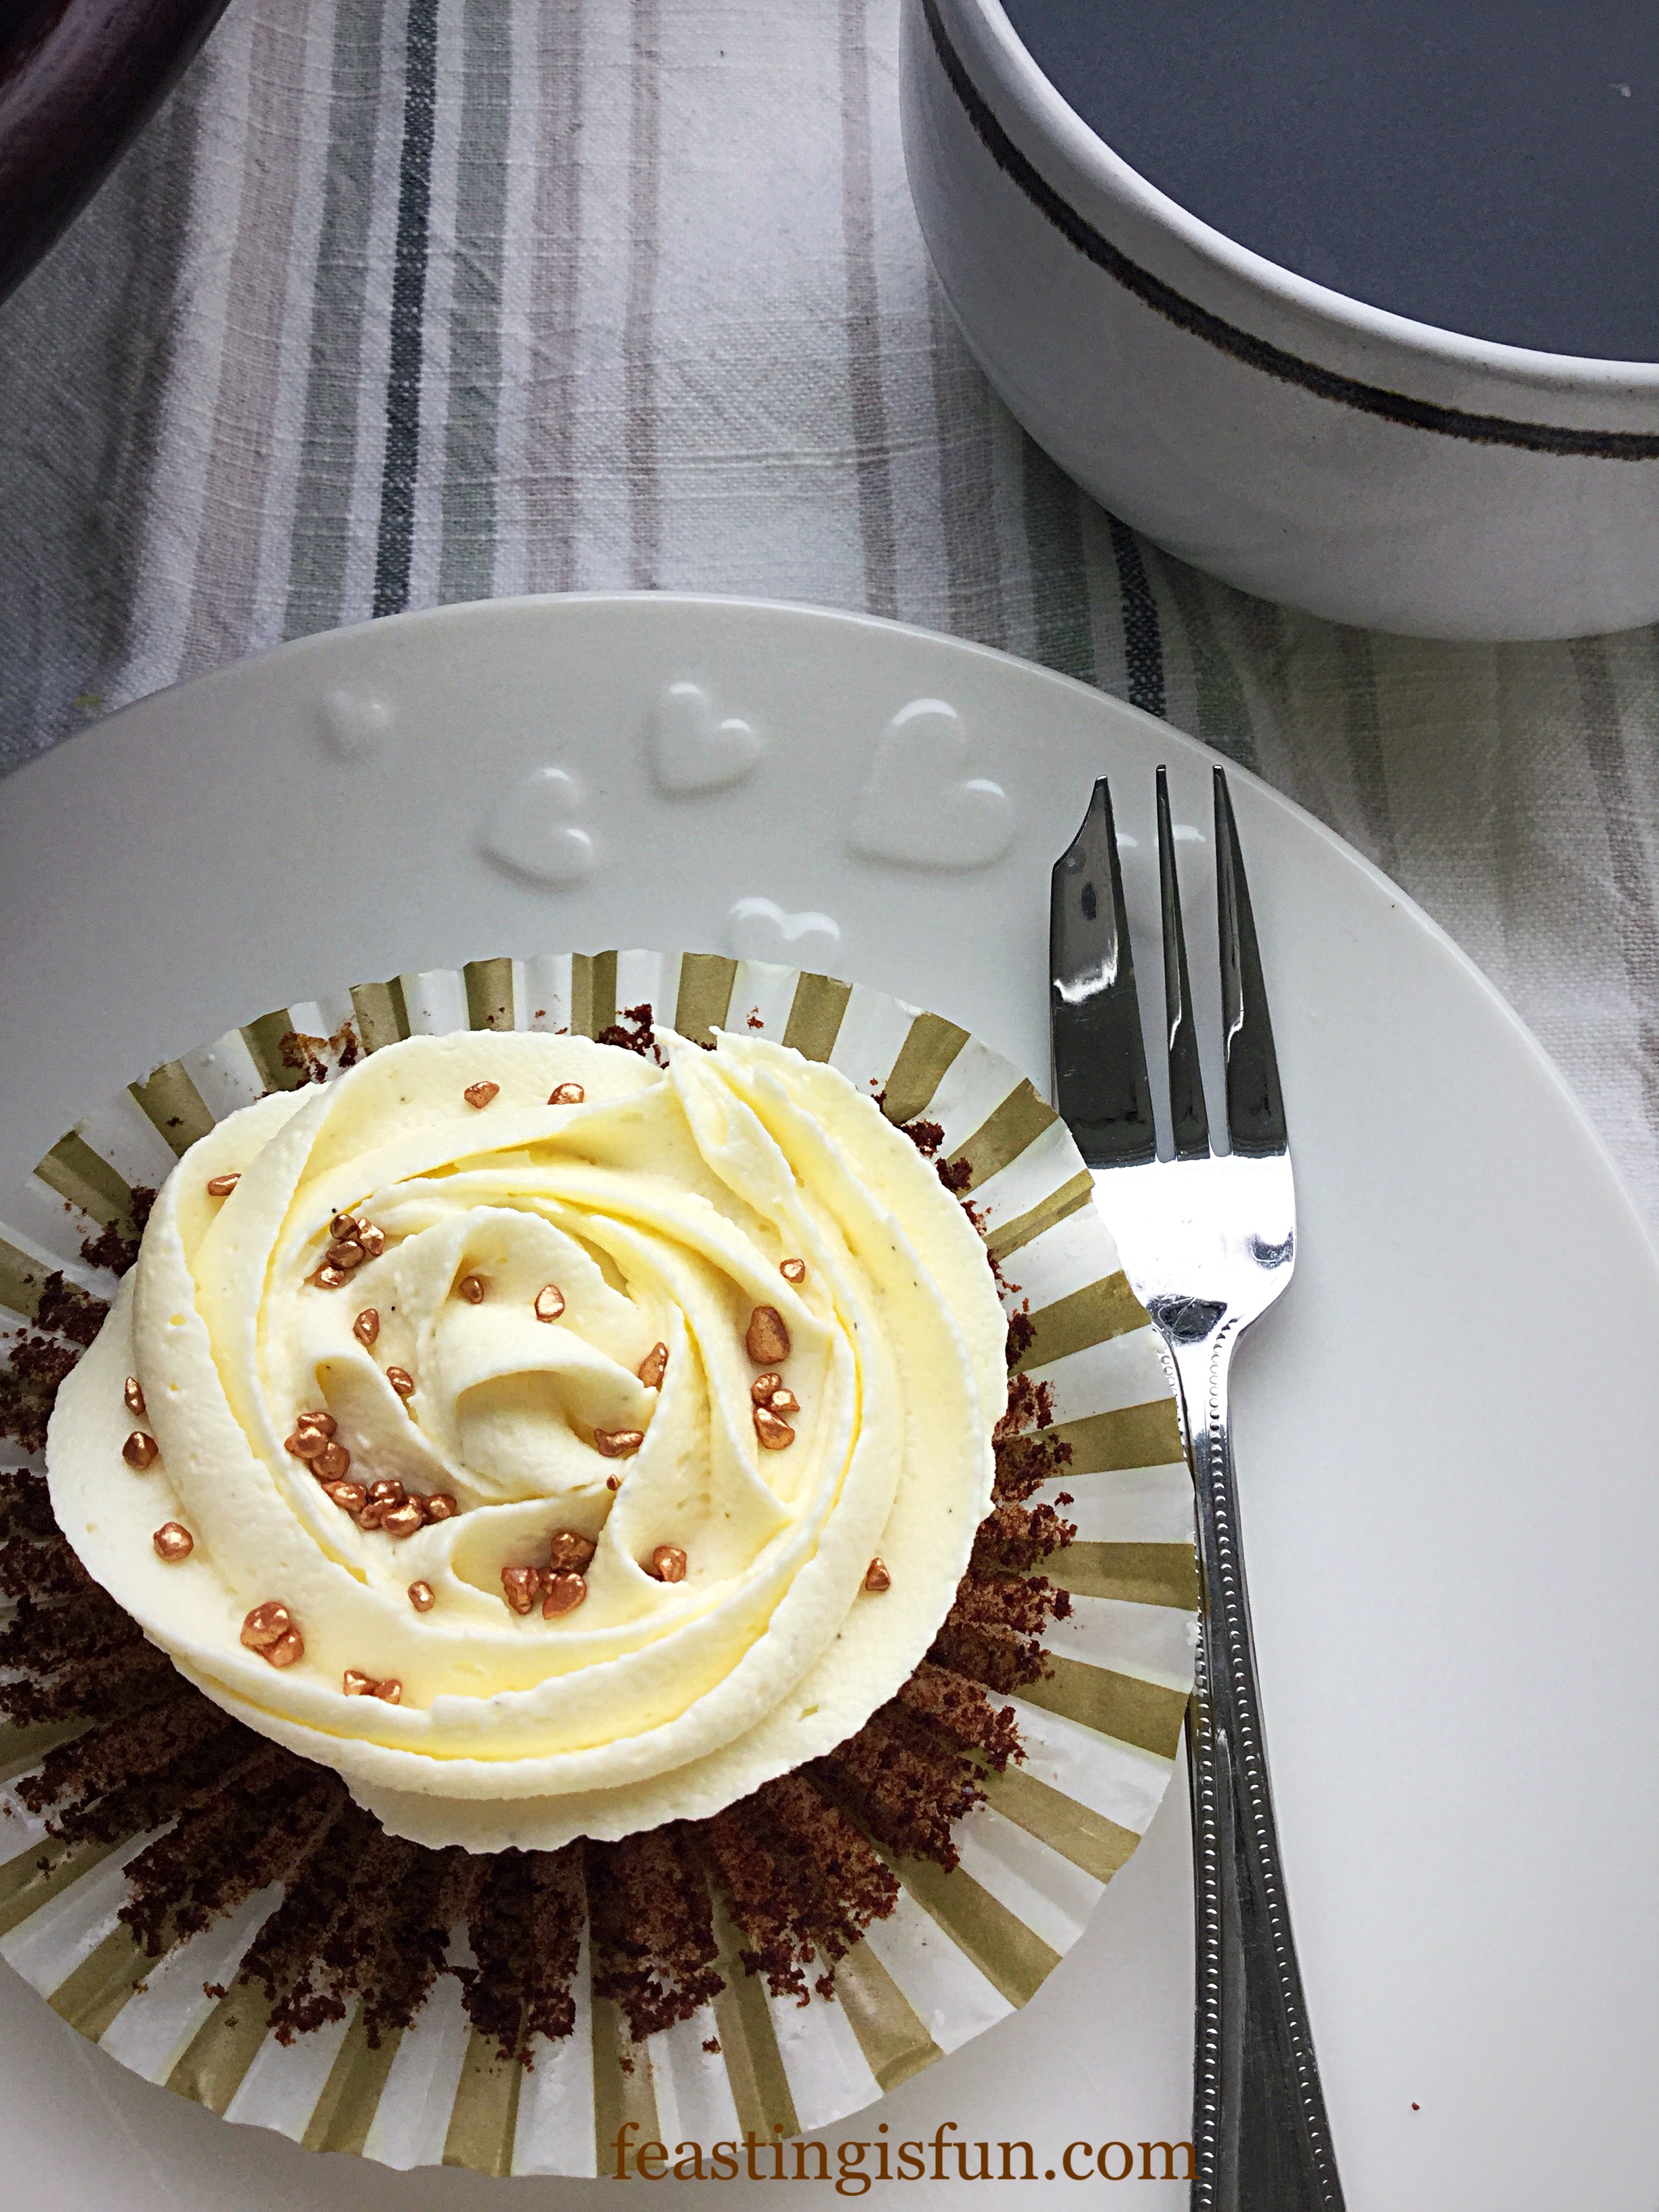
- Fill the piping bag with the frosting and proceed to pipe rose swirls on each cupcake. Starting in the centre of the cupcake, pipe the shape of an ‘e’ then continue around until the cupcake has a complete swirl on top.
- Finally, sprinkle over your choice of decoration.
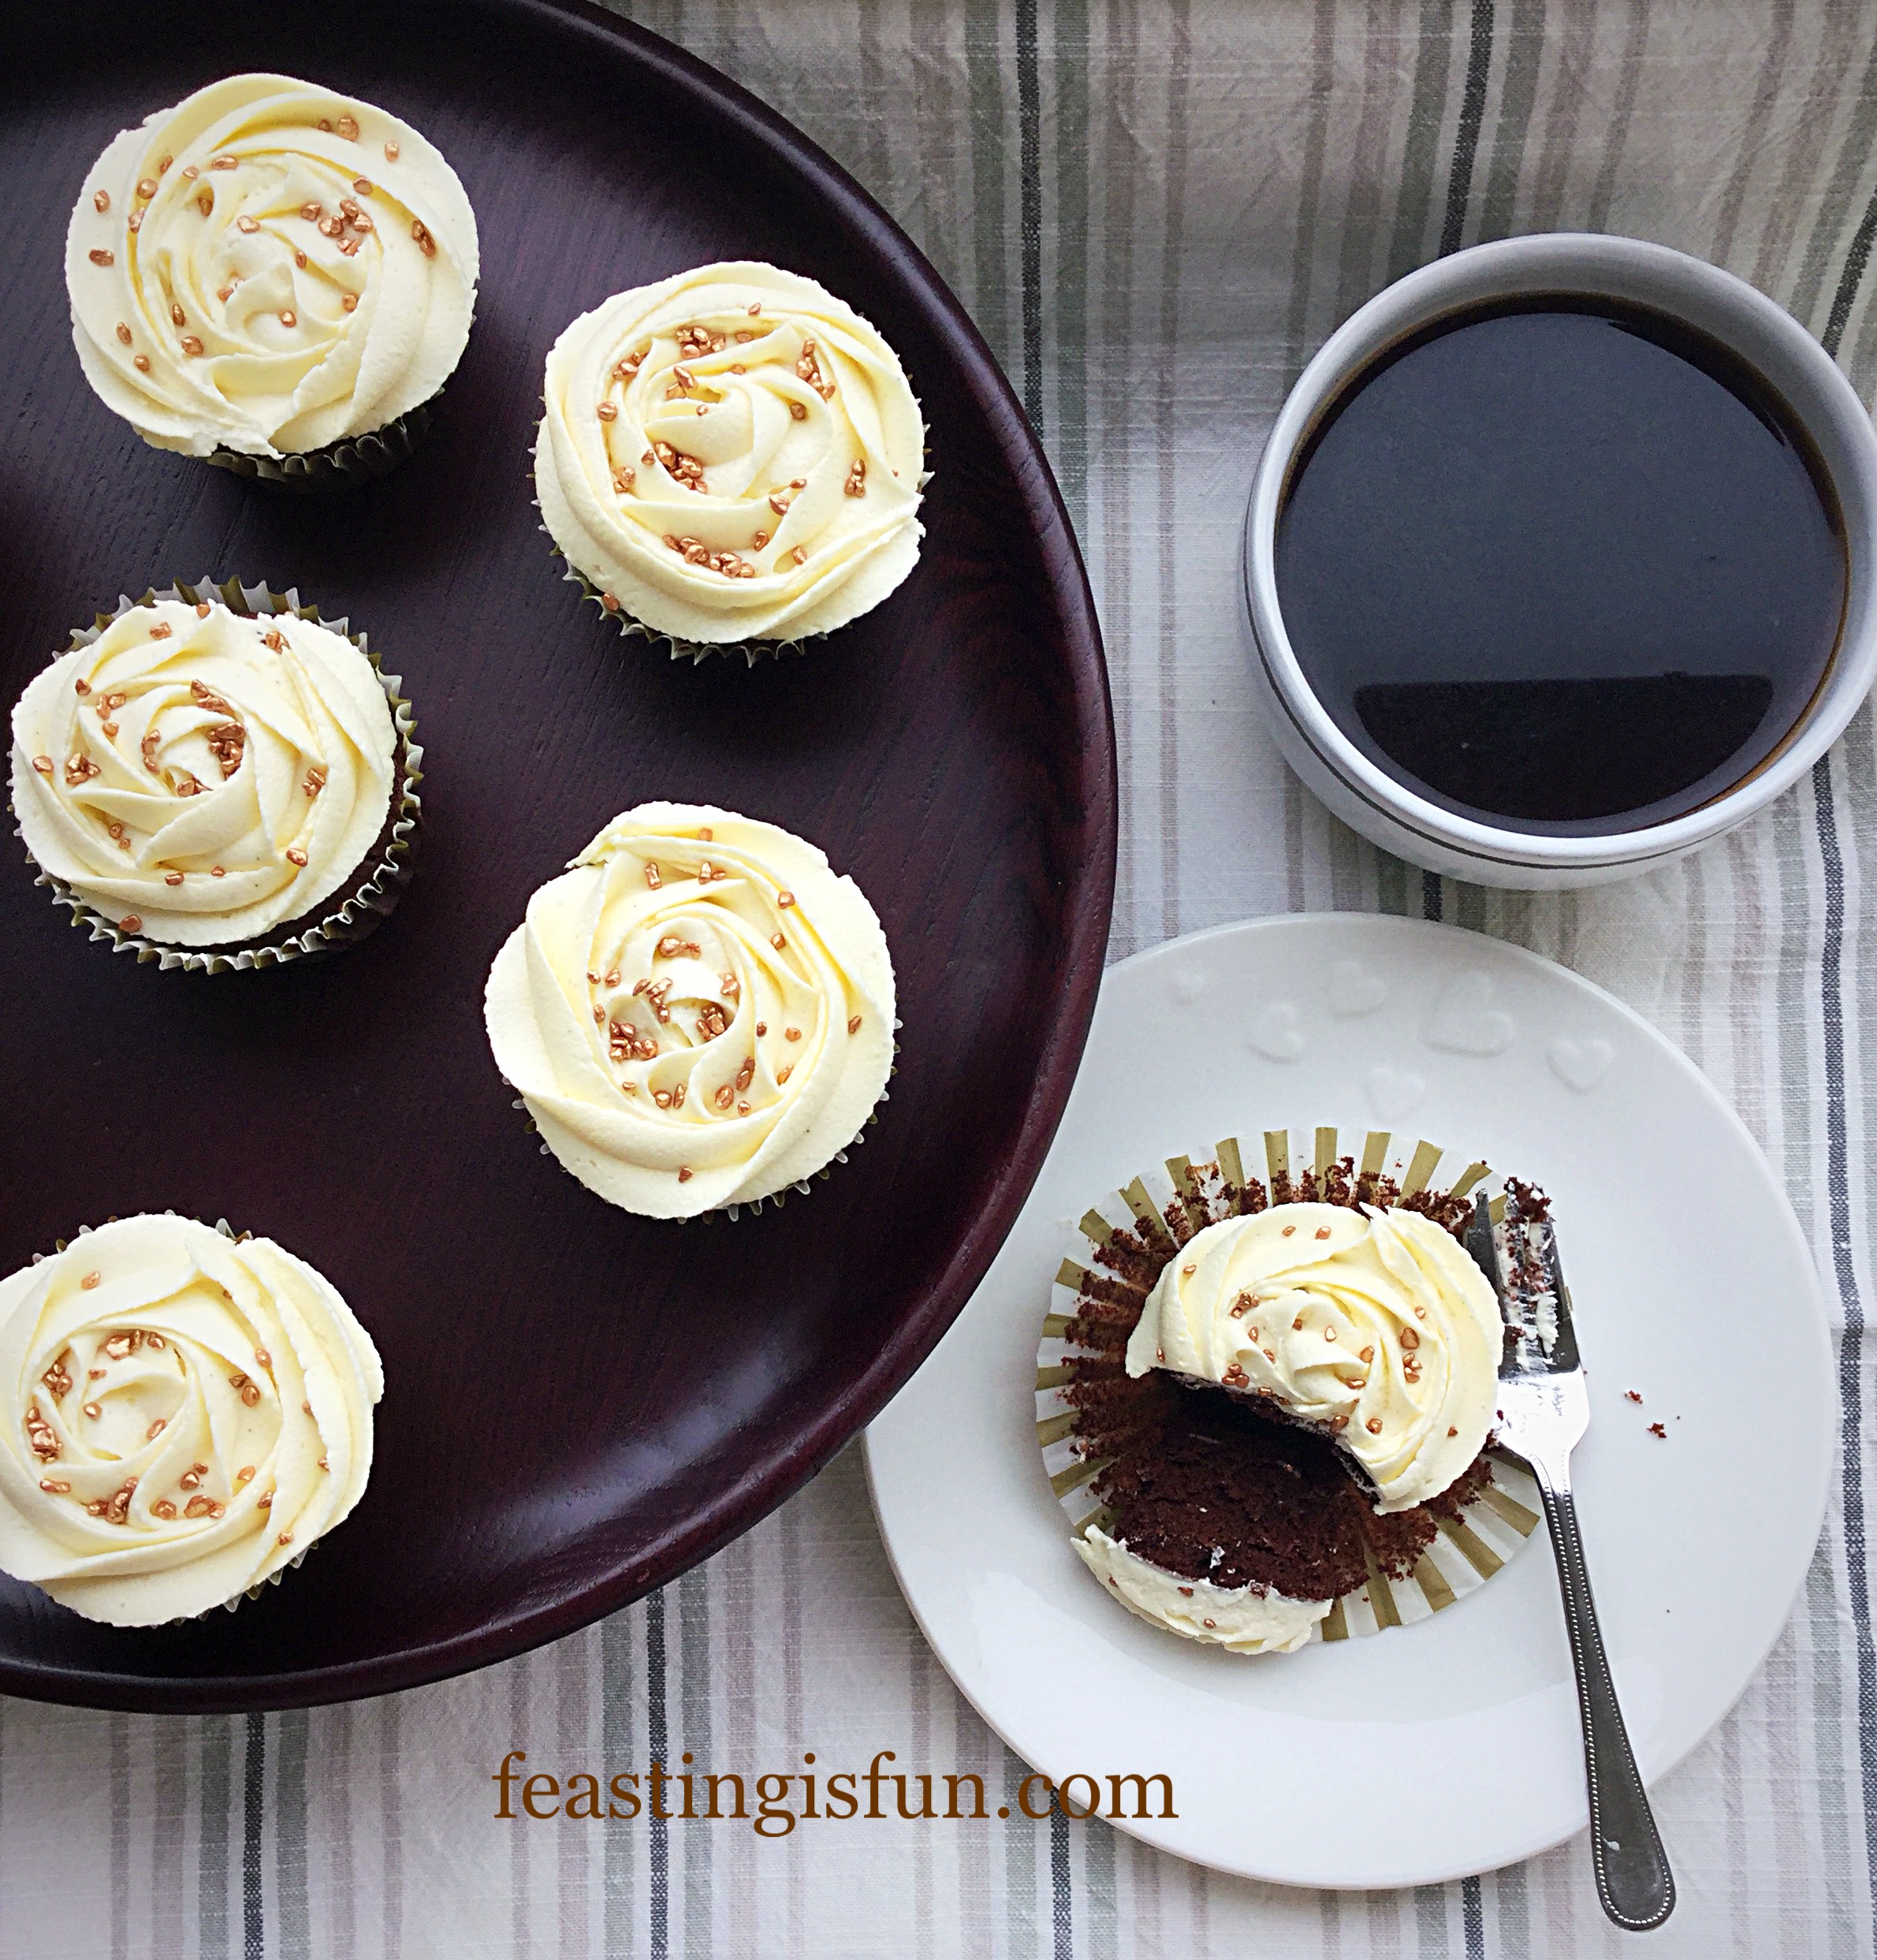
Serve with a hug, smile and a hot drink!

Store these cupcakes in an airtight container where they will last for three days.
If you have enjoyed this recipe for Double Chocolate Exam Busting Cupcakes you may also like these:
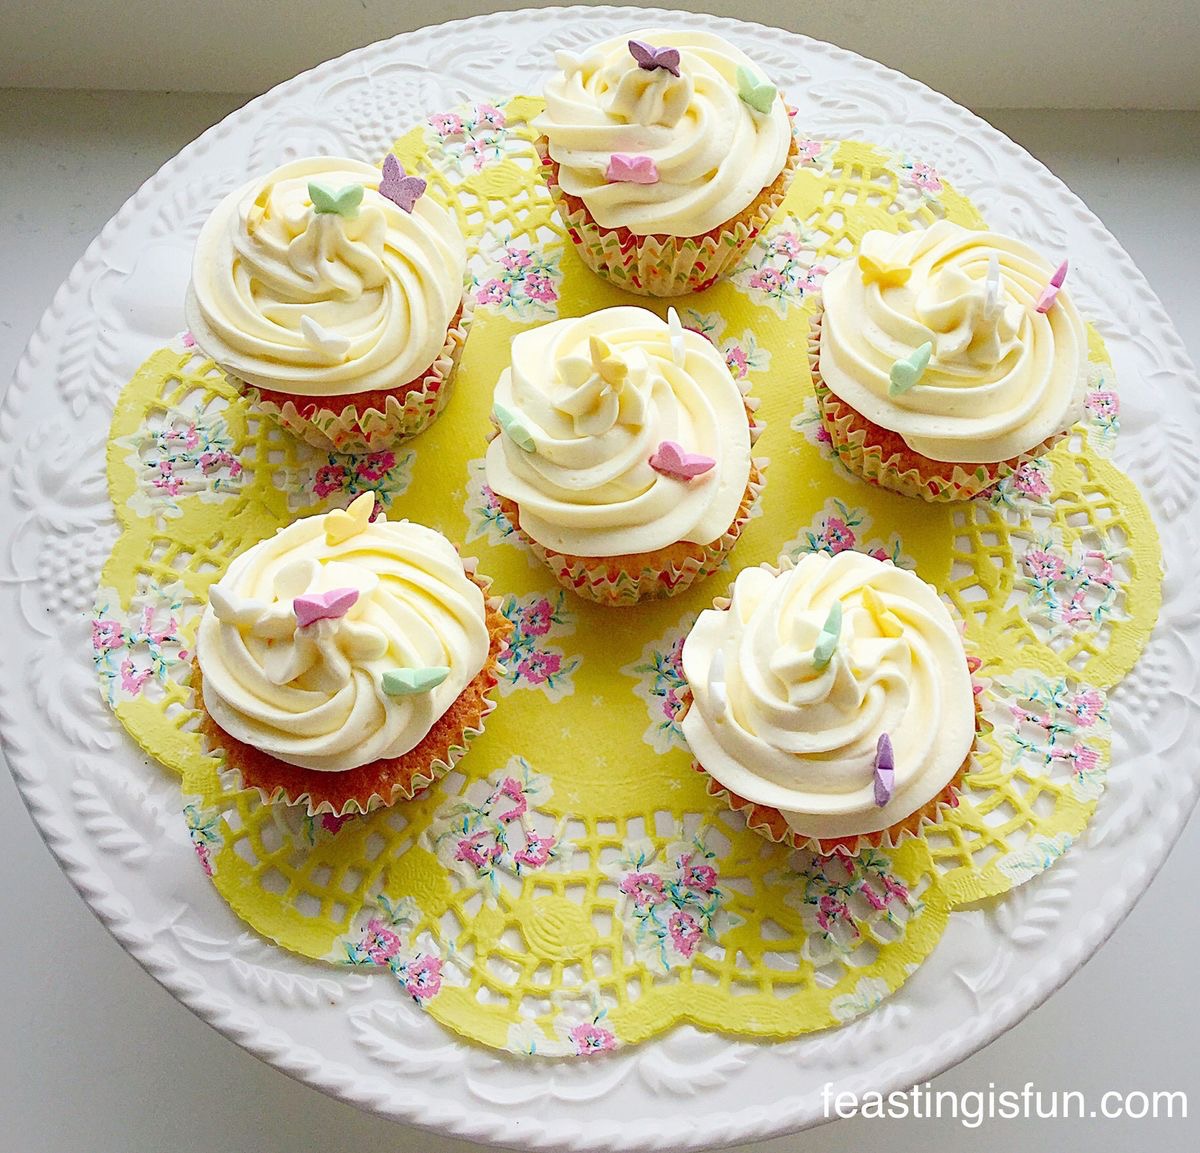
Marshmallow Frosted Mango Cupcakes
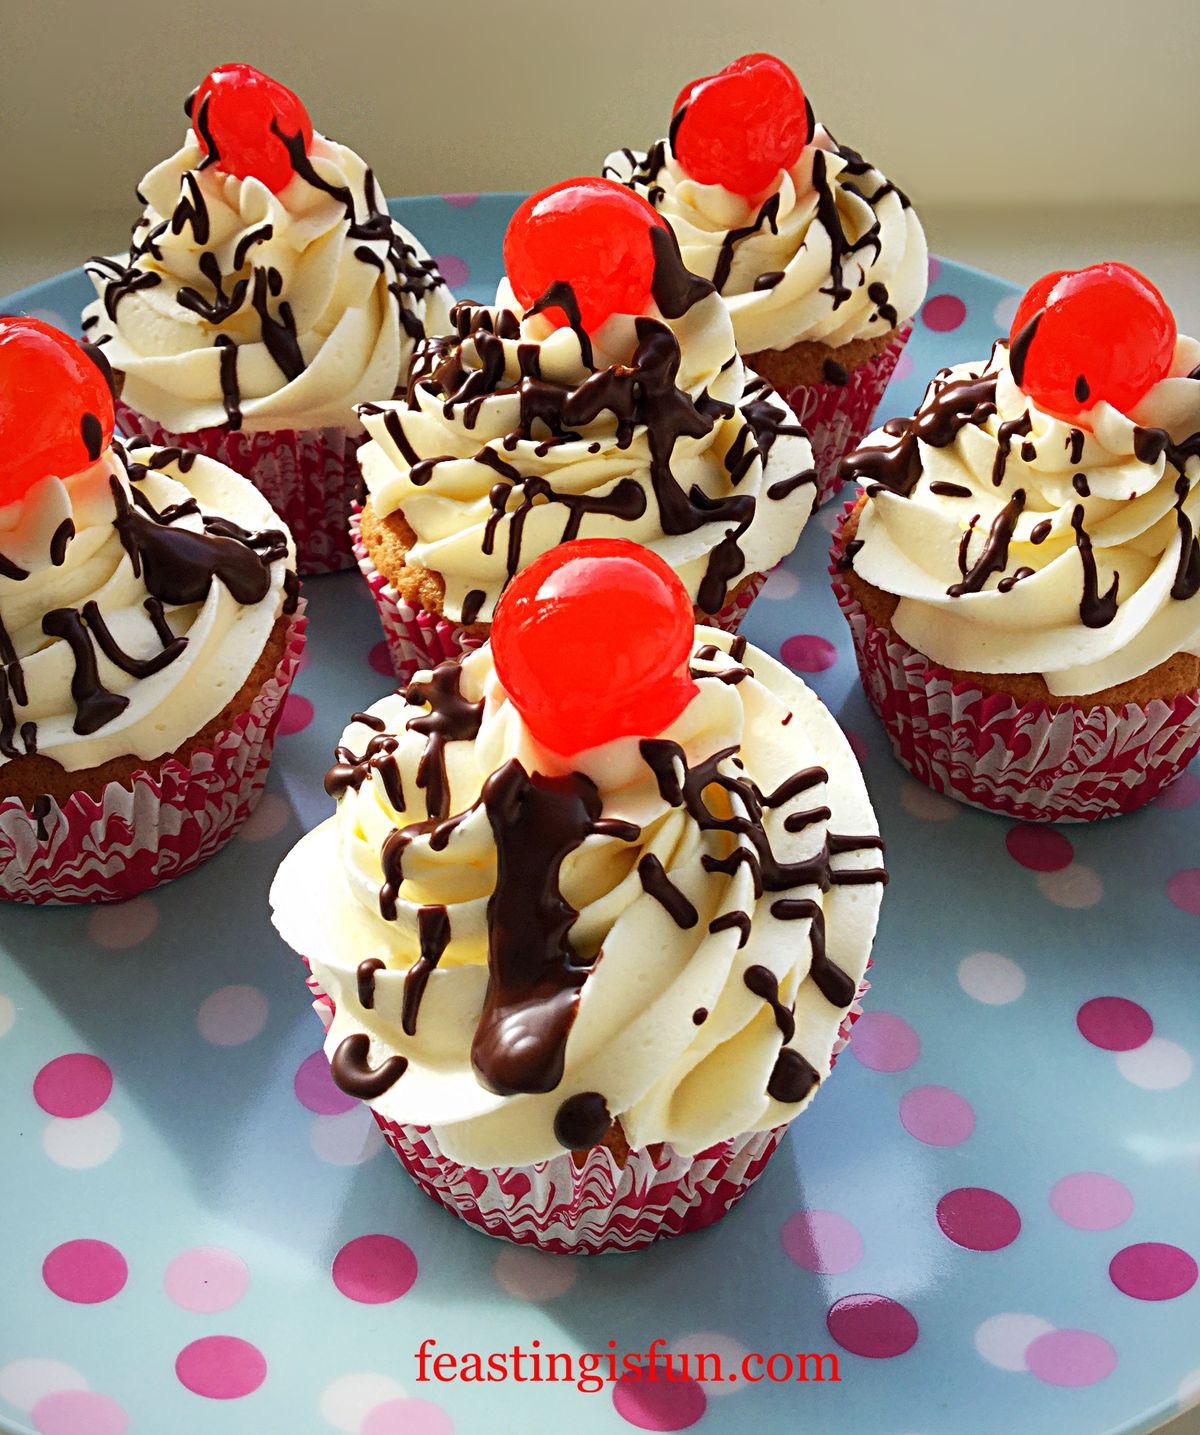
Maraschino Cherry Chocolate Drizzle Cupcakes
Cheer Up Chocolate Chip Cookies
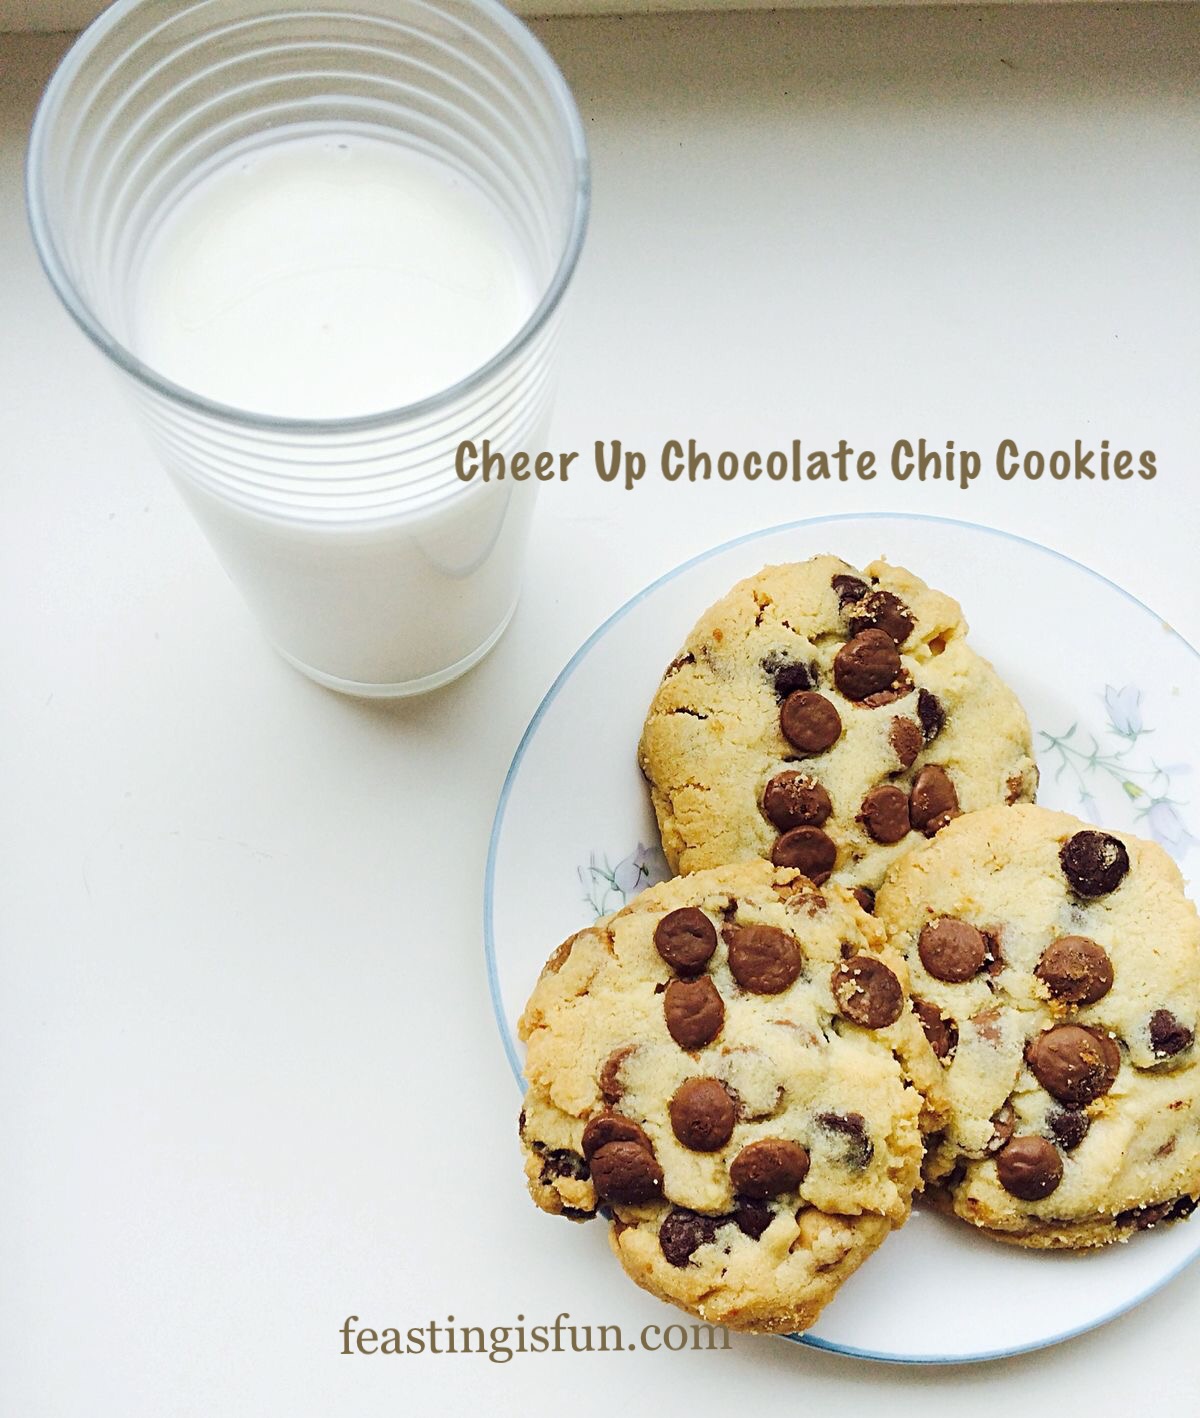
While cupcakes are delicious, the cookies are for those meltdown moments when the pressure is simply too much. Firstly, so that whoever reads this blog post realises that they aren’t on their own. Sometimes it all gets too much. Fresh air, good music and a break all help. As do hugs, talking and simply letting it all out.
Wishing anyone taking exams, all the very best. If you do your best, no one can expect more of you than that x.
Sammie xx