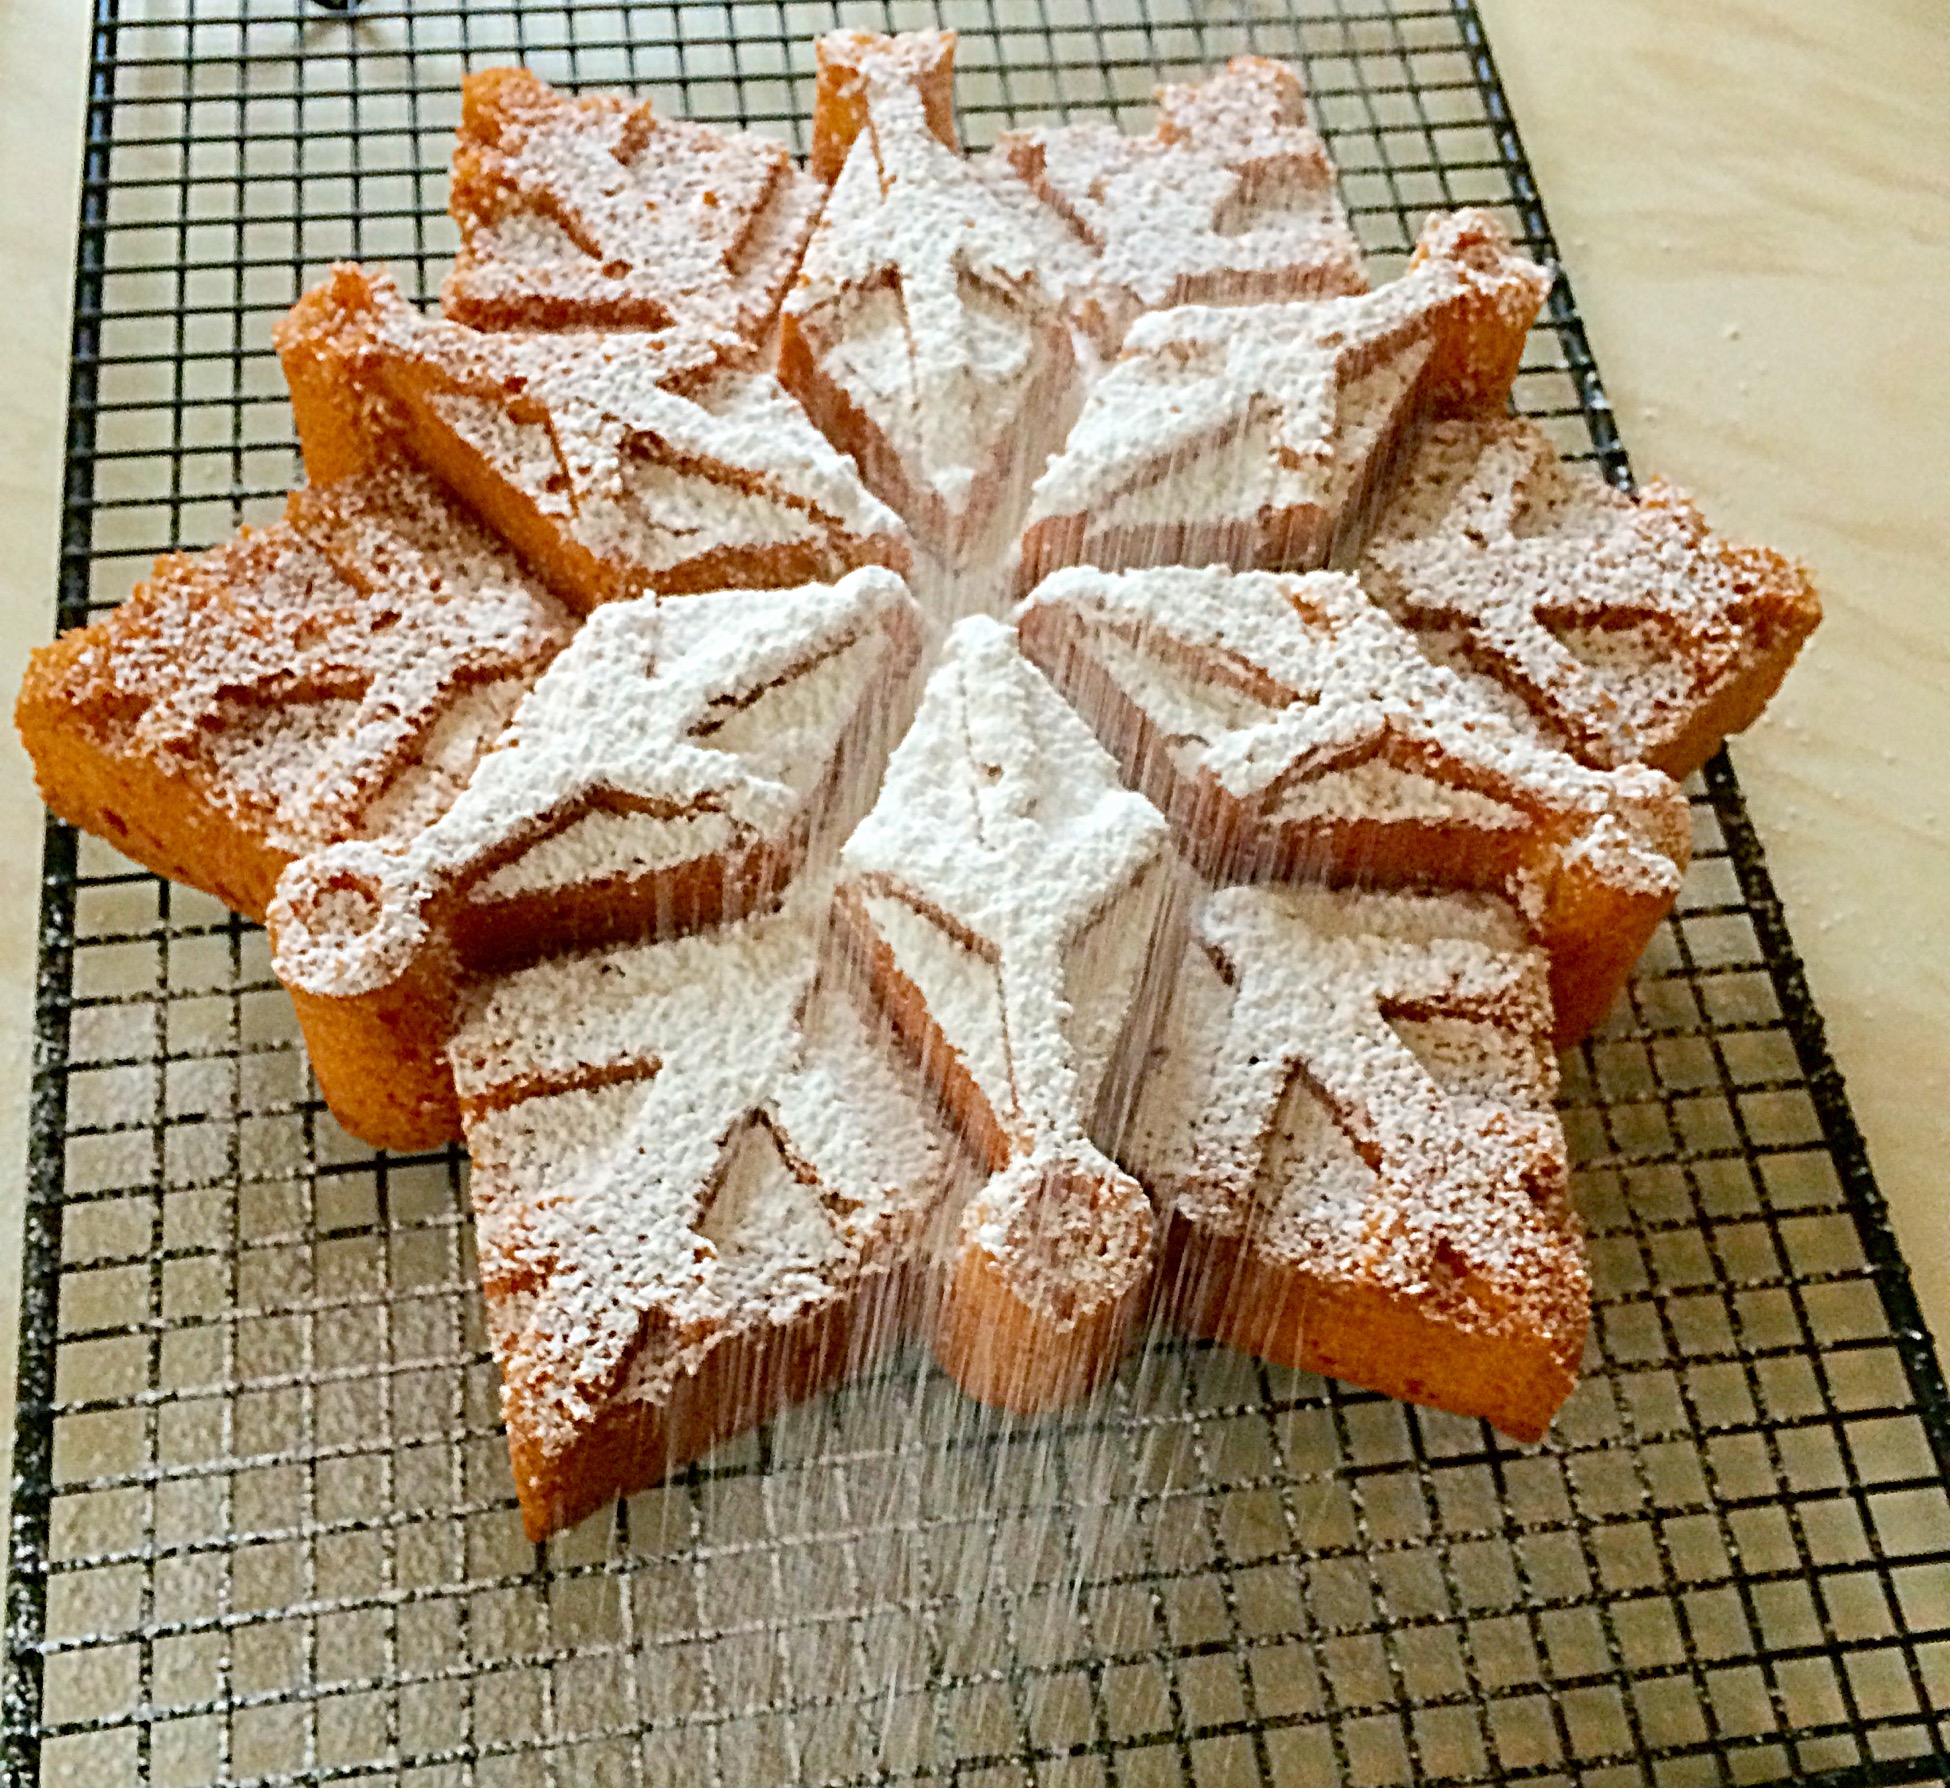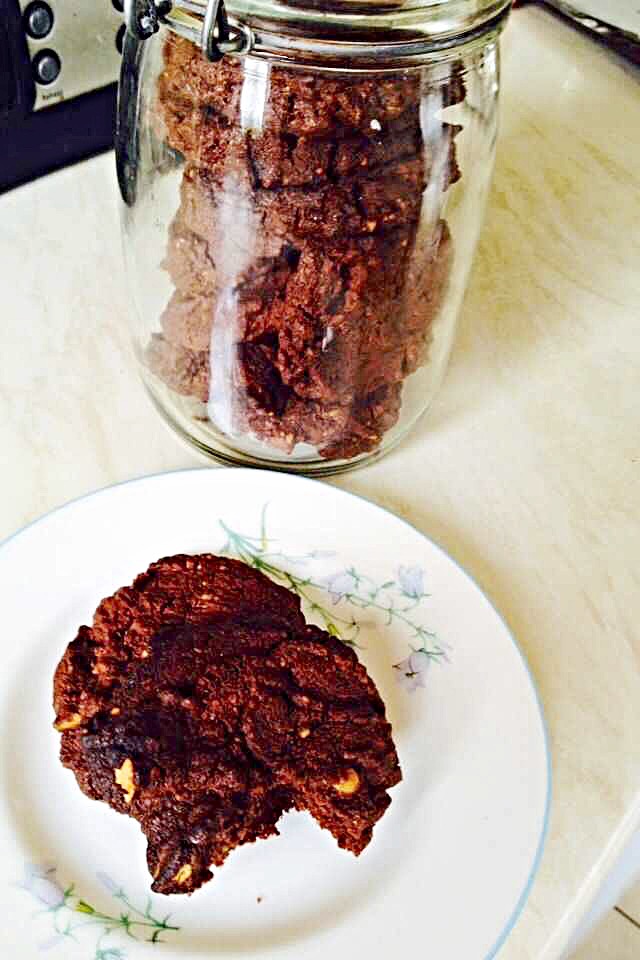
When it comes to entertaining, especially during busy times of the year, it’s really handy to have a few no bake recipes tucked up your sleeve. Also, should you need to transport your creation, something that won’t leak all over the car and travels well is a definite bonus. These Cherry Bakewell Rocky Road Bars tick all the boxes and taste utterly delicious to boot!

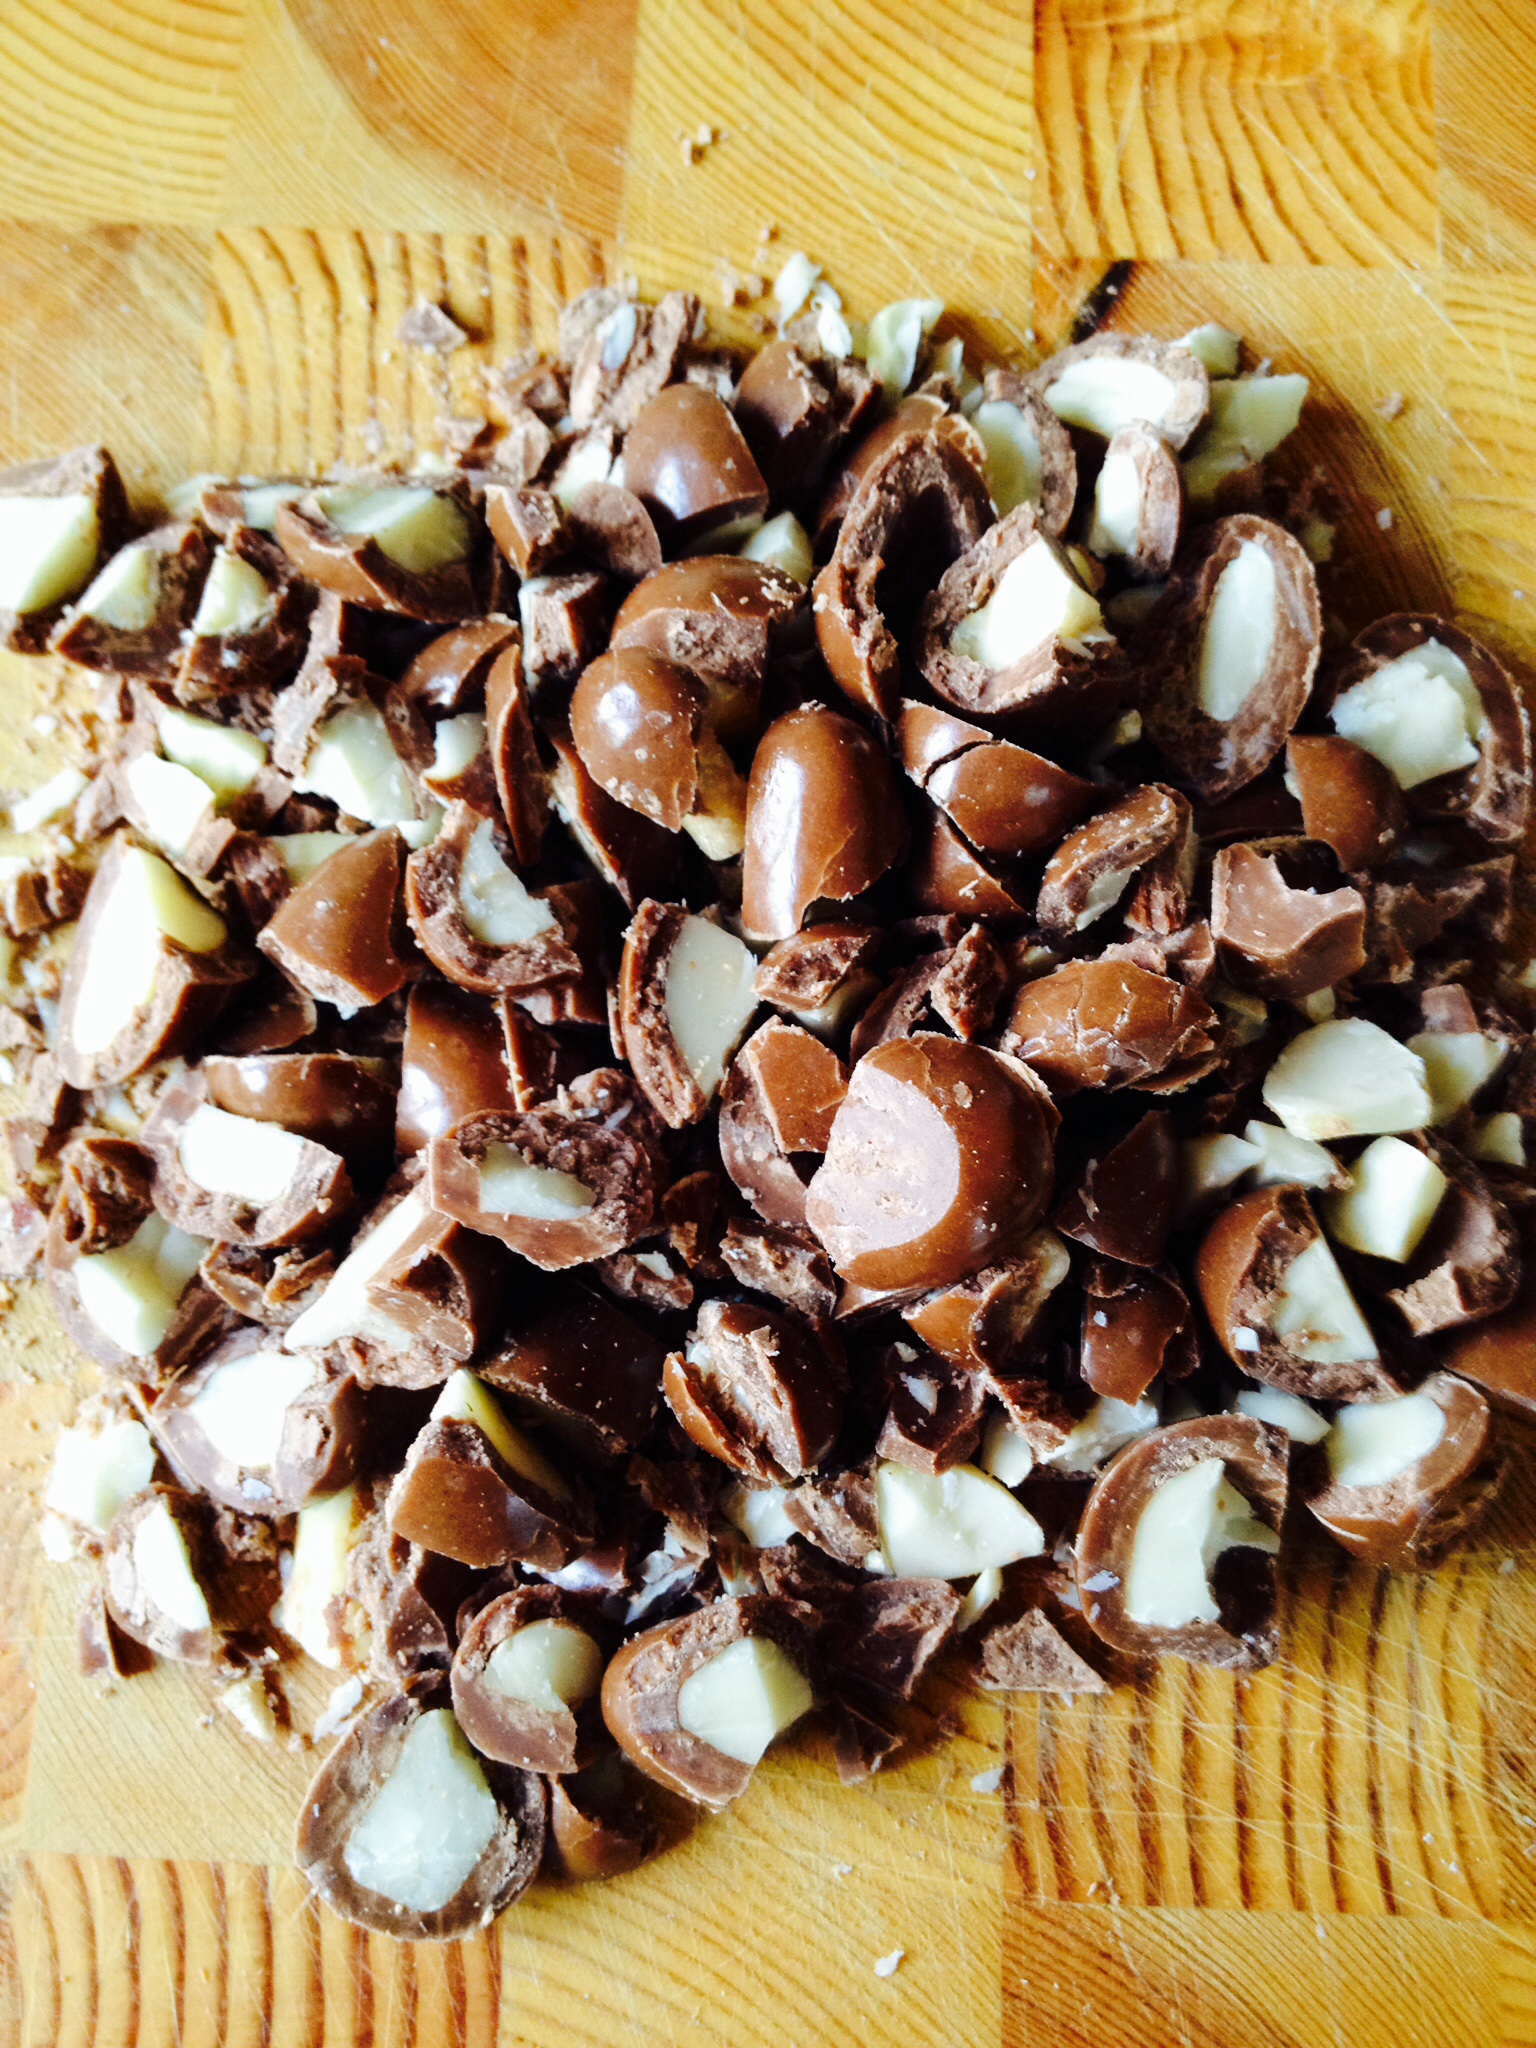
Since McVities Digestive Nibbles became available I take full advantage of skipping the ‘biscuit bashing’ step. Similar to my recipe for Caramel Crunch Rocky Road Bars.Because anything that makes life easier is a bonus in my book. Chocolate covered biscuit balls combine with whole, toasted almonds, providing great crunch and texture. While the glacé cherries and mini marshmallows add sweet chewiness, held together in a thick chocolate sauce.
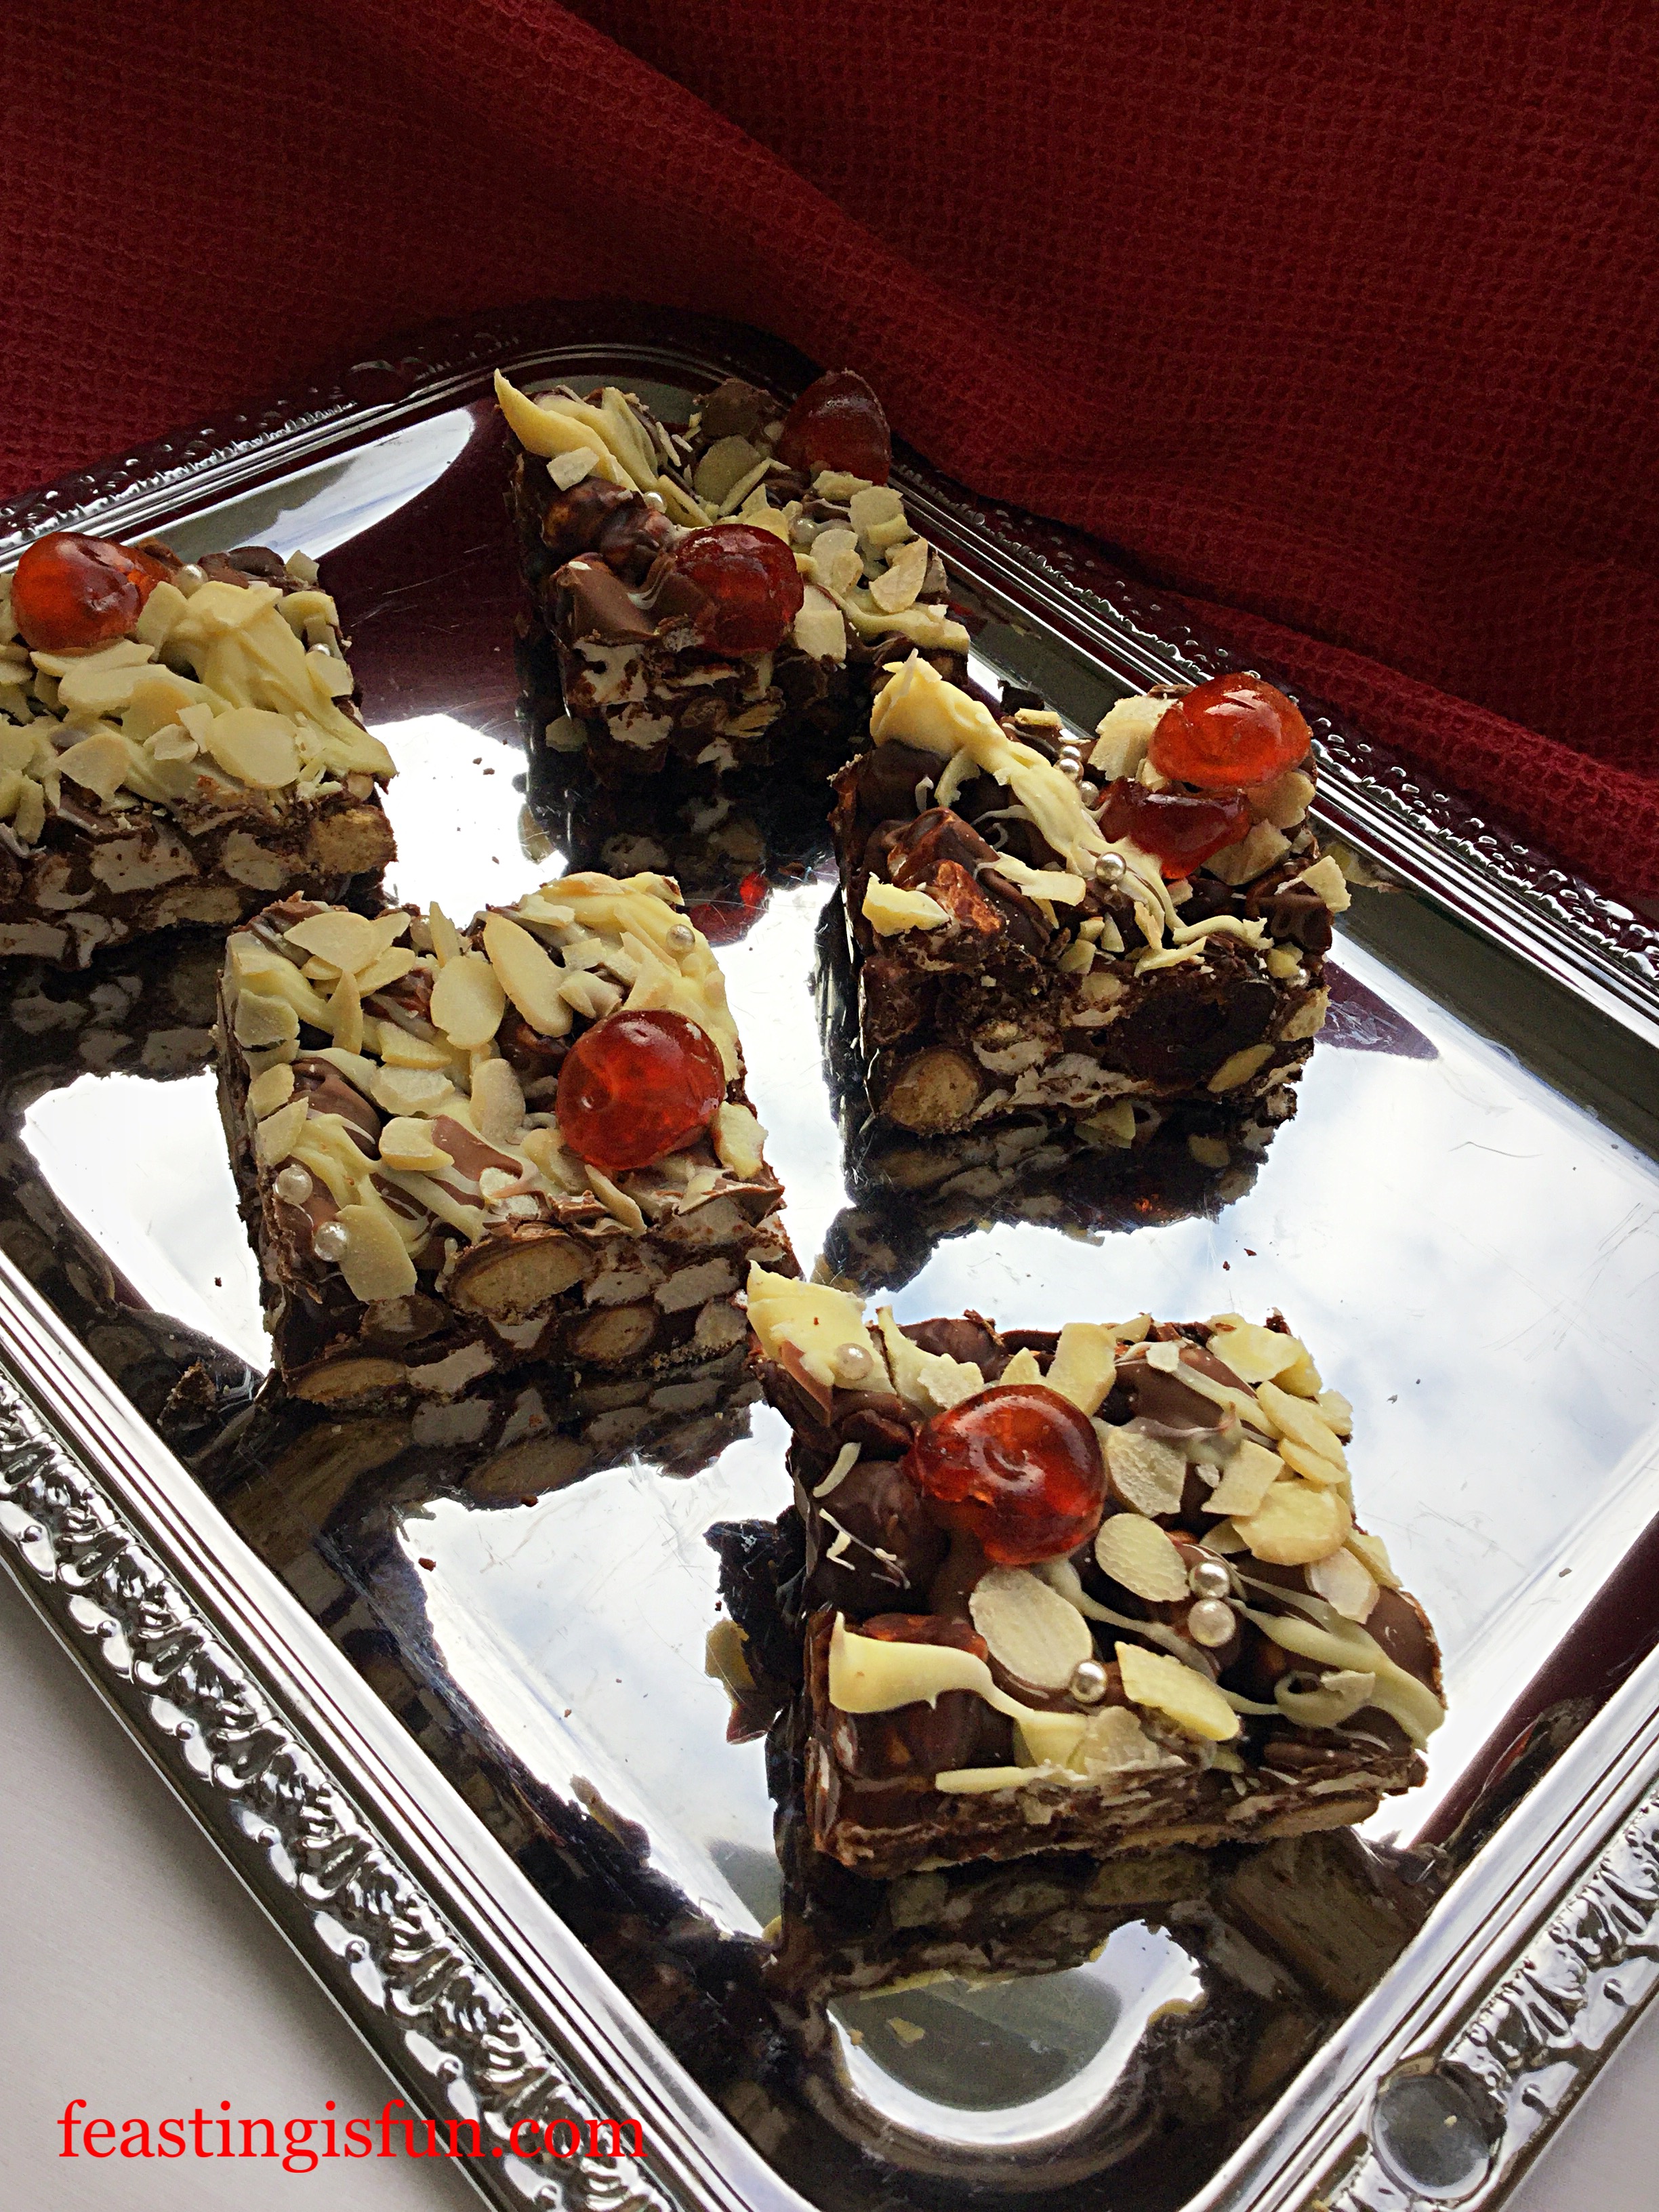
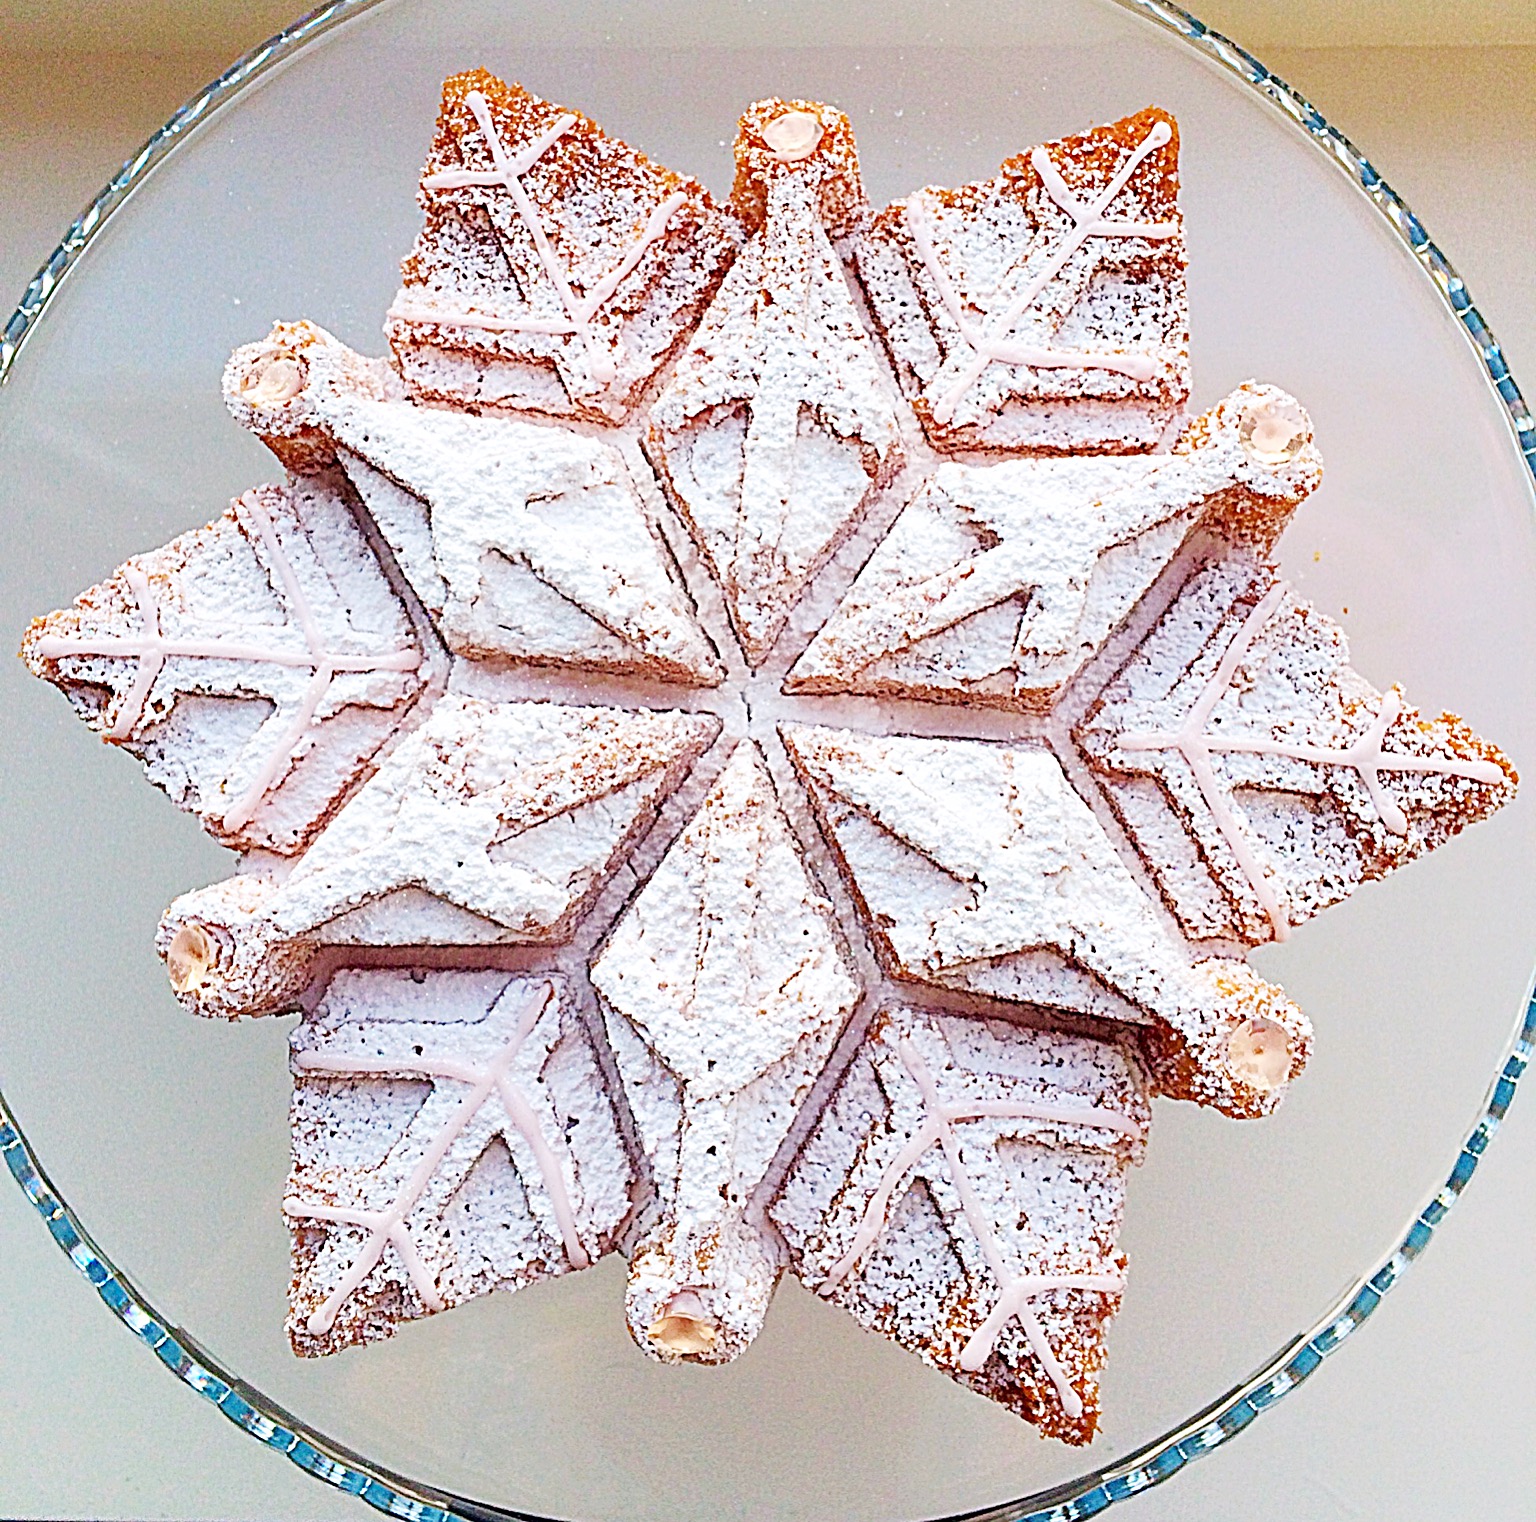
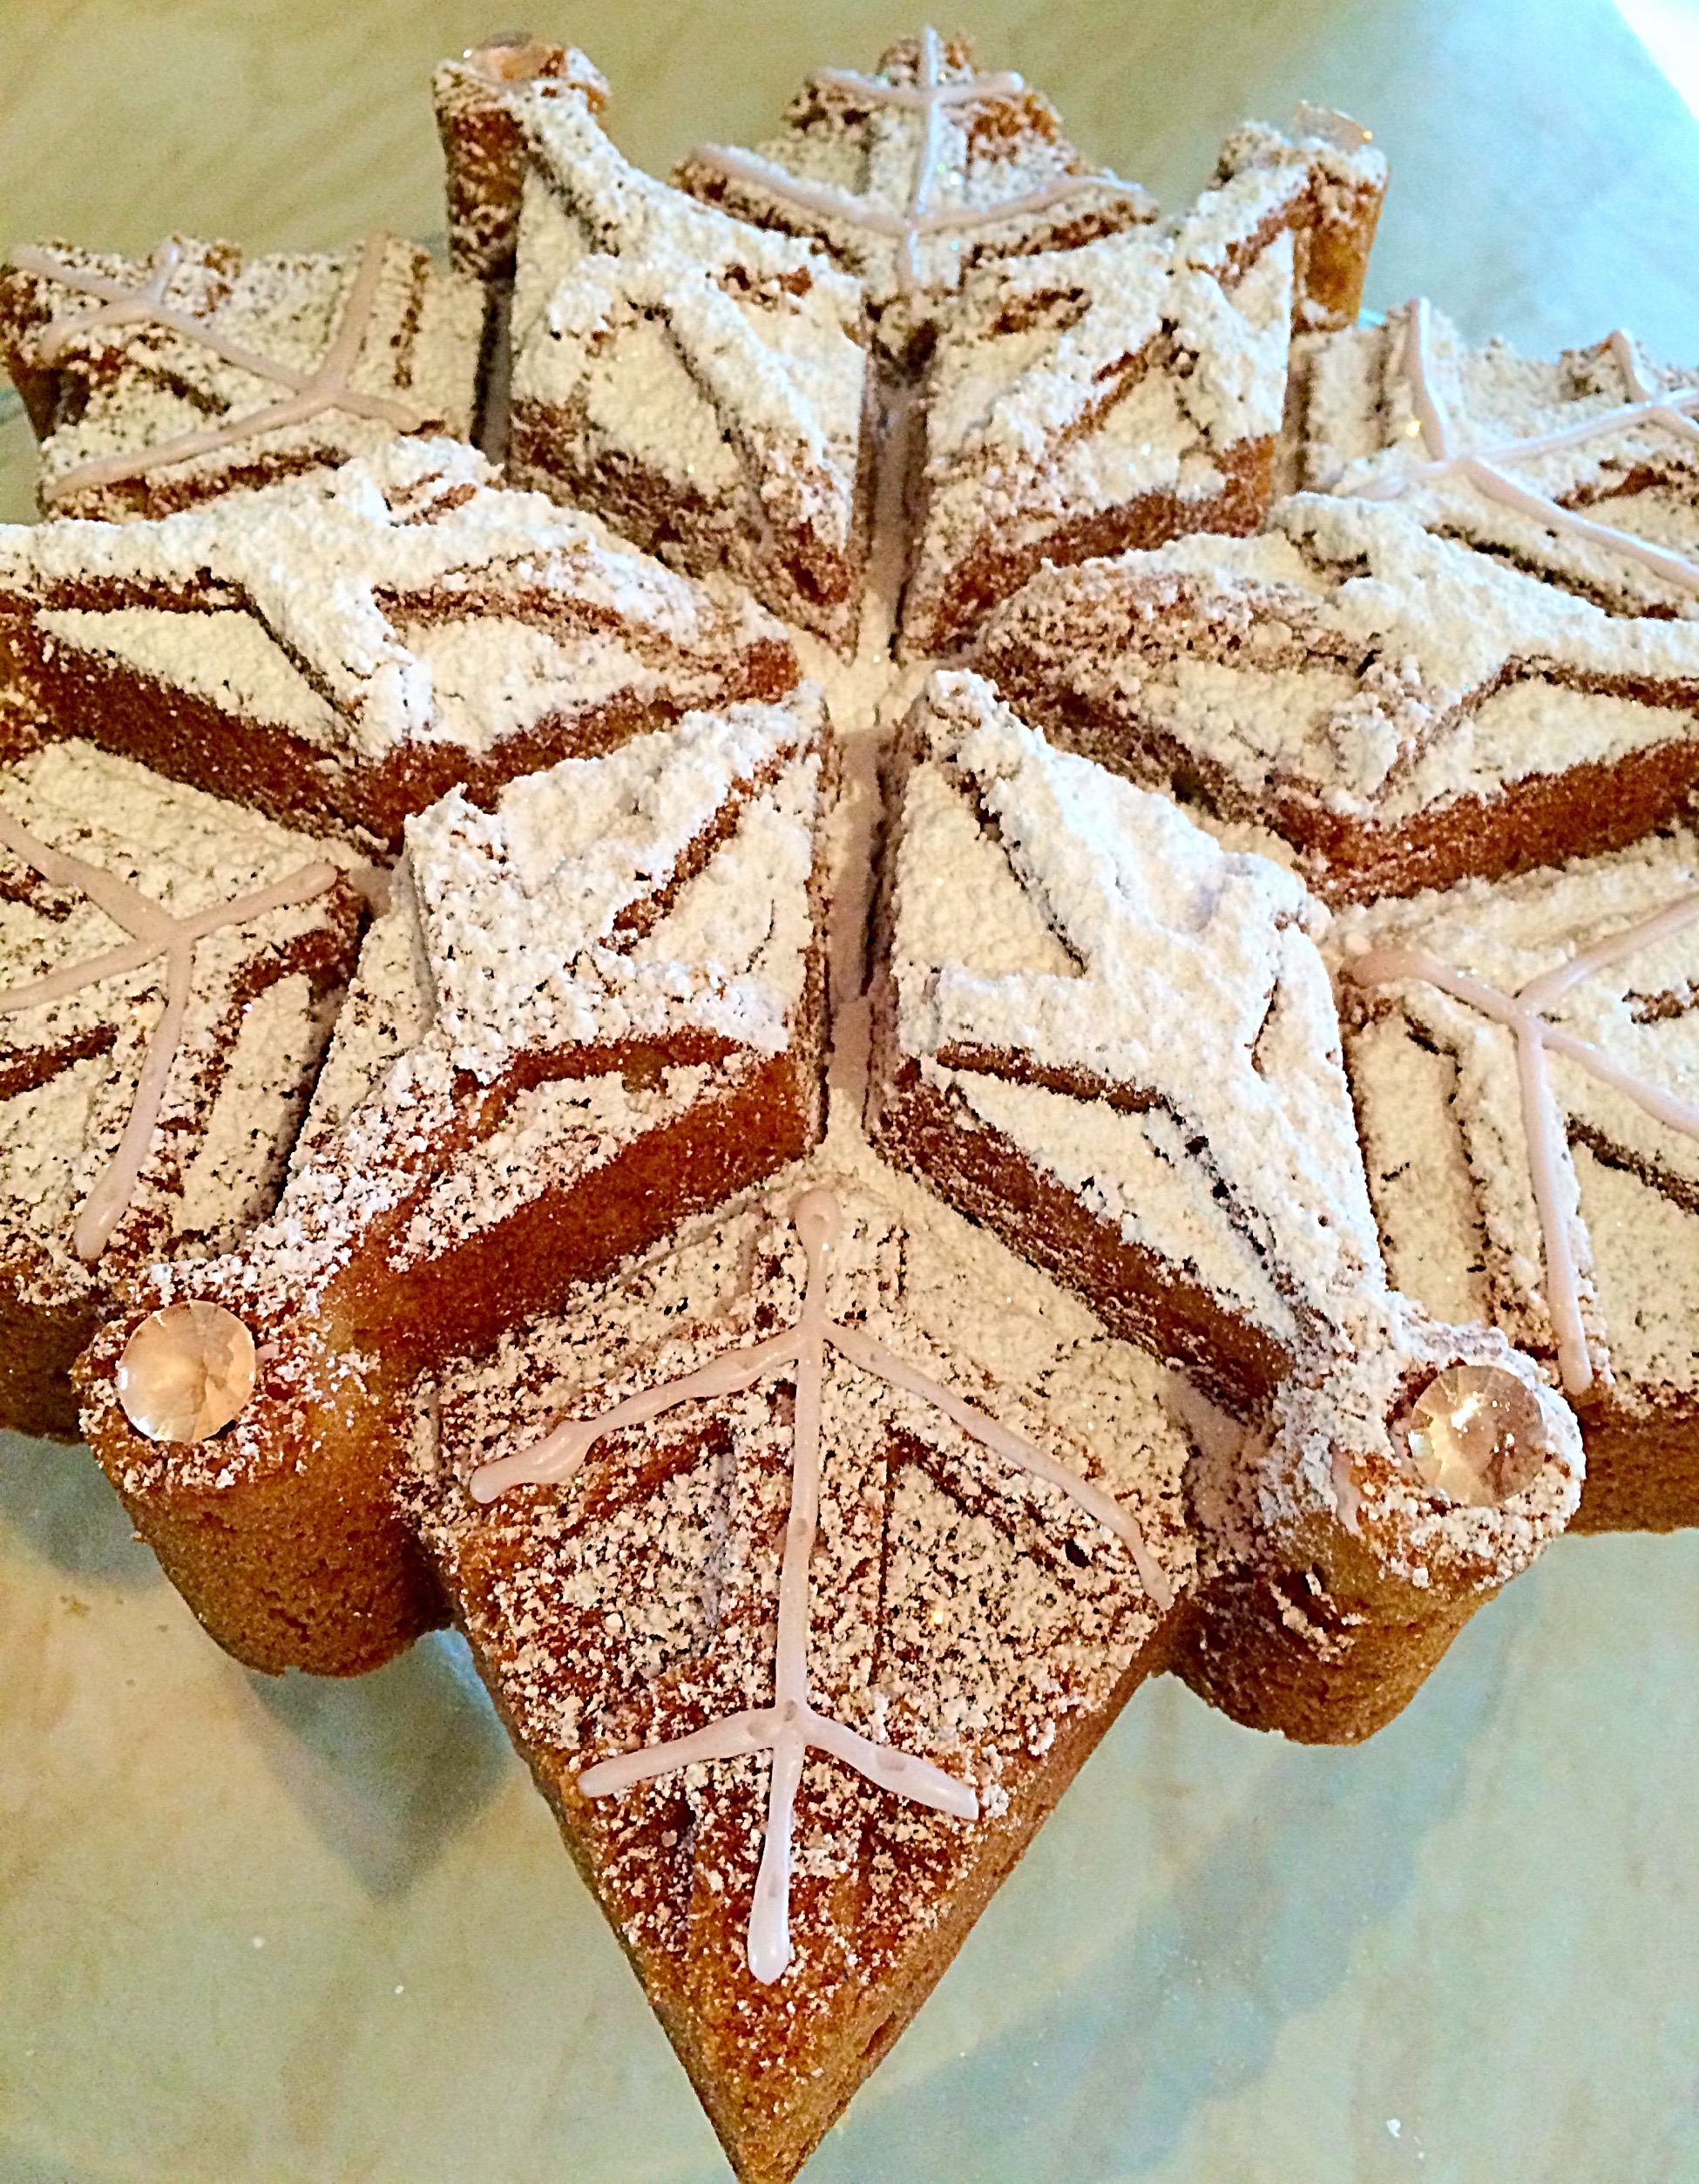
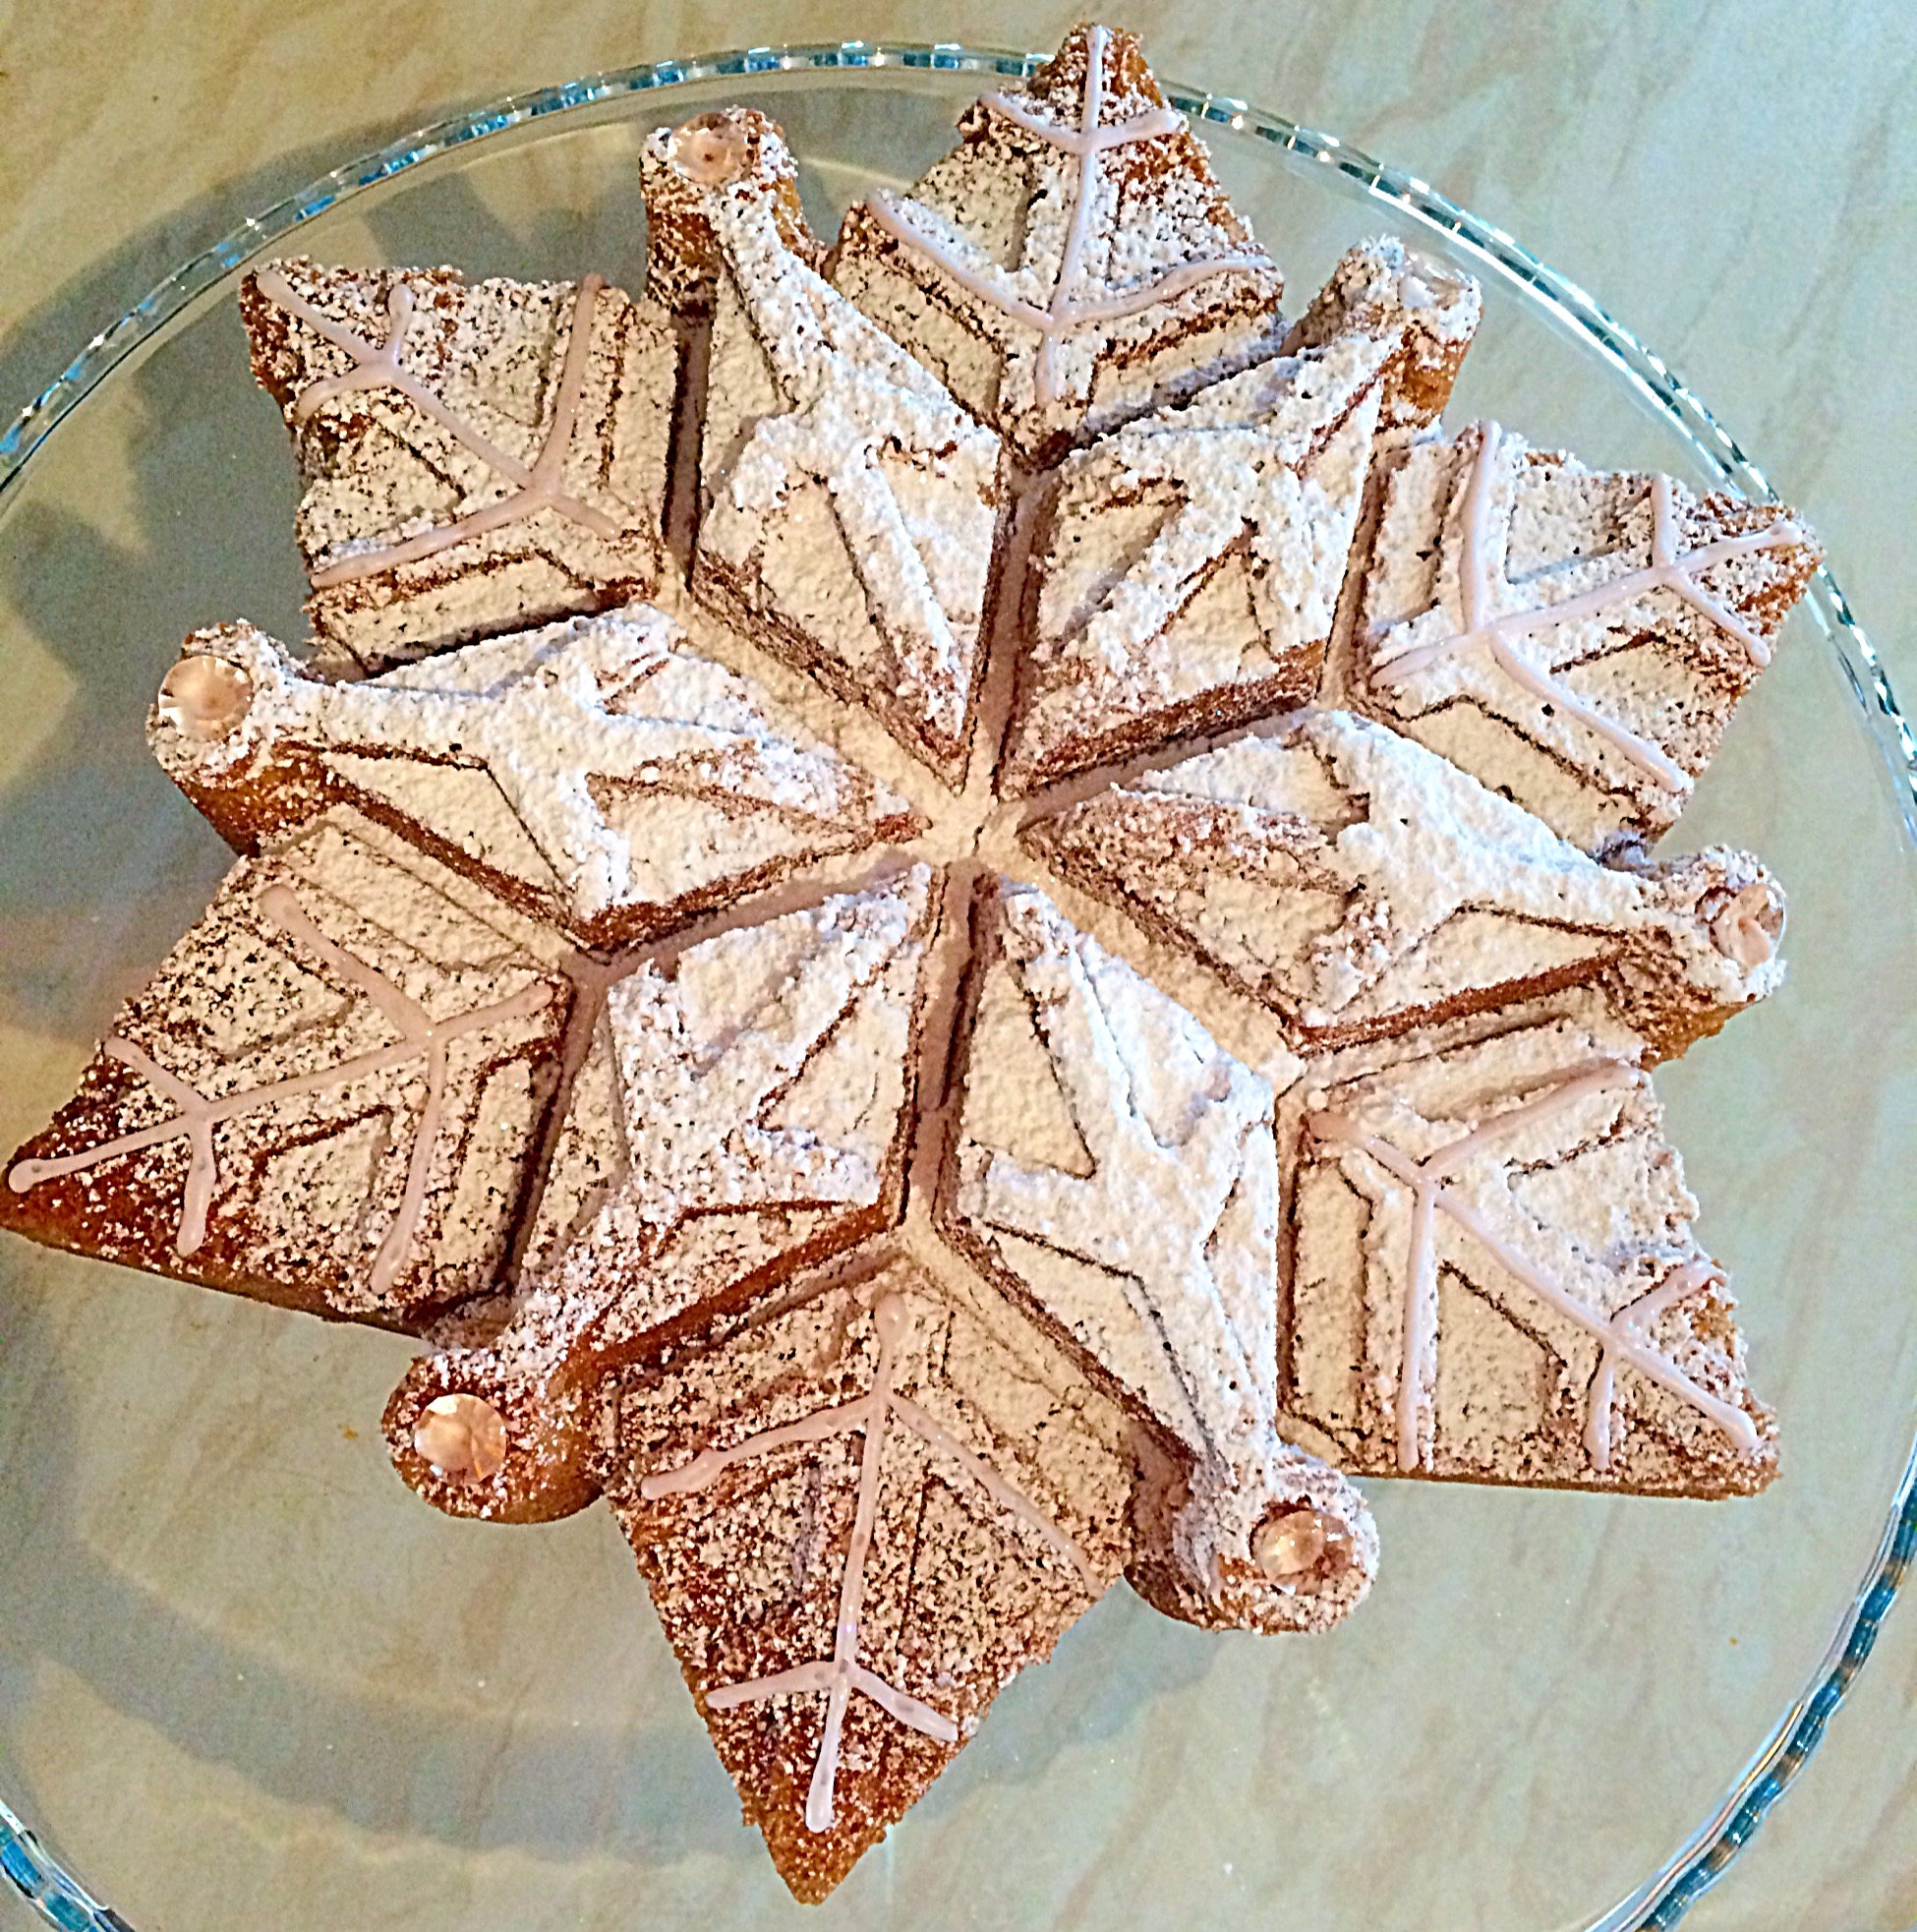
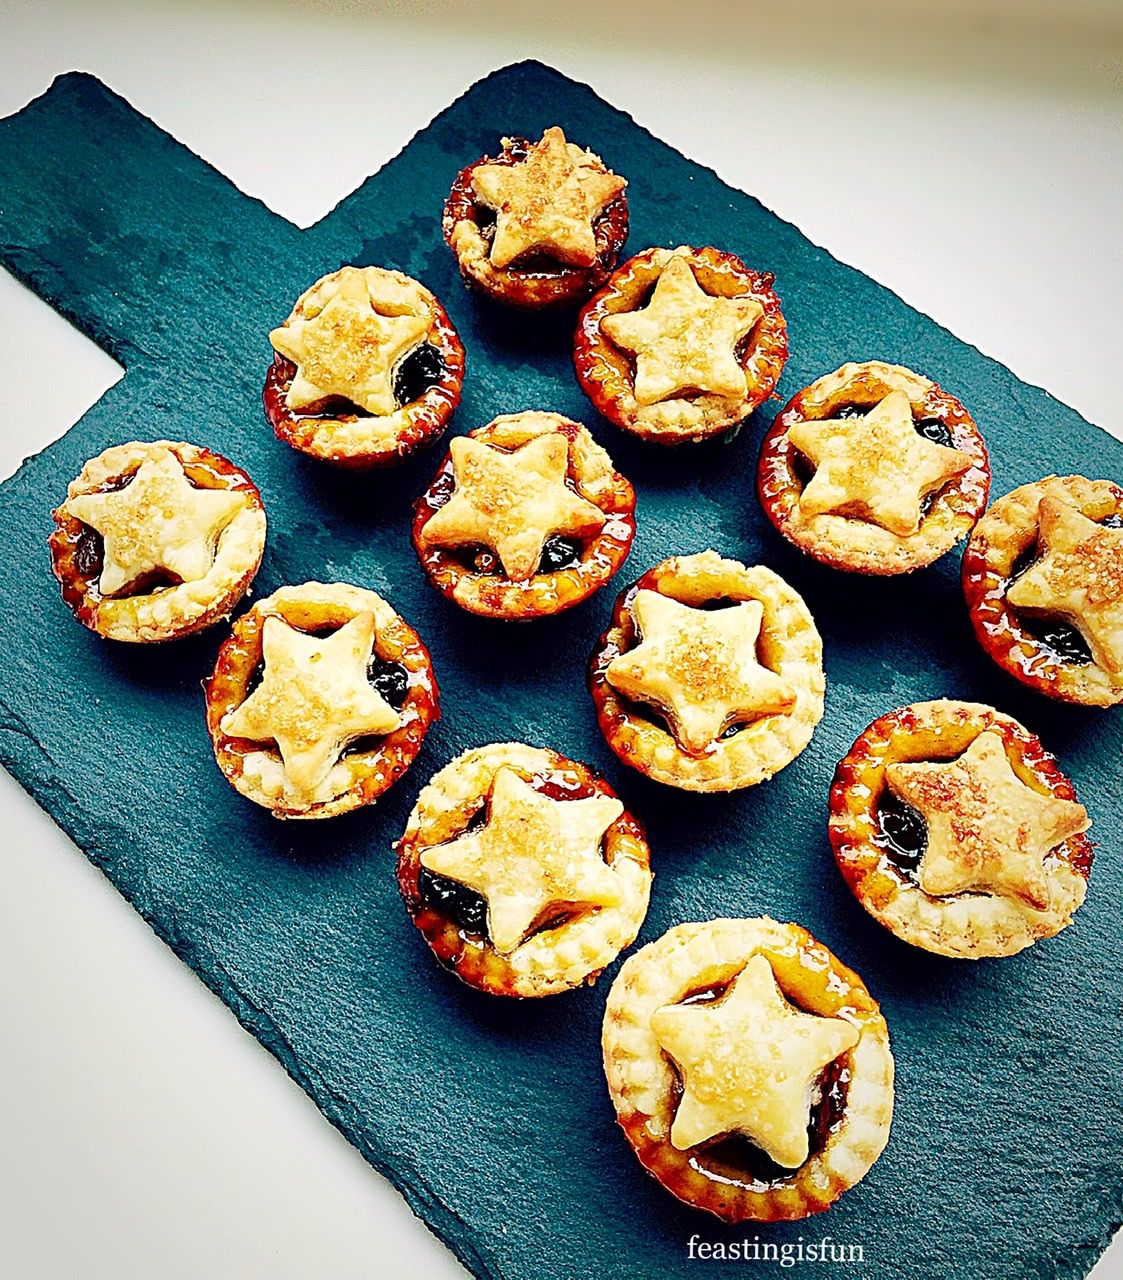
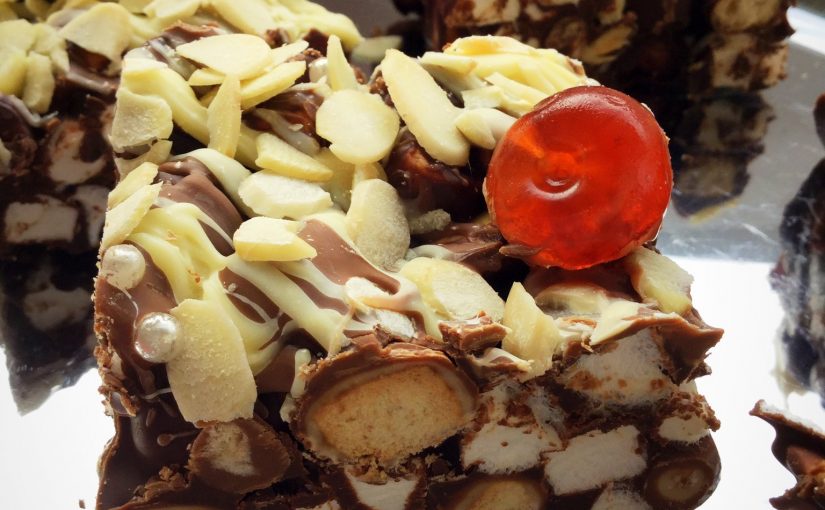
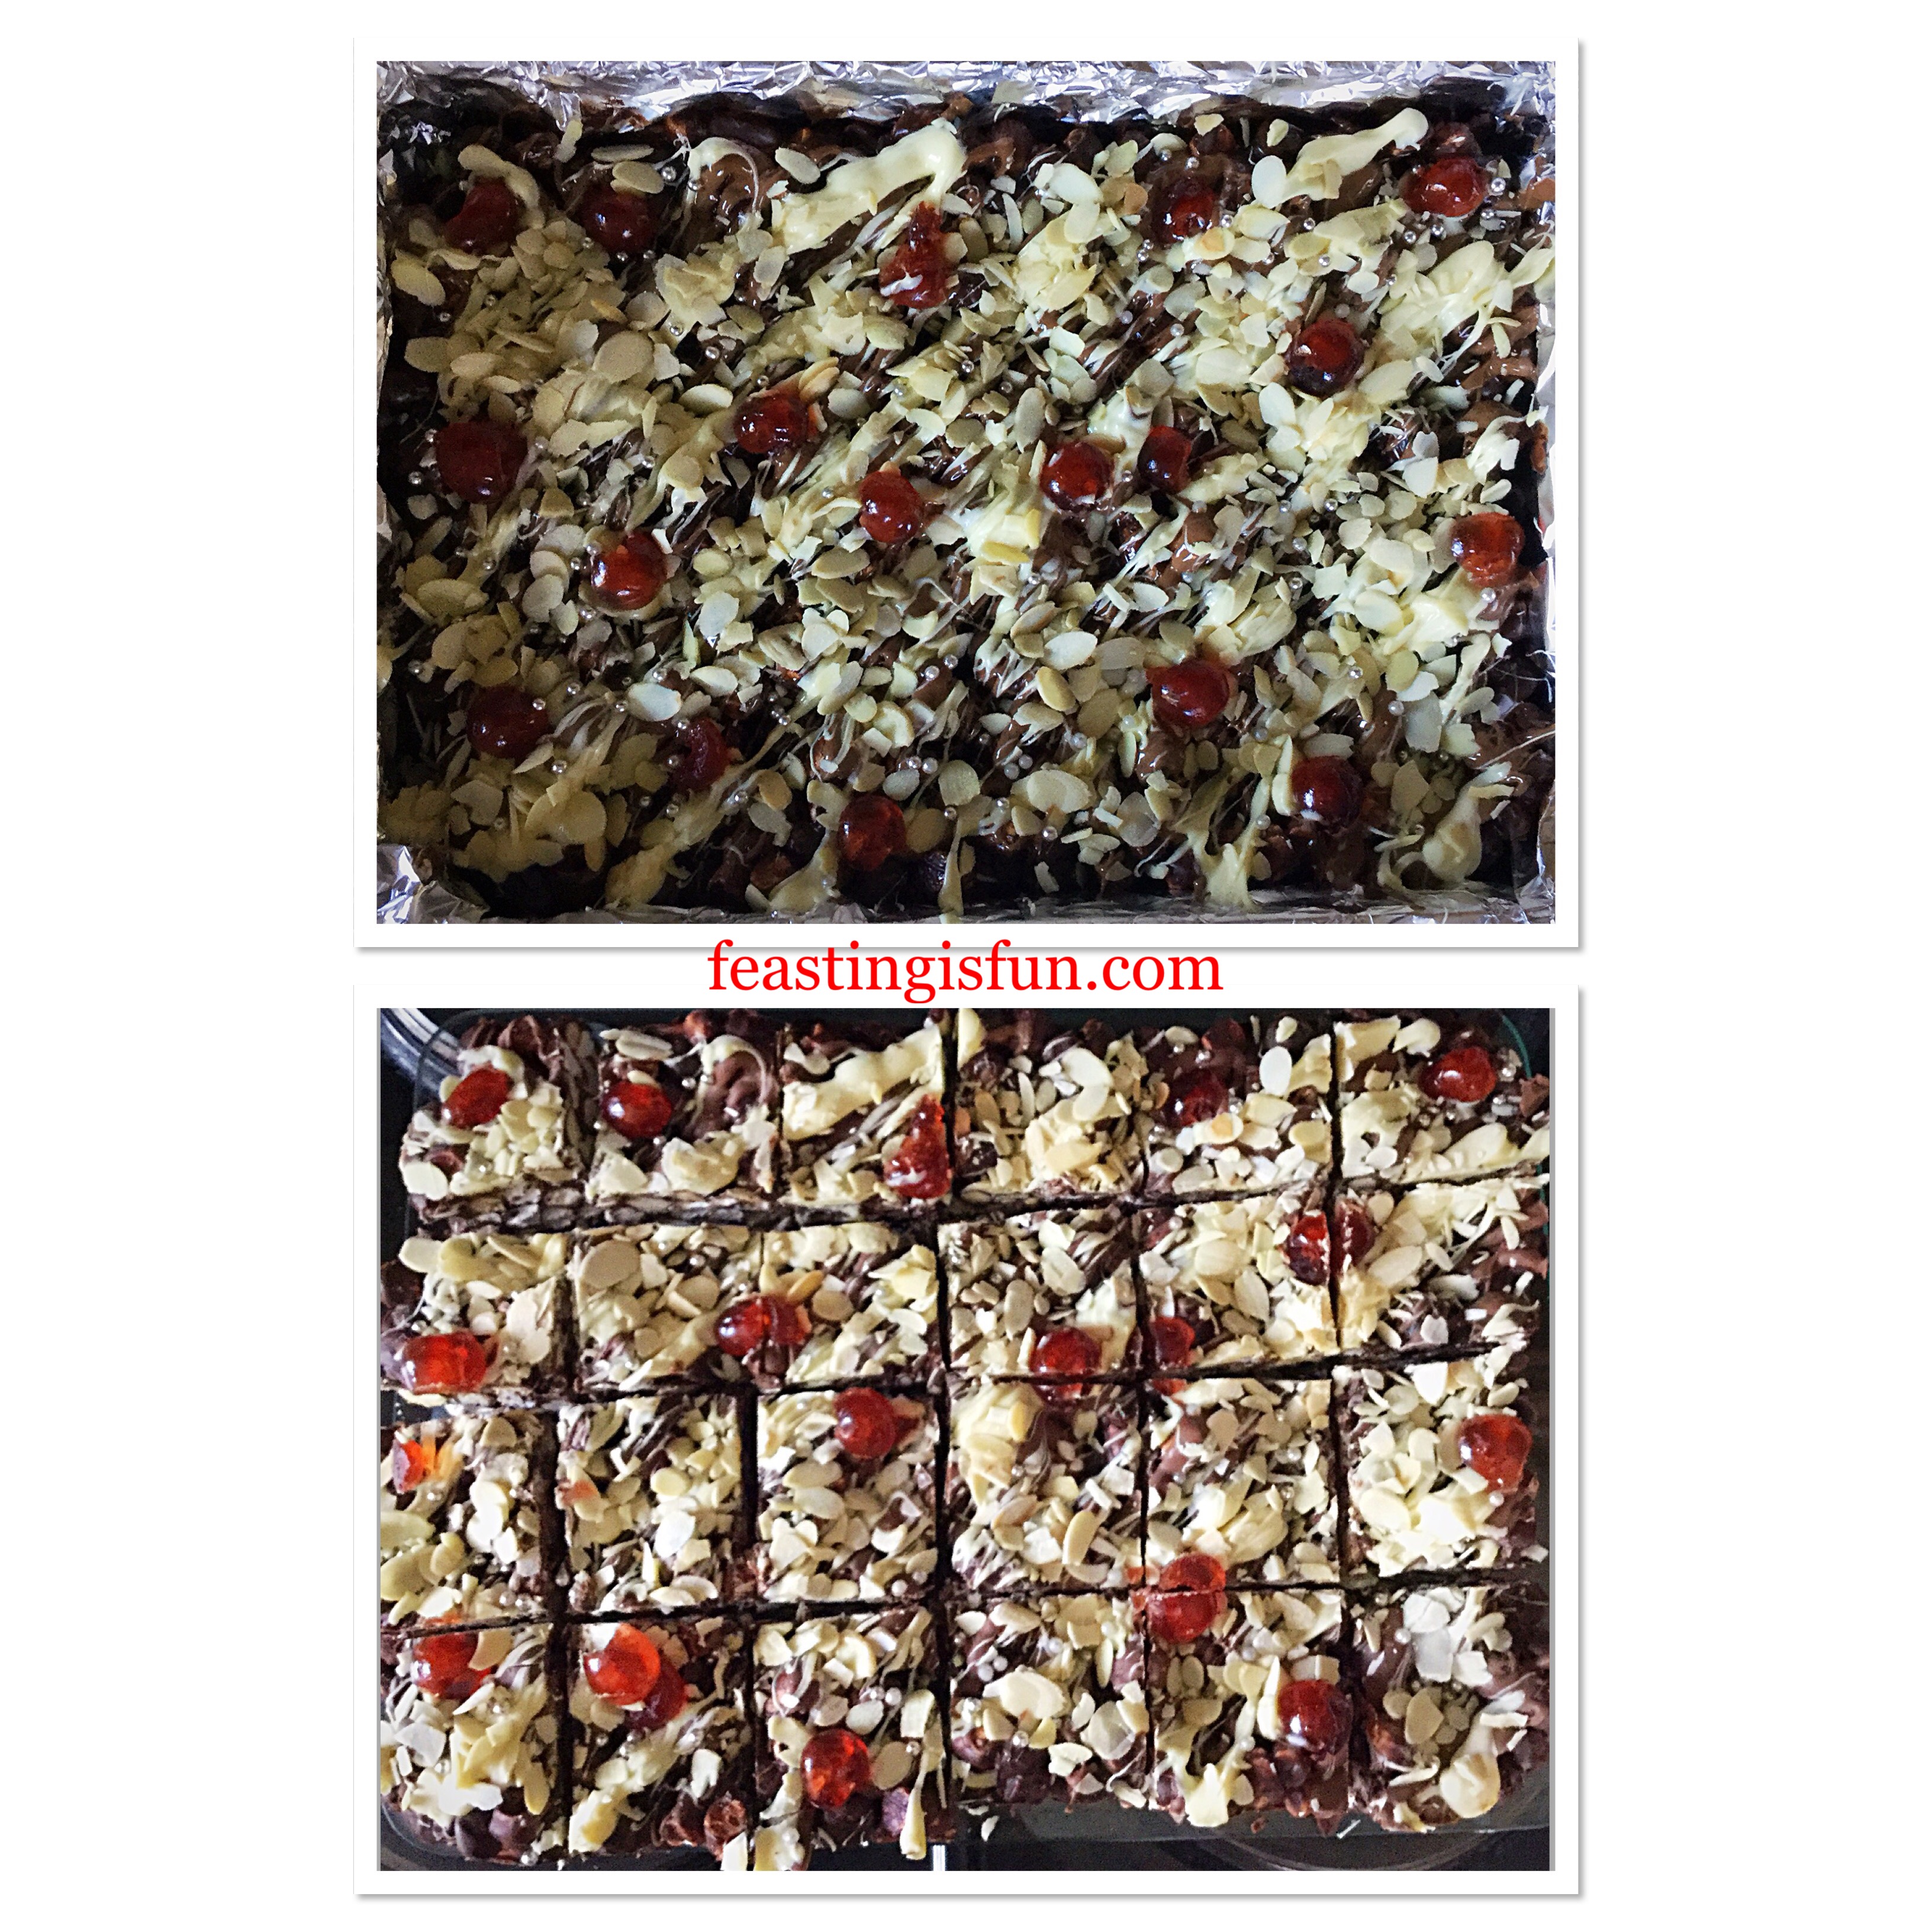
Finally each bar is finished with a double chocolate drizzle, flaked toasted almonds, more glacé cherries and sparkling silver balls. Most of all, the combination of ingredients ensures traditional cherry bakewell flavours are in every chewy, crunchy, delightful bite. Resulting in a delicious sweet treat that is as ideal to make and serve at home as it is easy to transport.
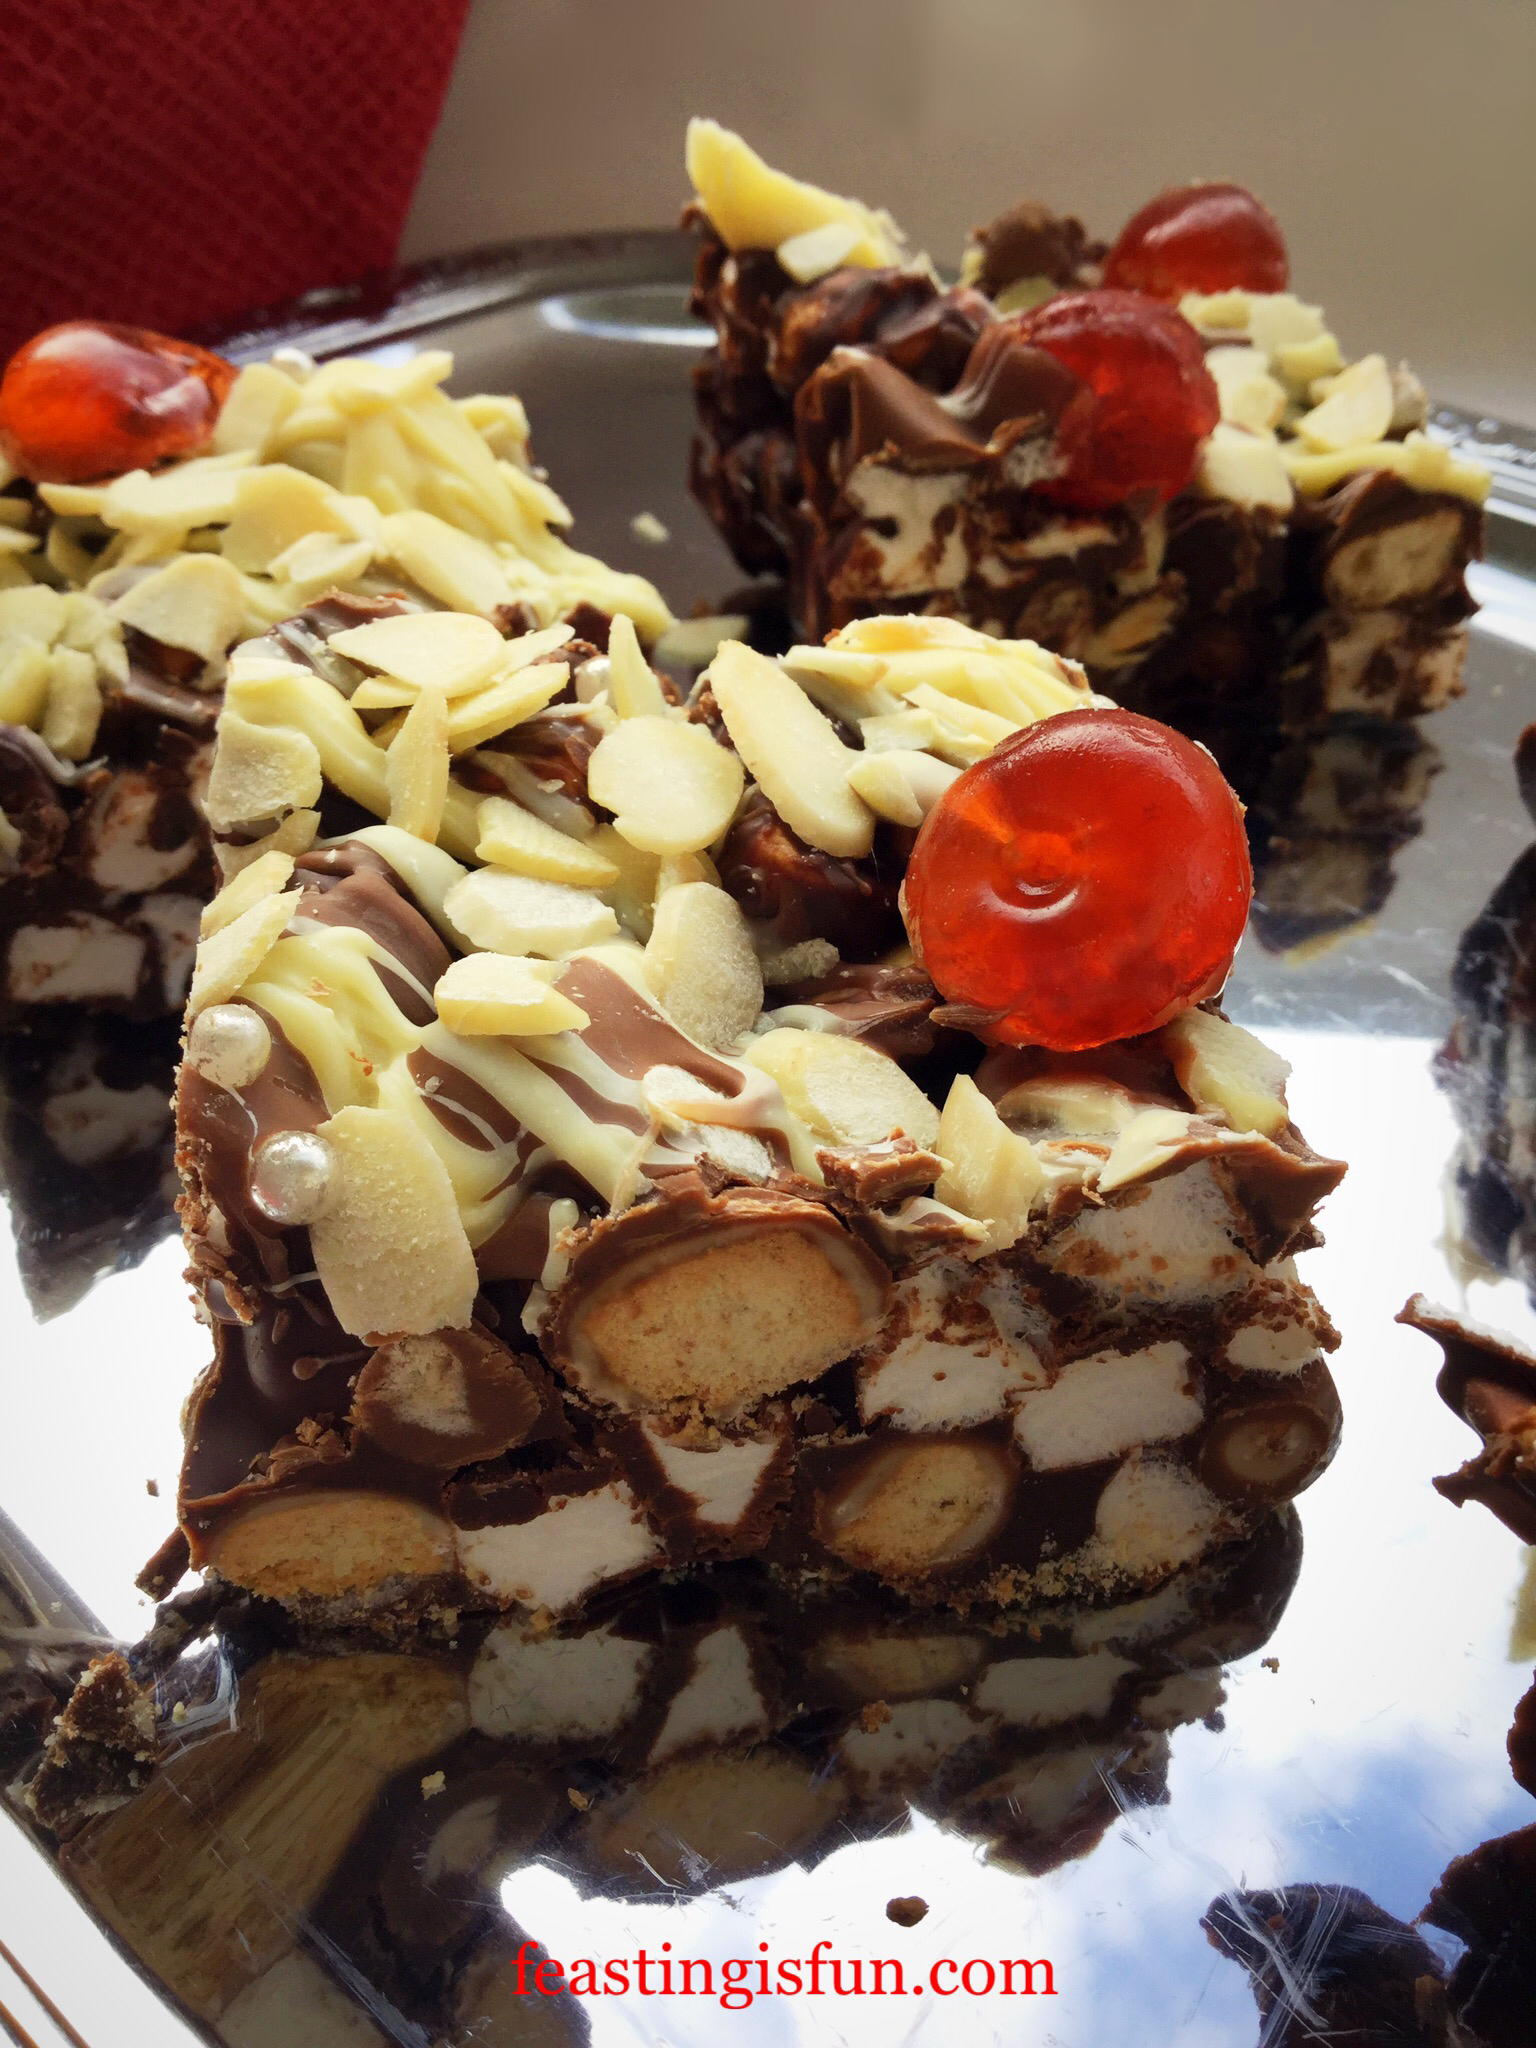
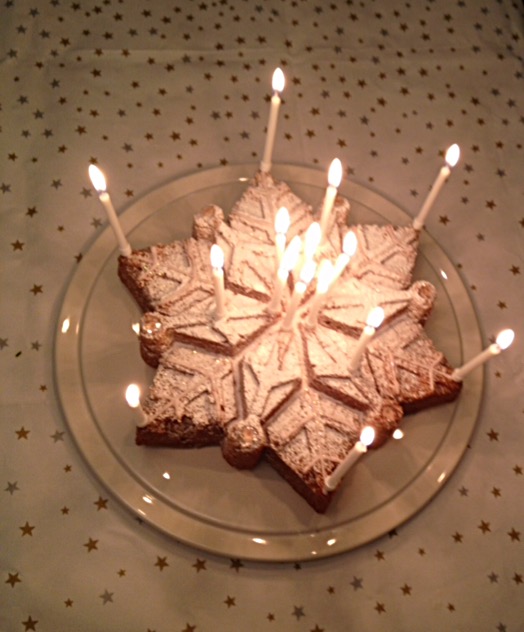
Each one of these Cherry Rocky Road Bars is a feast in itself. Also what better time to share these with friends and family, than over the holiday season? Since sharing food makes it taste so much better, these also make a great edible gift. Pop into cellophane bags tied with festive ribbon and give as gifts. A perfect festive treat.
Recipe: Cherry Bakewell Rocky Road Bars makes 24
For the bars:
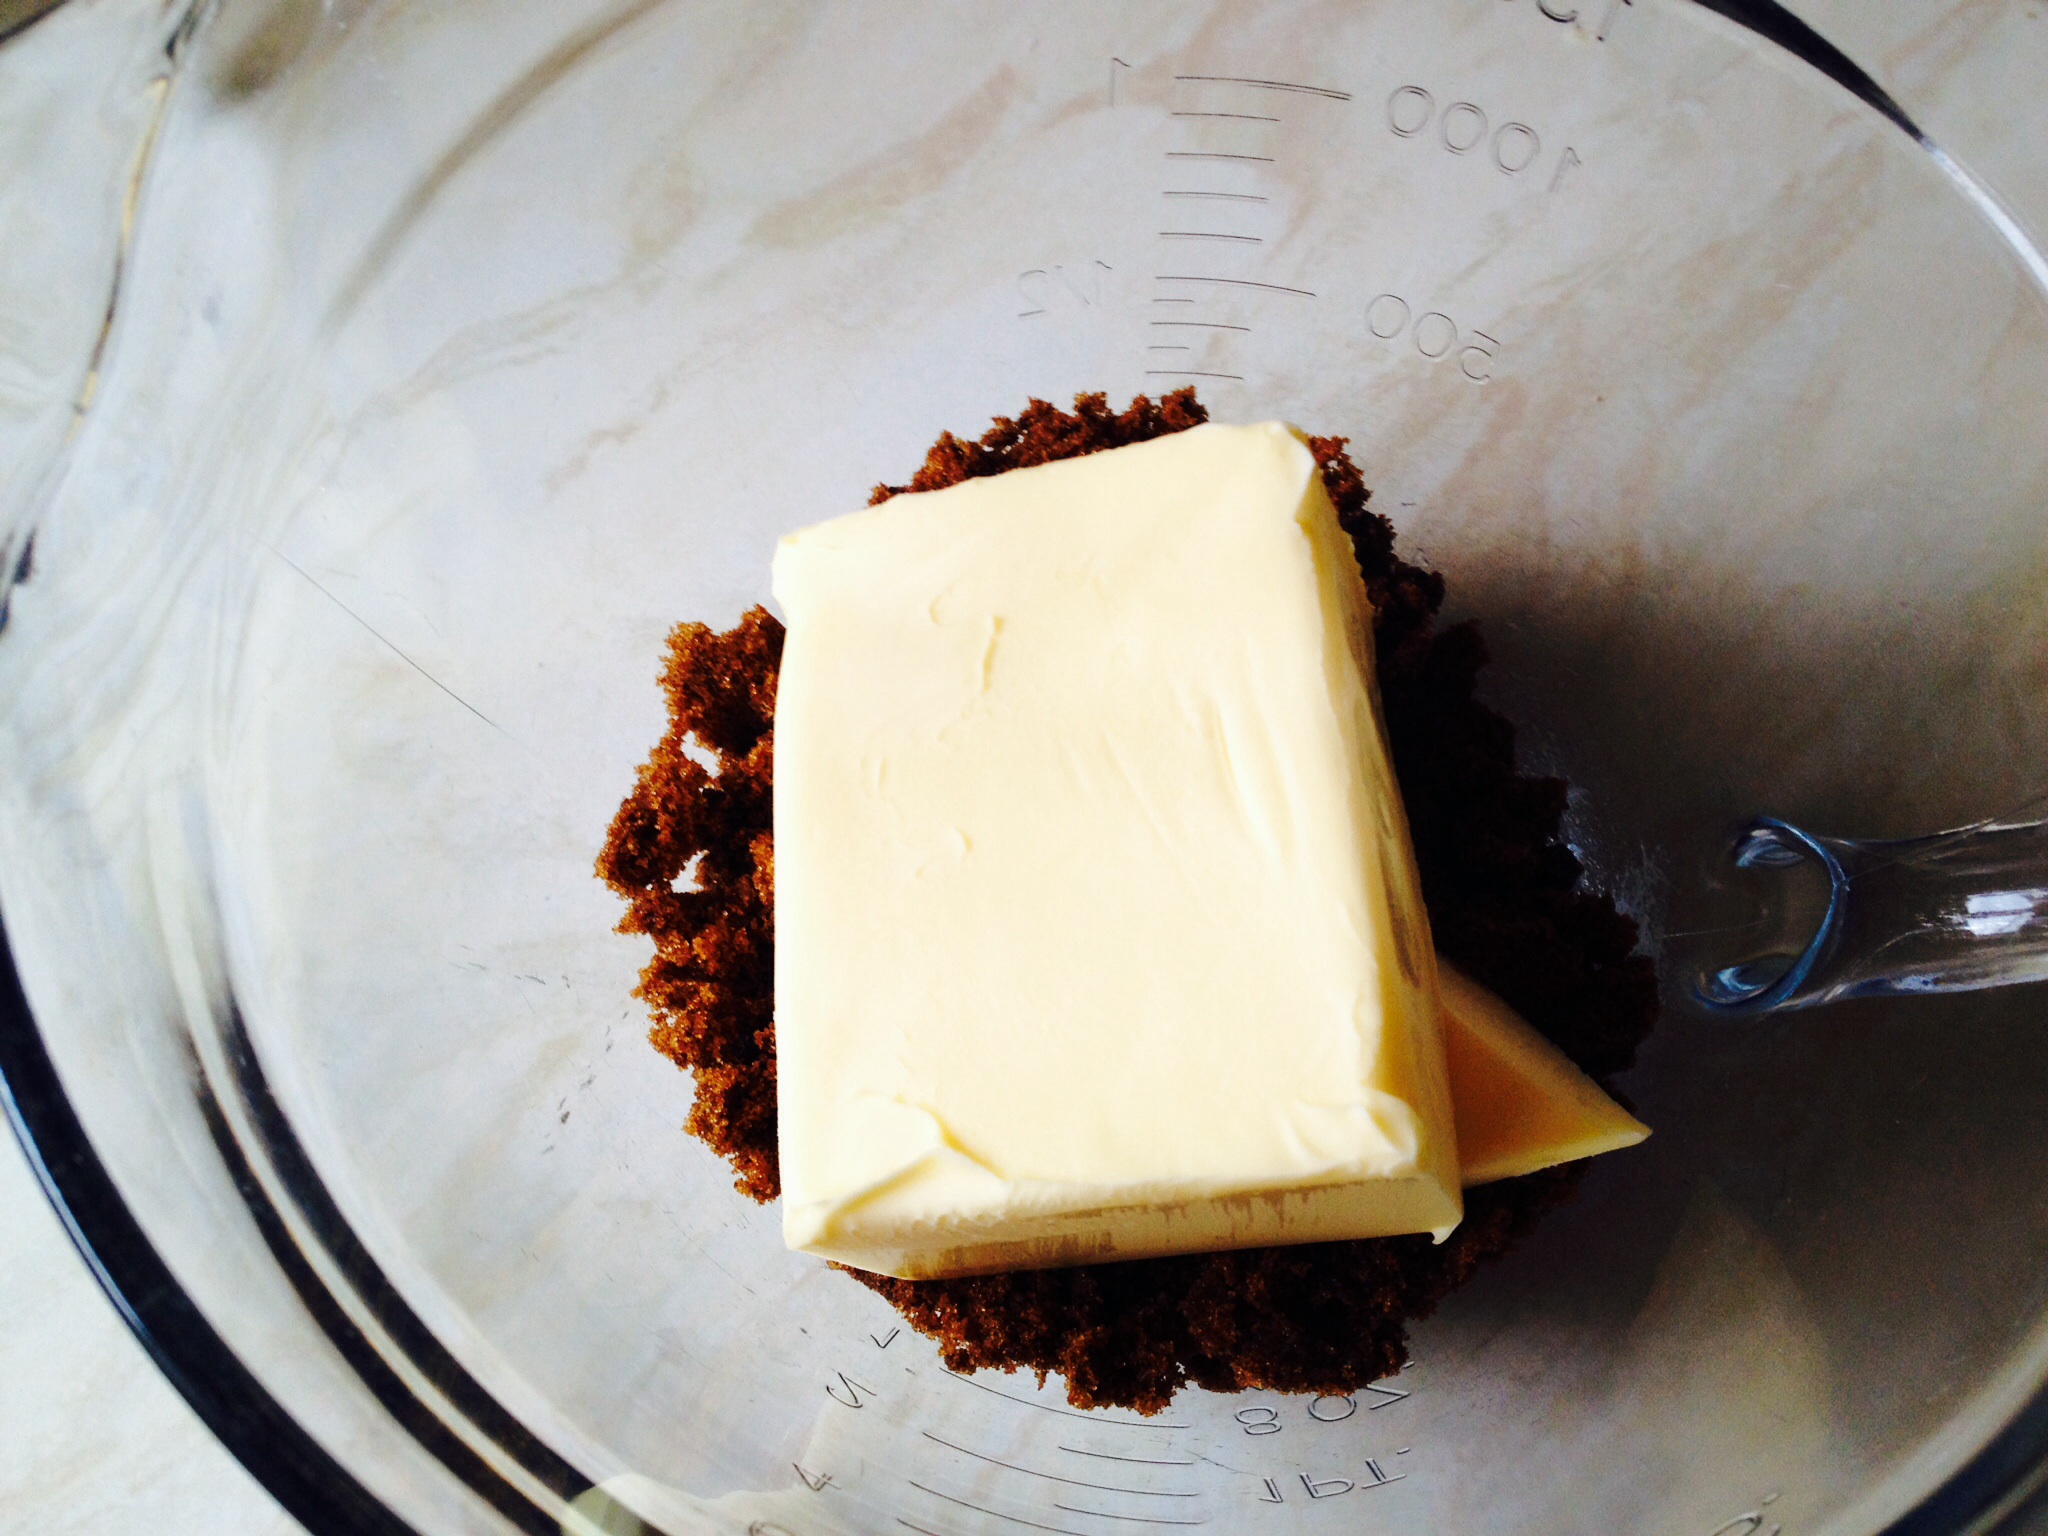
200g/7oz Dark Chocolate minimum 70% cocoa solids
200g/7oz Milk Chocolate
100g/4oz Unsalted Butter
1/4tsp Sea Salt – I use Maldon
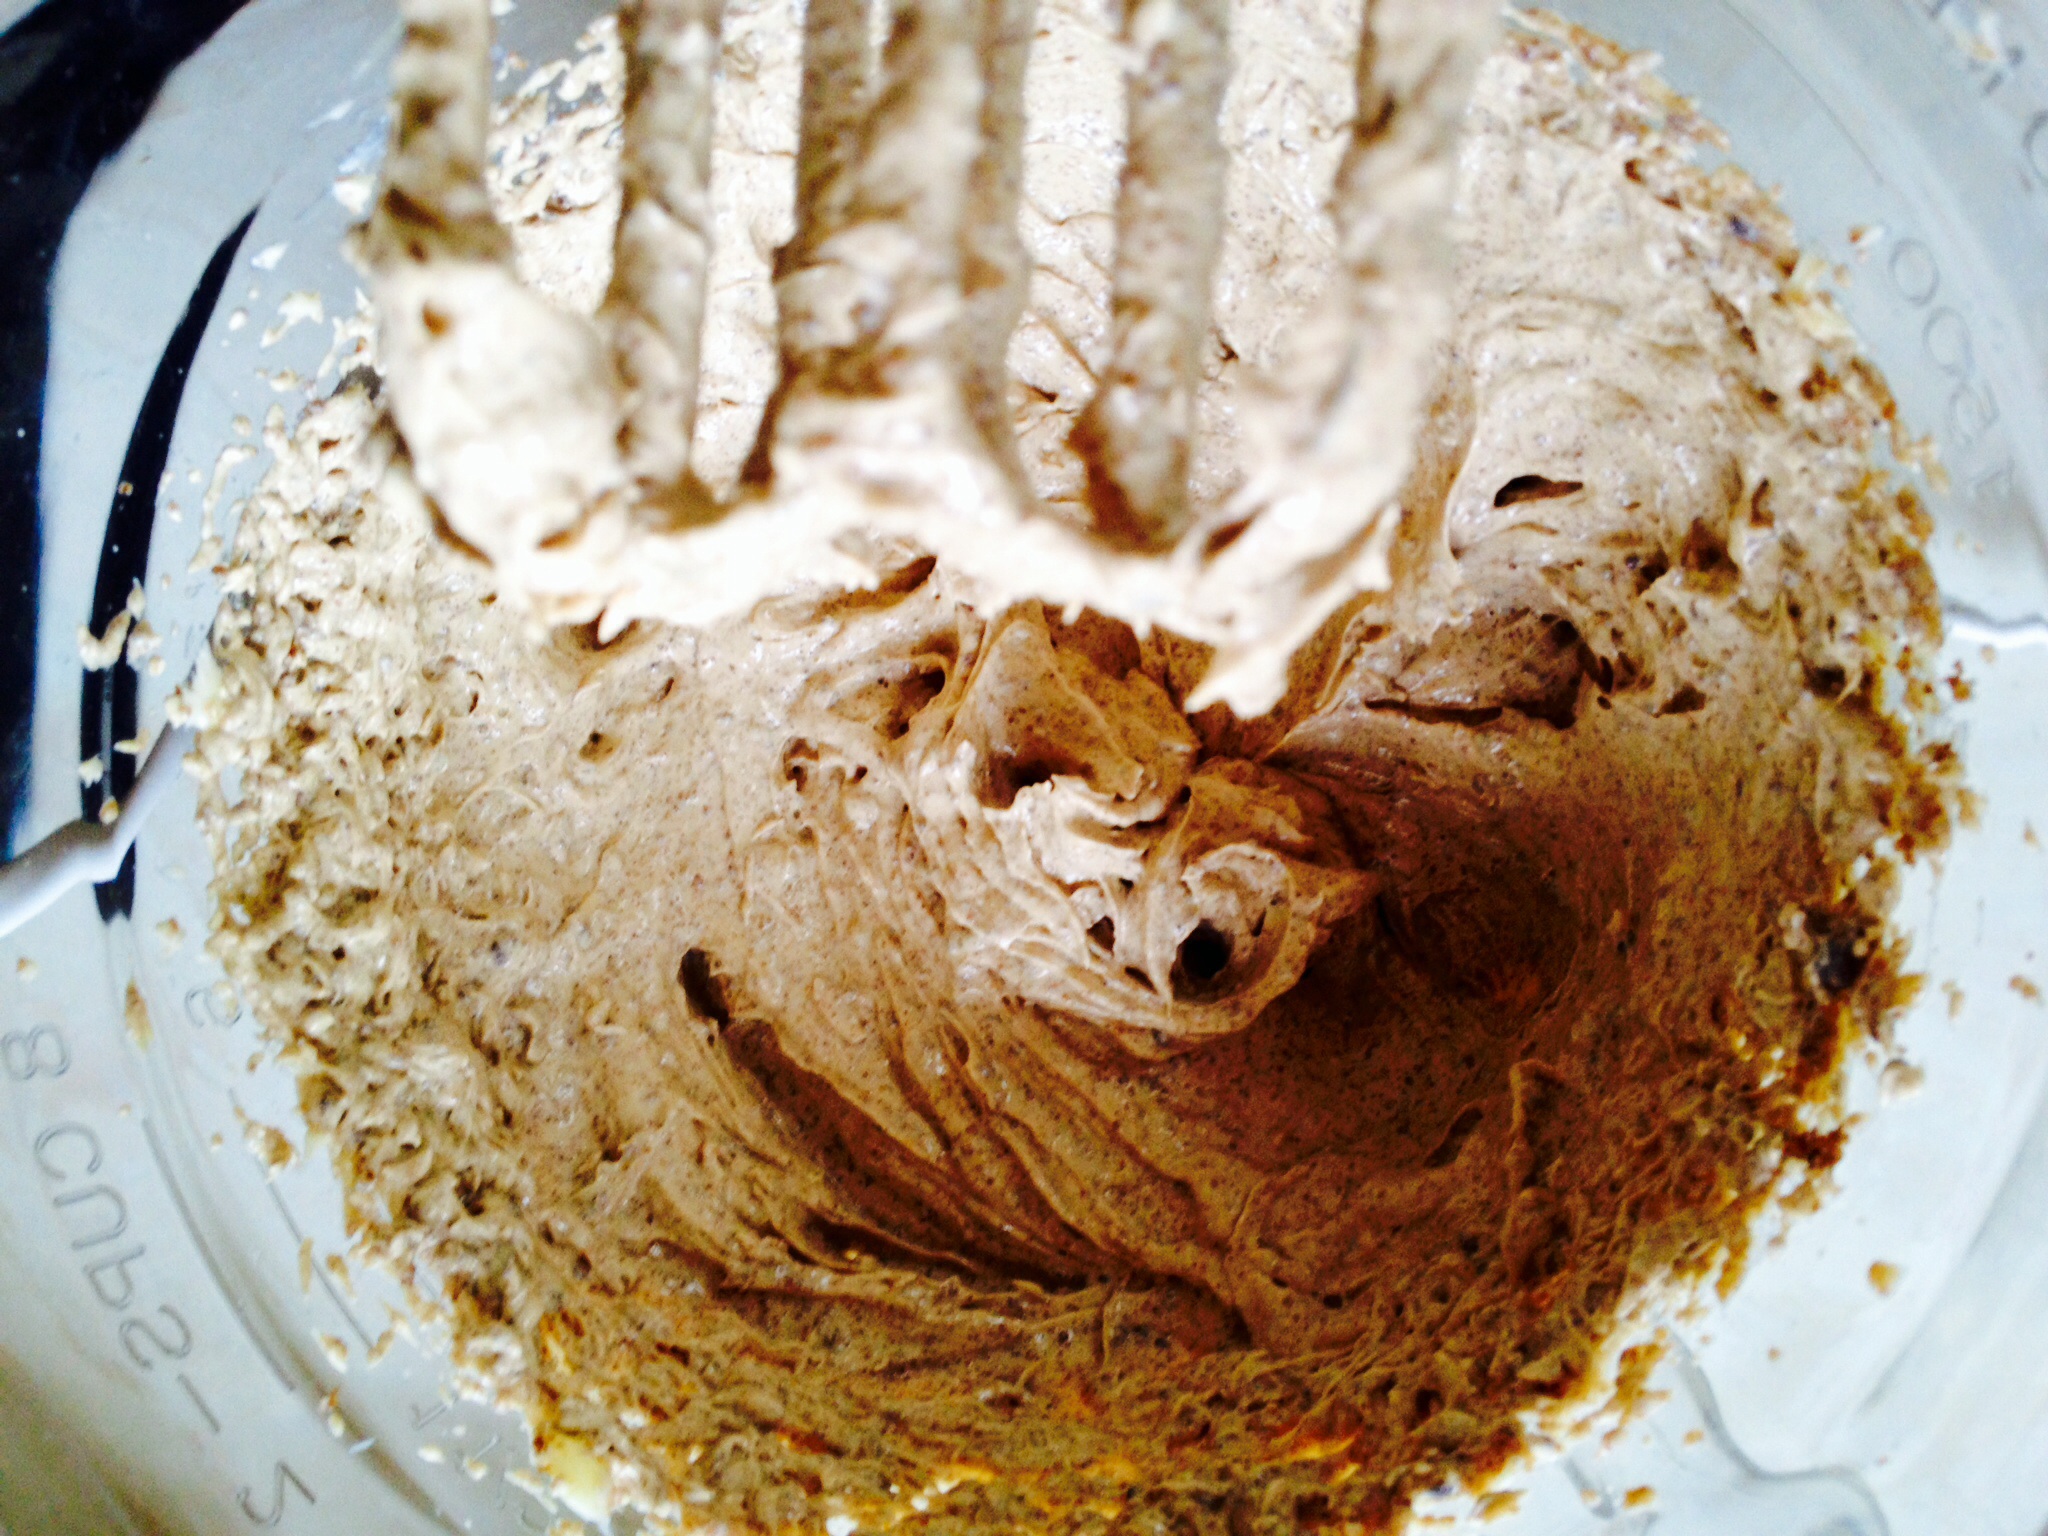
3tbsp Golden Syrup
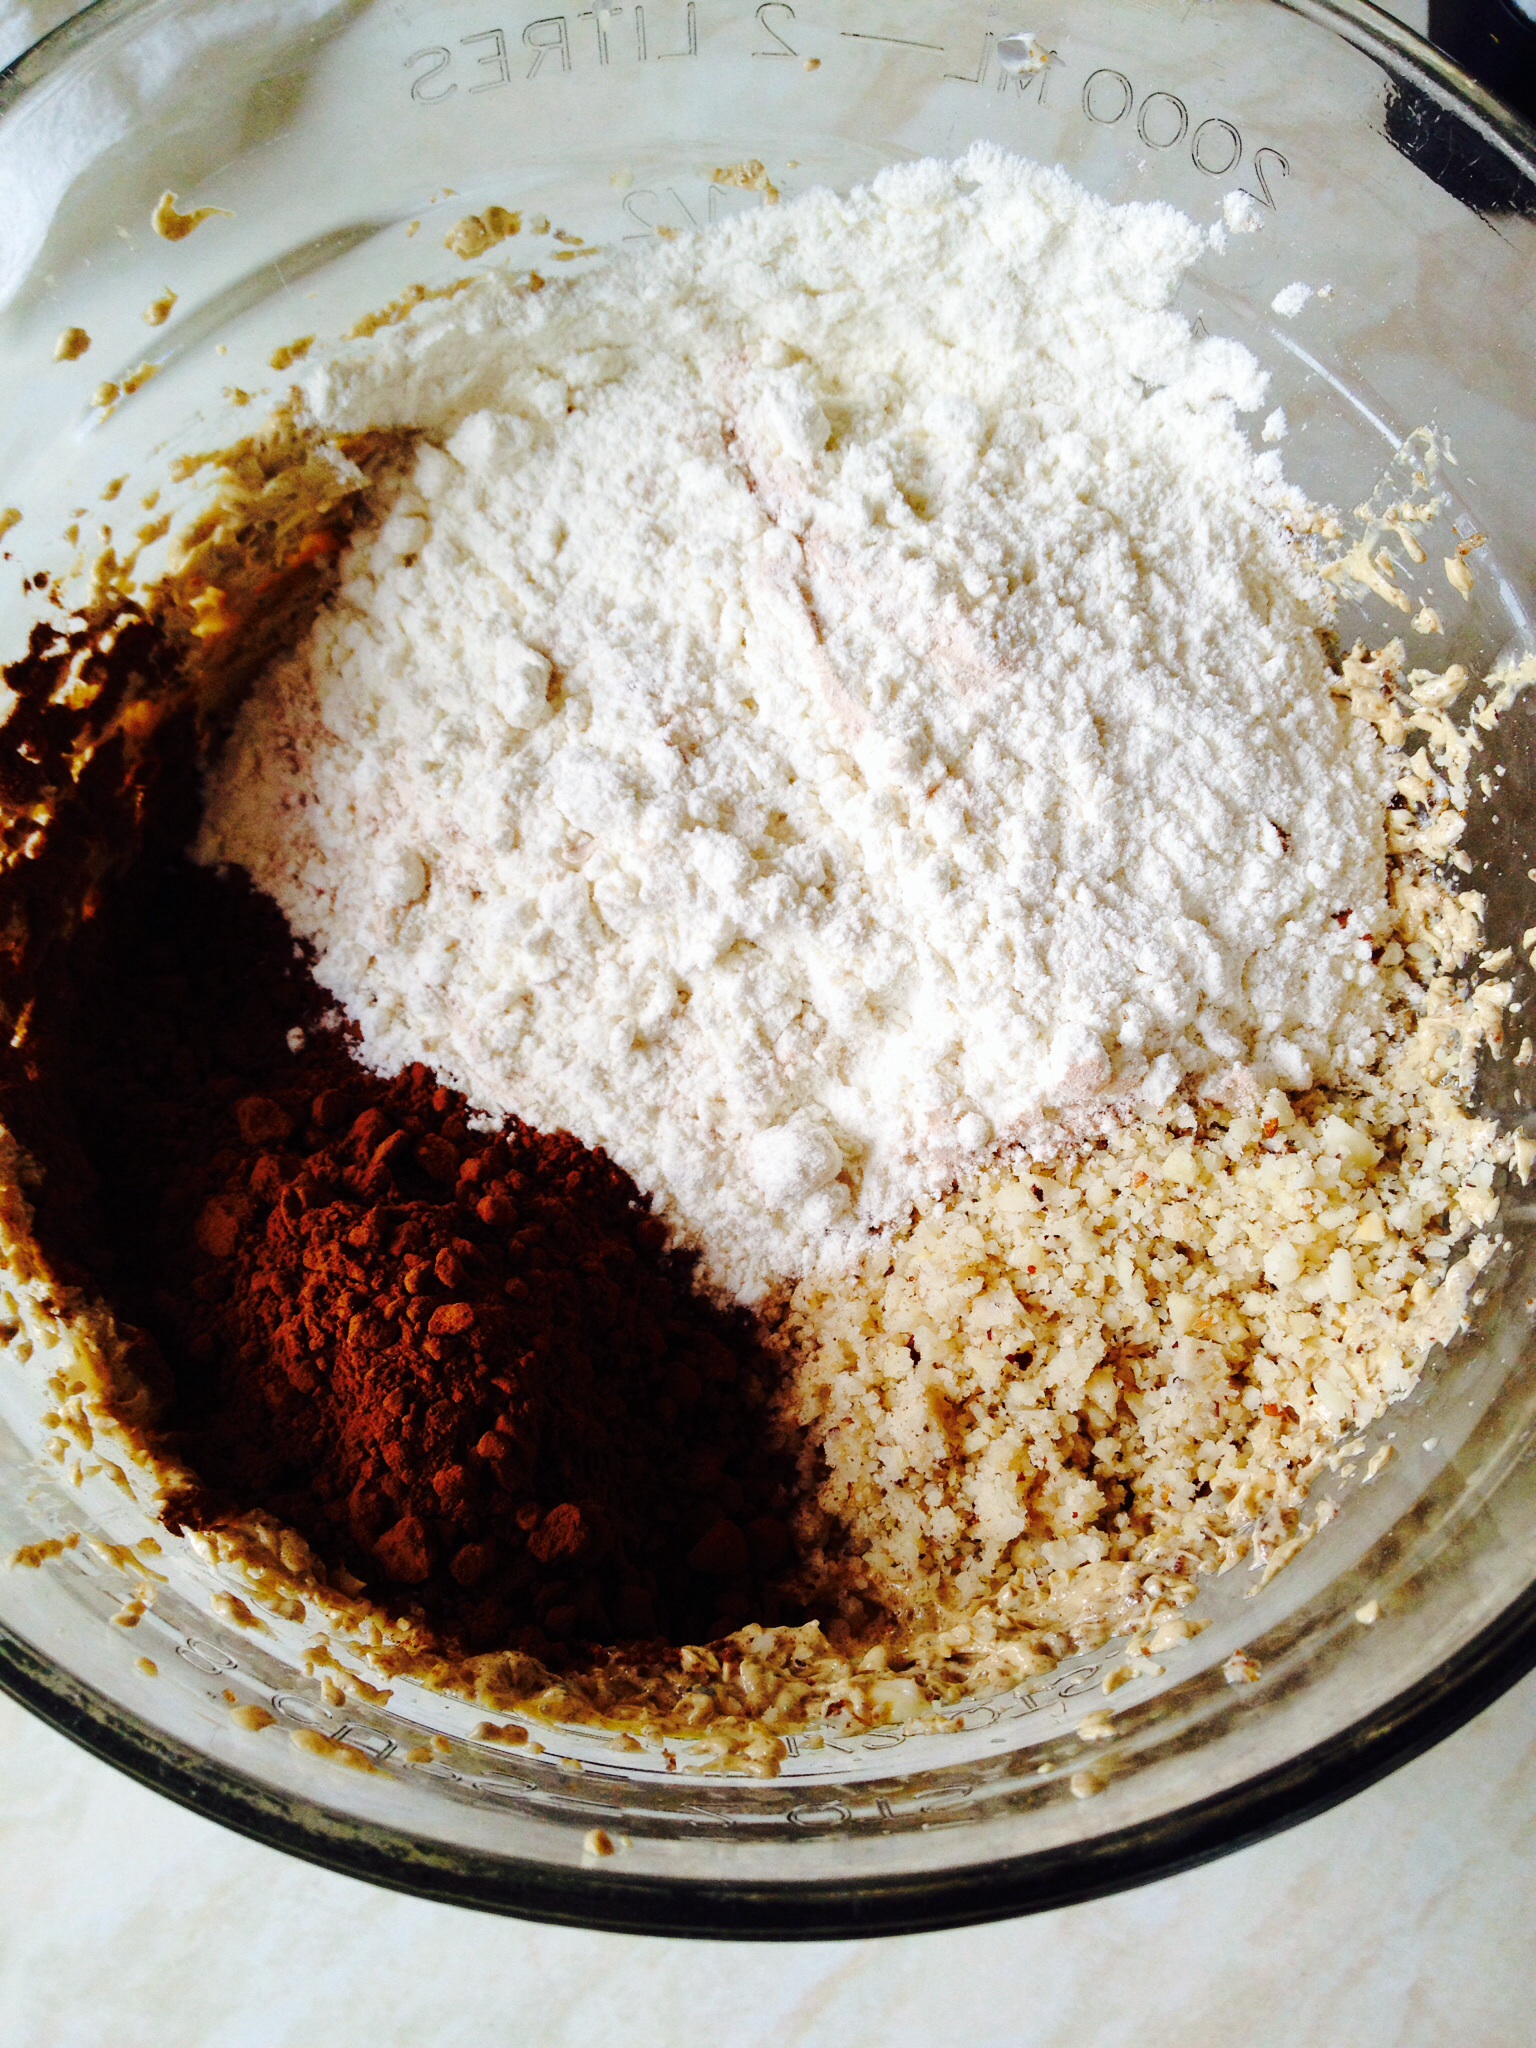
100g/4oz Whole Almonds lightly toasted and cooled
3 Packs McVities Digestive Nibbles total 360g available from most supermarkets. Alternatively crush 360g digestive biscuits into roughly 1cm sized pieces
100g/4oz Glacé Cherries
175g/6oz Mini Marshmallows
Optional 1/2tsp Almond Extract – I use Nielsen-Massey
For the topping:
100g/4oz White Chocolate
100g/4oz Milk Chocolate
50g/2oz Flaked Almonds lightly toasted and cooled
50g/2oz Glacé Cherries cut in half
Silver Sugar Balls
Method:
- First of all line a 22.5cm x 30cm (9” x 12”) deep tin with aluminium foil.
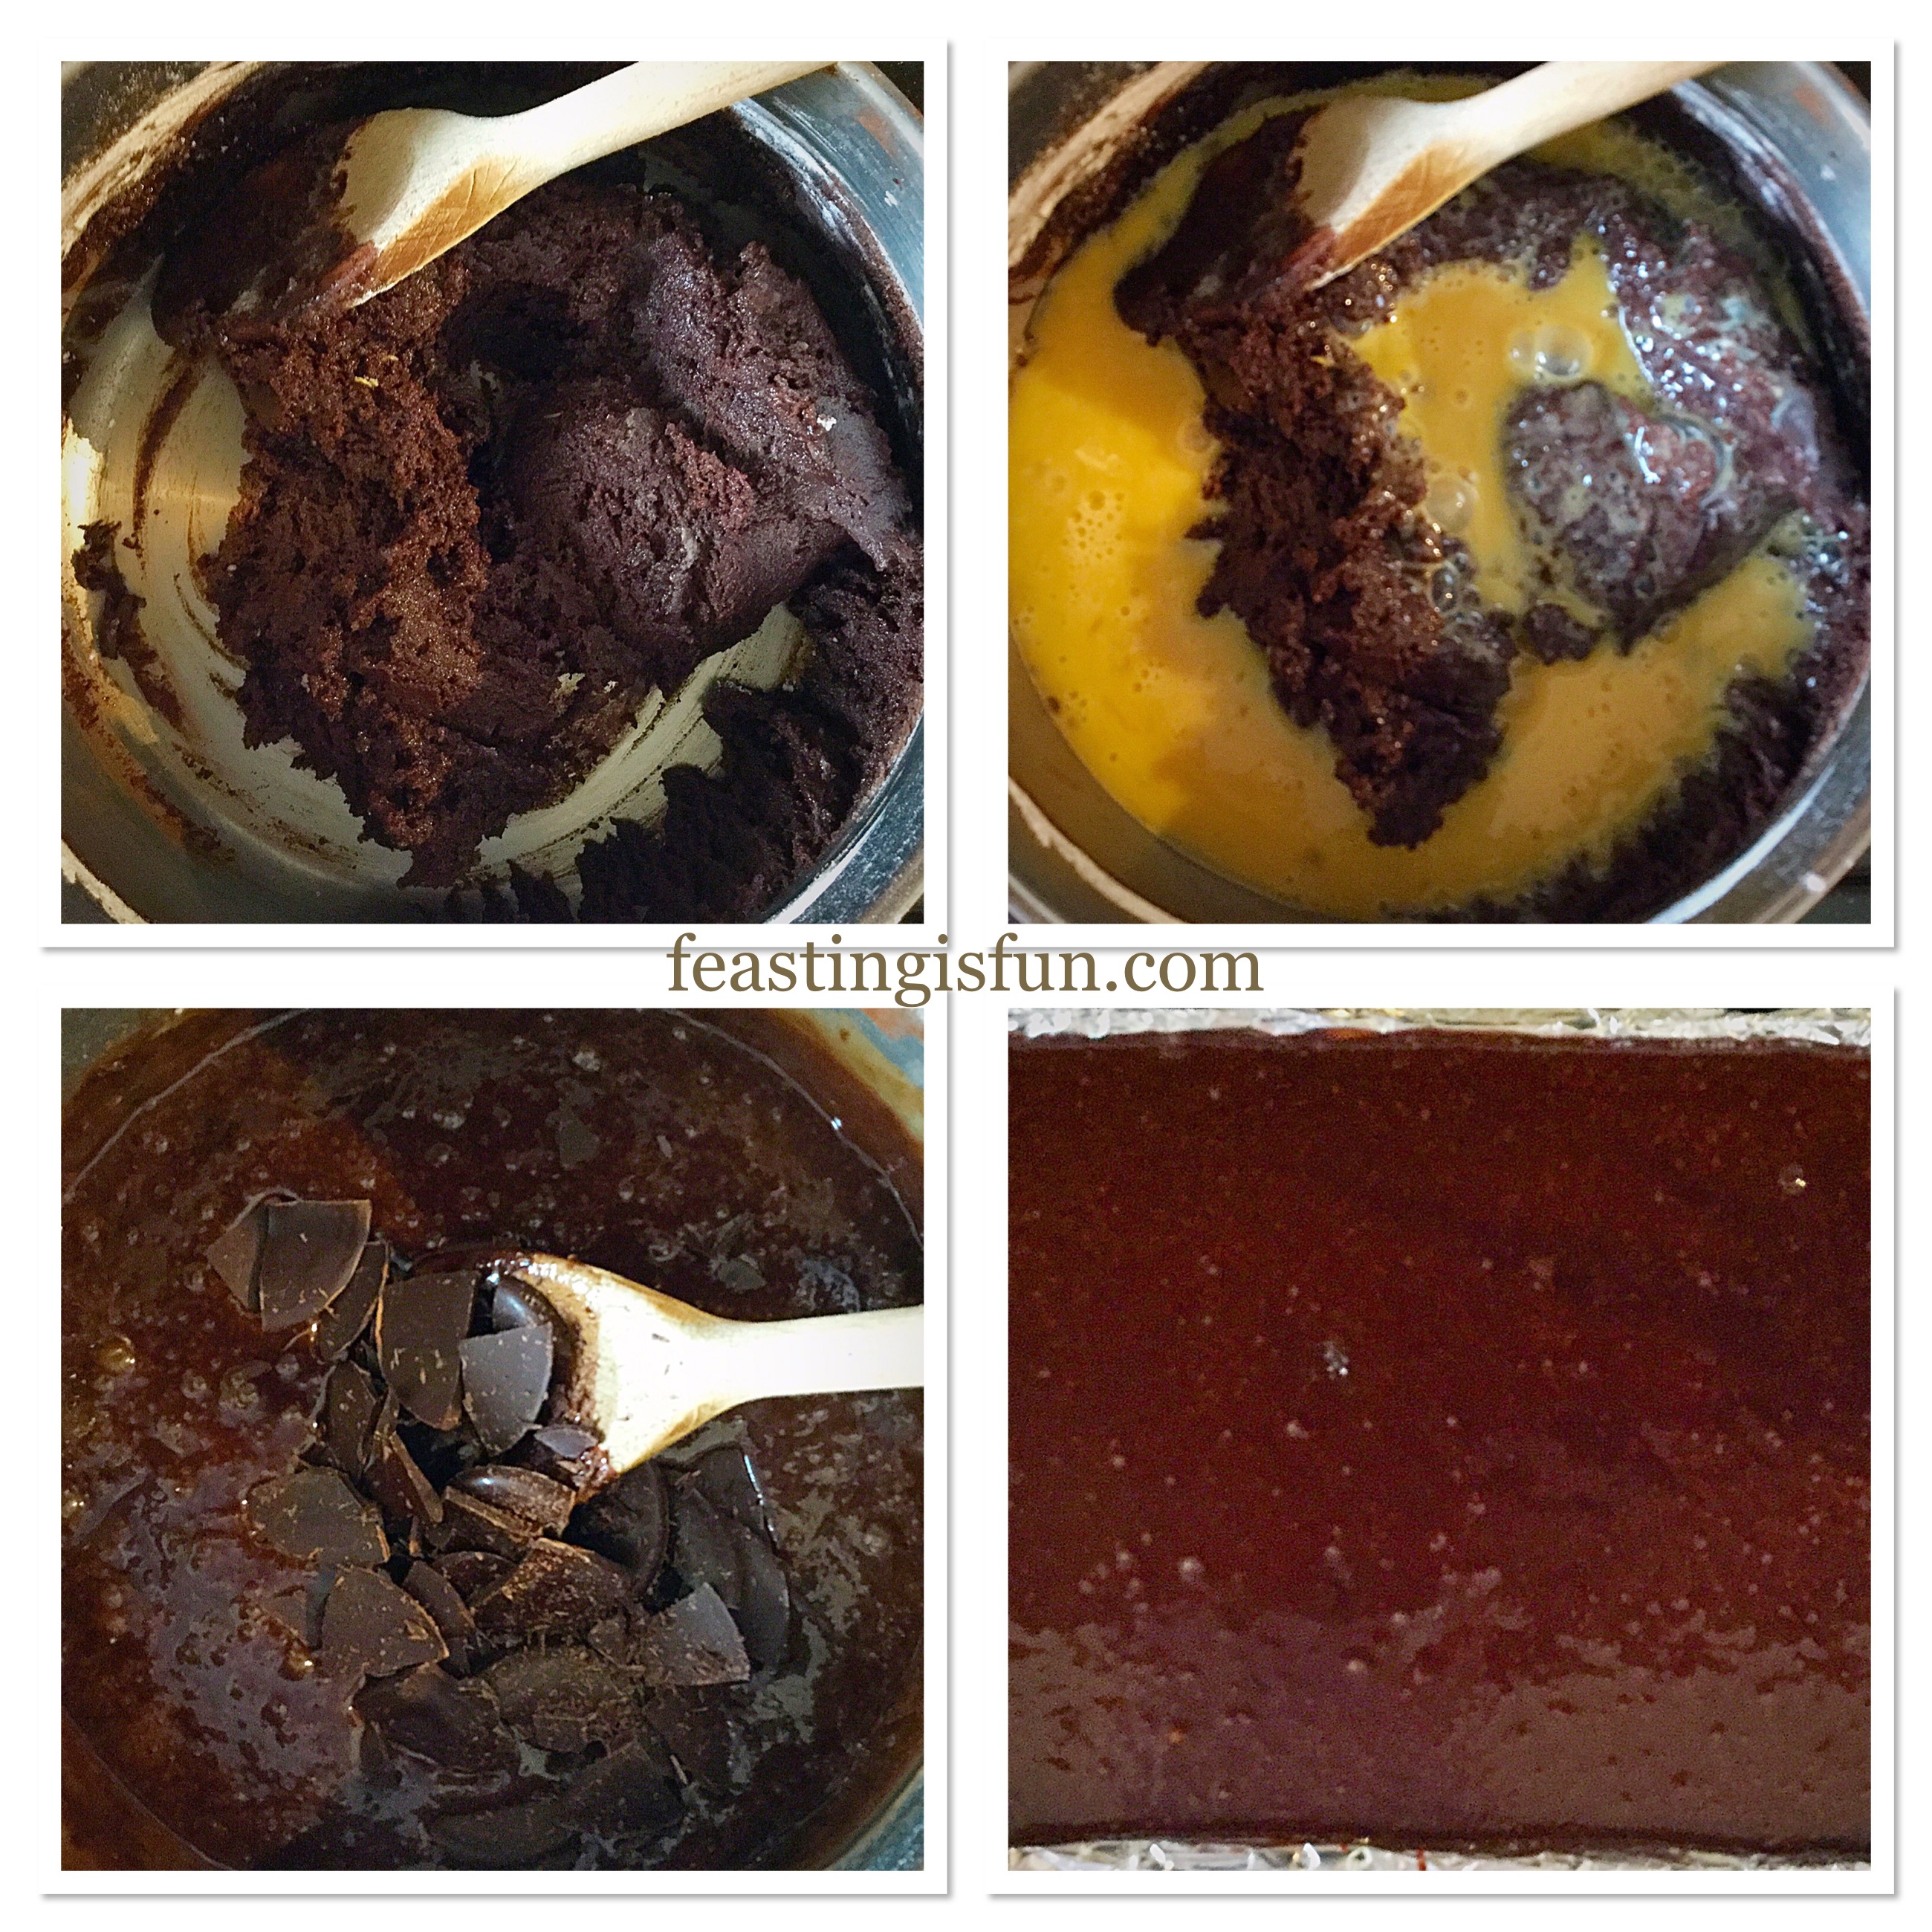
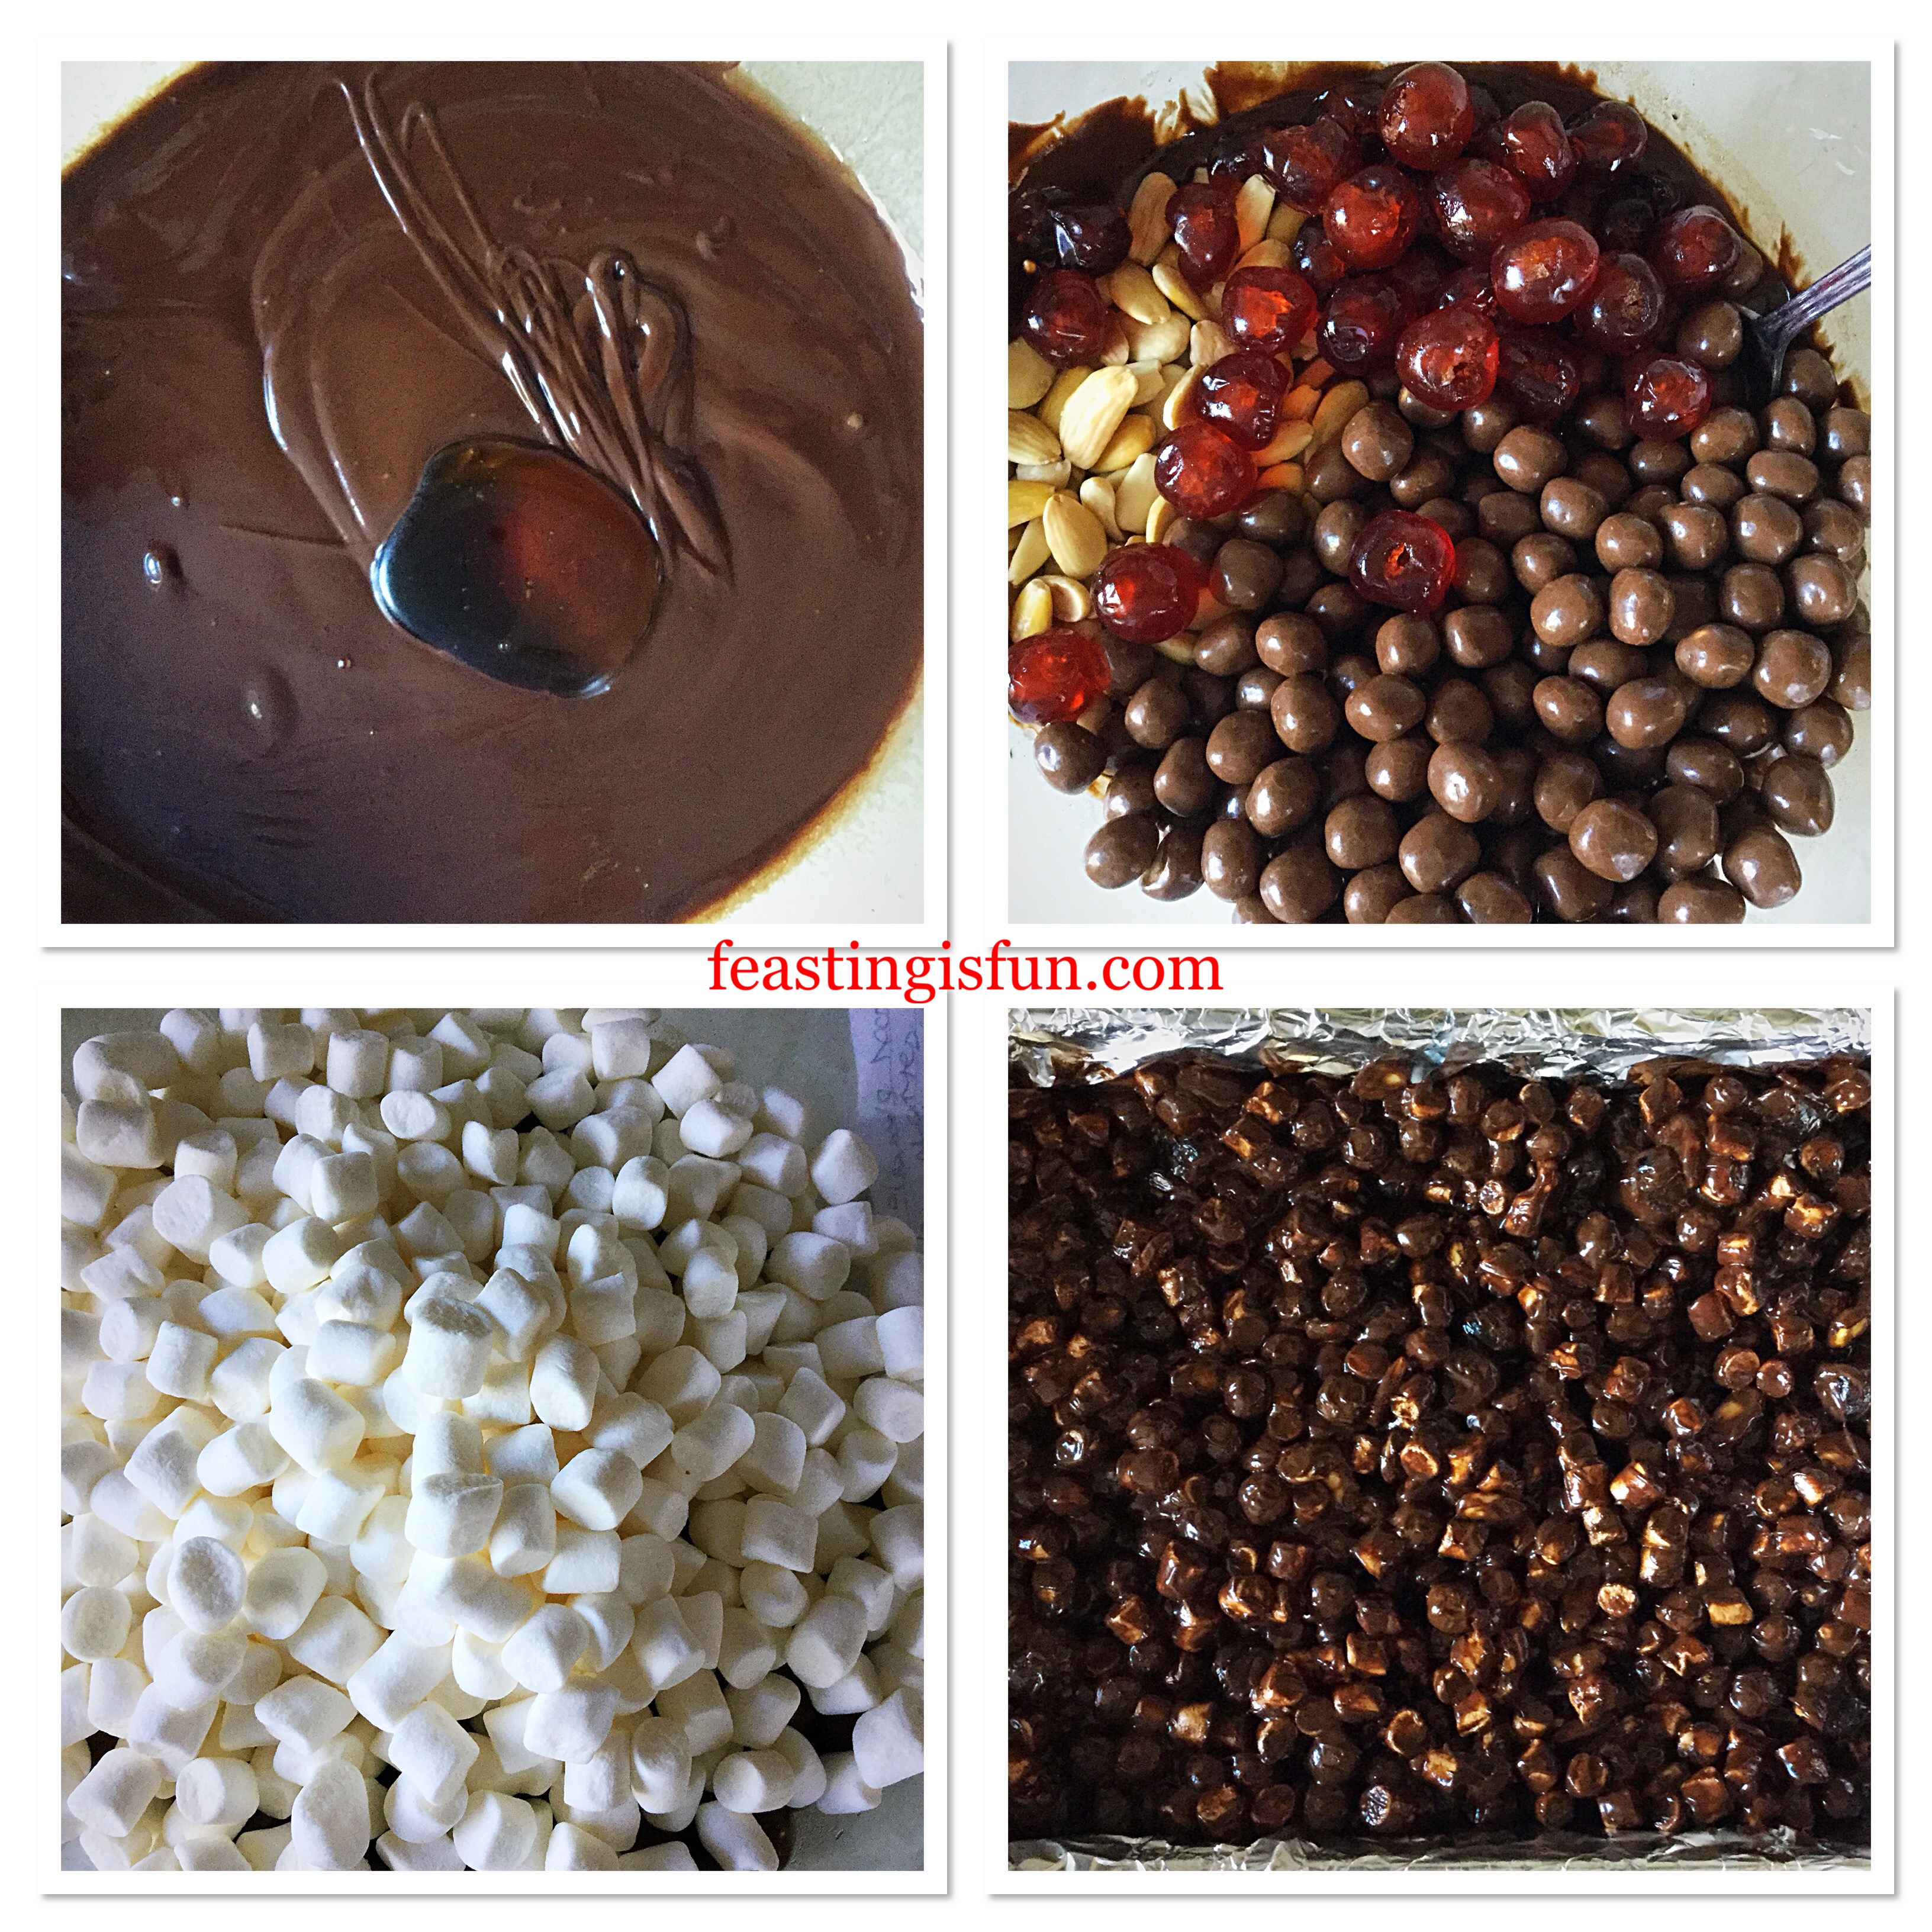
- Next, into a large microwaveable bowl add the milk and dark chocolate, broken up or chopped into pieces. Also add the butter and sea salt.
- Heat the chocolate and butter in the microwave, on medium power for 30 seconds at a time. Stir the mixture between each heating burst. As soon as the chocolate and butter start to melt stir continuously until completely liquid.
- Add the golden syrup and stir to combine. Stir in the almond extract if using.
- Into the bowl add the toasted almonds, glacé cherries, digestive nibbles (or broken biscuits). Finally add the mini marshmallows.
- Mix to combine all of the ingredients, ensuring everything is slicked with the chocolate mixture.
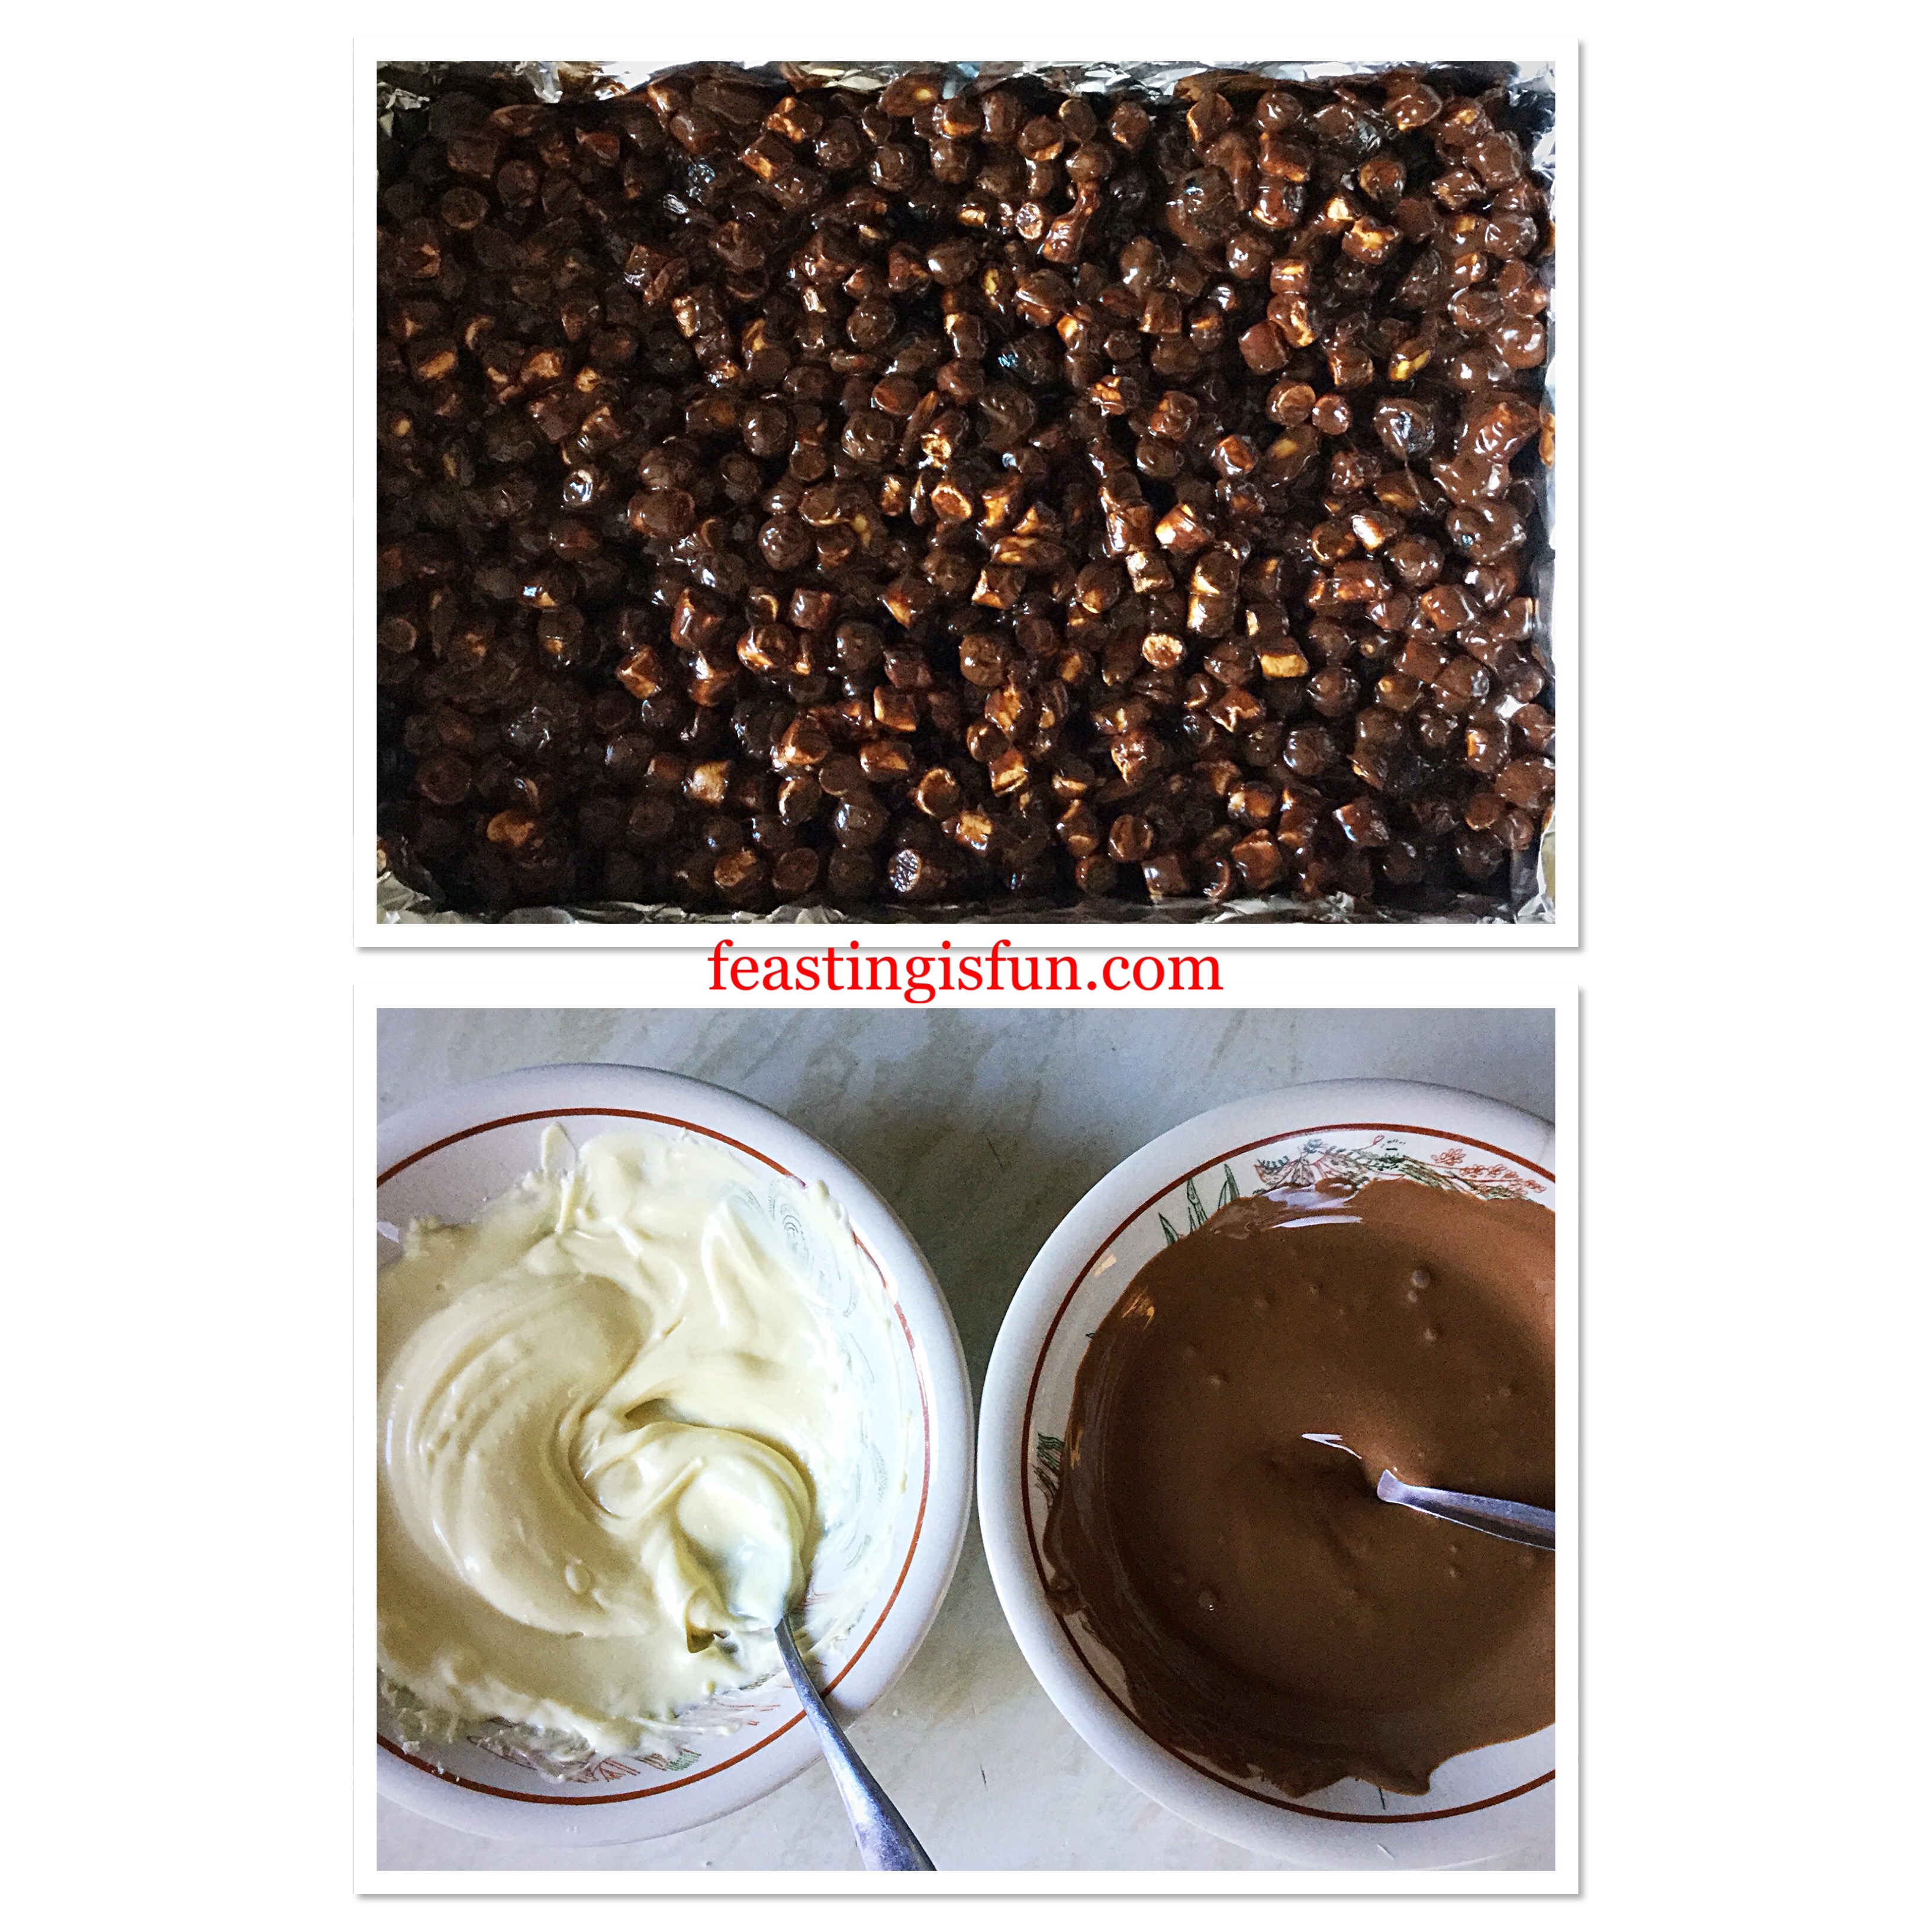
- Spoon the mixture into the prepared tin, pressing with the back of a spoon and making sure that the tin is filled evenly.
- Break up the milk and white chocolate and place into separate heatproof, microwaveable bowls.
- Heat separately, as before, on medium. Stir after each heating burst until the chocolate is completely melted.
- Starting with the milk chocolate, use a teaspoon to diagonally drizzle the chocolate over the rocky road.
- Continue with the white chocolate in the same manner.
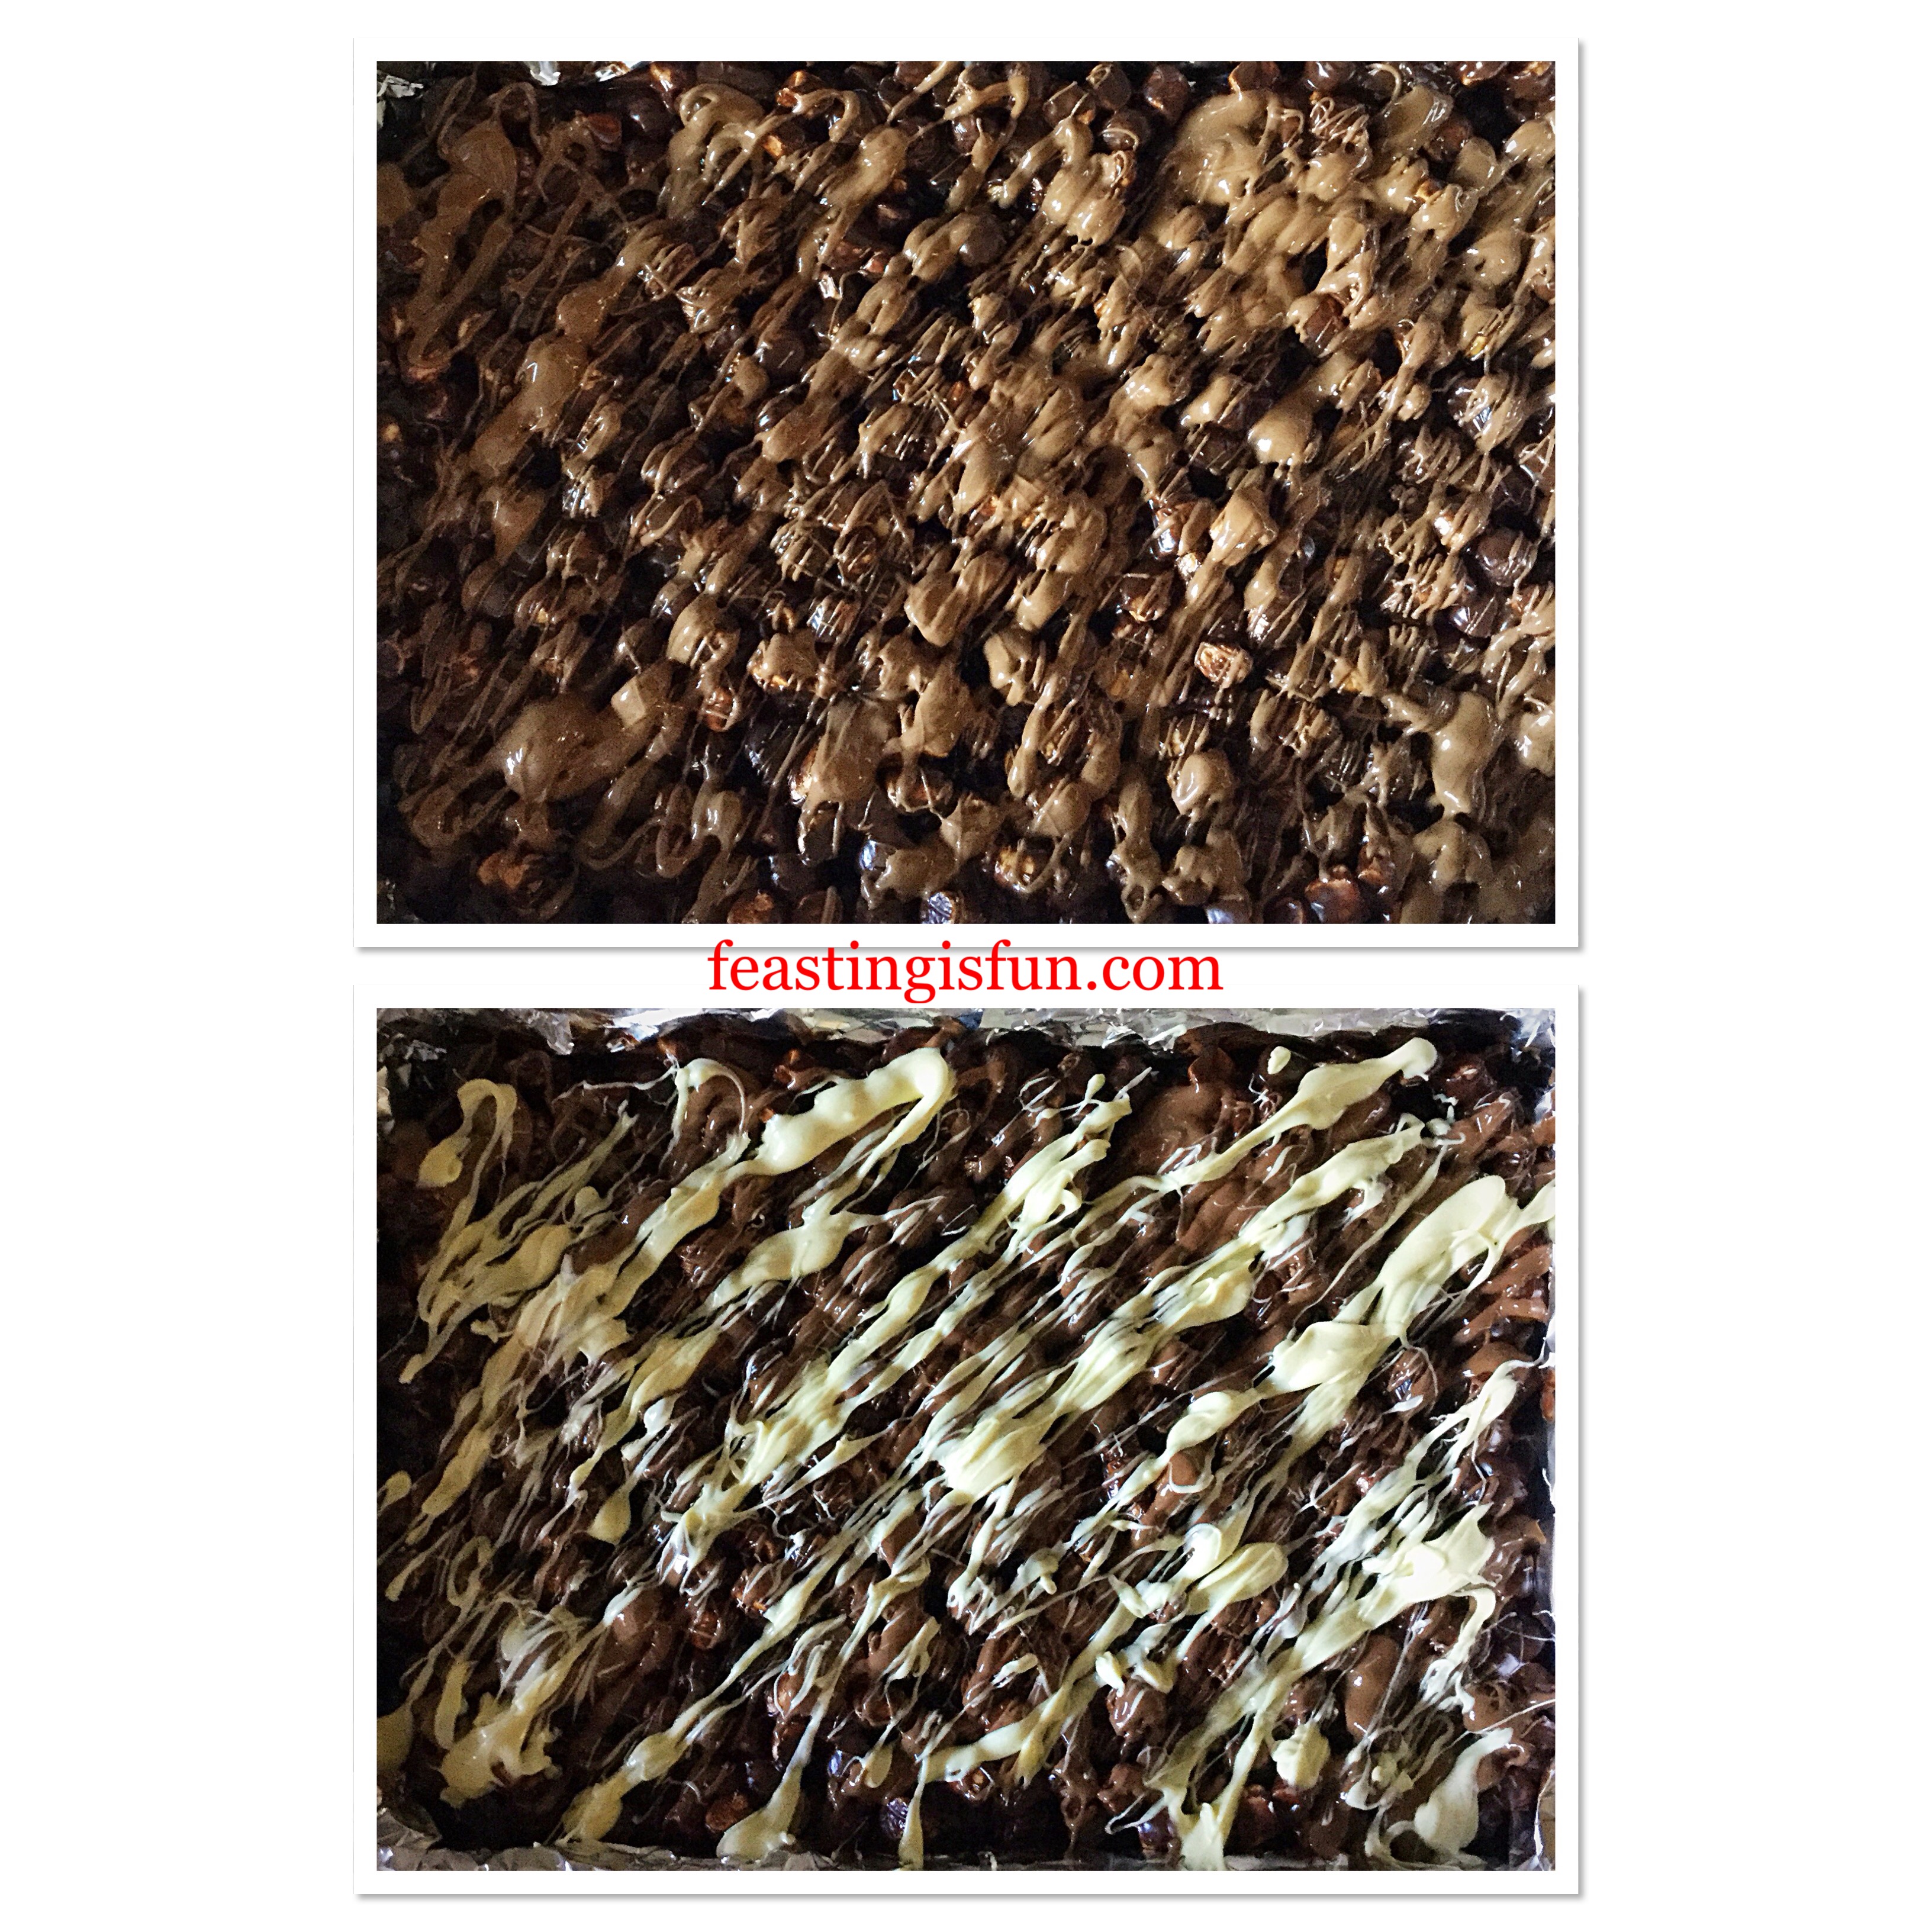
- While the chocolate is still un-set, sprinkle over the flaked almonds. Place the cherries evenly over the flaked almonds and finally scatter over silver balls for extra sparkle.
- Cover the tin tightly with aluminium foil and place in the fridge, or somewhere cool to set. I actually placed the tin in our very cold porch overnight!
- Once set, lift the block of marshmallow and chocolate loveliness out of the tin. Peel away the foil and place on to a board.
- Using a sharp knife cut across the width of the block, dividing it into four equal portions. Cut downwards through the middle and then again through the middle of each larger quarter, creating 24 individual bars.
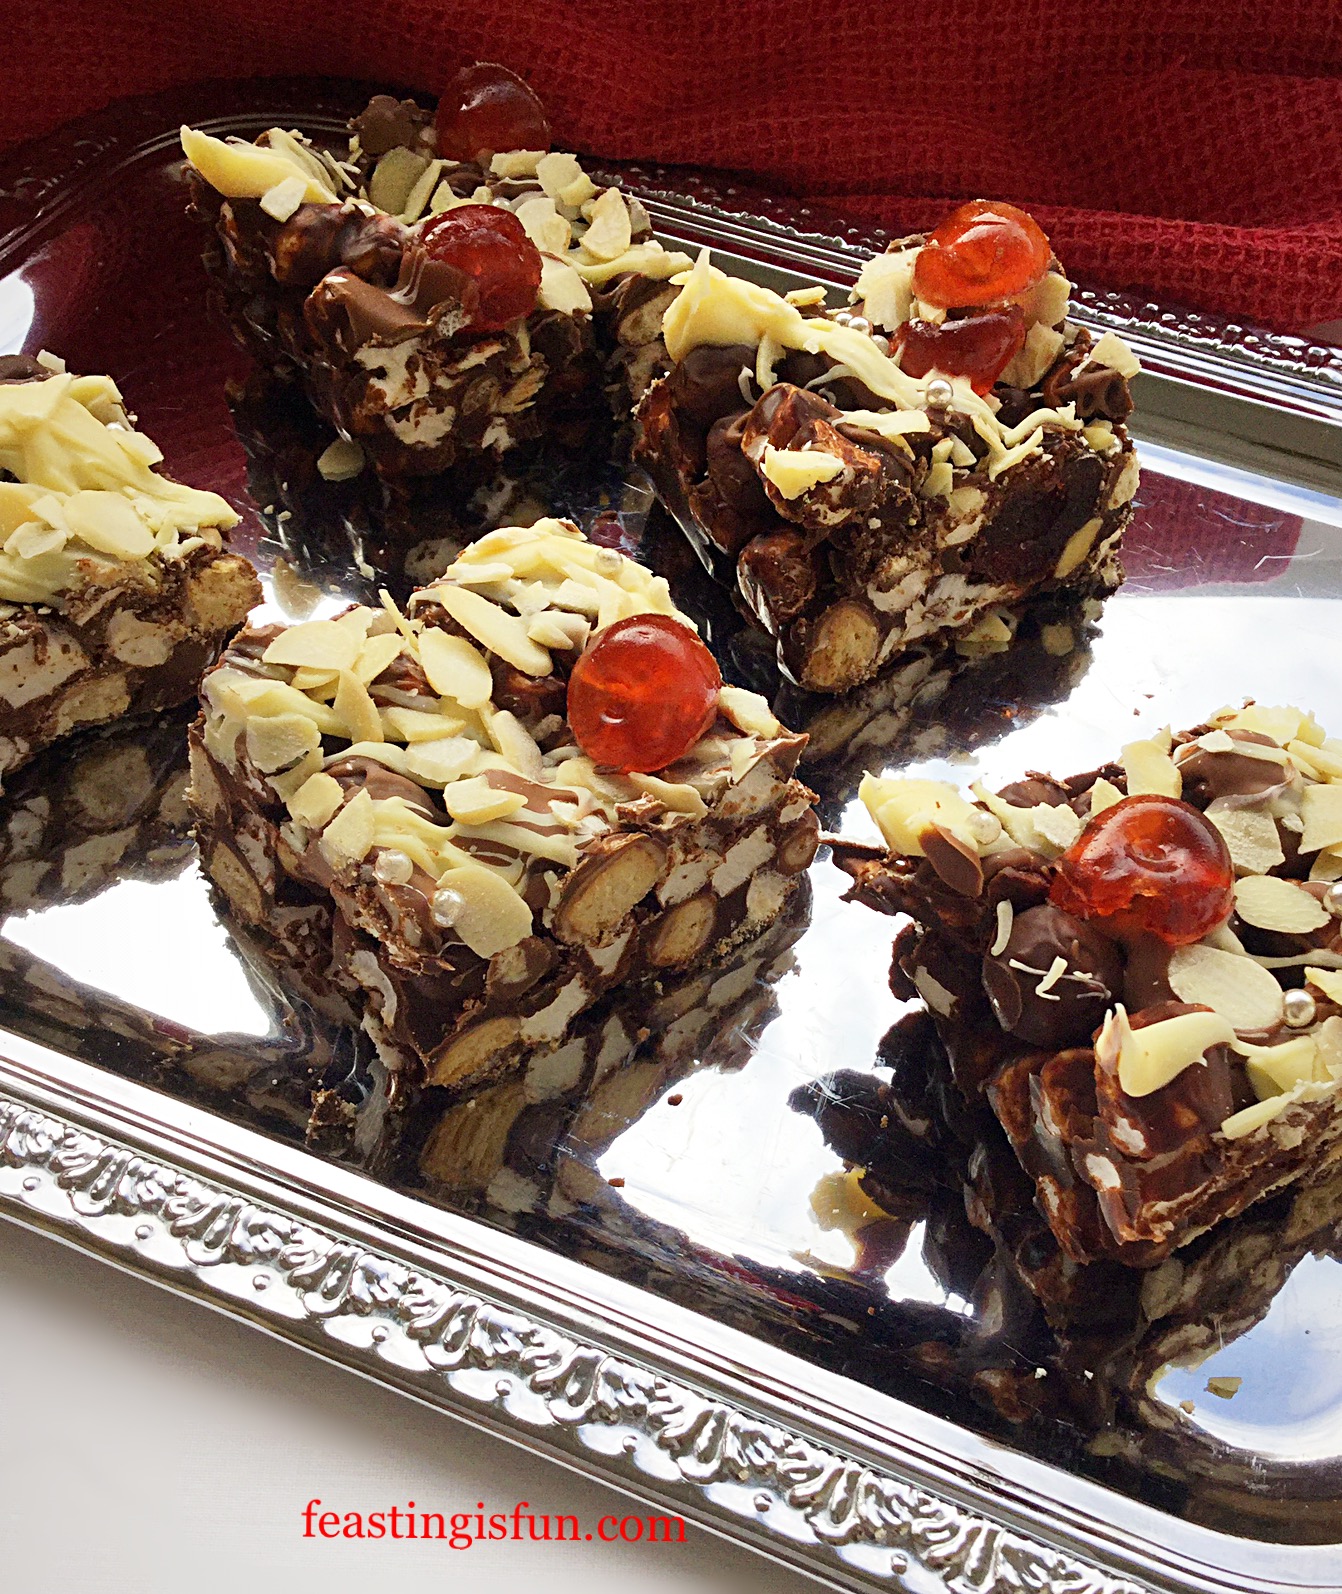
Serve on a pretty tray or platter. A silver tray highlights the silver balls on top of each bar, giving them a festive look.
Store in an airtight container, keep in the fridge during warmer weather. They will keep for up to one week, if they last that long!
If you have enjoyed this recipe for Cherry Bakewell Rocky Road Bars you may also like these:
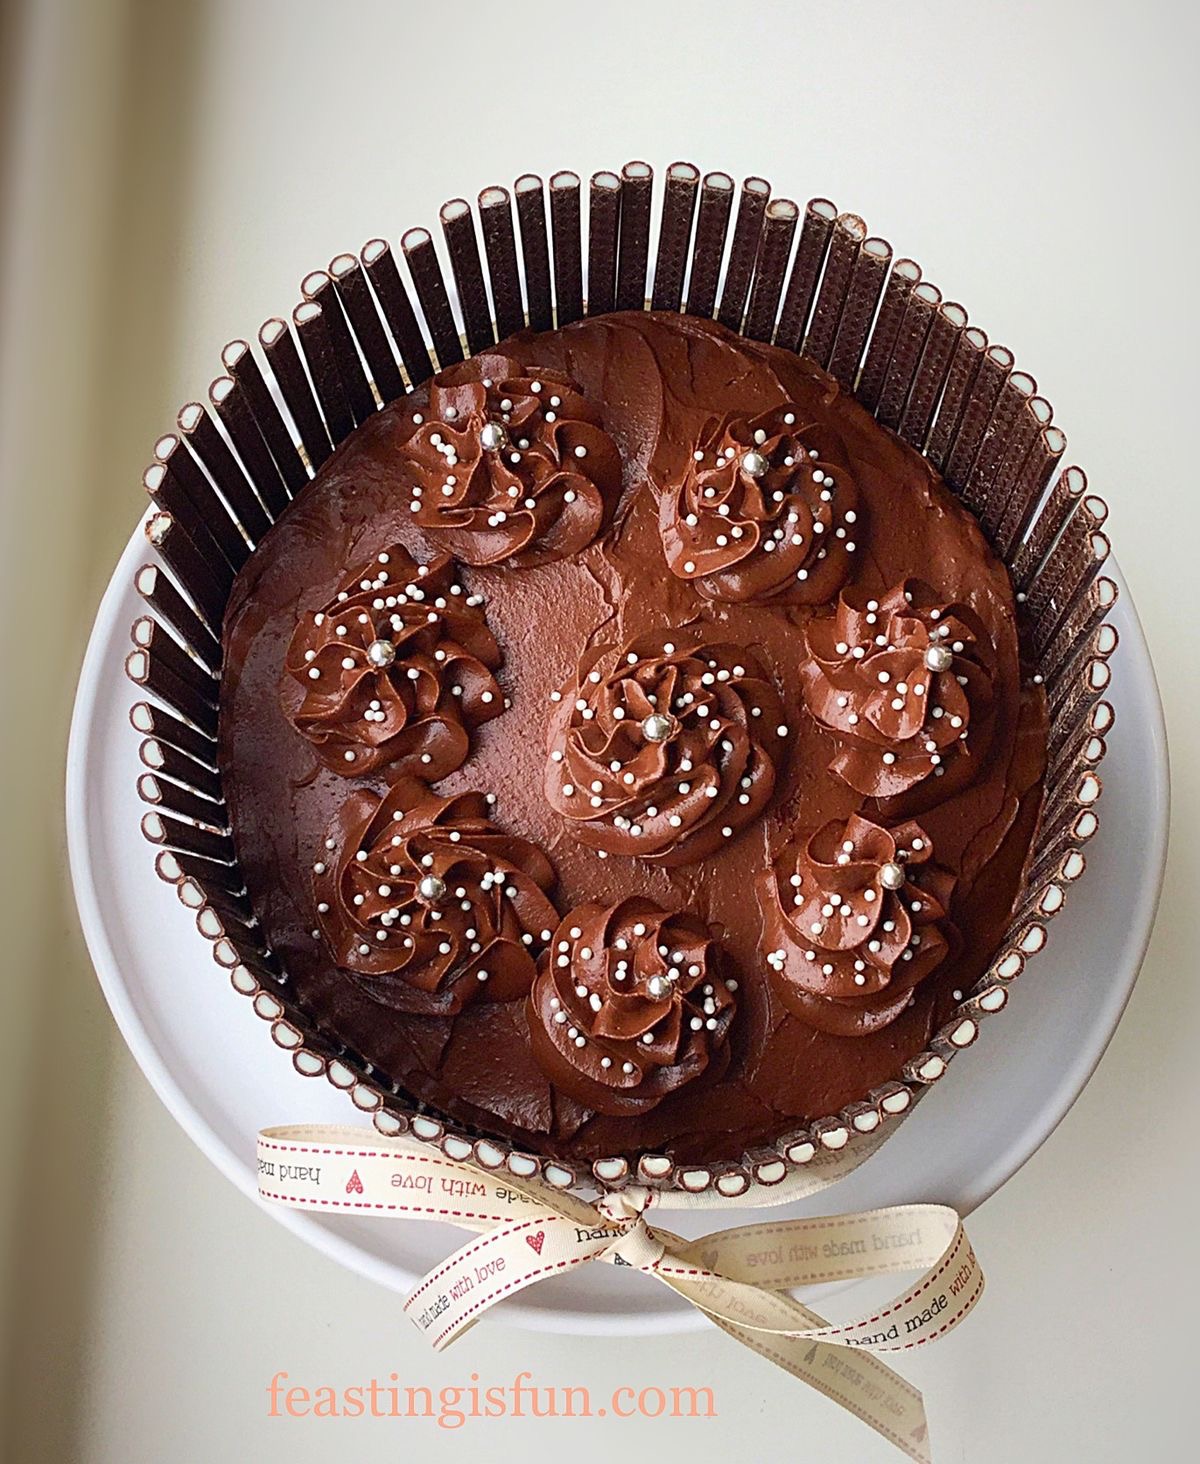
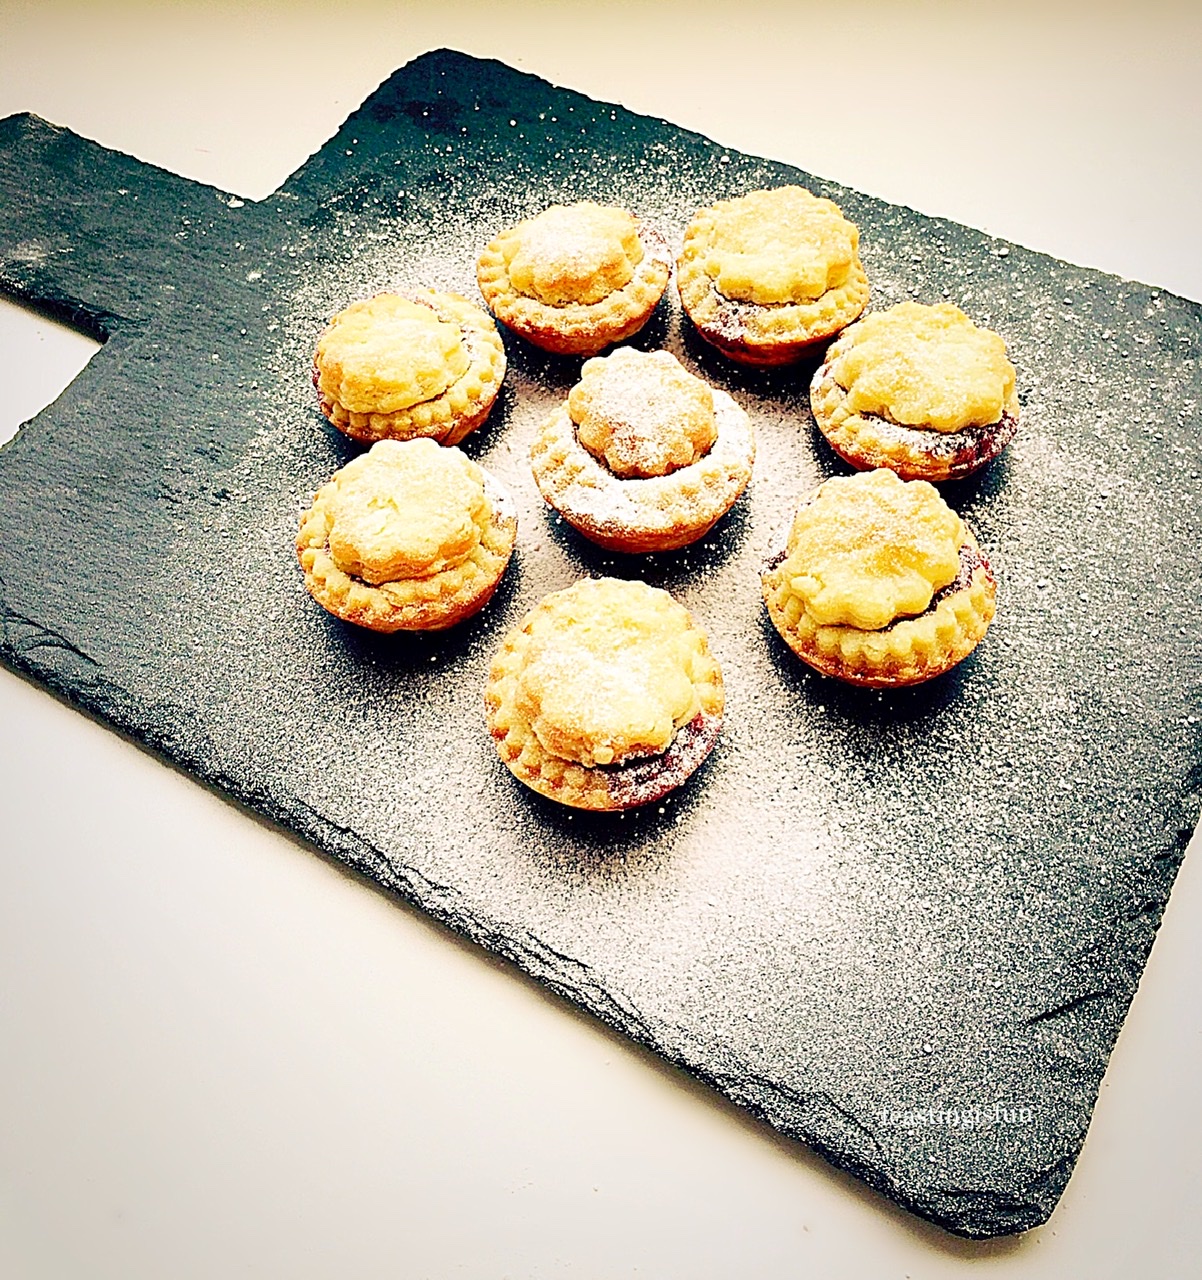
Maltesers Popping Candy Cupcakes

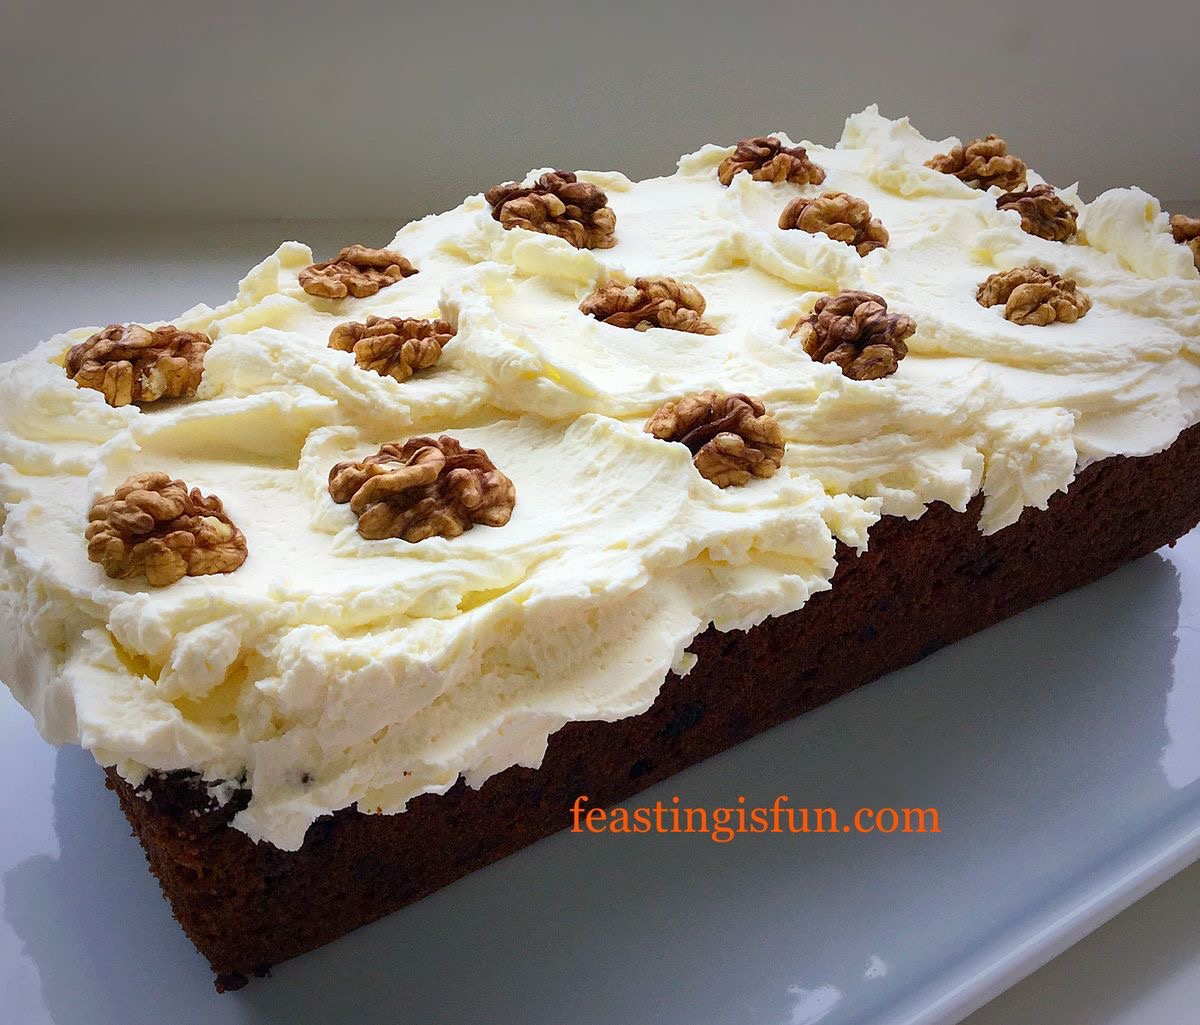
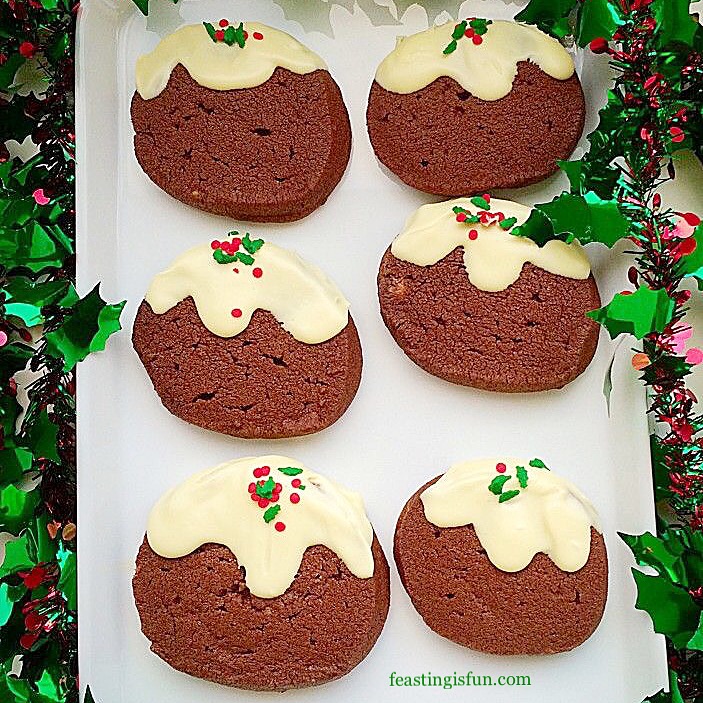
Almond Cacao Nib Shortbread Bars
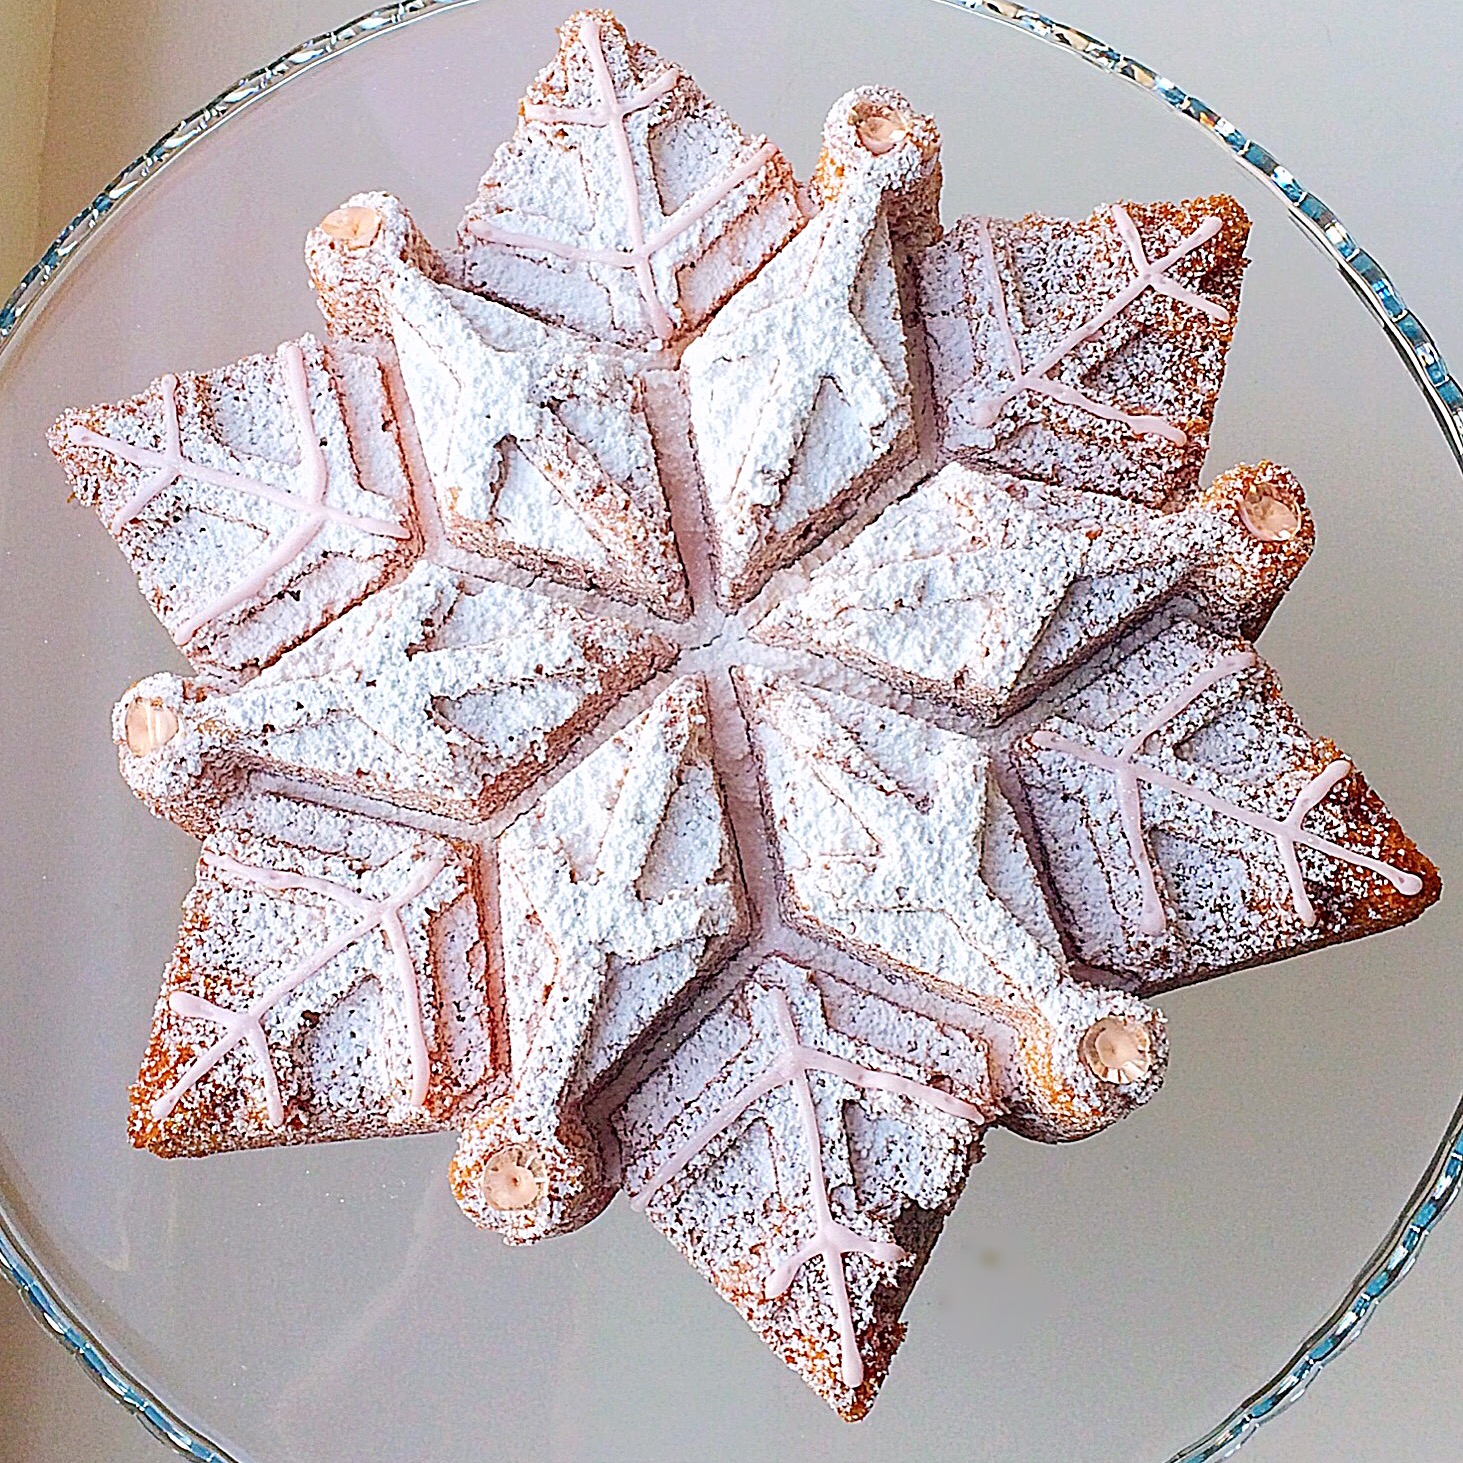
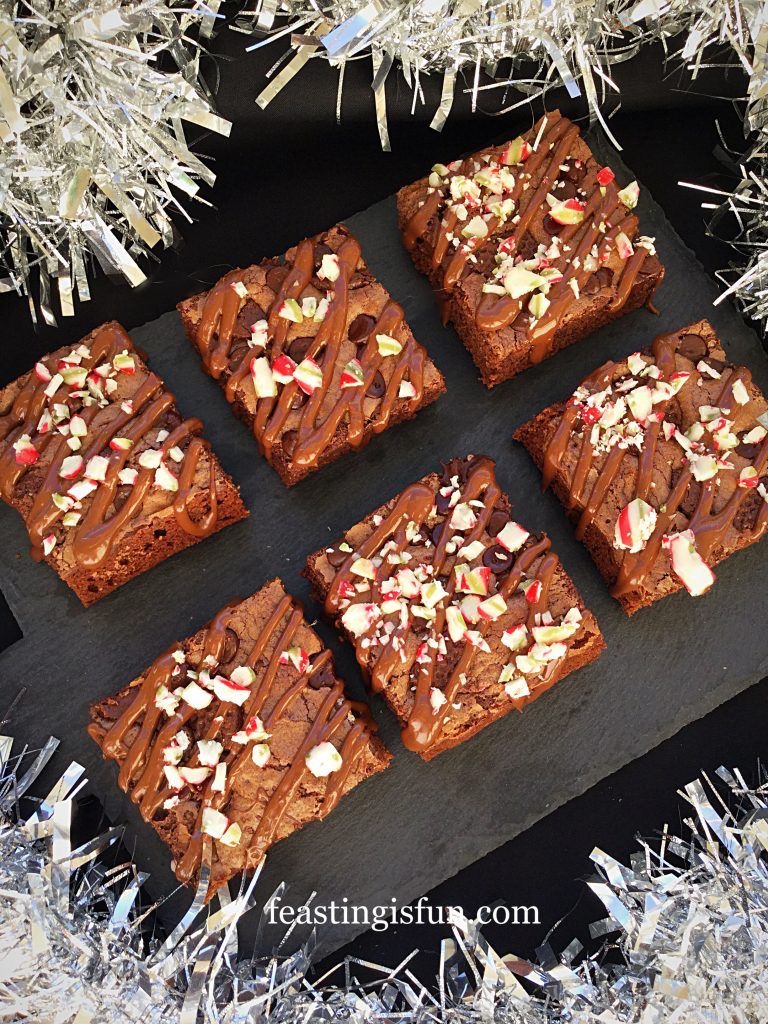
Double Strawberry Almond Muffins

Making food for others is one of life’s greatest pleasures. Since taking time to create something special to be shared amongst those you love, care and appreciate is not only fun, but also a great way to show that you are thankful to have them in your life. Especially during Christmas time, sharing is important. Helping us to not become self centered and to put others first. For the ultimate selfless act please see Important Stuff.
Whatever you are making, baking and creating in your kitchens, have fun preparing and sharing your feast.
Sammie xx
No part of this post may be reproduced or replicated without the written permission of the owner. Please see my Disclosure Policy.