Smarties Chocolate Mini Egg Ice Cream

Share
Facebooktwitterpinterestlinkedintumblr

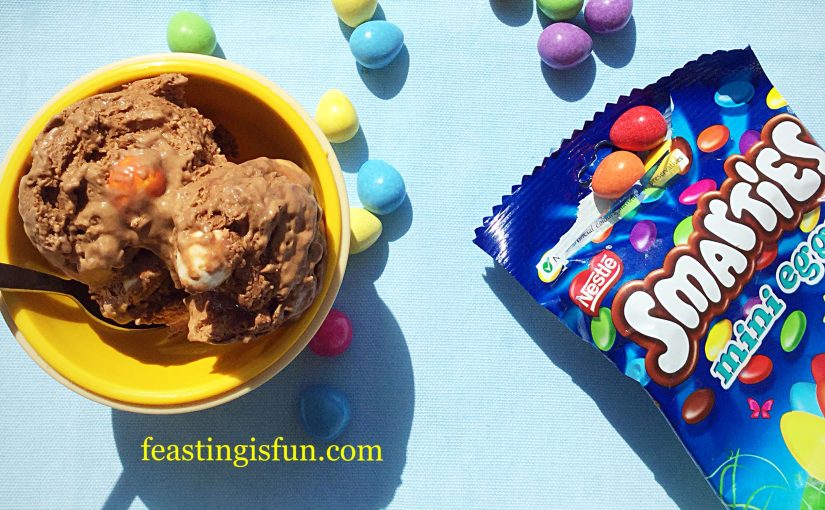
Easter is just over a week away. Will the sunshine break though as it has today, or not? The reason I ask is directly related to this Smarties Chocolate Mini Egg Ice Cream. Will a cold wet day force us to enjoy it inside, or better still, will we sit outside, in the warmth of the sun, munching on ice cream filled cones? I know where I’d rather be!

FF Smarties Chocolate Mini Egg Ice Cream
Smarties Chocolate Mini Egg Ice Cream in colourful ice cream bowls.

As Smarties mini eggs are not available all year round, yet this ice cream deserves to be made more often than Easter, here’s a solution. Simply use the same weight of regular Smarties. Since they don’t need to be chopped, making the ice cream will be even easier. Although, it isn’t a difficult recipe to make at all.

FF Smarties Chocolate Mini Egg Ice Cream
Smarties Chocolate Mini Egg Ice Cream a bigger batch, so more to share.

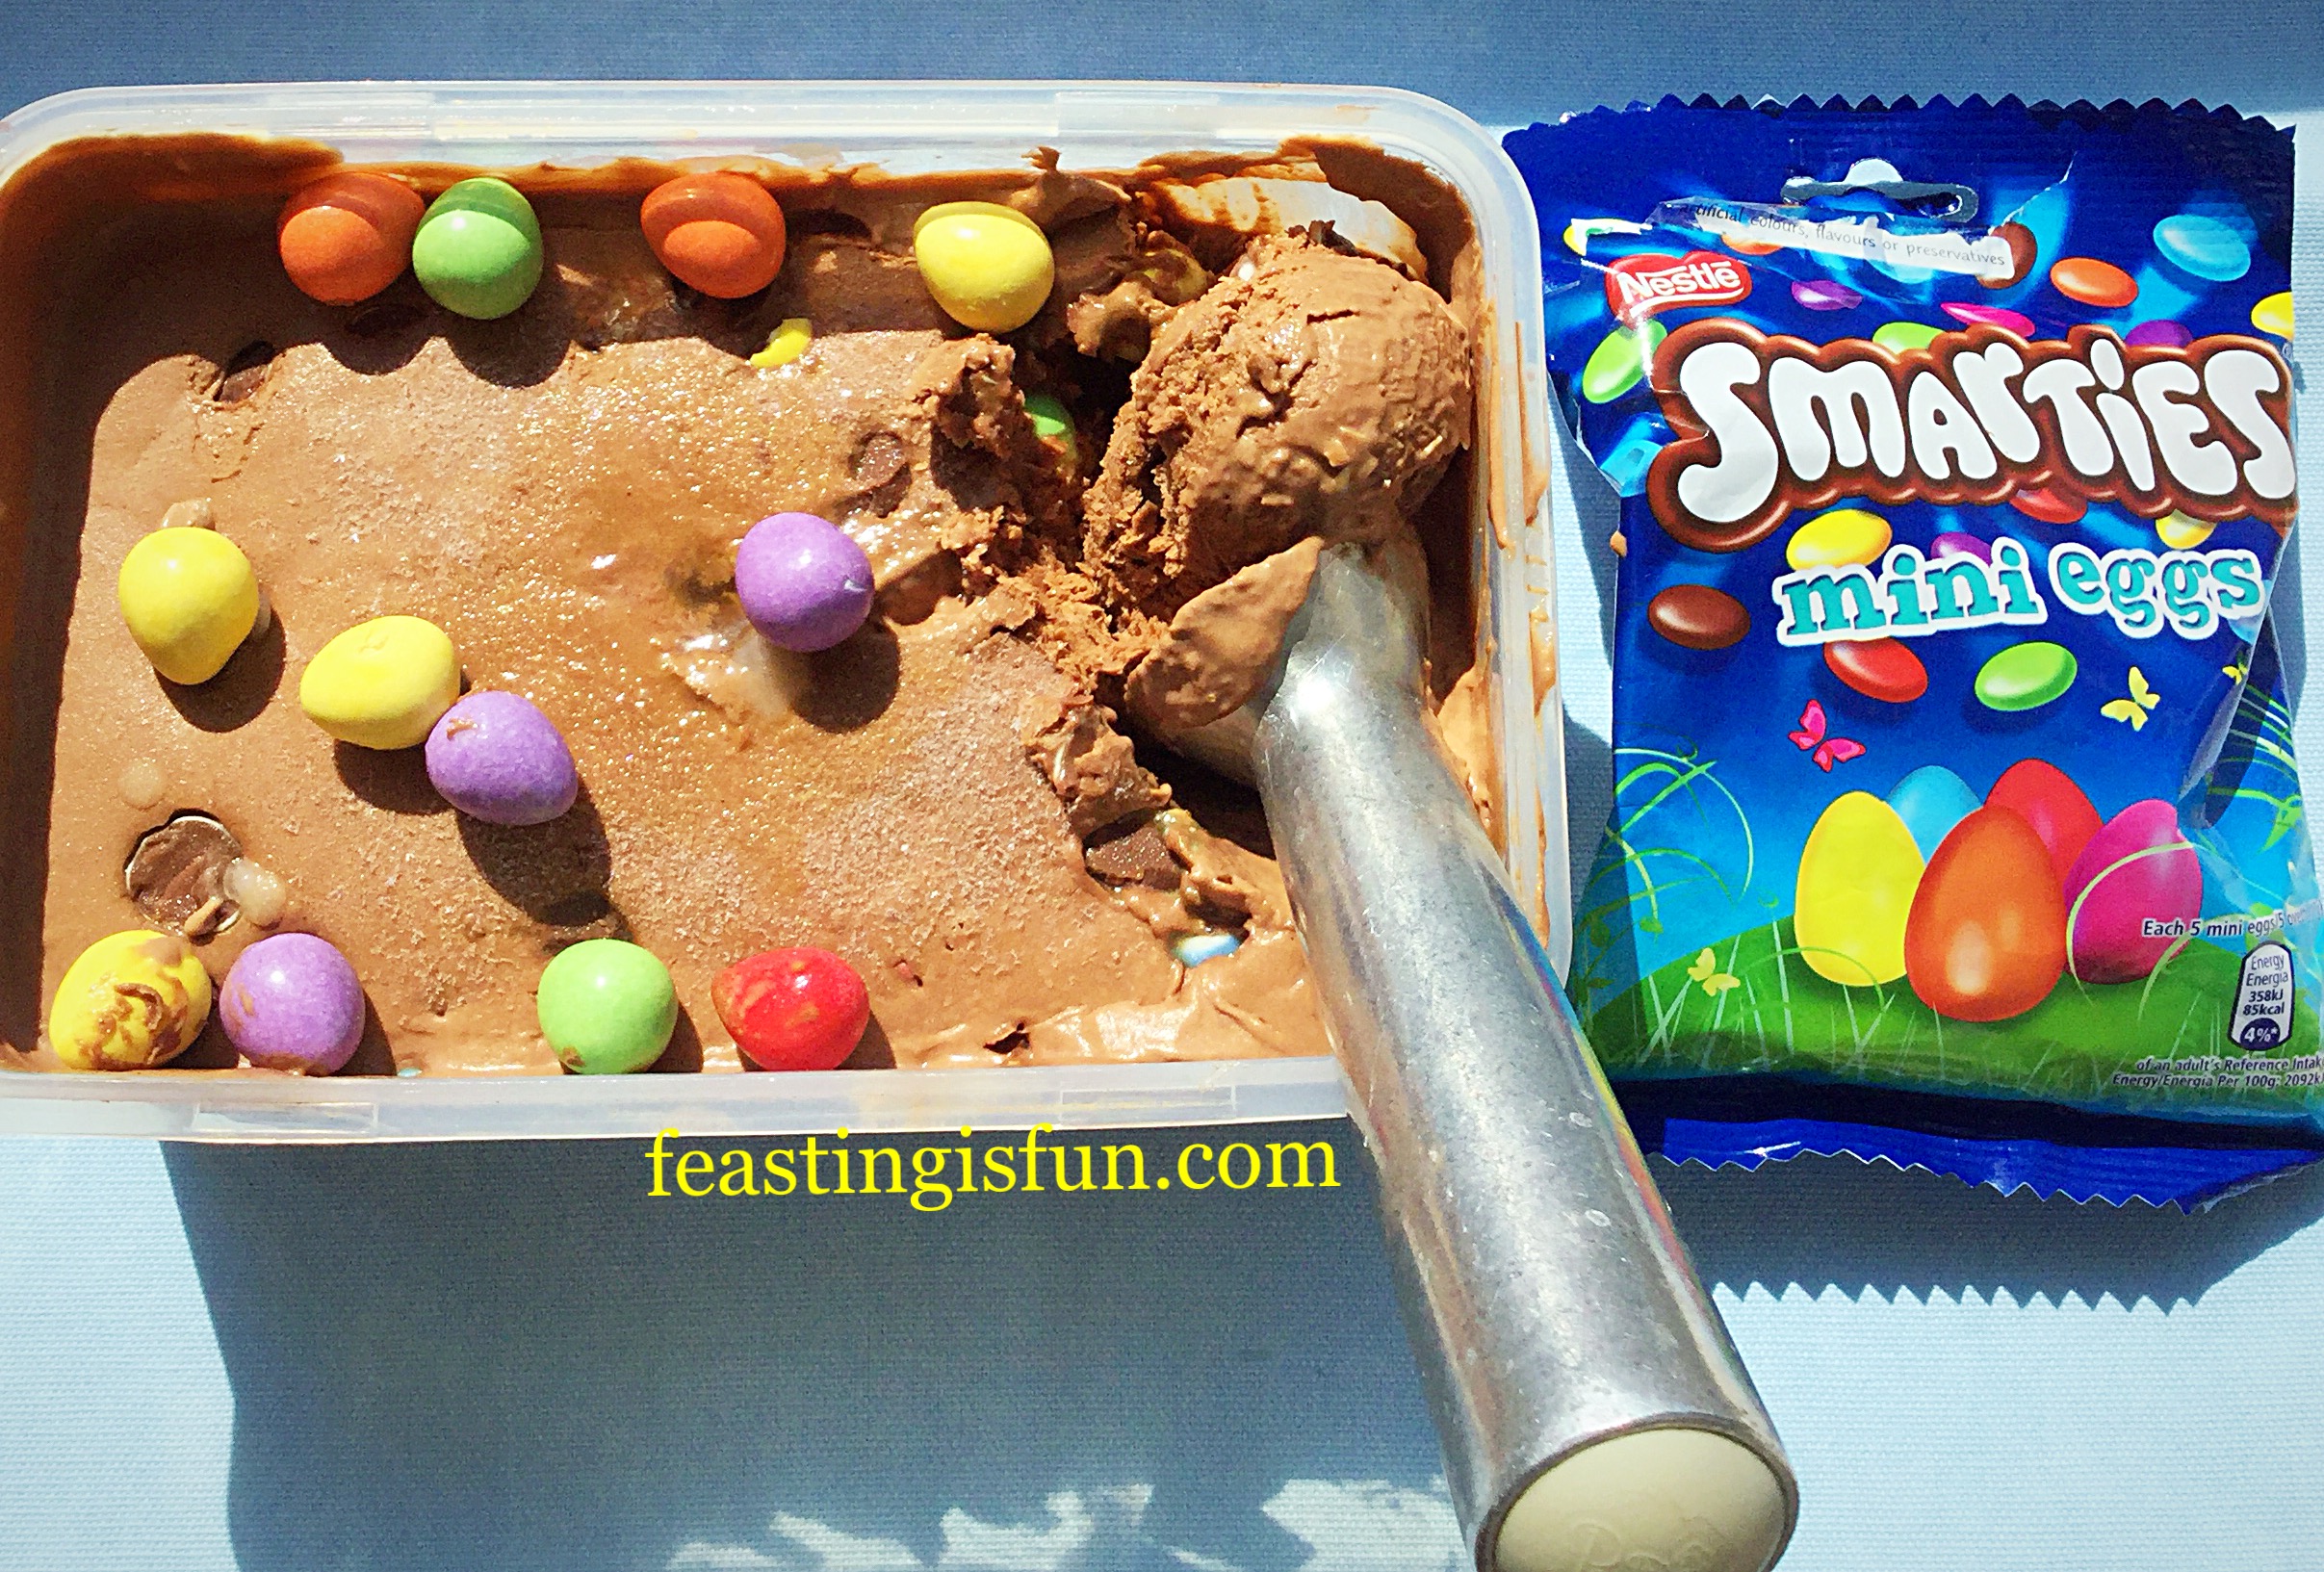
Suitable for both adults and children, a larger batch means that there is more to go around. Extra mini eggs on top of each serving show what is in the frozen treat and add to the fun. Since Easter is a time for celebrating, what better time to make this ice cream. Finally an ice cream maker makes the whole process simple and easy. I recommend Andrew James ice cream maker.

FF Smarties Chocolate Mini Egg Ice Cream
Smarties Chocolate Mini Egg Ice Cream a refreshing dessert.

Recipe: Smarties Chocolate Mini Egg Ice Cream makes approx. 1L

400ml Double Cream

400ml Whole Milk

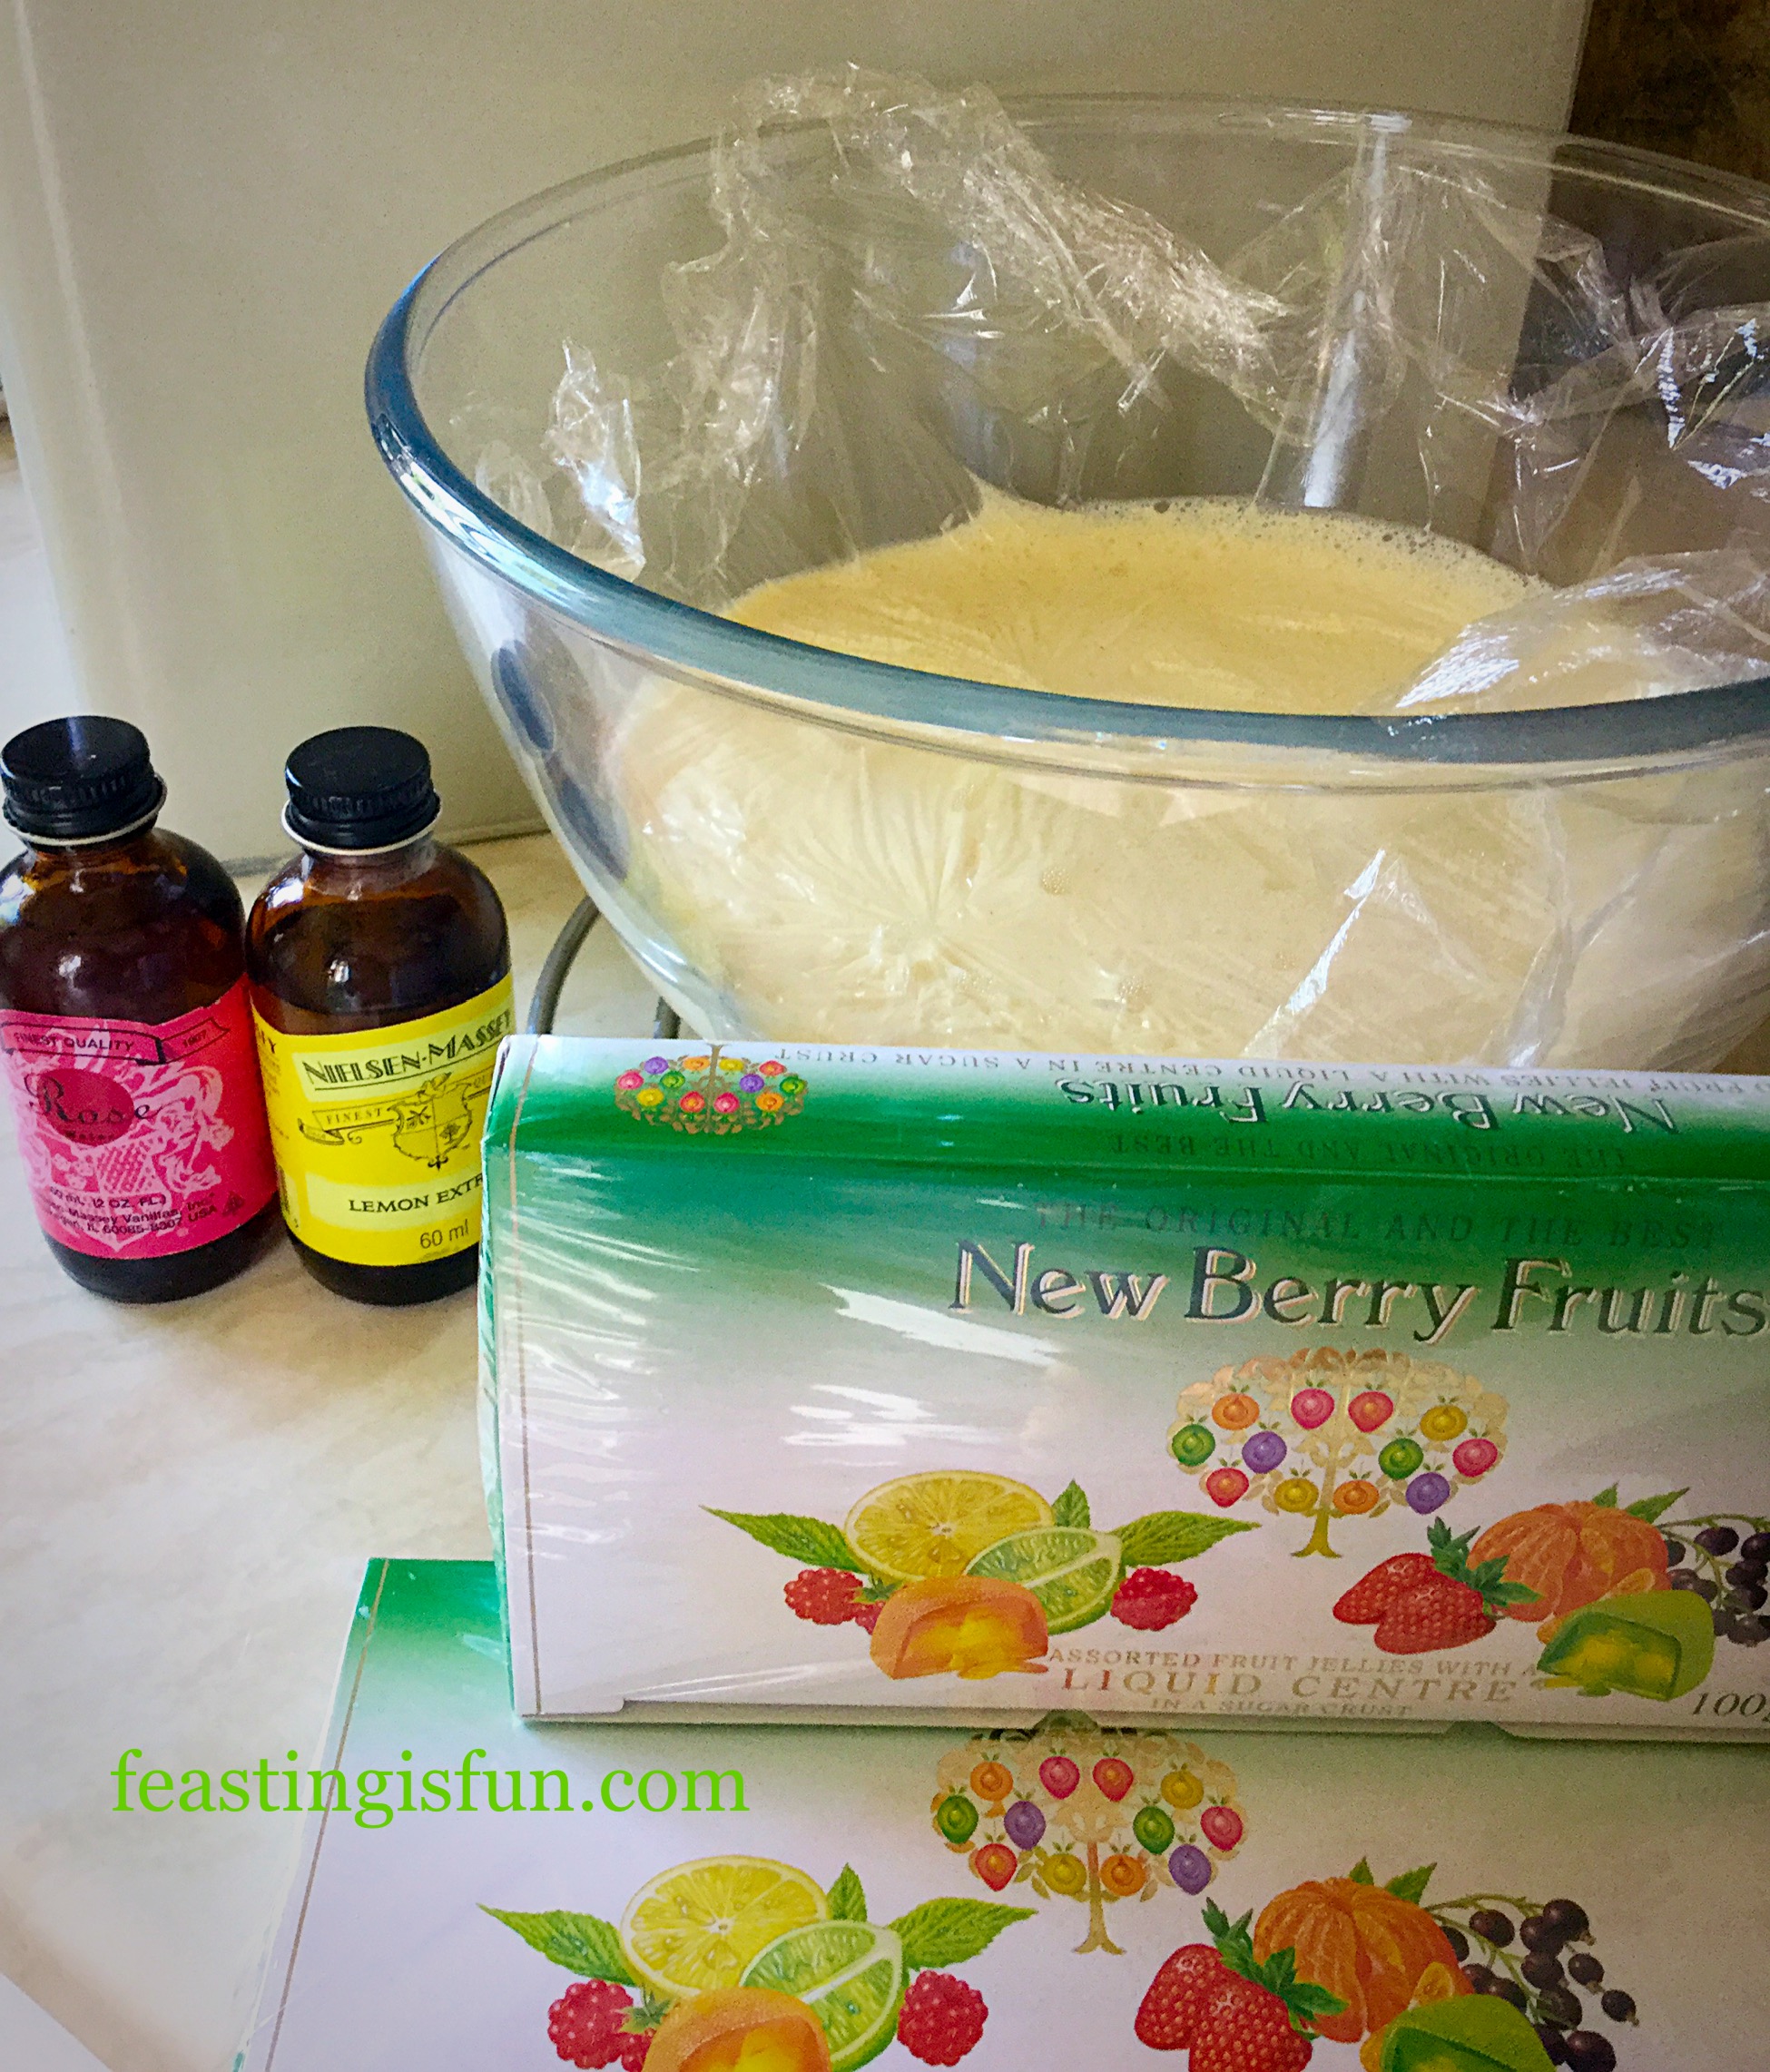
2 tsp Vanilla Bean Paste – I use Nielsen-Massey

6 Large Free Range Egg Yolks

1.5 tsp Corn Flour – I use Doves Farm

6 tbsp Caster Sugar

150g Dark Chocolate

2 x 100g Packs of Smarties Mini Eggs

Method:

Ensure the frozen part of your ice cream maker has been in the freezer for a minimum of 24 hours, or according to manufacturer’s instructions.

Detailed step by step photographs can be found here Very Vanilla Ice Cream

  • First of all, Place the milk and cream into a heavy bottomed saucepan, over a medium heat.
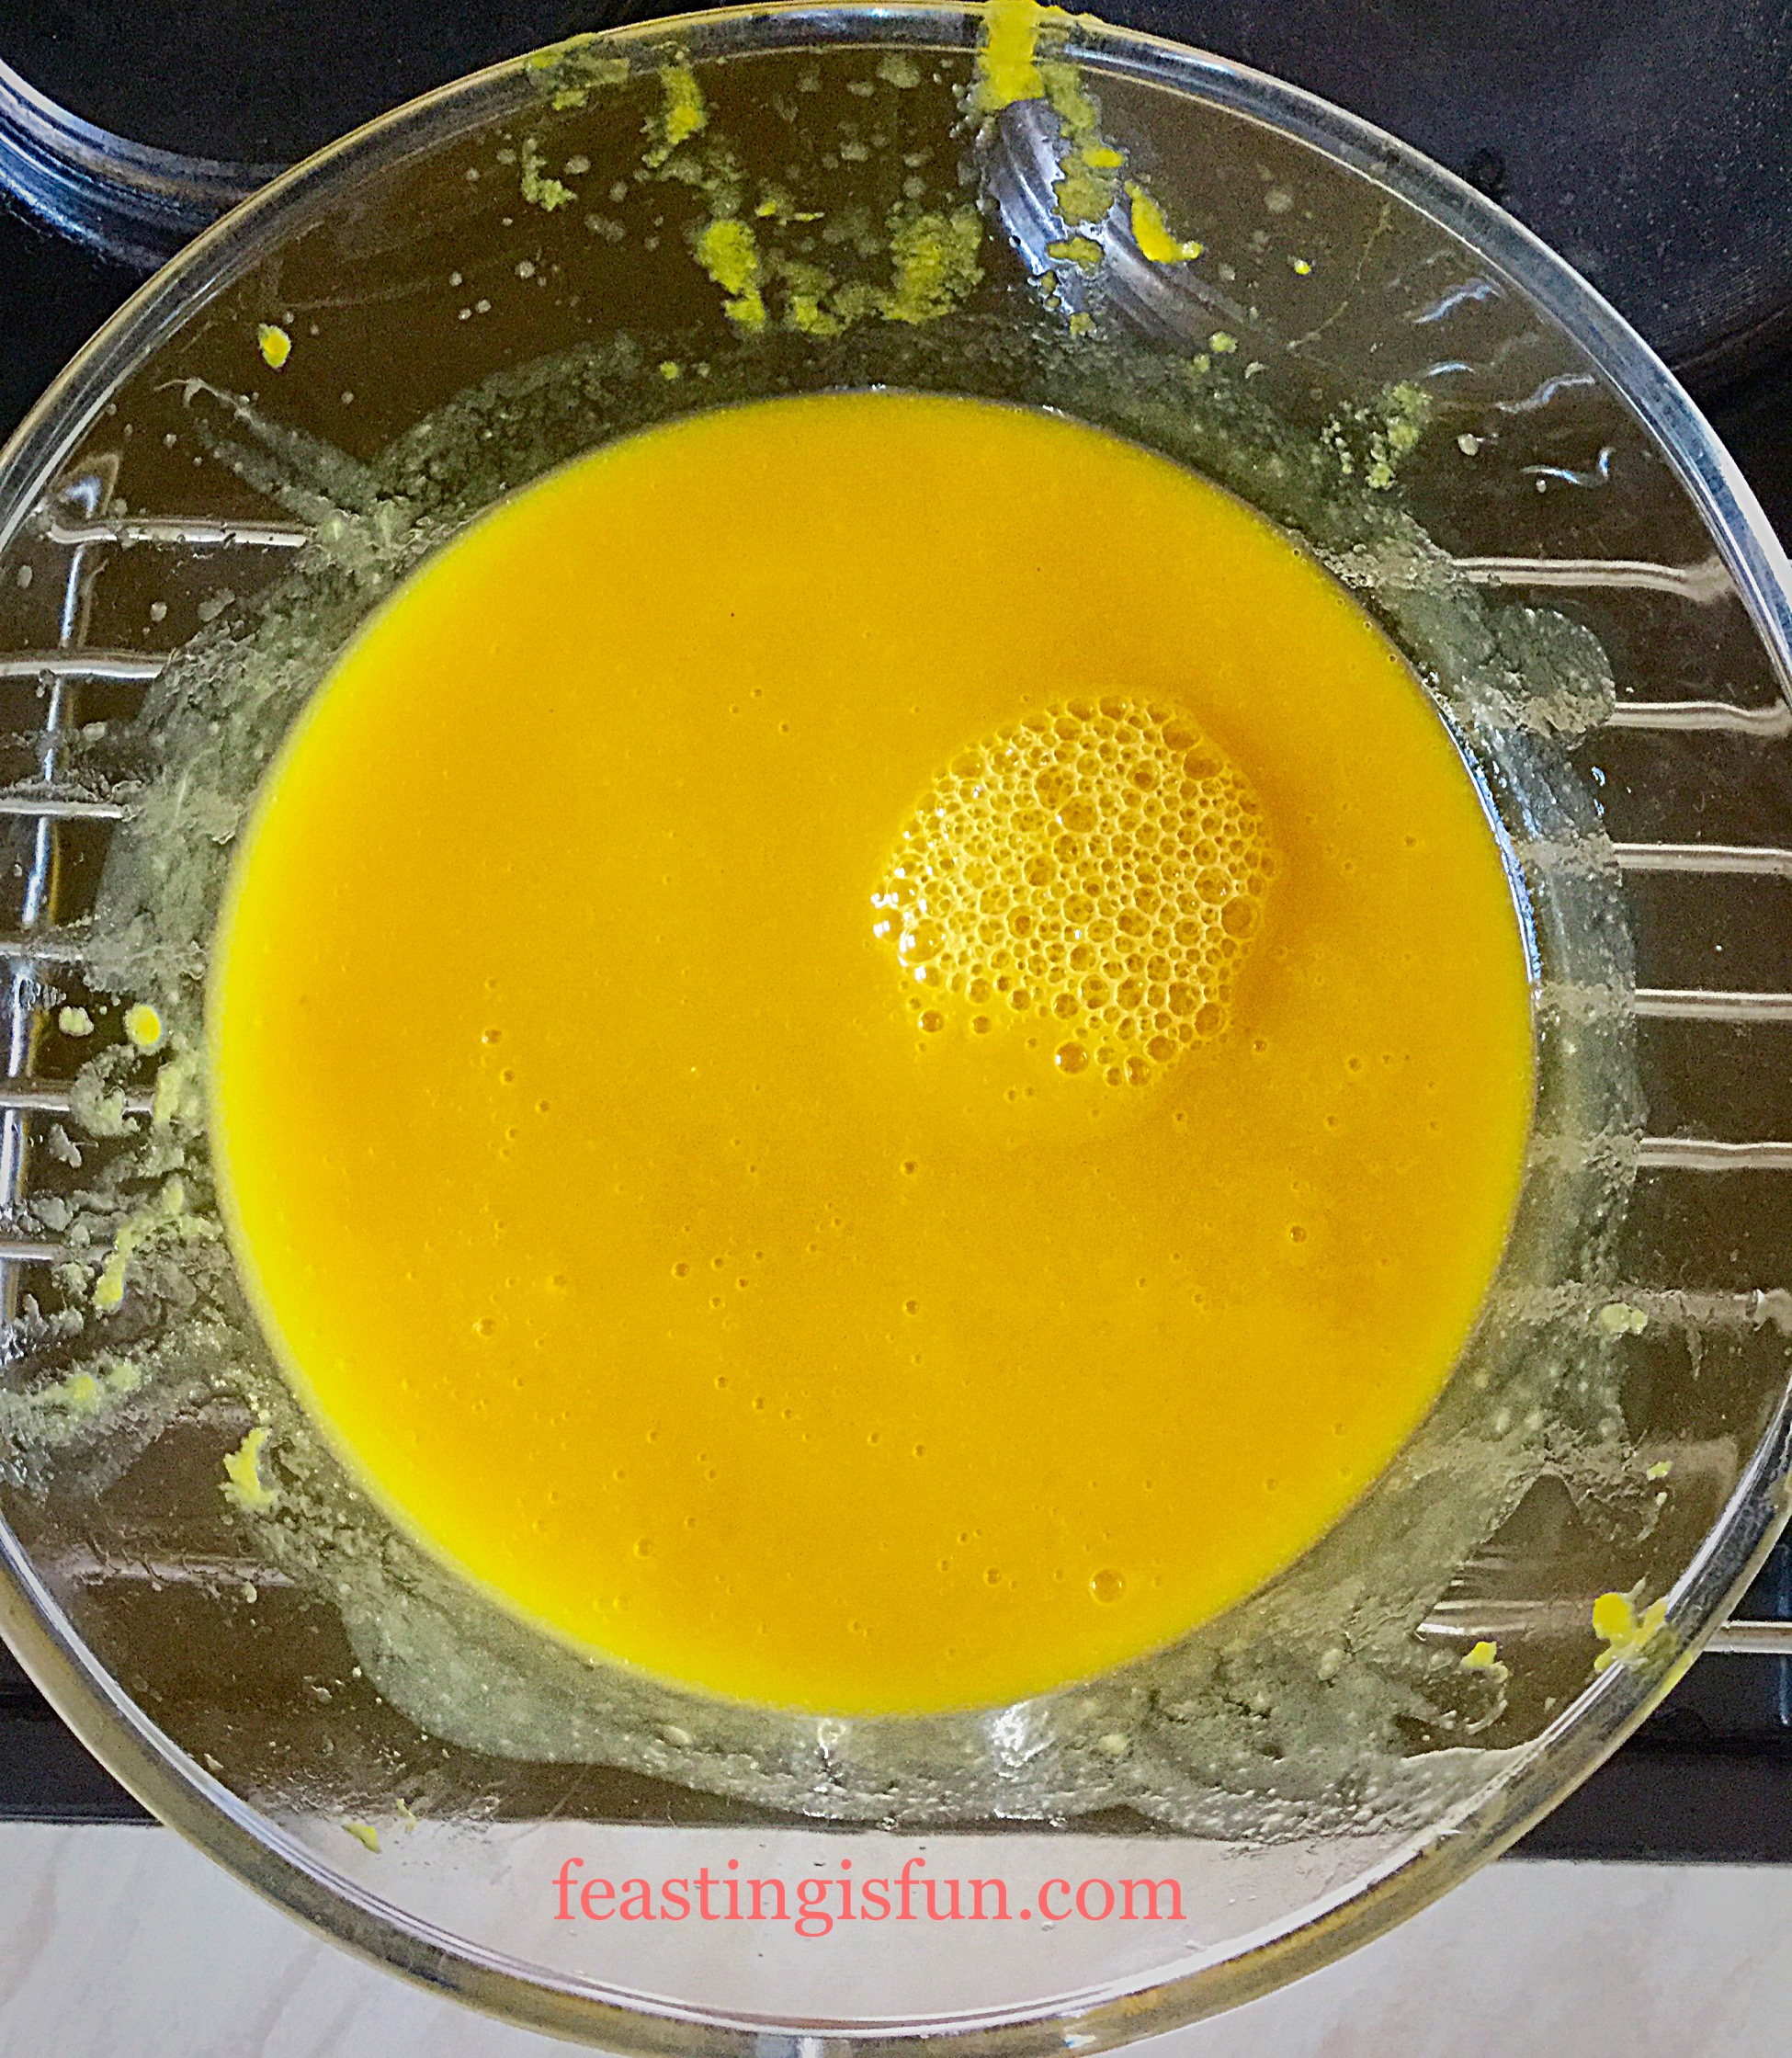
  • Now add the egg yolks, vanilla bean paste, corn flour and sugar into a large, heatproof bowl. Whisk the egg yolks with the other ingredients, starting slowly and increasing in speed, until thoroughly combined.
  • As small bubbles appear around the rim of the hot liquids in the saucepan remove the pan from the heat. This is called the scalding point.
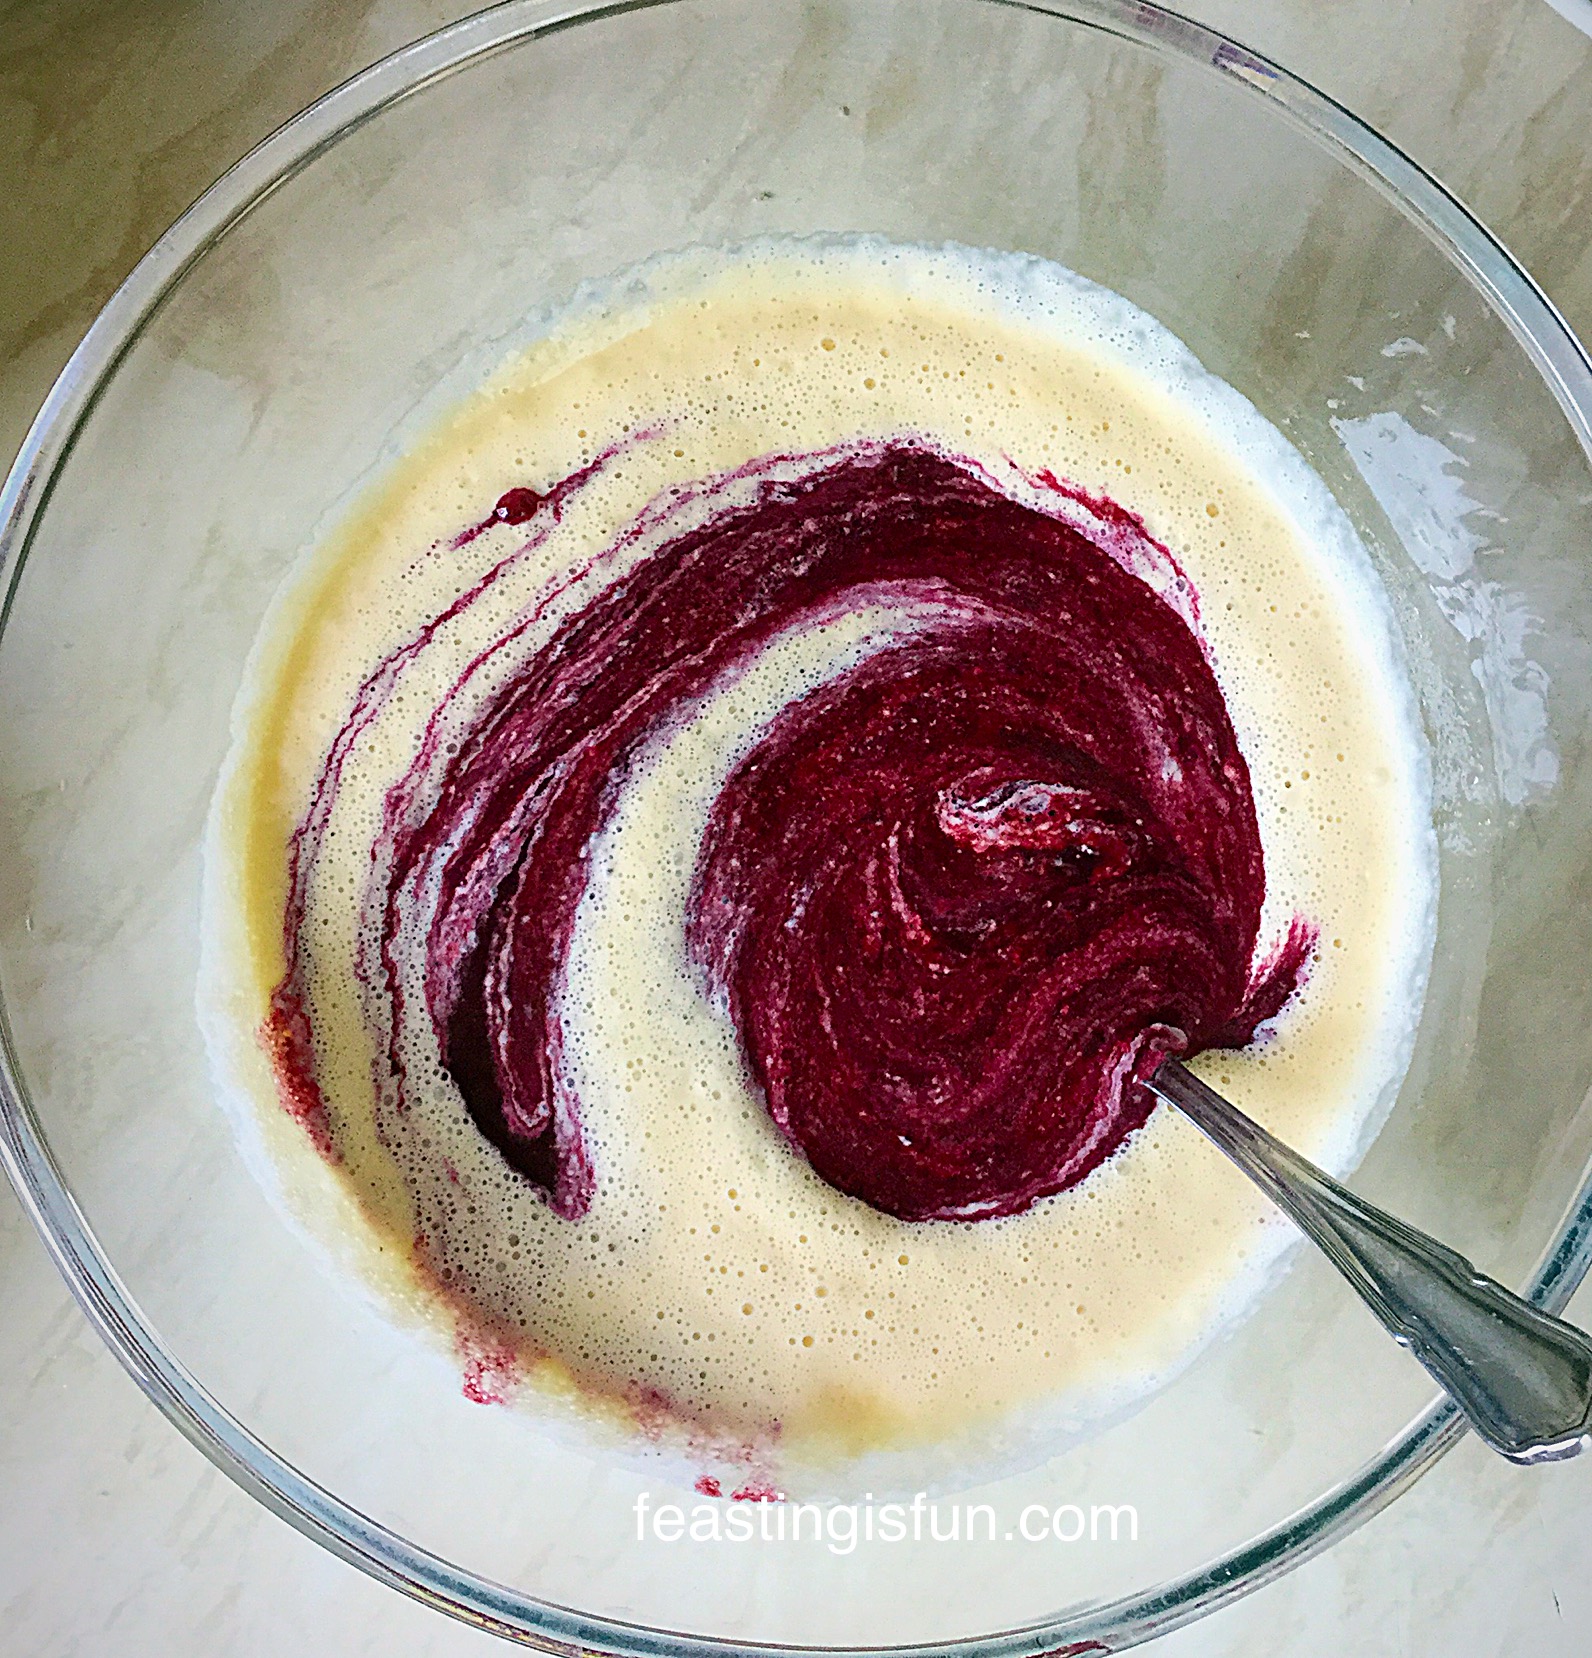
  • With the whisk on low, pour the hot liquid into the egg mixture slowly. Continue whisking until thoroughly combined. Pour the egg custard mixture back into the saucepan, placed over a low heat.
  • While the custard is heating stir with a wooden spoon and quickly wash up the bowl
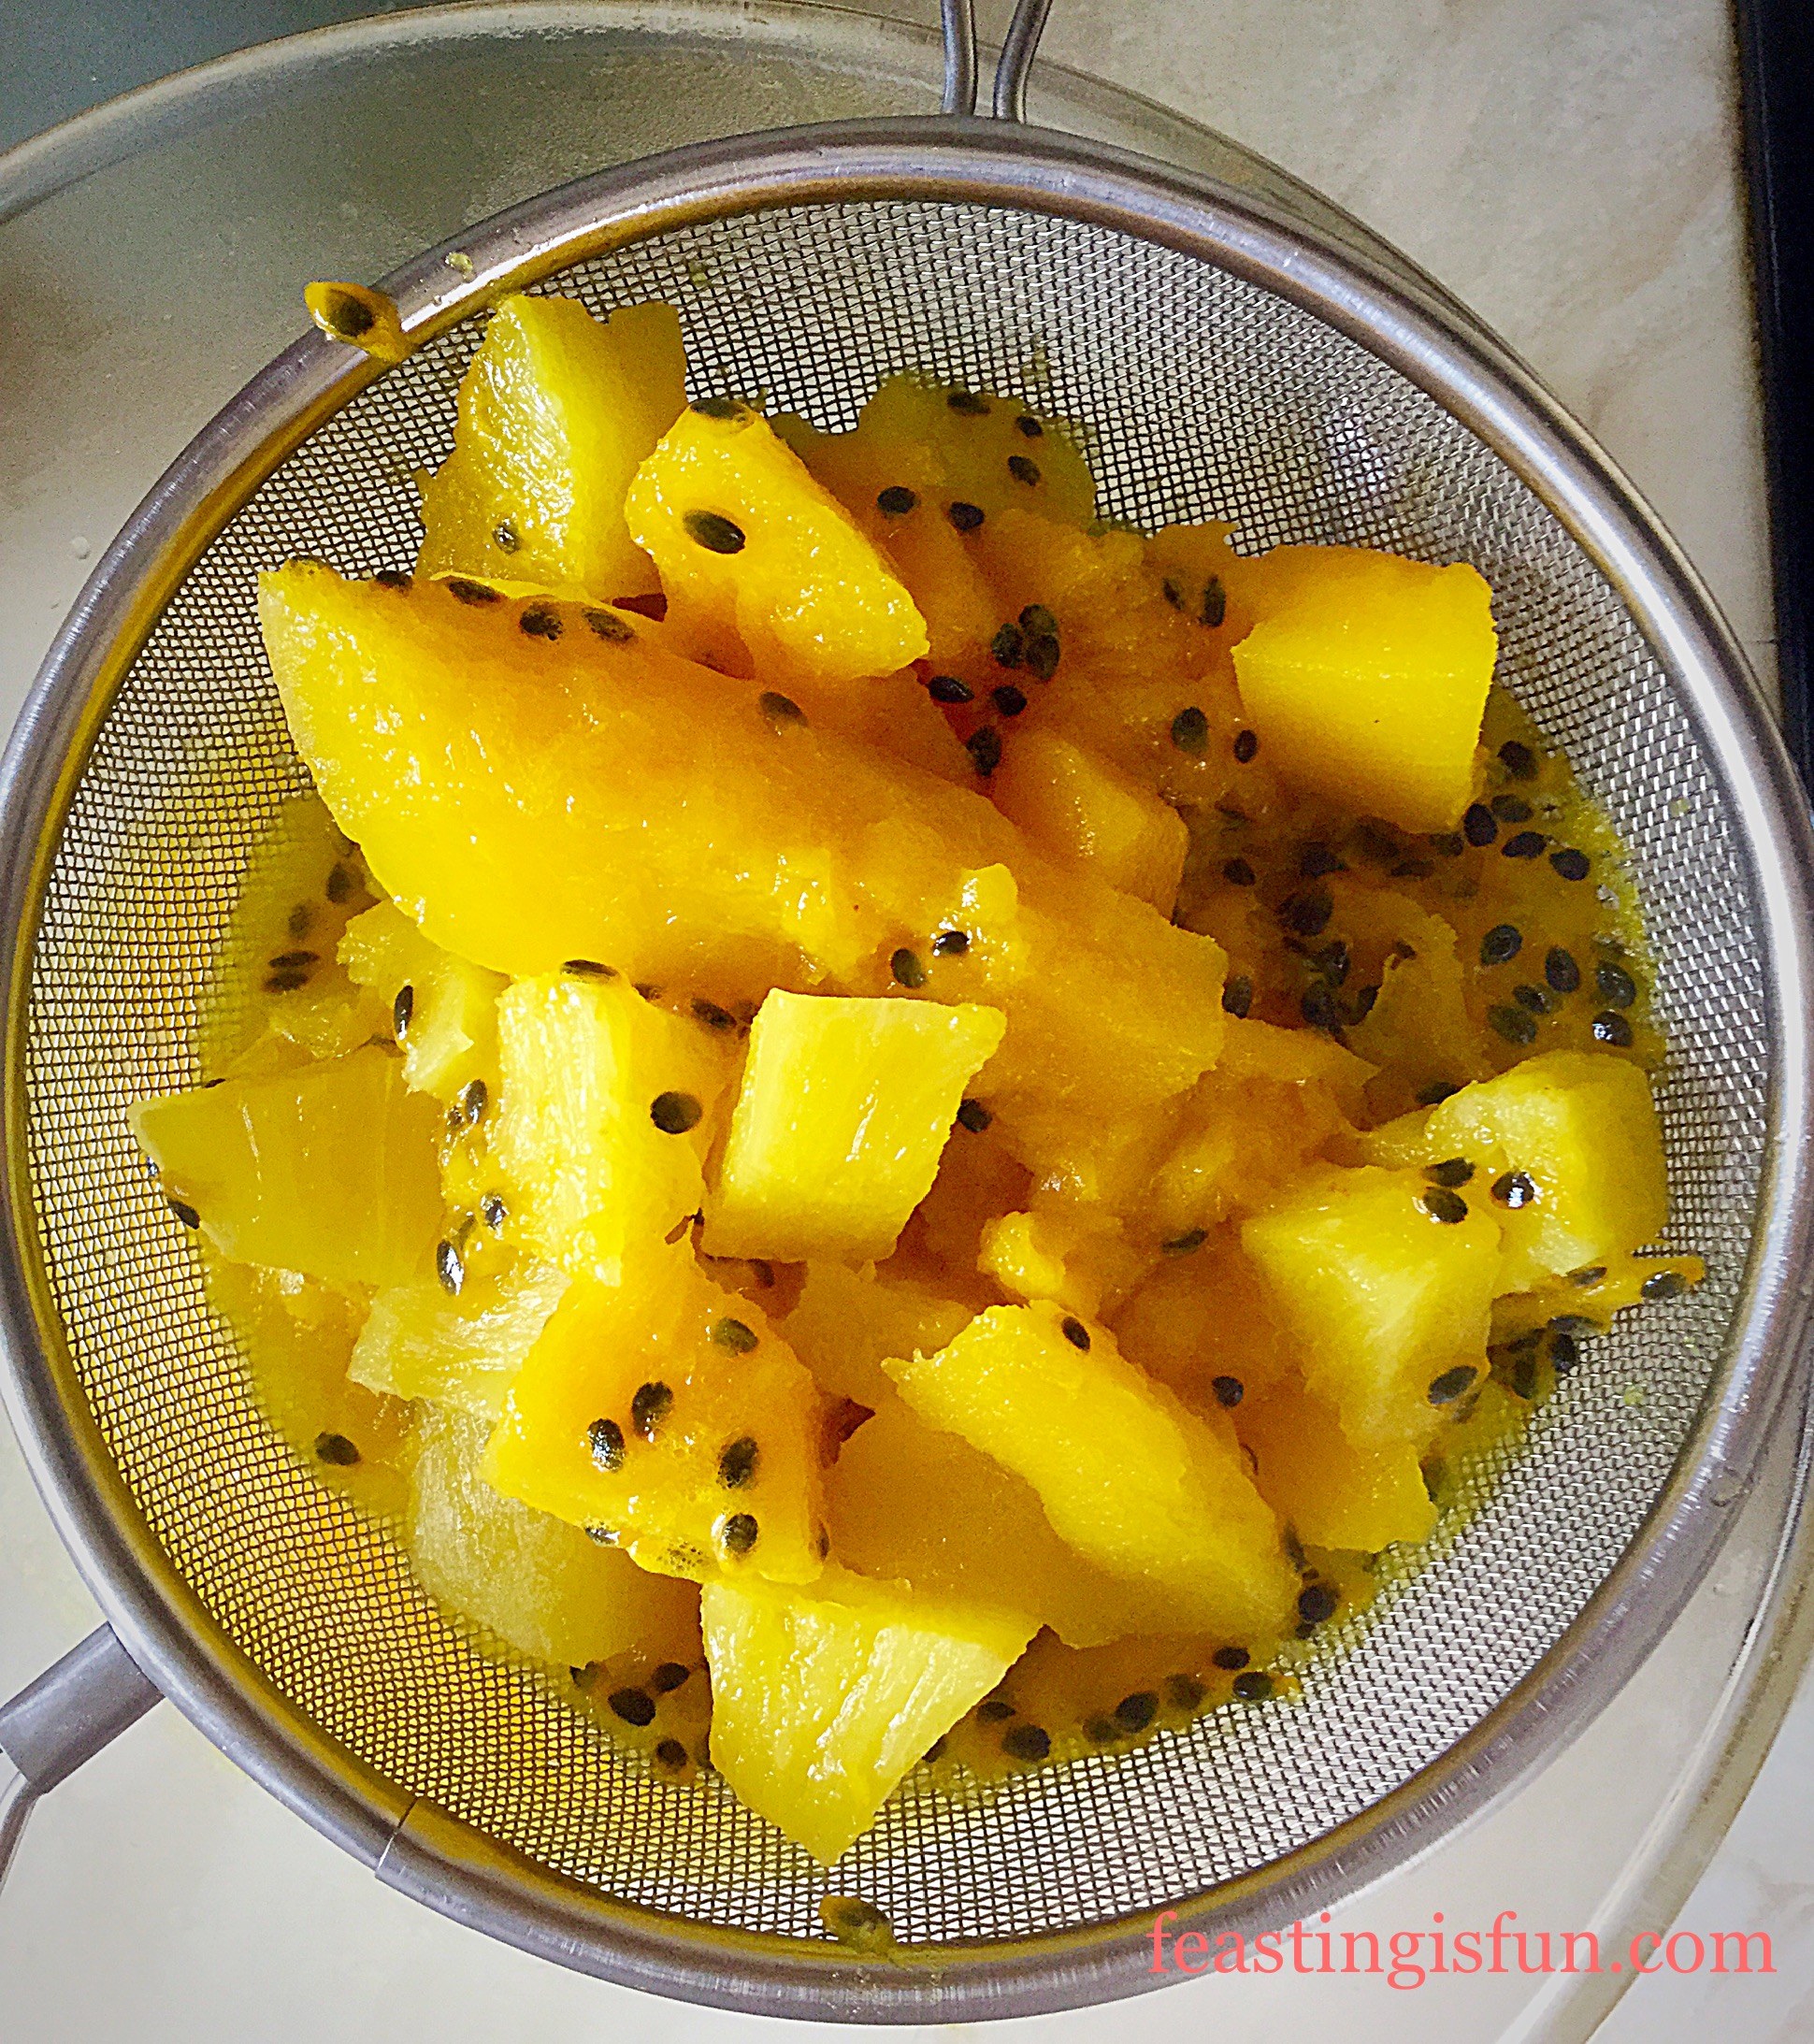
  • Place the chocolate into the base of the bowl. While stirring the custard also place a sieve over the bowl.
  • When the custard starts to bubble and coats the back of a wooden spoon it is cooked. Remove at once and pour through the sieve, on to the chocolate in the bowl.
FF Smarties Chocolate Mini Egg Ice Cream
Making the chocolate ice cream base.
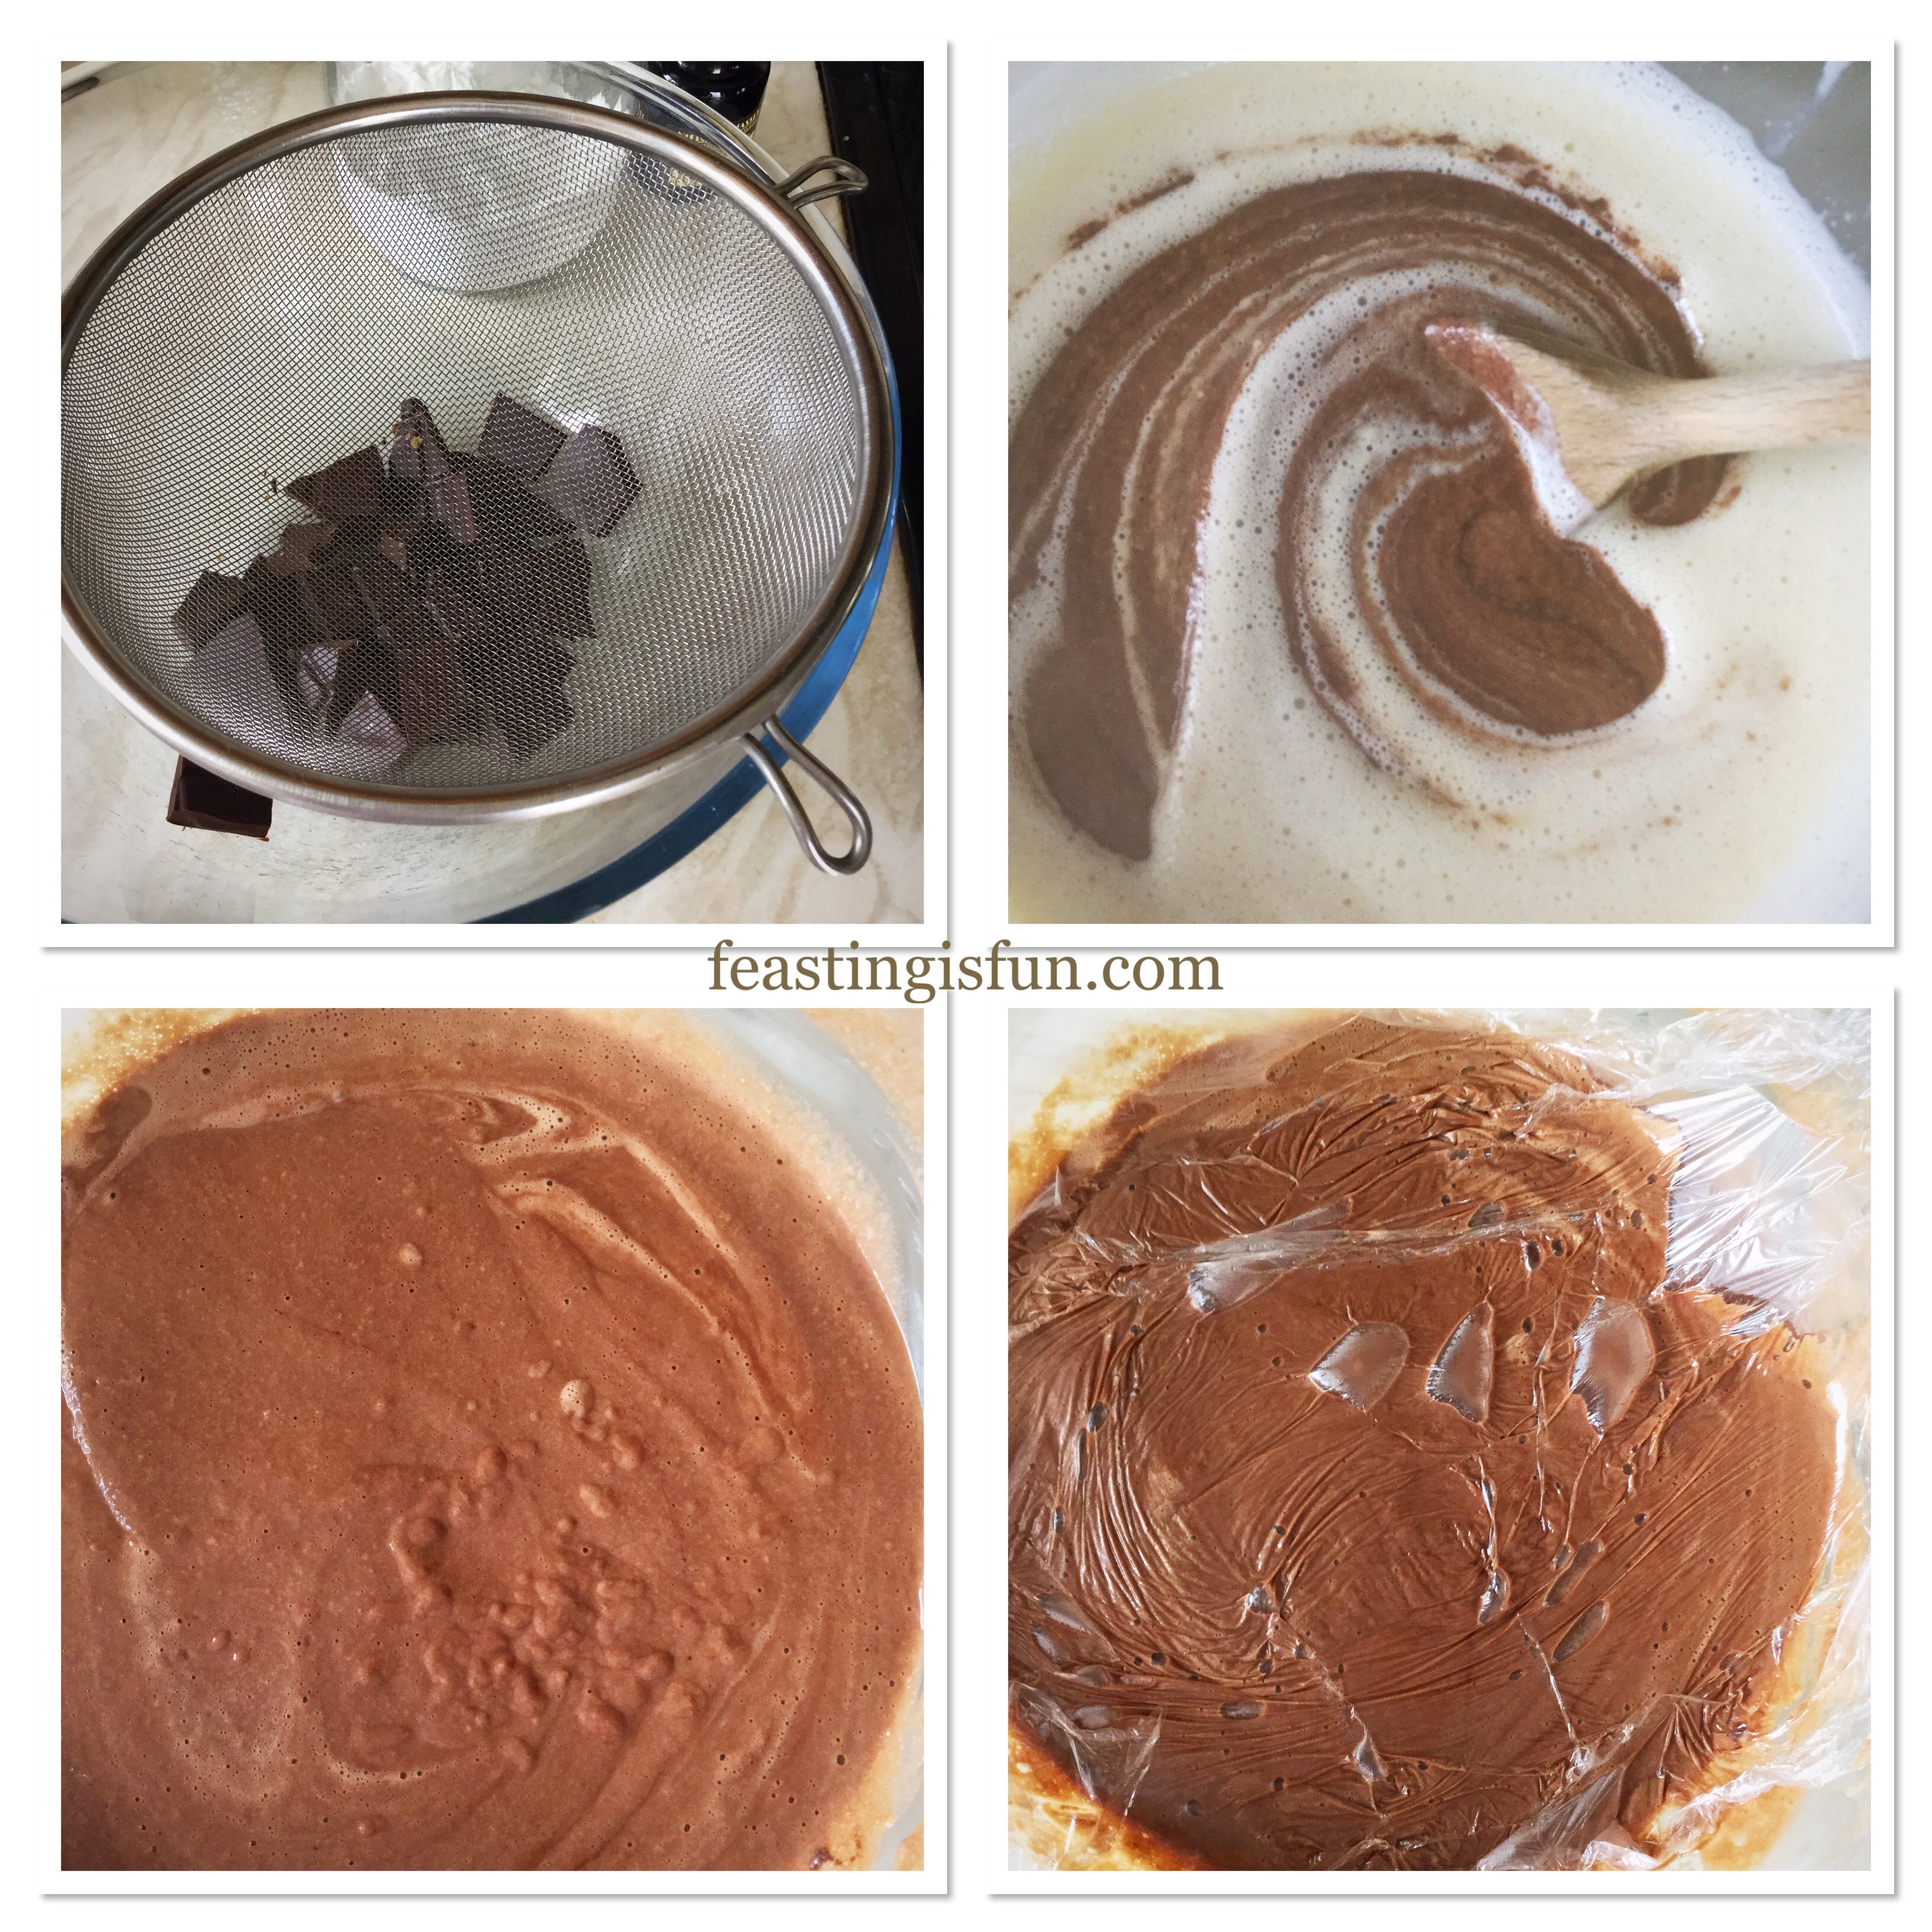
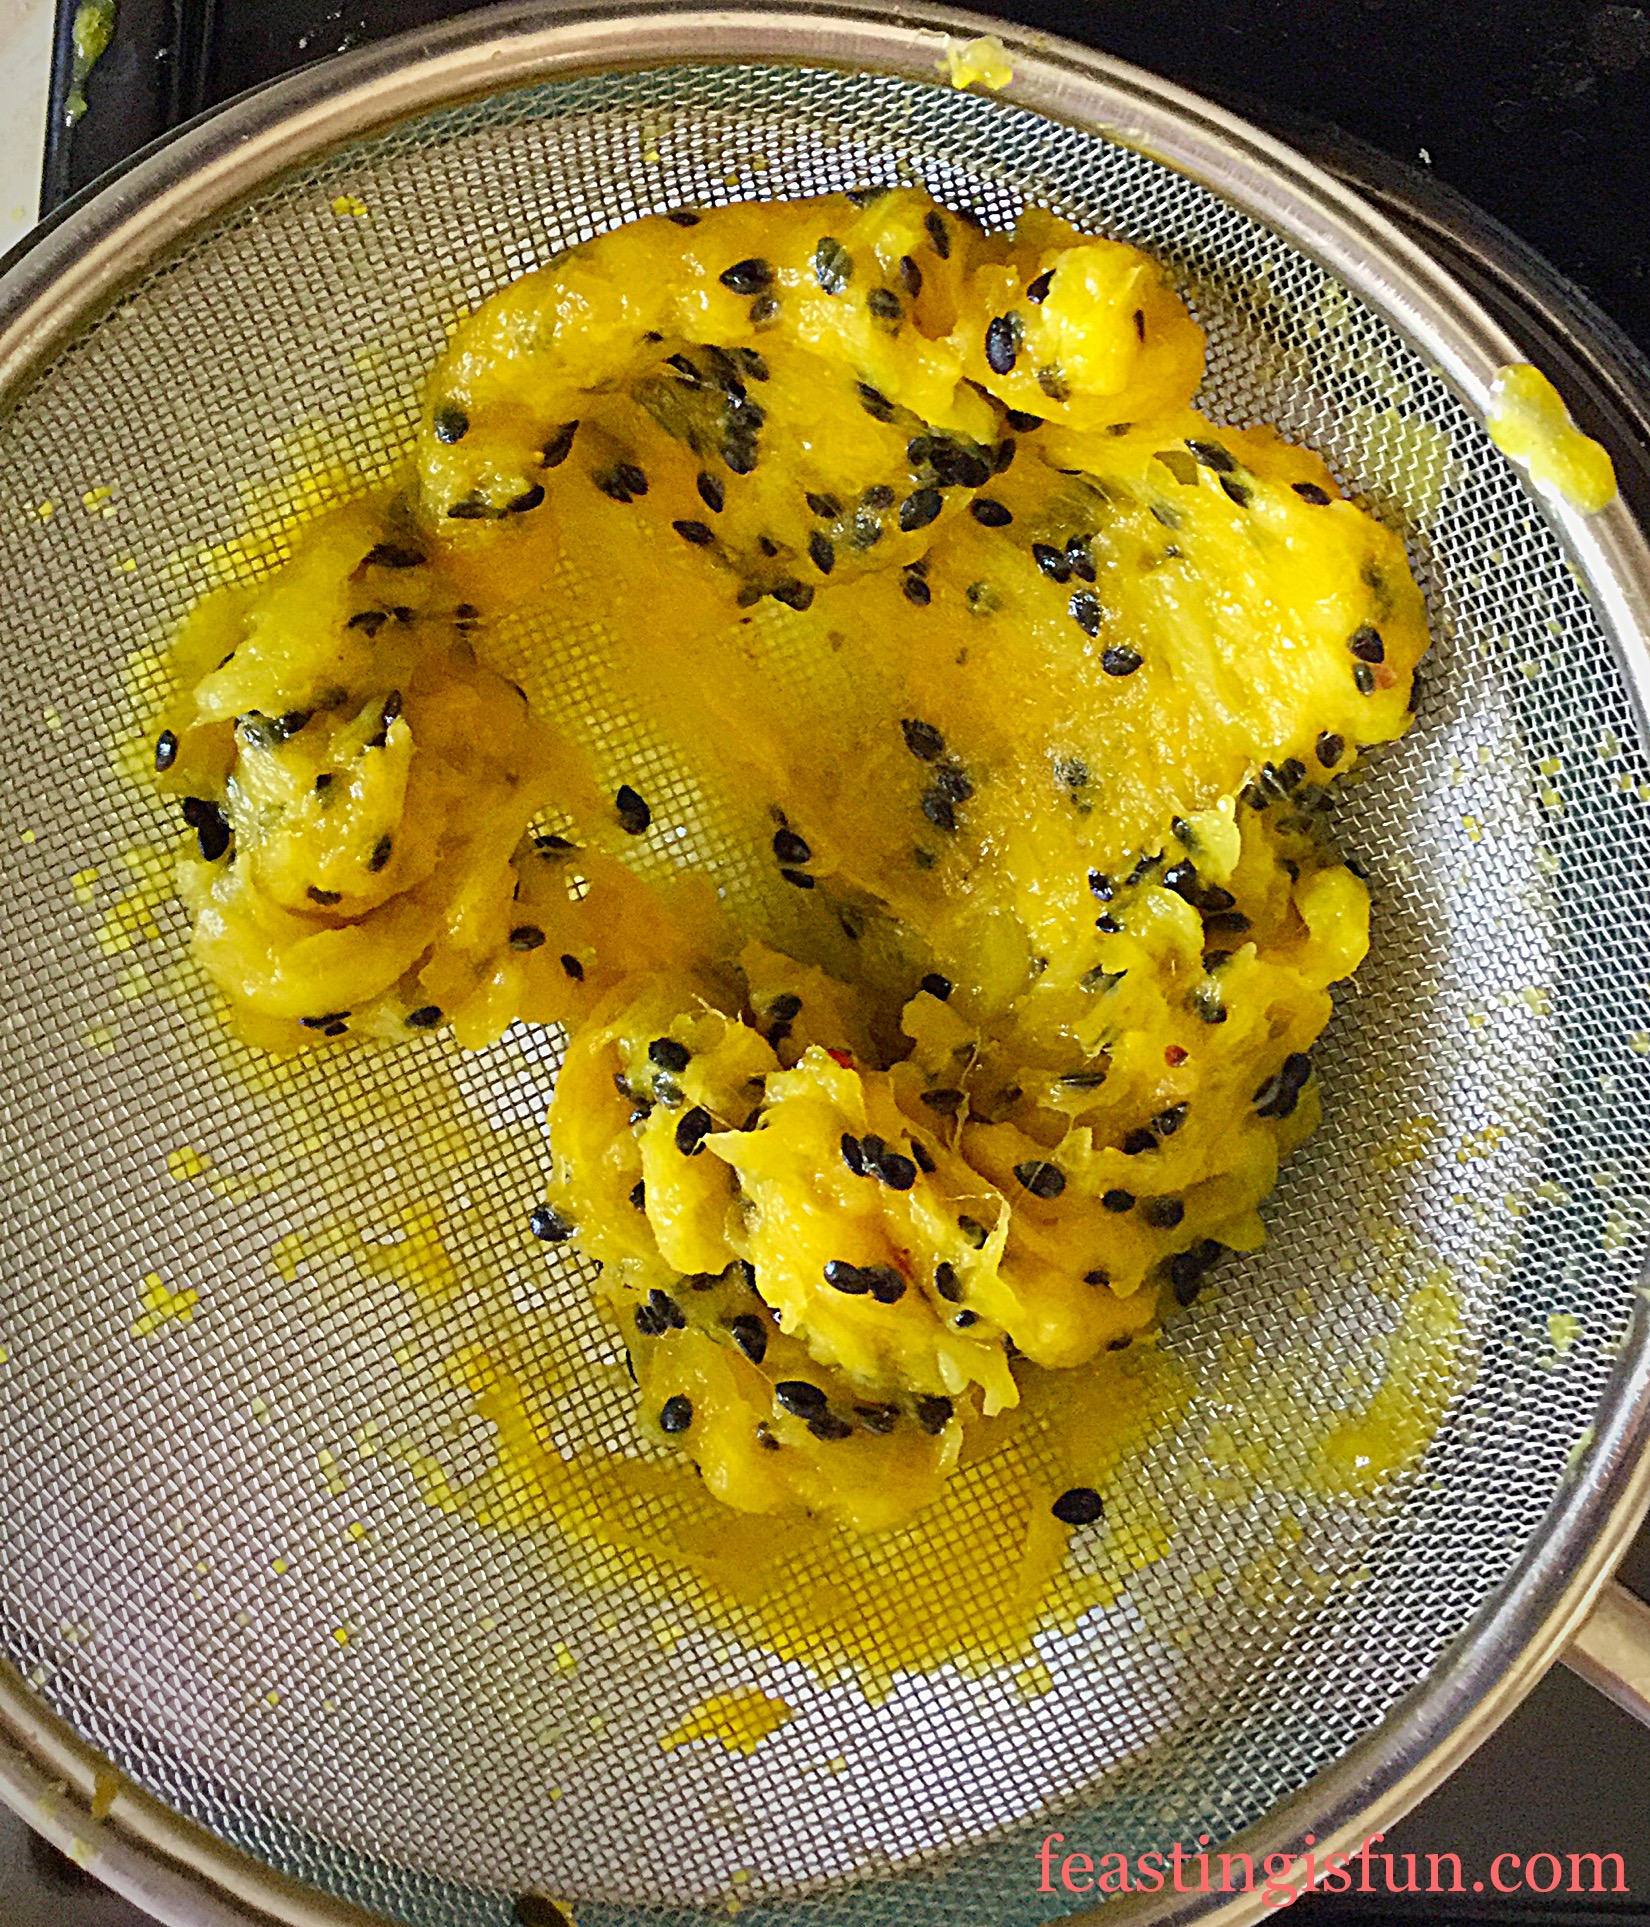
  • As the custard base moves through the sieve, any lumps are filtered out.
  • Remove the sieve and stir the hot custard. As the custard melts the chocolate it will become visible. Continue stirring until all of the chocolate has melted.
  • Place cling film directly on top of the hot custard. This will stop any skiing from forming.
  • Move the bowl to a cool place. Once cooled to warm, place the bowl in the fridge.
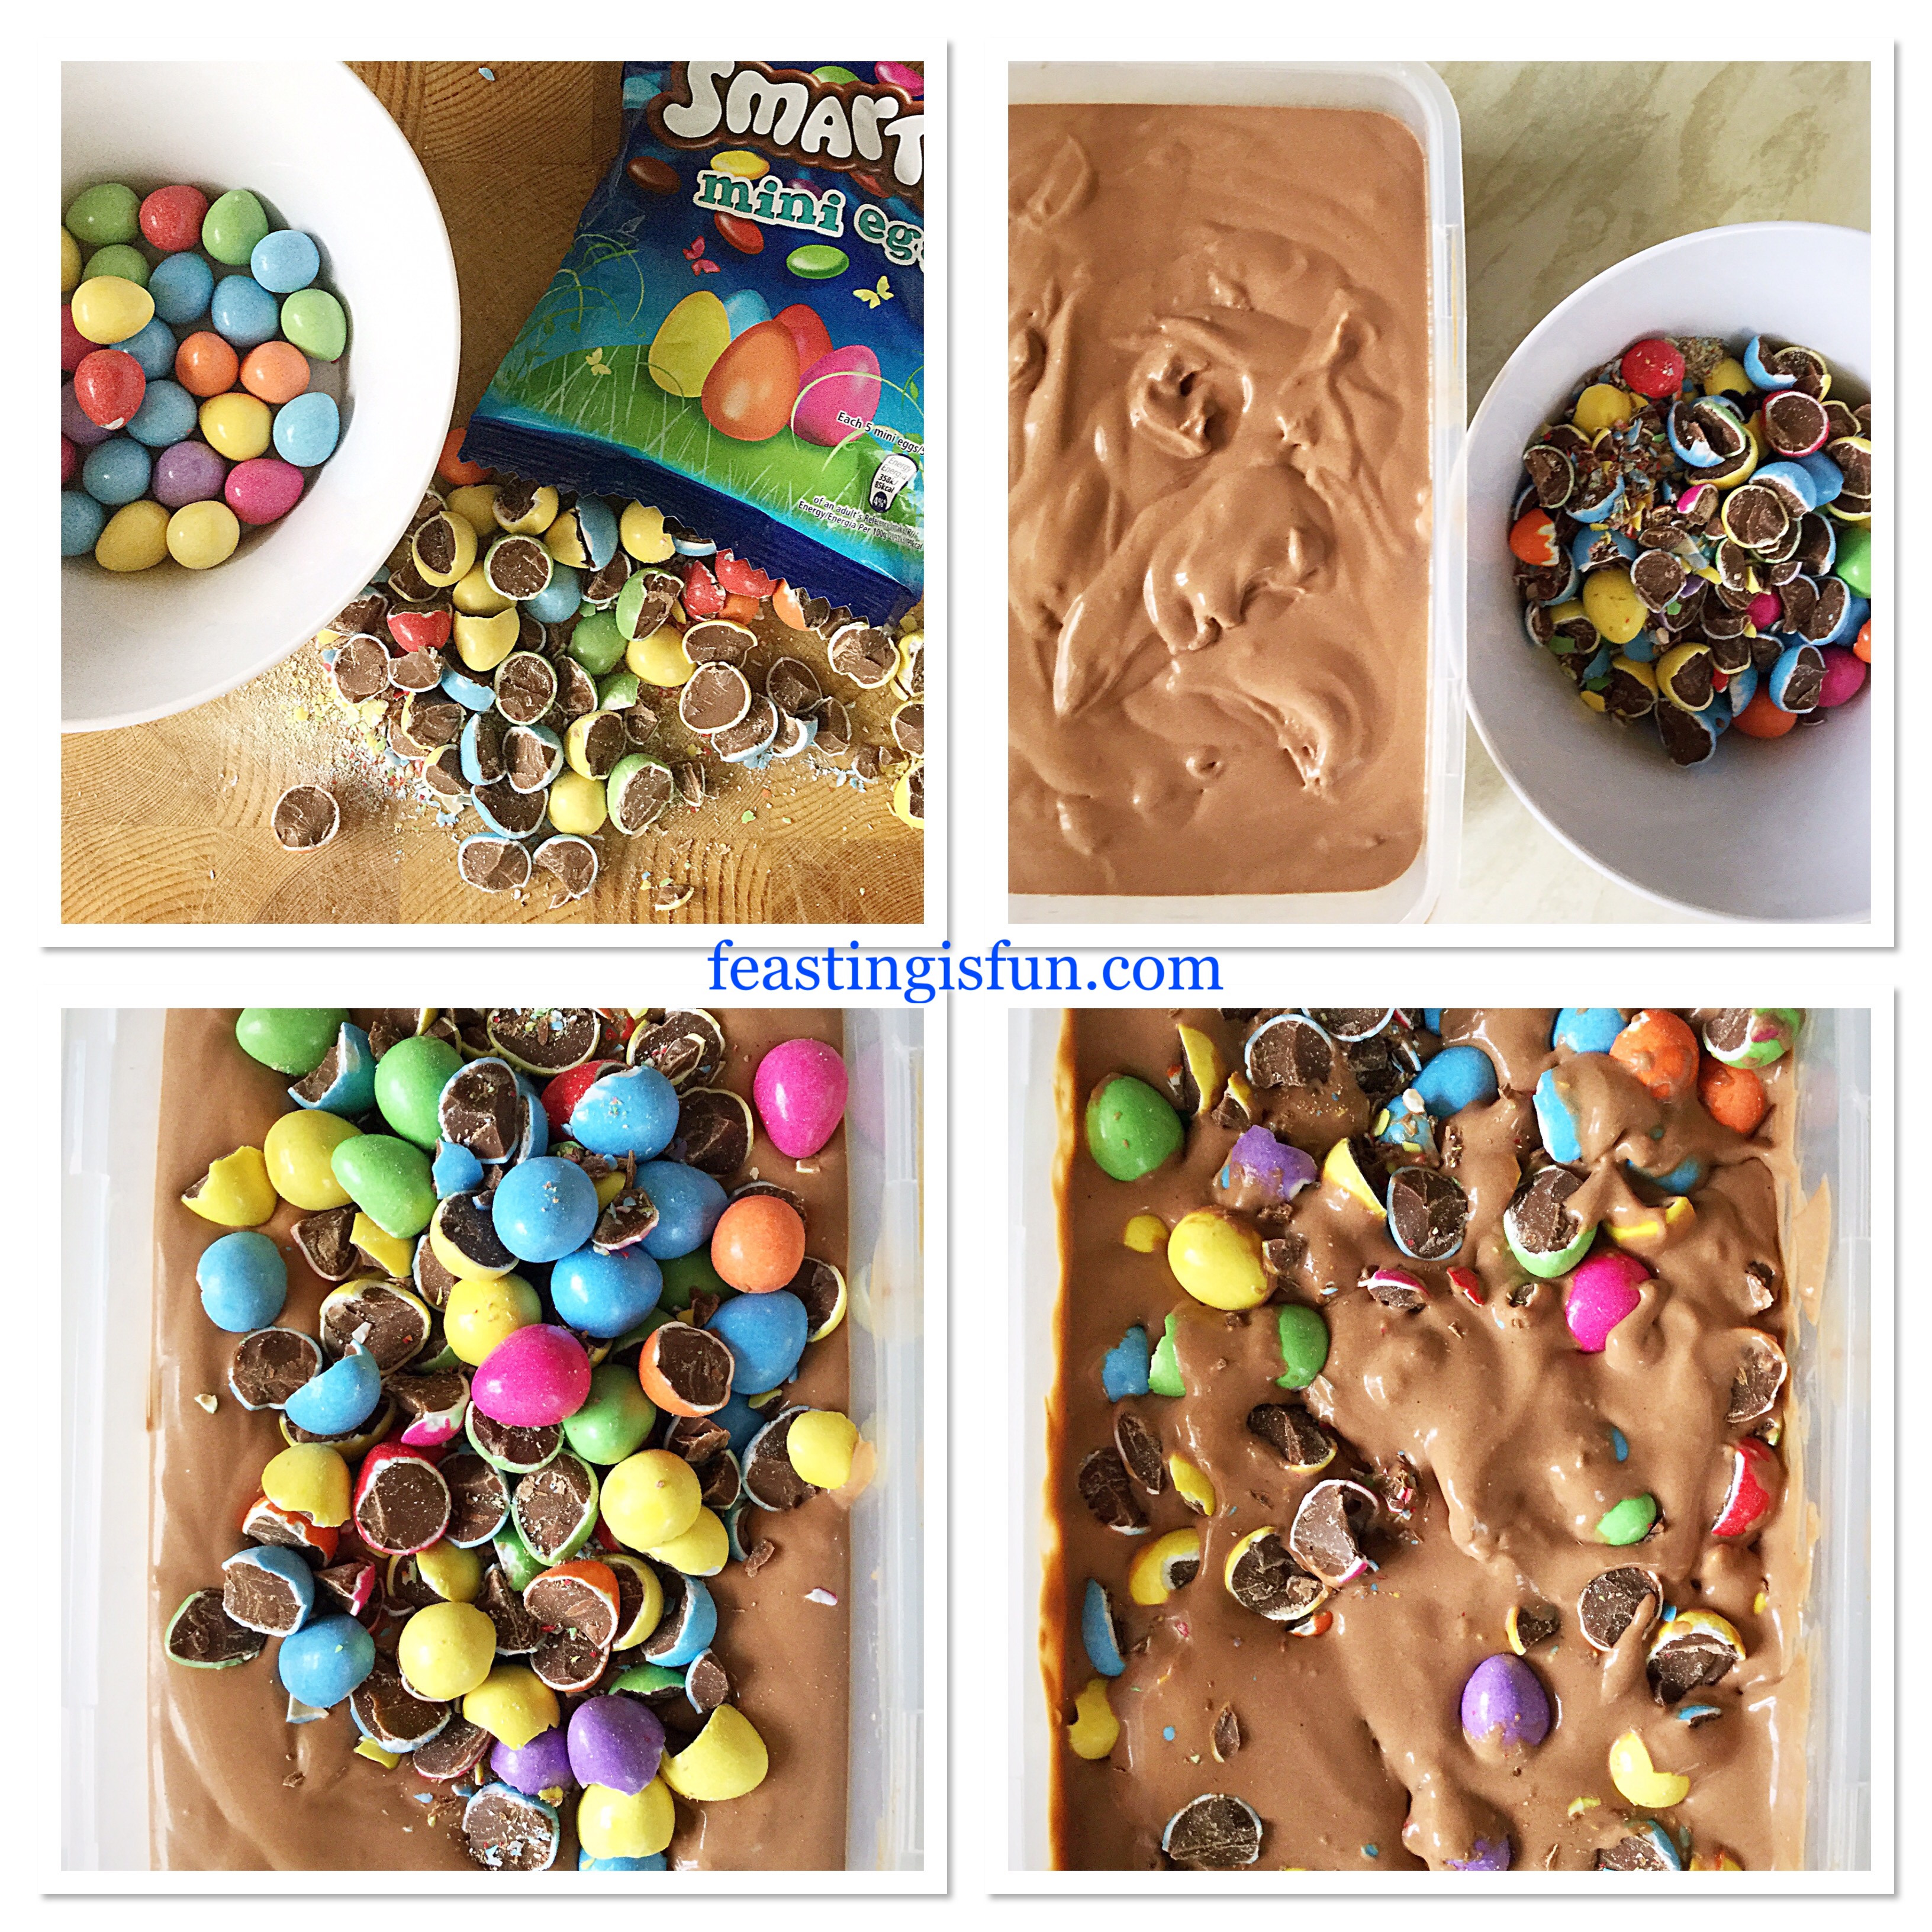
  • While the chocolate custard is chilling the Smarties can be prepared.
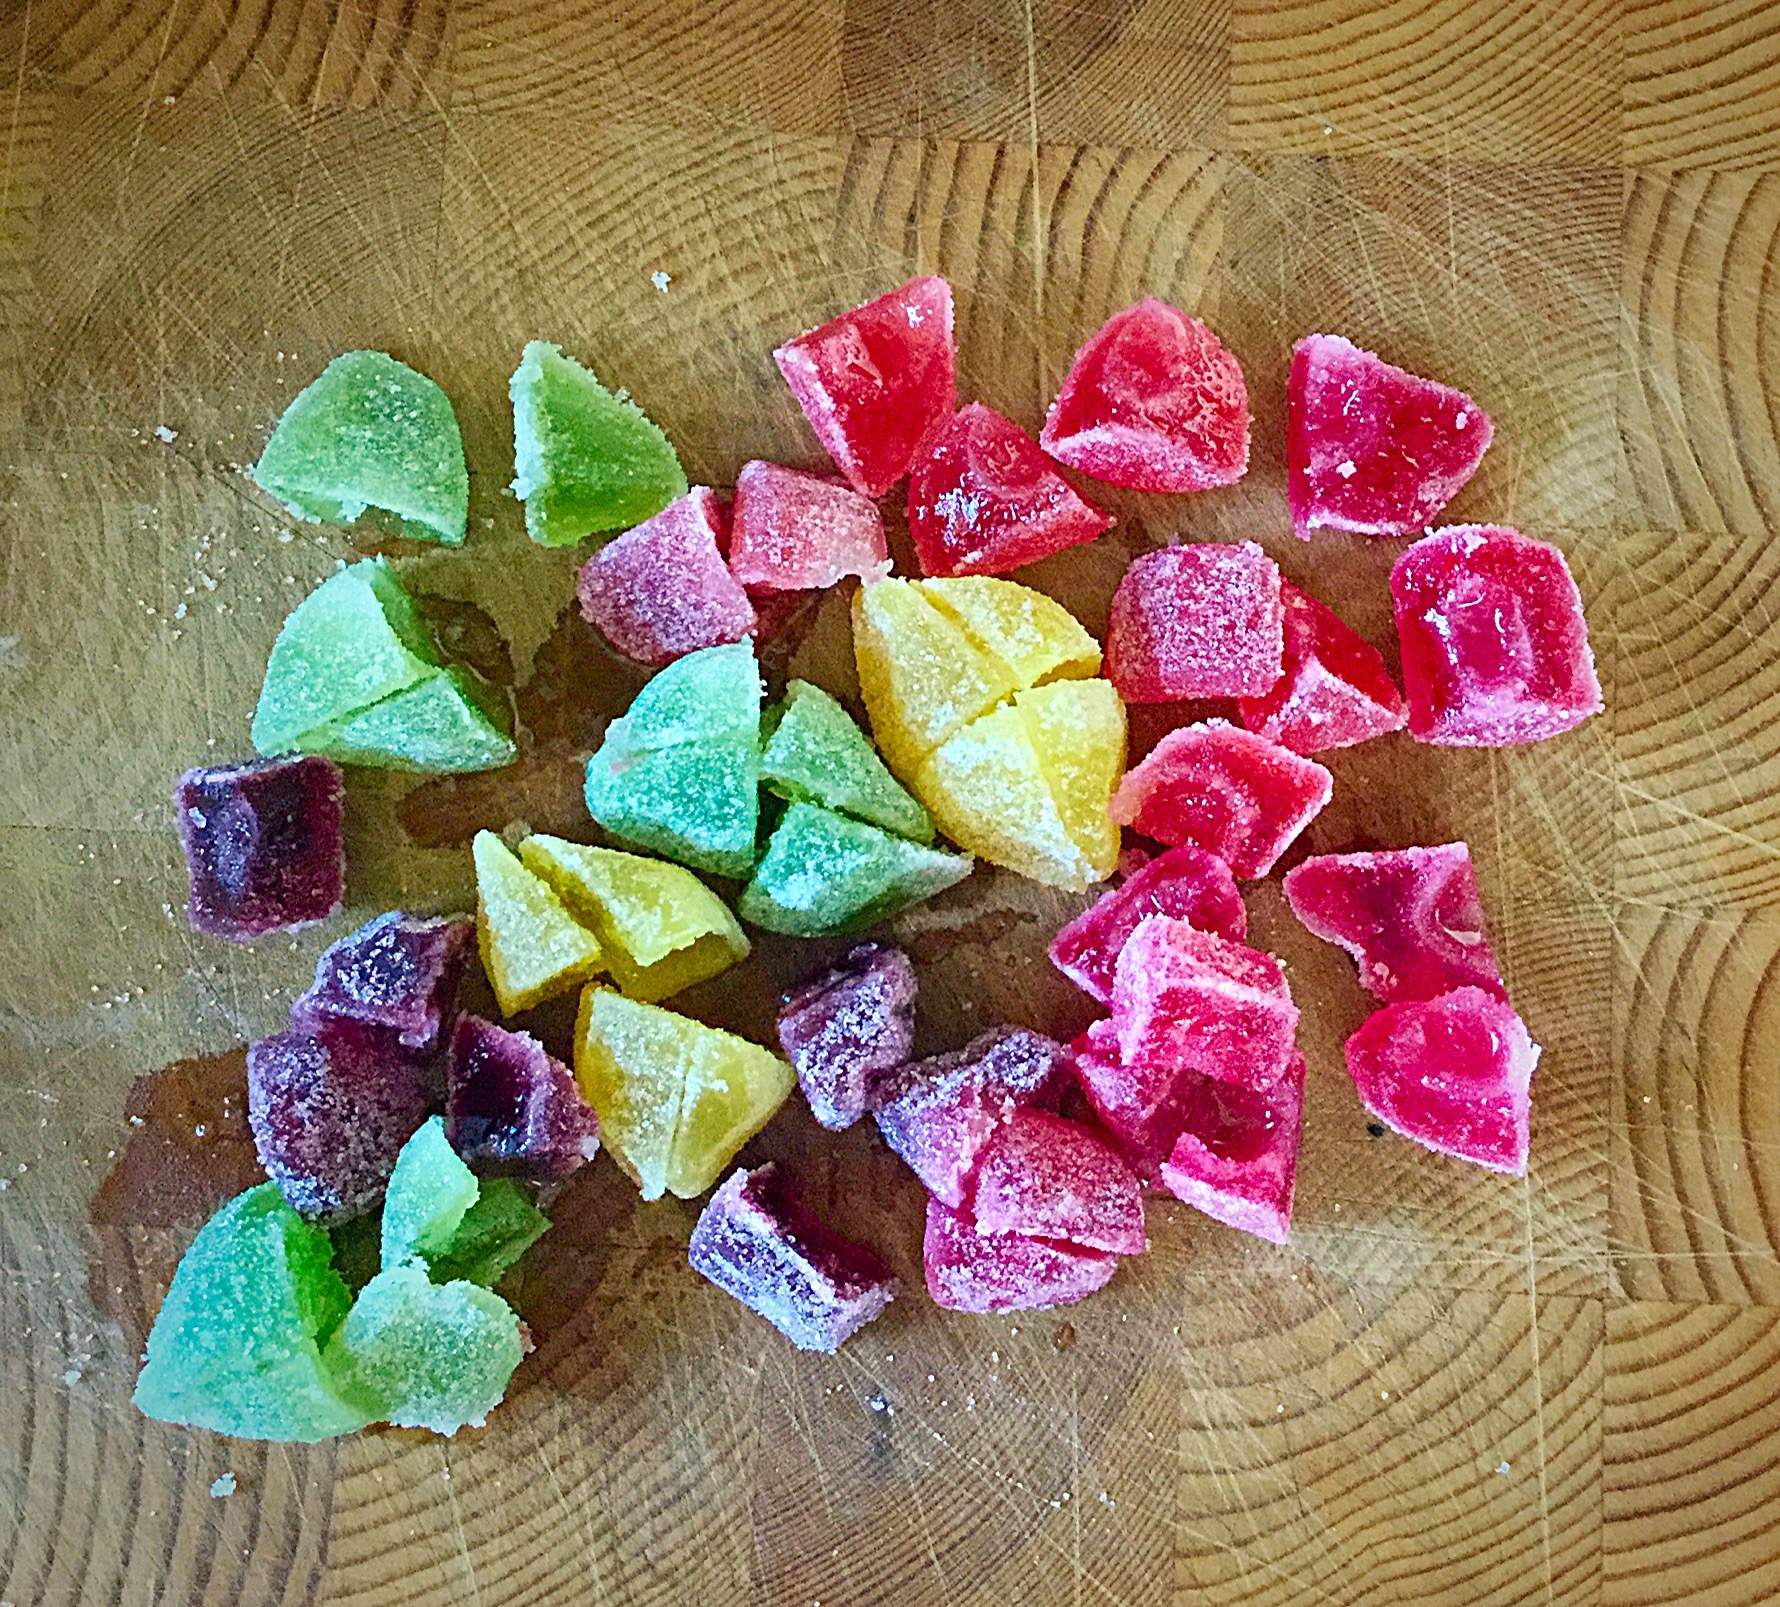
  • Carefully chop one whole packet of mini eggs in half and tip them into s bowl containing a packet of whole smarties mini eggs.
  • When the chocolate custard is cold, set up the ice cream machine according to manufacturer’s instructions.
  • Pour the chocolate custard through the specific whole in the covering. For my machine, the paddle needs to be turning first.
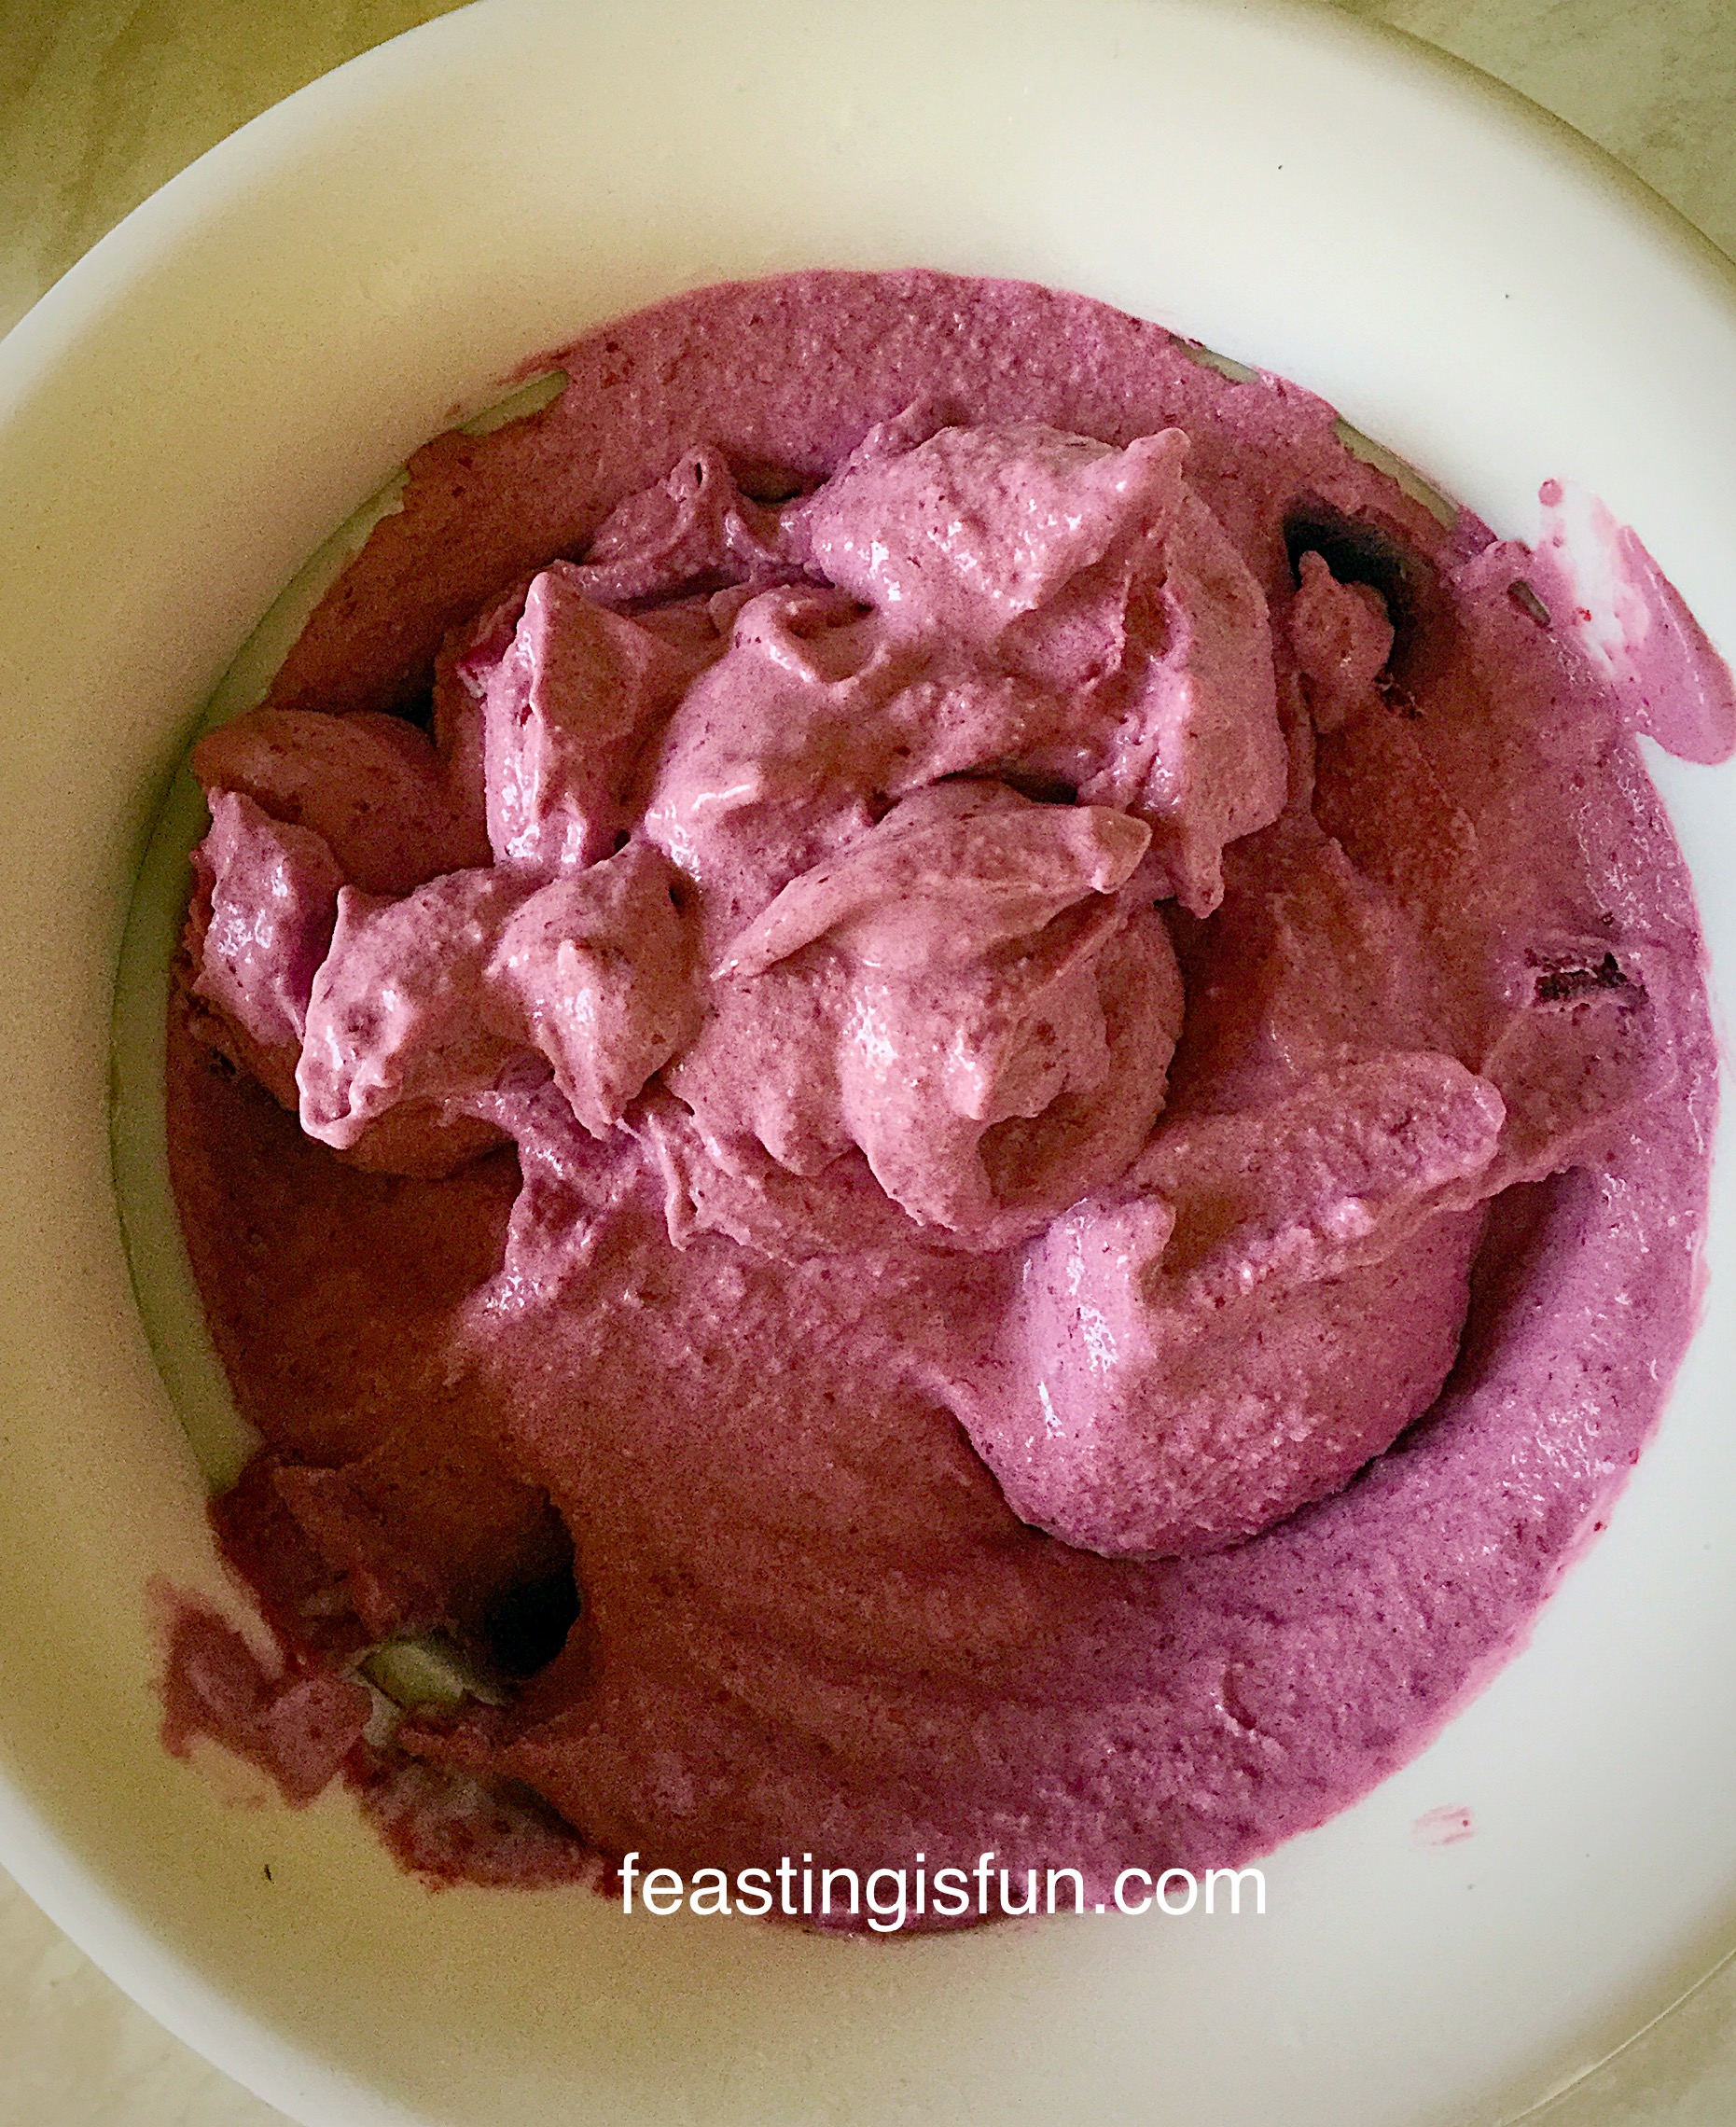
  • Allow the ice cream to churn until it is softly set. Similar consistency to whipped ice cream.
  • Once this point has been reached, turn the machine off and remove the paddle.
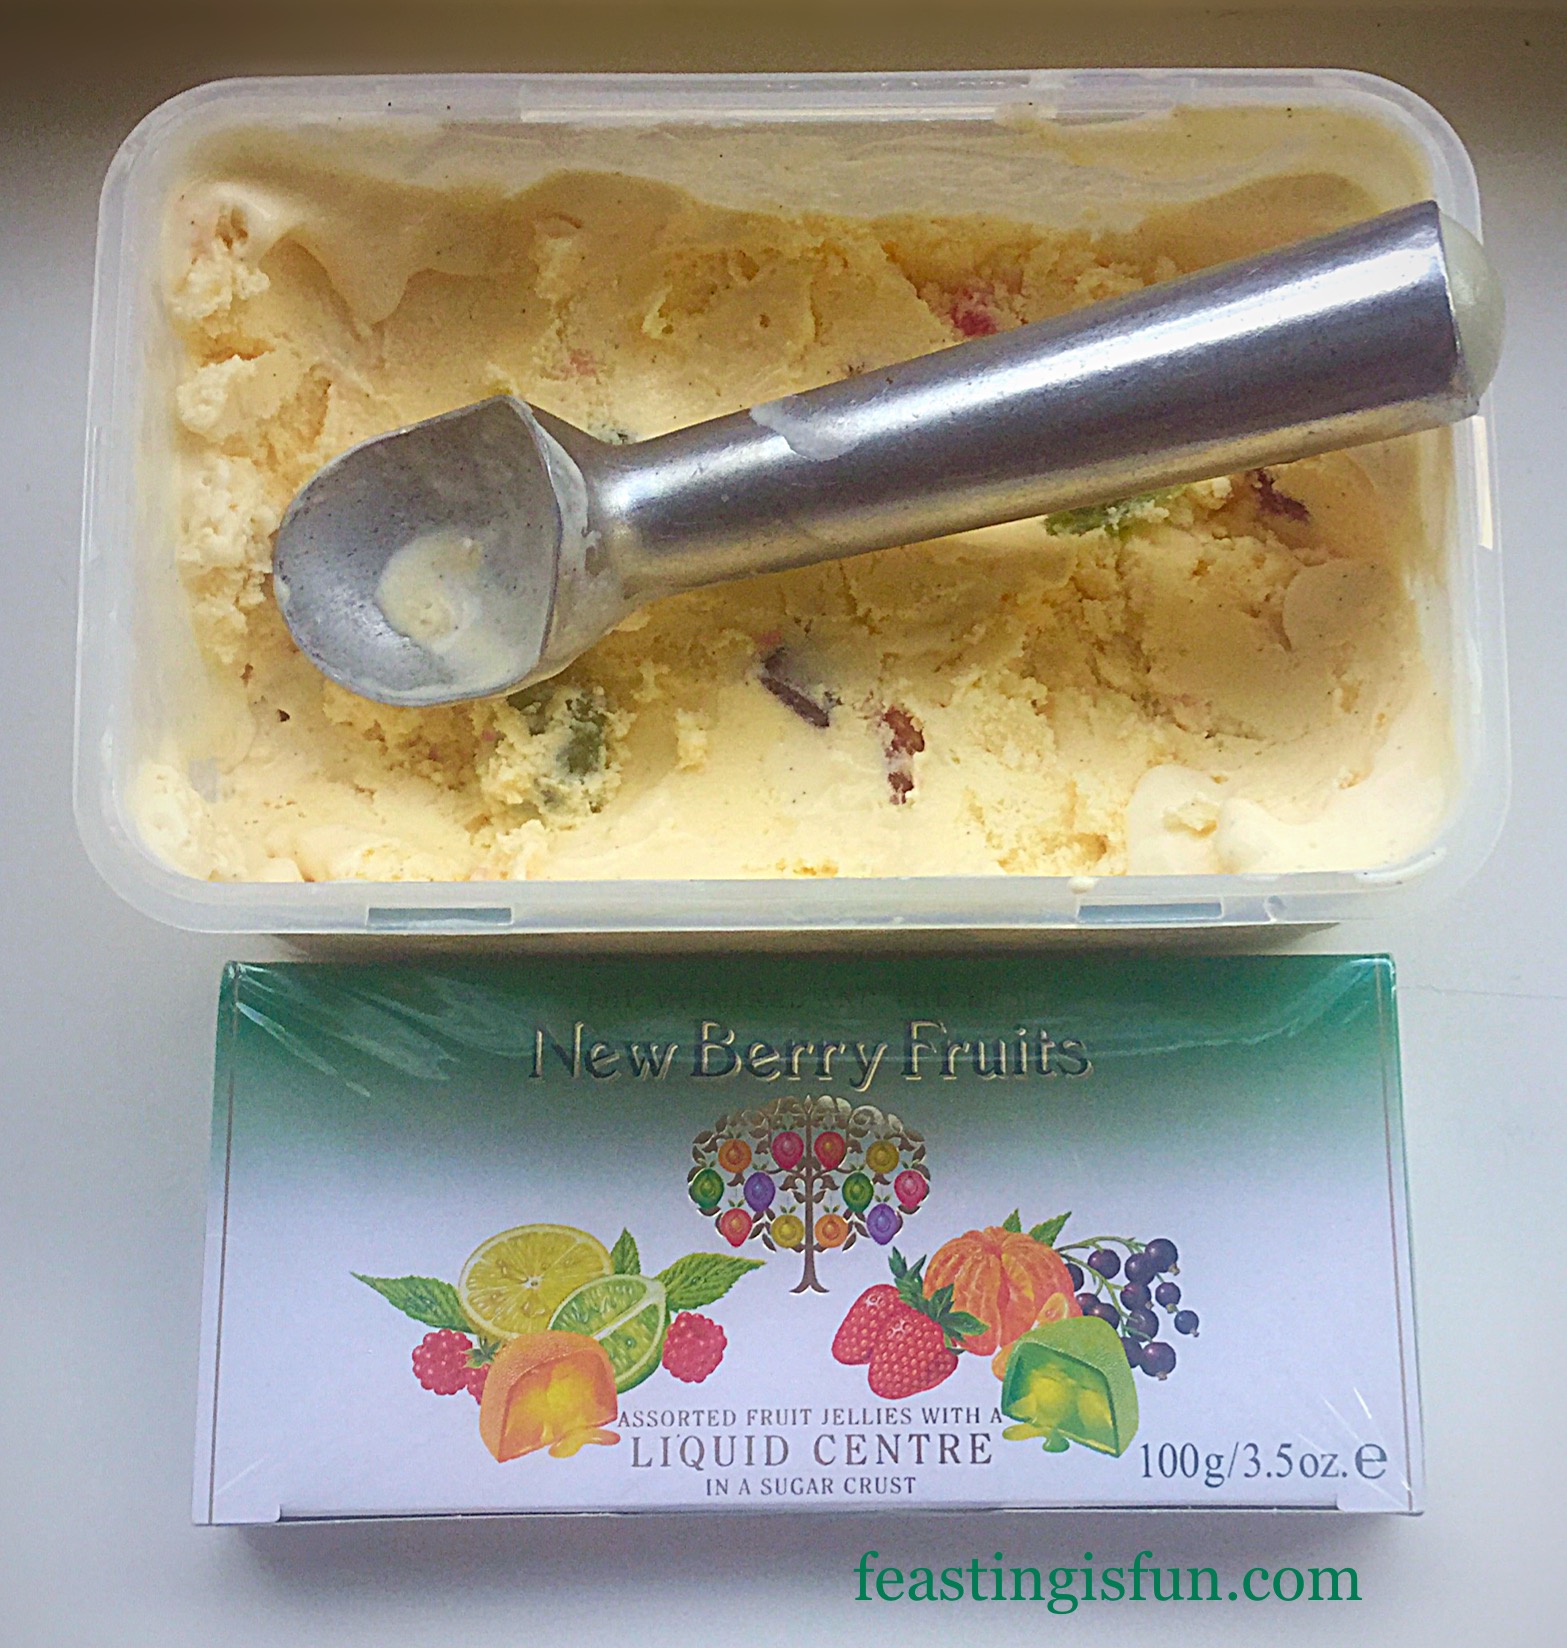
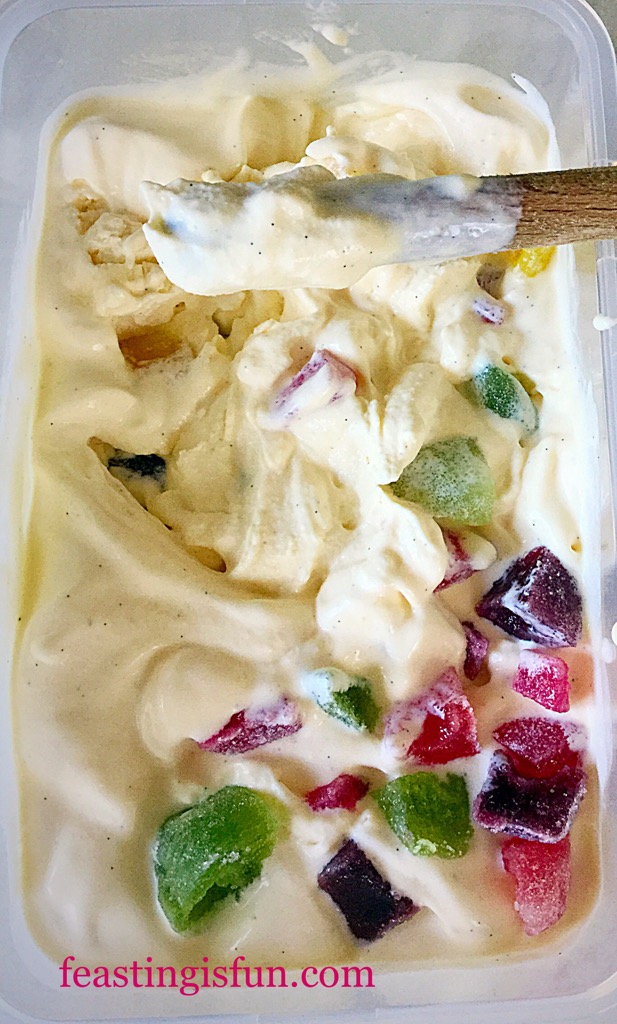
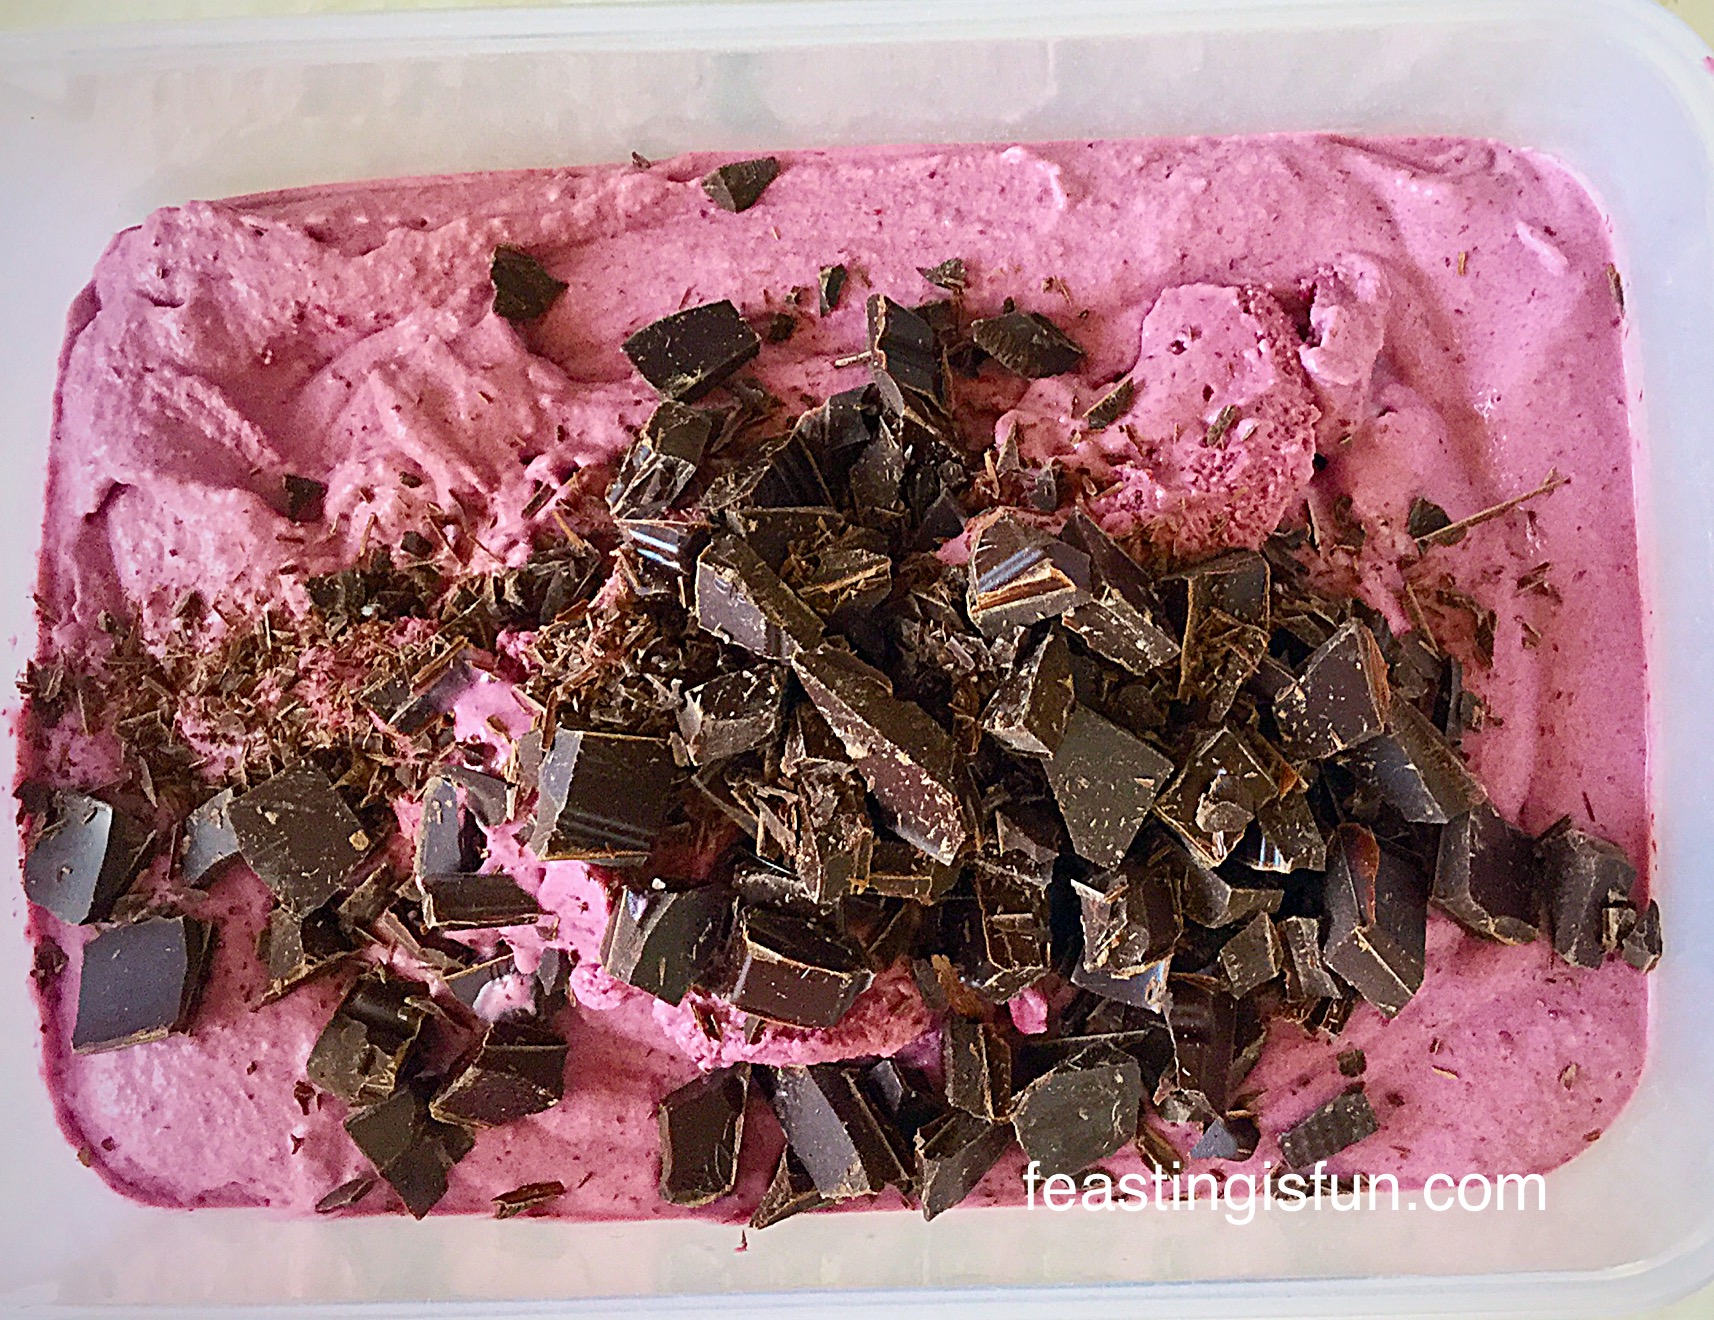
  • Transfer the chocolate ice cream into a freezer proof tub with an air tight lid.
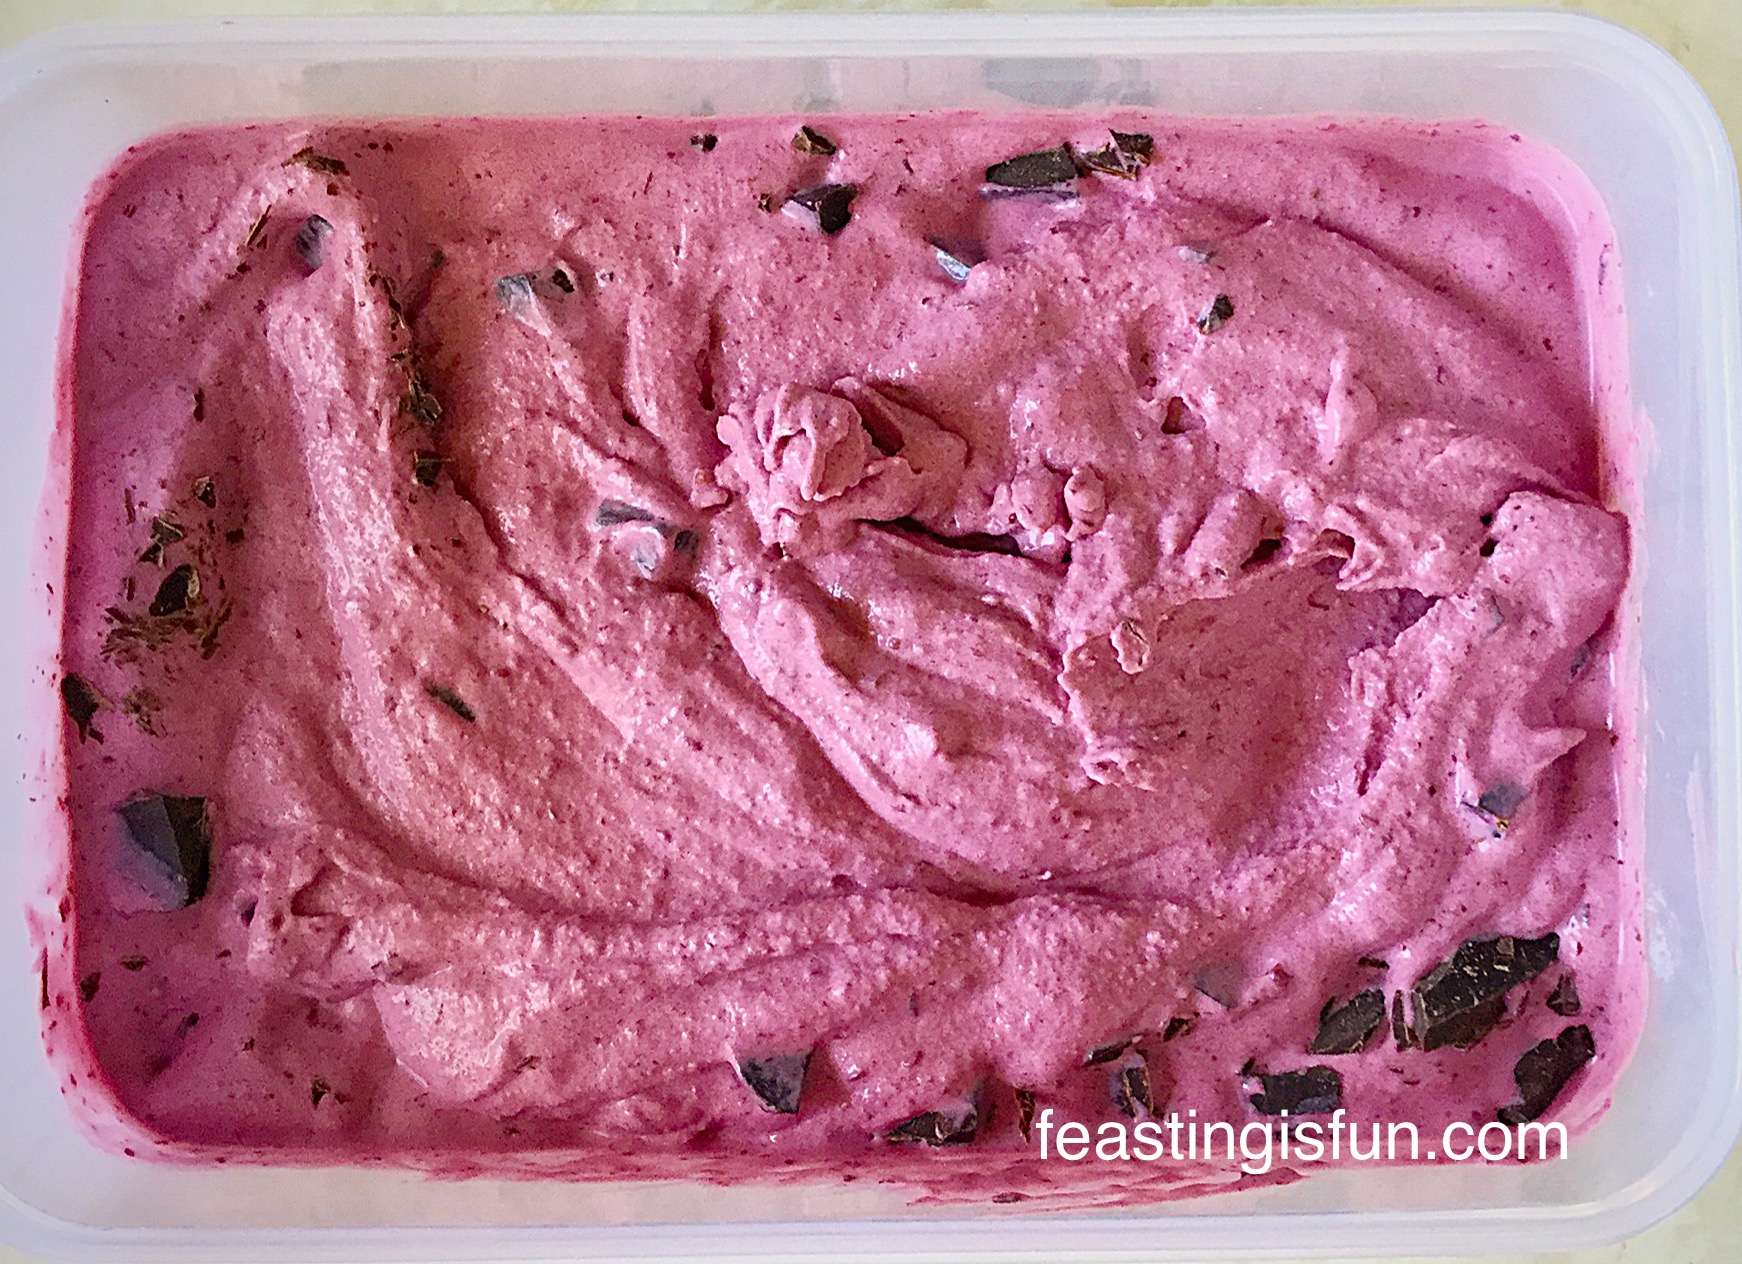
  • Now add all of the mini eggs, both chopped and whole. Gently stir to mix in the mini eggs. Then clamp on the lid and place into the freezer, where it will freeze completely.
FF Smarties Chocolate Mini Egg Ice Cream
Preparing the eggs and ice cream ready for the freezer.
  • Leave the ice cream to freeze solid. Overnight is ideal.
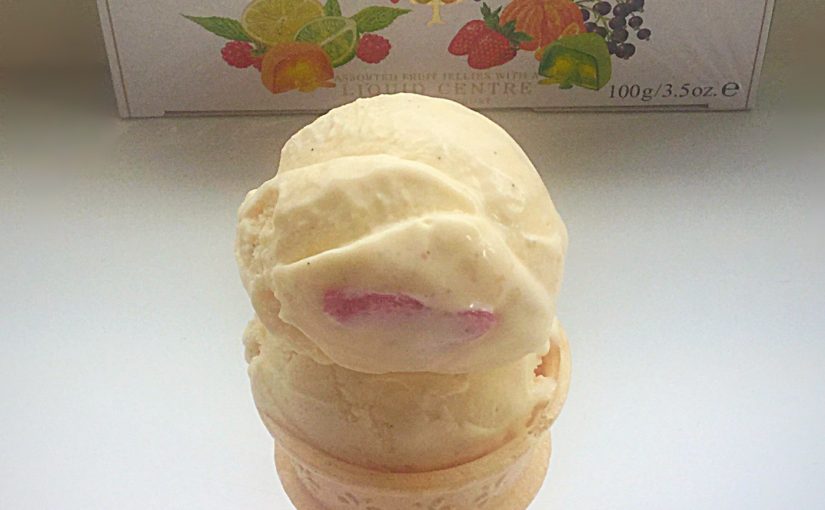
  • To serve, remove the ice cream from the freezer 20-30 minutes prior to scooping. As this ice cream doesn’t have any additives to keep it soft, leaving it on the side prior to serving allows it to soften.
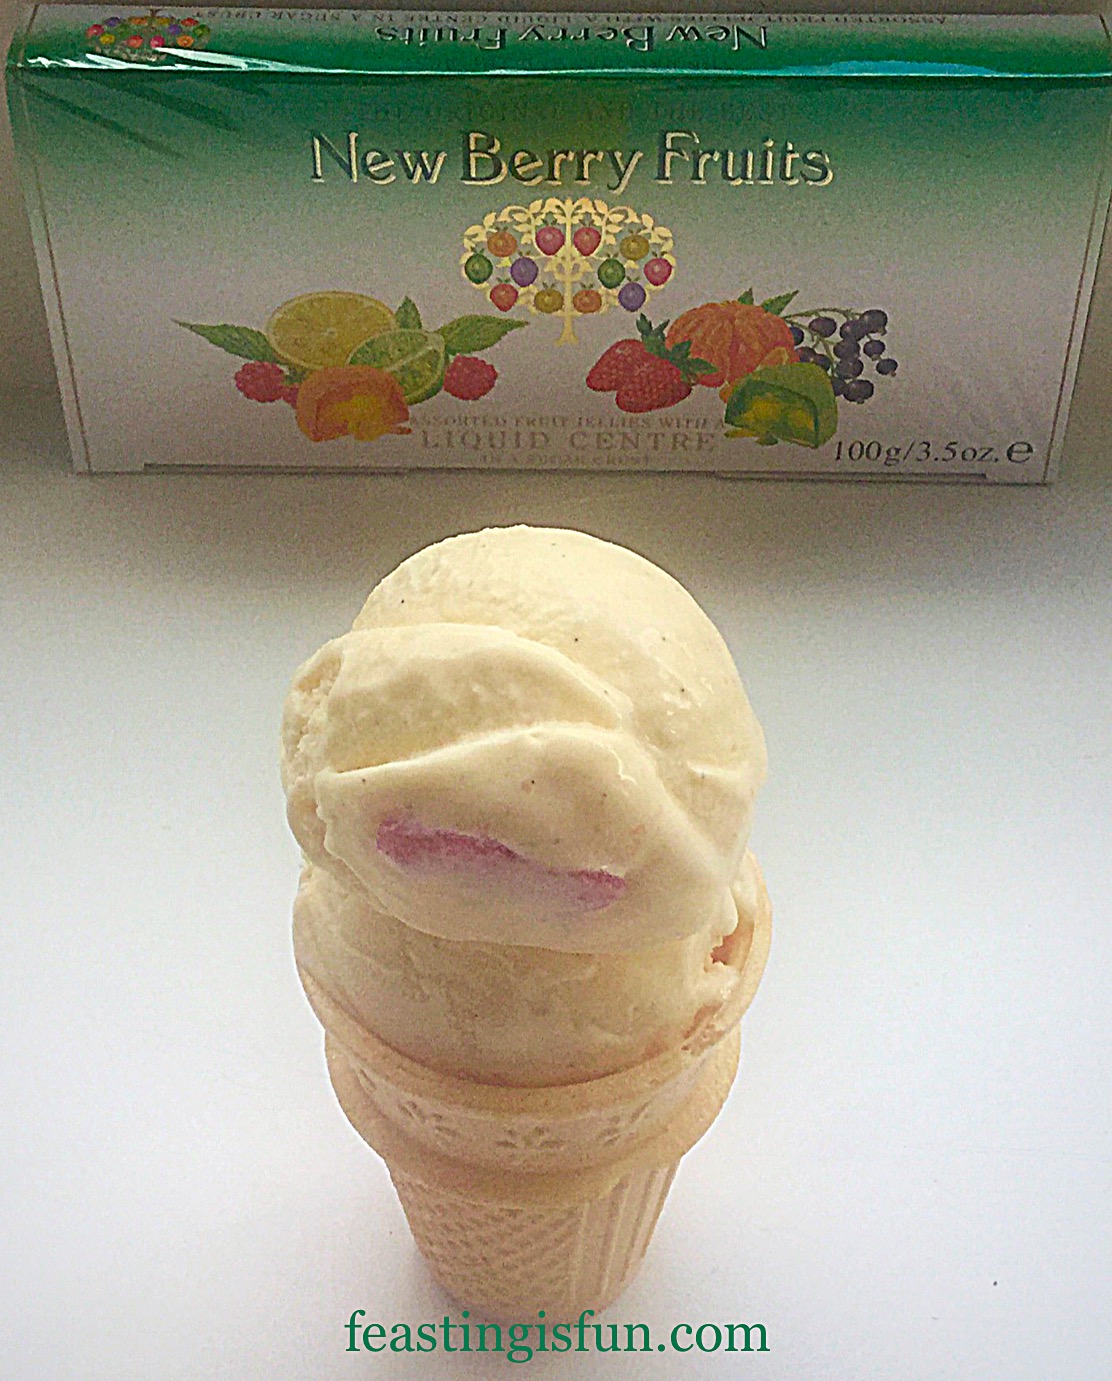
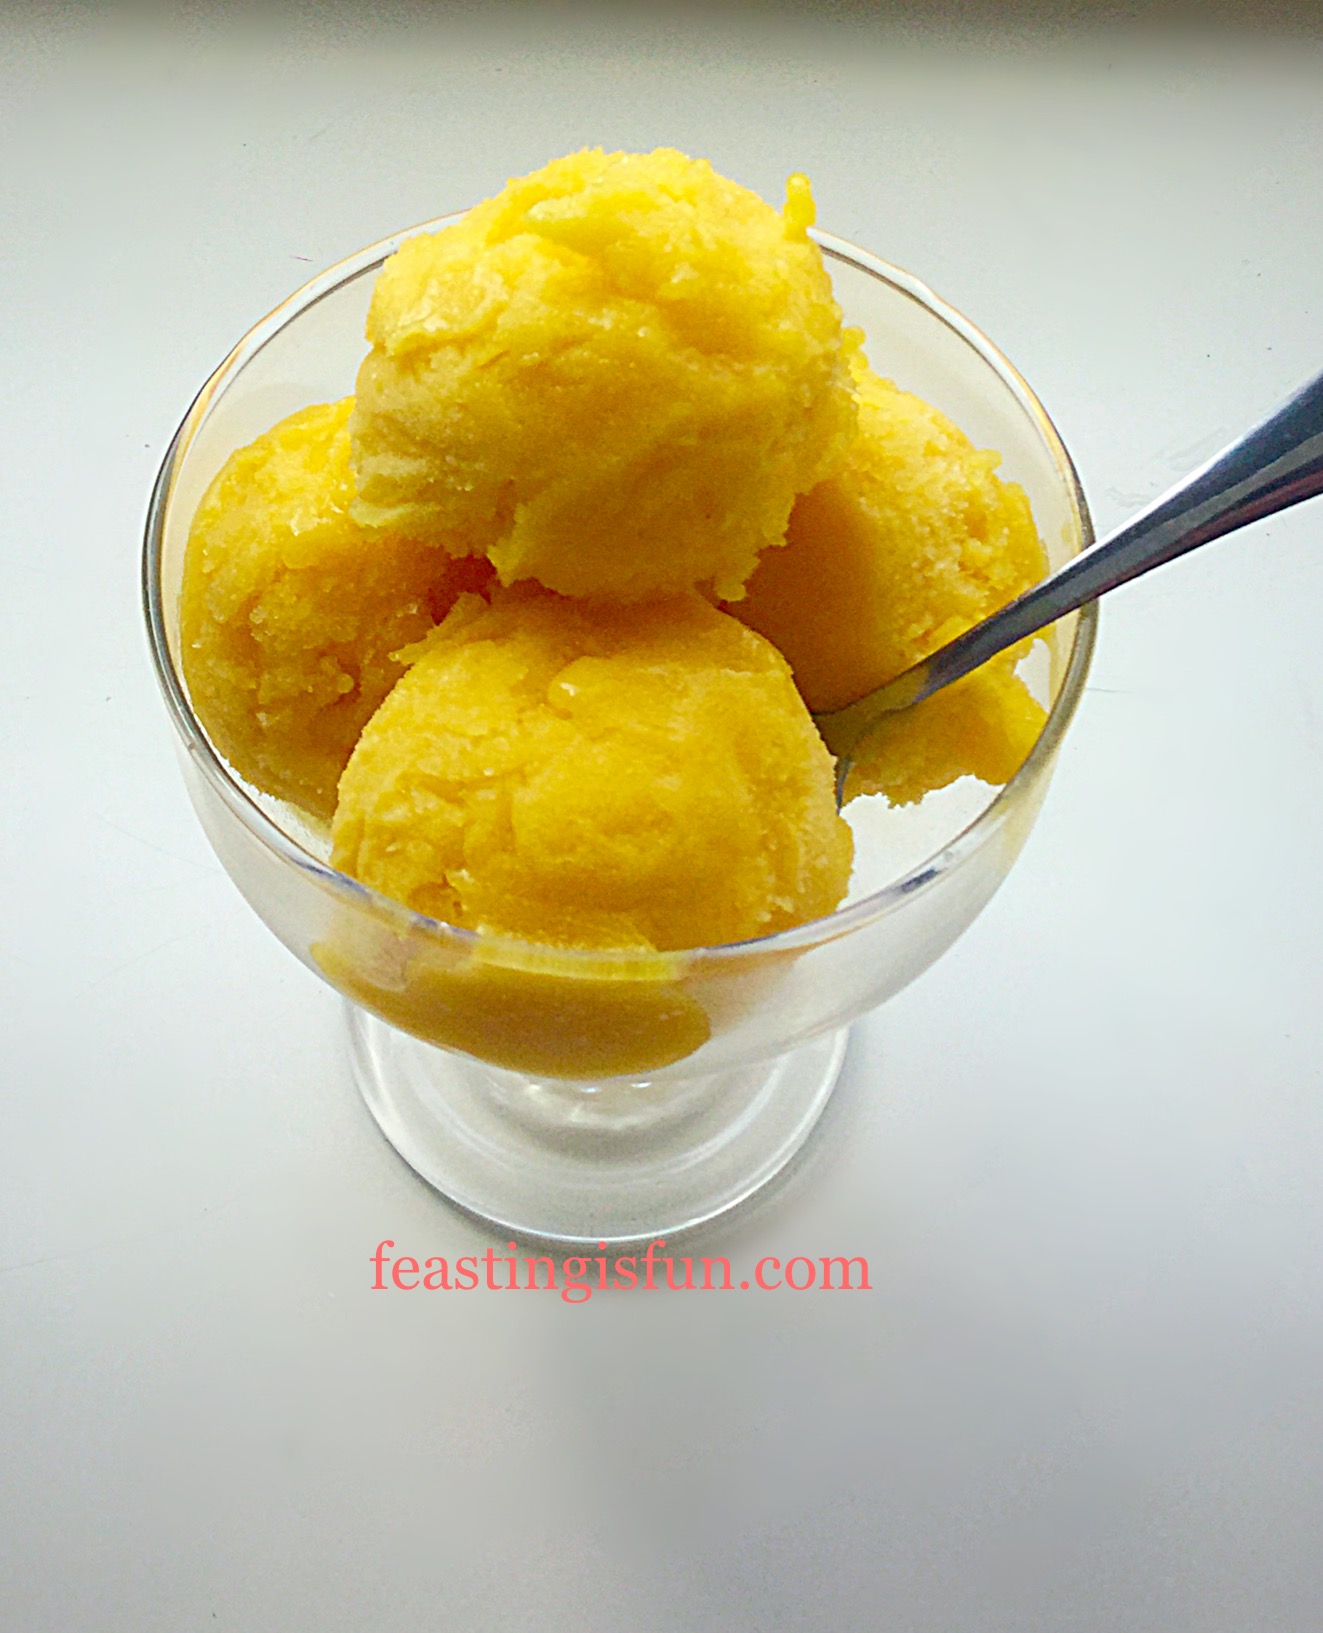
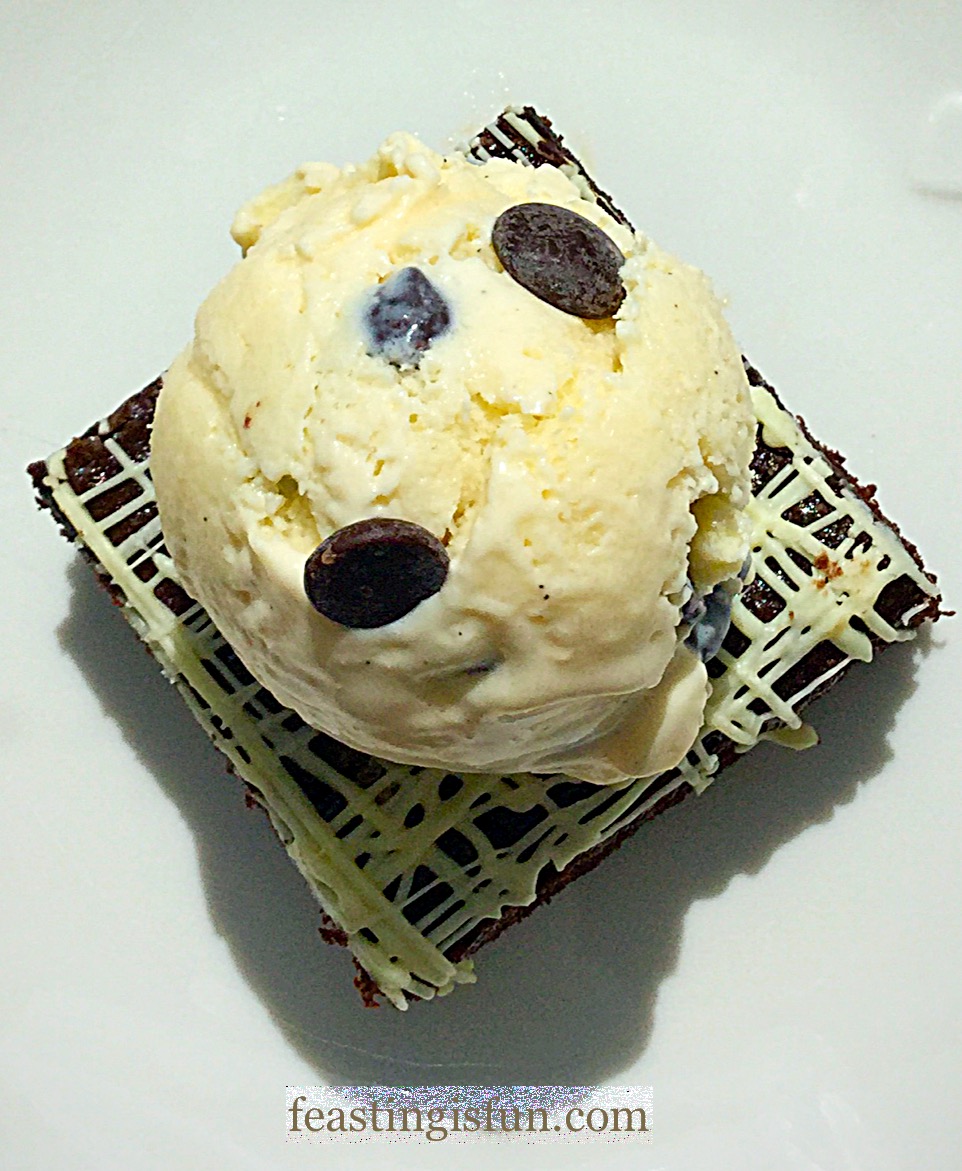
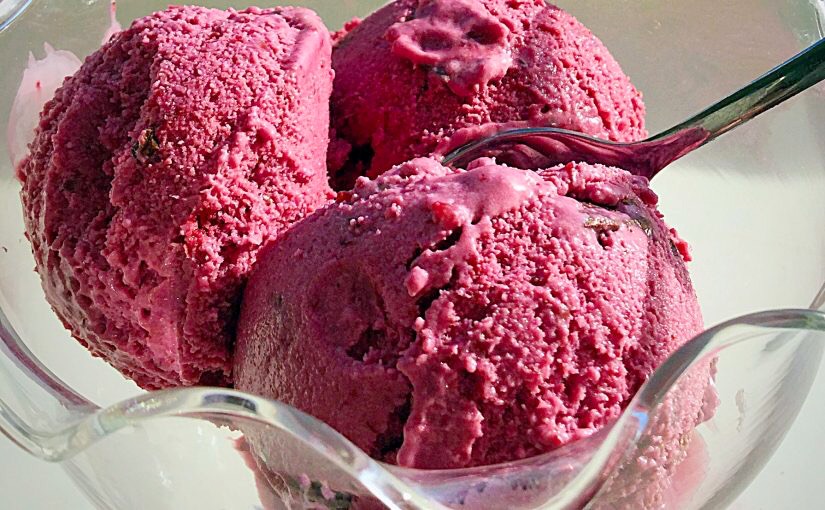
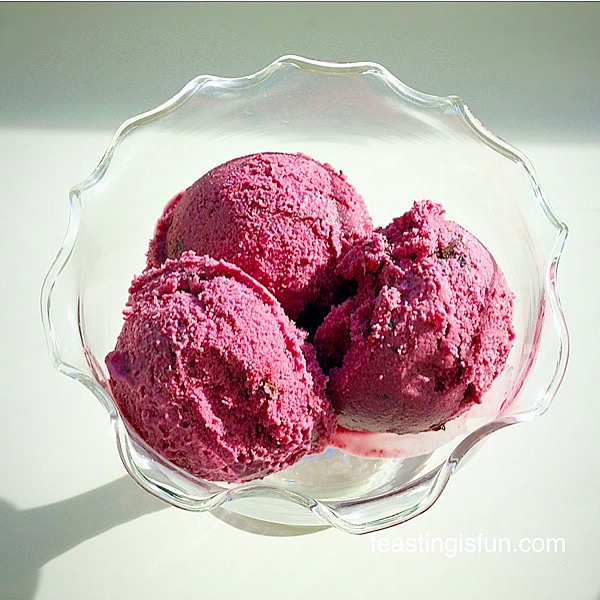
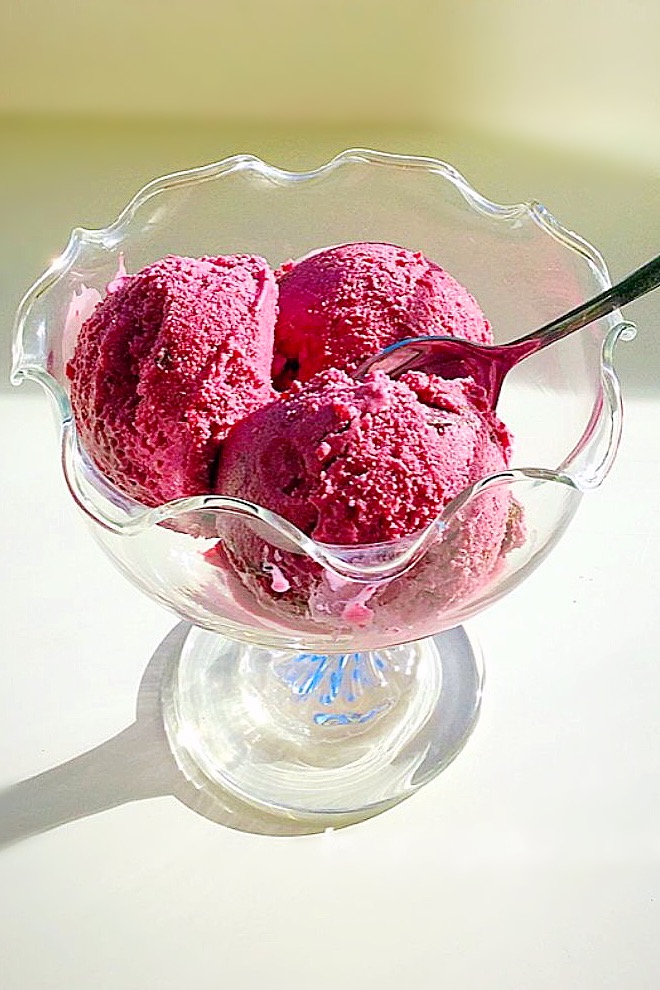
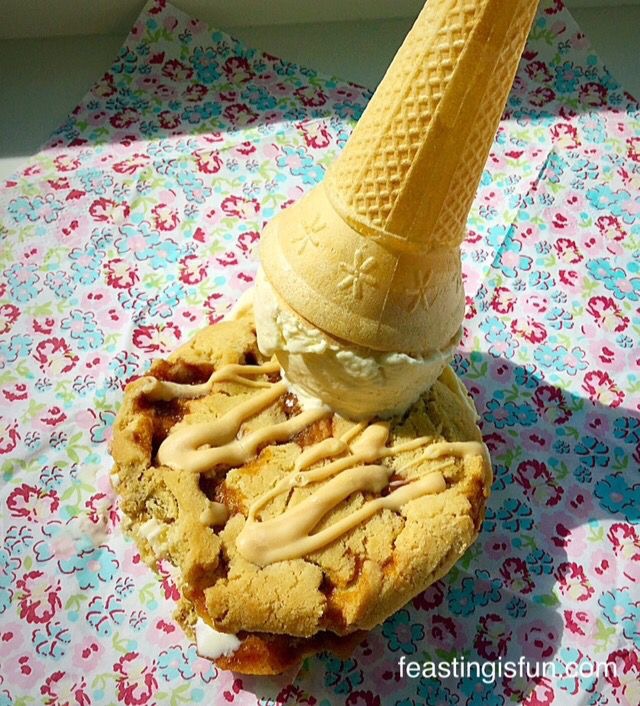
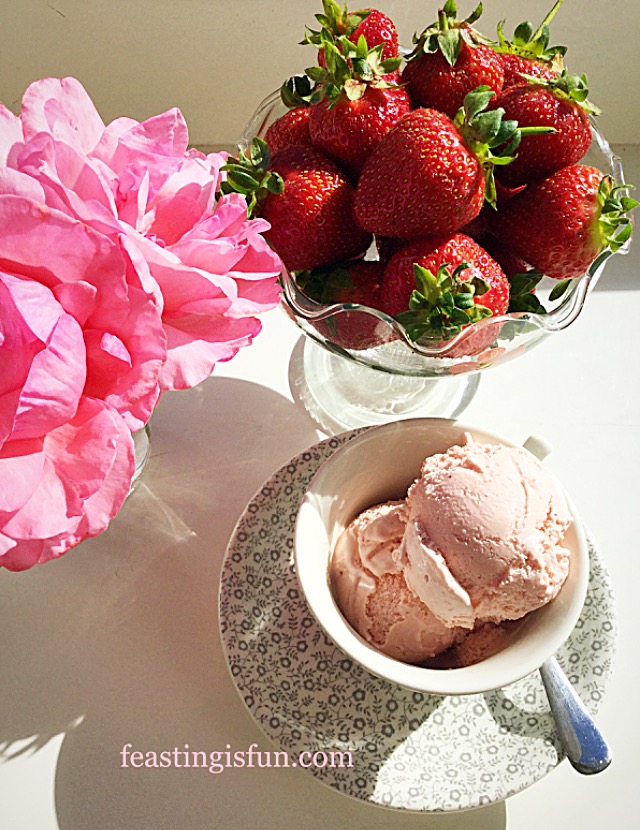
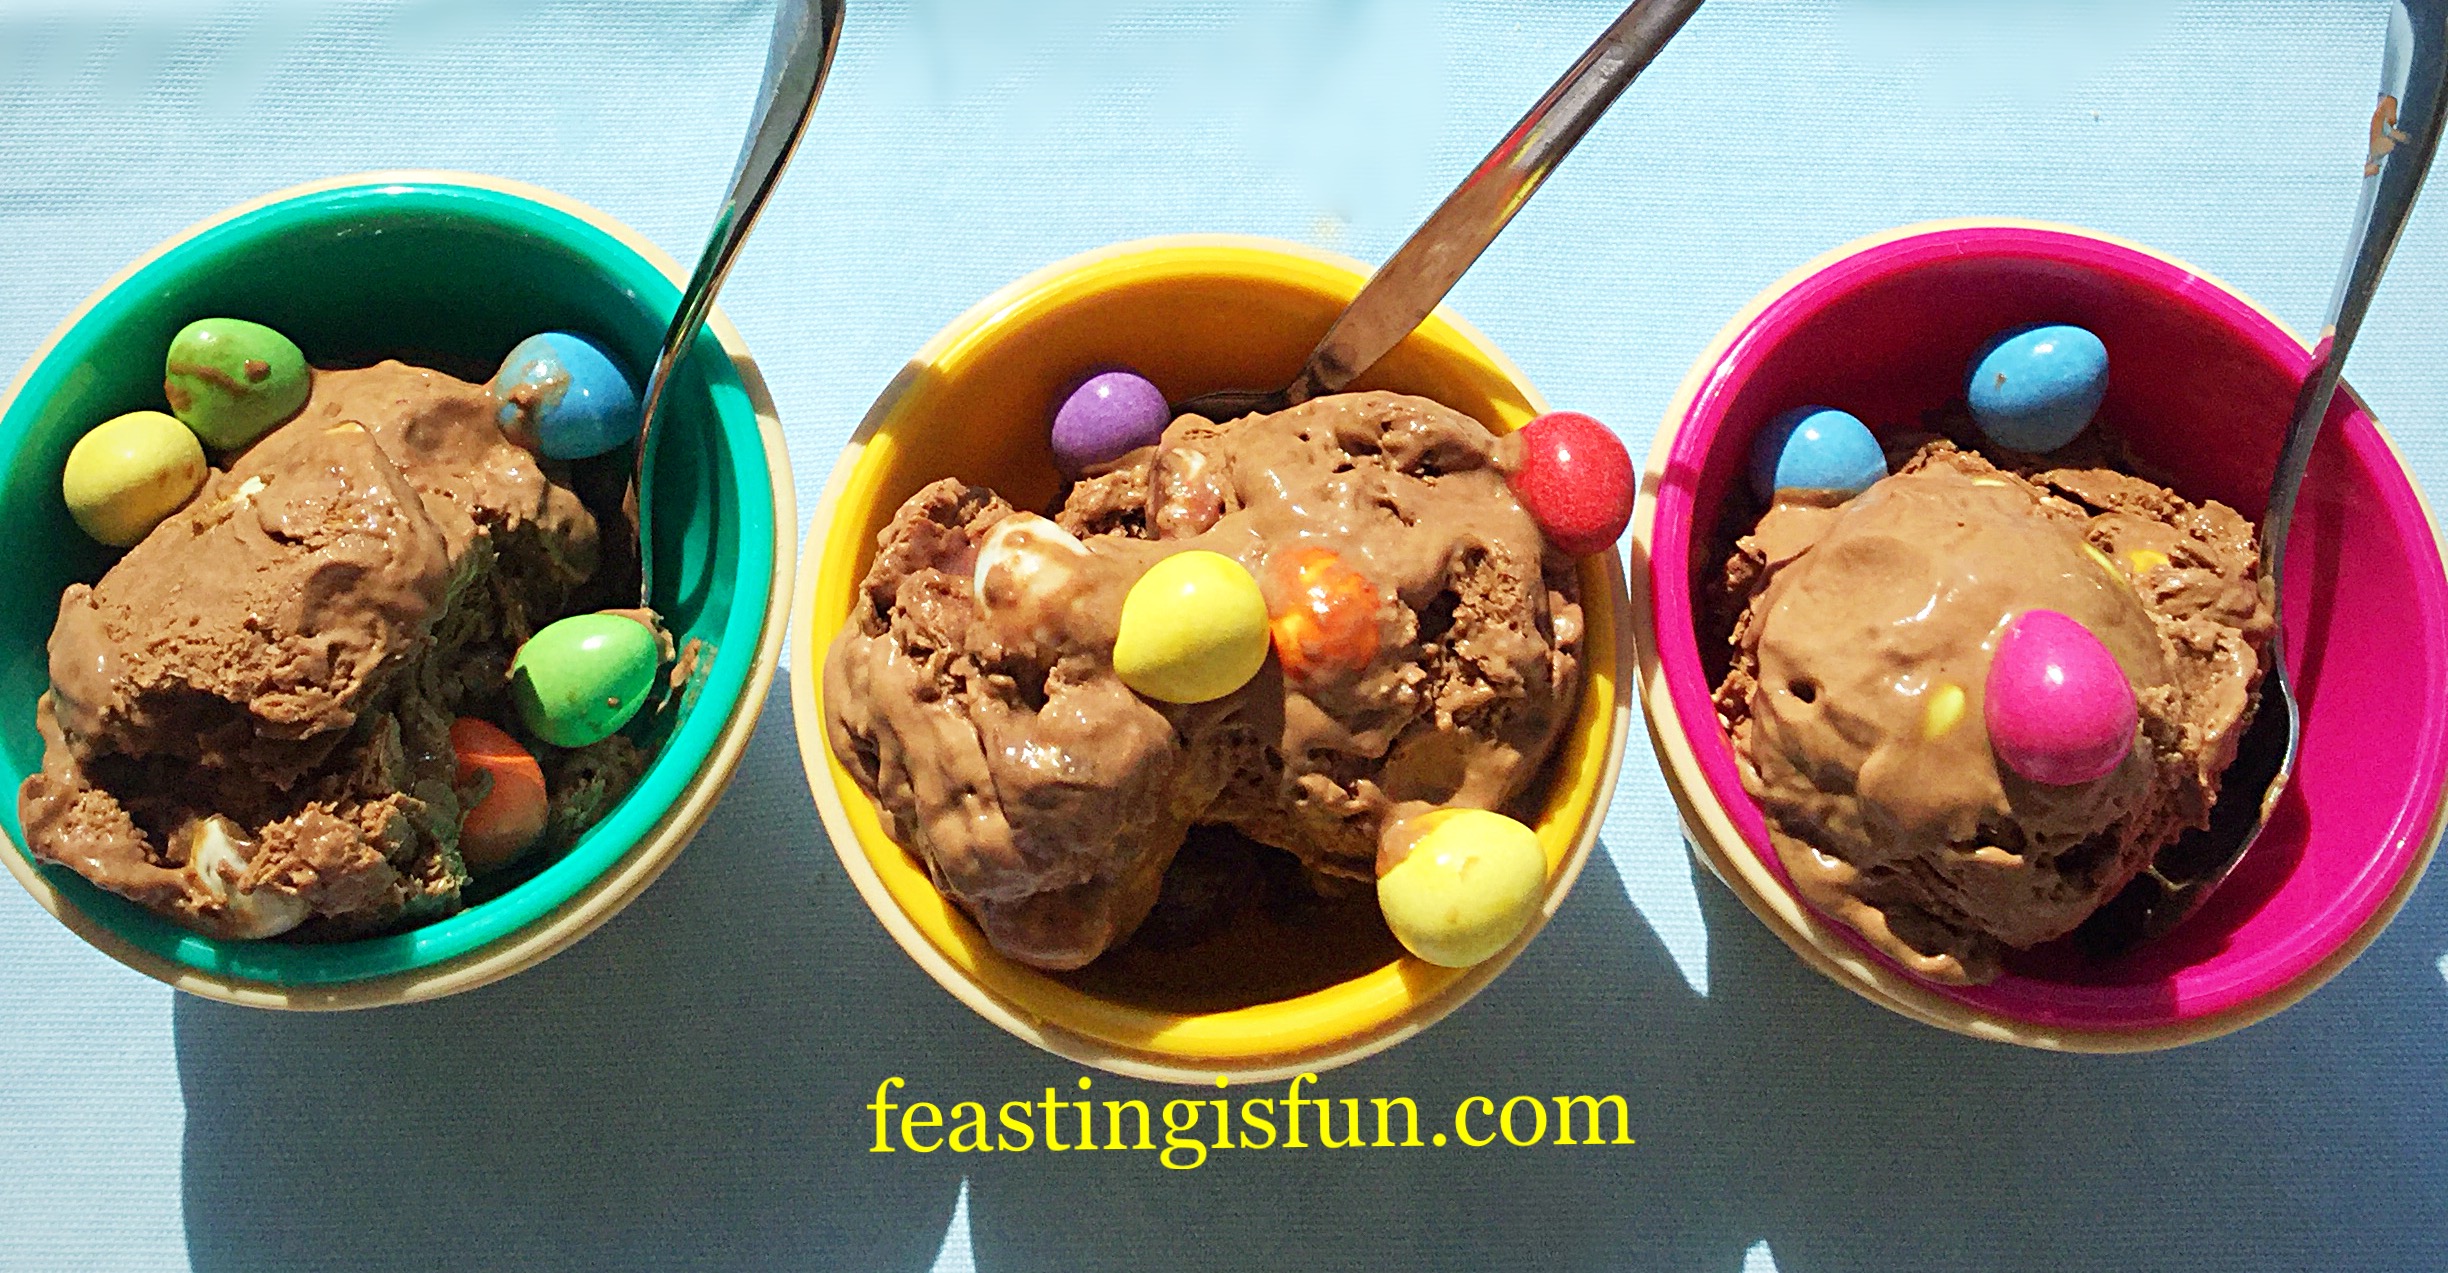
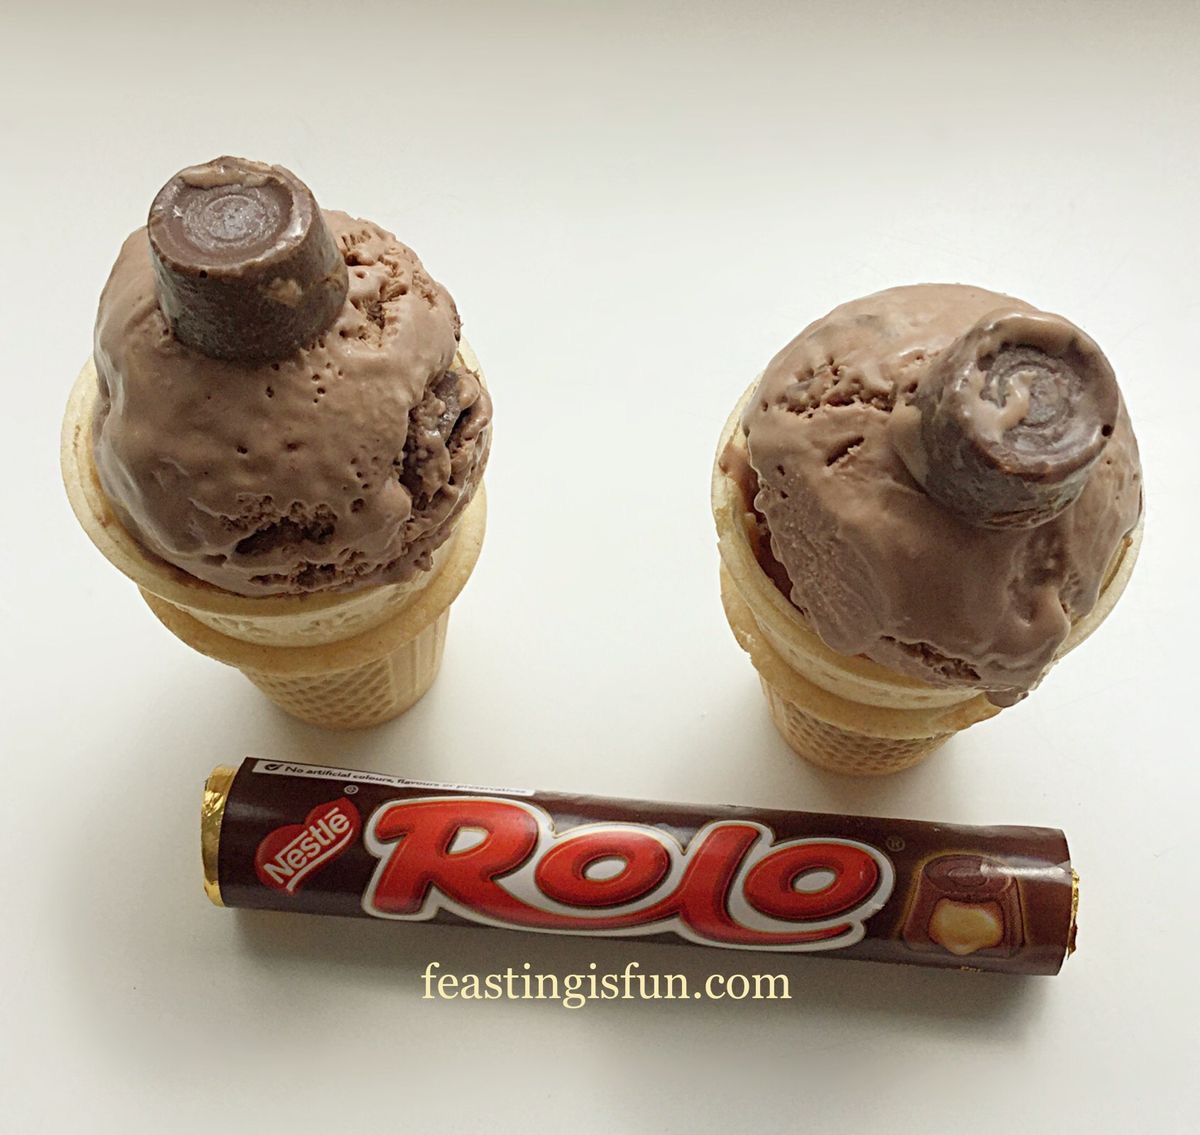
  • Scoop the ice cream into cones or bowls. Also, sprinkle over a few extra mini eggs or Smarties.
FF Smarties Chocolate Mini Egg Ice Cream
Smarties Chocolate Mini Egg Ice Cream crunchy, creamy, chocolate Fun.

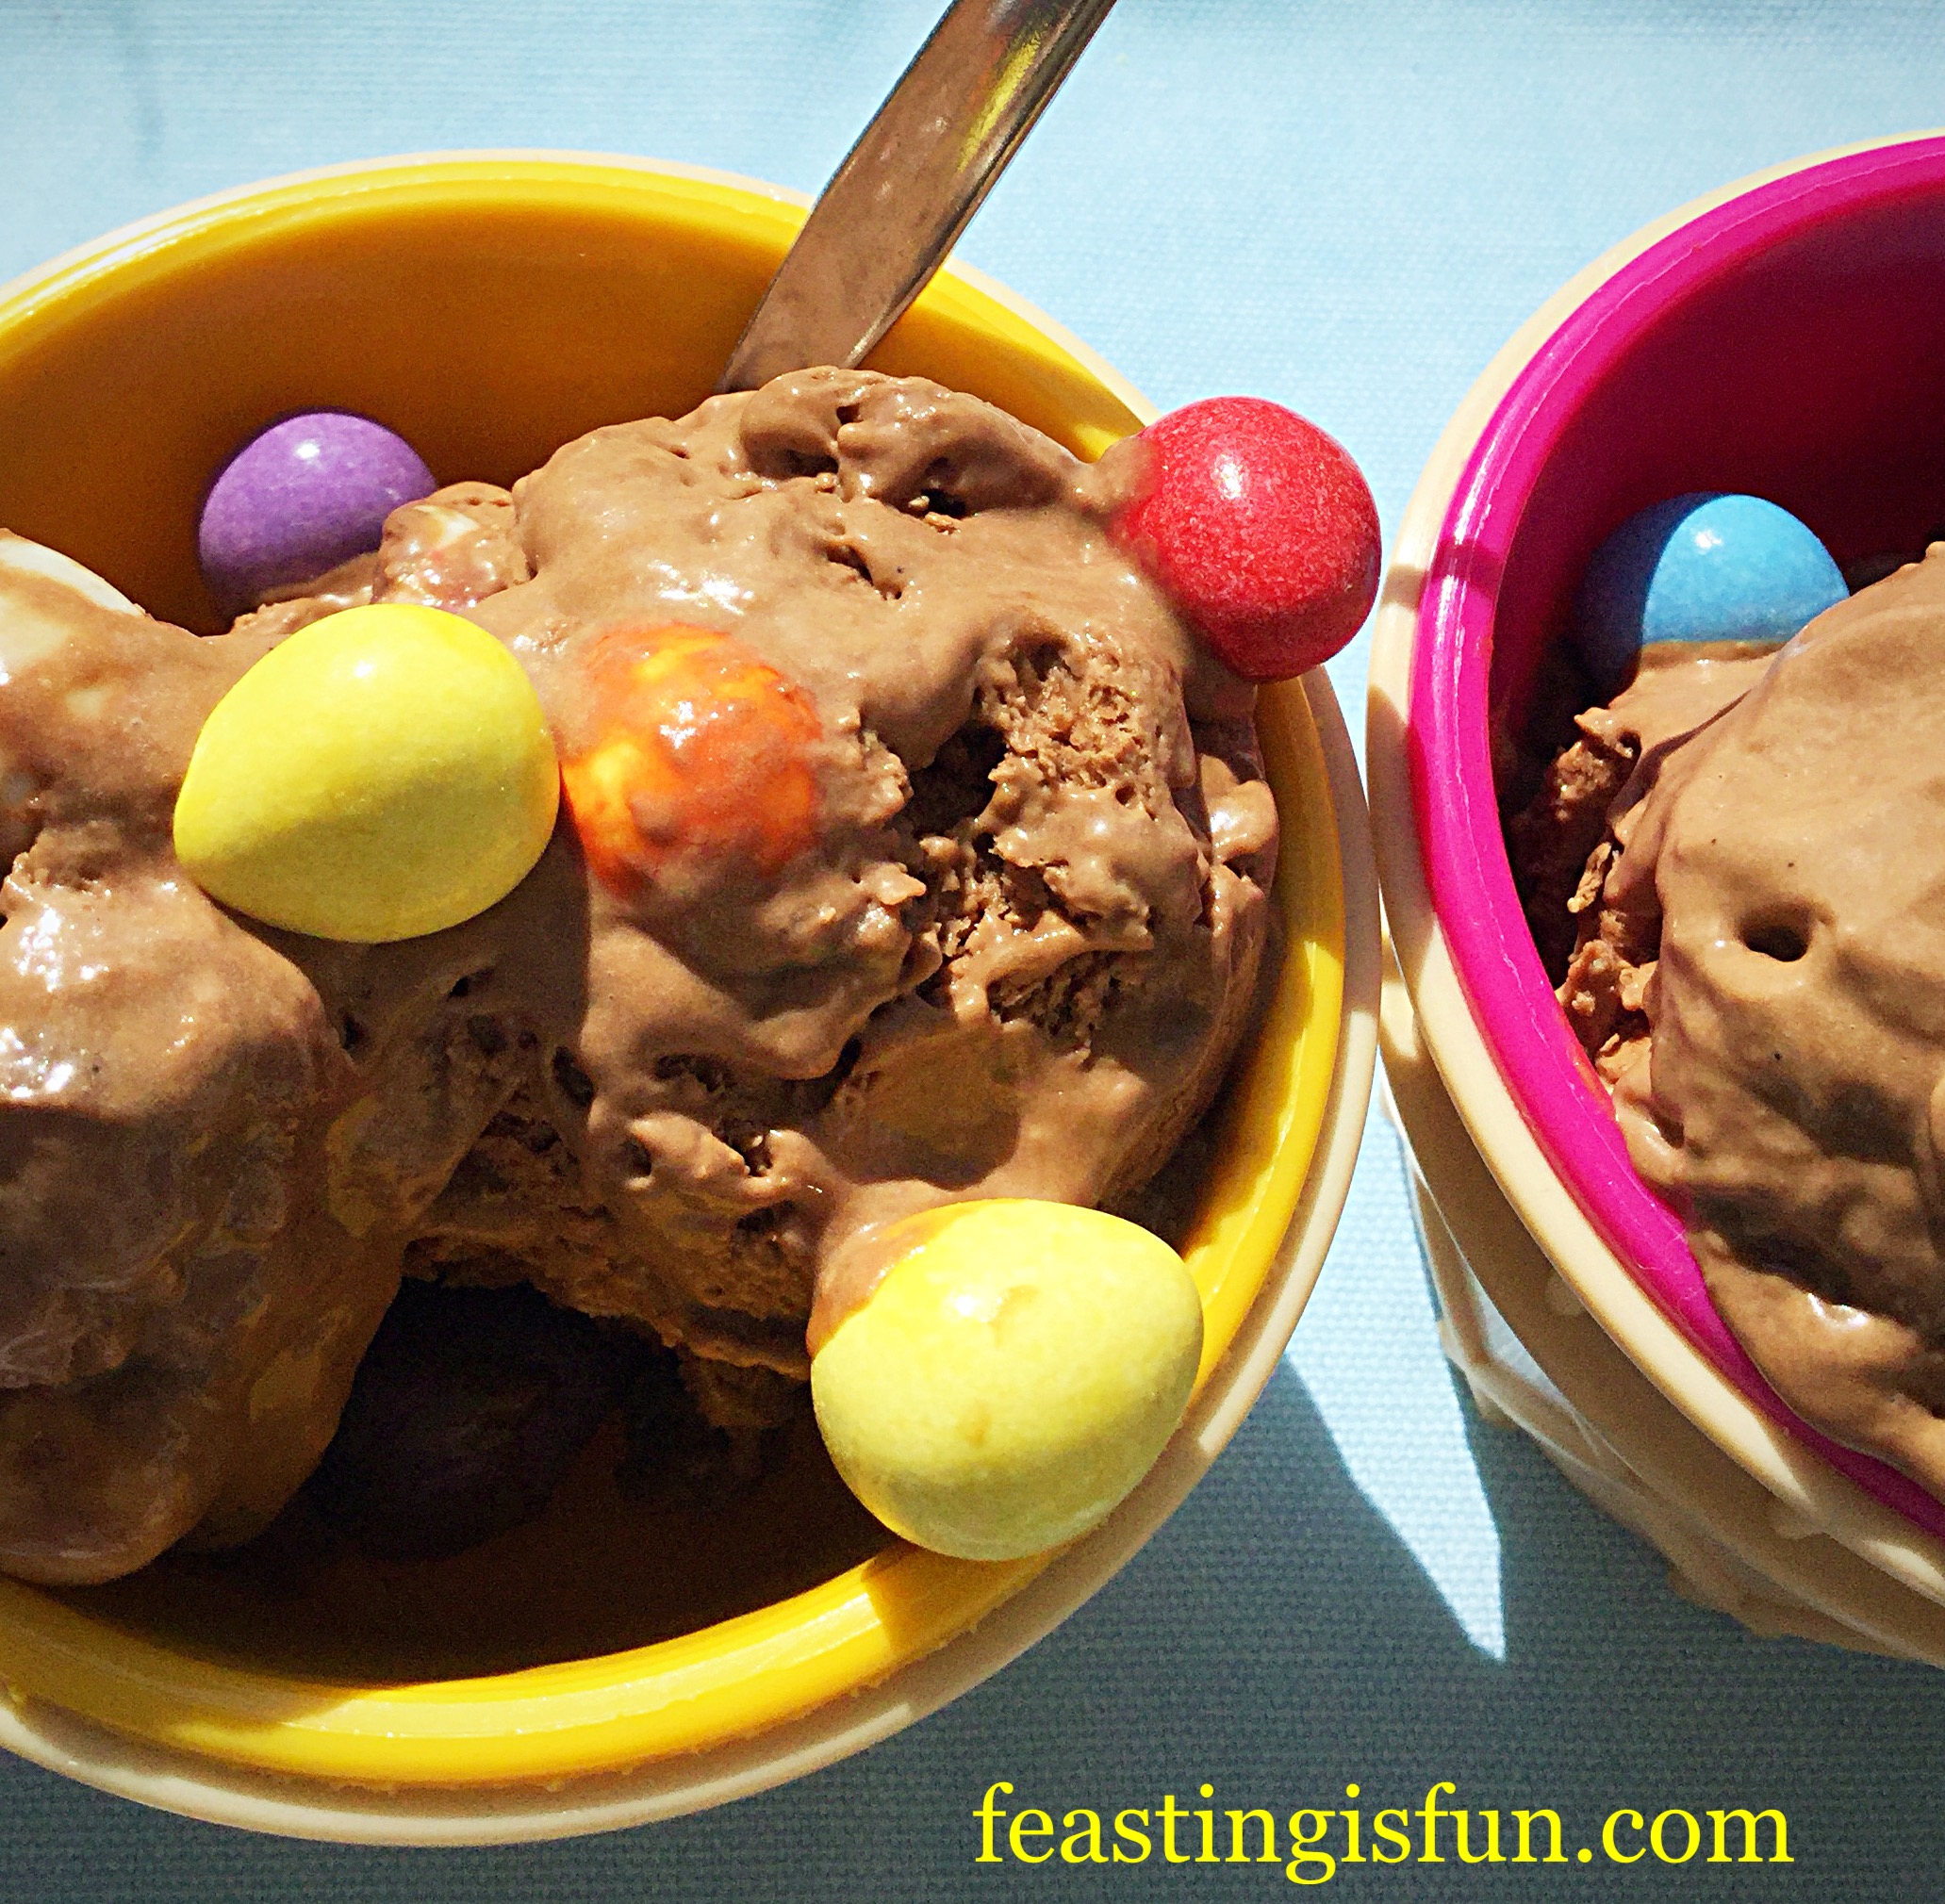
These bowls of ice cream are bound to produce lots of smiles.

Store in the freezer for one month.

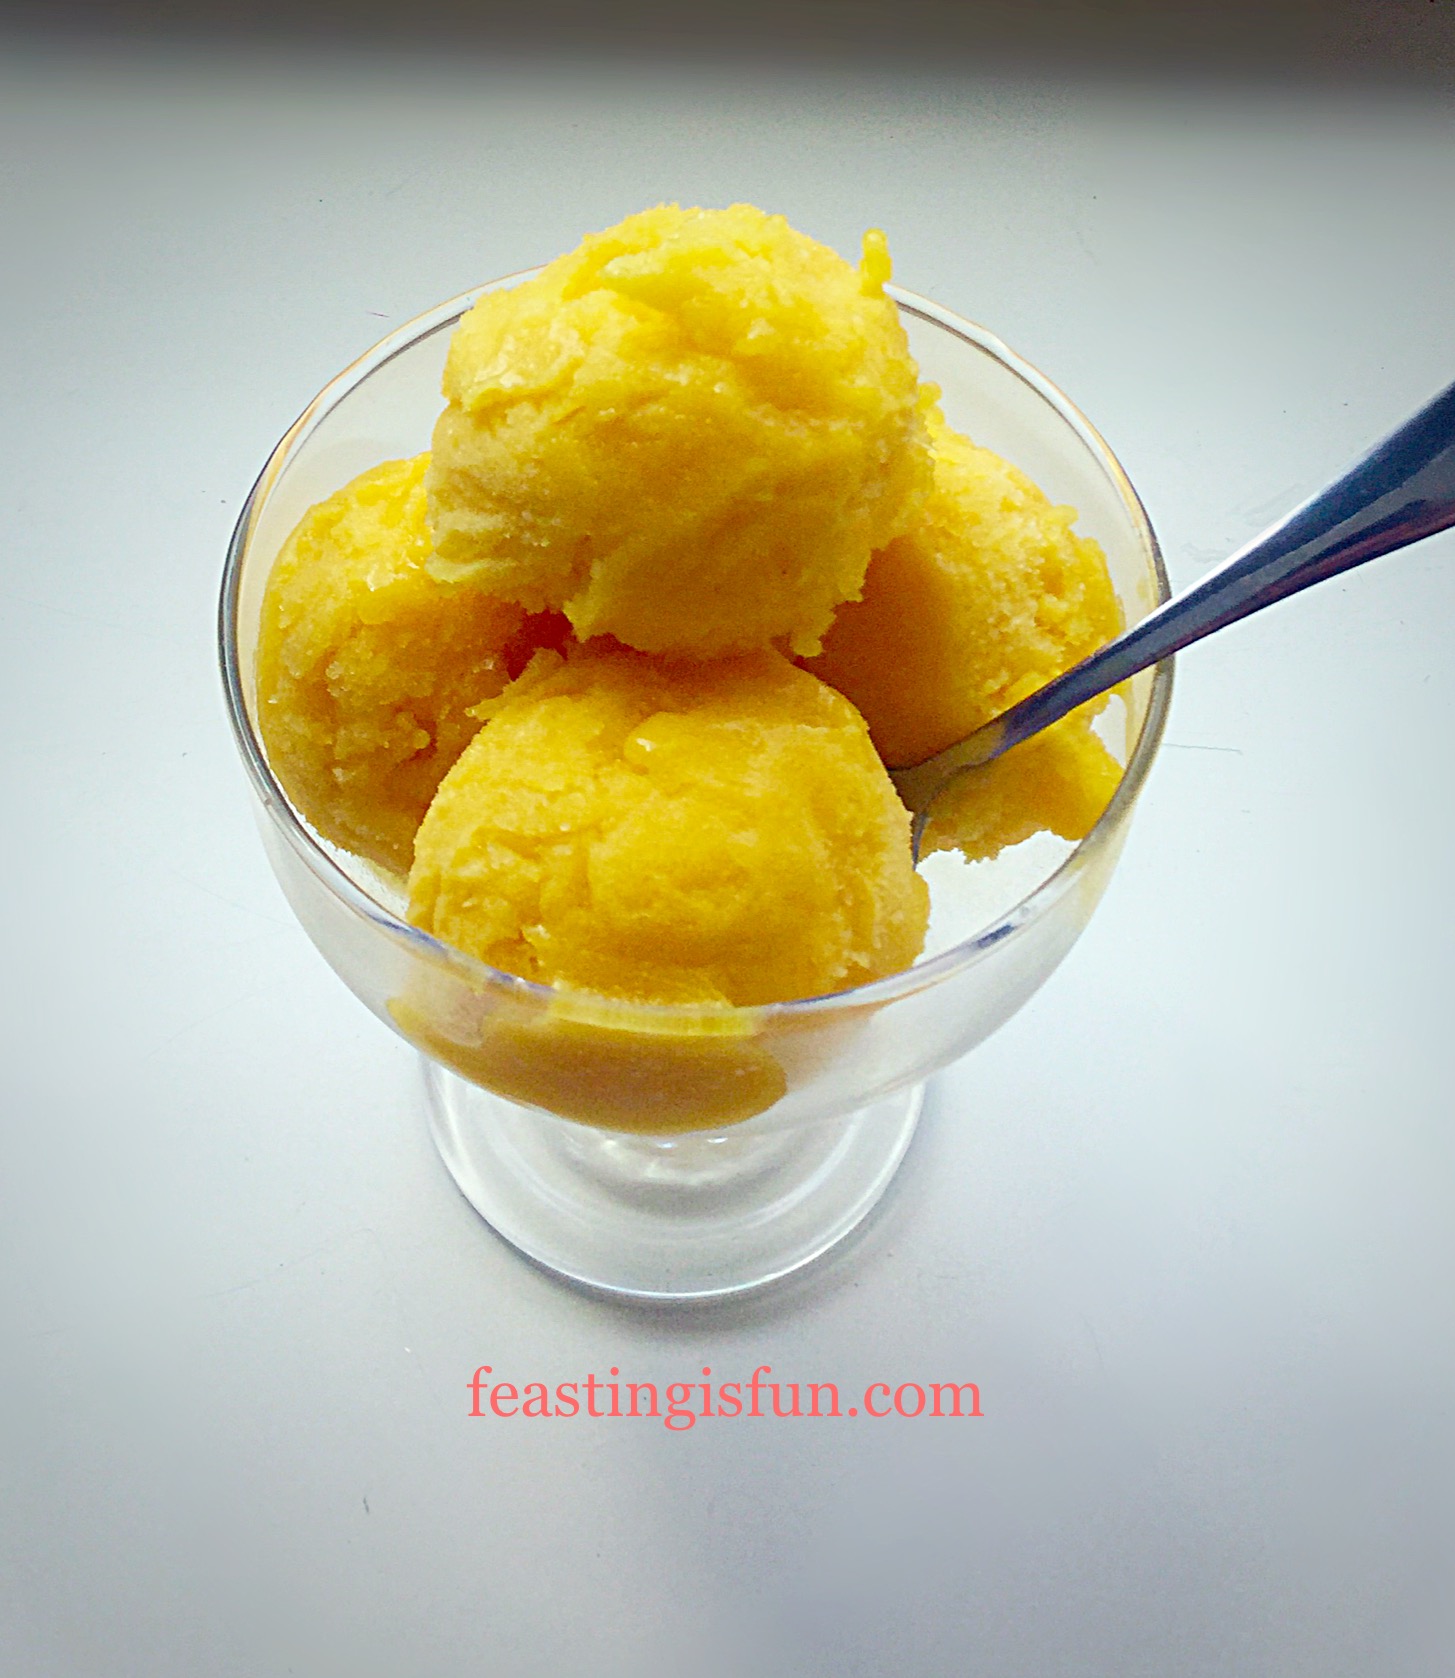
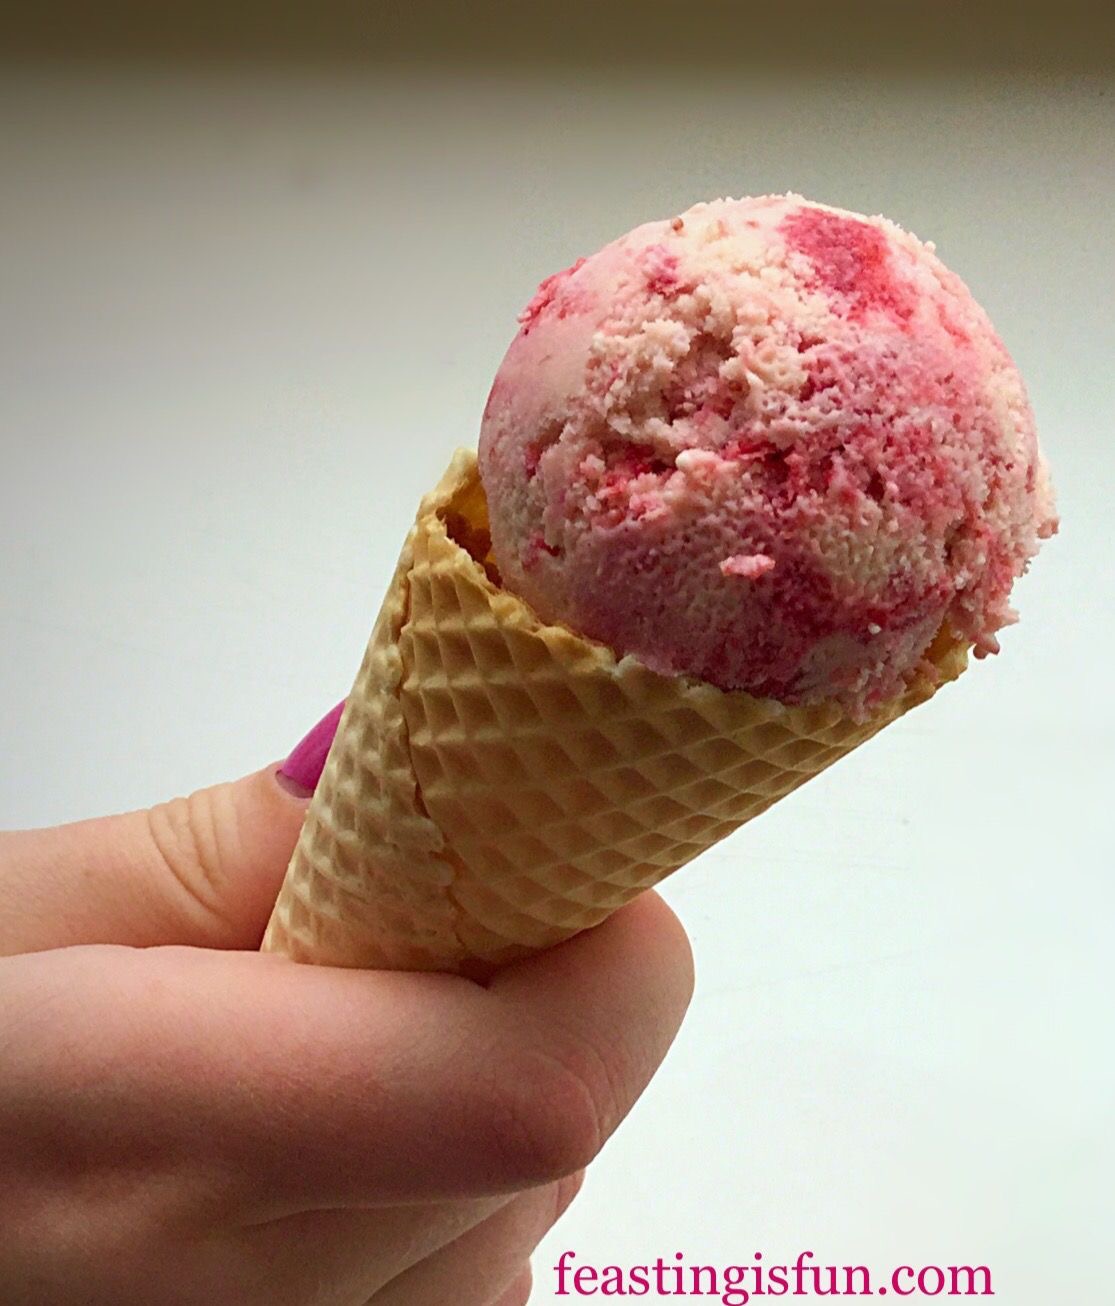
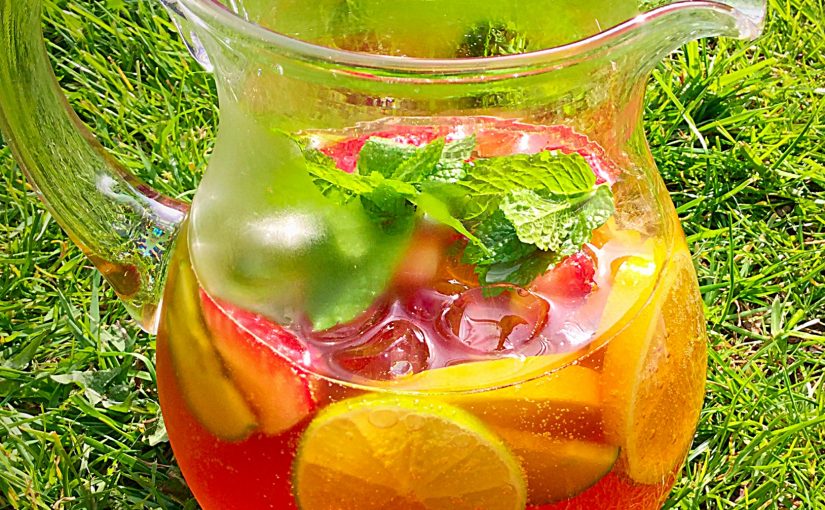
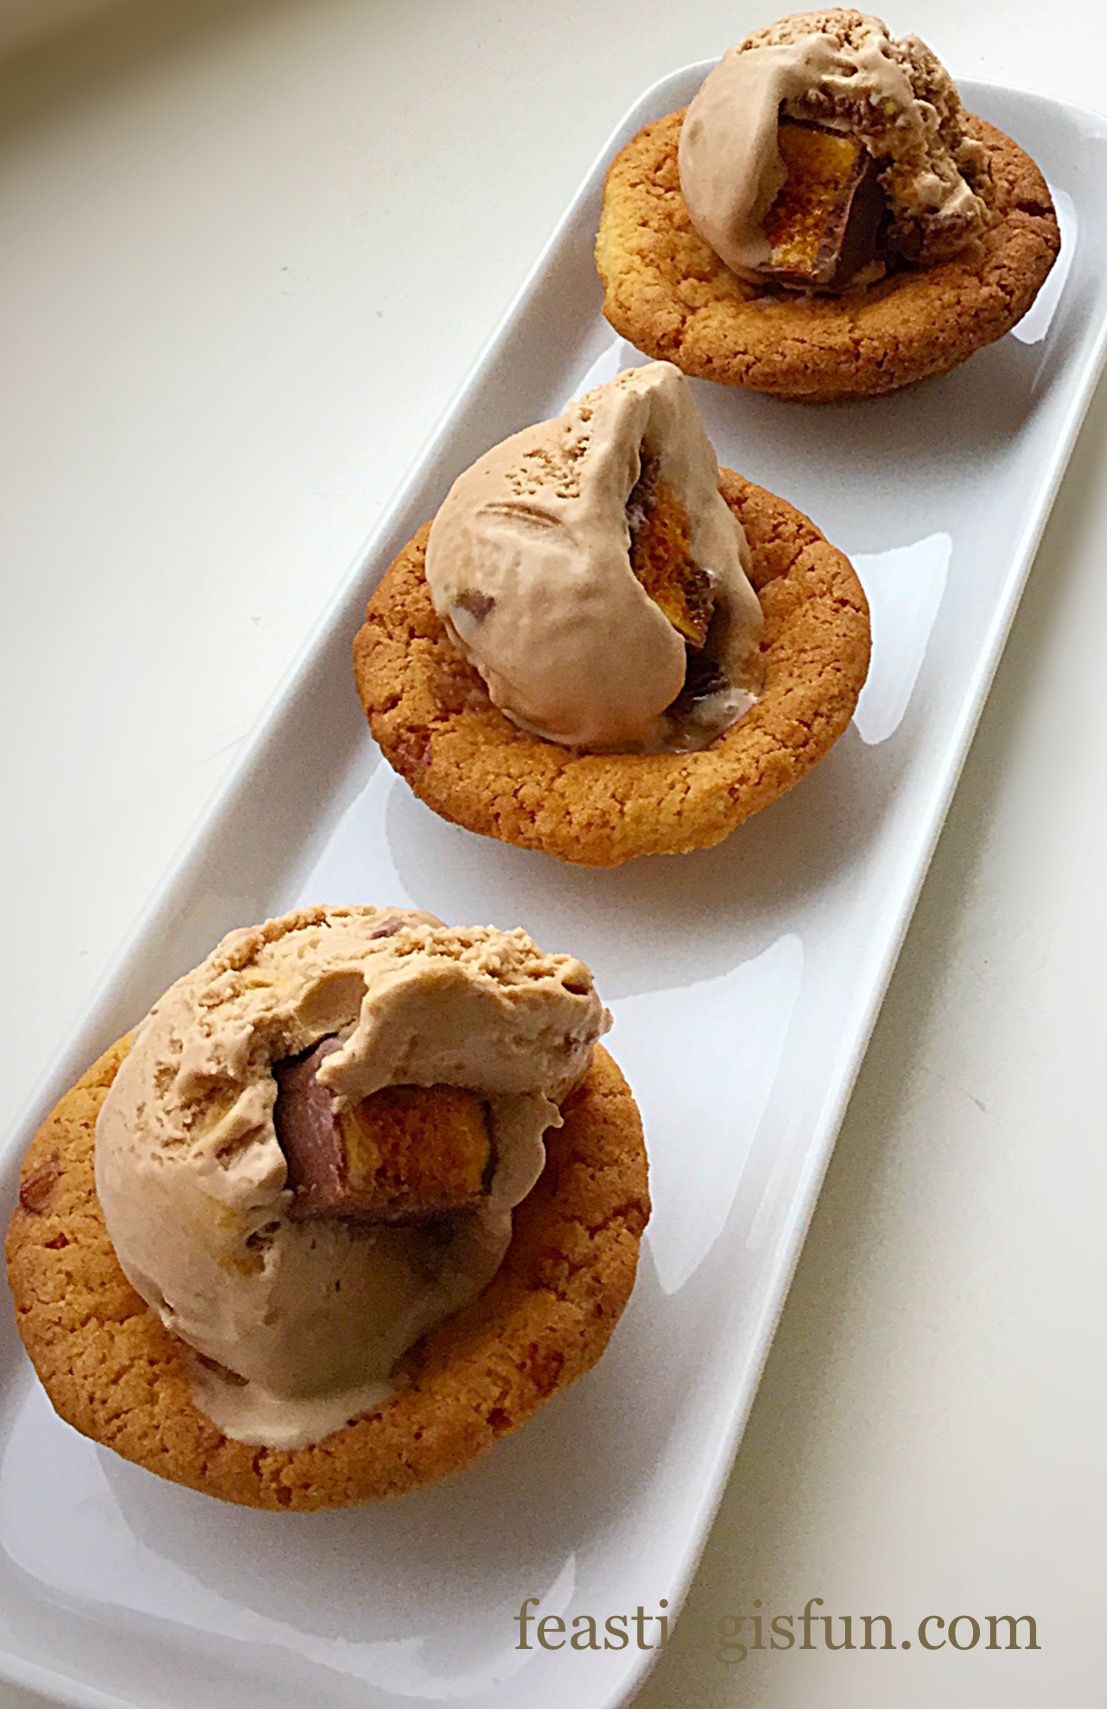
If you have enjoyed the recipe for Smarties Chocolate Mini Egg Ice Cream then you may also like these:

Chocolate Rolo Ice Cream

FF Smarties Chocolate Mini Egg Ice Cream
Chocolate Rolo Ice Cream

Lemon Ripple Ice Cream

FF Smarties Chocolate Mini Egg Ice Cream
Lemon Ripple Ice Cream

Chocolate Honeycomb Ice Cream

FF Smarties Chocolate Mini Egg Ice Cream
Chocolate Honeycomb Ice Cream

Homemade ice cream is unique. Since you can change the flavours to whichever you prefer. Also, the convenience of having an ice cream maker allows you to make ice cream whenever you want.

Whatever you do this Easter, I hope that you take a moment to pause and remember it’s true meaning. Please see Important Stuff

Sammie xx

Please note: The chocolate ice cream by itself is gluten free, providing gluten free corn flour is used. However, the min smarties eggs do contain gluten.

Share
Facebooktwitterpinterestlinkedintumblr

New Berry Fruits Ice Cream

Share
Facebooktwitterpinterestlinkedintumblr

Tutti fruity. Does anyone else remember that ice cream flavour? Or am I showing my youth 😉. Well that’s what I was aiming for when I created this New Berry Fruits Ice Cream, except……….. it is so much better than I ever remember. The jelly sweets have a true, intense, fruity flavour, that doesn’t diminish when frozen AND they stay chewy!

Win Win.

FF New Berry Fruits Ice Cream
New Berry Fruits Ice Cream so intensely fruity and delicious.

Each 100g box of New Berry Fruits contains 8 individual jelly sweets with a liquid centre and a crunchy, sugary coating.

FF New Berry Fruits Ice Cream
New Berry Fruits beautifully packaged and incredibly tasty.

These jelly fruits with the liquid centre are unbelievably good. Intensely fruity, chewy, hidden nectar in the centre. If you love sweets, you really need to try these.

As I am allergic to orange, I left them out of the ice cream. If you love orange they will totally work with all the other New Berry Fruits in the ice cream base that I’ve created.

FF New Berry Fruits Ice Cream
New Berry Fruits Ice Cream 2 Scoops and it was all mine 😉

To make this recipe you will need 2 boxes of New Berry Fruits. We are very honest here at Feasting is Fun, it is acceptable for one or three jellies to ‘go missing’ during the making of this New Berry Fruits Ice Cream. That’s all part of the fun and the ice cream will taste just as good.

You will also need both lemon and rose extract. You only need a little bit of each, however, they are what give this fruity ice cream it’s fantastic background flavour. I have other recipes that use the extracts, so it really is worth buying them. I only use Nielsen-Massey extracts and they are available in most major supermarkets as well as online.

FF New Berry Fruits Ice Cream
New Berry Fruits Ice Cream it may be worth making a double batch as it is soo good!

Time to show you how to make this cooling, fruity treat.

Recipe: New Berry Fruits Ice Cream makes 750ml approx.

2 Boxes of New Berry Fruits

300ml/ 1/2pint Double Cream

300ml/ 1/2pint Milk – Whole or Semi Skimmed

1/4tsp Lemon Extract

1/4tsp Rose Extract

1tsp Vanilla Extract

4 Large Free Range Egg Yolks – the whites can be frozen for up to 1 month

1tsp Corn Flour – also known as corn starch

4tbsp Caster Sugar

Method: Ensure the cooling ‘bowl’ of your ice cream maker has been in the freezer for at least 8 hours, ideally overnight, or as per manufacturer’s instructions.

Note: For photographic step by step instructions on how to make the custard base for the ice cream please see Very Vanilla Ice Cream.

  • Pour the milk and cream into a heavy bottomed saucepan over a medium heat.
  • Bring the liquid to scalding point – this is just before it boils, there will be a ring of bubbles that appear around the edge of the liquid. Once the bubbles appear remove from the heat.
  • Whilst the milk/cream is heating, into a large bowl add the egg yolks, corn flour, sugar and vanilla extract. Whisk until pale, thick and creamy.
  • With the mixer on slow, slowly add the scalded cream mixture to the egg mix, constantly mixing.
  • Tip the contents of the bowl back into the saucepan, over a low heat.
  • Stir until the custard ice cream base has thickened and coats the back of a wooden spoon. The base is now cooked.
  • Pour the custard base through a sieve into a clean bowl – I generally quickly wash up the original bowl that I was using.
  • Cover the top of the custard base with cling film, so that it is in direct contact. This stops a skin from forming.
FF New Berry Fruits Ice Cream
The custard base is cooling ready for it’s extra flavour boost!
  • Allow the custard base to cool slightly and then chill in the fridge.
  • Once chilled add 1/4 teaspoon of both lemon and rose extract. Stir to mix.
  • Set up your ice cream maker and then pour in the custard base and switch the machine on.
  • Whilst the ice cream is churning and freezing, chop each New Berry Fruit into 4 pieces.
FF New Berry Fruits Ice Cream
Chopped up New Berry Fruits ready to add to the frozen ice cream.
  • When the ice cream is thickly frozen, switch off the machine, remove the top and paddle and using a silicone spatula scoop the fruity flavoured ice cream into a freezer proof tub.
  • Add the chopped New Berry Fruits and stir with a spoon to distribute evenly throughout the ice cream.
FF New Berry Fruits Ice Cream
New Berry Fruits Ice Cream mixing in the delicious jellies.
  • Pop an air tight lid on to the tub and place in the freezer until frozen solid.
  • To serve remove the ice cream from the freezer 10-15 minutes prior to scooping this will allow it to soften a little.

This is a fun ice cream so scoop your New Berry Fruits Ice Cream into cones or waffle cups and enjoy the amazing flavours and chewy jellies.

FF New Berry Fruits Ice Cream
New Berry Fruits Ice Cream fruity luscious fun.

Oh this New Berry Fruit Ice Cream is so berry, berry good! The fabulous fruity background flavour of the ice cream works beautifully with the intense bursts of fruity, chewy flavour.

New Berry Fruits are widely available online and at Waitrose.

If you have enjoyed this recipe for New Berry Fruits Ice Cream you may also enjoy these:

Lemon Ripple Ice Cream

FF New Berry Fruits Ice Cream
Lemon Ripple Ice Cream

Strawberry Ripple Ice Cream

FF New Berry Fruits Ice Cream
Strawberry Ripple Ice Cream

Refreshing Tropical Fruit Sorbet

FF New Berry Fruits Ice Cream
Refreshing Tropical Fruit Sorbet

Fruity, delicious, homemade ice creams and sorbet. You know exactly what has gone into each batch you make. Perfect for those following a gluten free diet, just ensure that your corn flour is certified gluten free. Whilst the sorbet it is both gluten and dairy free.

If you haven’t ever tried making your own ice cream at home, I hope I’ve encouraged you to have a go. It is so much fun coming up with new flavour combinations. I really wouldn’t be without my Andrew James Which Best Buy, ice cream maker. I’ve said before that an appliance has to earn it’s place in my kitchen. This summer alone I must have made 30 plus new ice cream recipes. Not all are on here – yet 😉!

Sammie xx


Share
Facebooktwitterpinterestlinkedintumblr

Refreshing Tropical Fruit Sorbet

Share
Facebooktwitterpinterestlinkedintumblr

The smell of Summer. Sun tan lotion, seaside air and luscious seasonal fruits. Ok, I accept that the fruits in this Refreshing Tropical Fruit Sorbet are not necessarily grown in this country, although they are cheaper and more readily available during the summer.

FF Refreshing Tropical Fruit Sorbet
Refreshing Tropical Fruit Sorbet so good.

Making your own Refreshing Tropical Fruit Sorbet is so worth it. Forget about the adverts telling you that ‘you’re worth it’ this is a delicious, good for you treat, that tastes of fruit heaven!

FF Refreshing Tropical Fruit Sorbet
Refreshing Tropical Fruit Sorbet will make your tastebuds come alive!

The marriage between the flavours will make your tastebuds sing in harmony.

FF Refreshing Tropical Fruit Sorbet
Refreshing Tropical Fruit Sorbet a delicious alternative to ice cream.

There are a couple of steps needed to prepare the fruit for this sorbet, but they are absolutely worth it to extract every drop of flavour from the fruit.

Once the fruit is prepped it is then cooked for a short time. This breaks down the pineapple and separates the passionfruit seeds from their surrounding juice. The cooked fruit mixture is then sieved, to remove the very crunchy seeds. A quick whizz with an immersion blender, or liquidiser, cool and your sorbet is ready to be churned.

FF Refreshing Tropical Fruit Sorbet
Refreshing Tropical Fruit Sorbet so worth making.

This sorbet tastes of Summer. Light, intensely fruity, sweet – but not overly so and with a colour to brighten the dullest of days.

A light dessert or a delightful palette cleanser between courses for a more formal meal.

The mangos I bought for this recipe spent a few days on our sunny lounge window ledge ripening up, in fact they were warm when I prepared them. The passionfruit were smooth skinned when bought and ripened to a prune-like wrinkling of the skin. To test if a pineapple is ripe I suggest smelling it. If it smells of pineapple then it’s ripe.

Recipe: Makes 1L Refreshing Tropical Fruit Sorbet

6 Passion Fruit

2 Large Mango

1 Medium Pineapple

400mls Water

100g/4oz Sugar

Optional – see note at the end – Orange Blossom Water 1/4tsp – I suggest Nielsen-Massey

Method: Ensure the frozen compartment of your ice cream maker has been in the deep freeze overnight or according to manufacturers instructions.

  • Scoop the contents of the 6 passion fruit into a large heavy based saucepan. Squeezing the empty skins to ensure every drop of precious juice is used.
  • Next prepare the mangos. Cut down either side of the central stone, you will have three pieces. Take a fleshy side of the mango and score into three pieces using a sharp knife. With the blade flat to the skin, run the knife along each third, releasing a long slither of juicy, ripe mango. Repeat for the other side. Place the mango slices into the saucepan. Hold the central flesh and skin covered stone over the saucepan and squeeze as hard as you can. Scrape all of the pulp and juice from your hand into the pan.
  • Prepare the pineapple by cutting off the green spiky top and the flat base. Cut the pineapple into half and then divide each half into 3 sections. Cut down the outside of the central hard core – it will be the point of the pineapple. As with the mango, lay the blade flat between the fruit and the skin and slice to separate the two. Chop the pineapple into large chunks and add to the saucepan. Squeeze the skin and the hard core pieces over the saucepan to extracte as much juice as possible.
  • Pour the water over the fruit.
  • Add the sugar and turn the heat on to high under the pan.
FF Refreshing Tropical Fruit Sorbet
Refreshing Tropical Fruit Sorbet
  • Once the contents of the pan have started to bubble reduce the heat to medium, keep an eye on the fruit to ensure it doesn’t boil over.
  • Continue cooking for 20 minutes.
  • Carefully remove a spoonful of liquid from the saucepan, allow to cool and taste. The flavour should be pure fruit, not watered down and not super sweet – just as if you had eaten a slice of ripe mango. If the flavour is a little weak, continue cooking for a further 10 minutes and taste again.
  • When you are happy with the tropical fruit flavour, remove the saucepan from the heat.
  • Place a sieve over a large bowl.
  • Carefully pour the hot fruit mixture into the bowl through the sieve.
FF Refreshing Tropical Fruit Sorbet
This is going to become the most Refreshing Tropical Fruit Sorbet.
  • Using a strong dessert spoon press all of the fruit through the sieve. Occasionally clearing the underside of the sieve with a clean spoon, so that all the fruit pulp and juice goes into the bowl below.
  • This takes about 10 minutes to get it to this stage.
FF Refreshing Tropical Fruit Sorbet
Pips and pulp left in the sieve, all the flavour is in the bowl.
  • I did taste the remaining pulp and although crunchy it was pretty flavourless, that said you could still have it swirled through yoghurt for breakfast.
  • If you have an immersion blender or liquidiser, blend the resulting lumpy liquid until velvety smooth.
  • Place the bowl on a trivet, to aid cooling air circulation and cover with a net food tent, or cling film to stop flies having a taste!
FF Refreshing Tropical Fruit Sorbet.
Refreshing Tropical Fruit Sorbet cooling.
  • Allow the sorbet liquid to cool and then place in the fridge to chill.
  • Once chilled set up your ice cream maker according to manufacturers instructions.
  • Transfer the sorbet liquid to a jug, this makes pouring the liquid into the frozen chamber much easier.
  • With the machine churning pour the sorbet liquid into the ice cream maker and churn until slushy like.
  • Stop the machine, remove the paddle and scoop/pour the slushy mixture into a freezer proof, resealable tub.
FF Refreshing Tropical Fruit Sorbet
Refreshing Tropical Fruit Sorbet so full of fruity flavour.
  • Pop the lid on and place in the deep freeze, generally I leave ice creams and sorbets overnight, until frozen through.

To serve, remove the sorbet from the freezer 15-20 minutes to allow to soften slightly.

FF Refreshing Tropical Fruit Sorbet
Refreshing Tropical Fruit Sorbet the perfect way to end a meal.

For me, this is the perfect dessert after a hot spicy meal such as a curry or my Chunky Chilli. The cool, fruity sorbet, soothing on your tastebuds.

This is the perfect sorbet to make if you happen upon marked down fruit in the market or shops. It will keep for 3 months in the deep freeze and brighten a dull Winter’s day.

If you have enjoyed the recipe for my Refreshing Tropical Fruit Sorbet here are some others you may also like:

Strawberry Ripple Ice Cream

FF Refreshing Tropical Fruit Sorbet
Strawberry Ripple Ice Cream

Dark Chocolate Chip Vanilla Ice Cream

FF Refreshing Tropical Fruit Sorbet
Dark Chocolate Chip Vanilla Ice Cream

Lemon Ripple Ice Cream

FF Refreshing Tropical Fruit Sorbet
Lemon Ripple Ice Cream


I love creating, experimenting, tasting and testing different recipes. If you love mangos but aren’t a fan of pineapple, add more mango and leave the pineapple out.

Being allergic to oranges, means I always have to double check when I buy anything labelled ‘tropical’. Making my own Refreshing Tropical Fruit Sorbet means I know exactly what has gone into it. By all means adjust the sugar quantity if your fruit is sweeter, or riper. That’s why it is important to taste the liquid from the pan, remembering all the flavours will be dulled slightly by the freezing process.

I hope I have inspired you to get creative in your kitchens. Cooking should be fun. Combining flavours, adding a little something here or there, I hope that you take my recipes, try them and then change them to suit your tastes. I very much suspect a drop or two of orange blossom water would work very well in this recipe. But then I’ll never know 😉

Sammie xx

Share
Facebooktwitterpinterestlinkedintumblr

Franklins Fruity Summer Drink

Share
Facebooktwitterpinterestlinkedintumblr

Franklins Fruity Summer Drink a delicious, refreshing drink packed full of fruit and flavour. Alcohol free this fun drink is perfect for picnics, parties, barbecues and summer gatherings! Summer is almost here. In fact a few days ago I was convinced it had arrived early, but the weather was just teasing us Brits! During the brief, sunny, warm spell I created a fantastically fruity, refreshing tipple bursting with Summer flavour. Have a glass of Franklins Fruity Summer Drink on me!

Franklins Fruity Summer Drink the perfect tipple for enjoying outdoors.

Bursting with flavour, Dandelion and Burdock gives this fabulous drink wonderful spicey base notes, lifted by the slightly sour Scicillian Lemon Tonic and  sweetened by juicy, ripe, British strawberries.

Franklins Fruity Summer Drink is incredibly easy to make, using nothing more than fresh fruit and Franklin & Sons soft drinks.

Franklins Fruity Summer Drink refreshing and alcohol free, this drink can be enjoyed any time of the day or night!!

Since you may recognise this drink as looking incredibly similar to a well known British summer tipple?

That was the idea! To create a non alcoholic version of a very traditional summer drink, associated with Wimbledon, picnics, summer parties and Polo matches, held across our beautiful, British Isles.

Franklins Fruity Summer Drink is perfect for those who want to have fun, yet cannot, or choose not to drink alcohol.

Franklins Fruity Summer Drink packed with fresh fruit and ice.

I love a glass of something wonderfully refreshing, clinking with ice and full of flavour, whilst sitting in the garden or attending a family barbecue on a hot, summery day.

Franklins Fruity Summer Drink is incredibly thirst quenching, delicious and so pretty to look at too!

While the addition of fresh mint is not used simply for garnish. It’s fresh, clean flavour works so well with the fruit and Franklin’s soft drinks combination, to lift this from a great summer drink to a must have Summer drink.

Make this once and you will have friends and family begging you for the recipe!

Franklins Fruity Summer Drink making the most of our British Summer.

Whilst arranging a party with family and friends, no longer will it be –

“Who is bringing the beer, wine, and oh we should probably get something in for the drivers?” the first question on everyone’s lips will be –

“Who’s bringing the Franklin’s?”

Franklins Fruity Summer Drink it's simple not a summer party without a jug of Franklin's fun.
Franklins Fruity Summer Drink it’s simply not a summer party without a jug of Franklin’s fun.


Recipe: Makes approximately 1 litre Franklins Fruity Summer Drink

300g British Strawberries

1tbsp Caster Sugar

275 ml 1 x Franklin’s Bottle Dandelion and Burdock

600ml 3 x Franklin’s Sicilian Lemon Tonic

200ml 1 x Franklin’s Tonic Water

Ice cubes

1 of each Lemon, Lime, Orange

1/2 Cucumber

Handful of Mint leaves  – plus extra to garnish

Method: Making the Mocktail

  • Hull and quarter the fresh strawberries and place in a bowl.
  • Sprinkle over 1 tablespoon of caster sugar. Cover and allow to sit for at least 30 minutes or up to 2 hours (if they are prepped earlier then cover the bowl in cling film and pop in the fridge for up to 8 hours).
  • Note: Having made Franklins Fruit Summer Drink twice, I would suggest assembling the drink at least 15 minutes before serving. This gives the mint and fruits time to release their oils/juices and really give the drink a fuller flavour.
  • Slice all of the citrus fruits, halving if very large.
  • Slice the cucumber and cut each slice in half.
  • Fill a large jug 1/4 full with ice cubes.
  • Add half of the sliced citrus fruit, cucumber and strawberries to the jug.
  • Pour in the bottle of Dandelion and Burdock, 2 bottles of Sicillian Lemon Tonic and Tonic Water.
  • Stir with a long spoon (sundae spoons are great).
  • Take a hanful of mint leaves and gently scrunch them up in your hand. This will help them to release their wonderful oils.
  • Add the mint leaves to the jug and give a final stir.
  • Top up with extra Sicilian Lemon Tonic, strawberries and citrus/cucumber slices, until the jug is almost completely full.
  • We are going for a look of abundance here, this is a party in a jug after all!!!
  • Allow the drink to sit for 15 minutes. If possible double up on the quantities and keep a ready made jug in the fridge
  • To serve, pour the Franklins Fruity Summer Drink into tall, highball glasses, ensuring each glass receives a generous serving of fruit. Top each drink with a sprig of mint and serve with a smile 😉
Franklins Fruity Summer Drink serve with sunshine, good company and great food.

Remembered Flavours

I love sparkling water, with ice and a slice of lemon, yet I have become completely hooked on Franklins Fruity Summer Drink. I think it’s because it is not sickly sweet, like some soft drinks can be.

When I found out that Franklin & Son Ltd. made Dandelion and Burdock, THE drink of my childhood I was uncontrollably excited and yes it tastes just as good as it did back when I was a nipper!

Everyone who has tried Franklins Fruity Summer Drink has loved it and some have mistaken it for another well known, alcoholic summer drink! What is great about this drink, is that those who do not drink alcohol can still have a glass full of refreshing, thirst quenching liquid that will have the ‘drinkers’ begging for a taste.

I love the odd glass of champagne at special occasions, yet due to my medication, I really cannot drink alcohol, apart from the odd sip. Finally I have created a drink that allows me and others to party with the best, instead of sitting on the sidelines nursing a super sweet warm cola.

Franklins Fruity Summer Drink is THE drink of Summer 2016 and onwards.

Whatever your plans make sure you have a freezer full of ice, fresh fruit in the fridge and a case or two of Franklins soft drinks, ready to create the ultimate summer party in a glass!

Top Tip: If you are going on a picnic, place some  plastic still water bottles in the freezer over night. Pack the sliced fruit and strawberries into plastic containers. Pack the frozen water bottles around the Franklin soft drink bottles. Pop some mint into a plastic jug with a lid and remember to pack plastic glasses. Assemble as above, pouring away (or drinking) any defrosted water and then using a heavy implement to break up the ice in the plastic bottles (cricket bats are good!).

You now have the drink of this Summer wherever you go – beach, park, woods, anywhere!

Franklins Fruity Summer Drink serve this and you will be the hostess with the mostest!

Here’s looking forward to a Summer filled with fun, feasting, family, friends and Franklins Fruity Summer Drink.

If you have enjoyed this recipe for Franklins Fruity Summer Drink you may also like these:

Fresh Strawberry Simple Syrup

FF Franklins Fruity Summer Drink
Fresh Strawberry Simple Syrup

Blueberry Banana Superfood Smoothies

FF Franklins Fruity Summer Drink
Blueberry Banana Superfood Smoothies

Sammie xx

Franklin & Sons Ltd.  provided me with the drinks for this post. All opinions, views and content are my ow. Please see my Disclosure Policy.

Share
Facebooktwitterpinterestlinkedintumblr

Blackberry Chocolate Chunk Ice Cream

Share
Facebooktwitterpinterestlinkedintumblr

Today was so beautifully warm and sunny, I simply had to make this Blackberry Chocolate Chunk Ice Cream.

Blackberry Chocolate Chunk Ice Cream

Made with frozen blackberries from last year, this ice cream delivers massively on taste.

To quote Jennifer Aniston “Here’s the science bit”, when eating very cold food, such as ice cream, the flavours are dulled, due to the cold temperature. If you think of strawberries eaten straight from the fridge, they will never taste as good as those that have been left out to warm up a bit, or better, plucked straight from a sun warmed plant.

Likewise, when making ice cream, even a simple Very Vanilla Ice Cream, the flavours need to be more pronounced so that you taste them.

Blackberry Chocolate Chunk Ice Cream

With this creamy, sharp, sweet and tangy Blackberry Chocolate Chunk Ice Cream, you taste every bit of the beautiful blackberries. Sousing them in sugar and lemon juice encourages each berry to release it’s maximum, ripe berry flavour. On it’s own the blitzed, blackberry sauce would be too tart and the berry flavour would be overwhelming, yet mixed into a delicate vanilla ice cream custard and churned until it becomes ice cream, the flavours mellow and meld together, creating one of the most exciting flavoured ice creams ever.

Blackberry Chocolate Chink Ice Cream

Studded with chunks of deep, dark, chocolate that lend not only a slight bitter flavour but added texture this Blackberry Chocolate Chunk Ice Cream becomes complete. Elegant enough to be served in pretty bowls at the end of a meal with nothing else to accompany it.

One thing is certain, this ice cream is certainly one of the best ice creams I have ever tried!

Recipe: Makes approx 1 litre Blackberry Chocolate Chunk Ice Cream

300ml Double Cream

300ml Whole/Semi Skimmed Milk

4 Large Egg Yolks – I always use free range eggs

1tsp Vanilla Extract – I use Nielsen Massey

7tbsp Caster Sugar

Scant pinch of salt – less than 1/4tsp

1tsp Cornflour – I use Doves Farm as it is guaranteed gluten free

Juice of 1 Lemon

300g Blackberries – I used frozen but use fresh in season

100g/4oz Good Quality Dark Chocolate minimum 65% Cocoa solids

Method: Ensure that the freezing part of the ice cream maker has been in the freezer for at least 24 hours.

Please see Very Vanilla Ice Cream for step by step photographs, showing how to make the ice cream custard.

Making The Blackberry Ice Cream Base

  • Place the cream, milk and vanilla extract into a saucepan over medium heat.
  • Add the egg yolks, sugar, salt and cornflour to a large heatproof bowl. Whisk until pale and creamy.
  • The milk/cream needs to reach scalding point. This is when little bubbles appear around the edge of the liquid.
  • When the milk/cream has reached scalding point remove the pan from the heat.
  • Whilst whisking the egg mixture, pour the hot milk/cream into the bowl – do not stop whisking.
  • Once combined tip the custard mixture back into the same saucepan, cooking over a low heat and constantly stirring, until the custard has thickened and coats the back of a wooden spoon.
  • Place a sieve over a clean, heatproof bowl and pour the custard into the bowl, through the sieve.
  • Place cling film directly over the top of the custard so that is touches it. This will prevent a skin from forming.
  • Allow to cool and then place into the fridge to chill.
  • Place the blackberries into a bowl and add the juice of one lemon and one tablespoon of caster sugar. Cover and set aside for 30 minutes.
  • Place the blackberry mixture into a blender and pulse until you have a smooth purée.
  • Pass the blackberry purée through a sieve to remove any seeds.
  • As soon as the ice cream base has chilled remove the cling film and add the blackberry purée.
This ice cream really does have the most beautiful colour.
  • Mix briefly, don’t worry too much as it will be well mixed in the ice cream maker.
  • Transfer the custard mixture to a jug.

Churning Using An Ice Cream Maker

  • Pour the blackberry custard into the ice cream maker (for mine it has to already be churning – check your instructions).
  • Whilst the ice cream is churning chop the dark chocolate into 1cm-ish sized chunks.
  • Churn the Blackberry Ice Cream until it is a thickened, yet soft ice cream.
Beautifully soft whipped Blackberry Ice Cream.
  • Using a soft rubber spatula decant the softly whipped ice cream into a suitable, freezer safe, plastic tub.

Adding The Dark Chocolate Chunks

  • Add the dark chocolate chunks to the blackberry ice cream once it is in the freezer container.
Blackberry Chocolate a Chunk Ice Cream such a delicious combination.
Blackberry Chocolate Chunk Ice Cream such a delicious combination.
  • Stir the dark chocolate chunks through the ice cream so that they are evenly distributed.
FF Blackberry Chocolate Chunk Ice Cream
Blackberry Chocolate Chunk Ice Cream ready for the freezer.
  • Clip on the lid, label and place the Blackberry Chocolate Chunk Ice Cream into the freezer to finish freezing.
  • To serve, remove this ice cream from the freezer a full 30 minutes before serving – unless it really is an extremely hot day, then 20 minutes should suffice.
FF Blackberry Chocolate Chunk Ice Cream
Blackberry Chocolate Chunk Ice Cream

I honestly cannot explain just how good this Blackberry Chocolate Chunk Ice Cream is. Whilst it may look a little more like a sorbet it is in fact delightfully creamy, with a deep berry flavour to match its beautiful colour and studded with dark chocolate crunch that adds another heavenly level of flavour and texture. It cleanses the palette and refreshes, whilst ensuring that you know you have eaten dessert.

In essence it is truly sublime. A million miles away from mass produced, sweet gloopy ice cream, this is the dessert to serve those you truly want to spoil. Not that it is expensive to make, simply that it is an ice cream worth lingering over and savouring.

If you have enjoyed this Blackberry Chocolate Chunk Ice Cream recipe, here are a few others you may enjoy:

Lemon Drizzle Ice Cream 

FF Lemon Ripple Ice Cream
Lemon Ripple Ice Cream

Very Vanilla Ice Cream

Very Vanilla Ice Cream

Strawberry Rose Ice Cream 

Strawberry Rose Ice Cream

Having an ice cream maker definitely makes the process of creating ice cream easier. It results in a much creamier, less icy, softer on the palate, cooling treat.

Unfortunaley whilst making the Blackberry Chocolate Chunk Ice Cream another little piece of the plastic on our ice cream maker broke off – it really is on its last legs. Fortunately however, I will be reviewing a brand new model by Andrew James  over the coming few months, so expect lots of chilled recipes through the summer months.

It really gives me such a thrill reading your comments and I appreciate you taking the time to leave them. Likewise seeing my recipes being baked on Twitter and Instagram literally makes my day. Sharing is the heart of this blog and seeing you share your bakes with me always gives me a boost. Thank you.

Whatever you are making and baking in your kitchens, have fun and enjoy every feast that you create.

Sammie xx

No part of this post may be reproduced or duplicated without the written permission of the owner. Please see my Disclosure Policy.


Share
Facebooktwitterpinterestlinkedintumblr