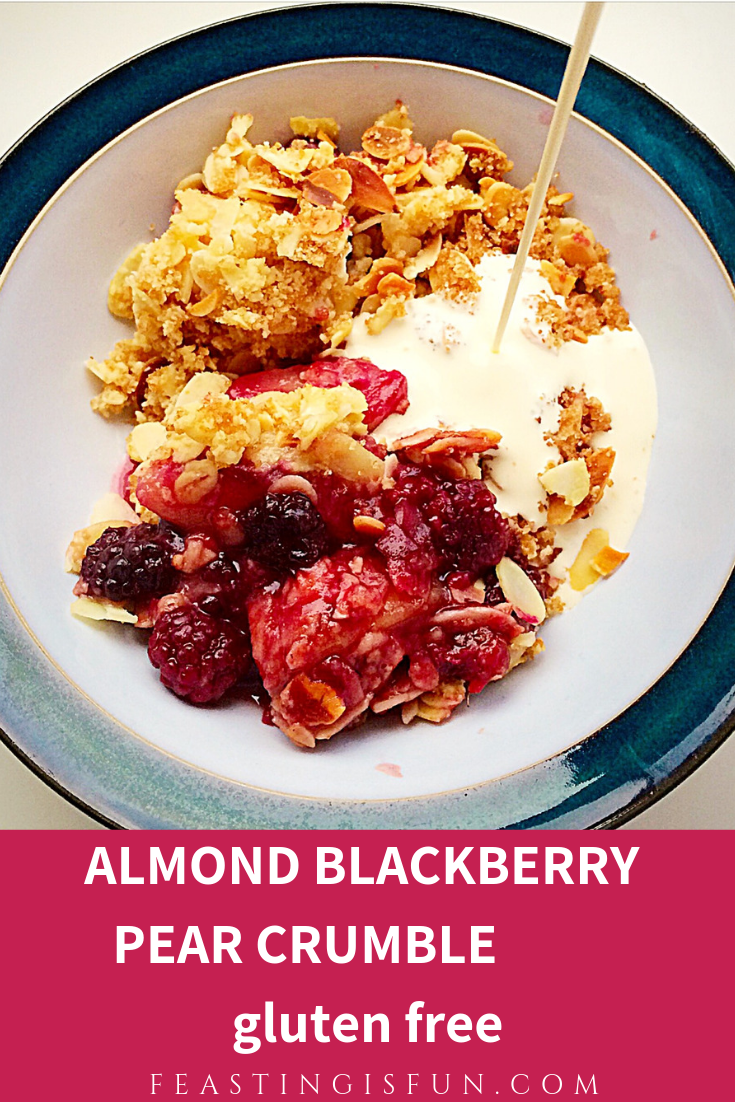
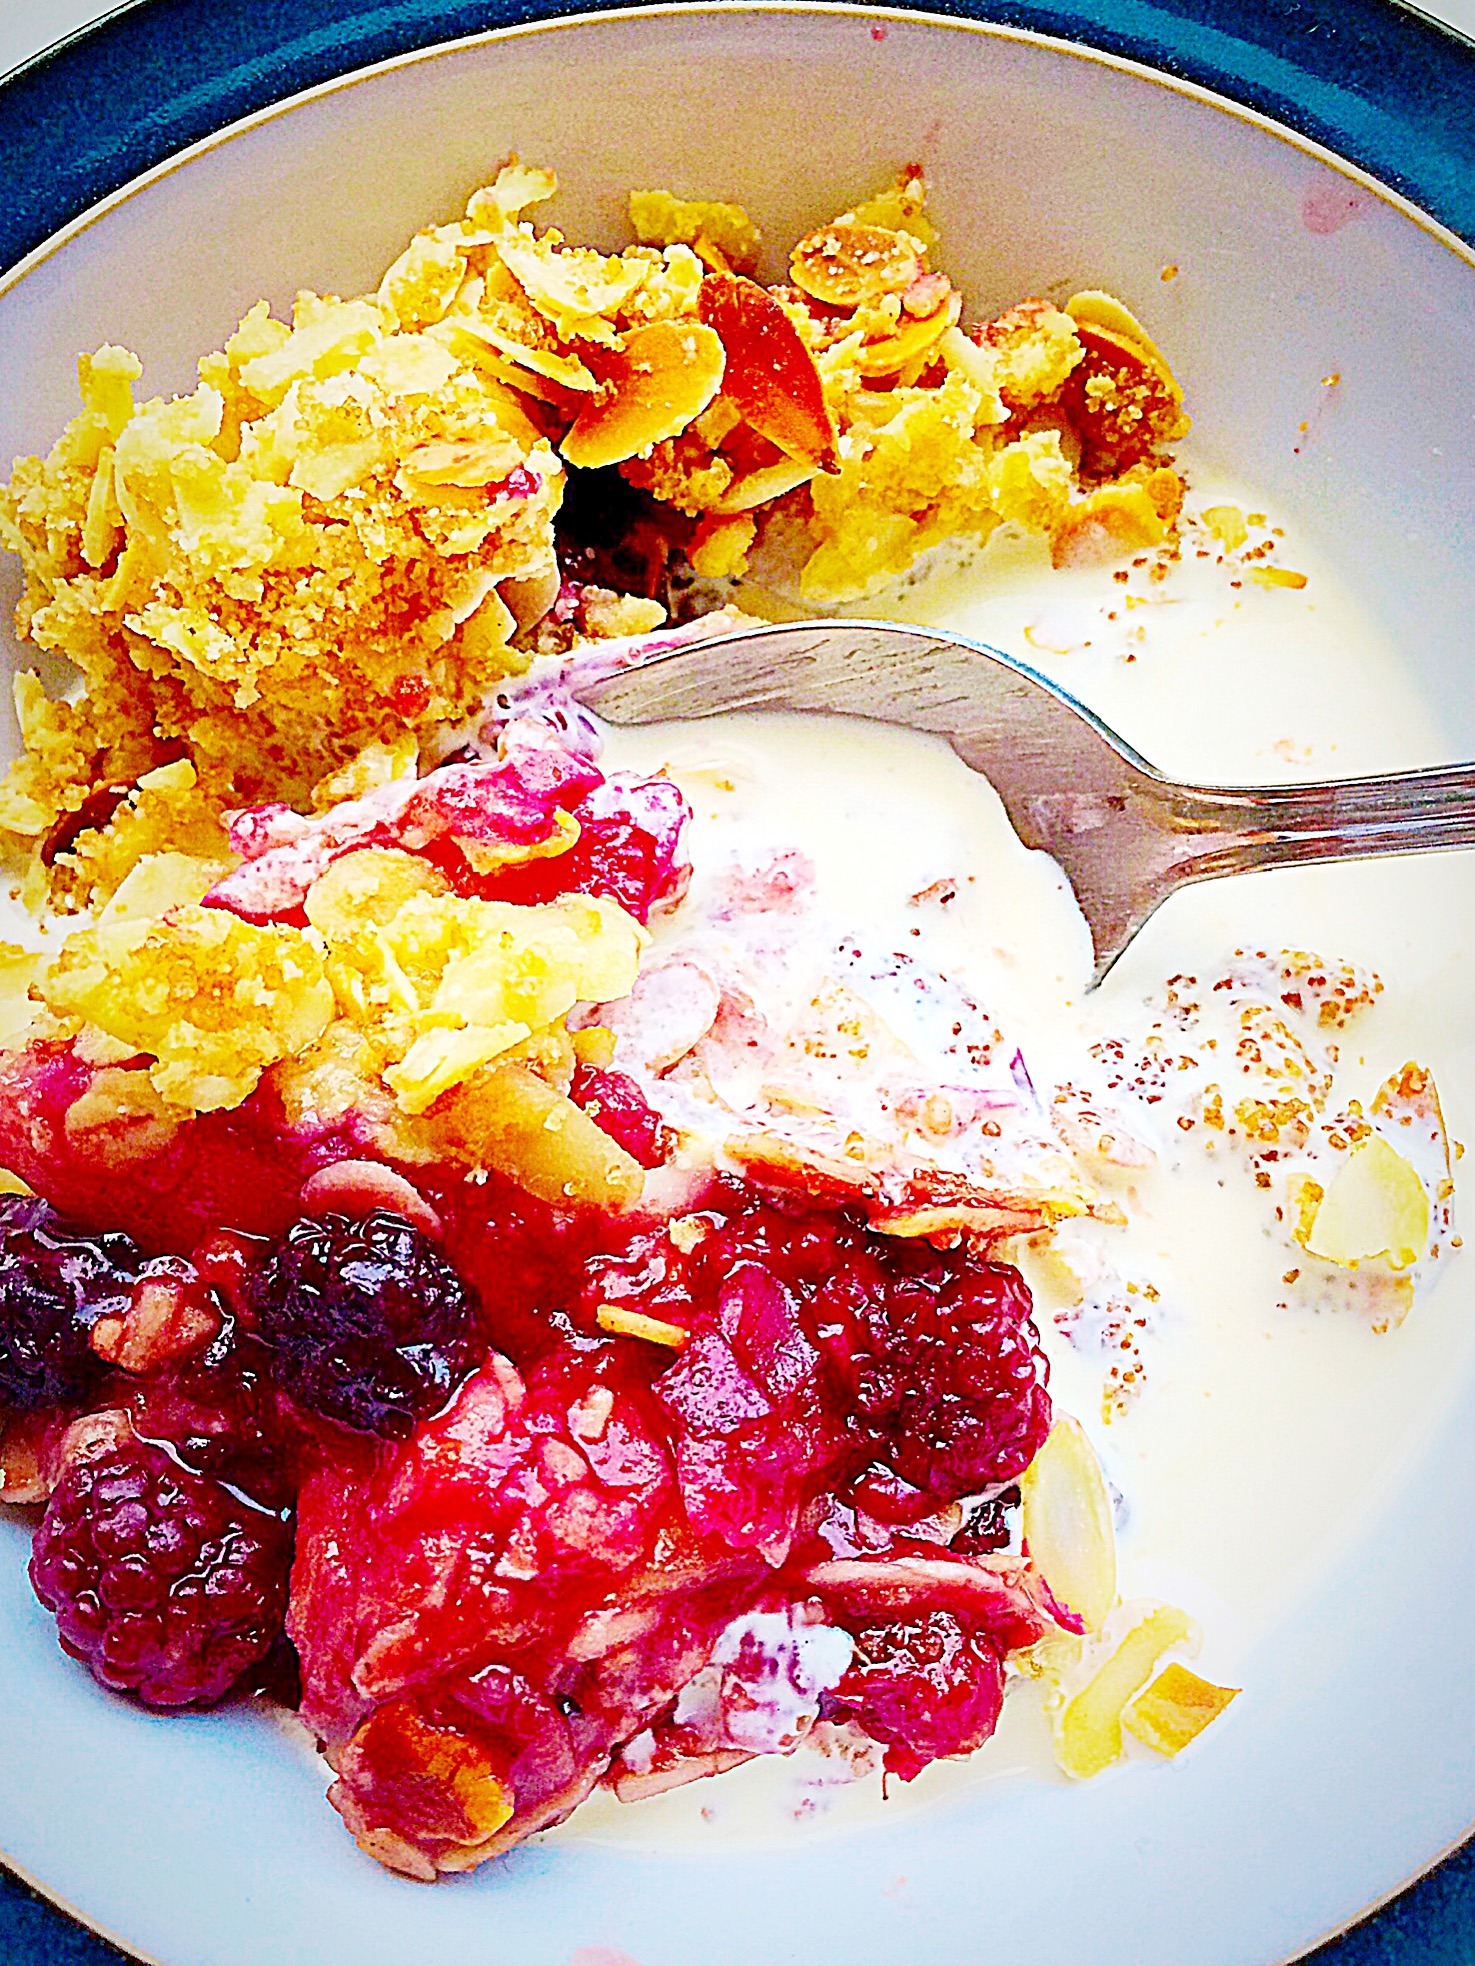
Finally, it is the middle of Winter. Time to banish the diet and eat pudding. So, bring on the warm, sweet comfort of fruit with a crunchy, crumble topping. And here we have an exquisite Almond Blackberry Pear Crumble, which is also gluten-free.
Since this crumble hits the spot where only warm, fruity, drizzled with cream or custard, or both – I’m not judging – puddings can really hit.
So, are you with me?
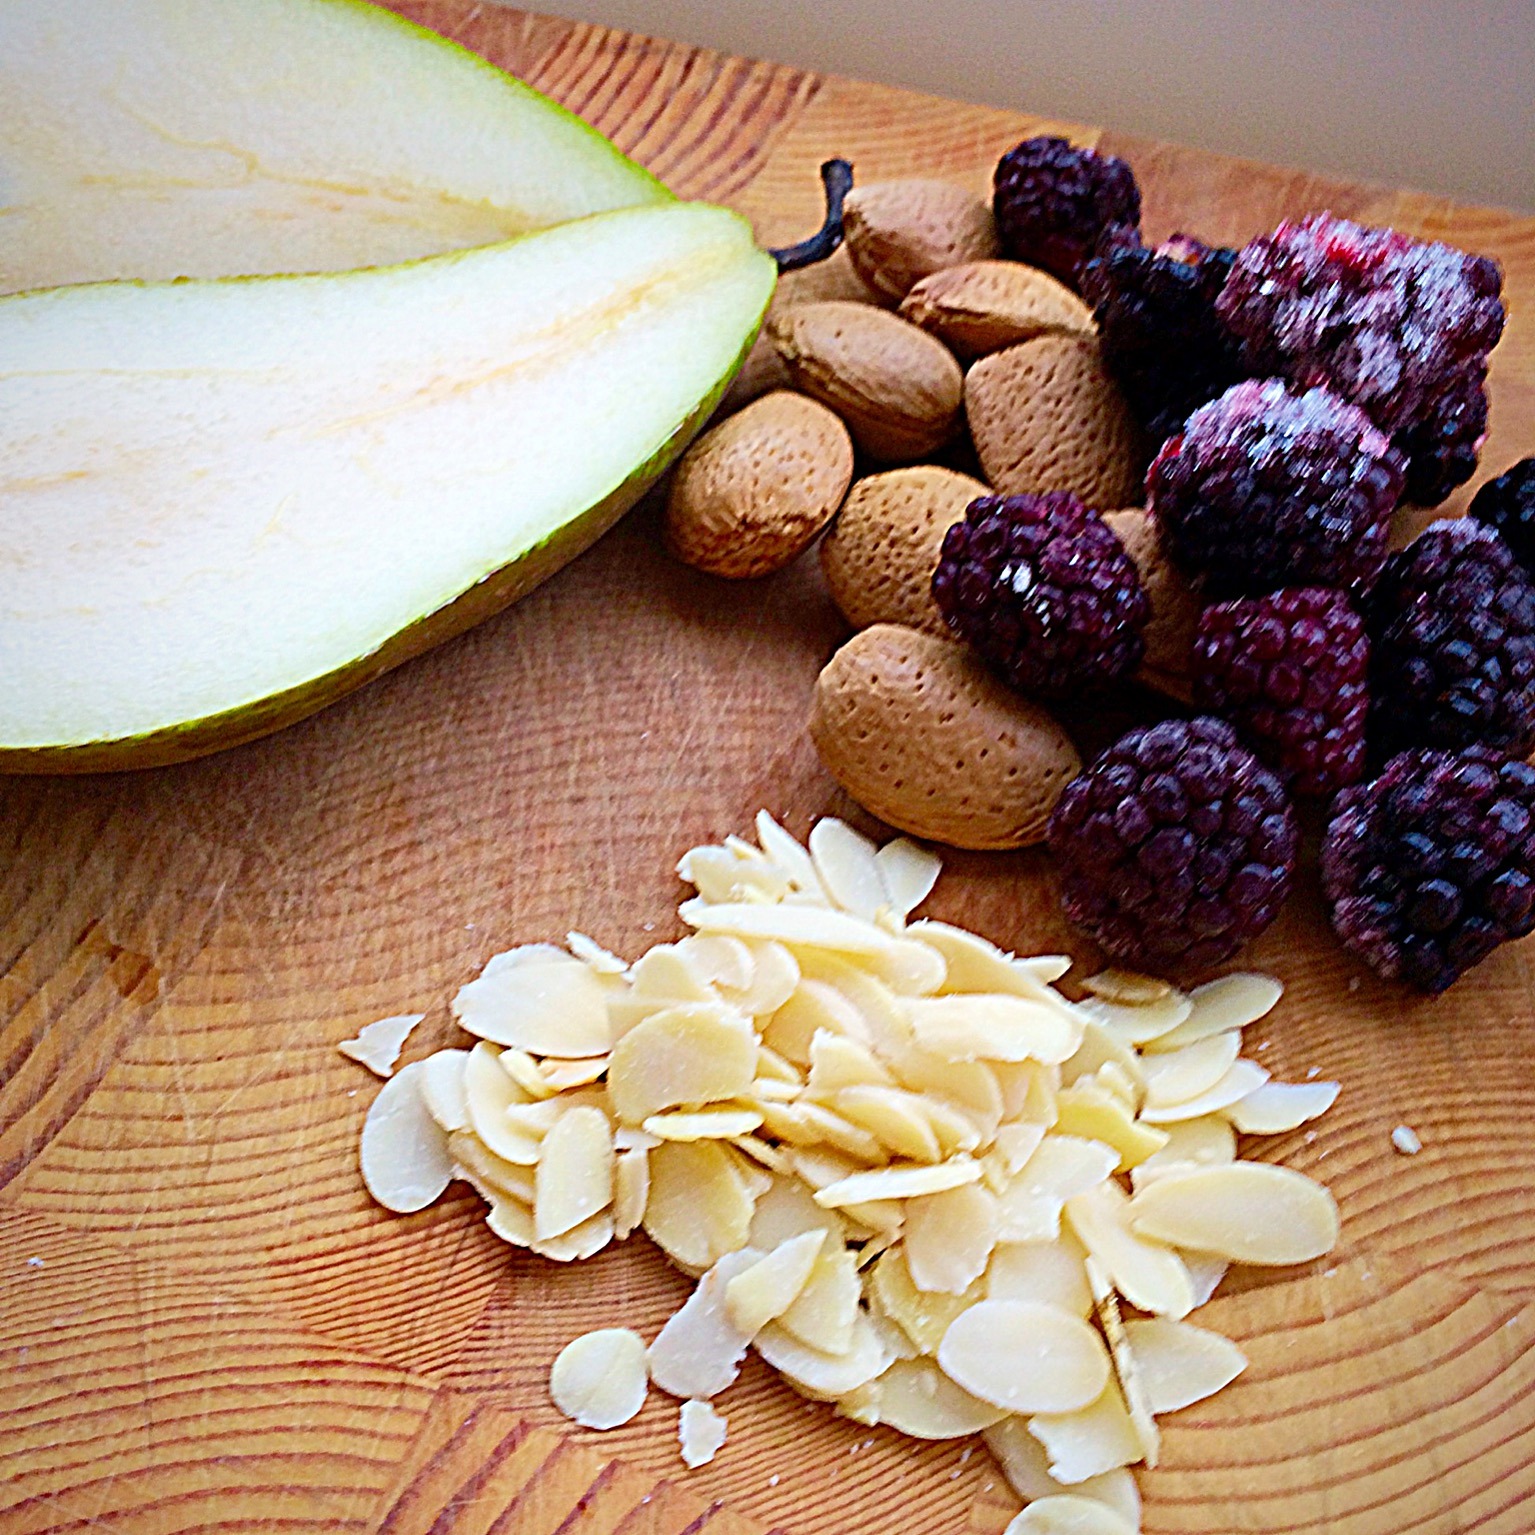
The pears are fresh and juicy, the blackberries are from the freezer, squirrelled away during our abundant, Autumn.
This crunchy, almond laden crumble comes together in mere moments, all the ingredients working in harmony together. The result, an unctuous, fruity, crunchy, explosion in your mouth. You know, the kind of eating experience, where the inside of your cheeks suddenly suck in and your taste buds are woken up by the flavour party happening on your tongue.
Yep – that good!
And because as many as possible should be able to share in this pudding sensation, I made it Gluten Free. Because, why not??
Balancing Flavours In A Dessert
What sends this Almond Blackberry Pear Crumble over the top, apart from my description, is the buttery, crunchy, flaked almond streusel, piled high, atop the juicy fruit.
And no additional sugar is added to the fruit layer. Because, the pears are sweet enough and I think it is good to have bursts of sharpness, from the plump, purple, blackberries. Also, to provide balance, crunchy, caramel, demerera sugar is mixed in with the crumble topping. Resulting in a pudding that absolutely sings!
Recipe: Almond Blackberry Pear Crumble serves 6 generous portions.
225g/8oz Gluten Free Flour – I use Dove’s Farm
100g/4oz Unsalted Butter – cold, straight from the fridge
225g/8oz Flaked Almonds
100g/4oz Demerera Sugar
1/4tsp Salt – I use Maldon
3-4 Conference Pears – alternatively use canned, drained pear halves
200g/7oz Fresh or Frozen Blackberries
Optional – Double Cream, Custard, Ice Cream to serve
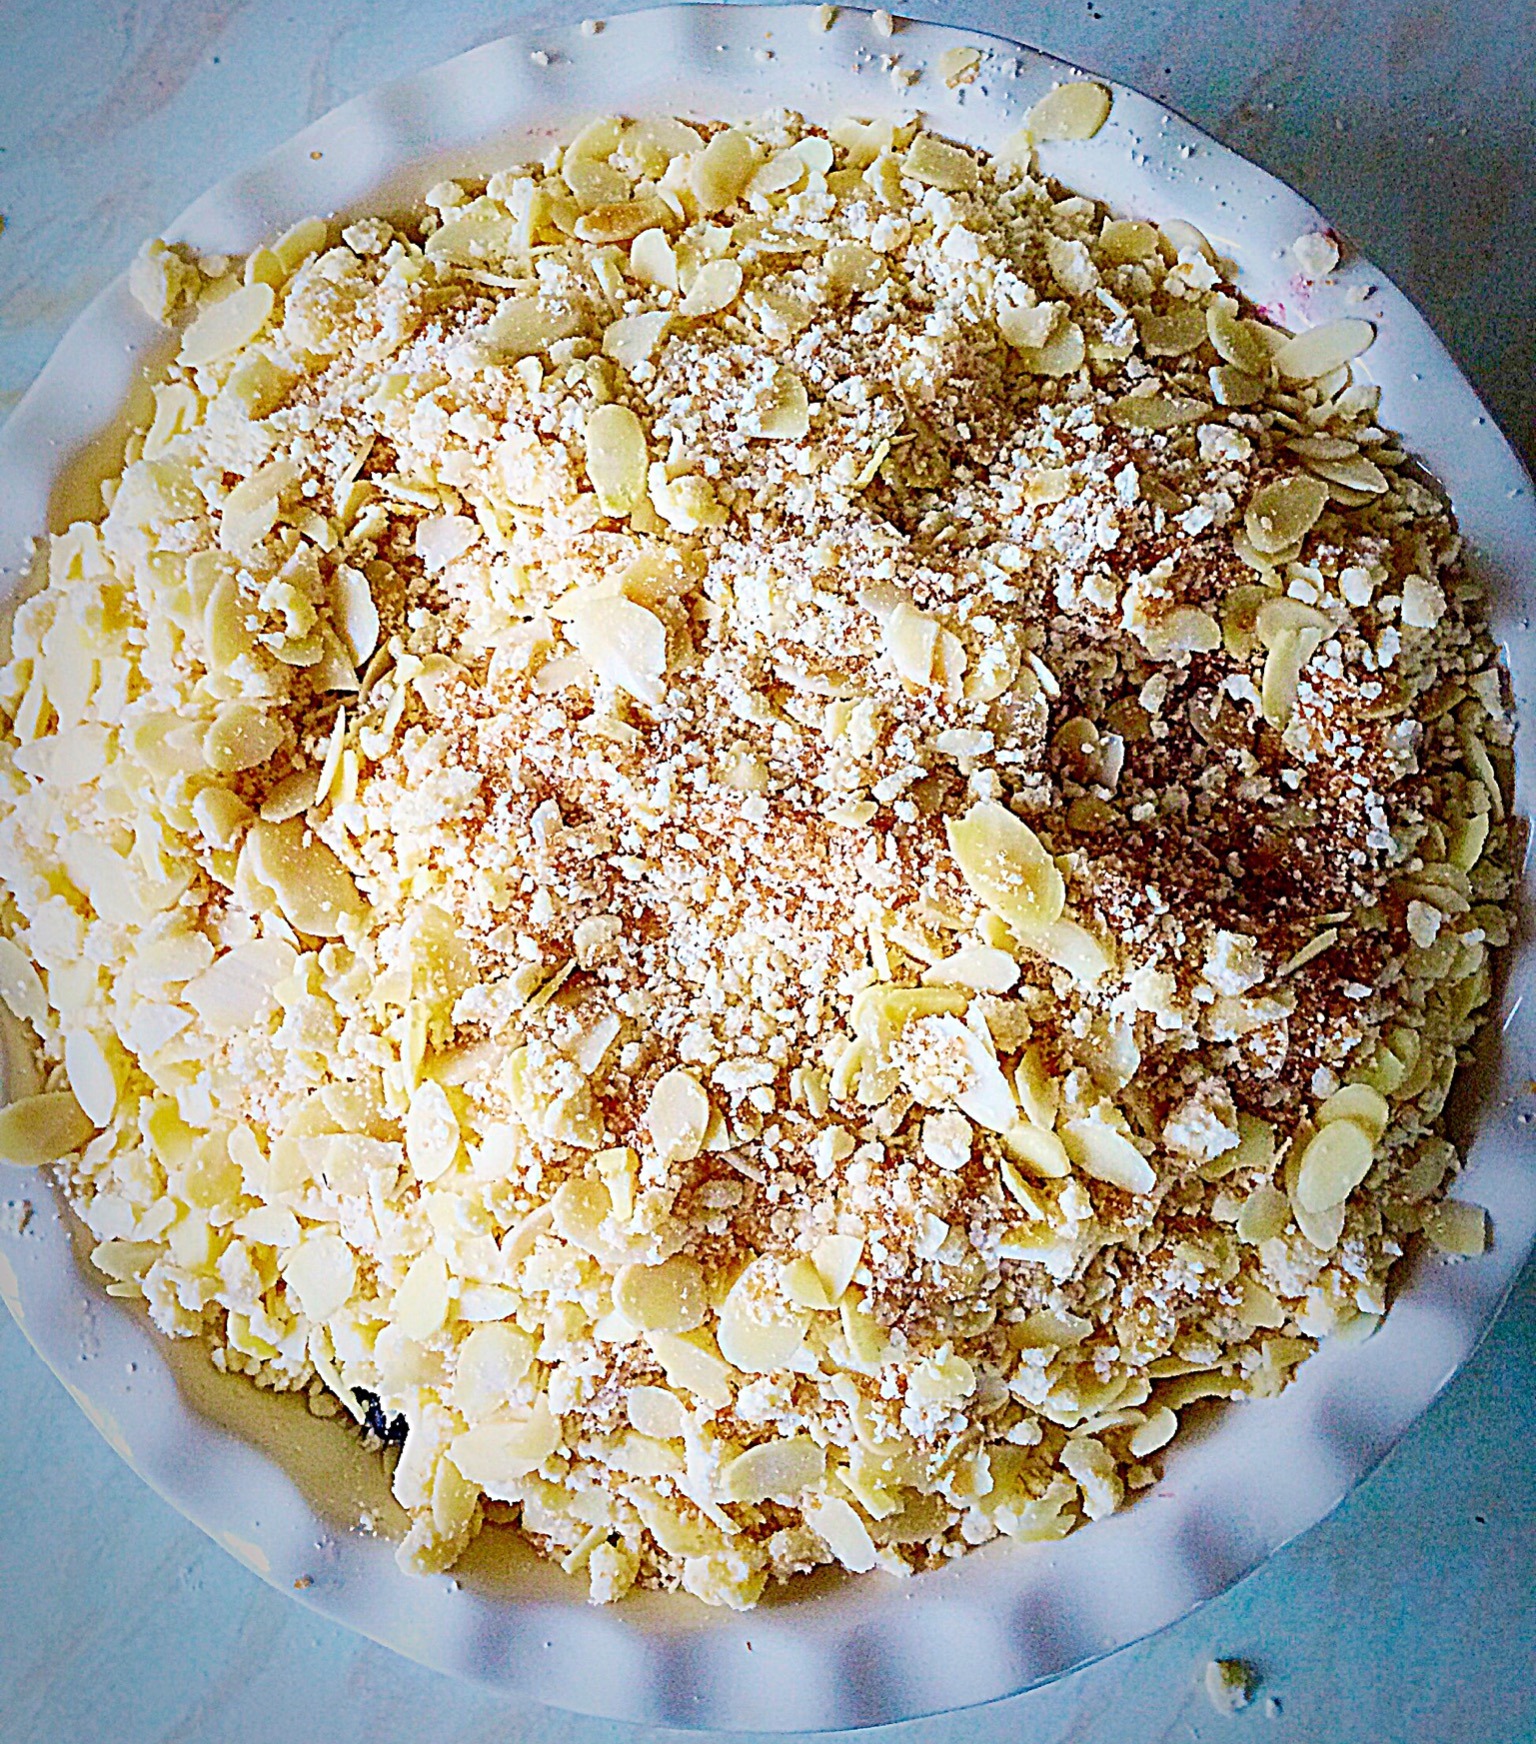
Making The Topping
Method: Preheat Oven to 190C/170C fan
First of all, cut the cold butter into cubes and place in a large bowl with the flour and salt.
Rub the butter into the flour with your fingers, working quickly and lightly, until the mixture resembles breadcrumbs. Gluten free flour works equally well in this recipe.
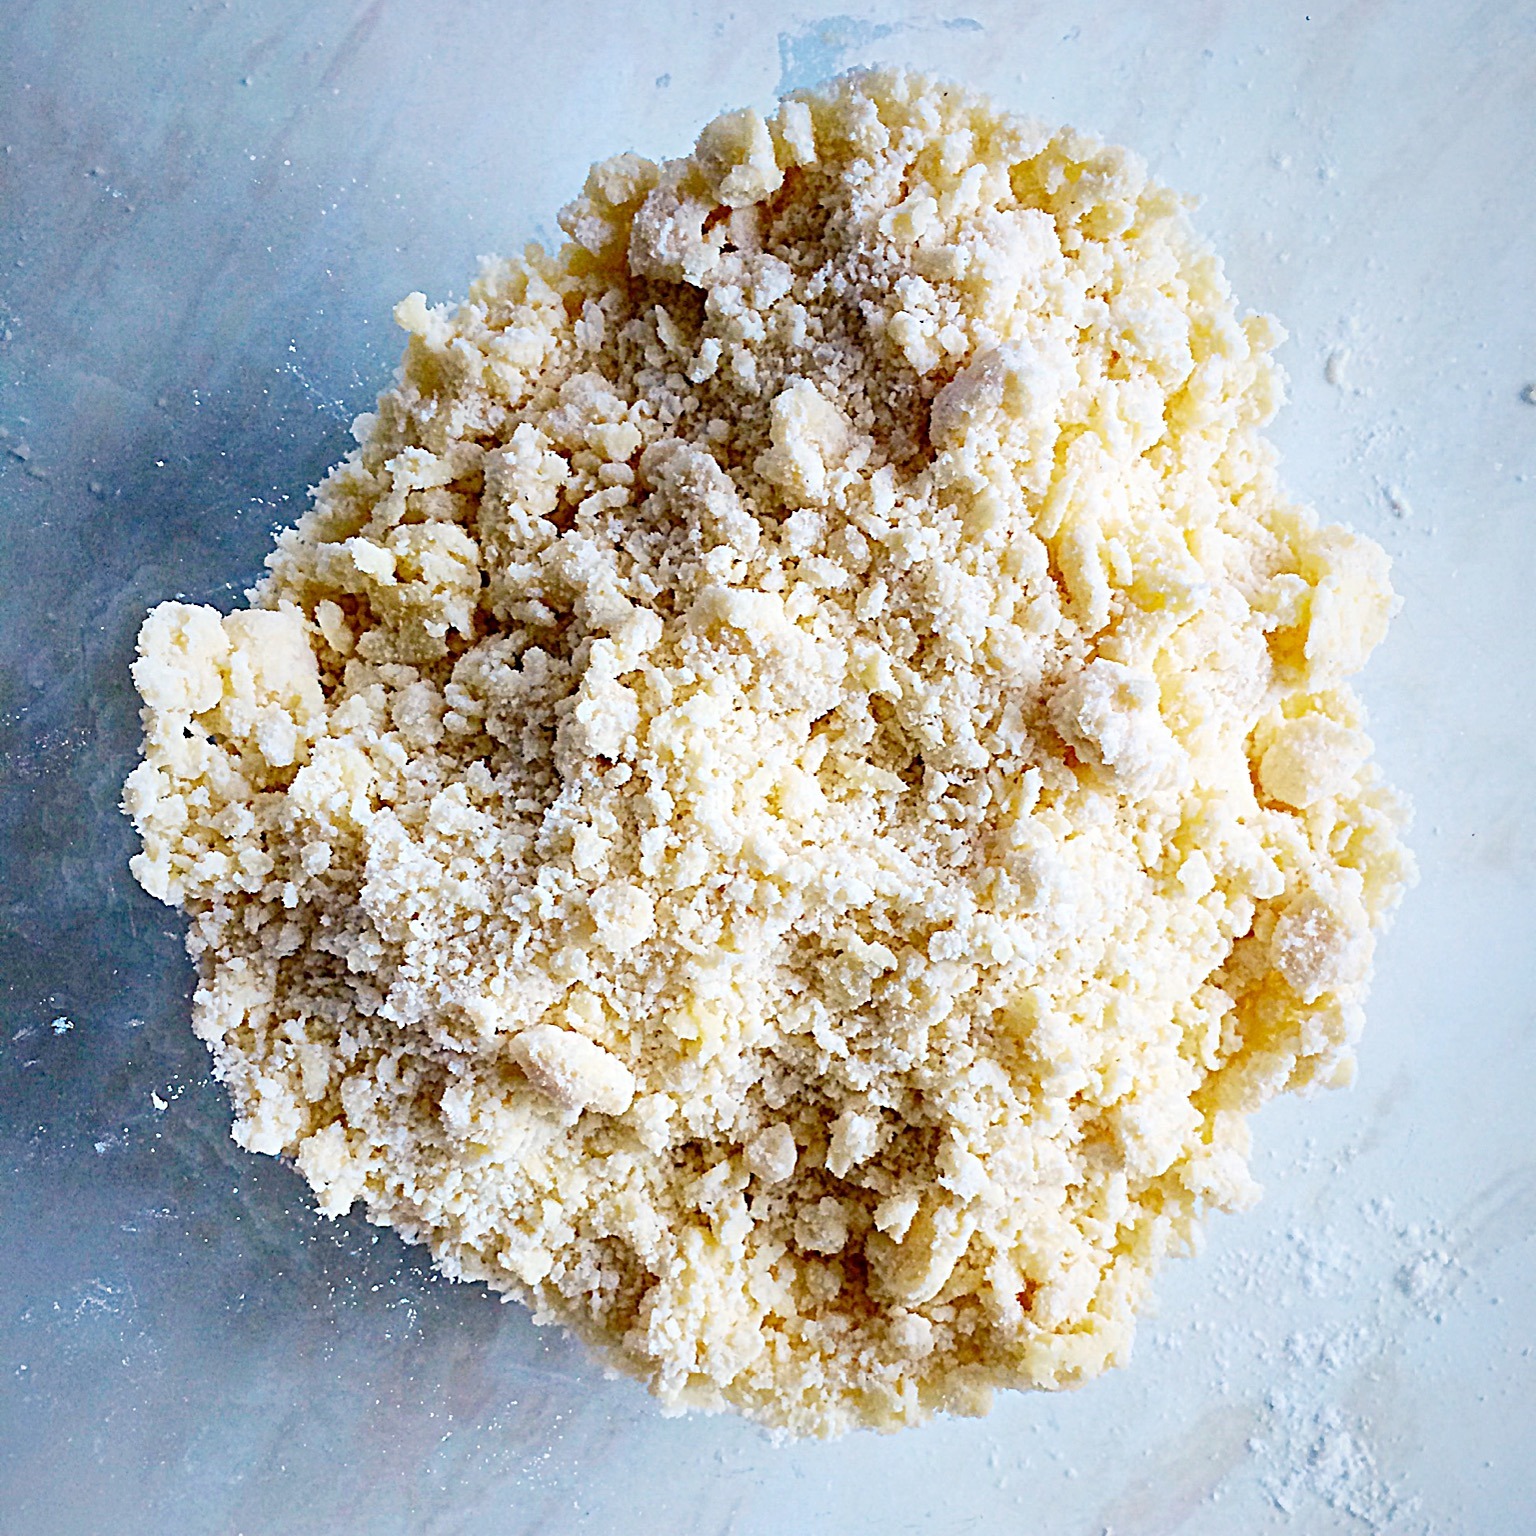
Alternatively place the cubed butter and flour into a food processor, with the steel blade attached and pulse until the mixture resembles breadcrumbs.
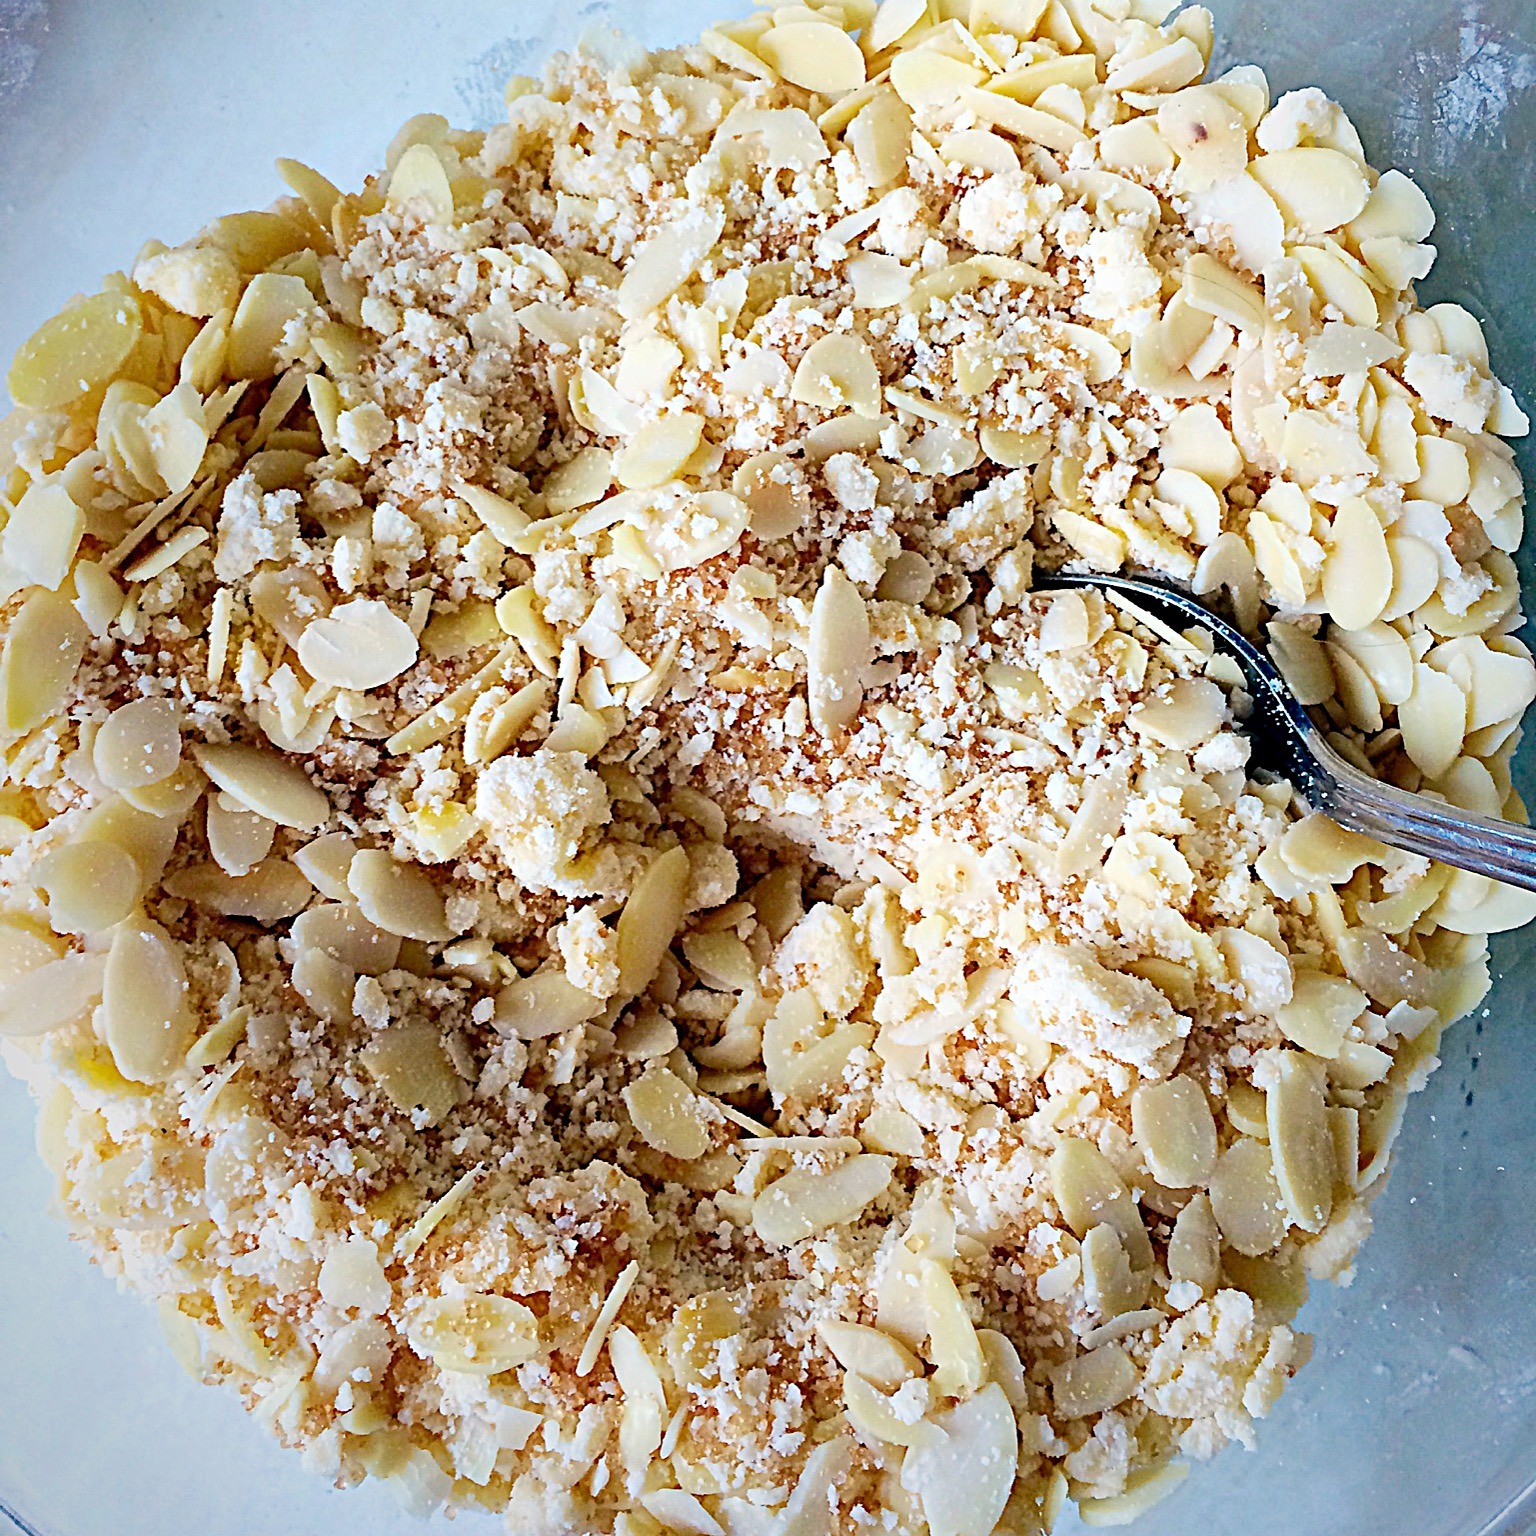
Add the flaked almonds and demerera sugar and stir with a spoon to mix.
Preparing The Fruit
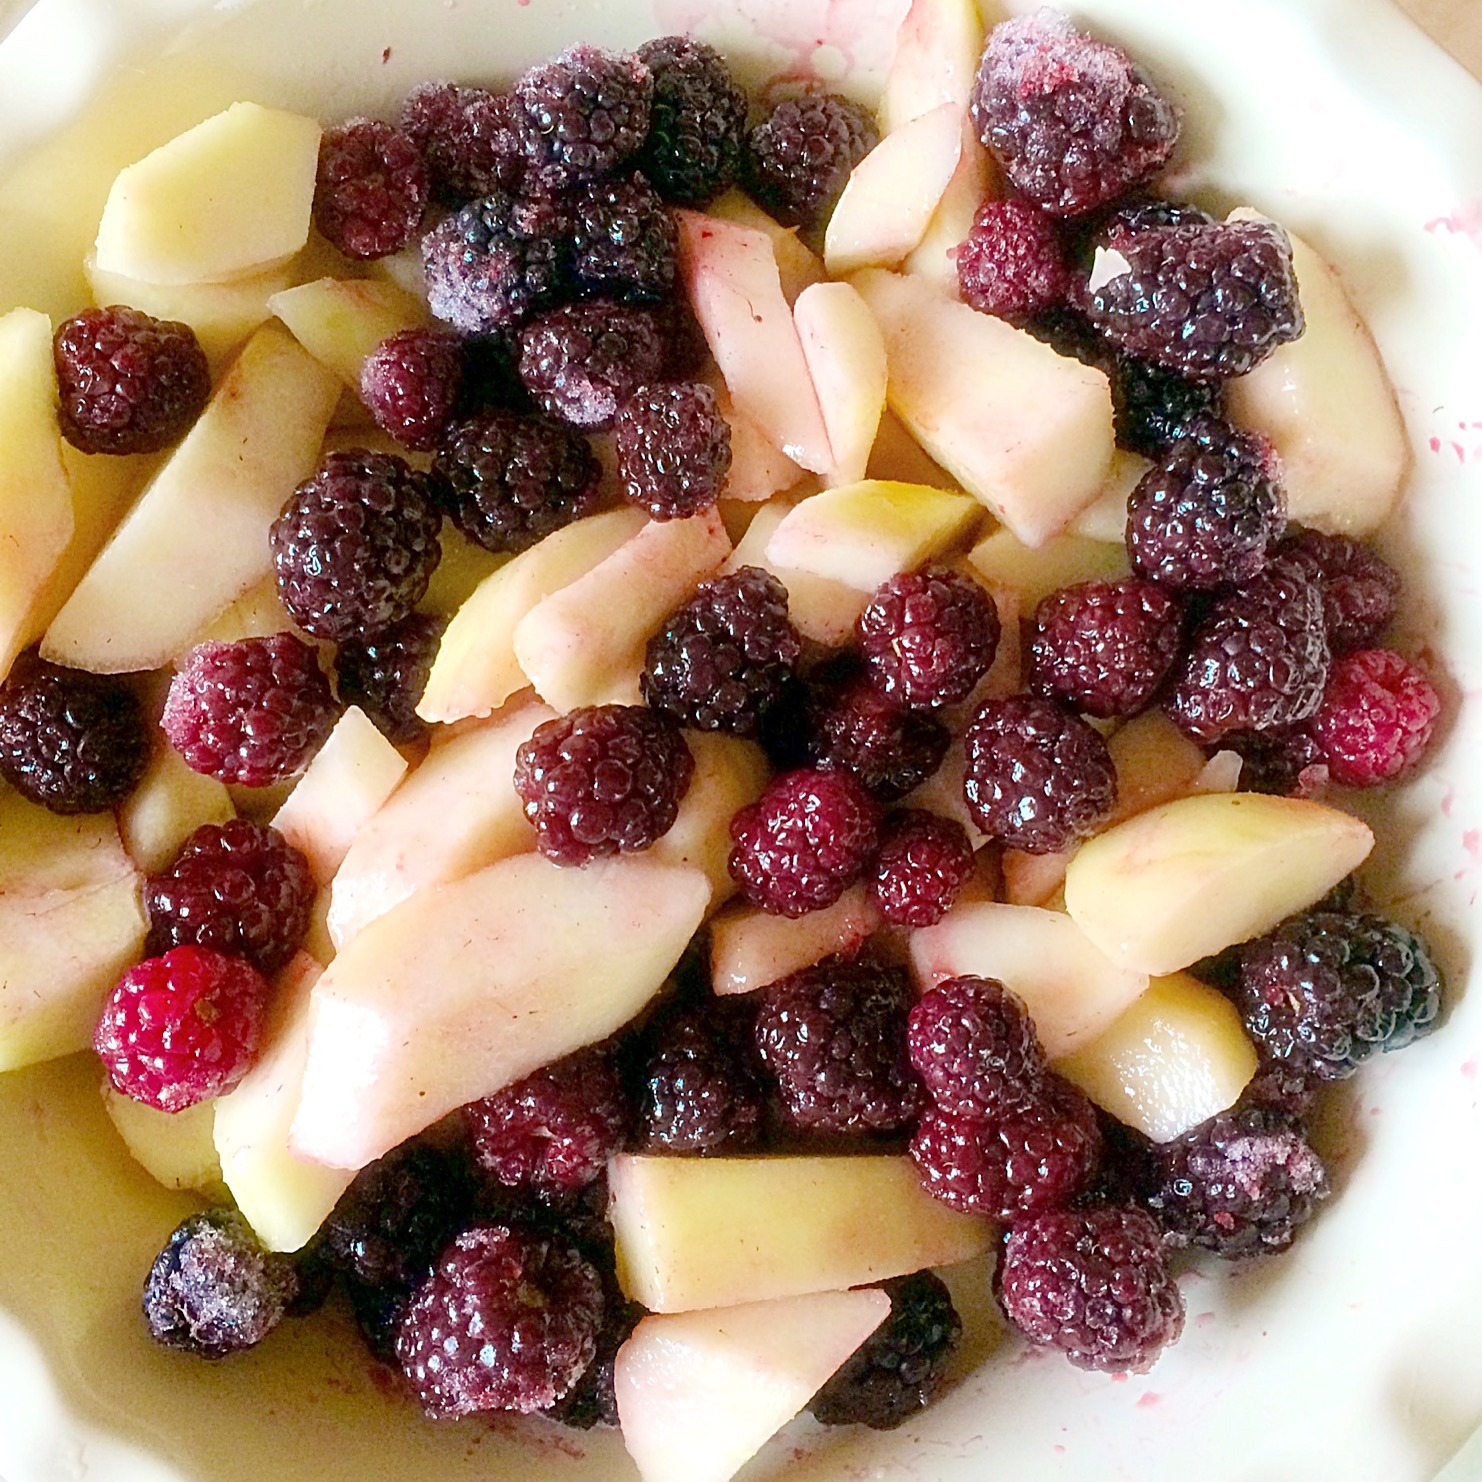
Peel the pears, remove the core and cut into chunks.
Place the pears and blackberries into a 10″/26cm dish.
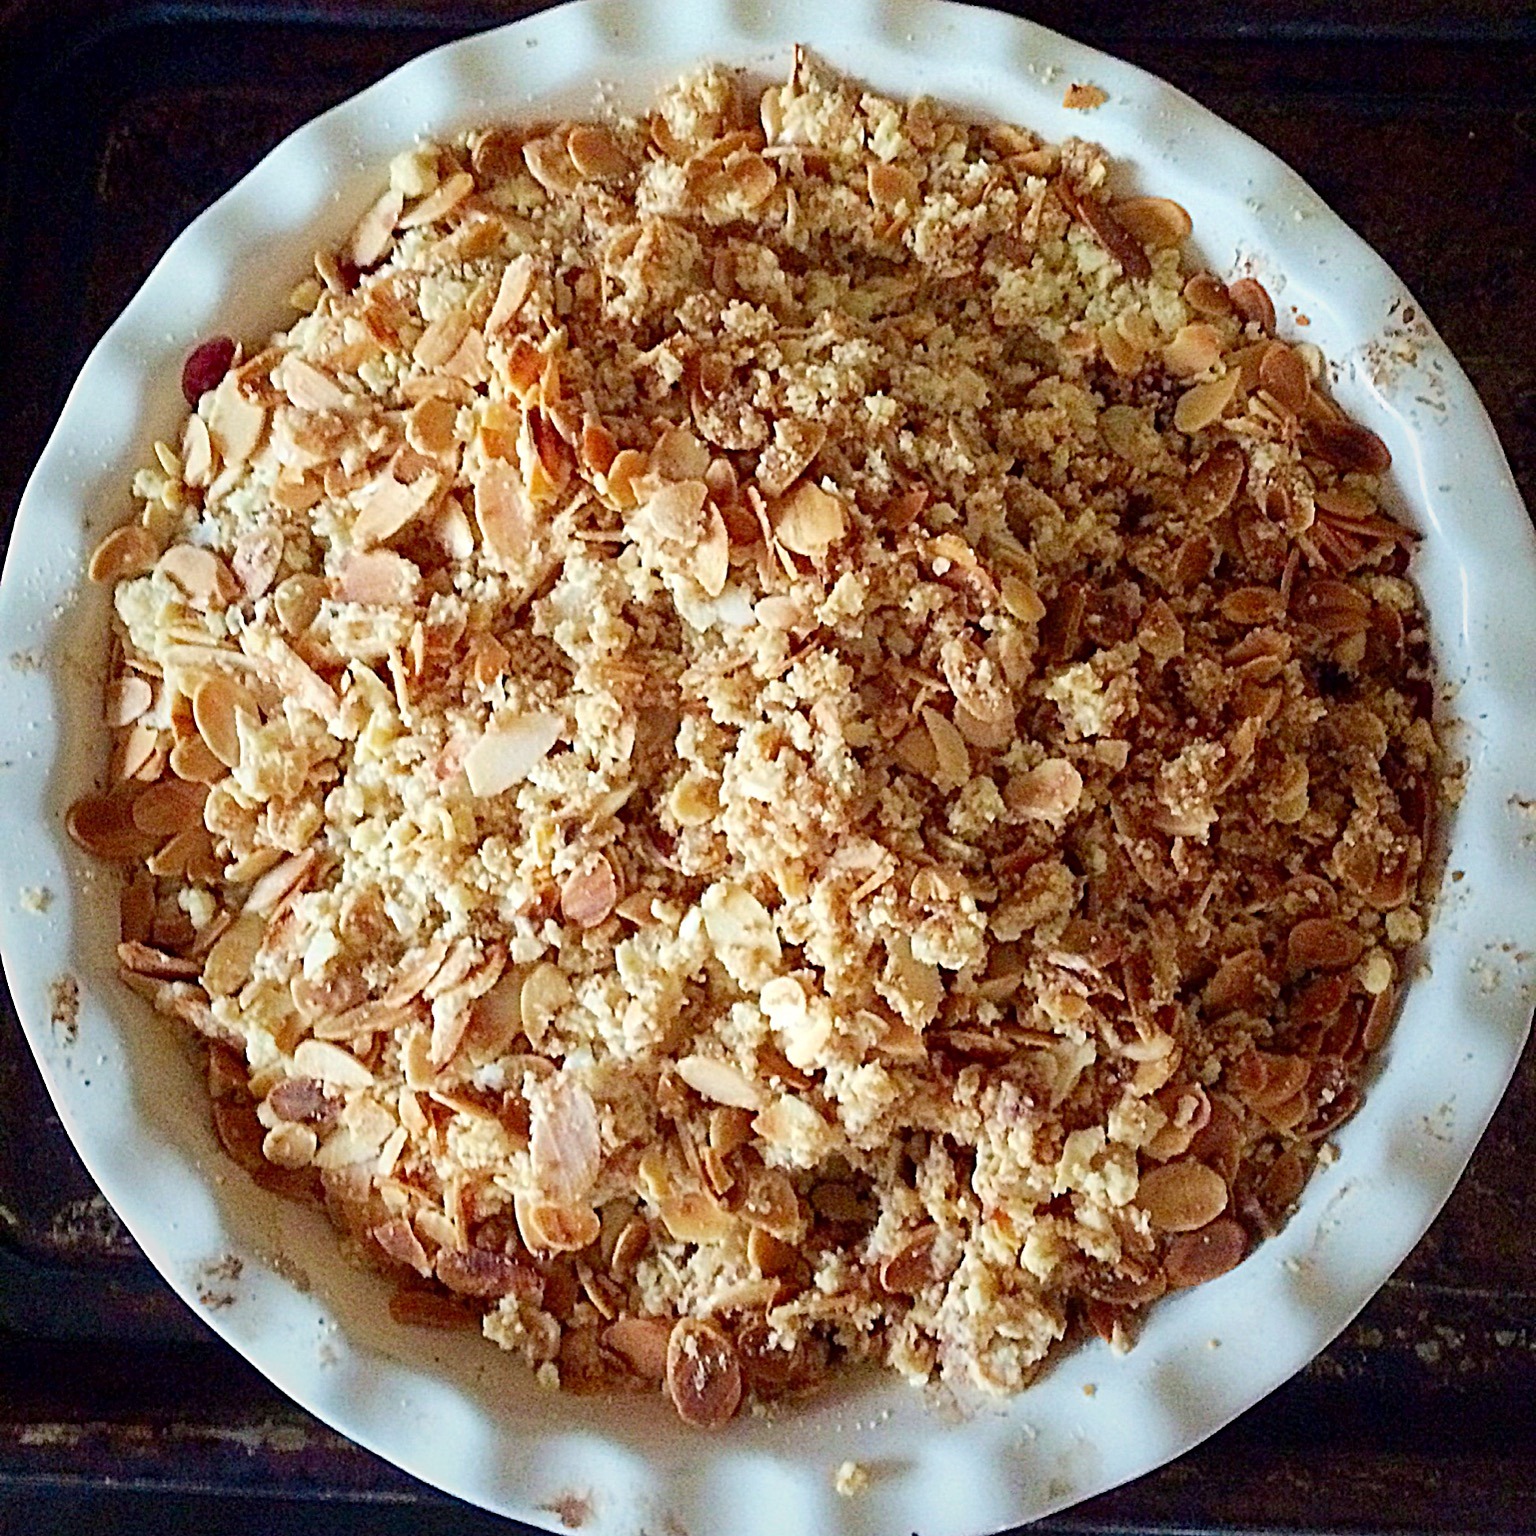
Cover the fruit with the crumble mixture.
Baking The Crumble
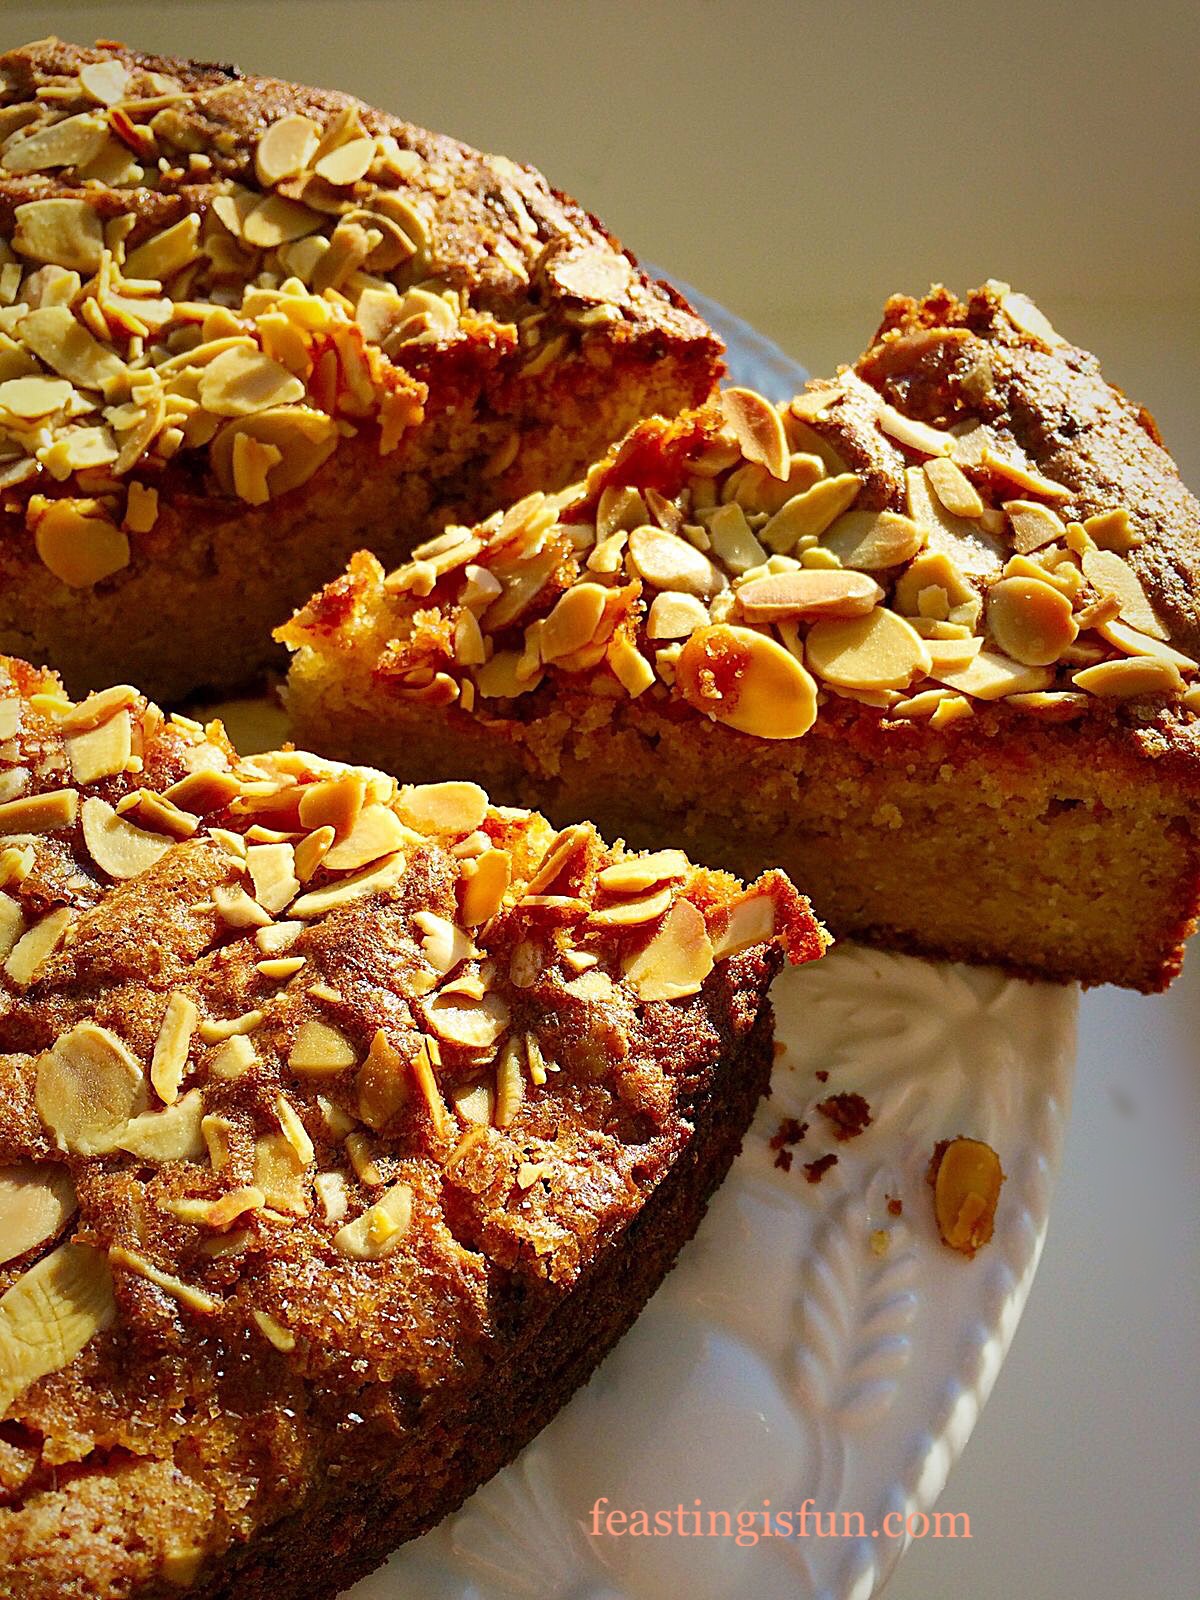
Place in the preheated oven for 40-50 minutes until the topping is golden and the fruit juices are bubbling.
As soon as the Crumble is baked remove from the oven.
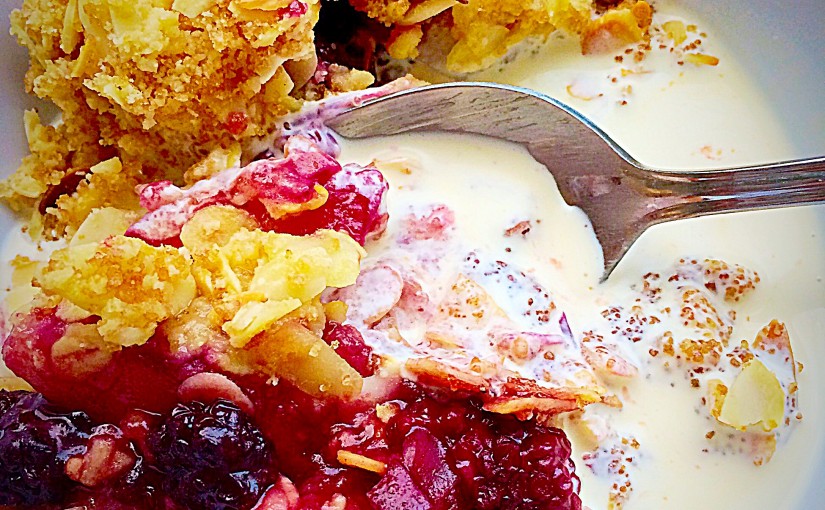
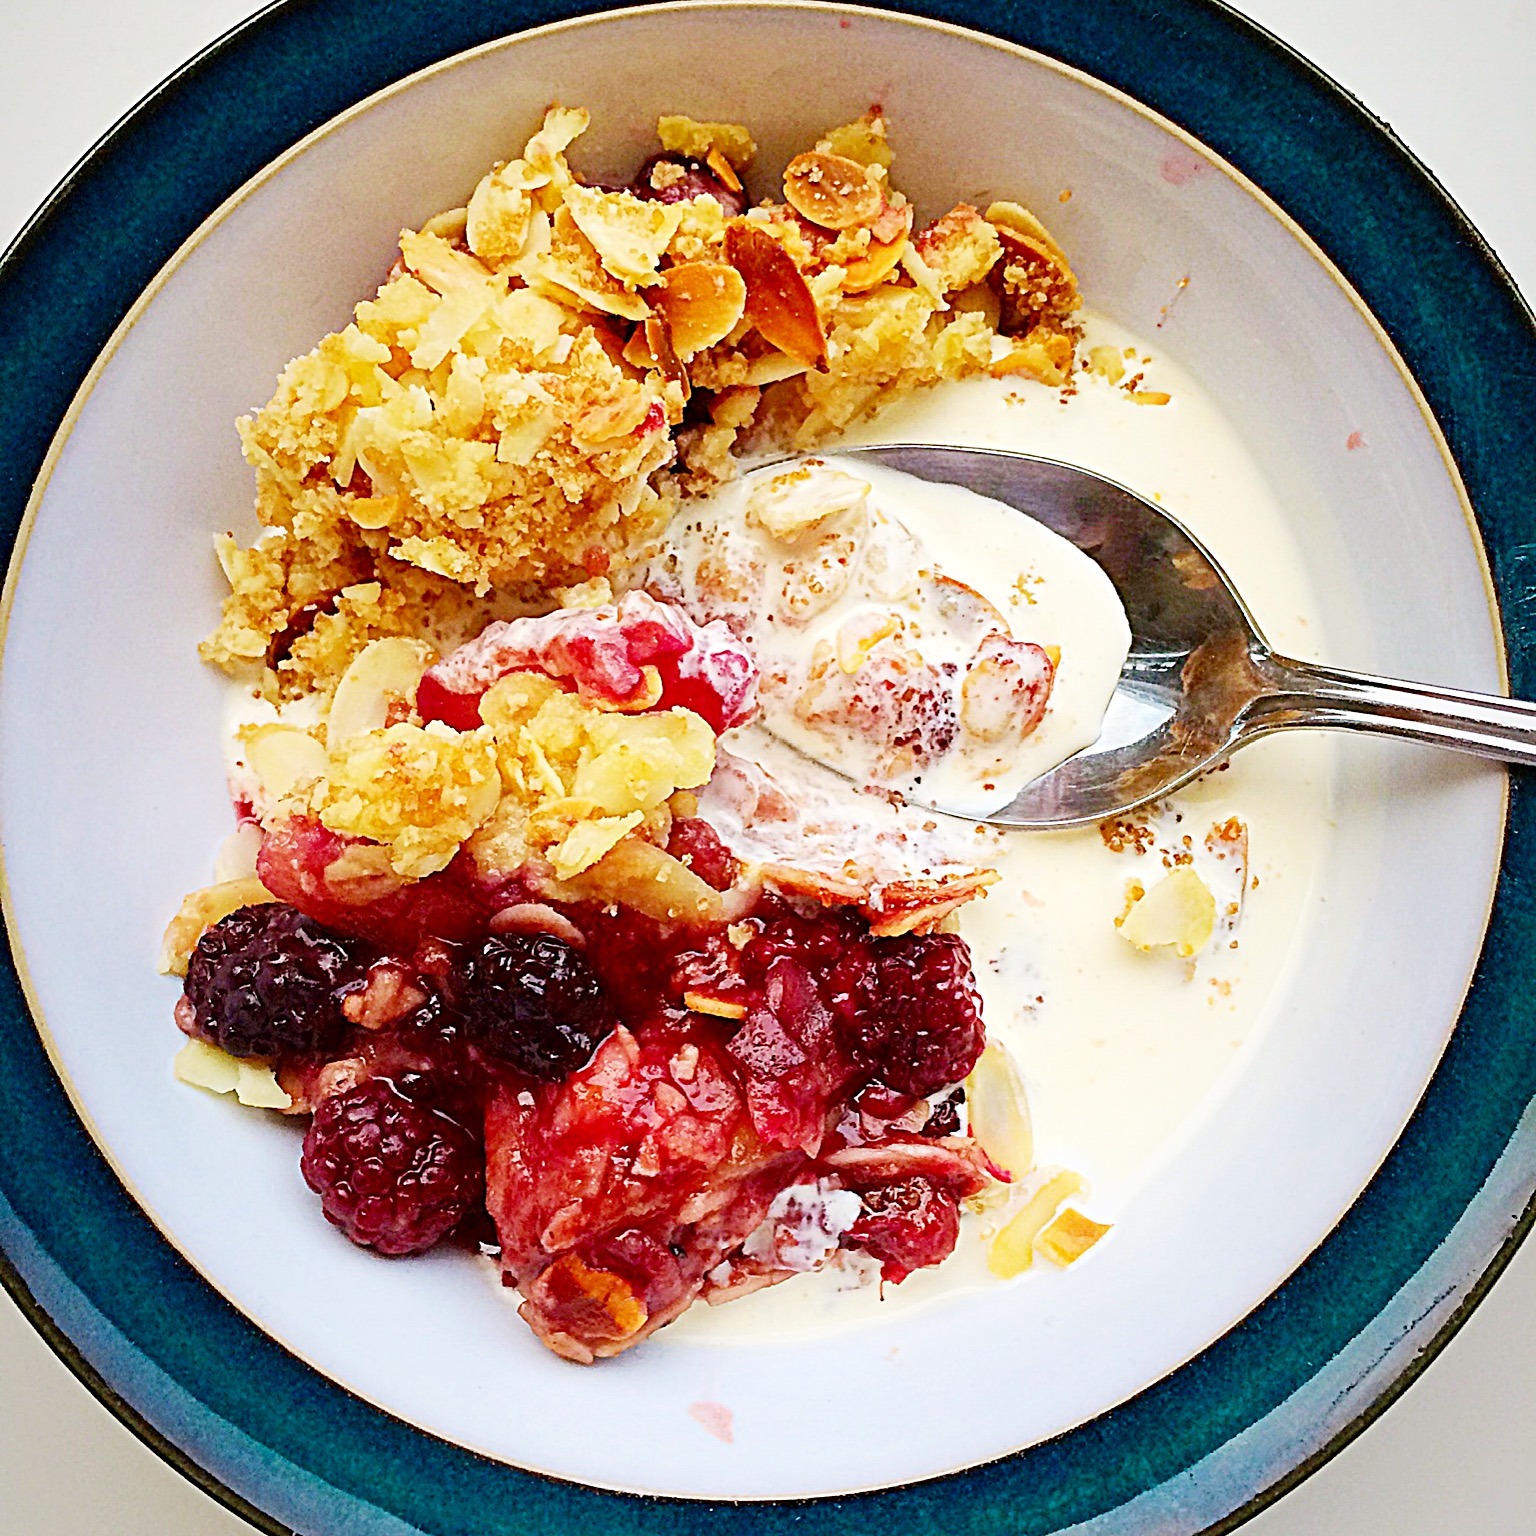
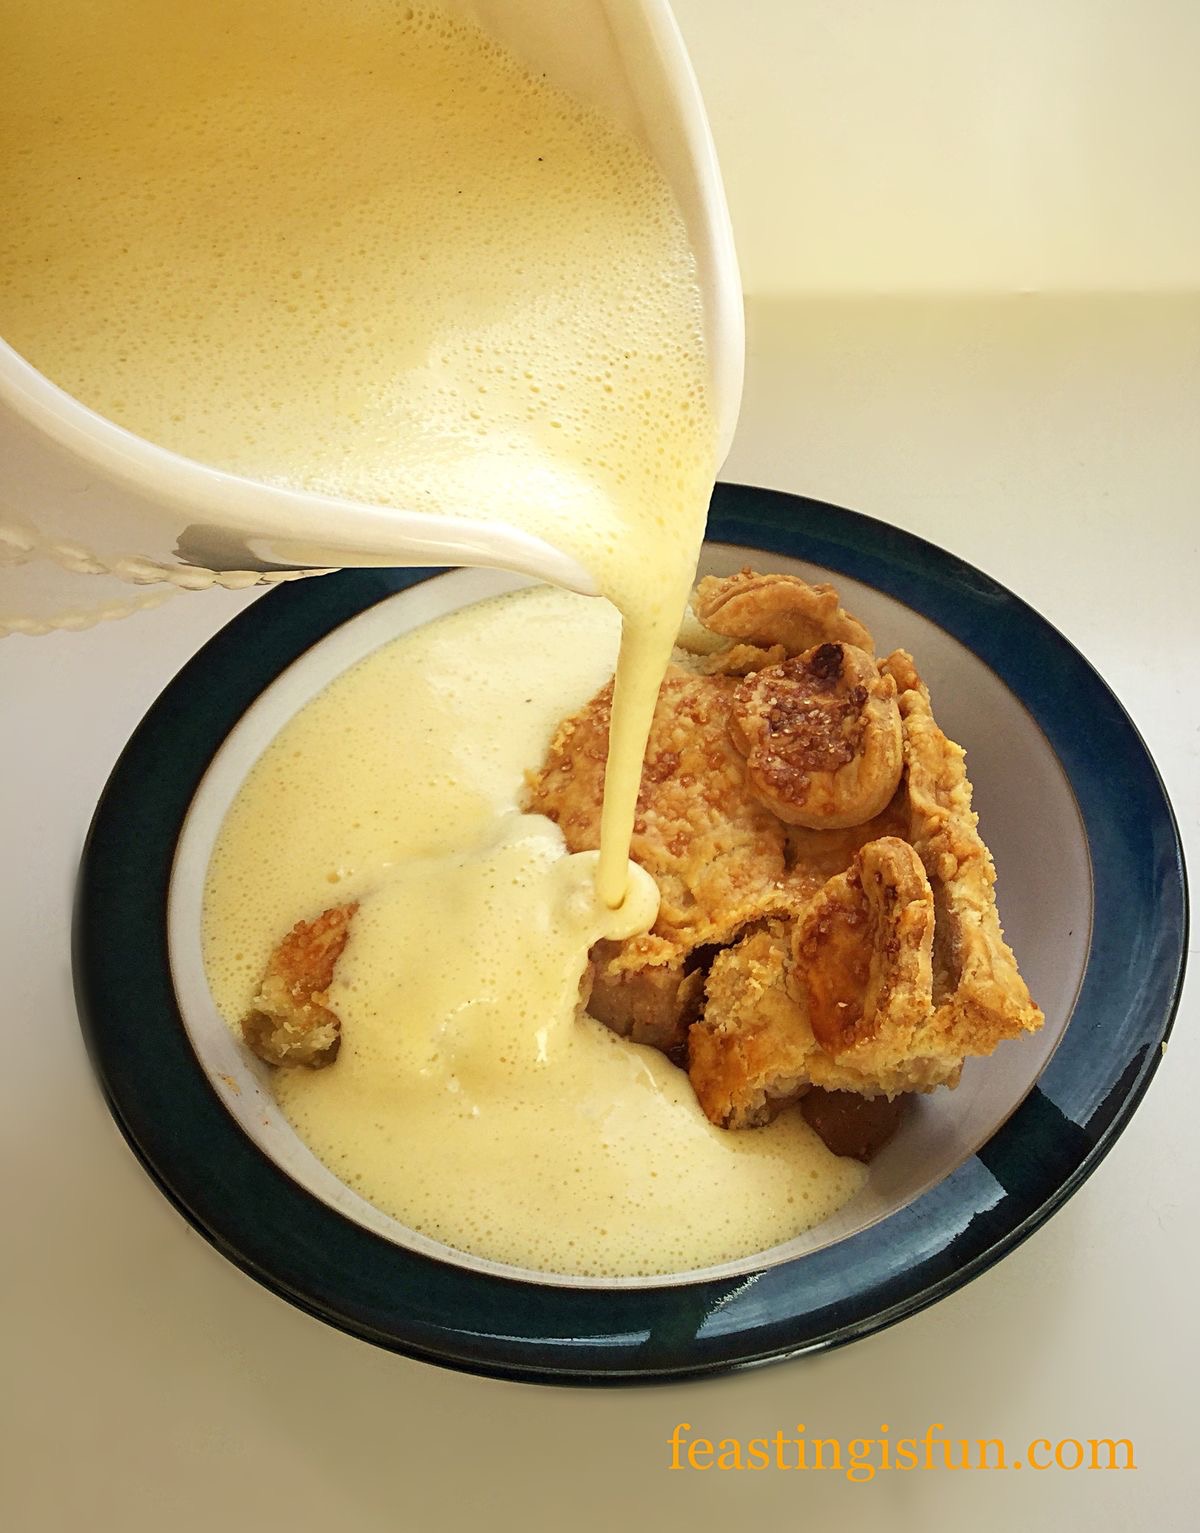
Fruity pear and blackberries hidden beneath a crisp and crunchy crumble topping.
Serve immediately with the accompaniment of your choice.
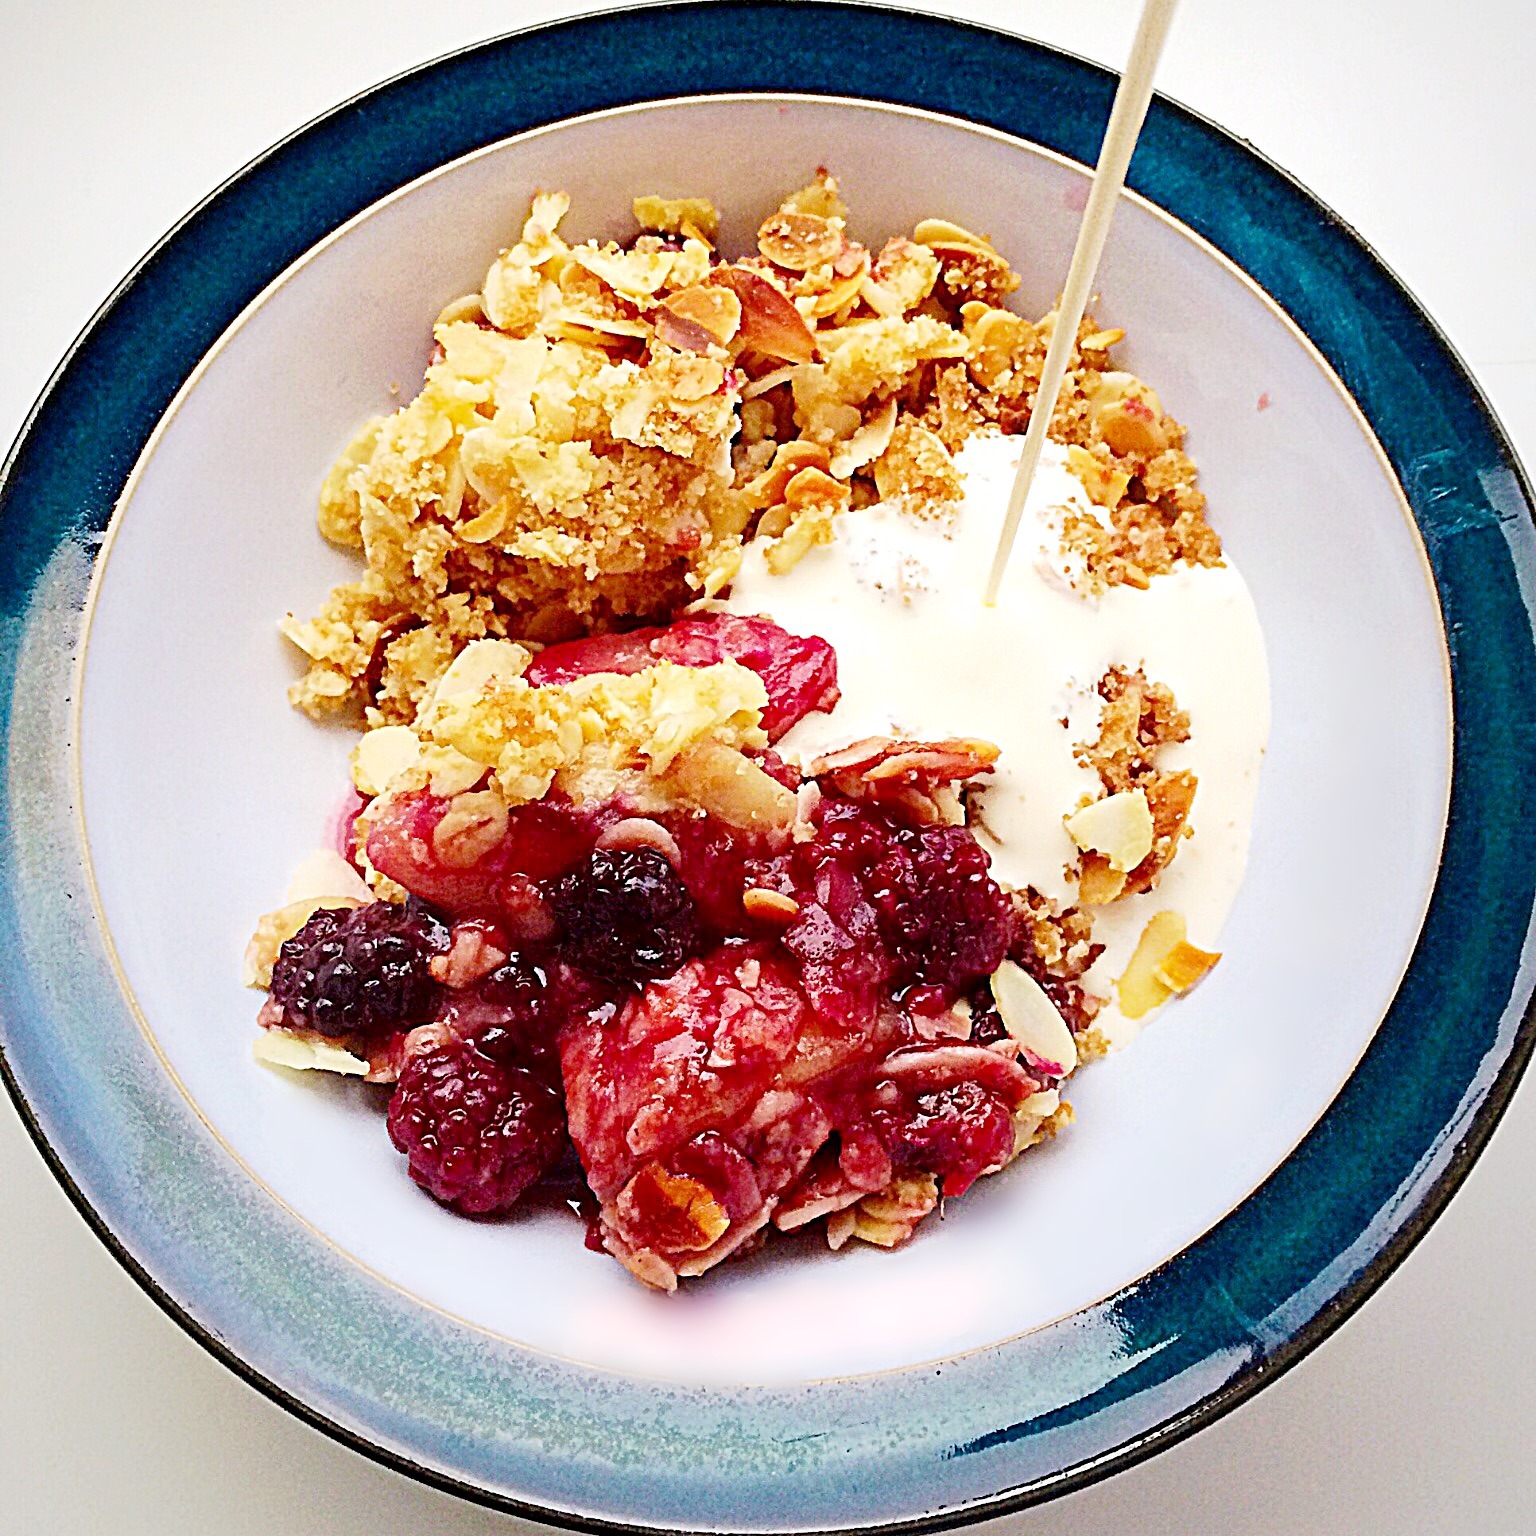
Eat and enjoy!
Everyone in our house thoroughly enjoyed this warming, winter pudding.
Being Gluten Free makes this Almond Blackberry Pear Crumble accessible to more people. And I must agree, that has got to be a good thing!
Do you desire warm, comforting food when it’s cold? I certainly do.
If you enjoy this Almond Blackberry Pear Crumble, then you will love these recipes:
I buy Dove’s Gluten Free flour from Waitrose.
While I am not allergic to wheat, or gluten it is important that gluten free recipes are included on Feasting is Fun. Since the heart of my blog is to encourage people to share and eat together, it makes sense to create recipes that more people can enjoy. Because nobody asks to have an allergy. And it’s nice when an “extra” dessert doesn’t have to be bought or made. Finally, I believe the more that people are included, the more comfortable and relaxed they will be.
Sammie xx