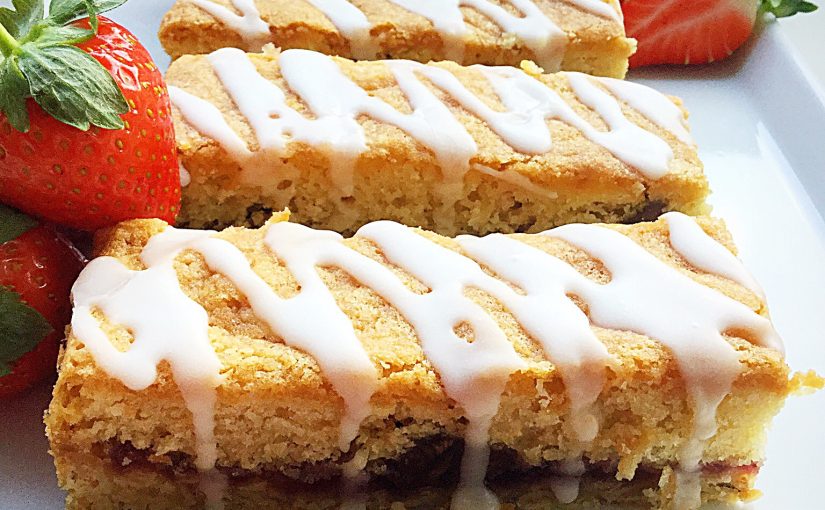
We are now in a brand new year, chances, decisions, opportunities and endless possibilities lay before us. I adore the start of January. Christmas decorations packed away and a return to ‘normality’. With this blog I want to bring you even more easy, yet delicious recipes and also add more savoury dishes to the menu. Let’s start with these Double Strawberry Cake Bars.
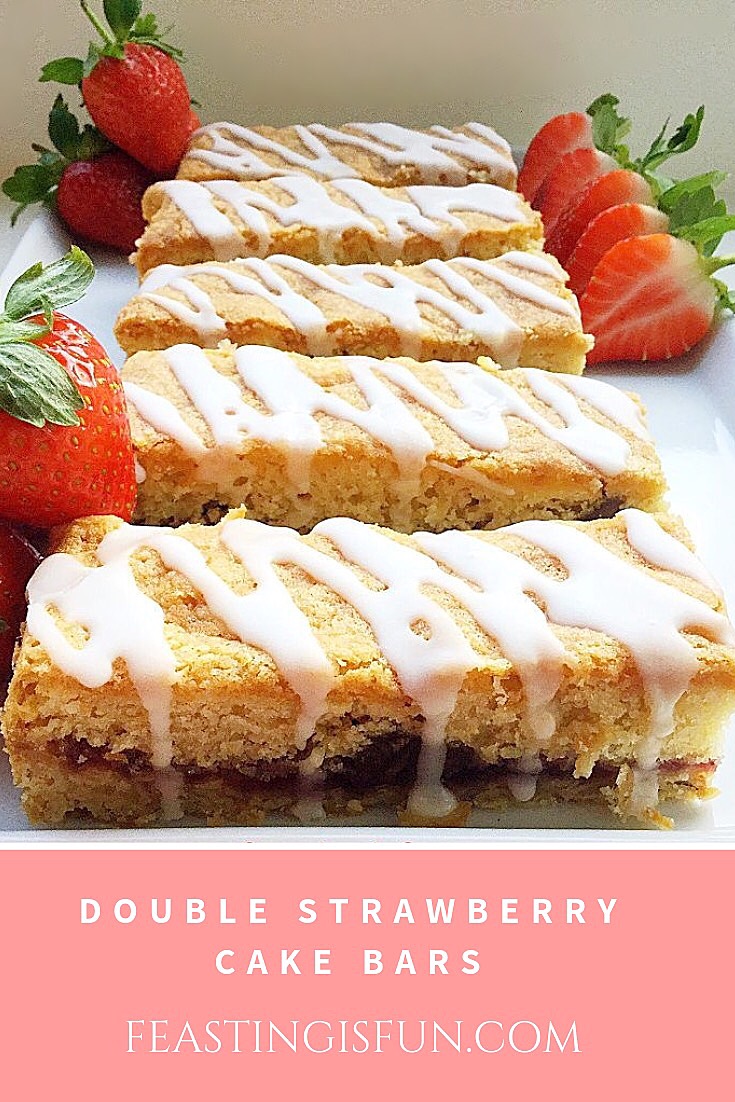
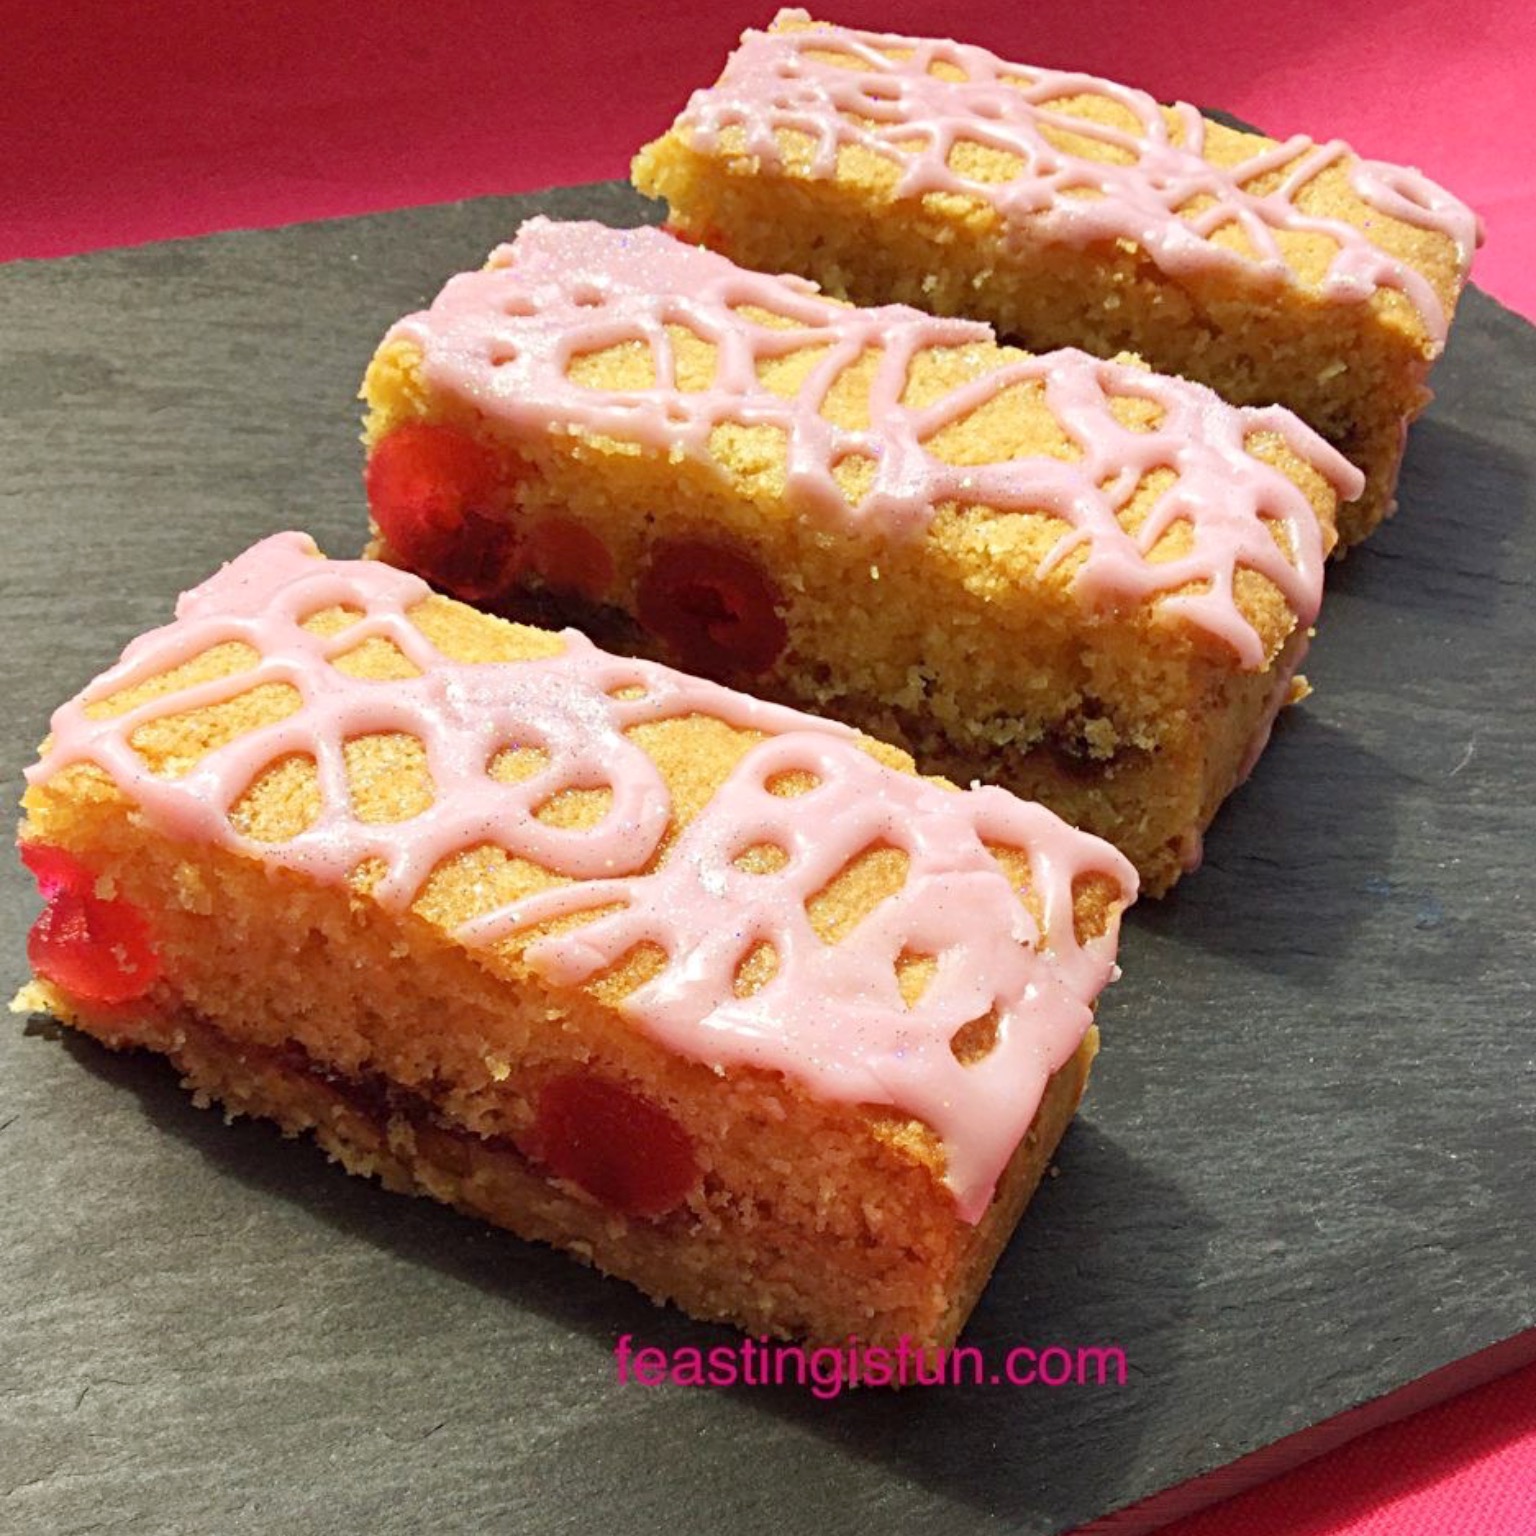
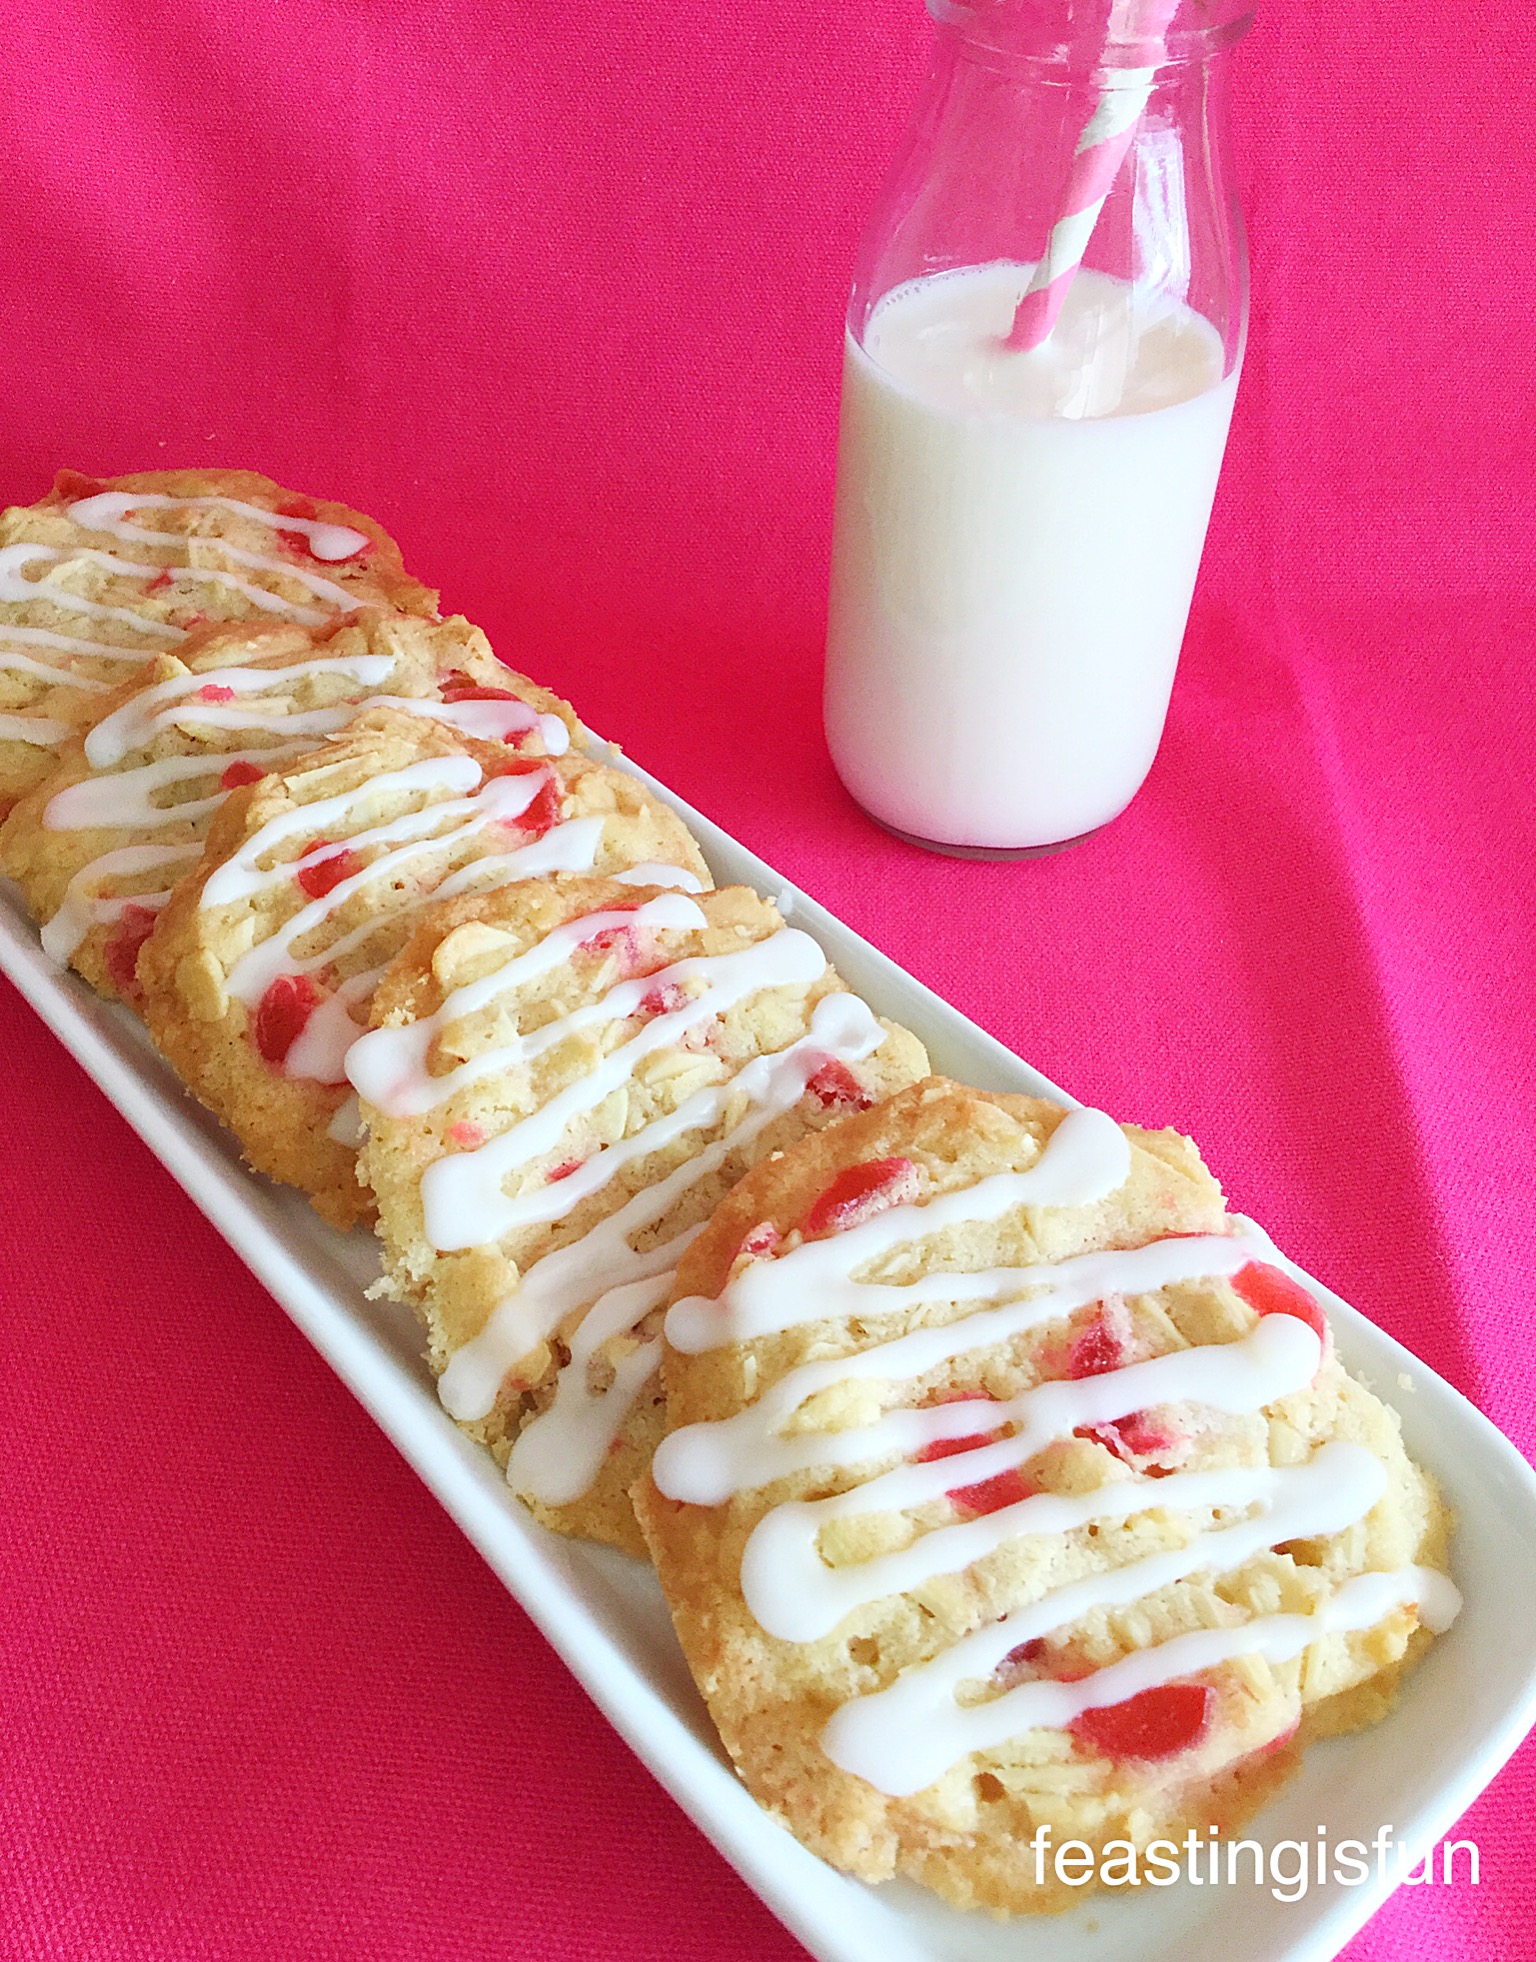
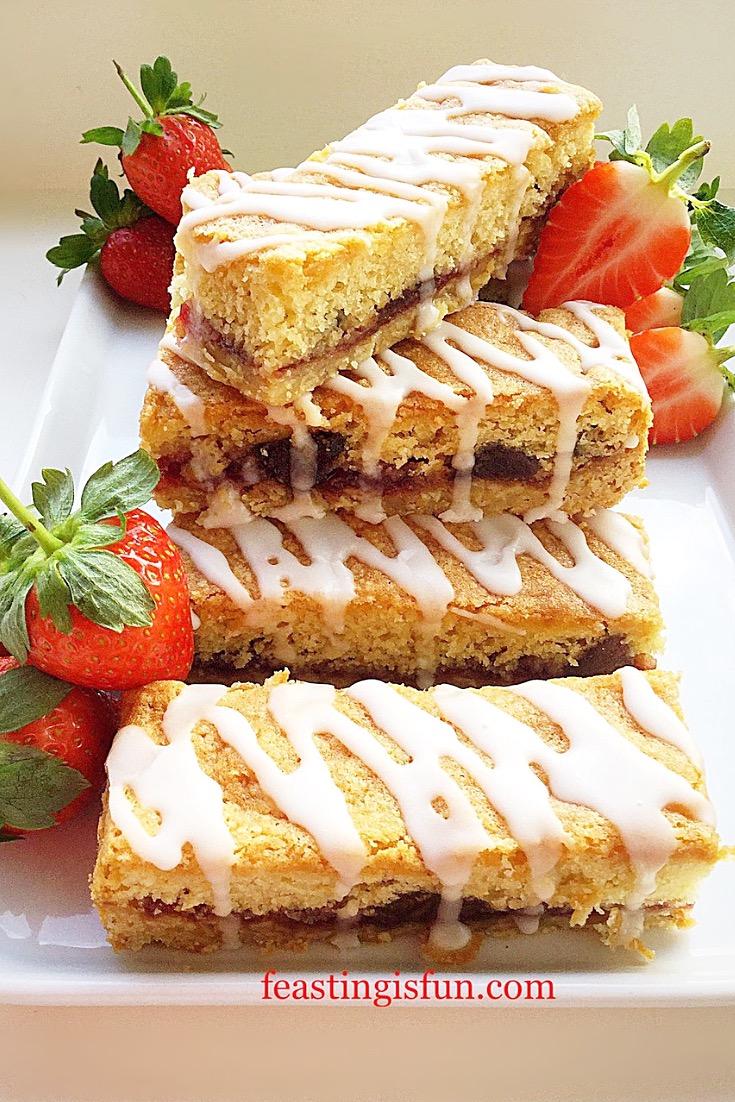
A crisp, oat biscuit base is topped with strawberry jam and then topped with a vanilla cake sponge studded with oven dried strawberries. Urban Fruits sell a range of dried fruits that I have used in previous bakes such as my Strawberry Oat Crumble Cookies. Although the strawberries are dried they are not dry. Think dried apricots. Intense fruit flavour with a chewy bite. Used in these cake bars the strawberries bring an extra depth of flavour as well as texture.
Portable Food
Since my hubby takes a packed lunch to work I try to come up with recipes that travel well. Because these cake bars have a solid biscuit base they are easy to wrap and pop into a lunch box. Likewise, during warmer months they are ideal for picnics. Food that travels well is always a bonus, as it is perfect for taking to friends homes, family get togethers and pot luck gatherings.
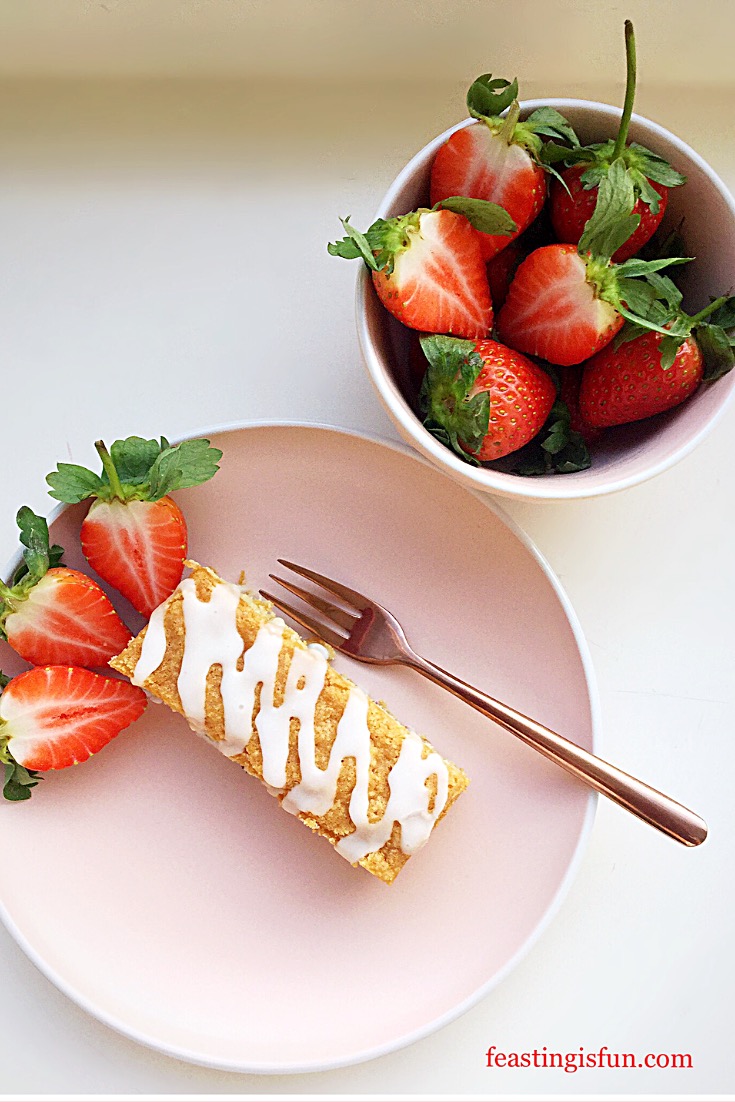
Also these cake bars are perfect for munching on, book in one hand, snack in the other. Sometimes I find a book that I cannot put down and happily munch away whilst reading.
Recipe – Double Strawberry Cake Bars makes 16
For the biscuit base
225g/8oz Unsalted Butter at room temperature
150g/5oz Caster Sugar
1/4tsp Sea Salt (1/8tsp table salt)
1tsp Vanilla Extract – I use Nielsen-Massey
1 Large Free Range Egg Yolk
150g/5oz Rolled Oats (not quick cook)
125g/4.5oz Plain White Flour
175g/6oz (Half a jar of) Strawberry Jam
For the cake layer
175g/6oz Unsalted Butter at room temperature
175g/6oz Caster Sugar (I have used golden caster sugar as that’s what was in the cupboard!)
1/4tsp Sea Salt (1/8tsp table salt)
2tsp Vanilla Extract
3 Large Free Range Eggs
175g/6oz Plain White Flour
2tsp Baking Powder
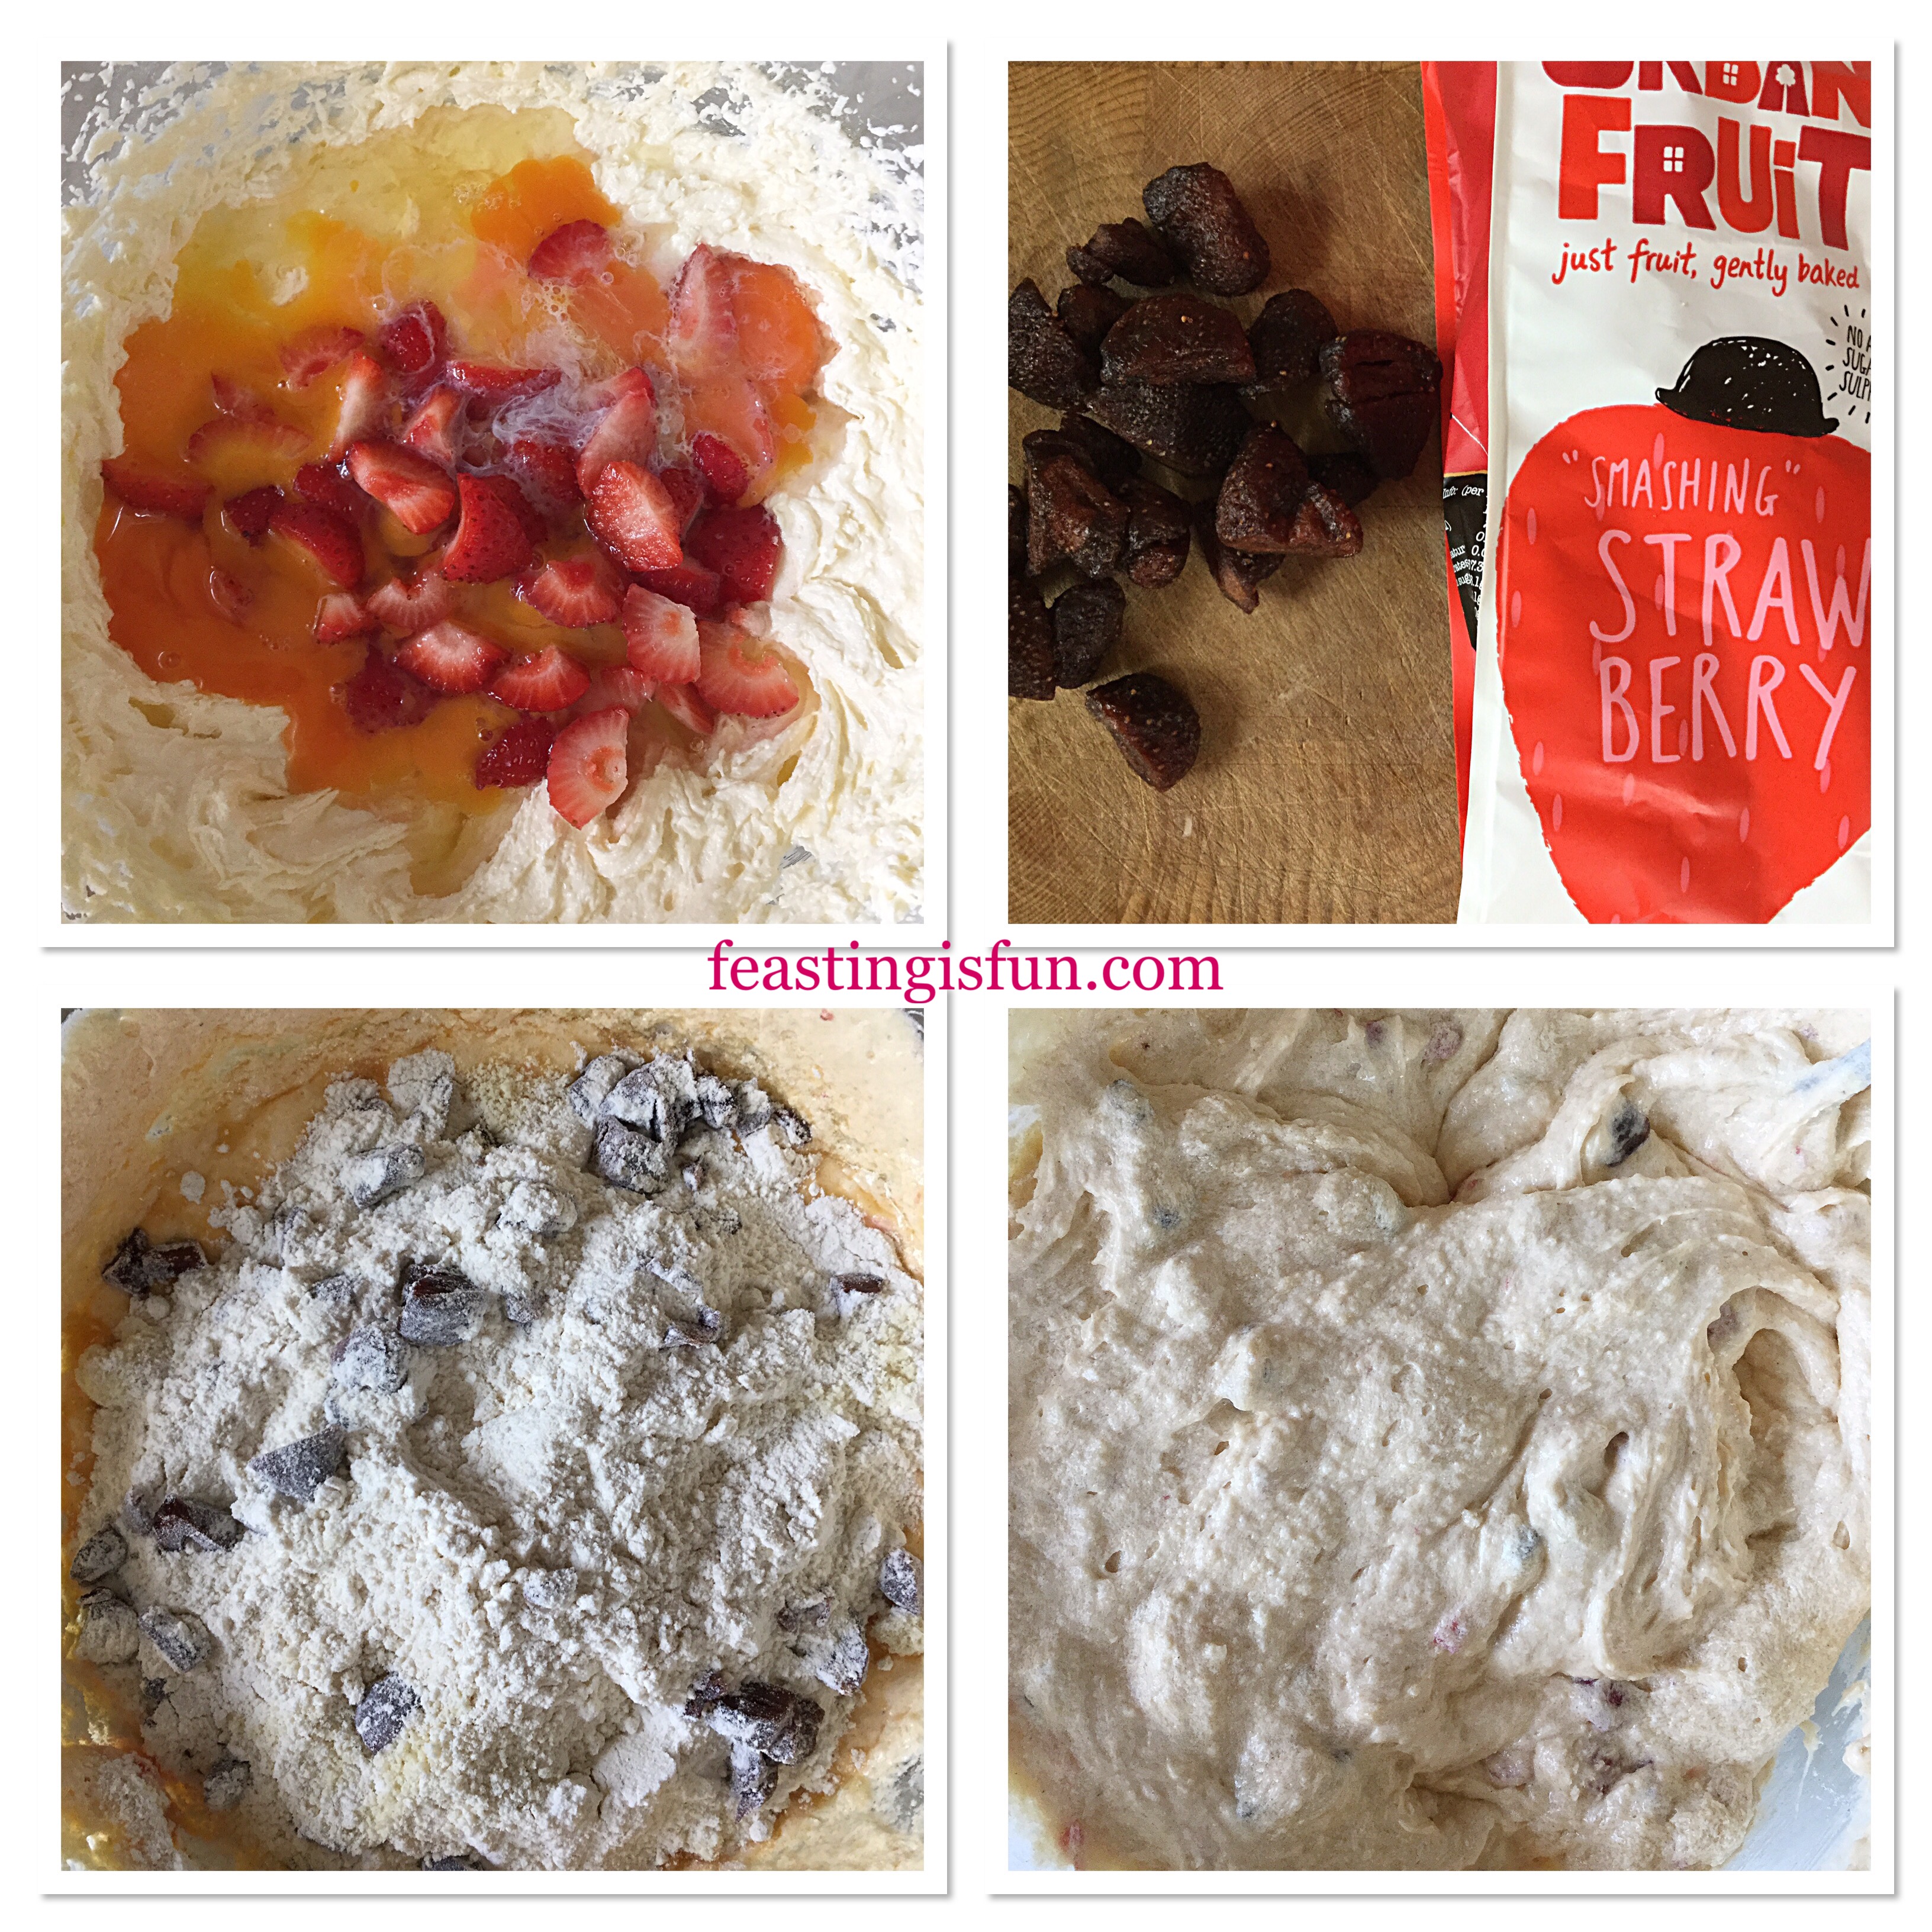
90g/4oz Oven Dried Strawberries – I use 1 packet of Urban Fruit Smashing Strawberry
For the icing drizzle
100g/4oz Icing Sugar (Confectioners Sugar)
2-3 tbsp Fresh Lemon Juice
Method:
Making The Oat Biscuit Base
- First of all line a 22.5cm x 30cm (9” x 12”) deep tin with baking parchment.
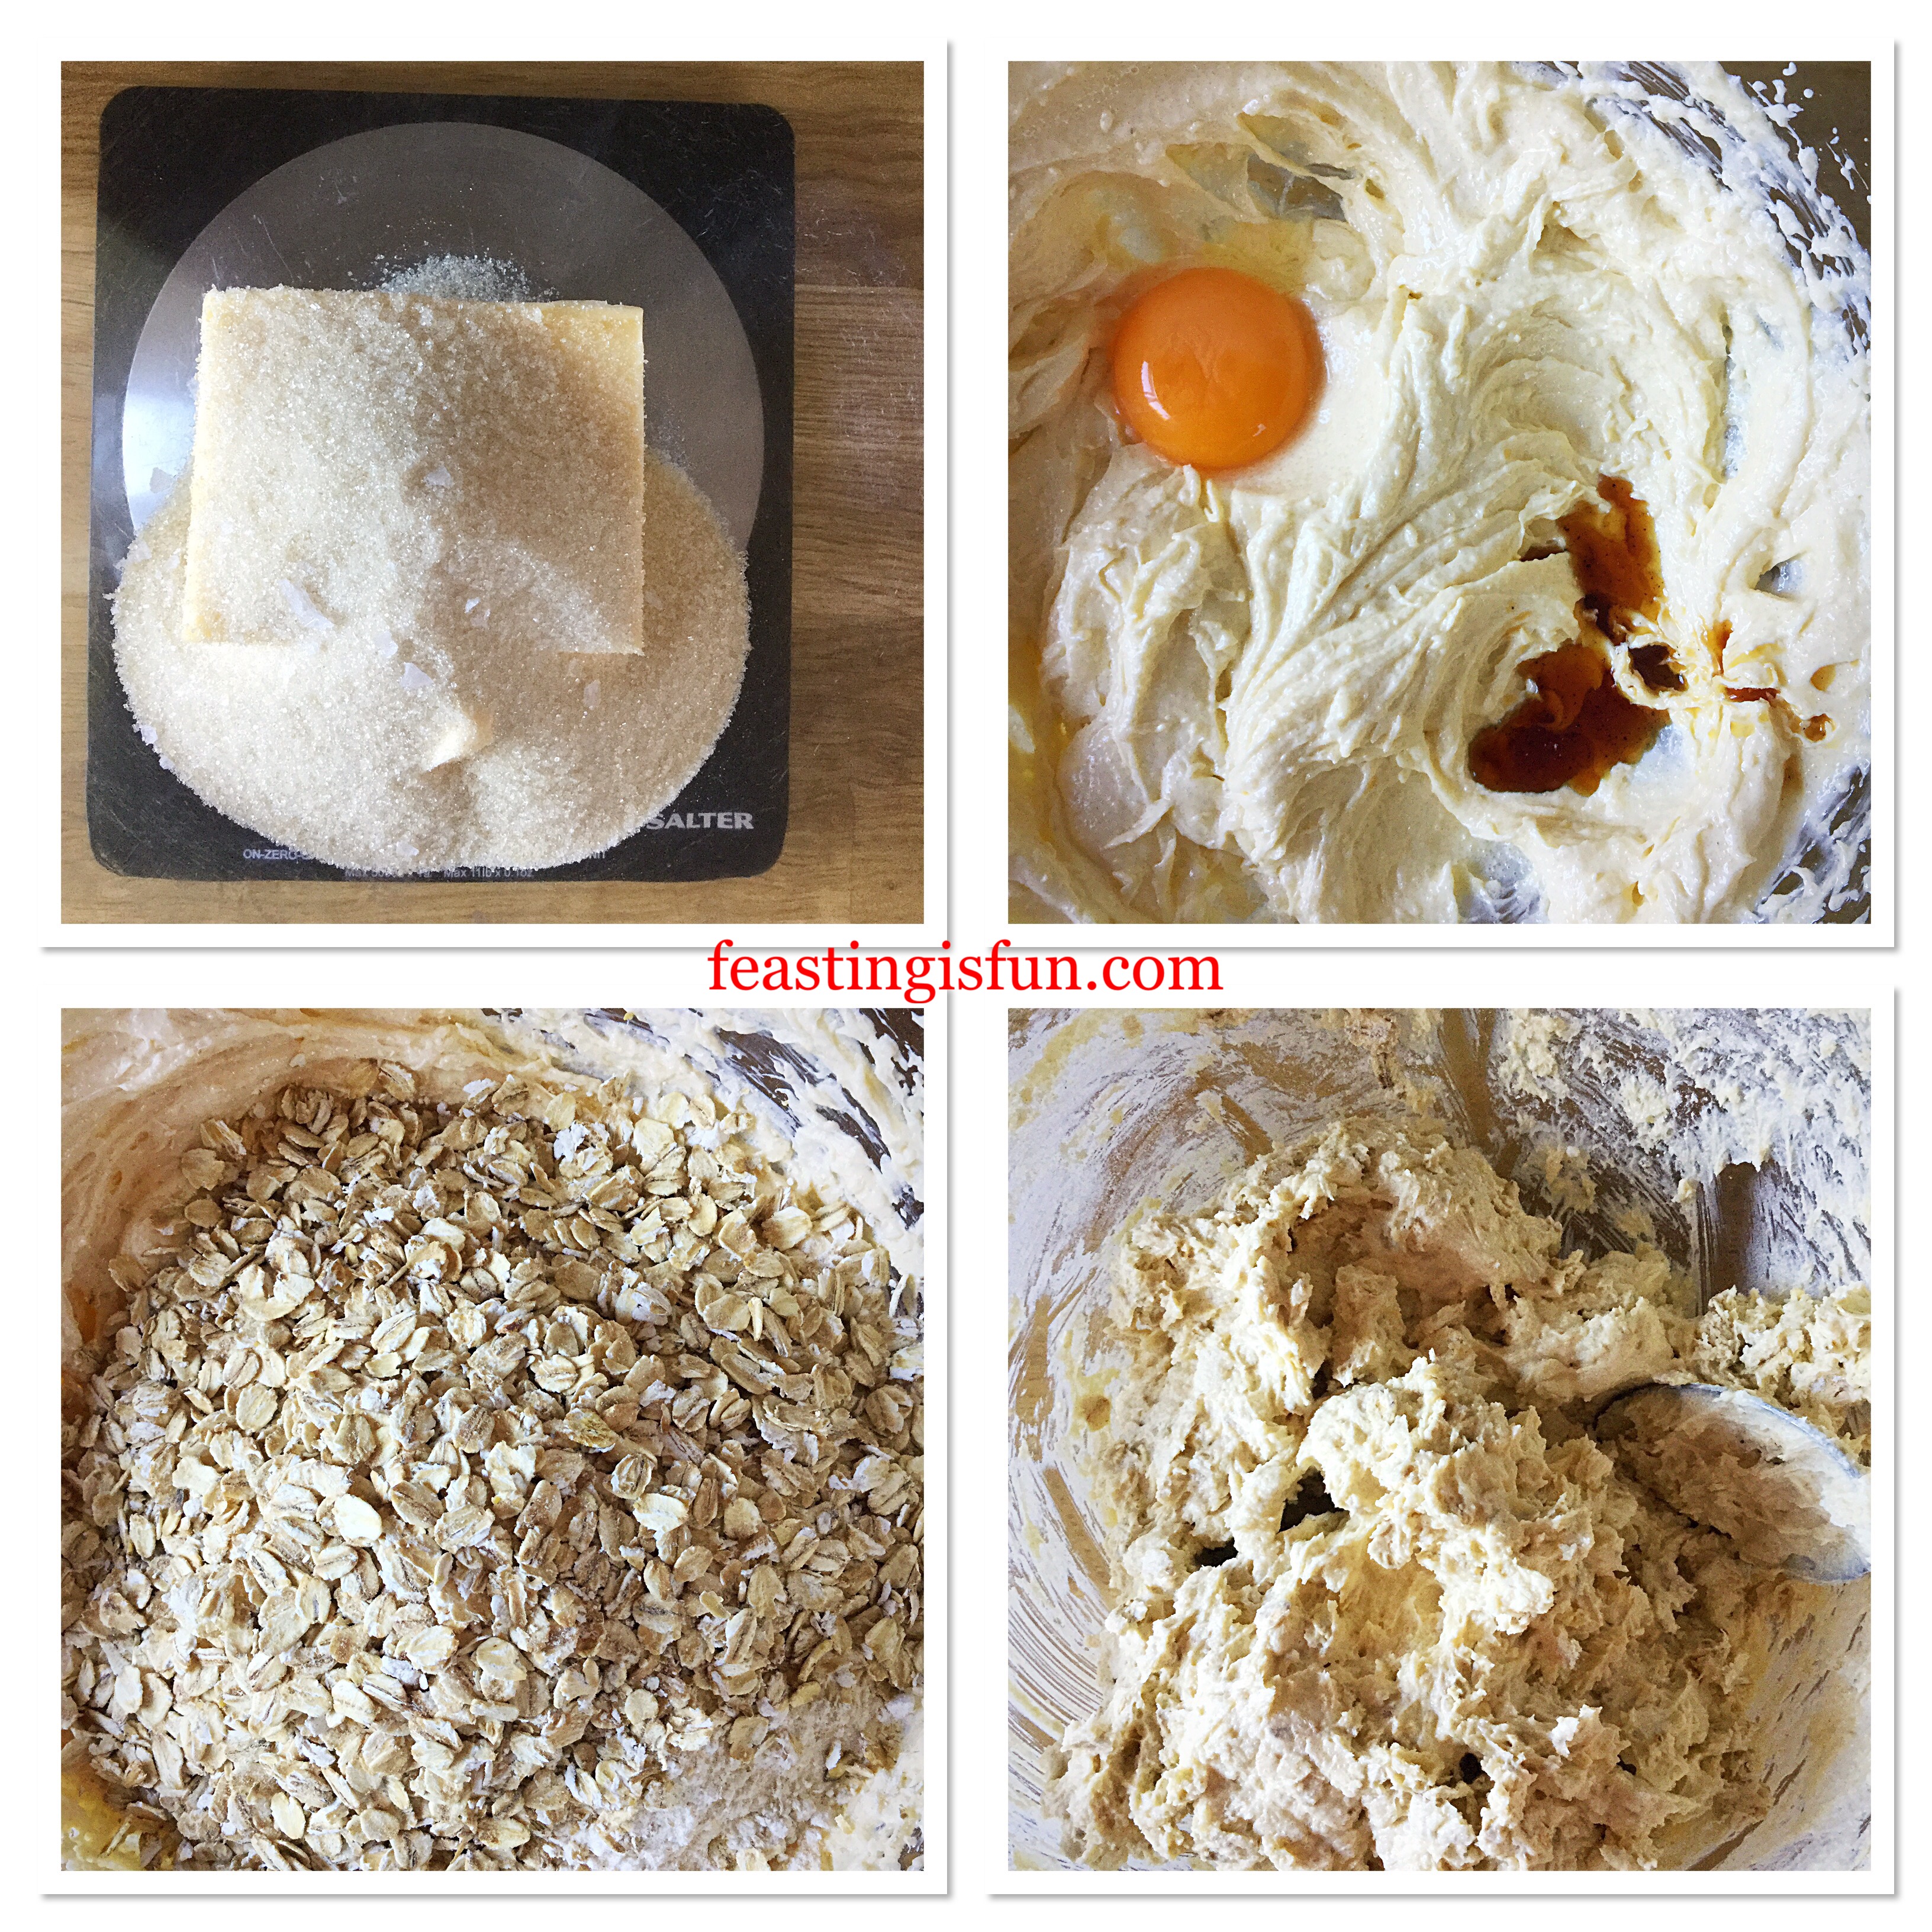
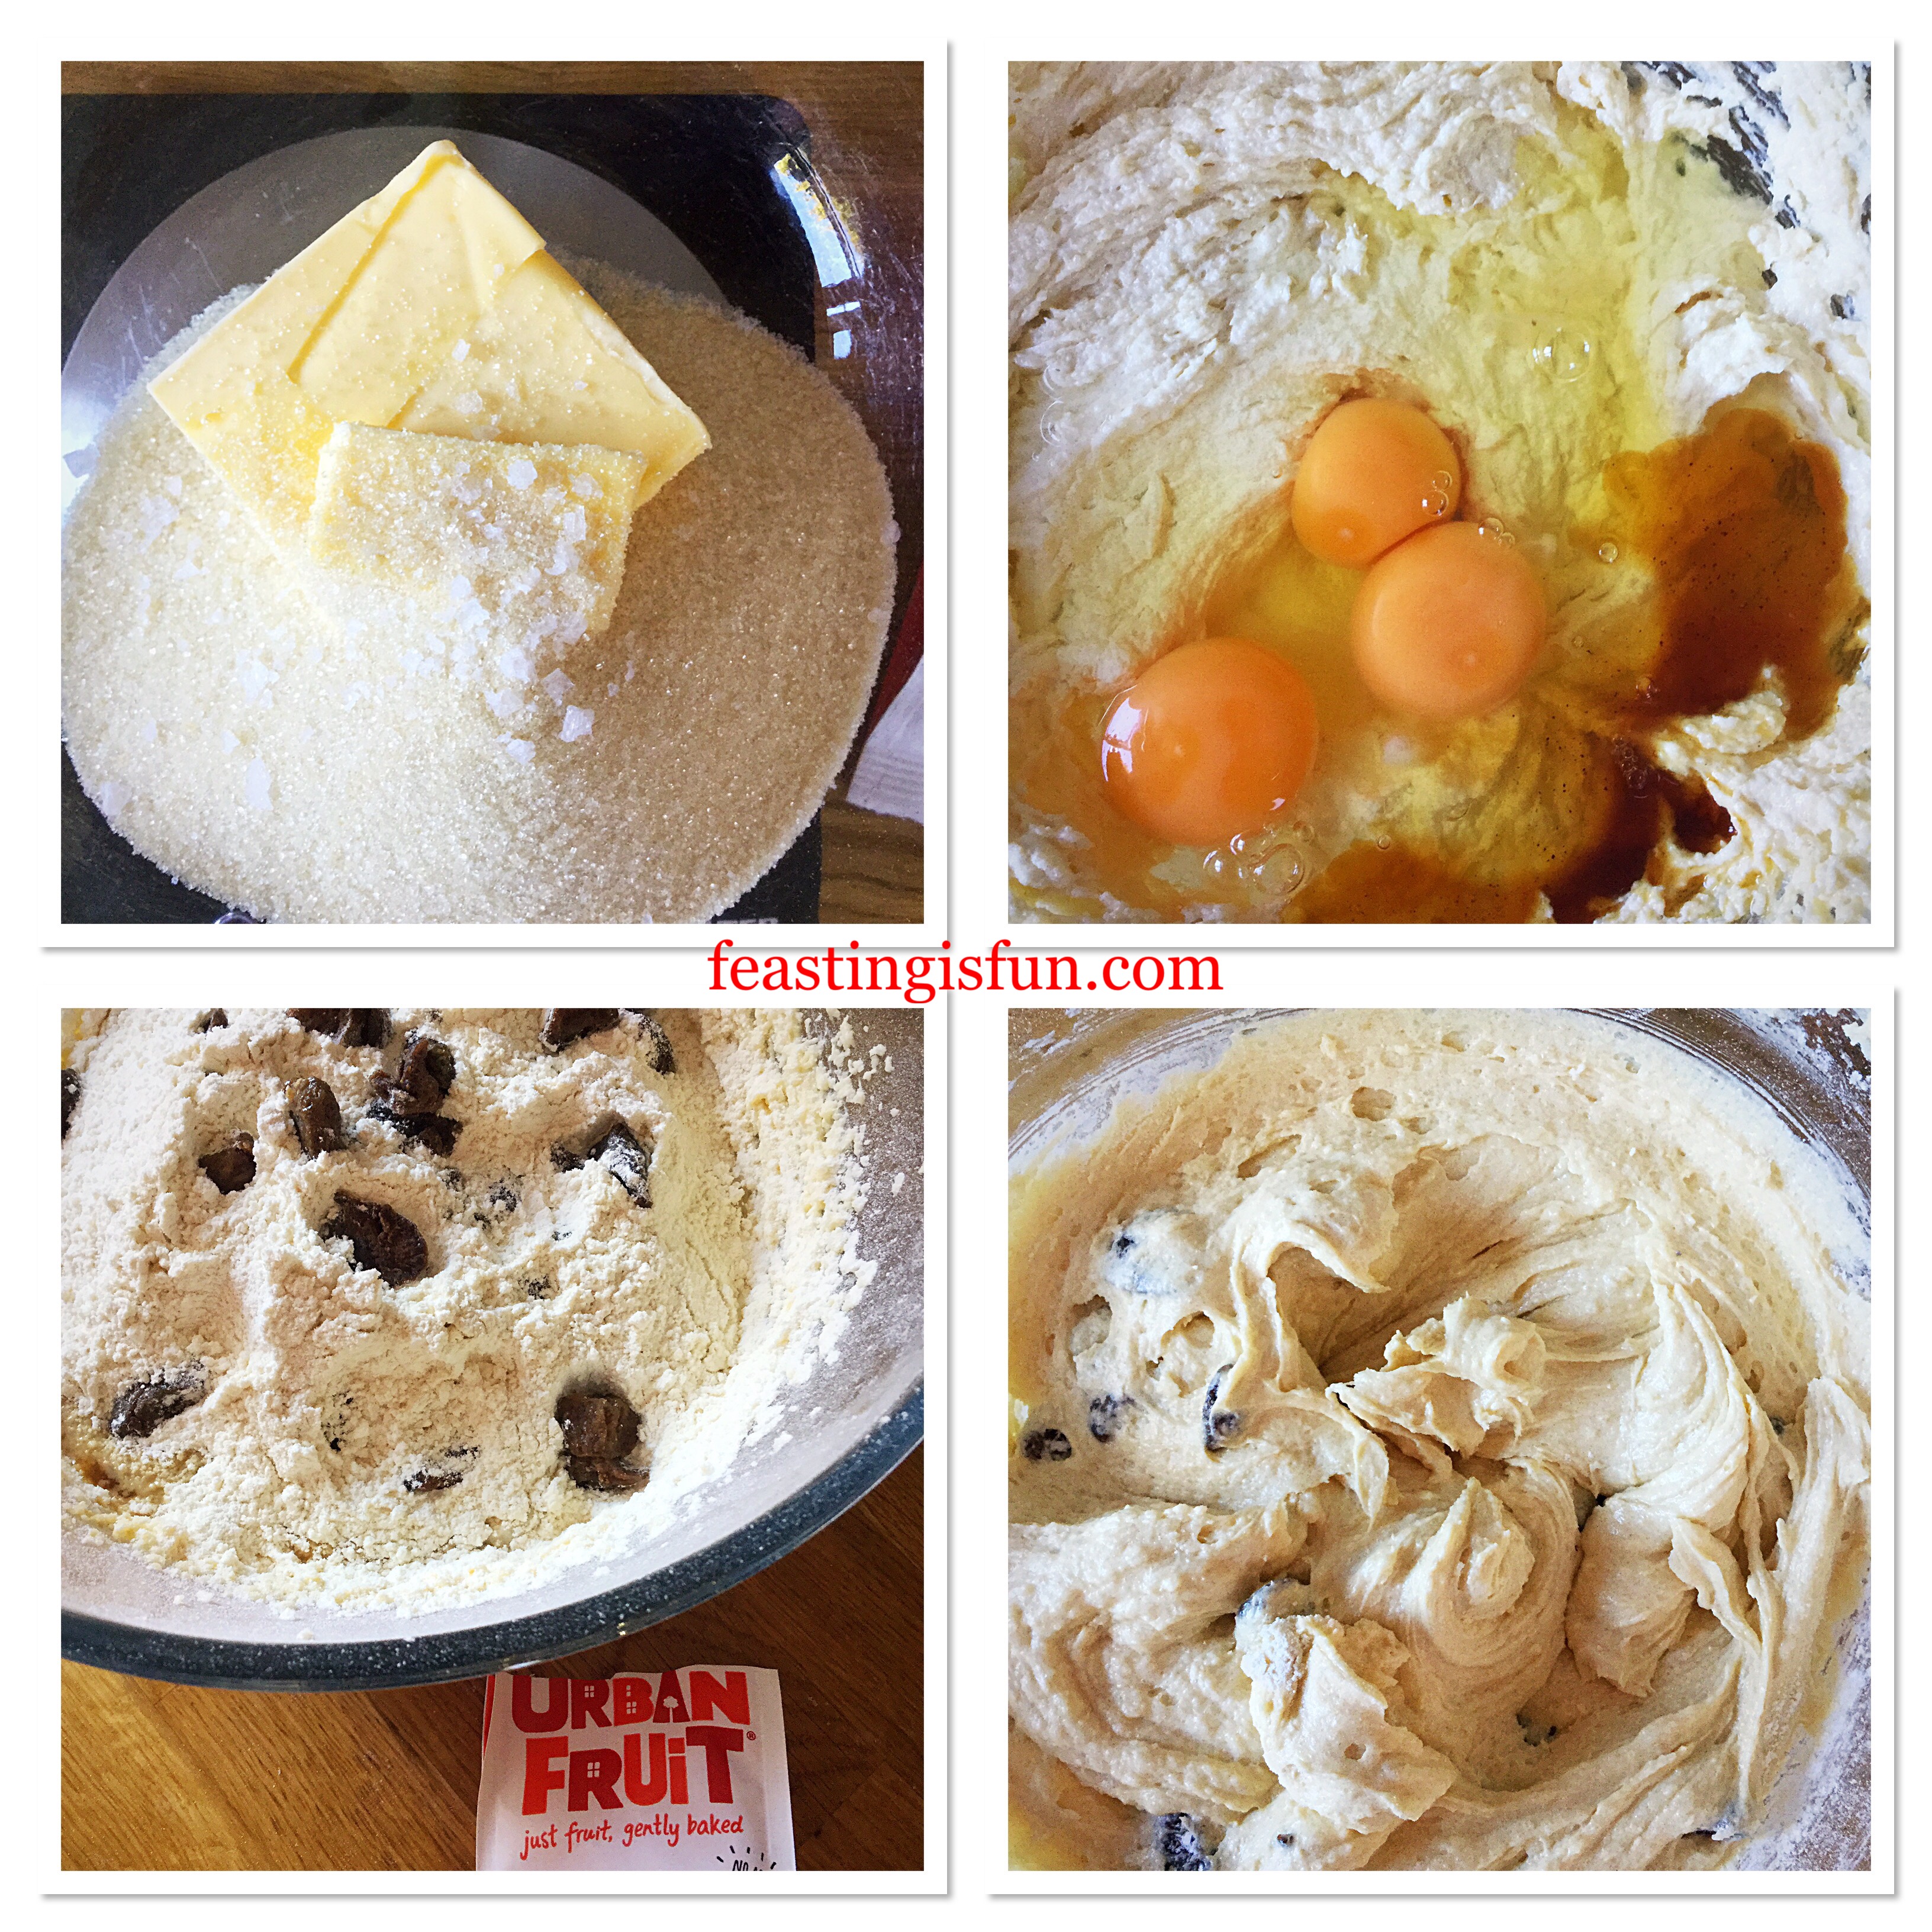
- Into a large bowl add the butter, sugar and salt. Whisk together until pale and creamy.
- Next add the egg yolk and vanilla extract. Whisk together until combined.
- Sift in the flour and add the oats.
- Using a large spoon mix the ingredients together until fully combined.
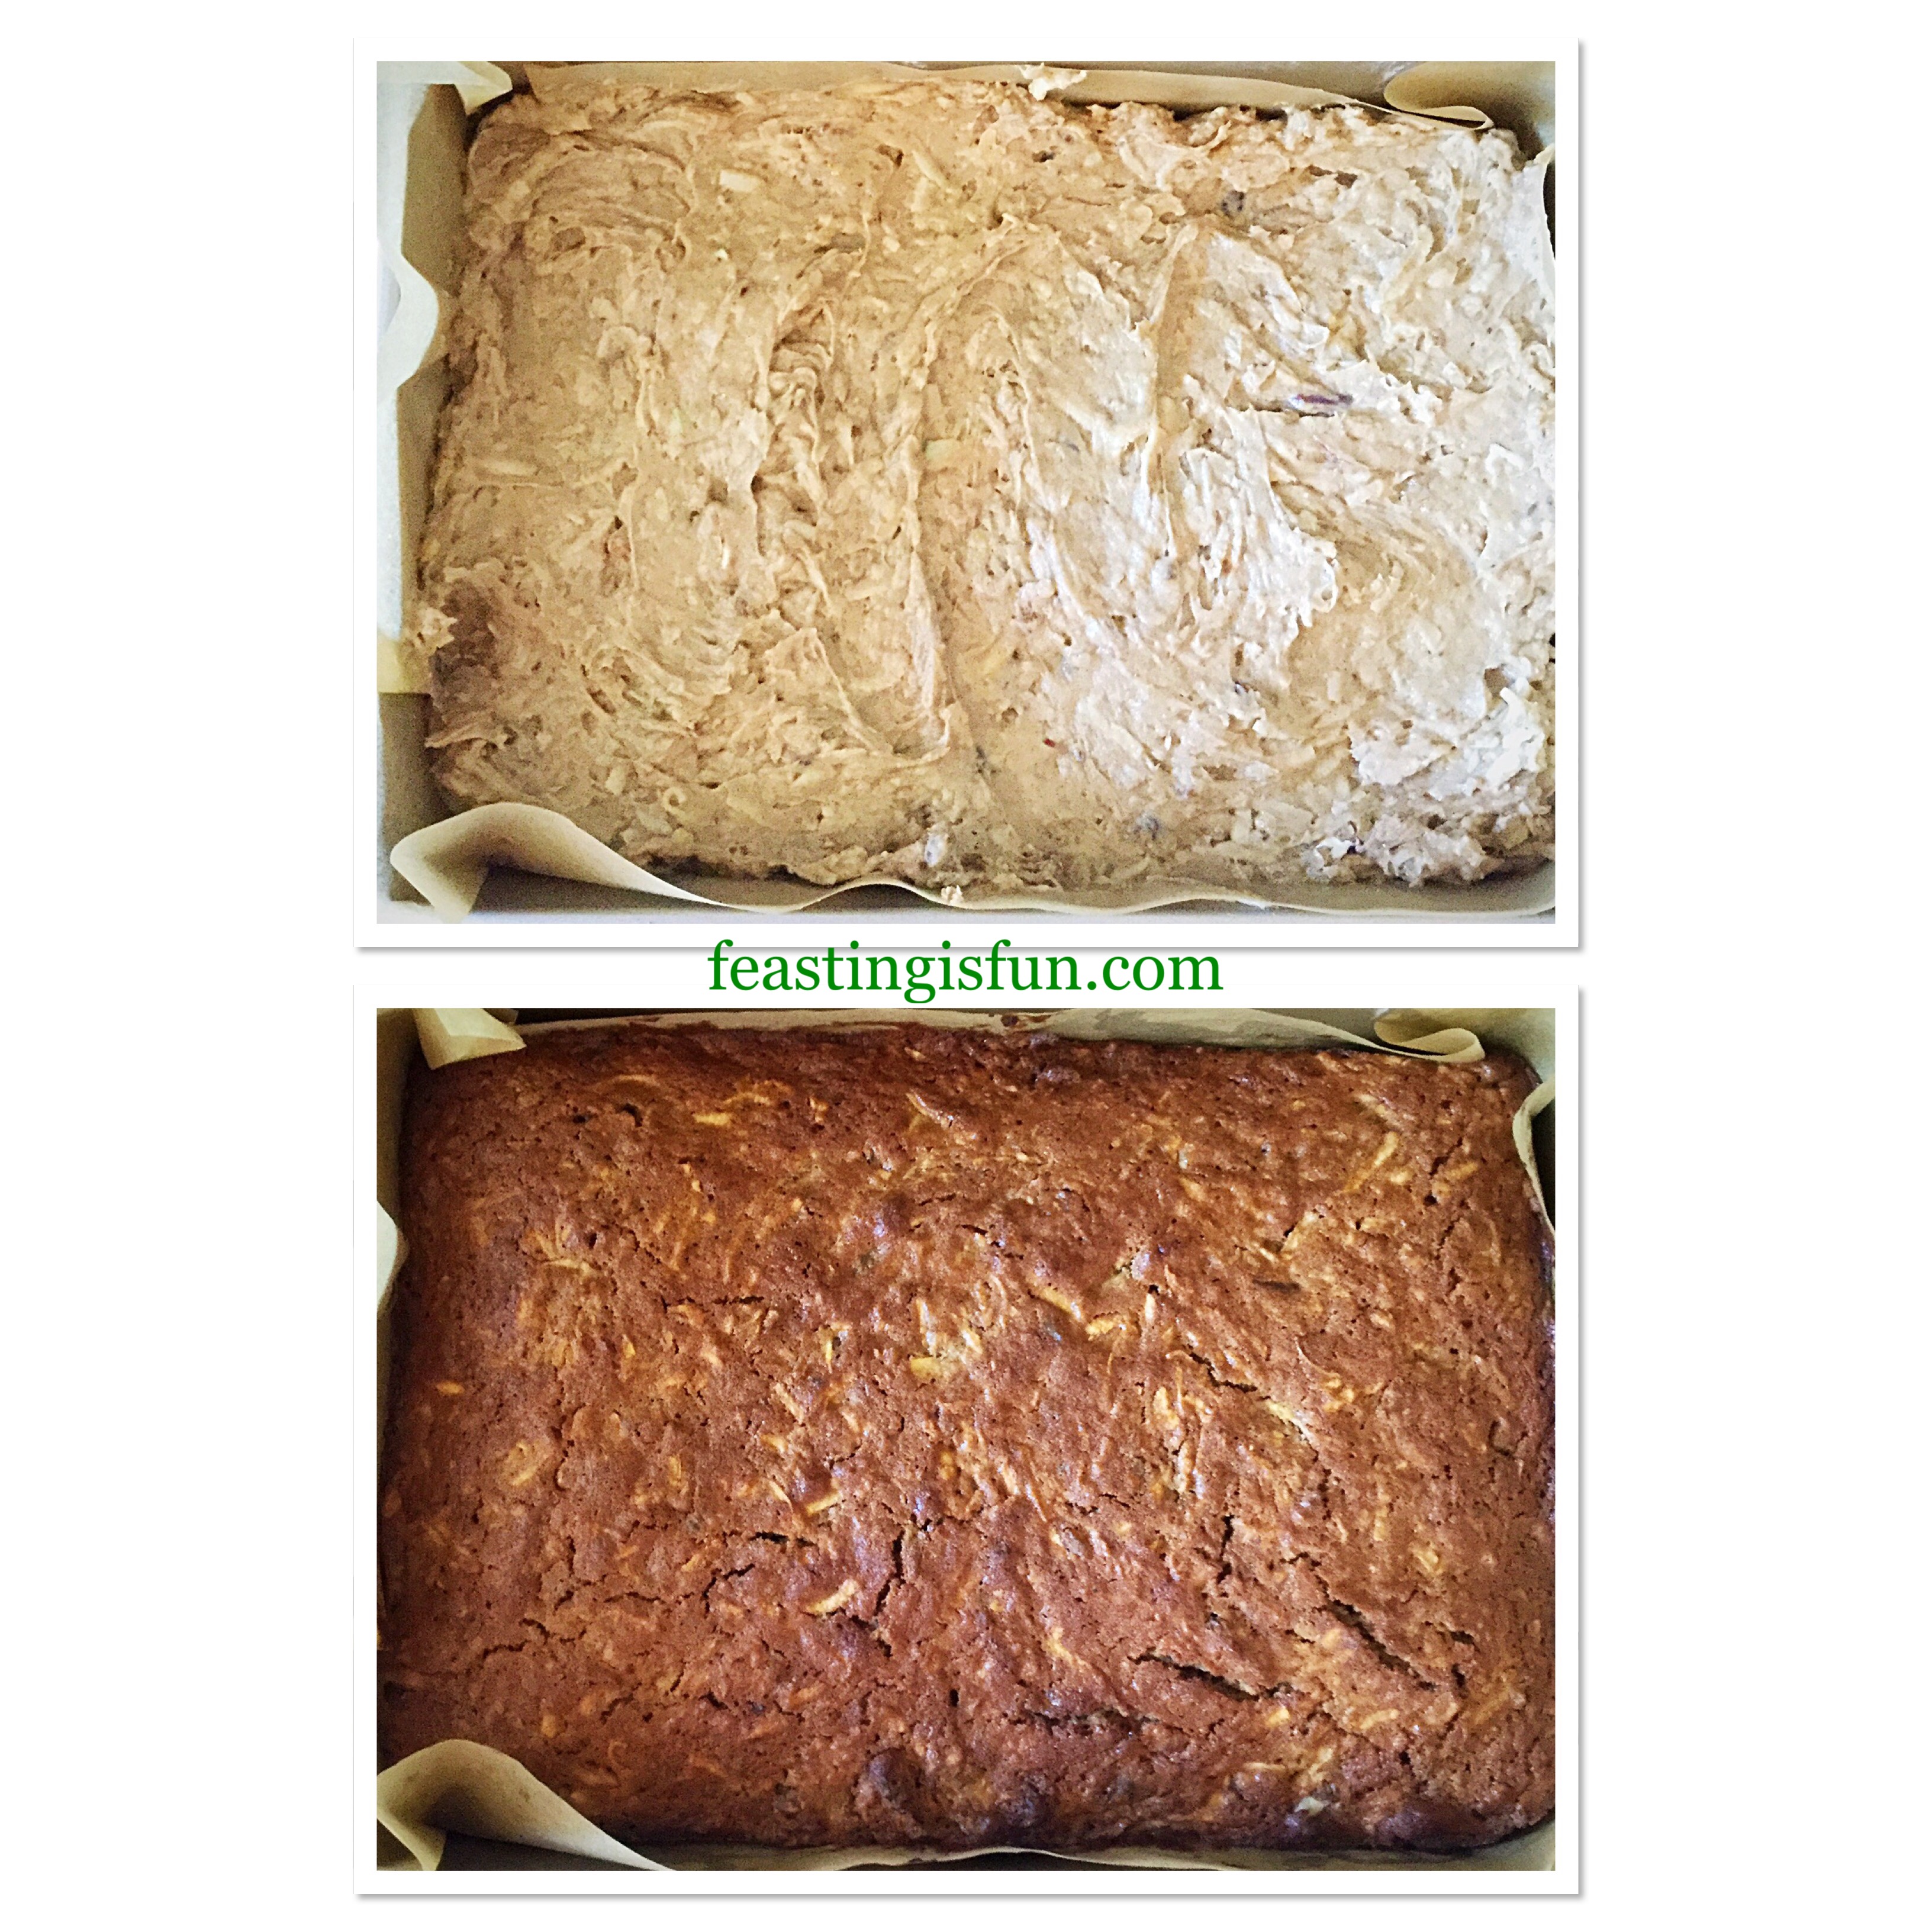
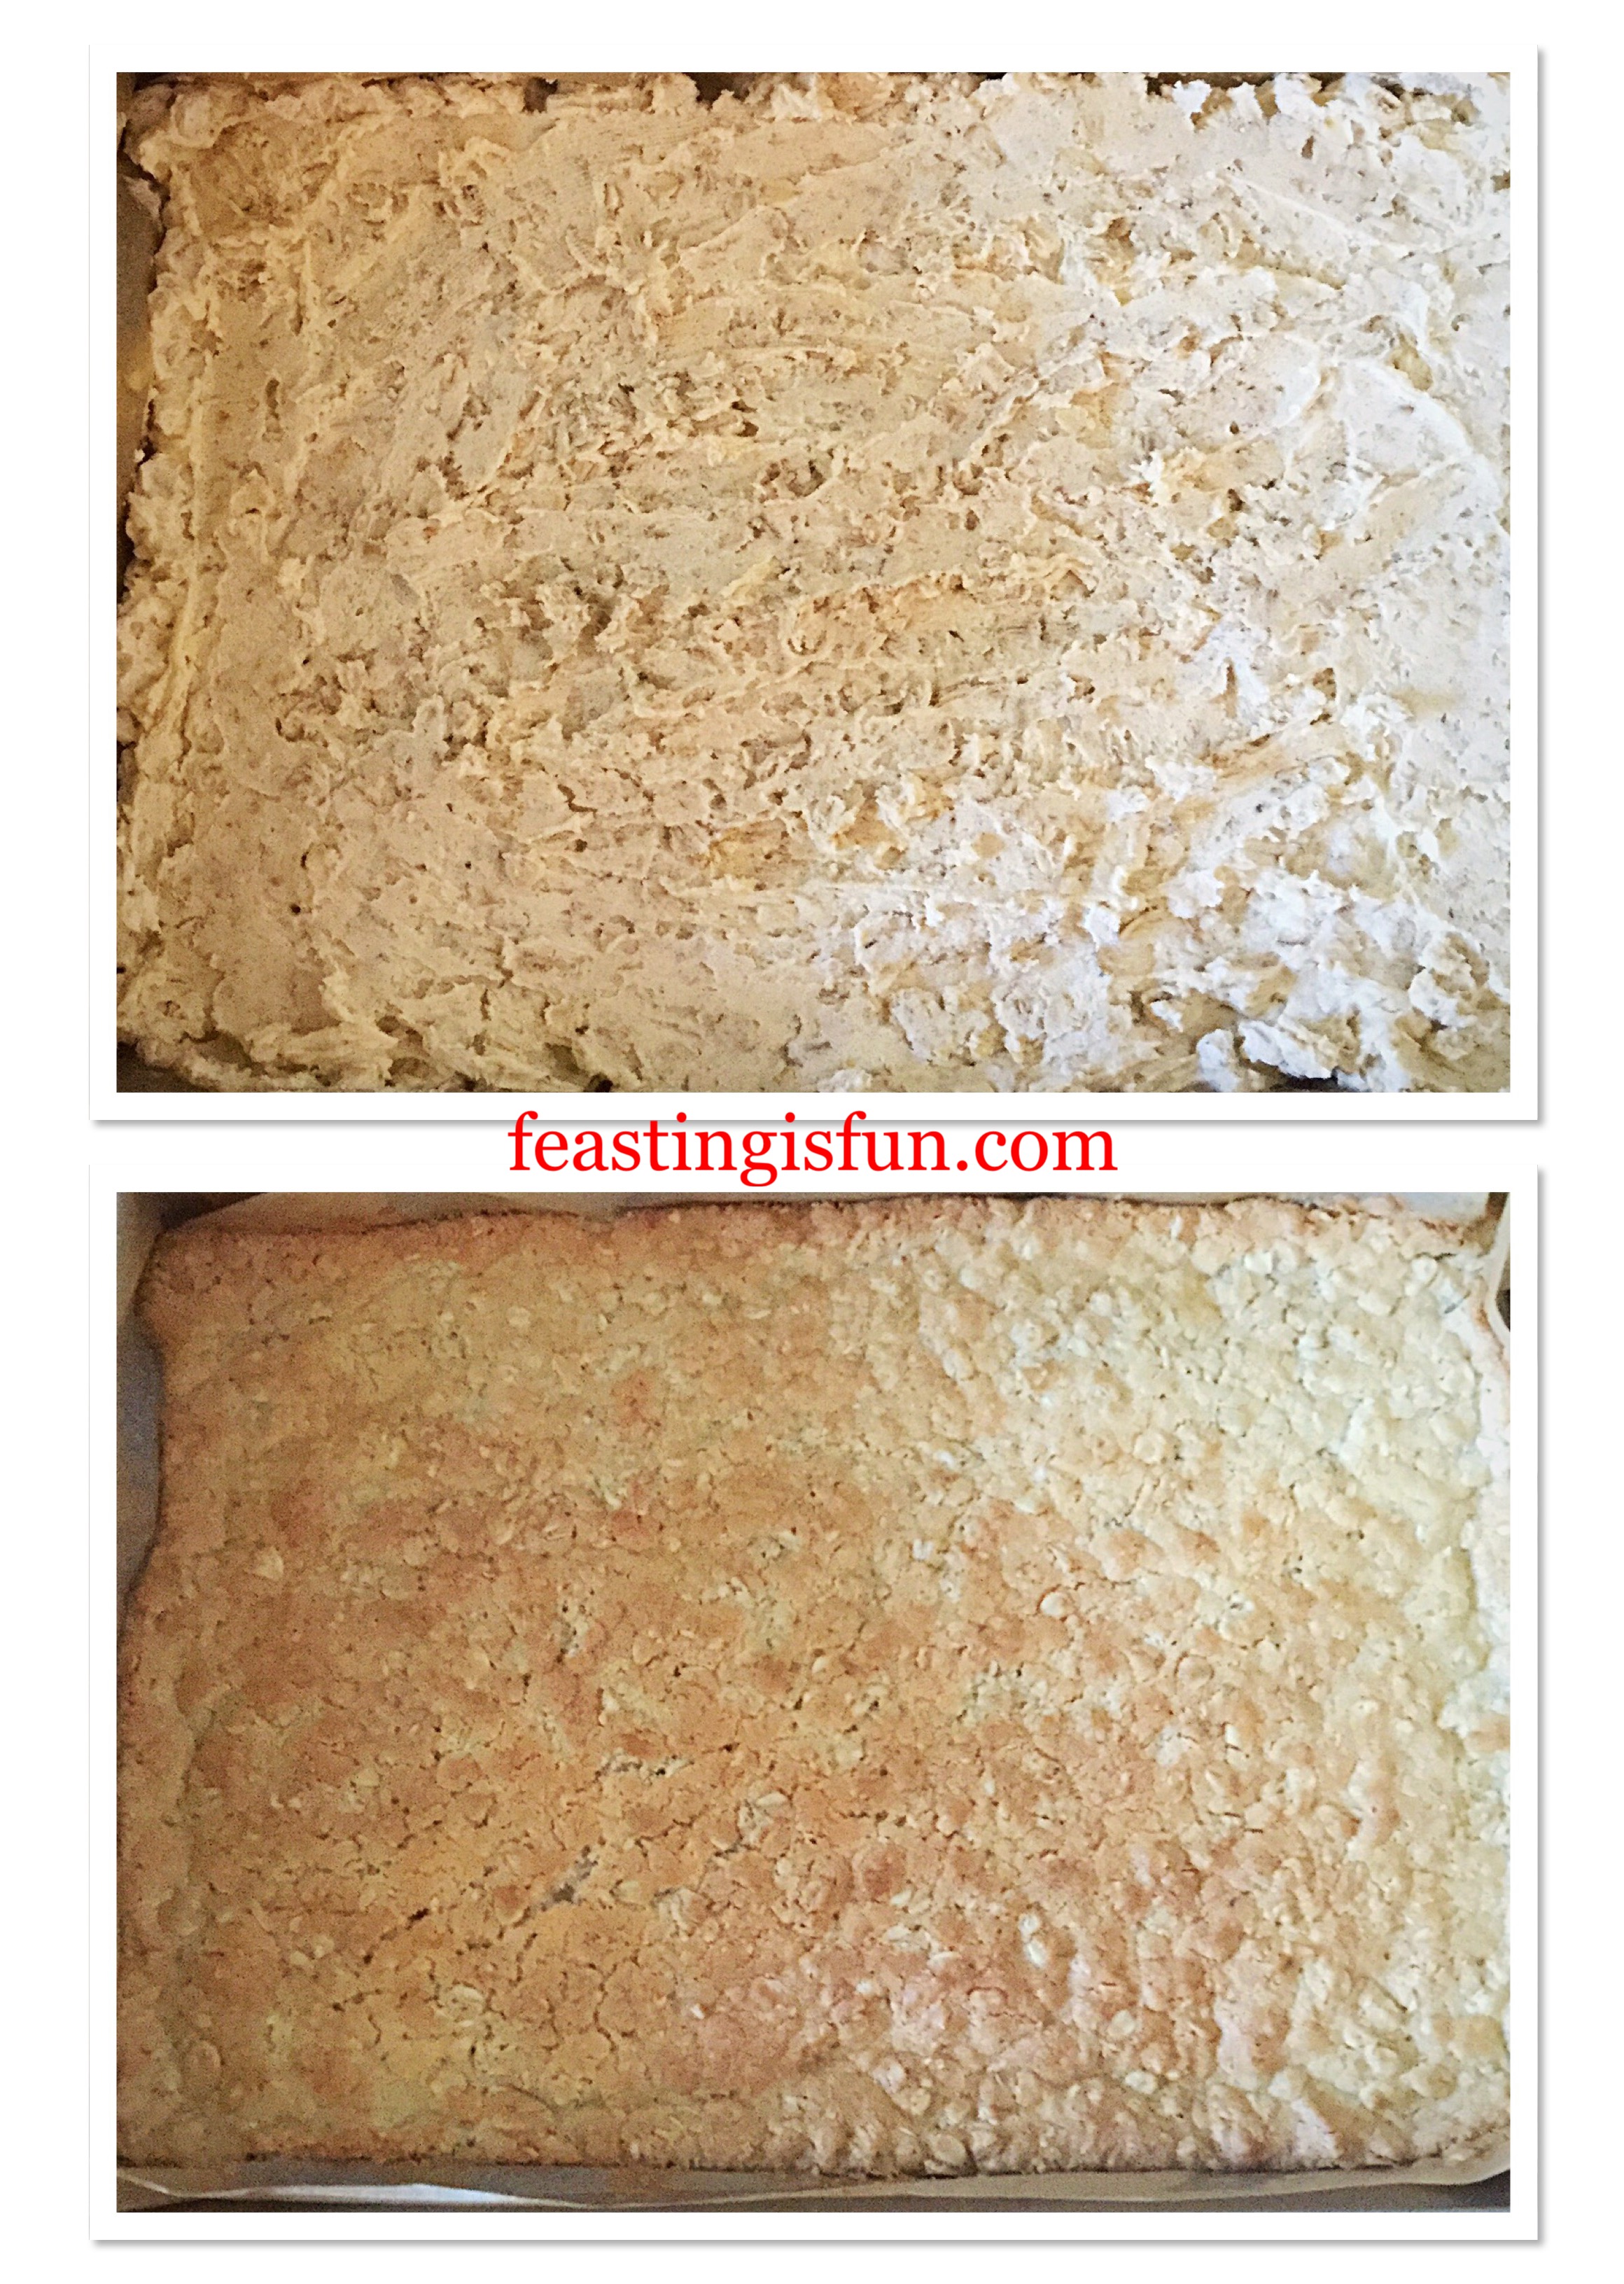
- Spoon the oat biscuit mixture into the prepared tin. Smooth with the back of a spoon to create an even layer.
- Place the tin into the fridge for 30 minutes.
- While the biscuit base is firming up in the fridge preheat the oven to 180C/160C fan, 350F, gas mark 4.
- As soon as the base has chilled place the tin into the centre of the oven and bake for 20 minutes.
- Remove the tin and immediately reduce the oven temperature to 160C/140C fan, 325F, gas mark 3.
- While the base is cooling make the cake batter.
Making And Adding The Cake Batter
- Add the butter, sugar and salt to a large bowl and whisk until combined.
- Next add 3 eggs and the vanilla extract. Whisk until combined.
- Sift in the flour and baking powder then add the dried strawberries.
- Stir with a spoon until the cake batter just comes together.
- Spoon strawberry jam on to the biscuit base, using the back of a spoon to create an even layer that does not touch the edges.
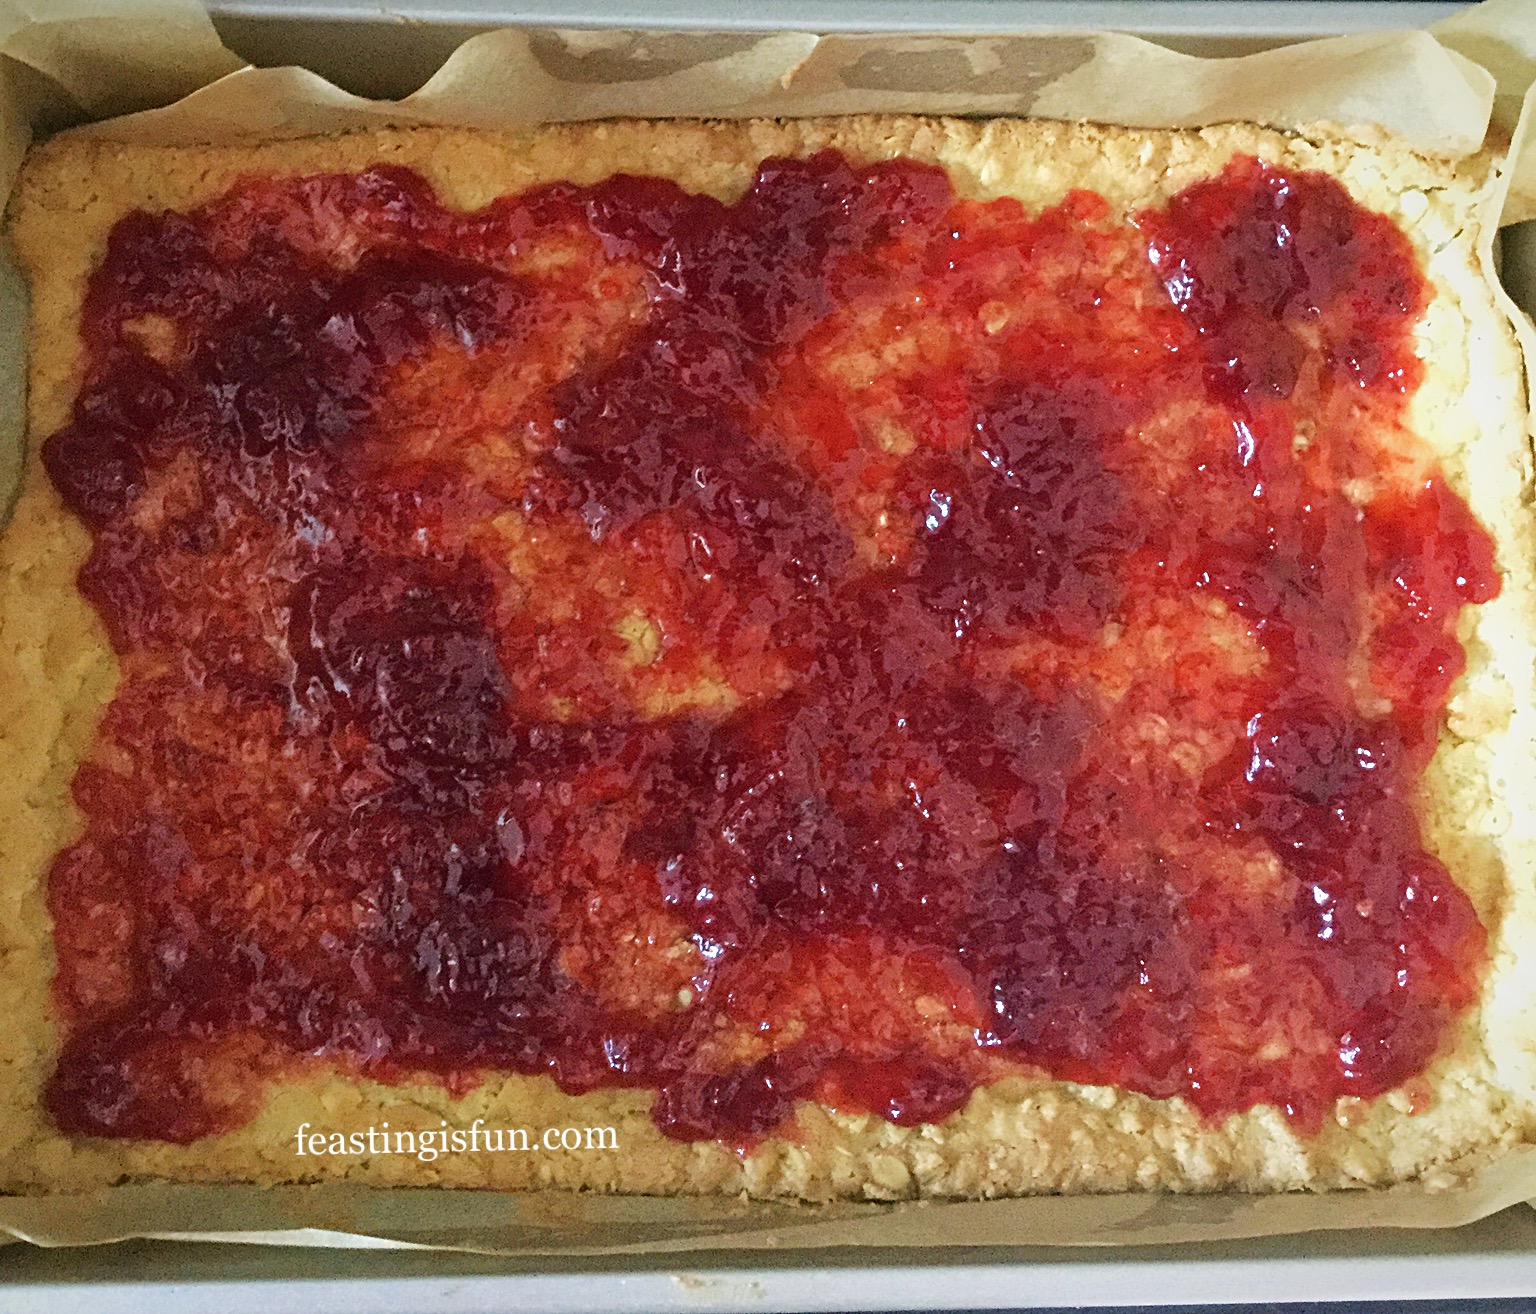
- Cover the layer of jam with cake batter. I found it easier to create an even layer using a fork.
- Ensure the cake batter goes right to the edge. Doing so stops the jam from leaking out.
- Place the tin into the centre of the oven and bake for 45-50 minutes.
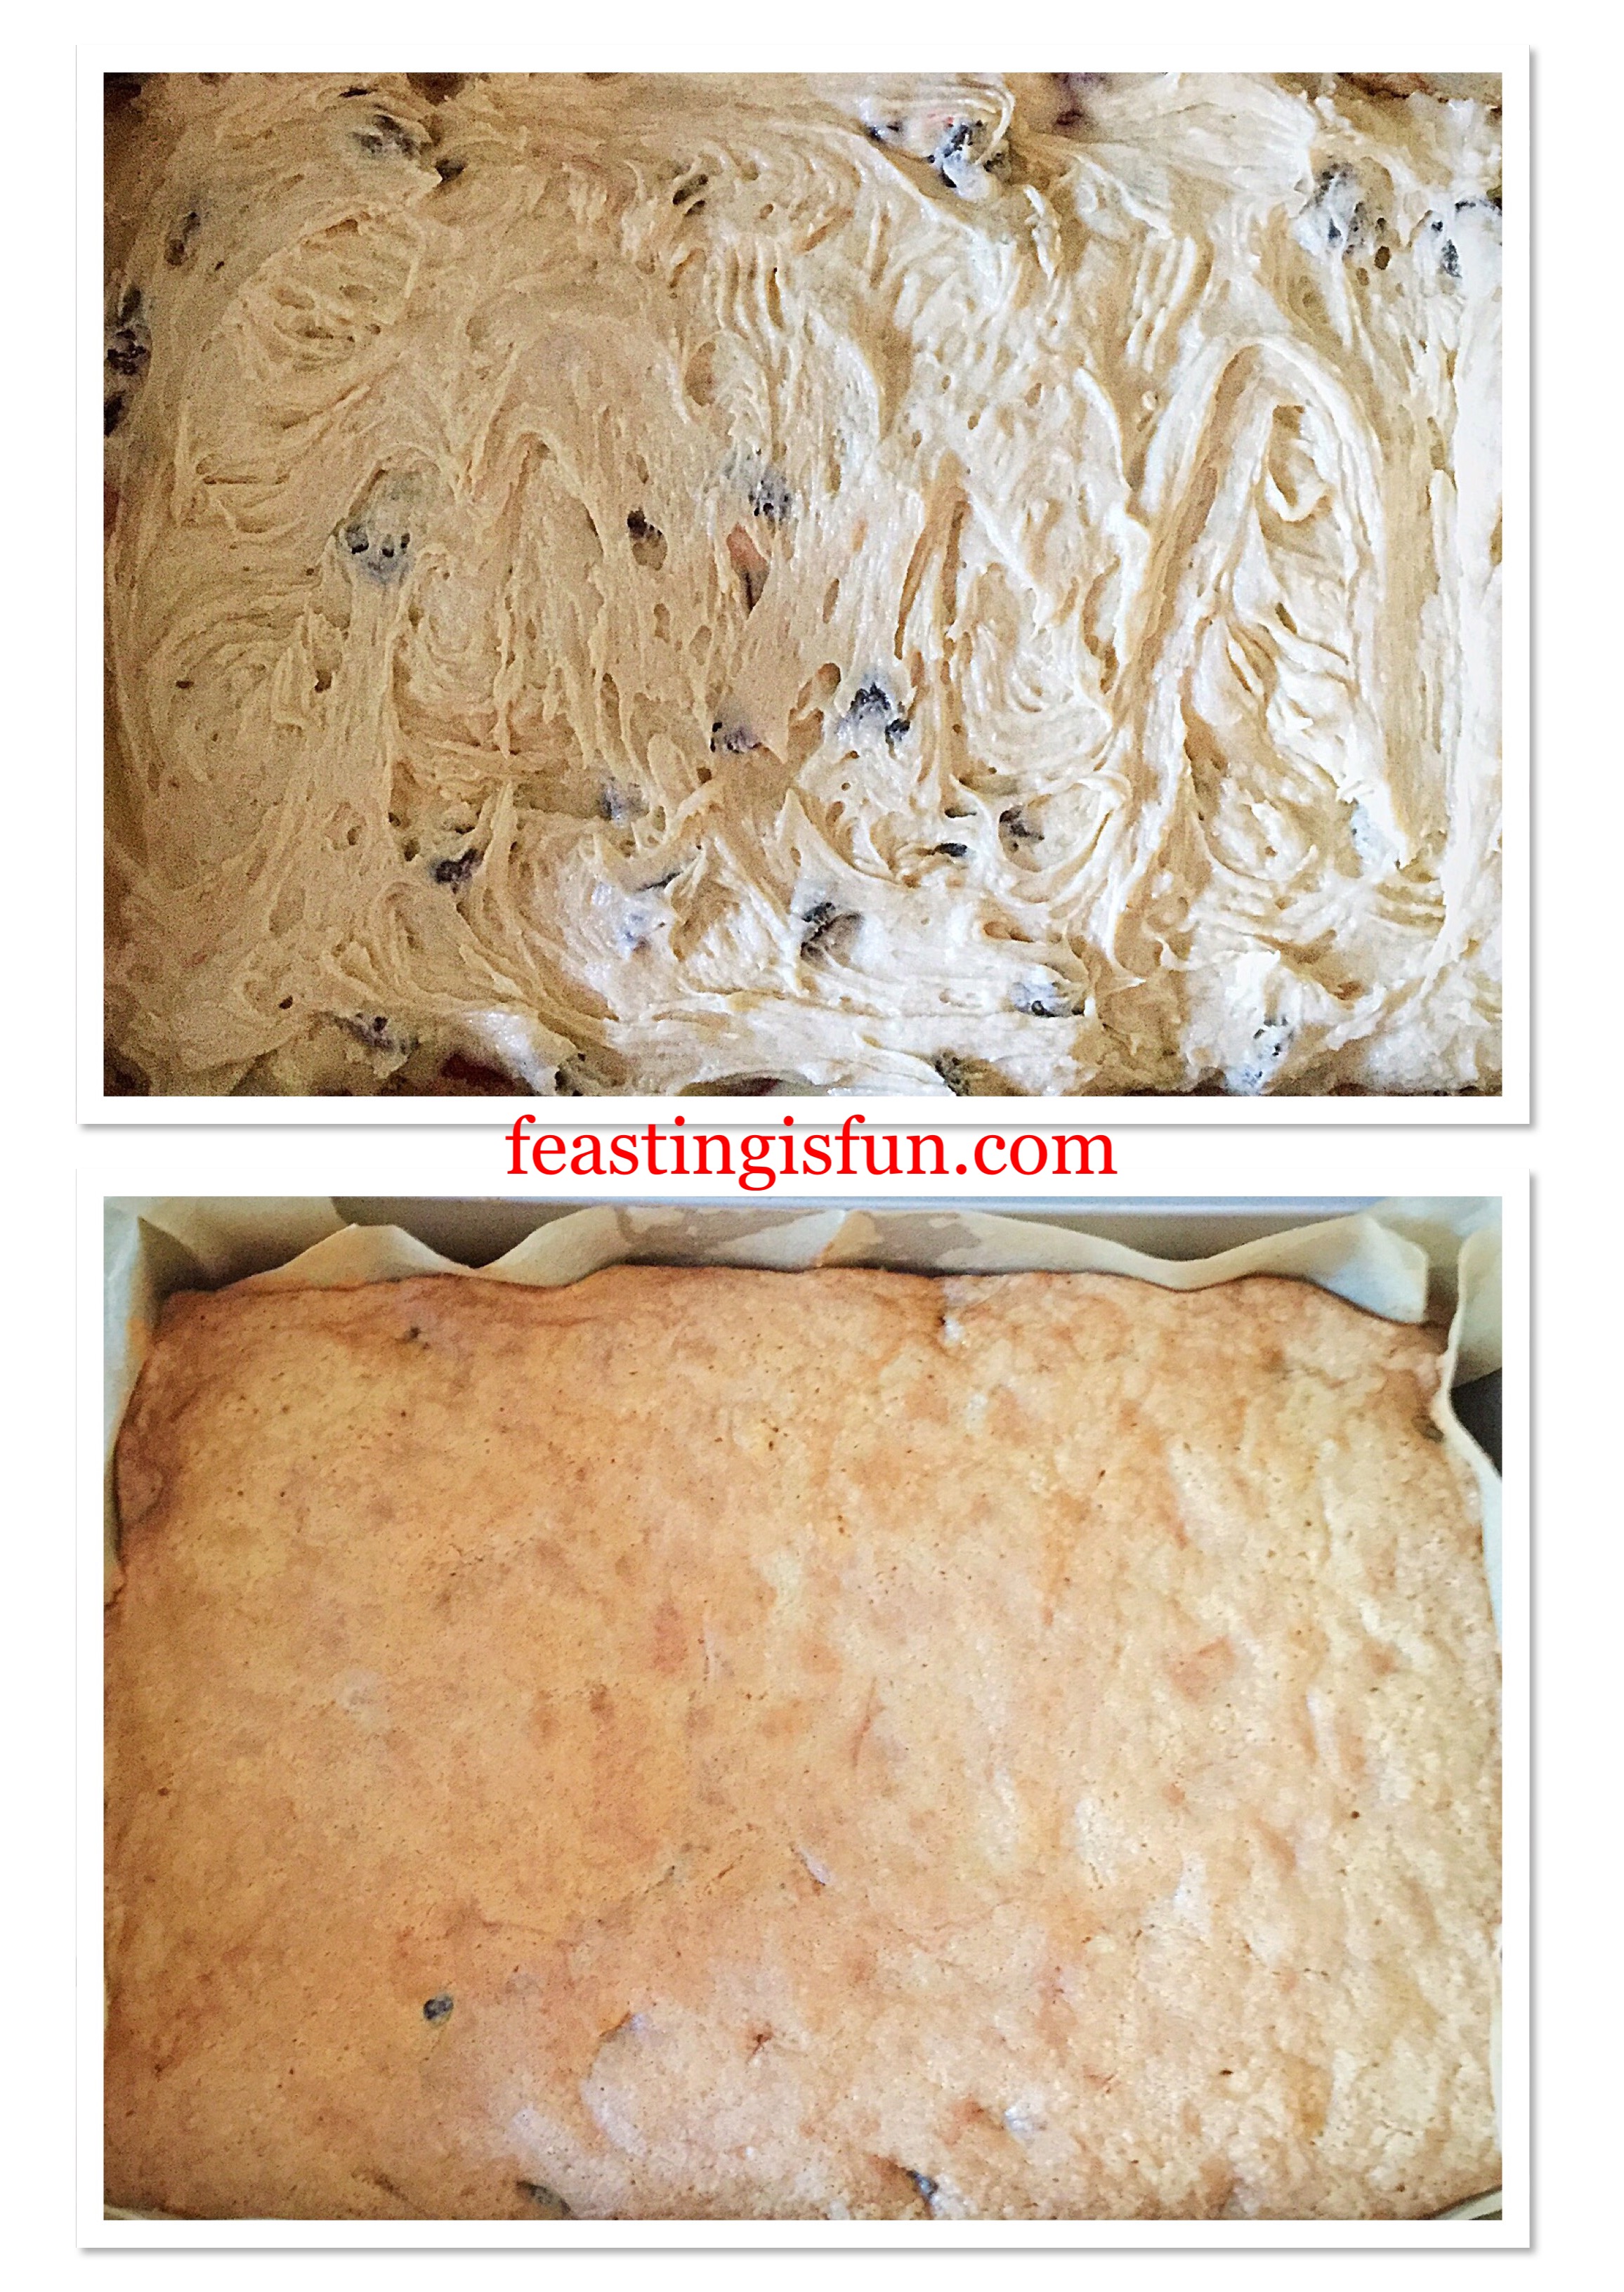
- The cake layer is fully baked when it is lightly pressed and springs back in the centre.
- As soon as it is baked remove from the oven.
- Leave to cool completely in the tin.
- As soon as the cake is cooled lift it out of the tin using the baking parchment to help.
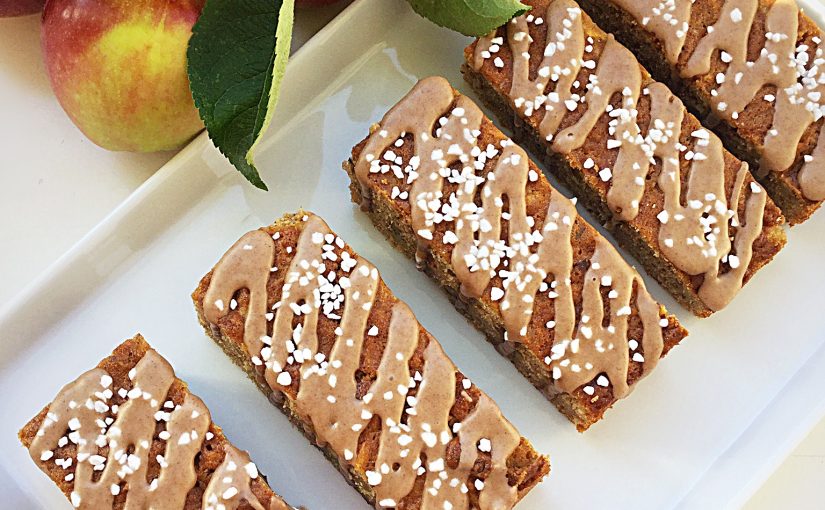
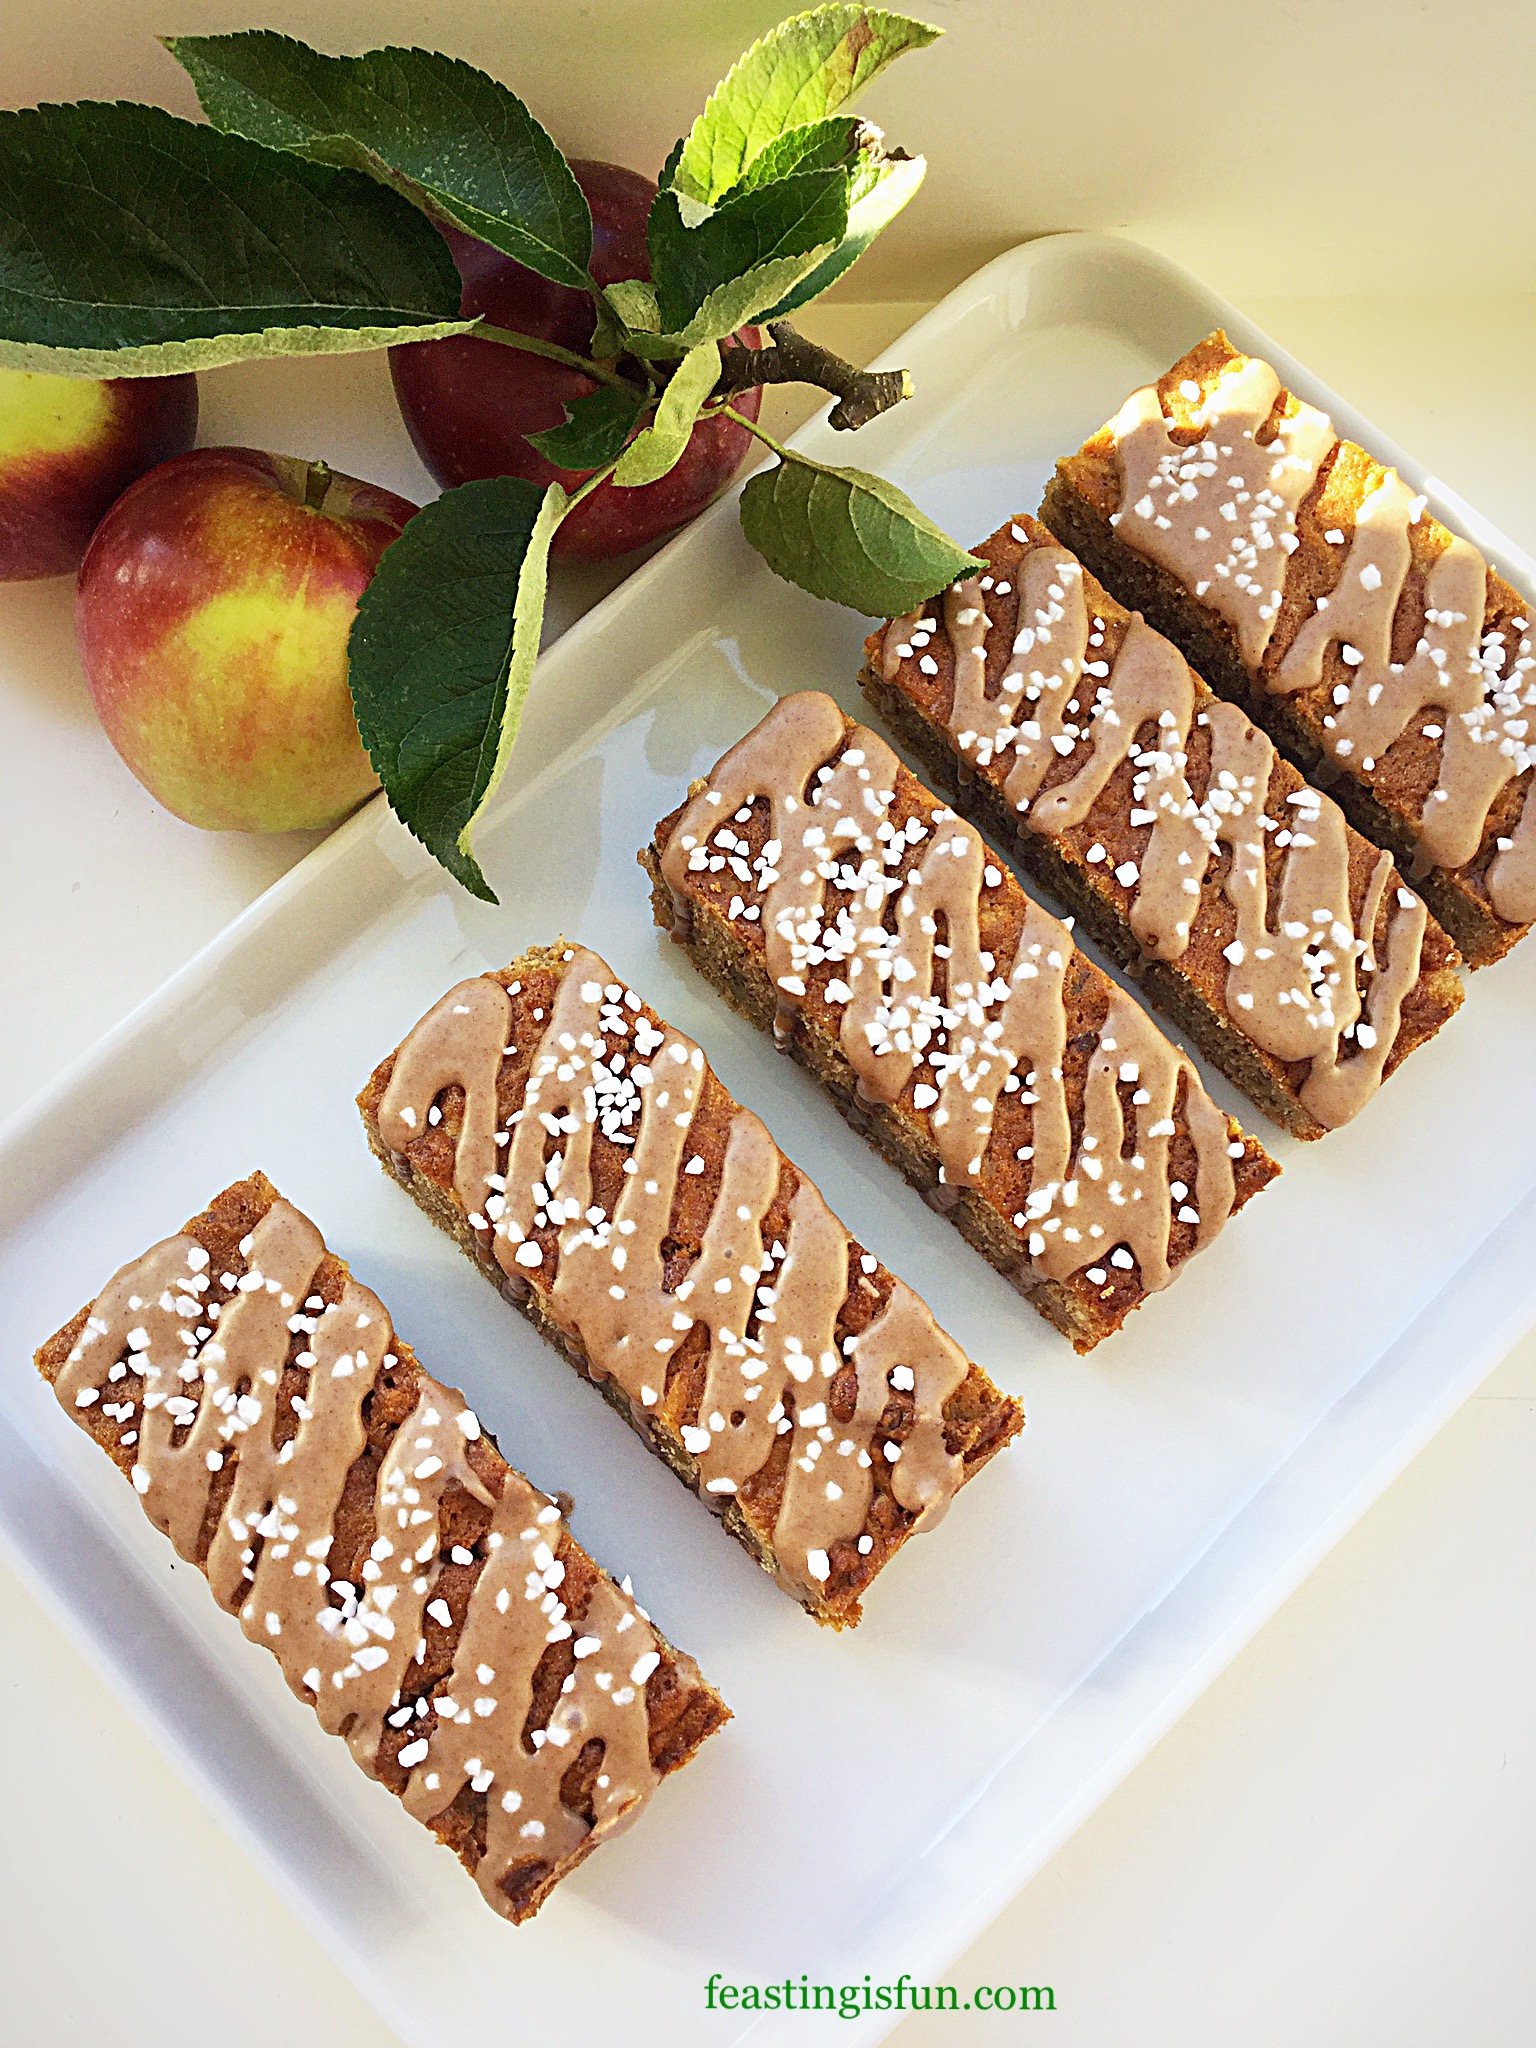
Portioning And Decorating The Cake Bars
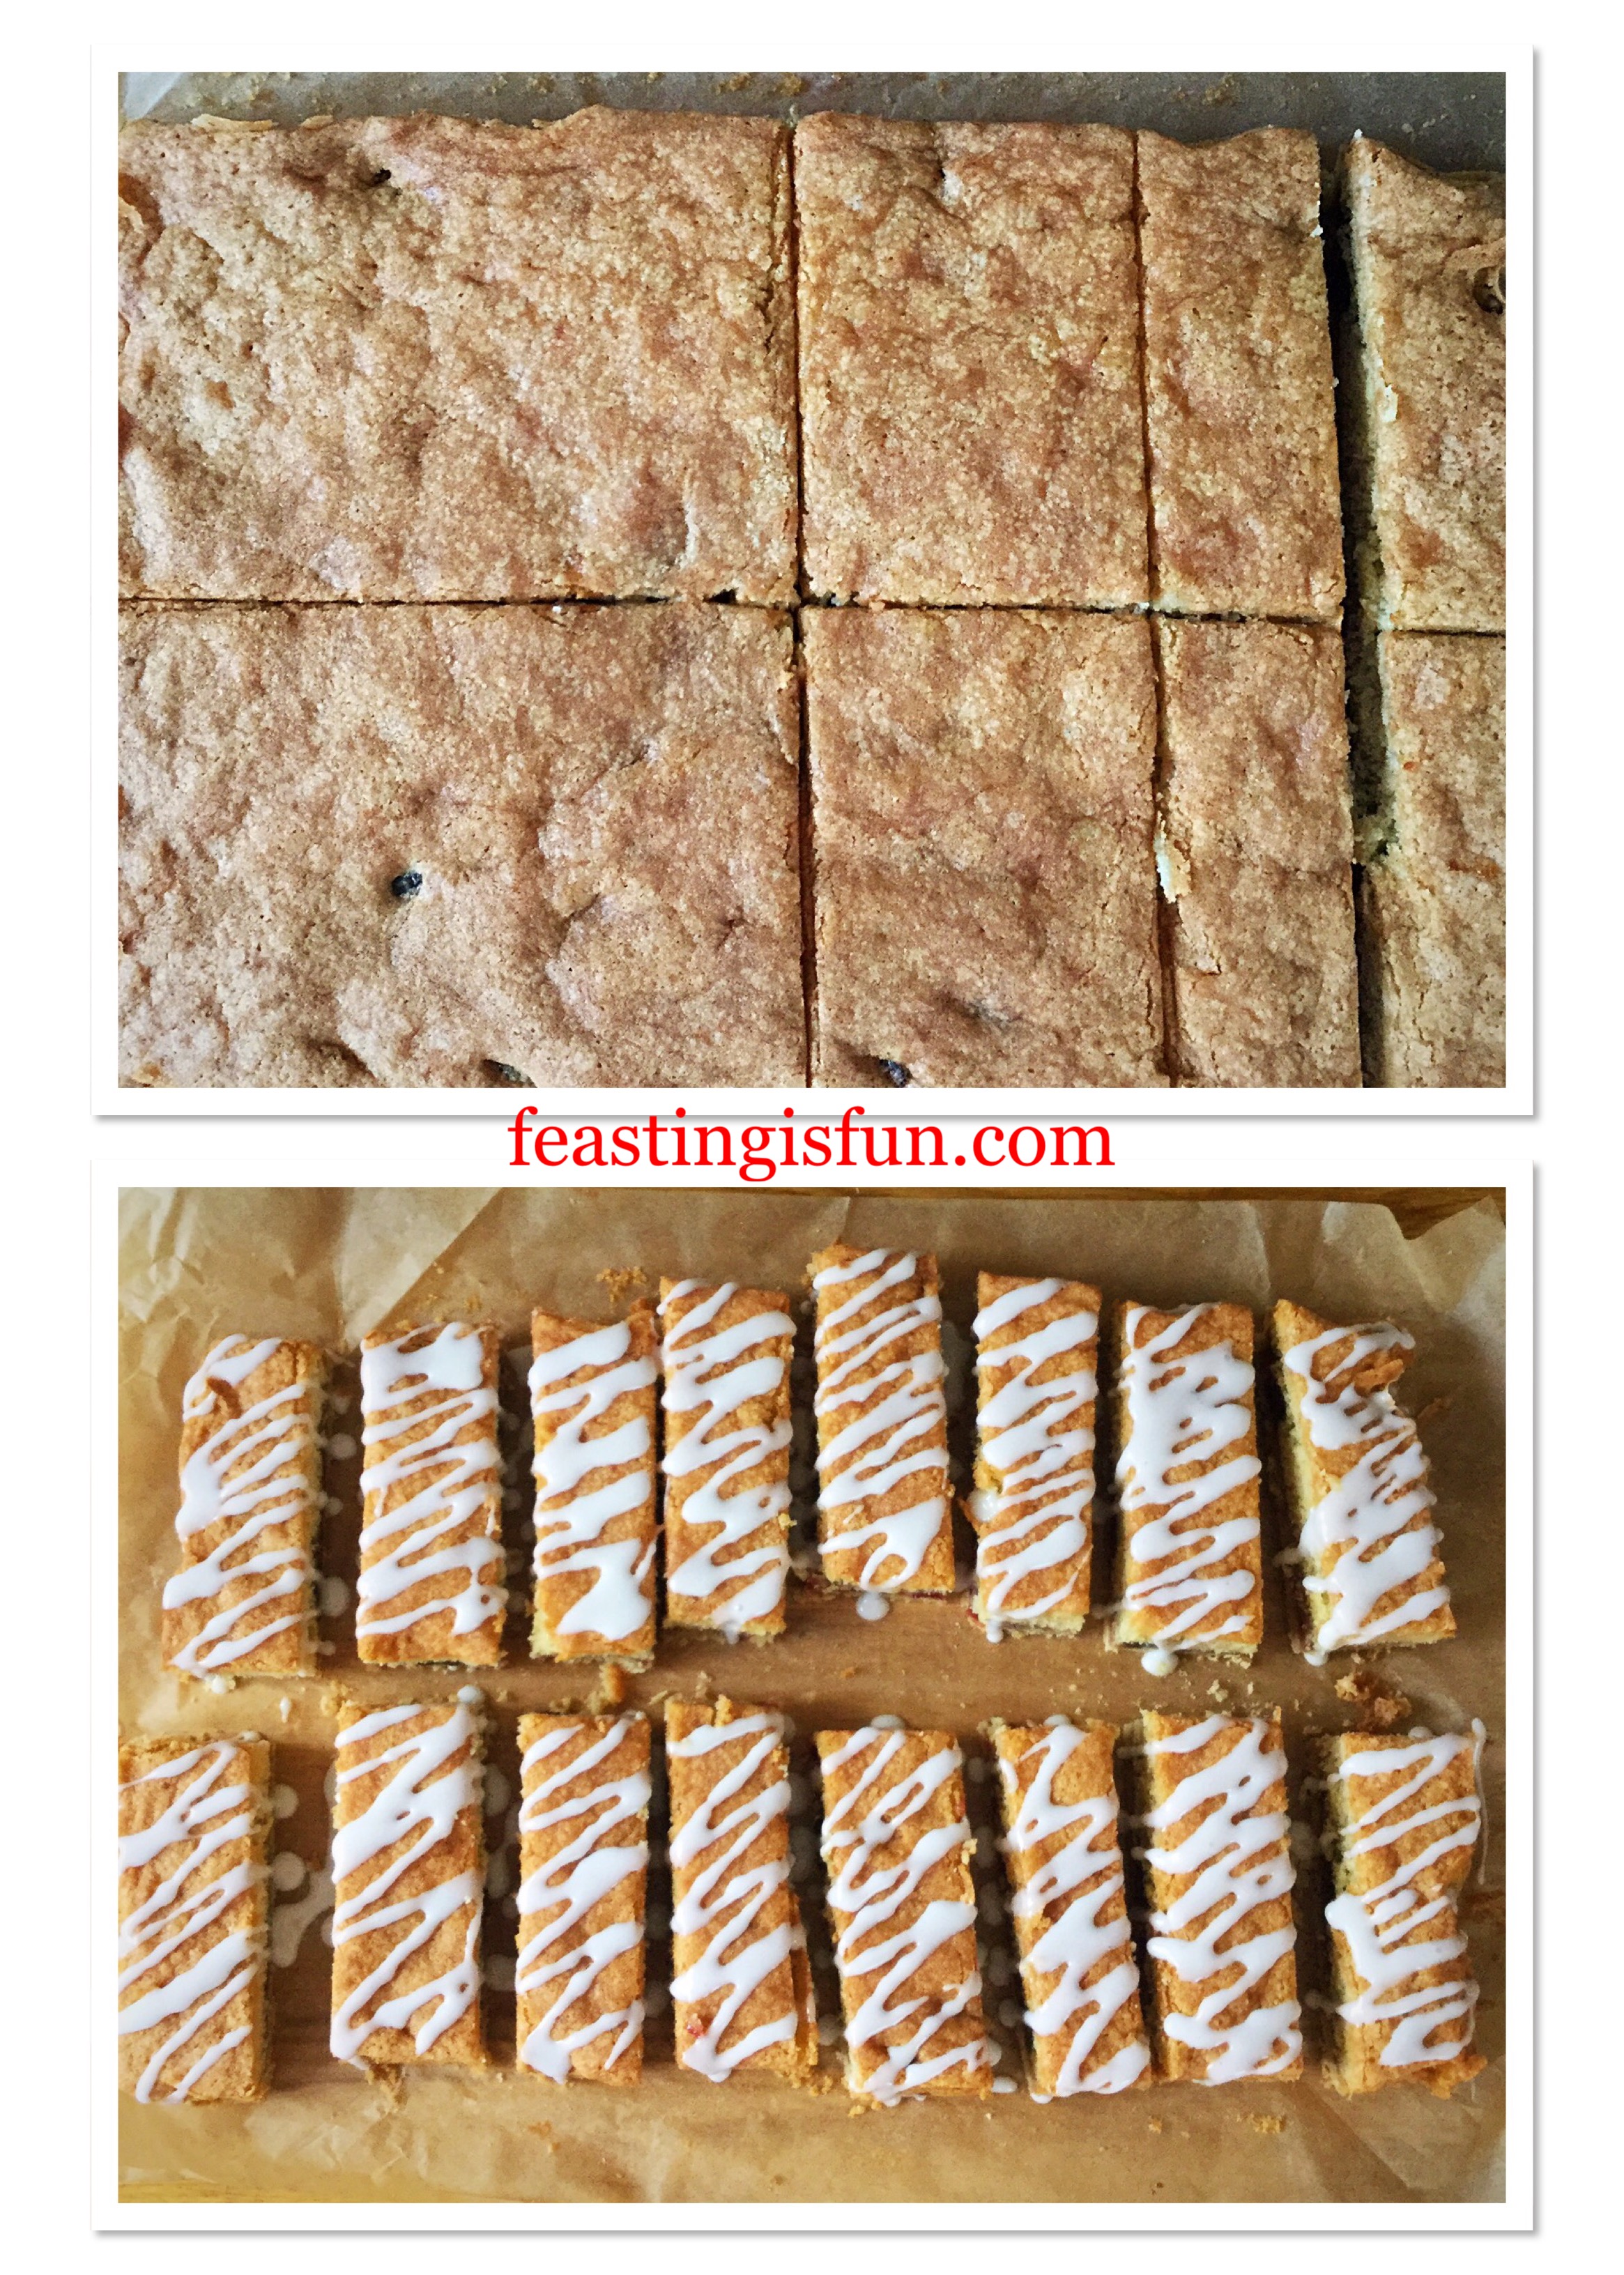
- First of all, using a sharp knife cut halfway across the width of the bake.
- Next cut down the centre, creating 4 quarters.
- Cut down each quarter four times creating 4 Cake Bars per quarter.
- Separate the cake bars to enable the icing to drip down the sides.
- In a bowl mix the icing sugar with 2-3 tablespoons of lemon juice to create a thick yet flowing icing.
- Using either a fork or a piping bag with a very small hole, drizzle the icing diagonally across each cake bar.
- Leave to set.
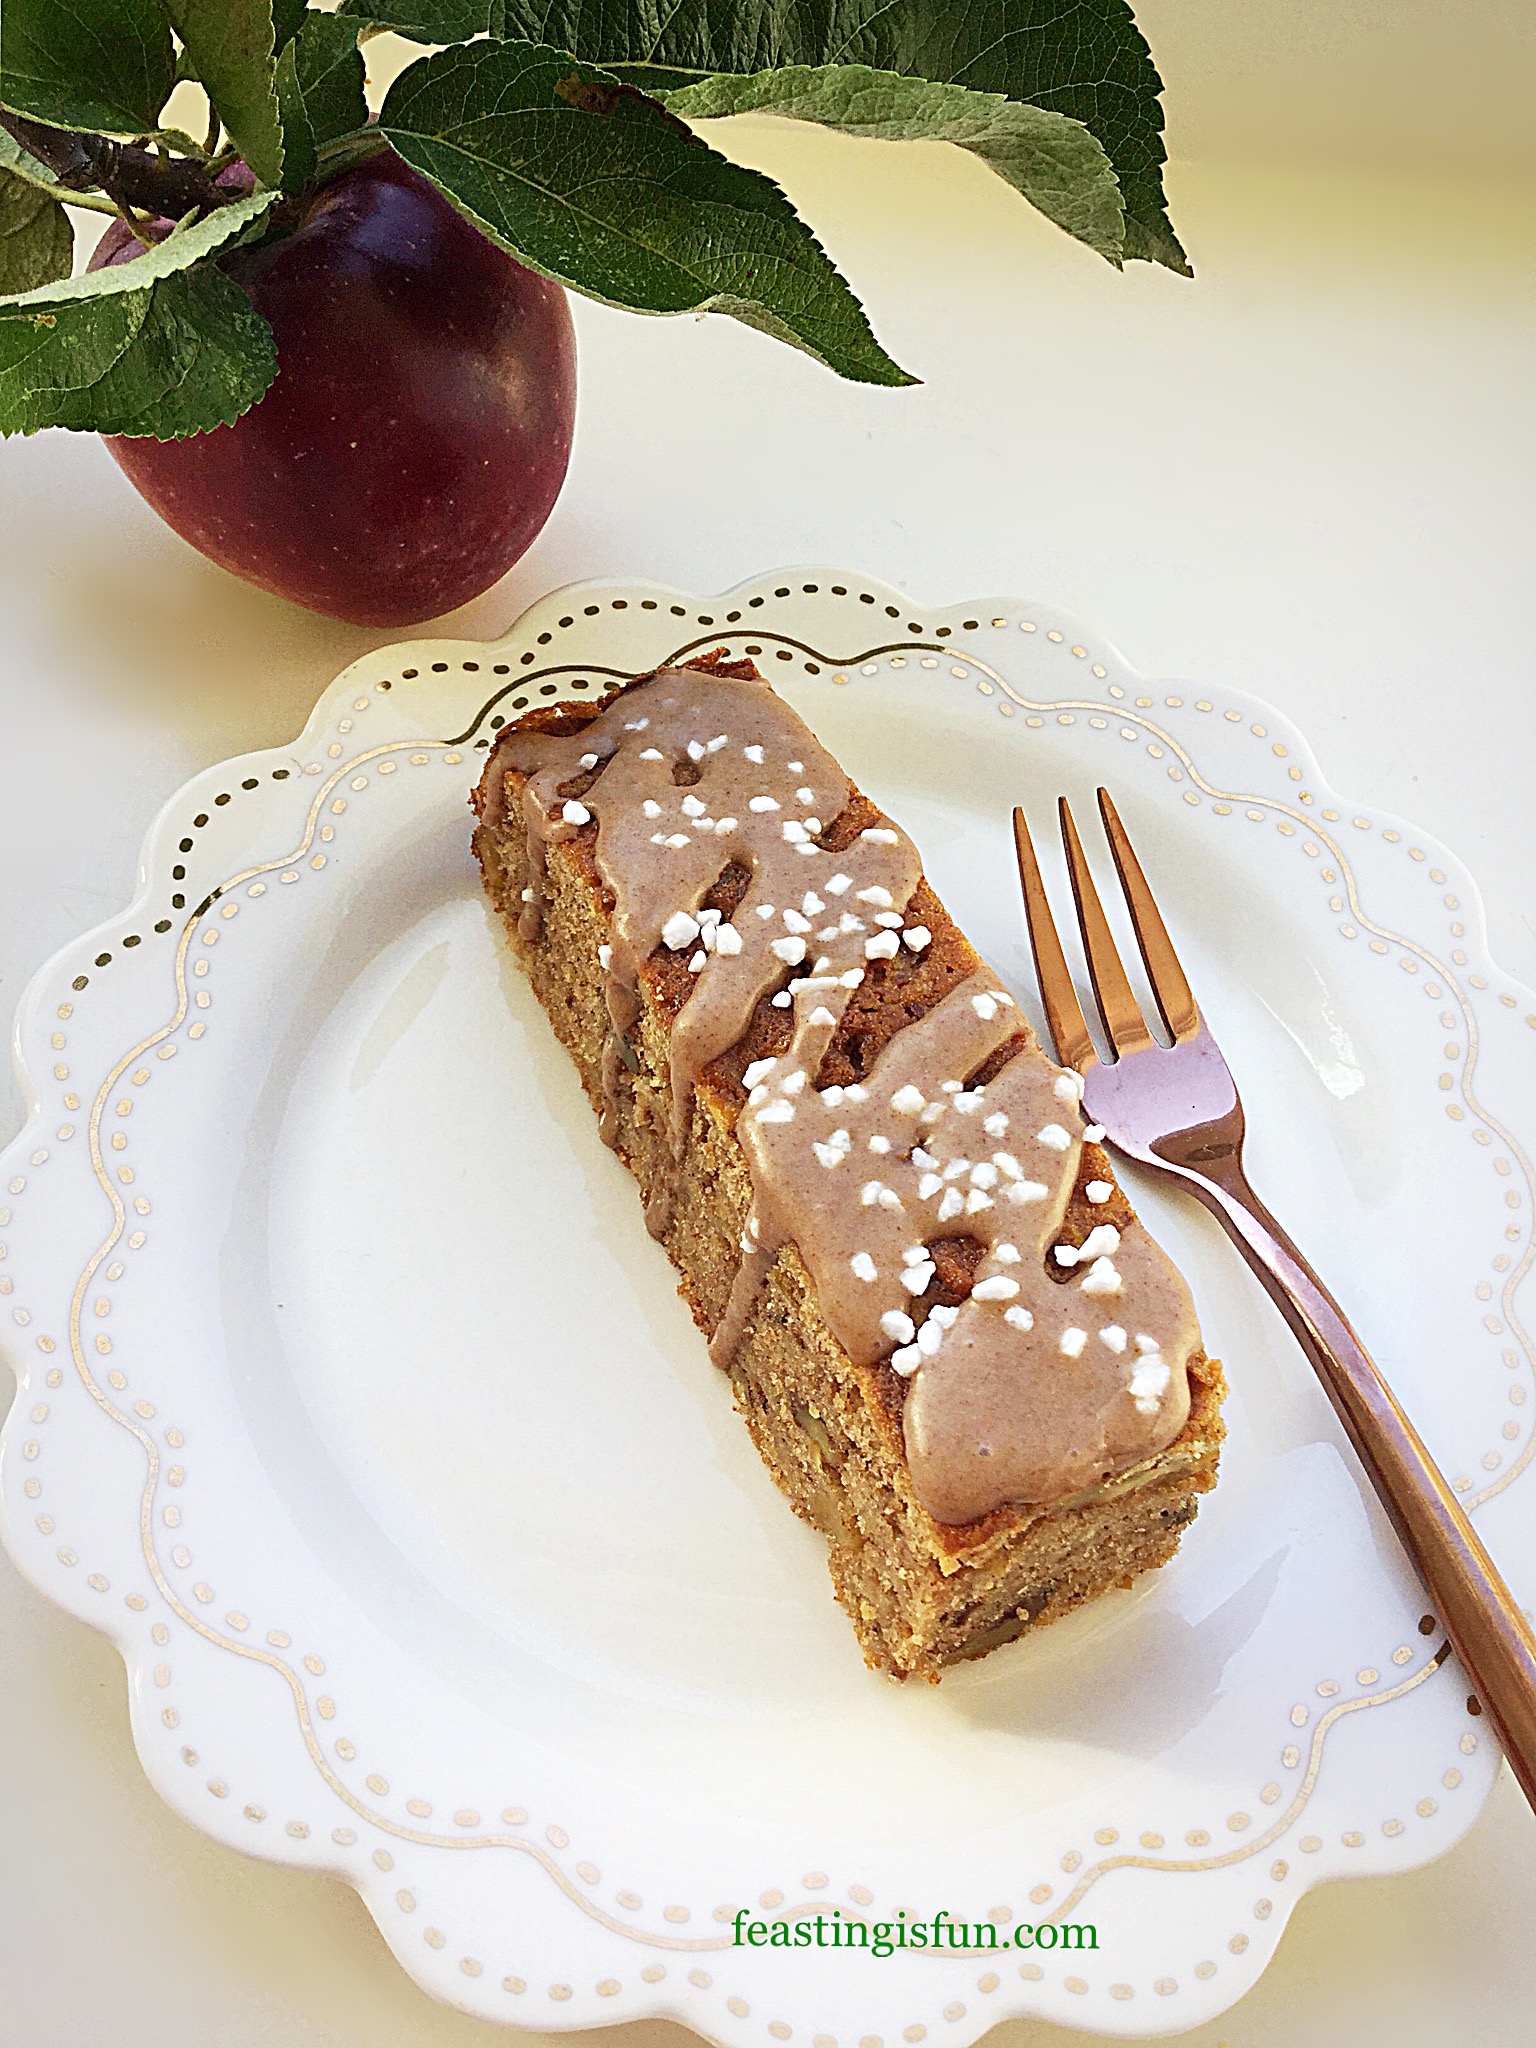
- As soon as the icing is set, the cake bars can be served or stored in an airtight container.
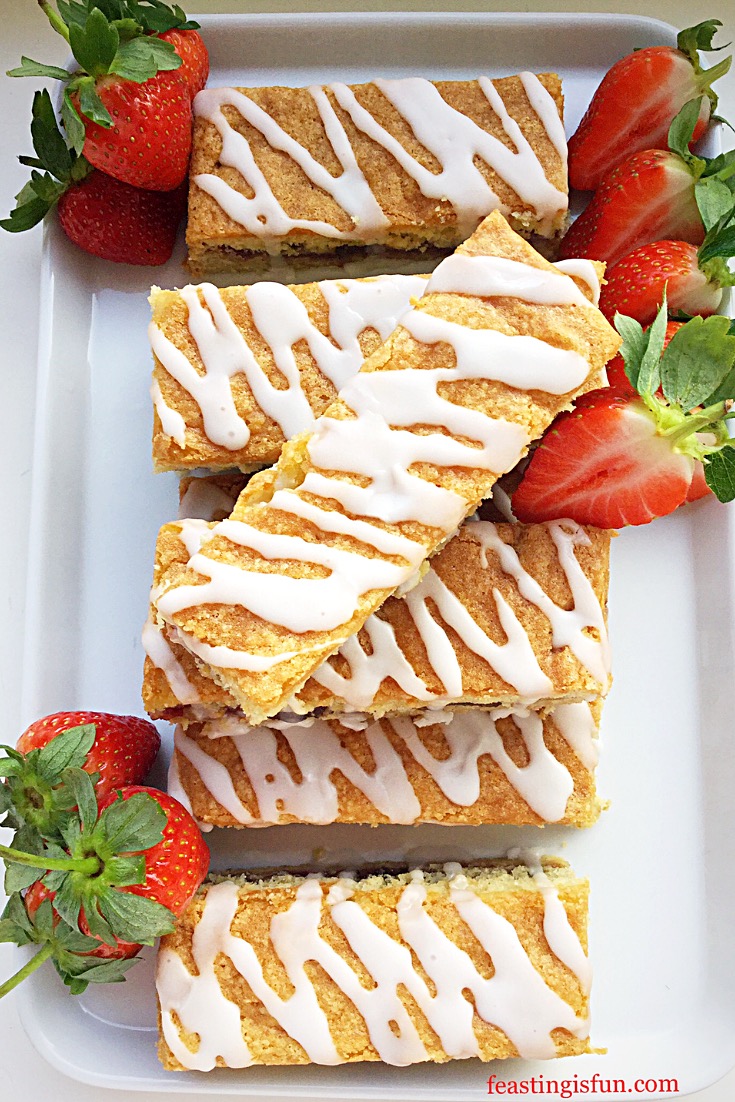
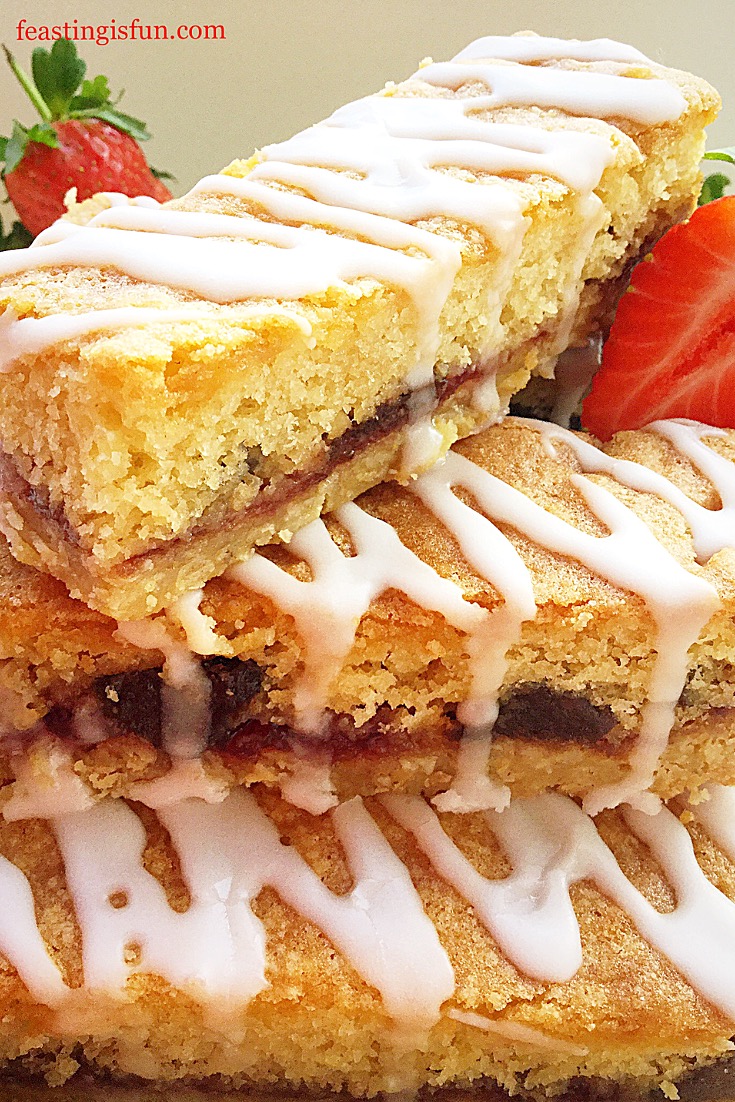
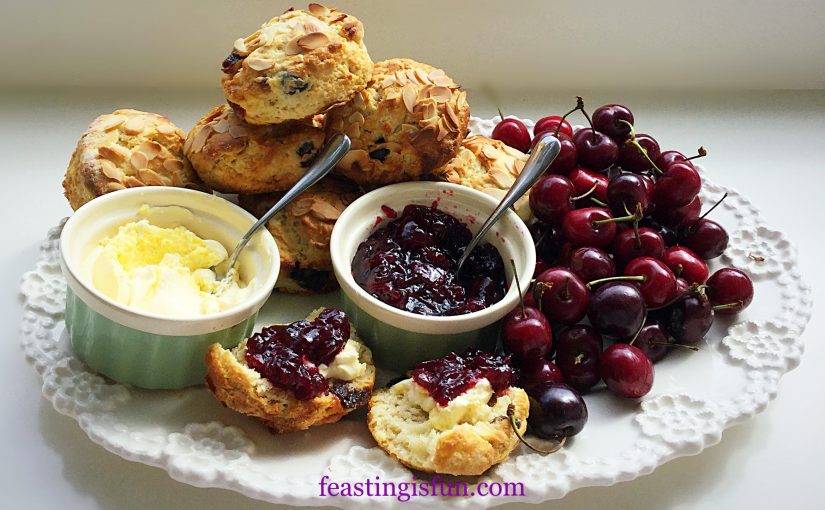
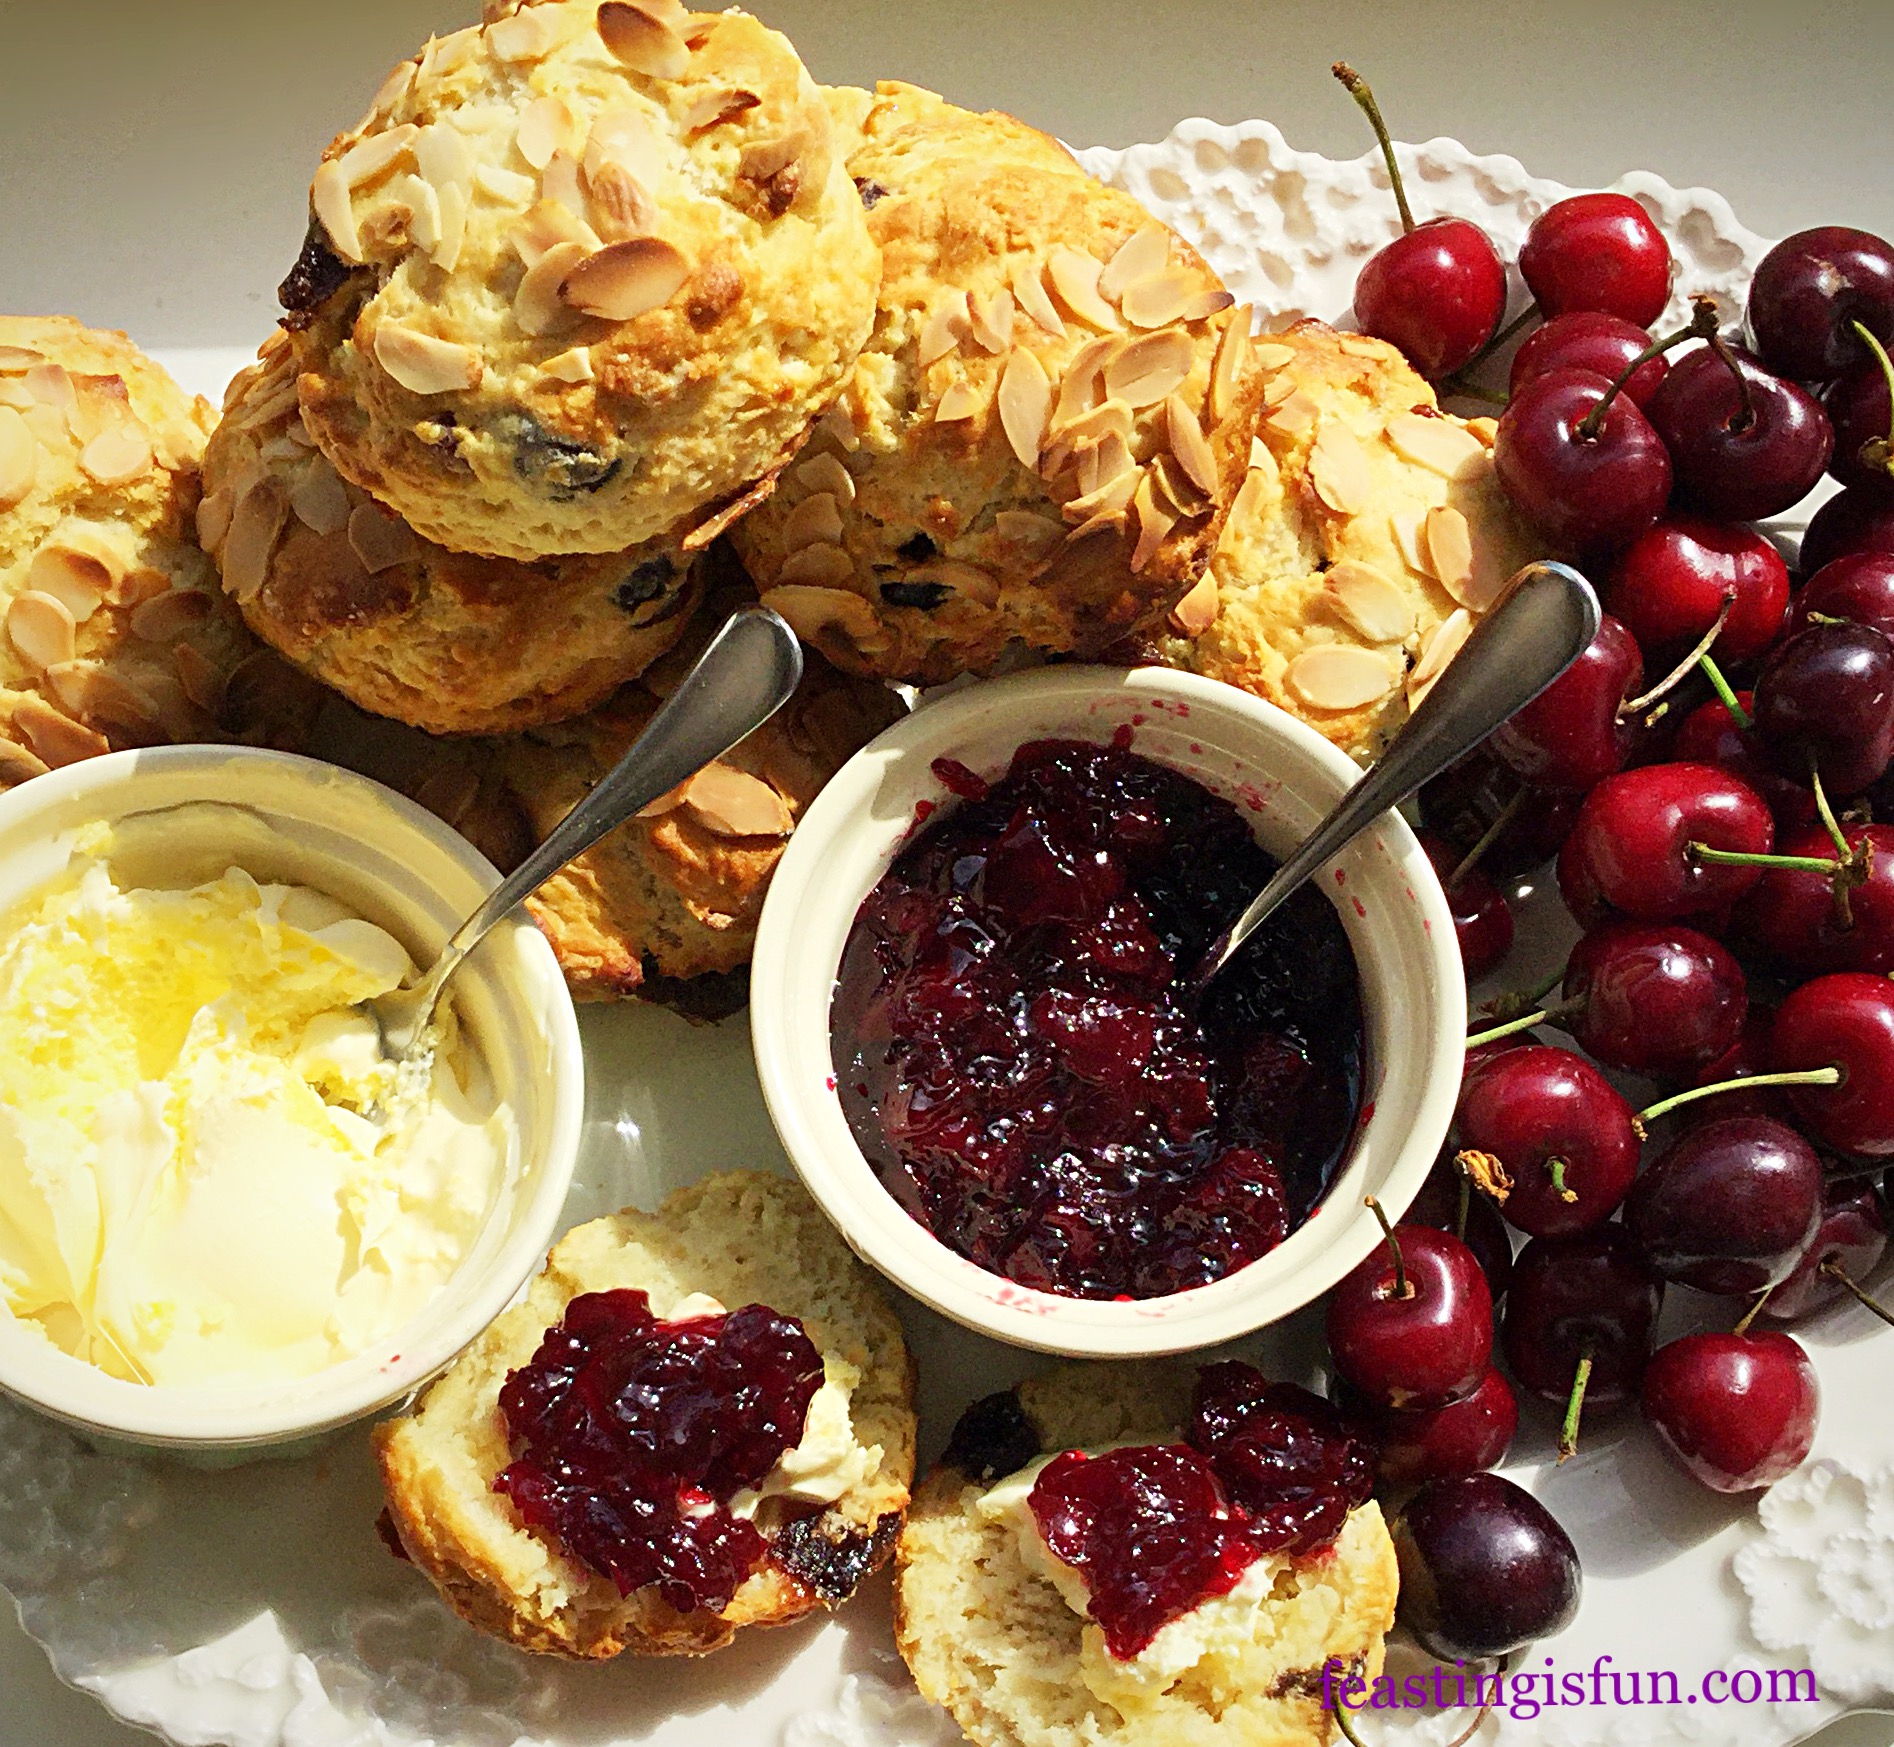
Finally, when serving, add fresh strawberries to the plate and stack the cake bars to create height.
If you have enjoyed this recipe for Double Strawberry Cake Bars you may also like these:
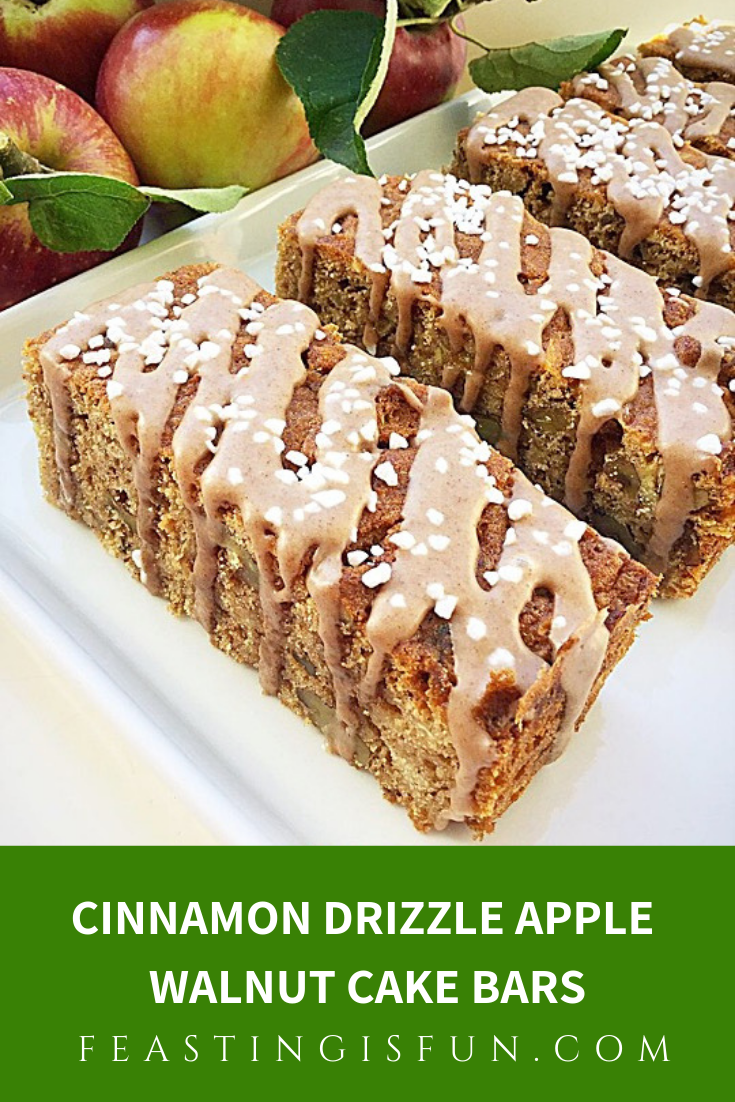
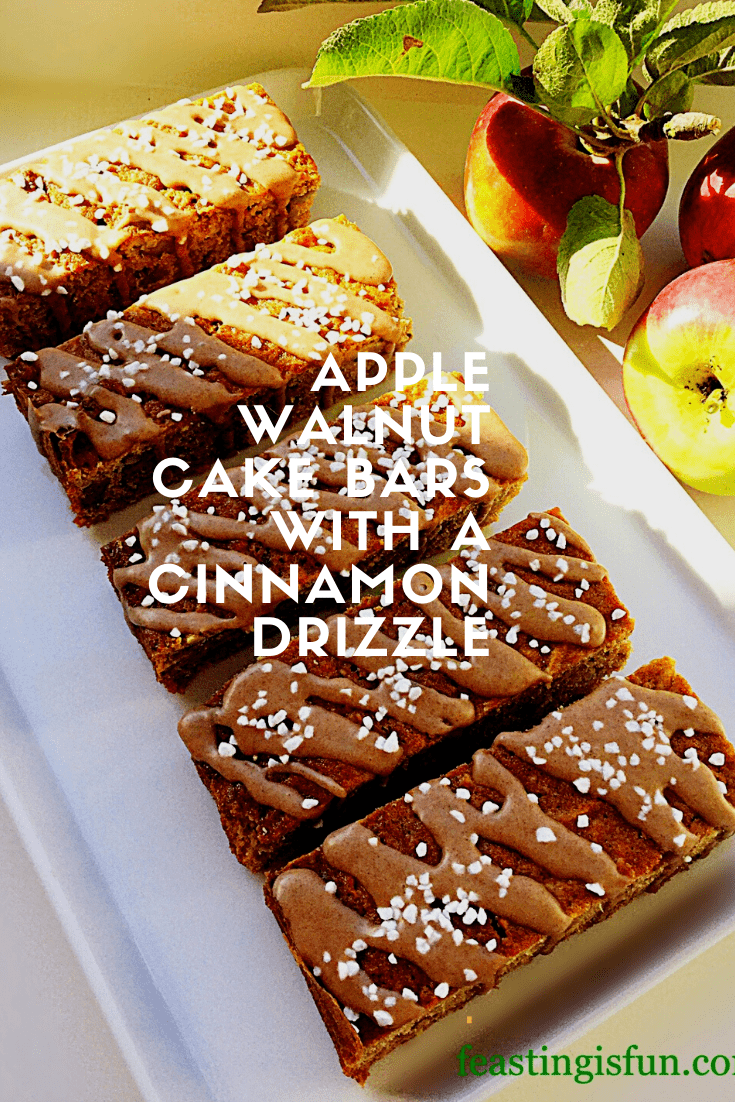
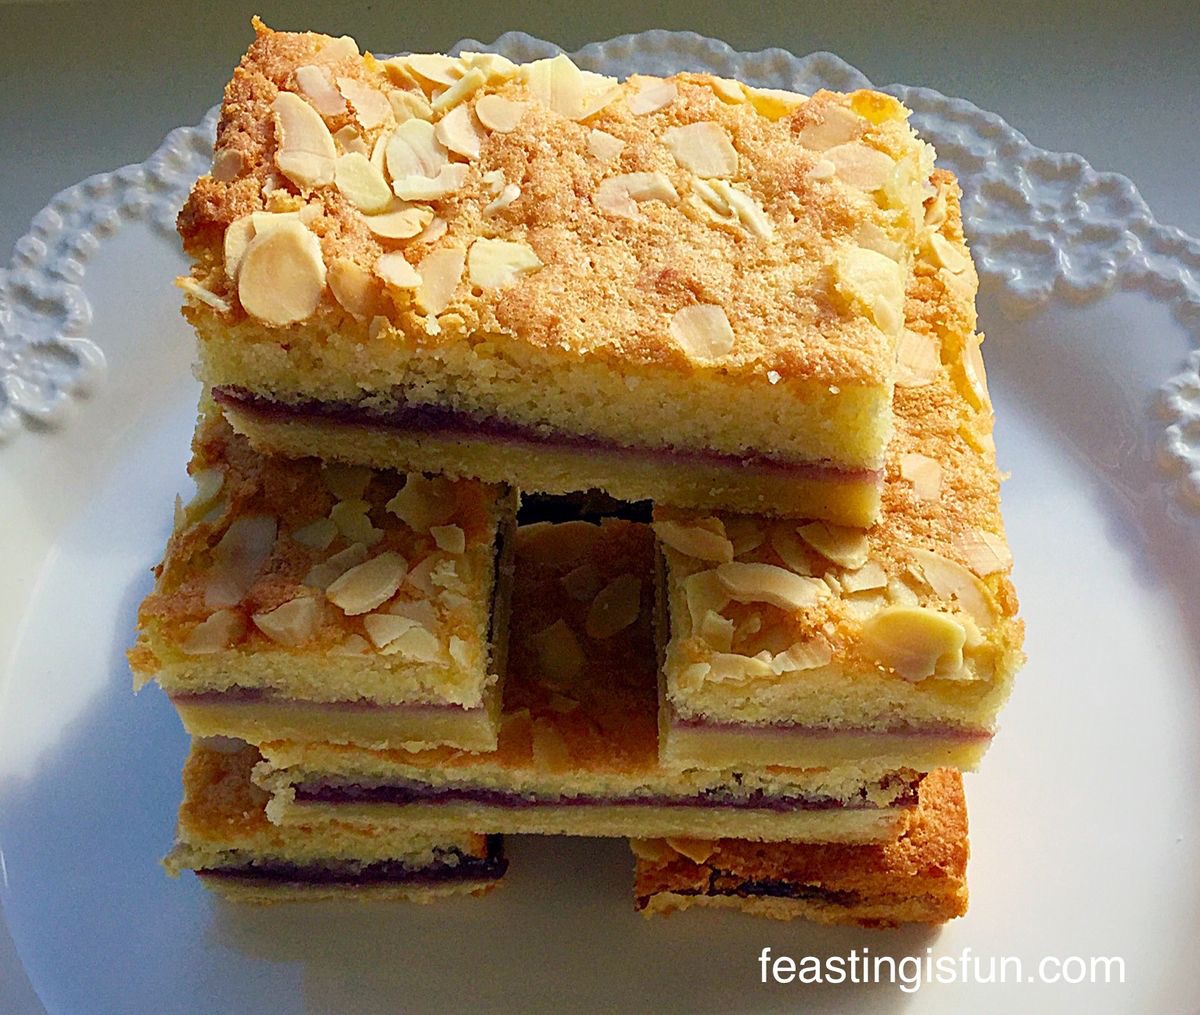
Cinnamon Drizzle Apple Walnut Cake Bars

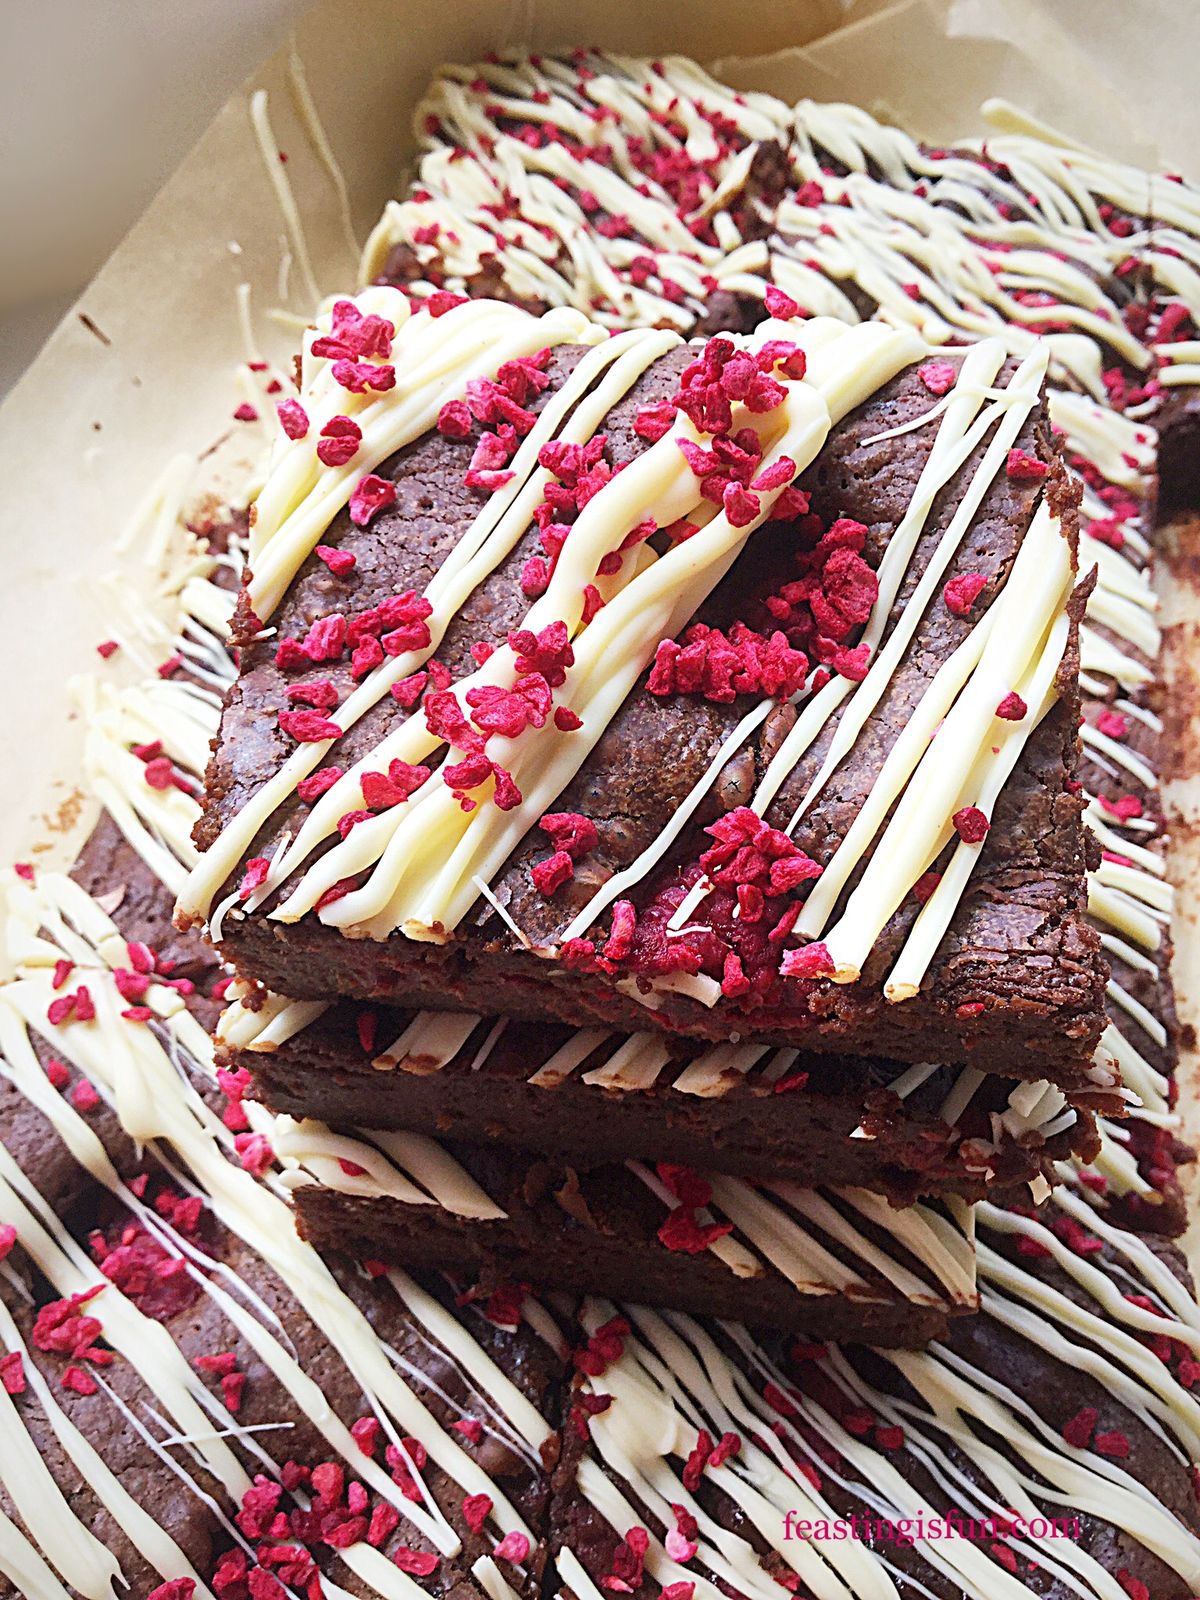
Rich Raspberry Chocolate Fudge Brownies
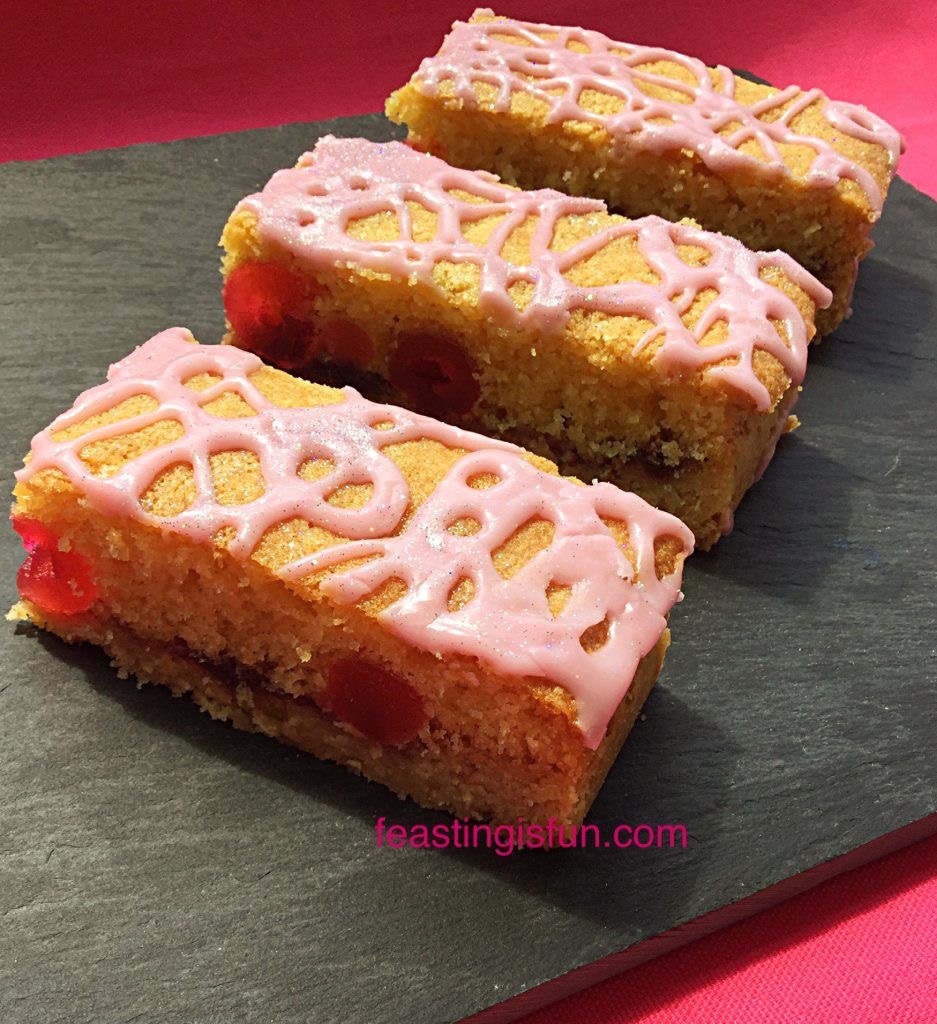
Double Cherry Drizzle Oat Cake Bars

Because I am practical by nature, this naturally translates in the recipes I develop. For example, when making these for a picnic or outside event it is likely that I would leave off the drizzle. Simply to avoid attracting bugs and wasps. Although the lemon in the icing really does bring out the strawberry flavour. Perhaps adding a little lemon zest to the cake? And I’m off again, my head spinning with possibilities based around this one bake!
Whatever you are making, baking and creating in your kitchens, have fun preparing sharing your feast.
Sammie xx
No part of this post may be reproduced or duplicated without the written permission of the owner. Please see my Disclosure Policy.