Fresh Basil Topped Slow Roasted Tomatoes

Share
Facebooktwitterpinterestlinkedintumblr

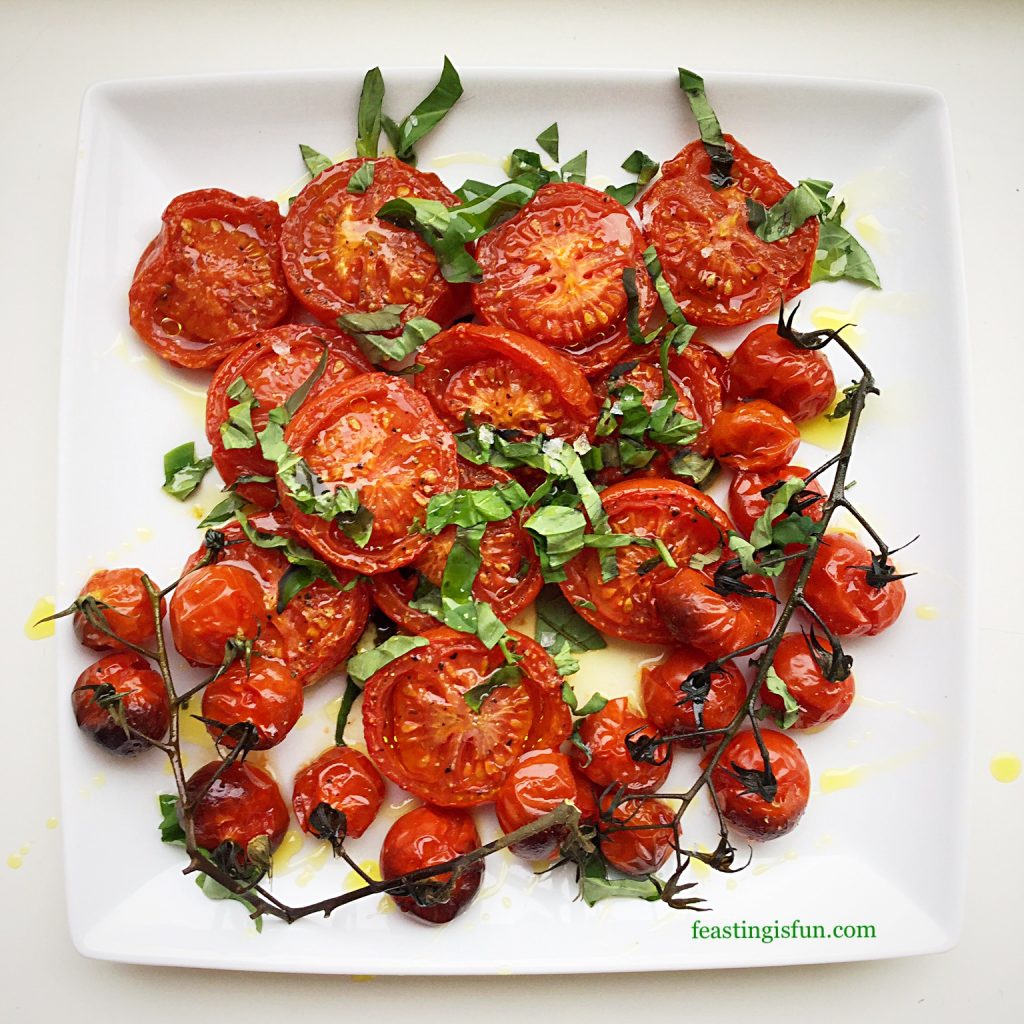
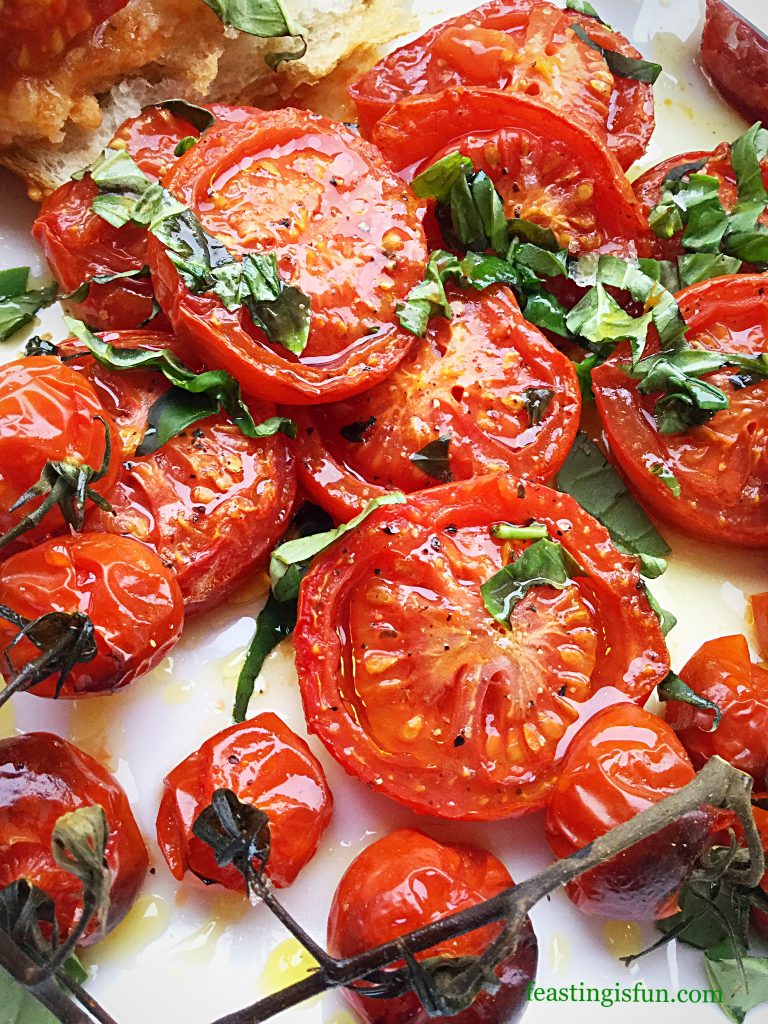
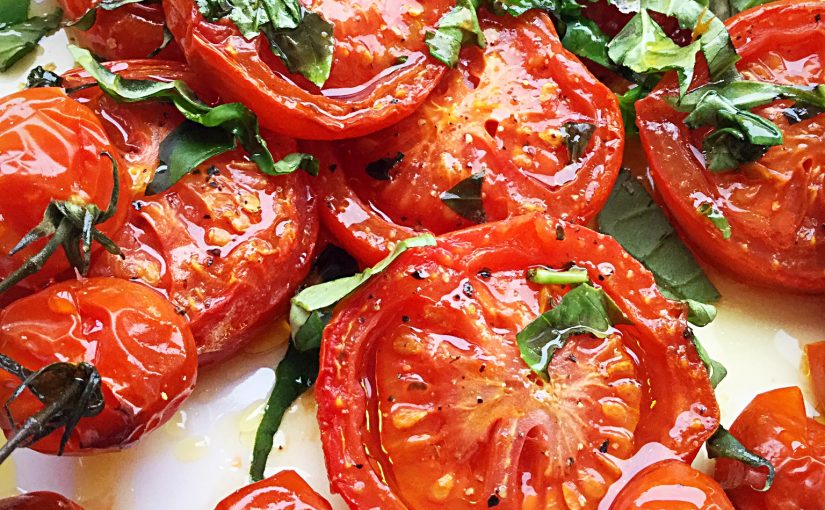
I love tomatoes. Big beefsteak tomatoes, tiny cherry tomatoes and regular slicing tomatoes, I absolutely could not be without them in my kitchen. As well as popping sweet, vine ripened cherry tomatoes in my mouth while pottering around my kitchen, tomatoes are one of the most versatile ingredients. Here, in these Fresh Basil Topped Slow Roasted Tomatoes their flavour is intensified by roasting slowly and enhanced with the addition of basil. Simple yet mouth wateringly good!
FF Fresh Basil Topped Slow Roasted Tomatoes
Fresh Basil Topped Slow Roasted Tomatoes

Beautiful British Tomatoes

Since British tomatoes are just coming into season, I want to use them as much as possible in my recipes. While I have successfully grown tomatoes of our own, blight has been a problem over the last few years, so I have stopped. Instead relying on our local farm shop and Waitrose, who stock British tomatoes for a good part of the year. Also I should add a quick thank you to all of the farmers who grow tomatoes and mange to extend the season using poly tunnels.
FF Fresh Basil Topped Slow Roasted Tomatoes
Fresh Basil Topped Slow Roasted Tomatoes

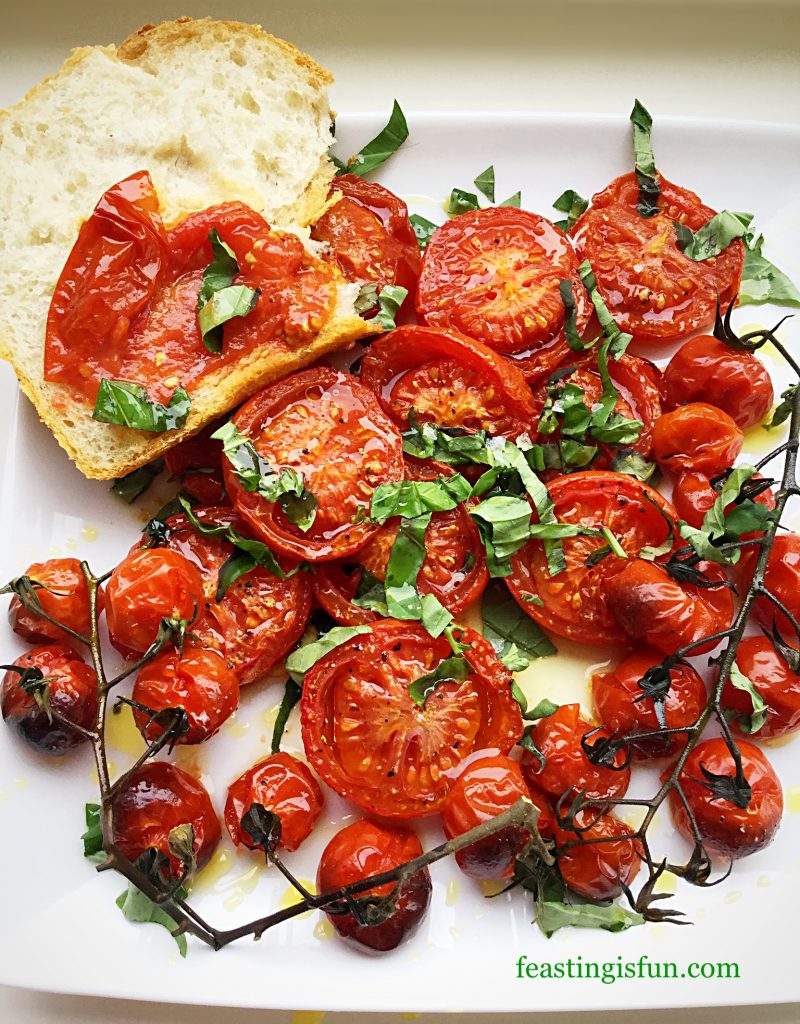
While tomatoes roast in the oven their flavour intensifies. As the heat starts to dehydrate them, so the flavours become less diluted. Given nothing more than a sprinkle of salt and pepper and a drizzle of oil, the resulting flavour is both sweet and savoury. As well as being a fantastic side dish to fish and chicken, I also enjoy  spreading warm tomatoes on to fresh bread and eating just as it is.
FF Fresh Basil Topped Slow Roasted Tomatoes
Fresh Basil Topped Slow Roasted Tomatoes

Using Local Products And Produce

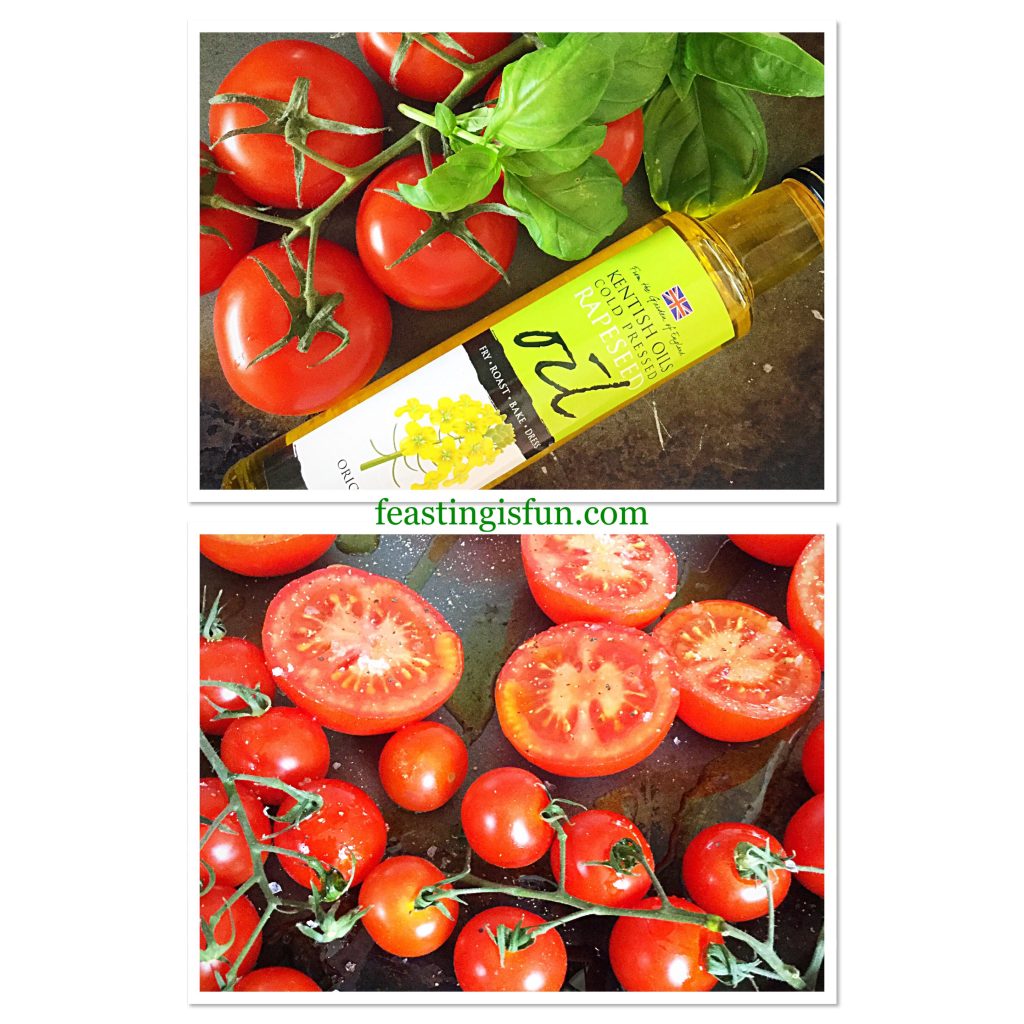
One thing I should mention is that I have used cold pressed Rapeseed oil. Made locally by Kentish Oils, it is golden yellow in colour and has a soft, slightly nutty flavour. It really compliments the tomato and basil flavours, rather than competing with them. Perfect for roasting and dressing the tomatoes.

Recipe: Fresh Basil Topped Slow Roasted Tomatoes

Amounts given per 450g/1lb Fresh Tomatoes

1 tbsp Cold Pressed Rapeseed/Canola Oil plus extra for drizzling after roasting – I use Kentish Oils 

1/2tsp Sea Salt Flakes – I use Maldon

1/4tsp Freshly Ground Black Pepper

Small Handful Fresh Basil Leaves – approximately 10 leaves

Prepping And Roasting Tomatoes

Preheat oven to 180C/160C fan, 350F, gas mark 4

You will need a large baking tray for this recipe.

  • First of all wash and dry the tomatoes.
  • Cut large tomatoes in half and leaver smaller ones on the vine.
  • Place the tomatoes on to a baking tray and drizzle over the oil.
  • Sprinkle over with sea salt and freshly ground black pepper.
  • Place in the centre of the oven and roast for 45 minutes.
FF Fresh Basil Topped Slow Roasted Tomatoes
Preparing the tomatoes for roasting.
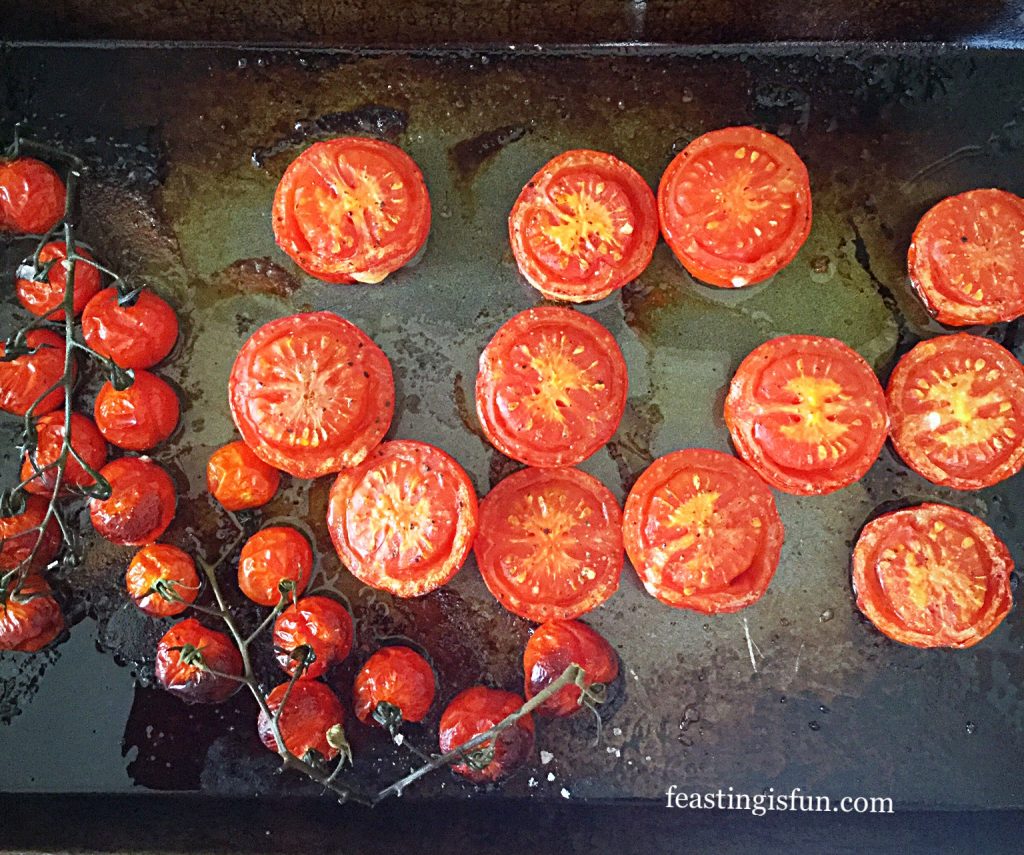
  • As soon as the tomatoes are cooked remove from the oven.
FF Fresh Basil Topped Slow Roasted Tomatoes
Slow Roasted Tomatoes ready to be topped with fresh Basil.
  • Using a fish slice or slotted spoon carefully transfer the roasted tomatoes to a serving plate.
  • Roughly chop the basil leaves and scatter over the tomatoes.
  • Finally drizzle a little oil over the tomatoes and leave until warm, not hot, before serving.
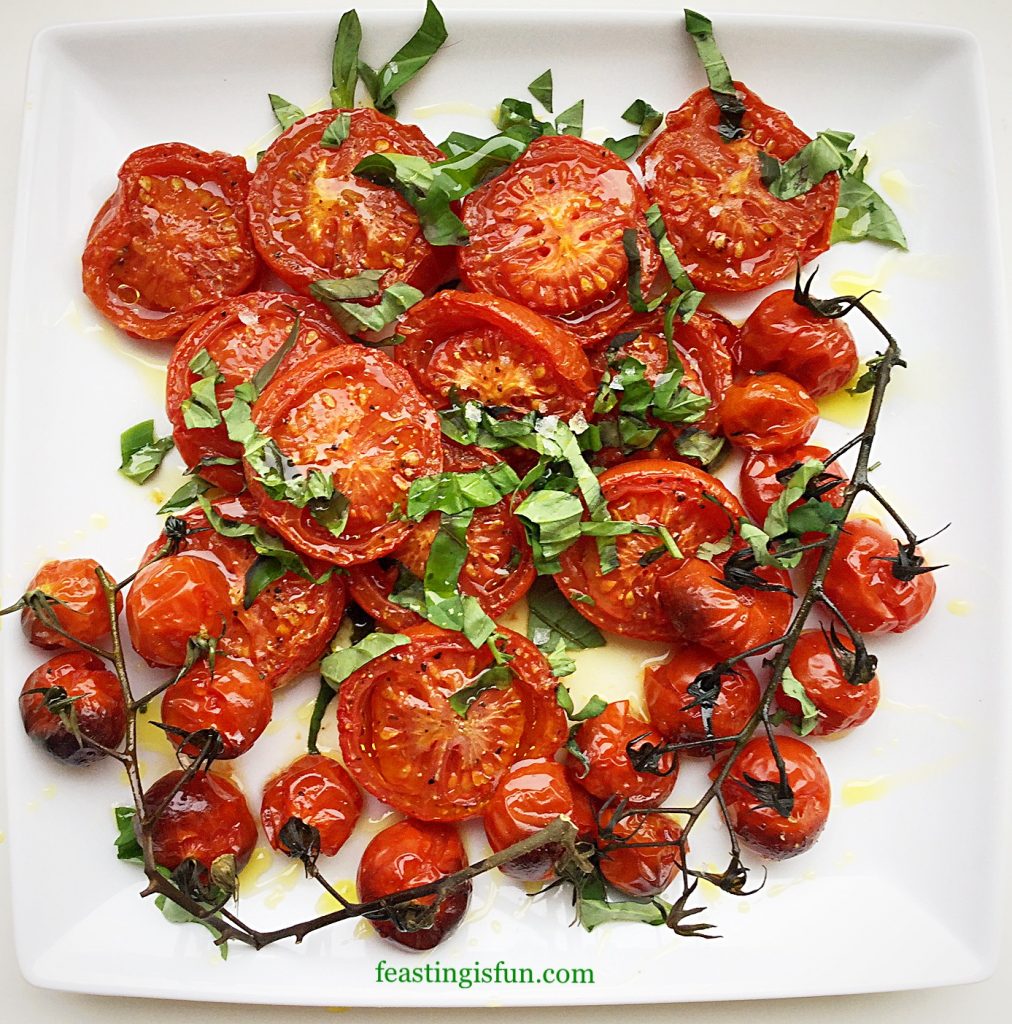
FF Fresh Basil Topped Slow Roasted Tomatoes
Fresh Basil Topped Slow Roasted Tomatoes

Because hot tomatoes will burn your mouth, it is best to leave these to cool until just warm before eating. Doing so ensures that you get the maximum flavour that these beauties have to offer. Also these tomatoes taste delicious when cold.

Any leftover tomatoes can be kept in an airtight container and refrigerated for up to 2 days.

If you have enjoyed this recipe for Fresh Basil Topped Slow Roasted Tomatoes you may also like these:

Tomato Thyme Garlic Focaccia Bread 
FF Fresh Basil Topped Slow Roasted Tomatoes
Tomato Thyme Garlic Focaccia Bread

Creamy Tomato Spinach Chicken Pasta
FF Fresh Basil Topped Slow Roasted Tomatoes
Creamy Tomato Spinach Chicken Pasta

Cheddar Sun Dried Tomato Scones
FF Fresh Basil Topped Slow Roasted Tomatoes
Cheddar Sun Dried Tomato Scones

While I happily use tinned tomatoes in my pasta dishes, such as this Cheesy Vegetable Pasta Bake, I plan to actively create more recipes with fresh tomatoes this Summer. Since we tend to eat lighter meals during the warmer months I am looking forward to the challenge. Especially as I am aware that this blog most definitely needs more savoury recipes!

So, whateverr you are making, baking and creating in your kitchens, have fun preparing and sharing your feast.

Sammie xx

Kentish Oils sent me a small bottle of cold pressed Rapeseed oil to try. All opinions and content are my own, for which I have not received any payment.

No part of this post may be reproduced or duplicated without the written permission of the owner. Please see my Disclosure Policy.


Share
Facebooktwitterpinterestlinkedintumblr

Roasted Summer Vegetable Orzo Salad

Share
Facebooktwitterpinterestlinkedintumblr

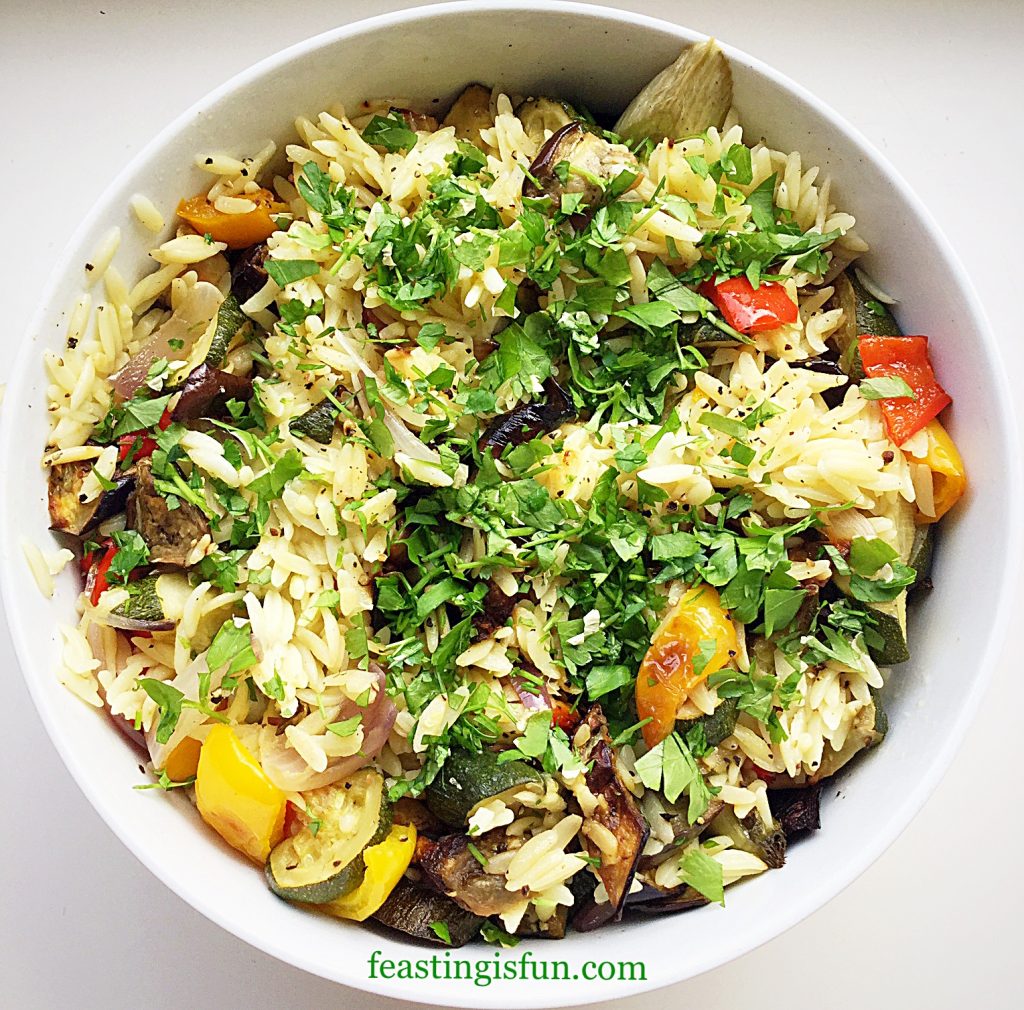
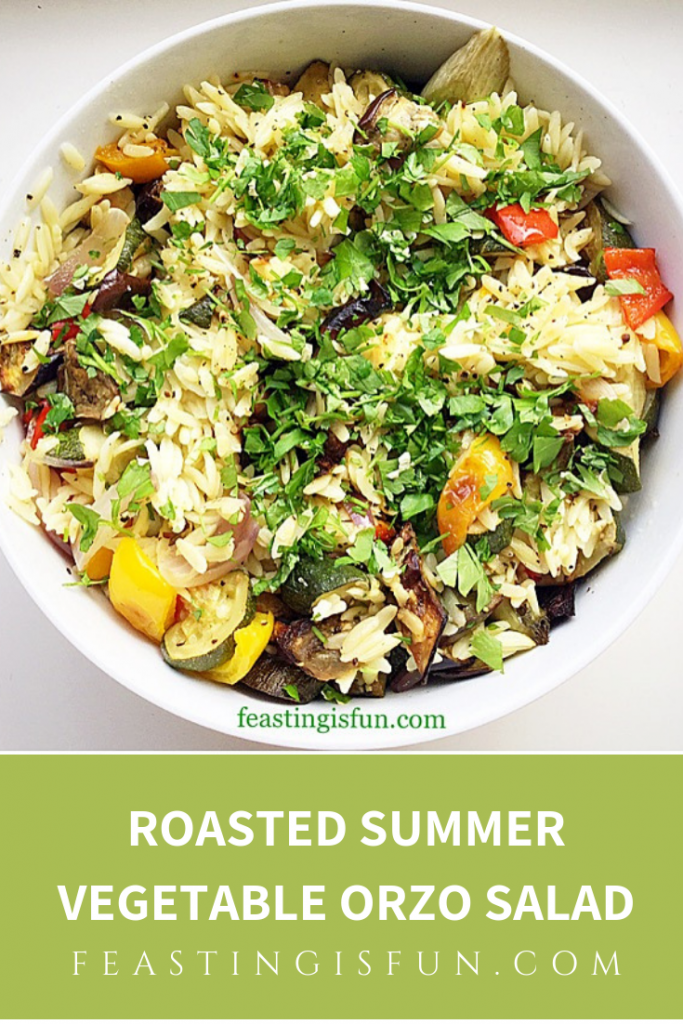
So, as we continue to enjoy our British Summer, I am celebrating the abundance of seasonal vegetables available at this time of the year. And as birds chirp early in the morning of long, sunny, warm summer days, the variety of vegetables, bought or home grown, really allows me, as a home cook to get creative in the kitchen.  Resulting in my Roasted Summer Vegetable Orzo Salad, a tasty celebration of easy summer cooking, making the most of seasonal vegetables.

FF Roasted Summer Vegetable Orzo Salad
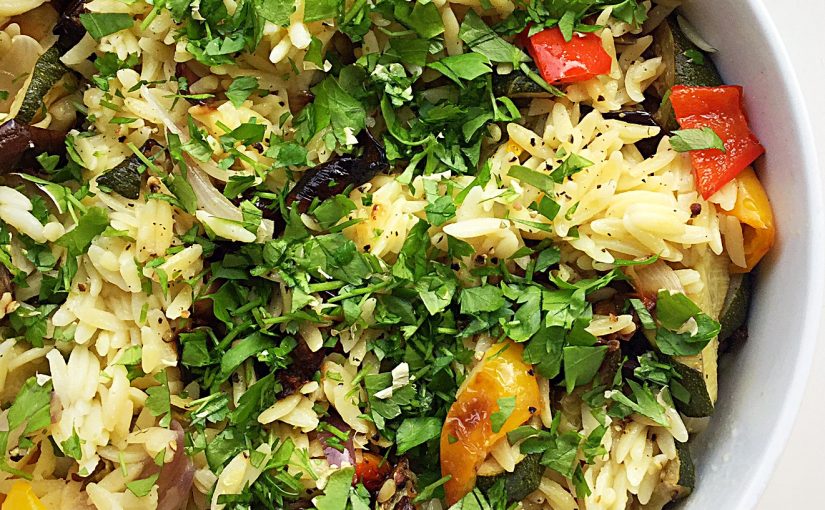
Roasted Summer Vegetable Orzo Salad.

A Make Ahead Marvel

While packed full of roasted veggies in a lemon vinaigrette, this dish can either be served on its own, or as a colourful side dish. Since it can be served warm, it is a perfect barbecue or buffet dish. Especially, when made in advance and left to sit for a few hours, the flavours develop, enhancing the overall deliciousness. So easy to prepare and make ahead!

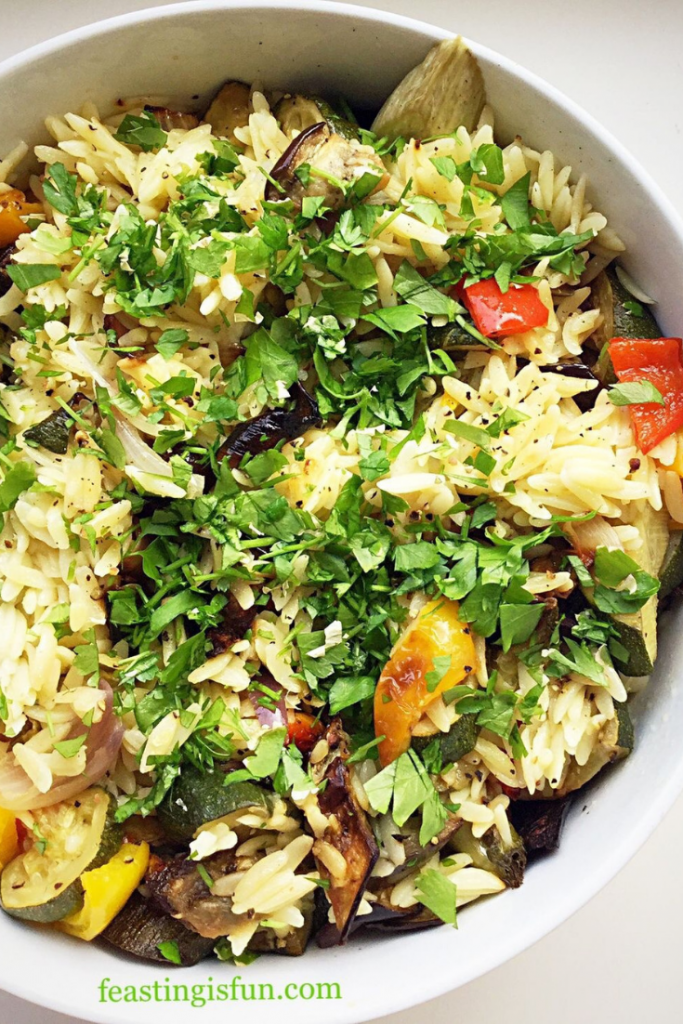
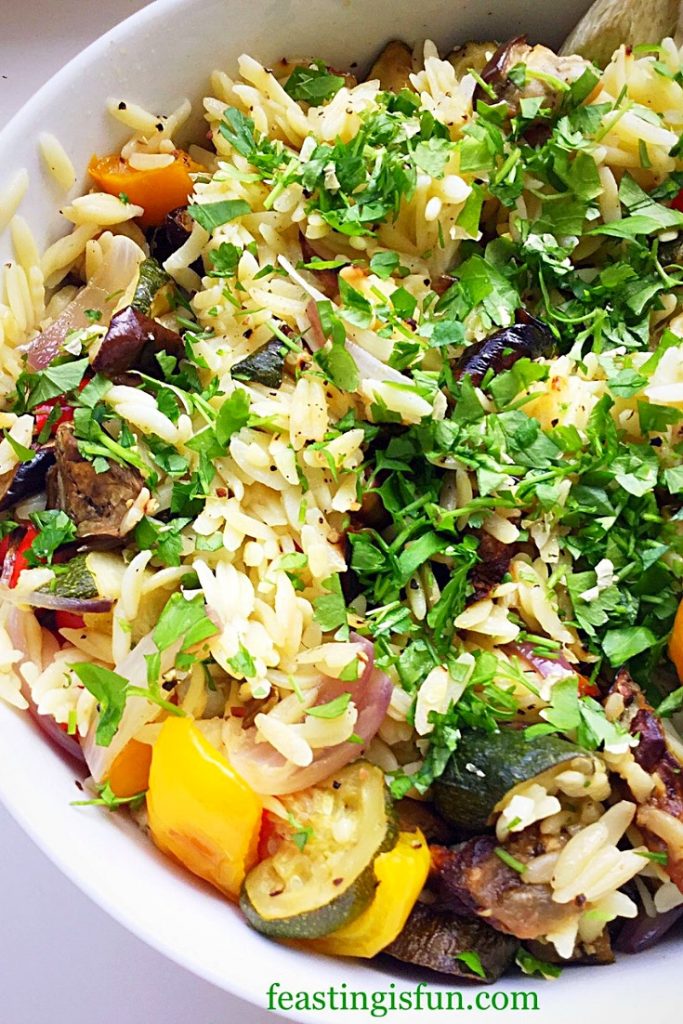
A bowl containing roasted vegetable pasta salad topped with chopped parsley.
Roasted Summer Vegetable Orzo Salad

Although I enjoy a crunchy pasta salad, there is something very comforting in the softened, roasted vegetables here. While roasting they become slightly sweet, with a mere hint of caramelisation. And their flavour is enhanced by the fresh lemon juice in the vinaigrette. Also orzo provides the perfect bite, complimenting the vegetables. Resulting in a dish that lets the vegetable flavours shine, without being overly bulked out with pasta.

Recipe: Roasted Summer Vegetable Orzo Salad serves 6

1 Aubergine

2 Courgettes

2 Bell Peppers – deseeded

1 Red Onion – skin removed

1 Large Fennel Bulb – or 2 small

400g Dried Orzo (ensure you use vegan pasta if making for Vegans) – I use Waitrose  own brand

20ml Olive Oil

1 Large Lemon – 20ml of juice

40ml Extra Virgin Olive Oil – I use Filippo Berio

1/2tsp Sea Salt plus 1tbsp for cooking the pasta –  I use Maldon

1/2tsp Freshly Ground Black Pepper

Handful of Fresh Parsley – flat or curly

Note: individual vegetables may be substituted according to preference.

Method: Preheat oven to 200C/180C fan, gas mark 6, 400F

Preparing And Roasting The Vegetables

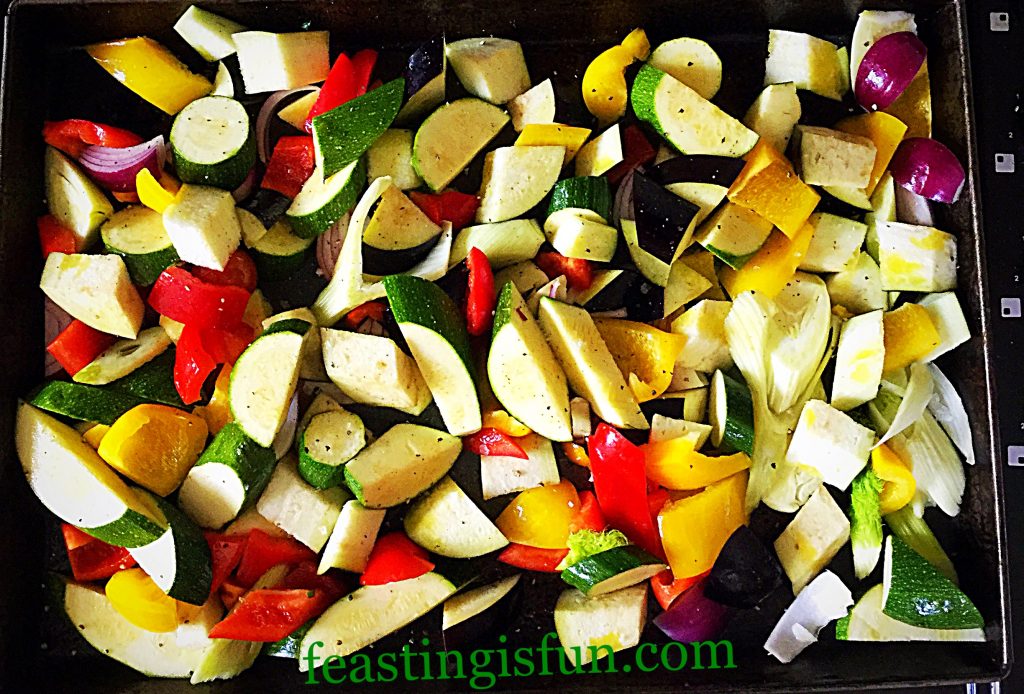
  • First of all, wash and thoroughly dry the vegetables. Follow by chopping into equal 1″/2.5cm pieces.
  • Transfer to a large baking tray.
  • Drizzle over a generous tablespoon of olive oil and one quarter of a teaspoon of sea salt and freshly ground black pepper.
  • Using clean hands, toss the vegetables in the seasoned oil, taking care to cover each piece.
  • Spread the vegetables out on the tray. During the cooking process they will reduce slightly in size.
FF Roasted Summer Vegetable Orzo Salad
Prepared vegetables ready for roasting.
  • Place the baking tray into the centre of a preheated oven and roast for 30-40 minutes, turning the vegetables halfway through the roasting time.
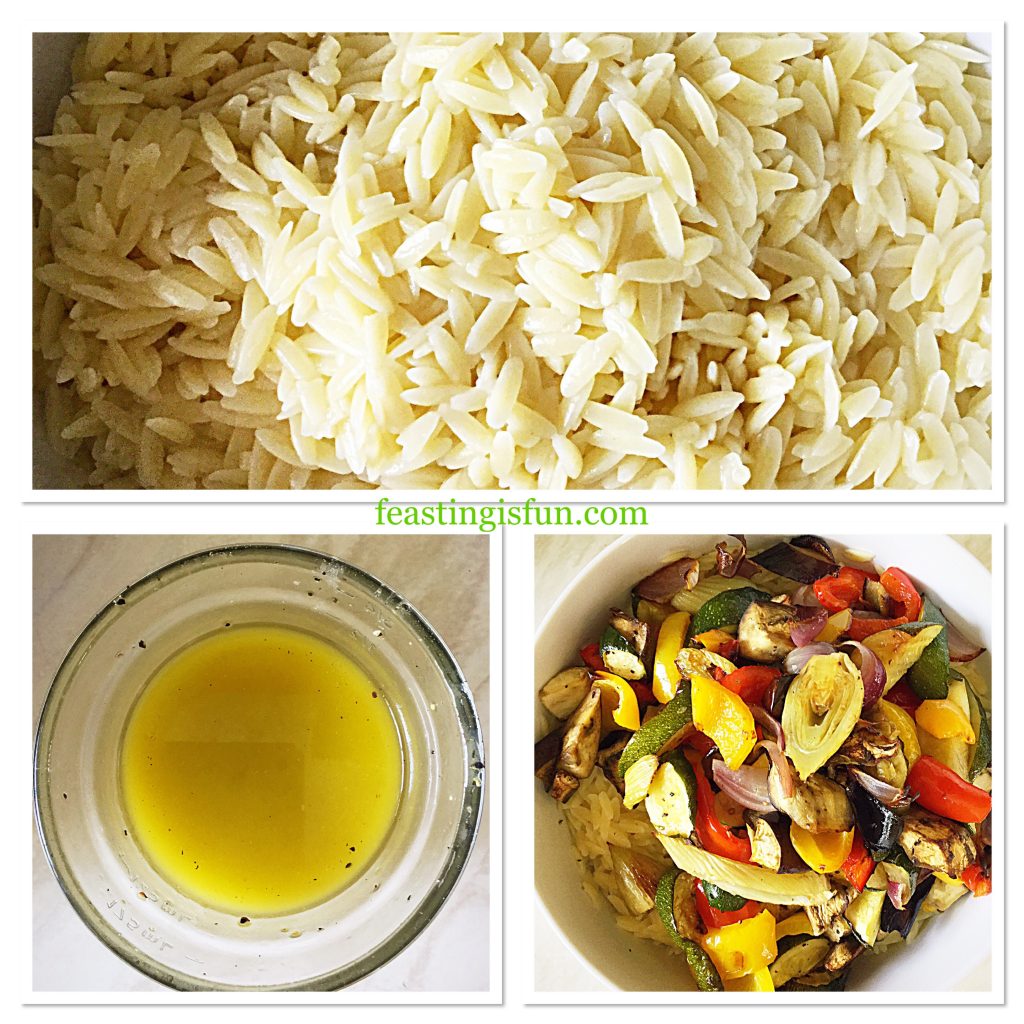
  • While the vegetables are roasting cook the orzo and make the lemon vinaigrette.

Bringing All The Ingredients Together In One Tasty Dish

  • Place a large pan of cold water on the hob and bring to a boil. When boiling add 1 tablespoon of sea salt and then add the orzo.
  • Squeeze the fresh lemon juice into a small, clean jar that has a fitted lid. Add the extra virgin olive oil, 1/4 teaspoon of sea salt and freshly ground pepper. Place the lid securely on to the jar and shake vigorously to combine.
  • Cook the orzo according to packet instructions, removing from the heat and draining 2 minutes before the finished cooking time.
  • Place the drained orzo into a bowl and pour over the lemon vinaigrette. Fork through the orzo to ensure the vinaigrette covers each small piece, stopping the pasta from forming clumps.
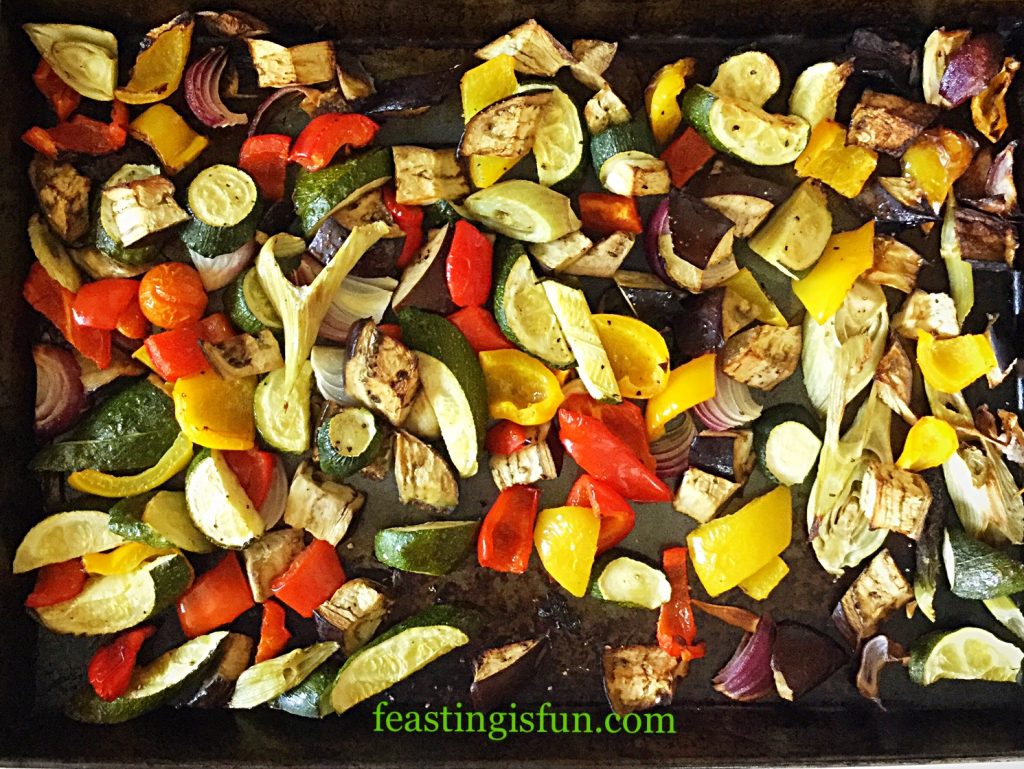
  • When cooked the vegetables will be softened, allowing a fork to easily pierce. In addition, some pieces may be slightly charred at the edges.
FF Roasted Summer Vegetable Orzo Salad
Roasted summer vegetables.
  • Spoon or tip the roasted vegetables on top of the orzo.
FF Roasted Summer Vegetable Orzo Salad
Making Roasted Summer Vegetable Orzo Salad.
  • Gently, use two forks to mix the roasted vegetables into the Orzo.
  • Finally, roughly chop a handful of fresh parsley, discarding the stalks and scatter over the salad.
Roasted Summer Vegetable Orzo Salad

If making the same day as eating, cover with cling film and leave on the work top. Alternatively, when making the day before, leave out the parsley, cool, cover and store in the fridge. Finally, to serve, allow to sit at room temperature for one hour and garnish with freshly chopped parsley.

Since this salad is so versatile, it can be served alongside grilled chicken, salmon, or burgers and ribs at a barbecue. Likewise, it can also be served on its own as a tasty vegetarian or vegan meal.

If you have enjoyed this recipe for Roasted Summer Vegetable Orzo Salad you may also like these:

Lime Couscous

Lime Couscous
Lime Couscous

Roasted Pale Ale Jelly Tomatoes

Roasted Pale Ale Jelly Tomatoes

Lemon Garlic Vegetable Orzo

Lemon Garlic Vegetable Orzo

So, to sum up, when shopping in large supermarkets it’s easy to become disconnected with seasonal vegetables. Because of transportation most ‘summer’ vegetables can be easily obtained throughout the year. Since large, super greenhouses have cropped up across the country, most notably in Thanet, Kent, the effect on home grown produce has been to lengthen its season. Consequently, allowing the British public to buy British produce, rather than imported. Something I fully encourage and strongly support.

Yet, even with this consideration, there is little to rival the fun of blackberry picking in August and September. Most importantly, connecting us all to nature and the natural season of harvest.

So, whatever you are making, baking and creating in your kitchens, have fun preparing our feast.

Sammie xx

No part of this post may be reproduced without the written consent of the owner. Please see my Disclosure Policy.

FF Roasted Summer Vegetable Orzo Salad

Share
Facebooktwitterpinterestlinkedintumblr

Creamy Low Fat Mushroom Soup

Share
Facebooktwitterpinterestlinkedintumblr

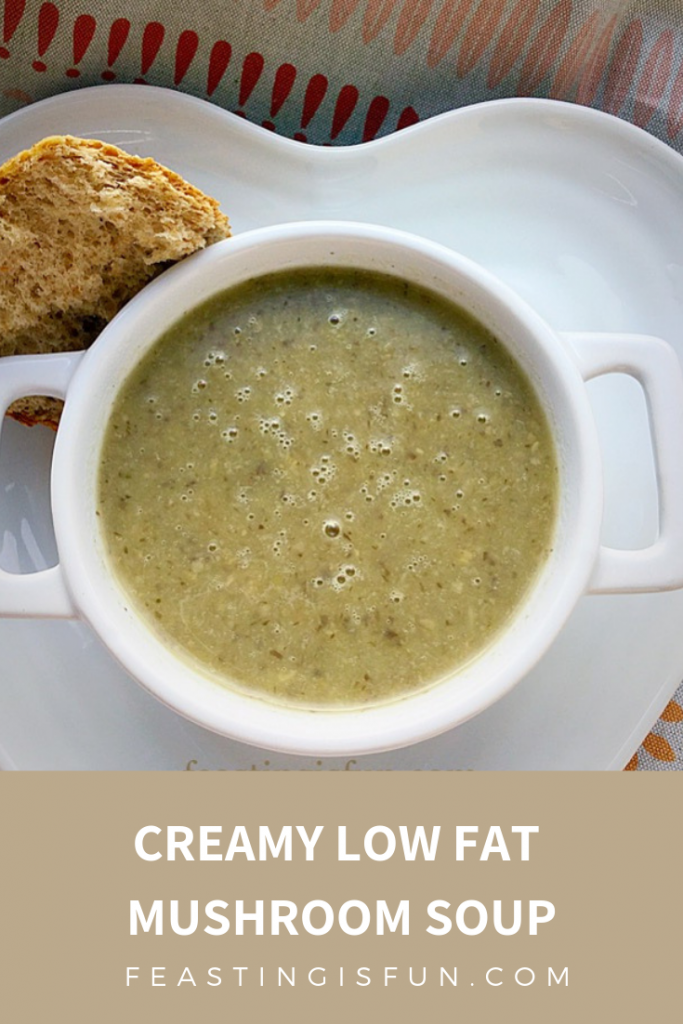
Autumn is well and truly here. Golden and red leaves, flutter like confetti to the ground. The perfect time of year for walks in the park or woods. Also, it is the season for fungi and mushrooms. If you go foraging, whilst out on a walk, make sure you have a guide, or book, to ensure you only pick what is edible. The mushrooms for this Creamy Low Fat Mushroom Soup came from the supermarket where they are available all year round.

FF Creamy Low Fat Mushroom Soup

Being able to buy mushrooms all year round means that this soup can also be made whenever you want. Since this soup is incredibly easy to make and completely delicious, you may find yourself making it year round!

FF Creamy Low Fat Mushroom Soup
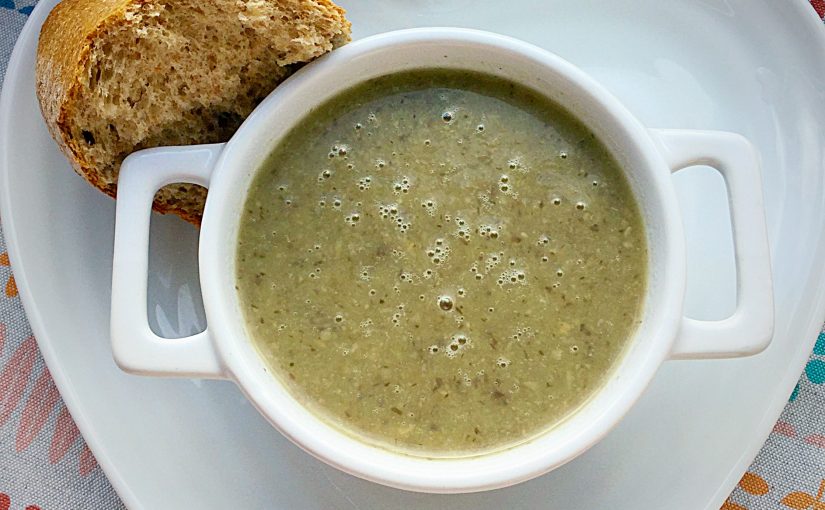
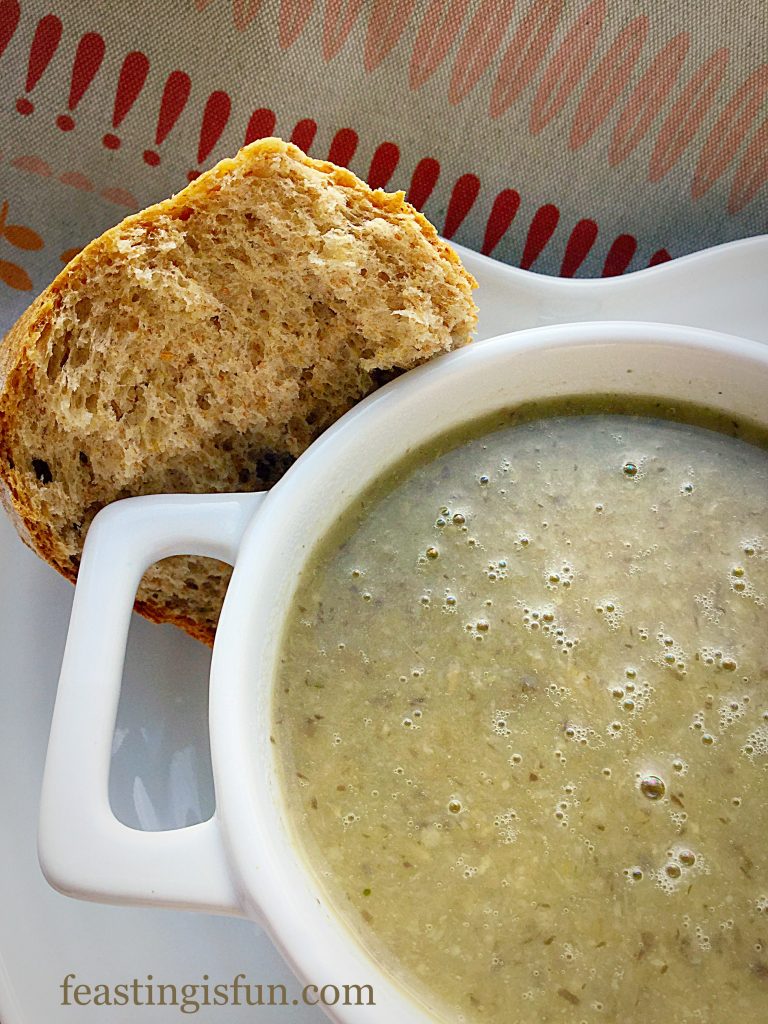
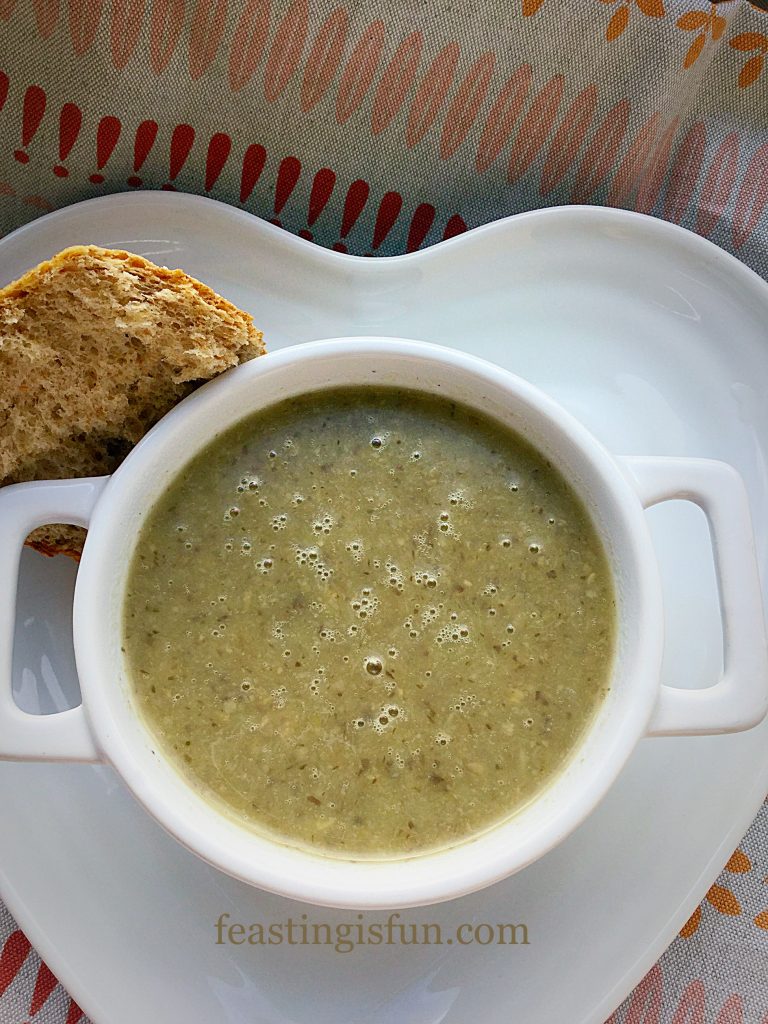
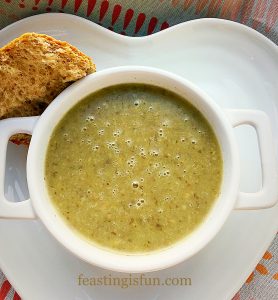
Creamy Low Fat Mushroom Soup perfect with rustic wholemeal bread.

Mushrooms And Their Unique Flavour

While I used white, button mushrooms for this recipe, chestnut, or portobello would also taste delicious. Sautéing the mushrooms slowly, ensures that they release their deep, earthy flavour. As a result, the finished soup has a rich mushroom flavour, that is not heavy. Sneaking in a potato not only thickens the soup, it also gives it beautiful creamy texture too.

FF Creamy Low Fat Mushroom Soup
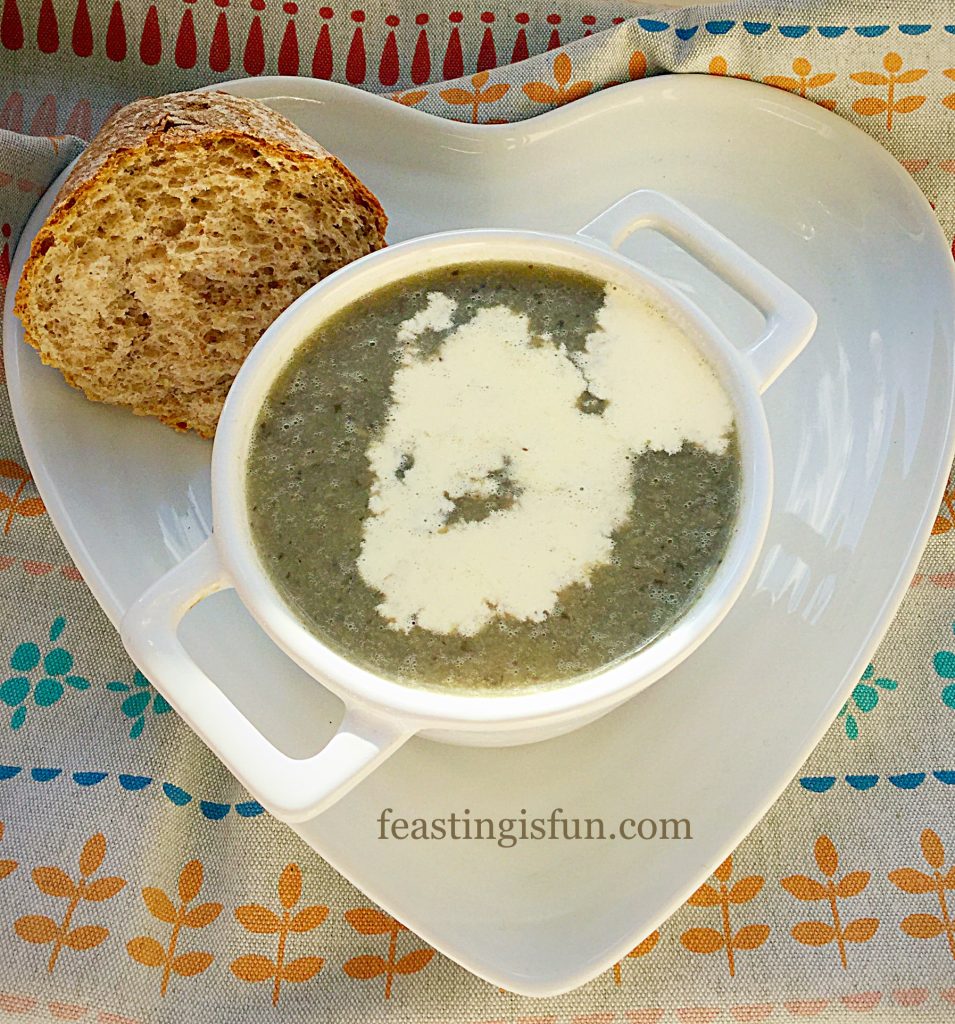
Creamy Low Fat Mushroom Soup add a splash of cream if you dare 😉

Ok so I added a swirl of cream, just to see what it would add to this soup. While it does add an extra luxurious note, perfect for special occasions, or dinner parties, the soup doesn’t need it. For example in my Leek and Potato Soup the cream really rounds out the flavour and texture. Whereas here, with the mushroom soup, the creaminess is already present.

FF Creamy Low Fat Mushroom Soup
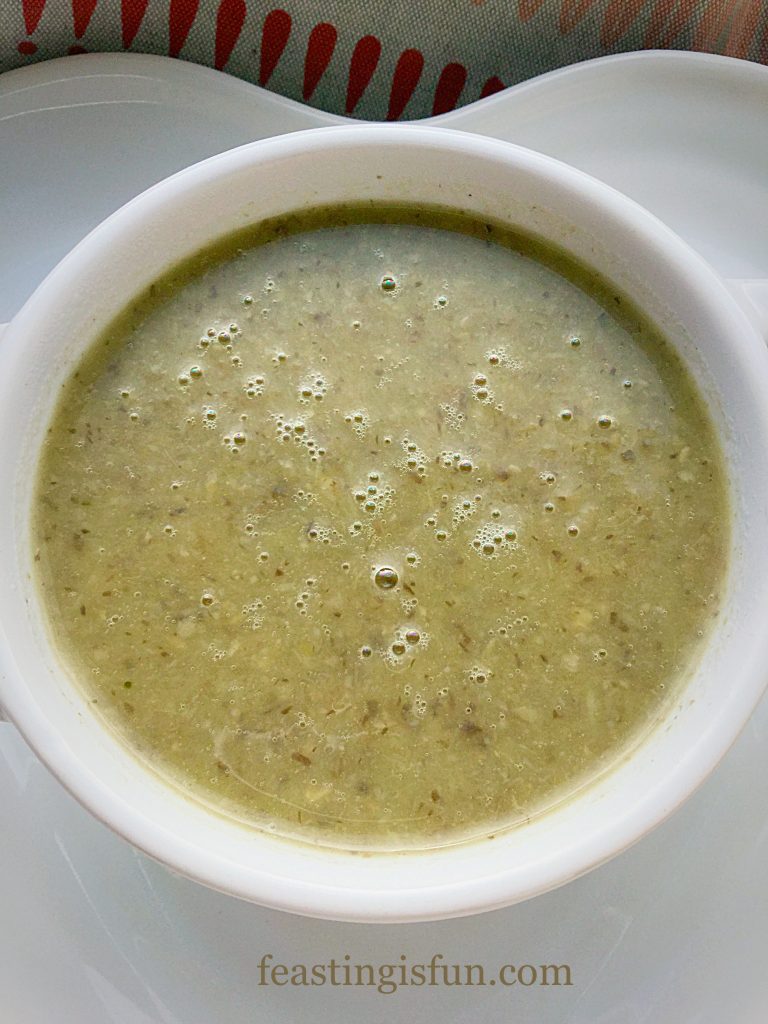
Creamy Low Fat Mushroom Soup so full of healthy flavour.

Full of flavour and texture, an immersion blender is used to ‘cream’ this soup. Rather than whizzing the soup to a completely smooth consistency, very small chunks are left in to give a better, more interesting texture. However, you may purée the soup to whatever consistency you desire.

Recipe: Creamy Low Fat Mushroom Soup serves 4 people

1 Leek washed and trimmed

1tbs Butter – alternatively you may use olive oil

300g Mushrooms

1 Medium Sized Floury Potato

1 Vegetable/Chicken Stock Cube – I use Knorr

1L Very Hot Water – from a kettle

1/4tsp Freshly Ground Black Pepper

1/4tsp Sea Salt – I use Maldon

Making The Mushroom Soup

  • First, place a heavy bottomed soup pan on to the hob, over a medium heat. Now add the butter.
  • While the butter is melting chop the leek into a medium dice – approximately 1cm pieces.
  • Once the butter has melted add the chopped leek to the pan and sauté for 3-4 minutes until they become soft.
  • Meanwhile slice the mushrooms and then cut the slices in half.
  • Next add the sliced mushrooms to the softened leeks.
  • Lower the heat slightly and continue to cook the mushrooms and leeks for a further 10 minutes, until the mushrooms are soft.
  • Peel and medium dice the potato, then add it to the saucepan.
  • Now add 1 litre of very hot water, from the kettle and a stock cube. Stir, put on the lid and allow to simmer for 30 minutes.
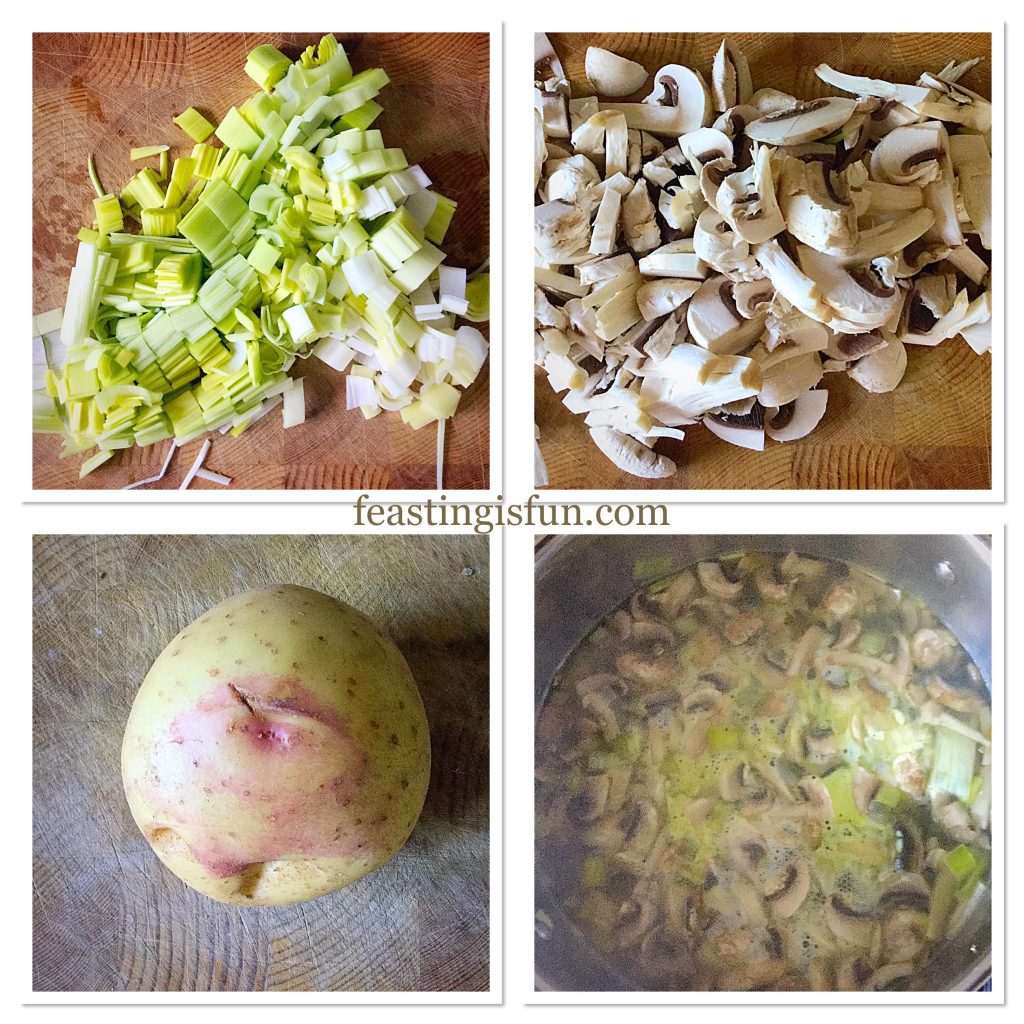
FF Creamy Low Fat Mushroom Soup
Preparing the soup.
  • After simmering for 30 minutes, remove the saucepan from the heat.
  • Make sure you are wearing an apron for the next step. I speak from soup splattered experience!
  • Use an immersion blender to blend the soup until it is almost smooth. One of the benefits of using this method to blend soup is, it allows you to feel, as well as see, how smooth the soup is. Also, if you do not have an immersion blender, a standard blender will still blend the soup well. Take care not to overfill the blender and allow the soup to cool slightly before using this method.
  • Check the soup for seasoning and adjust as necessary.

Serving The Soup

To serve, warm the soup and serve with thick chunks of rustic bread, such as my homemade Seeded Cob Loaf.

FF Creamy Low Fat Mushroom Soup
Creamy Low Fat Mushroom Soup a delicious way to warm up!

Each mouthful of this soup is a treat to your tastebuds. Perfectly balanced flavour that is nutritious and delicious.

This soup will keep, cool and place into an airtight container, keep in the fridge for up to 4 days. Alternatively, freeze in single portions and eat within a month.

If you have enjoyed the recipe for my Creamy Low Fat Mushroom Soup you may also like these other healthy and low fat soup recipes:

Carrot Soup

Carrot Soup in a bowl with crumbled Stilton cheese on top.
Carrot Soup

Roast Chicken Noodle Soup

Roast Chicken Noodle Soup served with rustic homemade bread.
Roast Chicken Noodle Soup

Roasted Garlic Butternut Squash Soup

Roasted Garlic Butternut Squash Soup served in a bowl with curly parsley to garnish.
Roasted Garlic Butternut Squash Soup

Homemade soup is so easy to make. Also, the reward, far outweighs the minimum effort needed to prepare and cook the soup. Delicious, good for you and incredibly soothing on cough ravaged, sore throats, which seem in abundance at this time of year. While eating this soup, you can almost feel it doing you good.

Do you have a favourite soup recipe?  Please let me know as I love new ideas, old ideas, any ideas that taste great!

So, whatever you are making, baking and creating in your kitchens, have fun preparing and sharing your feast.

Sammie xx


Share
Facebooktwitterpinterestlinkedintumblr

Coconut Almond Date Flapjacks

Share
Facebooktwitterpinterestlinkedintumblr

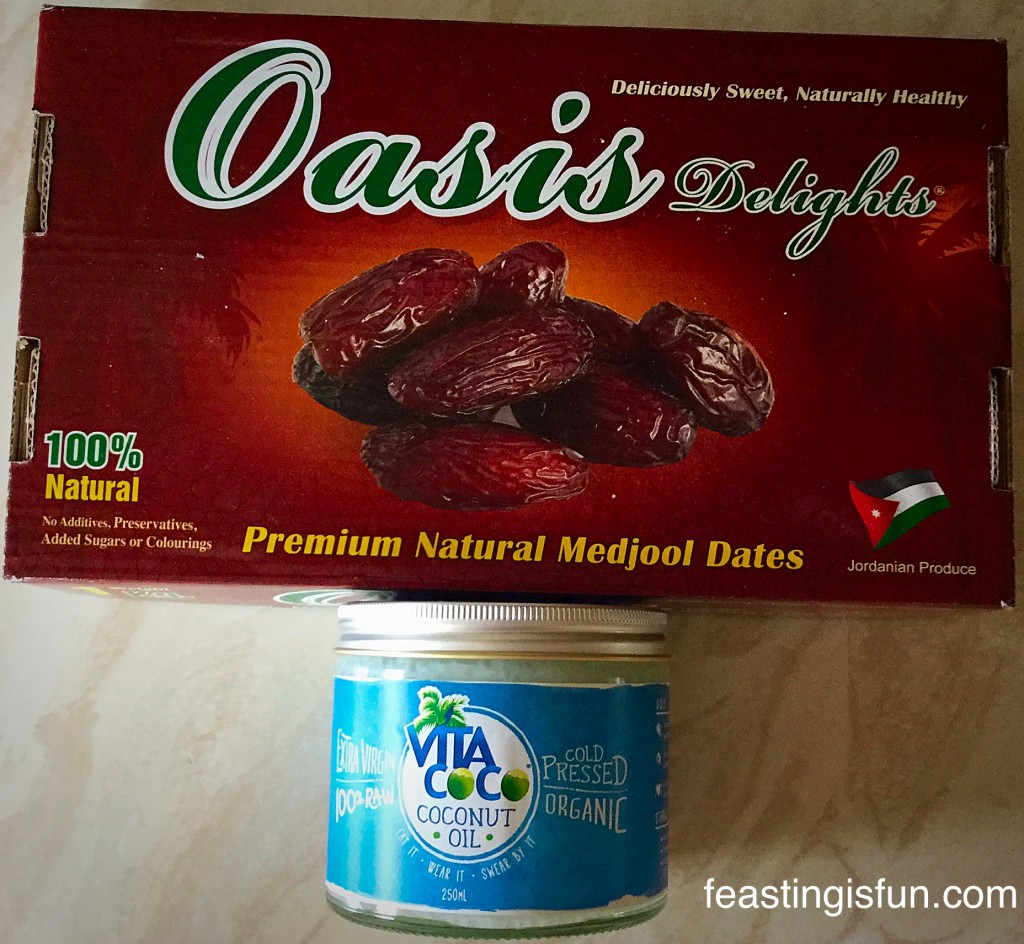
Do you love the smell of coconuts? I do! And with coconut oil being hailed as the new all round, healthy oil, I was interested in what it would be like to bake with. So, after receiving a 250ml jar of cold pressed, organic coconut oil from the lovely people at Vita Coco I decided to make these vegan Coconut Almond Date Flapjacks.

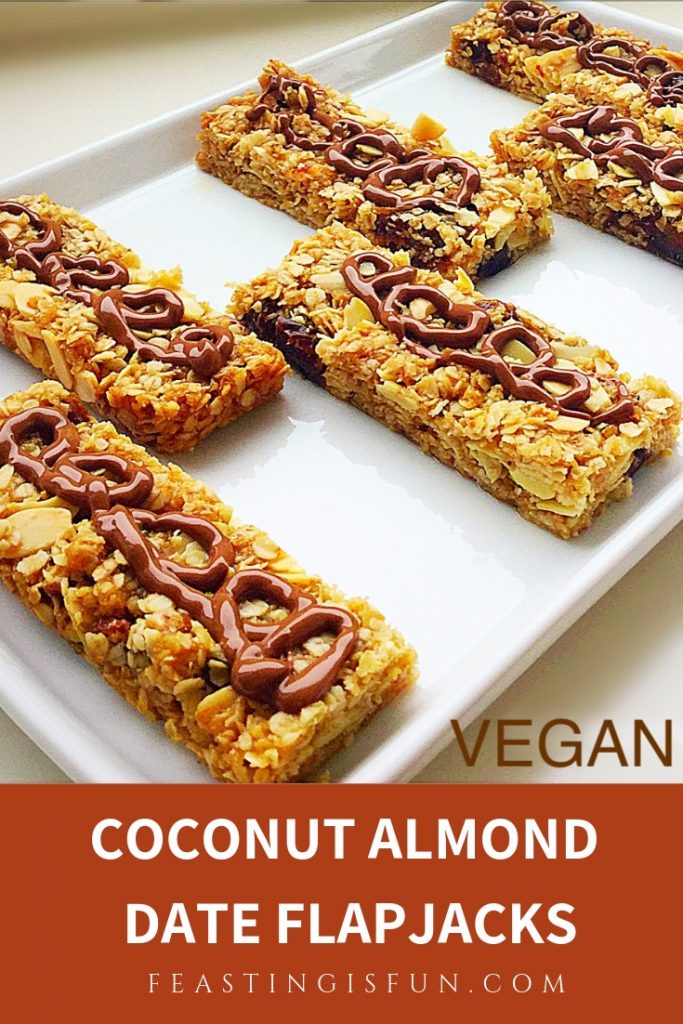
Vegan flapjacks sized for Pinterest with descriptive graphics

Since having previously tried and failed, on two separate occasion to make flapjacks using honey, I knew I would have to go back to using sugar and golden syrup, if I stood any chance of these bars holding together. And switching the butter for coconut oil was also a risky proposition.

VC Coconut Almond Date Flapjacks
Medjool dates and Vita Coco coconut oil.

Since I was using beautiful medjool dates from the Medjool Date Co. I reduced the amount of golden syrup. The dates are so naturally sweet it didnt need the extra sweetness like my Cranberry Walnut Flapjacks. Also, flaked almonds added the perfect crunch, plus all their nutty goodness and flavour.

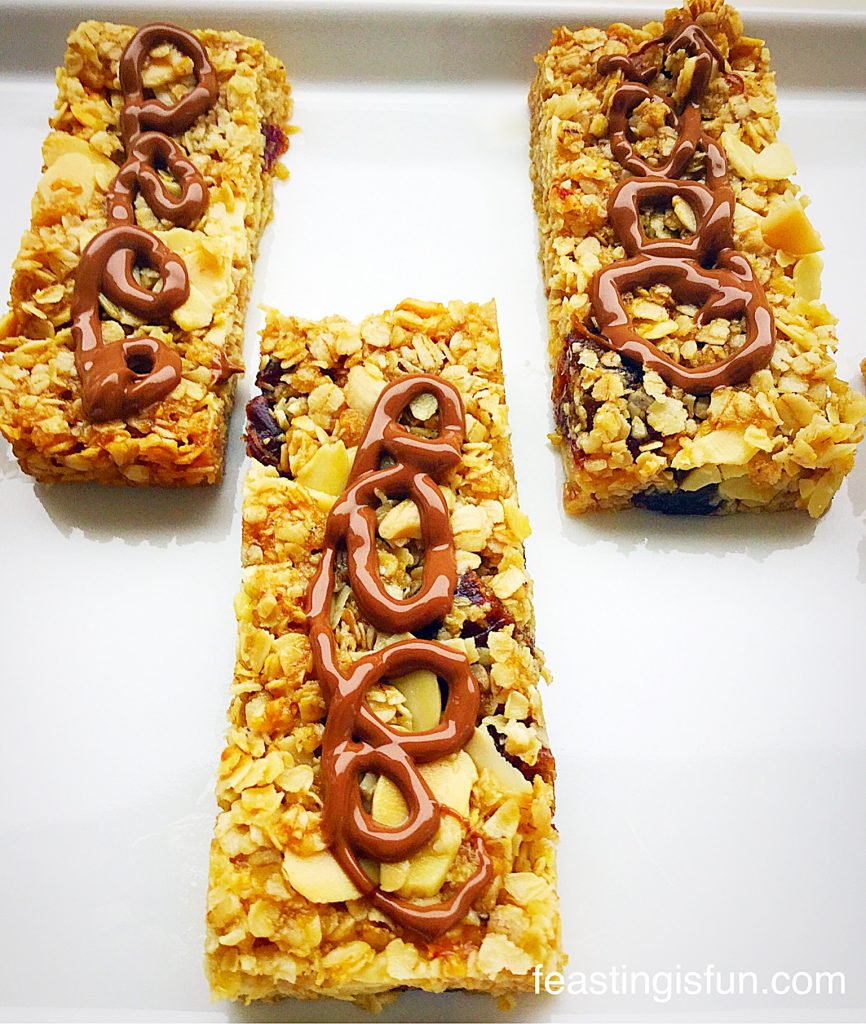
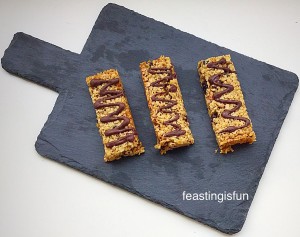
Three vegan flapjacks on a plate.
Coconut Almond Date Flapjacks

Finally, the swirl of milk chocolate gives the Coconut Almond Date Flapjacks a beautiful finish and let’s face it, a little chocolate always makes things better. Since these flapjacks are naturally vegan, use dairy free, vegan dark chocolate when sharing with those following a vegan diet.

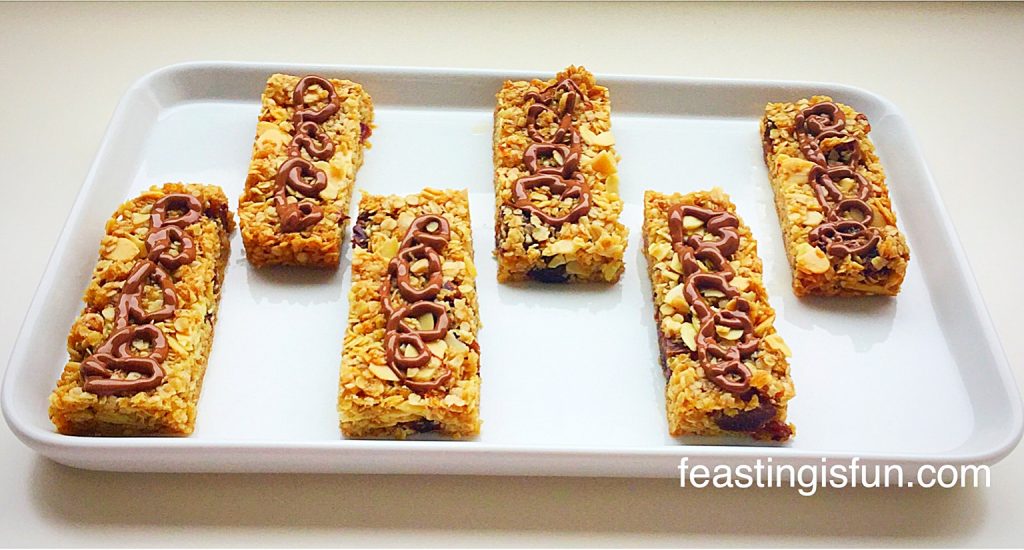
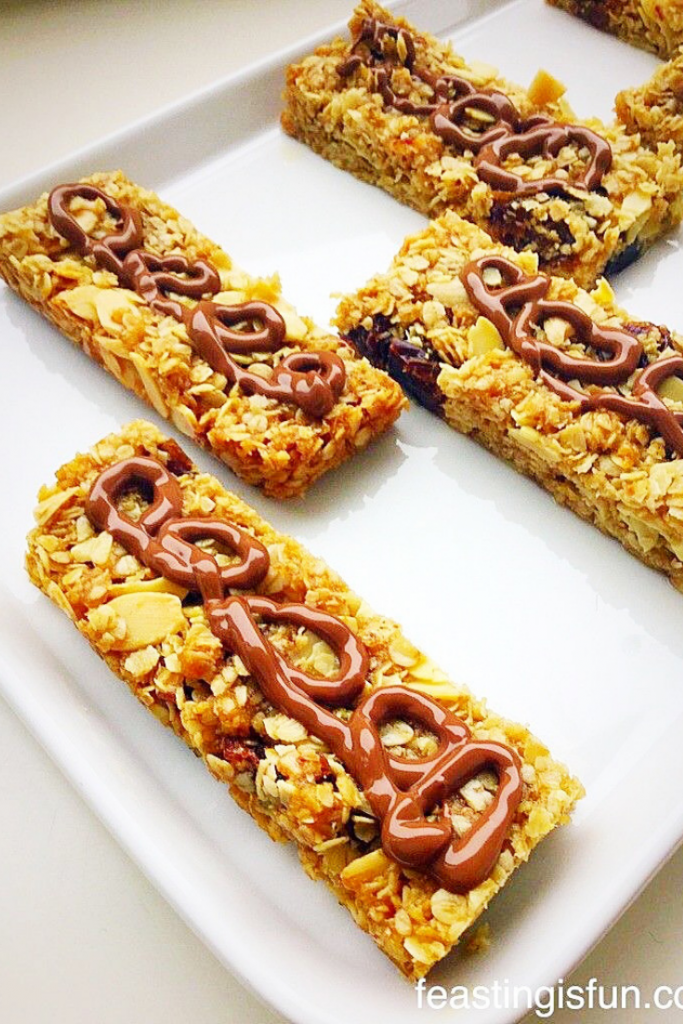
Vegan flapjacks on a white platter.
Coconut Almond Date Flapjacks vegan and very delicious.

Wow!! These Coconut Almond Date Flapjacks taste amazing. I mean really, really good.

And I needn’t have worried about missing the buttery flavour of my usual flapjacks as these are packed full of chewy, nutty, flavour. Because my taste buds threw a party after my first bite, demanding another and then another bite.

So utterly delicious and clean tasting, if you get my meaning?

Recipe: Makes 16 Coconut Almond Date Flapjacks

225g/8oz One 250ml Jar of Vita Coco coconut oil

125g/5oz Light Soft Brown Sugar

75g/3oz Golden Syrup -light corn syrup

325g/11.5oz Rolled Oats – NOT quick cook oats

100g/4oz Flaked Almonds

125g/5oz Medjool Dates – seed removed and chopped into 1cm pieces

Optional – 100g/4oz Milk or alternatively Vegan Chocolate Sainsbury’s essential dark chocolate is Vegan

Method: Preheat the oven to 180/160C fan, gas mark 4, 350F

Making The Vegan Flapjacks

  • First of all, line an 8″ X 11″ – 20cm X 28cm Swiss roll tin with baking parchment. While I didn’t grease my tin first, the baking parchment lifted out without any problems.
  • In a large, heatproof/microwaveable bowl add the coconut oil, sugar and golden syrup.
  • Place in the microwave and heat on medium, for approximately 3 minutes, until the coconut oil has melted.
  • Stir the coconut oil, sugar and golden syrup together.
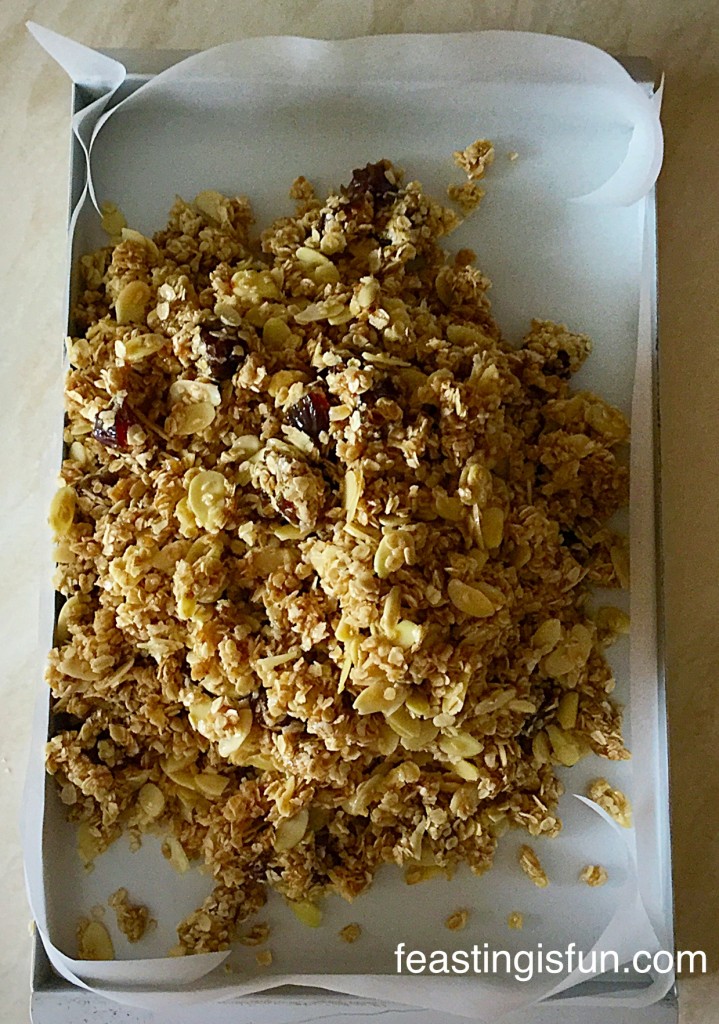
  • Add the rolled oats, chopped dates and flaked almonds.
VC Coconut Almond Date Flapjacks
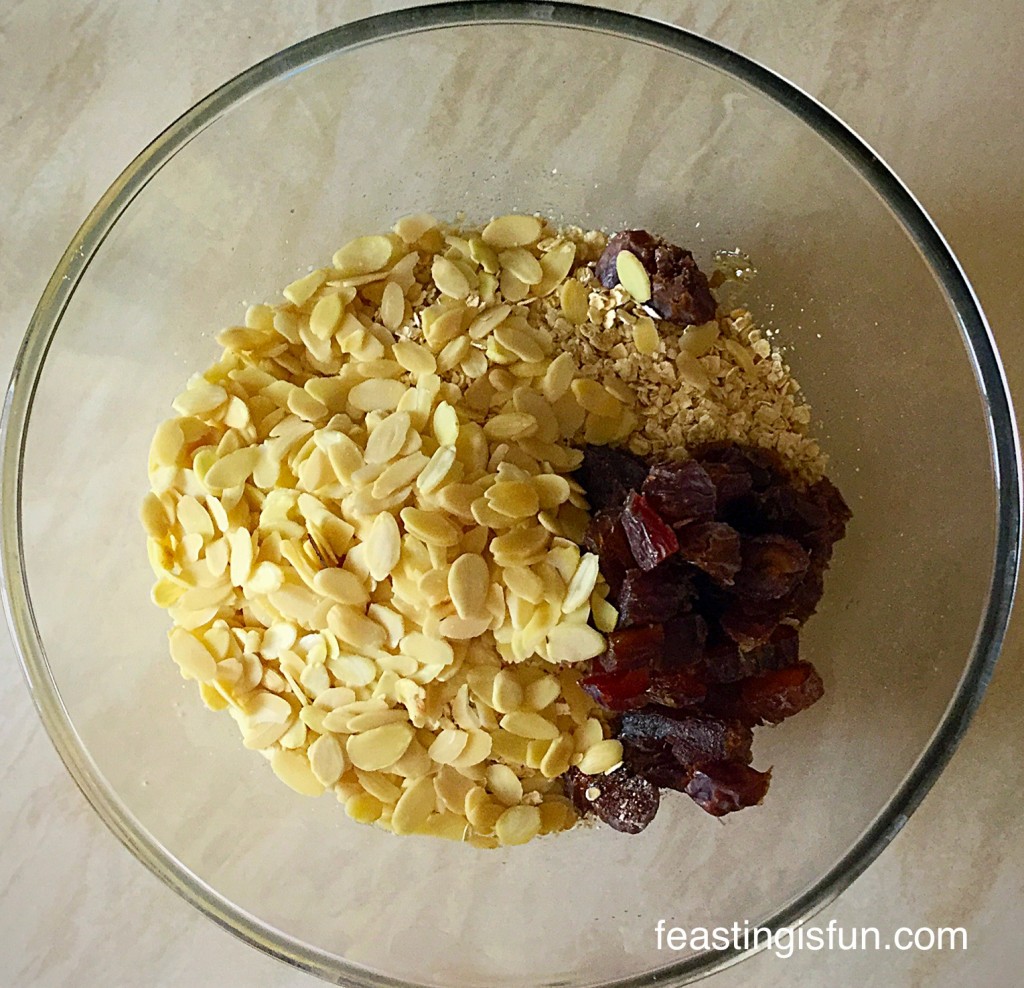
All the ingredients for Coconut Almond Date Flapjacks in one bowl!
  • Mix all the ingredients together so that everything is coated in the melted coconut oil and sugar mix.
  • Tip the flapjack ingredients into the prepared tin.
VC Coconut Almond Date Flapjacks
Tip the delicious mix into a prepared tin.
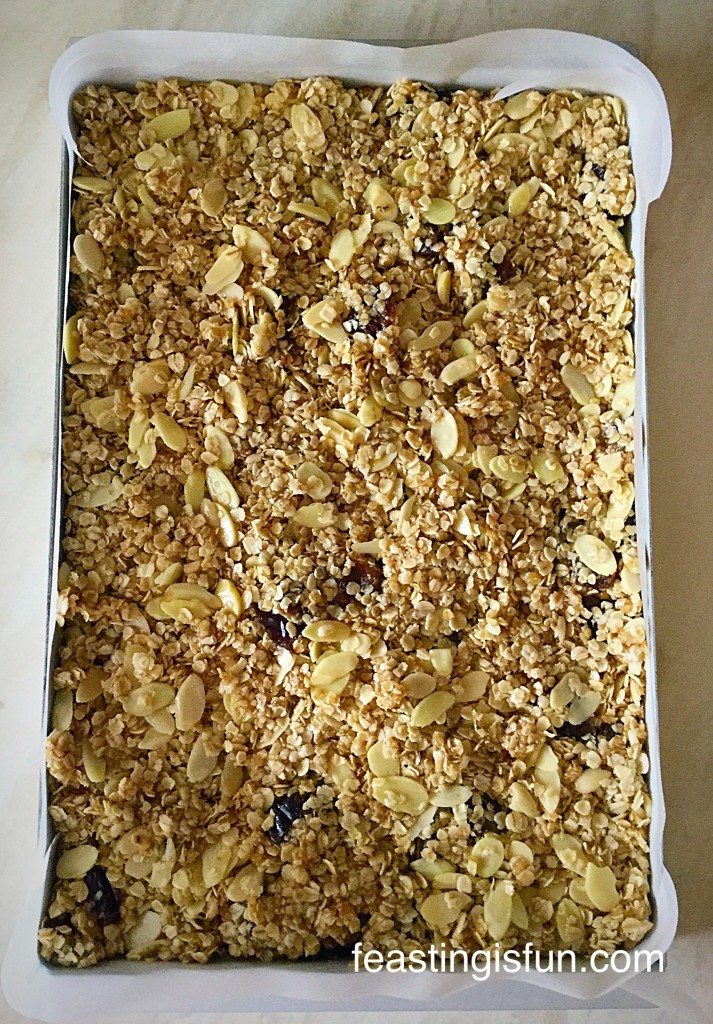
  • Using the back of a metal spoon, press the mixture evenly into the tin.
VC Coconut Almond Date Flapjacks
Coconut Almond Date Flapjacks ready for the oven.

Baking The Coconut Almond Date Flapjacks

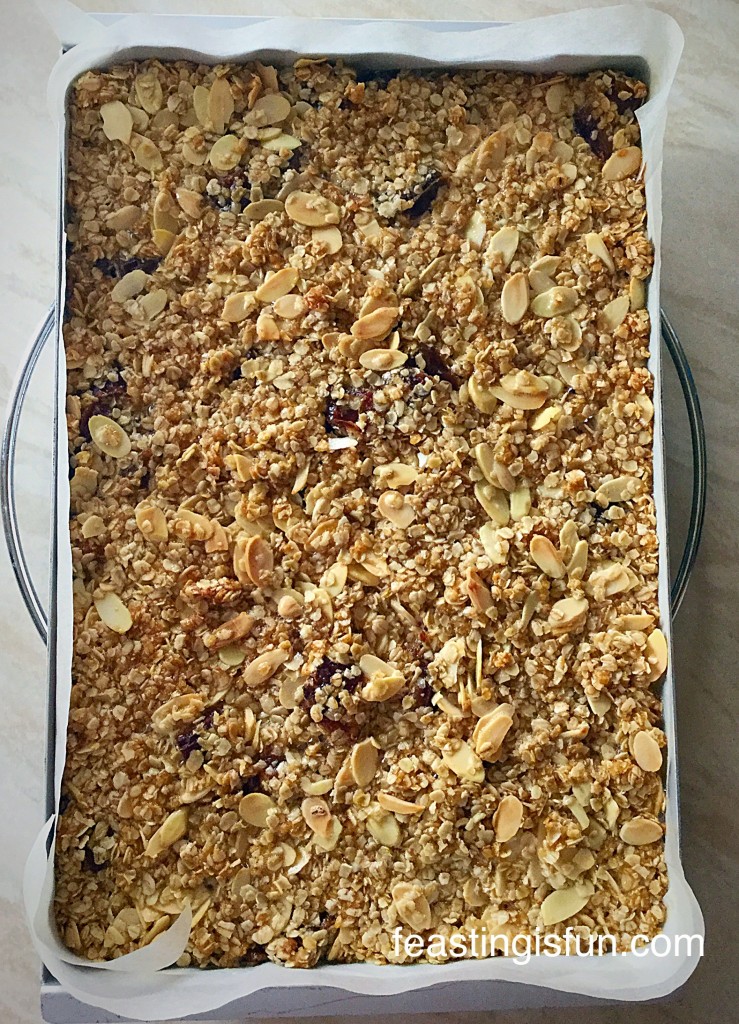
  • Place the flapjacks into the centre of the oven and bake for exactly 20 minutes.
  • The flapjacks should be a golden colour once cooked. As soon as the 20 minutes has elapsed remove from the oven.
  • Finally, resist the temptation to cook them for just a bit longer. Since this will result in the flapjacks becoming very hard and not chewy, on cooling.
VC Coconut Almond Date Flapjacks
Coconut Almond Date Flapjacks leave to cool completely in the tin.
  • Leave the flapjacks to cool completely in the tin.
  • Once cooled remove the from the tin using the parchment to lift them out.

Cutting And Decorating The Flapjacks

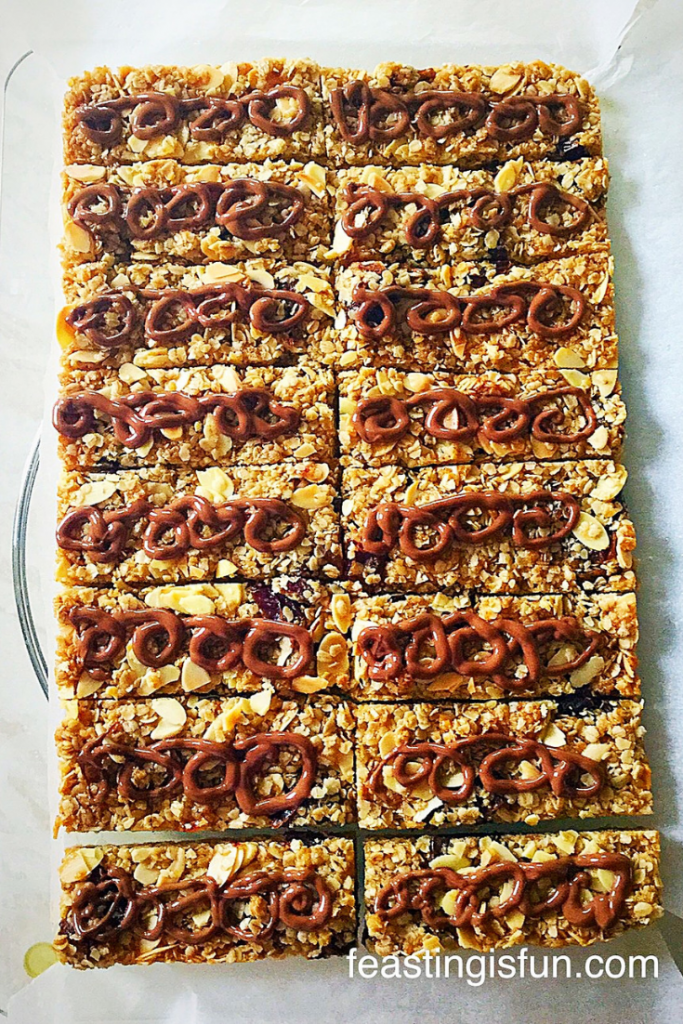
  • With a sharp knife cut down the length of the flapjack block, dividing it in two. Next cut across the middle of the flapjack, creating four quarters. Cur each quarter into four bars.
  • Break up the milk chocolate and place into a heatproof, microwaveable bowl.
  • Zap for 20 seconds at a time, on high, in the microwave. Stirring as the chocolate starts to melt. When the chocolate is nearly melted remove from the microwave and keep stirring until it is completely melted.
  • Pour the melted chocolate into a small piping bag (or a freezer/sandwich bag).
VC Coconut Almond Date Flapjacks
The glass keeps the bag steady as you pour in the melted chocolate.
  • Cut the very end of the piping bag (or corner of bag), so that you have a small hole.
  • Pipe a pattern of your choice down the length of each of the Coconut Almond Date Flapjacks.
  • Leave to set.
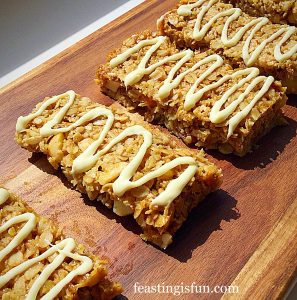
Chocolate decorated flapjacks
Coconut Almond Date Flapjacks

Store the flapjacks in an airtight container for up to a week.

Coconut Oil A Vegan Substitute For Butter

While the coconut flavour in these flapjacks is subtle, it mixes well with the dates and almonds to create a really flavoursome bar. Especially ideal for mornings when you’re in a rush and need breakfast on the go, or for filling that mid afternoon hunger gap and seeing you through to your evening meal!

I am incredibly impressed with how well the Vita Coco coconut oil worked in this recipe and I shall most definitely be buying more and using it in other recipes. So providing the chocolate is vegan, these Coconut Almond Date Flapjacks they are vegan, dairy AND gluten free (providing you use certified gluten free oats).

Coconut Almond Date Flapjacks

Creating a recipe that is not only nutritious, tasty and easy to pack up and take to work or school, but that can also be enjoyed by more people is a fantastic feeling!

Do you have diet constraints?

Have you substituted coconut oil for butter in any of your cooking/baking?

Please let me know as I am new to baking with coconut oil and would love to hear any tips you may have?

If you have enjoyed these Coconut Almond Date Flapjacks here are a couple more recipes you may like.

Cranberry Walnut Flapjacks

VC Cranberry Walnut Flapjacks
Cranberry Walnut Flapjacks

Macadamia Nut Apricot Flapjacks 

Macadamia Nut Apricot Flapjacks

Double Cherry Drizzle Oat Bars

Double Cherry Drizzle Oat Bars

Creating a vegan snack happened accidentally. Because the butter is switched to coconut oil and all of the other ingredients are gluten free and vegan I am thrilled that the resulting bake is so tasty. Since more people can enjoy this snack it fits in well with the theme of Feasting Is Fun.

So, whatever you are making, baking and creating in your kitchen, have fun preparing and sharing your feast.

Sammie xx

VitaCoco and The Medjool Date Co. provided me with coconut oil and dates which were used in this recipe. Also, all opinions, views, content and photographs are my own. I did not receive payment for writing this post. Please see my Disclosure Policy.

Also, this recipe is an entry into the #Swearbyit challenge with Vita coco. Find more great coconut oil recipes and tips on using coconut oil at www.swearbyit.com.

Vegan breakfast bars with descriptive graphics overlay.

Share
Facebooktwitterpinterestlinkedintumblr

Carrot Soup

Share
Facebooktwitterpinterestlinkedintumblr

Hello and thanks for popping by. Autumn is most definitely here and with it the very changeable weather. While one minute there are blue skies and warming sunshine only to vanish, in a flash of lightening, to deep grey clouds, swirling winds and cold, drenching rain. In fact, autumnal weather has all the consistency of a teenager’s mood swings! Yet, one thing that is guareented to brighten the dreariest day is this vibrant orange, Carrot Soup by my very talented and beautiful friend Liz.

Pinterest sized image of carrot soup with descriptive graphics.
Carrot Soup with a hint of ginger.

Liz and I ‘met’ over on Twitter. Because we are both newbies to the blogging and Tweeting world, I guess we found a kindred spirit in each other. While Liz no longer blogs on her site Teta Lizza, she can be found on Instagram as @teta_lizza. Rather than blogging on her site, she now shares plant based recipes on her Instagram account.

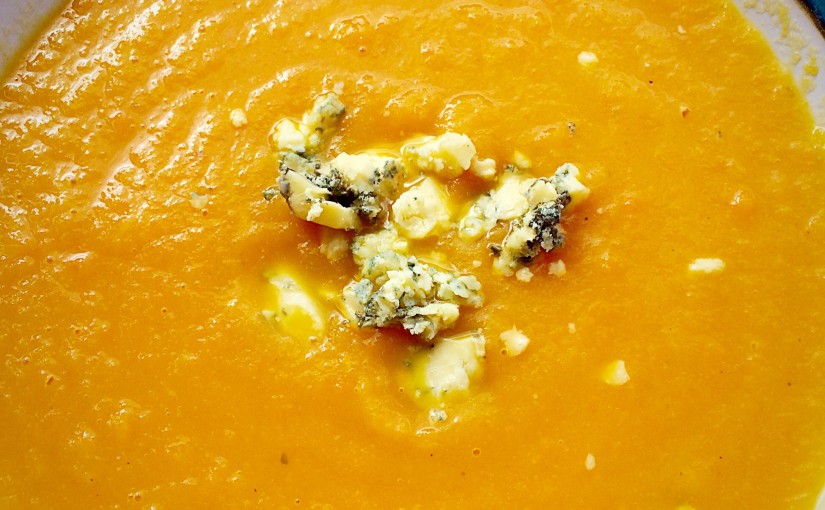
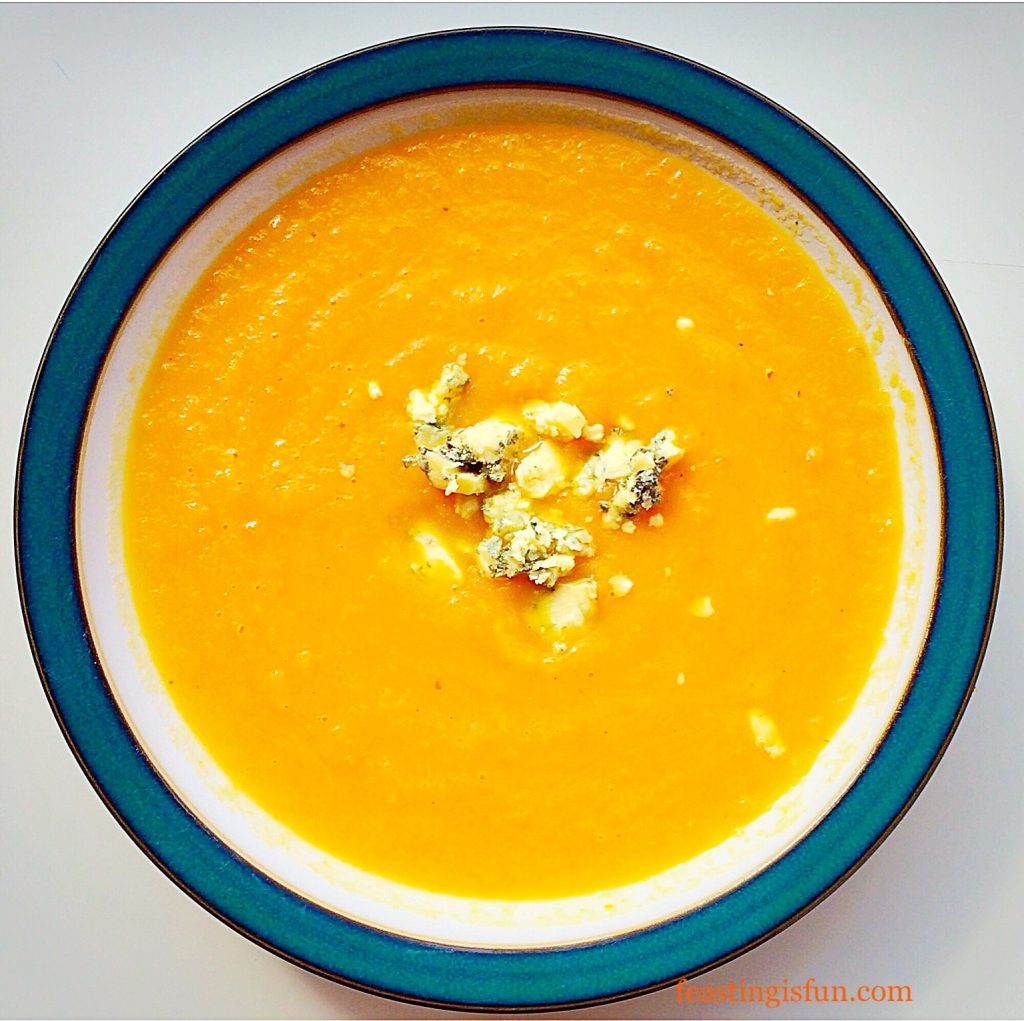
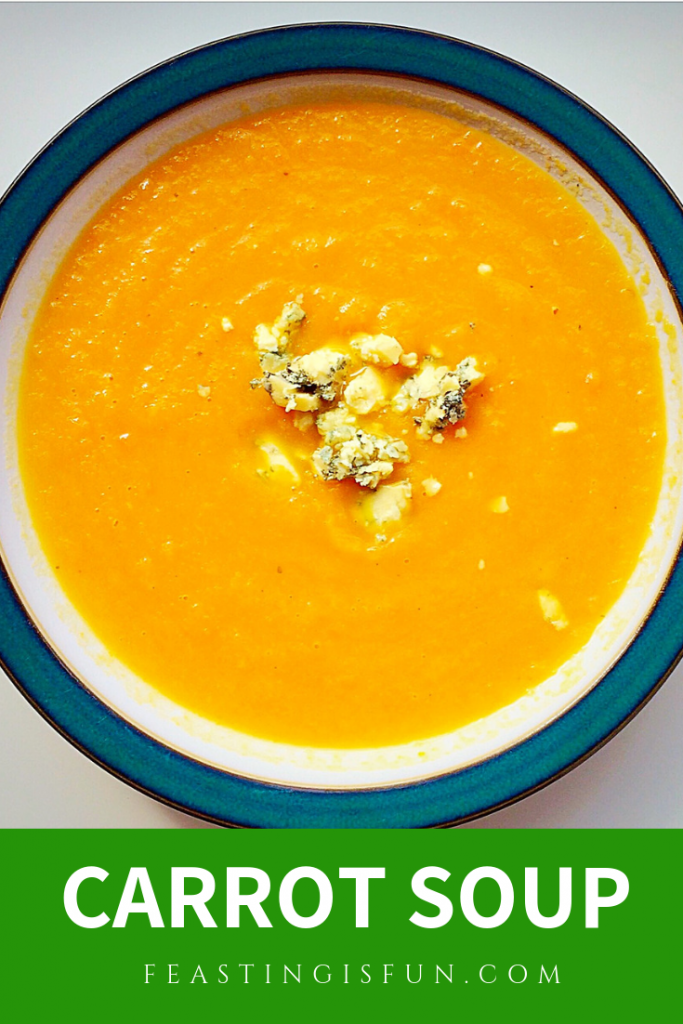
Carrot Soup with some crumbled Stilton cheese.


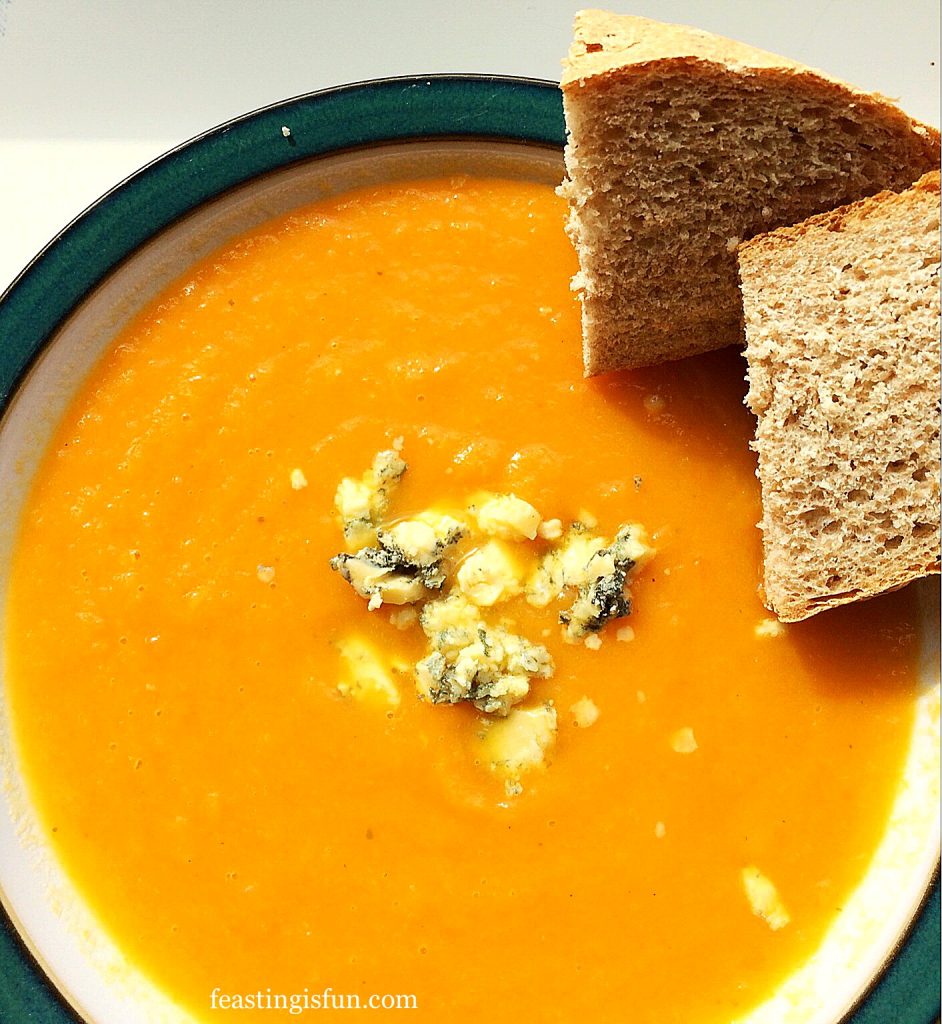
I will be forever thankful to Liz for allowing me to create and post this Carrot Soup. While the subtle hint of ginger gently warms you through as you consume this delicious soup. Also the beautiful sweetness of the carrots contrasts with the sharp, salty, Stilton, crumbled into the middle. Alternatively, Liz uses Parsley to garnish her soup and that too would be delicious, as would a swirl of cream, dollop of creme fraiche…. the garnishing possibilities are endless. And it’s important to mention that without garnish, this soup is entirely delicious on it’s own. Especially if it is accompanied by nothing more than a good, thick, slice of bread, for dunking and mopping!

Carrot Soup


Recipe : Serves four portions of Carrot Soup

1tbsp Olive Oil – I use Filippo Berio

1 Medium Onion diced

450g/1lb Carrots – peeled and medium diced

1 Large Potato – baking sized, peeled and medium diced

1tsp Fresh Grated Ginger

1 litre/Approx 2pints Water

1 Vegetable Stock Cube – if not making vegetarian version, a chicken stock cube is fine

Salt and Freshly Ground Pepper to season

Stilton Cheese to garnish – optional

Method :

Making The Soup

  • First of all, pour the Olive Oil into a heavy based pan, over a medium heat.
  • Add the diced onions and a small sprinkle (1/4tsp) of salt.
  • Sauté the onions until soft and translucent – adding the salt will help stop them browning.
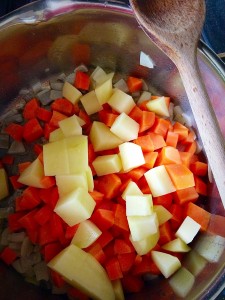
Add the carrots and potatoes to the softened onions.
  • Stir the vegetables over a medium/low heat for a minute.
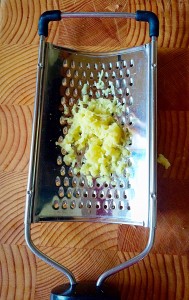
Grate 1tsp of fresh ginger and add to the pan.
  • Add the freshly grated ginger to the saucepan.
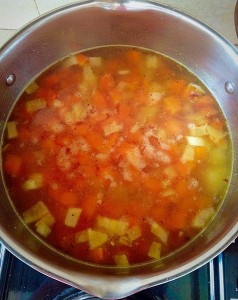
Add the water and stock cube to the vegetables.
  • Finally pour the water over the vegetables.
  • Add a good grinding of black pepper.
  • I wouldn’t add any additional salt at this stage as the stock cube contains salt.
  • Bring the soup to a boil, then reduce the heat and allow the soup, covered with a lid, to simmer for half an hour.
  • As soon as the soup has finished cooking move the pan off of the heat.
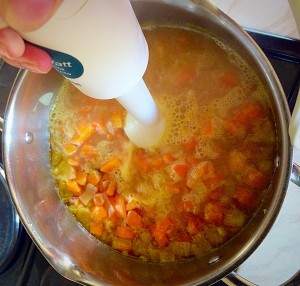
Purée using a hand held blender.
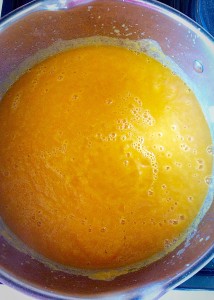
  • Purée the soup using a hand blender. Alternatively, cool the soup and purée in a blender.
Carrot Soup have a final taste and adjust the seasoning if necessary.

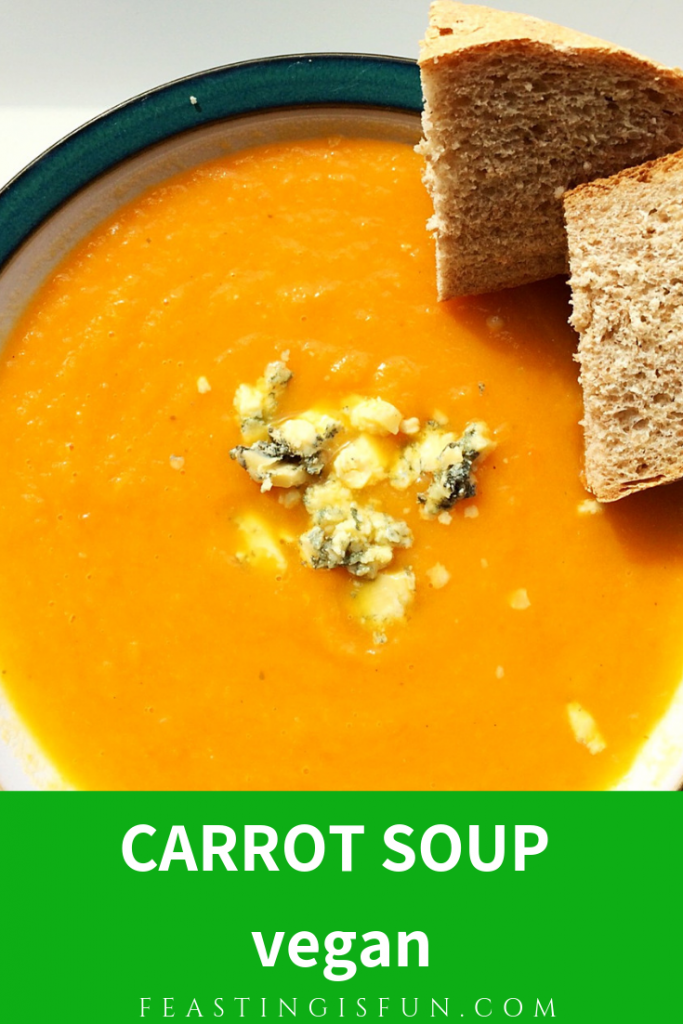
Finally serve the Carrot Soup ladled into warmed bowls and garnished with some crumbled Stilton Cheese (unless you are making the soup for vegans) and thick slices of homemade bread.

Pinterest sized image of carrot soup served in a green rimmed soup bowl.

This Carrot Soup warms you right through. Also it is perfect for lunch after a long walk, admiring the changing colours of the season and kicking through the fallen leaves.

If you have enjoyed this recipe for Carrot Soup you may also like these:

Roasted Garlic Butternut Squash Soup 

Roasted Garlic Butternut Squash Soup in a green rimmed bowl.
Roasted Garlic Butternut Squash Soup.

Warming Winter Vegetable Soup 

Winter Warming Vegetable Soup served in a bowl
Winter Warming Vegetable Soup – also vegan

Creamy Low Fat Mushroom Soup 

Creamy Low Fat Mushroom Soup

I am such a fan of soup. While it can be a quick, warming, light lunch, it can also serve as a substantial meal. Adding tasty, rustic, homemade bread such as my  Crunchy Seeded Bread and also some tasty cheese, turns this simple bowl into a heart warming feast. And it’s easy to double up on ingredients if you are feeding a crowd.

So, whatever you are making, baking and creating in your kitchens, have fun preparing and sharing your feast.

Sammie x

No part of this post may be reproduced or duplicated without the written permission of the owner. Please see my Disclosure Policy.


Share
Facebooktwitterpinterestlinkedintumblr