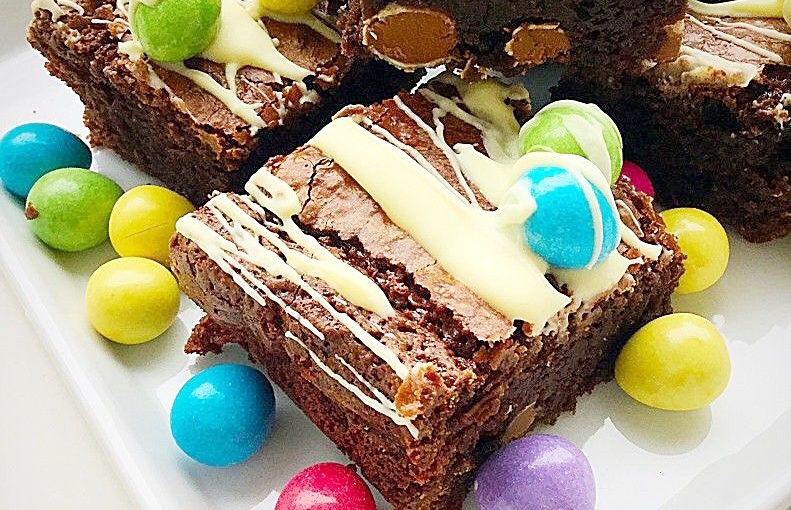
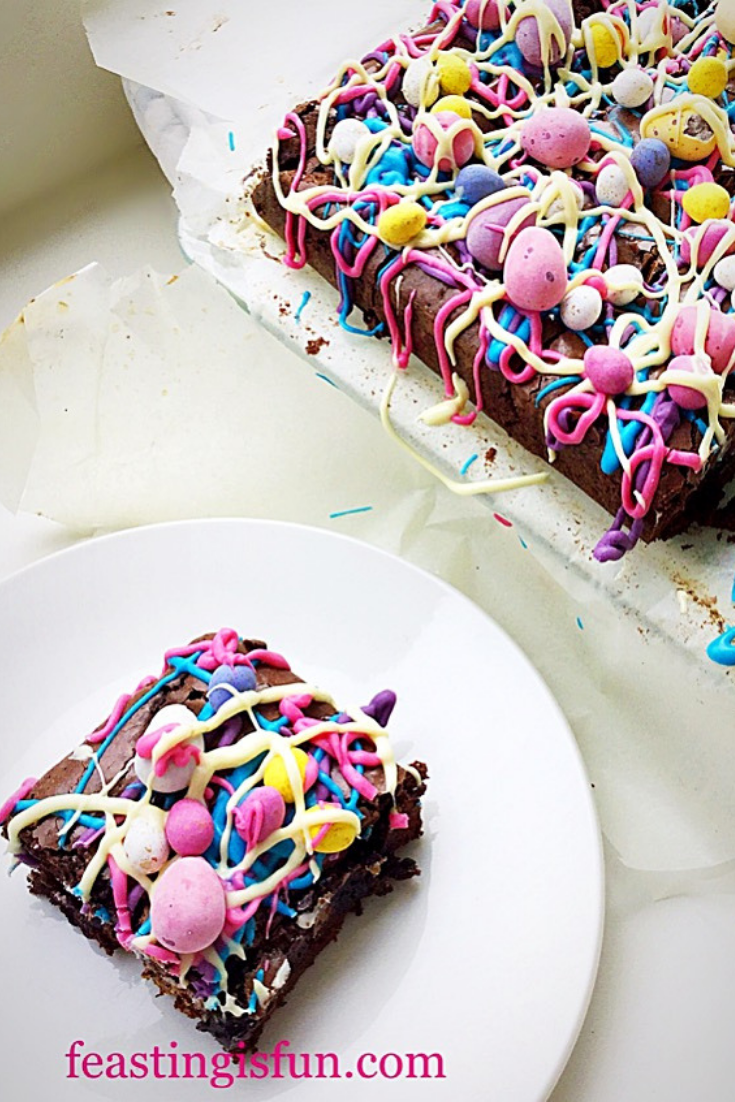
Easter weekend is finally here. Four days holiday for most people. Enjoying the good weather, lawns are mowed, kitchens prepare treats for the weekend, while teenagers prepare for upcoming exams. Whatever you and your family are doing my Chocolate Biscuit Base Mini Egg Brownies Easter bake is sure to bring about a smile.

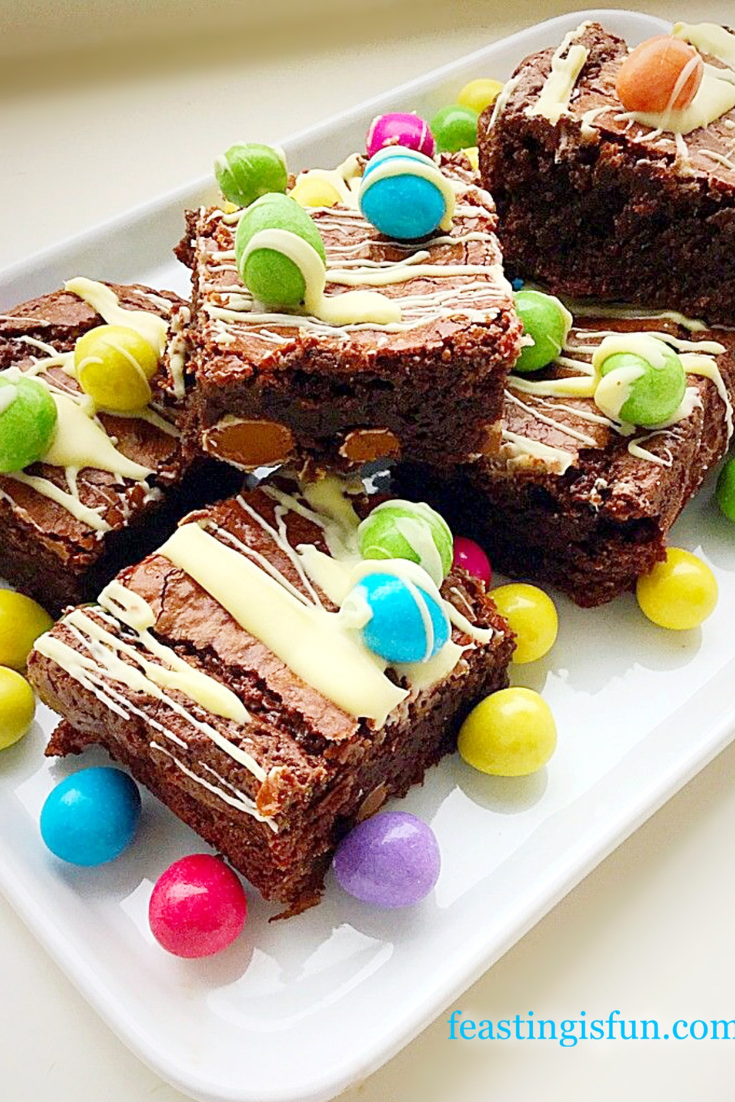
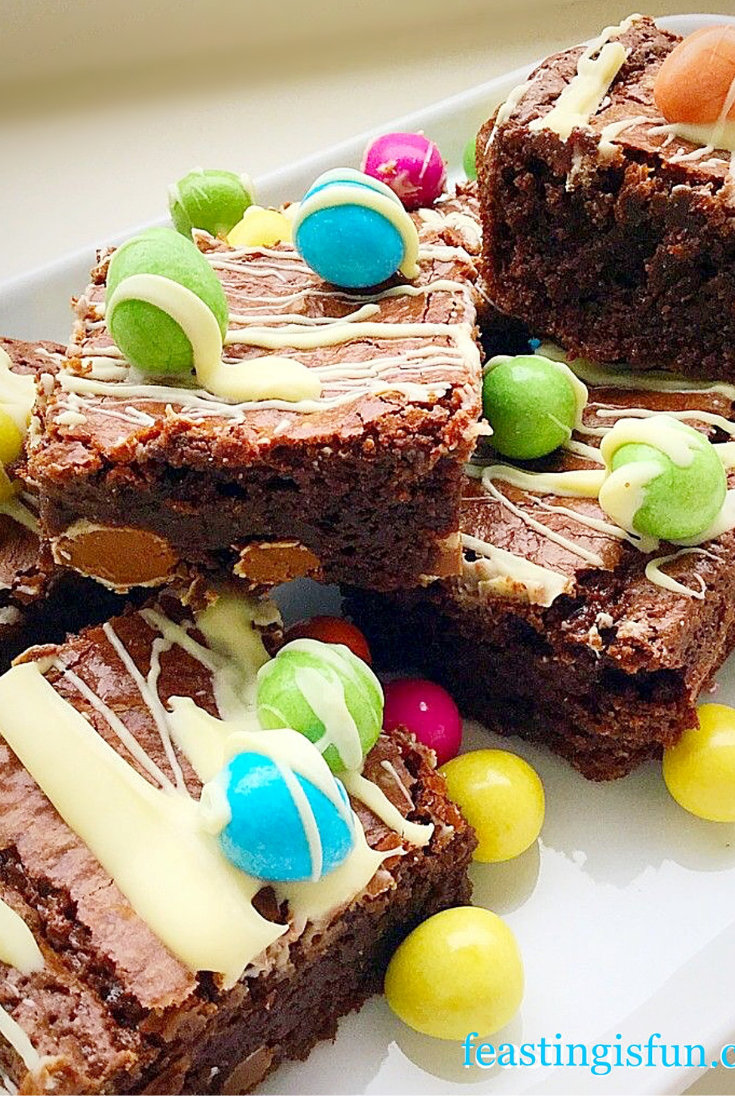
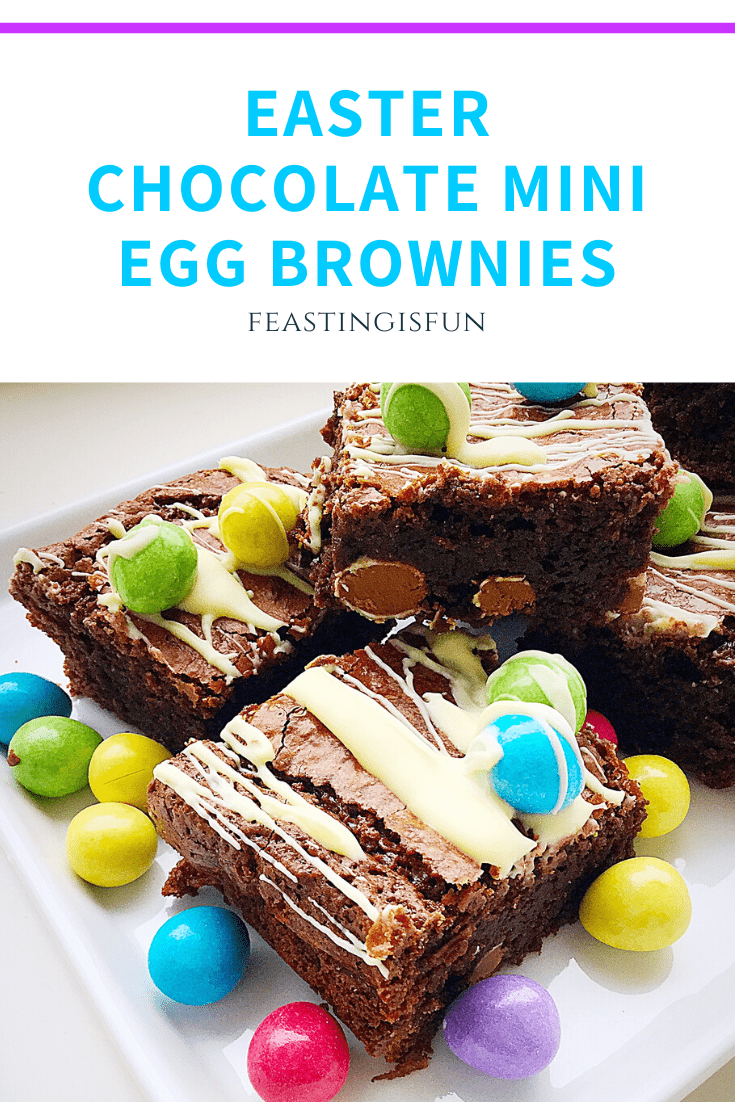
The base of these brownies is a chocolate biscuit. Rather like a slightly harder version of the soft, squidgy brownie on top. So the advantage is that with a firmer base these brownies are easier to pick up and hold. While developing this recipe my thoughts were directed by practicality.

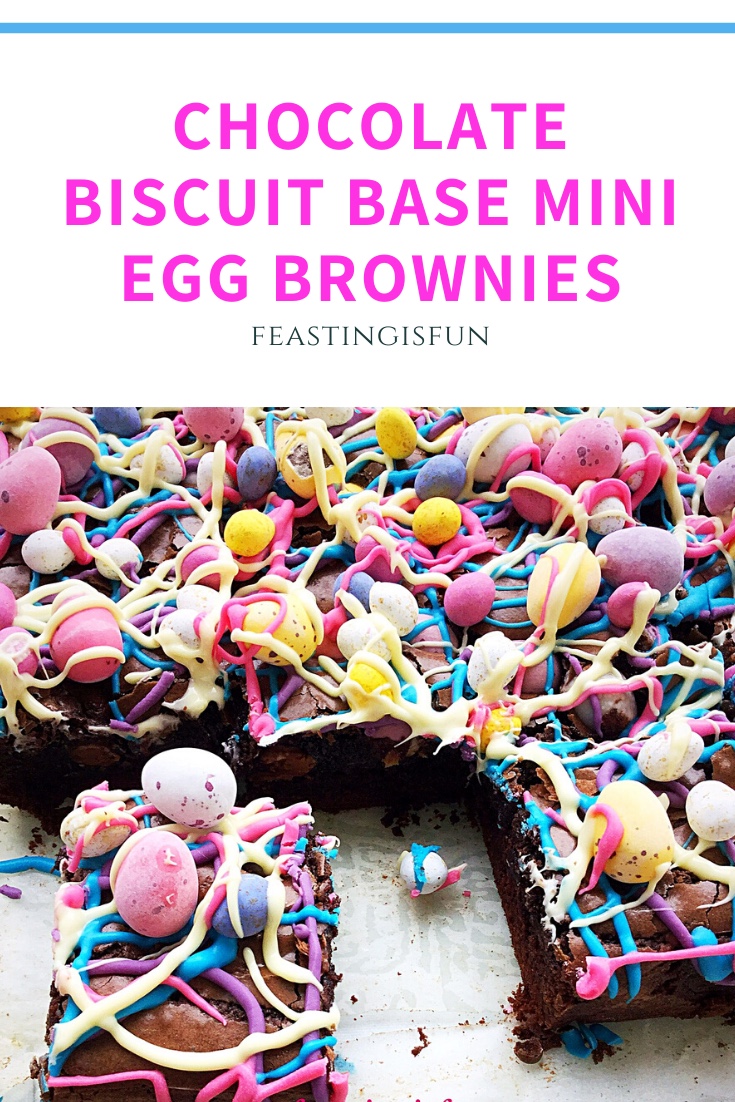
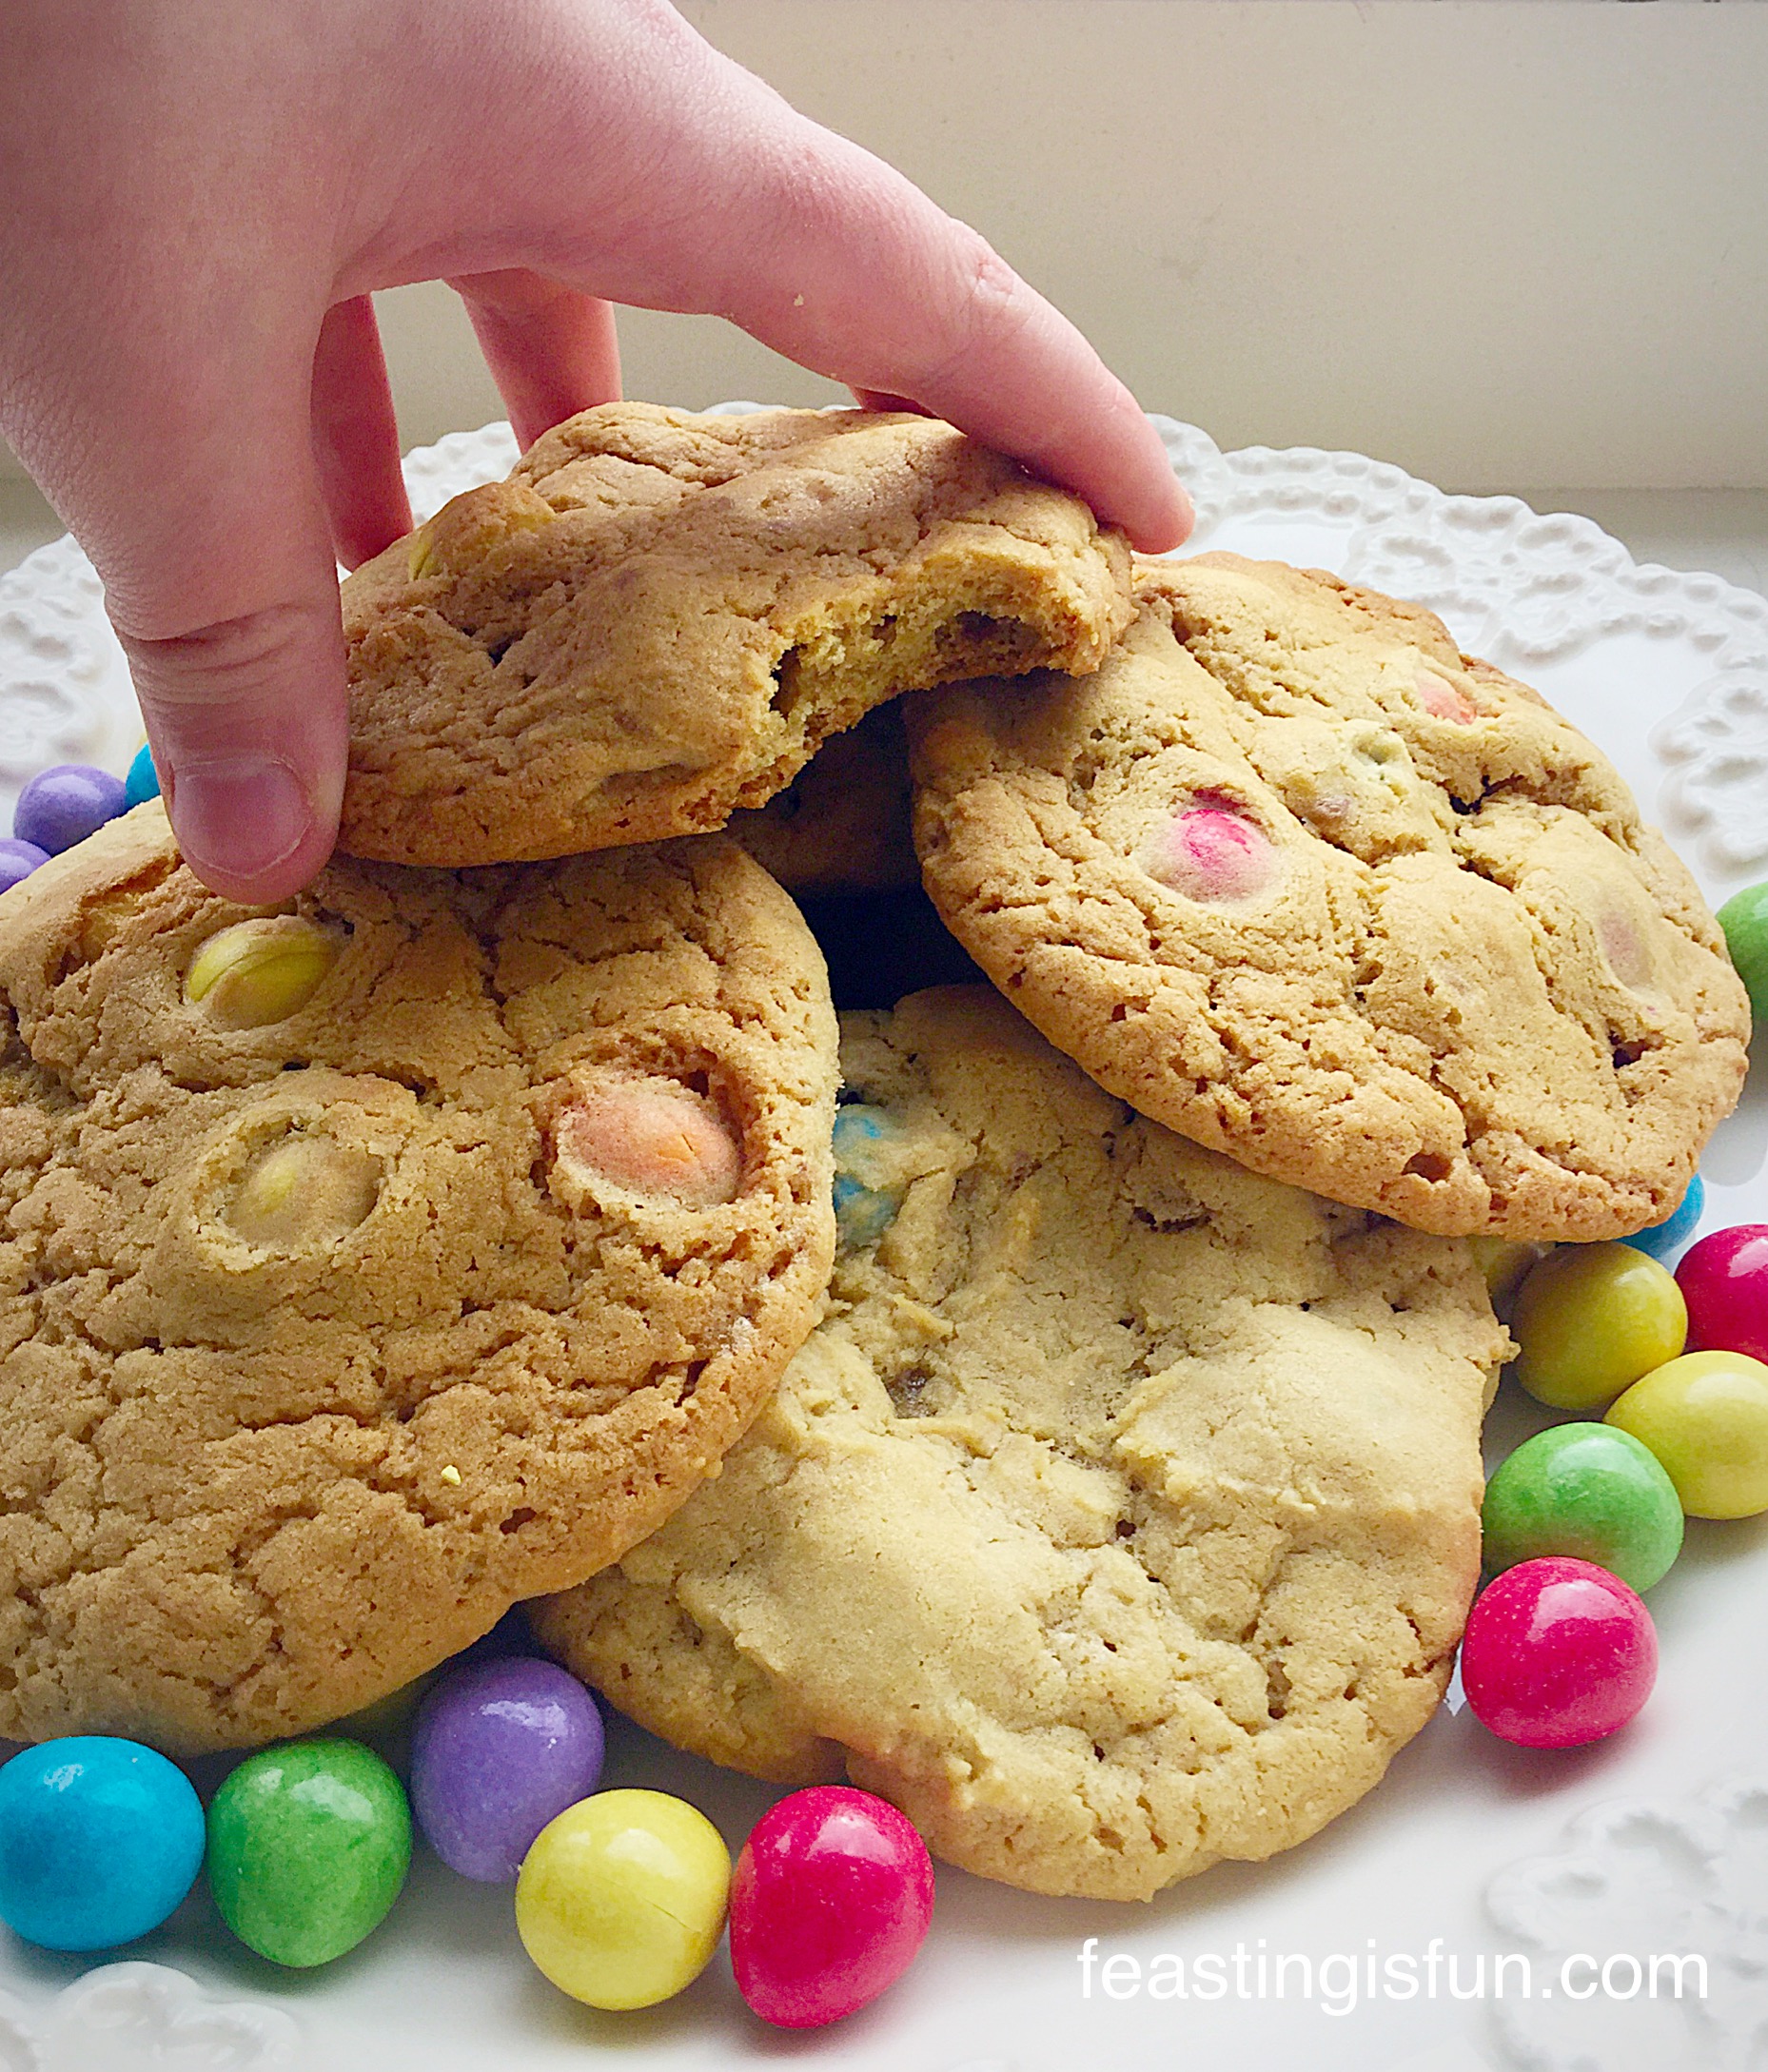
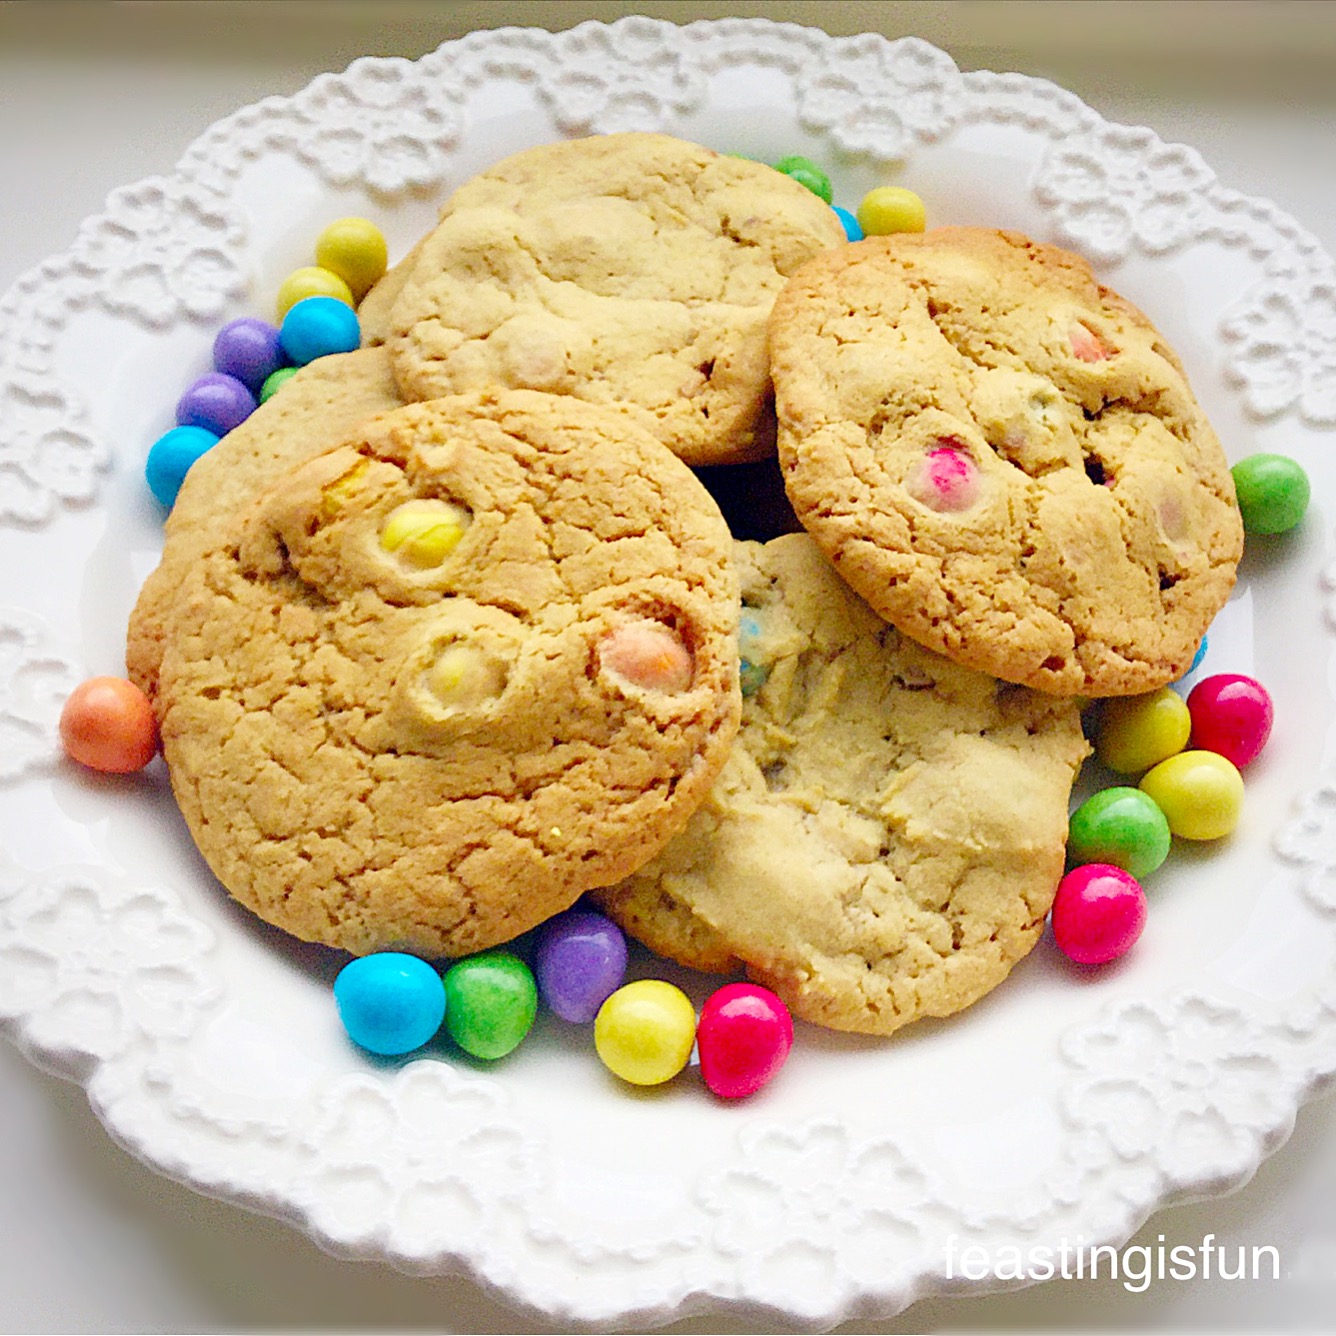
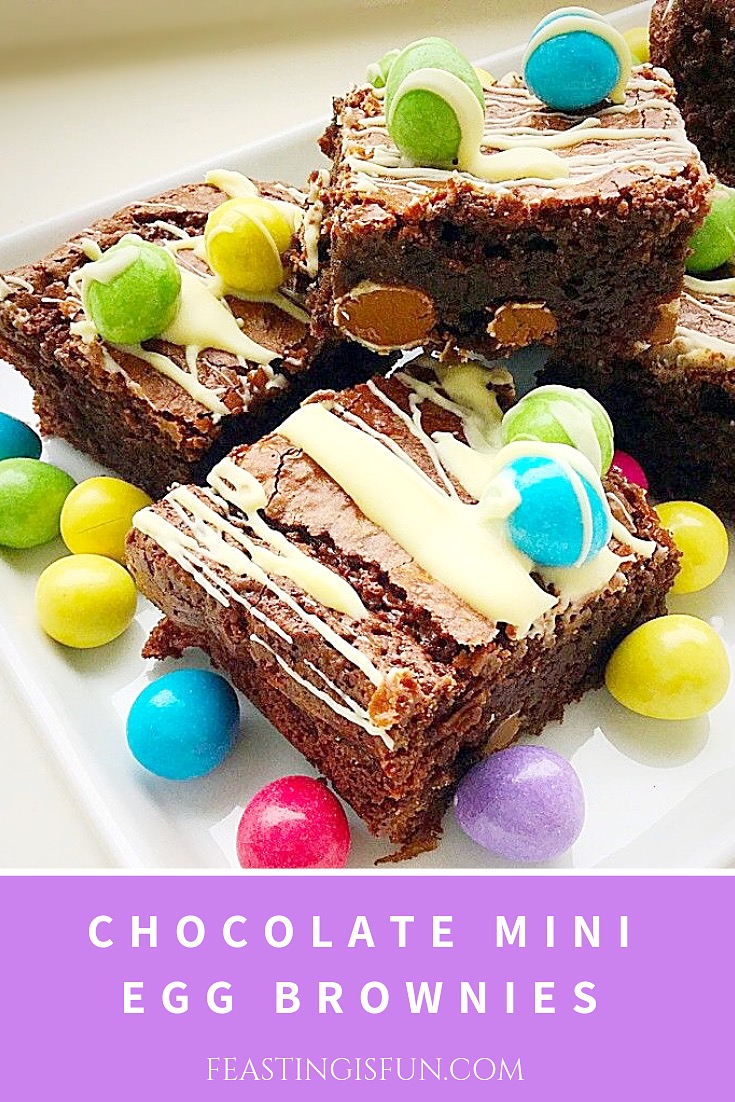
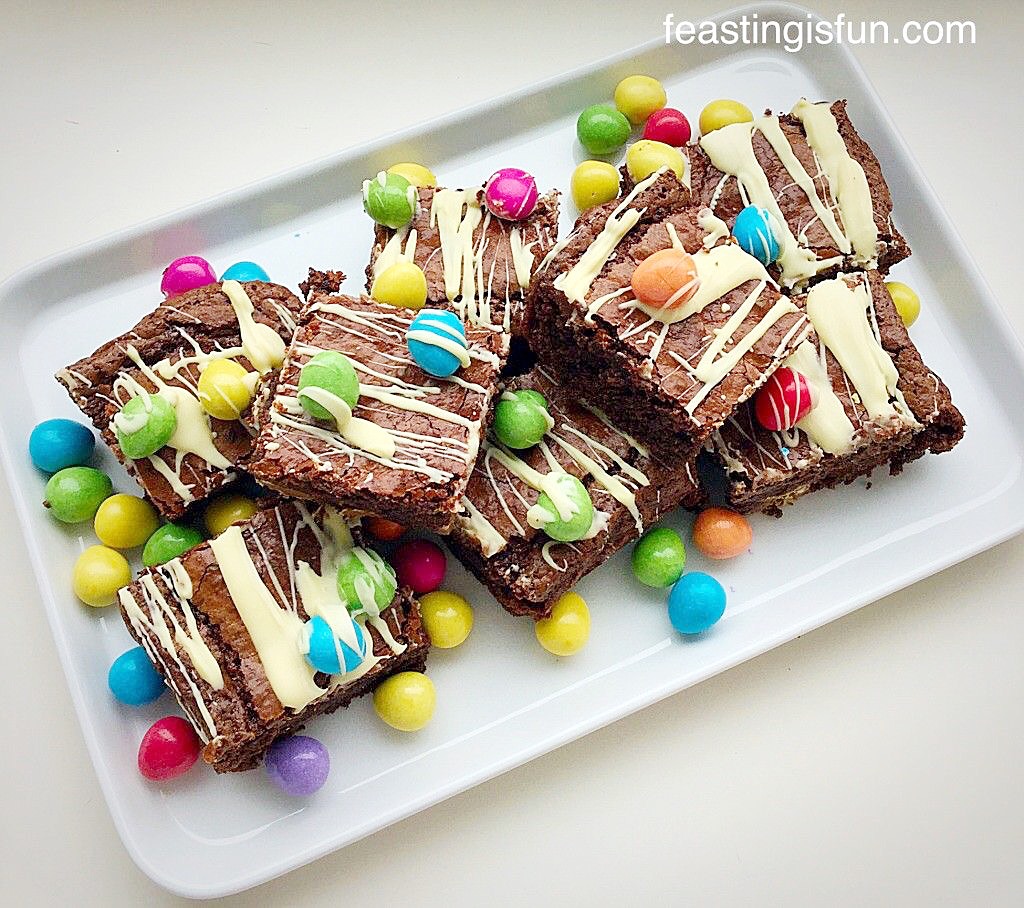
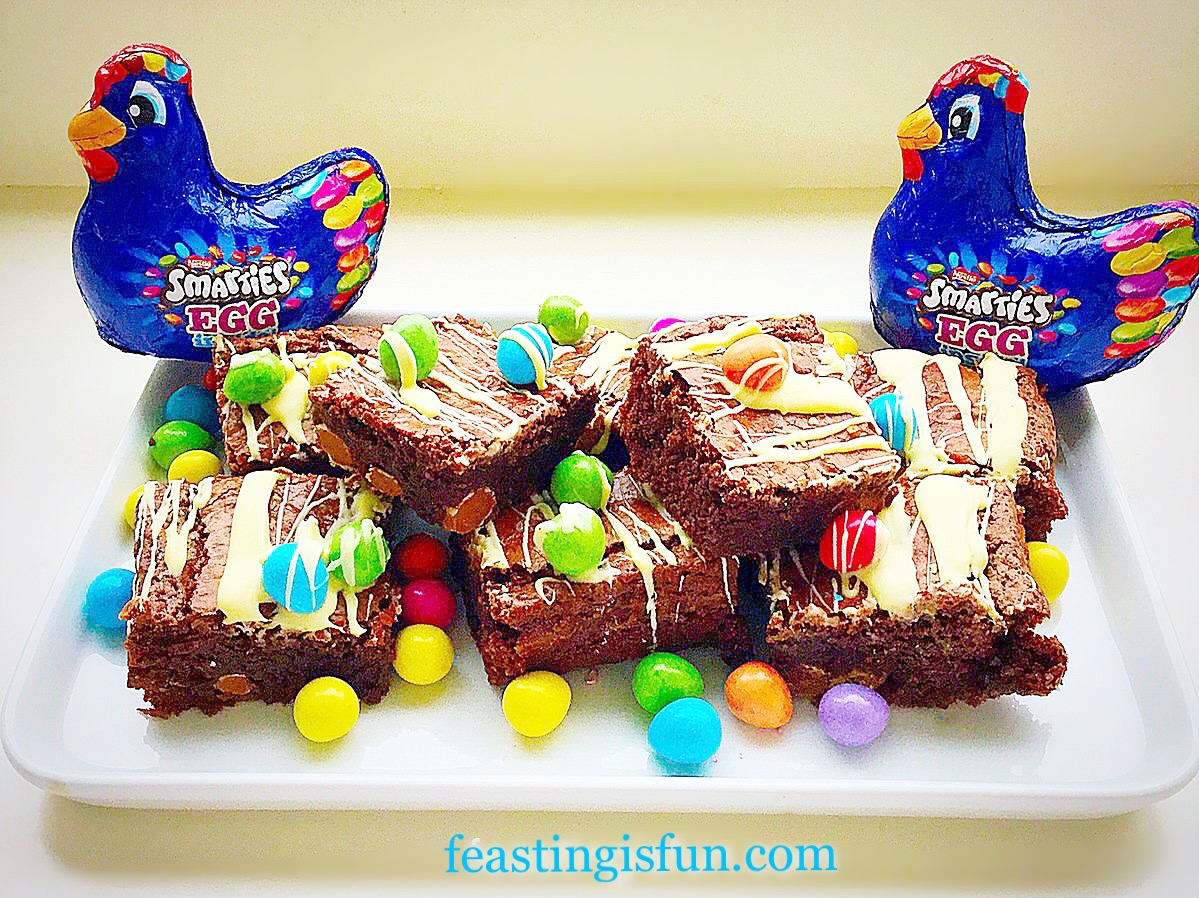
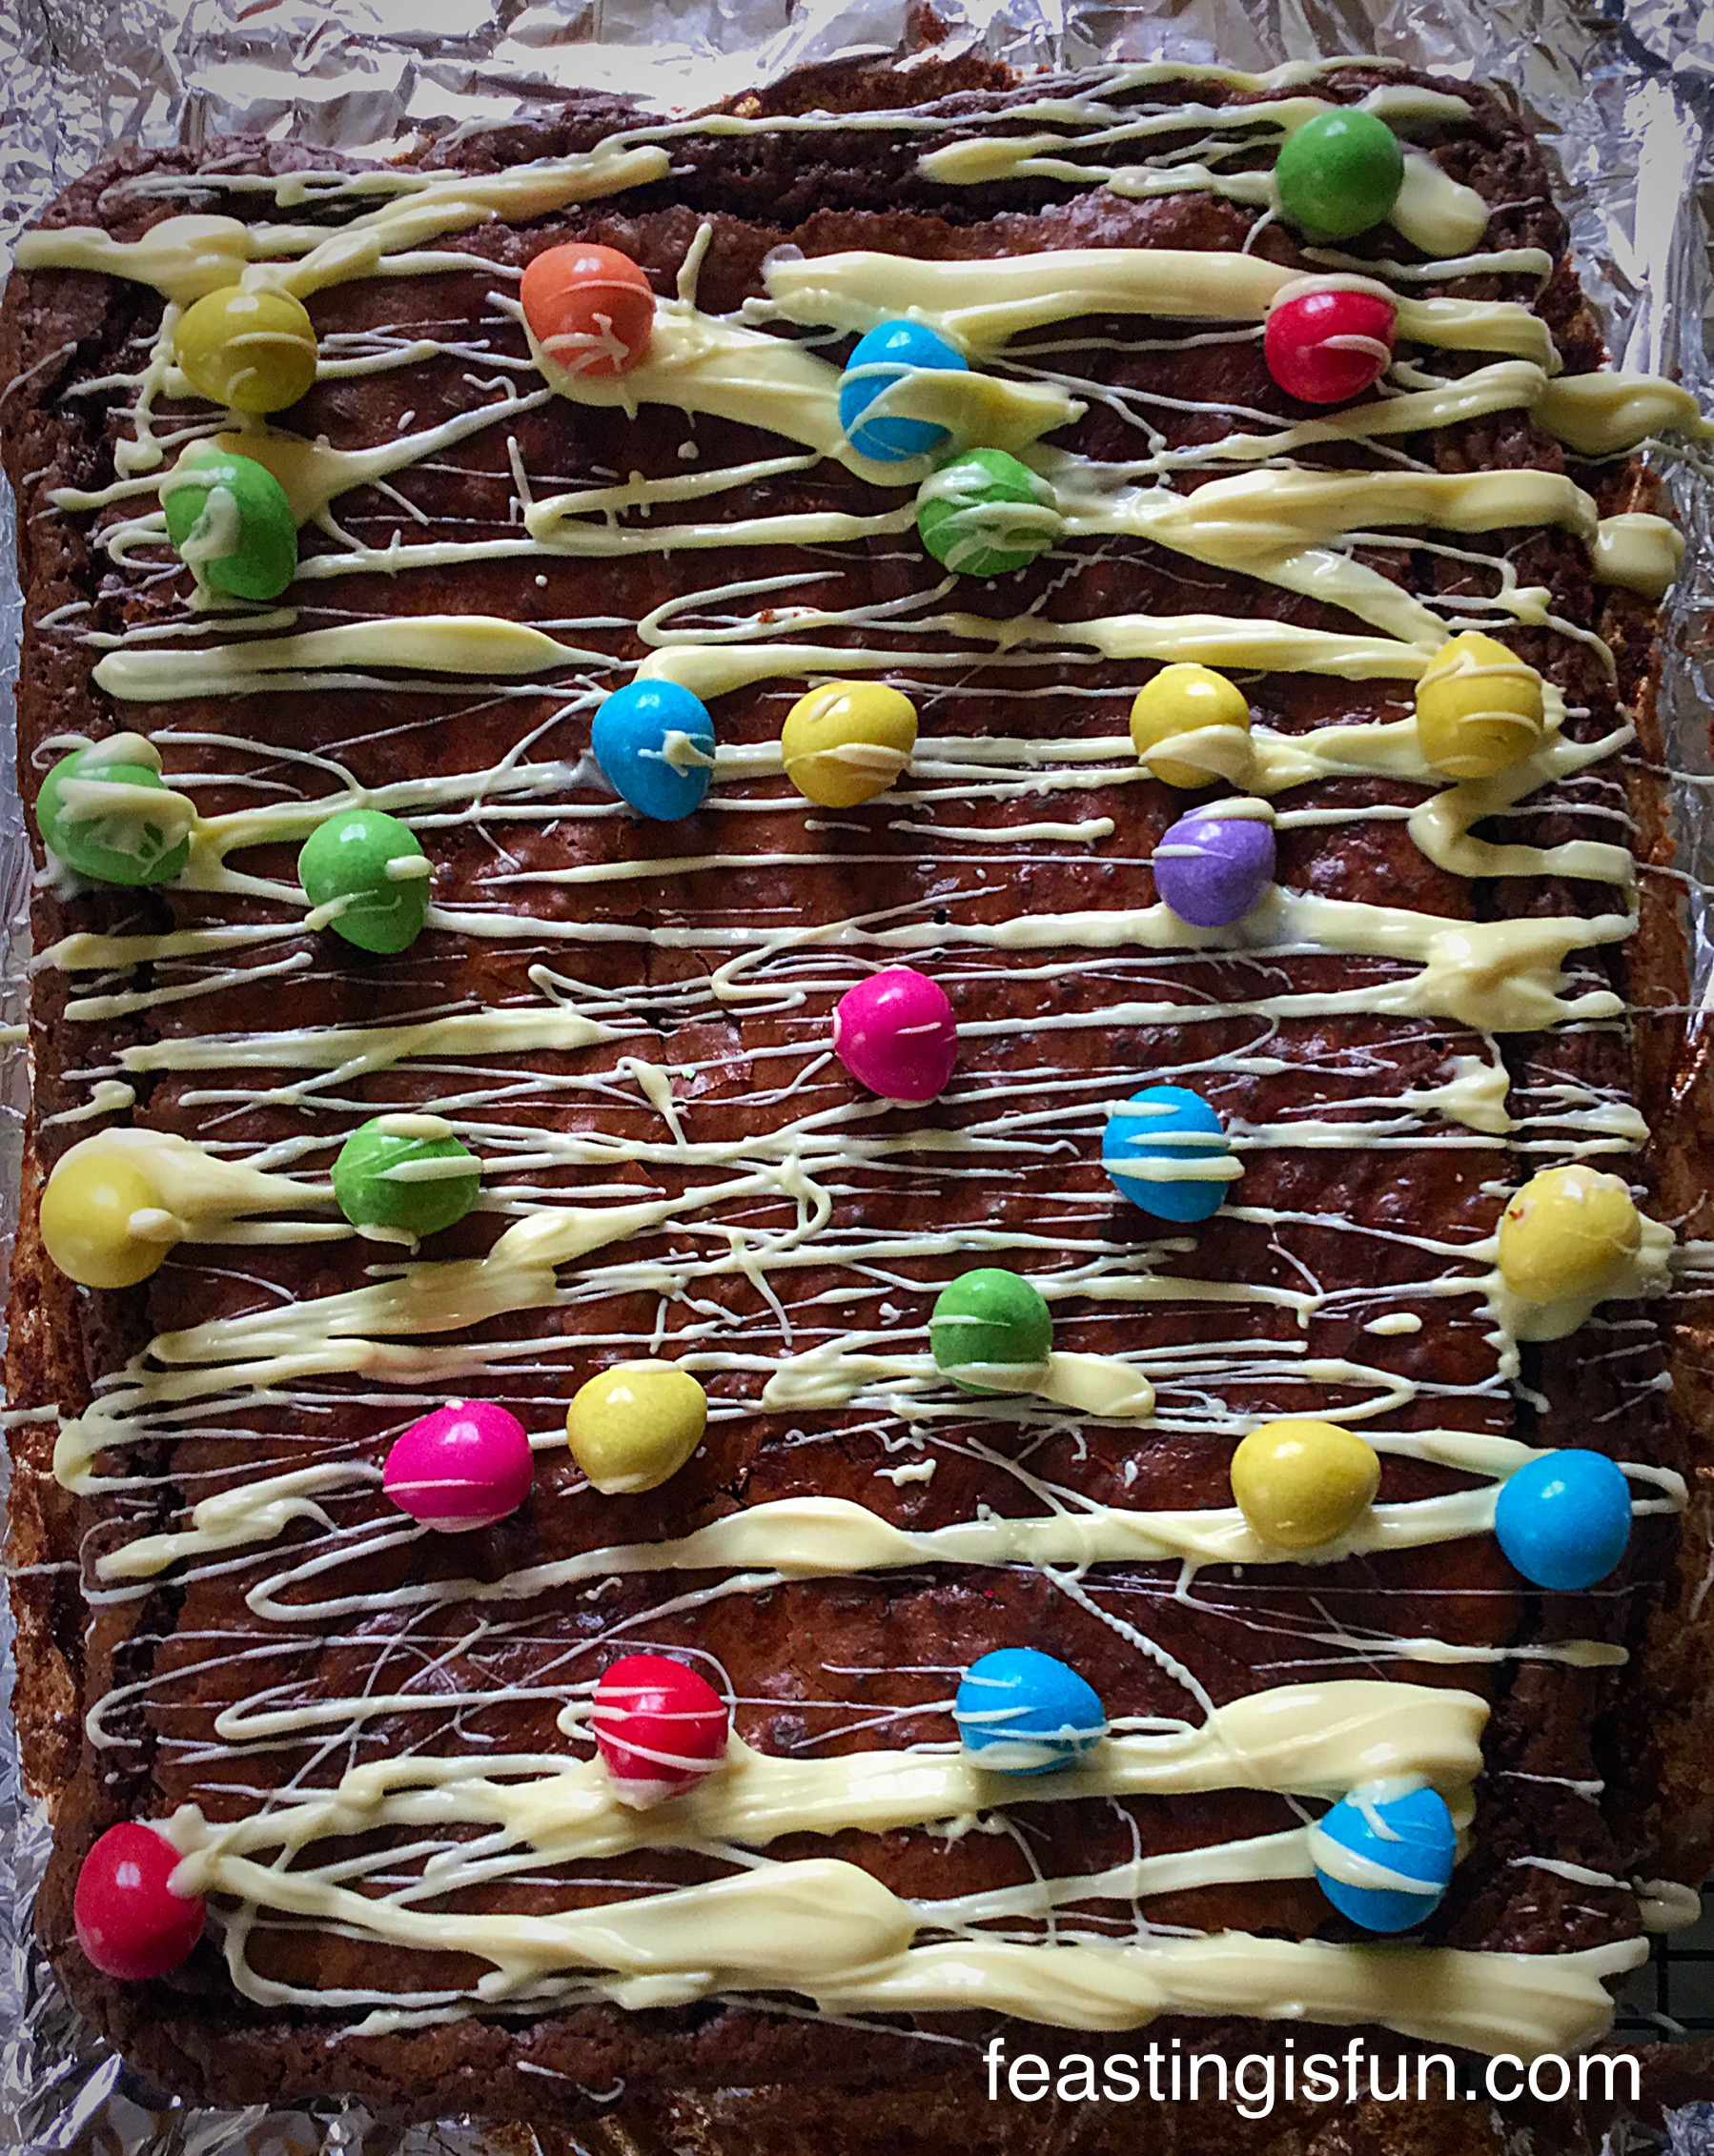
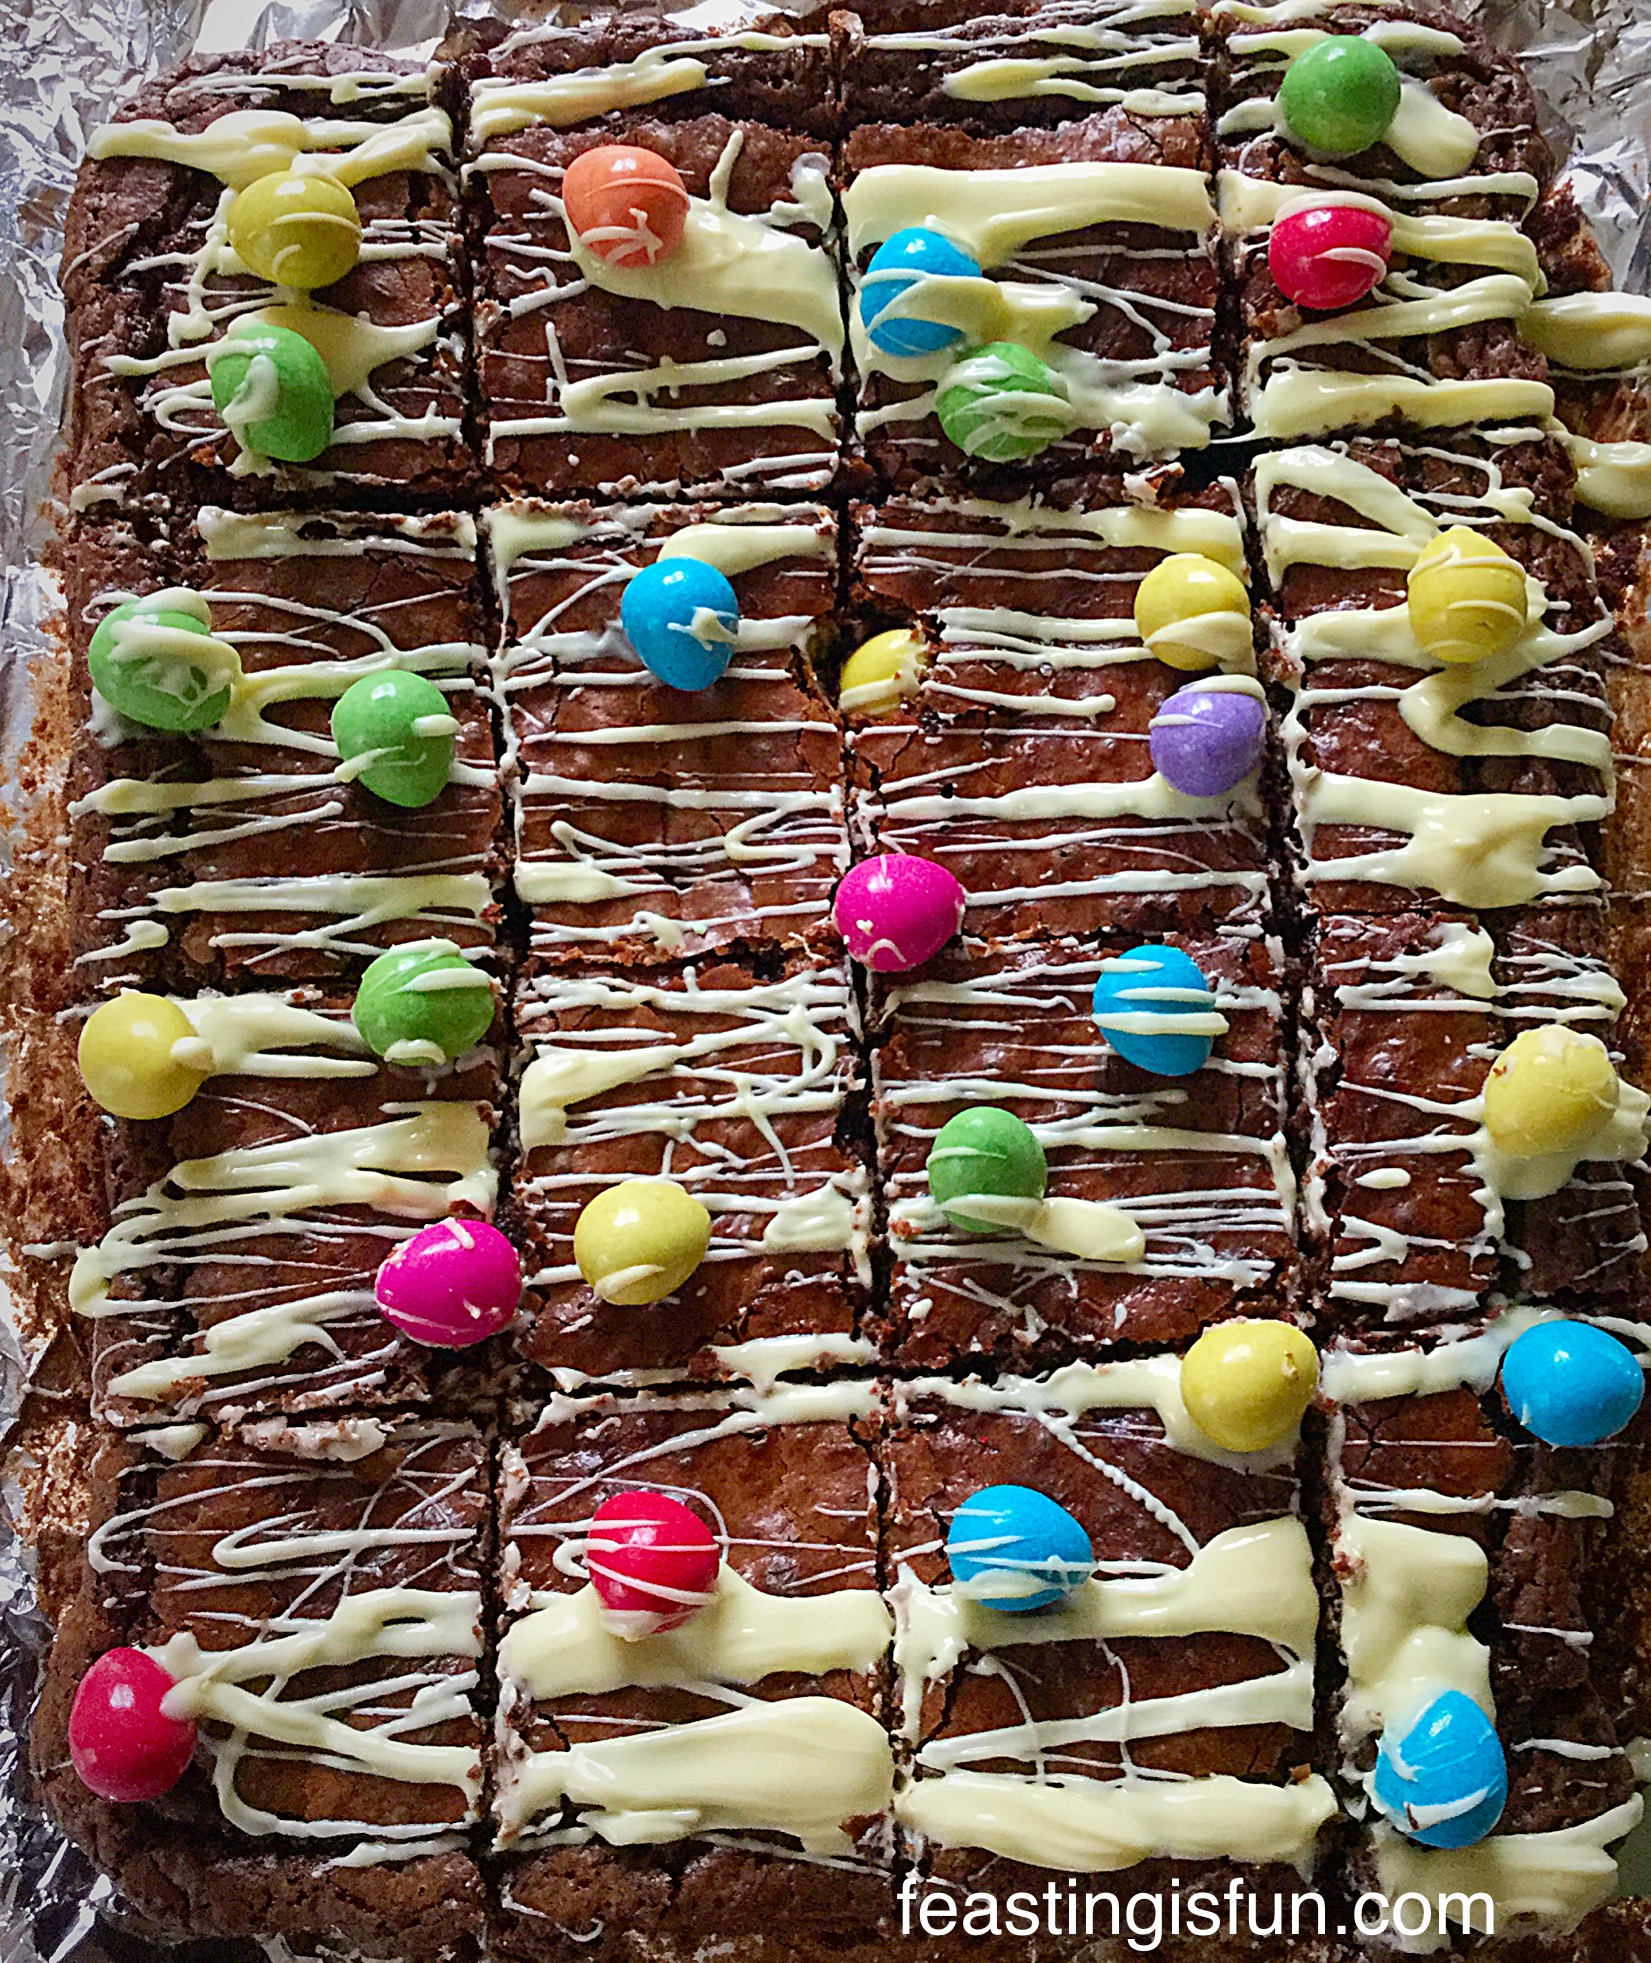
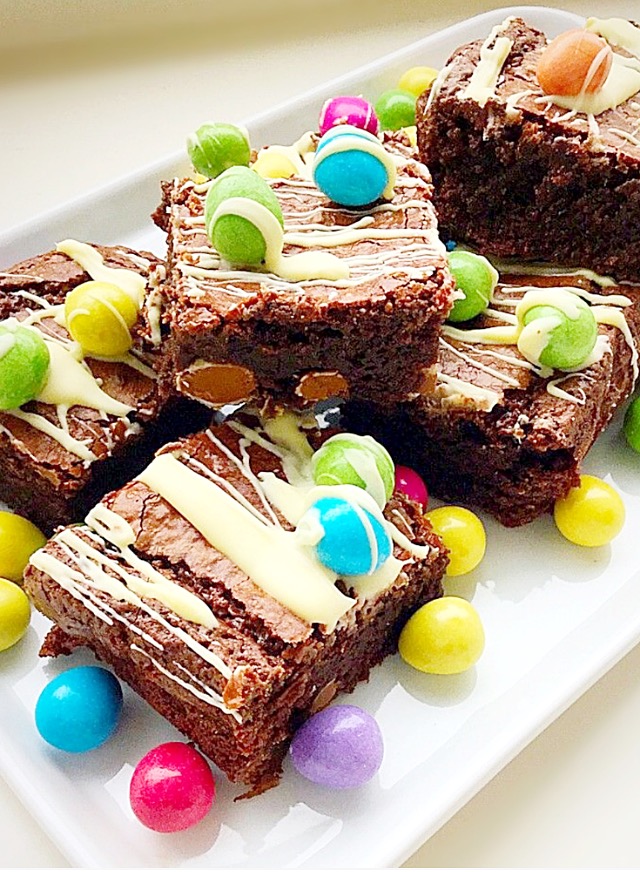
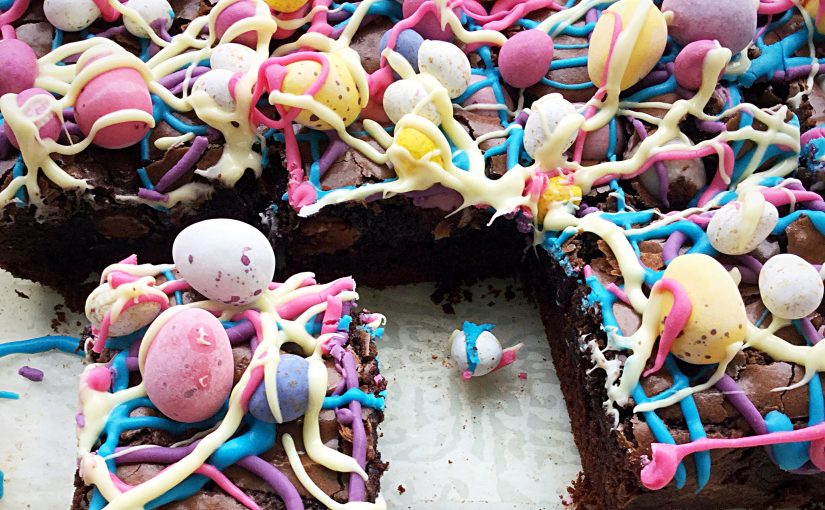
No matter how practical these brownies are, they absolutely had to be fun, as well as tasty. Since the addition of pretty, pastel Cadbury’s mini eggs was a necessity. So also were the party streamer, piped coloured chocolate drizzles. Resulting in a beautiful, yet fun, Easter treat.
An Edible Easter Mini Egg Work Of Art
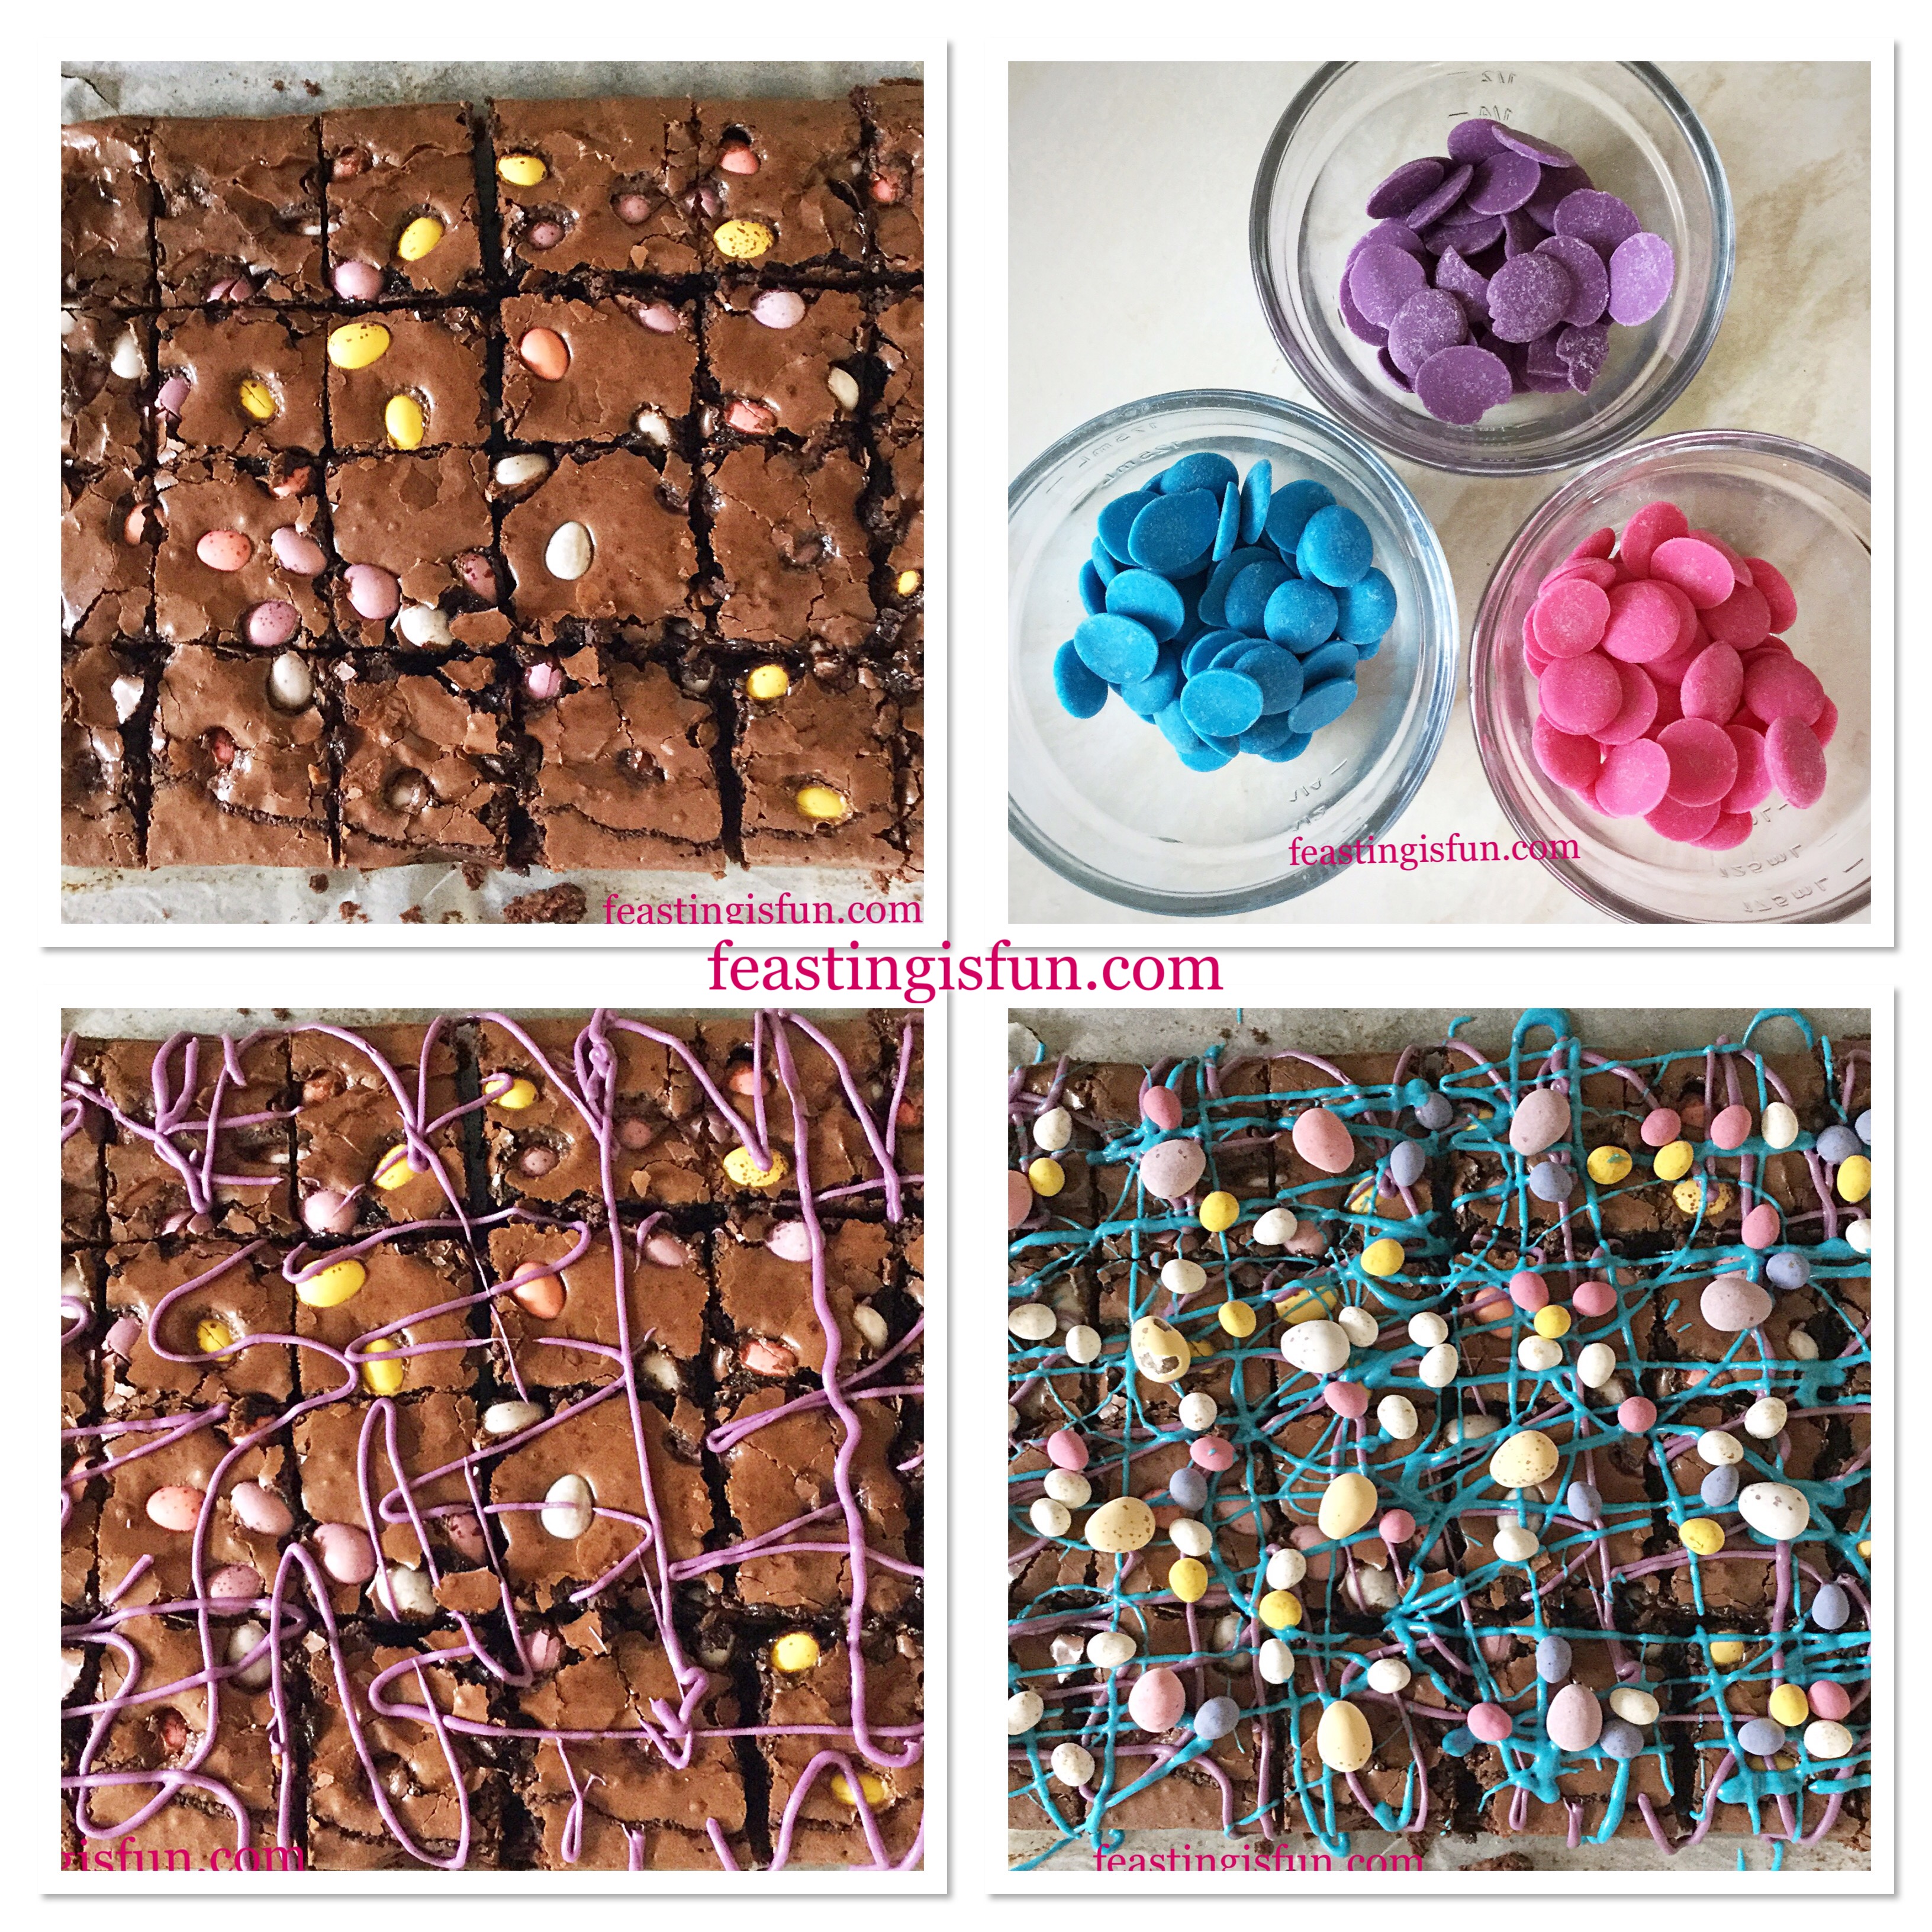
While this may look like a complicated bake, it absolutely isn’t. First of all the biscuit base is made, then baked. Once cooled the brownie topping, is poured over. Followed by a generous sprinkle of chocolate mini eggs, another quick bake. Finally after cooling you can let your creativity run wild, decorating your bake.
A quick note: This bake will look and taste just as good if you’d prefer not to use coloured Candy Melts. Since this is your bake, feel free to add coloured sprinkles, chocolates or whatever you like. Most importantly, have fun!!!
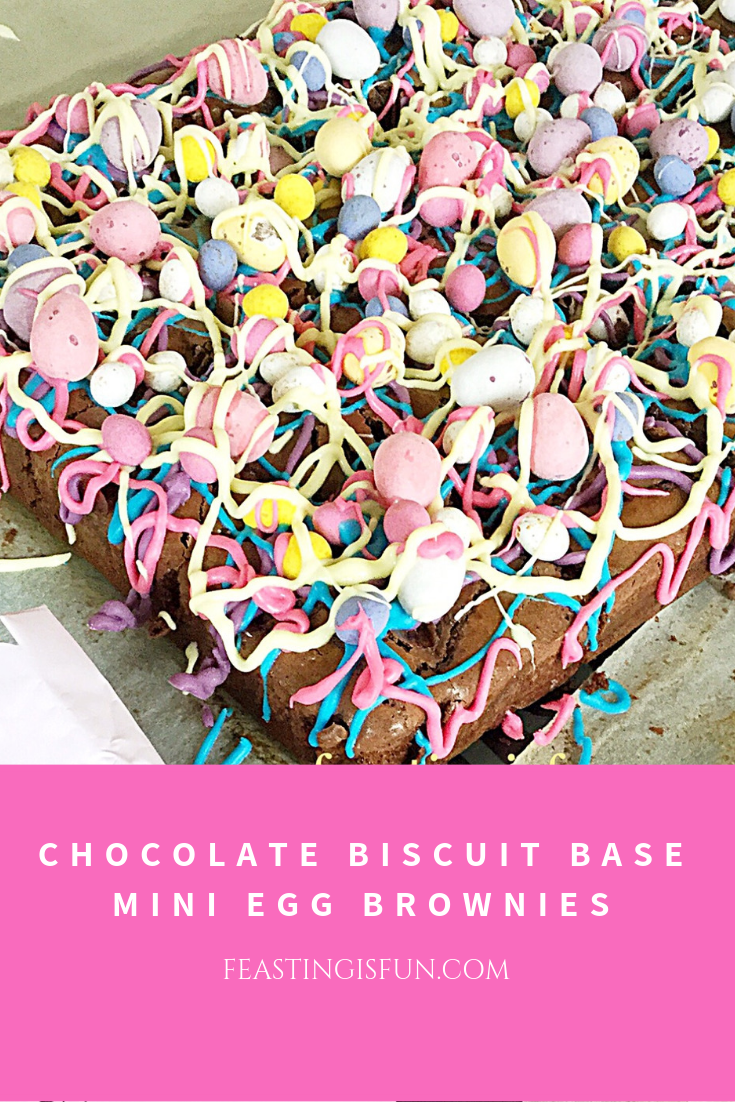
Recipe: Chocolate Biscuit Base Mini Egg Brownies makes 24
For the Biscuit Base
225g/8oz Unsalted Butter
150g/5oz Light Brown Sugar
1 Large Free Range Egg
1tsp Vanilla Extract – I use Nielsen-Massey
75g/3oz Cocoa Powder – I use Callebaut
200g/7oz Plain White Flour
For the Brownies
200g/7oz Plain Chocolate – minimum 70% Cocoa solids
200g/7oz Milk Chocolate – minimum 35% Cocoa solids
225g/8oz Unsalted Butter
4 Large Free Range Eggs
225g/8oz Dark Brown Sugar
1tsp Vanilla Extract
1/4tsp Salt
75g/3oz Plain White Flour
1/2tsp Bicarbonate of Soda
Decoration:
1 x Family Pack (326g) of Cadbury’s Mini Eggs or the rough equivalent weight in smaller bags/tubes
75g/3oz of each of the following :
White Chocolate, Wilton or PME Candy Melts – Pink/Blue/Purple Candy Melts -available from Amazon
Any additional decorations that you like – I found a bag of really small mini eggs from Sainsbury’s.
Method: Preheat the oven to 180C/160C fan, gas mark 4, 350F.
Making The Chocolate Biscuit Base
First of all grease a 33cm x 23cm x 5cm (13″ x 9″ x 2″) tin with a little butter. Line the base and sides with baking parchment.
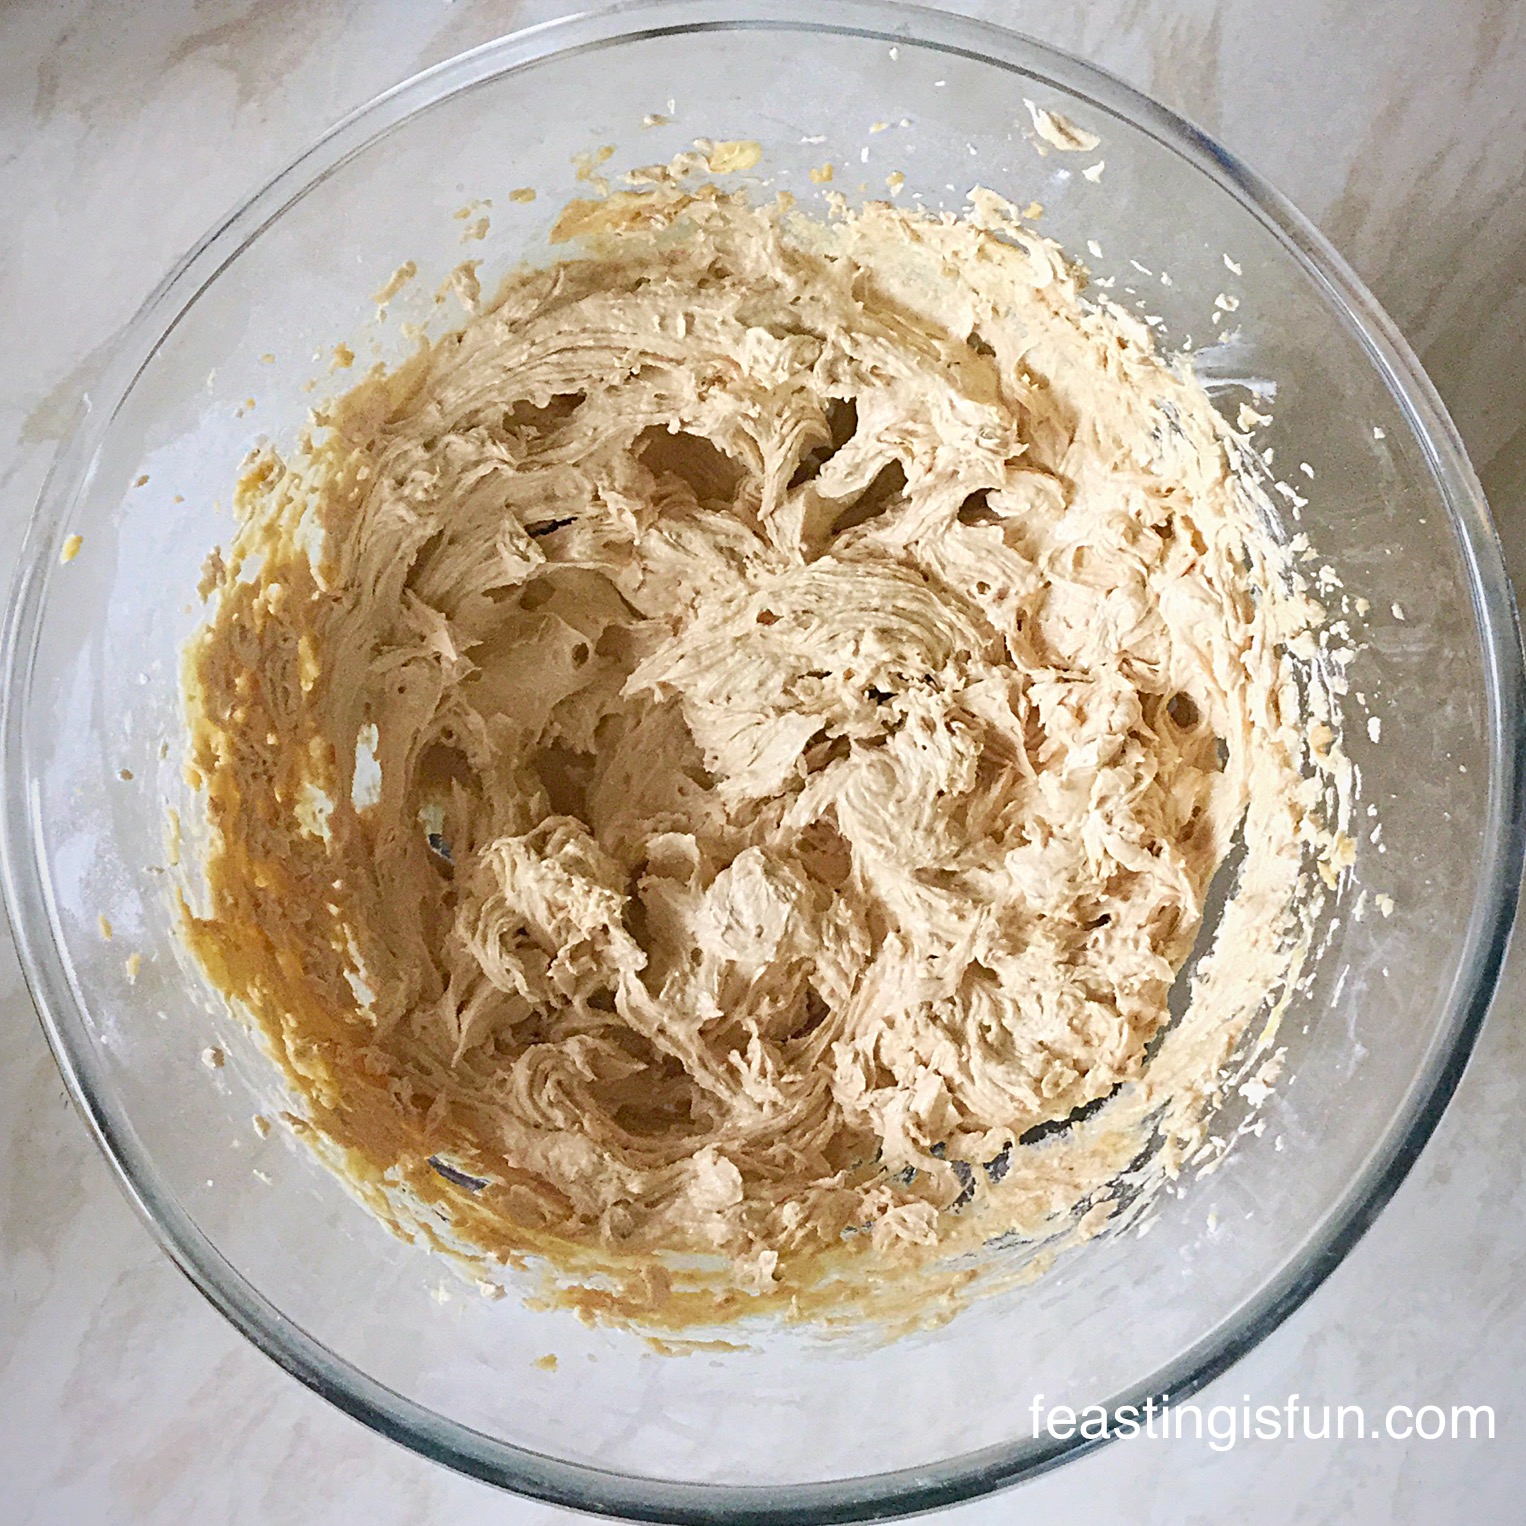
- Starting with the biscuit base, add the butter, salt and sugar to a large bowl. Beat until fully combined and free from lumps.
- Next add the egg and vanilla, continue mixing until smooth.
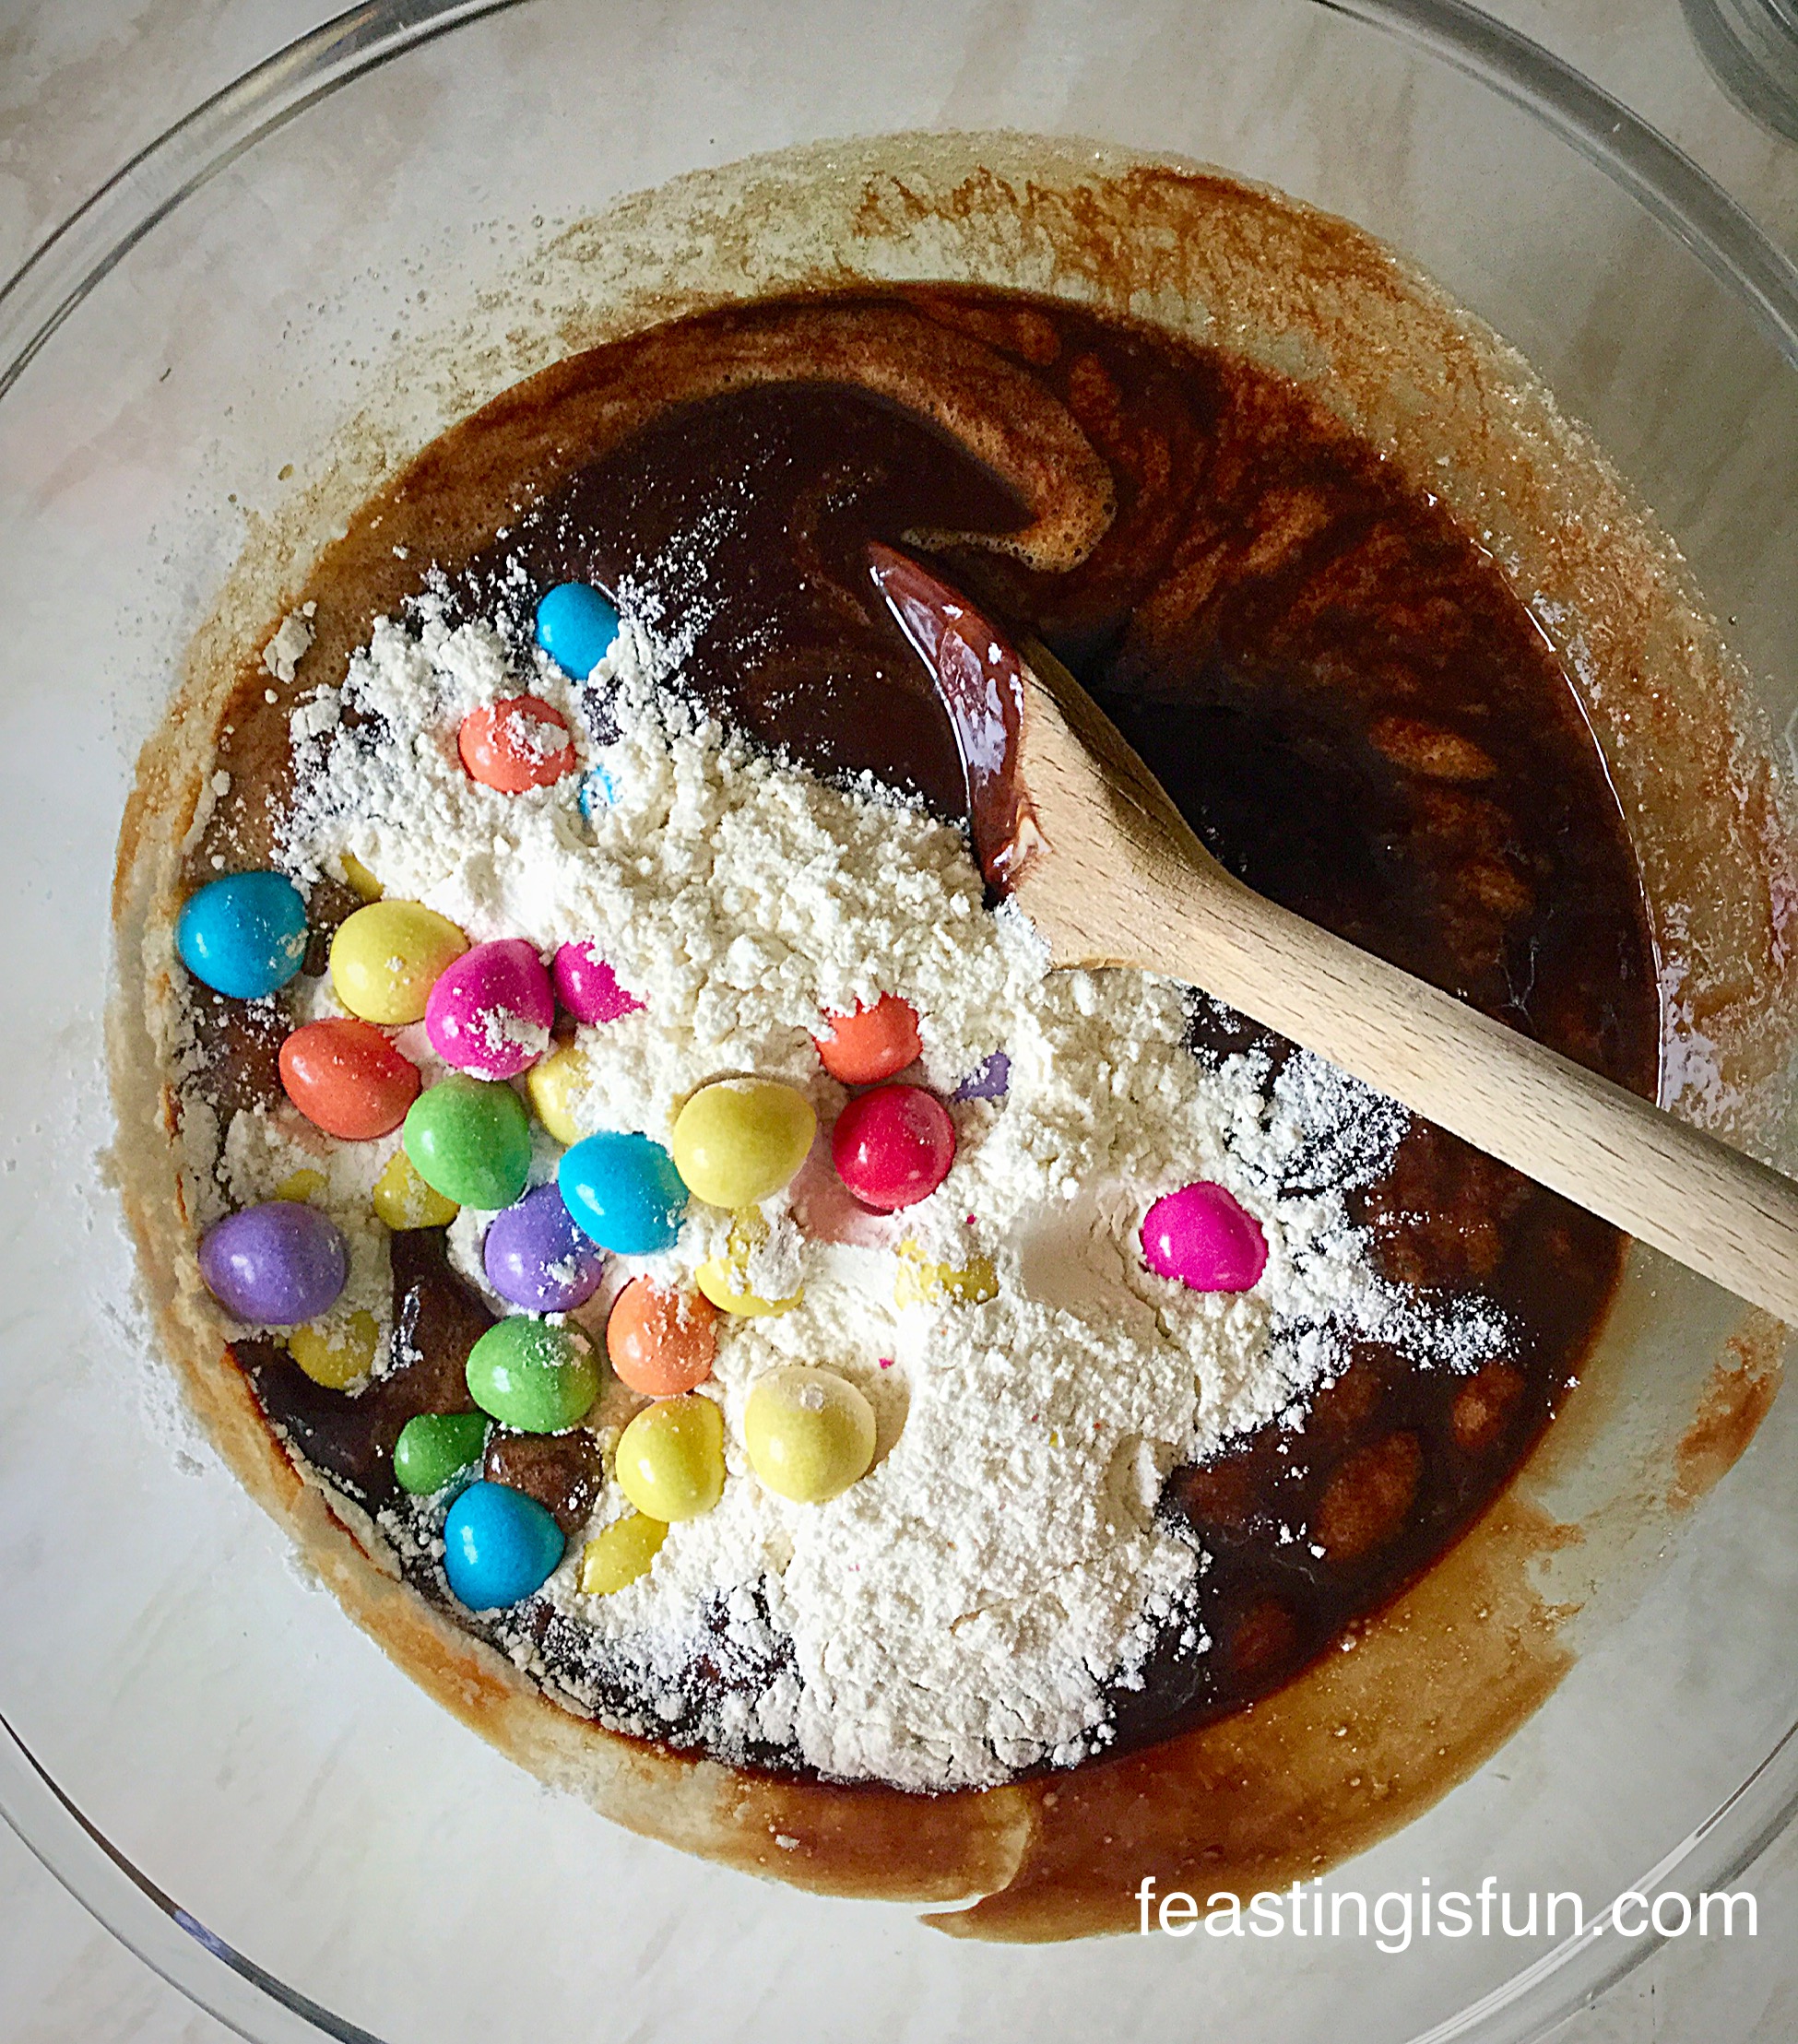
- Sieve the flour and cocoa powder into the same bowl. Starting at a slow speed mix the ingredients until combined.
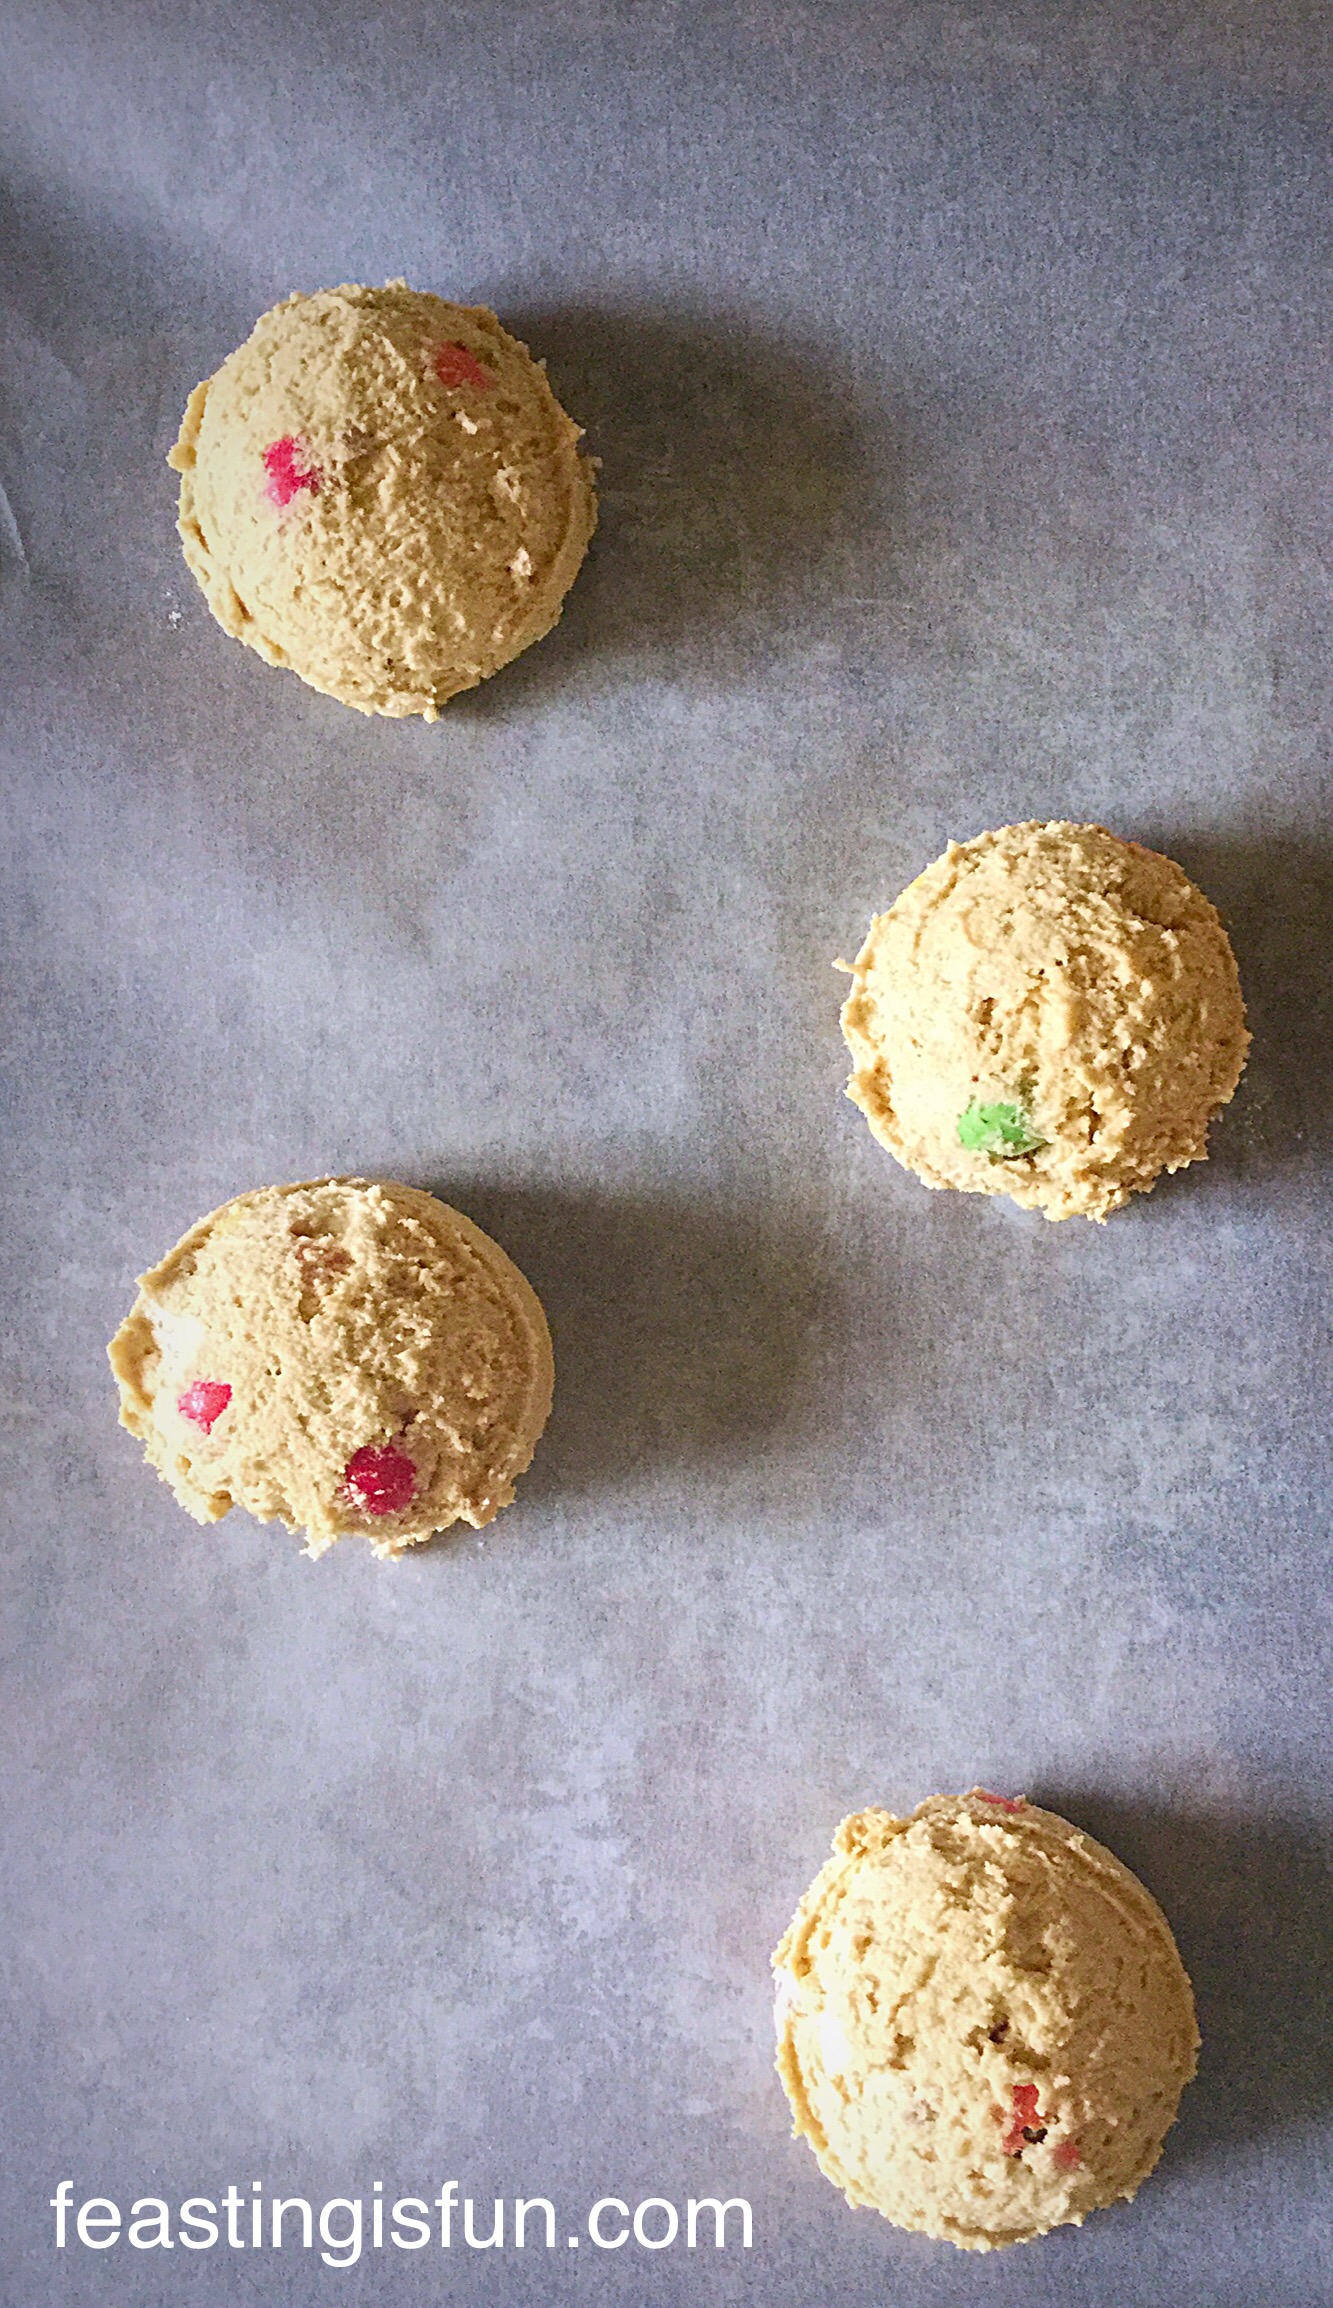
- Finally tip the biscuit base dough into the baking tin. Spread the dough, using the back of a spoon until it evenly covers the base of the tin.
- Place the tin into the middle of the preheated oven and bake for 20-25 minutes.
- While the base is baking, make the Brownie topping.
Making The Brownie Topping
- Break up the chocolate (or chop) into individual squares, dice the butter and place both into a heat proof bowl.Place the bowl over a simering pan of water (a double boiler) ensuring the bottom of the bowl doesn’t touch the water.
- Stir continuously until both the chocolate and butter are two thirds melted.
- Carefully remove the bowl from the pan and continue stirring until the contents are completely melted.
- Into another large bowl add the eggs, vanilla and sugar.
- Mix together to combine.
- While still slowly mixing pour the cooled chocolate mixture into the larger bowl.
- Mix until completely combined – try not to incorporate too much air whilst mixing.
- Sift the flour, bicarb. and salt into the bowl.
- Using a large metal spoon, fold all the ingredients together.
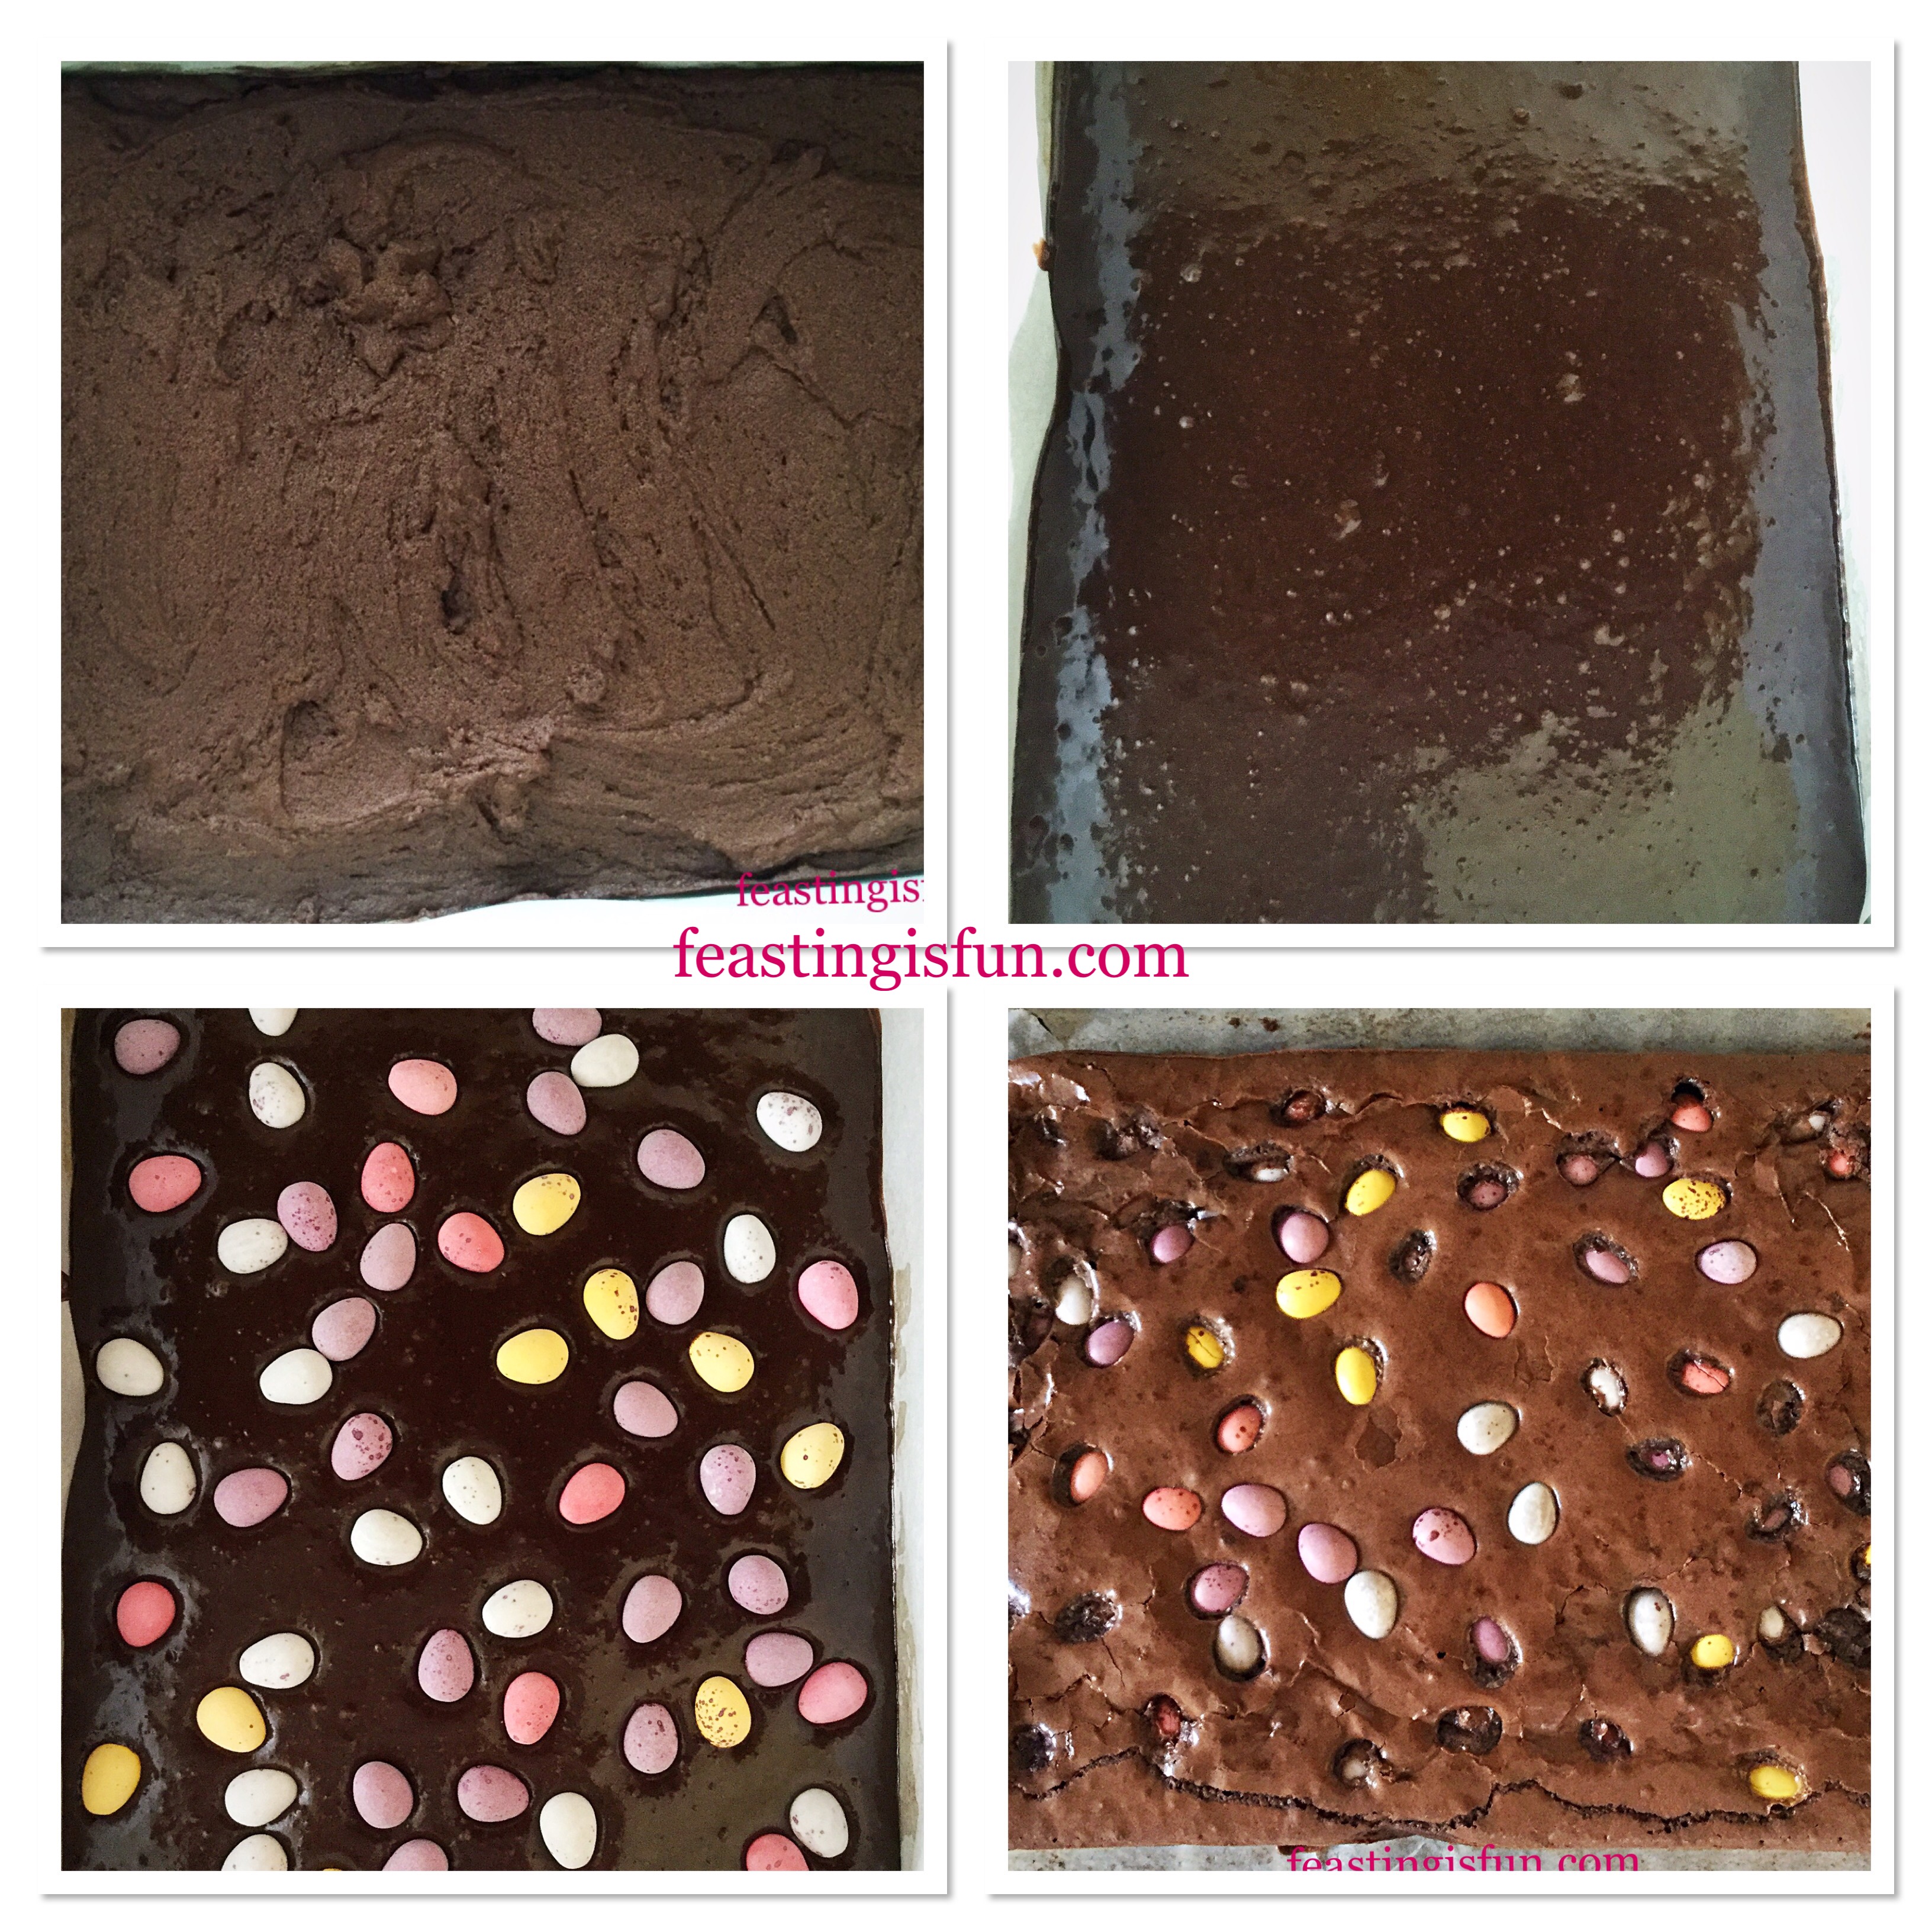
- The biscuit base, once baked may still be a little soft to touch, however it will be darker than the uncooked dough.
- Remove the tin from the oven and allow to cool for 5 minutes.
Adding The Brownie Batter Topping
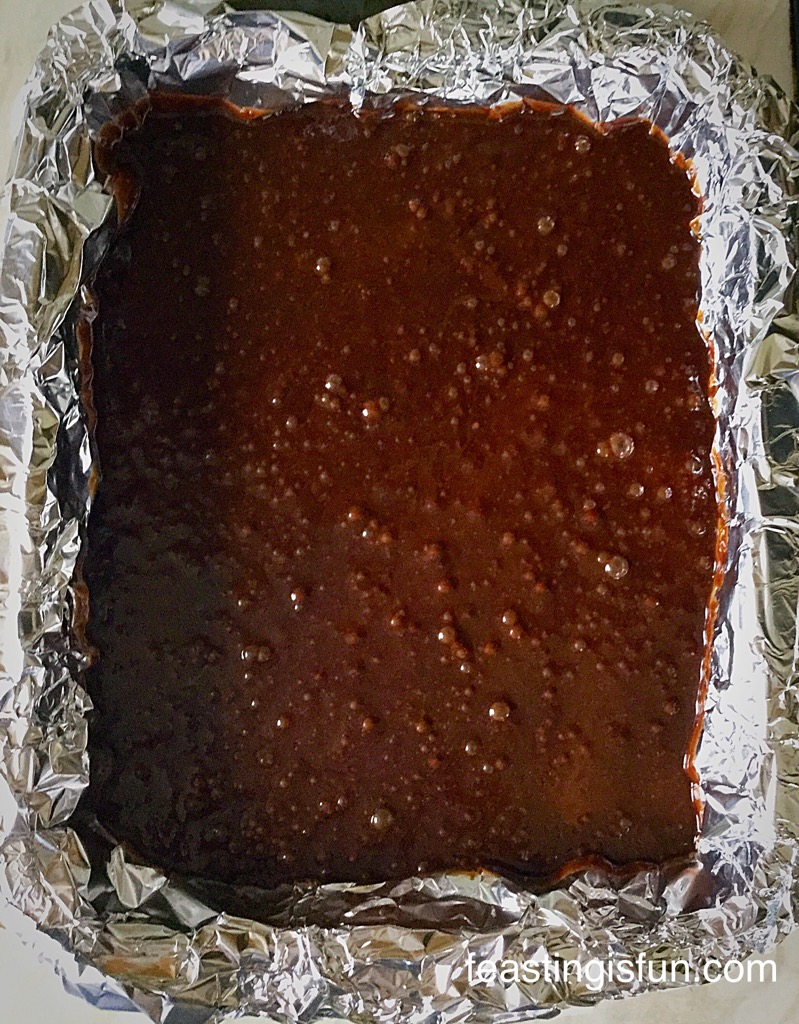
- Pour the brownie batter over the biscuit base. Tilt the tin to ensure even coverage.
- Follow by sprinkling 200g of mini eggs on to the brownie batter.
- Place the tin back in the oven and bake for a further 20-25 minutes.
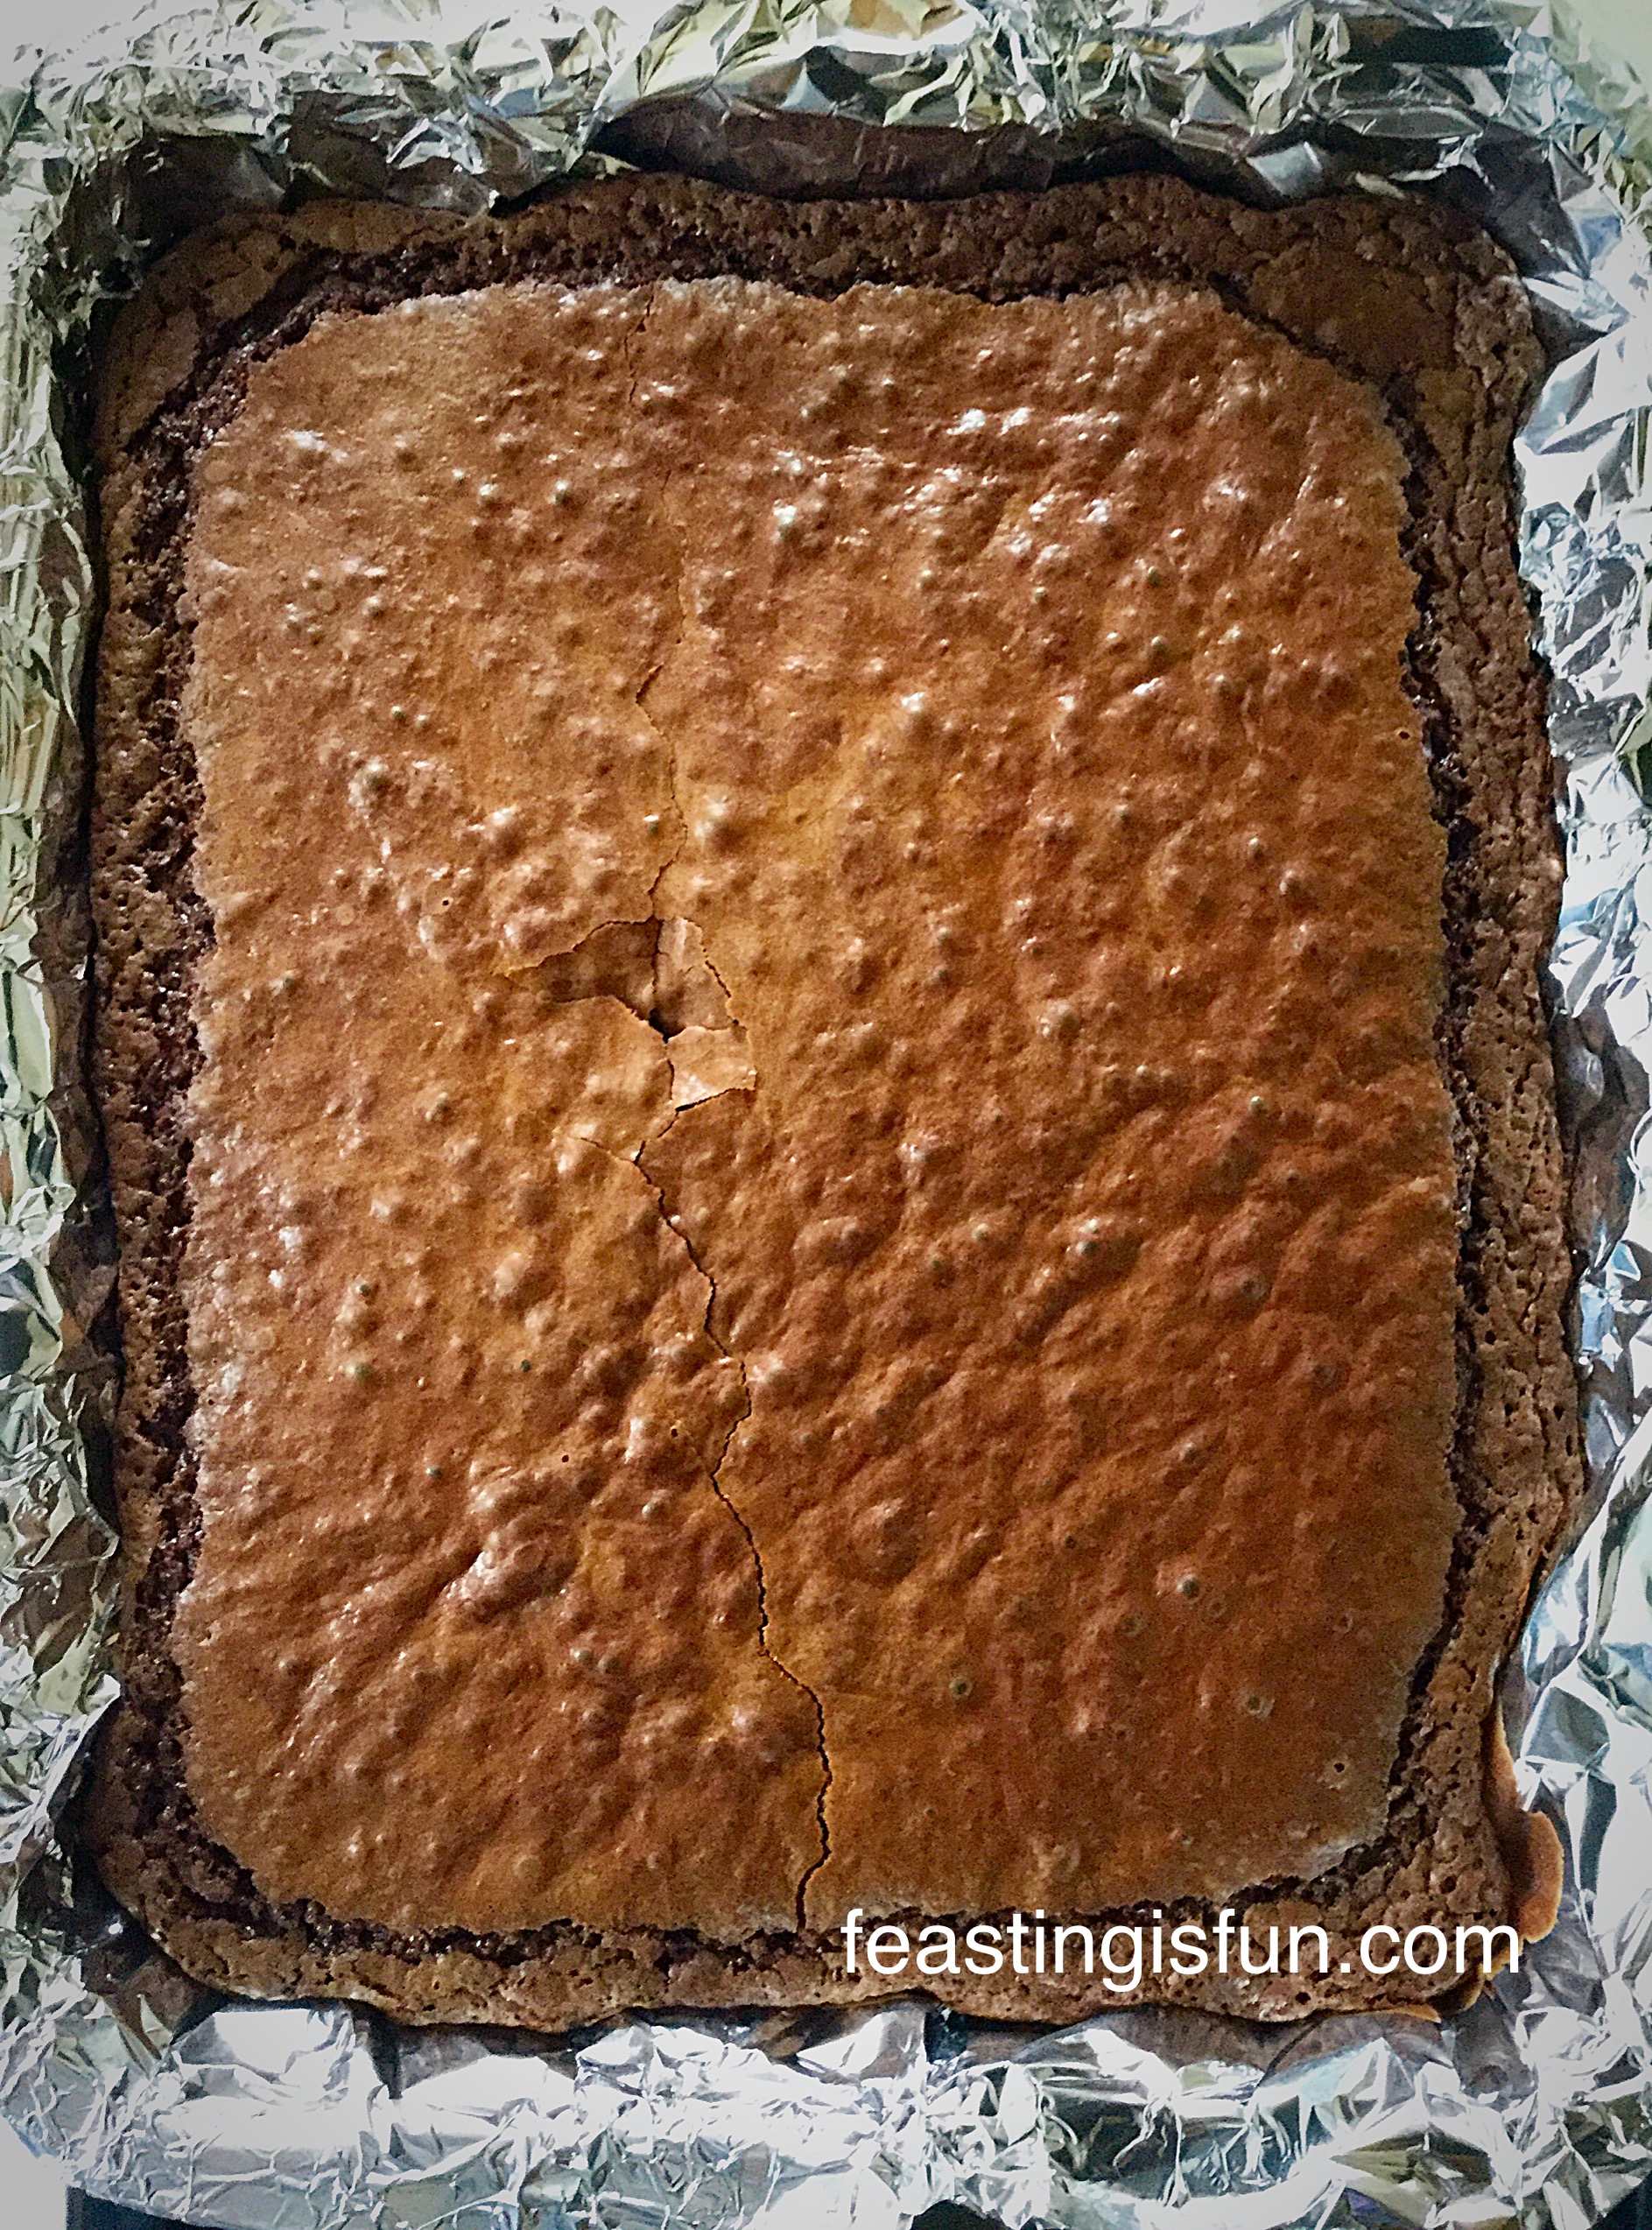
- The brownie batter is baked when it has a sheen and does not wobble in the centre.
- Remove the tin from the oven and allow to cool completely.
- As soon as it is completely cooled remove the entire bake from the tin and place on a solid surface.
- Cut centrally through the length and width with a sharp knife. Now cut each half into 12 even sized portions.
Decorating The Chocolate Biscuit Base Mini Egg Brownies
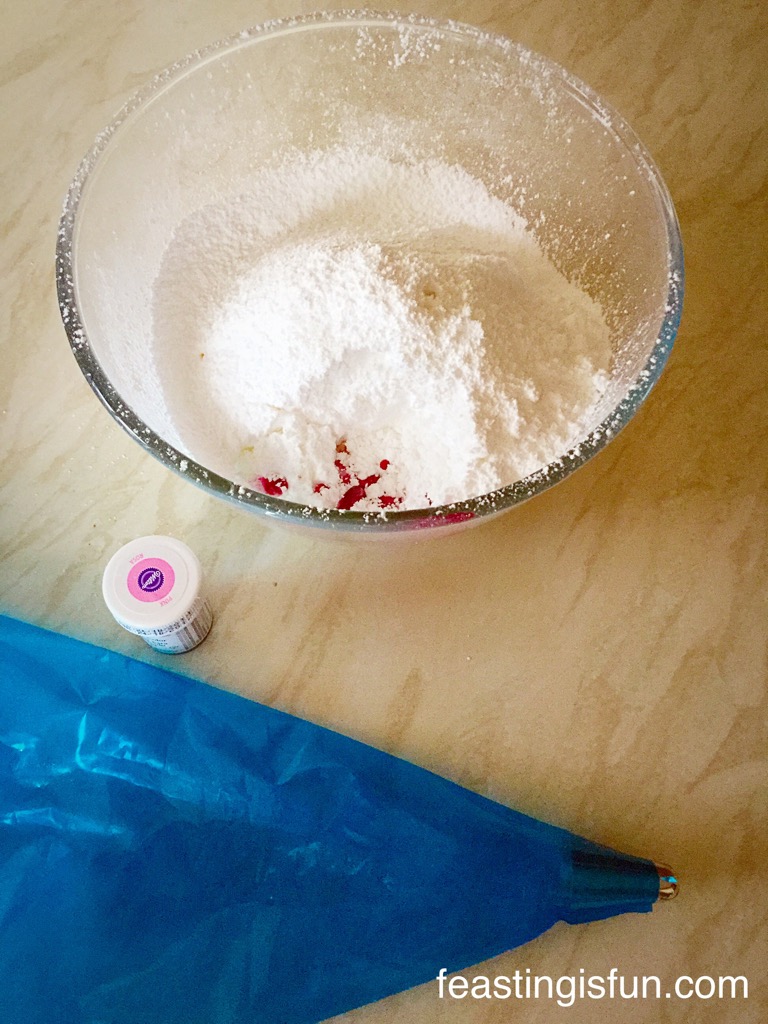
- Place 75g of each coloured Candy Melt or chocolate into a separate heatproof, microwaveable bowl.
- Heat the first bowl for 20 seconds at a time, stirring in between until the chocolate is fluid.
- Spoon the liquid into a small, disposable, piping bag. Be careful, it will be very warm.
- Snip the very end of the bag off and pipe whatever pattern you wish over the top of the bake.
- Continue, in exactly the same way with the second colour.
- Follow this by adding extra mini eggs or decorations, hold a few back.
- Prepare and pipe the third colour, allowing some to cover the newly added eggs.
- Finally finish with white chocolate, piped all over the bake and sprinkle any remaining decorations.
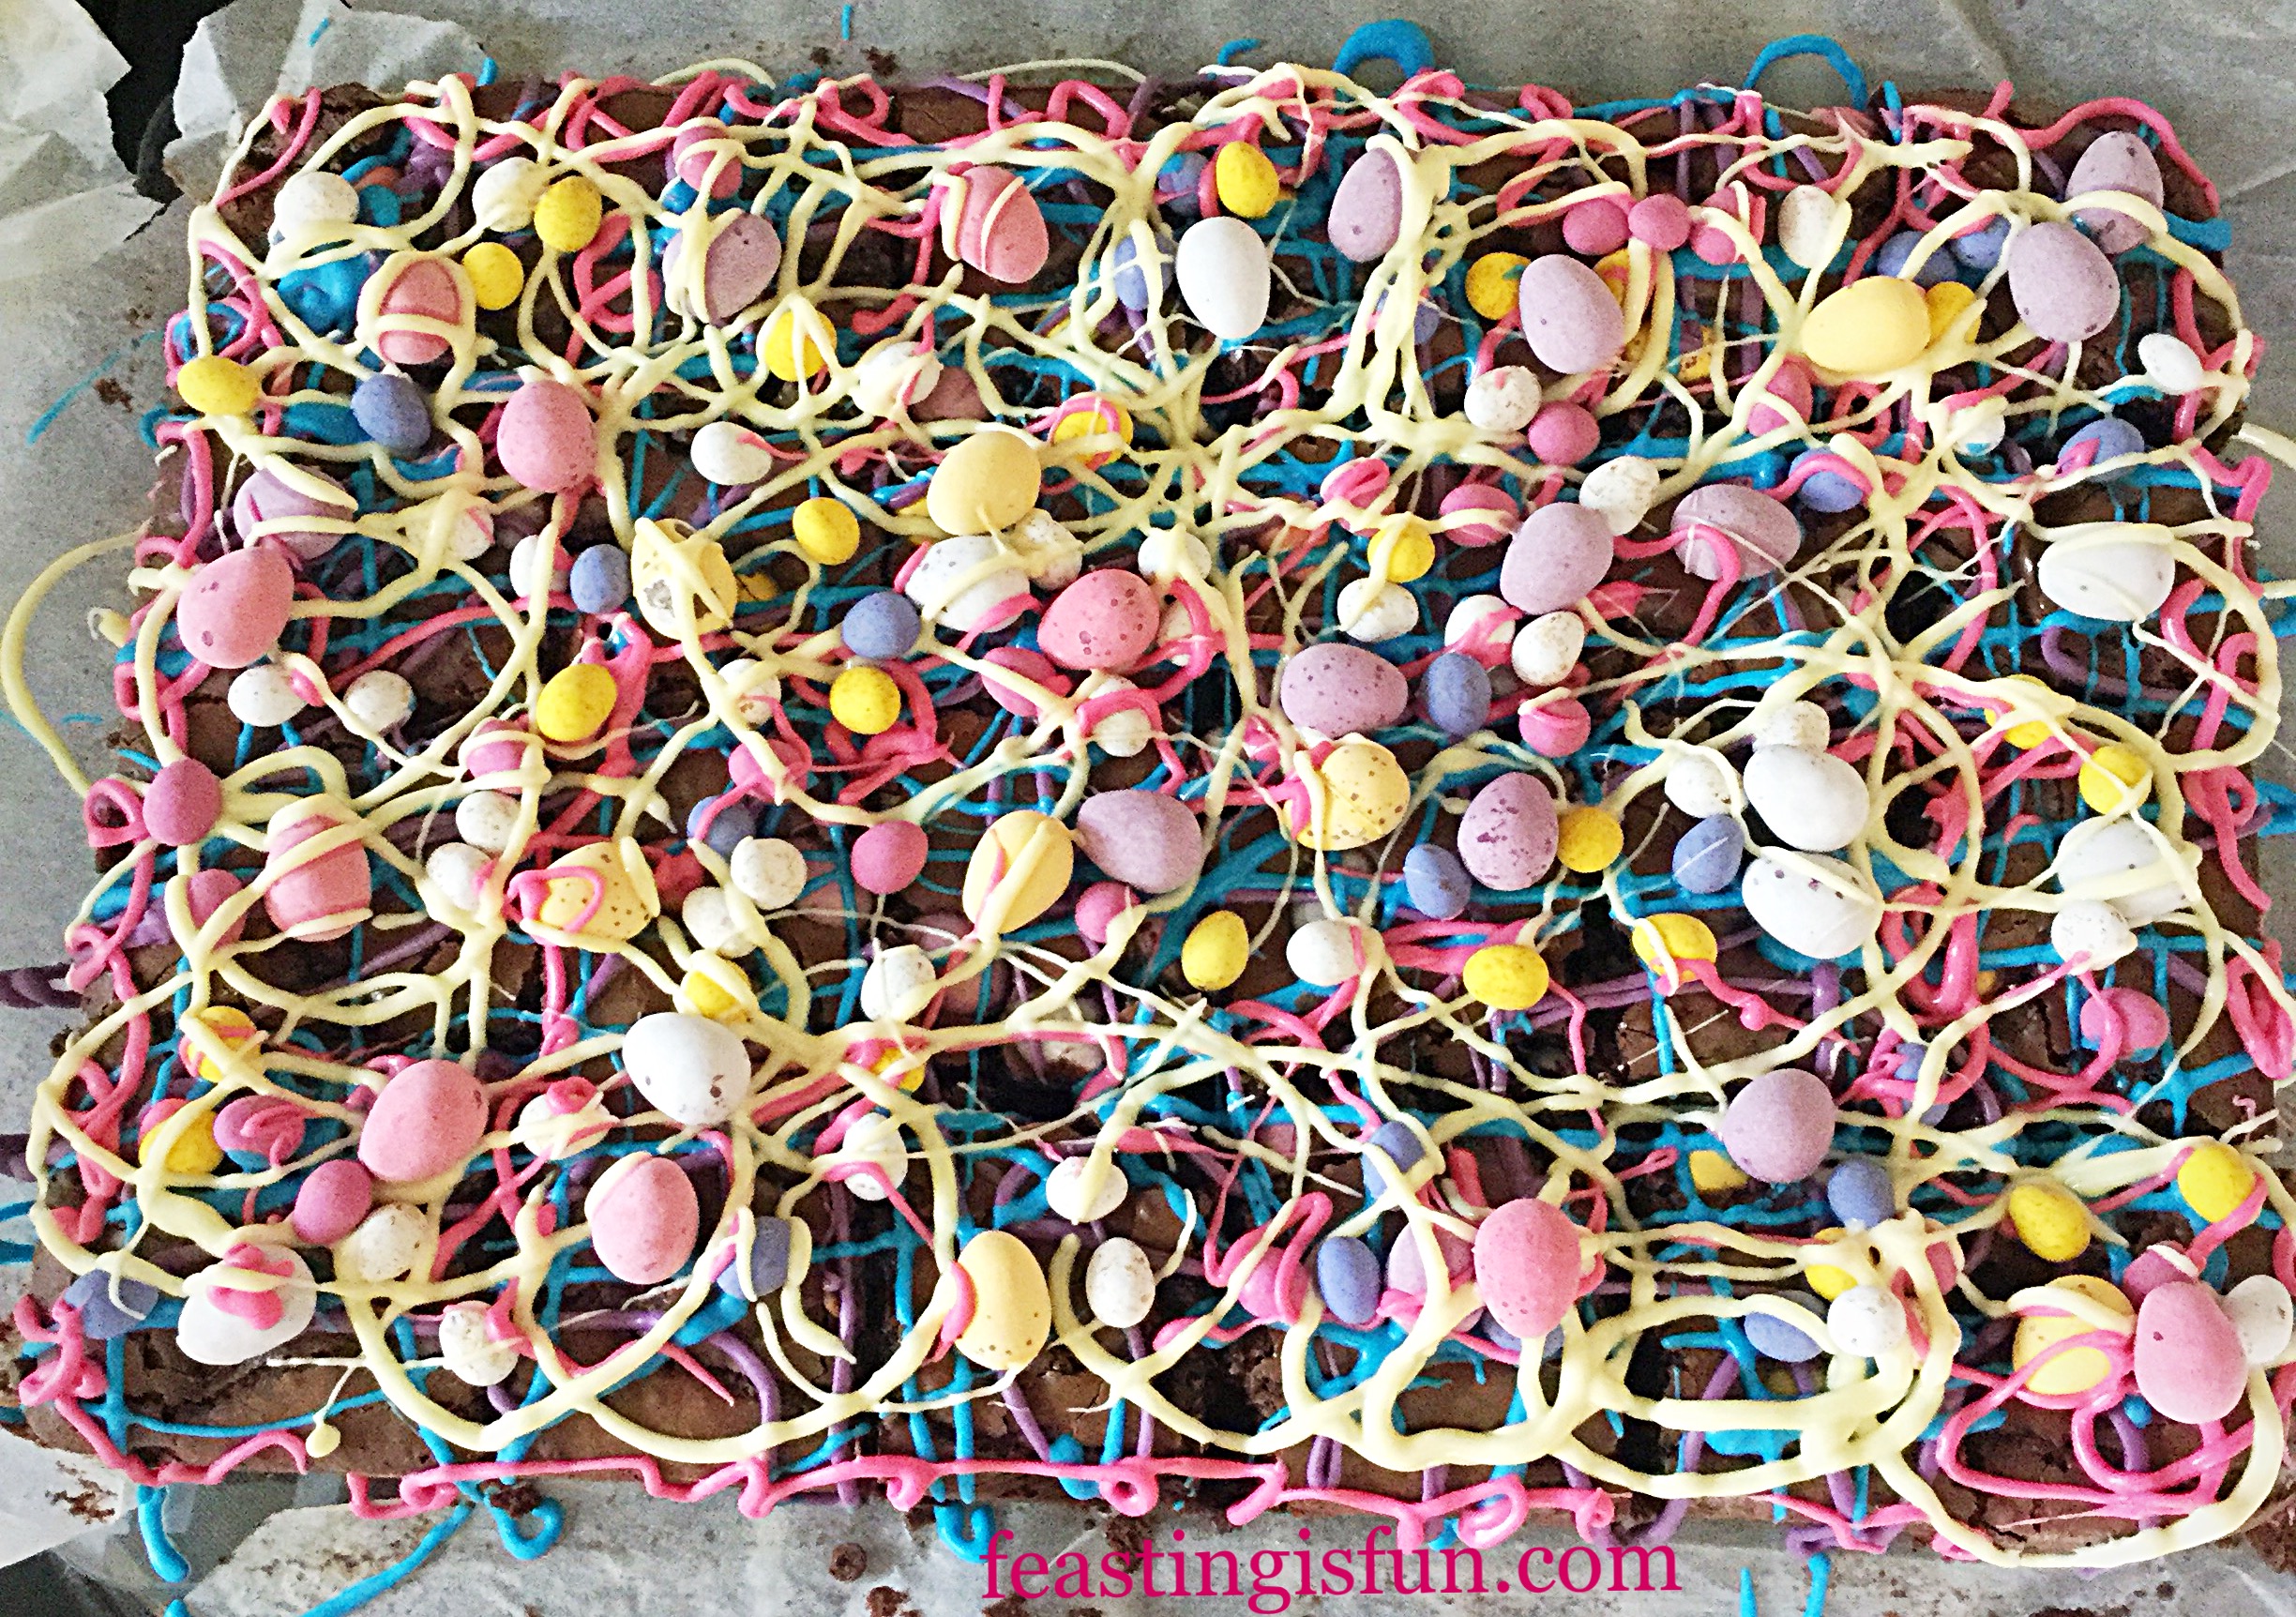
Place to one side to allow the chocolate to set.
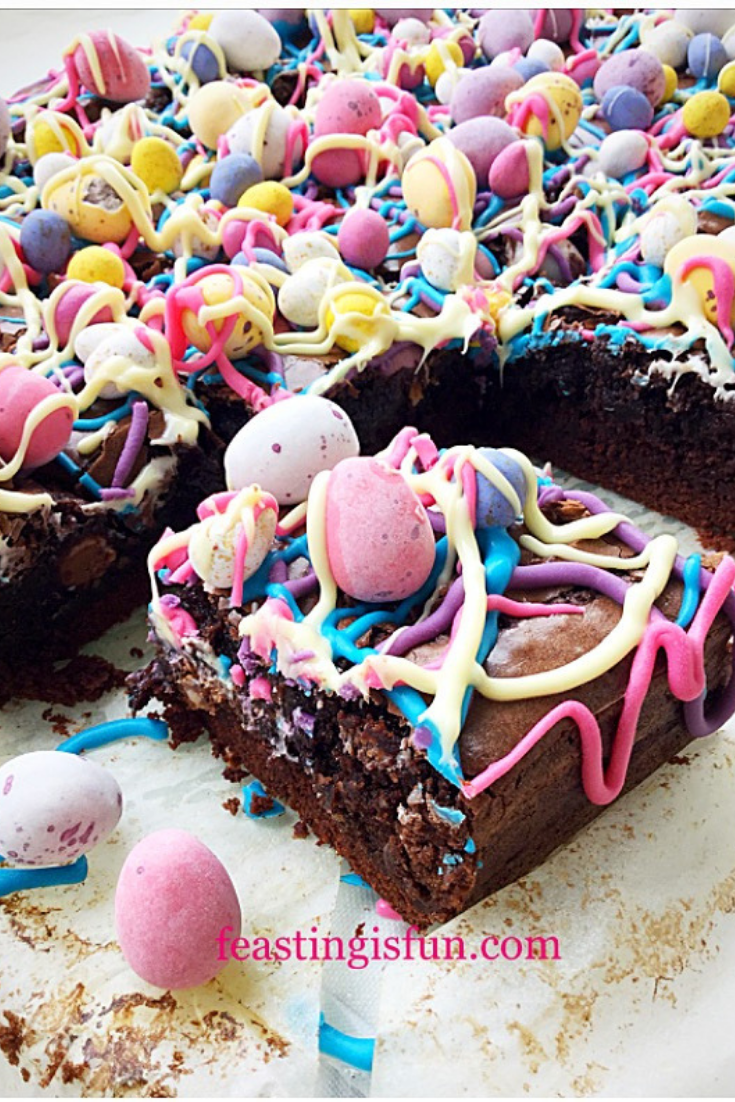
Serve with a big smile and my preference, a glass of cold milk.
If you have enjoyed this Easter recipe for Chocolate Biscuit Base Mini Egg Brownies you may also like these:
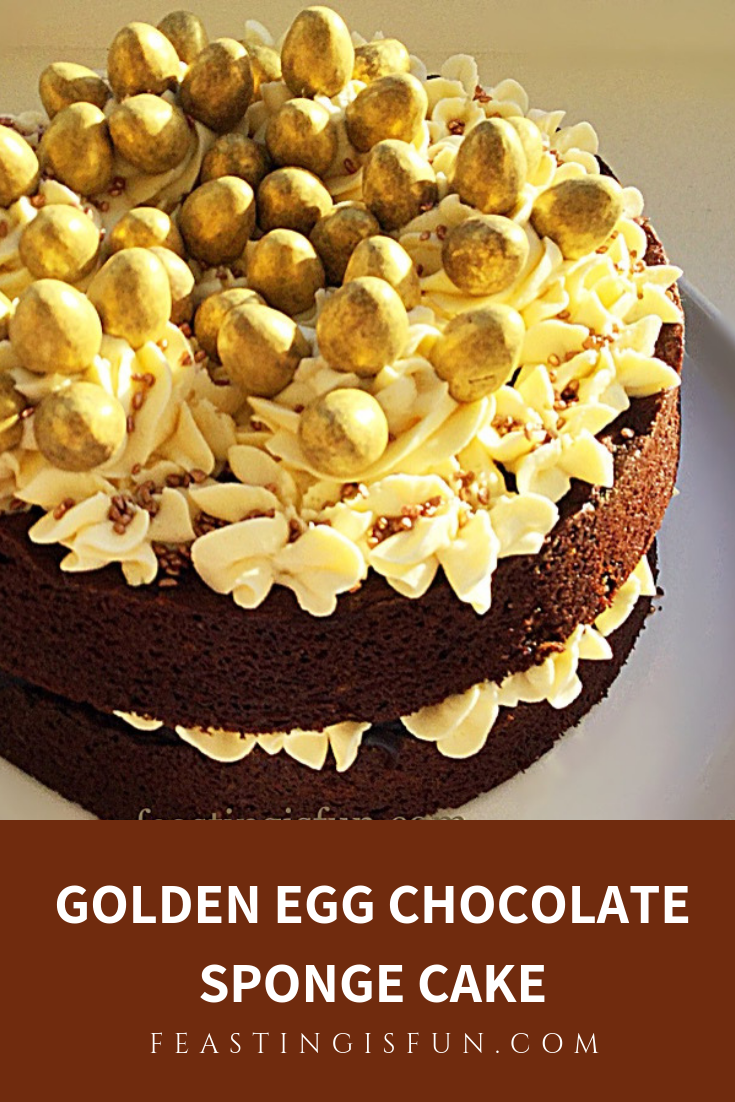
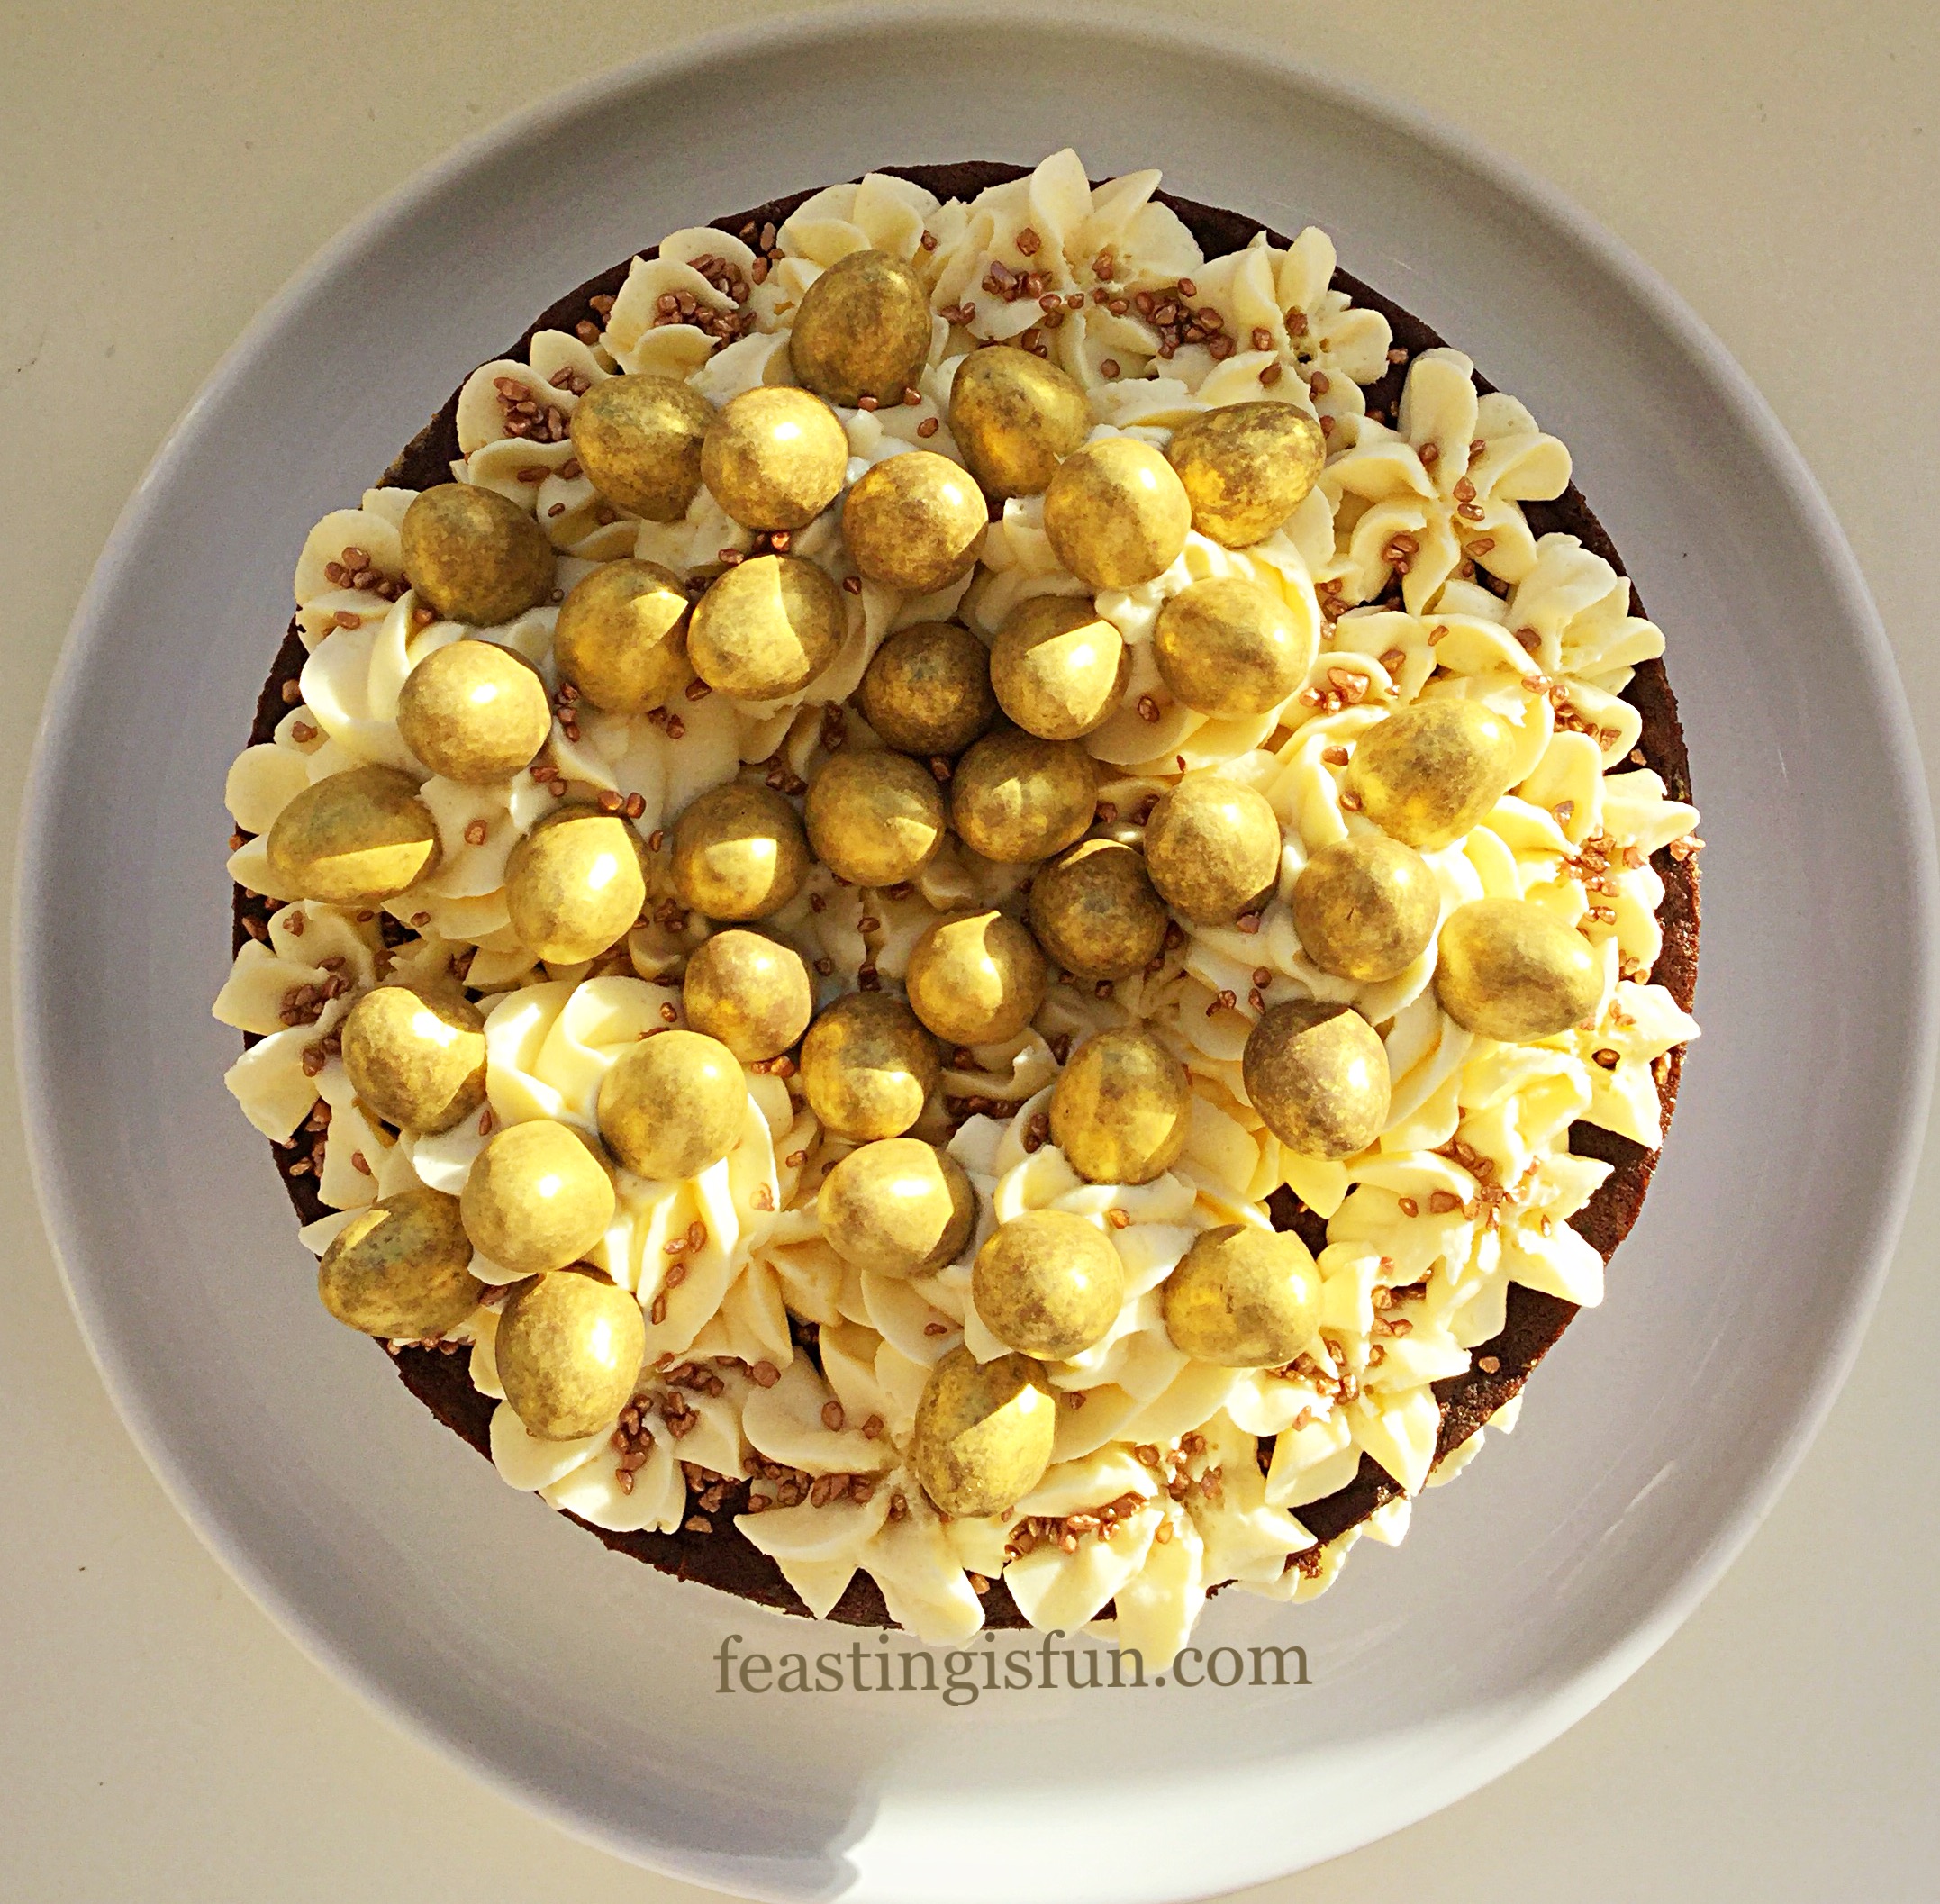
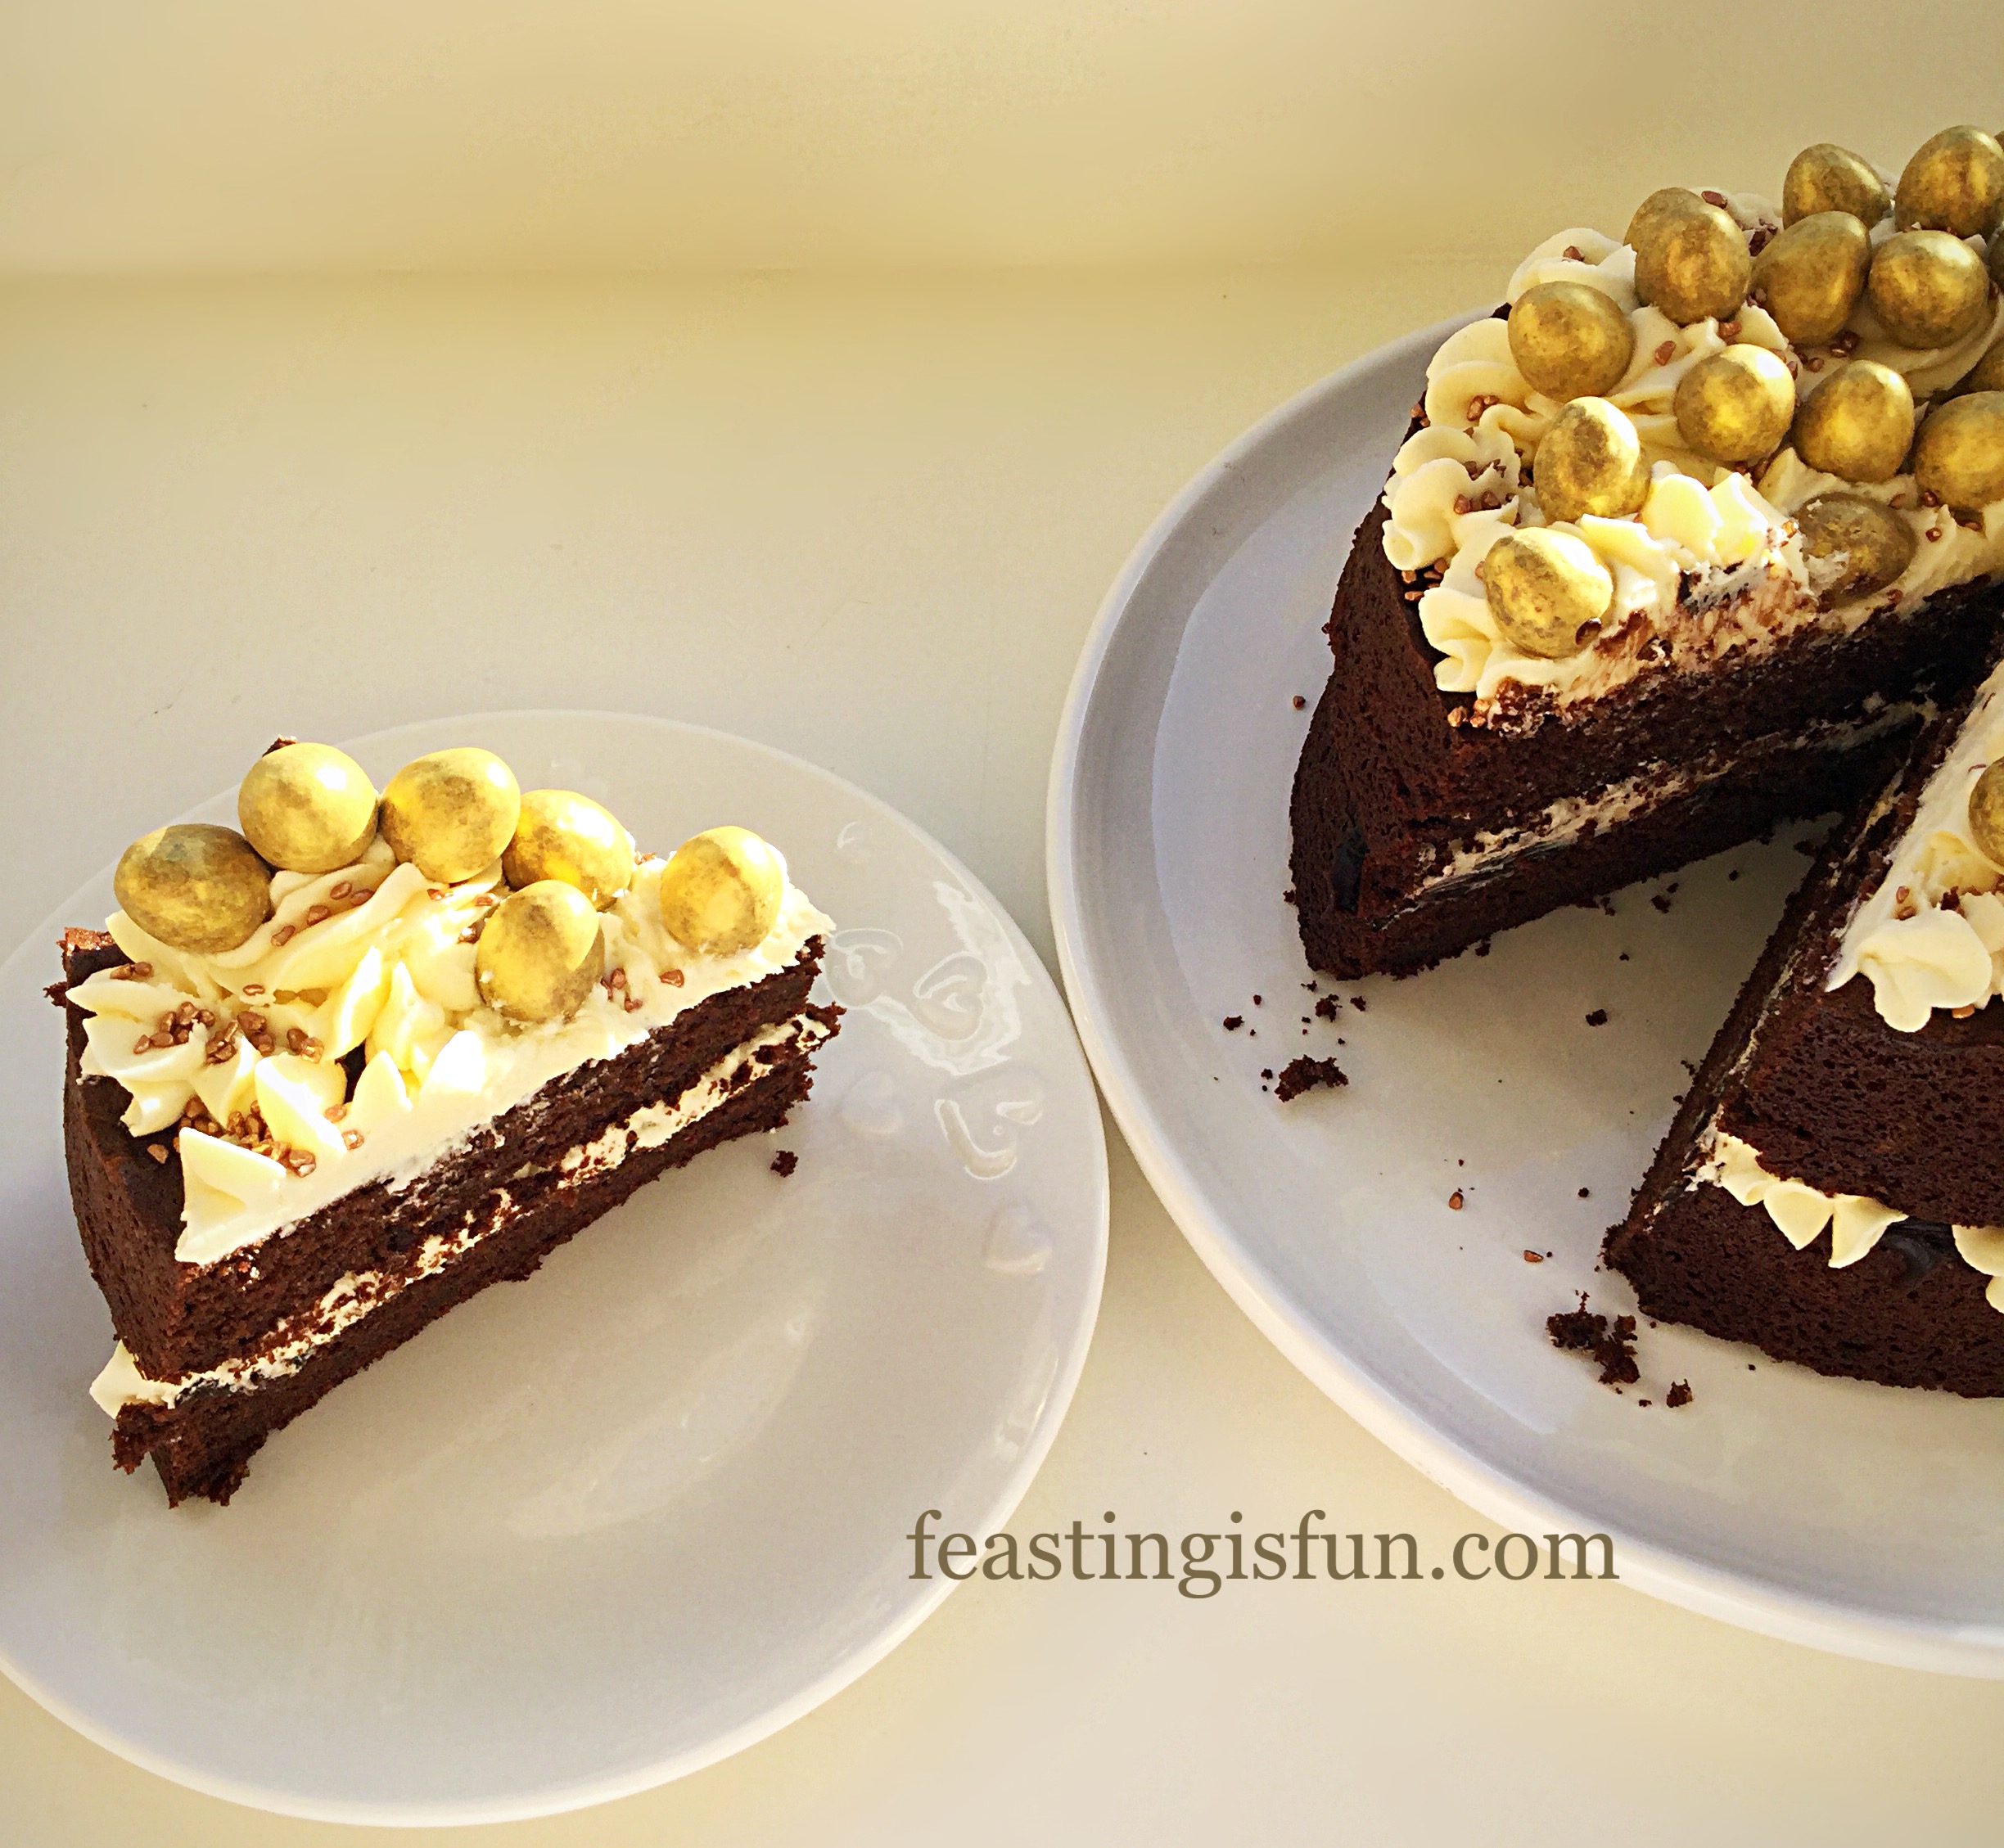
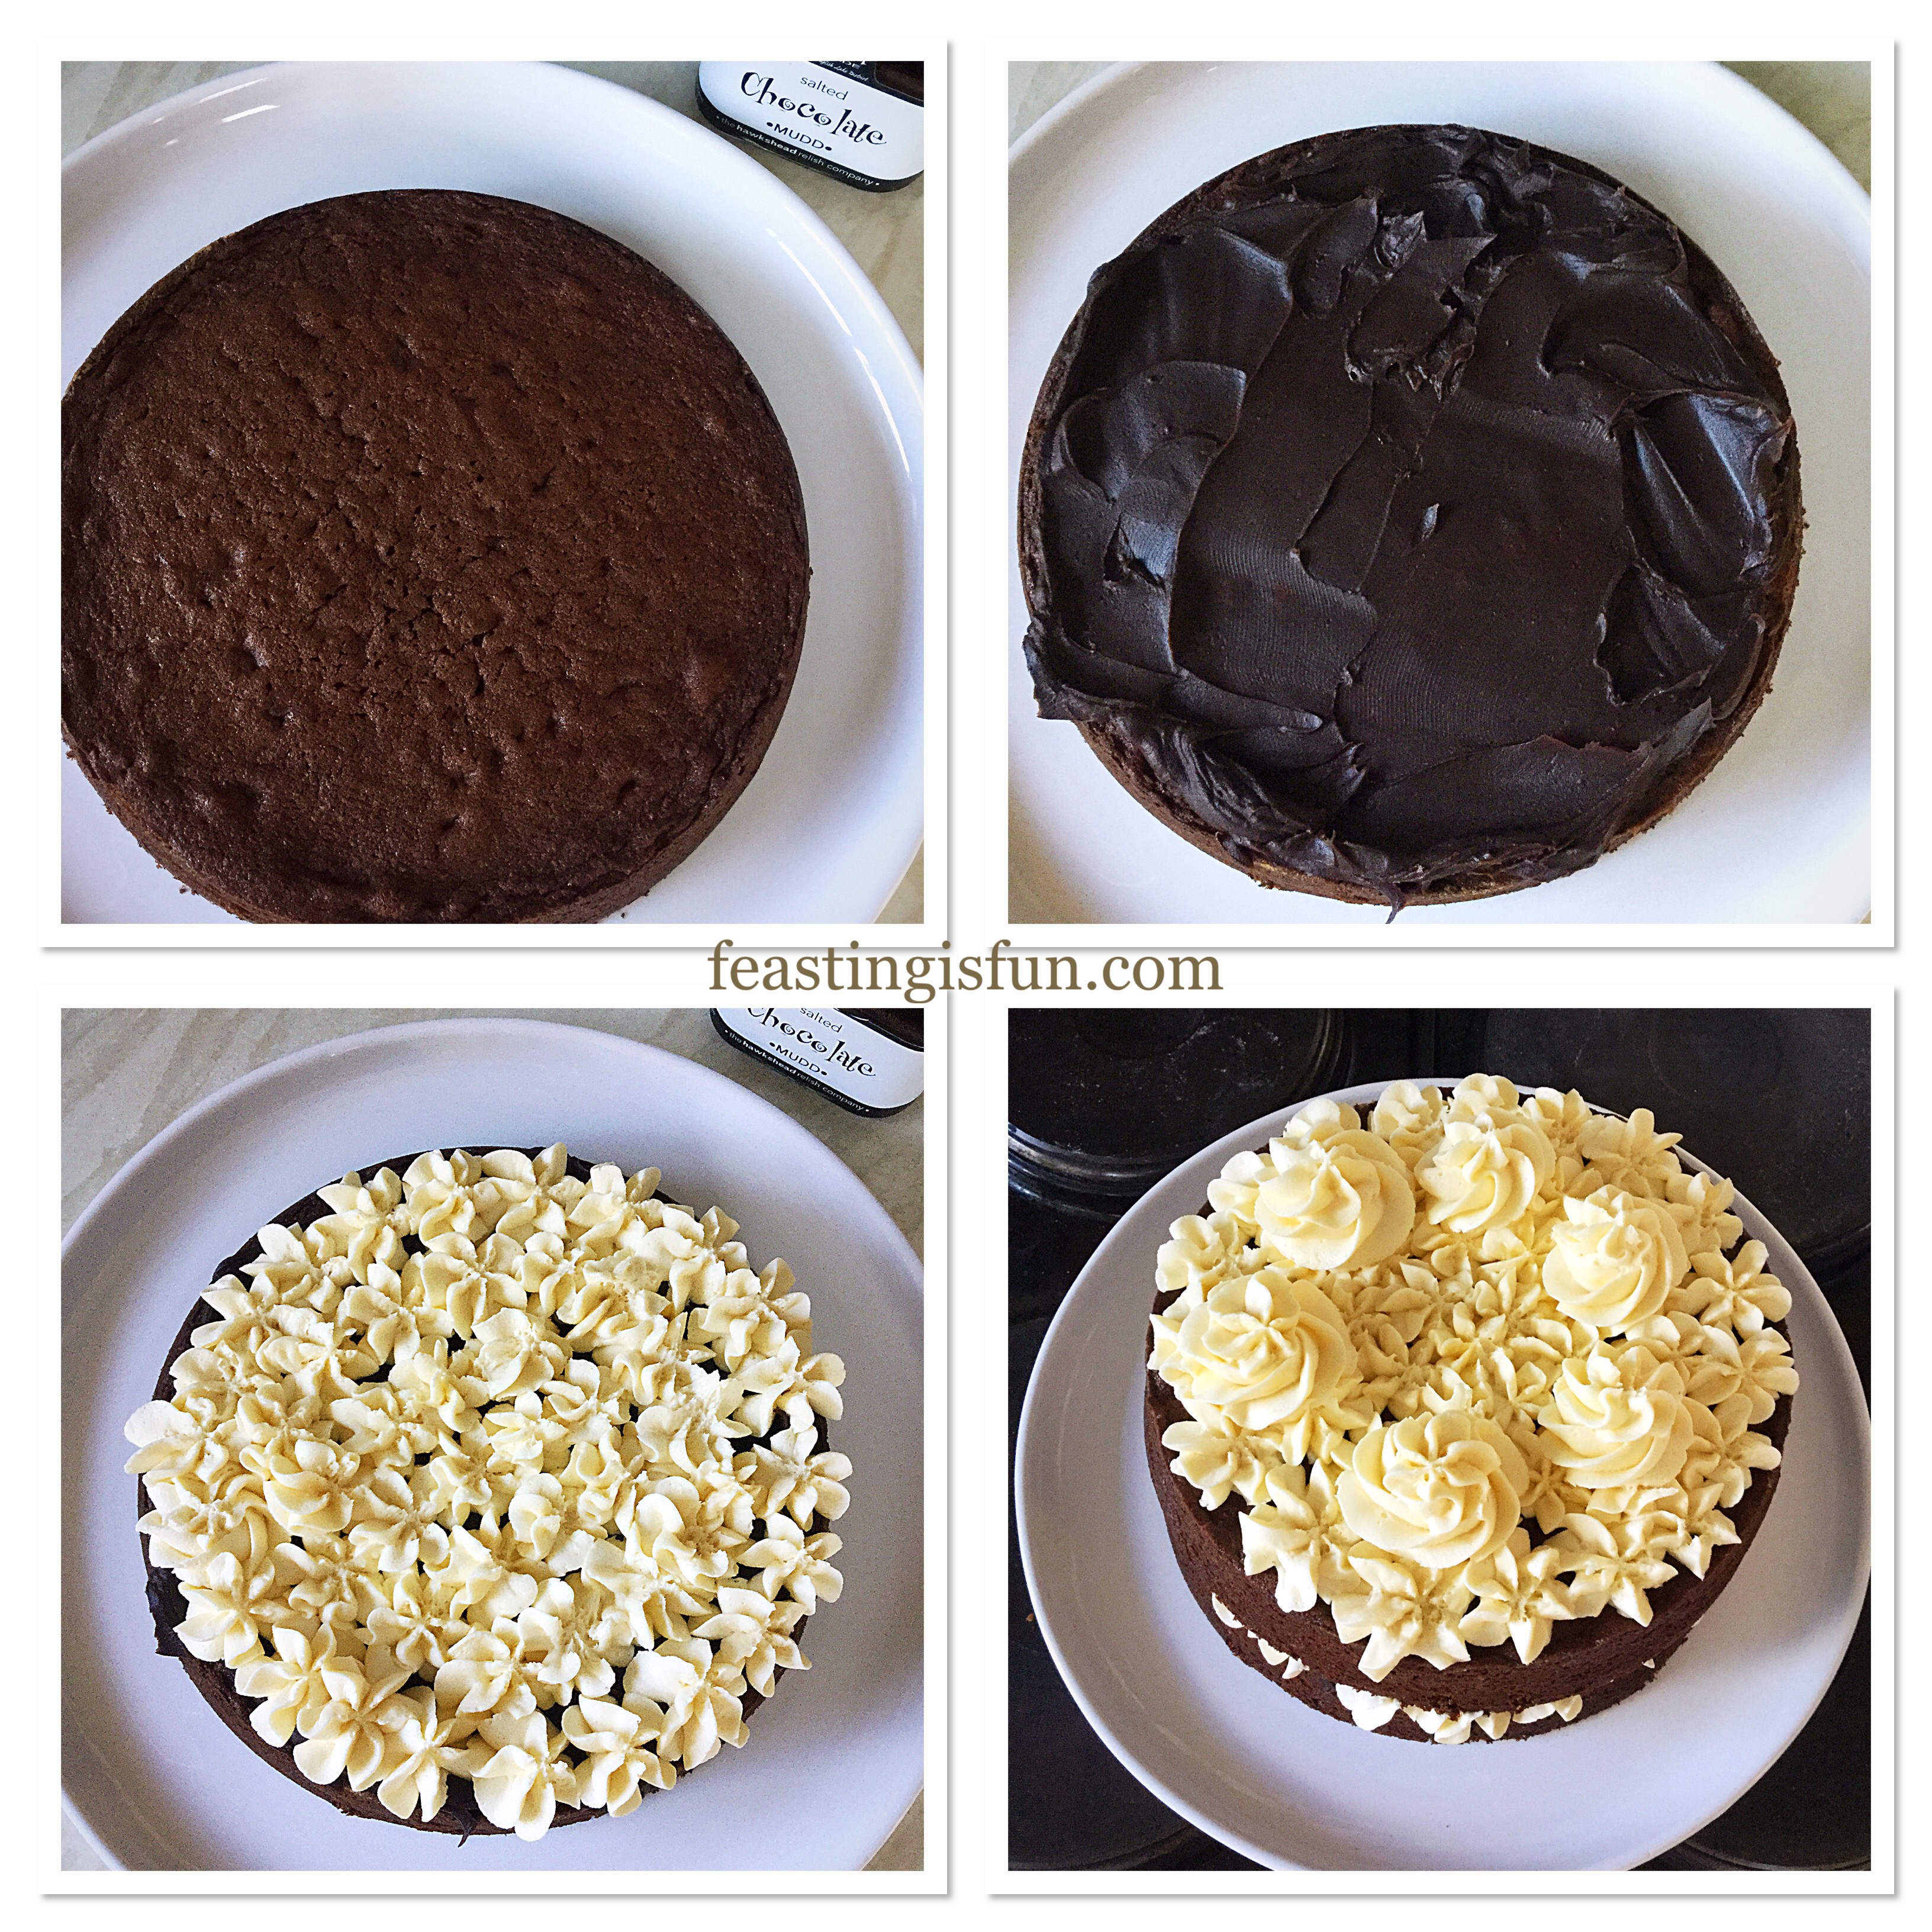
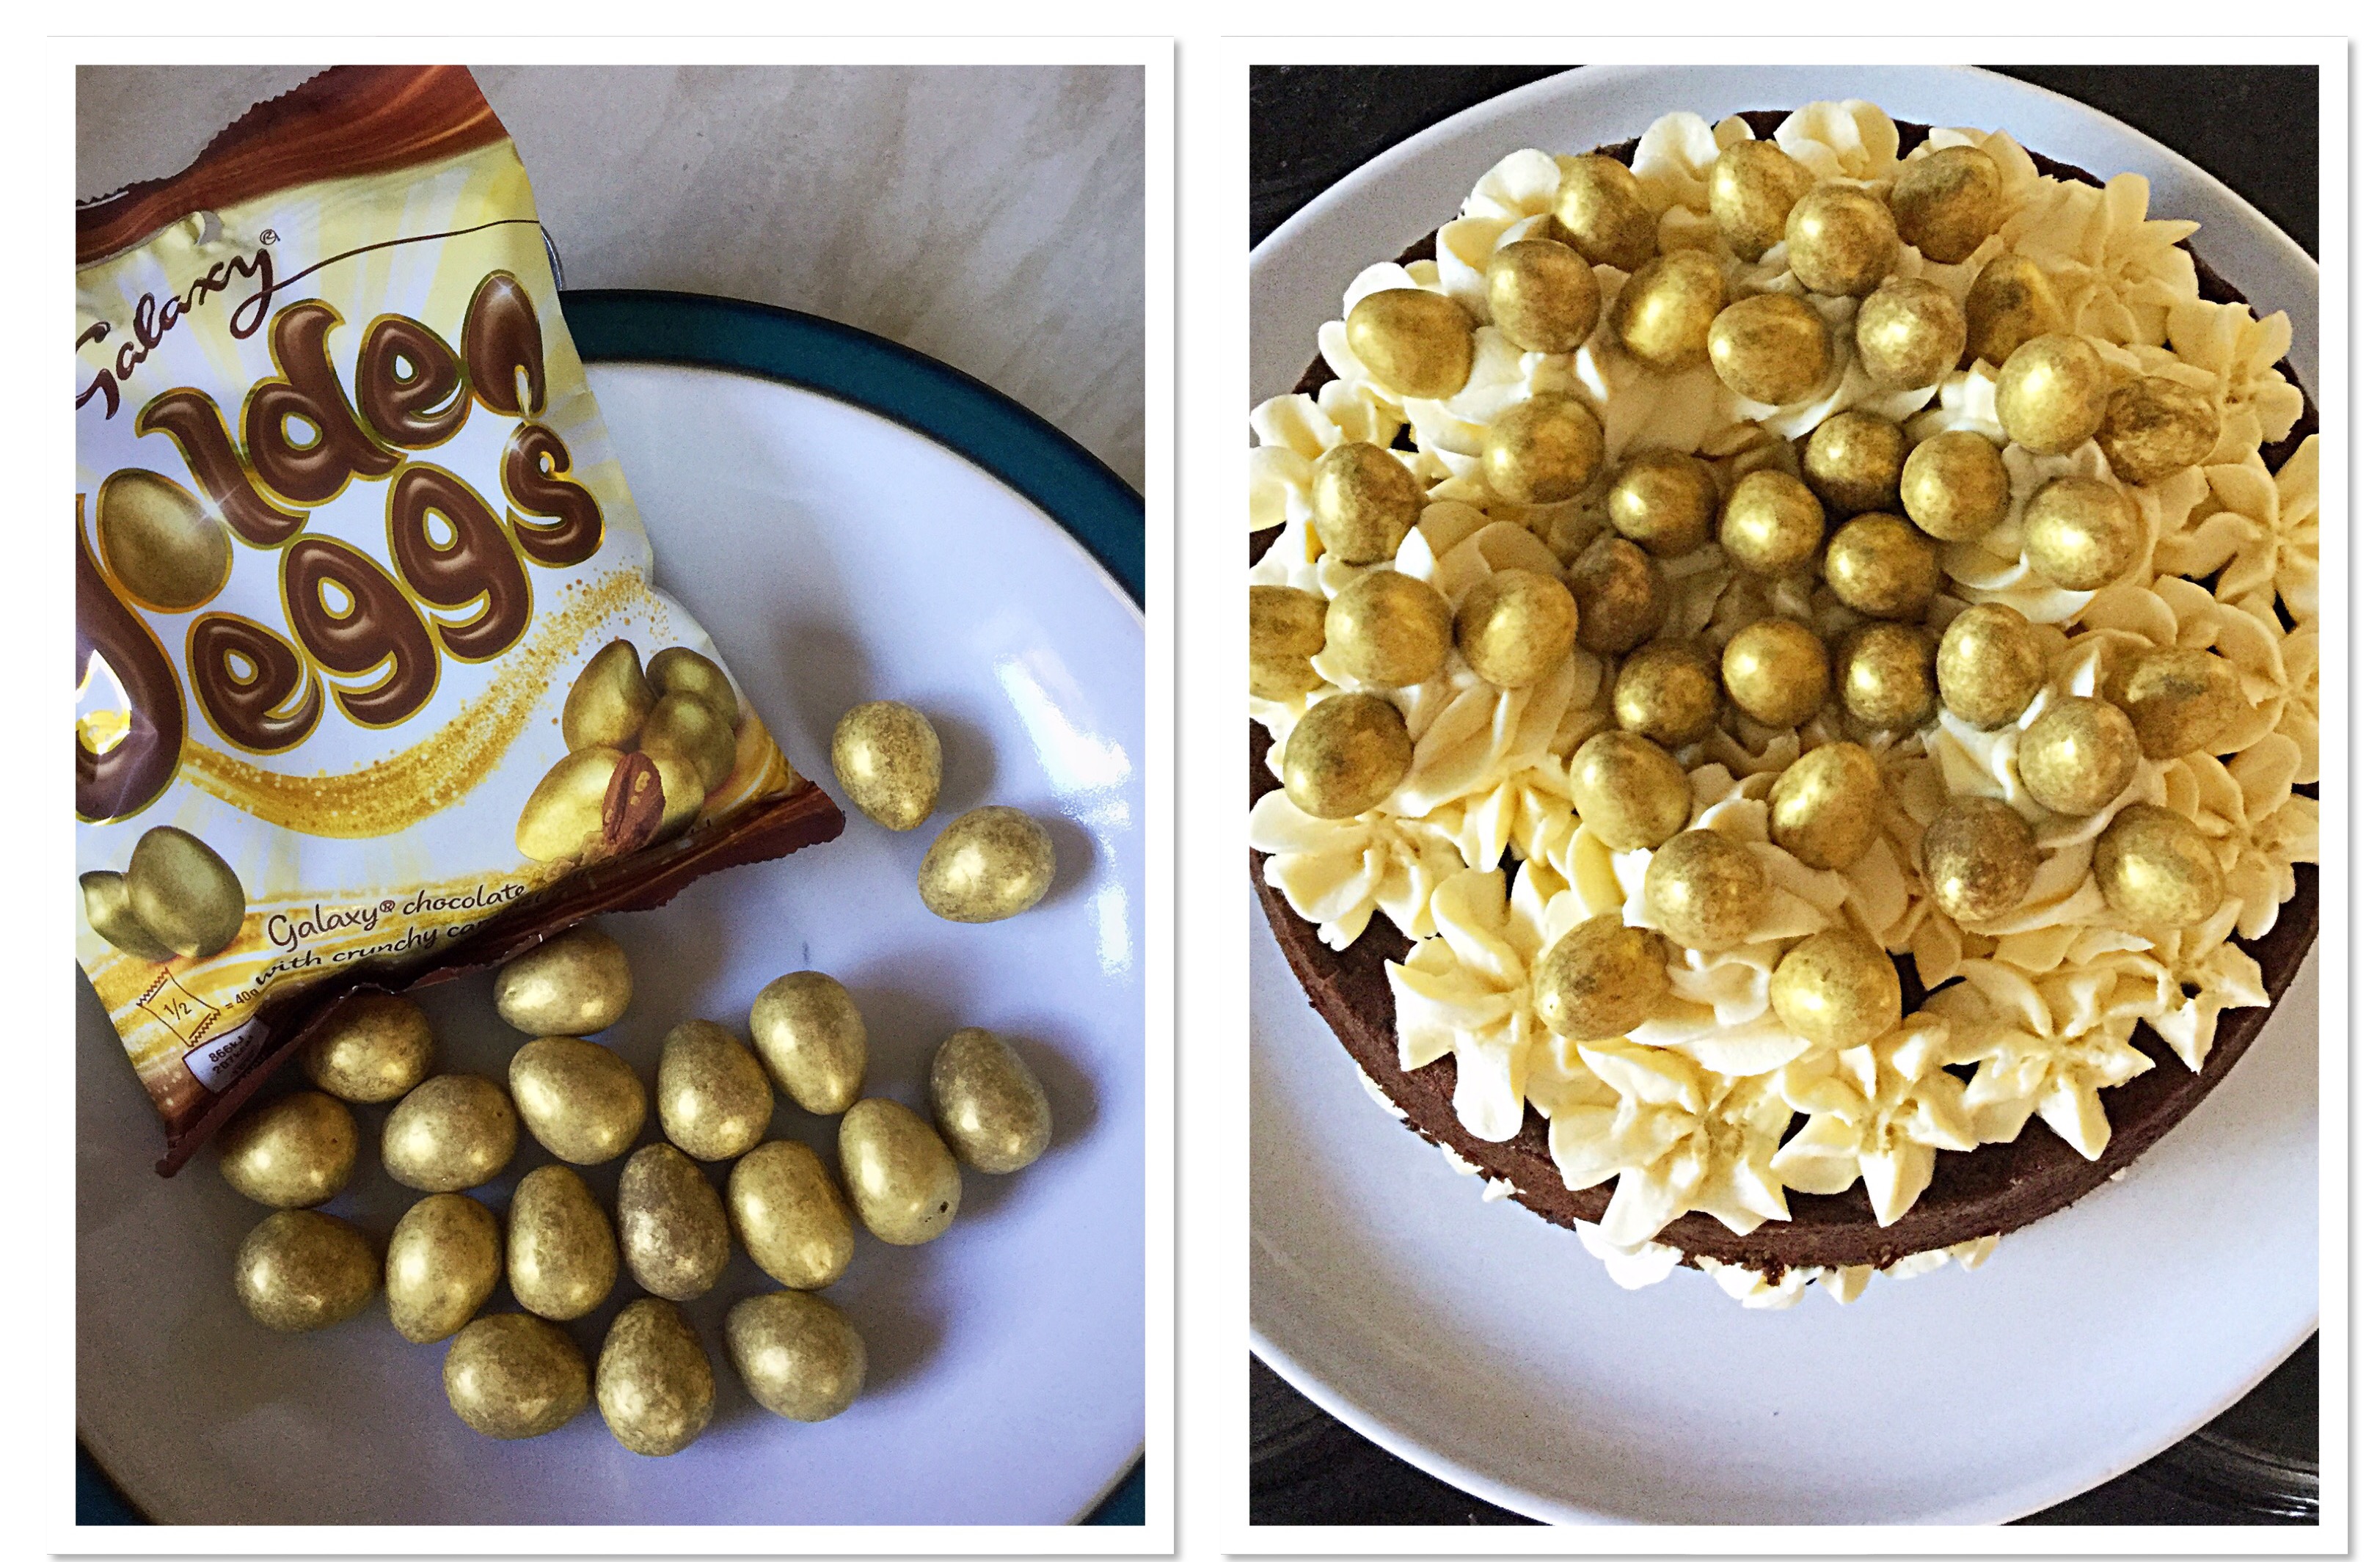
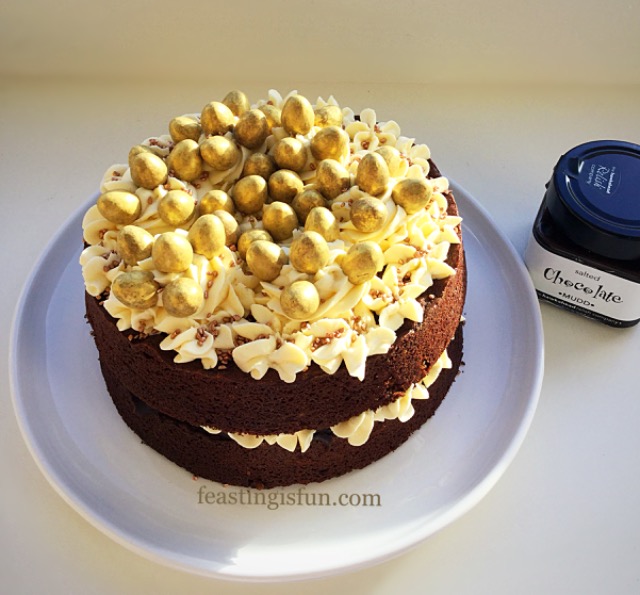
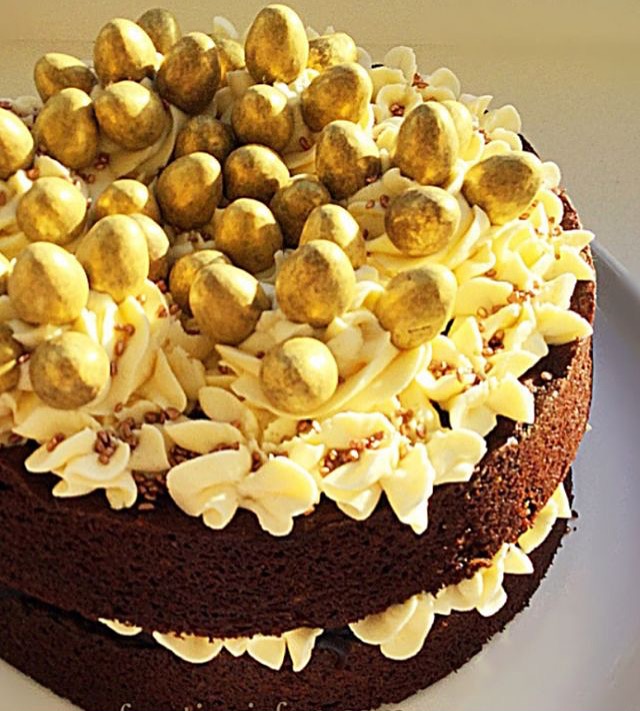
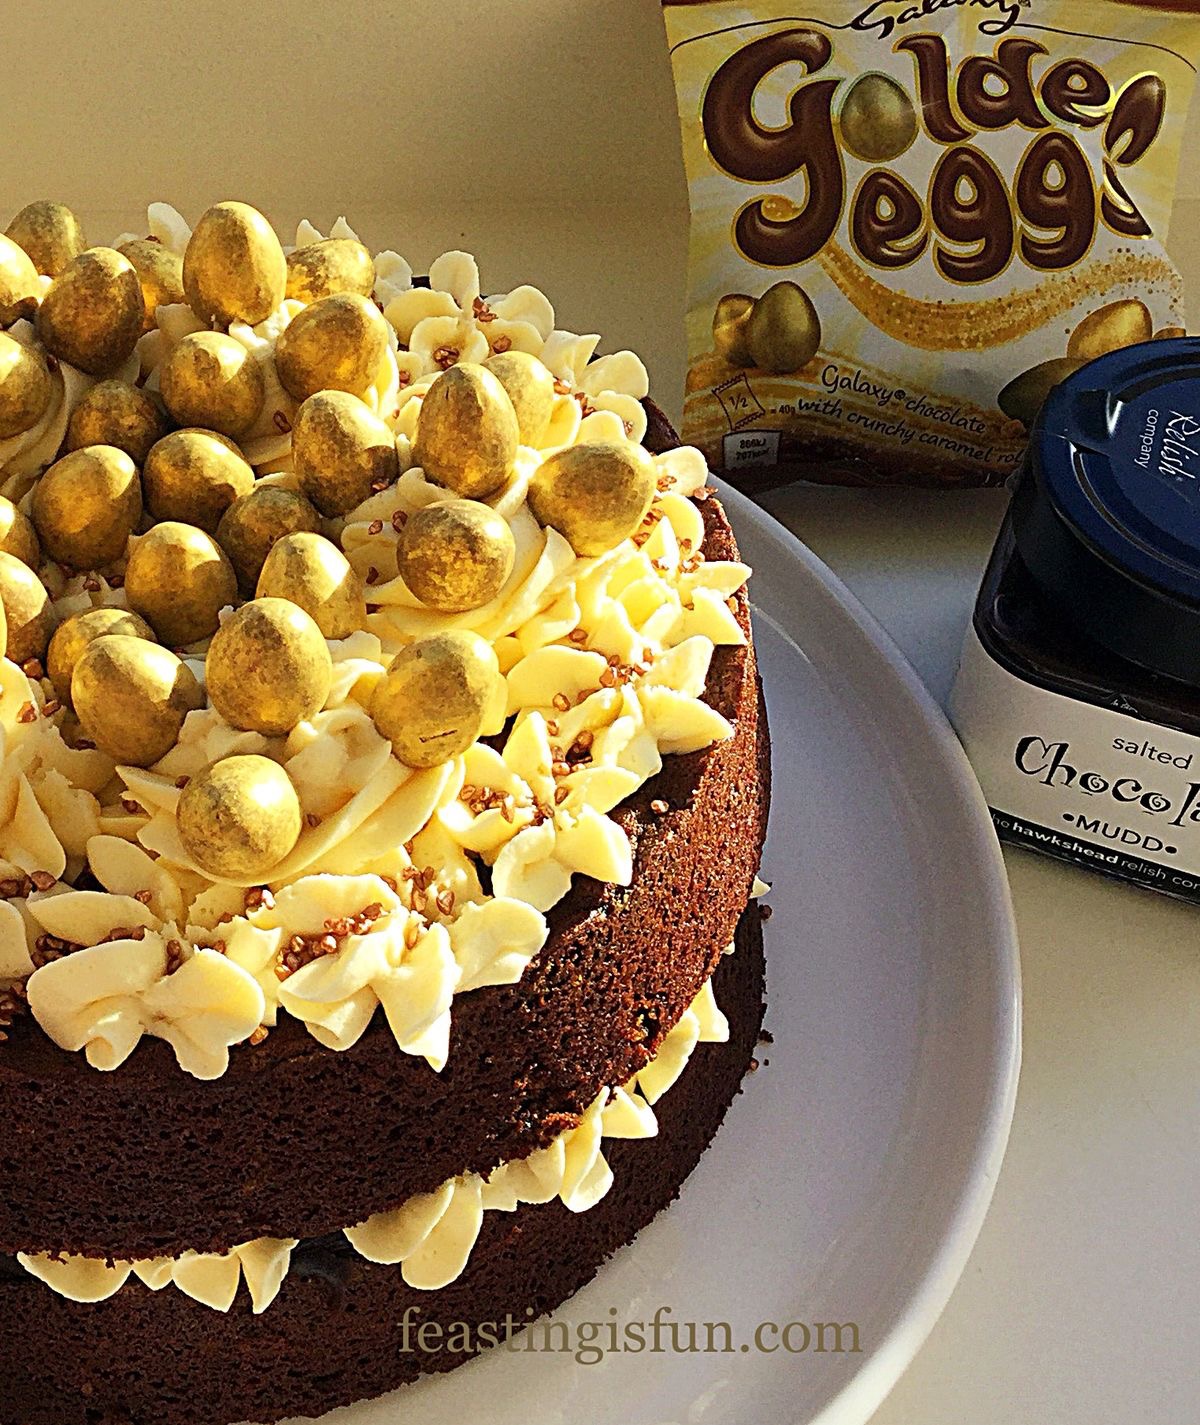
Golden Egg Chocolate Sponge Cake

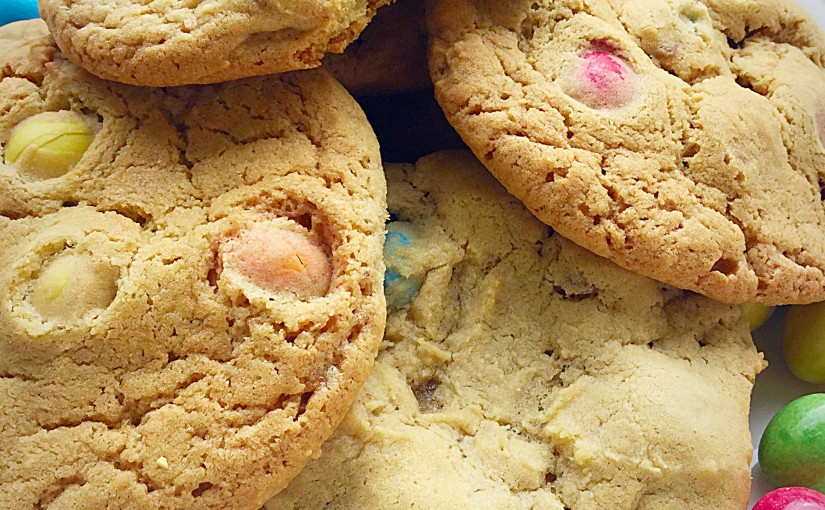
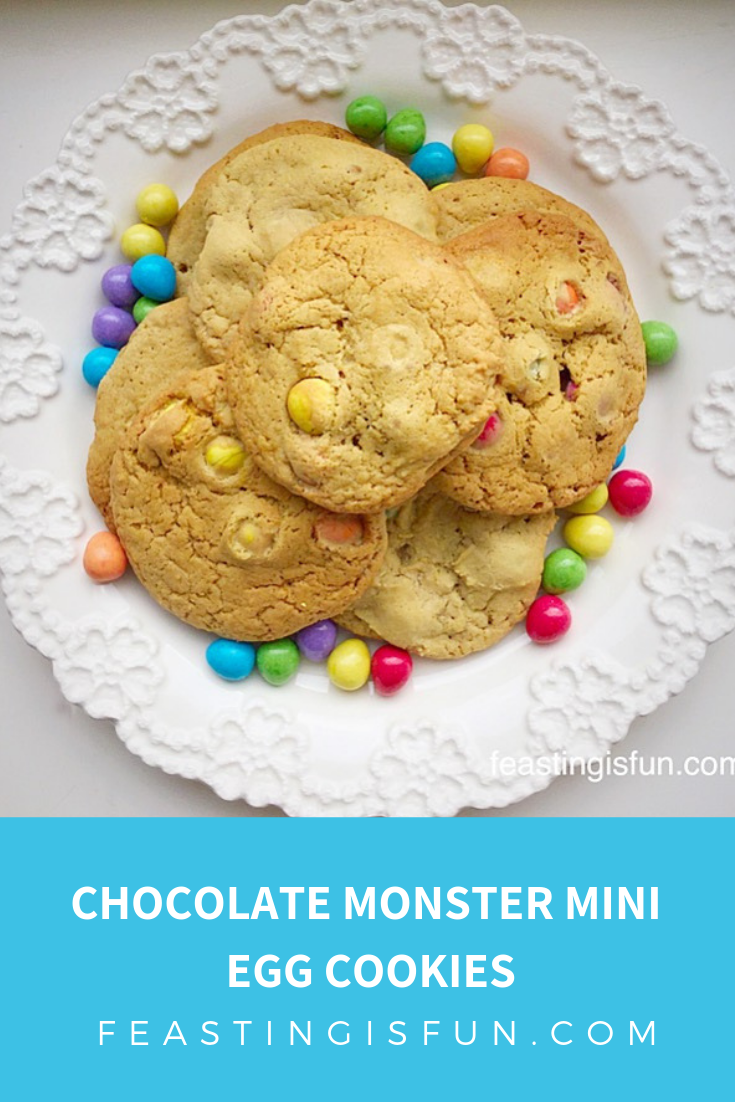
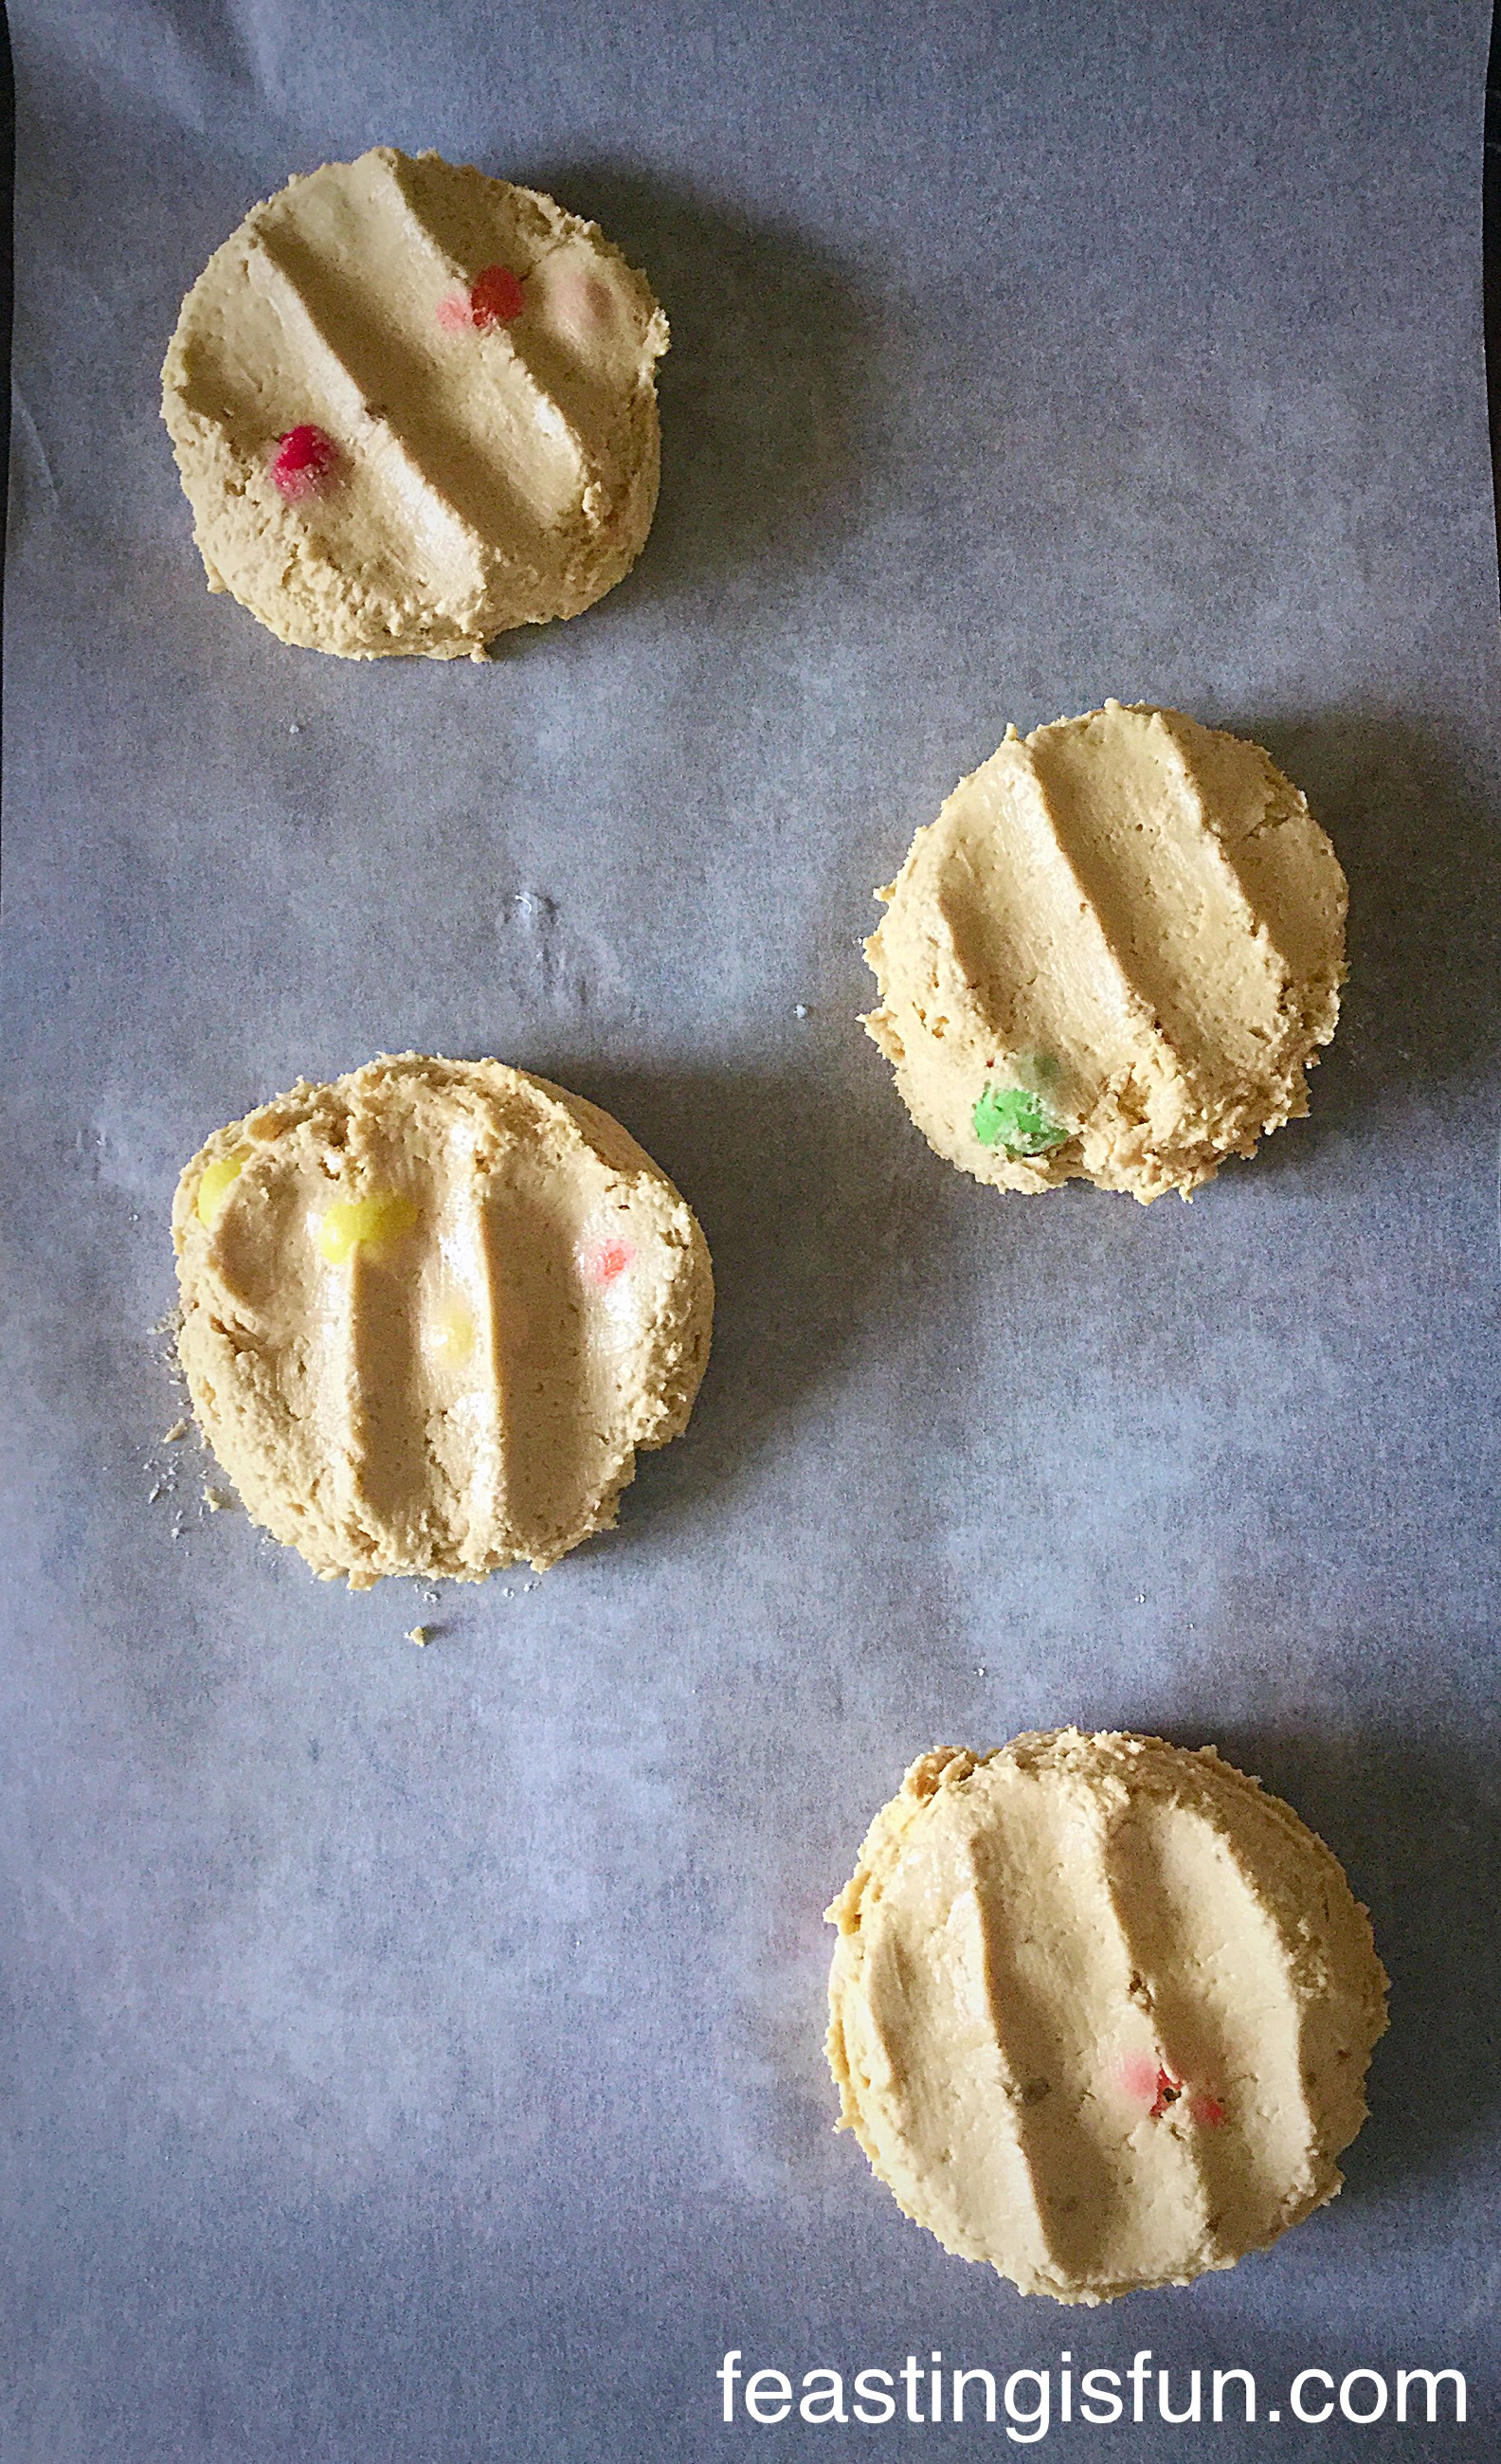
Chocolate Monster Mini Egg Cookies

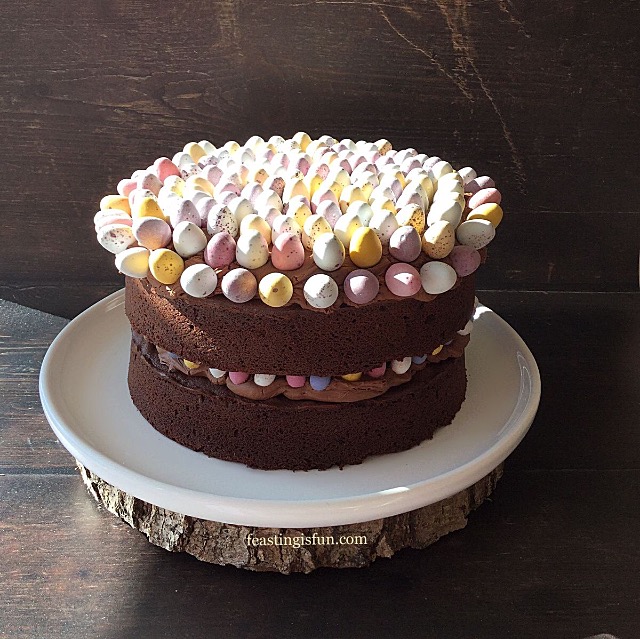
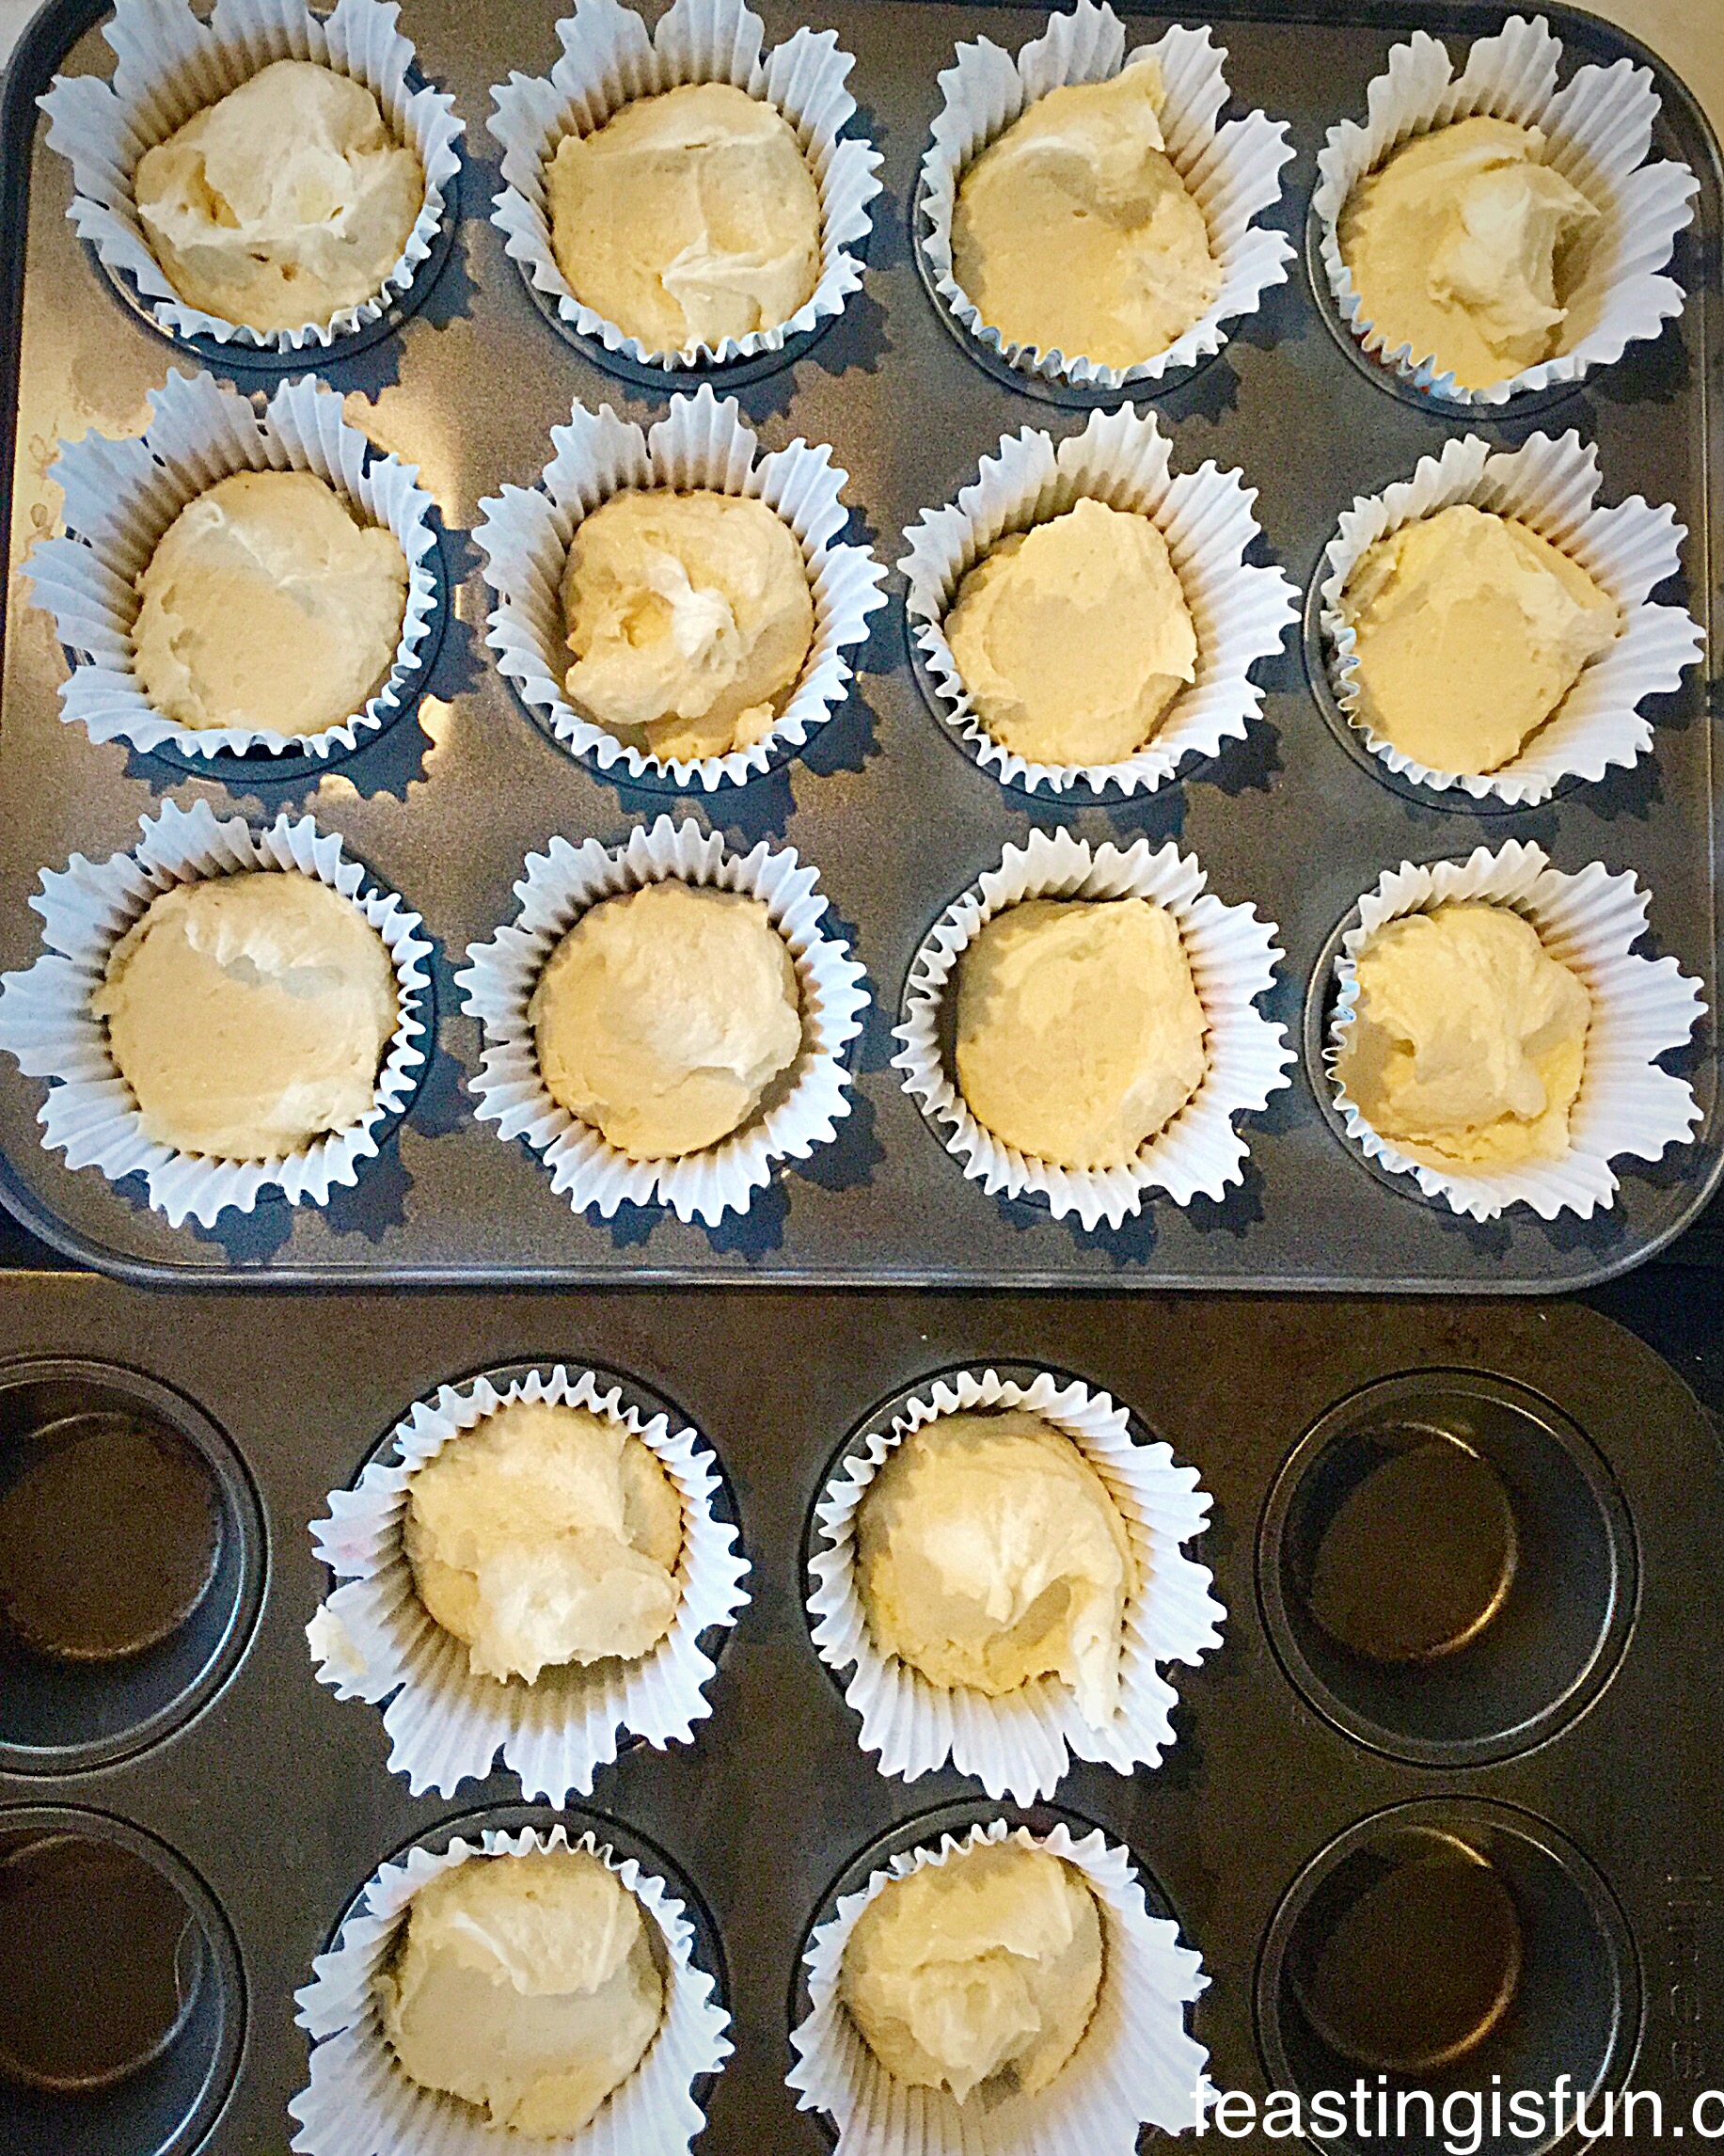
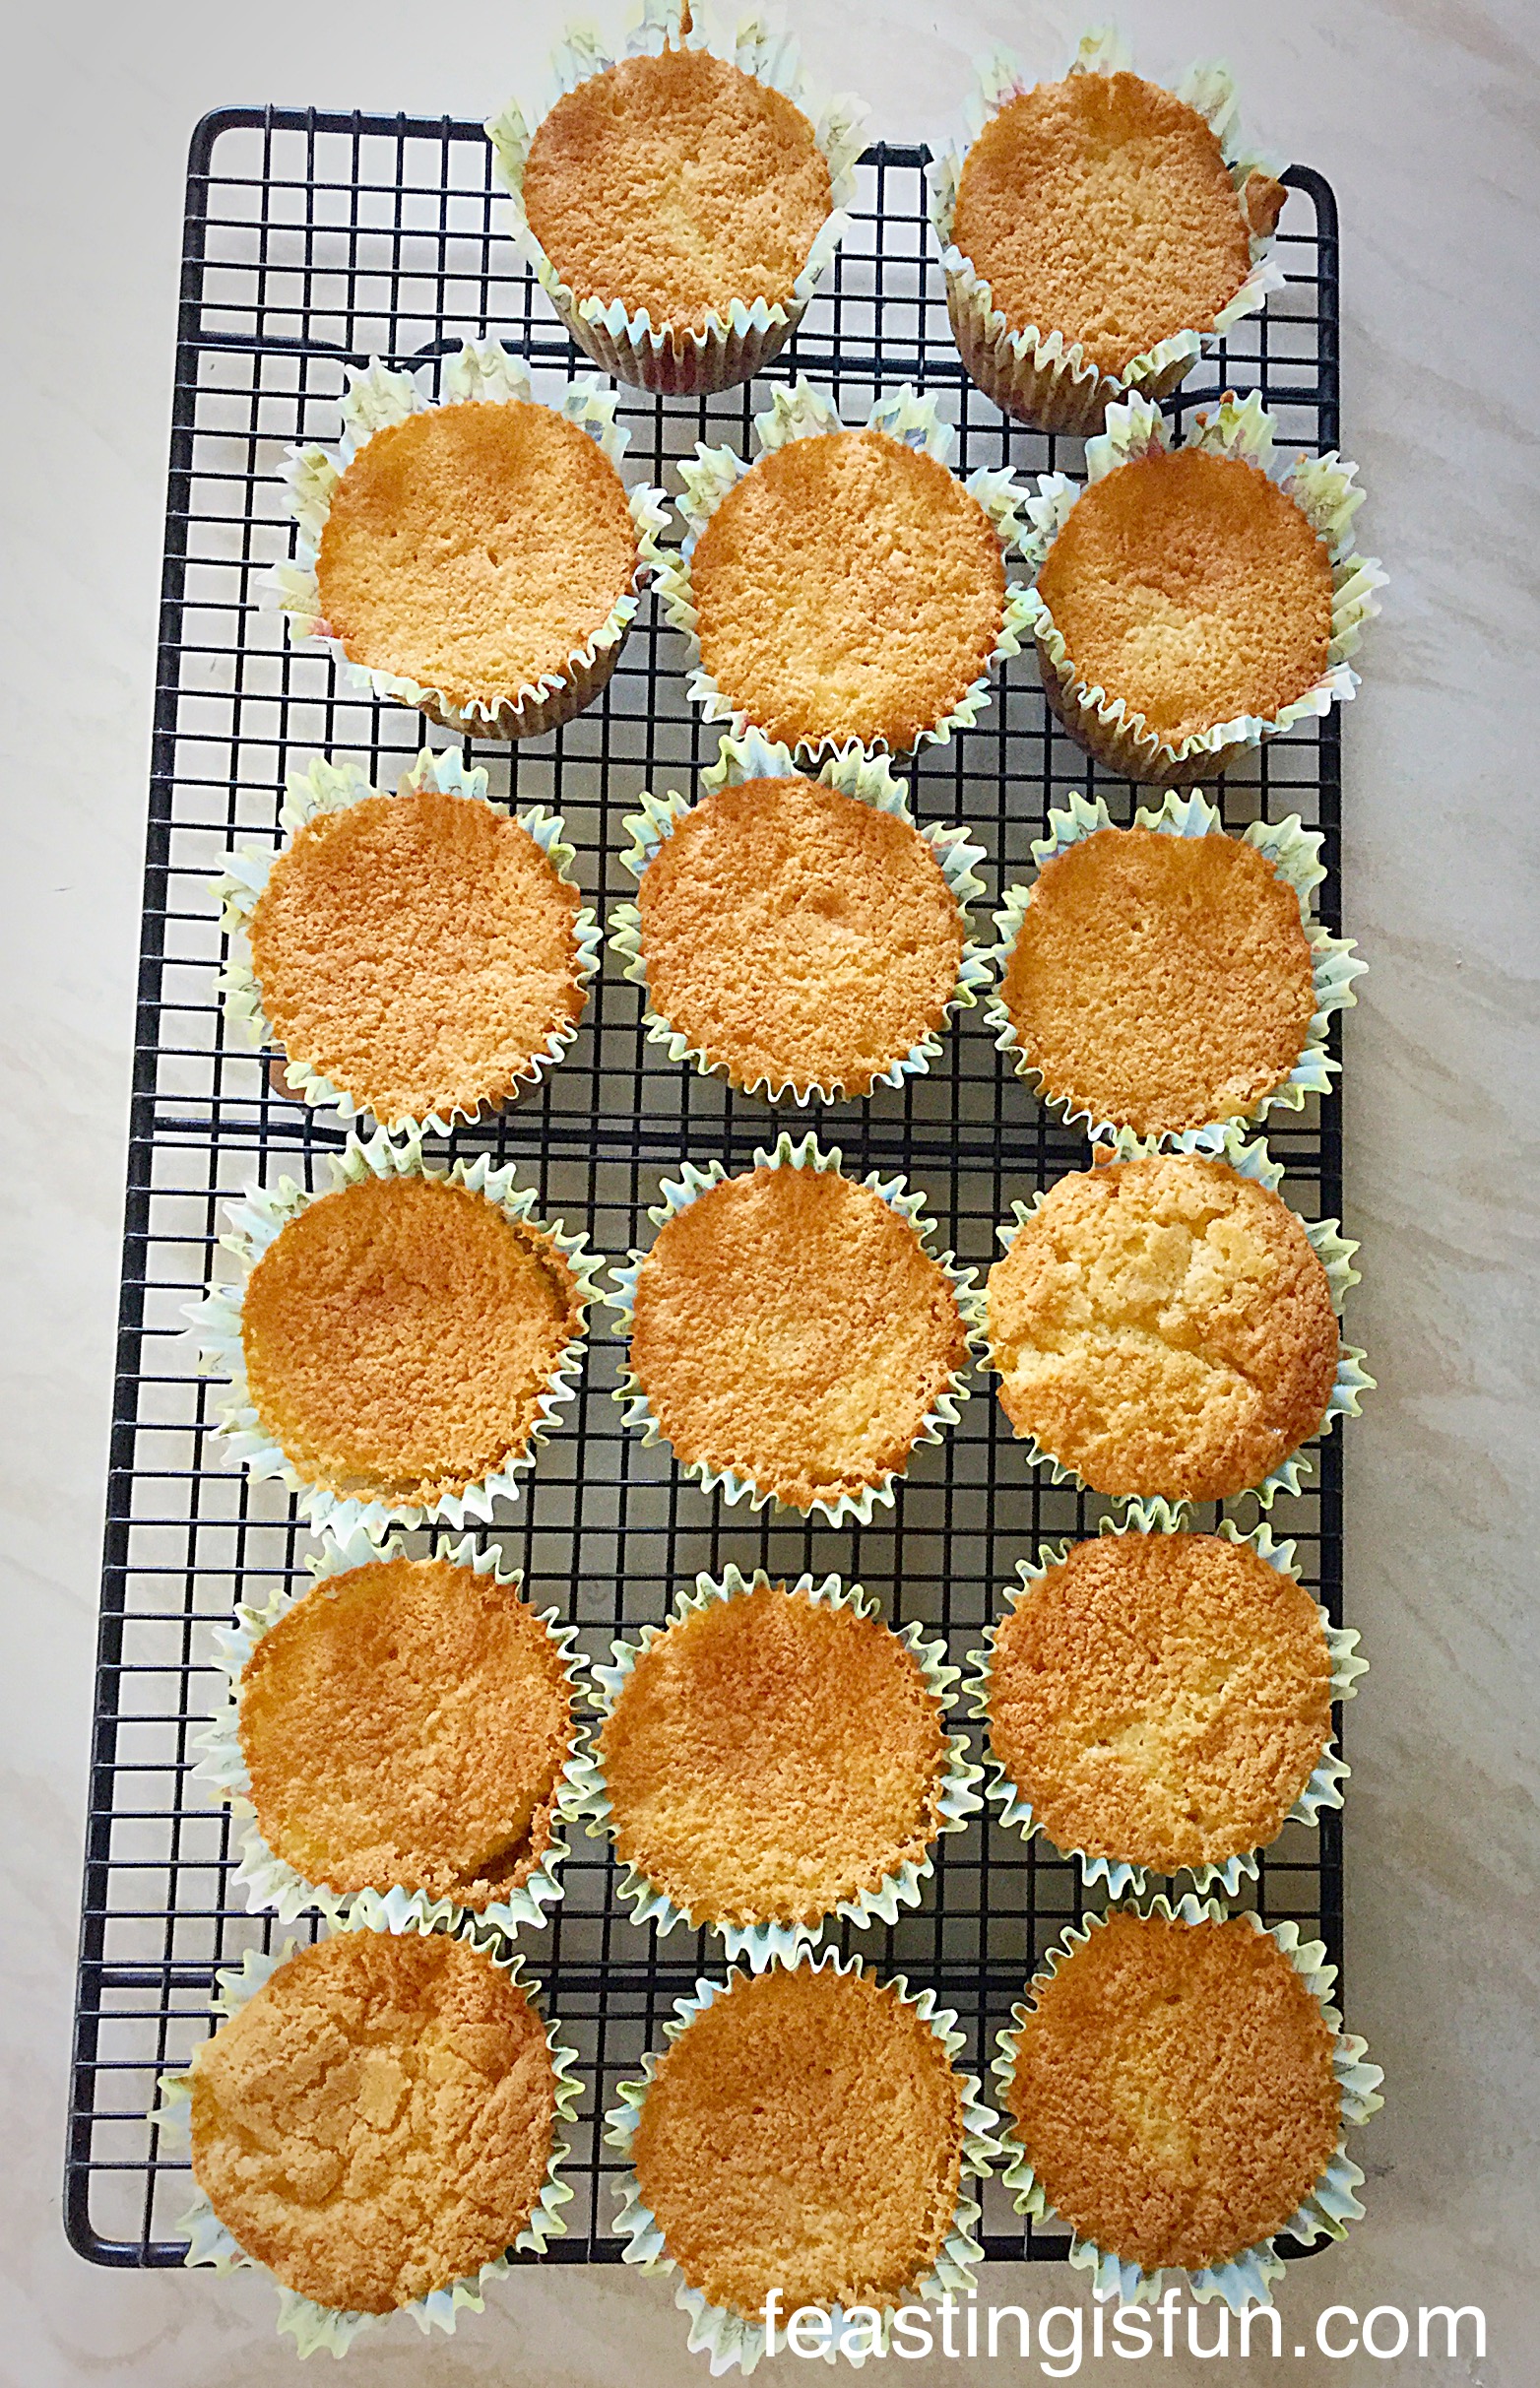
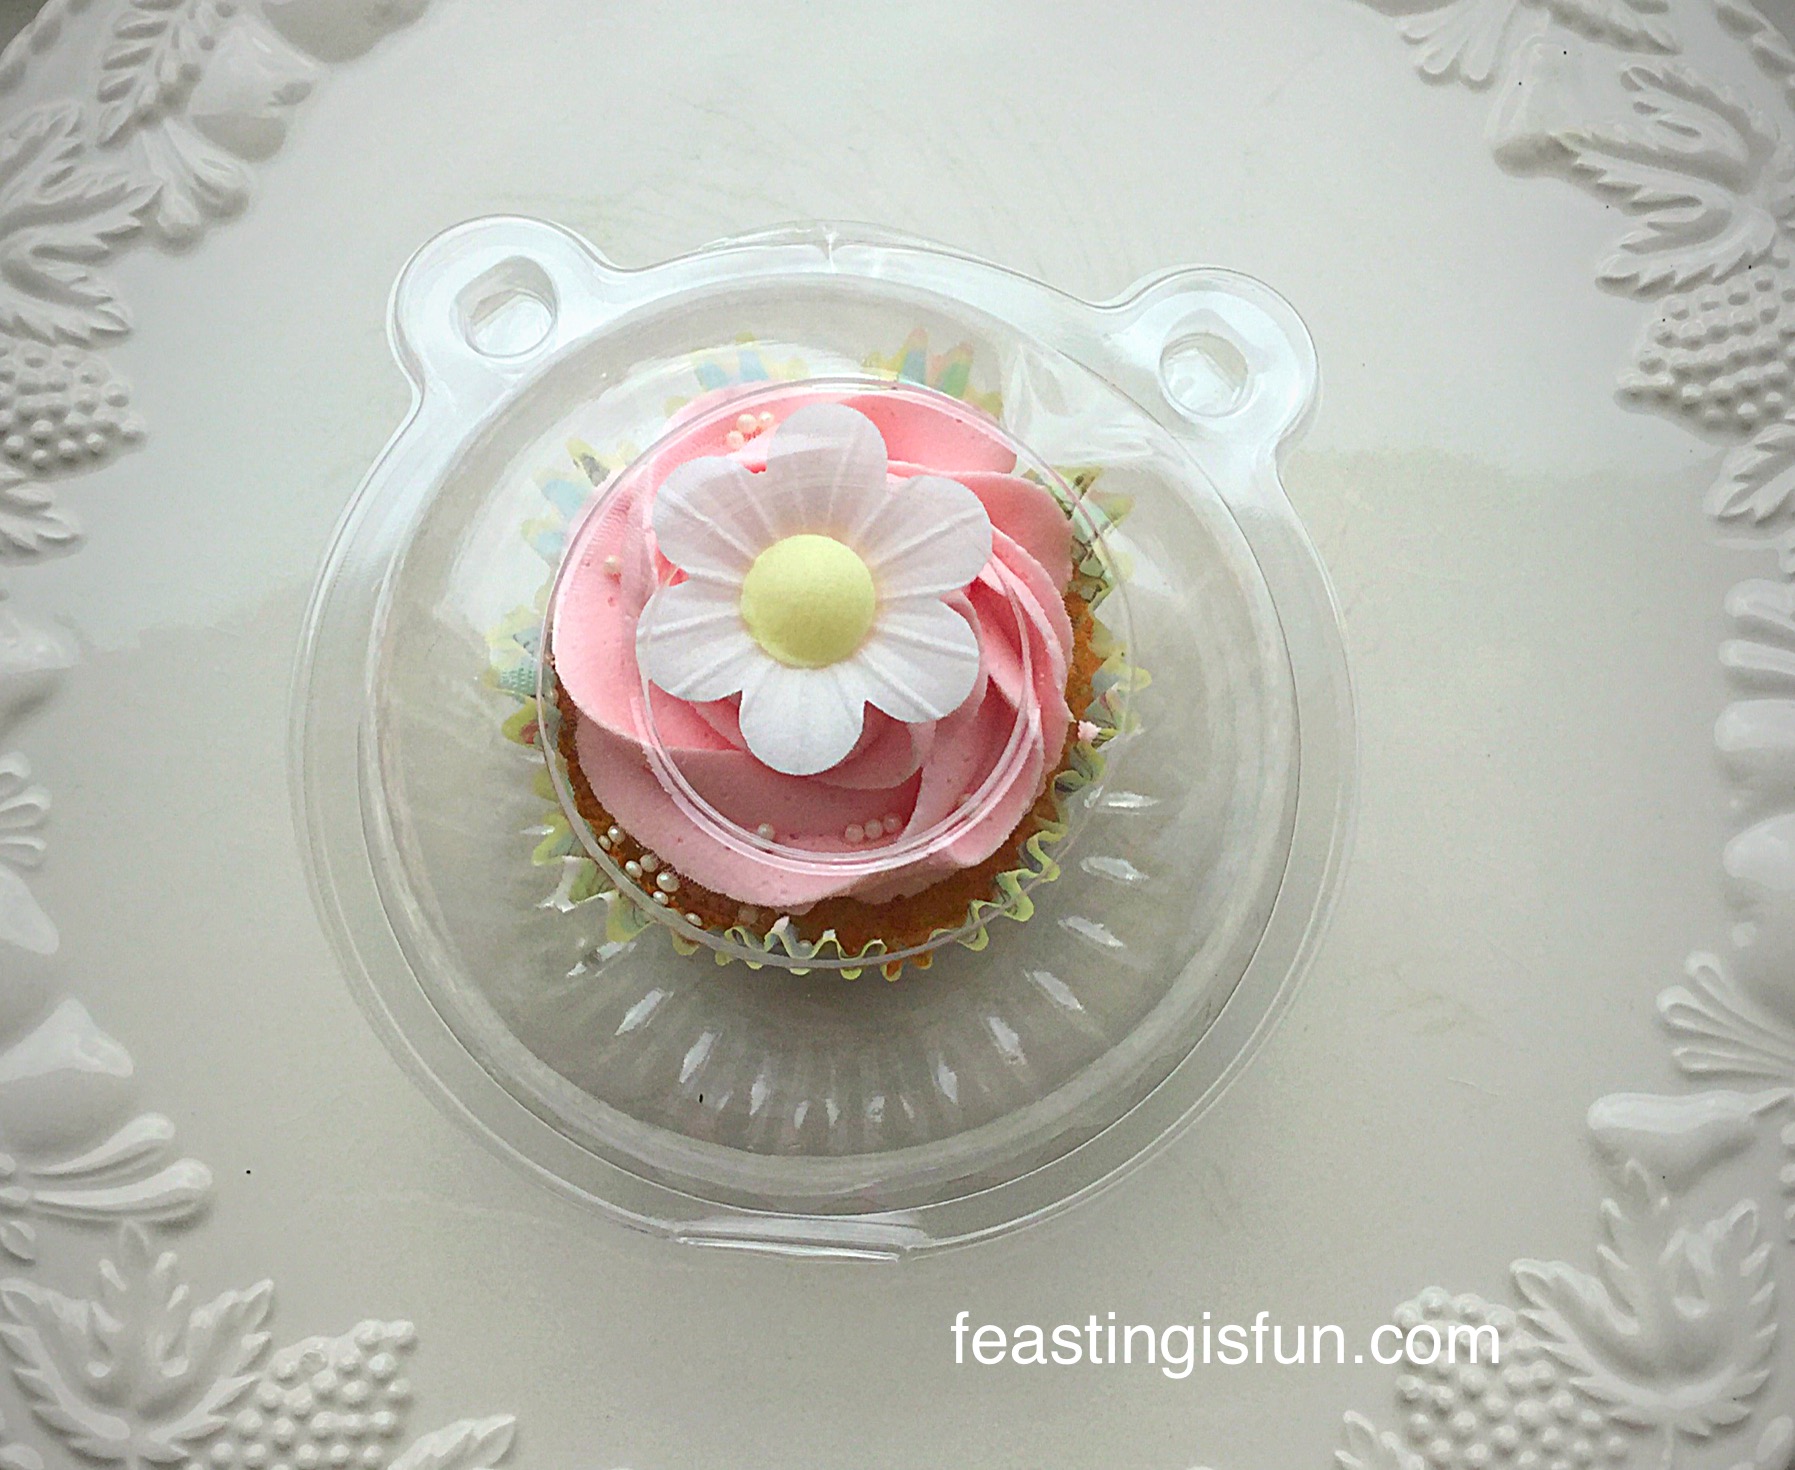
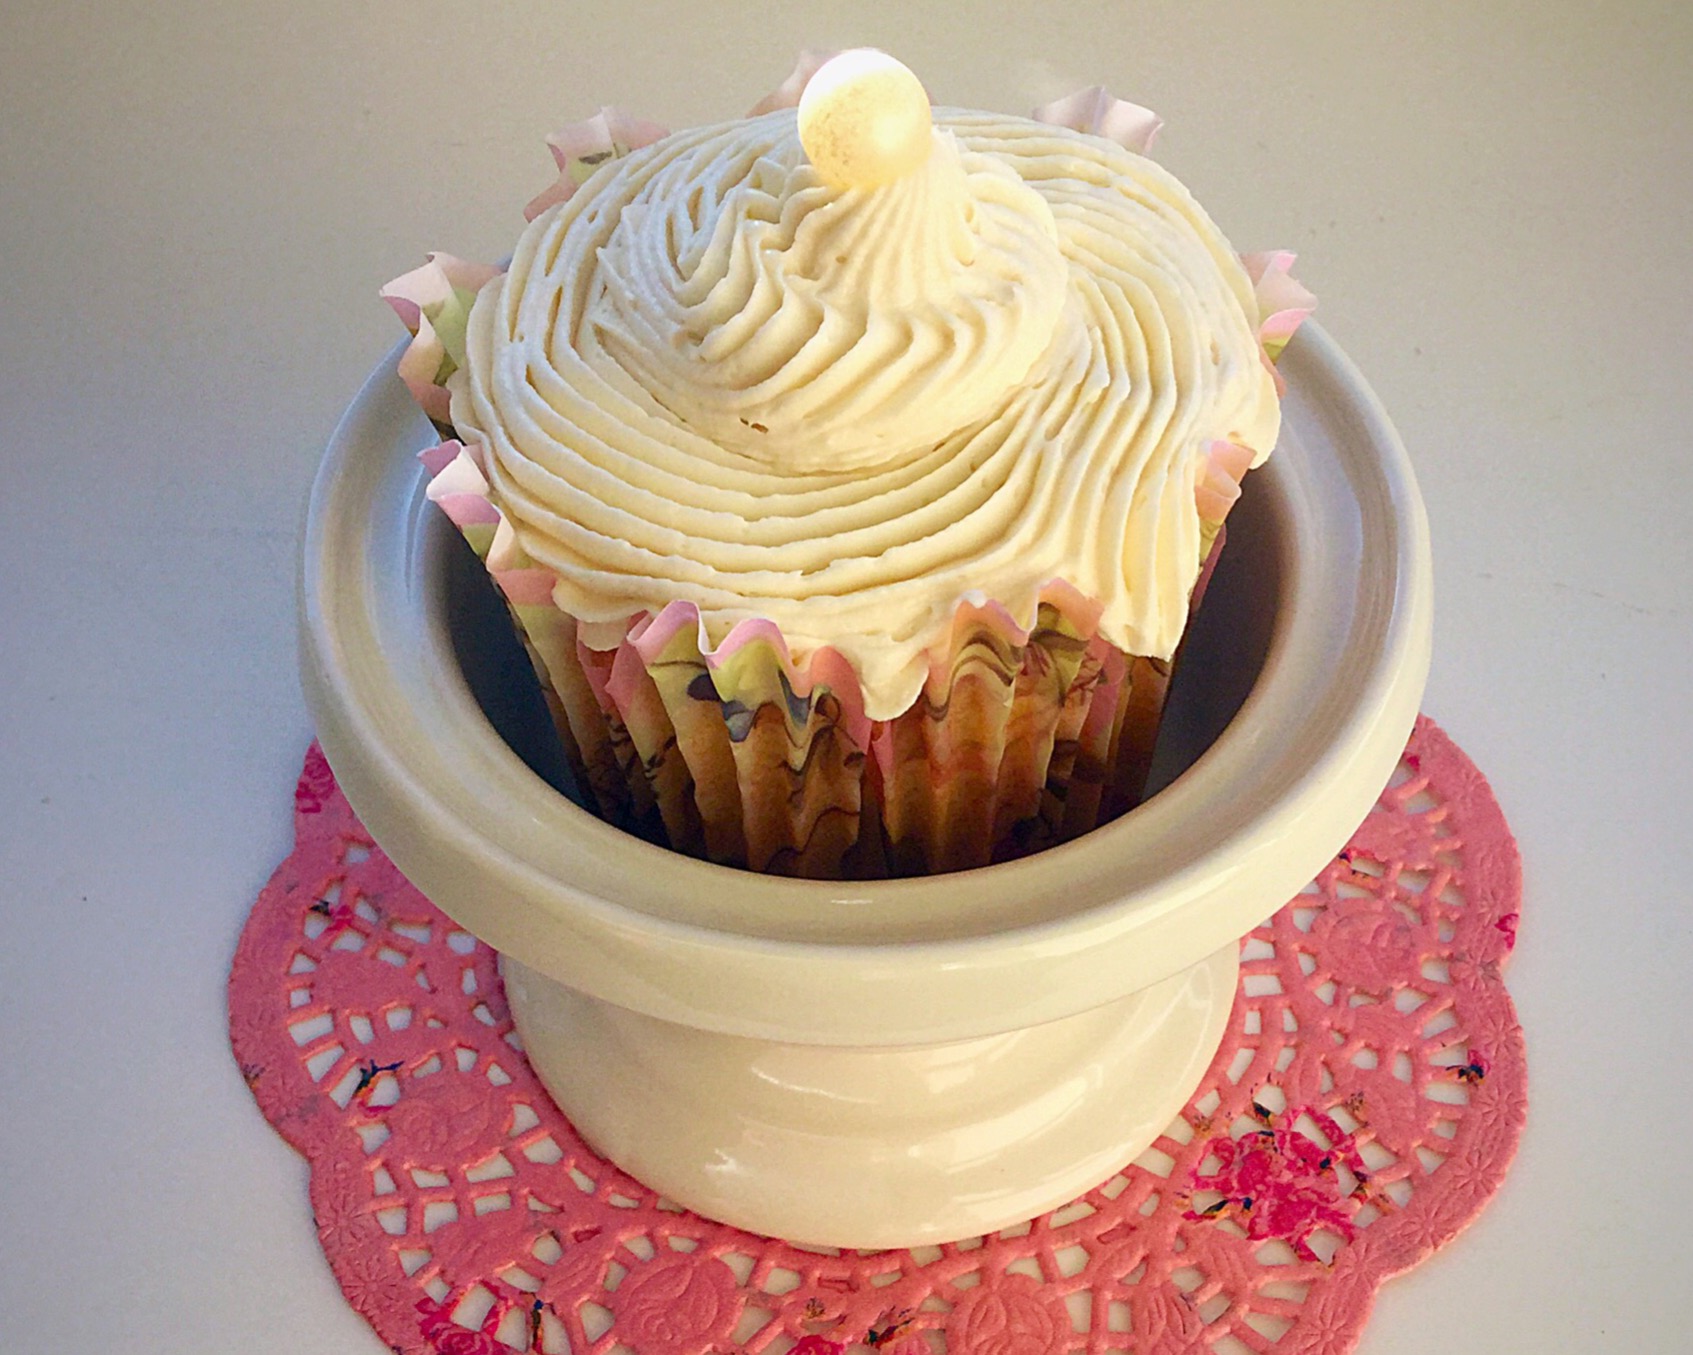
Mini Vanilla Egg Nest Cupcakes

Since most of these recipes are designed specifically for Easter and for using left over chocolate, I hope that you will make them throughout the year. Although, that may not be a good thing for our bodies? Maybe the fun is in making them only during the Easter Holidays.
I wish everyone who reads this a very Happy Easter, please see Important Stuff.
Sammie xx
No party of this post may be reproduced or duplicated without the written permission of the owner. Please see my Disclosure Policy.
This month I am linking up with Stuart at Cakey Boi and Kat at The Baking Explorer who is hosting this month’s Treat Petite .