Baked Whole Epoisses De Bourgogne

Share
Facebooktwitterpinterestlinkedintumblr

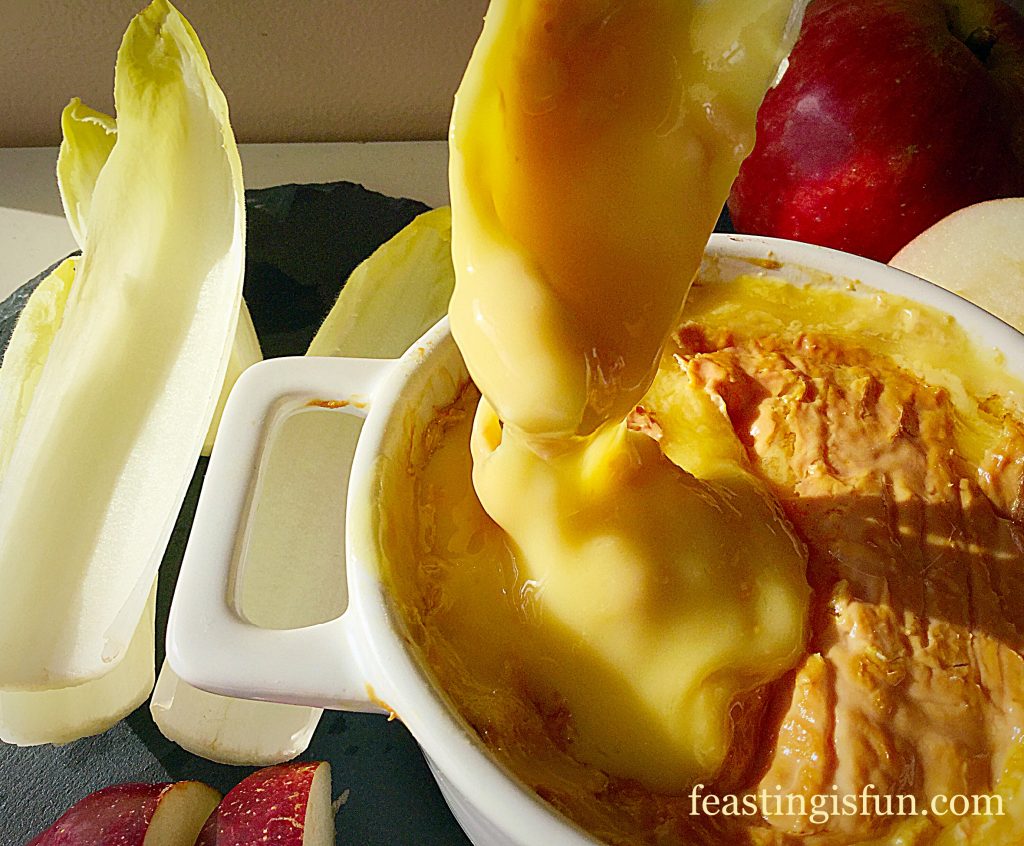
Baked Whole Epoisses De Bourgogne bubbling, gooey, pungent cheese.

Do you like cheese? Then you will love this rich, melted Baked Whole Epoisses De Bourgogne, perfect for dipping, dunking and feasting on.
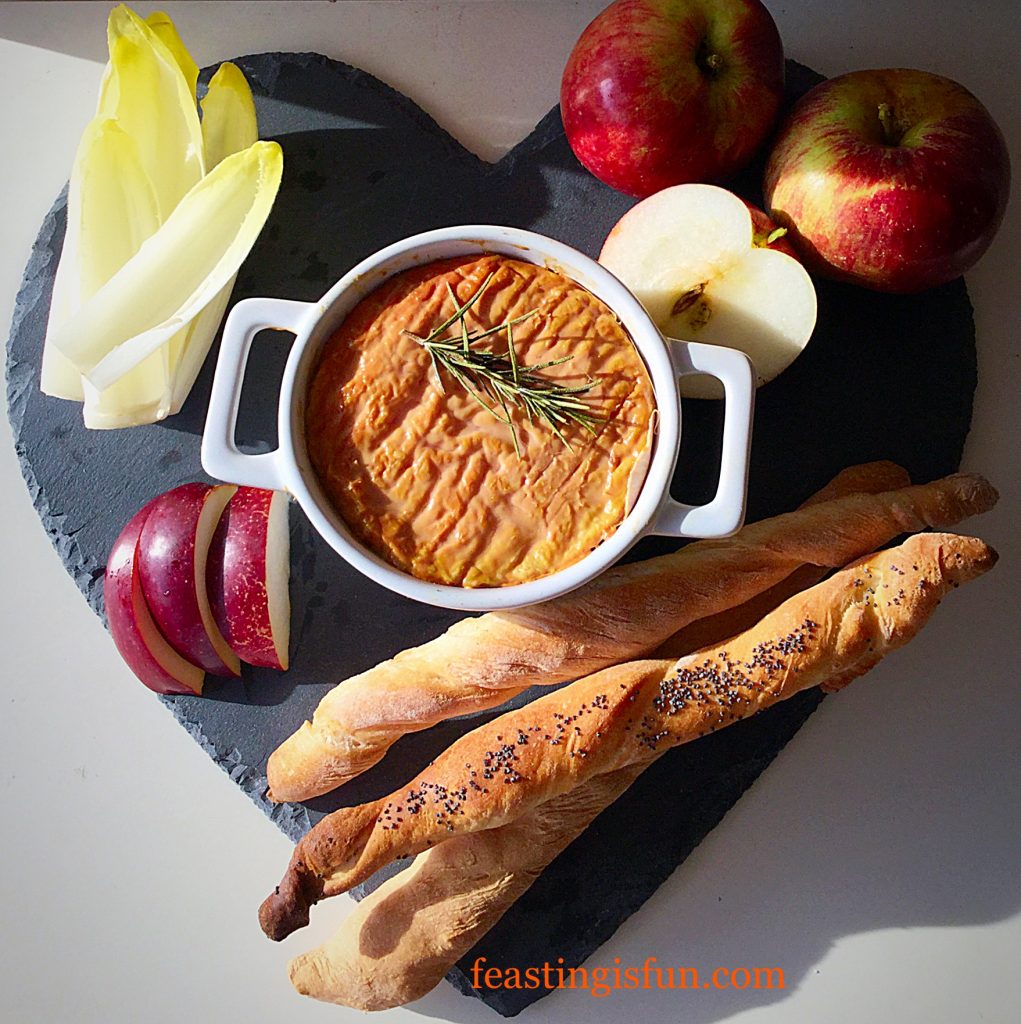
FF Baked Whole Epoisses De Bourgogne
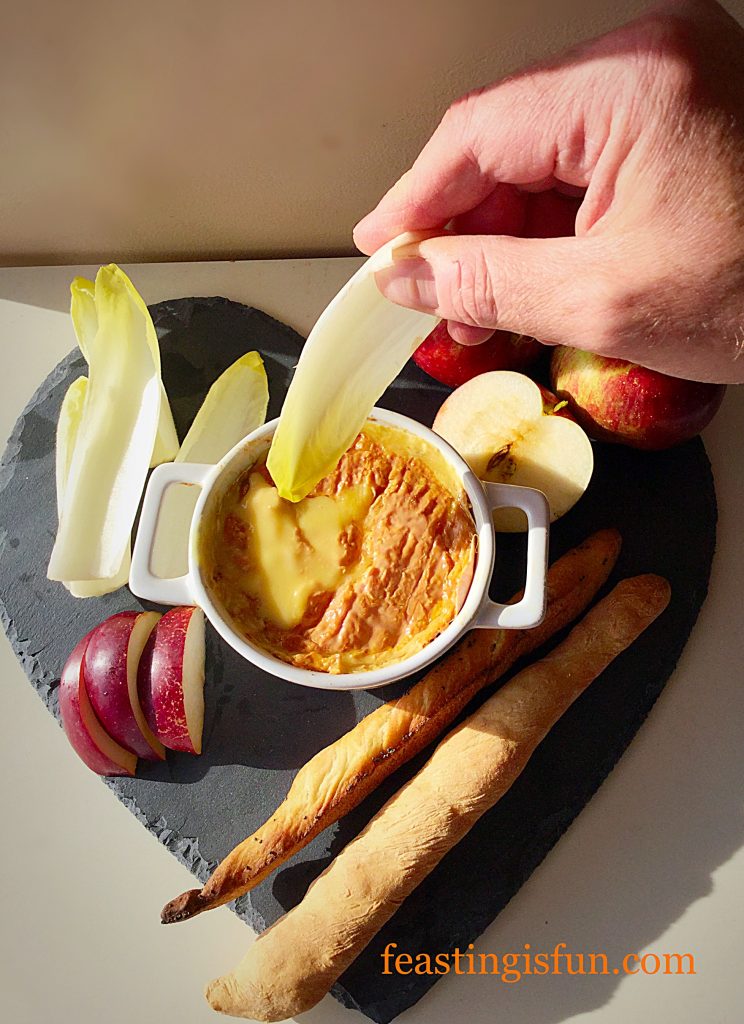
Baked Whole Epoisses De Bourgogne with homemade breadsticks, apple and chicory.

When asked by Pong Cheese to bake this heady Epoisses De Bourgogne, I knew that I would need my hubby’s help. First, I needed a hand model and also I absolutely knew he would relish the taste of this incredible cheese. A semi-soft to soft, pasteurised cow’s cheese, washed in Marc De Bourgogne, creating a spicy, pungent cheese. Most importantly, this incredible cheese is only made in the Burgundy region of France and therefore has an AOC – authentication of origin certificate.
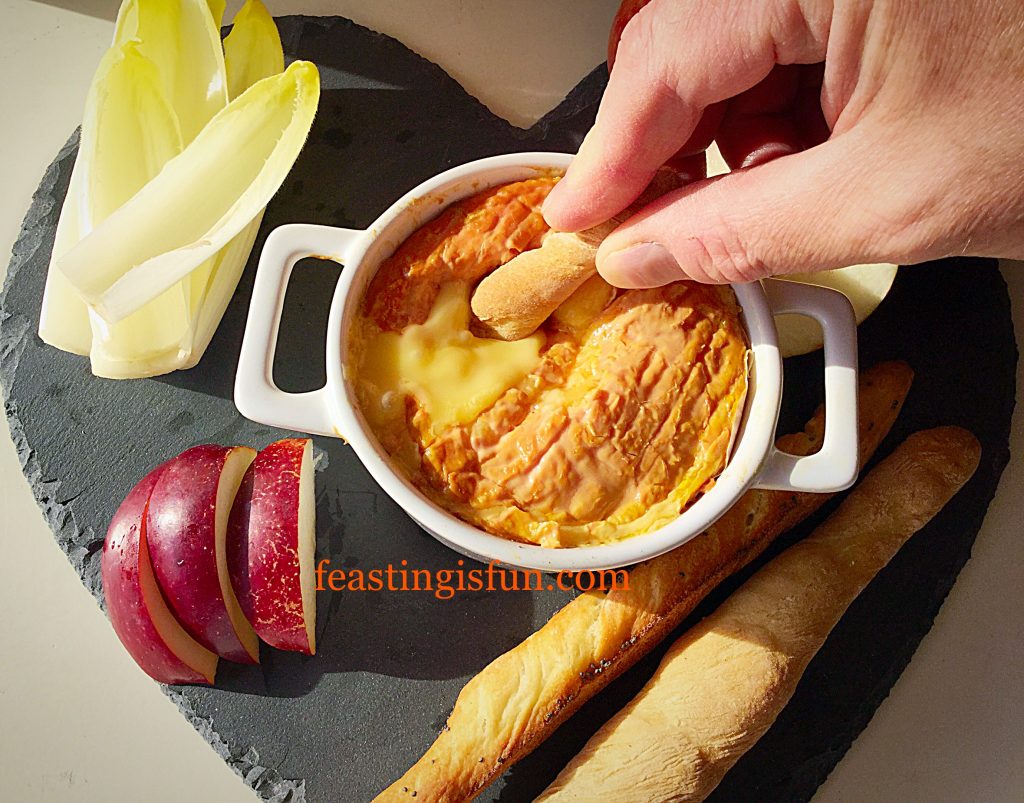
FF Baked Whole Epoisses De Bourgogne
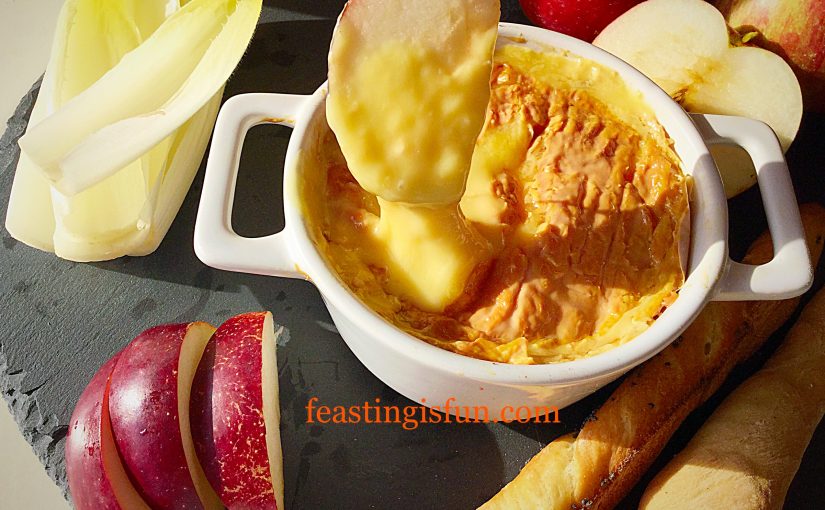
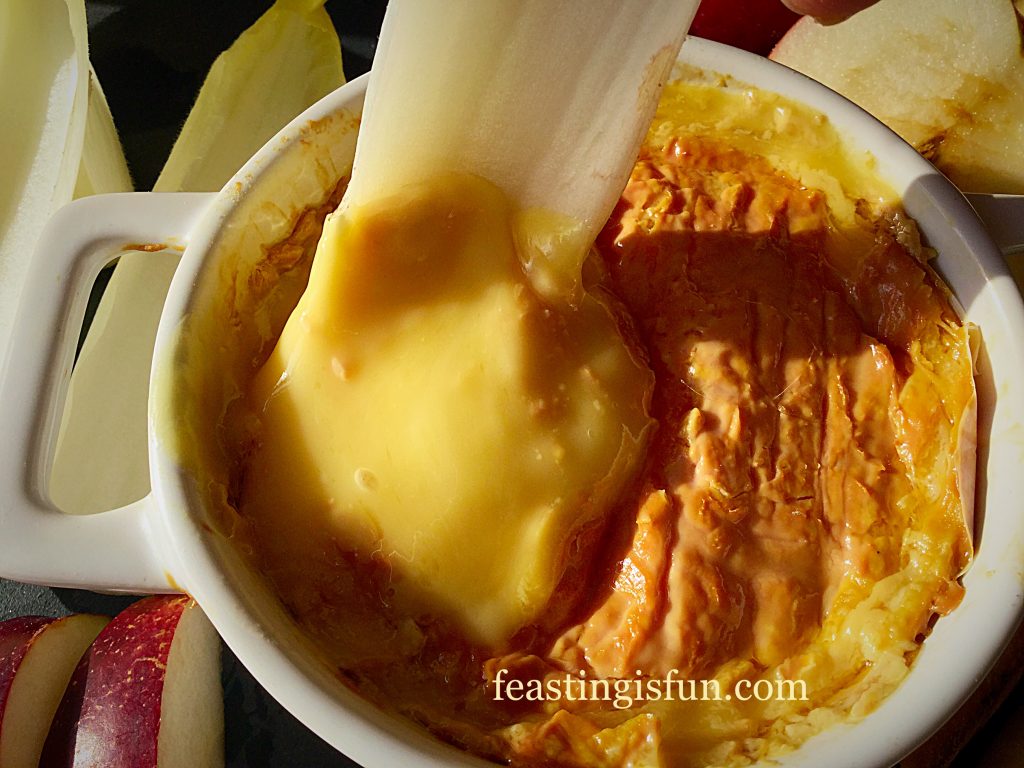
Baked Whole Epoisses De Bourgogne breaking through into the molten cheese.

Homemade breadsticks break through the crust to reveal the warm, bubbling, unctuous cheese below. The full taste is revealed when eaten with bread. Salty, spicy and pungent, any cheese lovers dream.

FF Baked Whole Epoisses De Bourgogne

Chicory, with it’s crunch and slightly bitter flavour is a perfect accompaniment to the melted cheese. While sweet, red apple provides contrast to the saltiness of the cheese. This for me was my favourite flavour pairing, my husband preferring the full flavour of the cheese, unhindered by the breadsticks.

FF Baked Whole Epoisses De Bourgogne

While, this is hardly a recipe, the method and increased flavour of the cheese, means it is extremely worthwhile taking the extra step to bake it.

Recipe: Baked Whole Epoisses De Bourgogne

250g Whole Epoisses De Bourgogne available from Pong Cheese

Sprig of rosemary  – either fresh from the garden or order a plant from most supermarkets such as Waitrose

Breadsticks, chicory, apple, pear, crackers for dunking

Method: Preheat the oven to 180C/160C fan, gas mark 4, 350F.

Baking The Cheese

You will need an ovenproof dish that is about the same size as the Epoisses. A Camembert dish will be fine, any bigger and the cheese will spread as it bakes.

  • First, remove all of the packaging from the Epoisses.
  • Next place the whole cheese into the ovenproof dish, laying a sprig of rosemary on the top.
  • Now place the ovenproof dish on to a baking tray and place in the middle of the preheated oven.
  • Bake the cheese for 15 minutes, or until you can see it bubbling around the side of the dish.
  • Once baked remove the baking tray, with the bubbling cheese in its dish, from the oven.
  • Allow the cheese to sit for a couple of minutes as it will be extremely hot.

Serve the cheese in its dish with a selection of fresh fruit, vegetables and bread or crackers. Most of all share with good company and an excellent glass of wine!
FF Baked Whole Epoisses De Bourgogne
Baked and ready for enjoying.

Sharing this baked cheese, either with a group of friends, or with the one that you love, infinitely improves the whole experience of eating it. Since memories are created and observations exchanged, whilst feasting together.

If you have enjoyed this recipe you may also like these:
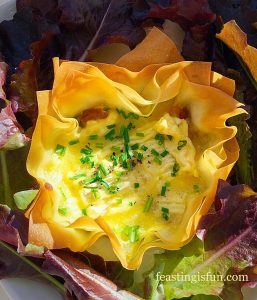
Bath Soft Cheese Chilli Tarts

FF Baked Whole Epoisses De Bourgogne
Bath Soft Cheese Chilli Tarts an ideal appetiser or light lunch.

Goddess Cheese Pine Nut Muffins

FF Baked Whole Epoisses De Bourgogne
Goddess Cheese Pine Nut Muffins glorious flavour & texture.

Mini Sparkenhoe Red Leicester Tarts

FF Baked Whole Epoisses De Bourgogne
Mini Sparkenhoe Red Leicester Tarts a delicious canapé.

Cheese is such a versatile ingredient. Whether baked and eaten as is, piled on top of chilli pickle in a crunchy filo tart, or simply eaten cold with crackers, it remains one of my favourite ingredients. As with most things that have a relatively high fat content, their flavour truly comes alive when heated. Baking the Epoisses De Bourgogne certainly brought all of its delicious and interesting flavours to the fore.

Do you enjoy using cheese as an ingredient?

Have fun baking, making and creating in your kitchens, preparing a feast.

Sammie xx

Pong Cheese supplied me with the Epoisses De Bourgogne for this recipe. All opinions, views, photographs and content are my own. Please see my Disclosure Policy.

Share
Facebooktwitterpinterestlinkedintumblr

Black Forest Giant Doughnut

Share
Facebooktwitterpinterestlinkedintumblr

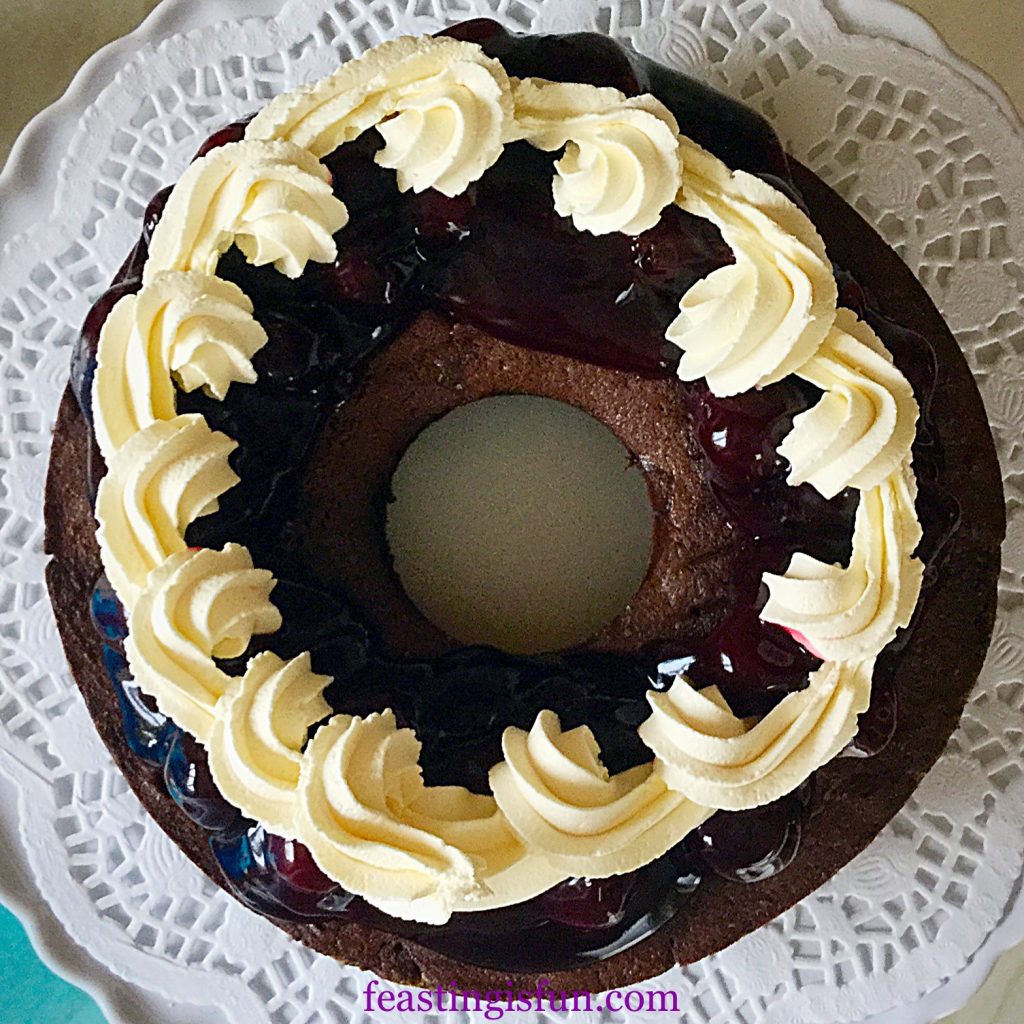
Today is #NationalDonutDay. While I can only assume from the spelling that it applies to those in the United States and yet here I am baking a Black Forest Giant Doughnut. Because any reason to eat doughnuts is good enough for me!

FF Black Forest Giant Donut

Making a Black Forest Gateaux has been on my list of bakes for a while. Finally I took the opportunity of making a Black Forest Giant Doughnut. Alternatively, if you do not have doughnut moulds – mine were from Lakeland are were very reasonably priced – I see no reason why this recipe shouldn’t work using 7-8″ sandwich tins.

Since this has the lightest of chocolate sponges I opted to add a little Kirsch (cherry liquer).

Cherries And Chocolate Sponge

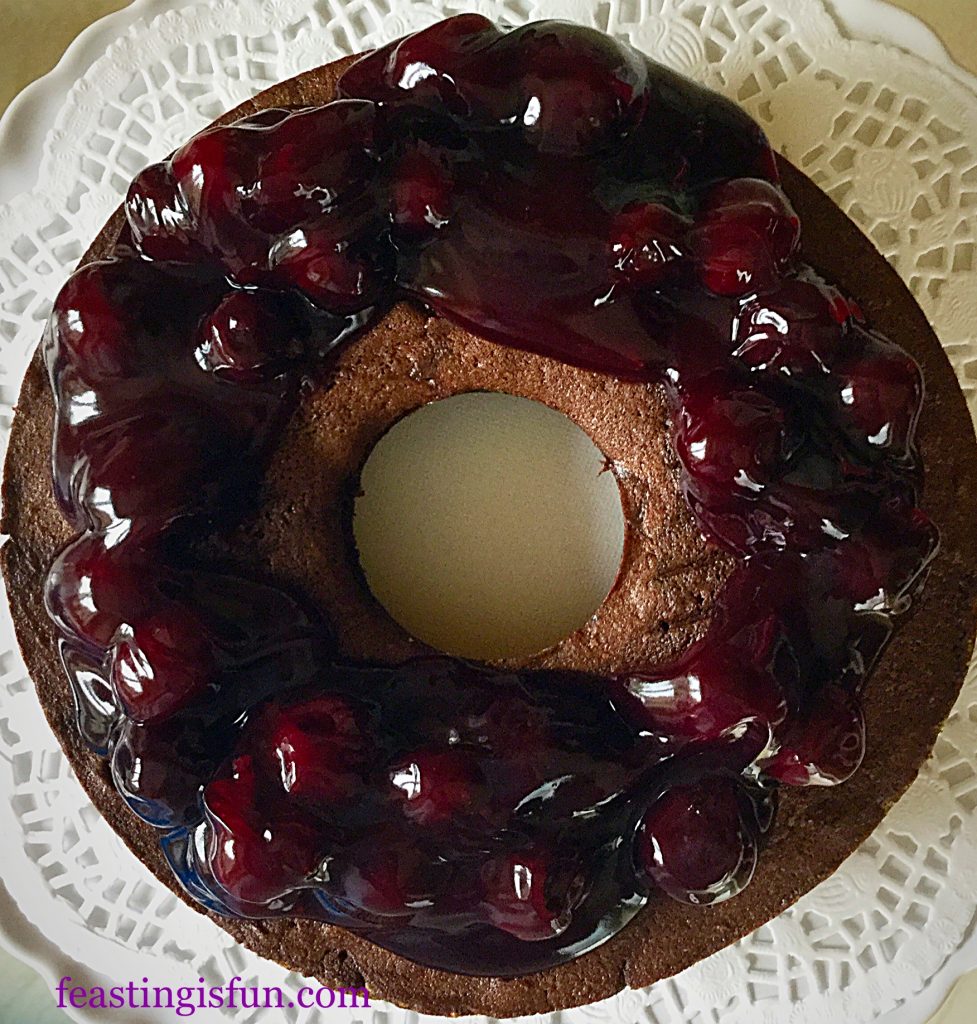
When in season fresh cherries, that have been macerated in a little liquer and sugar will be used. Because they aren’t quite in season yet, I opted for tinned cherry pie filling. Alternatively, morello cherry jam would work well here. Since this is a very adaptable recipe, use whatever you have to hand, or can easily get hold of.

FF Black Forest Giant Doughnut.
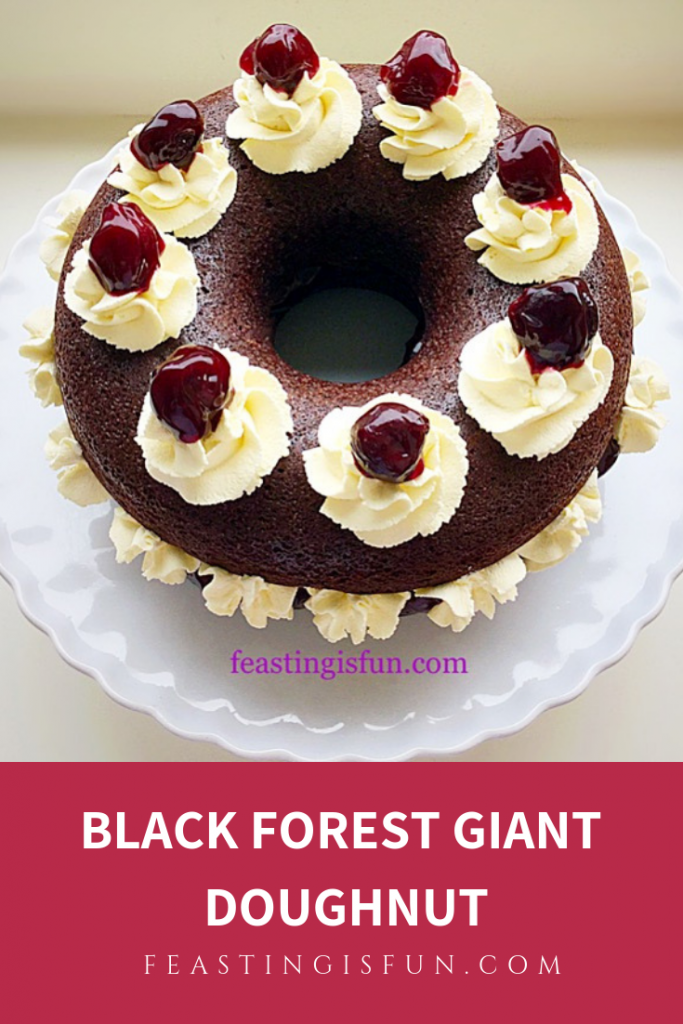
Black Forest Giant Doughnut deliciously easy to make and assemble.

Although this is a giant doughnut I would happily bring it out for dessert after dinner, or serve with afternoon tea on a sunny day in the garden. Most importantly I encourage you to share this delicious bake. Because it is simply too good to be kept hidden away.

Recipe: Makes one Black Forest Giant Doughnut serves 8

200g/7oz Unsalted Butter –  plus a little extra for greasing the moulds

200g/7oz Caster Sugar

Scant pinch of salt – no more than 1/4 tsp

1 tsp Vanilla Extract – I use Nielsen-Massey

6 Large Free Range Eggs

75g/3oz Cocoa Powder

125g/4oz Plain White Flour

1.5 tsp Baking Powder

For the filling/topping:

200ml/8fl oz Double Cream

1 x 410g Tin Cherry Pie Filling – note morello cherry jam and fresh cherries can be used instead.

Optional – 1tbs Kirsch

Method: Preheat the oven to 160C/140C fan, gas mark 3, 325F

Making And Baking The Chocolate Doughnut Halves

  • First of all, grease the inside of both doughnut moulds well with soft butter.
  • In a large bowl add the butter and sugar.
  • Whisk/beat until pale and creamy. Approx 5 minutes, this helps create a very light sponge.
  • Add all 6 eggs and the vanilla extract to the bowl – I always crack my eggs into a separate bowl first.
  • Sift the flour, salt, cocoa powder and baking powder into the bowl.
  • Whisk/beat on a slow speed until all the ingredients have come together.
  • Using a large spoon give the chocolate sponge mix a good stir to ensure all the ingredients are well combined.
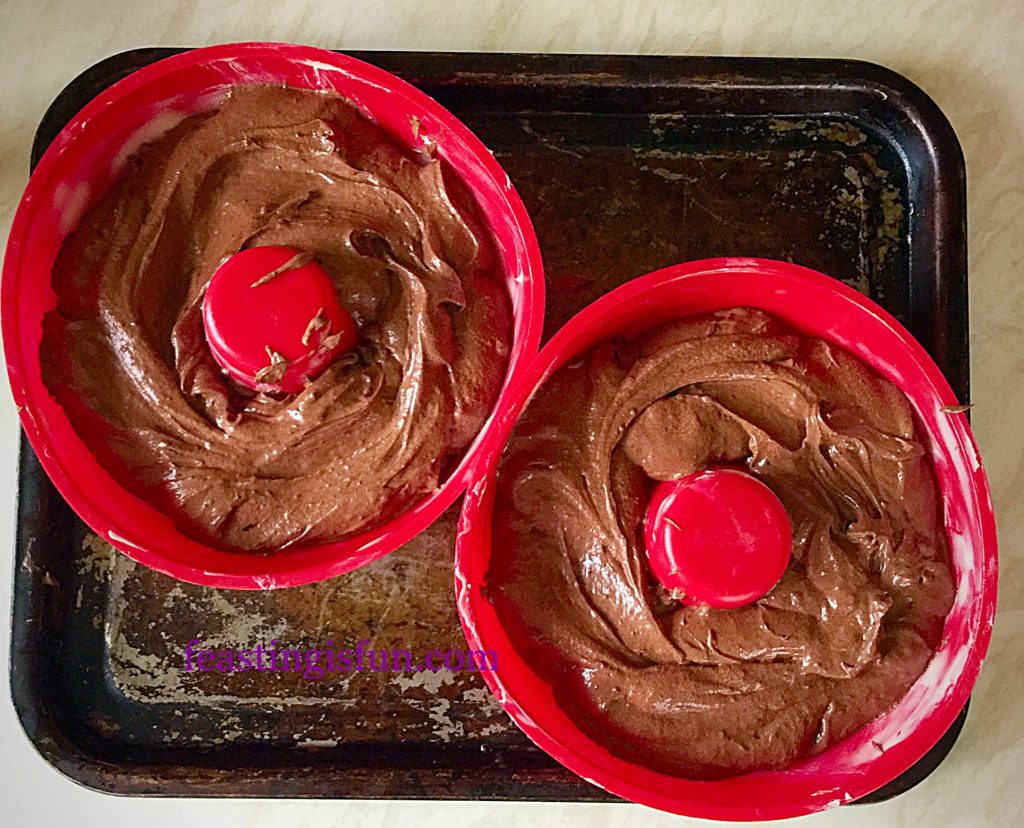
  • Divide the cake batter in half and spoon into each of the 2 doughnut moulds.
FF Black Forest Giant Doughnut
Two halves of a giant doughnut ready to be baked.
  • Place the doughnut moulds on to a baking tray, ensuring they don’t squash each other (I actually switched trays after this photo was taken).
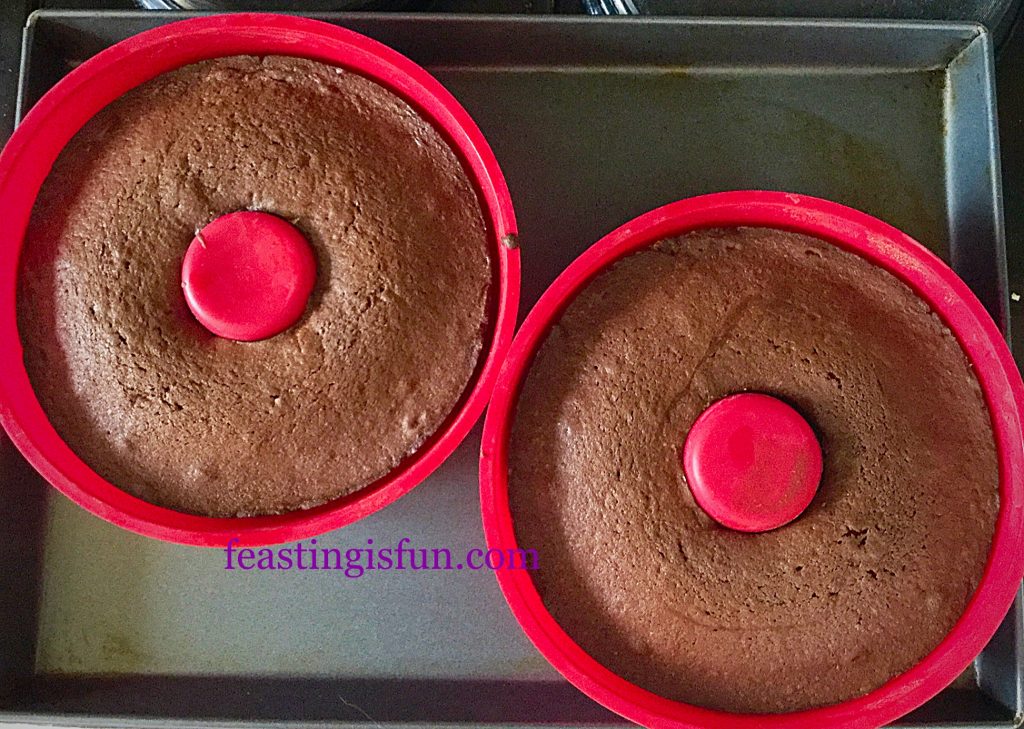
  • Put the tray into the centre of the oven and bake the doughnut halves for 30-40 minutes.
  • The doughnut halves are baked when they spring back from a light touch.
  • As soon as the doughnut halves are baked remove  from the oven.
FF Black Forest Giant Doughnut
Each half of the giant doughnut is beautifully baked.
  • Carefully place each silicone mould on to a cooling rack.

Adding A Kick Of Kirsch

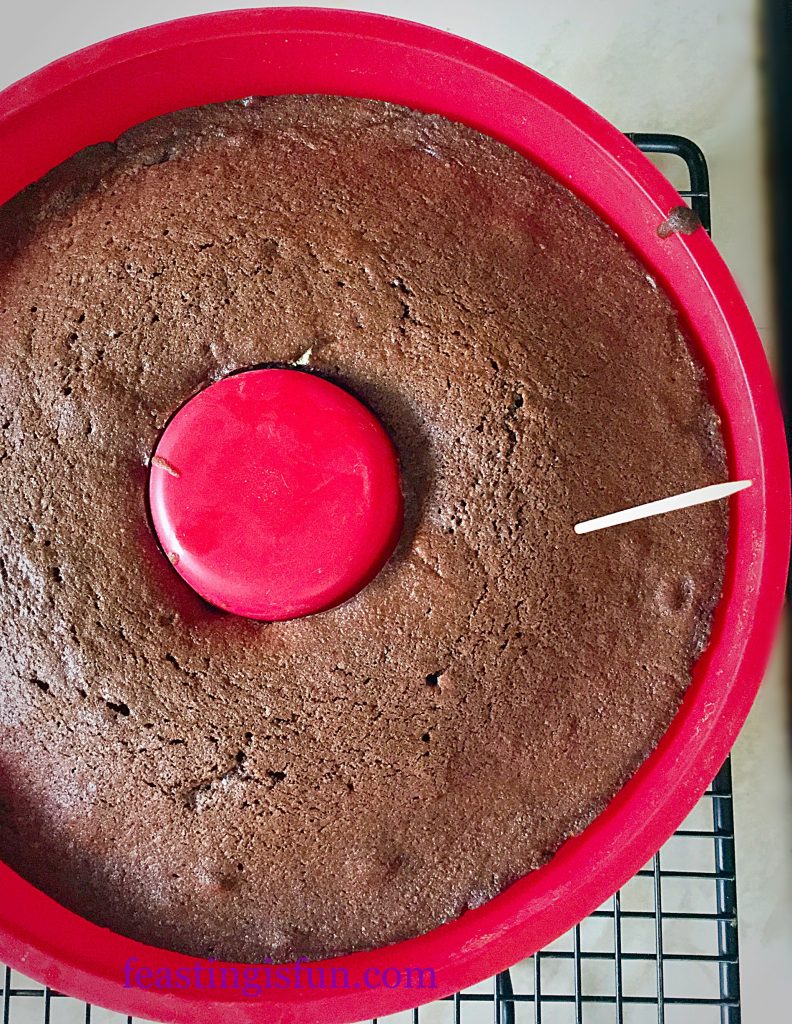
  • If adding Kirsch carefully prick each mould lightly with a cocktail stick, being careful not to puncture the silicone mould.
FF Black Forest Giant Doughnut
Lightly prick the sponge all over so that the Kirsch can be absorbed.
  • Spoon half a tablespoon of Kirsch over each half of the doughnut sponge whilst it is still hot.
  • Leave to cool for 5 minutes and then turn each of the sponges out onto the cooling rack. Cool fully before decorating.

Decorating The Black Forest Giant Doughnut:

  • In a medium bowl add the double cream and whip until it holds a firm peak.
  • Fill a piping bag with a large star tip (I use Wilton #1M) with the whipped cream).
  • Place one half of your doughnut, flat side up on a cake stand or plate.
  • Reserve 8 whole cherries to decorate the top, spoon the remaining cherry pie filling on to the bottom half of the doughnut – DO NOT over fill.
FF Black Forest Giant Doughnut
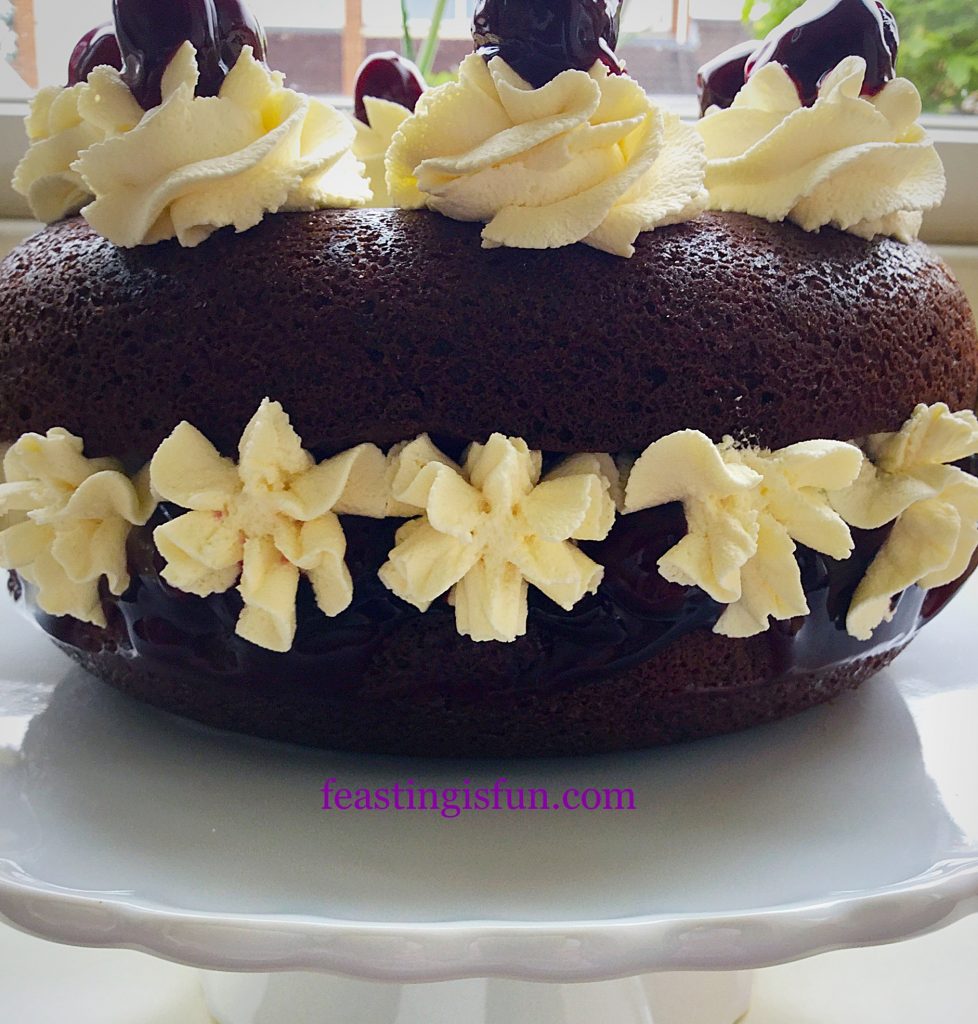
Spoon slightly less filling than I have, this splurged a bit when the top was put on!
  • Pipe the cream in a swirl pattern on top of the cherries.

FF Black Forest Giant Doughnut

  • Place the top of the doughnut on to the base. Wipe away any excess cherry syrup – notice that in my finished photos there isn’t a doilie.
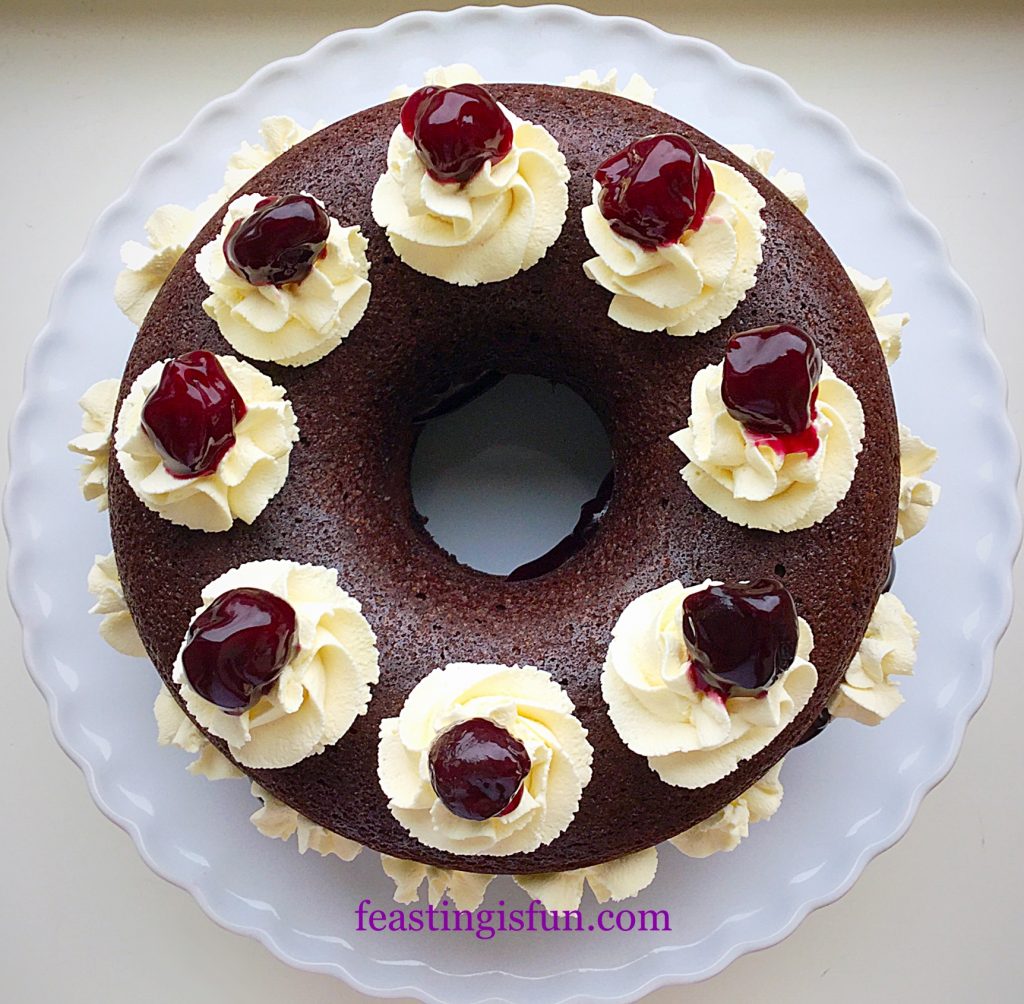
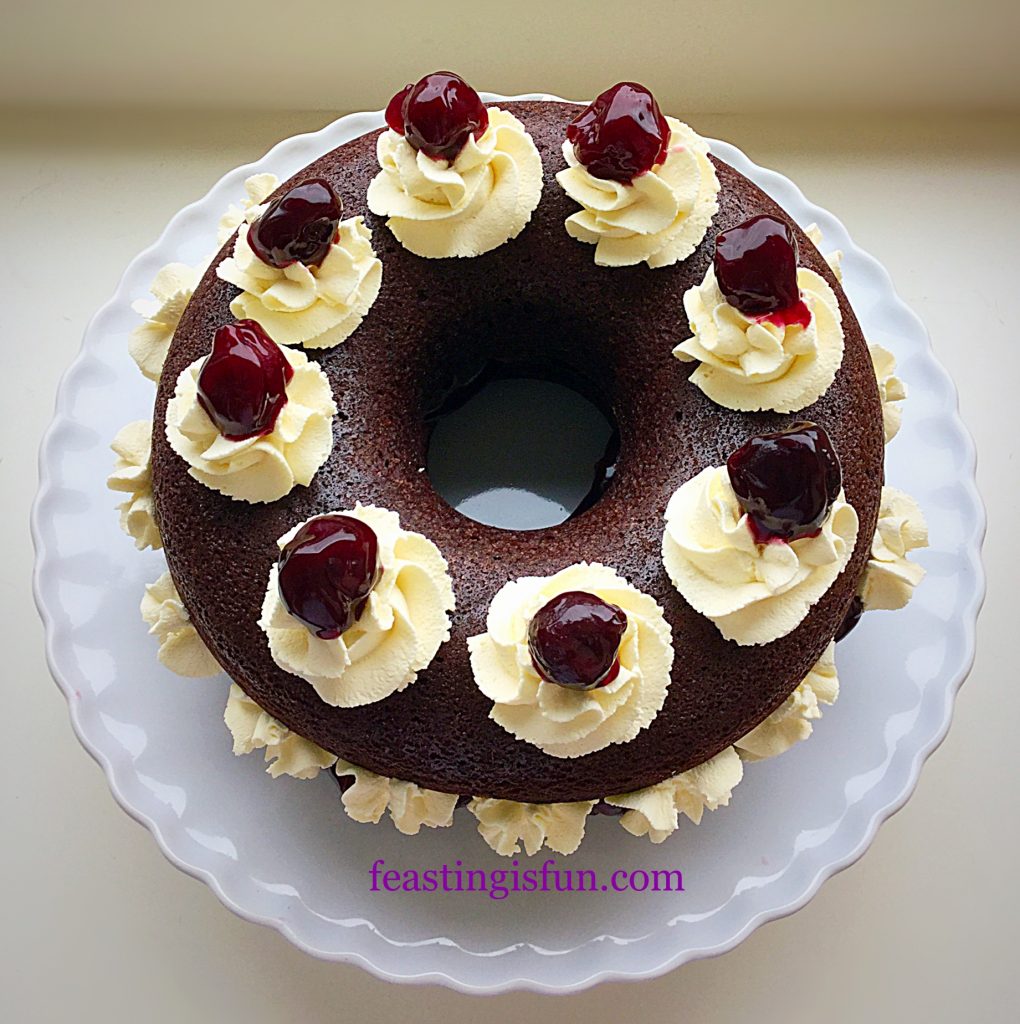
  • Pipe 8 swirls evenly around the top of the doughnut and top each with a reserved cherry.
  • Pipe stars around the outside of the middle of the doughnut, this creates a tidy, professional finish.
FF Black Forest Giant Doughnut
Black Forest Giant Doughnut 

Serve the Black Forest Giant Doughnut cut into generous slices, with a smile and a lovely hot drink!

FF Black Forest Giant Doughnut
Black Forest Giant Doughnut a real treat.

While growing up I had Black Forest Gateaux every year, for my birthday. So taking a classic recipe and turning it into an amazing giant doughnut was fun.

Finally this is a stunning, yet easy to accomplish bake. Since a slice of Black Forest Giant Doughnut is bound to evoke memories of the retro gateaux and break out smiles once tasted and devoured!

If you have enjoyed this Black Forest Giant Doughnut Recipe here are some others you may like to try:

Raspberry and Cream Giant Doughnut

FF Black Forest Giant Doughnut
Delicious Raspberry and Cream Giant Doughnut

Black Forest Cupcakes

FF Black Forest Giant Doughnut
Black Forest Cupcakes

Lemon Blueberry Cupcakes

FF Black Forest Giant Doughnut
Lemon Blueberry Cupcakes 

While this recipe can be made using sandwich tins I recommend buying the silicone doughnut moulds. Because they create a beautiful rounded doughnut shape, are incredibly easy to use and inepensive to buy. Alternatively add them to your birthday or Christmas list!

Sammie xx

Share
Facebooktwitterpinterestlinkedintumblr

Super Light Scones

Share
Facebooktwitterpinterestlinkedintumblr

Hi there, I hope wherever you are the sun is shining on you today. Here in Kent it is beautifully sunny, with a light breeze. Perfect Summer weather. So much so it inspired me to bake Super Light Scones for breakfast this morning.

FF Super Light Scones

Since I don’t make a habit of making scones every morning – in fact, as a general rule I don’t like scones! Well at least the heavy, dense prepackaged ones from the supermarket. I don’t know why, they’re just not my thing. However, it’s Summer and scones with clotted cream and jam are a MUST! And especially the clotted cream has to be Rodda’s from Cornwall!

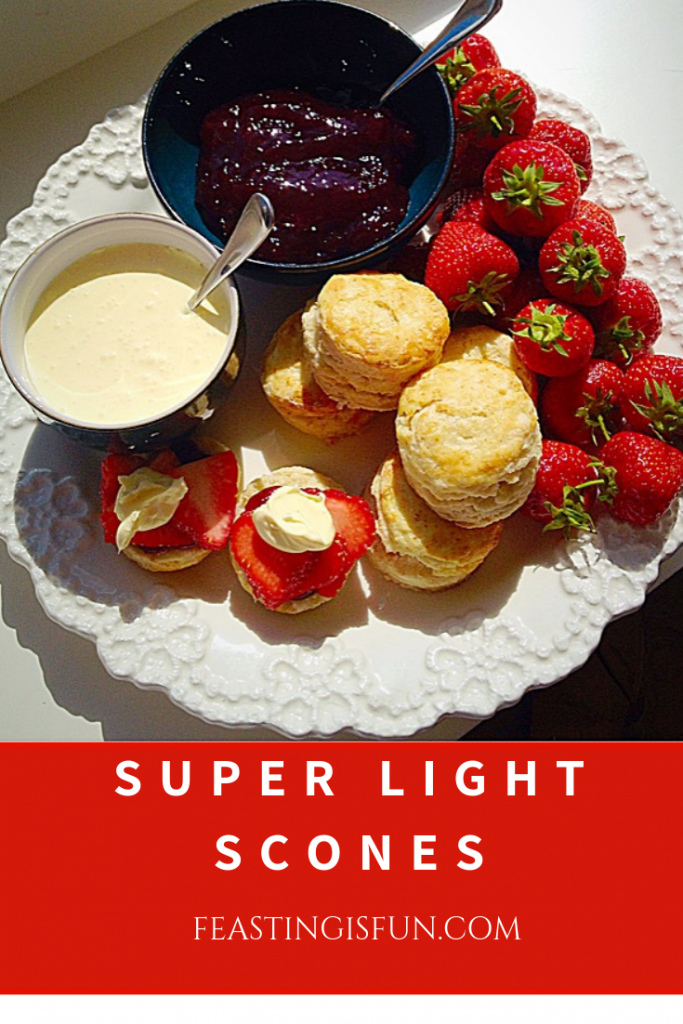
Super Light Scones, super easy to make and even easier to eat with a dollop of Rodda's clotted cream!
Super Light Scones, super easy to make and even easier to eat with a dollop of Rodda’s clotted cream!

Coming Up With A Great Scone Recipe

This probably sounds crazy, but I trawled through at least 8 cookbooks this morning, as well as looking online, but I just couldn’t find a recipe I was happy with. So I came up with my own! And it worked! I watch enough Food Network UK to have picked up some tips along the way and the Green Goddess (my friend, but unbiased taste tester) gave them the thumbs up – although she would have preferred them a little sweeter. Just trying to keep it honest round here.

Super Light Scones - the quintessential British cream tea.
Super Light Scones – the quintessential British cream tea.


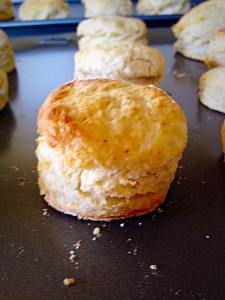
I had these Super Light Scones for my breakfast. They are so light with soft flaky layers inside. I didn’t even use a knife to cut them open, they pulled beautifully apart. I now like scones – these ones!


Super Light Scones - so light they just pull apart. Delicious!
Super Light Scones – so light they just pull apart. Delicious!


If you are not in the UK and wish to have the British cream tea experience, but can’t get hold of clotted cream, Mascarpone cheese would make a good substitute. Alternatively book  a holiday to the UK and stay in Dorset, Devon or Cornwall – cream tea’s are readily available. Although, I admit, it’s a long way to come for a cup of English tea and a cream scone – or maybe not??

Super Light Scones - a very proper English Cream Tea - delish!
Super Light Scones – a very proper English Cream Tea – delish!

Recipe : Makes Approx 20 Super Light Scones

450g/1lb Plain White Flour

3tsp Baking Powder

1/4tsp Salt

50g/2oz Cold Unsalted Butter

25g/1oz Vegetable Shortening

2tbsp Caster Sugar

250mls/9fl oz Cold Whole Milk

3tbsp Milk – for brushing on top of scones

Method : Preheat oven to 220C/200C fan

Making The Scone Dough

First of all, in a large bowl sift together the flour, baking powder and salt.

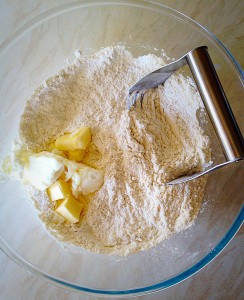
Add the butter and shortening, use a pastry cutter, or your fingers to work the fat into the flour.
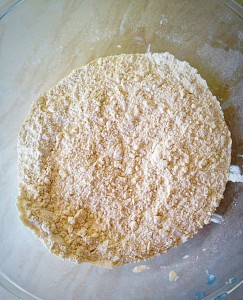
Small pea sized lumps of fat should be present in the mixture.


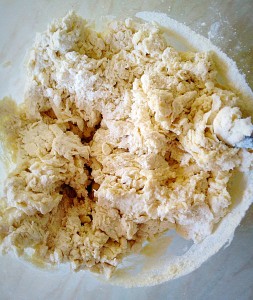
Add the sugar and stir through to mix. Make a well in the middle of the mixture, pour in the milk and stir together using a butter knife (ordinary eating knife).

Stir until the mixture just comes together.
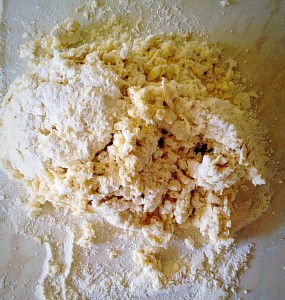
Tip the scone dough out onto a lightly floured surface.
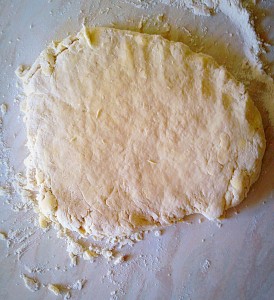
Bring the dough together with your hands. Gently pat the dough out to approx 2.5cm thickness. The less you handle the dough the lighter the scones will be.

Cutting Out The Individual Scones

Using a straight sided, floured, 2 inch deep cutter, press straight down through the scone dough. Do not twist the cookie cutter as you press down as this will affect the rise on your scones. Cut out as many scones as possible then collect the pieces of dough together, pat out and cut out more scones until the dough is used up.

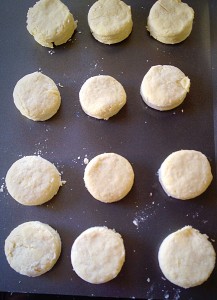
Place the cut out scones onto a non stick baking sheet, or line a baking tray with parchment paper.


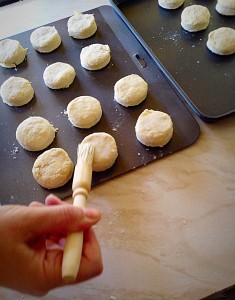
Lightly brush the top of each scone with milk. Try to avoid the milk dripping down the side of the scone - as this affects the rise of the scone.
Lightly brush the top of each scone with milk. Try to avoid the milk dripping down the side of the scone – as this affects the rise of the scone.

Baking The Super Light Scones

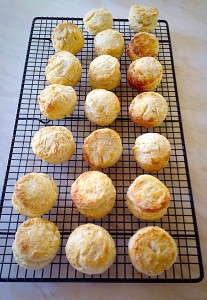
Place your scones into the oven and bake for 12-14 minutes. The scones are baked when well risen and lightly golden in colour. As soon as they are baked remove from the oven and transfer the scones to a baking rack to cool.

Delicious Super Light Scones - cooling!
Delicious Super Light Scones – cooling!


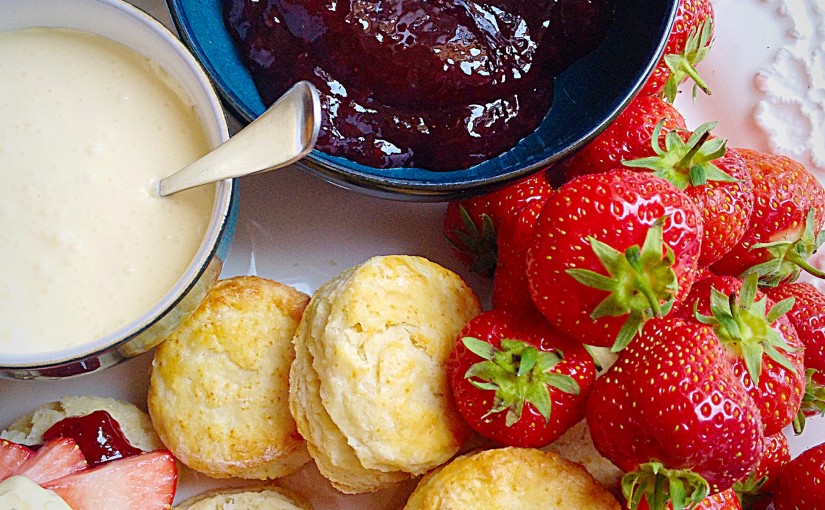
Once cooled, split in half and slather on your favourite jam. For added indulgence add a dollop of clotted cream and some sliced fruit. Enjoy with a refreshing cup of tea.

If you have enjoyed this recipe for Super Light Scones you may also enjoy these:

Cheese Bacon Breakfast Muffins 

FF Super Light Scones
Cheese Bacon Breakfast Muffins

Spicy Sausage Rolls 

FF Super Light Scones
Spicy Sausage Rolls

Super Easy Shortbread Cookies

FF Super Light Scones
Super Easy Shortbread Cookies

These are a great treat and perfect for Fathers Day – you could use a larger cutter, just add a couple of minutes onto the baking time.

Most Dads just want to know they are loved. Making or baking them a gift is such a personal way to say I LOVE YOU.

What jam and fruit combo do you like with your scones?

Sammie x

Share
Facebooktwitterpinterestlinkedintumblr

My Blog 10 Things I’ve Learned So Far.

Share
Facebooktwitterpinterestlinkedintumblr

Happy Saturday everyone! Here is My Blog 10 Things I’ve Learned So Far, in the 6 months since I started blogging.


I did it!! I set up my own blog. Who'da thunk it????
I did it!! I set up my own blog. Who’da thunk it????


1 – If you put your mind to something, are willing to try, learn, make mistakes, pick yourself up and carry on, you can achieve anything!

2 – It’s completely possible to know nothing about computing and still set up and write a blog. So far everything I’ve posted/photographed has been through my iPhone 4S. Not bad eh???


My trusty iPhone. I will start to use a laptop - soon!!!
My trusty iPhone. I will start to use a laptop – soon!!!


3 – You have to be yourself! Honesty is key. As is opening up to your readers. Whilst I’m protective of my family (not showing pics/real names), if I didn’t include them in my post it would be very one dimensional.

4 – Post good quality, original content on you blog. Reread it back and if it’s not good bin it! For every blog I’ve posted at least 2 others haven’t made it.

5 – Be polite and reply to comments. As part of Bloglovin’ it’s fab to see my followers increase, but comments on a post mean the world to me. That’s why I was gutted to lose ALL my comments when I faced the WordPress White Screen of Death.

I love WordPress usually - but not when it doesn't work - I'm fickle!!!
I love WordPress usually – but not when it doesn’t work – I’m fickle!!!


6 – Take time to read a variety of other peoples blogs and if they inspire you, leave a comment. I read a vast range of blogs, from Hannah Gale to Sally’s Baking Addiction and pretty much everything in between! Through Bloglovin’ I’ve created my own, online magazine. You don’t have to read every blog in your feed, but it’s great to be able to save posts that inspire you.

7 – All the bloggers I’ve had contact with have been really lovely and supportive. The blogosphere genuinely should be a place for freedom of speech and mutual encouragement. Yes you might read a blog and not agree with the content, that’s not an excuse to leave a mean or rude comment. Express your feelings in a polite, positive way – you maybe surprised at the reply!!!

Support means everything.


8 – DON’T rip off other peoples content and pass it on as your own. NOT COOL! I was horrified to learn that this happens, especially on food blogs. It’s simply WRONG!

Totally NOT COOL dude!


9 – Don’t be afraid to diversify. My blog was set up originally to share my love of cooking, recipes, successes and failures! Yet my post Migraineswhy life’s not always sunshine and roses (sorry haven’t figured out how to do links yet!), received an amazing response. It opened my site up to a wider range of people, more importantly it touched individual lives. Life is easier when you know your not ‘the only one’ dealing with stuff.

10 – Keeping a healthy perspective. I was seriousy heart broken when my website ‘died’. All my hardwork, content, comments locked away and I didn’t have the key. My reaction surprised me. This was my baby, something I had accomplished on my own. You understand, right? I was sooooo relieved when I’d pretty much fixed it and recovered most of what I lost. It did make me realise that in all things there should be balance and whilst my blog is important to me, so are the living, breathing, real, touchable people in my life. Don’t neglect them and be sucked into cybersphere. Real, face to face relationships are sooo important!

What do you think?
What do you think?

What have you learned since becoming a blogger?

Sammie x

Share
Facebooktwitterpinterestlinkedintumblr

Showing Sharing Loving Caring

Share
Facebooktwitterpinterestlinkedintumblr

Hi everyone how are you? I hope you are enjoying the start to 2015.  My theme and aim for this year is Showing Sharing Loving Caring. It’s really the essence of why I set up this blog. Showing Love through Sharing, Caring enough to spend time, whether it’s family, friends, neighbours or someone new.

I know for some however, that  Christmas, the New Year and Winter in general can be a really tough time. So wherever you are I’m sending you a big, warm hug. Life can be very tough and it’s during these tough times that we need to show love and be shown love more than ever.

Now I can’t physically visit every single person and sit, listen and spend time with them. But we can all take time to show love to one person, outside of our family and friendship group.

Am I freaking you out or scaring you yet? Yes. Good!!! We can all get comfortable in our own lives, which I  do understand are busier than ever. Even though we have time saving gadgets galore, we still live in a ‘time pressed’ society.

It is still our choice though how we spend our time, what we prioritise as important and those things that are less important. For me my life has no meaning if I don’t show love. That can mean spending time listening whilst someone unburdens their heart. Or no words, just a big warm hug. I also love to cook or bake for people.

Sharing is central to who I am. Once I made a very simple Victoria Sponge Cake for an elderly couple, one of whom had just spent time in hospital. Their faces broke into huge smiles at this surprise gift, but more importantly they felt loved and cared for.

Reach out, you may be surprised by the results!

I’m most definitely not trying to portray myself as some perfect Saint. I am a pretty normal, fun loving, individual – just like so many other people. So I really want to encourage you to step outside of your comfort zone and reach out to just one person, who you wouldn’t normally interact with.

A cup of tea, cookie and natter can become a feast. A feast of time! There is no greater gift, than the gift of love. As a Christian I have the gift of love inside me. God’s love. He has shown me limitless love through His Son JESUS. I am completely accepted and loved for who I am and because of that great love, I want to share love.

We can all have the love of Jesus in our lives – see ‘Important Stuff!!!’ for more information and help, you can also leave a comment (I can reply and do not have to publish your comment if you preference privacy).

I am very blessed to have a wonderful, loving family, the best friends anyone could ever hope for and I love them all. One of my favourite things is a family get together, where we always have the best feasts! Not only do we feast on delicious food, but also on each other’s company. We laugh, smile, share and love.

Feasting does not have to be in large groups. Sharing a bowl of soup with a lonely neighbour, can itself be a feast. How about inviting someone who is on their own for Sunday lunch? Or, slicing up a cake that is left over from a celebration and popping a slice or two round to your neighbours?

Having fun making my pics look pretty!

The excitement and sense of fun, before delivering a meal or slice of cake is priceless. You can have all the money you need, but it will never bring you the happiness and peace that sharing caring and loving bring.

So I encourage both you and myself to be greater at sharing and showing love during 2015. Your life will be enriched as you start Showing Sharing Loving Caring and of course Feasting and having Fun.

Sammie x


Share
Facebooktwitterpinterestlinkedintumblr