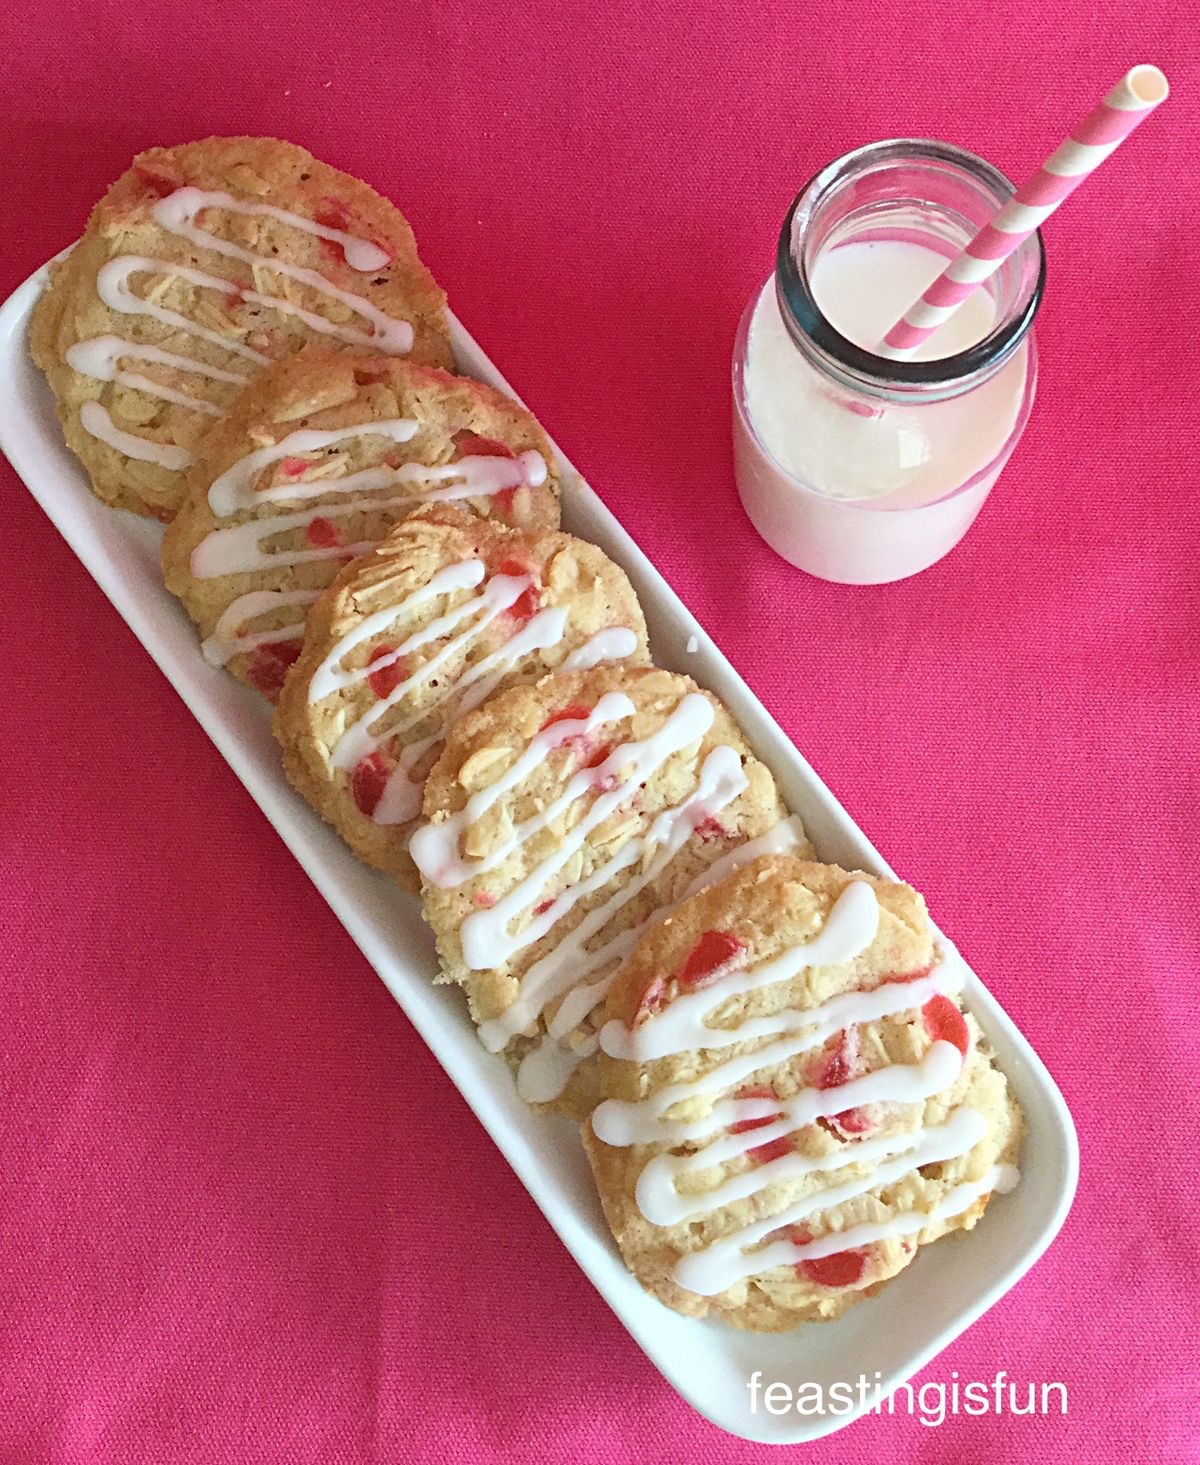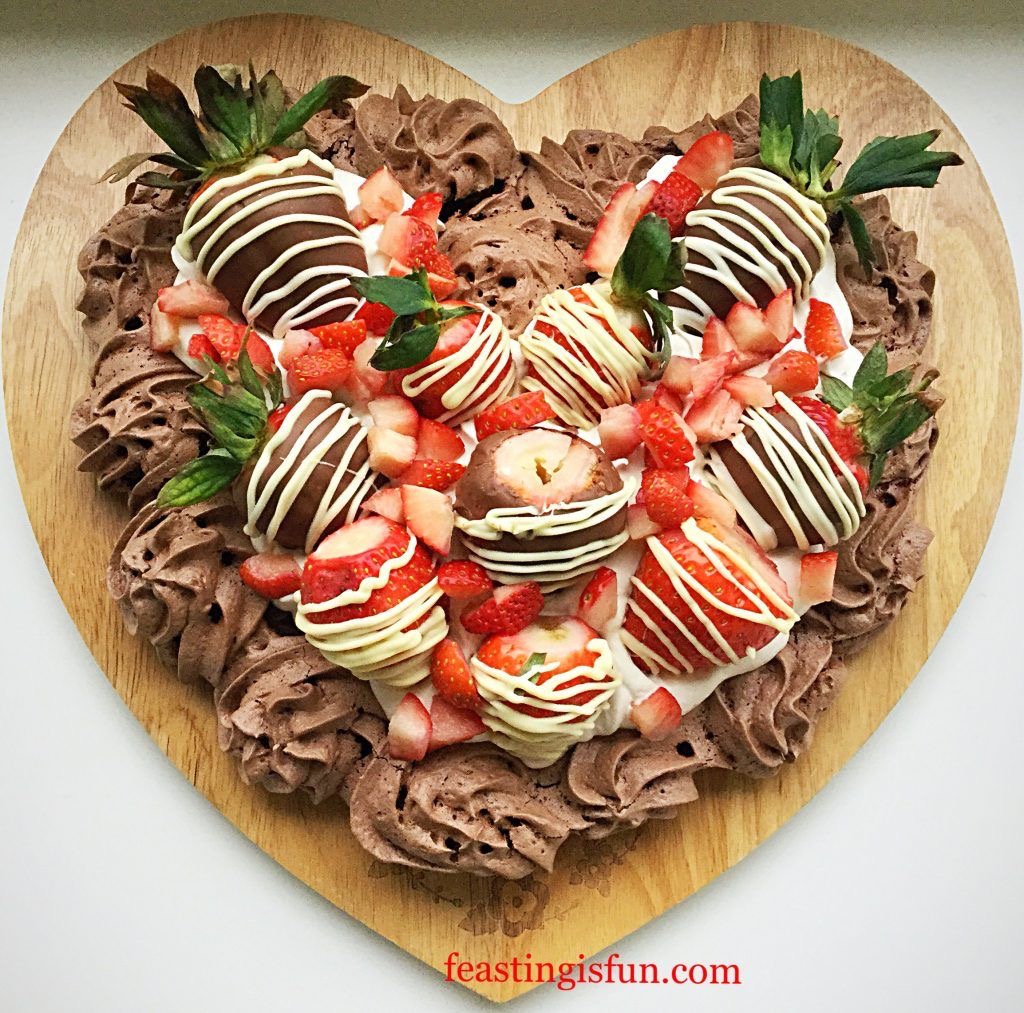
Hi, so I’ve now had feastingisfun.com for a year! Thank you to everyone who has taken time to read and comment on my blog. I appreciate you more than you could ever know. If I could bake each and everyone of you a cake I would. Instead I have a bread recipe for you!!! I know, I’m all heart – but this is a recipe you will, hopefully, thank me for. Easy Crusty Baguettes.

You may be thinking – “why bake my own baguettes when I can pick them up from the grocery store?”
Well, not everyone can get to a shop, they can be out of stock – but mostly I’m the kinda girl who is inquisitive. If I can buy something, I want to know if I can make it! Personally I get a real kick out of making something that’s so easy to buy – knowing exactly what’s gone into my creation! Easy Crusty Baguettes are so easy to make (if you have a stand mixer with dough hook or a bread maker they are easier still!) and taste so good.
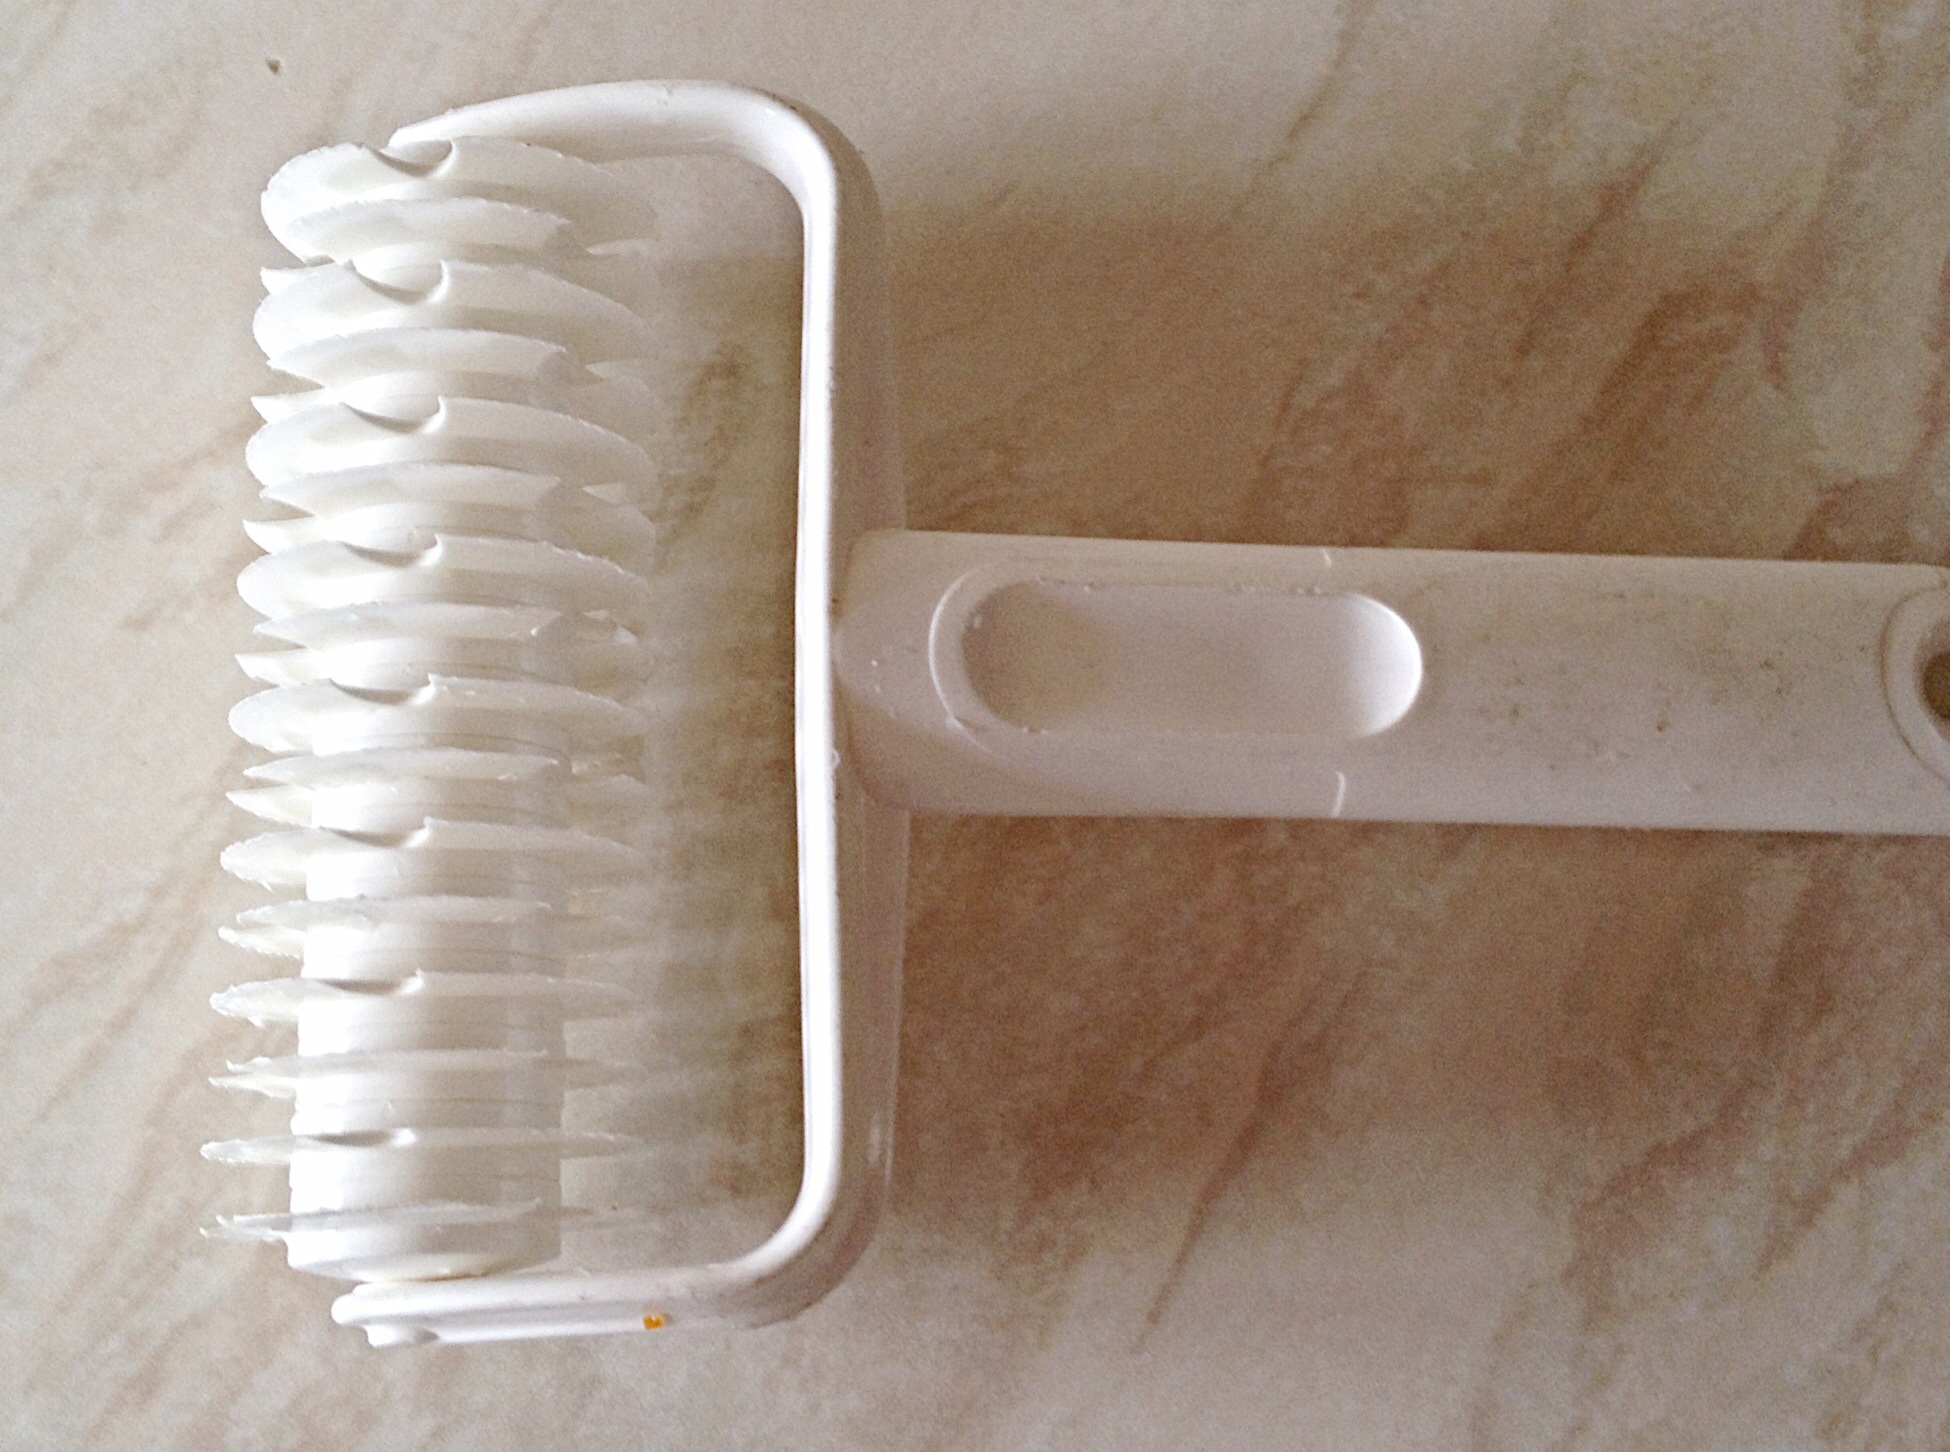
The only ‘special’ piece of equipment I use is a French Baguette Tray.
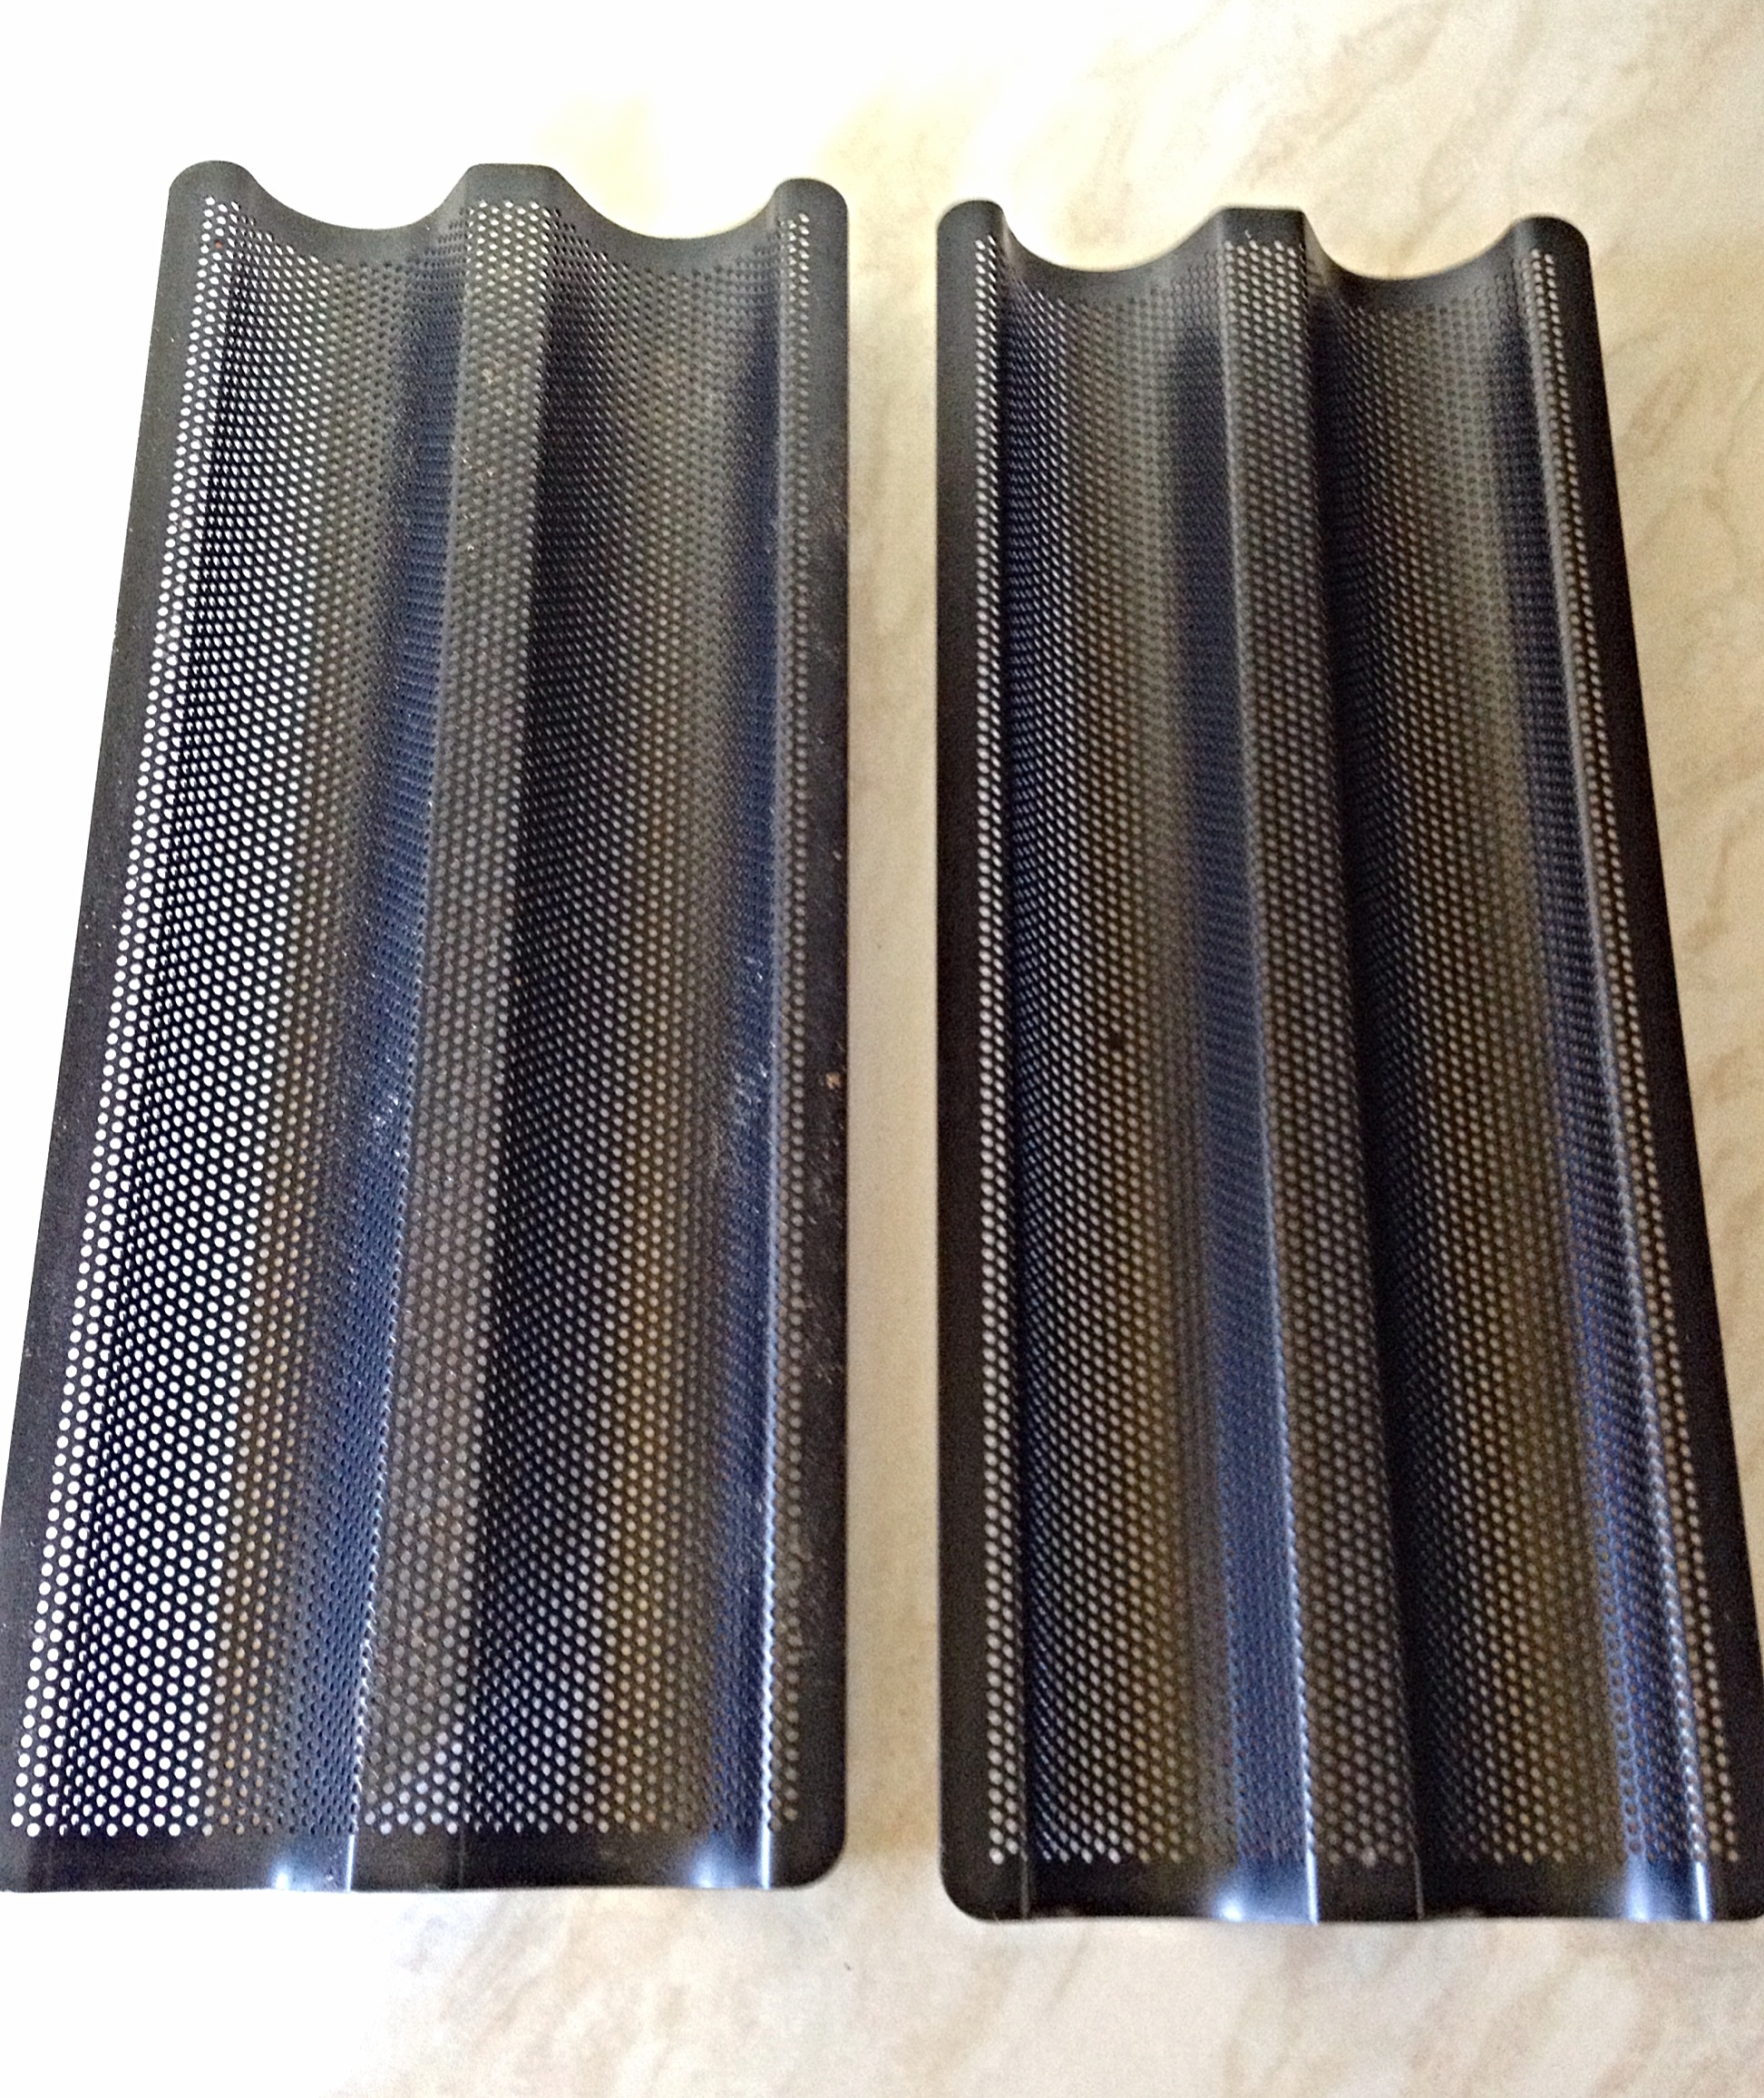
I purchased my baguette from Amazon UK
Swift Faringdon Collection Bakers Pride Non-Stick French Bread Pan Carbon Steel 39 cm x 16 cm x 2.5 cm
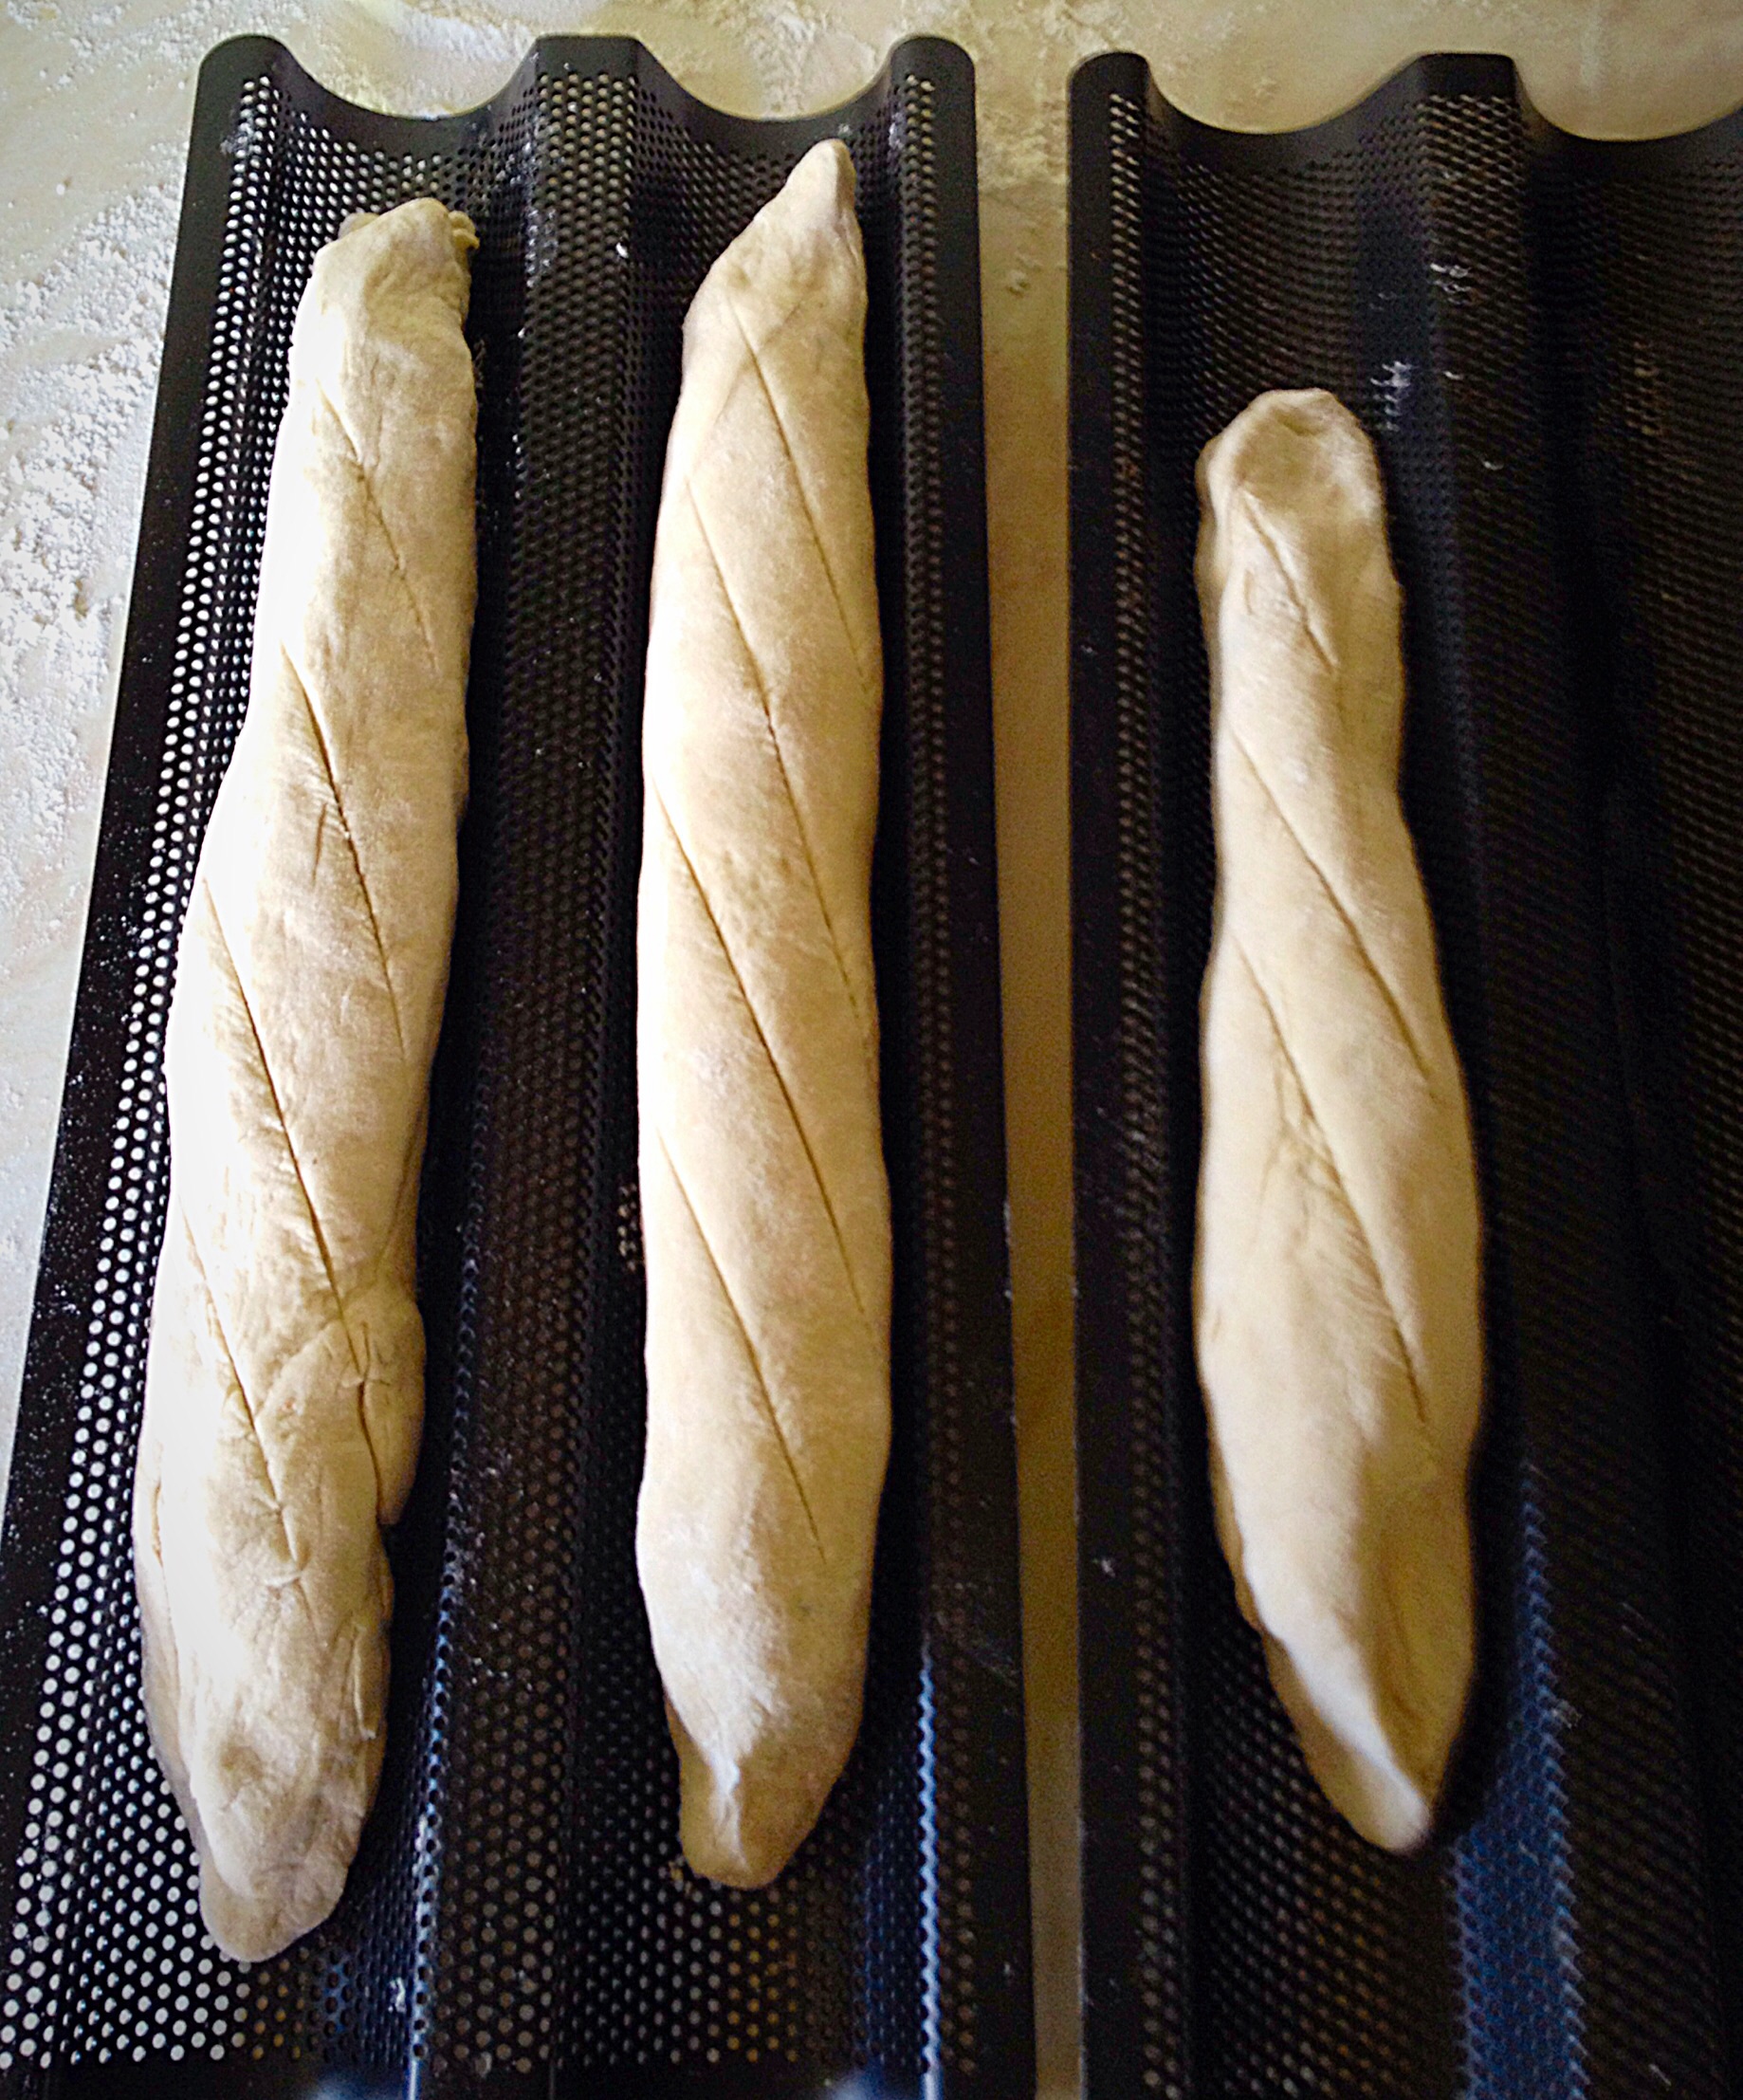
I have made baguettes on a baking sheet, they were ok but tended to spread a little. I decided to buy one French Baguette Tray, used it, was thrilled with the results and quickly purchased a second tray. The advantages of using the baguette tray are that they really do hold the shape of the baguette, whilst it’s proving and baking and they are longer than most baking trays so you can put them in your oven at an angle – giving you longer baguettes. These Easy Crusty Baguettes are made using these trays.
Recipe : makes 3 x 16″ (40cm) Easy Crusty Baguettes
500g/1lb 2oz Strong White Bread Flour
1 x 7g Sachet Fast Action Dried Yeast
1tsp Sugar or honey
300ml/10floz Lukewarm Water
25g/1oz Unsalted Butter
1tsp Salt
Method :
I use a bread maker to mix, prove and knock back the dough, instructions will also be given for a stand mixer using a dough hook.
Place the water into the bowl. Add the yeast and sugar. Swirl with clean fingers to mix.
Add the flour so that it covers the water/yeast mixture. On top of the flour add the salt and butter.
If using a bread maker set the program to mix and prove.
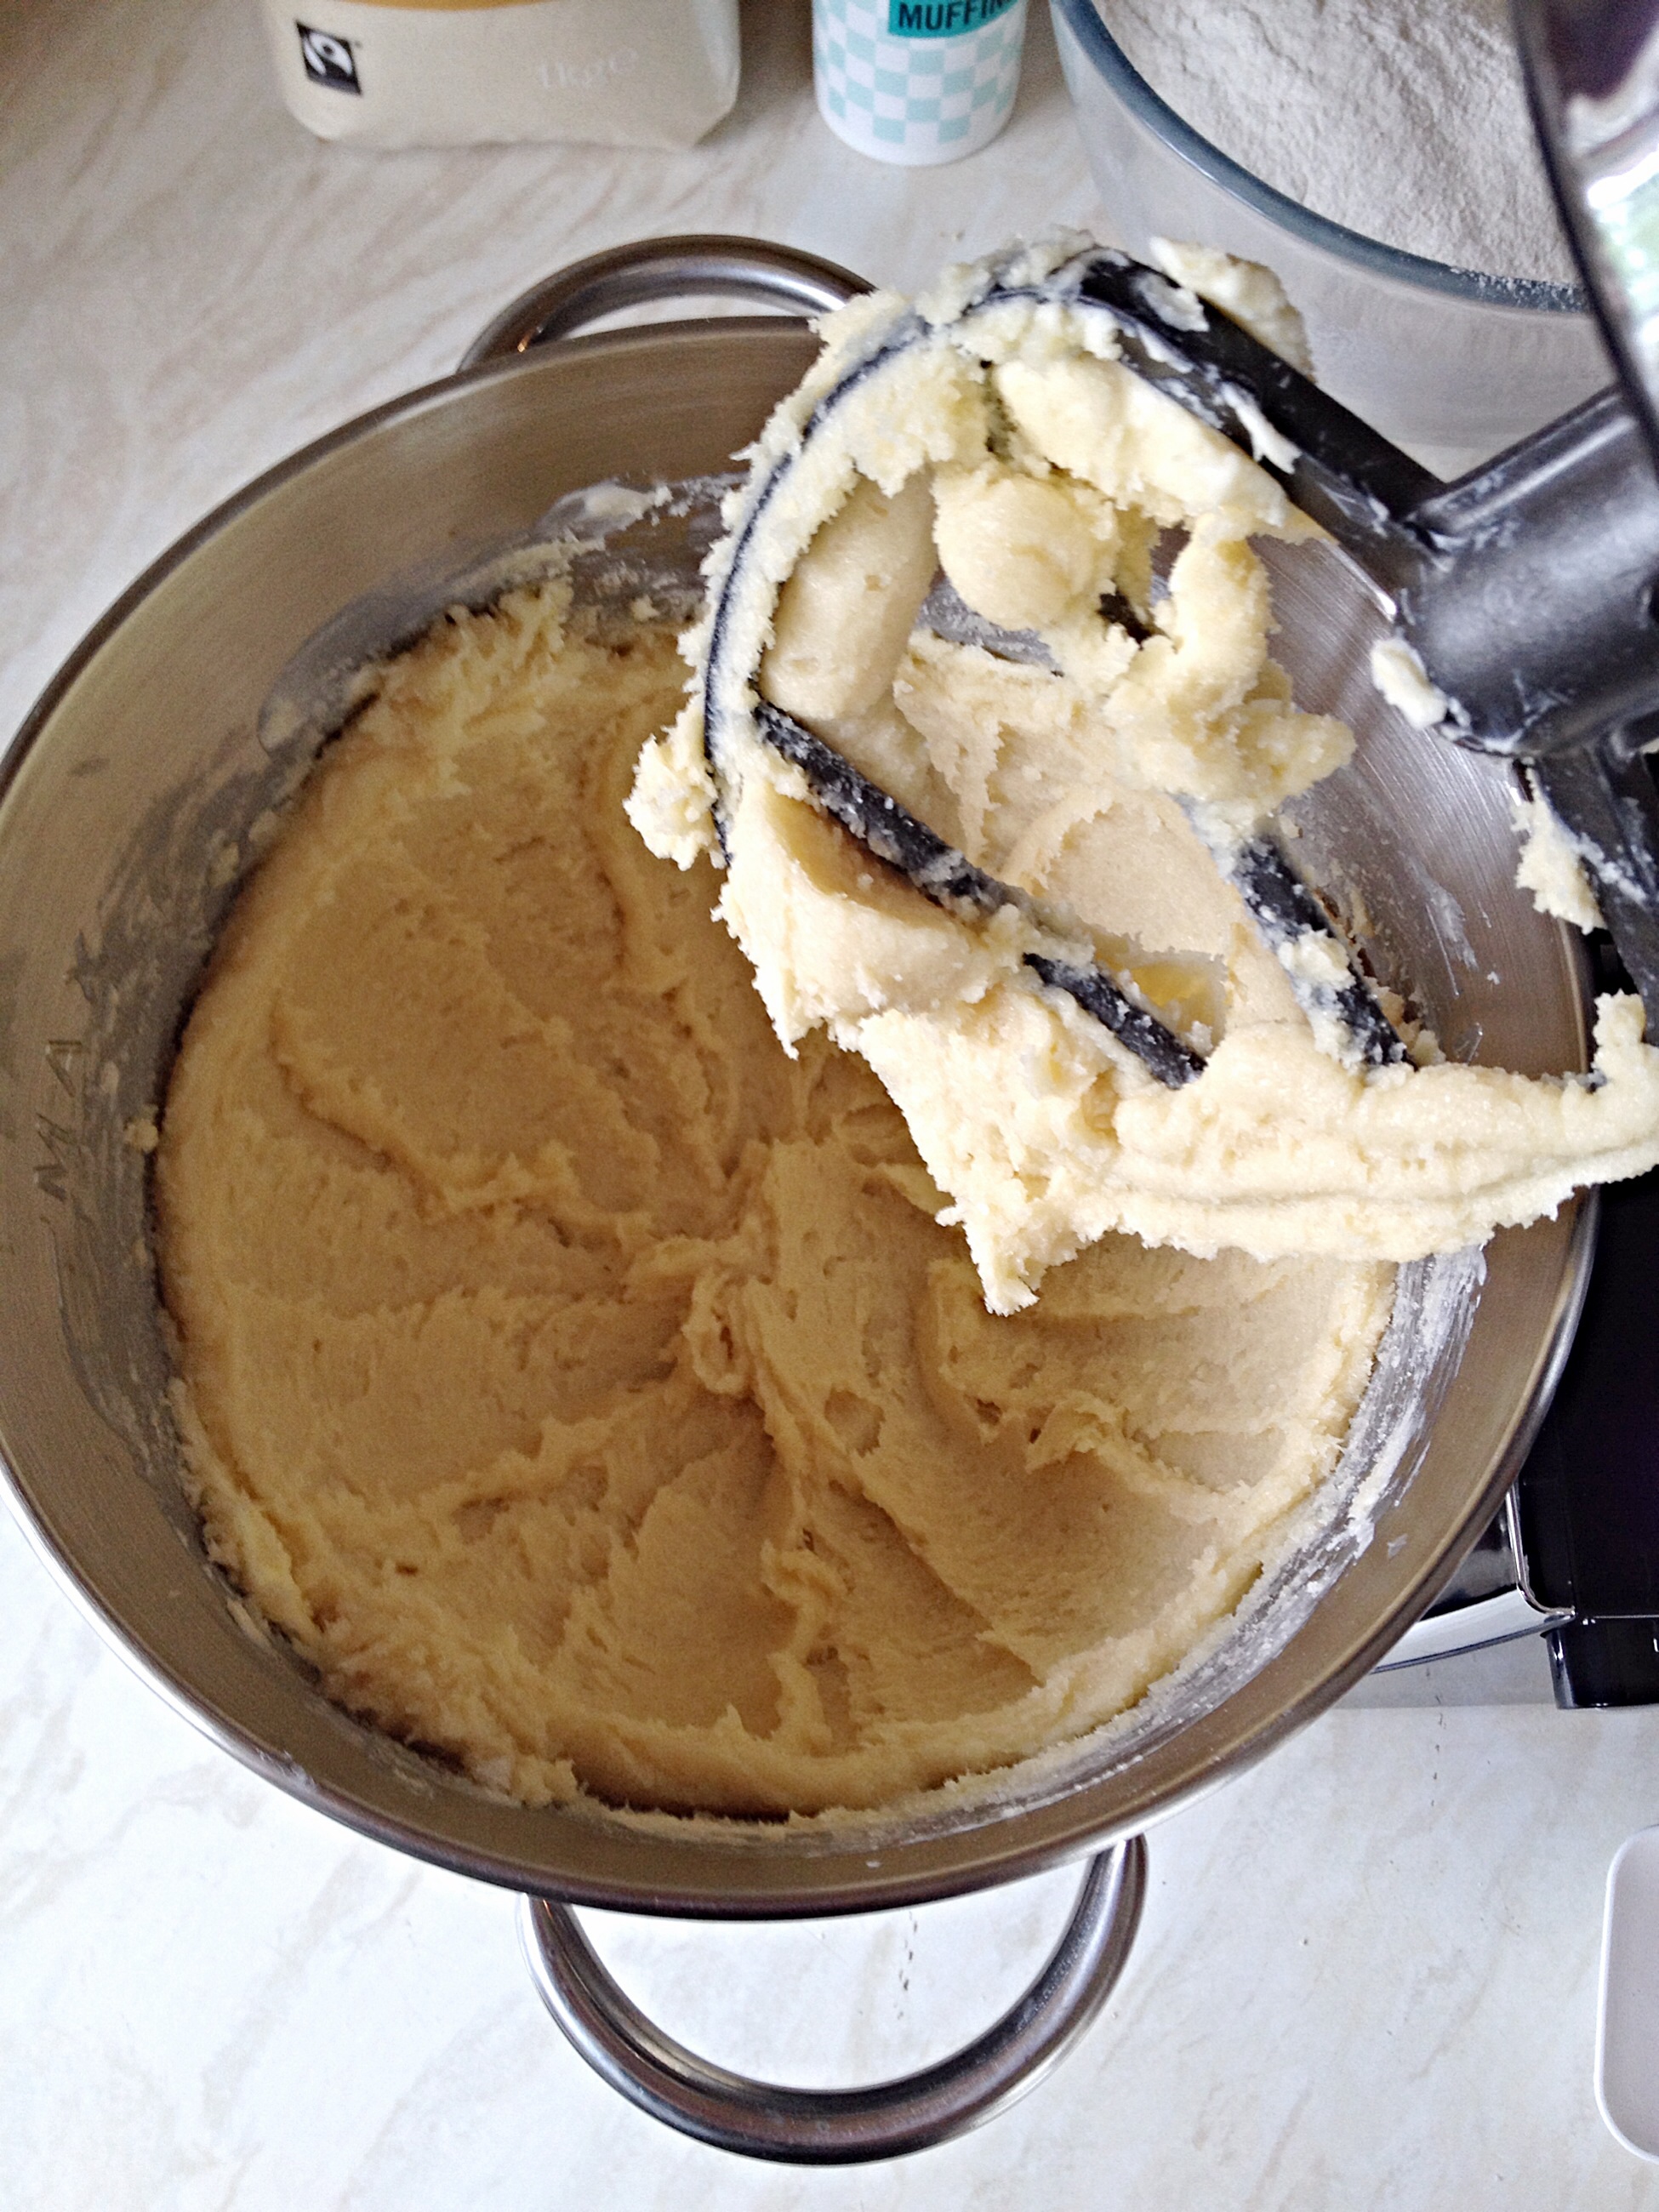
If using a stand mixer slowly start to mix the ingredients. Once combined increase the speed to medium and mix for 10 minutes. Once mixing is complete form the dough into a ball, place back into the stand mixer bowl, cover with a clean tea towel and leave in a draft free place until doubled in size.
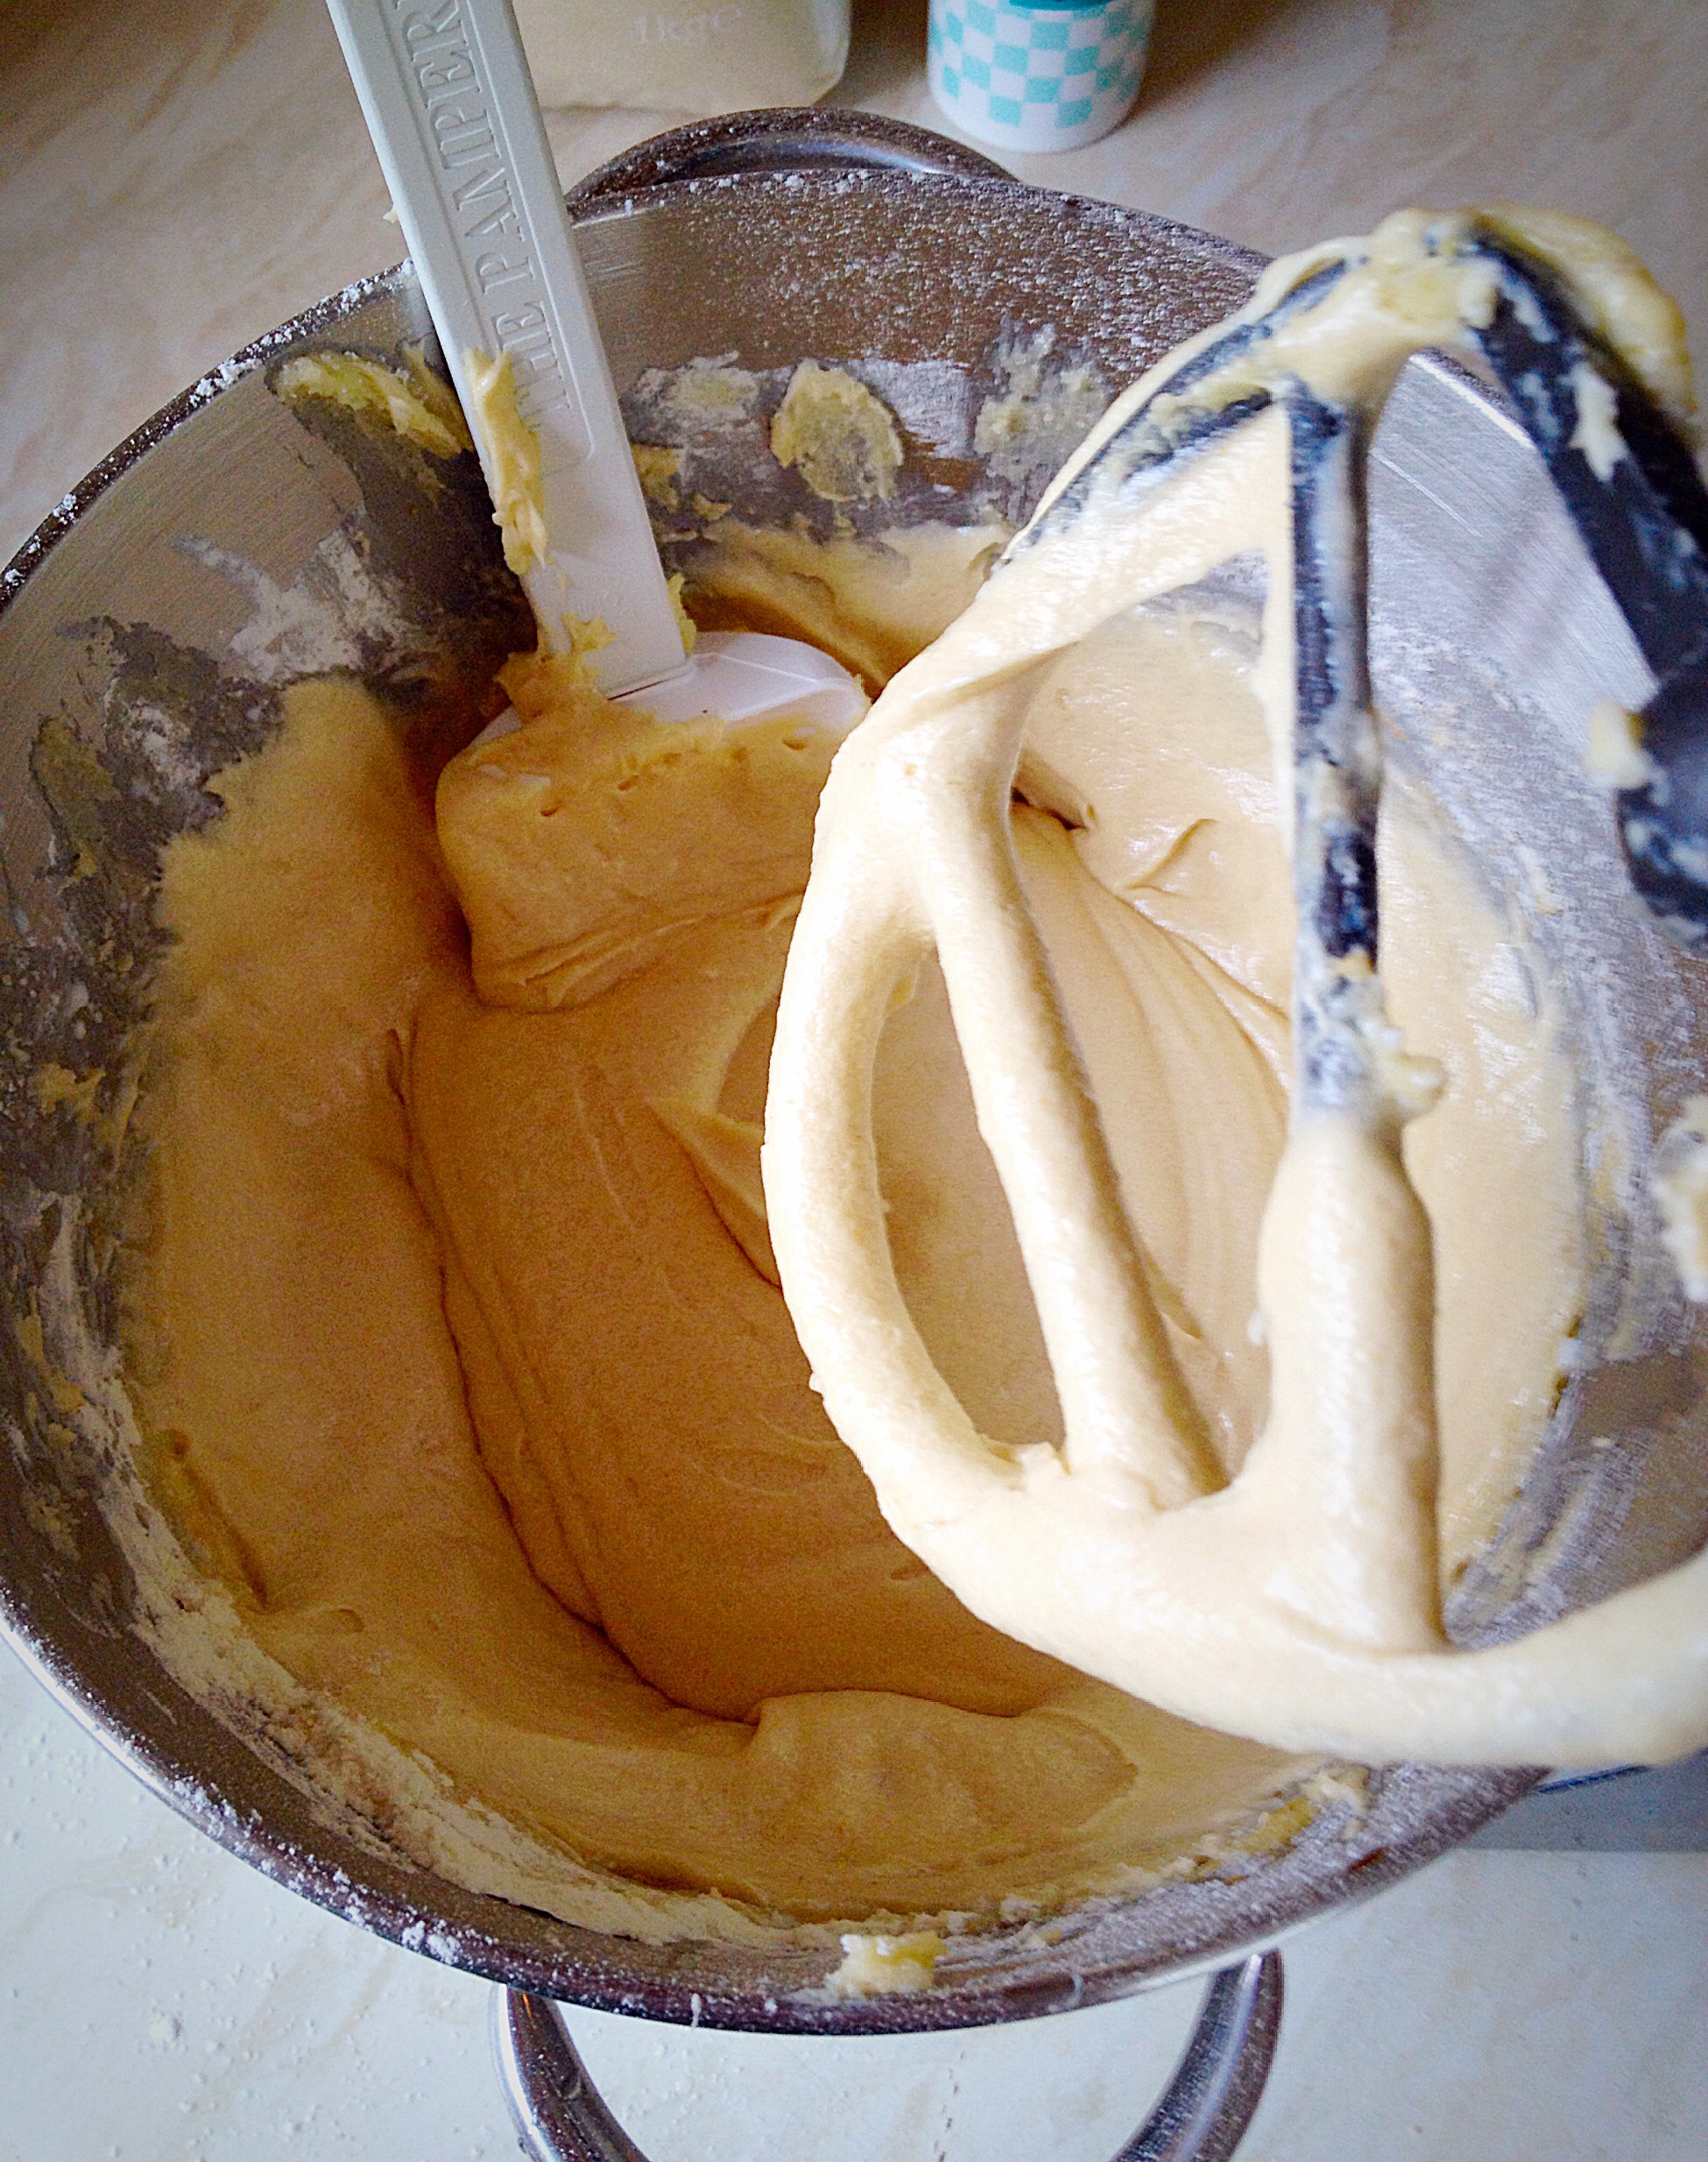
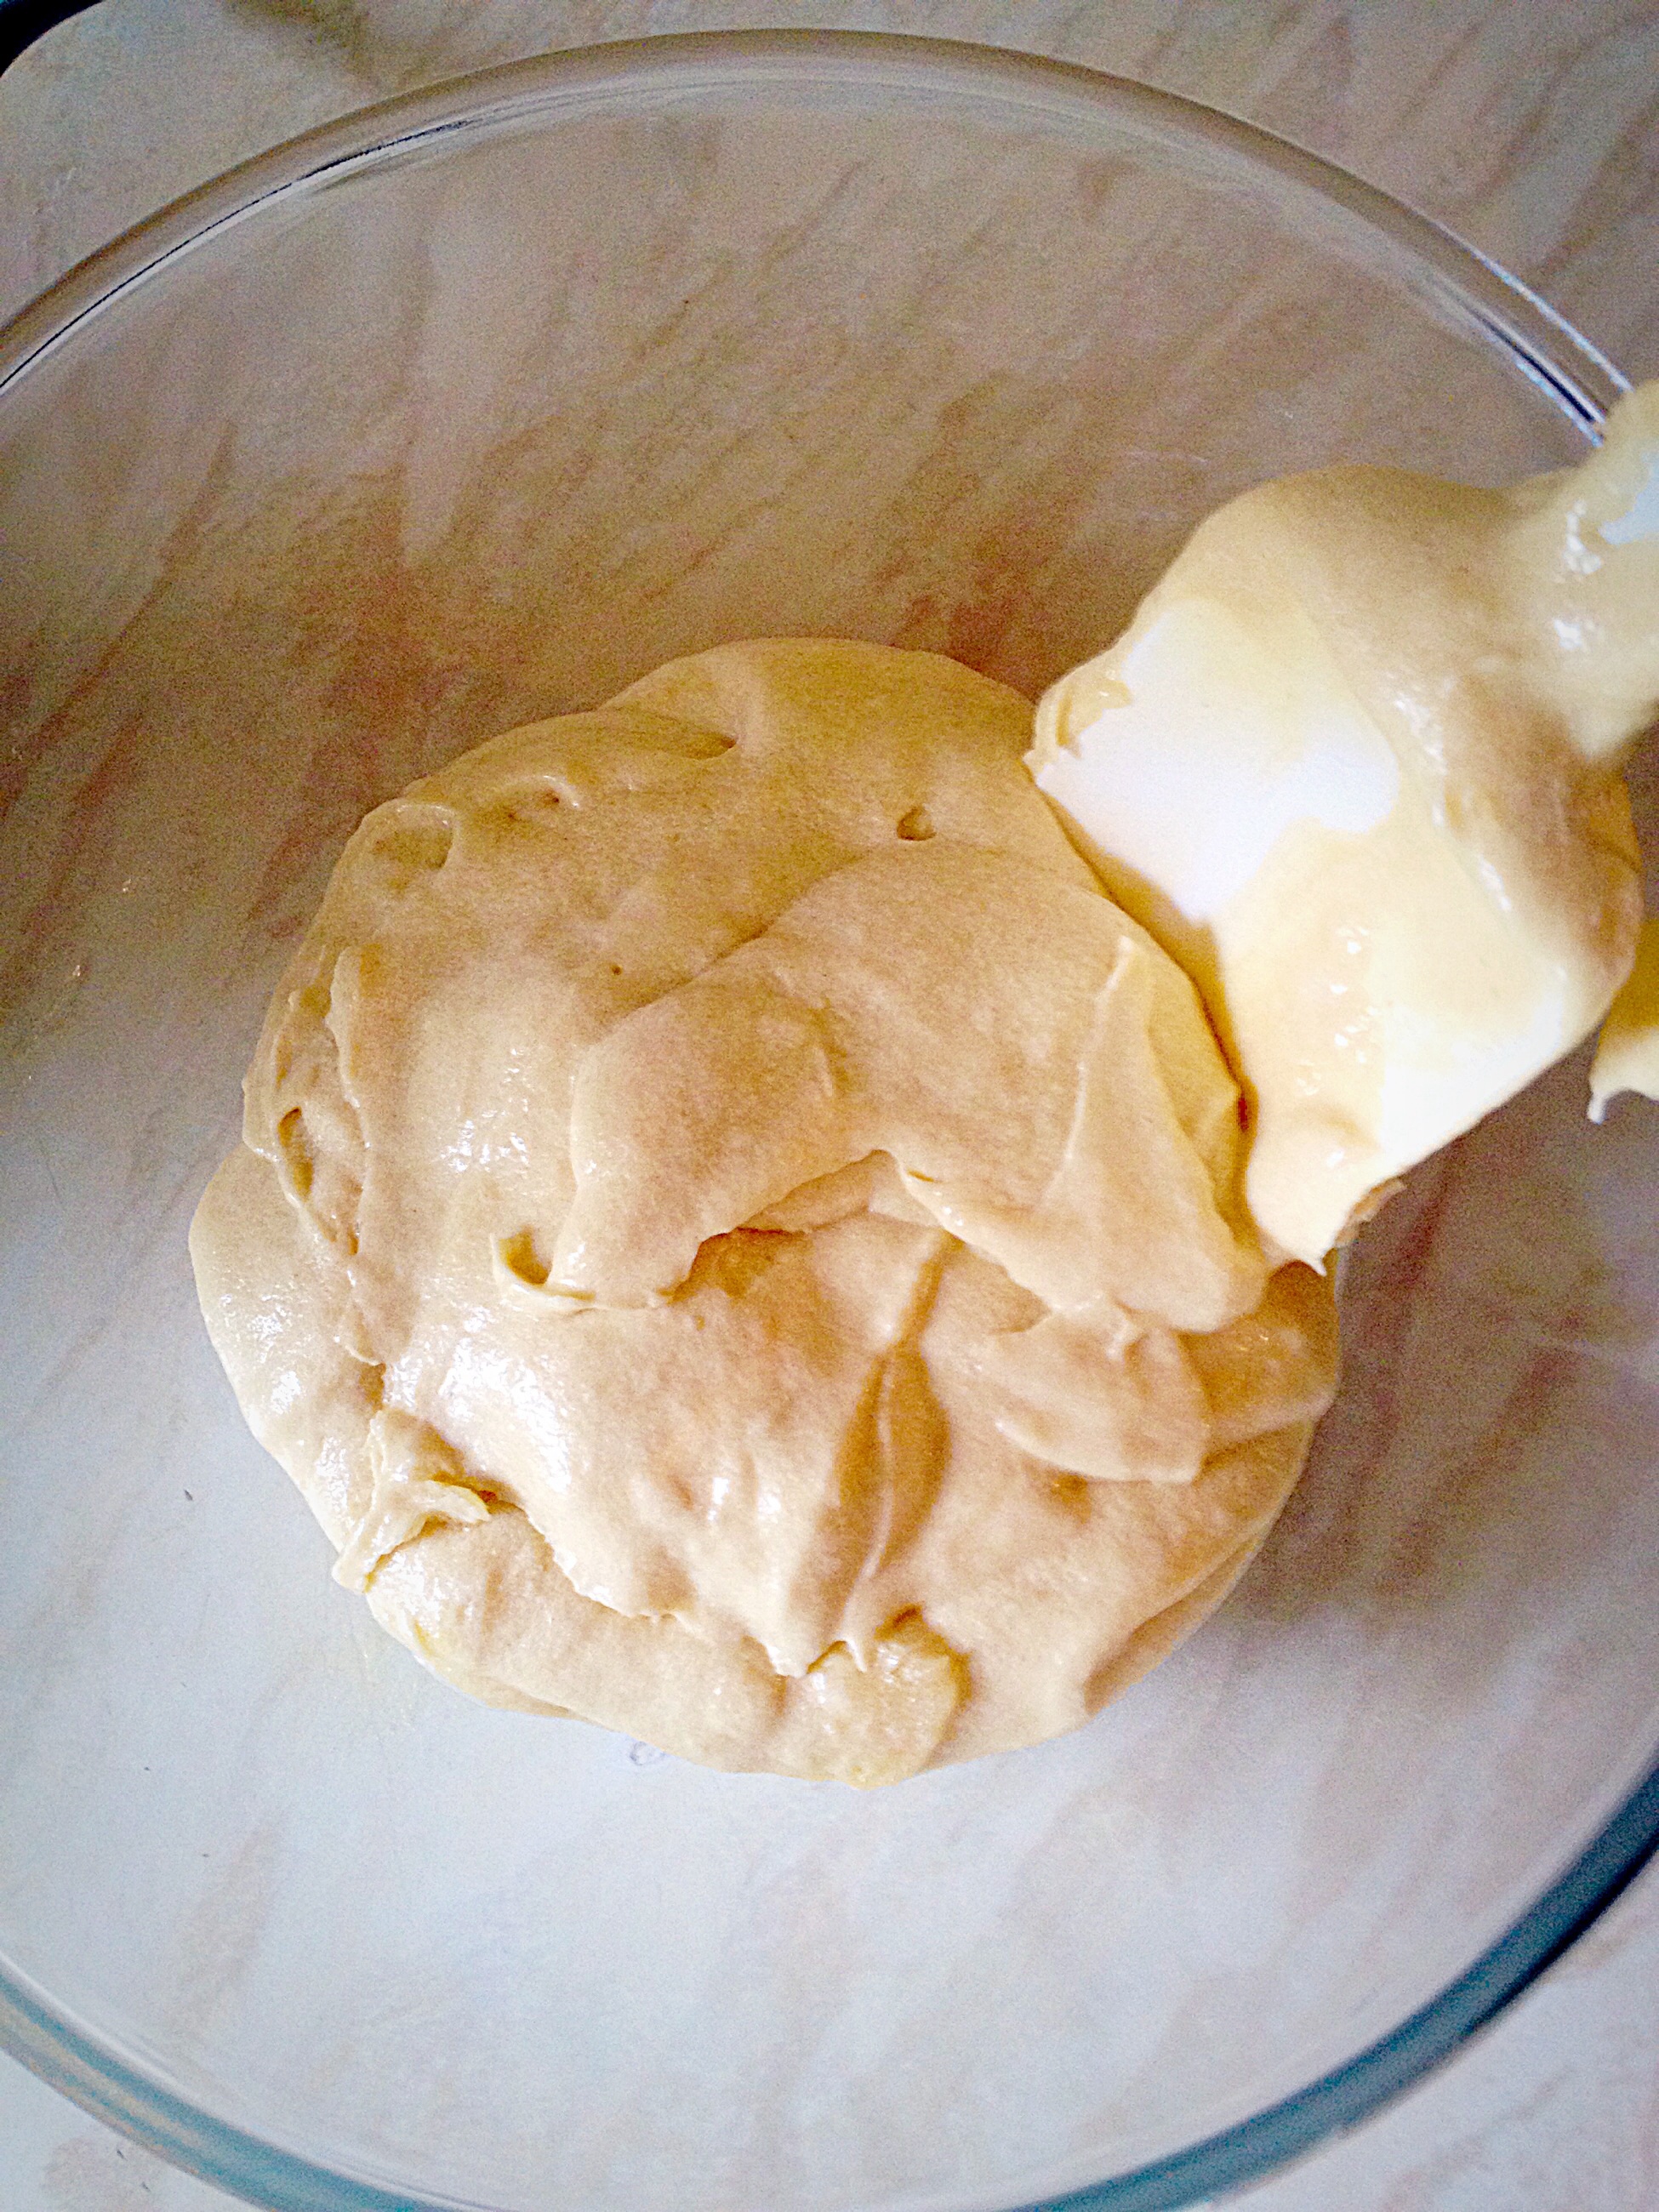
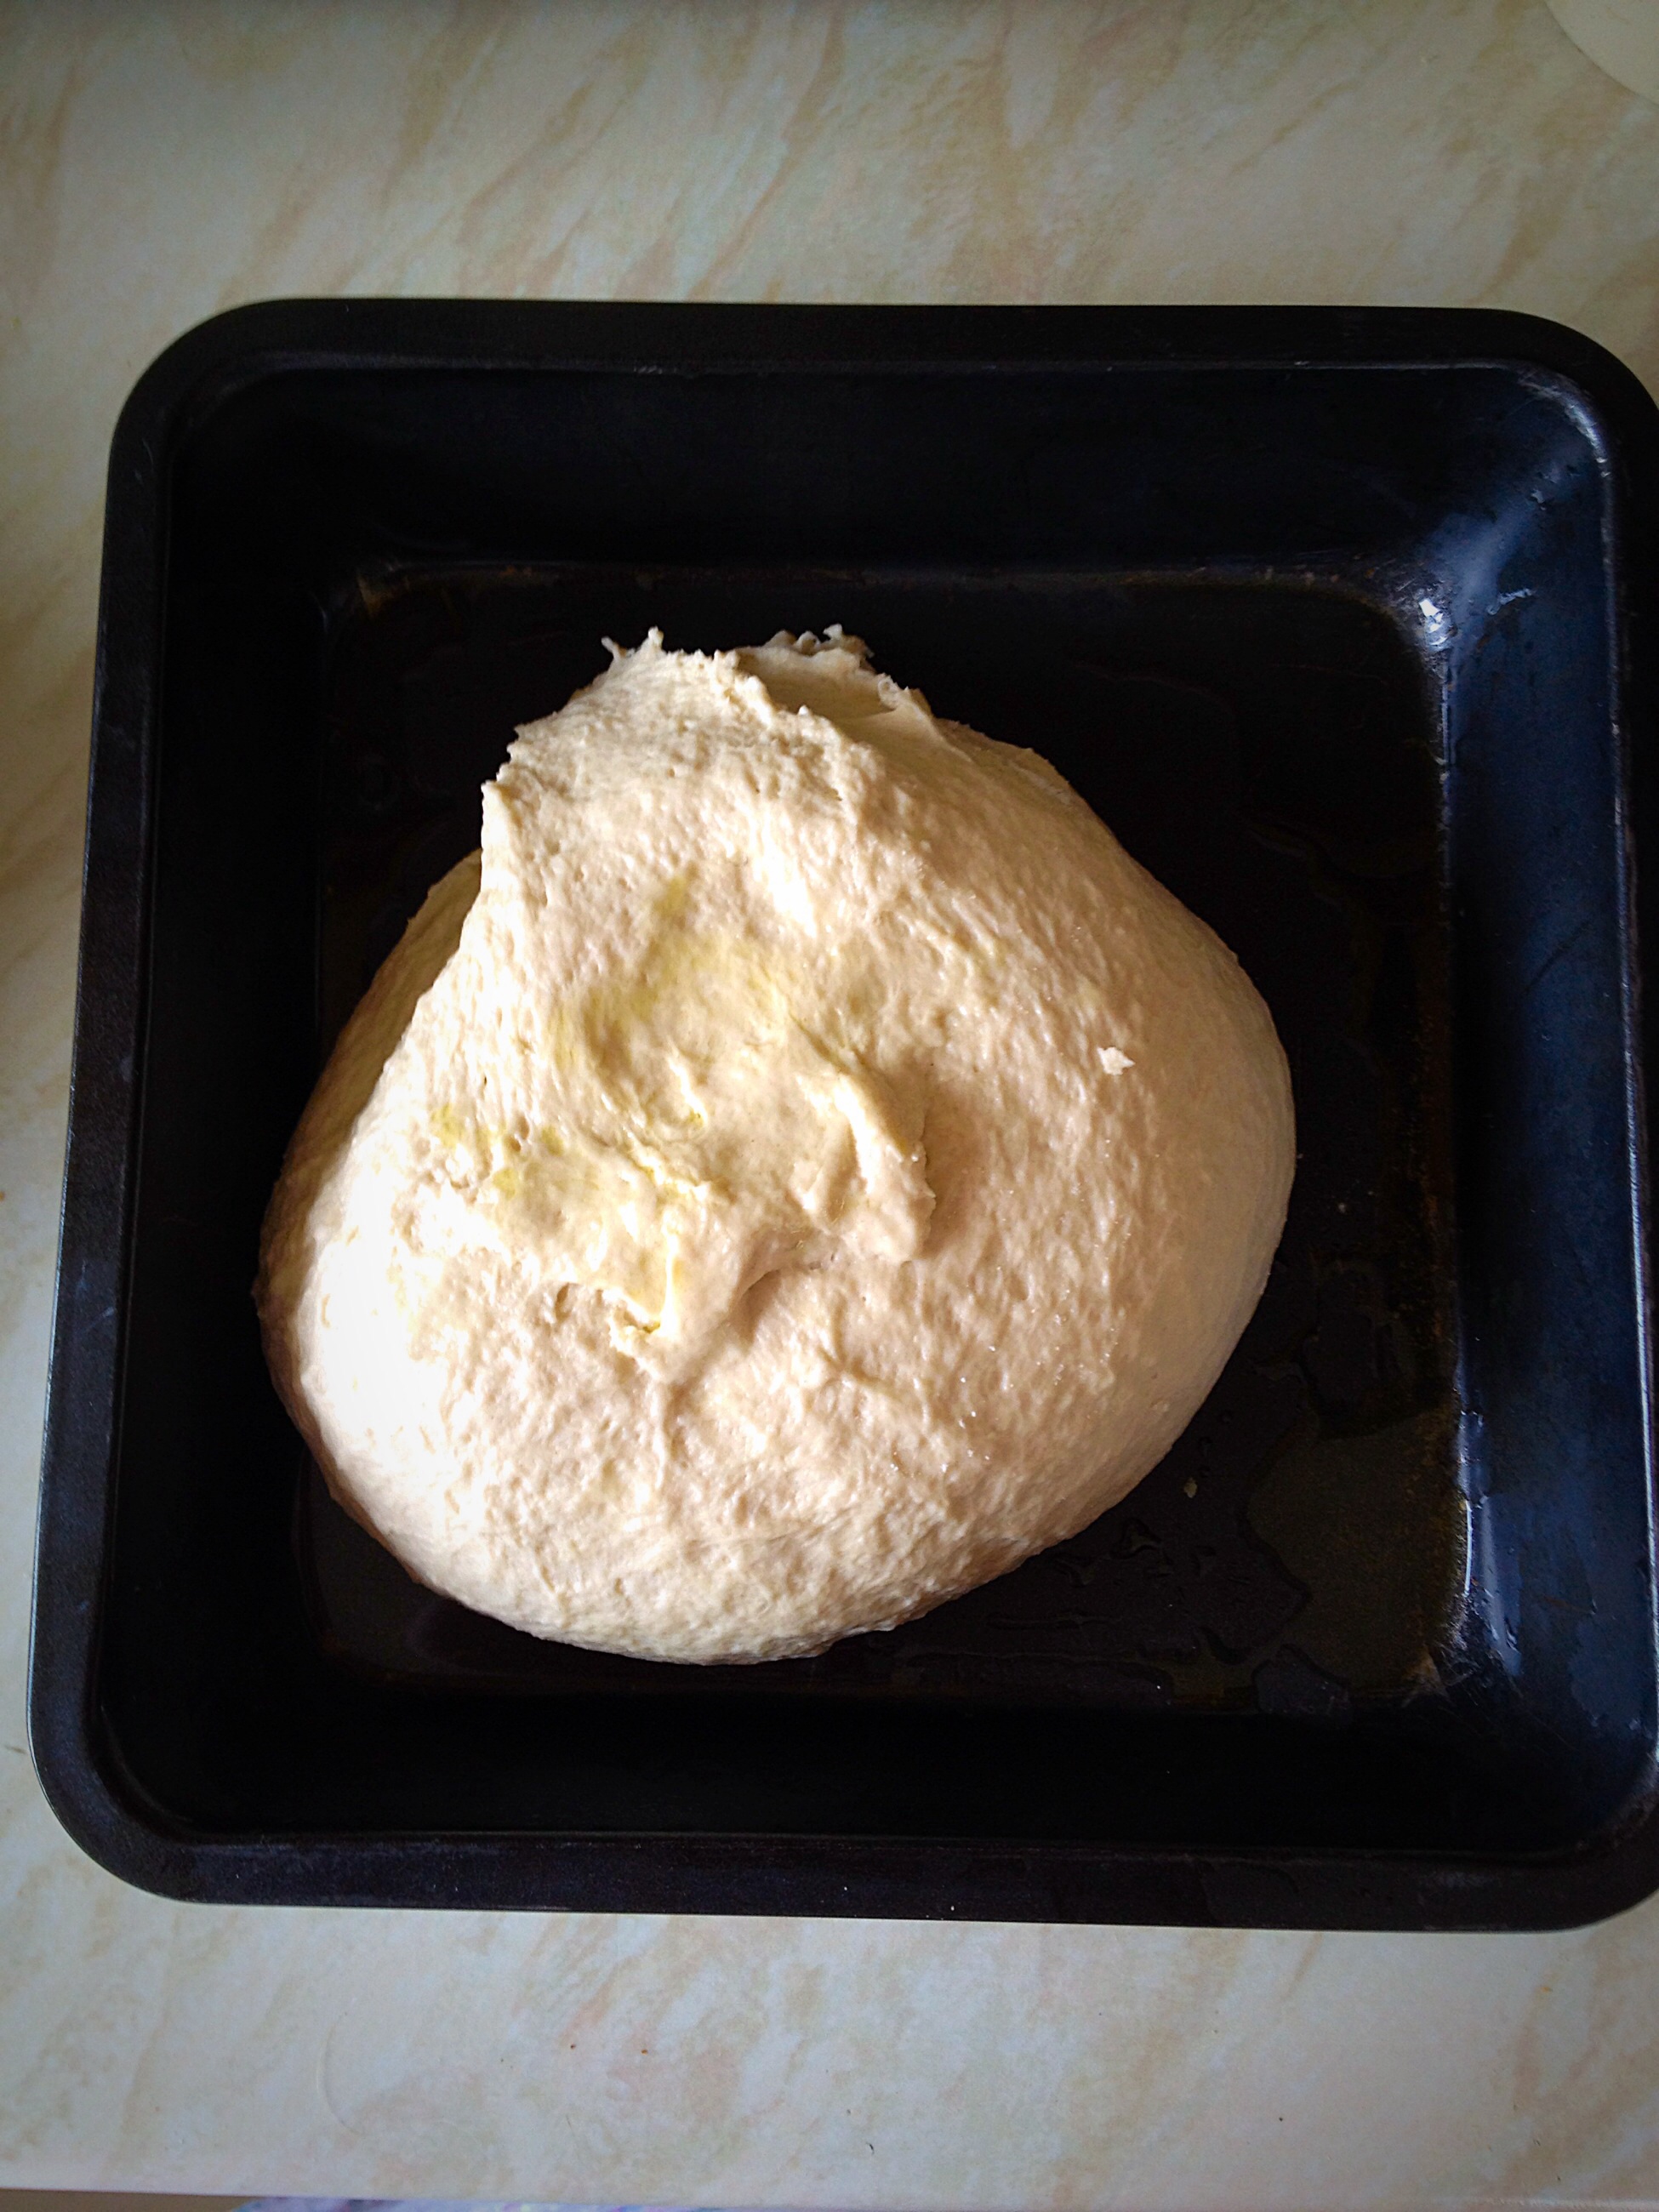
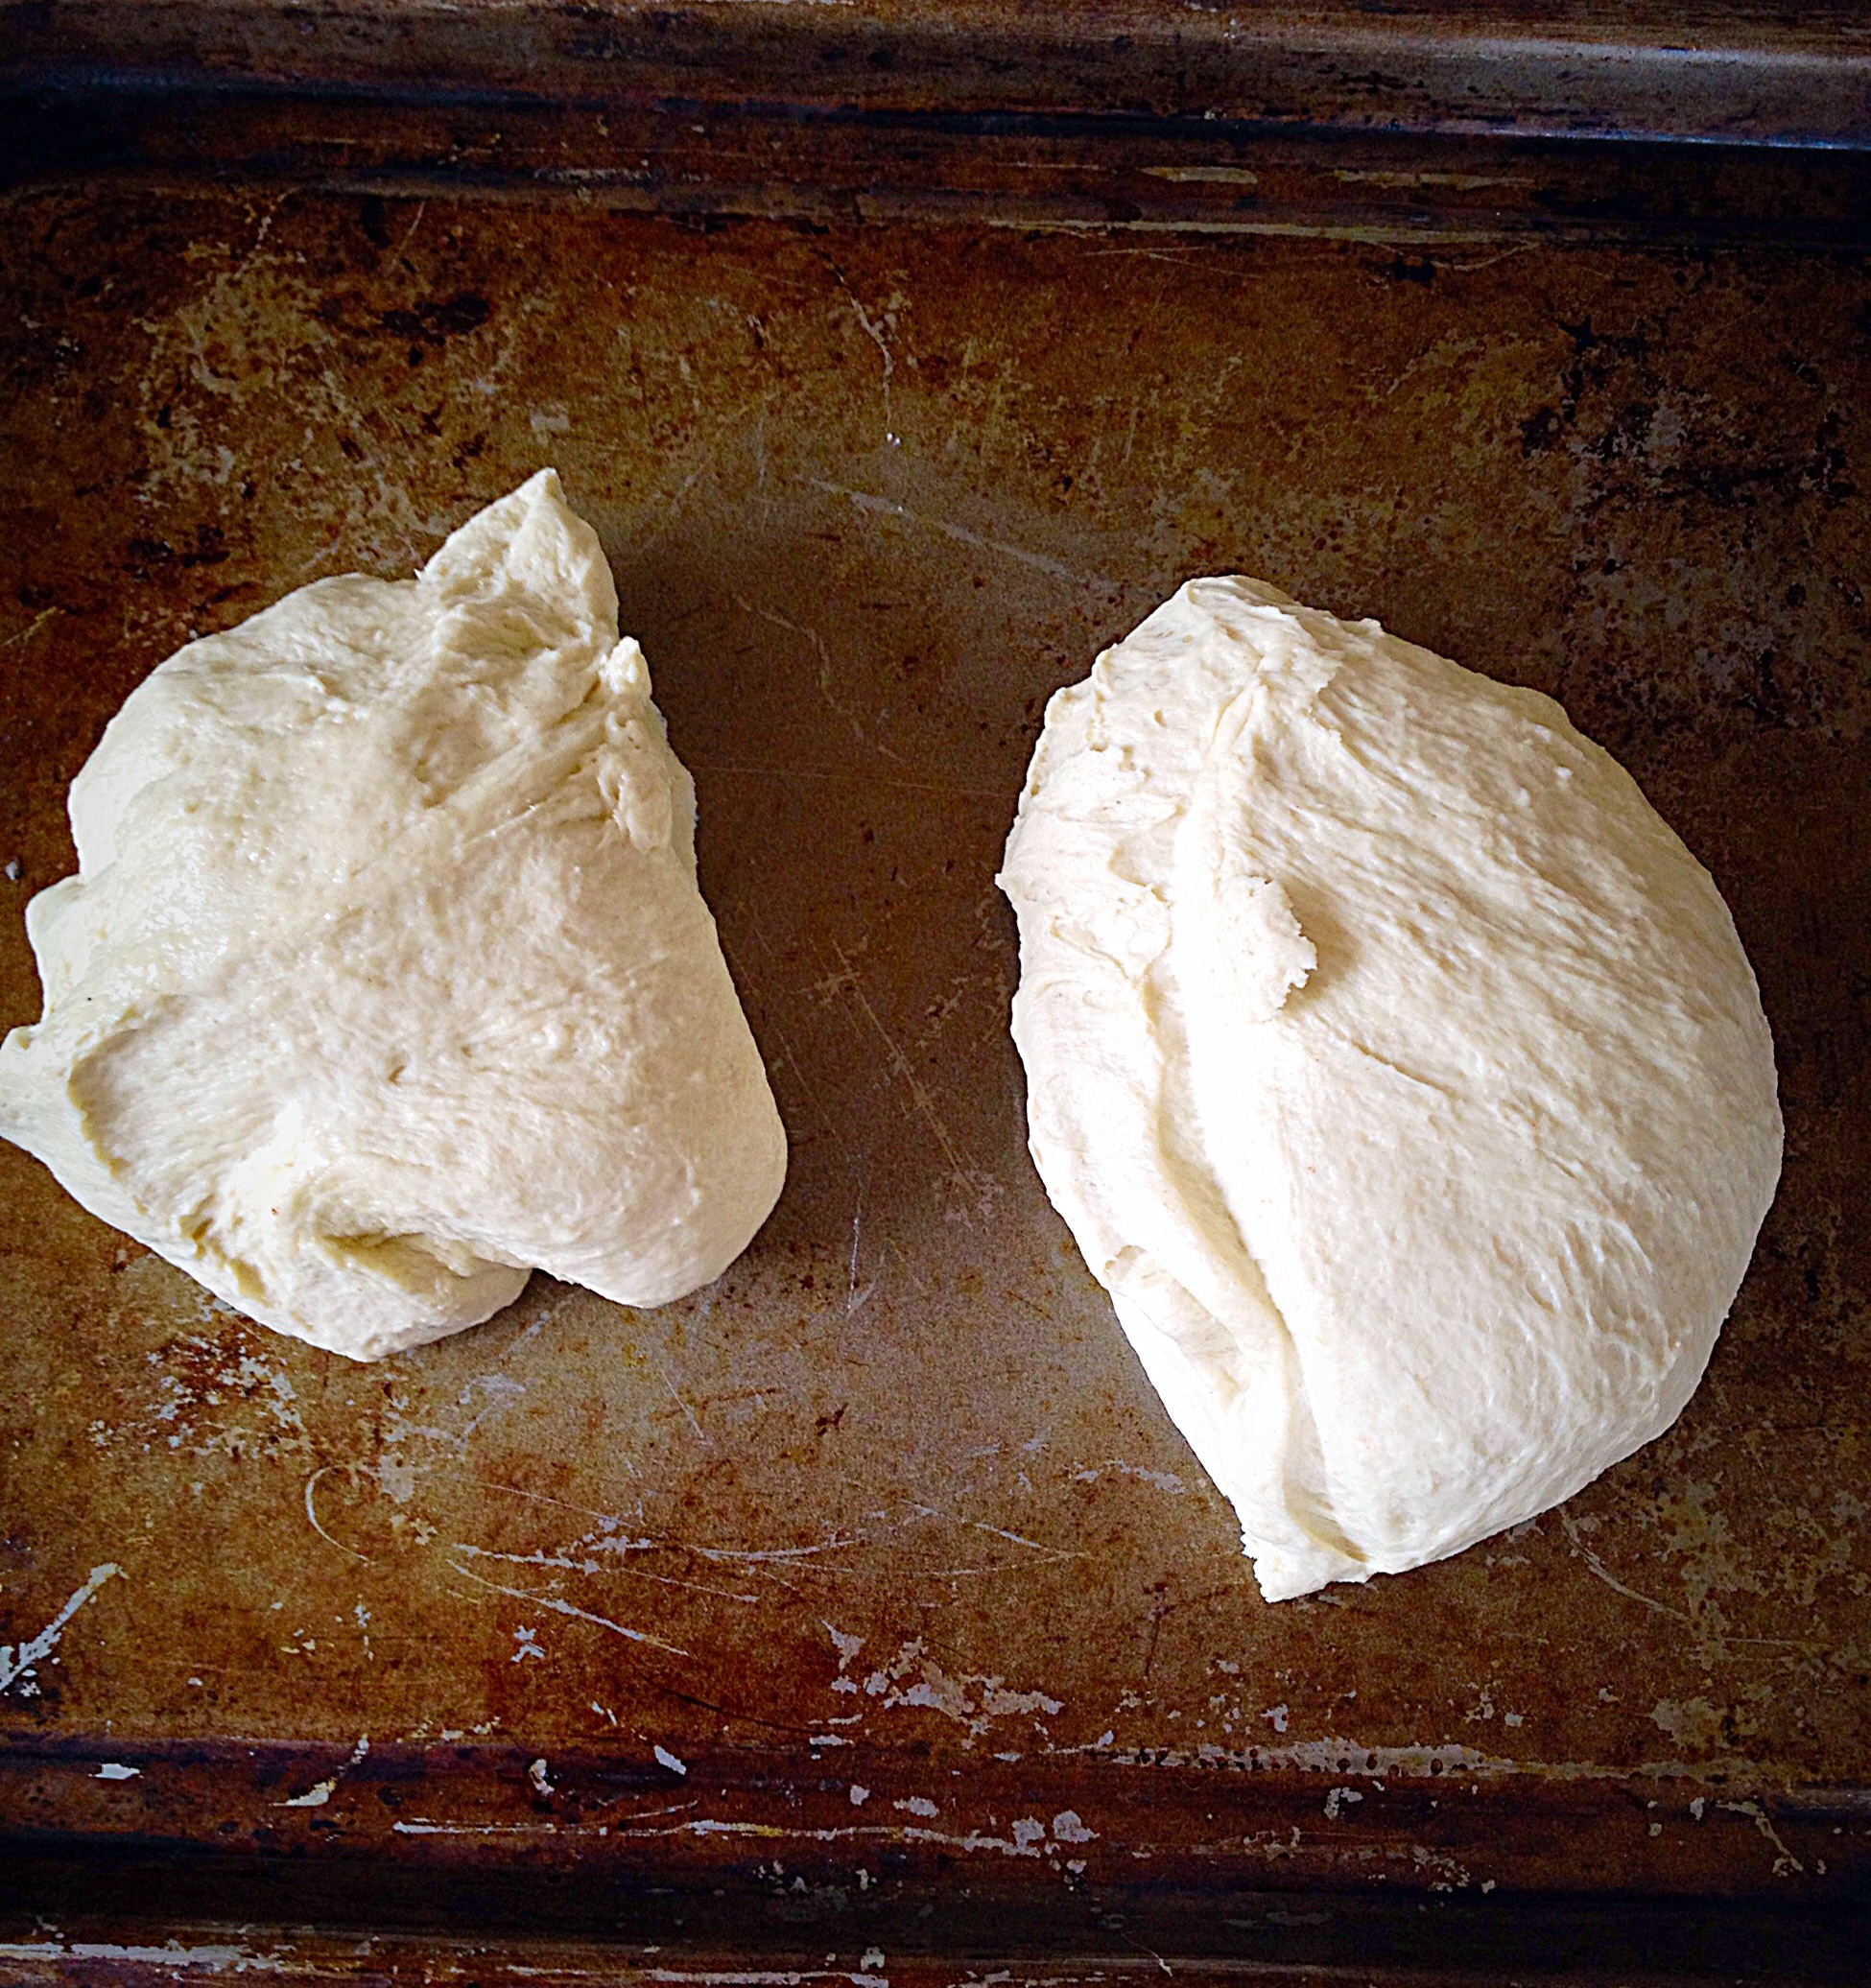
When the bread mixer has finished proving, or the dough in the stand mixer is doubled in size it is time to knock back the dough.
Using the bread maker mix and prover cycle, start again and allow to knead for the mix part of the cycle then stop the machine and remove the dough.
Using a stand mixer with a dough hook attachment as before, remove the towel and start the mixer on low increasing to medium to knock back and knead the proved dough. If the dough doesn’t all pull together, stop the mixer. Using clean hands pull the dough into a ball shape. Knead the dough on a medium speed for a further 10 minutes. Stop the mixer and remove the dough from the bowl/dough hook.

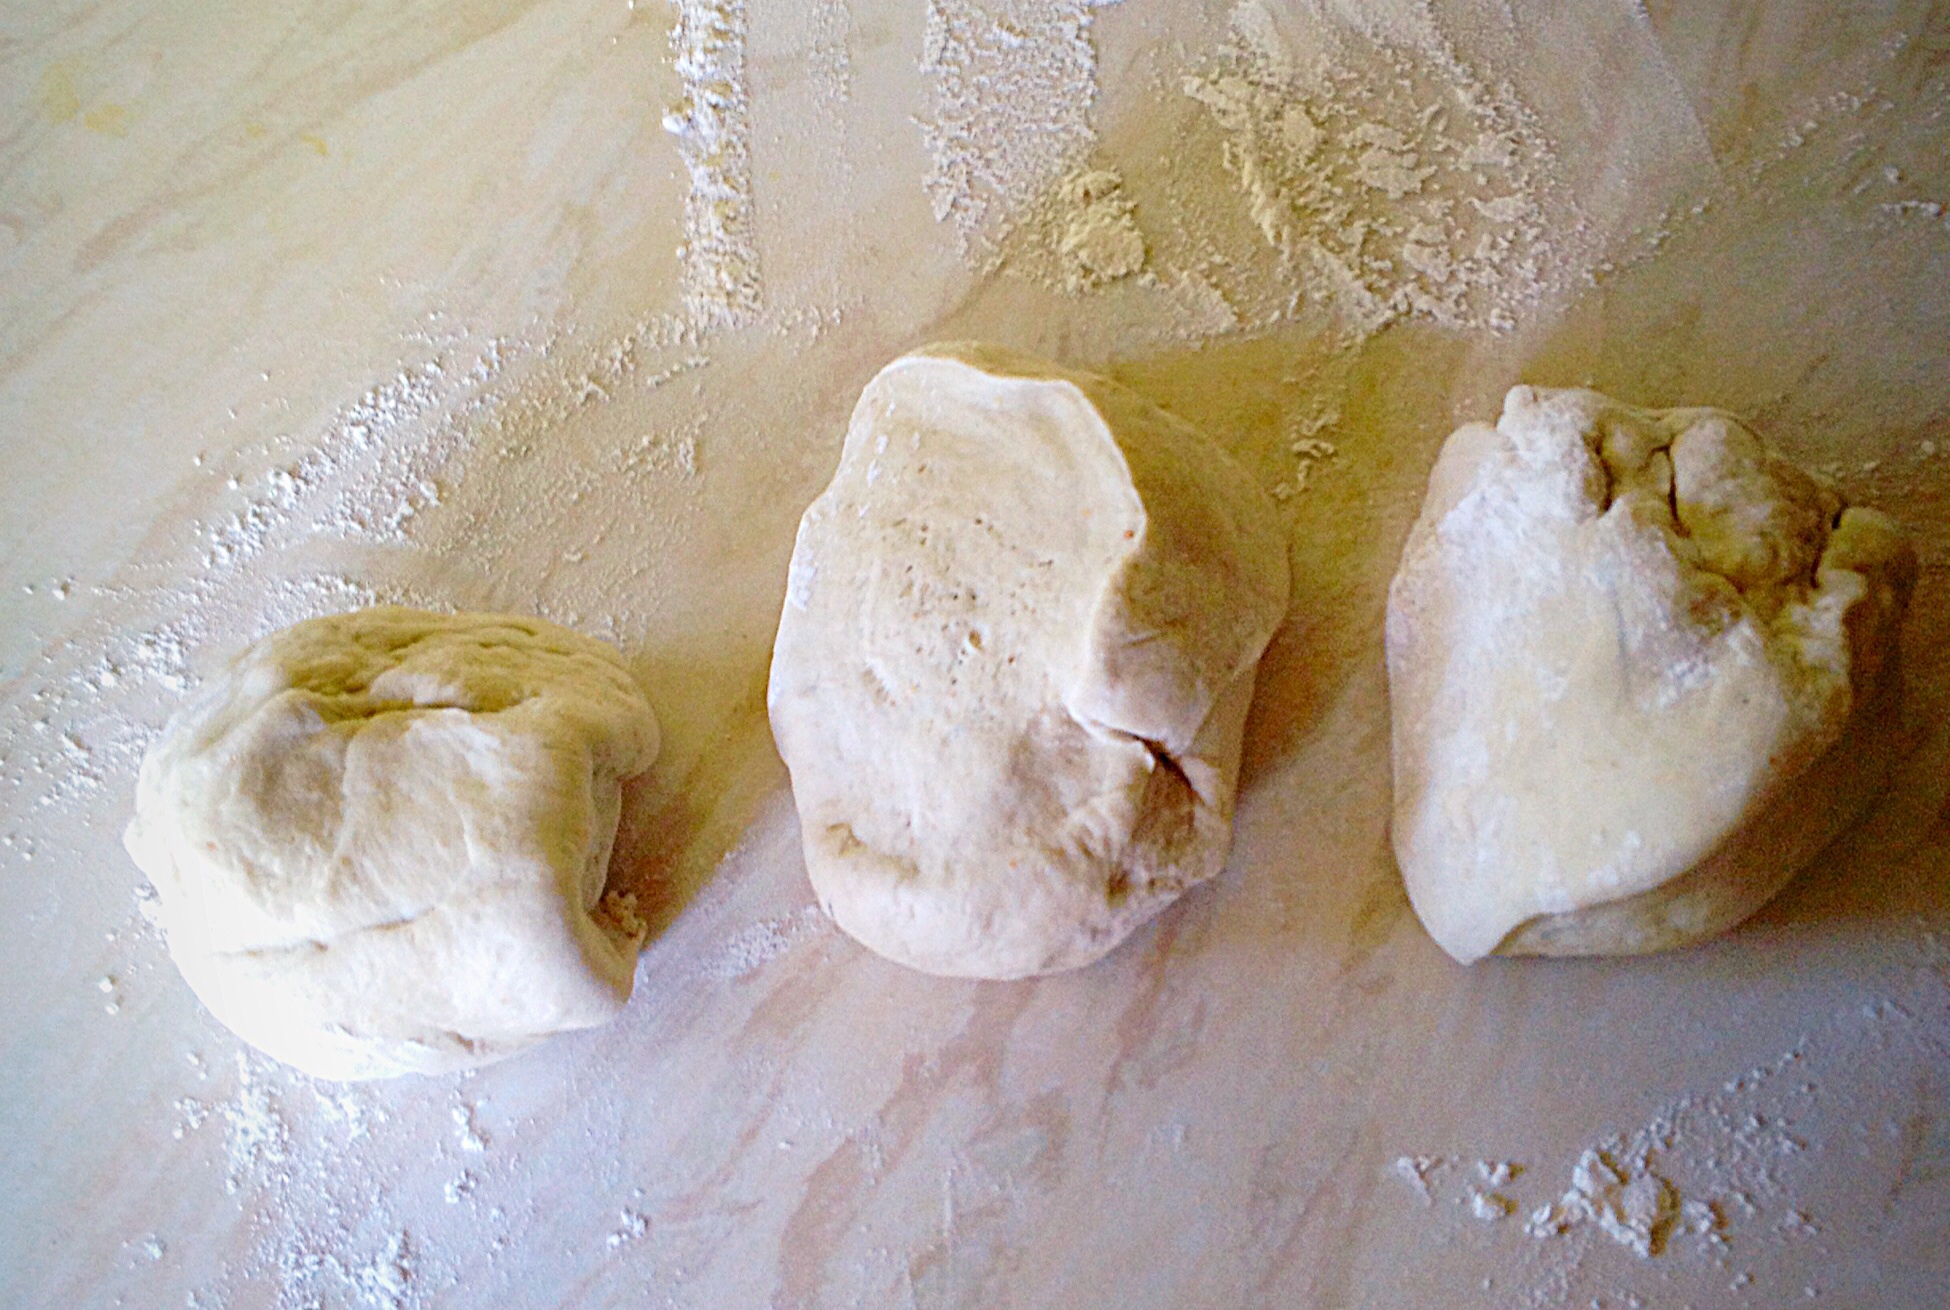
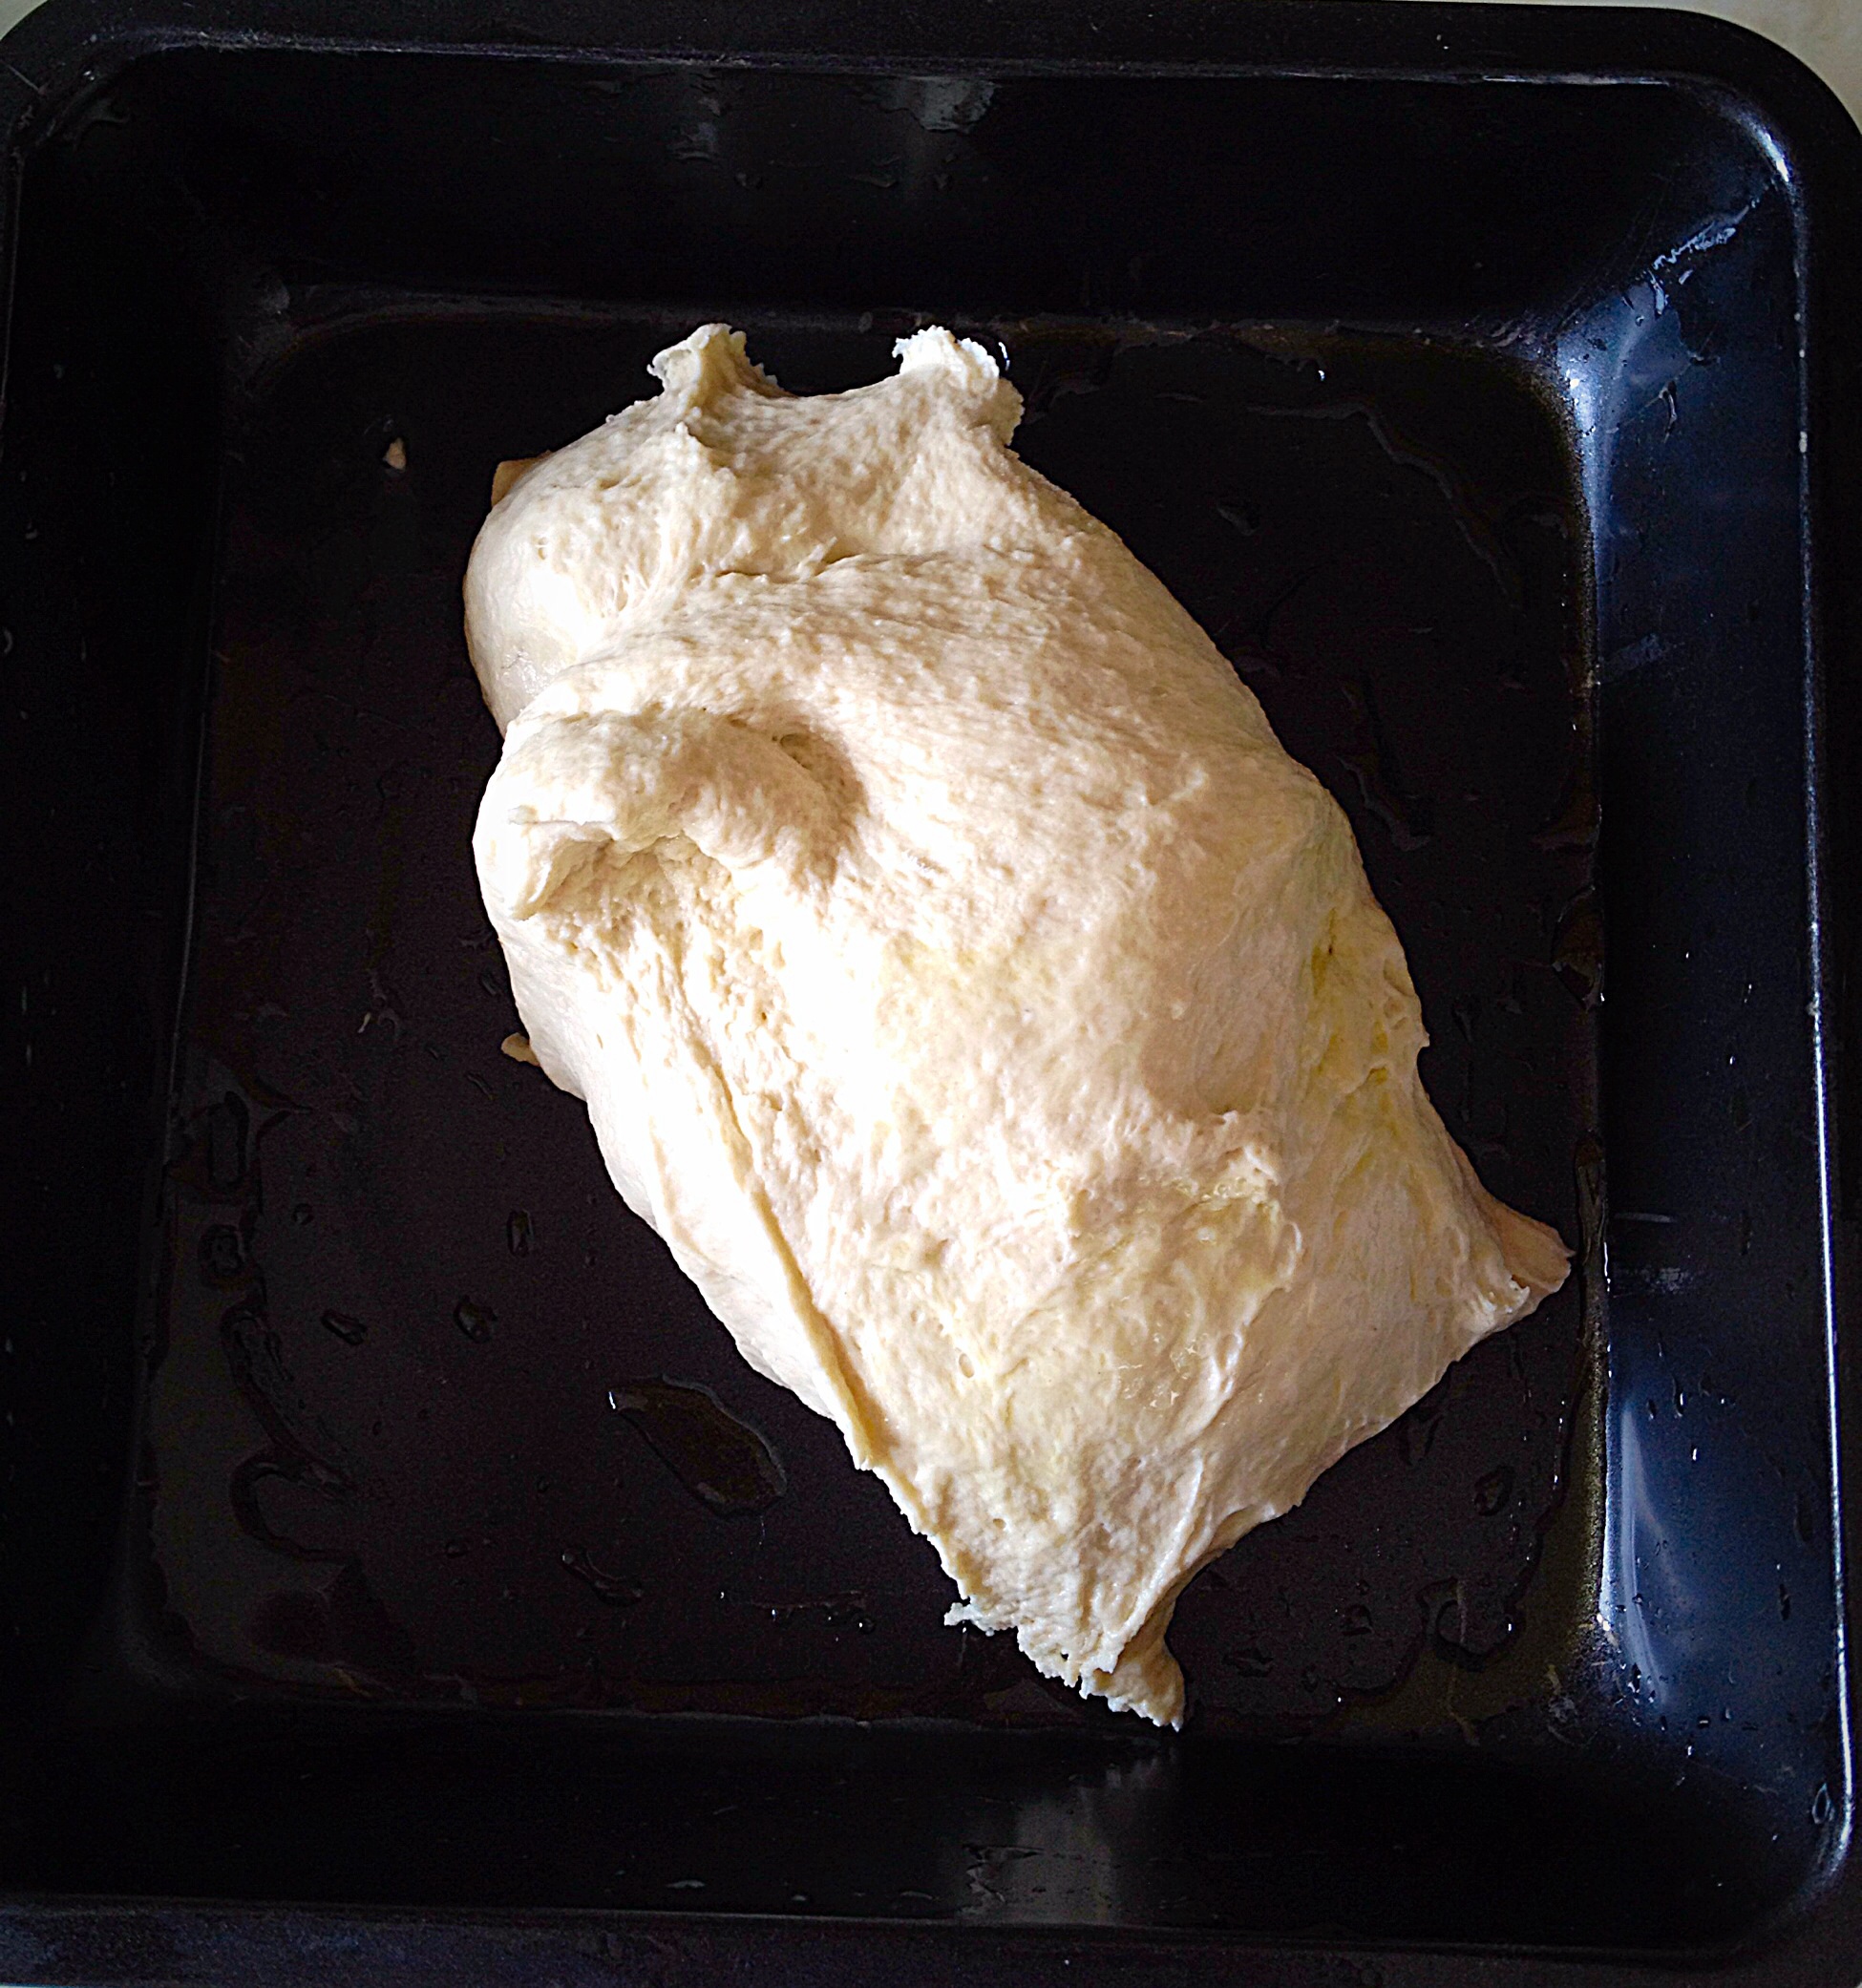
I could have recombined my dough to create three equal sized baguettes. What I did instead was to place the smaller baguette in a separate tray, knowing it would cook a little quicker than the other two! Very lazy I know!!
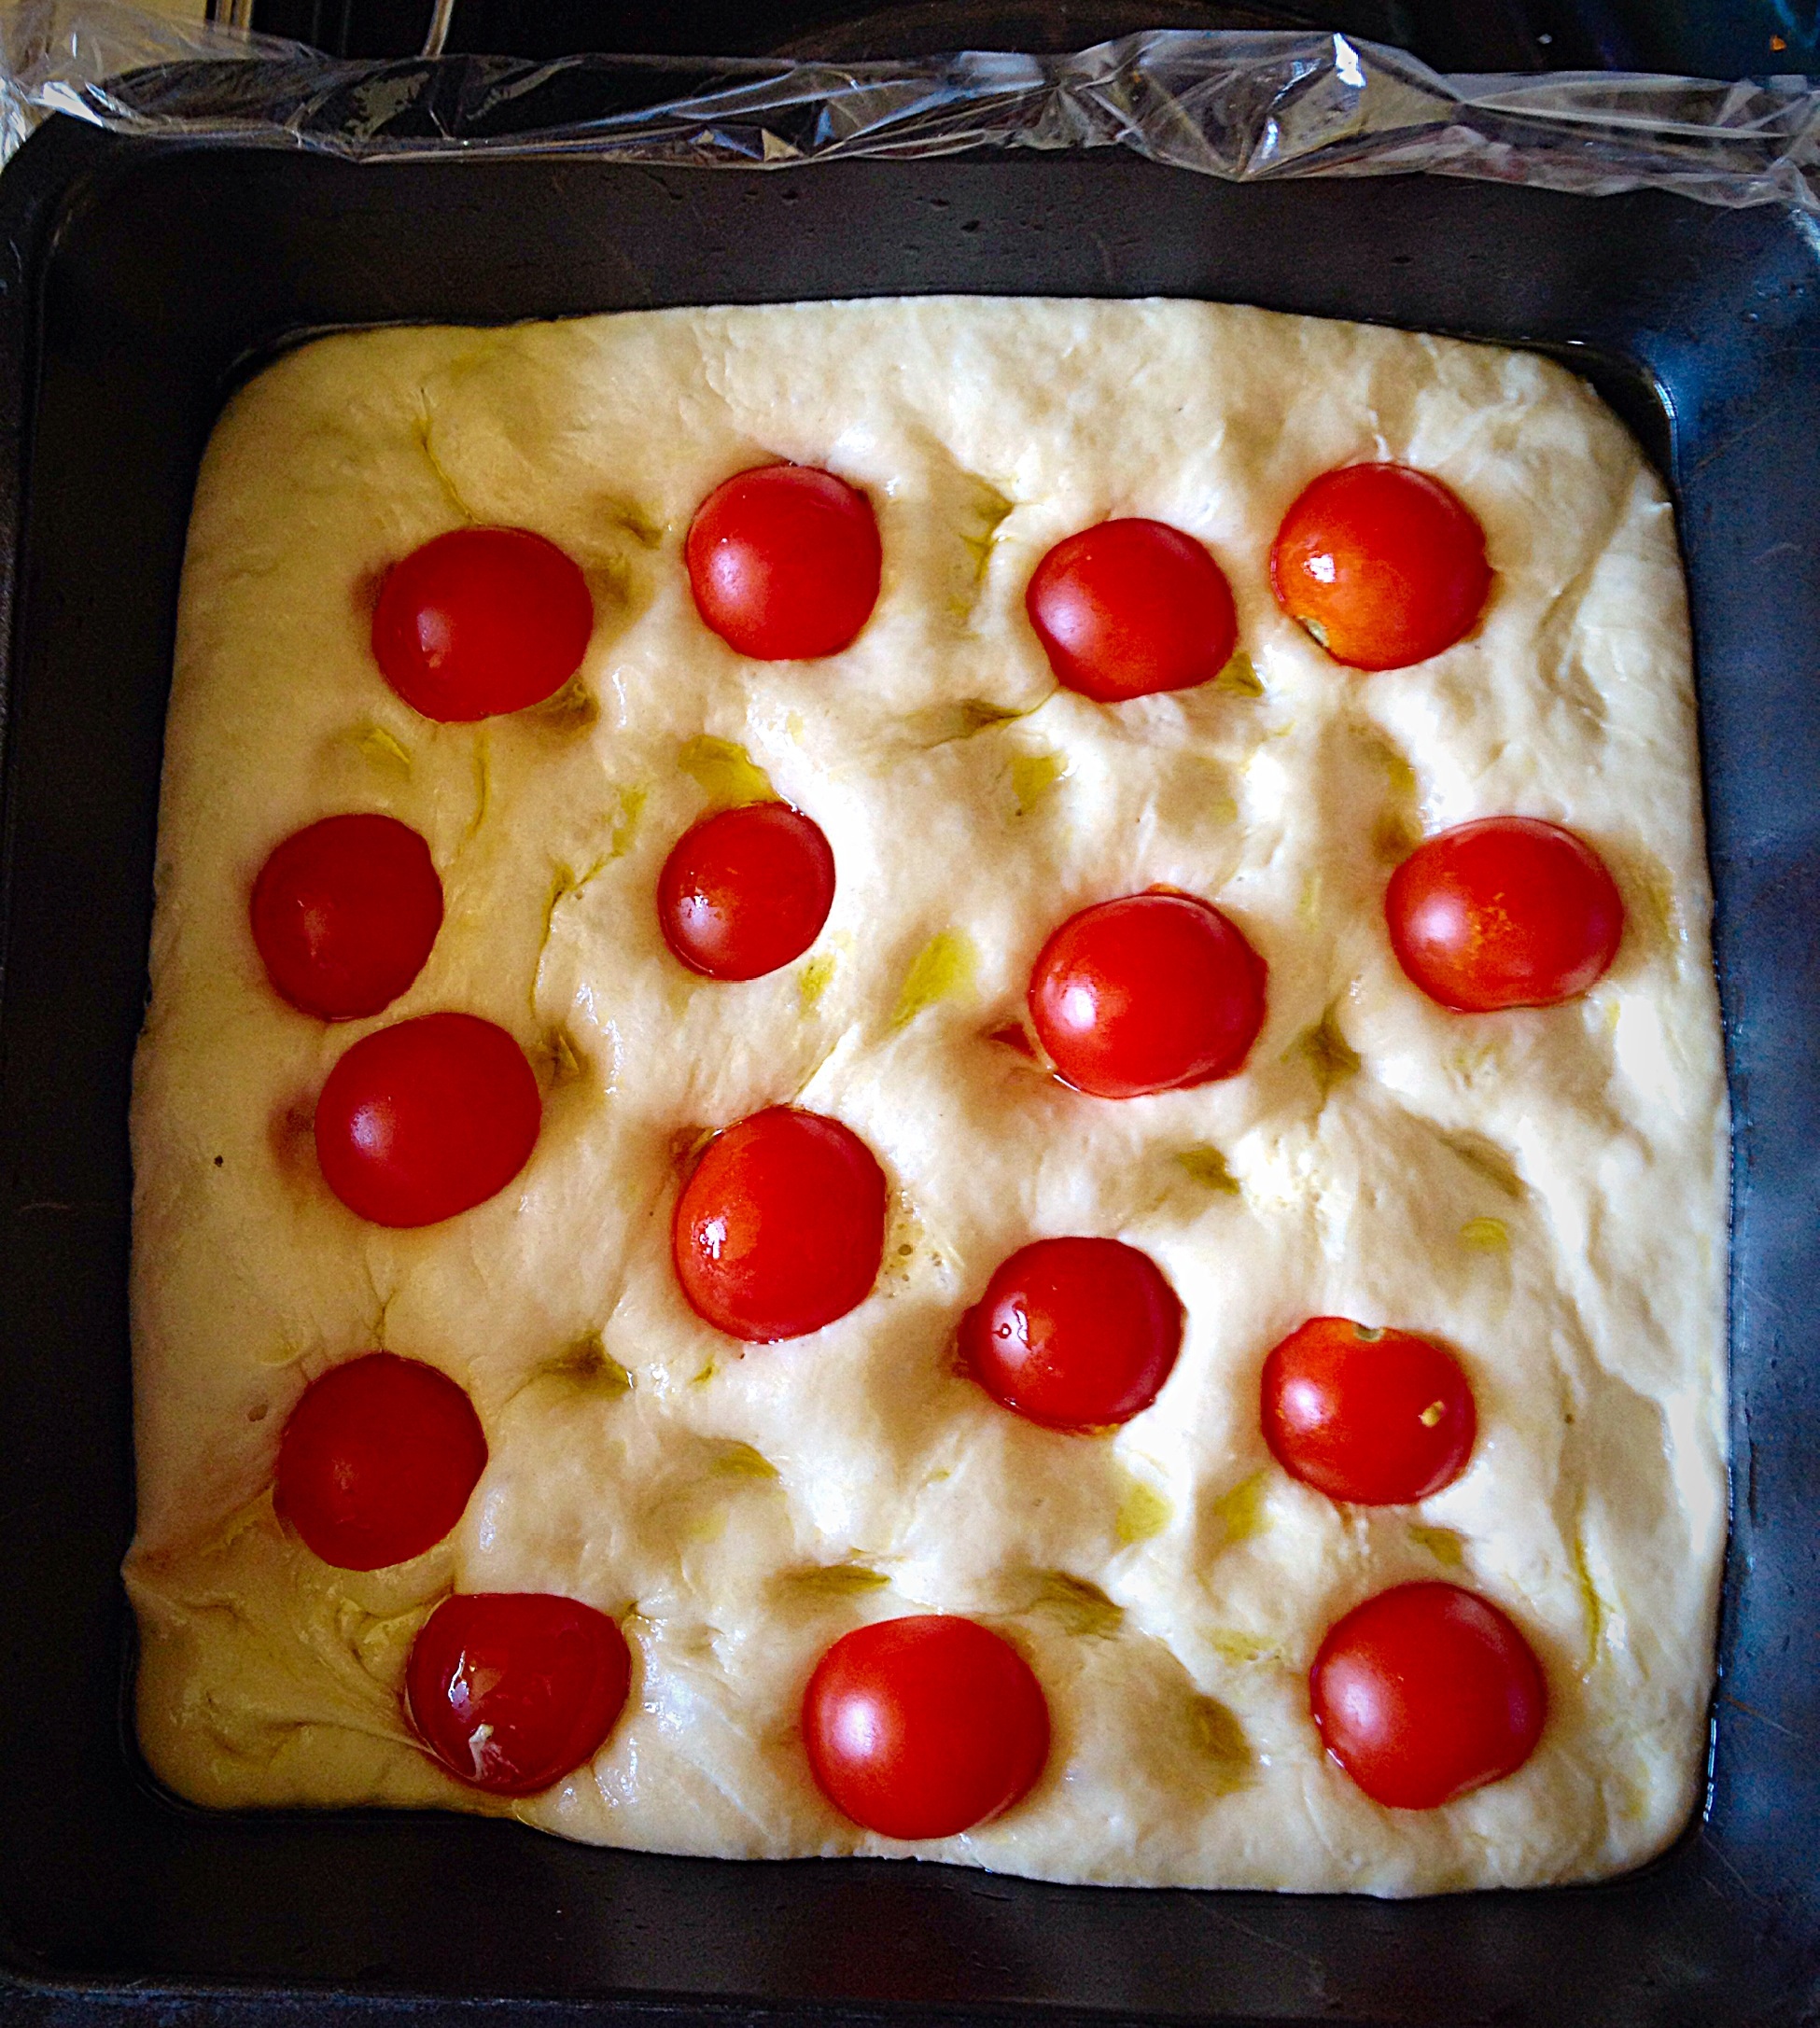
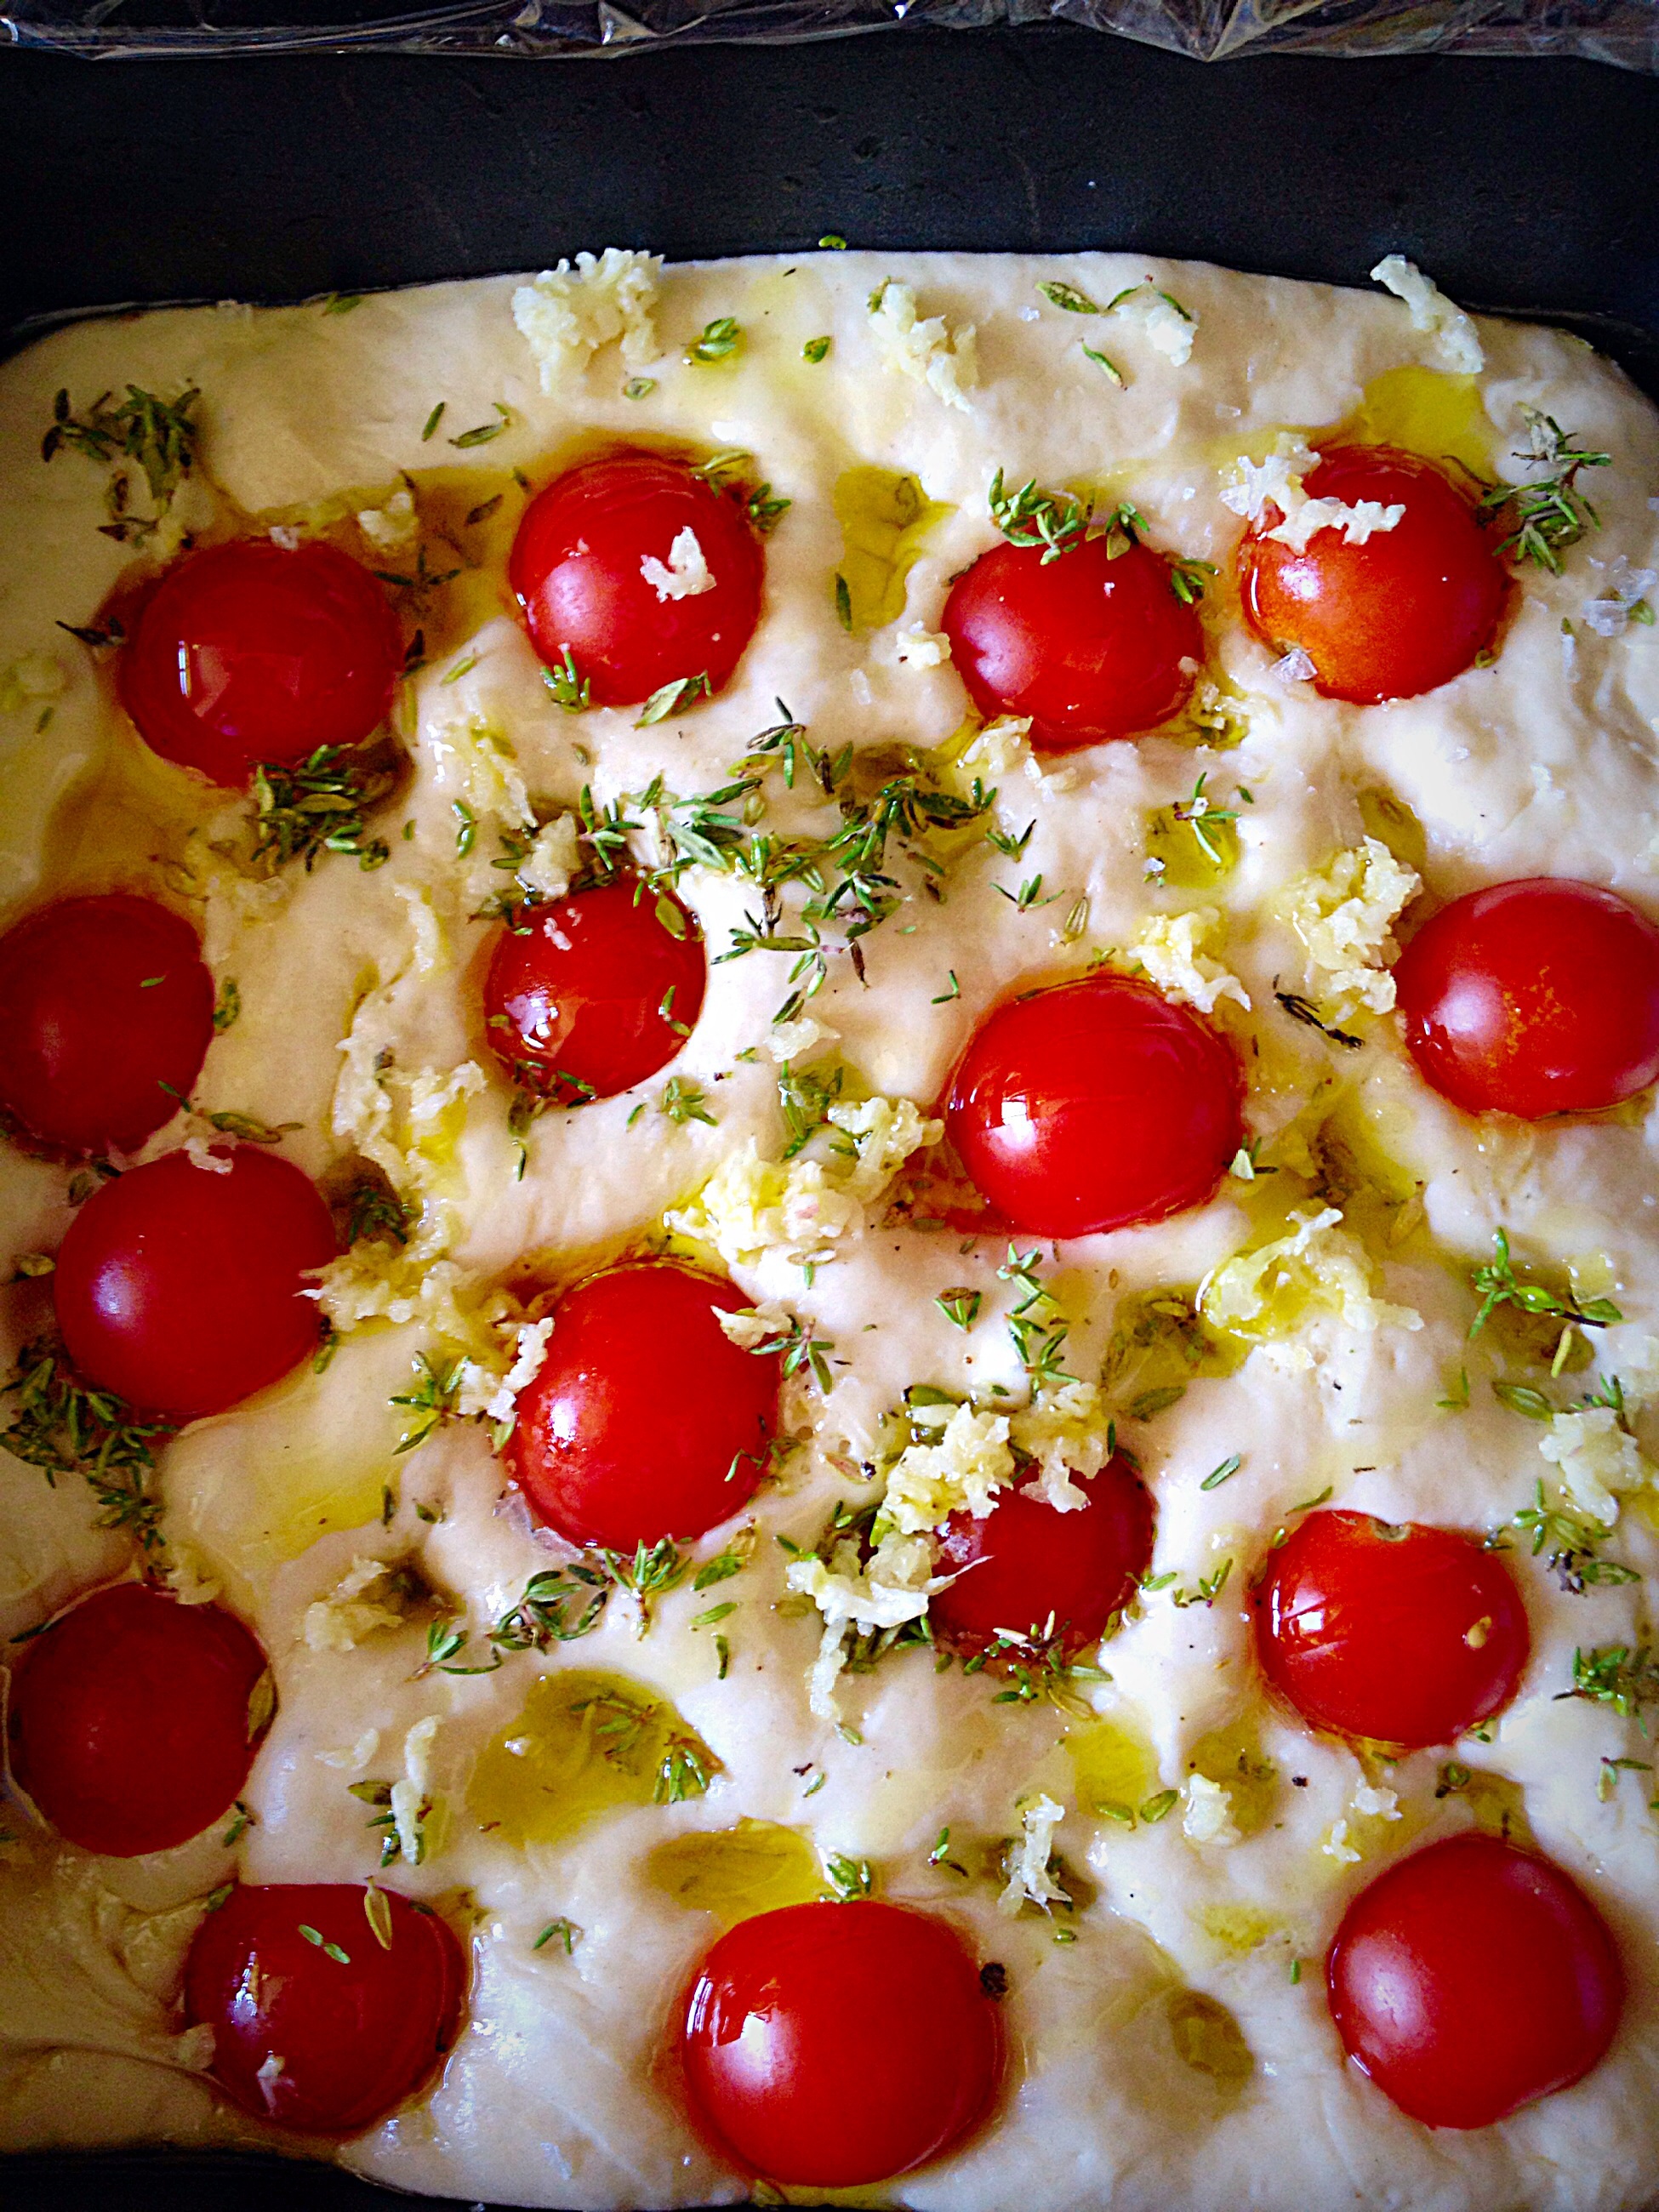
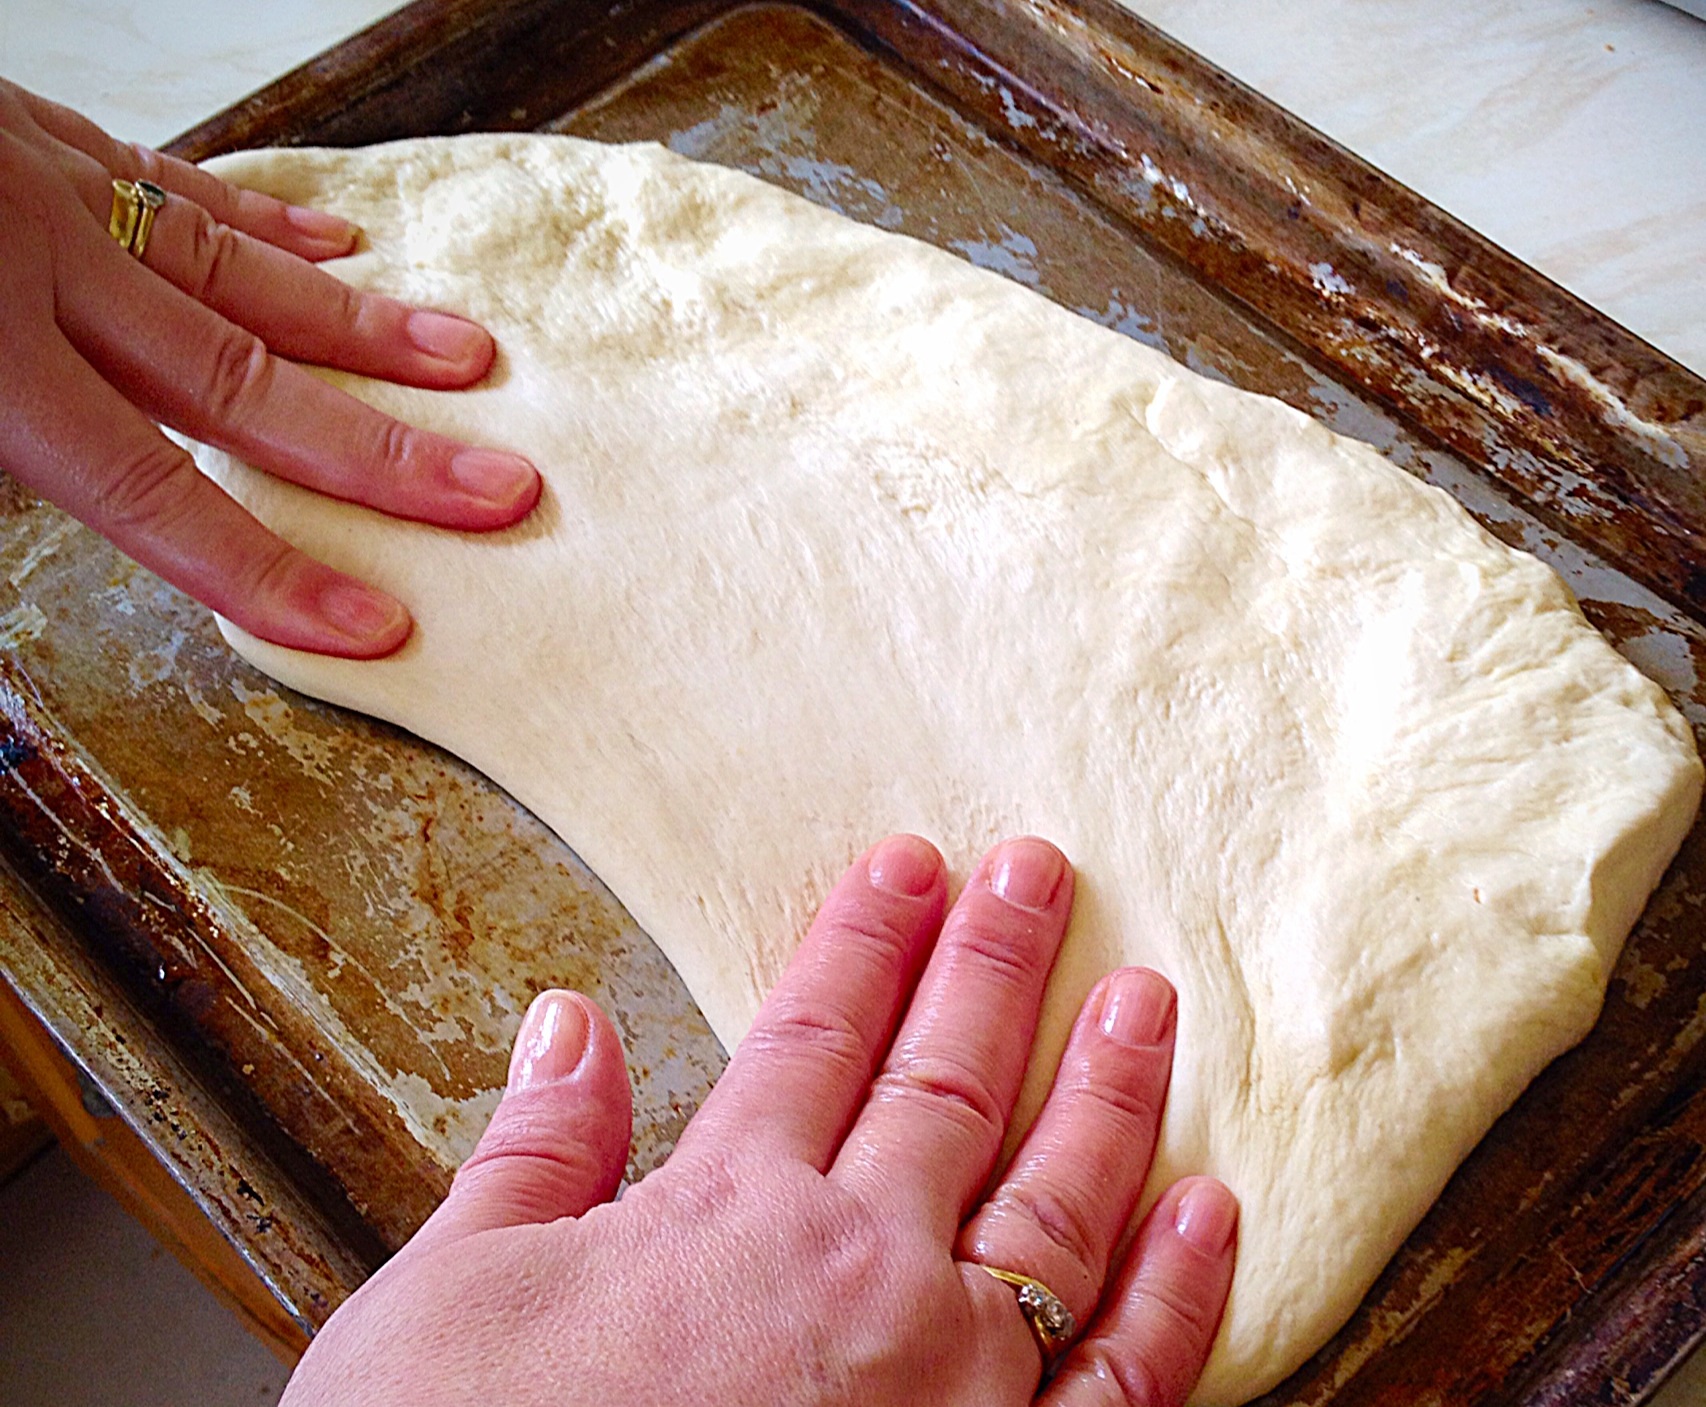
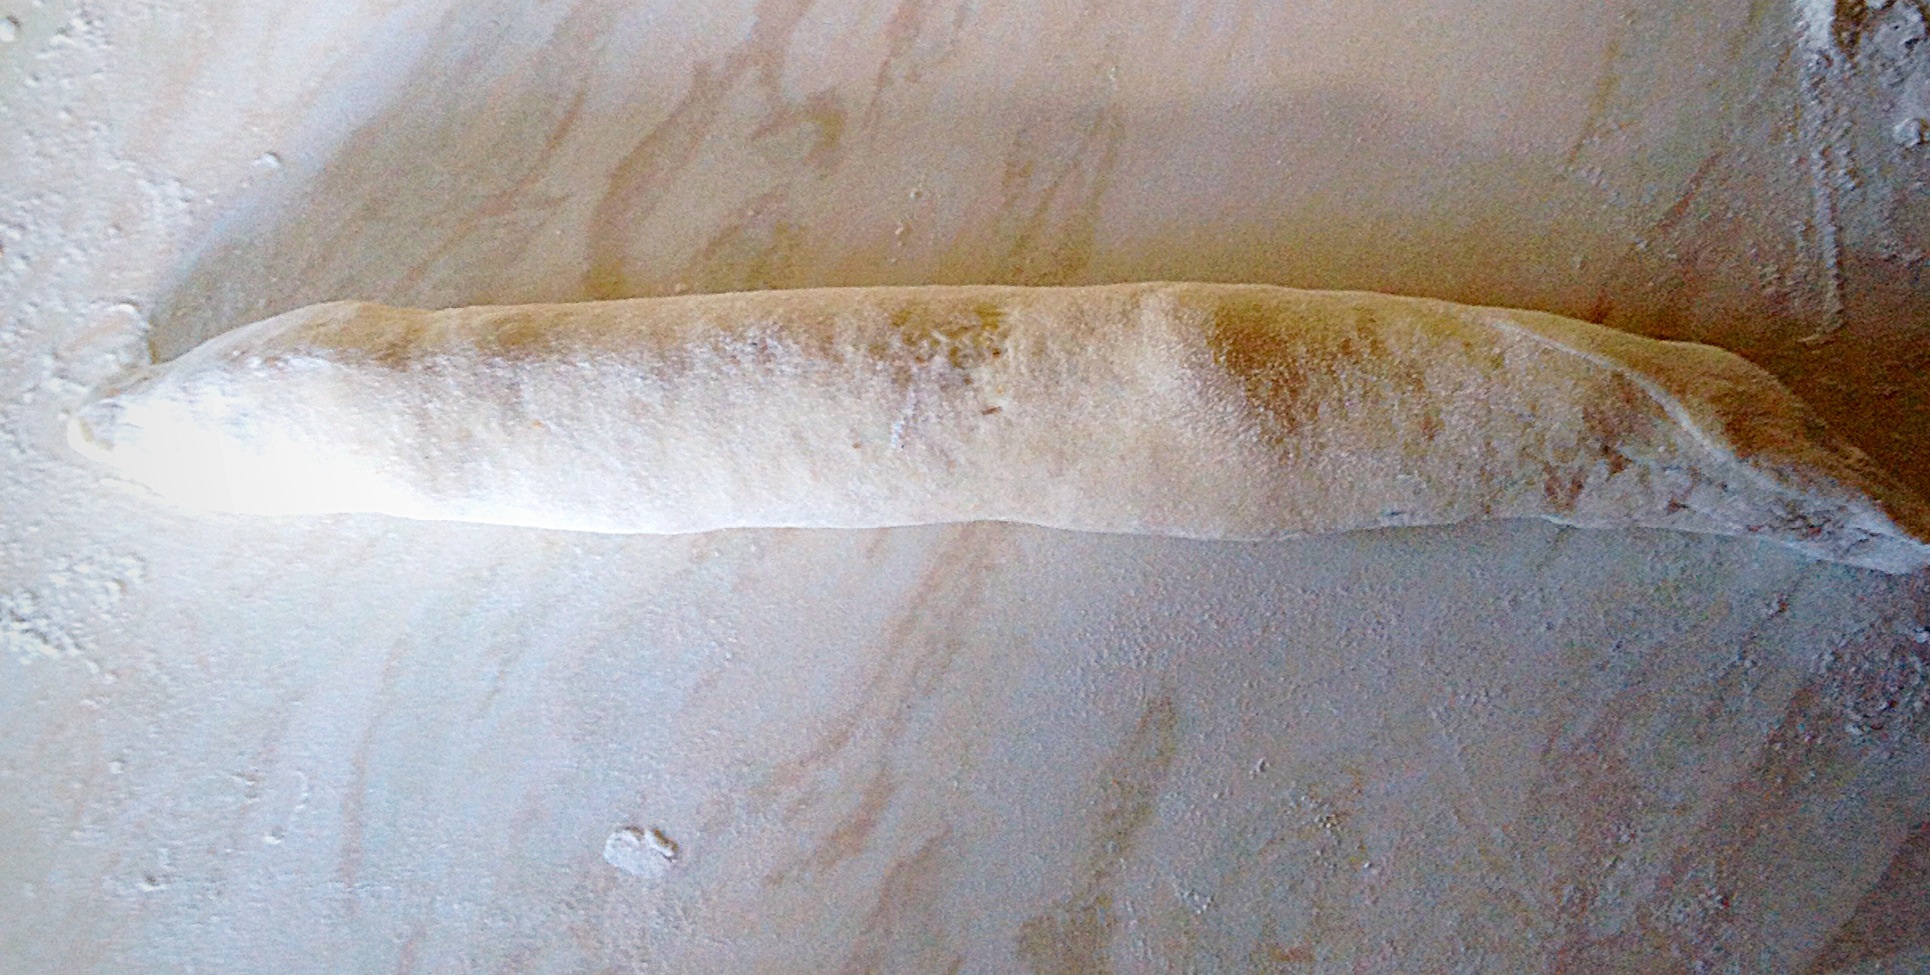
Place the trays in a draught free place and cover with a clean tea towel. Leave to prove until doubled in size.
Preheat the oven to it’s hottest setting and place a tray of hot water in the bottom of the oven. The steam produced will help give your Easy Crusty Baguettes the super crusty, crunchy exterior that is required in a baguette!
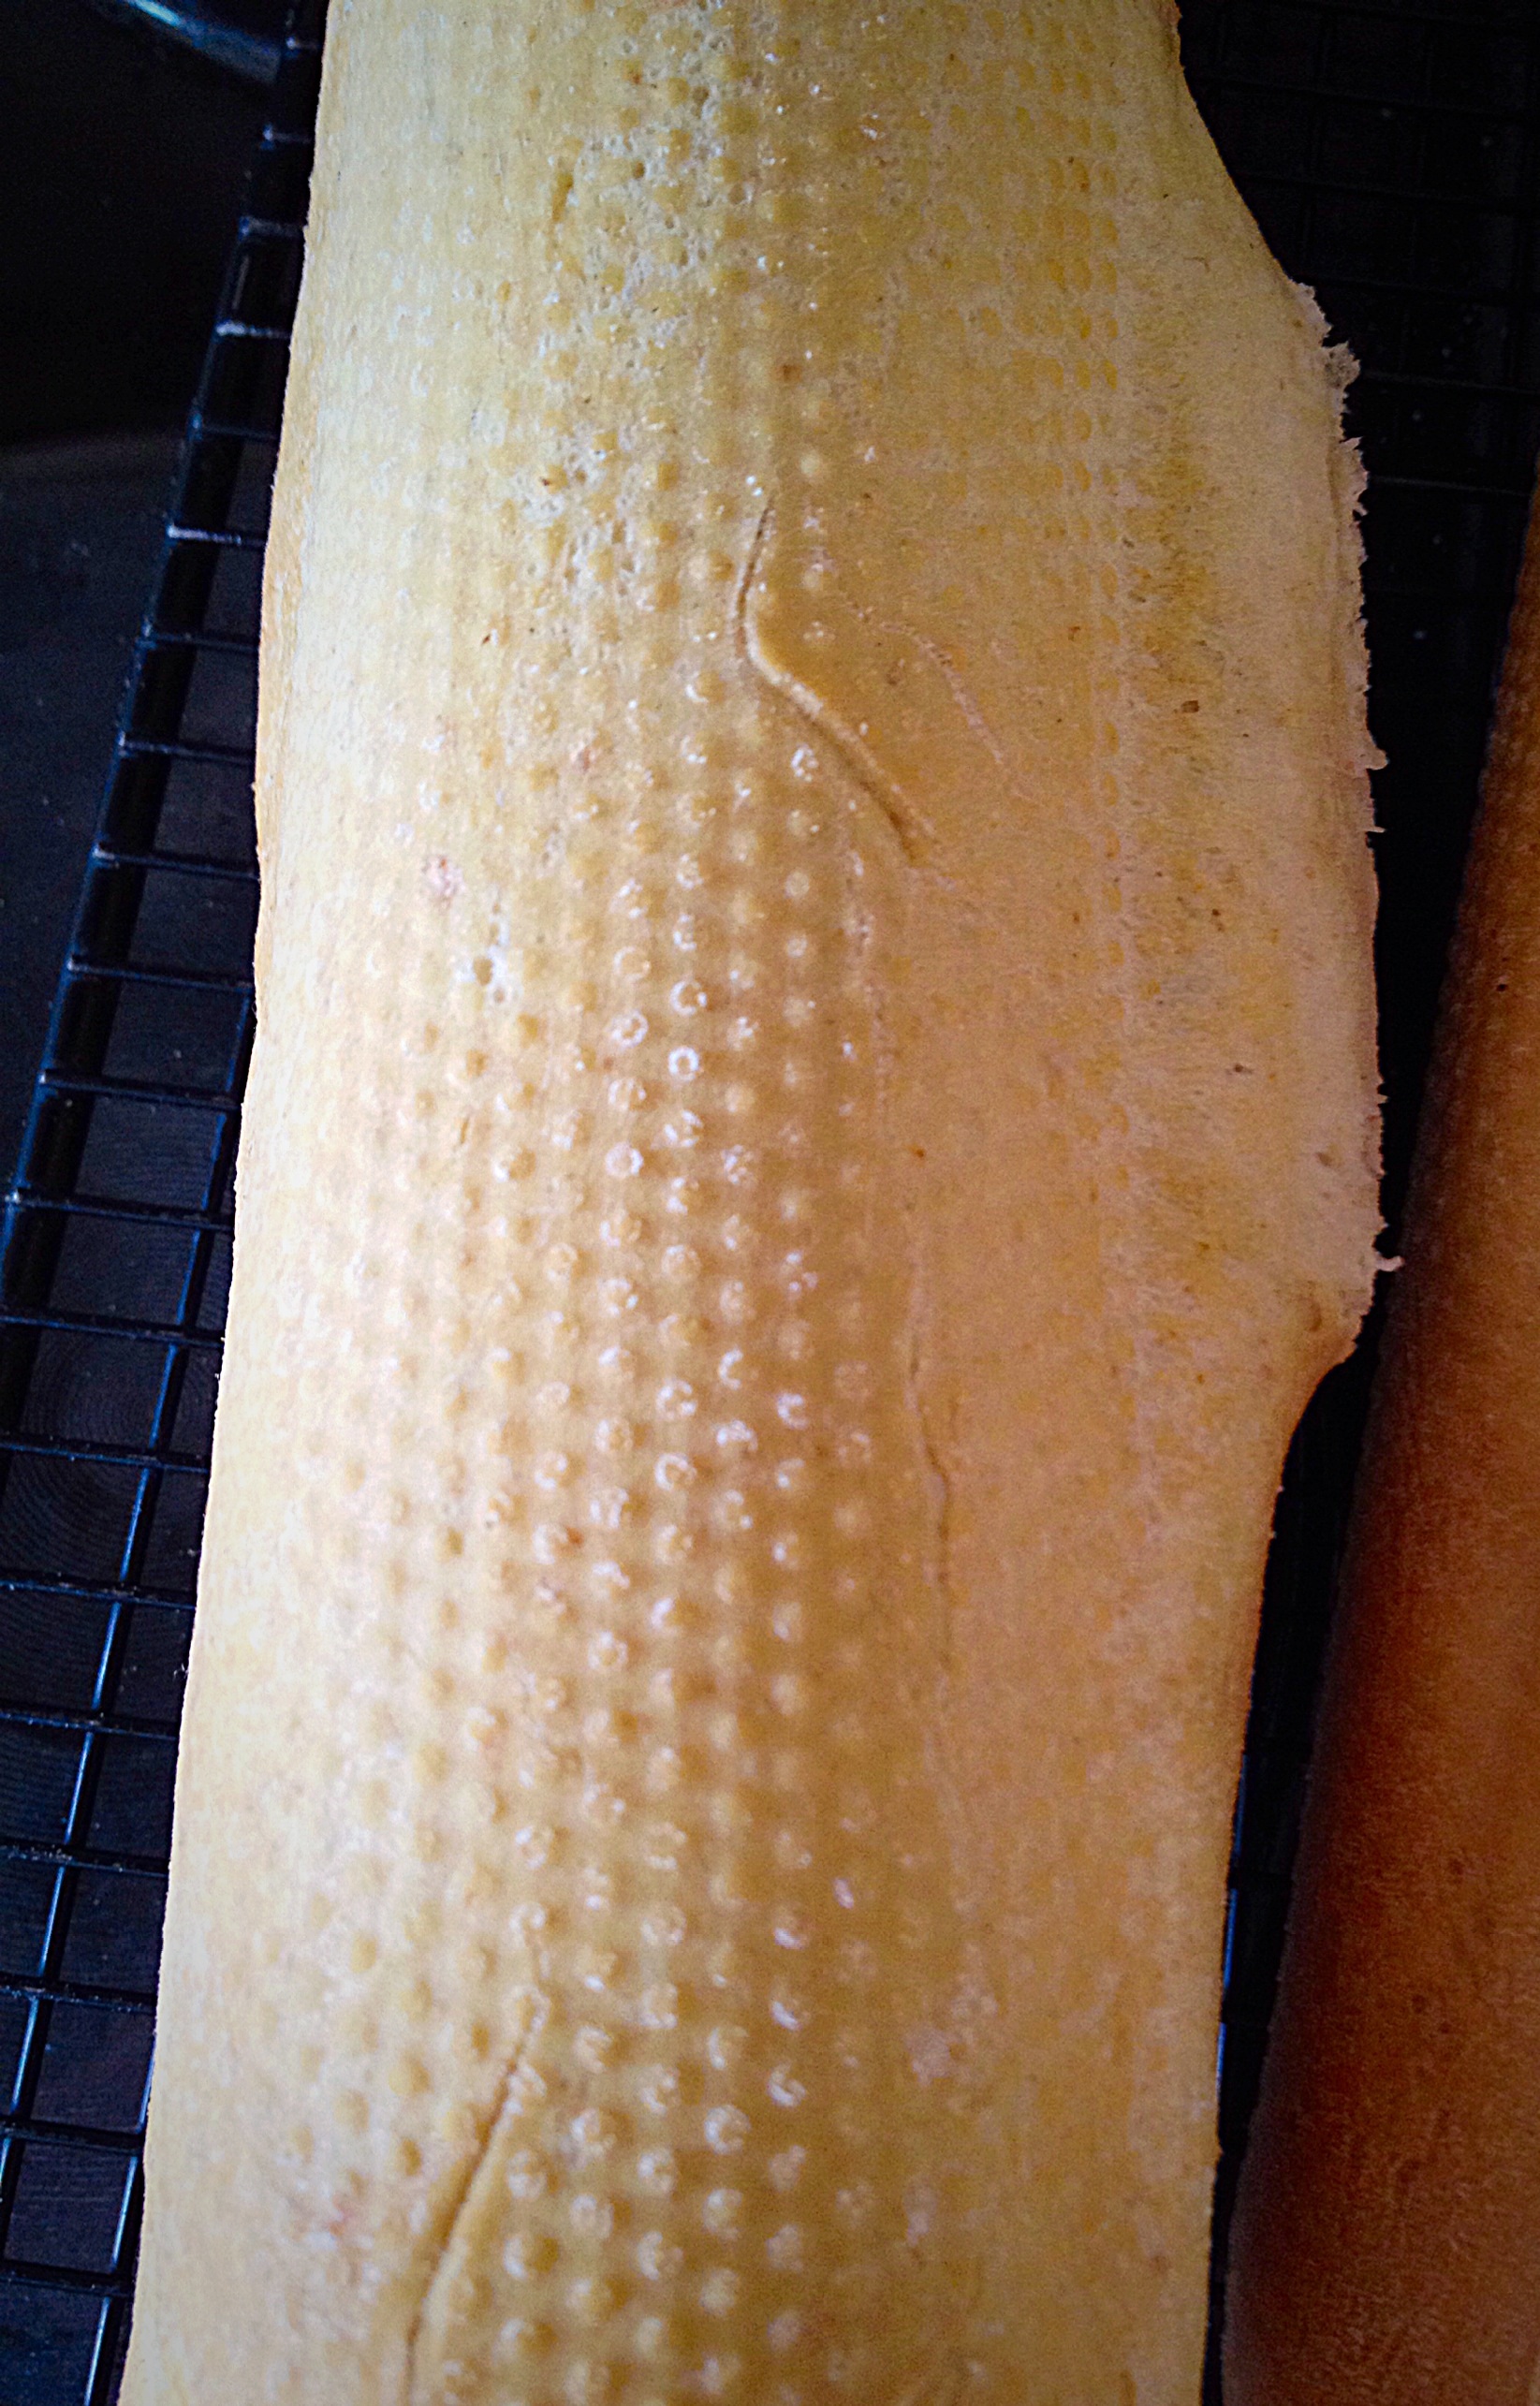
Removing the towel place the baguette trays into the oven diagonally. Bake for 20-25 minutes until the baguettes are golden, with a hard crust. They should sound hollow when rapped on the base with your knuckle.

Remove from the oven and place the baguettes on a cooling rack.
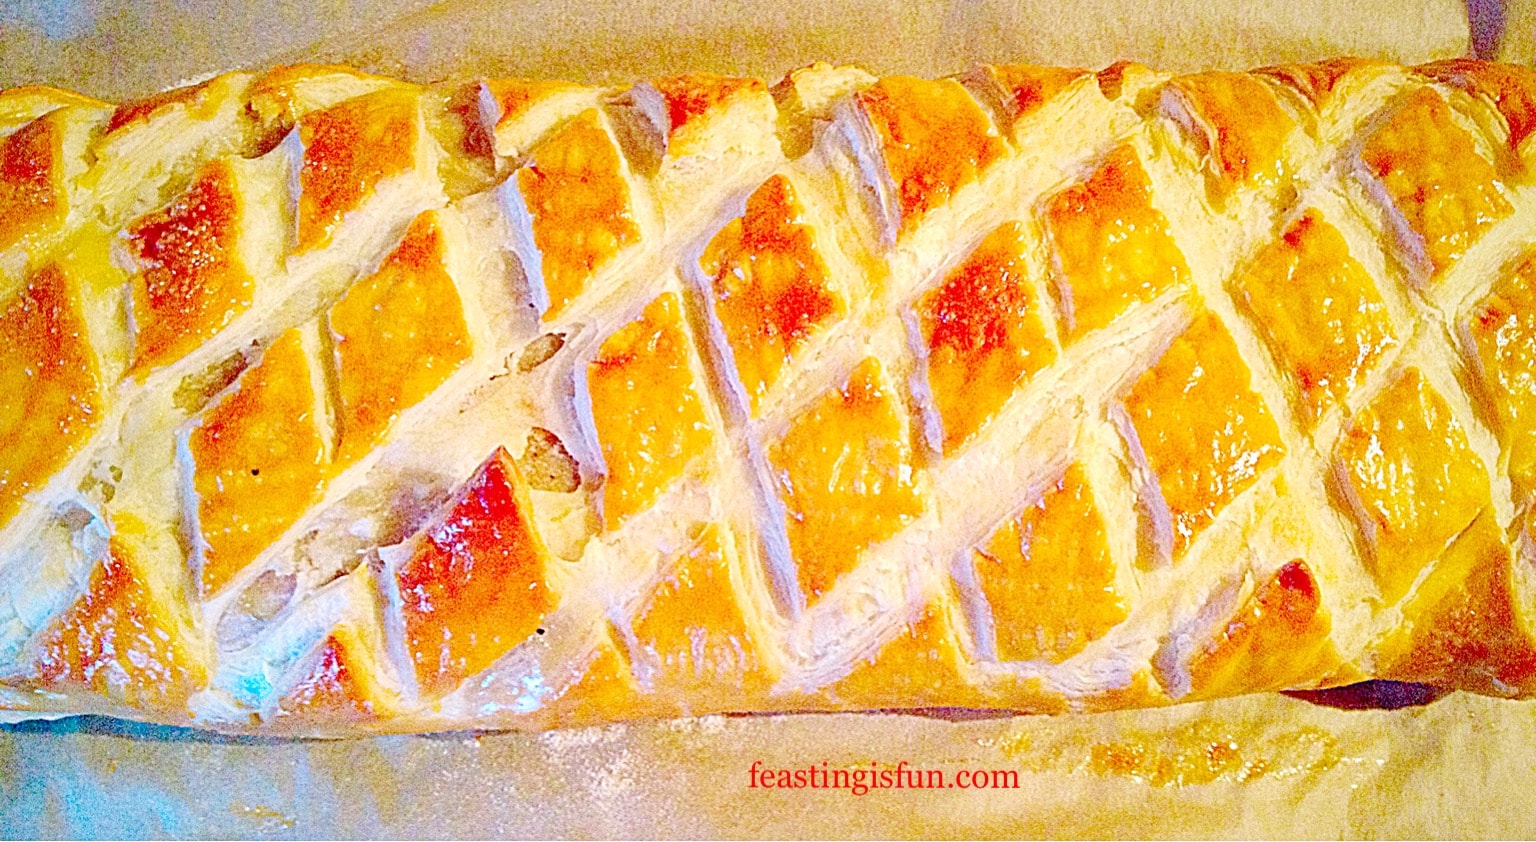
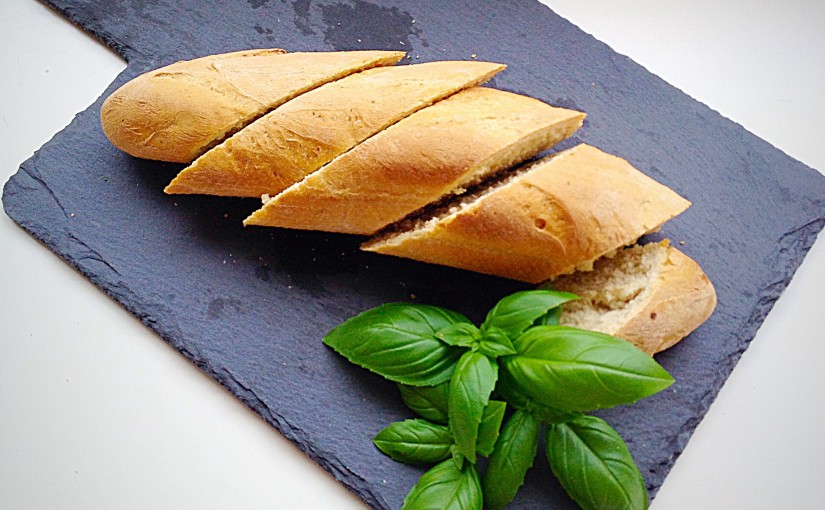
We ate one baguette the day they were made. The other two were stored in our bread tin. 2 days later I sprinkled them with a little water and placed in a preheated, hot oven for 5-8 minutes. Below is the baguette I refreshed in the oven. It tasted as good as the day it was made. Absolutely delicious with a really crunchy crust.

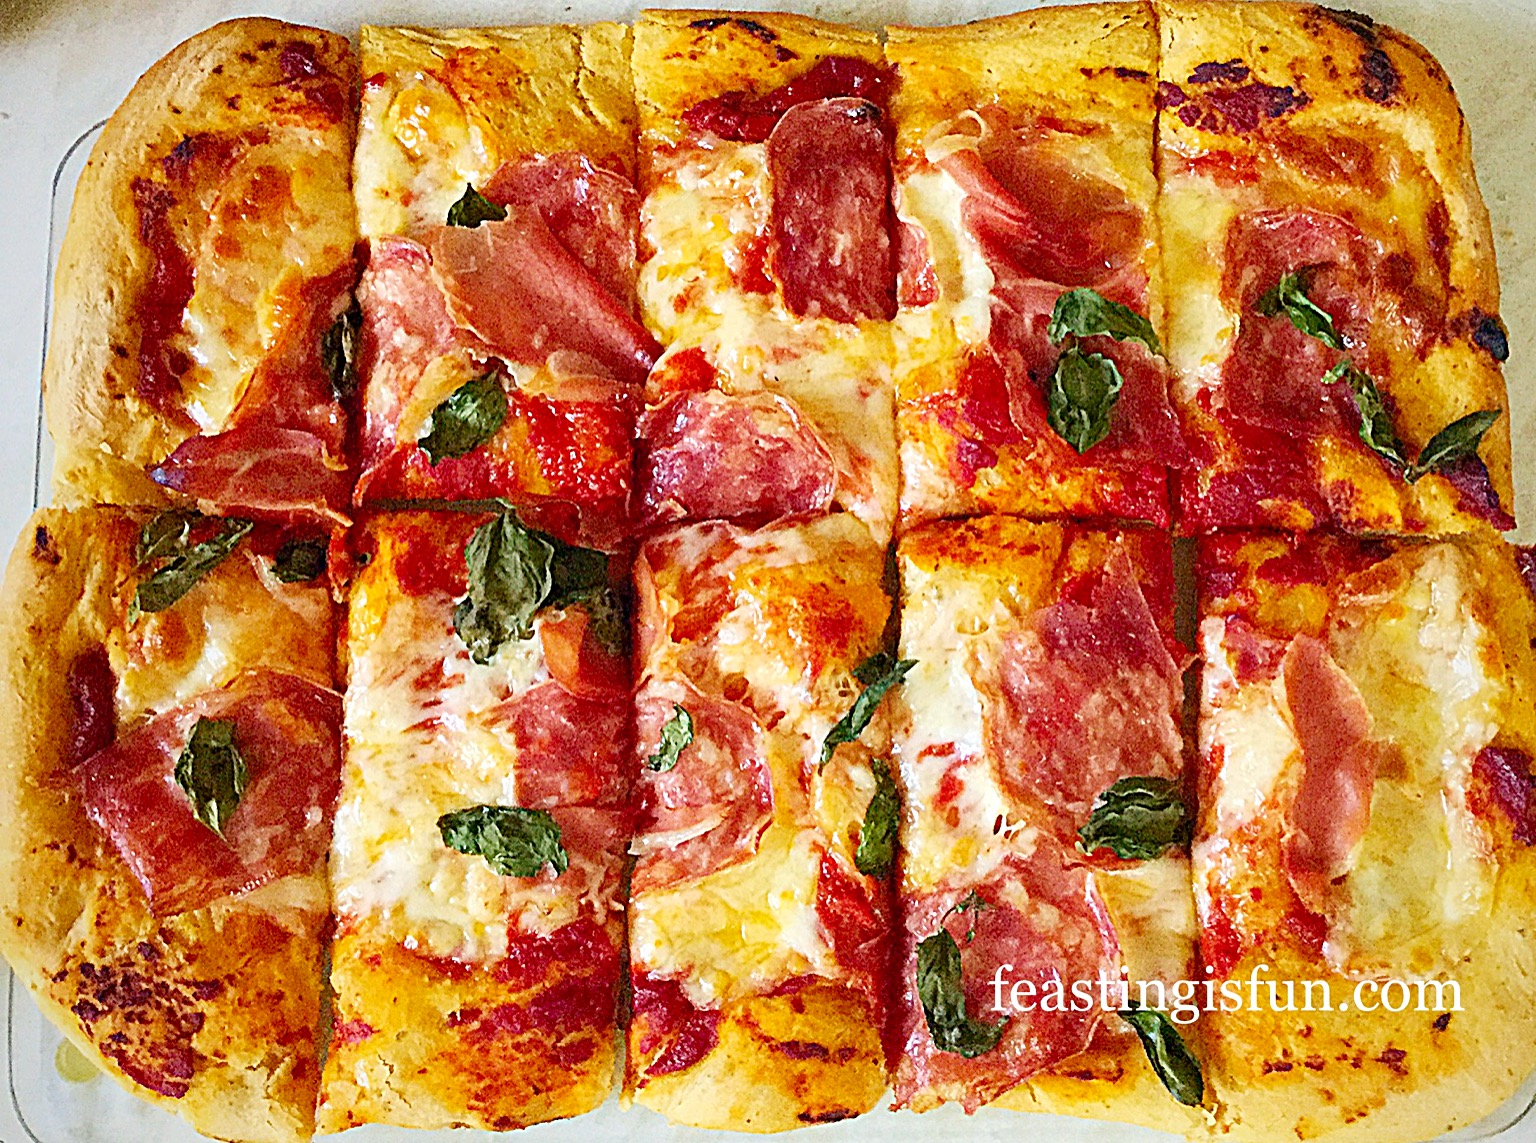
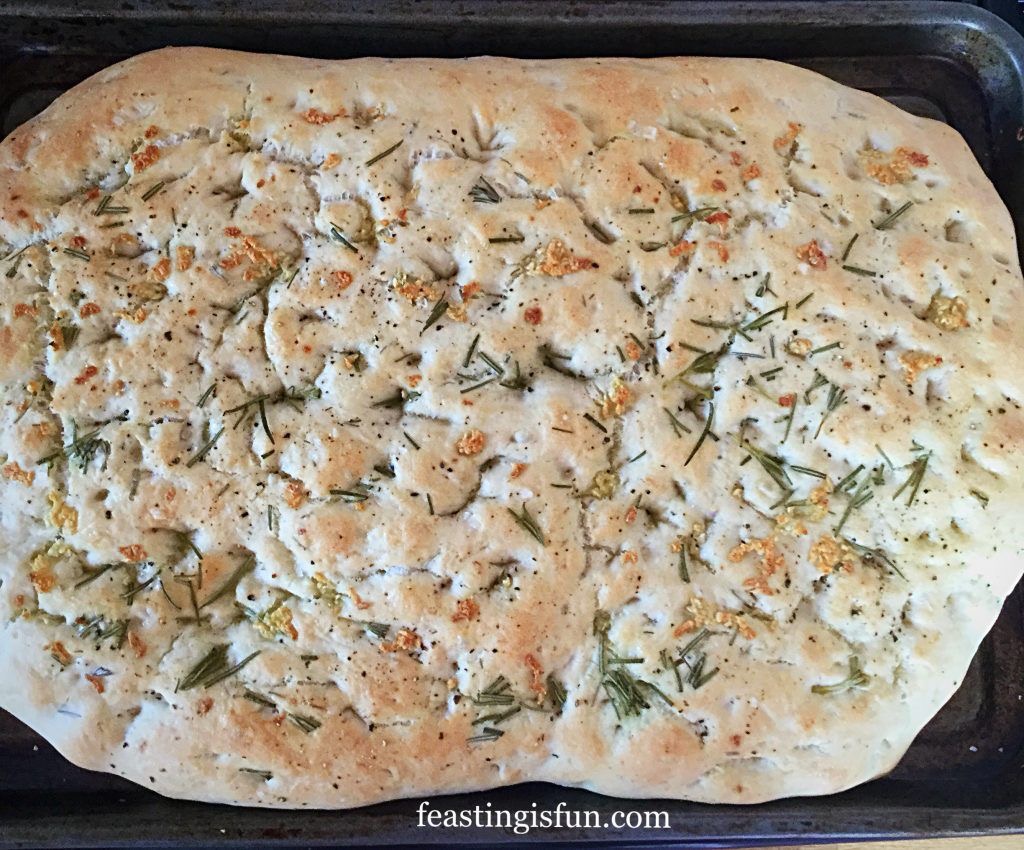
If you have enjoyed this recipe for Easy Crusty Baguettes then you may also like these:
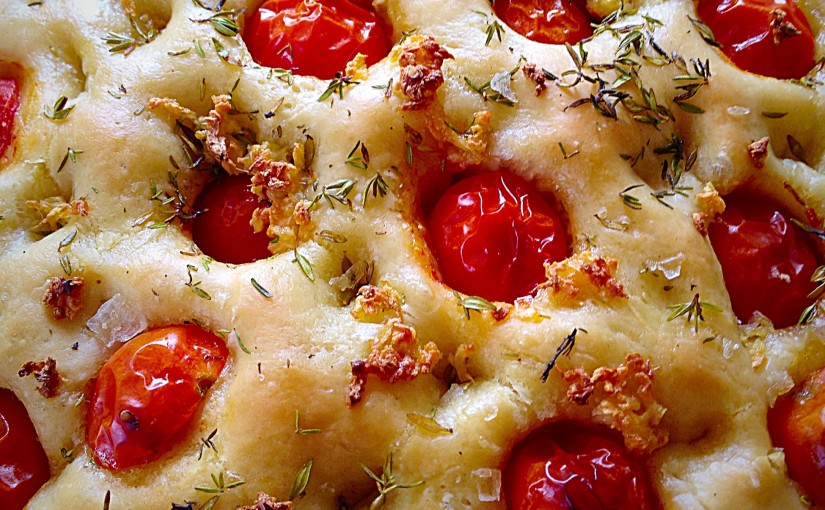
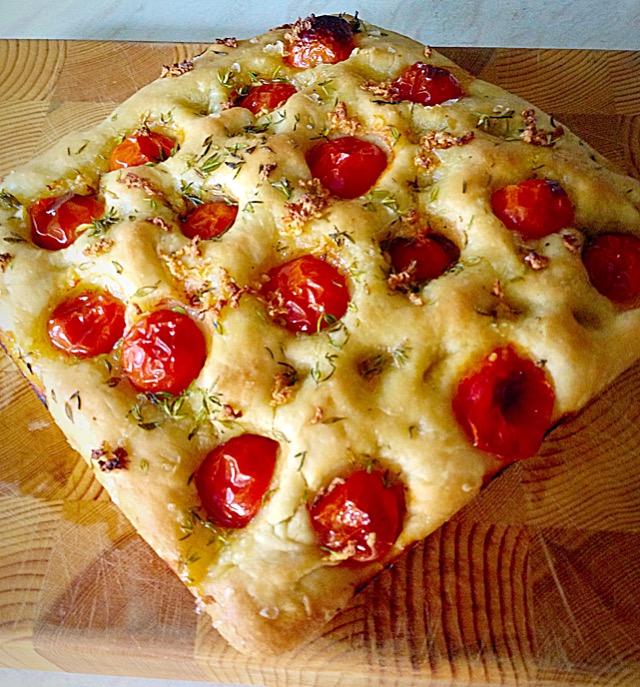
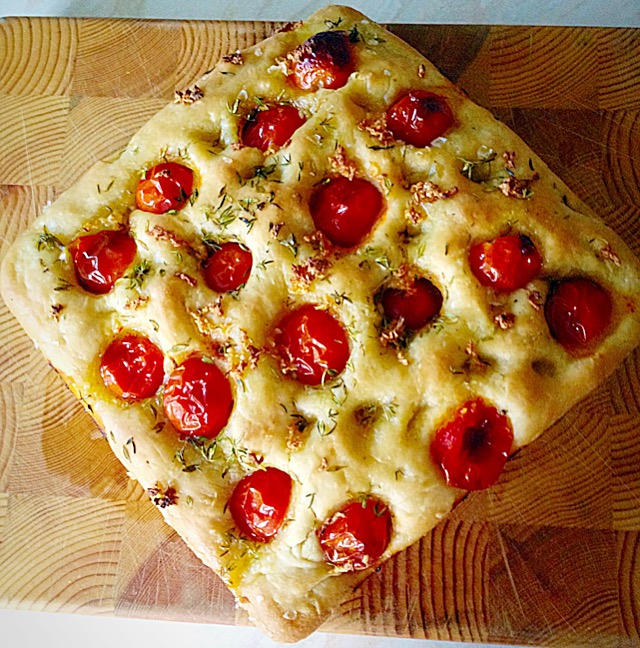
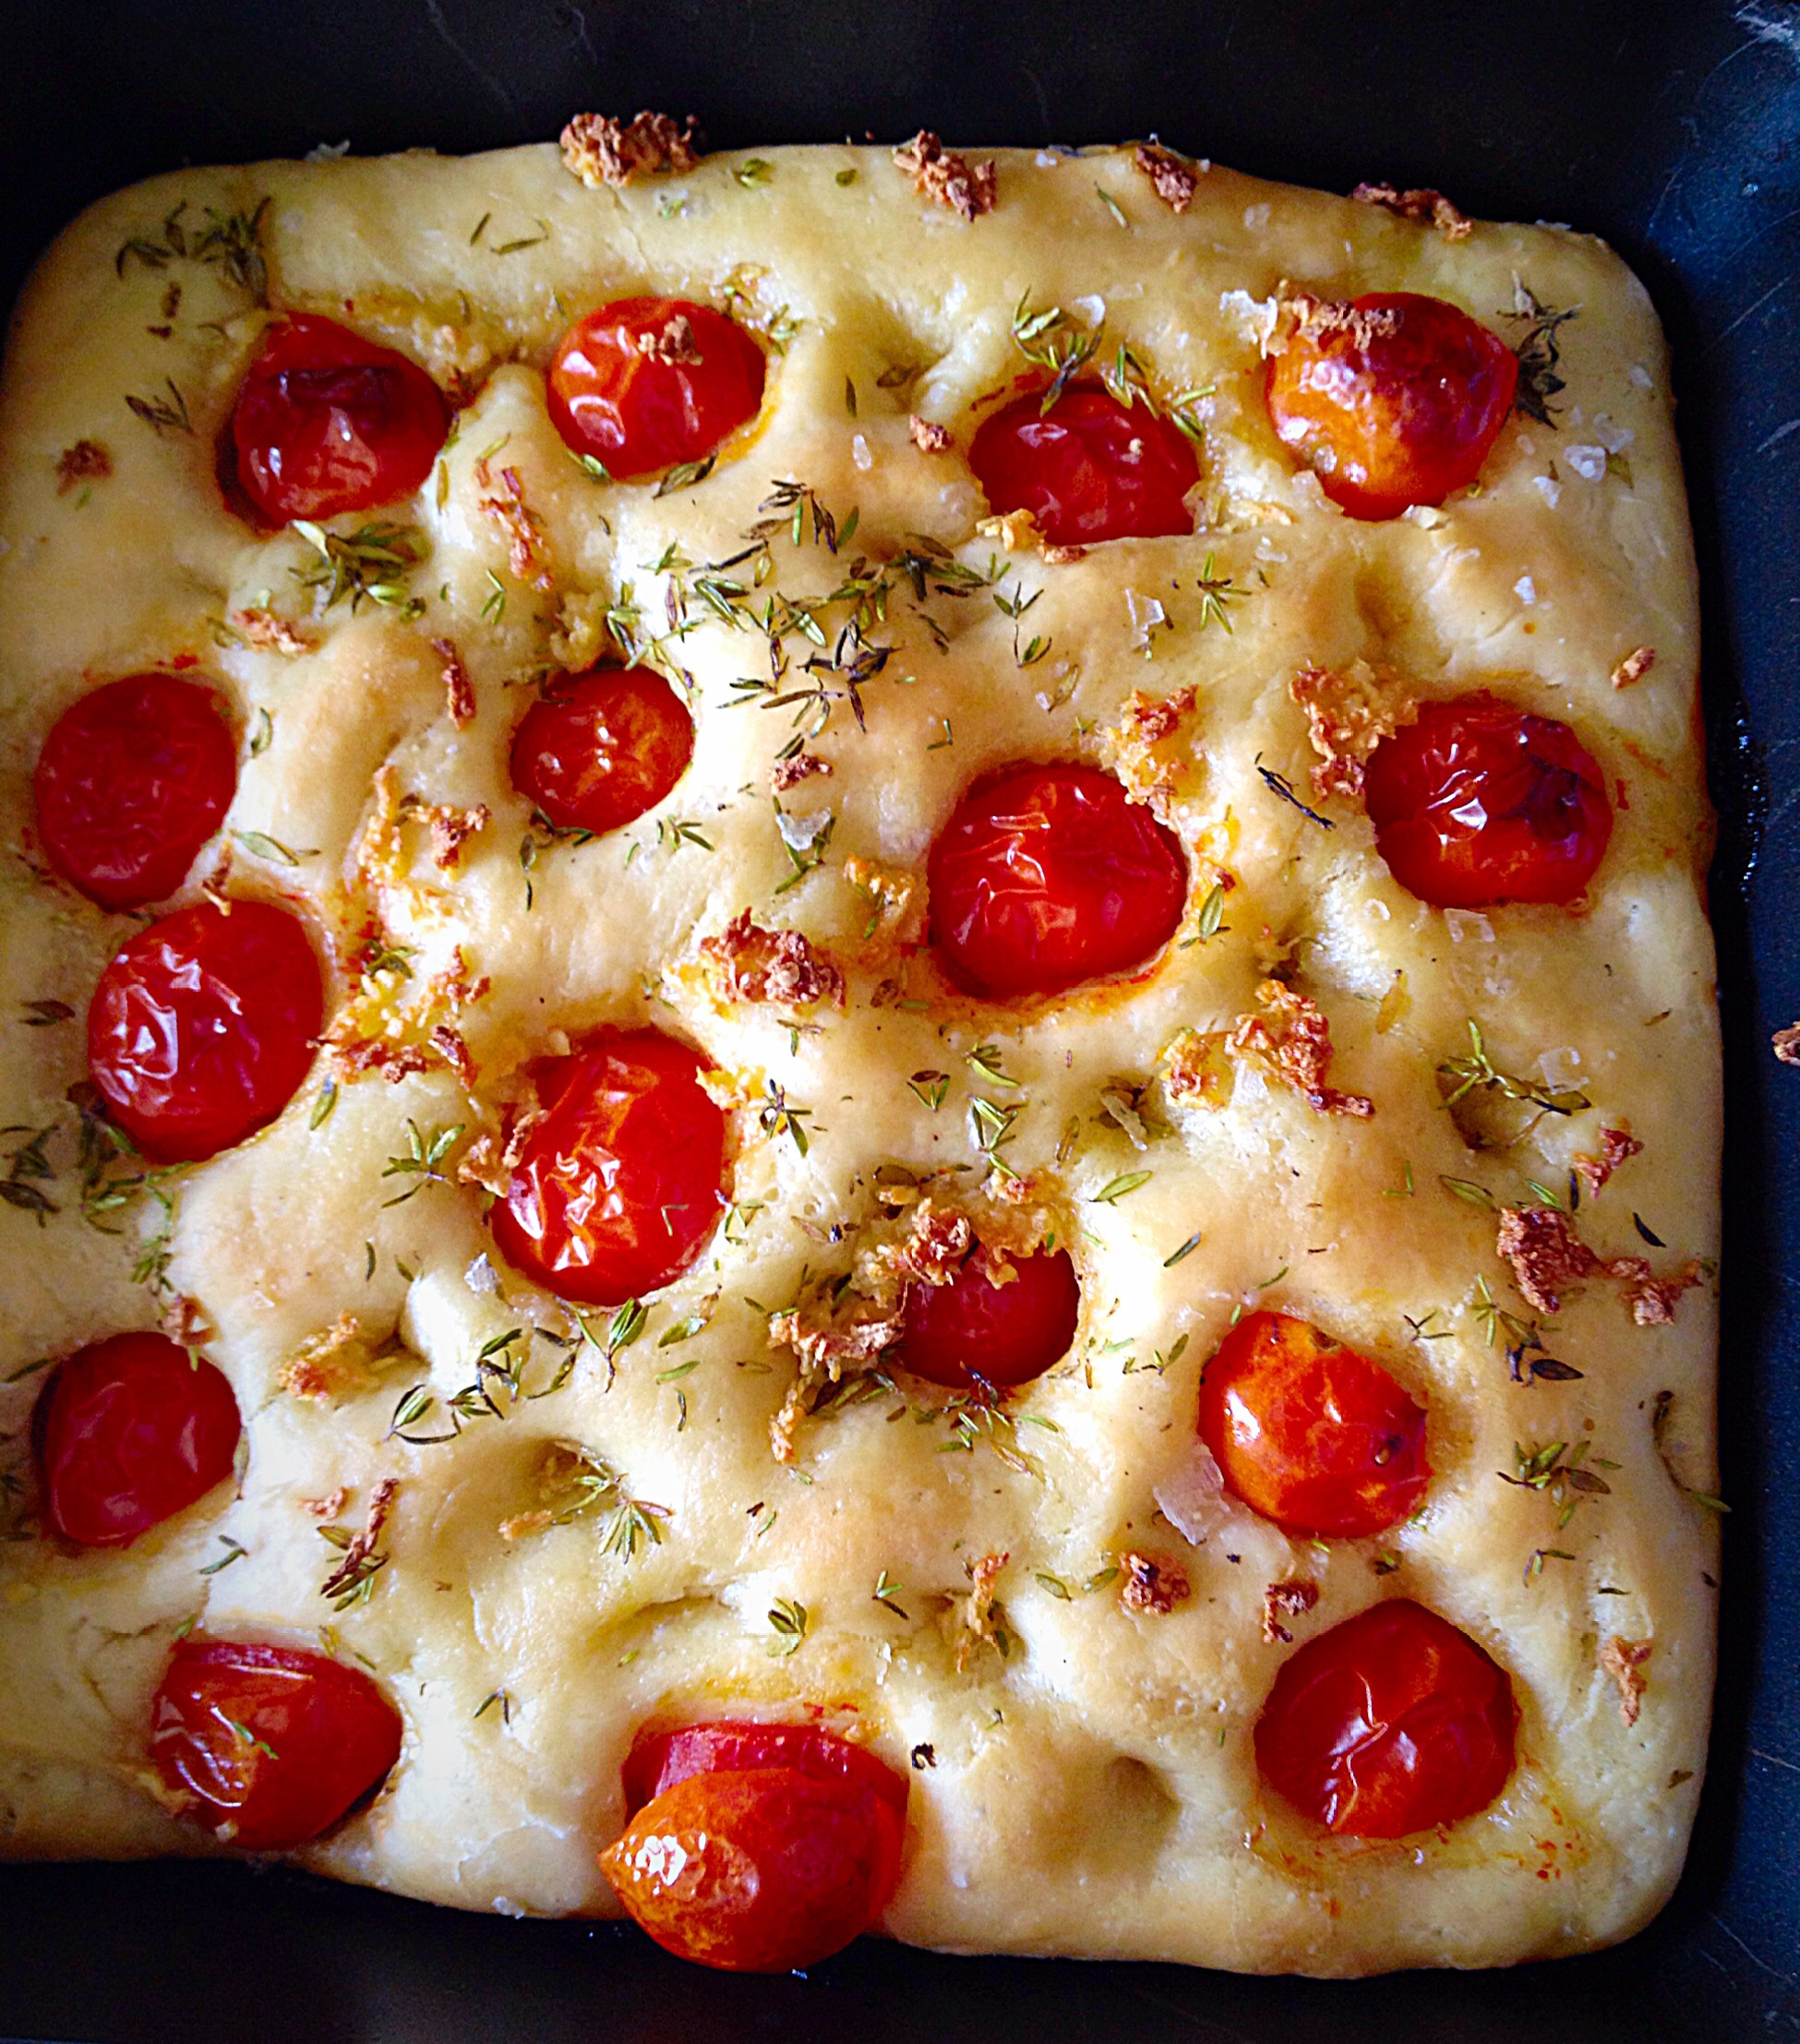
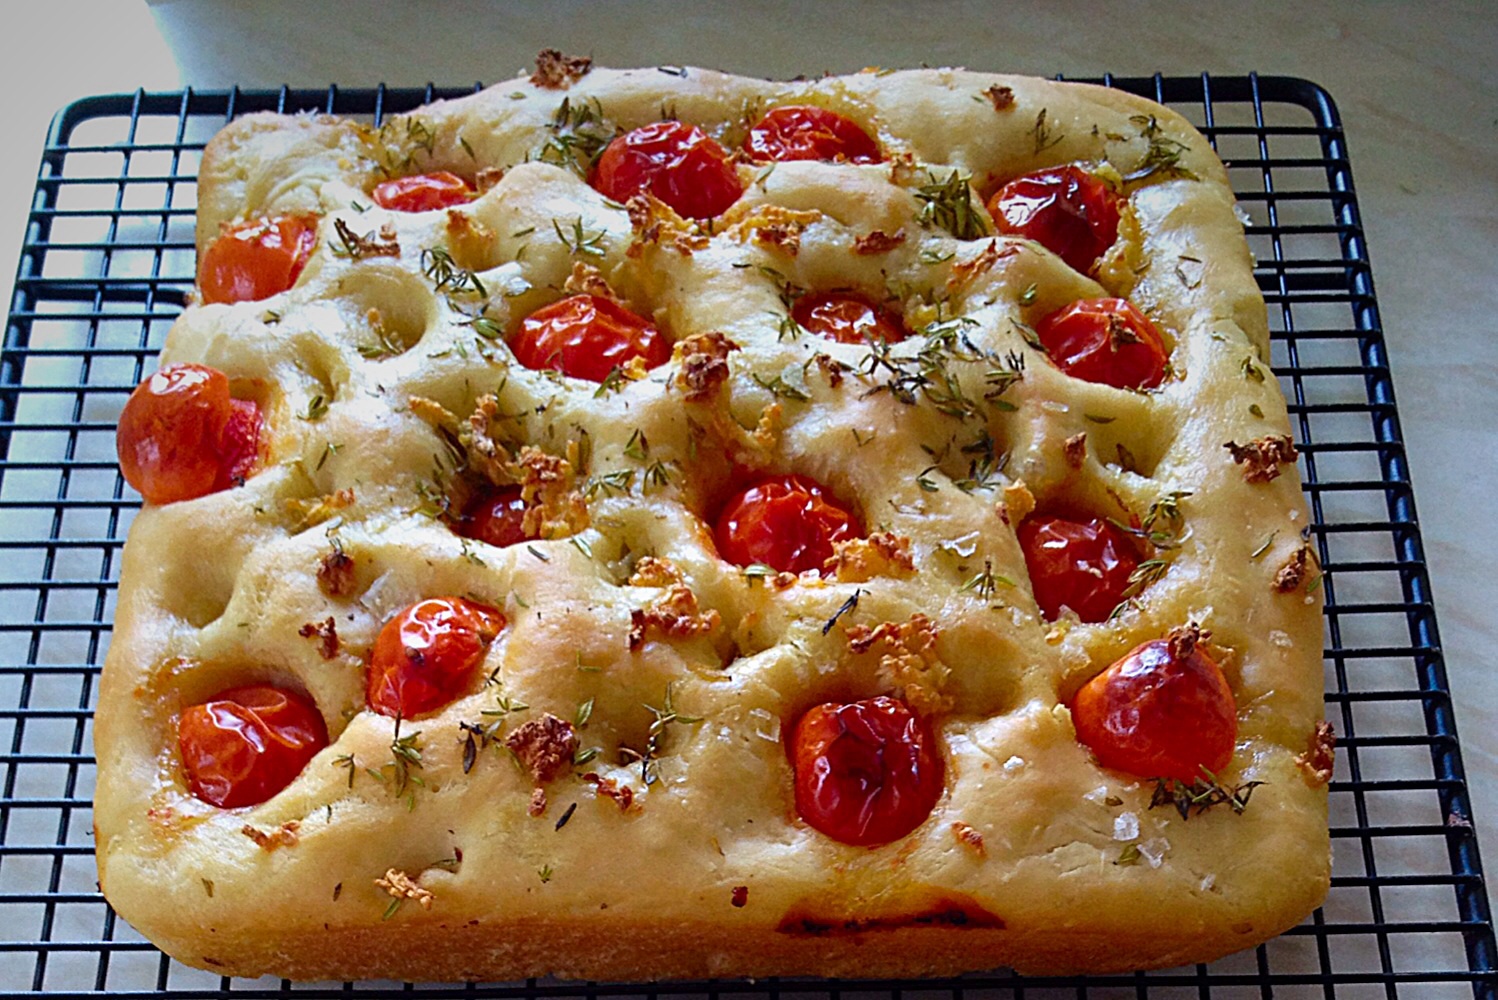
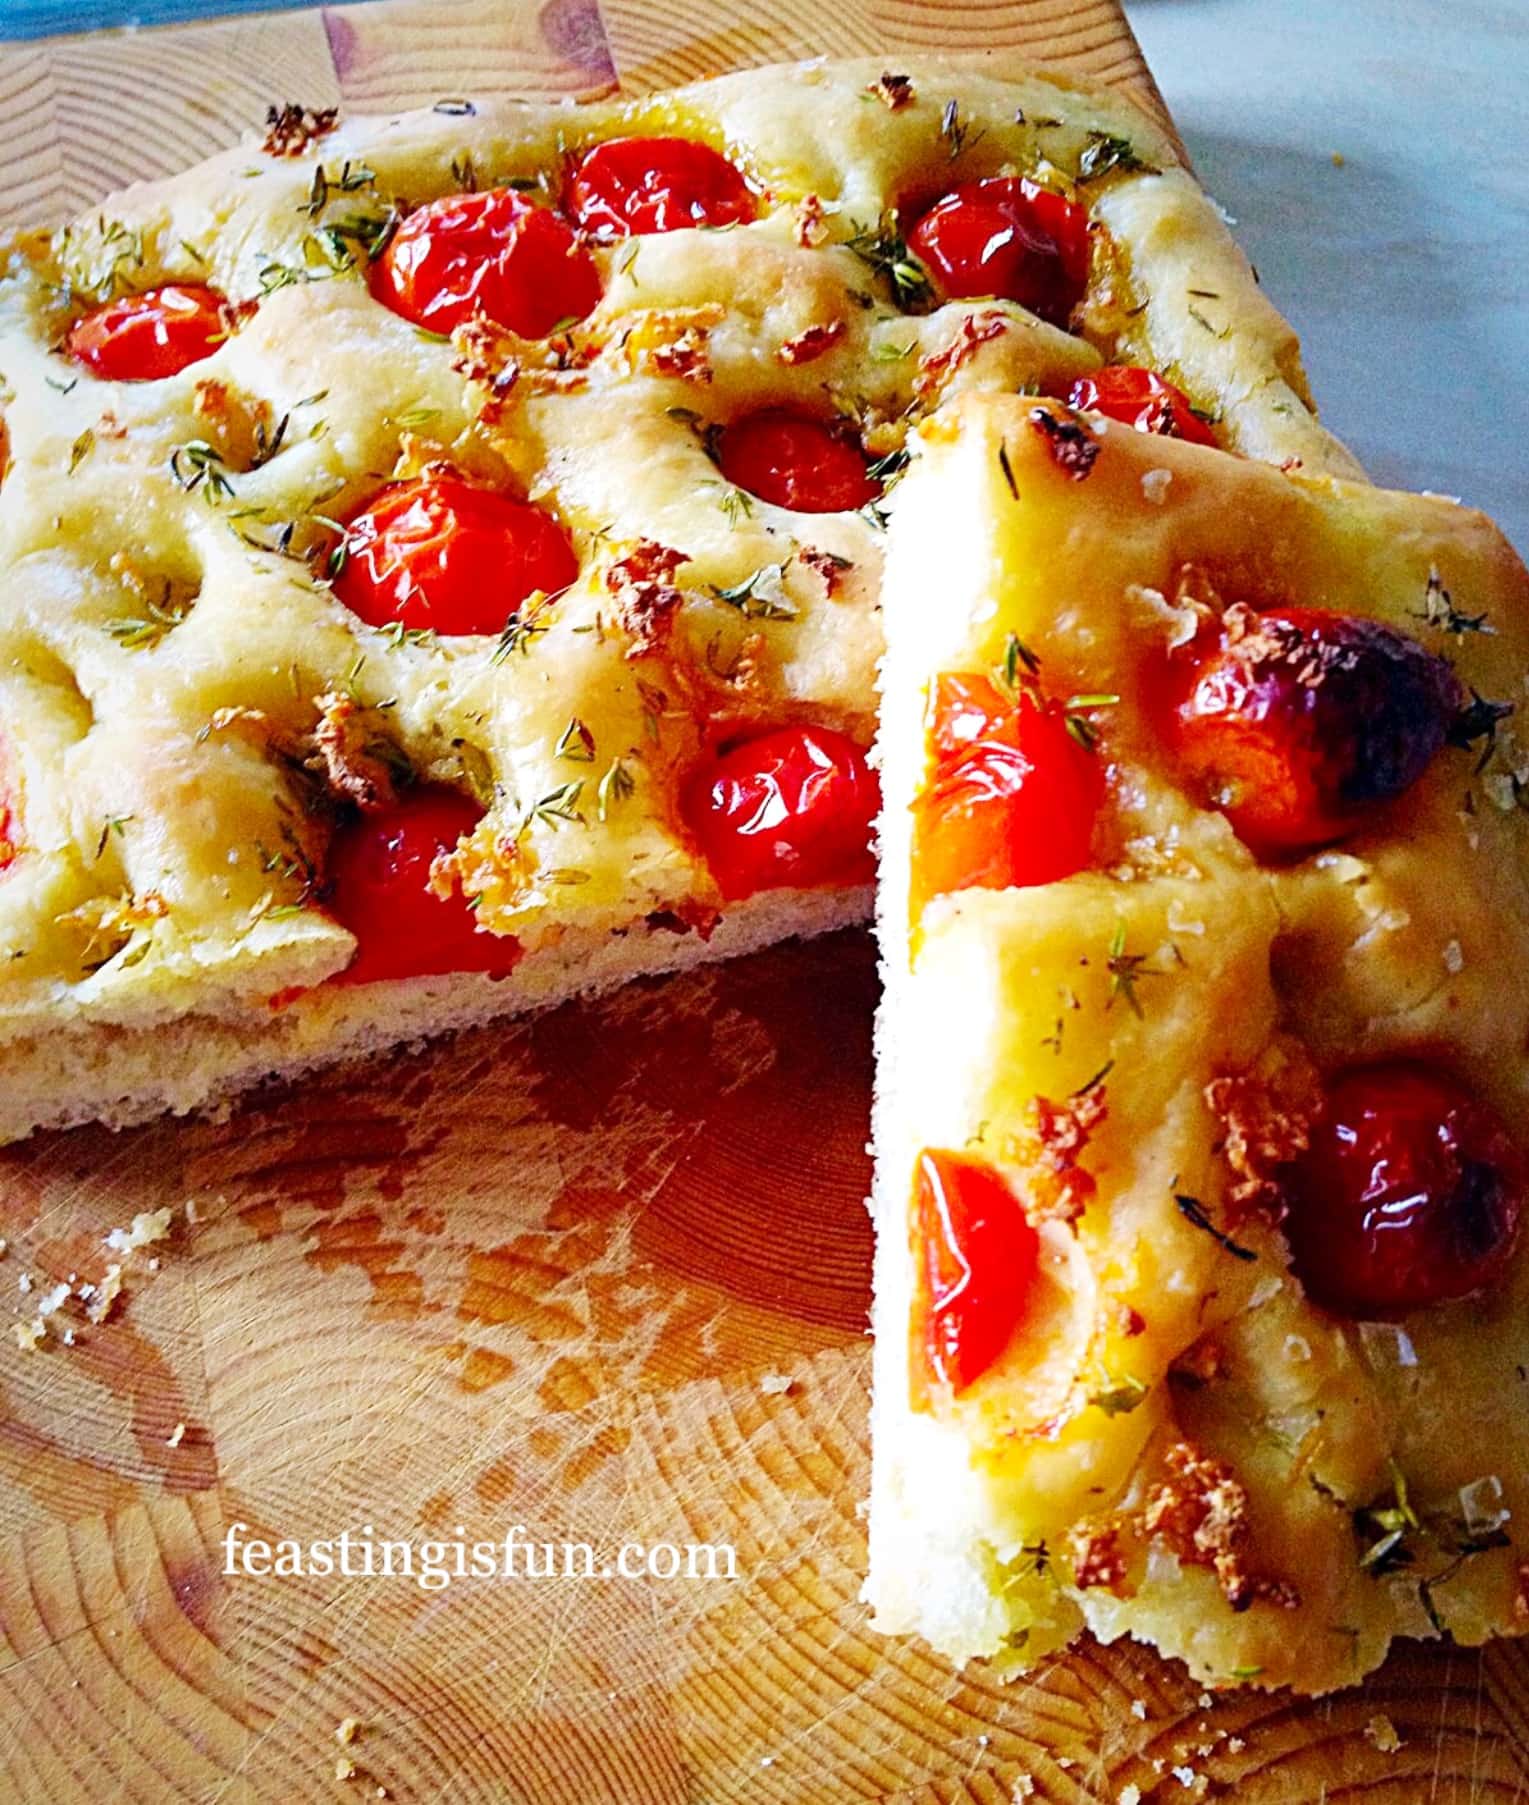
Garlic Rosemary Focaccia Bread
Cheddar Cheese Thyme Soft Breadsticks

Of course there are times when we all buy baguettes – because, LIFE! If I lived near an artisan bakery I may never have made these. Really I am so glad I tried. For minimal effort, delicious bread is on hand. Easy Crusty Baguettes so worth the few minutes prep time.
Have you ever made baguettes?
I love reading your comments and appreciate you taking the time to write them.
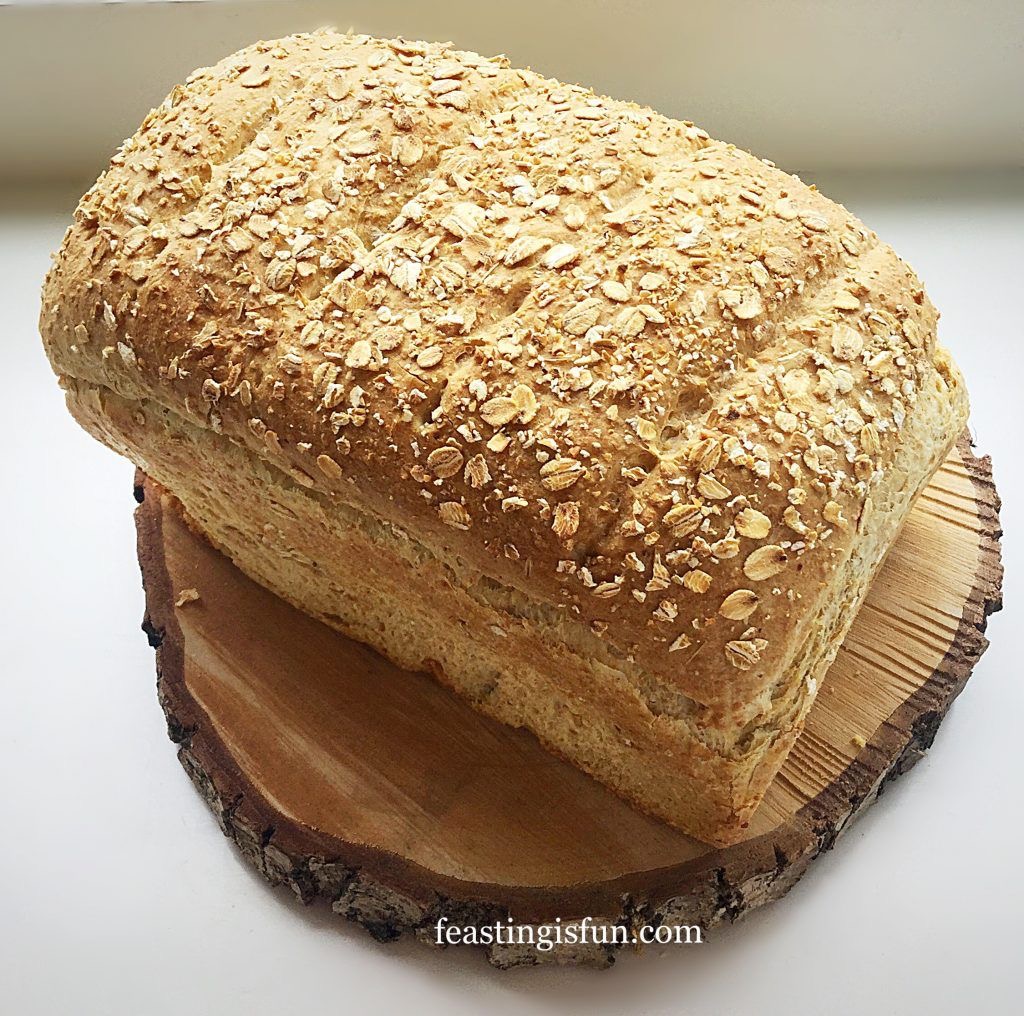
You may also like Crusty White Bread Wholemeal Cob Loaf
Sammie x
This is not a sponsored post, item links provided for information purposes only.