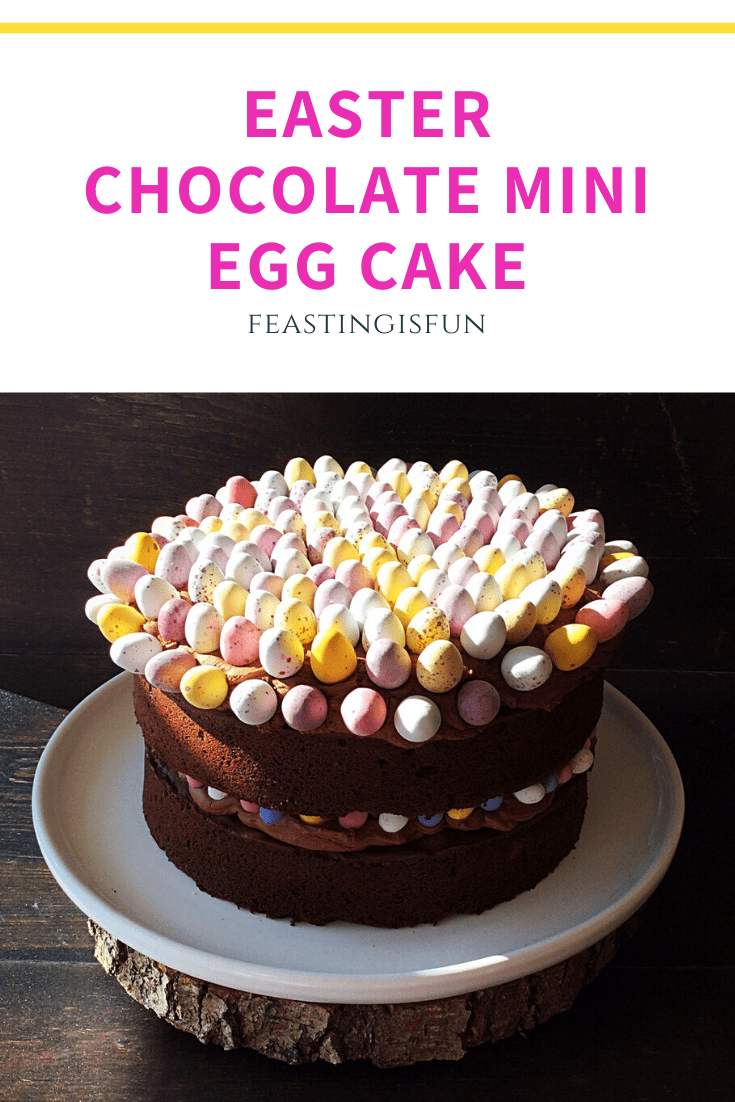
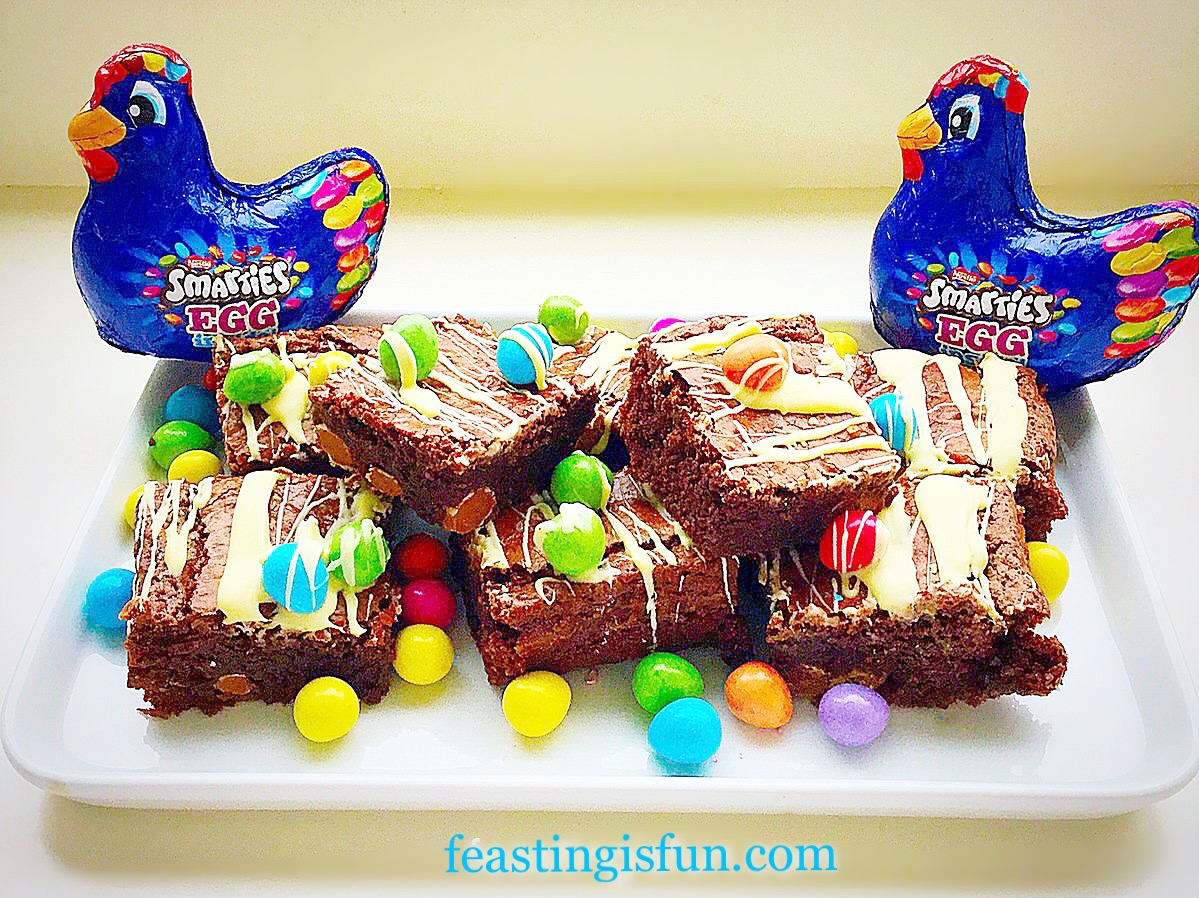
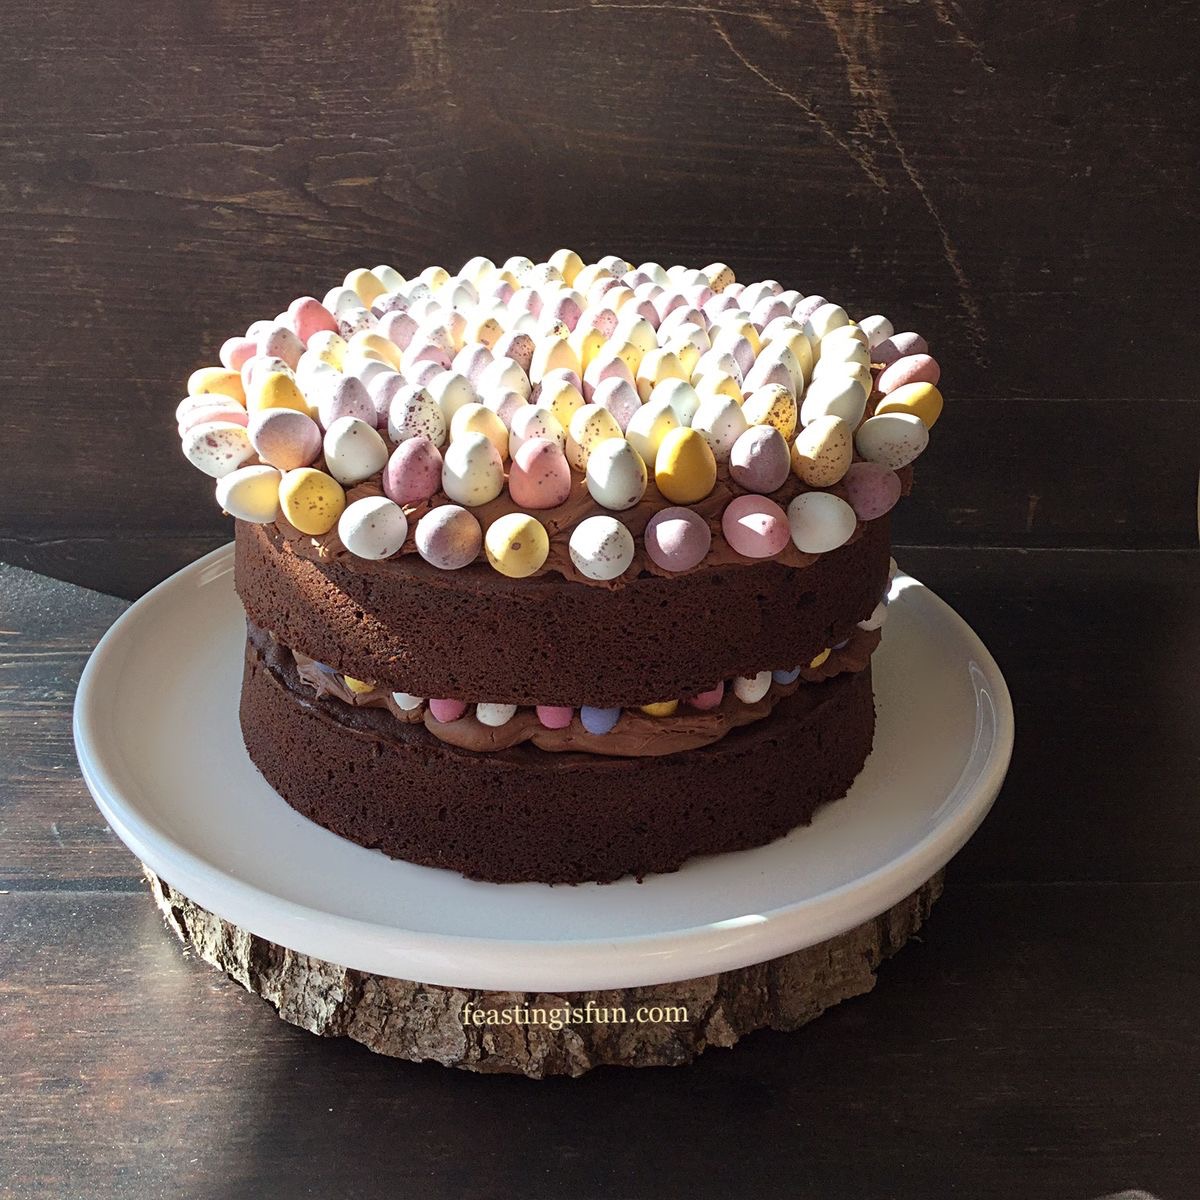
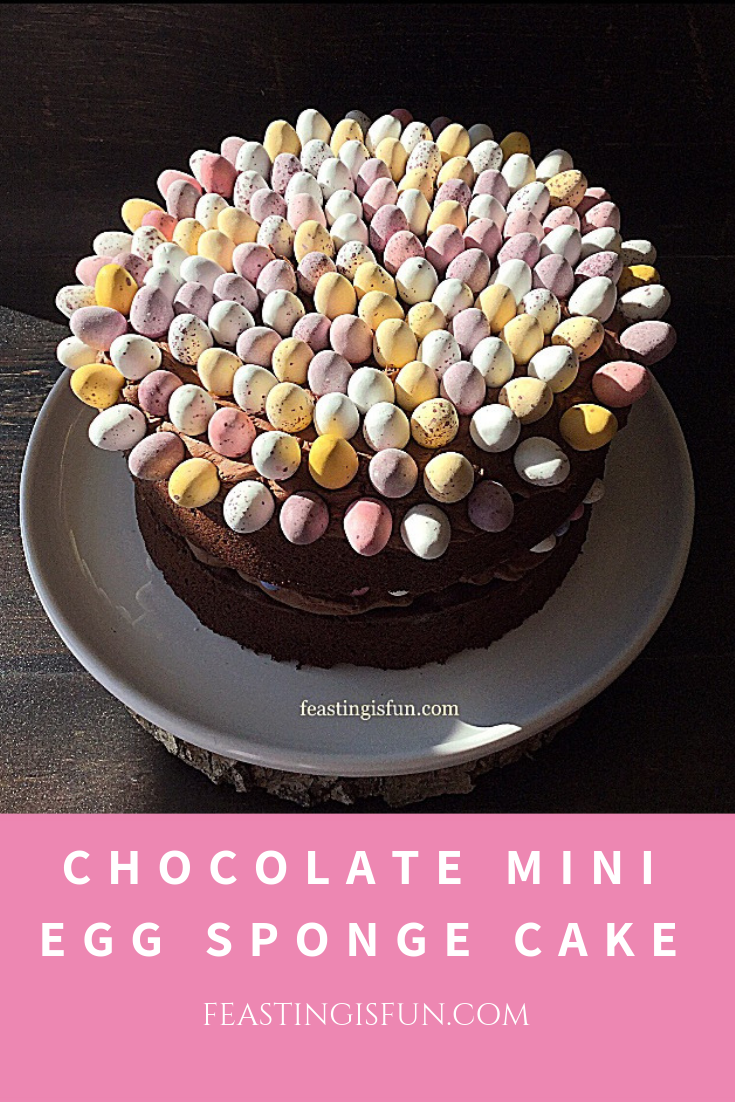
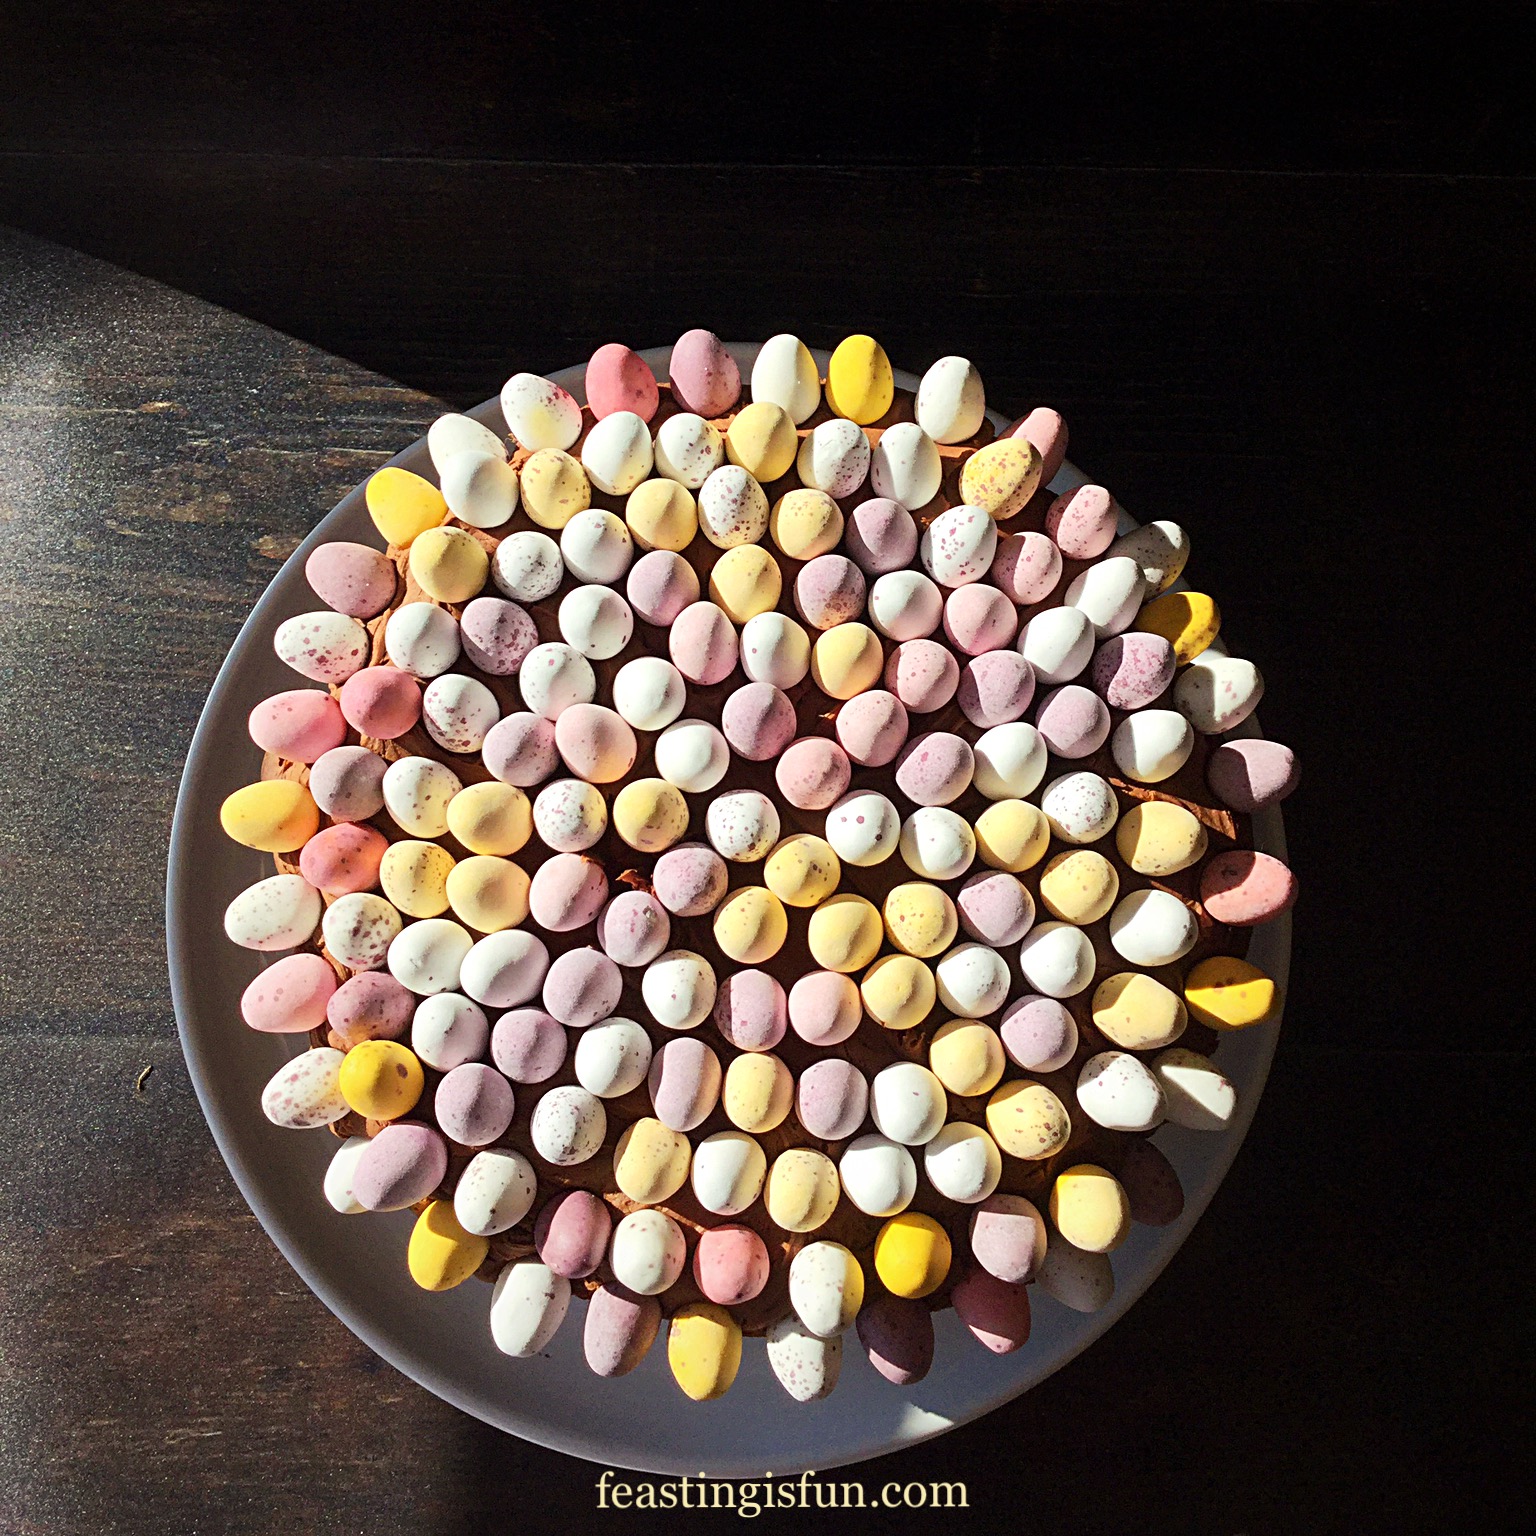
My Easter Chocolate Mini Egg Sponge Cake is a spectacular, yet easy to make cake that is the perfect centrepiece for Easter feasting and celebration. Rich chocolate sponge sandwiched together with whipped chocolate ganache and decorated with speckled Cadbury’s mini eggs. An Easter celebration cake.
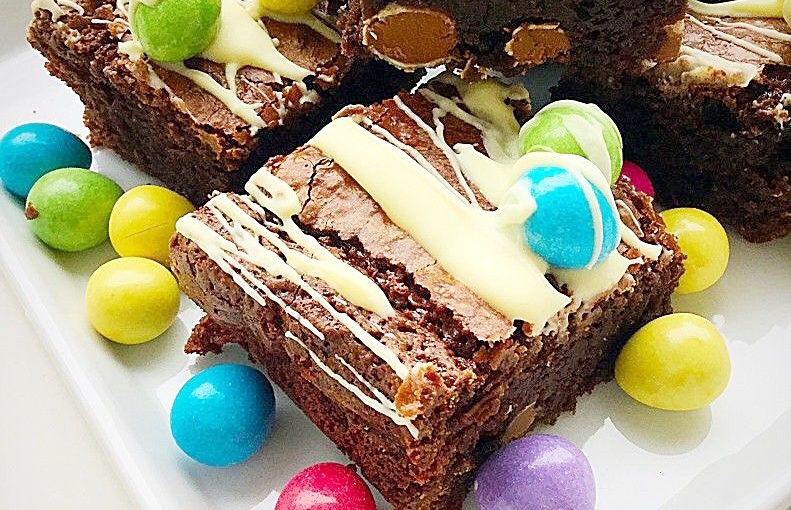
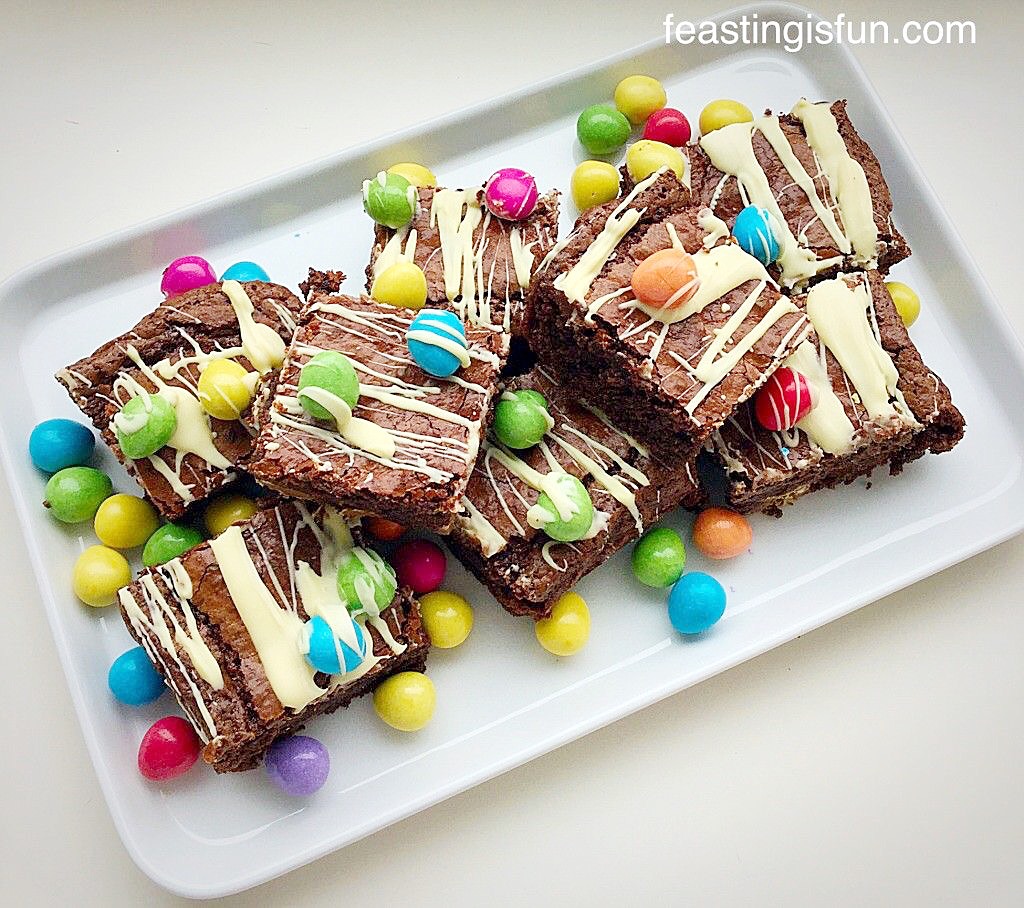
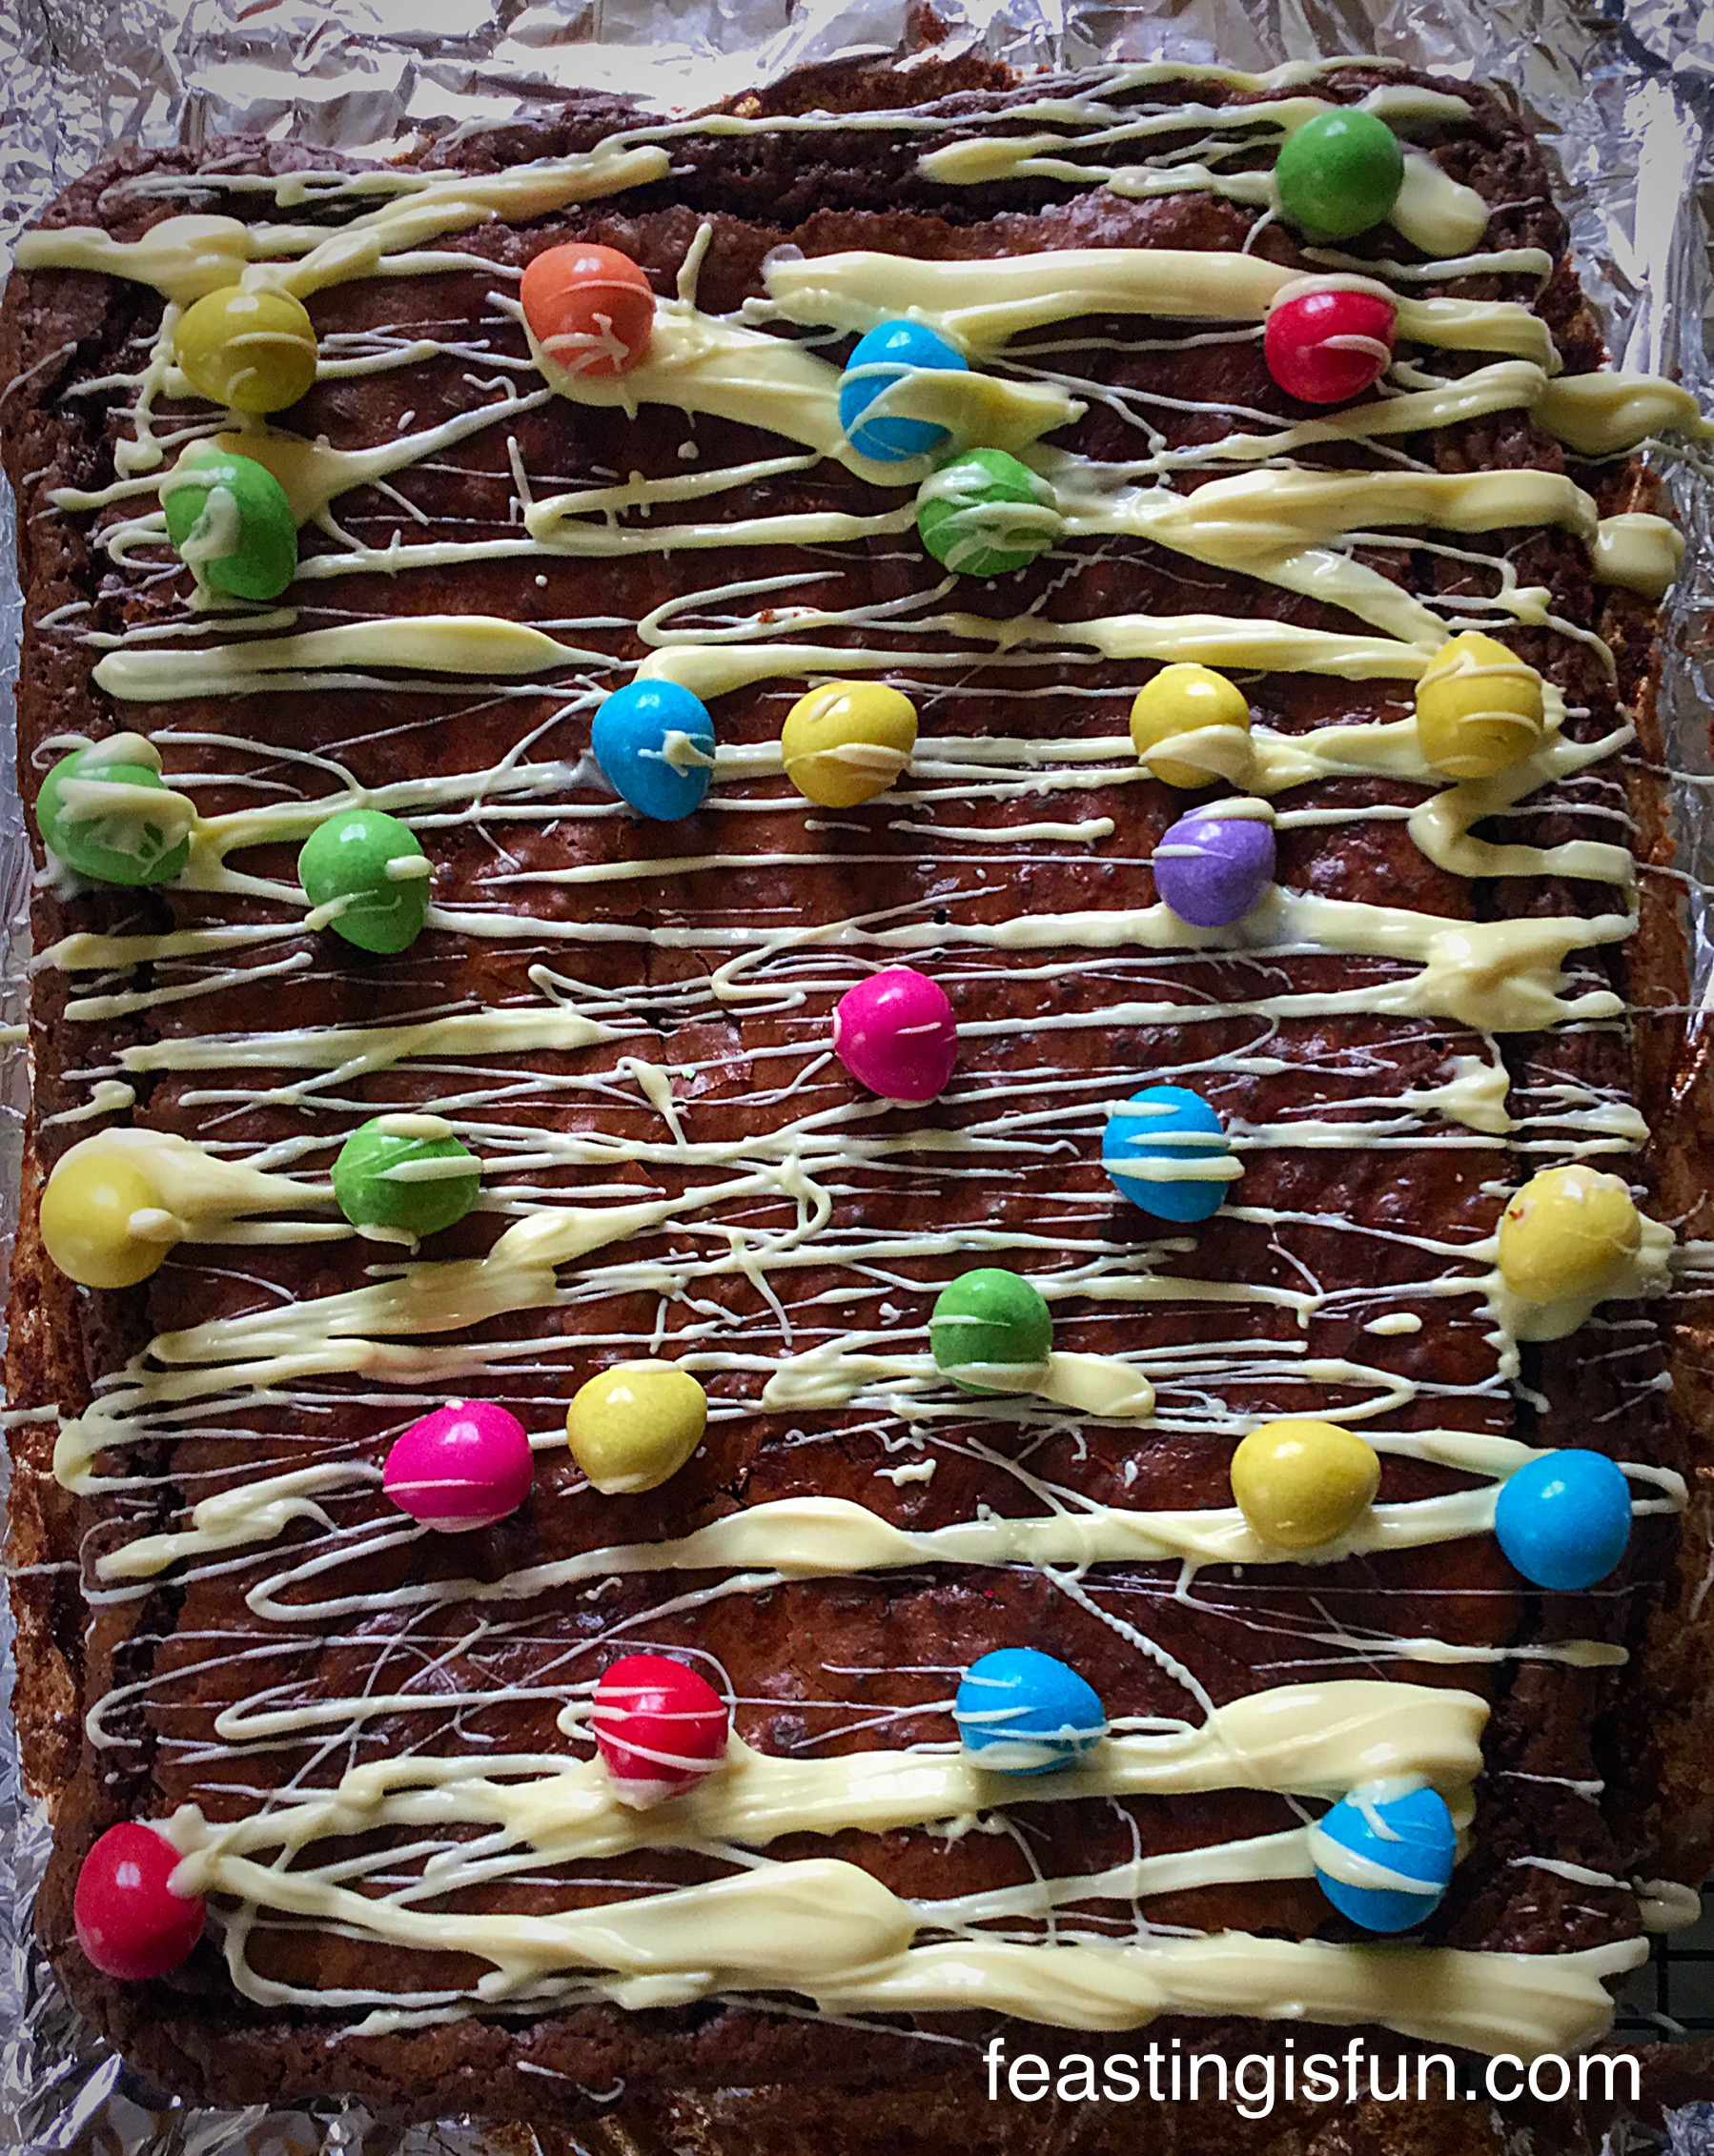
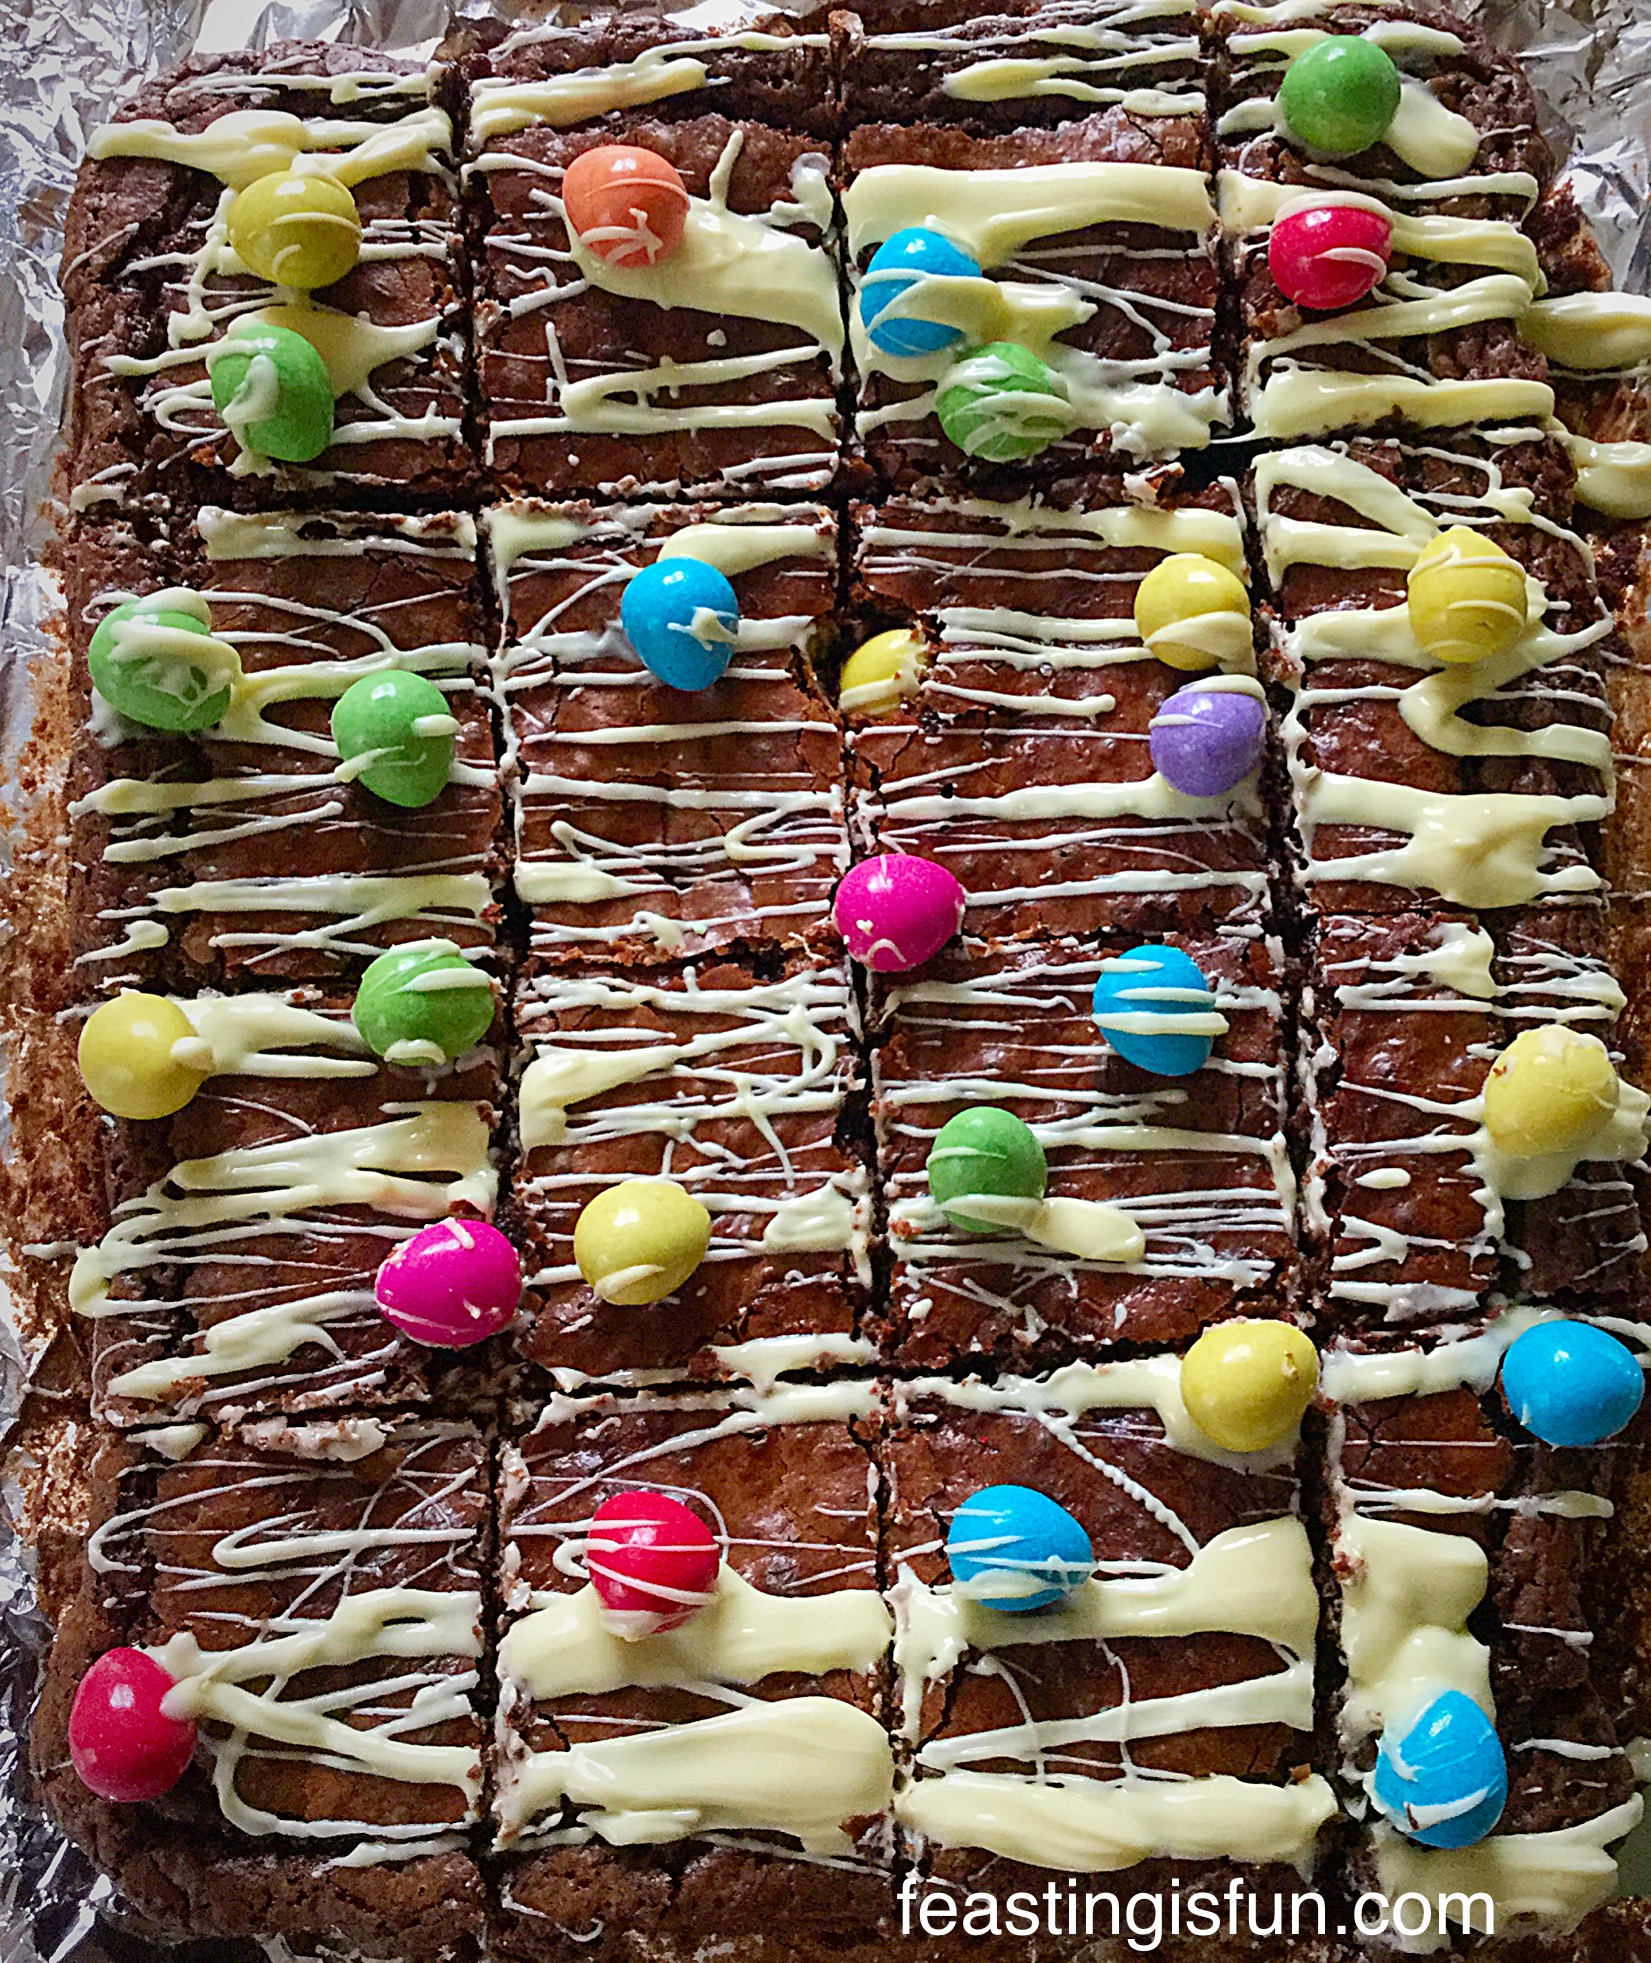
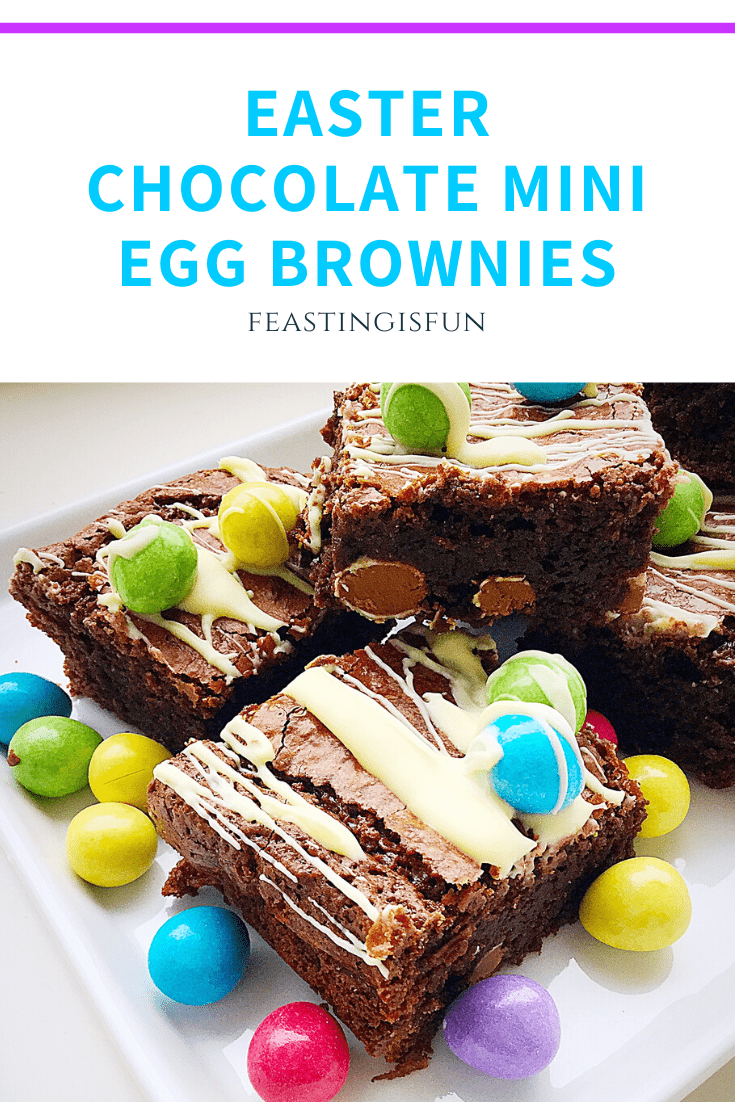
Since Easter is only a week away it is impossible to miss the sheer quantity of chocolate and variety of eggs available in the shops. And having spotted the mini, micro eggs in Sainsbury’s last year which were used in these Chocolate Biscuit Base Mini Egg Brownies, I was delighted to see them in stock again this year for Easter baking! While Cadbury’s mini eggs are both beautiful and cute, the micro eggs are like their smaller cousins. Also, they are small enough to be used as the filling in a sponge layer cake.

While this cake certainly has plenty of sweetness from the chocolate eggs, I decided to keep the frosting less sweet. Since chocolate ganache is simply chocolate and cream melted together and then cooled, it provides the perfect balance to the sweet vanilla coated, milk chocolate mini eggs. Also, it has the advantage of being whipped when cool. Resulting in a spreadable frosting that is also ideal for attaching eggs to the cake.

Futhermore, adding 6 whole, large eggs to the cake batter ensures a rich, moist chocolate sponge. Once filled and decorated this cake provides a real wow factor. So it is perfect for feasting, sharing and celebrating Easter.
Recipe: Easter Chocolate Mini Egg Sponge Cake serves 10-12
For the cake:
300g/10.5oz Unsalted Butter softened at room temperature plus extra for greasing tins
1/2tsp Sea Salt (halve if using free flowing) – I use Maldon
175g/6oz Dark Brown Muscavado Sugar – I use Billingtons
125g/4.5oz White Caster Sugar
2tsp Vanilla Extract – I use Nielsen-Massey
6 Large Free Range Eggs
200g/7oz Plain White Flour
100g/4oz Cocoa Powder – I use Callebaut
2tsp Baking Powder
For the icing and decoration:
250ml/9fl oz Double Cream (heavy cream)
250g/9oz Good Quality Dark Chocolate minimum 70% Cocoa Solids
2 x 328g Cadbury’s Mini Eggs or similar – this quantity is sufficient to fill and top the cake if needed
1 x 100g Mini Chocolate Micro Eggs available from Sainsbury’s
Method: Preheat oven to 160C/140C fan, 325F, gas mark 3
For this recipe you will need 2 x 20cm (8in) sandwich tins at least 5cm (2in) deep.
Making the chocolate cake sponges
- First of all grease both sandwich tins and line the base with baking parchment.
- Into a large bowl add the butter, salt and both types of sugar.
- Whisk together until the mixture is uniform in colour. Whisking time approximately 5 minutes.
- Add the vanilla extract and whisk to combine.
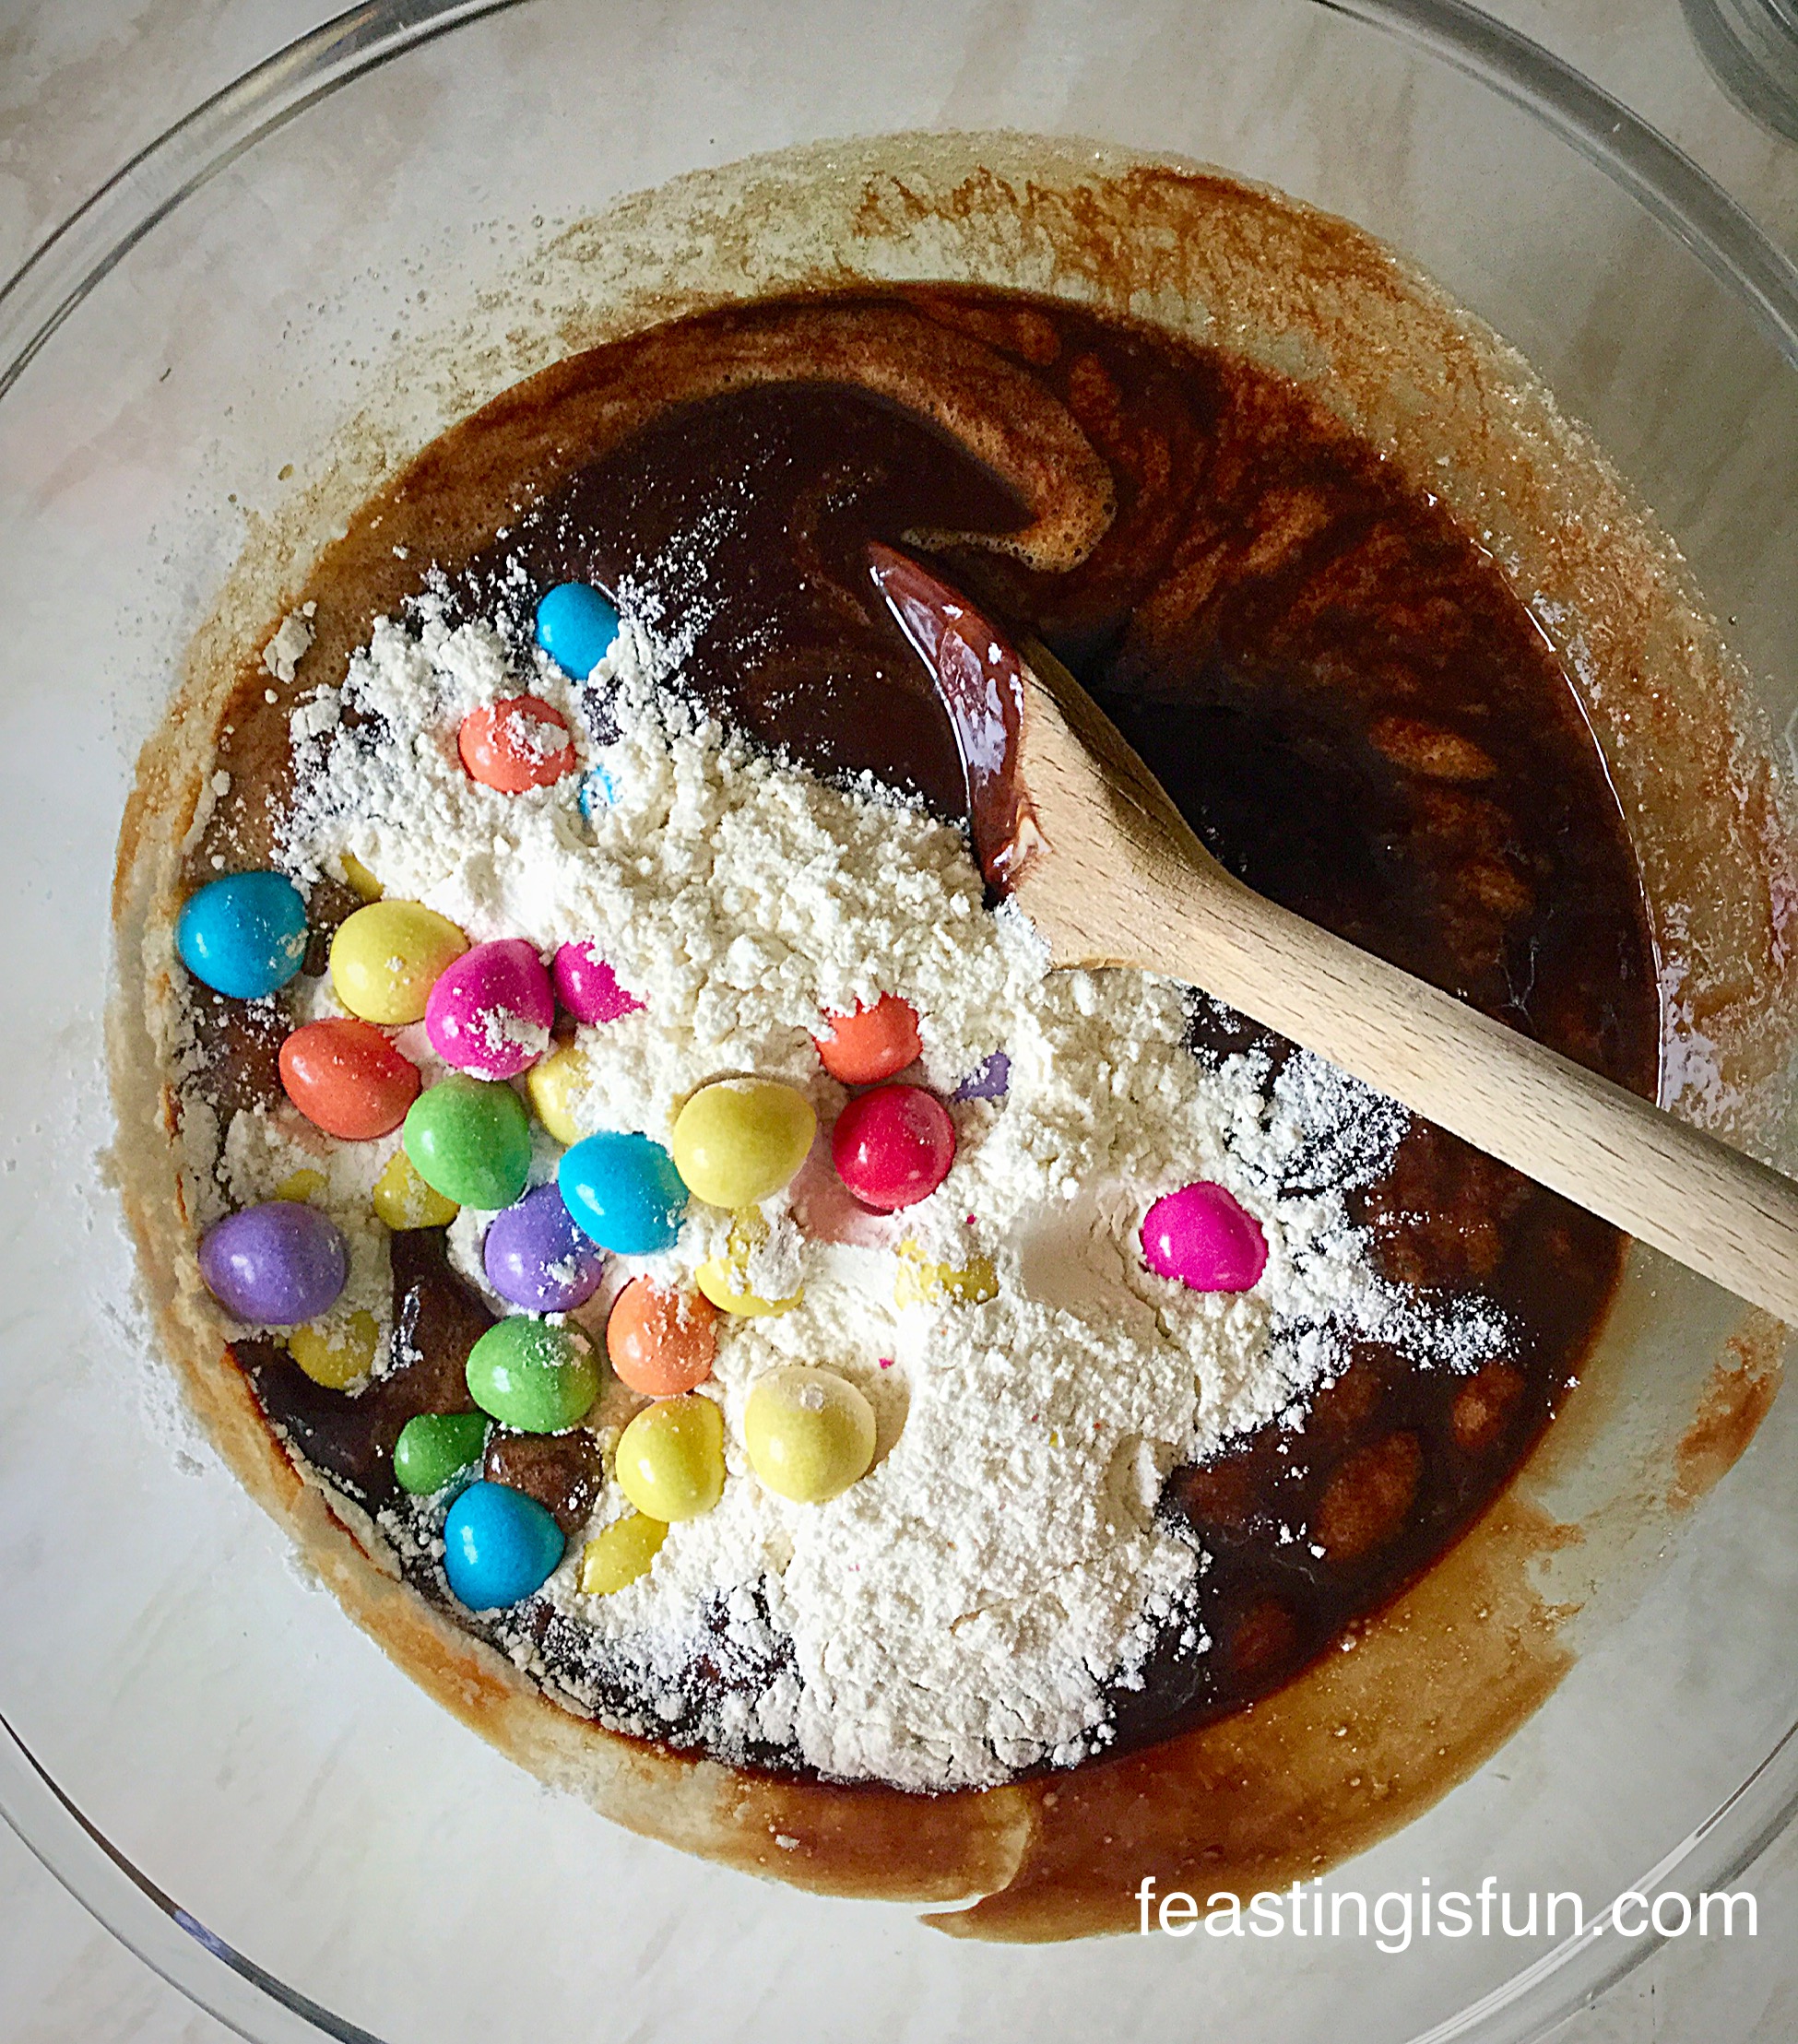
- Crack 6 large eggs into the bowl.
- Sieve the flour, cocoa powder and baking powder into the bowl.
- Whisk all the ingredients together. Scrape the side and base of the bowl with a spatula and continue whisking until thoroughly combined.

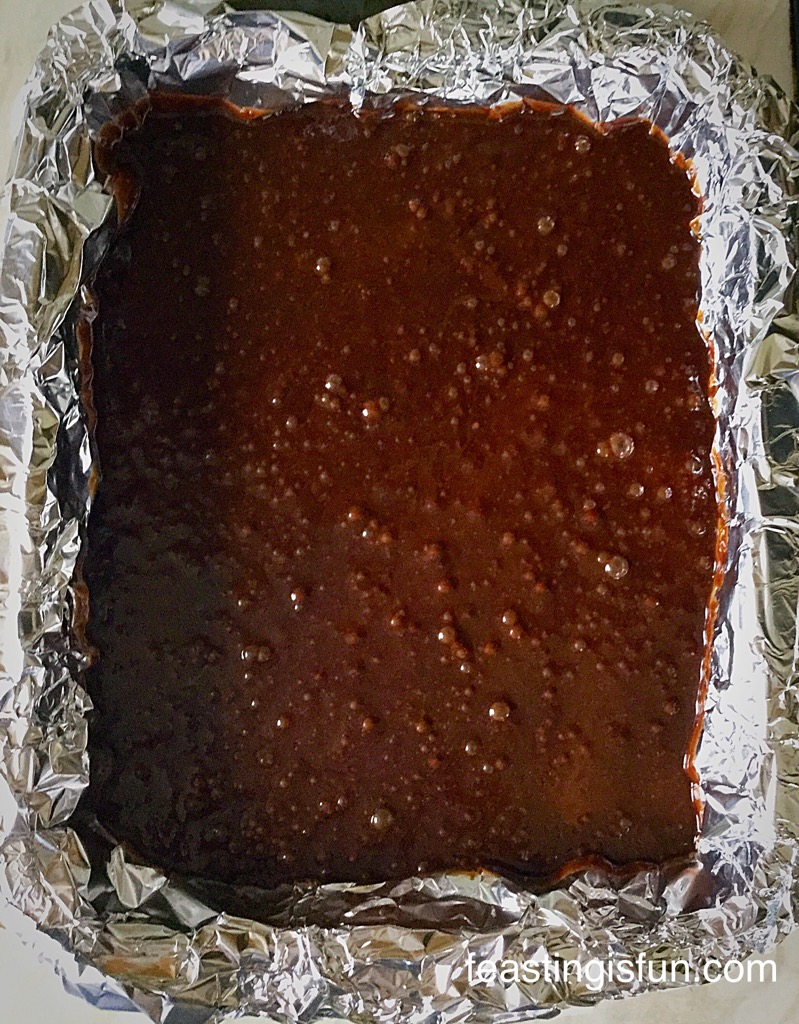
- Divide the cake batter evenly between 2 tins, smoothing the surface.
- Place the cake tins in the centre and lower part of the oven and bake for 50 minutes – 1 hour.
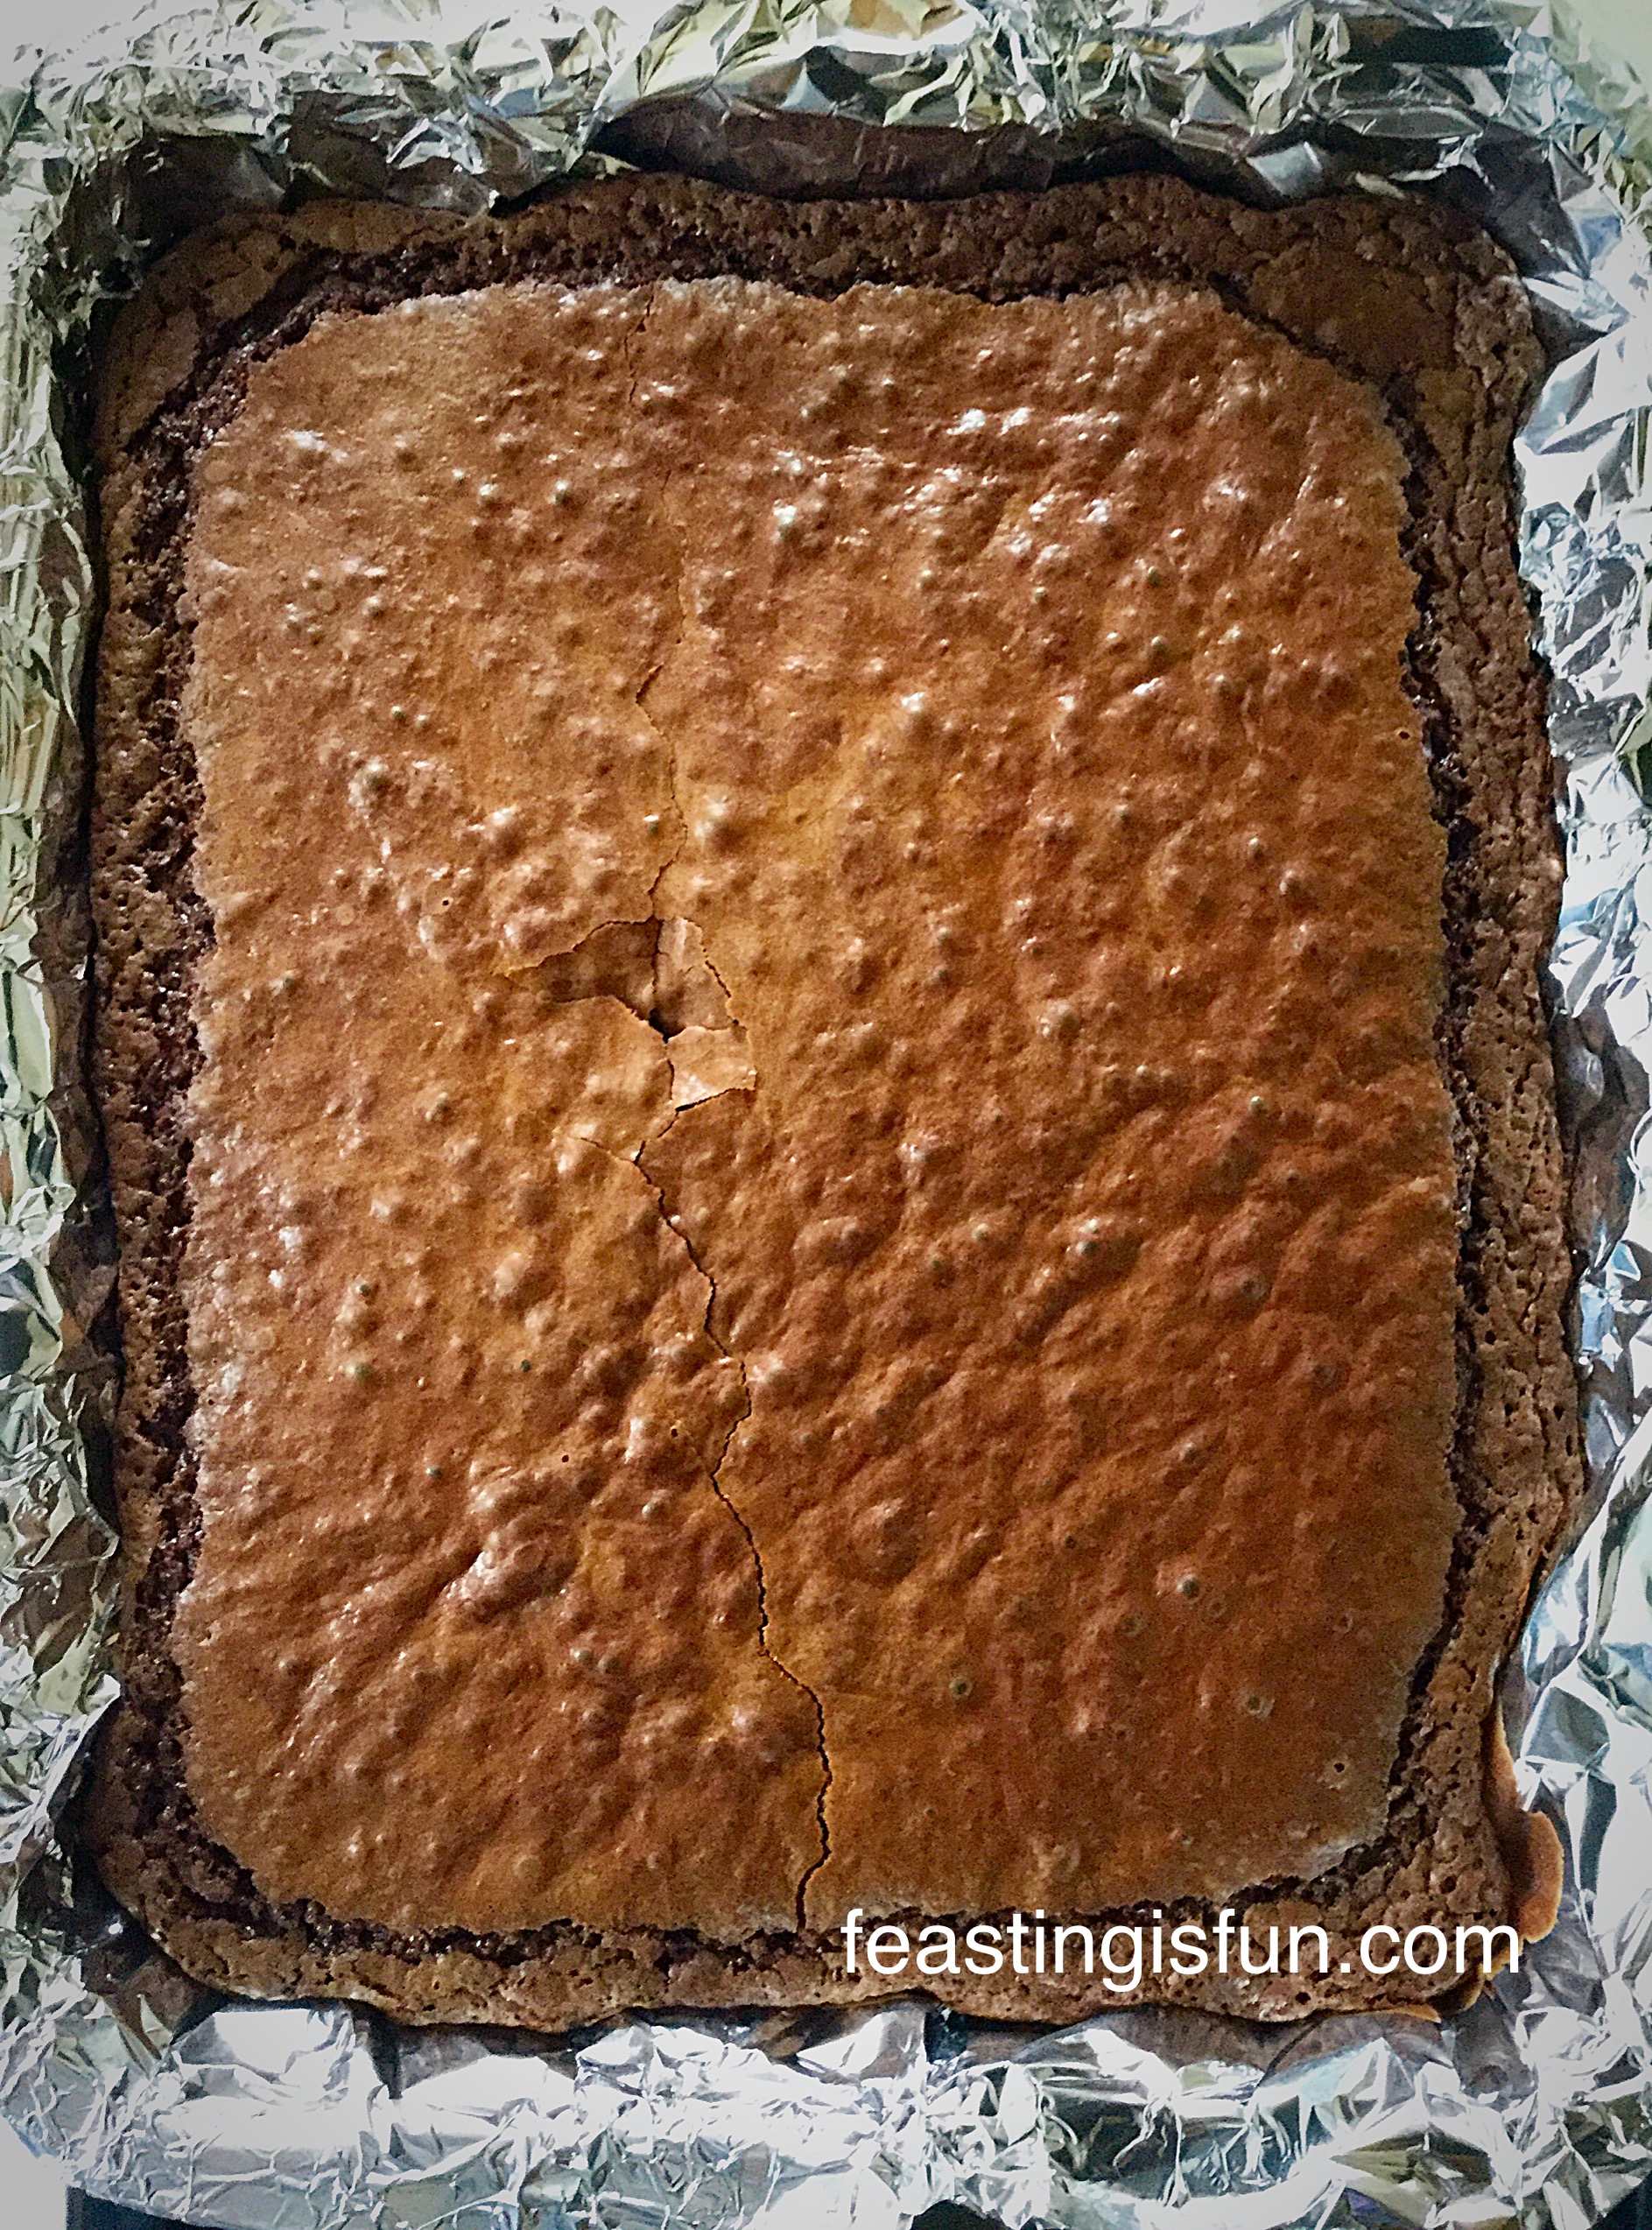
- The cakes are baked when pressed they spring back from a light touch. Also an inserted skewer comes out clean.
- As soon as the cakes are baked remove from the oven and allow to cool for 15 minutes in the tin.
- Turn the cake out of the tin, carefully peel away the baking parchment. Leave to completely cool on a cooling rack.

- While the cakes are cooling make the chocolate ganache.
Creating the chocolate ganache
- Place a small saucepan containing 2.5cm/1” of water over a low heat. Allow the water to come up to a very gentle simmer over low heat.
- Use a heatproof bowl and place on top of the saucepan ensuring the base does not touch the water.
- Add the cream and chocolate to the bowl and stir.
- As soon as the chocolate has completely melted remove the bowl and set to one side to cool. Placing on a windowsill with the window slightly open will help the ganache cool more quickly.
- When cooled whisk the ganache until thickened to spreading consistency.
Filling and decorating the Easter cake
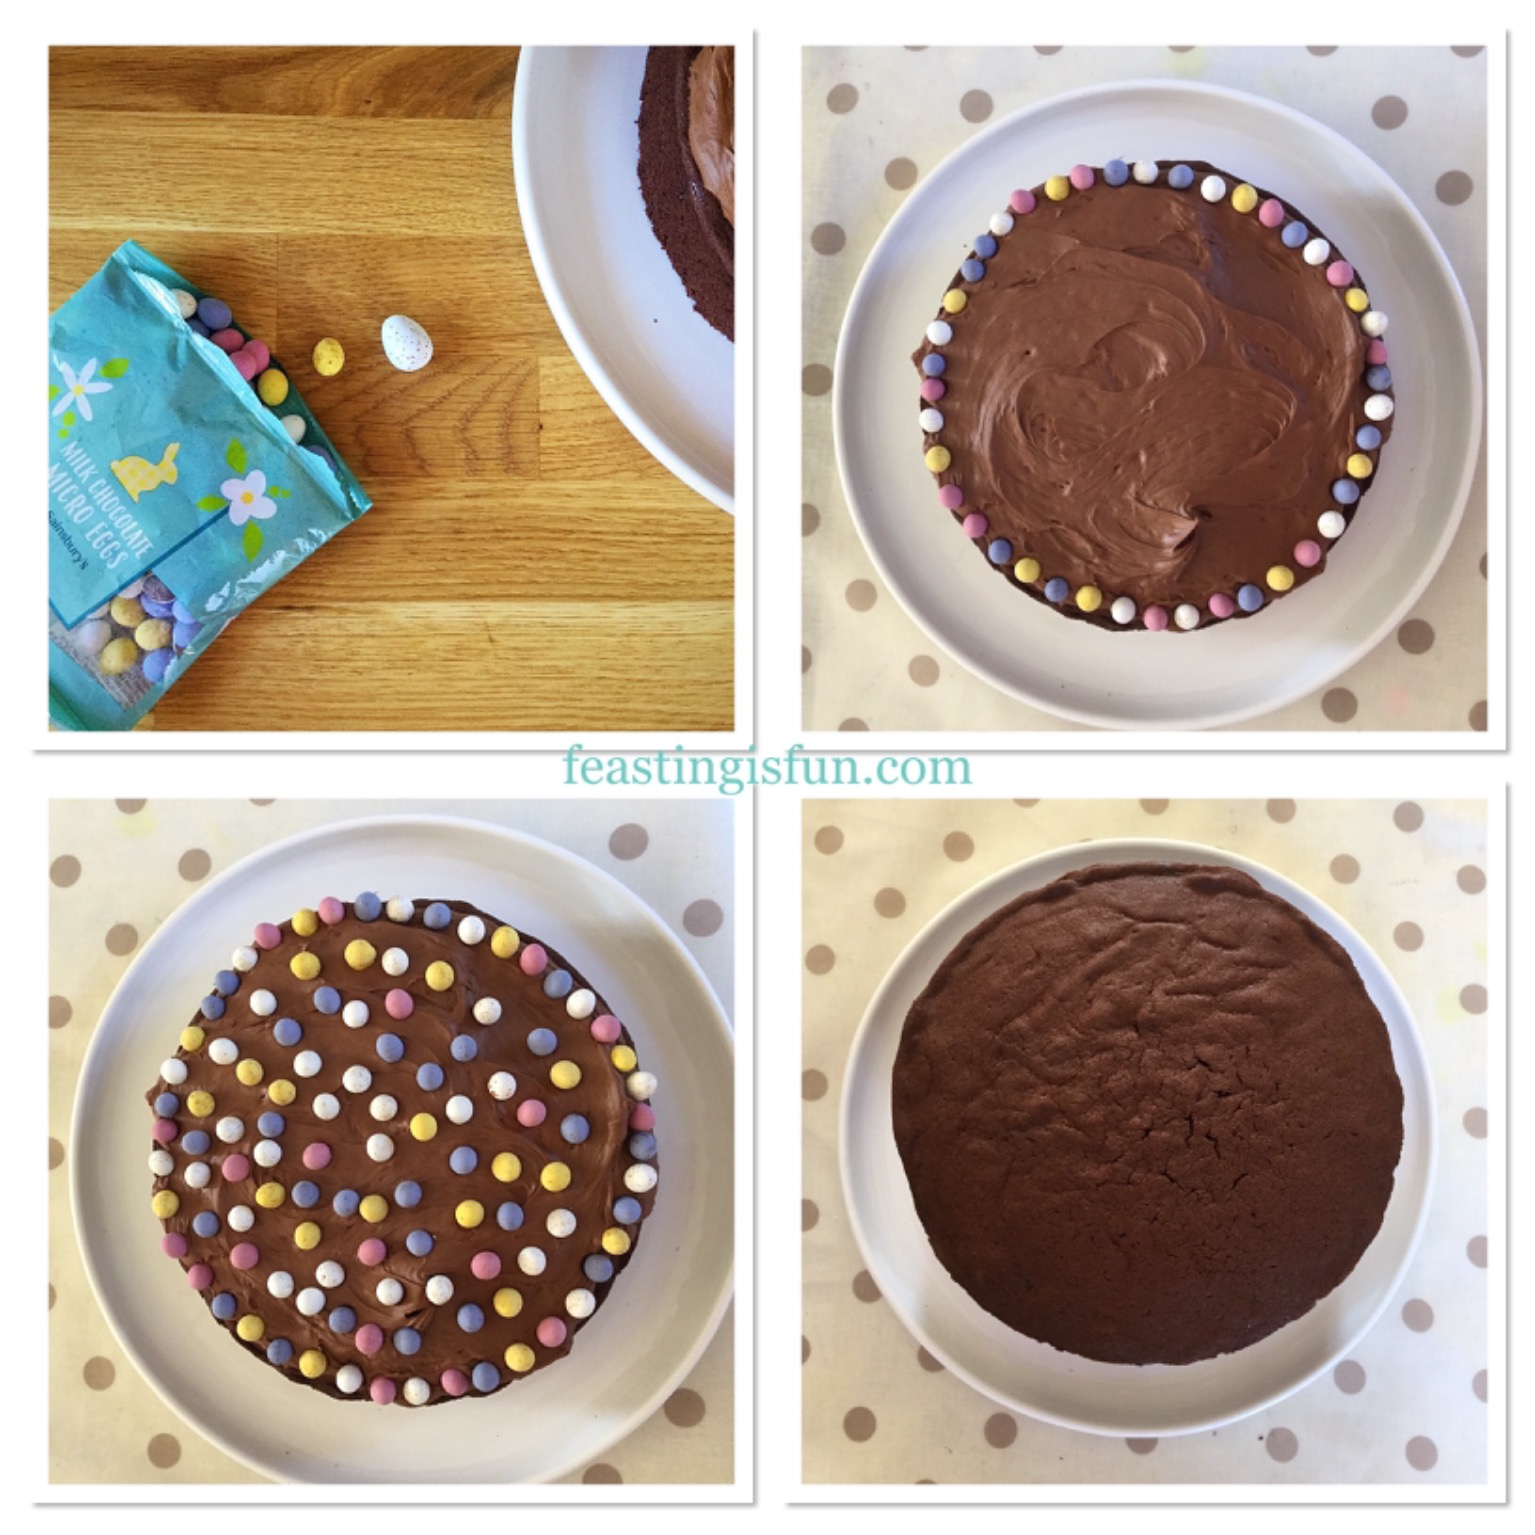
- Place a cooled chocolate sponge, flat side down, on to a plate or board.
- Spoon half of the chocolate ganache on to the cake and spread to cover to the cake edge.

- Use micro eggs (alternatively use Cadbury’s mini eggs) and place around the edge of the cake, pressing into the ganache to secure them.
- Fill in the surface of the cake with the remaining eggs.
- Place the second sponge, flat side down, on top of the decorated bottom sponge.
- Spoon the remaining ganache on to the top of the cake. Spread the ganache so that it covers evenly.
- Cover the top of the cake with Cadbury’s mini eggs. Let your creative juices flow! Most of all ensure the eggs are pressed firmly into the ganache to secure.

- Place the cake into a fridge for an hour to firm up the ganache.
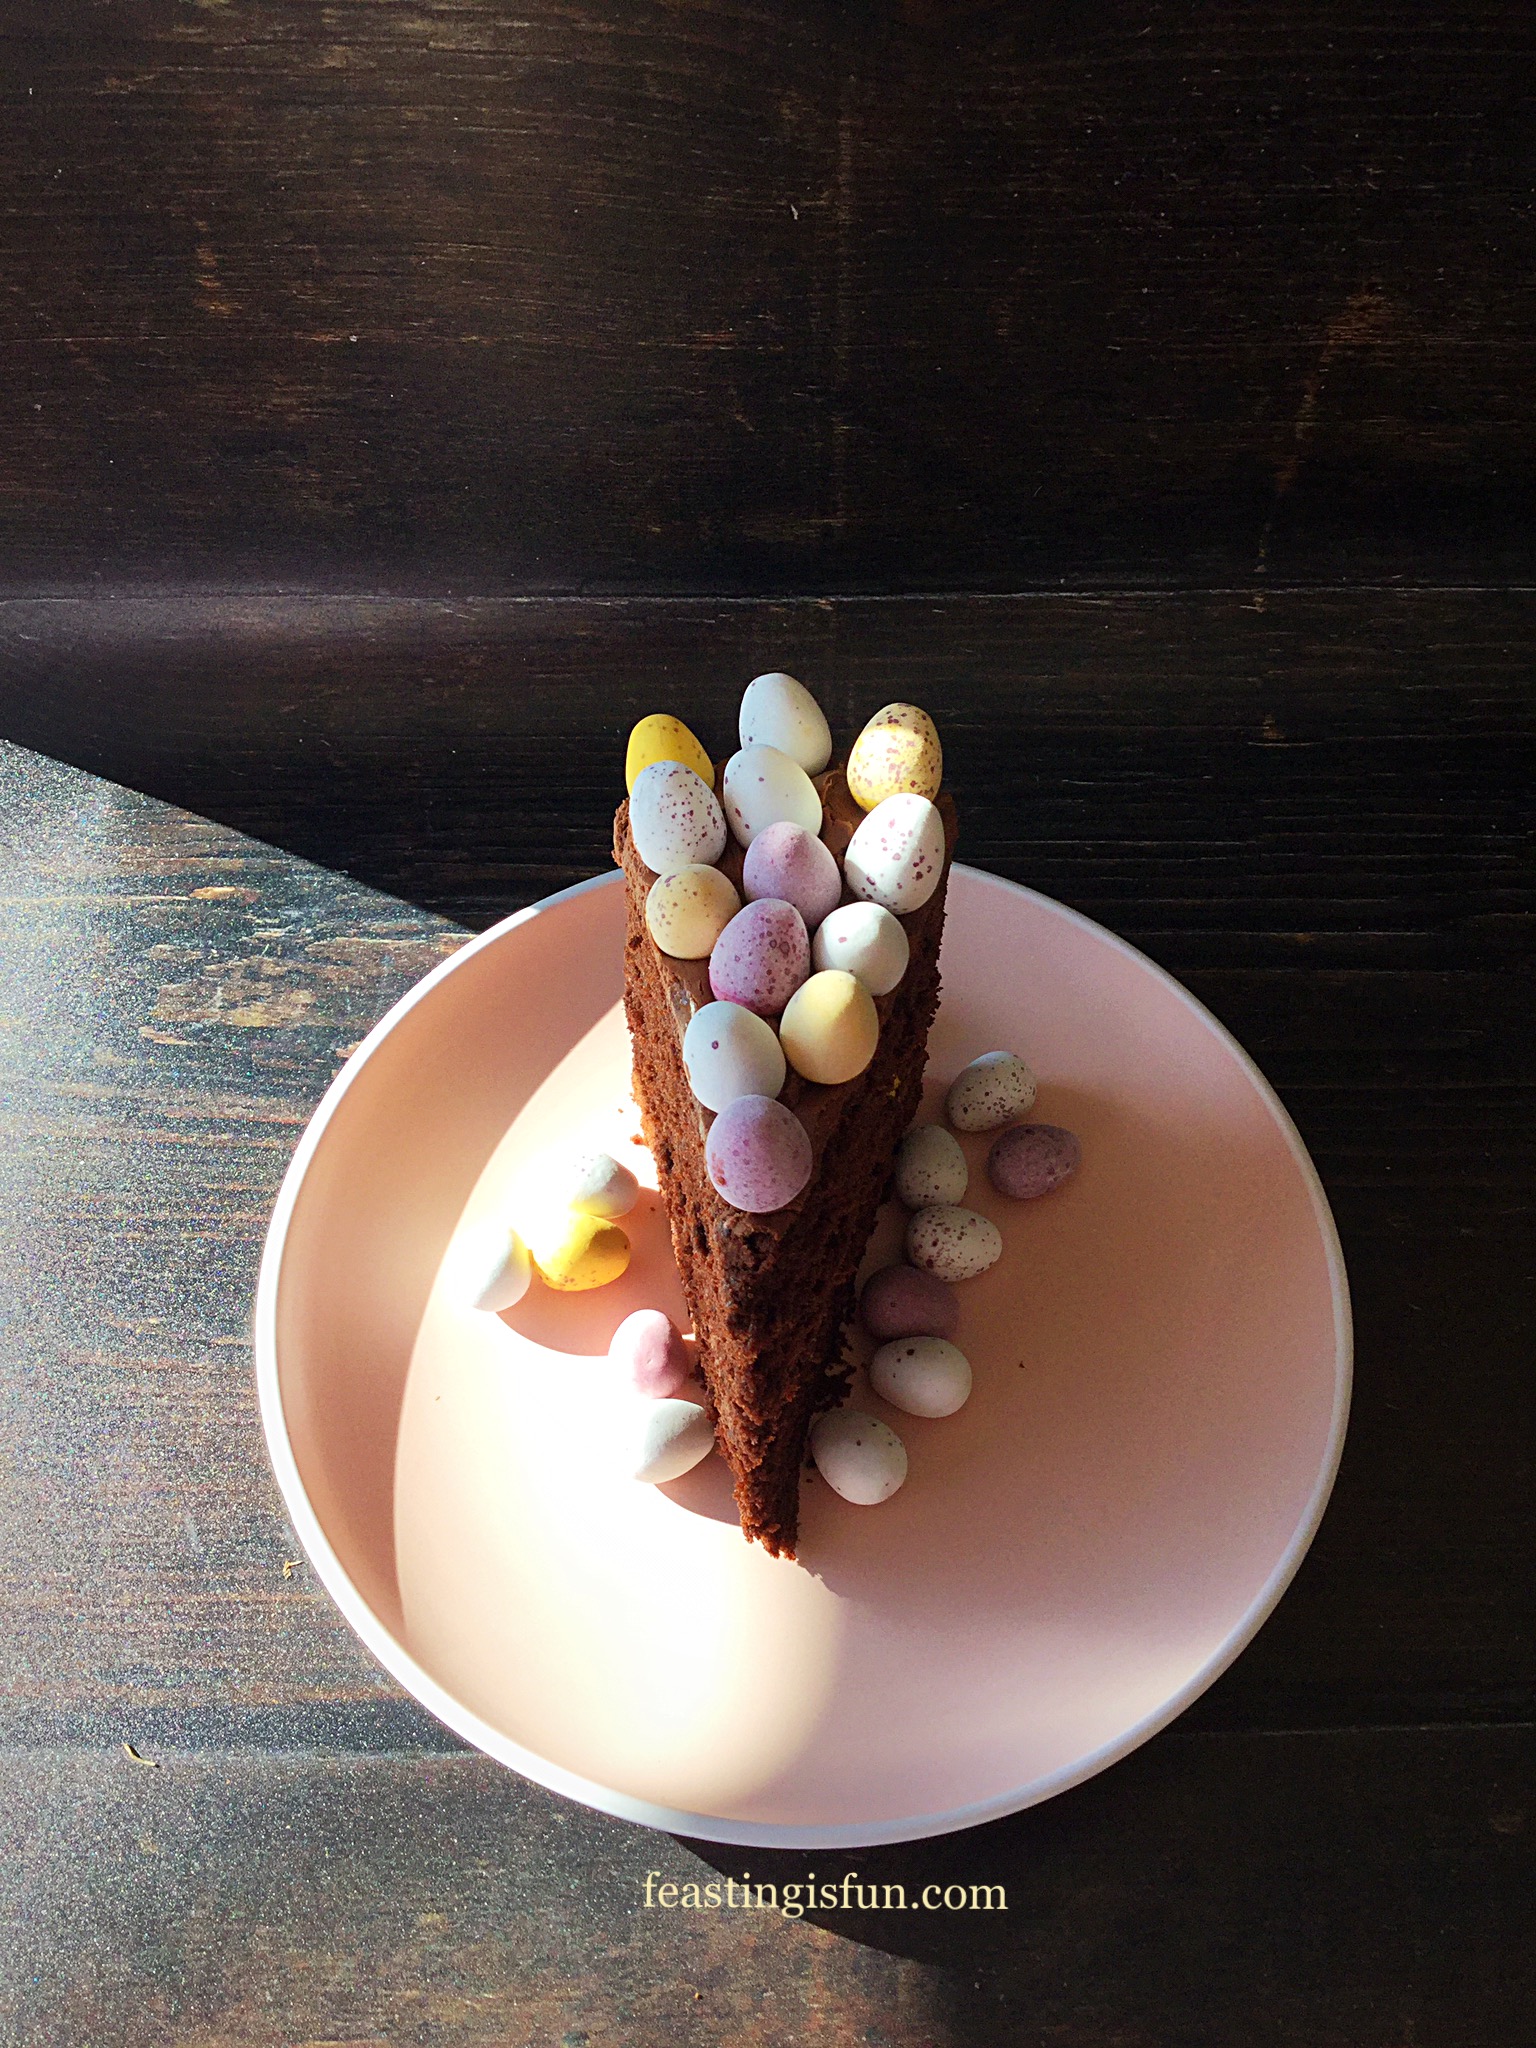
Slicing the cake is easier once it has been chilled.
Slice with a sharp knife dipped in a jug of hot water and wiped dry after each cut. Doing so creates cleanly cut slices of cake, ready to be served.
Store any remaining cake wrapped well in cling film and refrigerated. Eat within 3 days.
The cakes can be made a day ahead and stored wrapped in baking parchment in an airtight container.
If you have enjoyed this recipe for Easter Chocolate Mini Egg Sponge Cake you may also like these:
Mini Egg Millionaires Shortbread

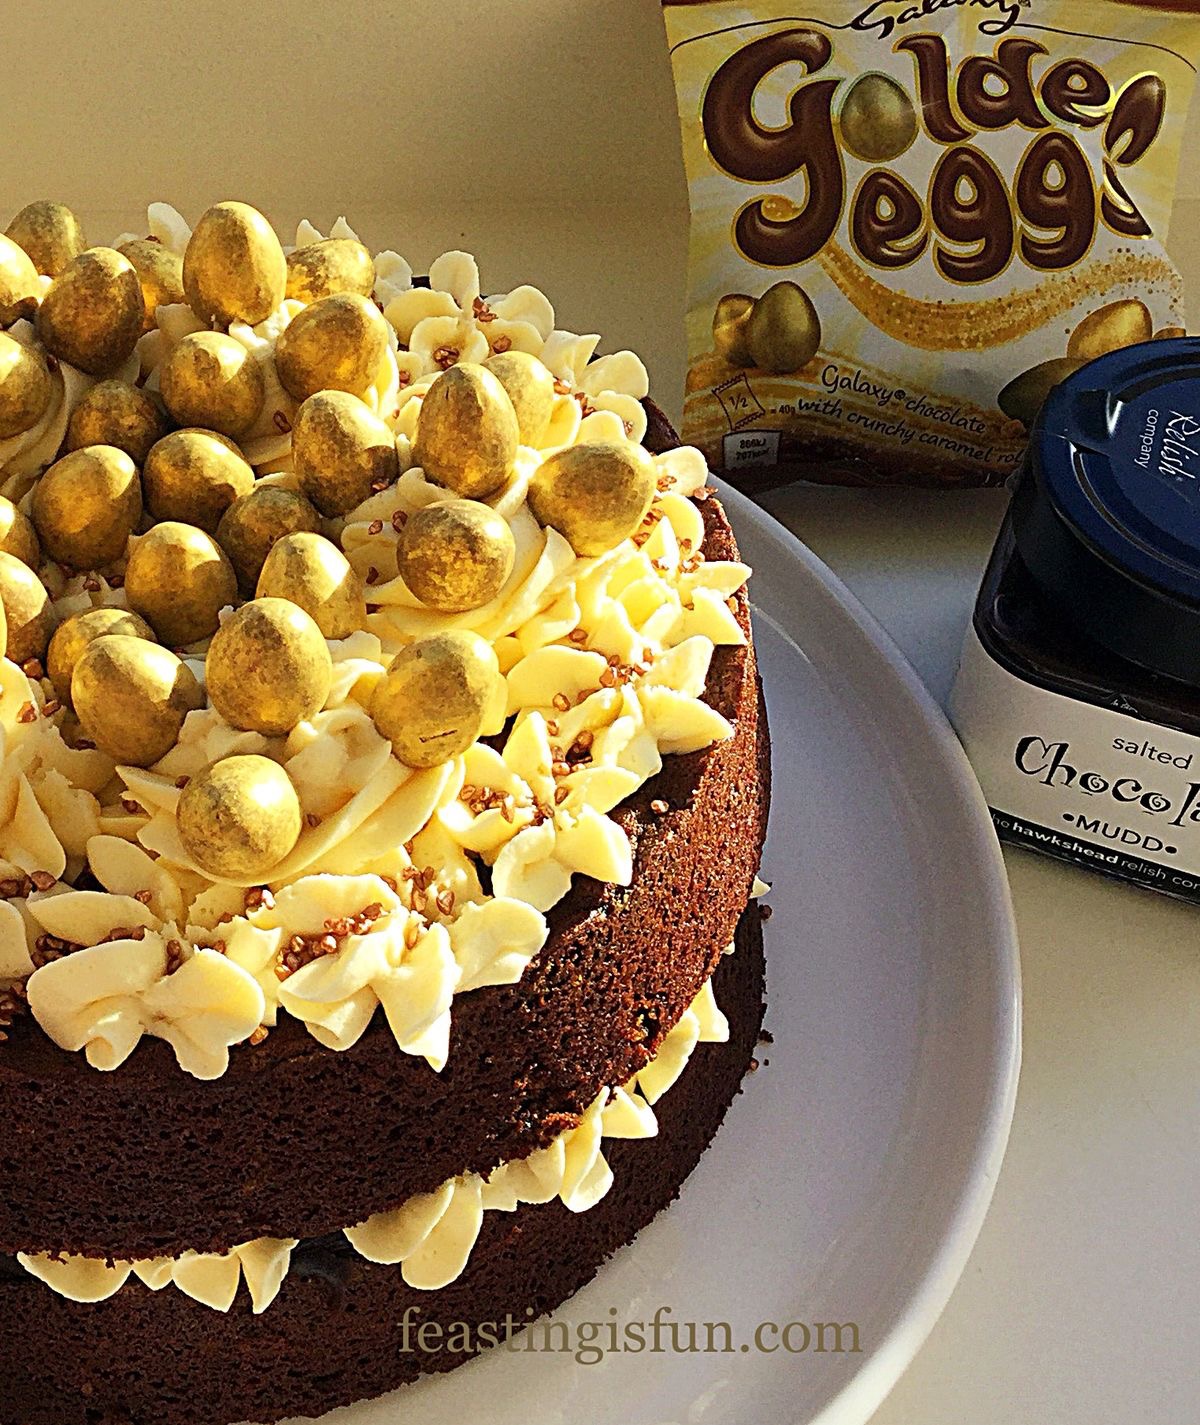
Golden Egg Chocolate Sponge Cake


Easter Sunday, for me is about remembering and celebrating the resurrection of Jesus Christ, following His death on the previous Friday. If you would like to know more about this see Important Stuff .Although creating a cake that looks like a celebration is not that difficult to do. Yet, using pretty mini eggs with their speckled shells on top of this Easter Chocolate Mini Egg Sponge Cake makes decorating so easy. Especially as the eggs themselves represent new life. Both in the natural world of new birth in Springtime and through the love freely given to us in Jesus Christ.
So, whatever you are making, baking and creating this Easter, have fun preparing and sharing your feast.
Sammie xx
No part of this post may be reproduced or duplicated without the written permission of the owner. Please see my Disclosure Policy.