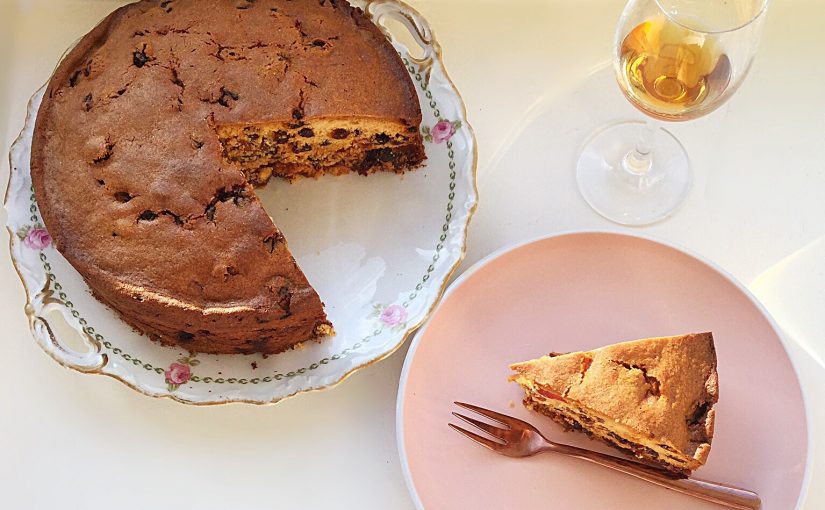
So, is anybody else starting to get excited about Christmas yet? Especially as Stir up Sunday is this weekend. Stir Up Sunday has its roots in the Anglican Church Book of Common Prayer, being the last Sunday before the beginning of Advent. It reads: “Stir up, we beseech thee oh Lord, the wills of thy faithful people.” Since Victorian times home cooks have traditionally made Christmas pudding on this Sunday. Although, nowadays, the day itself is set aside to make Christmas pudding, Christmas cake and mince pies. This Amaretto Light Fruit Cake is a lighter, modern twist on a traditional Christmas cake. Most importantly, it can be made up to a few days before Christmas!
Since not everyone is a fan of the traditional, iced, spiced, dried fruit Christmas cake, creating a lighter version is not only delicious but also fun! And, because I know how time strapped the lead up to Christmas can be, as well as making this cake from scratch I have also included a super easy hack using a widely available cake mix. I really have thought of everything, so that you can enjoy baking your cake.
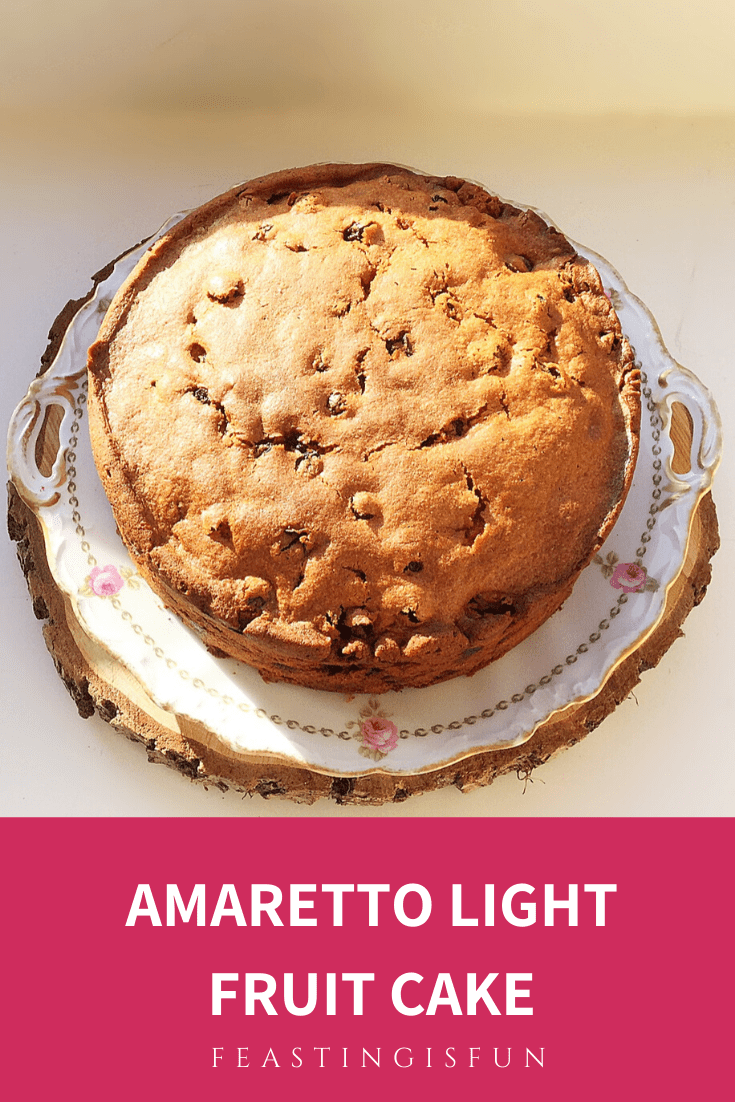
Amaretto Light Fruit Cake – Not Just For Christmas
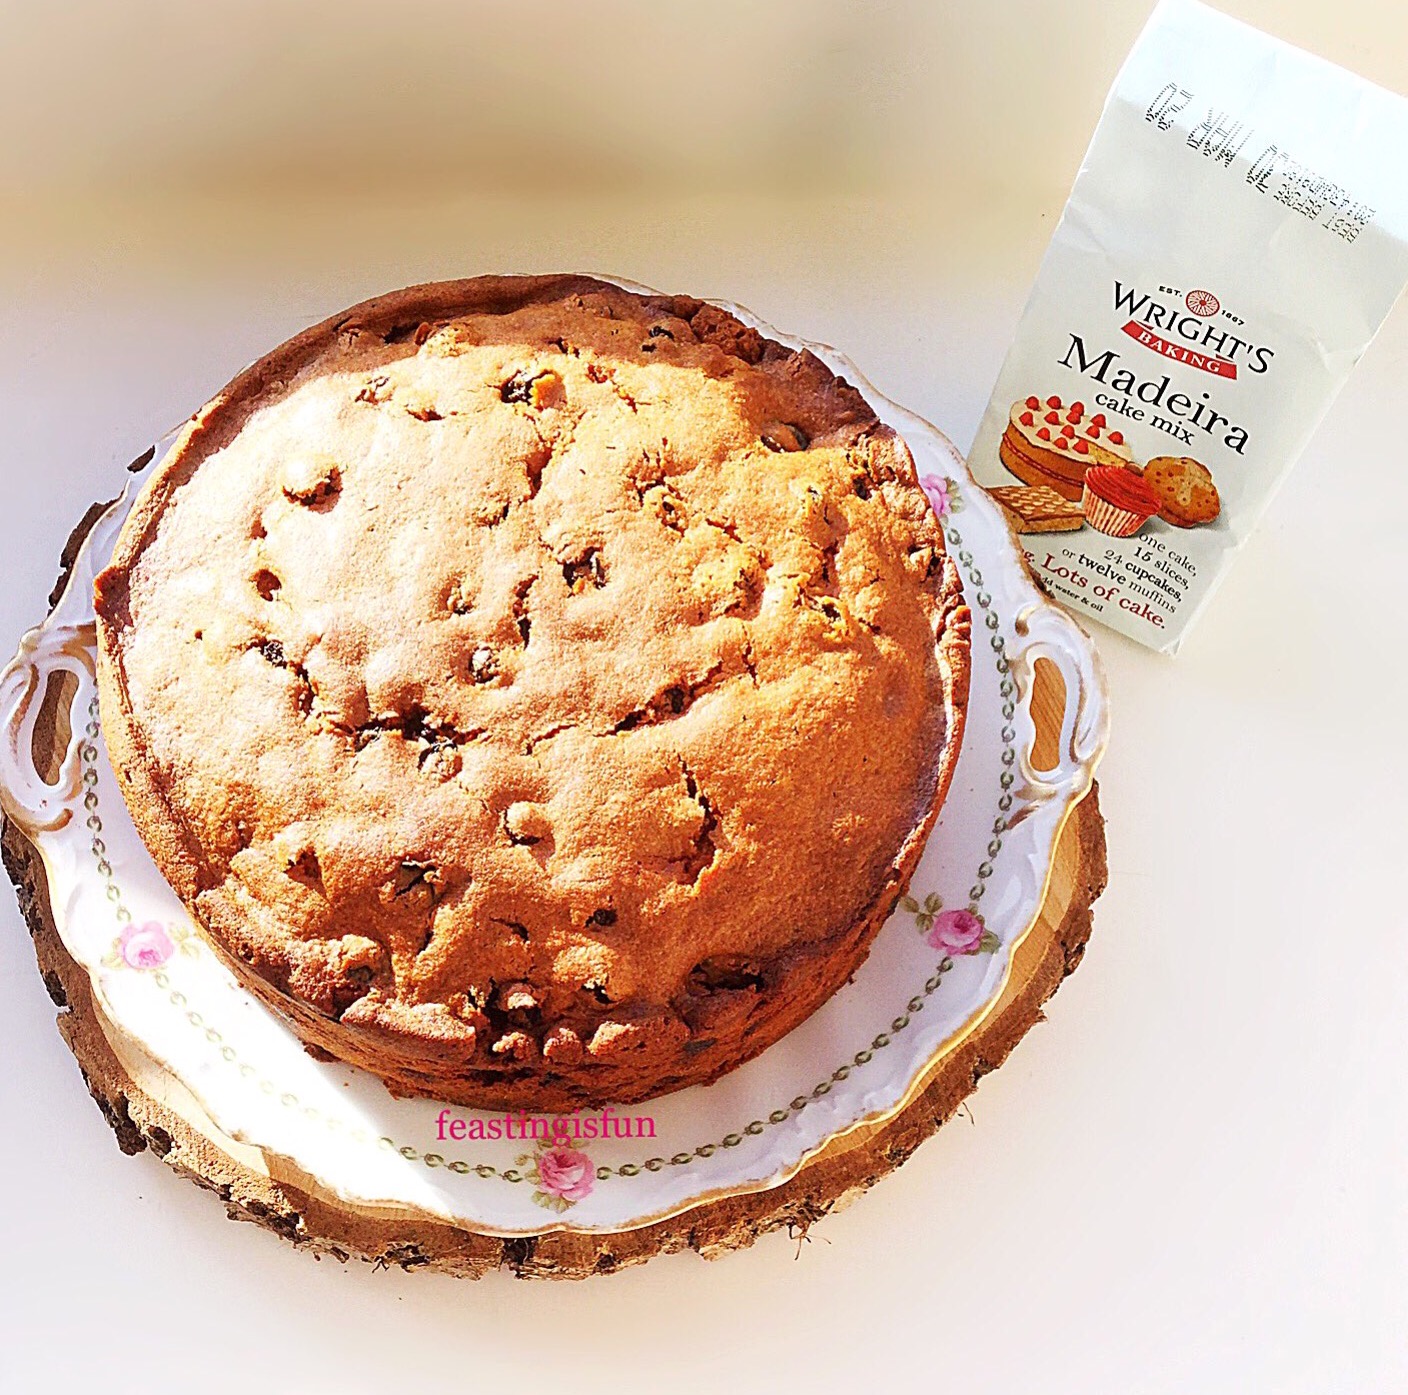
Because this cake is so tasty, making it shouldn’t only mean for Christmas. I originally made this cake for our son’s birthday in October. Since he requested Christmas Cake for his birthday celebration I compromised and made this lighter version with the addition of almond liqueur. After posting a photo of his birthday cake on Instagram I received lots of requests for the recipe. Resulting in me trialling Wright’s Baking Madeira Cake Mix with the same mix of fruit and liqueur.
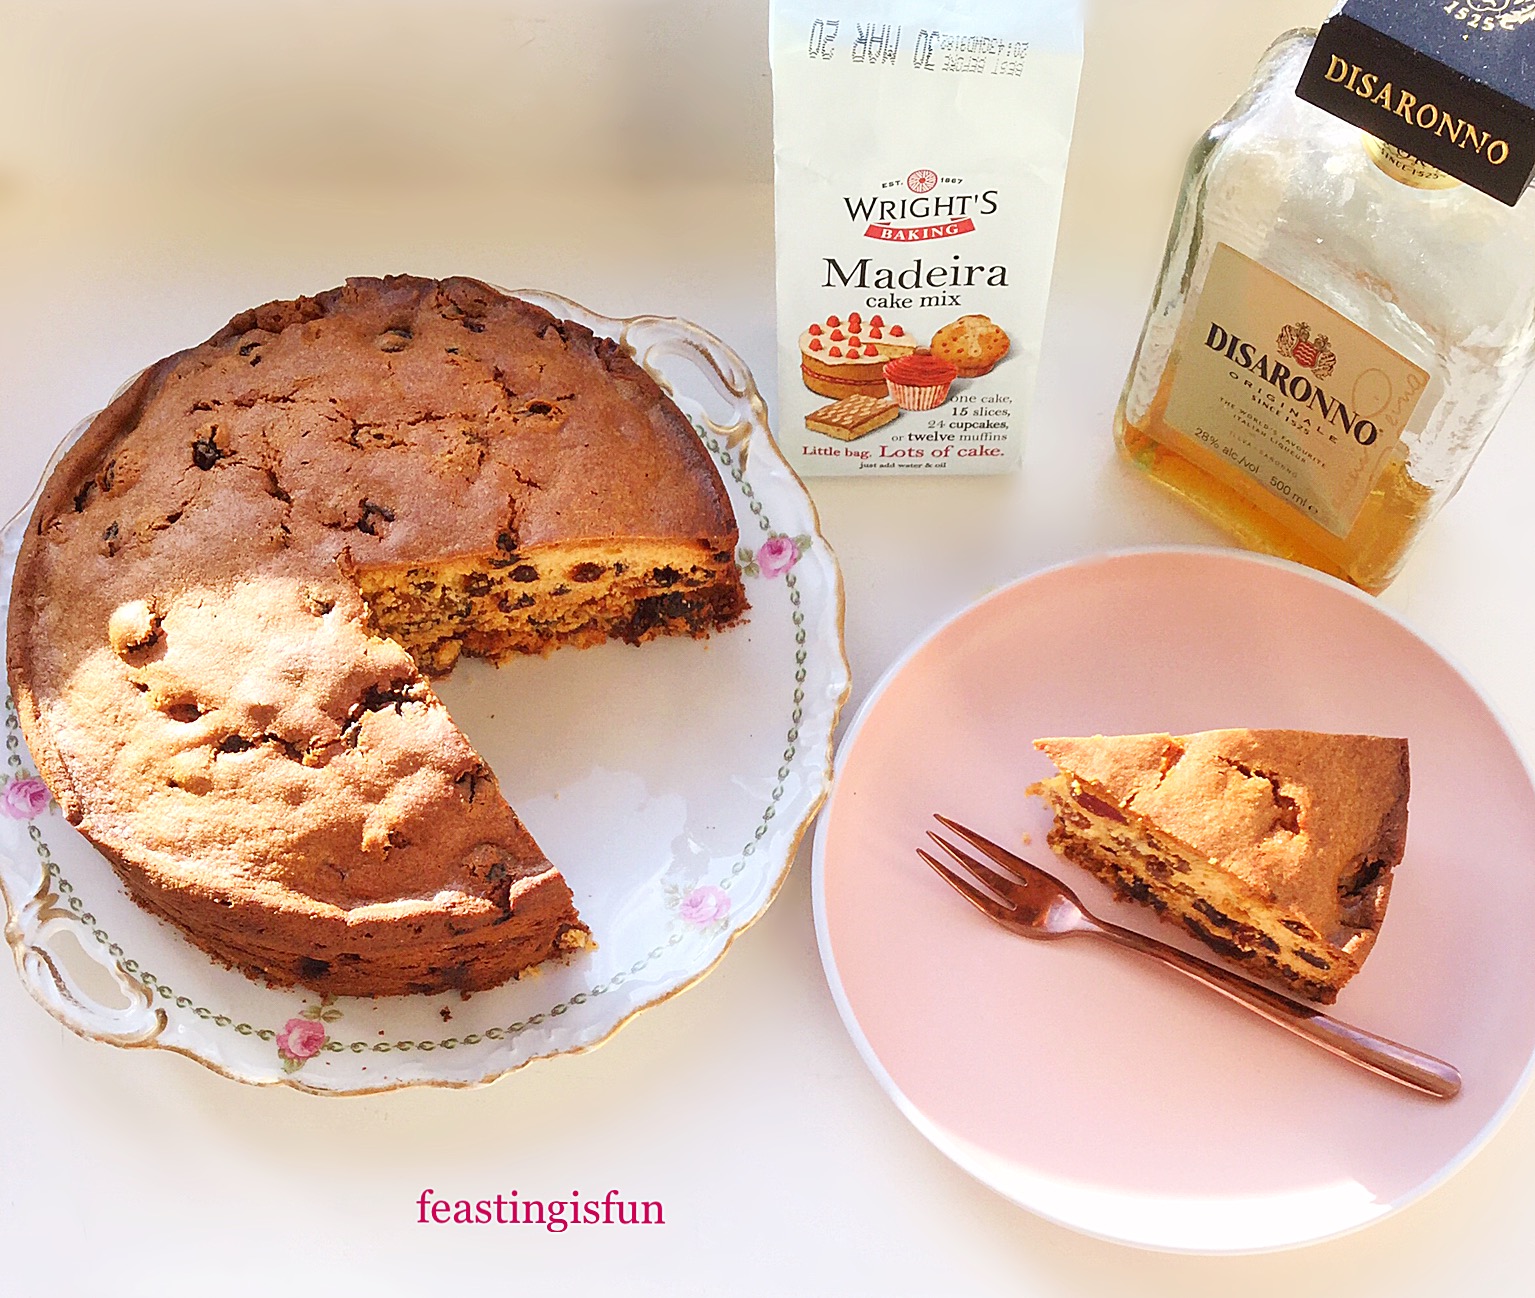
Both cakes are an absolute delight. So, no matter which version of the cake you choose to make, they are both delicious. For those who would rather not add alcohol simply leave it out of the recipe. Using almond extract as an alternative, in my opinion, would totally change the cake’s flavour. And as so, is not something I would recommend.
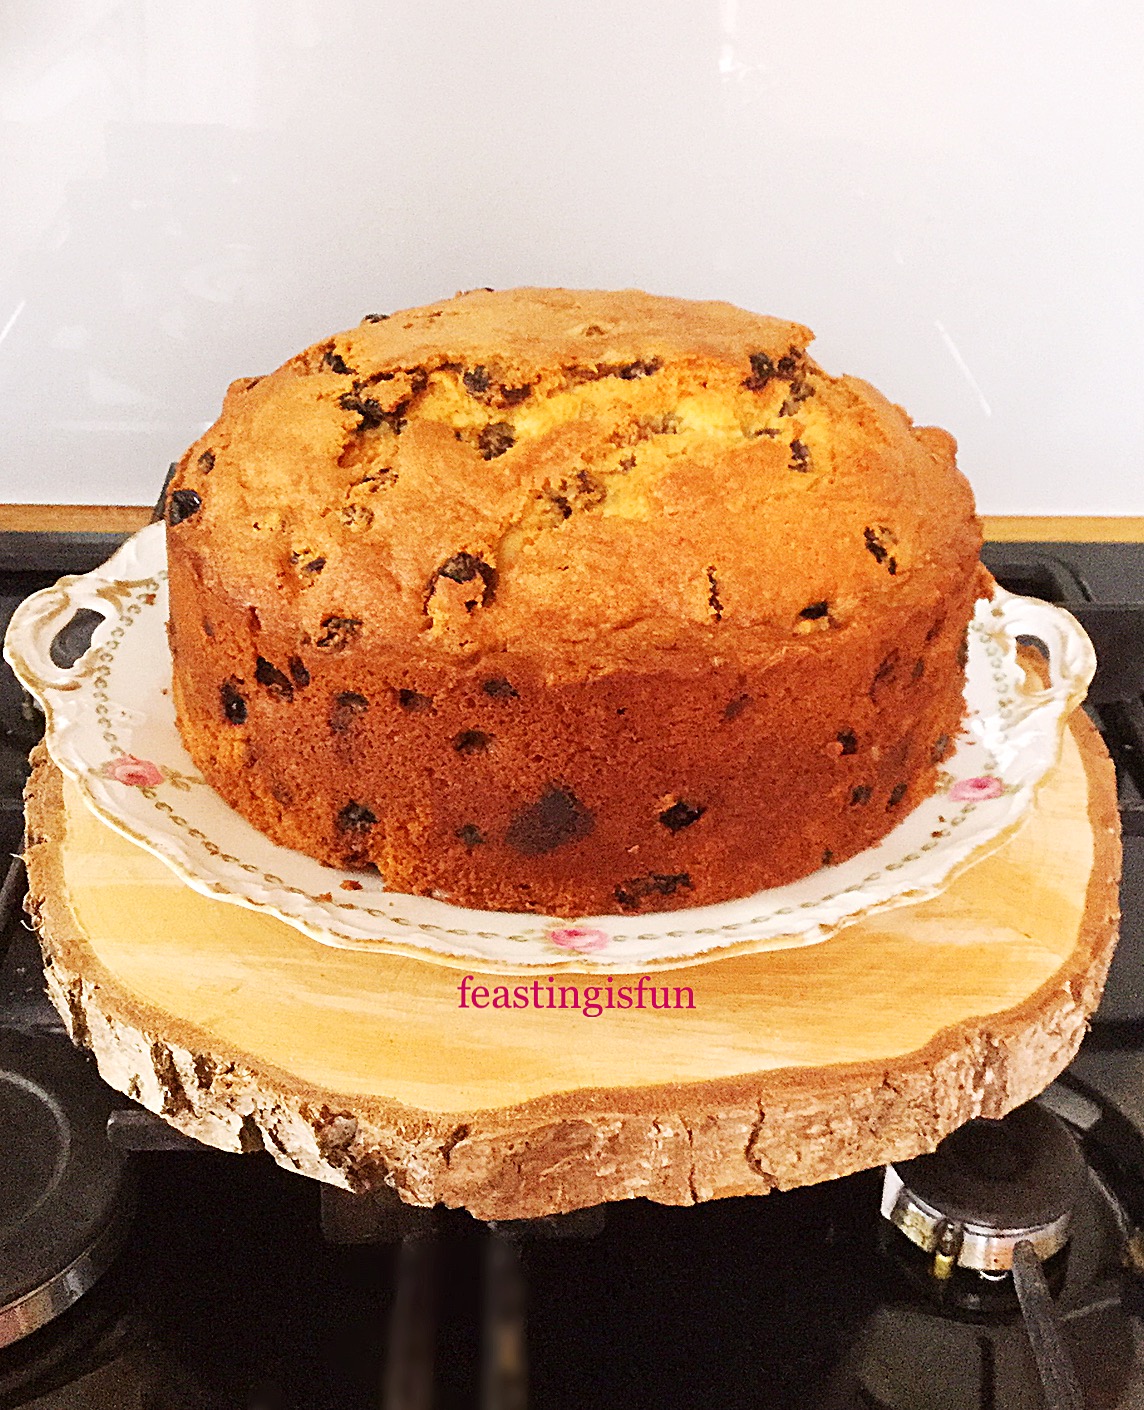
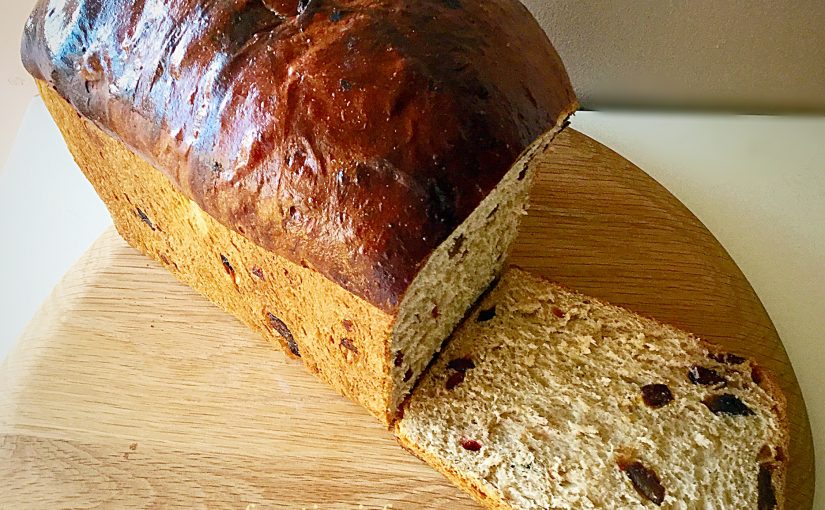
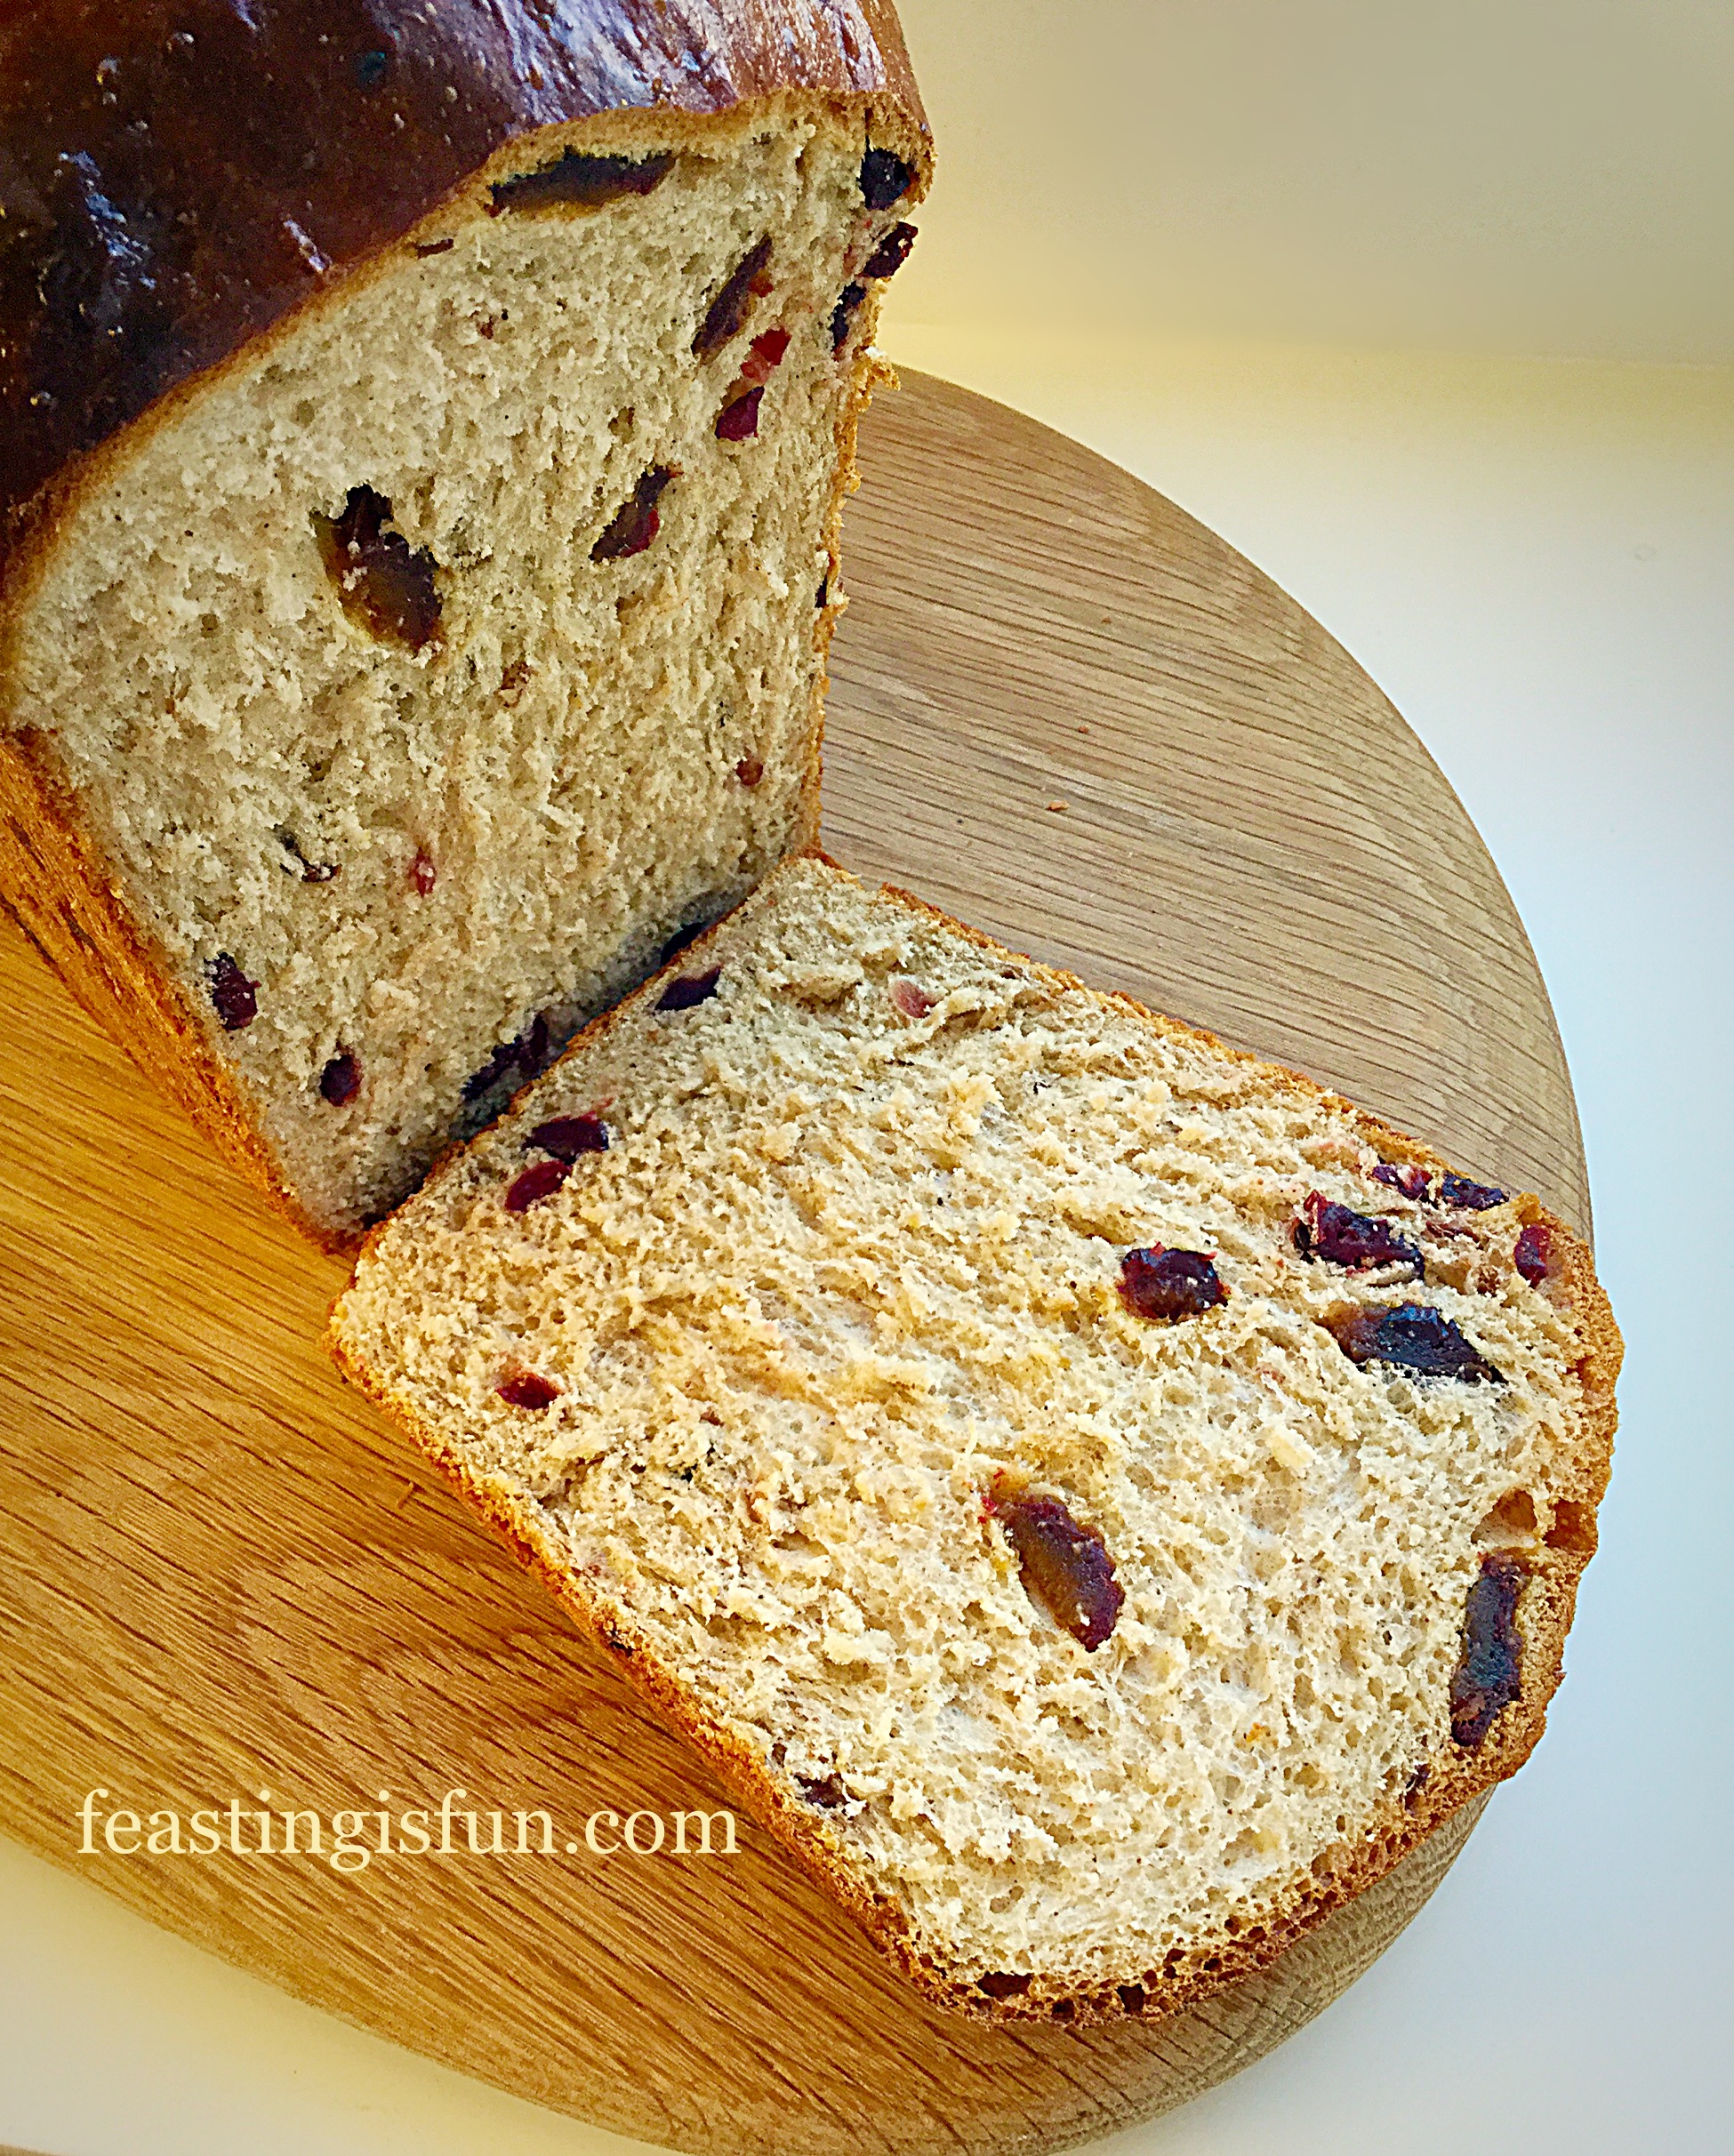
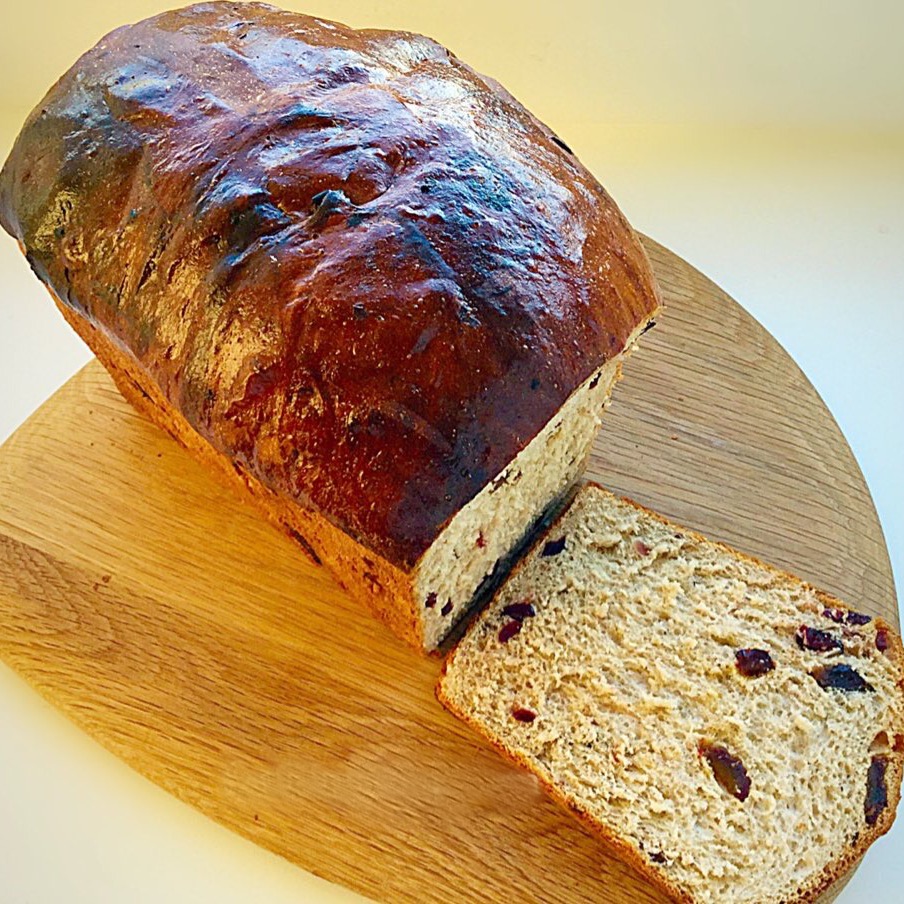
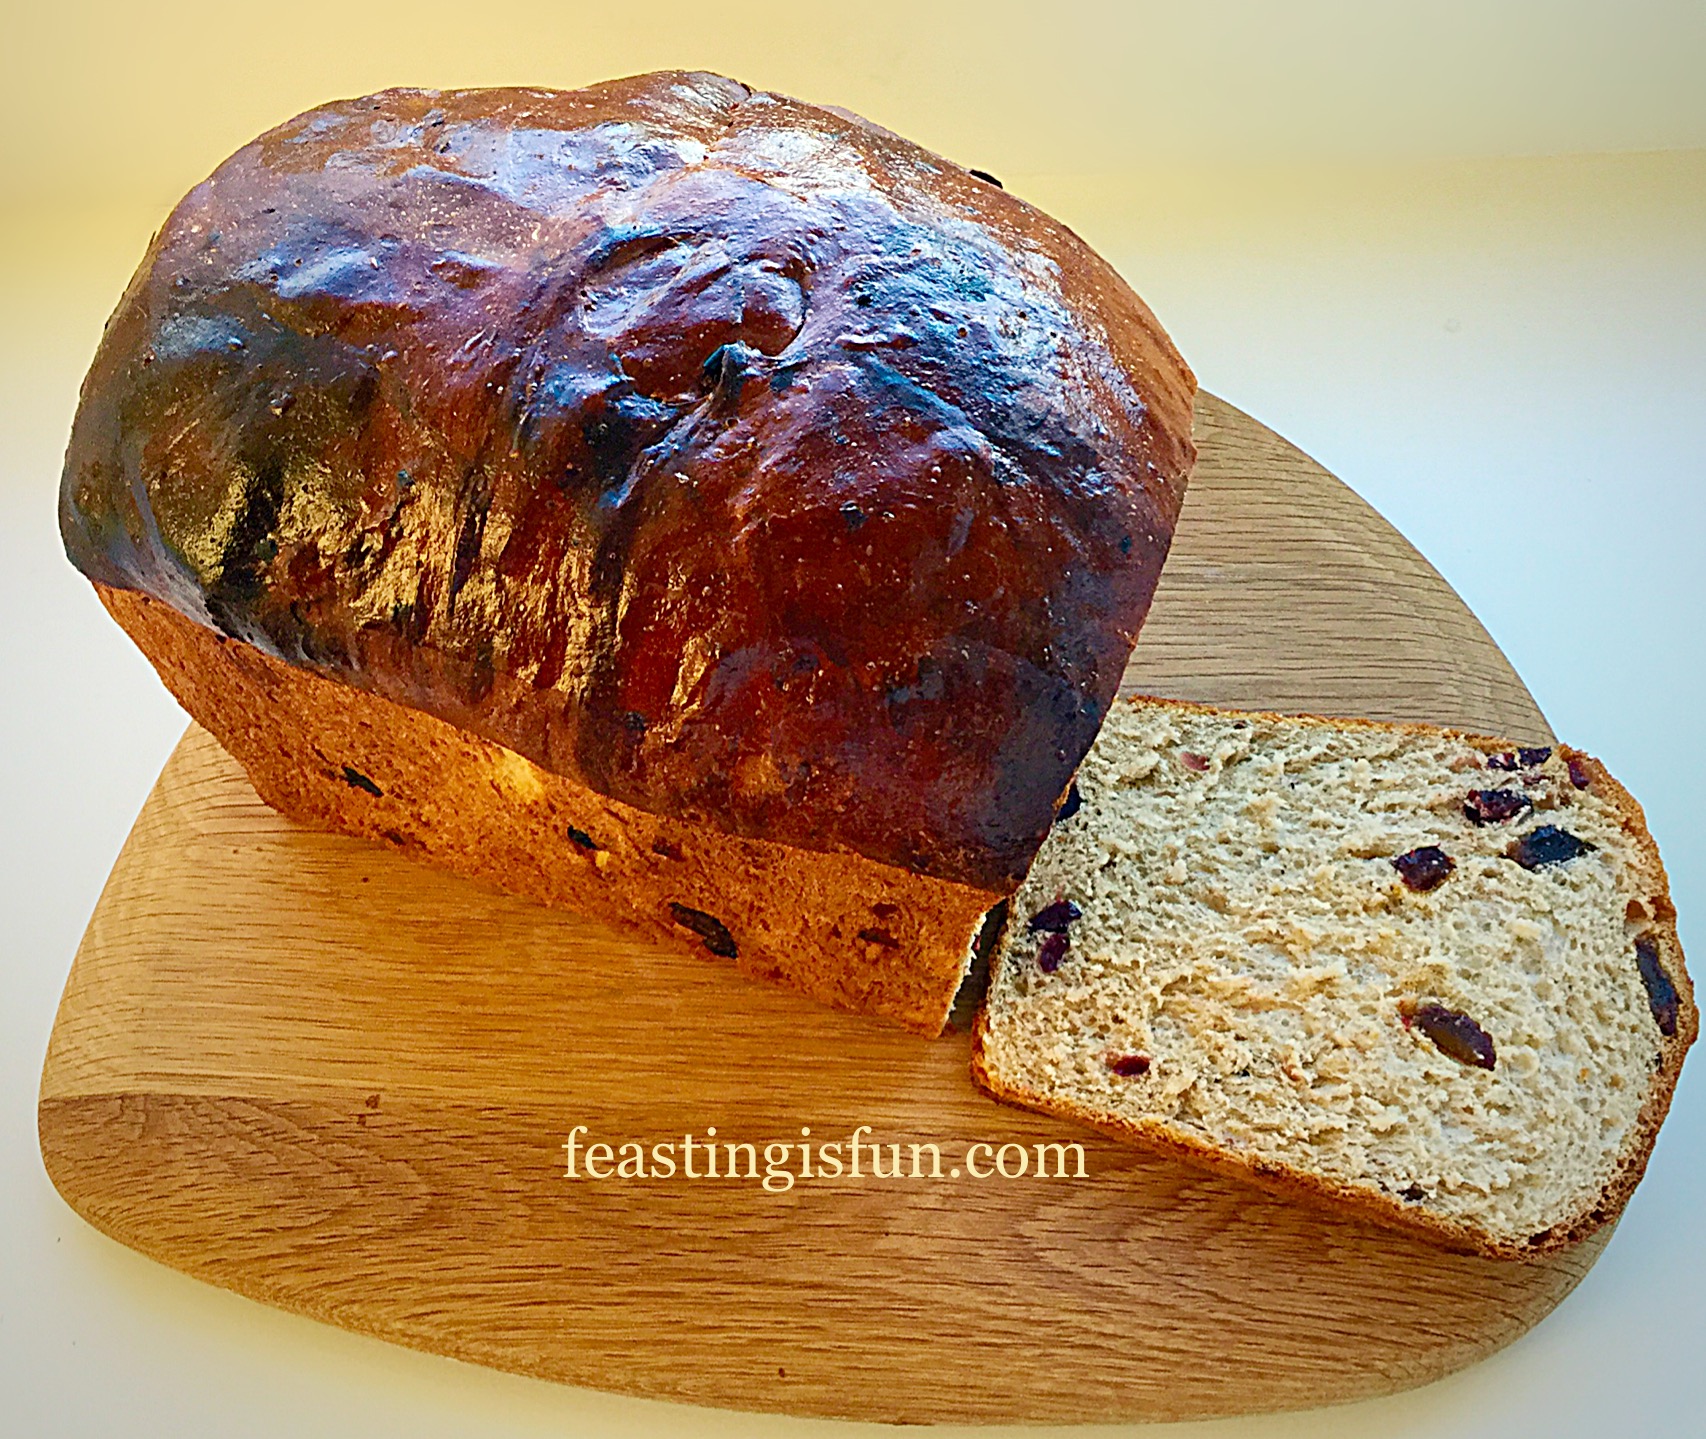
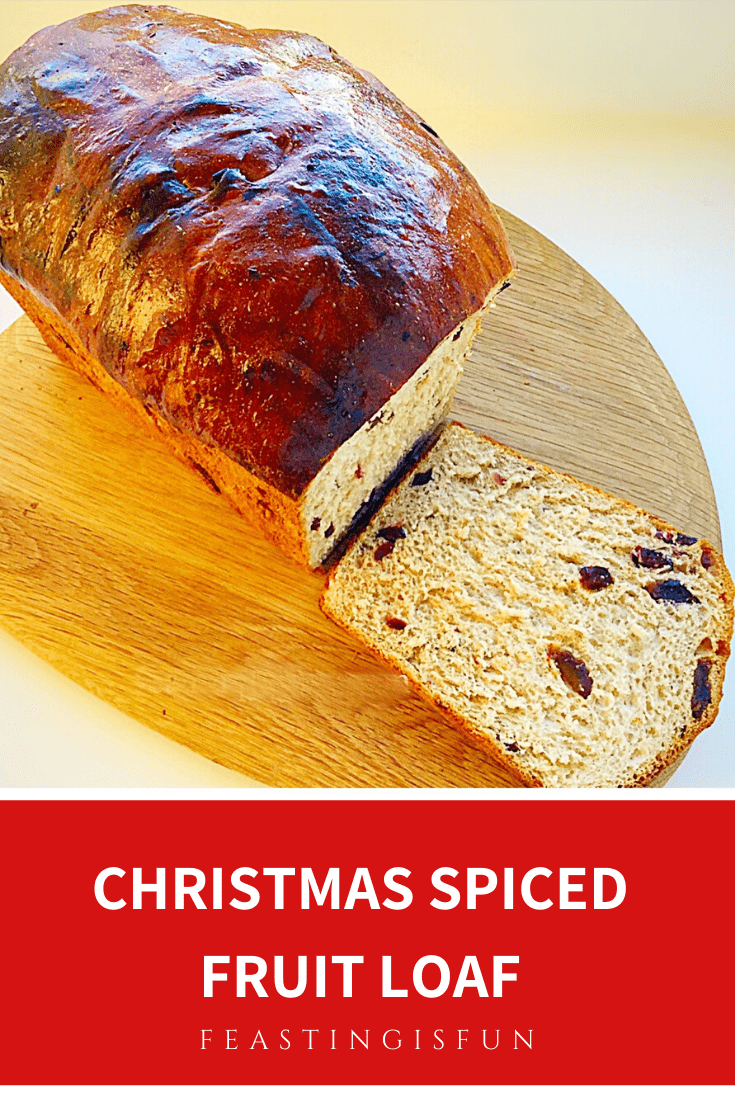
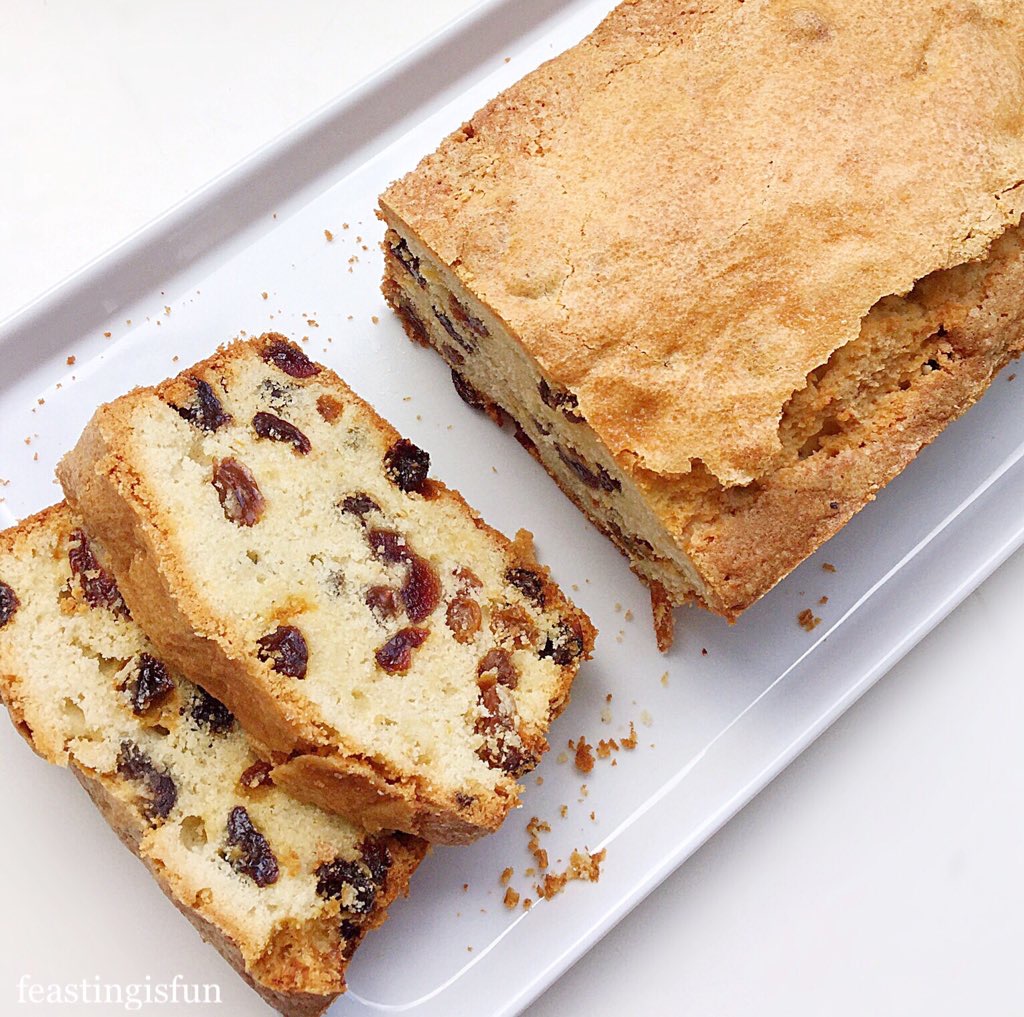
The cake’s texture is moist and light with the fruit evenly distributed throughout. Either serve with a hot cup of tea, or a glass of Amaretto. Since both compliment this cake equally well. Because this cake does contain alcohol make sure that those who are eating it are aware. Finally, adding extra liqueur to the cake will result in a very strong alcohol flavour which doesn’t evaporate during baking. I speak from experience!
Recipe: Amaretto Light Fruit Cake – serves 10-12
Cake Made From Scratch:
225g/8oz Unsalted Butter at room temperature
225g/8oz Caster Sugar
1/4tsp Sea Salt – halve if using free flowing salt
4 Large Free Range Eggs
1tsp Vanilla Extract – I use Nielsen-Massey
75g/3oz Ground Almonds
325g/11oz Self Raising Flour – alternately use the same quantity of plain flour and add 1tbsp baking powder
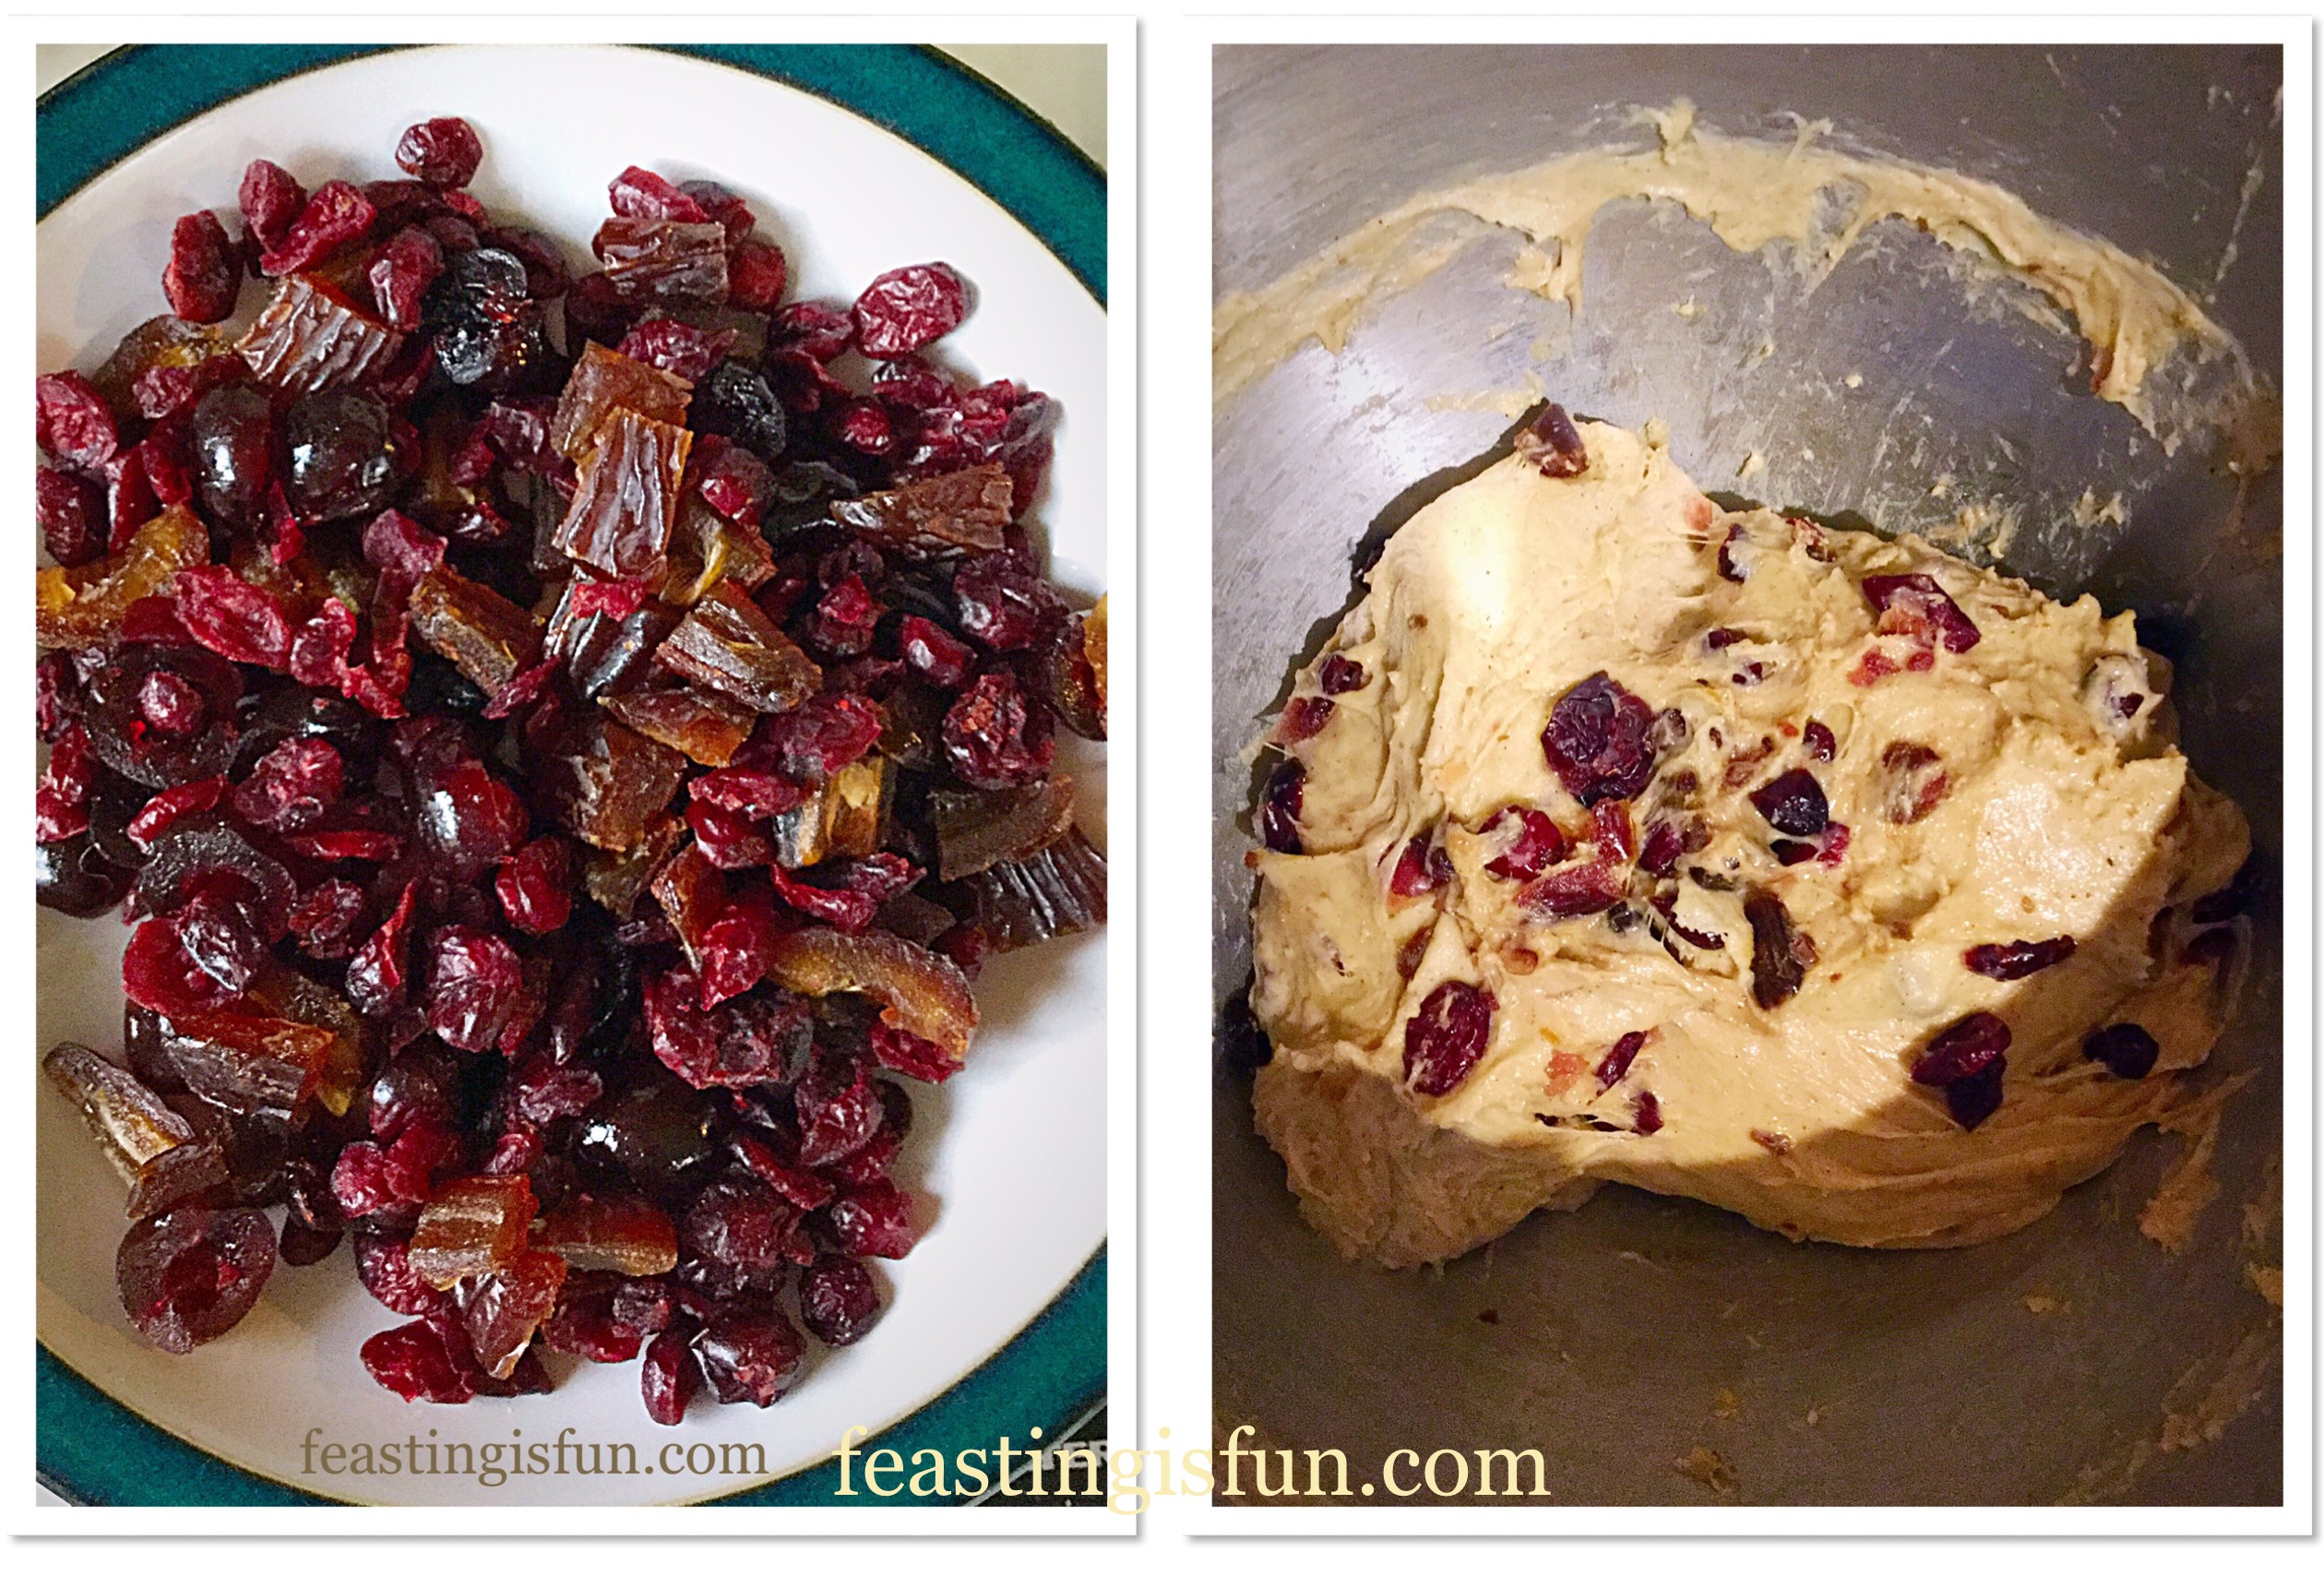
400g/14oz Mixed Dried Vine Fruits – I use a mix without citrus peel
200g/7oz Glacé Cherries
60ml or 4tbsp Amaretto Almond Liqueur
Using Wright’s Baking Madeira Cake Mix:
1 x Wright’s Baking Madeira Cake Mix
60ml Flavourless Vegetable Oil – I use sunflower oil
60ml or 4tbsp Amaretto Almond Liqueur
140ml Plain Tap Water
375g/13oz Dried Vine Fruits
200g/7oz Glacé Cherries
Method:
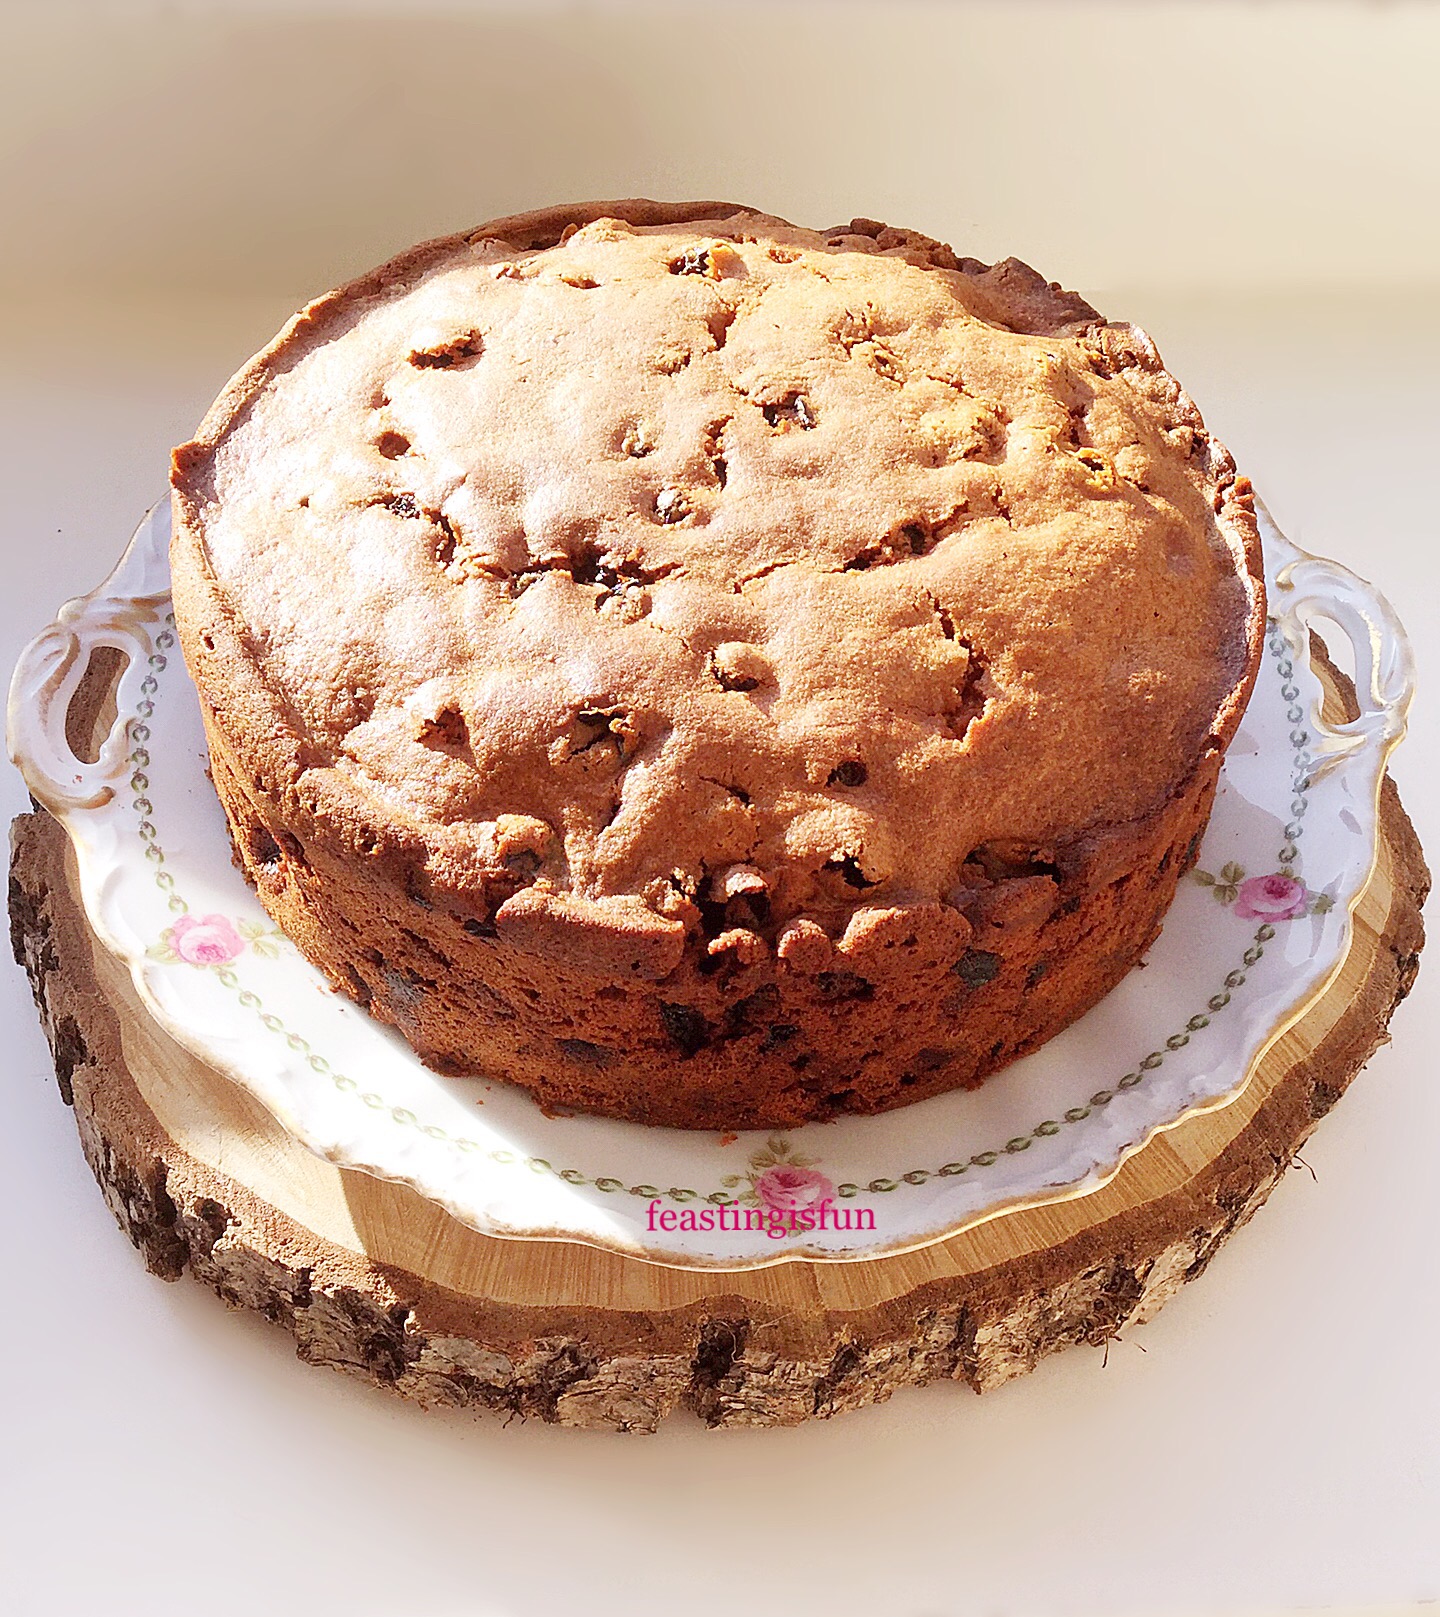
For both cakes use an 8in x 4in (20cm x 10cm) round cake tin that is thoroughly greased with butter and line the base with baking parchment. Note – cut out two circles of baking parchment per cake. One to line the base and the second to place on the top of the cake if it browns too quickly while baking.
Making And Baking The Cake From Scratch
- First of all, preheat the oven to 160C/140C fan, gas mark 3, 325F.
- Place the butter, salt and sugar into a large bowl and whisk together until pale and creamy.
- Next add one egg plus one tablespoon of flour and whisk together until just incorporated. Repeat this step three times until all four eggs have been added.
- Now add the vanilla extract and amaretto and whisk to combine.
- Sift the remaining flour (and baking powder) into the bowl and add the ground almonds. Stir together using a large metal spoon.
- Finally add the dried vine fruit and glacé cherries.
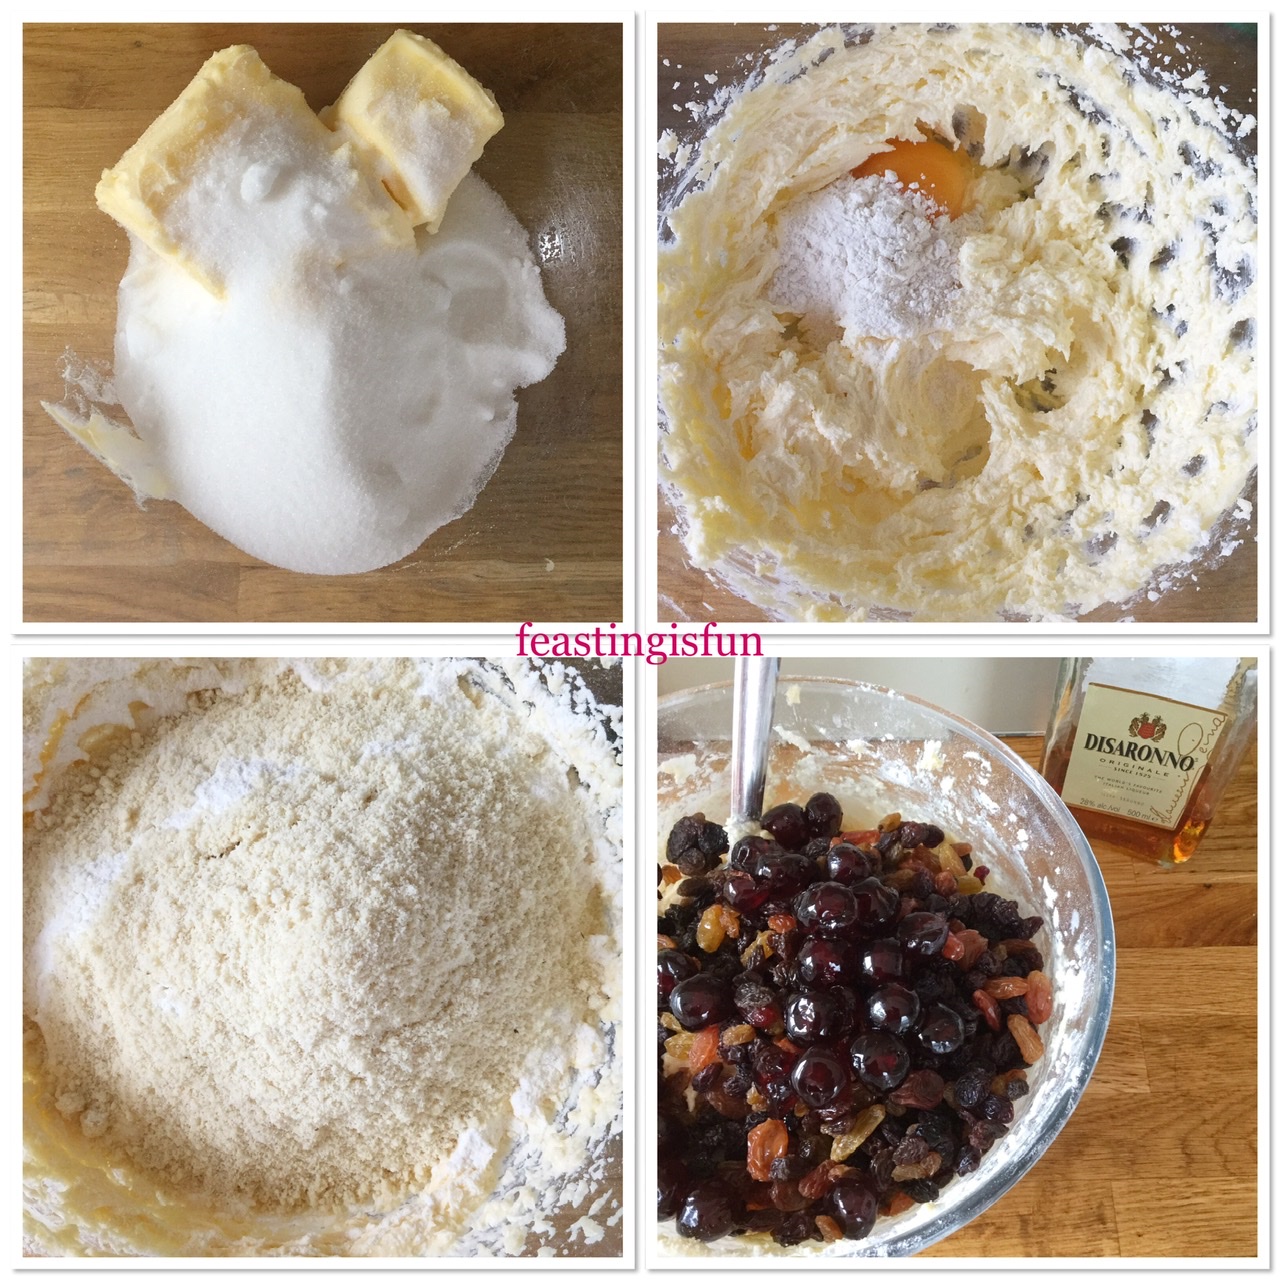
- Mix the dried fruits into the cake batter .
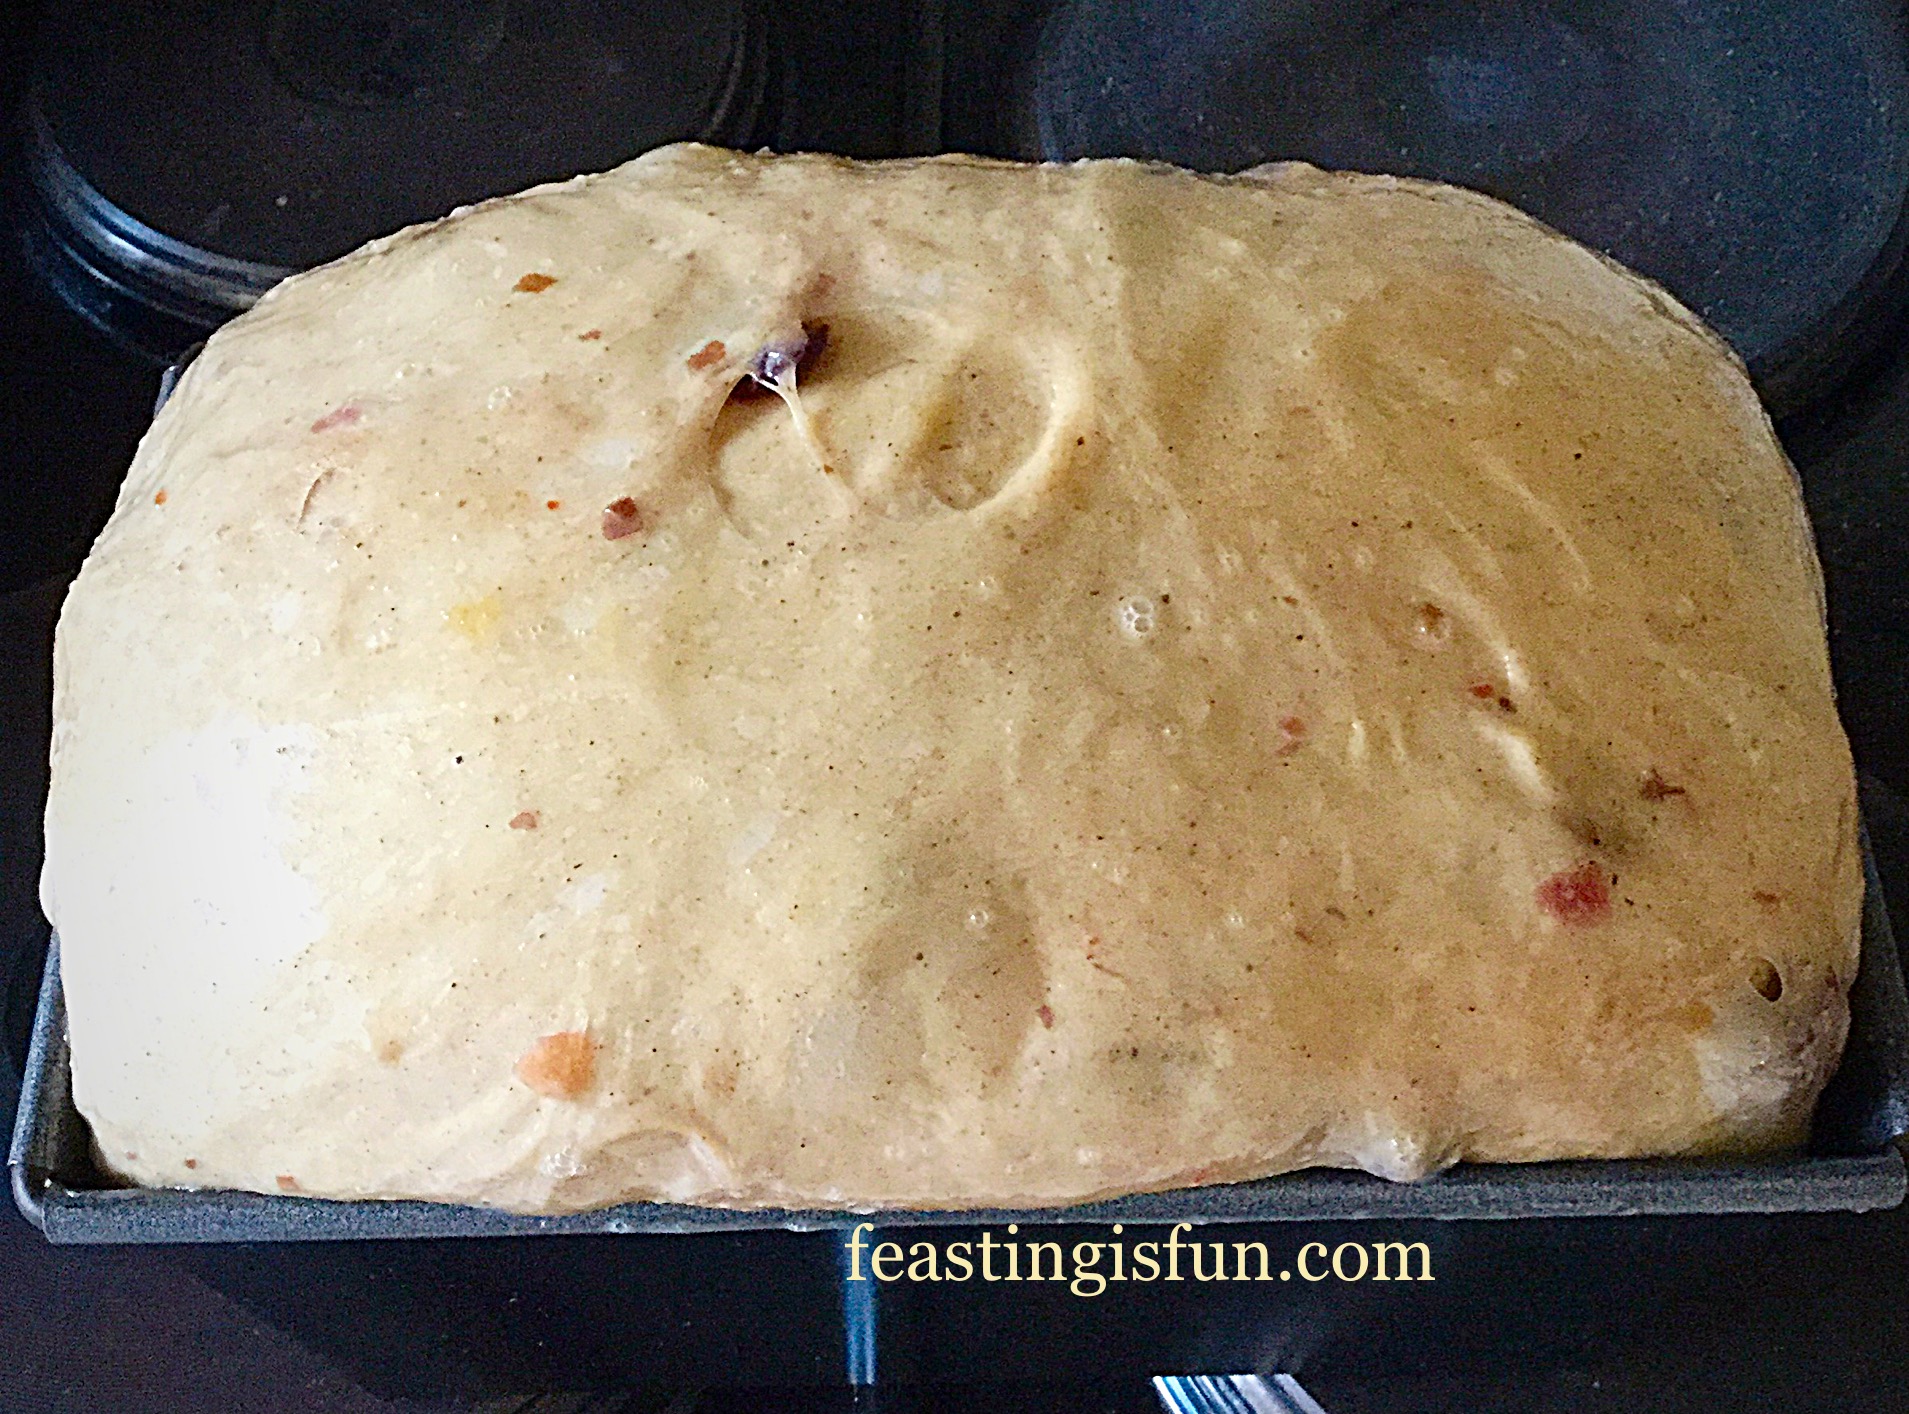
- Spoon the cake mixture into the prepared cake tin, ensuring the top of the mixture is smooth.
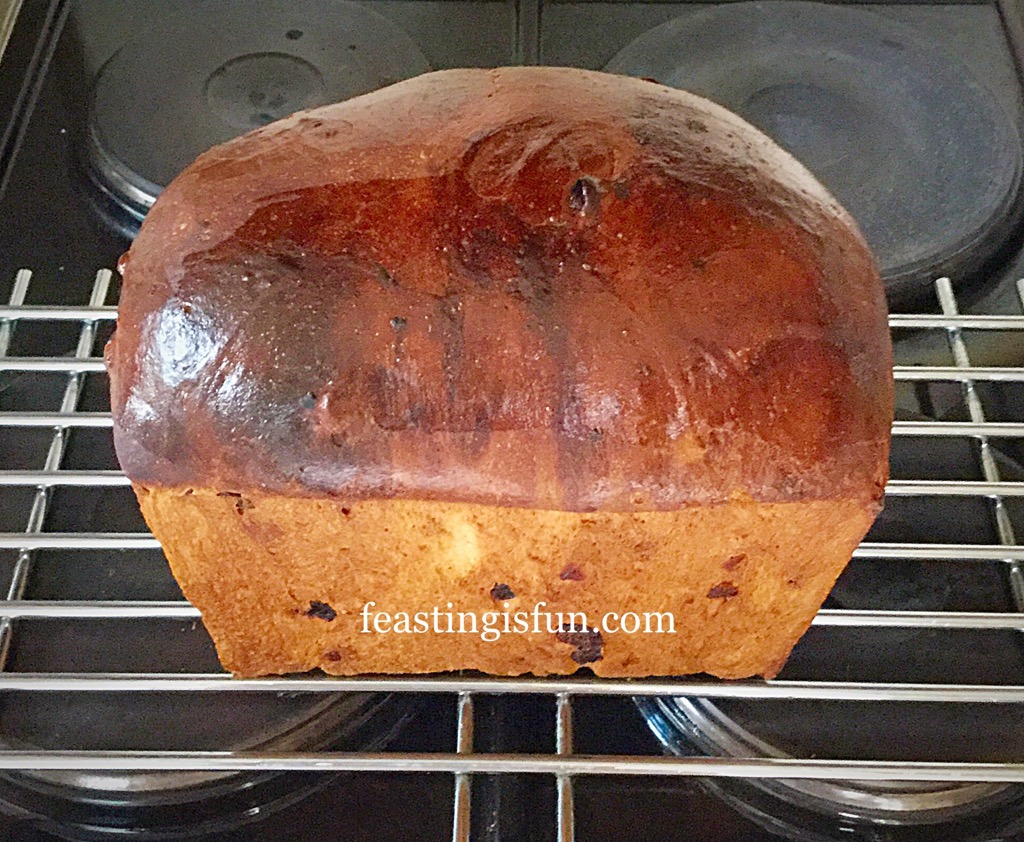
- Place the cake into the centre of a preheated oven and bake for 1 1/2 – 2 hours. If the cake starts browning too quickly place the spare circle of baking parchment on top of the cake.
- The cake is baked when an inserted skewer comes out clean. If raw cake batter clings to the skewer return cake to oven for a further 15 minutes baking then check again.
- As soon as the cake is baked remove from the oven and leave to cool in the tin.

Using The Wright’s Baking Madeira Cake Mix
- First of all preheat the oven to 160C/140C fan, gas mark 3, 325F.
- Into a large bowl add the oil, amaretto liqueur and water. Then add the cake mix from the packet.
- Follow the packet instructions to mix the cake batter.
- Add the dried vine fruits and glacé cherries and mix into the batter with a large metal spoon.
- Spoon the cake mixture into the prepared cake tin and smooth the top.
- Place the cake into the centre of a preheated oven and bake for 1 1/2 – 2 hours. This is longer than the time given on the packet due to the addition of fruit.
- If the cake starts browning too quickly place the spare circle of baking parchment on top of the cake.
- The cake is baked when an inserted skewer comes out clean. If raw cake batter clings to the skewer return cake to oven for a further 15 minutes baking then check again.
- As soon as the cake is baked remove from the oven and allow to cool in the tin.
Removing Either Cake From It’s Tin And Serving
- As soon as the cake is cooled it can be released from the tin.
- Run a palette knife between the outside edge of the cake and inside of the tin.
- Turn the cake out carefully.
- Remove the baking parchment circle from the cake base.
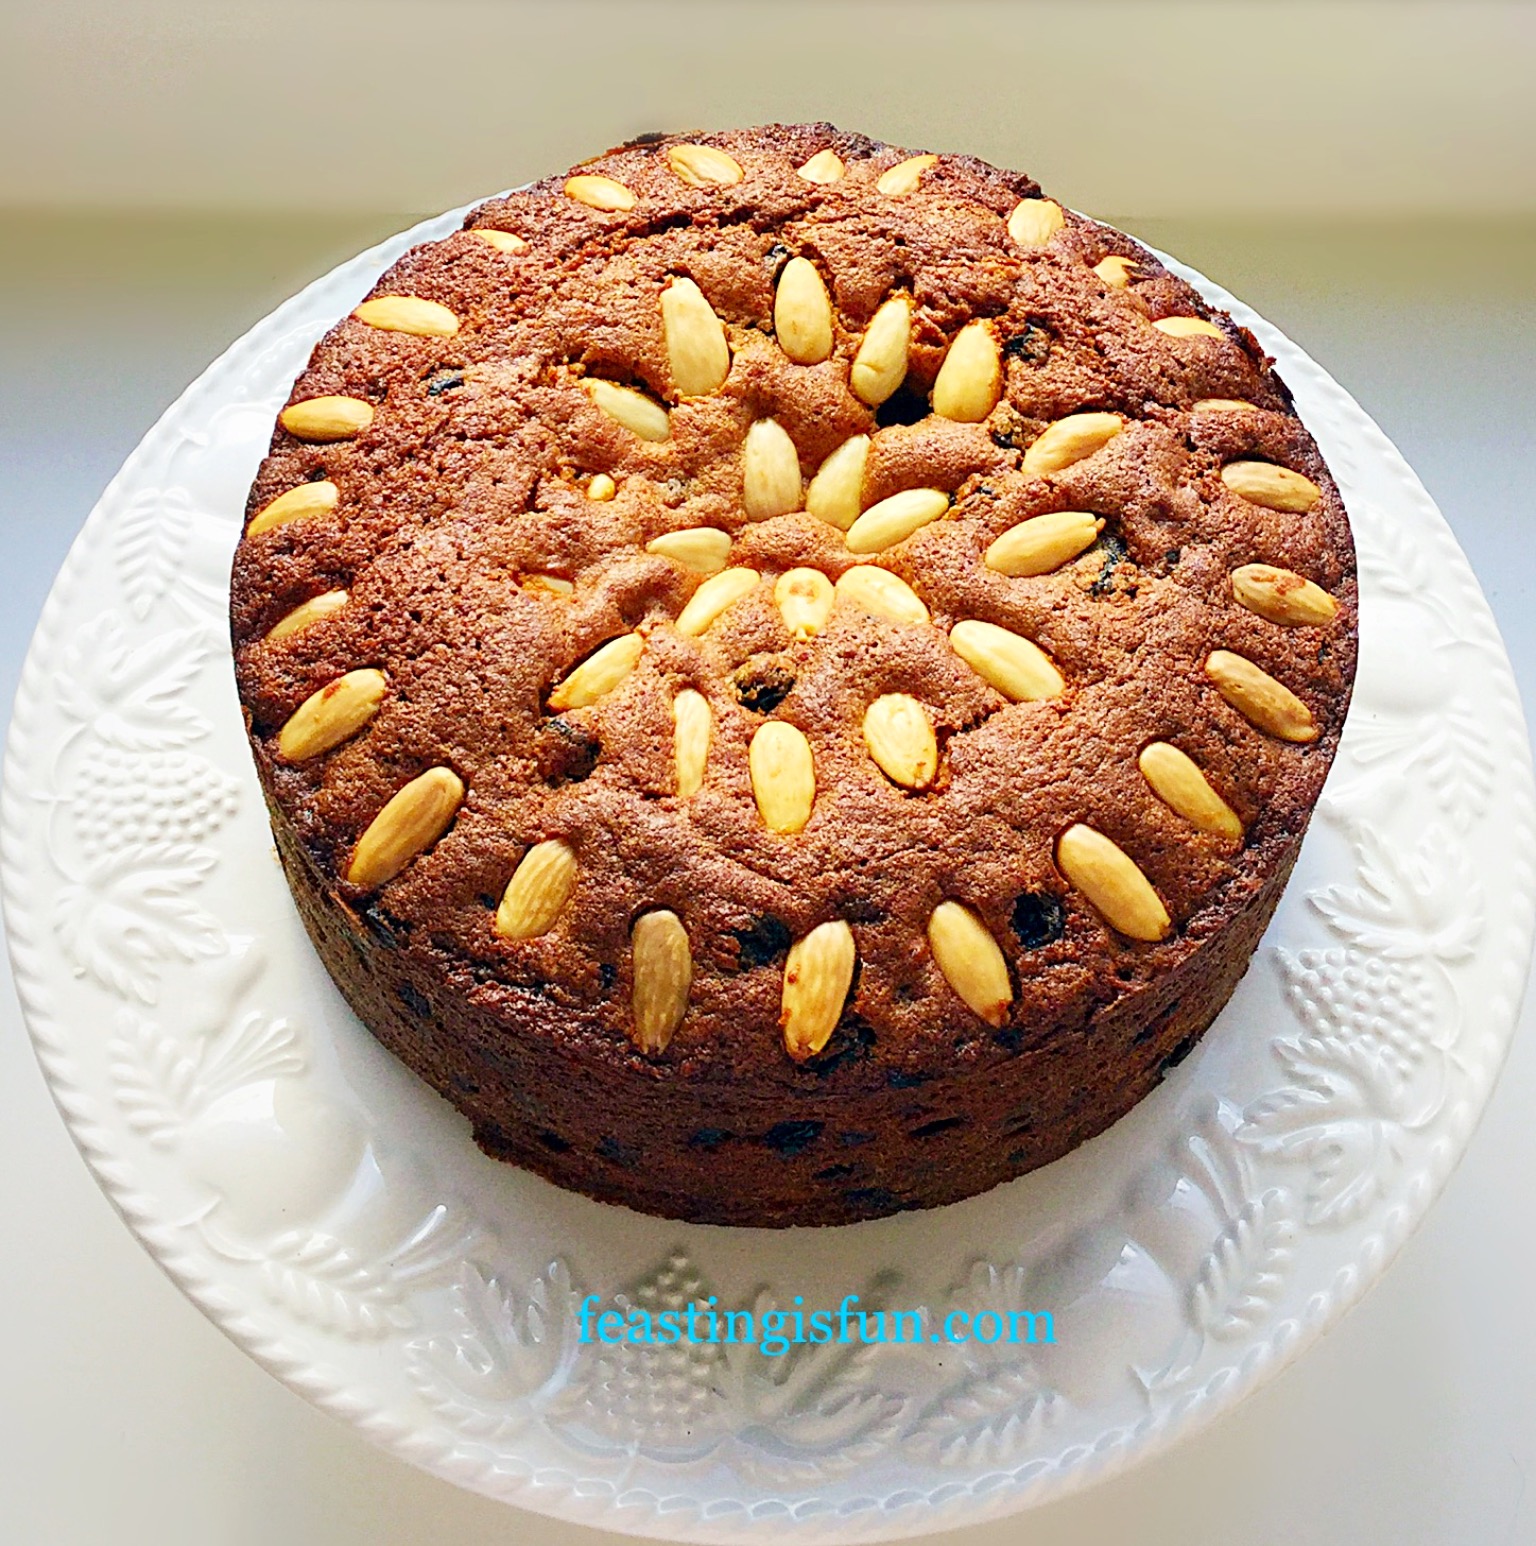
- Place the cake onto a cake plate, cake stand, or board.
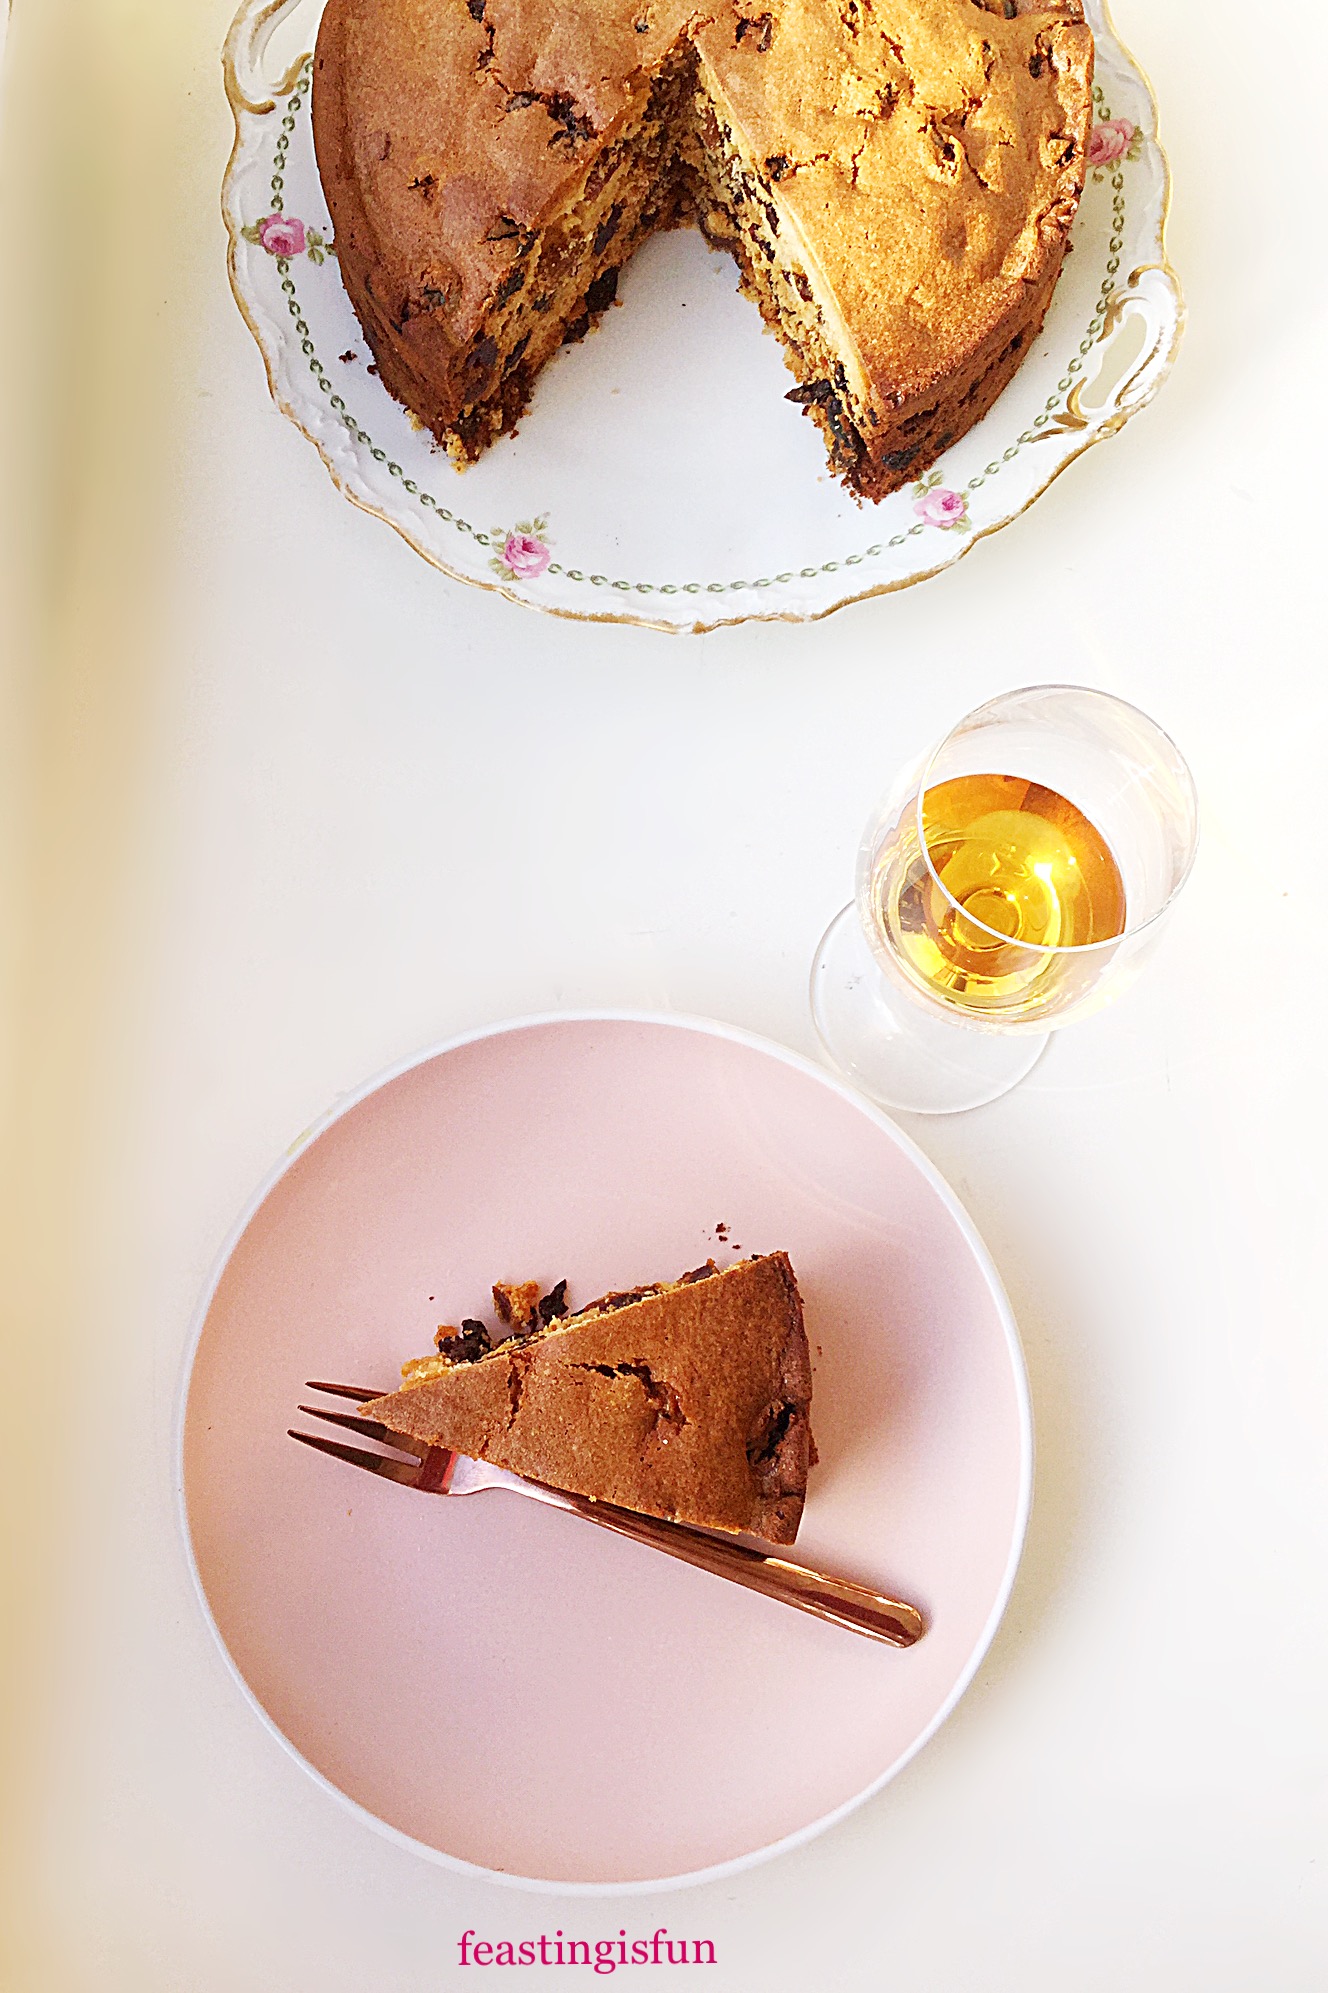
Either cake will keep for up to a week when stored in an airtight container and kept in the fridge. Alternatively, as this cake takes minimal preparation compared to a traditional Christmas cake, it can be made and baked the evening before it is needed. For example, on Christmas Eve!
If you have enjoyed this recipe for Amaretto Light Fruit Cake you may also like these:
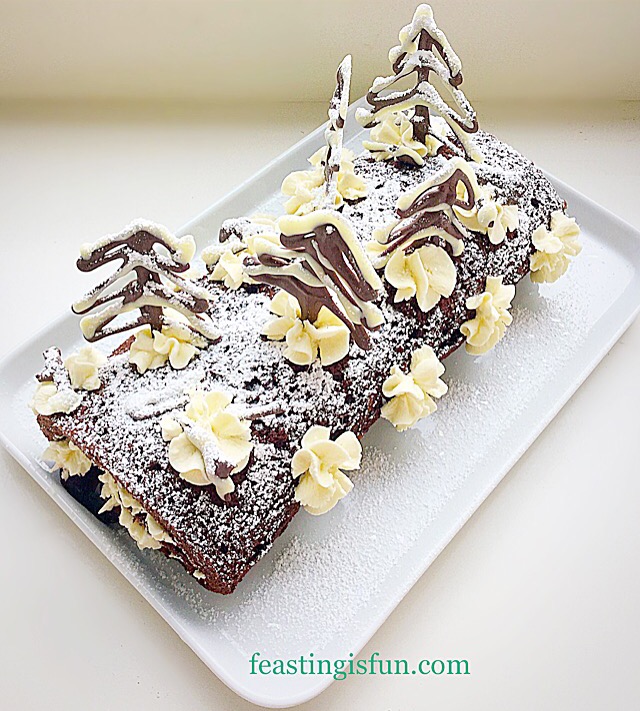
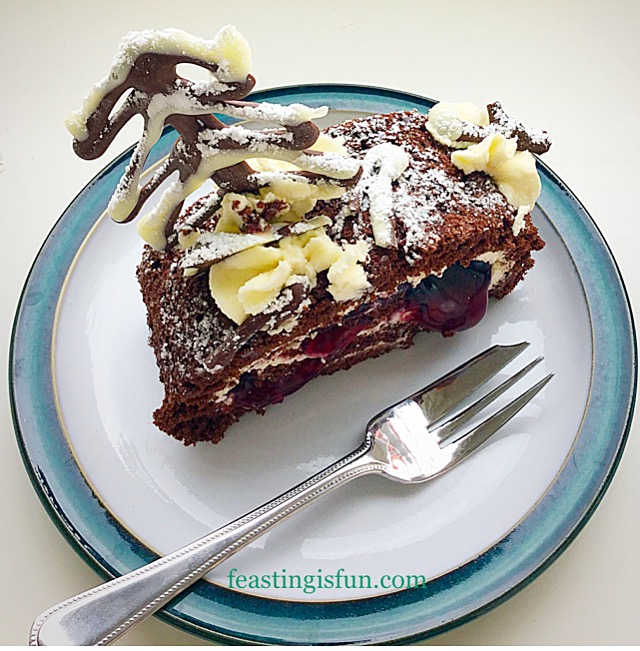
Chocolate Marble Celebration Cake
Christmas really is the time of year when we think of others. Whether family are coming to stay, friends popping by for a drink and nibbles, or others in society that do not have the home comforts we enjoy. Making an extra cake, mince pies, or cookies to give out may take little effort from us, yet mean the world to those they are gifted to. So, during Christmas, I challenge you, as I do myself, to actively give to those in need. Just as our Heavenly Father freely gave His only Son Jesus to the world that we may know Him. Emmanuel – God with us.
From our home to yours, wishing you a very Happy Christmas.
Sammie xx
No part of this post may be reproduced or duplicated without the written permission of the owner. Please see my Disclosure Policy.