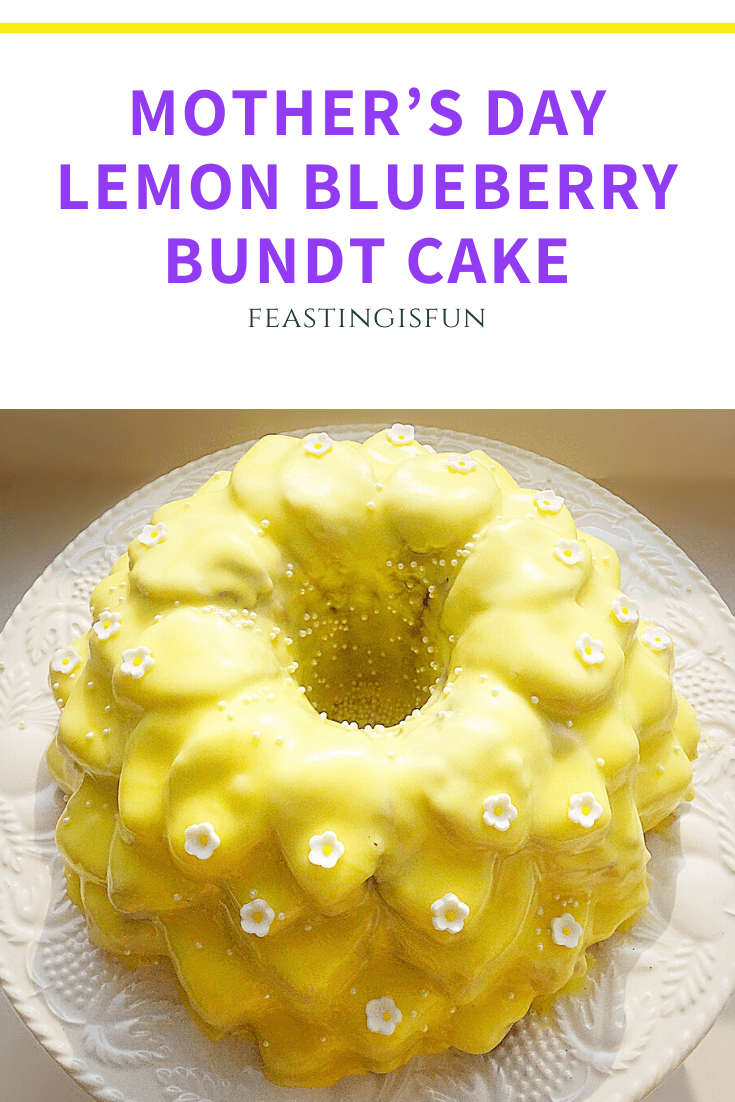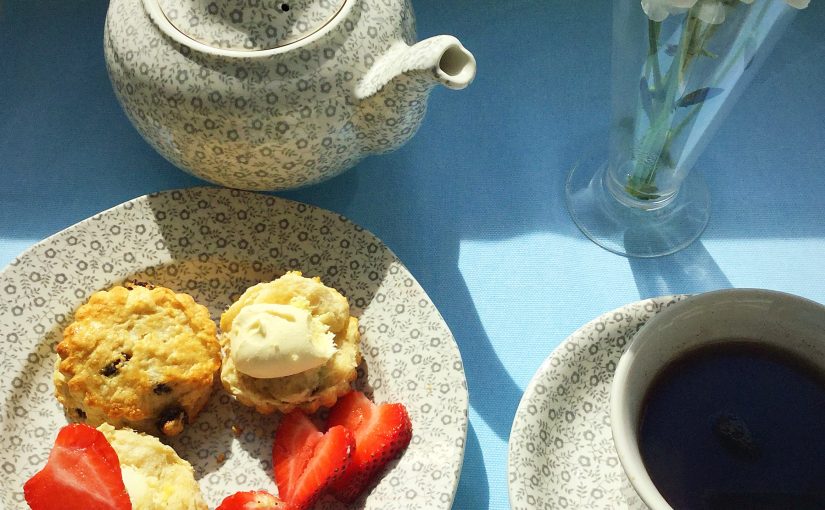
Today it is Mother’s Day here in the U.K. A day where we celebrate mums, aunts, grandmothers and other significant women in our lives. My Grandma had a hugely positive input into my upbringing. Indeed it was at her apron strings that I learned the basic fundamentals of baking, that I still employ today. On the day prior to any beach trip, picnic, or family celebration, she would be found, busy baking in the kitchen. I am certain she would enjoy these Fruit Filled Butter Scones.
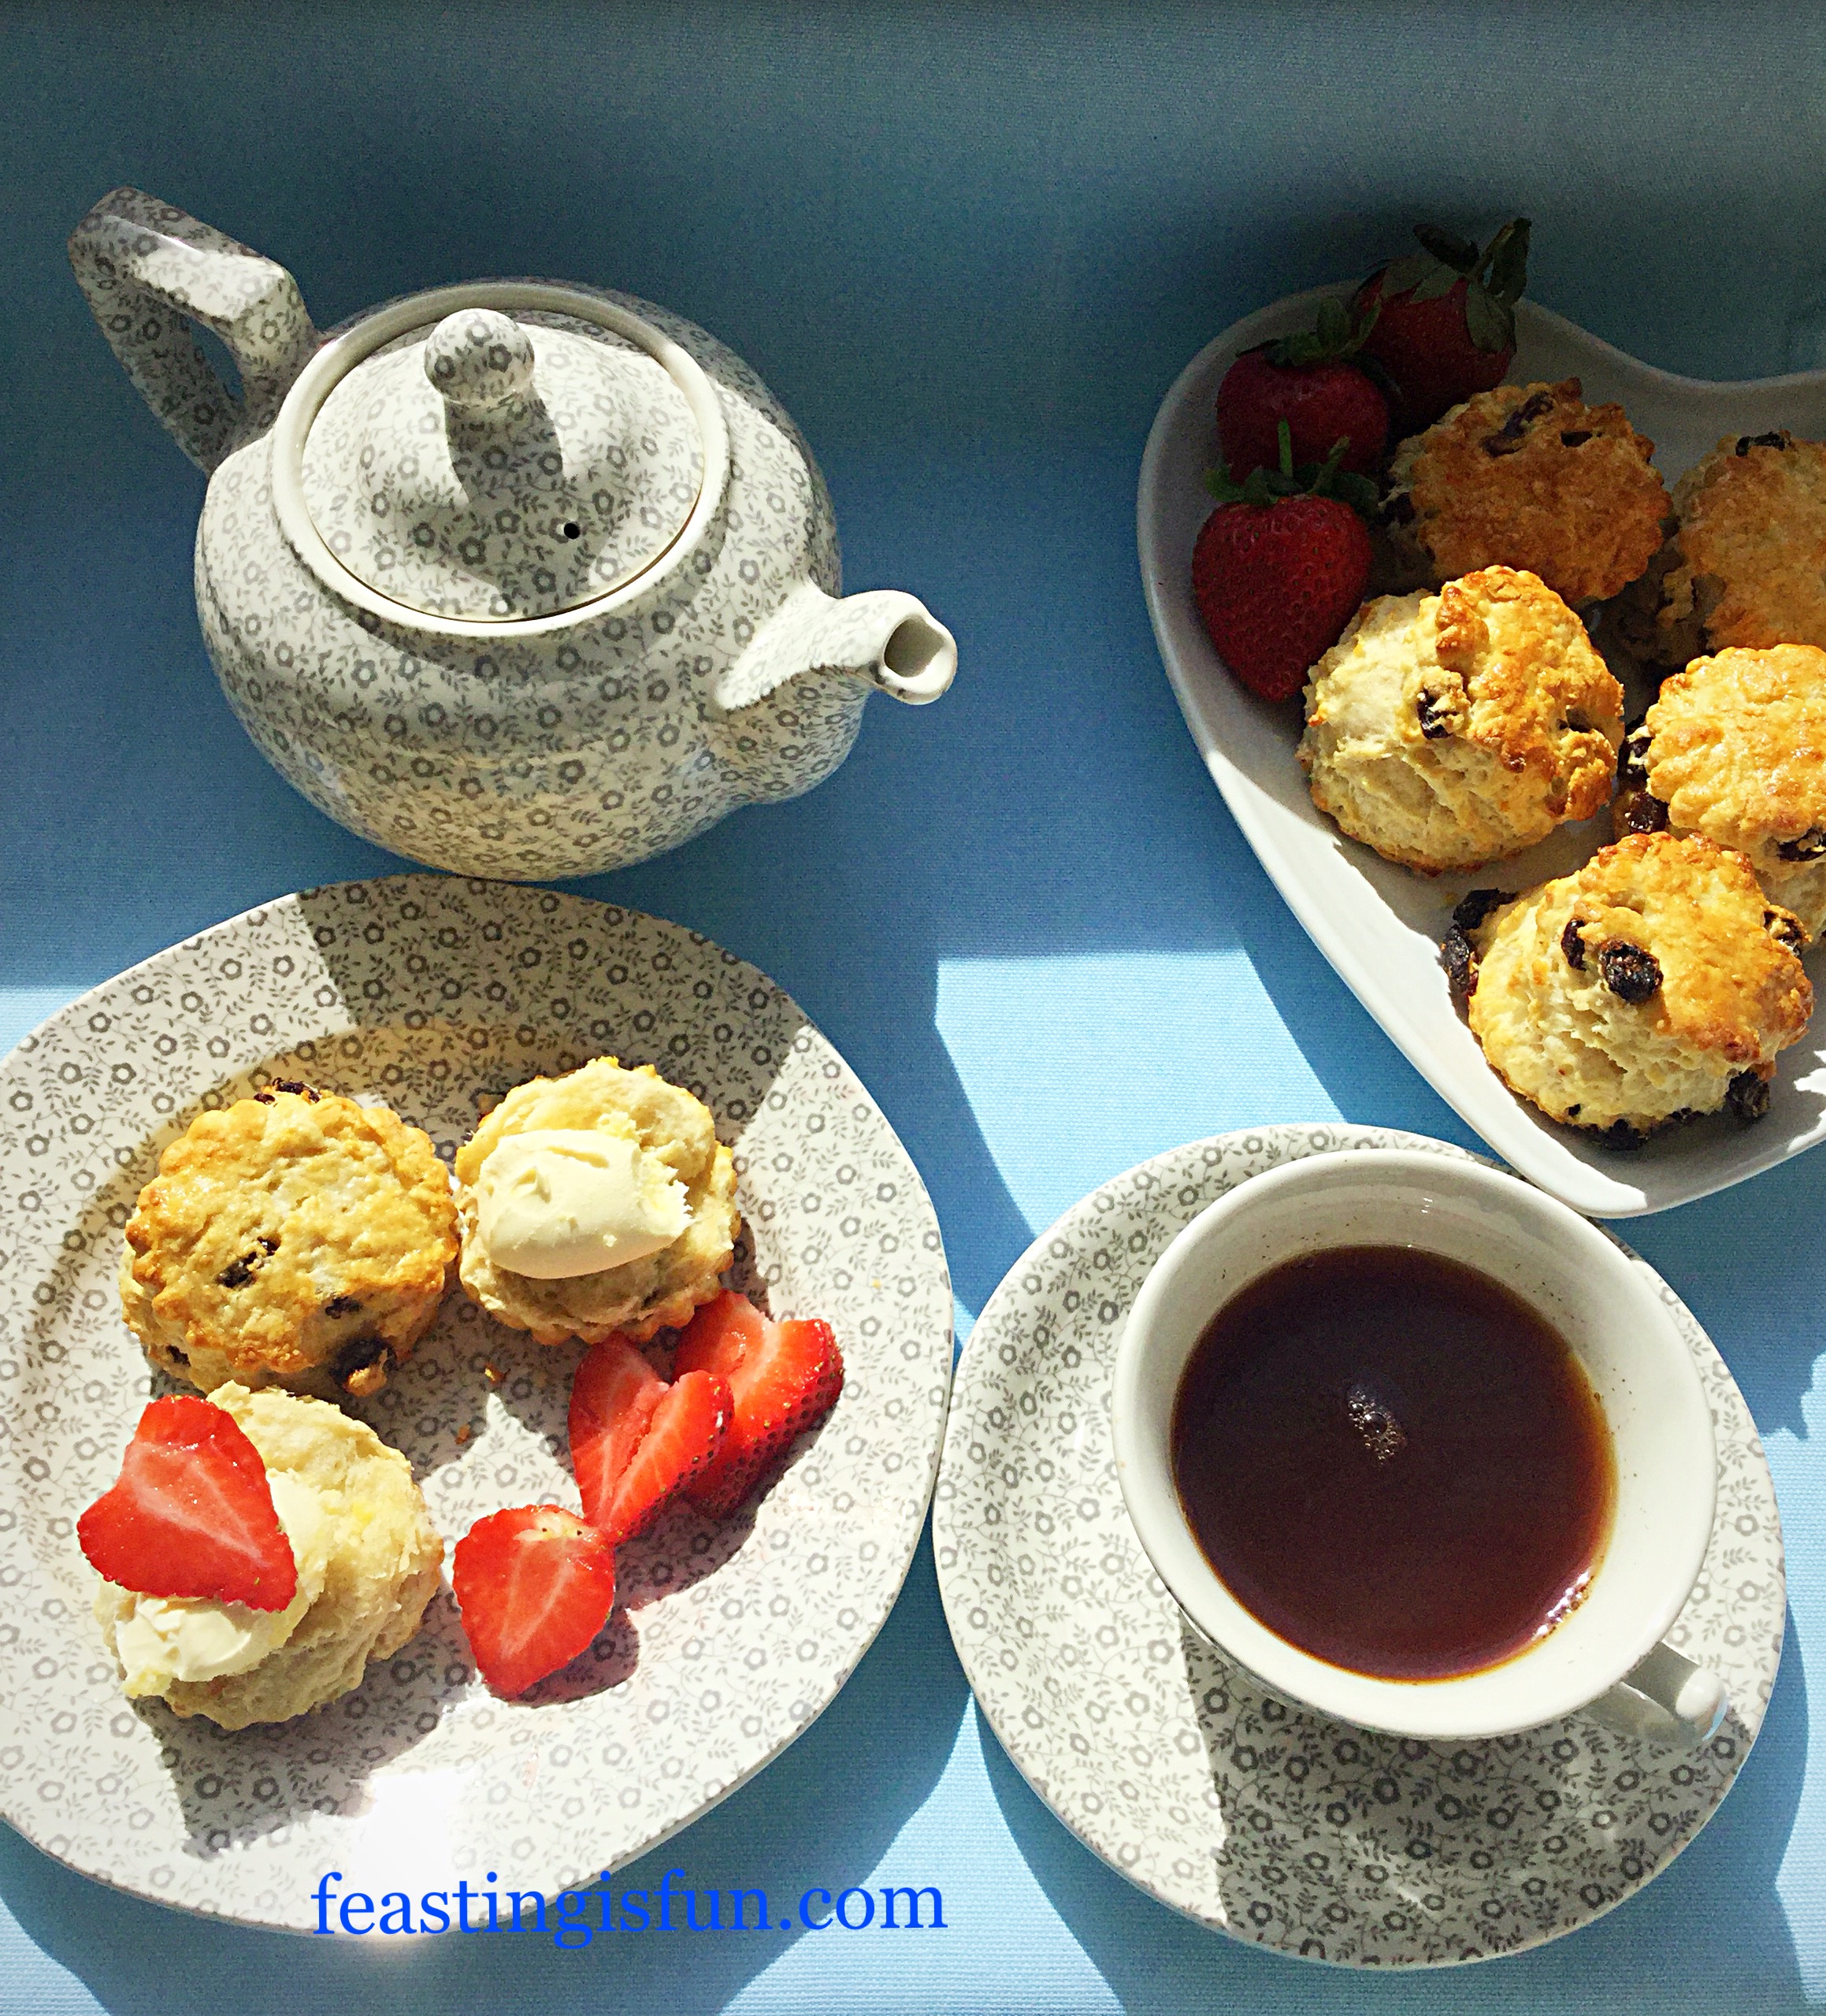
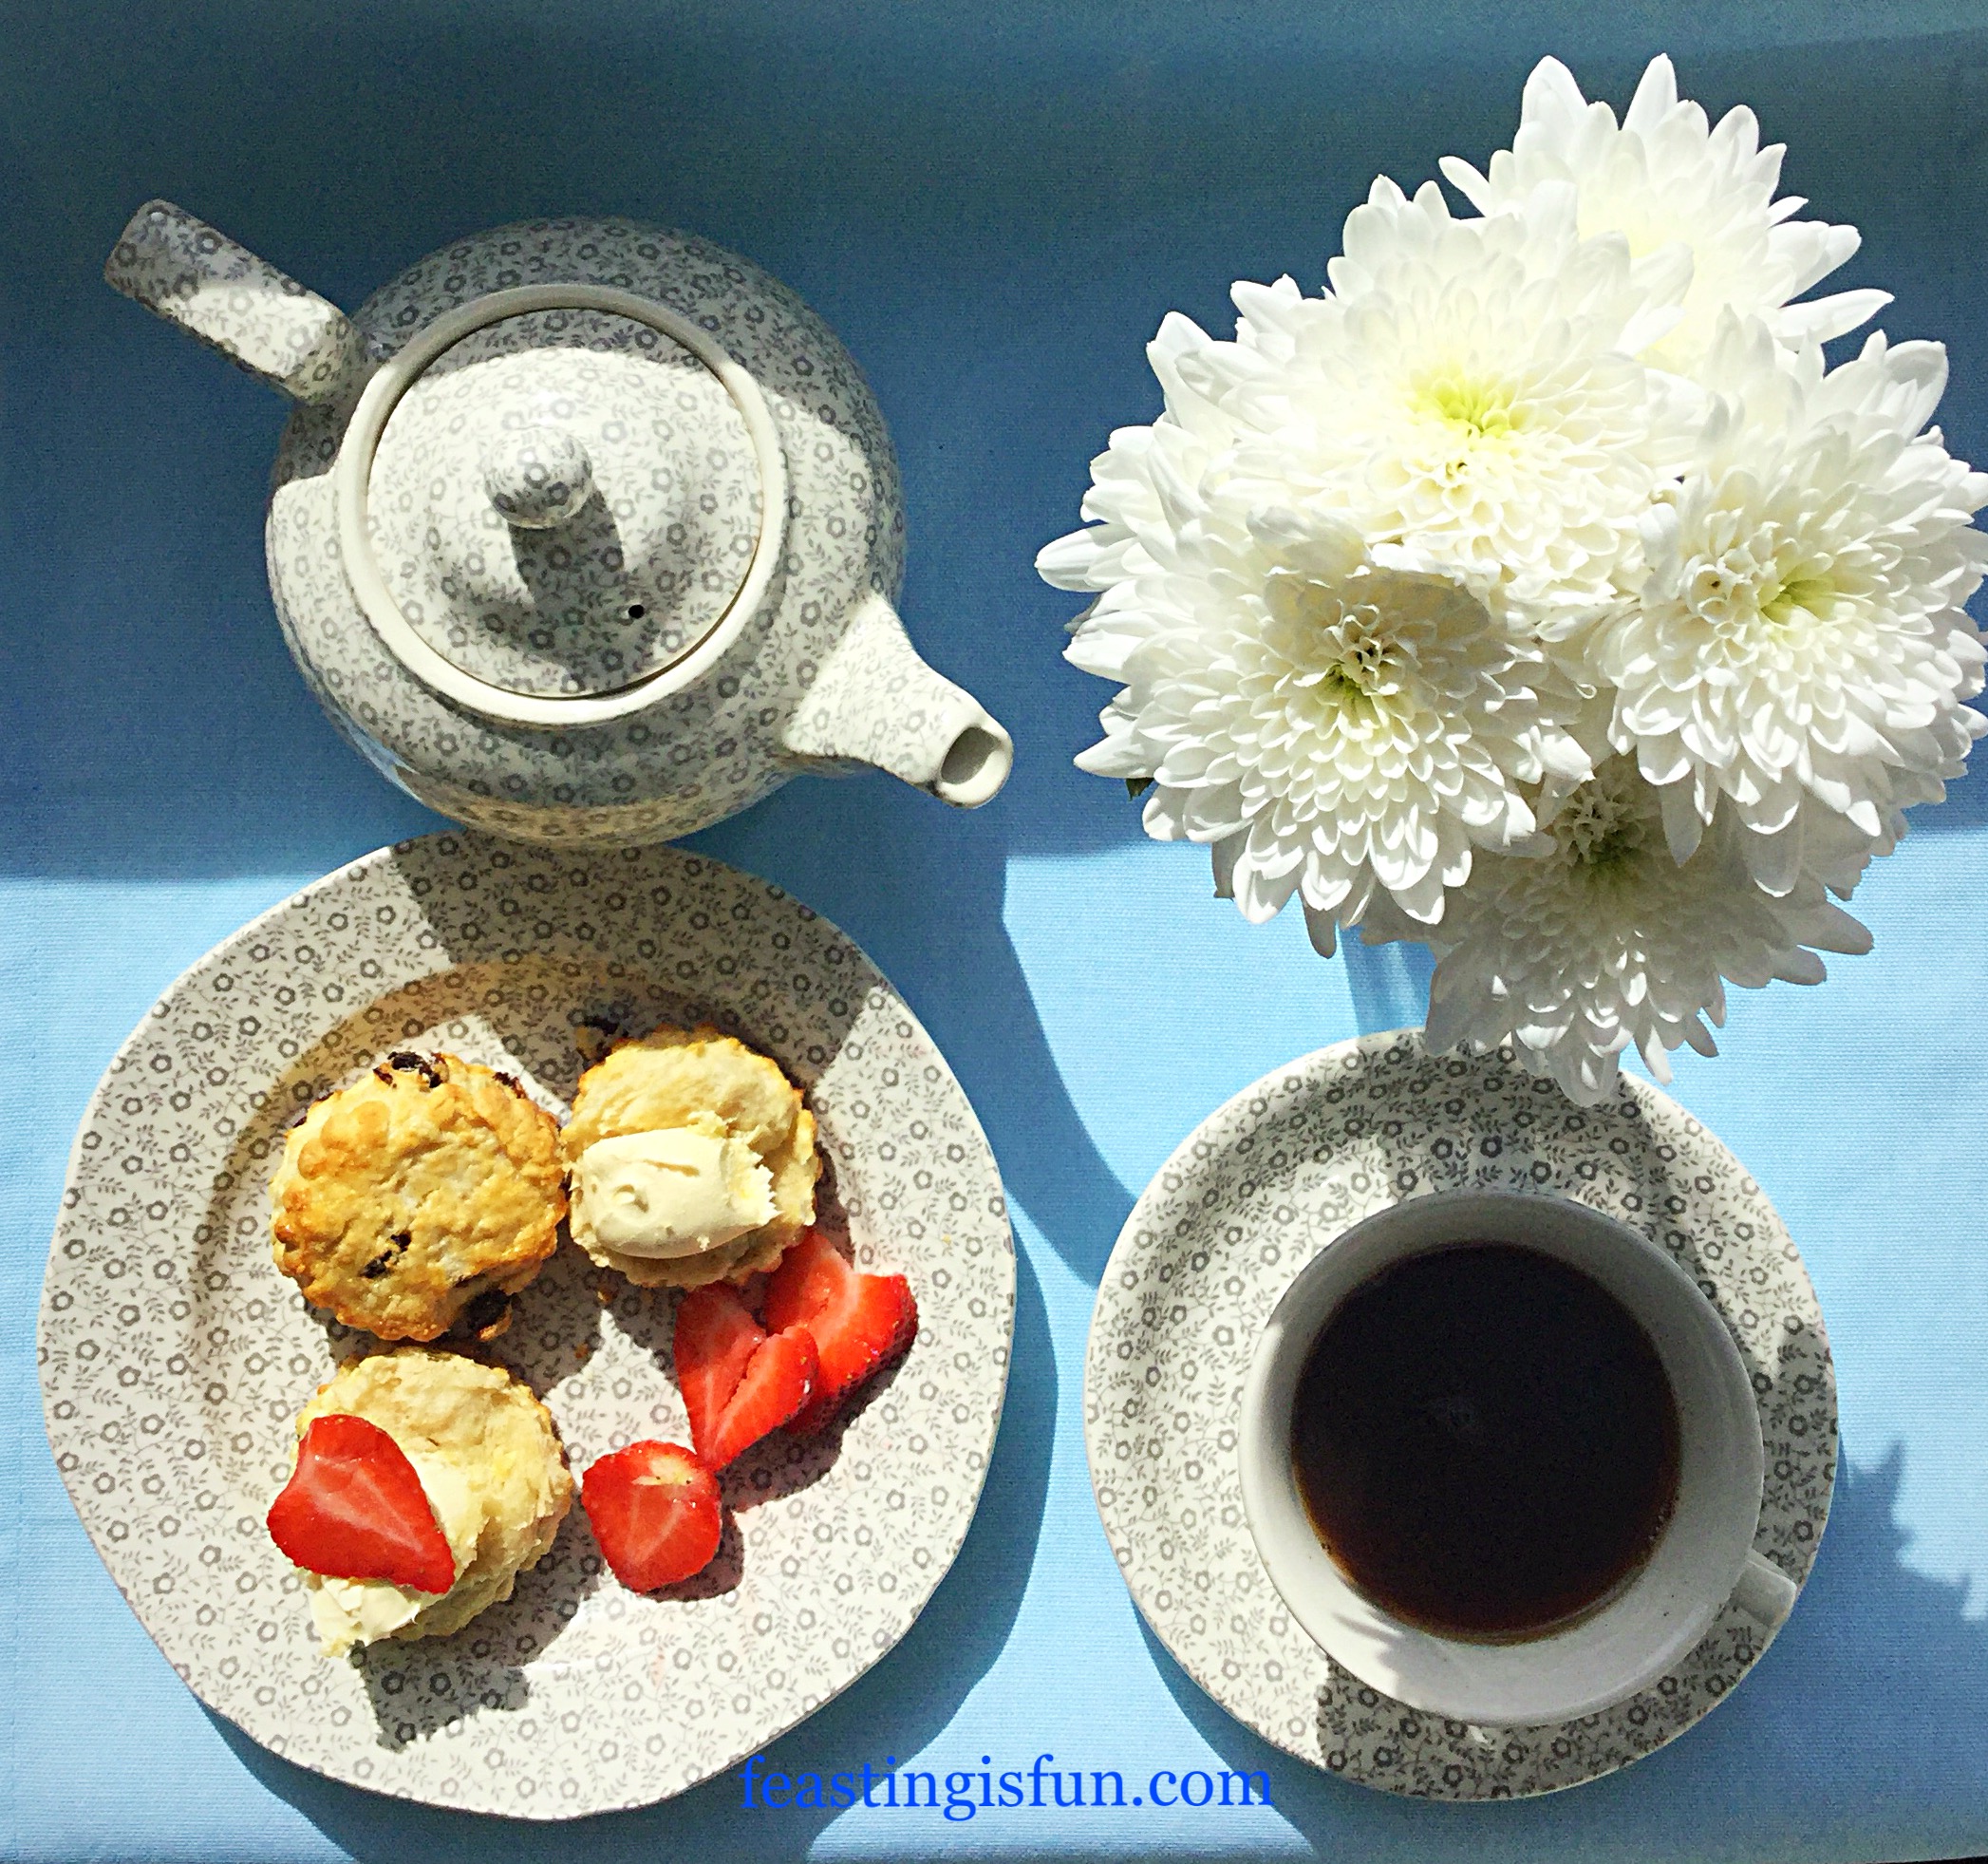
While Afternoon Tea consists of small cakes, pastries, finger sandwiches and other sweet or savoury nibbles. Yet, scones, clotted cream and jam are essential element. Also small plates are used as it is small portions that are served. Enough to keep you going until dinner, yet not enough to spoil the main meal later in the day.
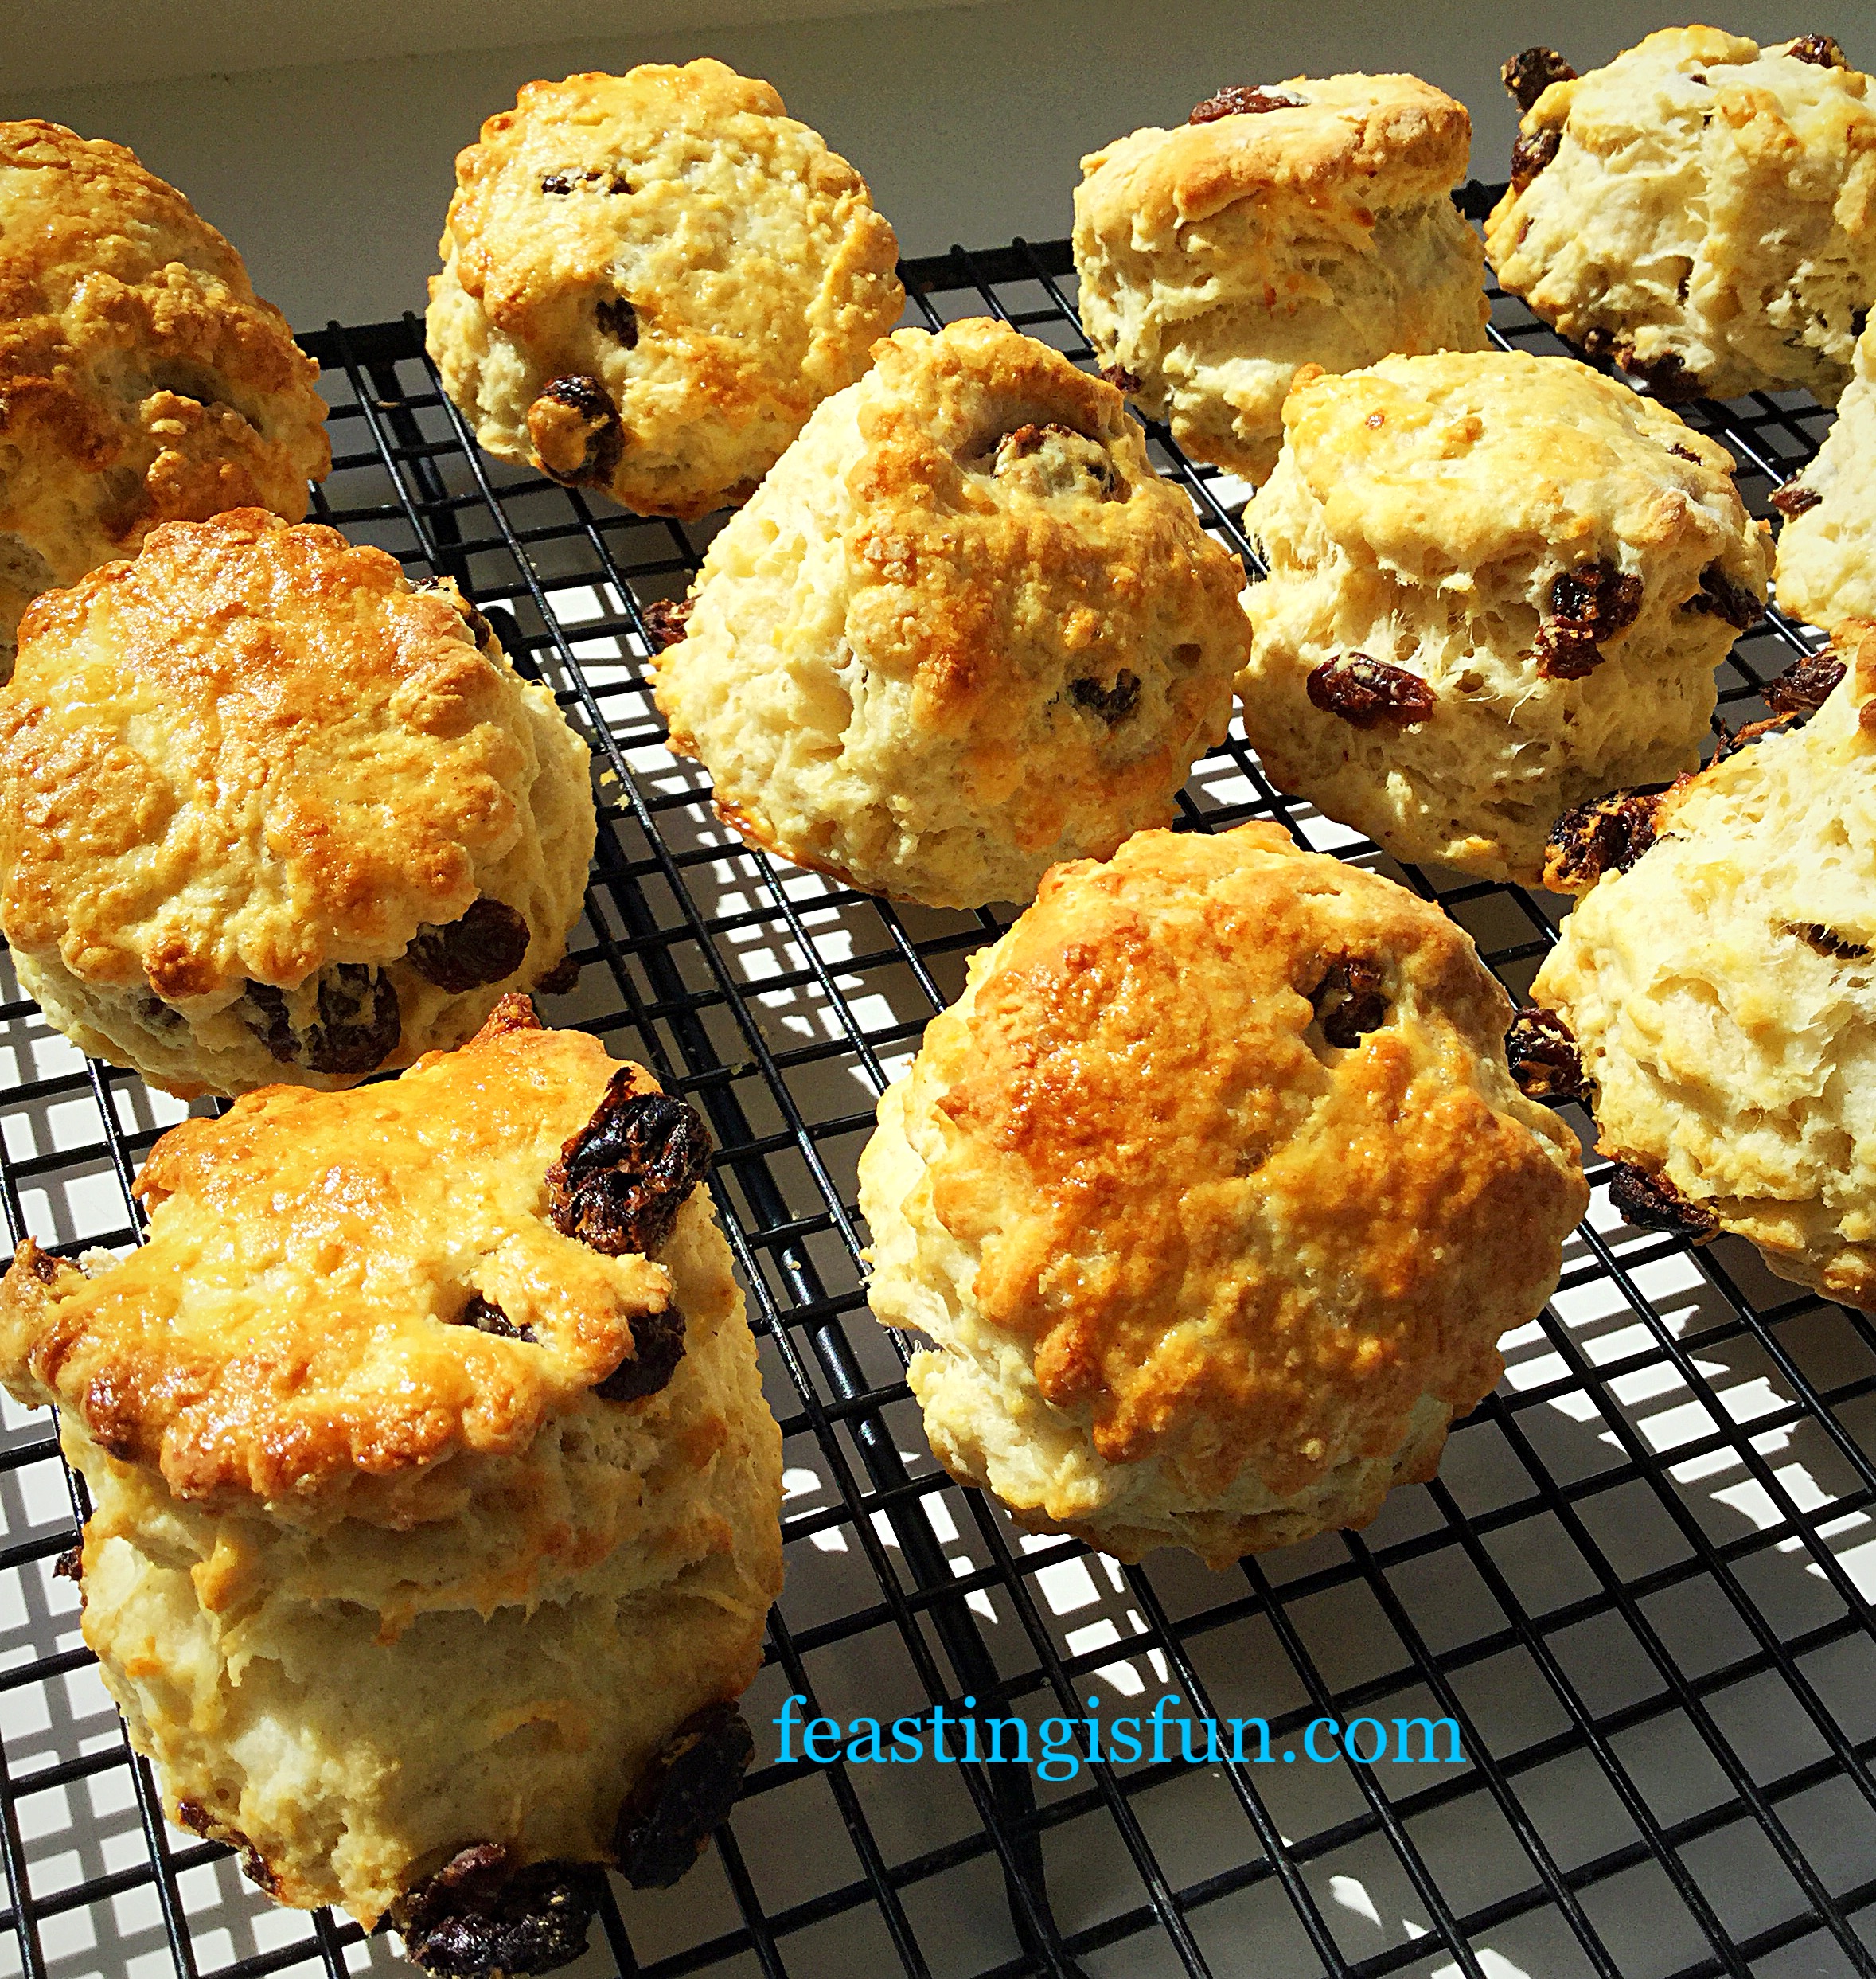
Even young children, supervised by an adult of course, can easily make these scones. Also if you choose not to have clotted cream, these are light, not dry or claggy. So, perfect to eat unaccompanied. Since both the fat and sugar levels are fairly low, they can also be enjoyed by those watching their weight. Or simply want to eat two!
Did I mention that they take approximately half an hour from make to bake. So, what’s stopping you?
Recipe: Fruit Filled Butter Scones makes 12 scones
200g/7oz Plain White Flour
2tsp Baking Powder
50g/2oz Cold Unsalted Butter cut into cubes
1/4tsp Salt – I use Maldon
2tbsp Caster Sugar
75g/3oz Sultanas
165mls Buttermilk – alternatively add 1tsp/5mls of lemon juice to 160mls of milk and stir. Wait 5 minutes before using.
1 Free Range Egg plus one tablespoon of milk combined for the egg wash
Method: Preheat the oven to 220C/200C fan, gas mark 7, 425F.
Making the scones
Prior to starting line a large baking tray with baking parchment.
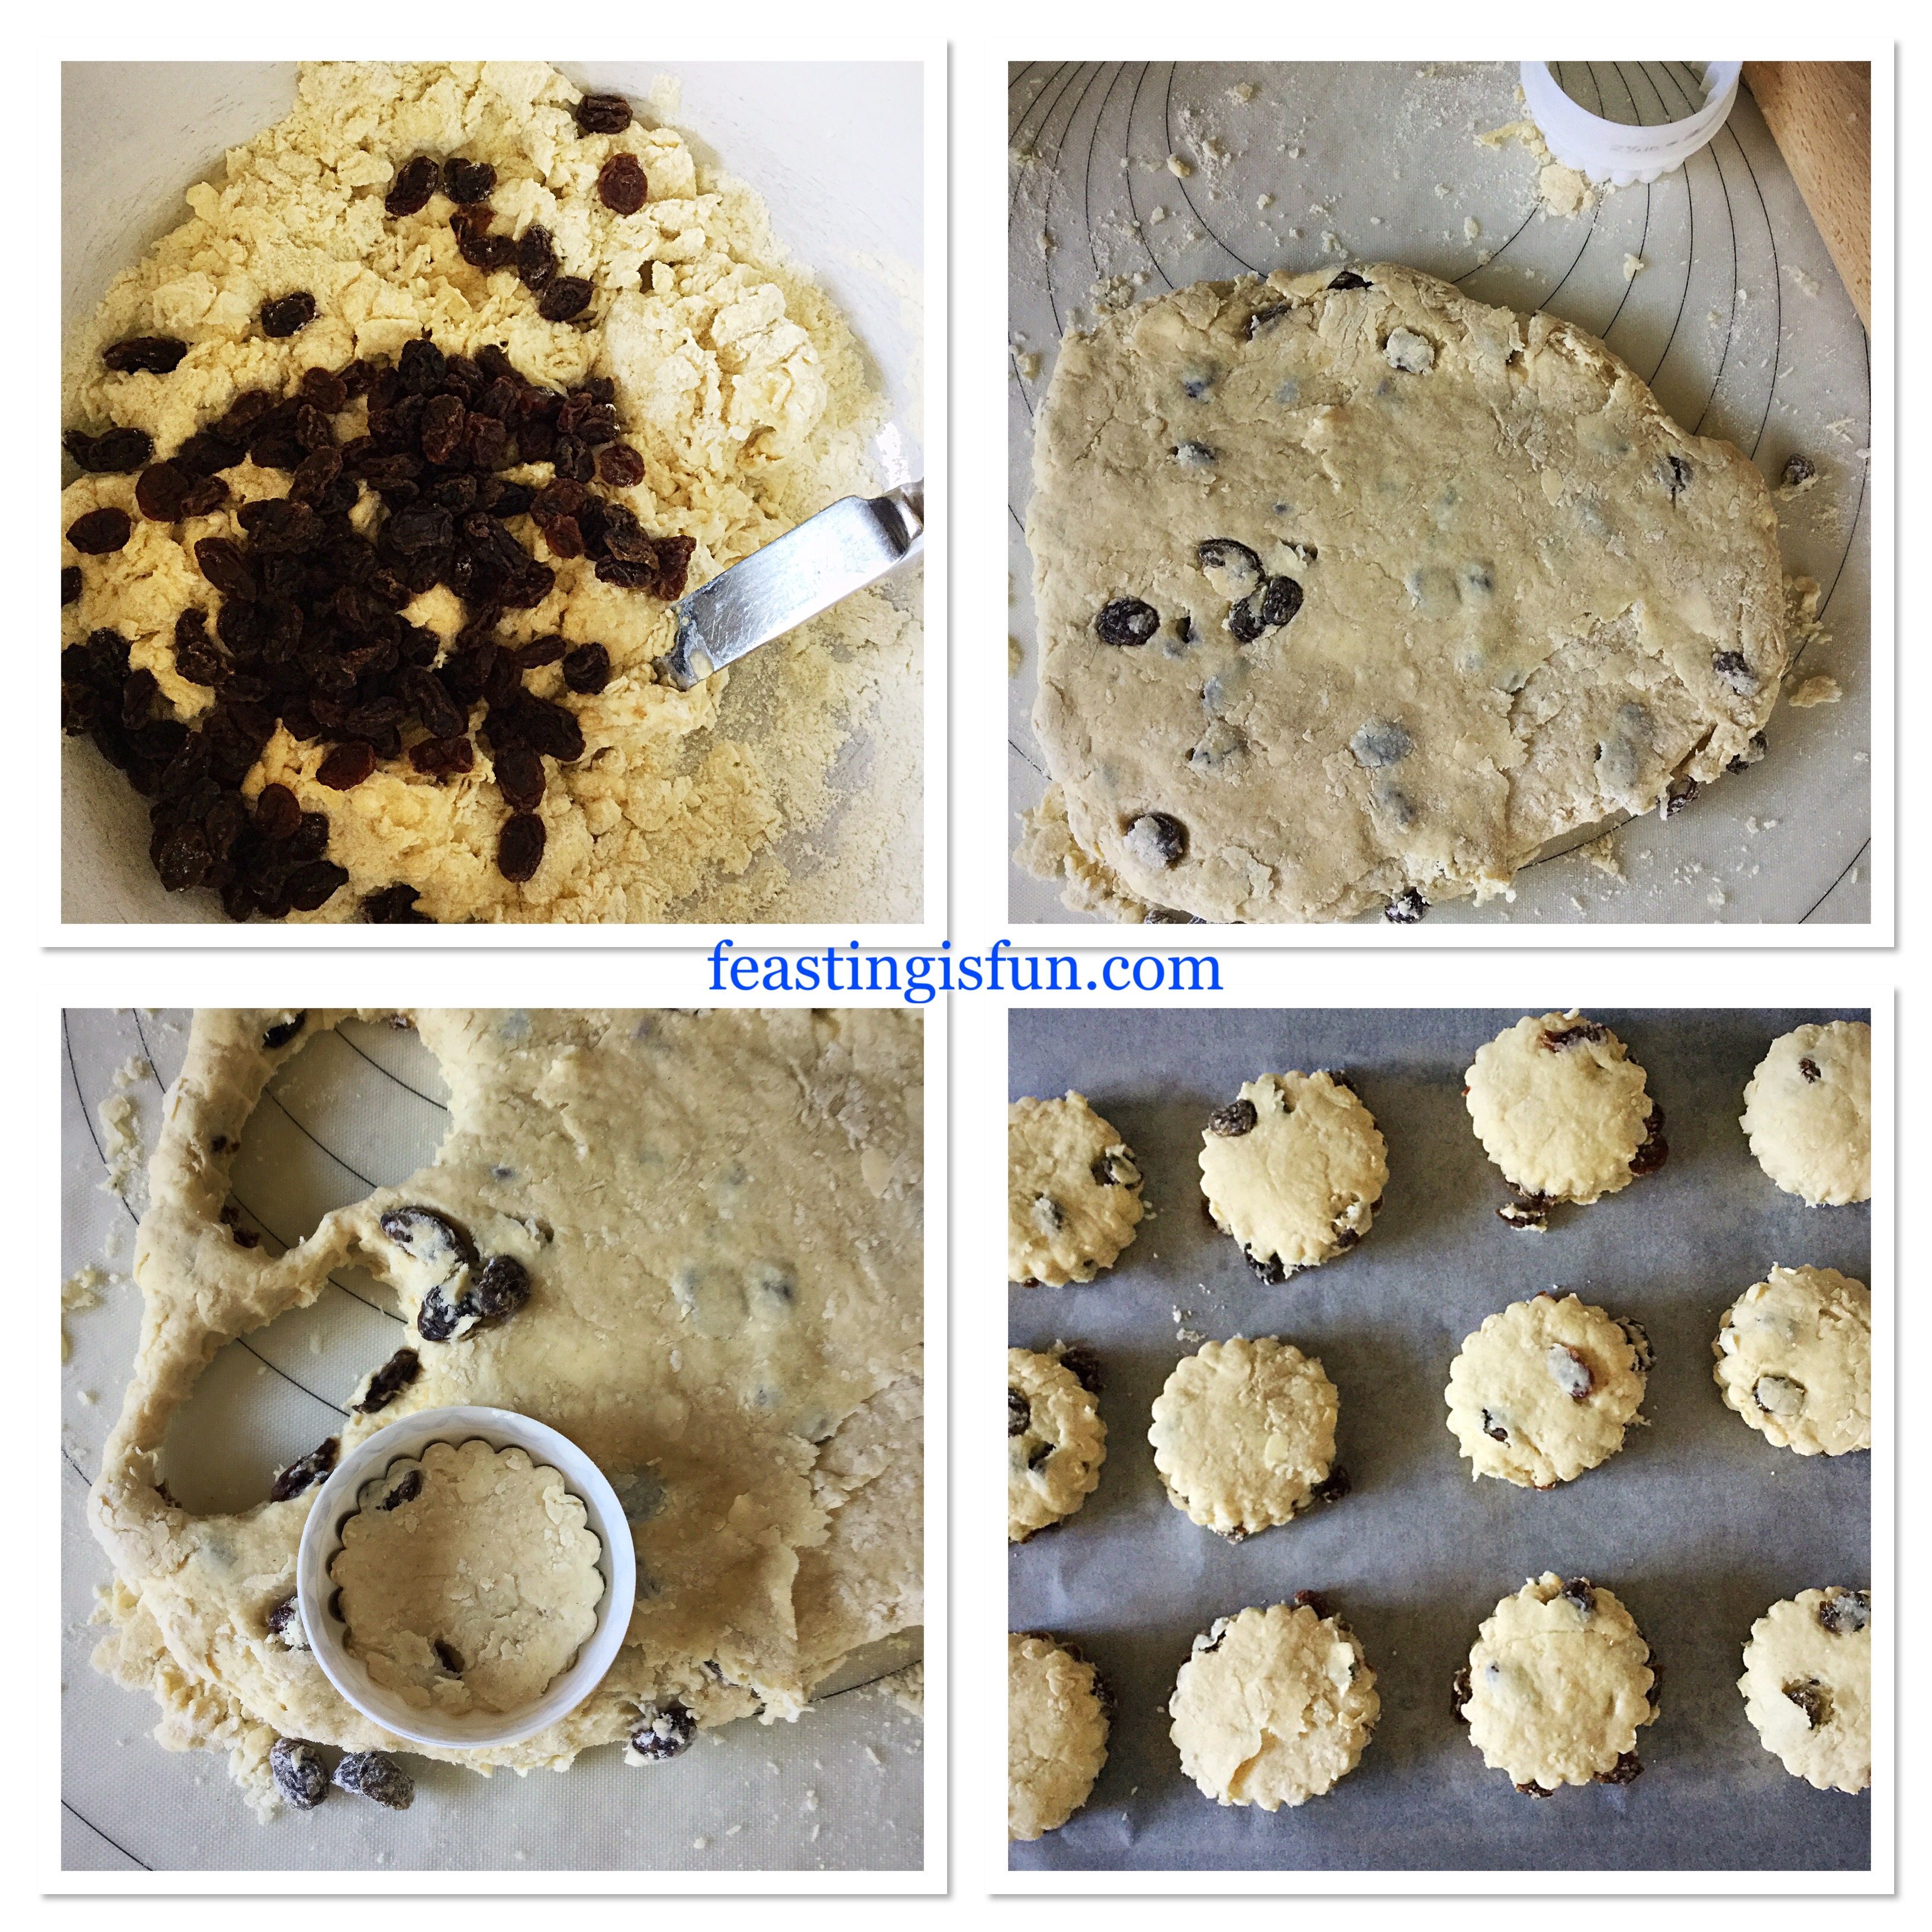
- First of all, sift the flour, baking powder and salt together in a large mixing bowl. If using sea salt crumble straight into the bowl.
- Next add in the cubed butter and rub into the flour, or cut into the flour using a pastry cutter. The mixture should resemble breadcrumbs with some pea sized lumps of butter present.
- Now add in the caster sugar and mix lightly.
- Make a well in the centre of the ingredients and pour in the buttermilk. Follow by mixing with a butter knife 4-5 times.
- Add the sultanas and bring the scone dough together with one hand.
- Tip the dough out on to a lightly floured, clean surface.
- Knead the dough lightly until it forms a disc. Gently roll out the disc until it is 2.5cm/1 inch thick.
- Use a 4cm/just under 2 inch deep cutter to cut out the scones. Do not twist the cutter when pushing down, as this can affect the rise.
- Place each cutout scone on to the lined baking tray.
- Combine leftover scone dough pat out and cut out more scones. Continue until all of the dough has been used.
Baking the Scones
- Brush the top of each scone with egg wash and then place in the top of the oven to bake for 15-20 minutes.

- The scones are baked when they are golden, well risen and sound hollow when tapped on the base.
- As soon as they are baked remove from the oven.
- Transfer the scones on to a cooling rack.
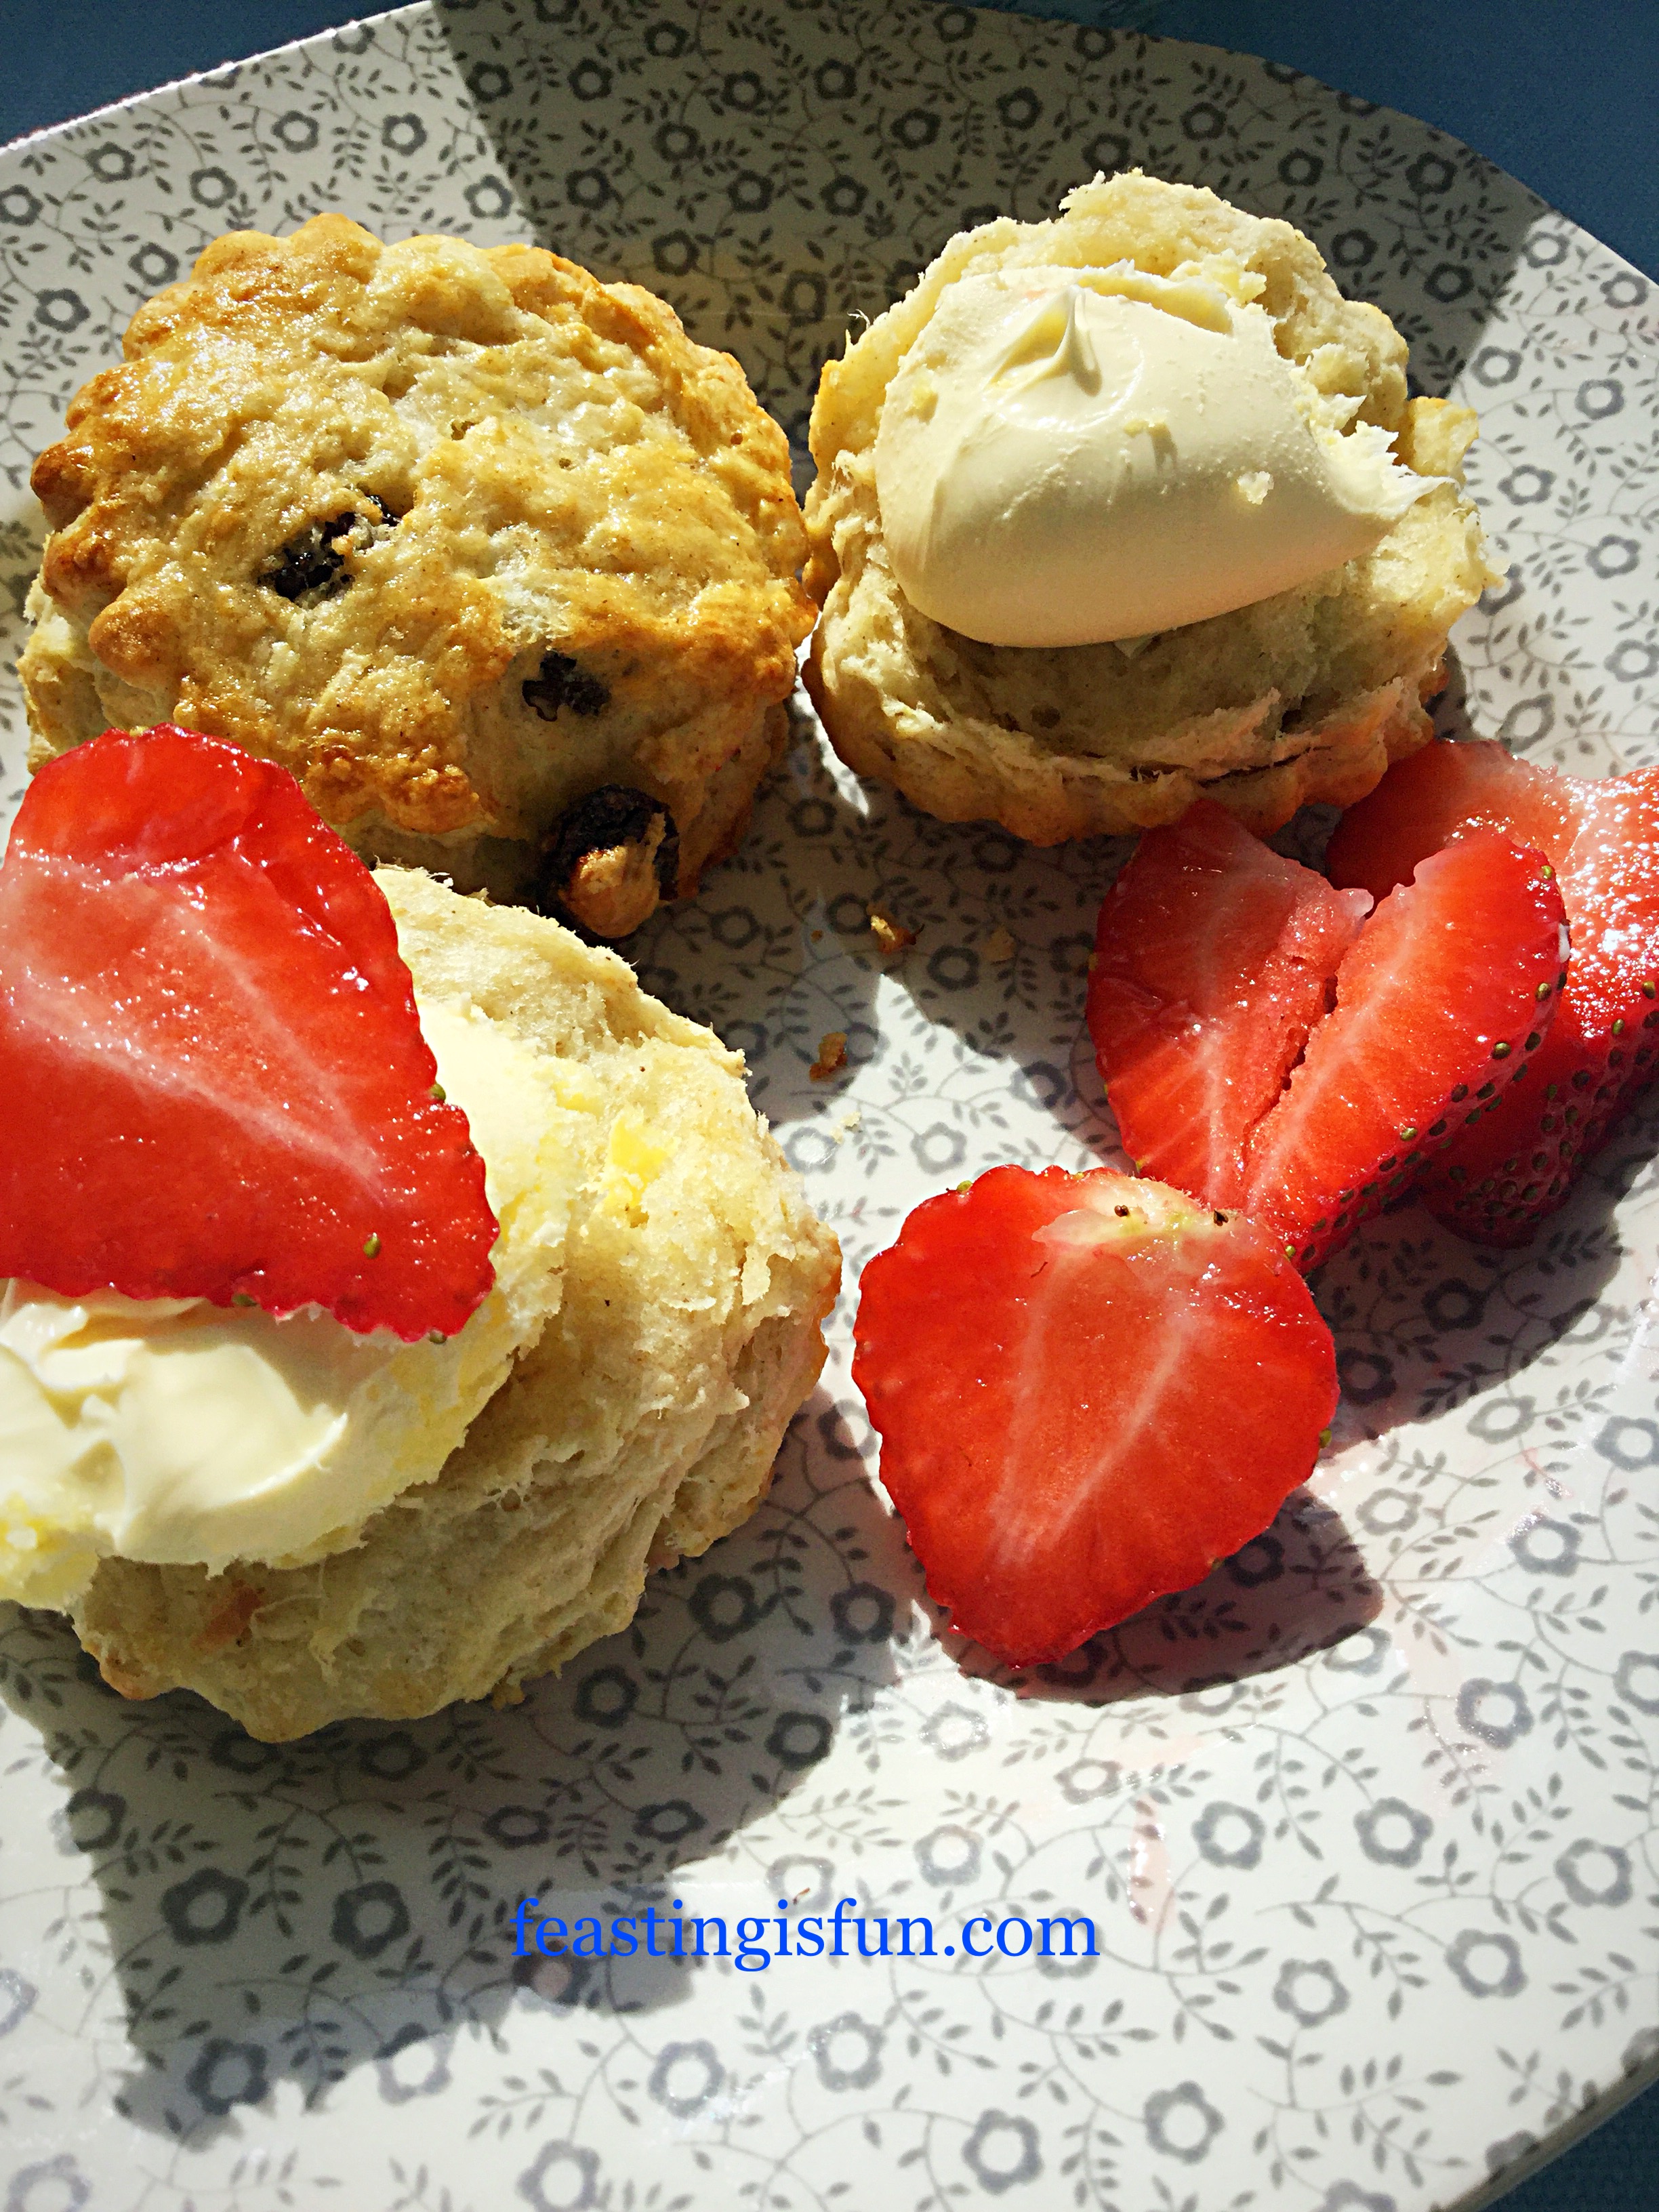
Serve slightly warm or cold. Since these scones have sultanas in, they can be eaten as is, with butter or clotted cream. Also, fresh fruit is nice served alongside. Rather than one single tea, why not offer a selection, including fruit teas.
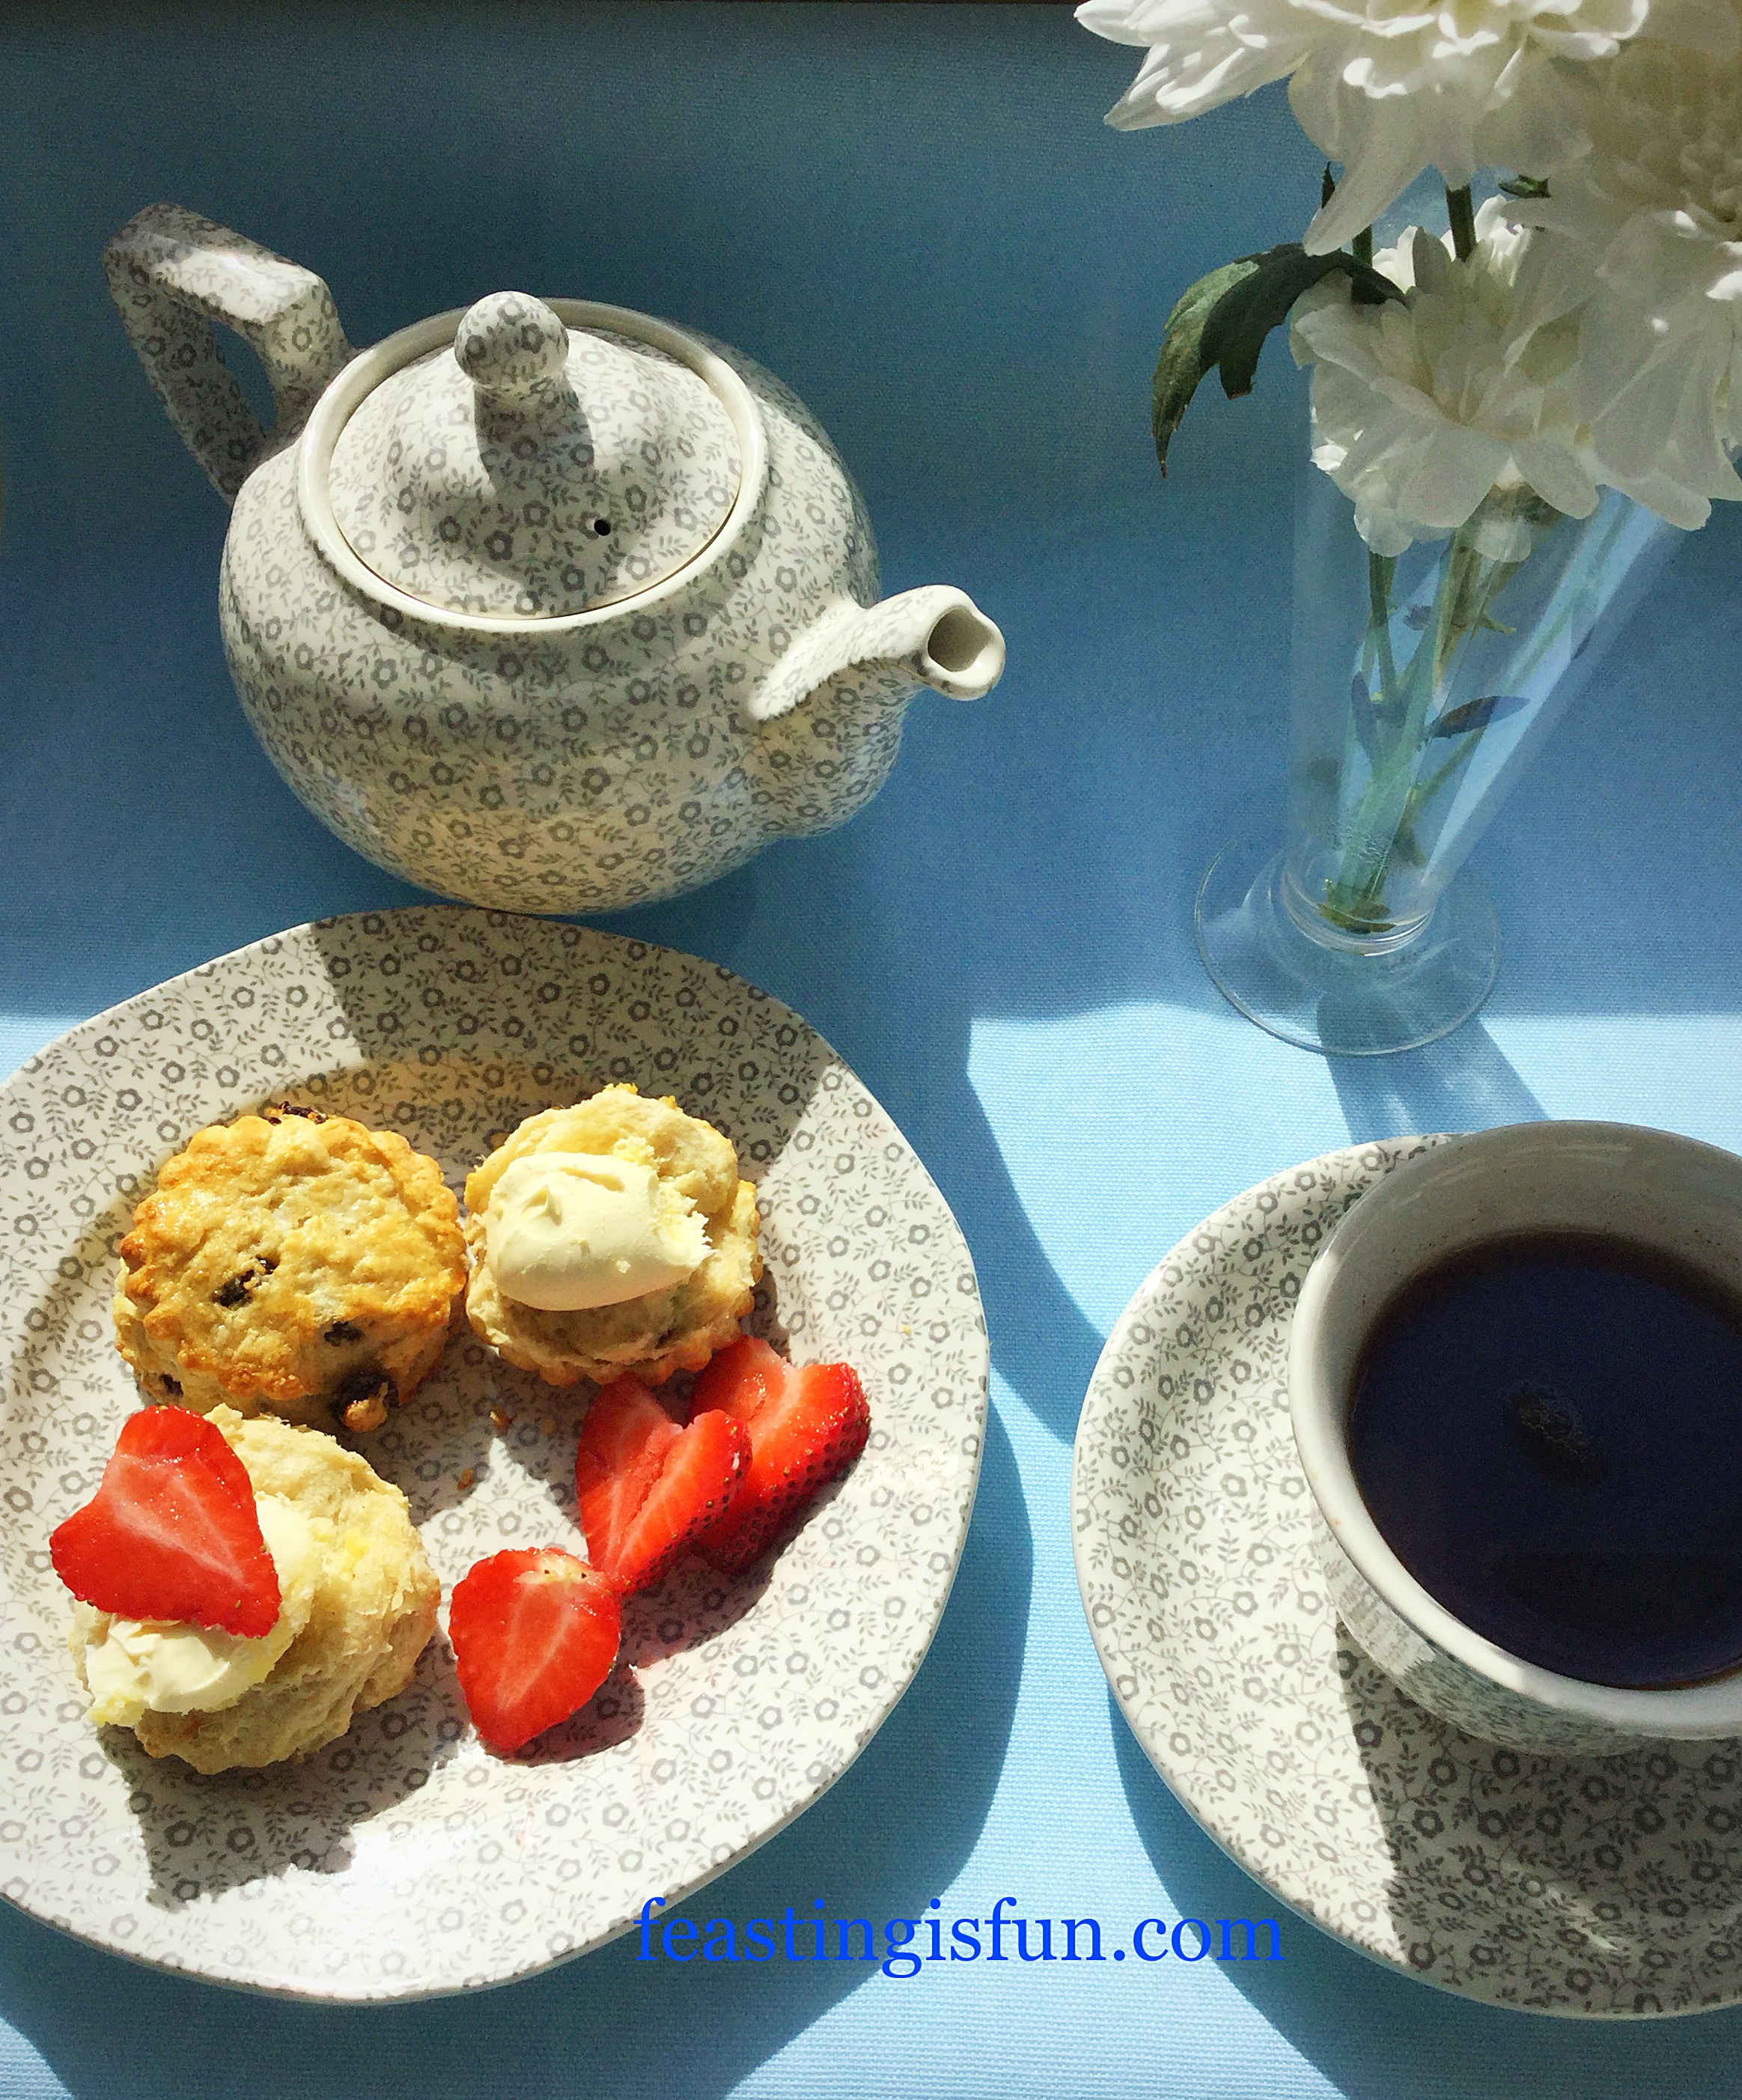
Most of all serve with a smile.
If you have enjoyed these Fruit Filled Butter Scones, you may also like these:
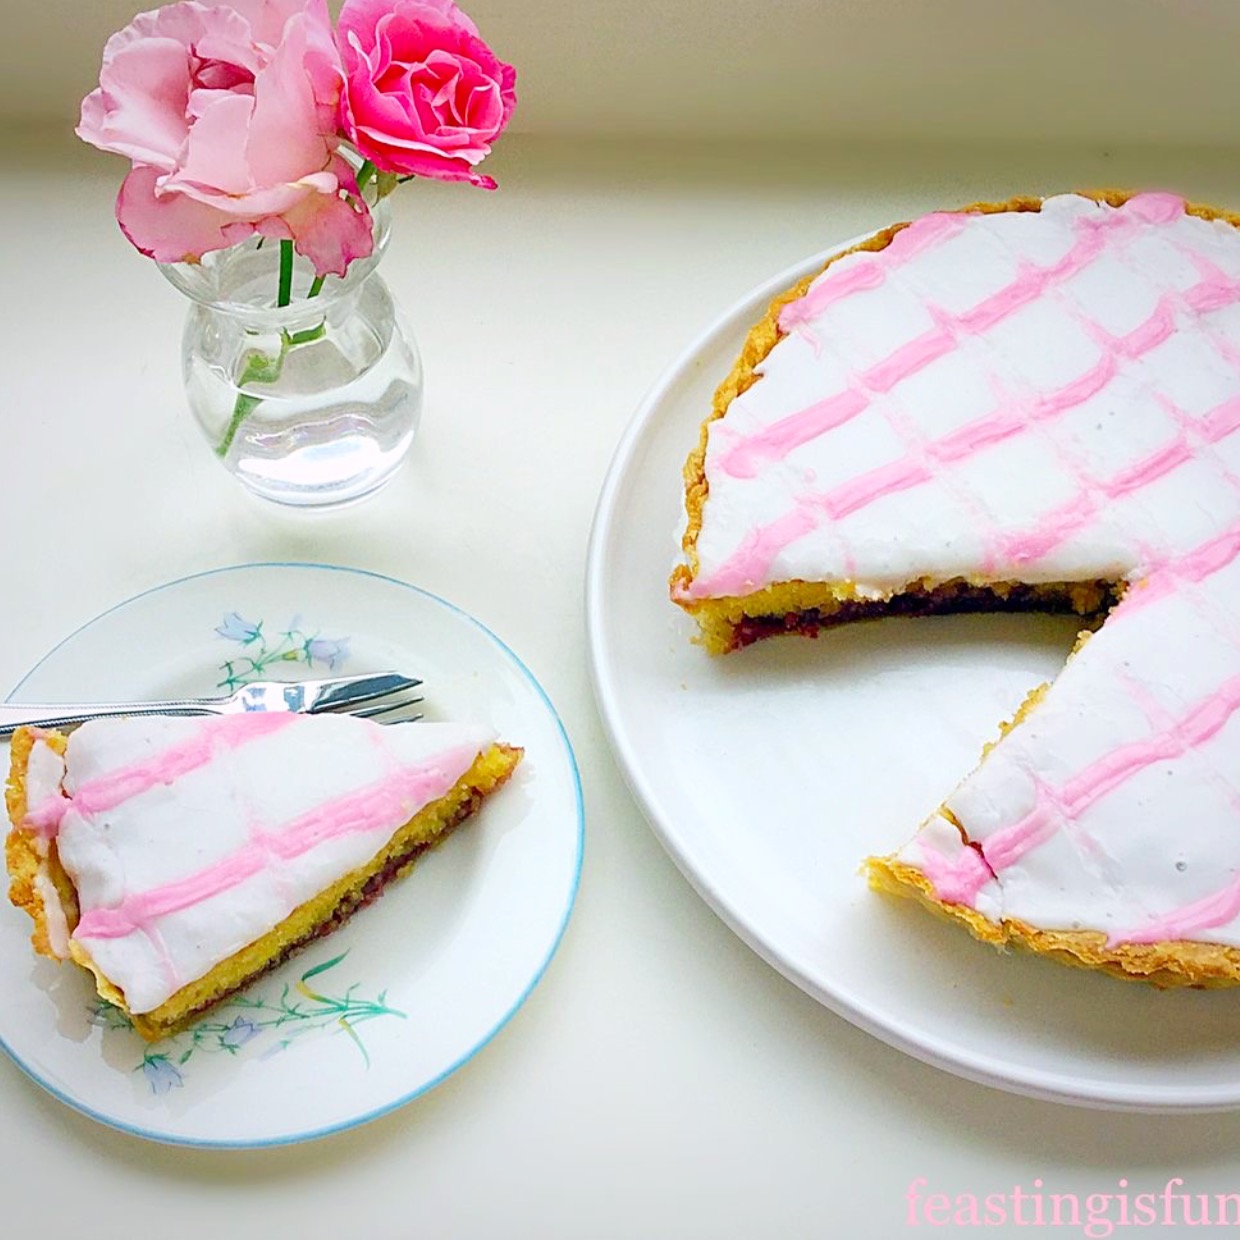
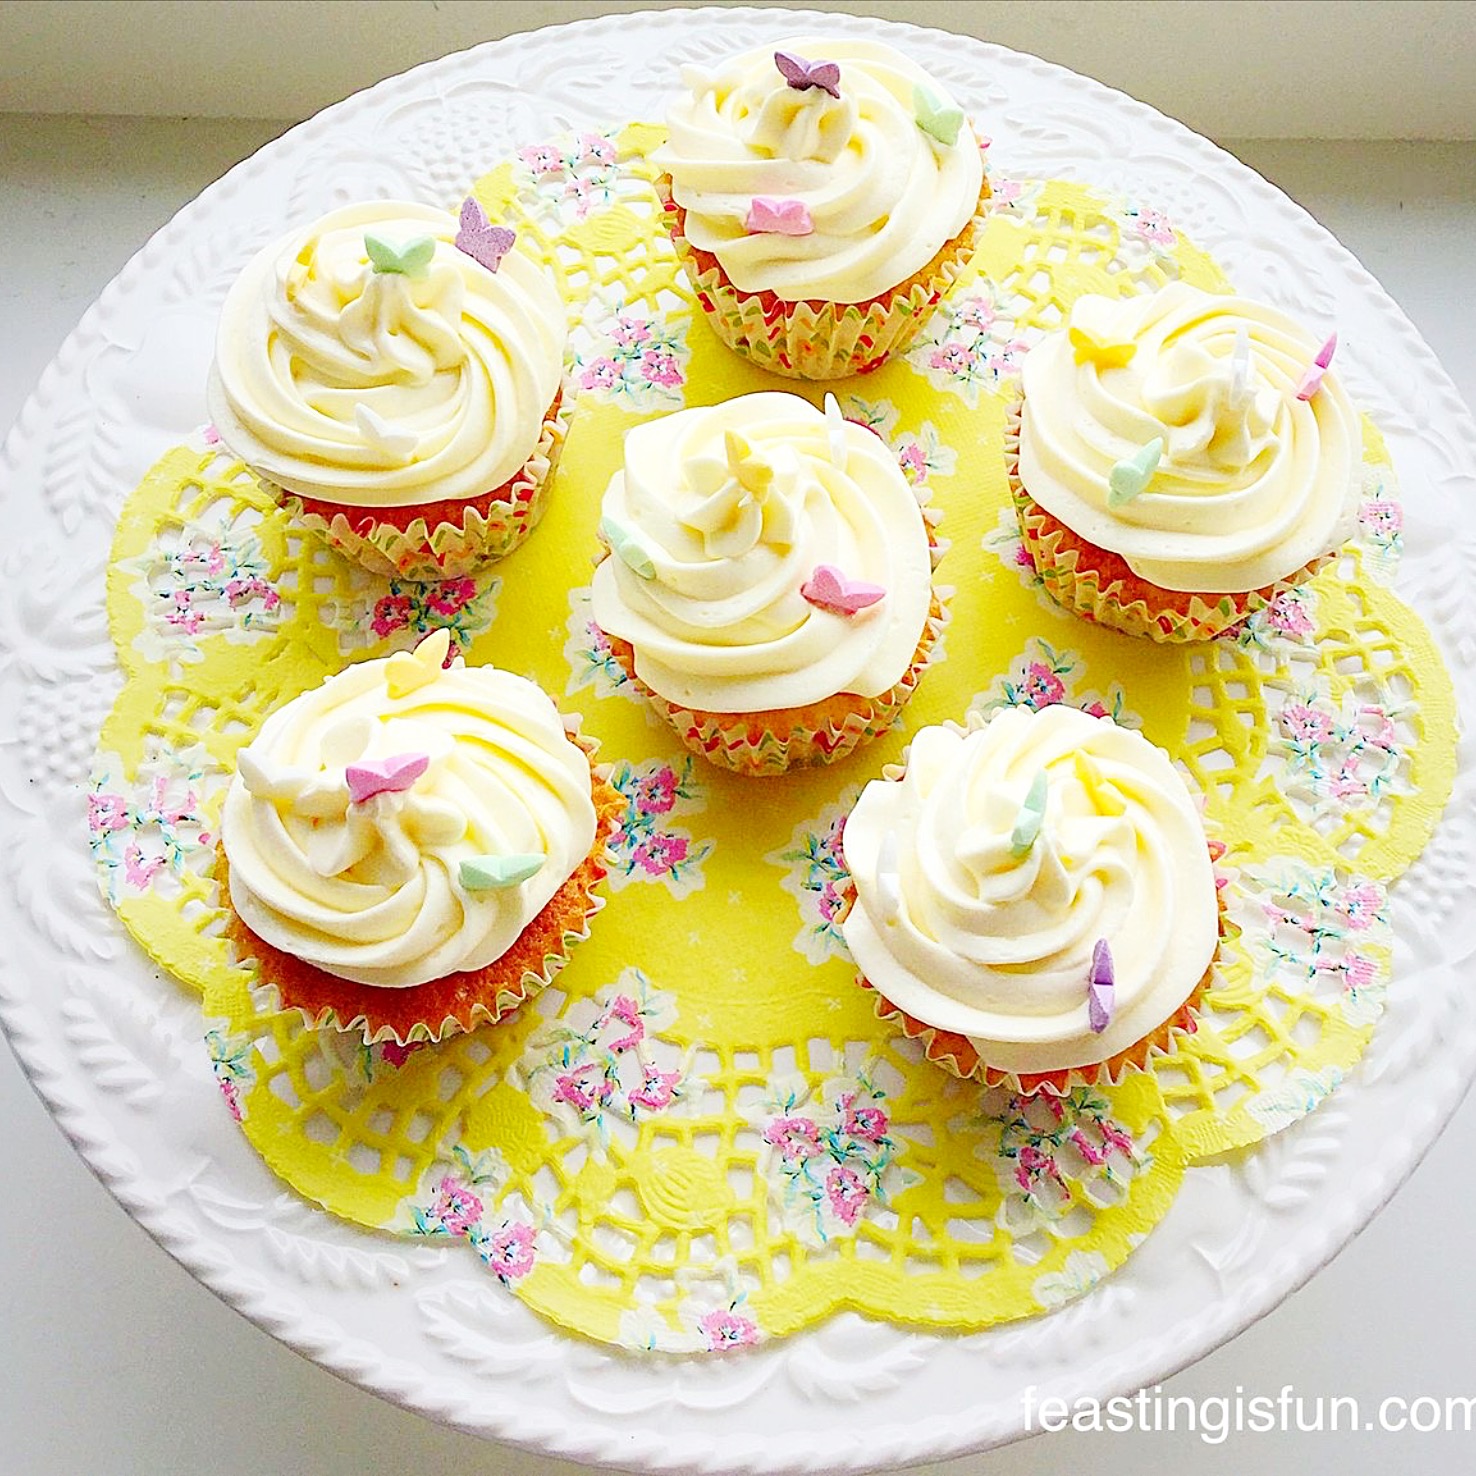
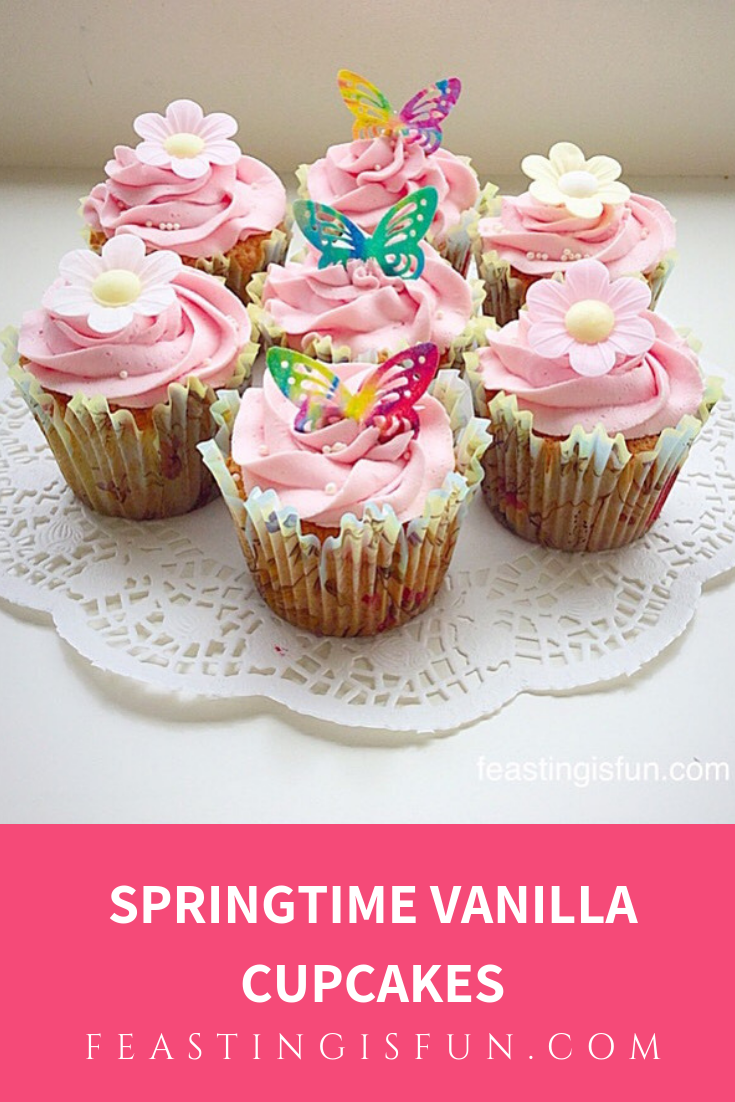
Marshmallow Frosted Mango Cupcakes
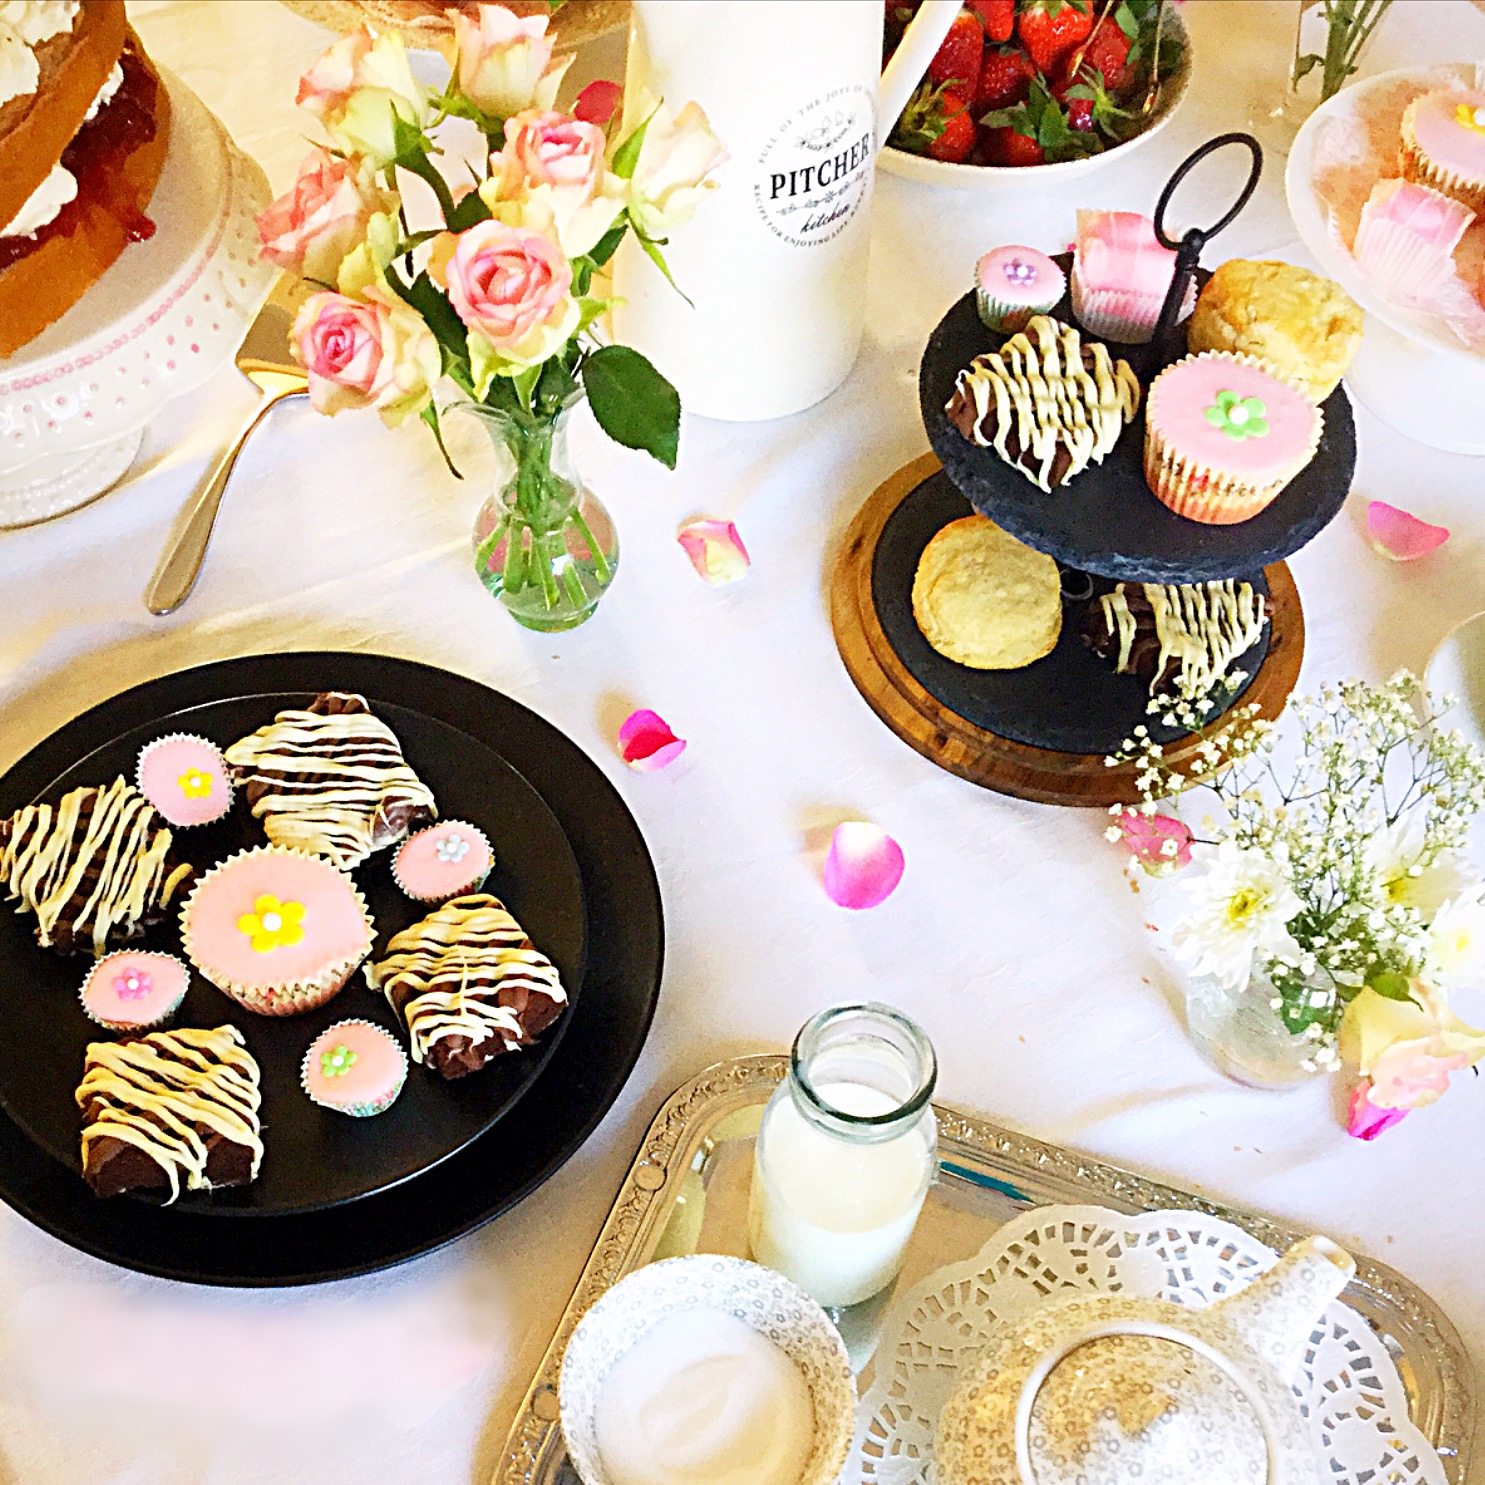
Since creating the Mother’s Day Afternoon Tea for Steamer Trading, I have enjoyed continuing to create small, bitesize treats. I absolutely love having making a selection of mini treats. As well as being able to have a little taste of everything, afternoon tea is the perfect opportunity to share. Feasting with family and friends, enjoying conversation and most of all fun. For me sharing it with those I love, building bonds and creating new memories.
So, whatever you are making, baking and creating in your kitchens, have fun preparing and sharing your feast.
Sammie xxx
No part of this post may reproduced or duplicated without the written permission of the owner. Please see my Disclosure Policy.