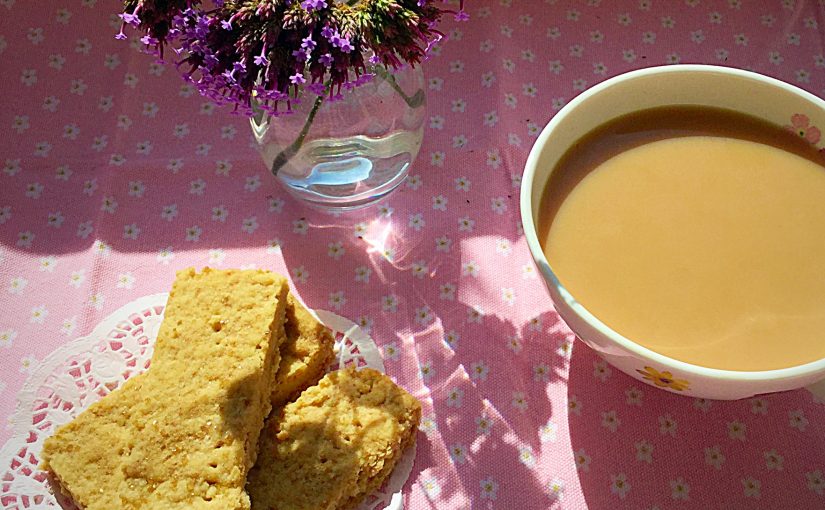
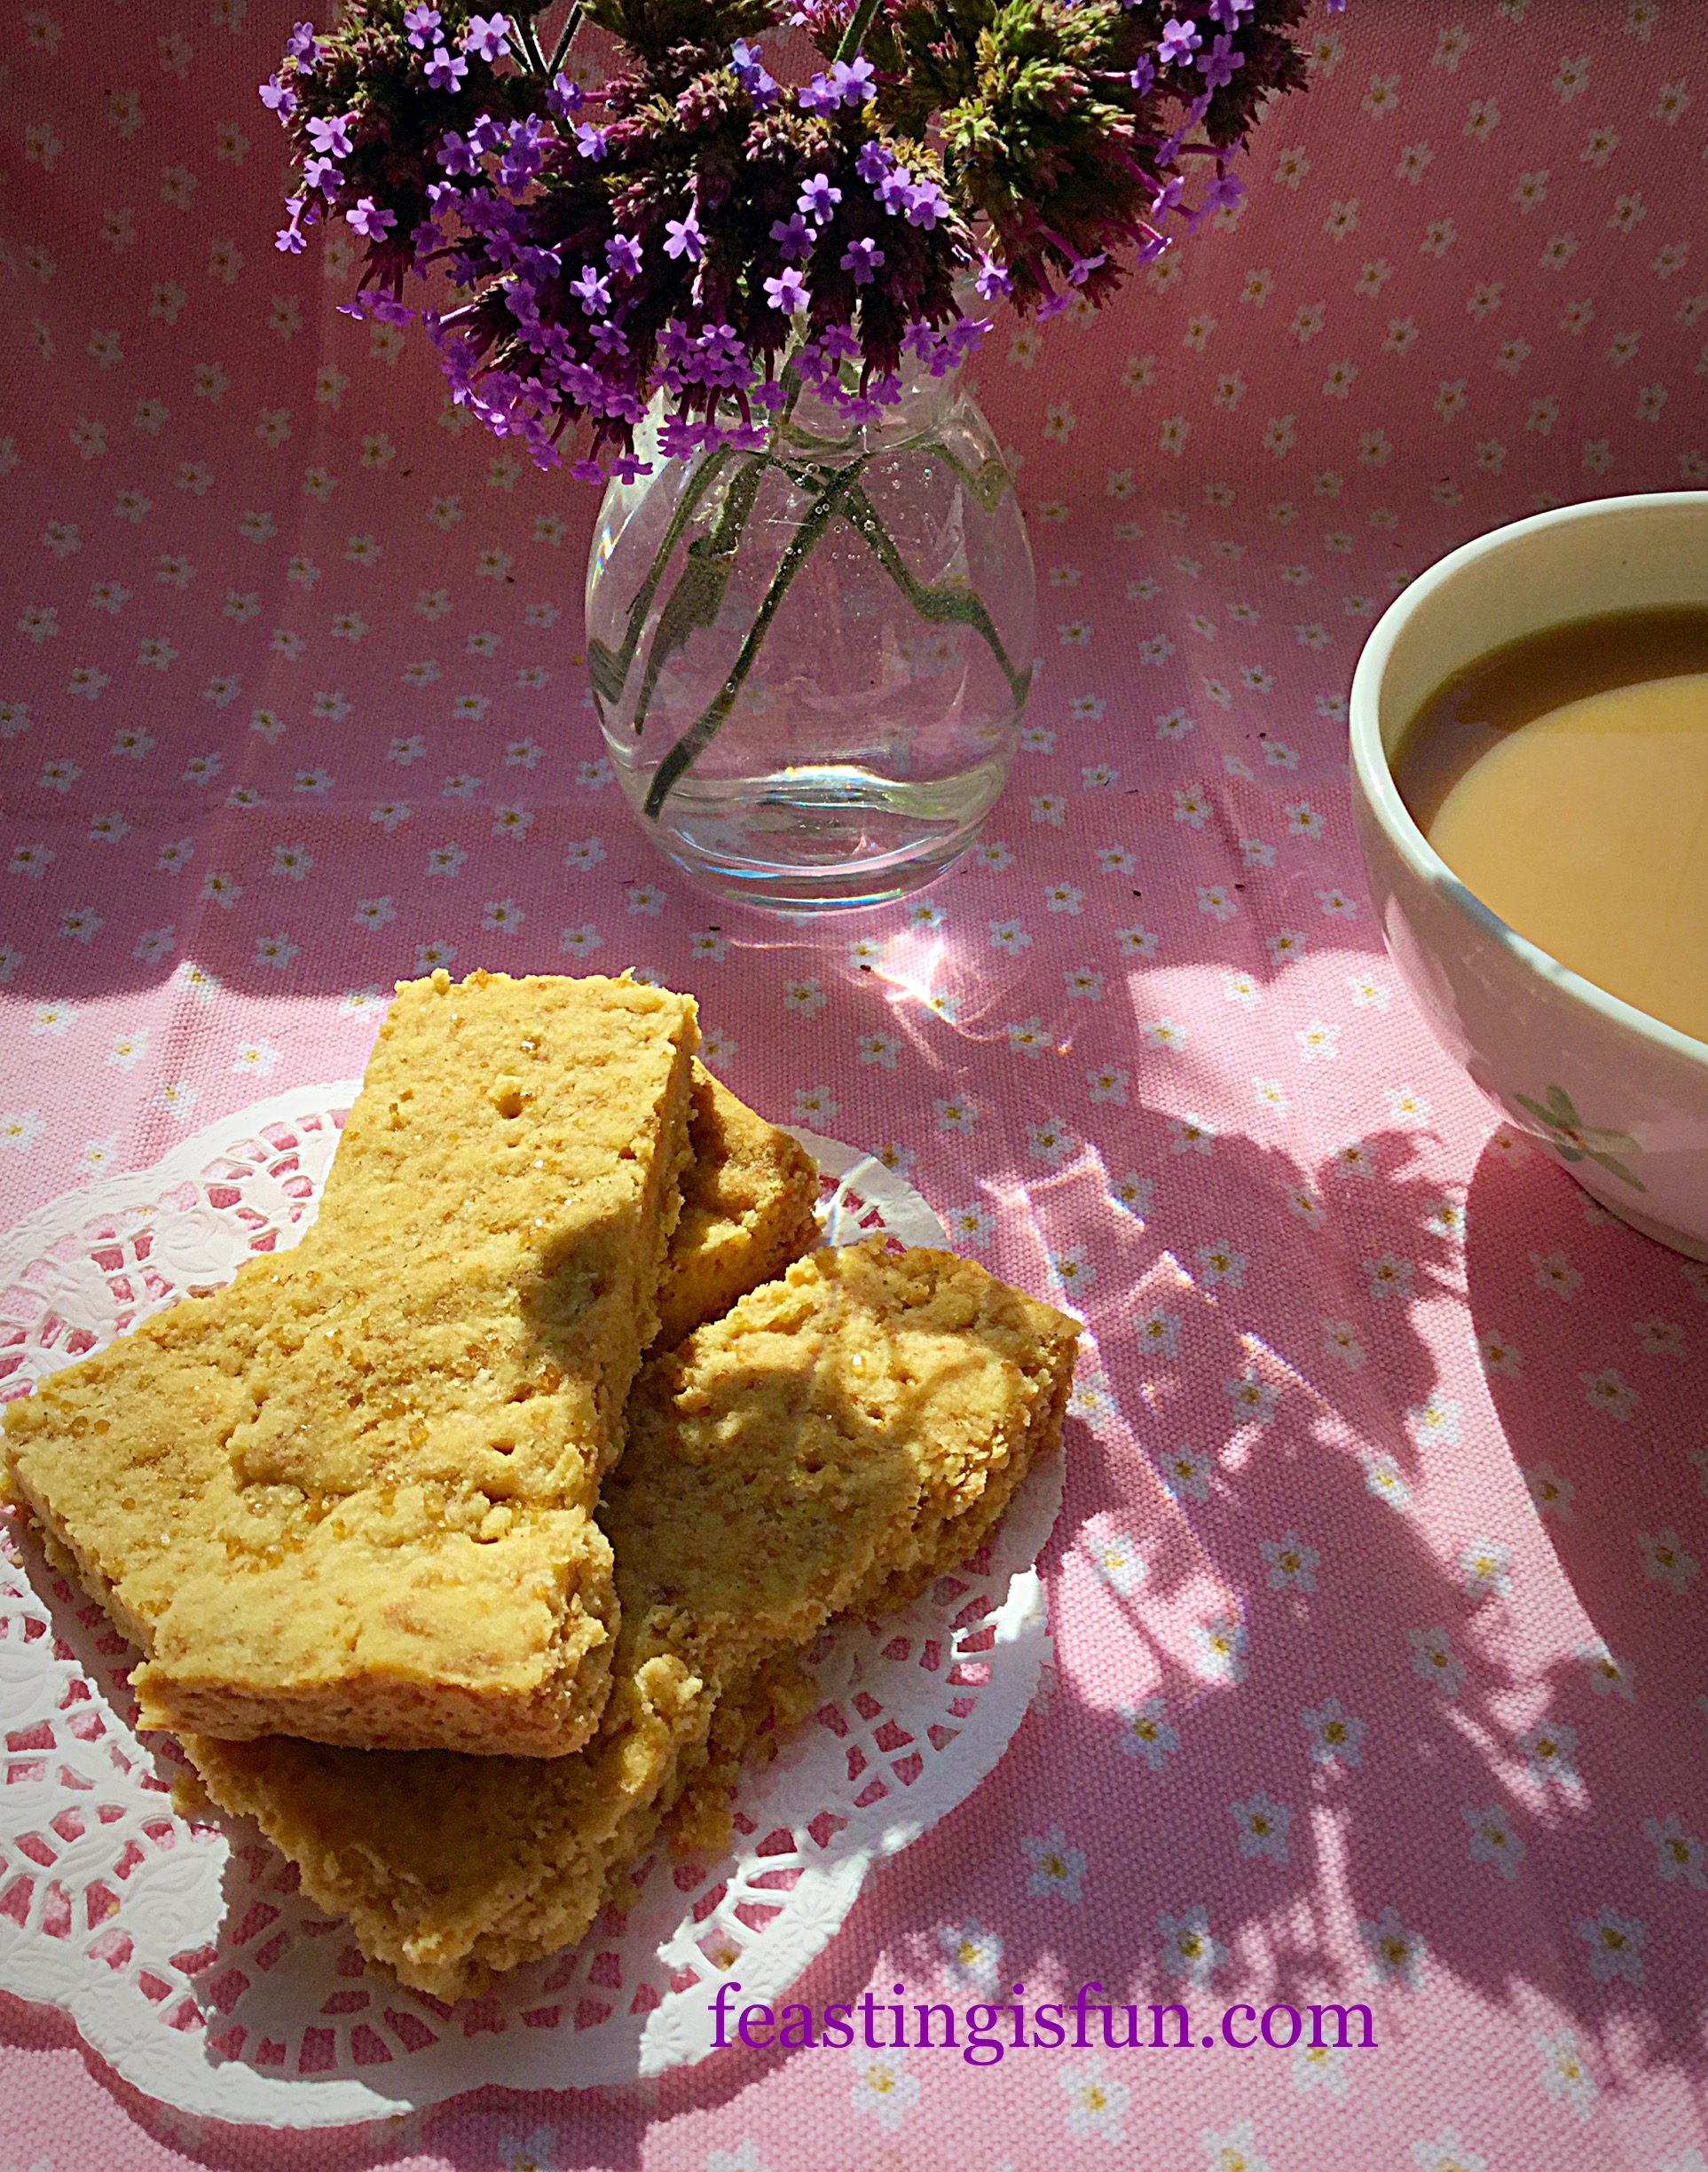
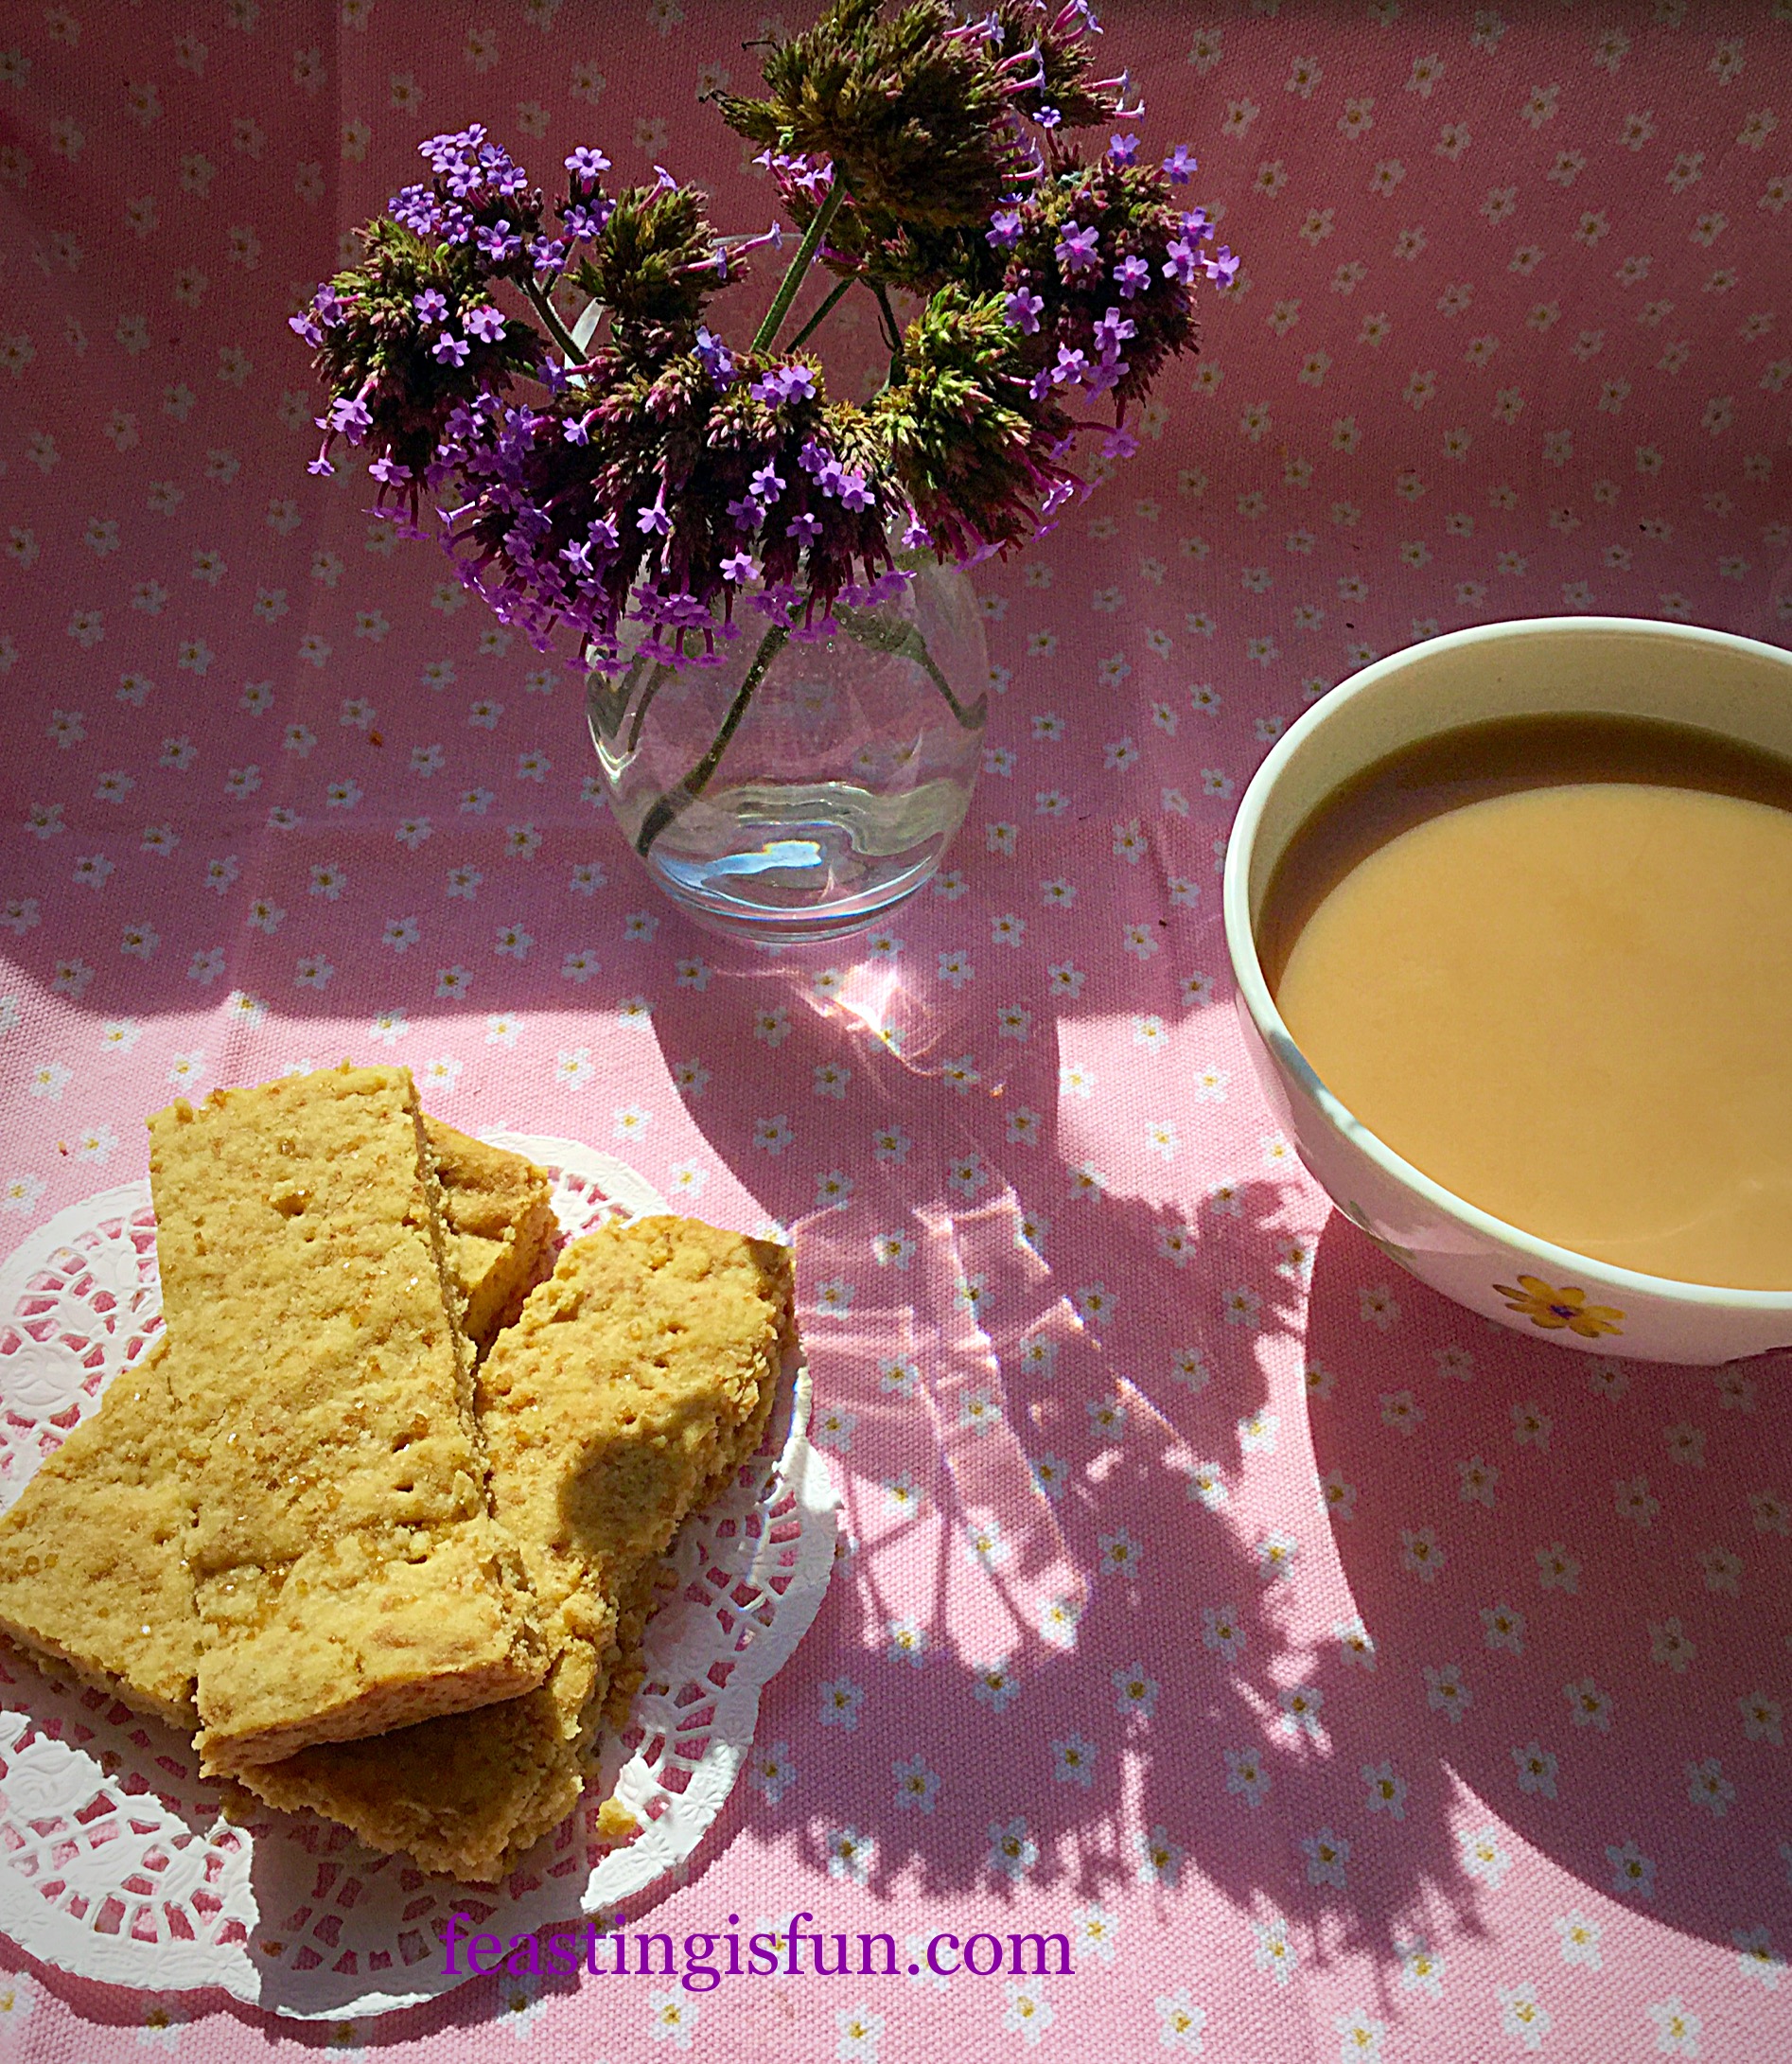
Well, we certainly have our ‘Indian Summer’. It is a gloriously sunny day, with a gentle breeze blowing, stopping the late summer air turning stuffy. Windows are open and I can only imagine how many days like today we have left, this year. In celebration of the beautiful weather I decided to make some Crunchy Vanilla Shortbread, to have, sitting in the sun, with a cup of tea.
I love the month of September, as summer’s hold loosens and hazy, low sunlight filters through the trees. Sitting in the garden, simply listening to the birds, or watching the bees and butterflies busily go about their way. It really is the month where it’s warm enough to still enjoy being outside, without piling on the layers.
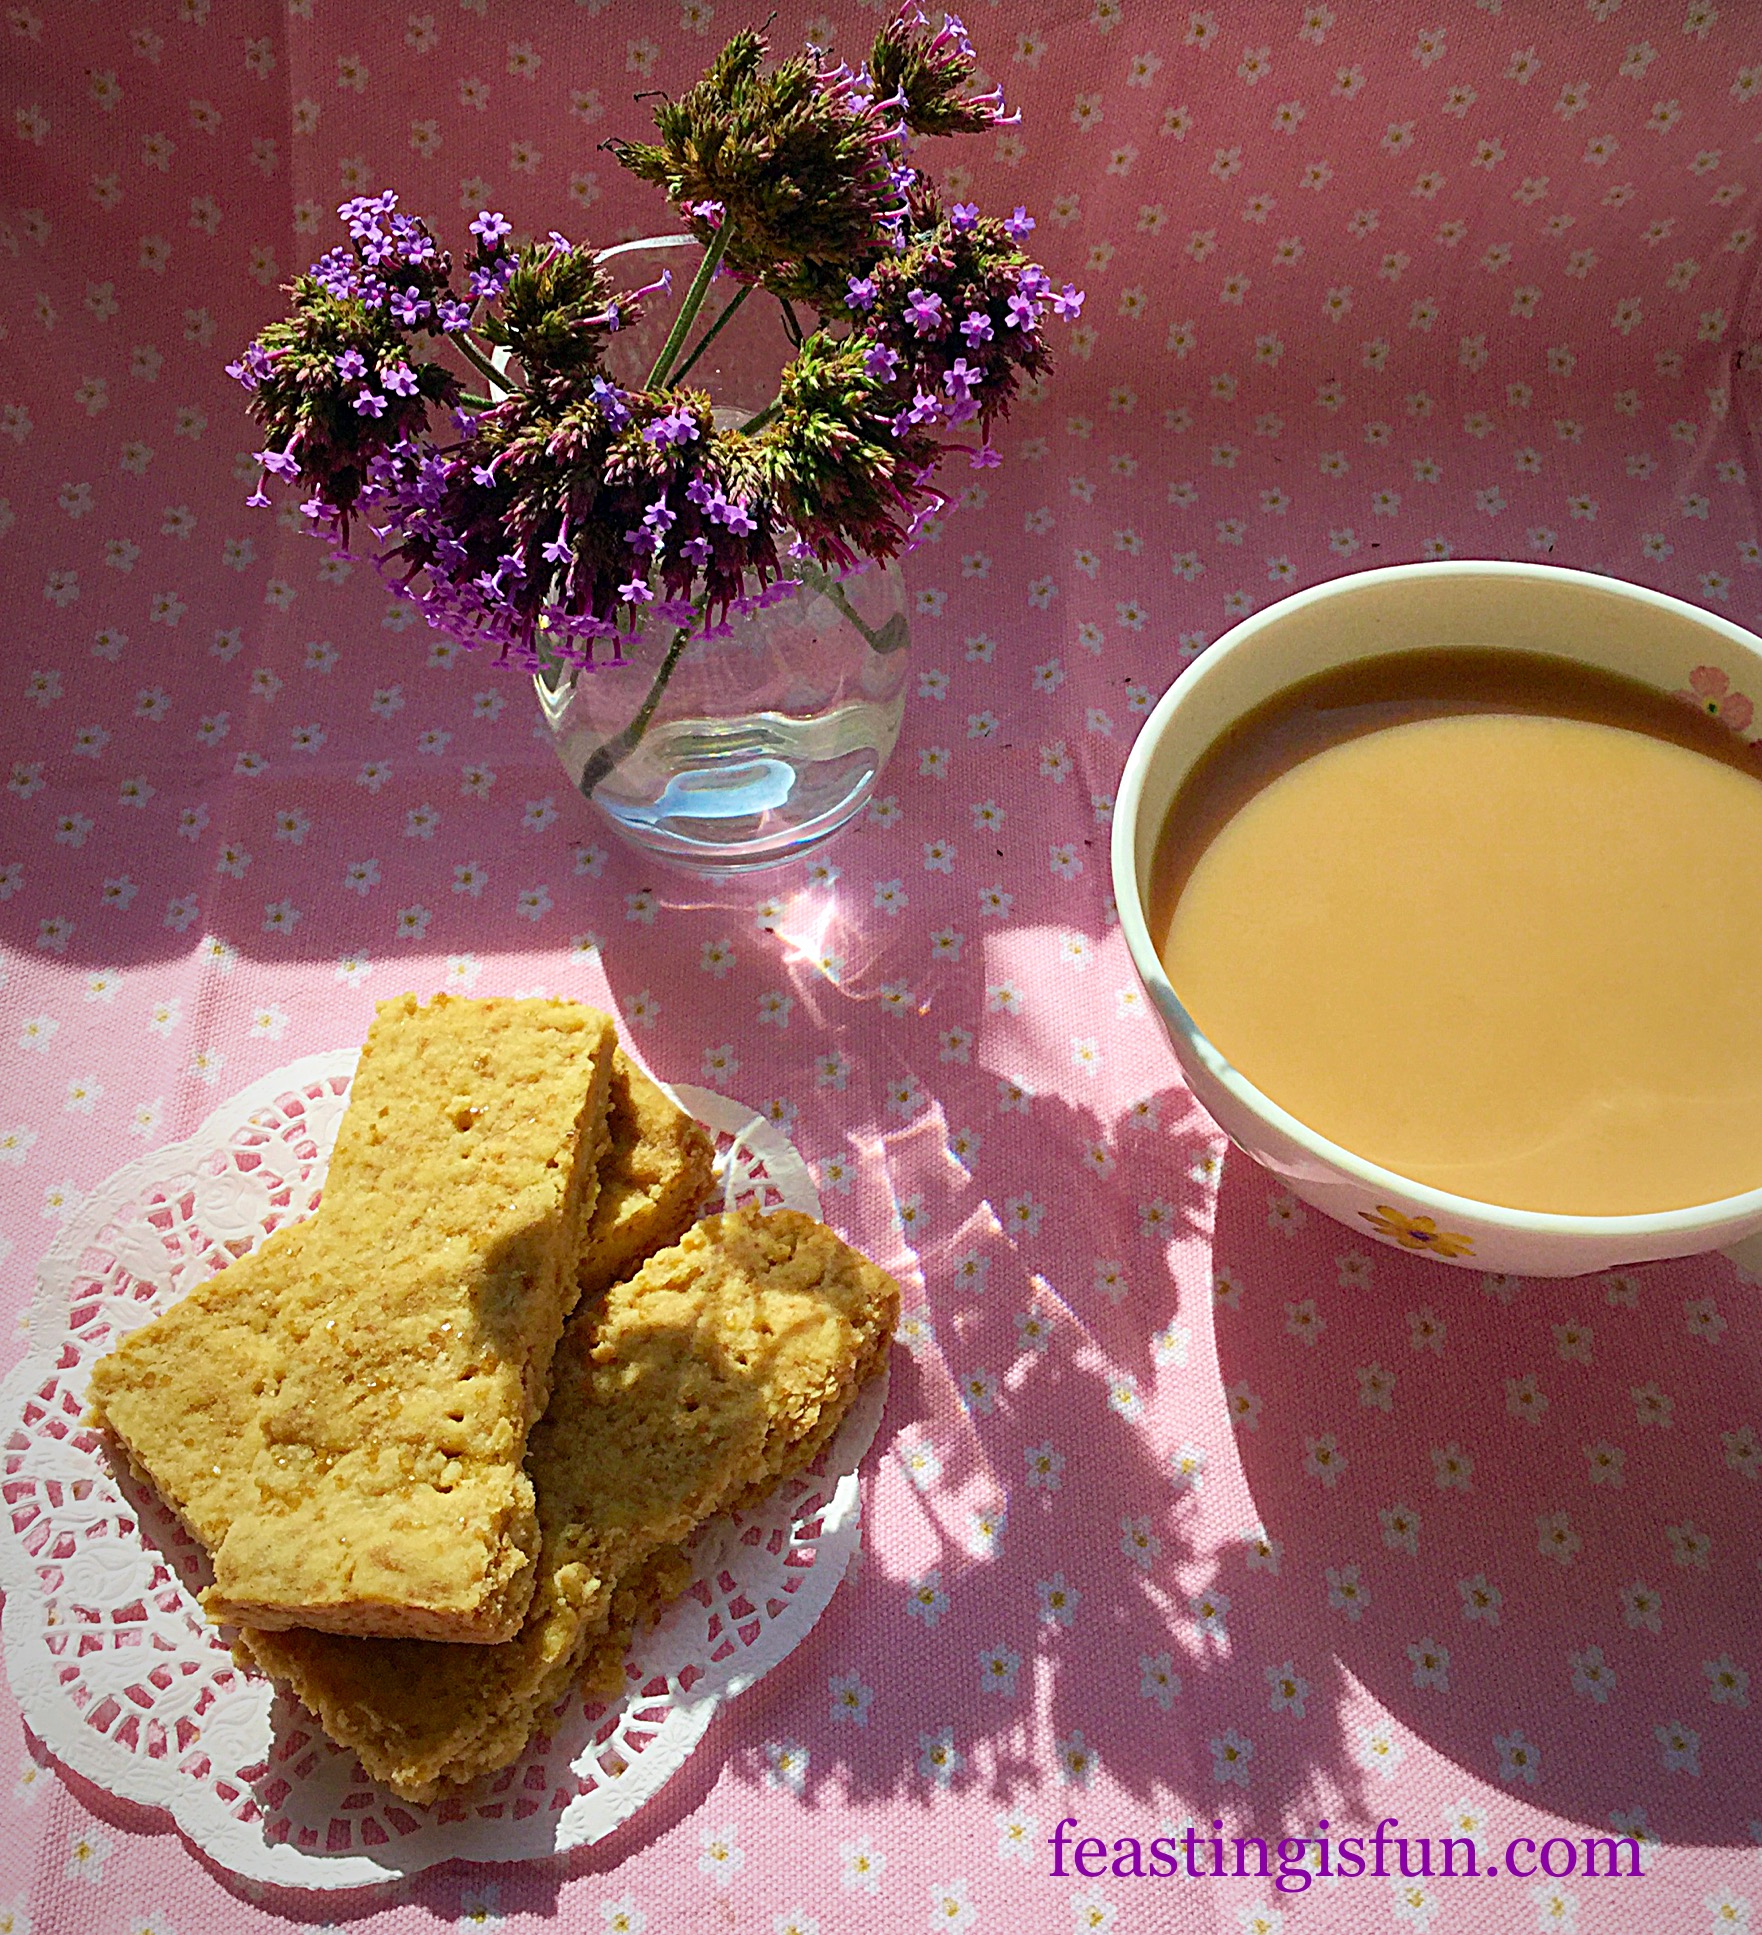
Of course this delicious Crunchy Vanilla Shortbread can and should be enjoyed anytime of the year. It just feels very luxurious to sit outside, mid September, with the sun warming my face and my cup of tea not getting cold!!
Traditional Shortbread
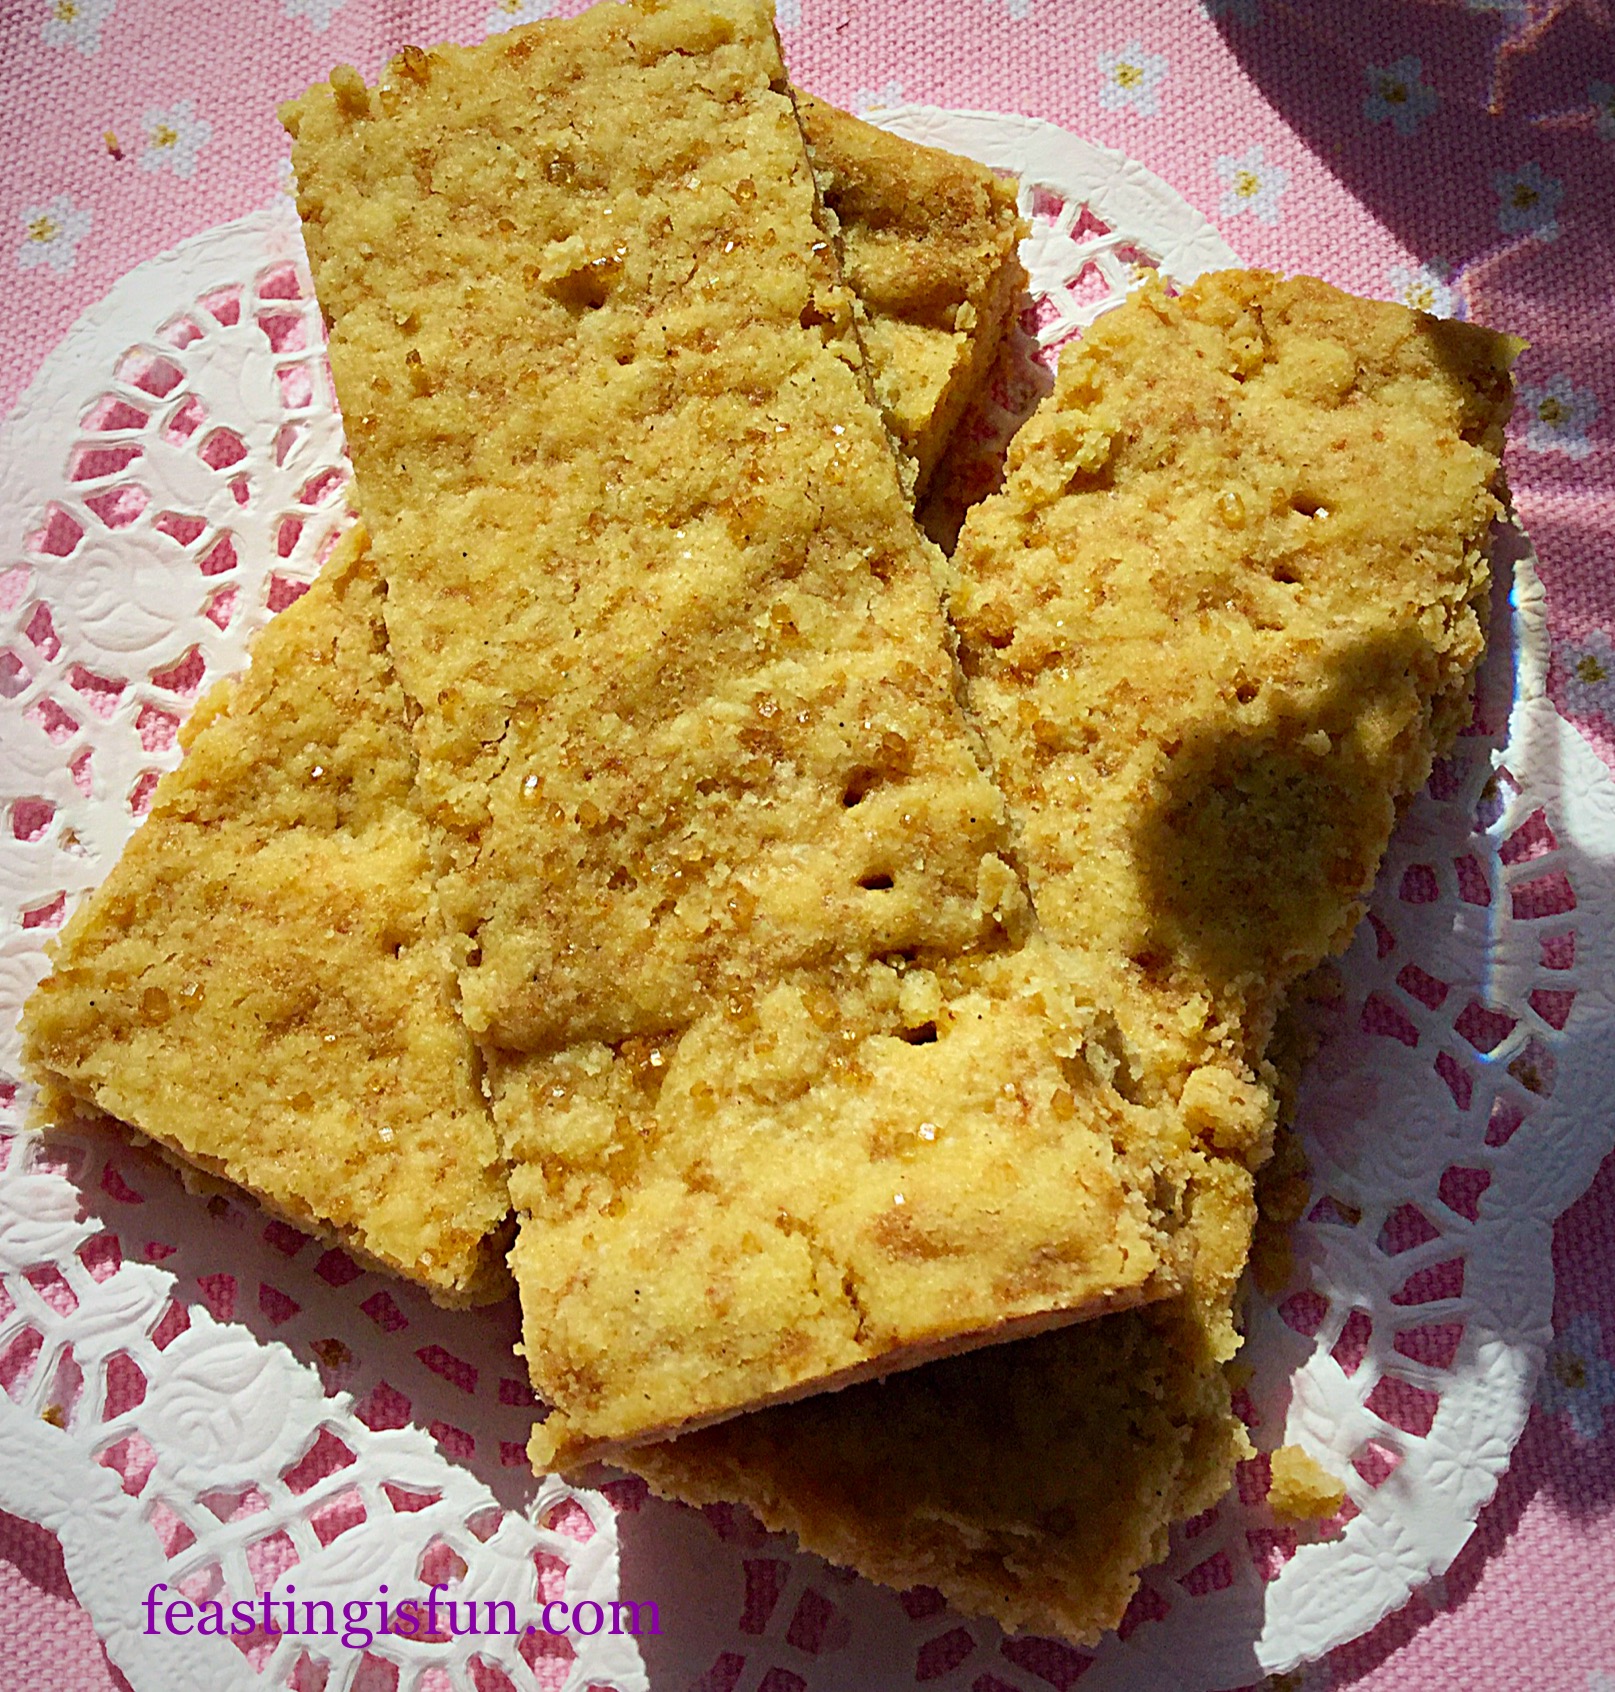
Whilst I have other shortbread recipes here and here, my Crunchy Vanilla Shortbread is a traditional version. By that I mean it follows the 3-2-1 rule. 3 parts flour, 2 parts butter and 1 part sugar. However, I have added a tiny pinch of salt and some vanilla bean extract. I adore the flavour of vanilla and in this shortbread it tempers the sweetness of the demerera sugar and balances the caramel flavours.

For ease, this shortbread is baked in a tin, where it is simply pressed in and baked. No rolling out, chilling or cutting out required. It took less than 10 minutes to prepare and a further 30 minutes to bake. If you have visitors turn up, out of the blue, you could easily have this baking in the oven, by the time your guests have been settled and the kettle put on!
Sometimes it’s nice to have a simple recipe to hand, for when the occasion arises.
Recipe: Makes Crunchy Vanilla Shortbread
185g/6oz Unsalted Butter – plus a little extra for greasing the tin
75g/3oz Demerera Sugar – plus 1tsp for sprinkling on top
1tsp Vanilla Bean Paste – I use Nielsen-Massey
1/8th tsp Salt – I use Maldon
270g/9oz Plain White Flour
Making The Shortbread Dough
Method: Preheat the oven to 190C/170C fan, gas mark 5, 375F
- Add the sugar, butter, salt and vanilla extract to a bowl.
- Beat until the butter is pale and creamy.
- Add the flour and mix with a spoon until you have a dough.
- Line a lightly buttered, 20cm x 28cm x 5cm (8″ x 11″ x 2″) swiss roll tin with baking parchment.
- Tip the shortbread dough into the tin and press gently with your fingers until the dough completely covers the tin base evenly.
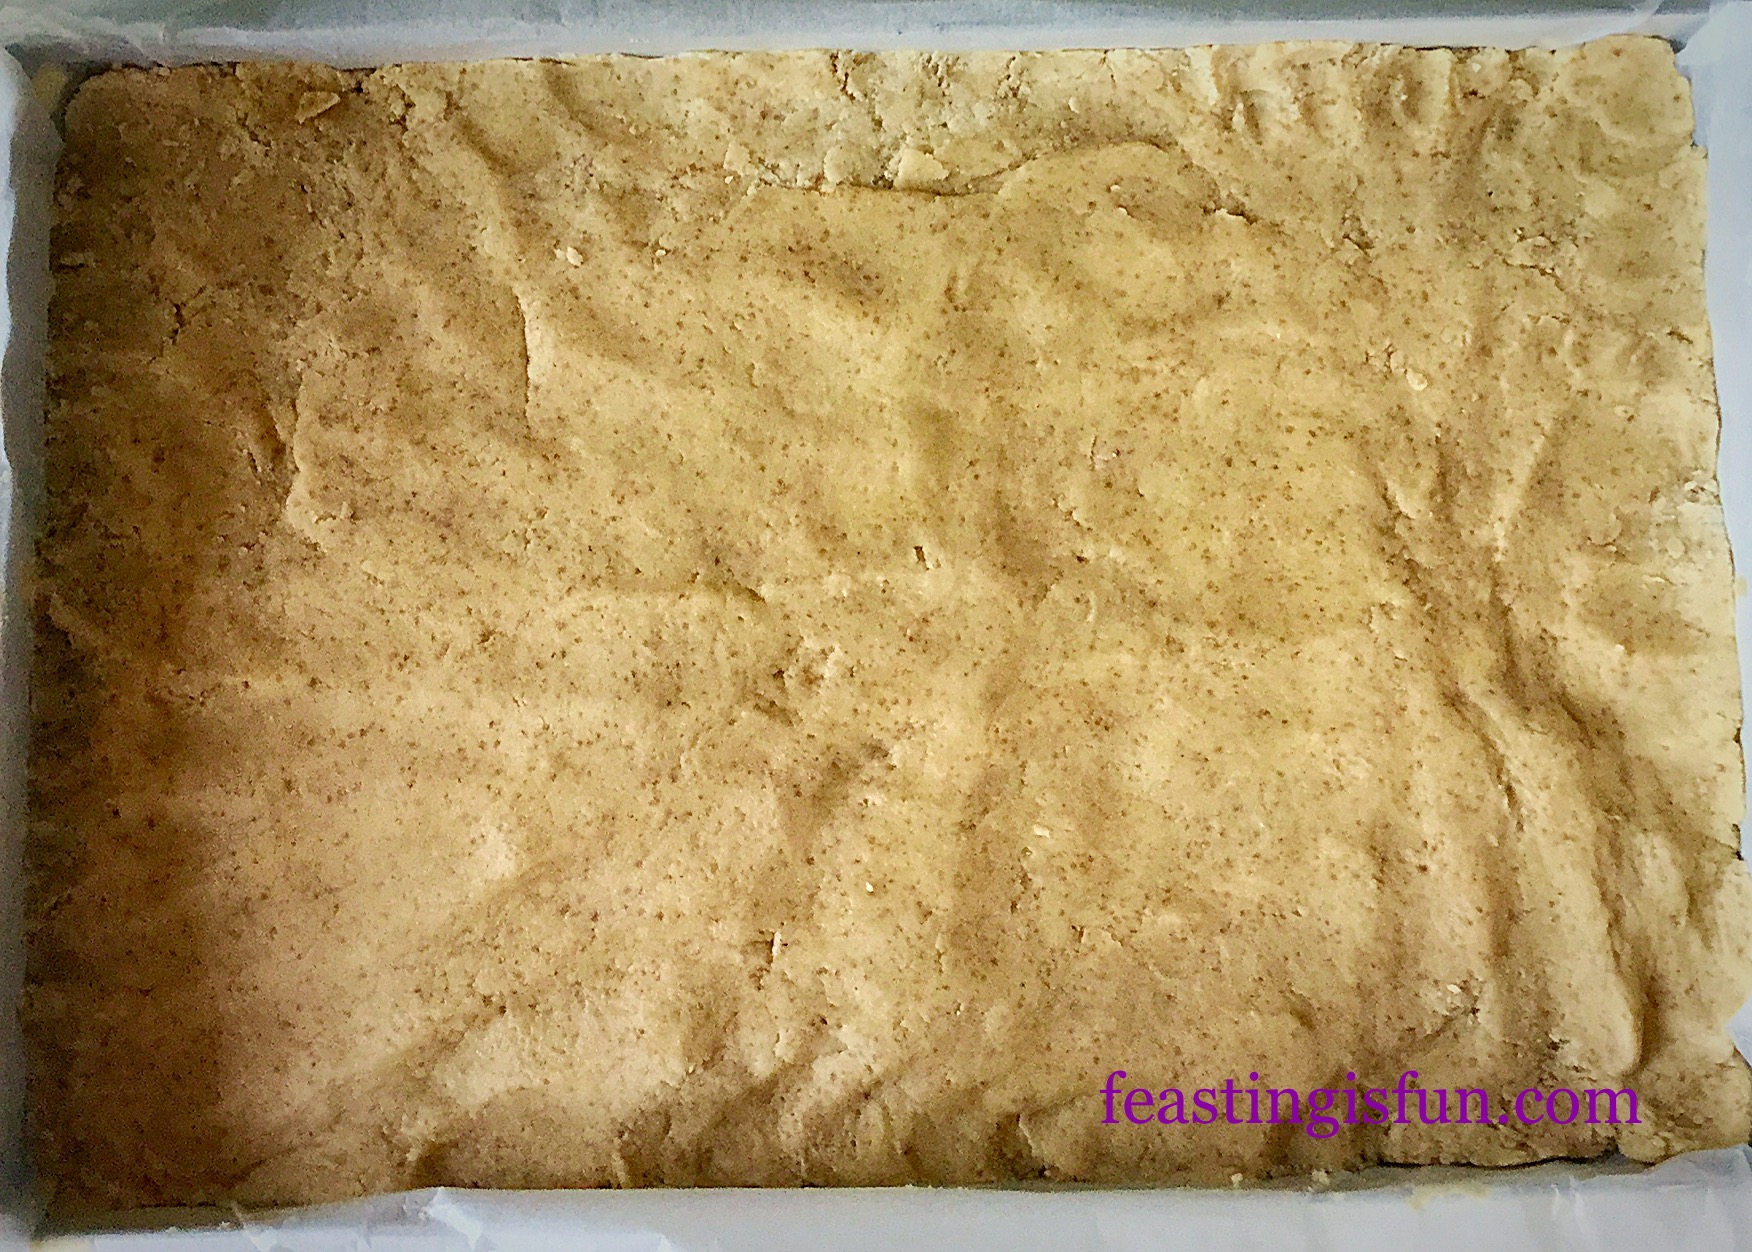
- Dock the shortbread dough with a fork – this will prevent it from rising too much during baking.
- Sprinkle over the reserved teaspoon of sugar. This really does make the shortbread sparkle once baked.
Baking The Shortbread
- Place the tin in the middle of the oven and bake for 30 minutes, or until the shortbread is golden and has a set crumb.
- Once baked remove the shortbread from the oven.
- Score a line halfway through the length of the cooked shortbread, then score 7 strips – creating 14 Crunchy Vanilla Shortbread fingers.
- Allow the shortbread to cool in the tin.
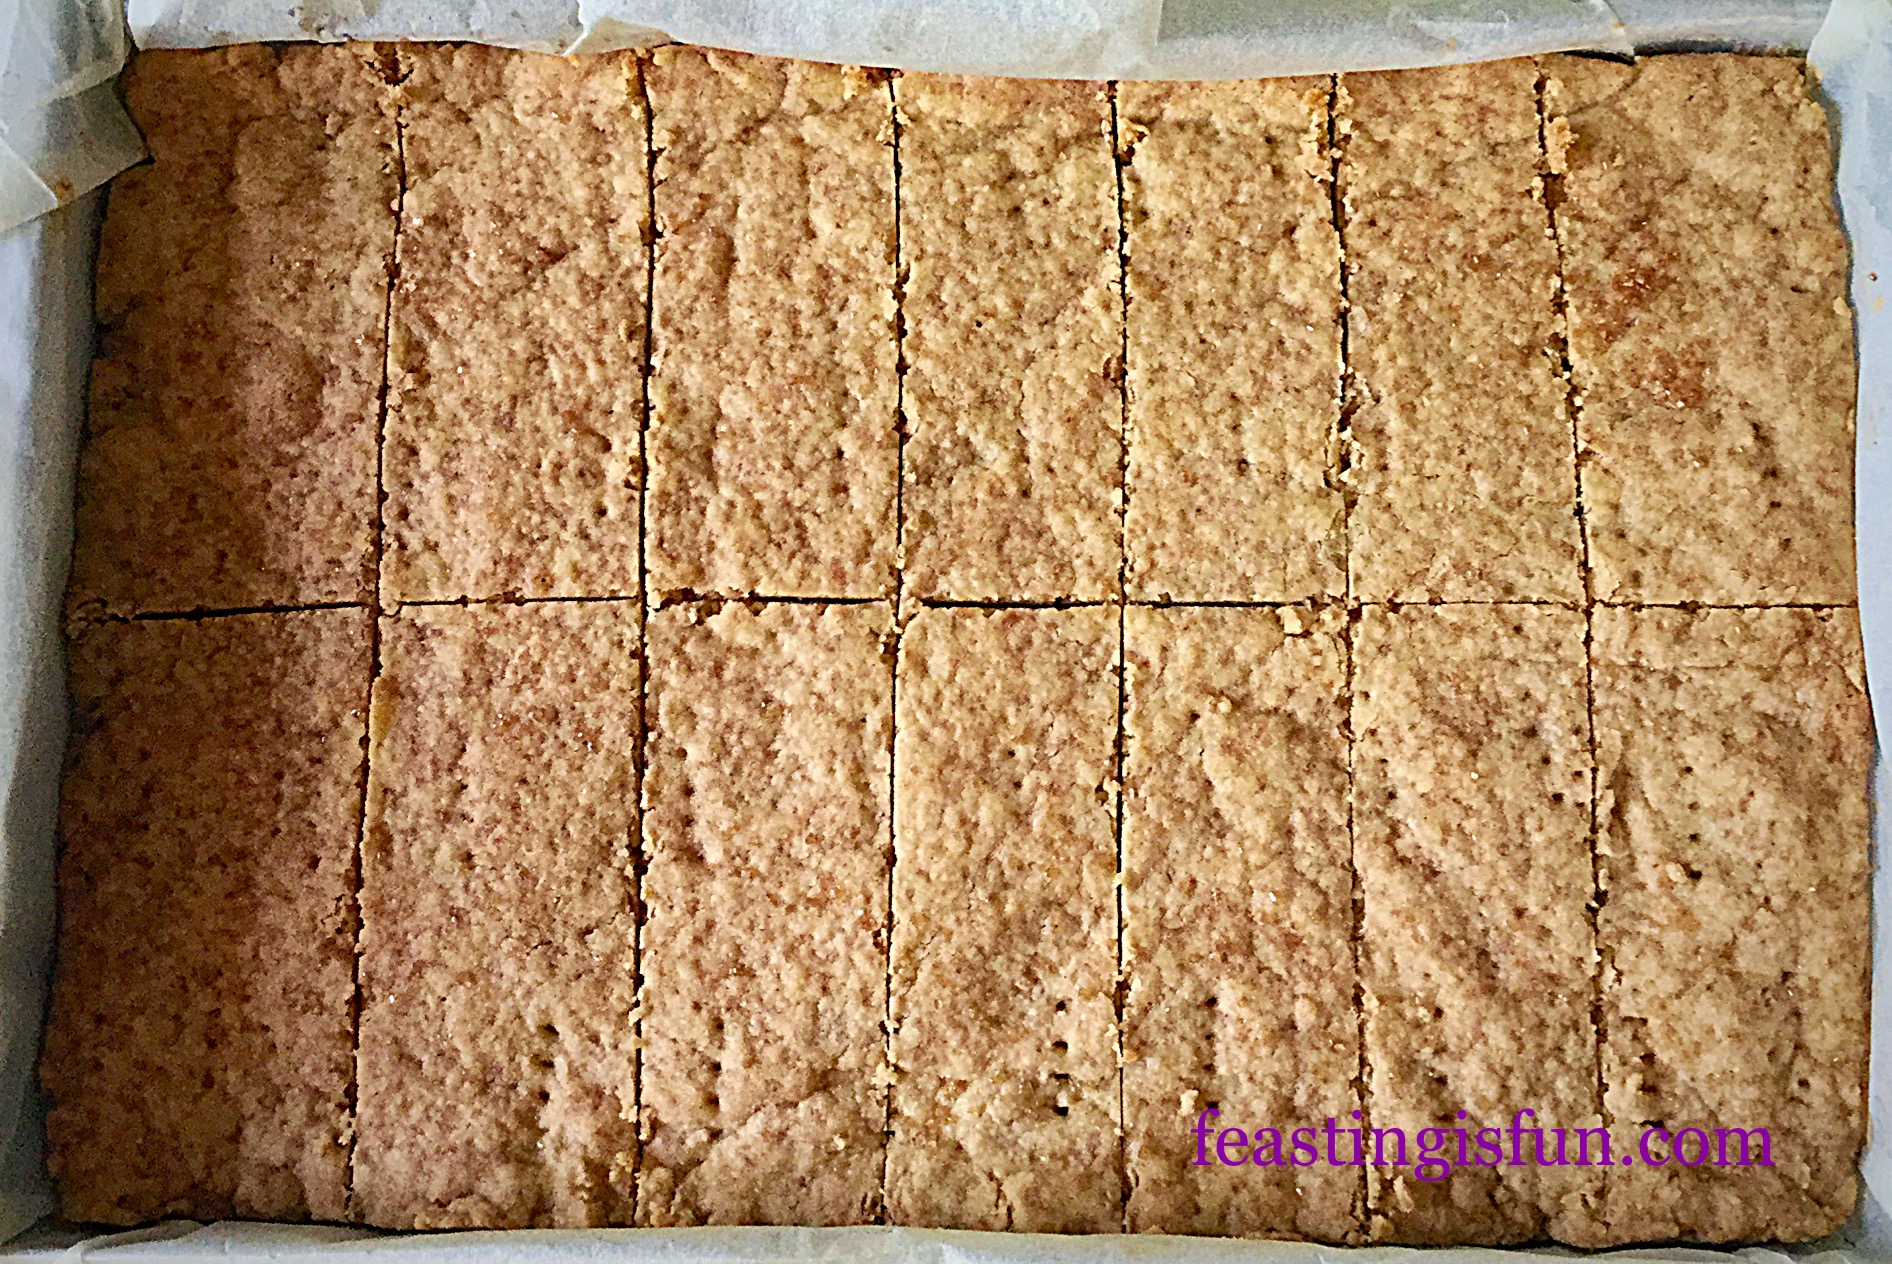
- Scoring the shortbread whilst it is hot makes it much easier to break into fingers once cooled. I’ll be honest I did have a couple of shortbread fingers break, they were my testers 😉.
- Once cooled lift the shortbread out of the tin, using the baking parchment and break into individual fingers.
Store the shortbread in an airtight tin for up to 5 days, if it lasts that long!
Serve this deliciously Crunchy Vanilla Shortbread with a good cup of tea or coffee. That said, these shortbread fingers would also pair very nicely with my Very Vanilla Ice Cream.
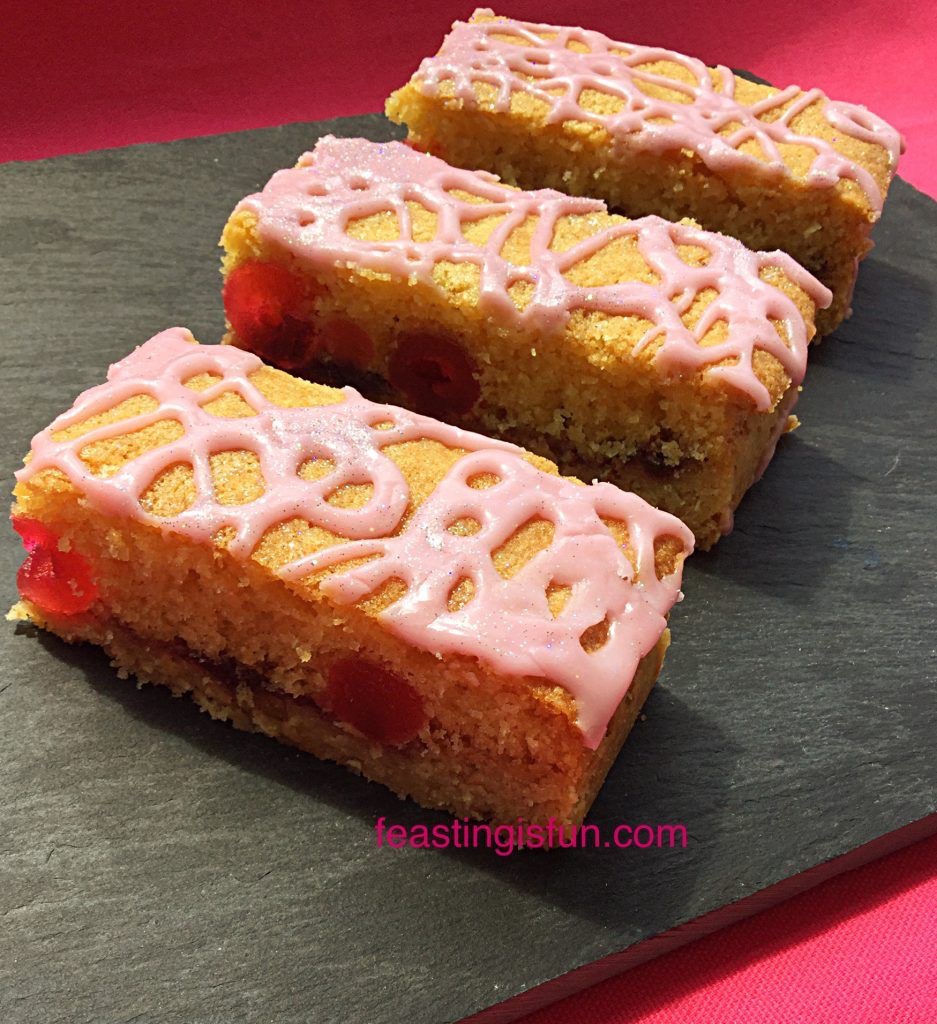
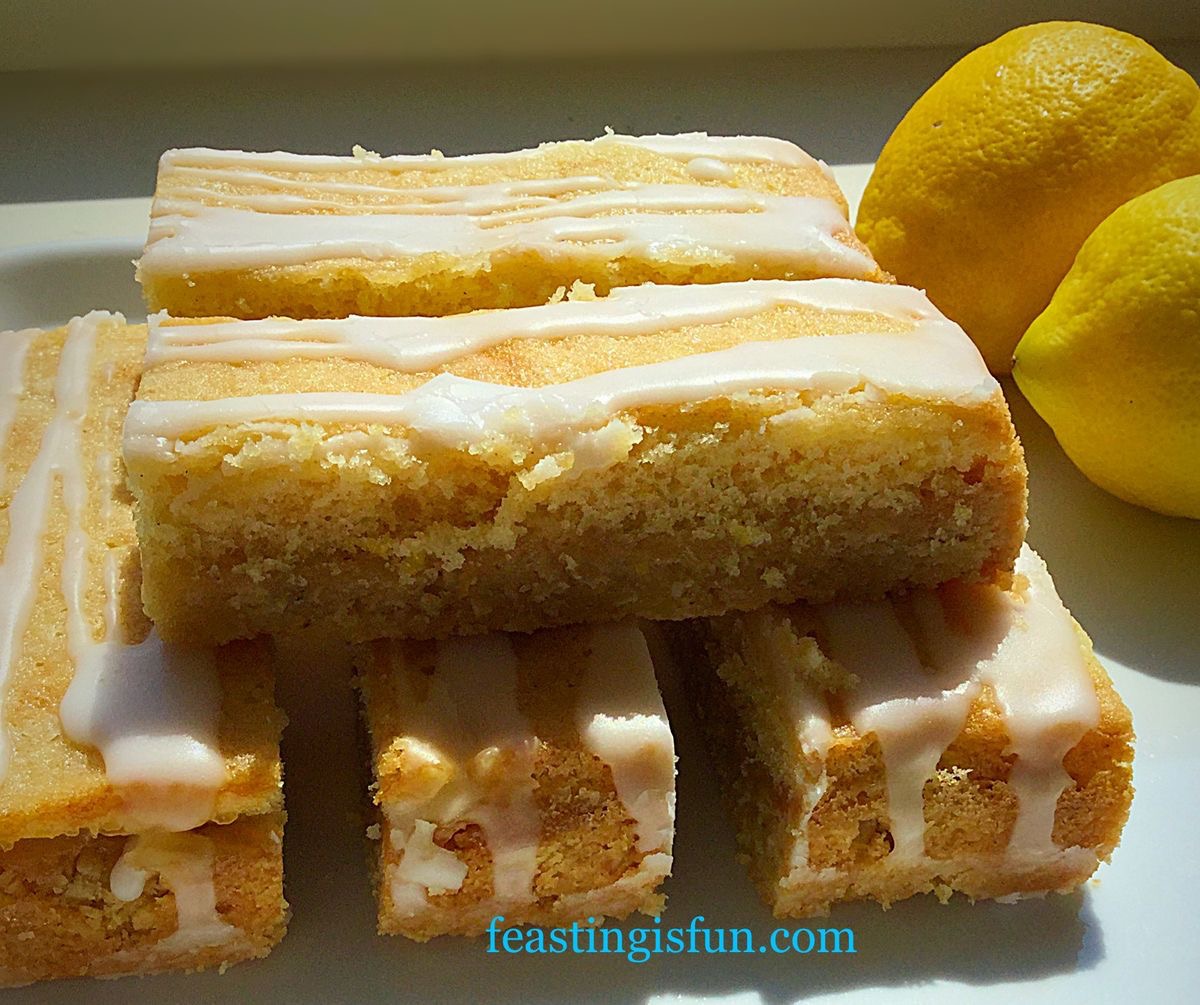
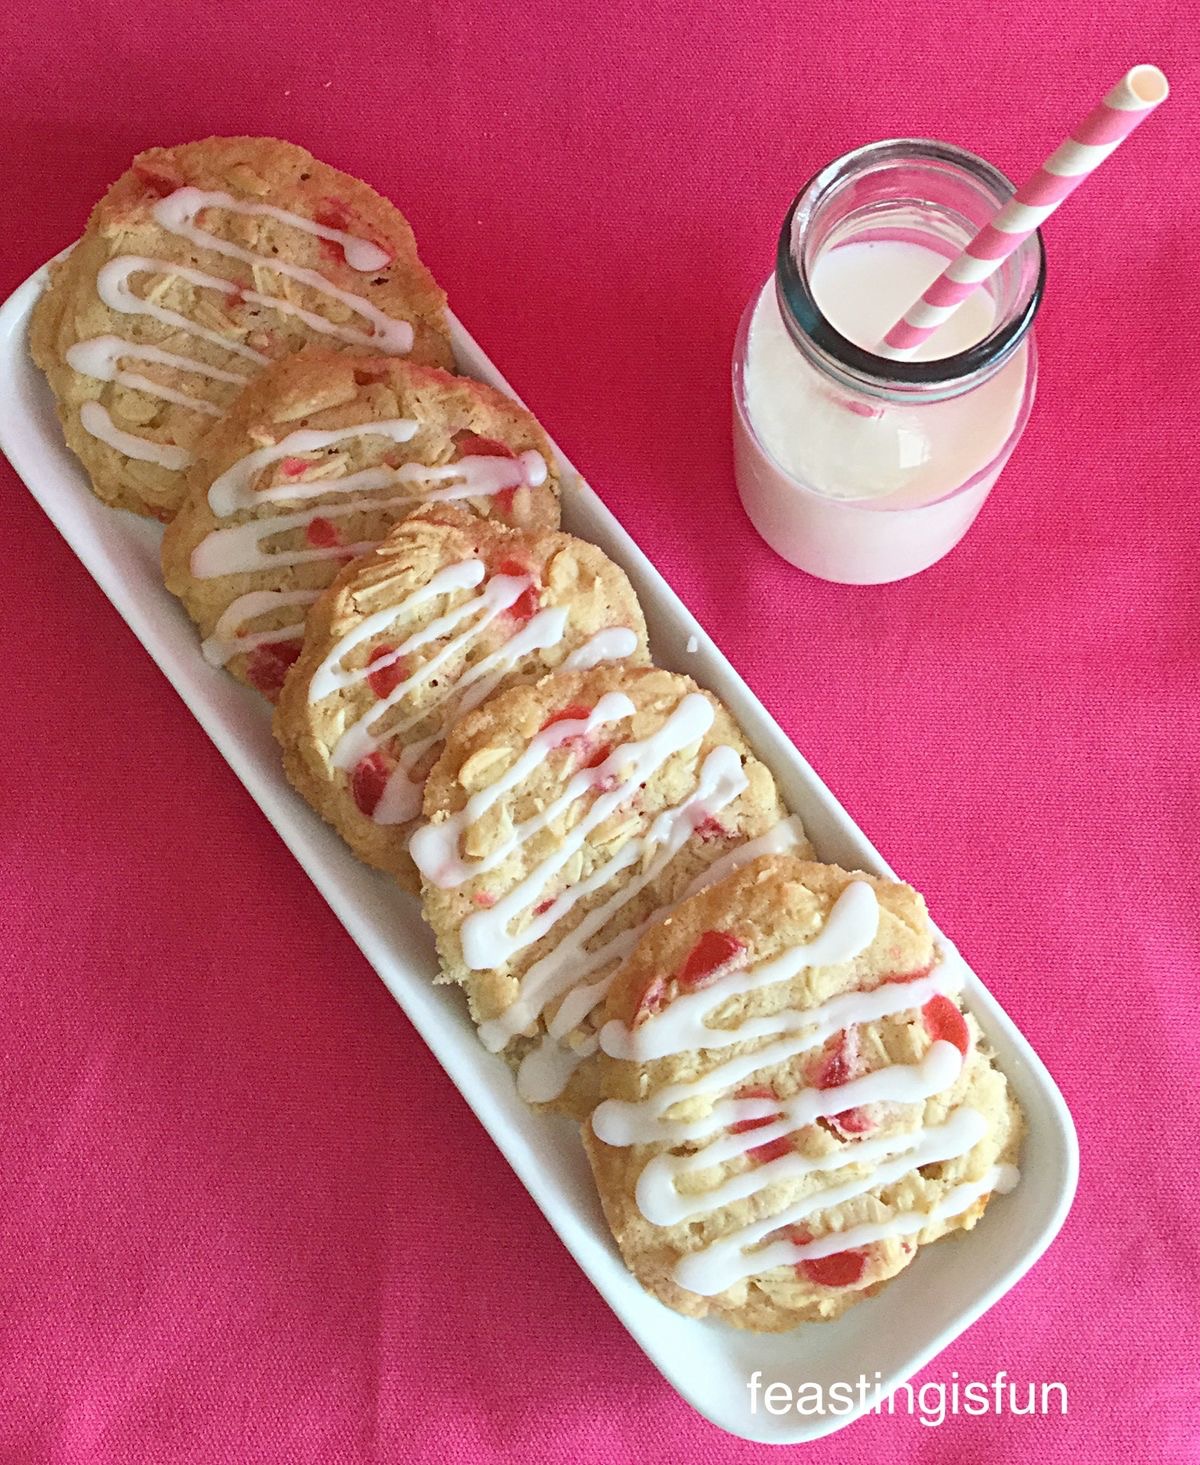
If you have enjoyed the recipe for Crunchy Vanilla Shortbread you make also like these:
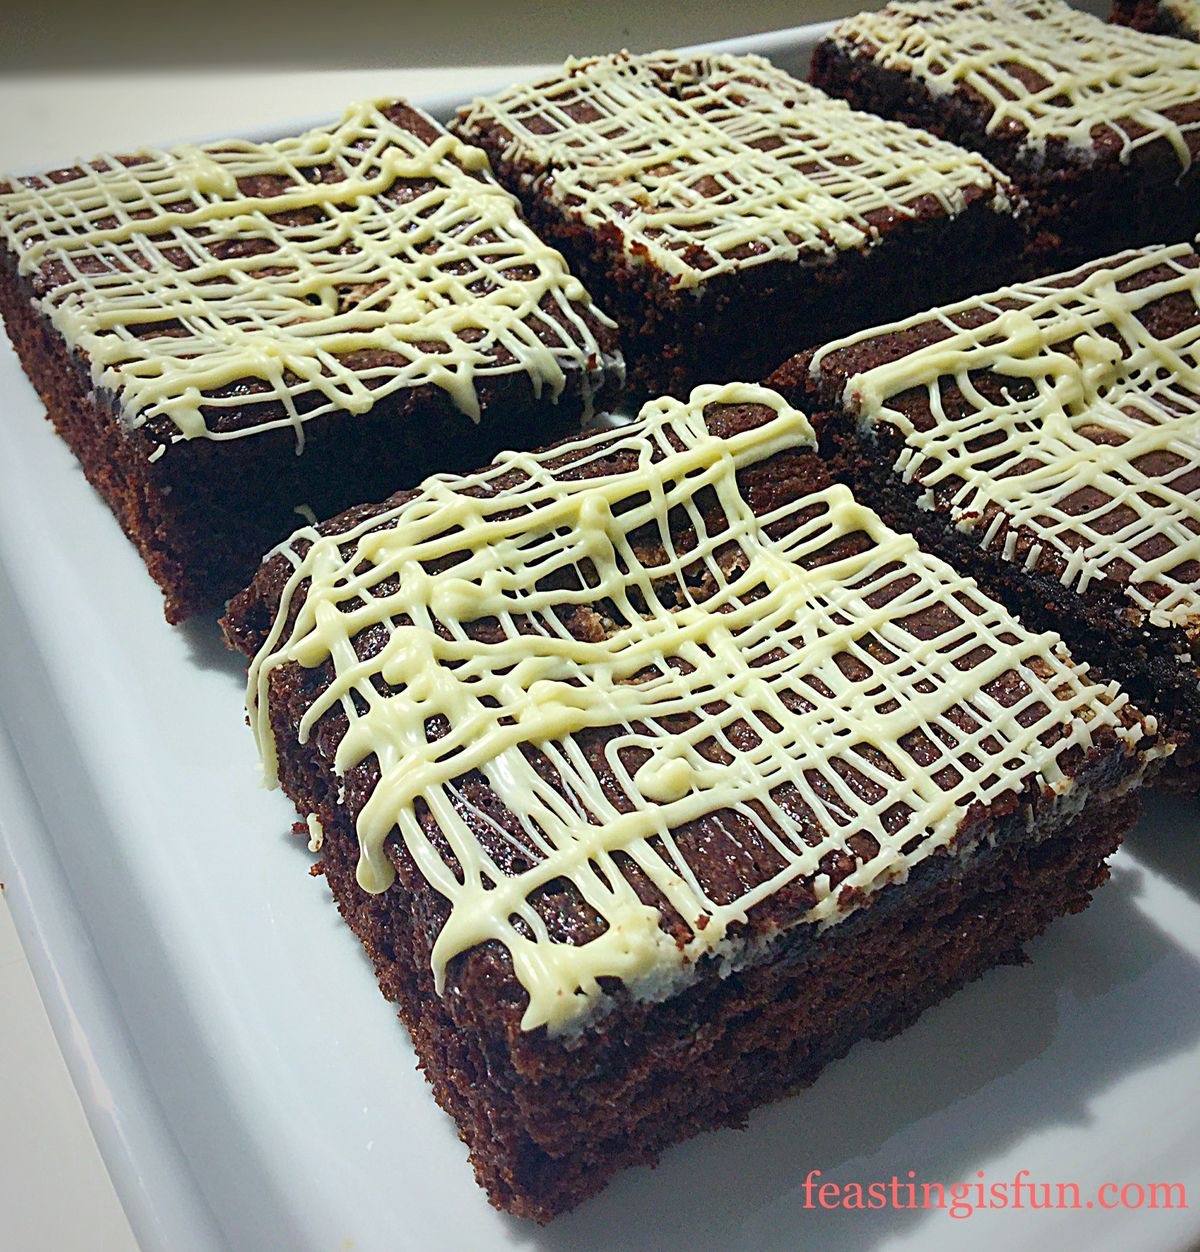
Vanilla Fudge Chocolate Brownies

I hope you are enjoying the last of the summer wherever you are.
I shall remember to look back at these photographs, in the midst of winter, to remind me of the warmth of the sun in summer.
Whatever you are making, baking and creating in your kitchens, have fun preparing your feast. Why not check on elderly neighbours, just pop in to make sure they have enough to drink and maybe stay for a cuppa and a natter? You could always take some home baked treats round?
Food always tastes better when it is shared.
Sammie xx
No part of this post may be reproduced or duplicated without the written permission of the owner. Please see my Disclosure Policy.