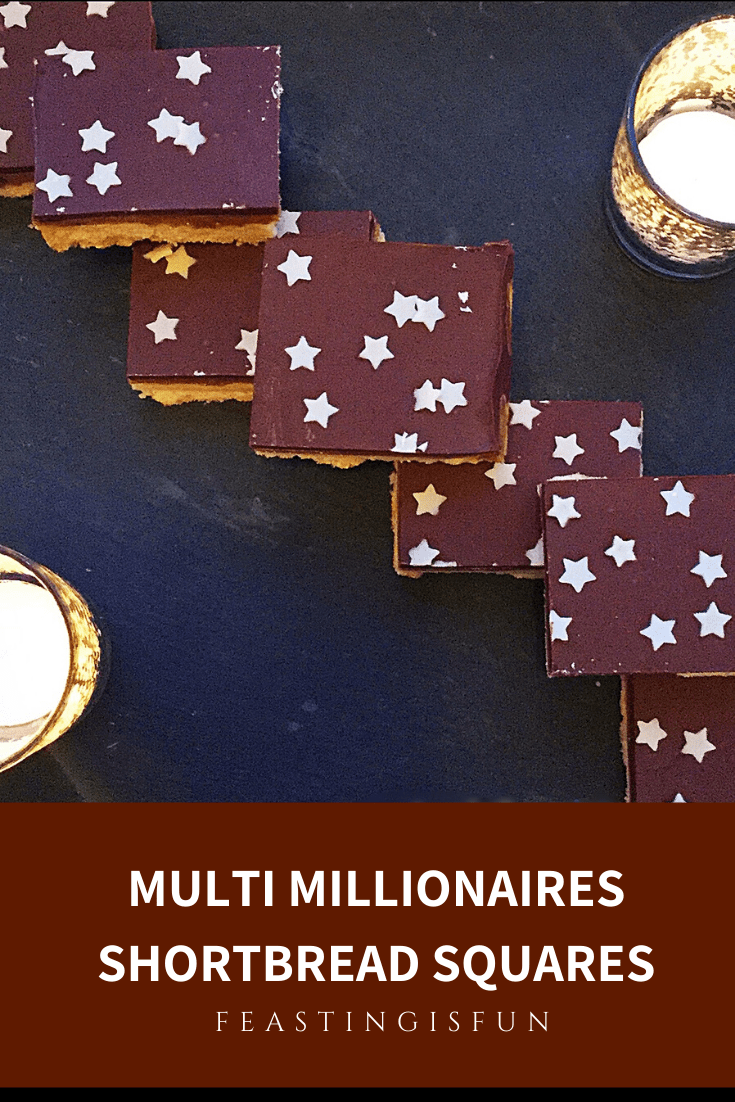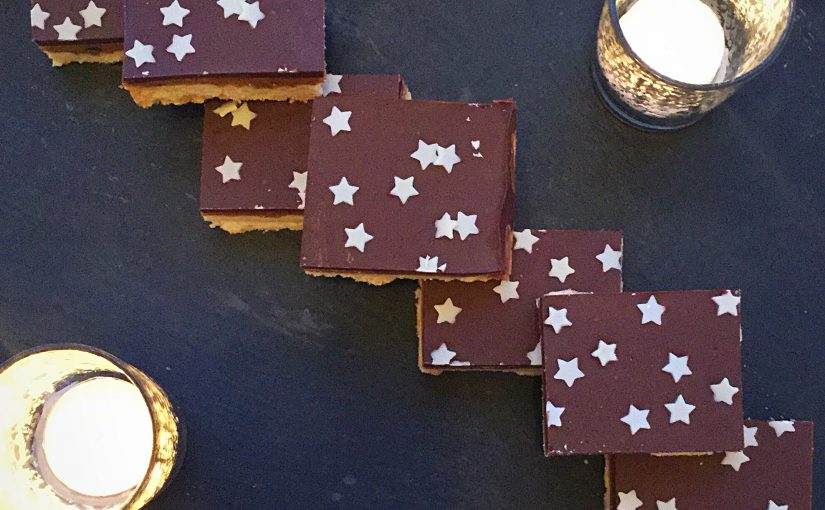
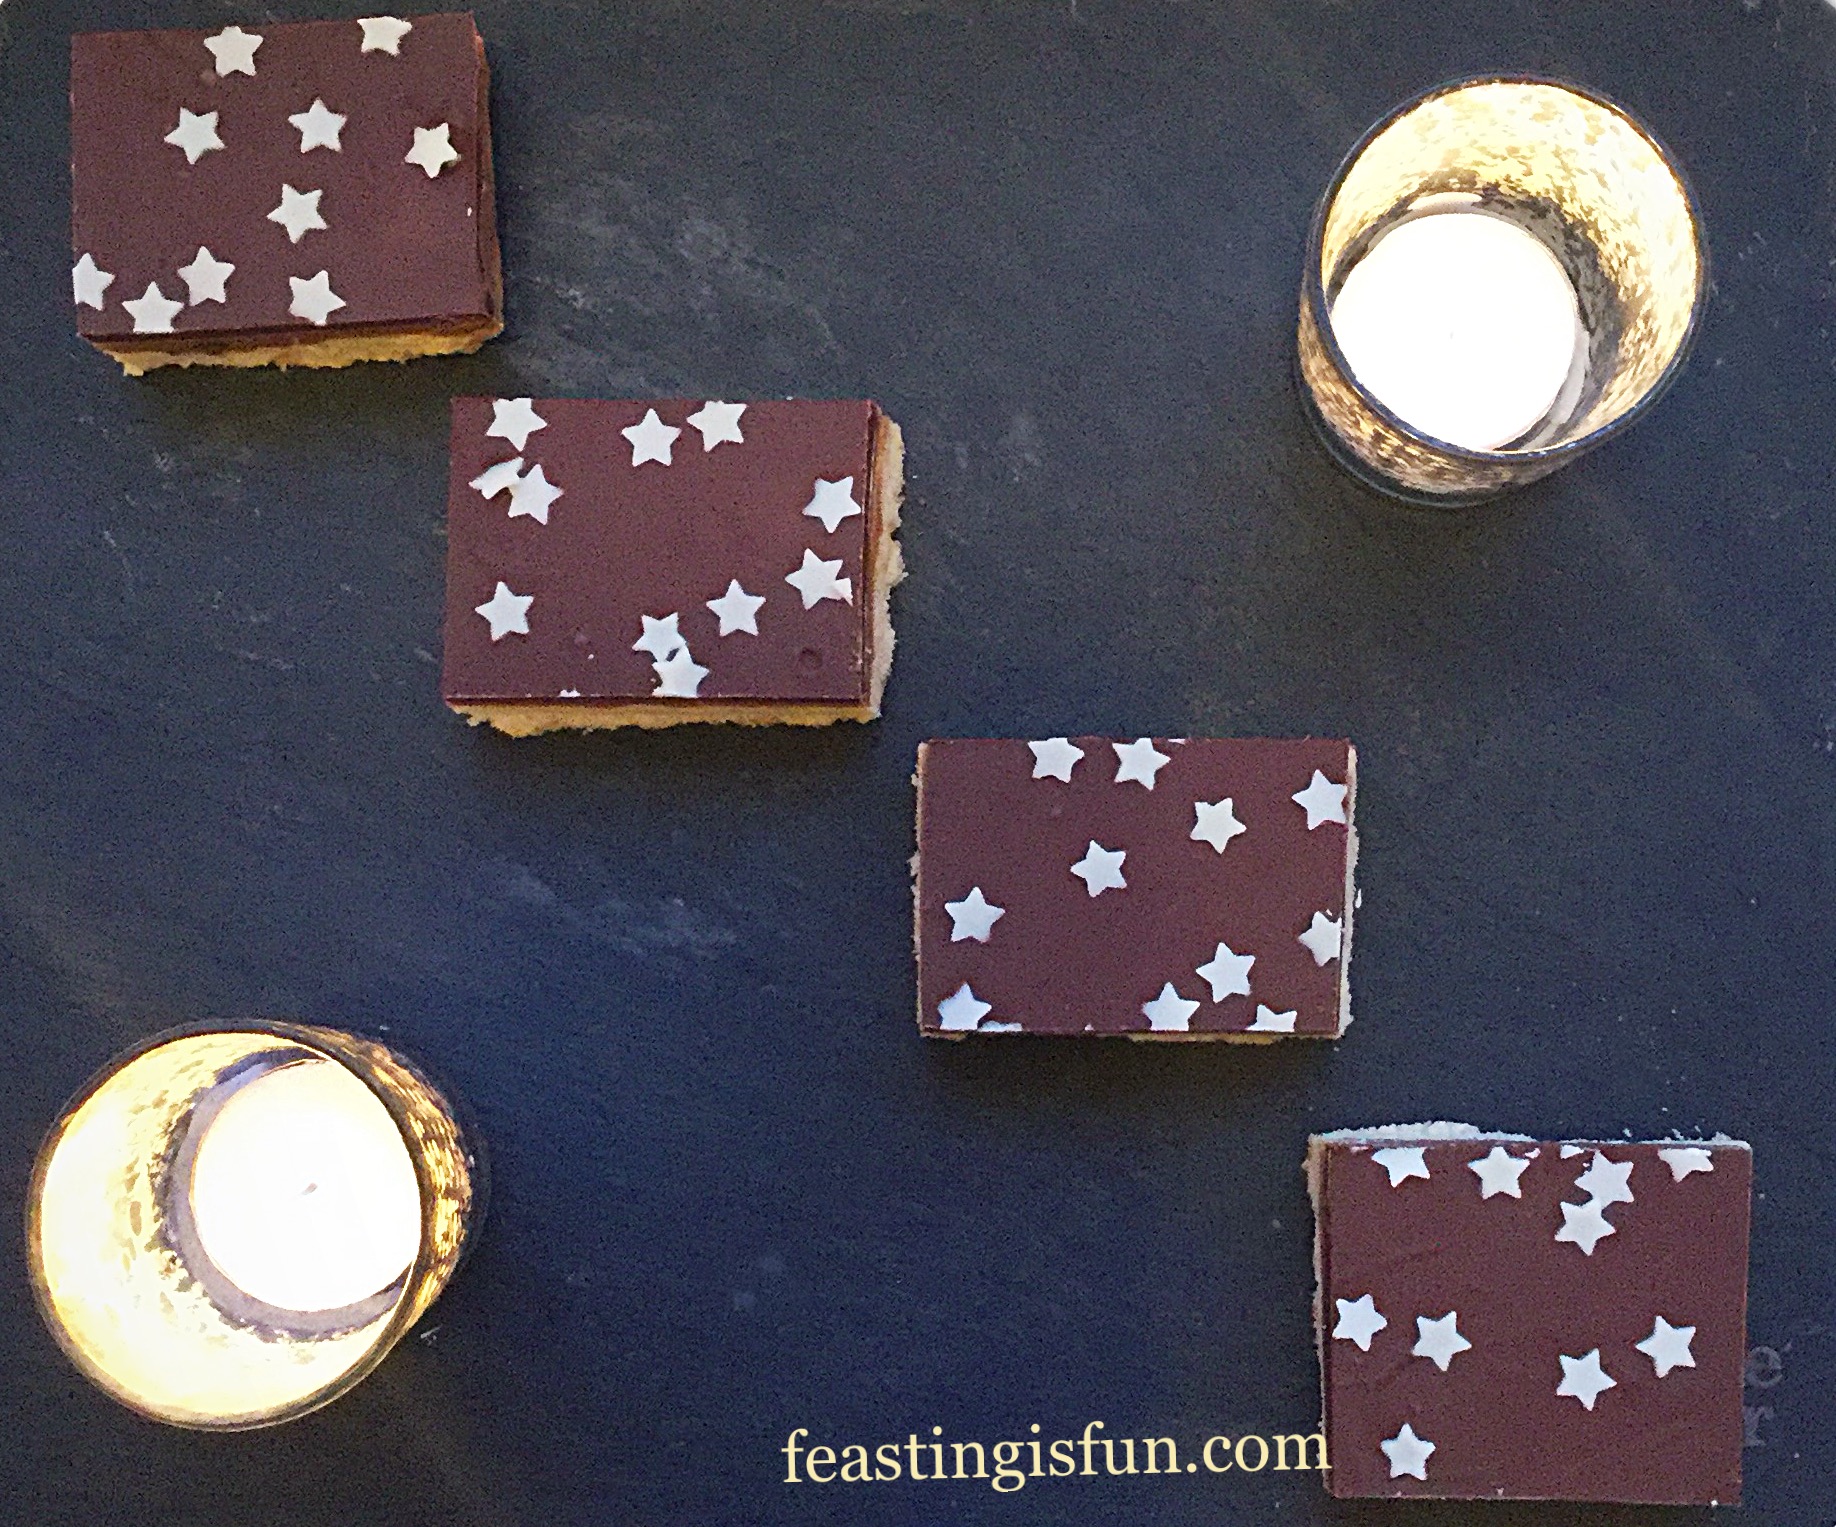
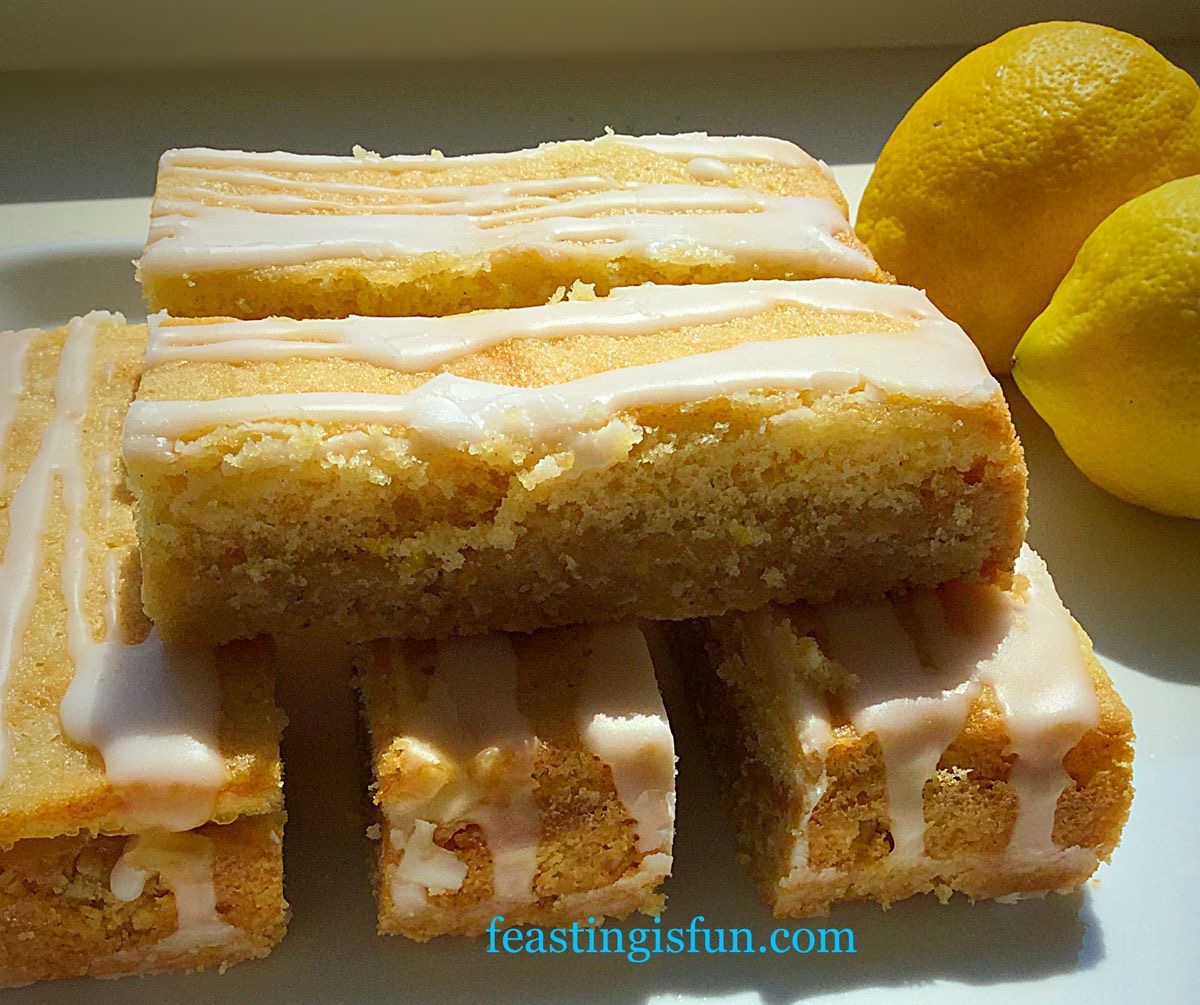
First of all I want to wish all of my readers a very happy Christmas. And I have a festive looking and delicious sweet treat for you, my Multi Millionaires Shortbread Squares. So, close your eyes and imagine biting into a luxury shortbread base, covered in caramel and then topped with velvety smooth chocolate. Finally a festive finish with contrasting white chocolate stars. Christmas in a bite!
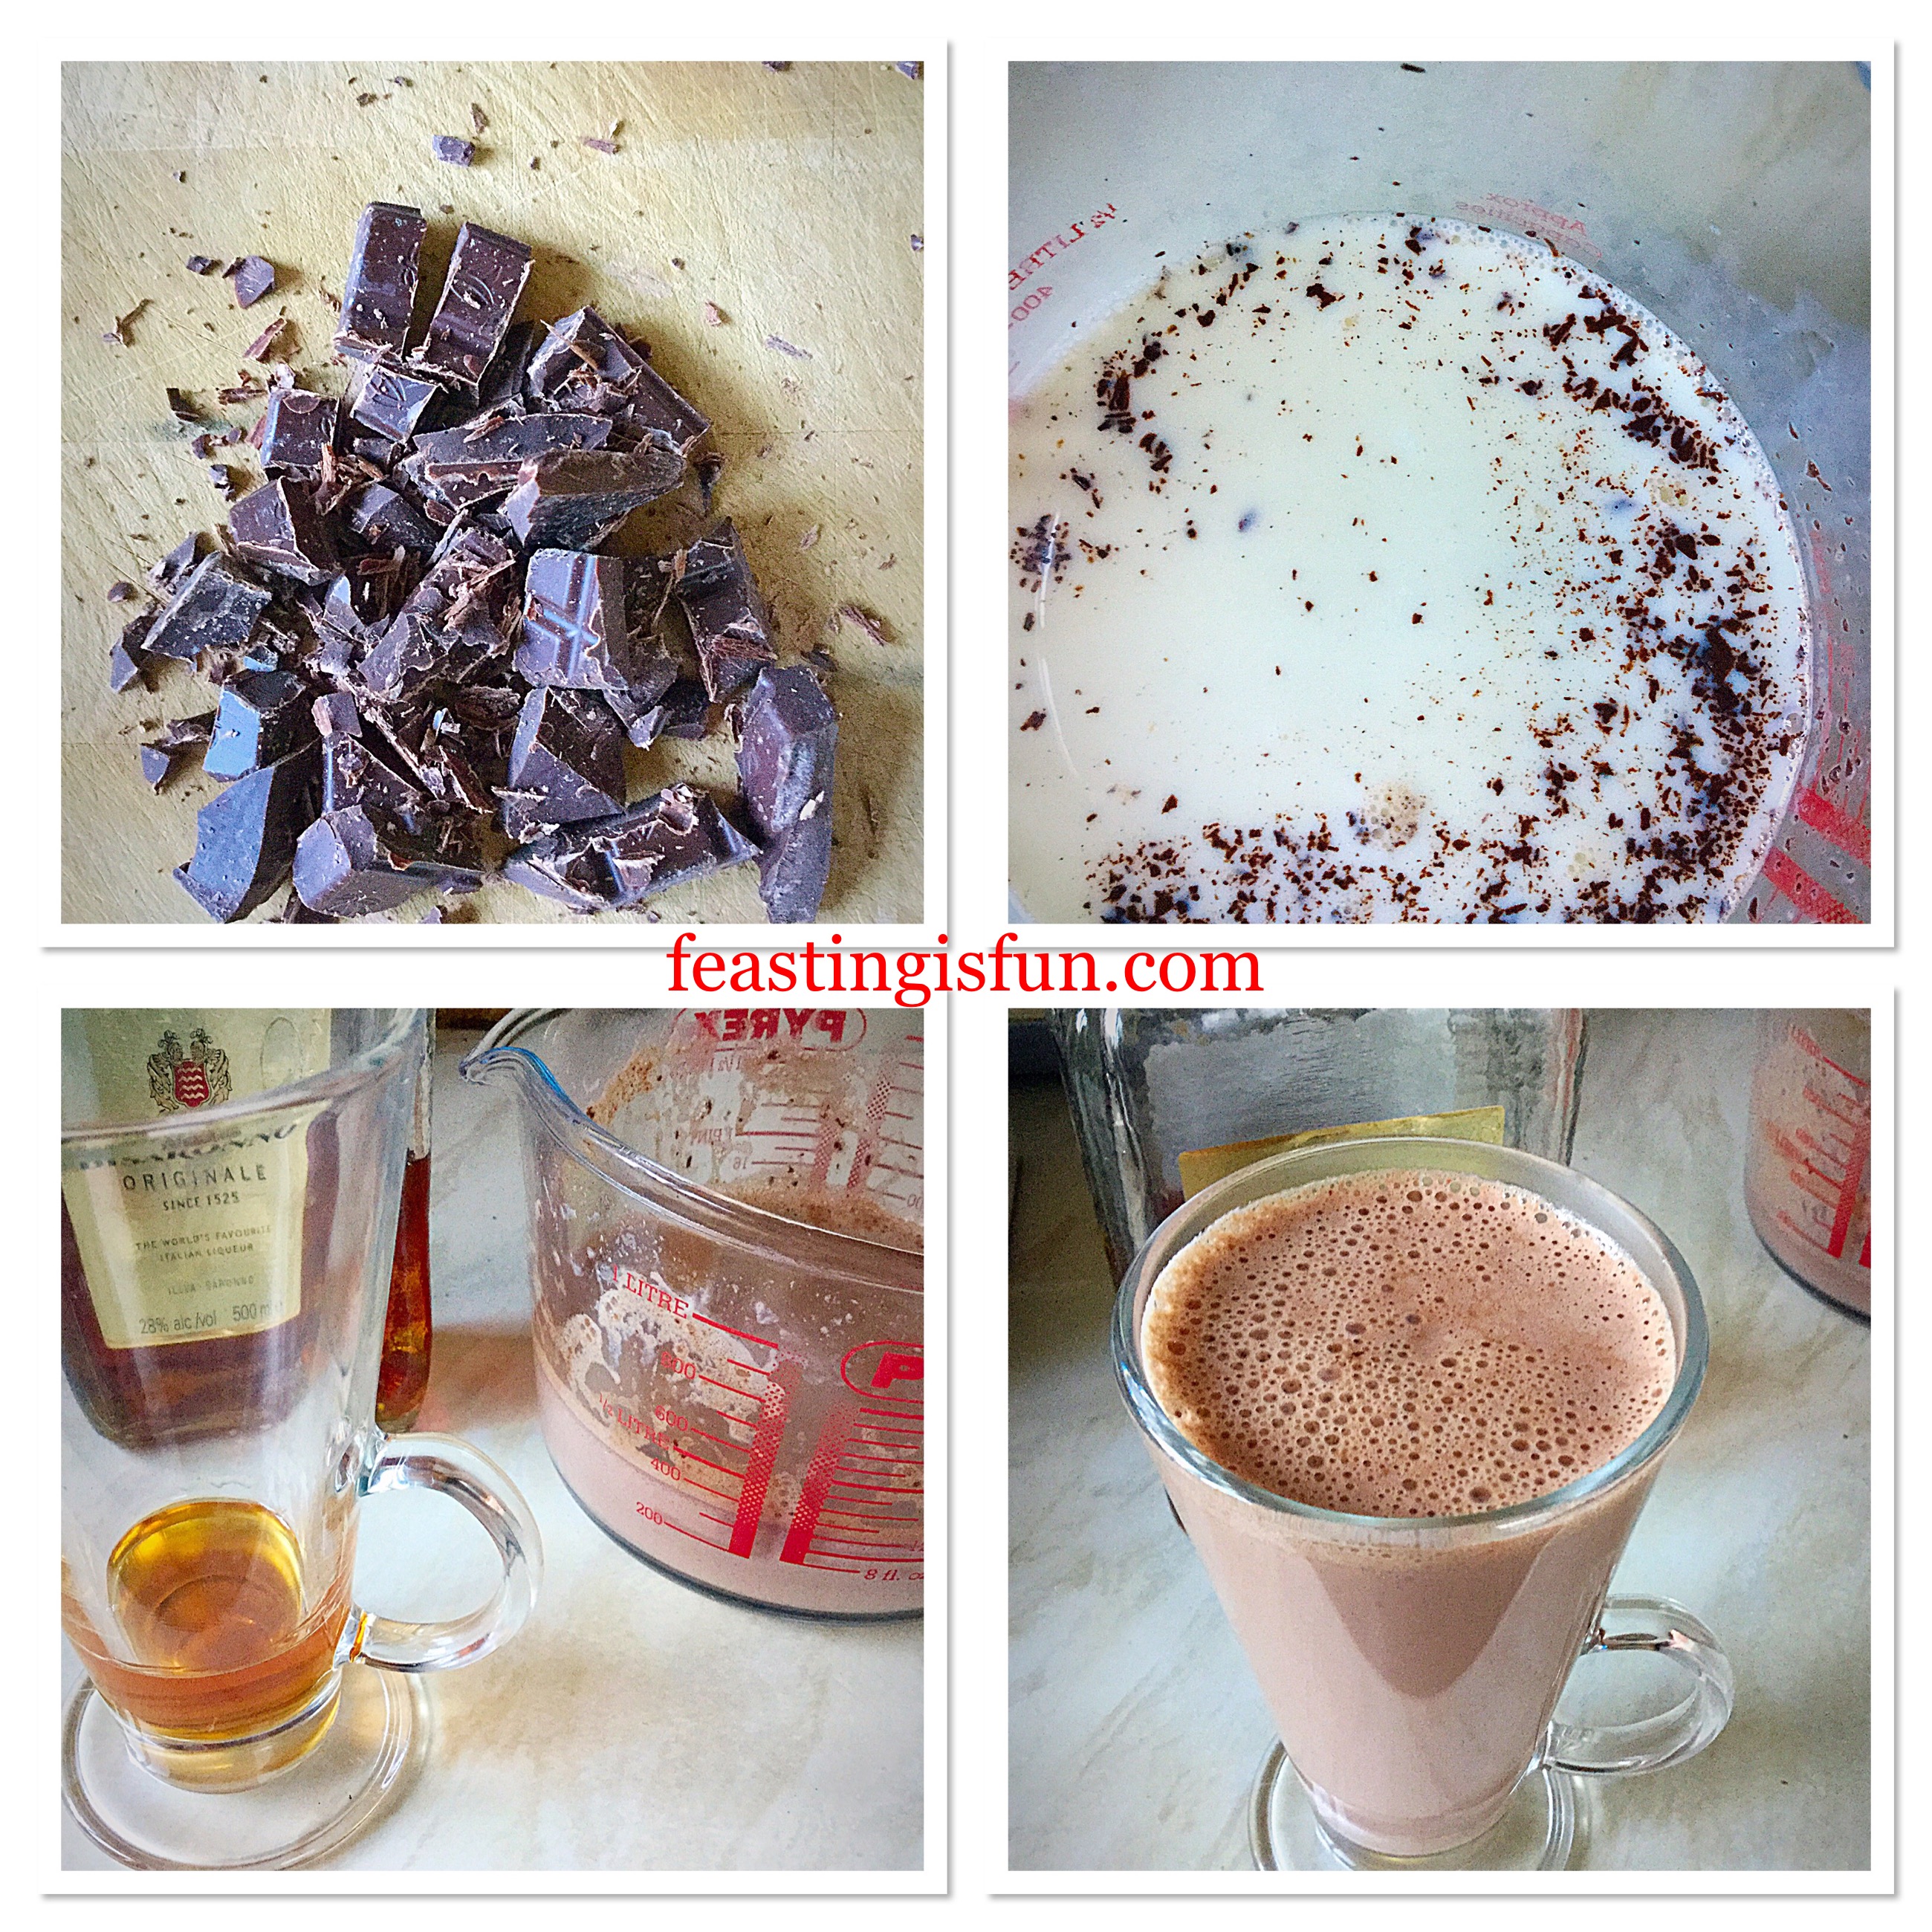
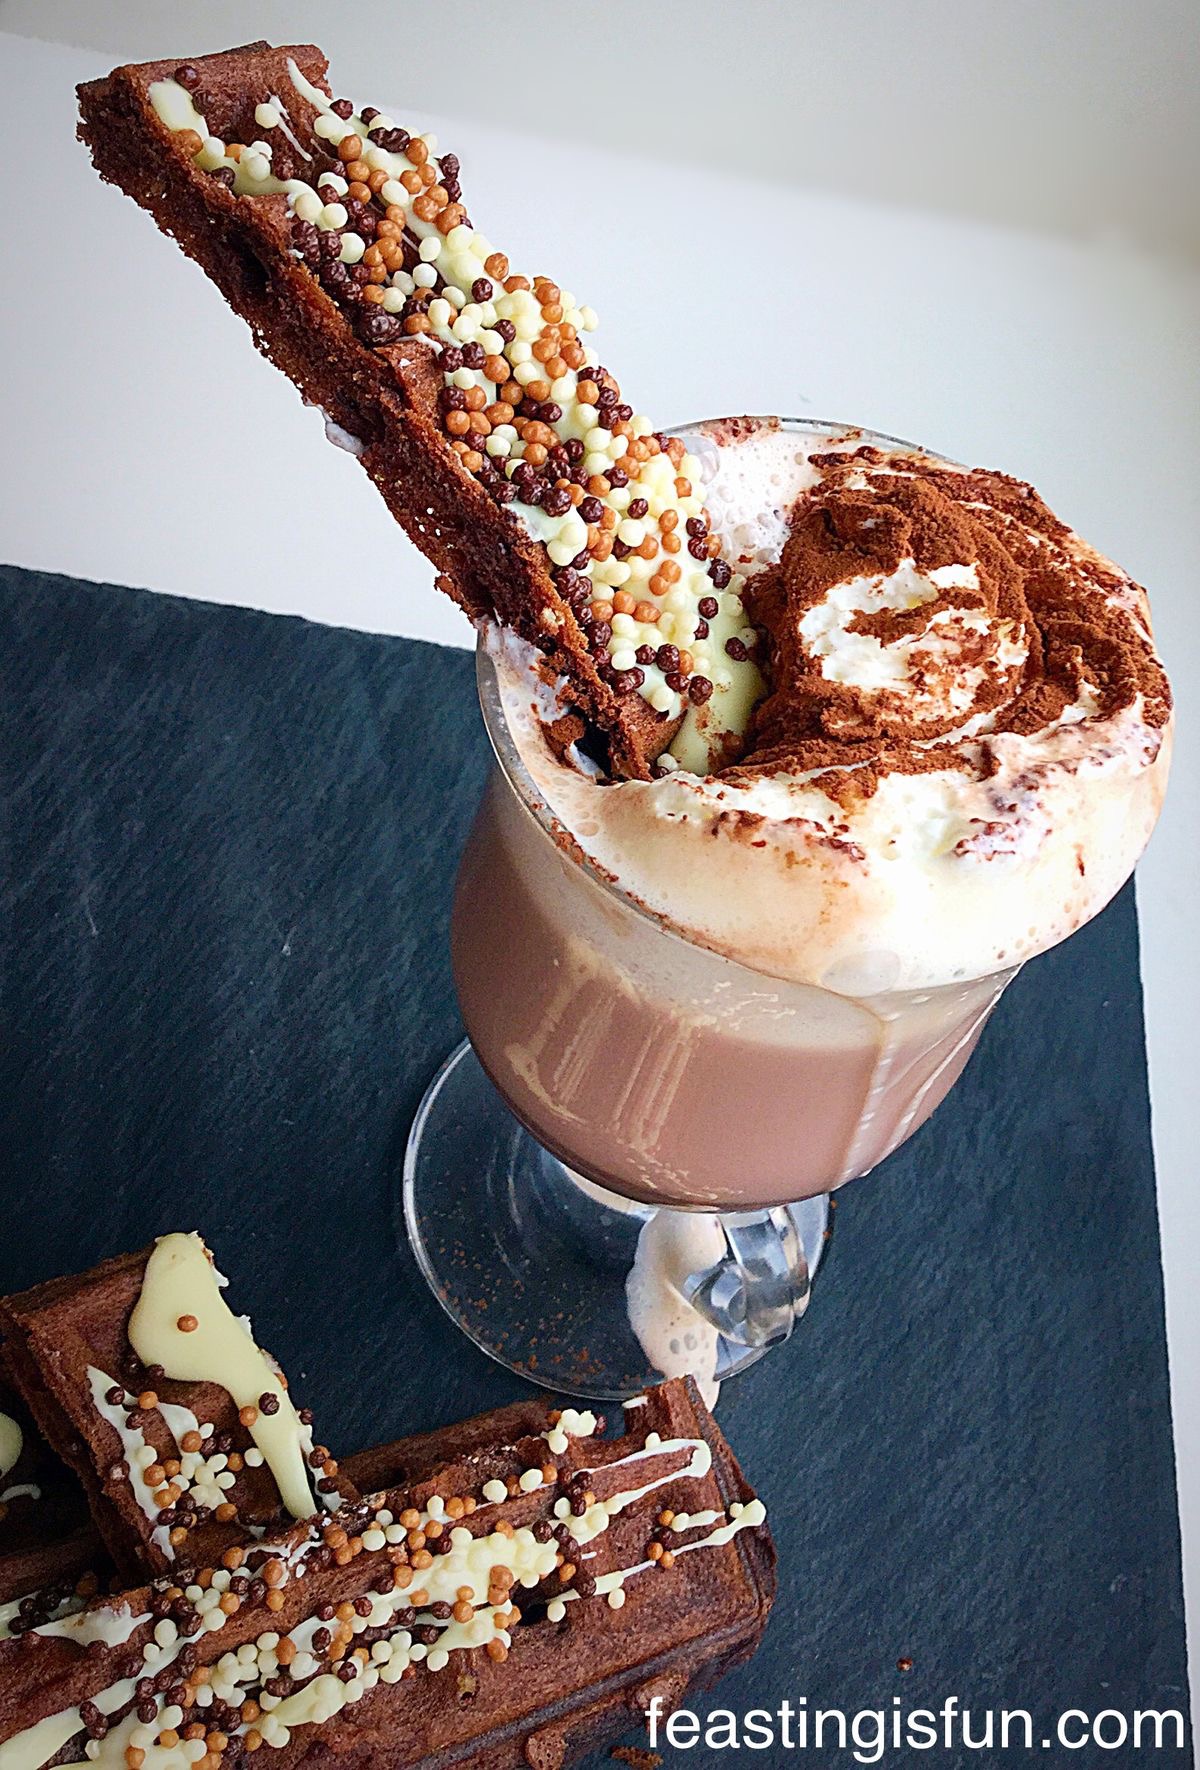
Christmas Chocolate Sparkle:
Although I attempted to make these last year, also at Christmas time, it resulted in a big mess! Because of lacking confidence the caramel wasn’t cooked for long enough and didn’t set. And this only became apparent after chilling for a good length of time in the fridge. Resulting in an oozing, caramel mess when the squares were cut. So it was time for me to attempt the caramel again.
Since I never give up on a challenge, even if it has taken a whole year, I decided to start again from scratch. First of all a new shortbread recipe for the base. Last year’s attempt used a cookie recipe. Followed by nothing short of sheer bravery, when making the caramel. Please don’t be scared or alarmed, I will talk you through each step, so that you will have success first time and every time you make the caramel. Finally, the chocolate topping needed no alteration. Although I’ve improved the cutting technique, which minimises the risk of the chocolate cracking.

Falling For A Millionaire
Now, I am not known for my sweet tooth – Caramac is an entirely different matter😉 – however, these squares may very well be my undoing. Years ago, when our children were young, a group of us mums would meet up regularly. We all, at that time, had girls who were friends at school. Meeting up gave the girls an opportunity to play together and allowed us mums to get to know each other. 10 years on, I now count two of those wonderful ladies as my best friends.

One particular time, we met up at my friend Lizzie-Lou’s house. Let me tell you, that lady can cook AND bake! That morning she had been busy in the kitchen, baking with her two gorgeous girls. I honestly cannot remember what they made, except for Millionaires Shortbread. Having never tasted it before I tentatively took a square AND then another. I was hooked! Everything about me shouldn’t have enjoyed the sweet, chocolate covered wonders. But I did, ooh I so did. I’m embarrassed now to think back and wonder how many squares I ate. I simply couldn’t stop!

Friends For Life:
So this post and this recipe are dedicated to my beautiful friends Lizzie-Lou and K. For the love, friendship and support they have given and continue to give. I have learned so much from both of them and wherever we may be, we will always be friends. Looking back over the years, they have truly proven the backbone of this blog. That is, that food really does taste better when it is shared and feasting is fun when friends or family take part.
Recipe: Multi Millionaires Shortbread Squares makes 18
For The Shortbread Base:
300g/10oz Plain White Flour
200g/7oz Unsalted Butter – softened
100g/4oz Caster Sugar
1 Large Free Range Egg
1/4tsp Salt – I use Maldon
2tsp Vanilla Bean Paste – I use Nielsen-Massey
For The Caramel Middle:
100g/4oz Golden Syrup
150g/5oz Unsalted Butter
379g Can of Condensed Milk – I use Carnation
1/8tsp Salt
For The Chocolate Topping:
200g/7oz Milk Chocolate
100g/4oz Dark Chocolate
White Chocolate Stars – available from Waitrose
Method: Preheat the oven to 170C/150C fan, gas mark 3, 325F.
Lightly butter a 28cm x 20cm x 5cm (11″x 8″x 2″) swiss roll tin and line with baking parchment.
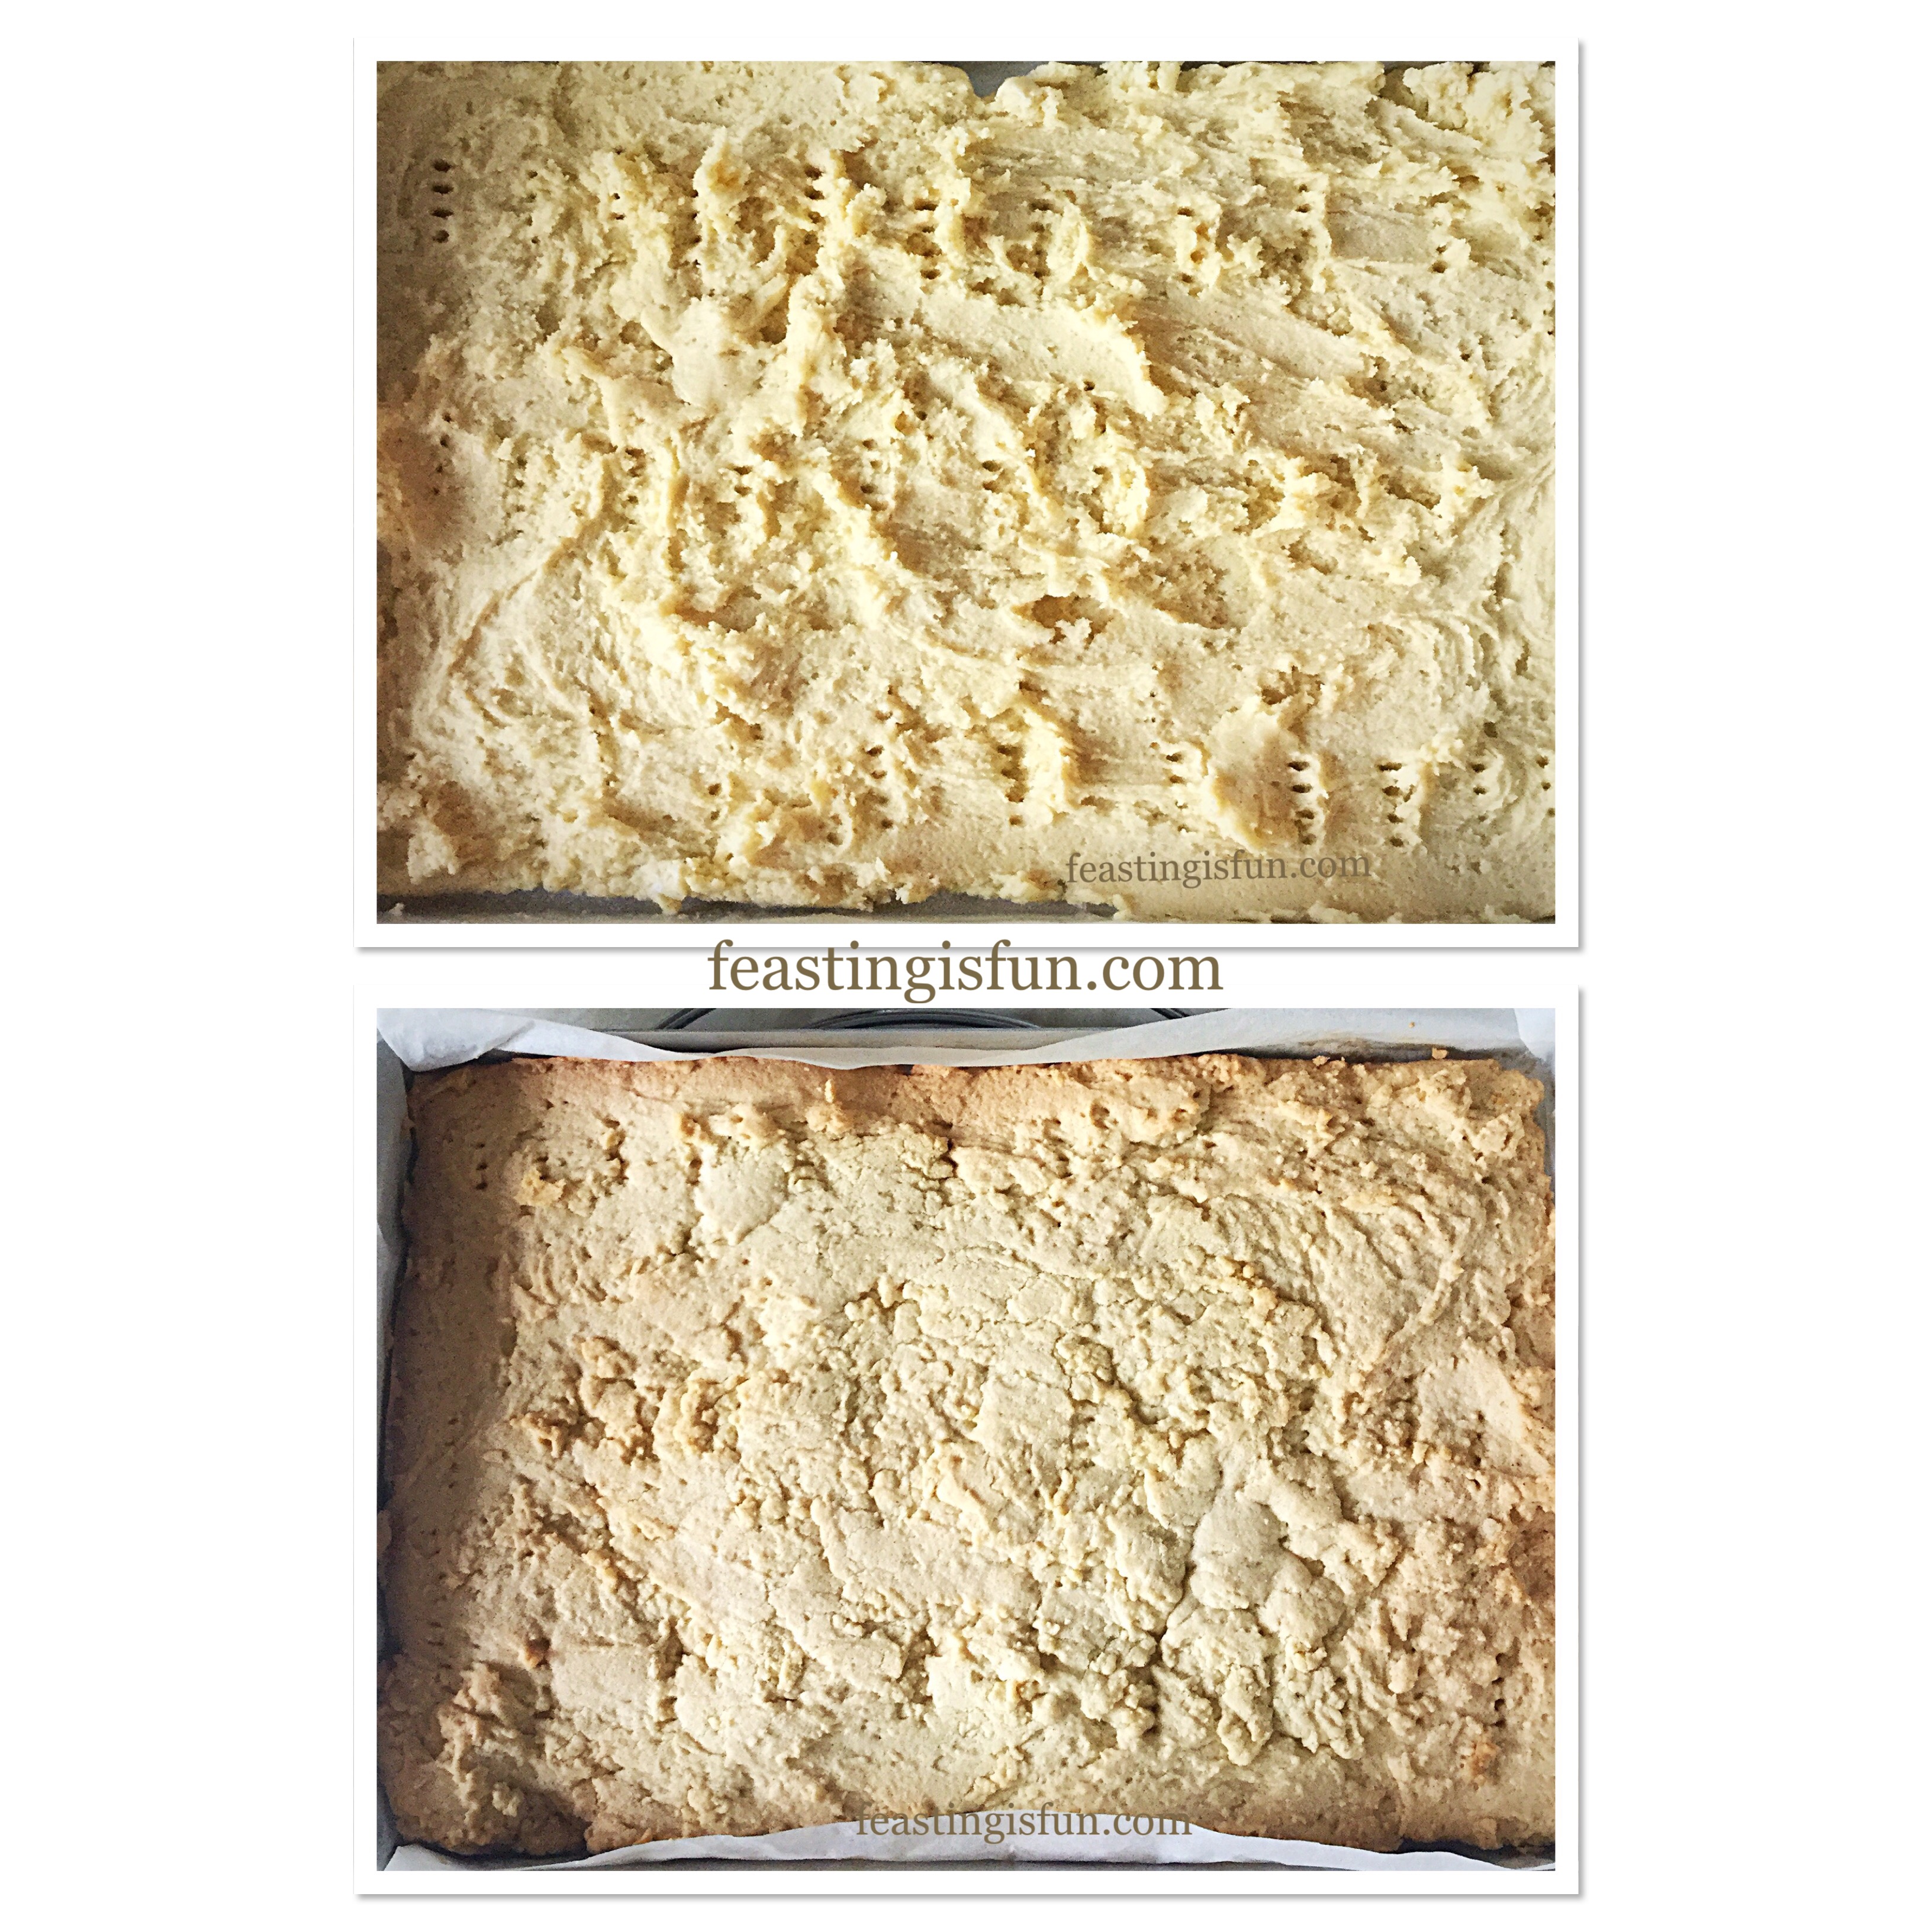
Making The Shortbread Base:
- First of all, add the softened butter, caster sugar, vanilla bean paste, egg and salt into a large bowl. Whisk until pale and creamy.
- Next sift in the plain flour and then stir with a spoon until the whole shortbread dough comes together.
- Tip the shortbread dough into the prepared tin and then using the back of a spoon press the dough evenly into the tin.
- Prick the shortbread dough all over with a fork. This will stop any air bubbles forming under the cooked shortbread.
- Now place the tin into the centre of the oven and bake for 50-60 minutes. Halfway through the cooking time turn the tin around, this helps the shortbread to bake evenly
- The shortbread is baked when it is a golden colour and firm to touch.
- As soon as the shortbread is baked remove the tin from the oven and set to one side.
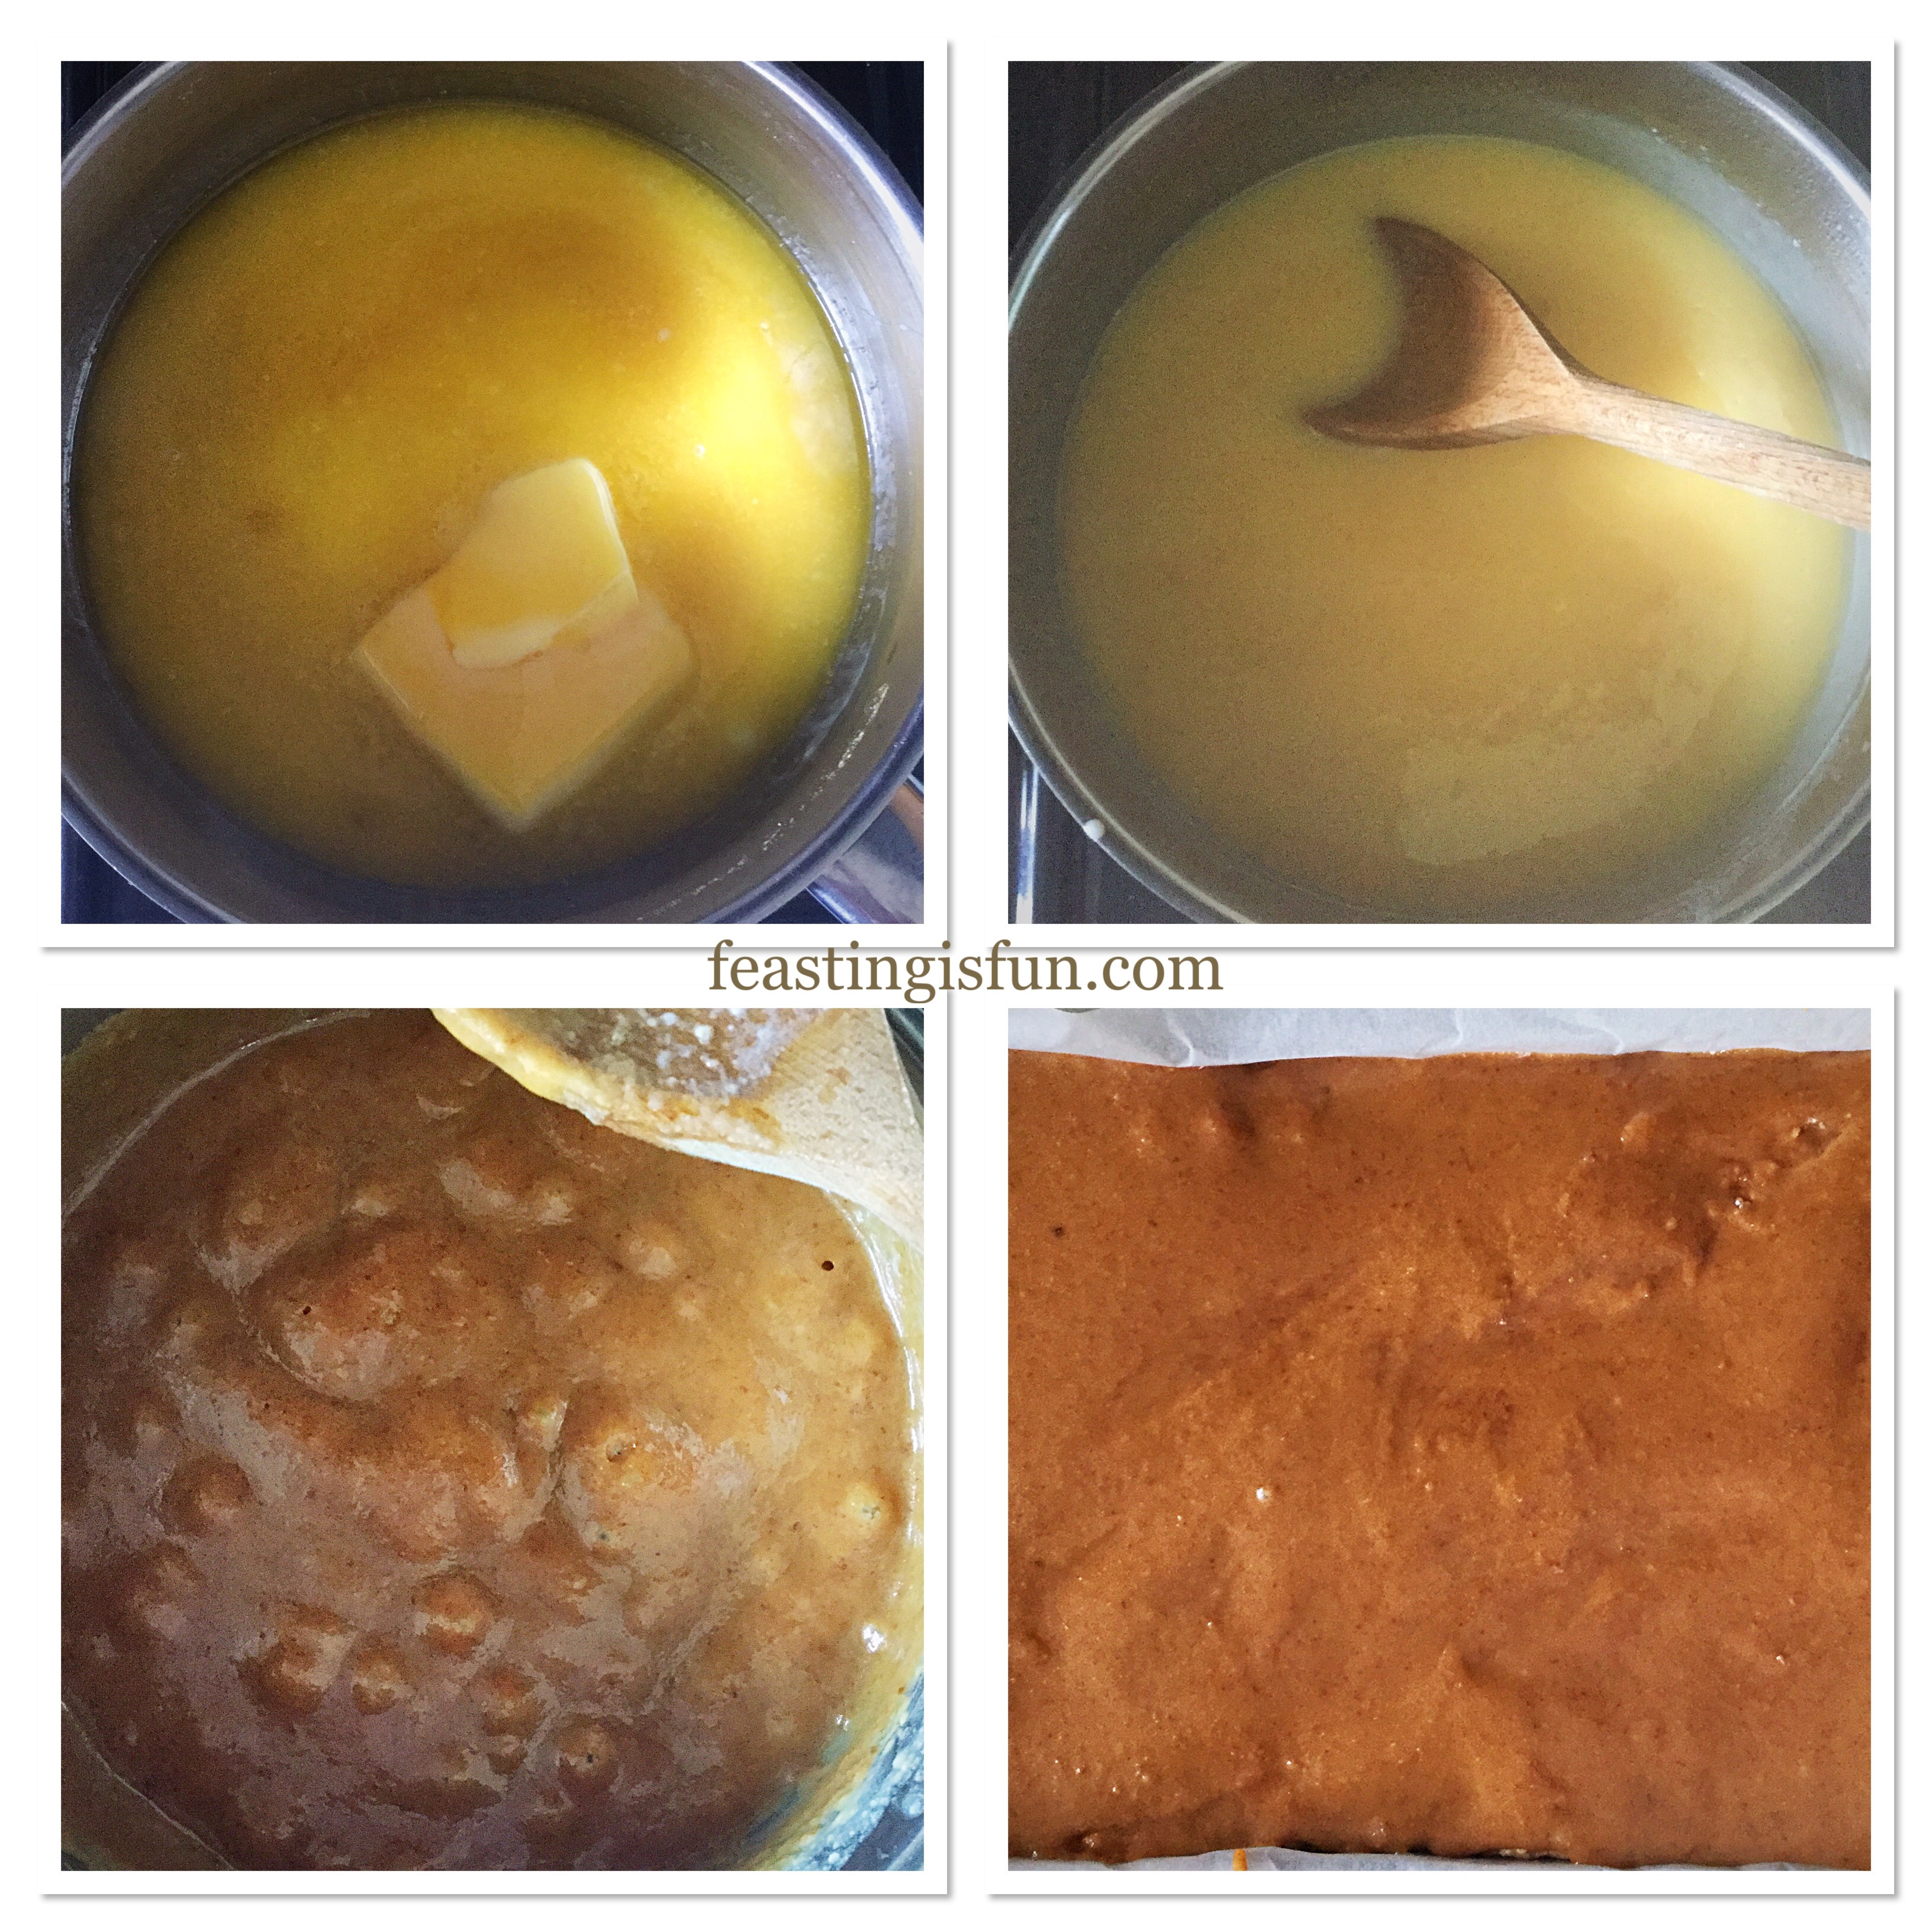
Making The Caramel Centre:
- Add the butter, golden syrup and condensed milk to a medium sized saucepan, over a medium heat.
- Stir continuously until the butter is melted, then increase the heat to bring the liquid up to a bubbling boil. Continue to stir. The mixture will gradually become thicker and as it does it will darken.
- Once thickened, remove the caramel mixture from the heat and spoon over the cooled shortbread.
- Using an offset palette knife spread the caramel so that it completely covers the shortbread.
- Set the caramel shortbread to one side to cool completely.
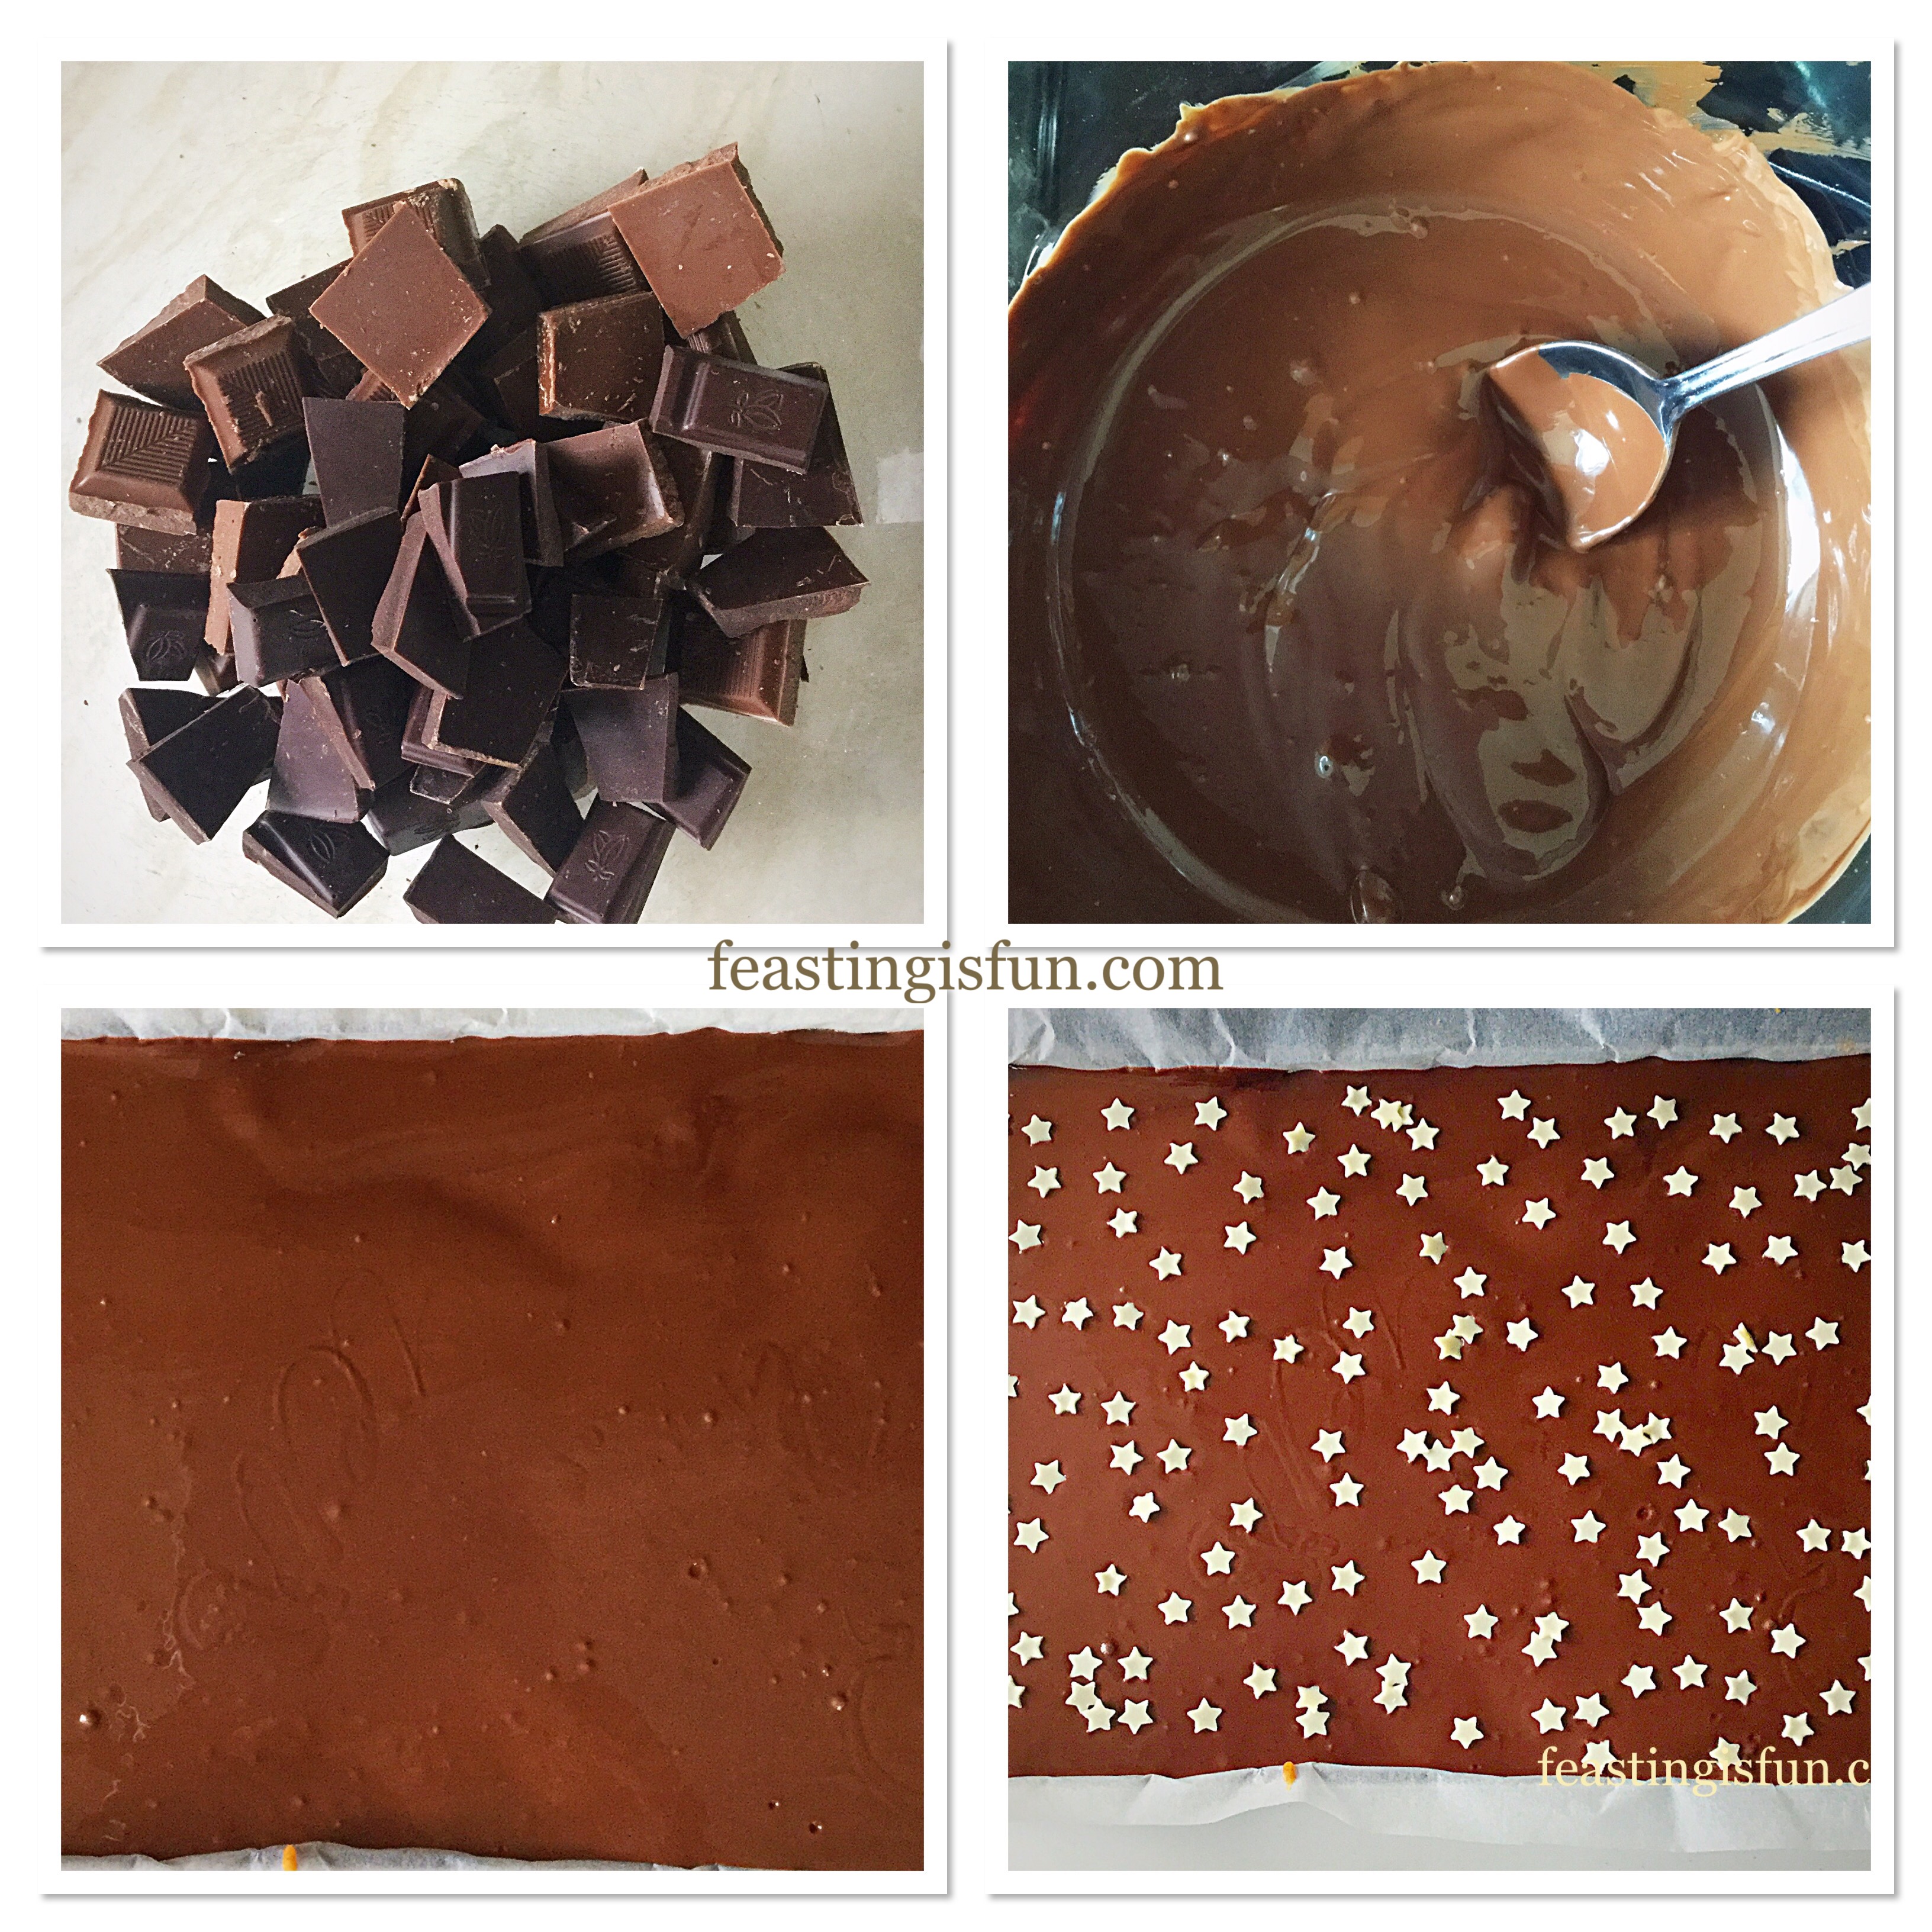
Creating The Chocolate Topping And Adding Decorations:
- Break the chocolate up and place into a heatproof, microwaveable bowl.
- Heat the chocolate for 30 seconds at a time, stirring in between.
- As soon as the chocolate has started to melt, remove the bowl from the microwave and stir. Continue stirring until the chocolate is completely liquid. If needed, zap the chocolate in the microwave for 10 seconds at a time, until the chocolate has completely melted.
- Pour the melted chocolate over the caramel covered shortbread. Again using a clean, offset spatula to spread it evenly.
- Now, take the tin and rap it against the worktop 3 times. This brings any air bubbles to the surface and leaves the chocolate surface completely smooth.
- Finally scatter over white chocolate stars and then set to one side to cool.
- When the chocolate has just set, use a sharp knife to score through the chocolate layer, in the tin, creating the squares. Resulting in a crisp, clean cut after the chocolate is chilled. Therefore removing the risk of the chocolate shattering on cutting after chilling.
- Place the tin into the fridge for a couple of hours to completely firm up.
- Once chilled, remove the slab of chocolate and caramel covered shortbread from the tin, using the parchment paper to help ease it out.
- Finally, cut through, where the score marks are, so that you have 18 pieces of Multi Millionaires Shortbread Squares.

Enjoying These Multi Millionaires Shortbread Squares At Their Best:
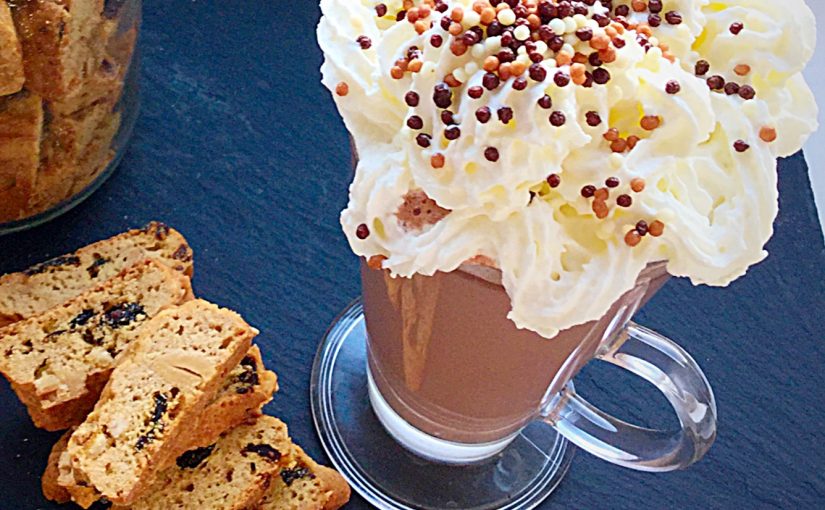
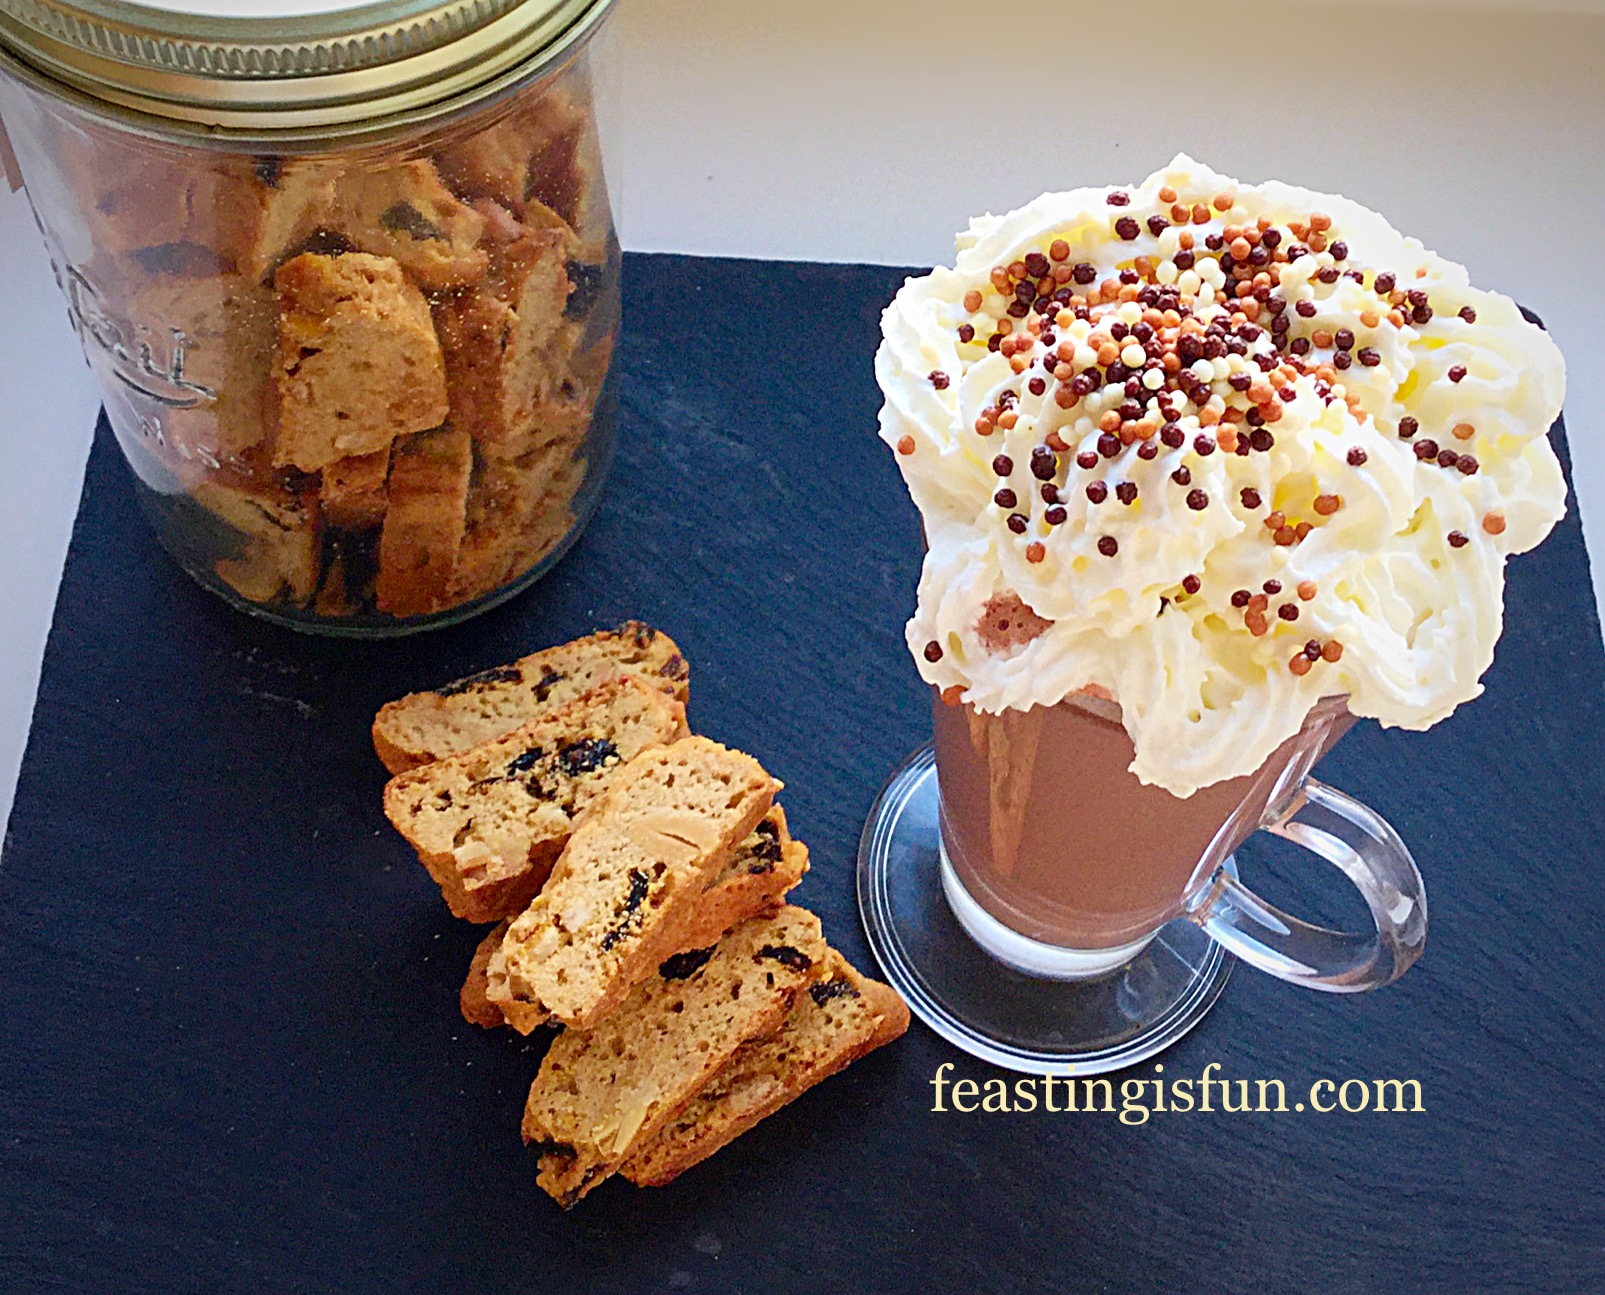
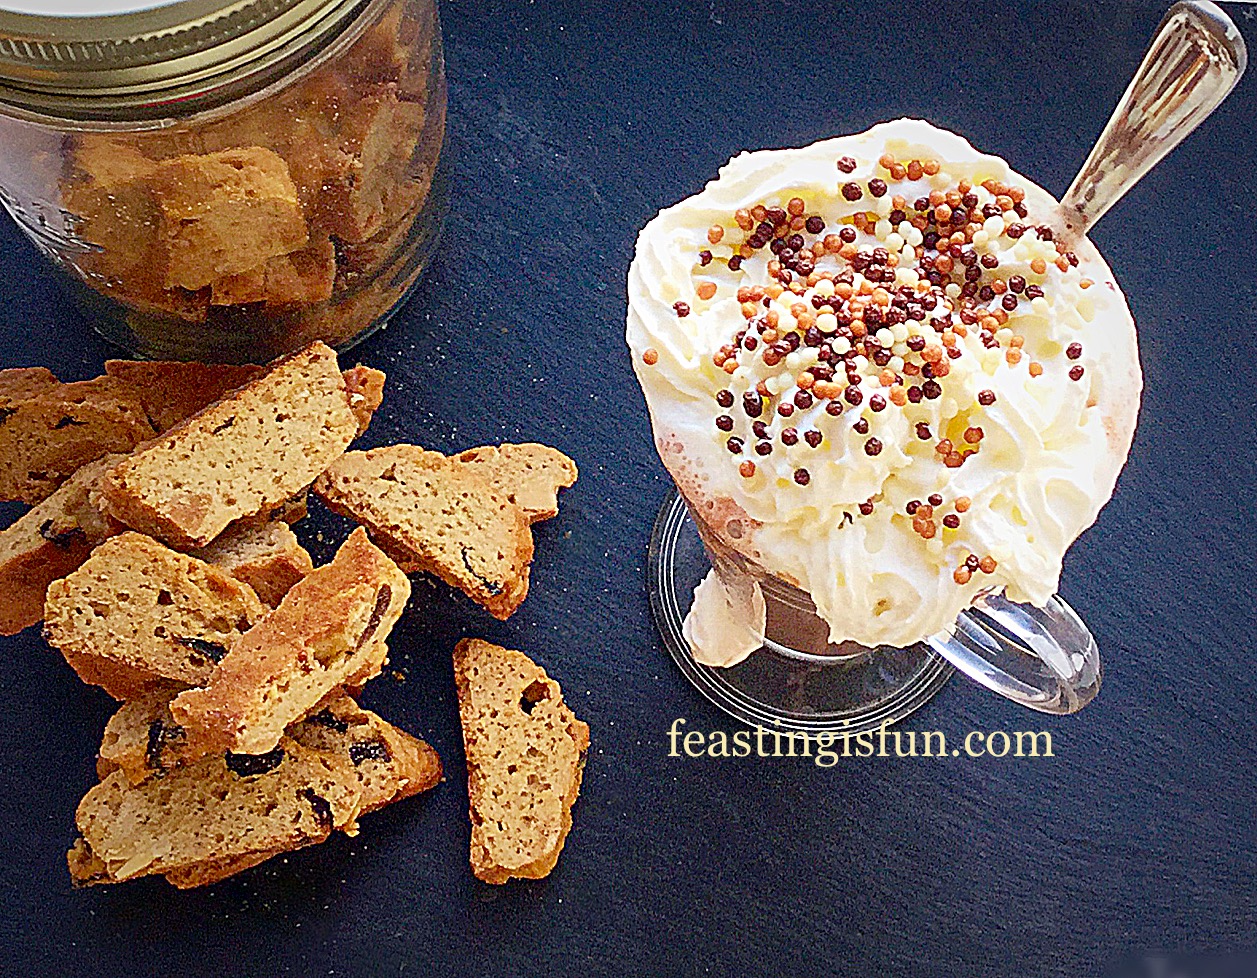
Serve with a smile and something delicious to drink. Either a hot not-too-sweet beverage, alternatively they pair very well with Brandy. Since it is the Season to be Merry!
These Multi Millionaires Shortbread Squares are not overly sweet. There is a pleasant balance of flavours that are just sweet enough and they are extremely more-ish 😉.

The Multi Millionaires Shortbread Squares can be kept in an airtight container for up to one week. In warm weather keep them in the fridge.
If you have enjoyed this recipe for Multi Millionaires Shortbread Squares here are some others you may also like:
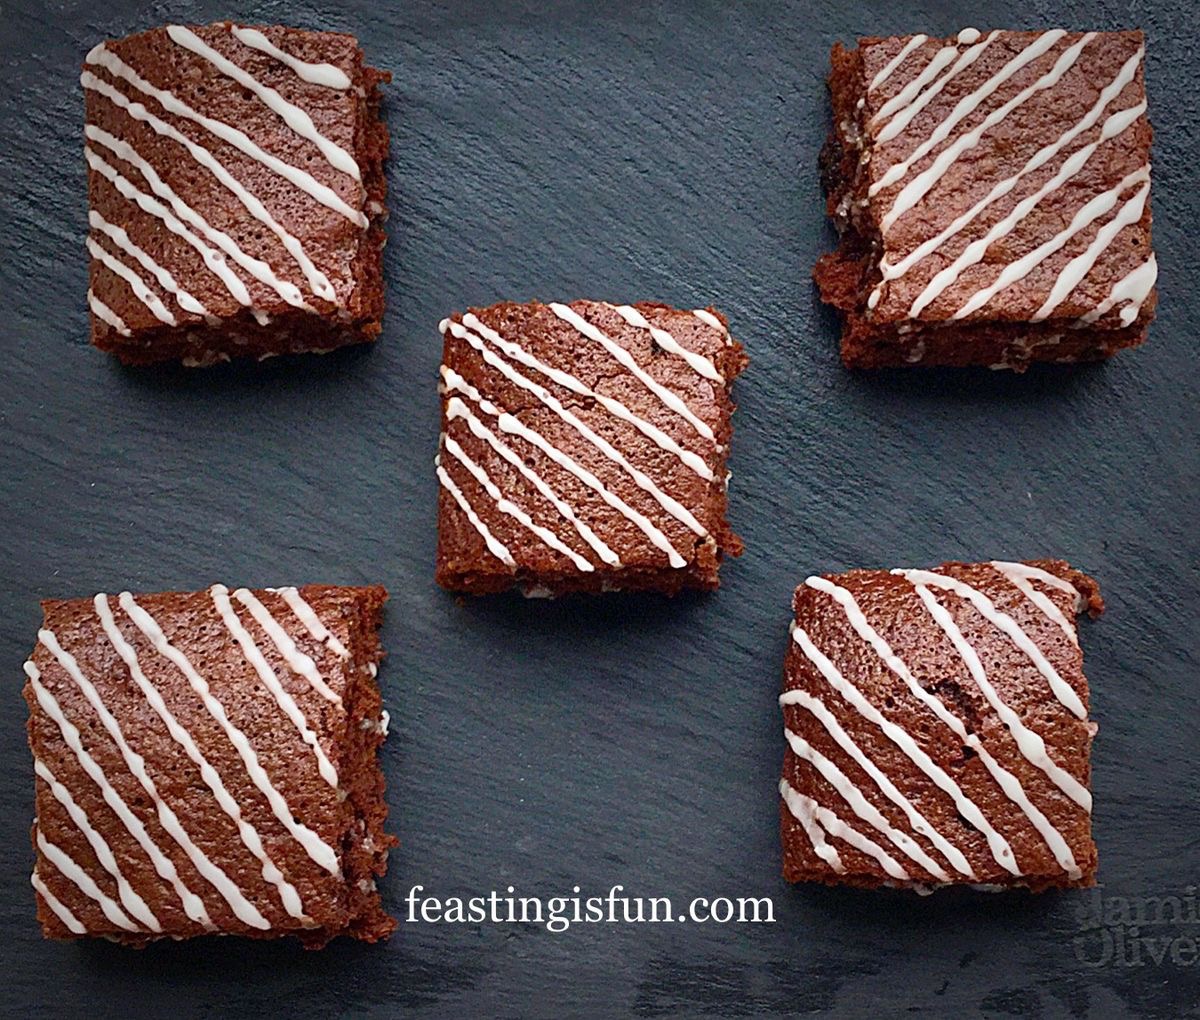
Dark Chocolate Ginger Brownies

Traybakes are so versatile. Since they travel well and are ideal, individually wrapped, as an addition to packed lunches and picnics. And so they make ideal Christmas gifts wrapped in cellophane with a big, festive bow. Because Christmas is the season to share, why not hand out bags of these squares to thank your post lady, delivery men, garbage collectors, anyone who would appreciate a thank you.
So, whatever you are making, baking and creating in your kitchens, have fun, relax, laugh and enjoy your feast in the company of others.
Sammie xx
No part of this post may be reproduced or duplicated without the written permission of the owner. Please see my Disclosure Policy.