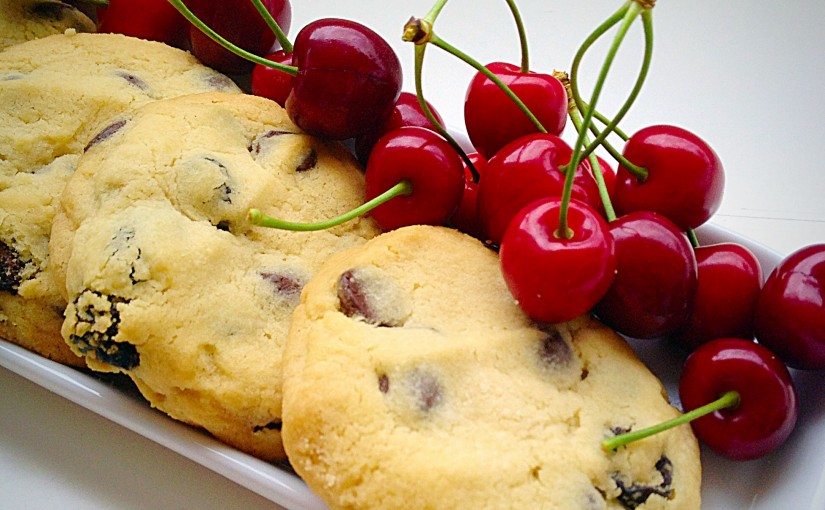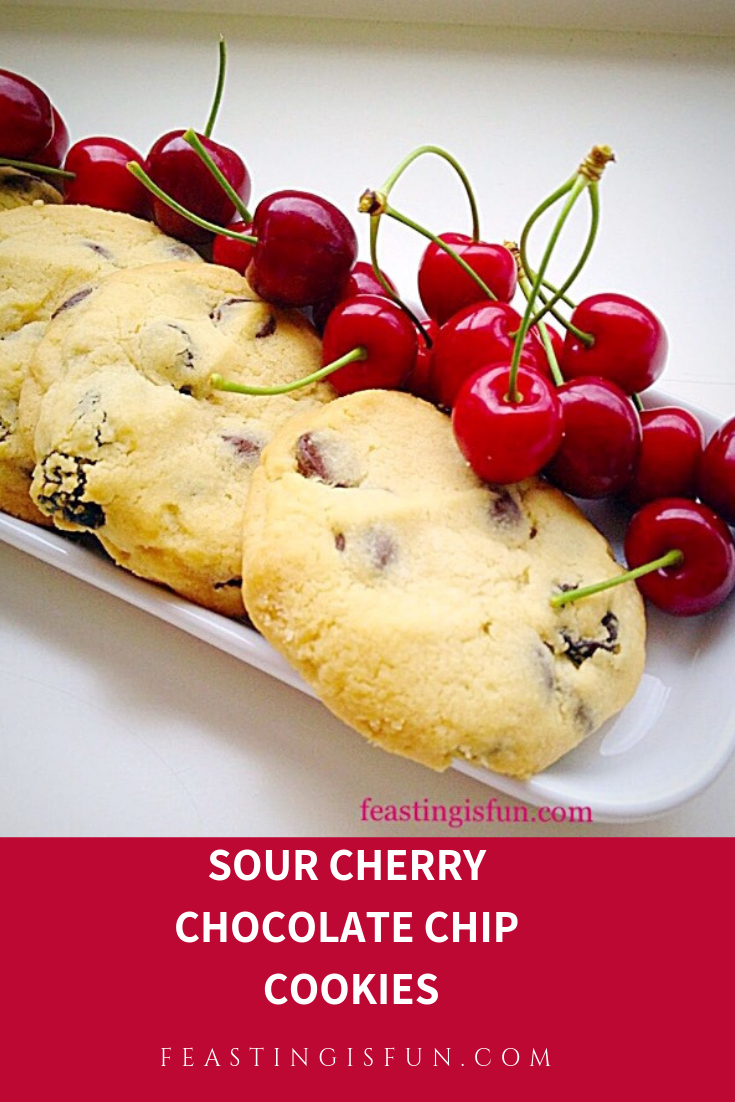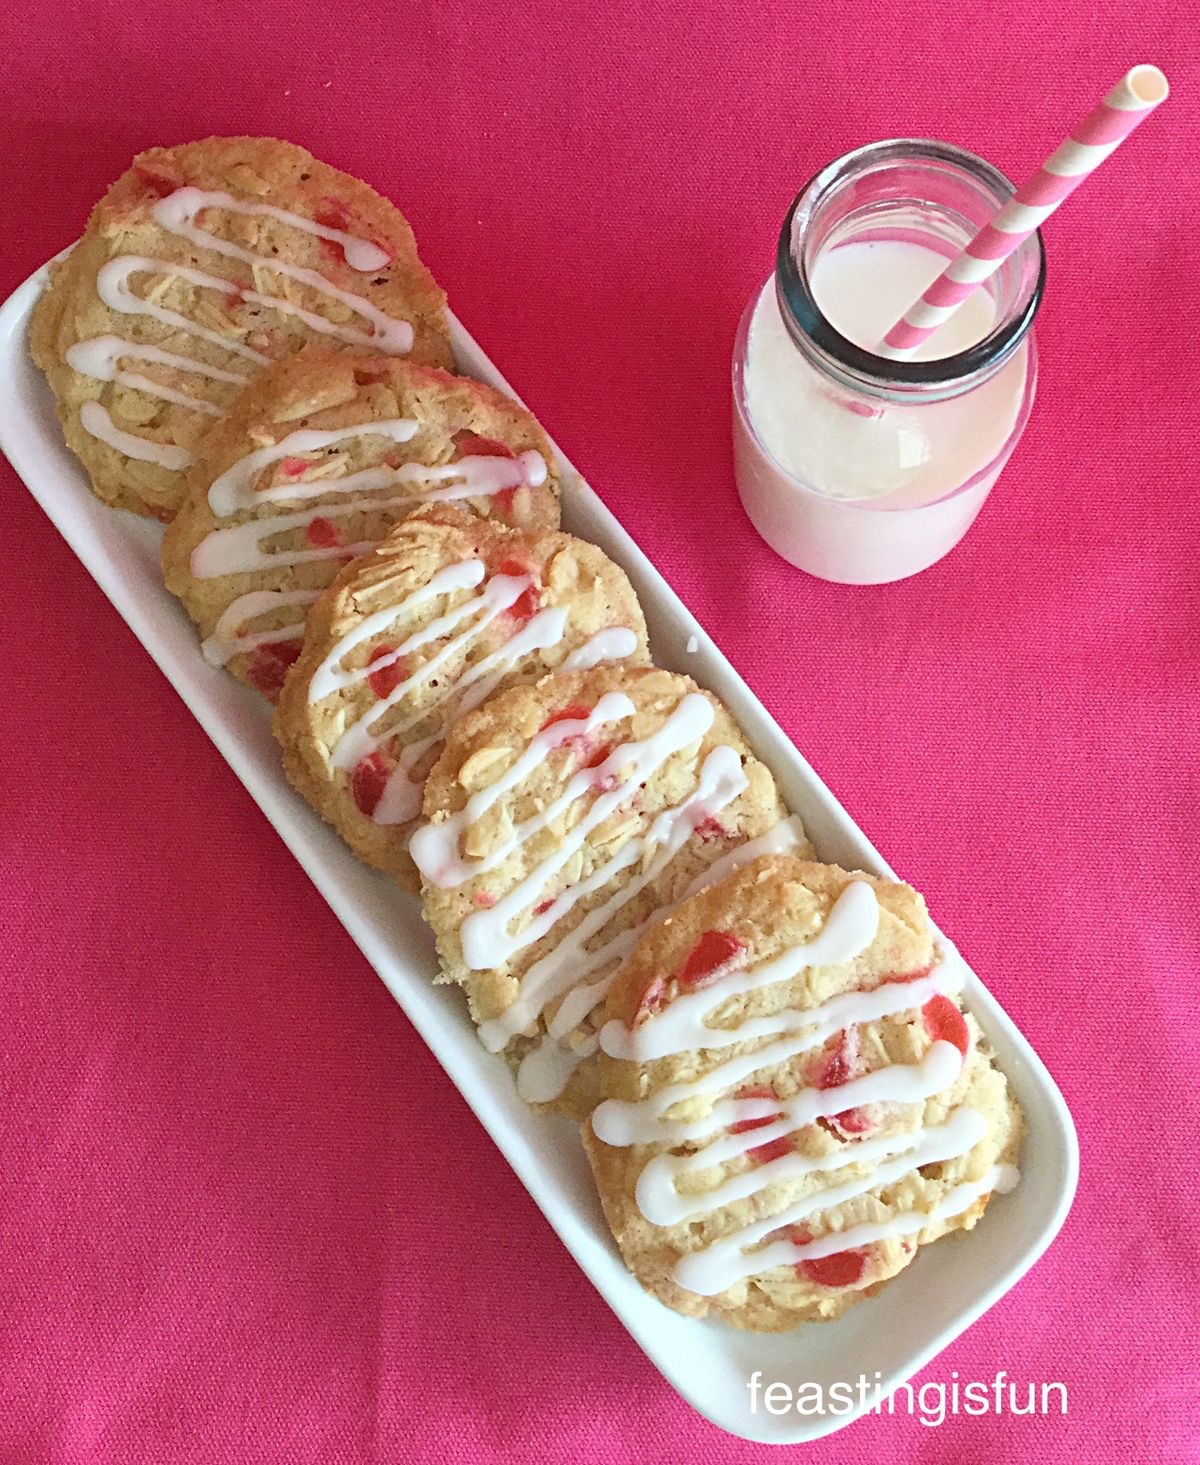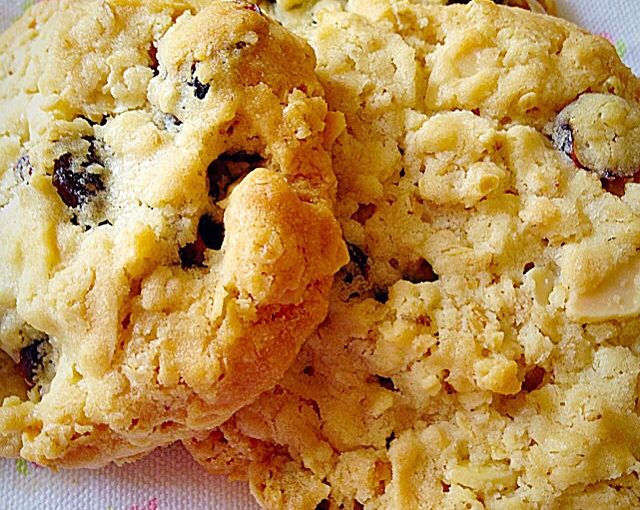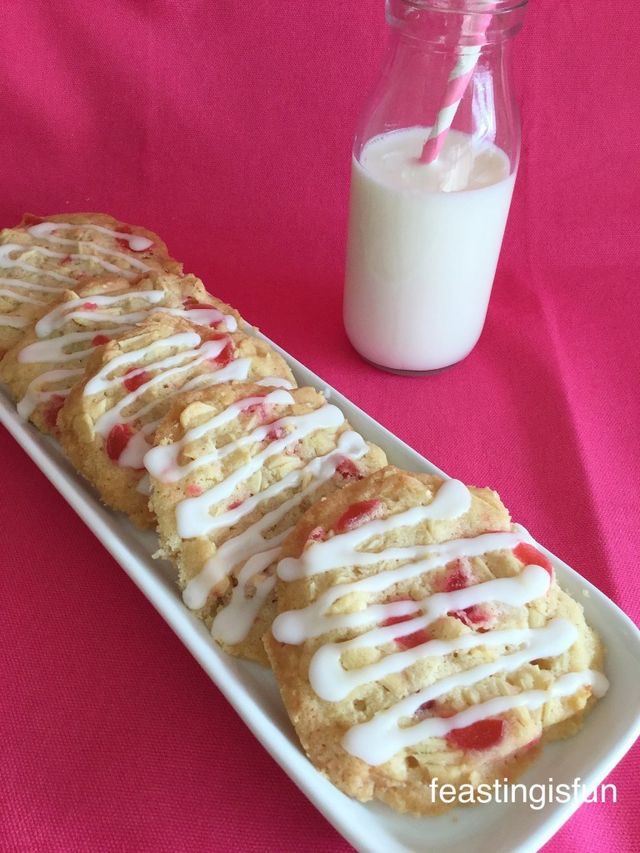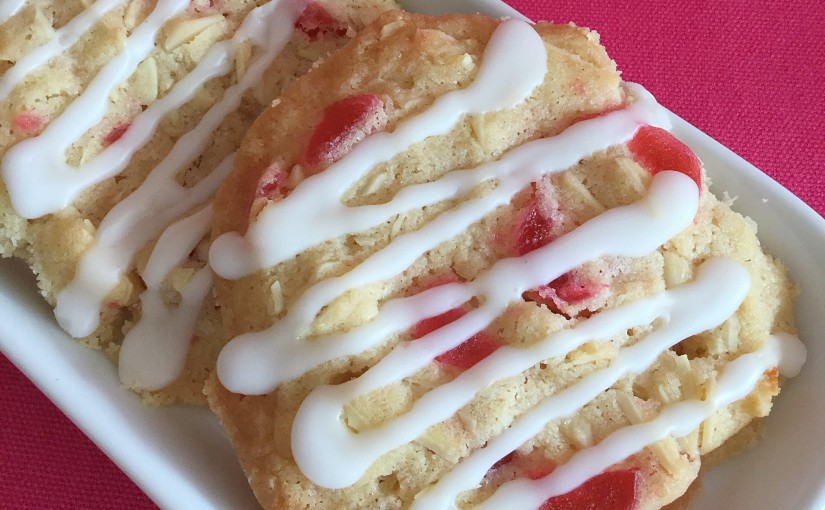
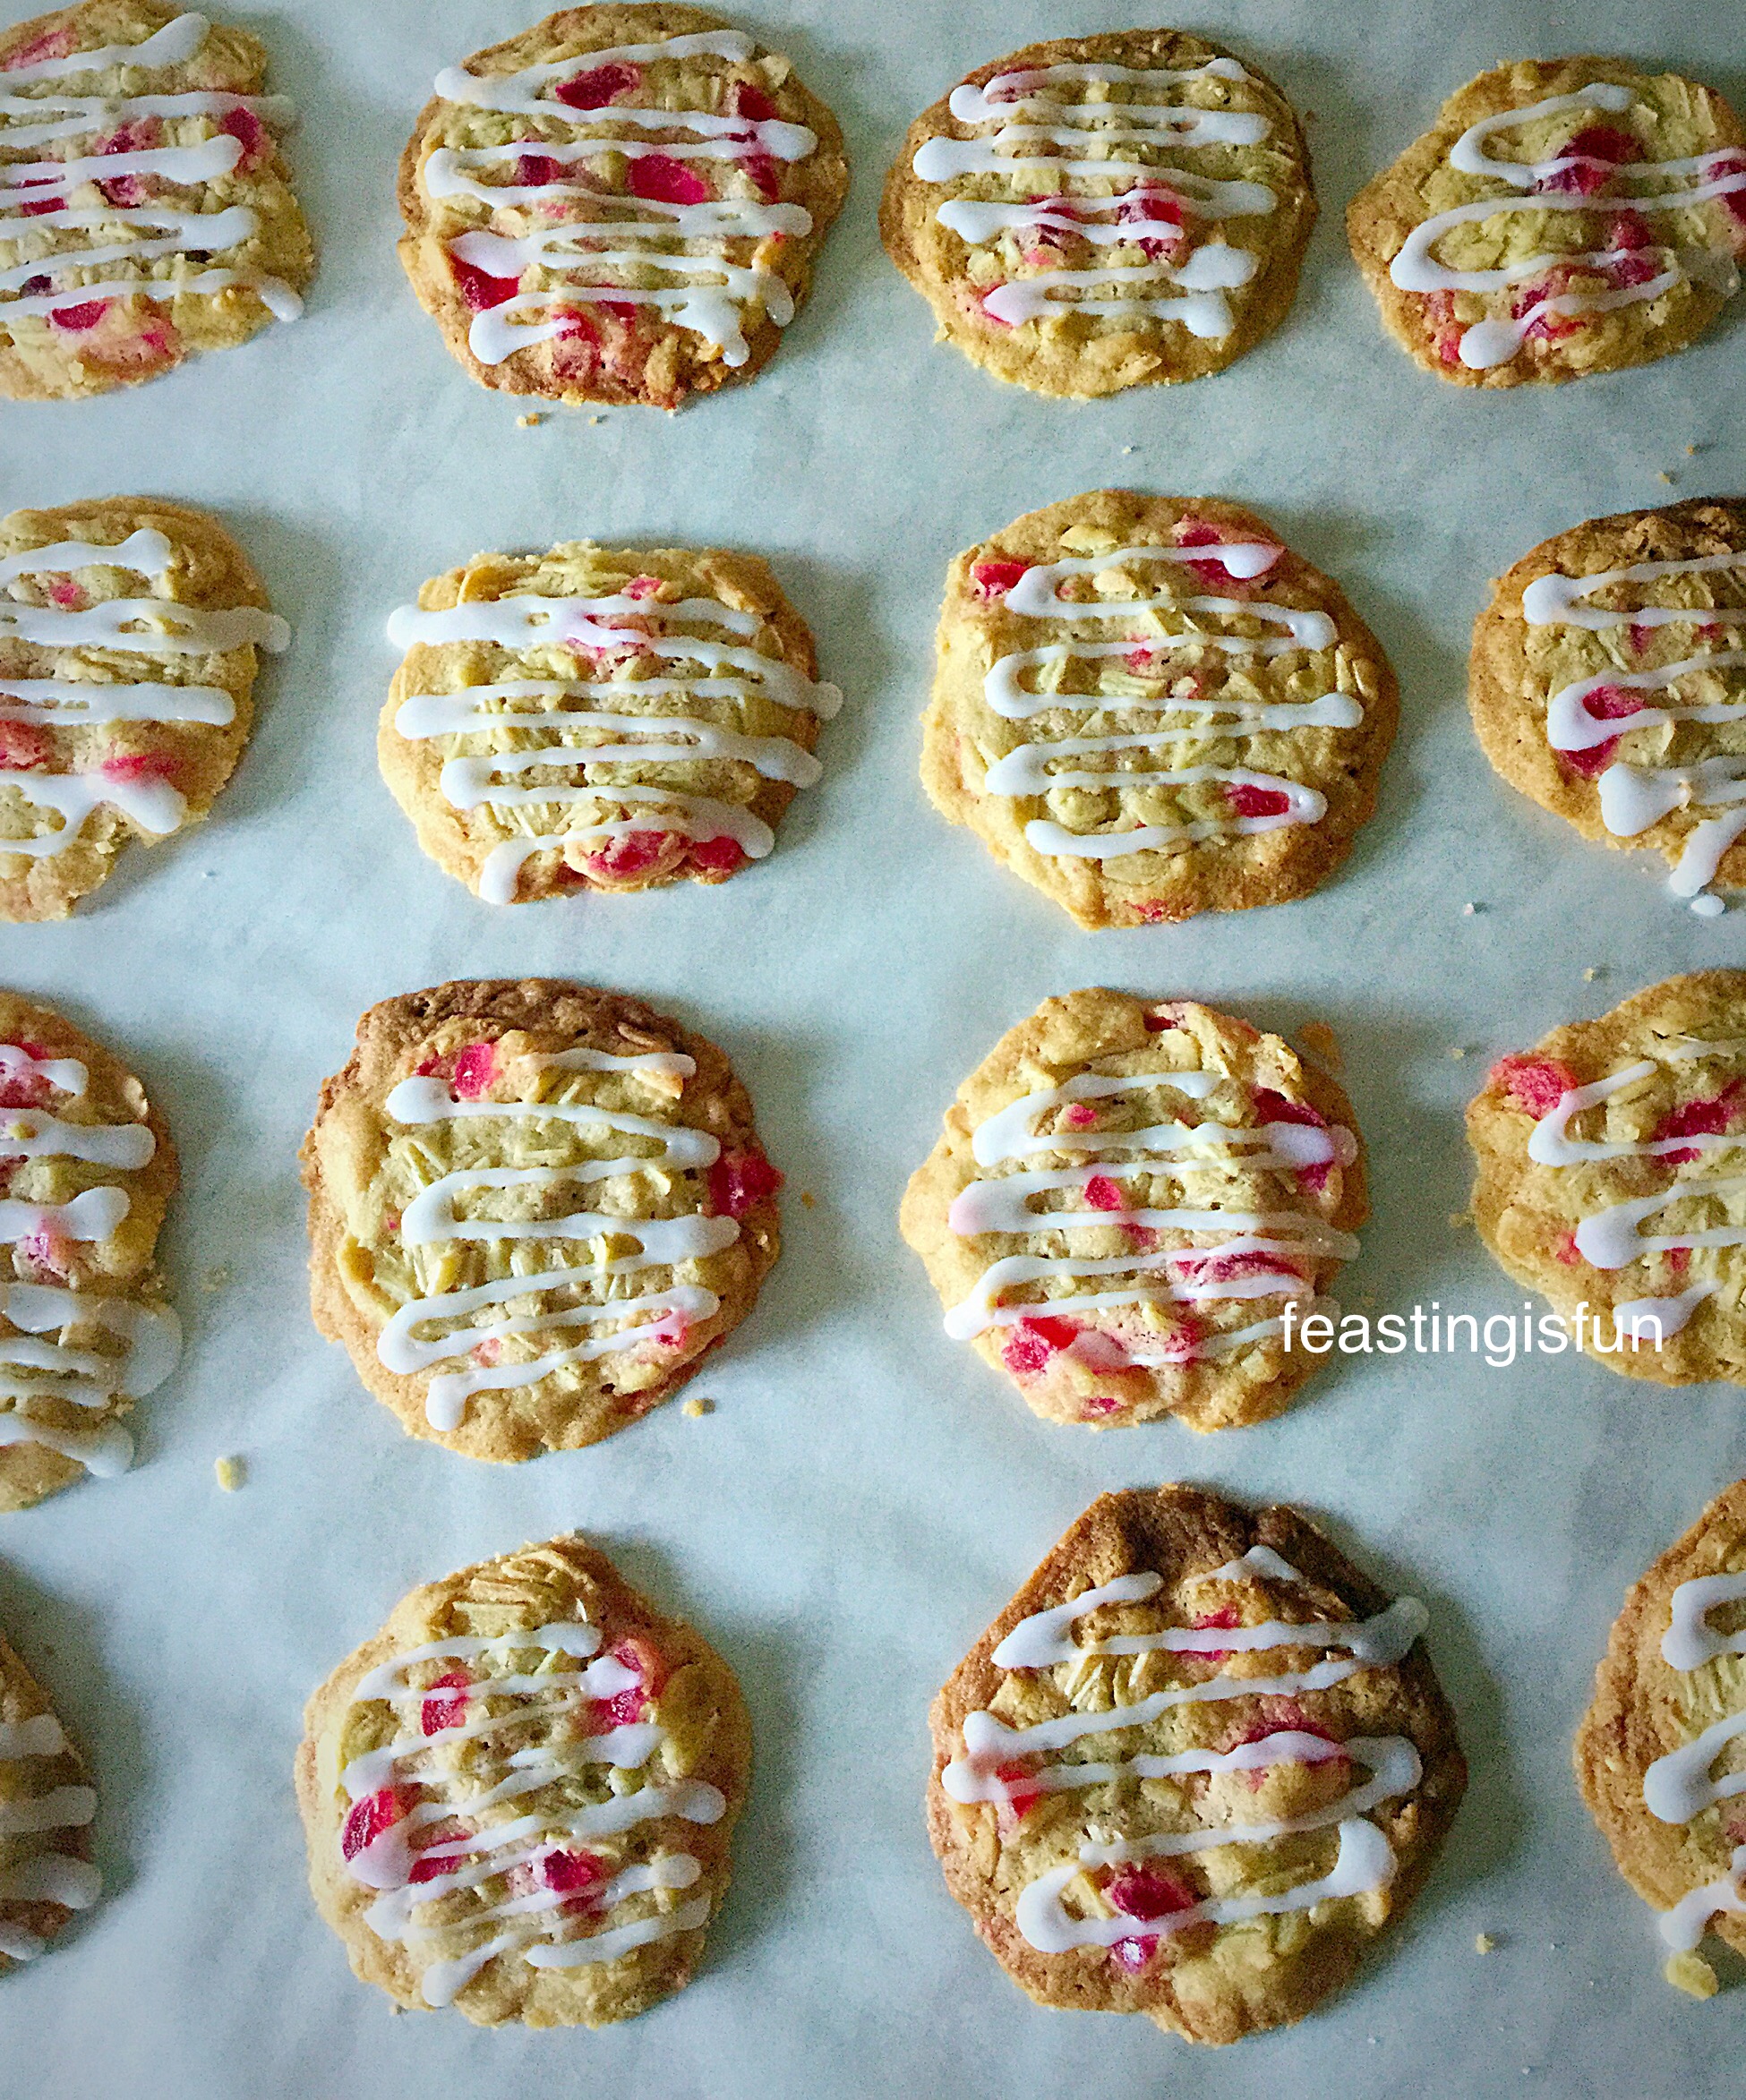
This post is Pink. Very Pink. And I make no apology for its pinkness, for one simple reason – Cherry Bakewell Cookies. Buttery, almond and cherry cookies, drizzled with almond flavoured icing. If you like Bakewell Tart you will love these cookies.

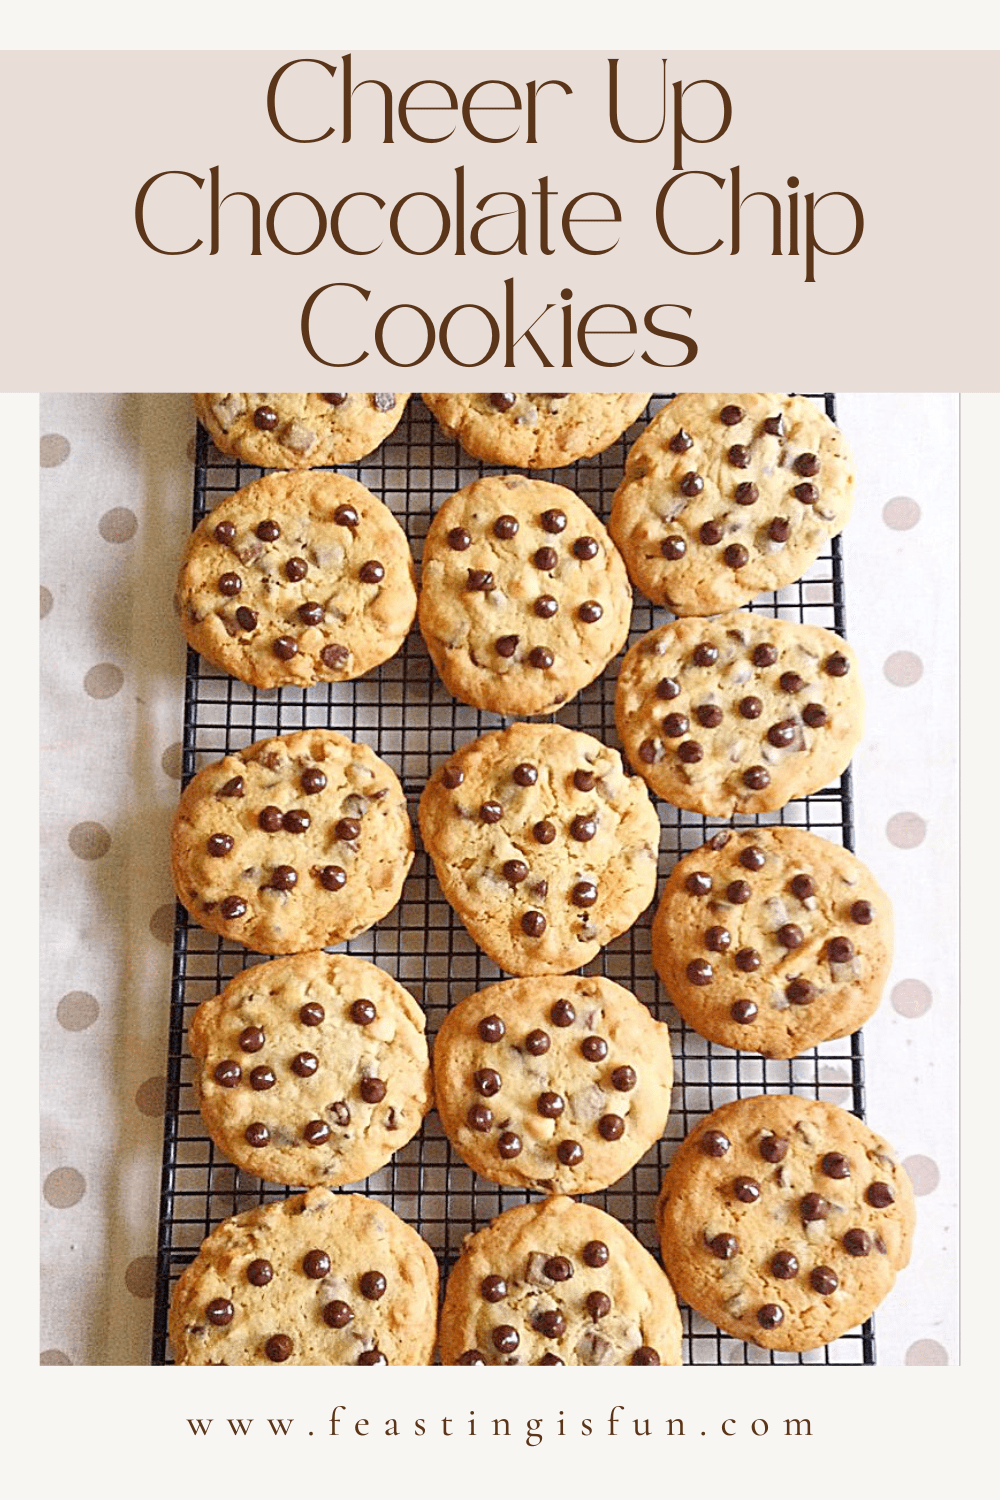
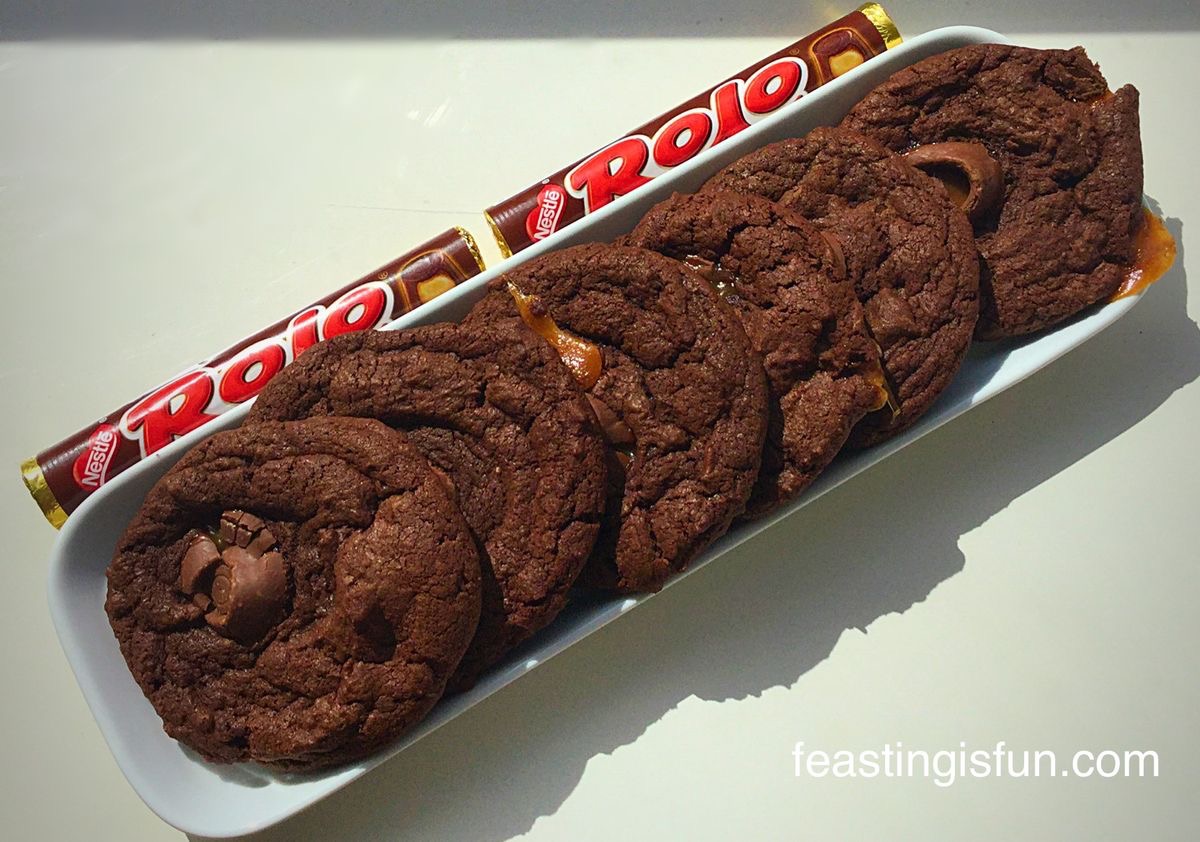
Because I have been testing some baking equipment for British Bakeware, I knew I couldn’t pass up the opportunity to bake cookies, using their large baking tray. Since those of you who regularly pop round here for a chat I mean read, will know I LOVE COOKIES. I really, really love cookies – and – please don’t hate me, I prefer nutty, fruity cookies over chocolate ones. If you love choccie cookies there’s a link at the bottom of the post. I’m so good to you 😉.
Cherry Bakewell Cookies:
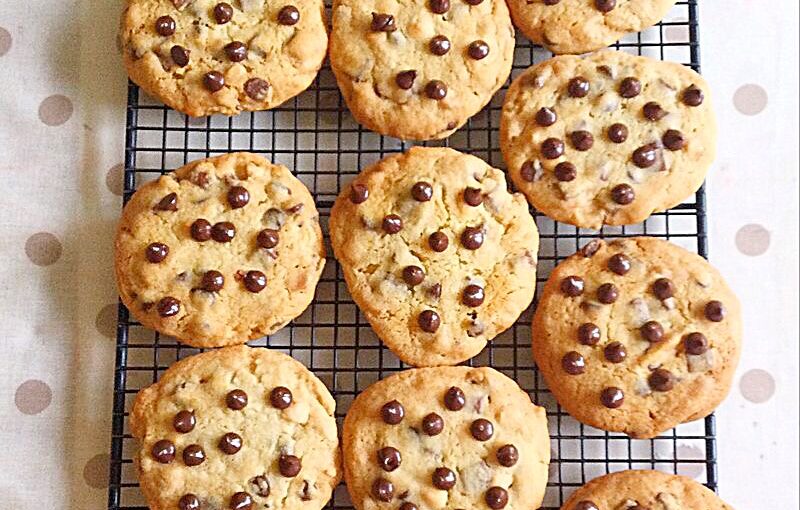
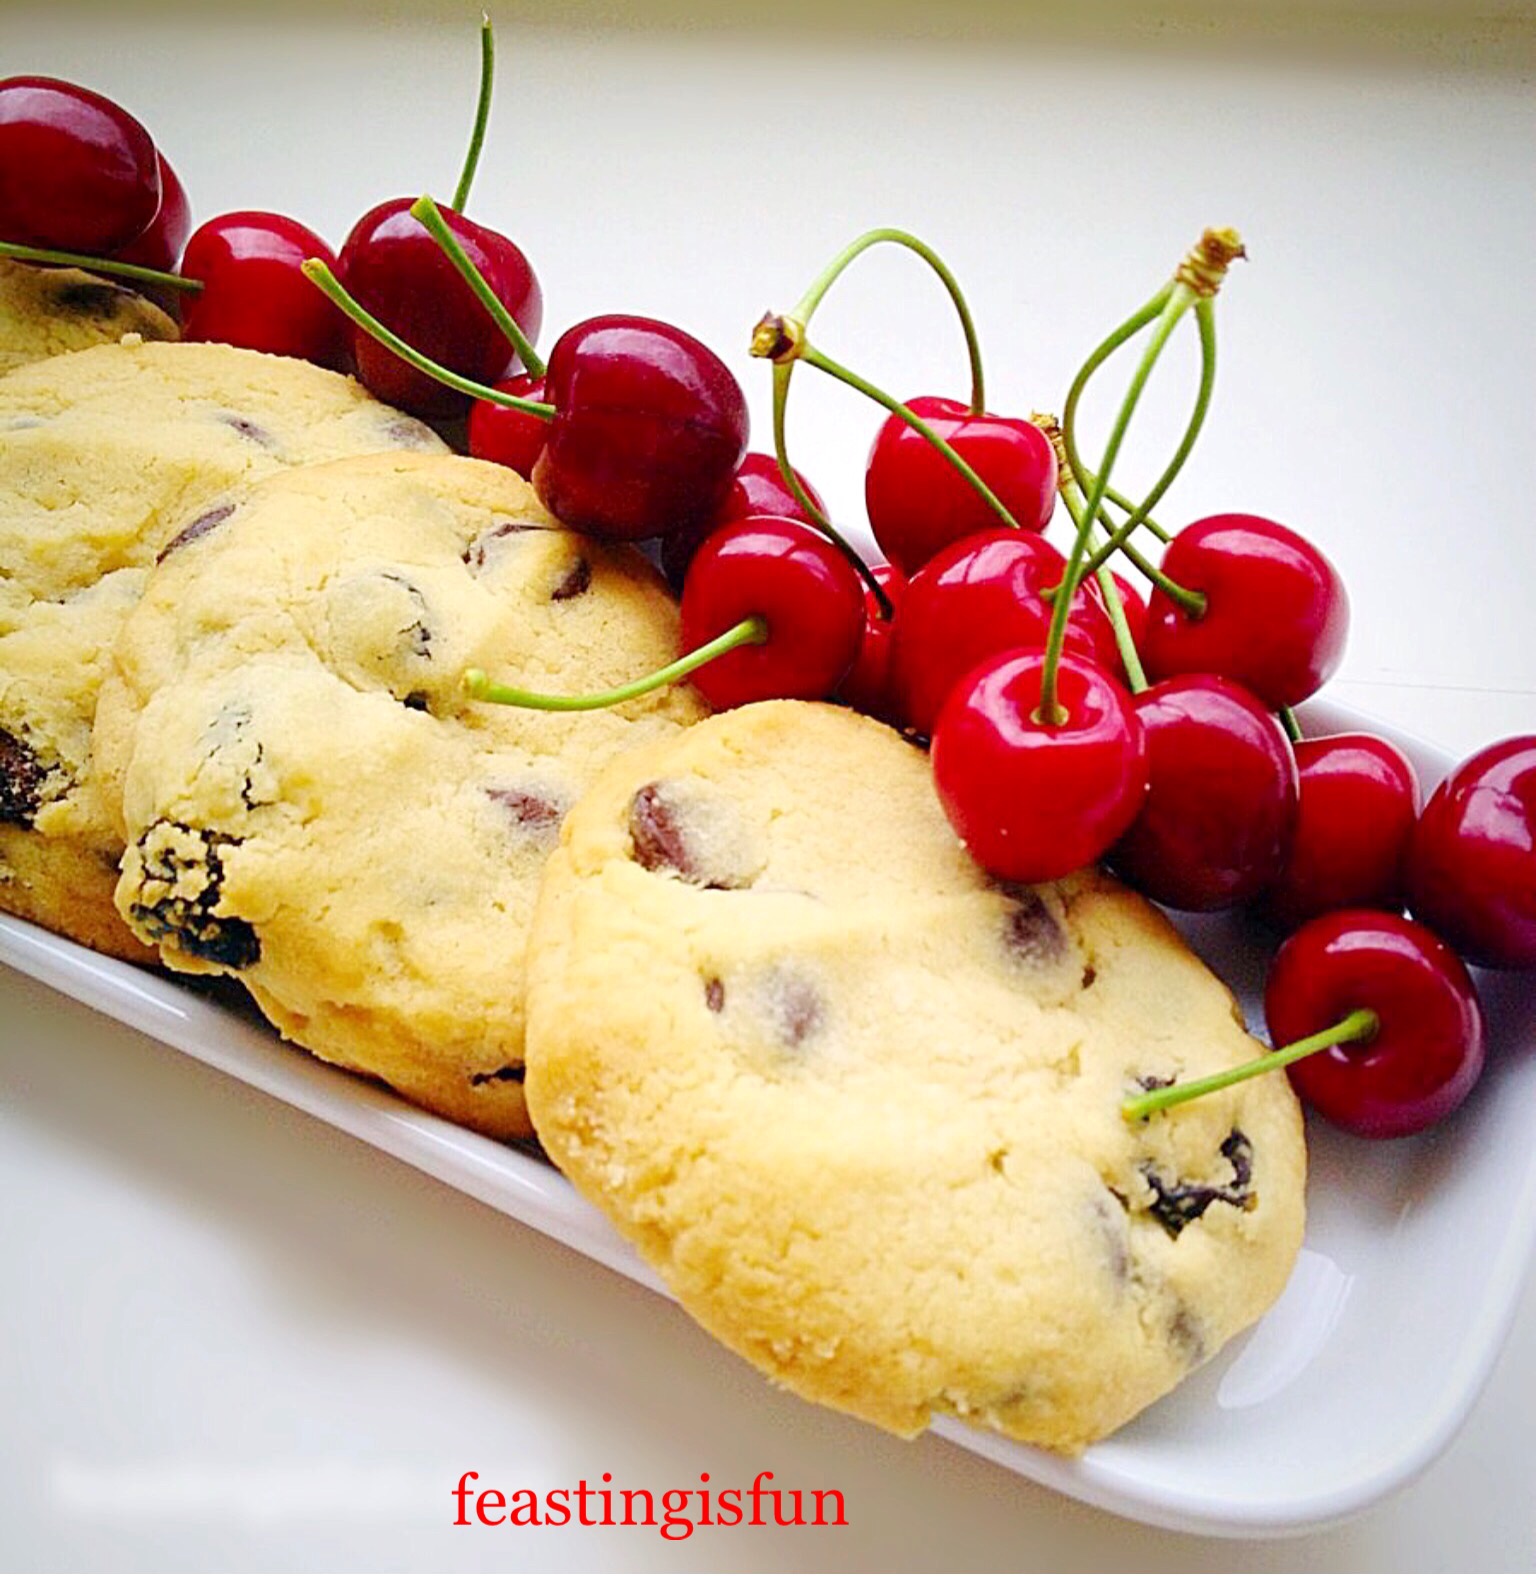
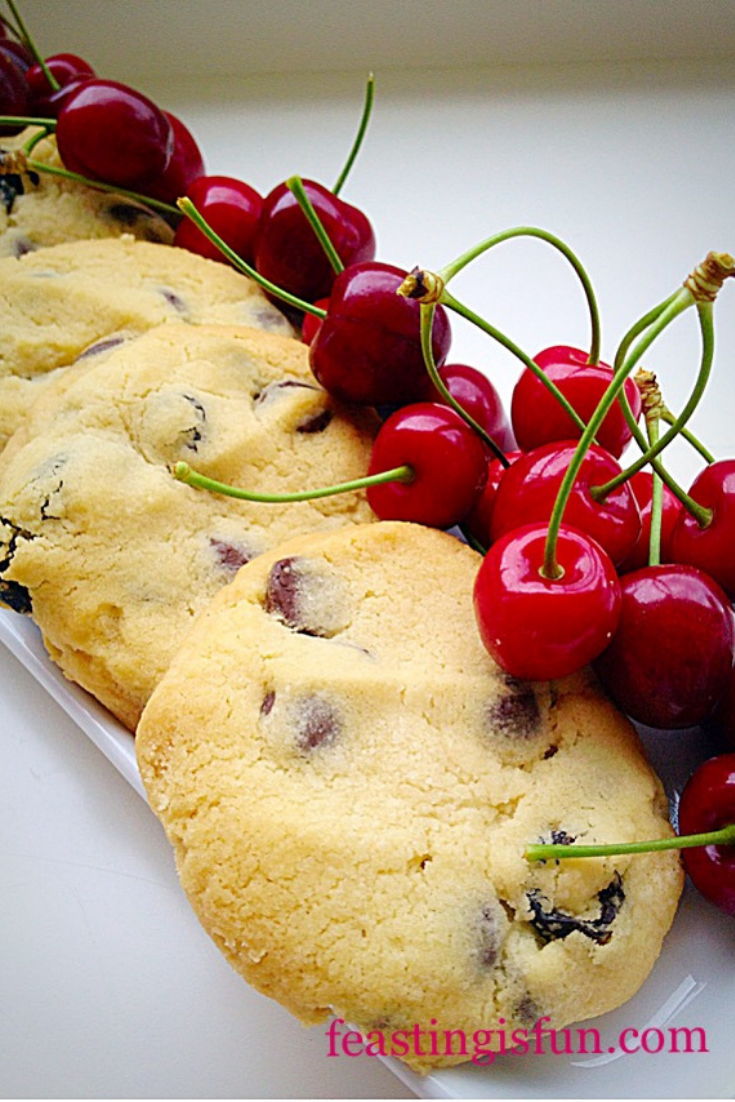
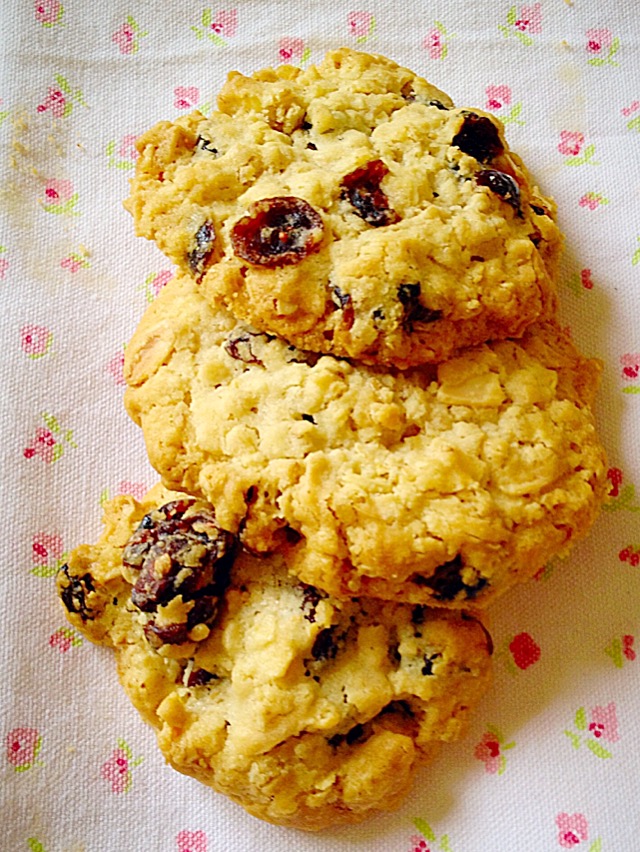
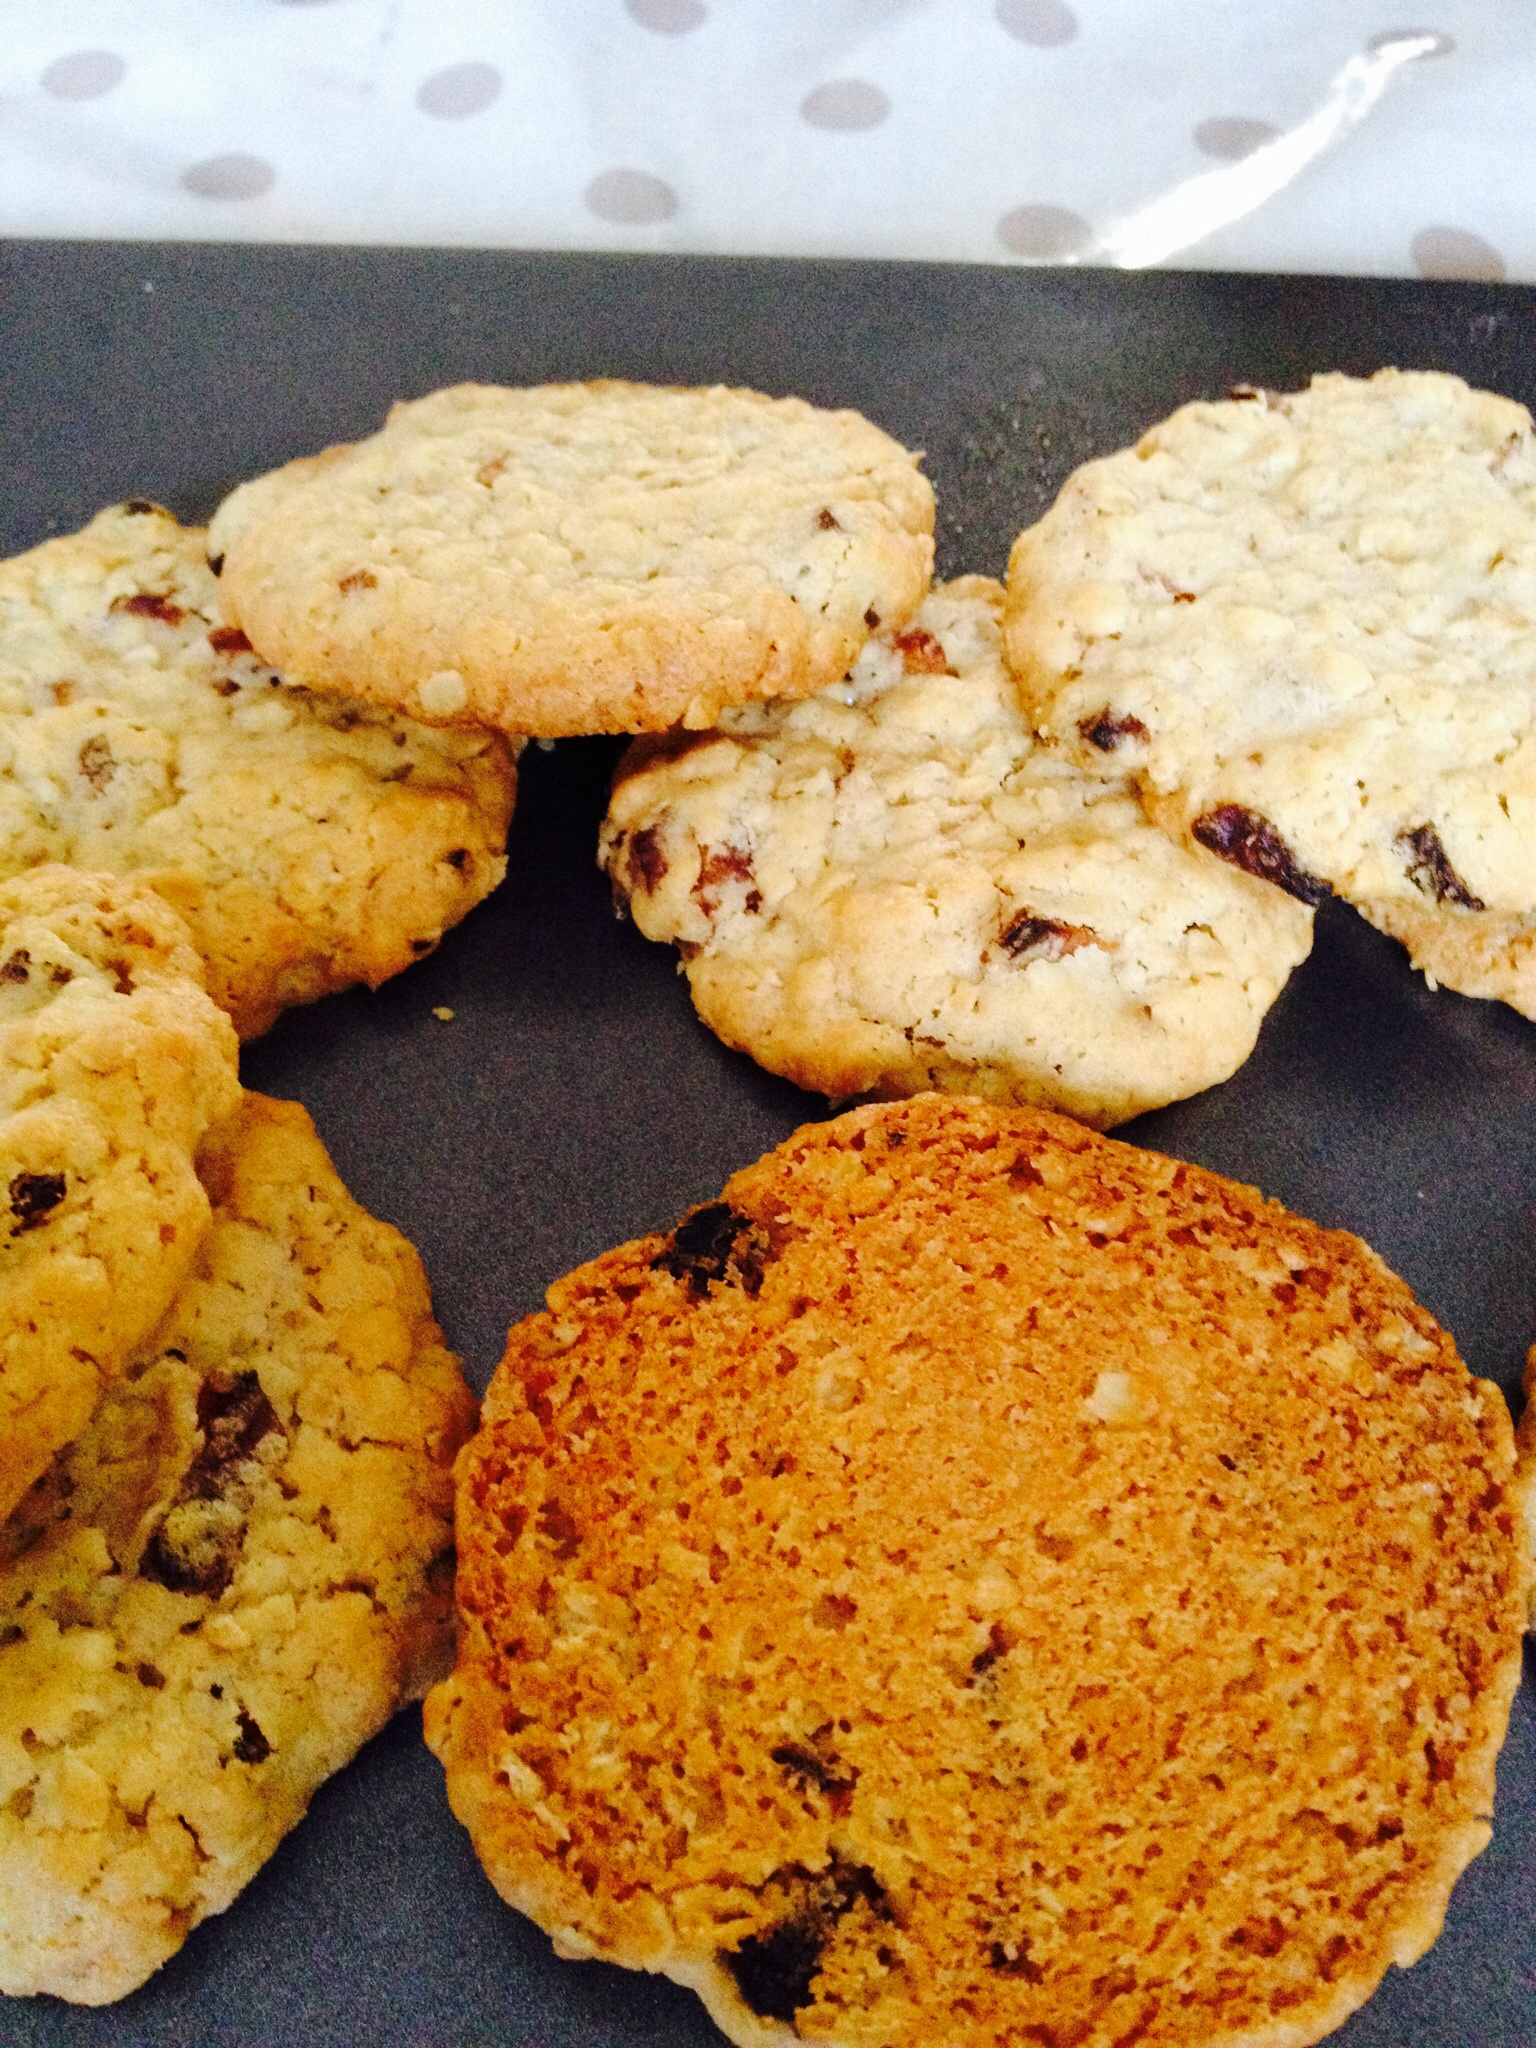
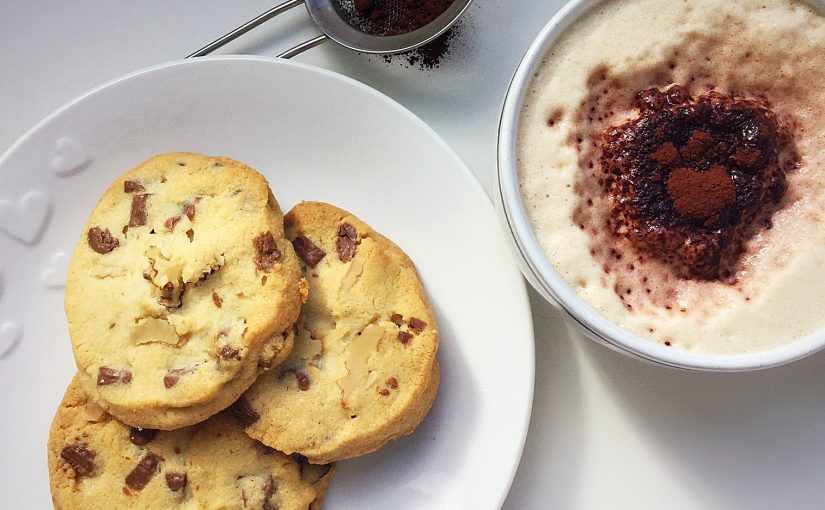
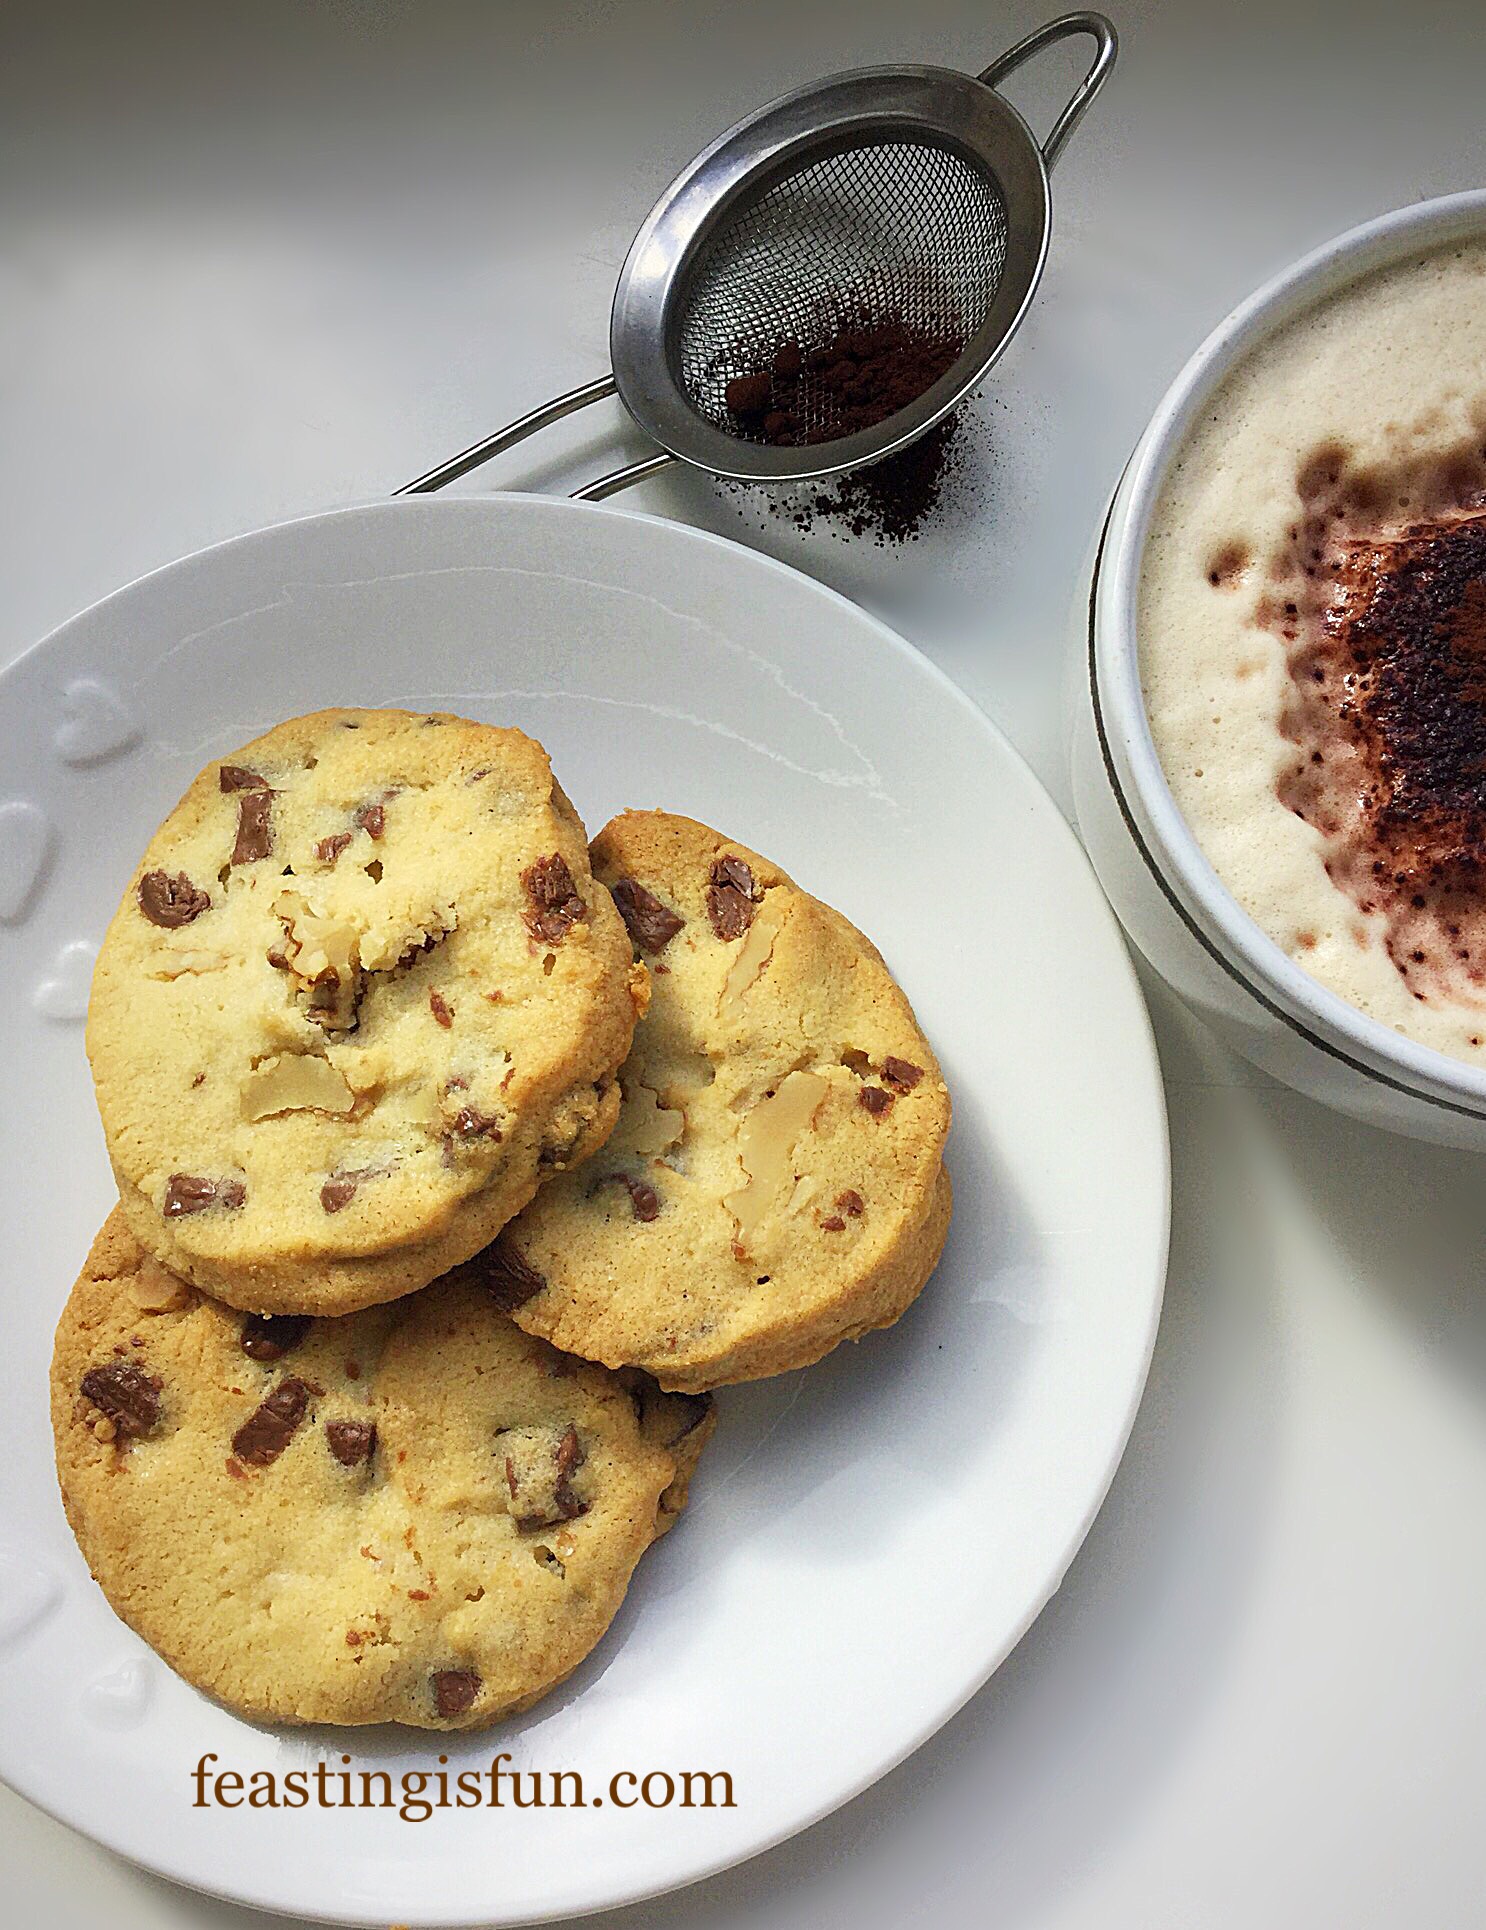
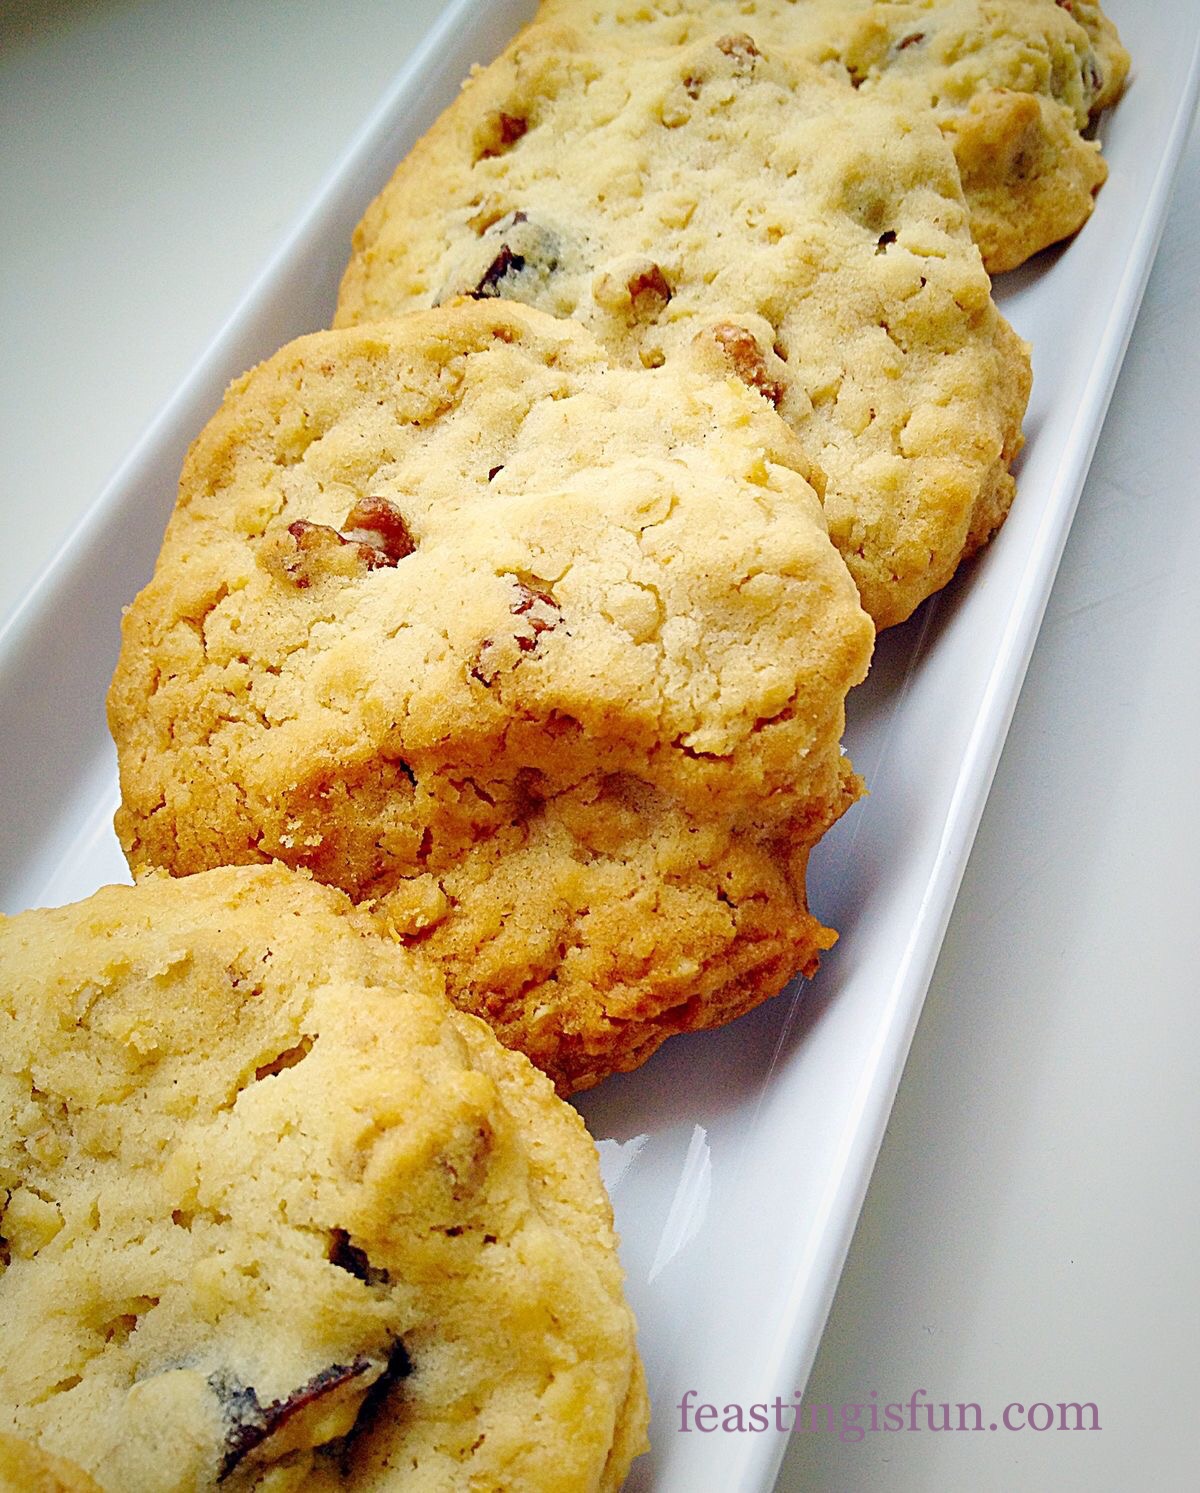
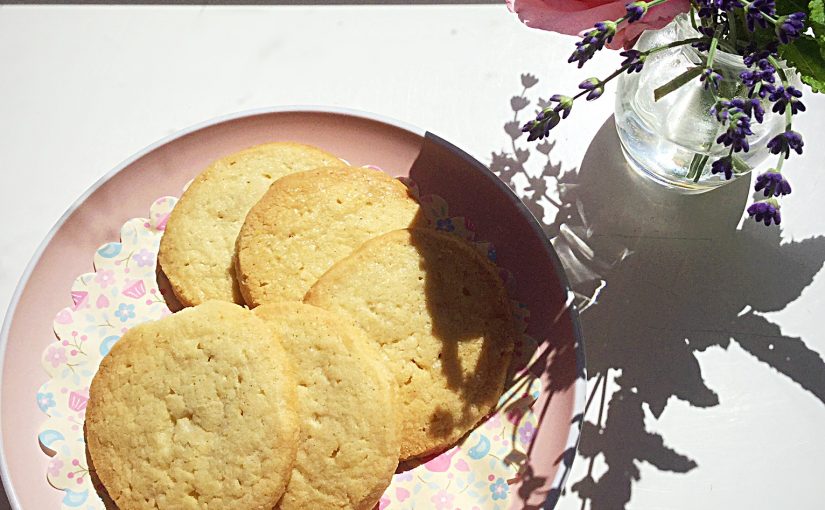
But before you click the link to the Chocolate Cookies, just have a peek at these delicious Cherry Bakewell Cookies.
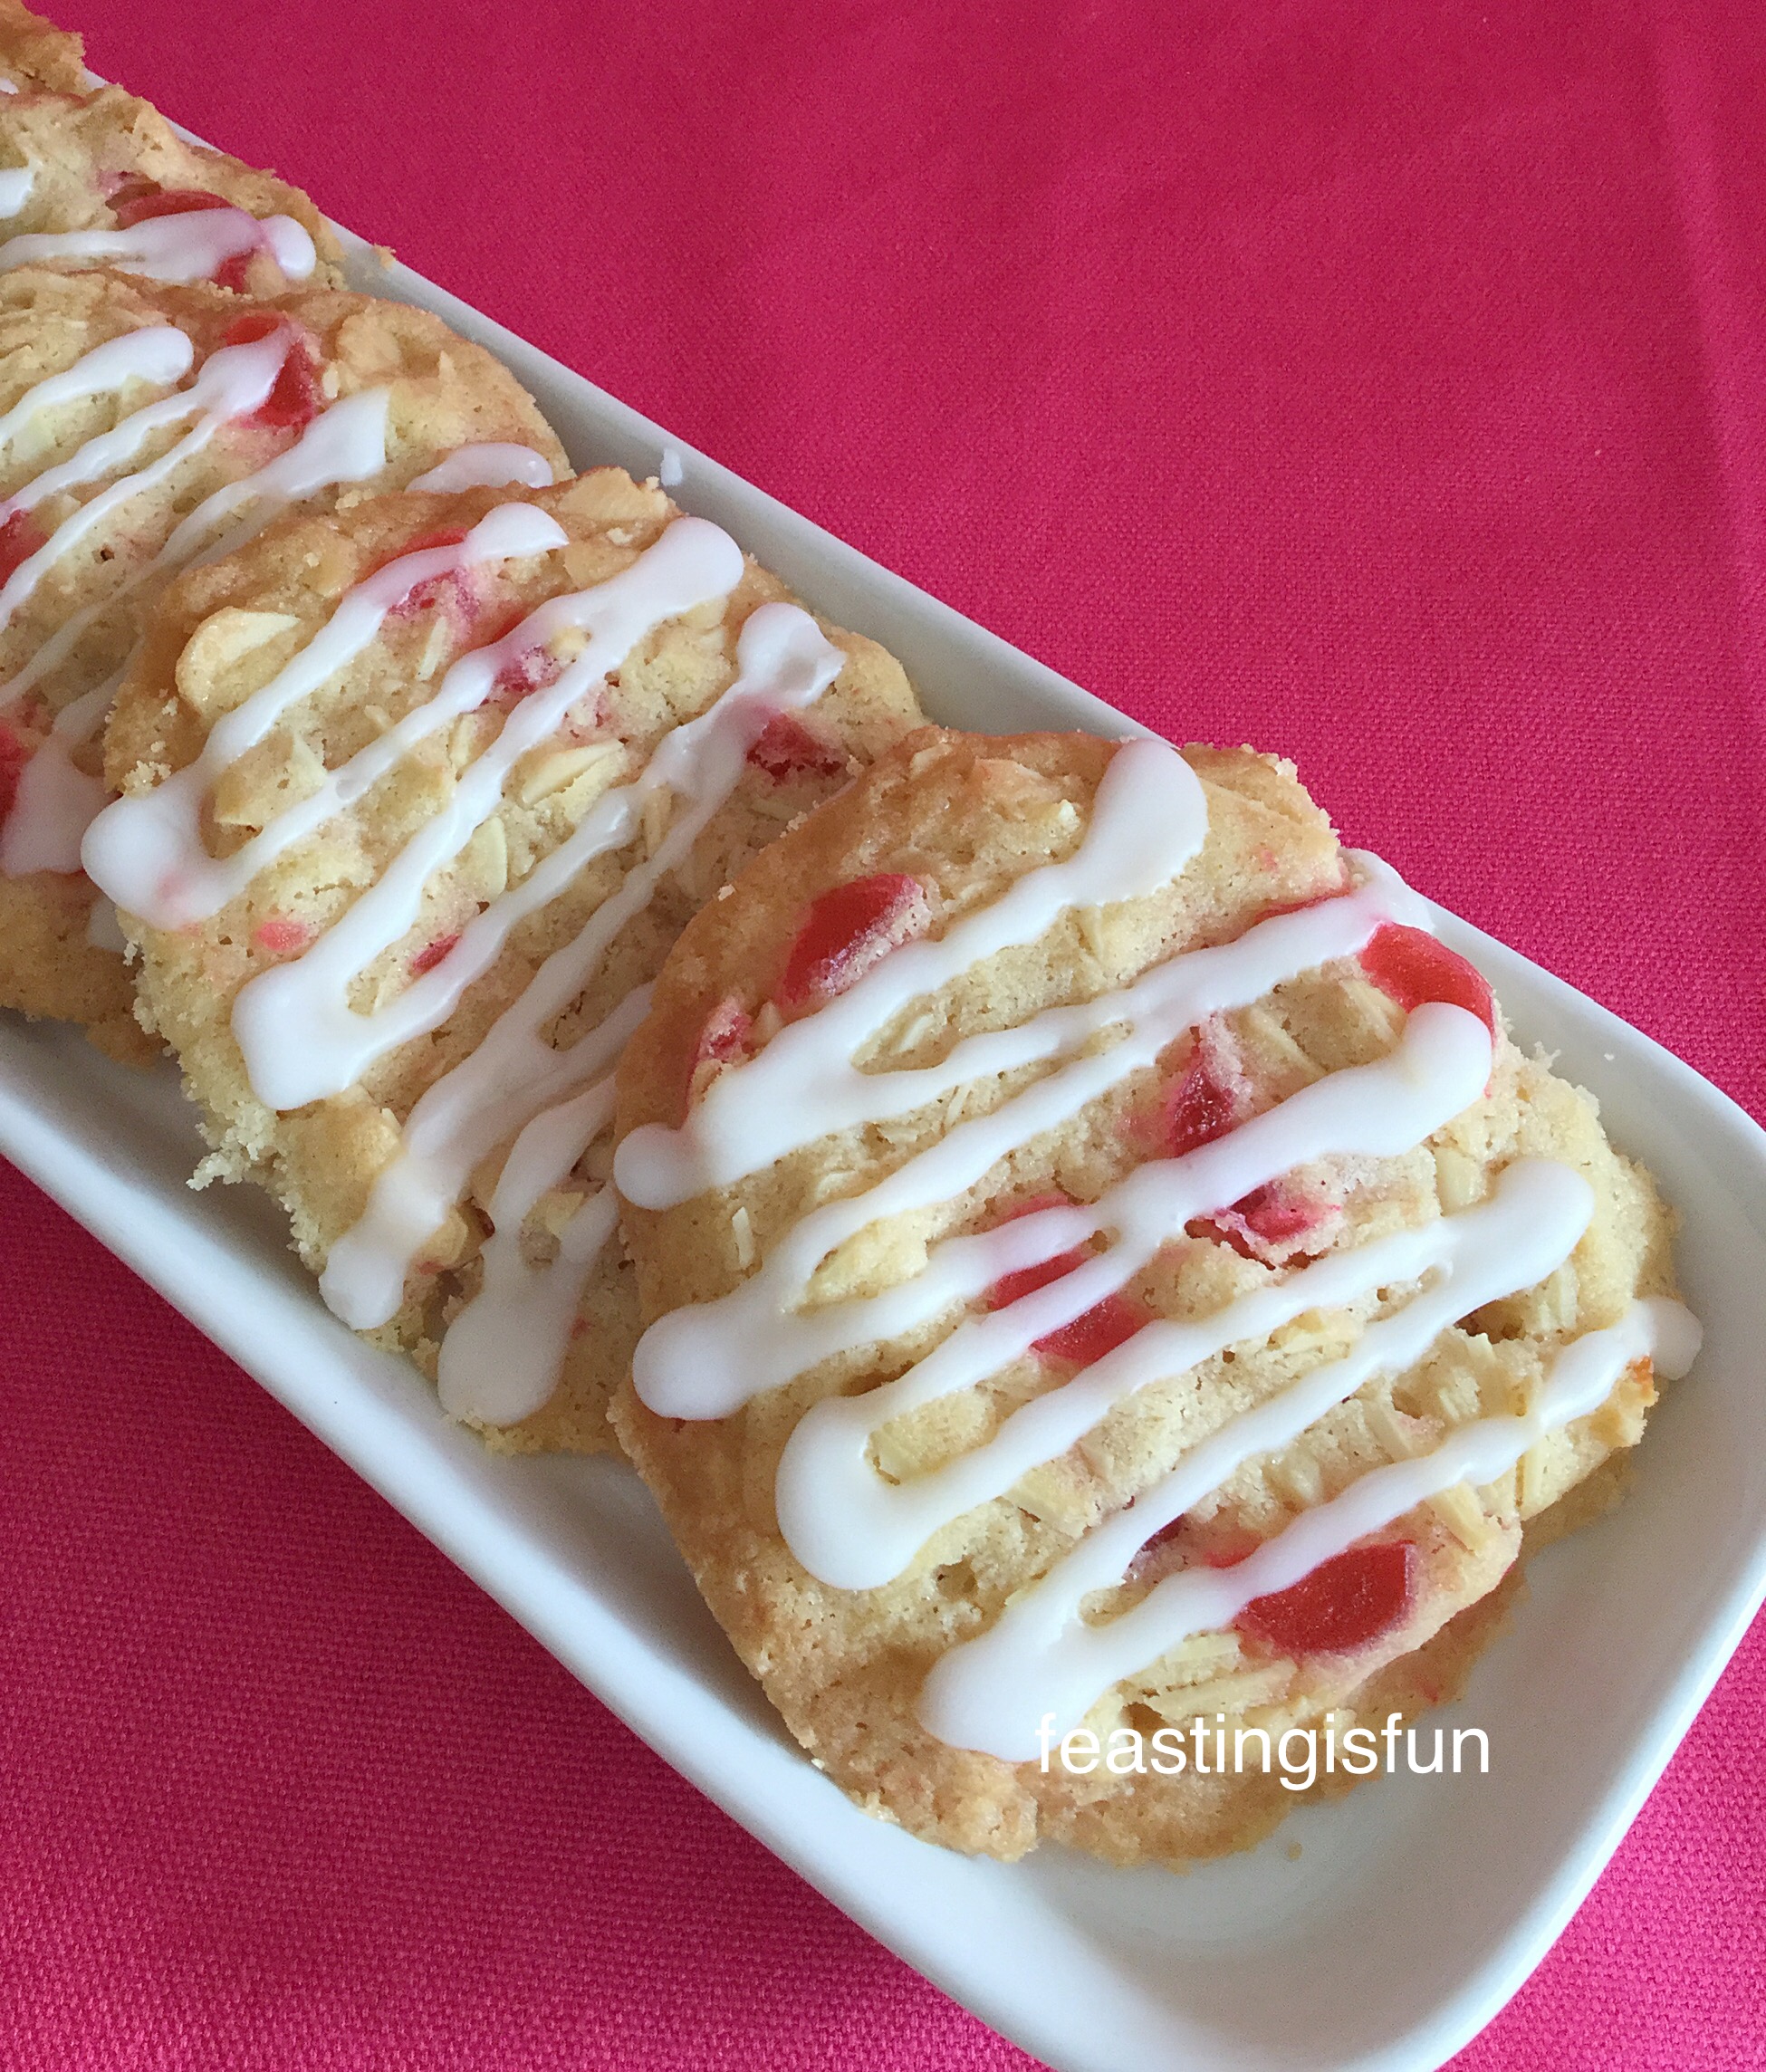
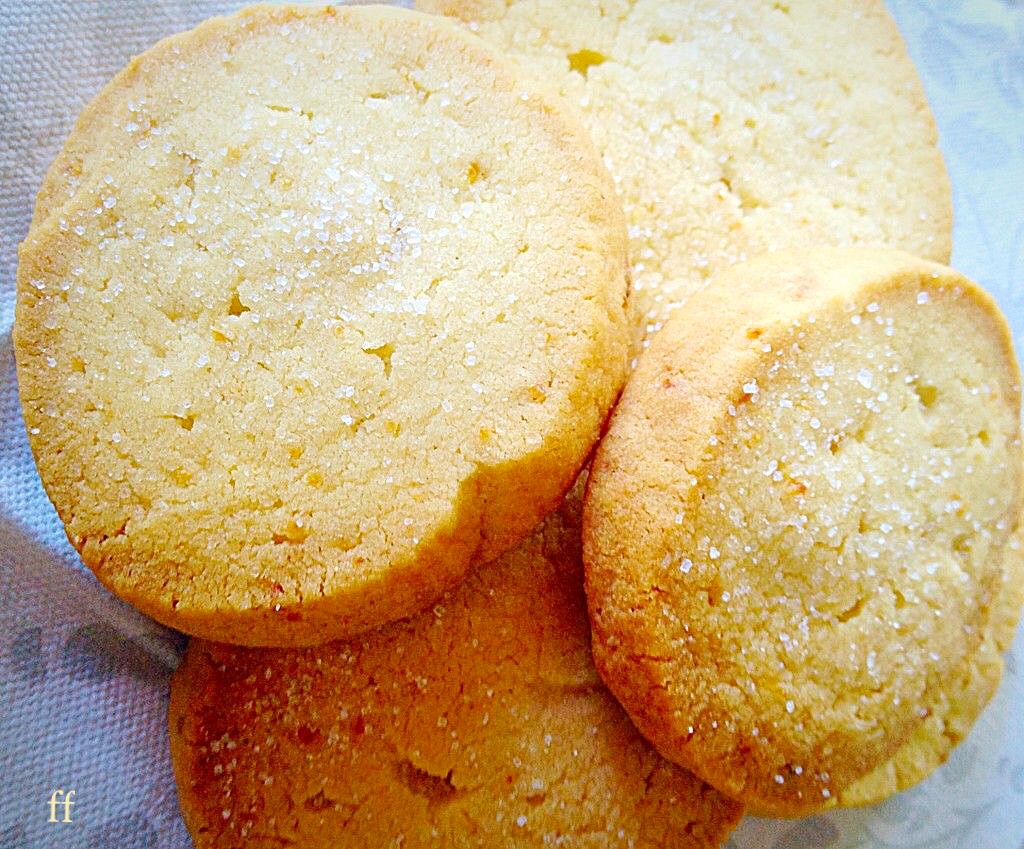
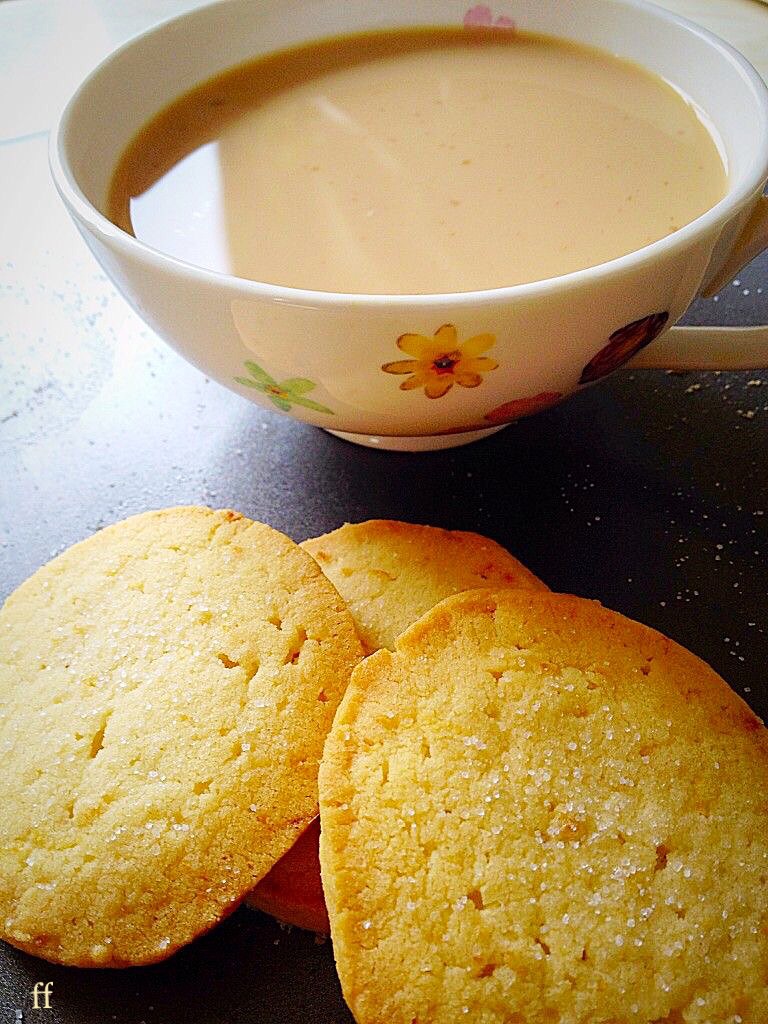
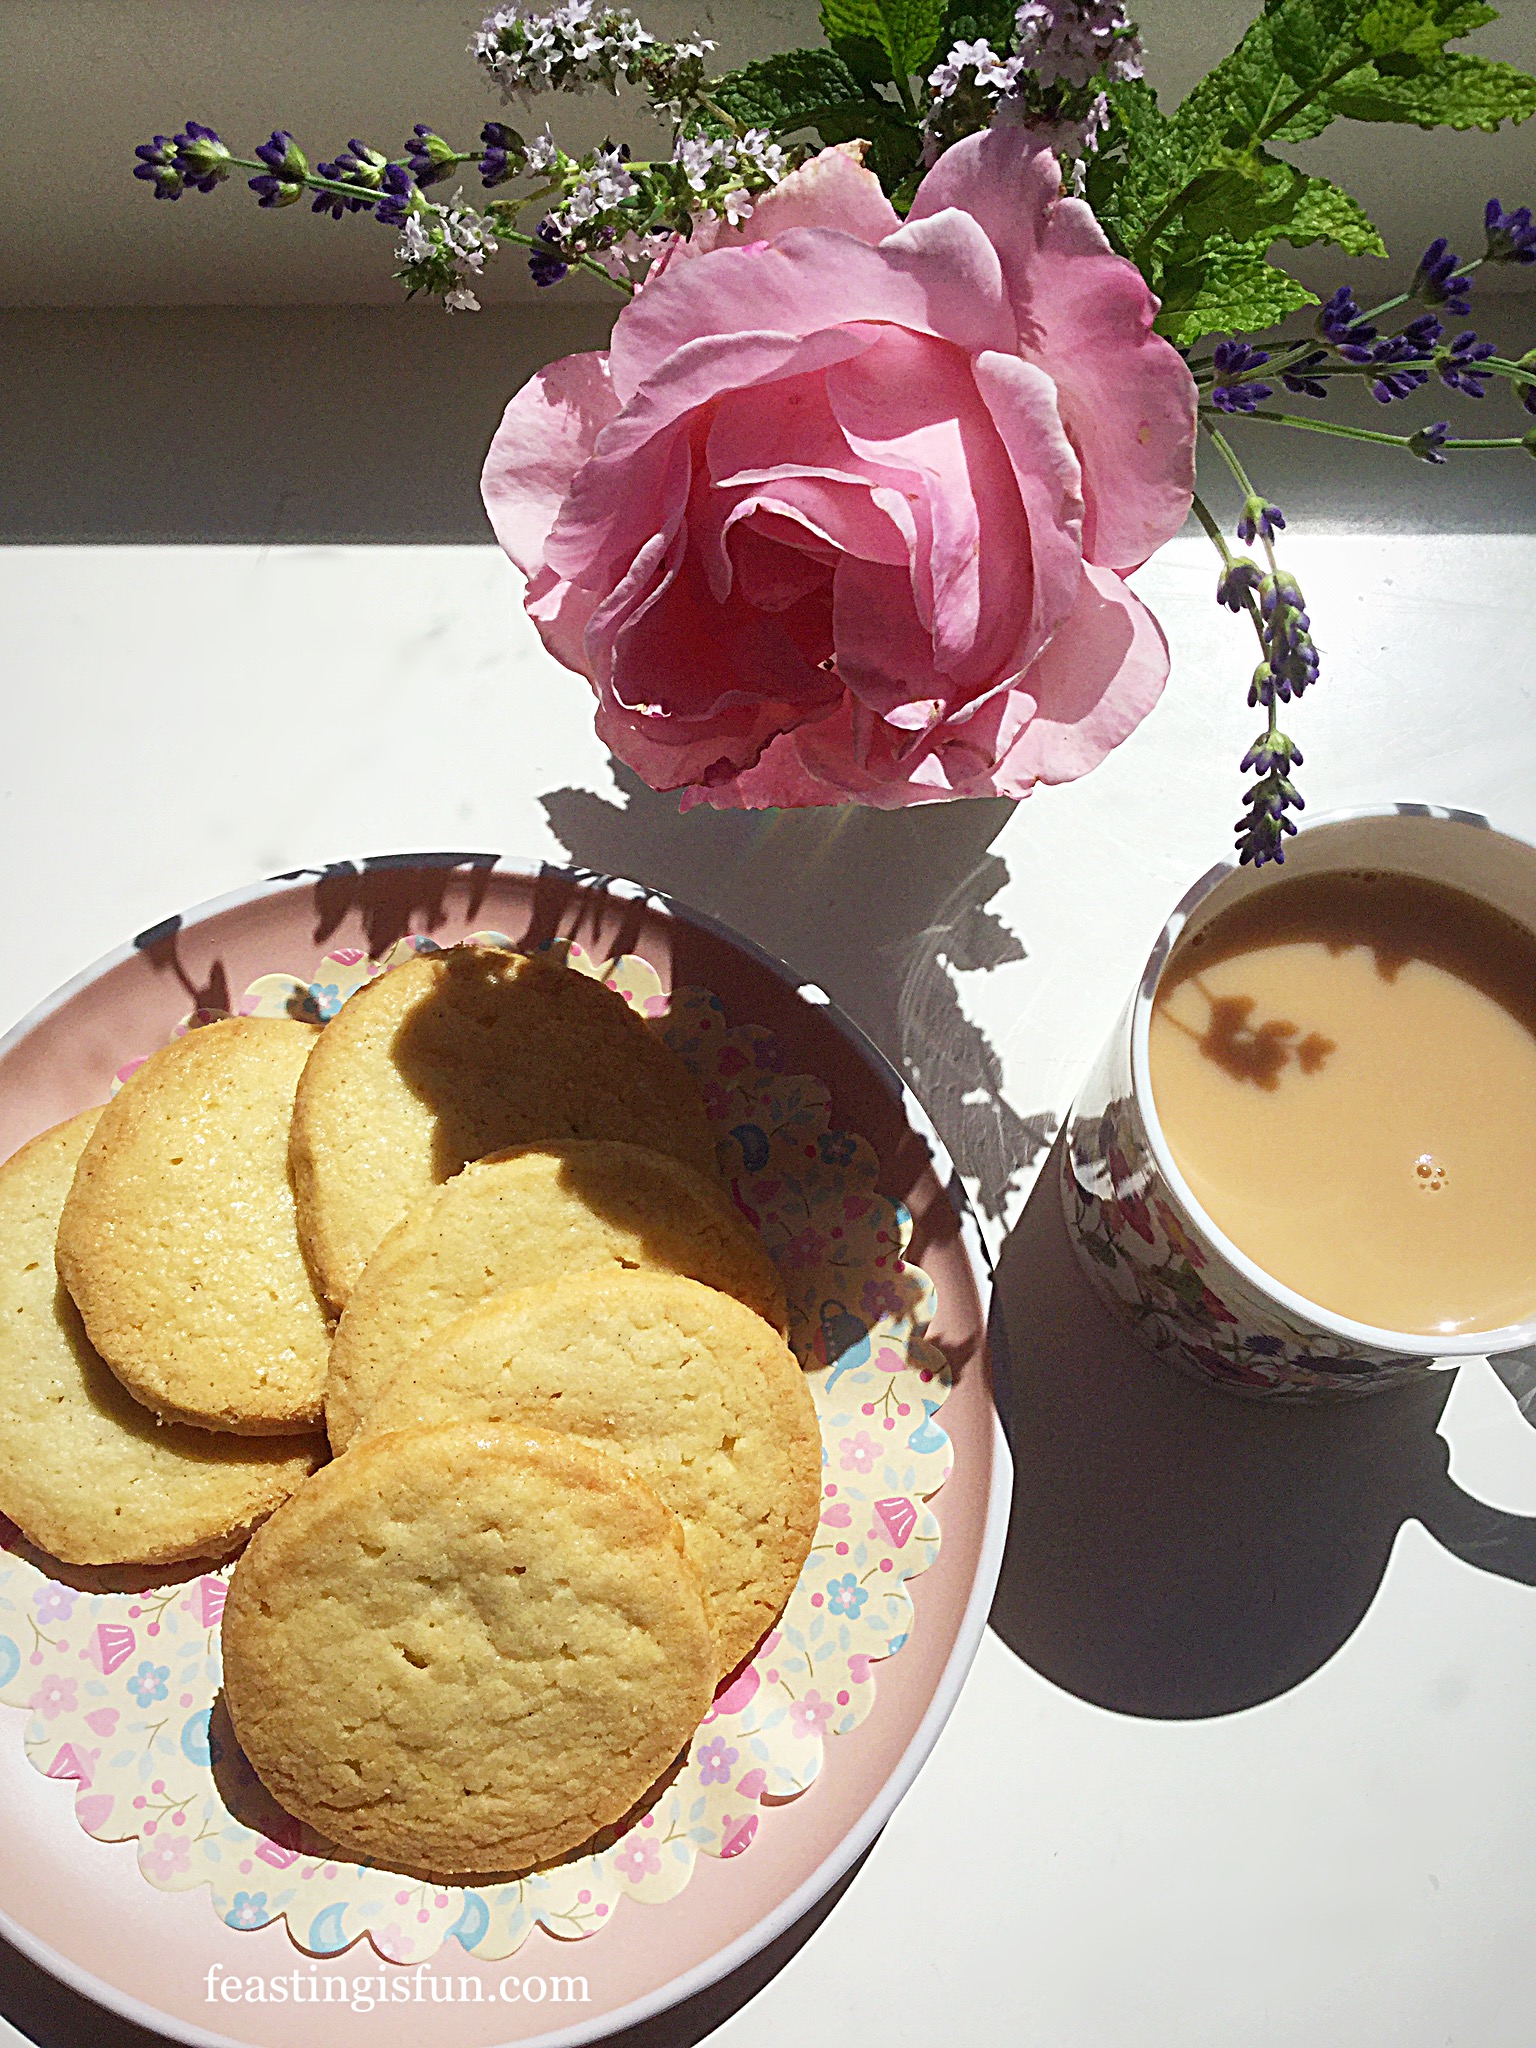
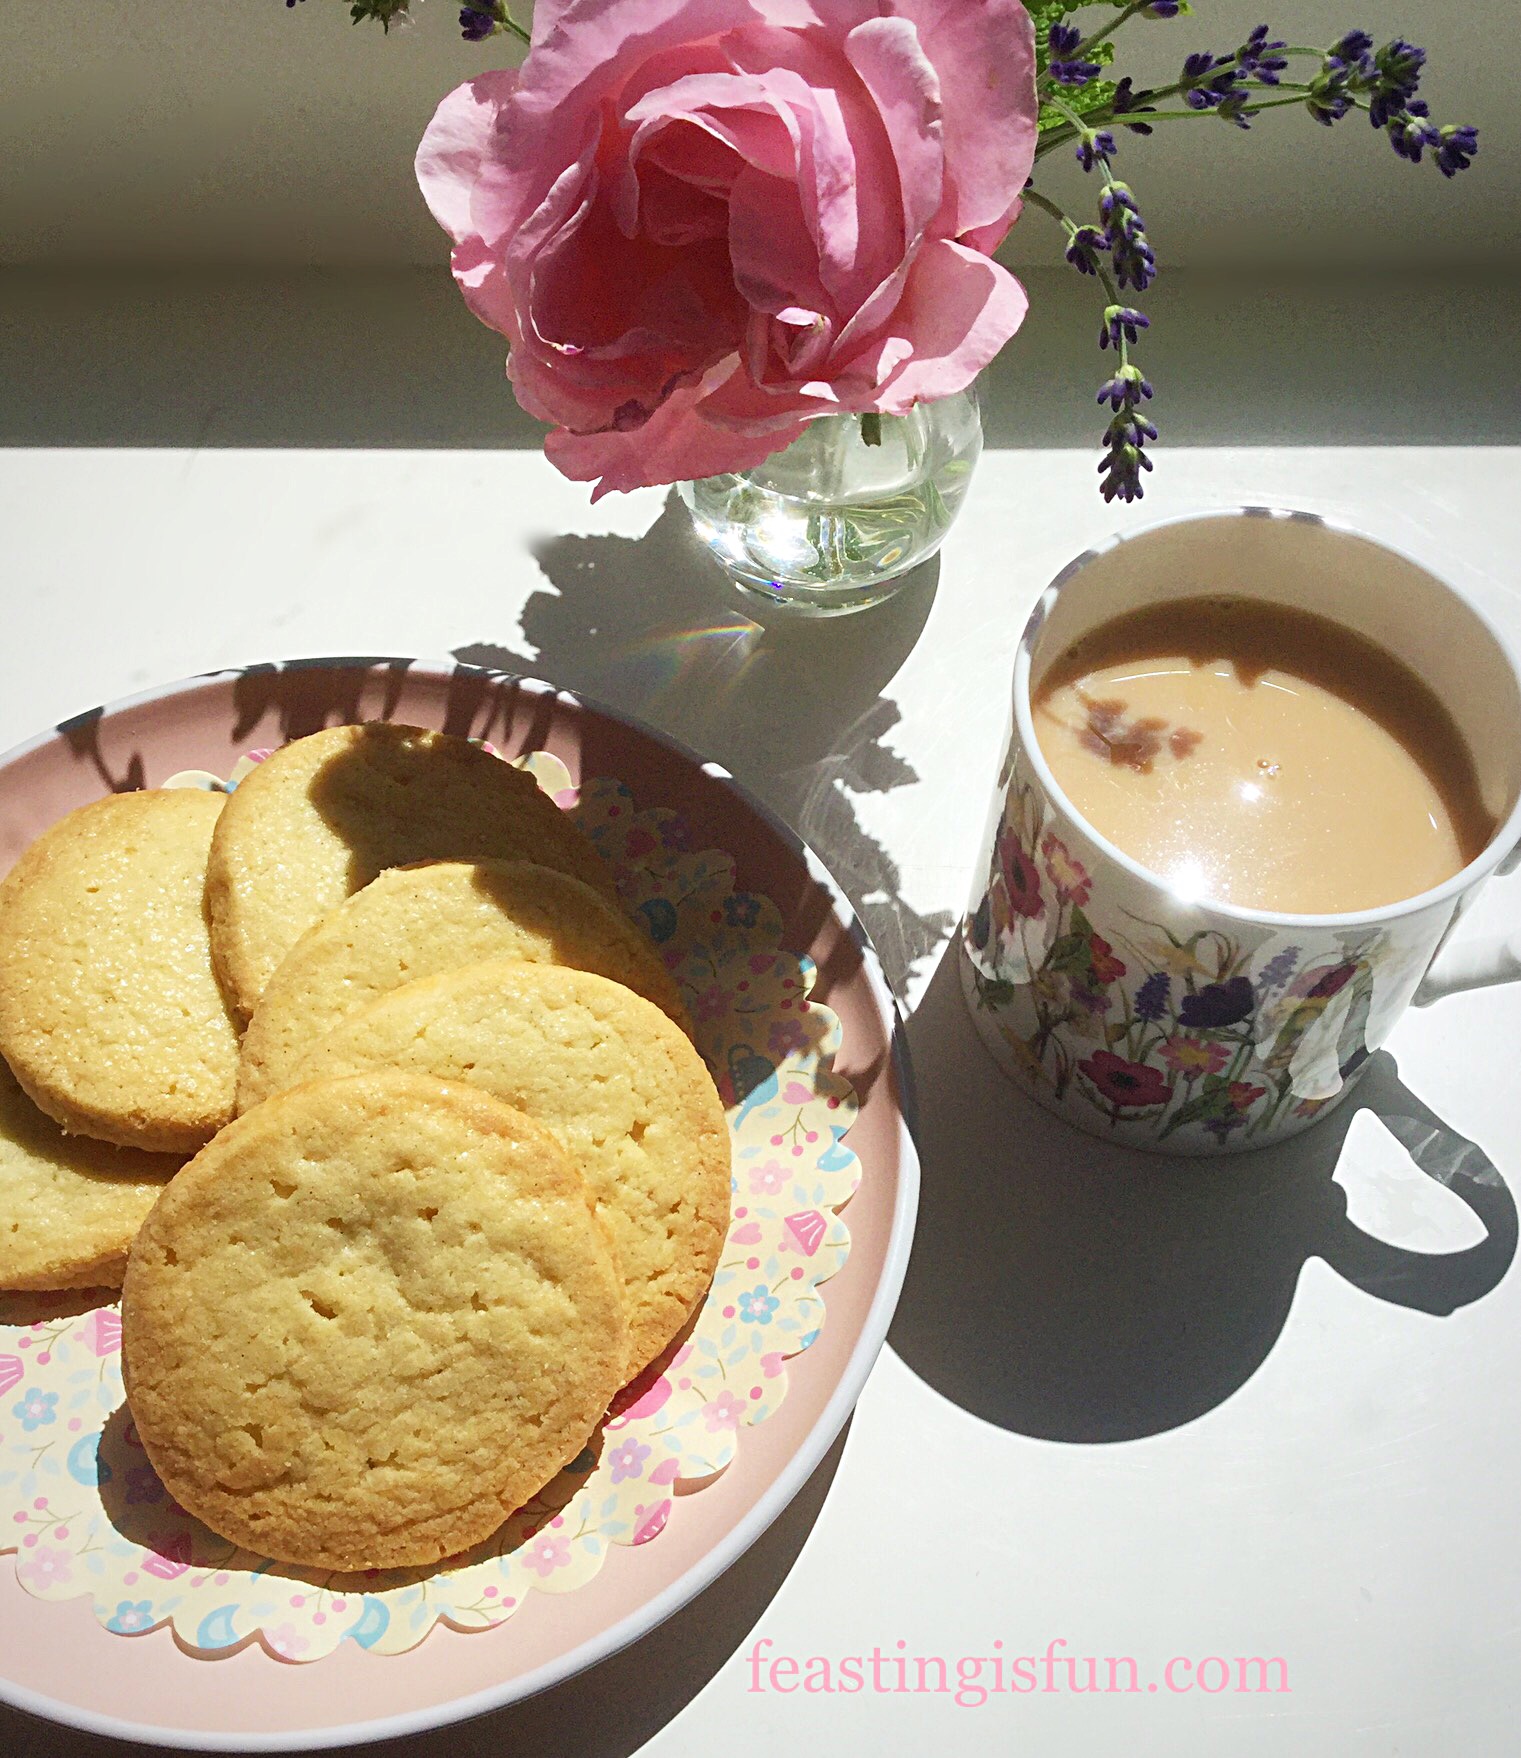
Can you imagine biting into this crunchy, buttery, cookie that is filled with flaked almonds, cherries and drizzled with a perfect, not-too-sweet icing?
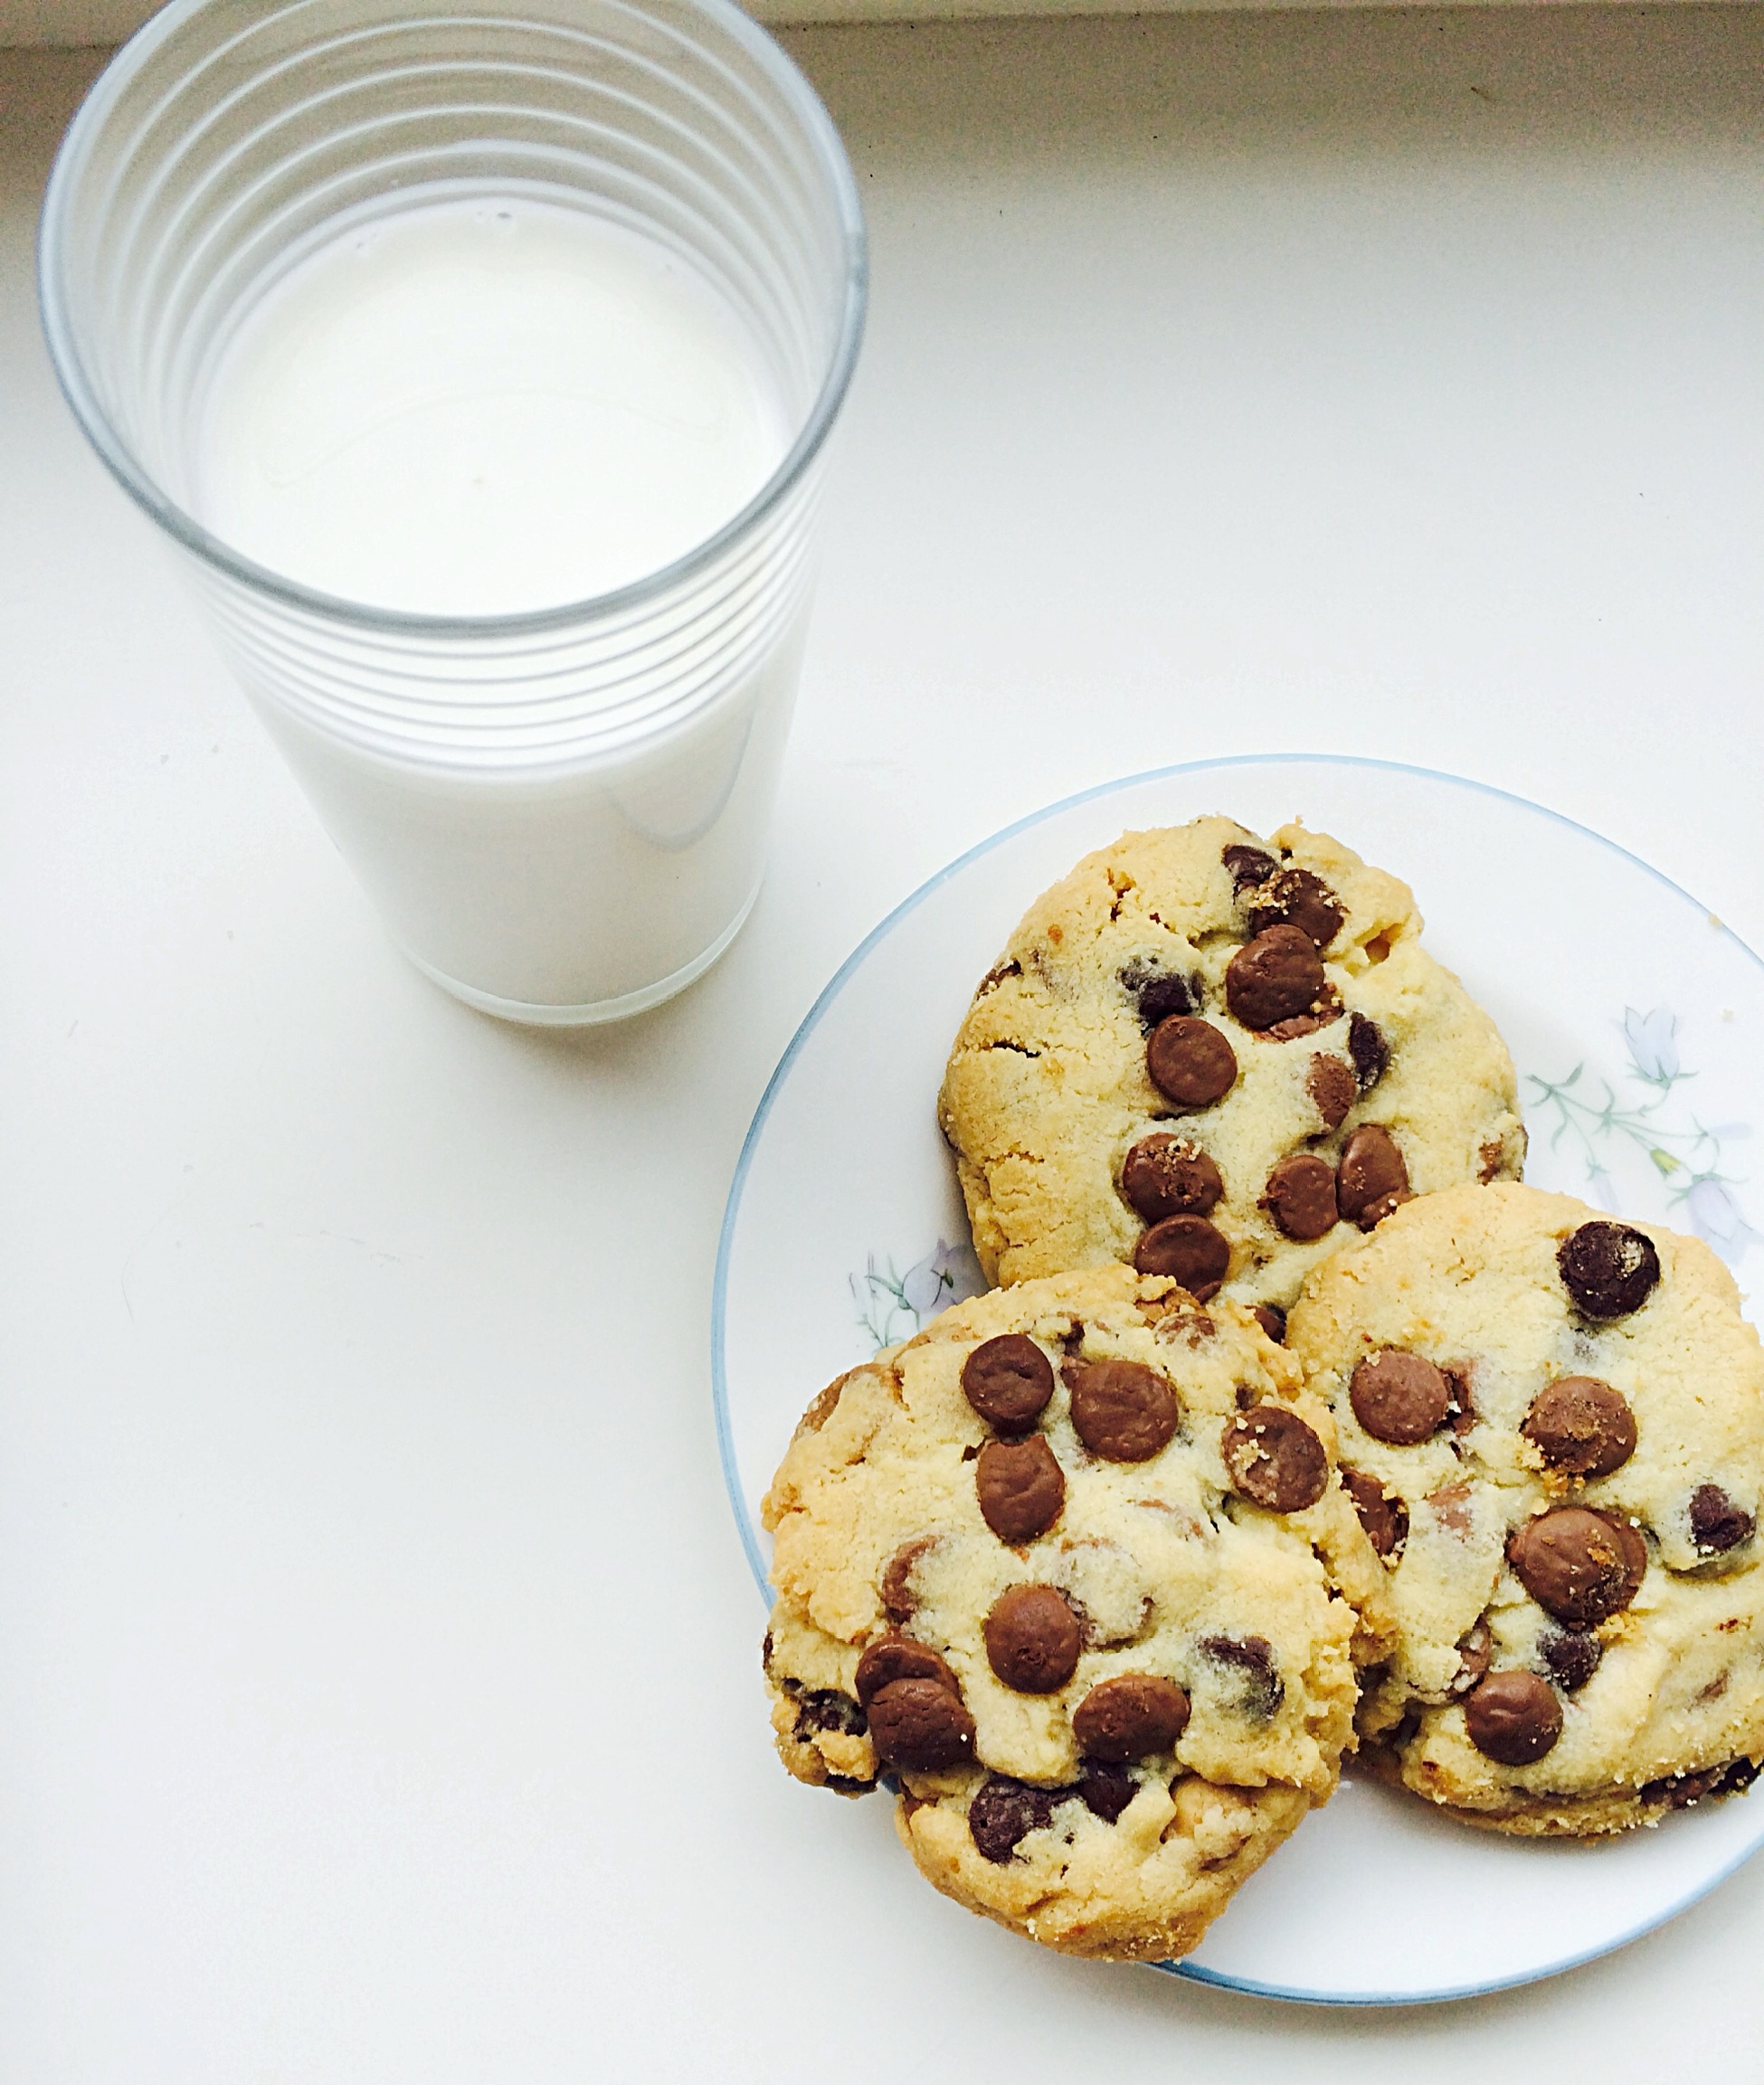
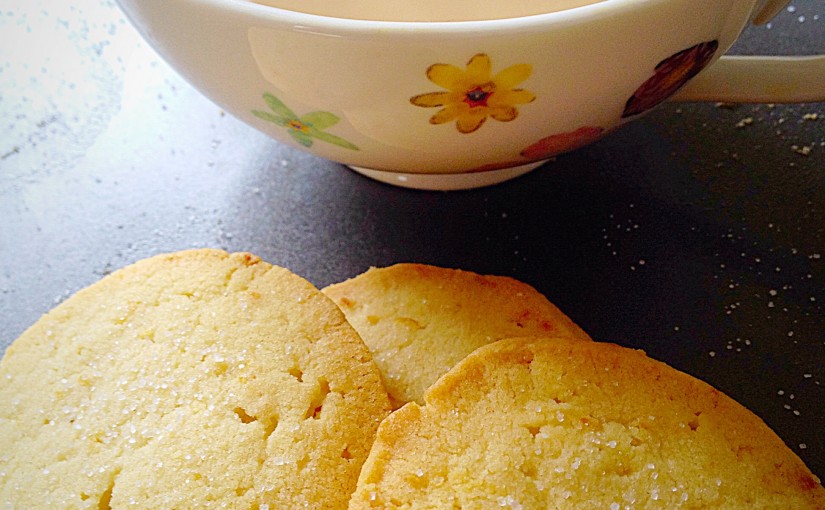
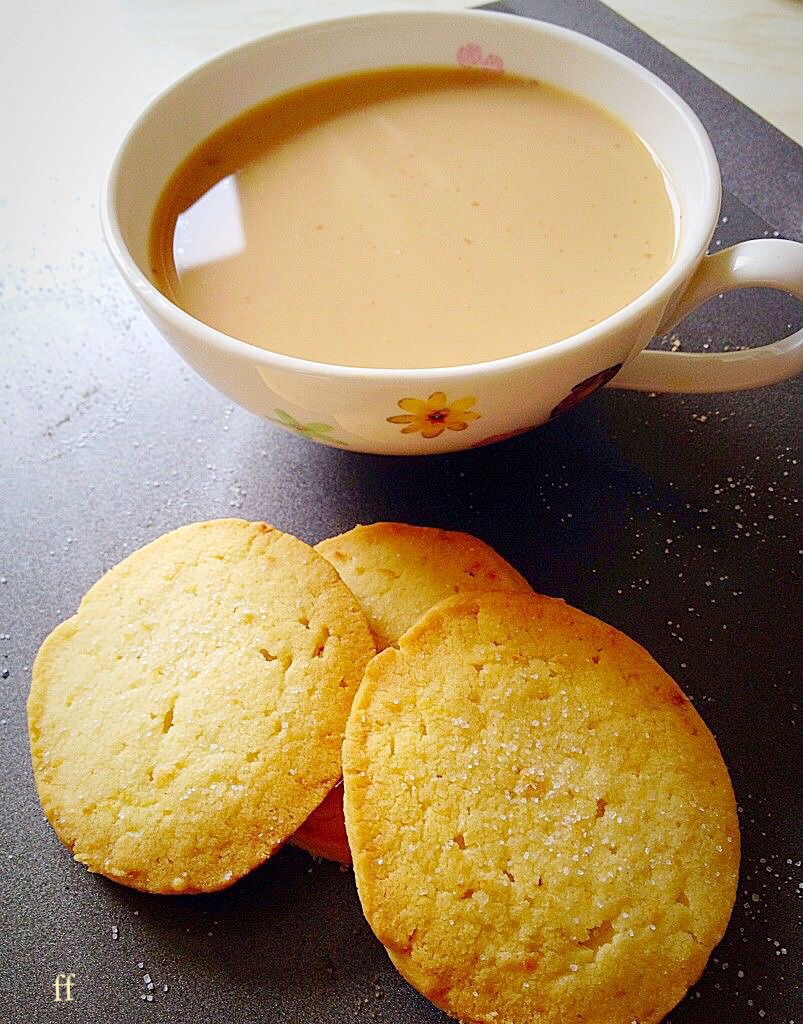
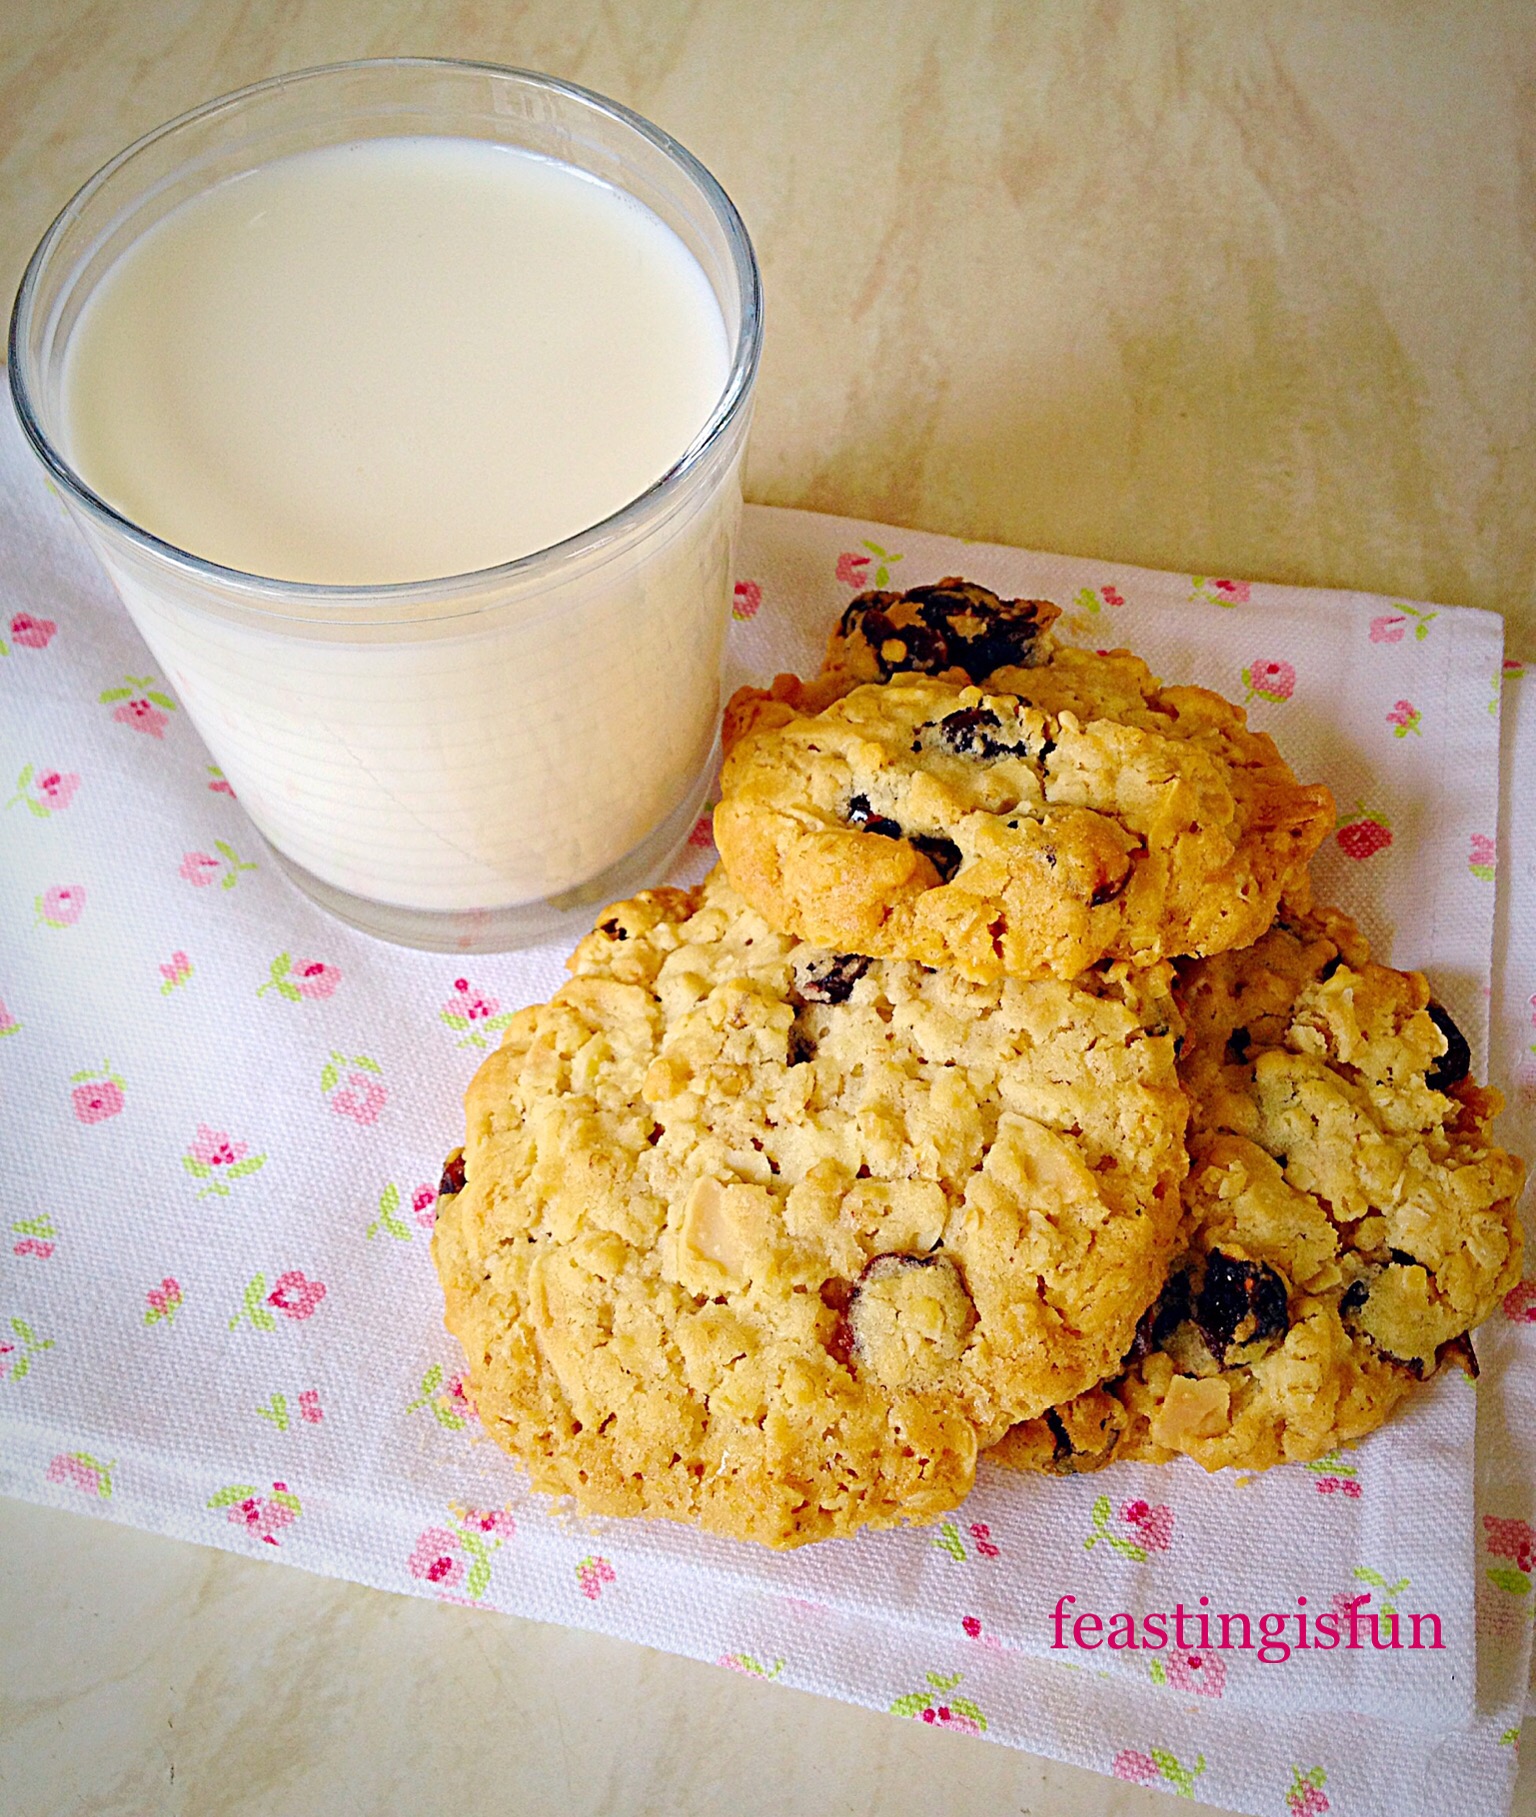
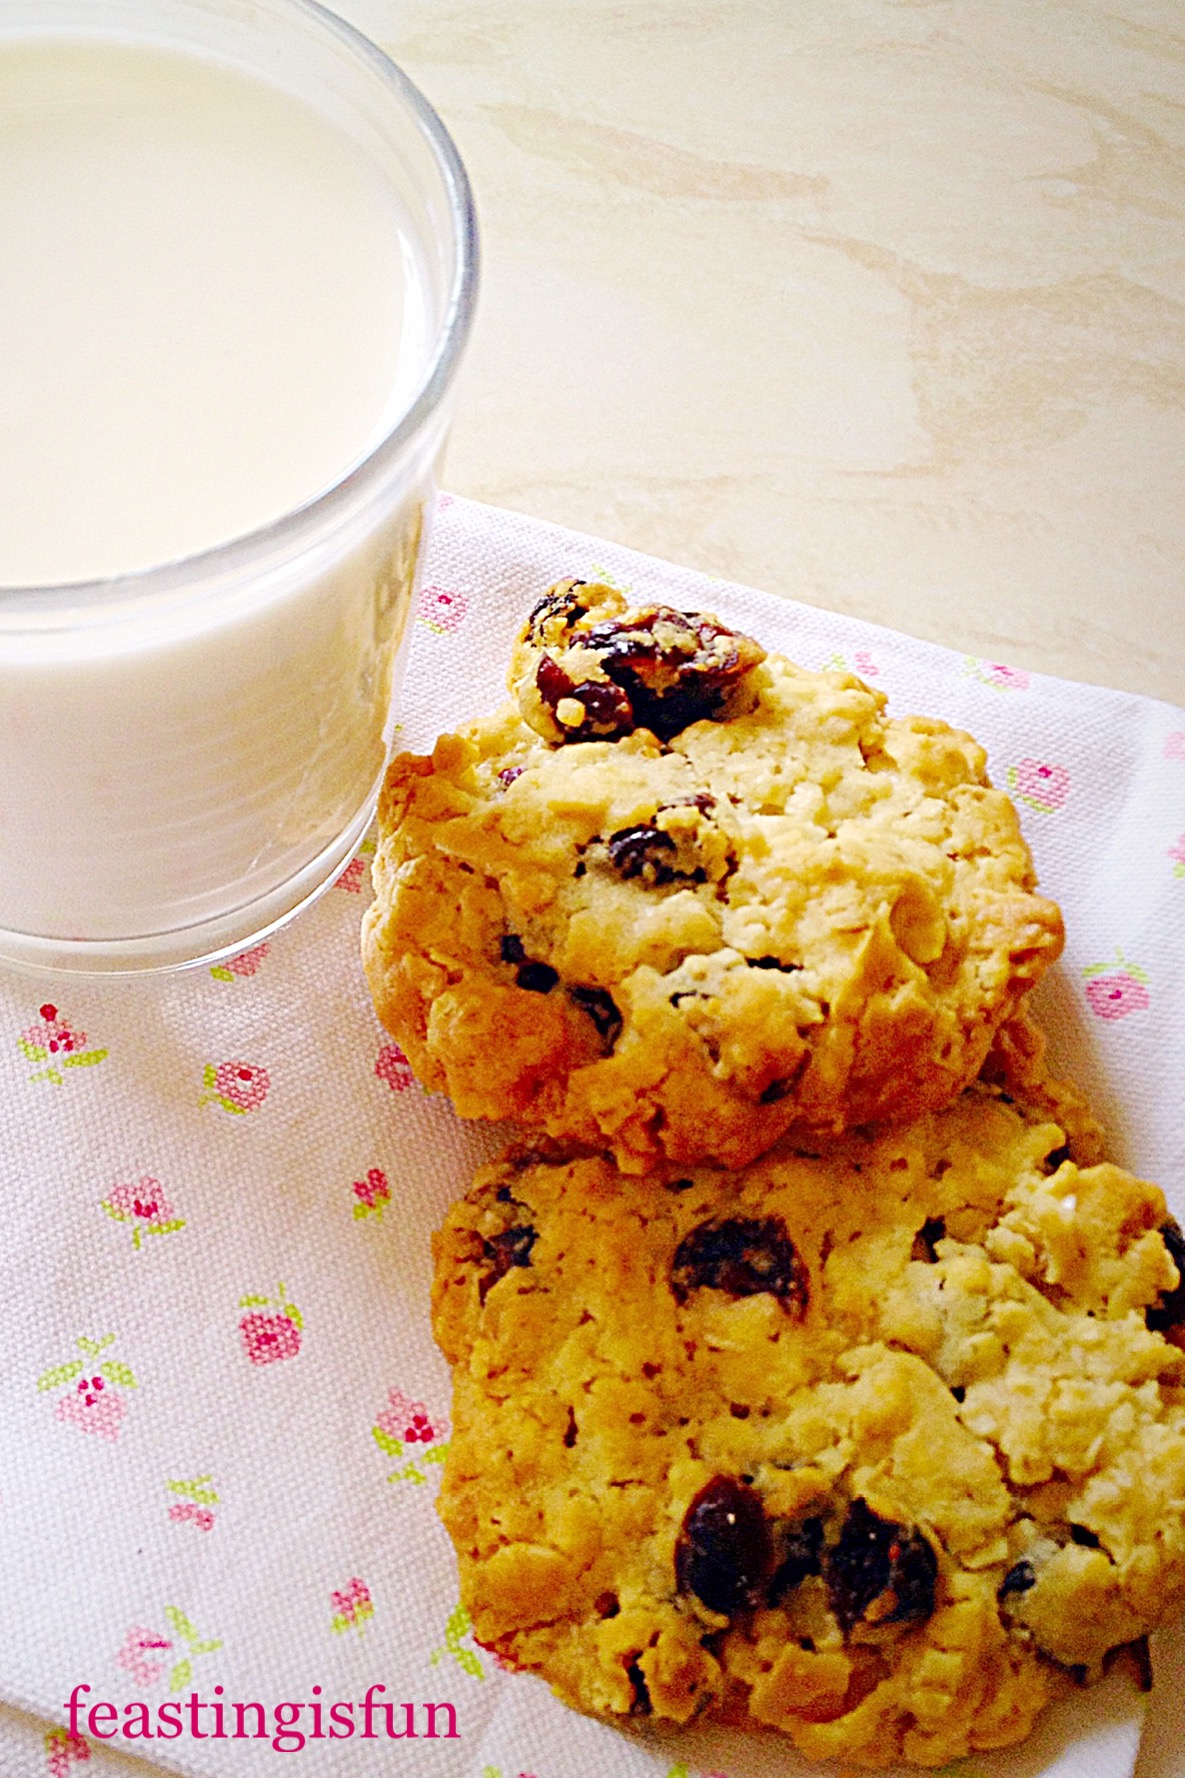
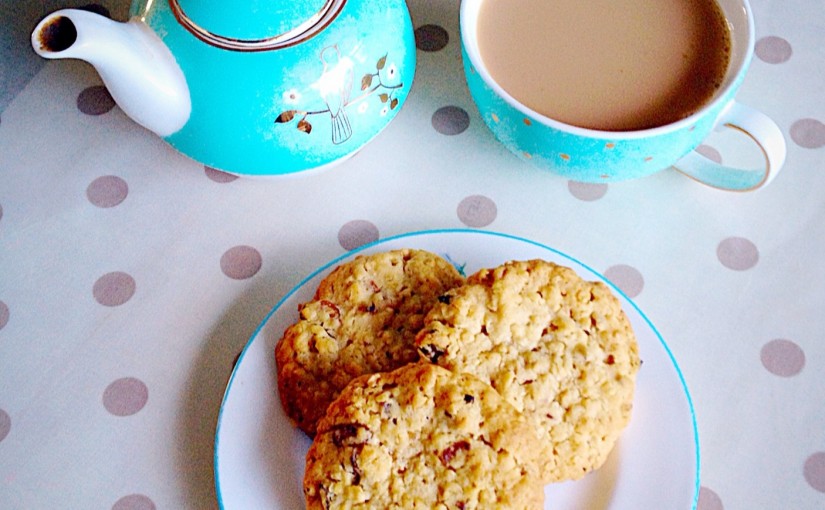
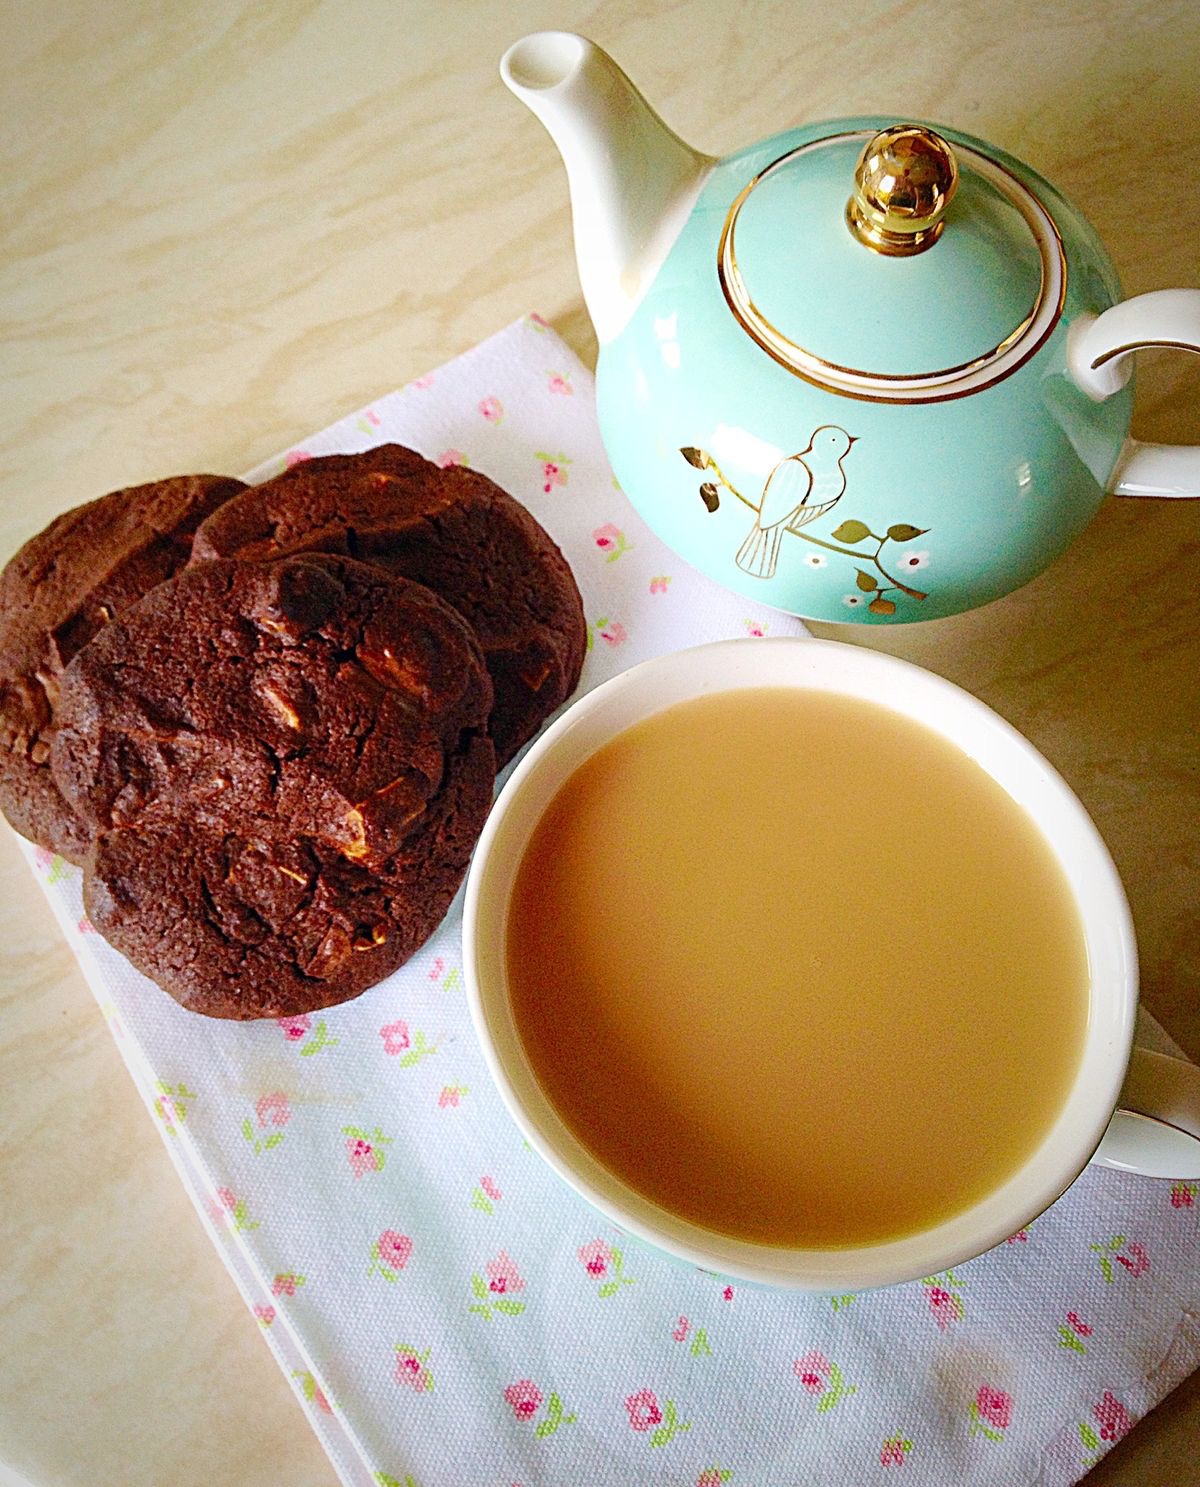
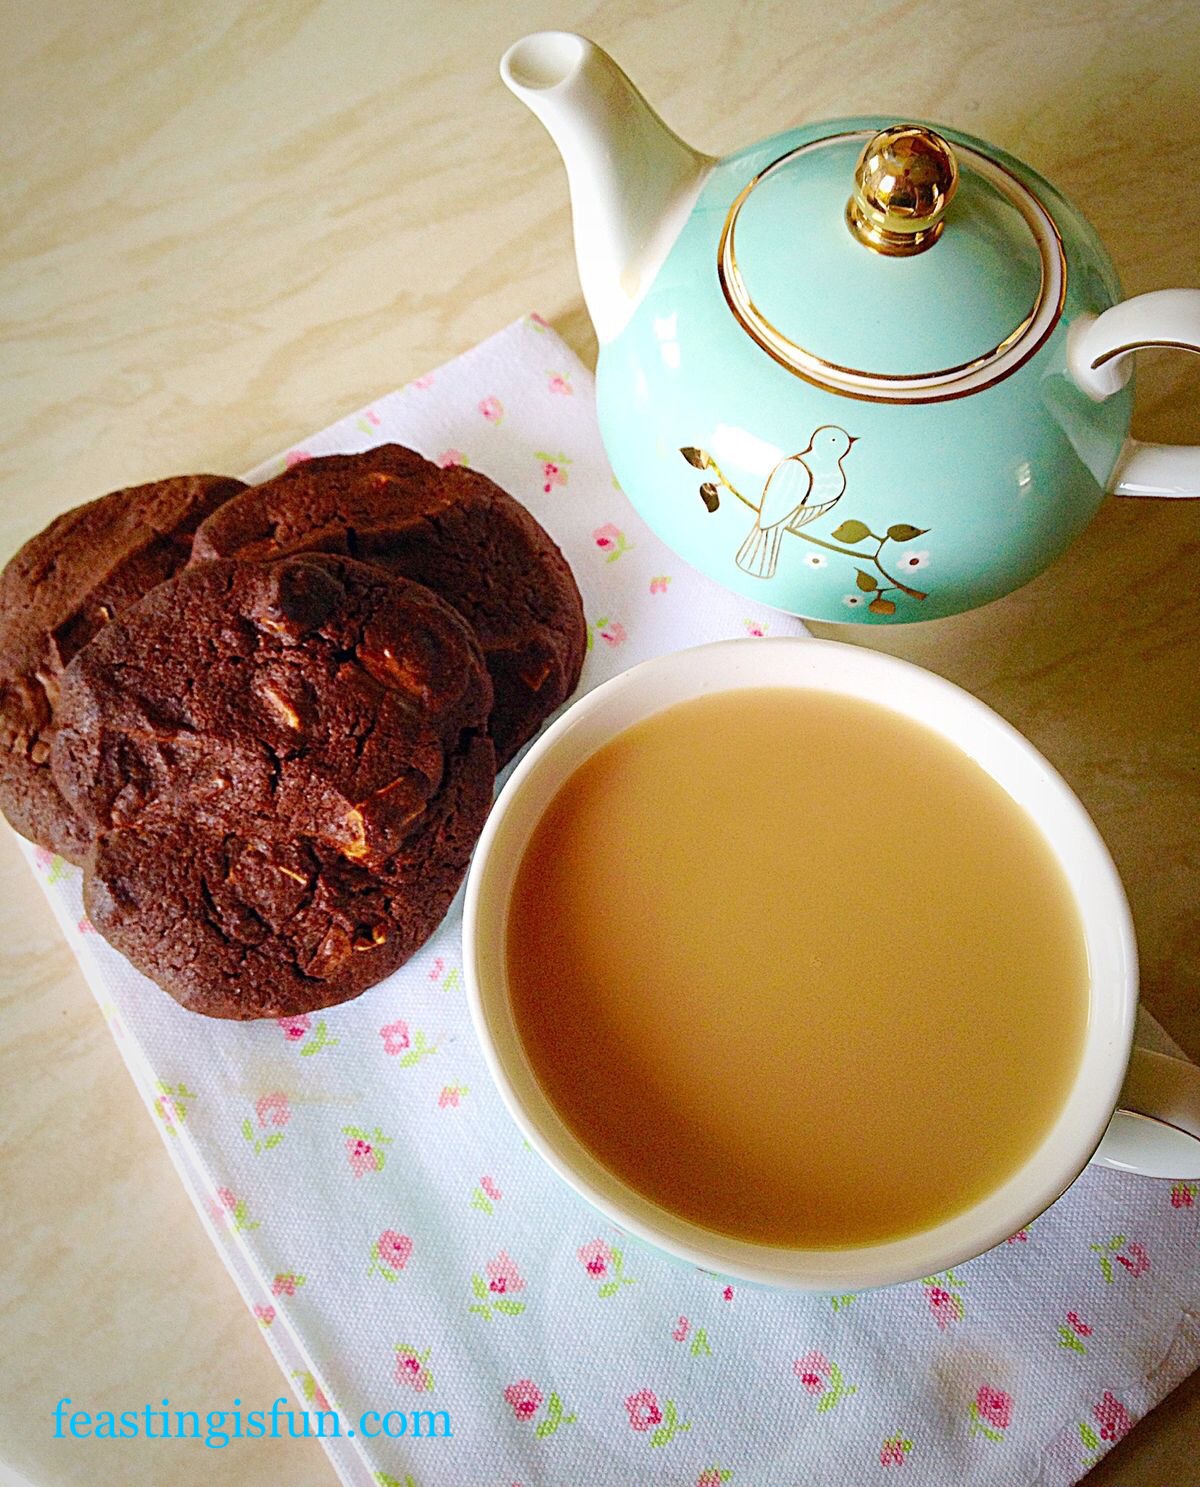
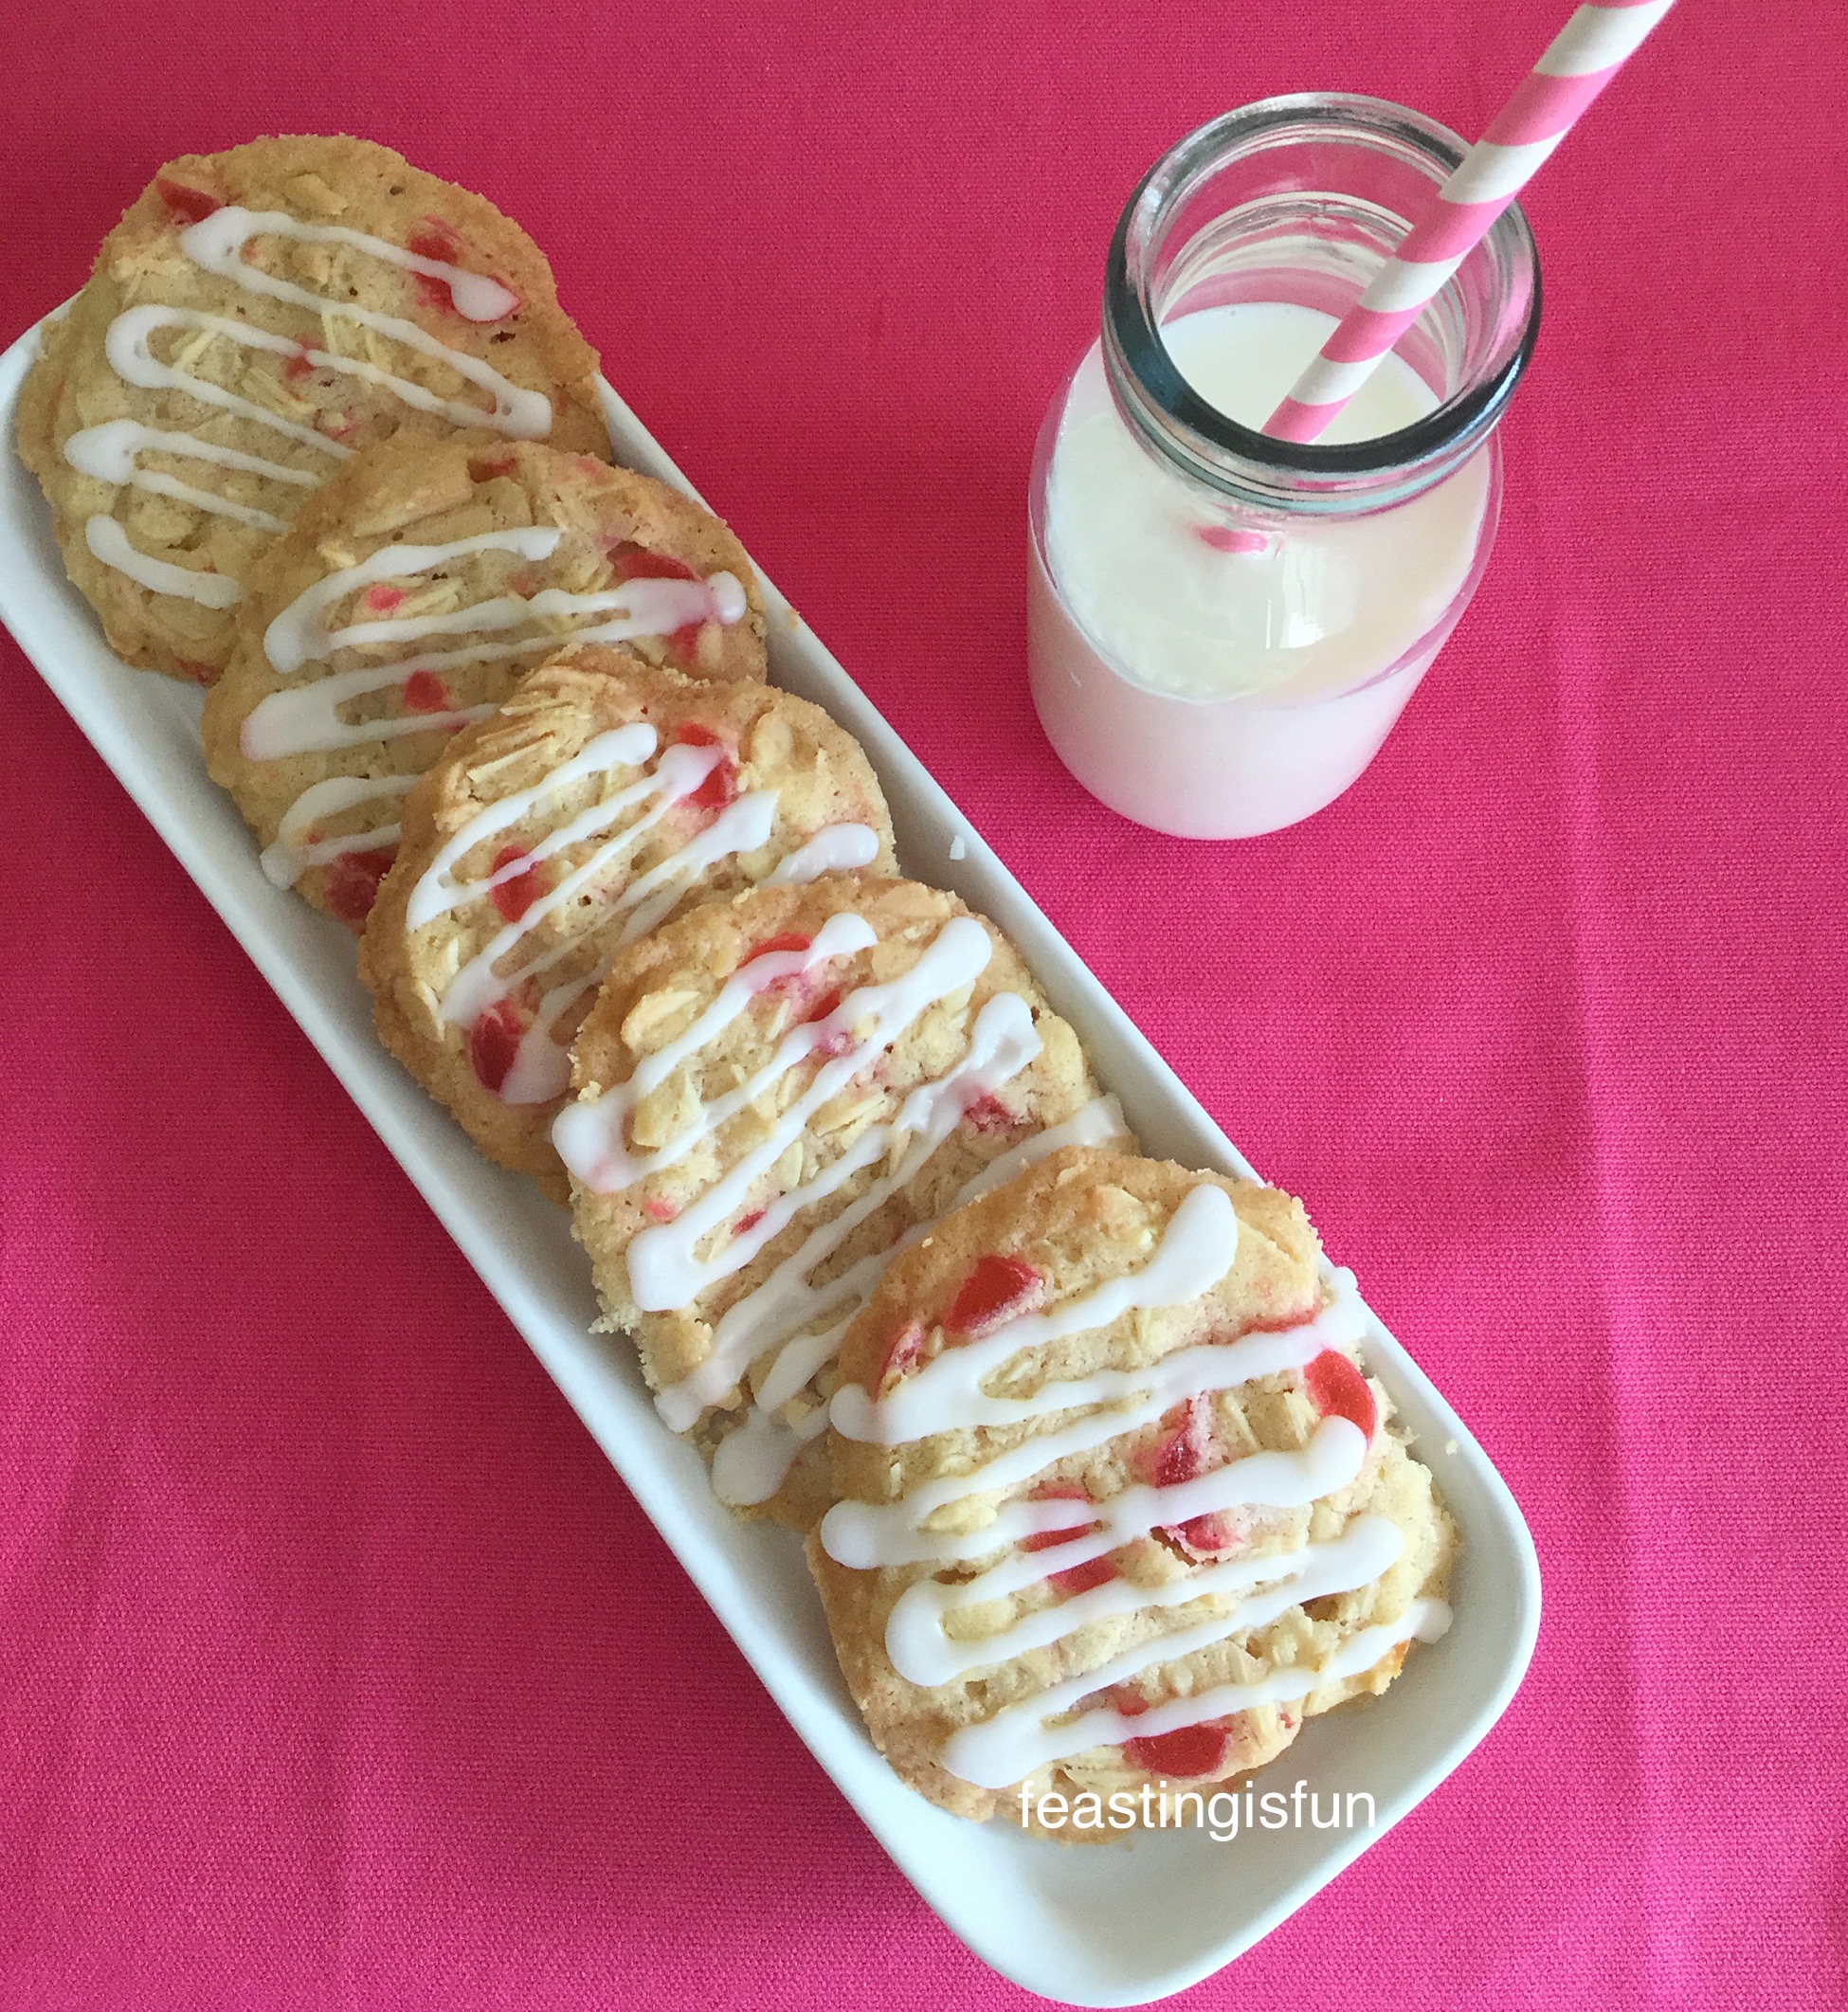
So have I tempted you to try these scrumptious Cherry Bakewell Cookies? Perfect with milk, or a cup of tea/coffee, especially as it is frrreeeezzzing outside today!

One of the reasons I enjoy baking, so much, is that I can whip up a batch of cookies or loaf of bread and I know exactly what has gone into making them. Also I really enjoy sharing what I bake, beyond our home. By that I mean, surprising our neighbours with a gift of cupcakes, baking a gift to say thank you, or just because.
And these cookies are incredibly easy to make. Once the cookie dough is made, it is rolled into logs, wrapped and chilled in the fridge and then sliced and baked when needed. Alternatively, you could dispense with the almond drizzle, just add the almond extract to the creamed butter and sugar part of the recipe, so that these retain that proper Bakewell taste and once baked these babies are ready to eat!
Recipe: Makes Approximately 20 Cherry Bakewell Cookies
225g/8oz Unsalted Butter at room temperature
150g/5oz Caster Sugar
275g/10oz Plain White Flour
1/4tsp Salt I use Maldon Salt
1 Large Egg Yolk – I always use free range
1tsp Vanilla Extract
100g/4oz Flaked Almonds
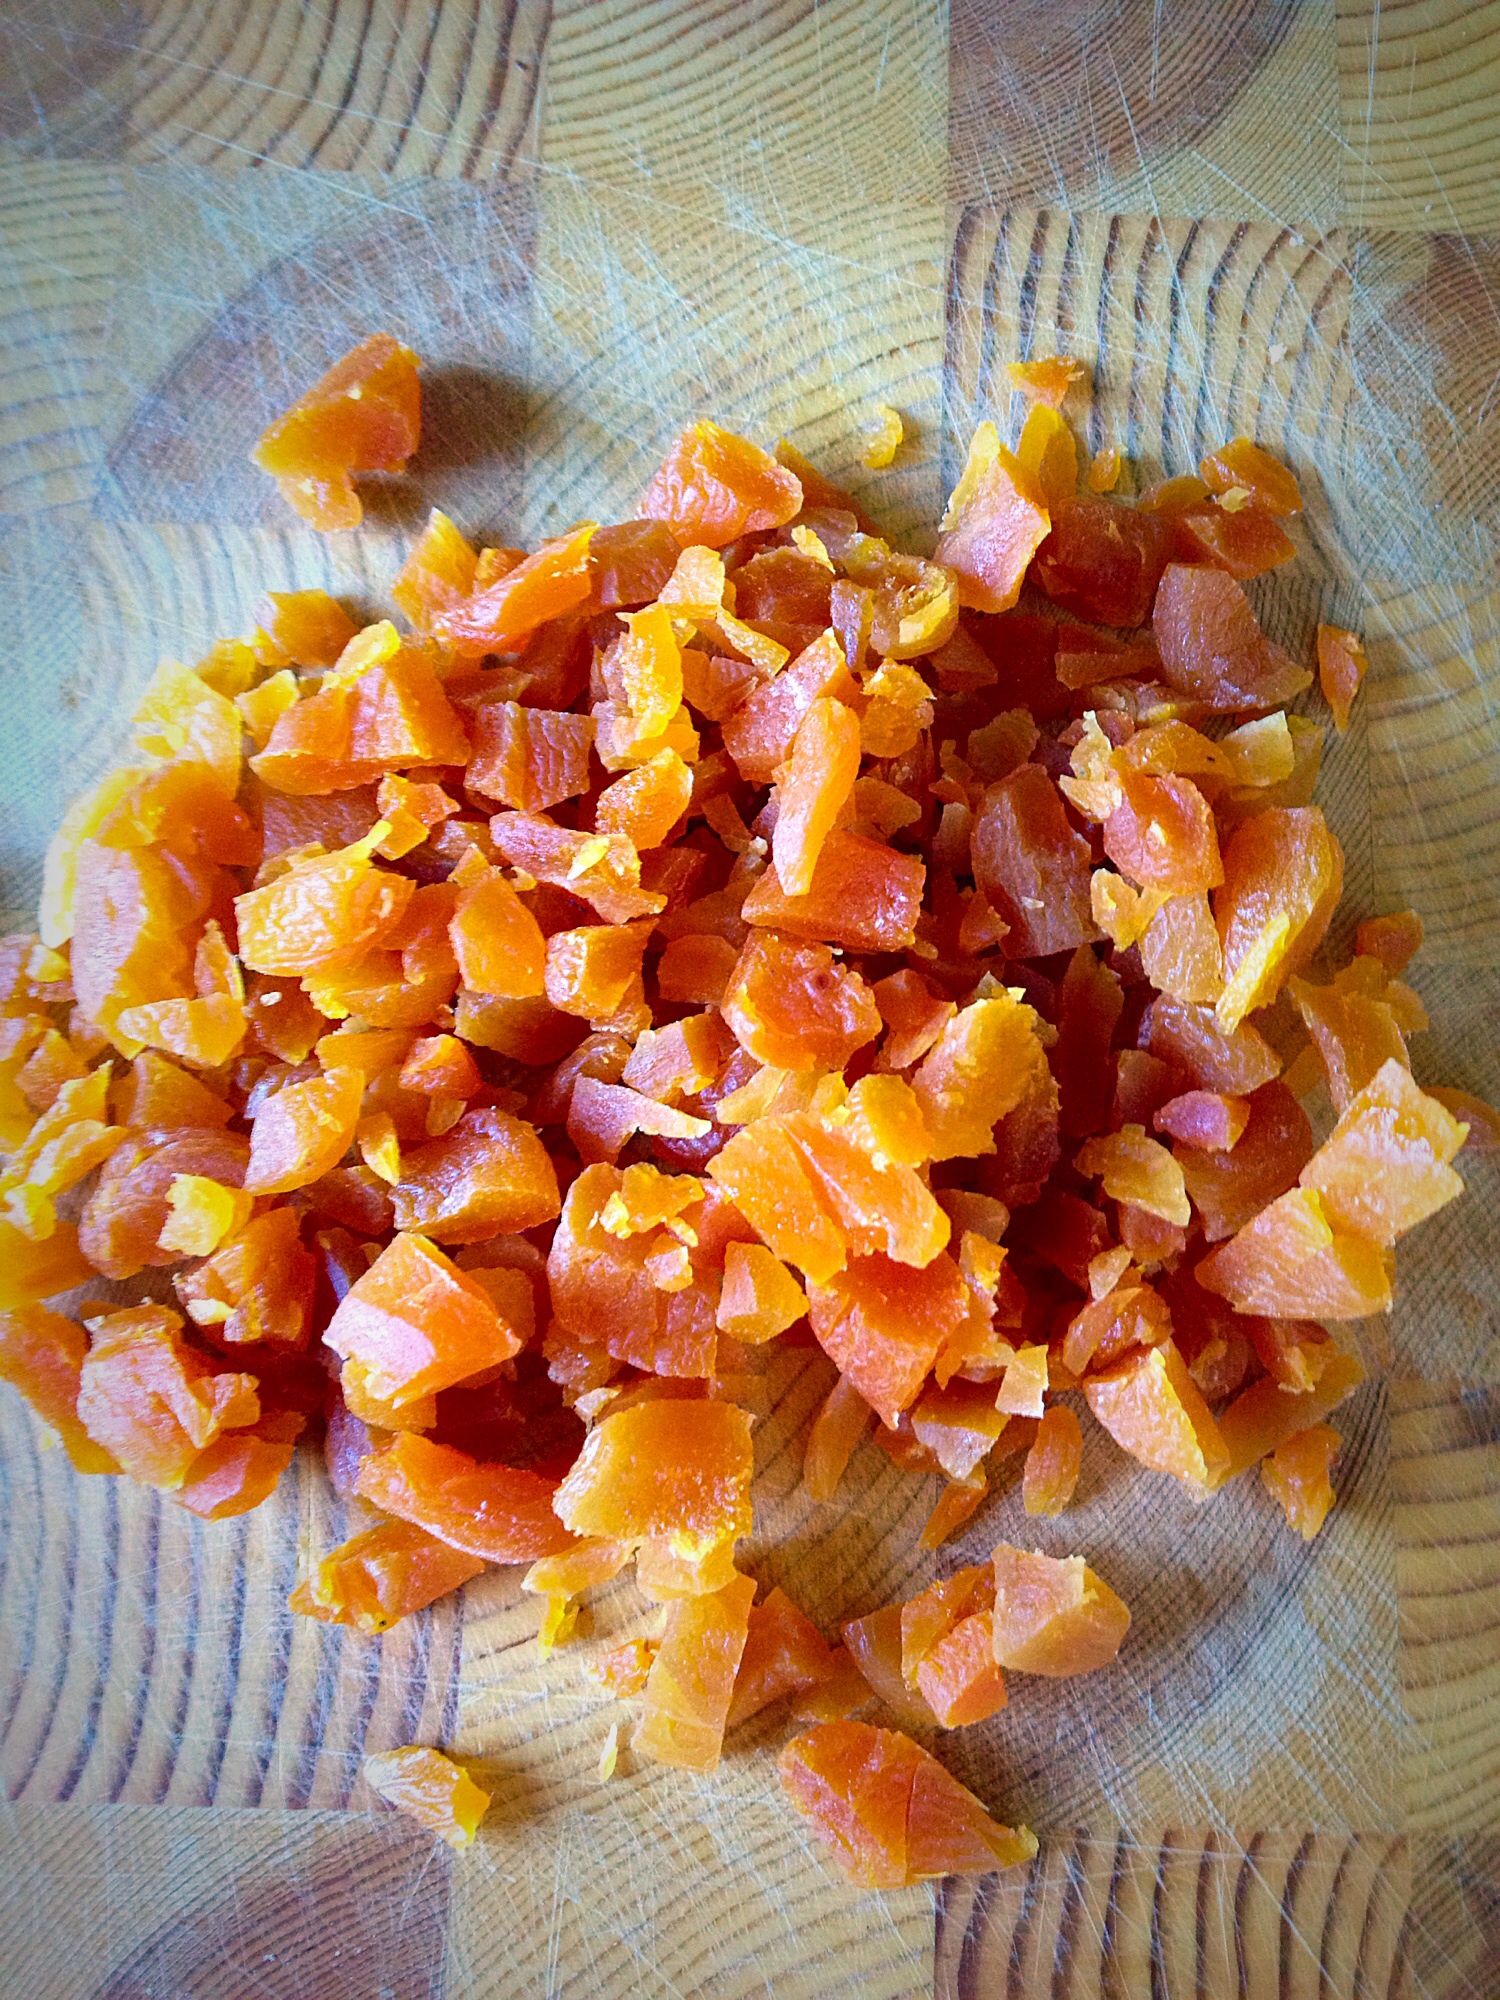
100g/4oz Glacé Cherries roughly chopped
For the drizzle
200g/7oz Icing Sugar
1tsp Almond Extract – available from Nielsen-Massey
Tap water
Method:
Making the cookie dough:
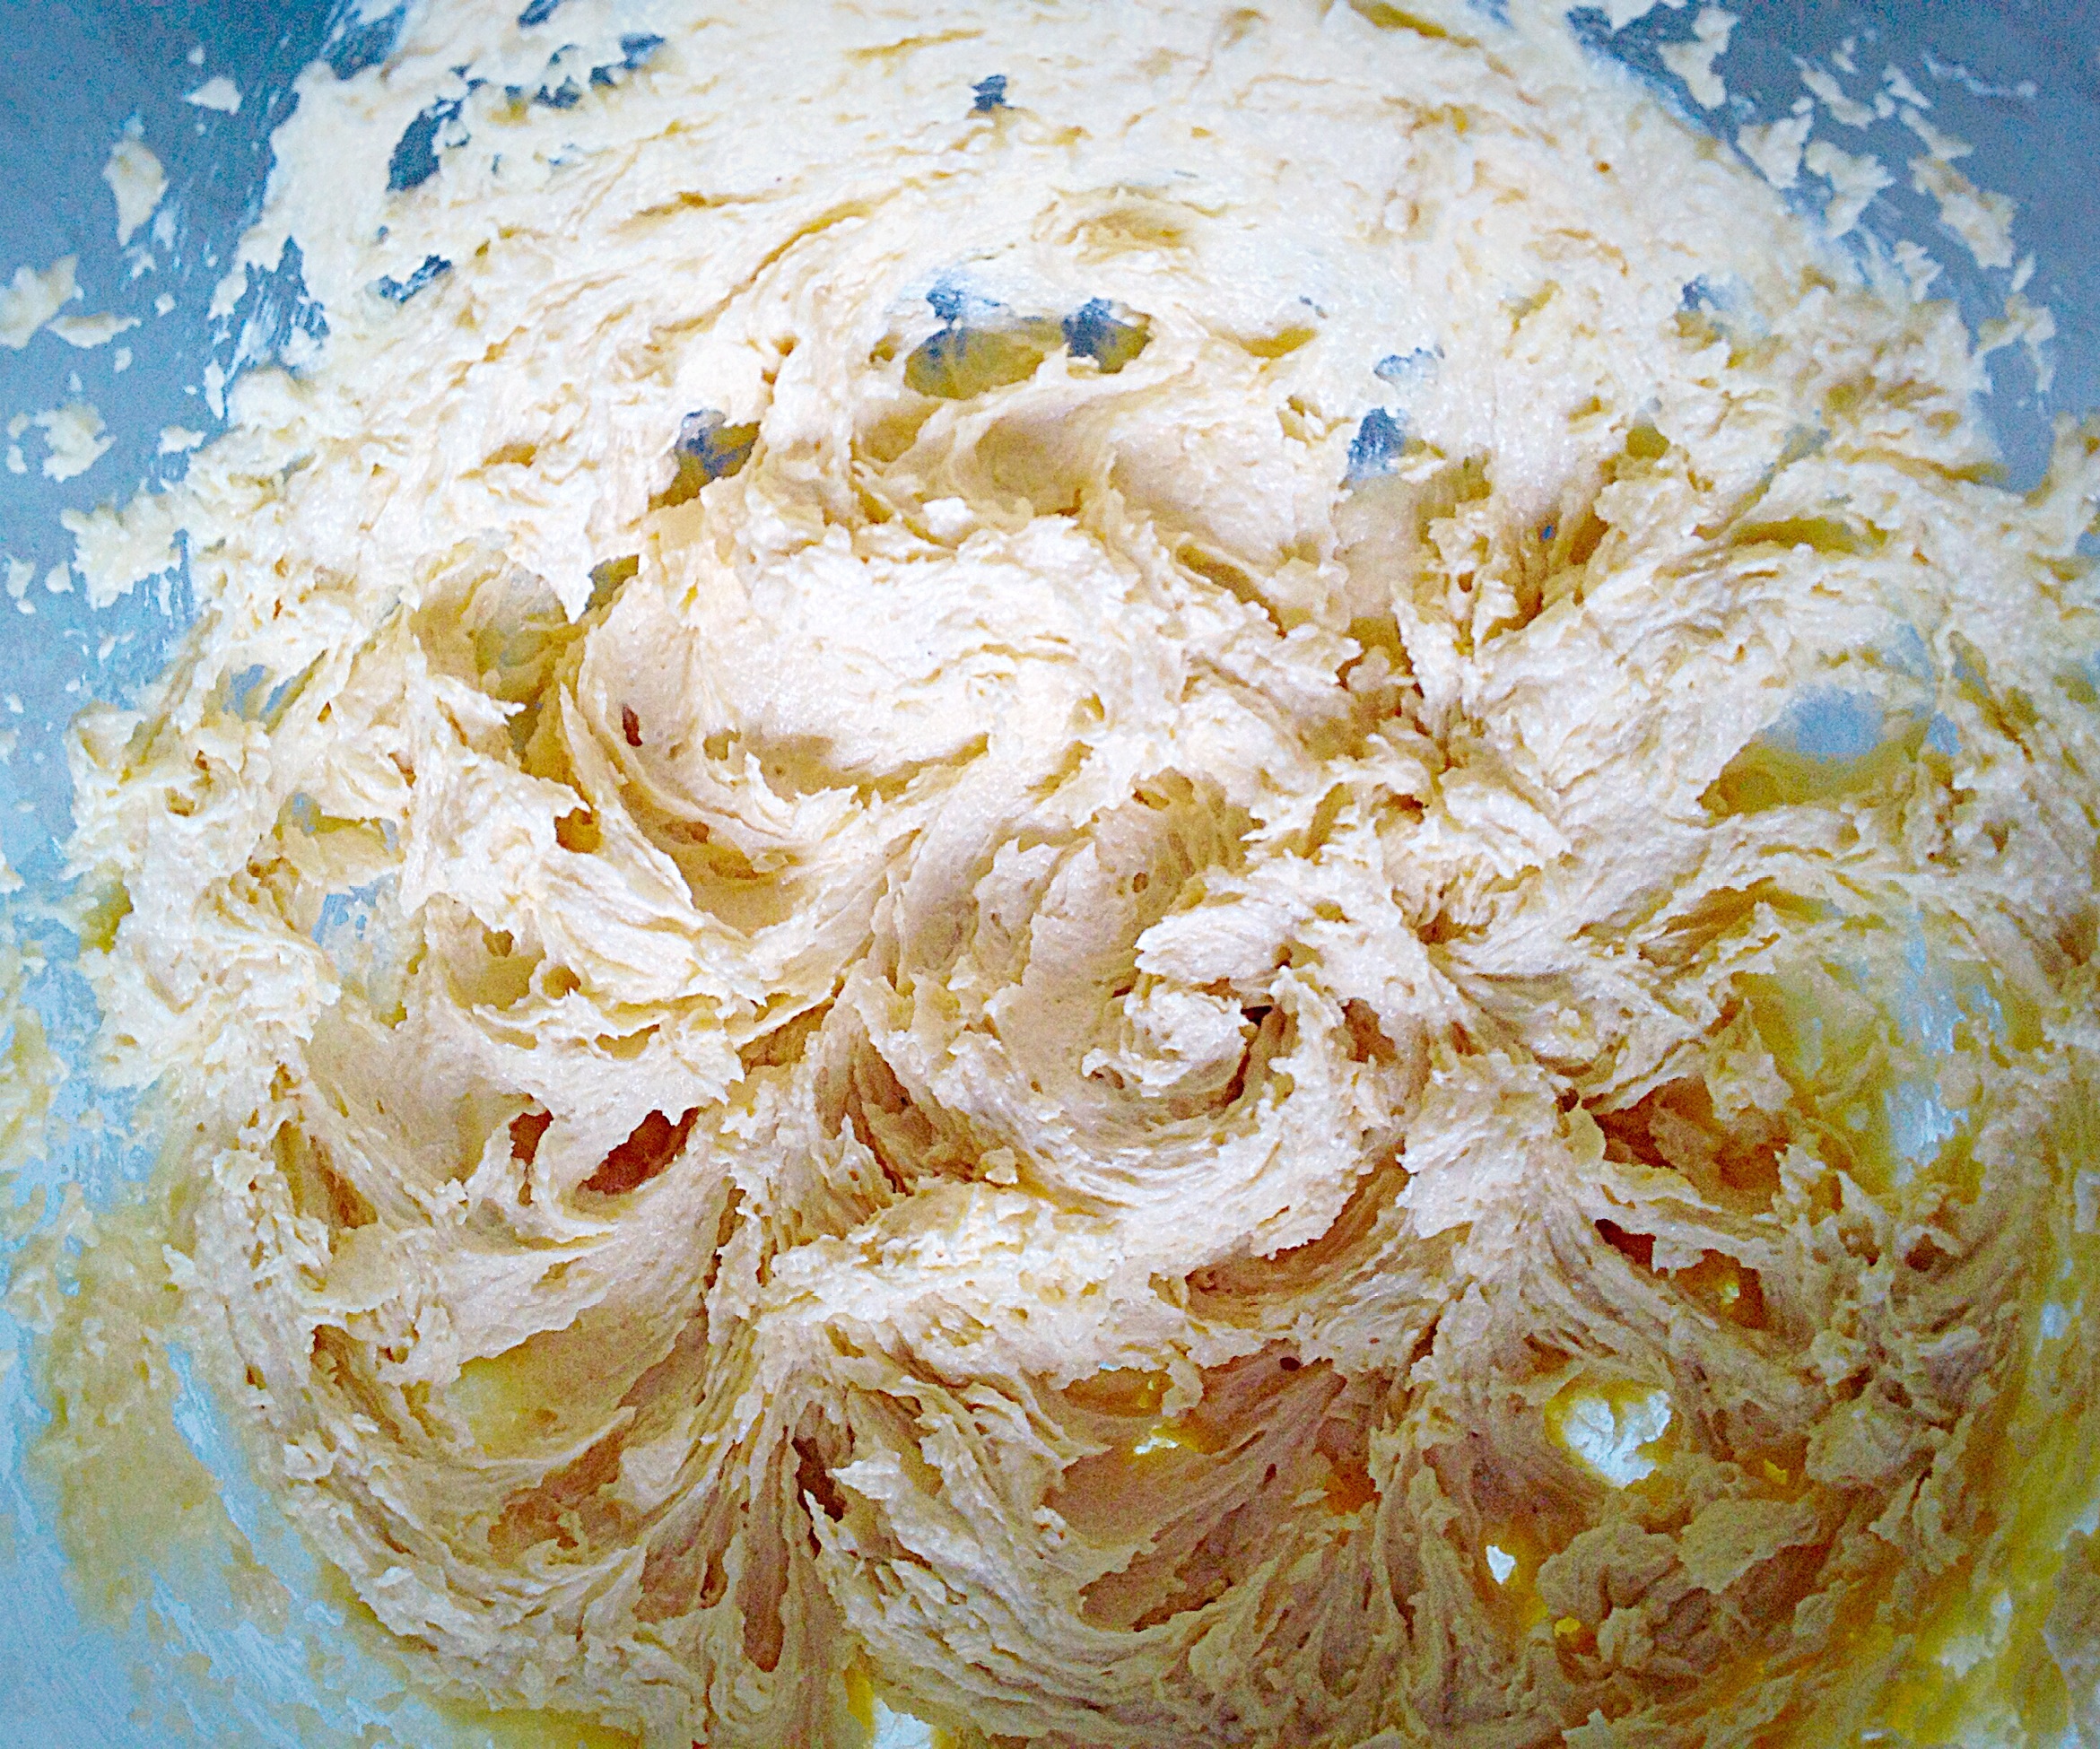
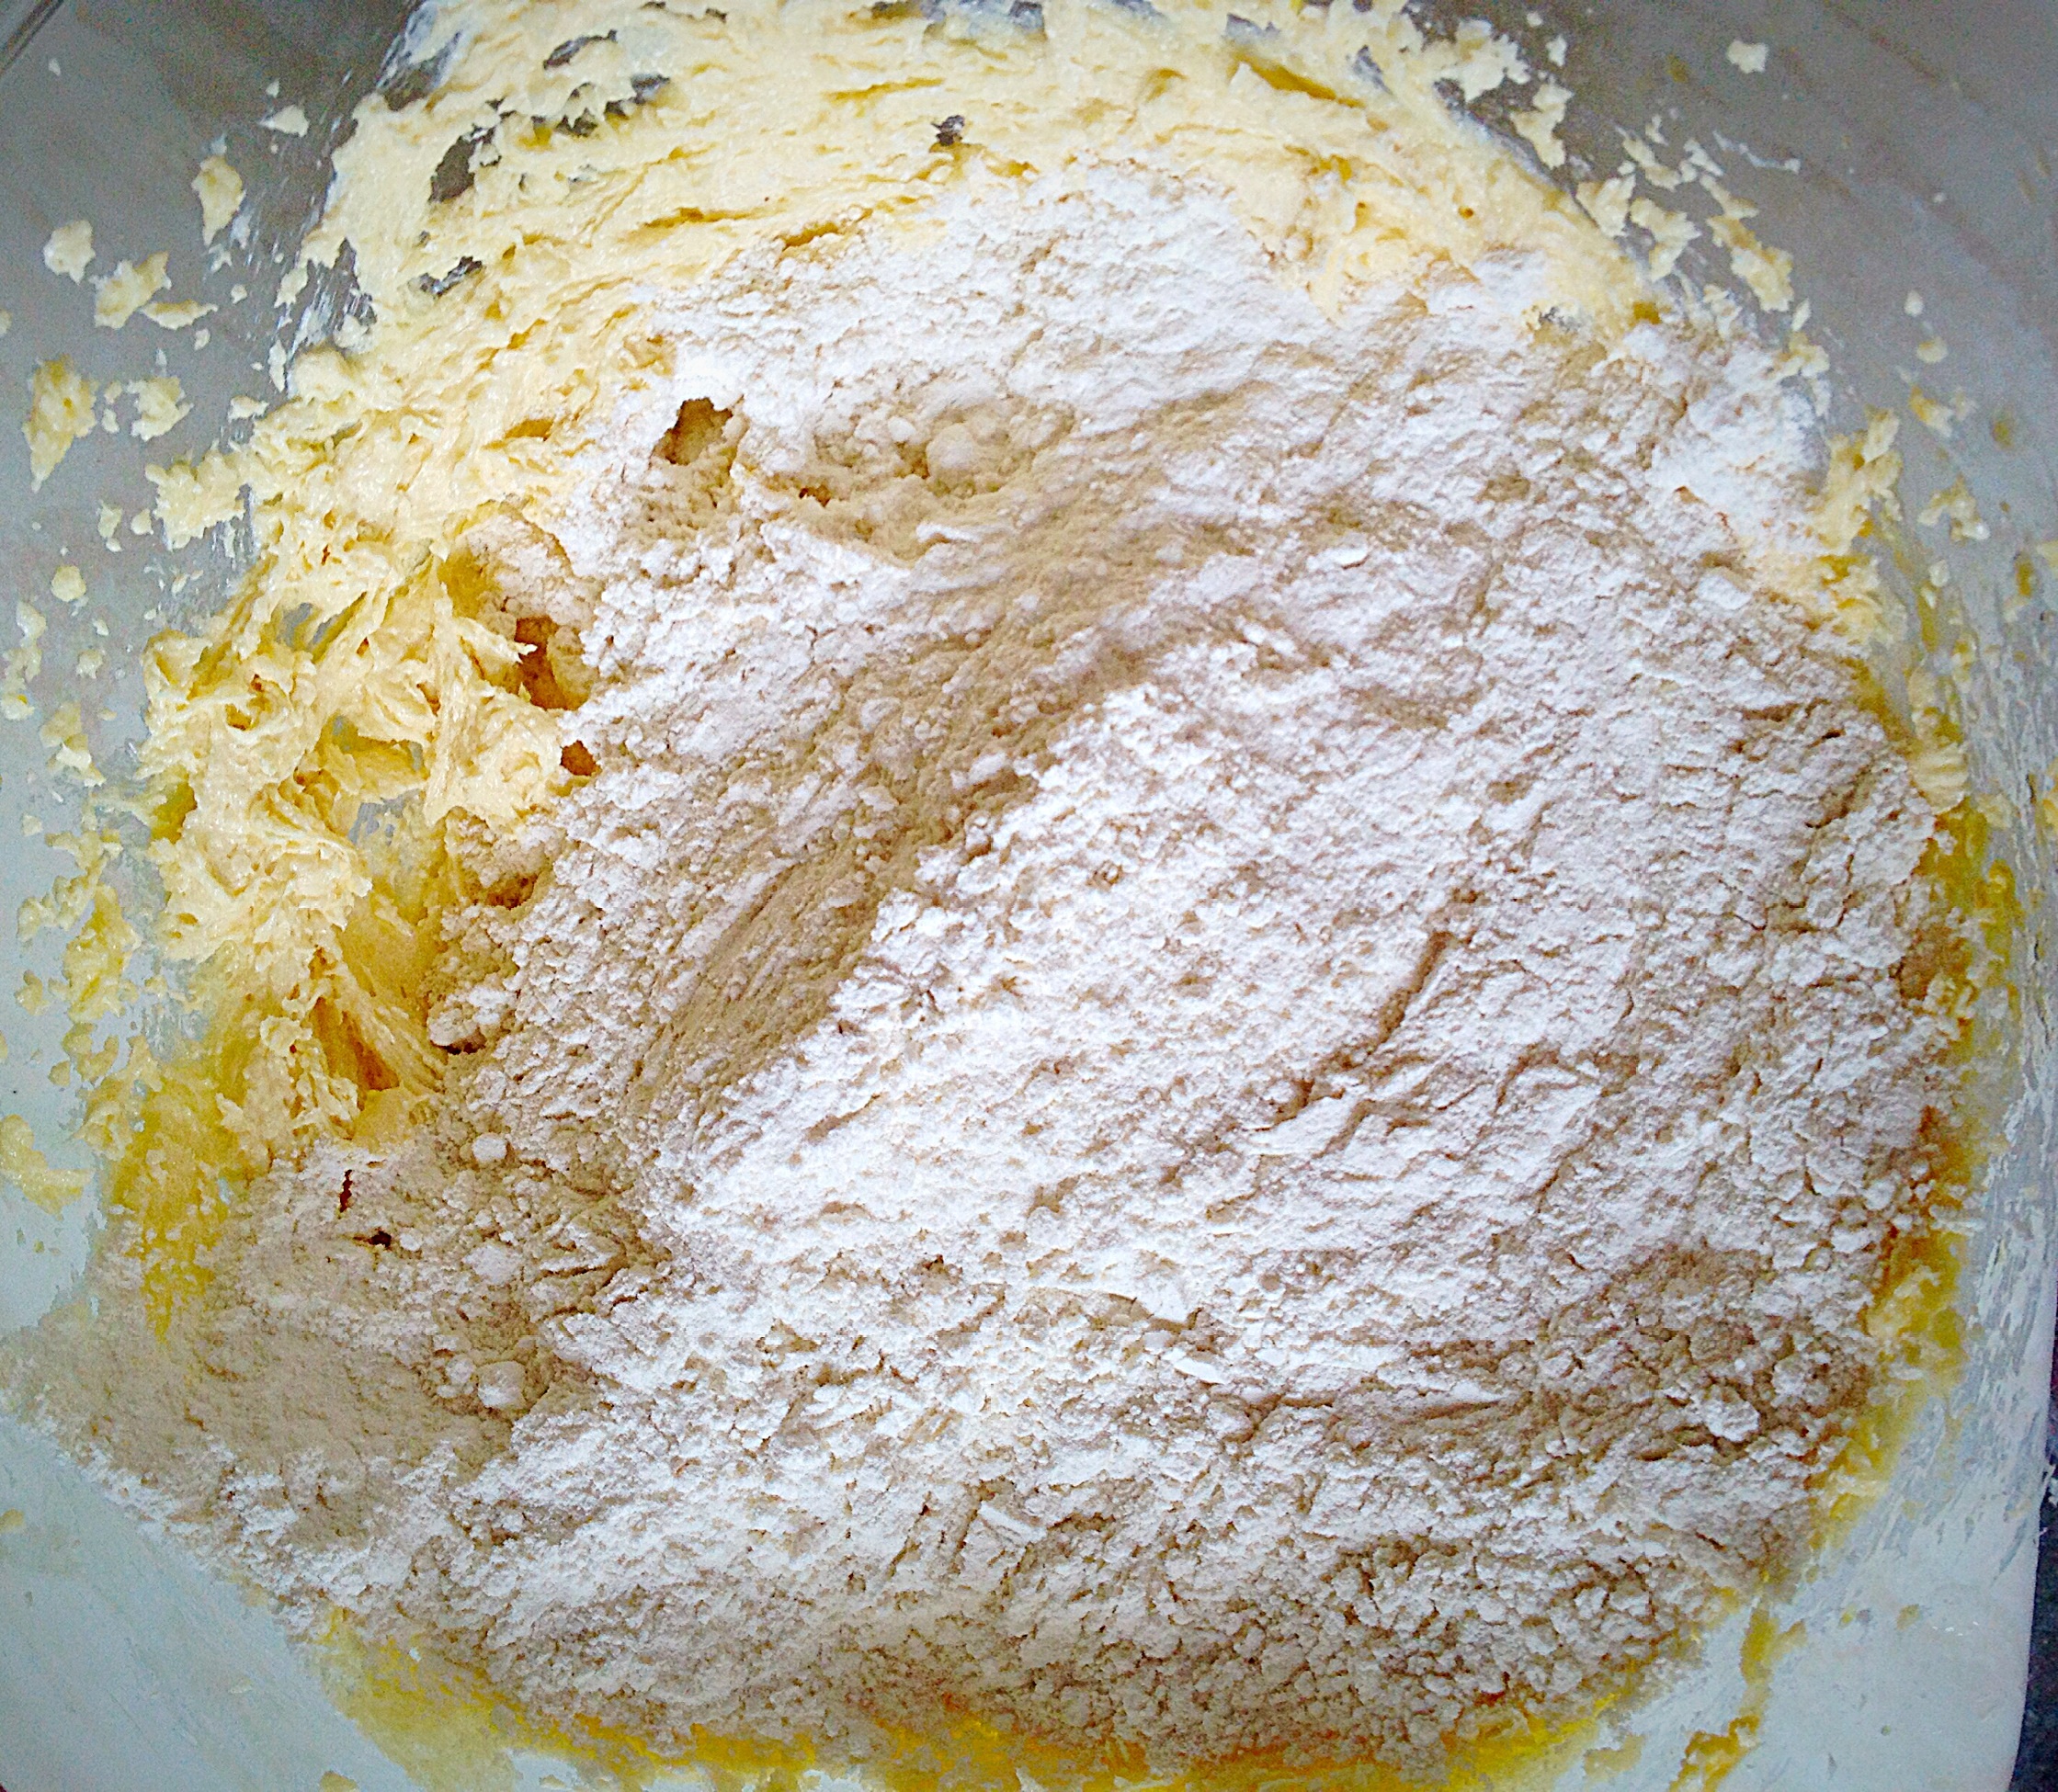
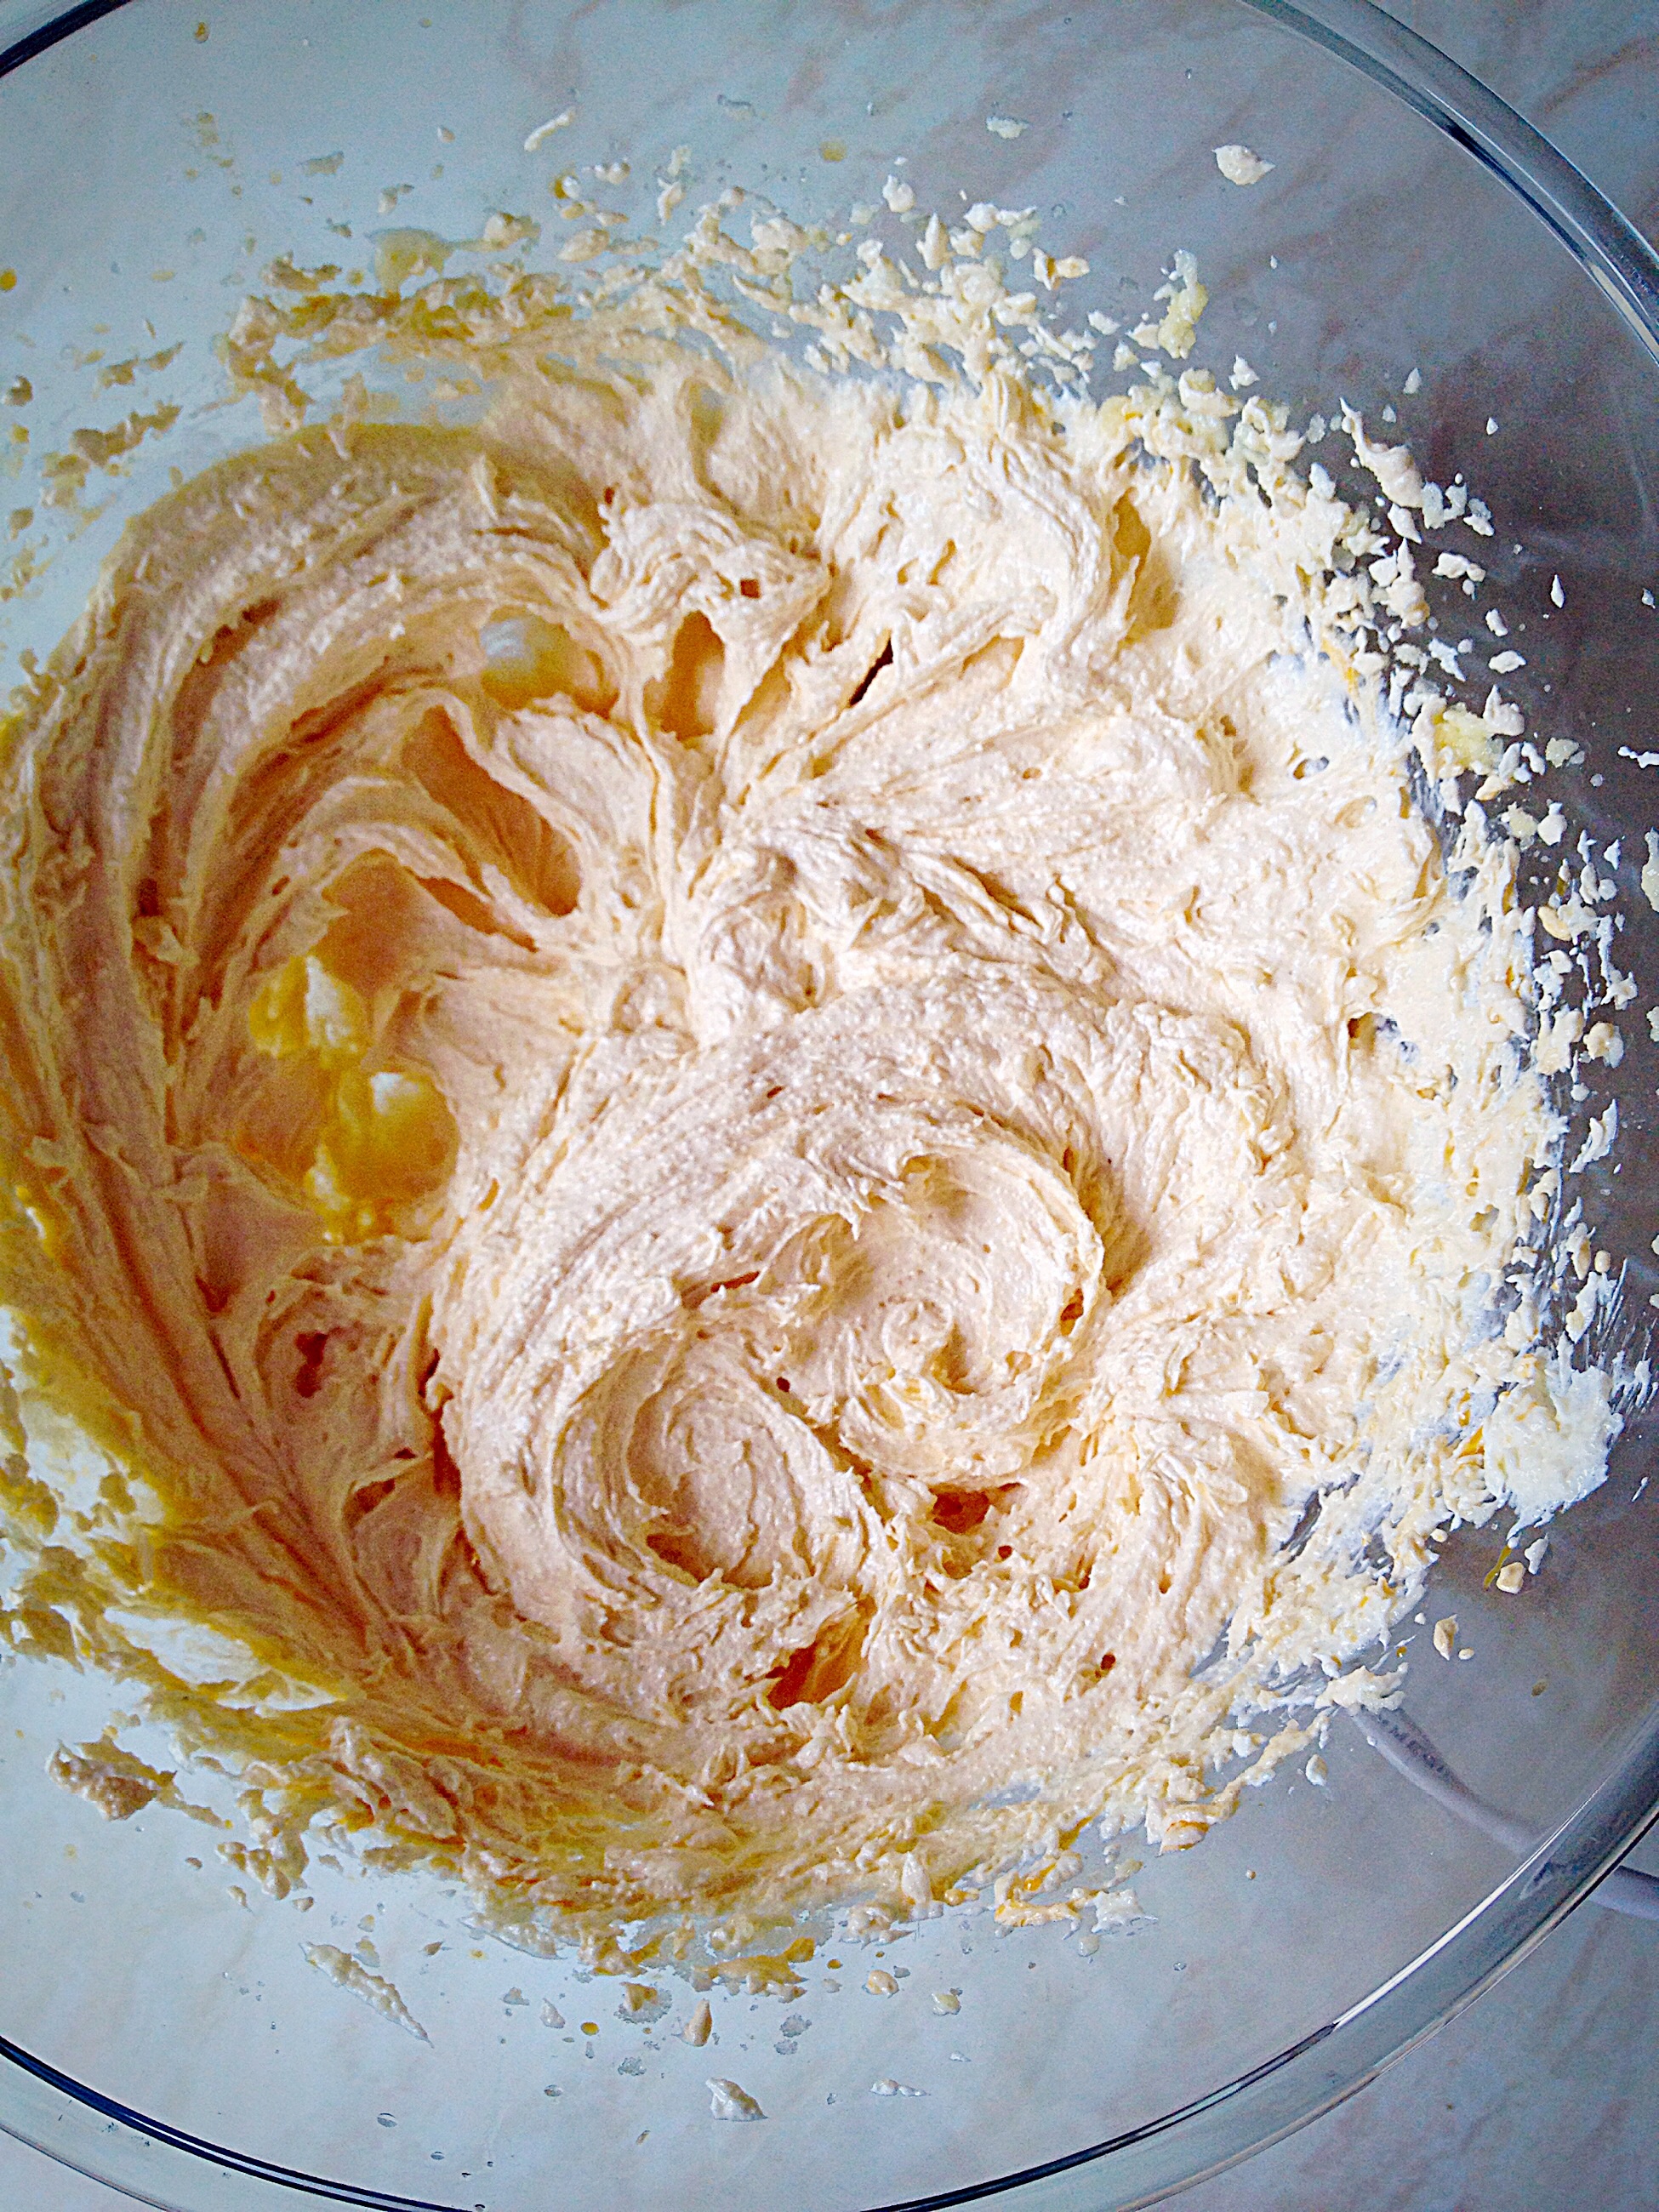
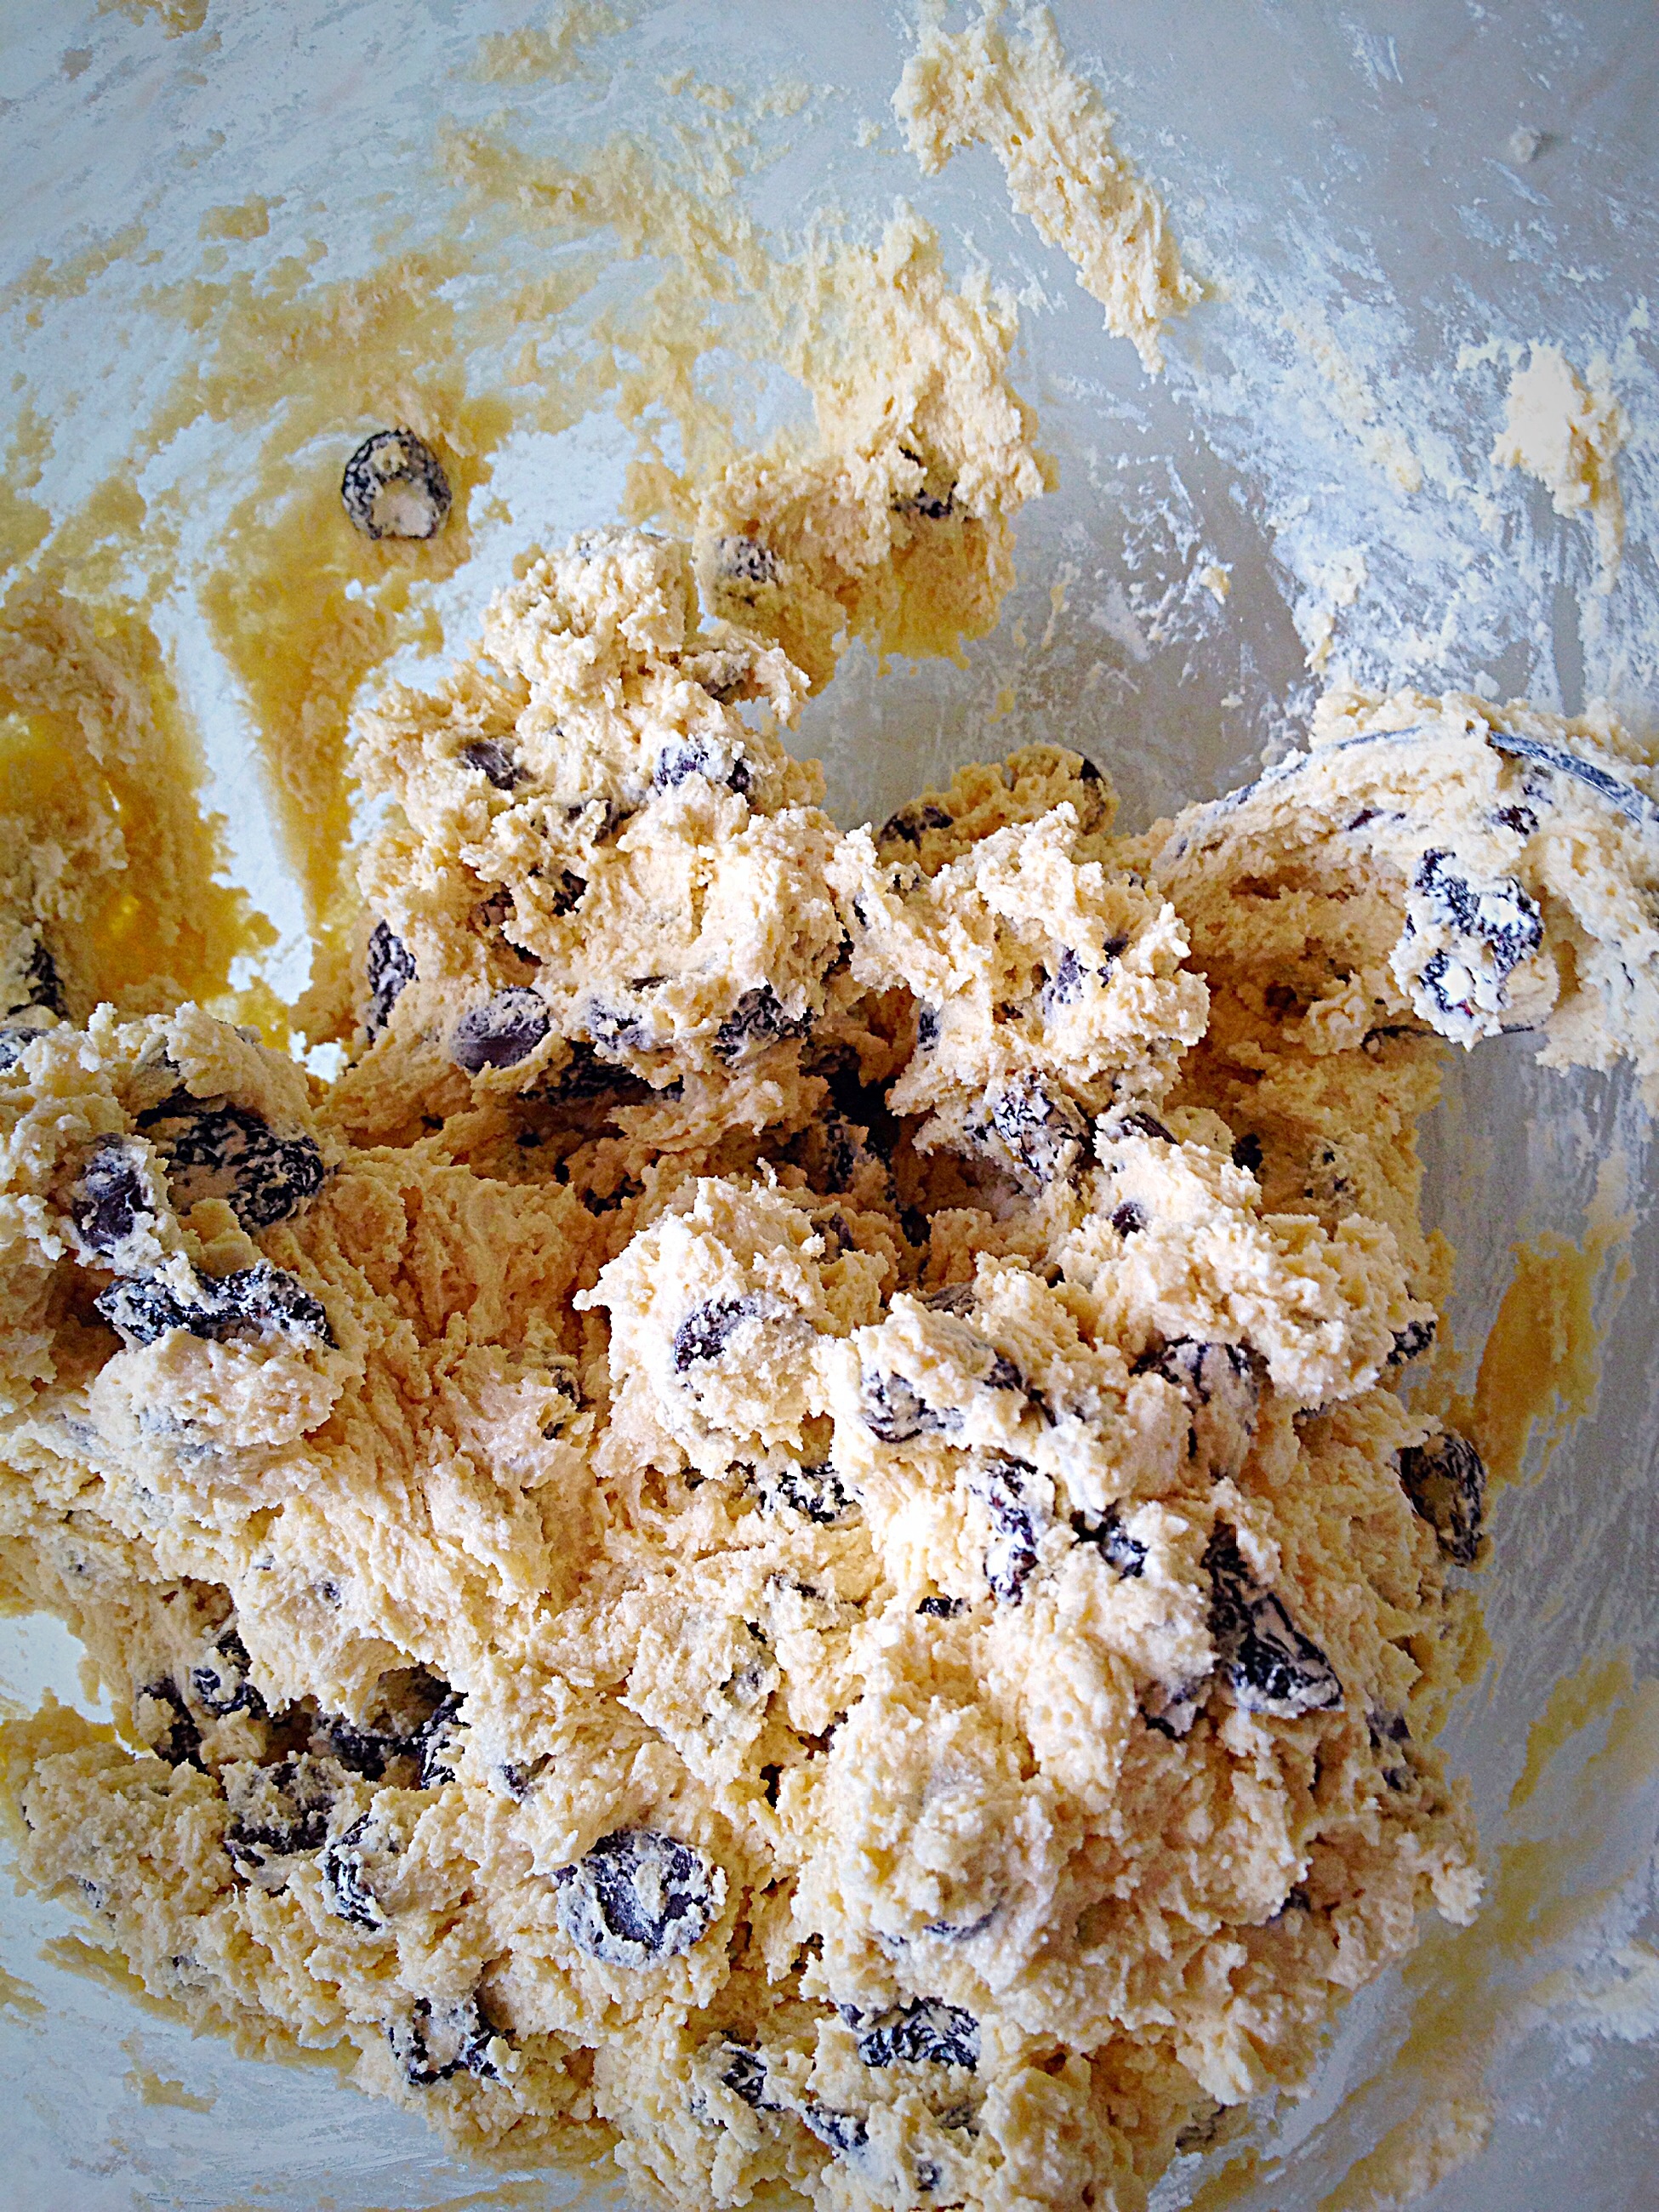
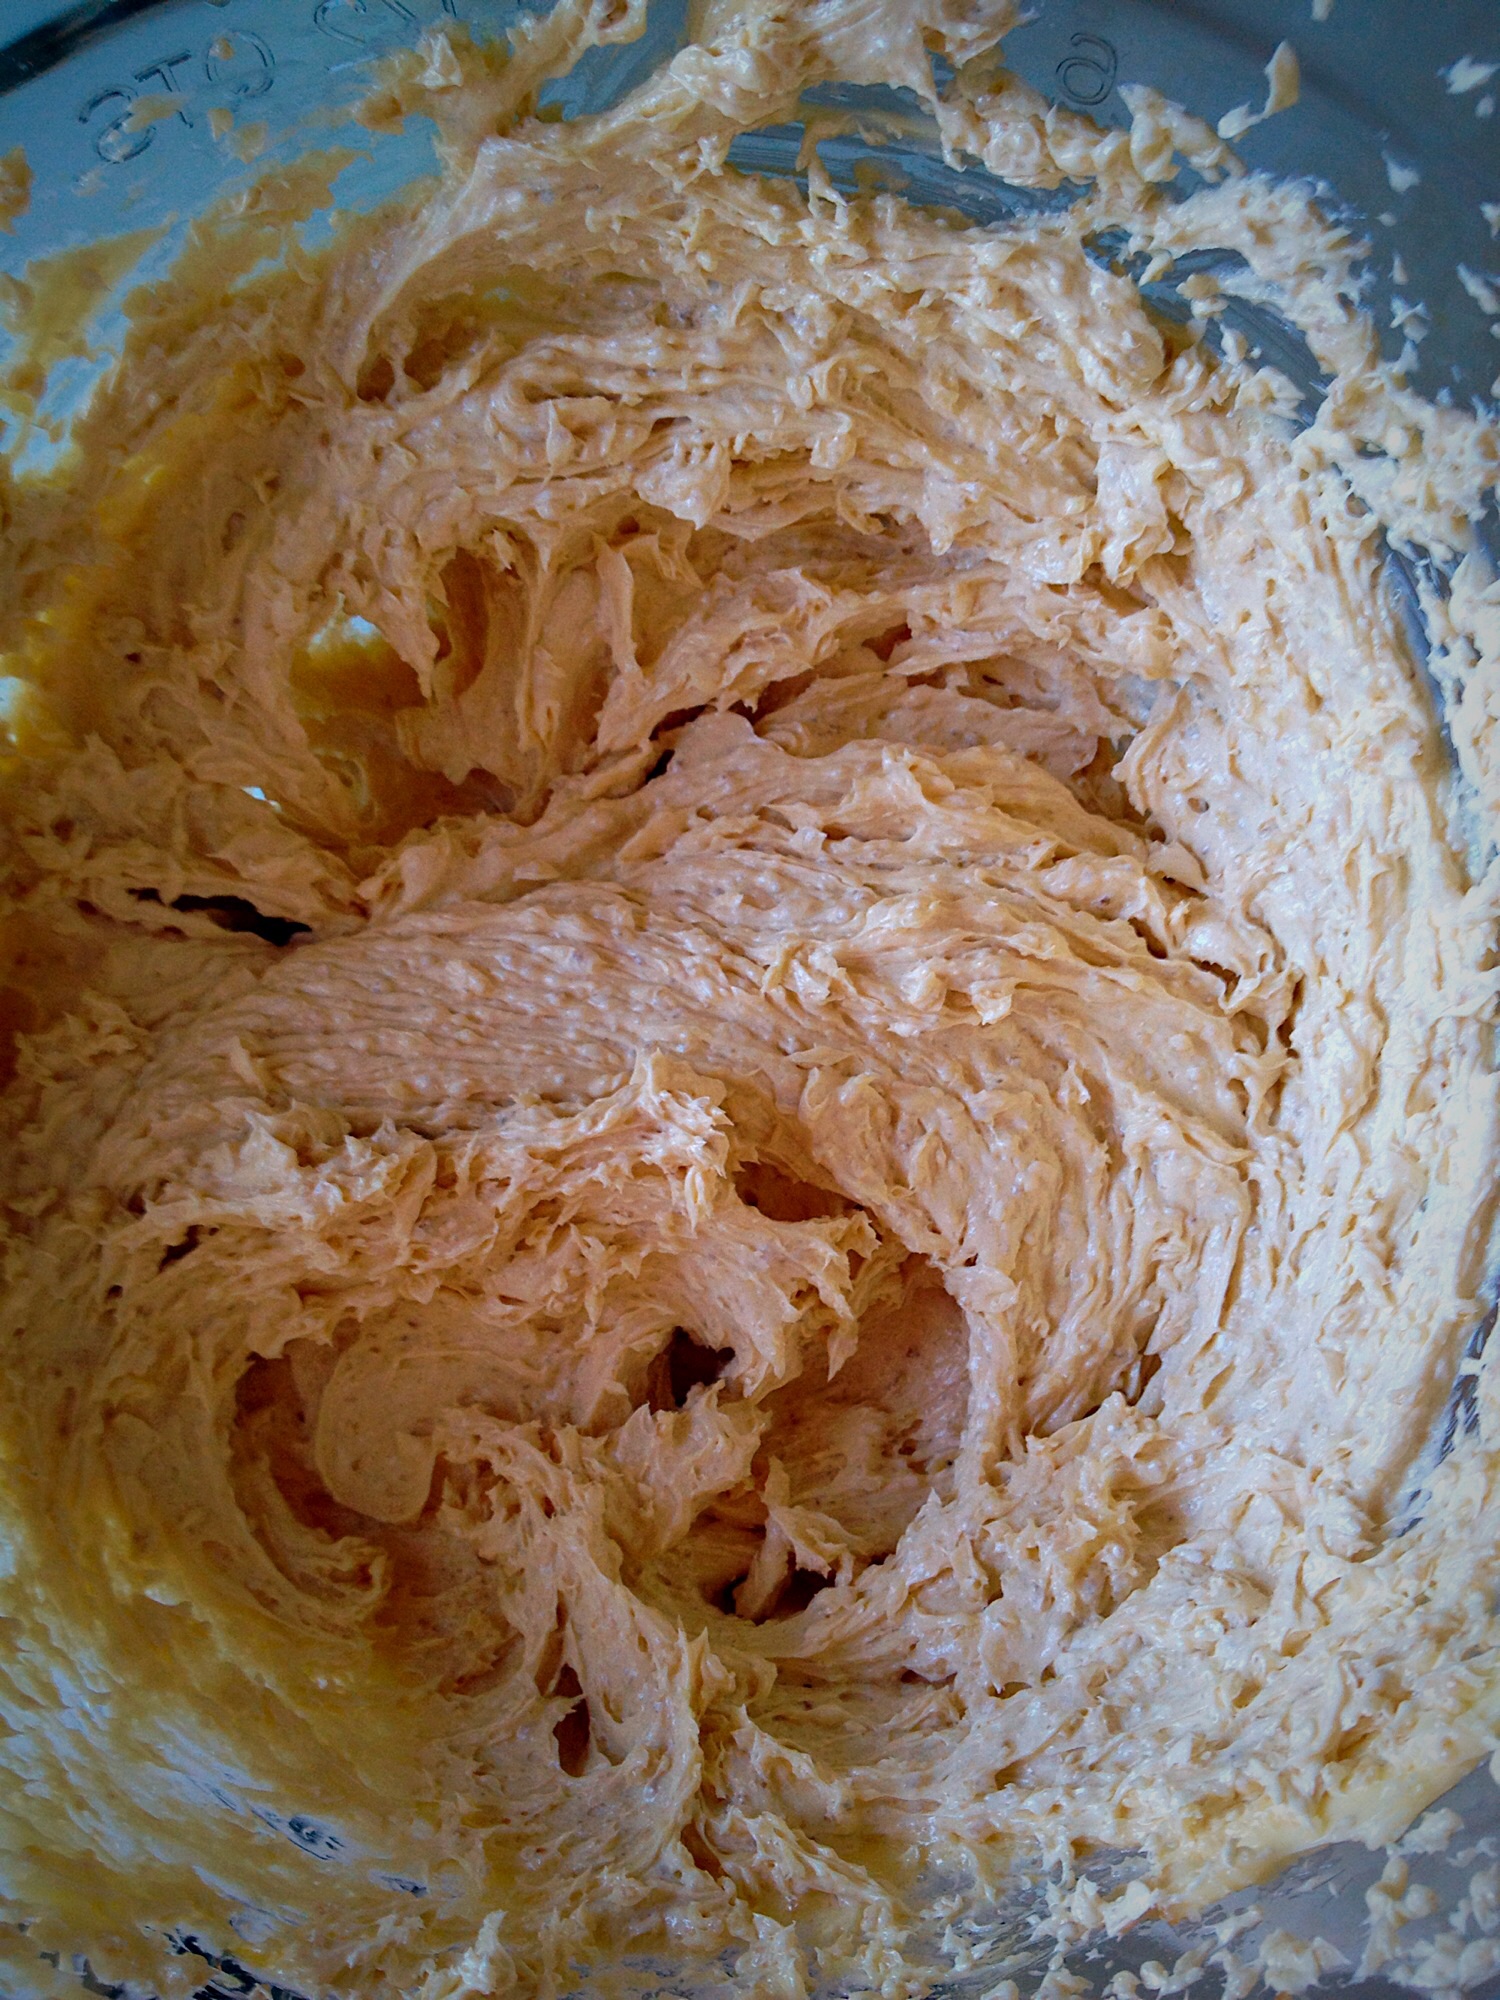
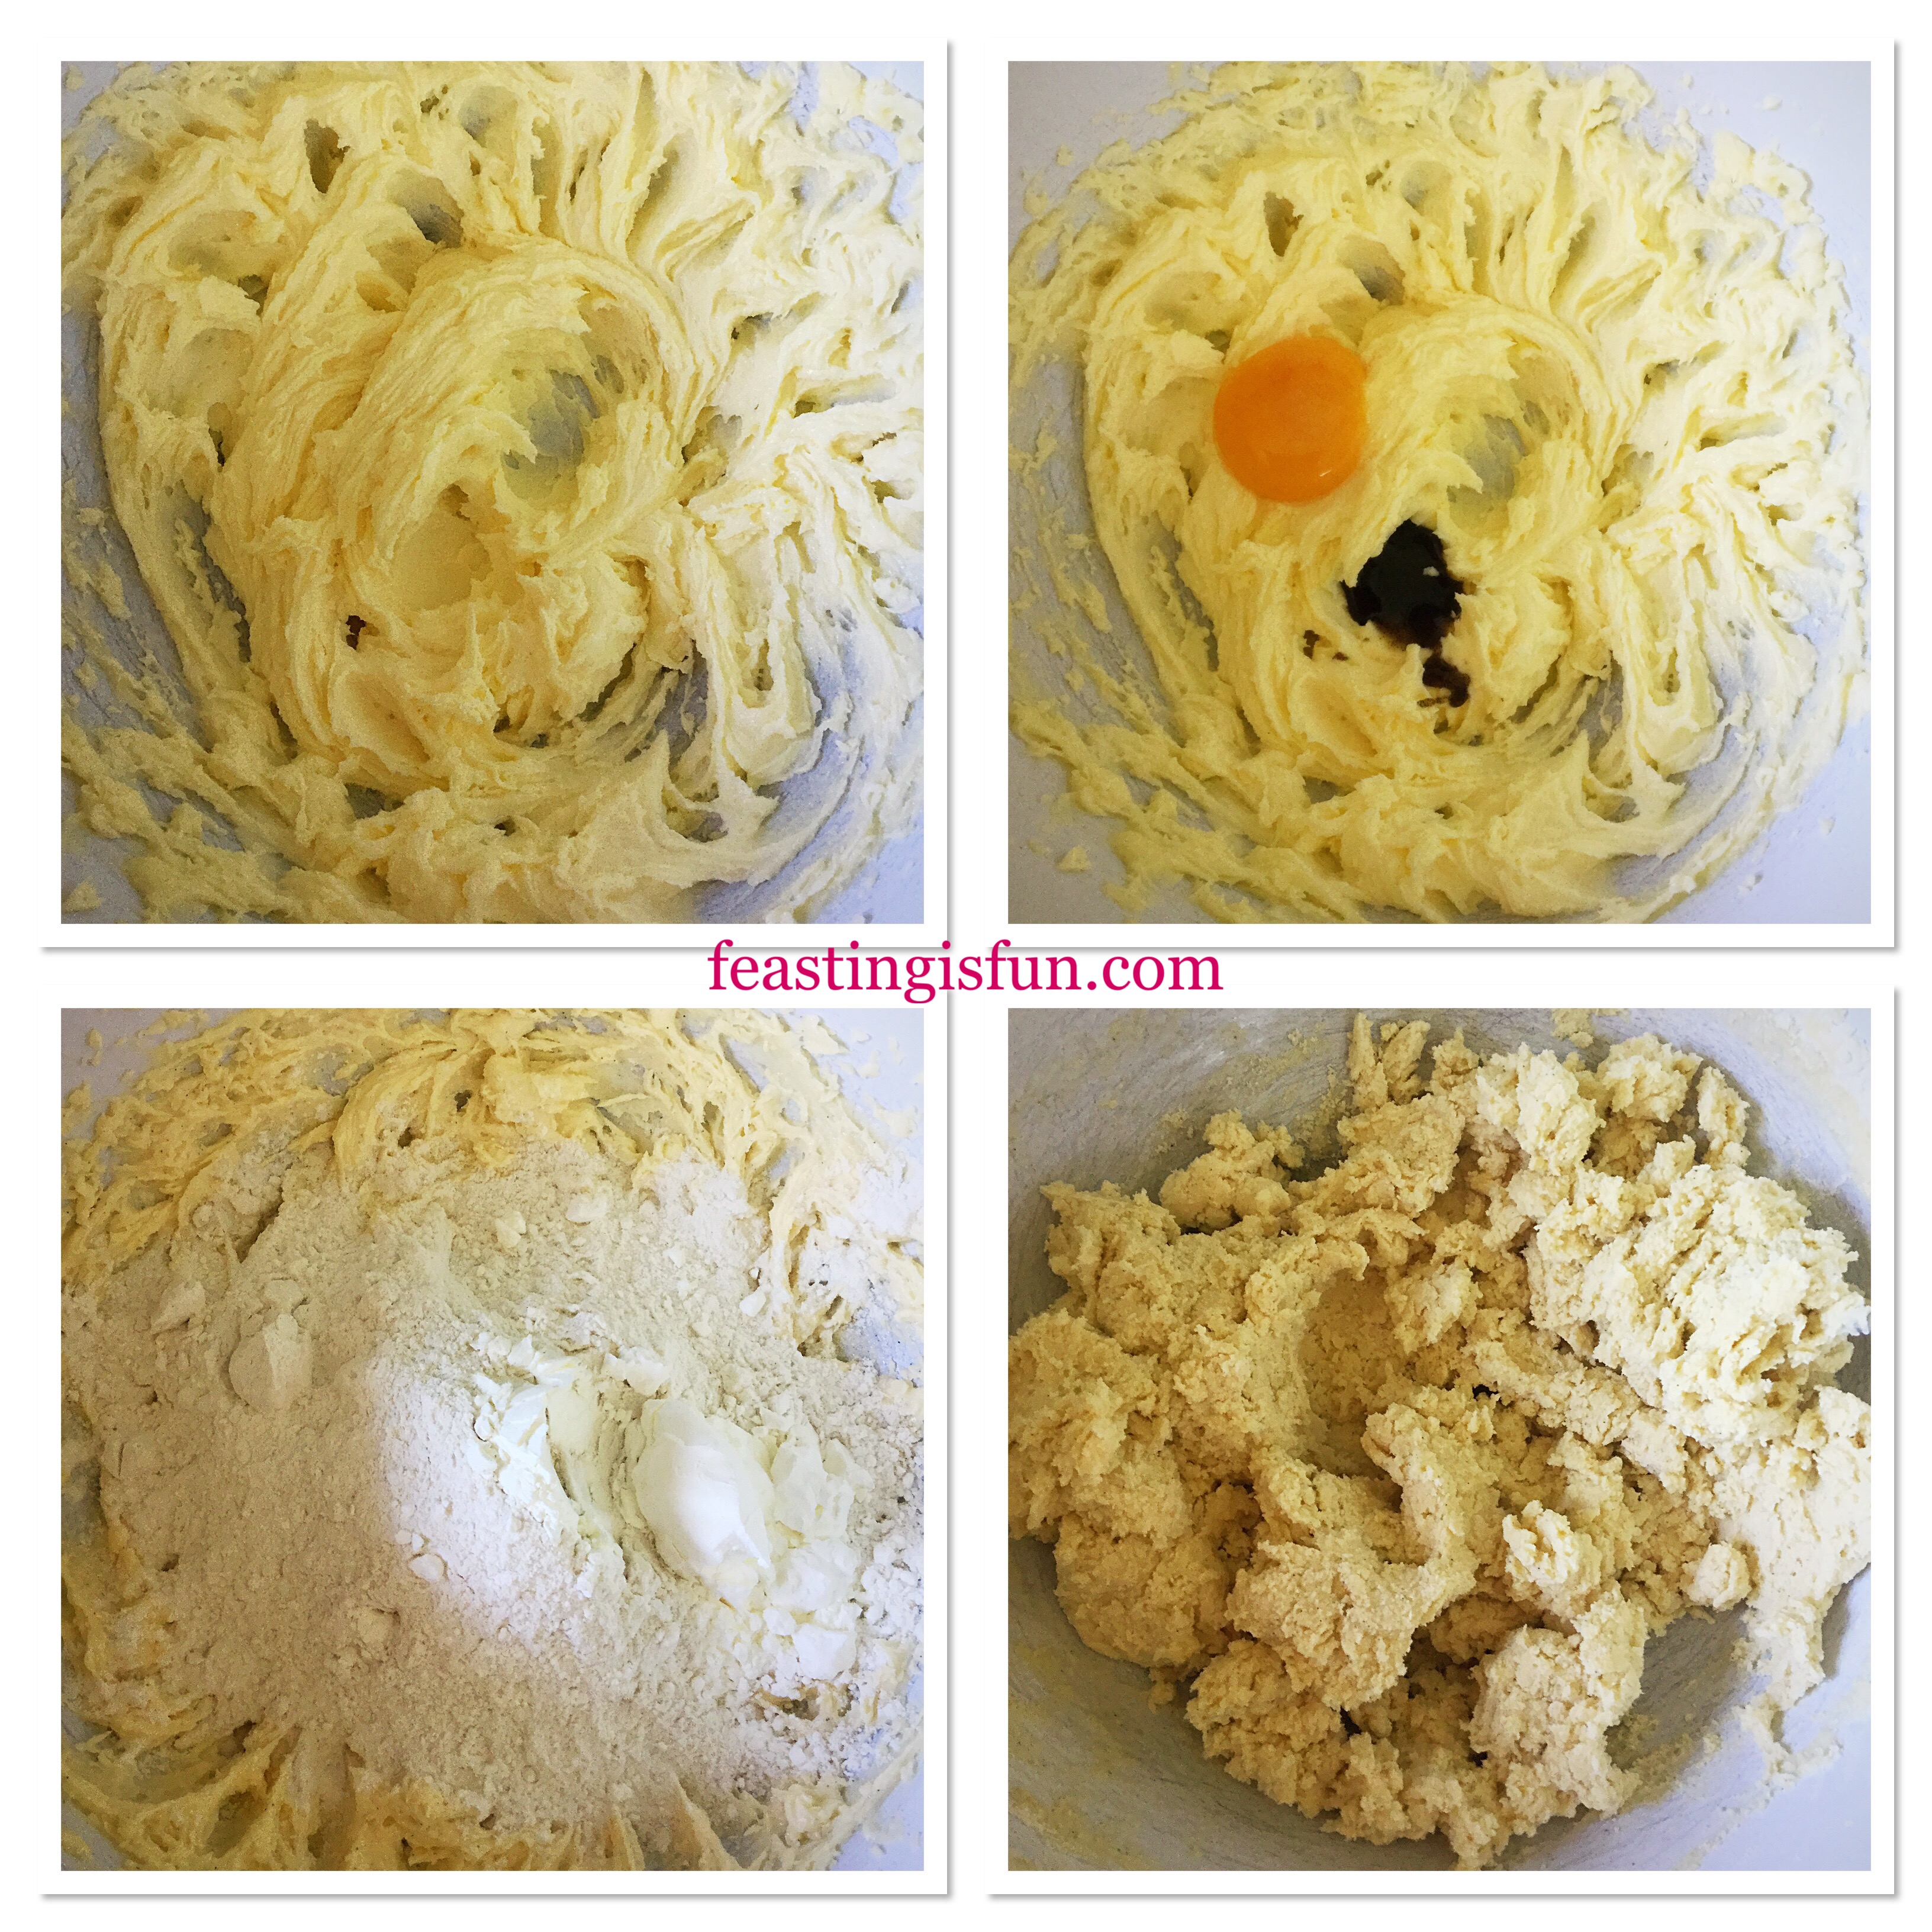
In a large bowl add the butter, sugar and salt. Whisk until pale and creamy.
Add the egg yolk and vanilla extract (and the almond extract, if not making the drizzle). Whisk together until all the ingredients are combined.
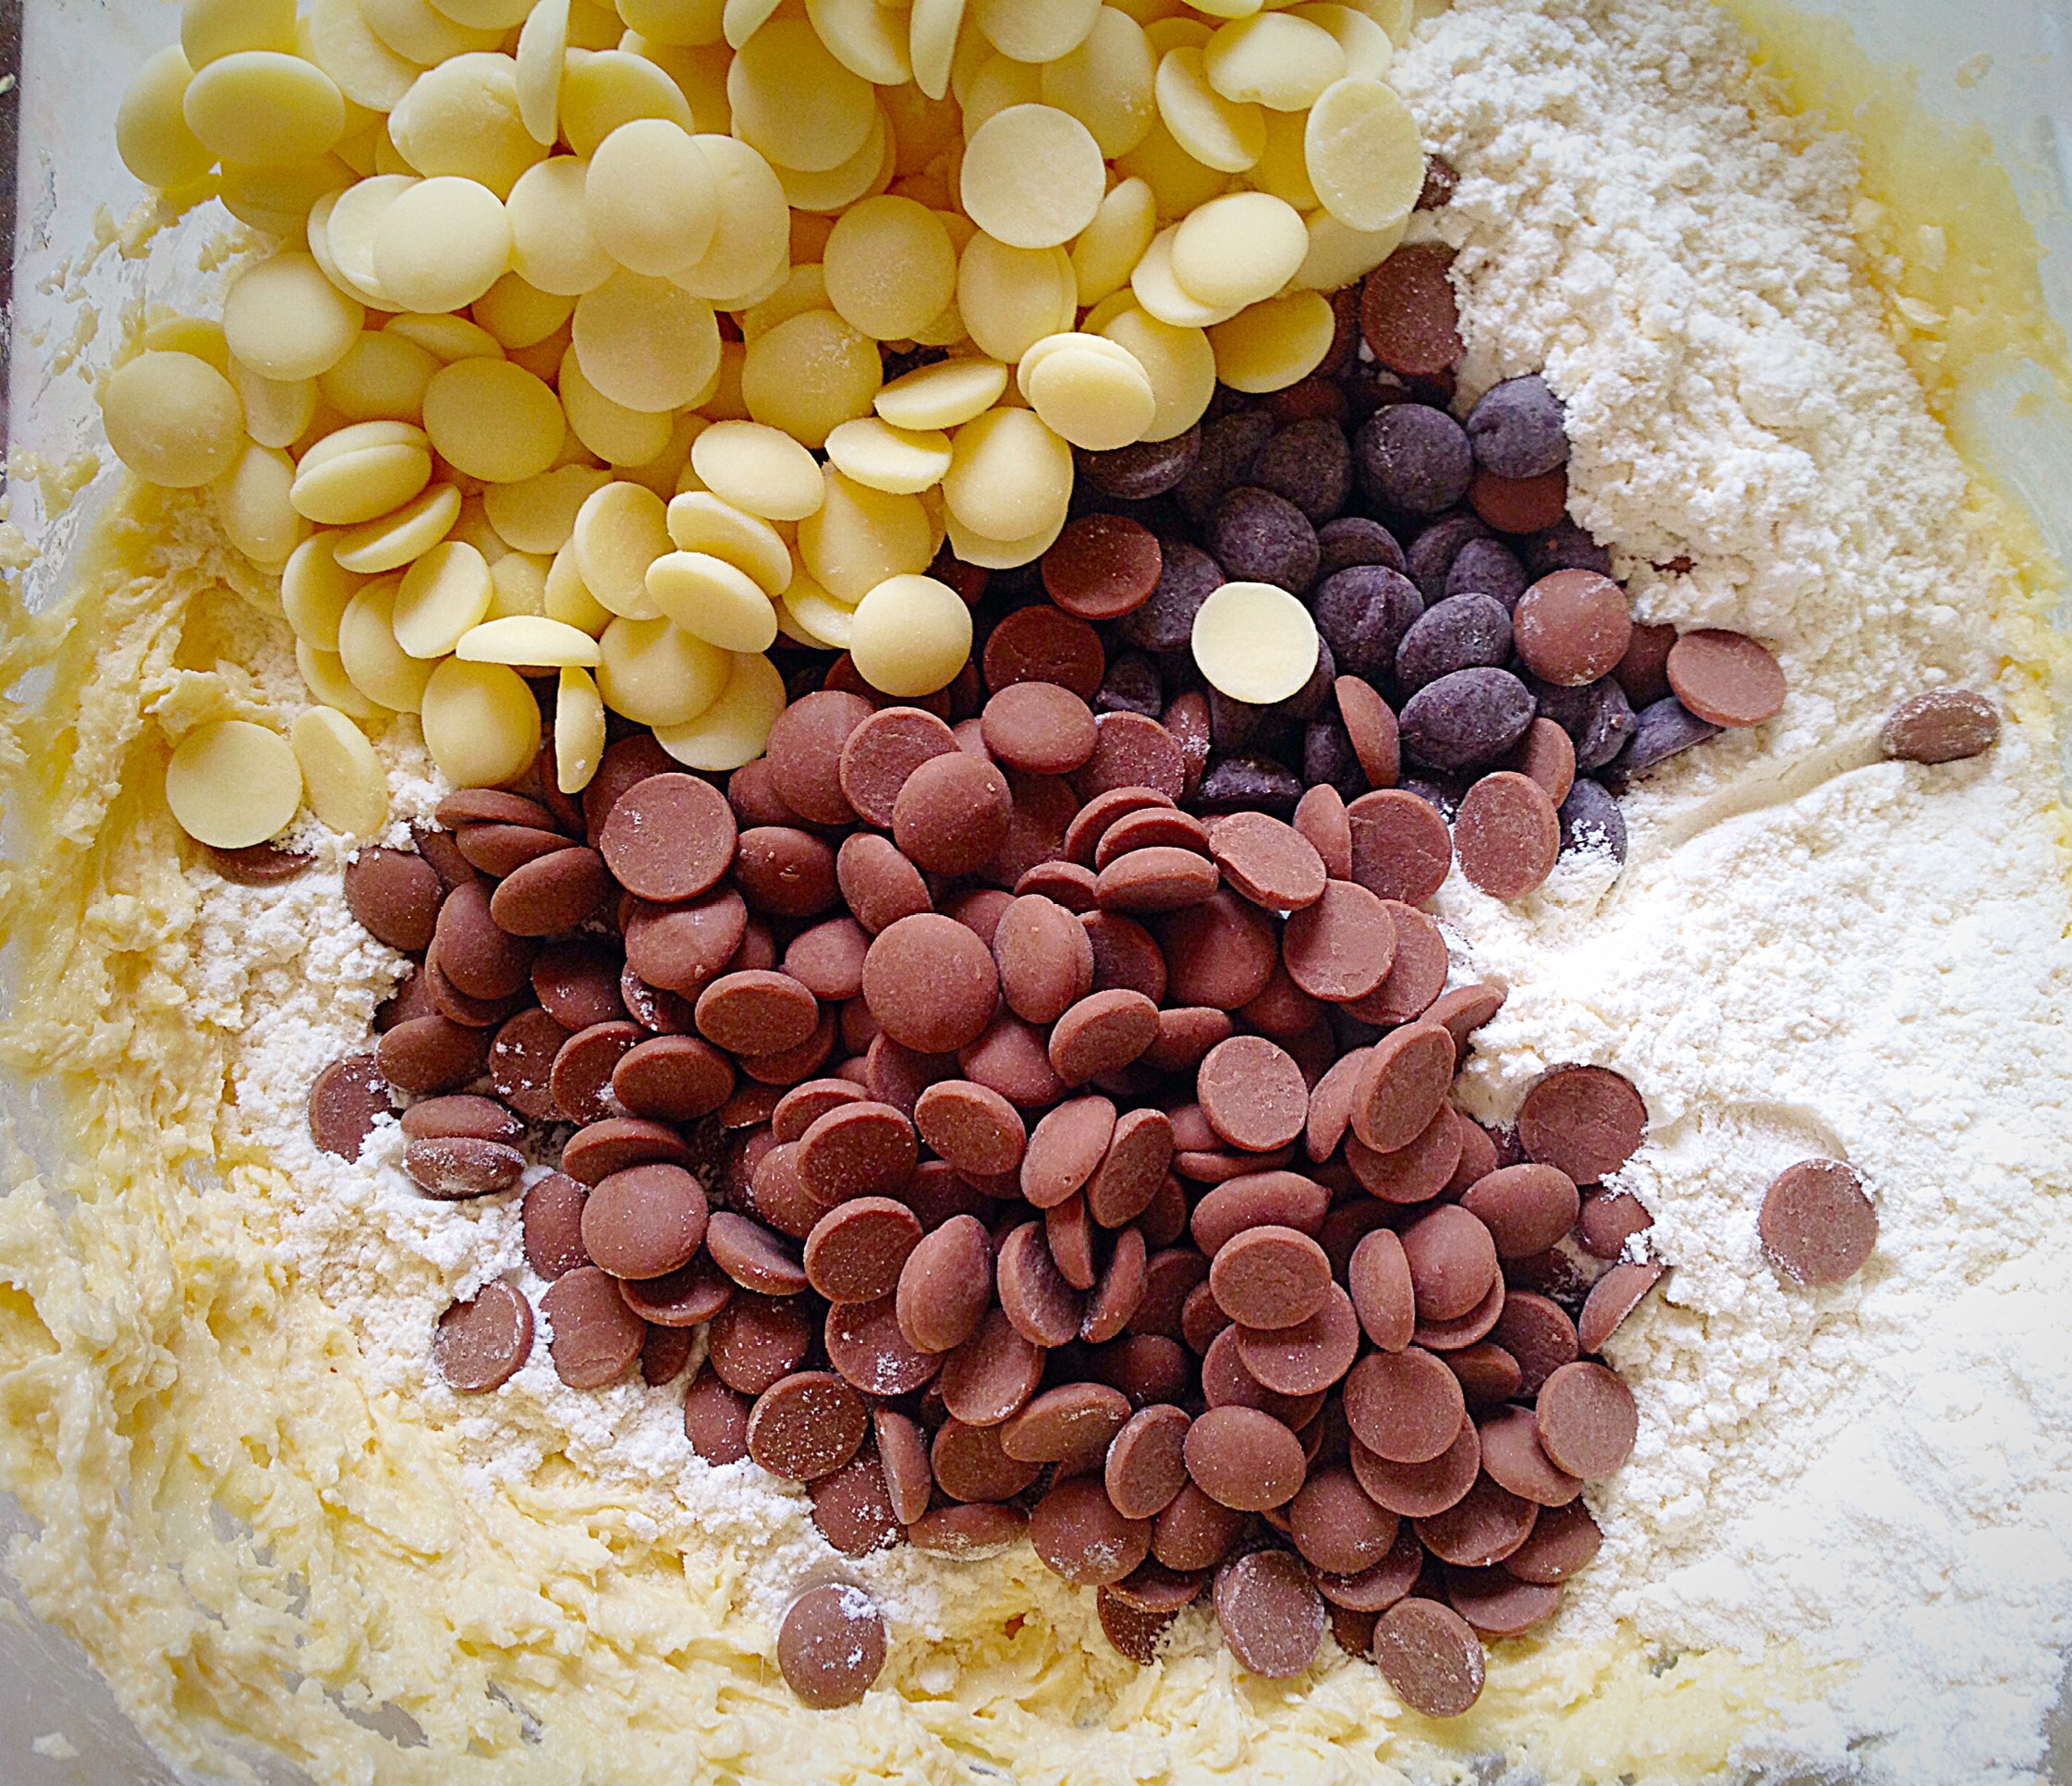
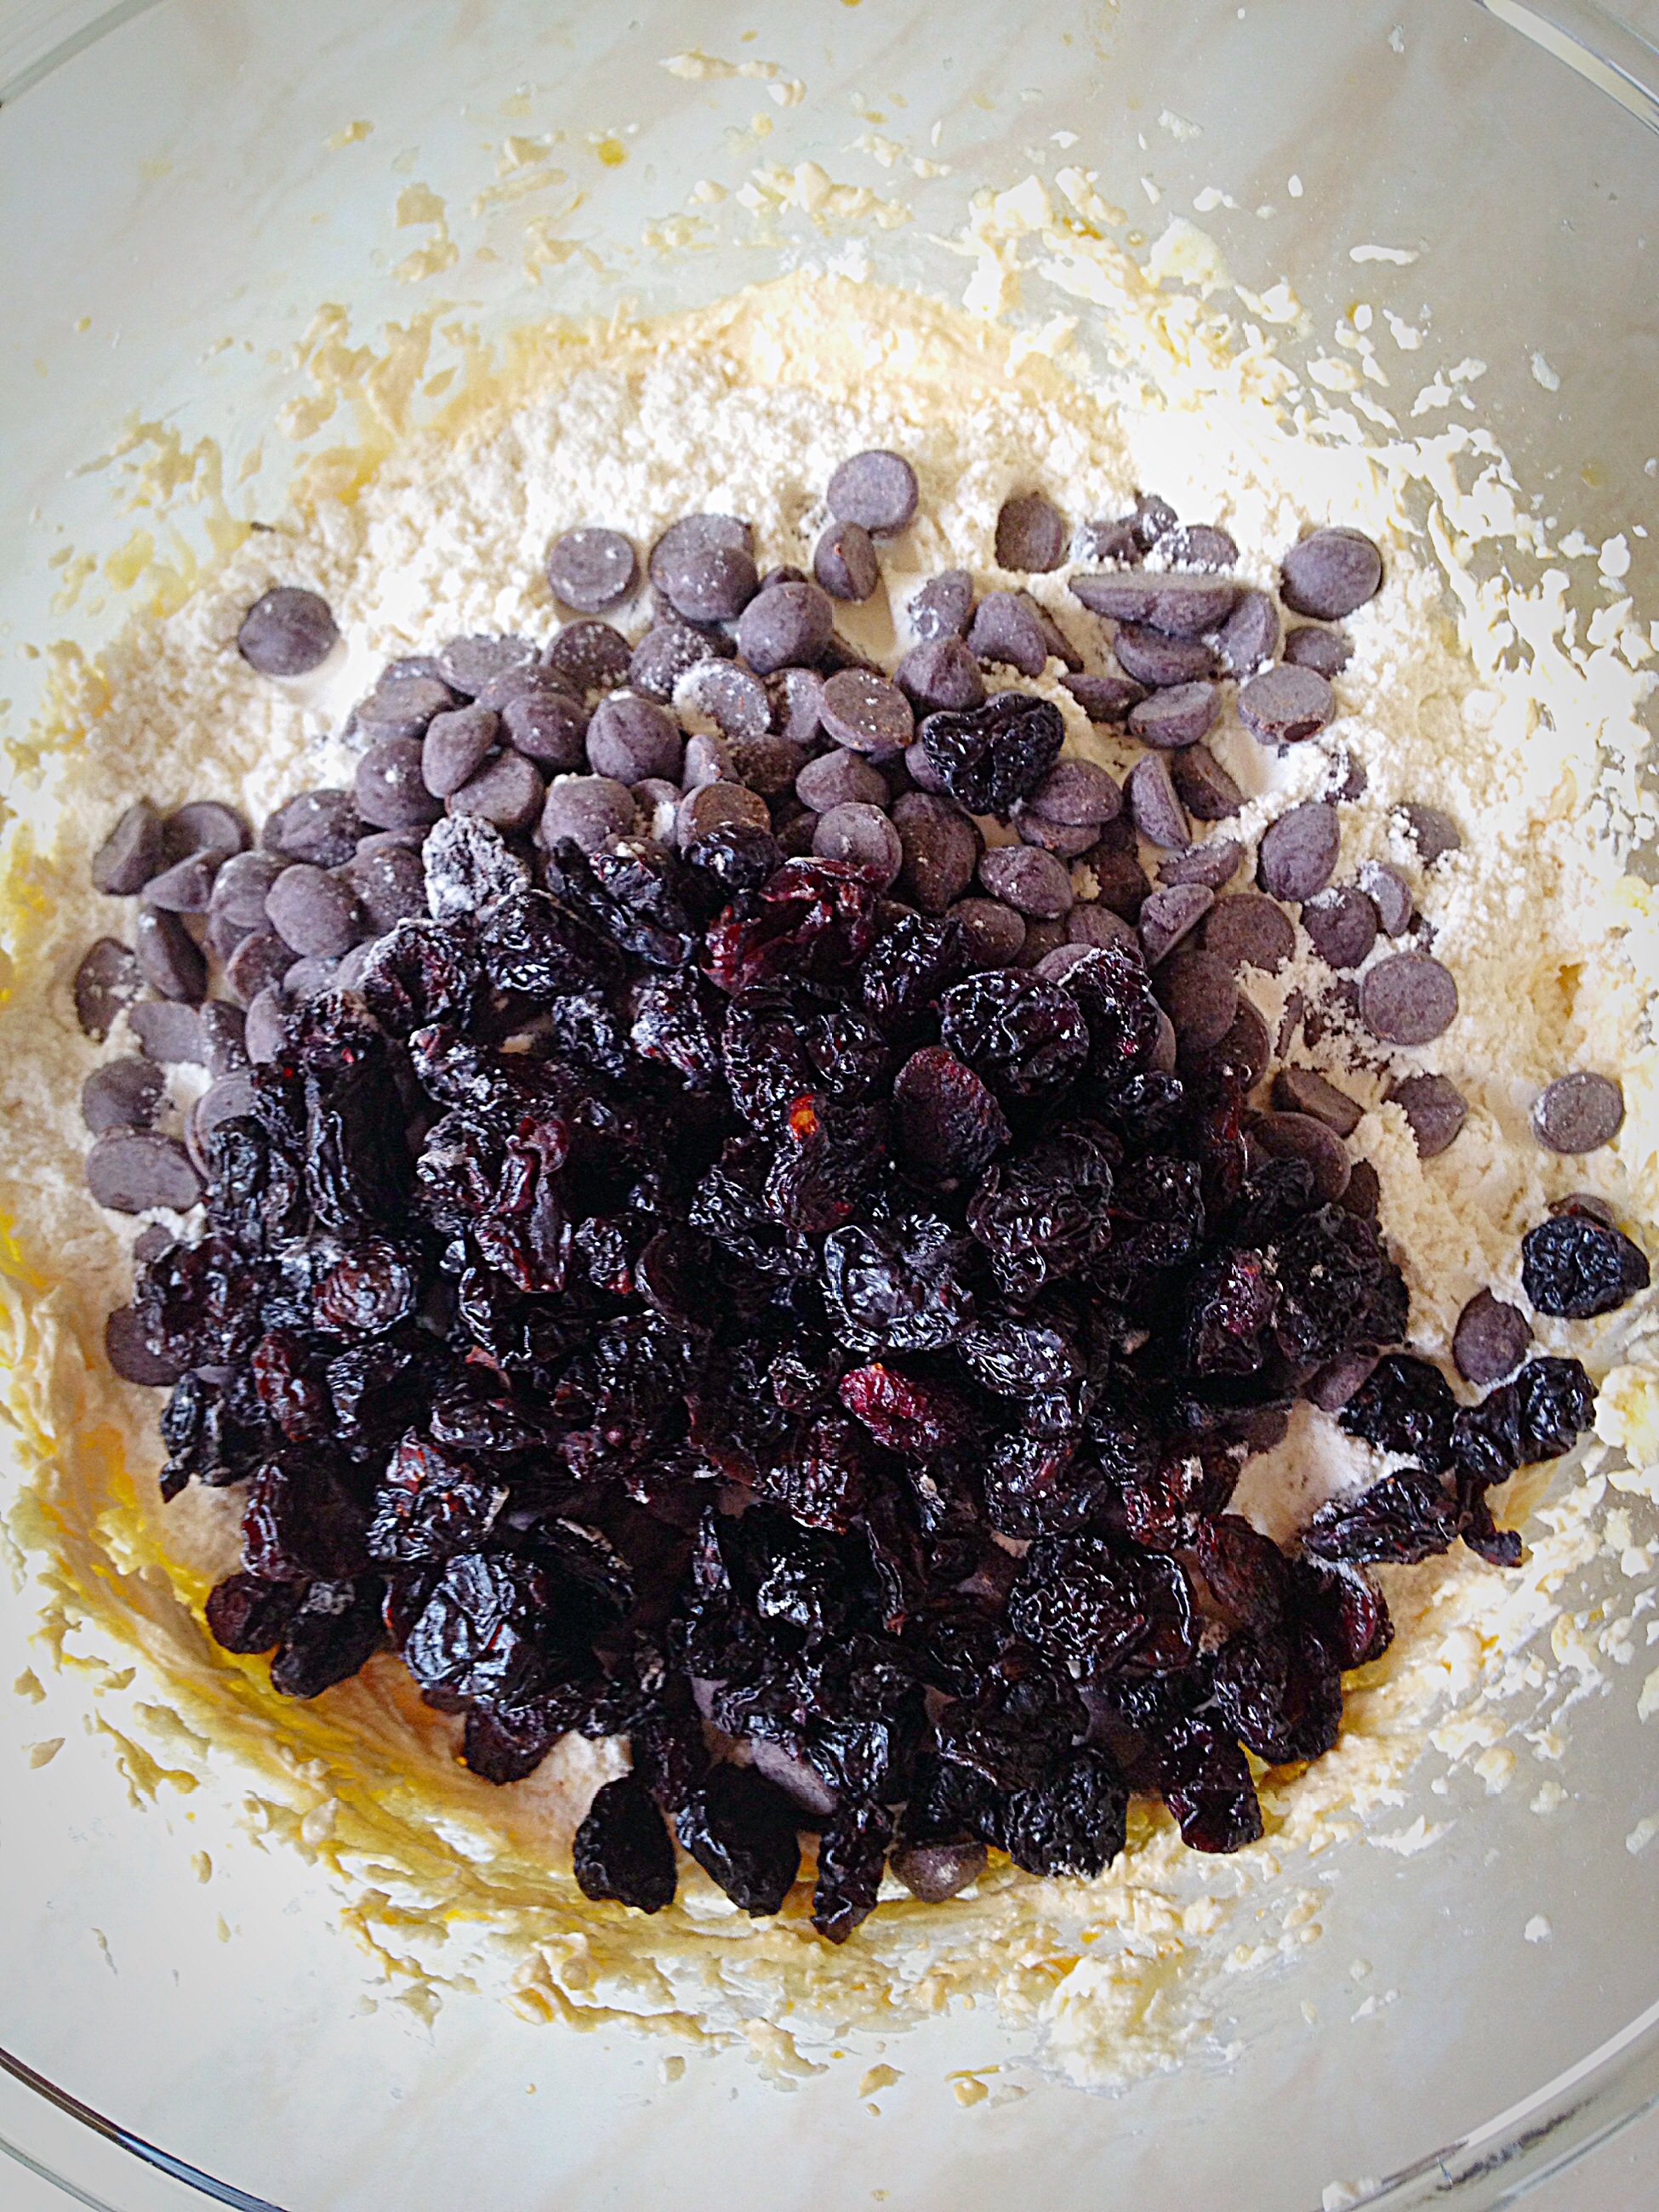
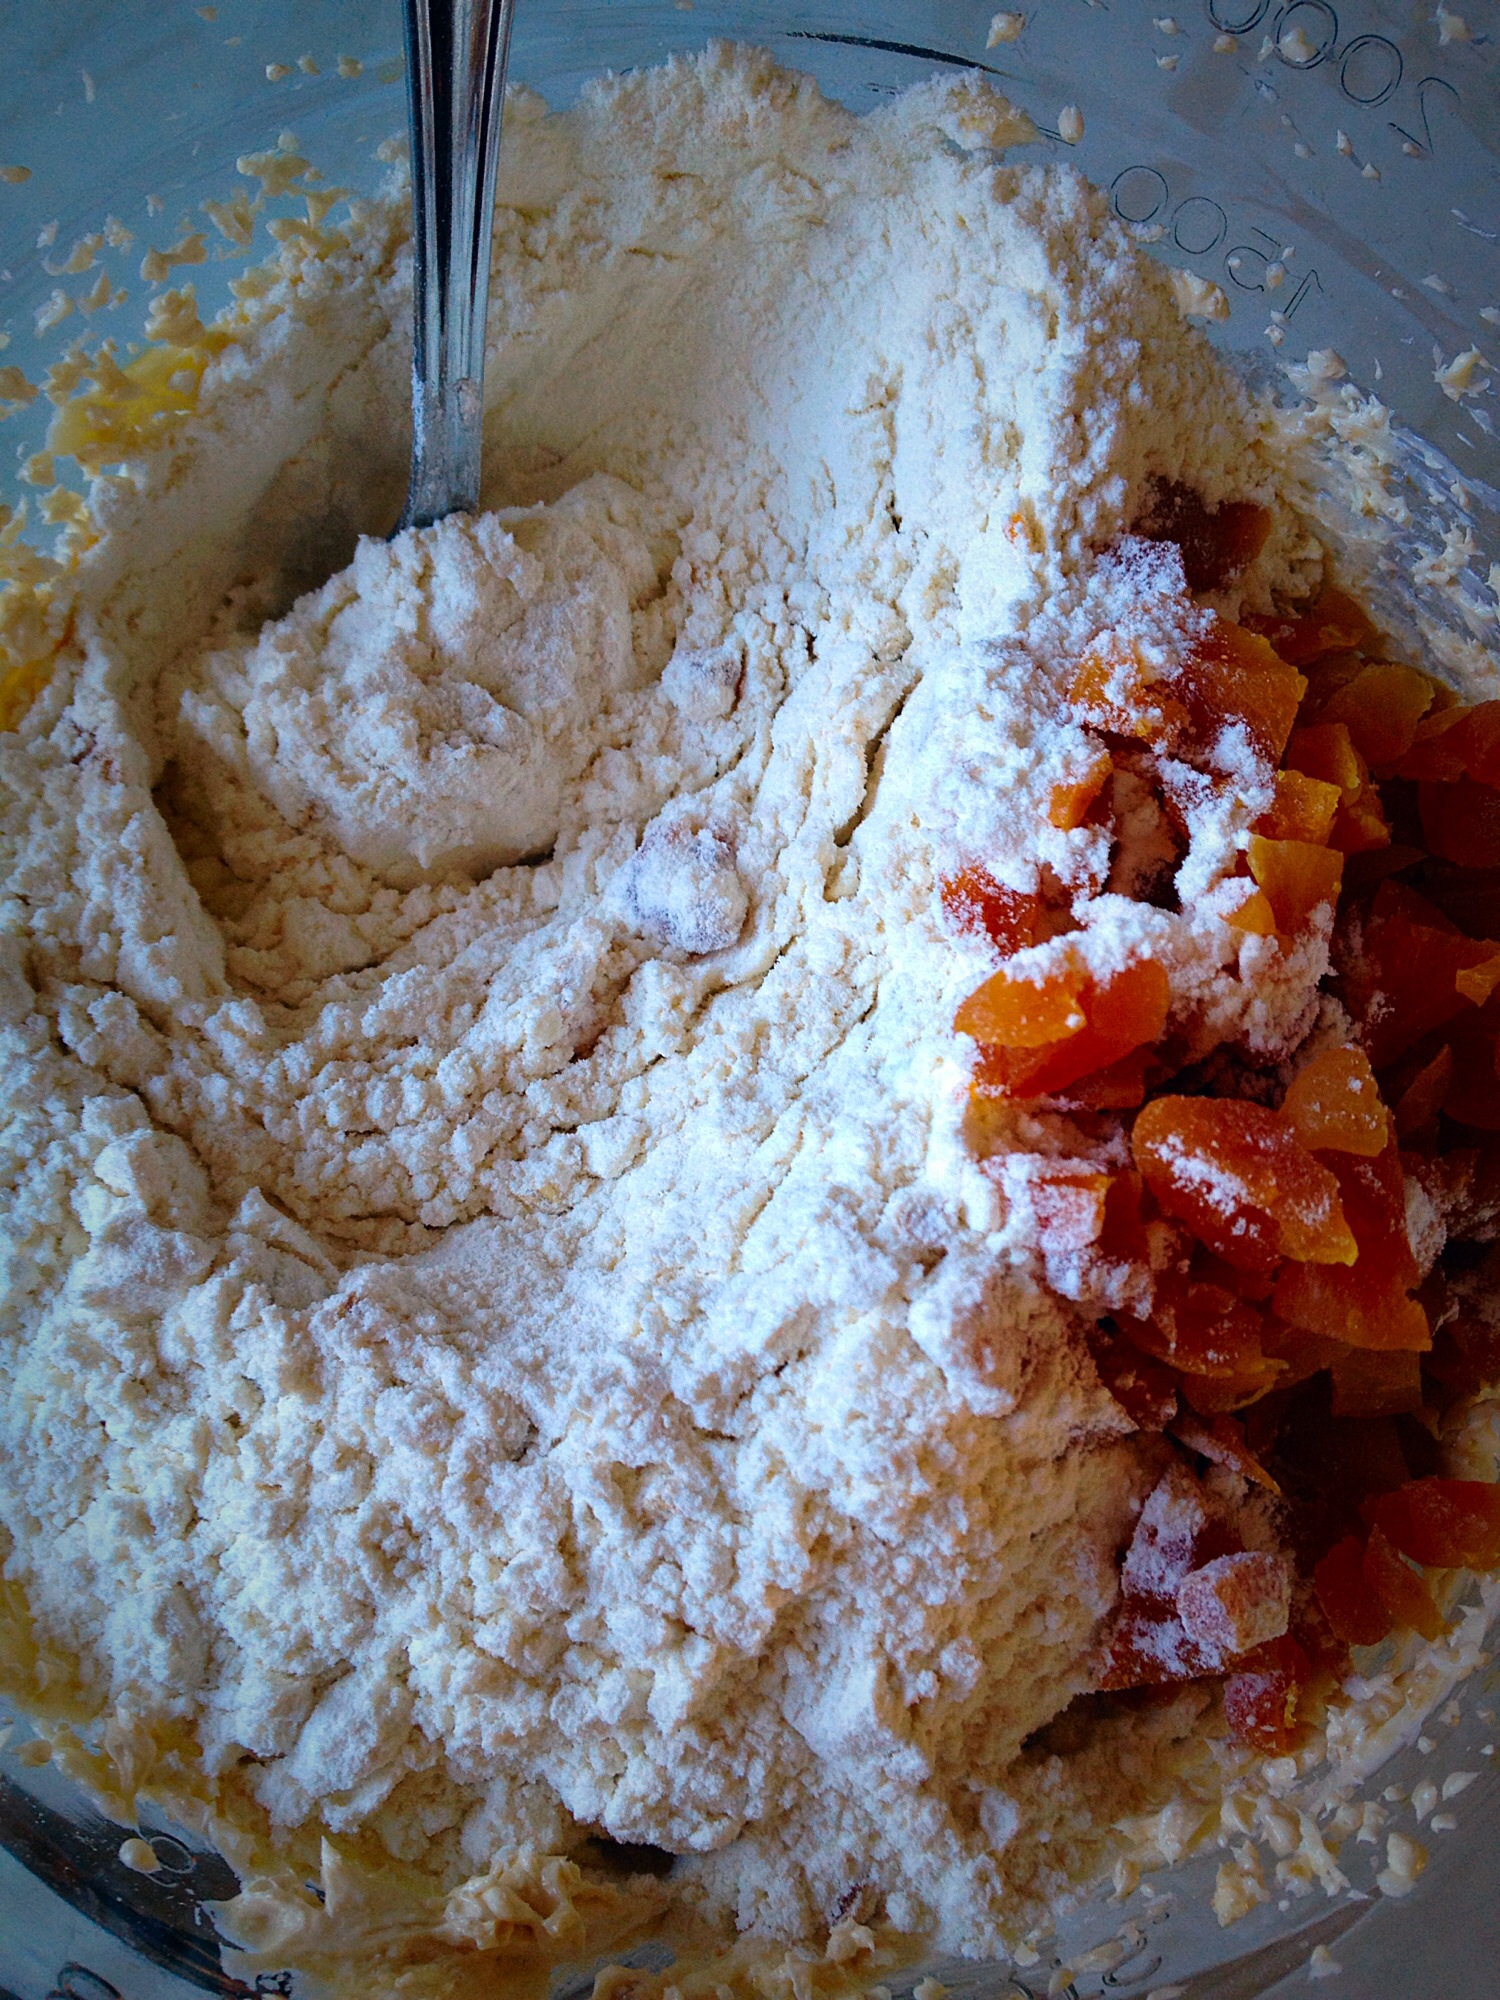
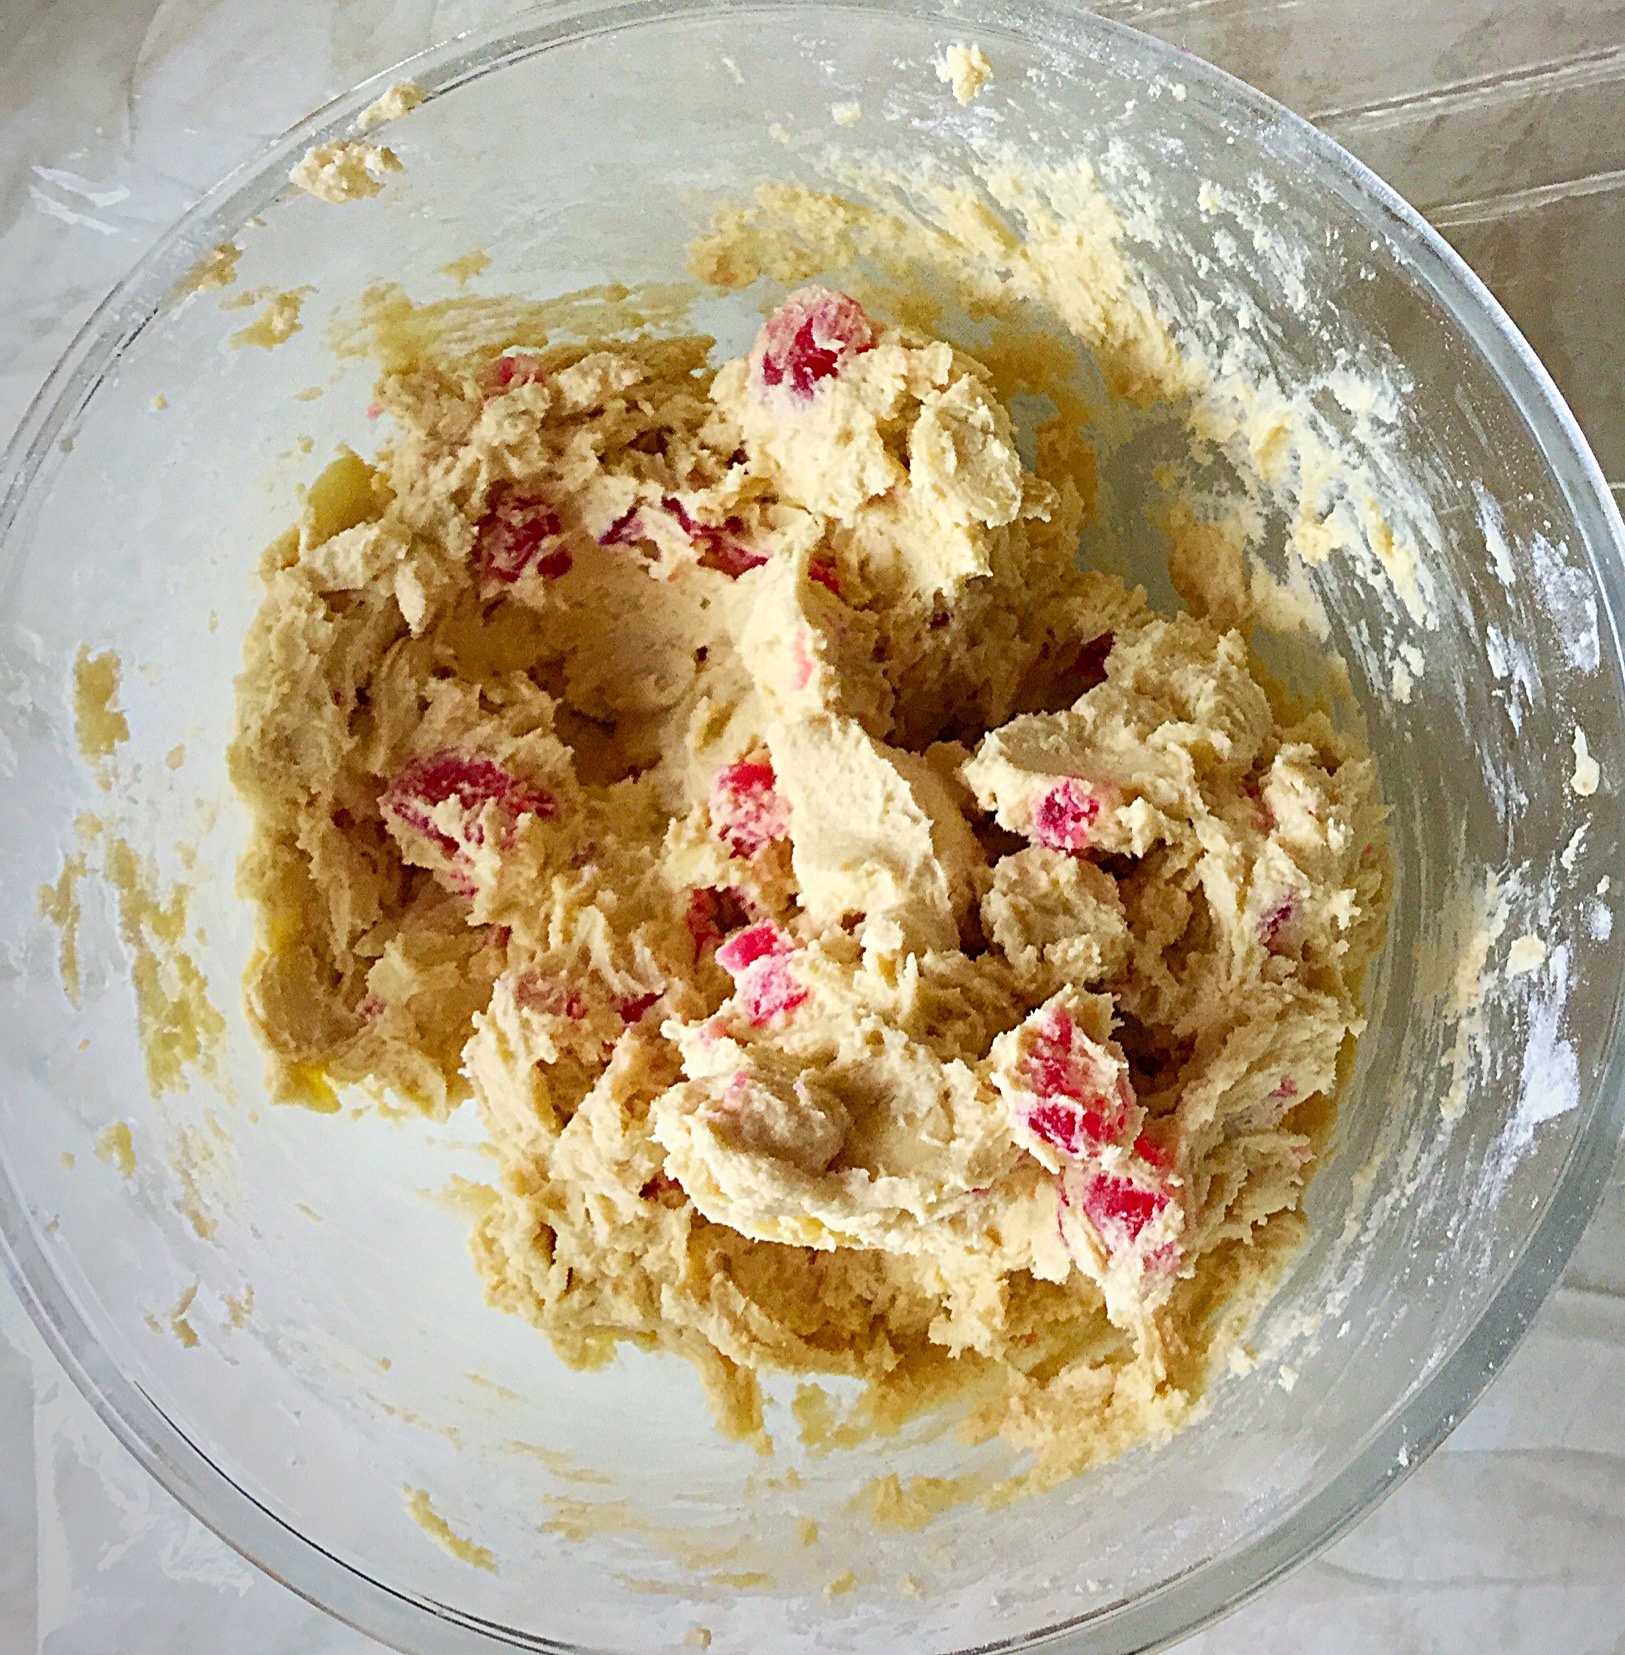
Add the flaked almonds to one side of the bowl, then add the flour to the other side. Put the cherries on top of the flour and gently mix them in the flour with your fingers – this will stop the cherries sticking together and ensure they are distributed evenly throughout the cookie dough.

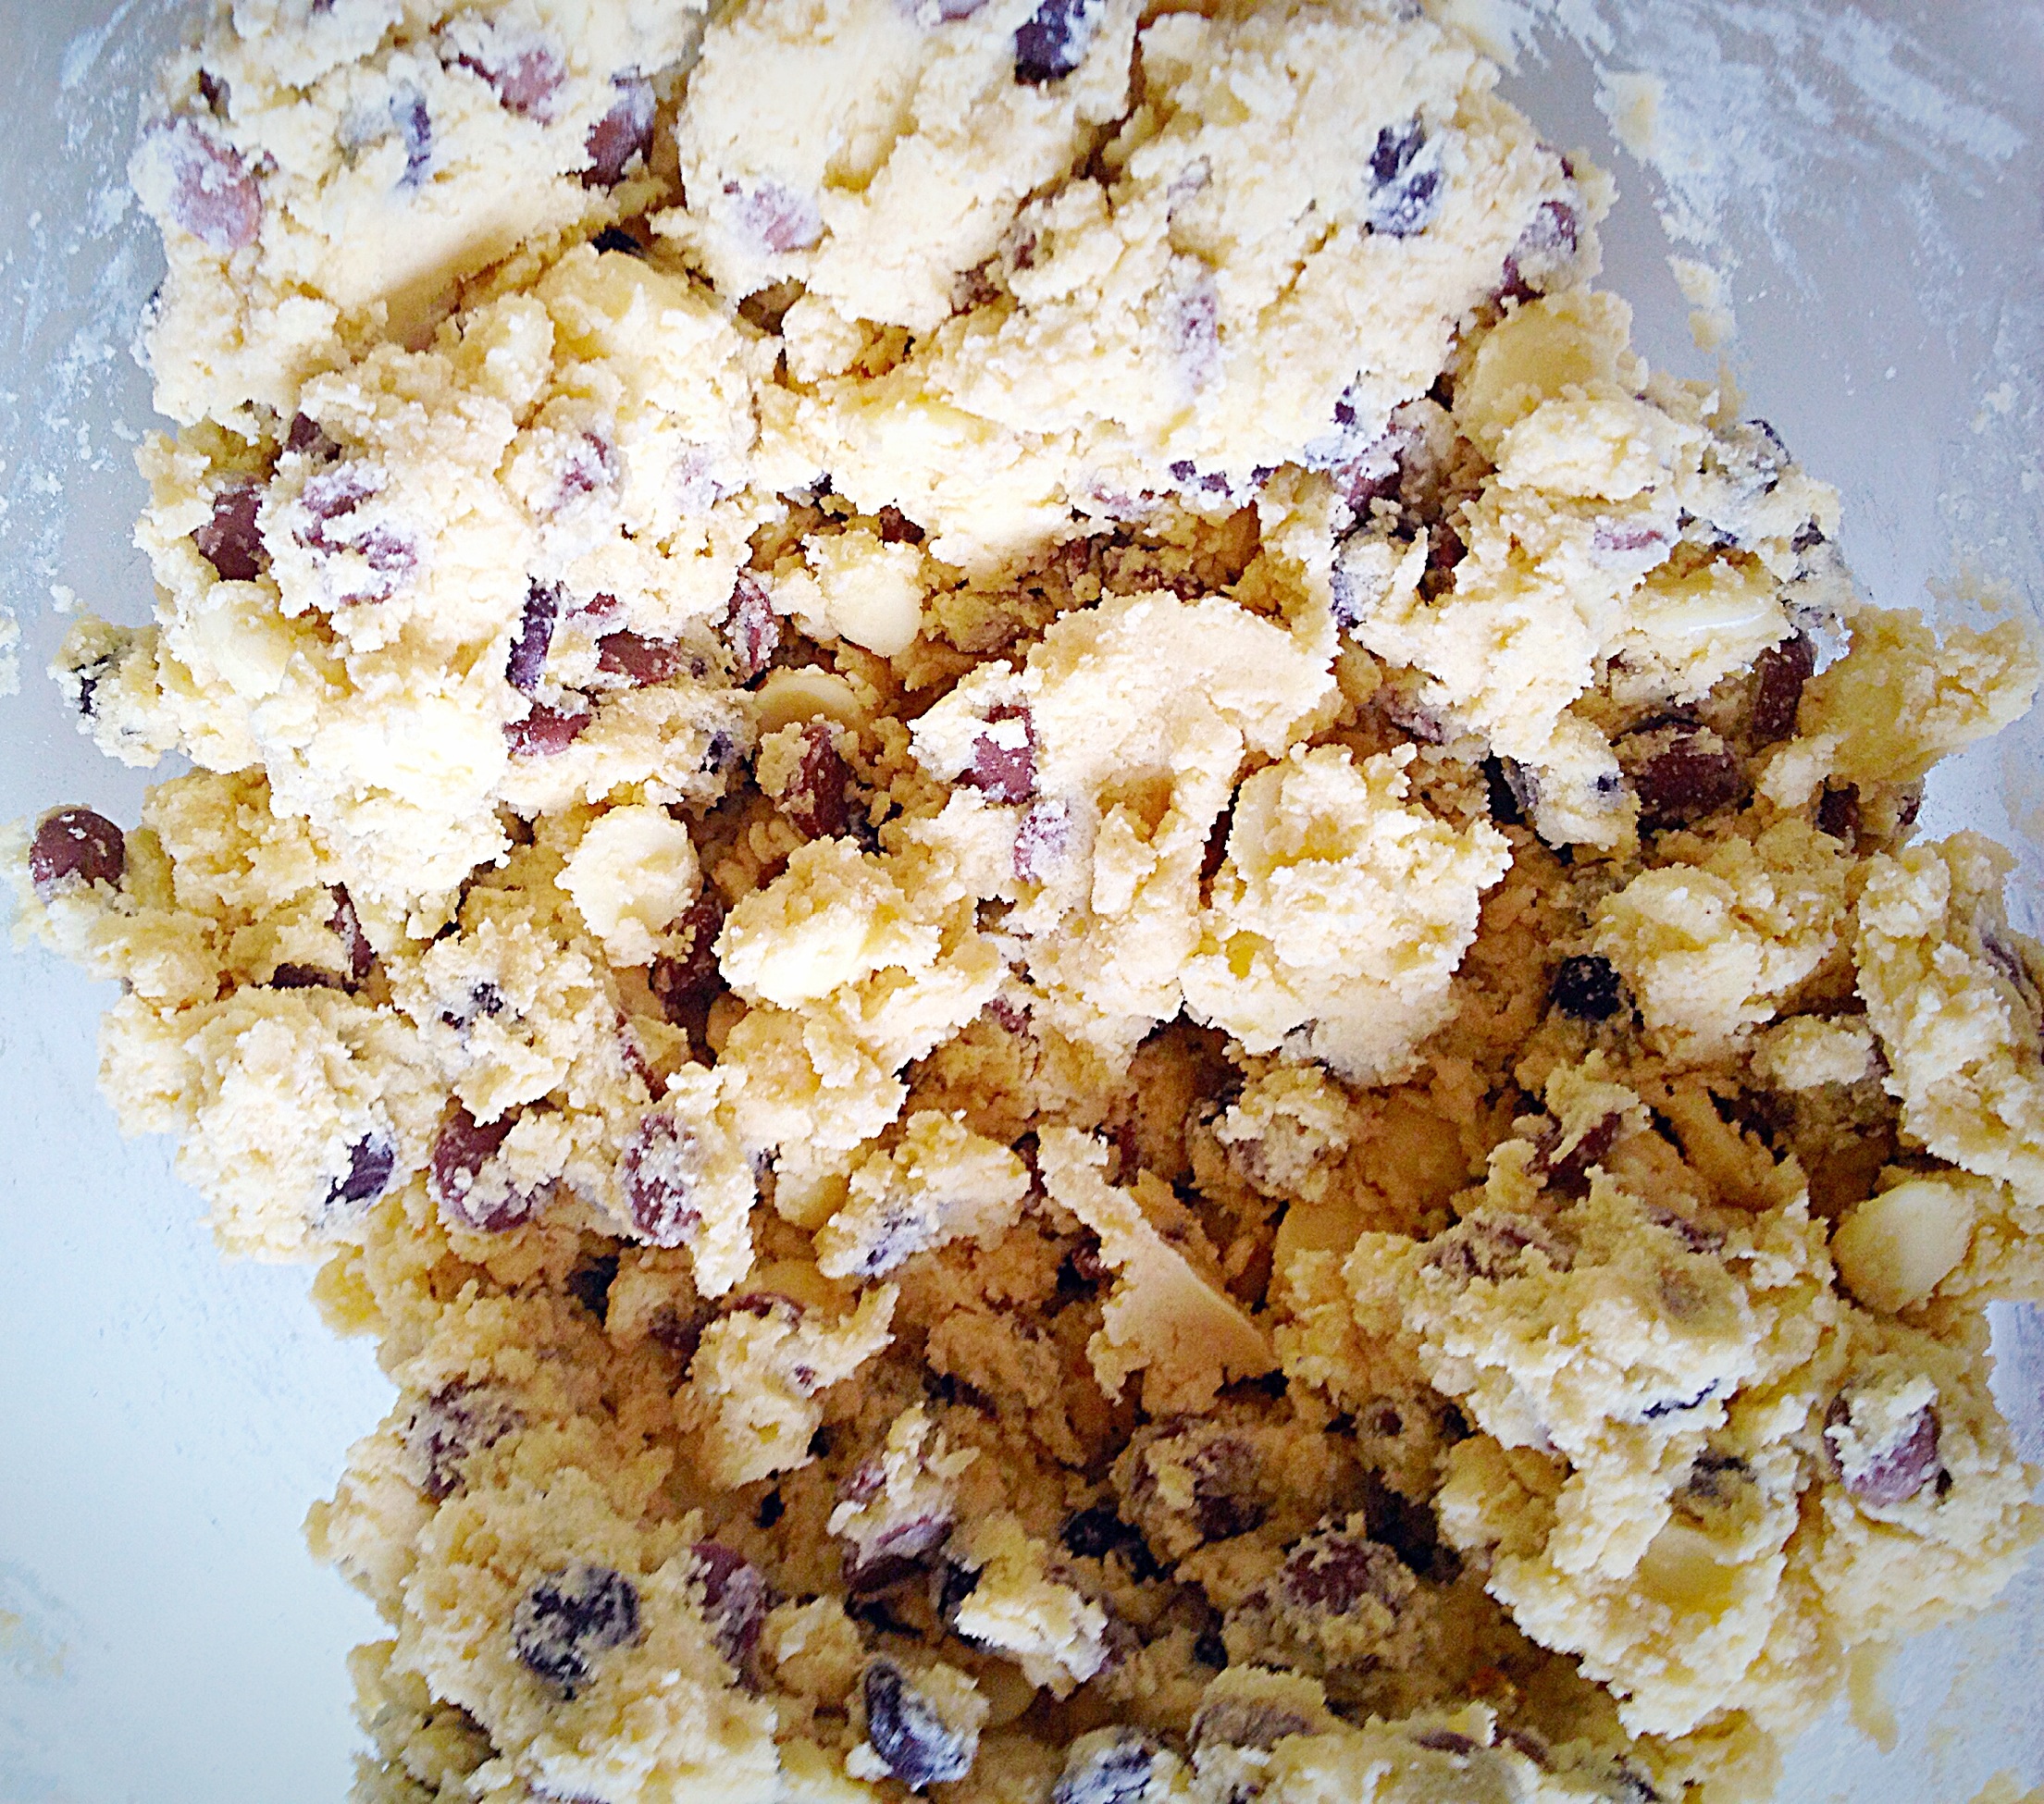
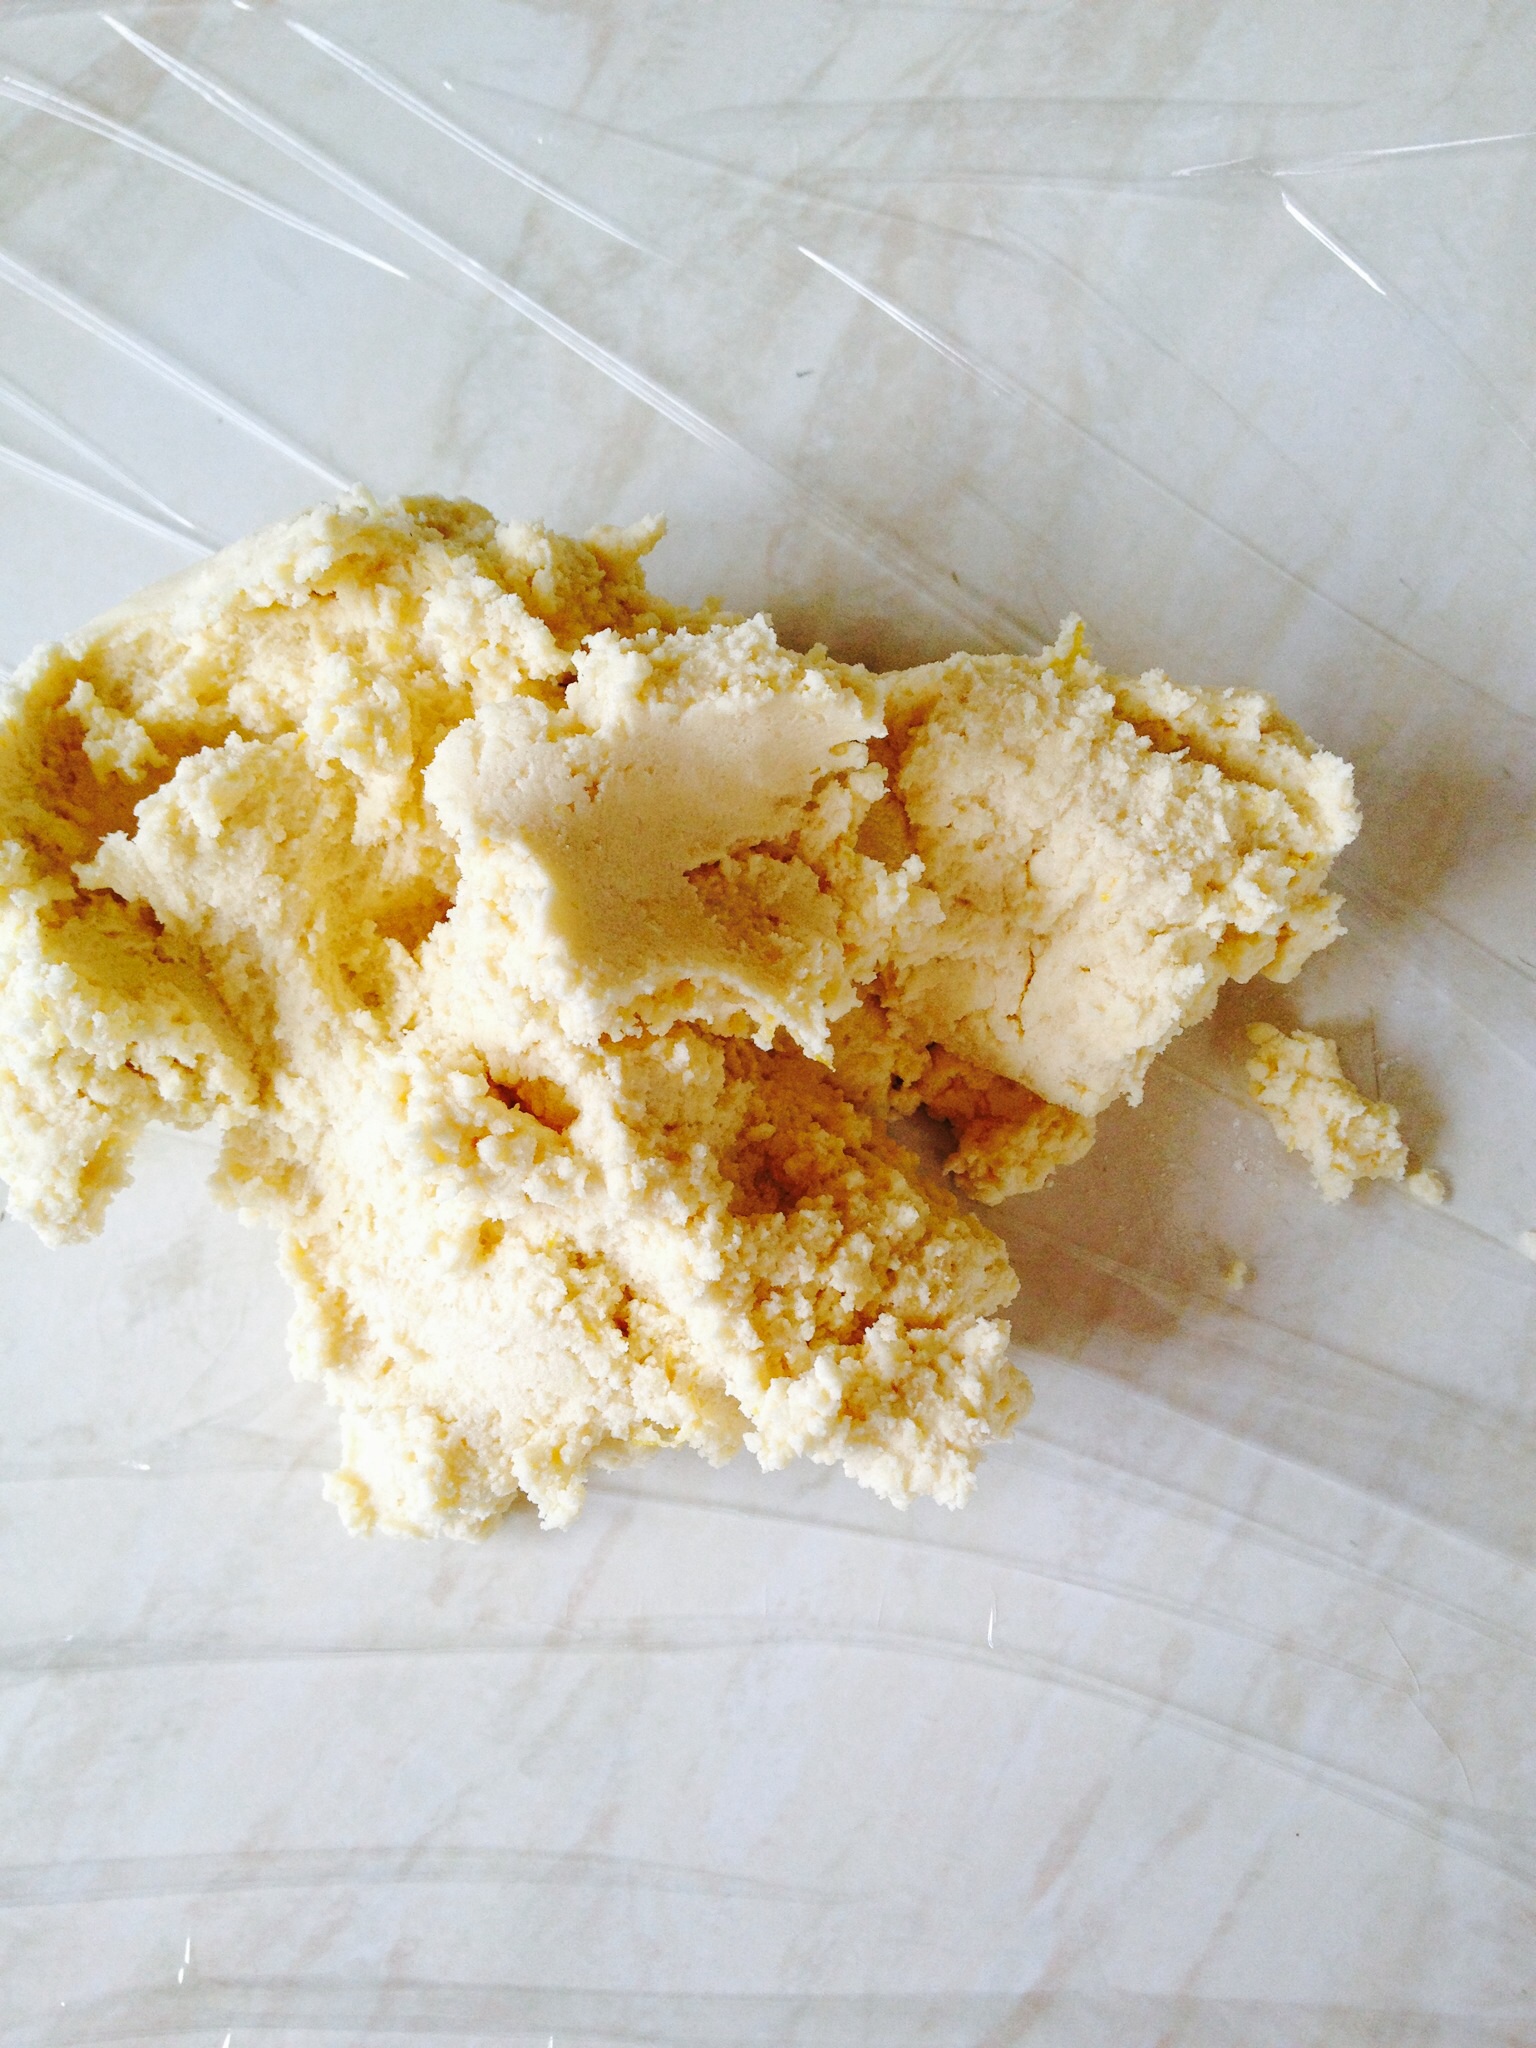
Mix all the ingredients together until they are thoroughly combined.
Wipe the worktop with a clean damp cloth. Lay some cling film over the damp surface – it should stay in place.
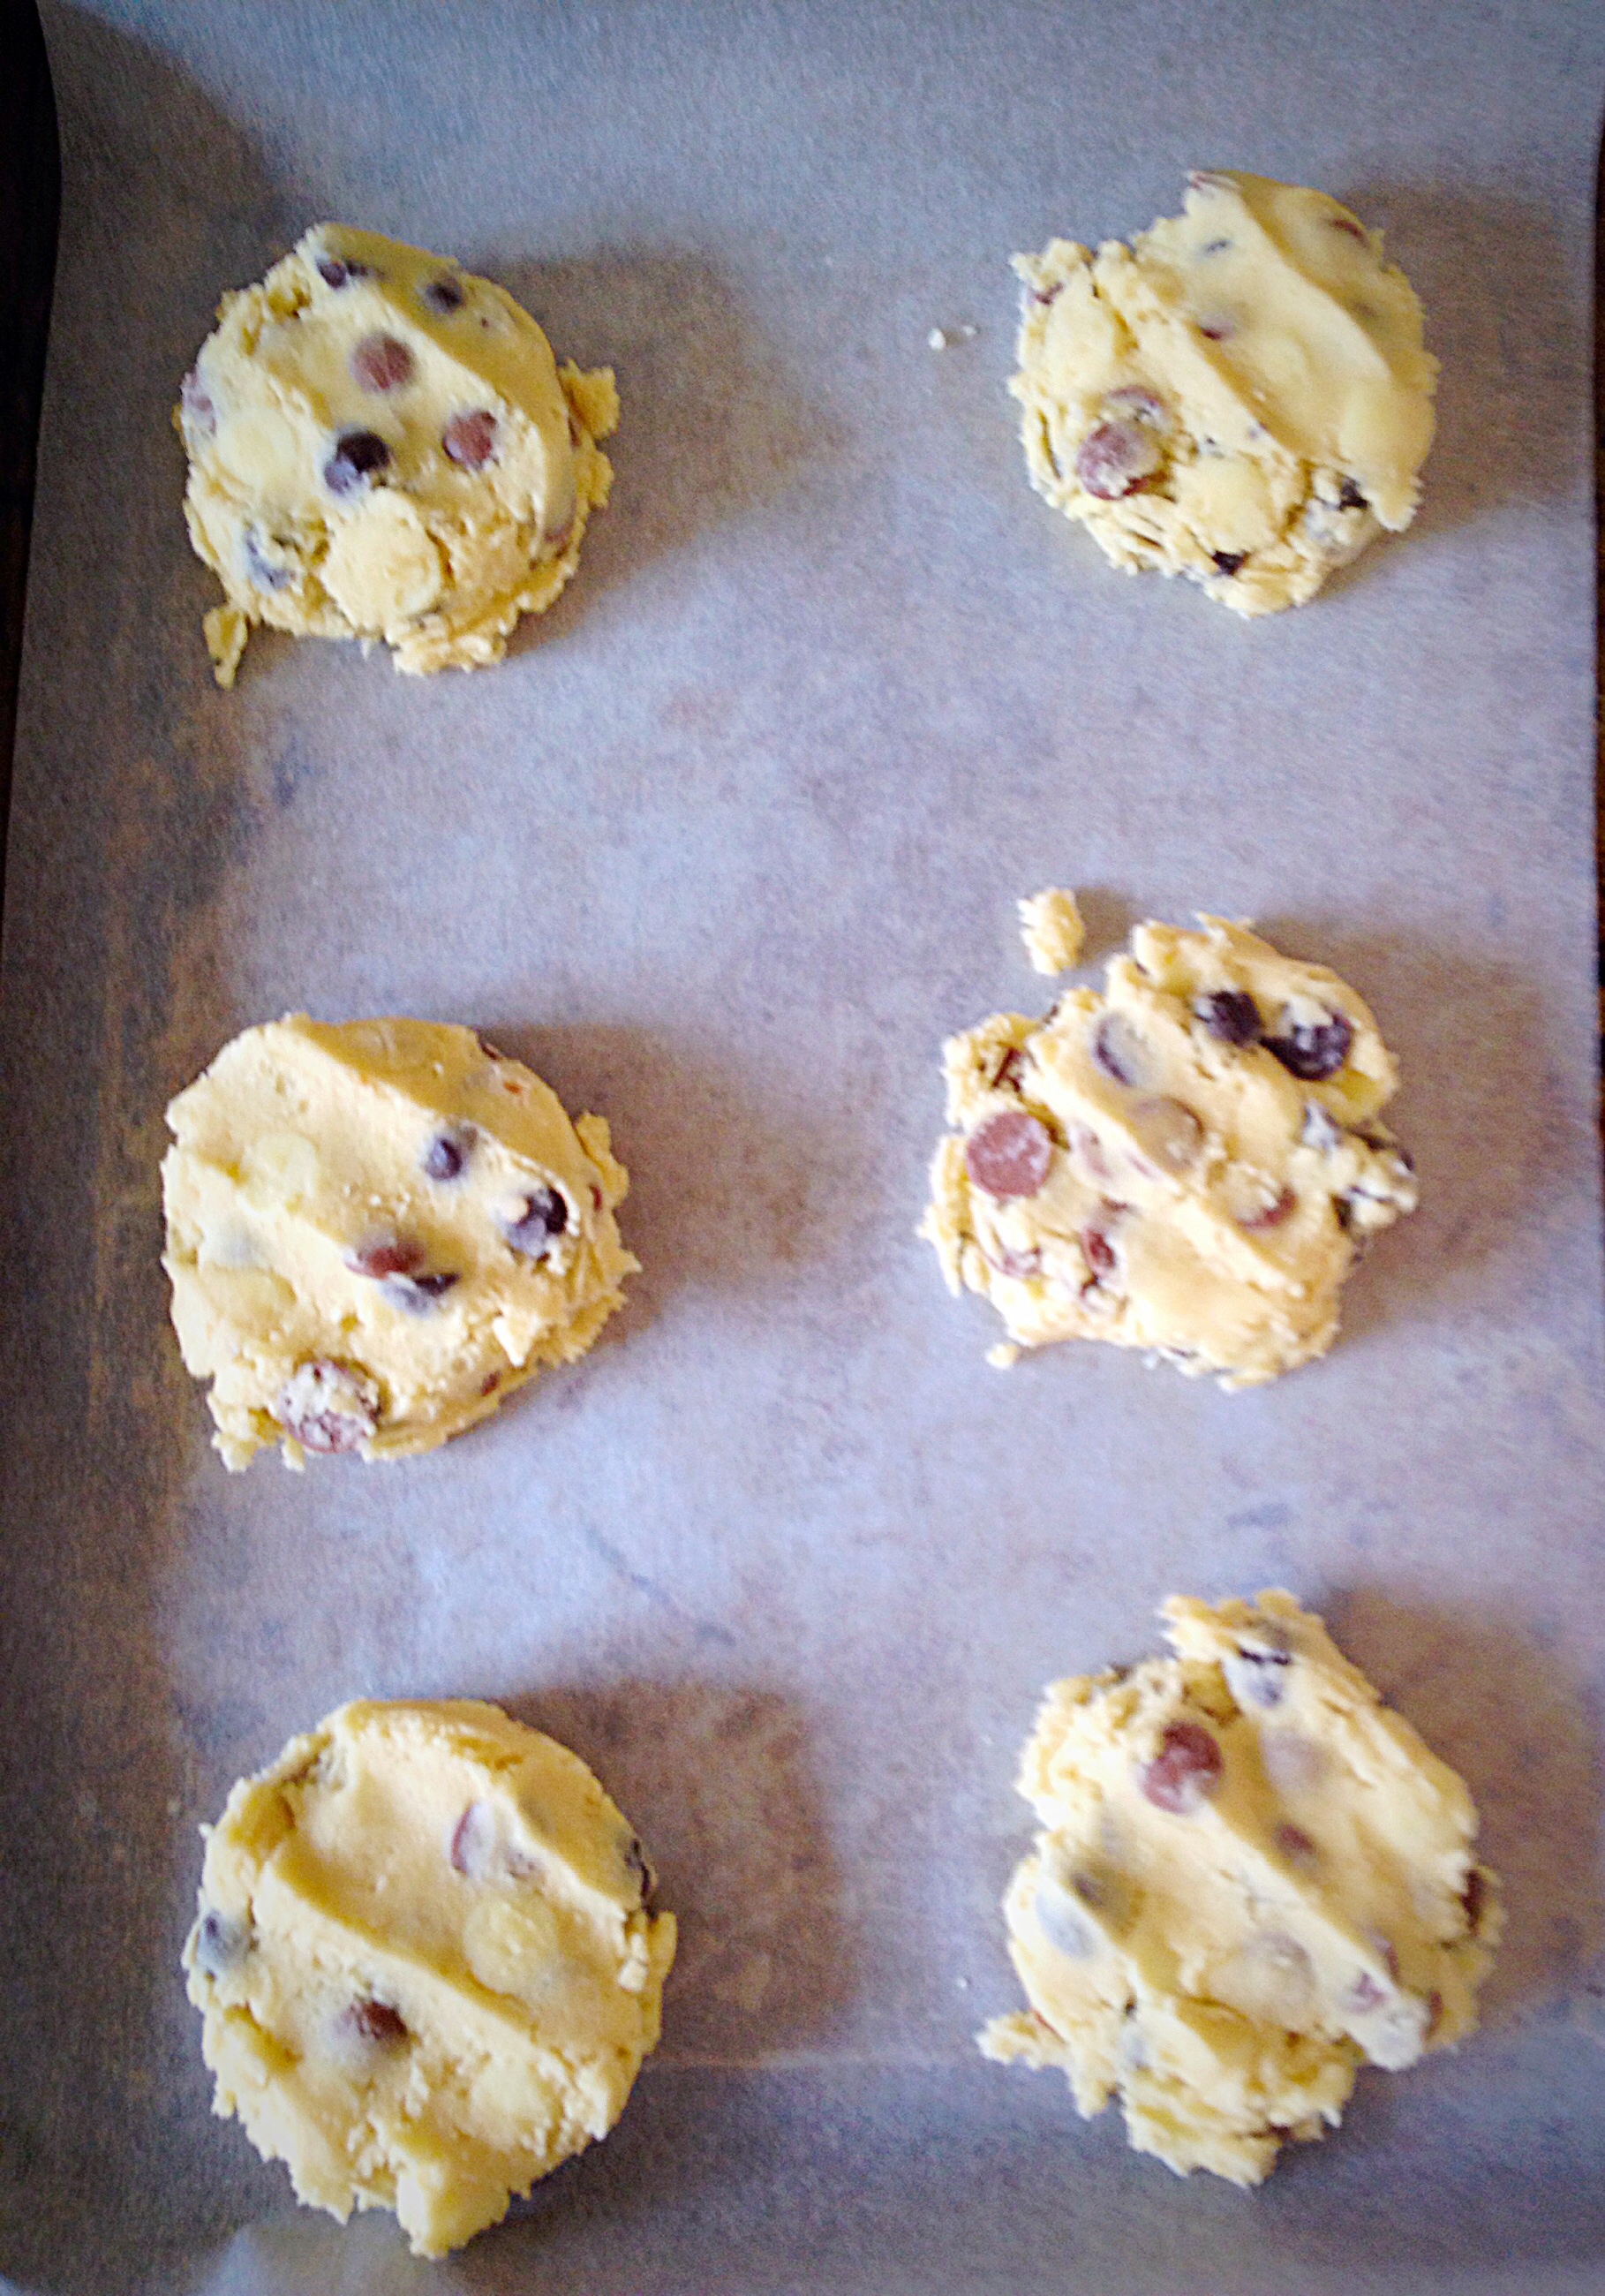
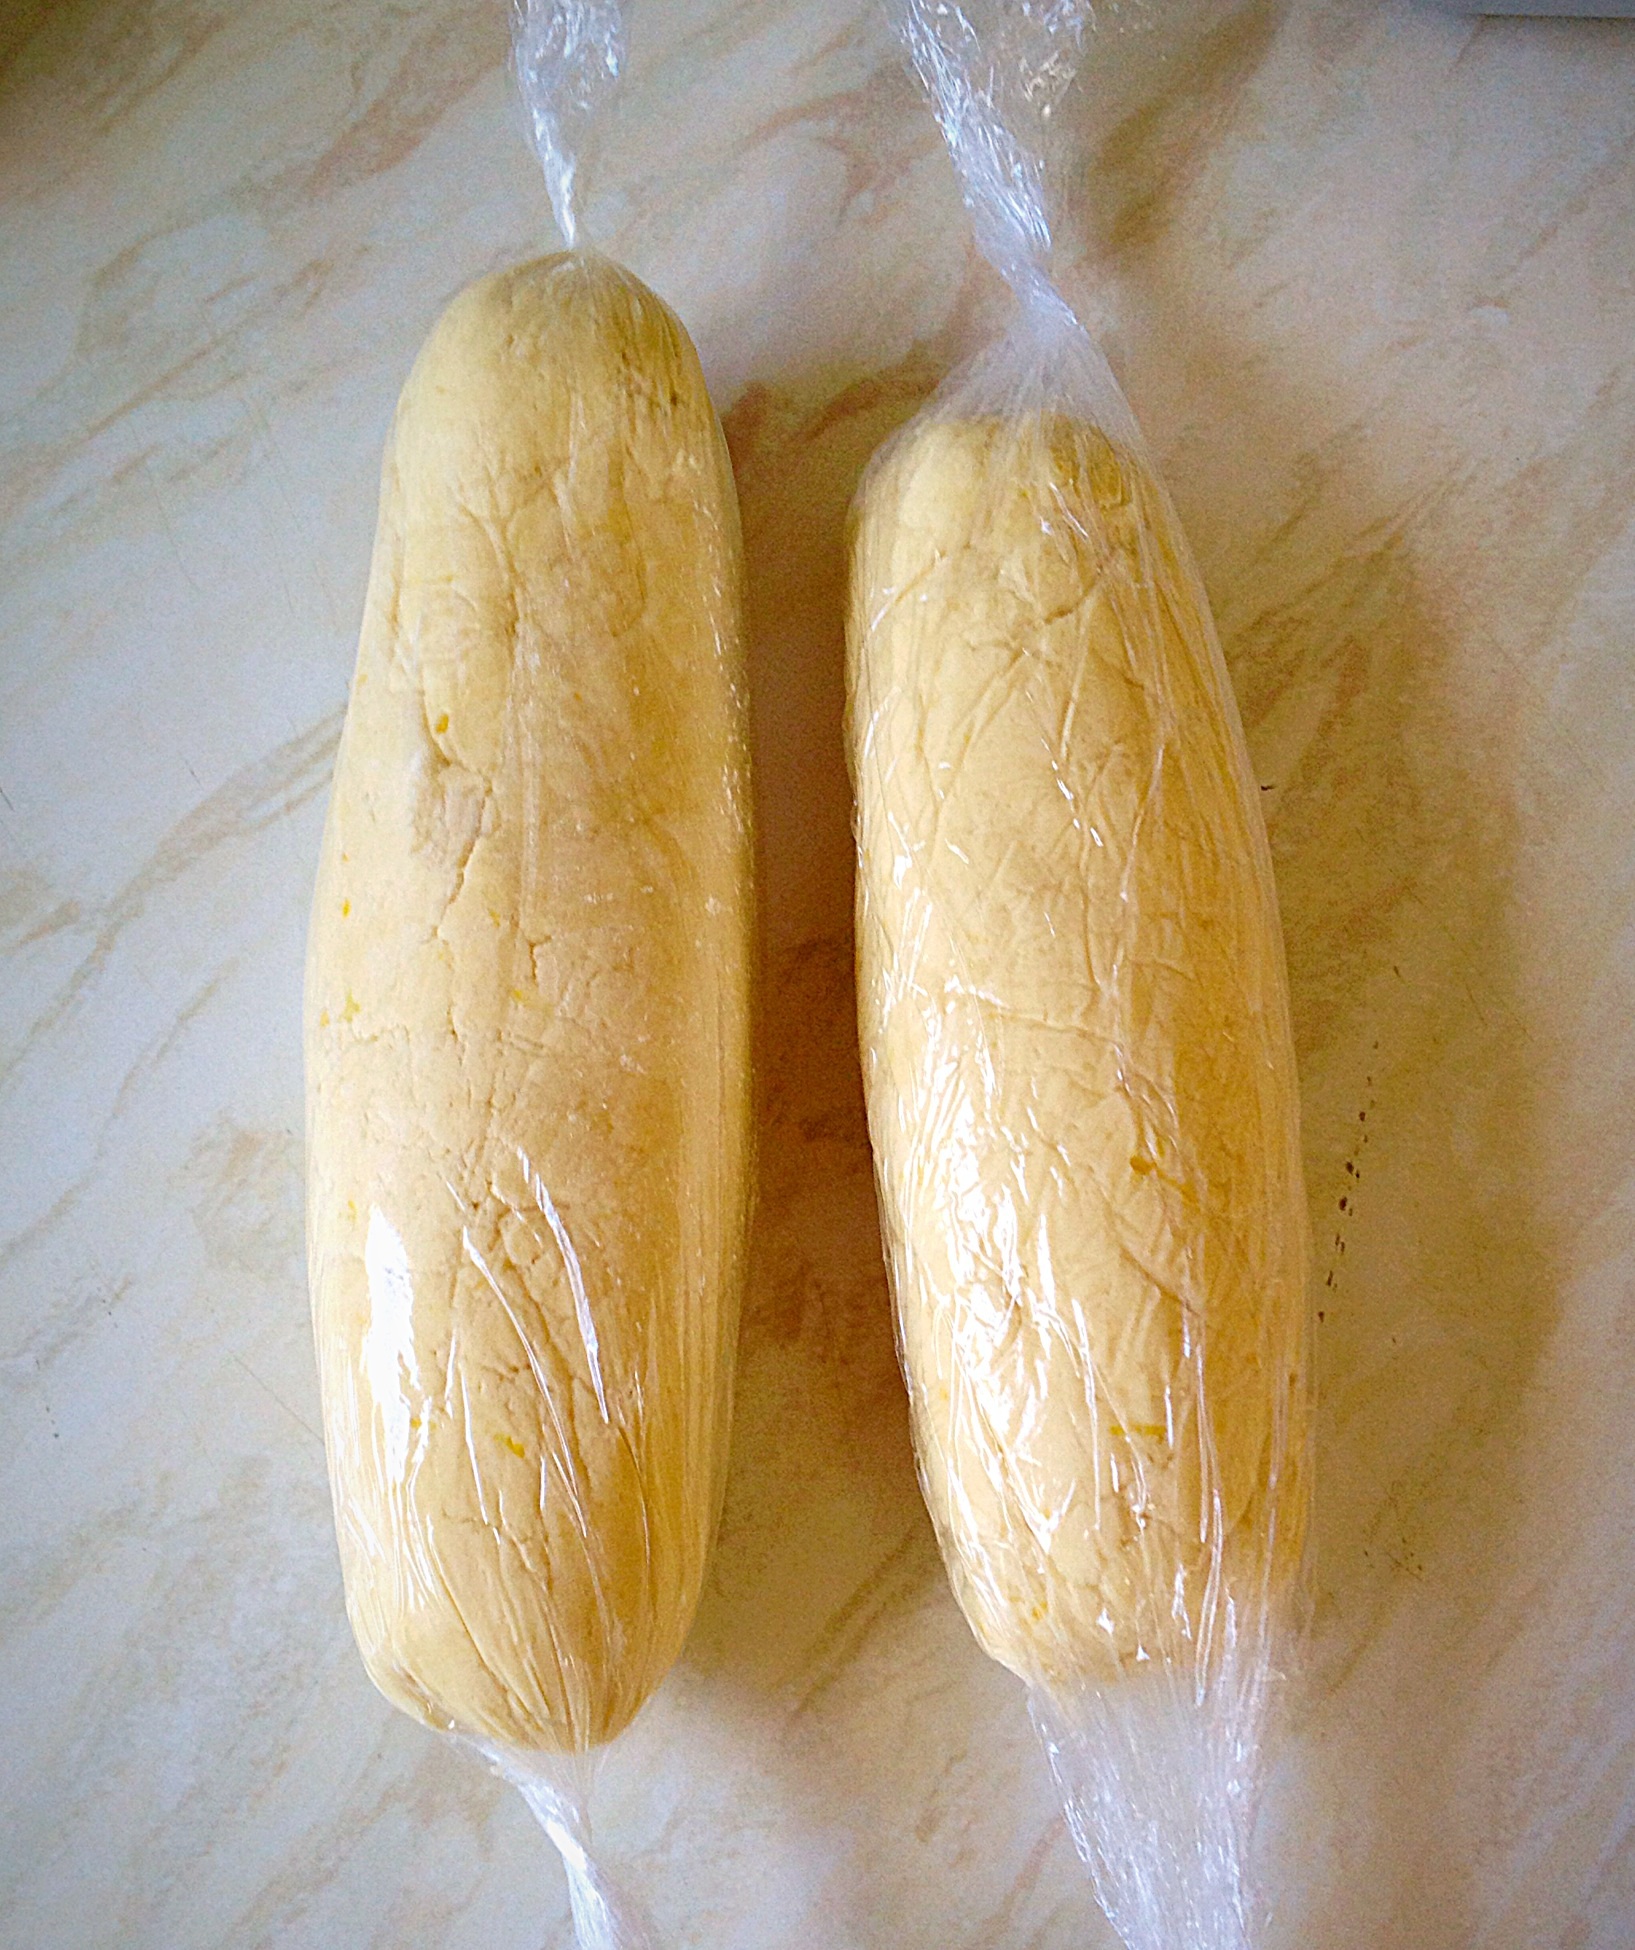
Place half of the cookie dough onto the cling film and roll into a log shape approx 4cm/1.5″ diameter. Repeat with the other half of the cookie dough.

Place both cookie logs into the fridge to chill until firm – approx 1 hour.
Baking the cookies:
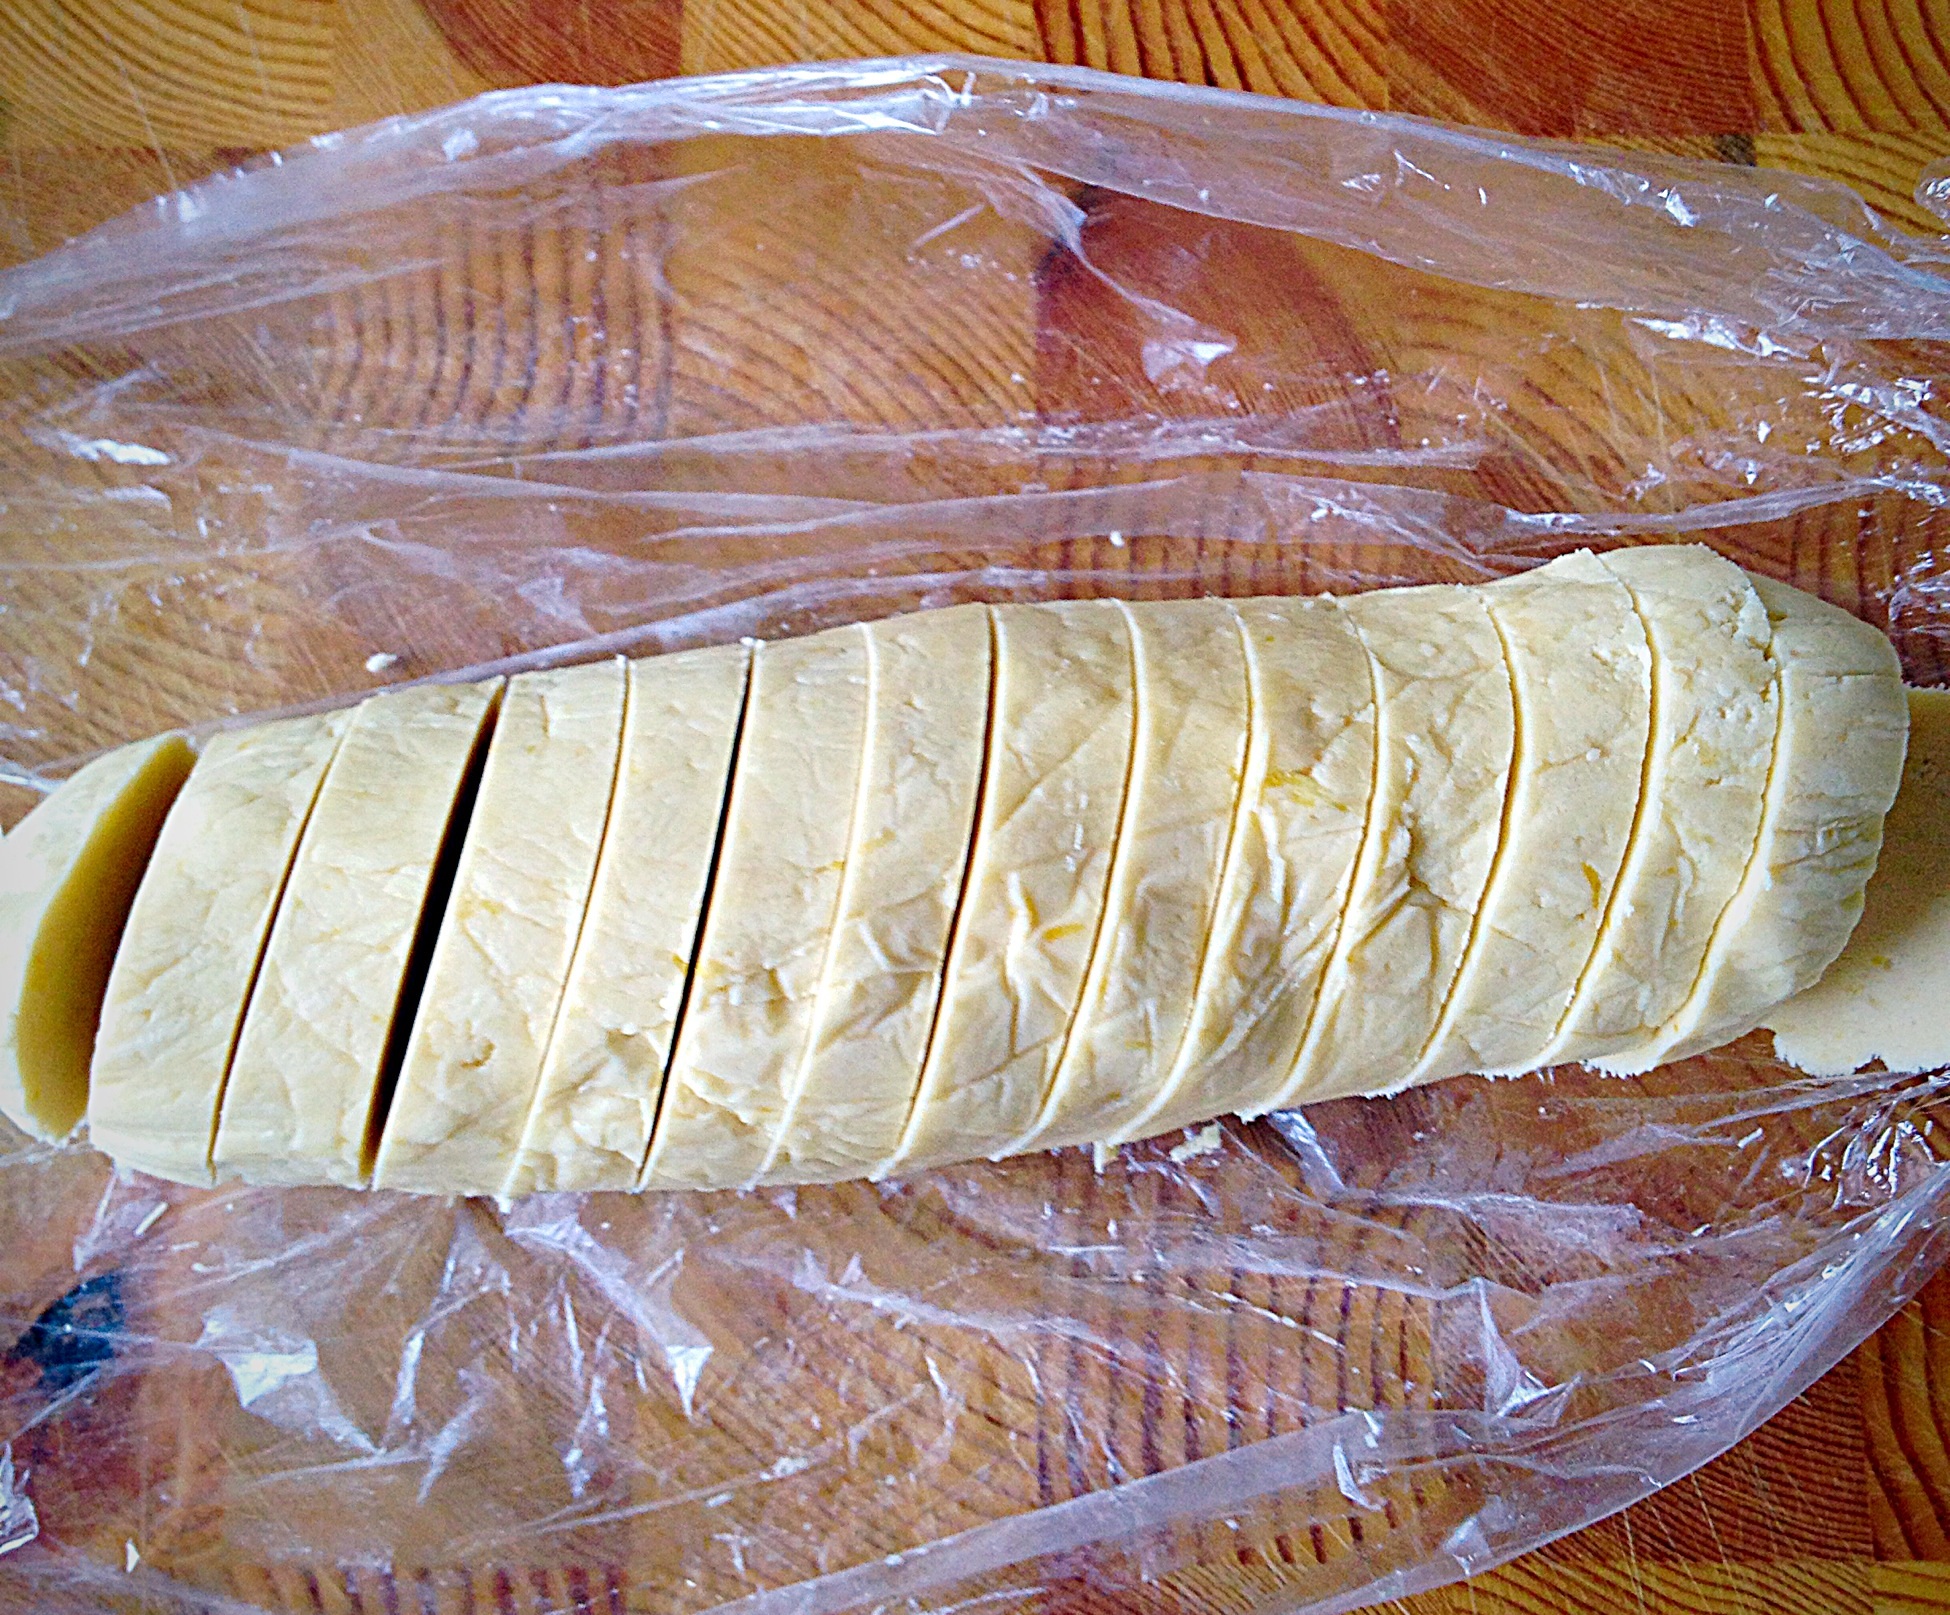
When the cookie logs are firm enough to slice, preheat the oven to 180C/160C fan, gas mark 4, 350F
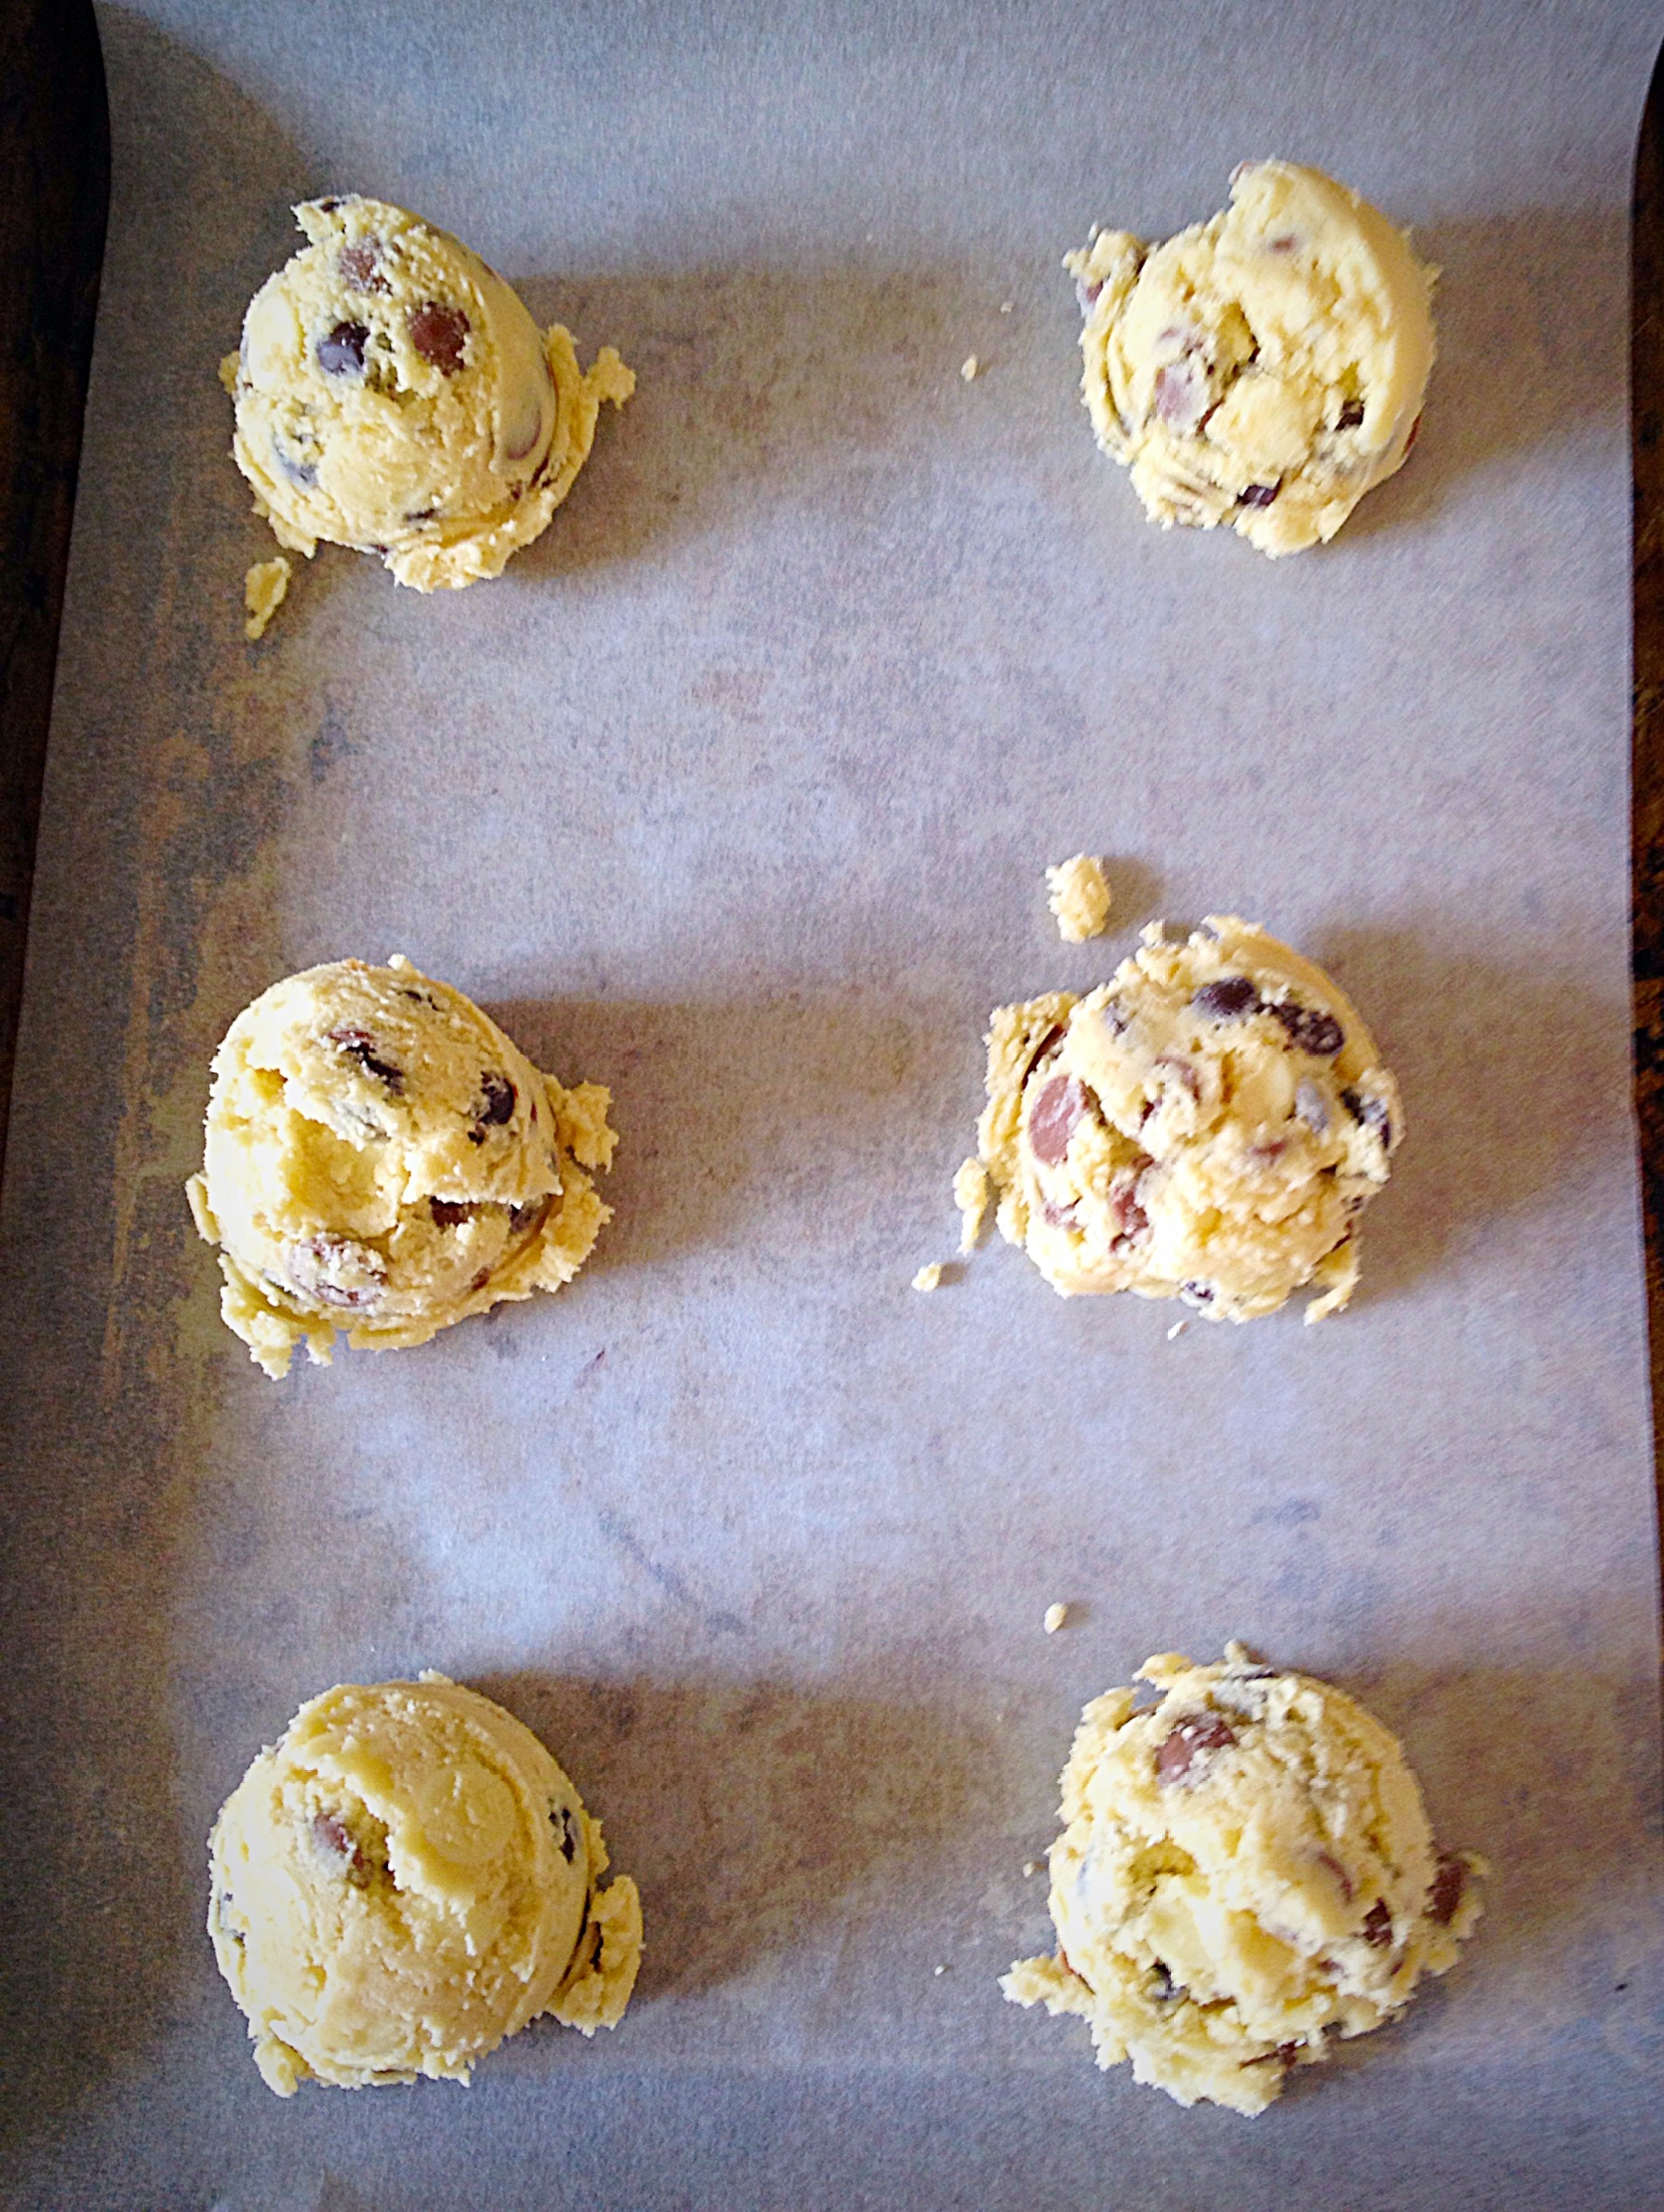
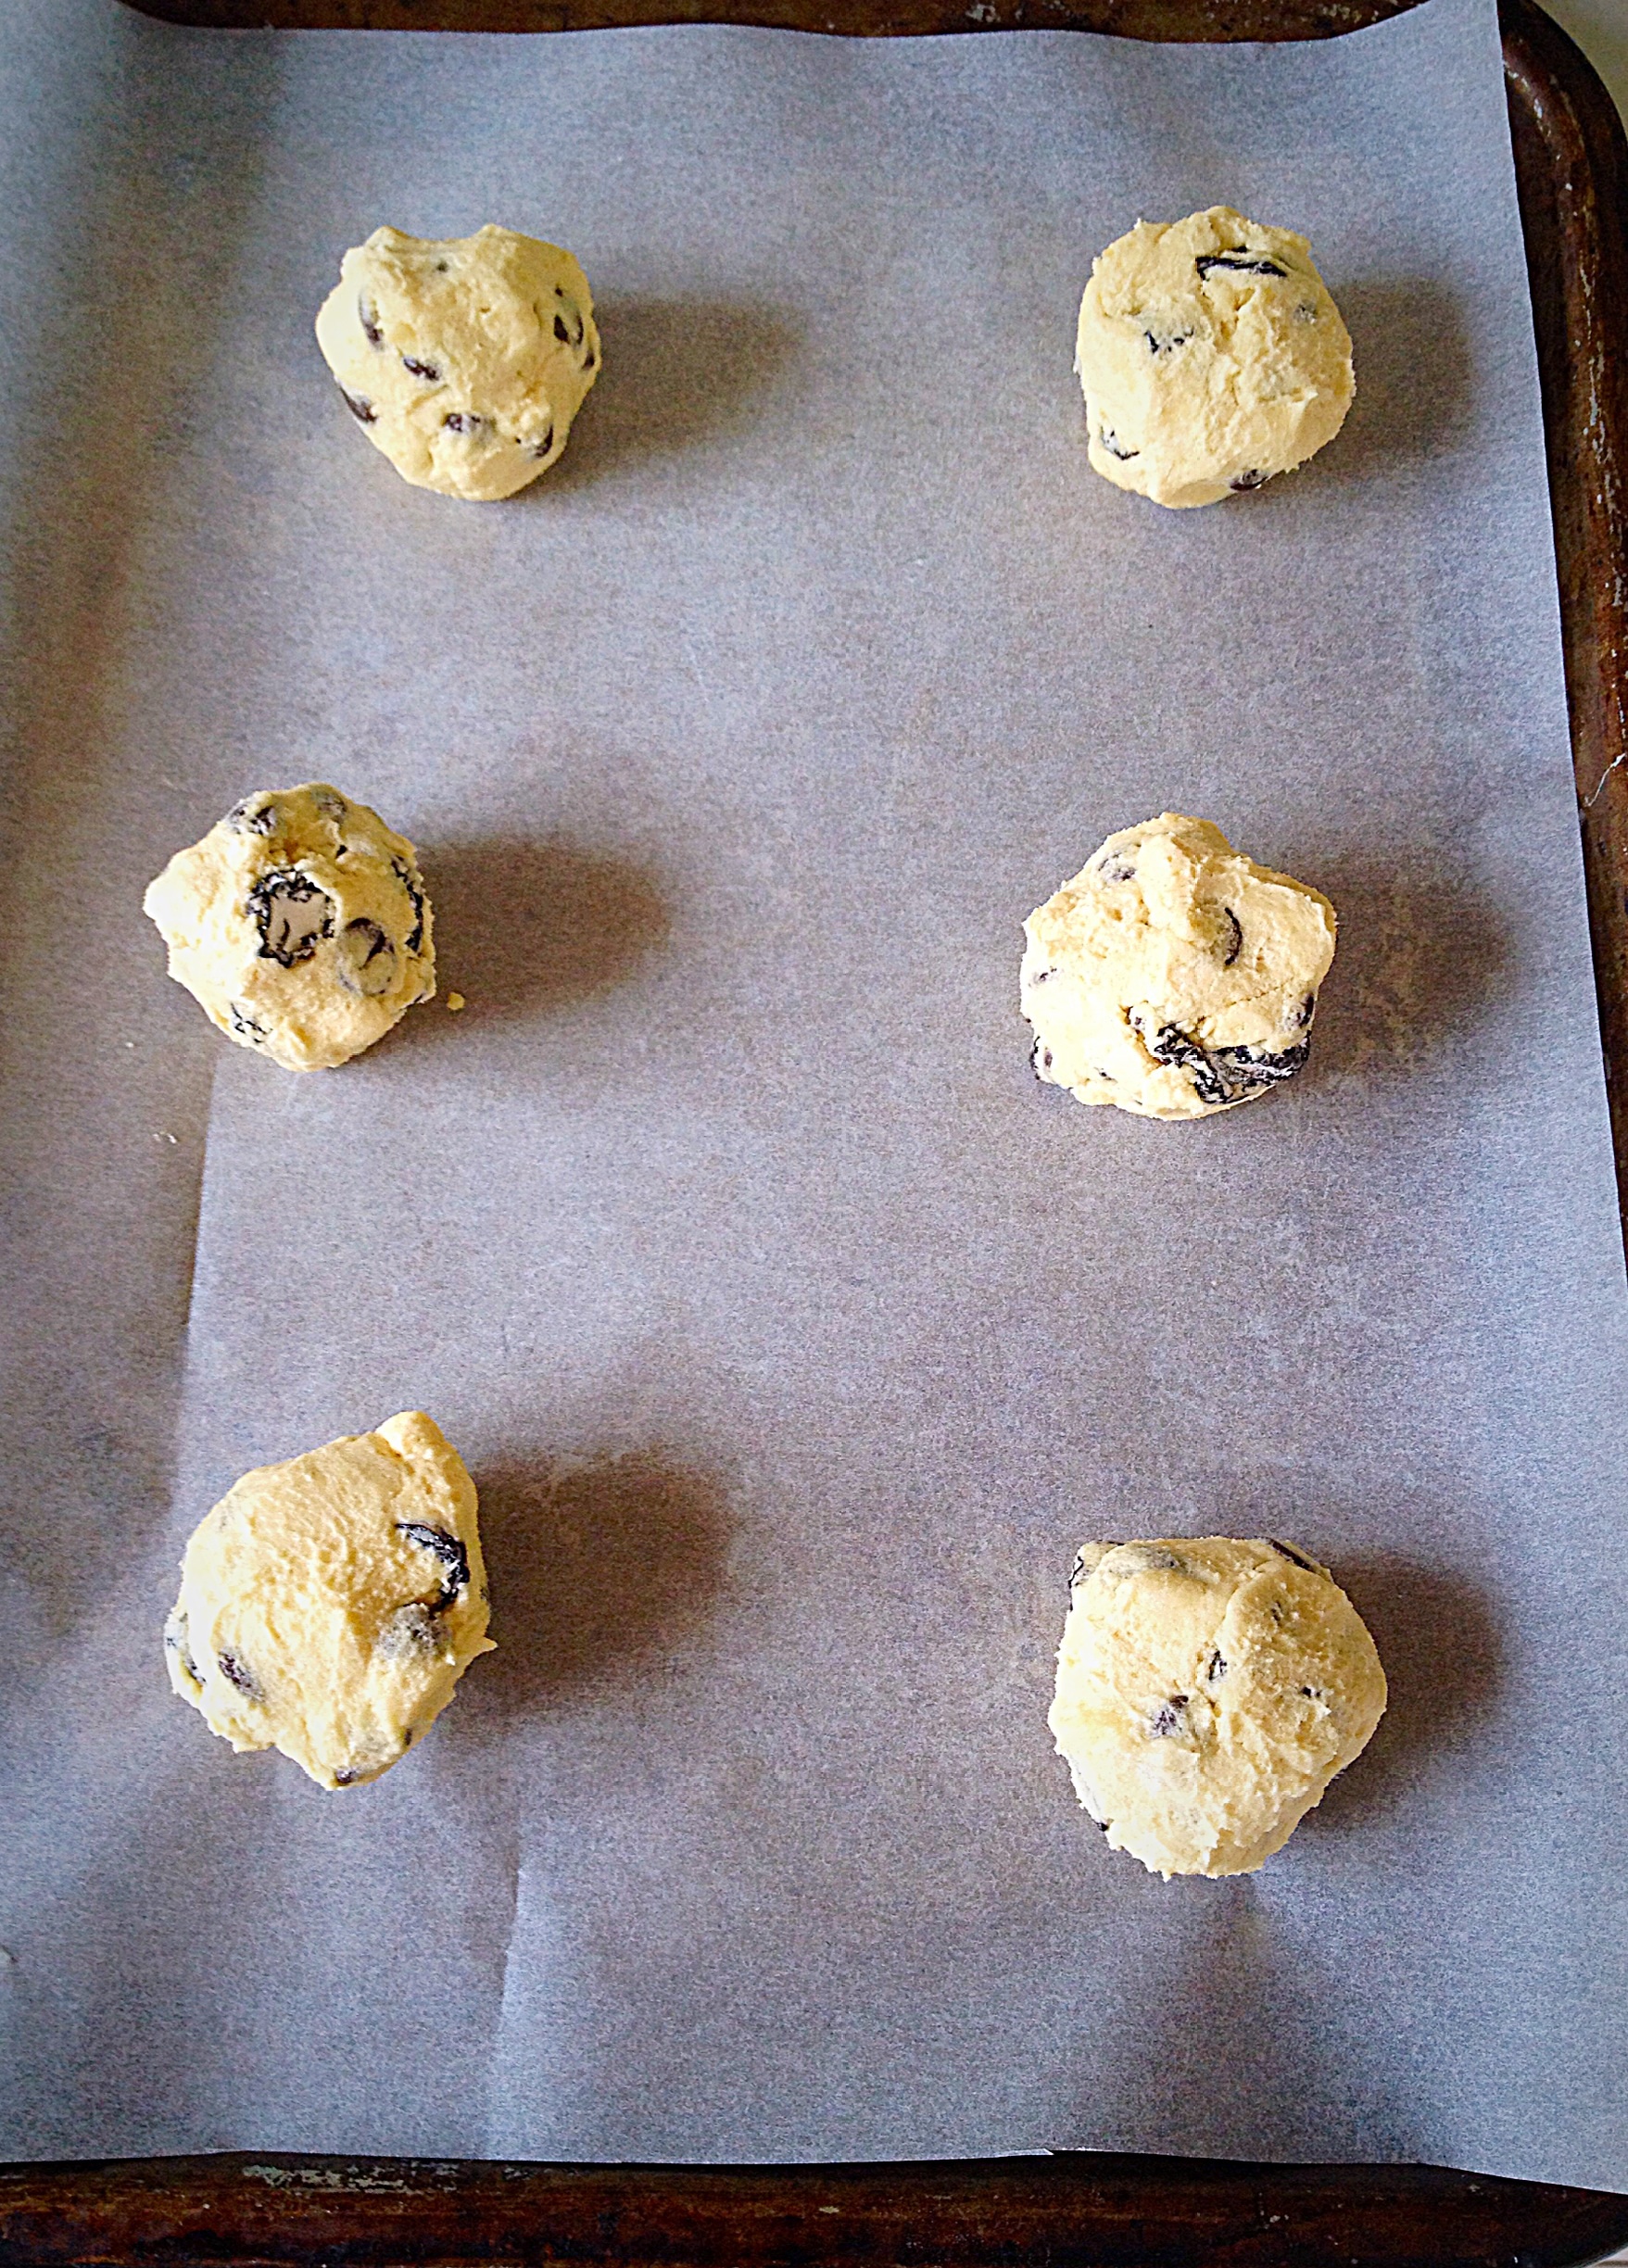
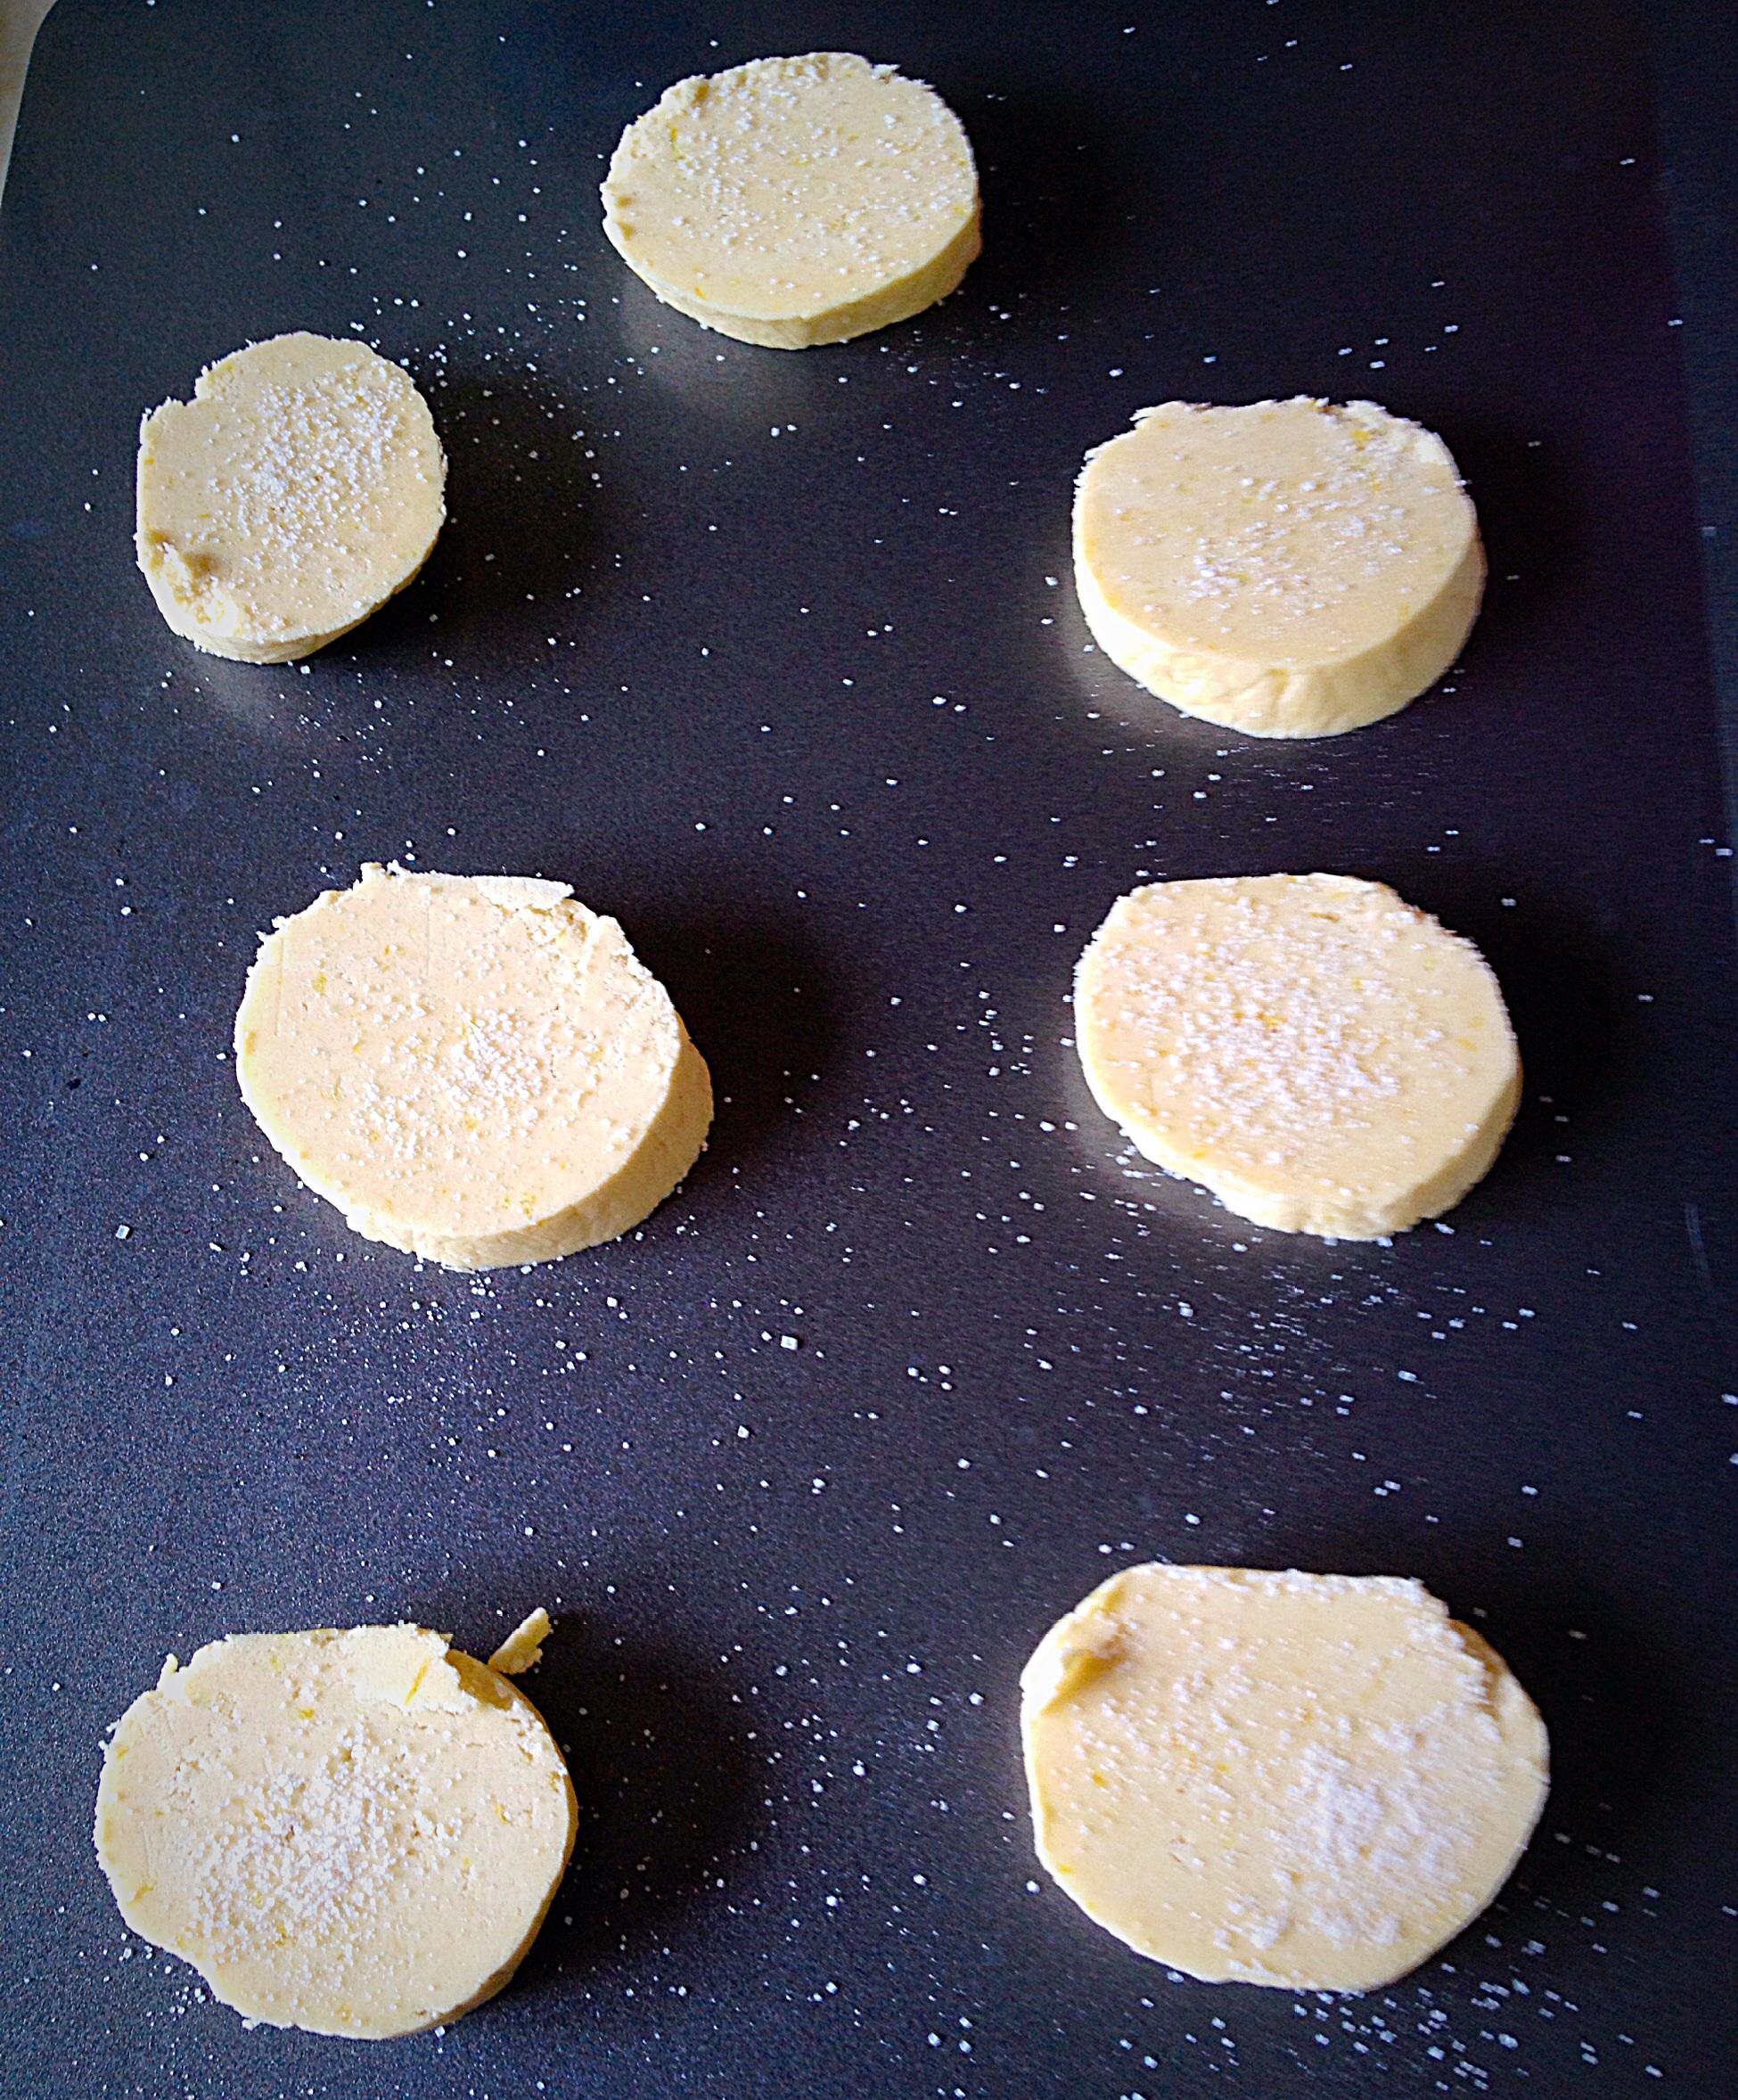
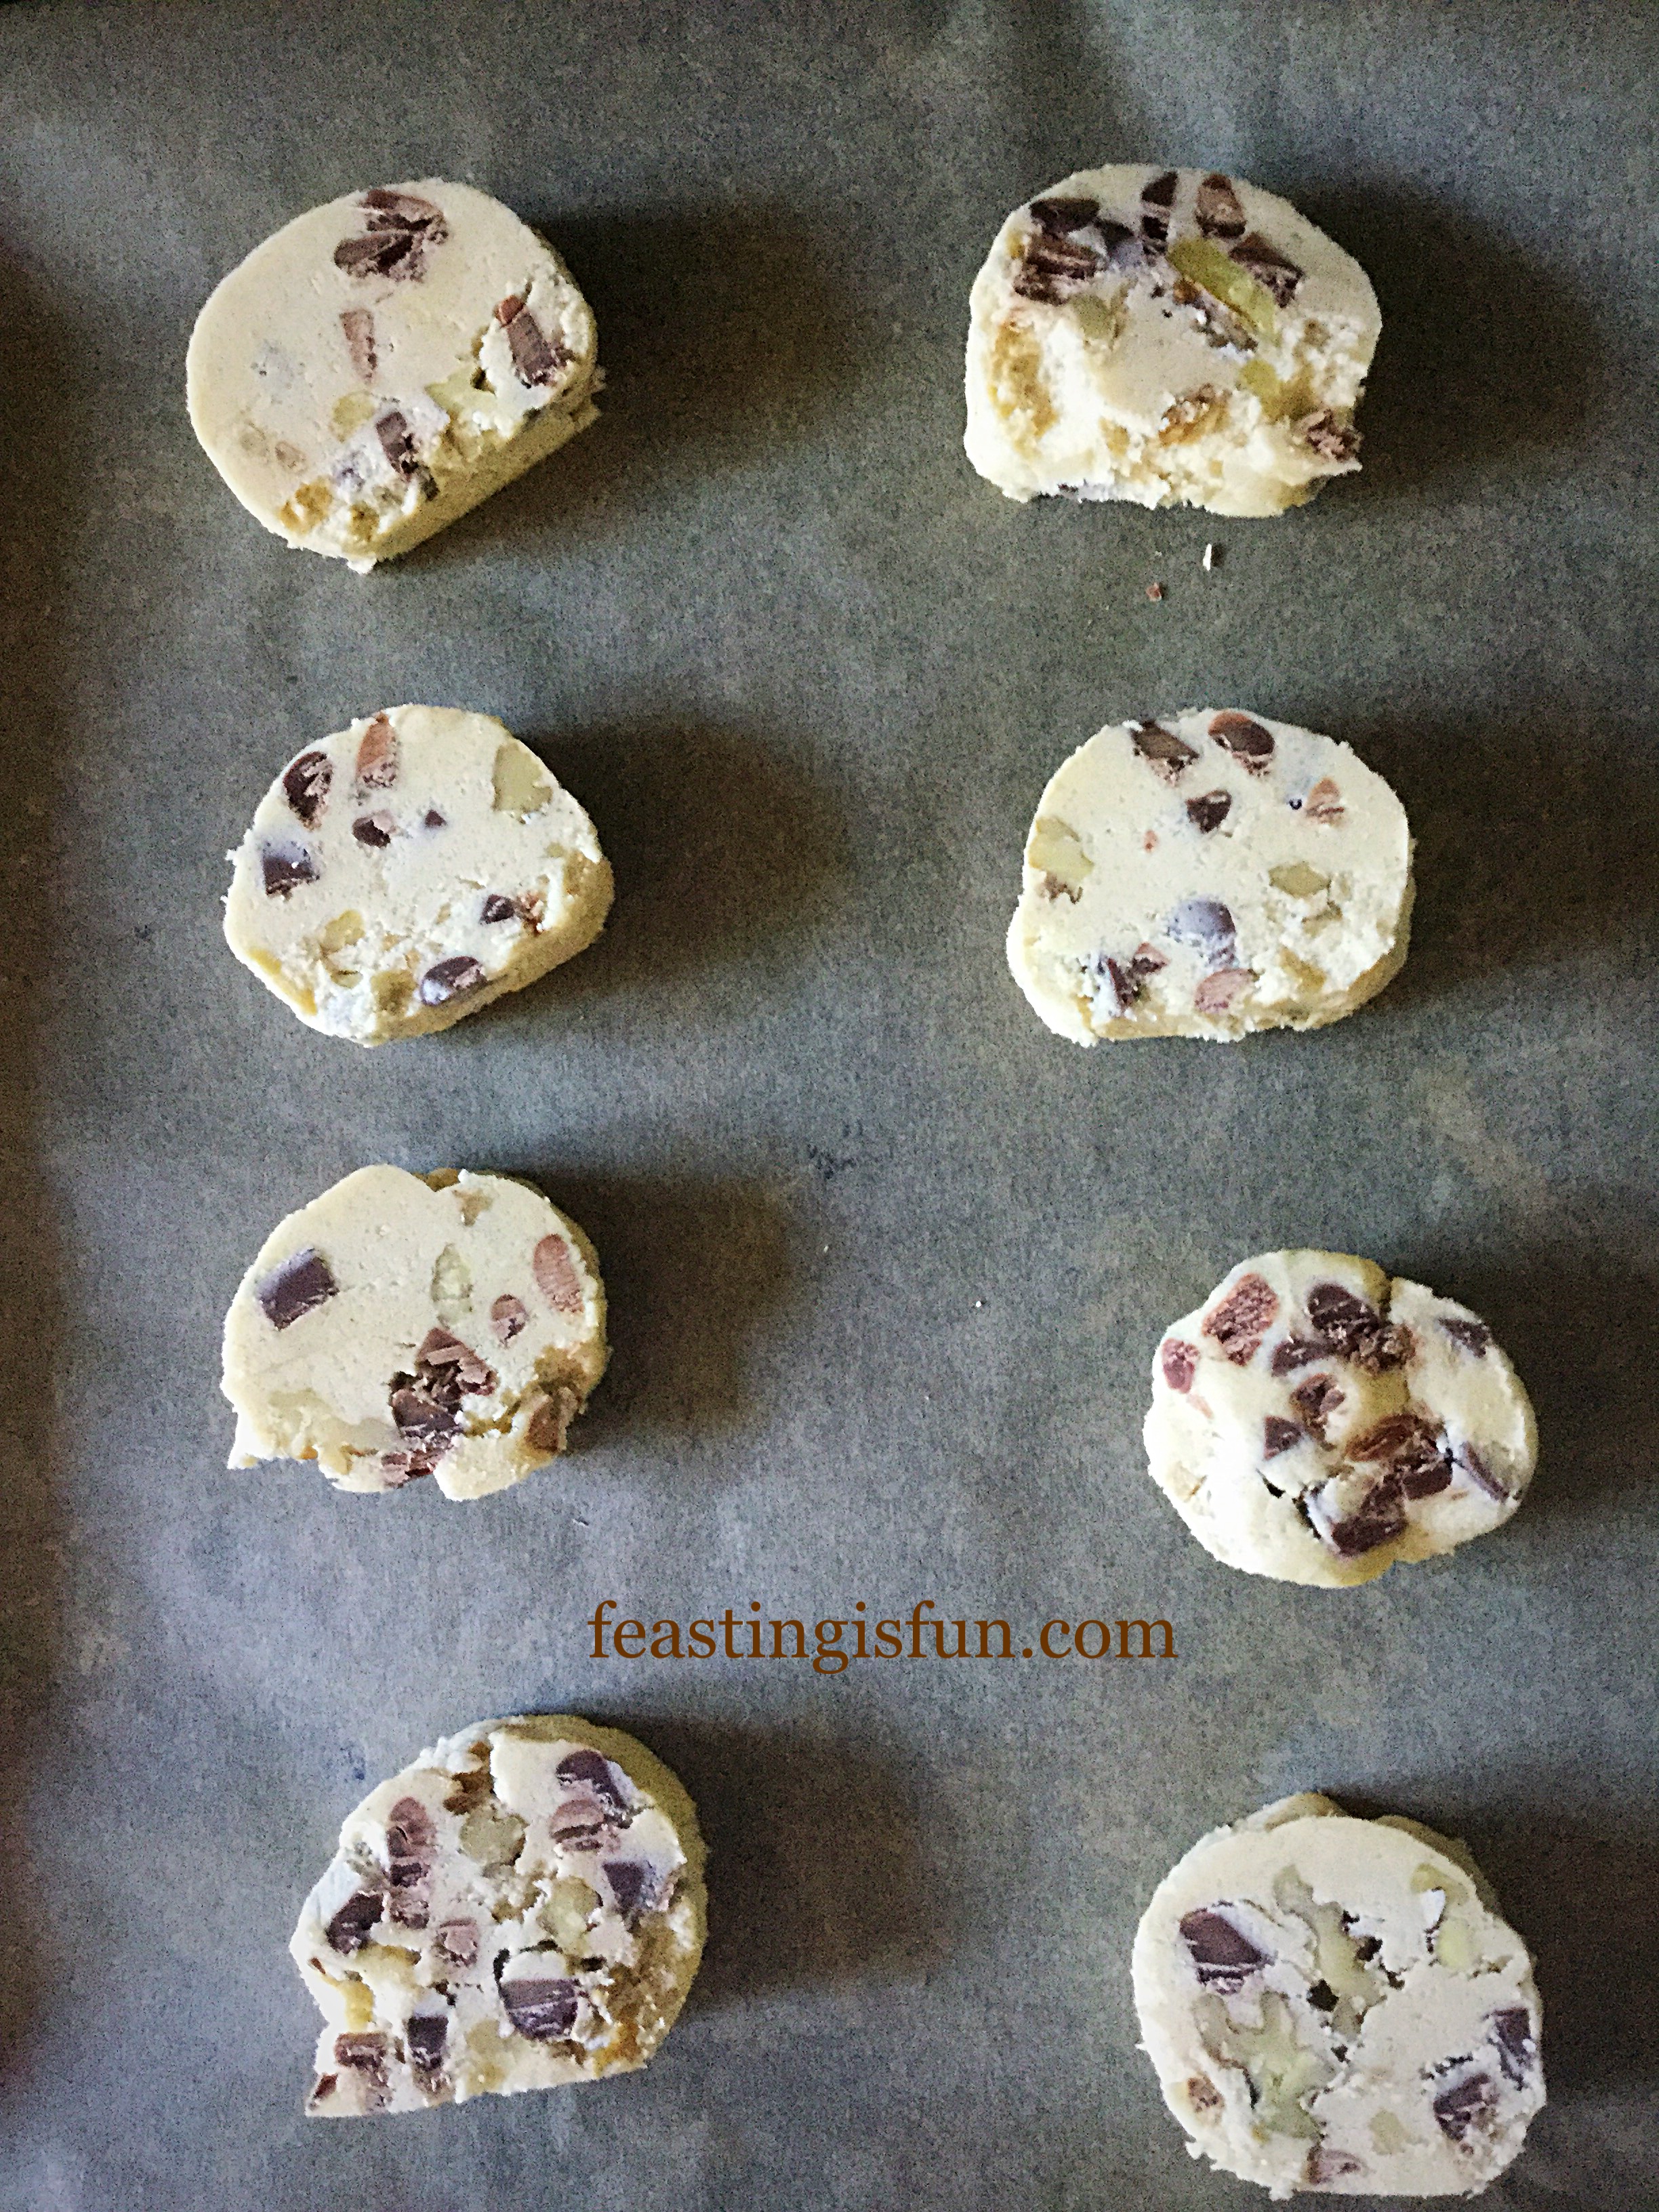
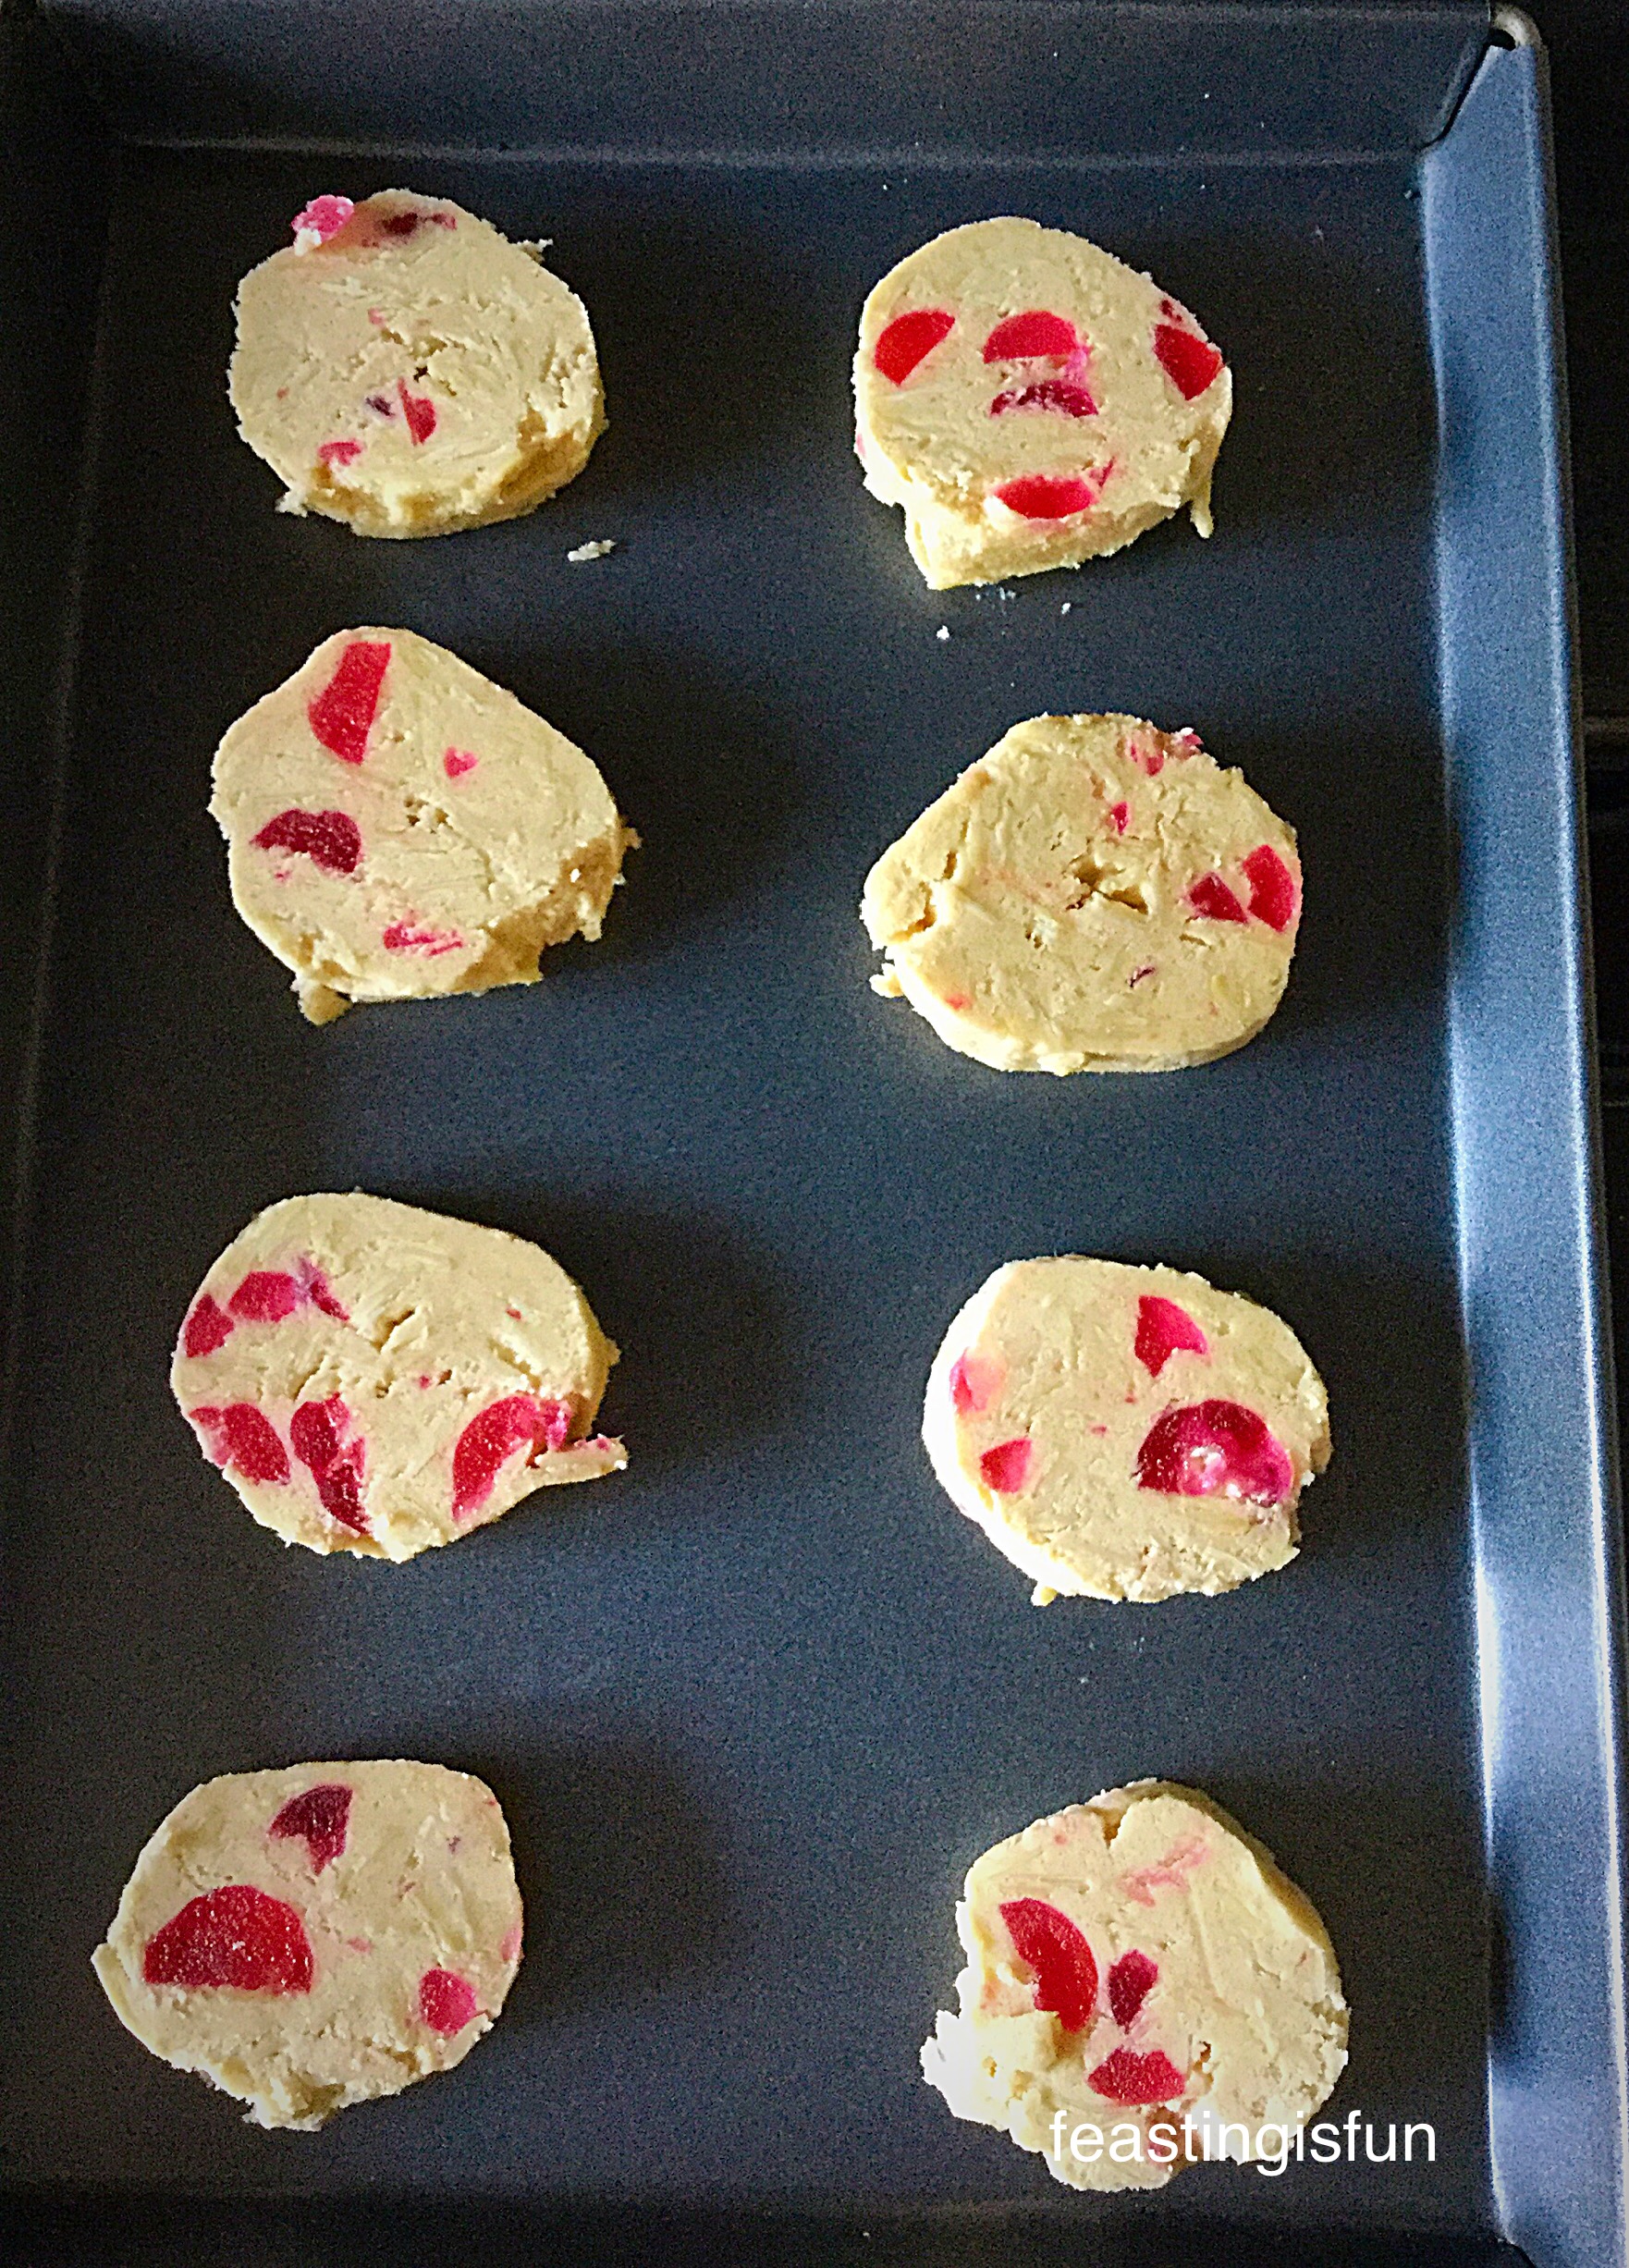
Remove the cookie logs from the fridge and slice into 1.5 cm discs.
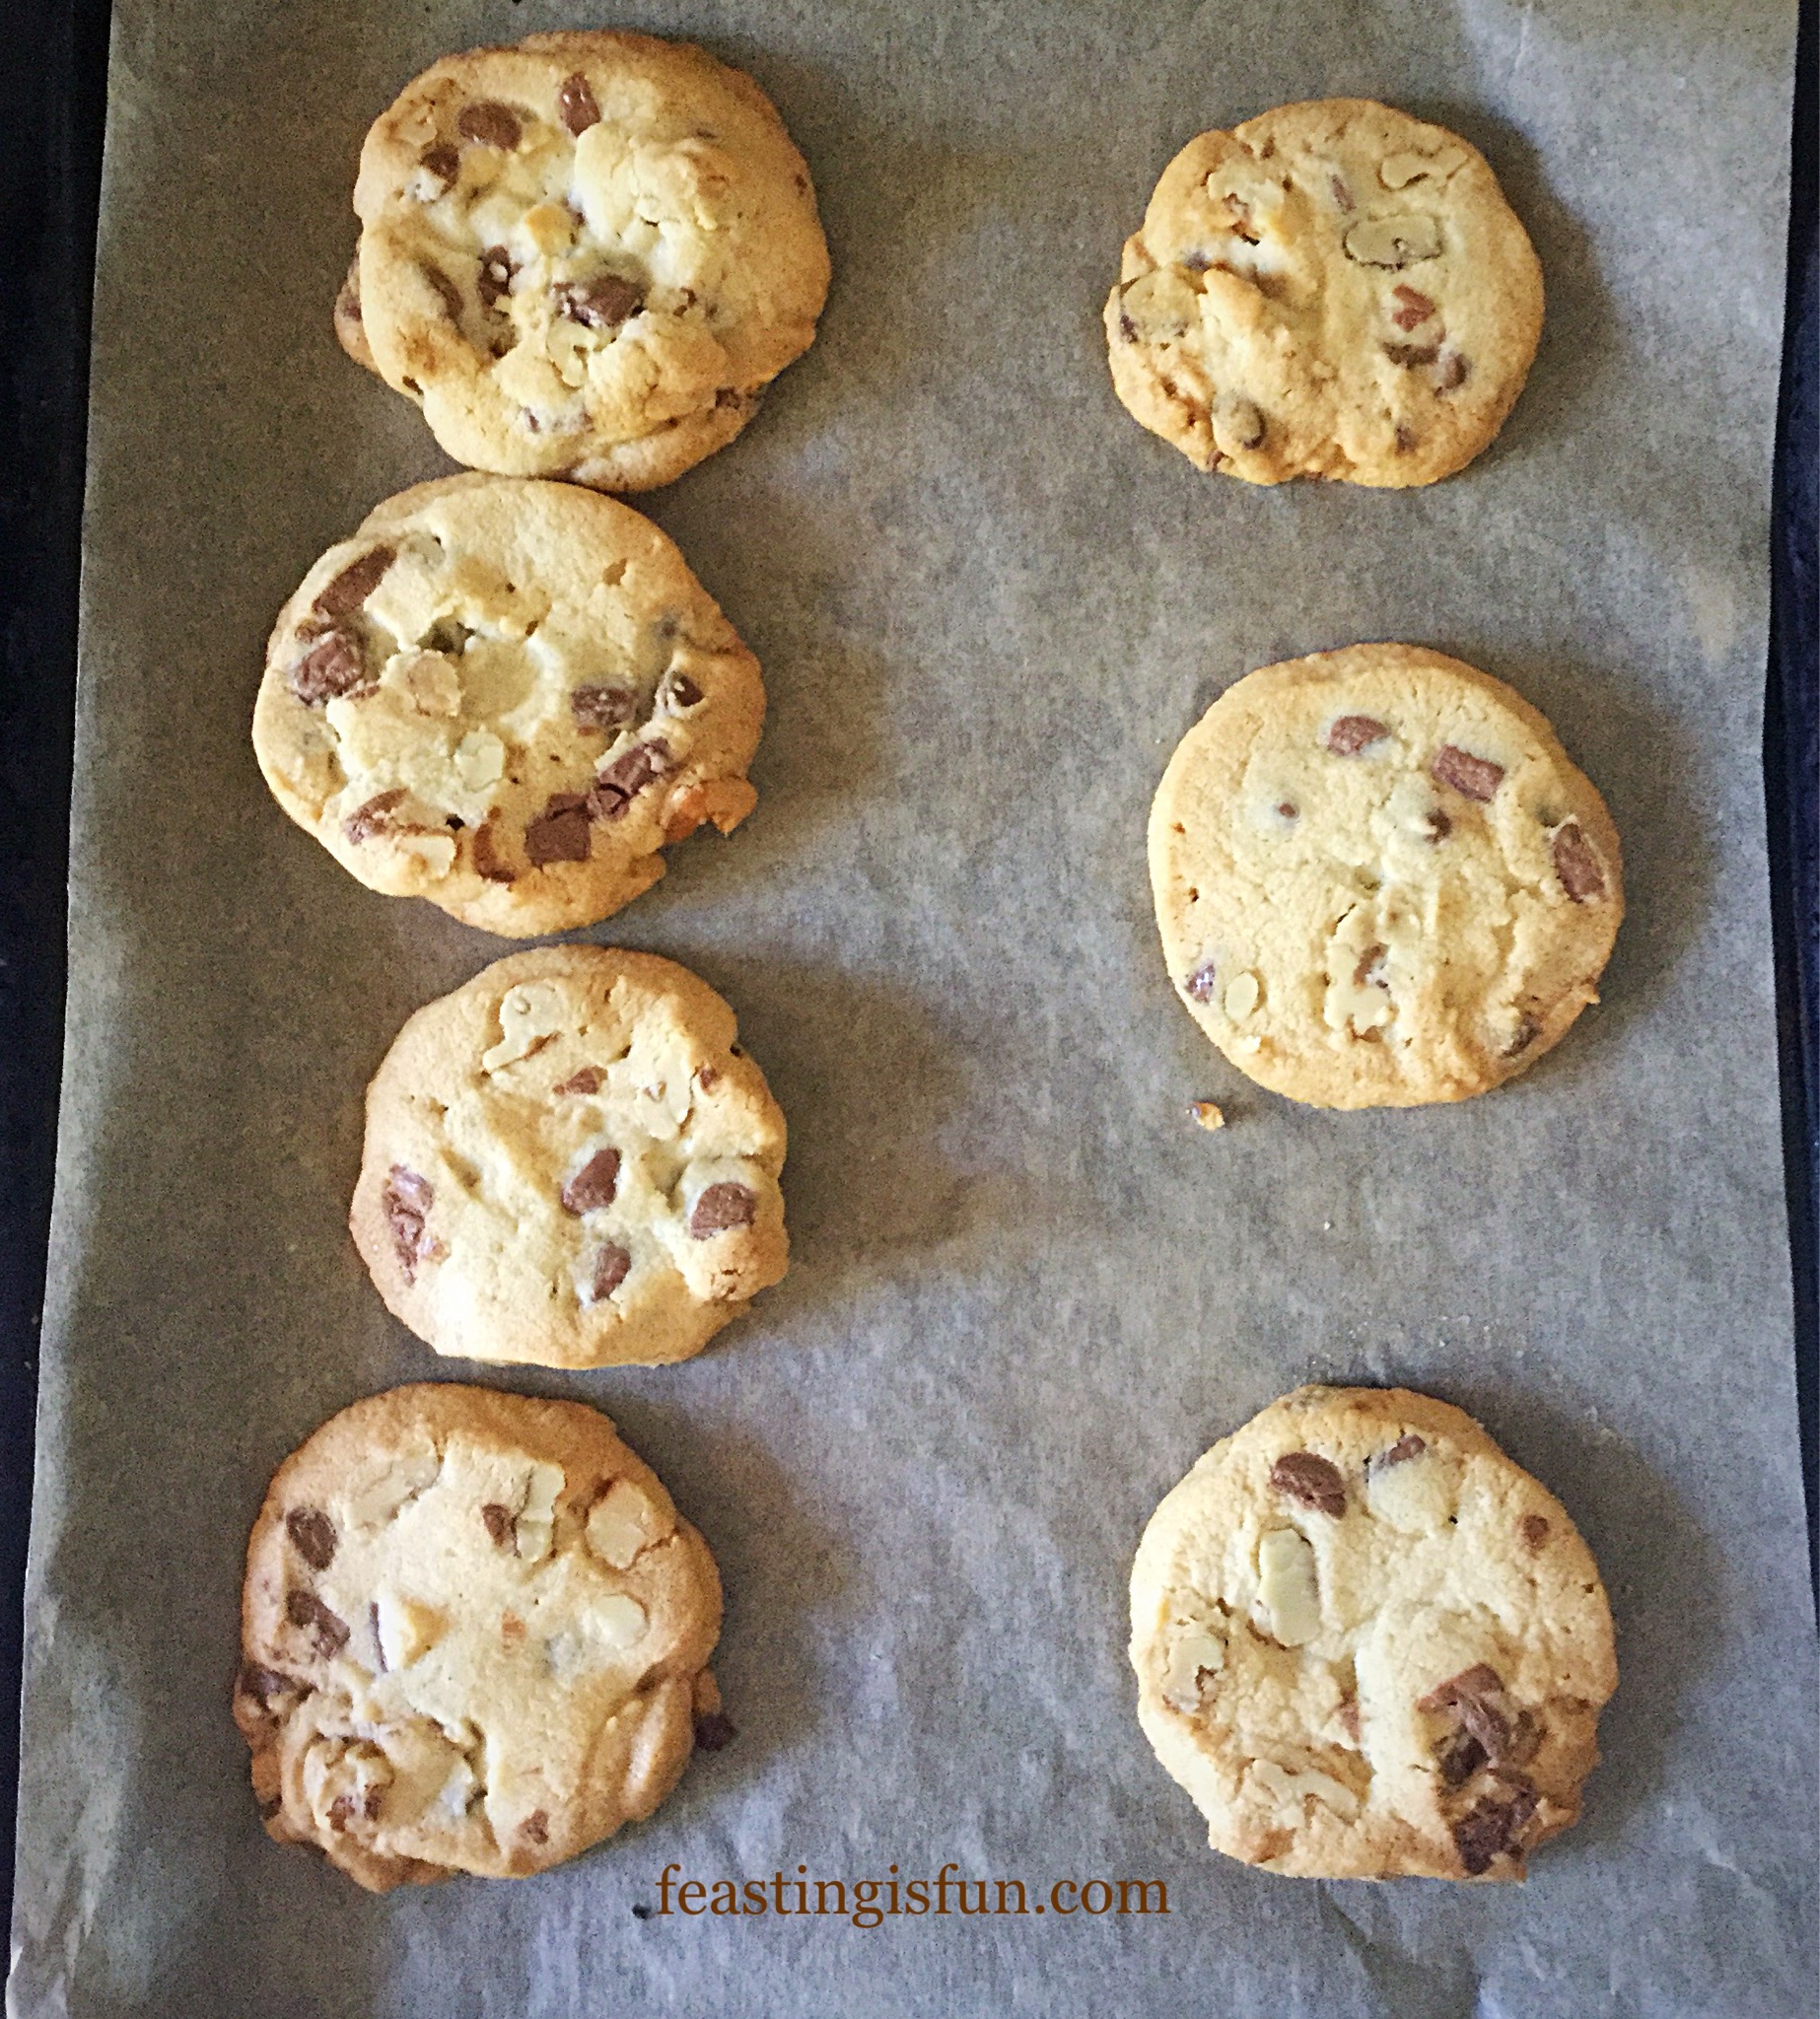
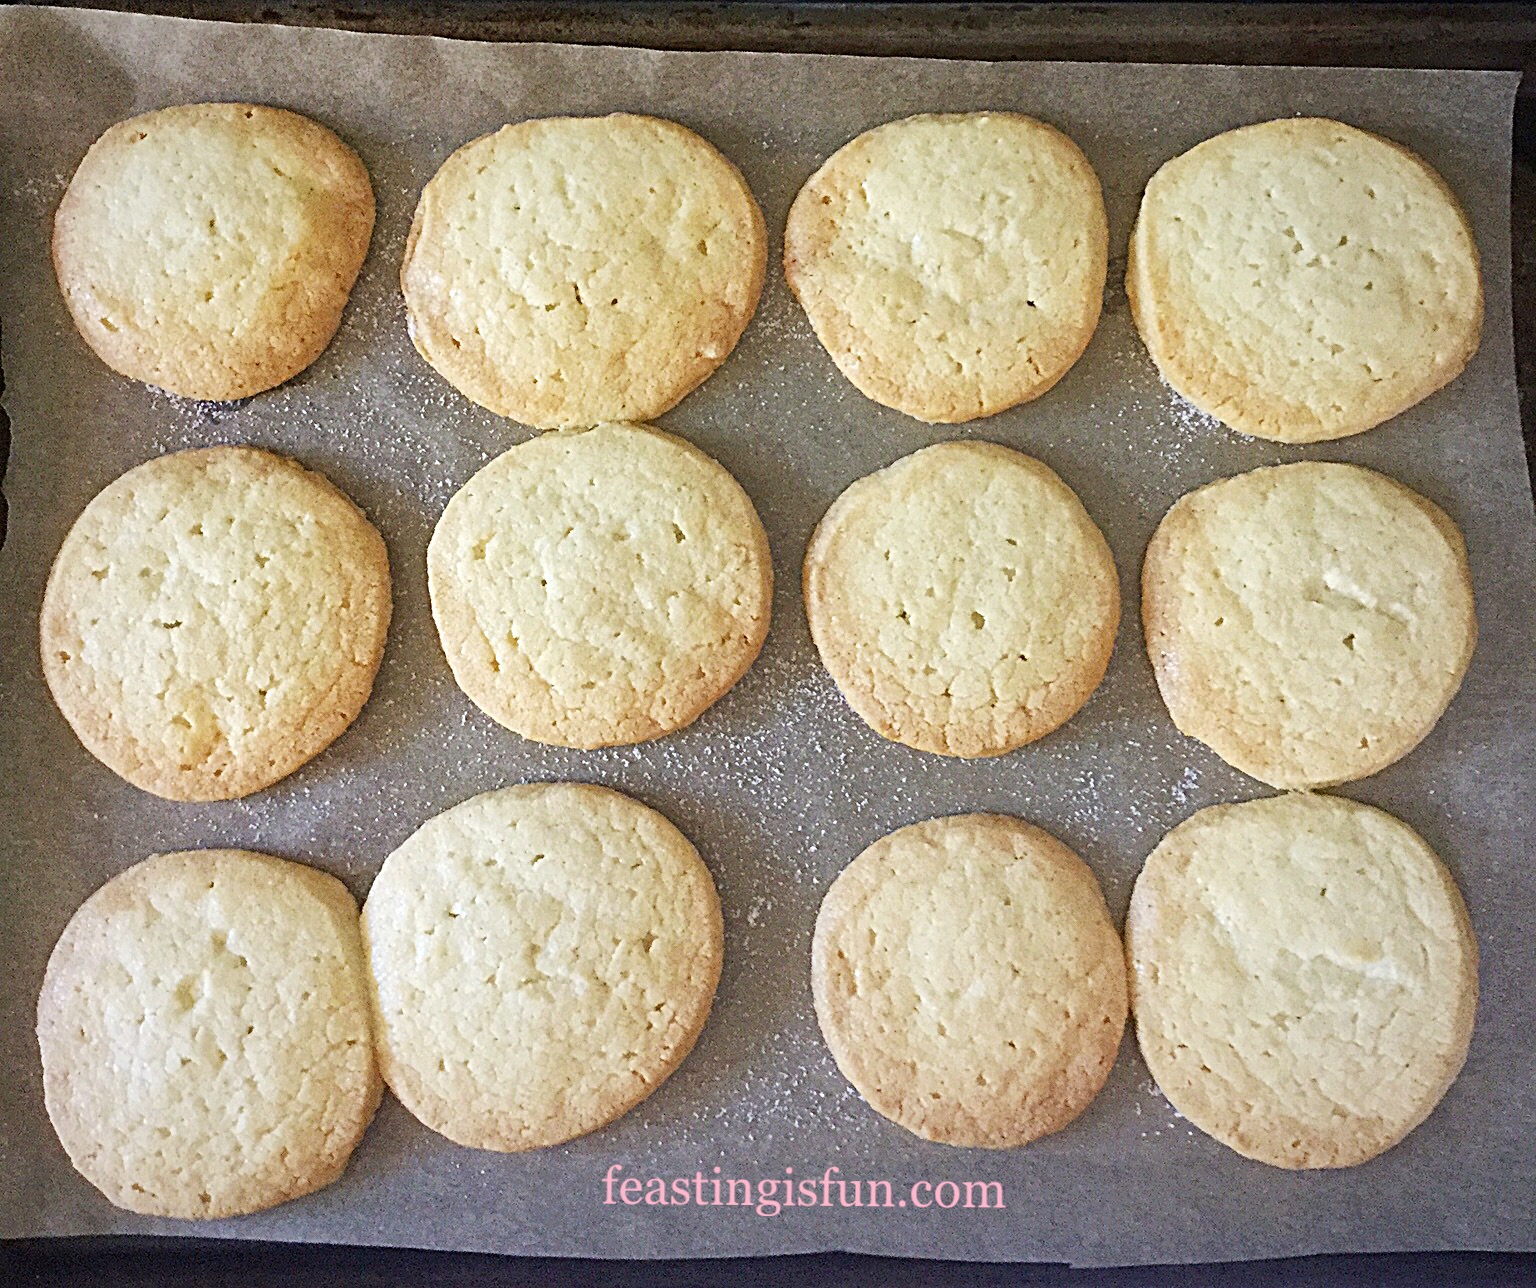
I was testing this Large Baking Tray for British Bakeware however, I would advise lining any baking tray used with baking parchment.
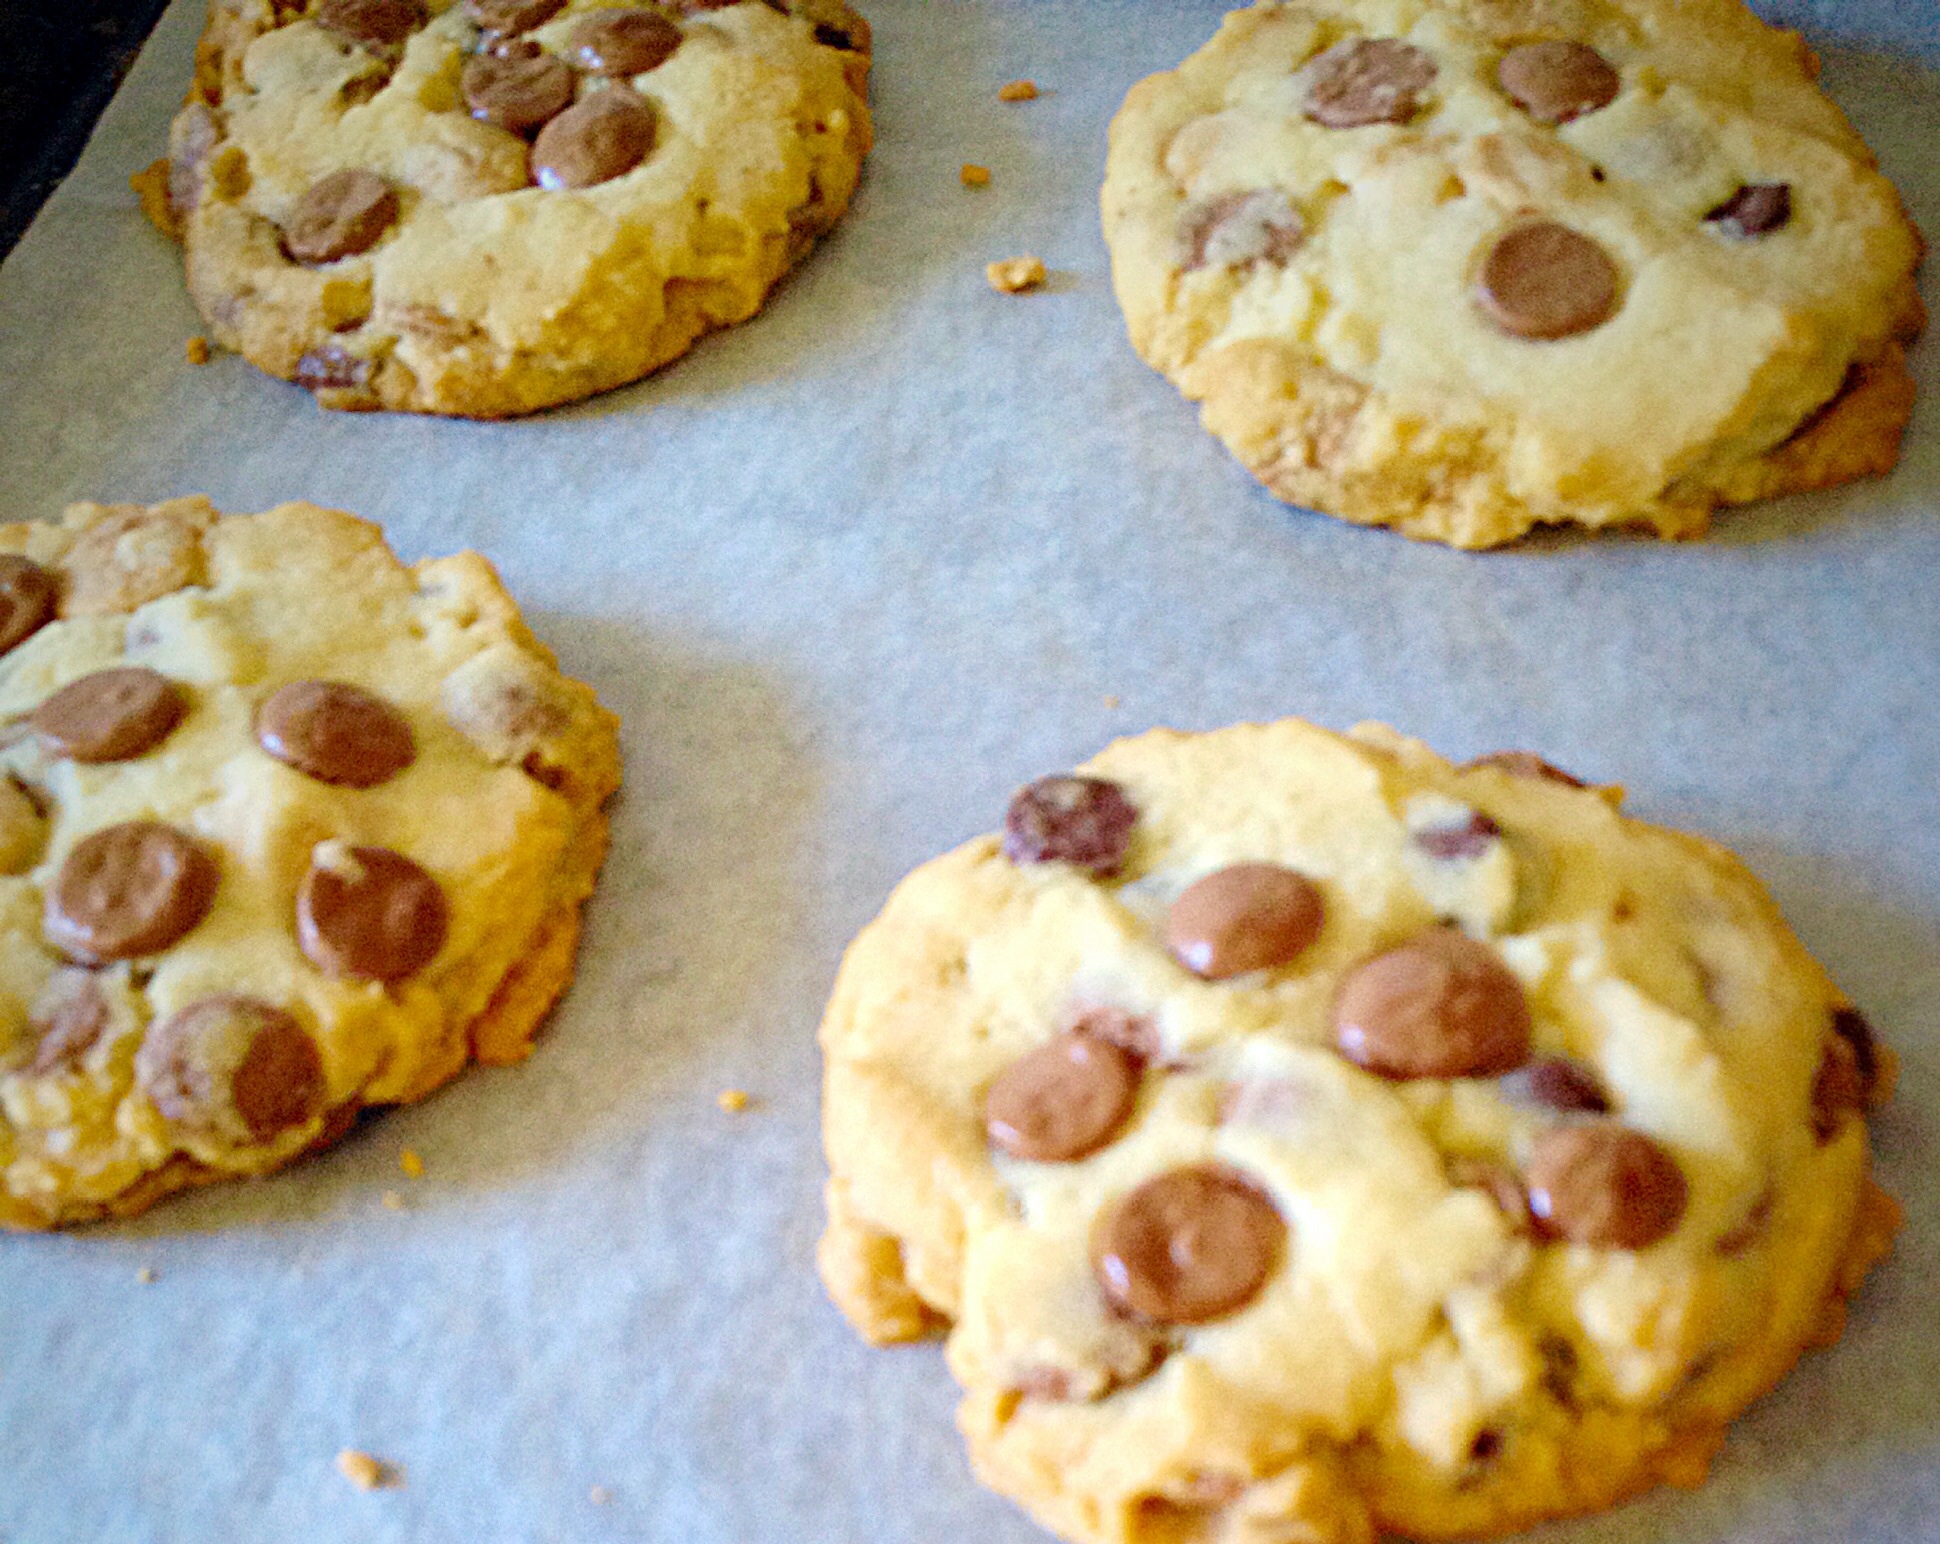
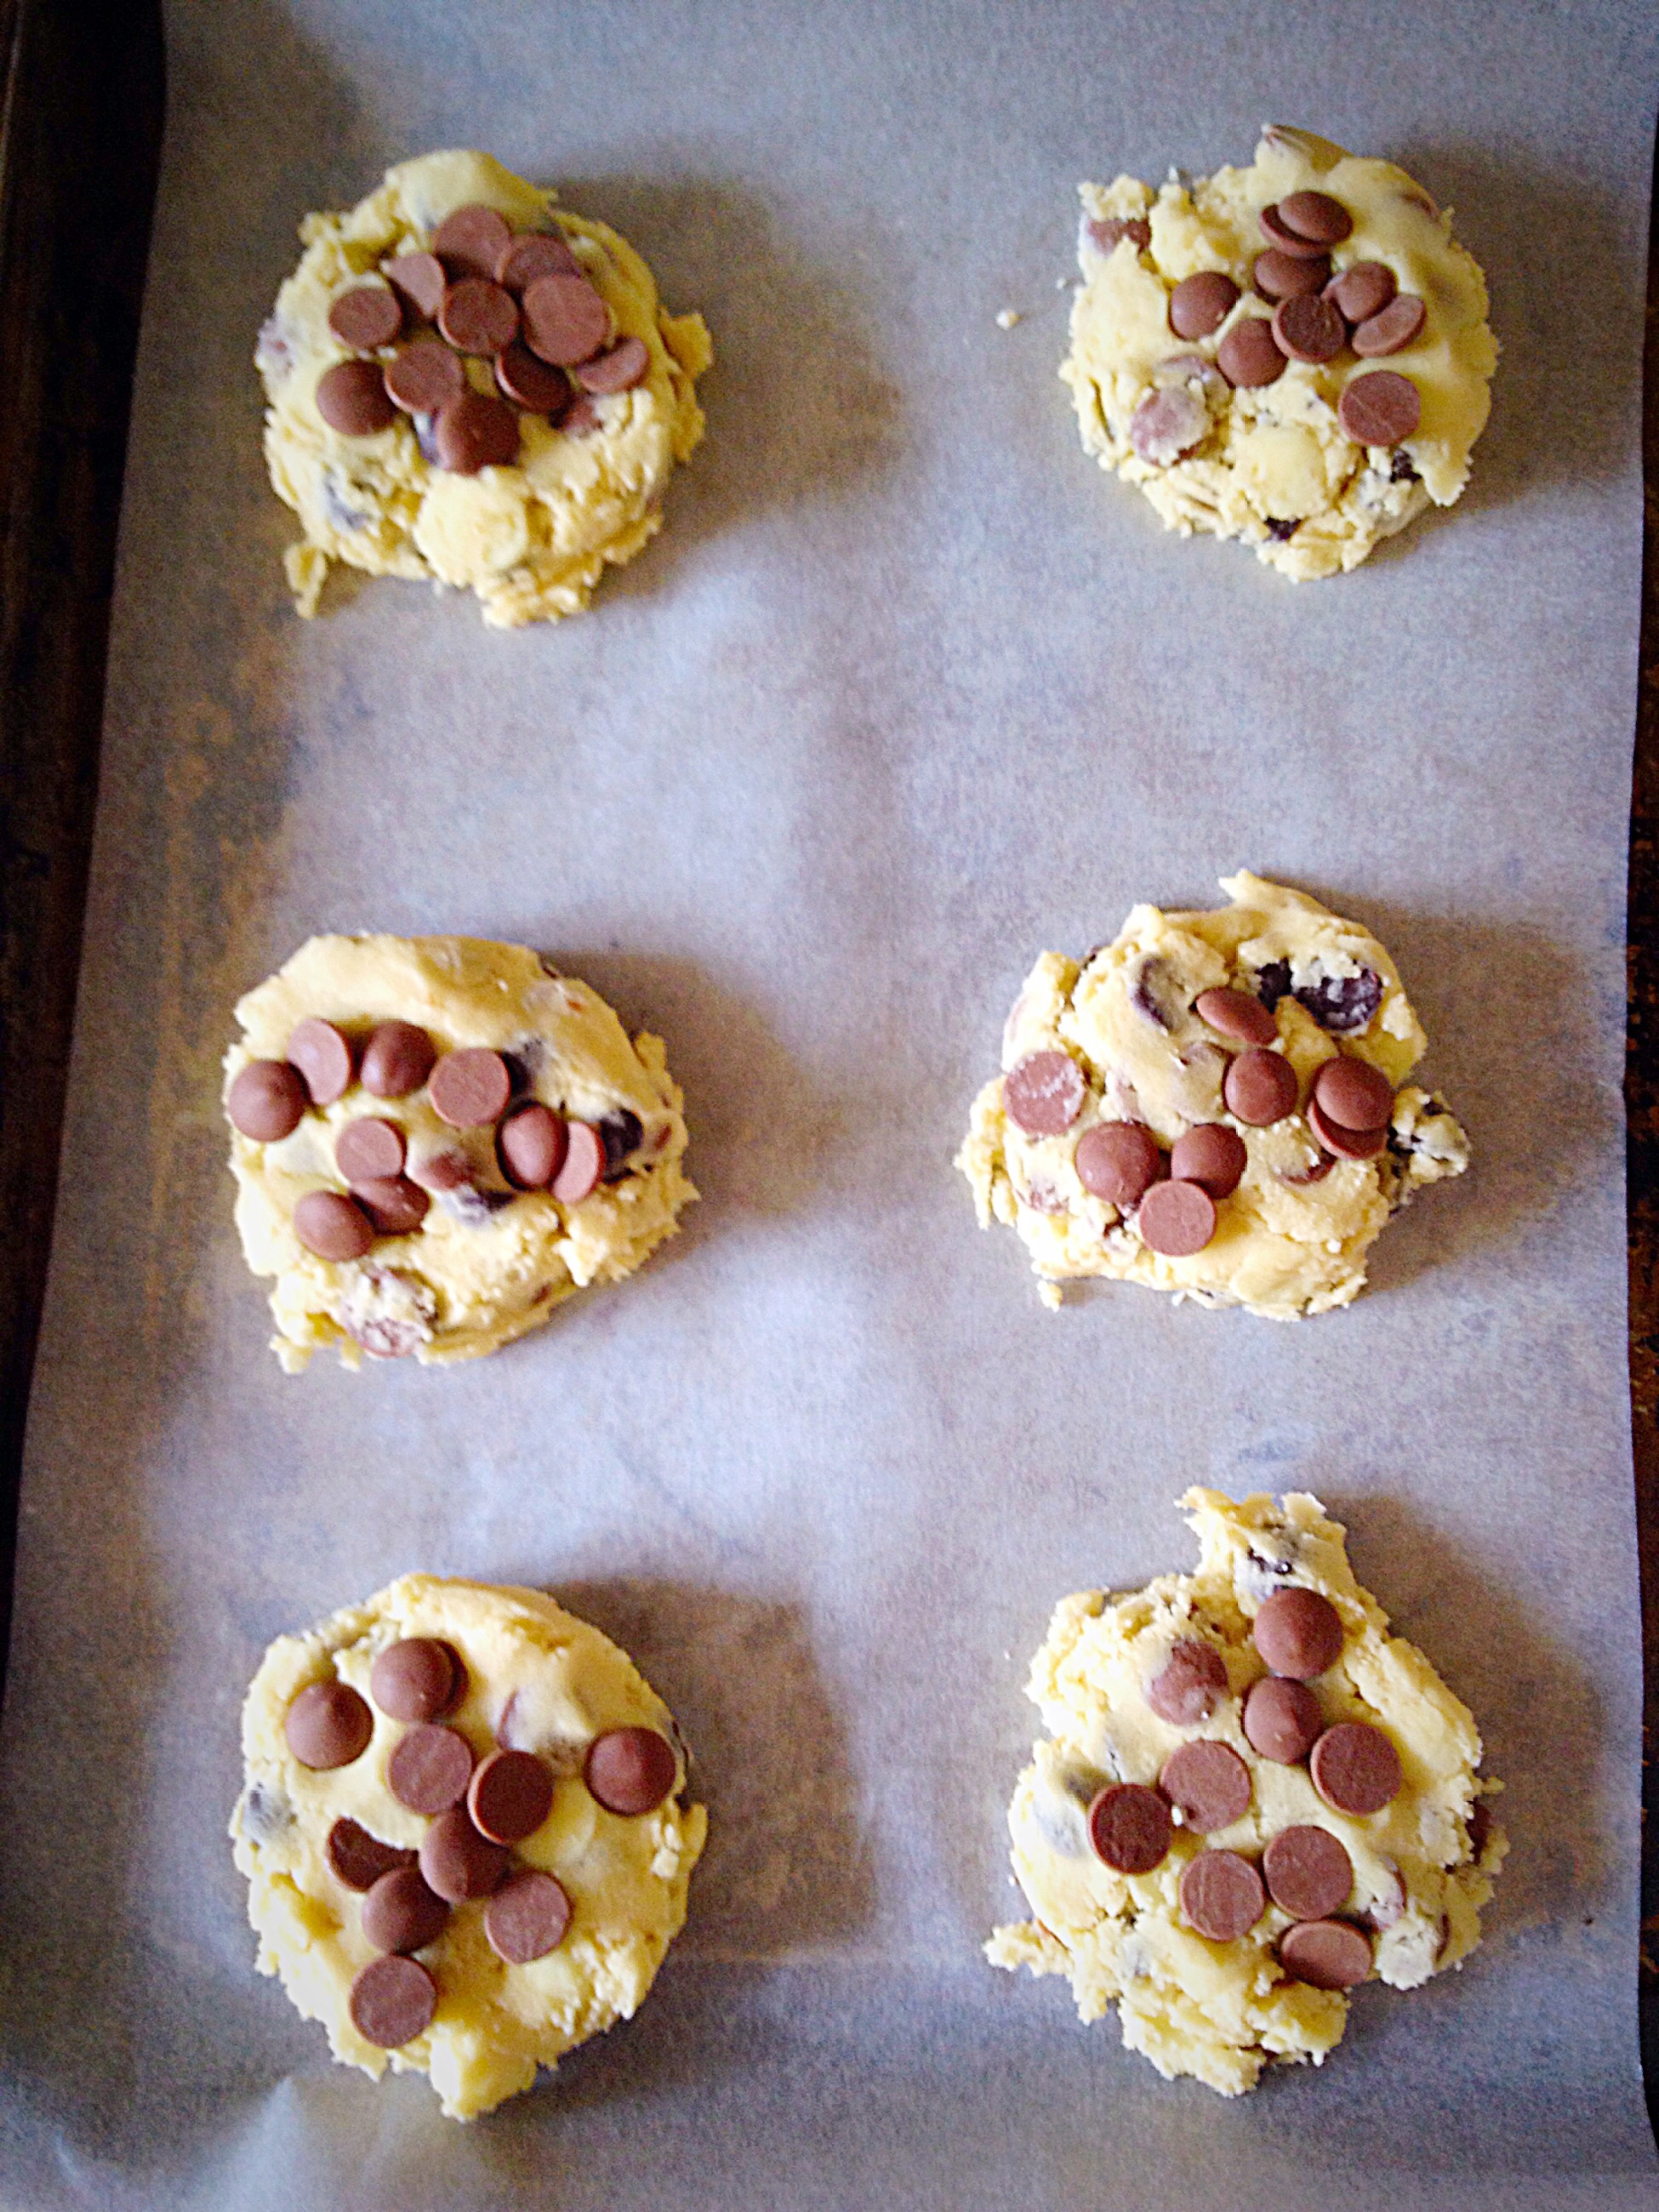
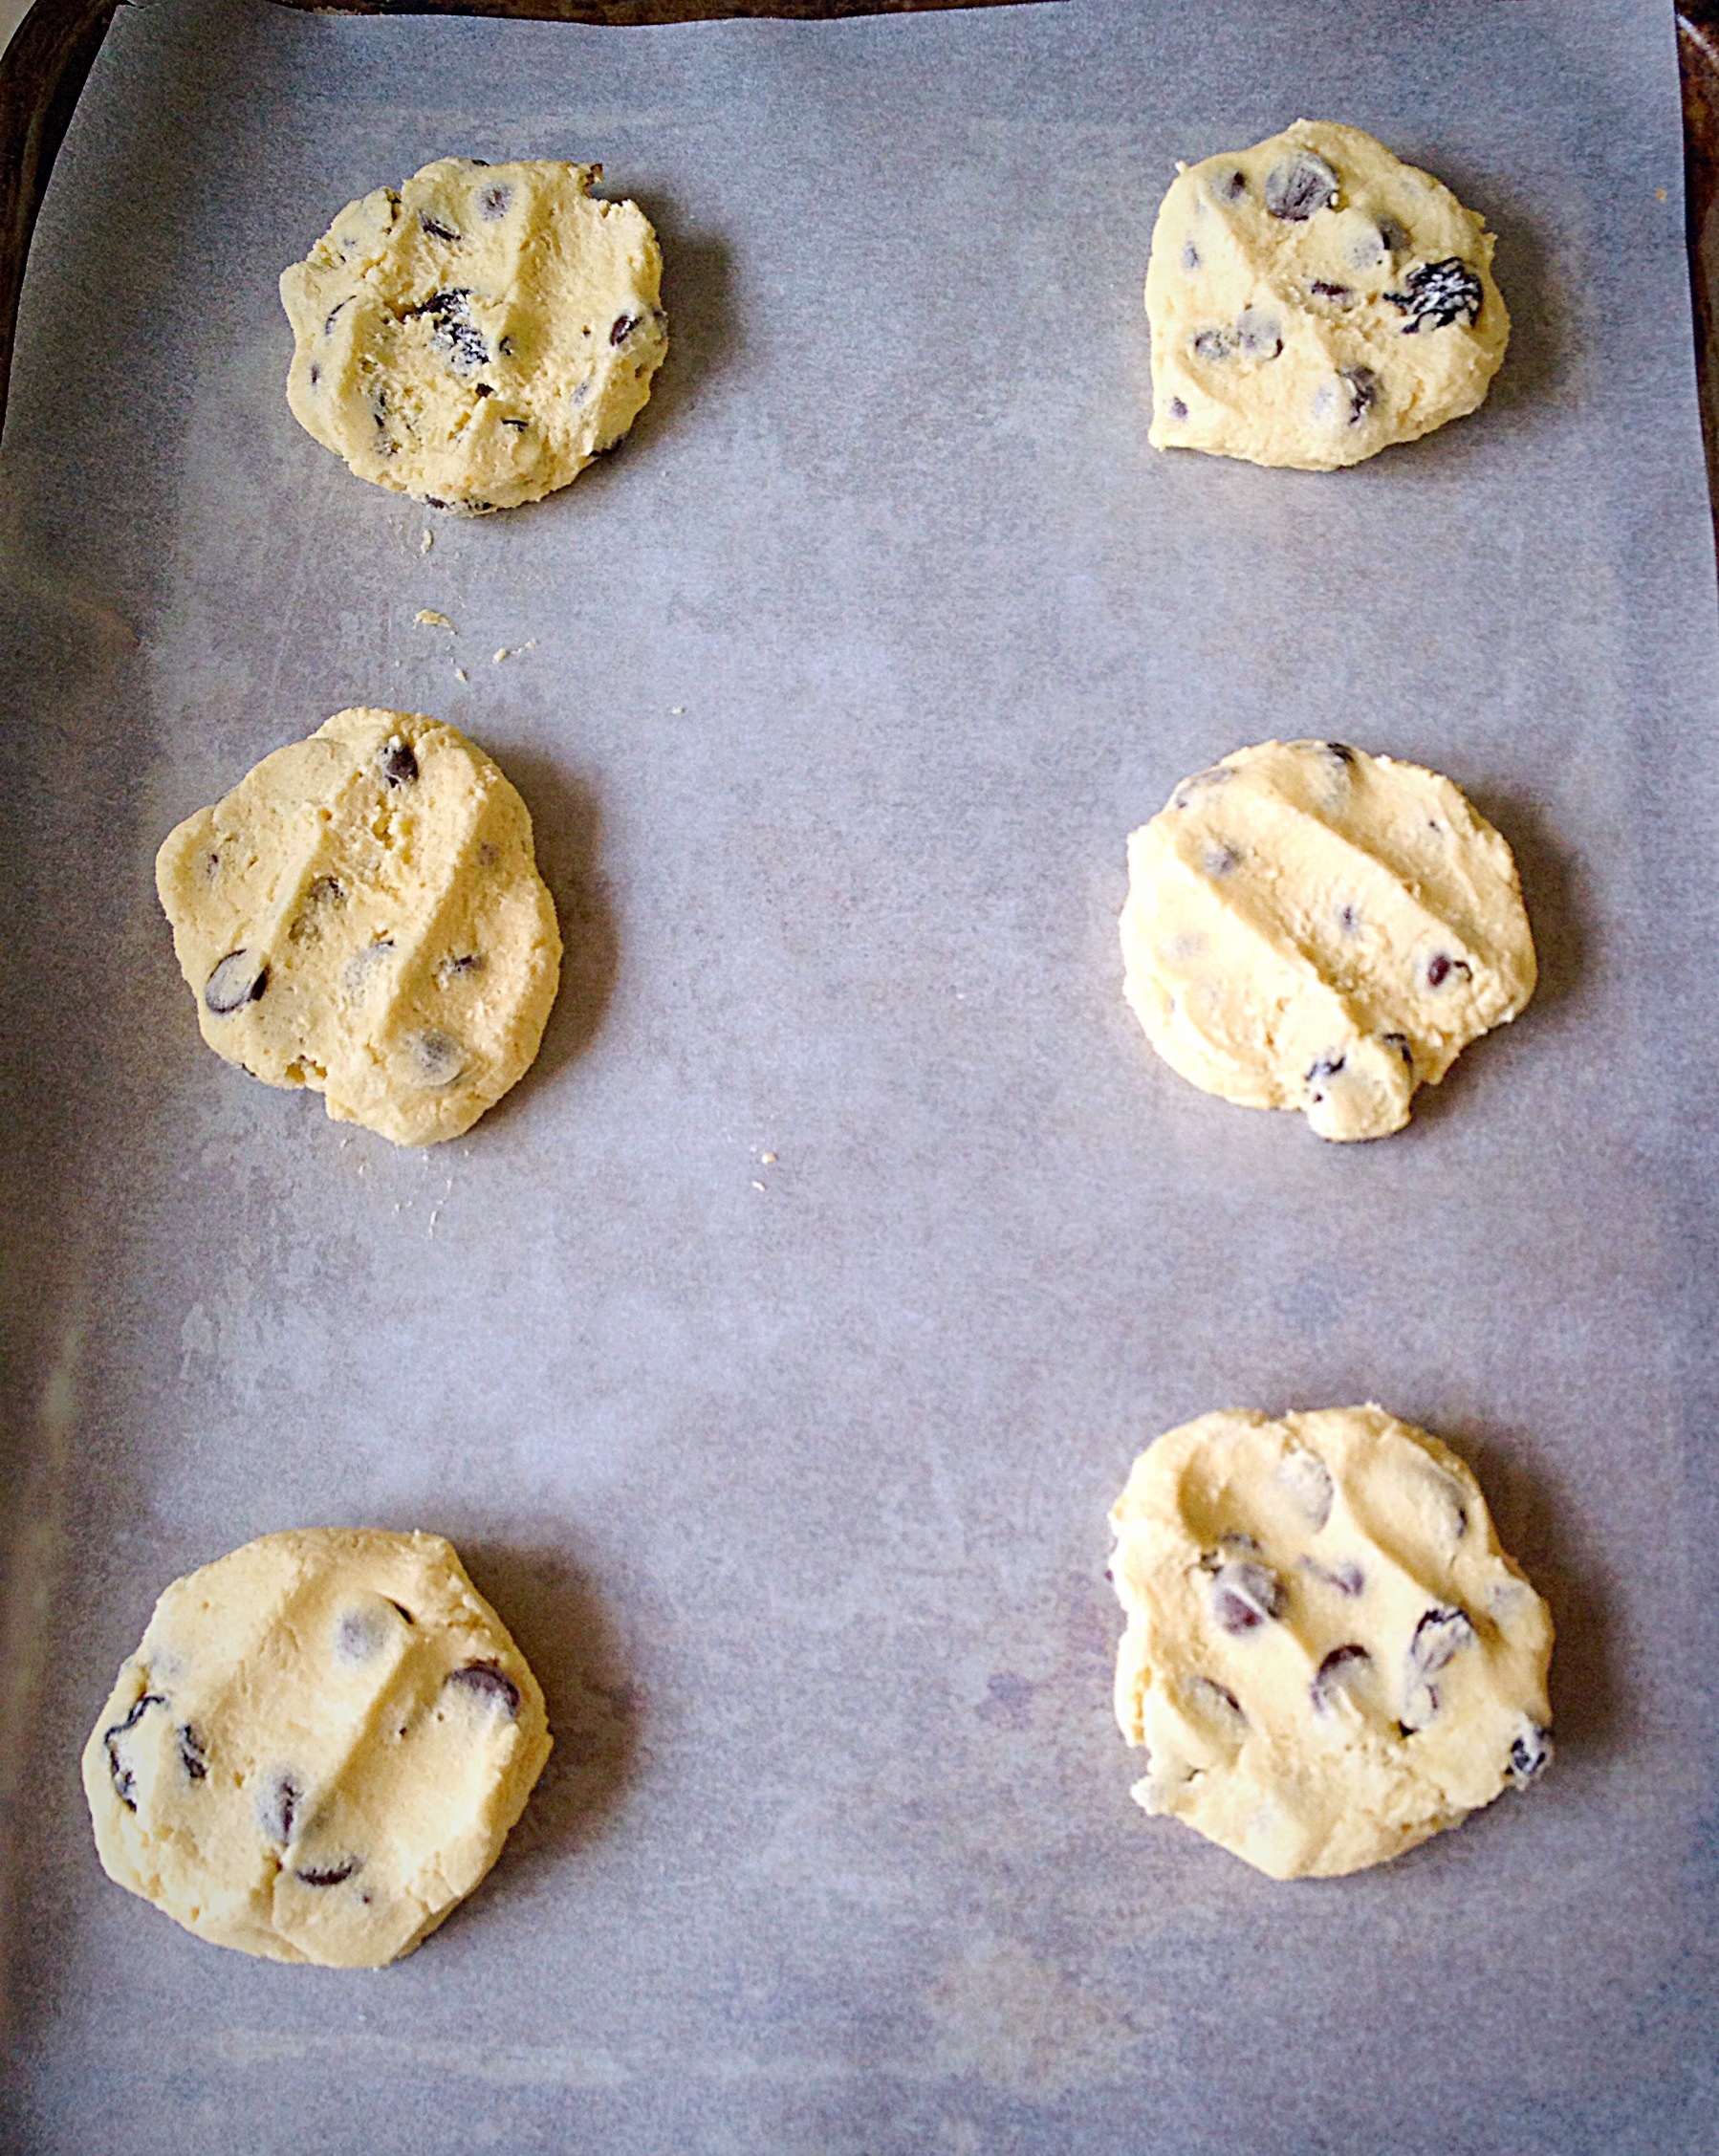
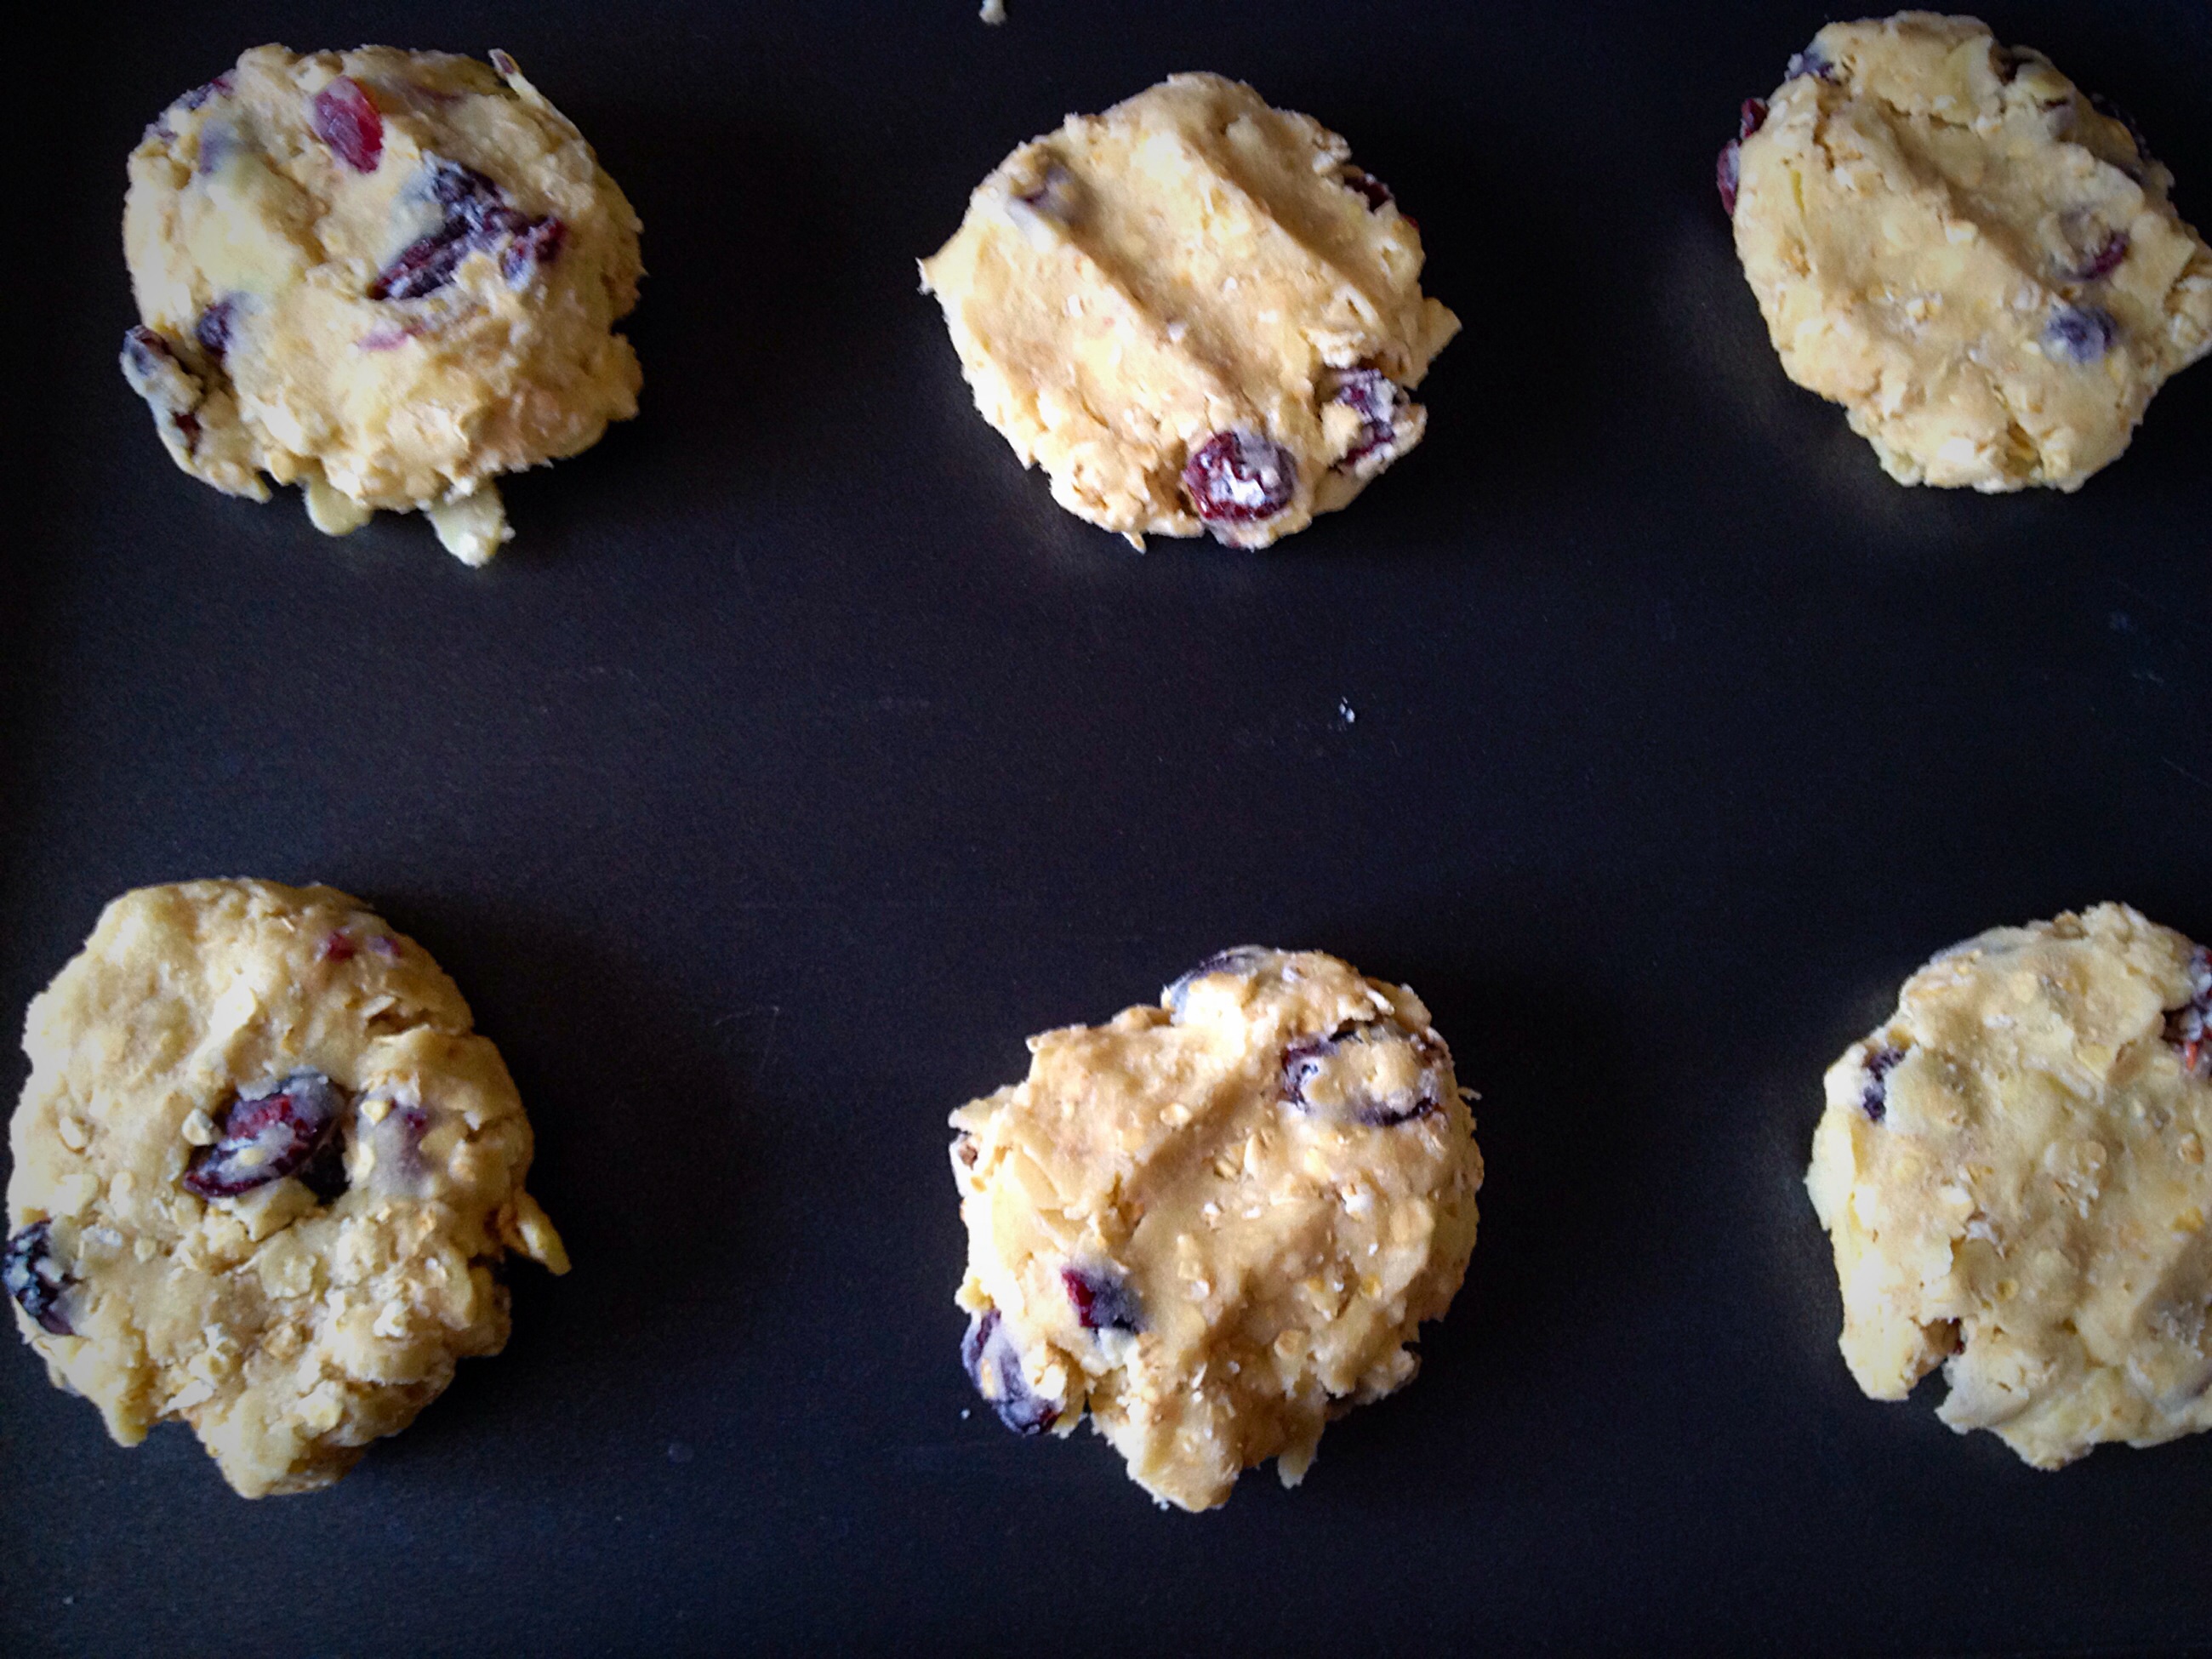
Place the Cherry Bakewell Cookies onto the baking tray, allowing room between each cookie, as they do spread whilst baking.
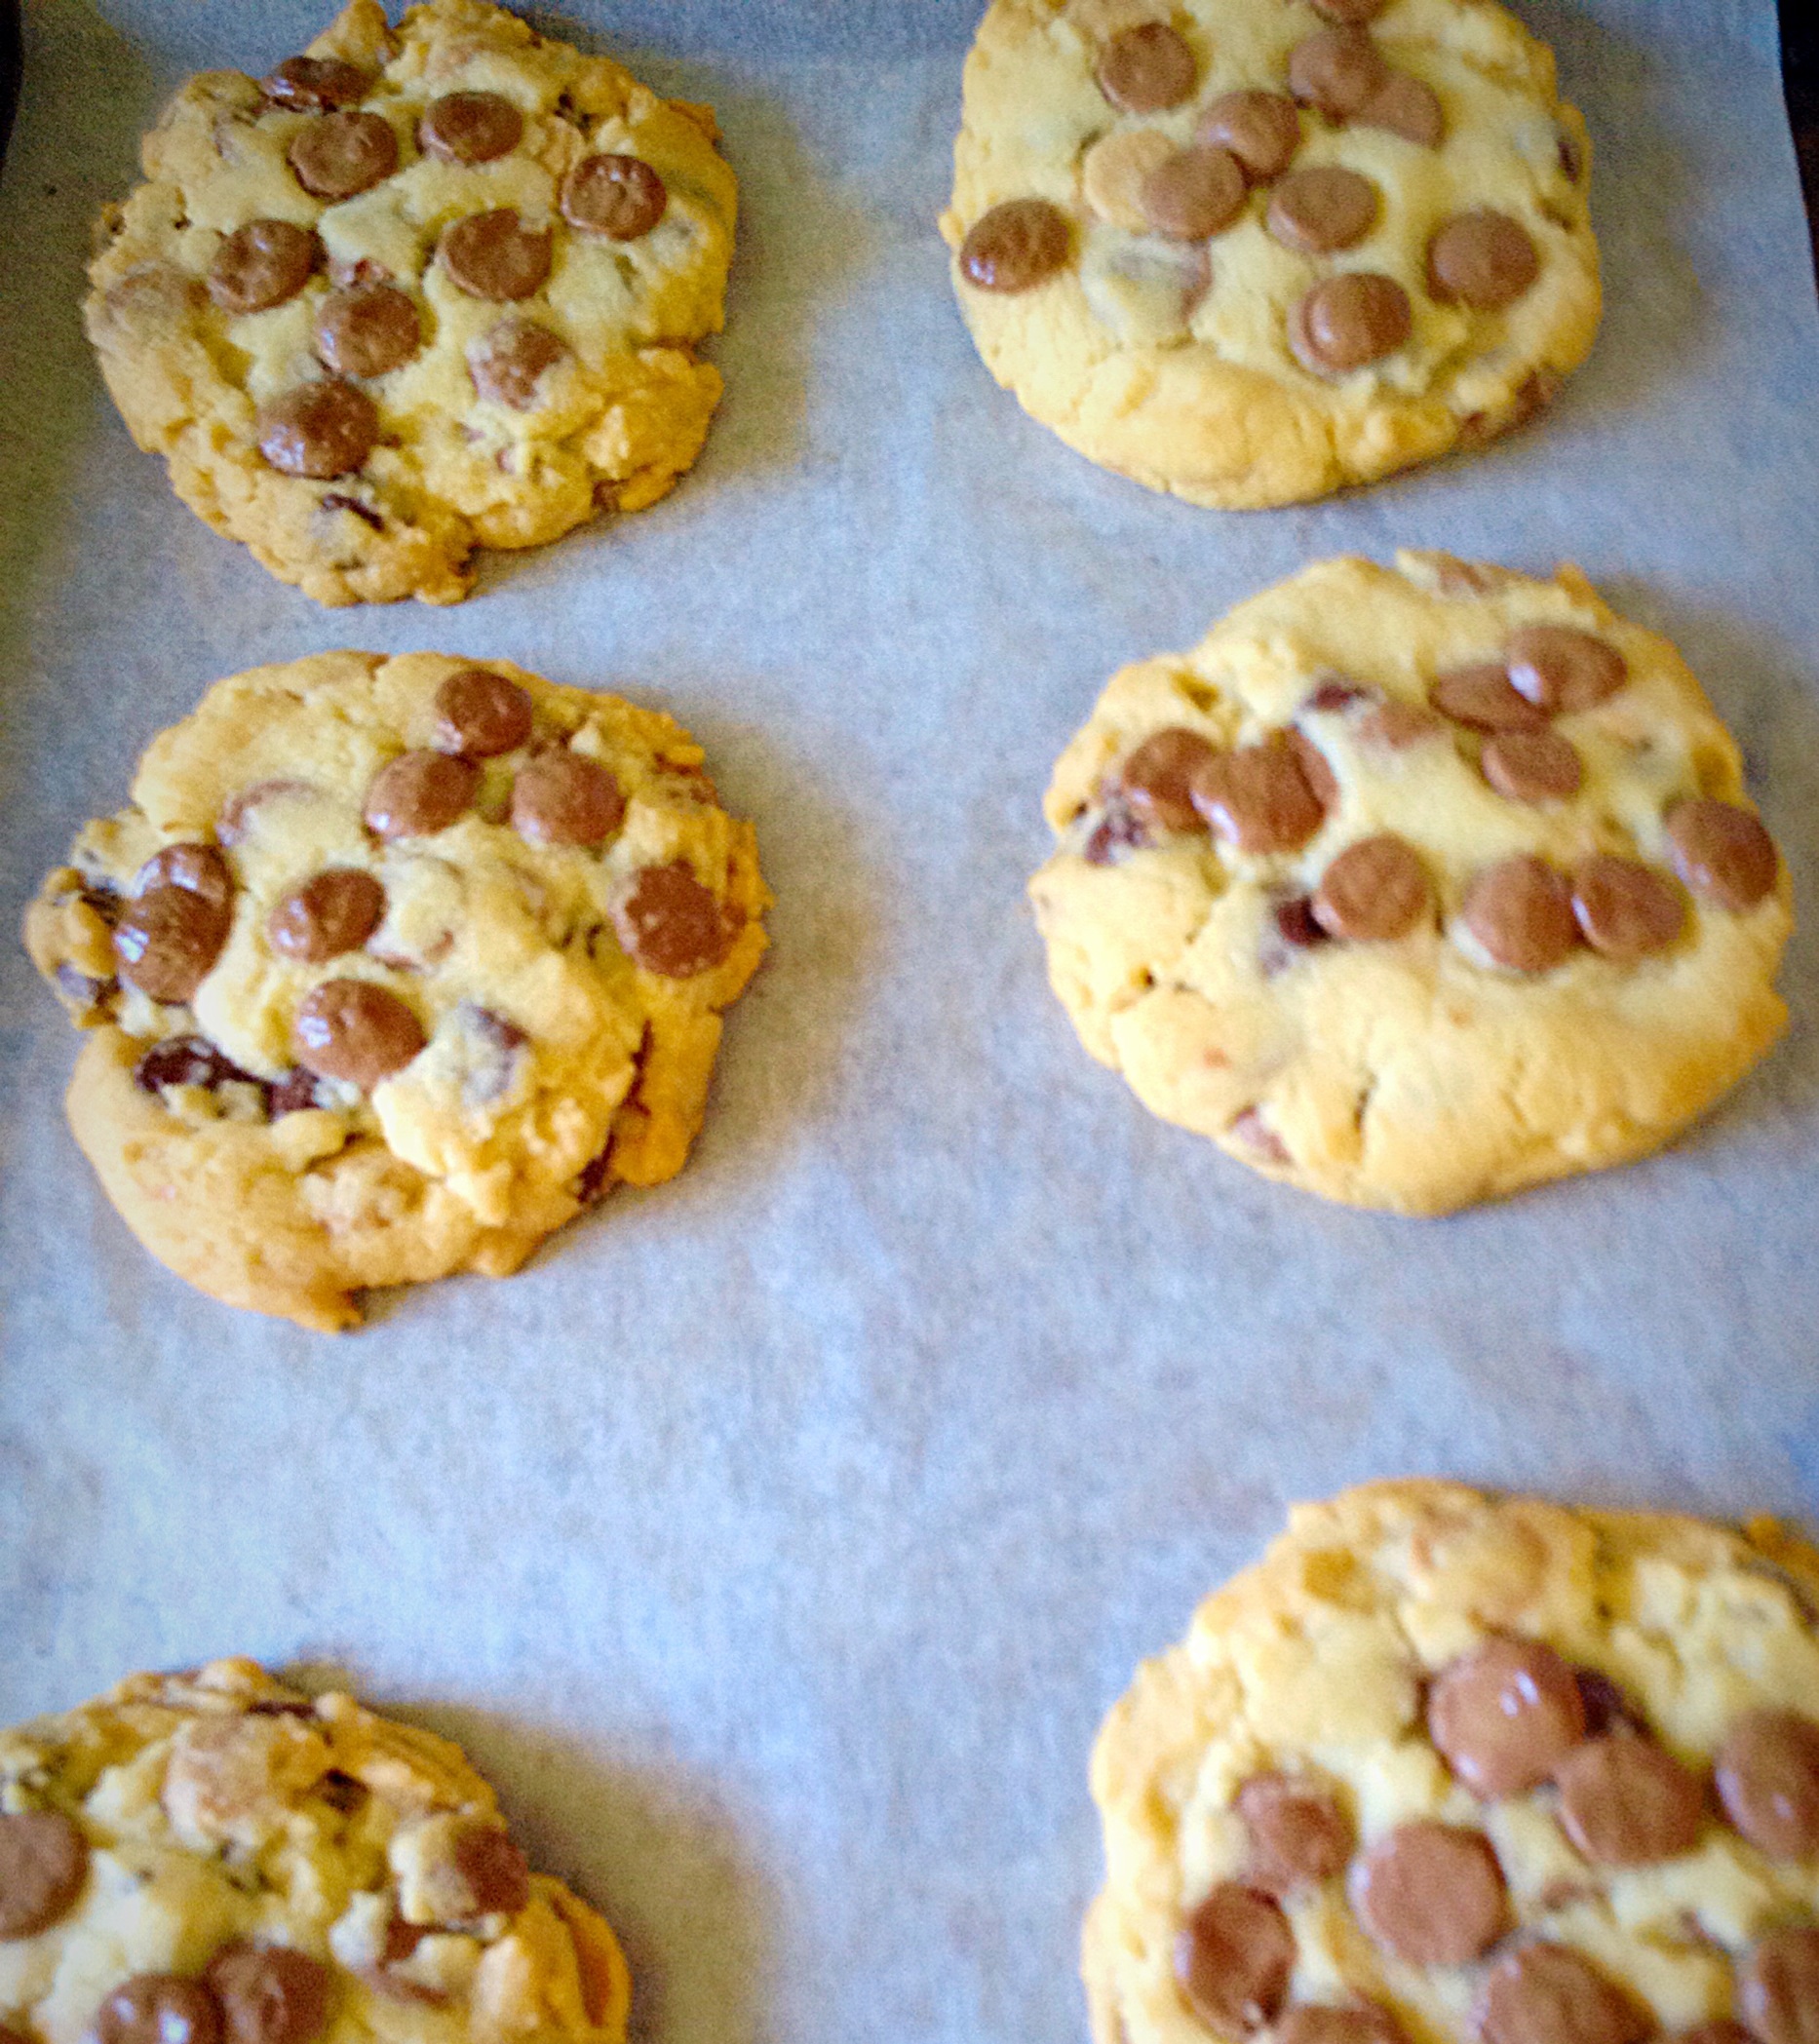
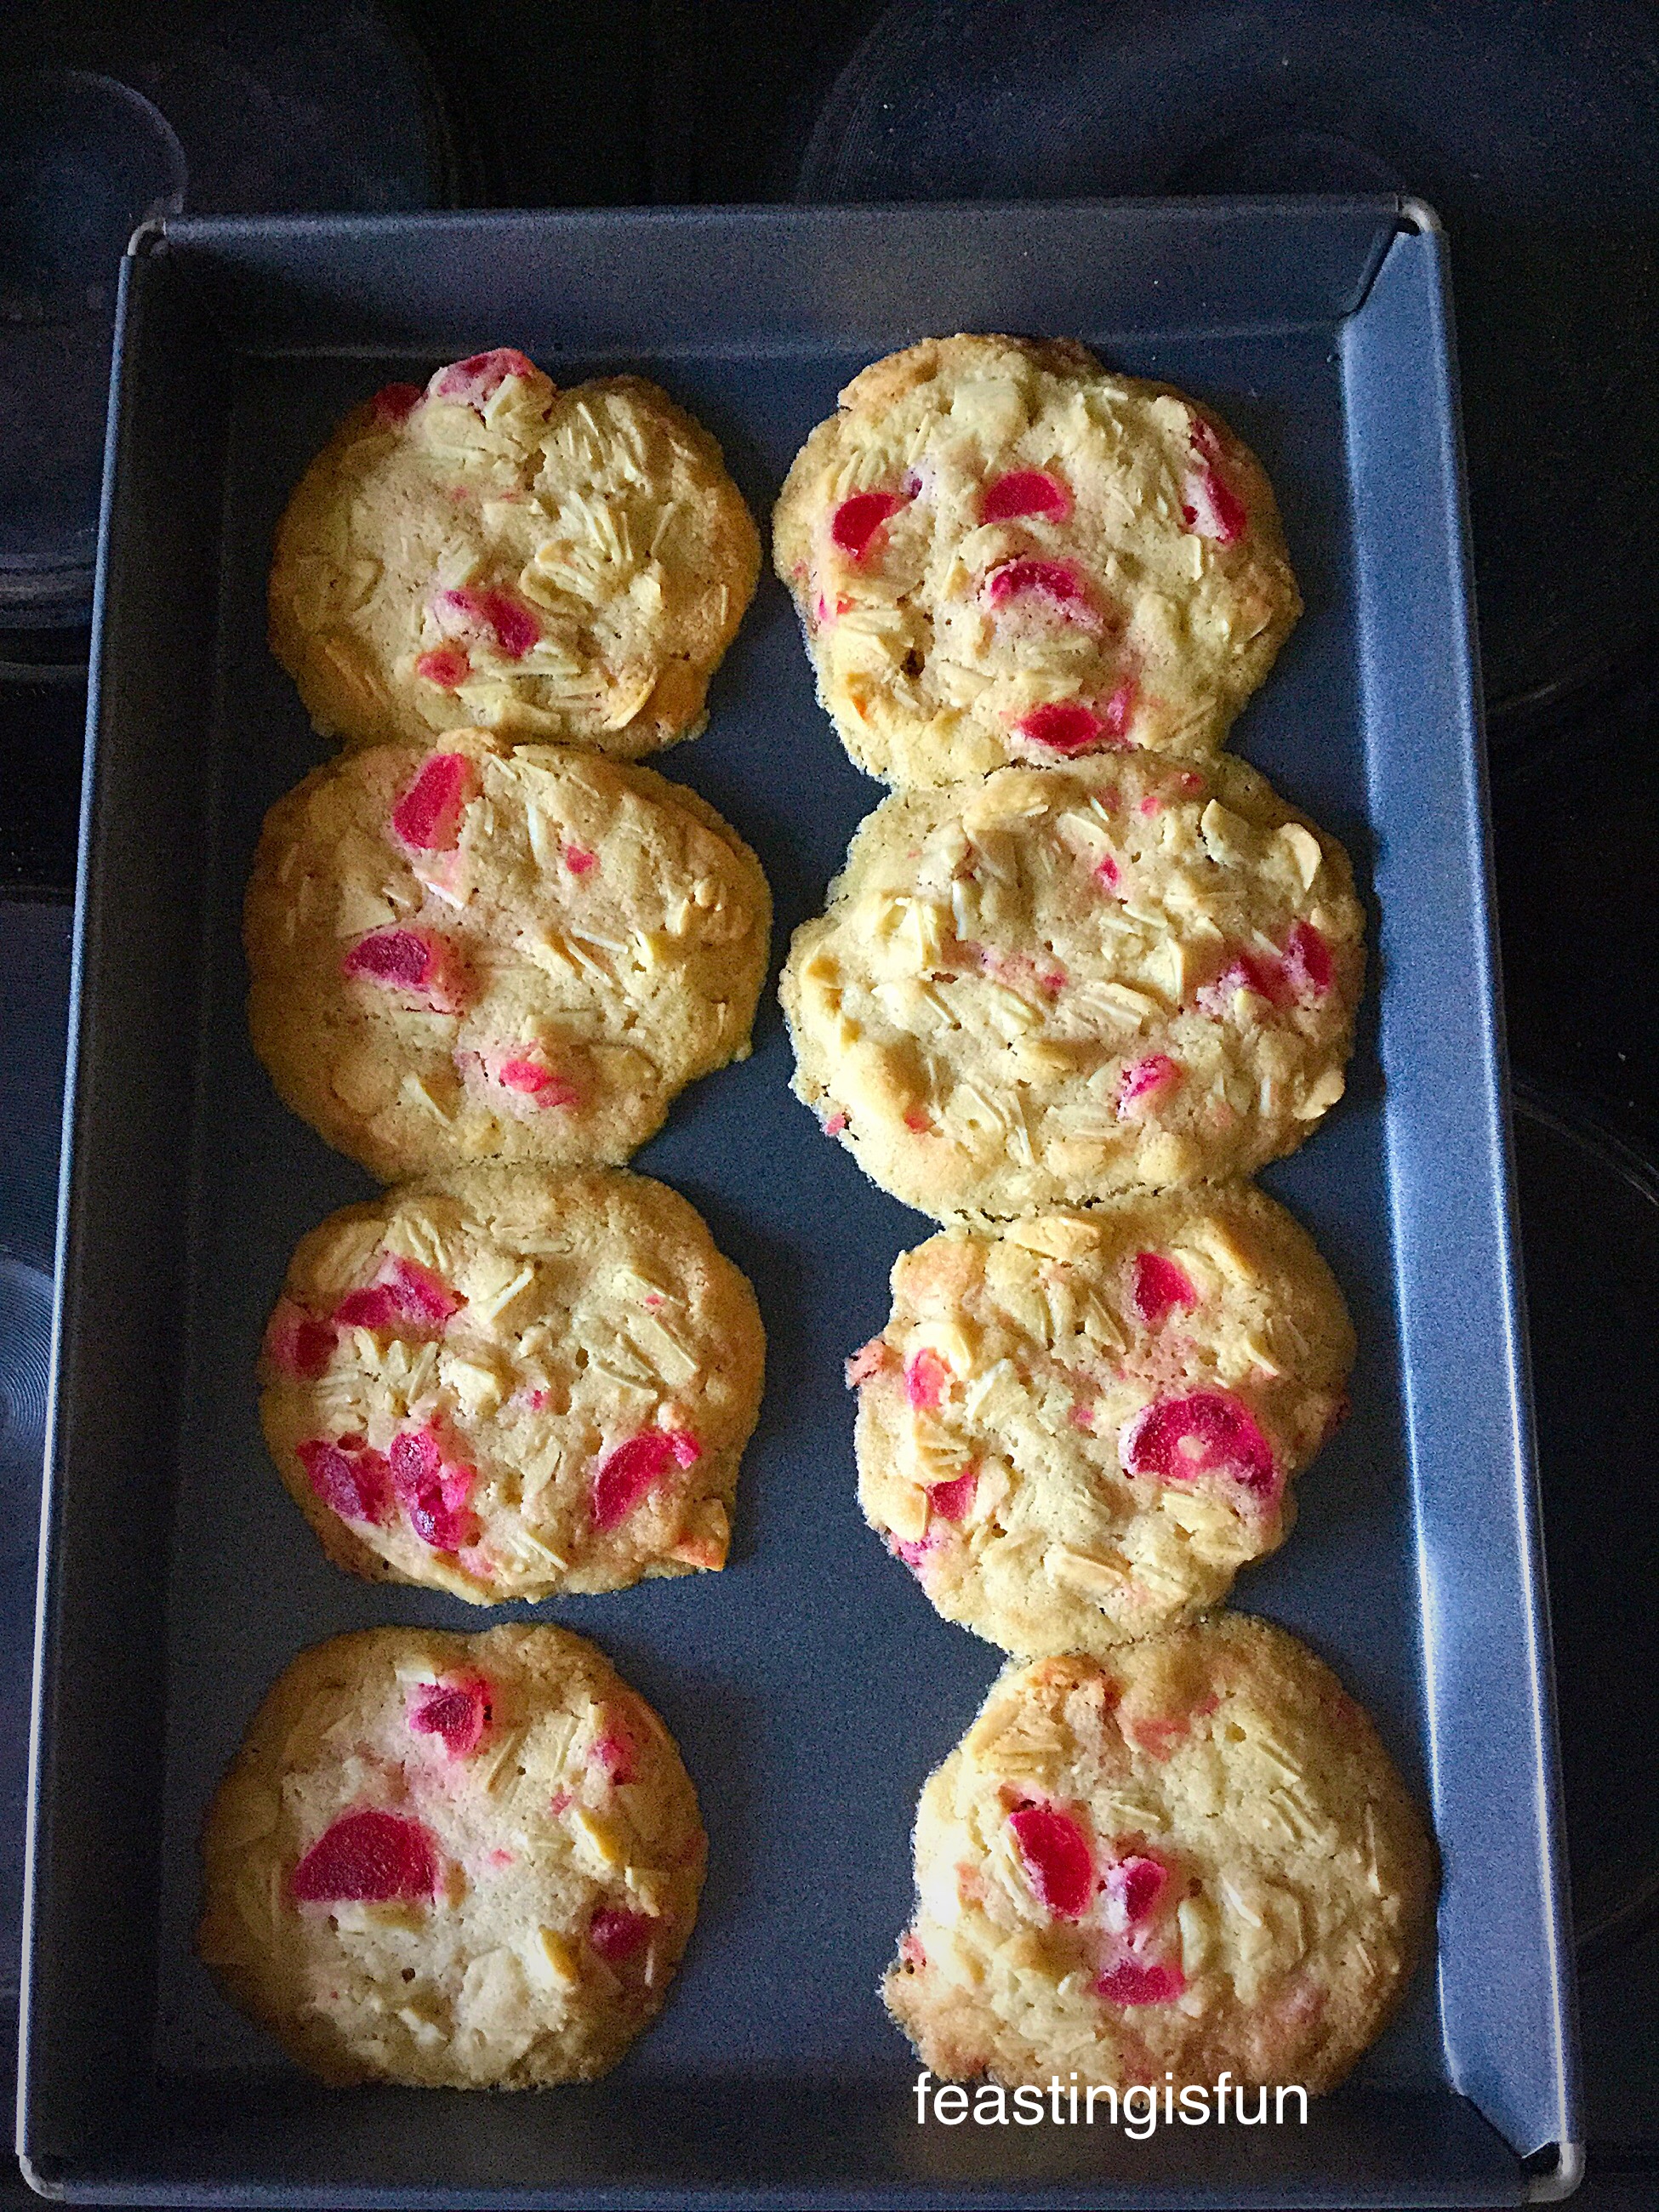
Place into the oven and bake for 15 minutes. Do not bake for longer as the cookies will become too brittle once cooled.
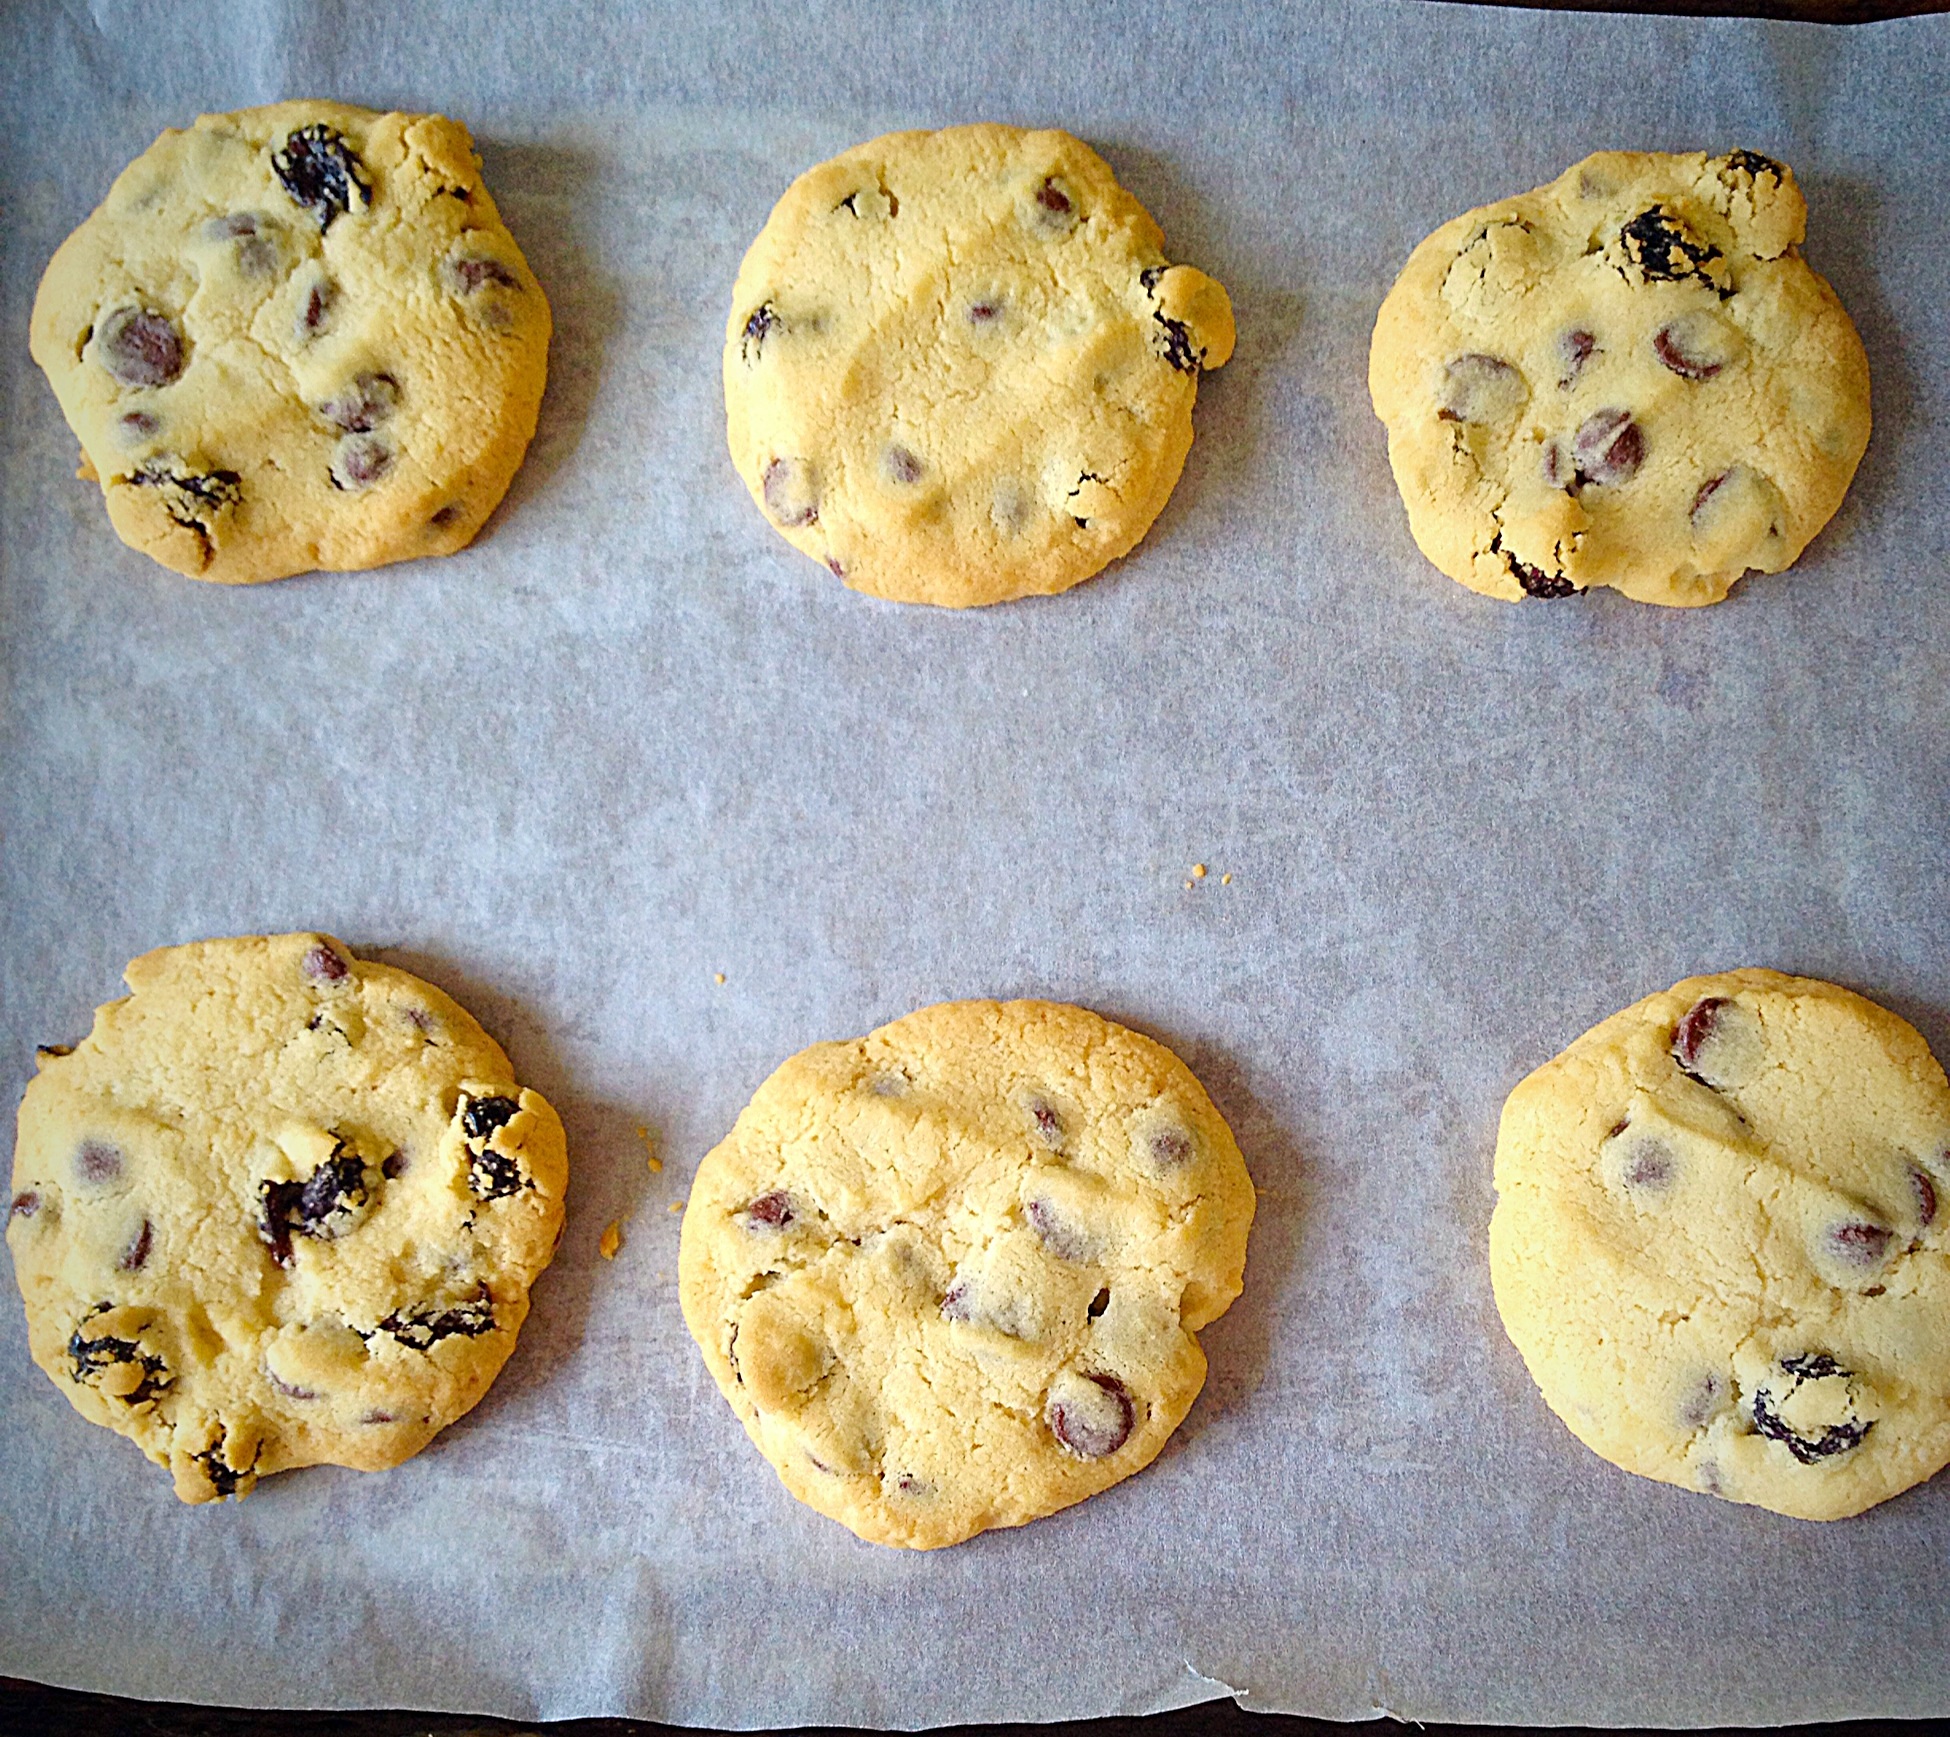
As soon as the cookies are baked remove from the oven.
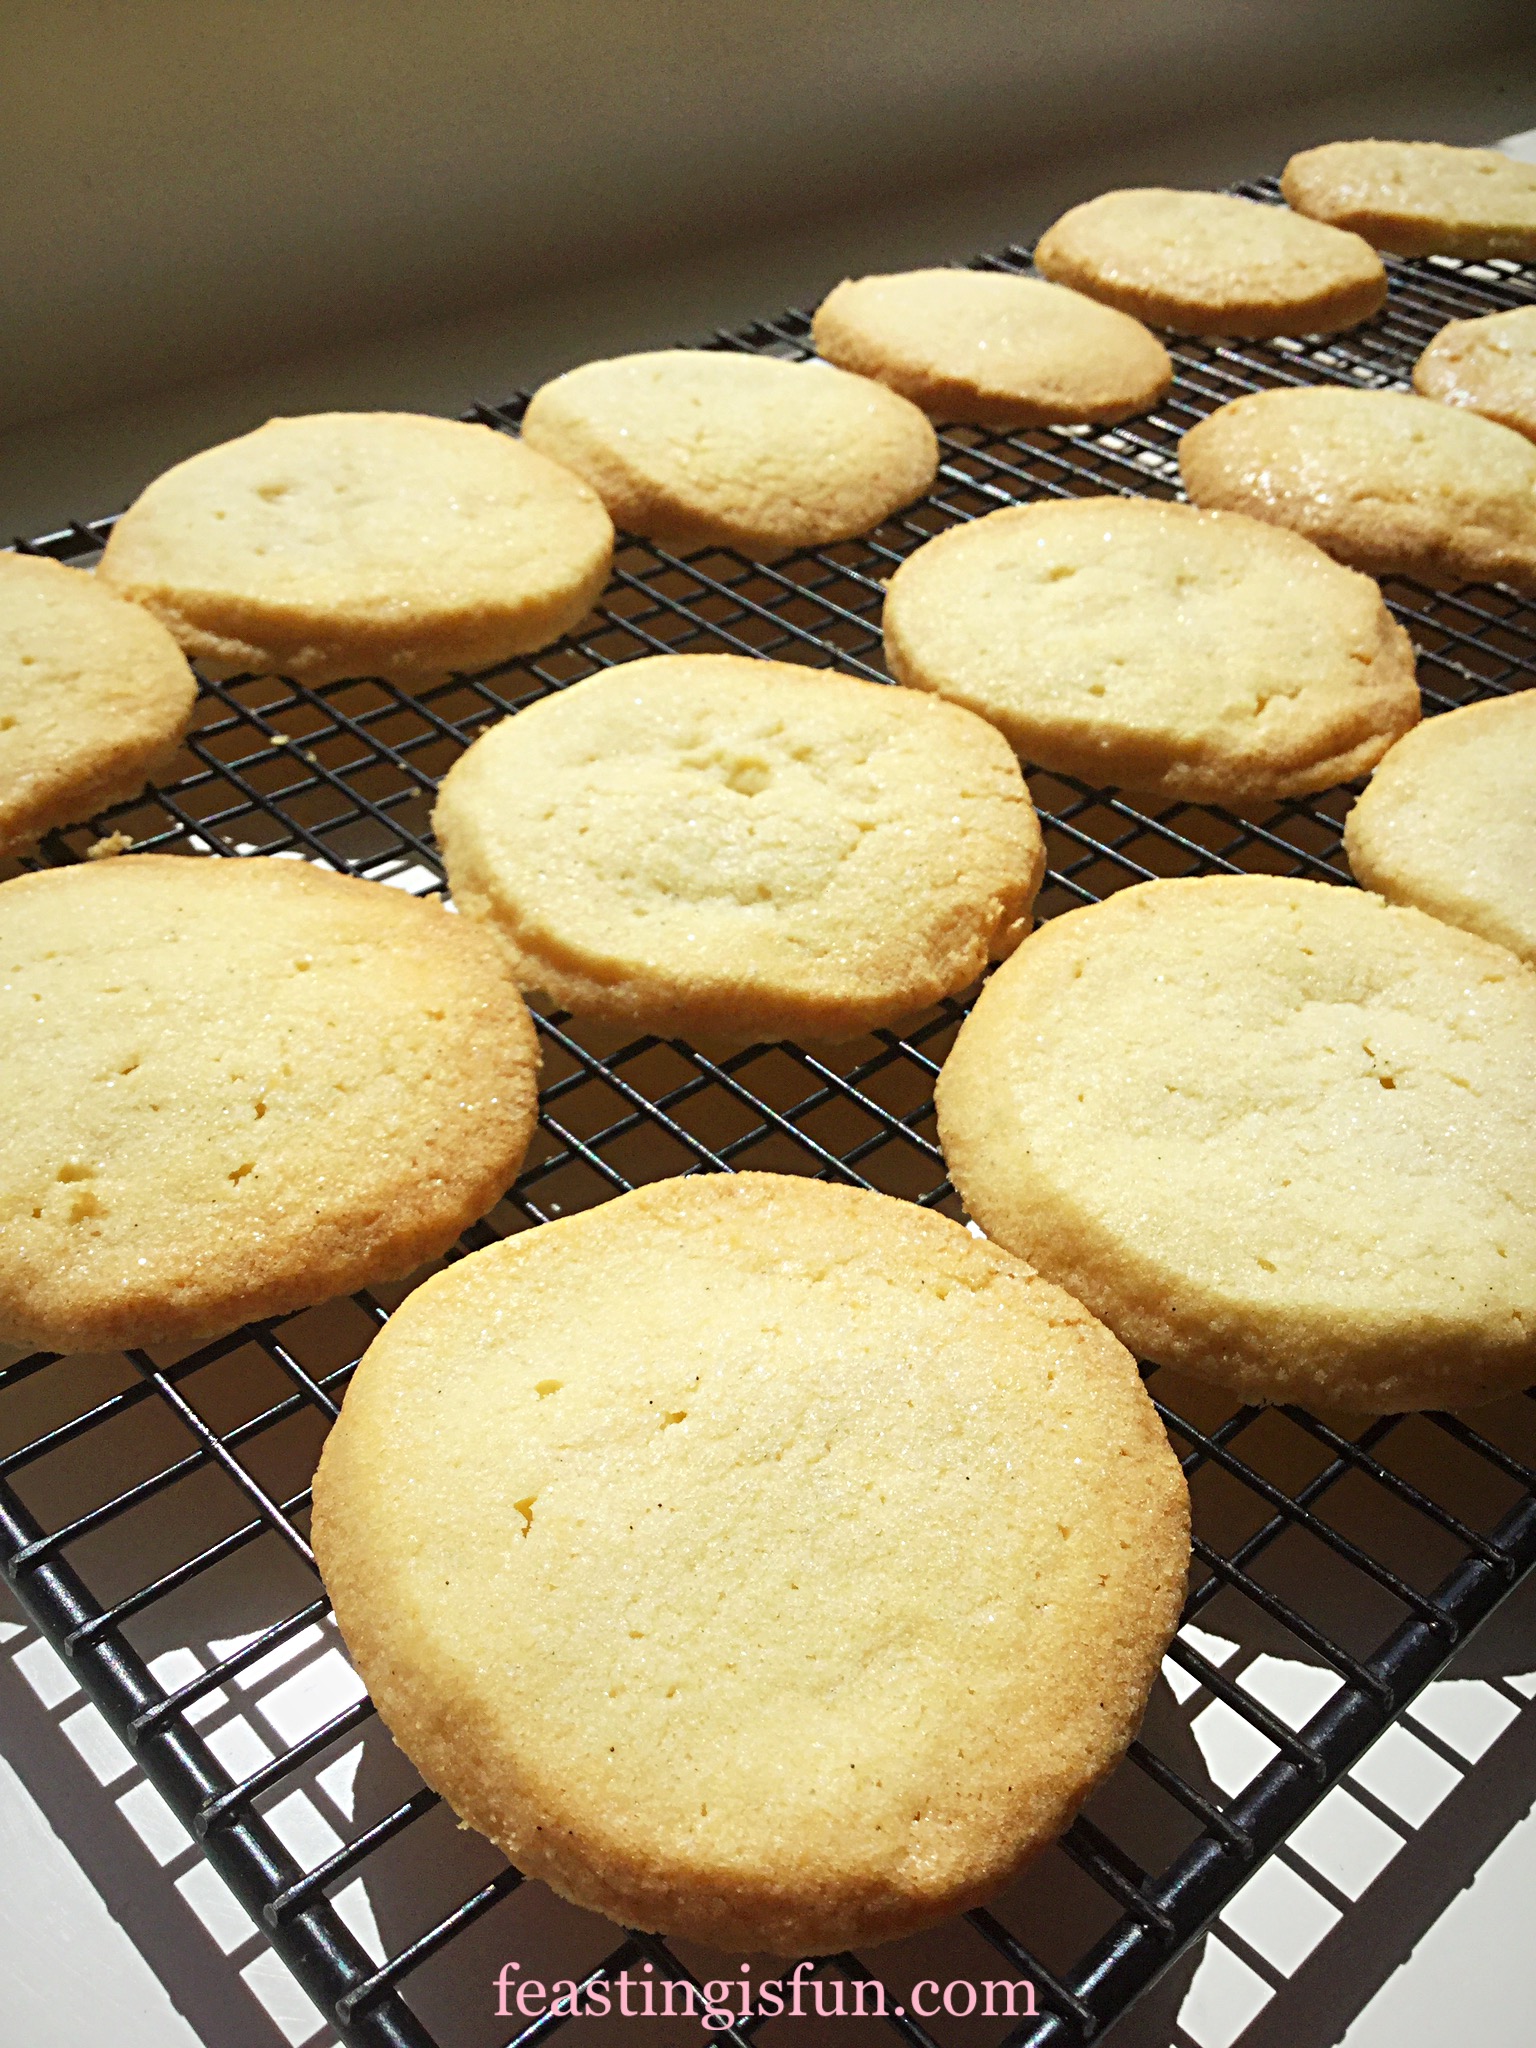
After 15 minutes cooling transfer the cookies to a cooling rack. I needed to use a palette knife to lift the cookies away from the tray. Lining with baking parchment will avoid scratching your trays.
When completely cooled the cookies are ready to be iced.
Icing the cookies:
First of all, place the icing sugar and almond extract into a bowl. Add tap water, a little at a time (I use a teaspoon to add the water), mixing thoroughly after each addition.
The icing is at the correct thickness when it can hold a figure of eight shape for a moment, when drizzled onto itself with a spoon.

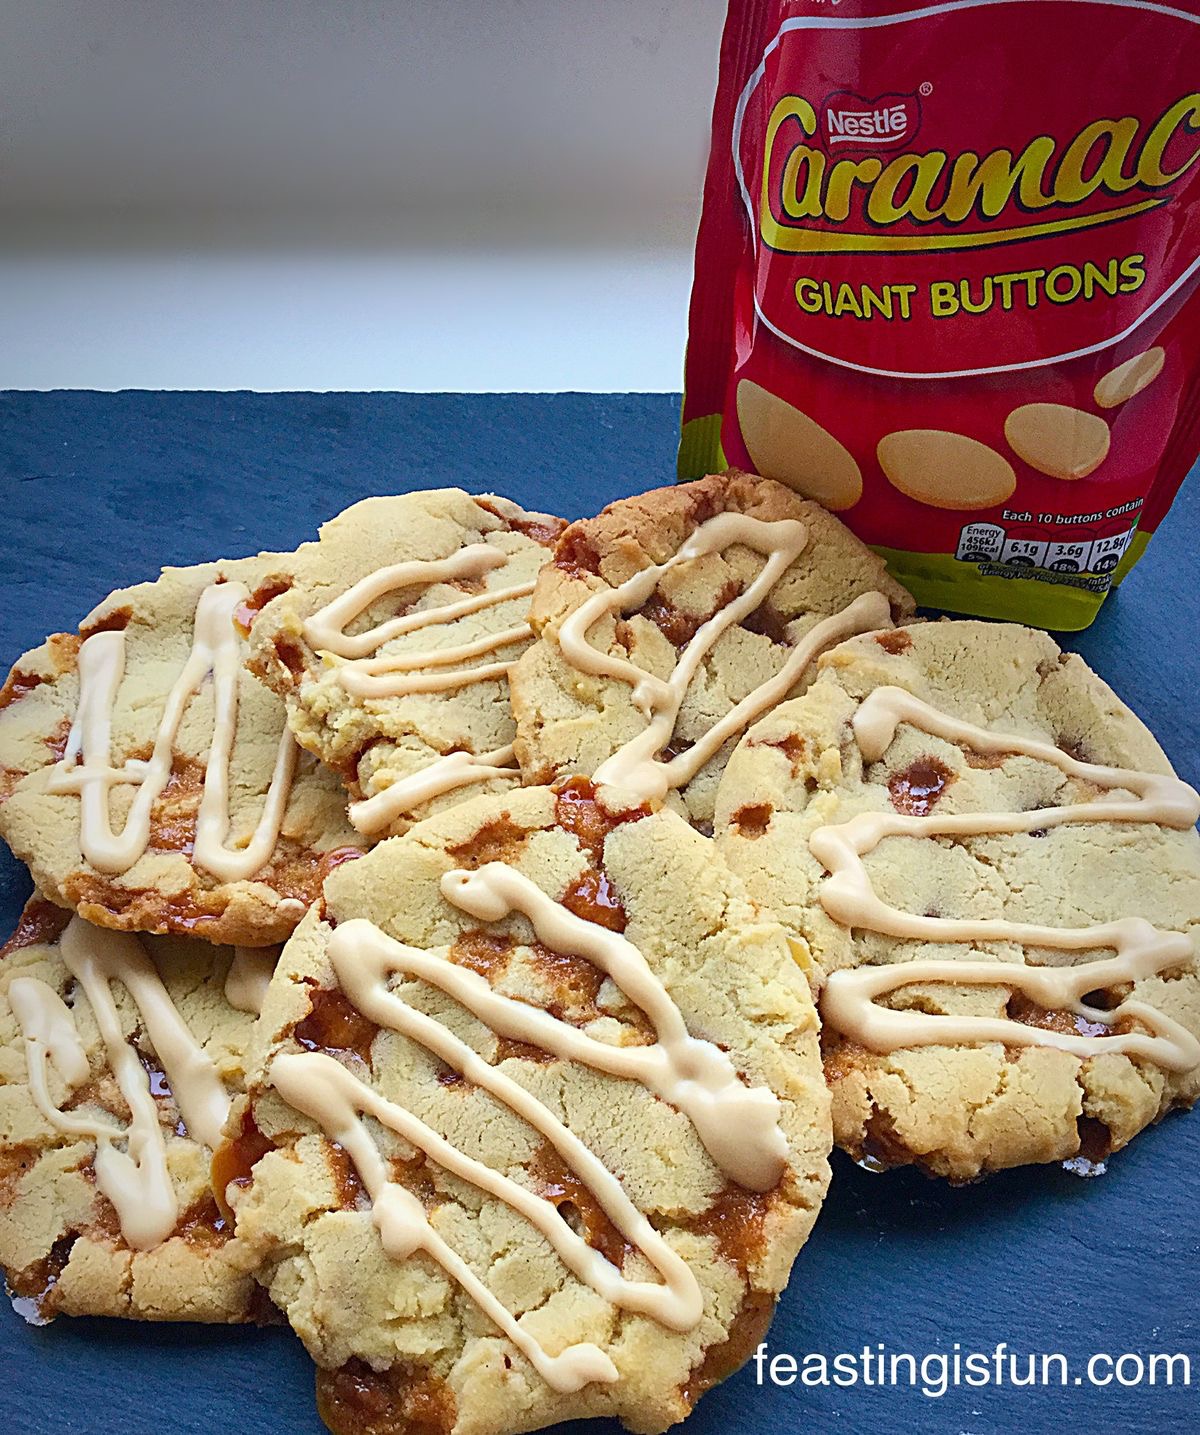
You can drizzle the icing over the cookies with a spoon, or fill a disposable piping bag (or plastic freezer bag) with the icing. Snip the end (or corner of the bag), so that there is a small hole. Drizzle a pattern over each of the cookies.
Leave the icing to set on the cookies before storing in an airtight container.
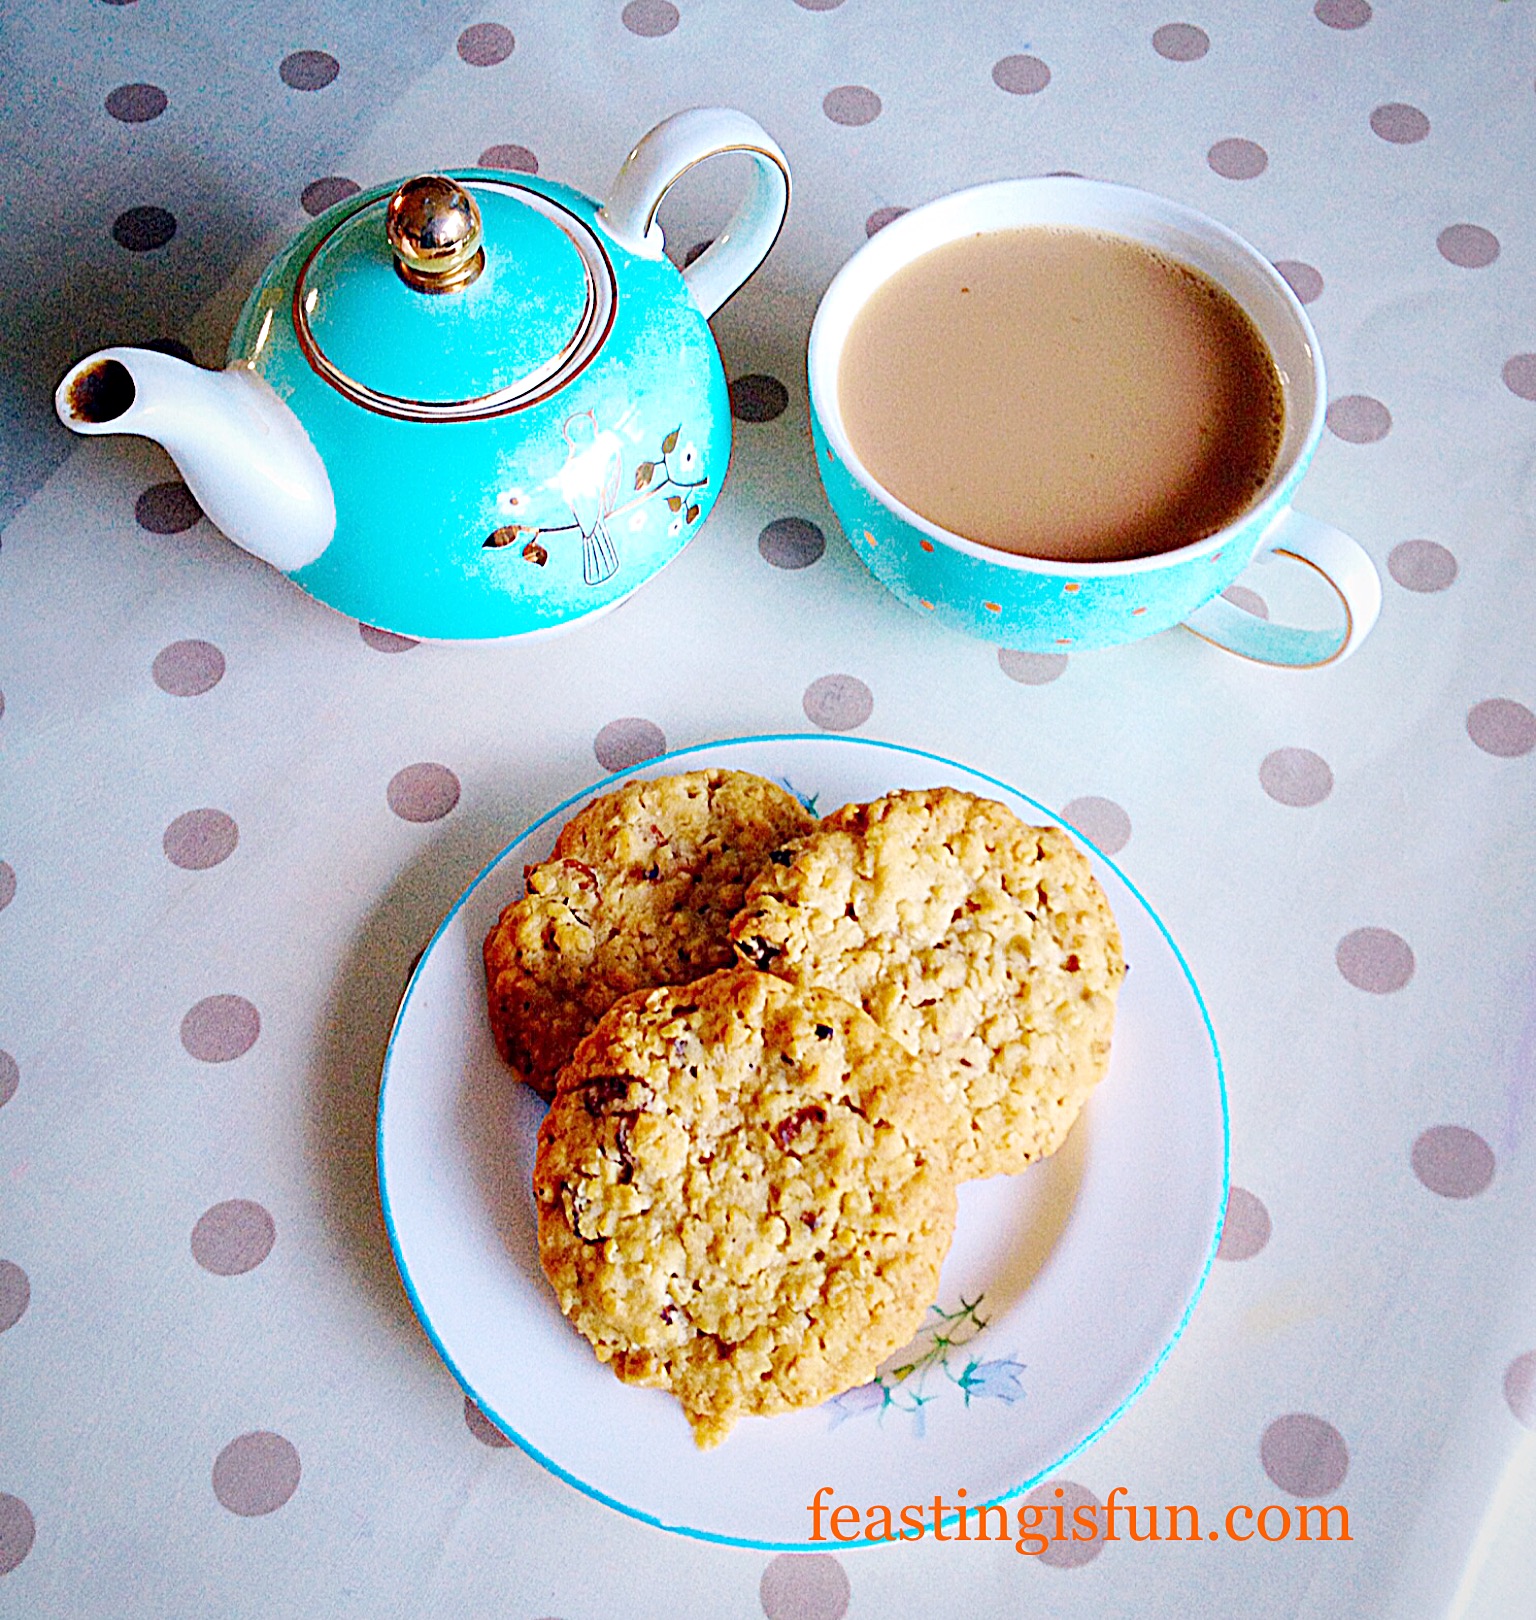
Now invite some friends round for a cup of tea and a catch up and share these delicious Cherry Bakewell Cookies.
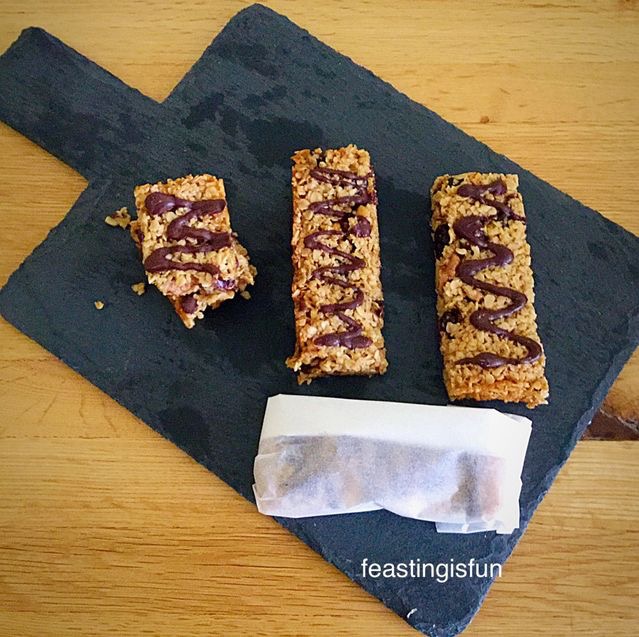
Alternatively pop some in a clear cellphone bag, tie with pretty ribbon and give away as gifts.
I am always hungrier when the weather turns cold. Are you?
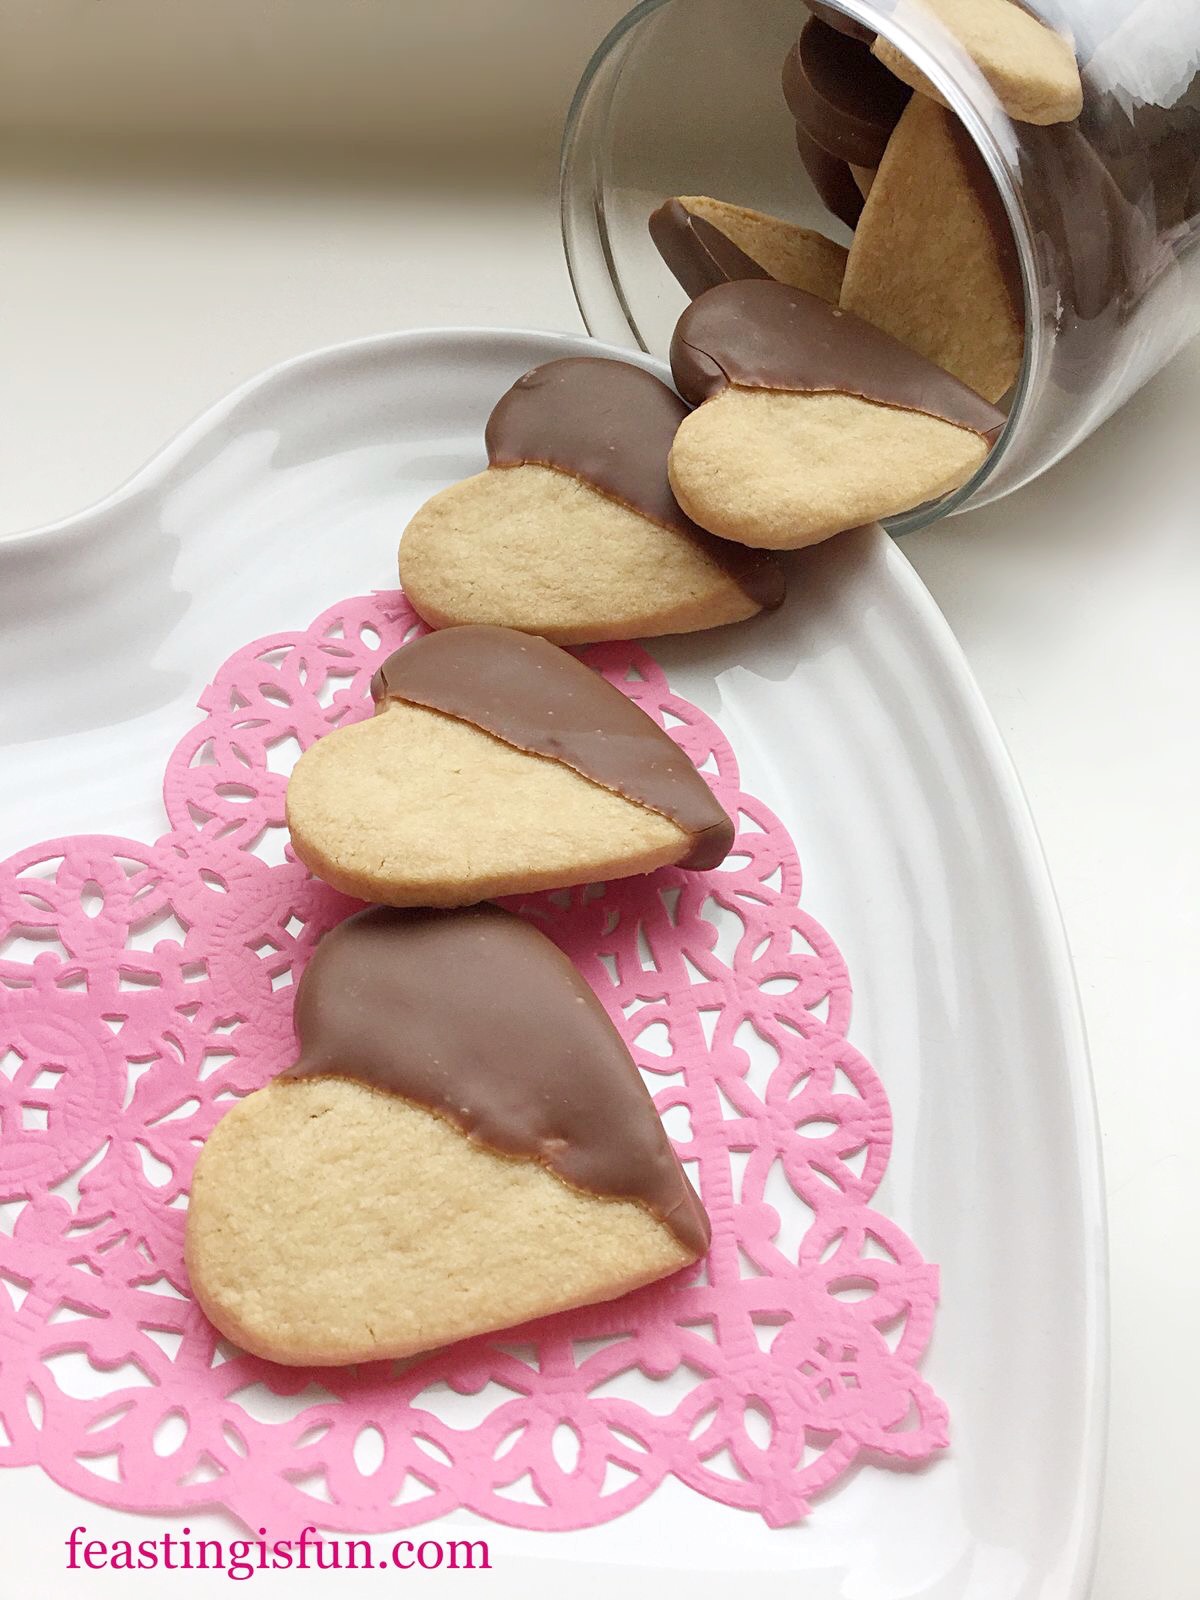
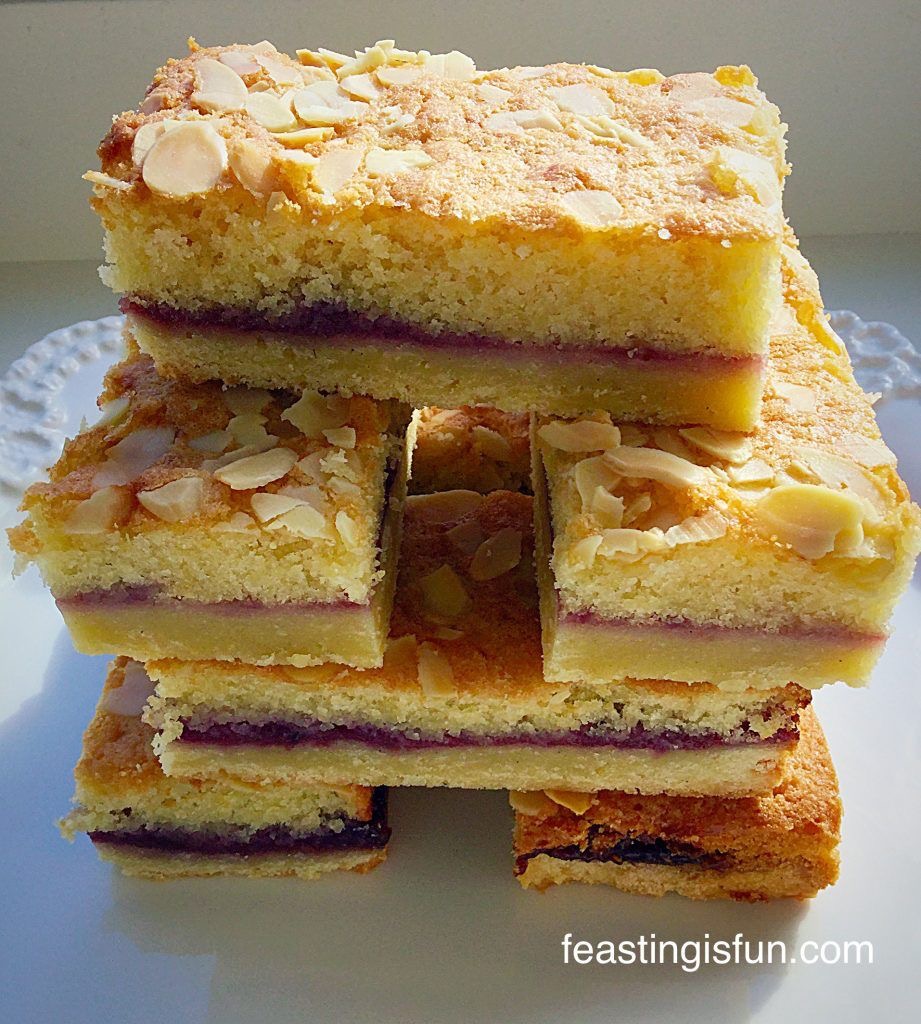
If you have enjoyed this recipe for Cherry Bakewell Cookies you may also like these:
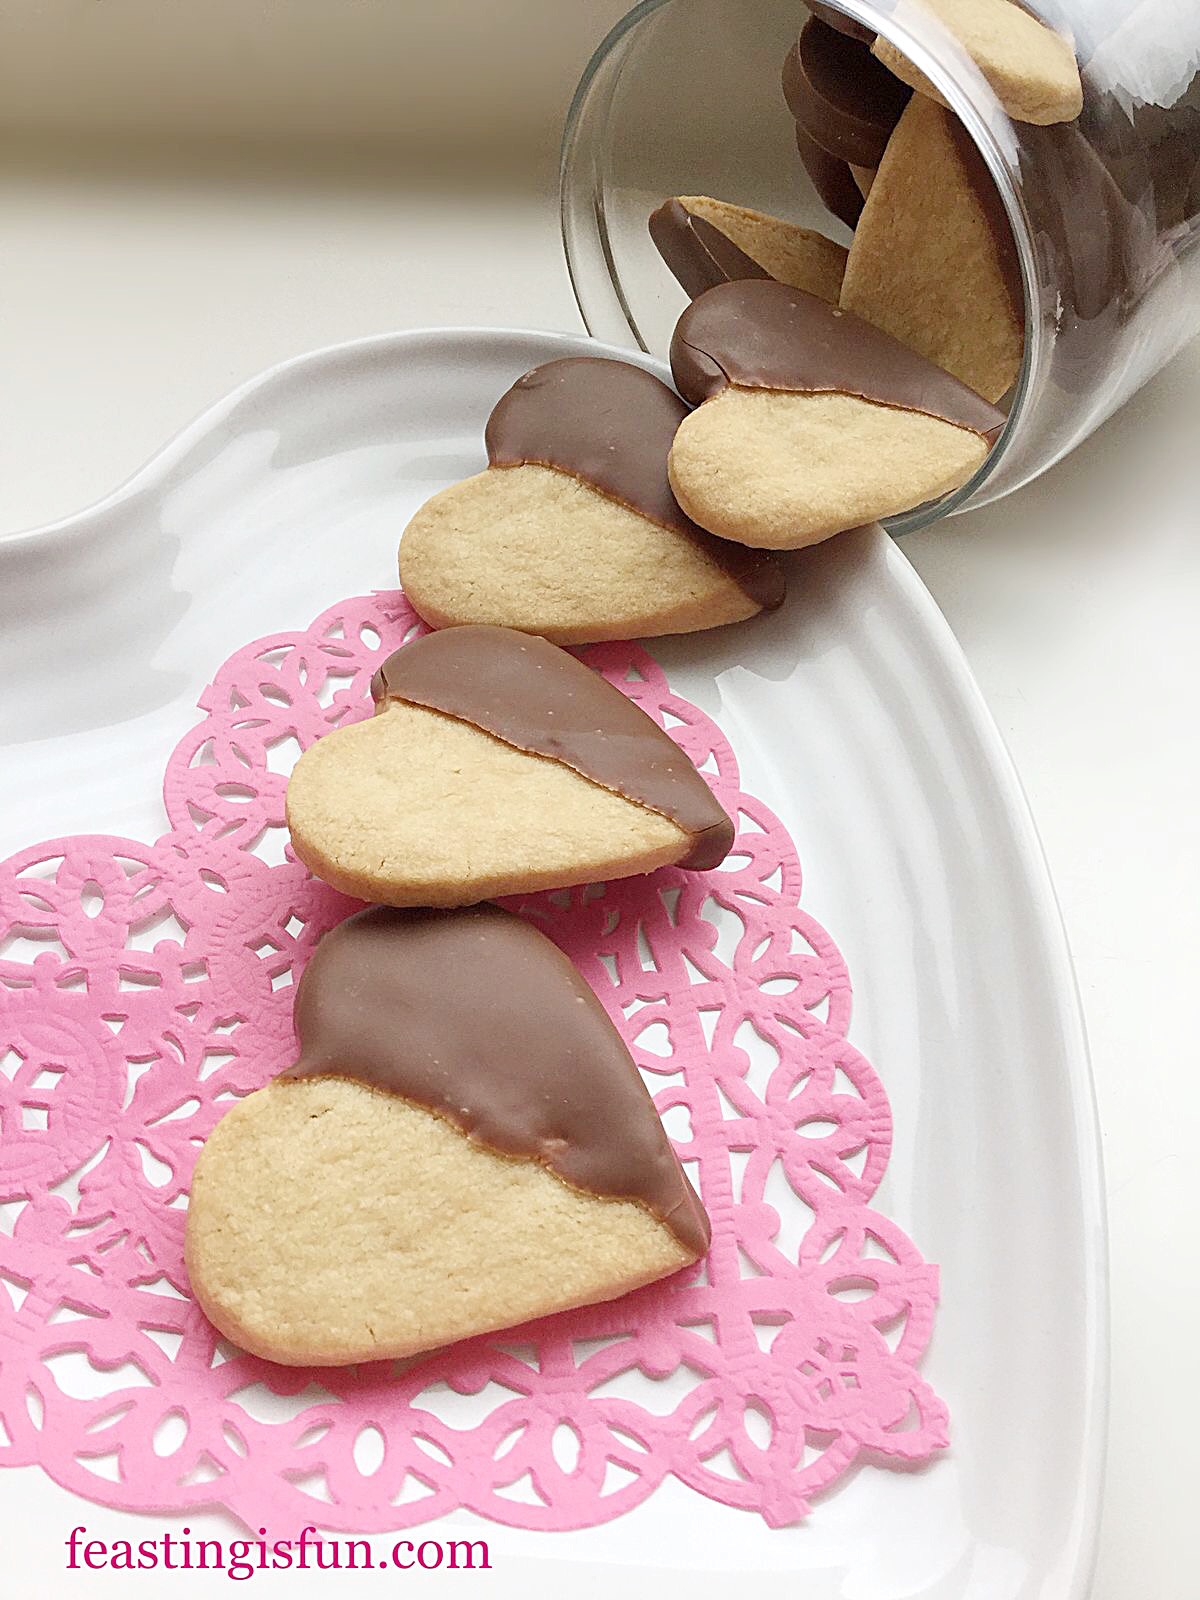
Chocolate Dipped Shortbread Heart Cookies

So, whatever you are making, baking and creating in your kitchens, have fun preparing and sharing your feast.
Sammie xx
No part of this post may be reproduced or duplicated without the written permission of the owner. Please see my Disclosure Policy.